
SpeedShift
-
Posts
493 -
Joined
-
Last visited
Content Type
Profiles
Forums
Events
Gallery
Everything posted by SpeedShift
-
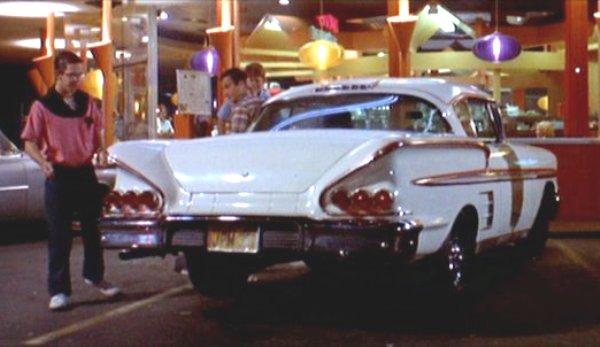
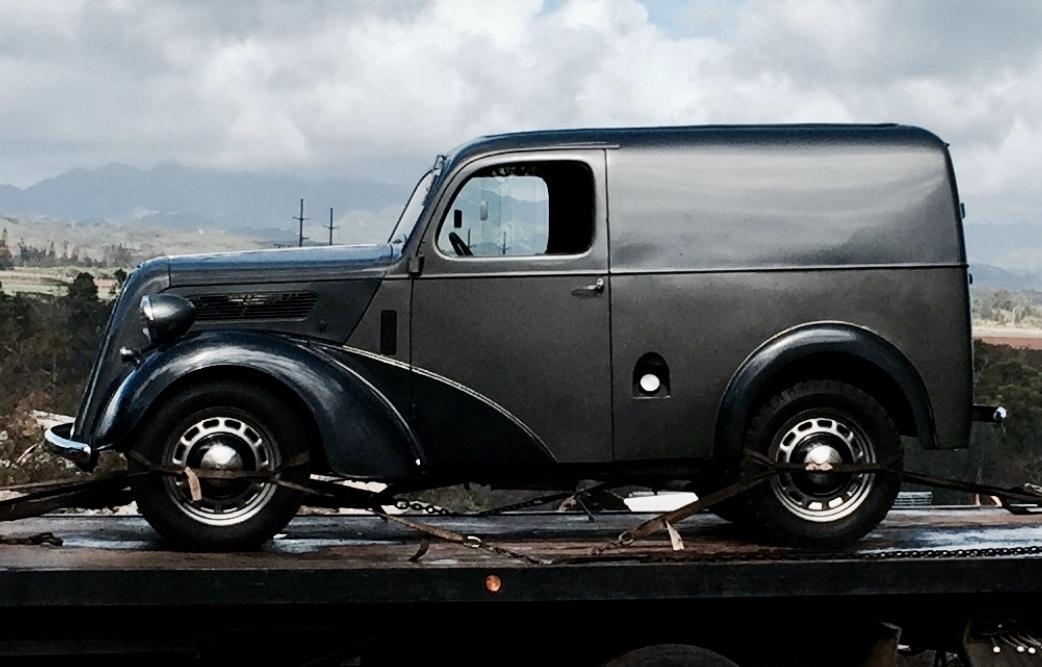
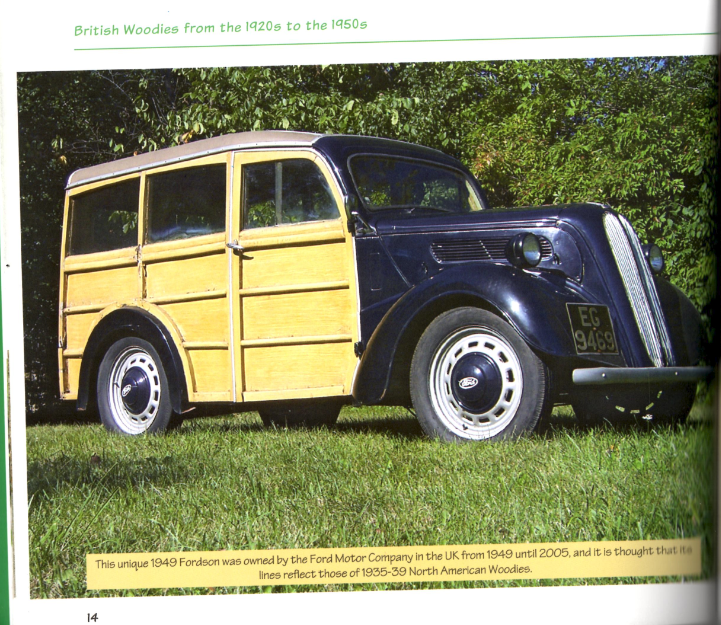
On a "side " note...pun intended. I was wondering where a spare tire was kept on this vehicle...thought maybe it goes in the back. Research turned up these pictures from various year models. Not sure i want to cover up the work on the wood paneling with a spare. What do you all think?

-
Thanks Russ.....let's see what you do when you get started.
-
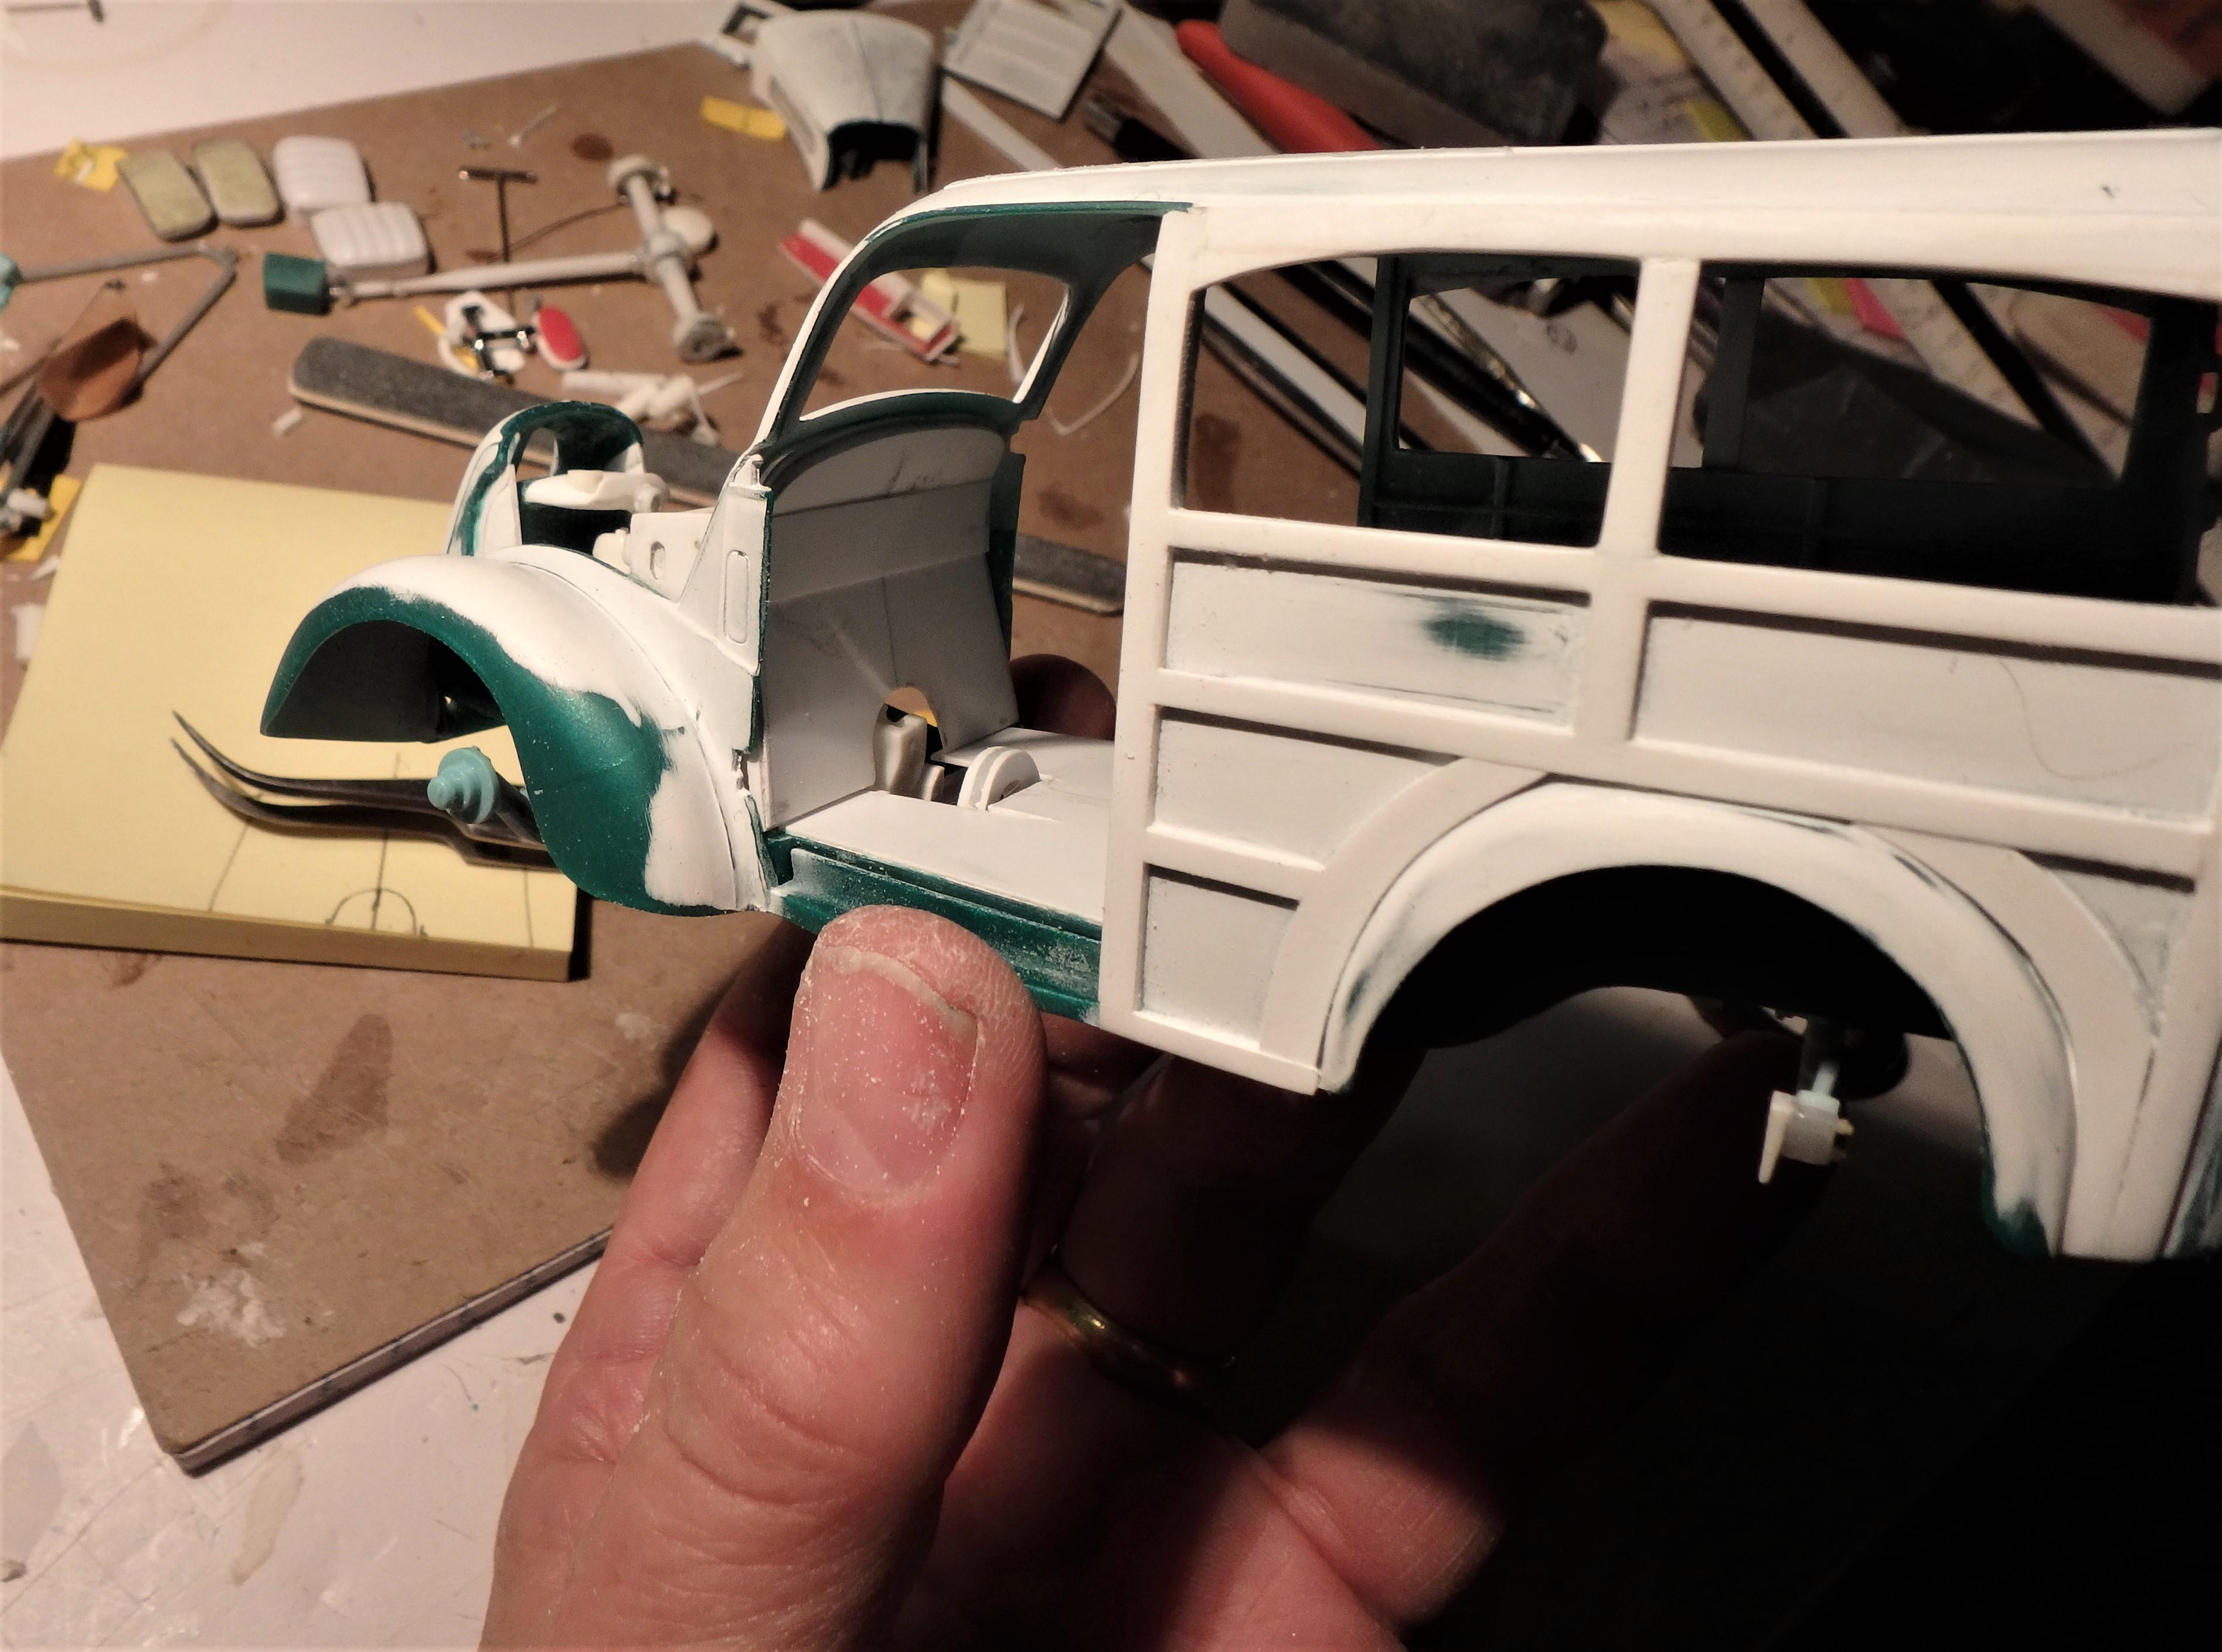
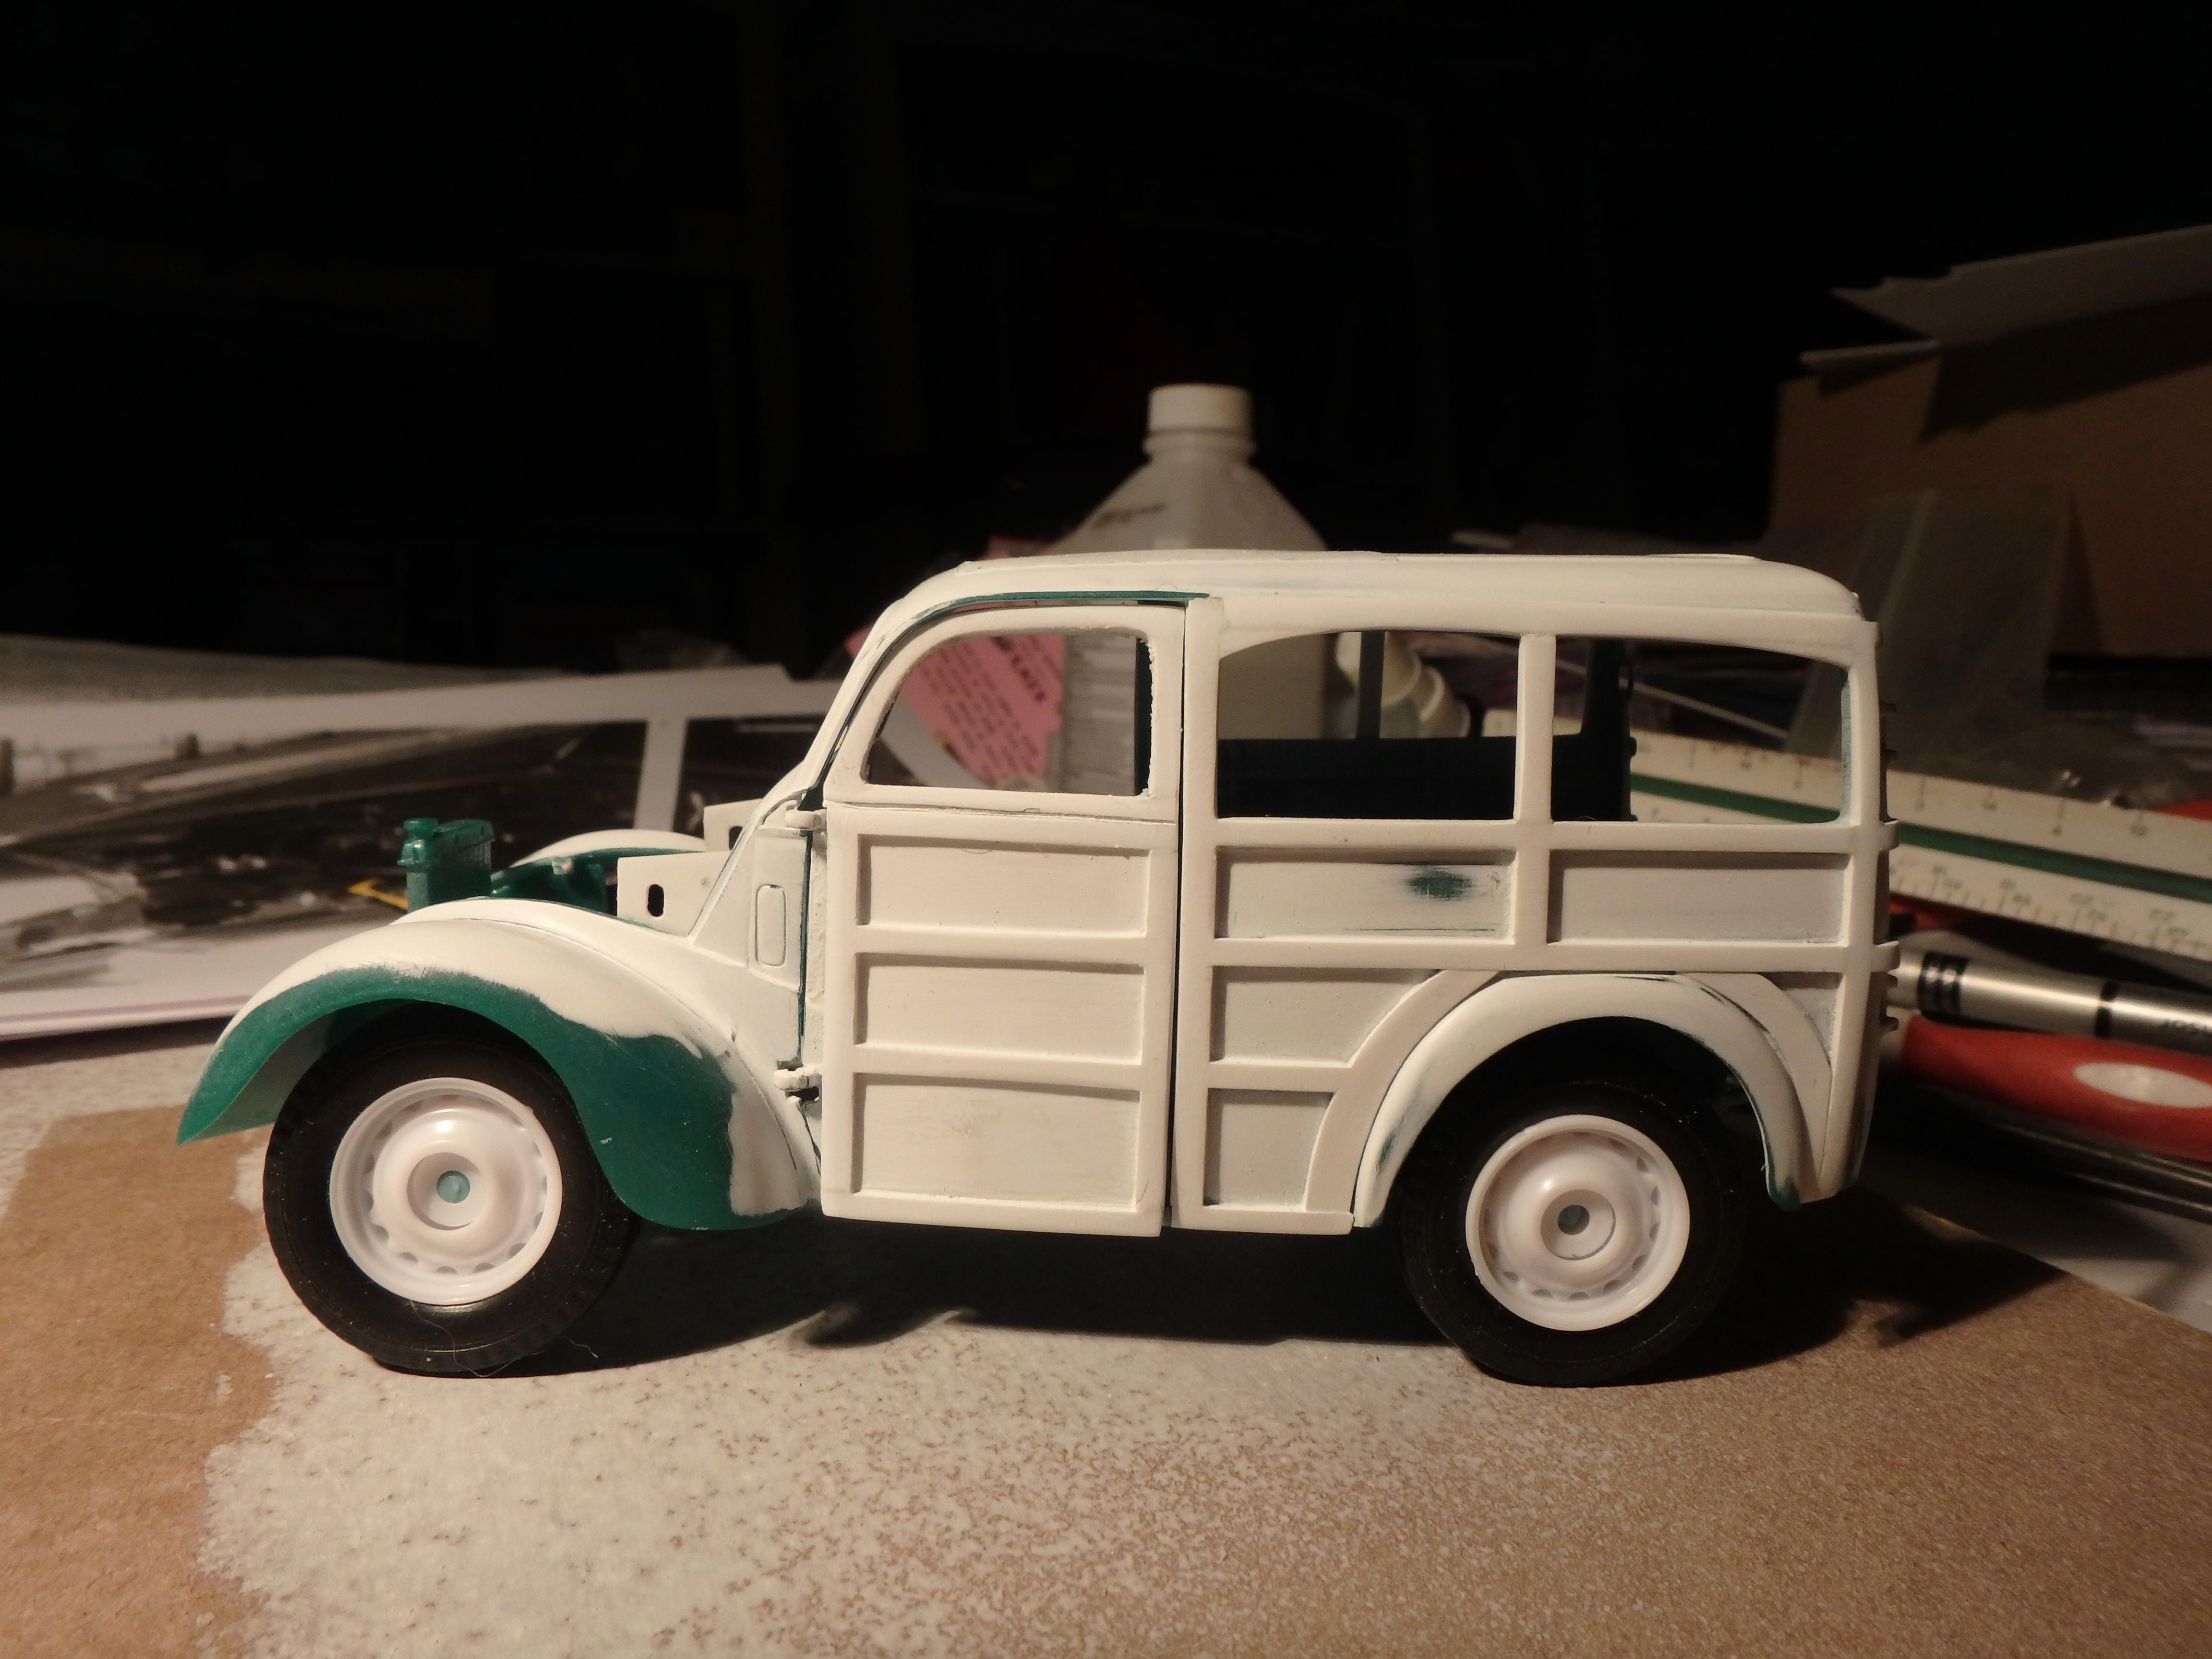
Alan, I'm doing a search for that wood veneer....I have something similar that I bought years ago called "Ken's Real - Wood" that is also adhesive backed 3" x 6".....#160 Walnut for $1.98, back when I bought it. I've also got the Ushi product. Uschi van der Rosten: Wood grain decals and fine art scale model accessories. - Uschi van der Rosten Carpet Decals (uschivdr.com) I pulled several articles on simulating wood grain with paint, (Scale Auto Enthusiast and Fine Scale Modeler).... the advantage of that method is it would relieve me from the hassle of cutting each insert accurately to fit each panel area precisely. I also need to do the rear wood deck on the interior but since the plastic has a nice raised wood grain I was thinking of painting it to see if it would look good, and make the final decision after that. From what I have seen in the pictures, this Thames woody had light blonde colored wood on both the frames and panels, so making a much darker interior panel may not be necessary.
-
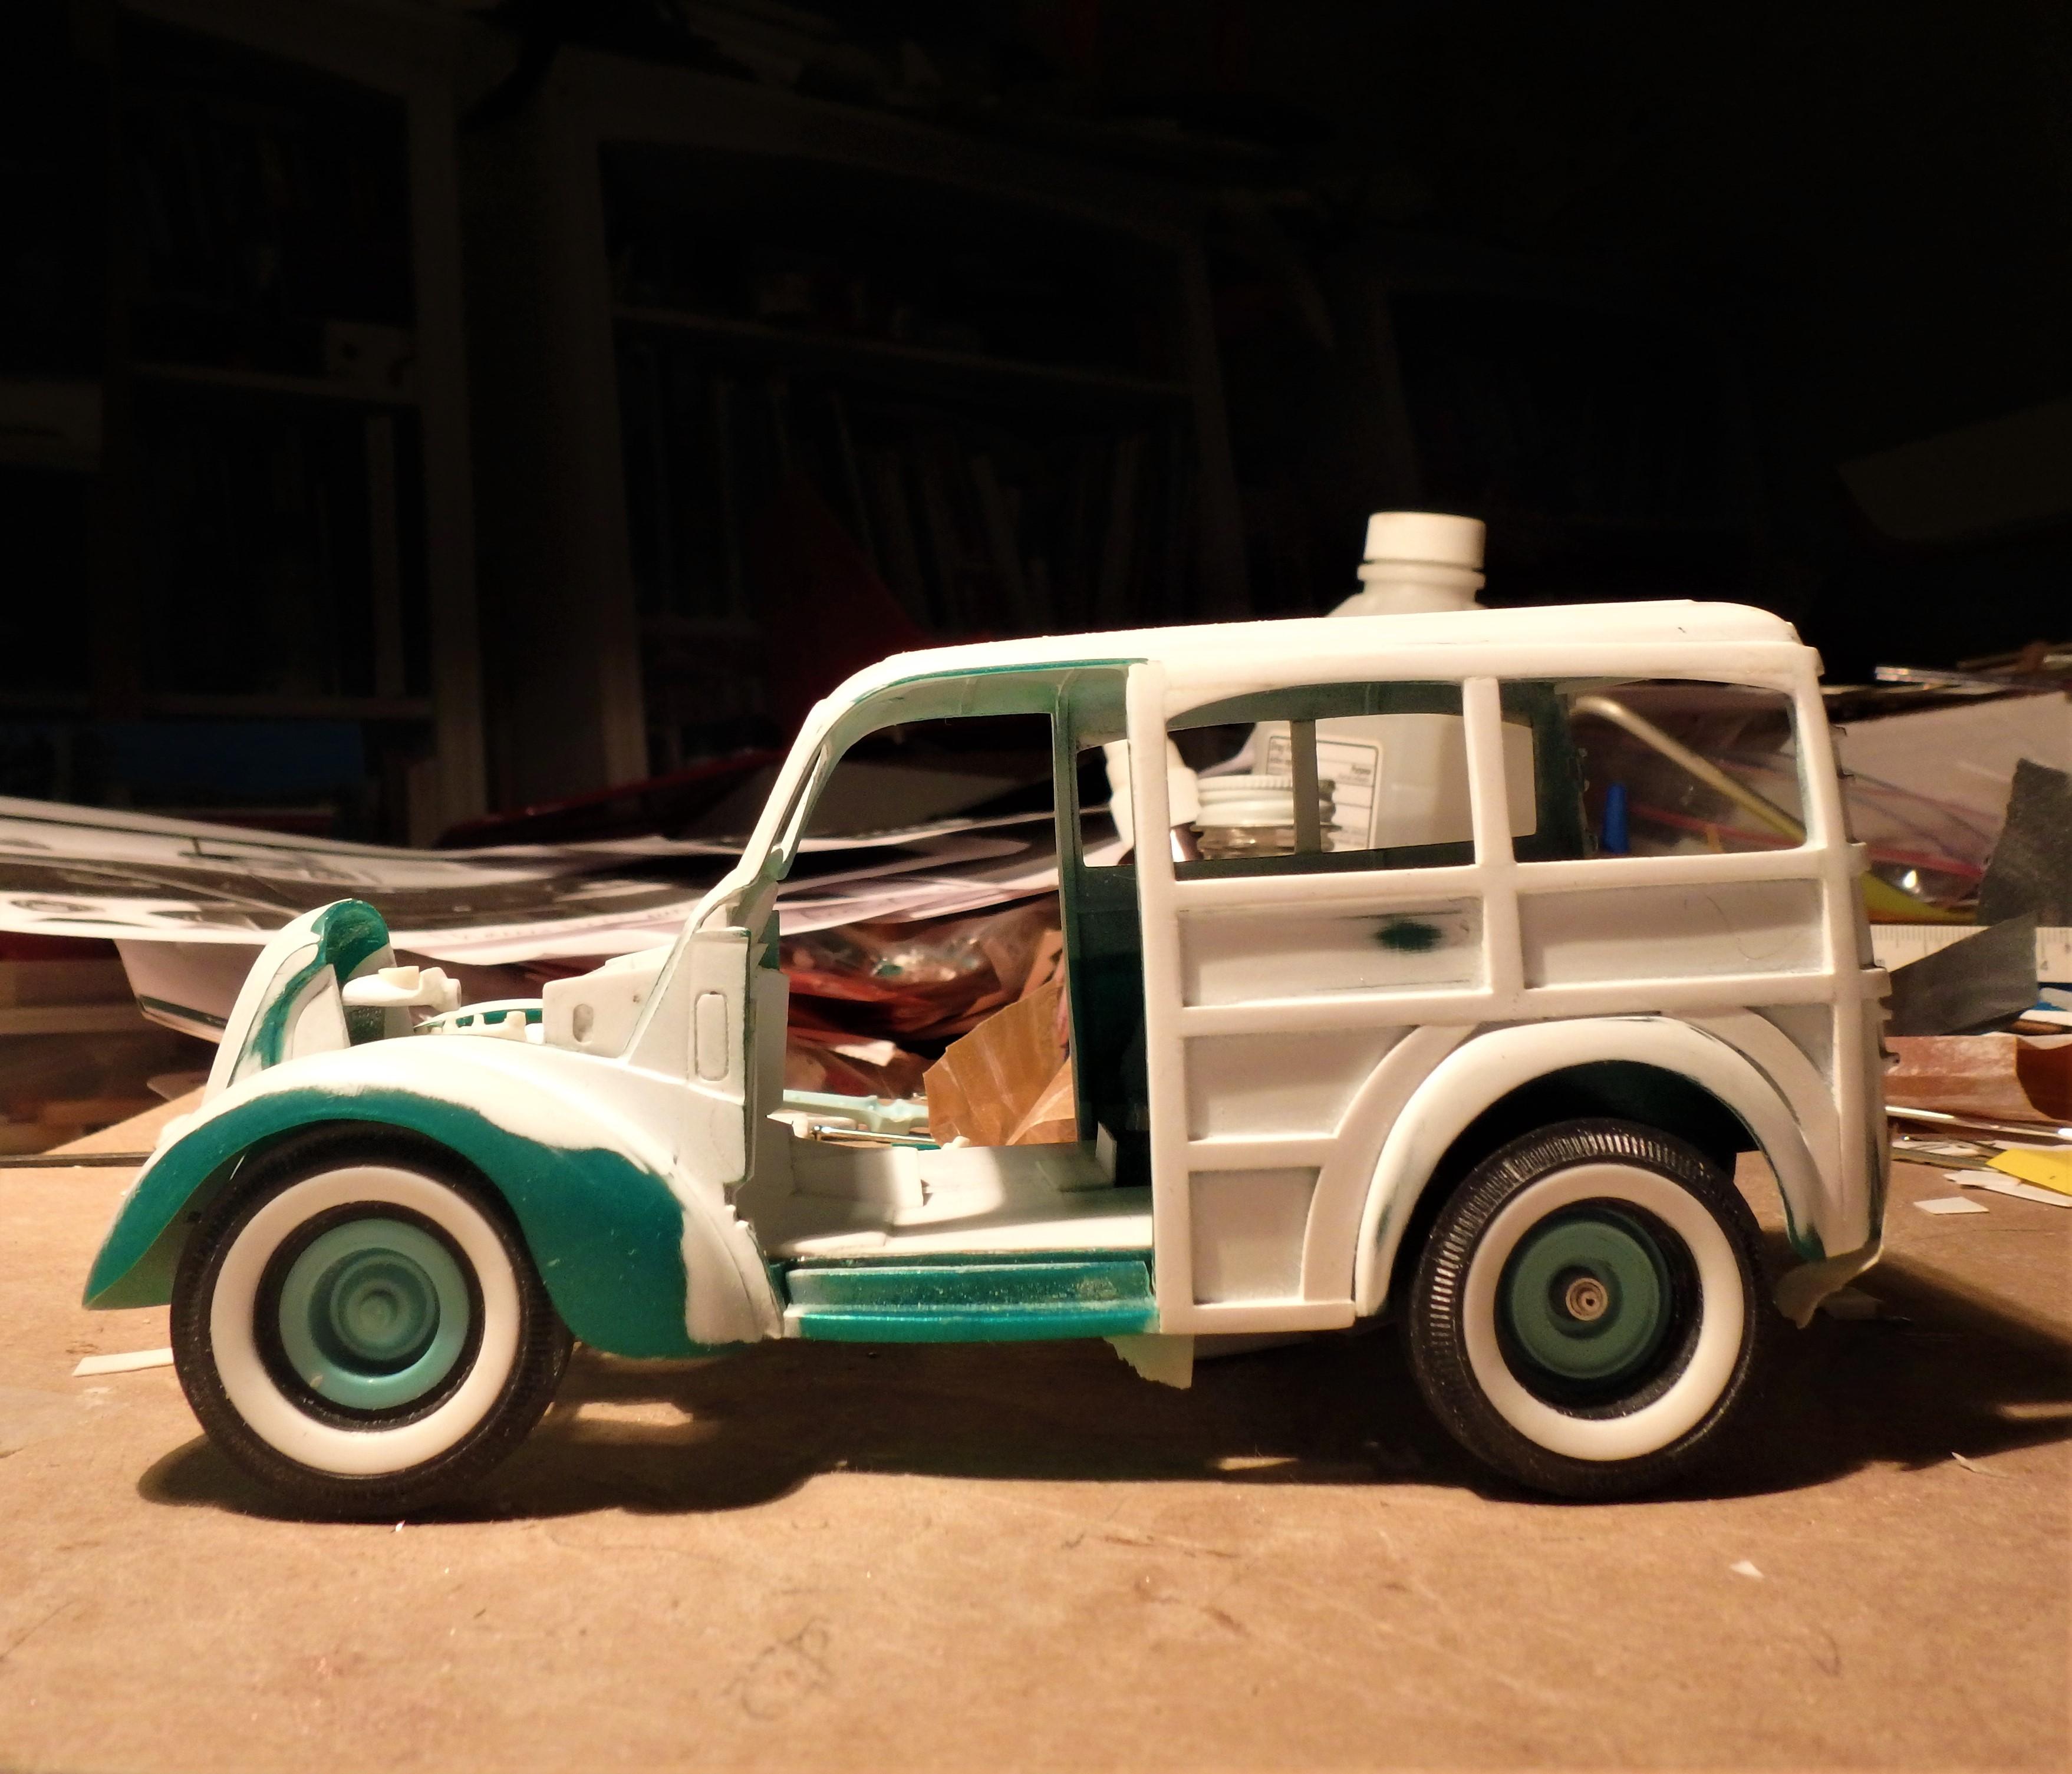
Primed the seat frames and cushions, made the rear axle radius rods....may need to wait to start airbrushing or spray can some paint. Approach to doing the wood grain is pending. The pencil mark on the left ide is apparently where a gas filler cap and gas tank filler pipe need to be drilled.
-
Alan, very cool ! I love the look of the Anglia and Thames, in any form. That Tazmanian devil on the Cosworth is really great.
-
Worked on aluminum tubing inside seats for mounting seat cushions on brass frames.
-
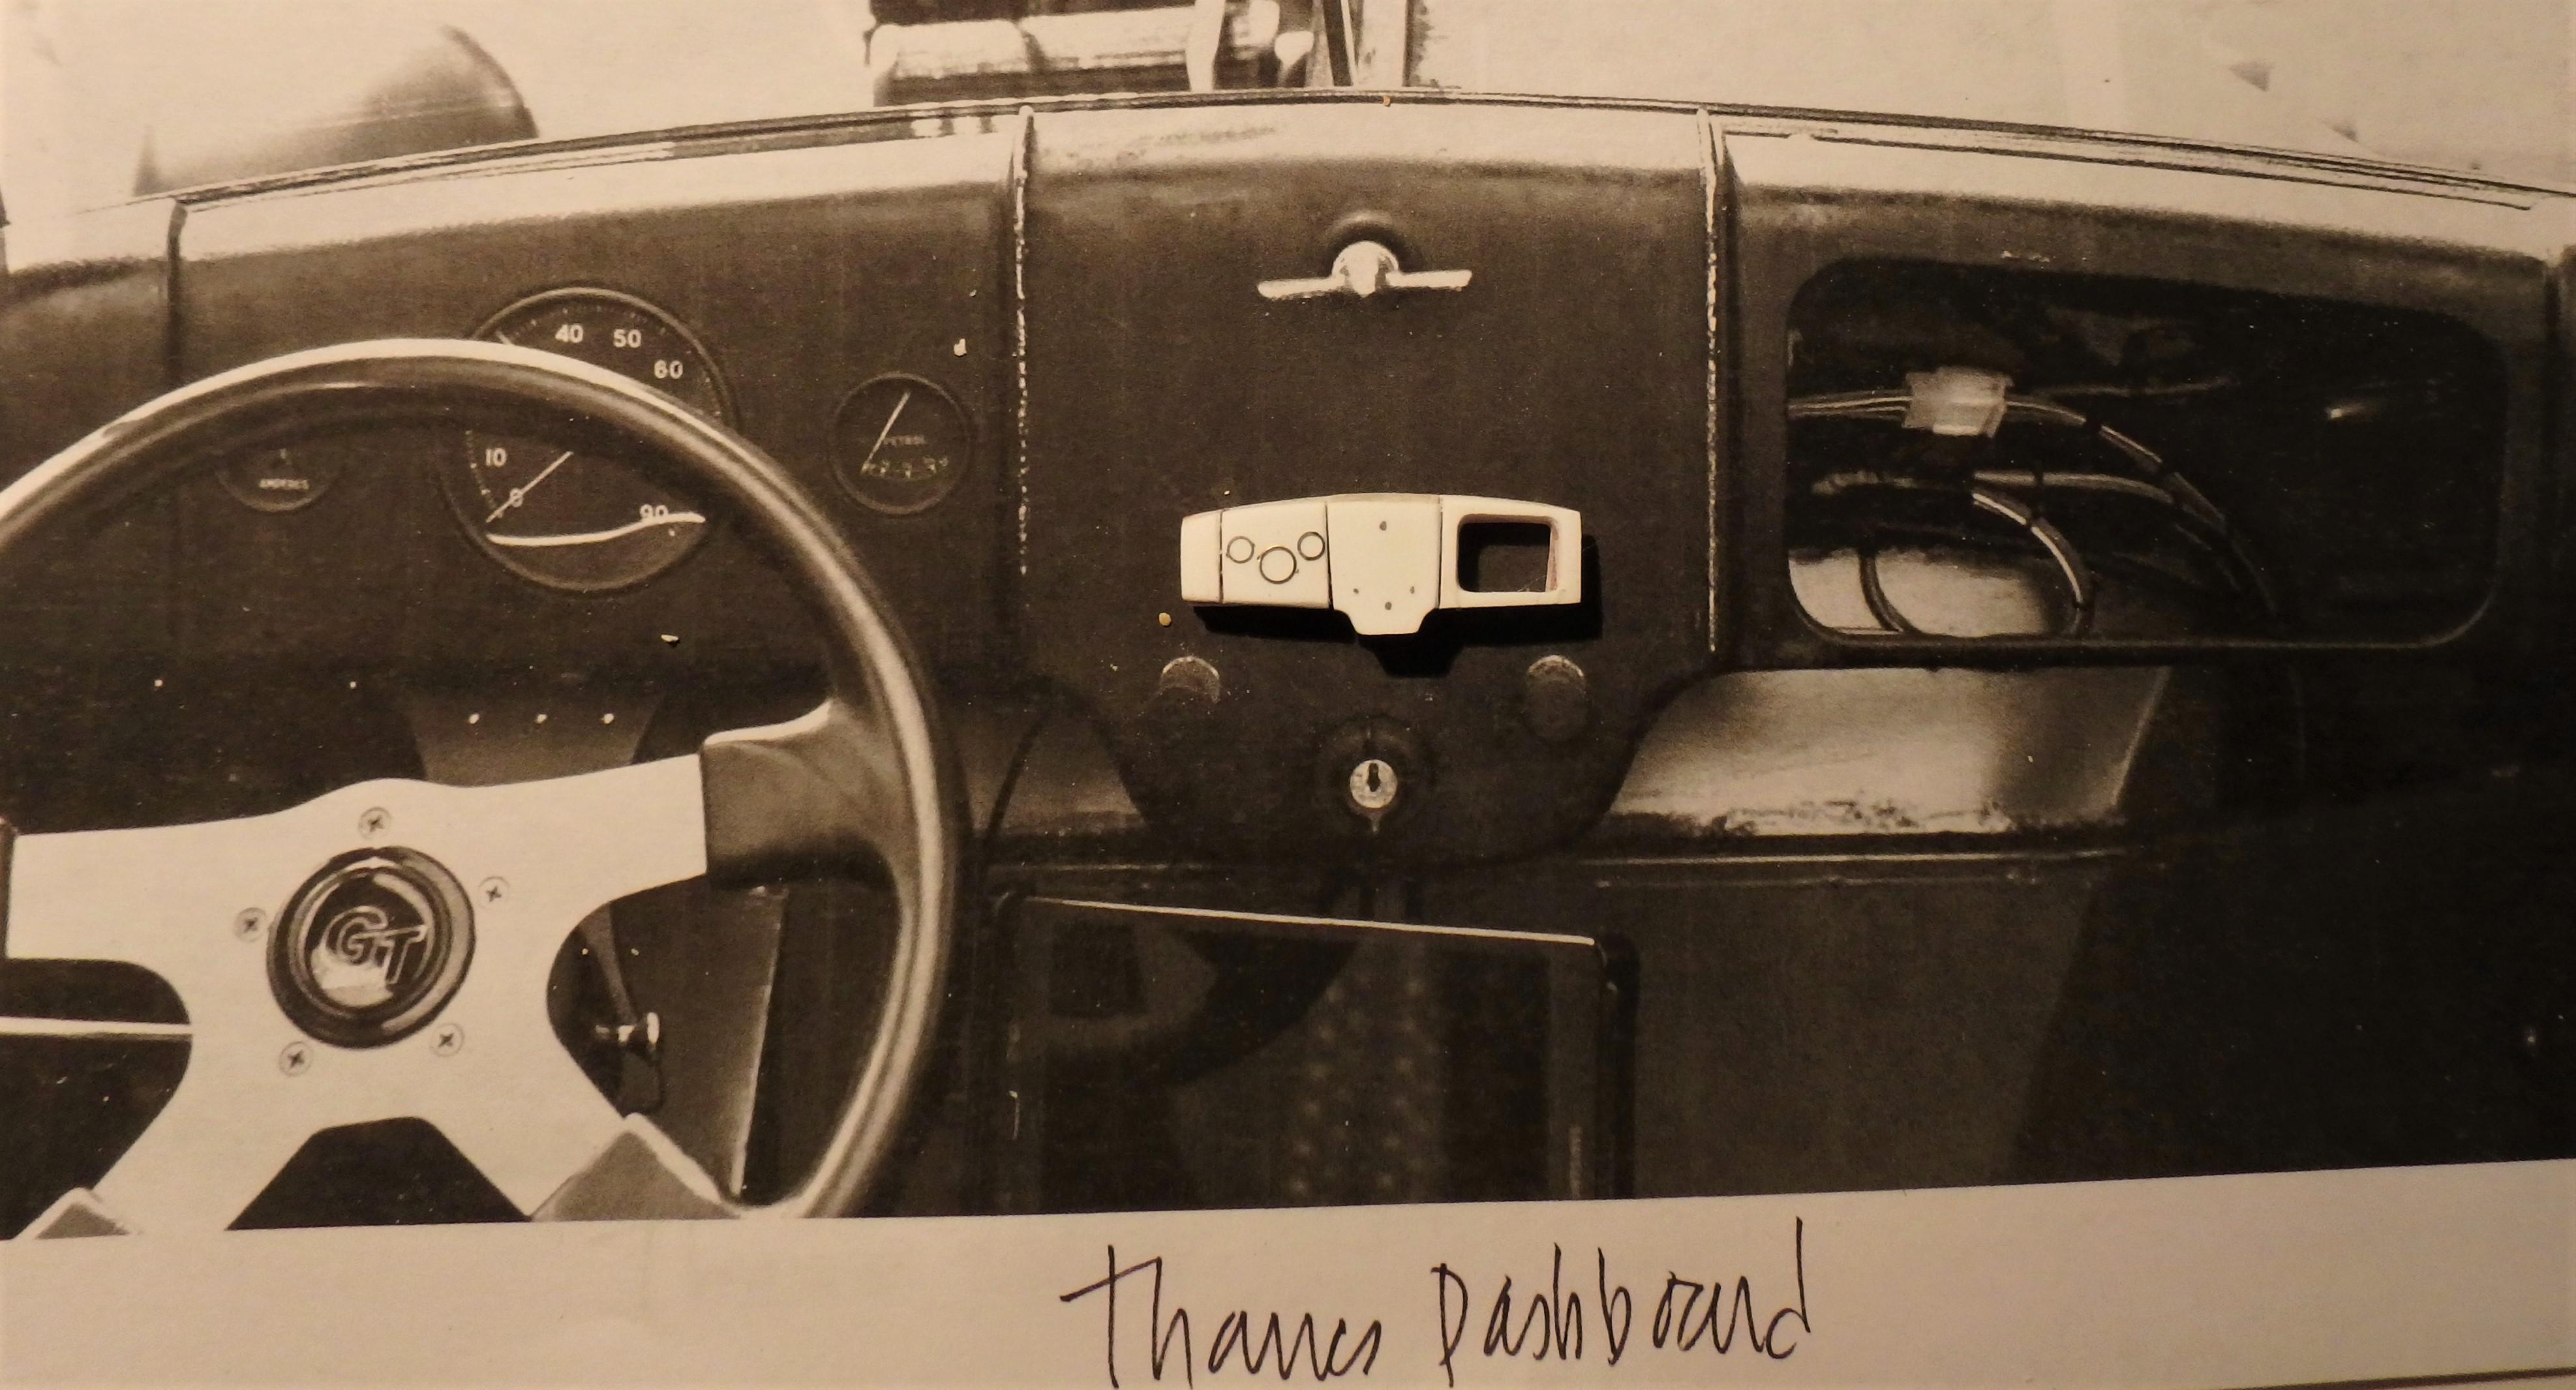
Alan...thanks for looking. Great story on that Thames dash board. Any pictures?
-
Nice.....love the subject, 34 coupes. I'm certainly no expert, but I believe the coupes that ran on the lakes sometimes had some radical engine placement. This is from Dean Batchelor's excellent book, "The American Hot Rod". Engine was setback into body - was a B-class flathead with Ardun overhead valves and a front mounted GMC roots blower, took it up to C class. Dig the chop on that roof.
-
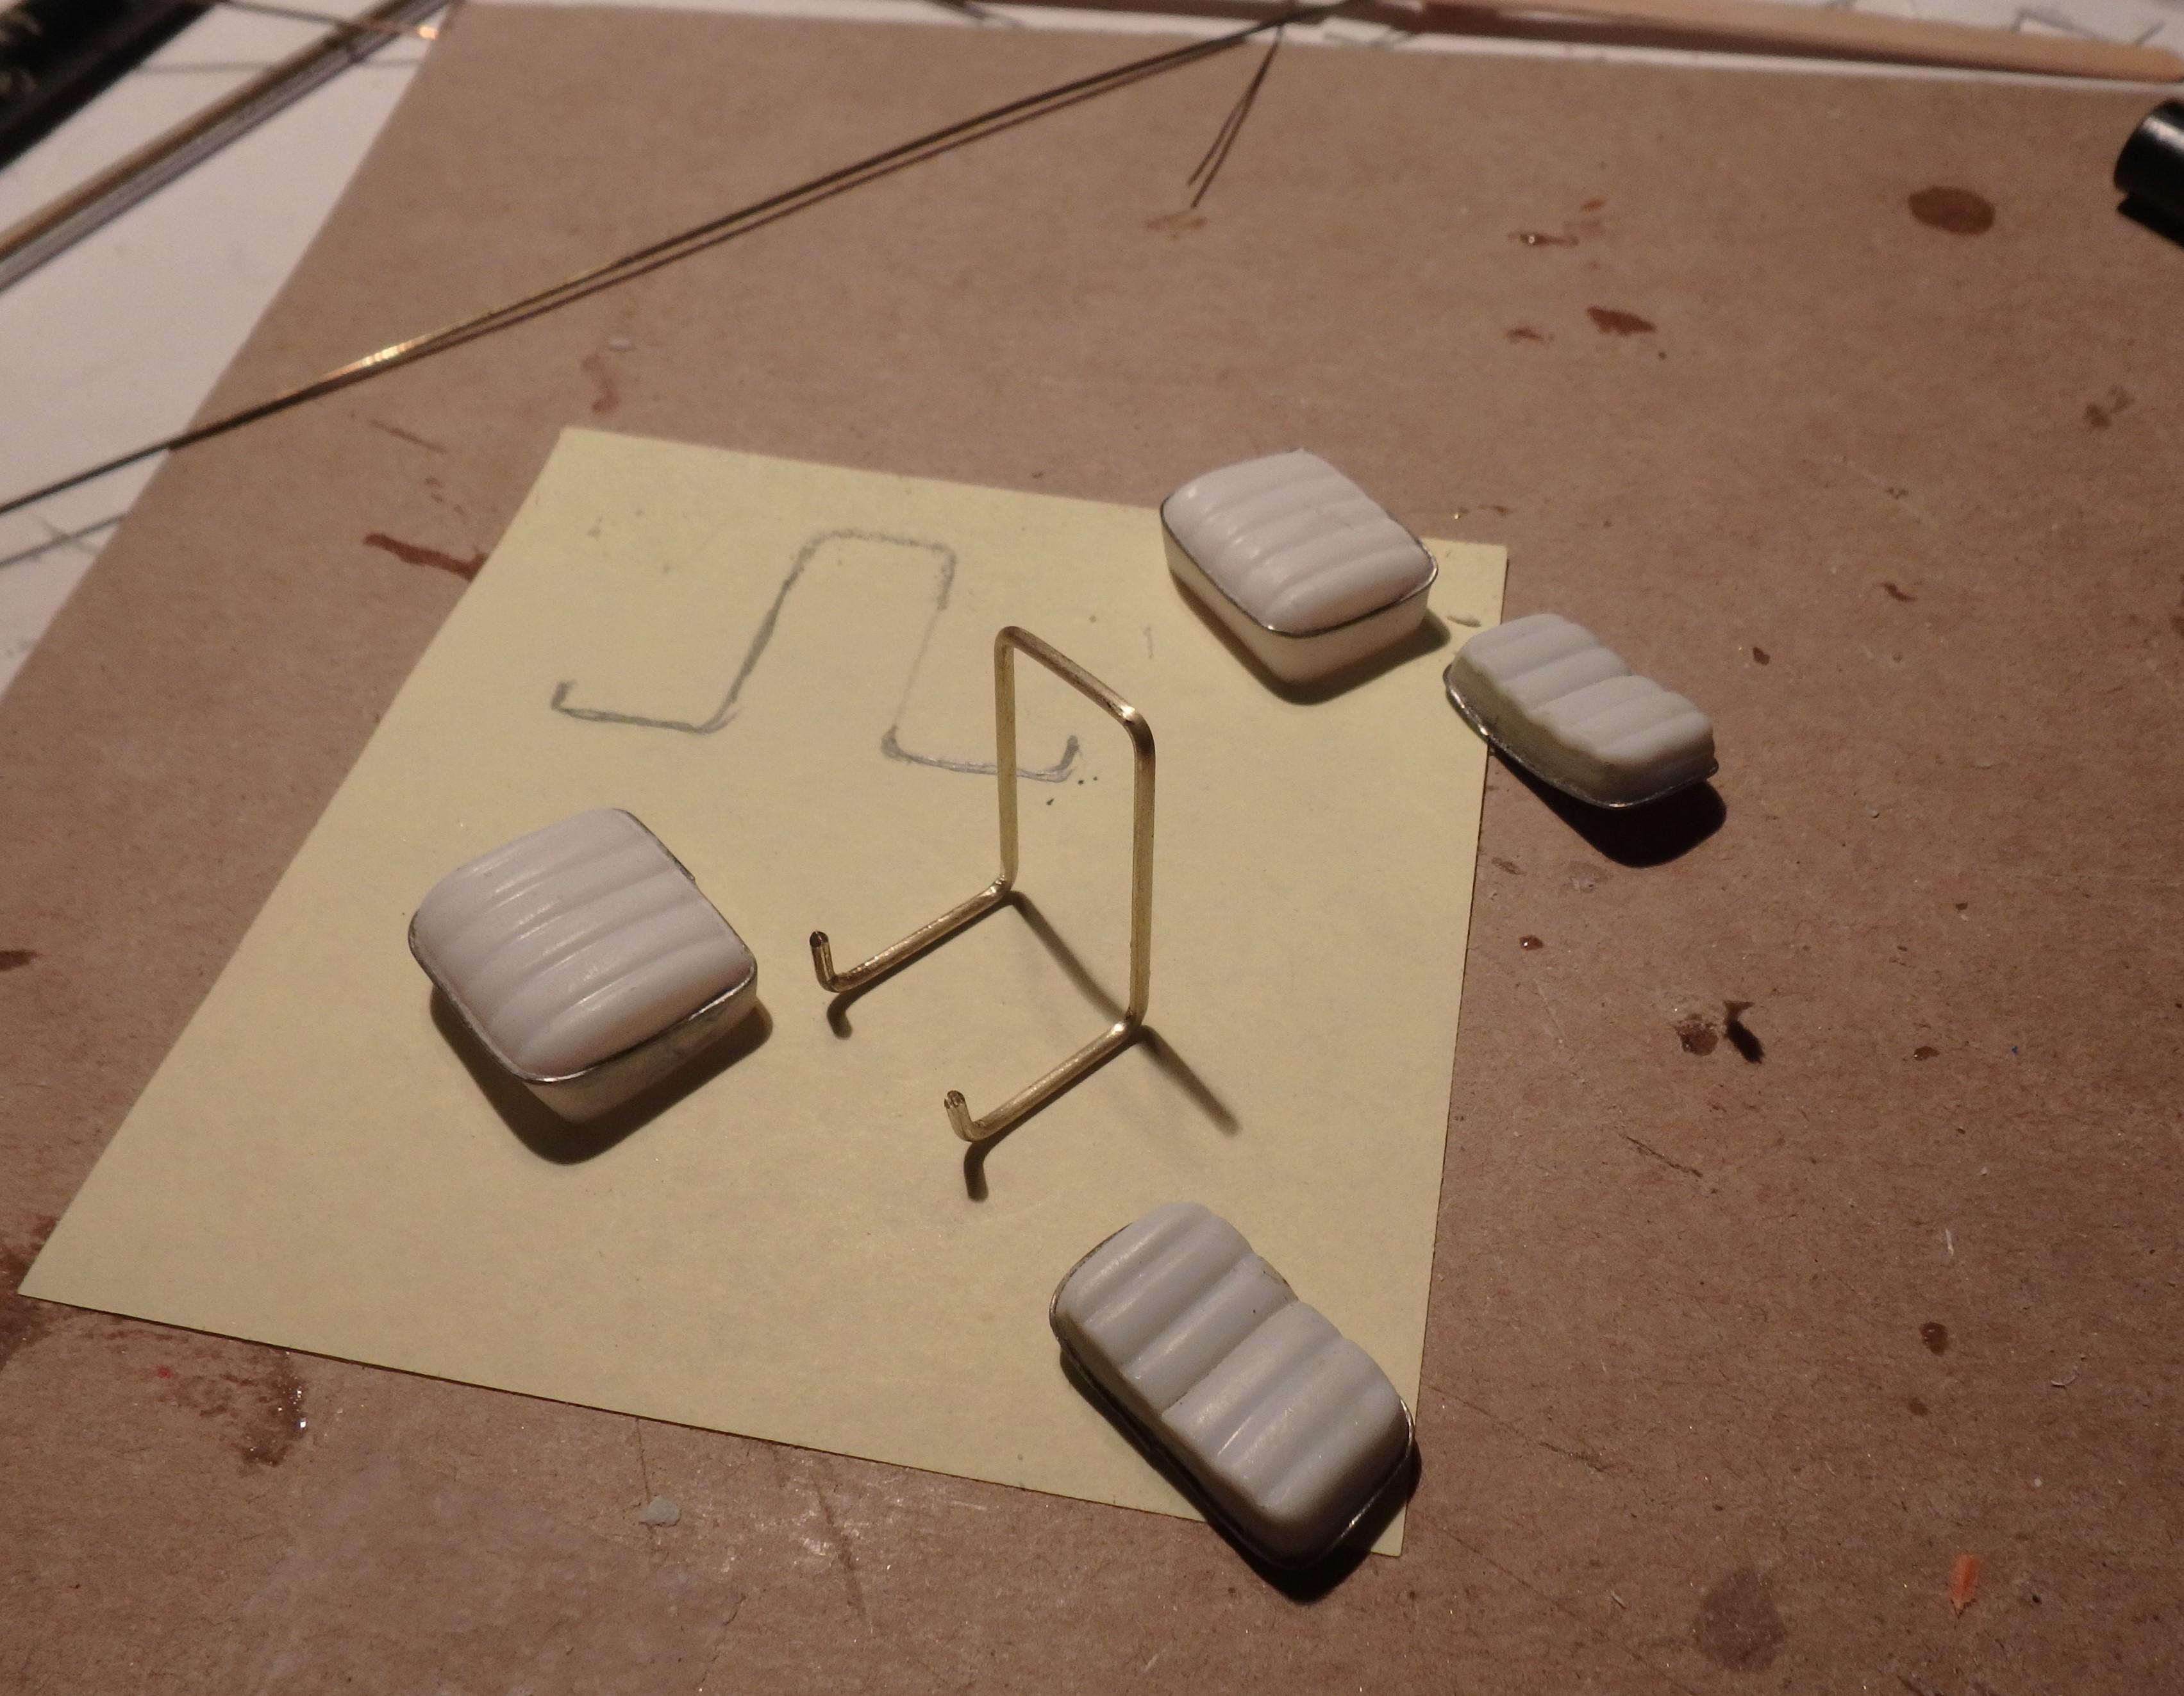
Made stock seat frames from brass wire.
-
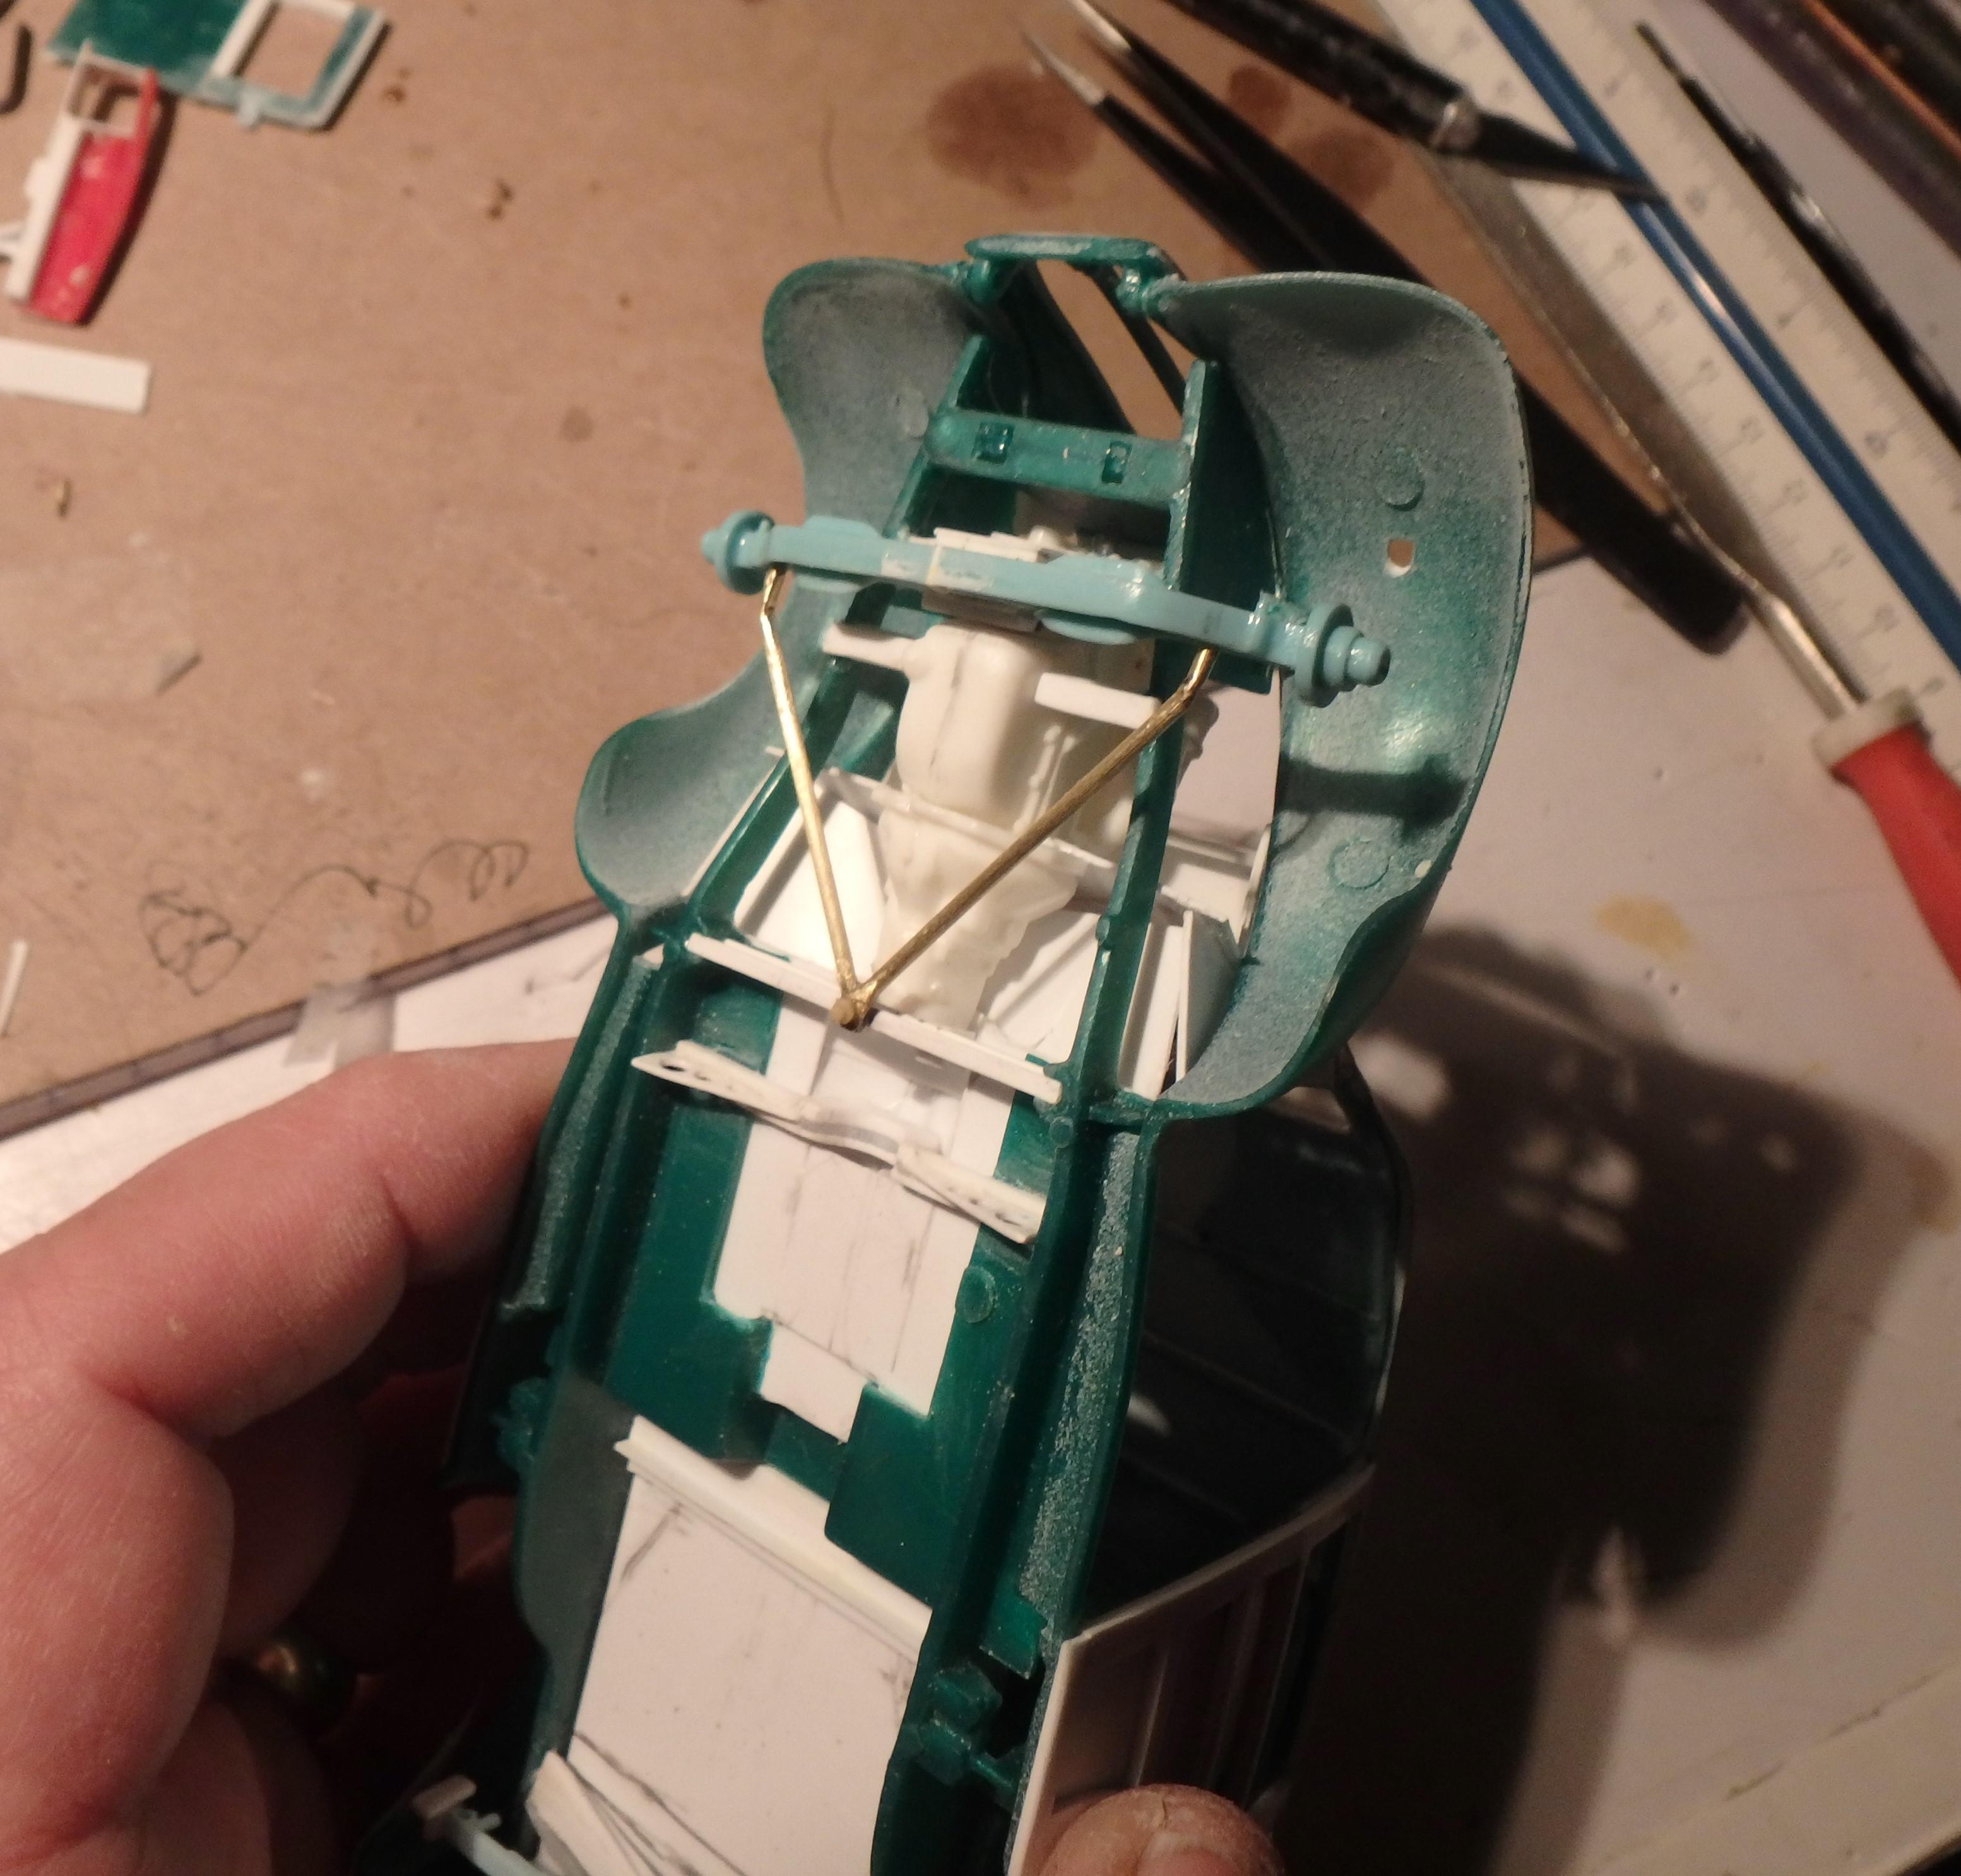
Today, made wishbone tie rods from brass. Also made some wheel hubs from several sections of aluminum tubing to install in the rear wheels to fit them to the new rear axle.
-
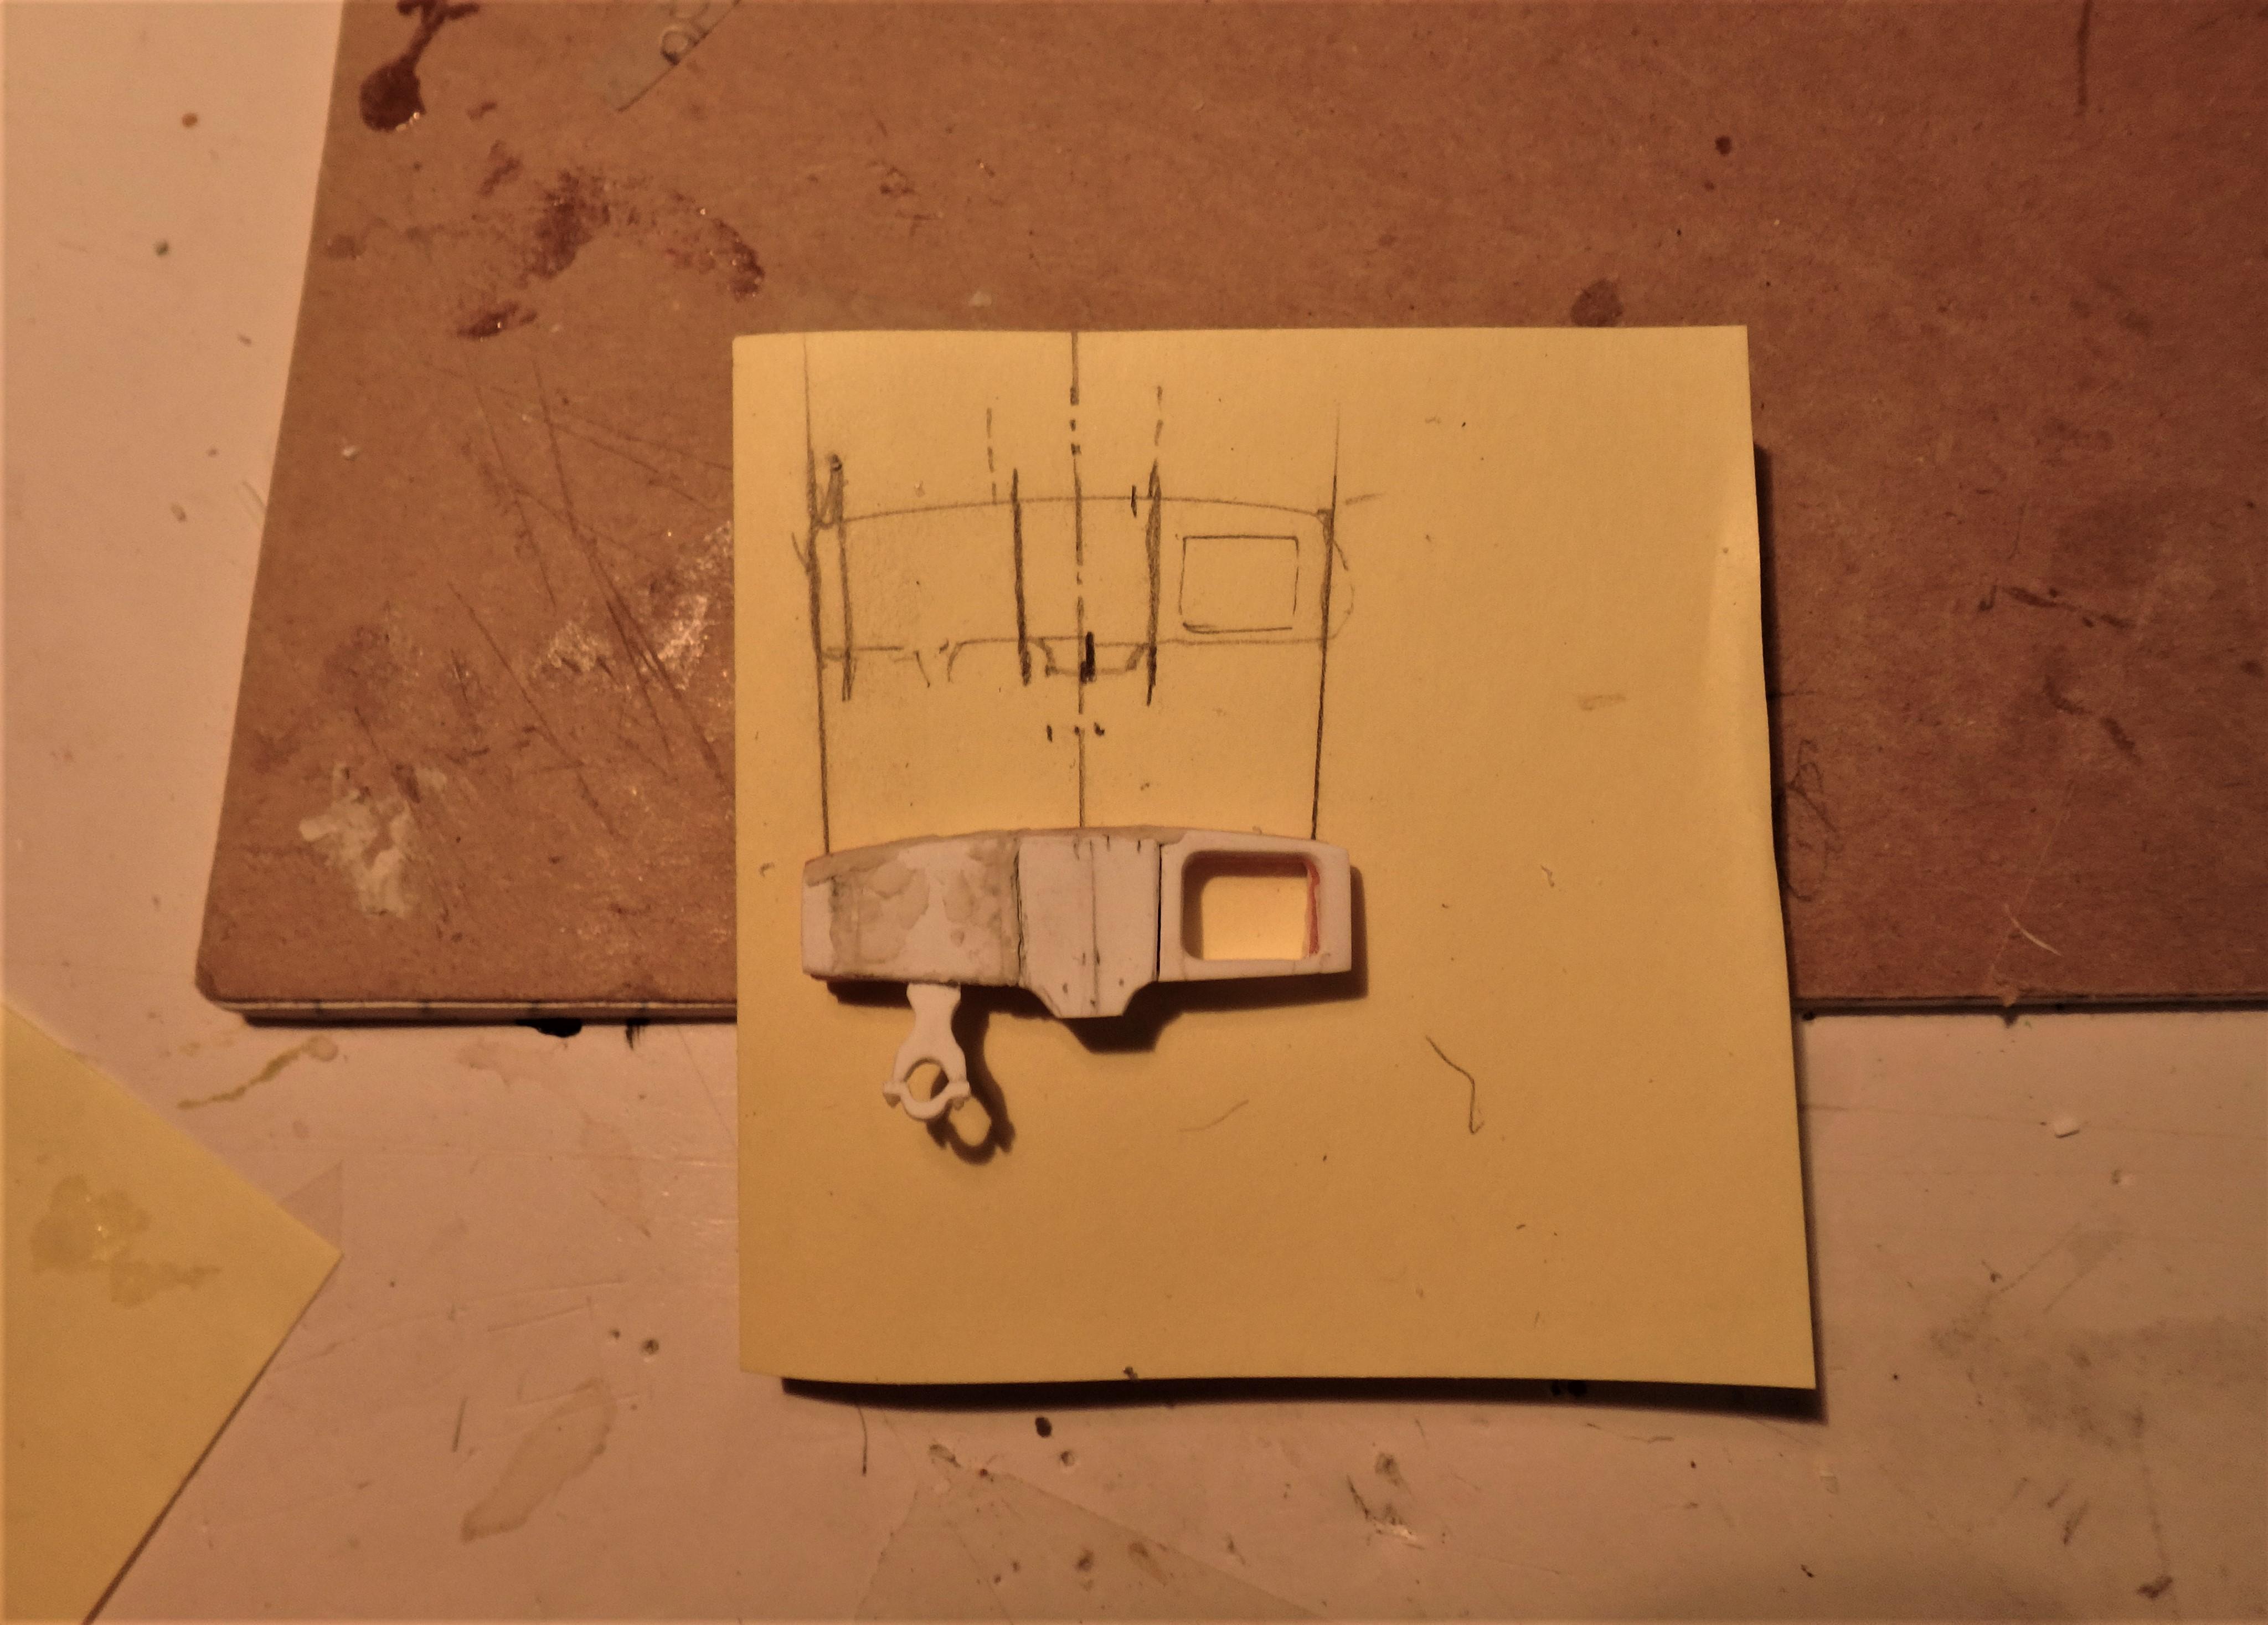
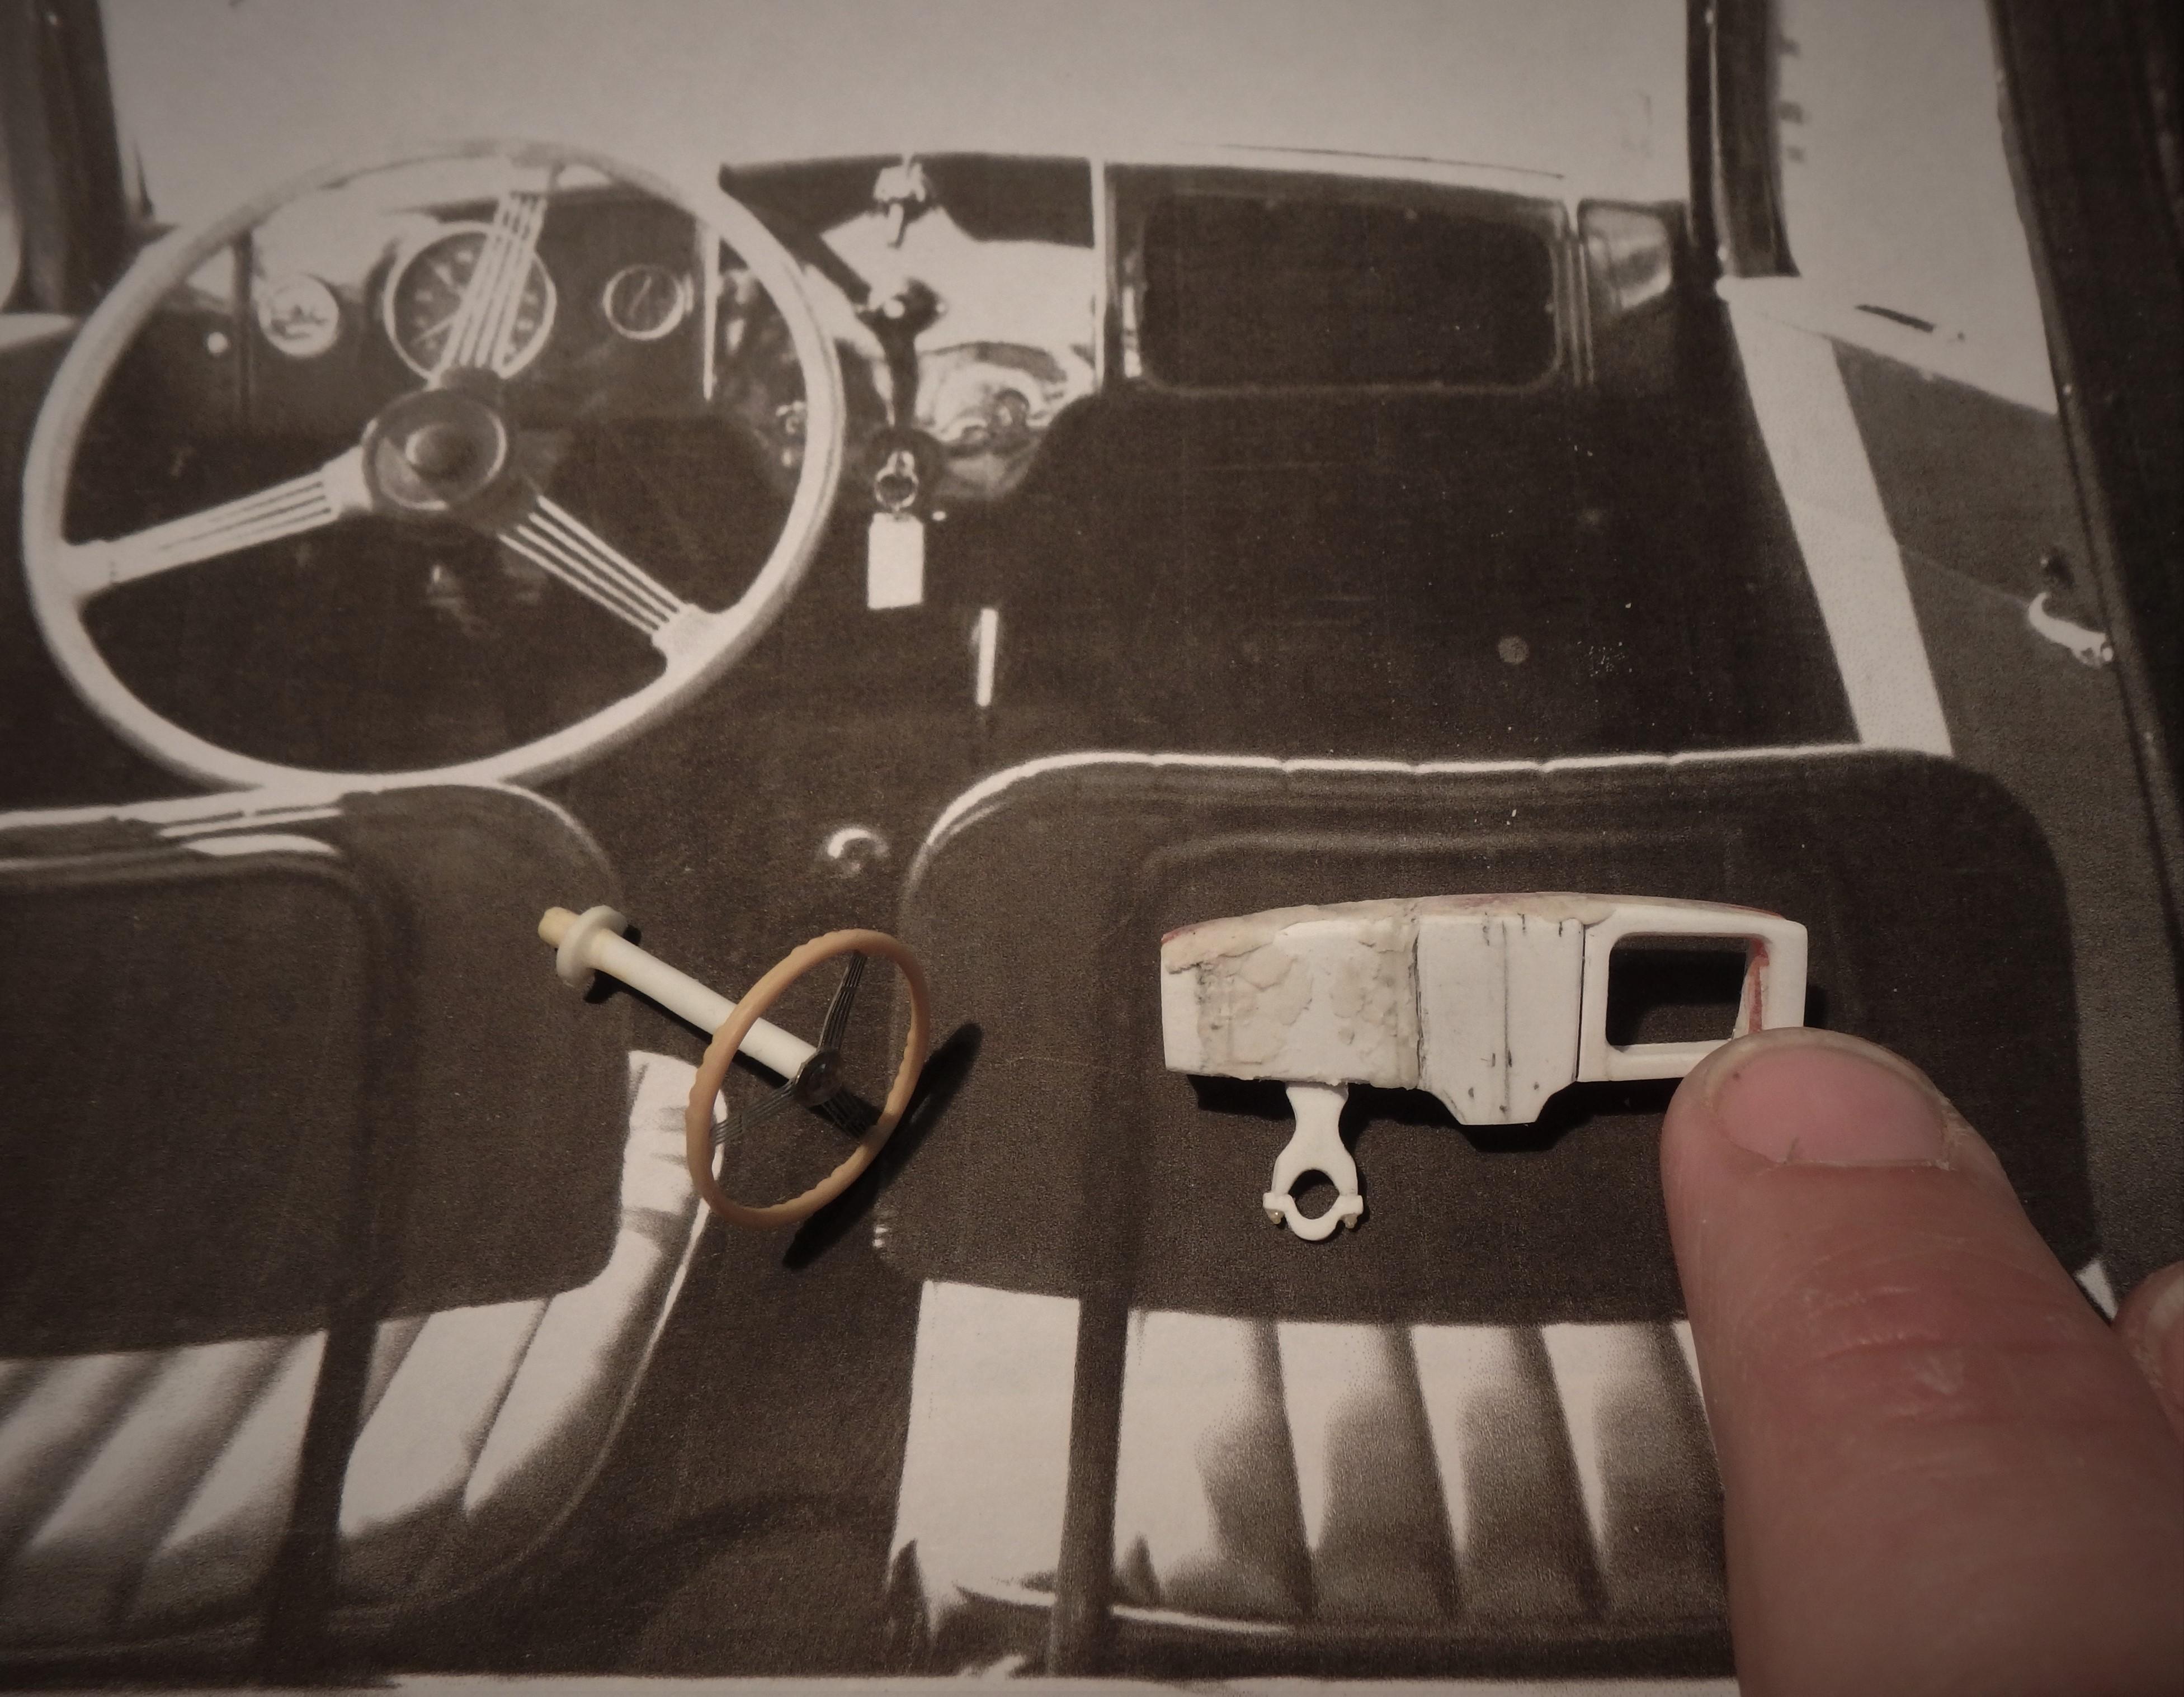
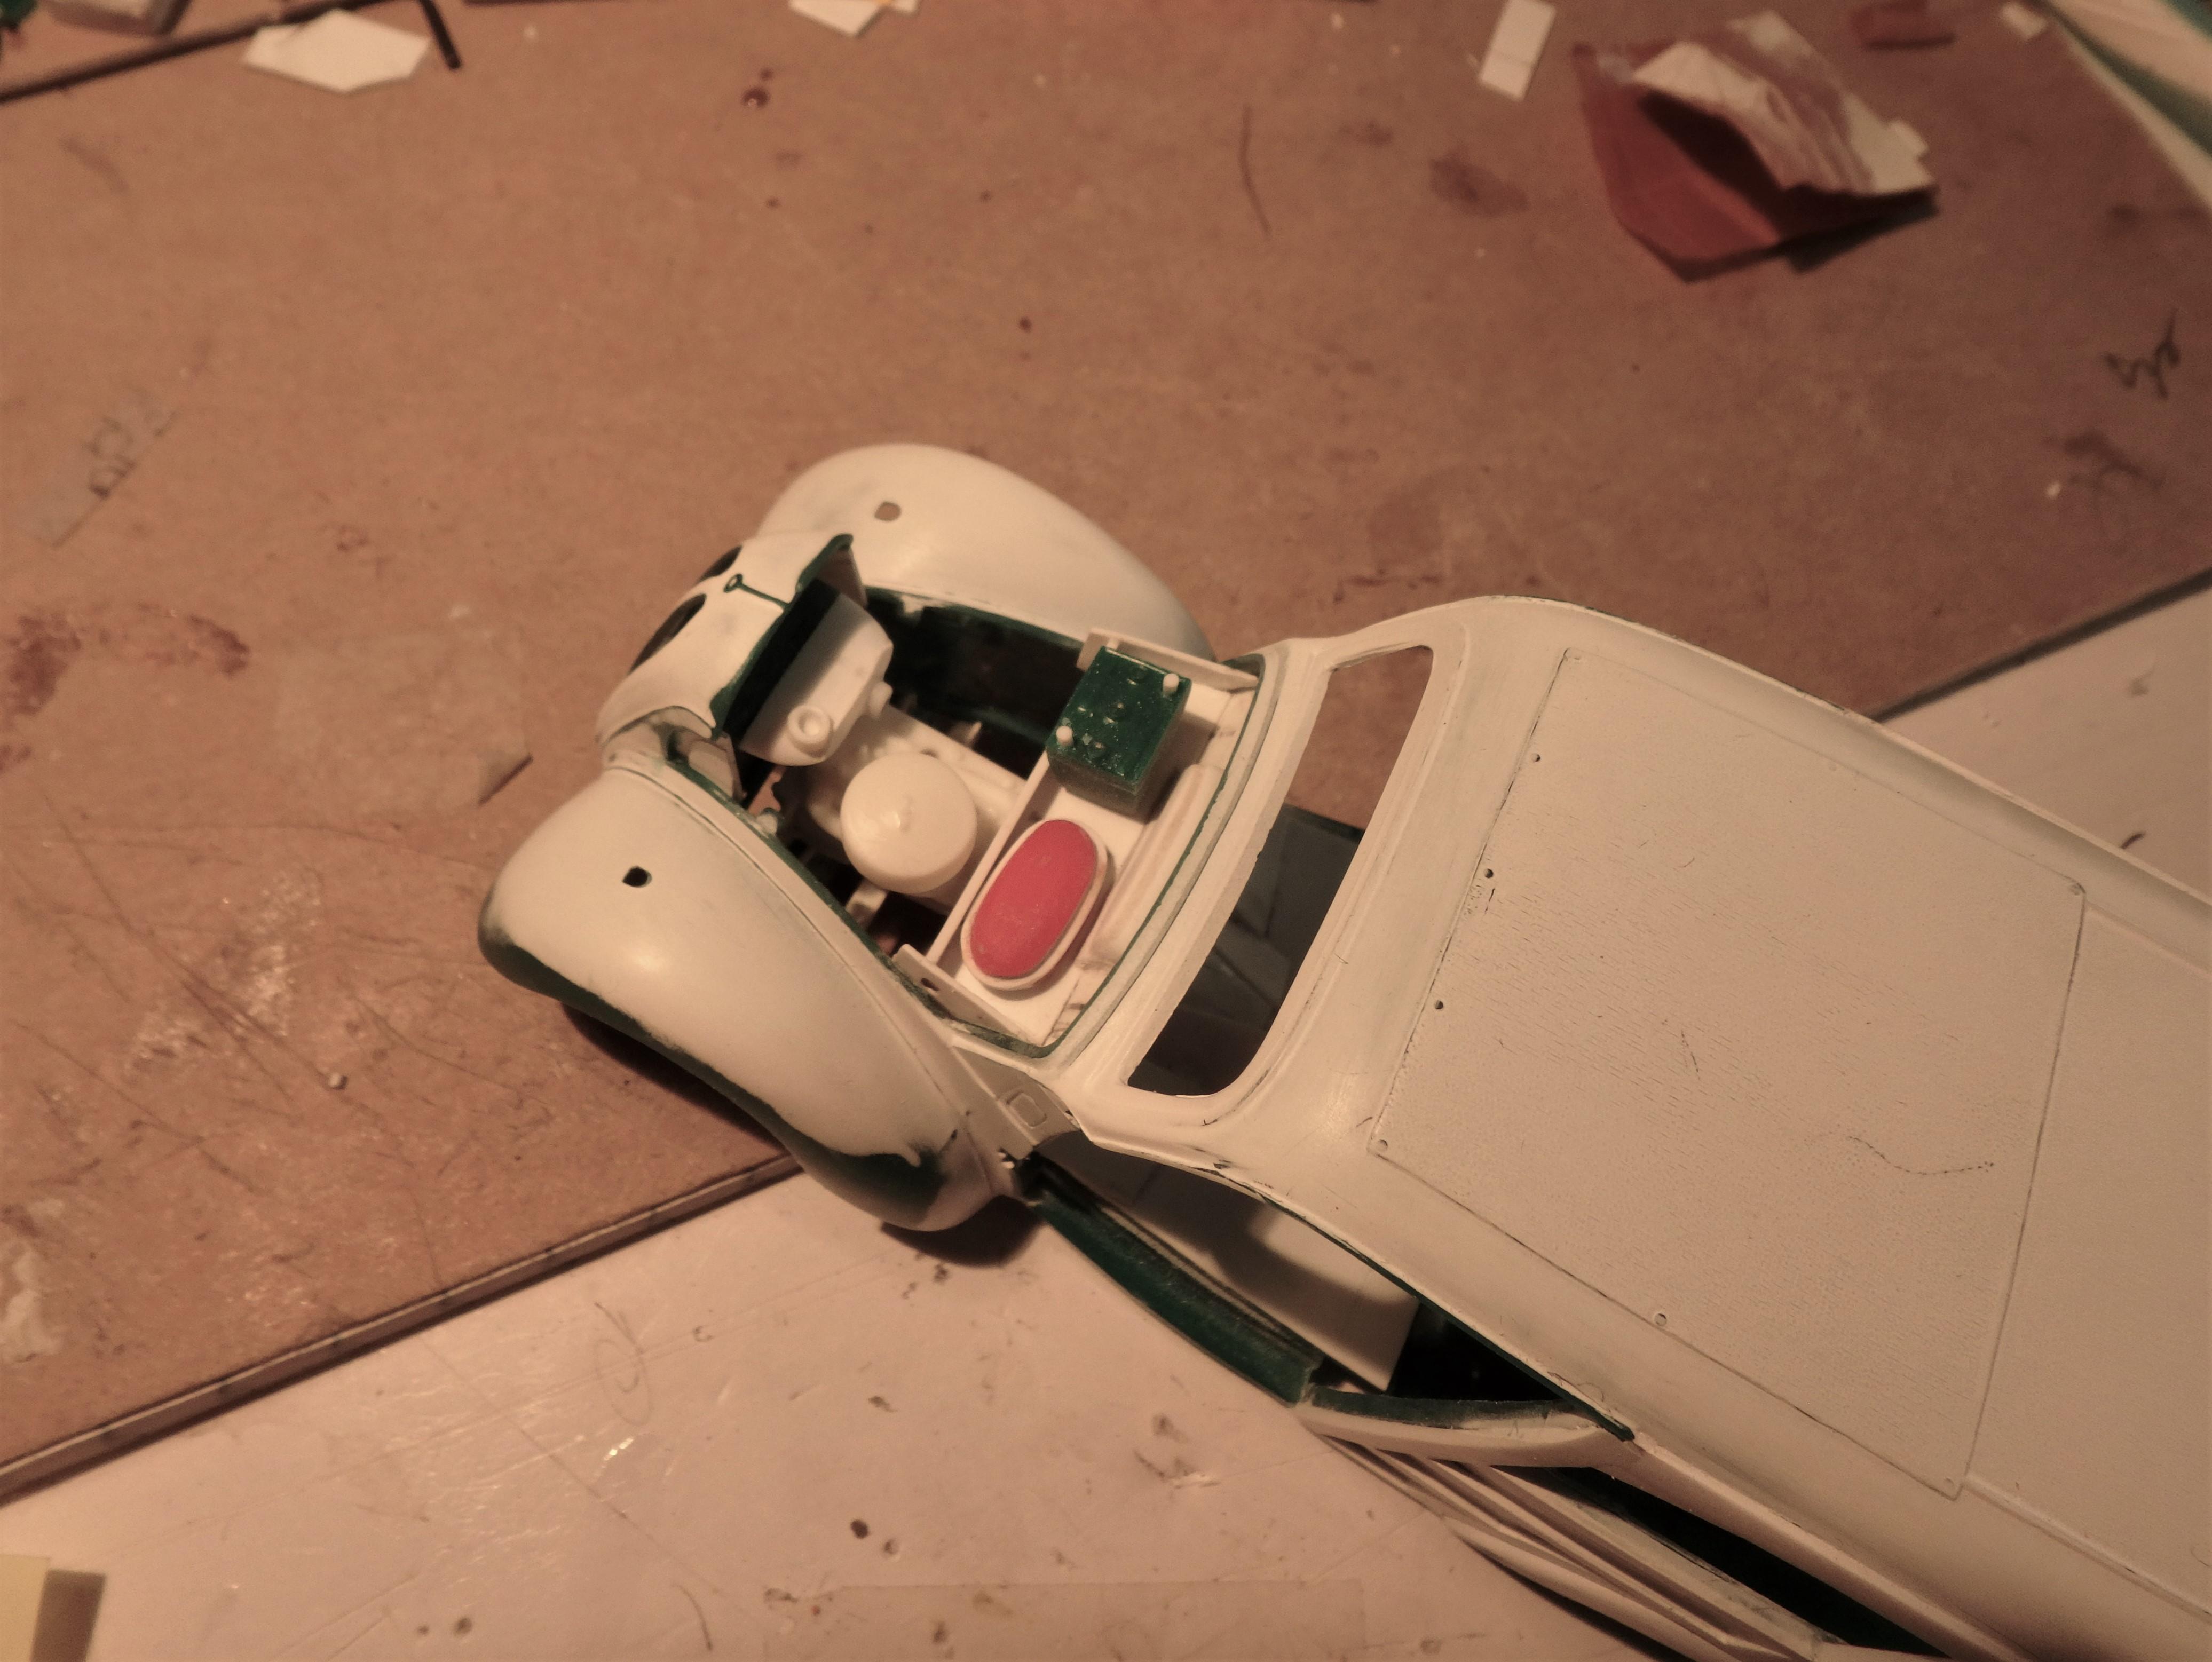
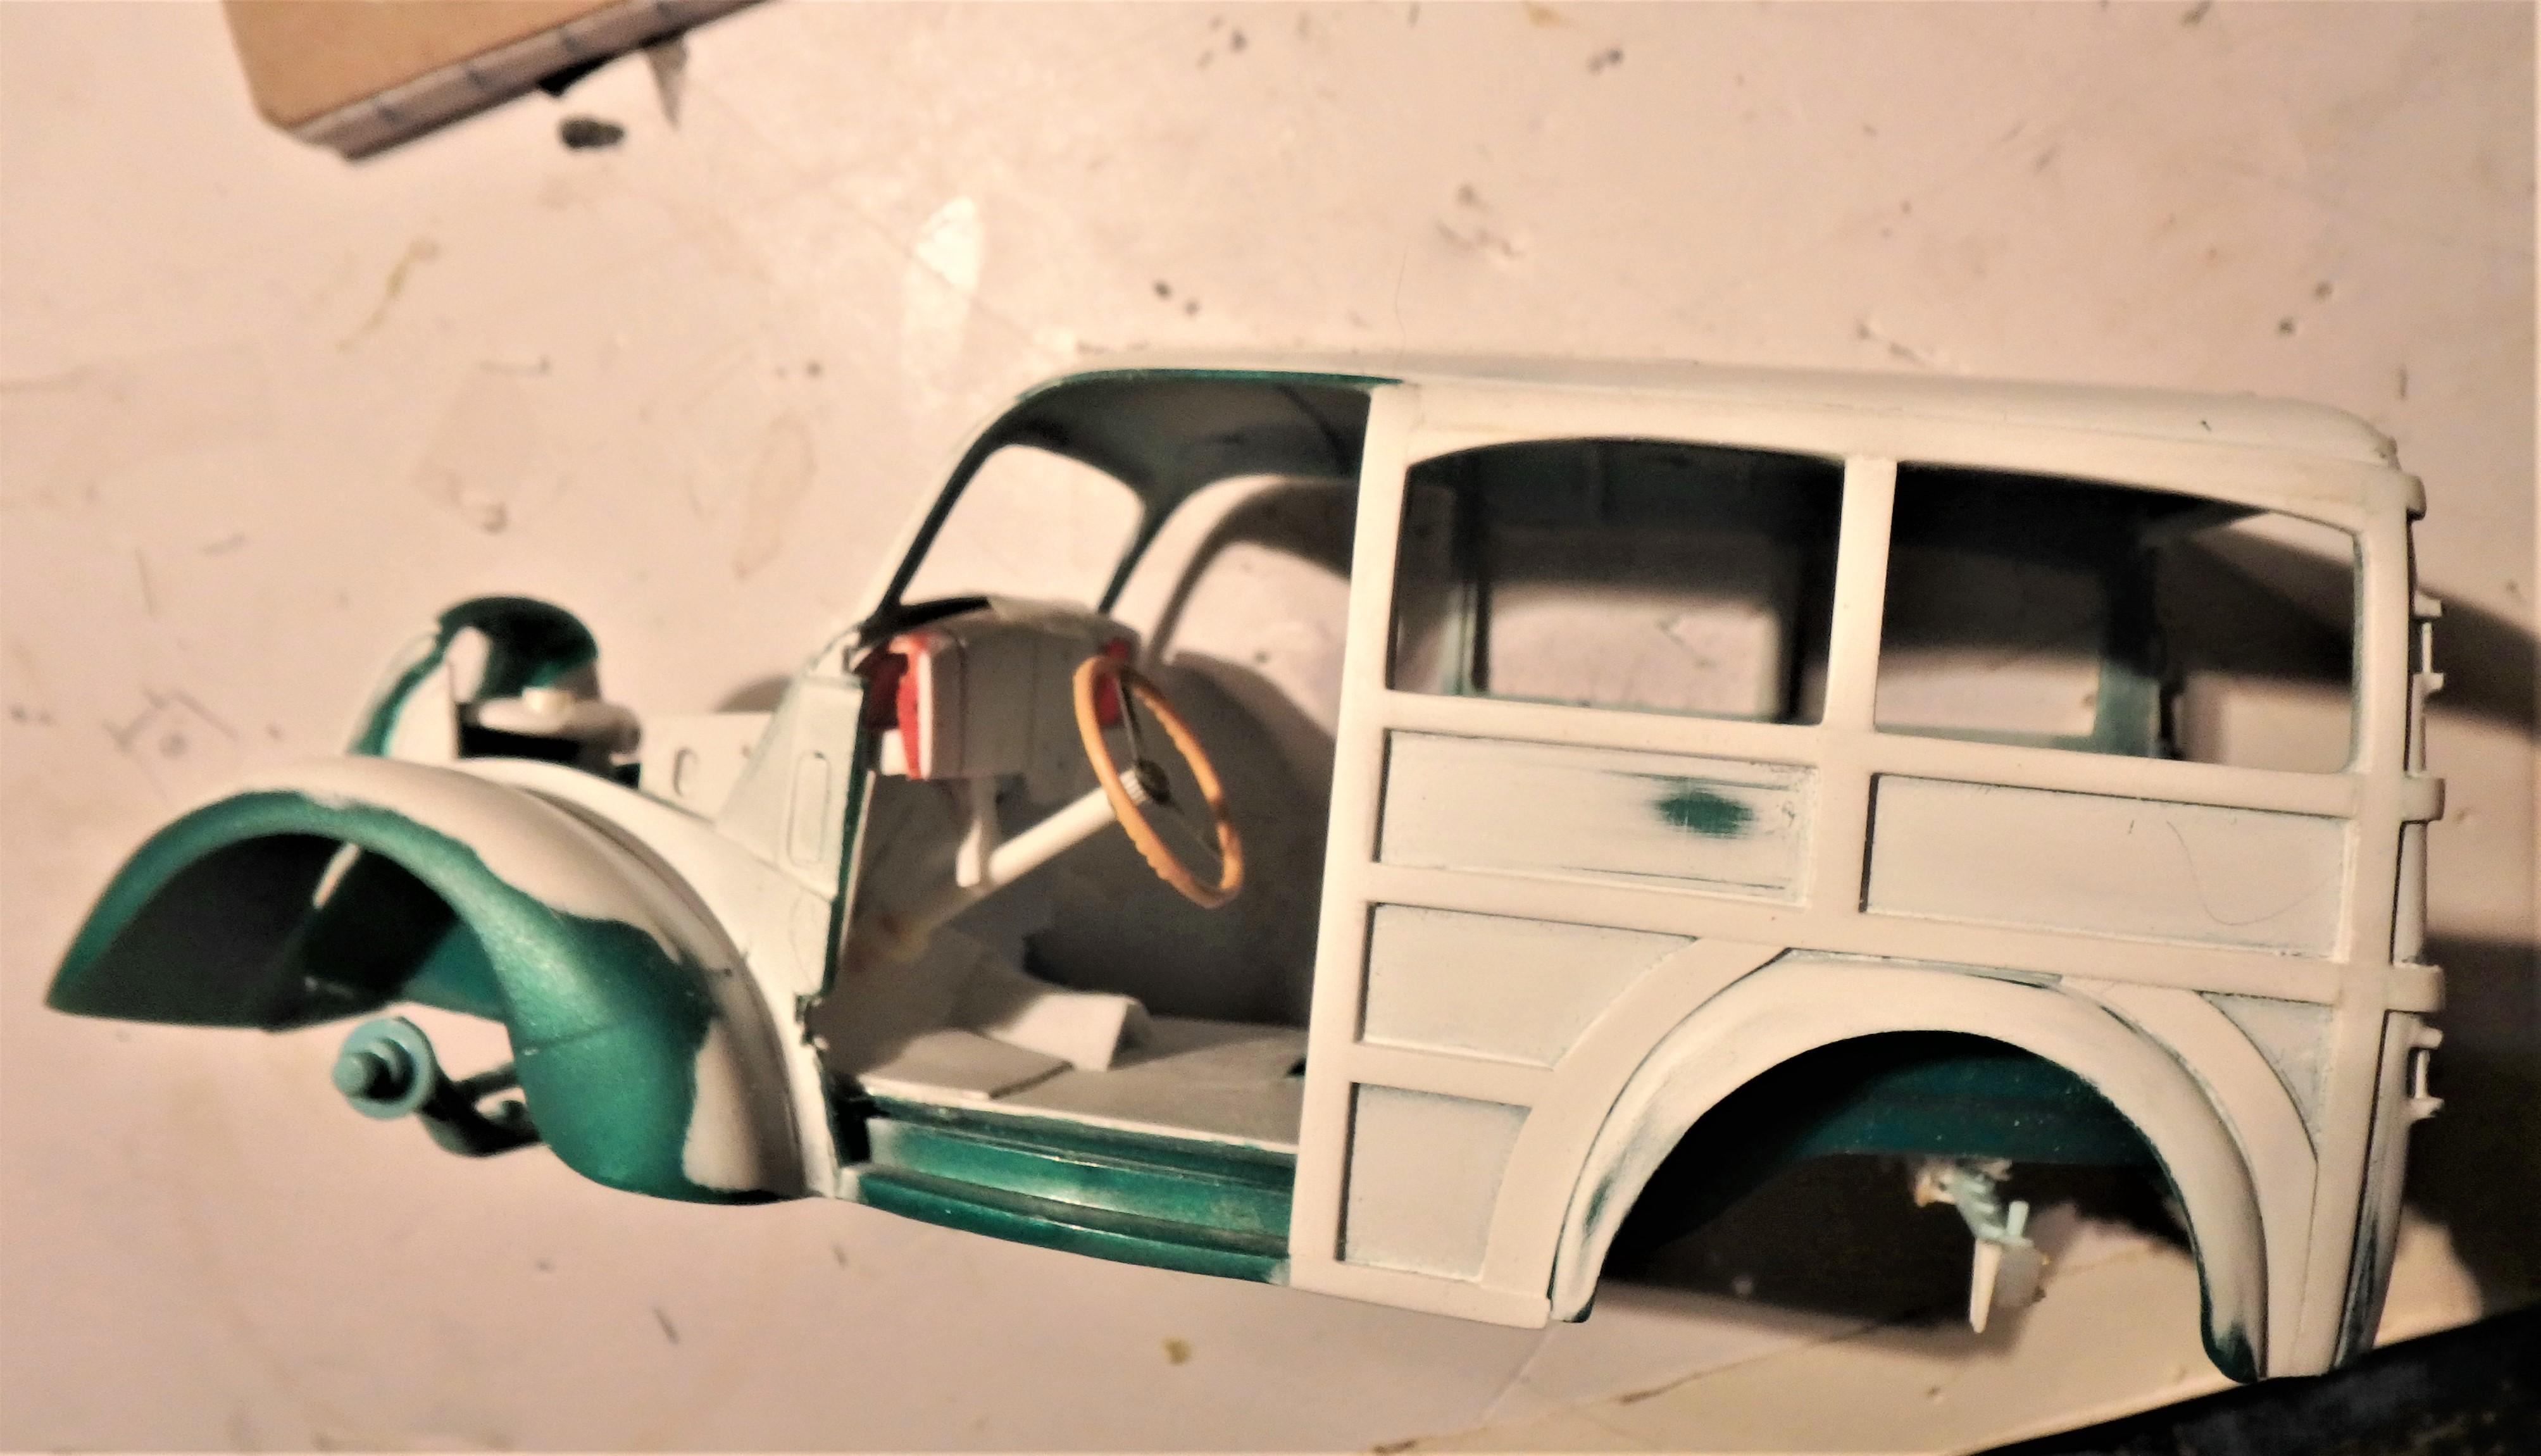
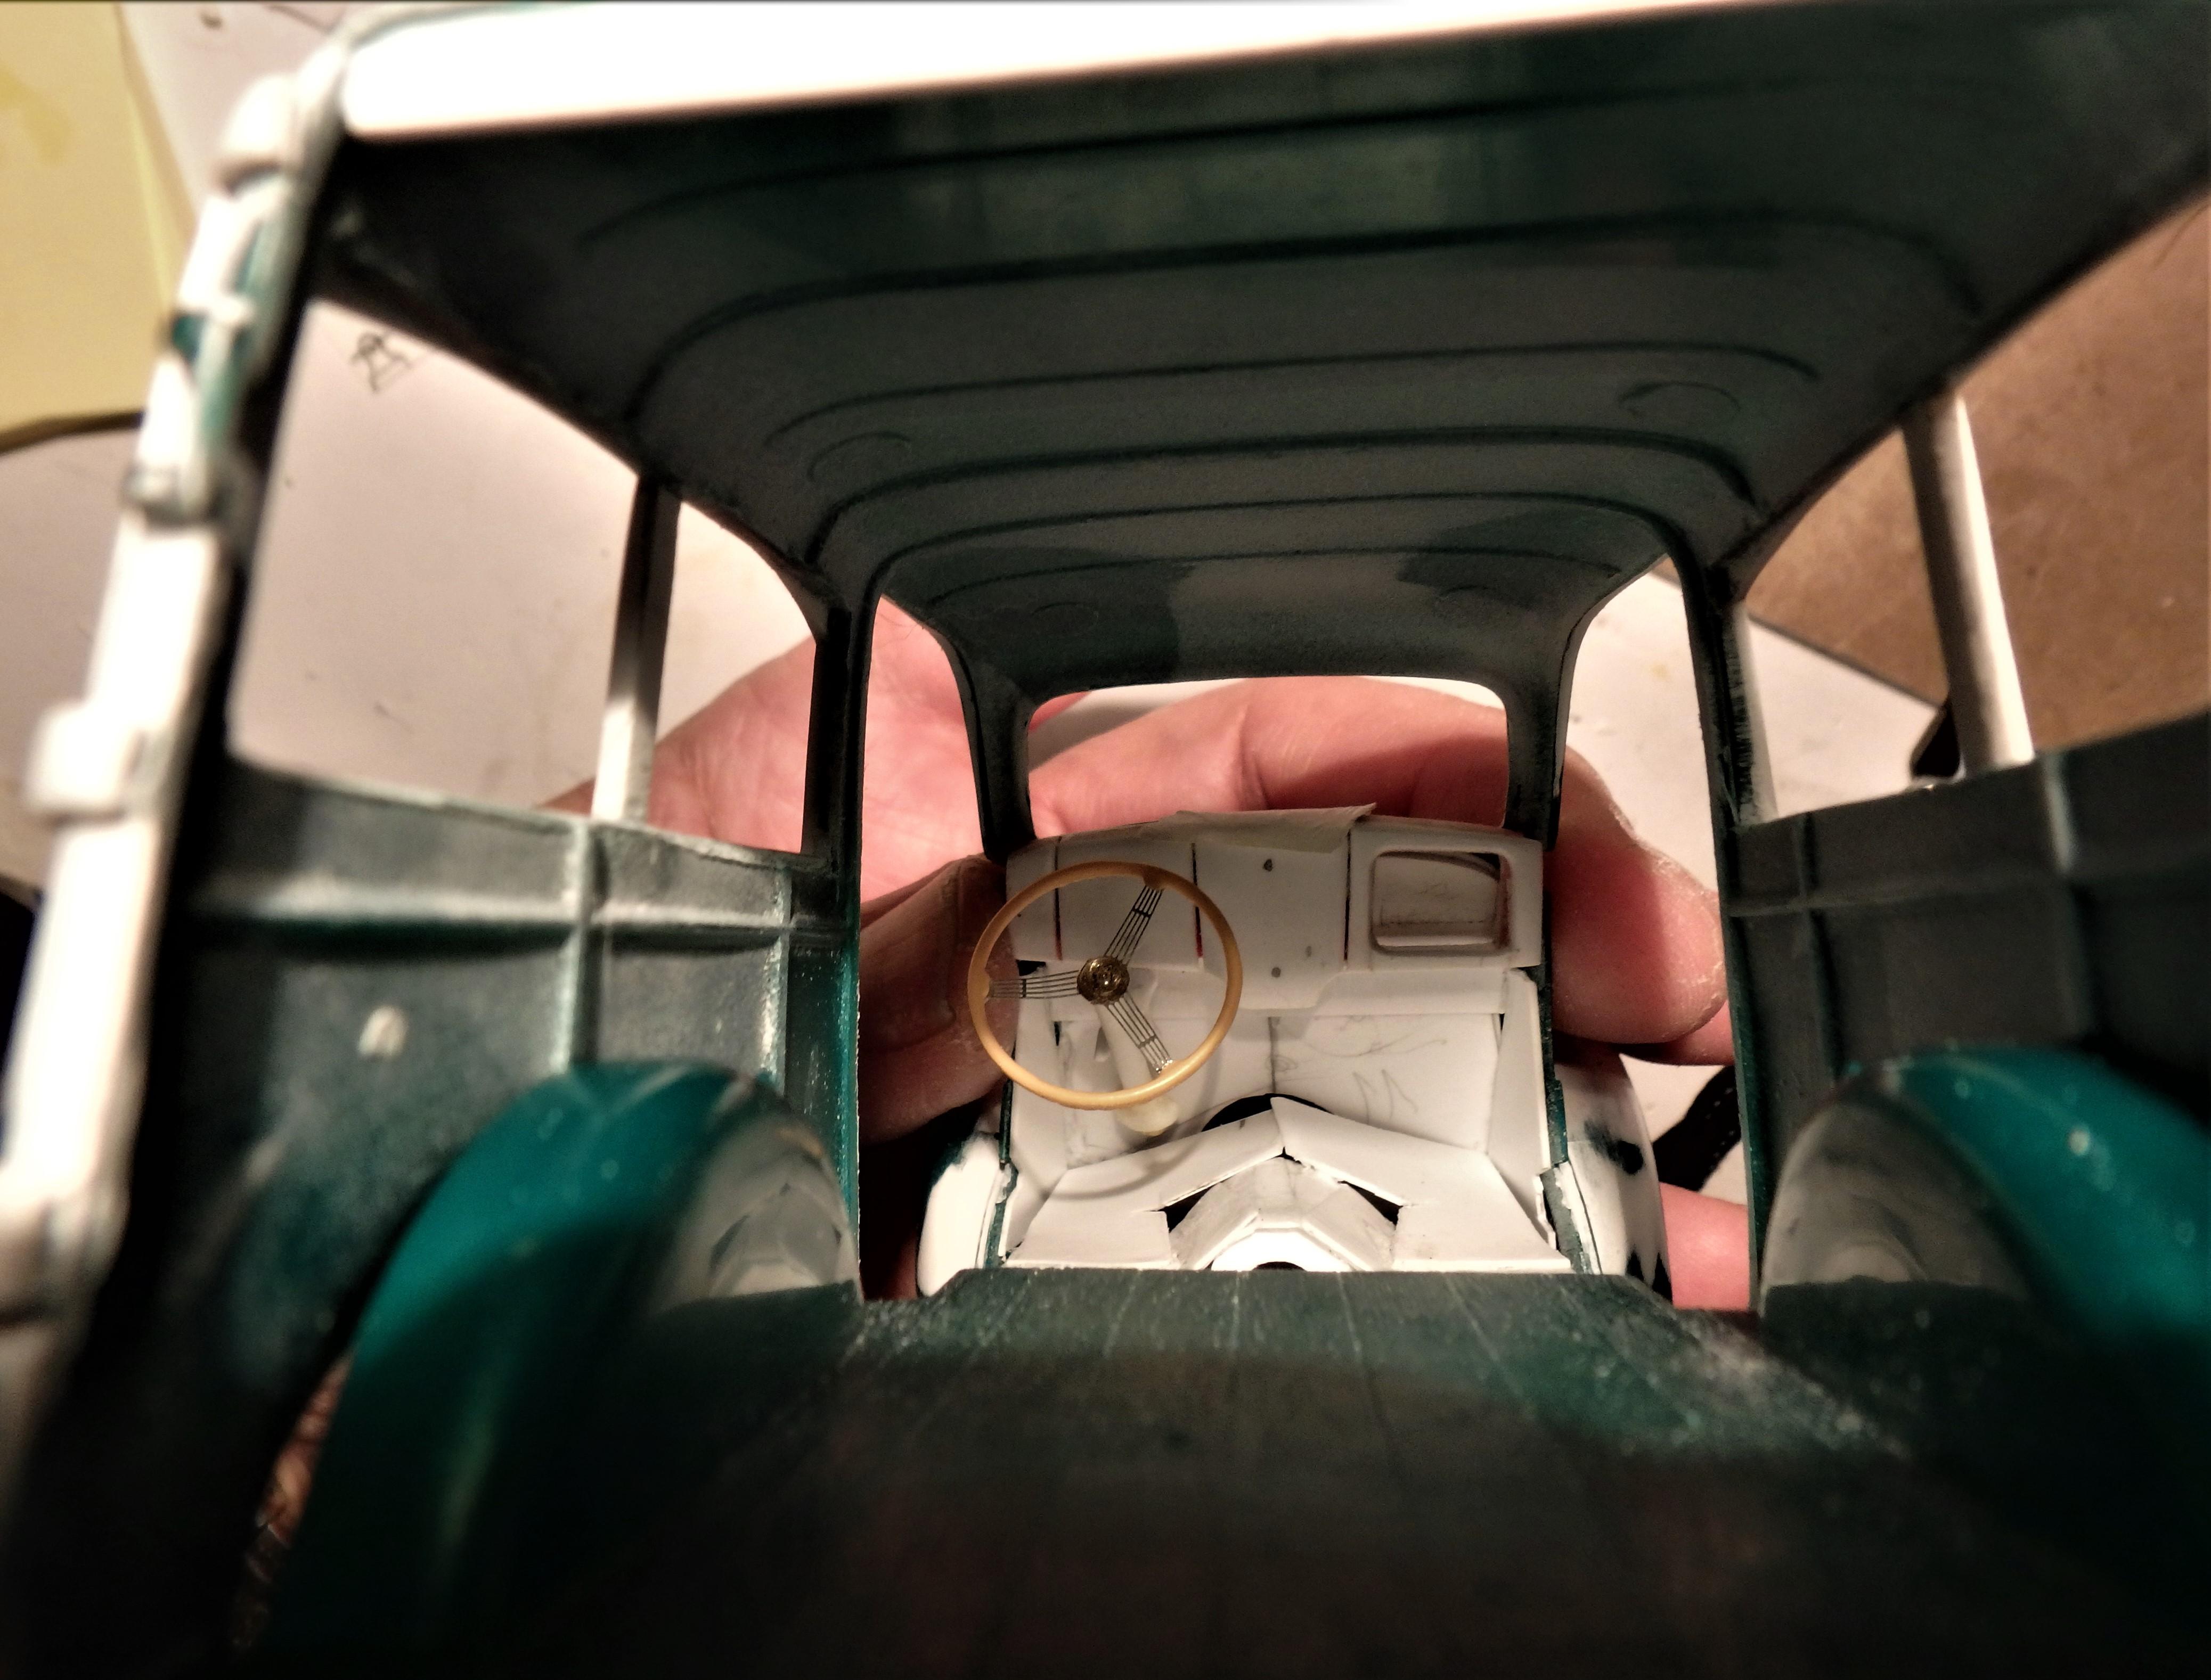
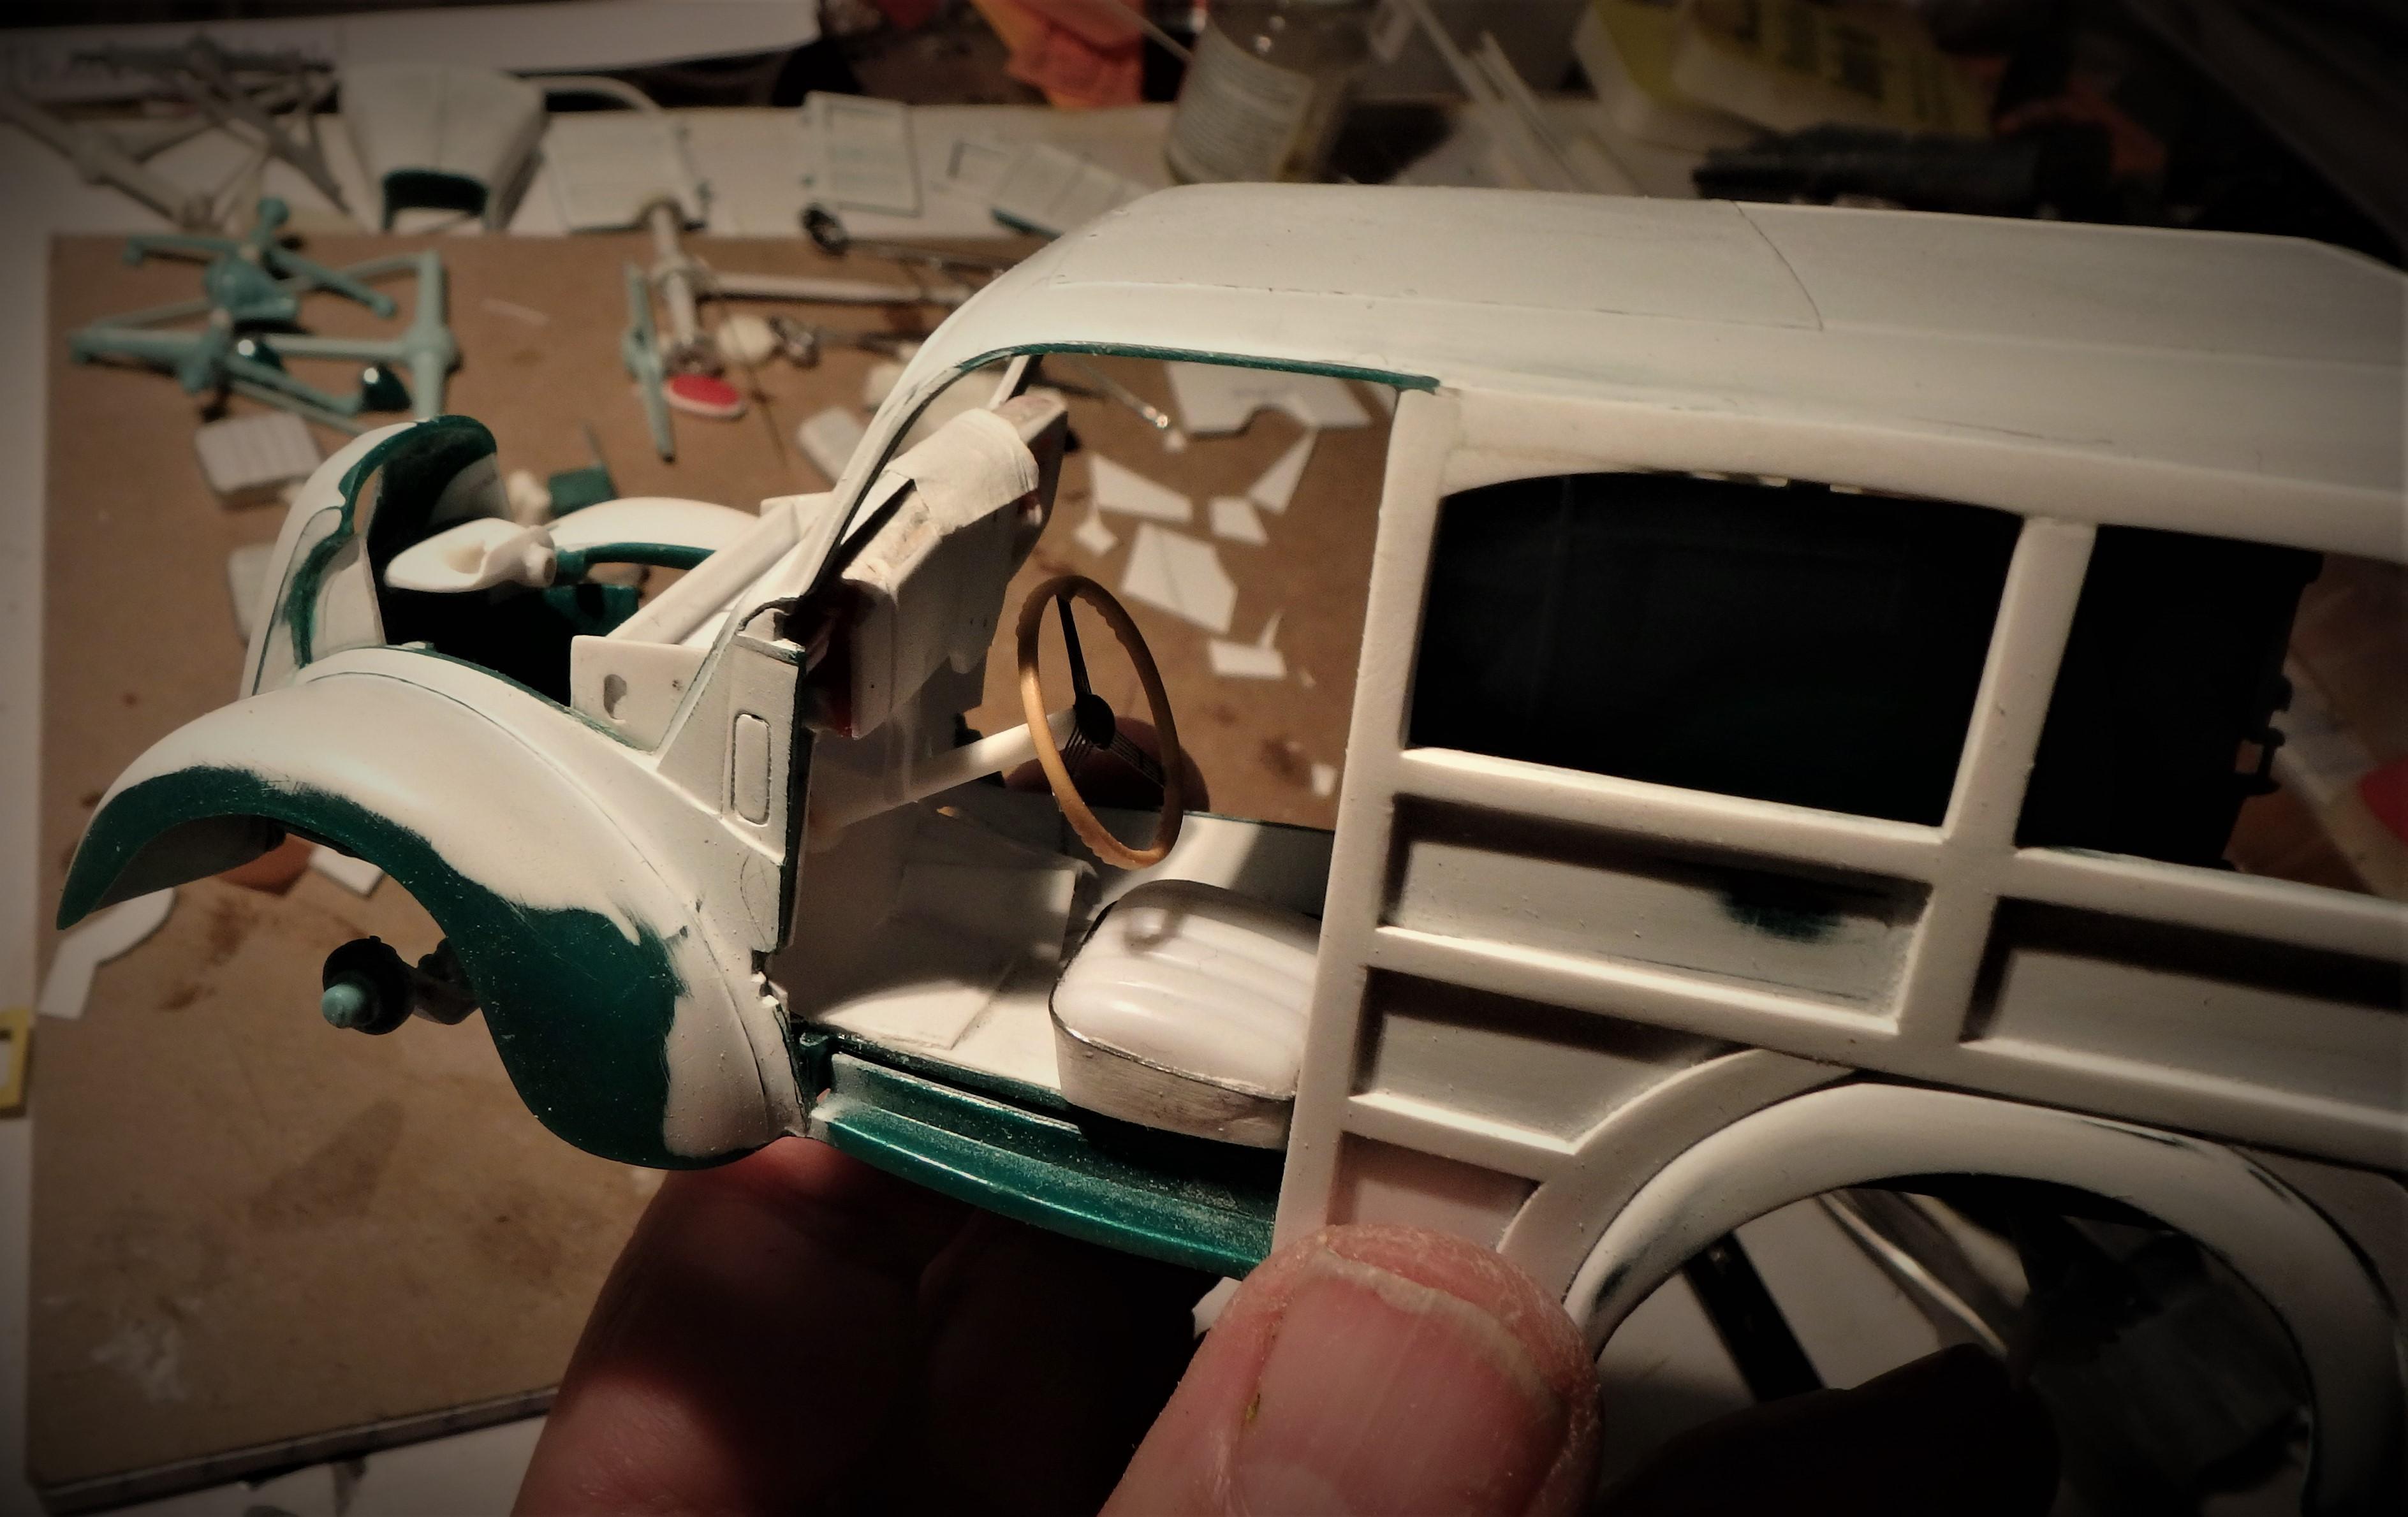
I did some measuring and decided to rescribe the dashboard to allow the proper spacing for the three guages...then fill in the old scribing. Added steering column hanger. Scratchbuilt a radiator overflow tank (I think that's what it is) on the engine compartment battery deck.
-
Thanks, I appreciate it.
-
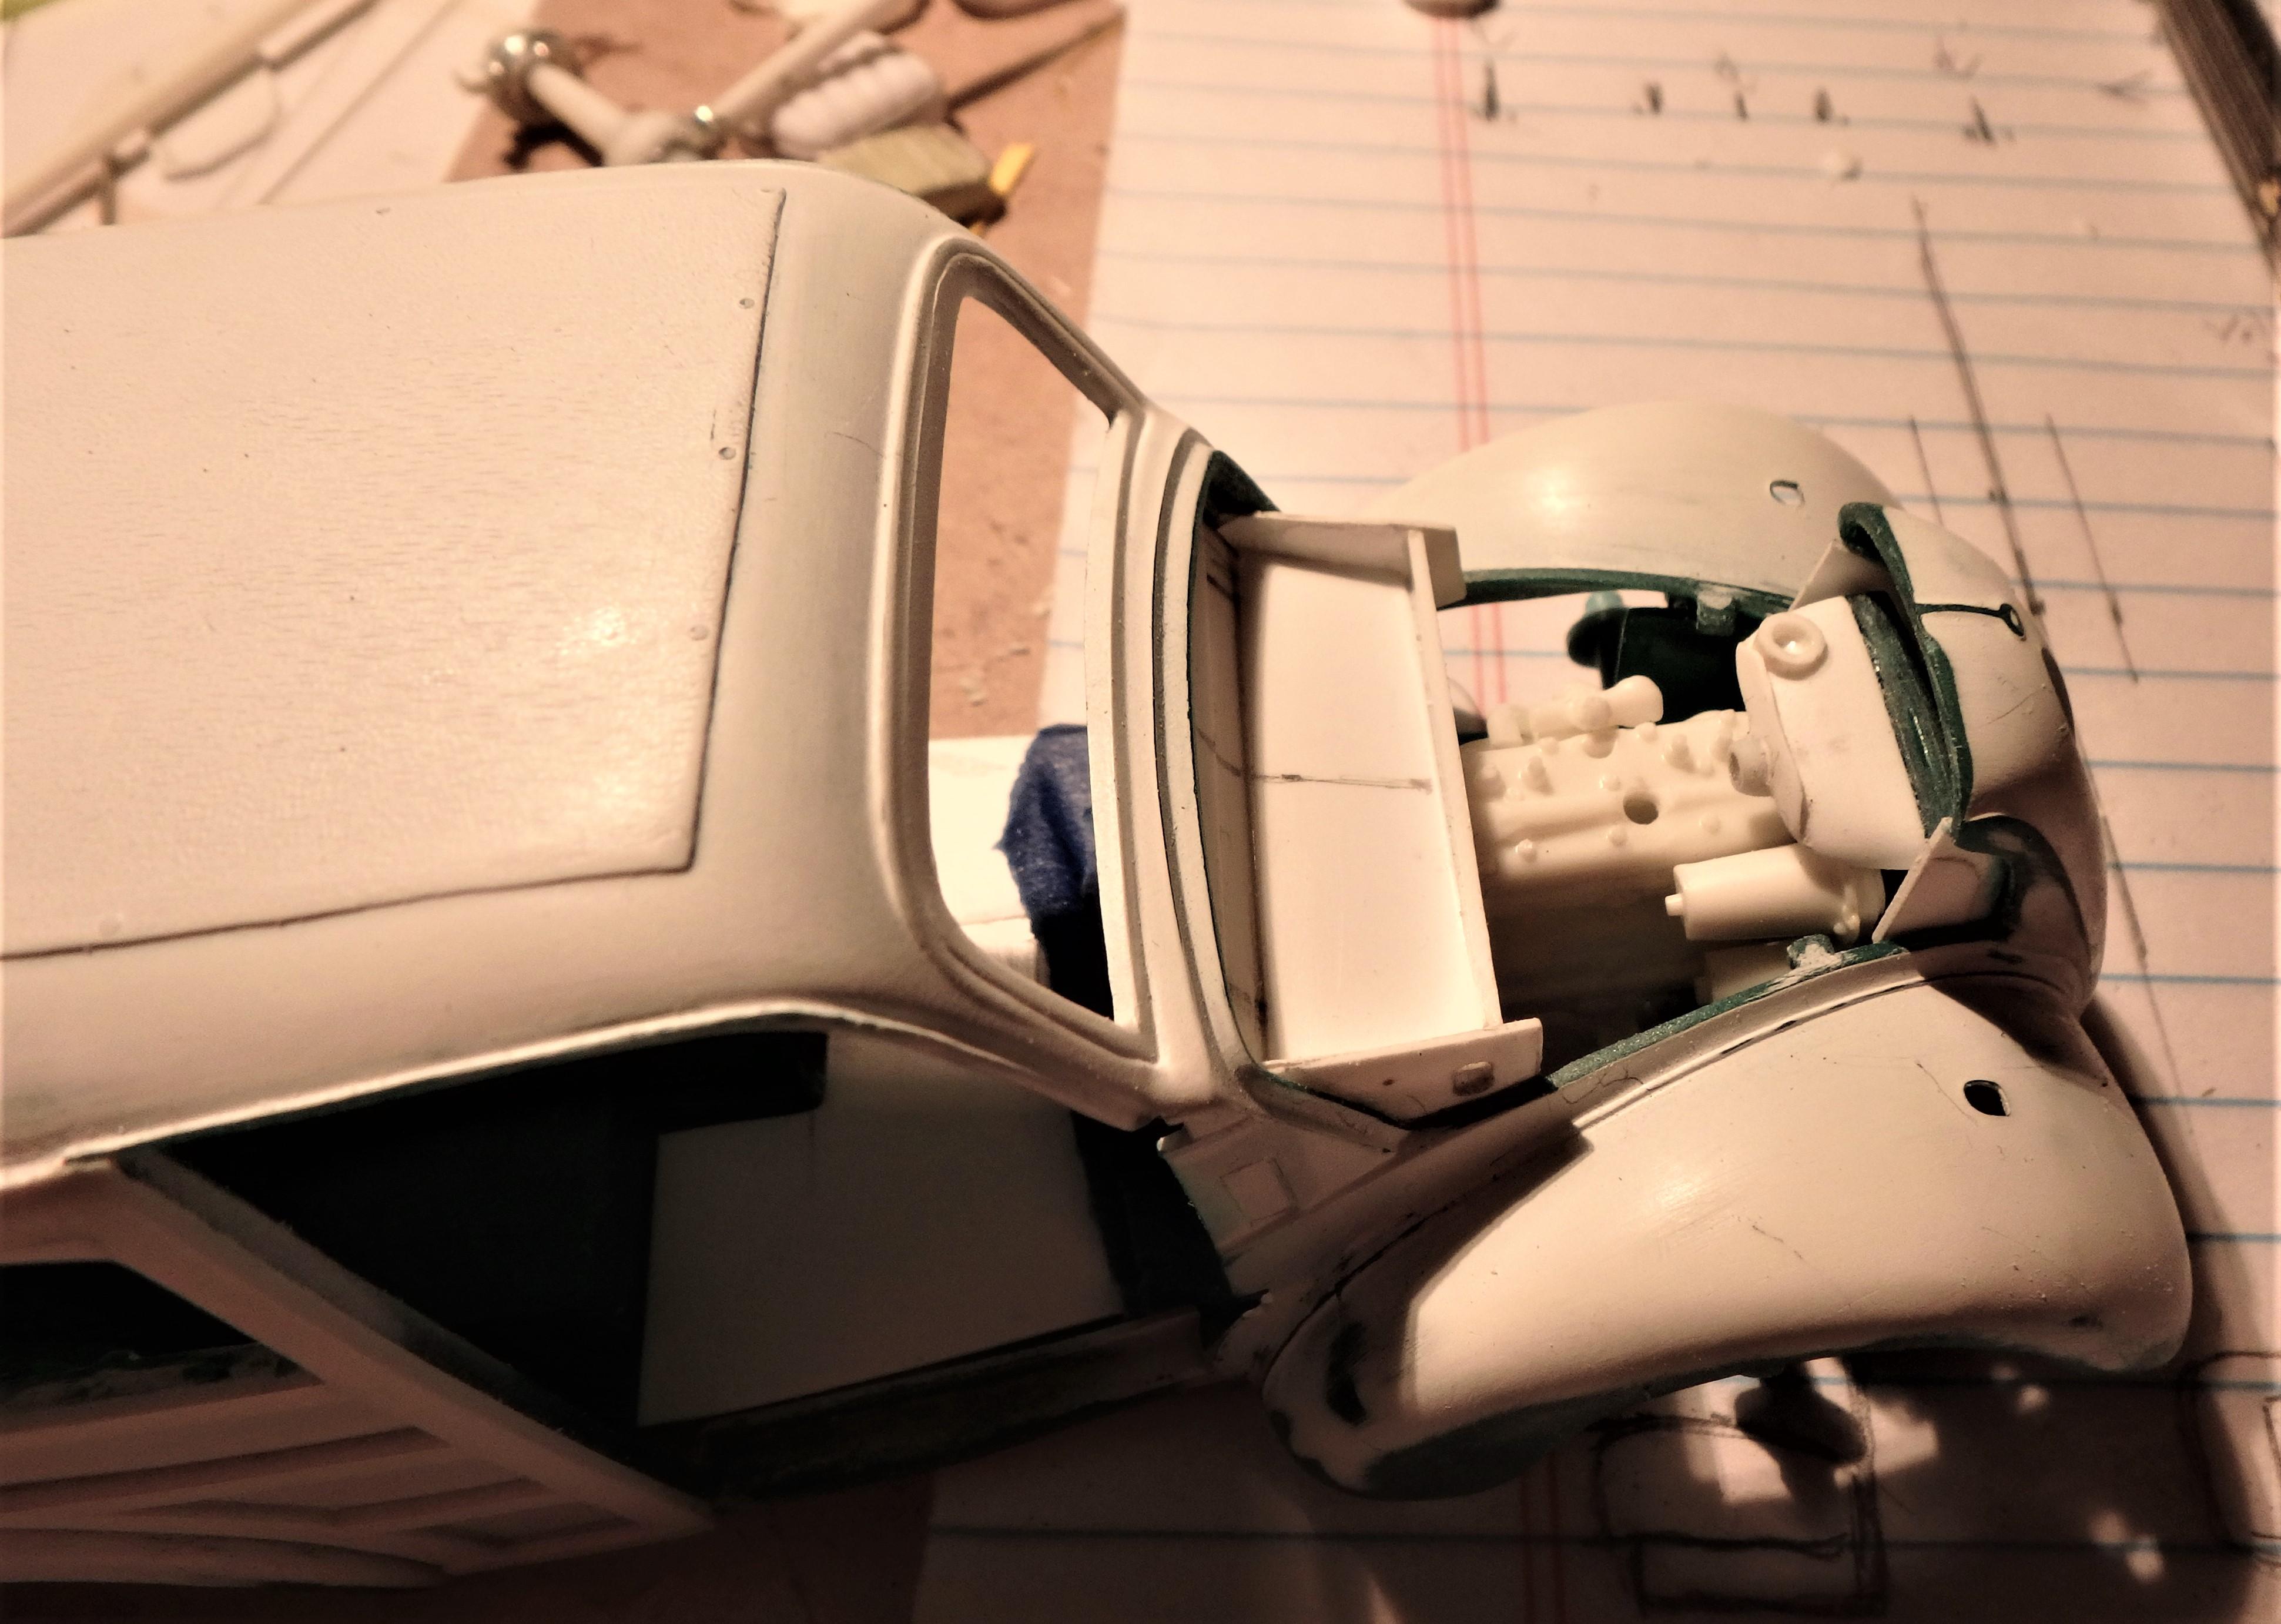
This may be the hardest part....trying to sheet the footwells under the dash - behind the firewall. Trial fitting templates made from post it notes, making cut marks on those, and cutting and fitting sheet styrene to match.. I'll need to score the sheet to get it to contour with the floor. ....and allow room for the steering column that needs to drop in on a hanger under the dash.
-
Russ, thanks, happy to have you take a look.
-
Alan, thanks for looking into the wheels and suggestions.
-
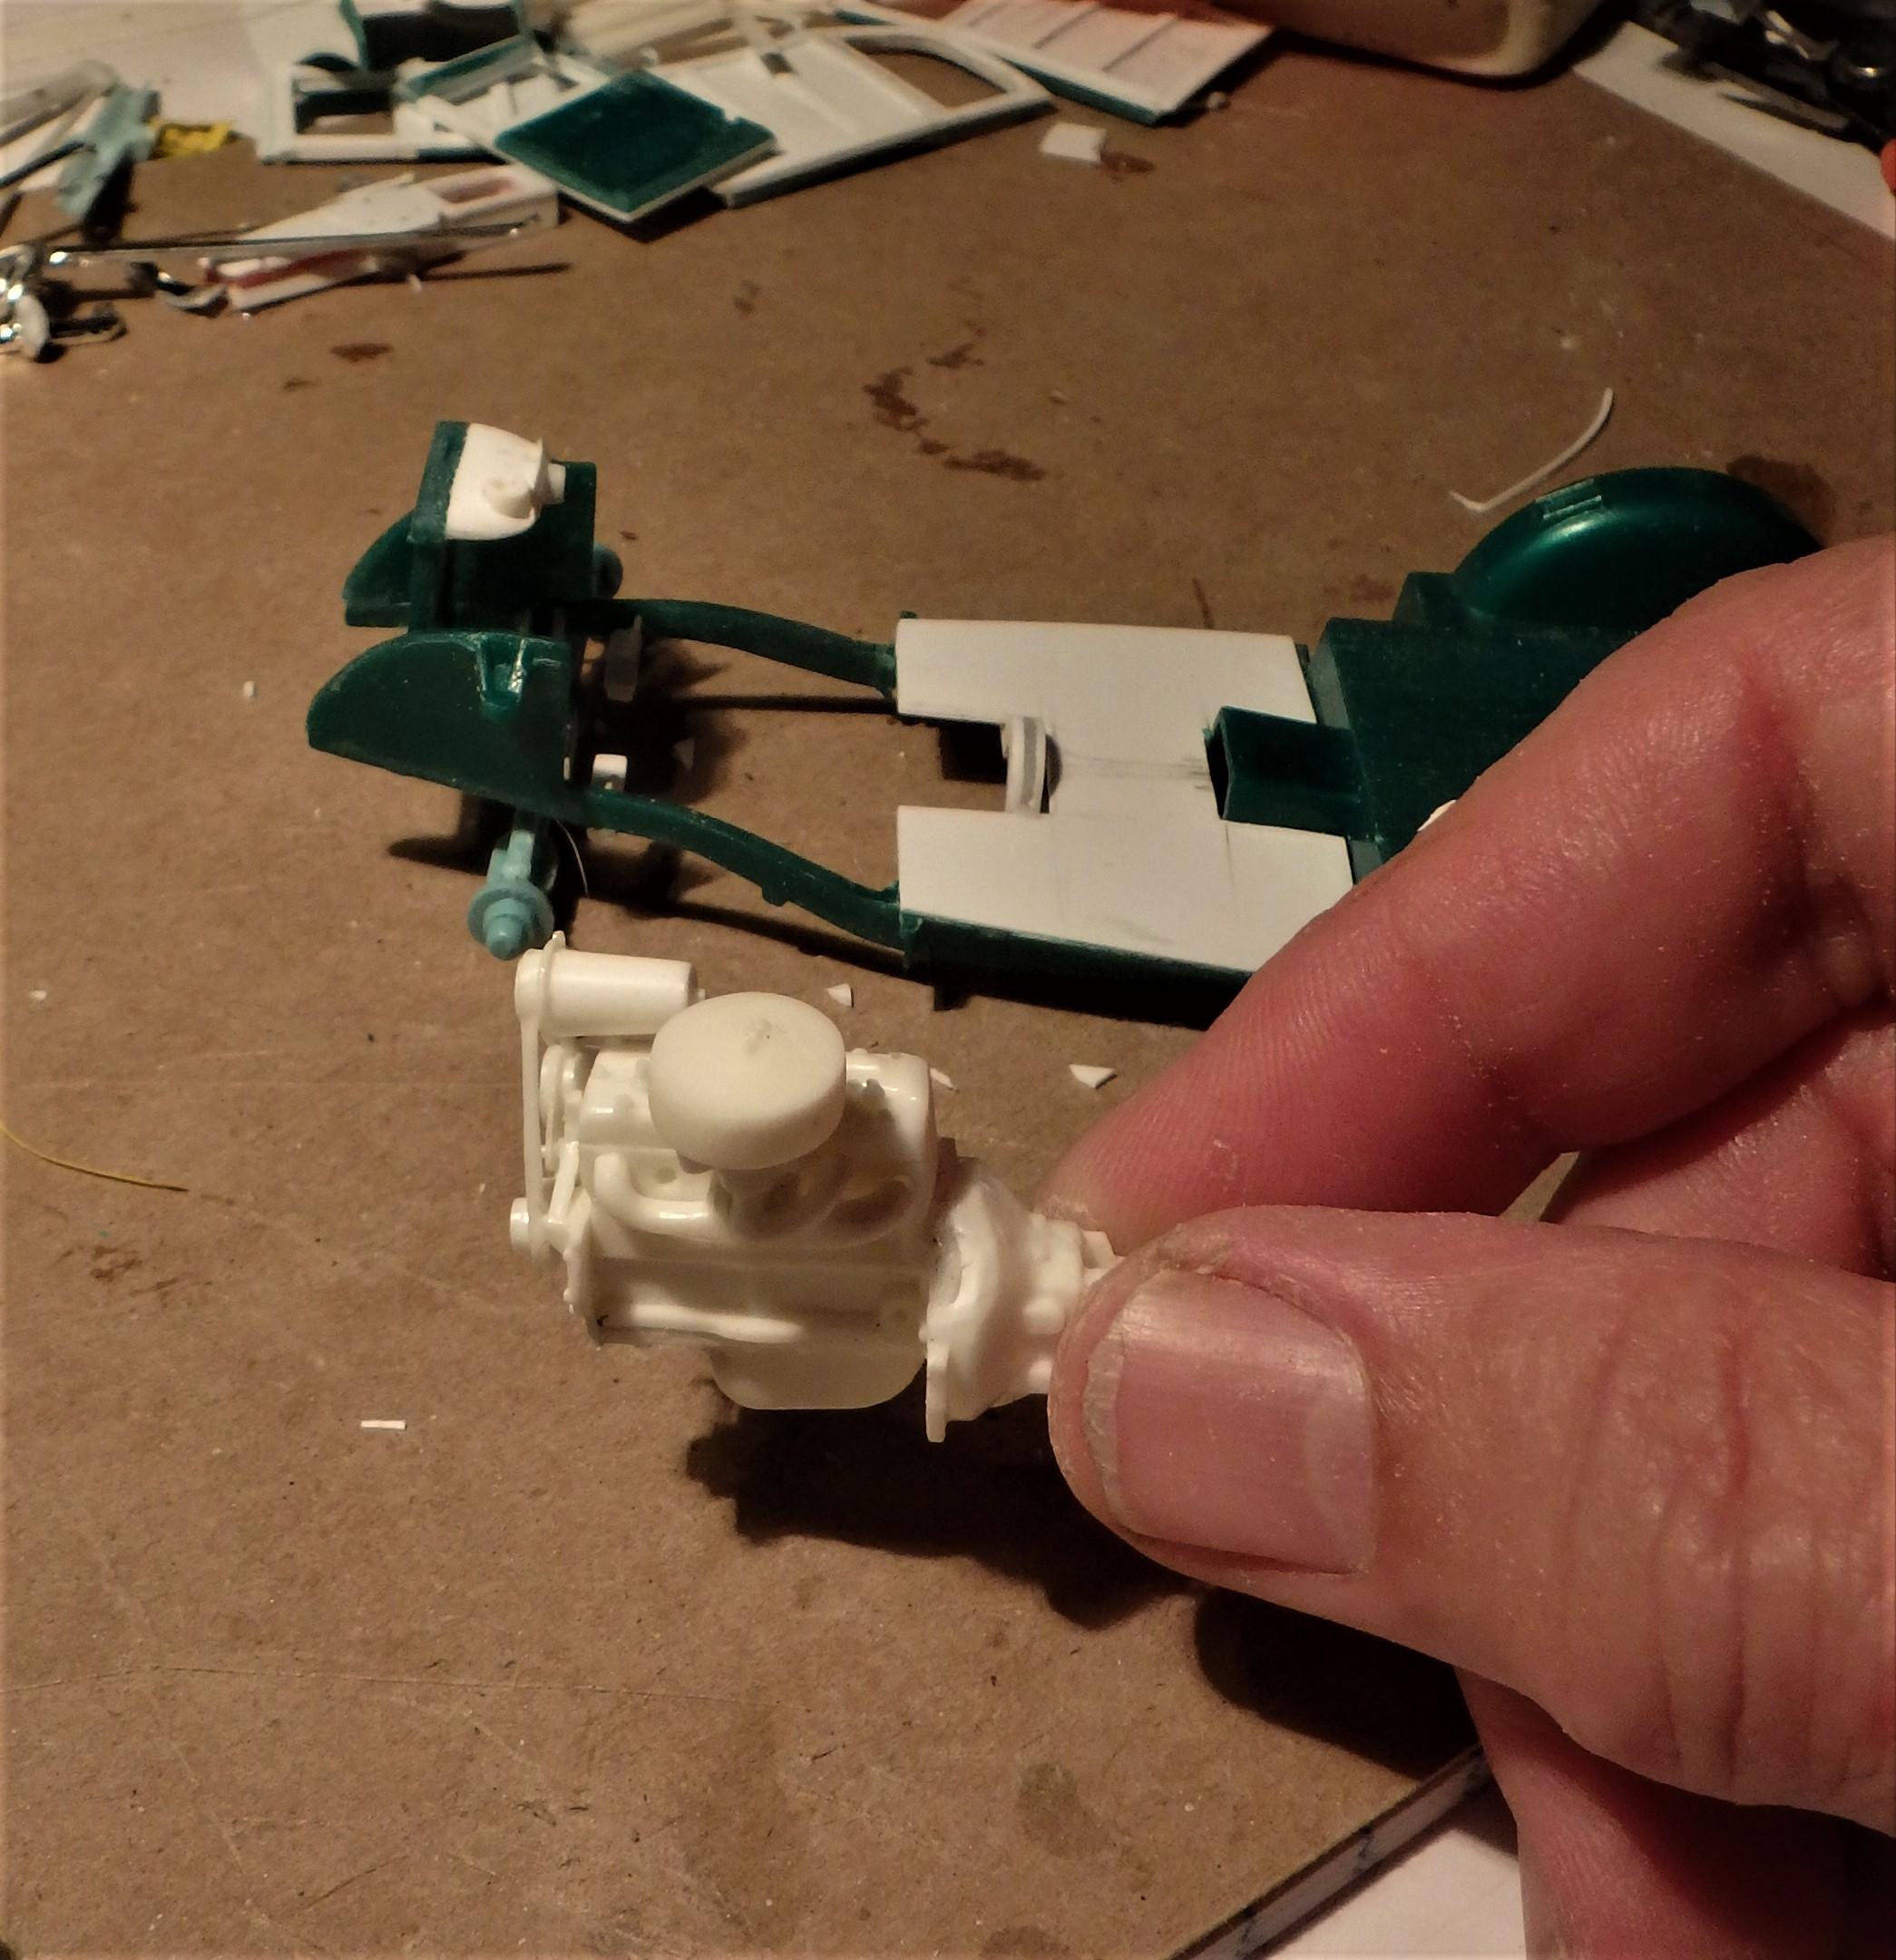
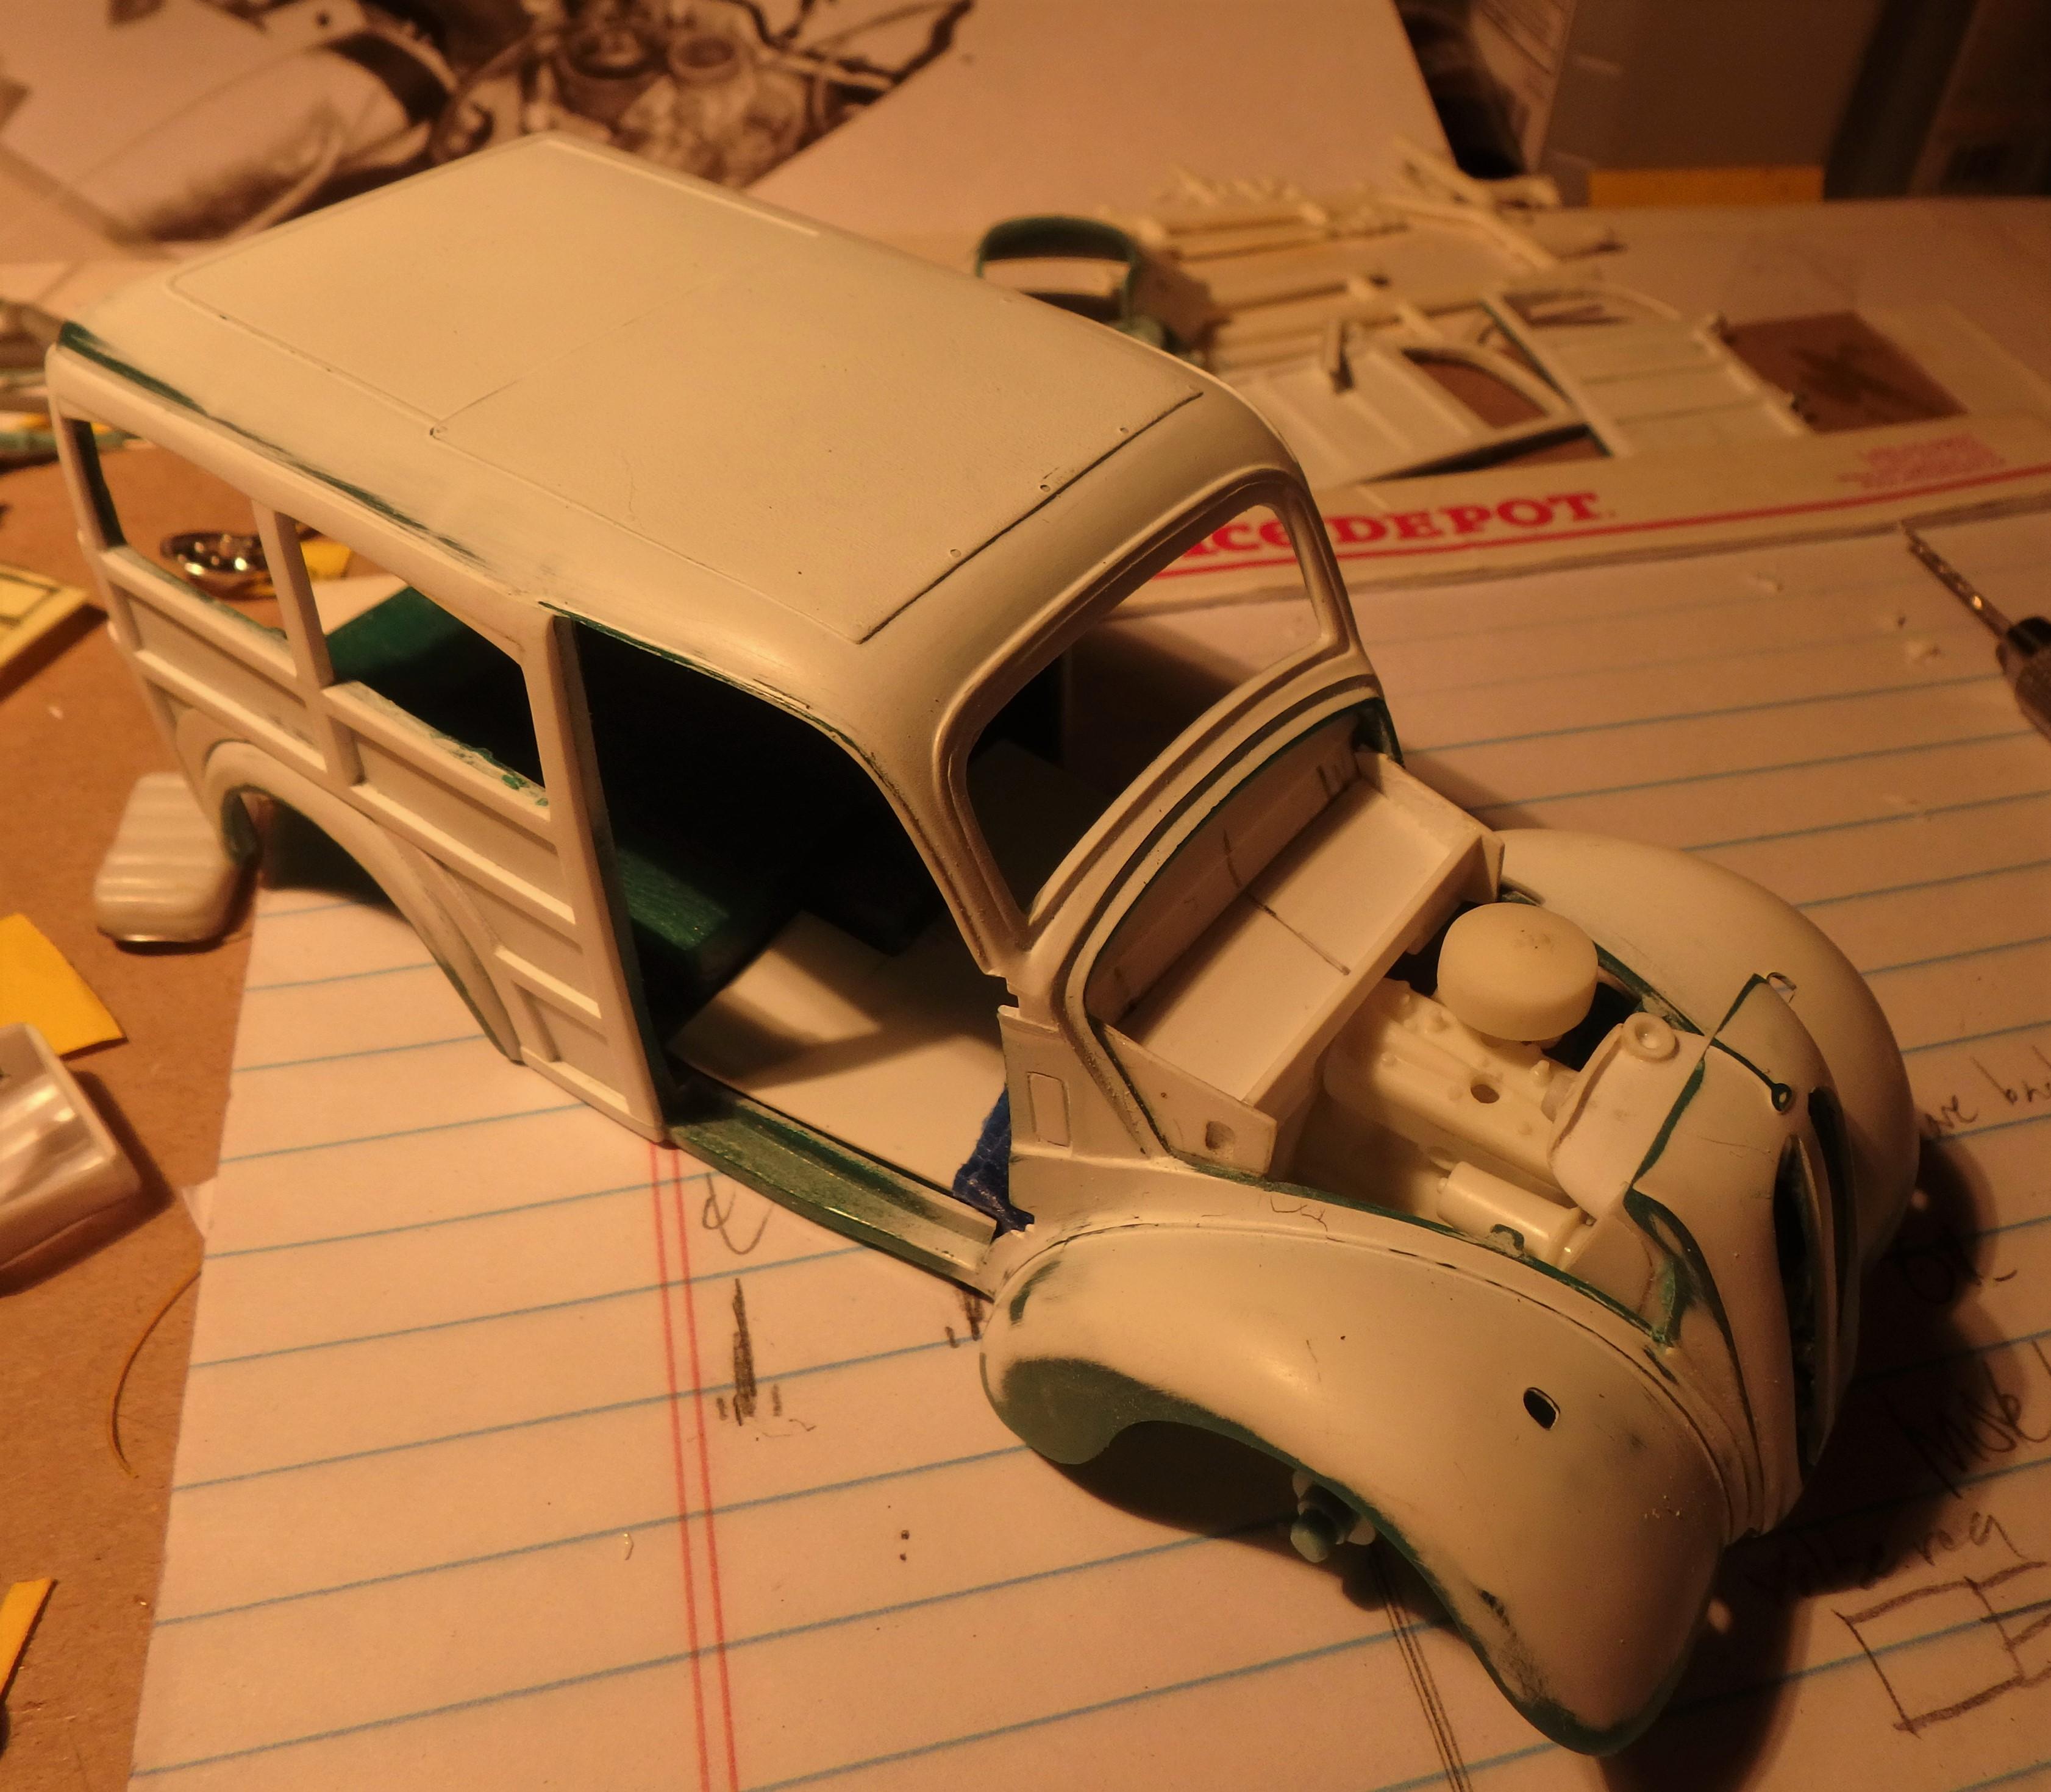
Worked on the rear engine mounts, firewall and floorboard. Trial fit PE hood grill inserts from Model Car Garage.
-
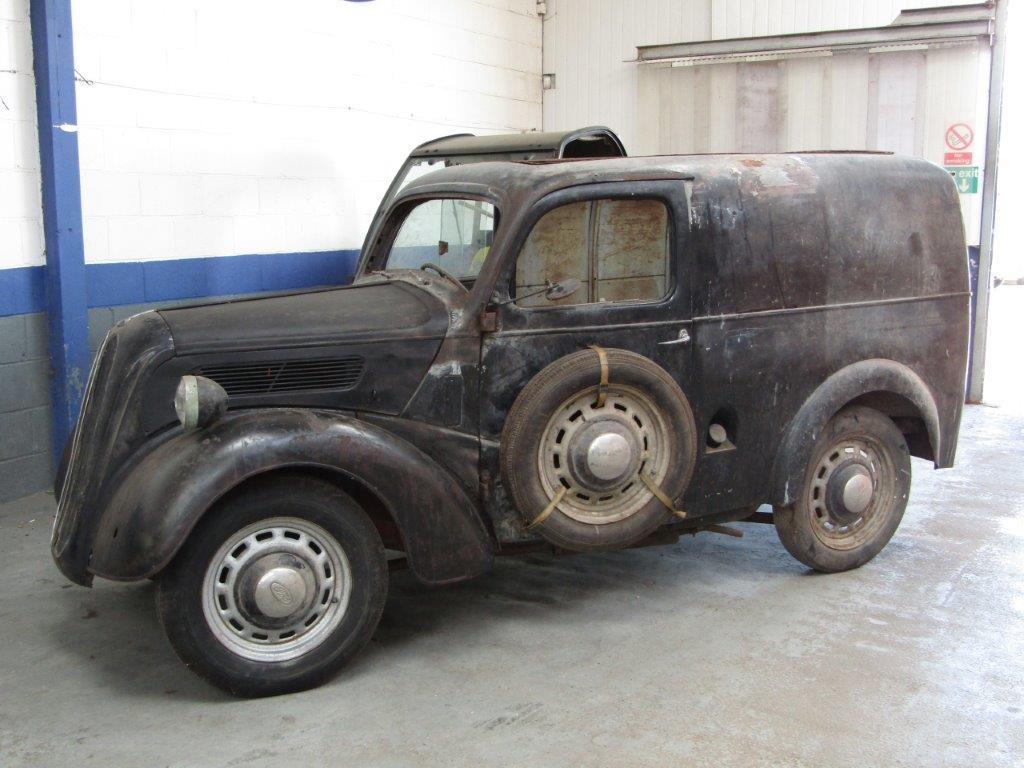
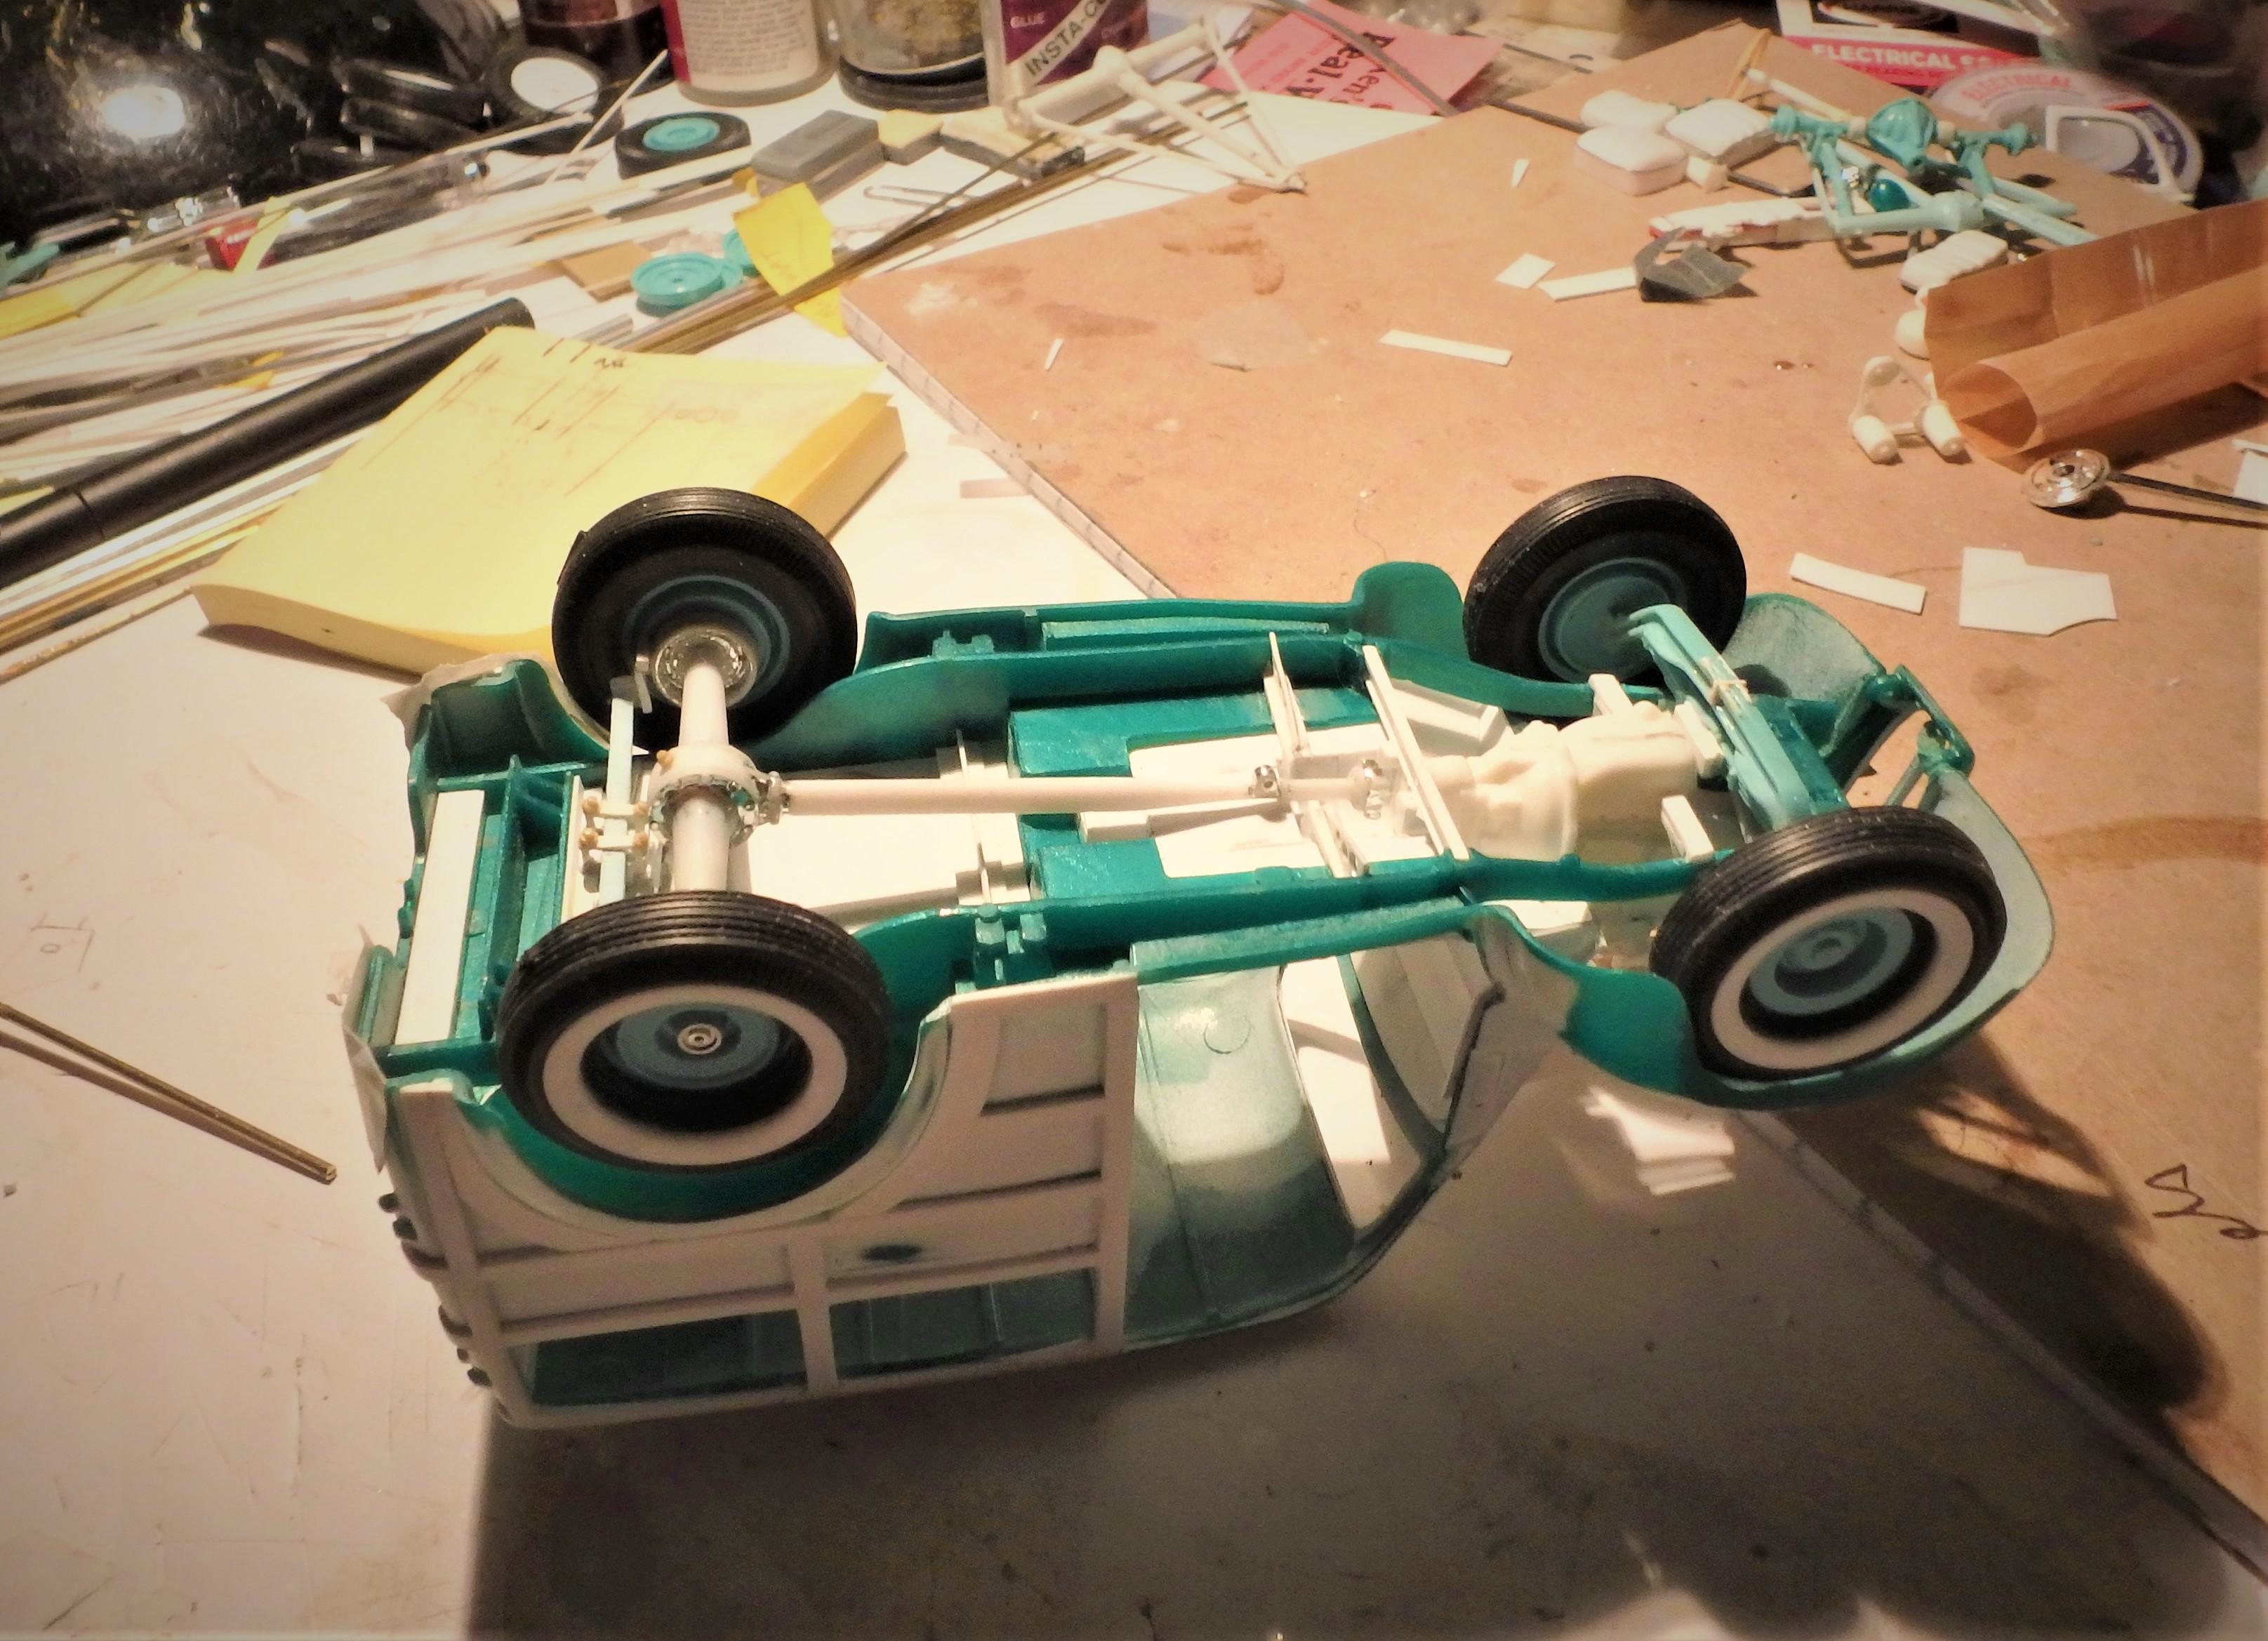
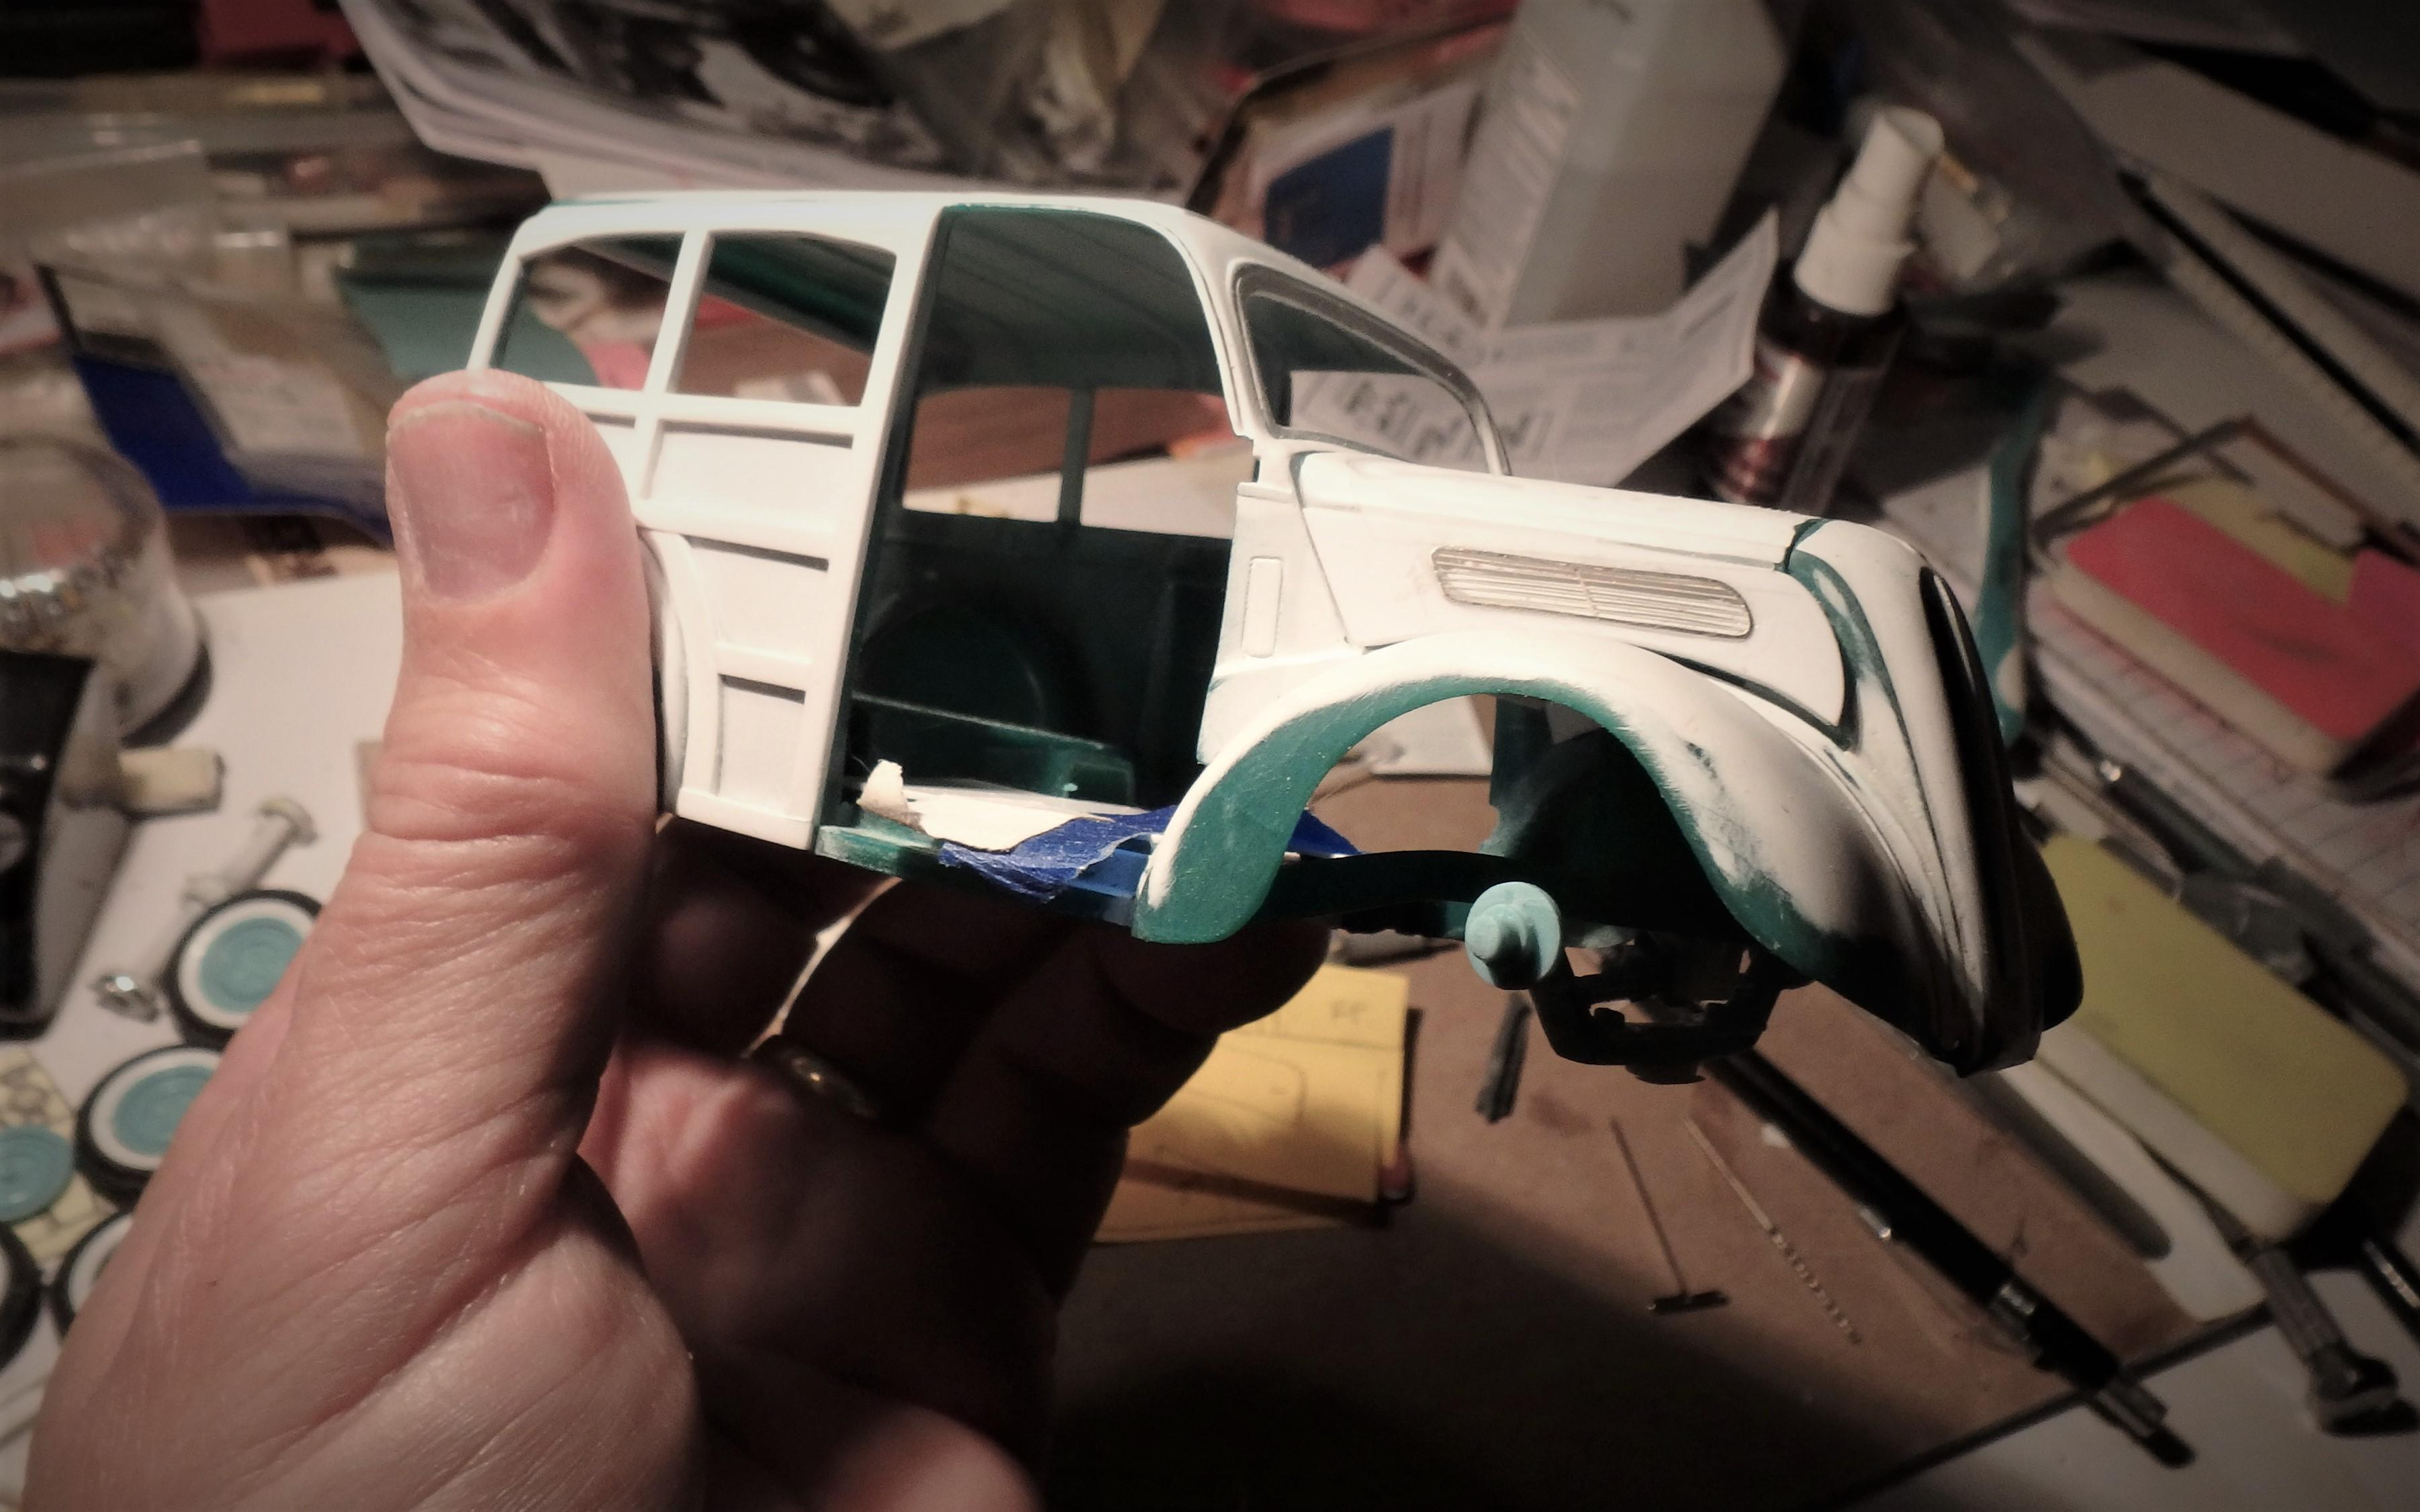
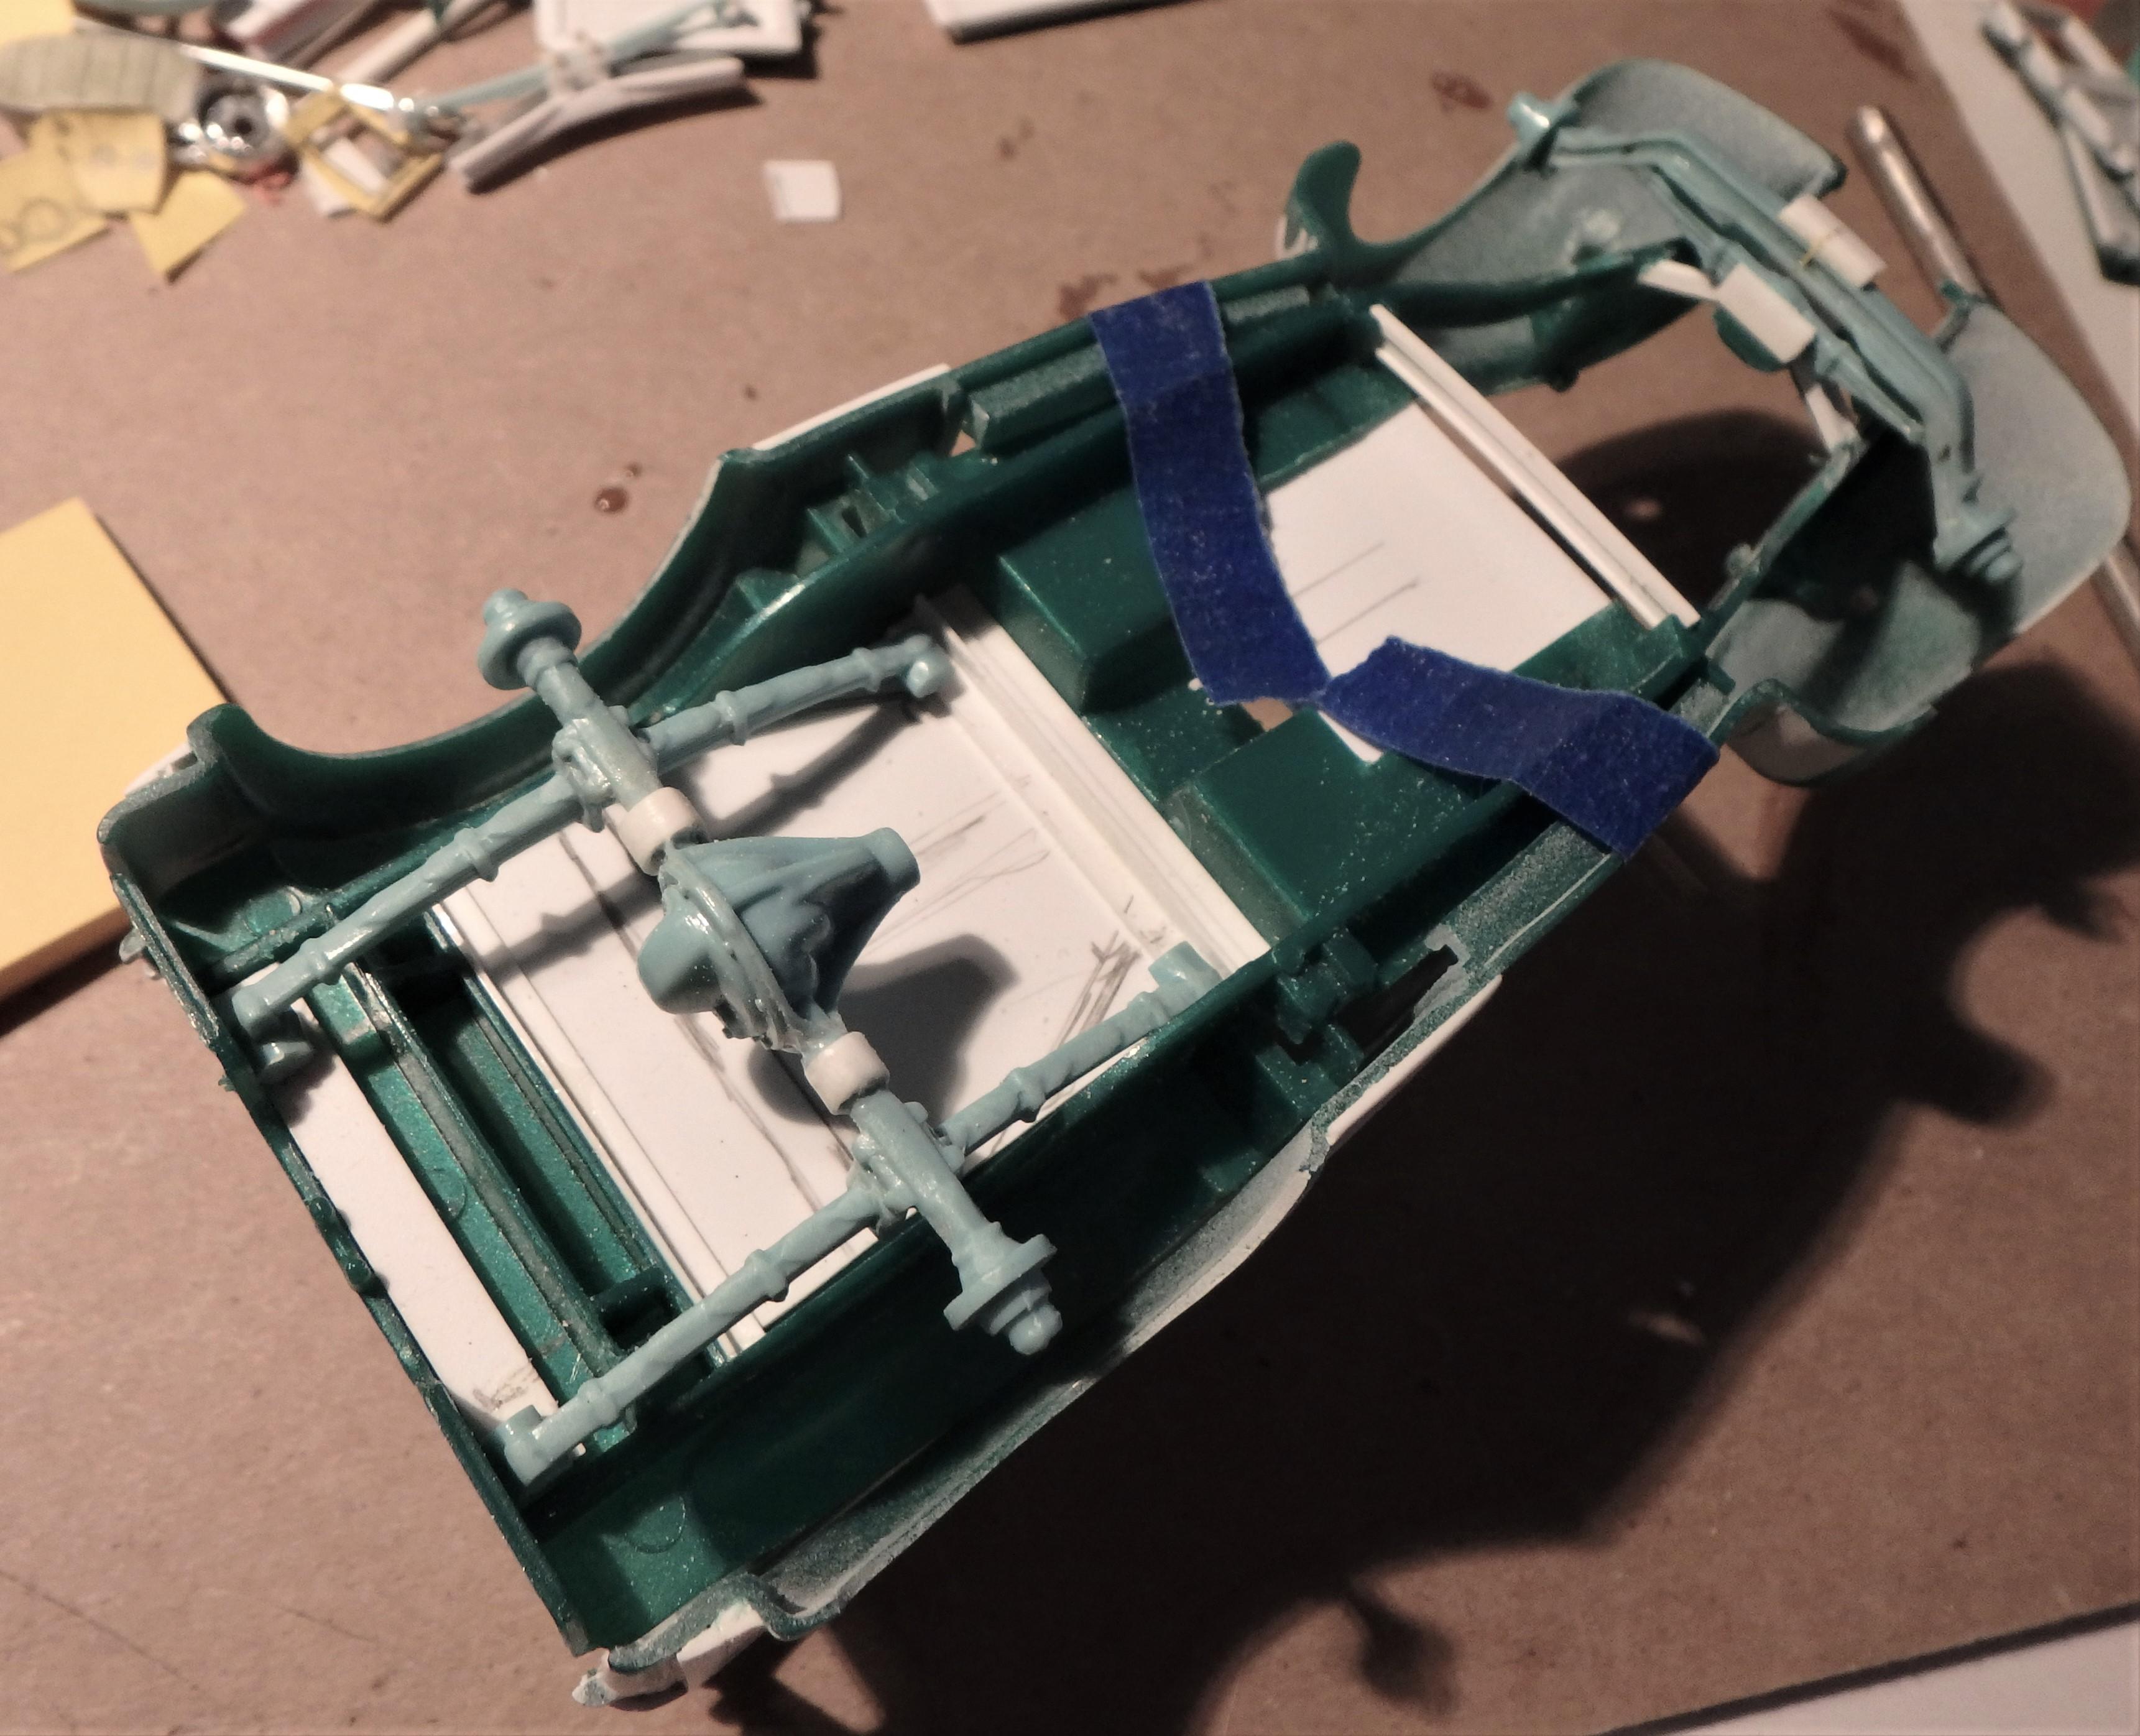
Thanks guys. This has been a real challenge getting information on the stock configuration of both the suspension and the engine, as well as the interior. Keep turning up new information online, some from the sale of a full size stock vehicle, but after completely changing the rear suspension and modifying the hood and front suspension, I'm ready to go with what I have and proceed. Right now I'm working the rear axle shackles on the leaf spring and repositioning the front axle on the frame to get all the wheels/tires in the same position relative the fenders, and to make sure the whole thing sits correctly. I've done more dry fitting and adjusting on this one than any other project. Once the rear axle is set up correctly I'll need to get the engine transmission to hook up in order to do the interior floorboards...and seats. Seat frames and steering column and dashboard come next after that. Door hinges after that.
-
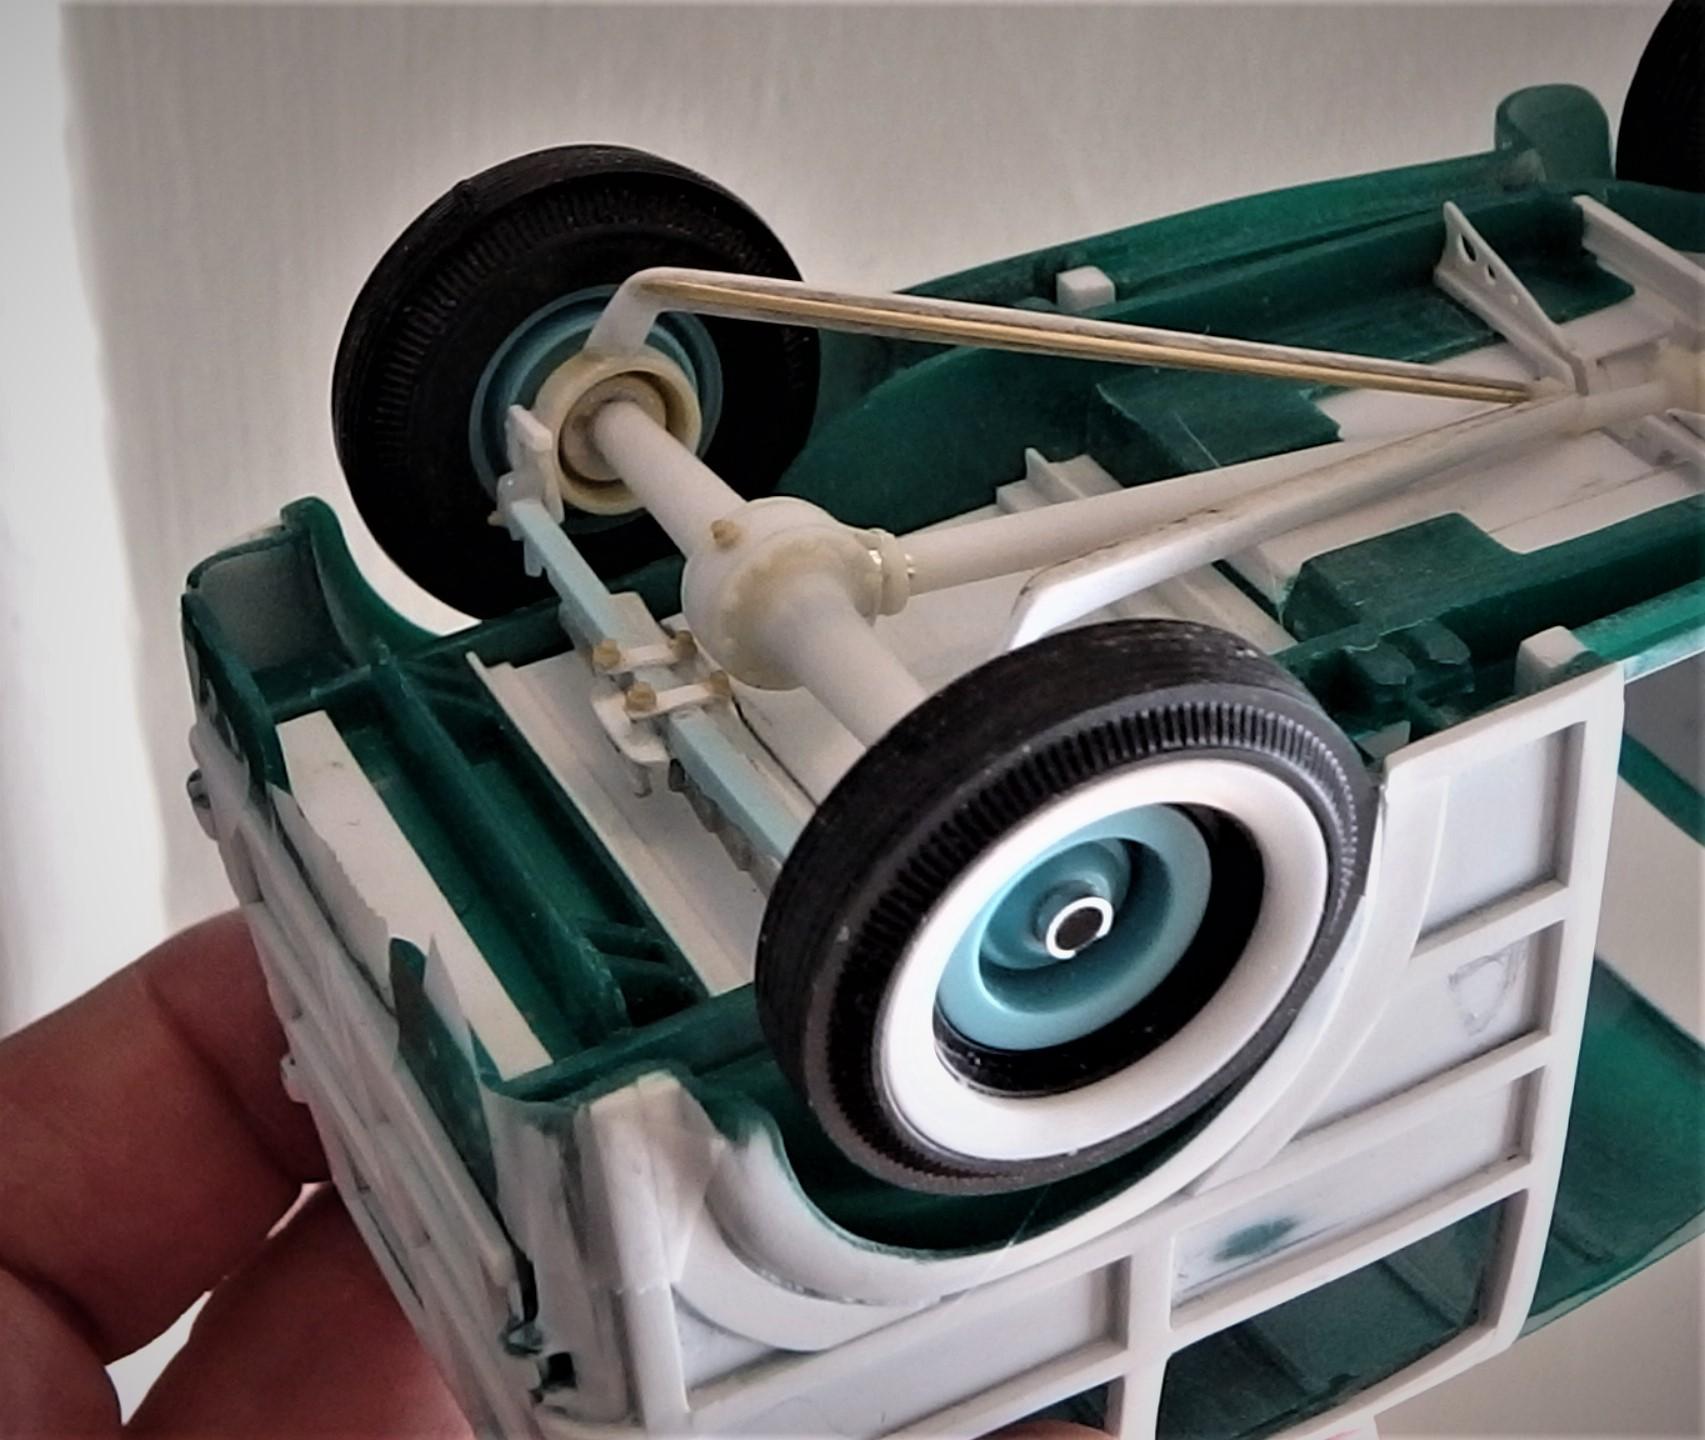
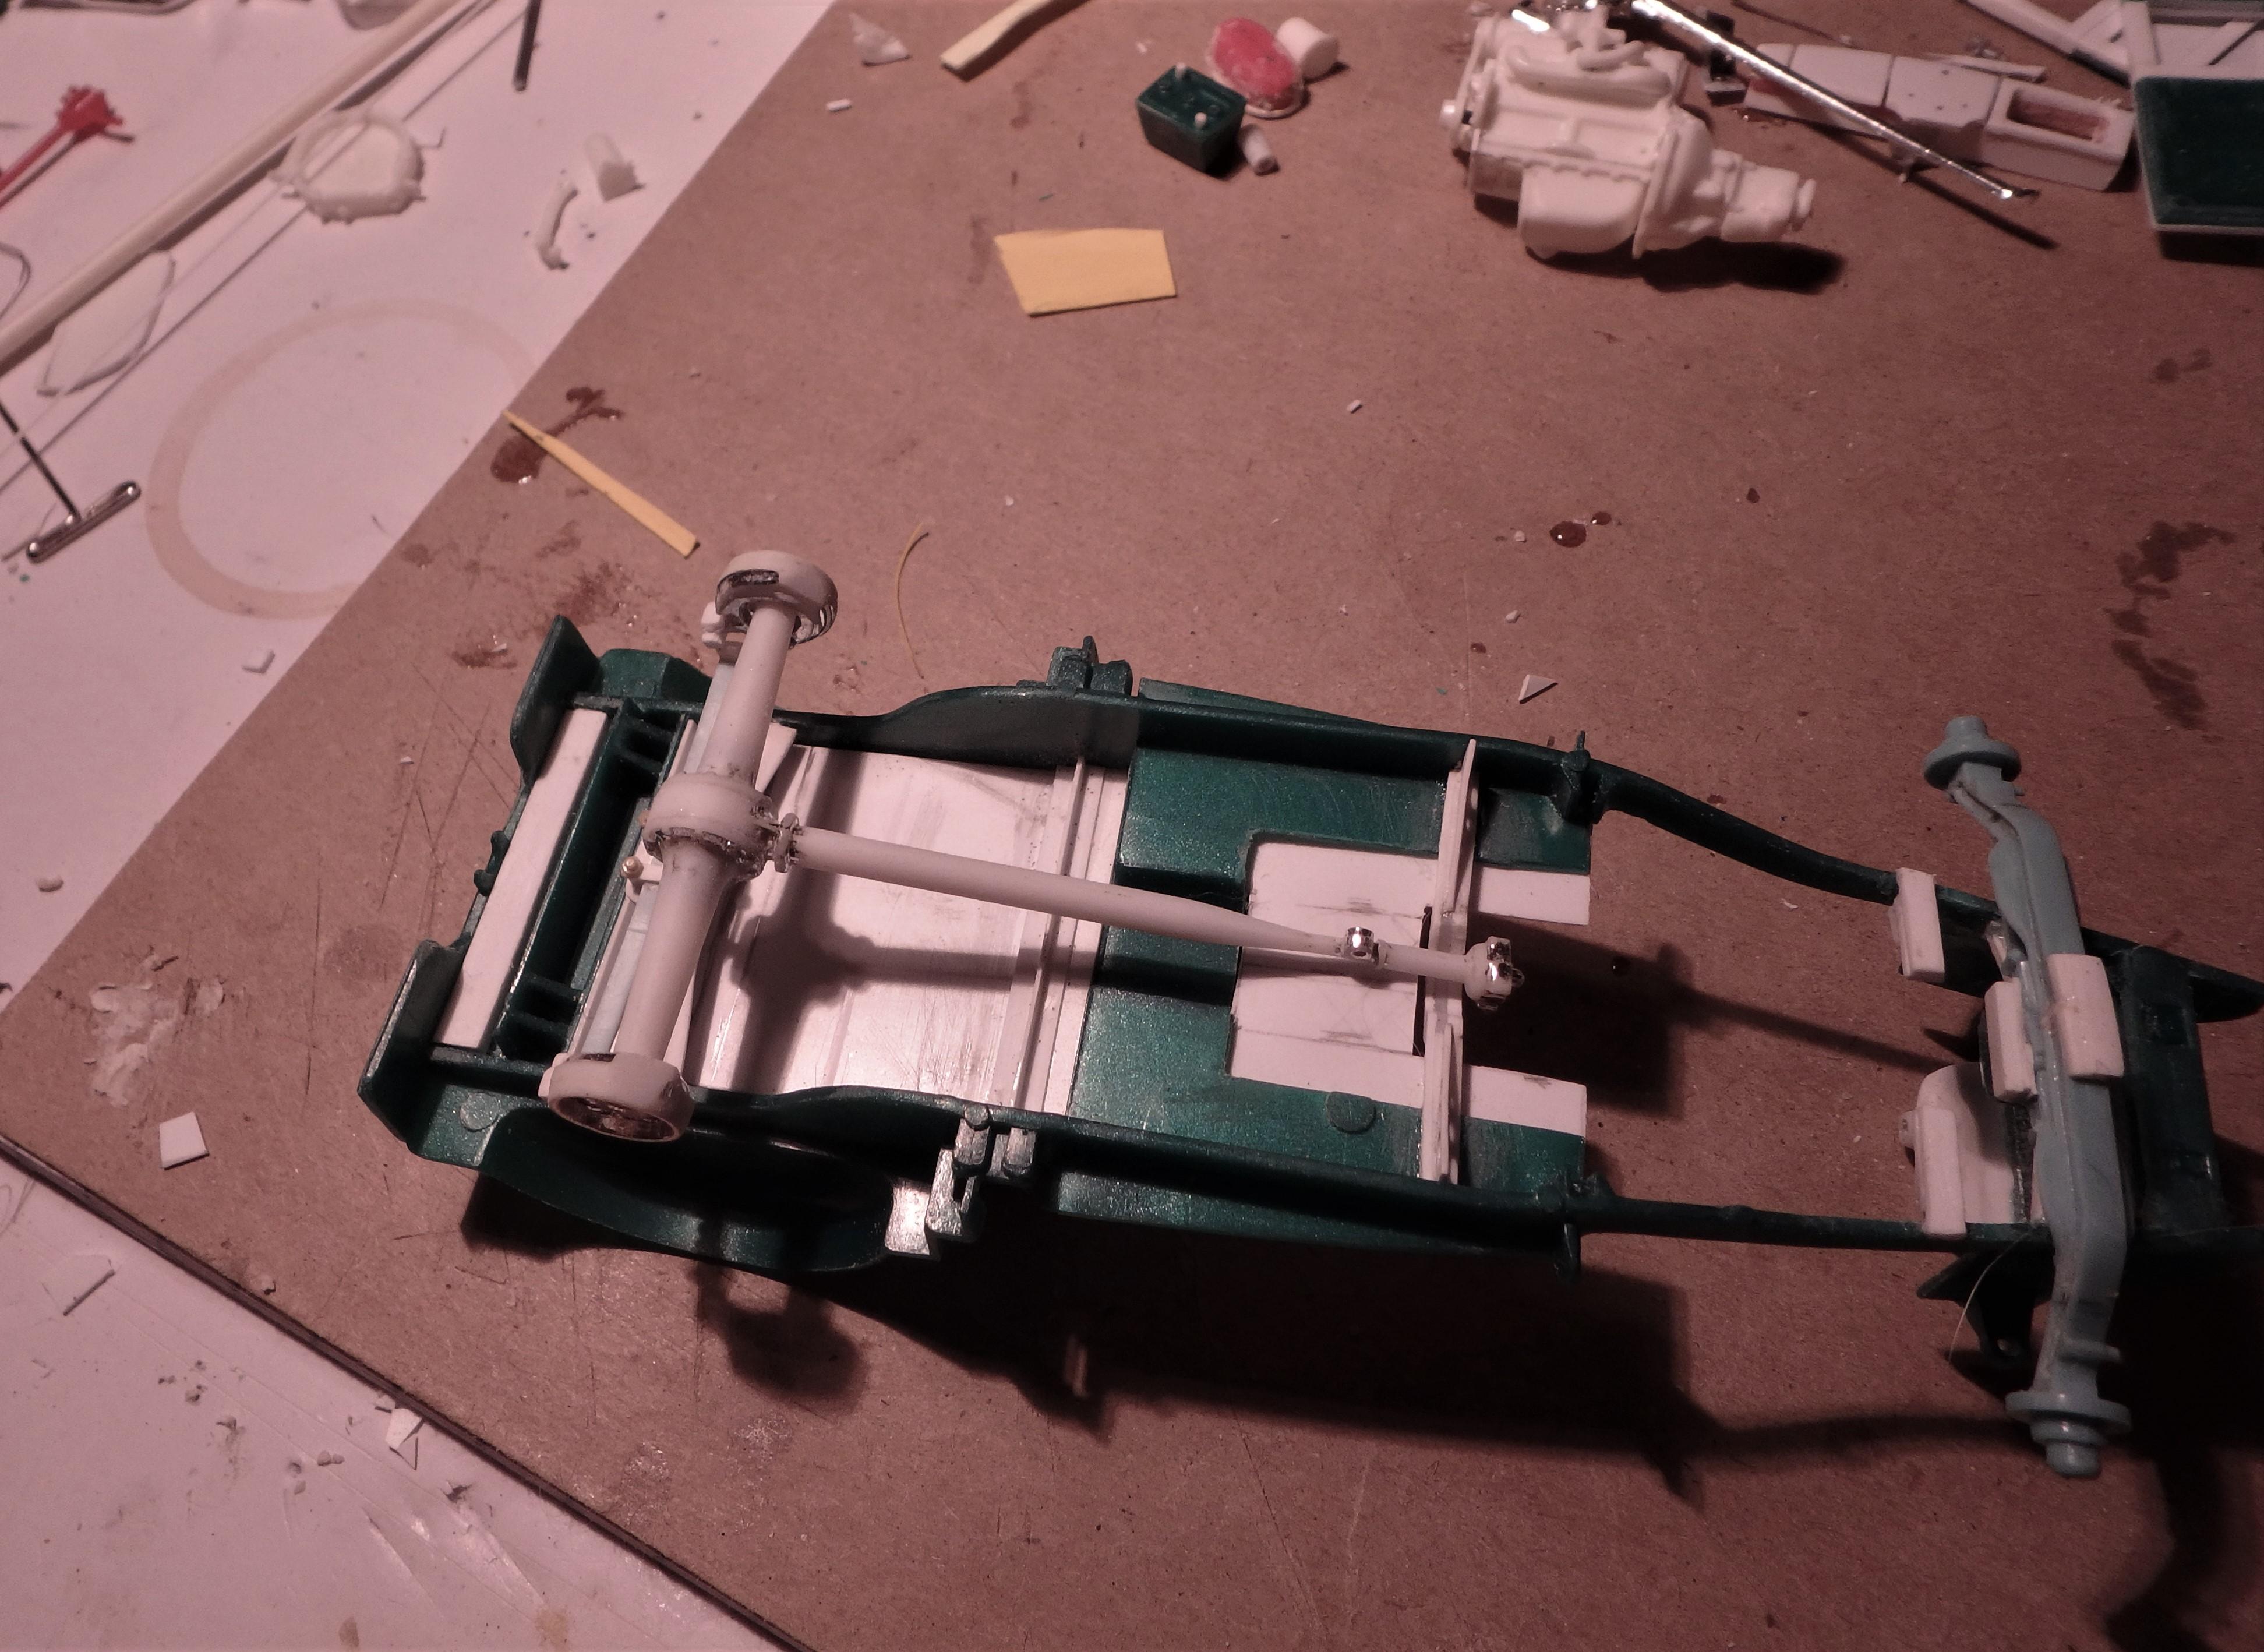
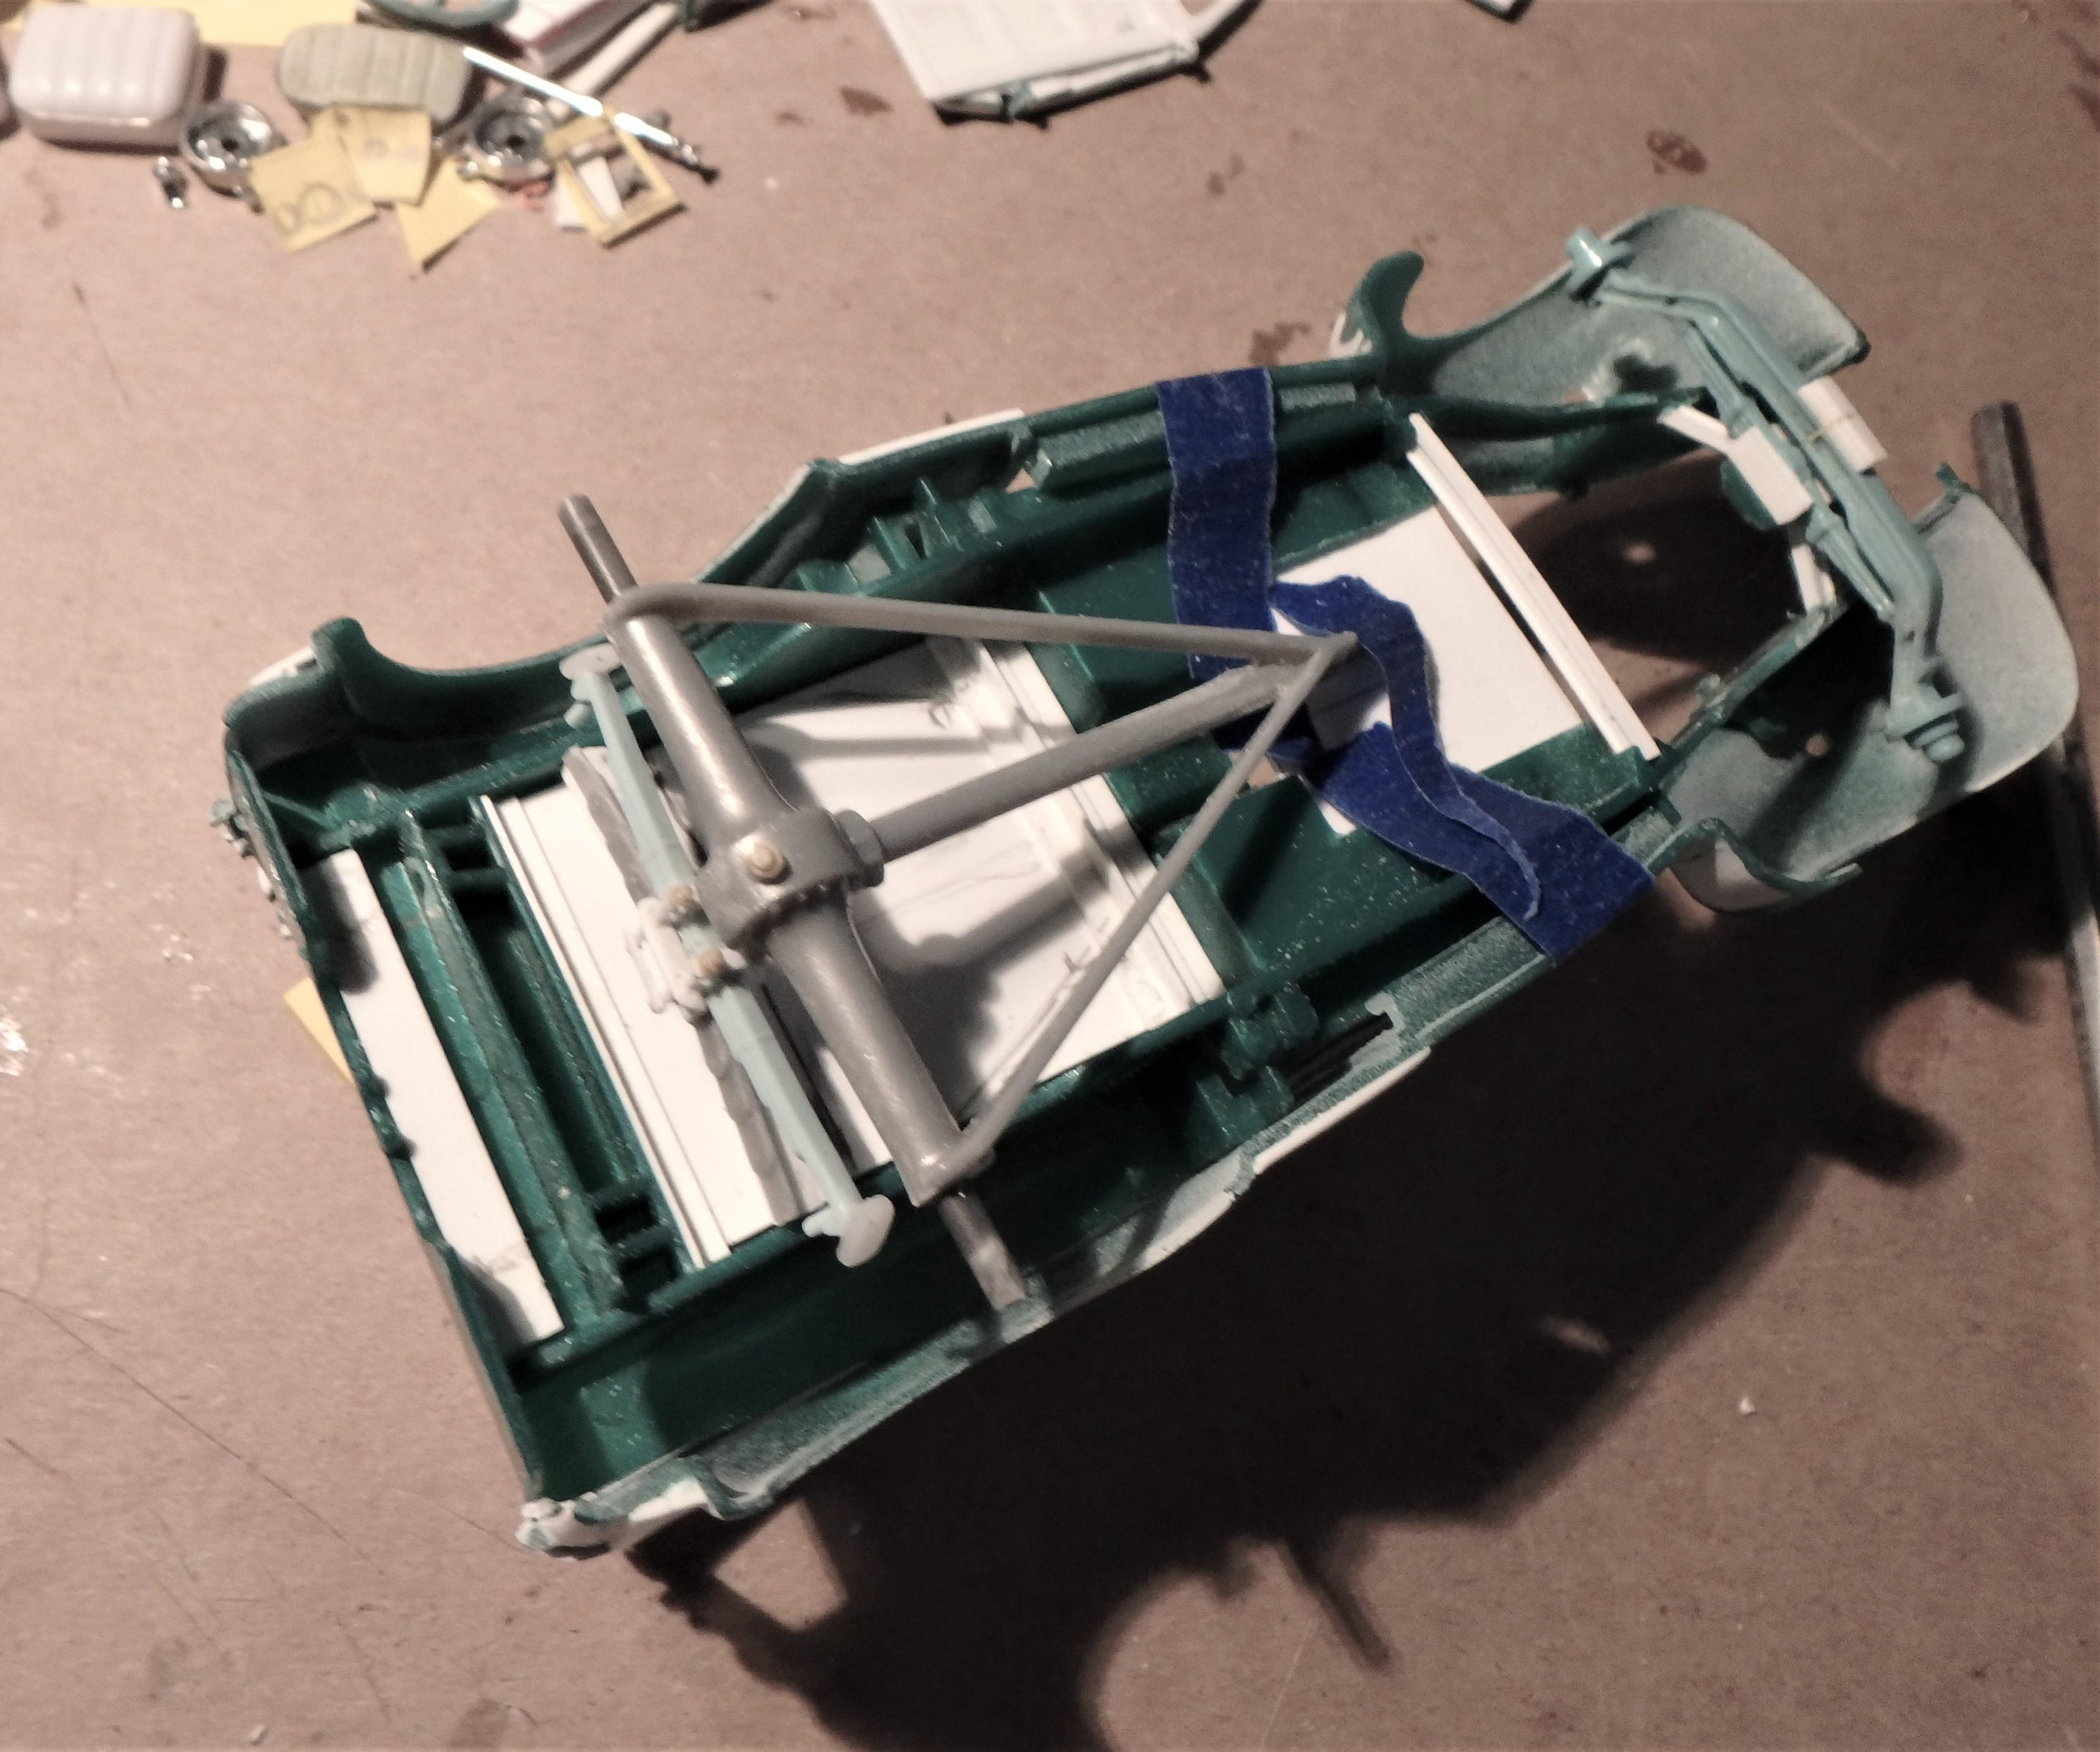
Spent some time reworking the front suspension and engine mount to allow the engine and radiator tank to fit, and them reworked the rear axle.
-
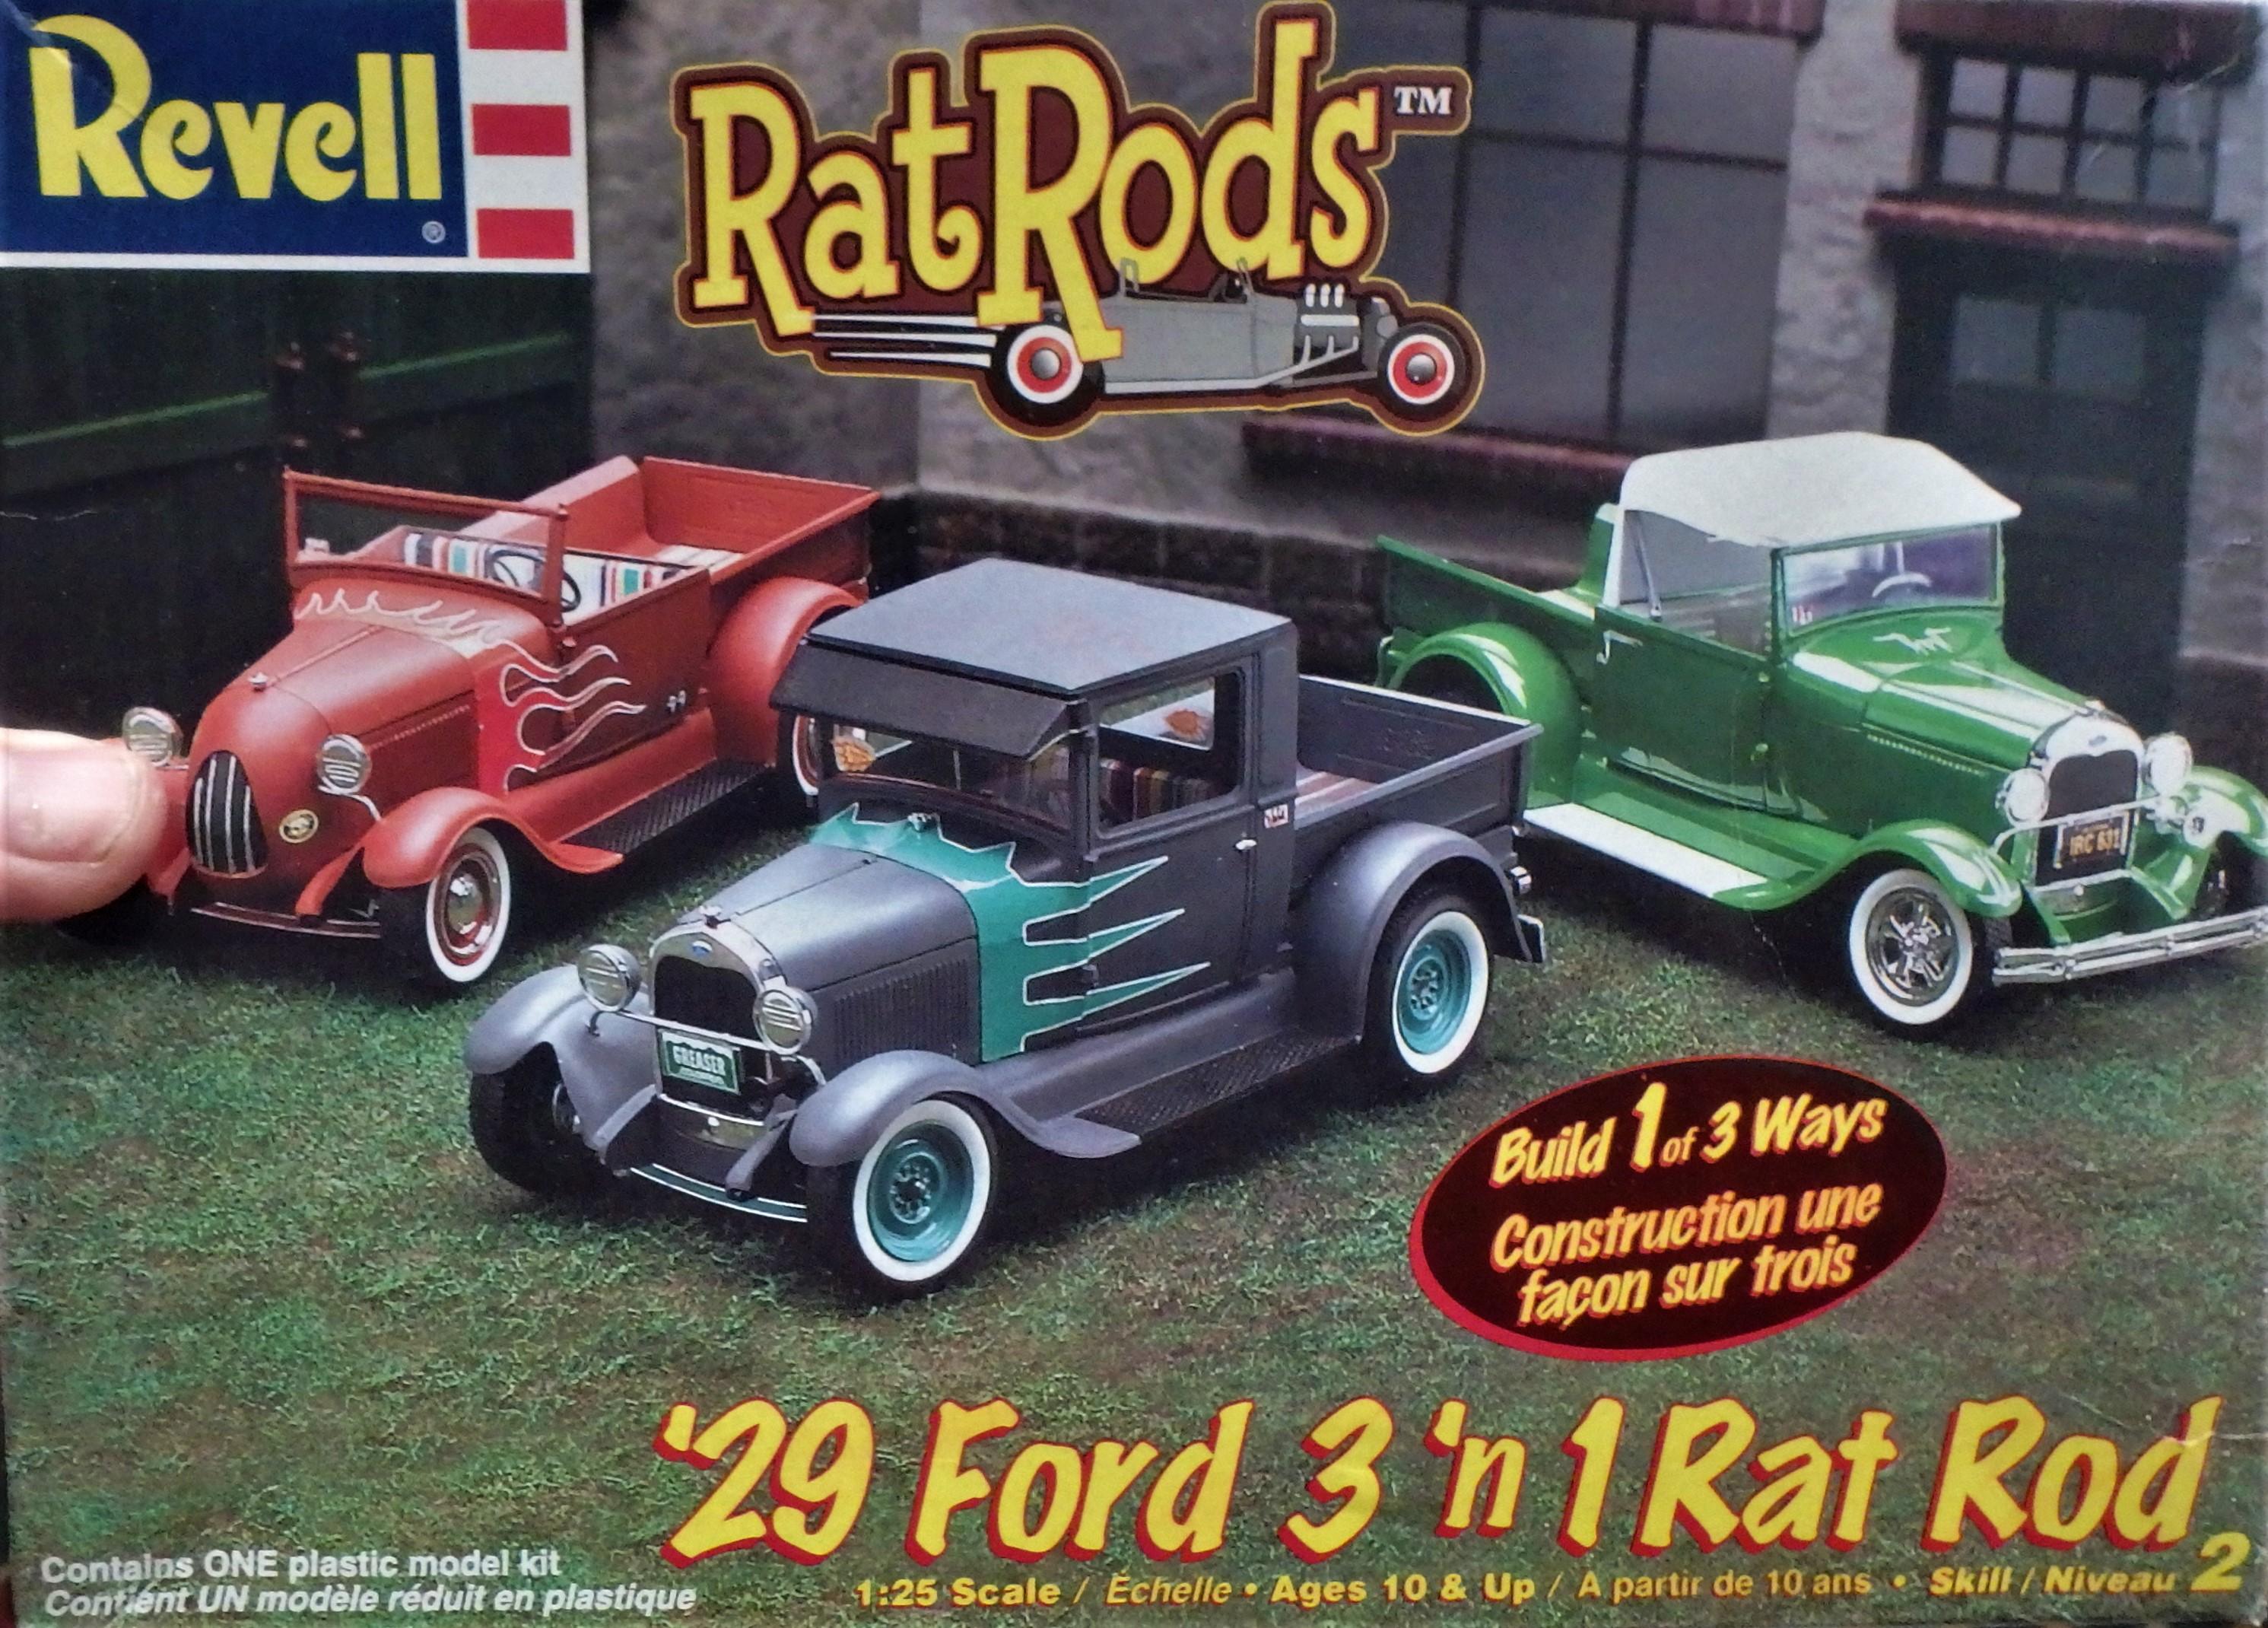
Think I found something....much less robust...chrome rear axles from the Revell 29 Ford Rat Rod kit. Will dechrome , maybe narrow the center a bit more, and take a look.
-
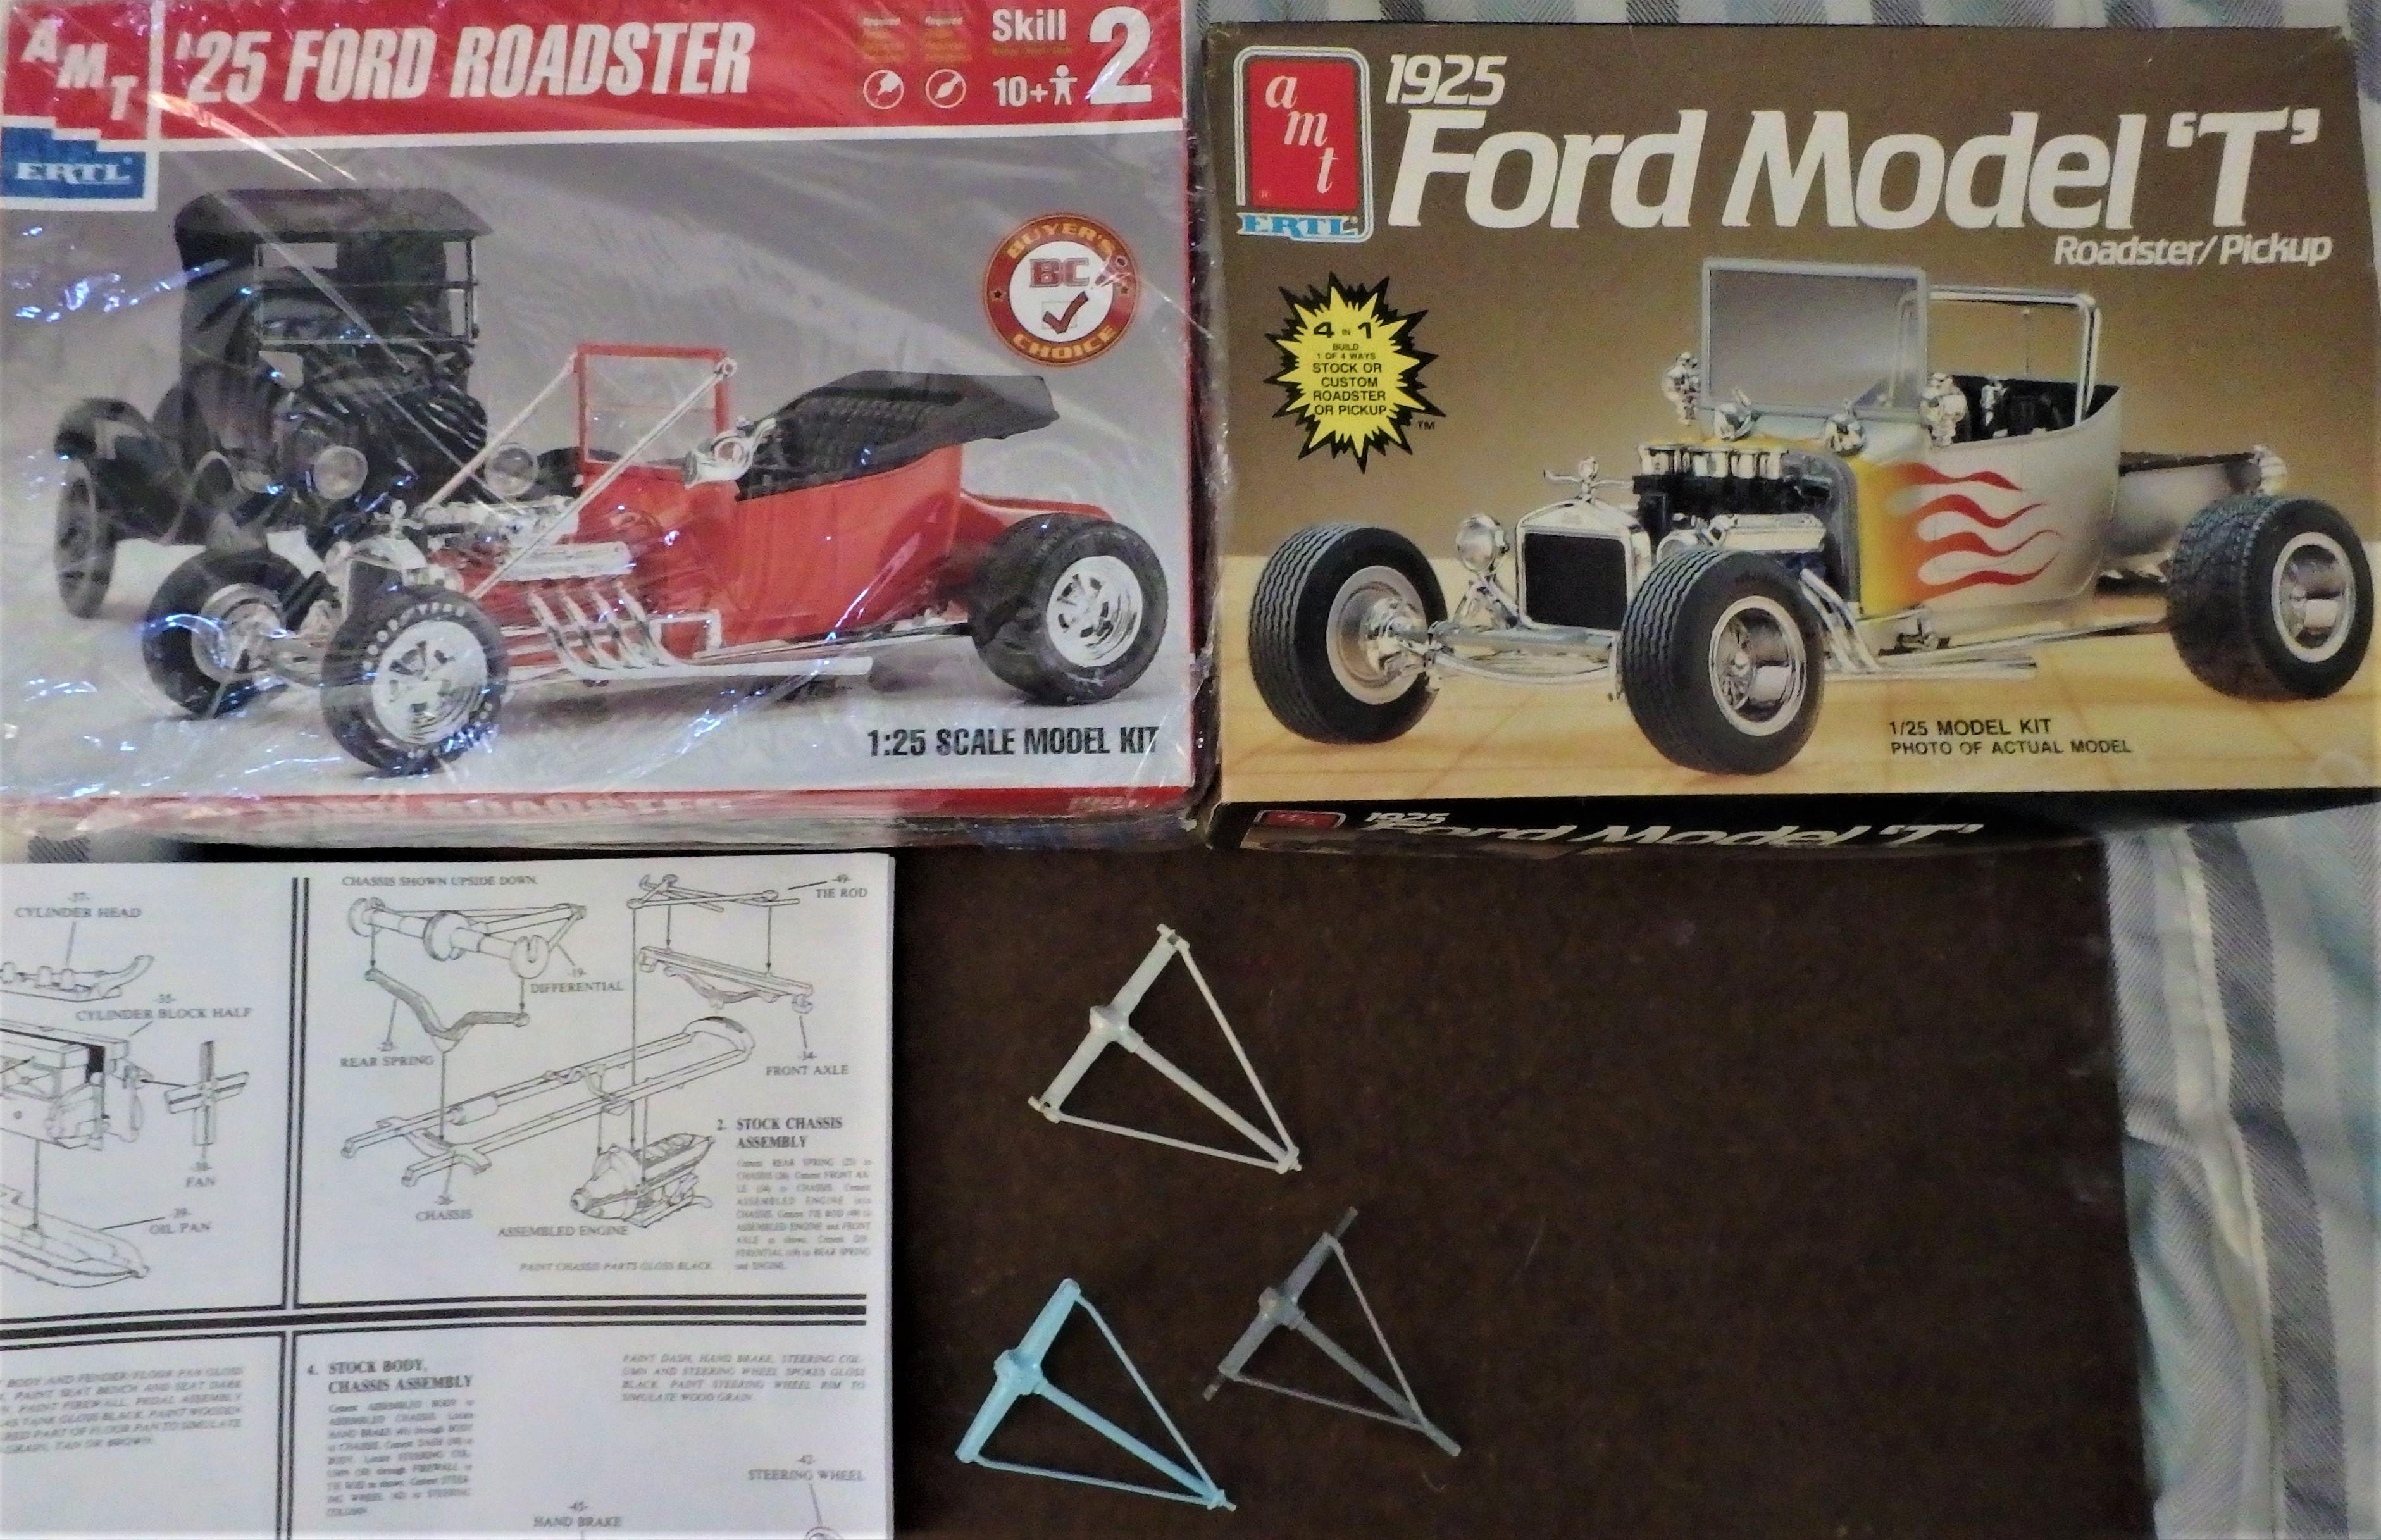
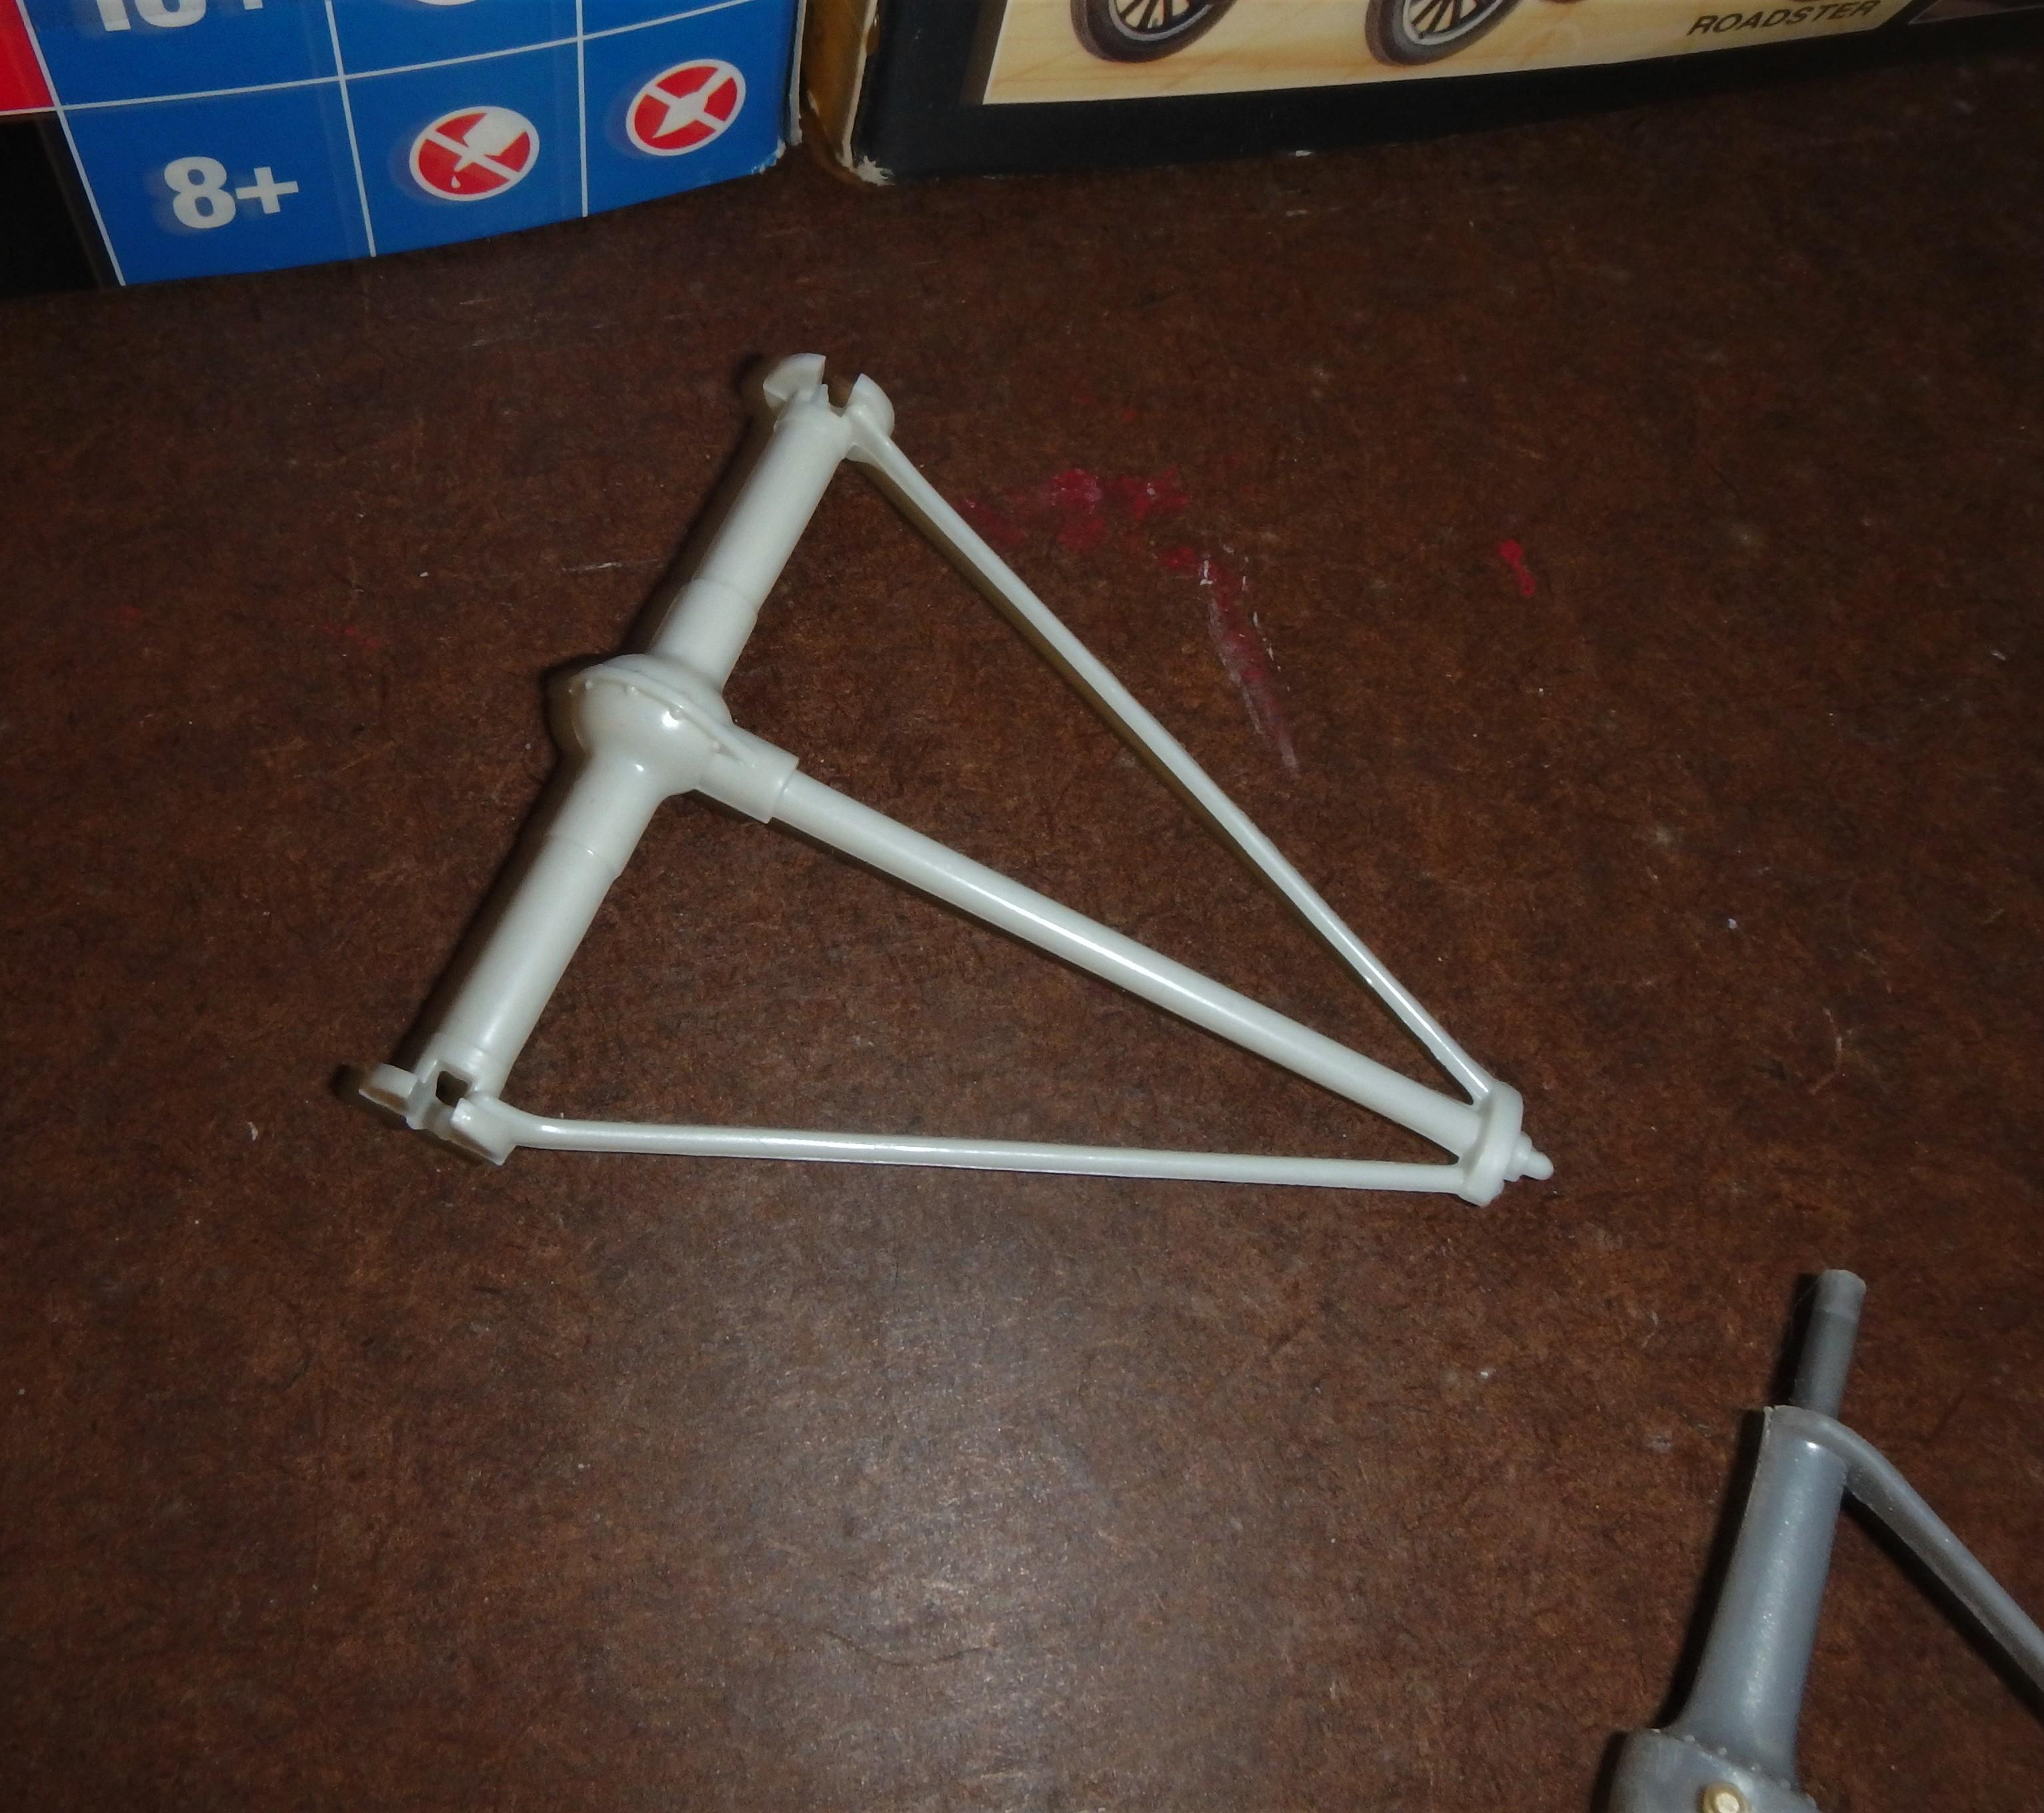
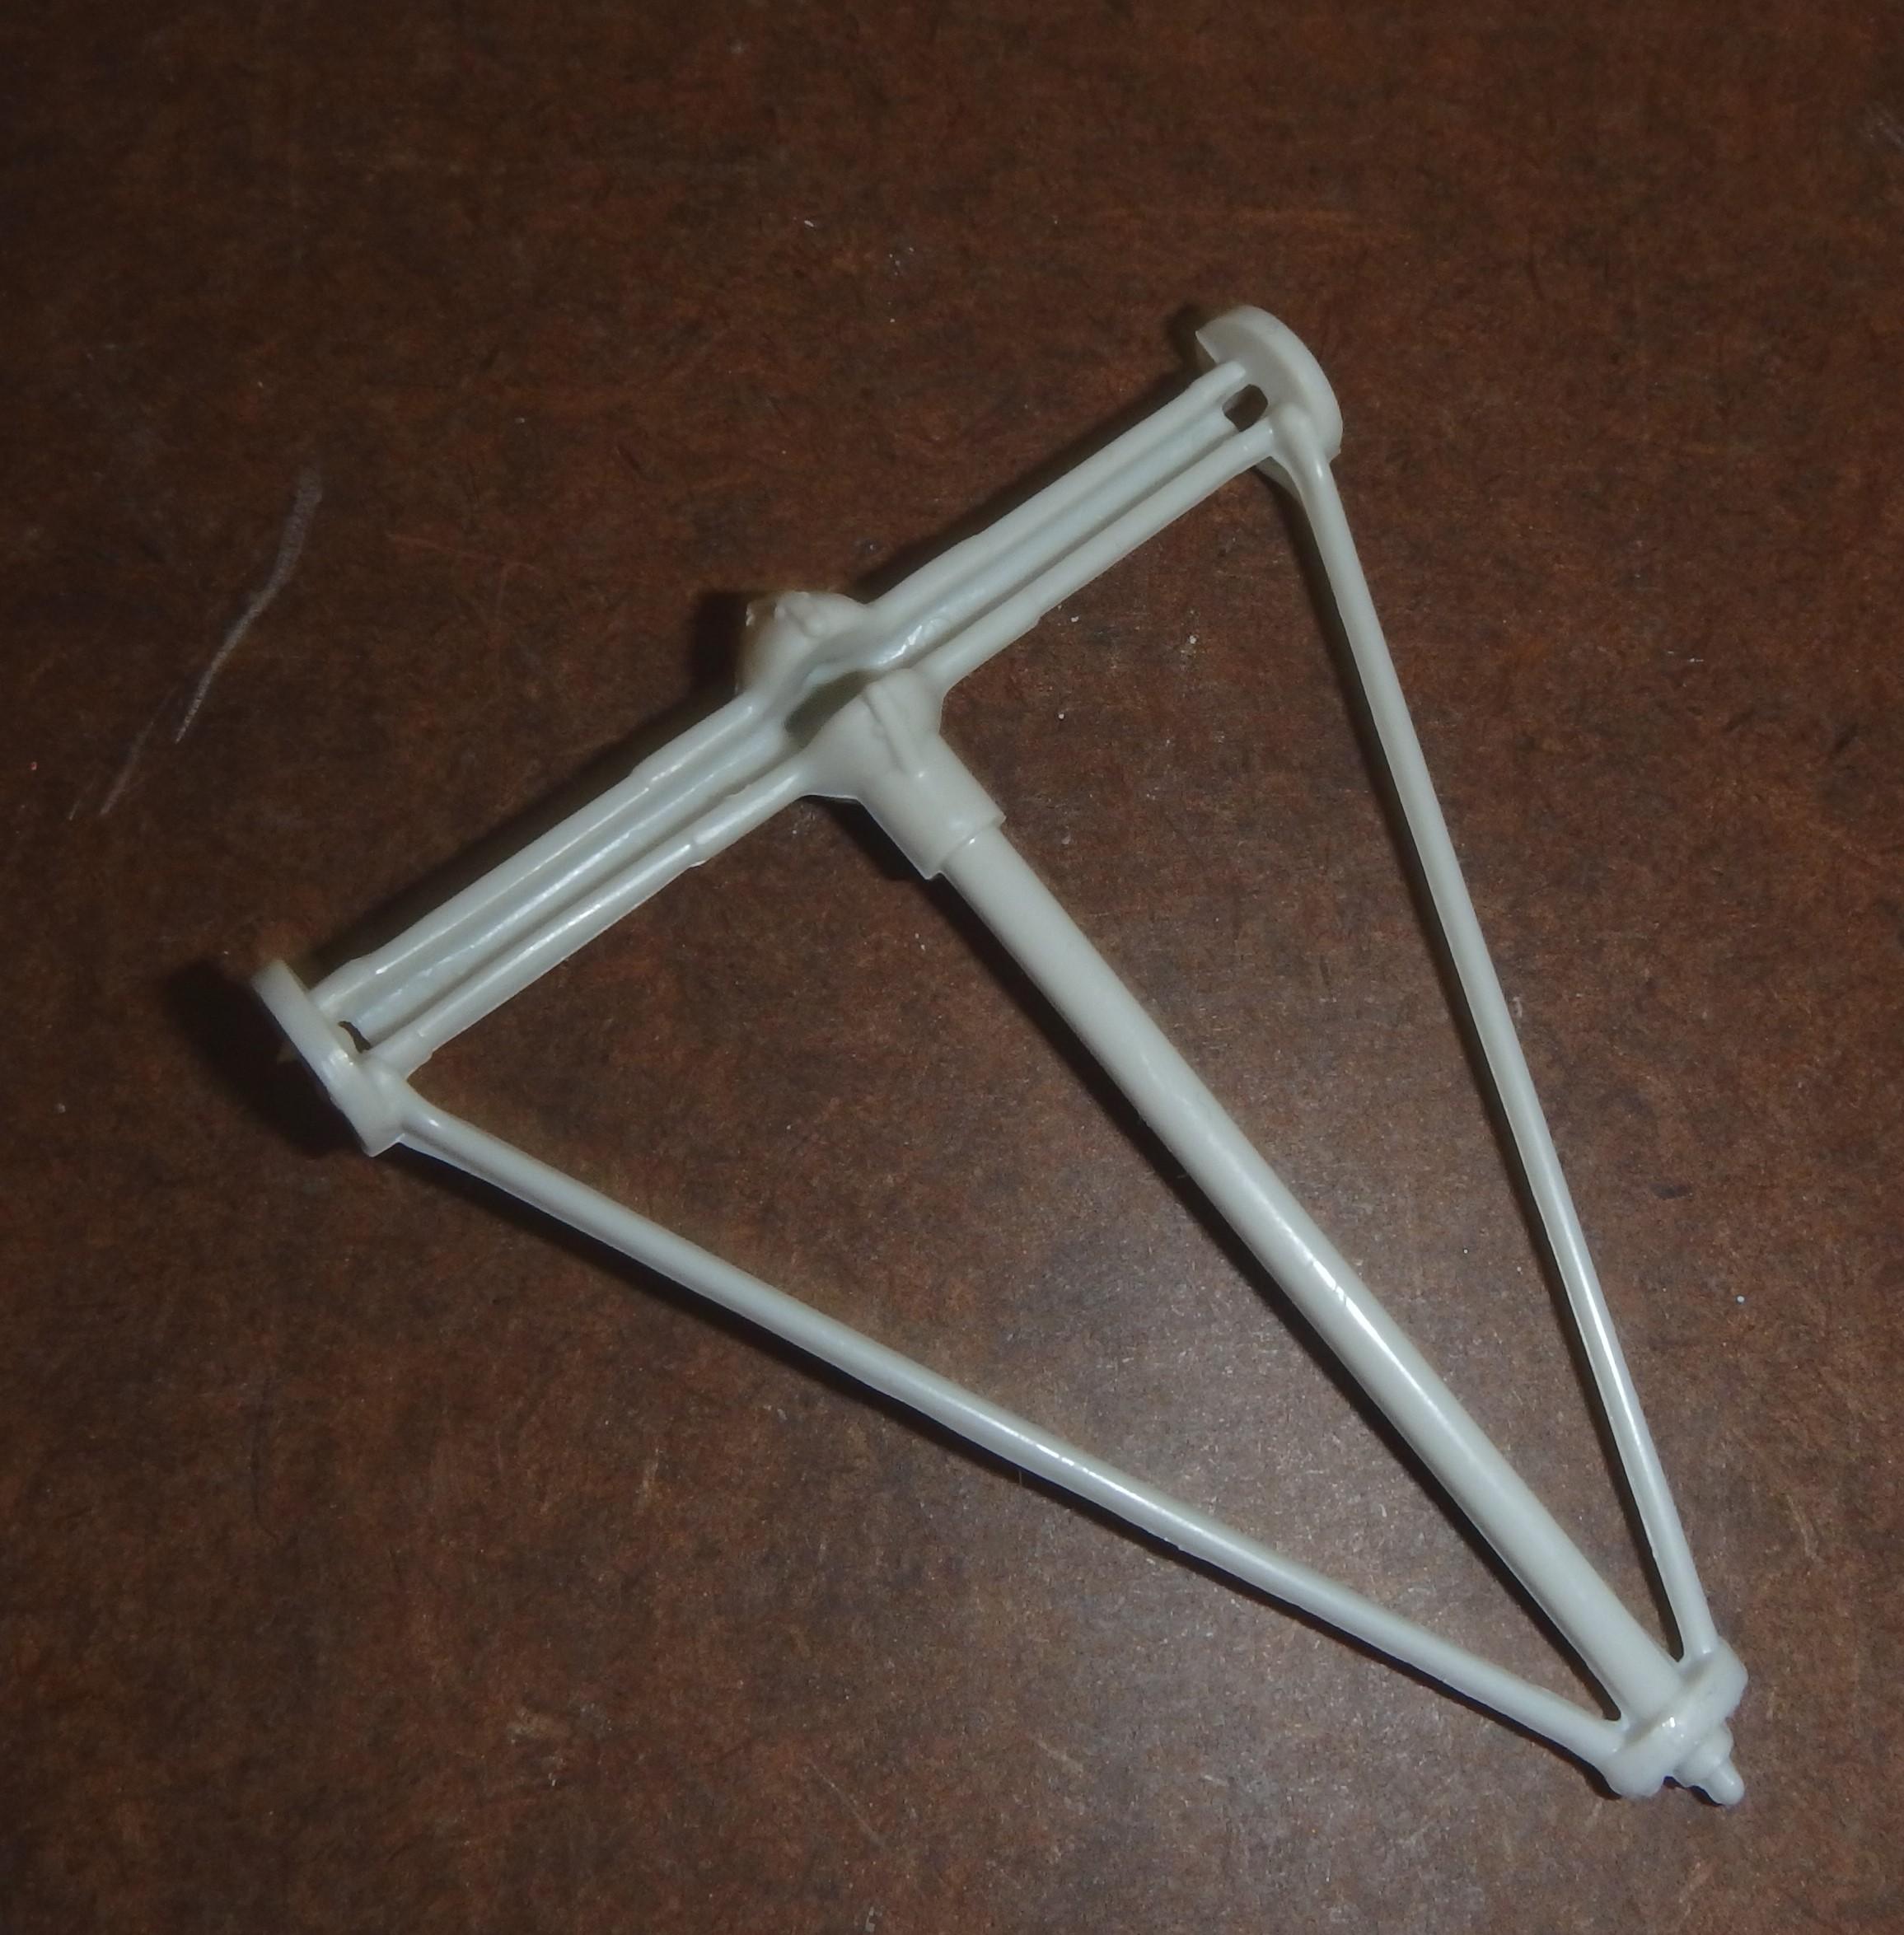
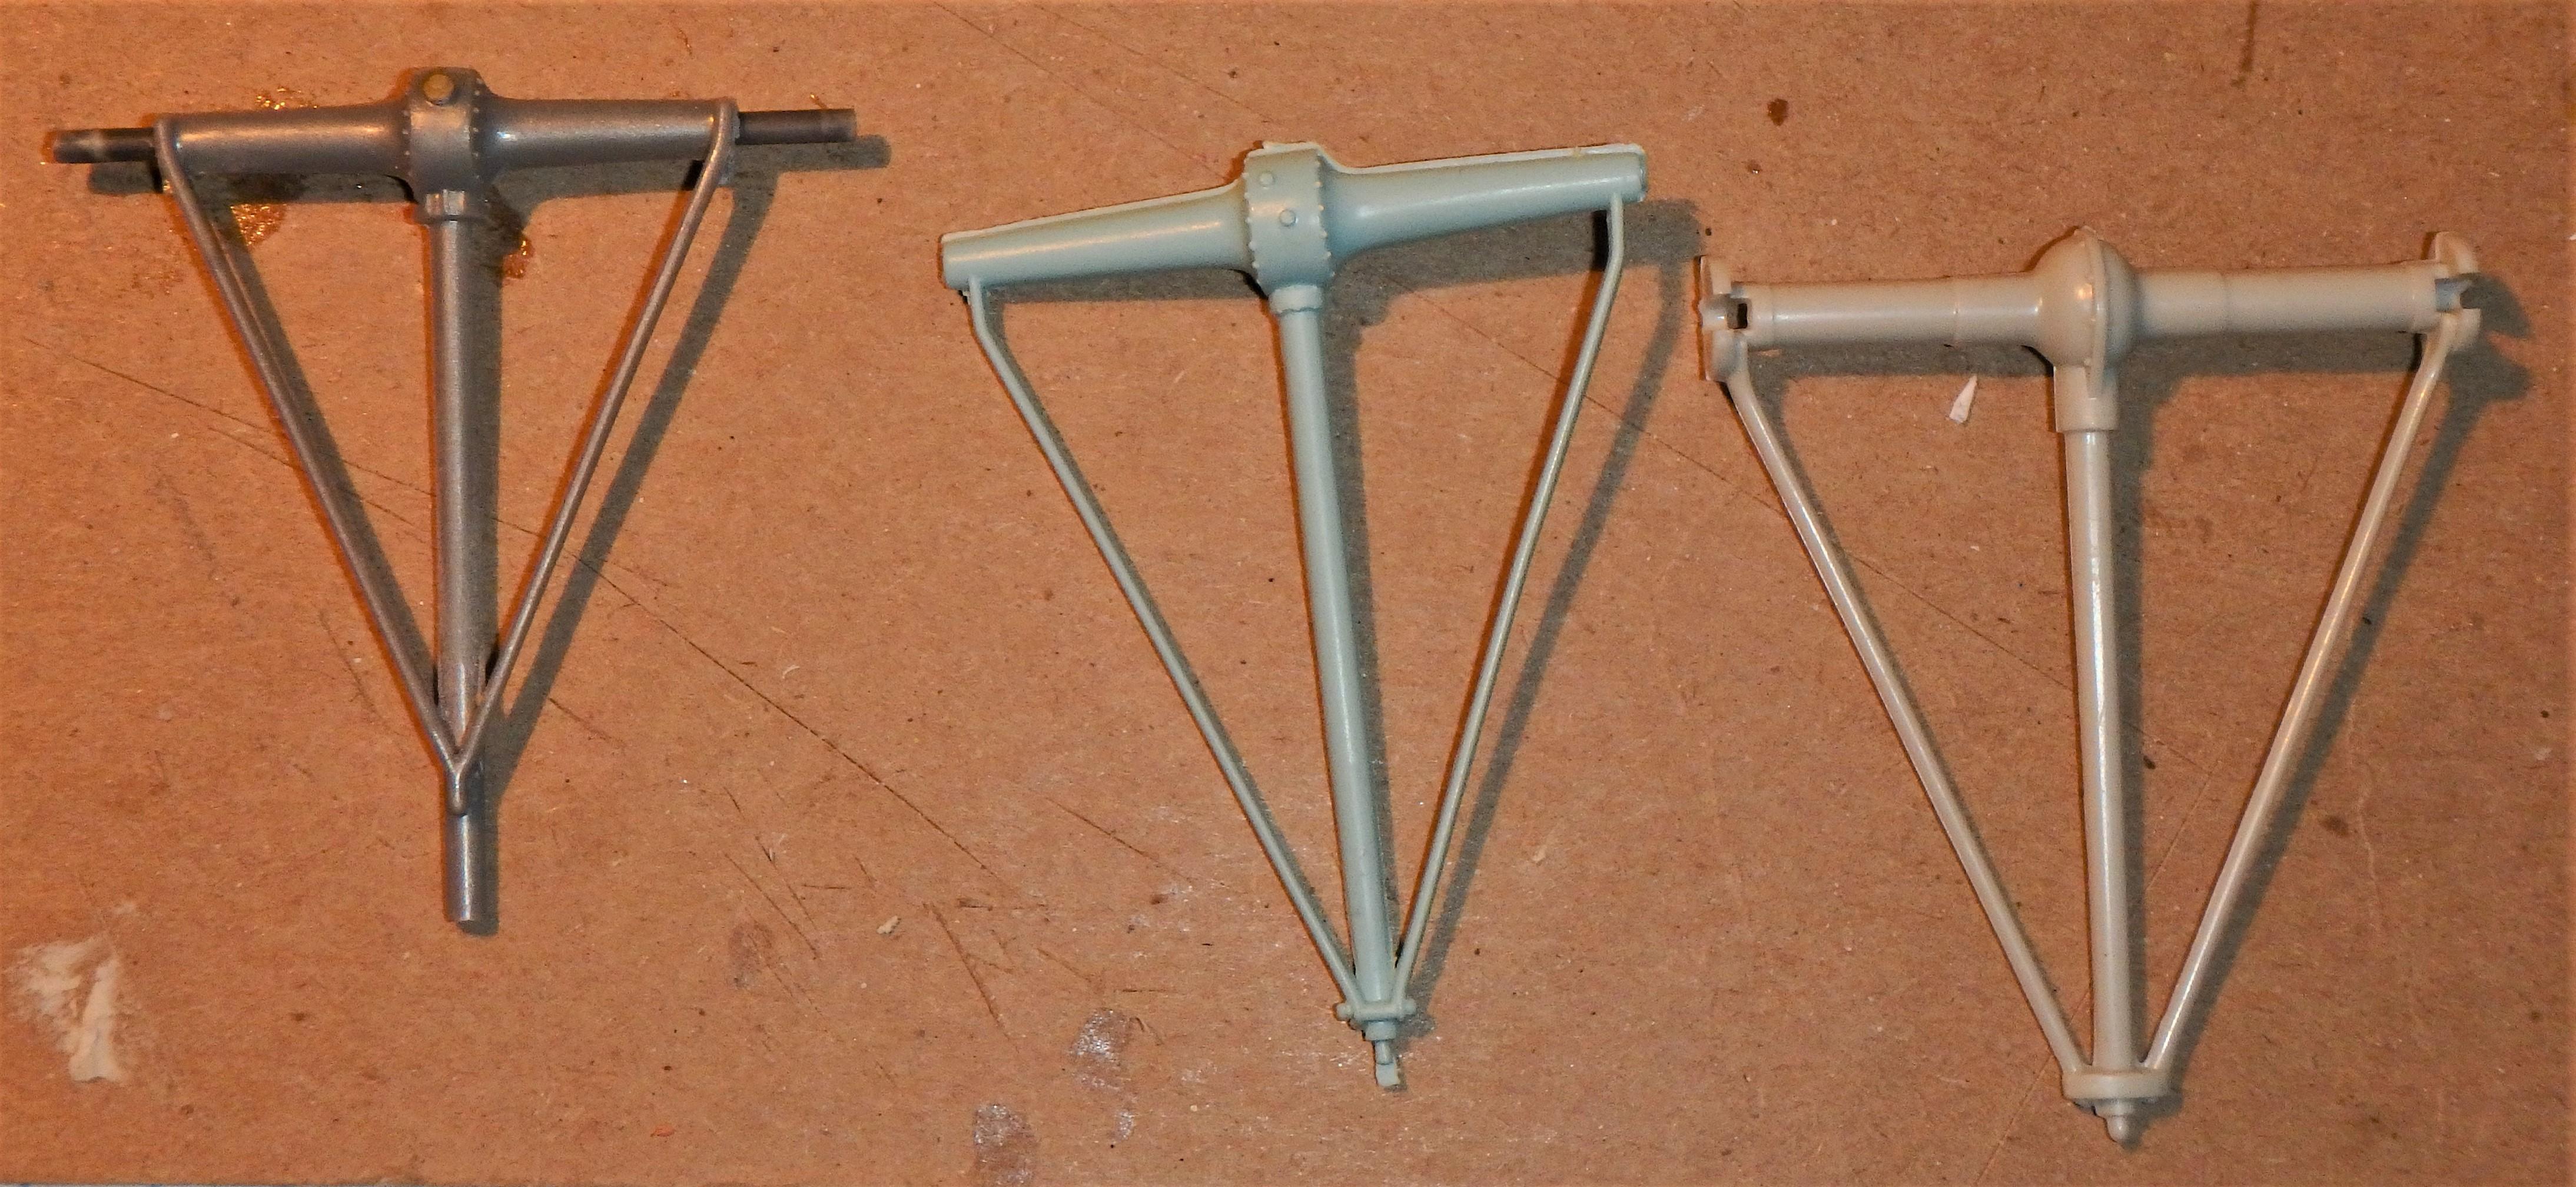
Checked the kit stash....I have two AMT 25 T kits..." '25 Ford Roadster" and "1925 Ford Model T" to compare for a less robust unit. Both 25 T kits have a stock axle option...the light grey piece as shown ( the alternative is an early attempt at a Halibrand quick change rear) ...same one piece unit in each kit, with hollow back. For comparison I have the dark grey axle I was using, since it appeared to match my reference photo, and a similar light blue unit which may be from an AMT 29 roadster kit, which is very similar to the dark grey unit except for some additional detail bolts. Maybe a check on other kits will offer something. Given Alan's suggestion, I need to rethink the axle tube width on all of these, that is the part that looks too beefy to me, and maybe rethink the differential component itself as well. (Alan...you ever post on Australian Automotive Model Builders ? I've traded with guys there if you can find those artillery wheels)
-
Thanks guys. Which axle are we talking about.....being a tad too "robust" - the first one with dual leaf springs, or the second one with the single traverse leaf spring....or both?
-
Worked on the Thames dashboard......reference picture shows glove box on right, speedometer and amps, fuel gauge on left. Center panel has an ignition key near bottom, and a handle above that might be to crank the windshield open, but that's just a guess.
-
Been doing more research than building on this one....details hard to find, often they don't include model or year....
-
I pulled the wheels/hubcaps from the 37 Ford Pick up kit, which are supposed to be a better match to a stock Anglia./Thames. Not sure I like the look as much as the white wall steelies, but I'll worry about that decision later.
-
Bent the backs to the bucket seats and filled with epoxy putty...with wire detail. Will need to scratch build a frame for each.


.JPG.8f0fc6dfa7855bb3c0512be66dda9089.JPG)


.JPG.6c2f91d01f2a9ae7670d72998666cd47.JPG)