SpeedShift
-
Posts
493 -
Joined
-
Last visited
Content Type
Profiles
Forums
Events
Gallery
Everything posted by SpeedShift
-
Nice build...one of my favorite subjects....
-

-
More work on engine...I think the tank thing next to the battery is an air tank, or a vacuumn reservoir tank for brakes and wipers.
-
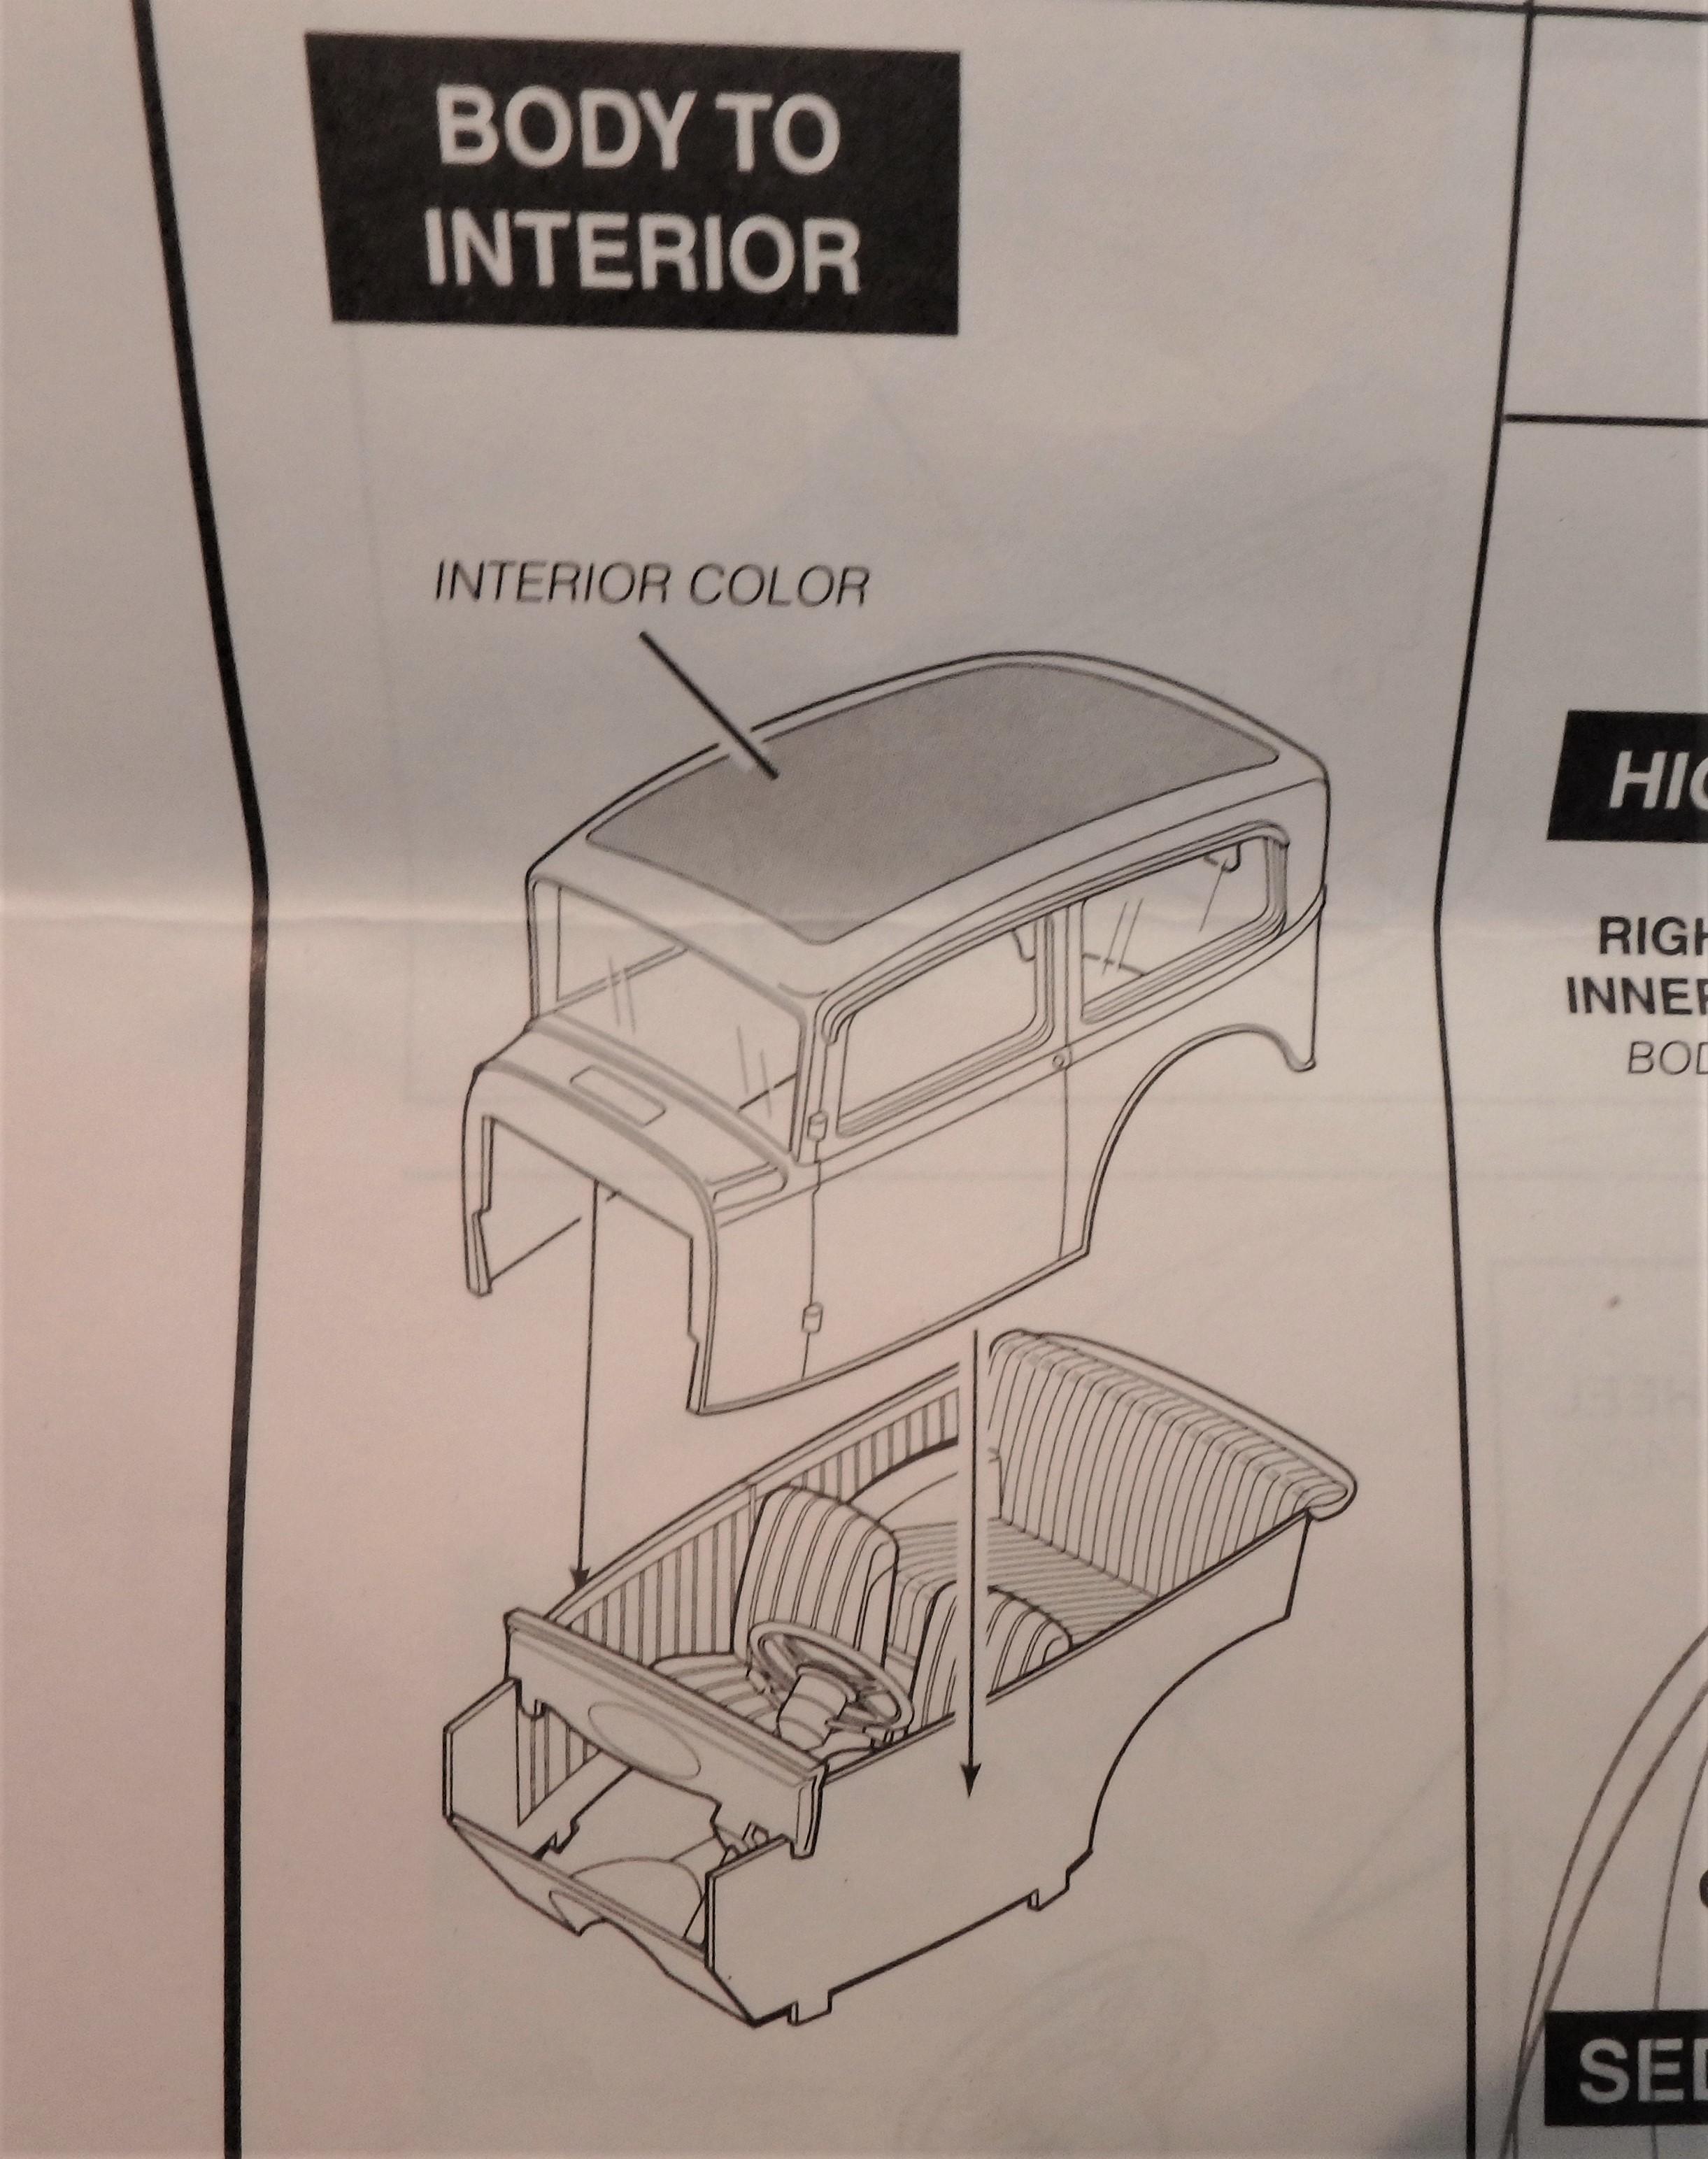
Got help on another link. "do it before the interior is attached to the chassis and before the rear inner fenders" Just tried it....inserting the interior w/o the rear fender wells and chasis unit works much better. Thanks much Hakan.
-
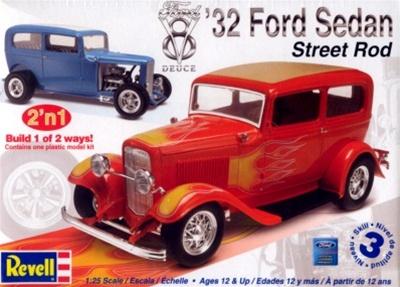
Problem with Revell kit....'32 Ford Sedan Street Rod
SpeedShift replied to SpeedShift's topic in WIP: Model Cars
"do it before the interior is attached to the chassis and before the rear inner fenders" Yes ...I think that will make a big difference. Just tried it....inserting the interior tub w/o the rear fender wells and chasis unit works much better. Thanks much Hakan..... -
Nice job!
-
I think that is what I need to do. I may need to adjust or trim the bottom of the side panels as I think they need to seat clean w/o benefit of preassembly. I thought I noticed the same issue with the 5 window deuce. Thanks Jim!
-
The instructions clearly indicate building the interior tub first, and then inserting that into the body shell, but assembled the interior tub is much wider than the opening at the bottom of the body shell... My measuring indicates a 2.1 inch wide interior tub is expected to insert through an opening at the bottom of the body shell that is only 1.9 inch wide.
-
ANY BODY BUILD THIS REVELL KIT, AND FIGURE OUT HOW TO GET THE INTERIOR TUB TO FIT INSIDE THE BODY SHELL? THE INTERIOR BUILDS UP WIDER THE OPENING AT THE BOTTOM OF THE SHELL.
-
Highly commendable work there. This will be a unique personal design, with distinction.
-
Excellent job on this one!
-
Welcome. Love those model subjects.....and those kits in your selection.
-
Beautiful job on a great subject.......Well Done!
-
Thanks for the suggestion,... that might work. Have to see what I can figure out when the new door hinges are made.
-
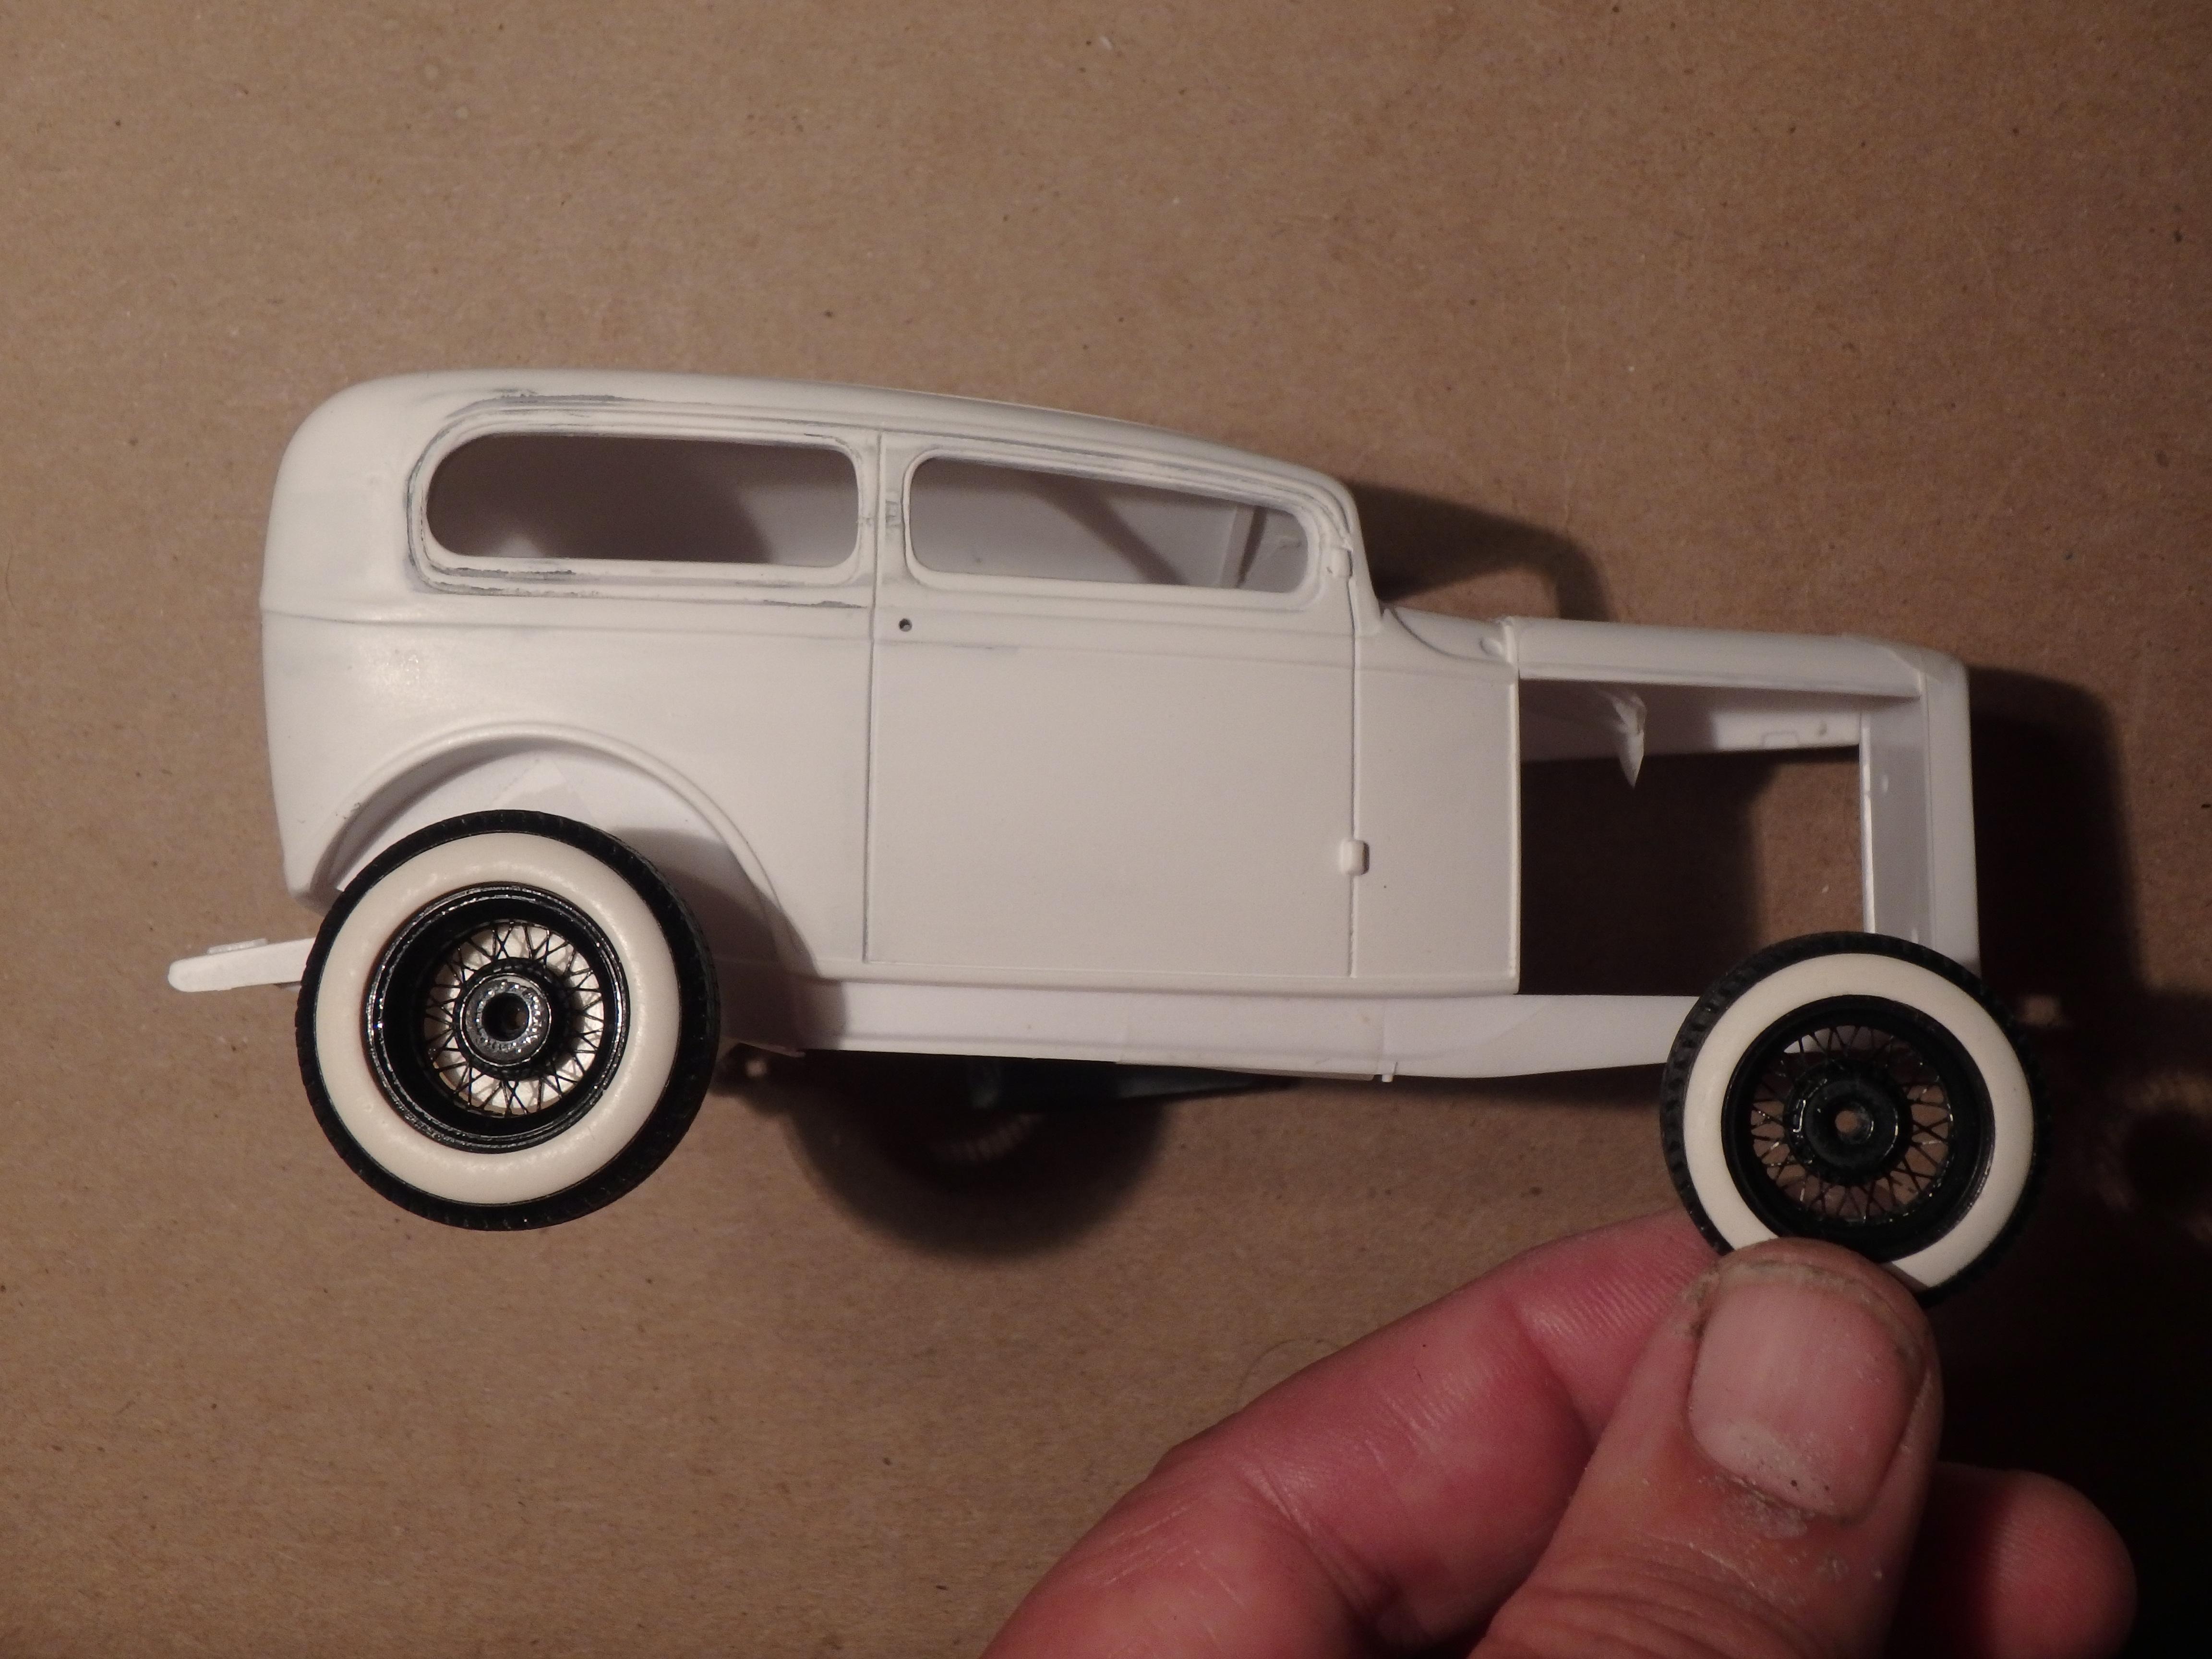
My parts stash had an old set of Replicas and Miniatures Kelsey Hayes wheels that had been sitting around waiting for a project. The set included some very nice big and little white wall tires, and photo etched spokes that Detail Master had made for the kit. It took quite a bit of patience and careful handling, as each wheel has several sets of photo etch spokes for both the front and back of the wheel, that had to be bent on the outside of each of the rims, and off set with the adjacent spokes, when supergluing to each other. For the engine, I think I'll do a vintage flathead with some vintage treatments, lots of aftermarket choices for that. Body will be a jet black with modest vintage white pinstriping, ala the old "Black Widow".
-
Chopped roof needs a little more cleaning up on the rain gutter/drip lines.
-
While waiting for decent painting conditions on my other project I thought I'd take a look at a few other WIP. I had seen some nice looking chopped '32 sedans, and who doesn't like the Orange Crate...? Lots of inspirational pictures on the internet. Revell '32 Ford Sedan Street Rod kit is the starting point, however I'd like to back date the modern street rod enhancements and replace with some "vintage" touches. First task was chopping the top....(wish I had taken a picture when I started).
-
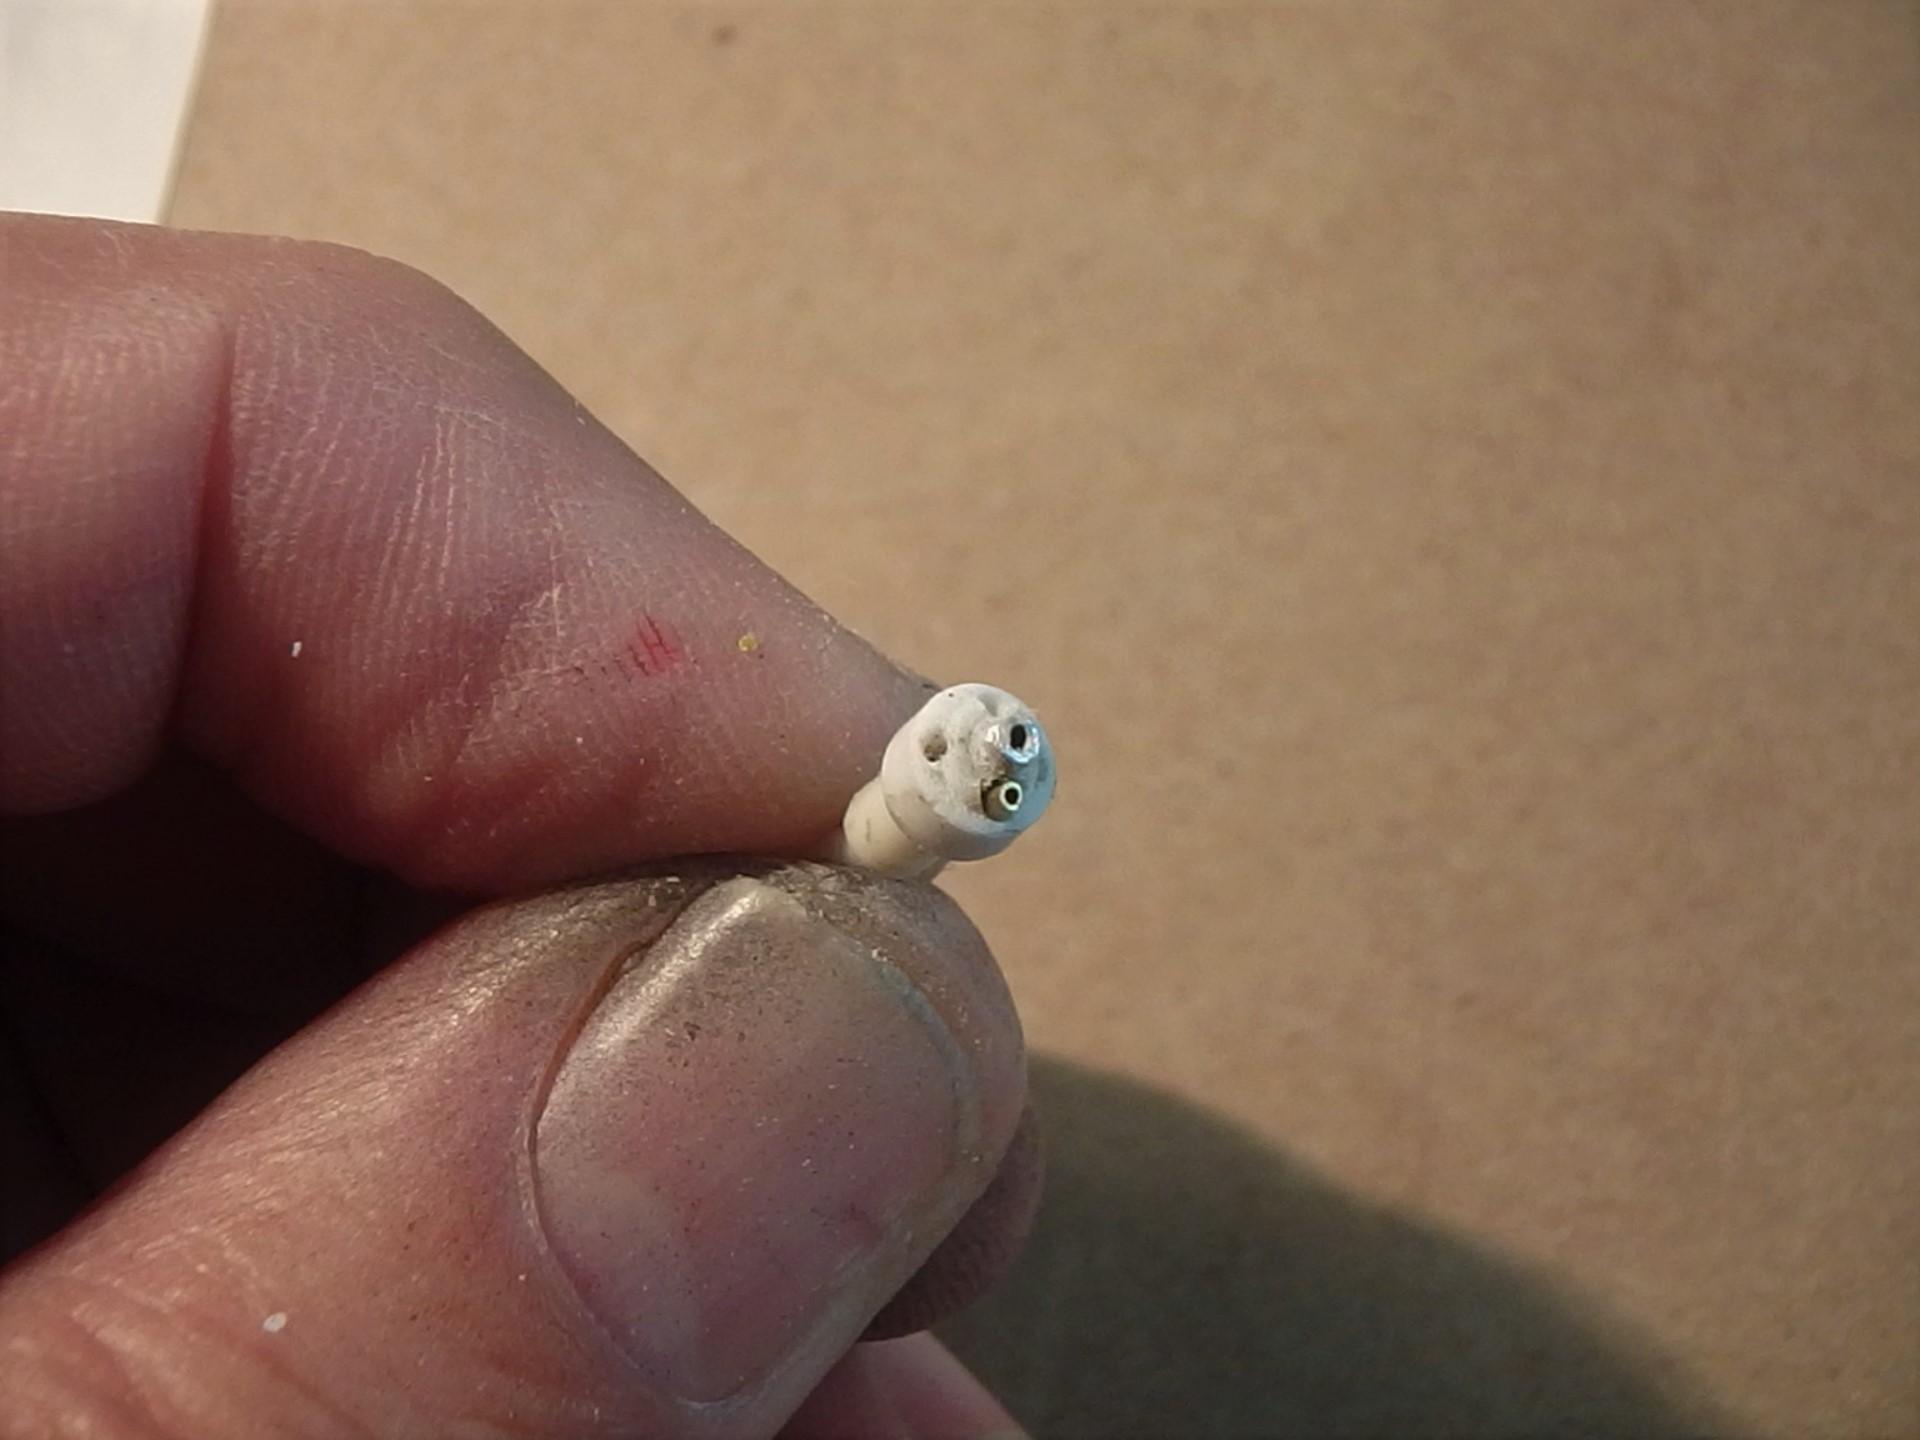
Working on engine details. The Revell 4 banger distributor is too small to wire for four plugs and coil, so I'm putting a new one together. Made a retention strap for the battery. Need to file it down a little thinner.
-
Made a floor carpet using art tape with Ken's Kustom Fuzzi-Fur. Made a gear shift from a straight pin. The Ford banjo steering wheel is a Model Car Garage PE/resin piece. Dash has a first coat of paint applied, gauges and parking brake and windshield crank handles next.
-
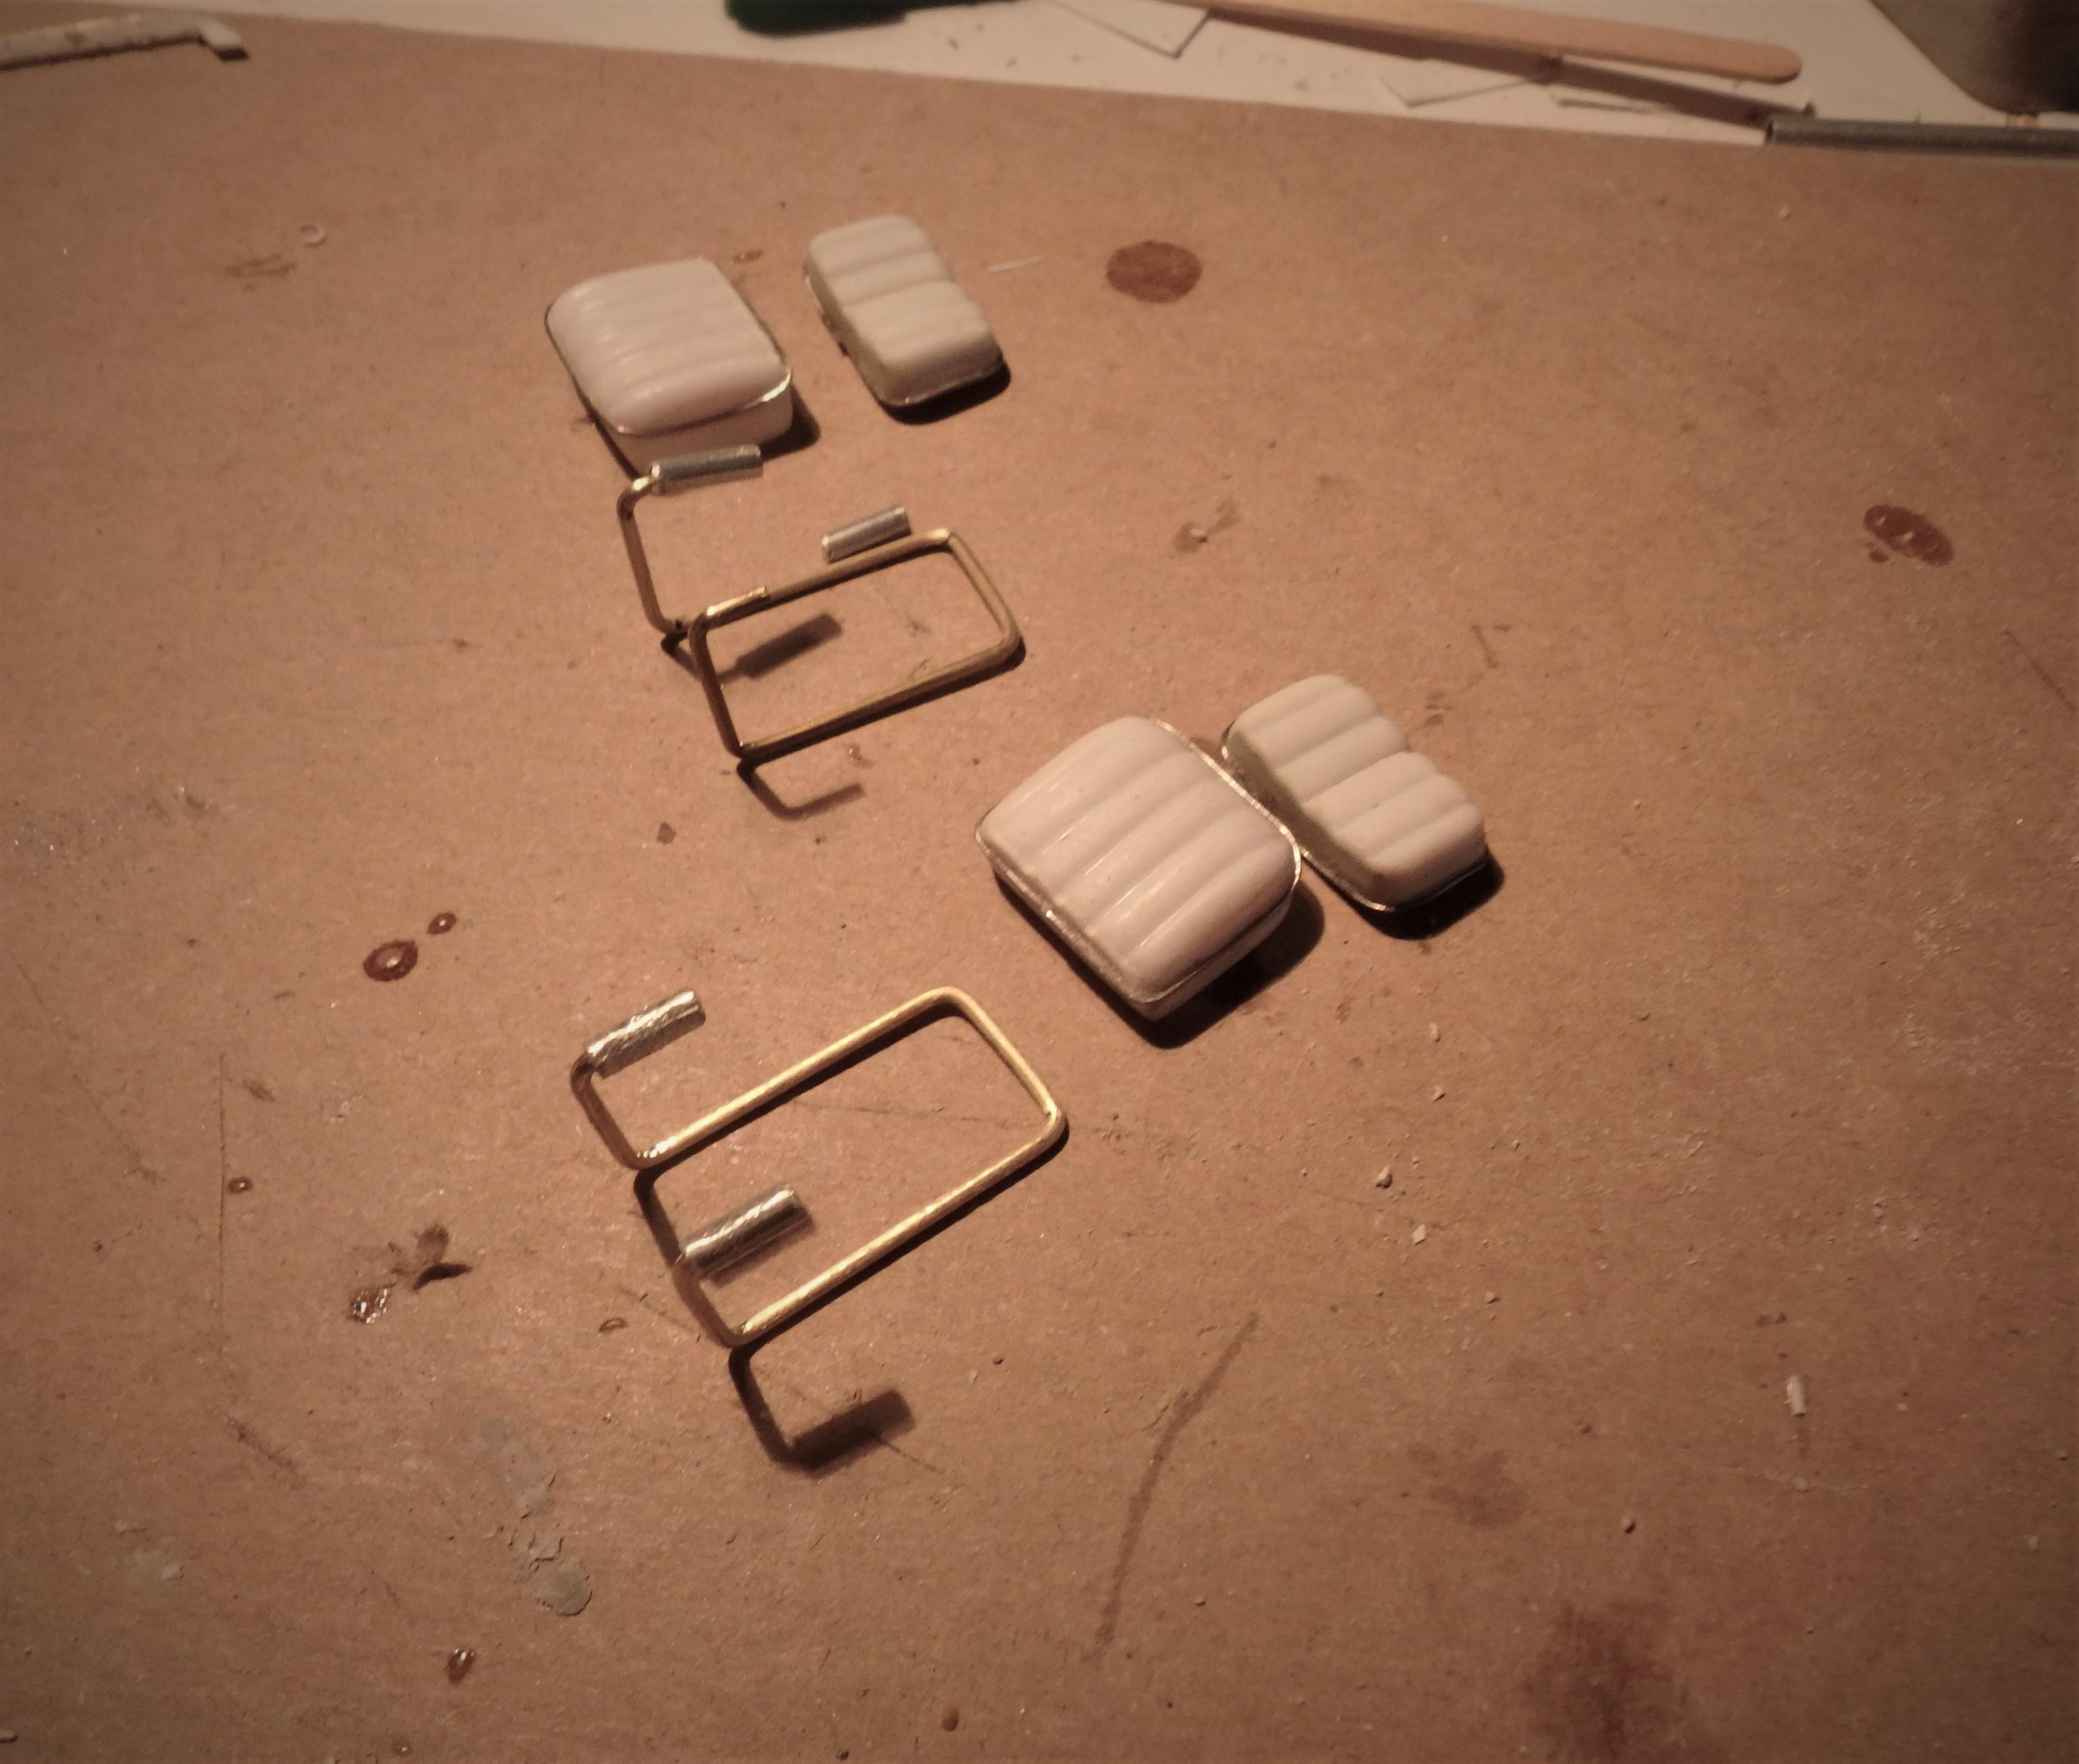
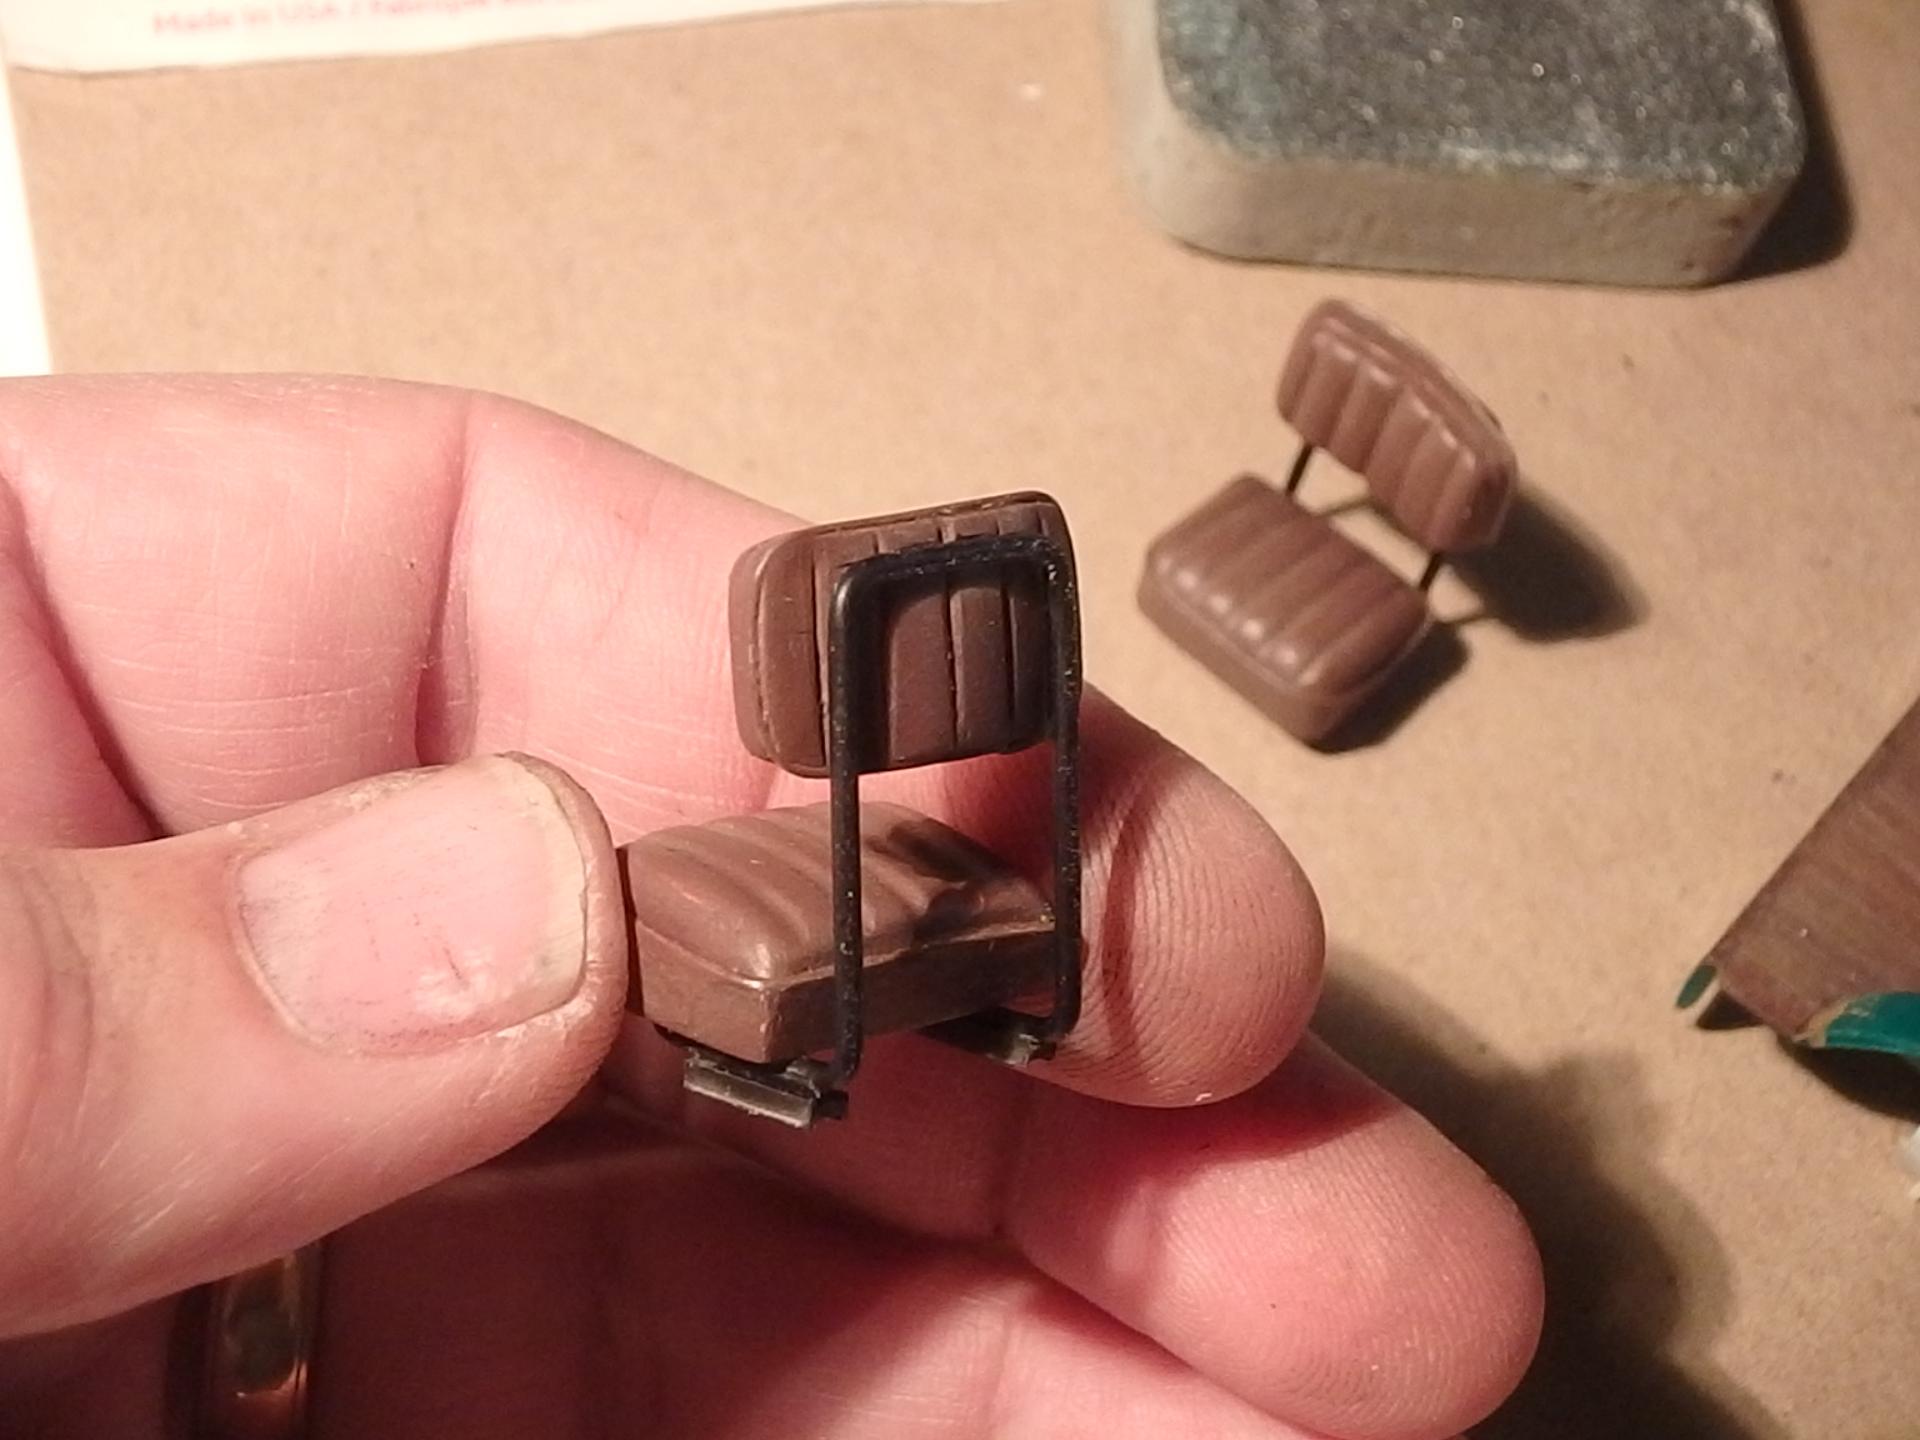
Seat cushions were cut from full bucket seats, ( a Revell sedan street rod kit, IIRC) each seat cut into two pieces to make a seat cushion and a back cushion. I cut the back cushion in the middle, bent them into a slight curve, then filled the empty back with epoxy putty...scribed pleats in the back before it cured. Superglued wire for the upholstery ribbing. Paint is Tamiya XF-68 NATO flat brown. A bit too dark for my liking. Needs highlighting and weathering.
-
Worked on seats and frames. Will attempt some weathering on the "leather" seats after paint has time to completely dry.
-
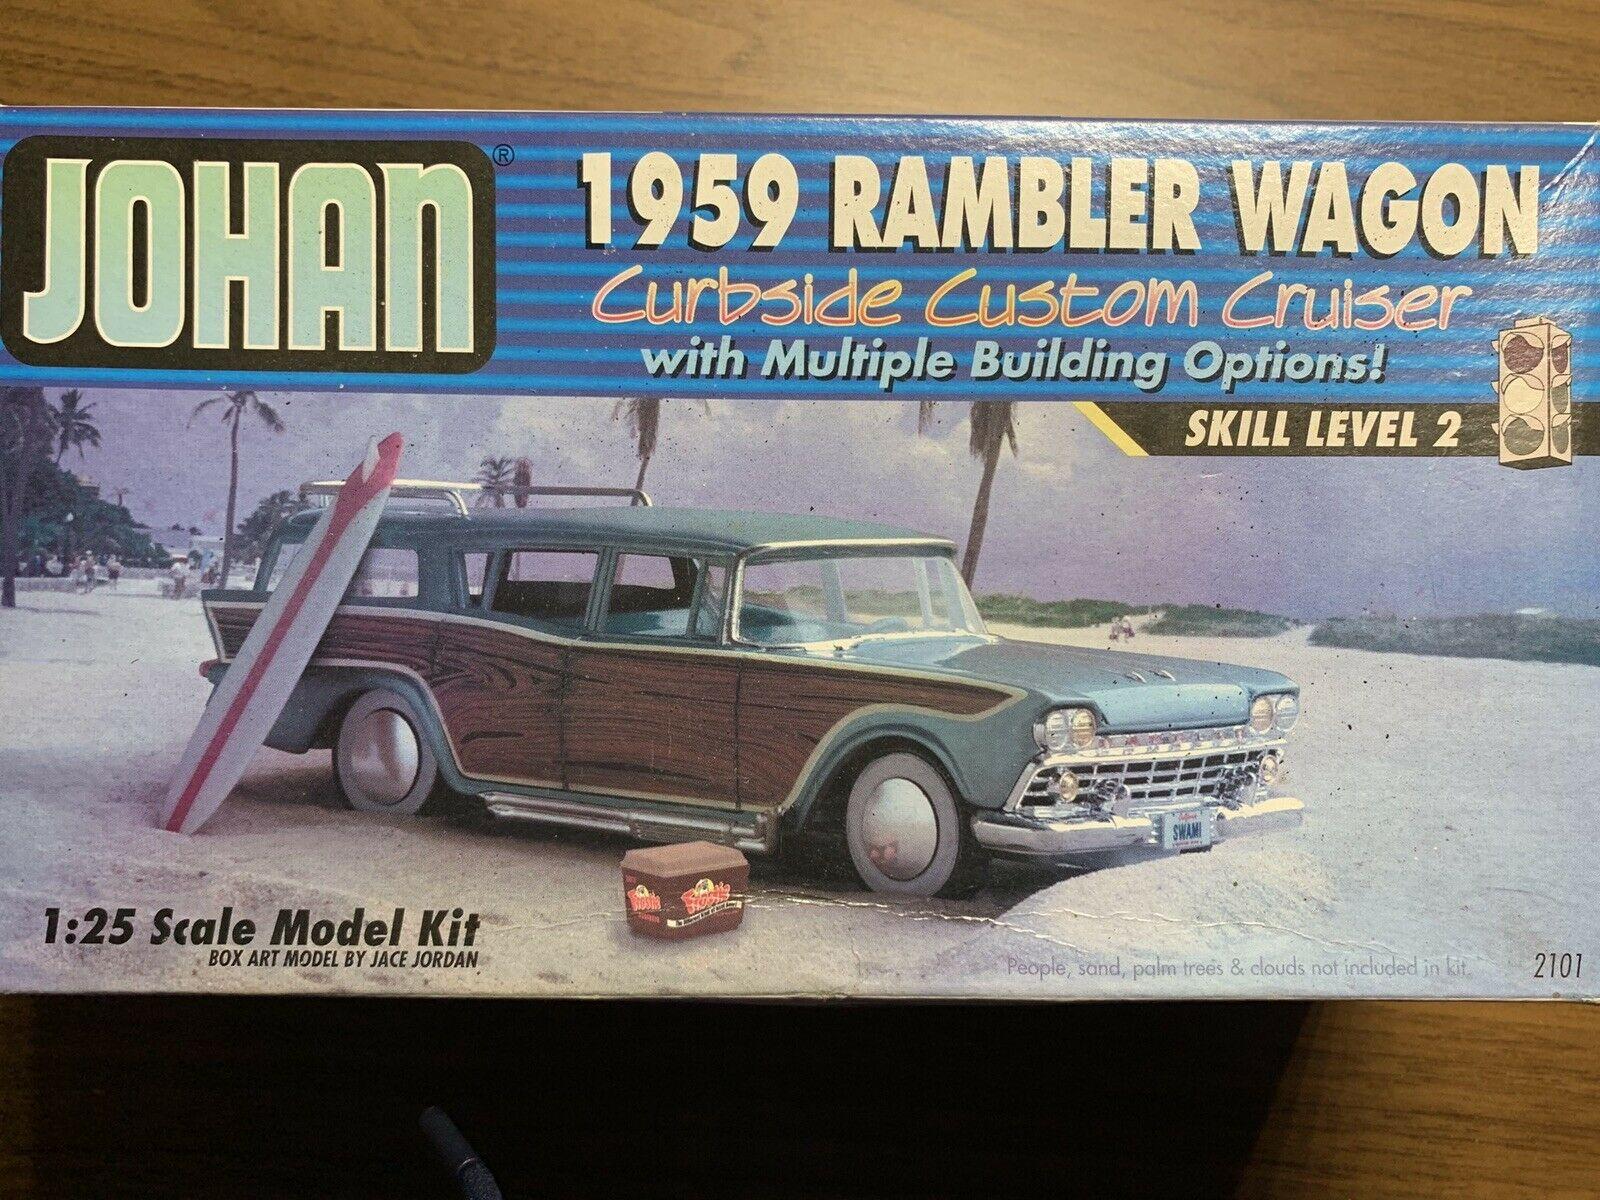
Pretty sure that is from the Johan 59 Rambler Wagon kit Tom mentioned...inc the decal. Very nice piece. Wouldn't be too hard to scratch build...the prices for that kit on eBay are pretty high.
-
Drilled out the chrome head light lenses for replacement with clear lenses.
-
I'll need to survey those AMT kits......stuff for the cargo bay....any kit have a pop bottle cooler ?
-
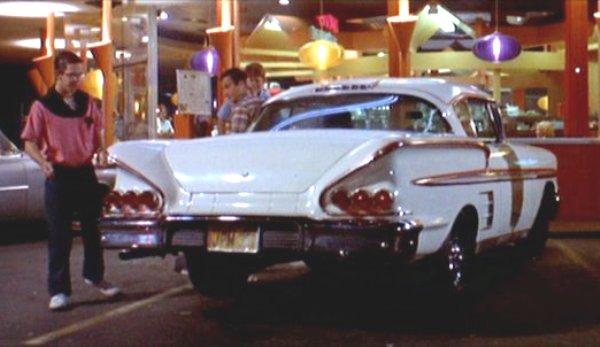
Roof rack...thought I'd see what Norm has. Maybe a spare can get thrown up there. Where can I get bongos and a ukelele ?
.JPG.1a69cee8f650315b54346b652eb46bb7.JPG)