mrmike
-
Posts
5,323 -
Joined
-
Last visited
Content Type
Profiles
Forums
Events
Gallery
Everything posted by mrmike
-
Thanks Ron! I painted the body, doors, and hood with a 3rd coat of Tamiya TS-85 Bright Mica Red this morning. Life has been kicking me really hard in the past month and I am finding little to no time to work on the SLS. I fear that I'll not be able to finish it in time for the Club Challenge for next month's show. More to come...
-
Thanks Bill, Charlie, and Scott! Scott, how have you been? Haven't seen you at the meetings for a while and I hope you can make it to one or at least, the Exhibition on Oct. 6. Charlie, I'm hoping to see something that you built at the Exhibition on Oct.6. Bill, you've gotta get one of these!
-

SSRN Seaview
mrmike replied to mrmike's topic in WIP: All The Rest: Motorcycles, Aviation, Military, Sci-Fi, Figures
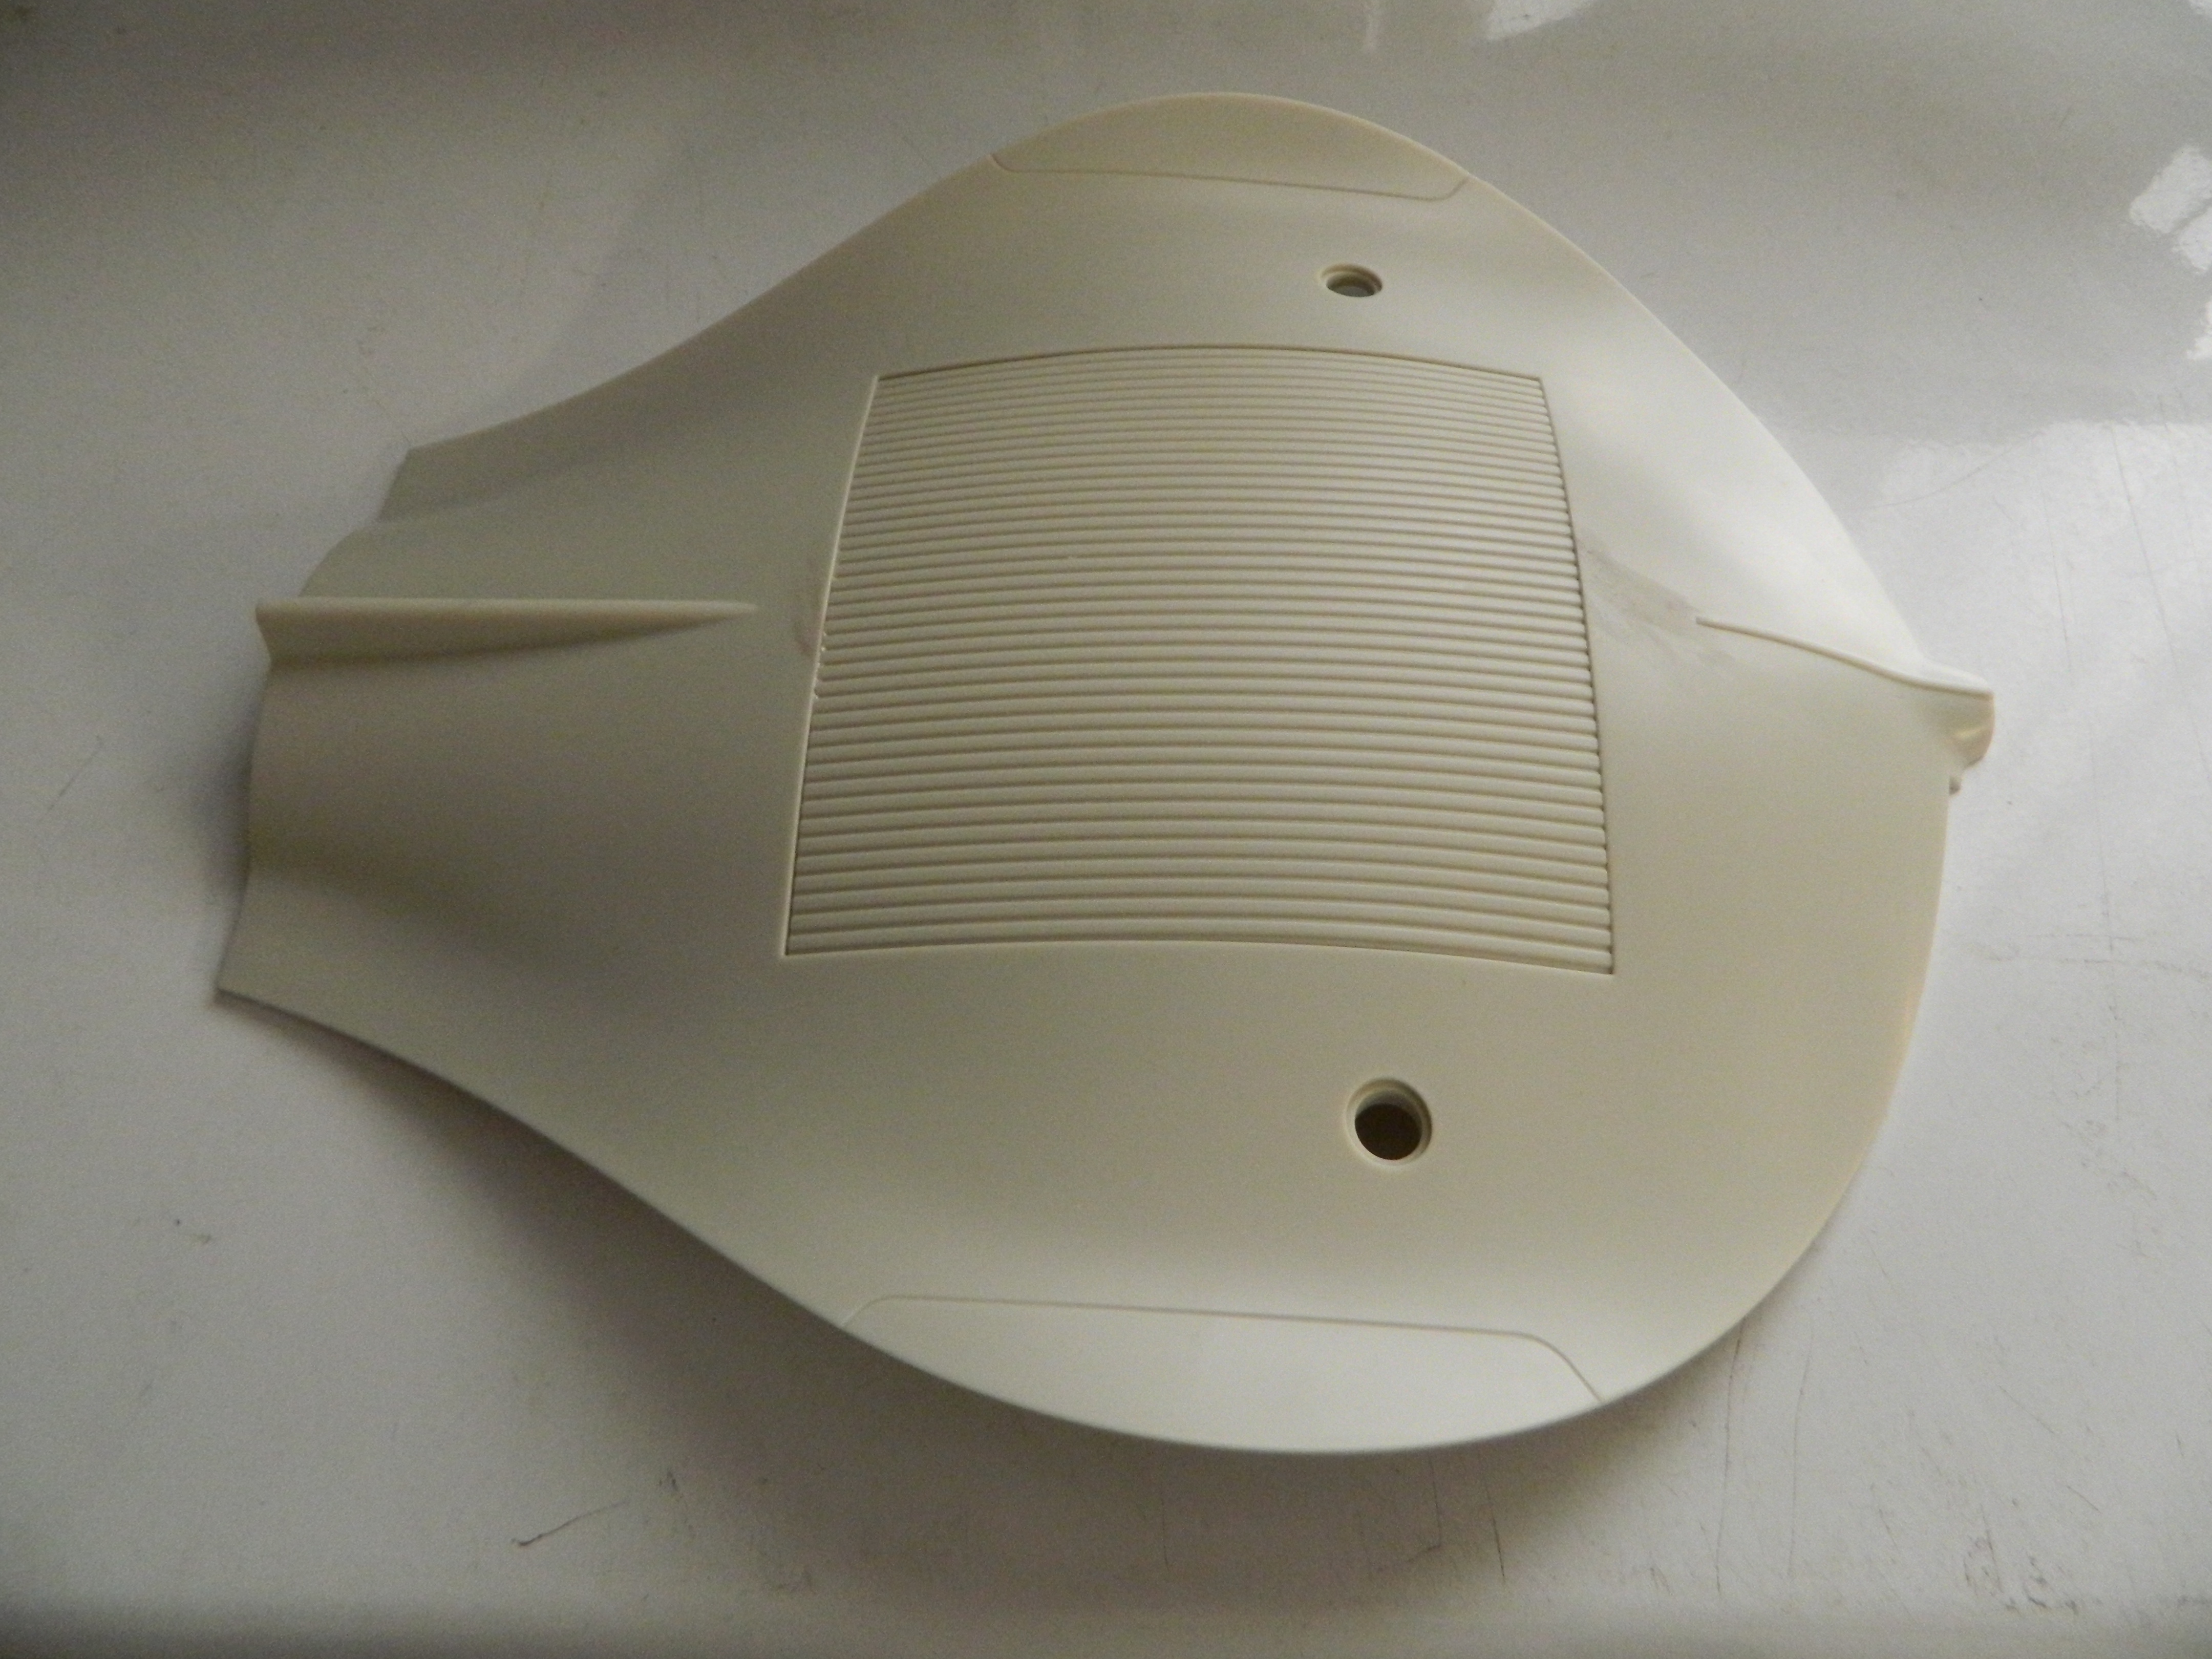
I got the two halves of the hull glued together. I glued the retractable doors to the front lower hull. The fit is tight enough that I can leave the lower hull section as is until I can finish the interior and insert it into the main hull. I am concerned with the fit of this section as it bows a bit at the rear. I'll have to come up with a solution to fix the fit. More to come...
-
Thanks guys! Work has gotten in the way of my building by leaving me very tired and with little to no time whatsoever and I have also been sidetracked by smaller projects. I am going to make this my main project and shoot for the deadline of the Classic Plastic Model Club show on October 6th to finish the Merc. Work on the interior has started. I've been polishing the hood and body and found a major flaw on the hood. So far, I have polished the paint down to the plastic and I'll prep for another painting session. More to come...
-
This is my '06 Mustang GT that I built back in 2007 and rebuilt this past week. The paint is Tamiya Metallic Red with Model Master Insignia Red seats. The wheels are from the Revell '06 Dodge Magnum kit.
-
I finally got my paint on Tuesday and I sprayed this afternoon. I must admit, this is nice paint as it sprayed thin even coats. The paint came from Automotive Touchup. I'll let this dry and then hit it with some Testors Wetlook Gloss Clear. More to come...
-
SSRN Seaview
mrmike replied to mrmike's topic in WIP: All The Rest: Motorcycles, Aviation, Military, Sci-Fi, Figures
Hmmm, a diorama for Seaview. Do you realize just how big that'll be? At this point, I still don't know where I'm going to display this thing in the house! A chance for a little assembly today! I still have to putty the seams, sand them, and then primer and paint. More to come...
-
Well, I sit here waiting for my paint to show up at my door. The first can never made it probably because the shipper put the wrong address on the box. Now, another can is suppose to be on the way and should be here by Tuesday or Wednesday. We shall see...
-
SSRN Seaview
mrmike replied to mrmike's topic in WIP: All The Rest: Motorcycles, Aviation, Military, Sci-Fi, Figures
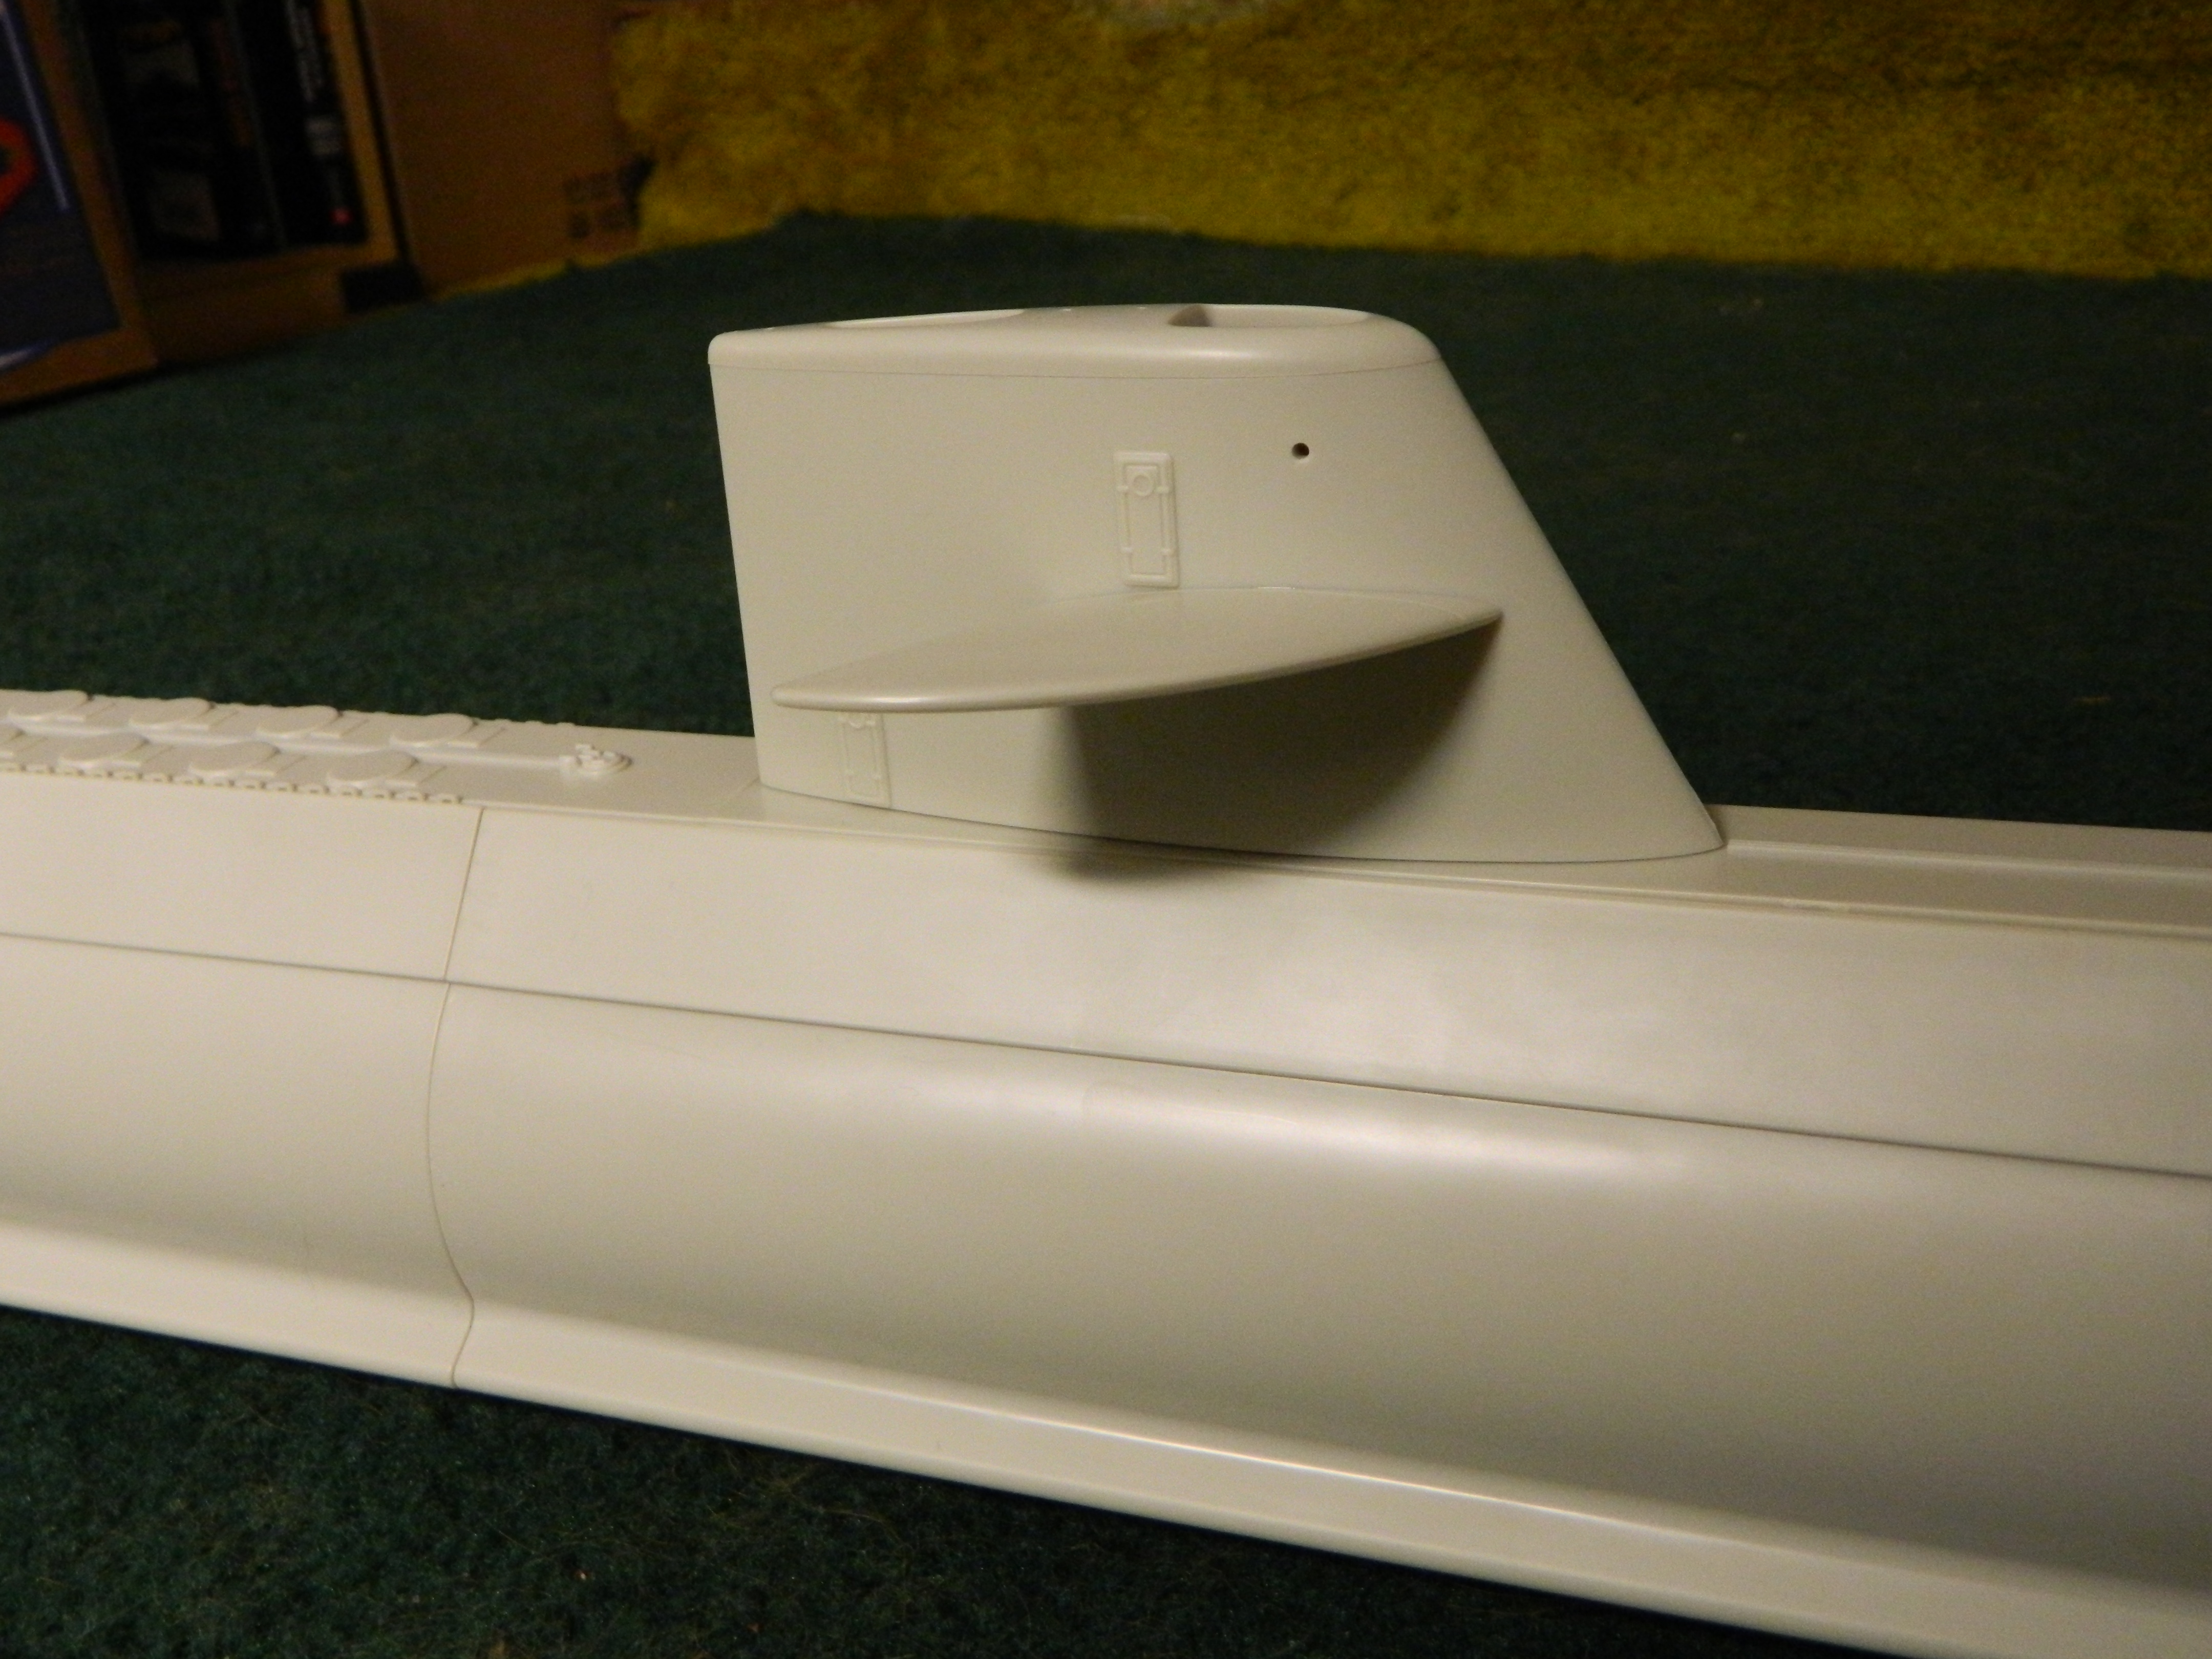
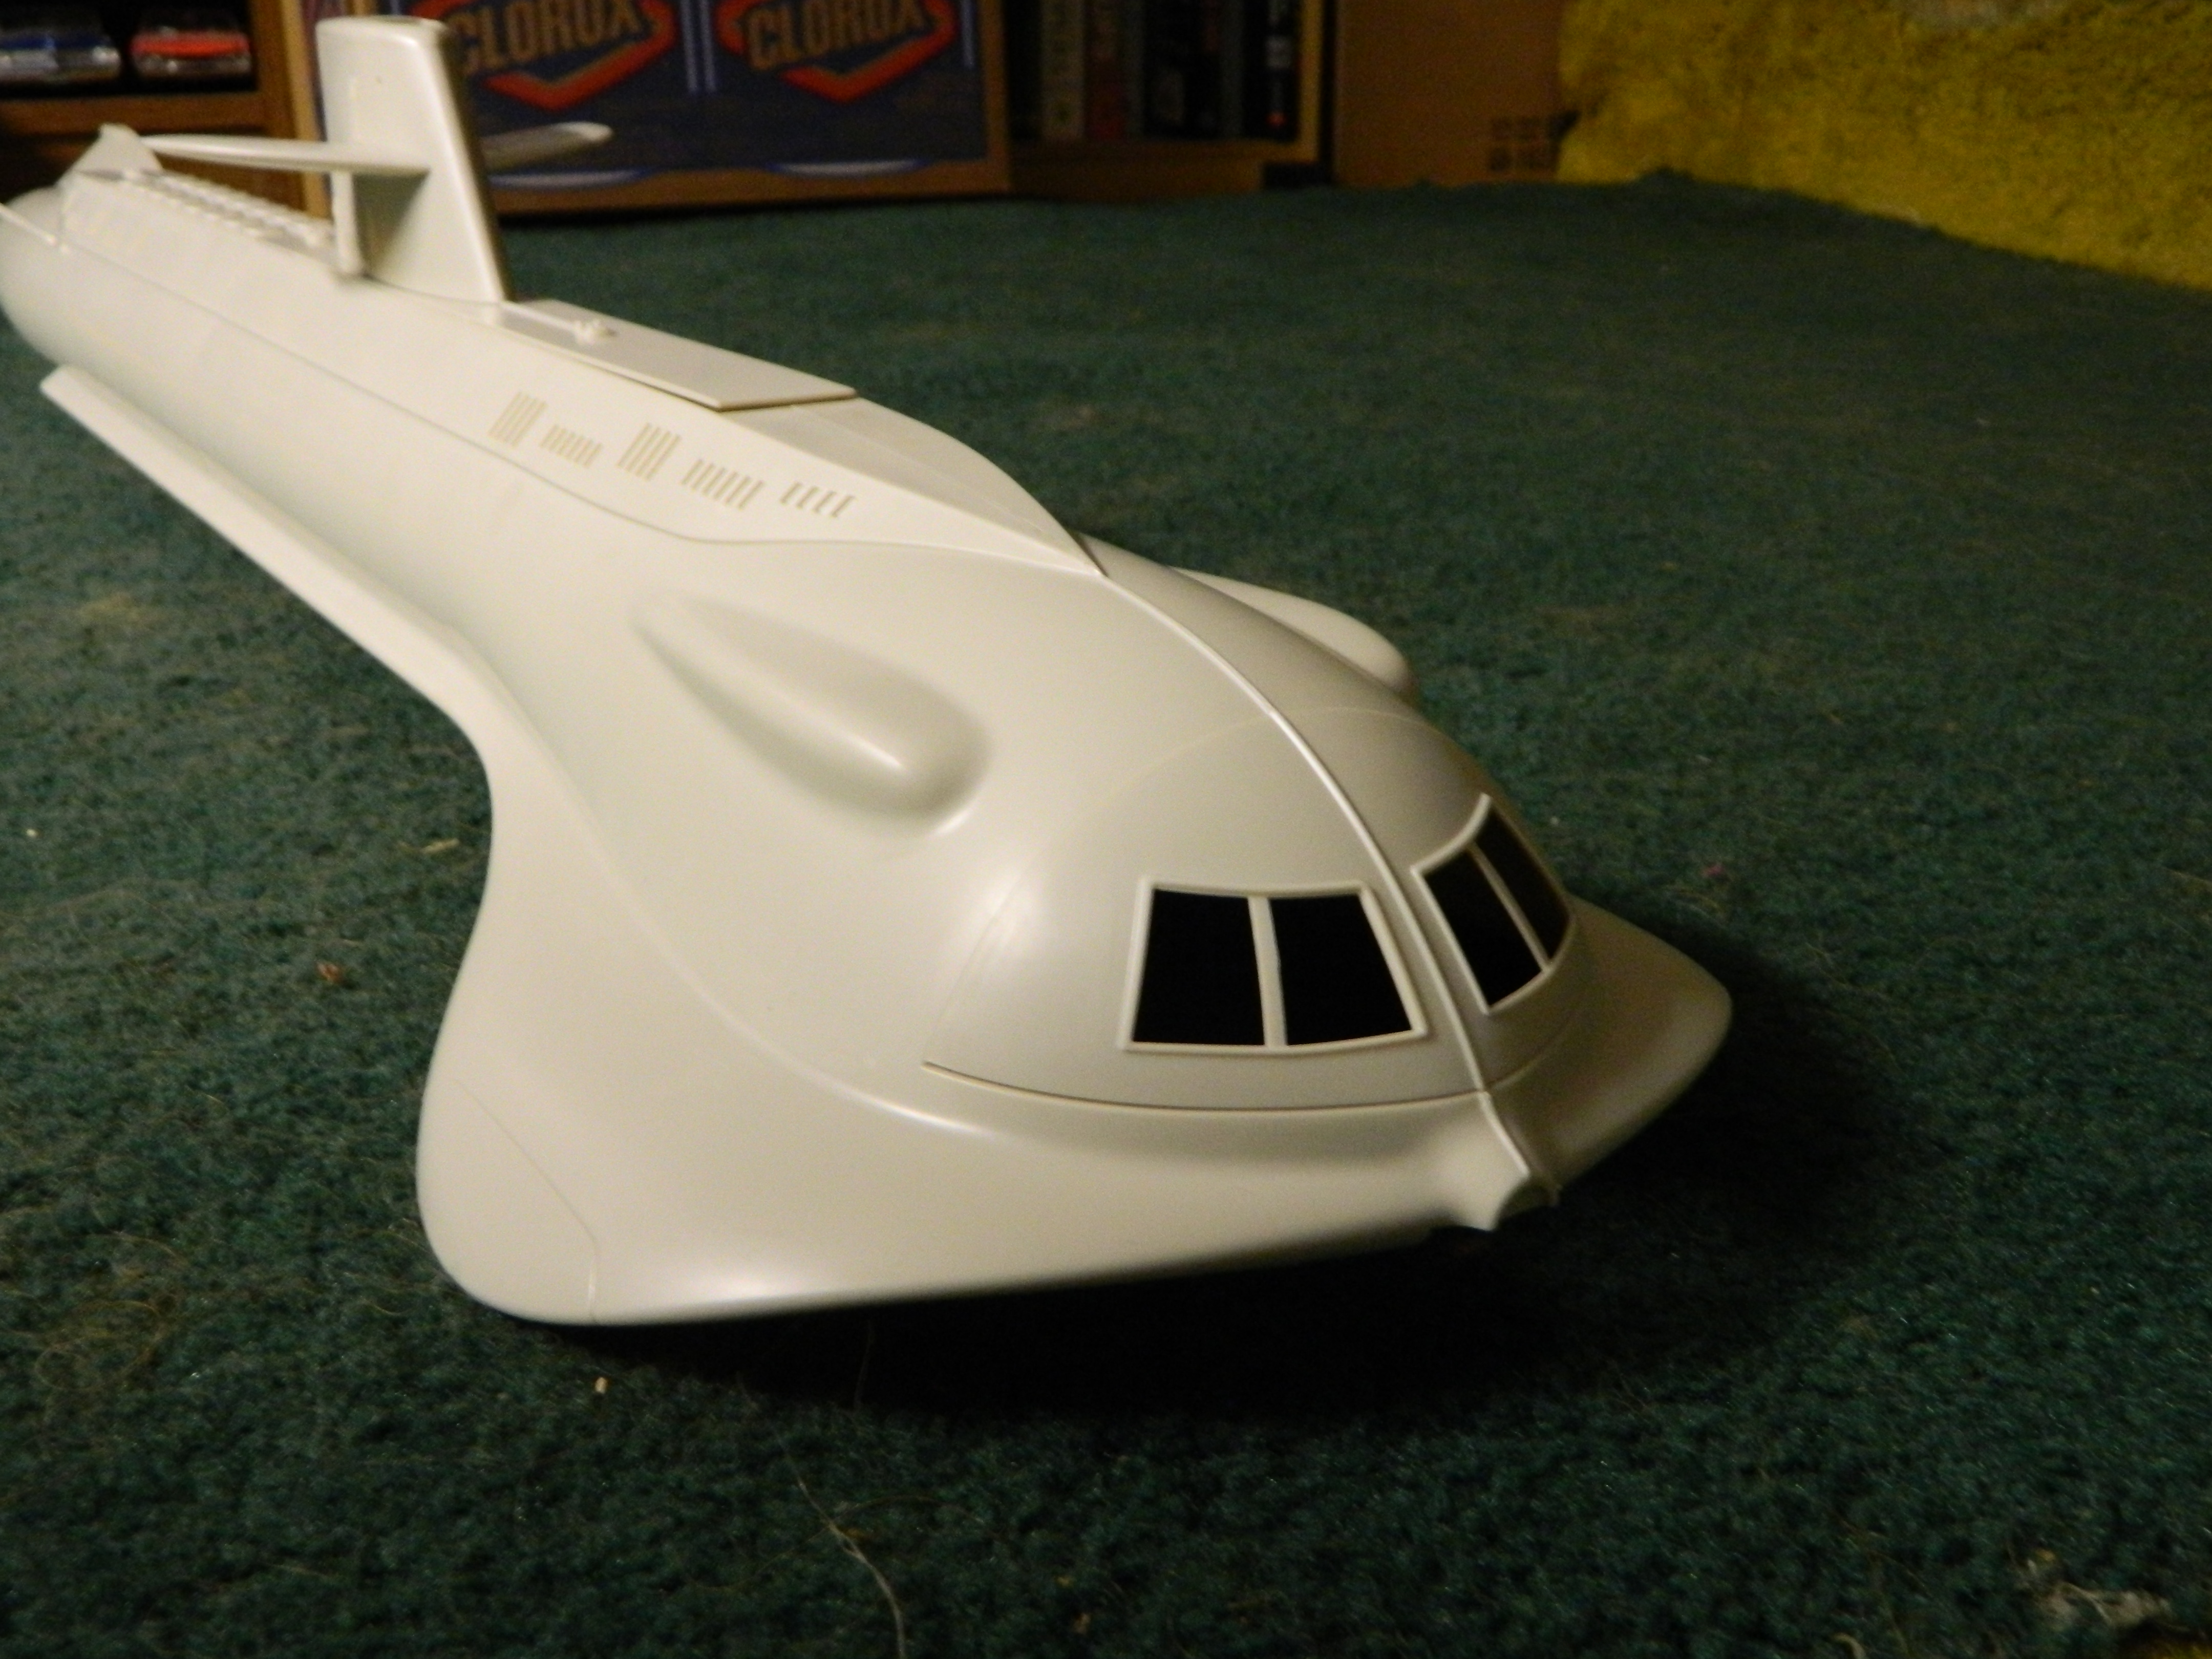
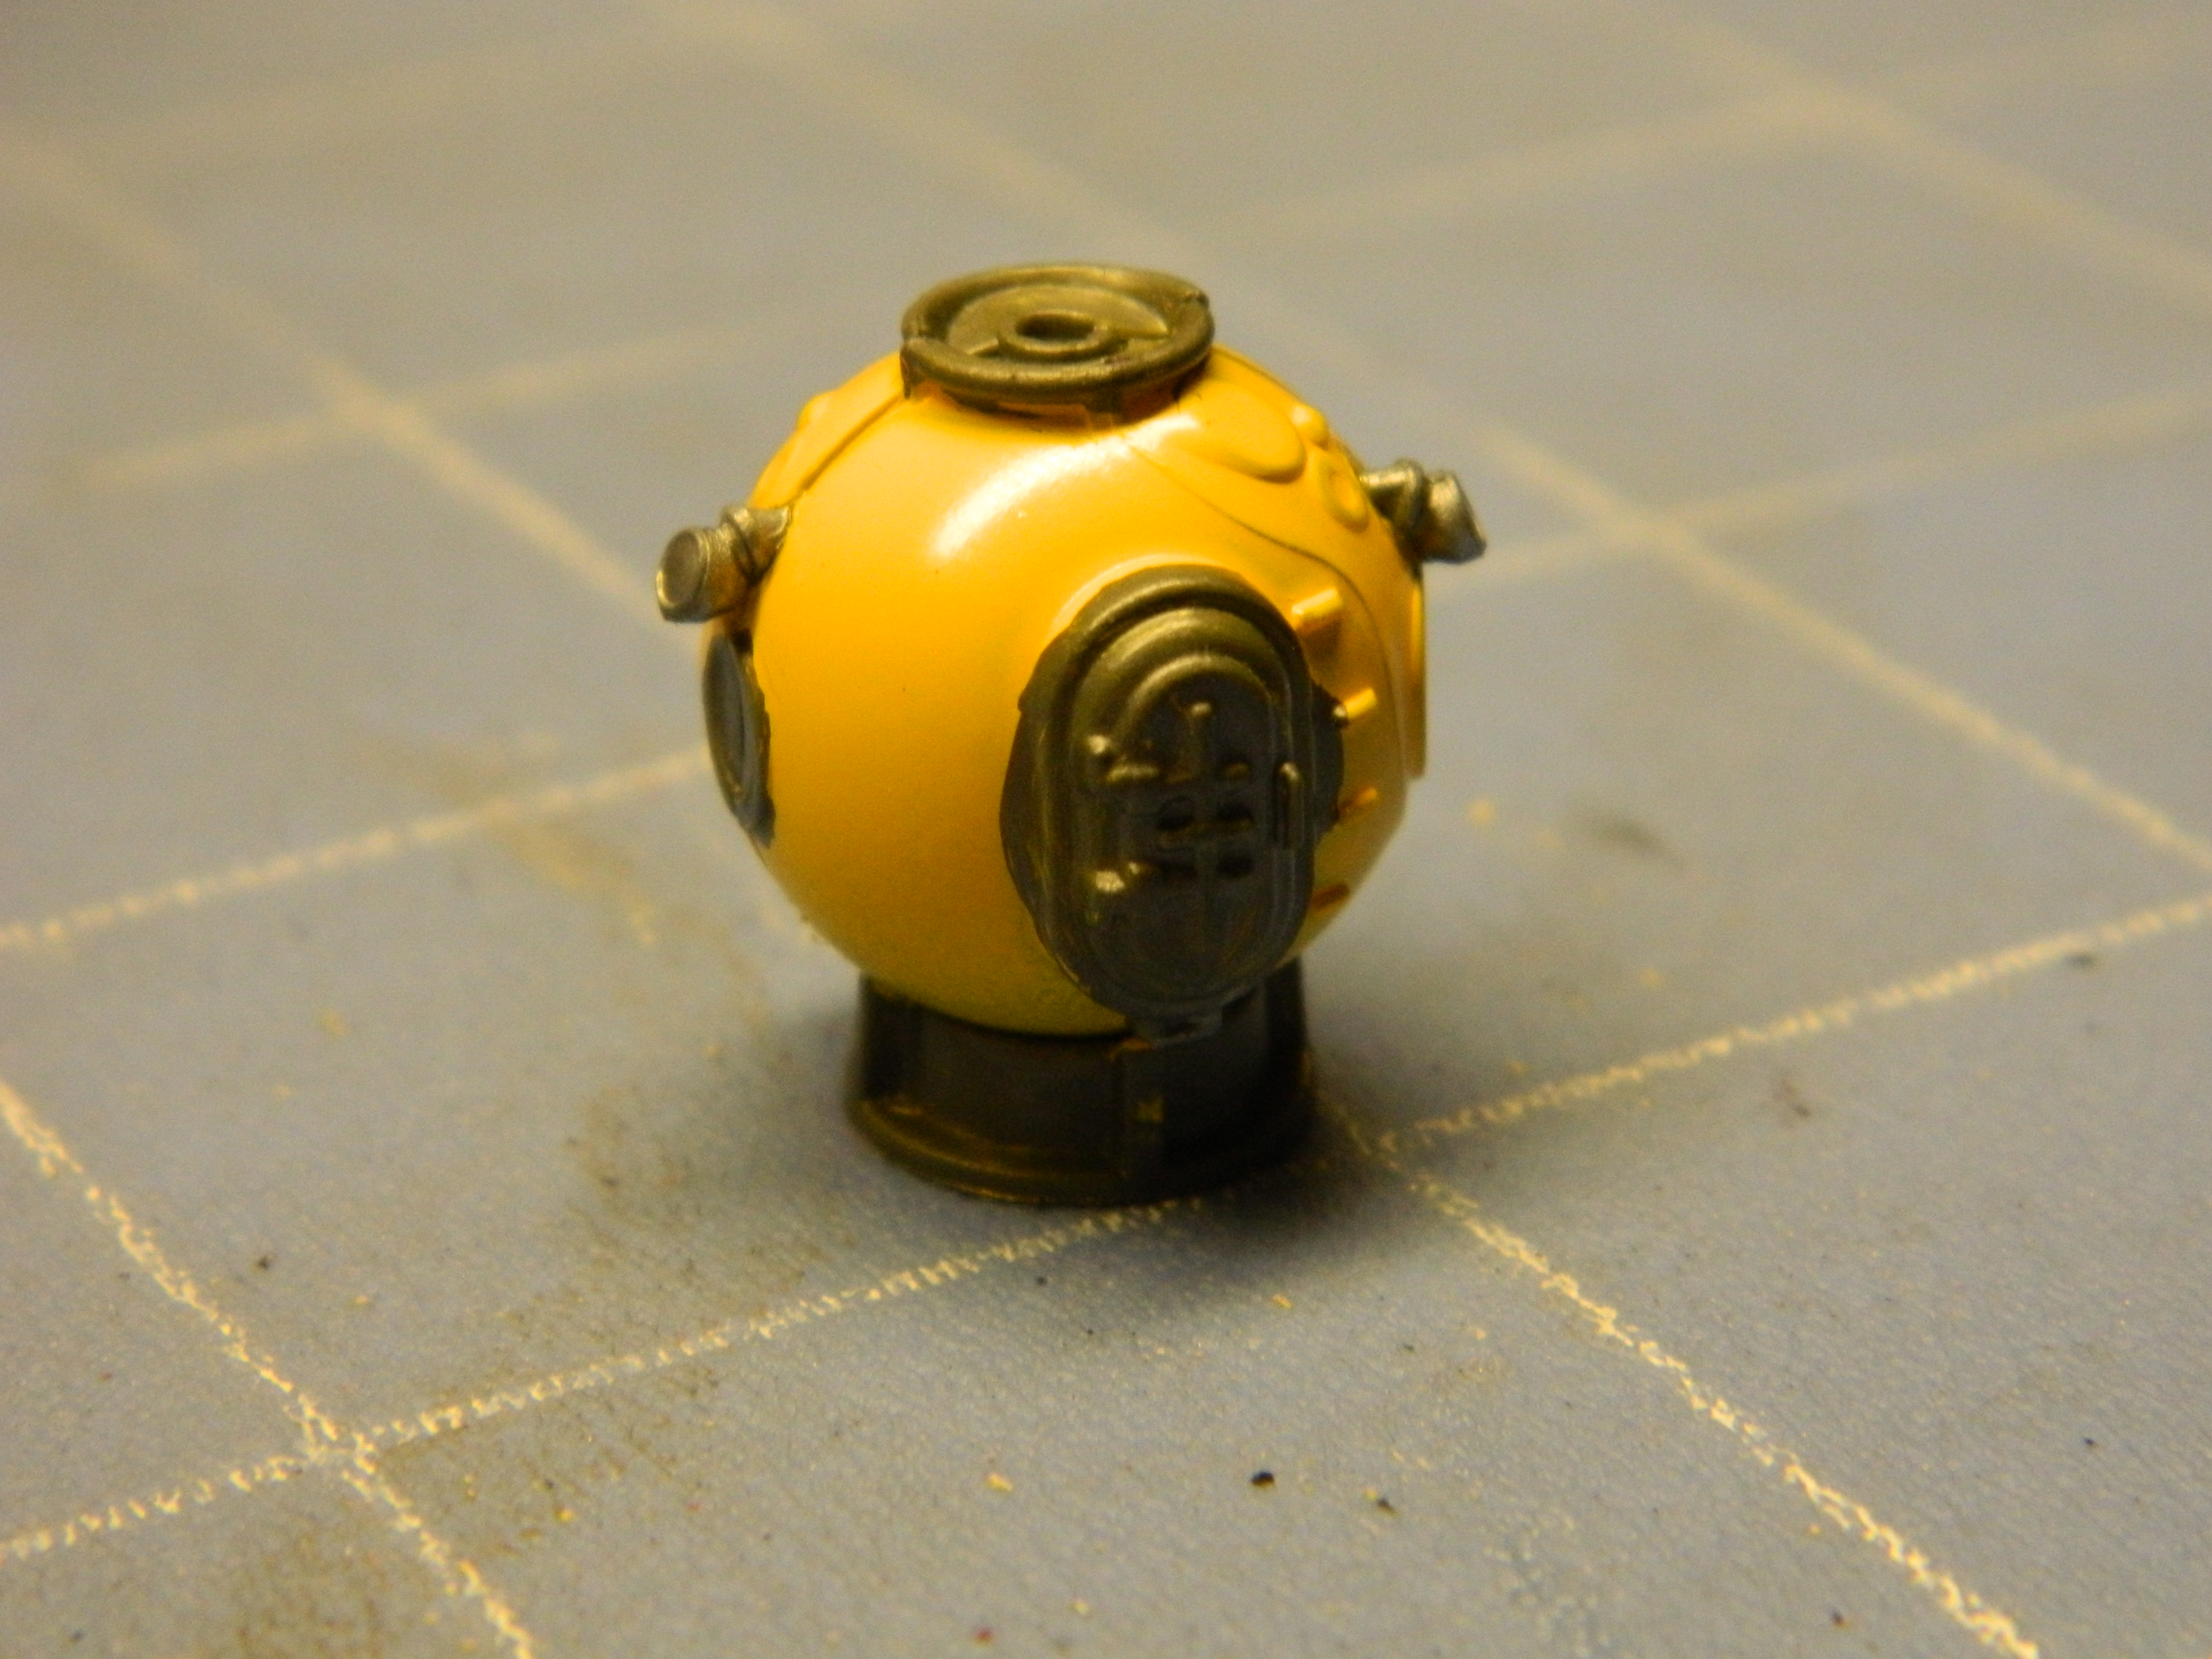
Thanks guys! Jim, I think the diving bell is undersized compared to the mini-sub and the Flying Sub. -
SSRN Seaview
mrmike replied to mrmike's topic in WIP: All The Rest: Motorcycles, Aviation, Military, Sci-Fi, Figures
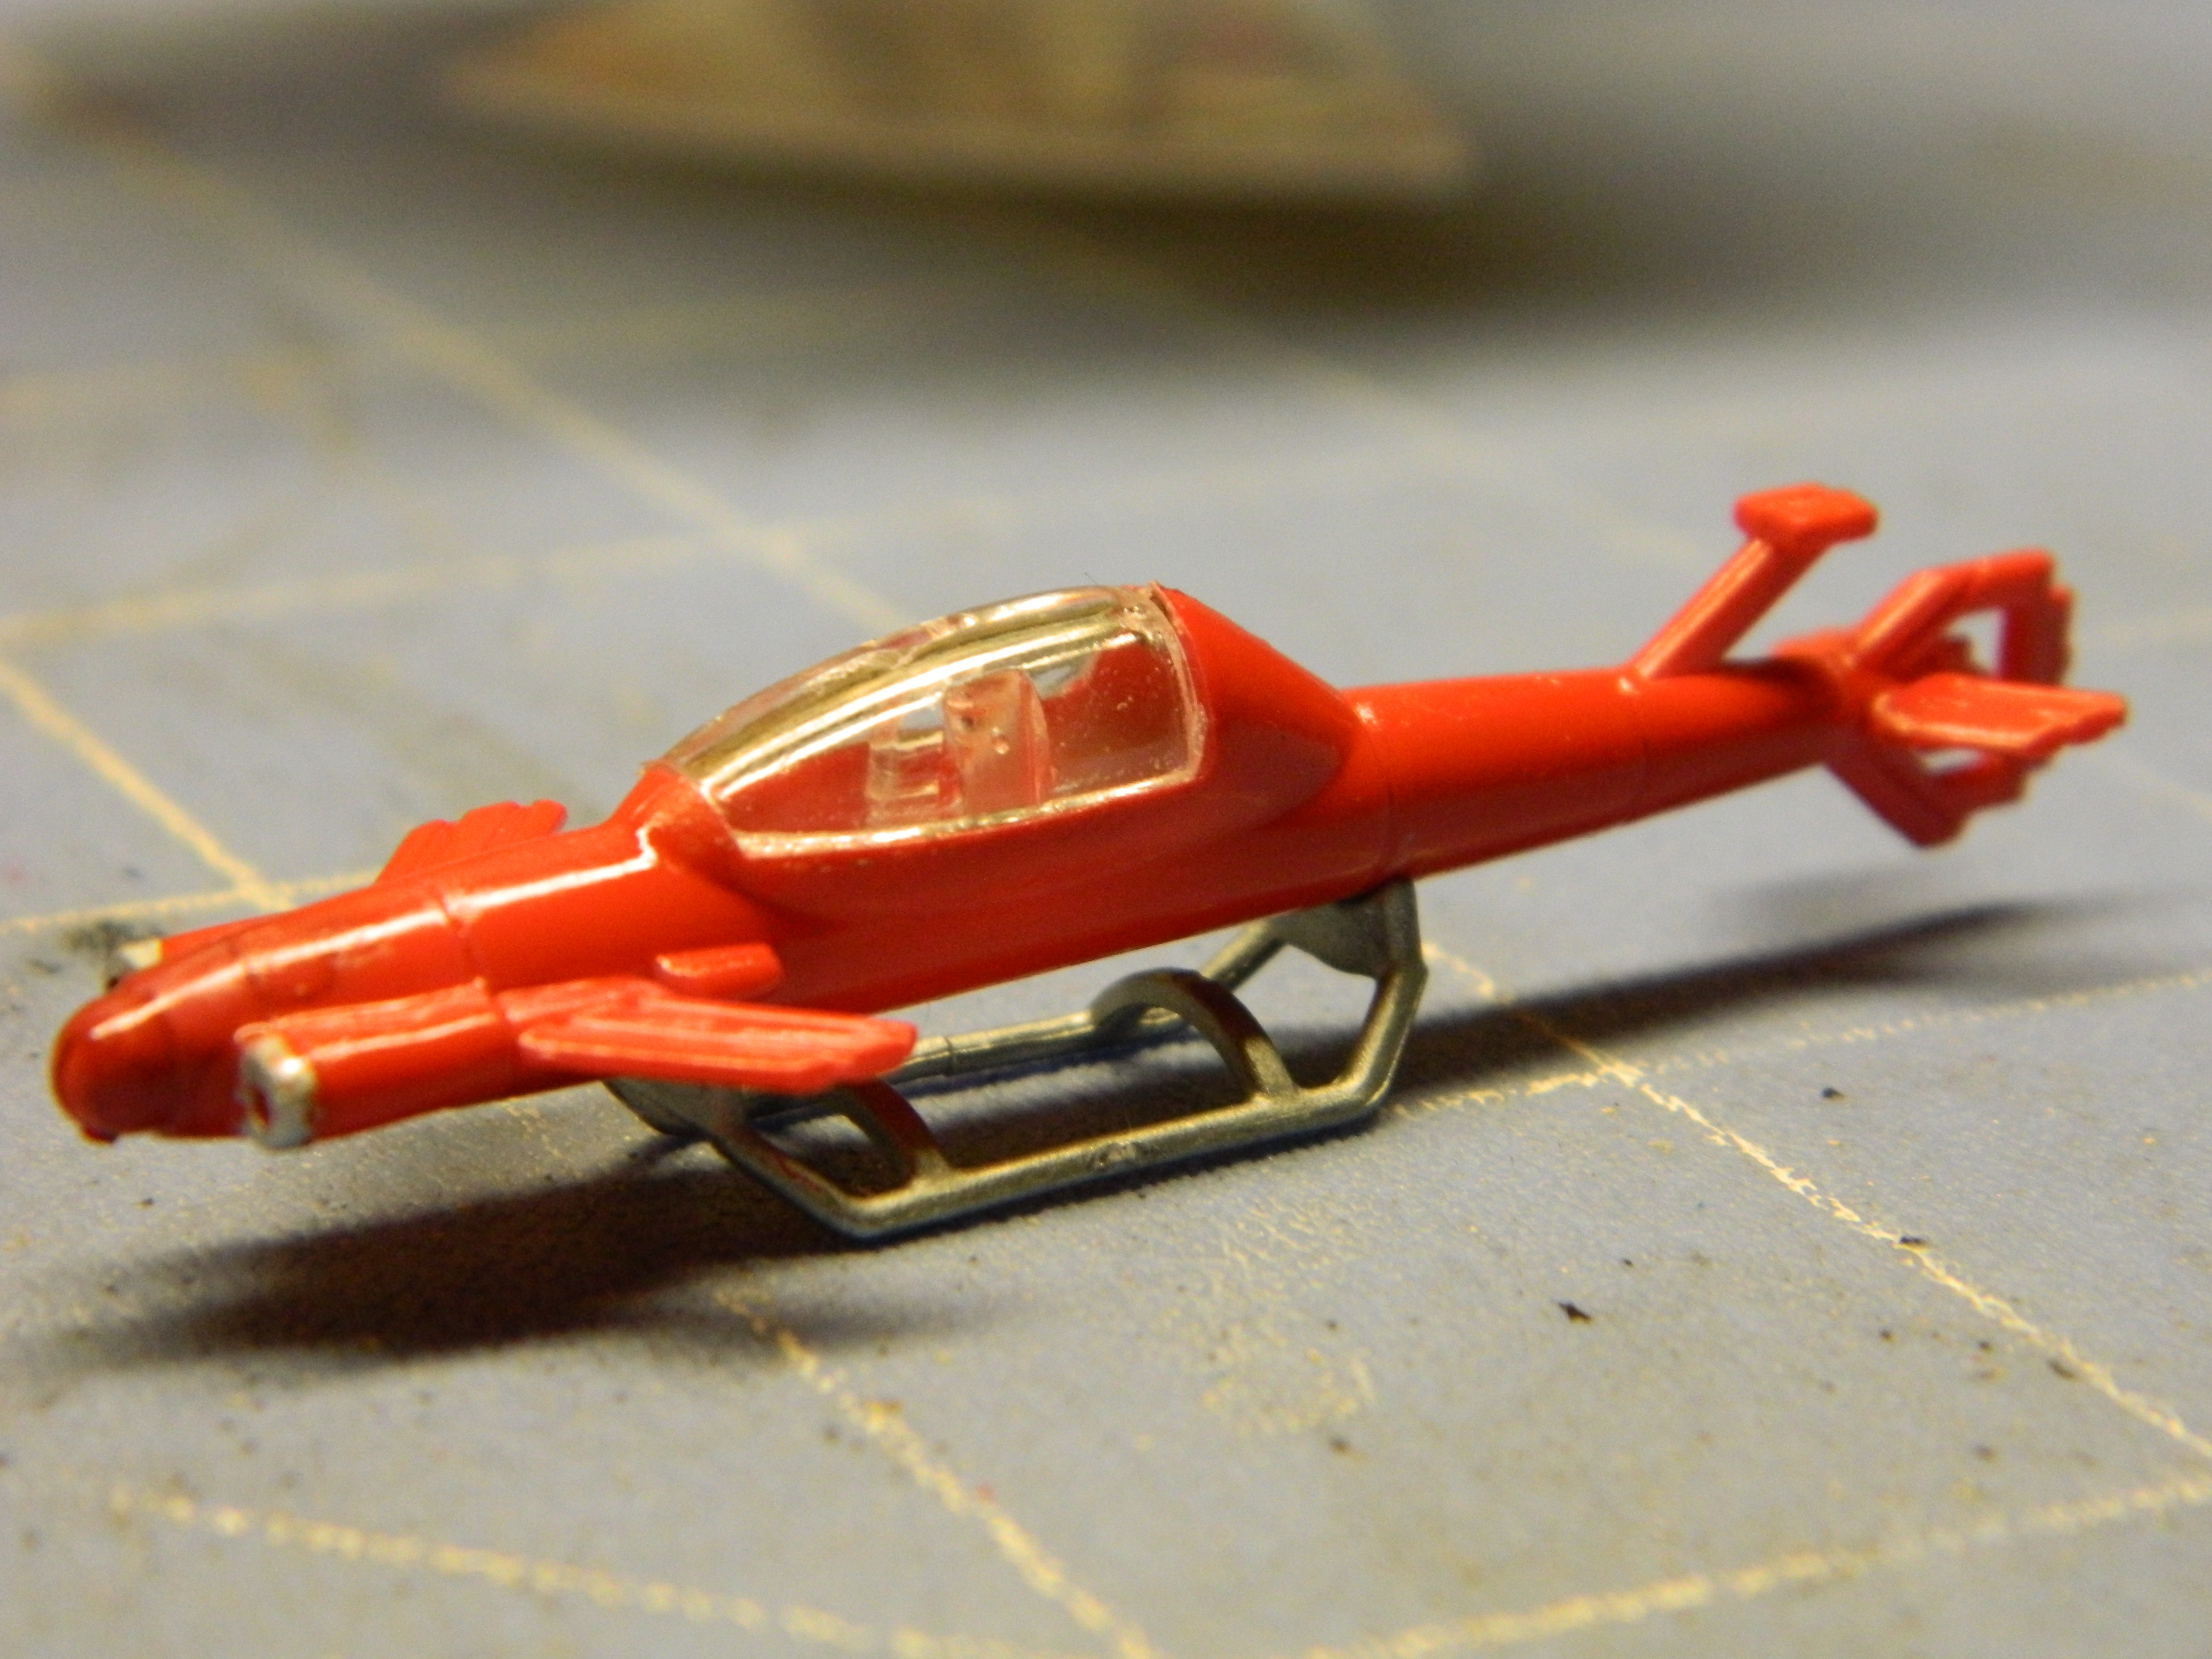
Thanks for watching Tony! More progress to come! I got the diving bell, mini-sub, and the Flying Sub completed. More to come...
-
SSRN Seaview
mrmike replied to mrmike's topic in WIP: All The Rest: Motorcycles, Aviation, Military, Sci-Fi, Figures
Thanks Ira! Since I am working out the details for possible lighting of Seaview's interior, I went ahead and started working on the Flying Sub, mini-sub, and the diving bell. More to come...
-
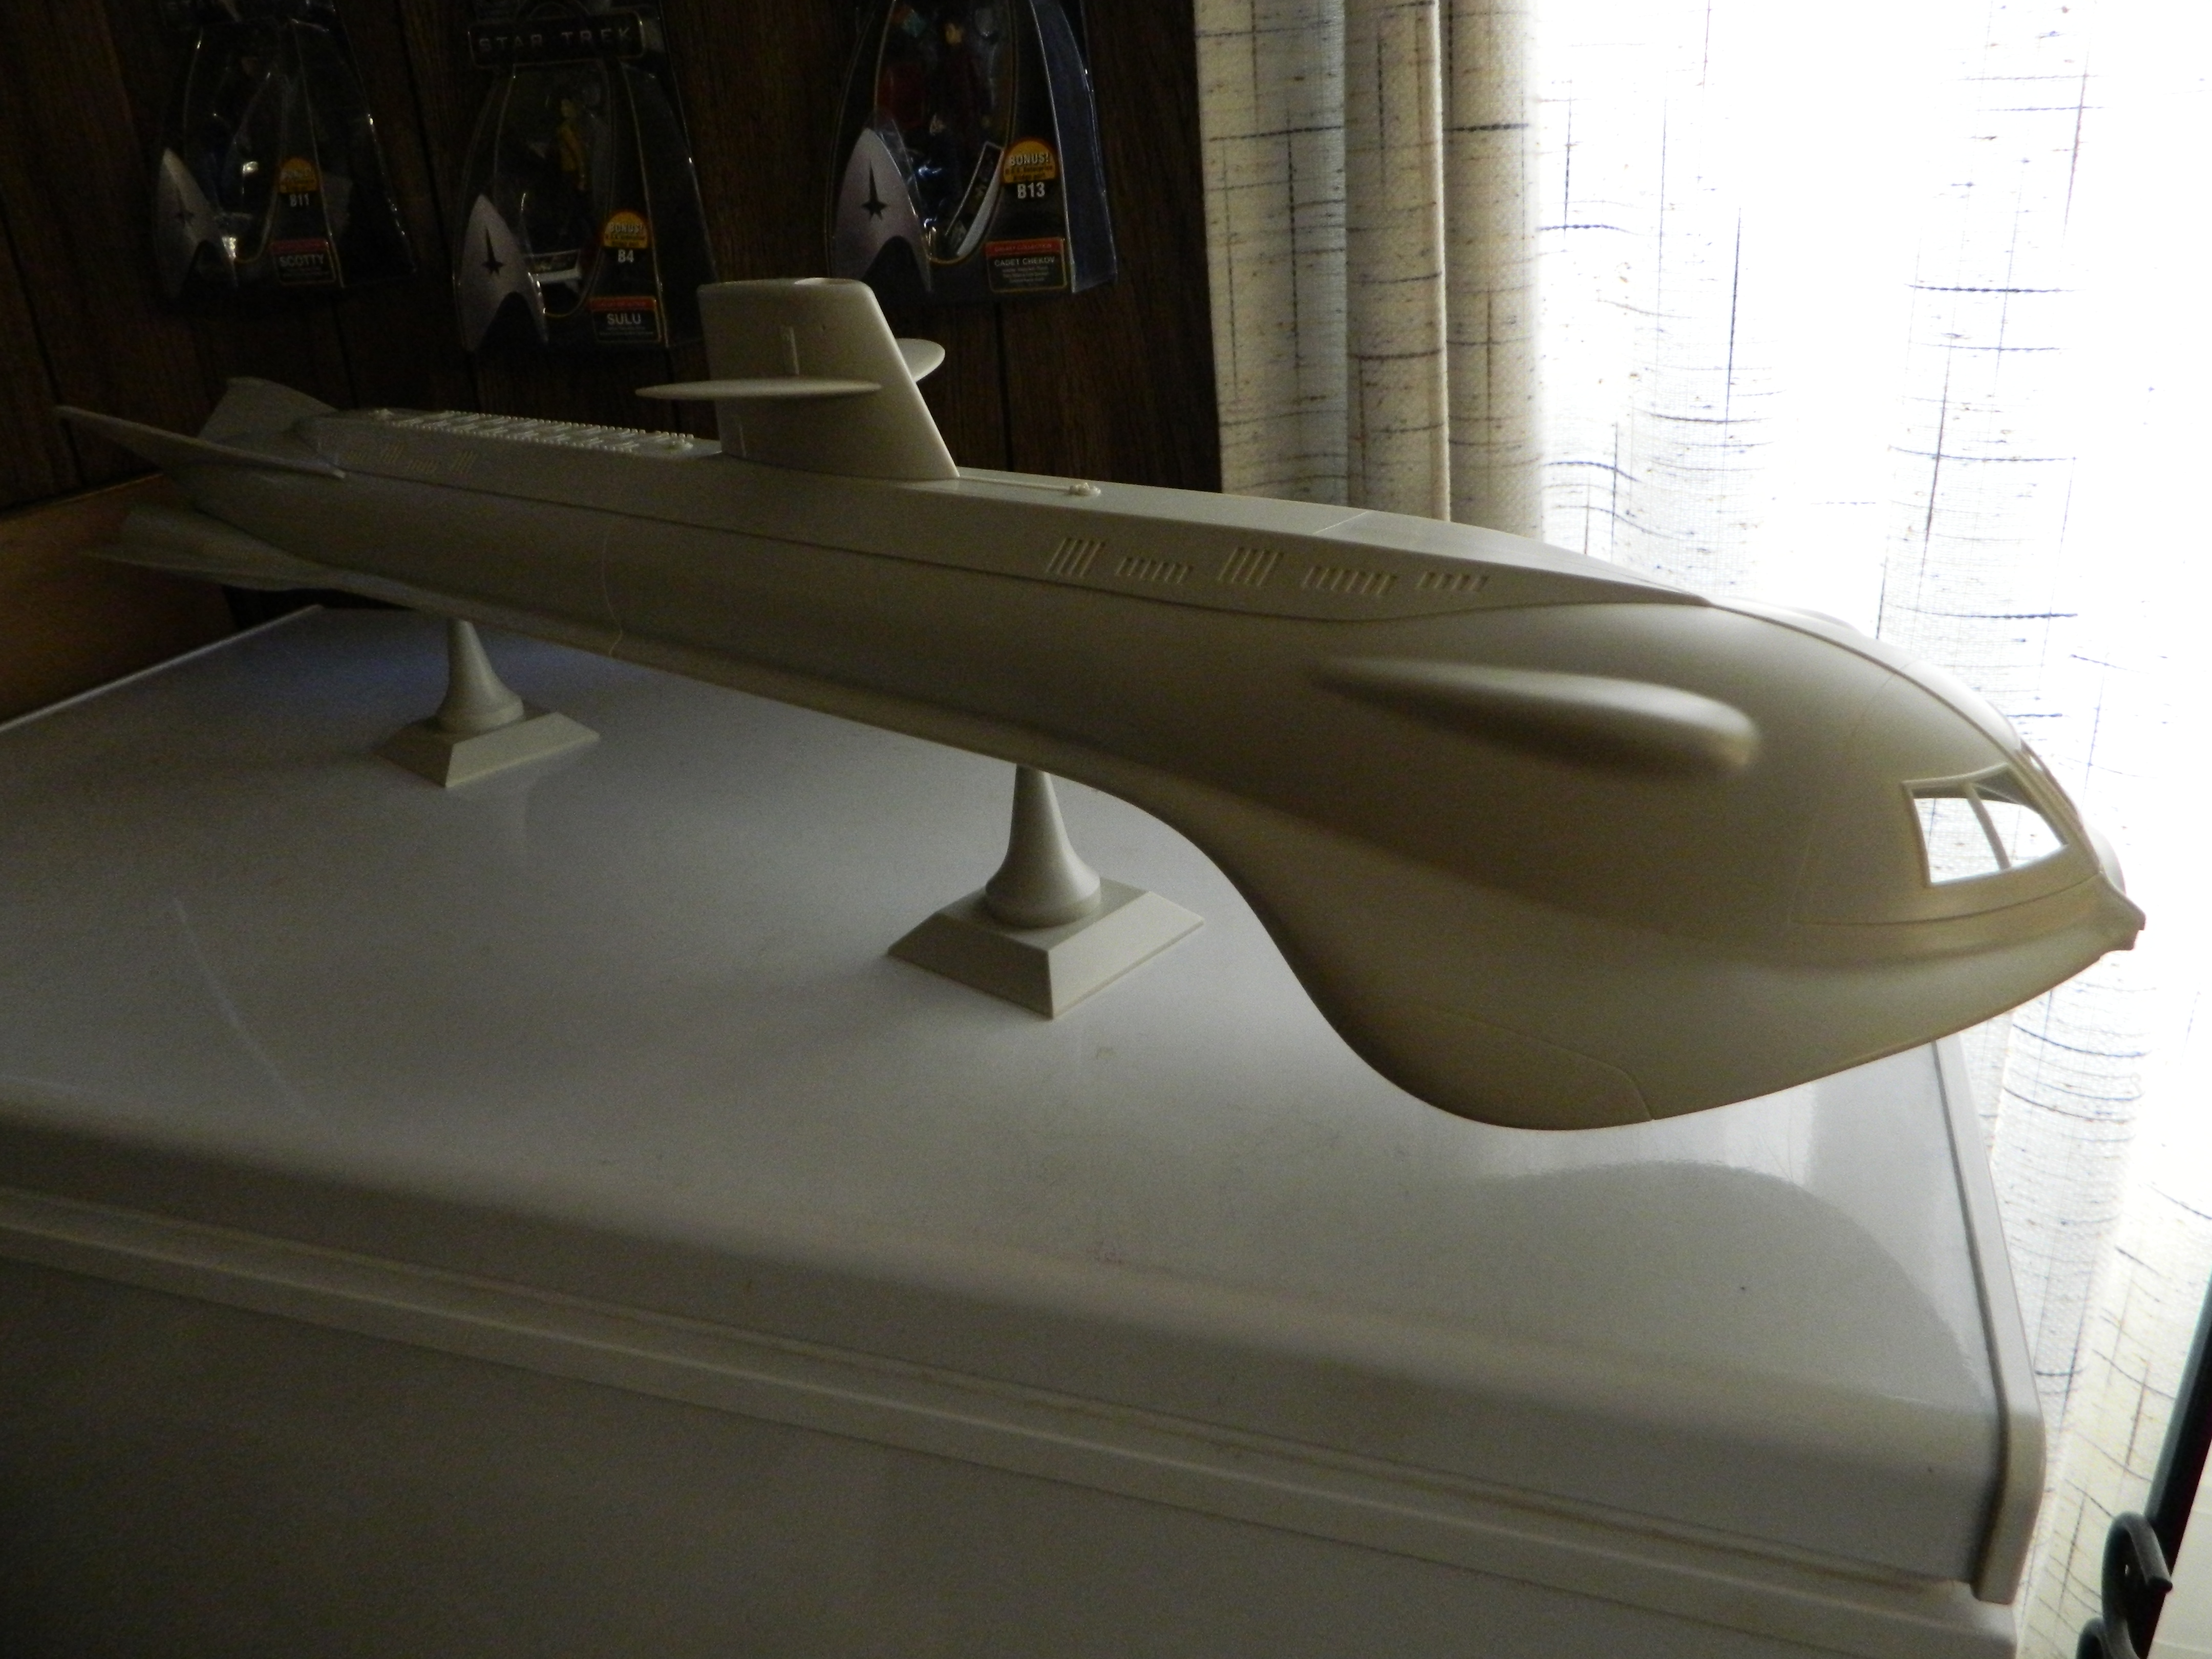
This is my biggest project yet! It is far bigger than the NX-01 Enterprise that I built years ago! It is the Seaview from Voyage To The Bottom Of The Sea. This model measures a staggering 39" from stem to stern and thankfully the hull comes in two sections for assembly. My airbrush is going to get a good workout painting this behemoth with the hull getting a generous coating of flat light ghost gray and the bottom of the hull getting a coating of flat camouflage gray. This project is a needed change from doing cars for so long. When I originally bought this kit, I was hoping to be able to build the movie version Seaview (starring Walter Pidgeon, Robert Sterling, and Barbara Eden). This kit only builds into one of two TV versions and since I paid a hefty price for this kit several years ago, I couldn't justify getting the newly released movie version. I plan on adding some lights to the interior for viewing the inside. This model is huge and the rest of the kit including the Flying Sub, mini-sub, and the diving bell. More to come...
-
I have finally found some time to work on the SLS. Parts cleanup and more painting. And, as usual, I forgot to paint the mirrors. More to come...
-
My Paint Storage Solution
mrmike replied to mrmike's topic in General Automotive Talk (Trucks and Cars)
Nice setups and organization guys! Last night, I was staring at my newly acquired rolling drawers and at the smaller unit sitting in my bookcase. I decided to combine the two units into one and put all of my spray can paints together. This has worked out for me in several ways...my spray cans are all in one place, I have another shelf for completed models, and I have an empty drawer in my desk. -
My Paint Storage Solution
mrmike replied to mrmike's topic in General Automotive Talk (Trucks and Cars)
Mike, I don't know what brand of rollaround you had, but the unit I found happens to be a locally produced item and it is quite sturdy. I have seen other rollarounds that are not worth the plastic they are made of. My plans for this unit does not include rolling it around from spot to spot since my hobby room floor is carpeted and rolling it around is really not much of an option. In one desk drawer, I have more paint cans. In another, I have larger 12 oz. cans of paint, primer, lubricants, styrene, and tubing. The other half on my desk is for non-model related items since my desk also serves multiple functions. The shelving unit was something I cobbled together many years ago out of 1 x 3/4 strapping, a 1 x 6 board, and a piece of 1/4 plywood for the backing. Since I have doubled the size, I had to secure the shelf base to the desktop to prevent any possibility of it accidentally tipping over. Safety plays a huge role in my hobby room! -
Last month, I acquired a sizable lot of paint in jars and spray cans from a friend of mine. But, this created a storage Issue for me as I had run out of space. First, I went to Home Depot for some 1 x 3/4 wood and doubled the size of my jar paint storage rack. I went to my local landfill on Saturday to deposit my trash and found a Sterilite rolling drawer set sitting next to a dumpster. One of the large drawers was missing, but all four casters were there and in good condition. I grabbed it before someone else did and brought it home and cleaned it up. I happen to have another large drawer filled with junk that I emptied out and filled it with spray cans. There is still plenty of room left for additional spray cans and jar paint. I just need to sort and organize the colors for better use. How about it guys...how have you solved your storage problems?
-
That is a very sharp Roadrunner, Carl!
-
I neglected to post the pictures of the completed interior. More to come...
-
Thanks Carl, but I can't take credit for the tip. That came from The70judgeman. At this point, I cannot go any further with McQ's Trans Am. I am still waiting for paint to arrive, and so I'll continue working on my Mercedes SLS.
-
I got the engine reassembled and back into the chassis. More to come...
-
Well Charlie, I stripped the wheels of their chrome plating and painted them accordingly to match Pontiac Rallye II wheels.. After doing more research and listening to some sound advice, I have pulled the engine apart and repainted it with Model Master Big Bad Blue, which looks close to the GM corporate blue used in '73. I washed the front and rear windows and the interior and seats. The interior will be repainted and I may use embossing powder on the carpet. More to come...
-
I paint detailed the wheels tonight. I cleaned the tires of the white letters and installed the wheels Then I installed the wheels and tires onto the chassis. More to come...
-
Thanks for that tip, Mike!
-
Thanks Fabrizio! I detailed the dash this afternoon. Have a look... The chassis has been repainted and the front and rear suspensions have been installed. The 400 CI Poncho motor has been installed into the chassis. More to come...
-
I'm glad that you do, Arnold. Thanks! Bodywork is done and it's time for paint to fly! This is two mist coats of Tamiya TS-85 Bright Mica Red. I'm really happy with this color and after two mist coats, the coverage is fantastic! I'll have to get more of this color for an Audi R8 that I want to build later. More to come...