-
Posts
232 -
Joined
-
Last visited
sbk's Achievements

MCM Friend (4/6)
-
Those are the best, & use nothing else for small diameter drilling.
-
Making seats look like leather...
sbk replied to Hillbilly Deluxe's topic in Tips, Tricks, and Tutorials
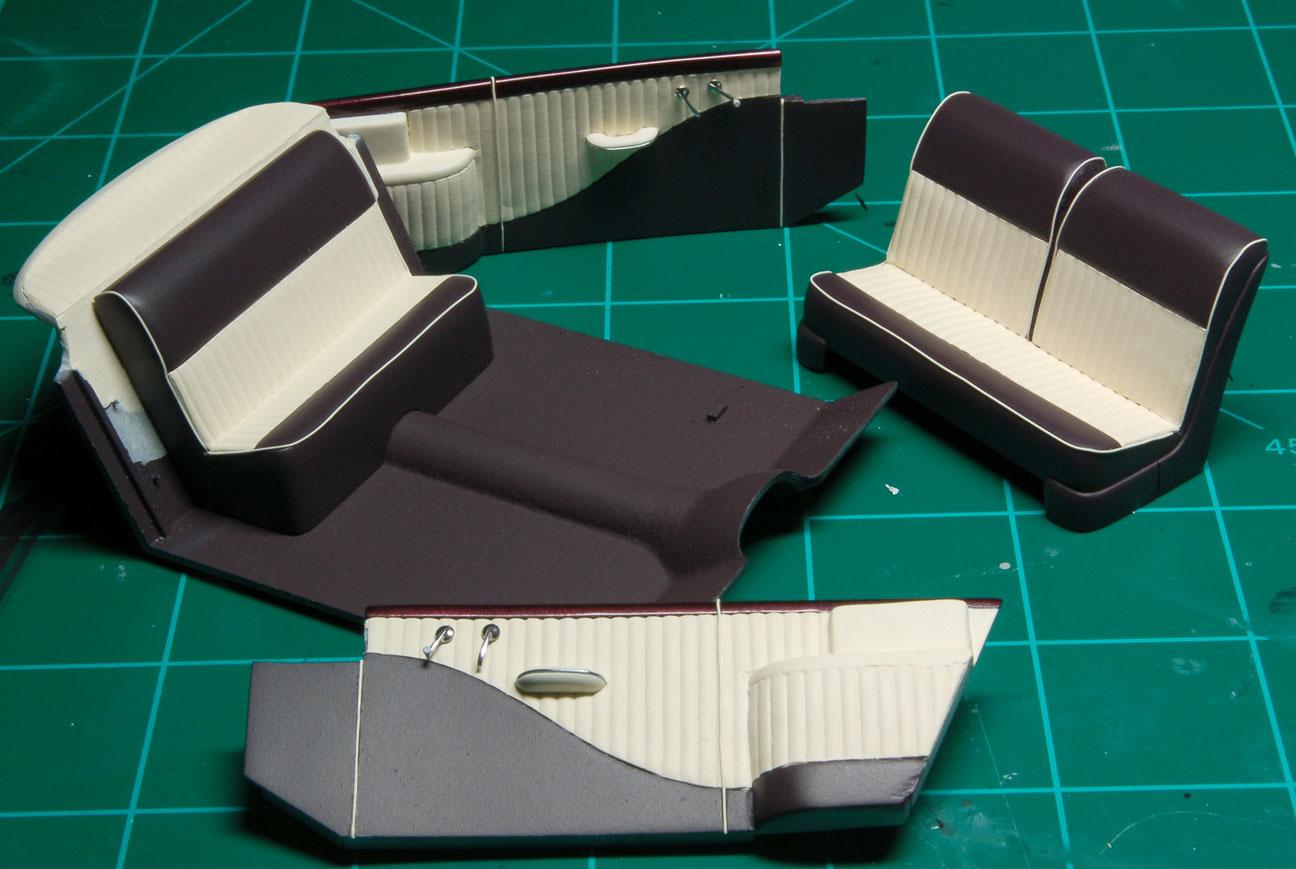
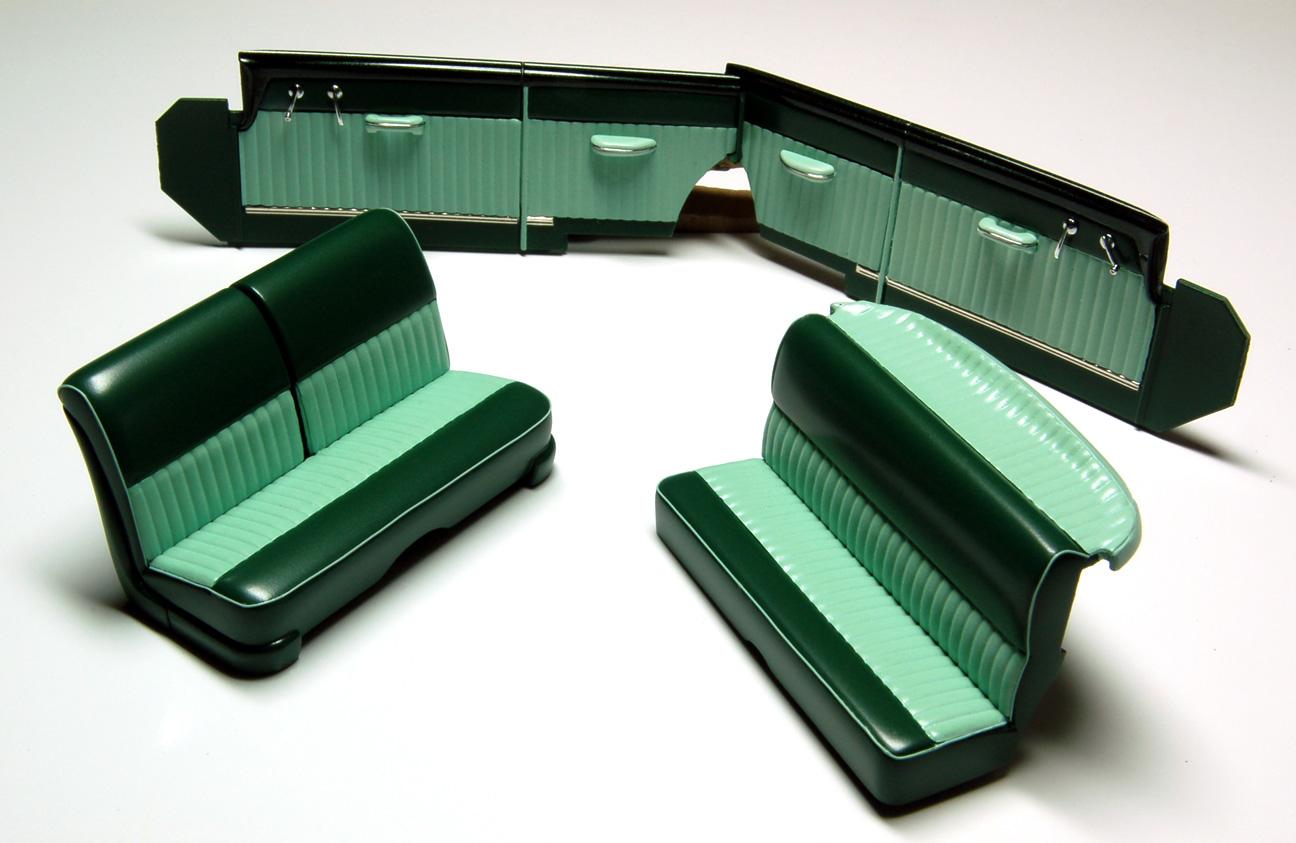
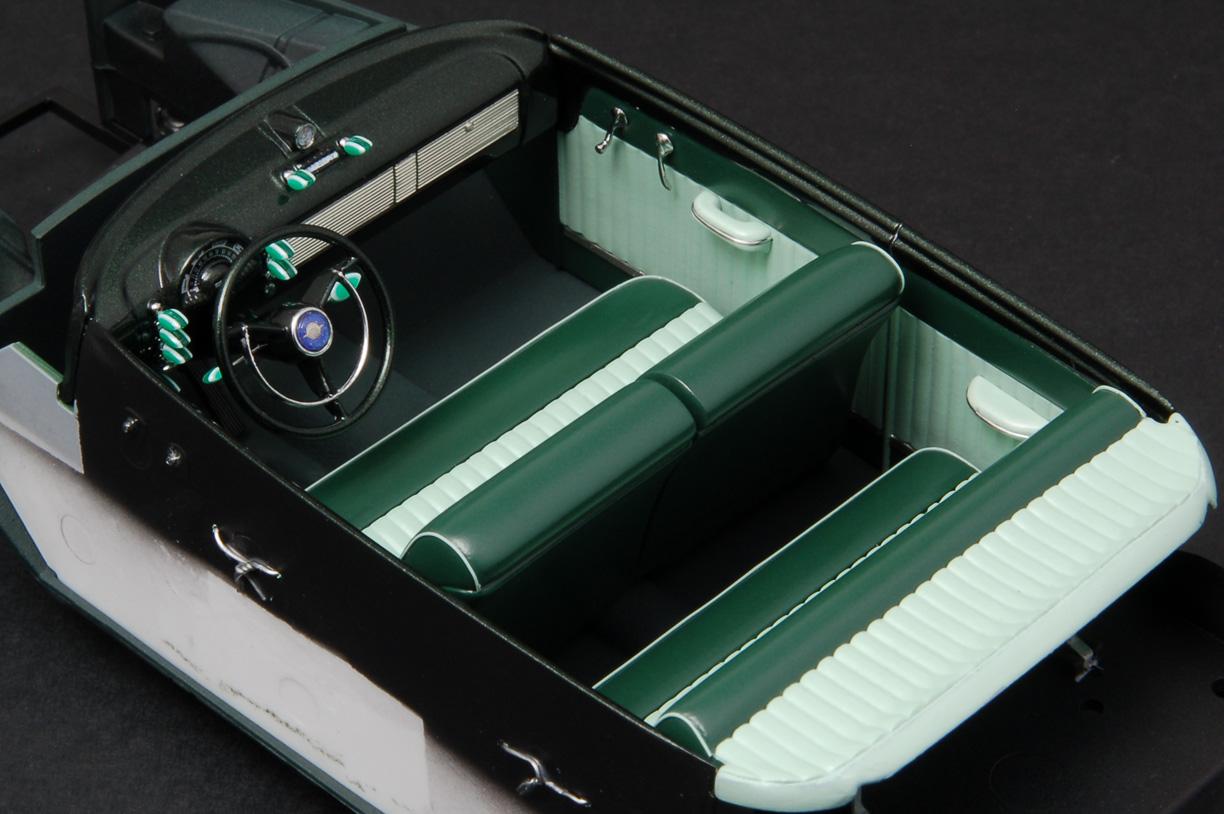
Sorry for being late to the party. Those are resin copies of some that I scratch built. Thanks! -
Exactly. I bought a few sets years ago, multiples of the sizes that I use the most. I originally bought some at Harbor Freight almost 20 years ago, & have bought random sizes over the years to replace broken ones & fill in the missing sizes. I use them by hand, no pin vice. I have broken some, but it teaches you to be more careful.
-
Yeah, so cool! Great restoration with Dennis touches.
-

Making seats look like leather...
sbk replied to Hillbilly Deluxe's topic in Tips, Tricks, and Tutorials
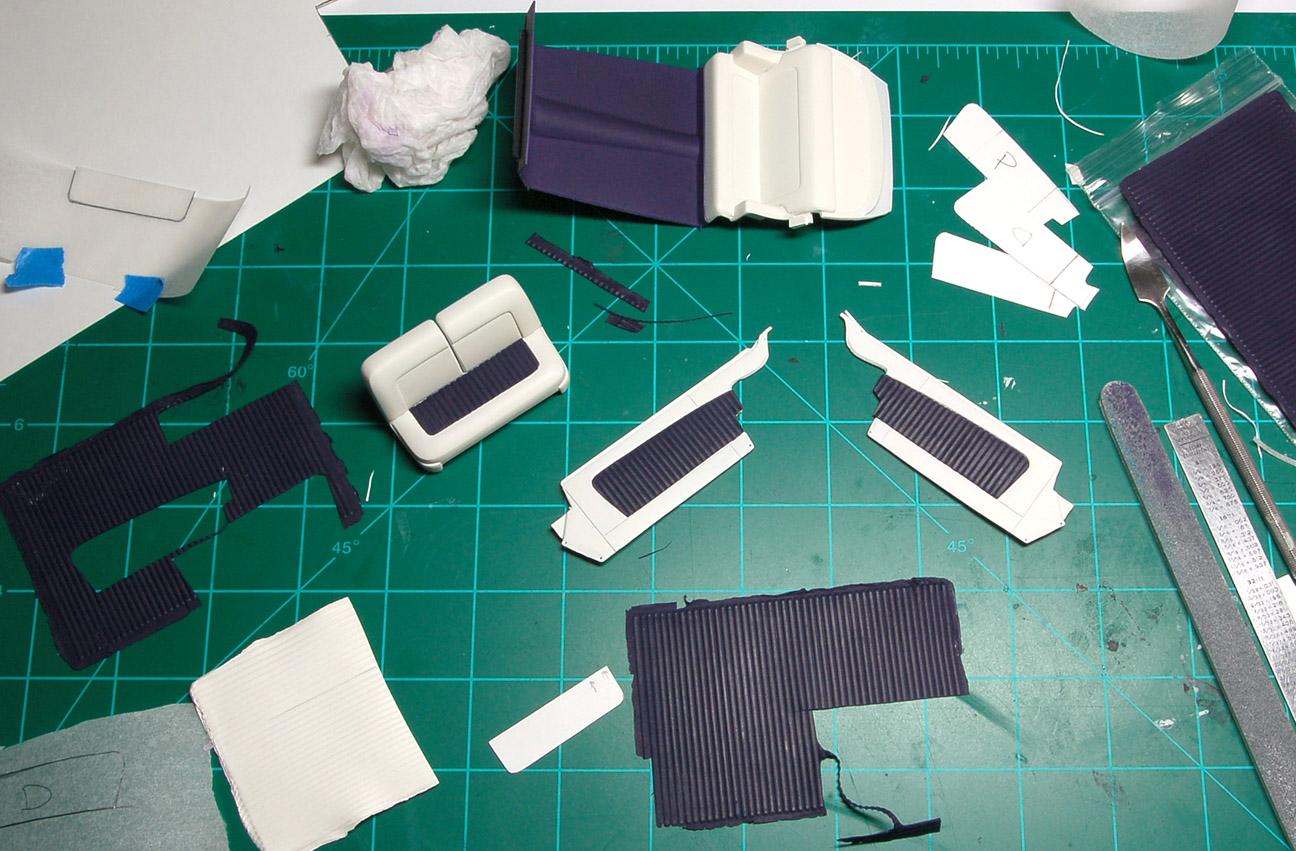
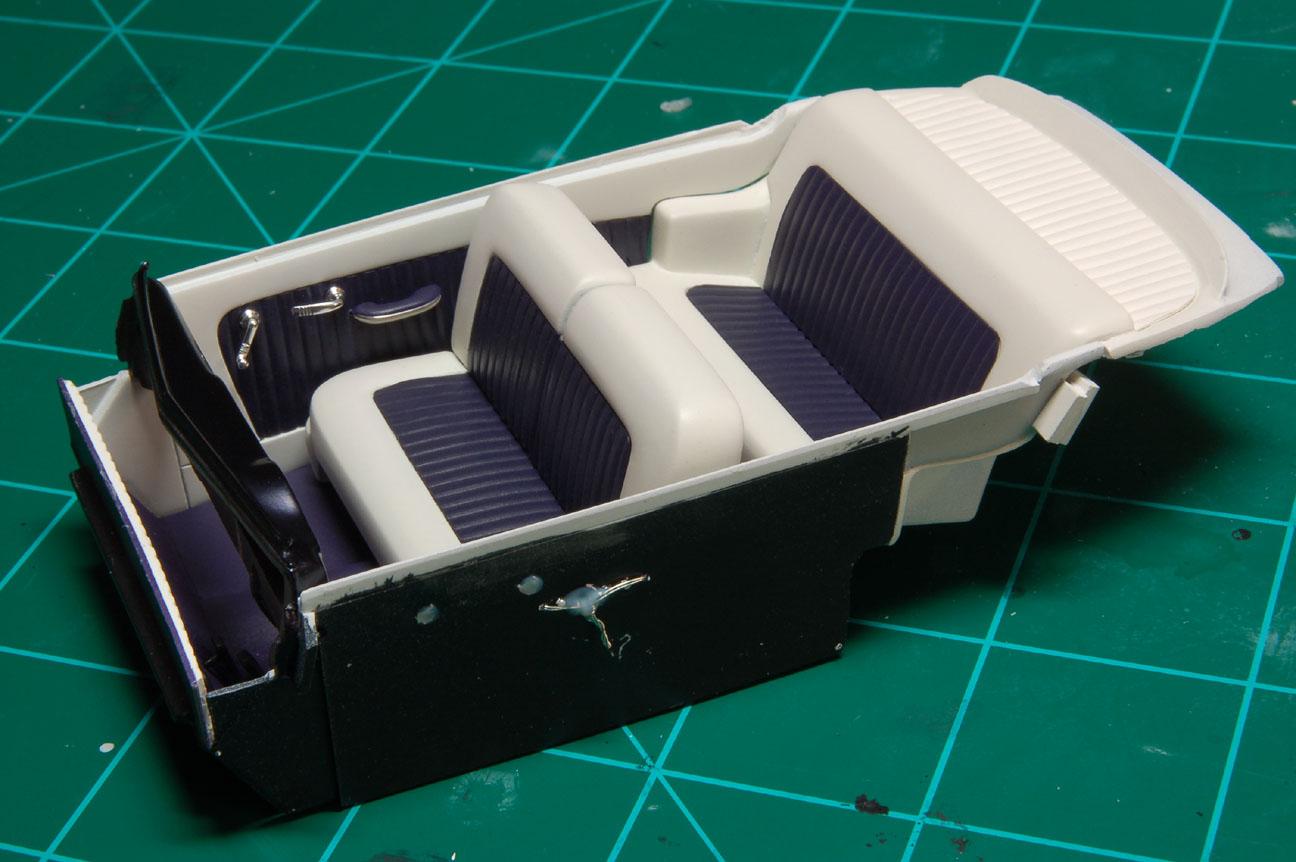
Thanks! The cover is from an old AMT Ford truck kit, ('61?) but the cover from the AMT '59 El Camino may be easier to find. The mold is made like a typical silicone mold for resin casting. I've had the best results with Anita's craft paint. Tons of colors available & pretty cheap. I pour the paint into the mold, spread it around, & try to get most of the air bubbles out. After a day or two, I remove the piece & set it aside. I pour more to have extras in case of surface air bubbles or a miss-cut piece later on. Since I was going to paint the entire seat, I used a color that was similar to the gray primer so that the paint coverage would look even. The great thing about using craft paint inserts is that it's easy to do two tone upholstery by using contrasting colored inserts. Paint the seats one color & use a different color craft paint for the inserts. If you go to FB, I have a step by step. If you start on the photo in the link, I have 9 photos with captions explaining the process. https://www.facebook.com/photo/?fbid=192070664231320&set=a.148890918549295 -

Making seats look like leather...
sbk replied to Hillbilly Deluxe's topic in Tips, Tricks, and Tutorials
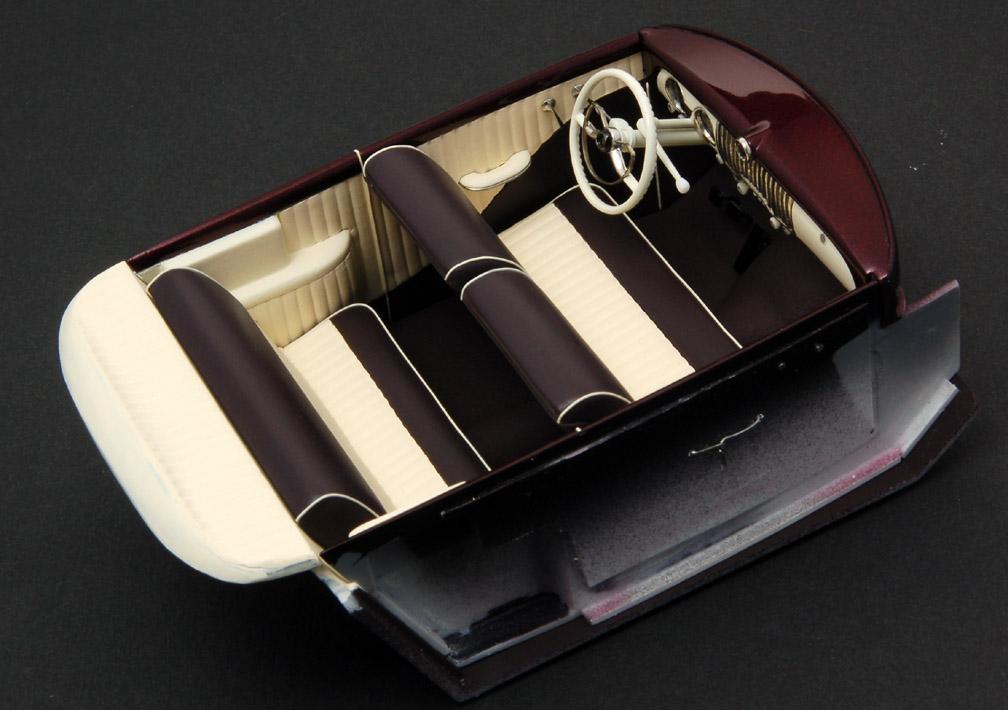
Later on I get into some of the stuff Bernard mentioned up above. At this stage, I poured craft paint into a toneau cover mold to make the tuck & roll material. Then, the various pieces were cut into shape & glued in place with watered down Elmer's glue. . 32 ga. bead wire was superglued in place to represent the piping. The leather base coat was Acryl Gelb RLM, but any sort or yellow ochre color should work. After that, I started sponging & stippling thinned layers of Americana acrylic craft paint. The colors I used were Traditional Burnt Sienna & Cinnamon Stick. Between coats I sprayed Acryl semi-gloss clear to seal the previous coats. The photo in the background shows the look I was aiming for. There's also a test seat in the background to work out my colors. That one came out a bit dark. When I was satisfied with the overall look, I sprayed quite a few more coats of semi-gloss clear. The paint on the body still needs to be polished out. -

Radio antennas another dollar store money saver.
sbk replied to Mike C.'s topic in Tips, Tricks, and Tutorials
Wow, I've seen that image for so many years. I had no clue it was 1/32. Very cool! -
Kasey (Slowlysmodels) has a few that you may be interested in. Check it out: https://cults3d.com/en/search?q=slowlysmodels
-
Good stuff! Have you done weighted tires? I have a few vintage WW tire designs that I did a while back, but wasn't all that successful at adding the sidewall bulge.
-
Lots of great stuff happening here! Very inspiring. Steve
-
Nice work! My apologies if you already mentioned it, but what program are you using for design? Thanks, Steve

.thumb.png.e64ca4fead948adbdf6a111229b6cf2f.png)
