Fender
-
Posts
107 -
Joined
-
Last visited
Content Type
Profiles
Forums
Events
Gallery
Everything posted by Fender
-
What company and what year is the kit you are working on? I had a 1/8 Corvette back in the 80's. I don't recall a whole lot of 1/8 kits since then.
-
Can anyone tell me how I get email notifications?
-
Thanks - that helps. I went back and searched for a bout a half hour and was able to come up with a common sense linkage set up for the model engine (minus chokes).
-
I'm hoping there is someone familiar with this kit. I'm building the large kit 3-1 Ford- the one with the Big Duce / Hi-Boy / Rat Rod options. I'm building the Hi-Boy engine, 3 - 1 barrel set up. I would like to do the full carburetor linkage. I'm having a hard time finding examples of the linkage in my searches. The carbs (3) in the kit do not appear to be stock Ford type. If anyone can tell me the type carbs (Rochester etc) the replica kit parts are- it may help my search. Or if anyone can point me in the right direction as to where I can find a diagram of the proper 3-1 barrel linkage. There seem to be more than just a few parts that are included in the kit that are not in the directions for any of the optional builds. I've identified what seem to be door lock s and some others. Anyone find this also and maybe help identify some of them.? I like this kit even with a few minor errors in the instructions. I can deal with that but I wish they had included a battery and more of the carb linkage. I have the kit linkage installed but the set up from the carb with the springs and linkage arms etc is what I'm interested in. I want to get close to as right as I can. I haven't built a big kit like this since the 80's when I hacked together the big 1/8 Corvette that I wish I still had. The tires in the Big Duce kit leave a lot to be desired- that IMO is the worst thing about the kit. They are inconsistant and have a couple bulges and thin spots-- anyone else have this prob??????? Some of the tread is taller than other rings of tread next to it. This is on the outside edge of the tread pattern.on more than one tire . On a 1 to 10 mine are about a 5. So for the $80 to $100 that someone might pay for the kit- it's not good to have jacked up tires. But I'm handling it I figured out how to fix the bulgees by lining the inside of the tire with chrome duct tape and then pushing in on the buldge from the outside. It took about 80% of the buldge away. Either way I'm most interested with getting the carb linkage down-- Thanks all....... Sorry if there is already a thread on this that I haven't seen here yet. I was in a hurry and just jumped on here to get the good info.
-
Post a pic or two. Geez I would never have thought there was another one of those out there. I haven't seen another one since I bought mine in 2001 or 2. AND I go in hobby shops all over and in different states from where I live too.
-
That looks like it. I'm not exactly sure my kit is a Revell- I'll check it out.

-
Thanks-- I have never seen the "Spark Bug". The Killer Bee kit really didn't have alot of detailed Baha parts. It was more like the chopped up street cars that someone would do in their garage back in the early 70's. I'll try and search the Spark Bug. I did alot of stuff to this model that led me to have to do more stuff to compensate for the stuff I'd done to it! HA! It took longer than I wanted it to. I moved the engine back about a scale 12 inches and scratchbuilt alot of parts.
-
I built this kit in around 200o then recently took it apart and re-did it with a roll cage- and a bunch of mods
-
I can only imagine how much time is spent on this great scratchbuild. There is a point where this model turned into "Art". That was probubly before you even started. An artist at work is a good way to describe what you are doing. I play music and there are levels of performance and yours looks to be "Meastro". I also paint oil paintings and am aware of the way experiance teaches the build process and steps taken in a build that have to be known to make a good end. Those steps I have found are not always what one may think they are at first. It takes alot of thought and time for sure! I can tell you are at a great point in your creativity. You obviously have been to the Rodeo a few times. This site has provided some very interesting things and knowledge for me. This build is at the top so far in my searches. I think alot of the guys would agree with me on that. Excellent sir.
-
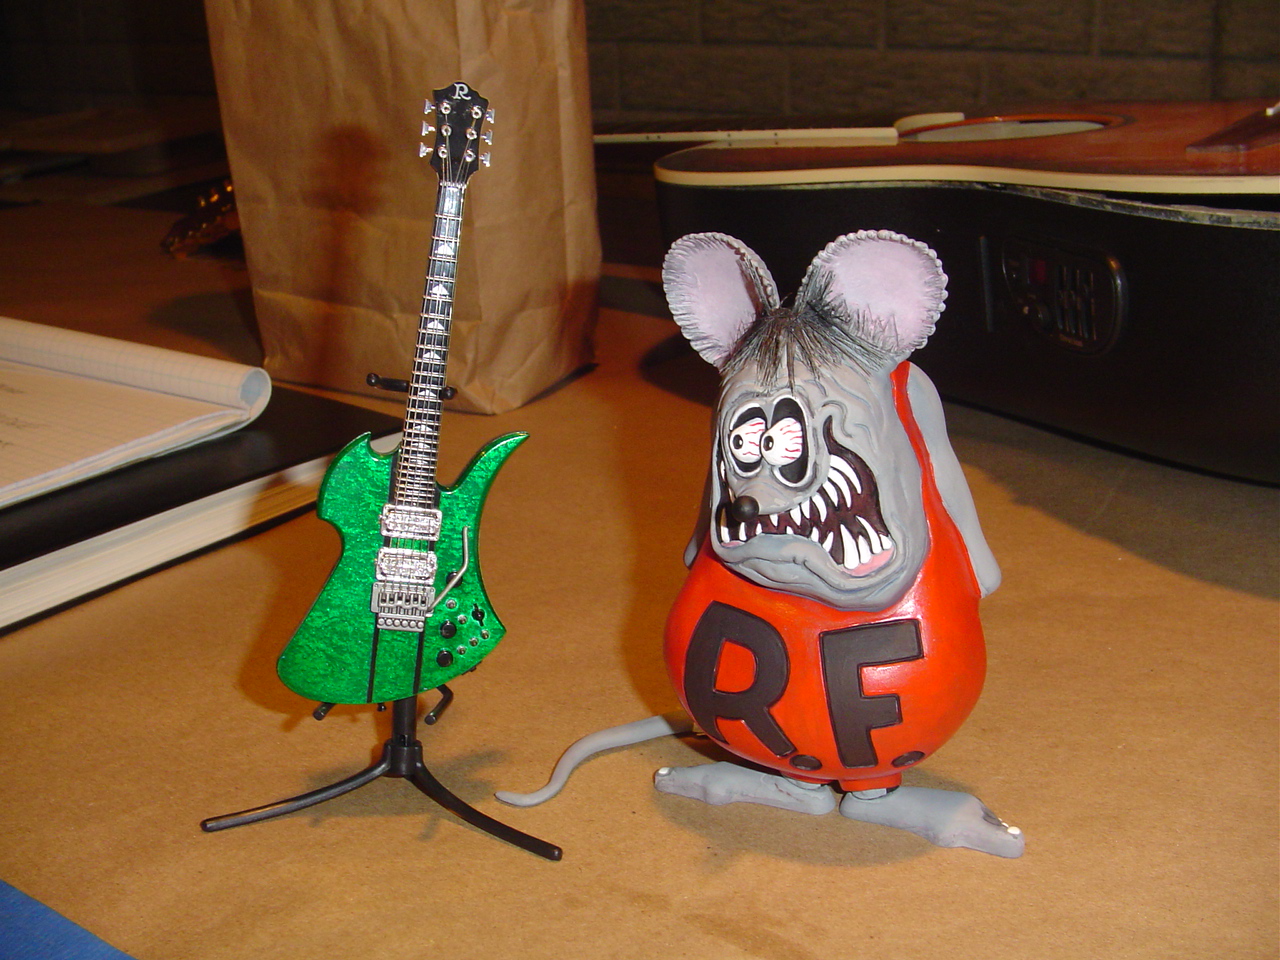
Pics of tools etc from my original topic start the small blue cylinder is the copper solder dry wick for making seat belts the black label bottle is the super glue solvent (remover) The reddish liquid bottle is Smiths Guitar polish
-
Duplicolor automotive touch up paint question
Fender replied to W117monte's topic in Tips, Tricks, and Tutorials
I have used the dupi color. I found that if I warmed up the can before painting it layed down better/smoother like you're talking about.- you know- the hot water in a bowl or whatever and then sit the can it in for a little while. -
I'm going to try and post pics of the stuff I posted about. Hopefully before this weekend. It will just be thumbnails.. I've seen those dremmels at Lowes or Sears I think..
-
I think you can get the copper Dri-wick at Radio Shark or from any electronics supply company- search solder removal. You want the thinner guage stuff that is actual copper not the steel colored stuff but it would work it's just larger guage stuff. It is indeed really good for seat belts. It wicks up melted solder when removing solder with a solder iron. So it absorbes paint . It needs to be primmed first before painting. When painted it looks like weaved material. It's best on 1/24-- 1/25 -- 1/16. Also I saw the dremmel tool with the batt. It looks pretty usefull.
-
A list of workbench regulars. Maybe I use or do something you don't -- maybe you can add something obvious I haven't stumbled on. 36" Pivoting Magnifying Lamp- I need this. I wear glasses and I still use the lamp. It has the 5" round lense and round lightbulb. It really helps for the detail work. The convex shape of the lense can distort viewing straight edges and lines and makes them look out of whack unless your eyes are lined up with the center. It stays on all the time when I'm working. Hair Dryer- I've just started using one-- it's great. Turntables- I have 3 of these. They are approx. 6x10. I made a couple from semi-round plaques from Hobby Lobby. I do have one large turn table big enough to put a 1/25 AMT tractor/trailer rig on. That one came in super handy over the four months I spent on the Conventional and Log trailer. It will also fit a Garden Scale Locomotive or various rolling stock if you are into that. I spend alot of time detailing those. Dremel- variable- goes without much description. Everybody should have one. Cig pack stands- I use the box type. I'll tape some of them up. I'm suprized at all the stuff I use them for. Small paint brush ferrules with hairs removed and straight pins added for appying glue, paint, and holding things in place. Dental scribes-- these are very good for alot of tasks. Sharpies- for painting and touch up on small parts etc.-- especially the silver ones-- excellent. Socket Tire Spinner- everybody has this- right? Shrink Tube- excellent roll cage padding . I have a bunch of non- shiney kind. It's also great for bundling wires -(small pieces) Chrome Duct Tape- not only is this very strong tape , I've used it for trim. It's thicker than the foil you get at the hobby shop. Works best on larger scale models. Dull Coat- is my friend. I used it on tires and just about anything. Fabric/Hobby Paint- the small bottles of paint you find at Hobby Lobby in about a thousand different colors- another great tool. It takes time to get used to it. Copper Stranded Solder Dri-Wick- the best for seat belts! You can pull it to make it thinner or push it together to make it wider. You have to prime it before you paint it. It's just really good stuff. It conforms to shape . Ambroid Pro Weld - excellent liquid glue with great capillary action. Travels a long way. It actually melts plastic together when it's not painted. Smiths Guitar Polish- the best for guitars and great for model finishes. Check it out. A couple of things I do usually are 1. measure almost everything in millimeters 2. Use clear styrene for windows whenever possible. A couple things I don't do 1. I've never used an airbrush on any model 2. I hardly ever use a vice.
-
I guess I'll crawl thru the window and take it for a drive. Cool.
-
Sweet!
-
The price is steep. Maybe too much for me. I could really like having that but I wouldn't pay that much.
-
Okay- thanks for the response. Your help is appreciated.
-
I haven't talked to modelers about how they assemble parts for test fitting. When you put unpainted/ primered parts together in a mock up fashion such as interior parts into tubs and tubs into bodies to check fit and looks. How do you adhere the parts together so they can easily be taken back apart to work on them?
-
Okay- large picture- small picture- I like both. Large pics show the detail really well. Small pics because they won't load big. Small, large-- it's all good. I didn't know it was hard to click on a small thumbnail. I must be missing some reason or something.
-
Making a 1/25th scale mexican blanket
Fender replied to Darren B's topic in Tips, Tricks, and Tutorials
That was great. I've been going to the craft store looking for cloth I could use for one of those. Never really found any. So much for that. Now I know what to do! -
How To Make Opening & Functional Doors, Hoods, and Trunks
Fender replied to nwmud's topic in Tips, Tricks, and Tutorials
Sewing thread? What kind of thread and how do you do it? -
CA will not work on certain type wire casing. It just runs off and it won't adhere to plastic. I can't remember which type it is but we had some where I used to work untill I retired from there and all I do now is build models. HA!!!! I wish.
-
There is a debate these days as to what a Rat Rod is. I'm sure there is a very long thread here about what is and isn't a Rat Rod. I read the article in the "Model Cars" December(?) issue. I did alot to my (version of a Rat) 41 Chevy Pickup. The body is moved back (scale) 12" along with the engine. Doing that opened up a whole new can-o-worms. That caused almost everything in and on the truck to be modified. Removed and added frame rails, engine and tranny mounts, driveshaft length, interior floor and hump mods, body over frame mods, bed mounting, radiator placement- the whole nine yards. Test fits "a million". Switched to outboard steering with the steering box in the cab - there was no room for stock placement of the steering box. It was a whole exercize in problem solving. I added copper washers under the seat (31 Ford back seat), and aquarium gravel to the engine block and scratched gas tank for extra weight. Hey - I needed weight for traction and balance! A 426 Hemi may tend to need as much grip (in a light truck like that) as it can get. I'm not a machinest so it's not a Gerald Wingrove but it was great fun to build. The build was about as far as I go in time, detail, parts and neck pain.
-
Here are a few . The Jegs is a phantom with fuel injection. It's just for looks. The kit wasn't very detailed. It's an early sixties( I think) Nova. Tubbed and has wheel wells moved forward. This is somewhere in between gassers and Funny cars. The willys is fashioned somewhat after a Willys Pickup from the early sixties that was featured on the cover of a recent Hot Rod special magazine. It has a hand brake/ foot brake combo. It's got the killer Gasser stance, and cool blue windows which was hard to do. It has a scratched tractor battery in the trunk. It was fun to build. Early Nascar 40 Ford with driver. I love old Nascar stuff. My first day on the site has been fun. I have been spending an awfull lot of time on the models lately. I just finished A Rat Model 41 Chevy Pickup truck with a 426 Hemi moved back. It has parts from about 10 or more kits. It's not real low. I wanted to make a kit like something I could drive around and not scrape bottom. What better than a 426 Hemi Pickup? It has a 34 Ford bed, 32 Ford radiator, and other assorted parts. A real Rat Model. I did a ton of fitting and moving and building. Kind of like you would do to a full scale Rat Rod. Sorry if some of the shots aren't real clear. I took them with a flip camera.