kenlwest
-
Posts
277 -
Joined
-
Last visited
Content Type
Profiles
Forums
Events
Gallery
Everything posted by kenlwest
-
The seat cushion and seat back in place. You will notice that the paint finishes on this project look rough and dull. This is intentional. The final coat will be a water-based polyurethane. In my experience, this creates a more antique period look.

-
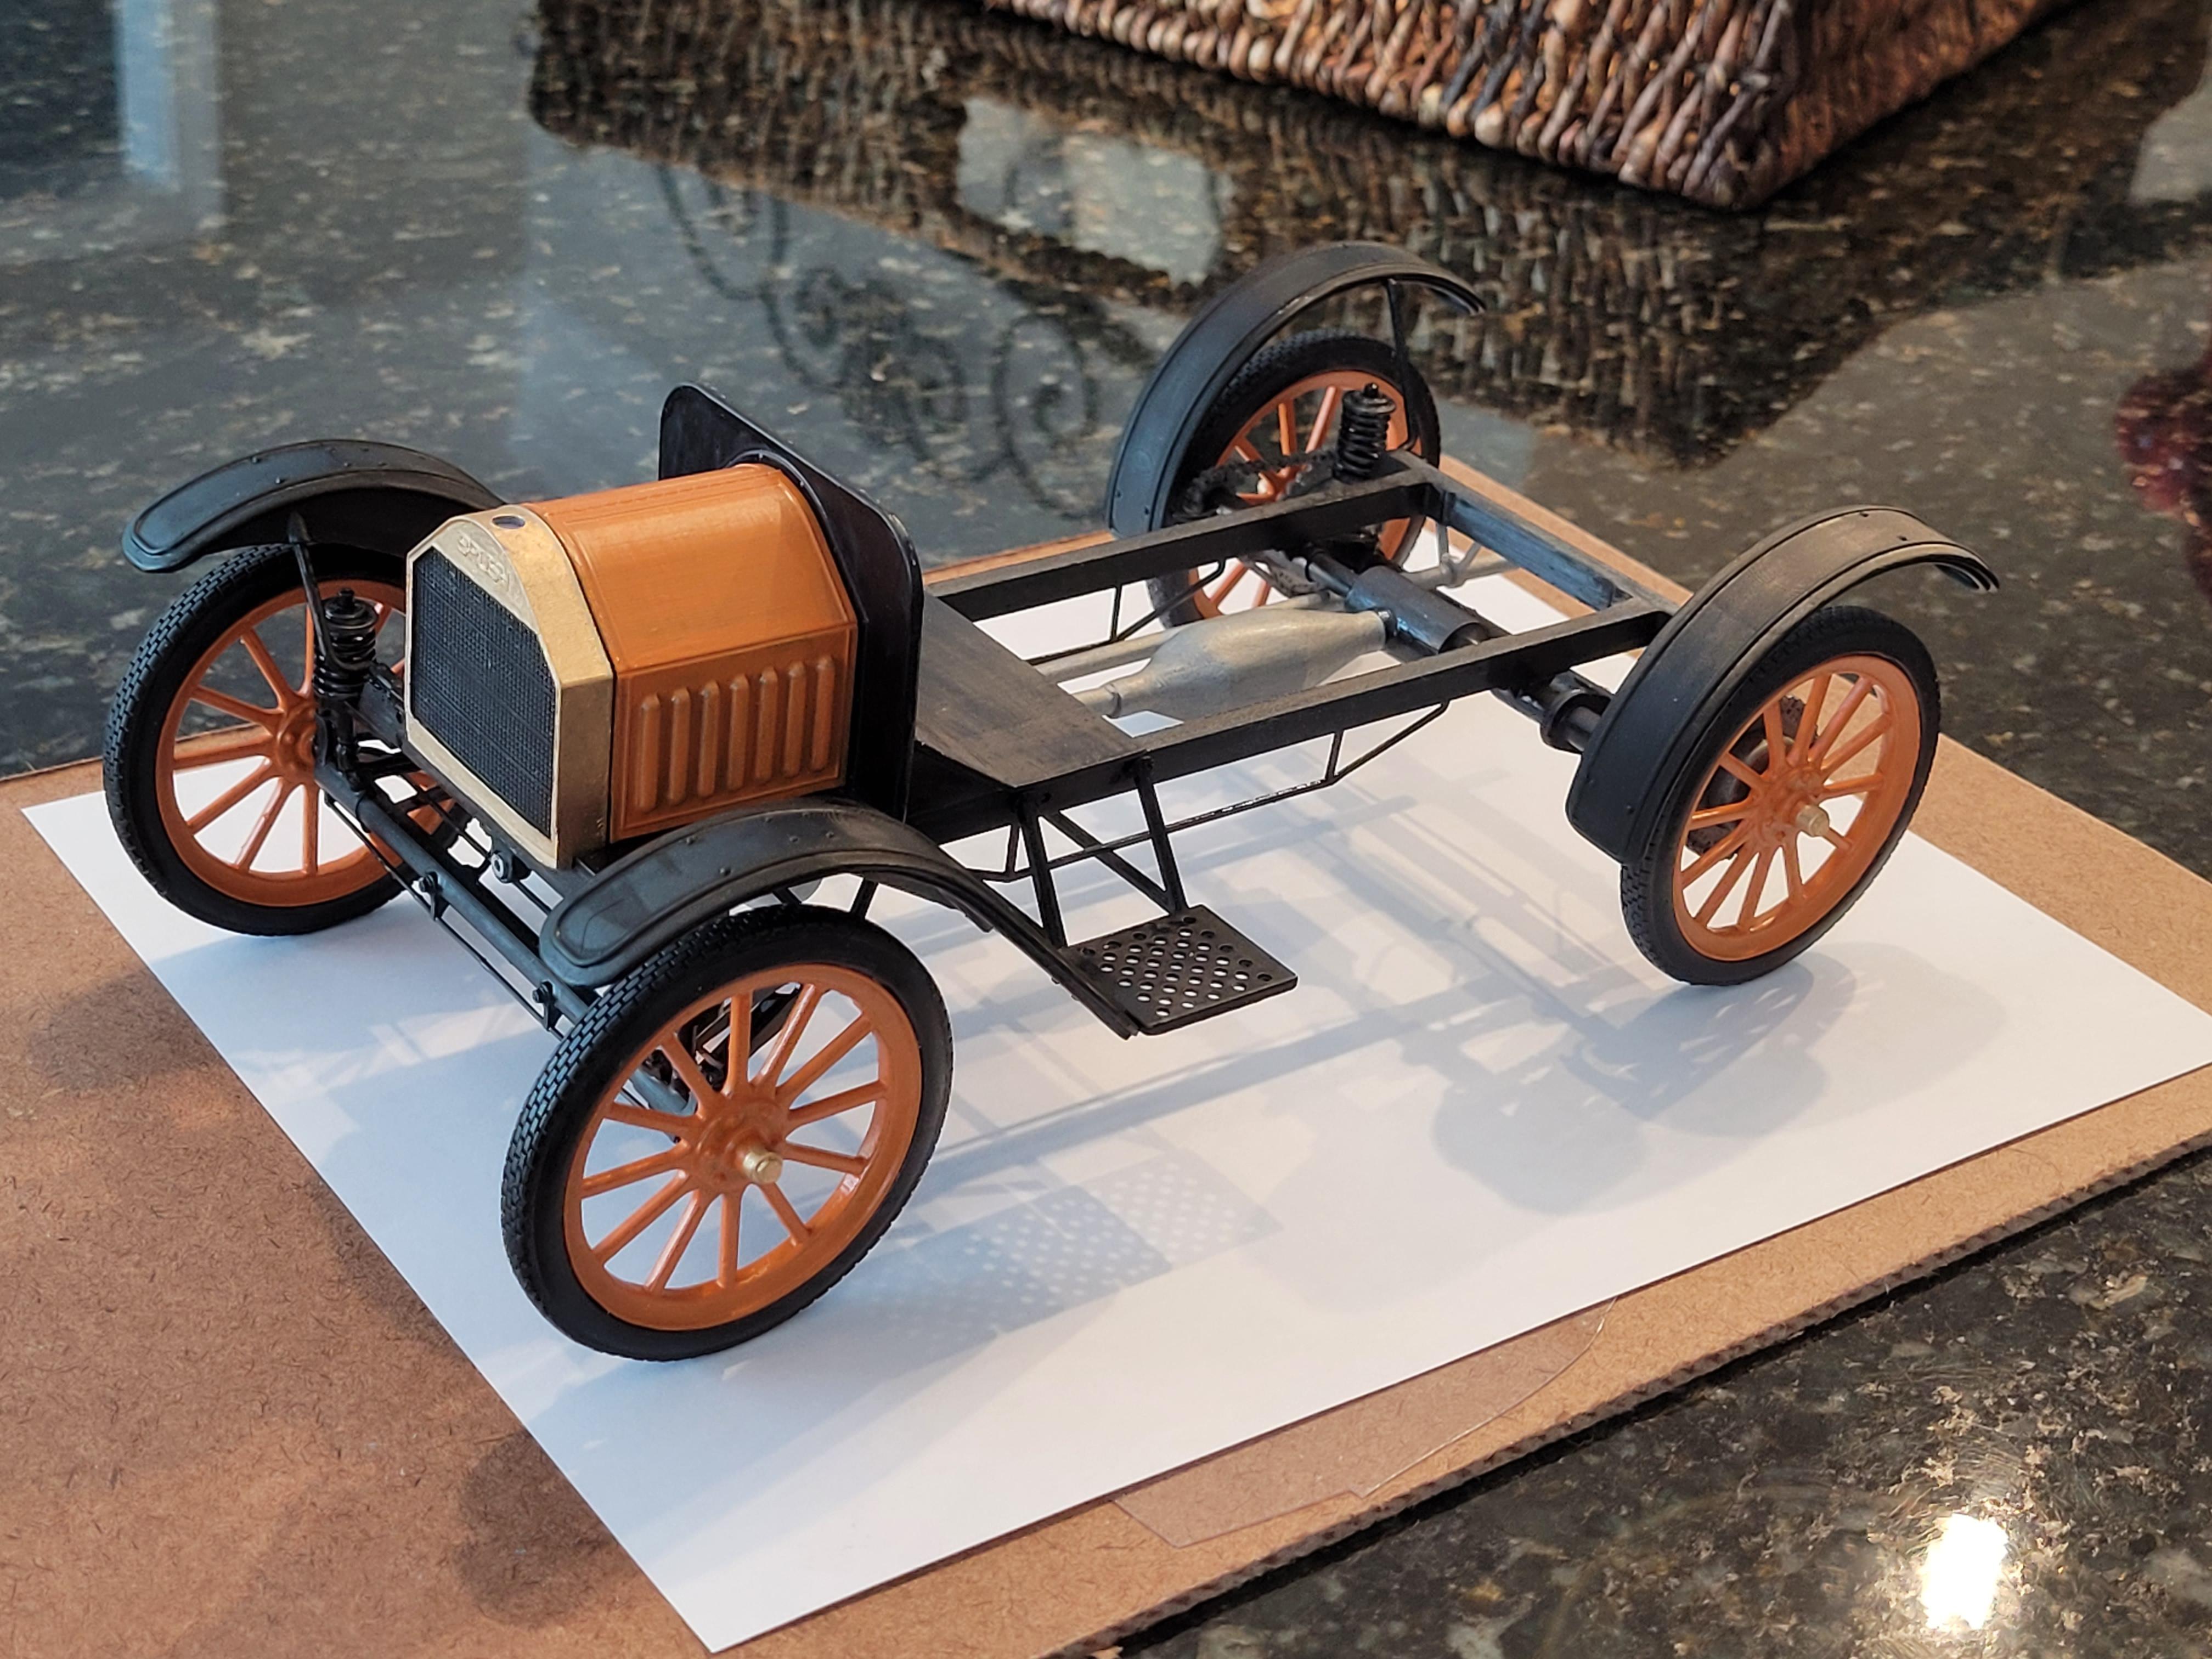
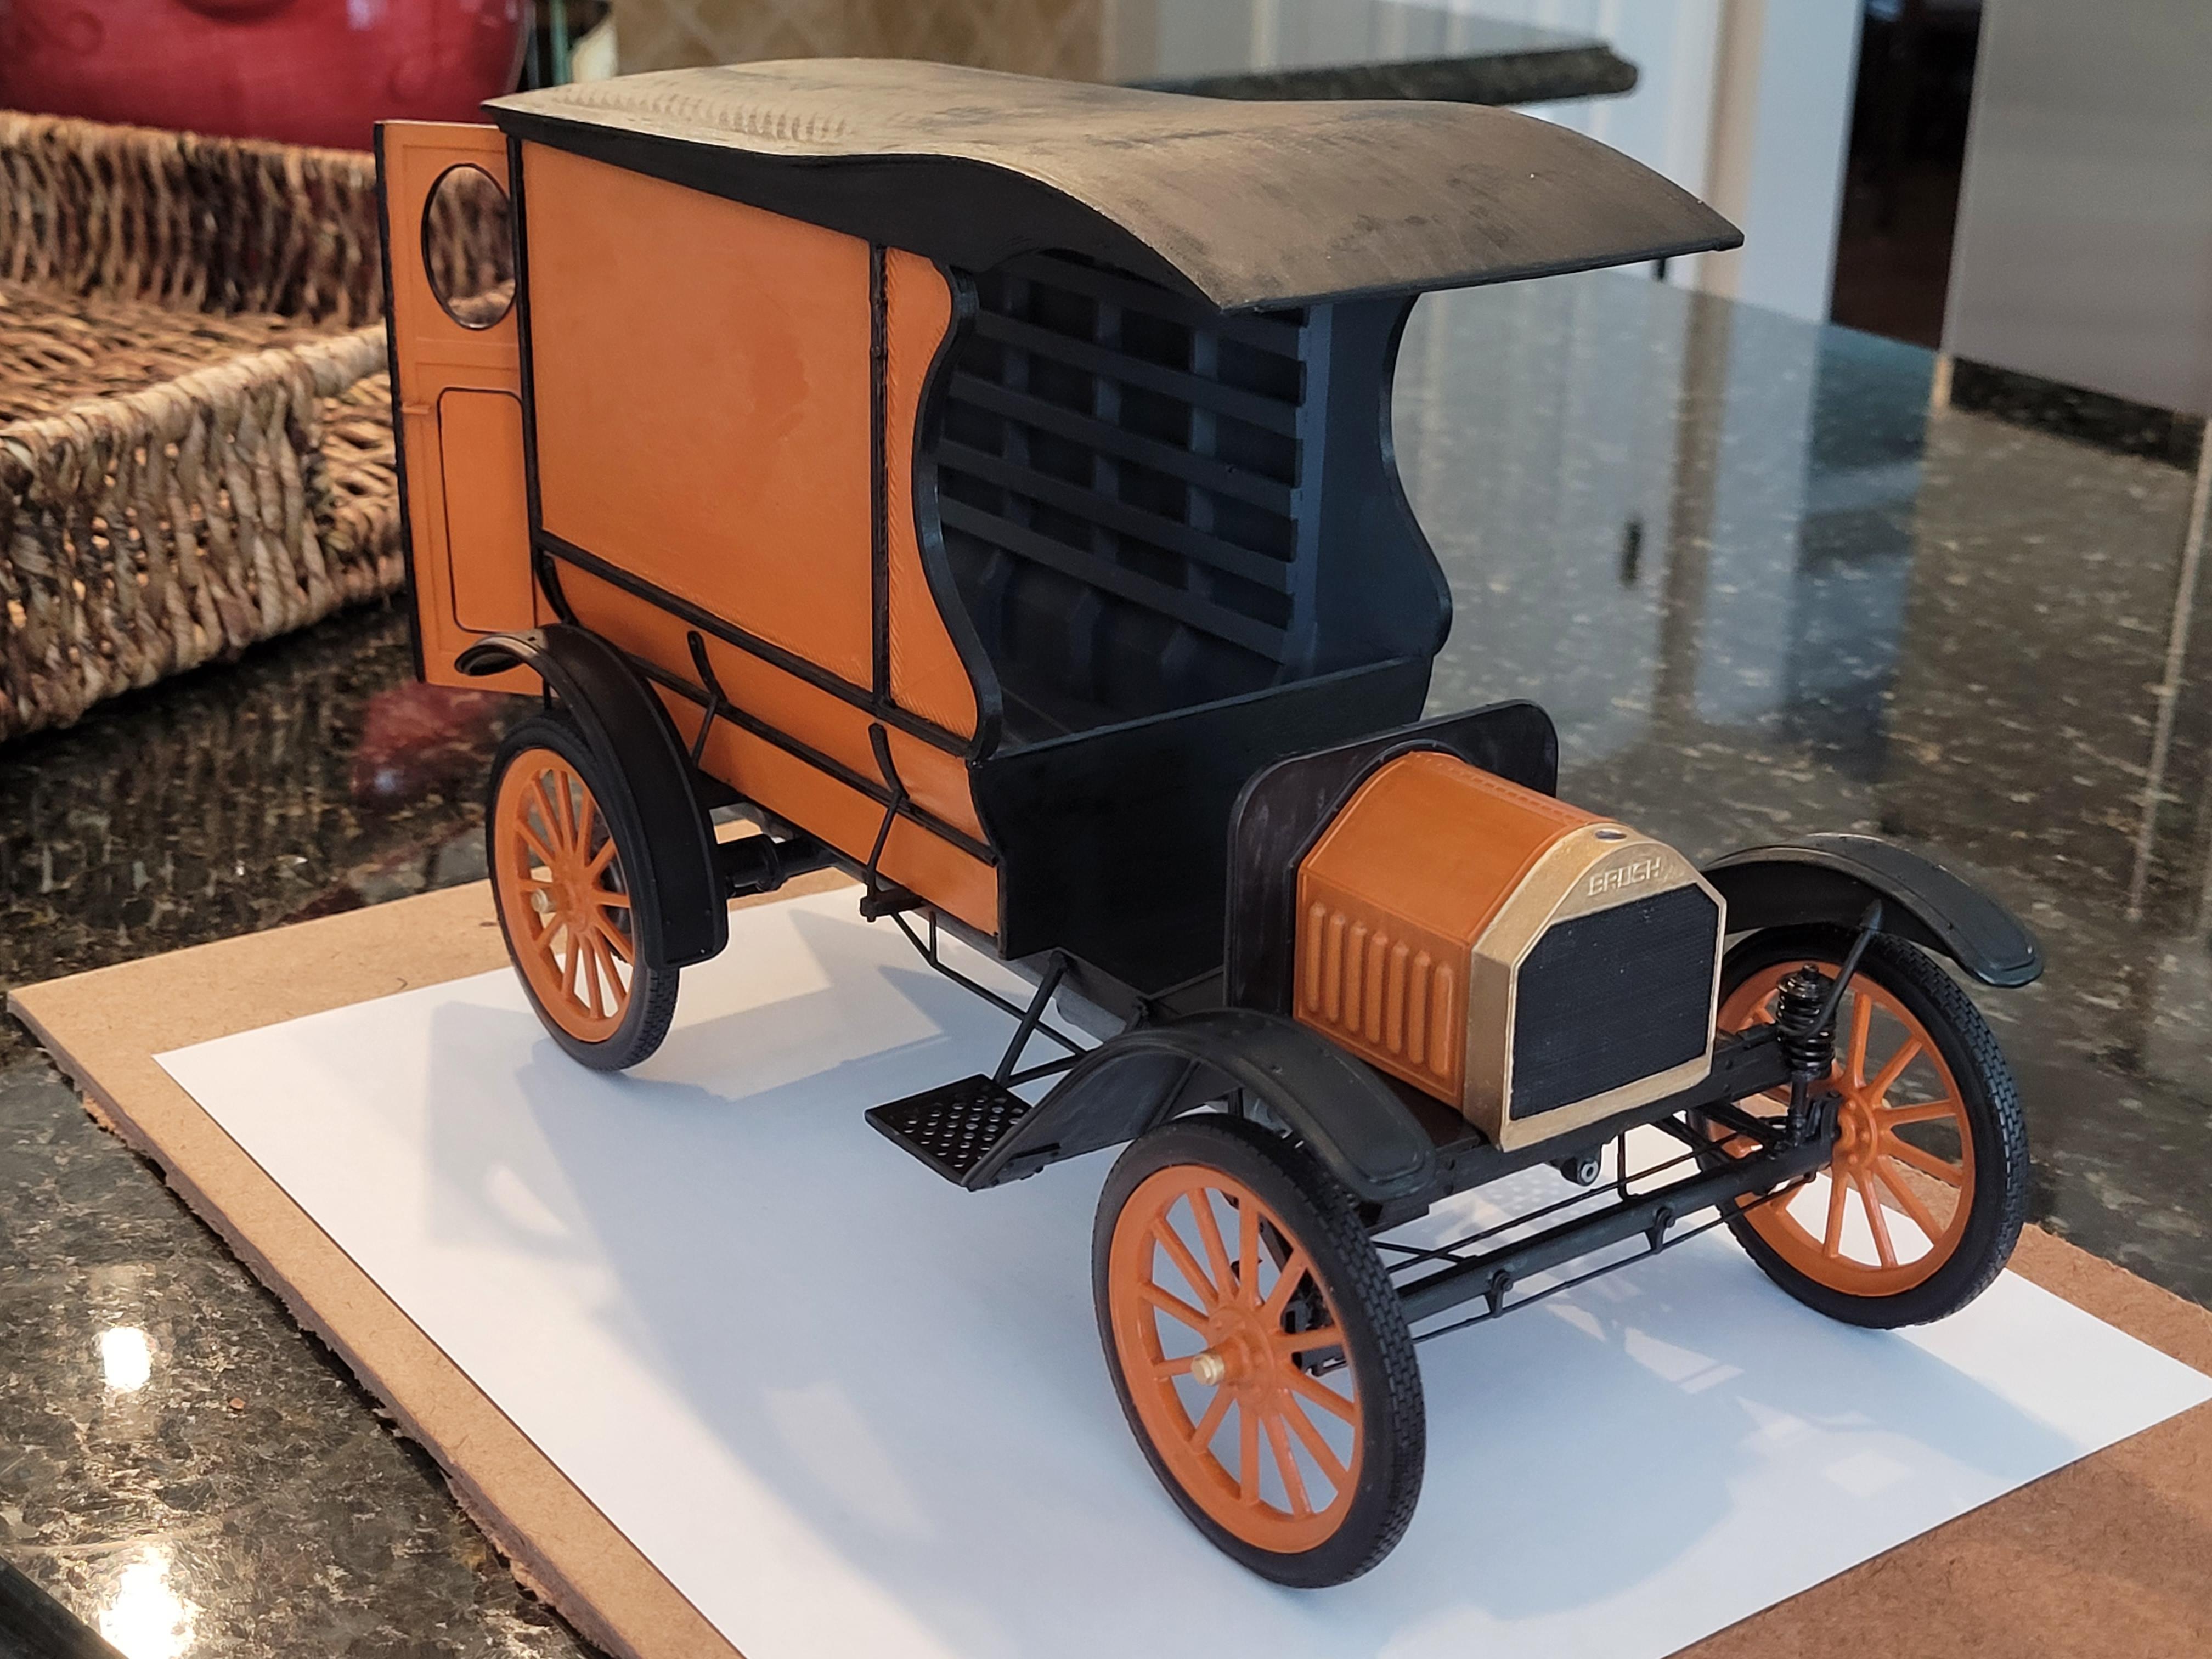
Like many other unique features of this vehicle design, the cross braces are used to support the steps, and also to support the front fenders. The wheels are mounted. A lot of details yet to be added. I am still looking for a fake business logo for the side panels.
-
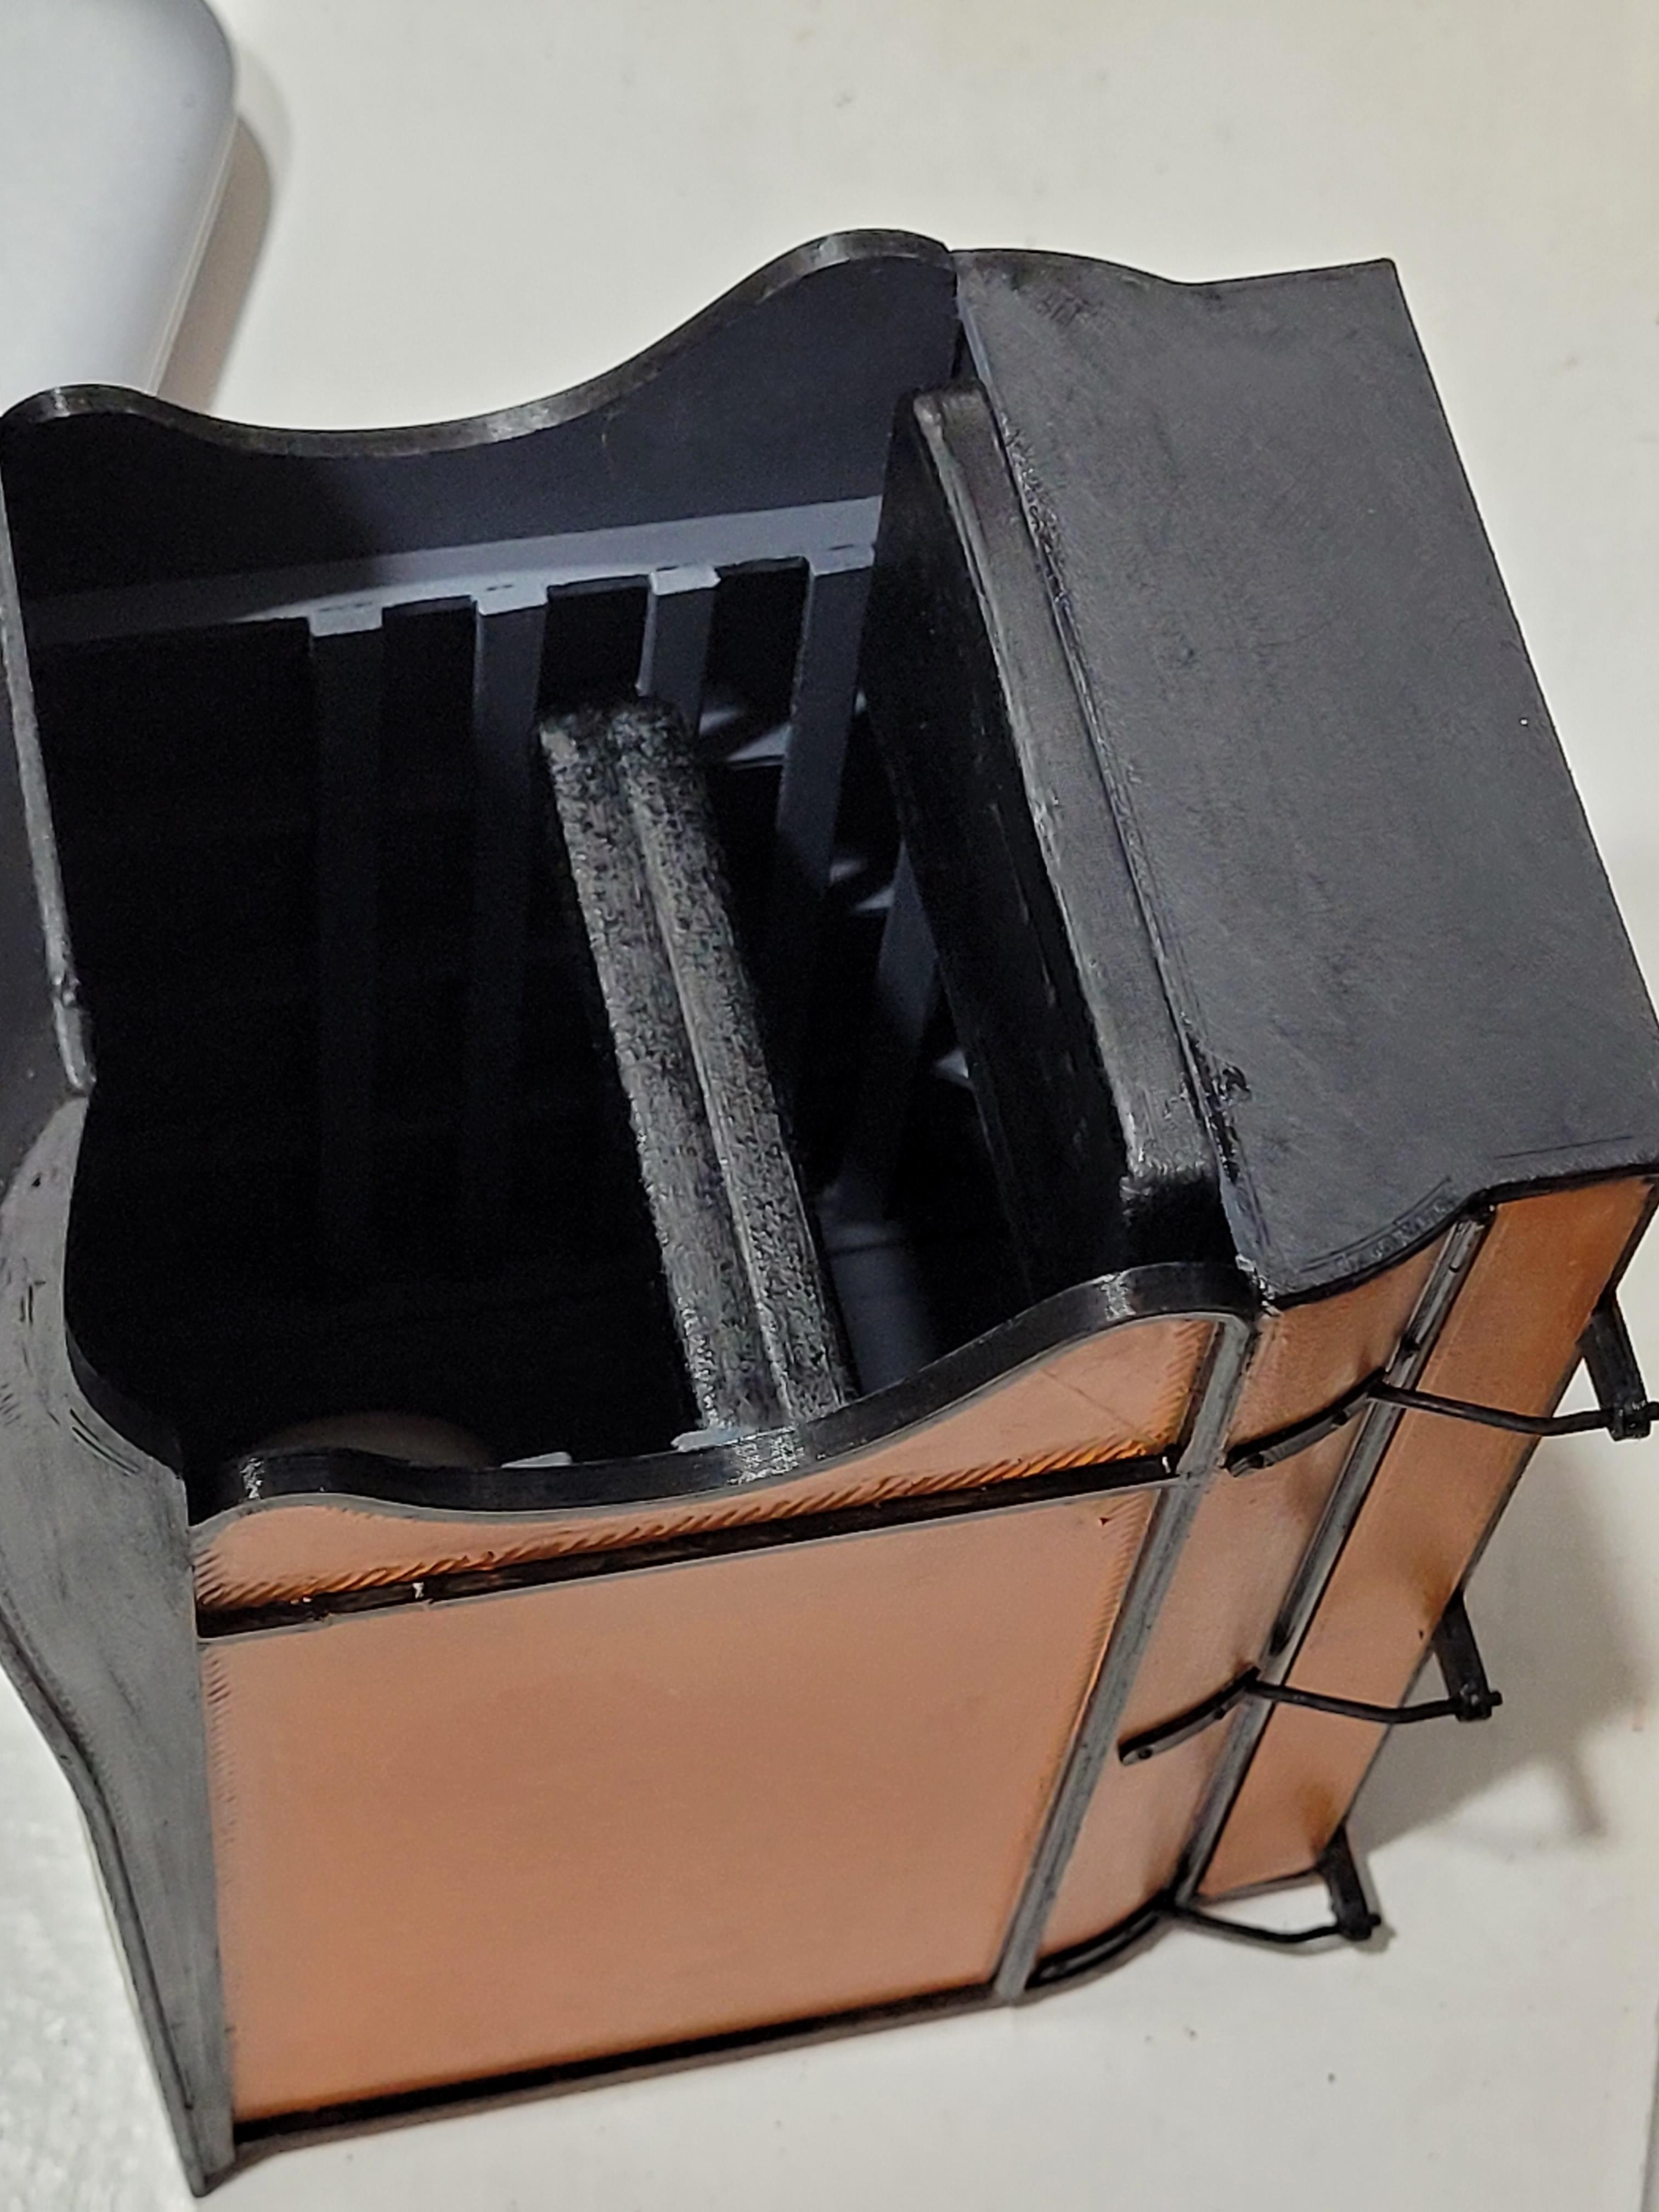
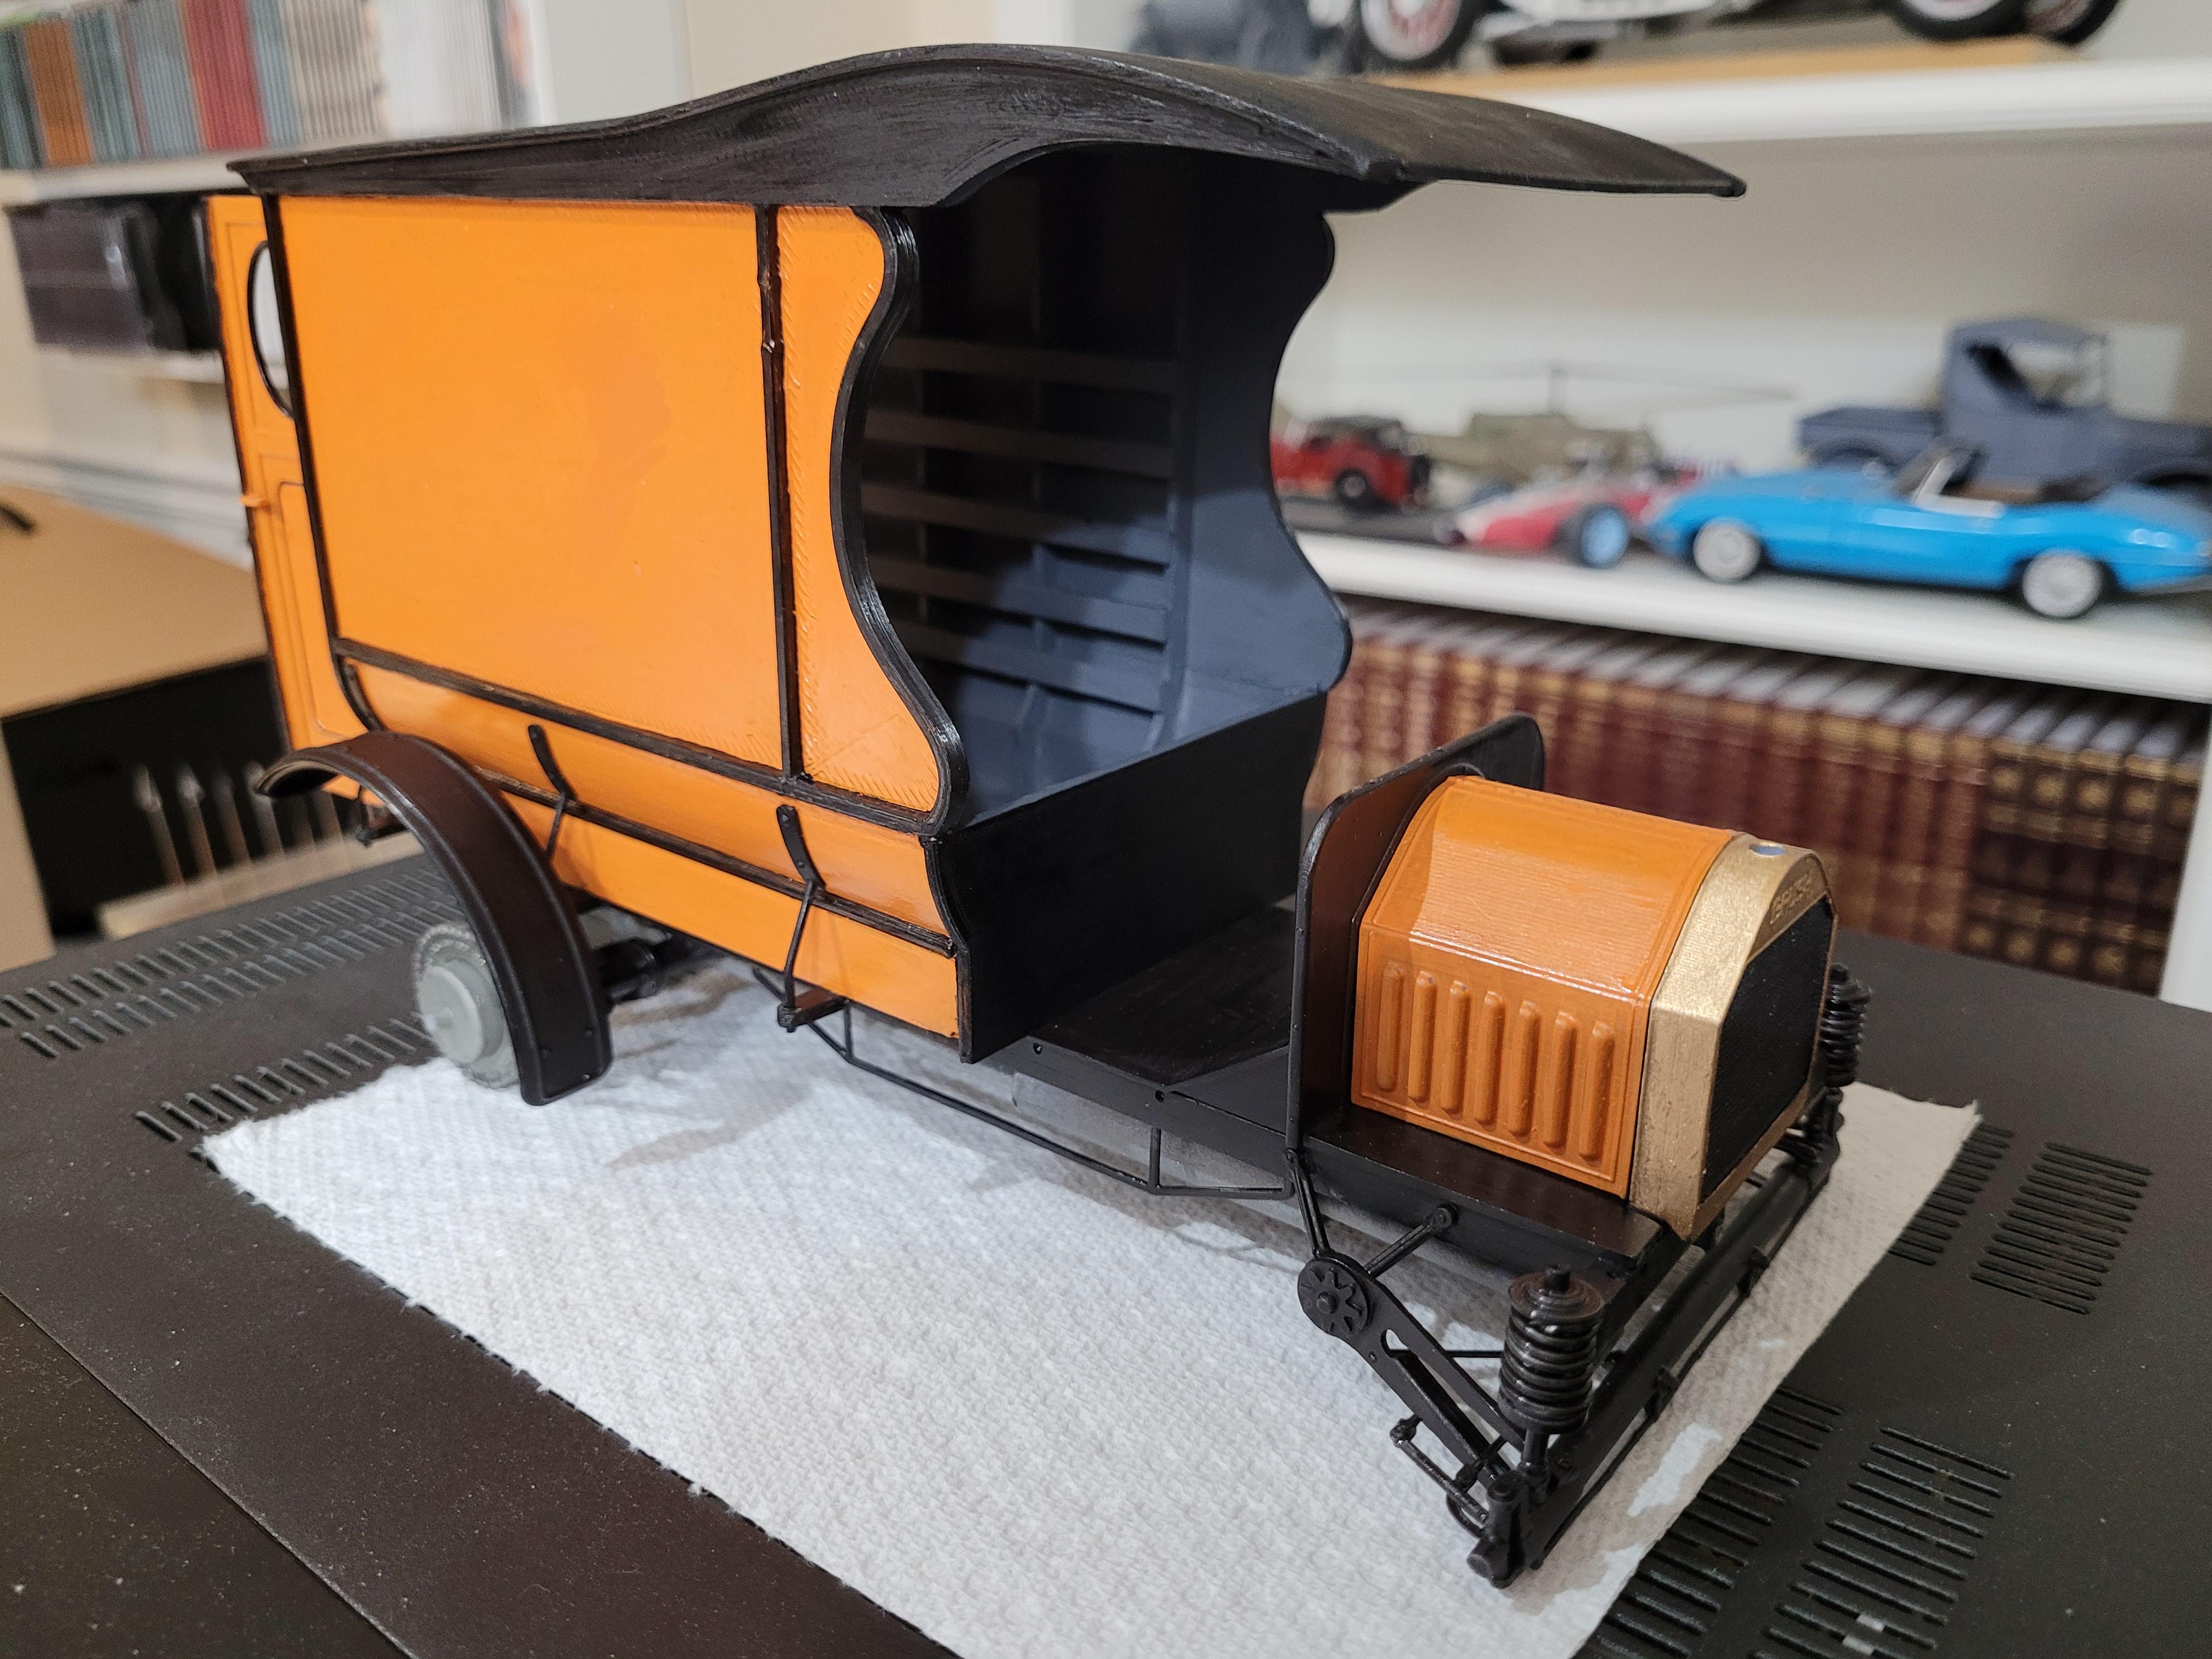
There are 6 tension brackets that were used to hold the cargo box to the frame, shown here.
-
A preview..... cargo box sitting on frame.
-
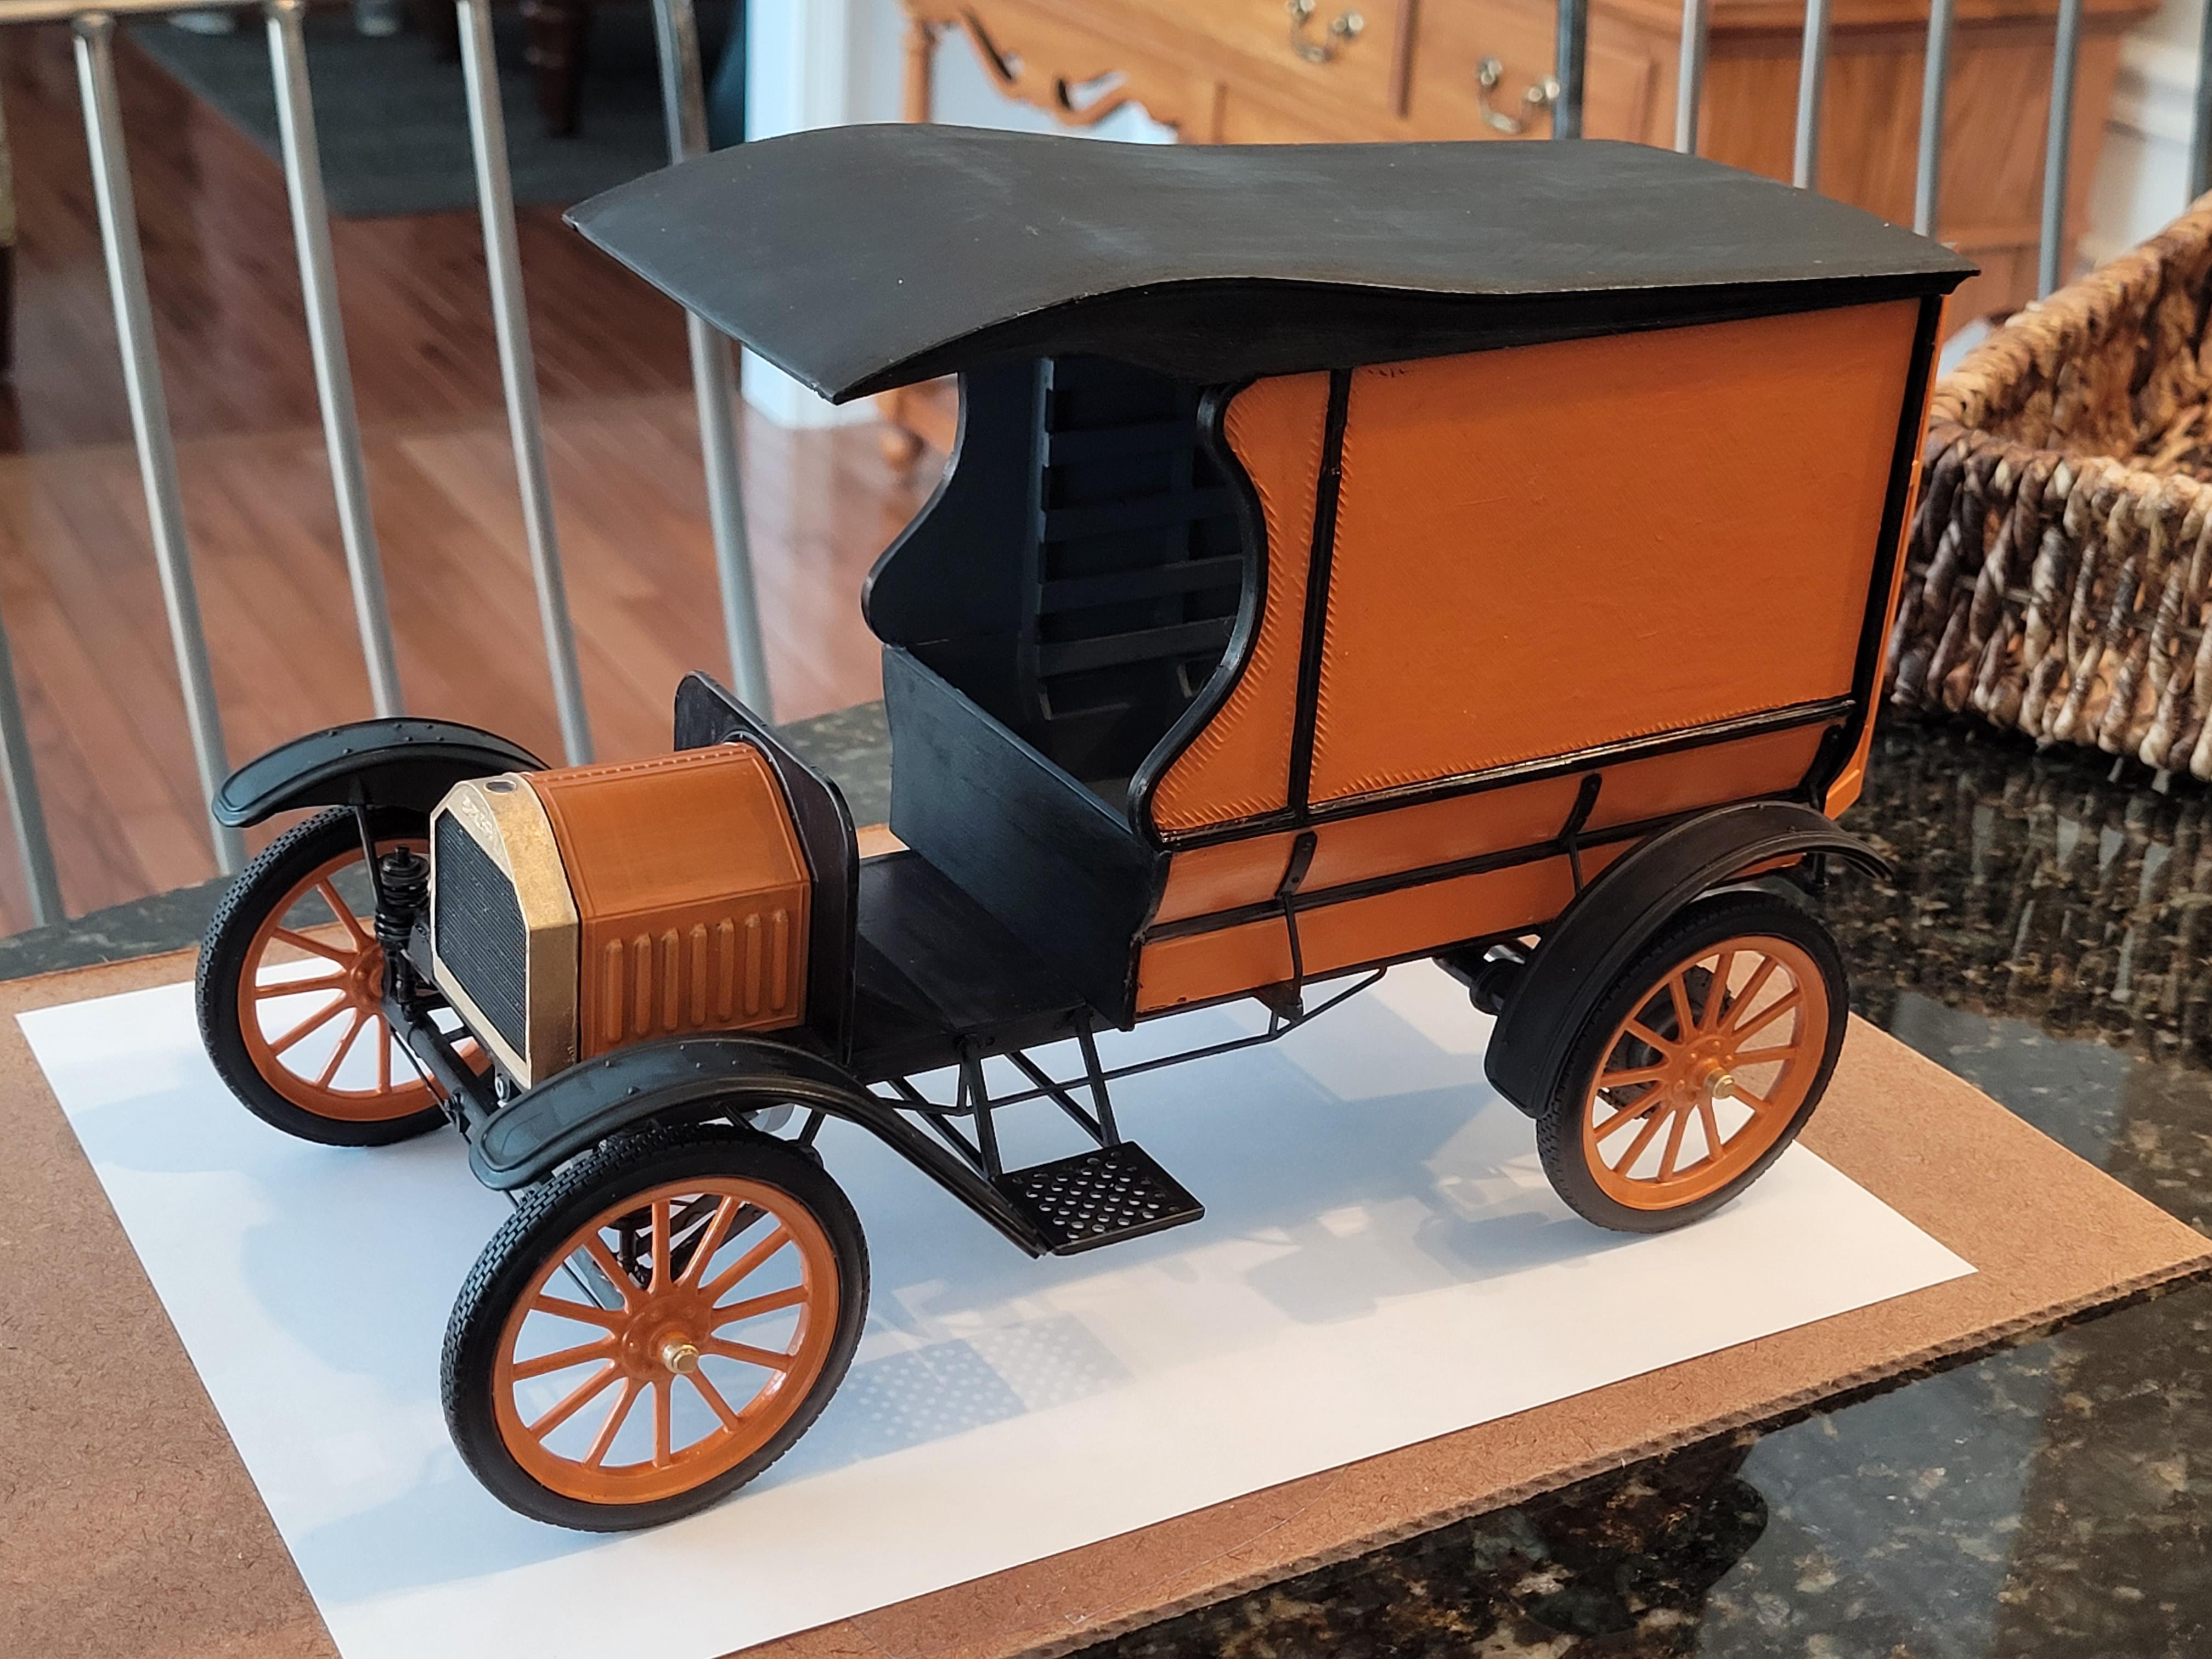
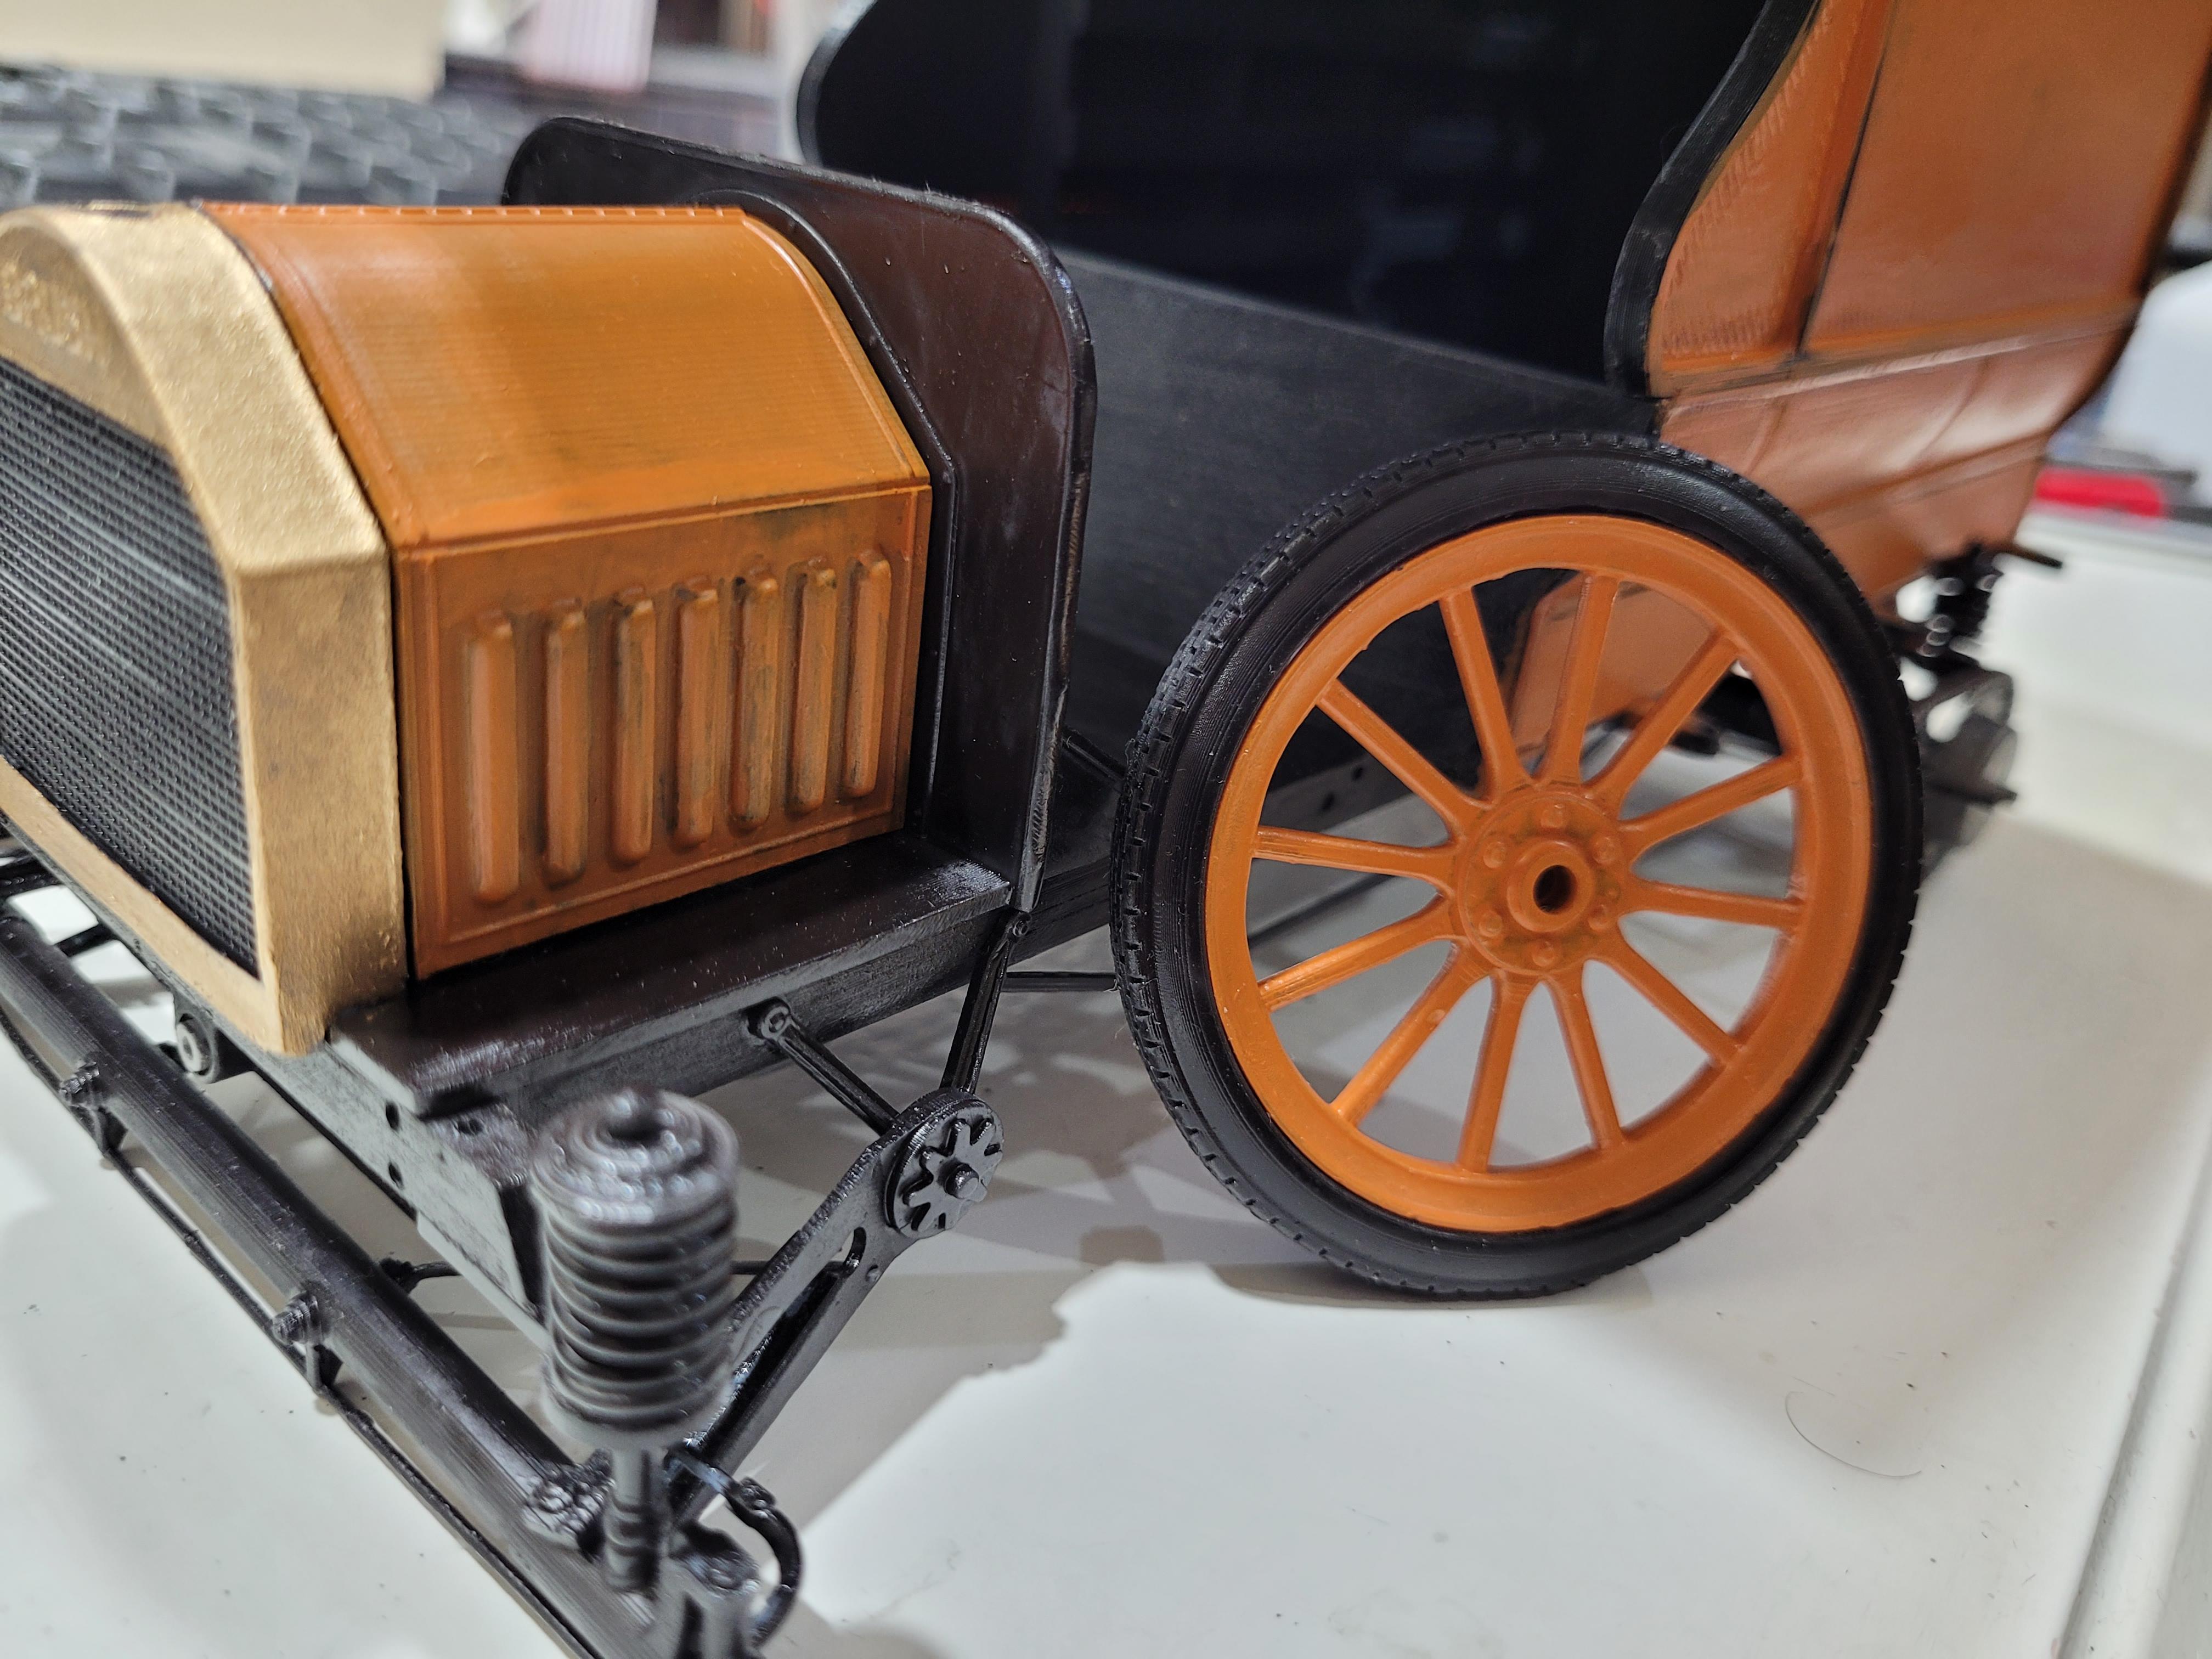
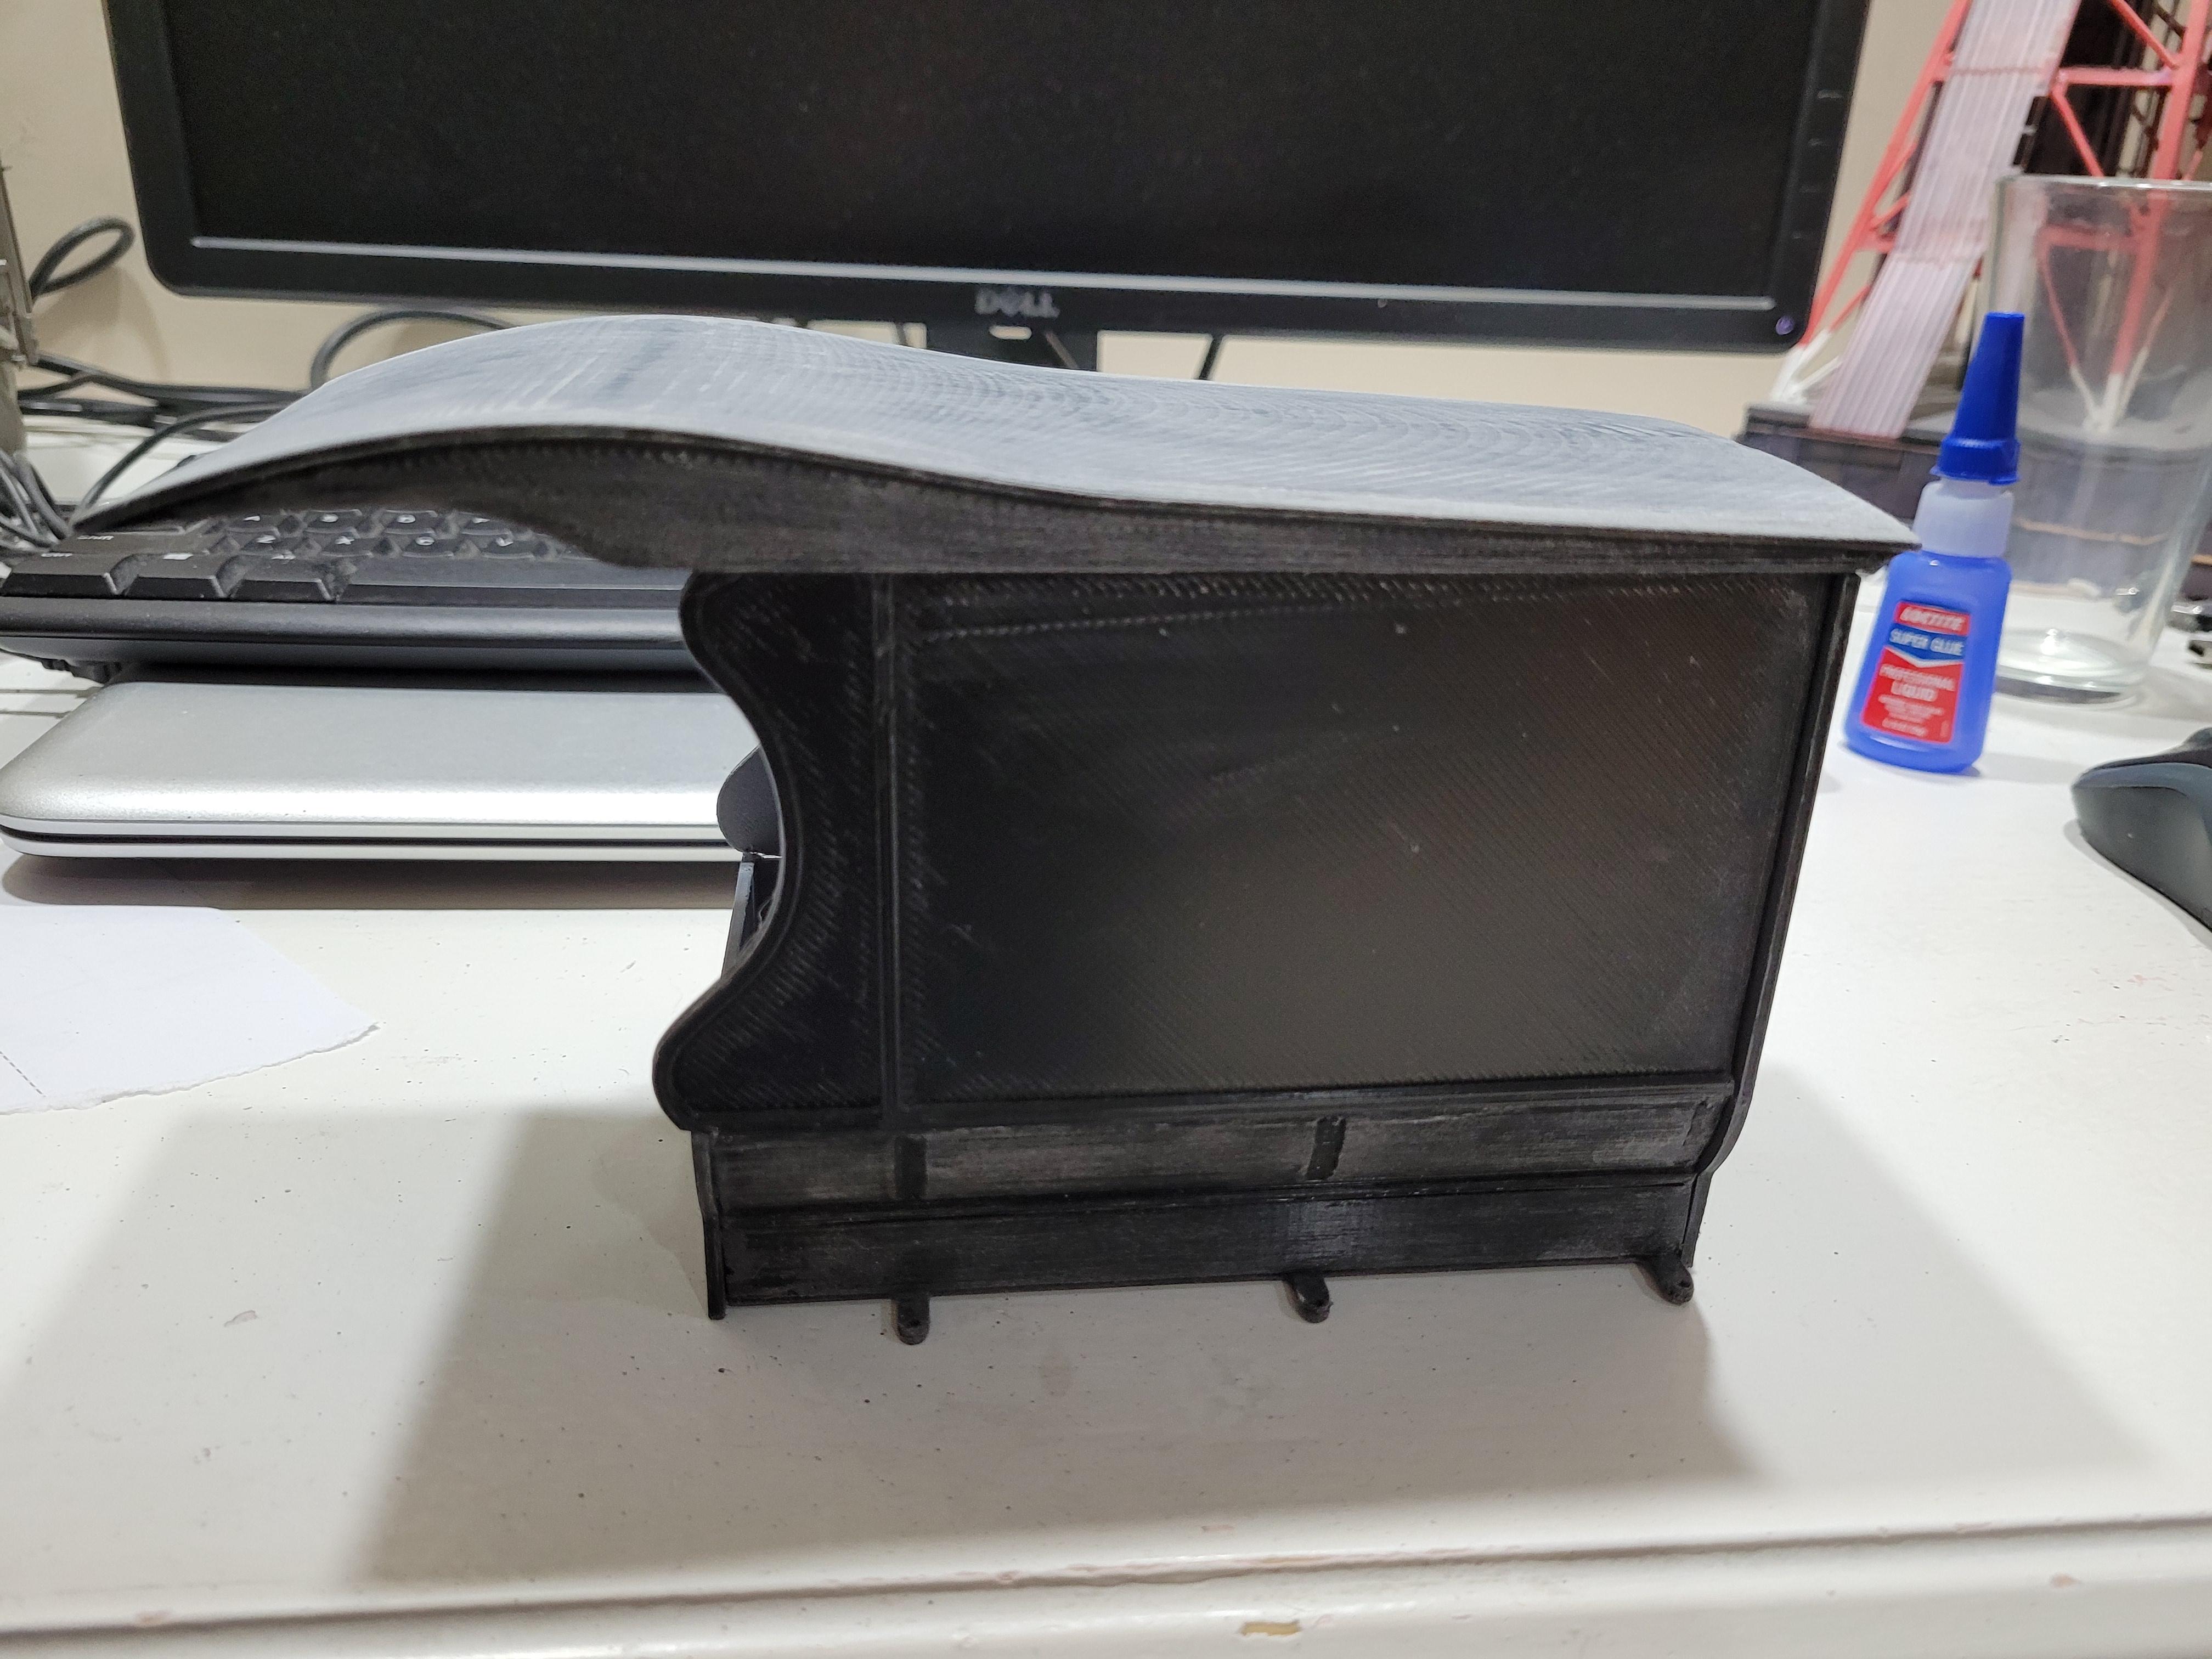
The rear fender are attached.
-
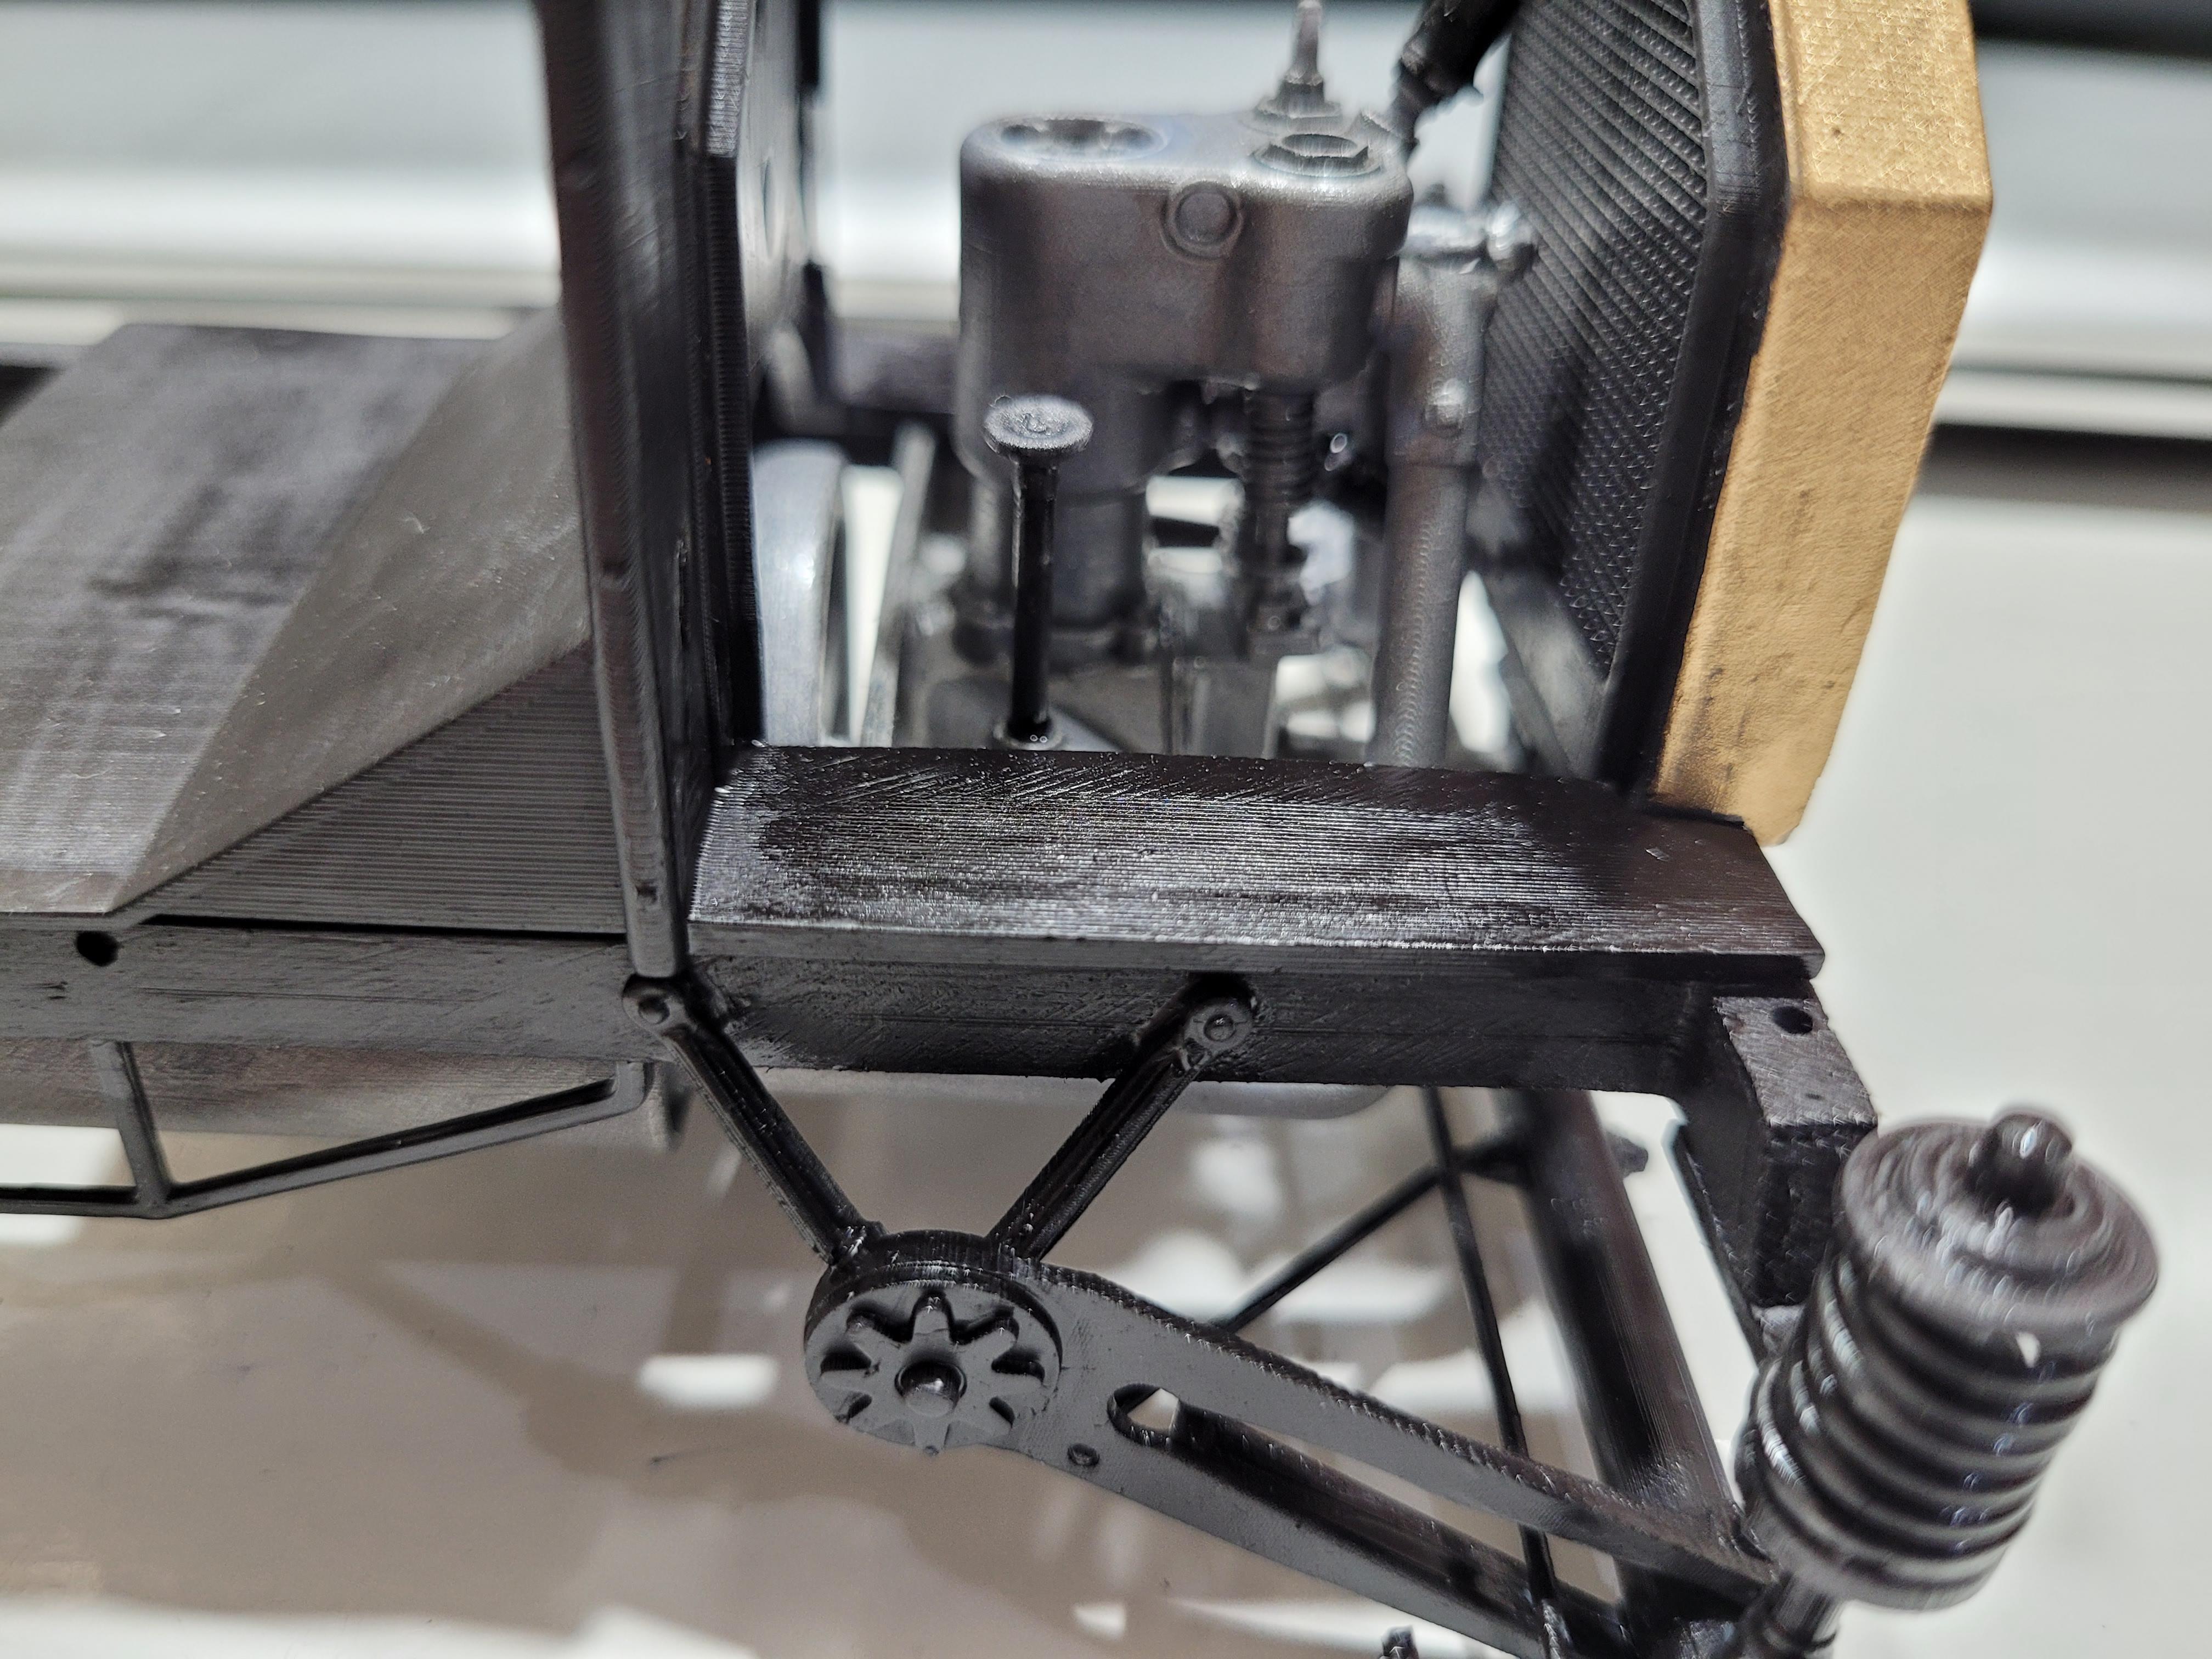
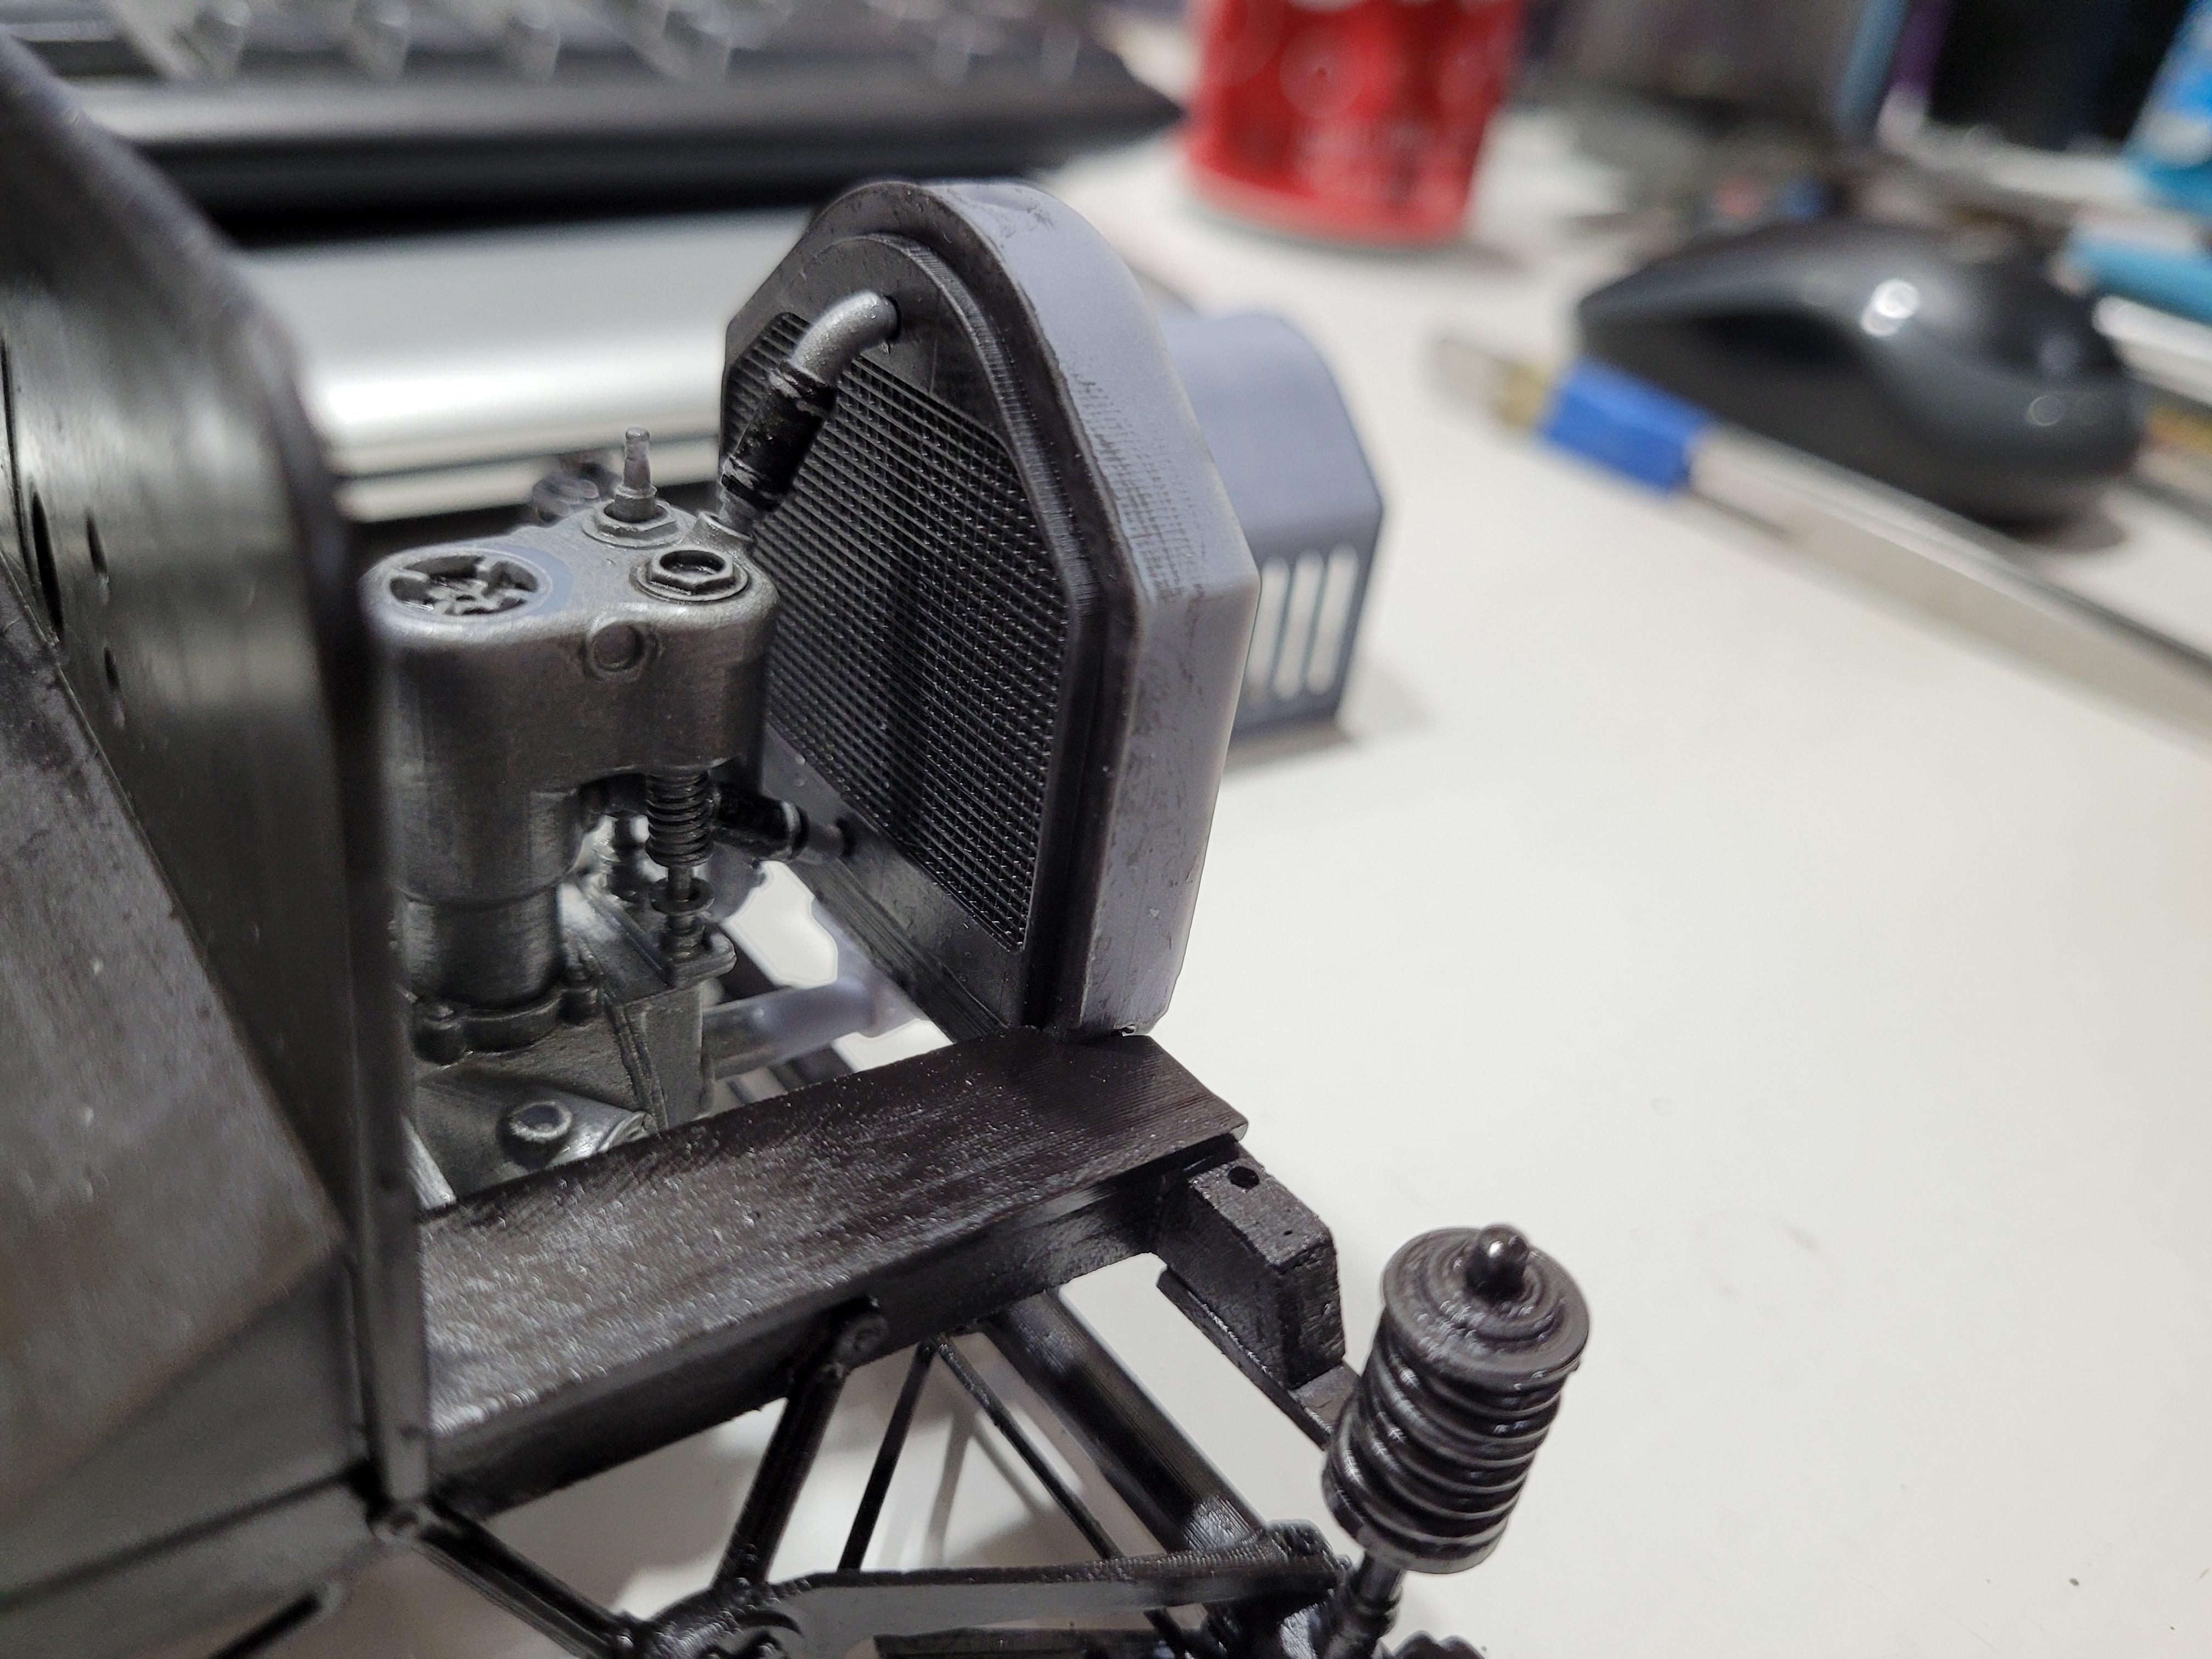
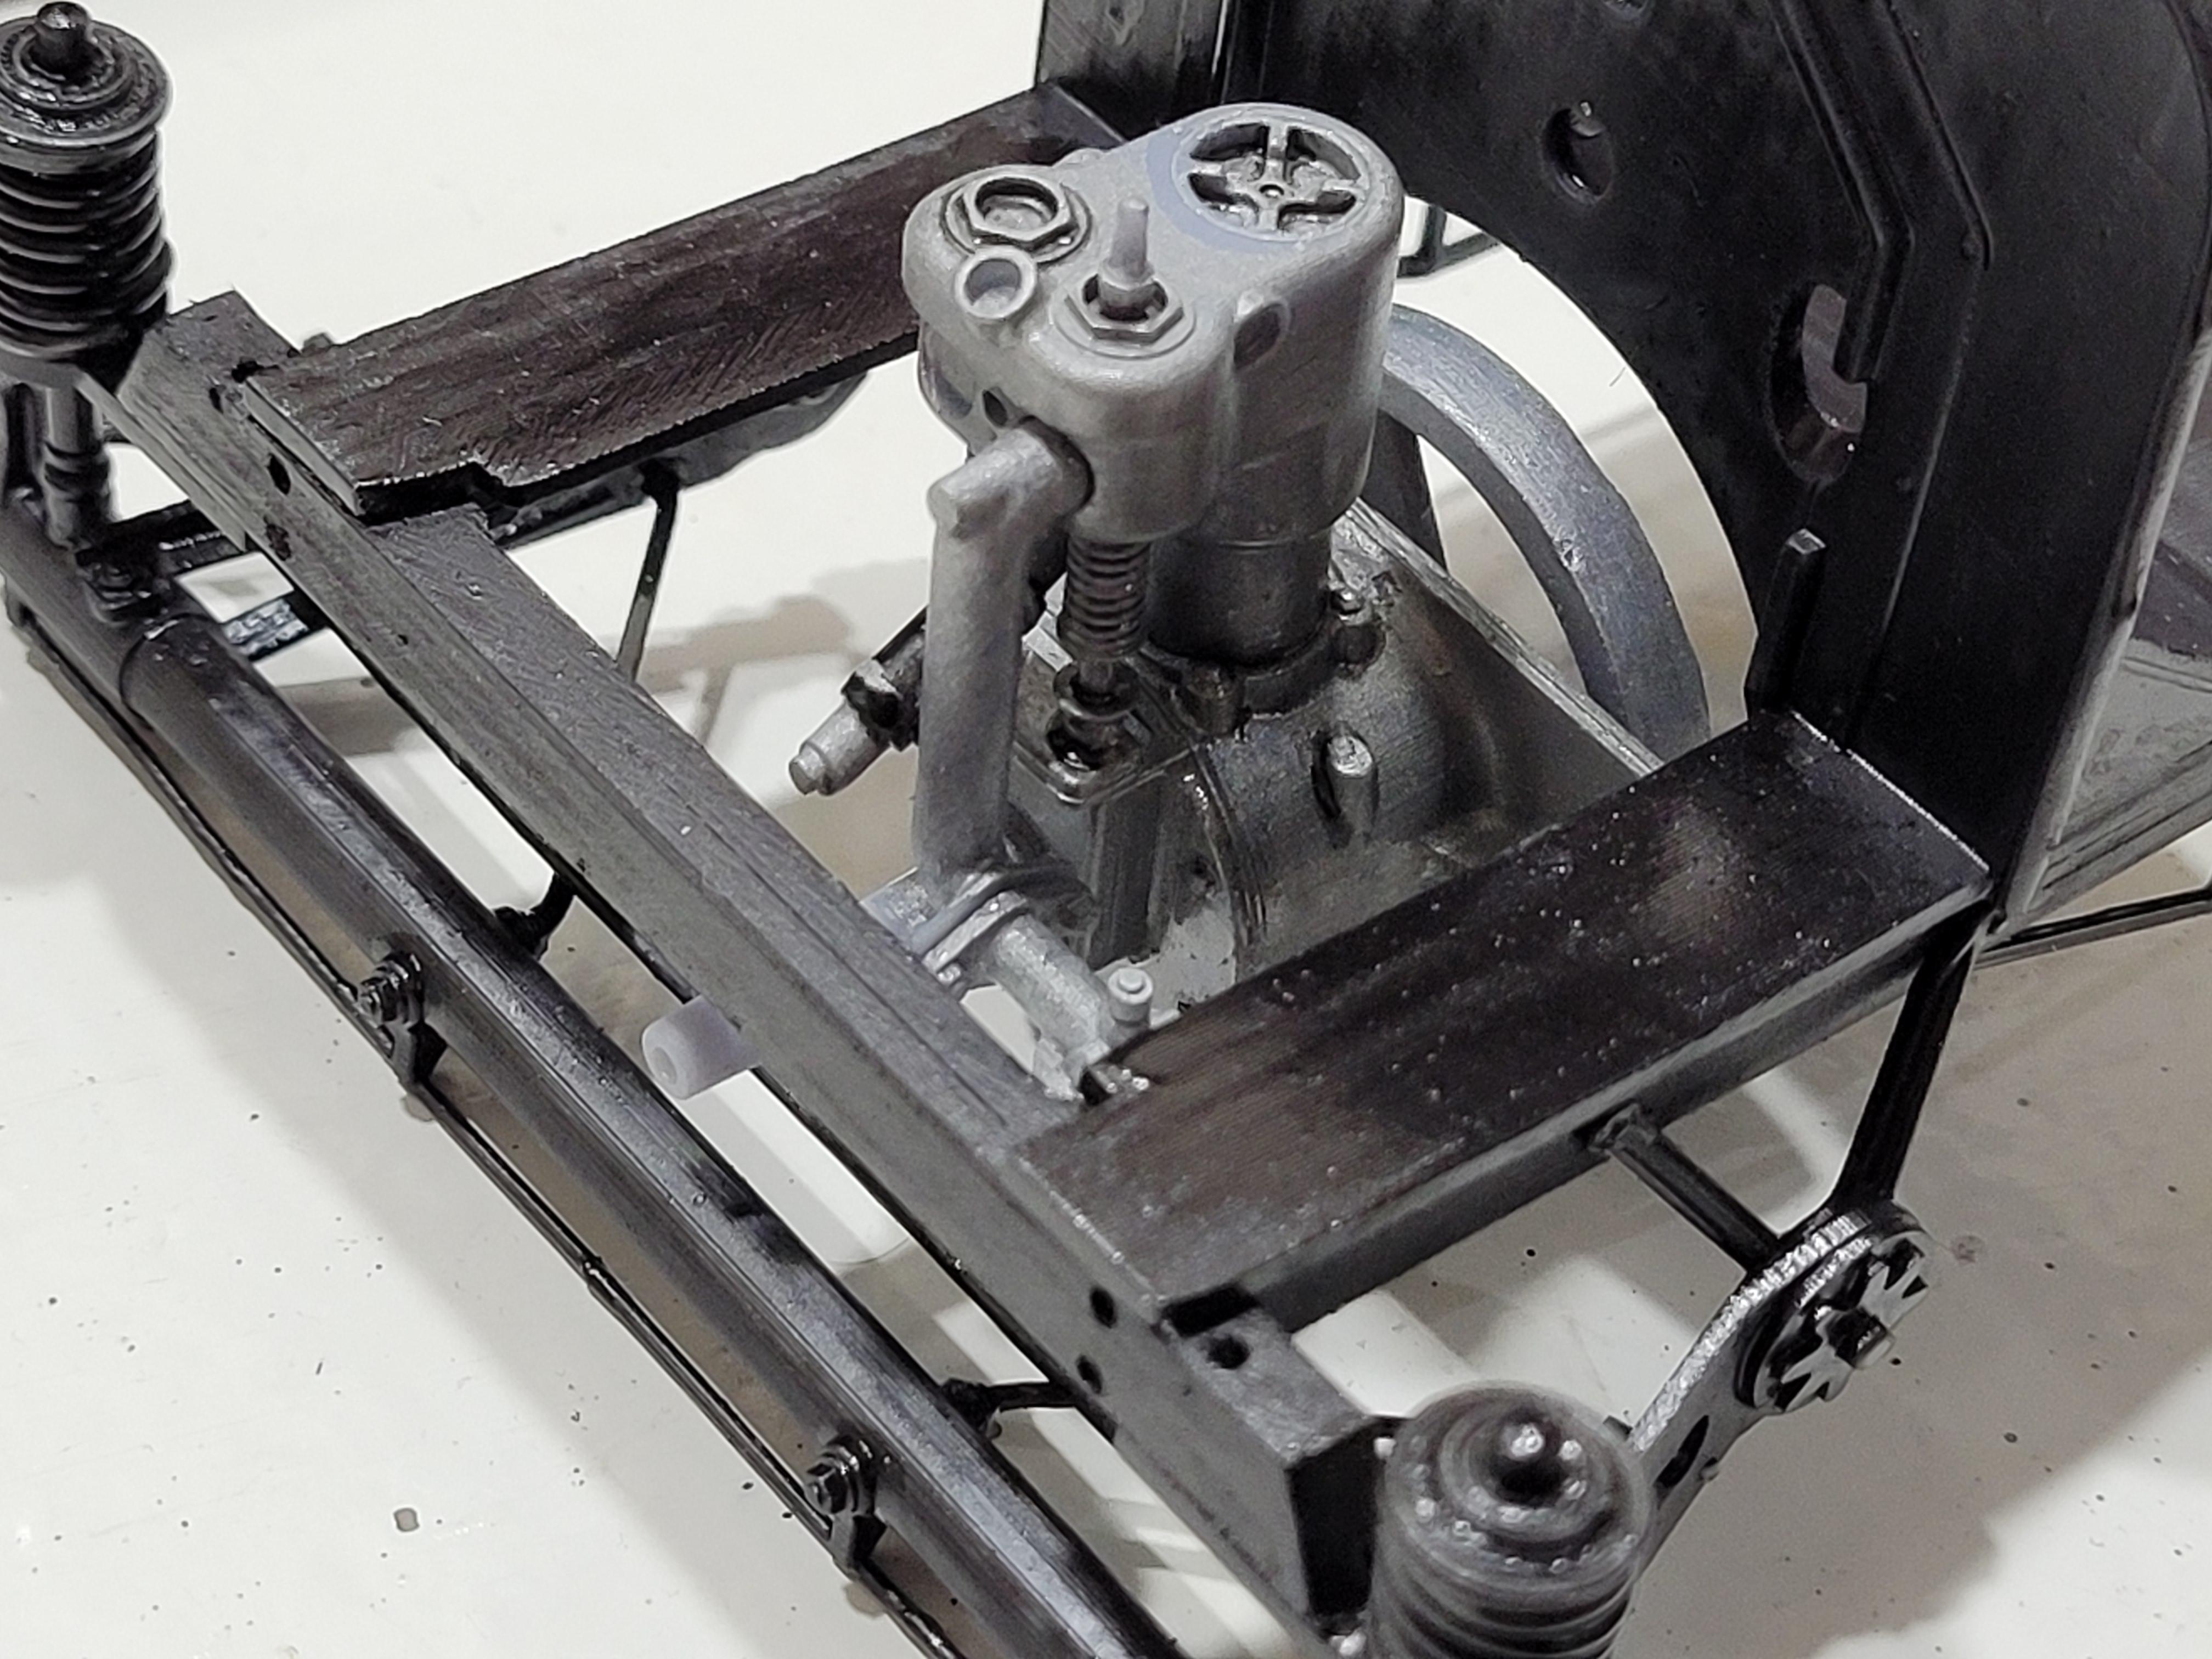
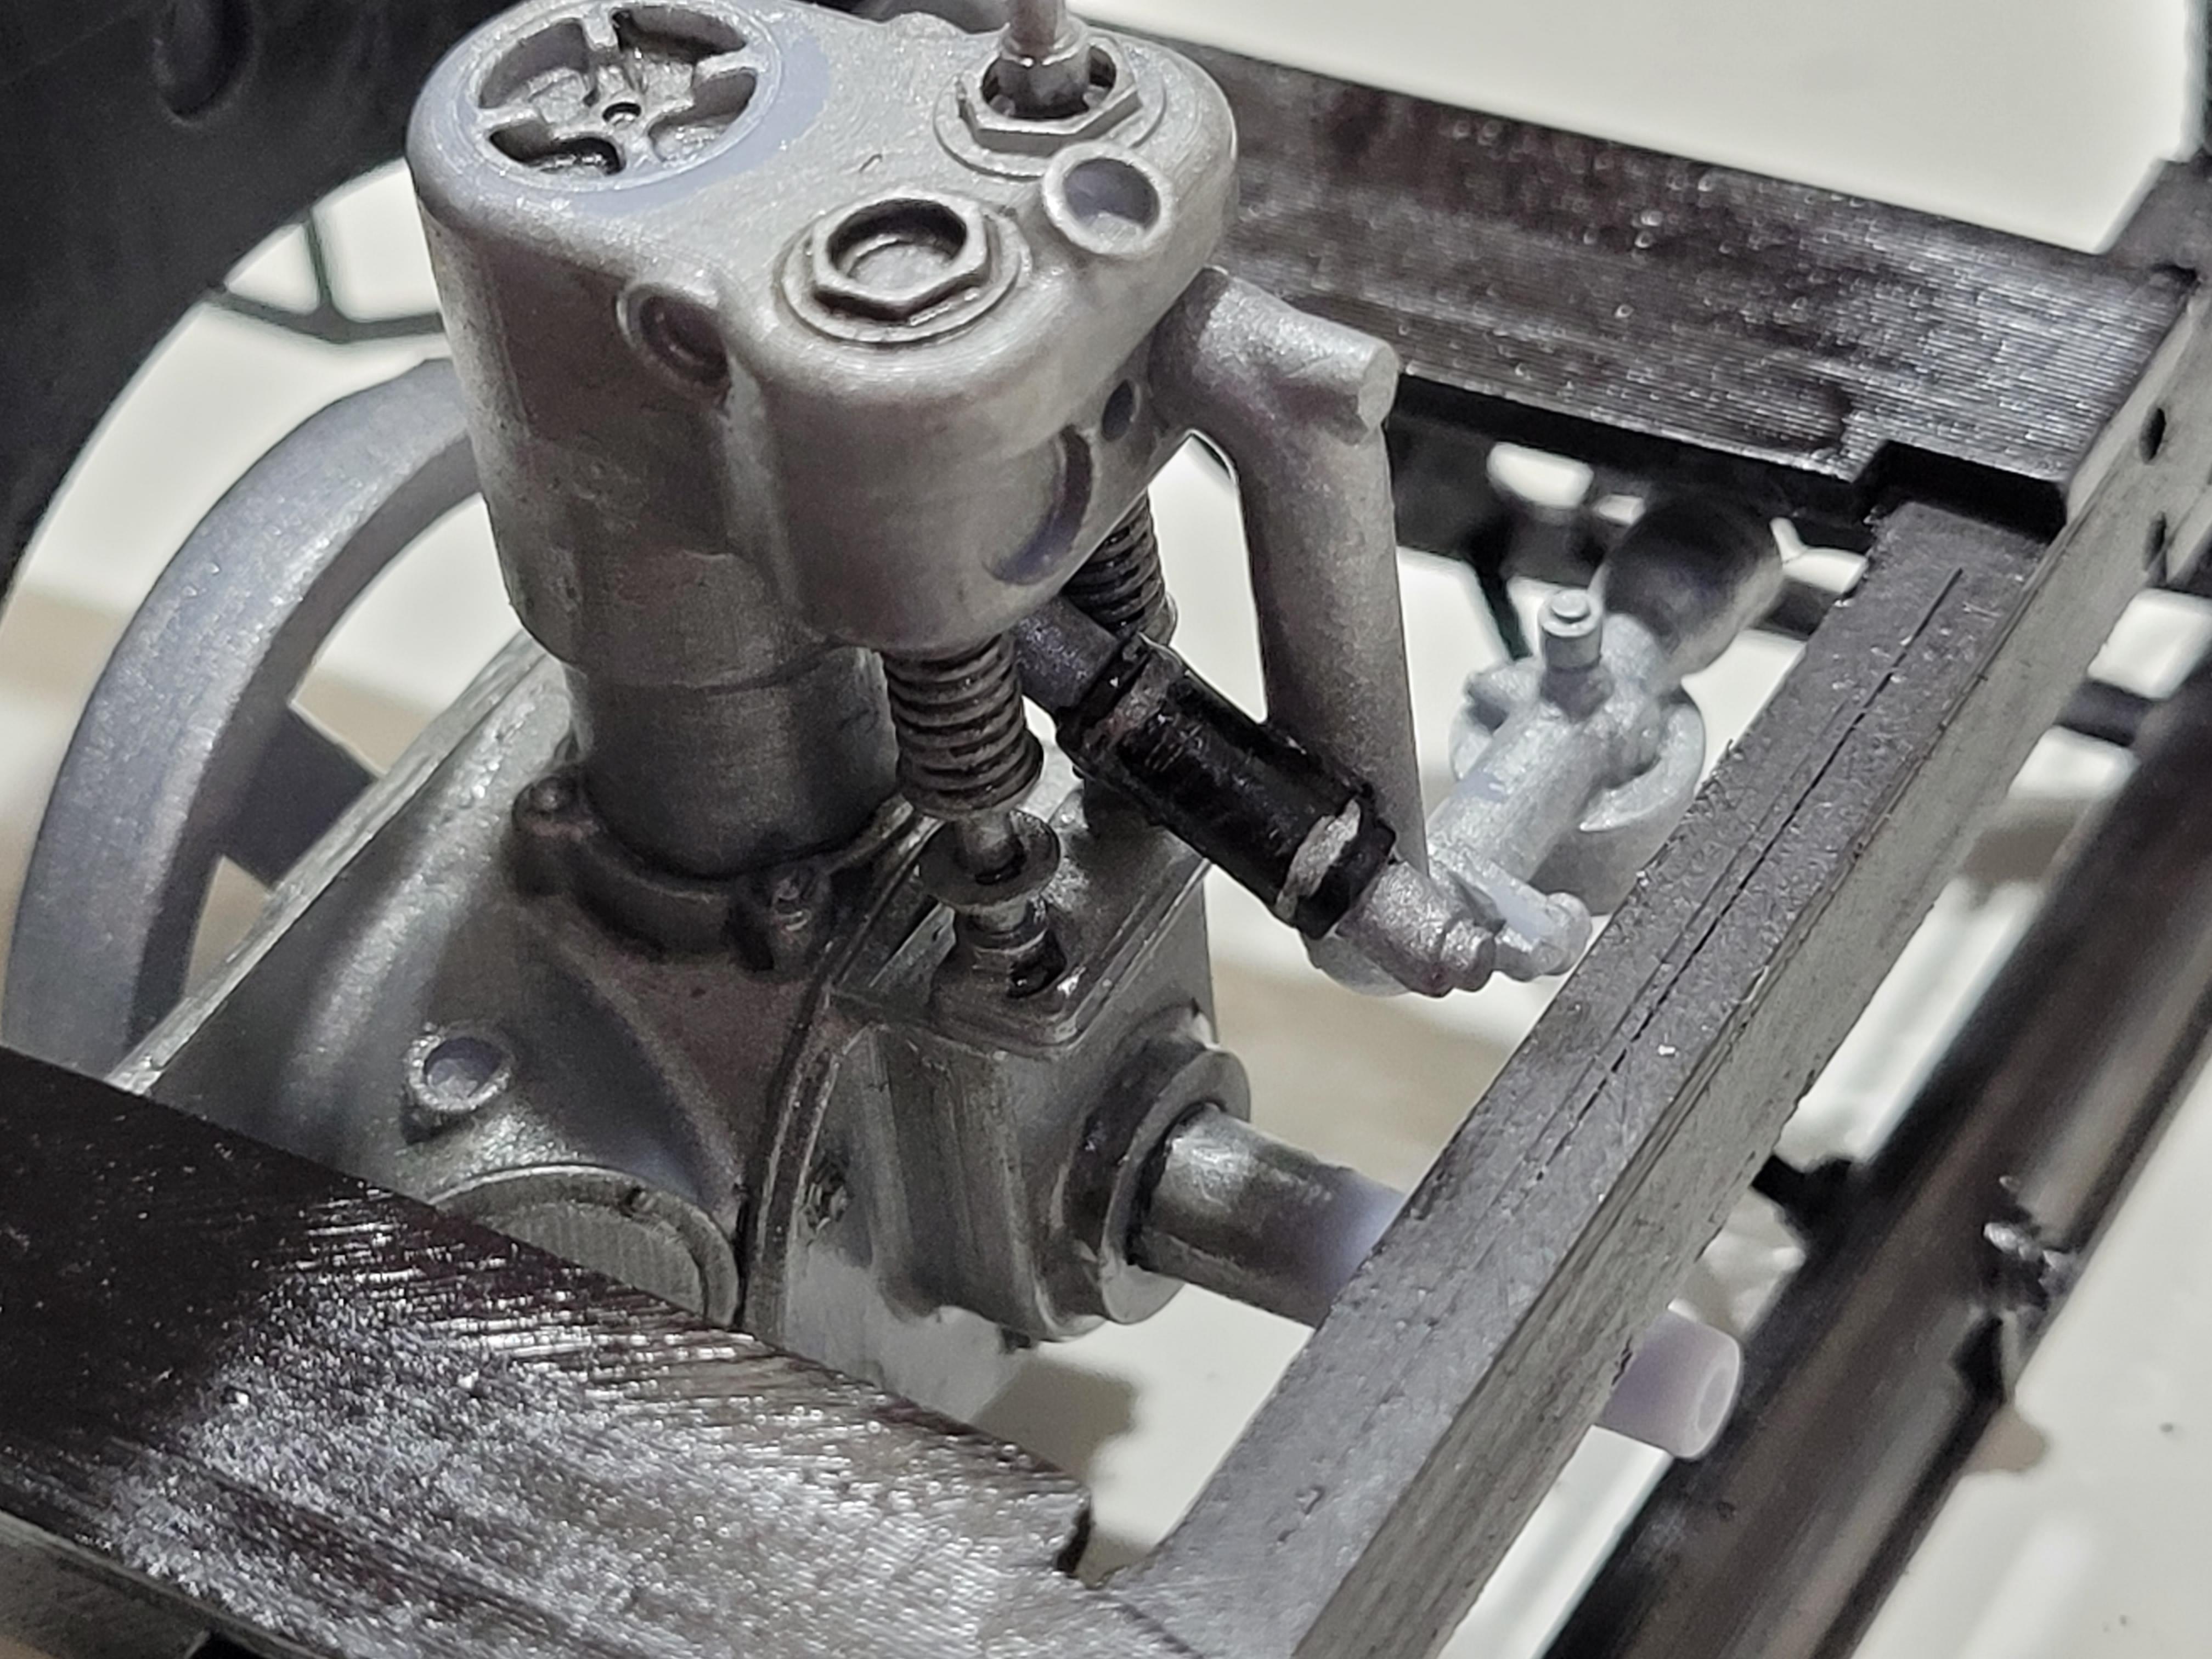
The vertical golf tee-looking thing is the oil filler tube. The tube is open at the top, but it does have a filter screen to keep larger particles out of the engine.
-
The driveshaft, exhaust pipe, muffler, tailpipe and bracket. Note the t-bracket that compresses the intake and exhaust pipes to the head.
-
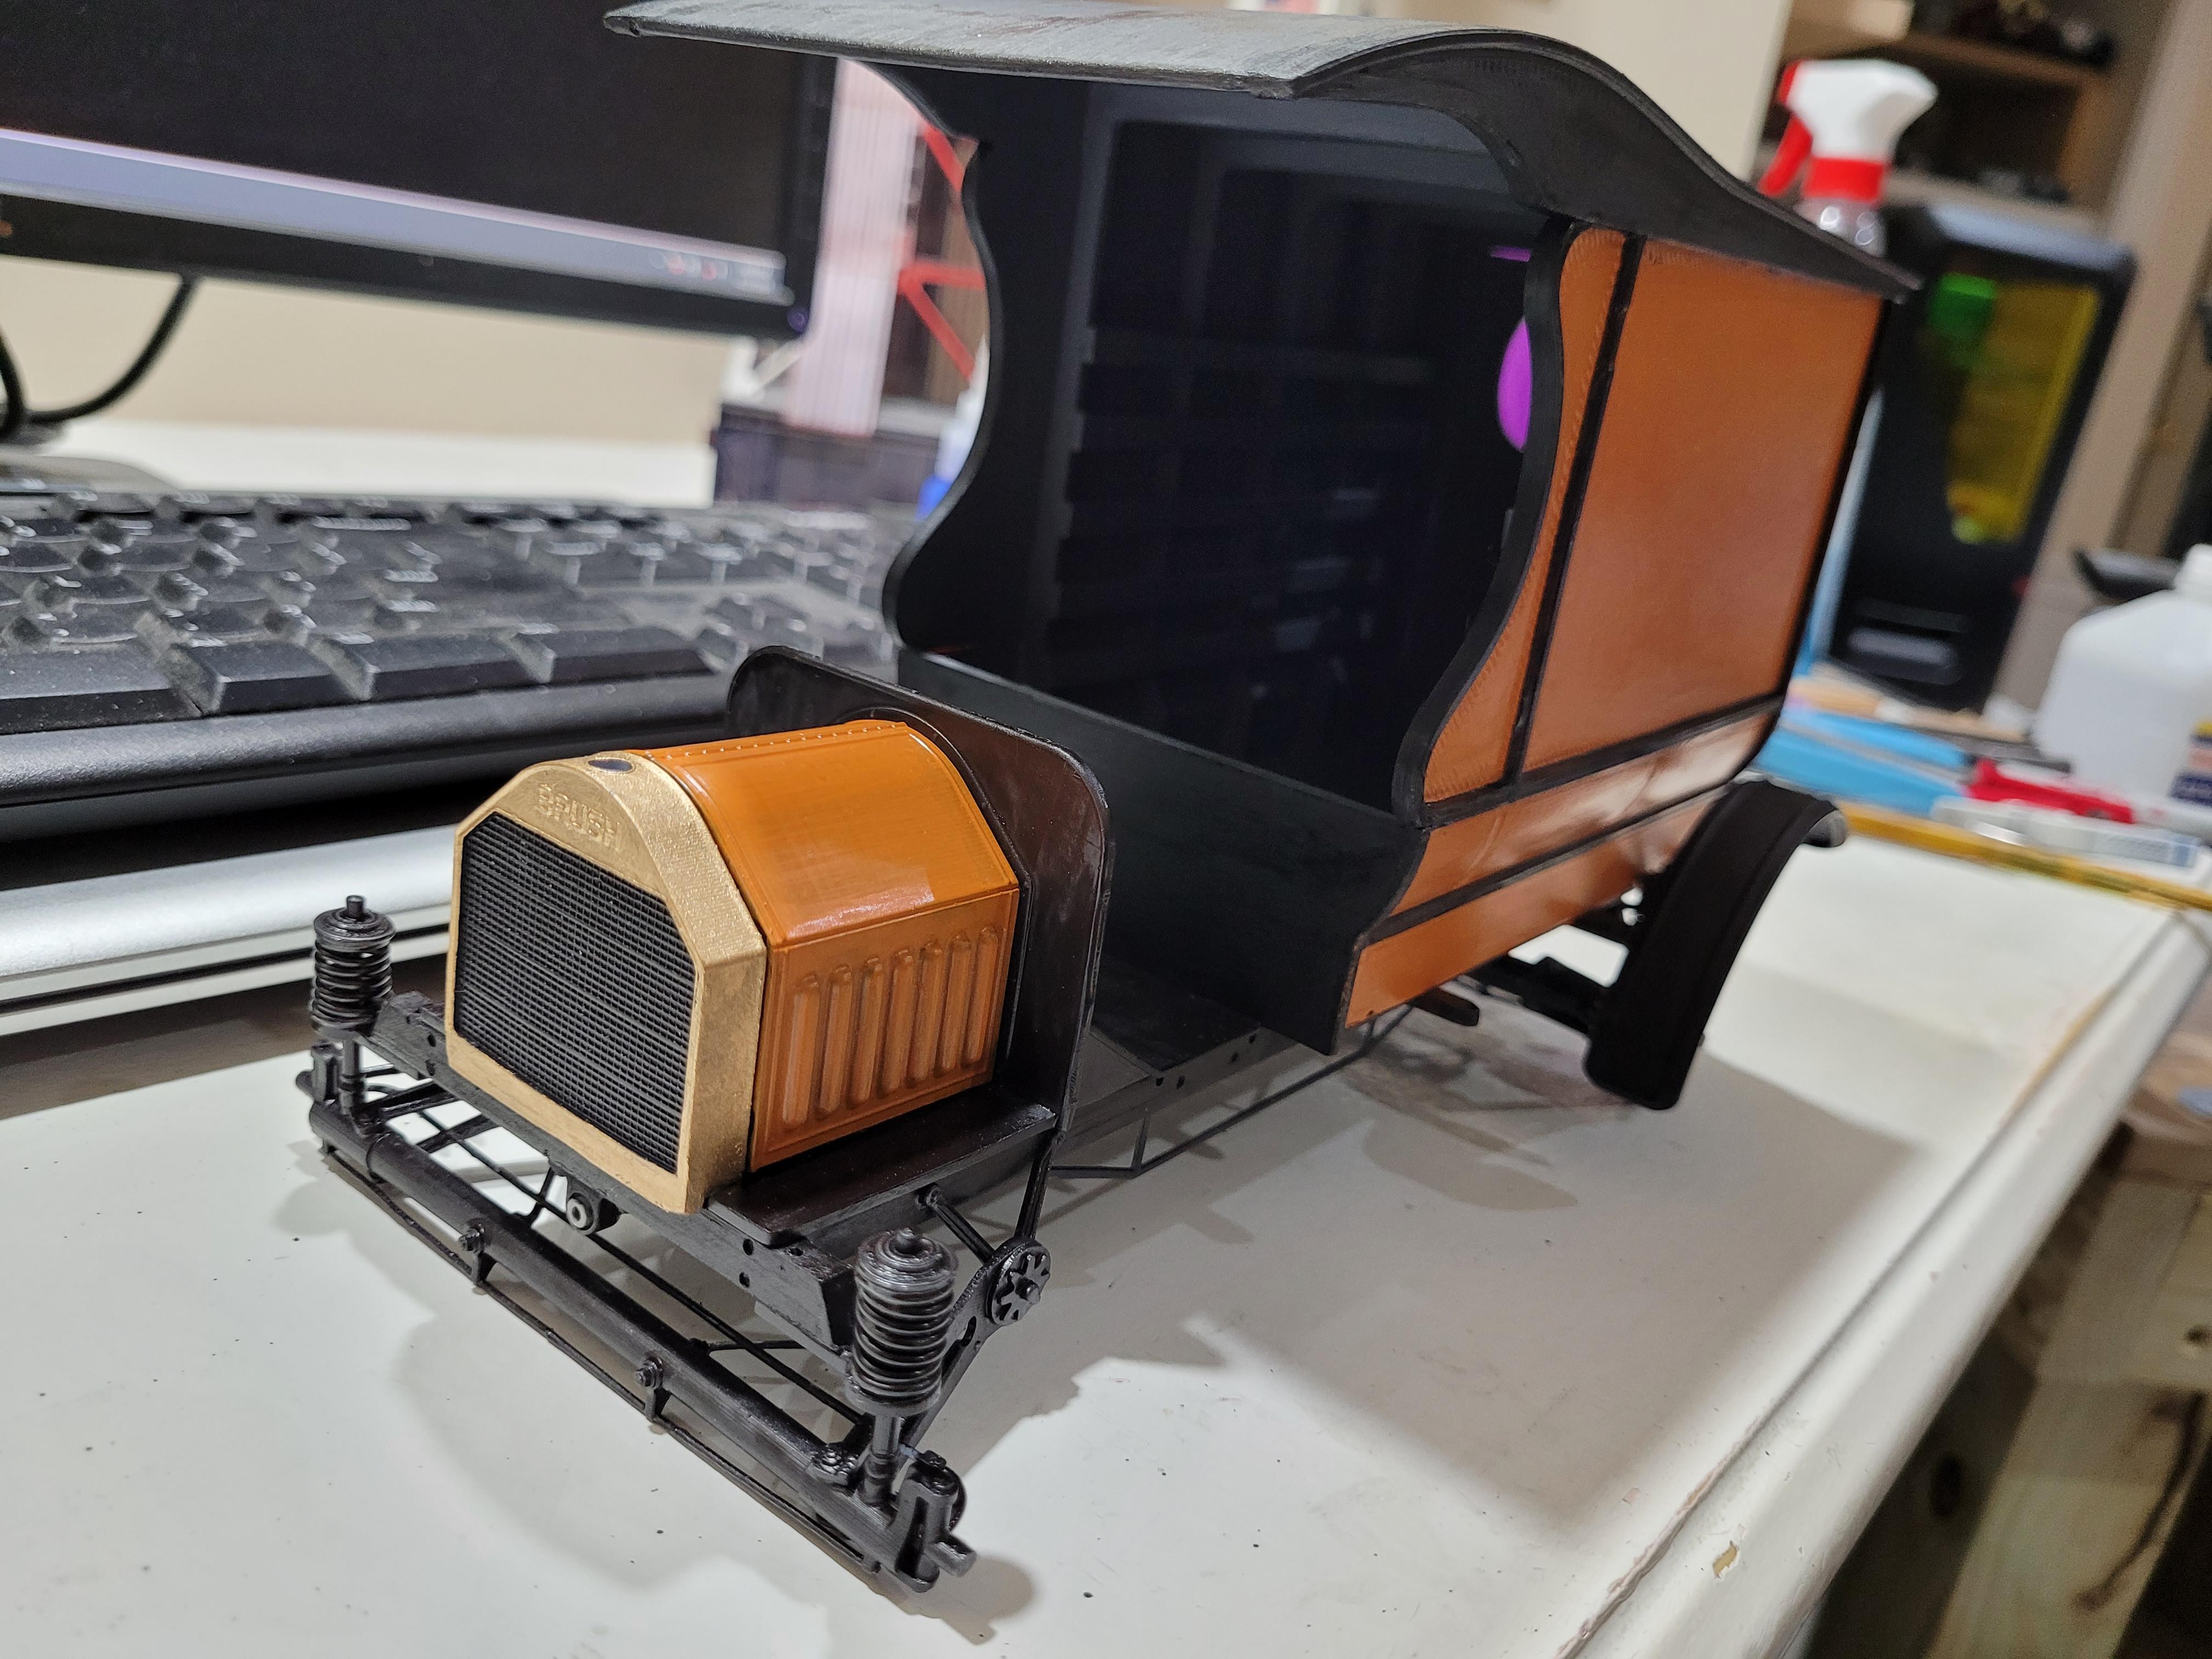
A preview of the final color. Rough at this point, but I like the color. I'm still looking for an appropriate business logo for the truck. Most likely a lumber company.
-
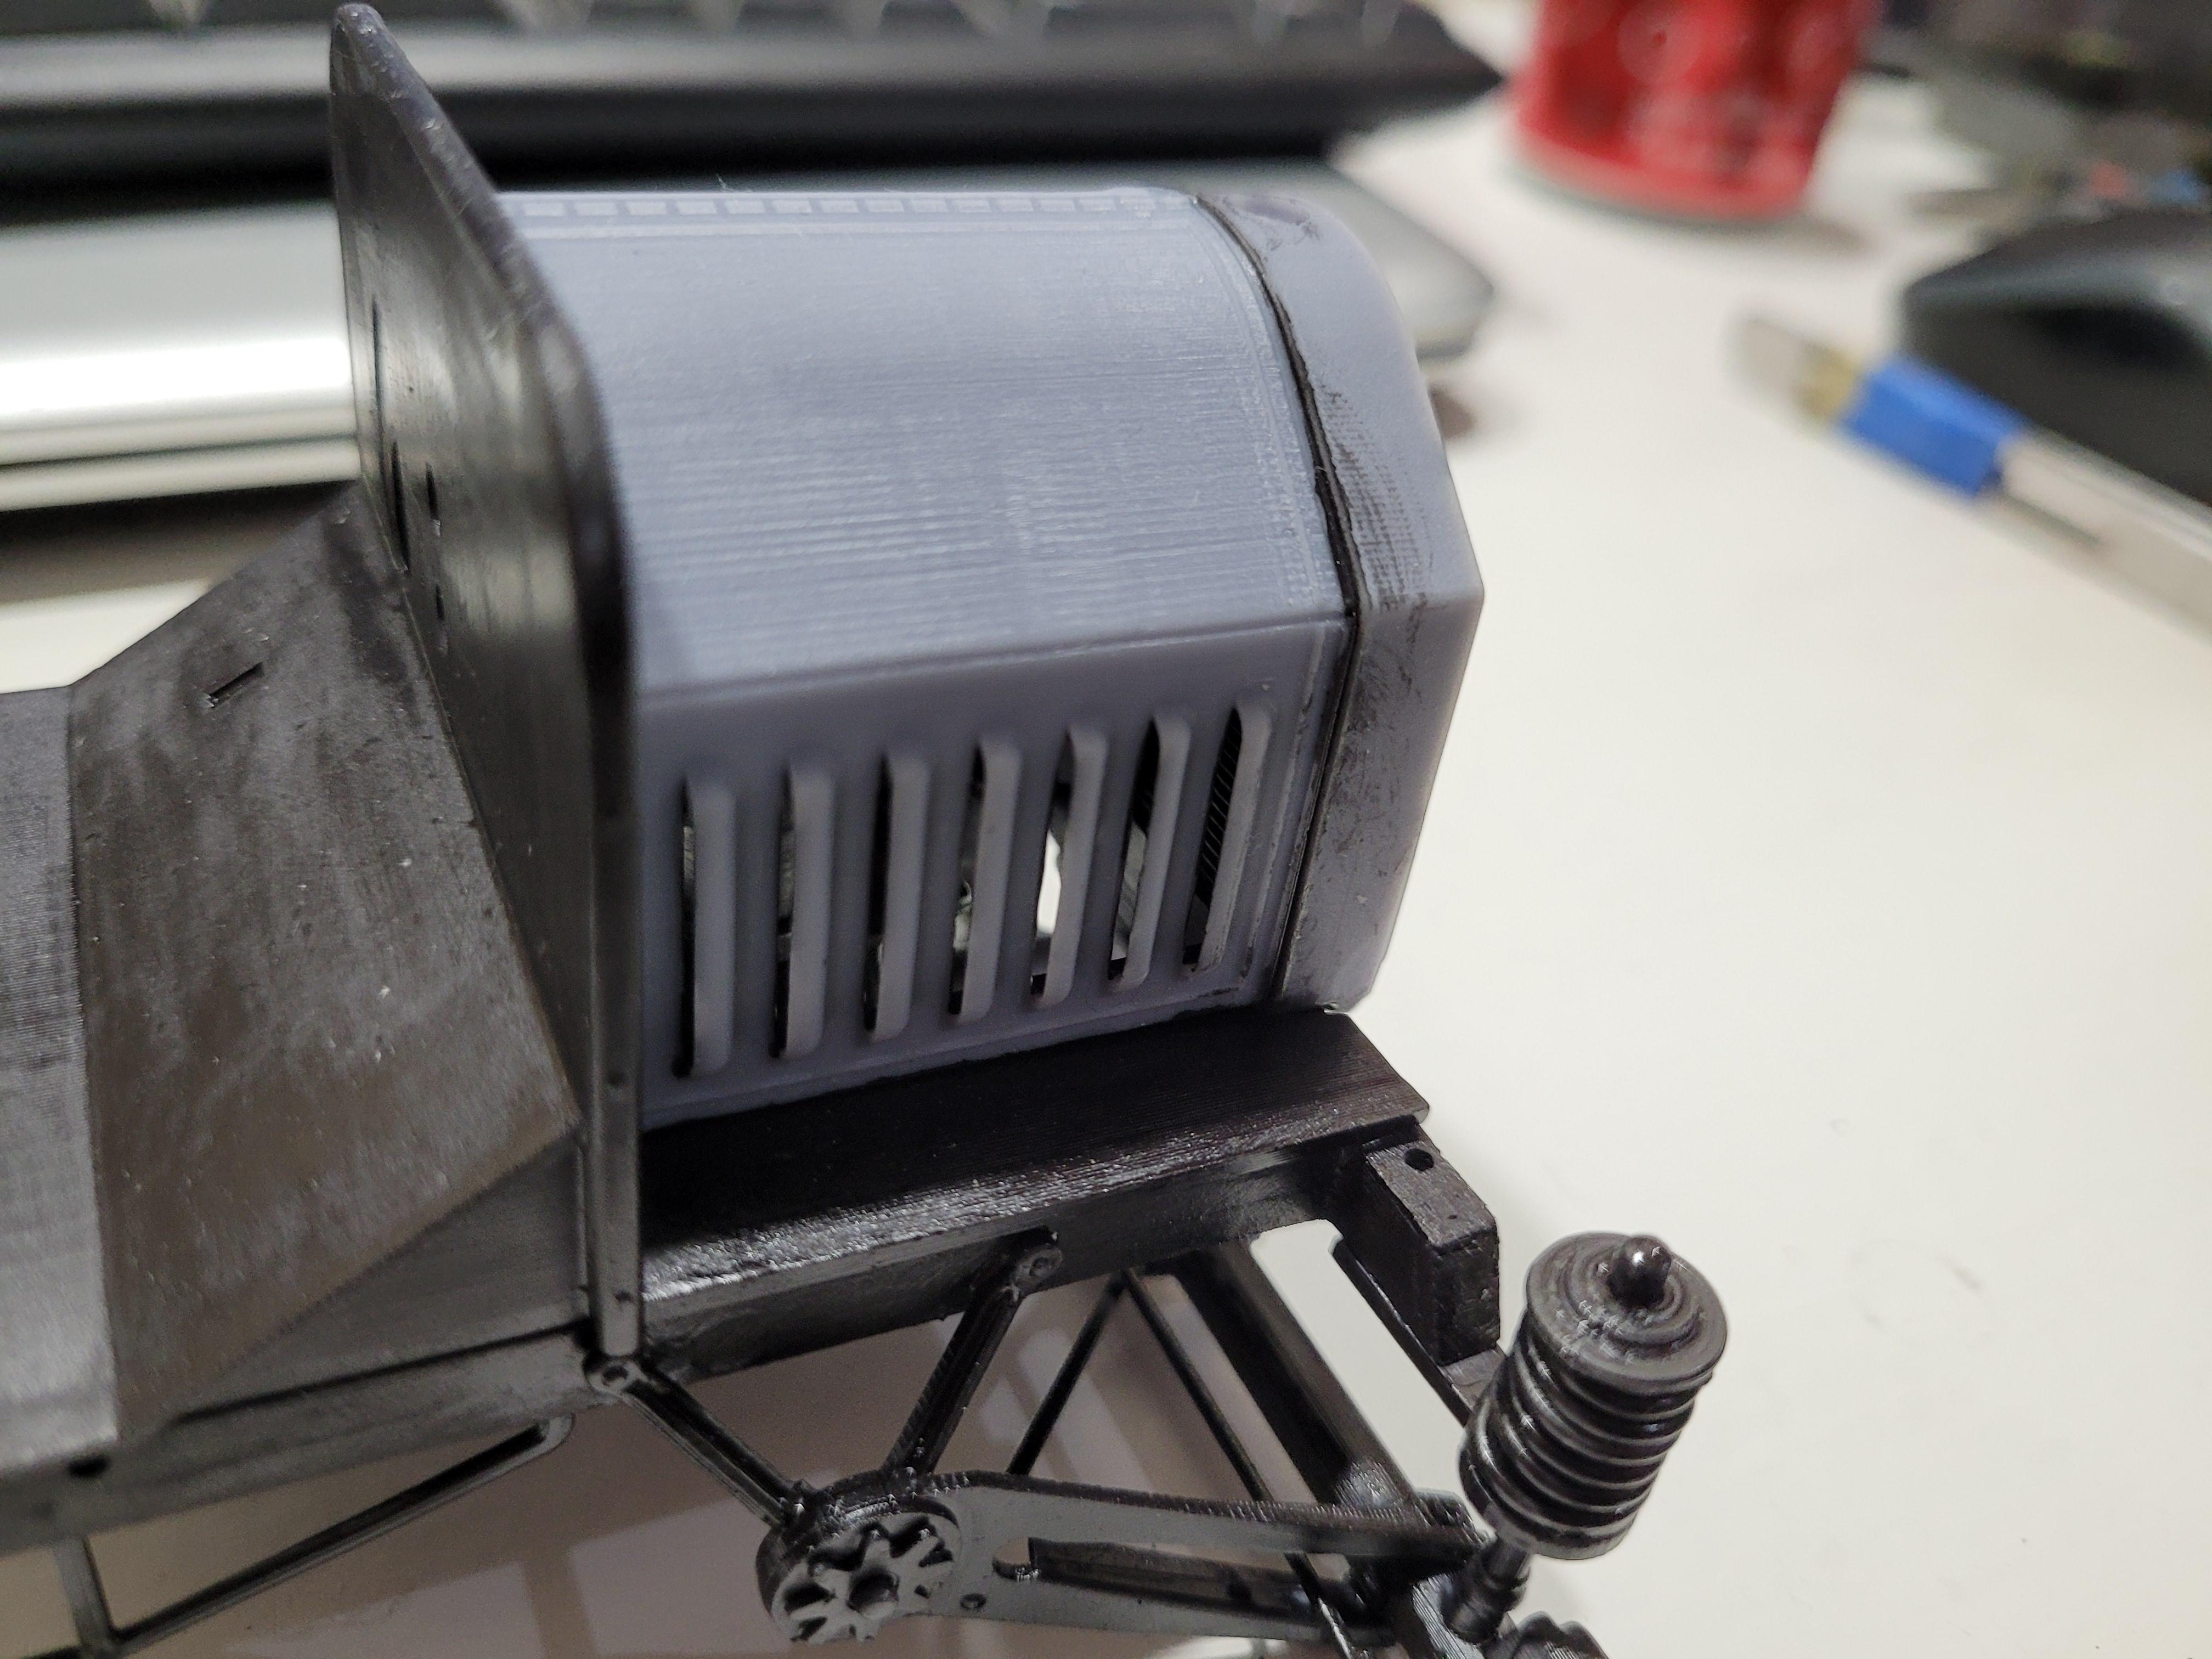
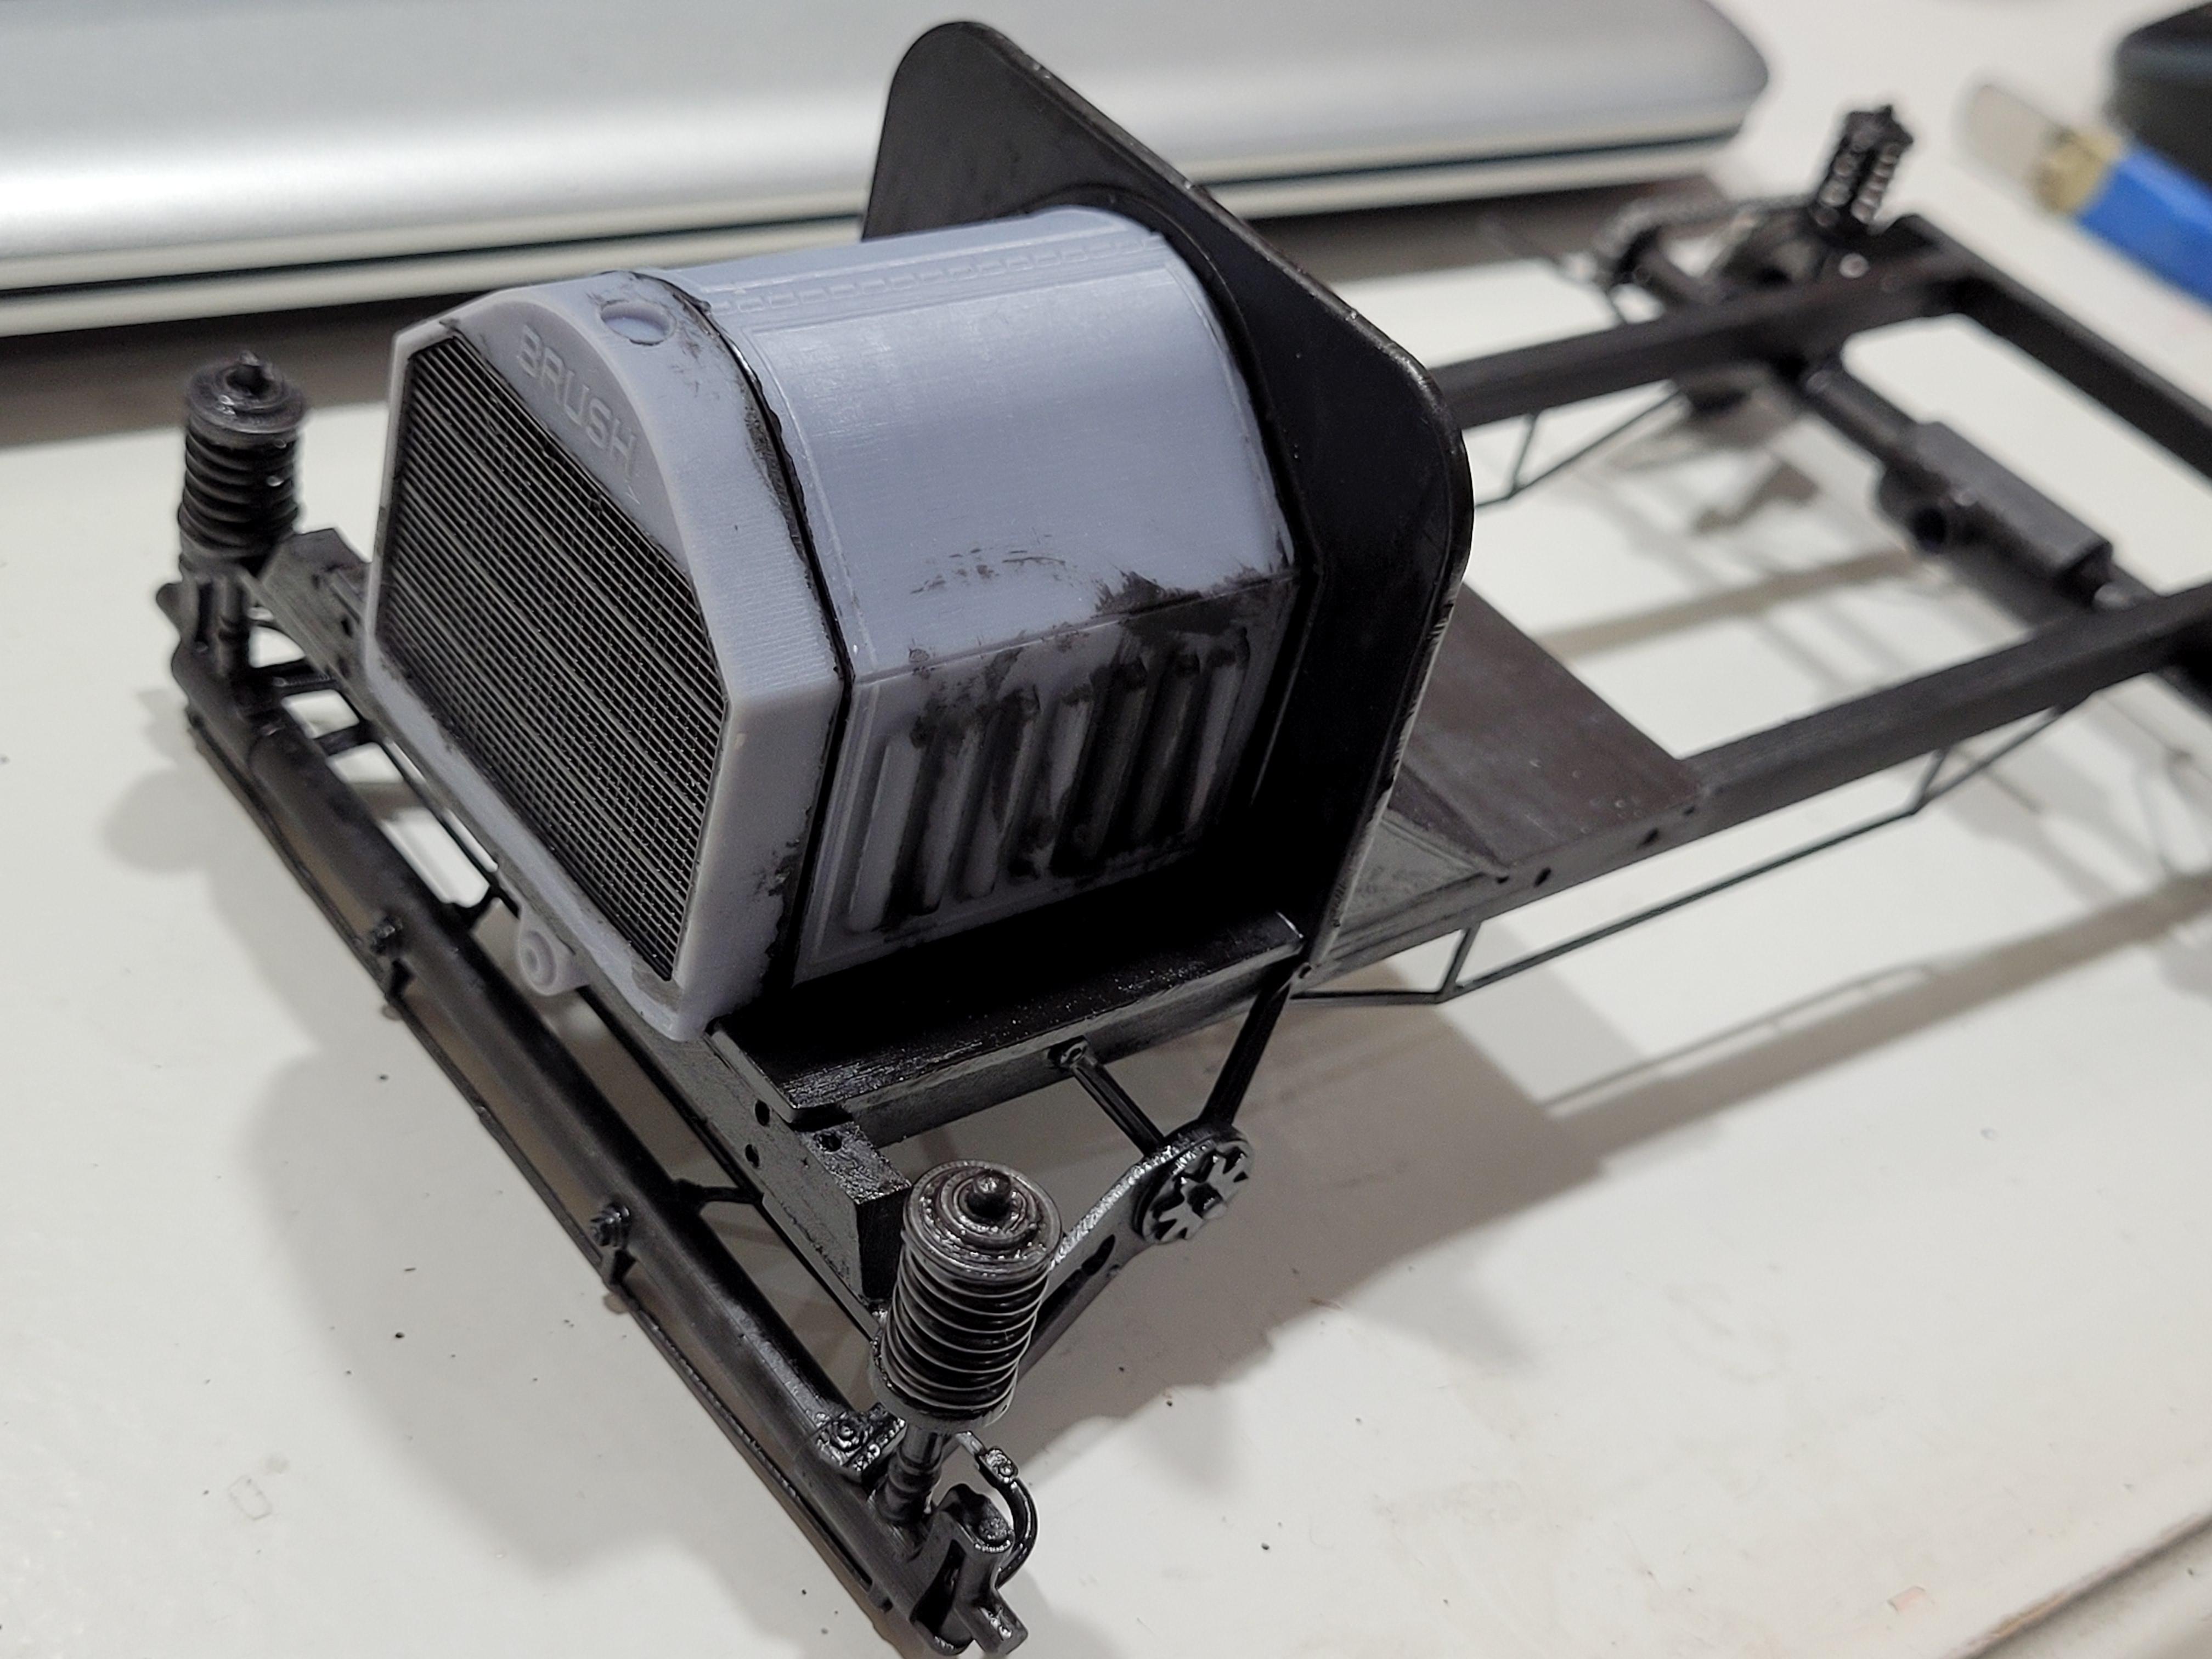
The "BRUSH" logo is stamped into the radiator shell, as depicted here.
-
Upper radiator hose attached. The hood is used as a locating guide to make sure the radiator is properly set. This also ensures the the hood fits tightly between the cowl and radiator.
-
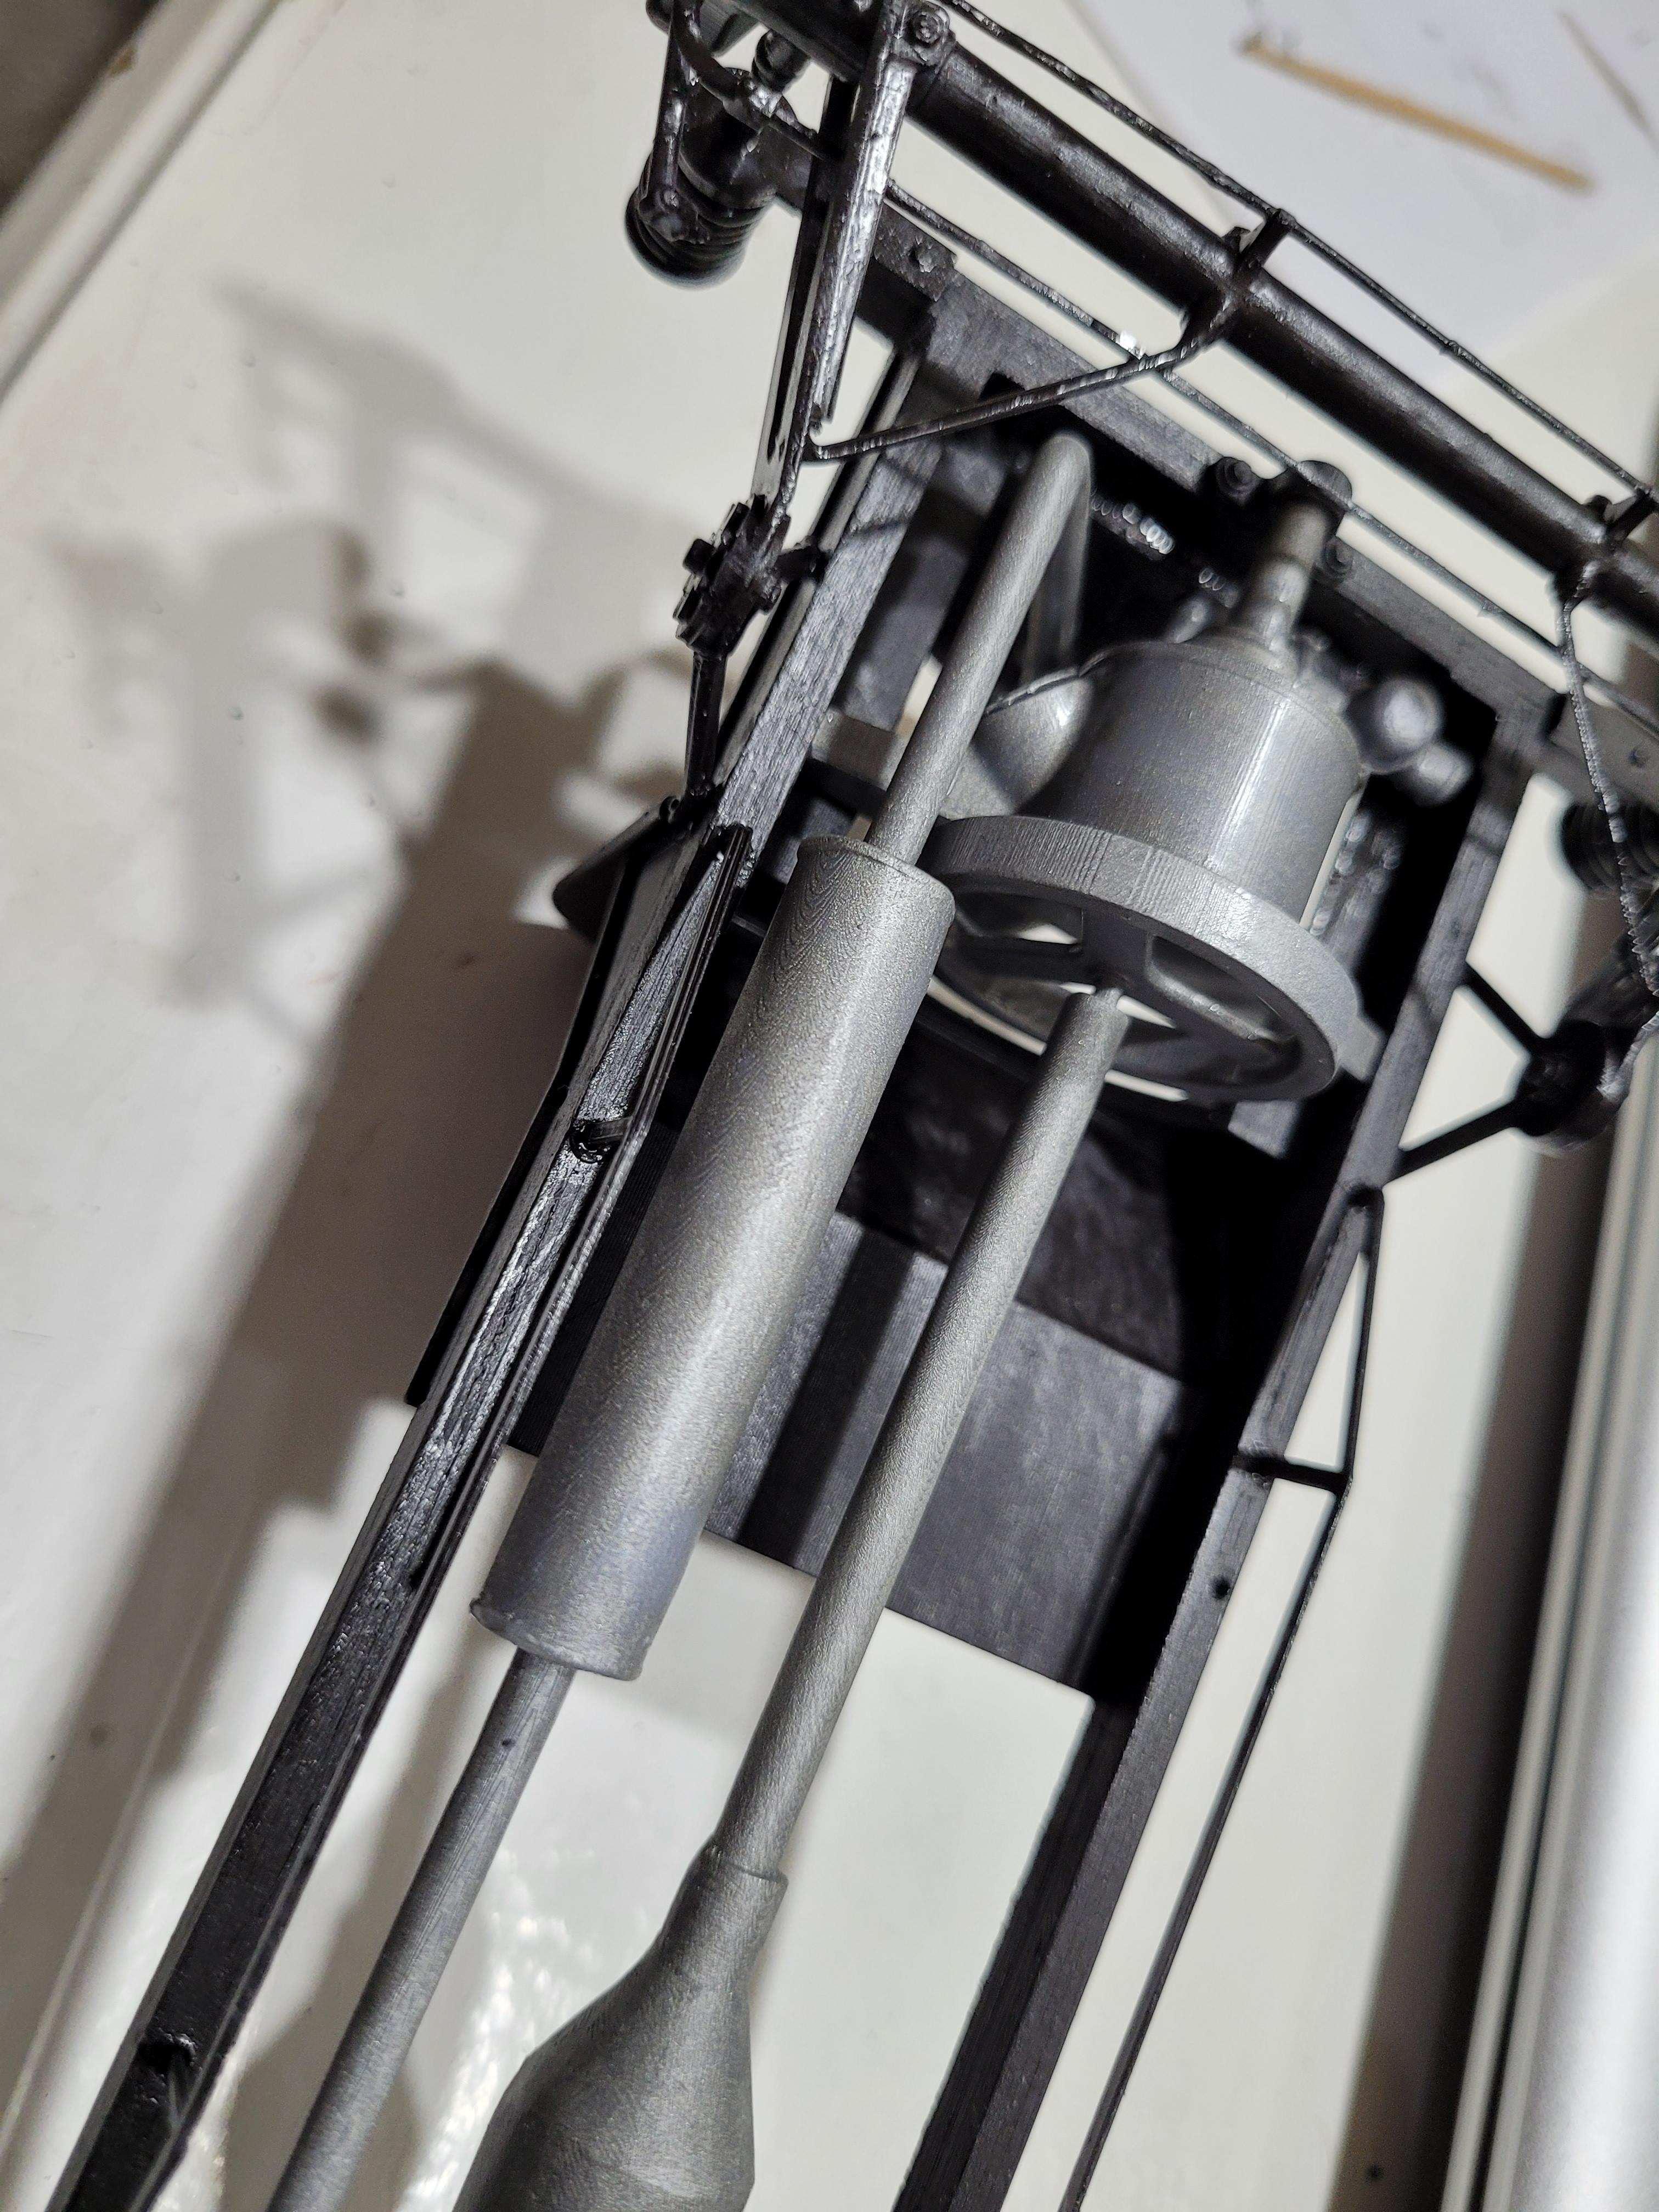
Intake pipe, carb, and lower radiator hose.
-
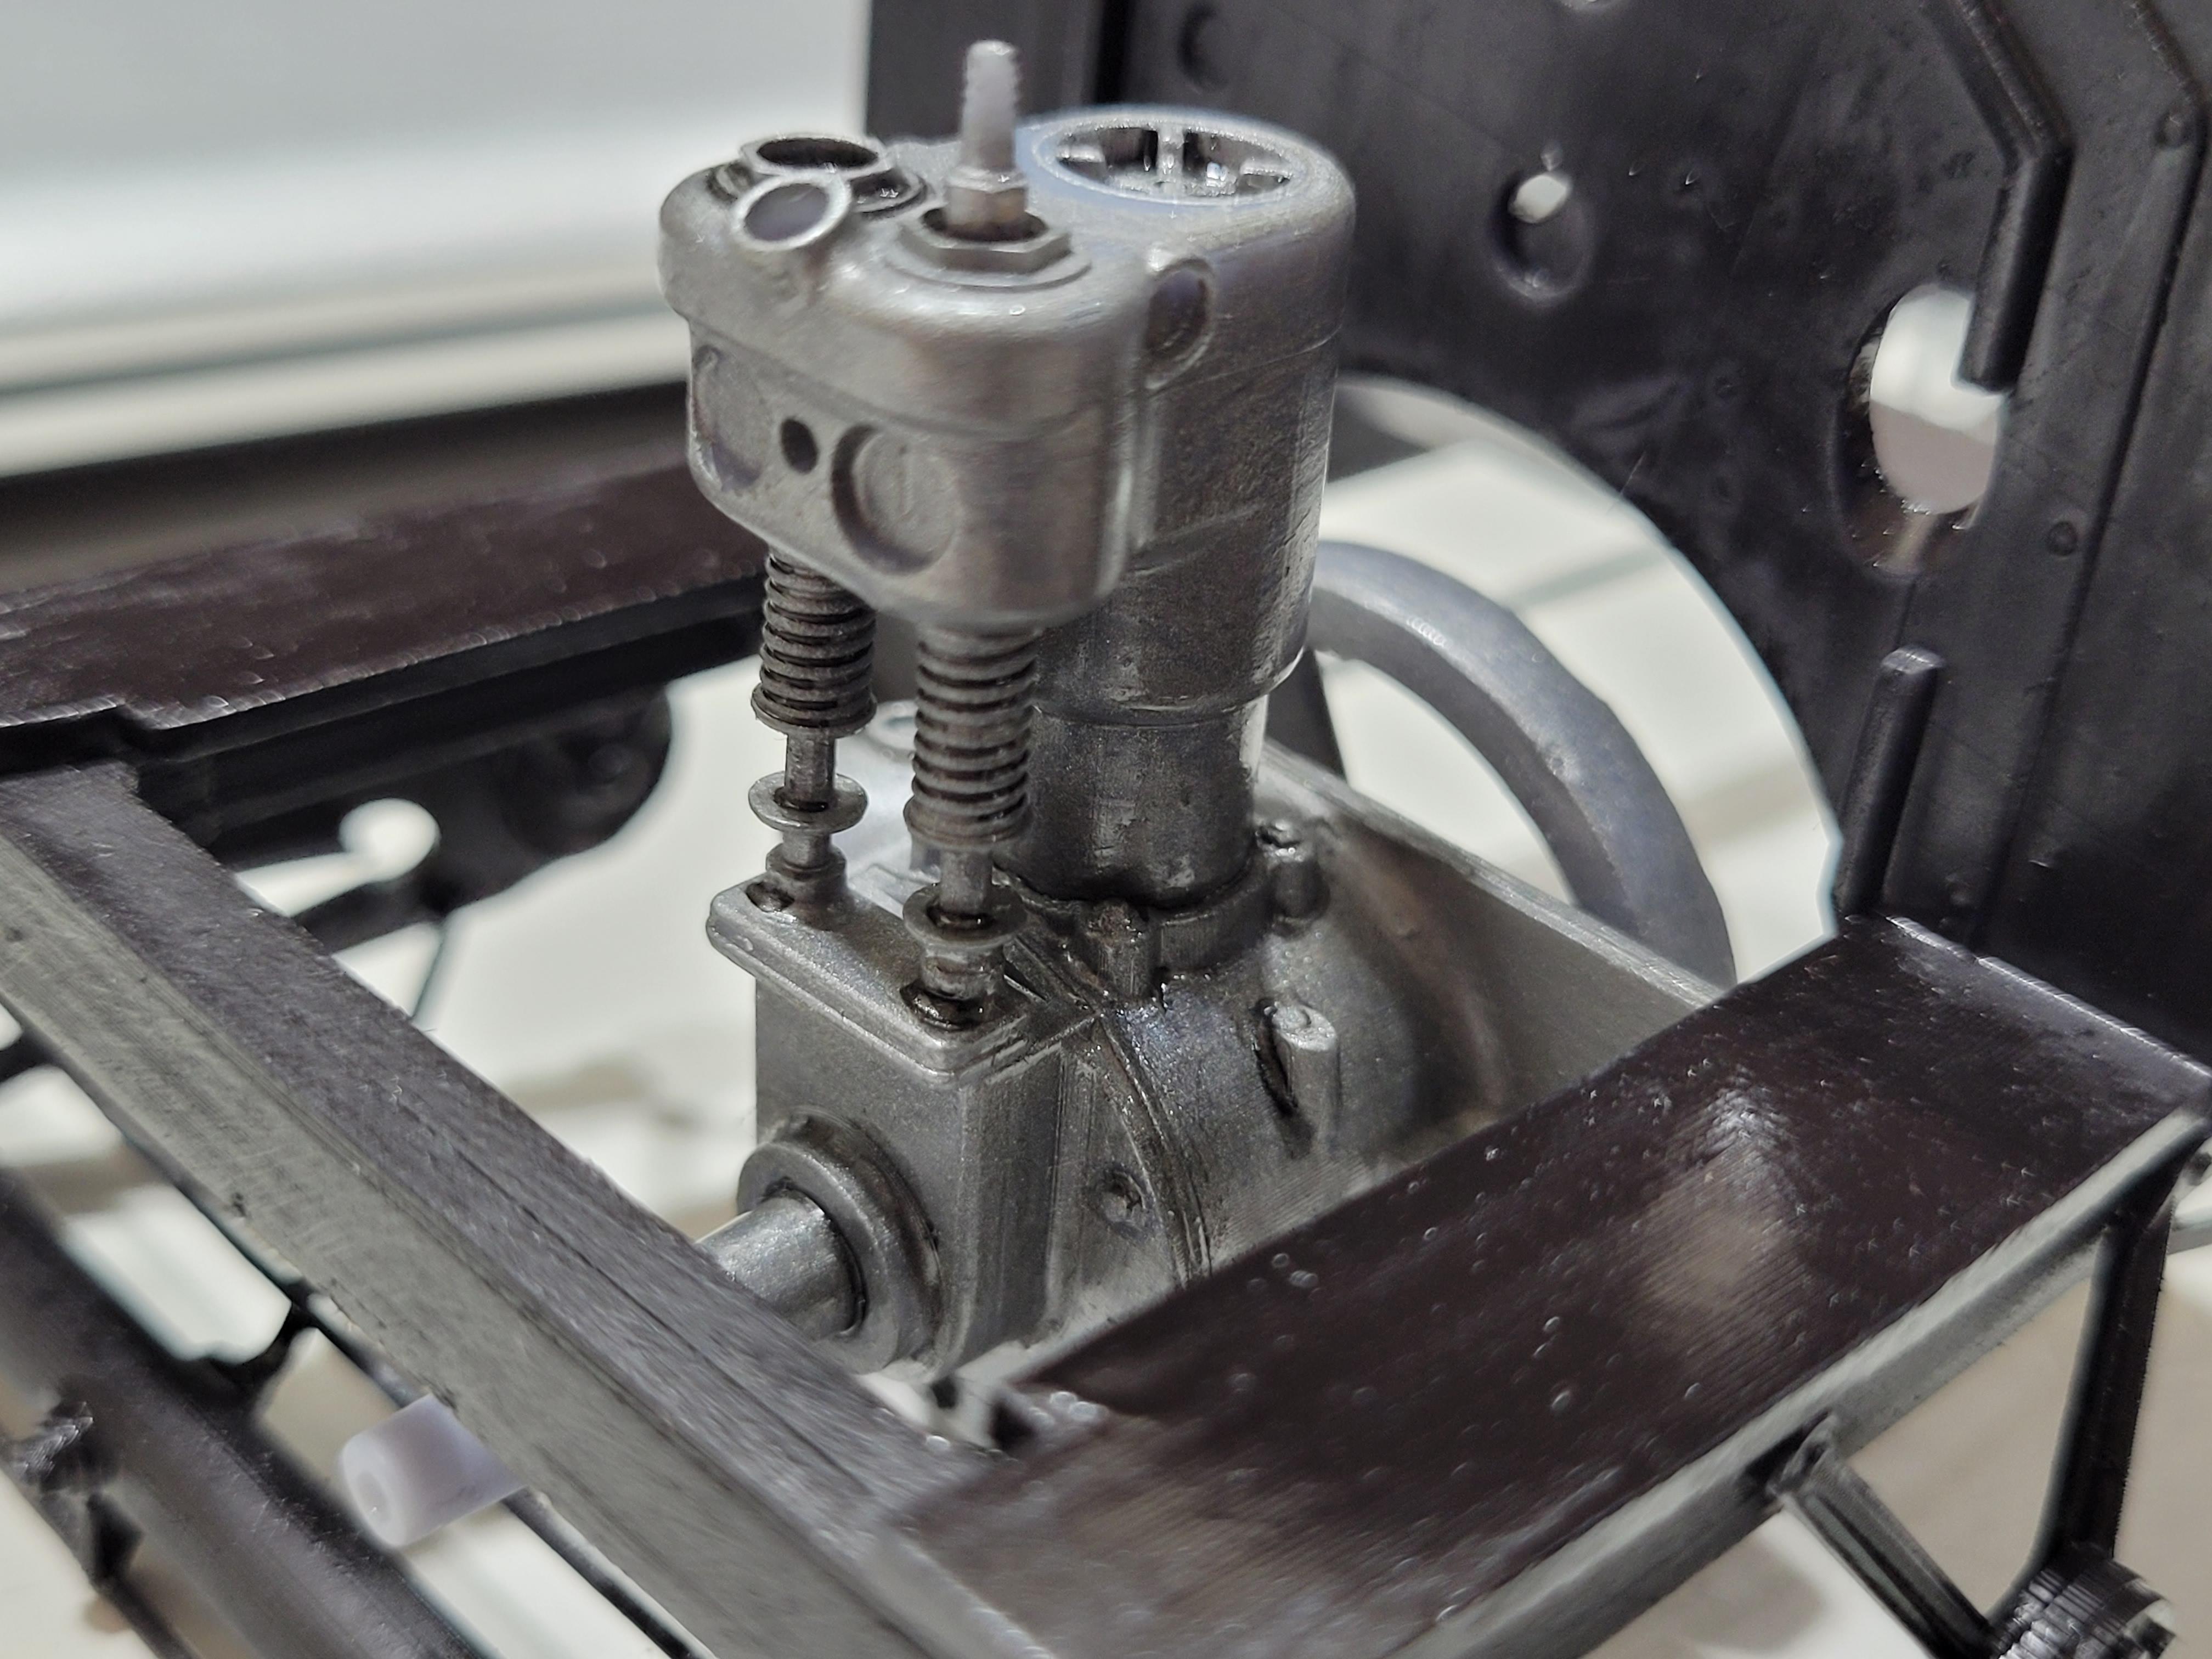
Engine in place. There is a crank starter shaft bearing that will pull the engine back to a vertical position.
-
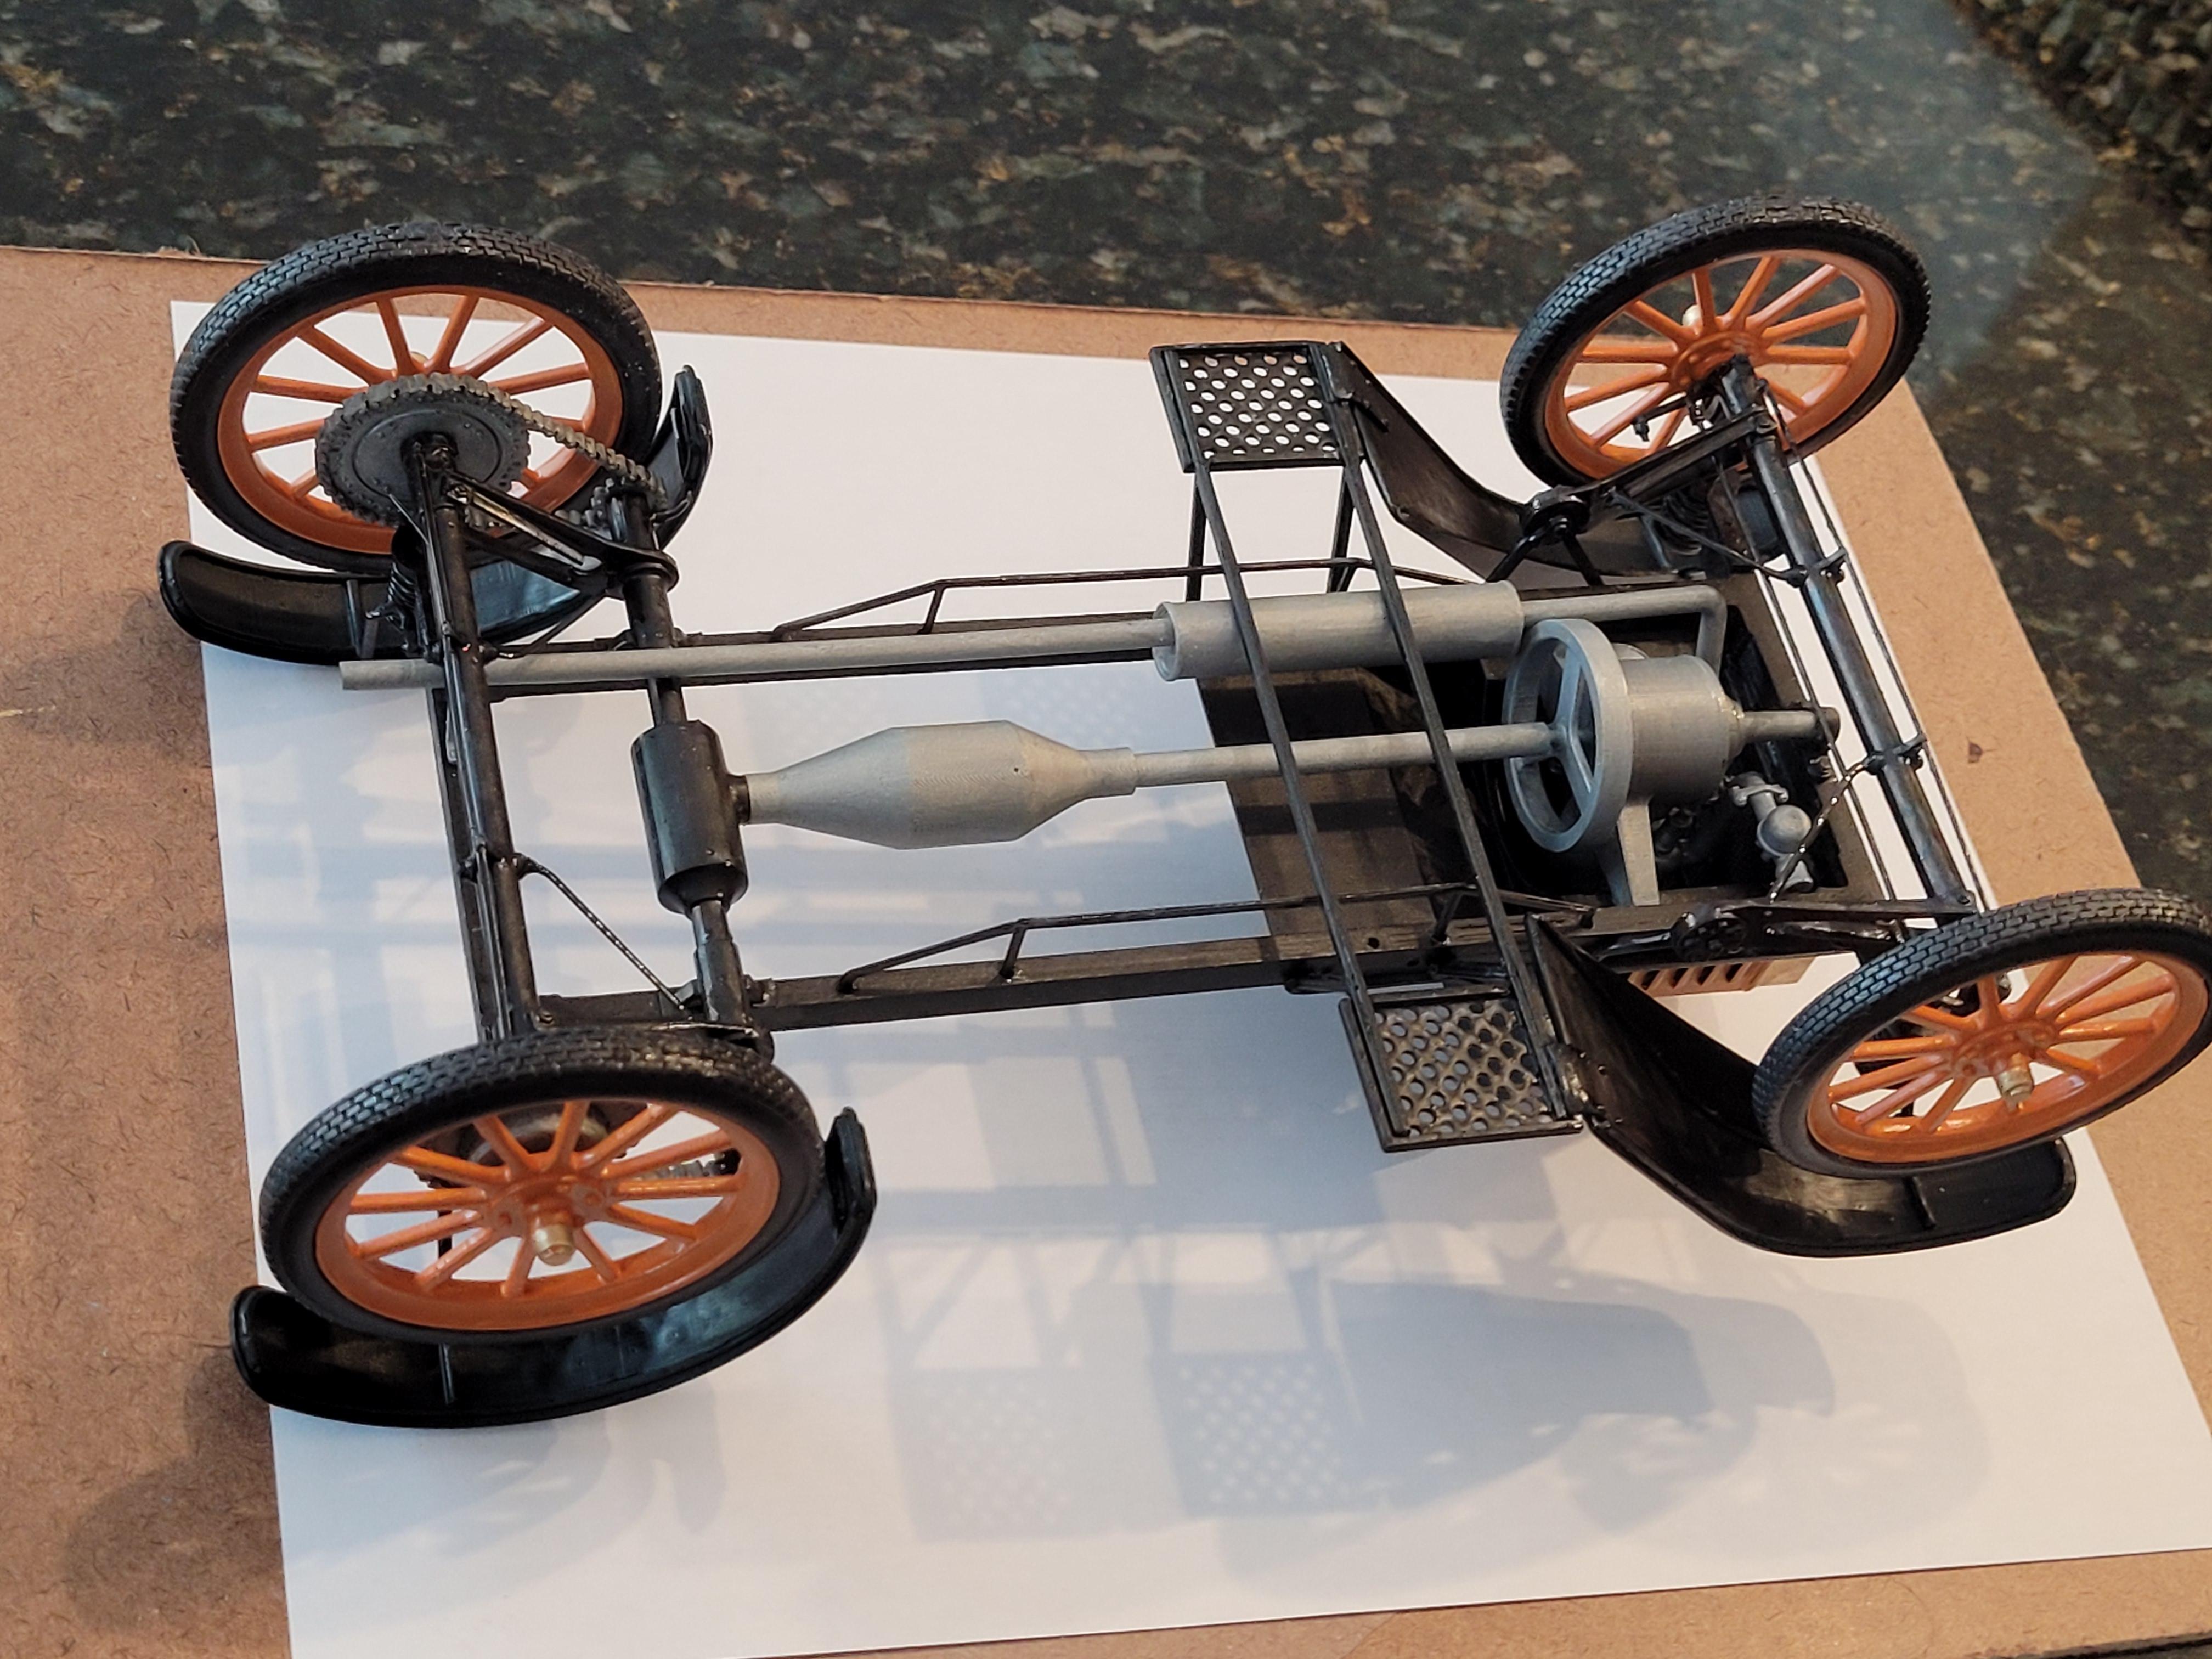
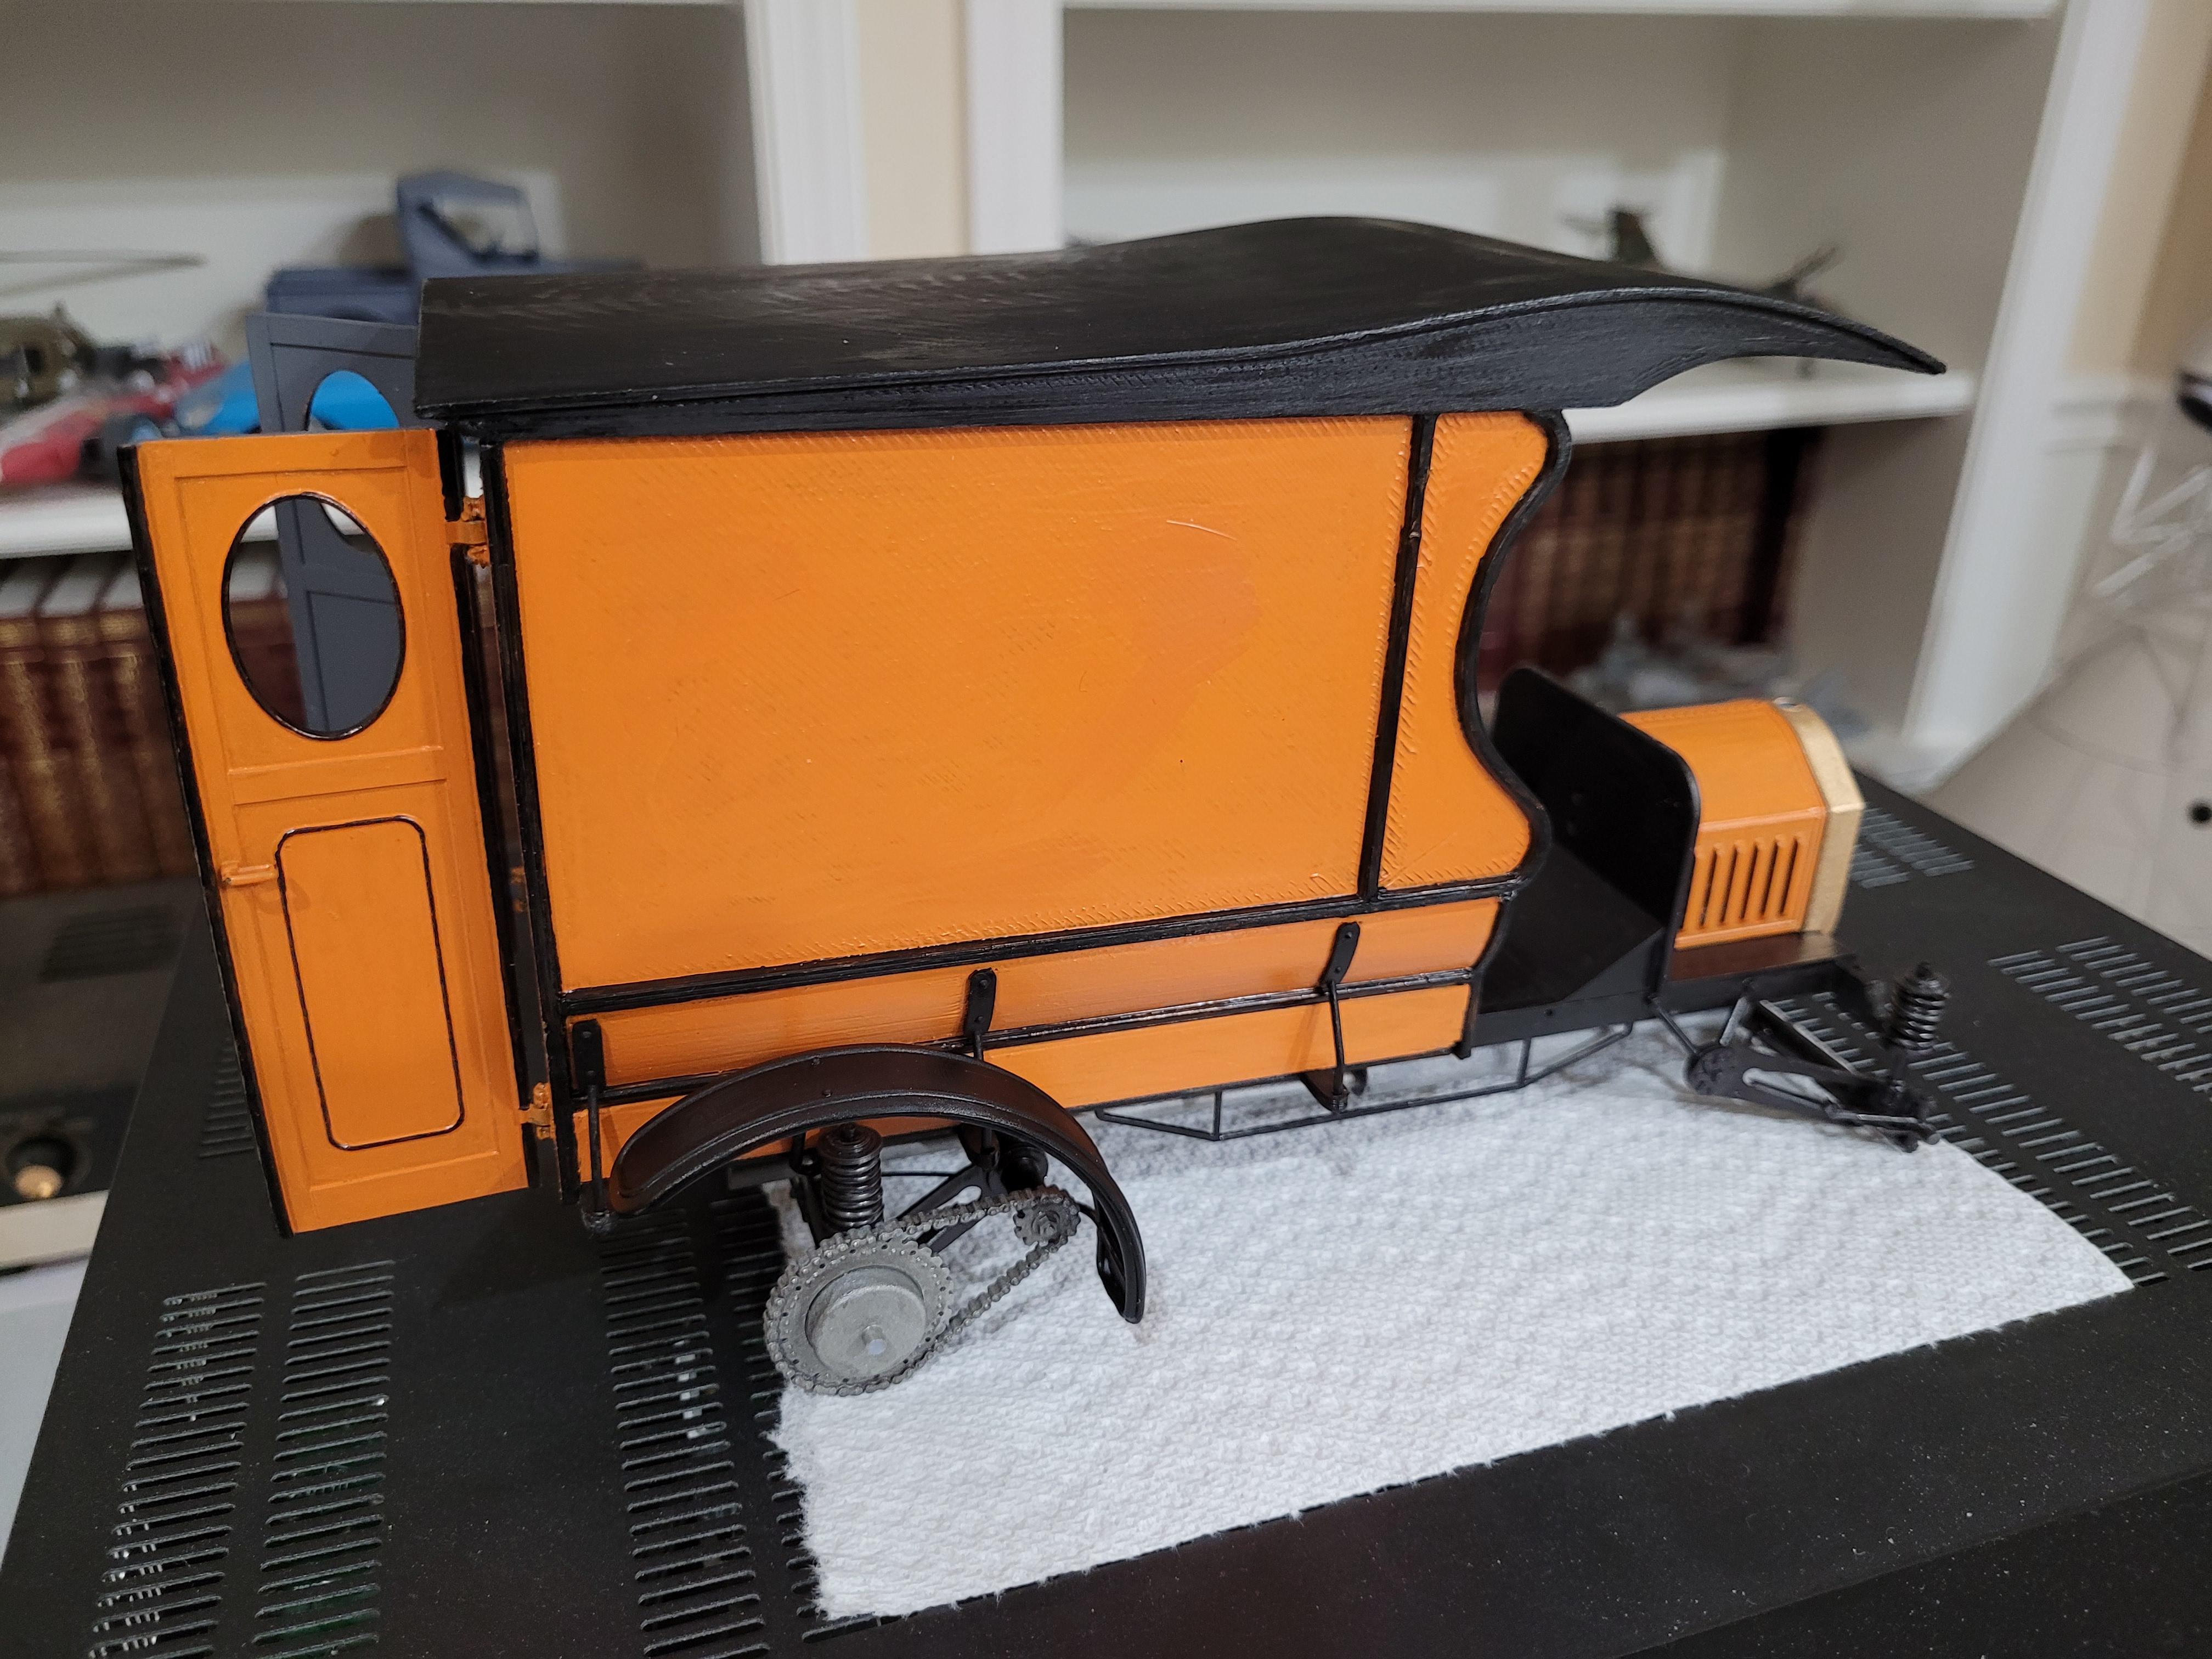
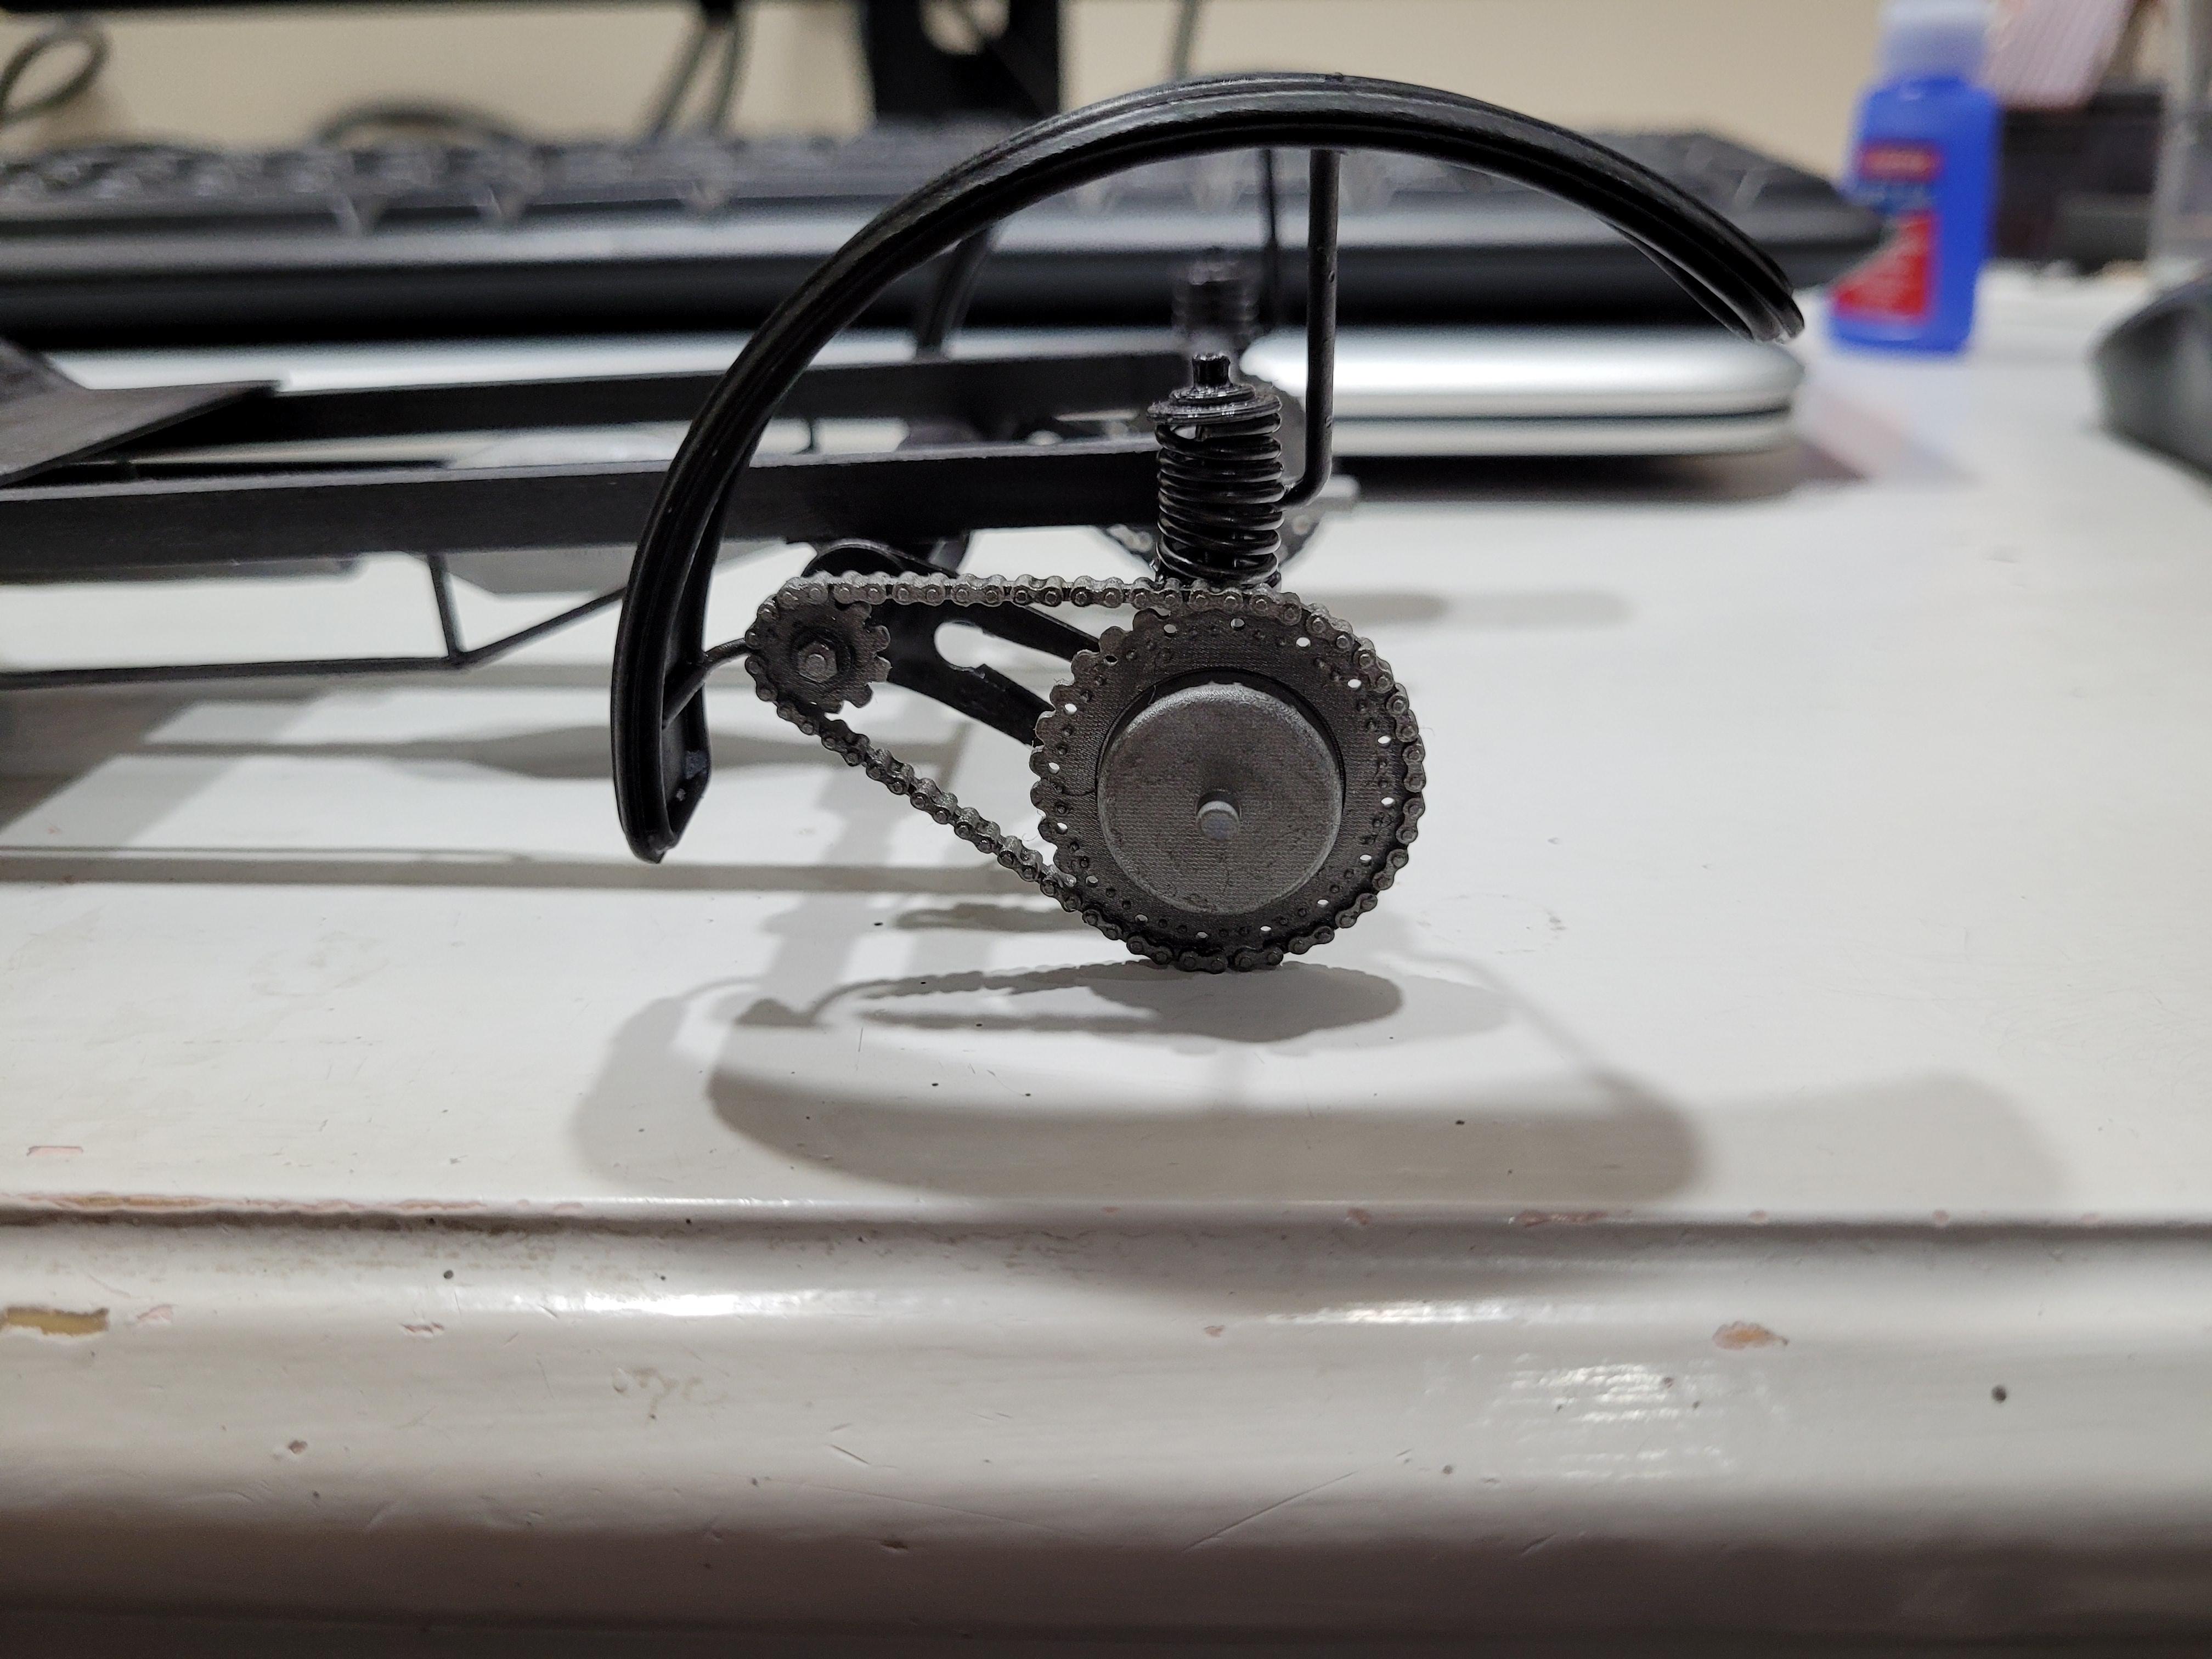
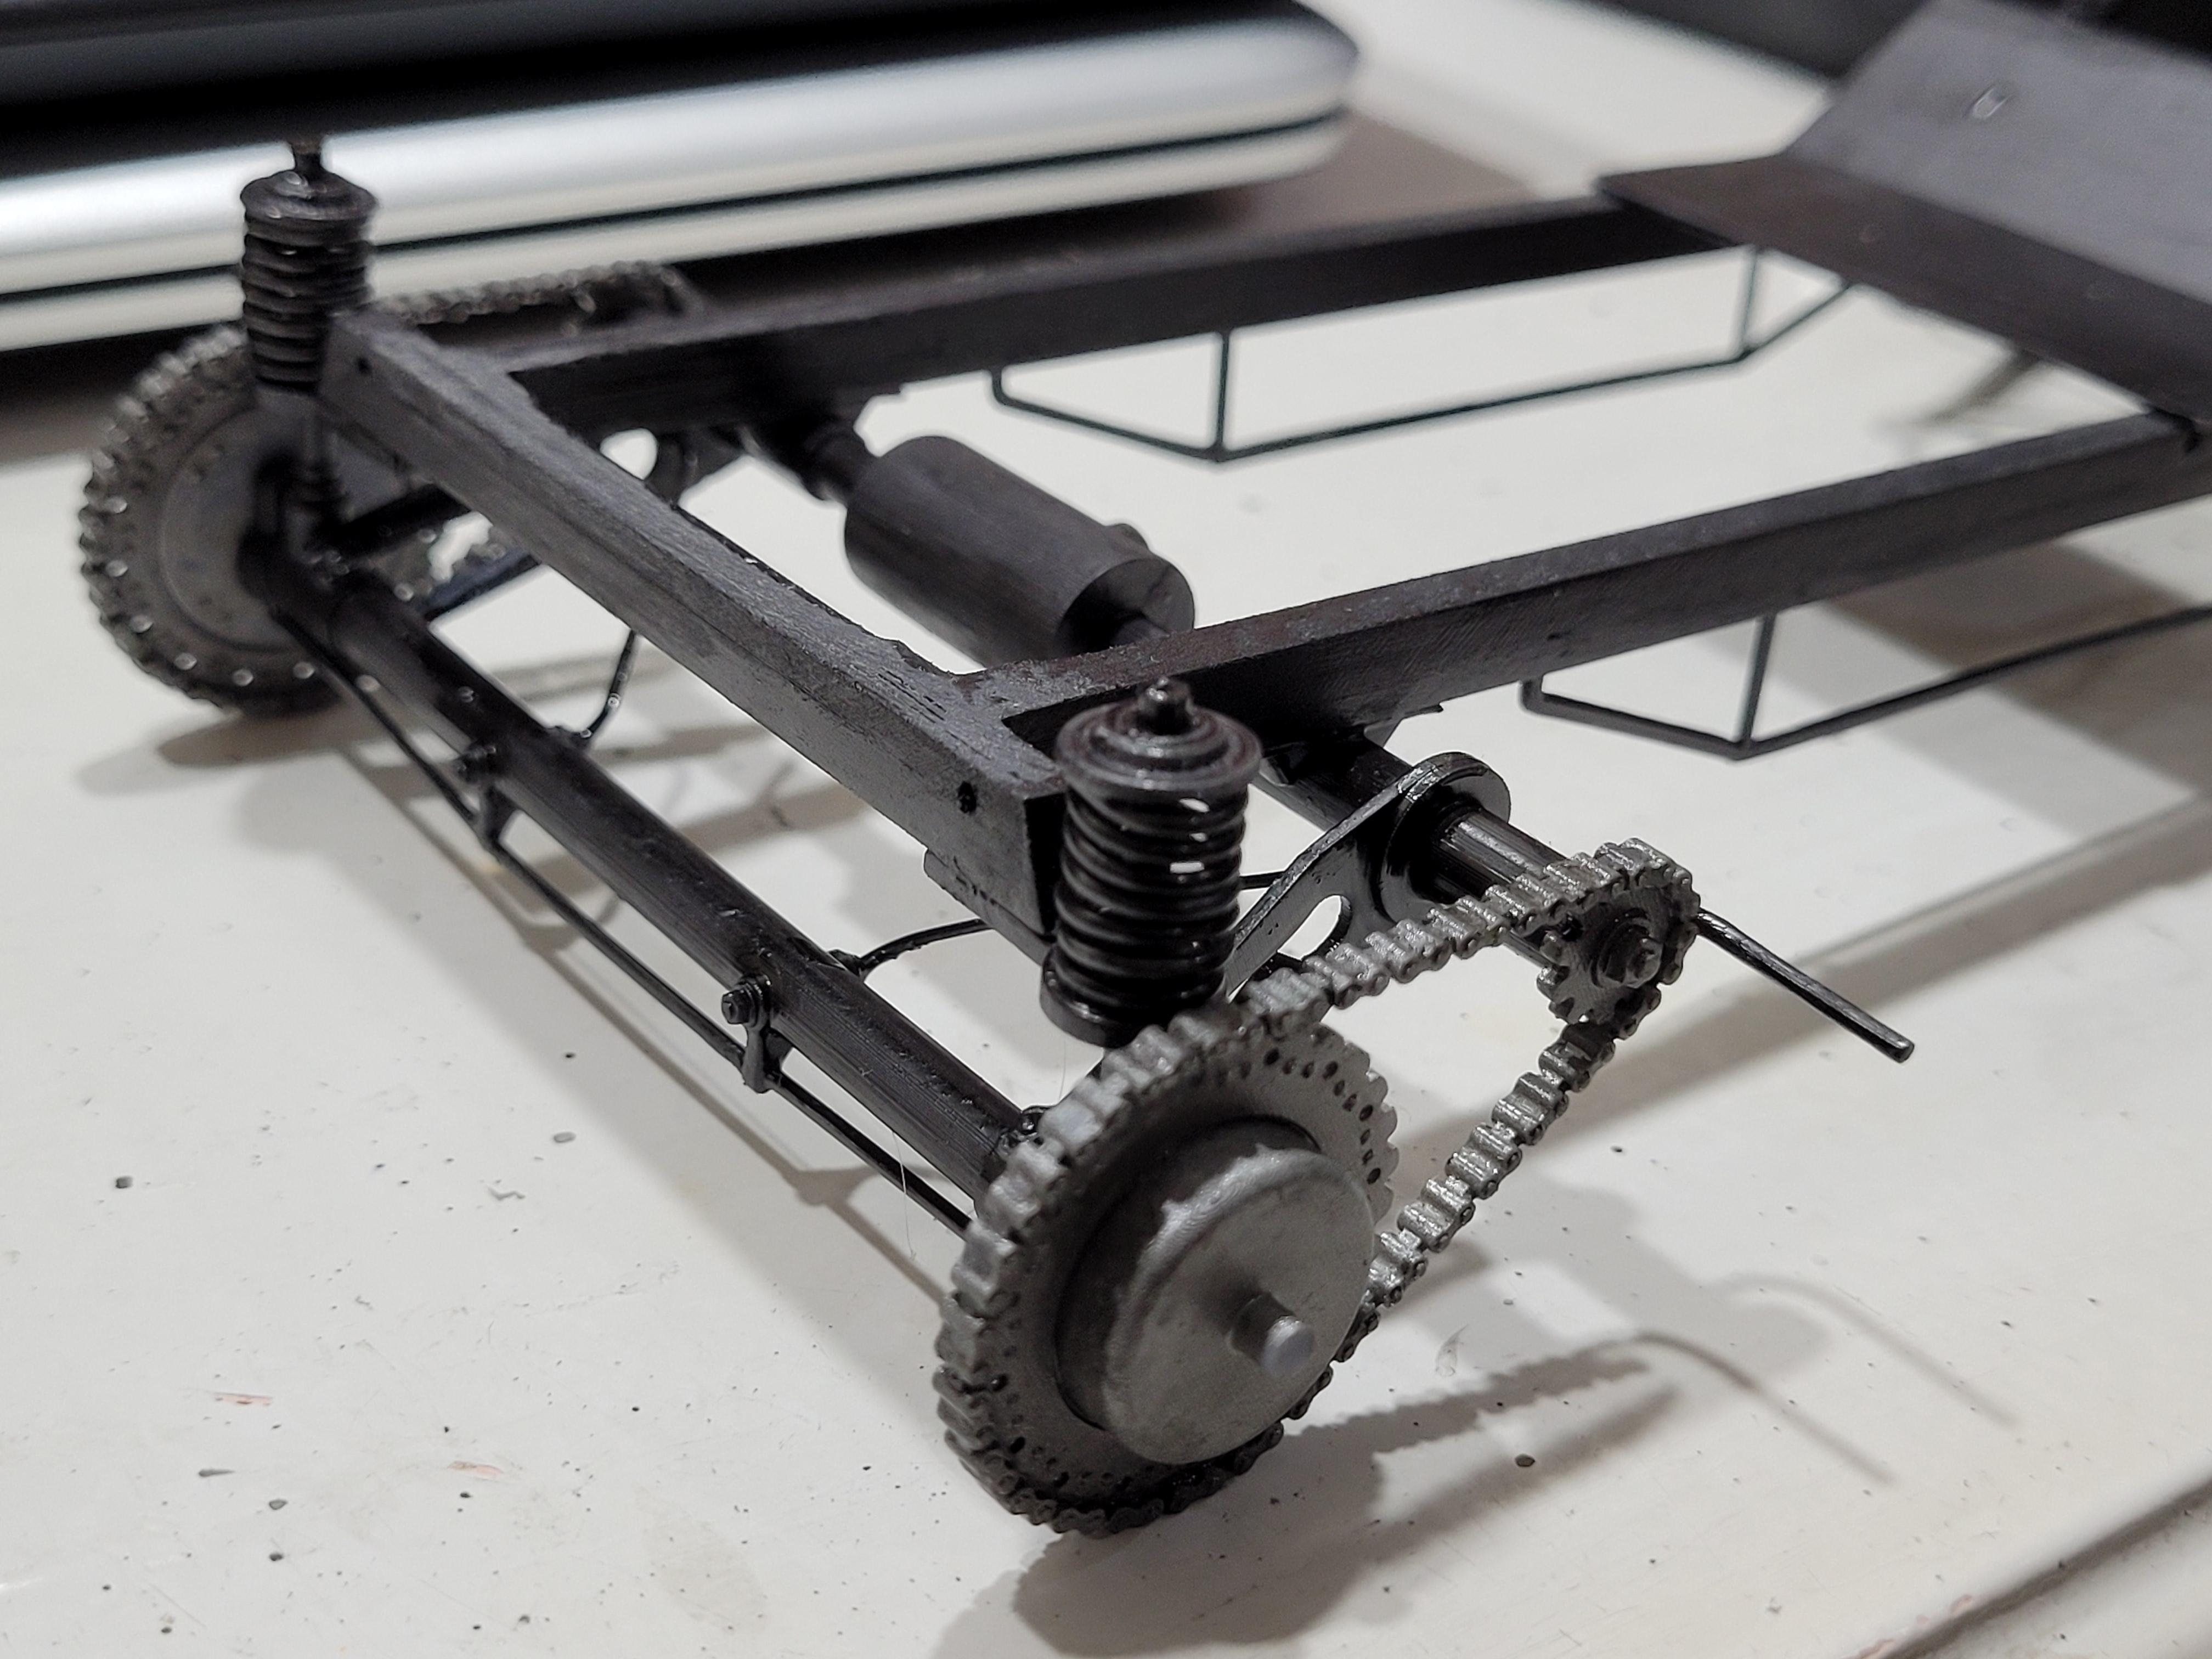
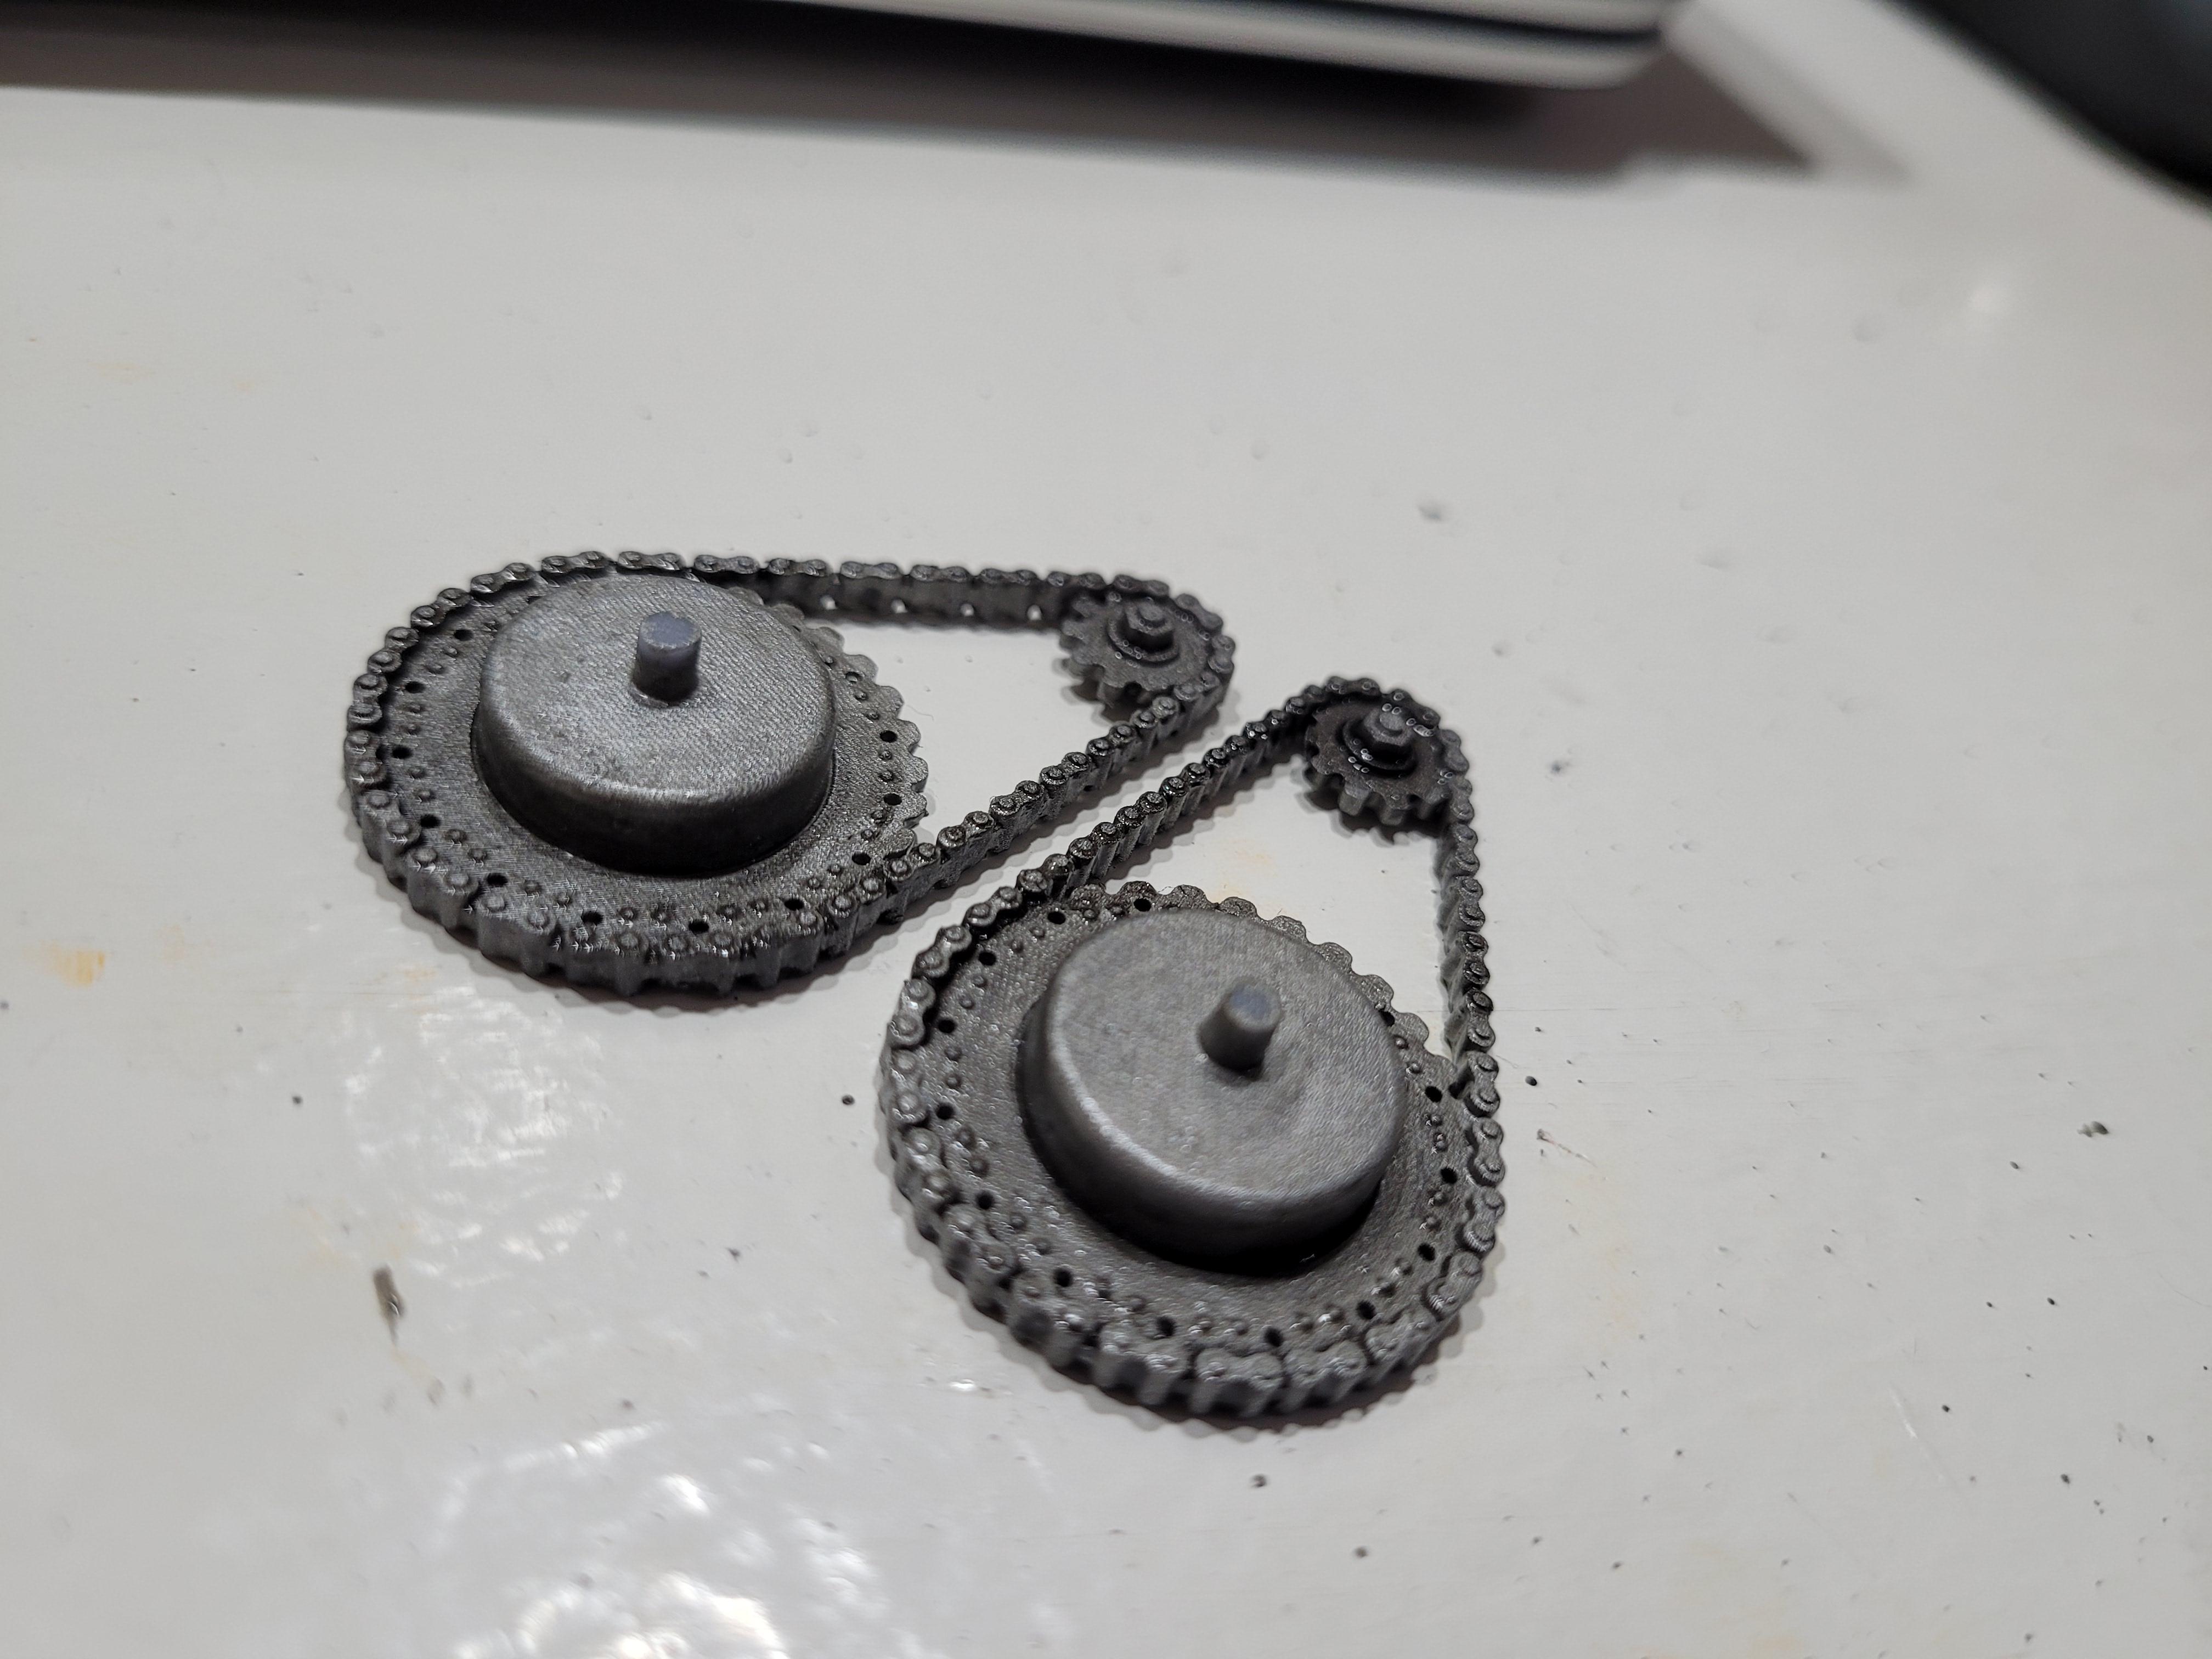
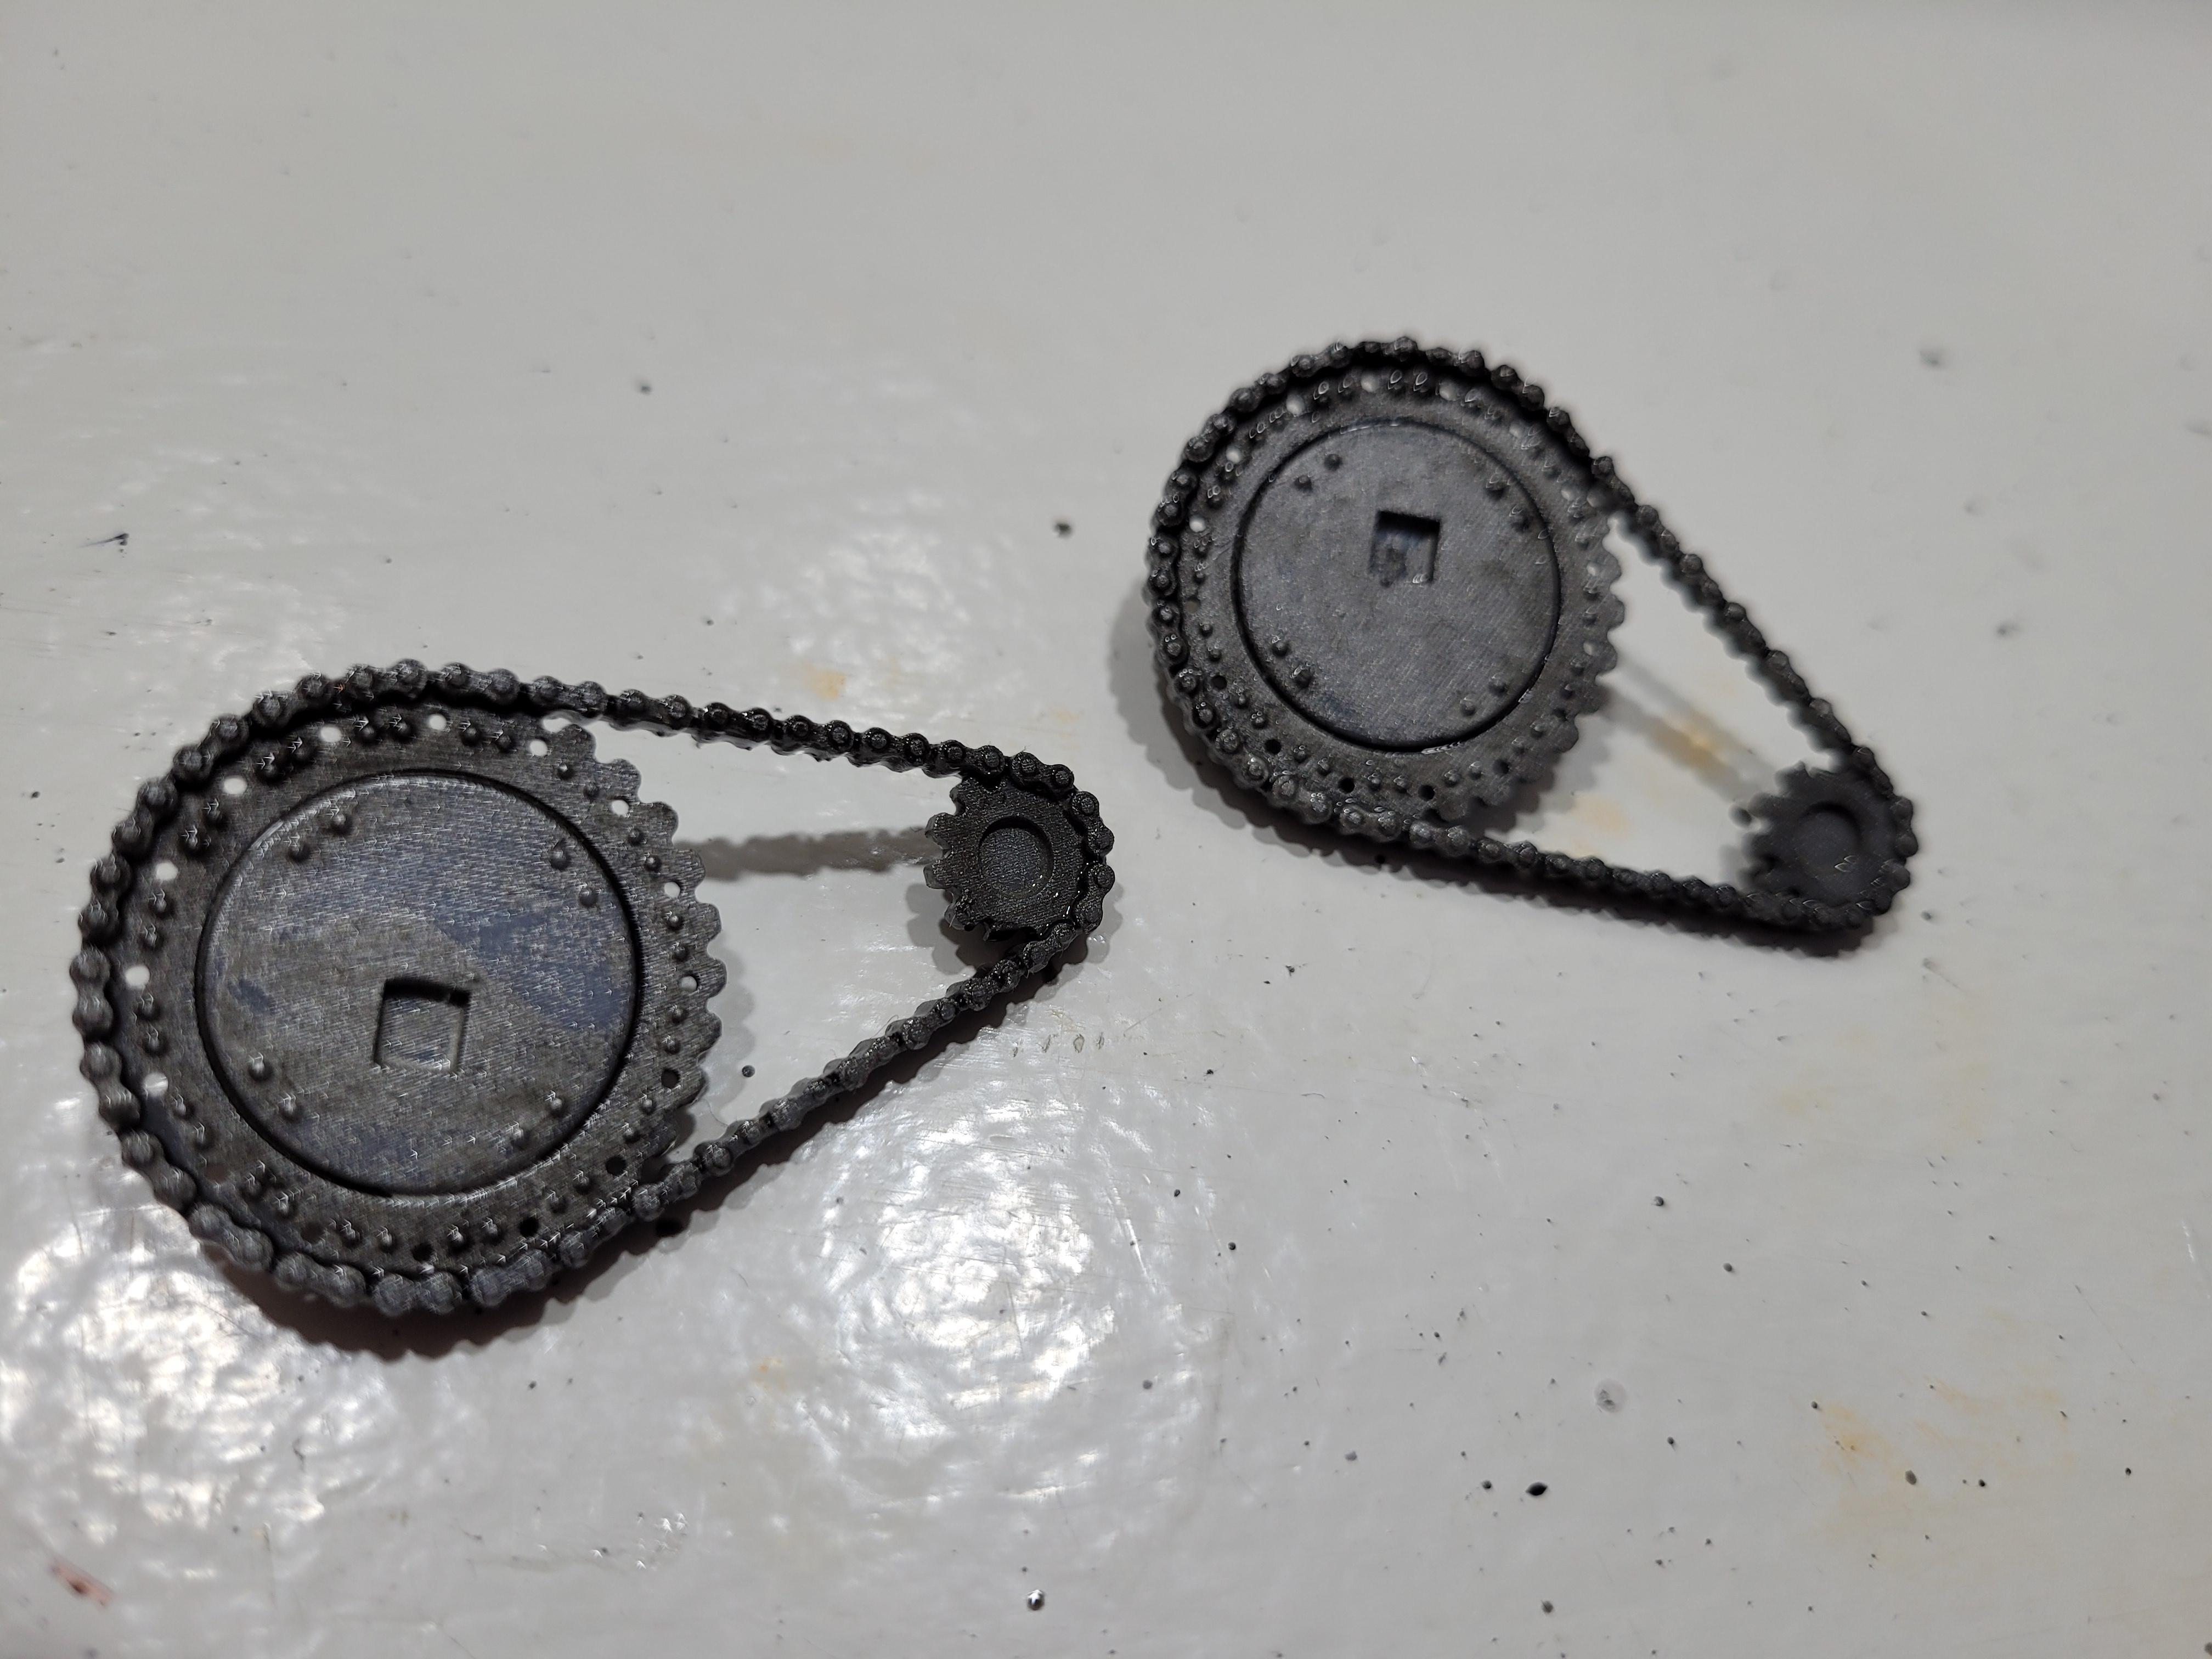
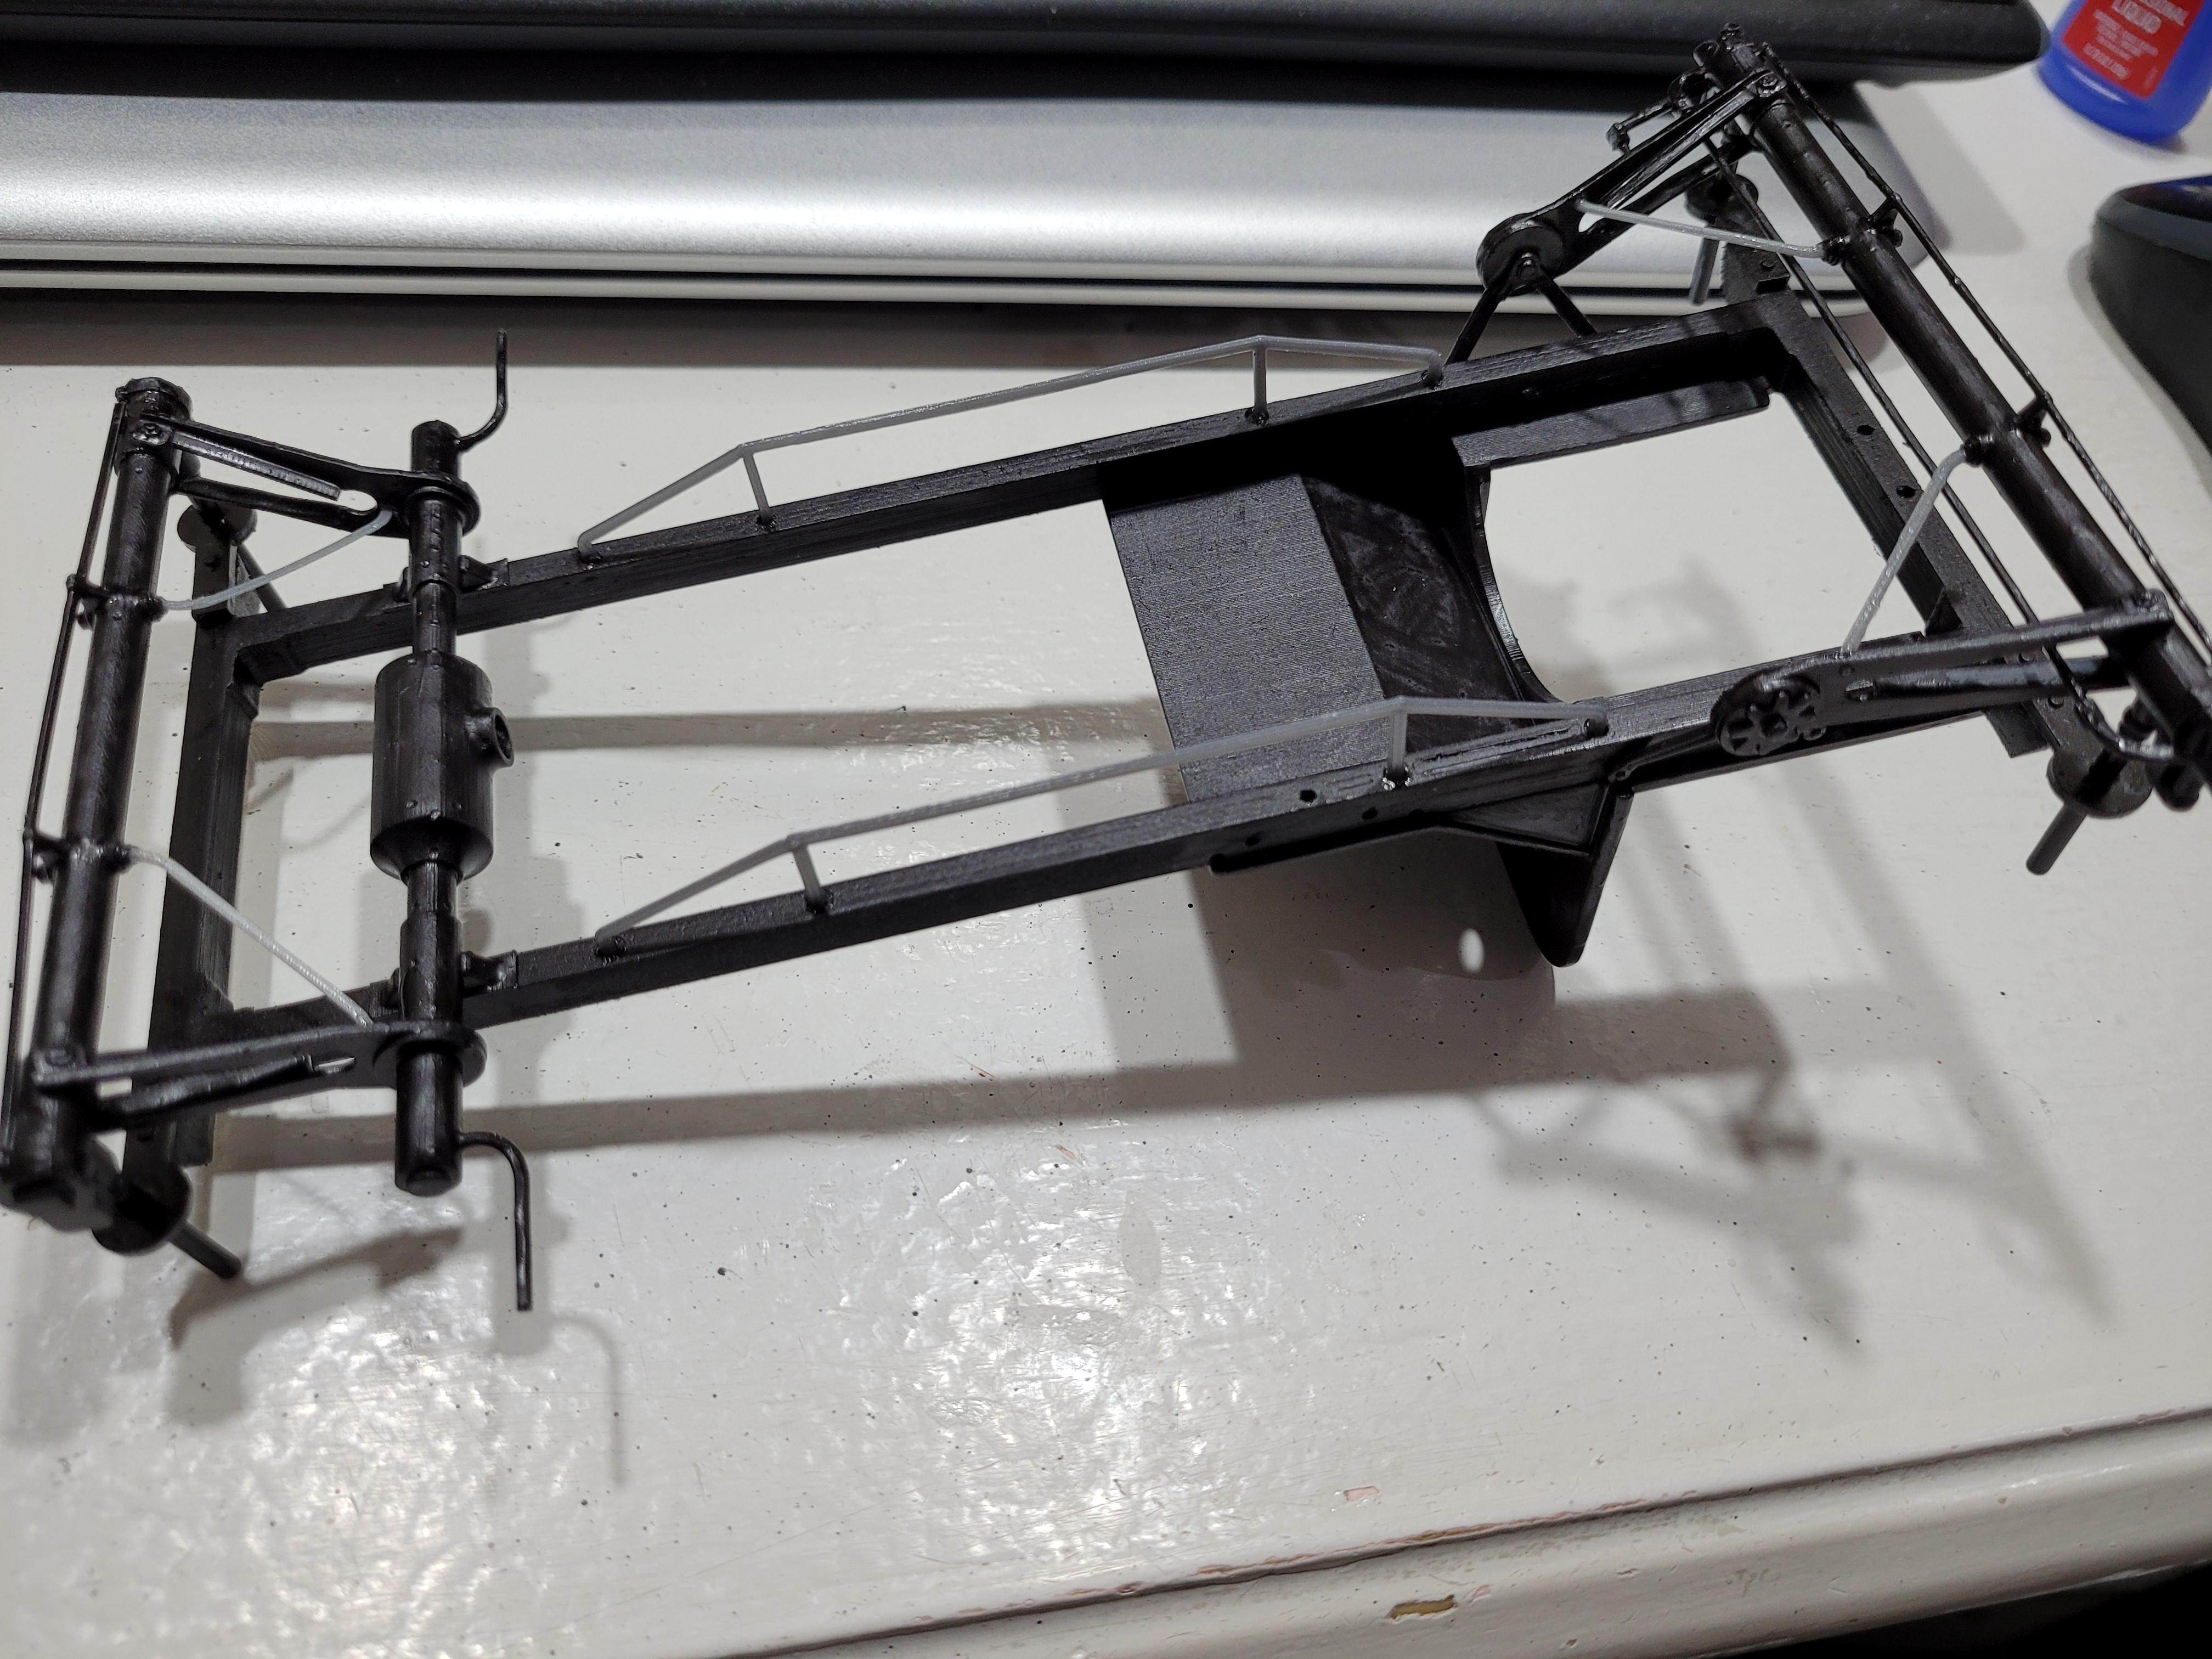
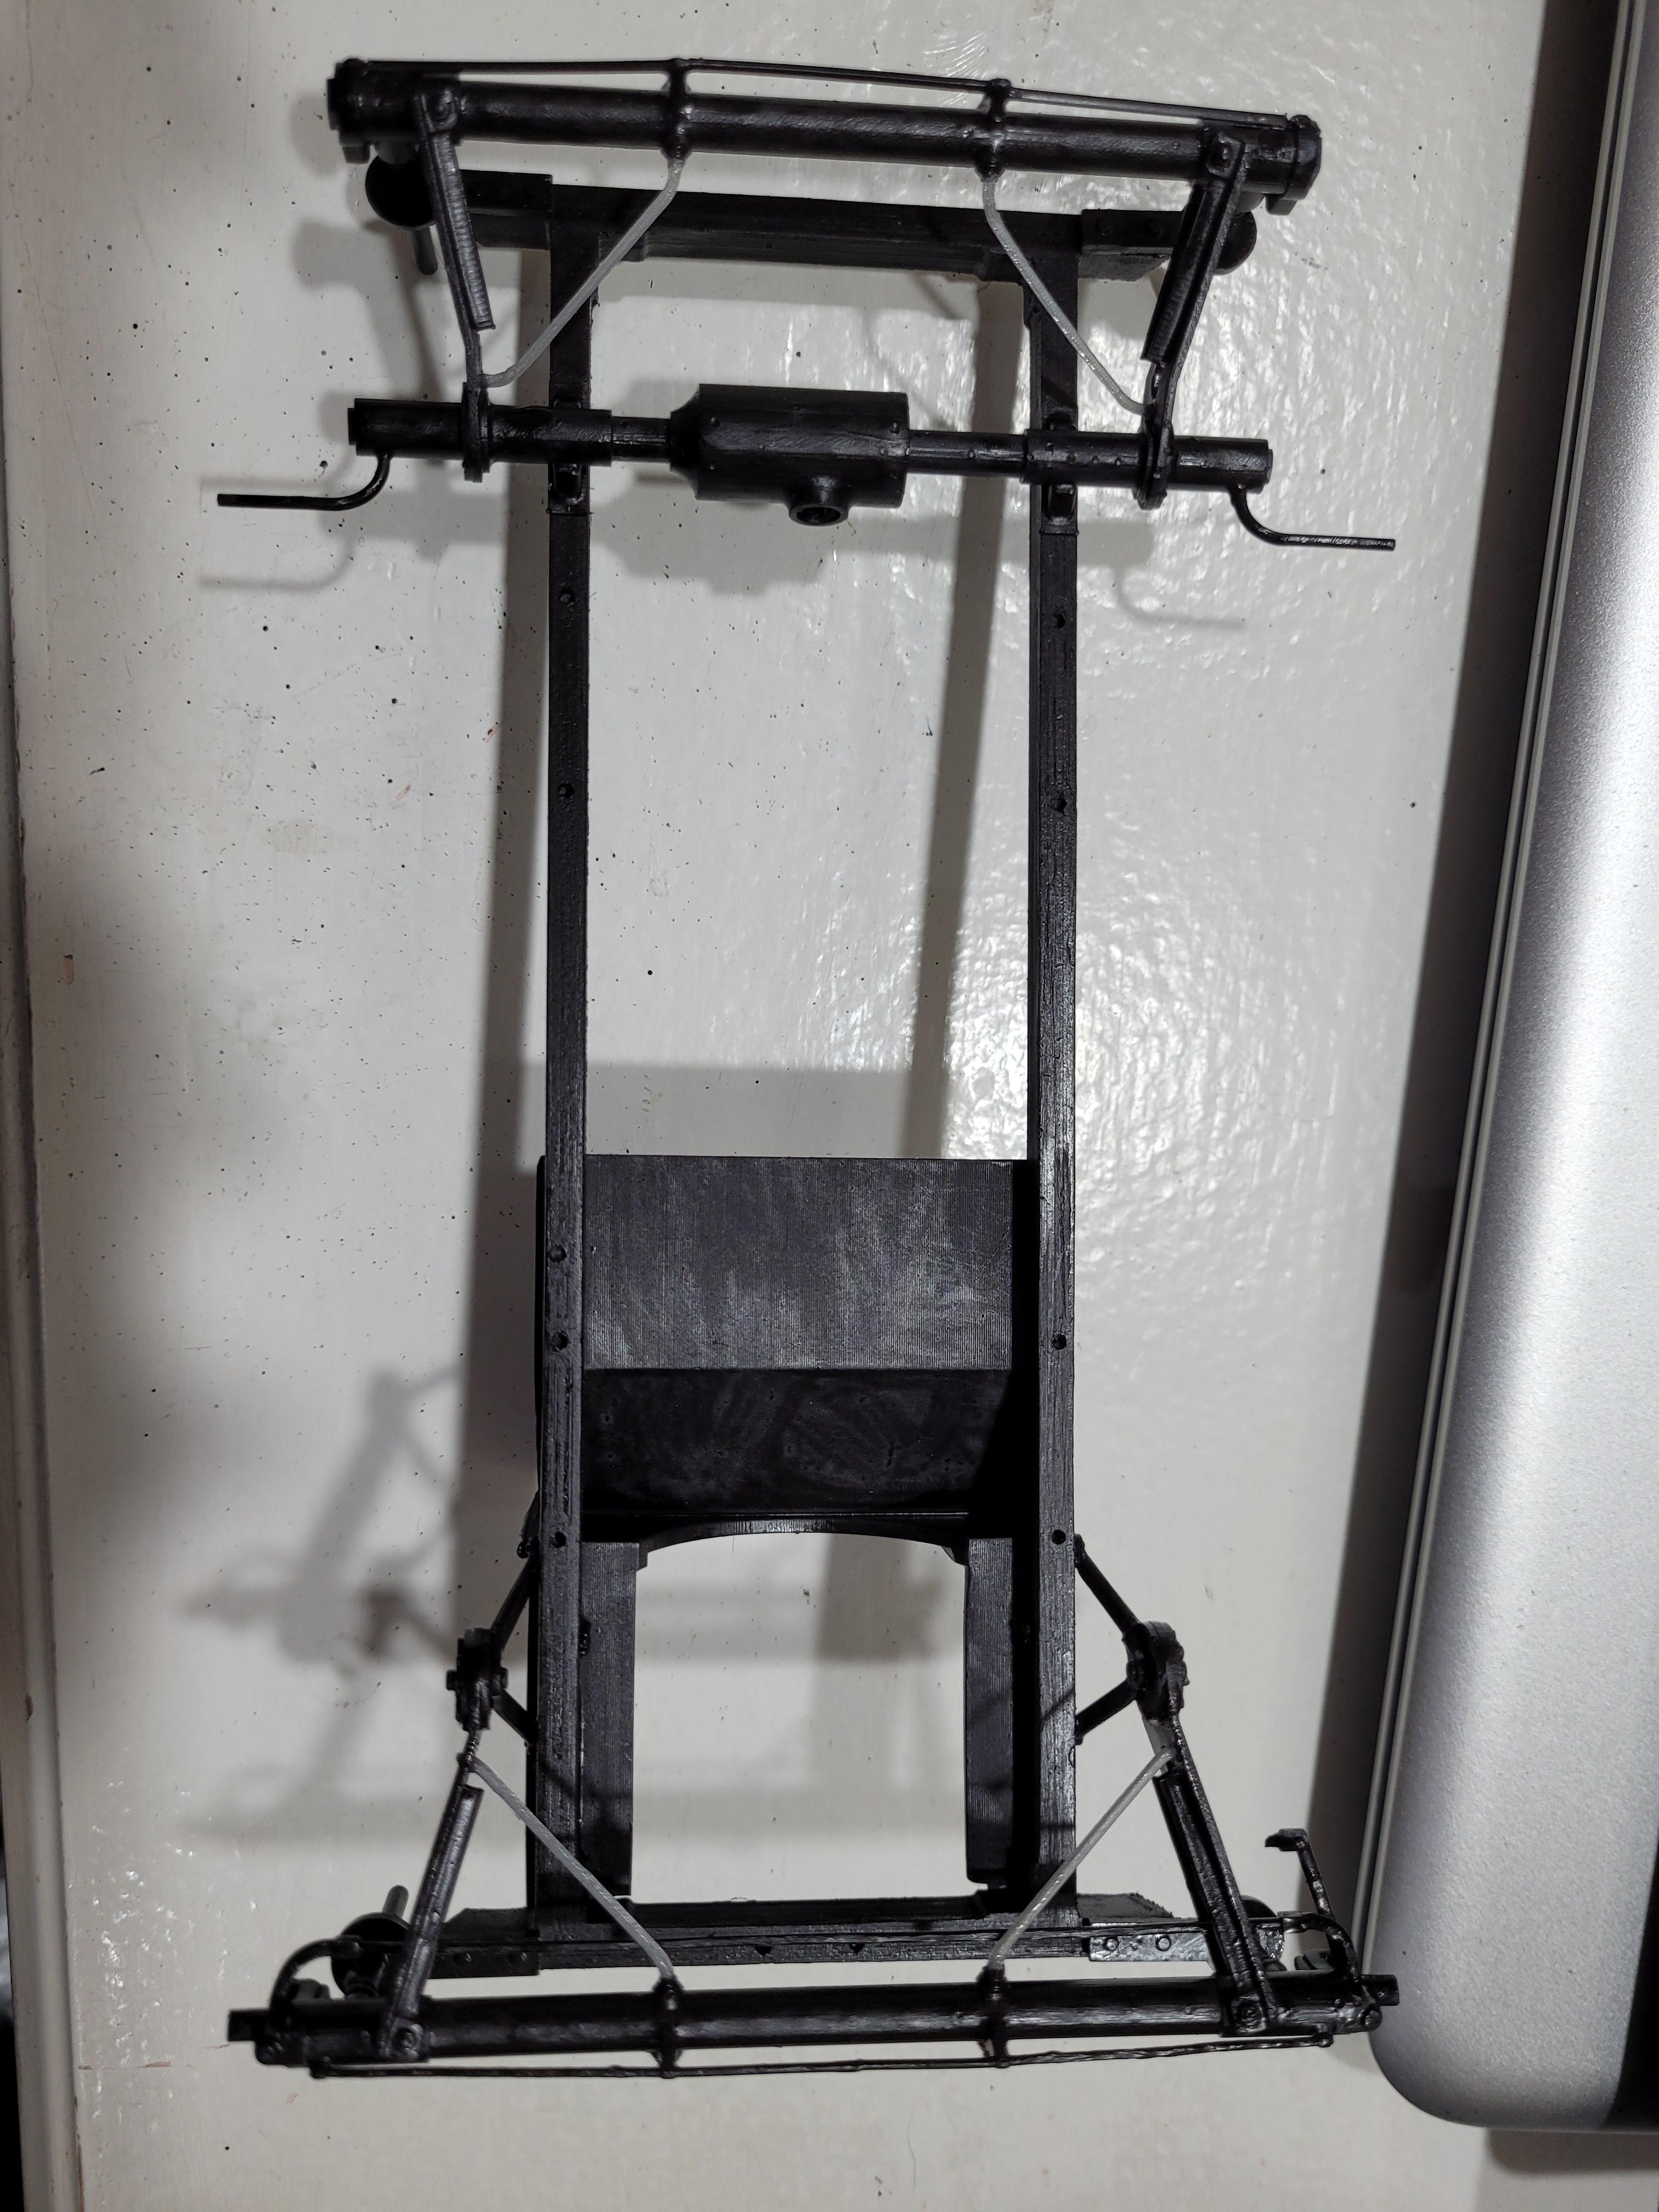
Drive chains glued to rear suspension.
-
The drive chains look pretty grimey!
-
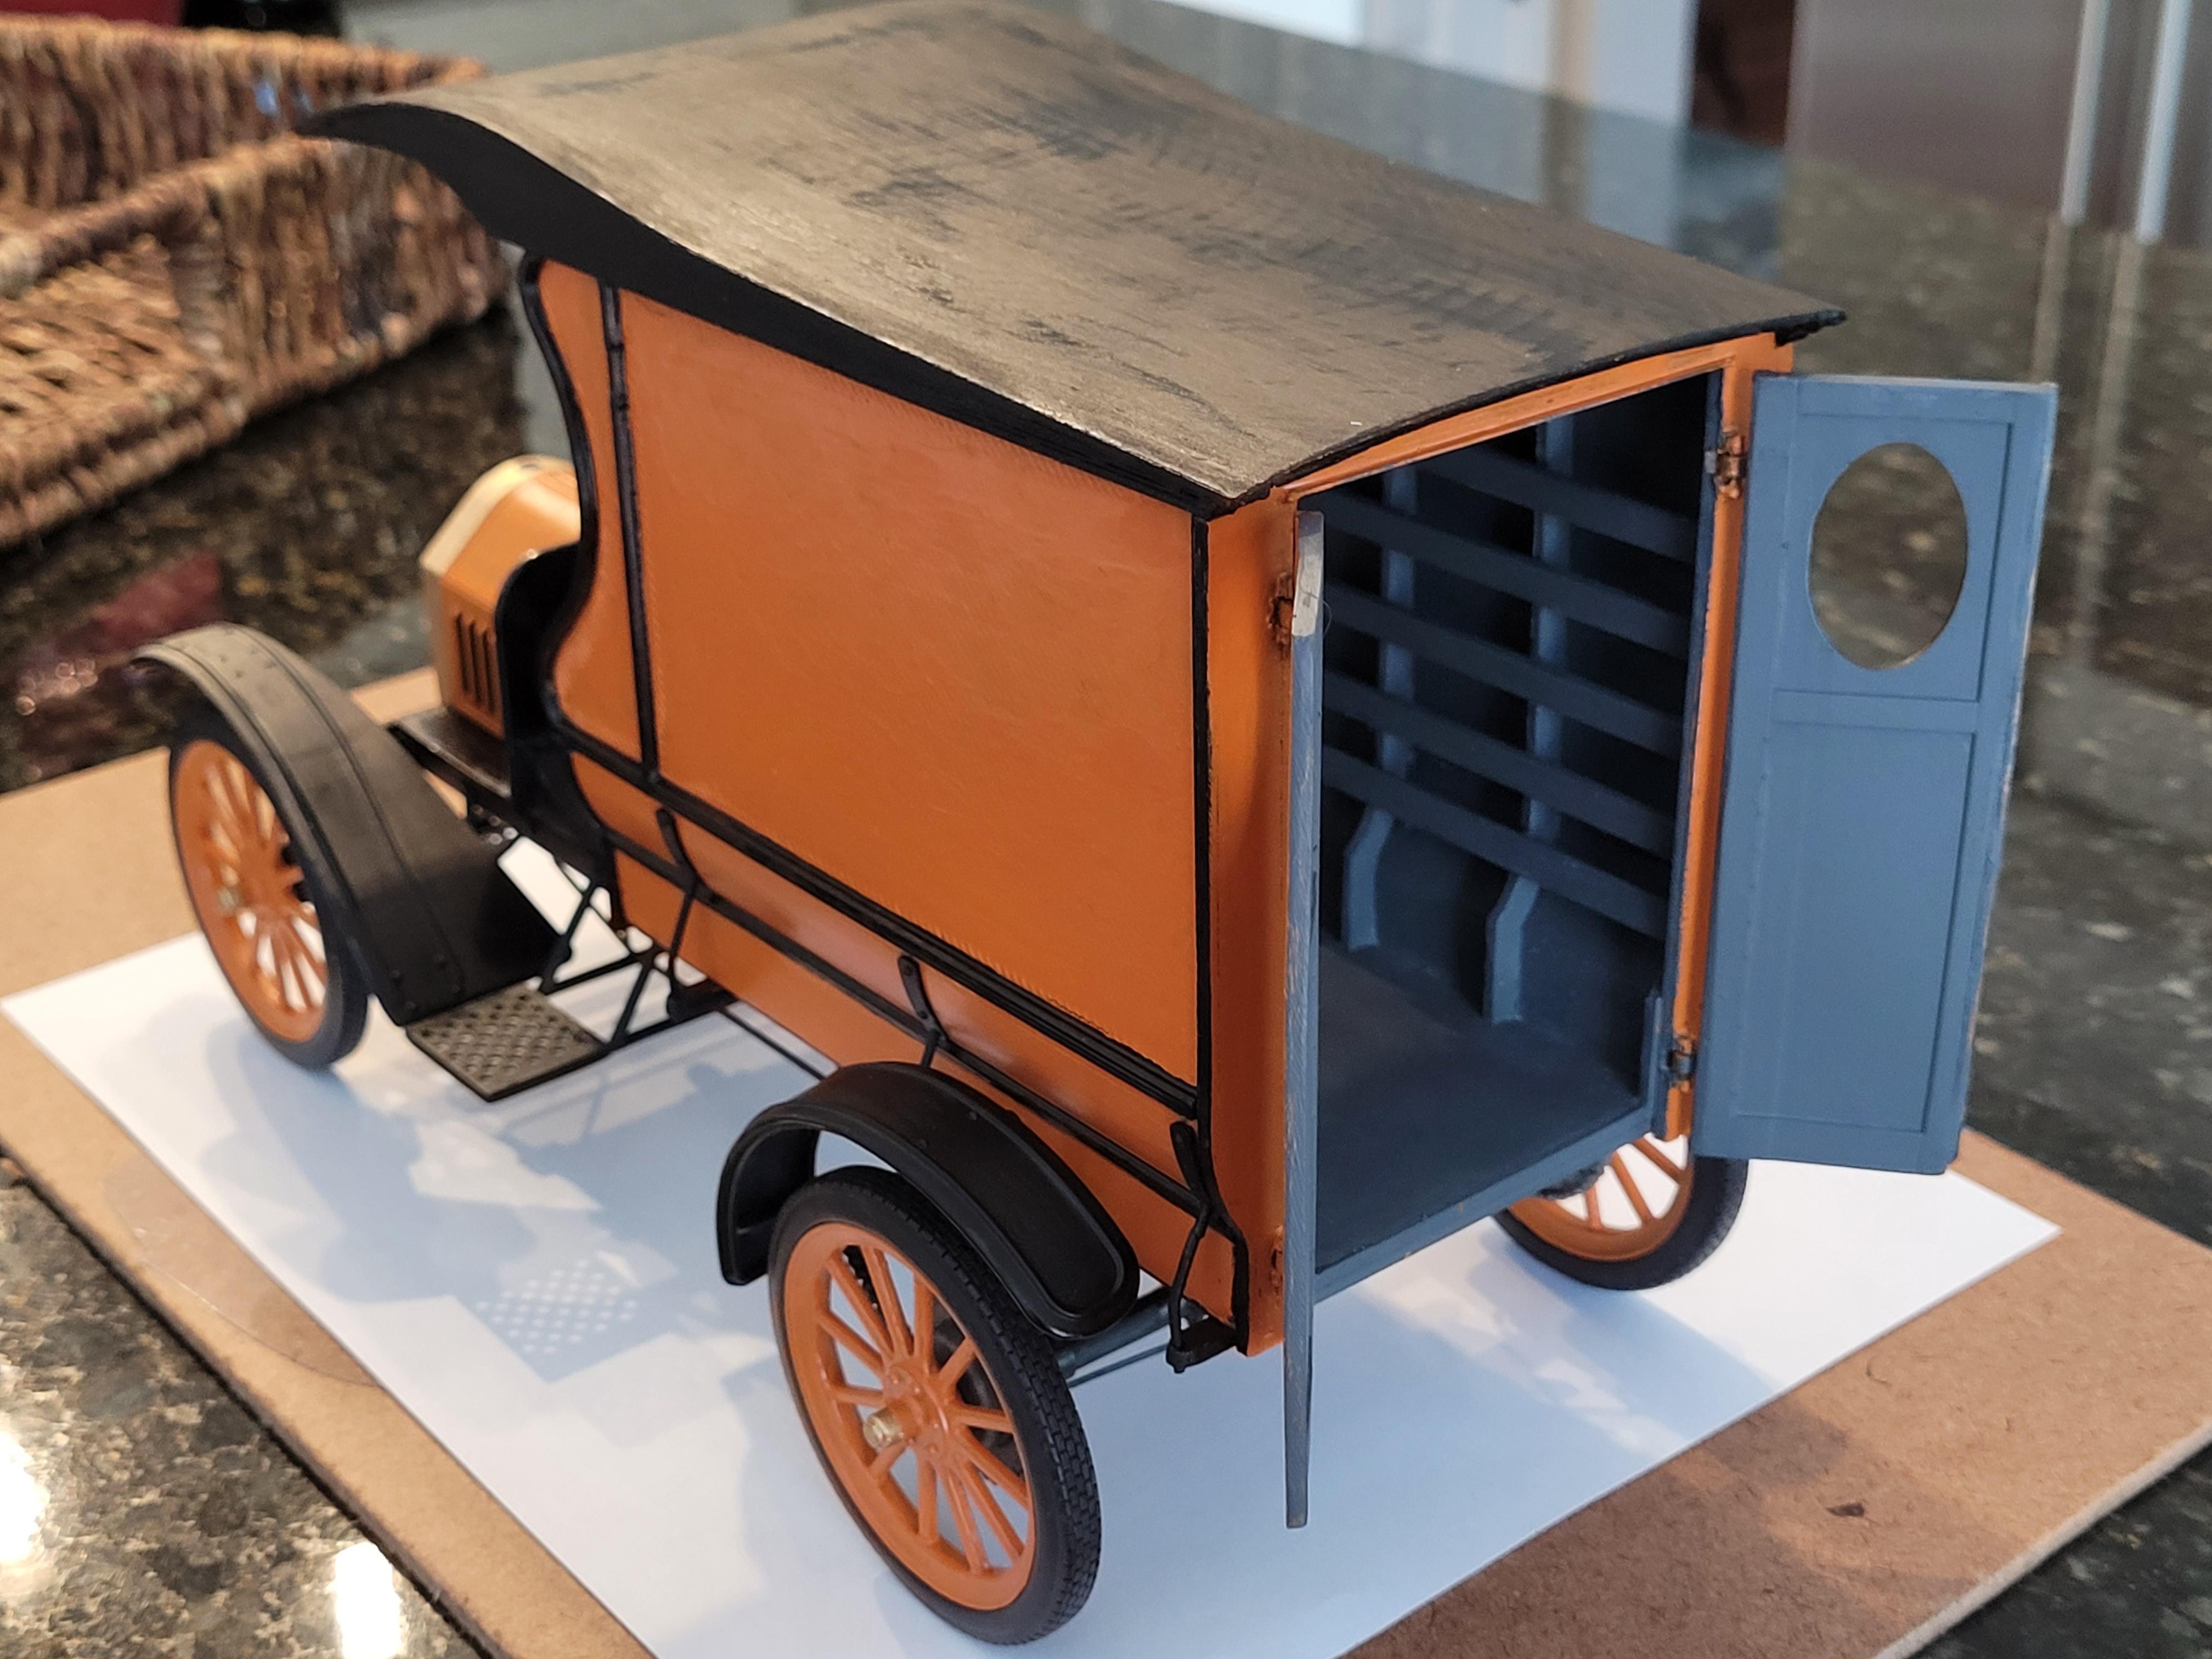
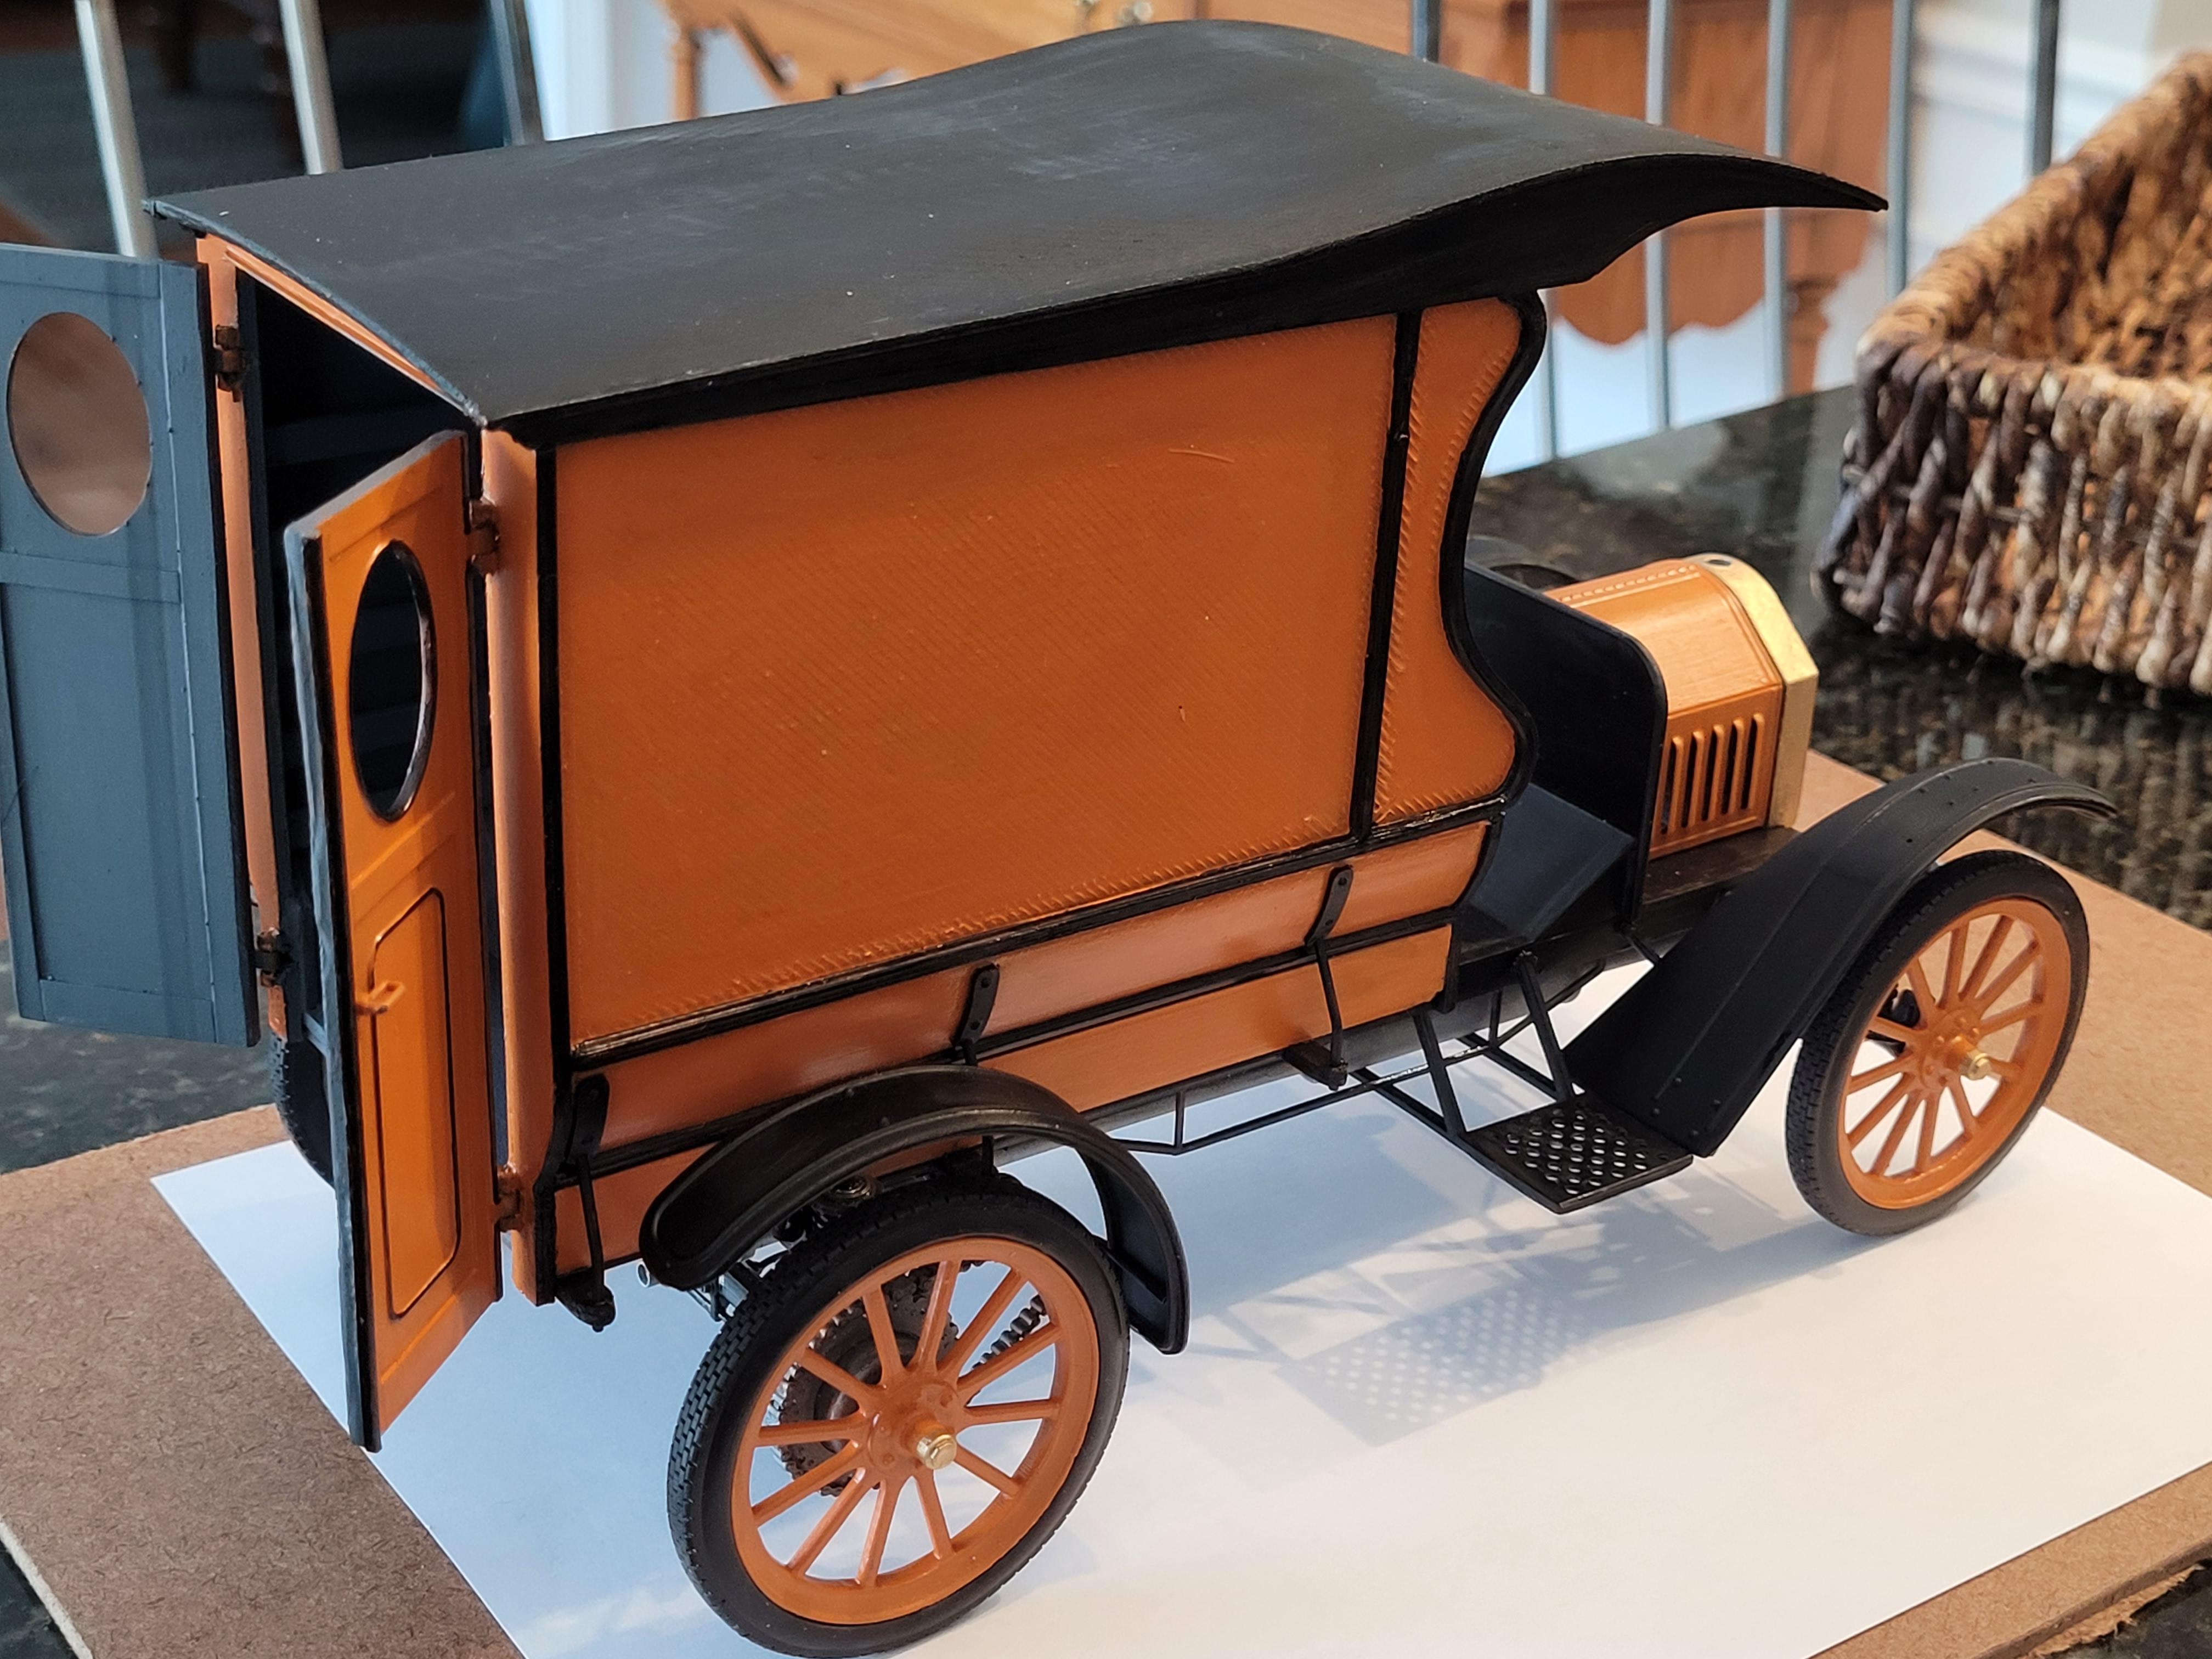
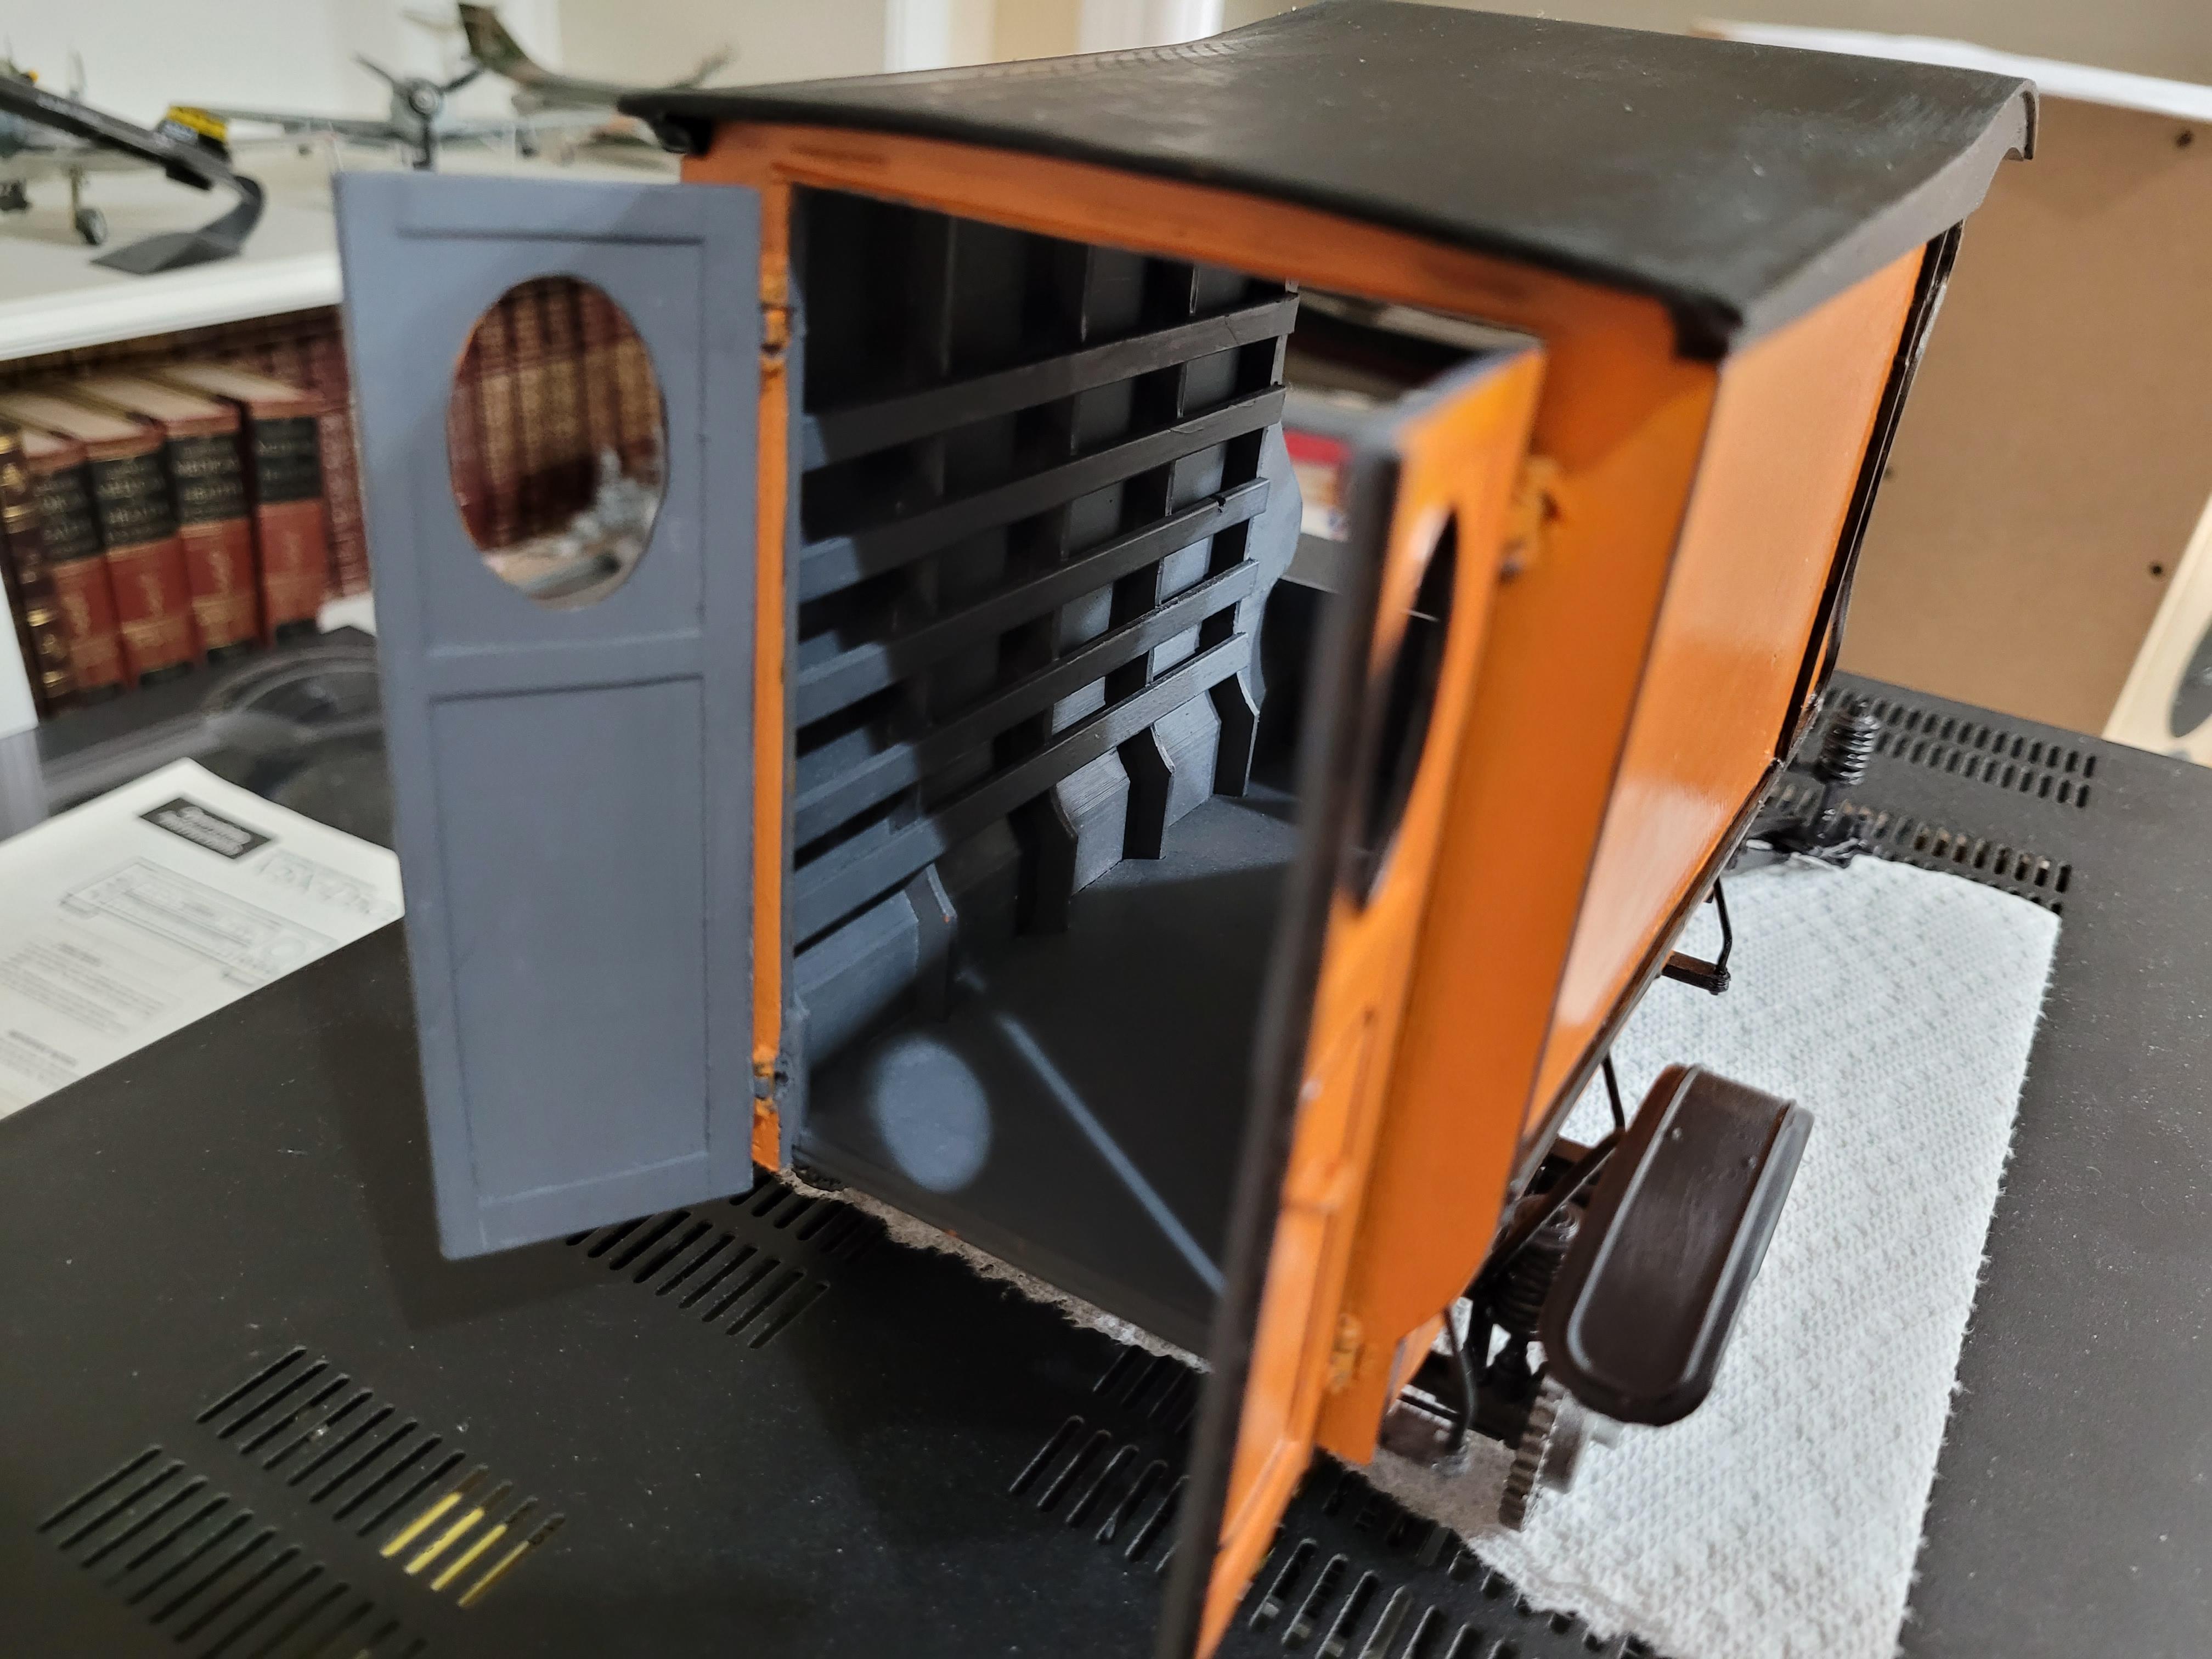
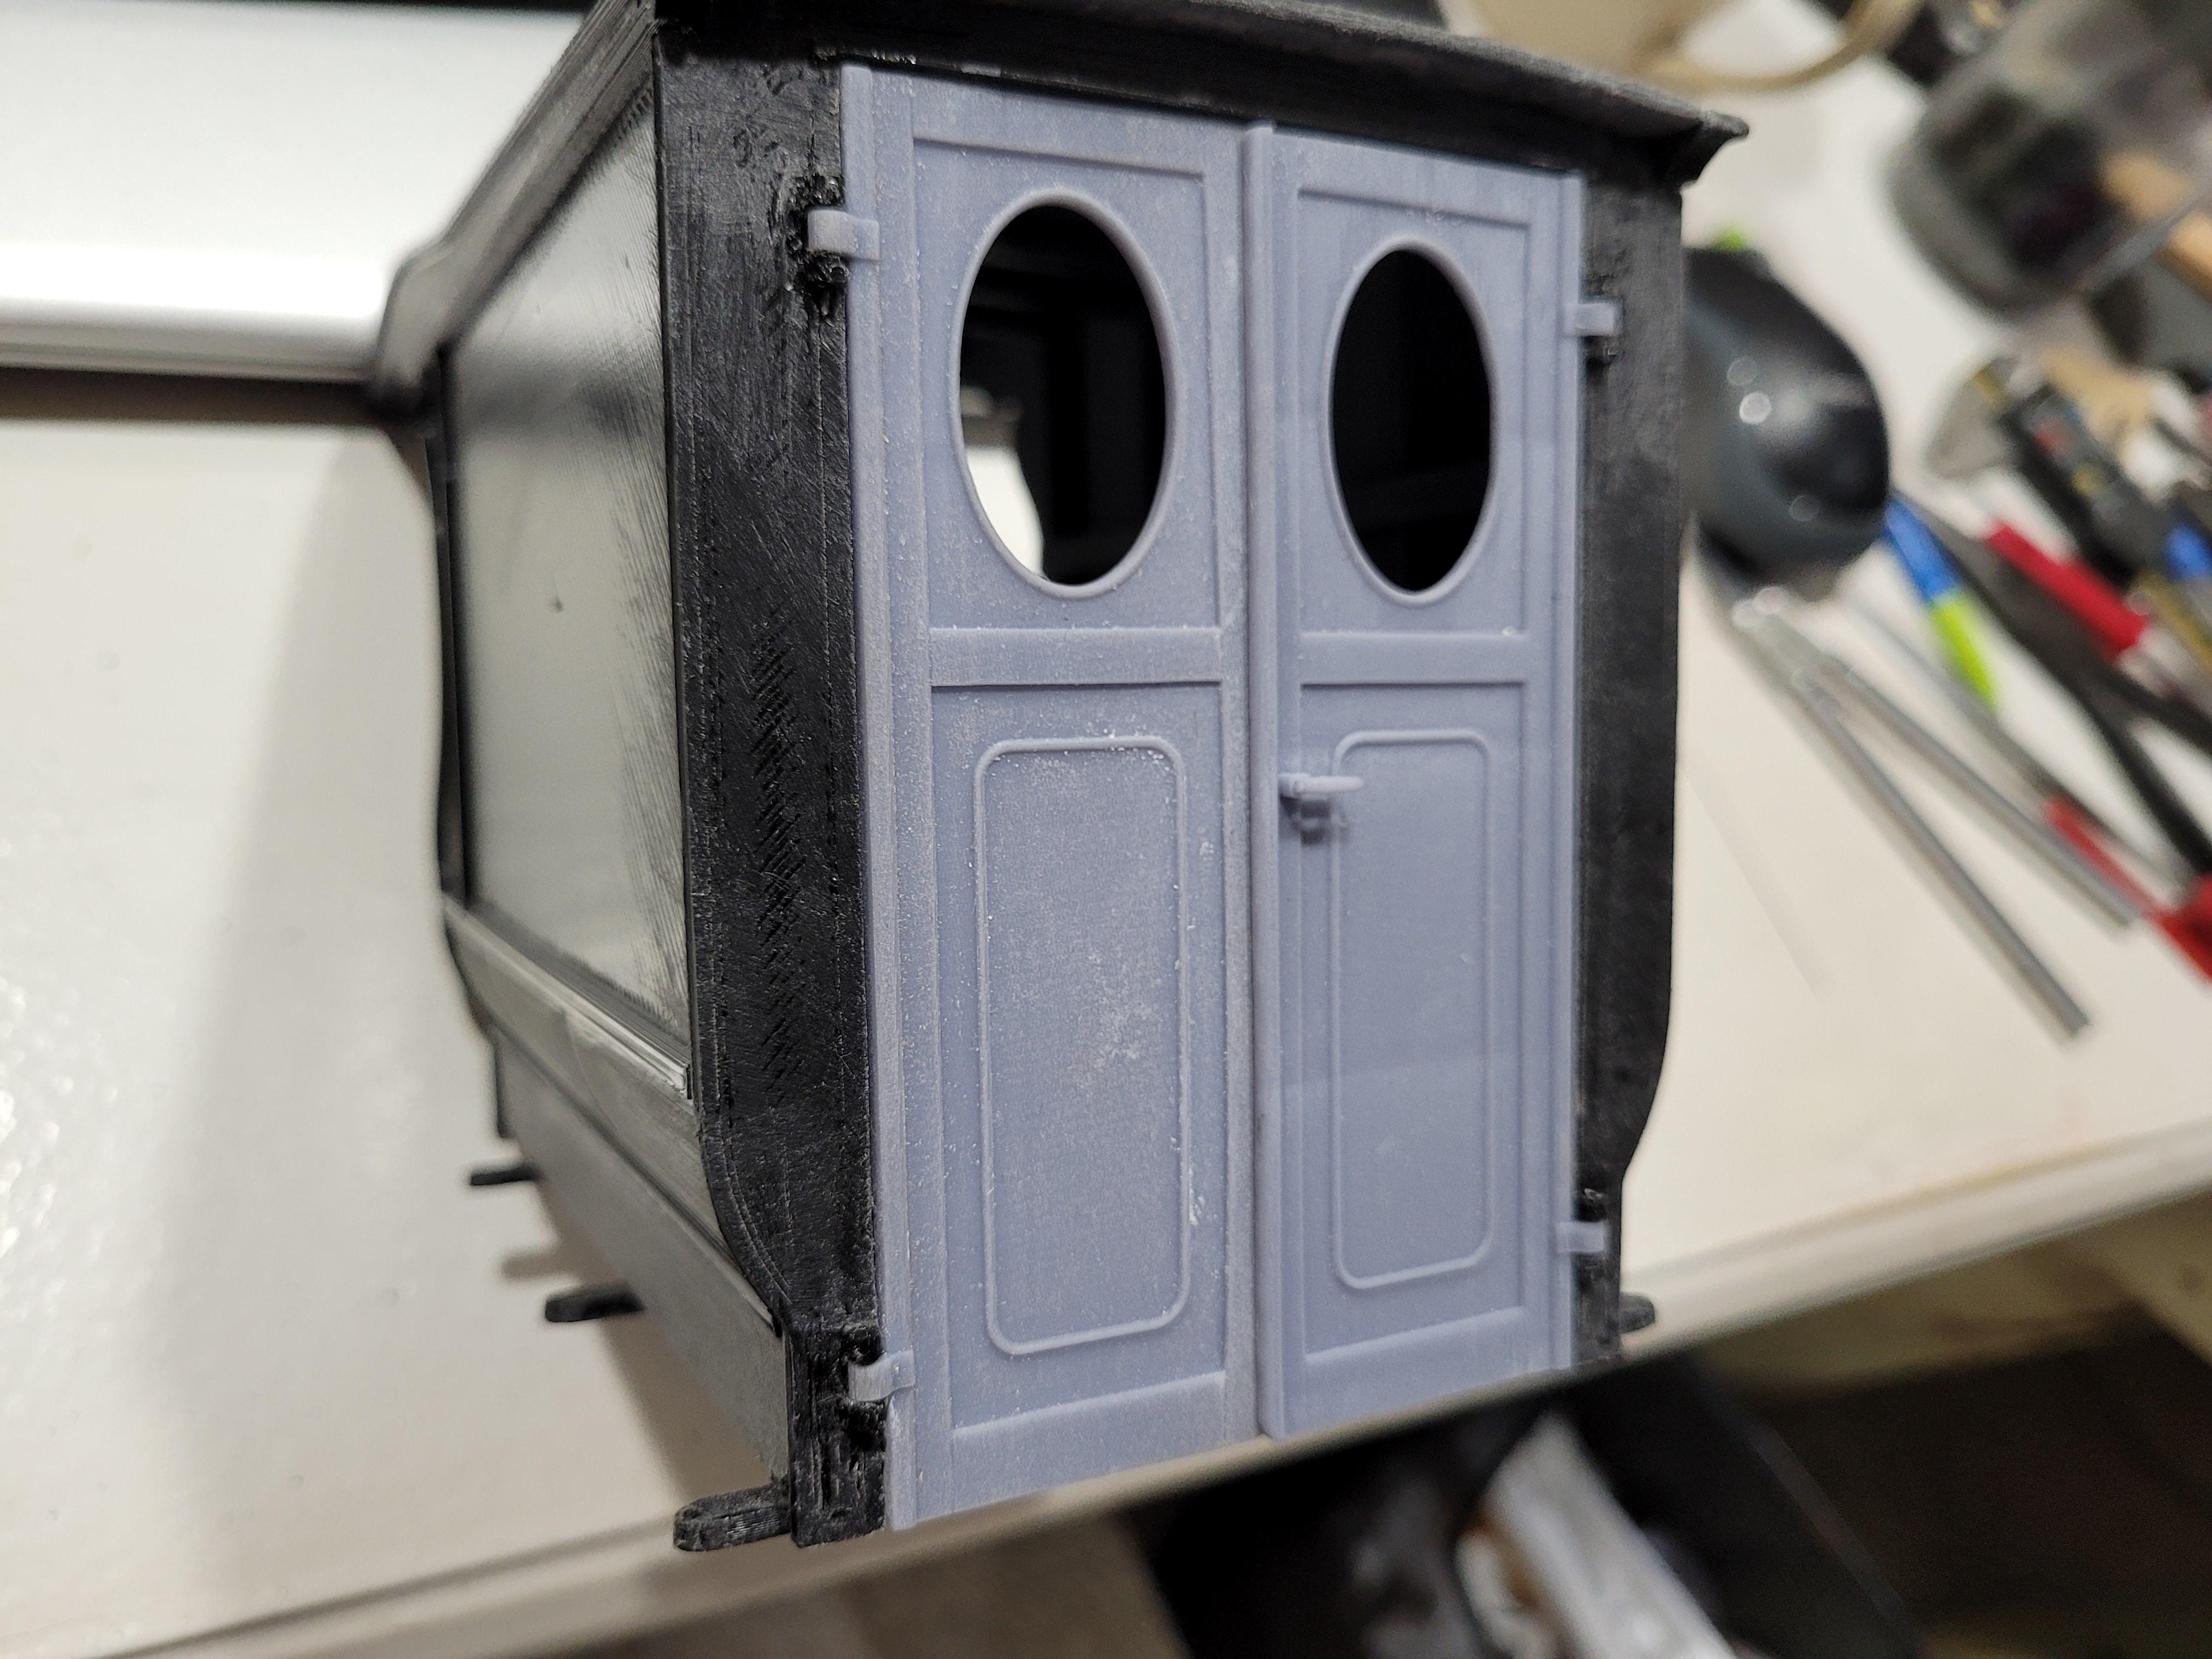
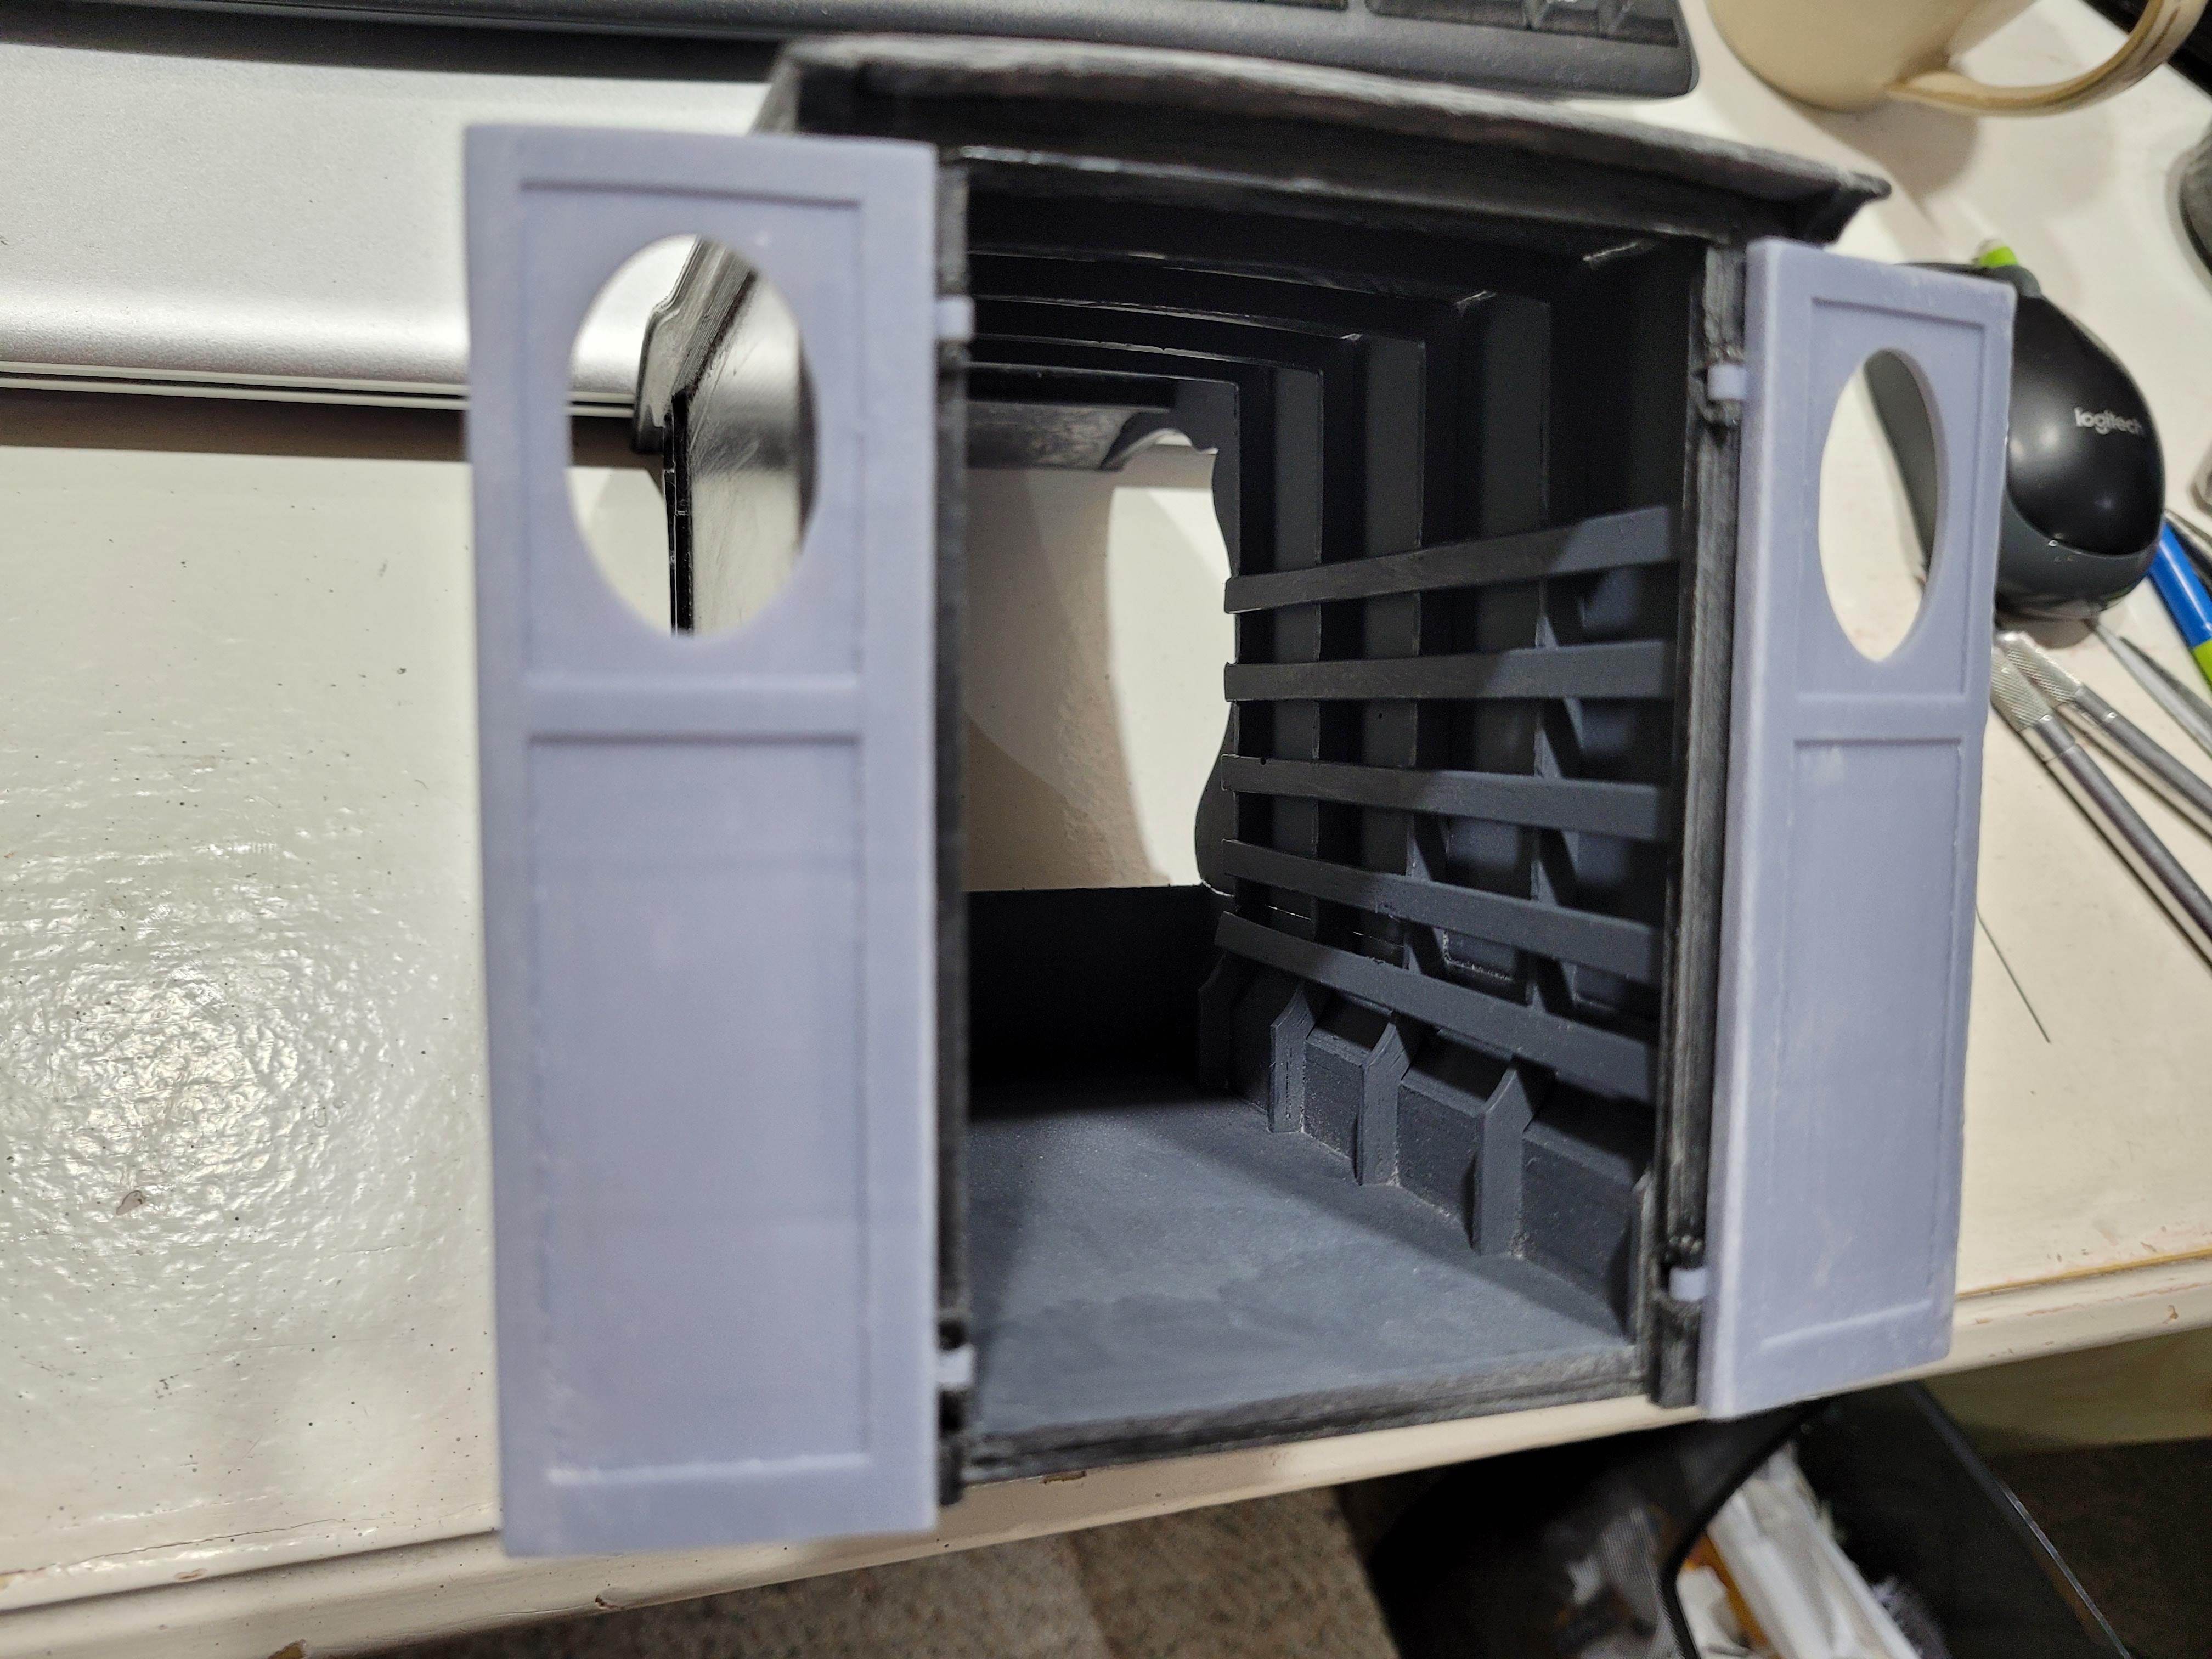
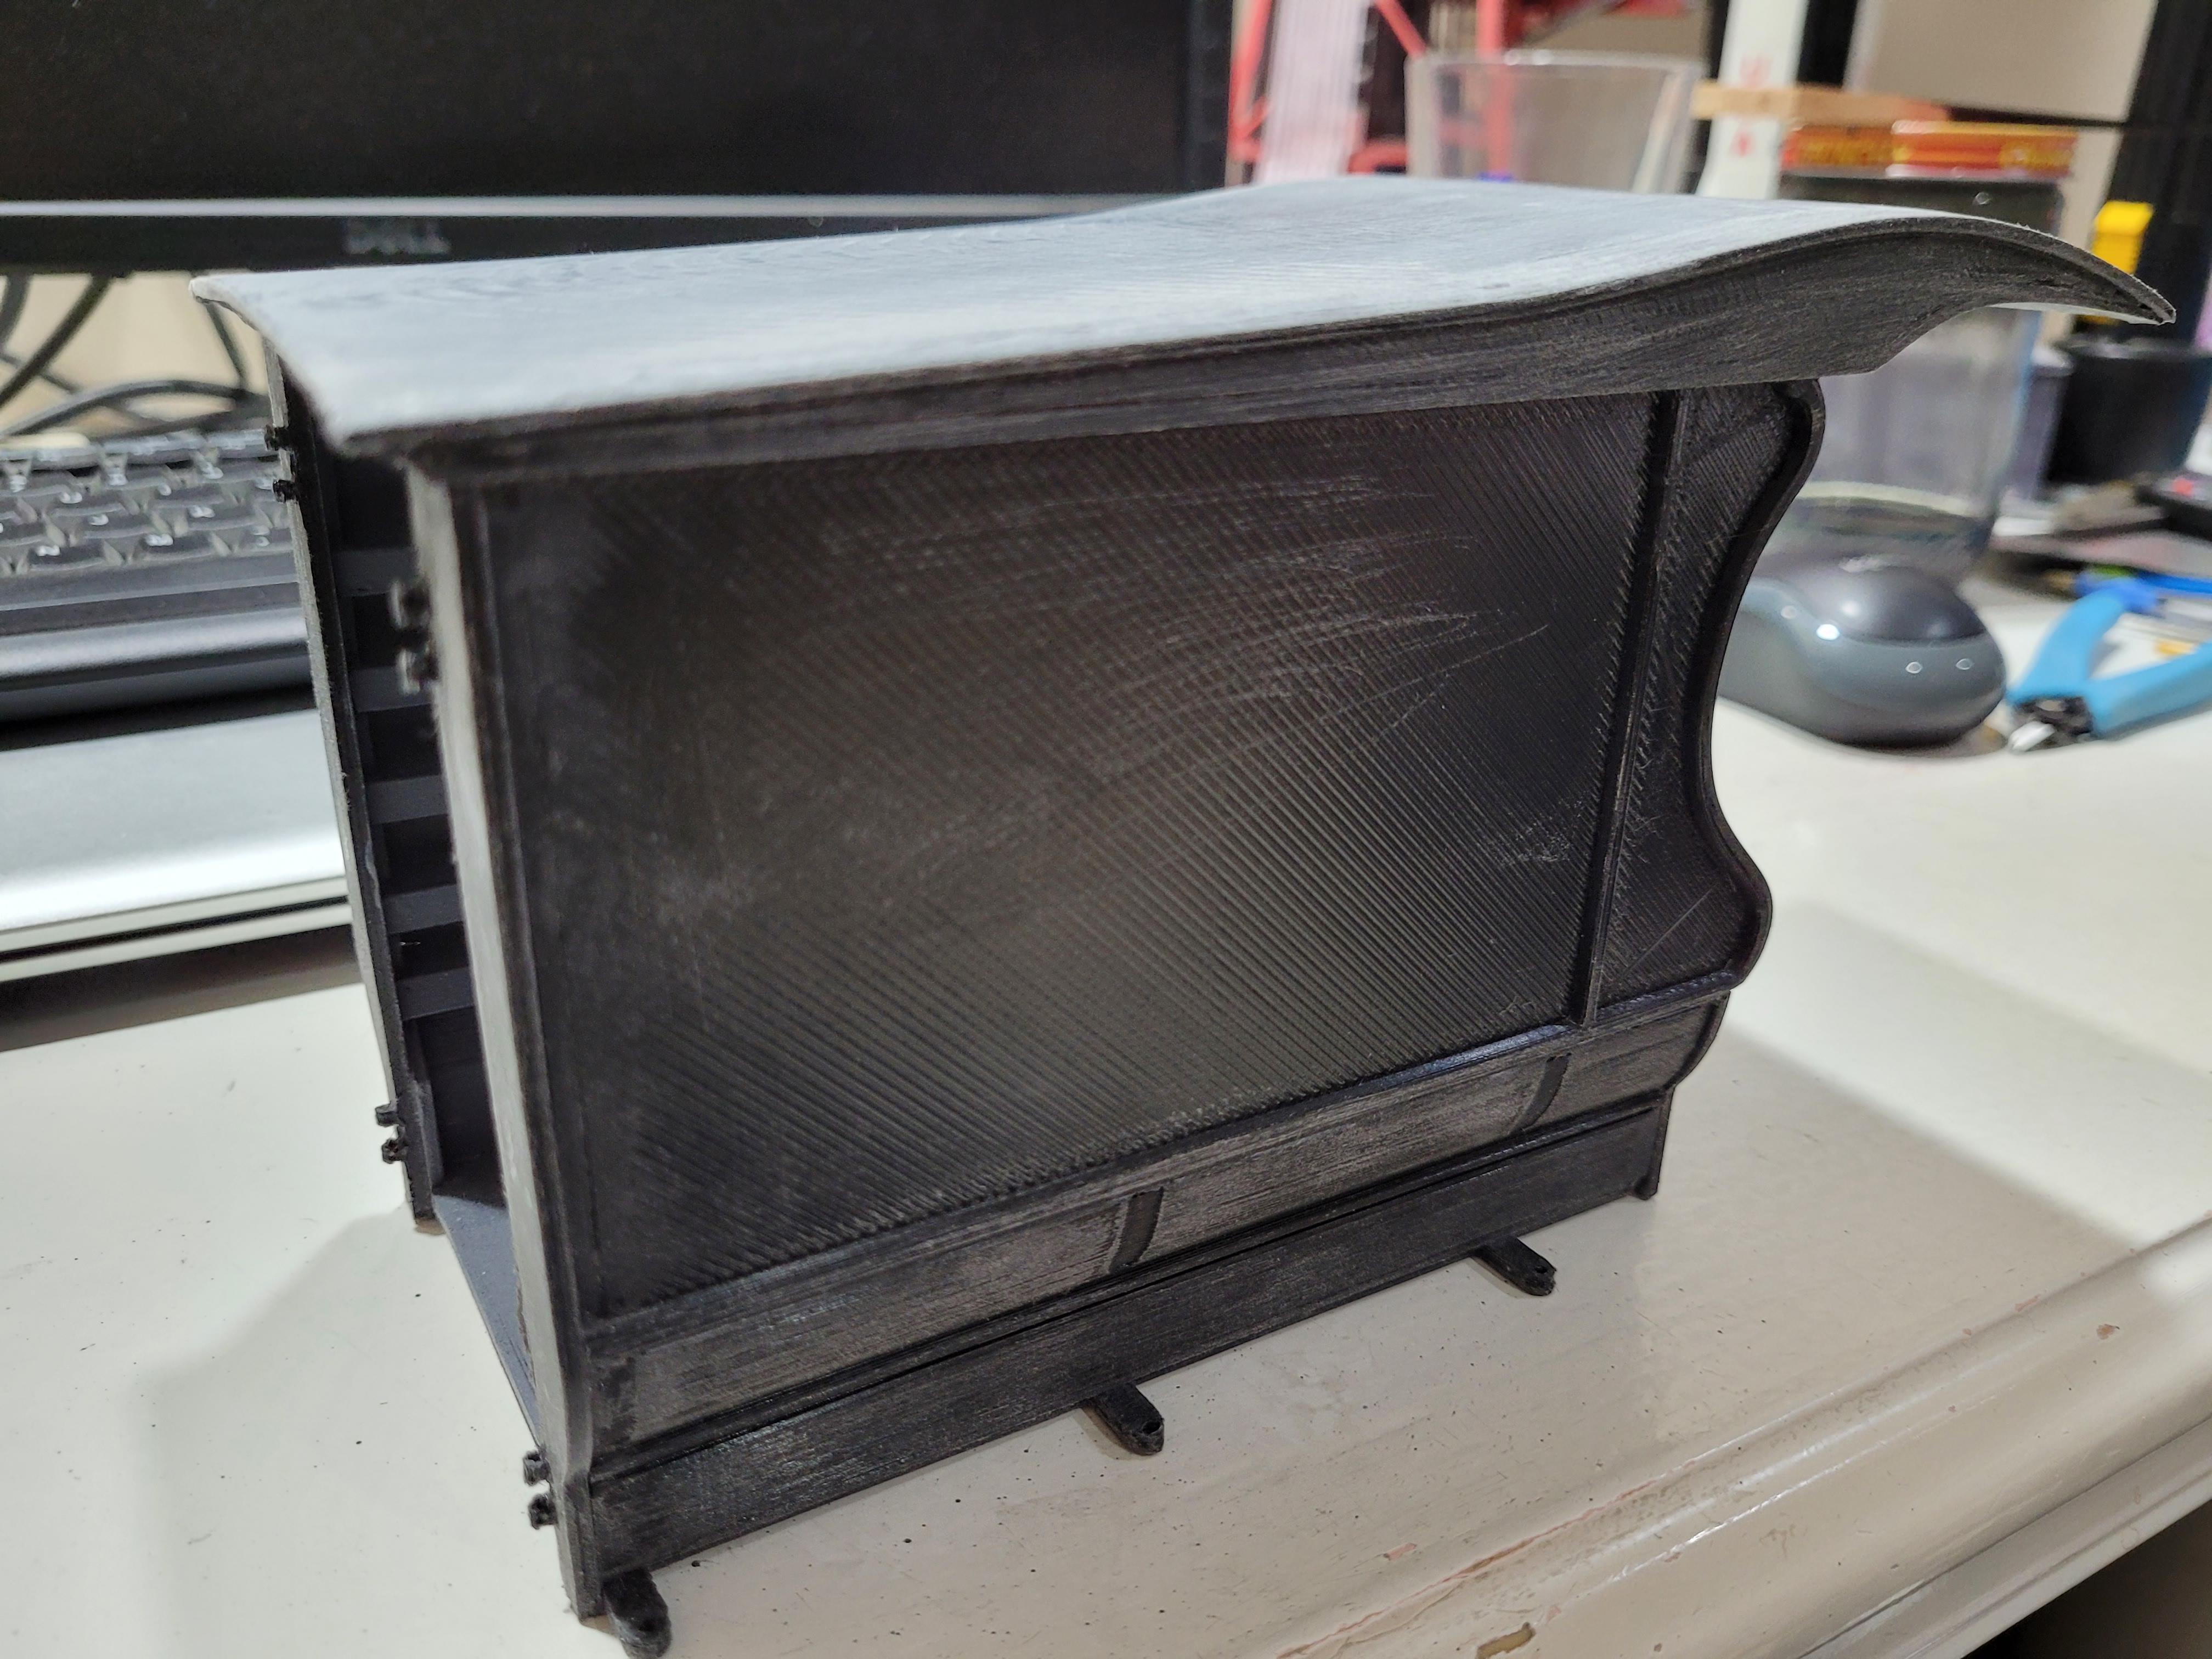
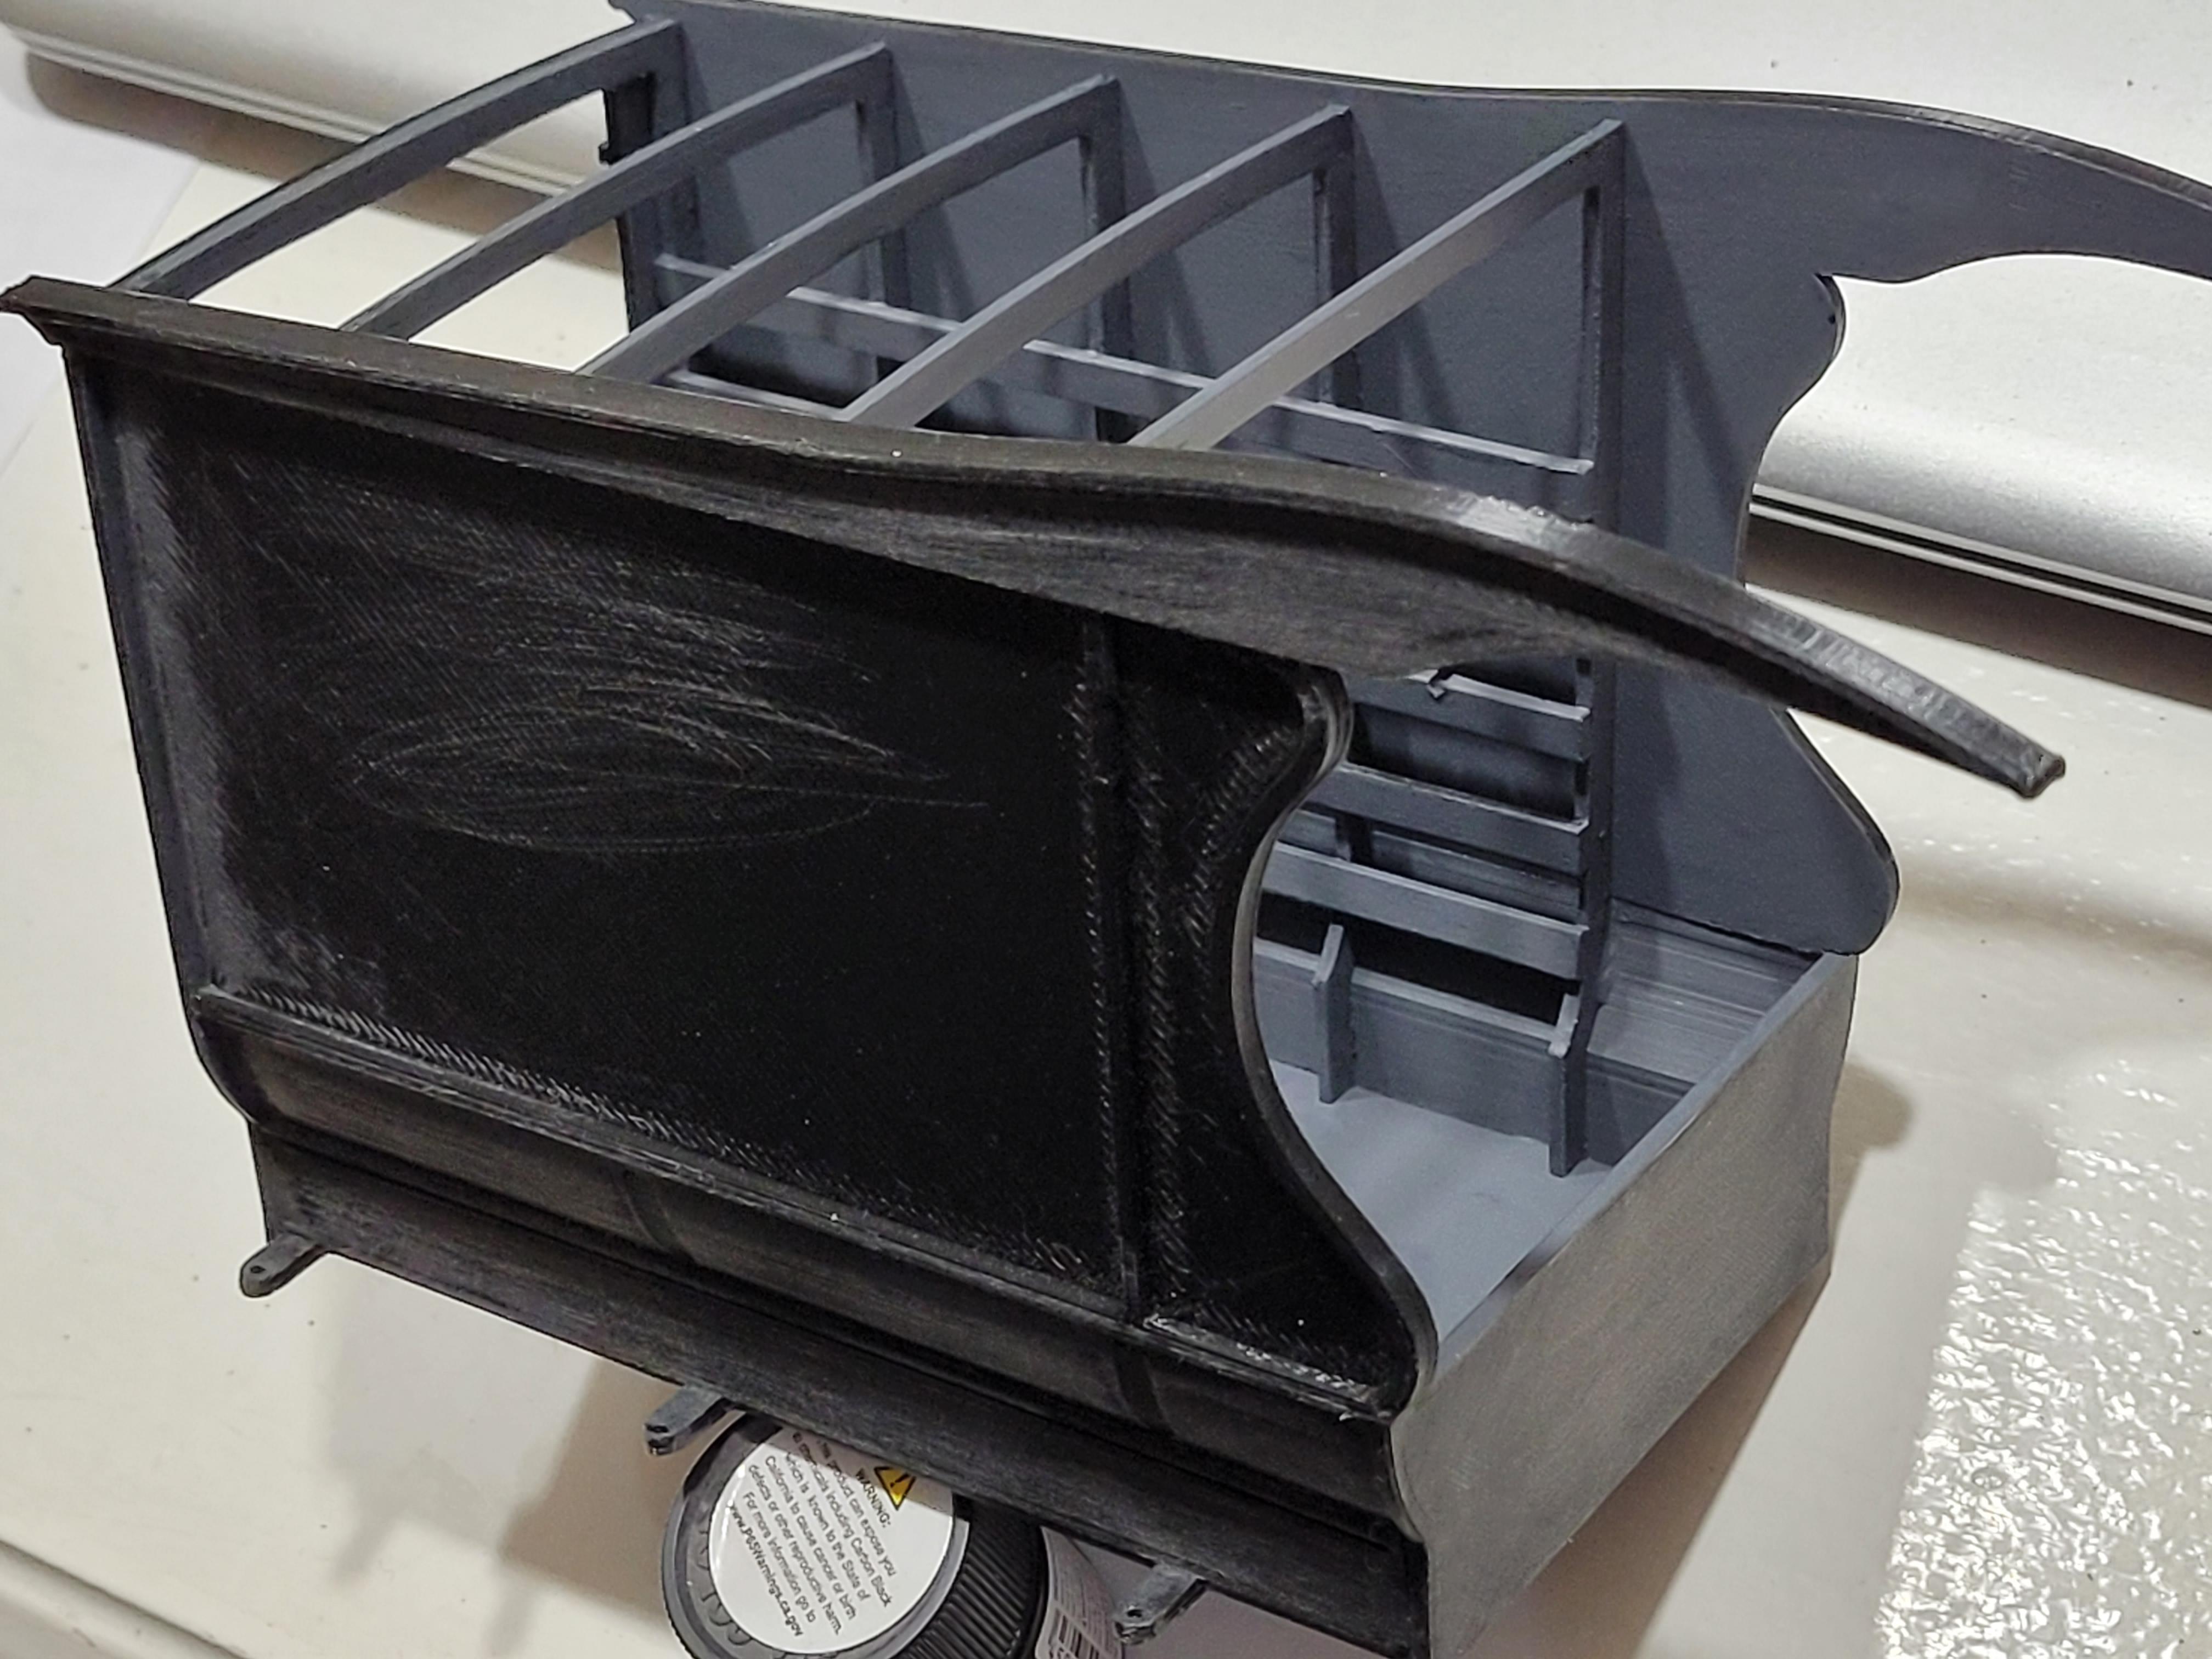
The rear cargo doors open and close. A lot of filing and grinding to get them parallel and tight when shut.
-
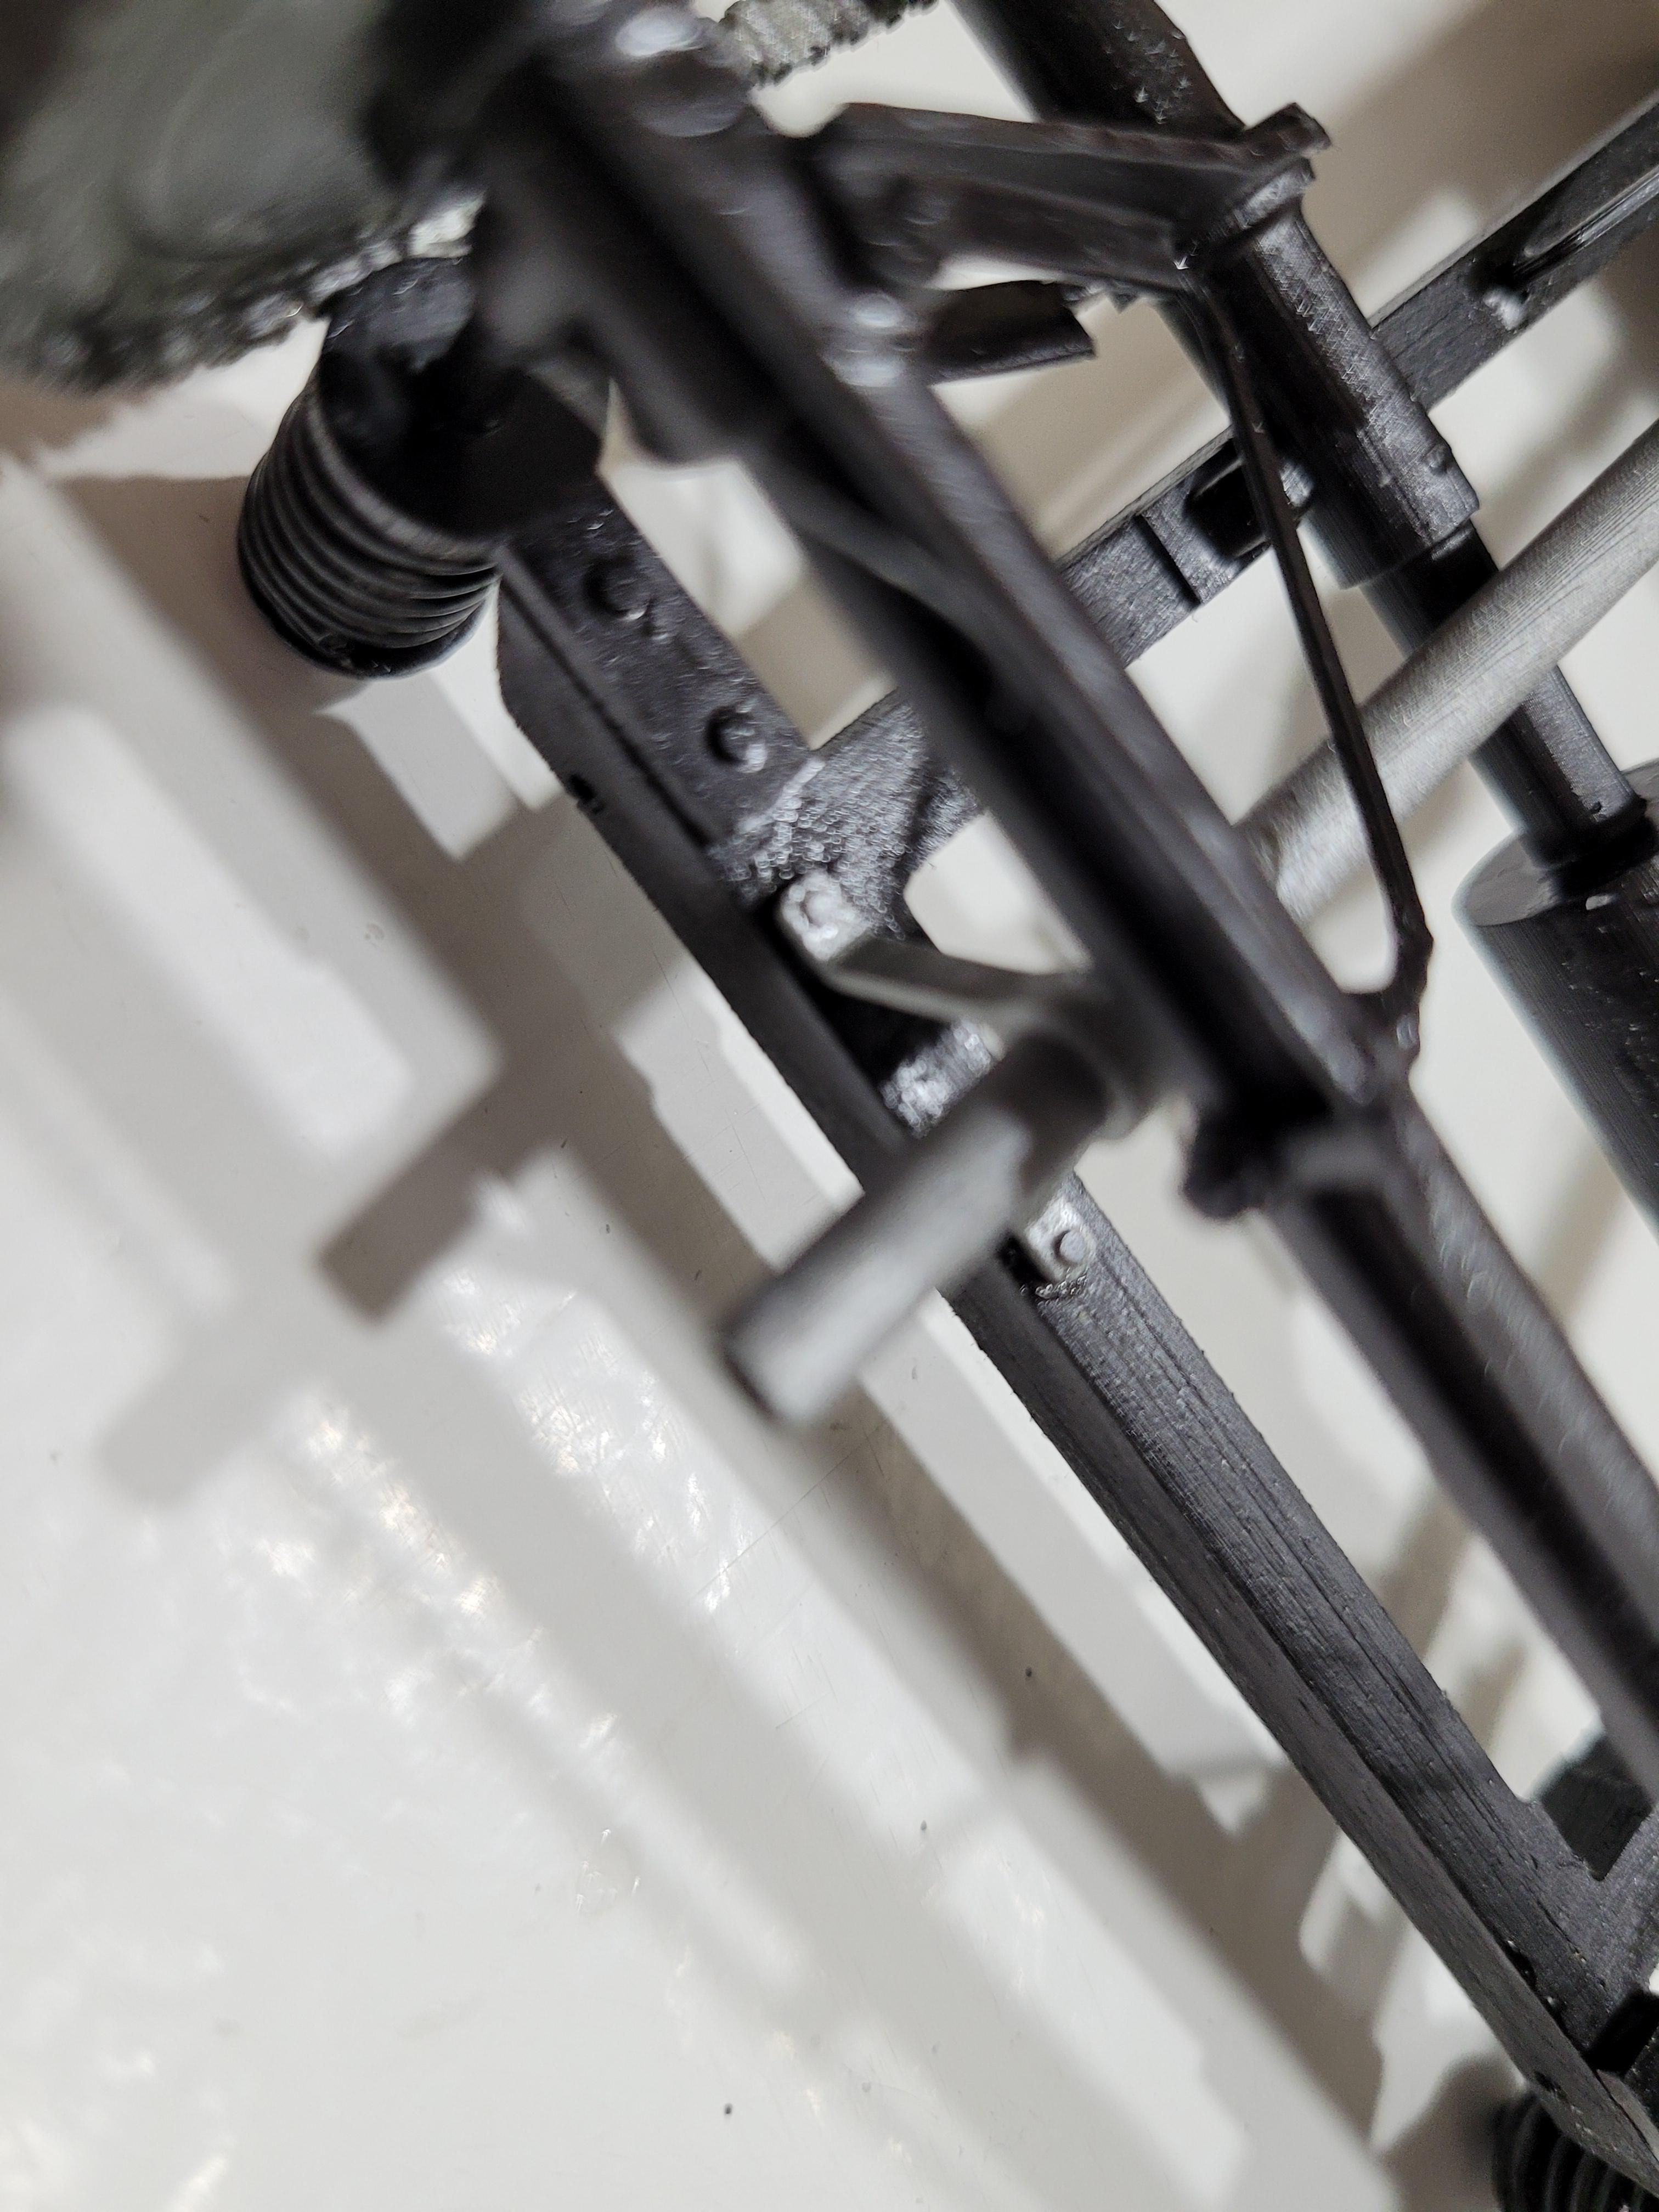
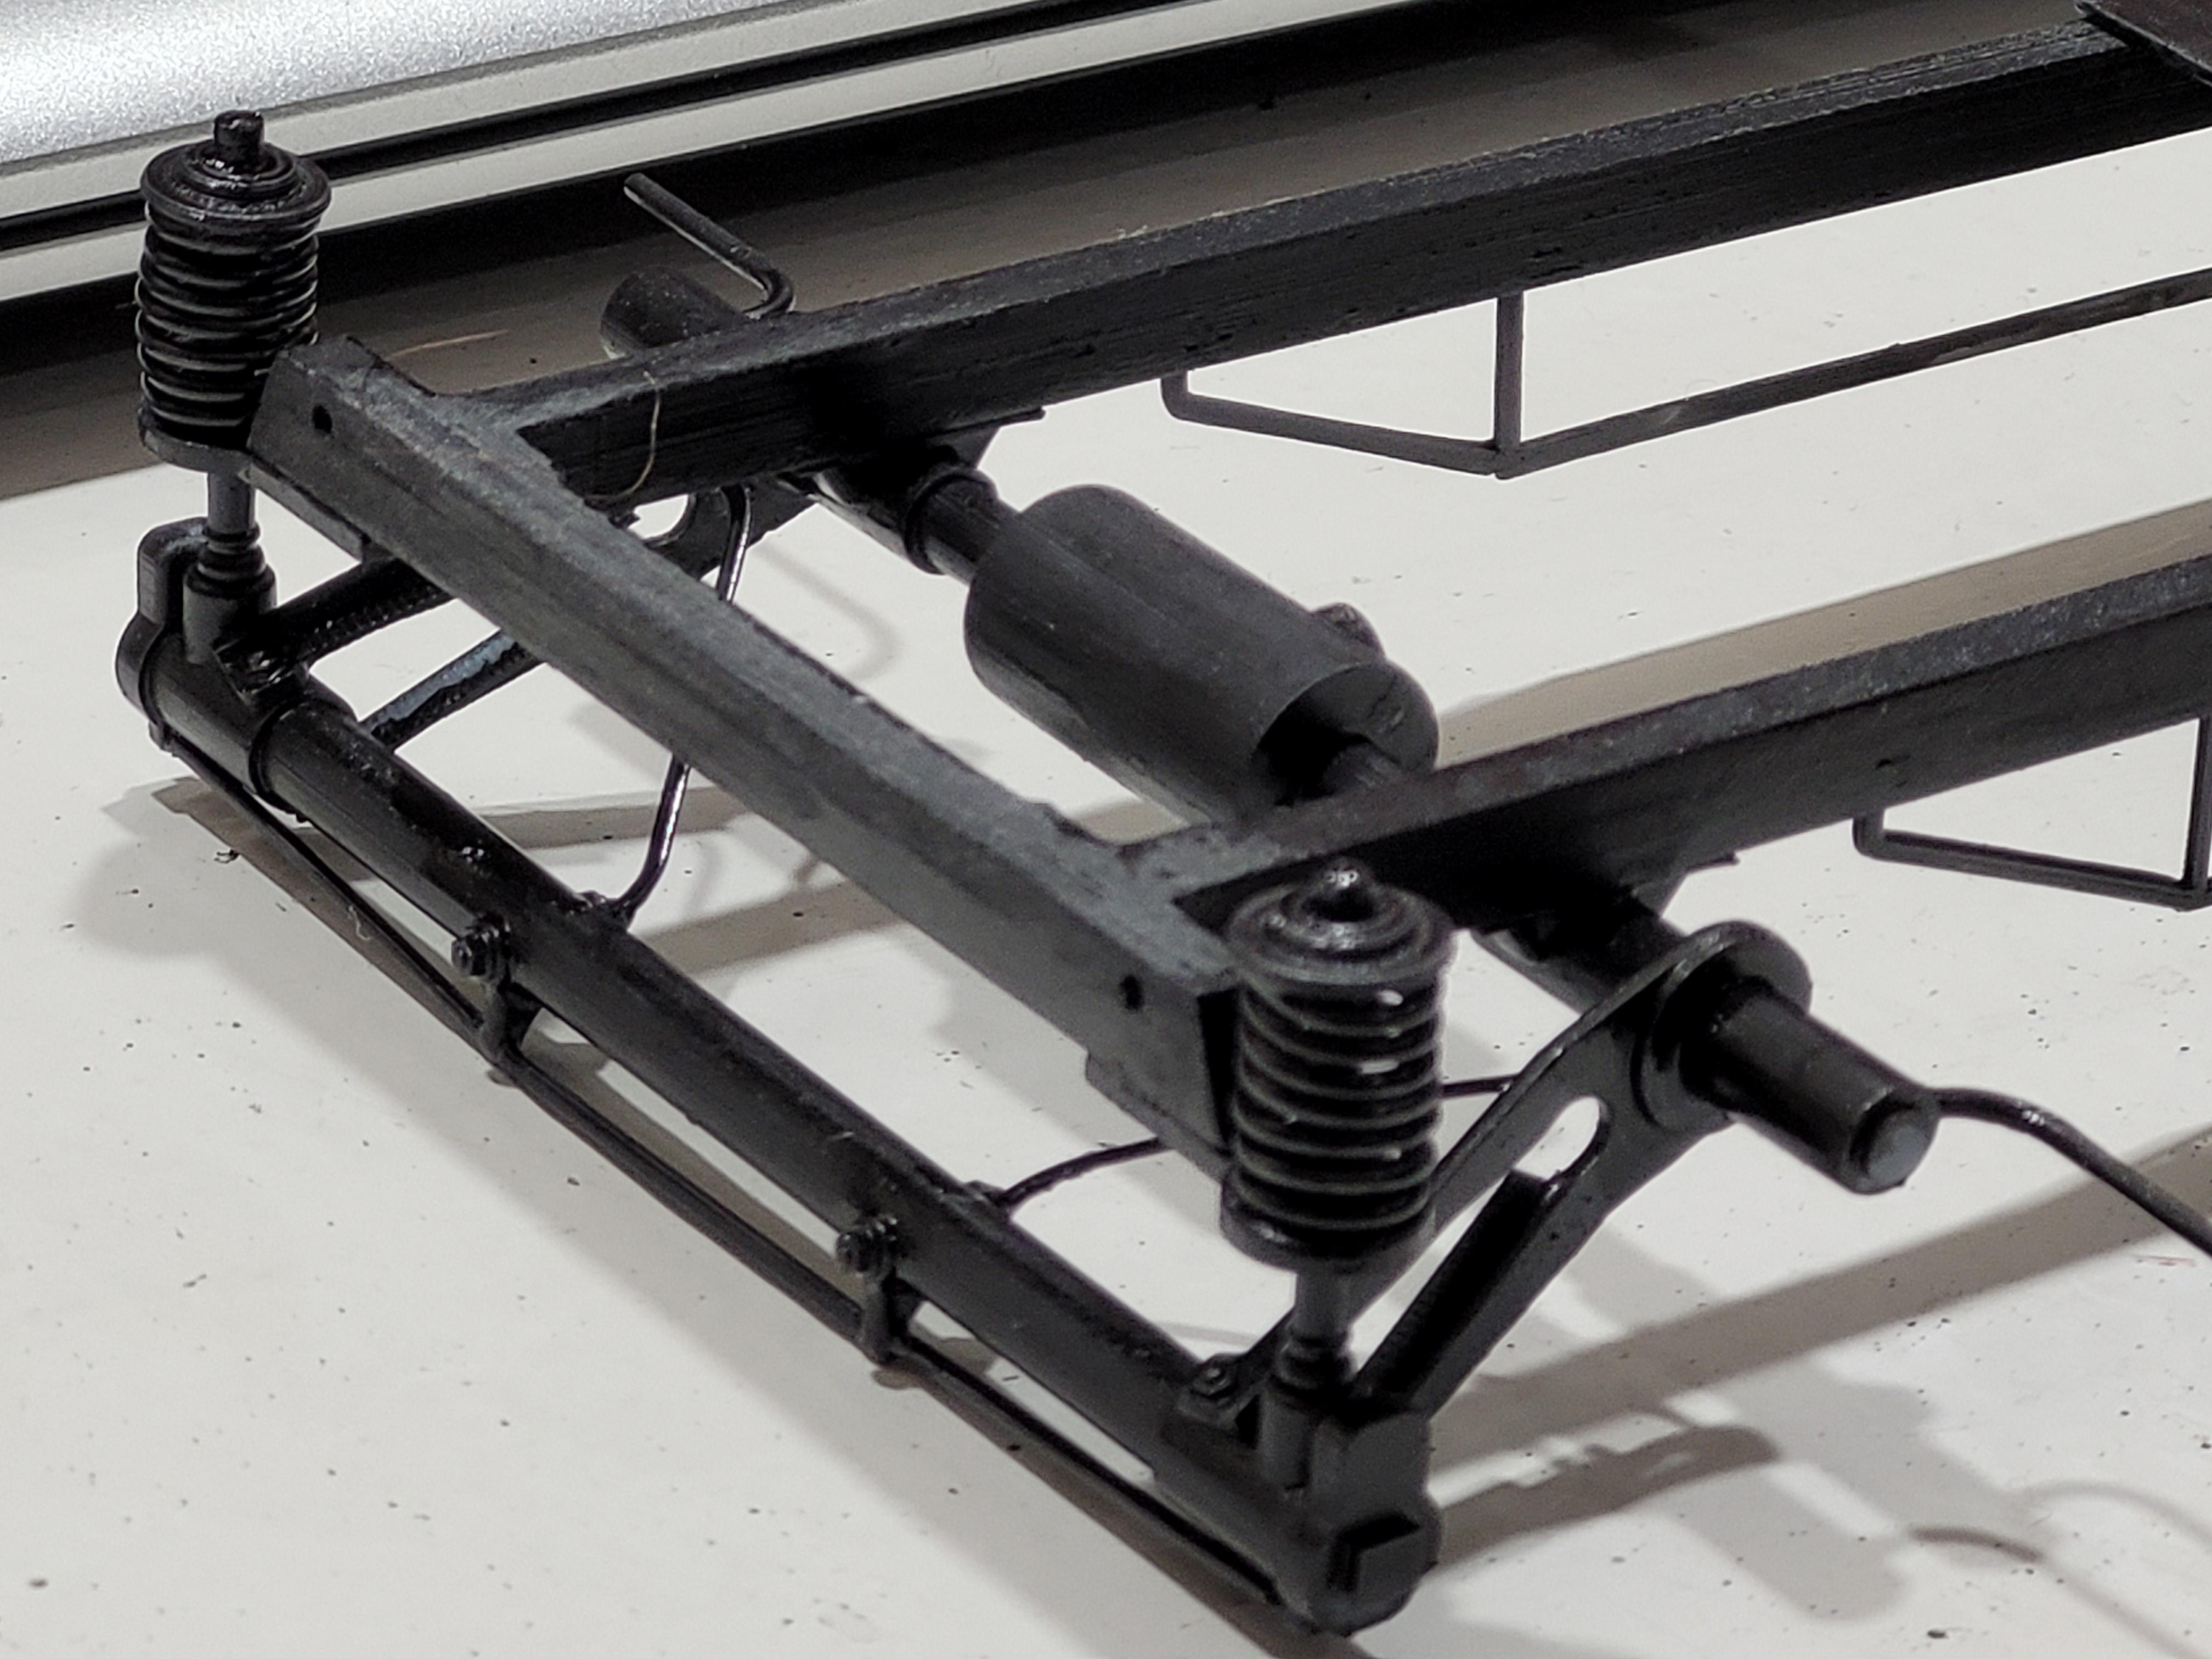
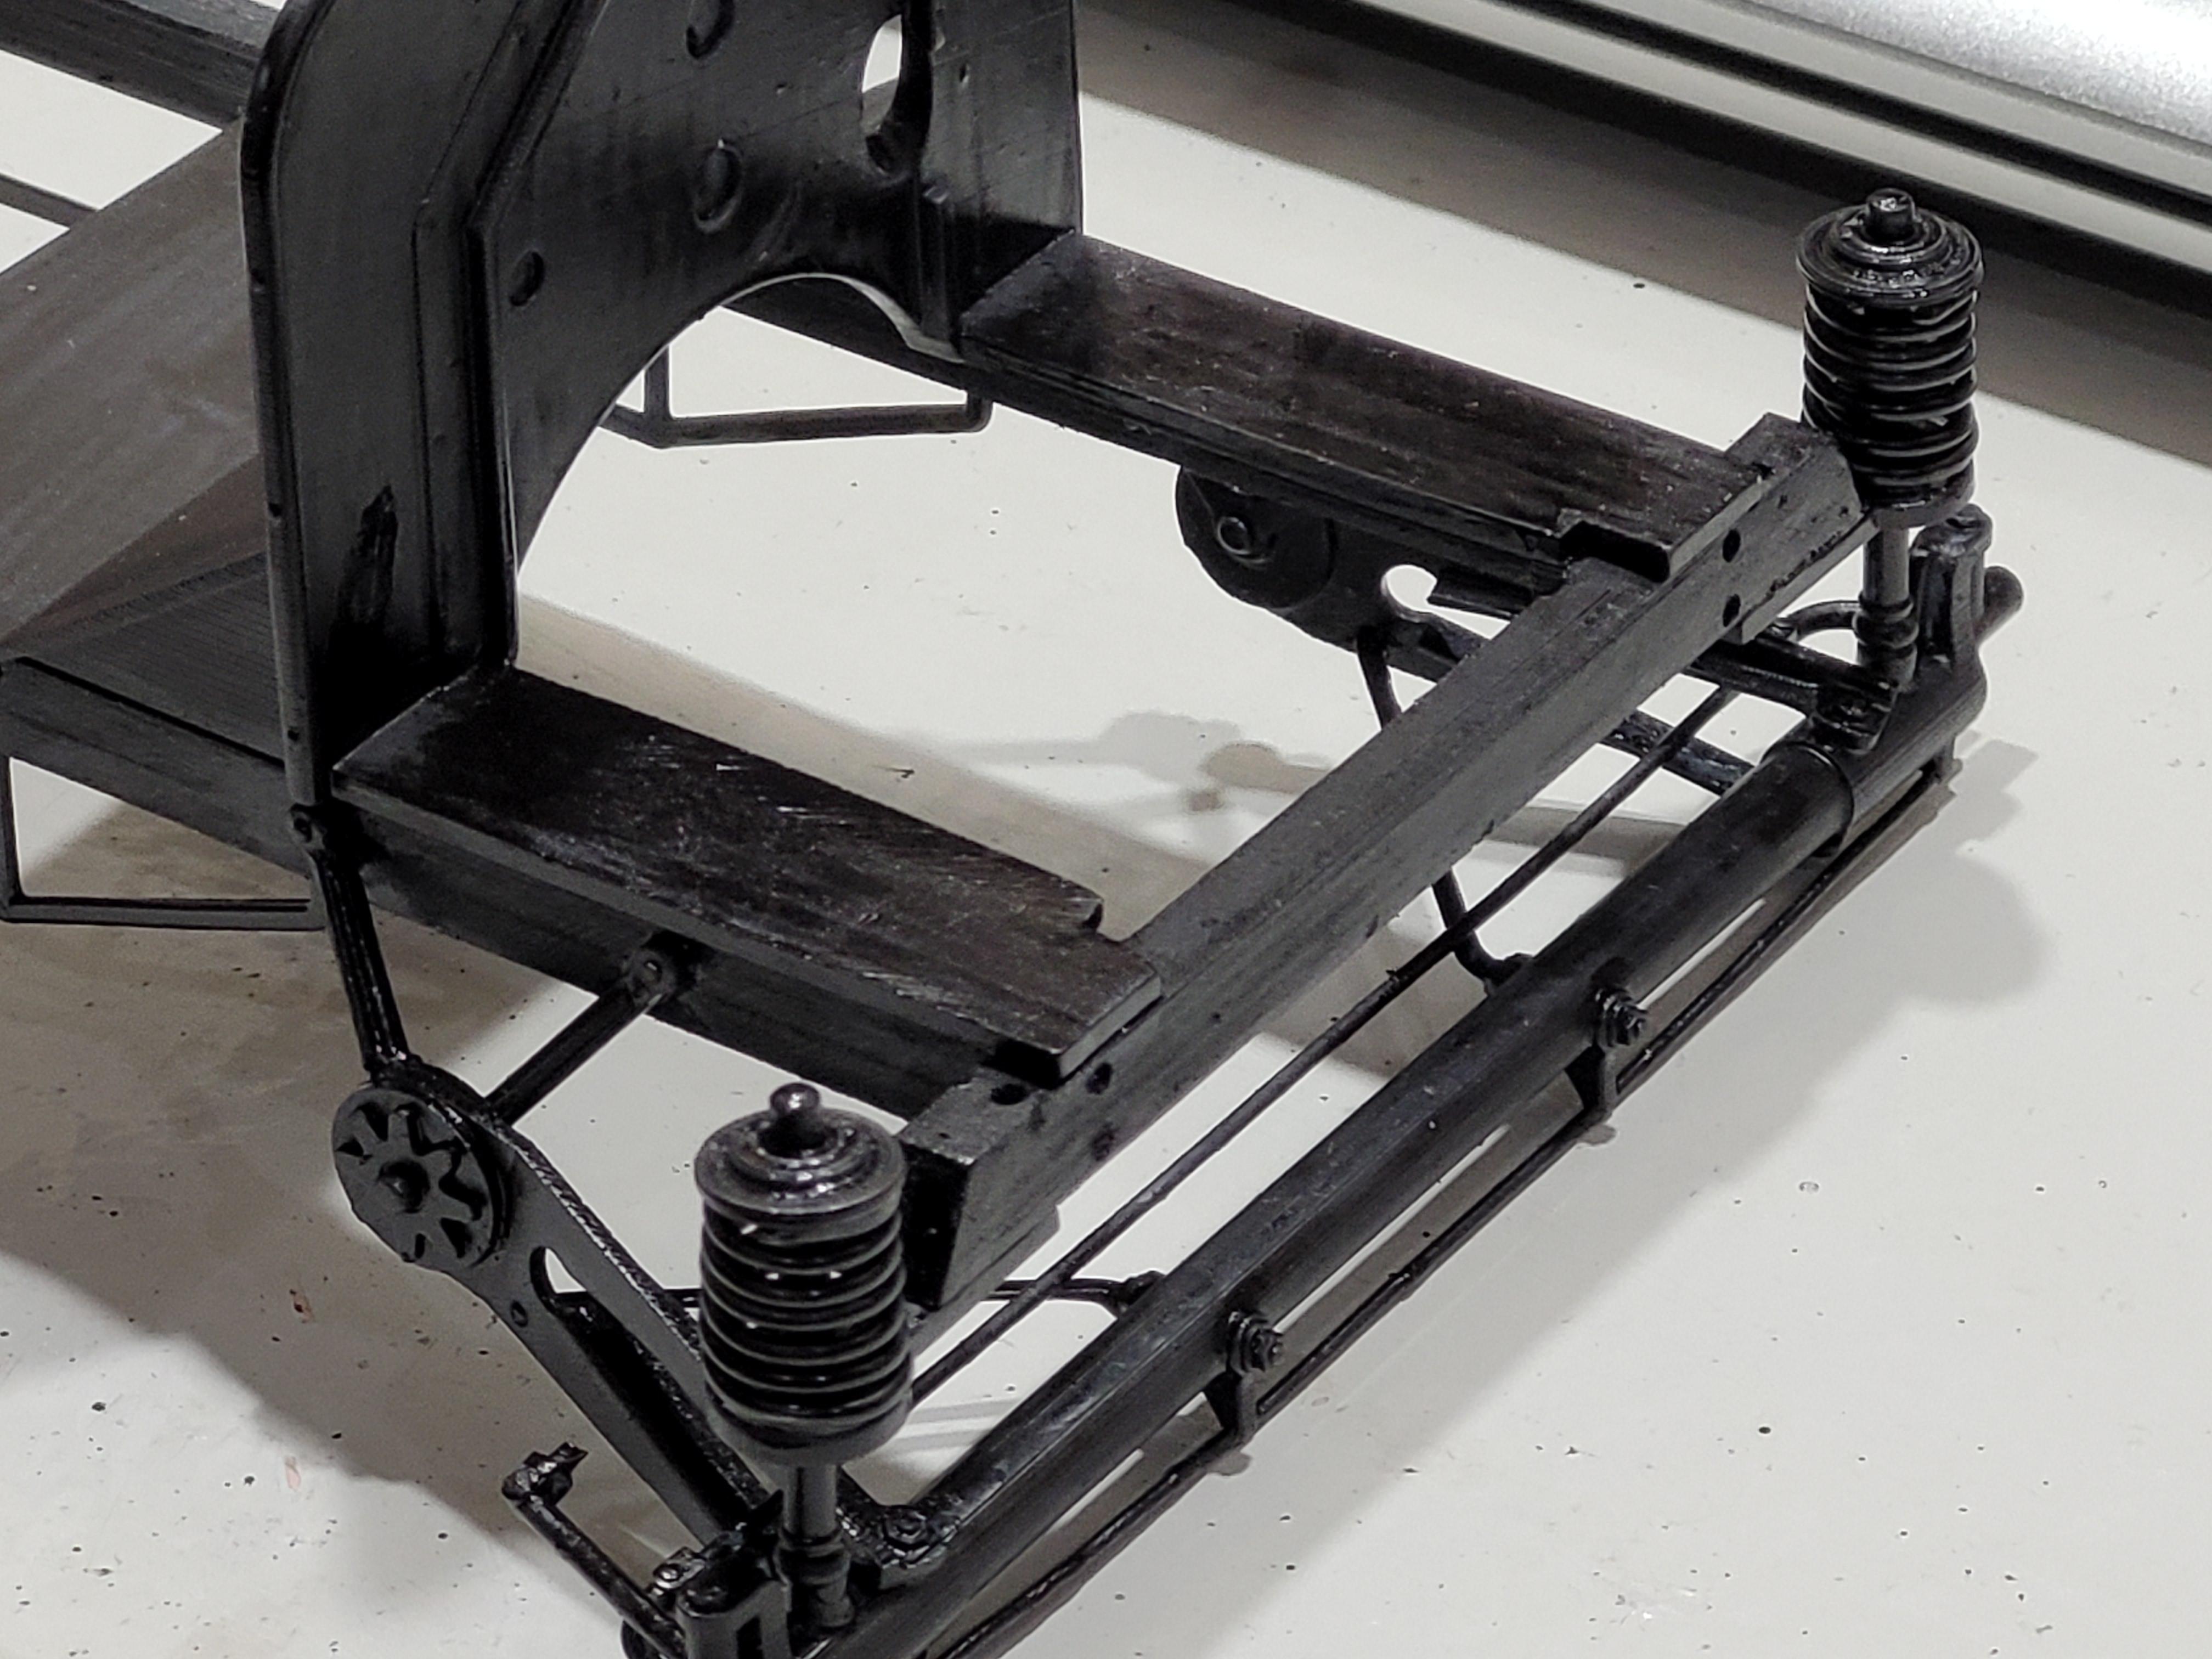
The four-corner extension springs in place.
-
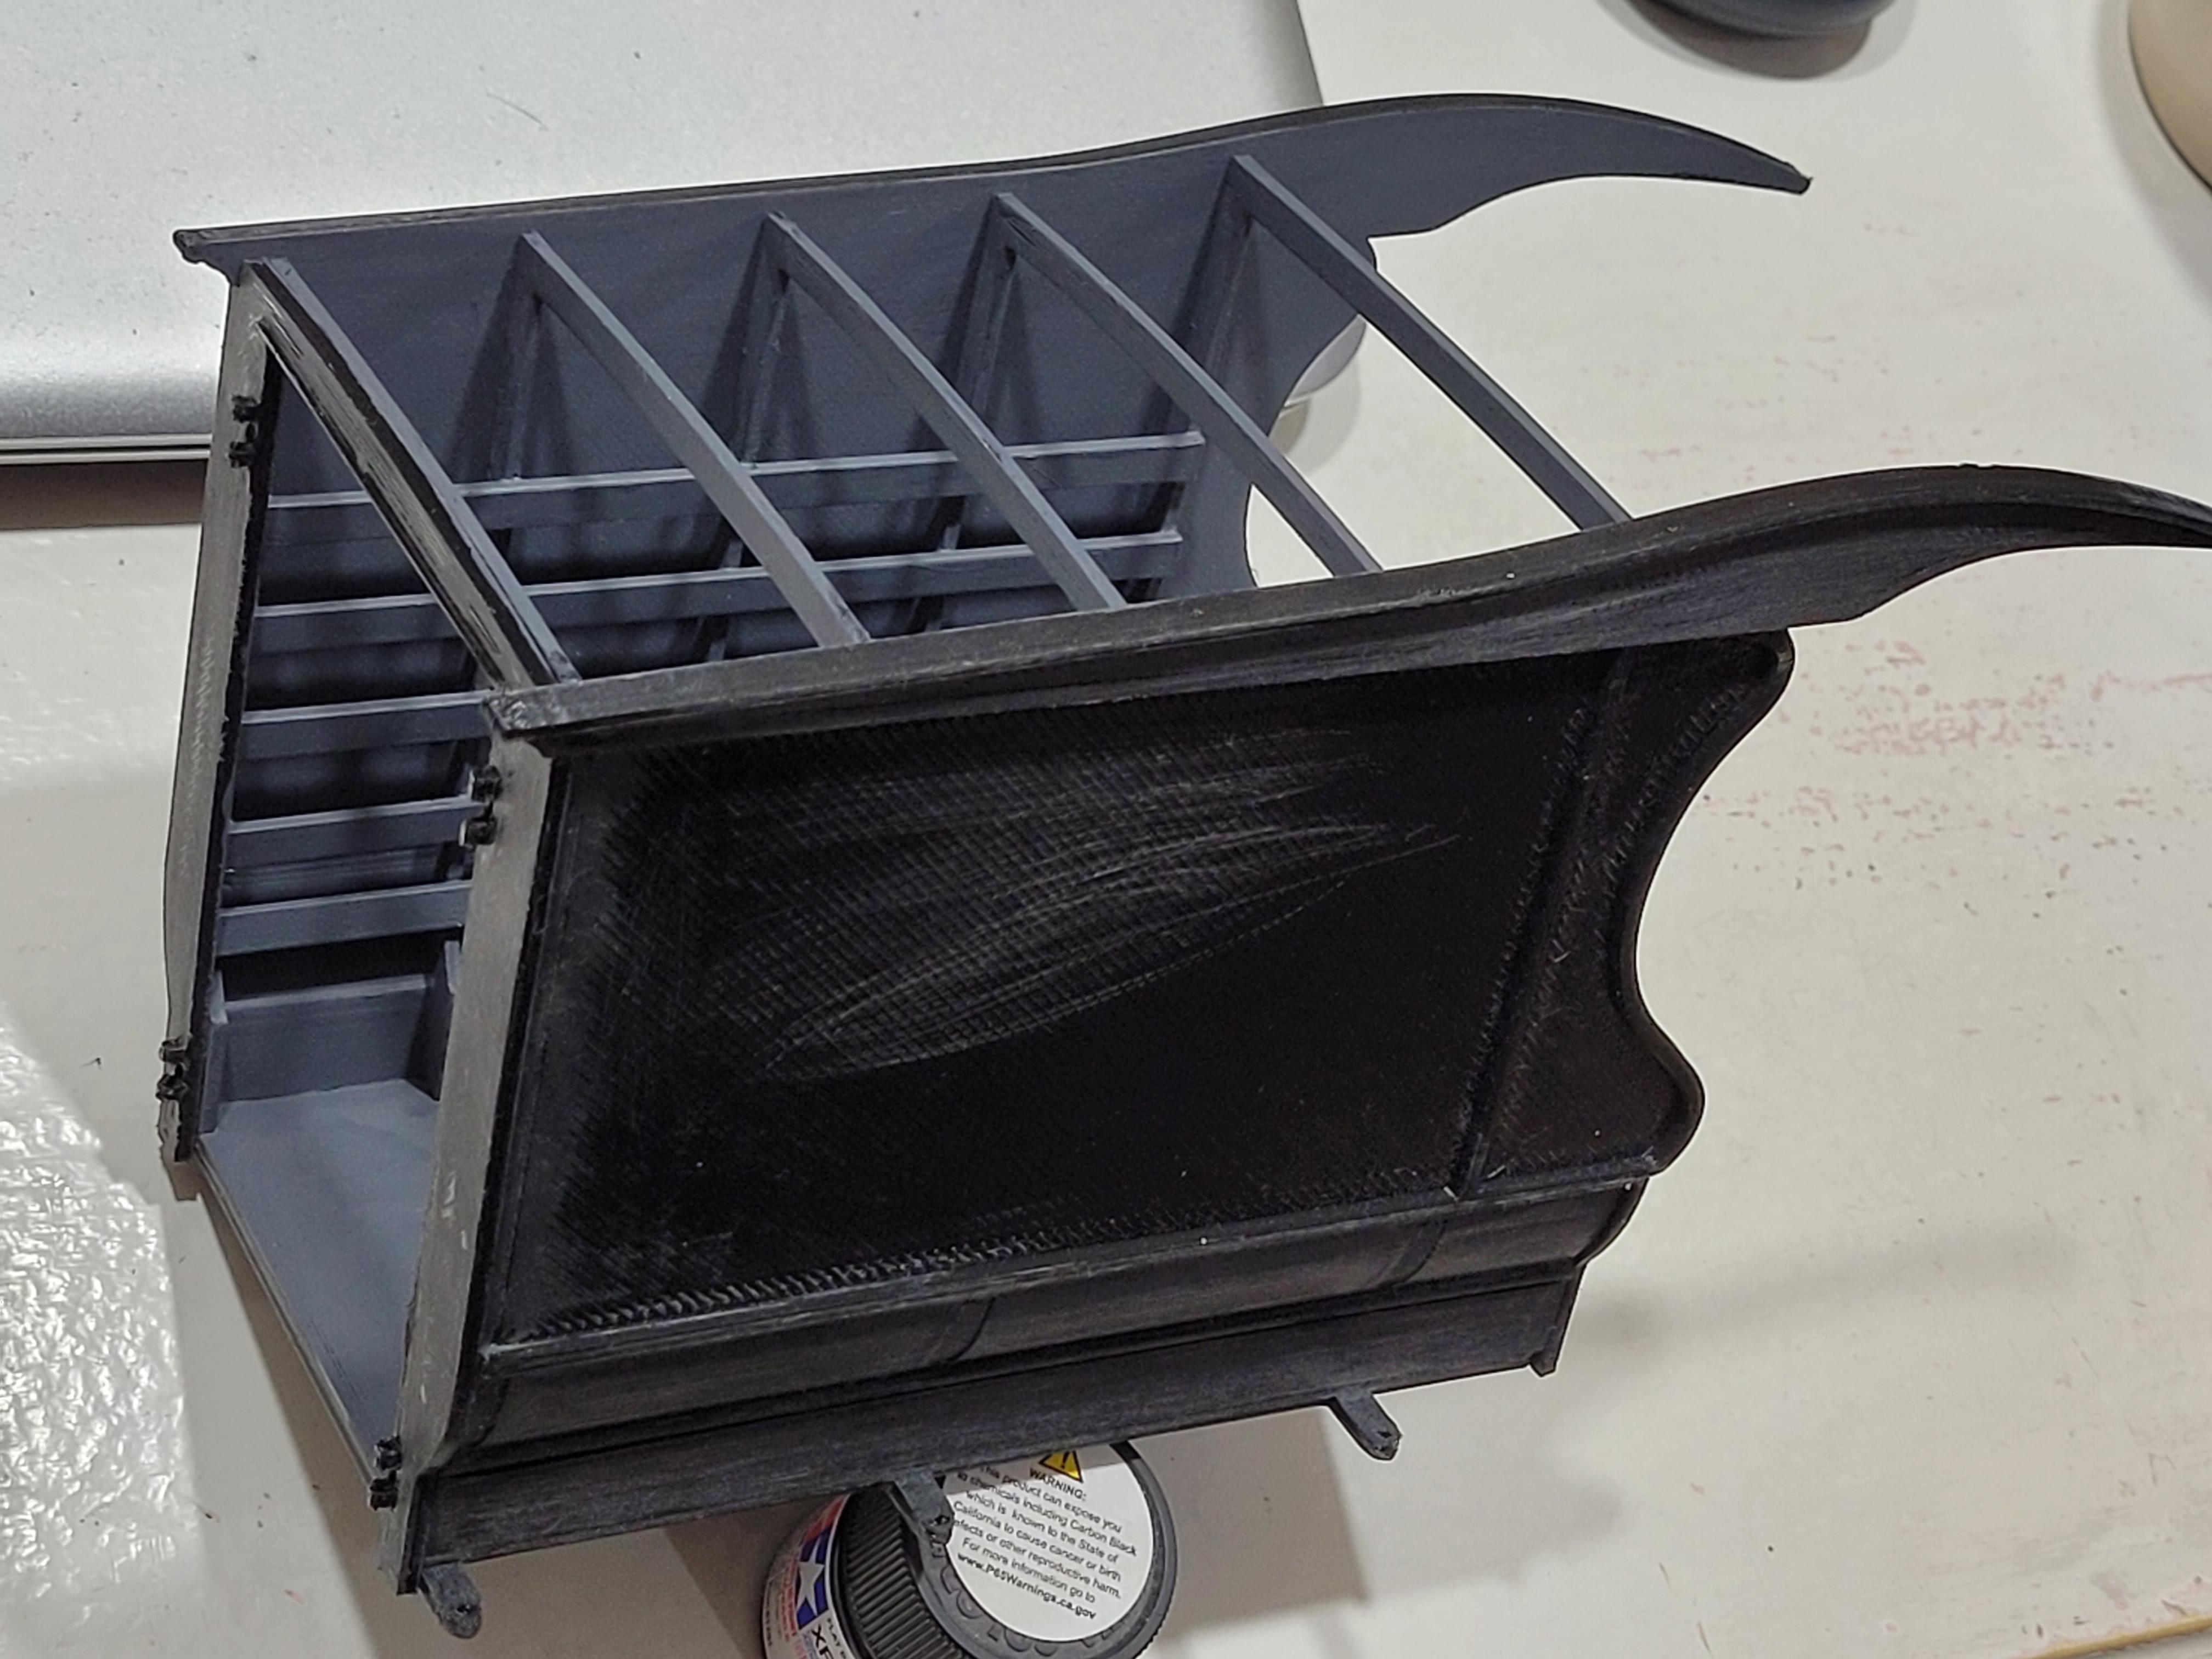
These ladder-looking parts were designed to stiffen the wooden frame.
-
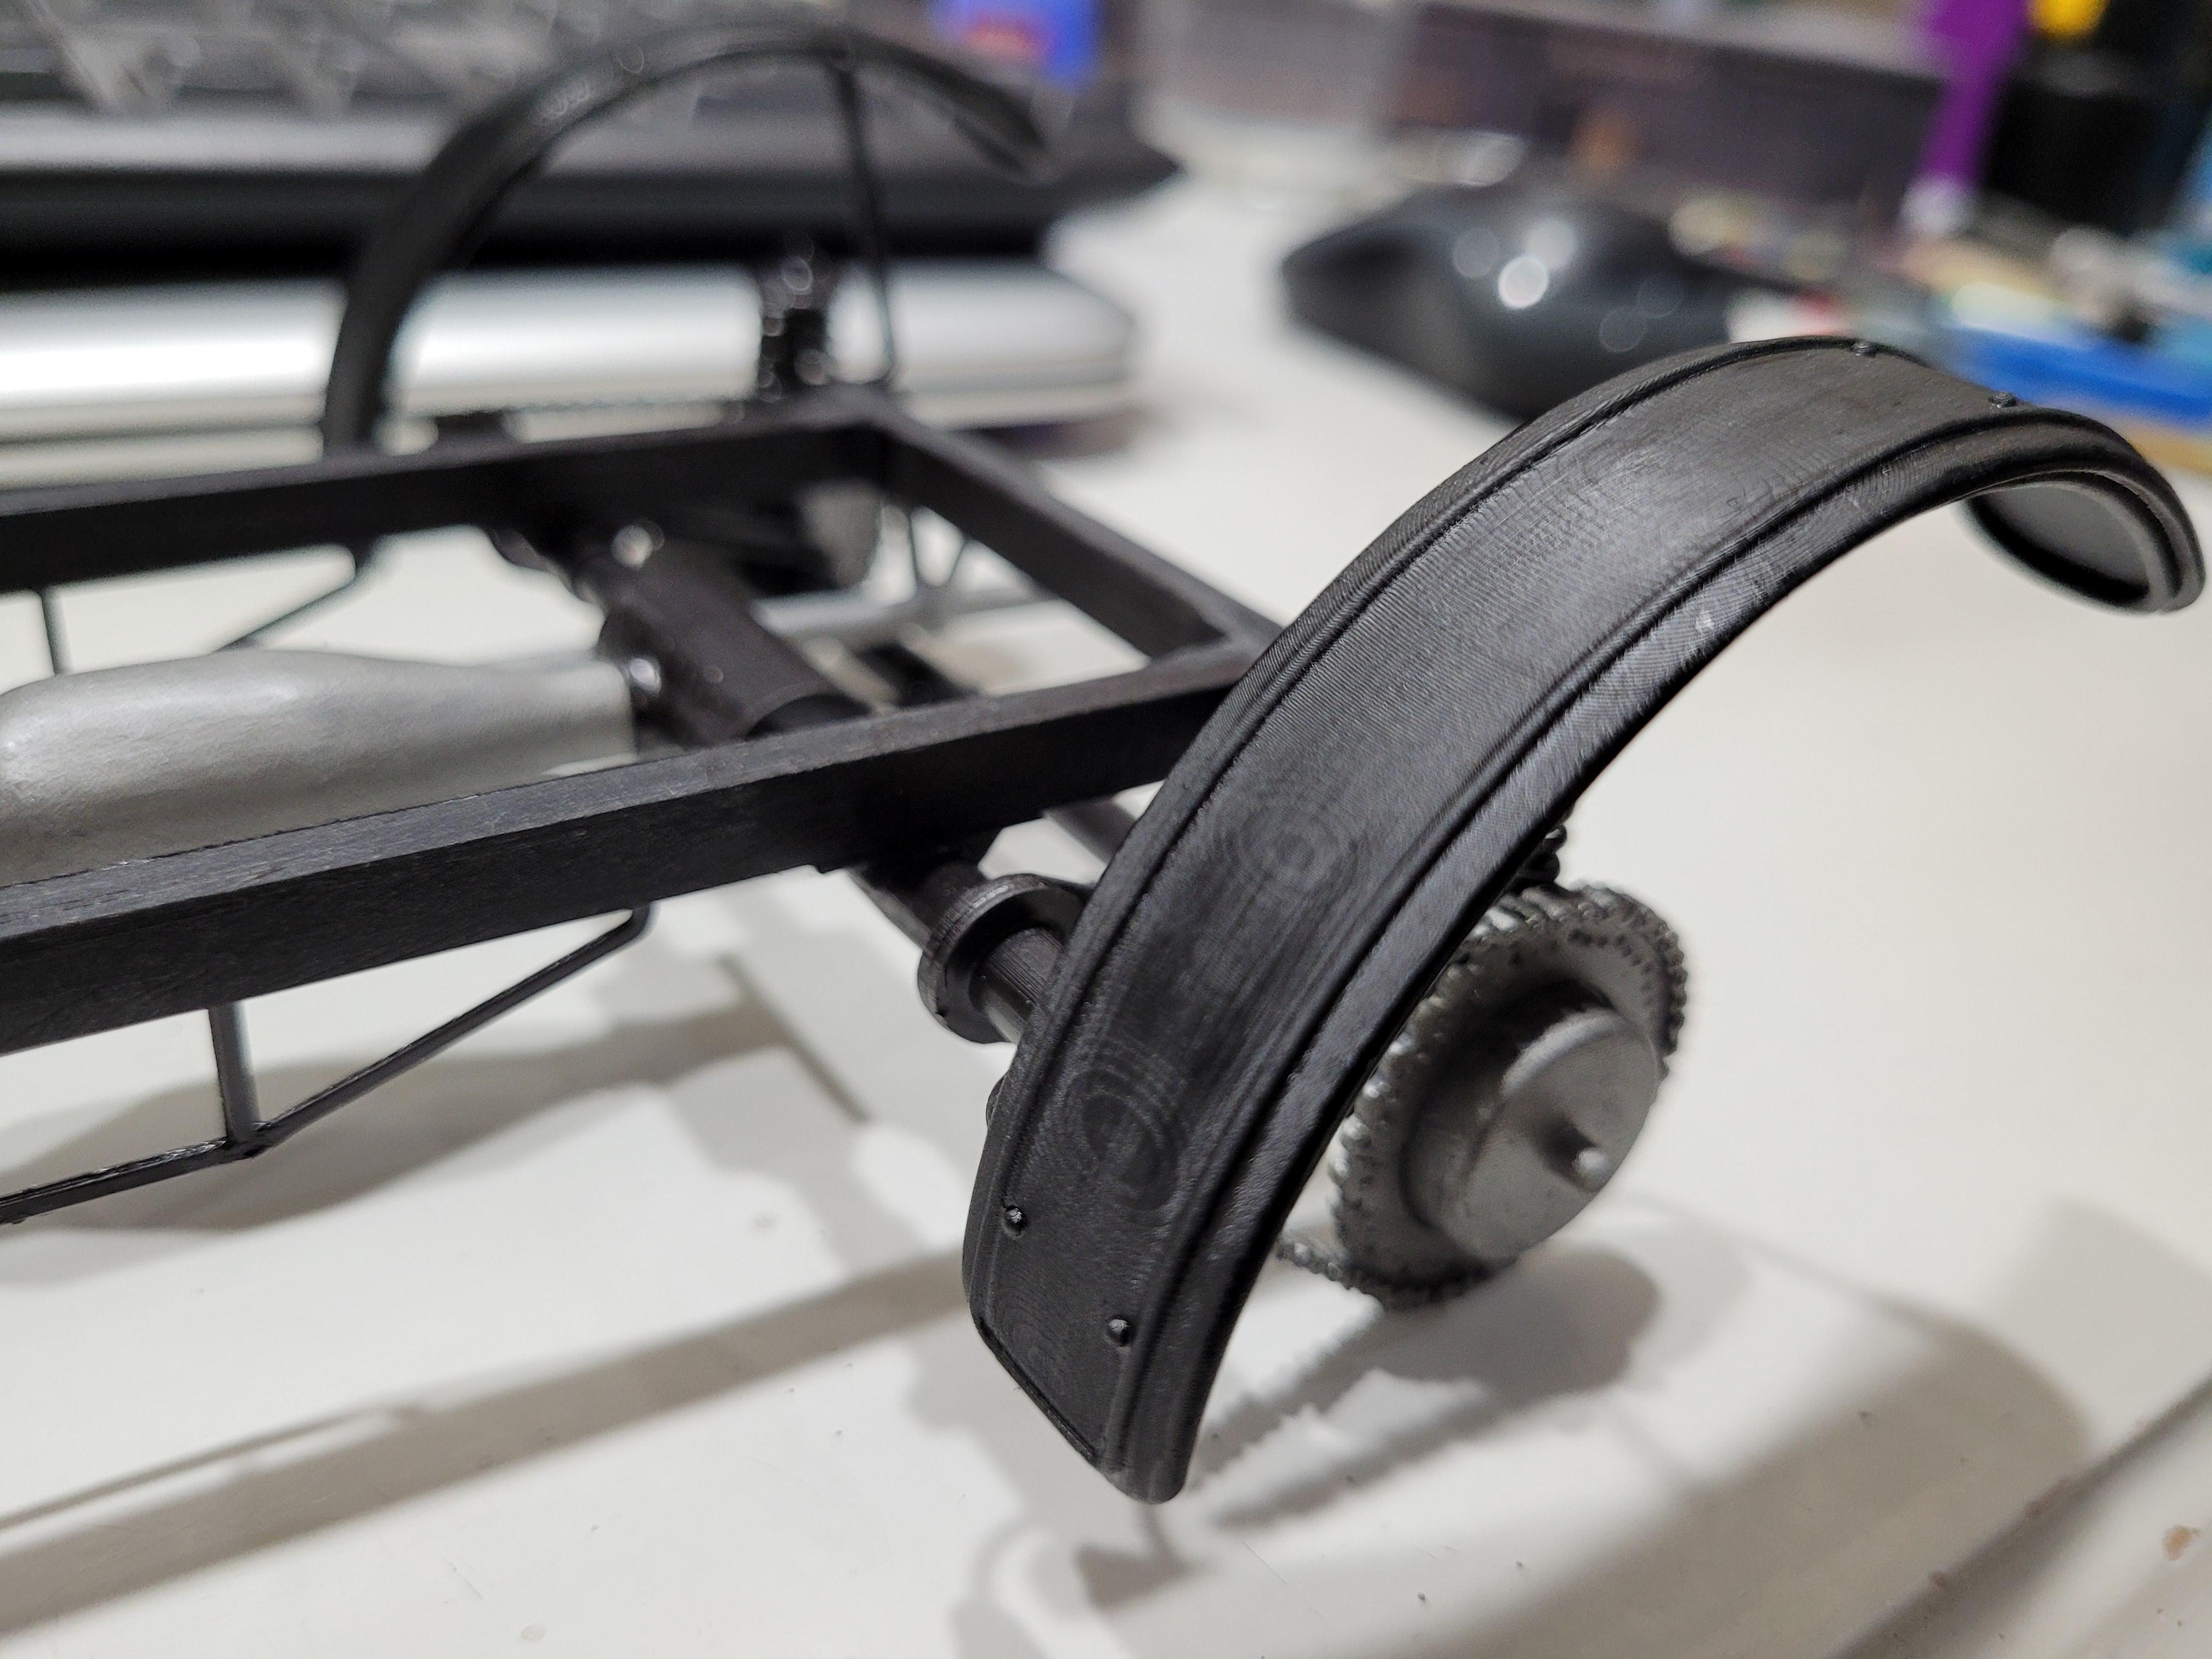
The 4 gray braces are designed to stabilize the axles from side to side movement.
-
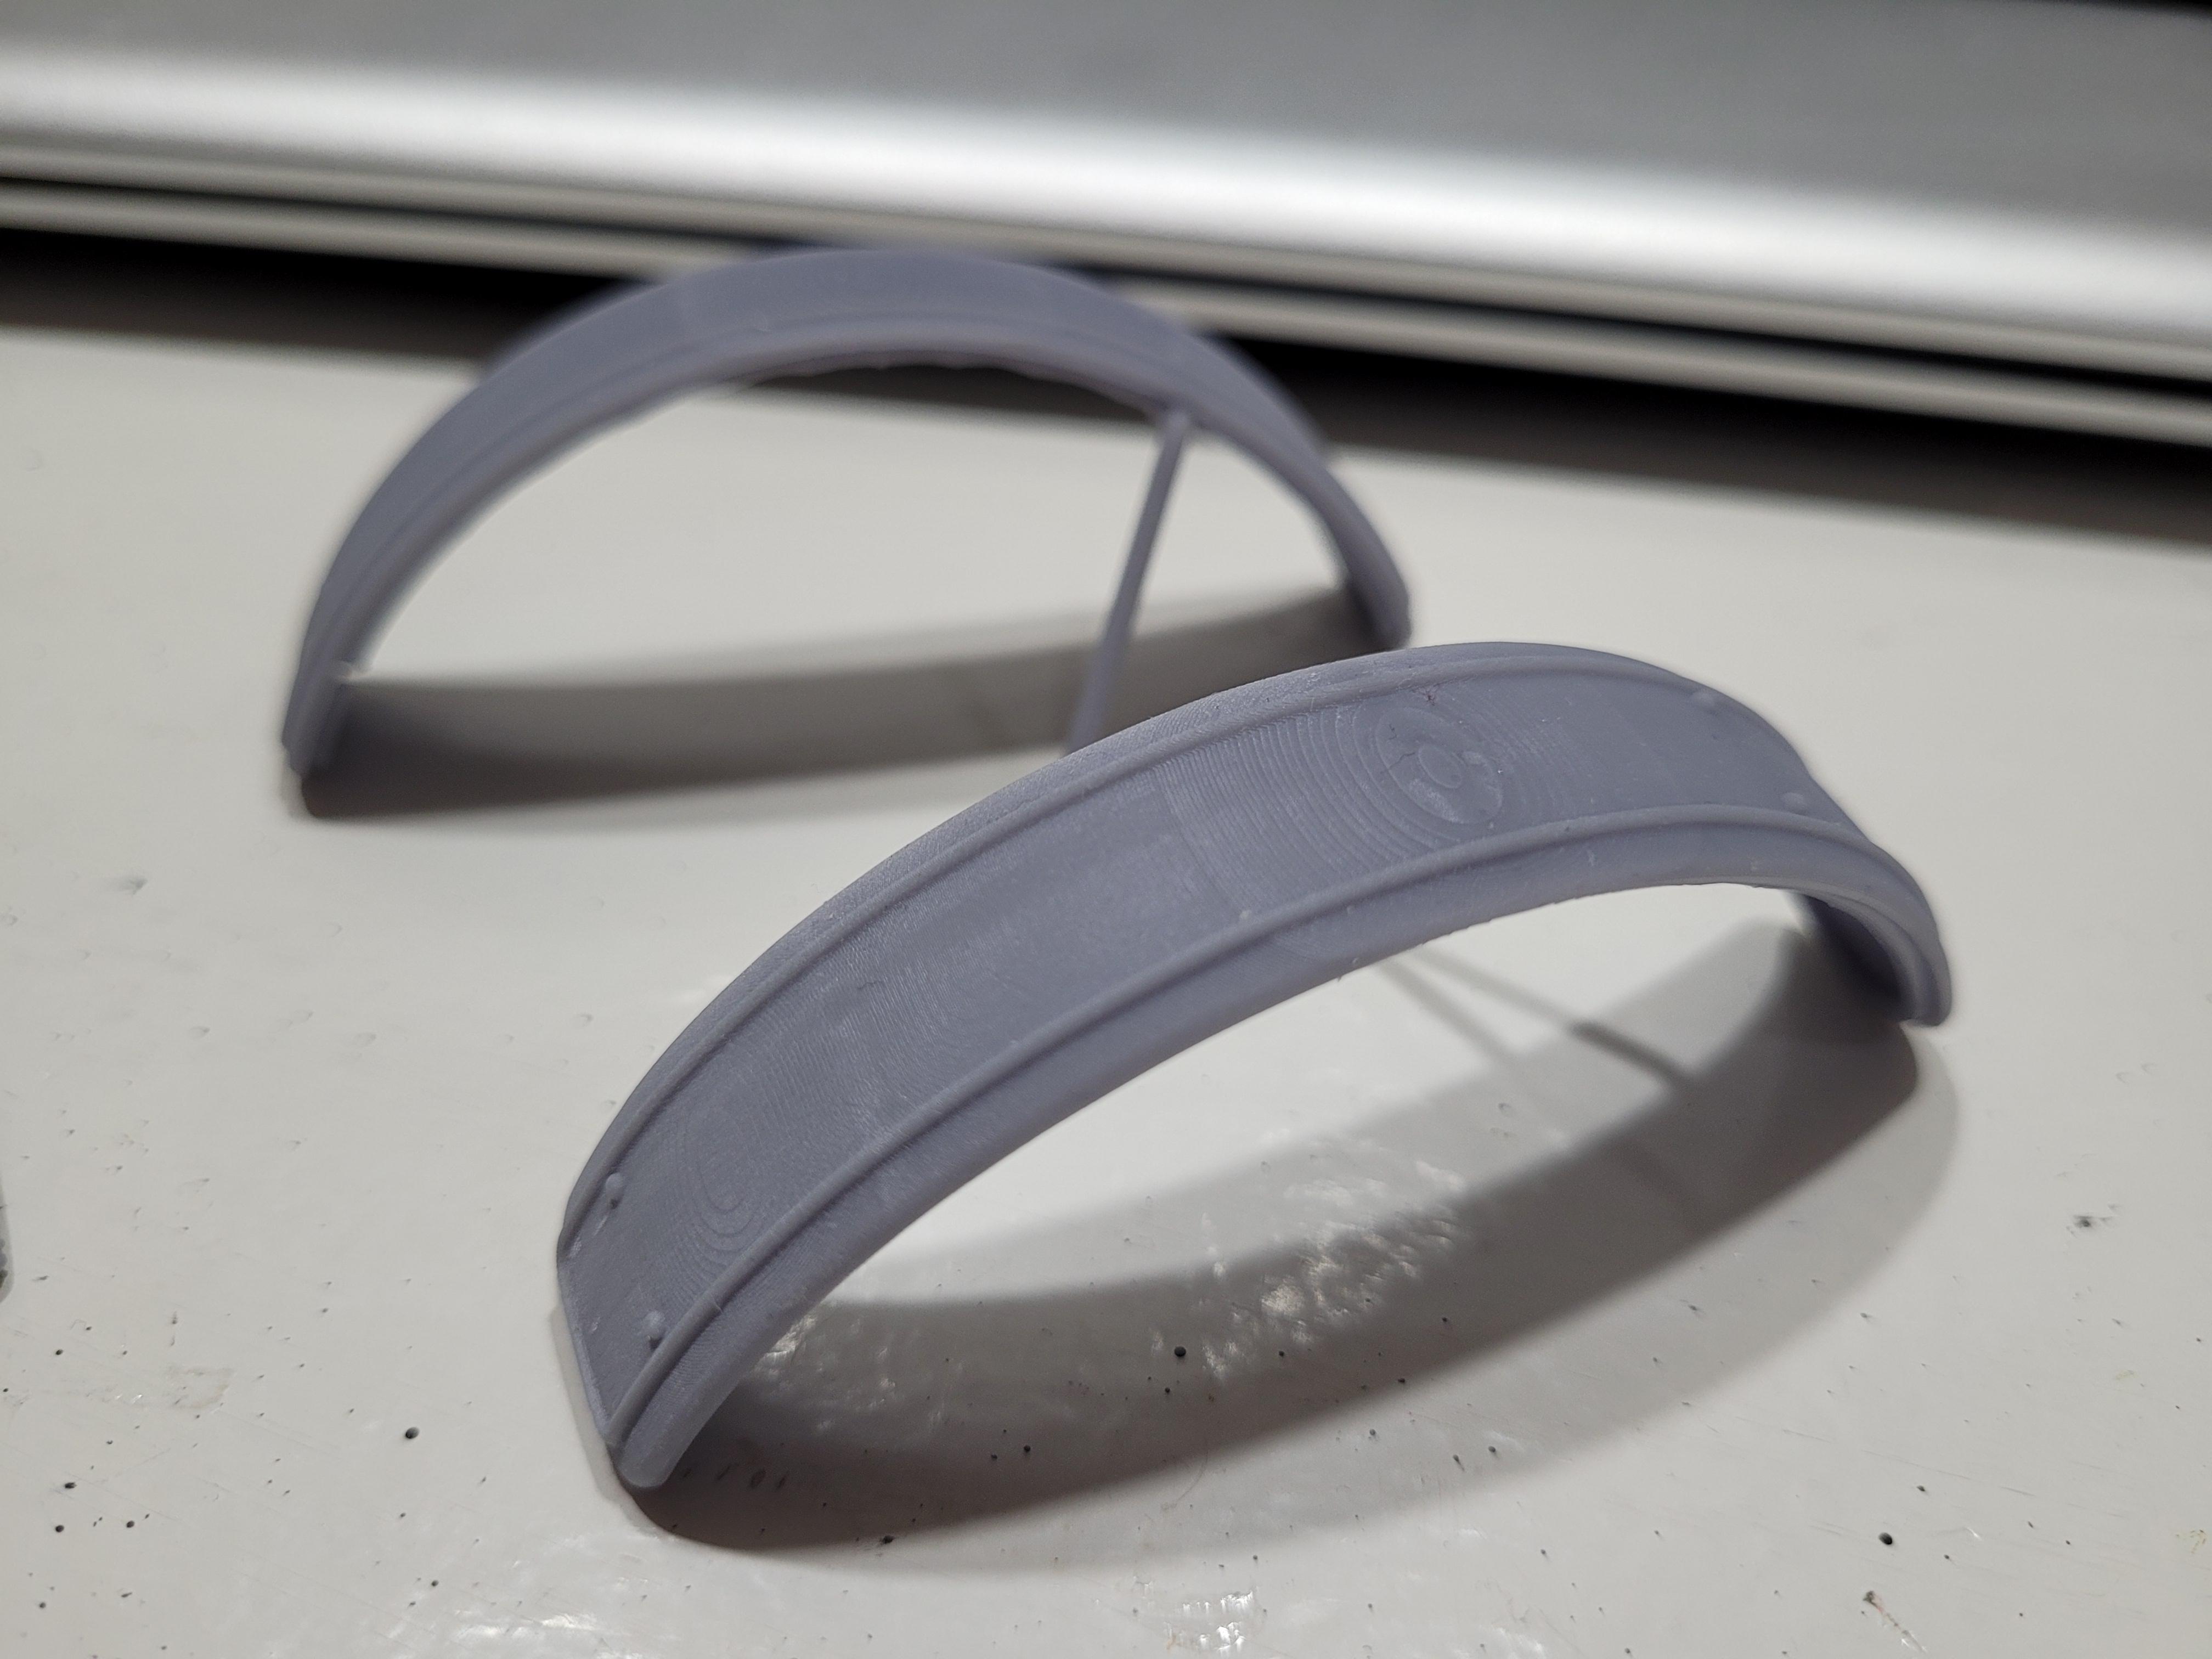
The rear fenders are printed.
-
The roof is ready for thick primer. I don't strive for perfection on these old cars, because to me, a little imperfection seems to add to the realism at this scale. The 1:1 subjects are sometimes not much better.
-
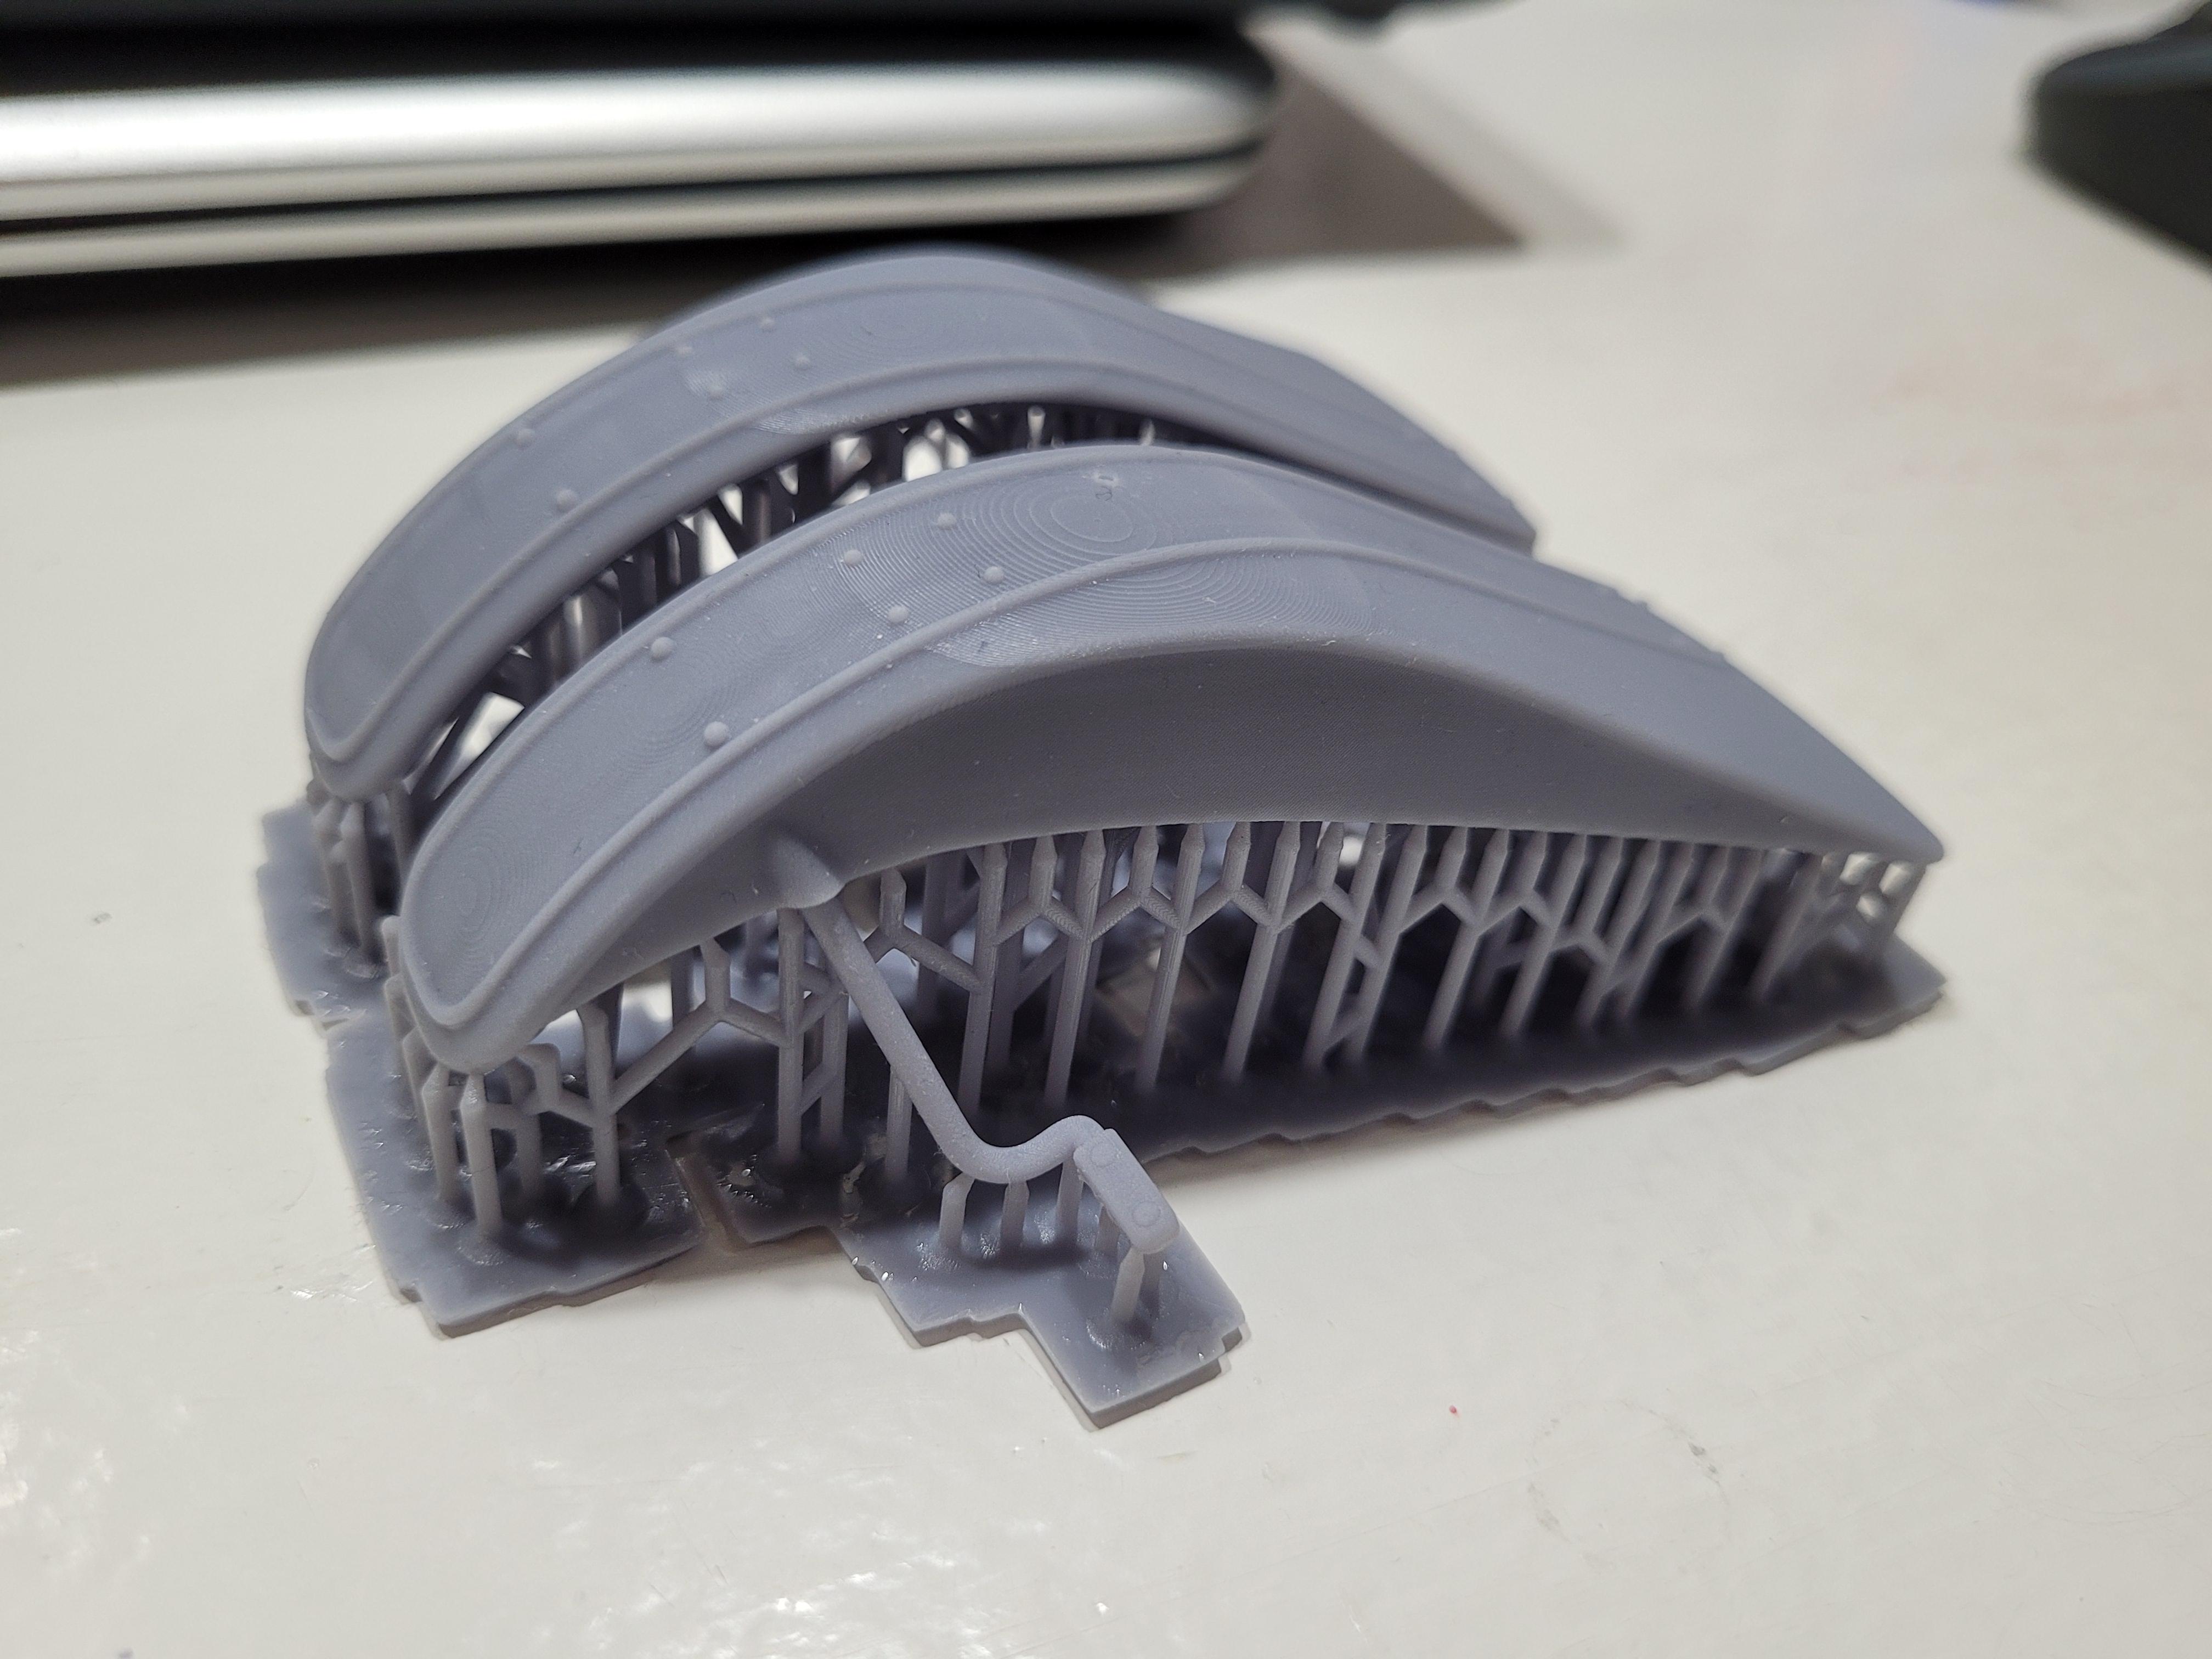
Front fenders and brackets.
-
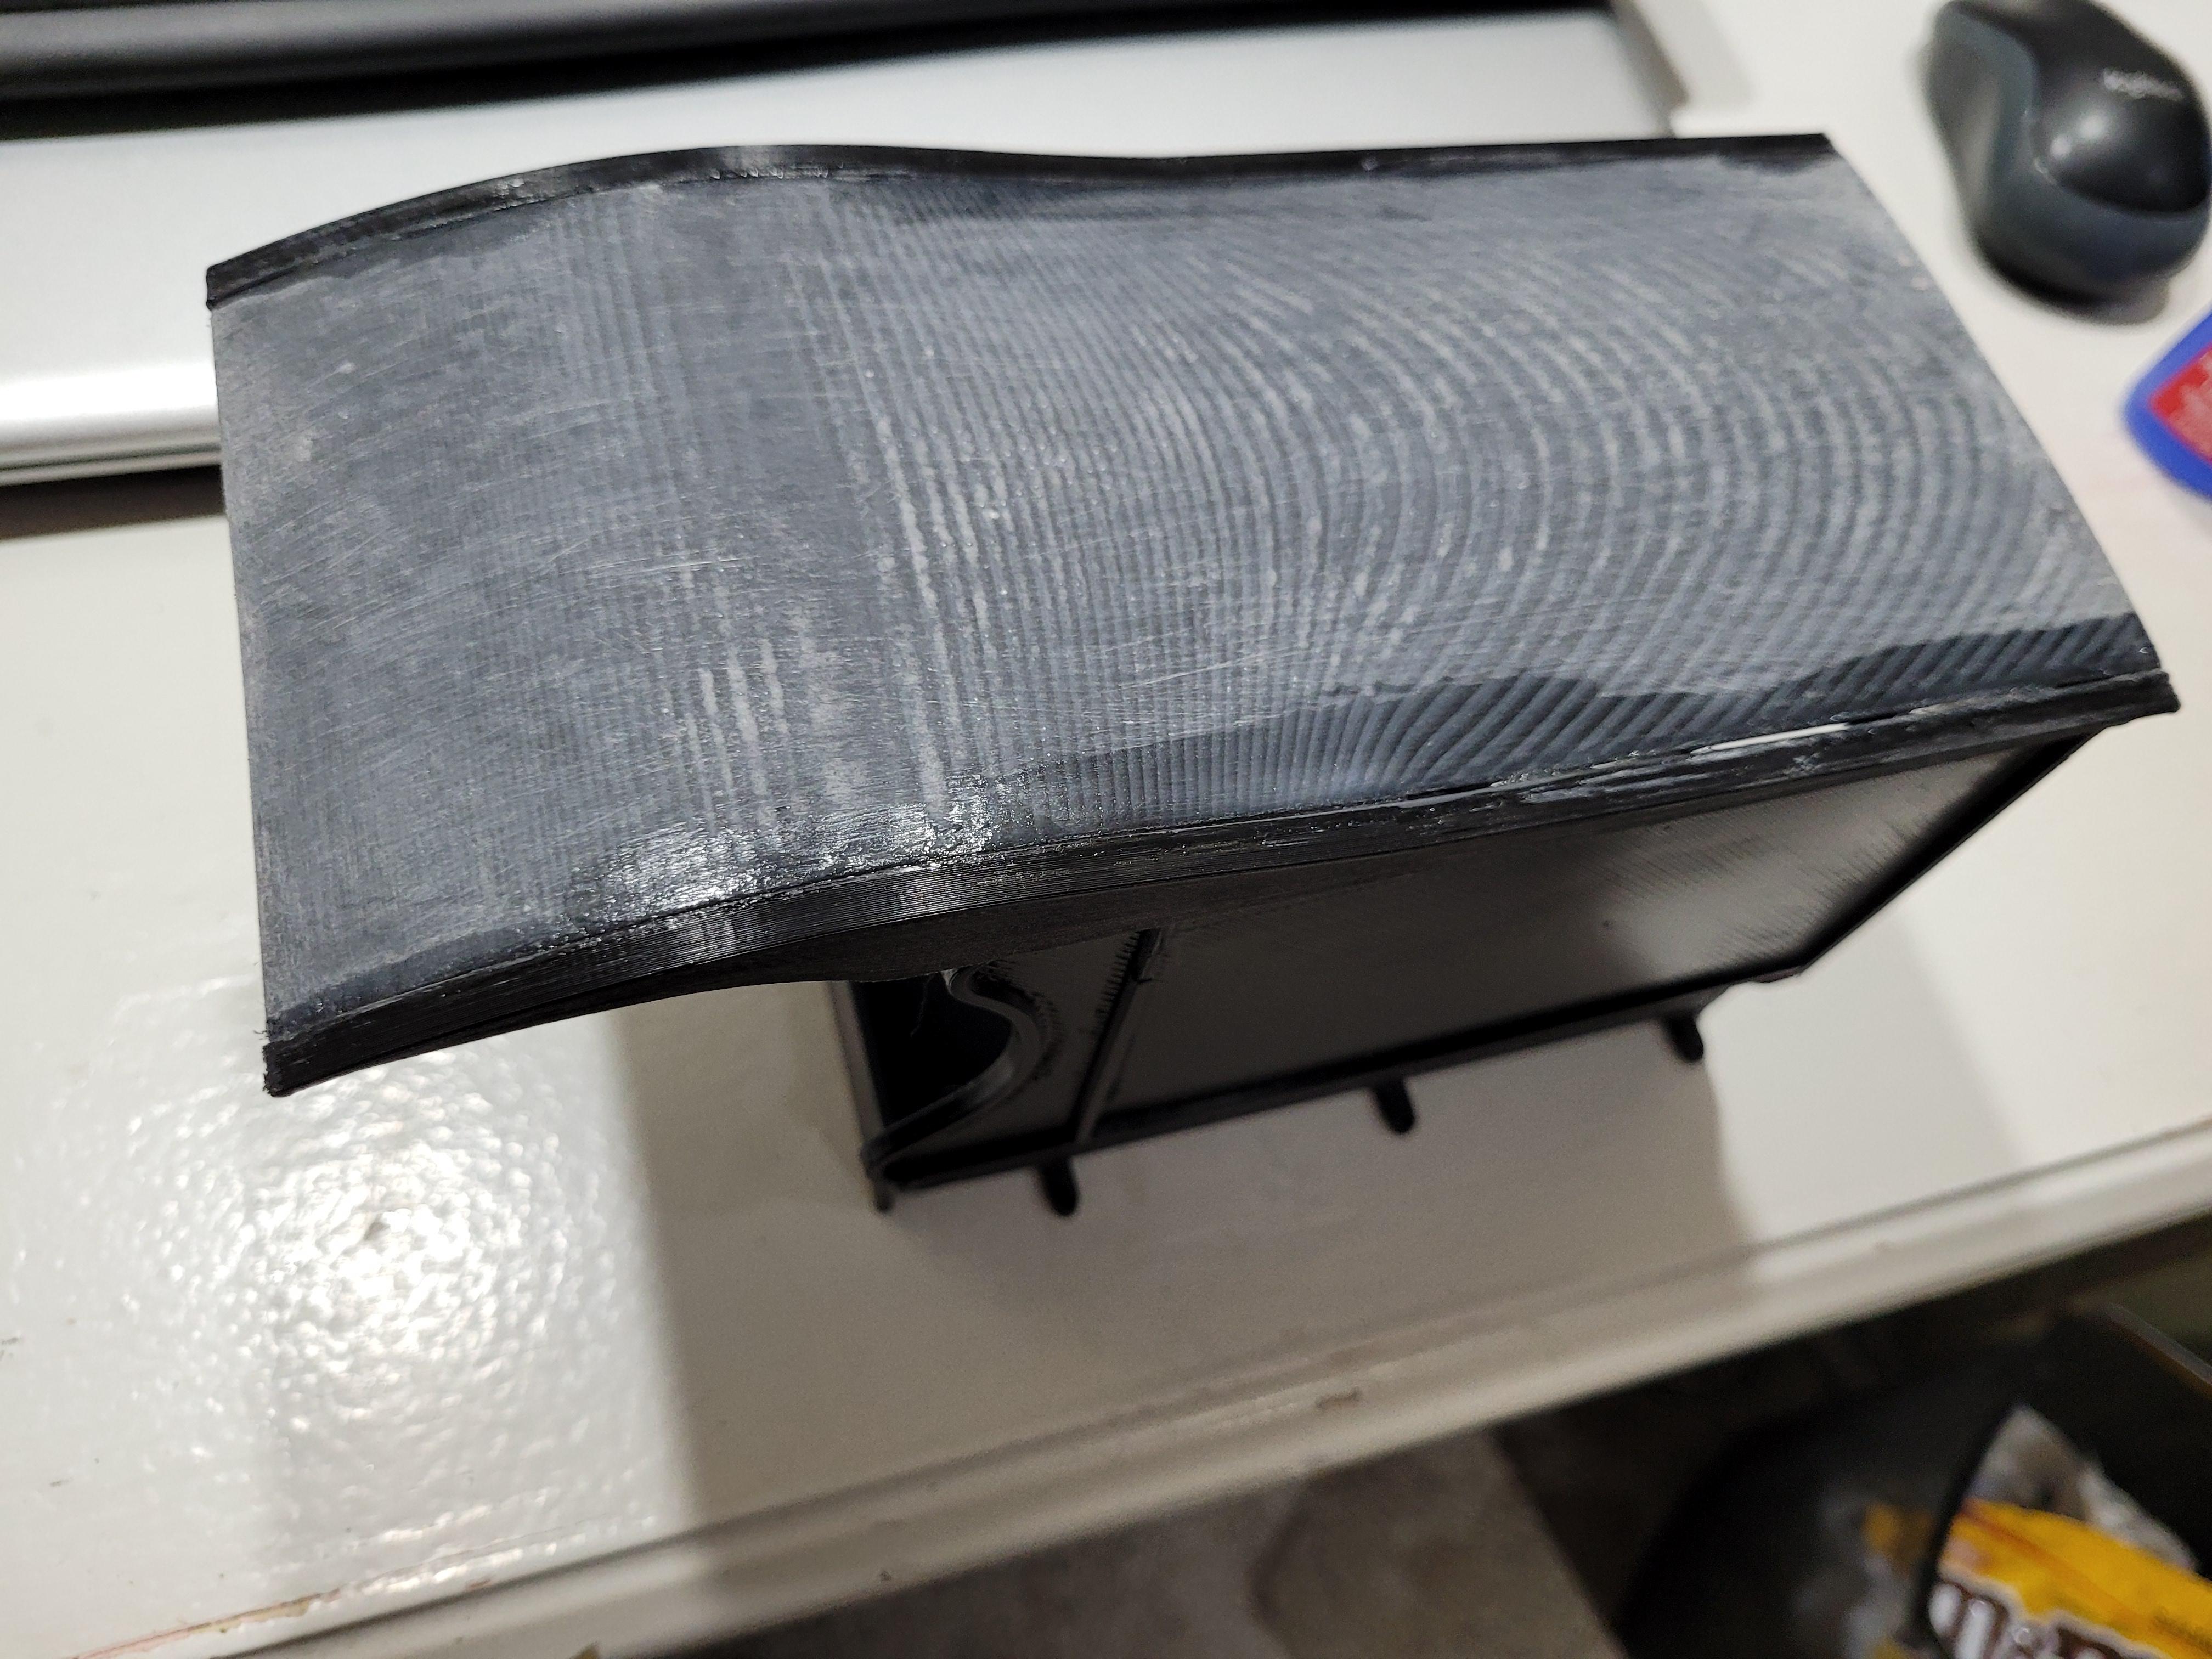
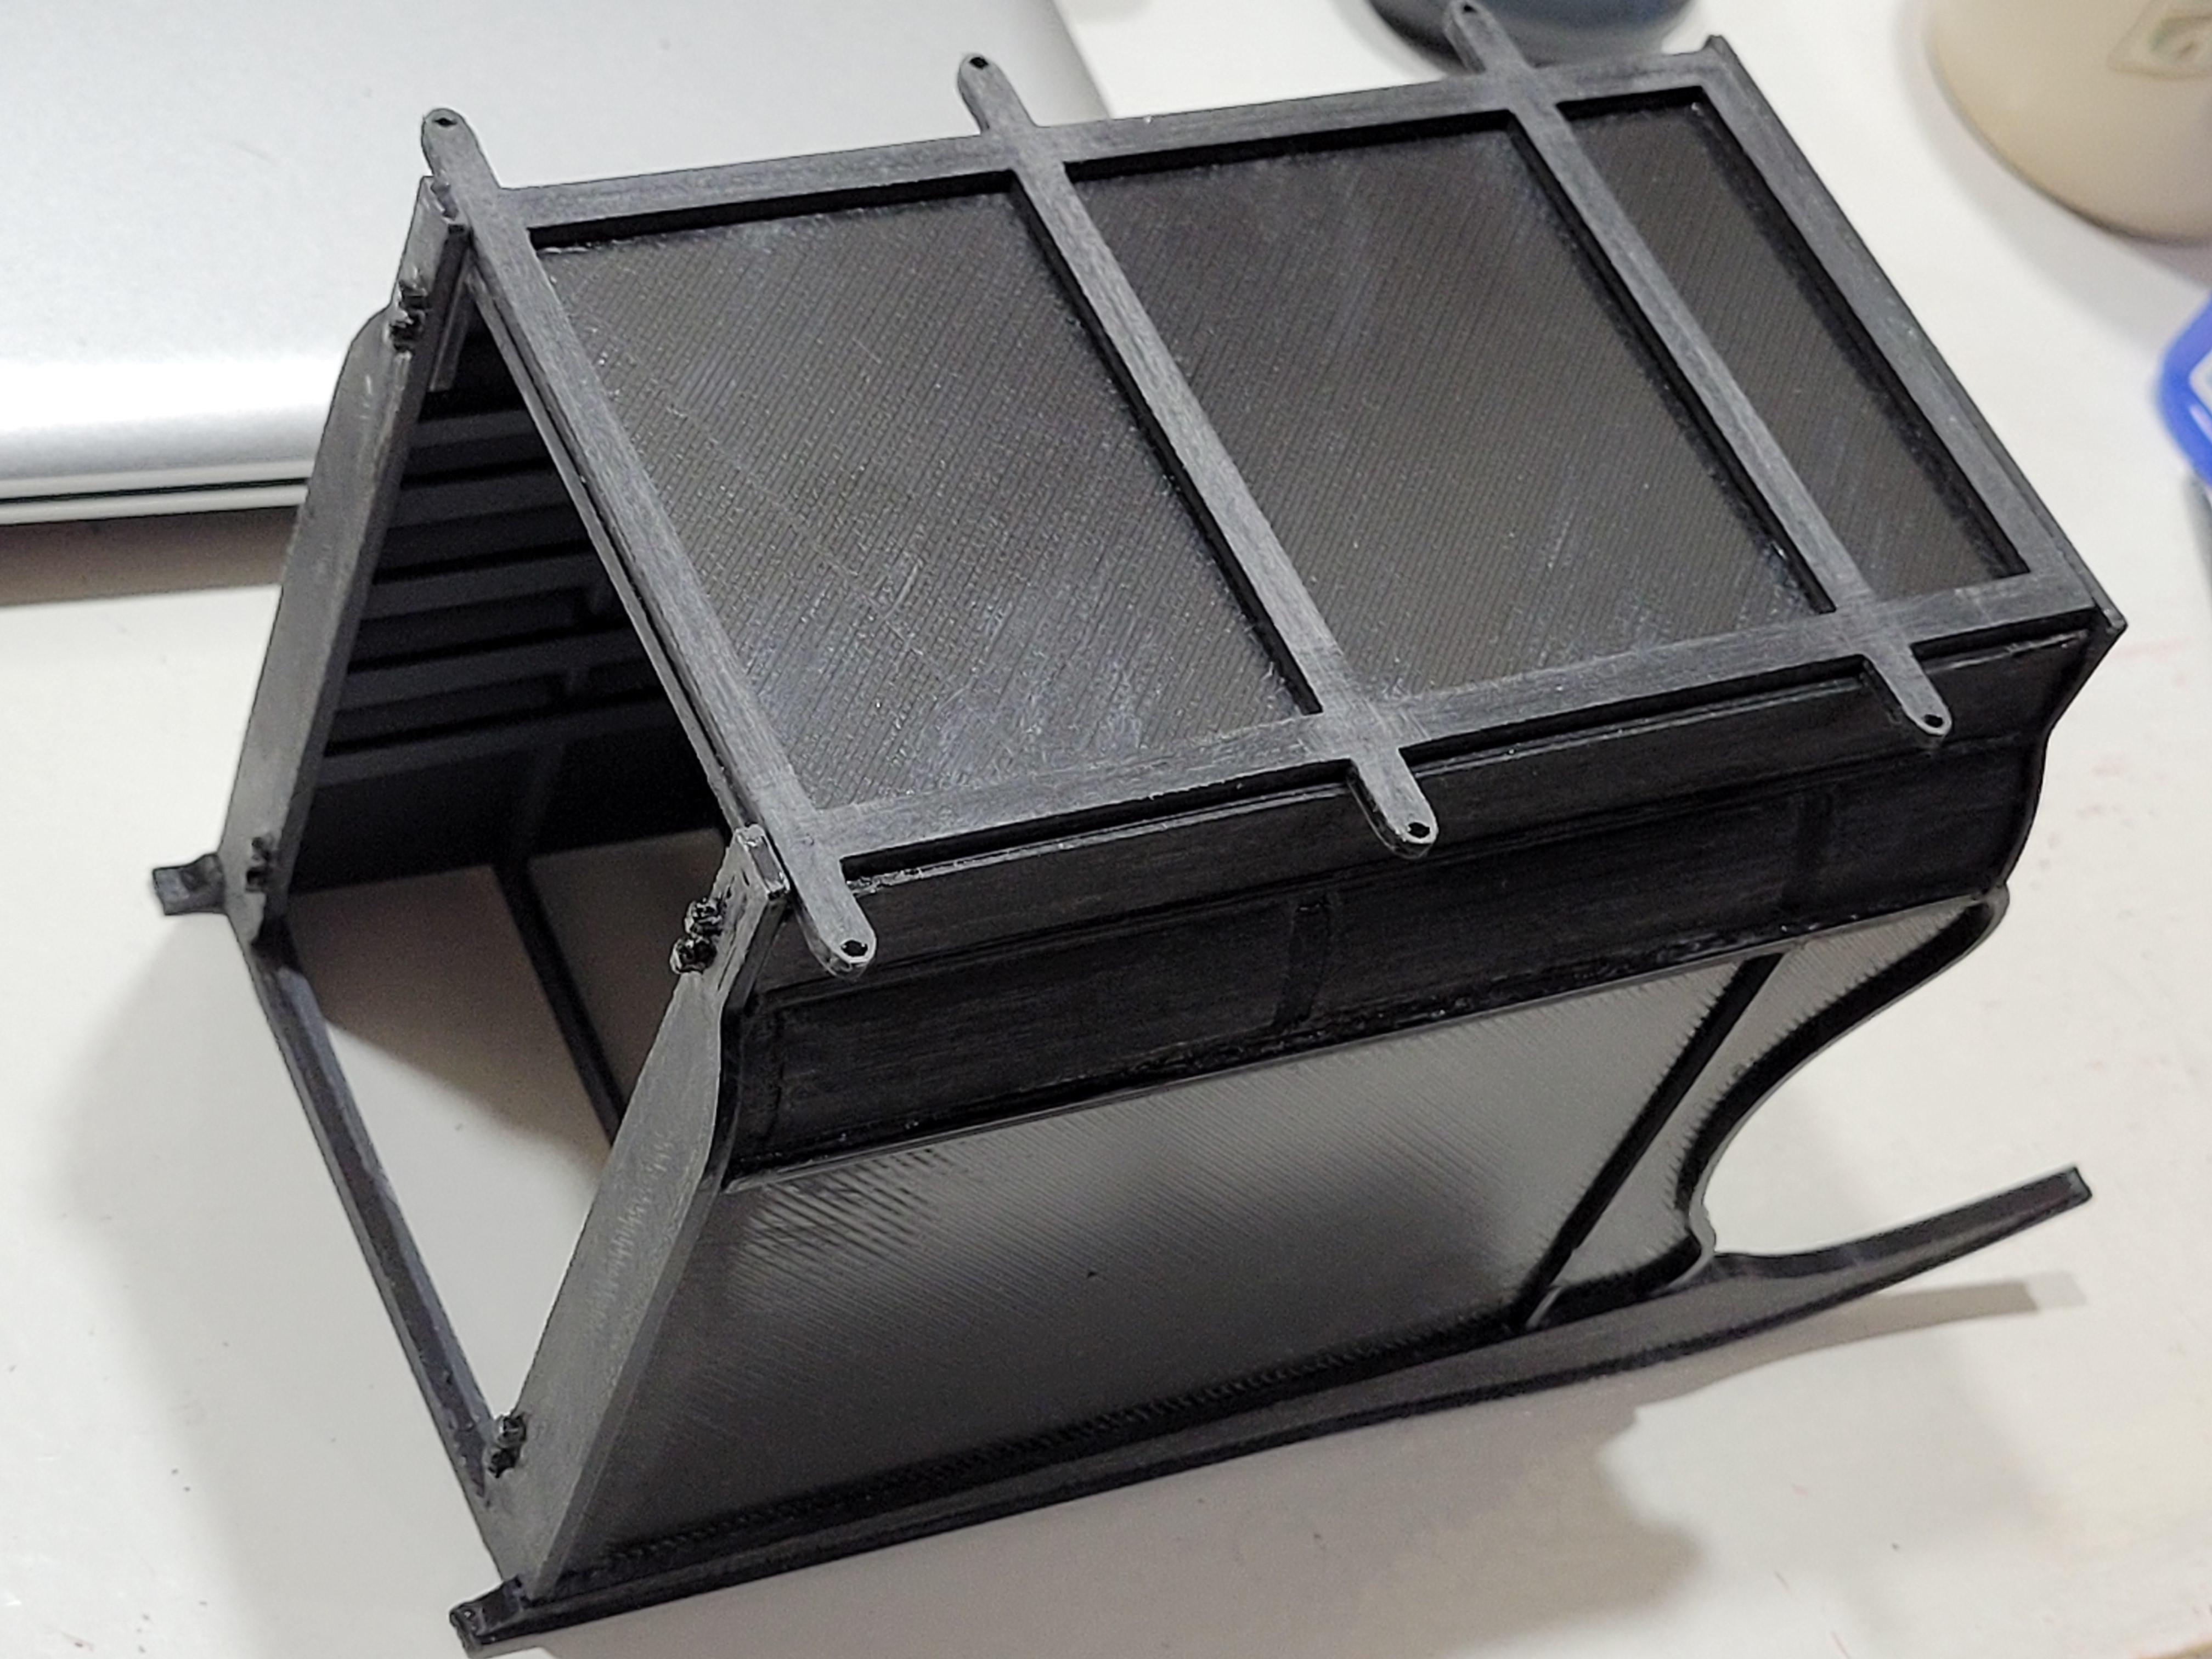
The roof panel is sanded and stitched into the cargo box. Being a perfectly square part, it serves to remove any warp in the cargo box assembly as well.
-
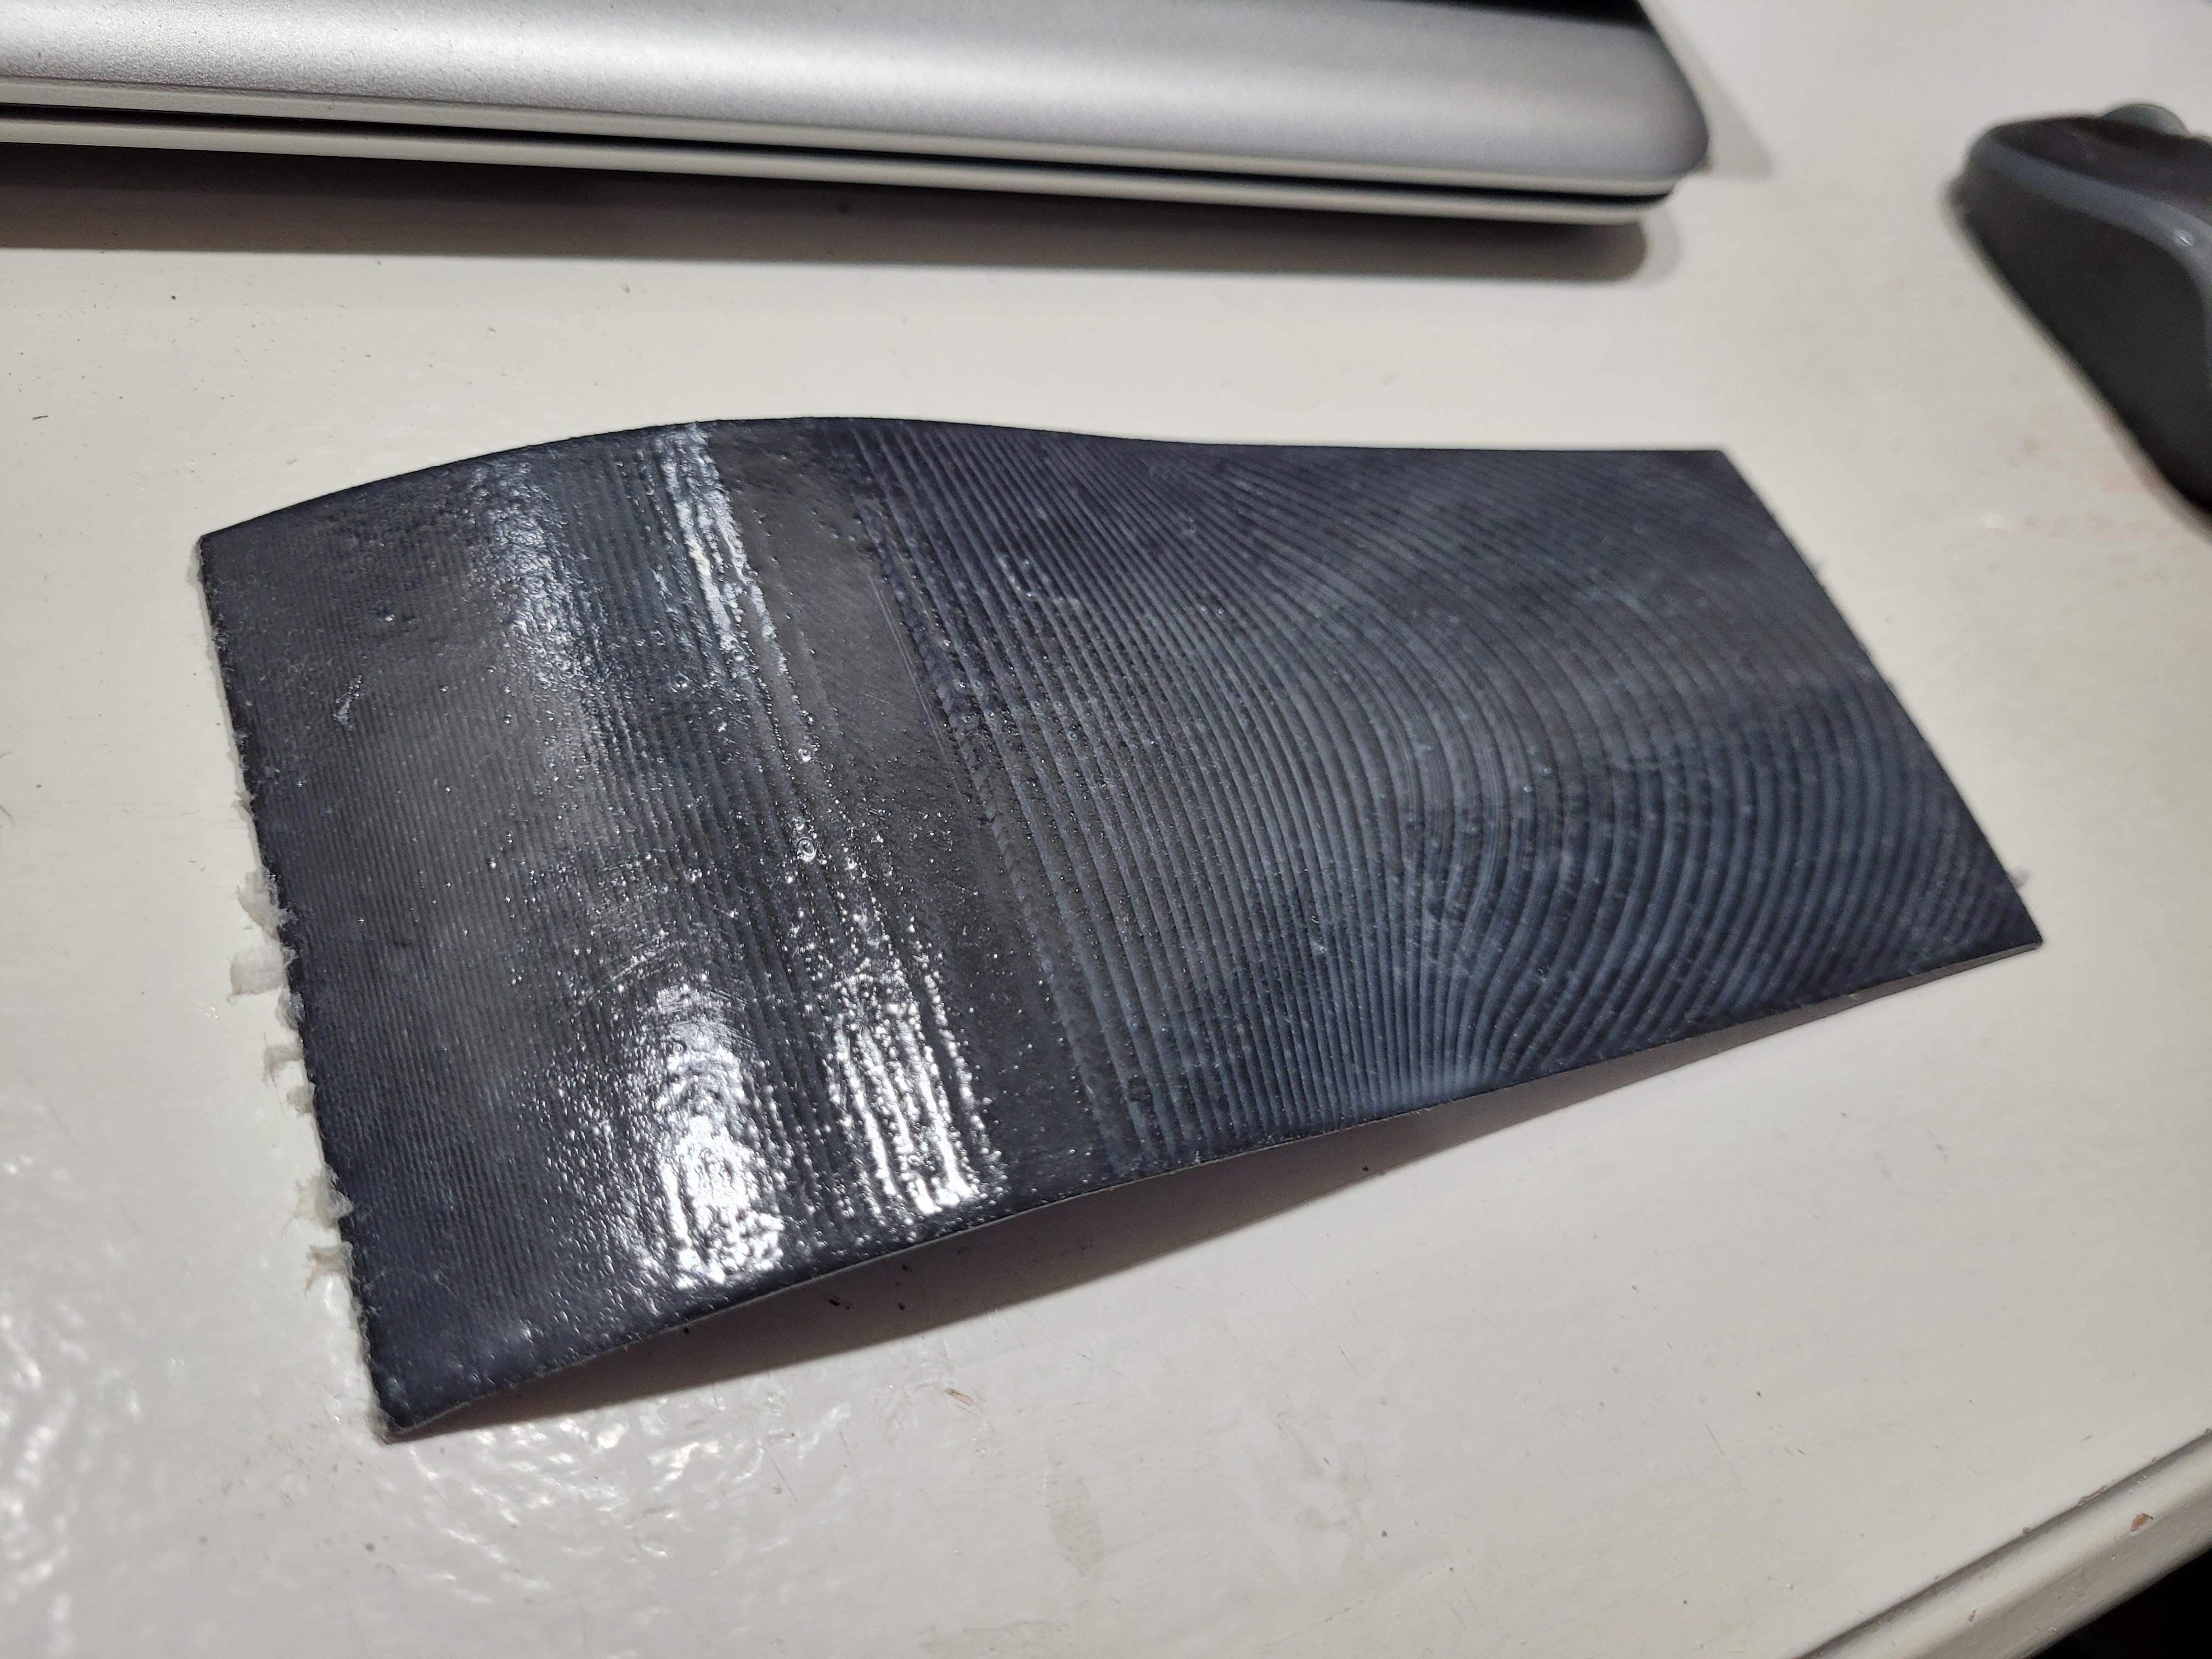
Here is a tip on how to smooth out fdm printed parts. Brush on uv curable resin over the part. Then cure is under uv light. Sand. Repeat until you achieve a smooth surface. I will show the part as it goes through this process.
-
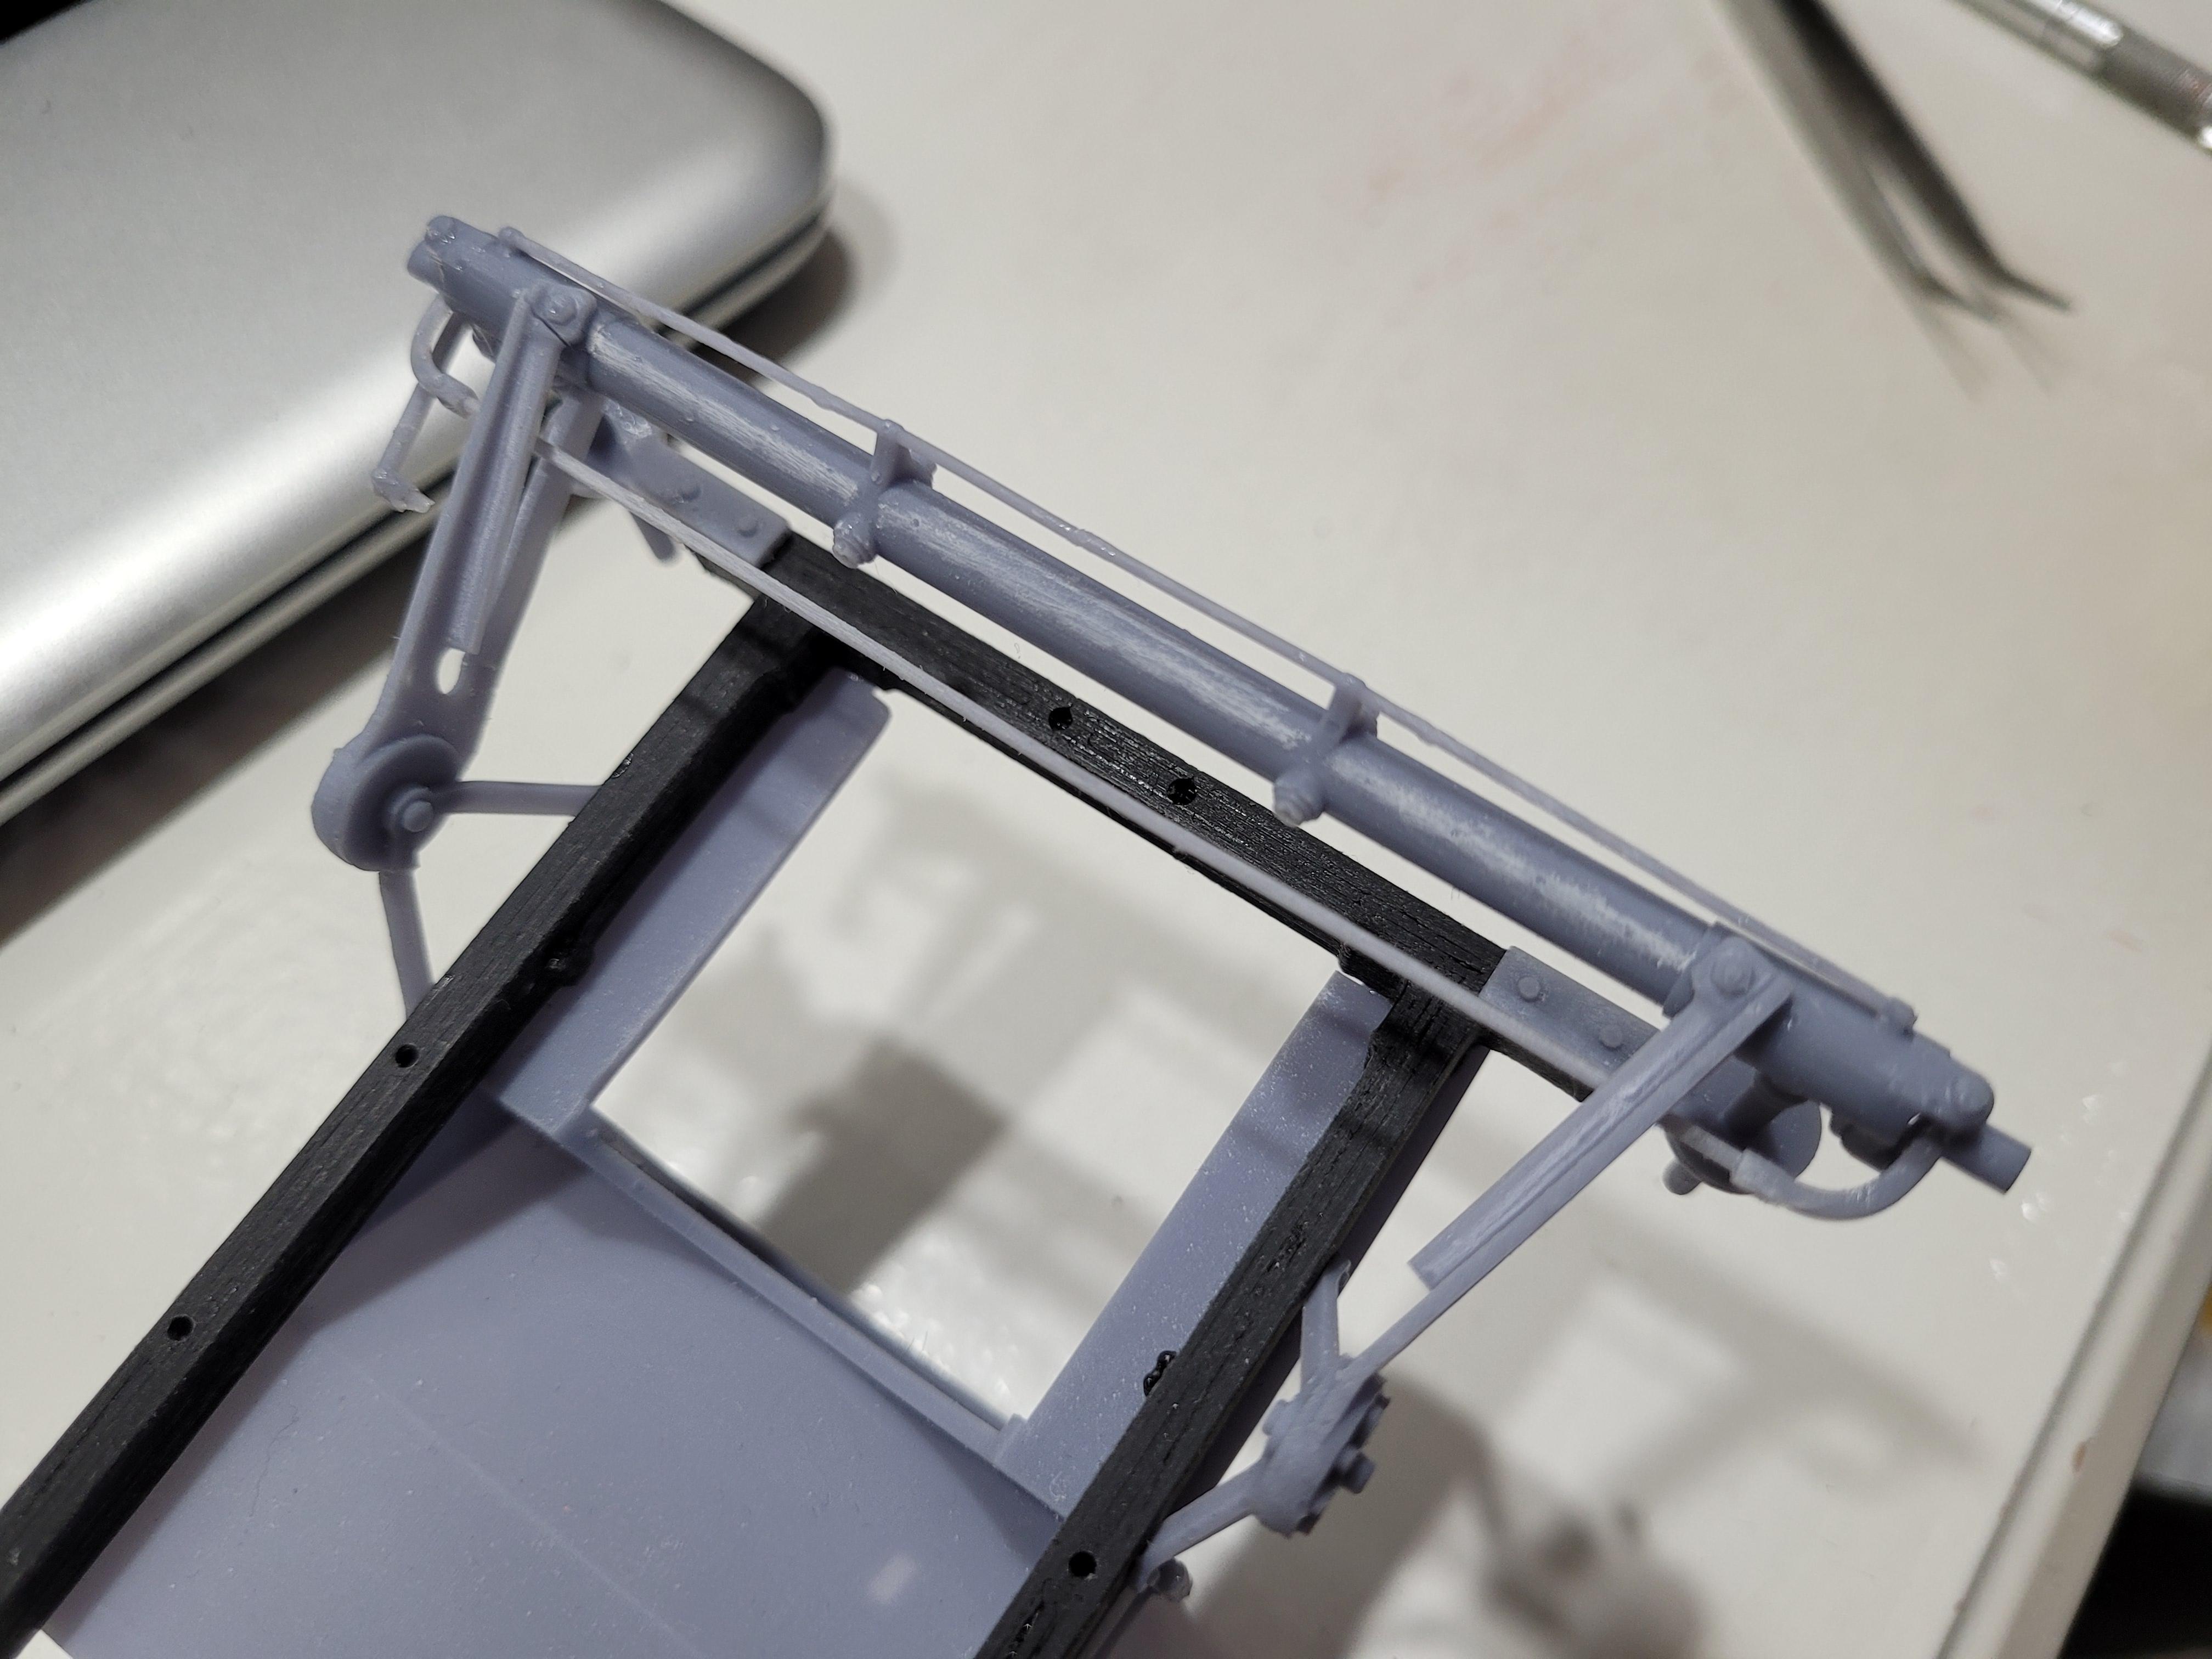
Tie rods and drag link bracket. At 1mm diameter, these parts challenge the limits of 3d printing, and even after they are printed and cured, they need to be cleaned up by hand without breaking!
-
The inside of the cargo box is painted and the side panels attached. The cargo box rear door frame is attached. The hinges are designed into the frame.