kenlwest
-
Posts
277 -
Joined
-
Last visited
Content Type
Profiles
Forums
Events
Gallery
Everything posted by kenlwest
-
Color scheme takes this car to another level! Nice Job.
-
As close to 1:1 as it gets! Amazing build!
-
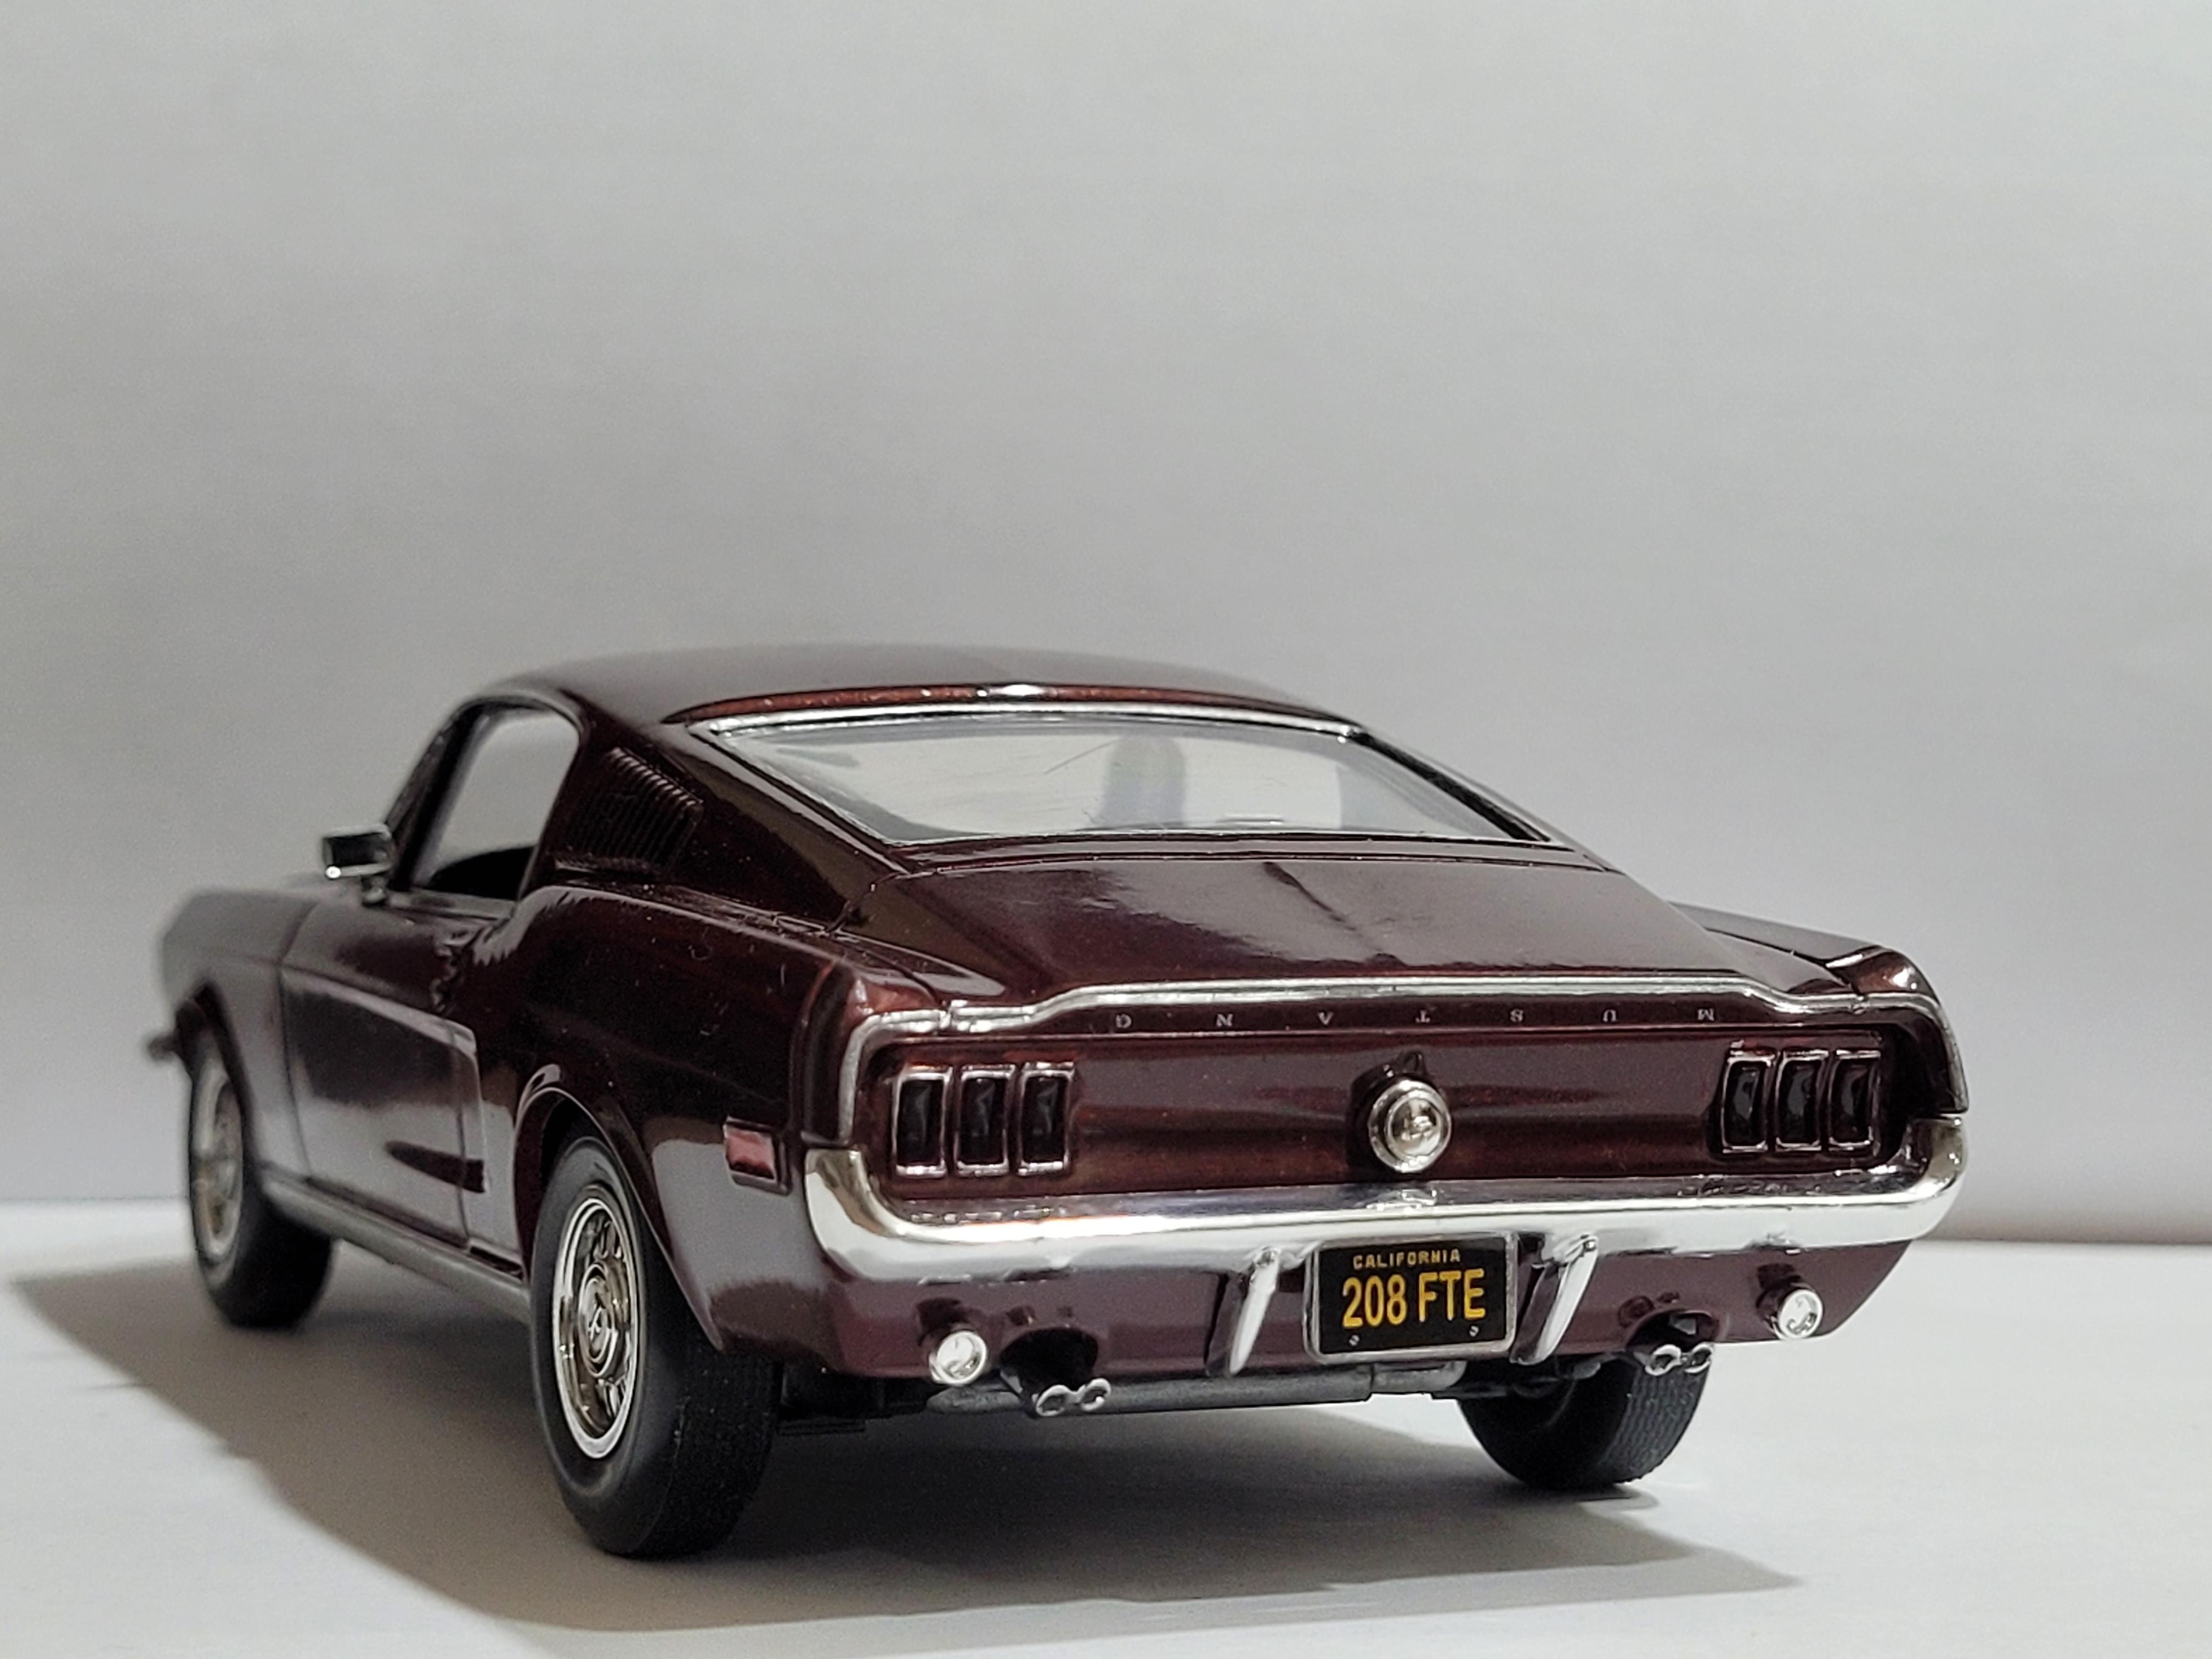
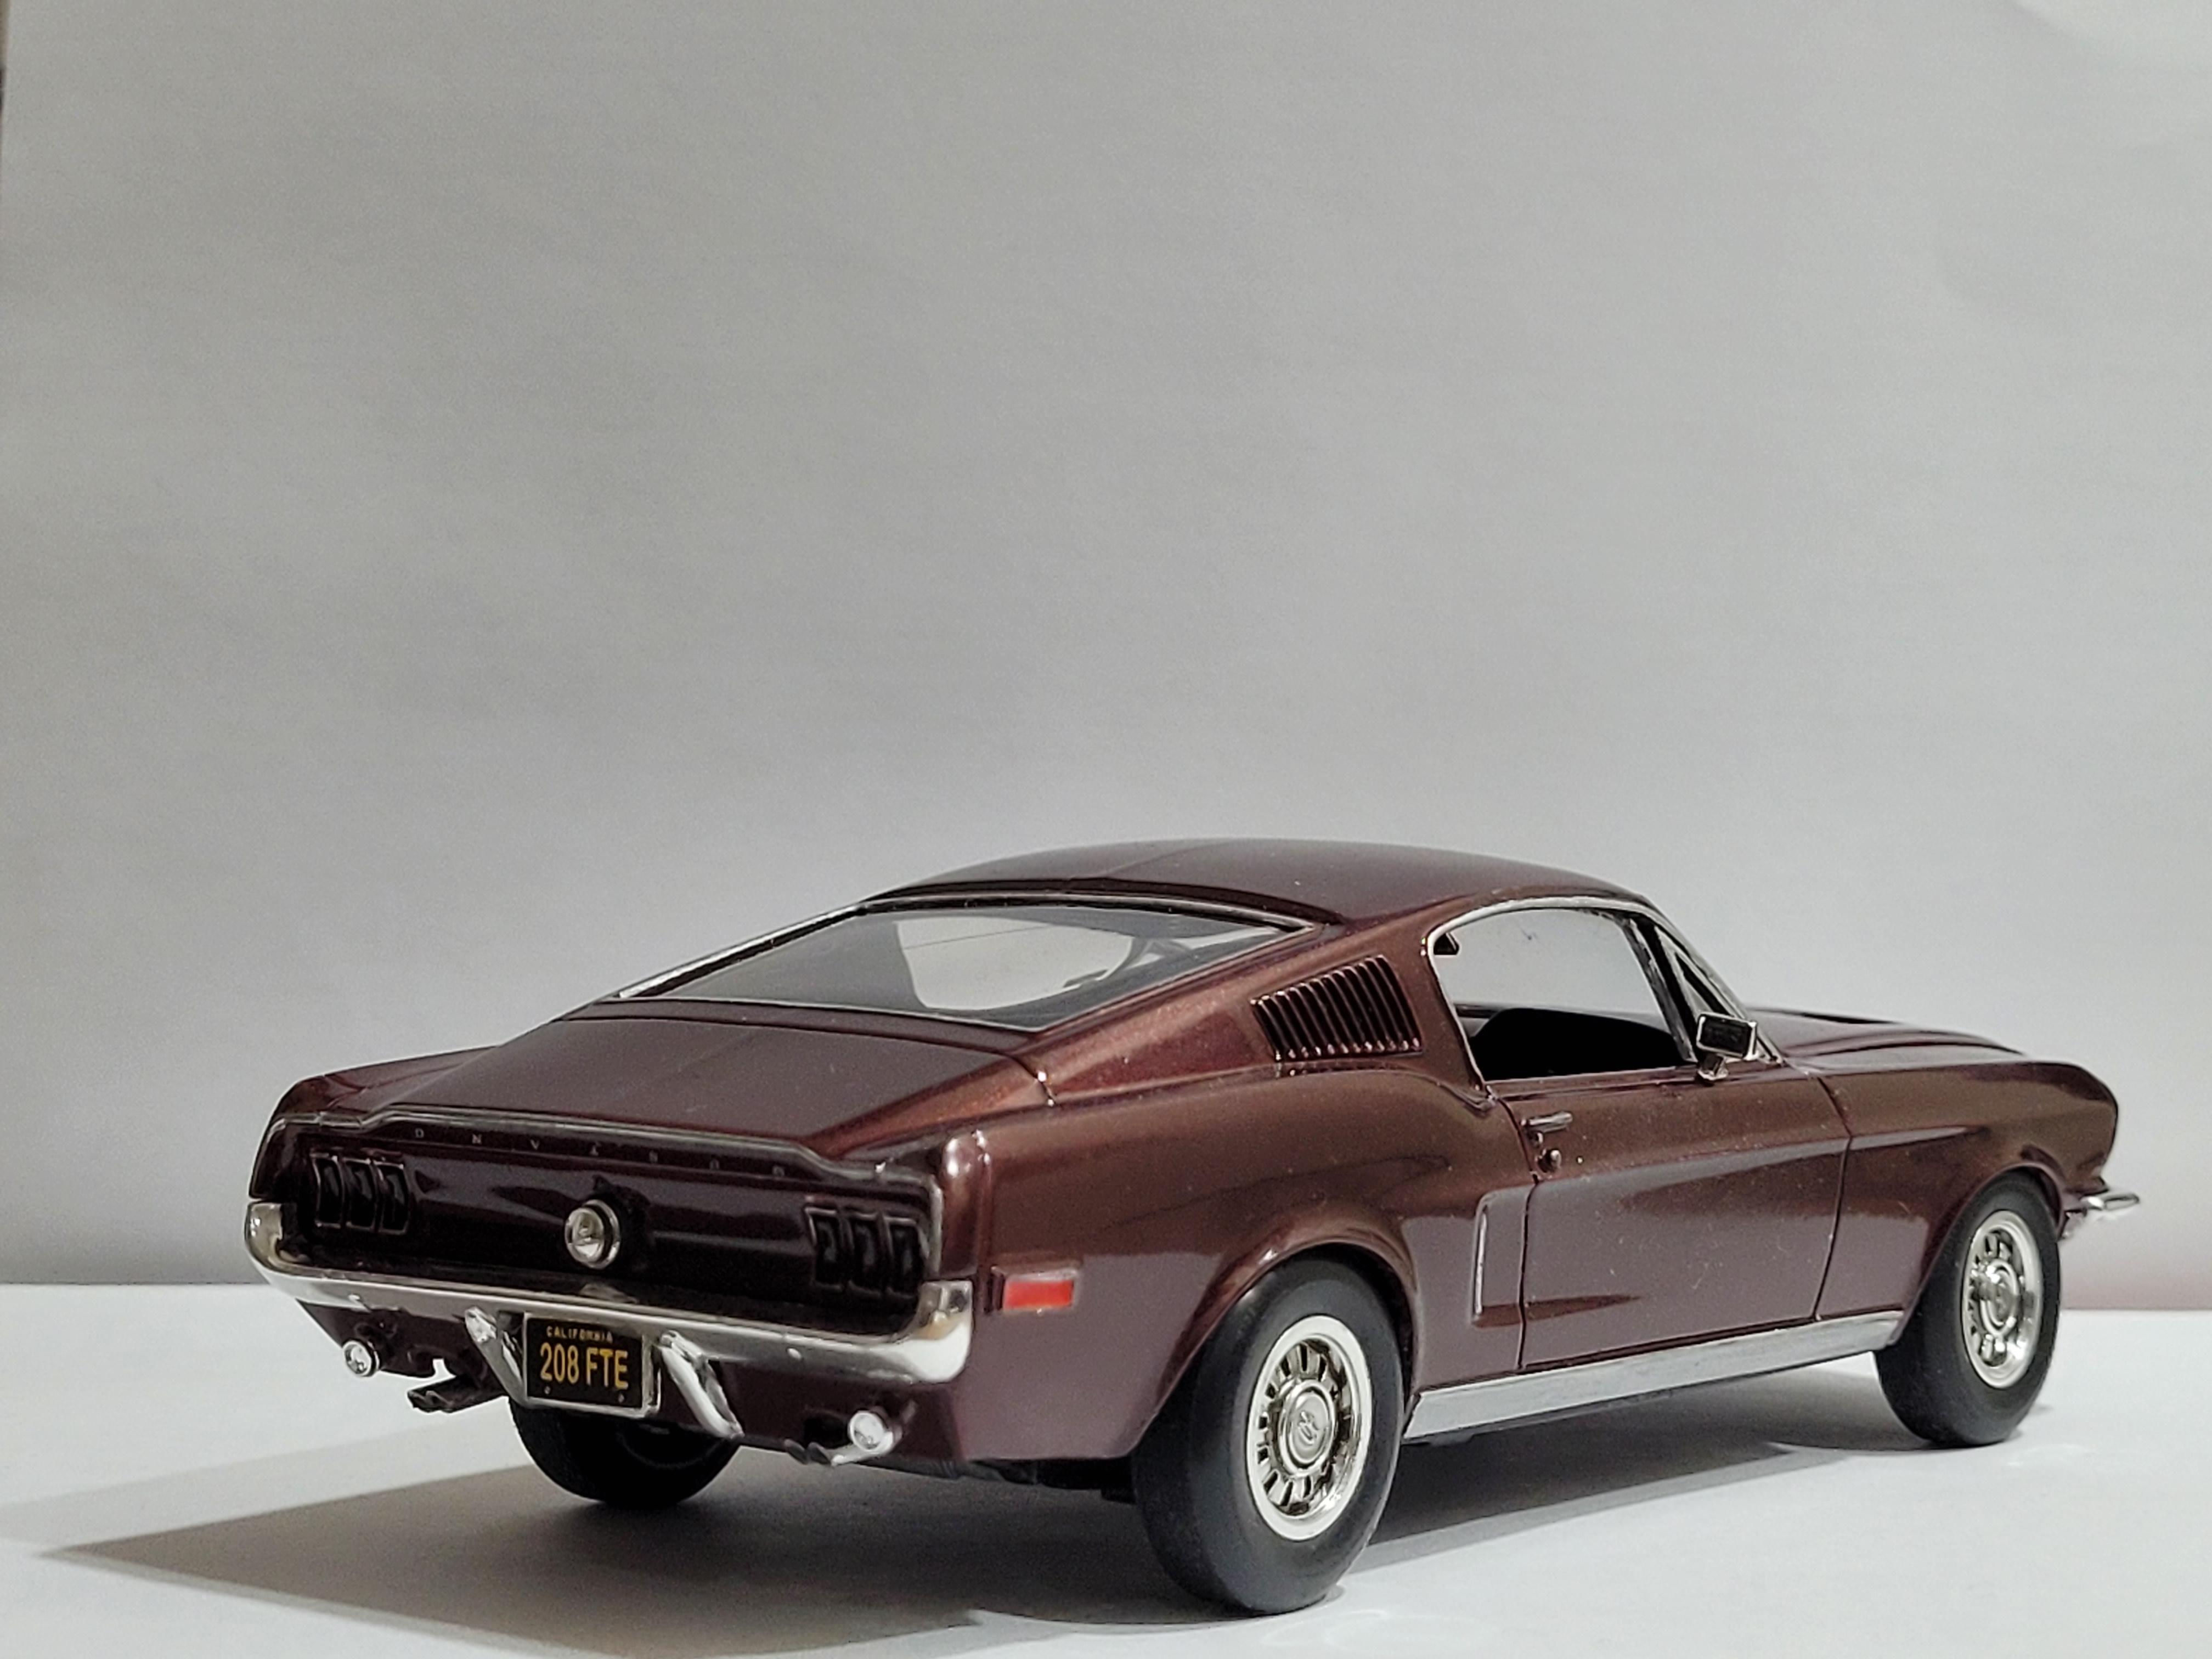
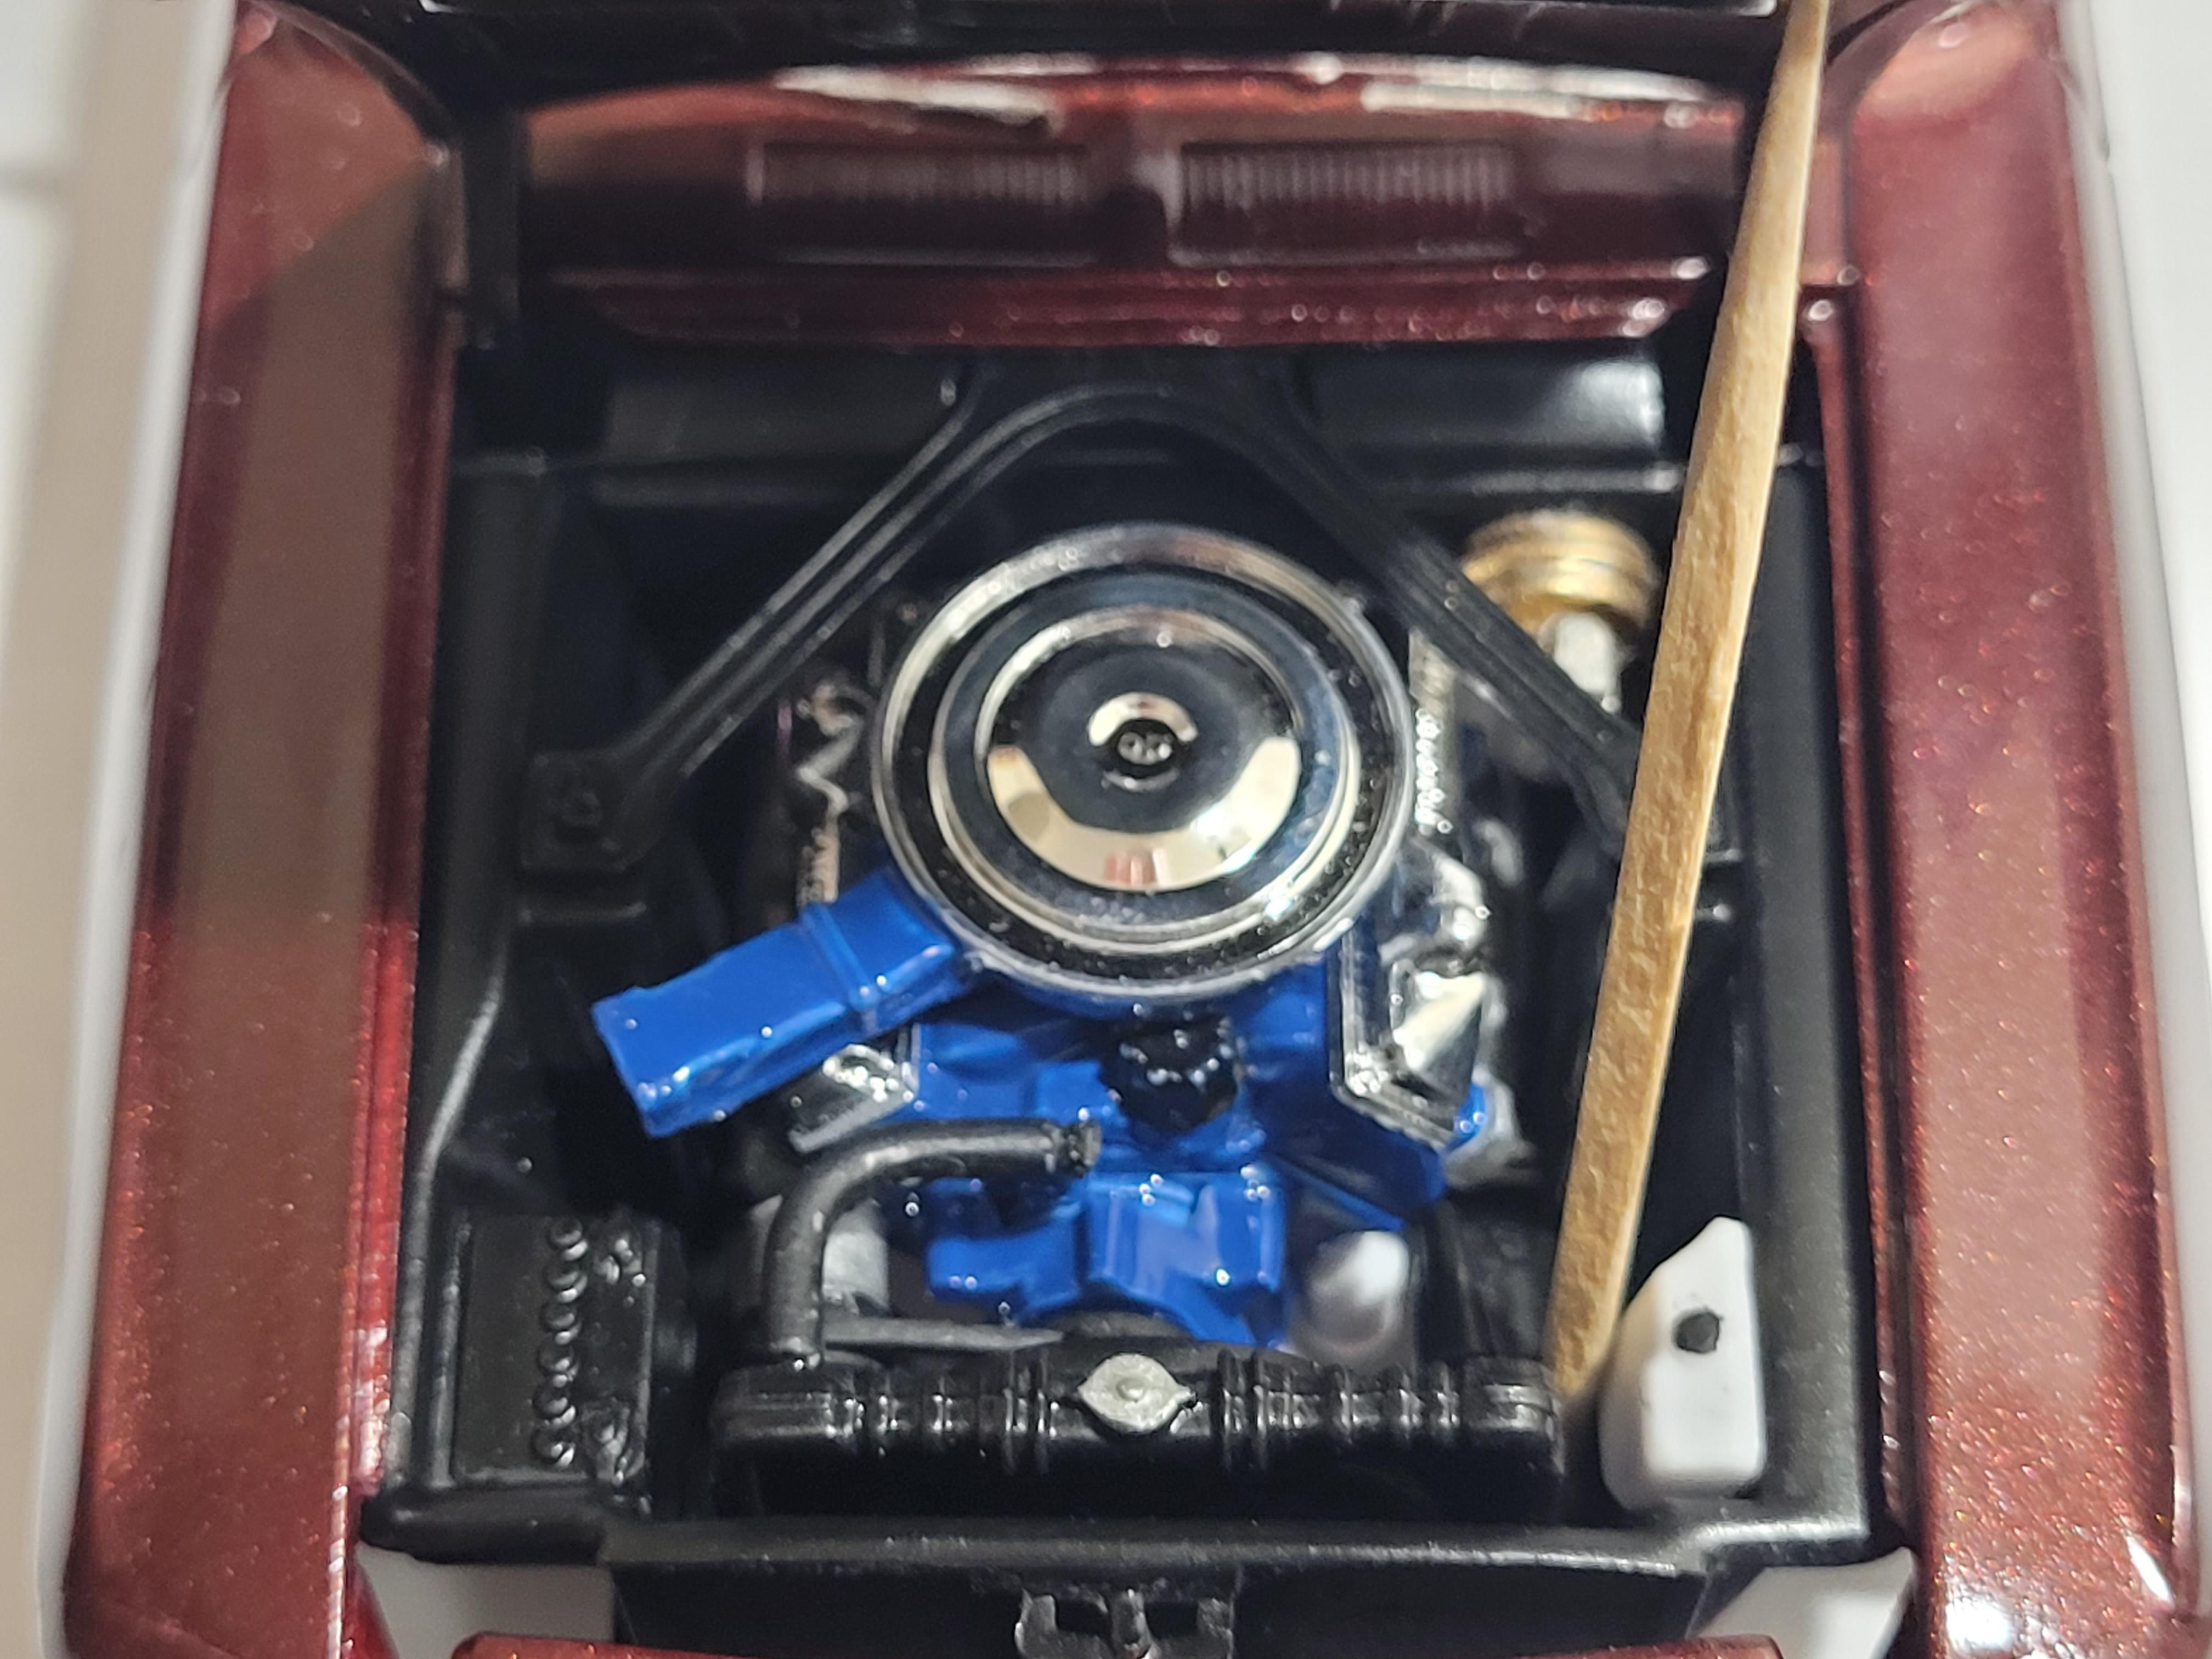
Looking at the pictures, I noticed that the Mustang lettering is upside down! My eyes are 66 years old!
-
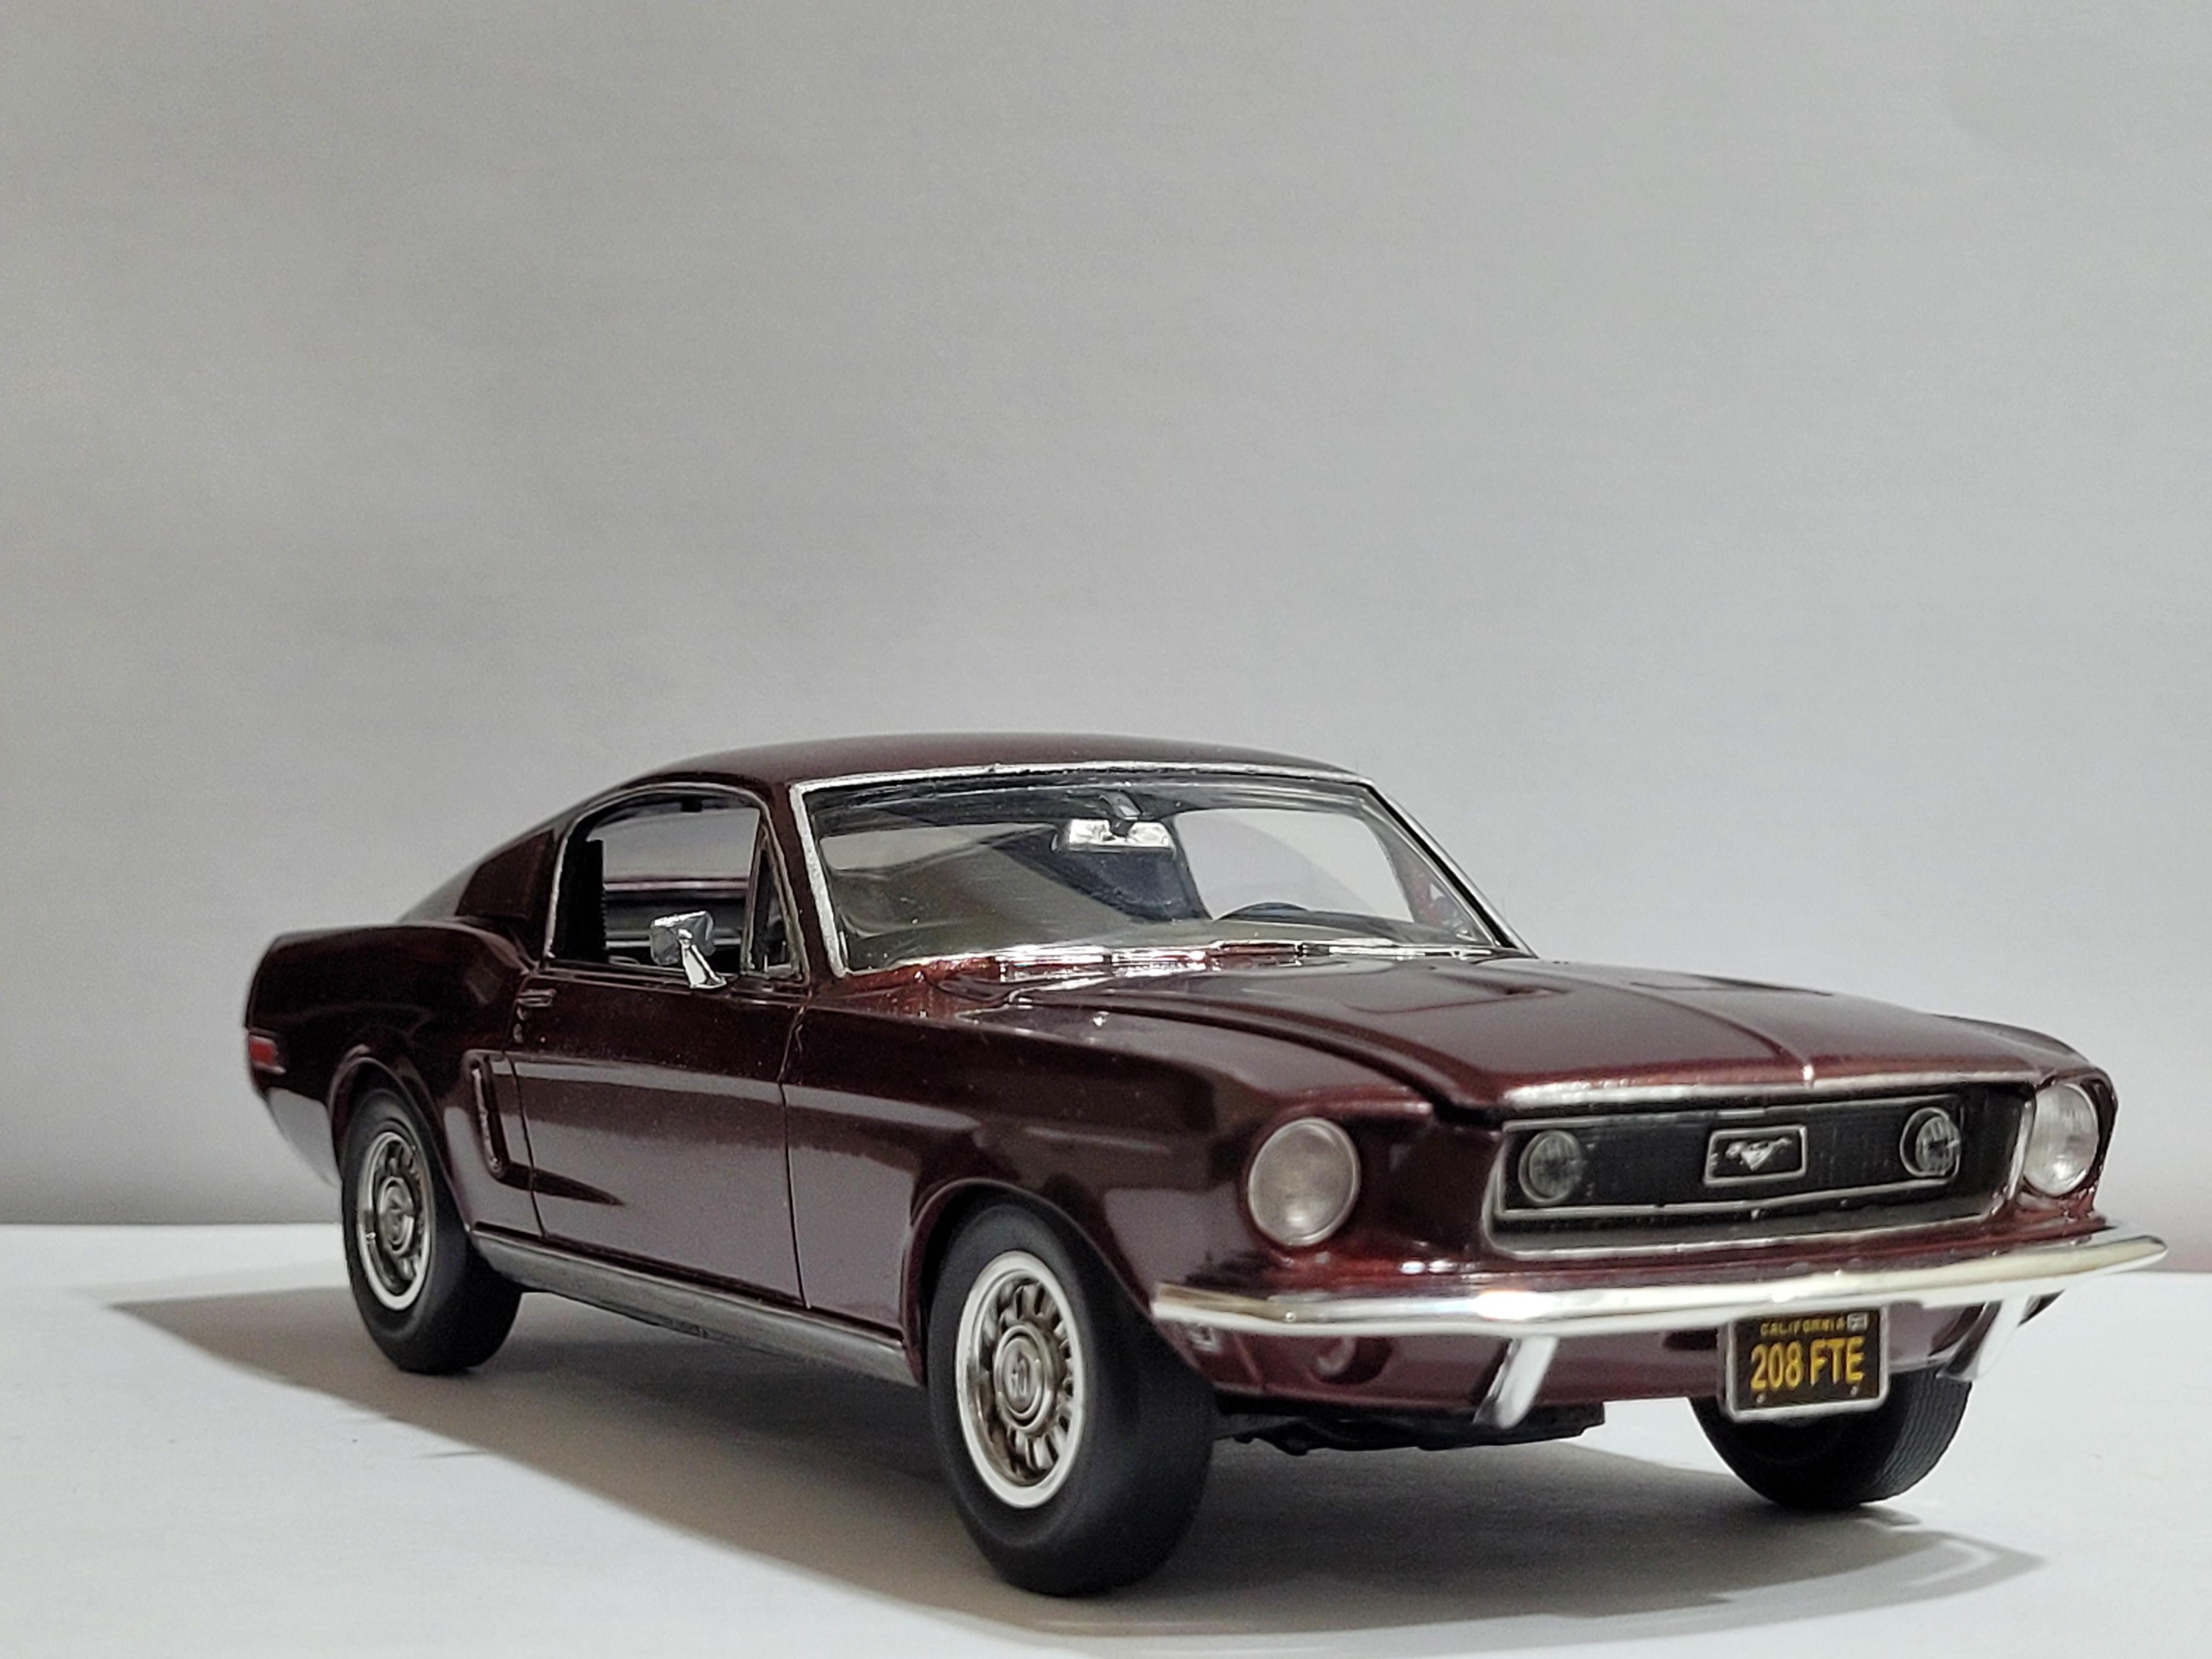
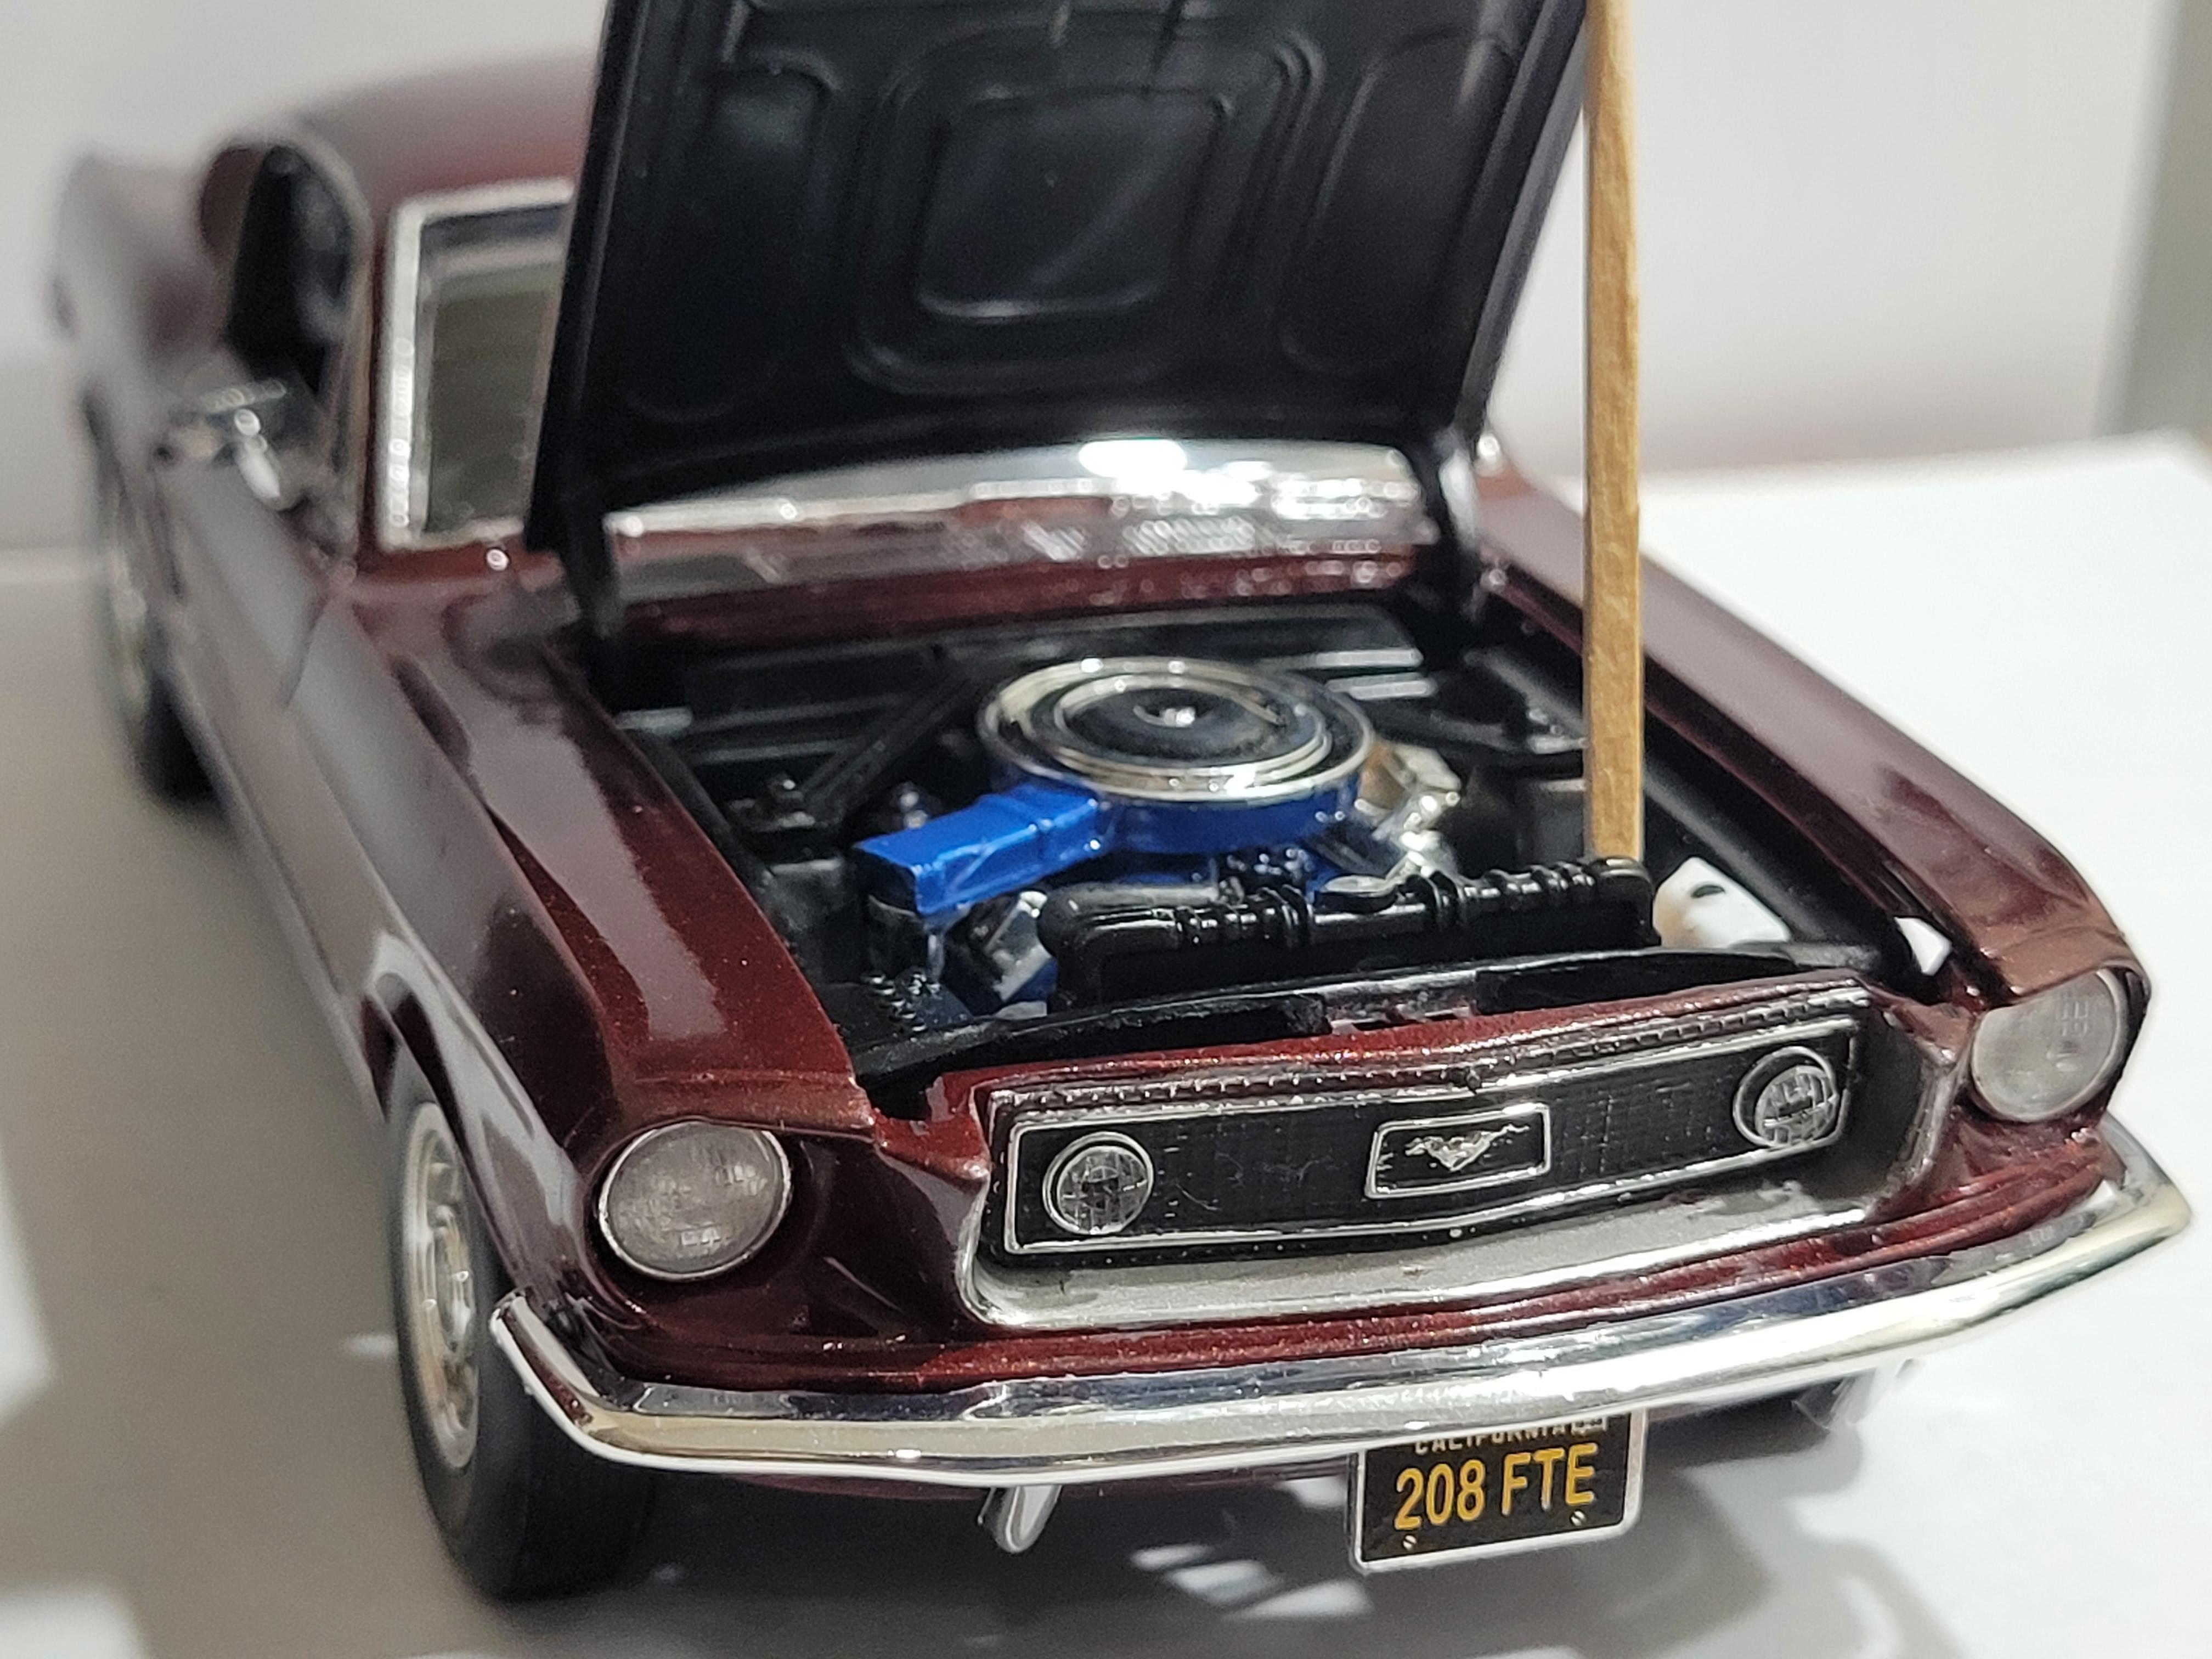
This was a high school dream car of the early 70's. It is painted Testors Burgandy Red Metallic. The only disappointment with this one, is the hood, sitting high on the radiator... probably my fault. The model was designed with too much rear end sag. I was able to compensate by adding shackle blocks at the aft end of the leaf springs. The glass fitment was greatly improved by cutting the windshield and rear glass from the one-piece that was provided by the kit. Hope you like it.

-
Lindberg 1929 Mercedes Benz SSK 1/24 Scale.
kenlwest replied to Dragonhawk1066's topic in Model Cars
Looks like you were well within your comfort zone! Fantastic! Love the color too. -
Group 29 - the thread for everyone's '29 Ford Roadster builds
kenlwest replied to Phildaupho's topic in Model Cars
Here's my "out of box" experience, posted recently in the forum.
-
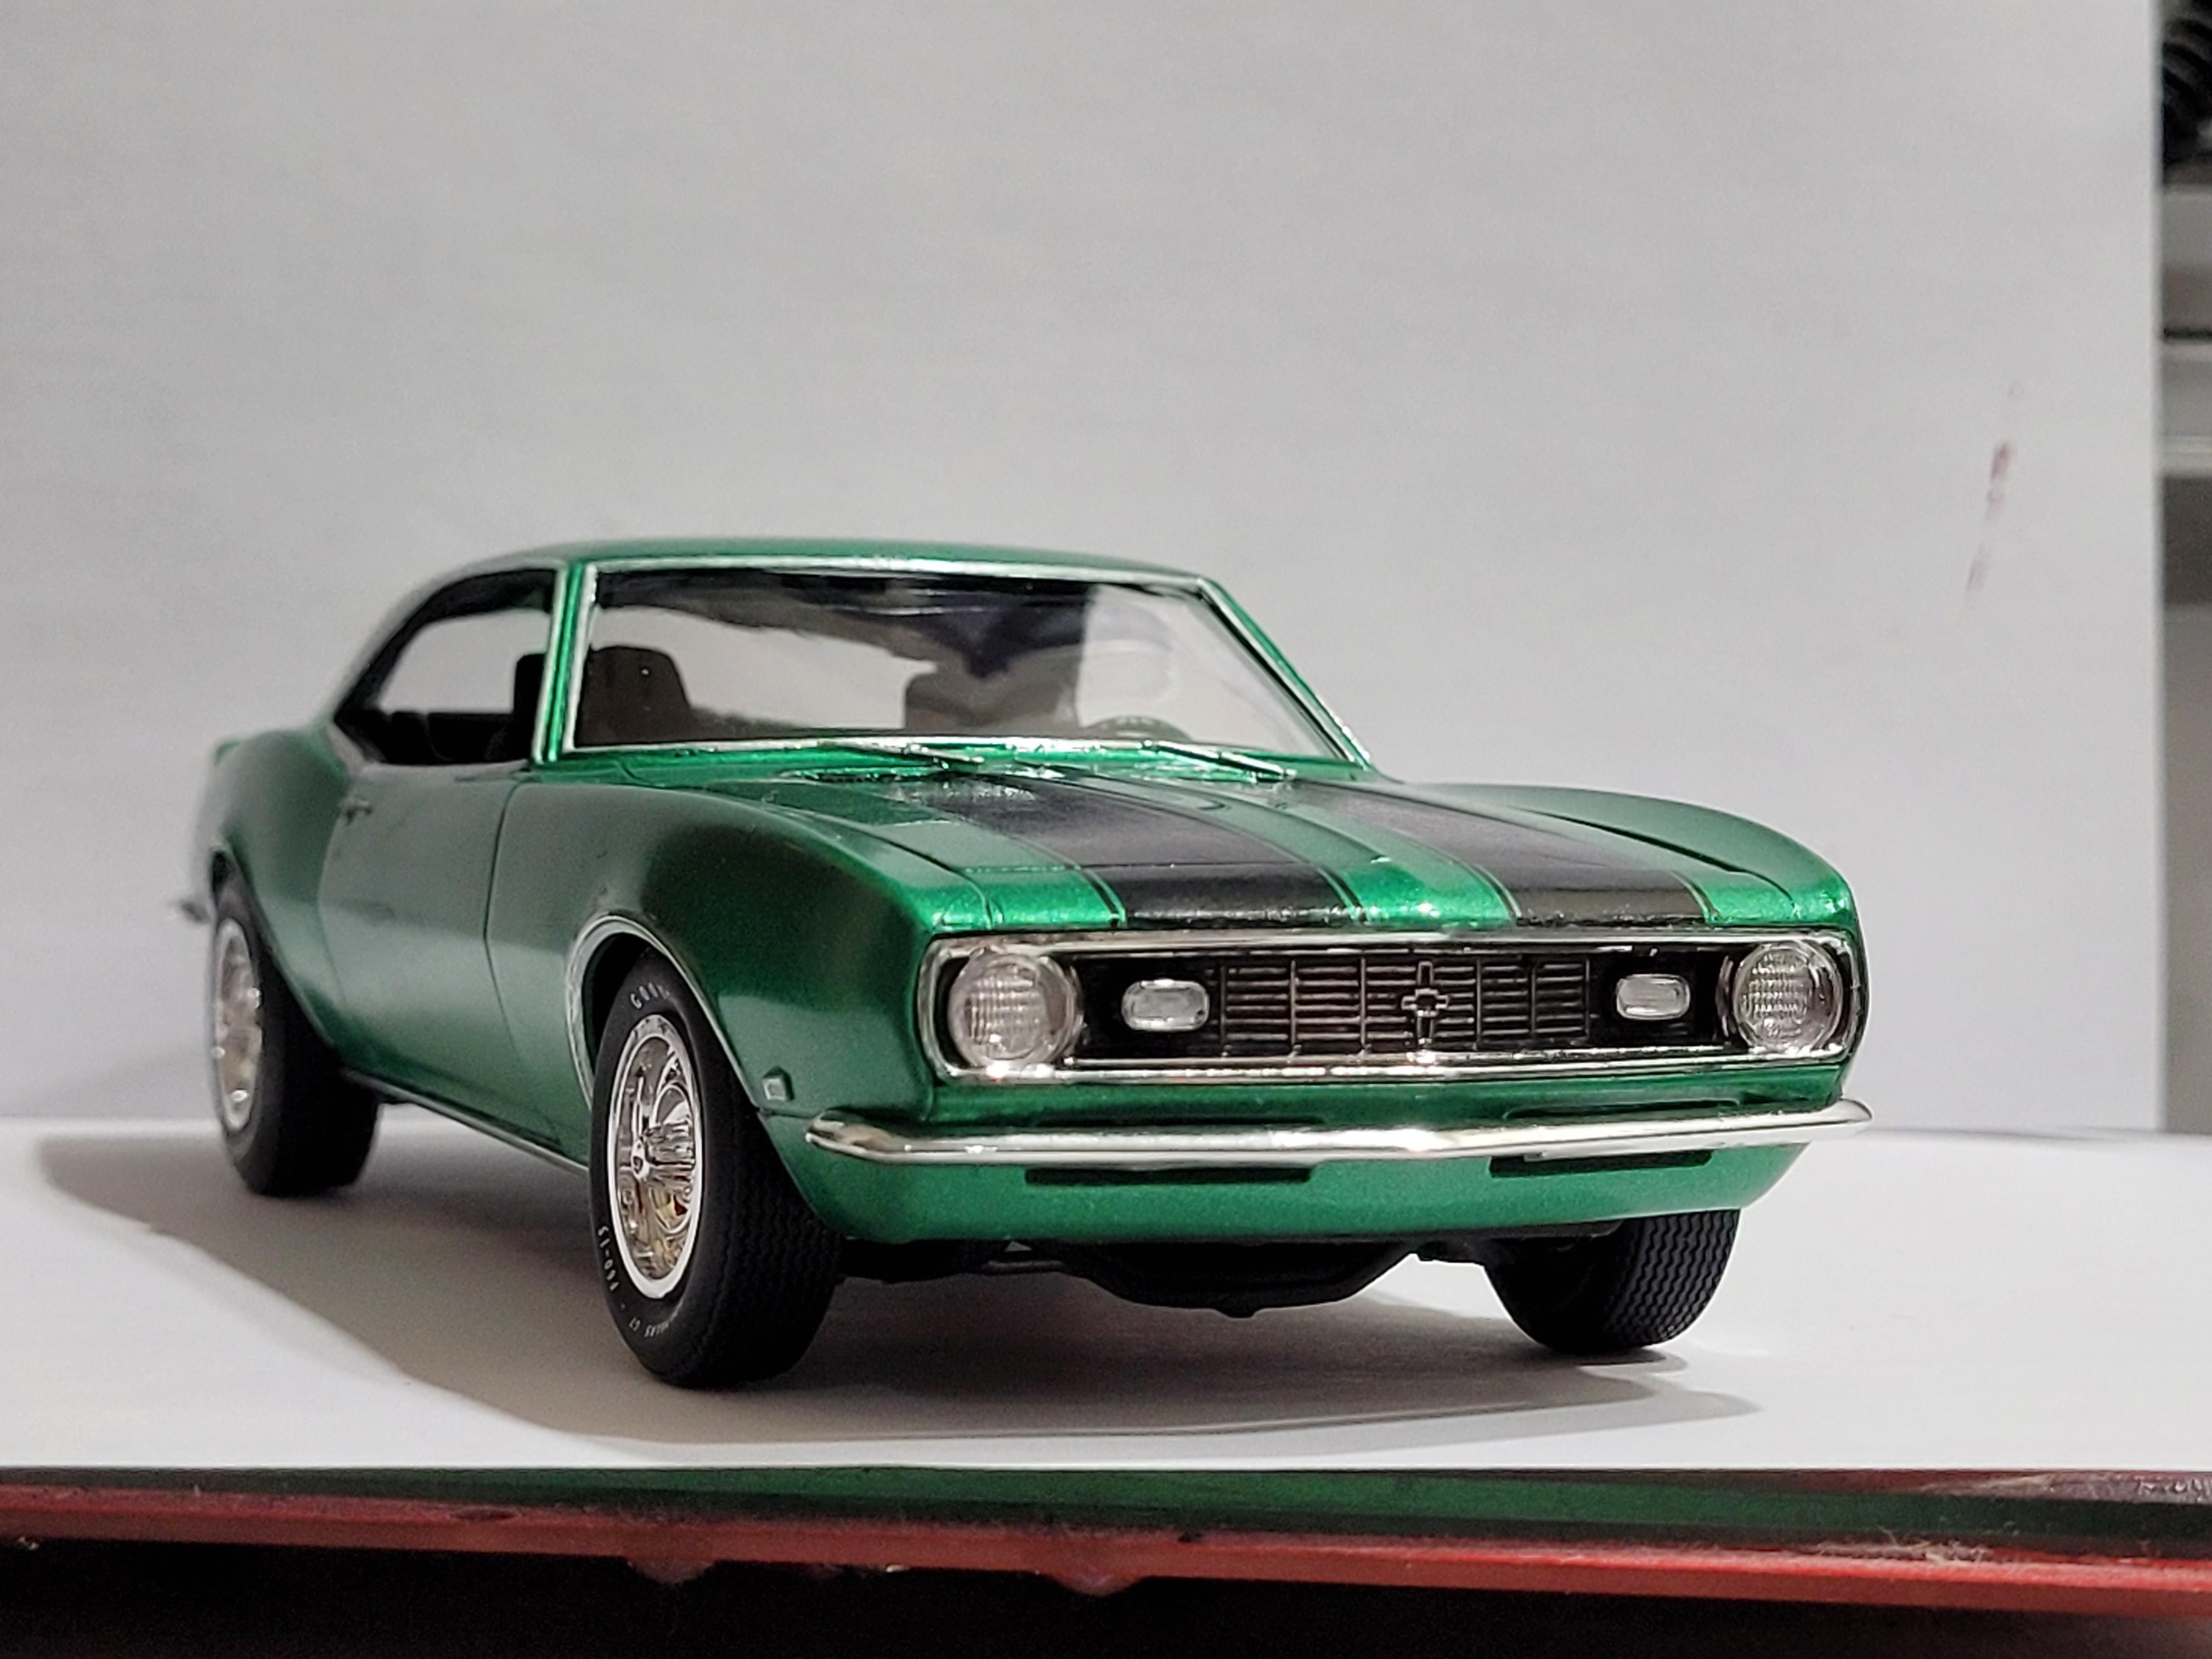
Here is my rendition of the 68 Camaro by AMT. I followed Snake45's suggested modifications (thank you!). In addition, I increased the rear axle height for an improved stance. I added side marker lights from styrene sheet. After cutting down the beltline moulding, I added thin plastic sheet to create the correct mouldings. I will add mirrors when i find a suitable pair. Unfortunately, the kit did not supply them. The interior mirror was also missing. There was no brake booster provided either, although the box art clearly shows one. I hope you like it.
- 27 replies
-
- 13
-

-
Wow! Very Nice! I love the old MGs and Triumph roadsters.
-
I remember back in high school, early 70's, when it was popular to have 50's or 60's in the rear, and 70's in the front. And the wheels were different styles front to rear. Your car has the typical rake that was common back then. This car brings back good memories from those days... @ .60 per gallon as well!
-
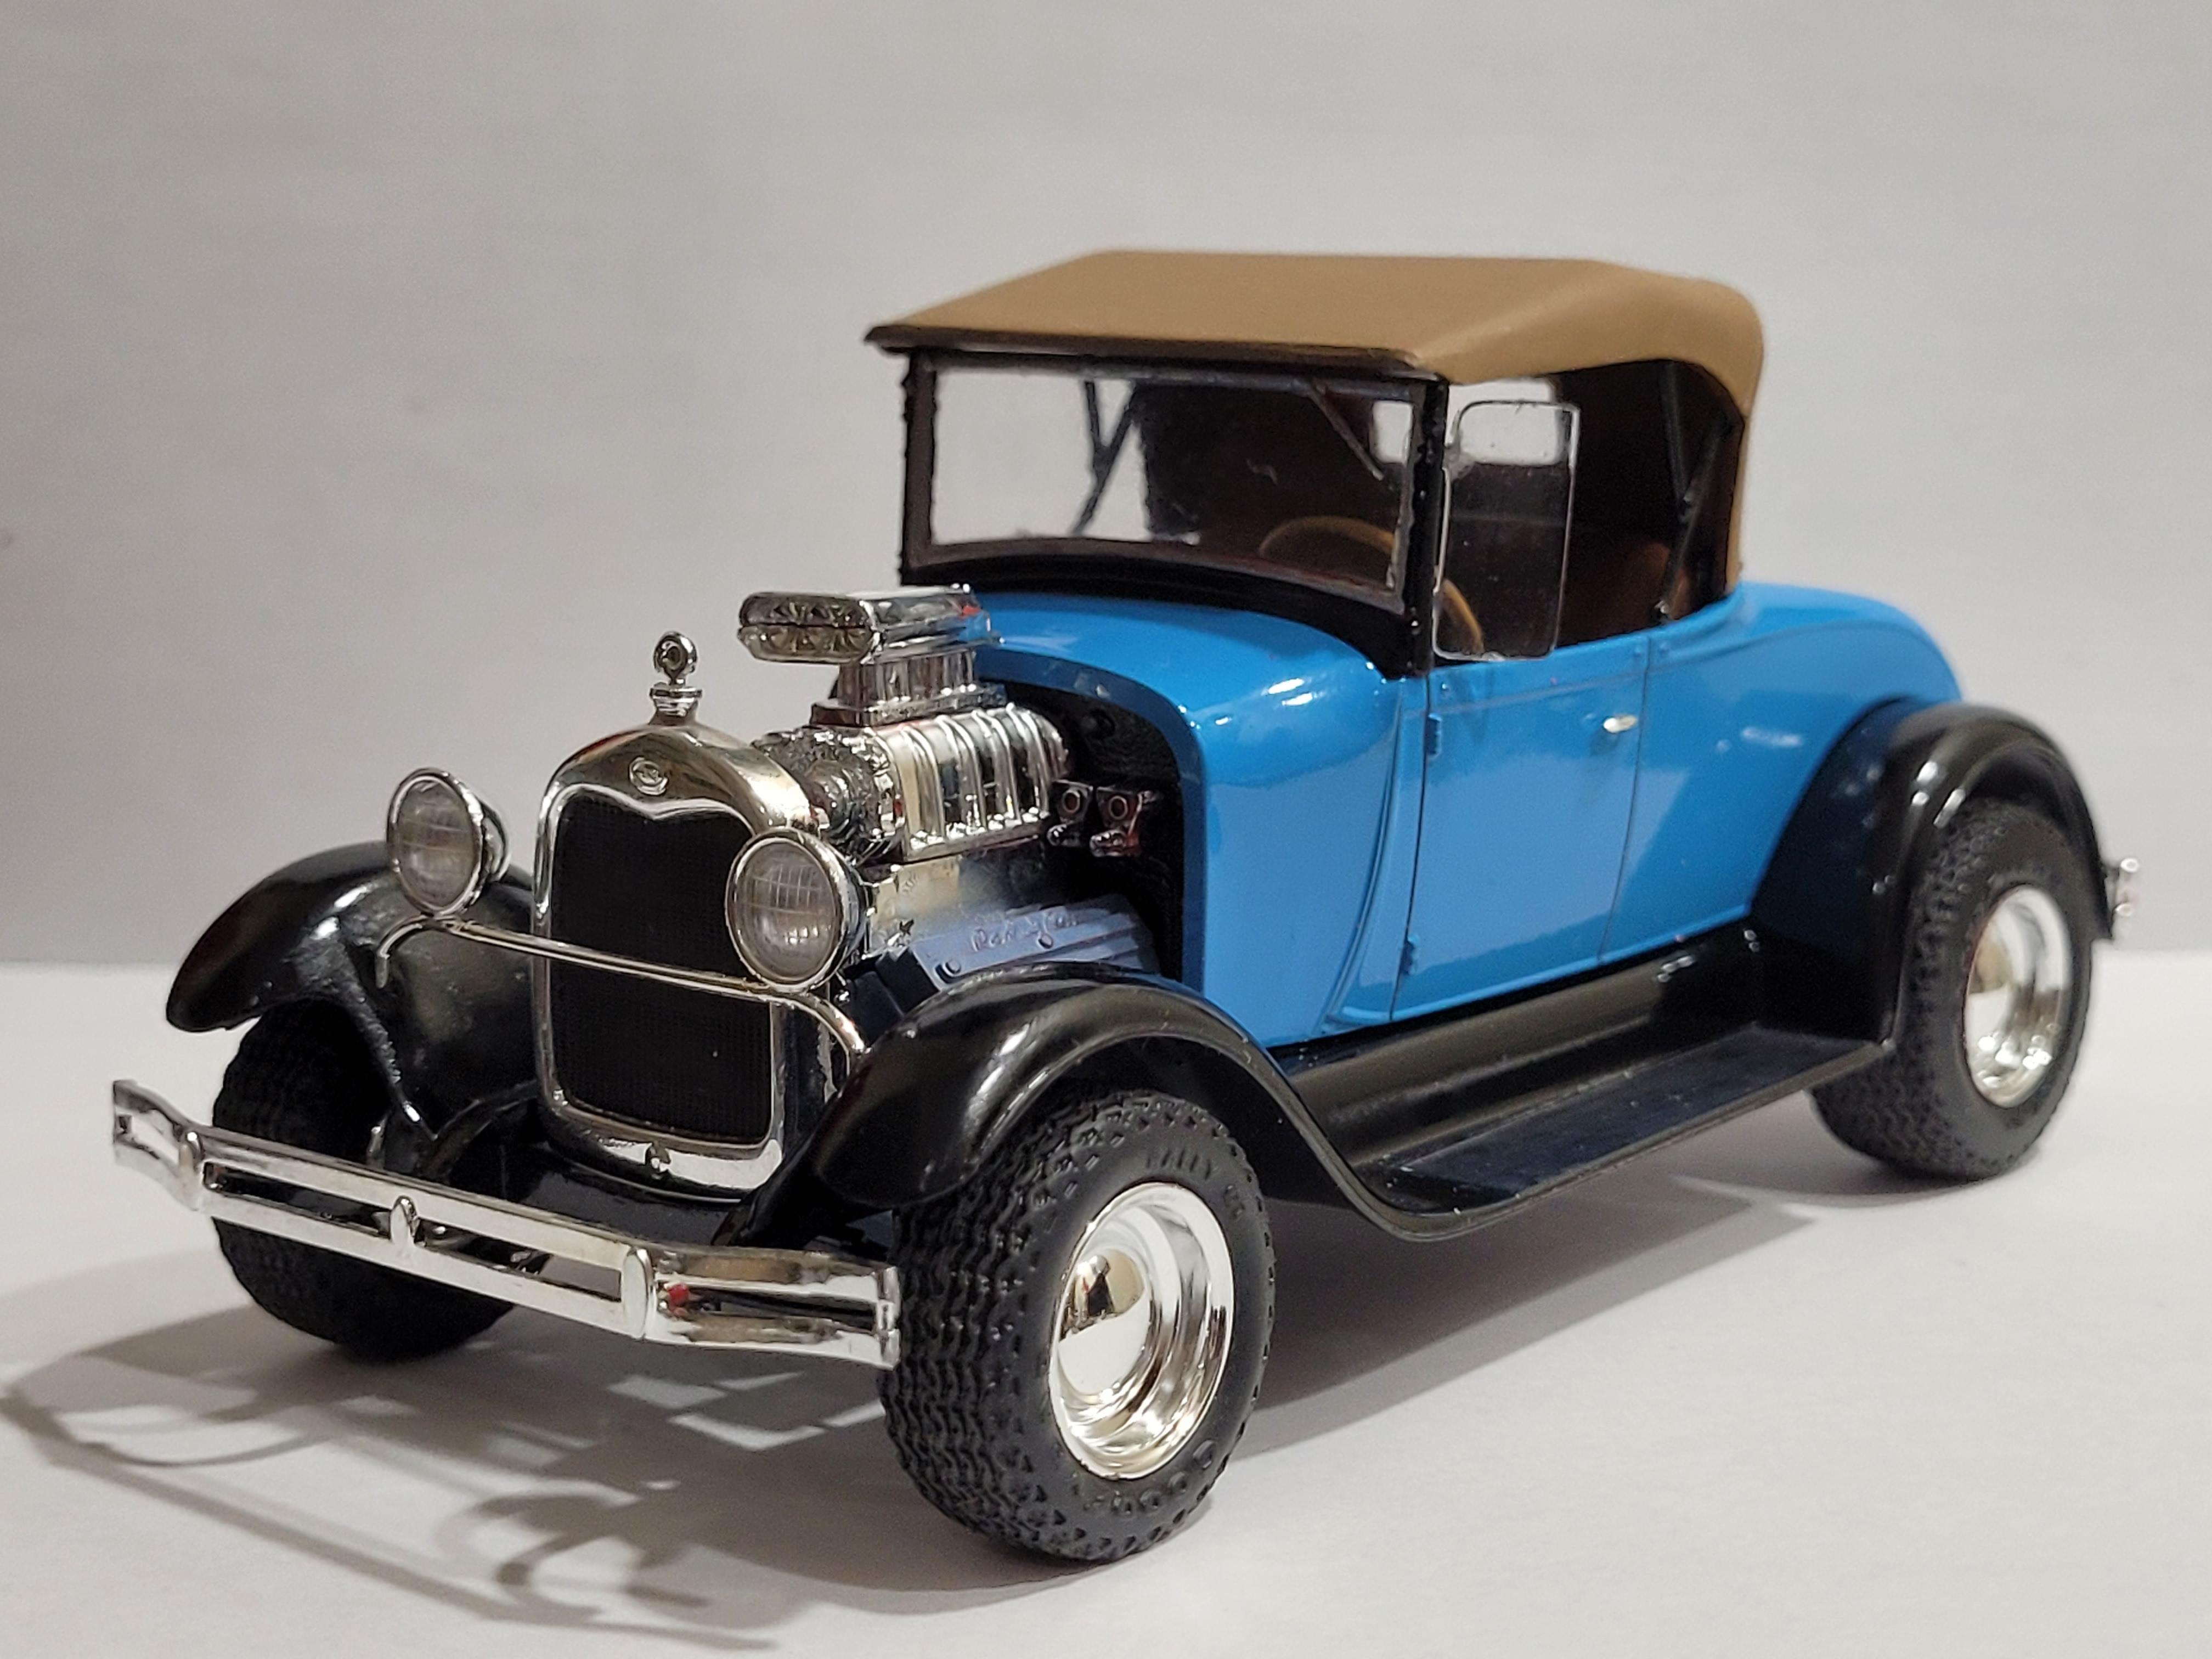
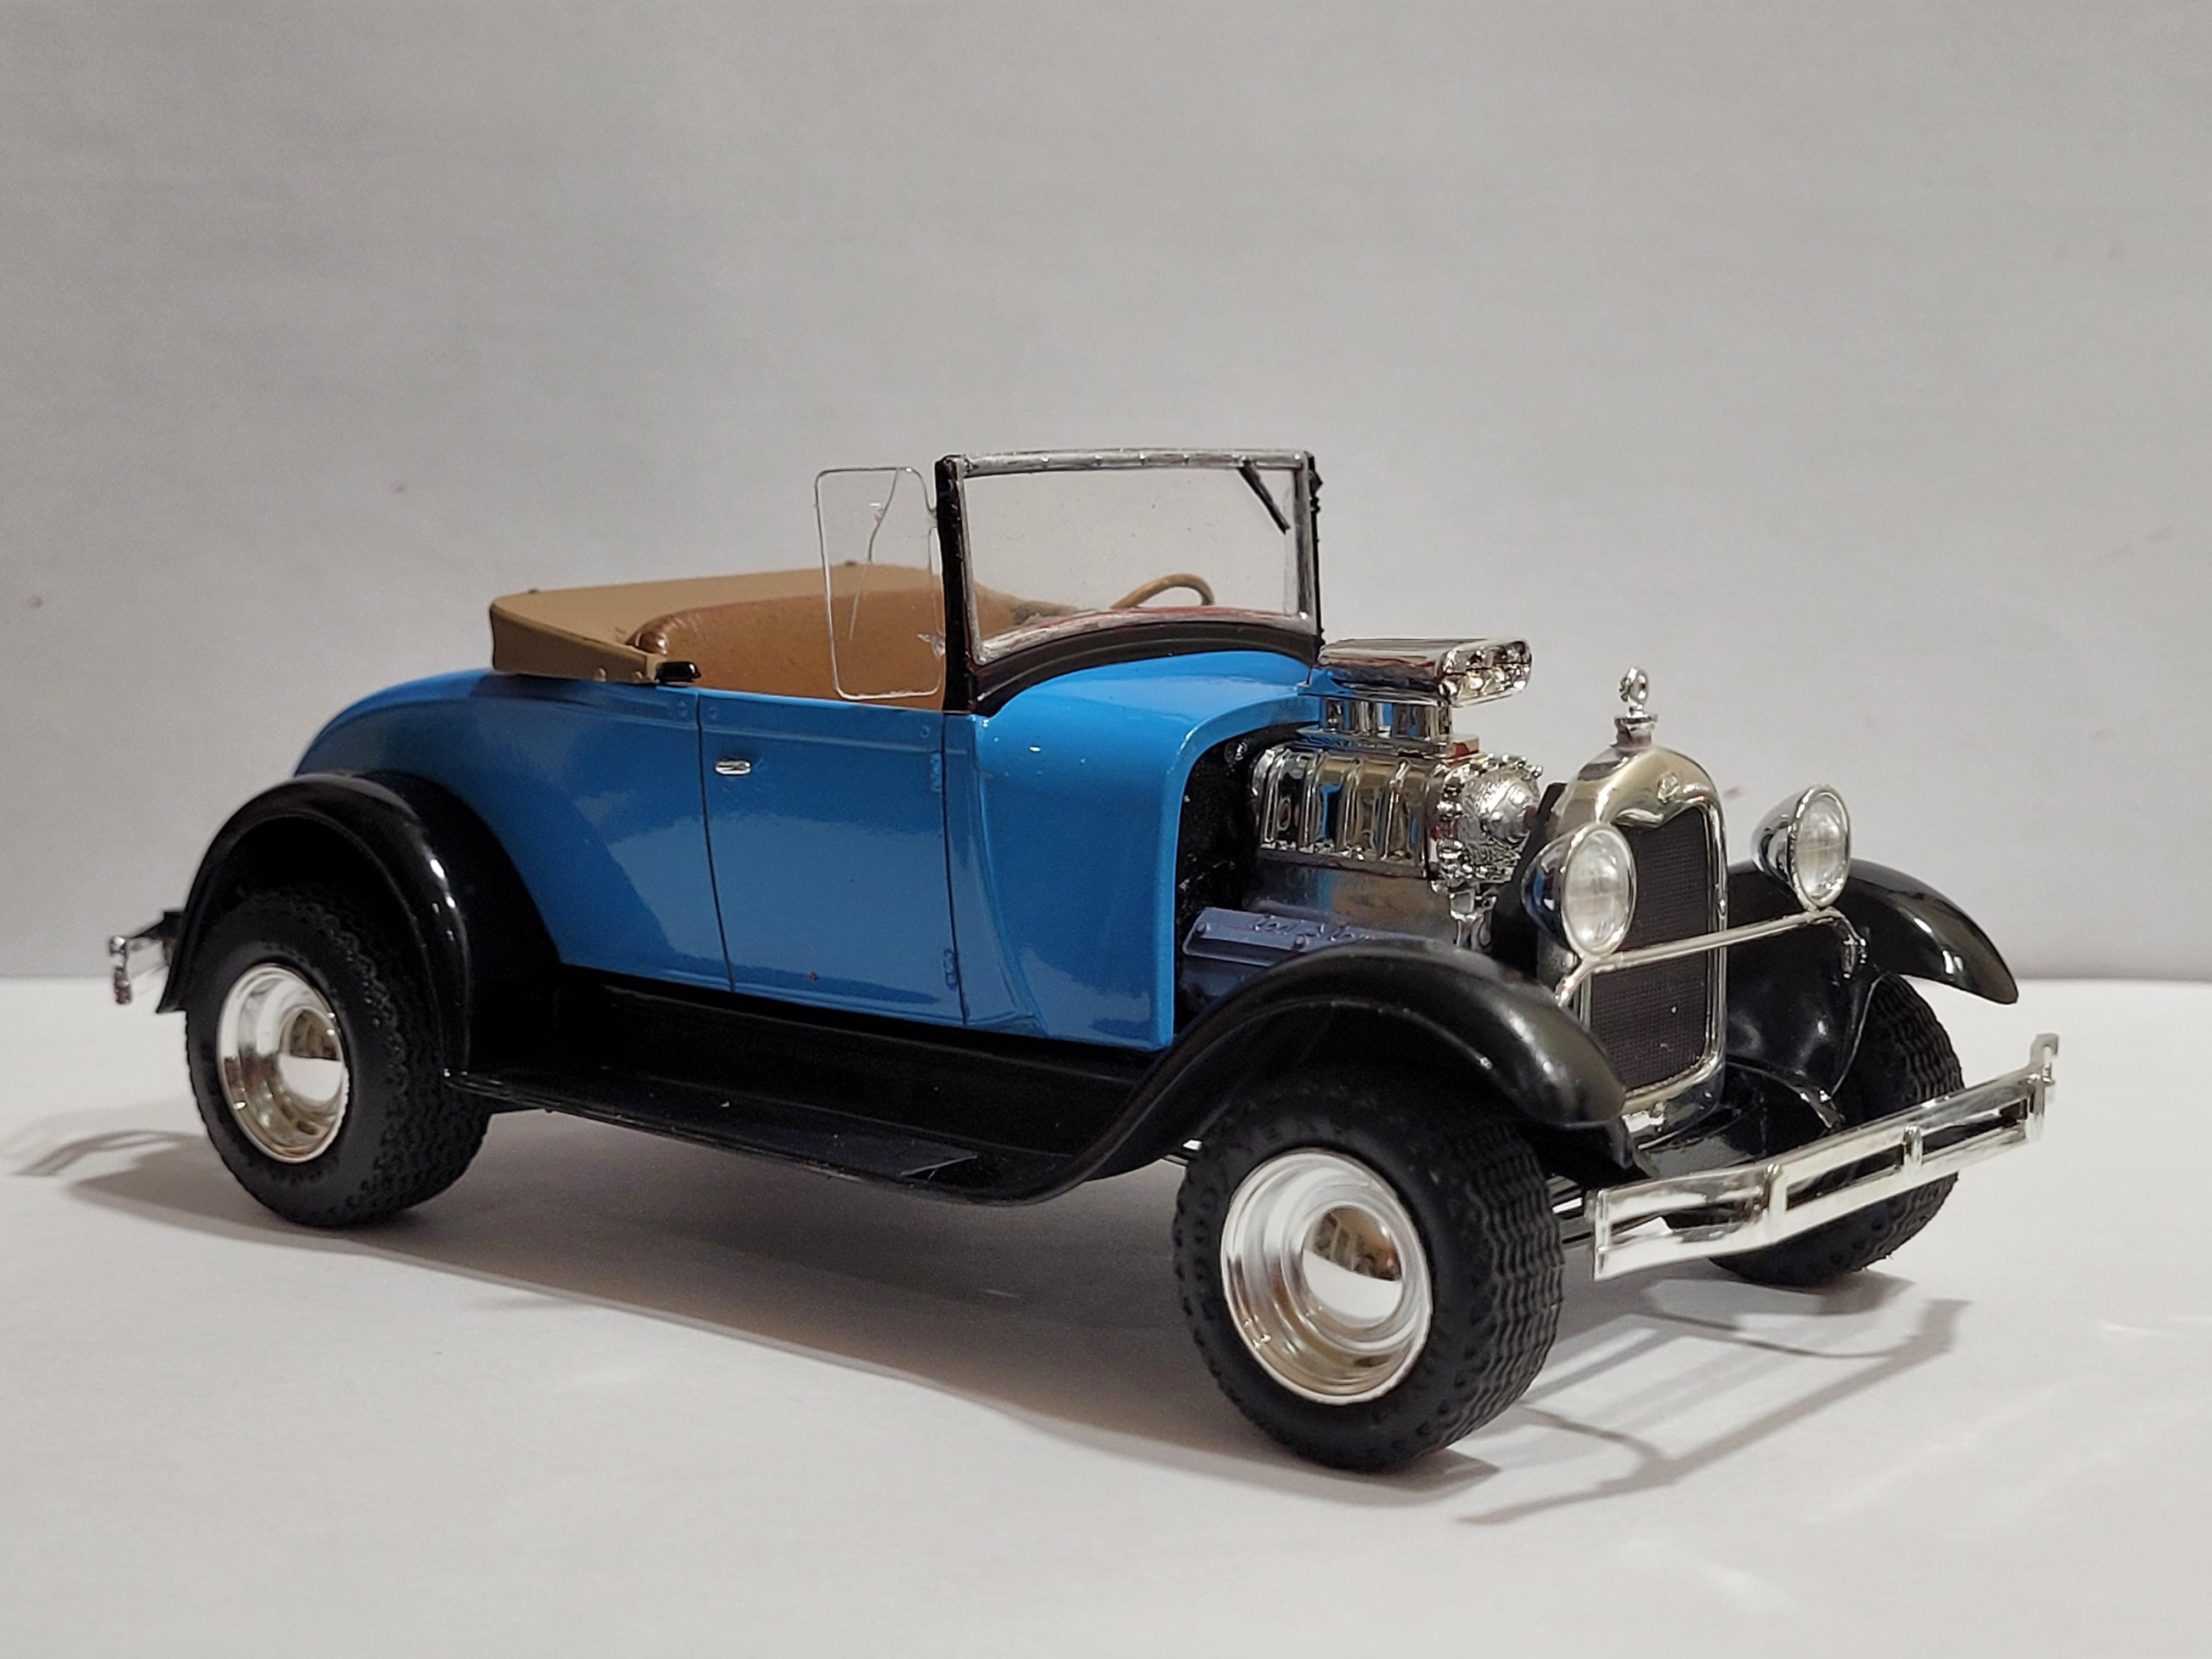
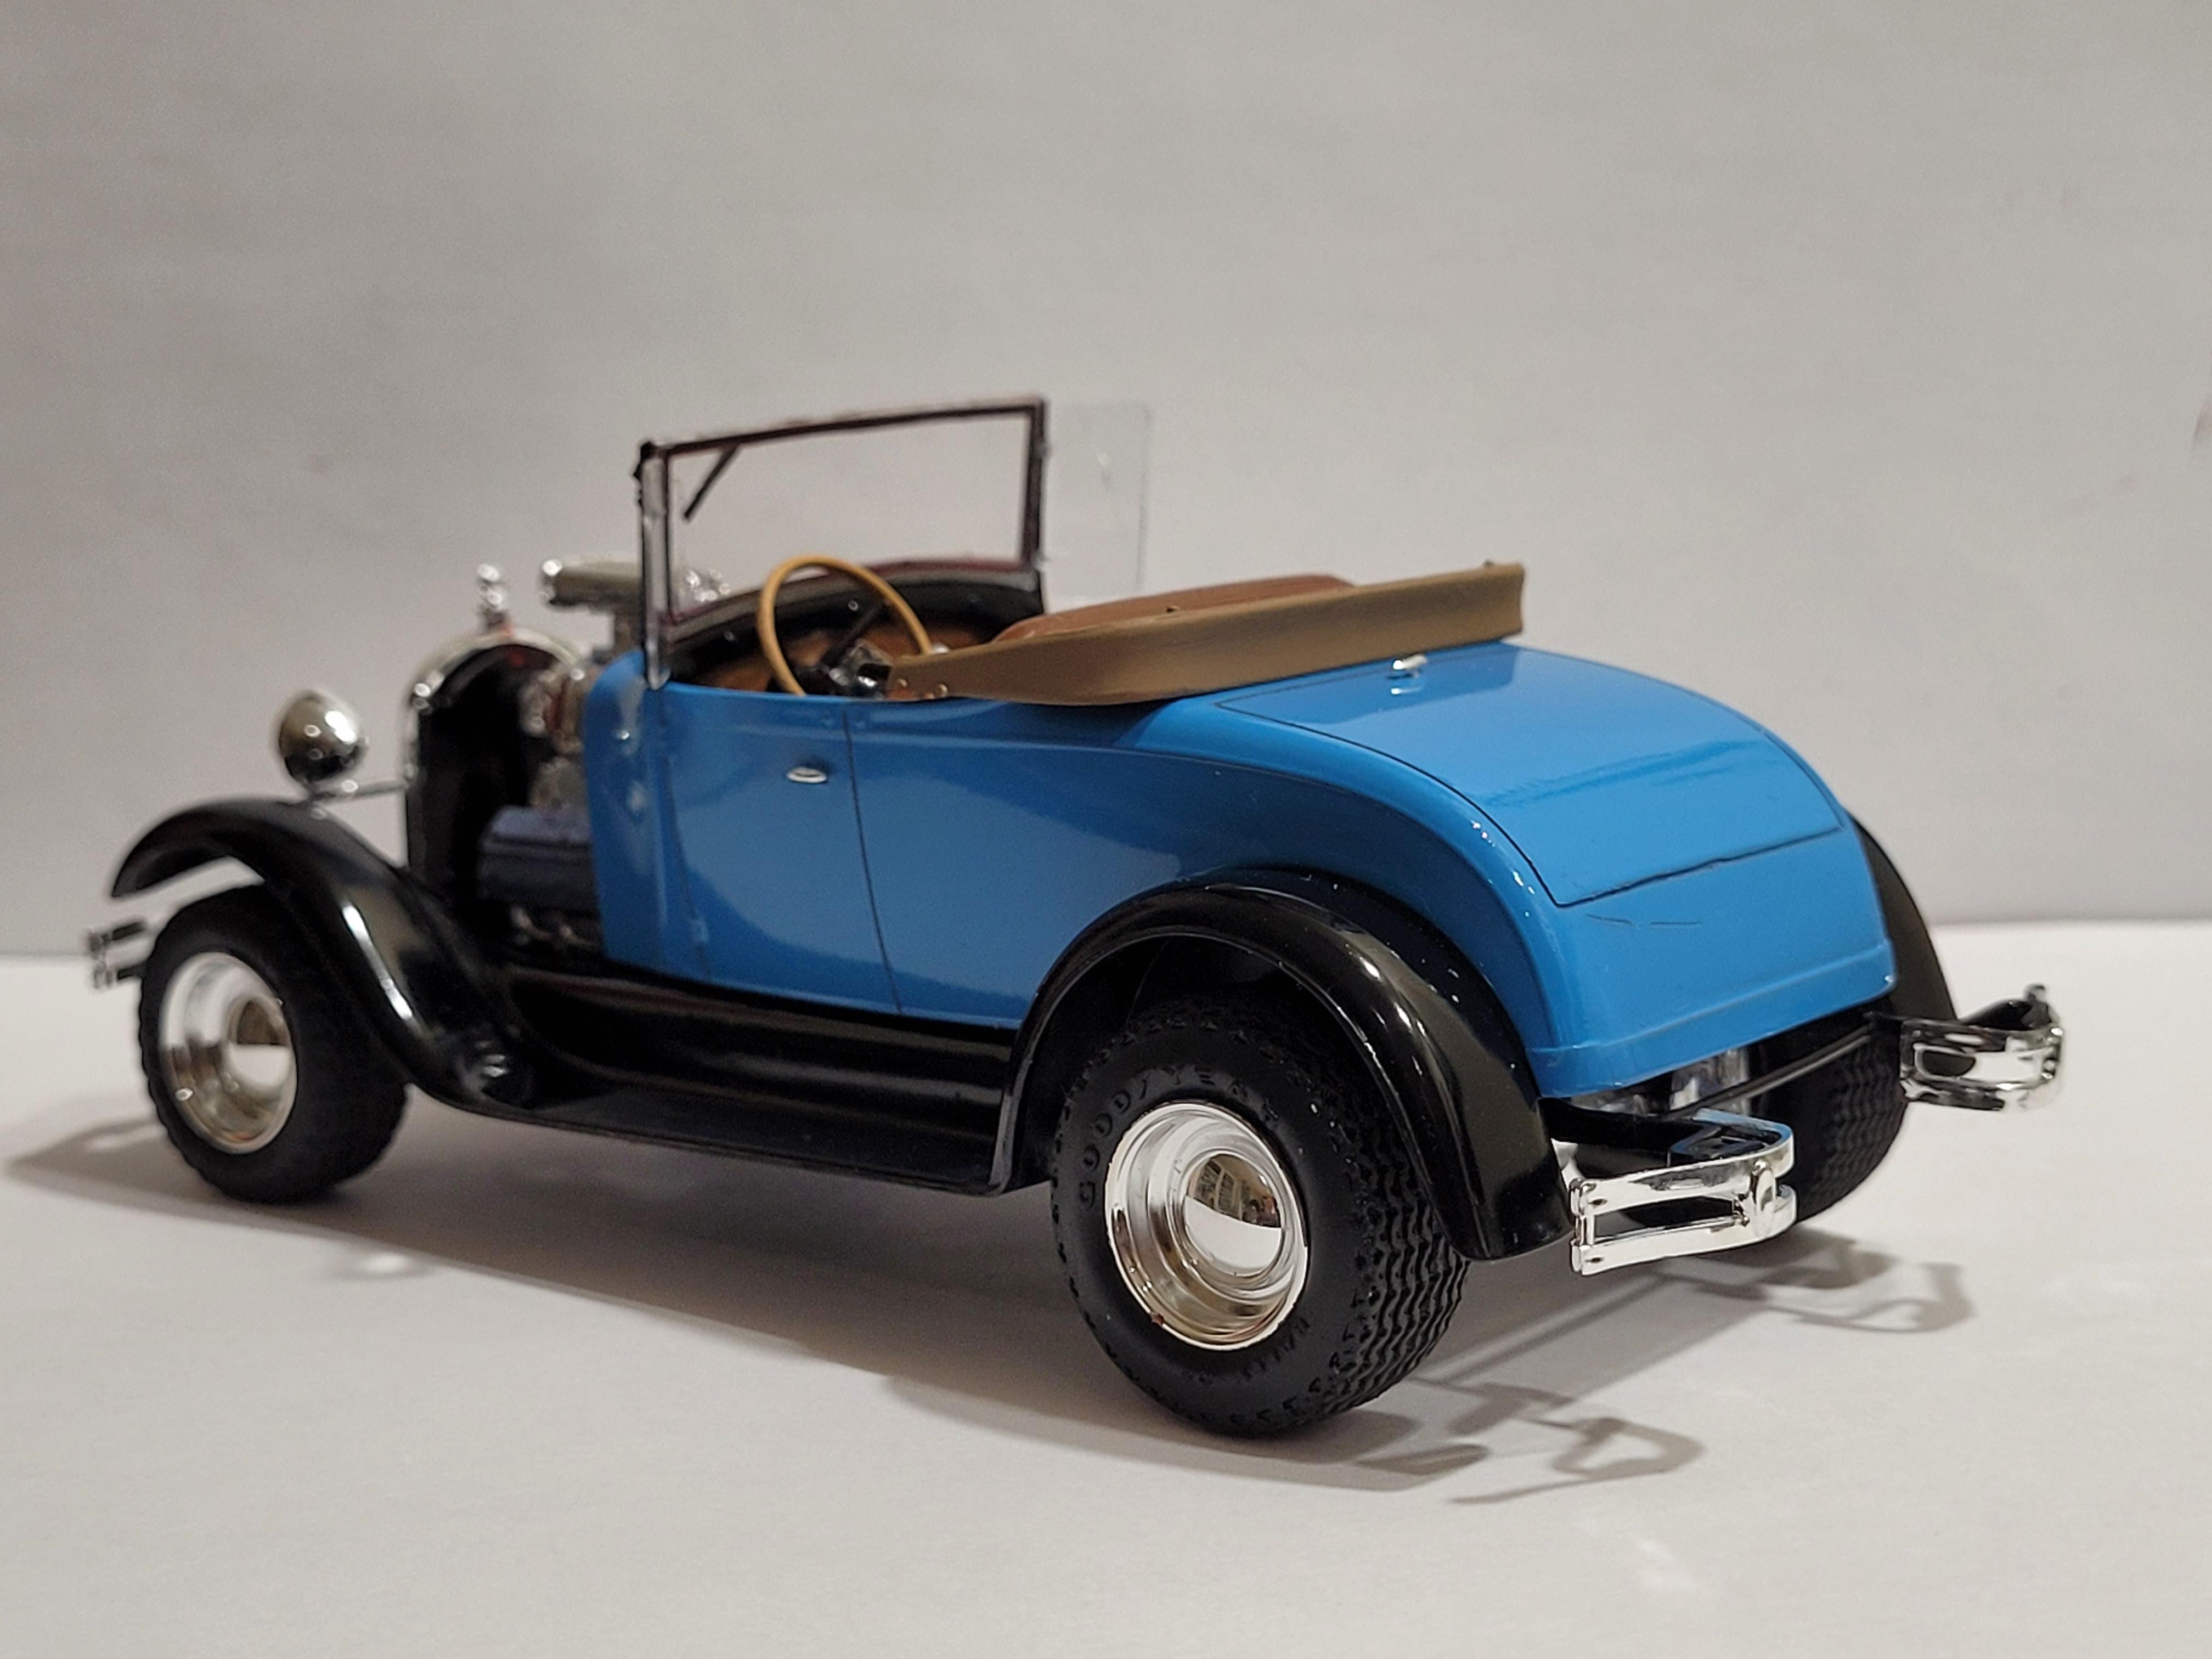
Taking a break from other projects, I decided to put this one together. It's a kit that I picked up fairly cheap with the intent to build the factory Model A, but decided to build the alternate version. Lots of fitment issues, and the result is certainly not the high standard usually found on this forum, but here it is...
-
I really like this one. Awesome job!
-
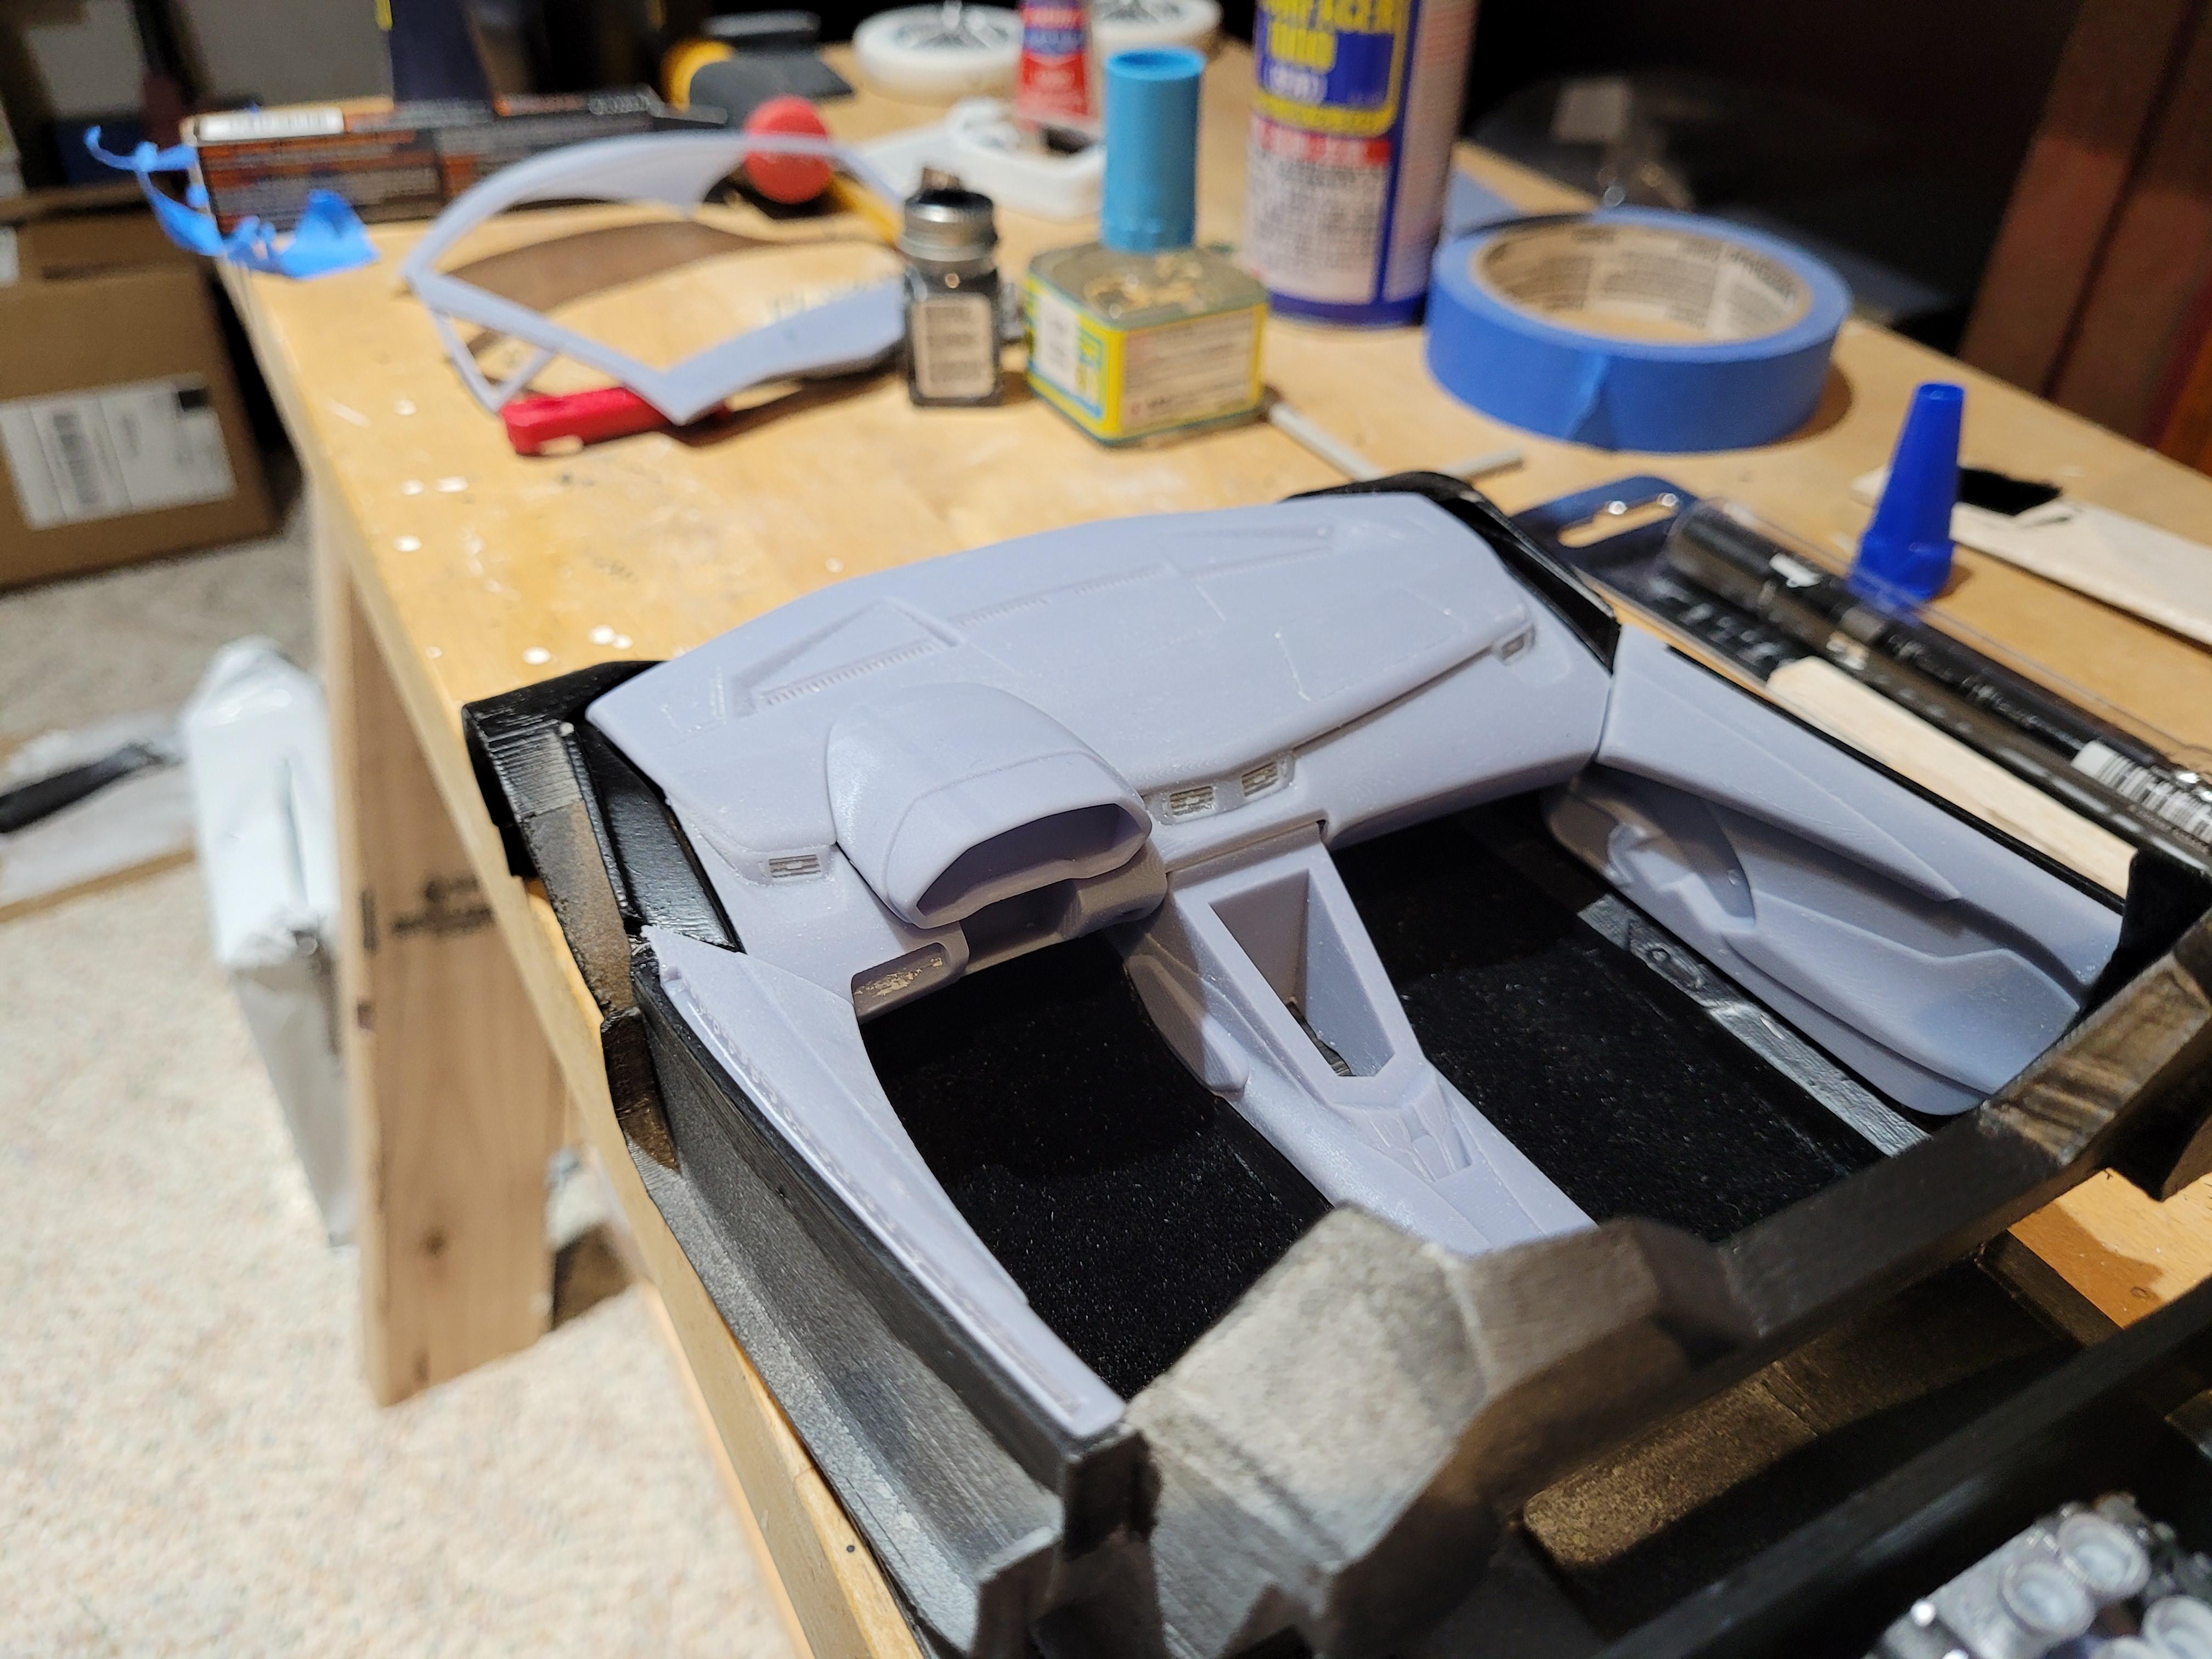
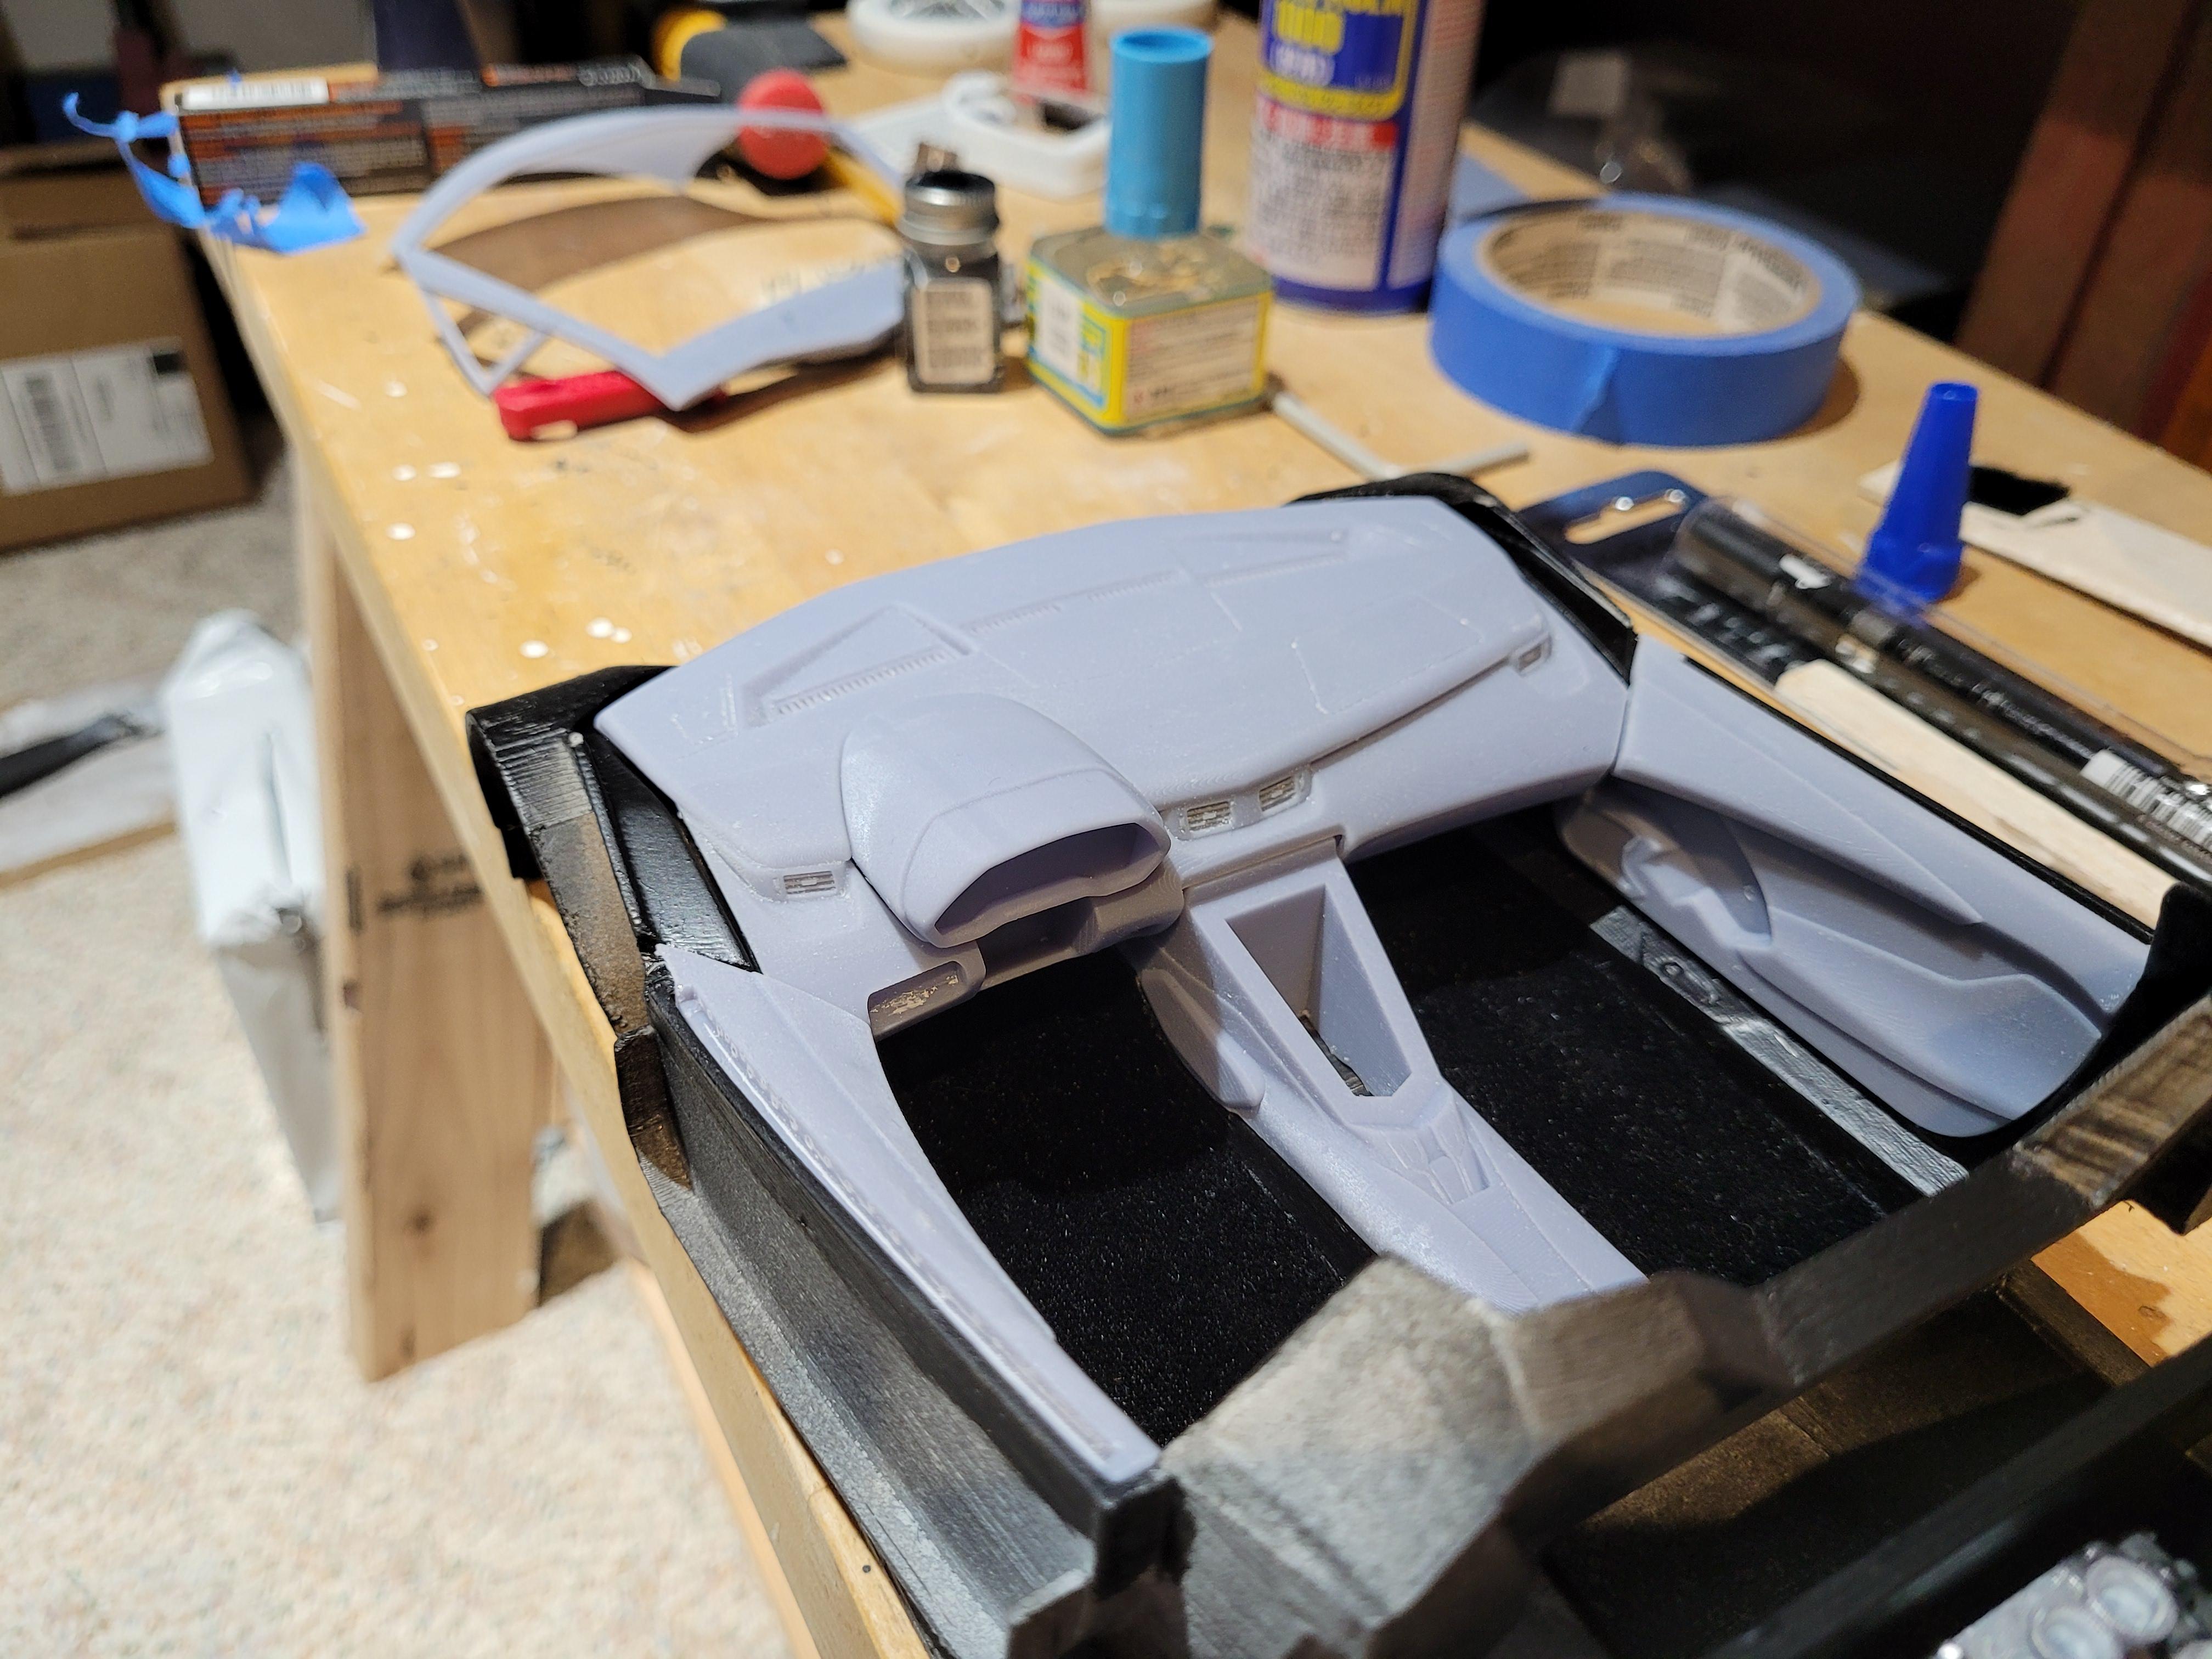
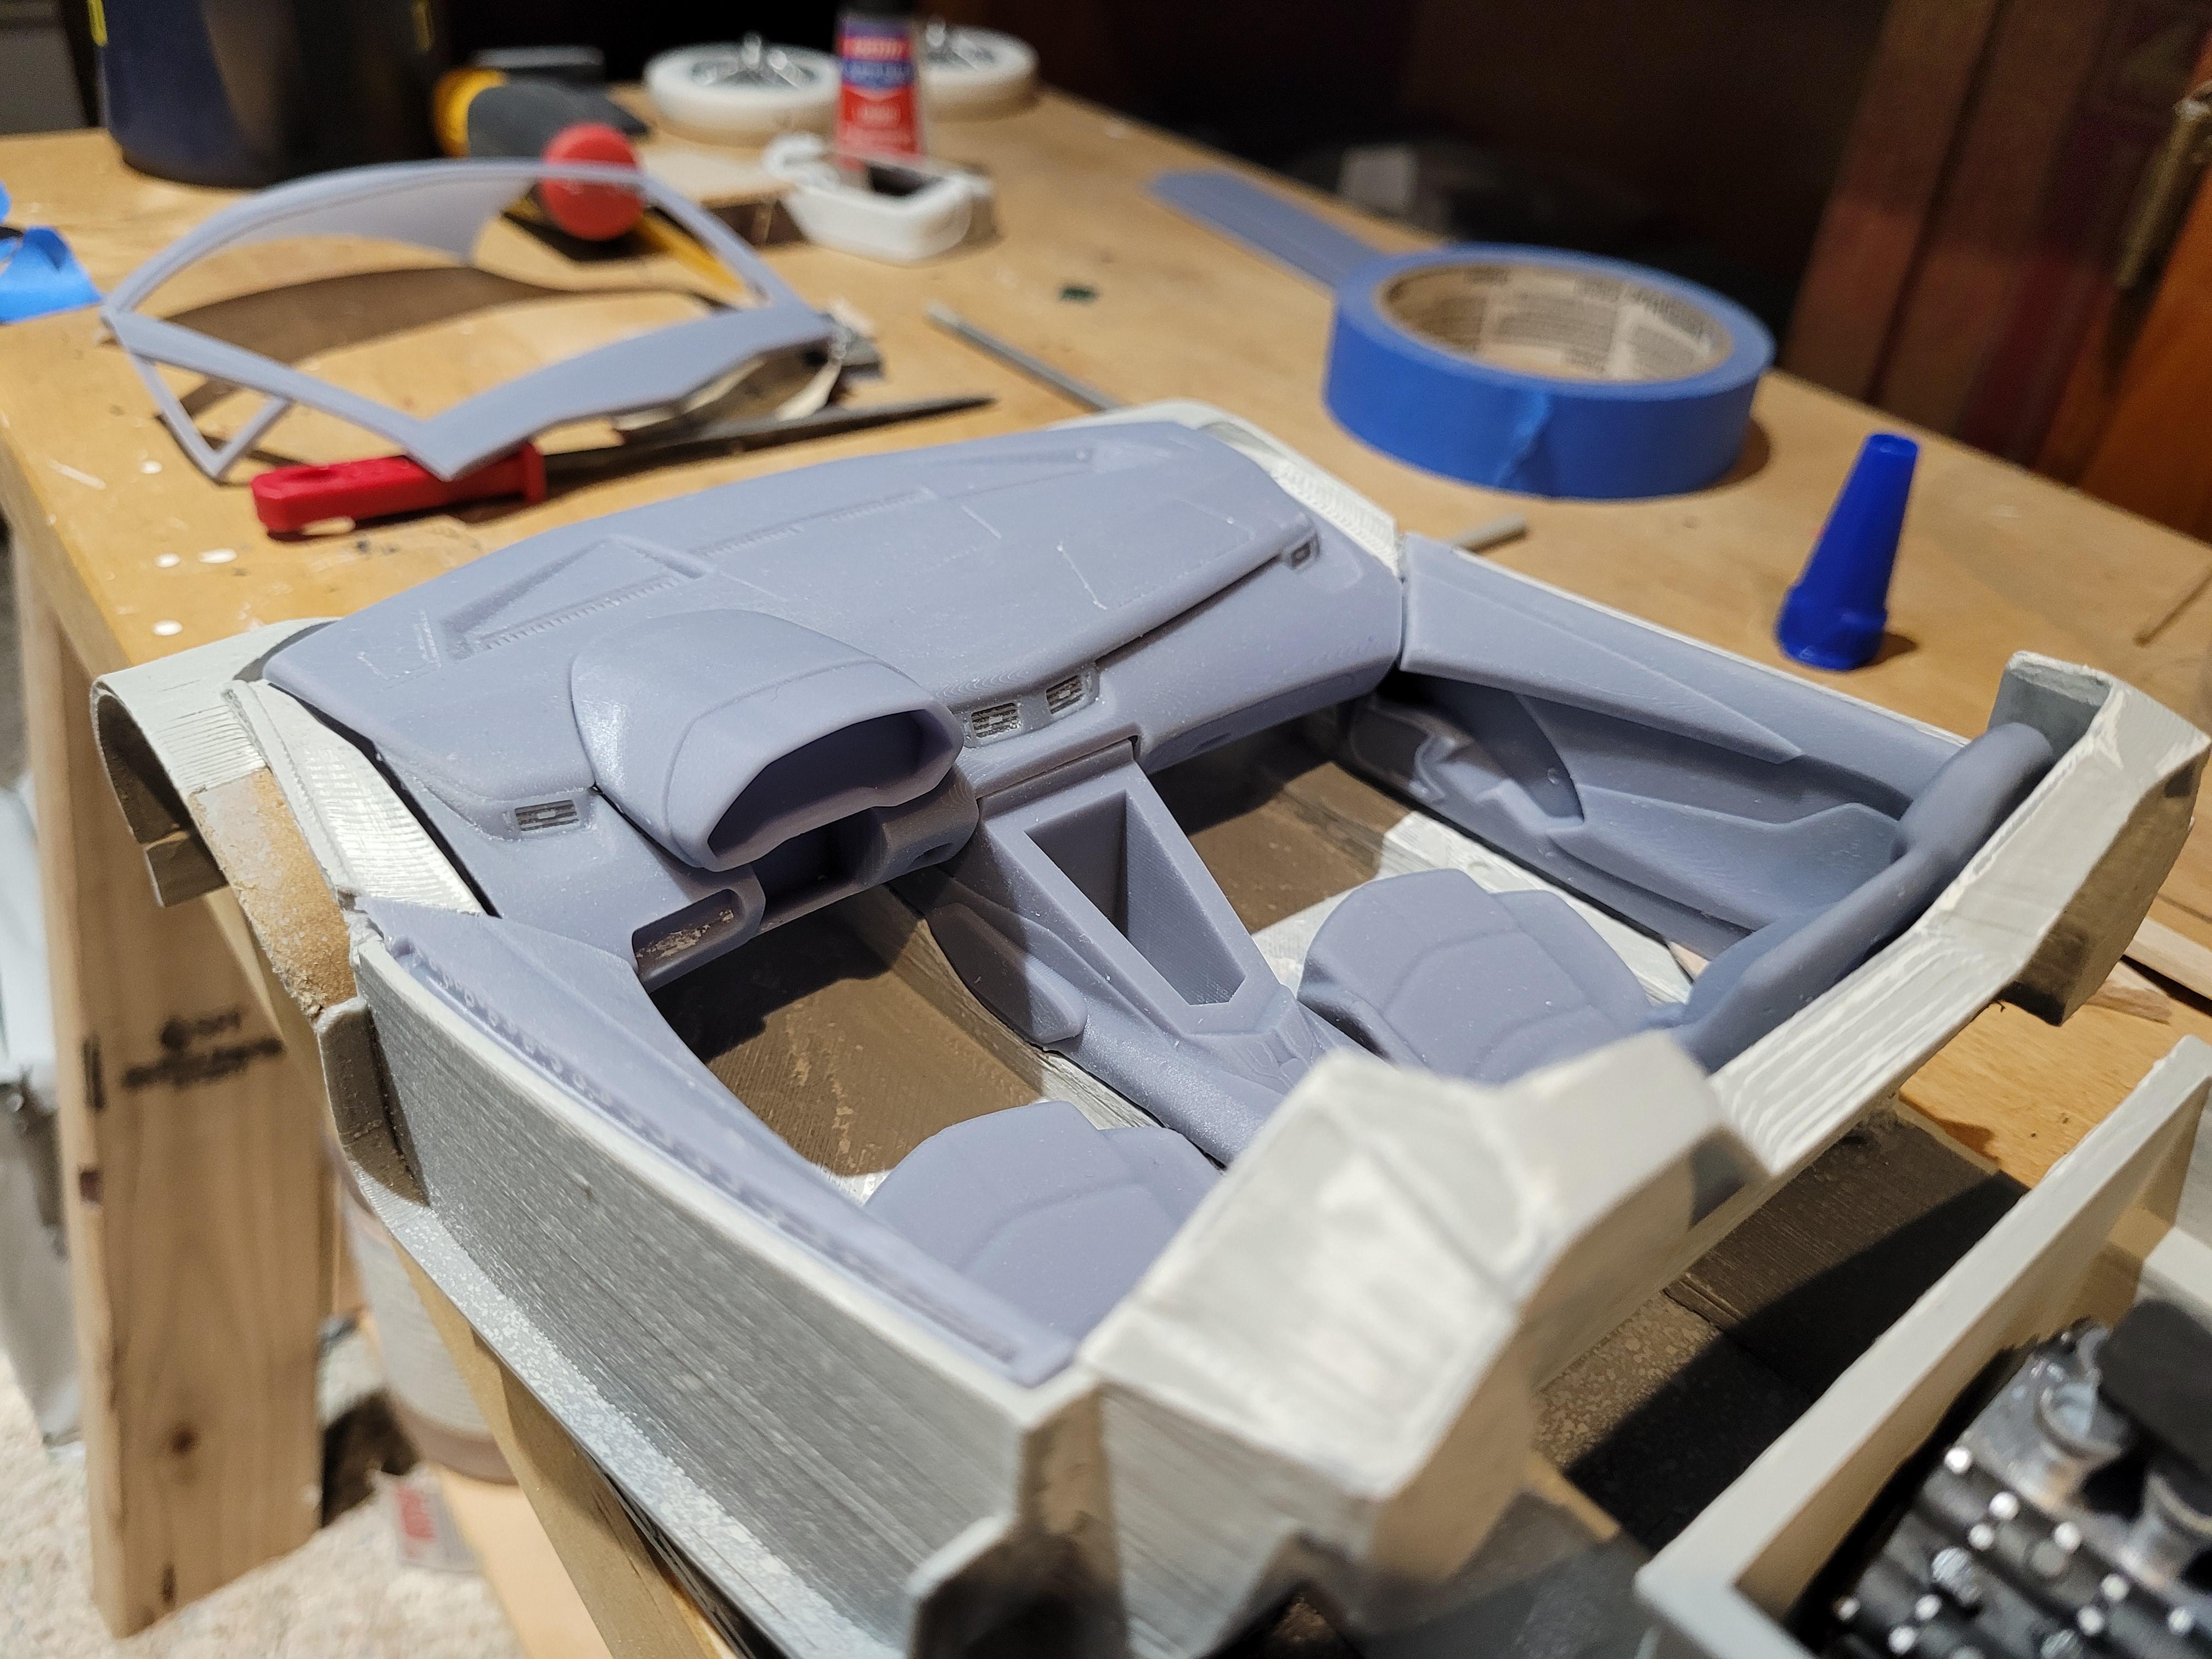
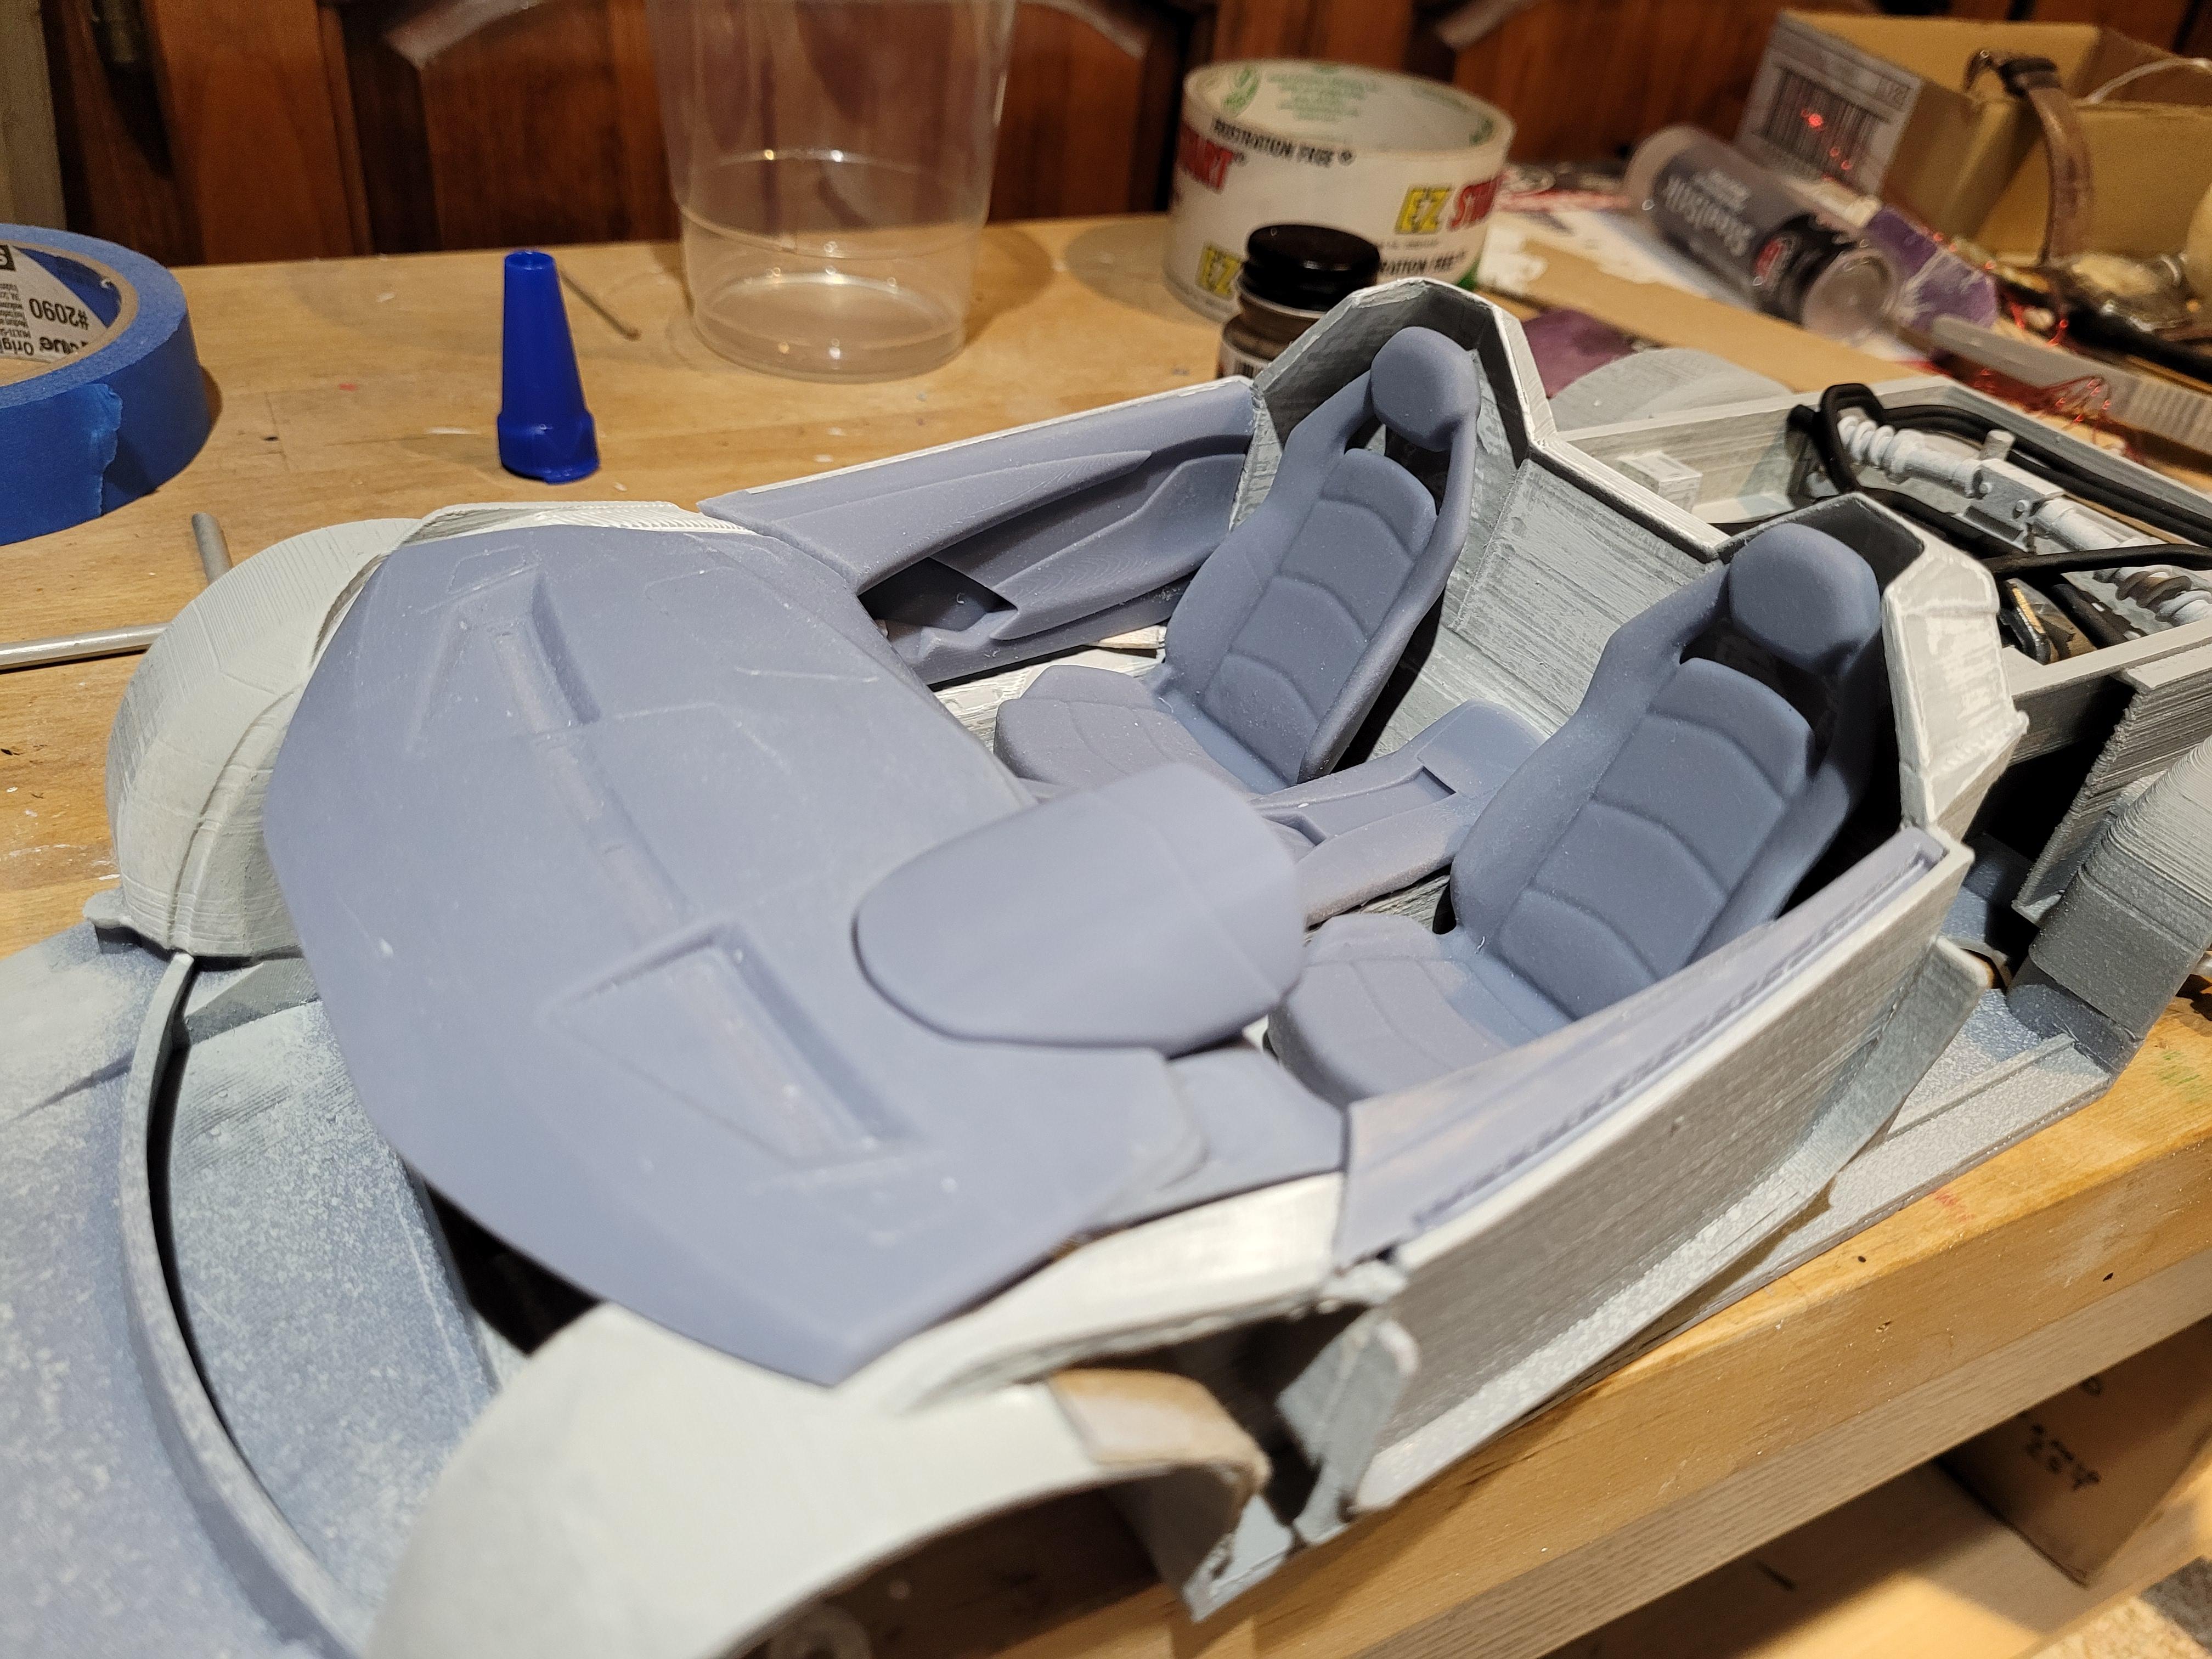
I decided to use velvet for carpet, since the floors are flat. Here is a mockup of the interior so far.
-
Console and seats have been printed. I noticed that the 2 switches at the base of the console will need to be scribed deeper. This will be the first model I have done that will have a flocked carpet. Any ideas on what to use? Most examples of carpet flocking i see, are shown with 1/25, 1/24, and I "think" I need a material of a larger scale appearance.
-
Test fitting door panel to instrument panel interface. BTW, I thing I have a solution for the Lambo Logo on the engine cover... stay tuned.
-
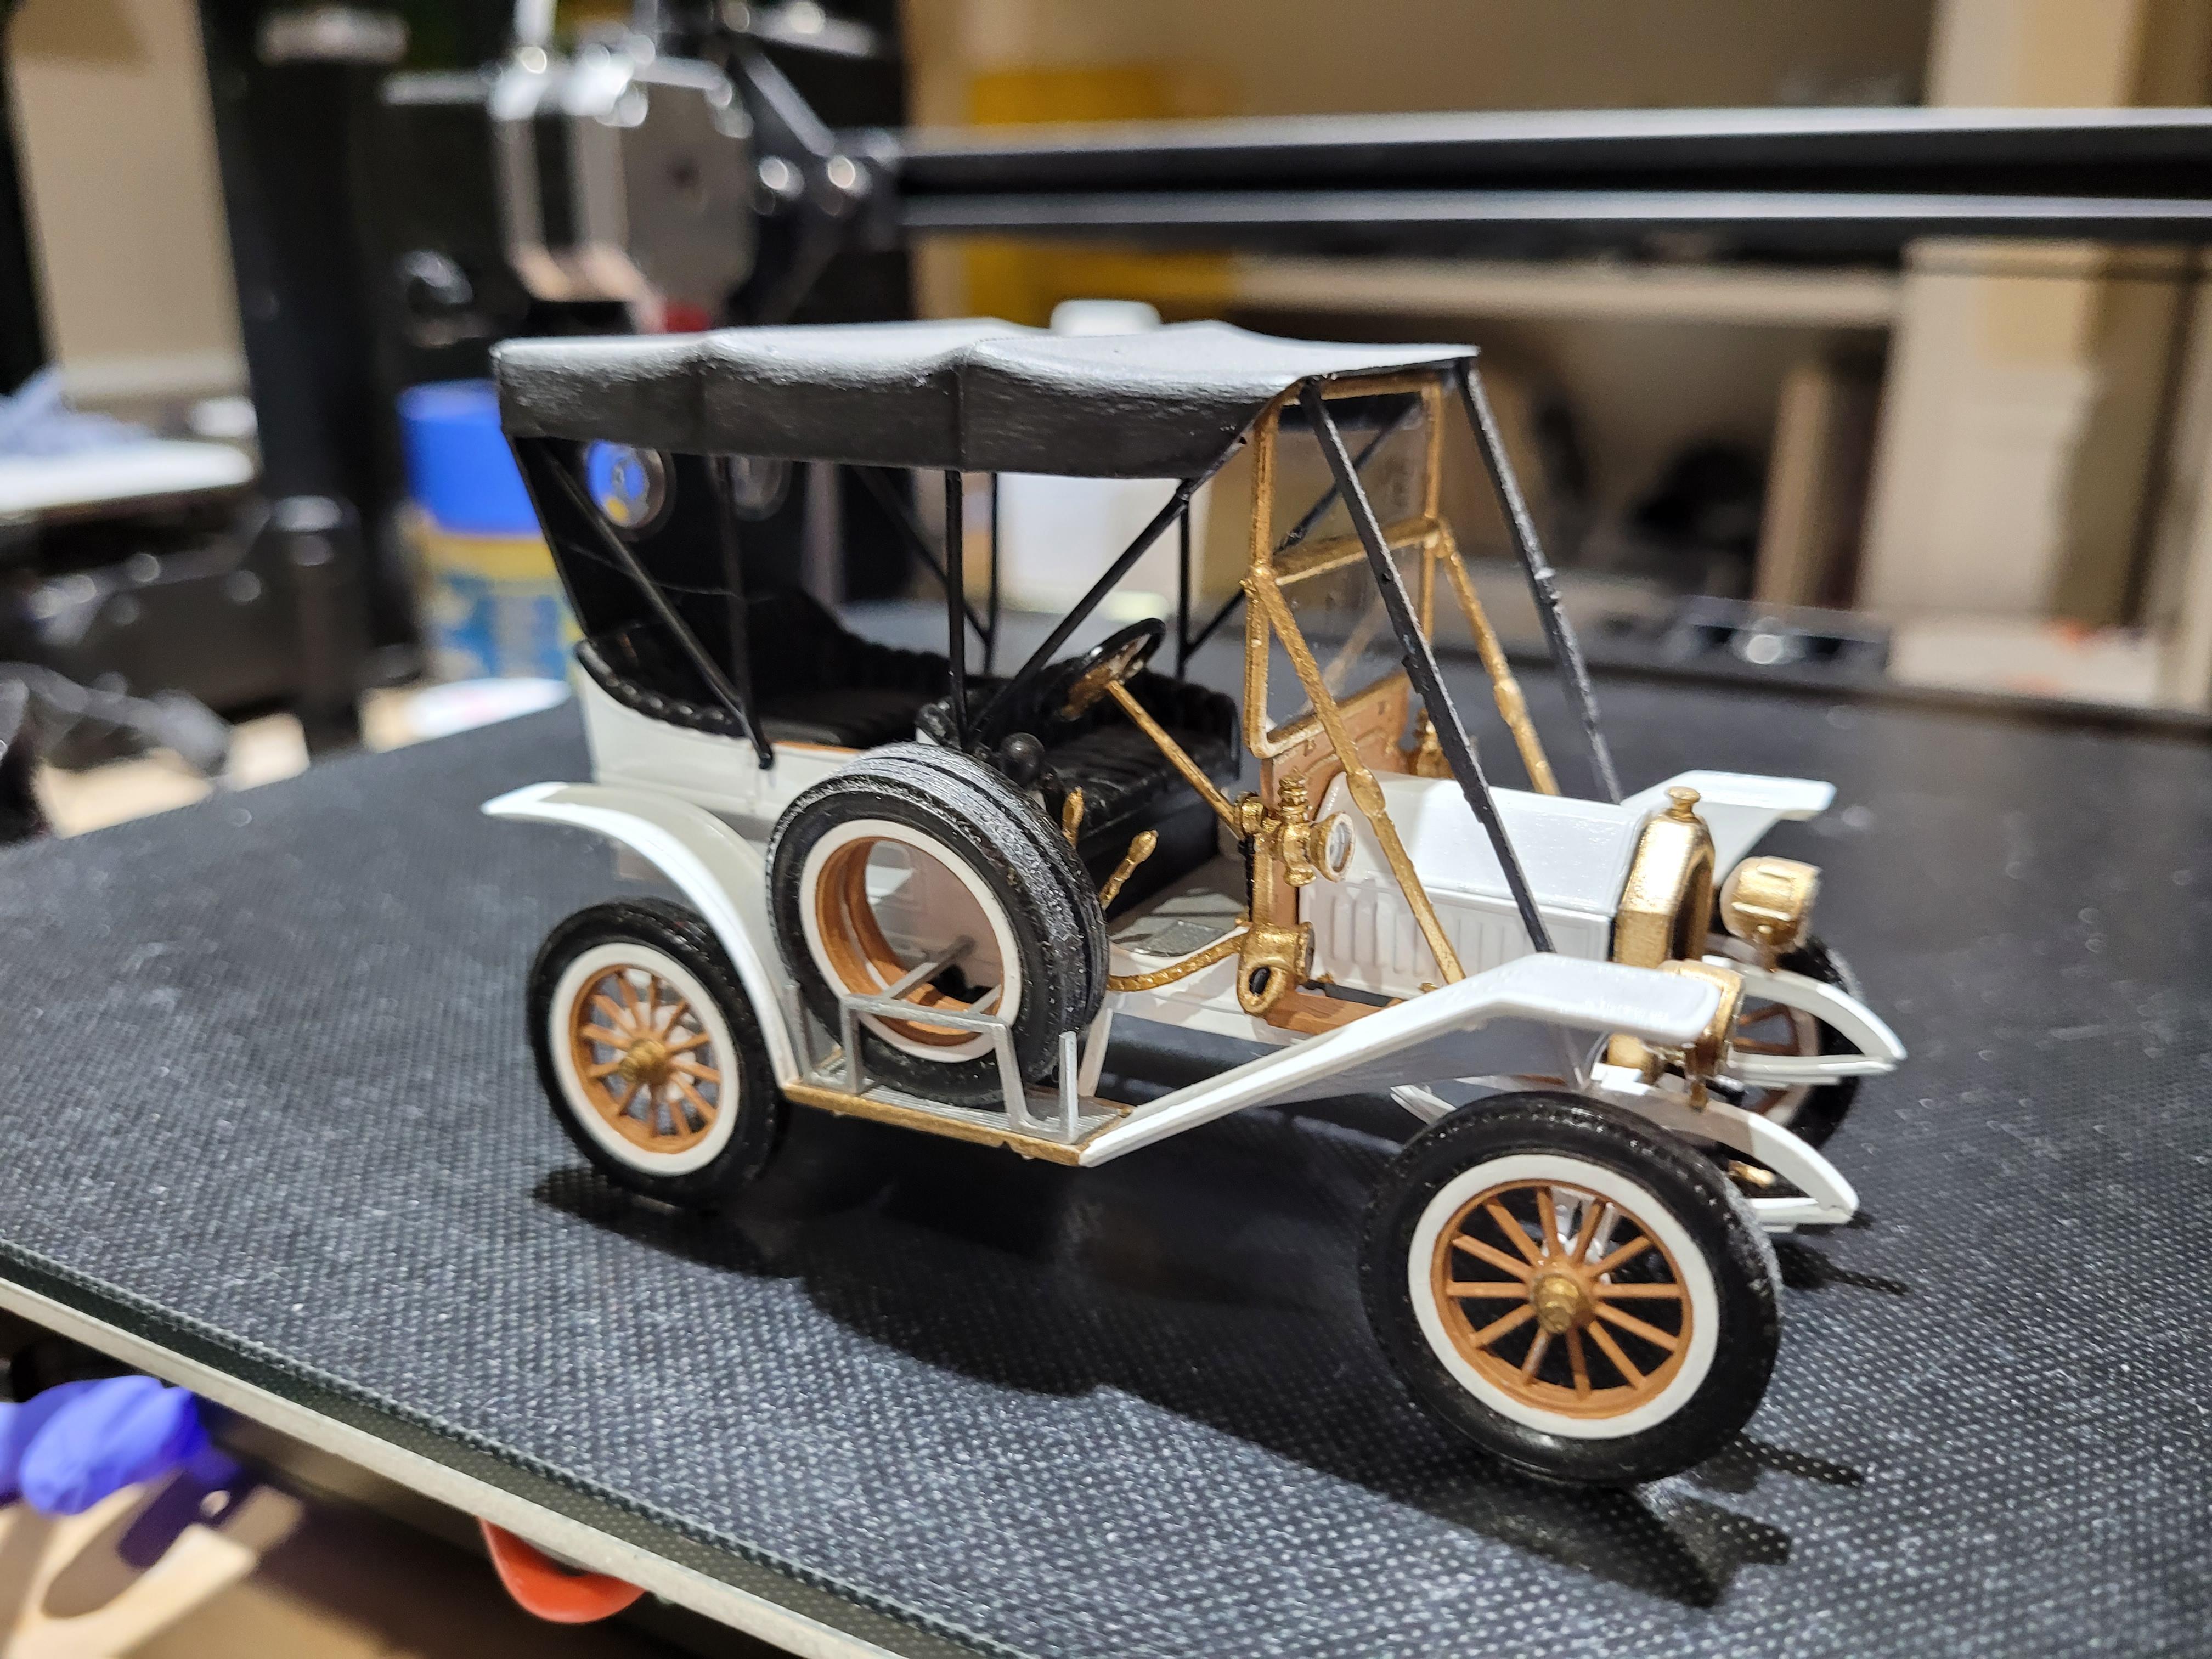
Ancient Buick - 1910 Model 10 (Out of Box)
kenlwest replied to Faust's topic in Car Kit News & Reviews
While browsing the site, I stumbled upon this thread, regarding the Life-Like Buick 10. In case anyone is curious as to what this little gem looks like assembled, here it is. A little dusty...
-
Door panels are printed. I am hoping to get the rest of the interior printed out this week.
-
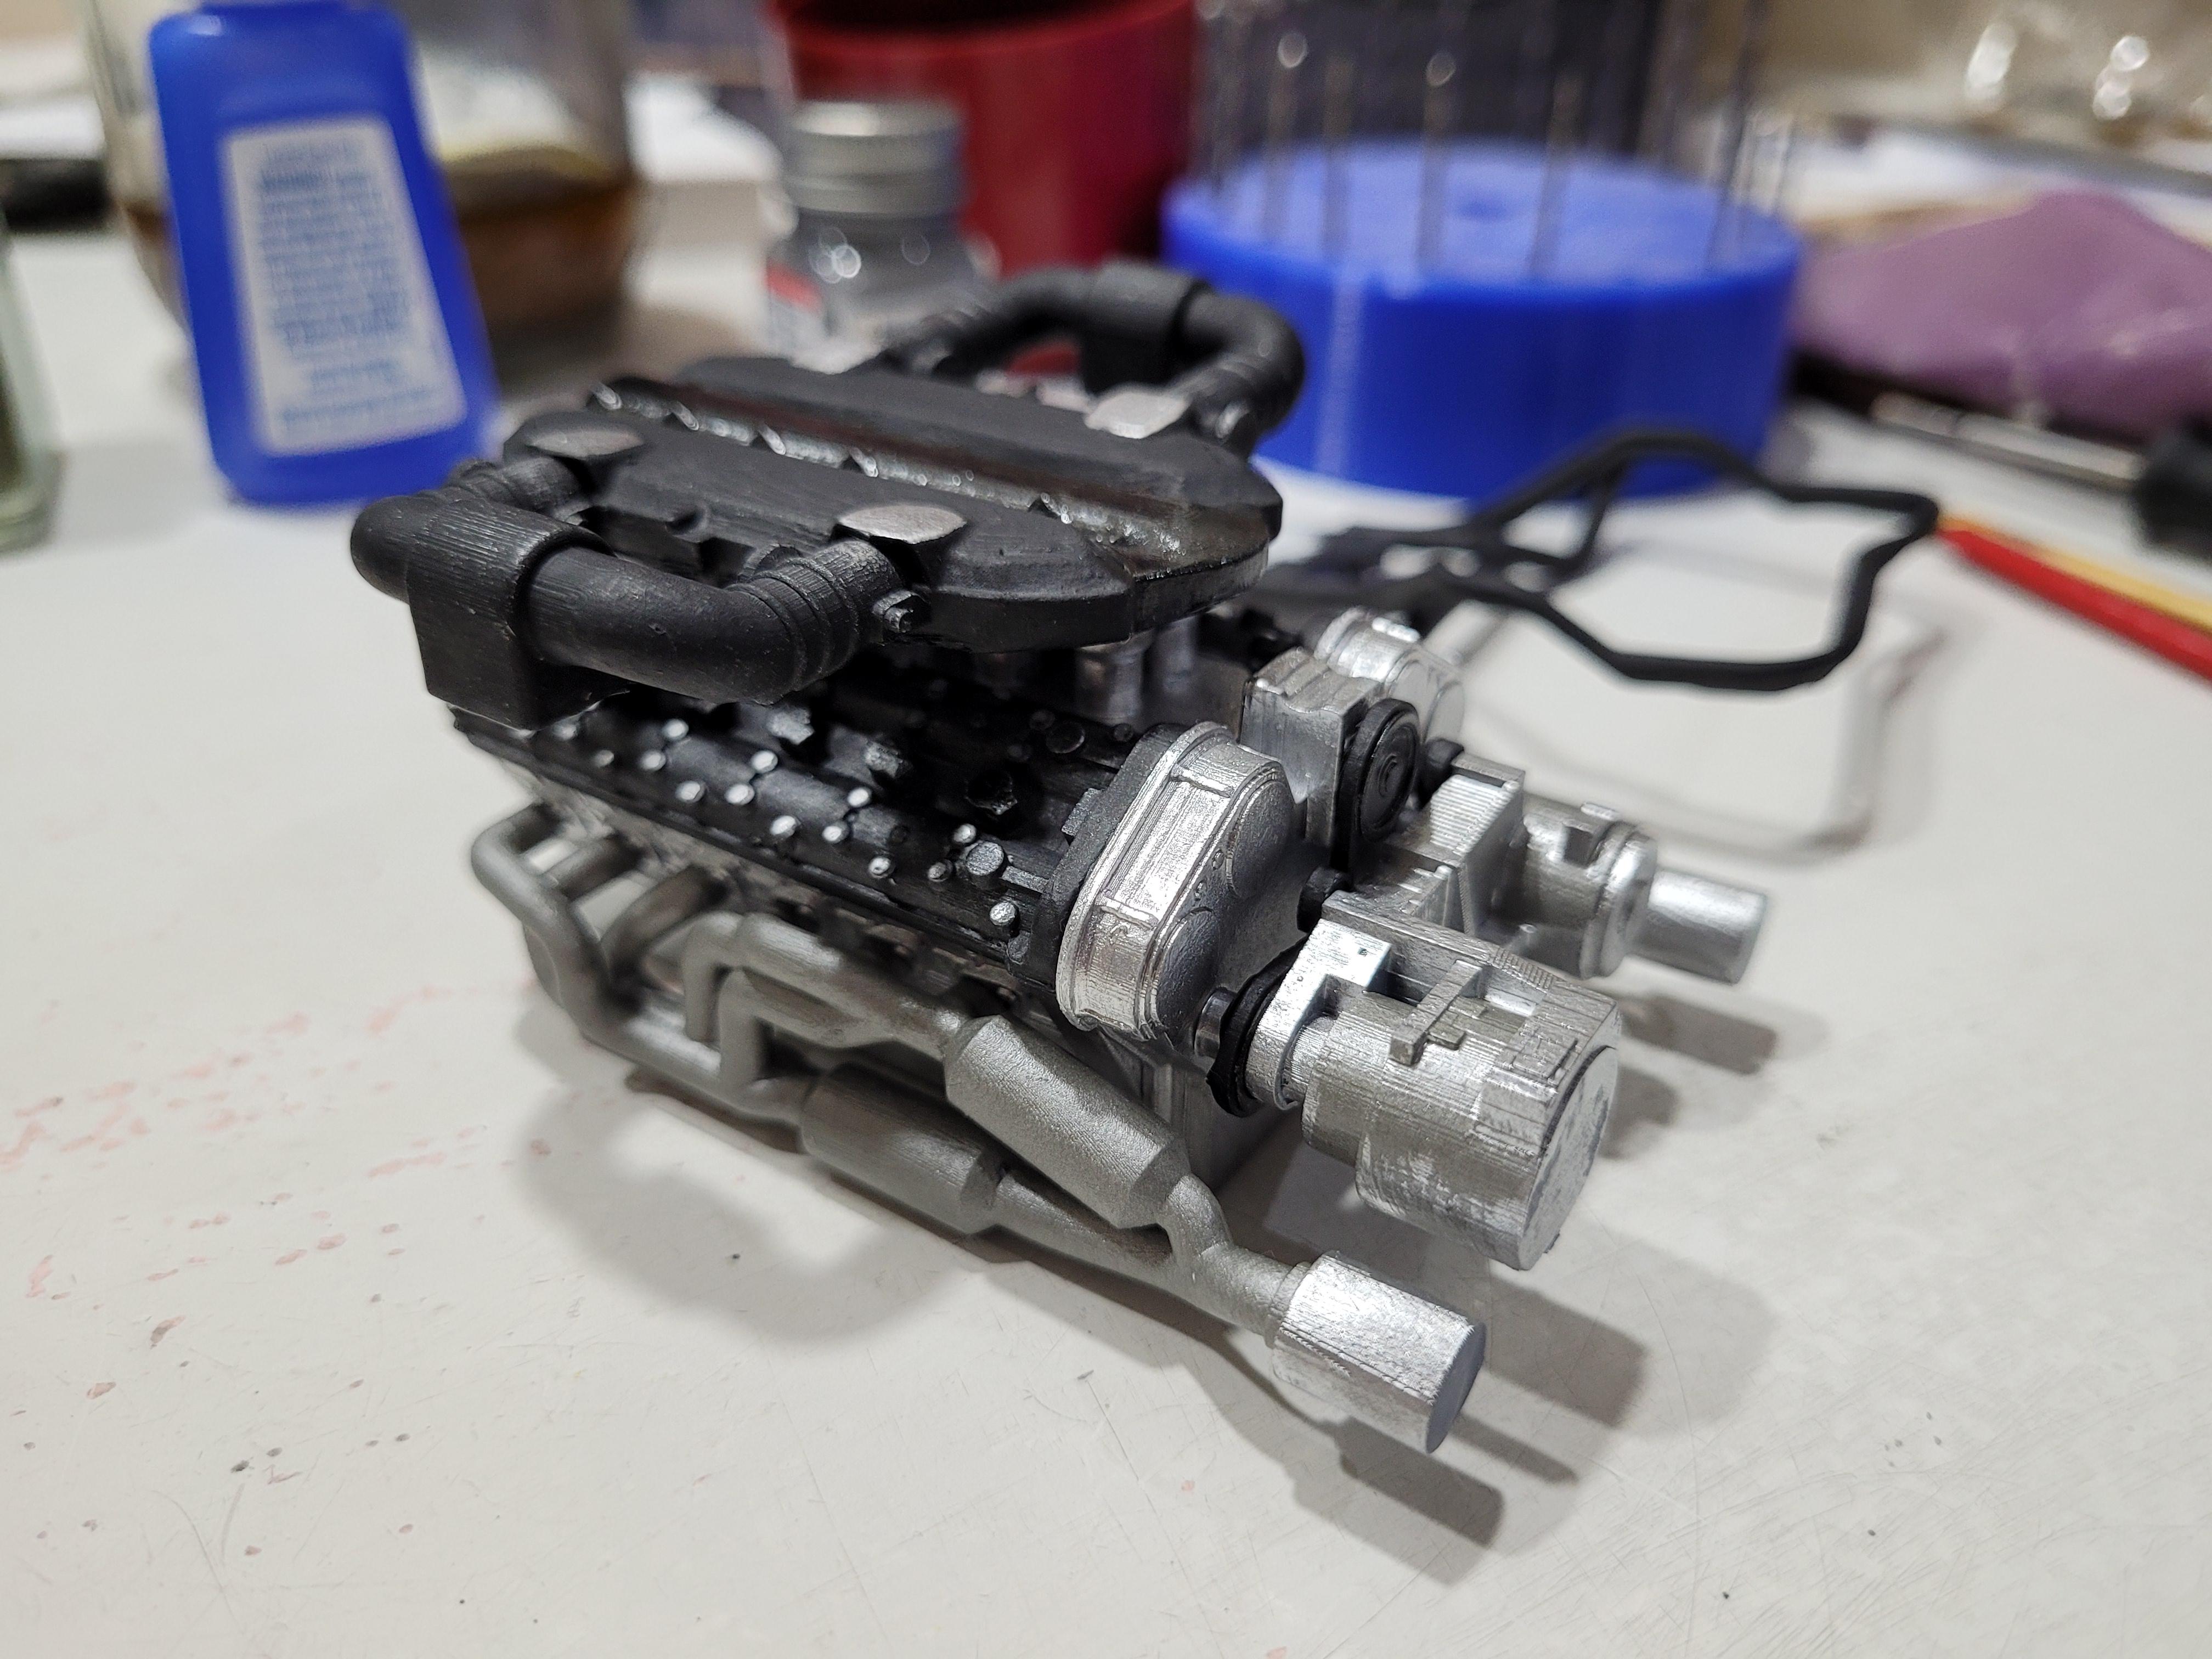
Engine painted. I need to figure out how I am going to make the Lamborghini scripts for the engine cover.
-
Here is the engine, and various components that will reside in the engine compartment. Unfortunately, most of this will be hidden under the rear body structure.
-
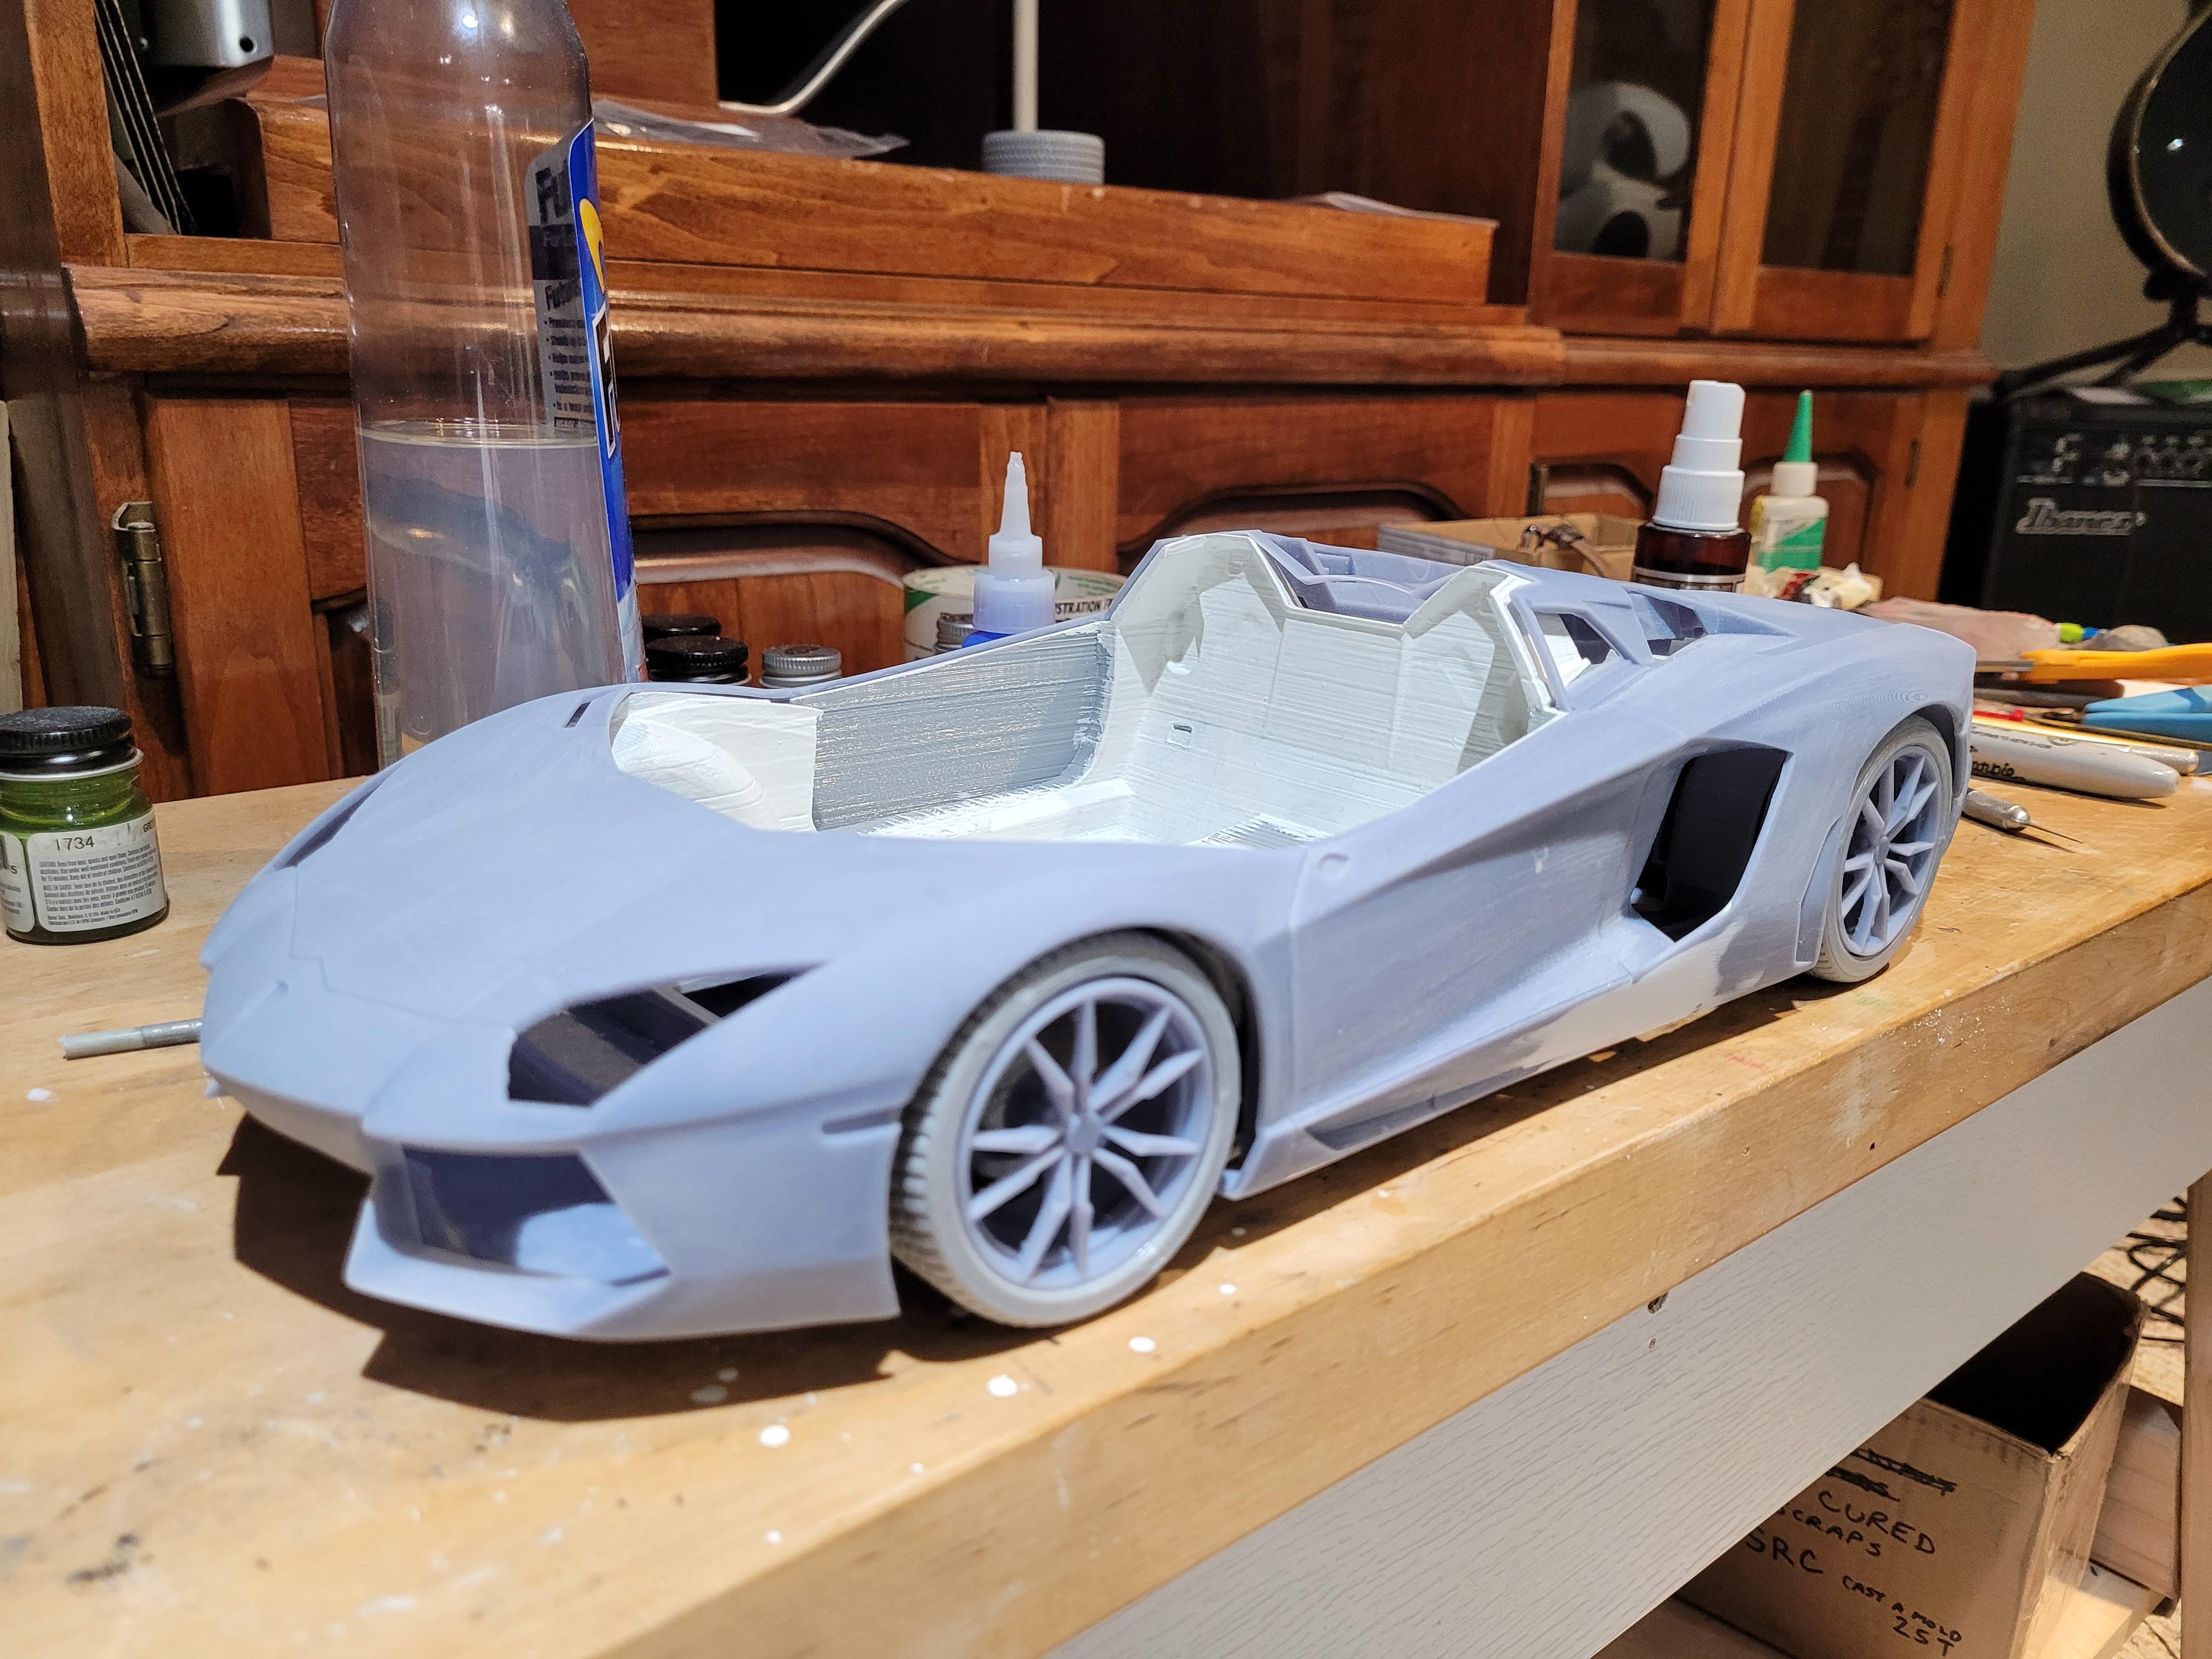
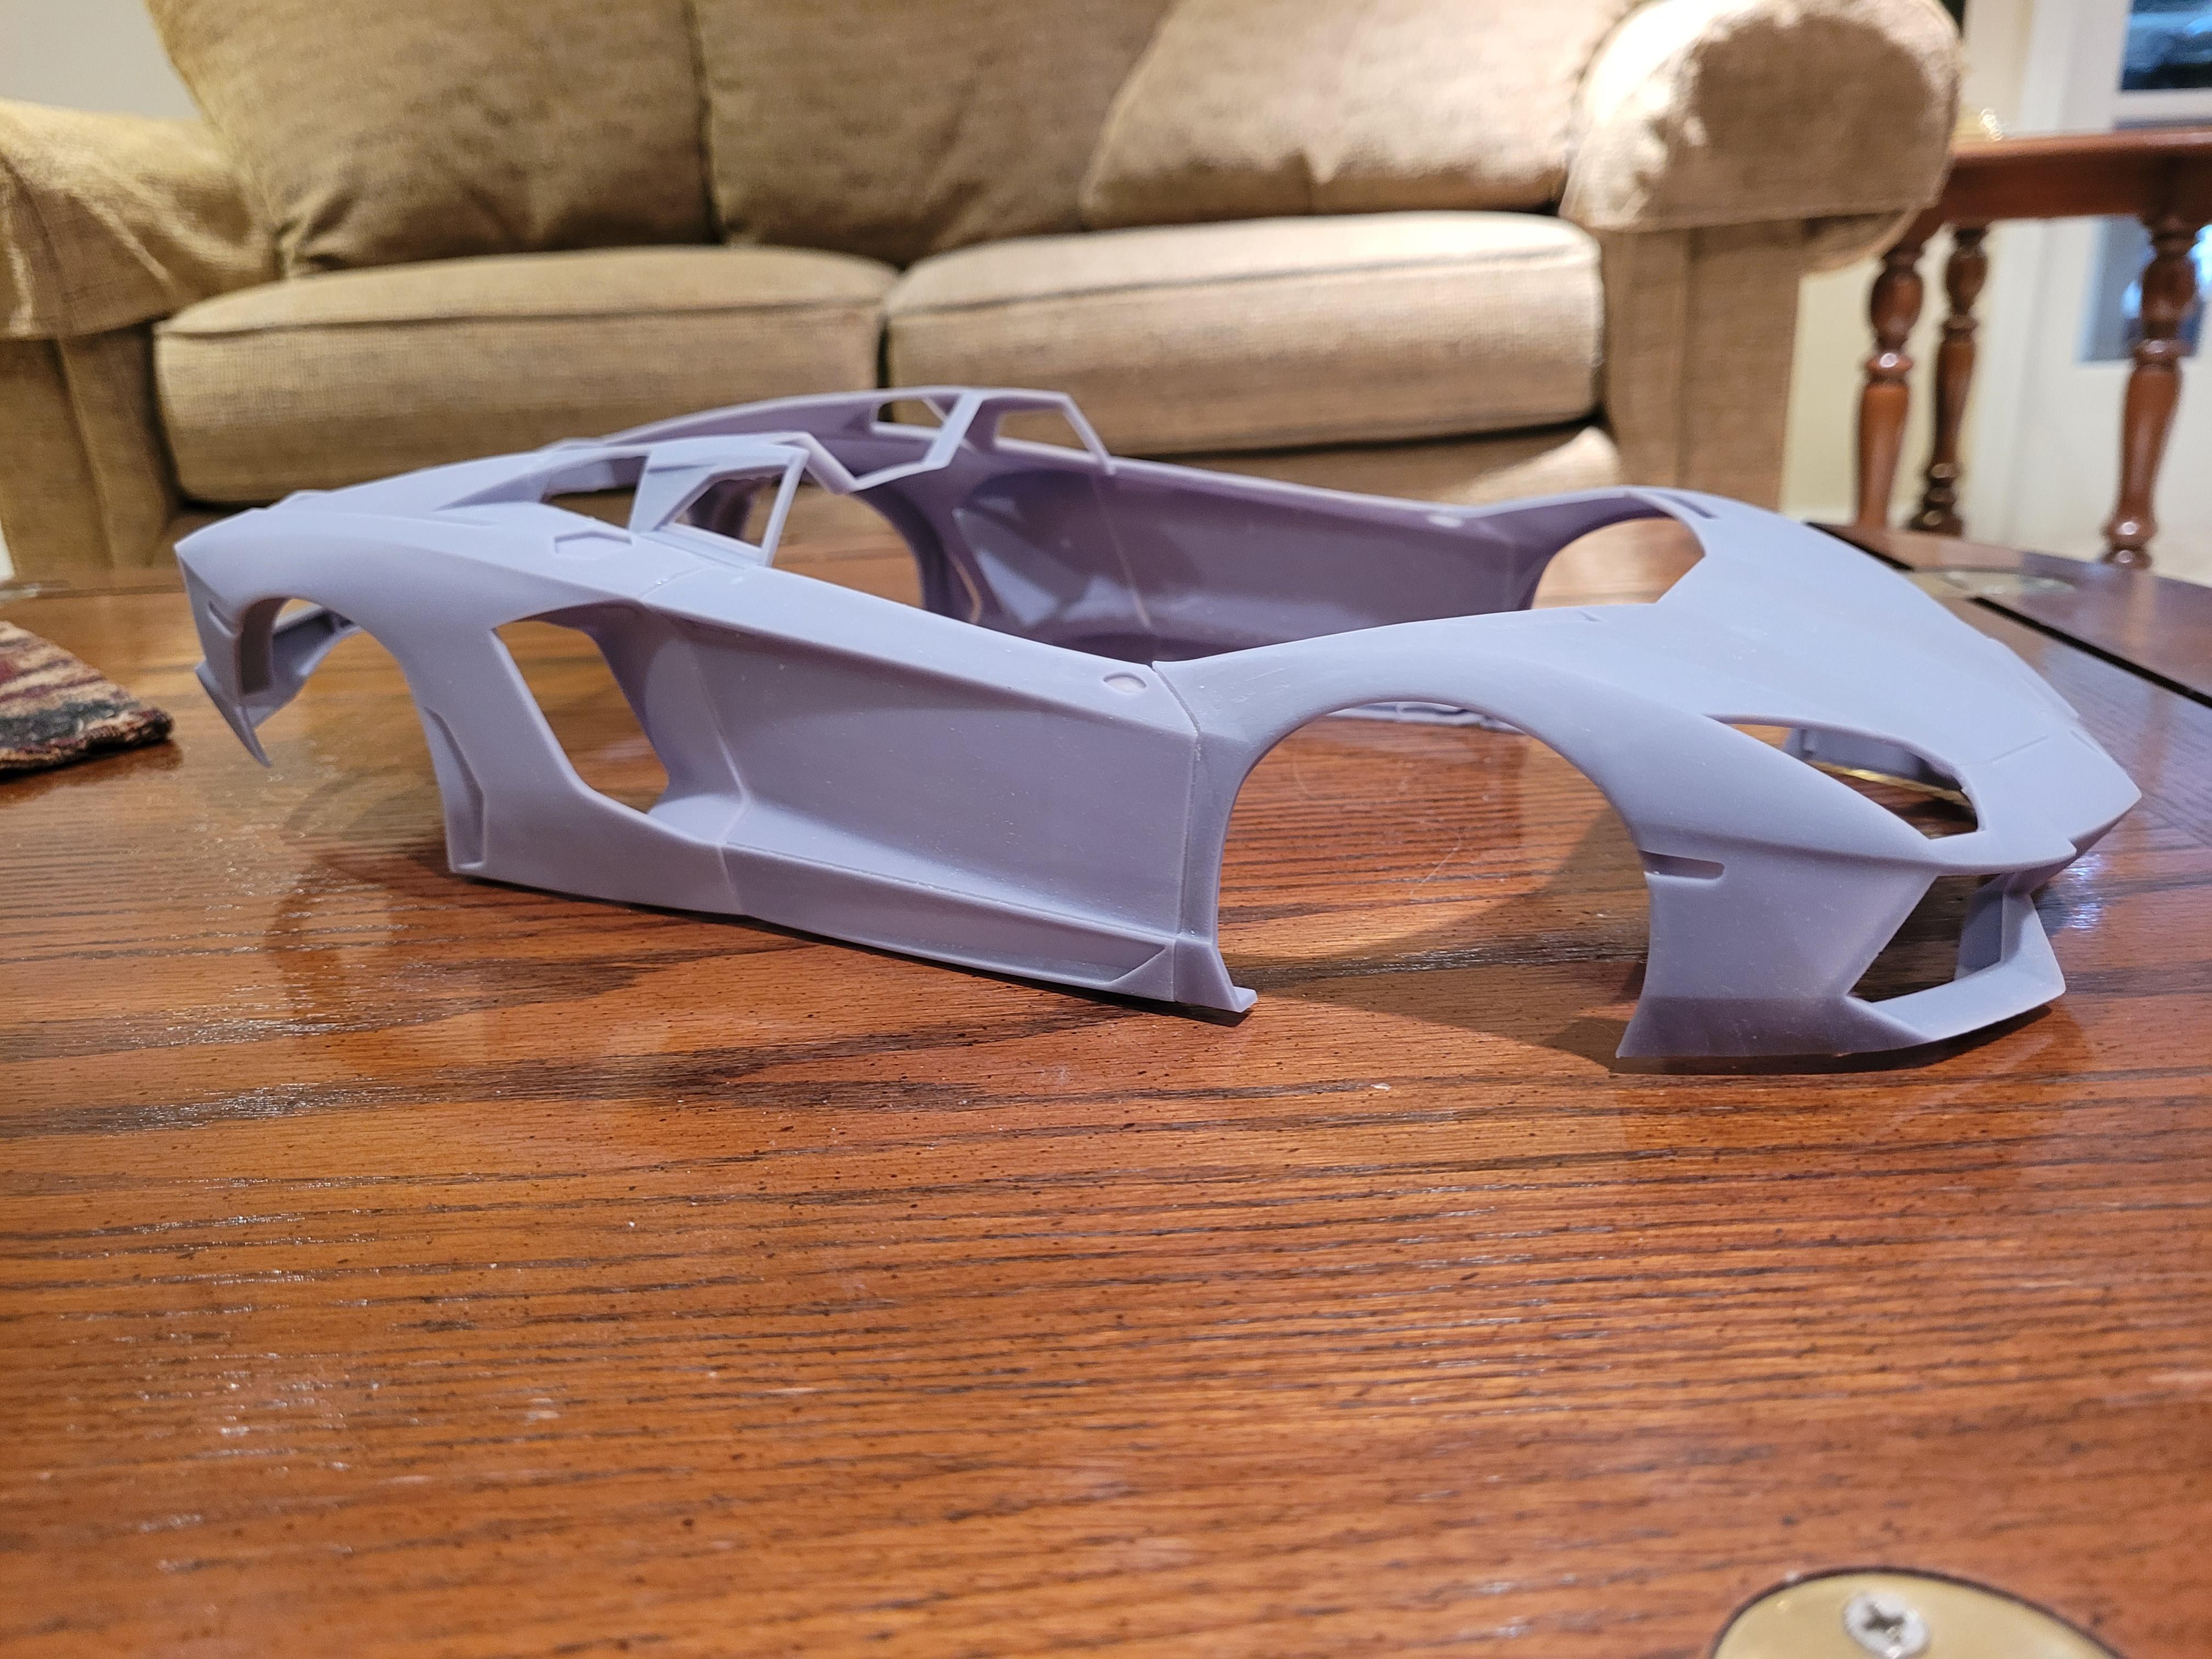
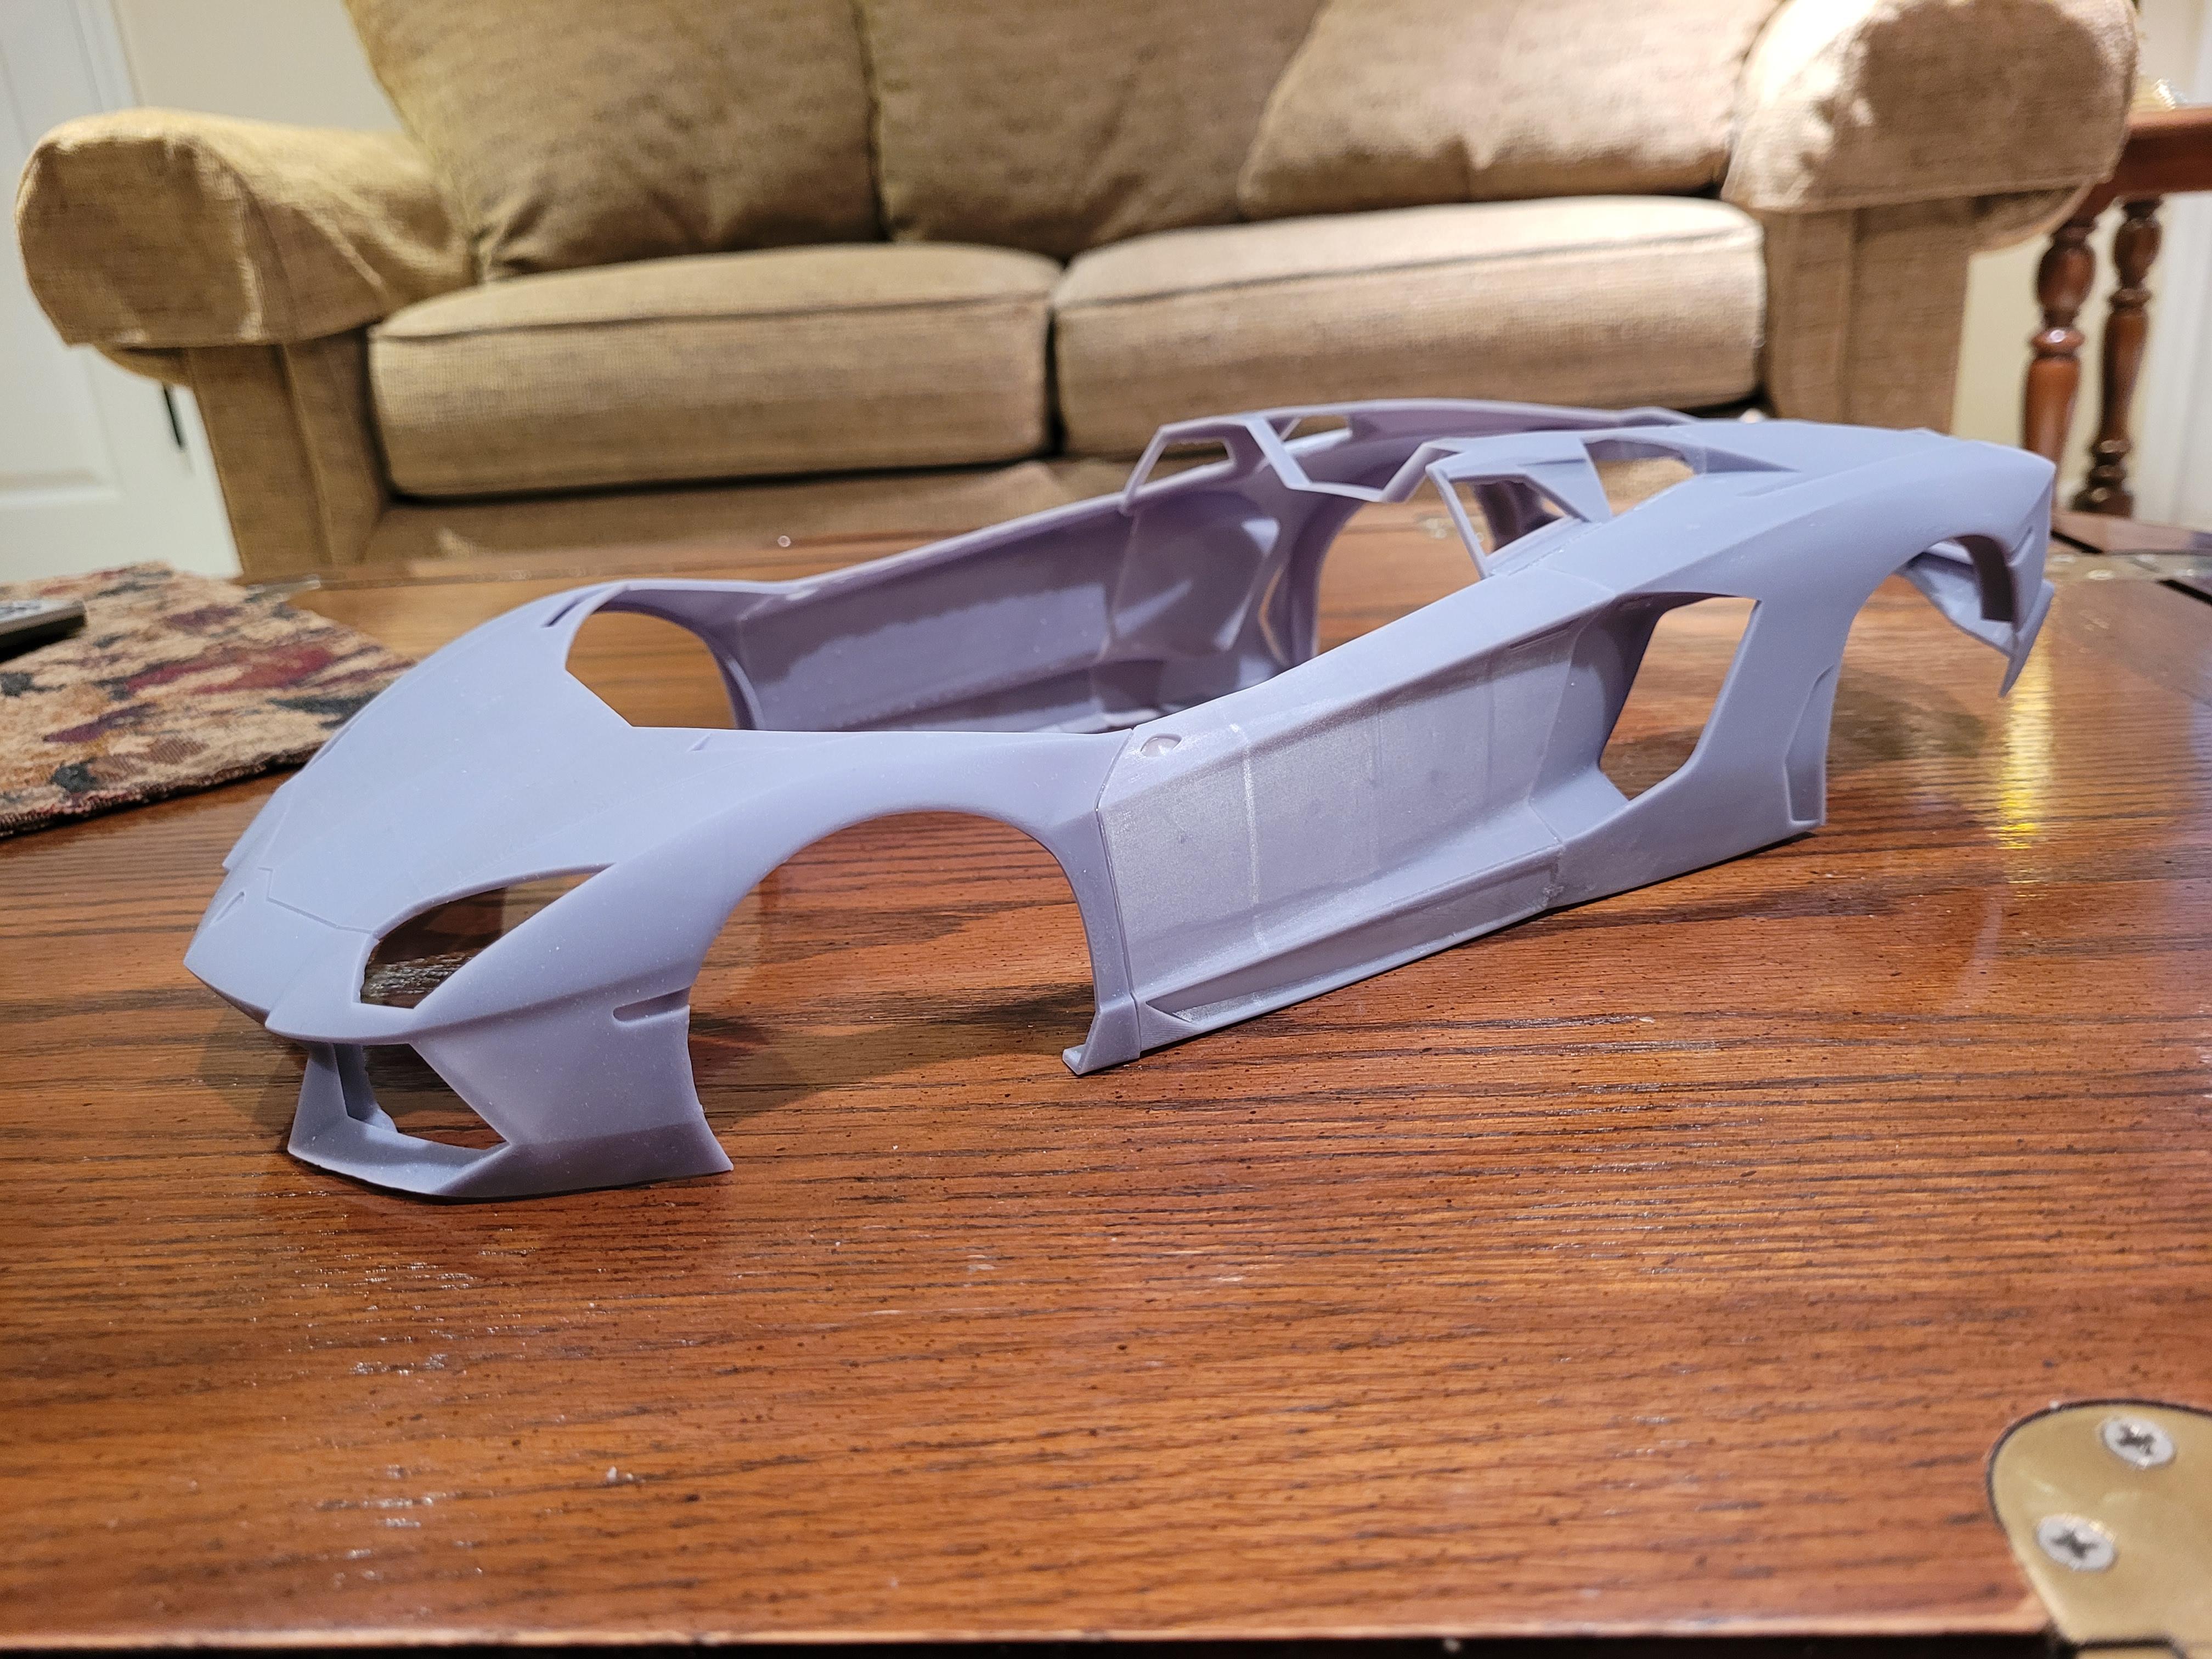
Today, just messing around I thought I would show a quick mockup.
-
Most model car bodies are assembled to the chassis at the front and back. Early kits were "screw bottoms", some are glued, and some are snapped together. For this project, I needed to find a way to permanently locate and fix the body sides to the chassis. This will make the car much more rigid and dimensionally stable. Here you can see the body standoffs, printed and attached to the interior tub. This will mate up to the inside of the body when the time comes.
-
This is an amazing achievement! Just to stay focused and dedicated on ANY given subject for that amount of time is impressive enough all by itself. The outcome speaks volumes to your skill and patience. Awesome job!
-
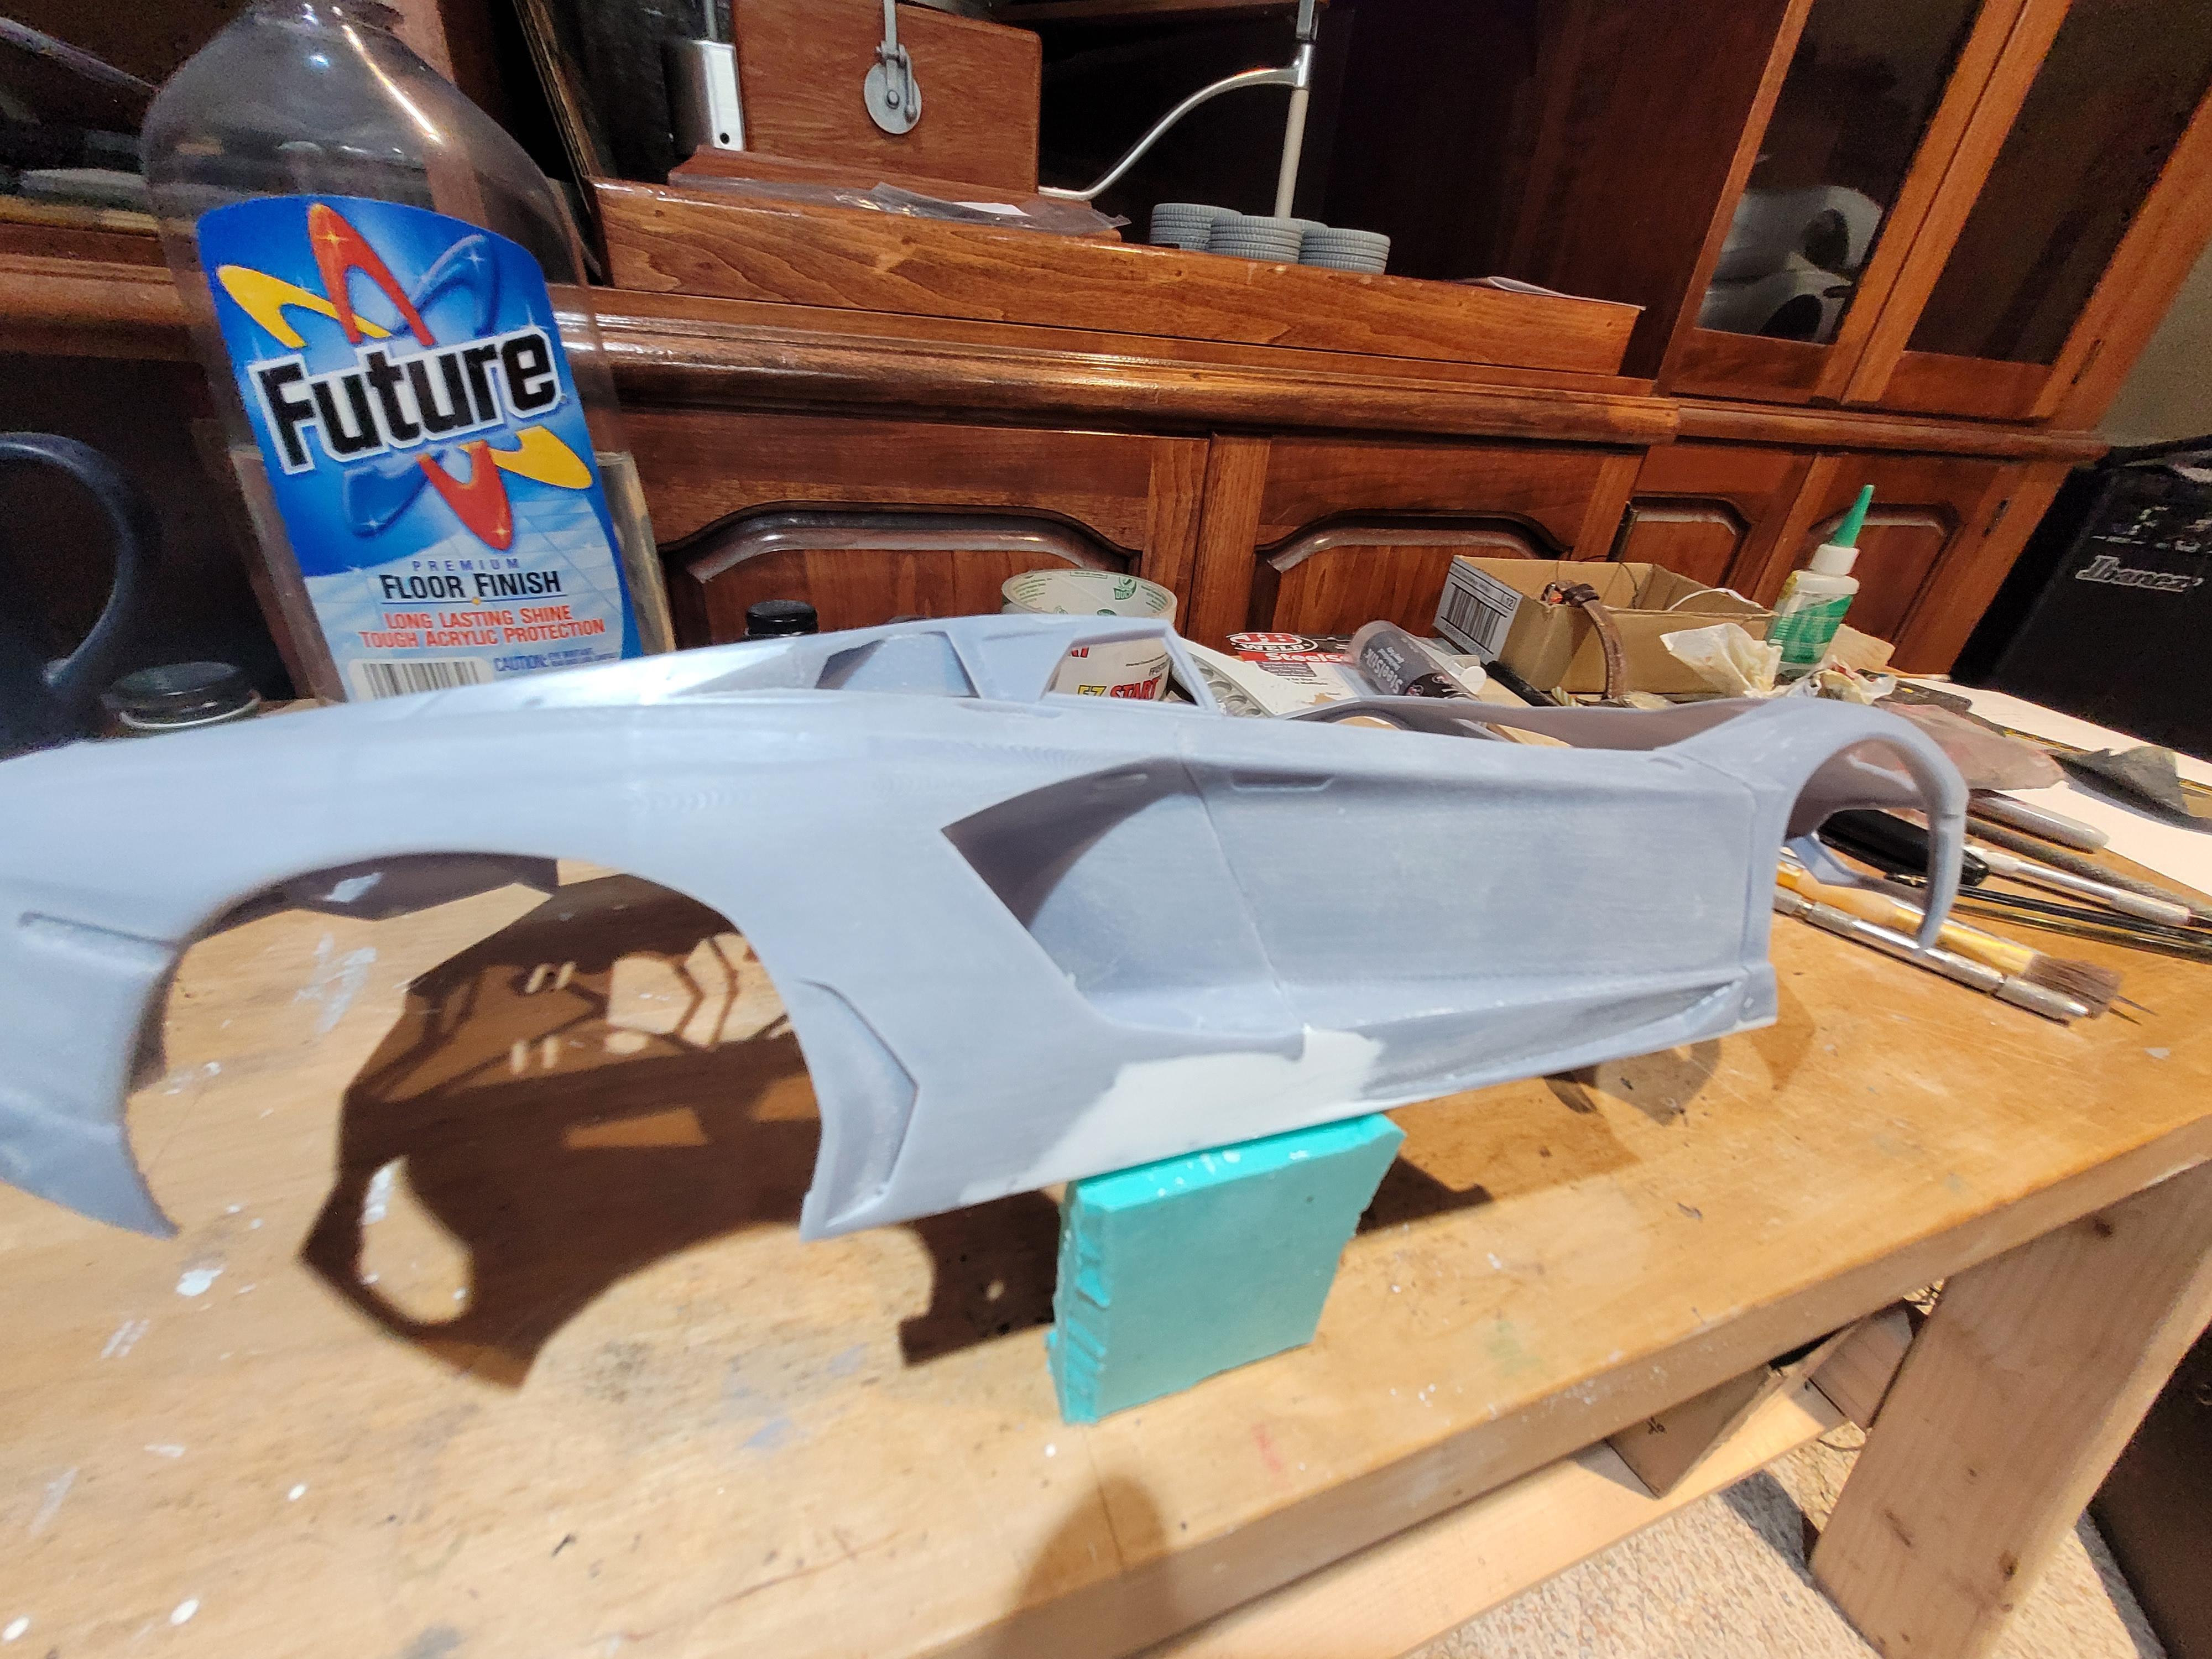
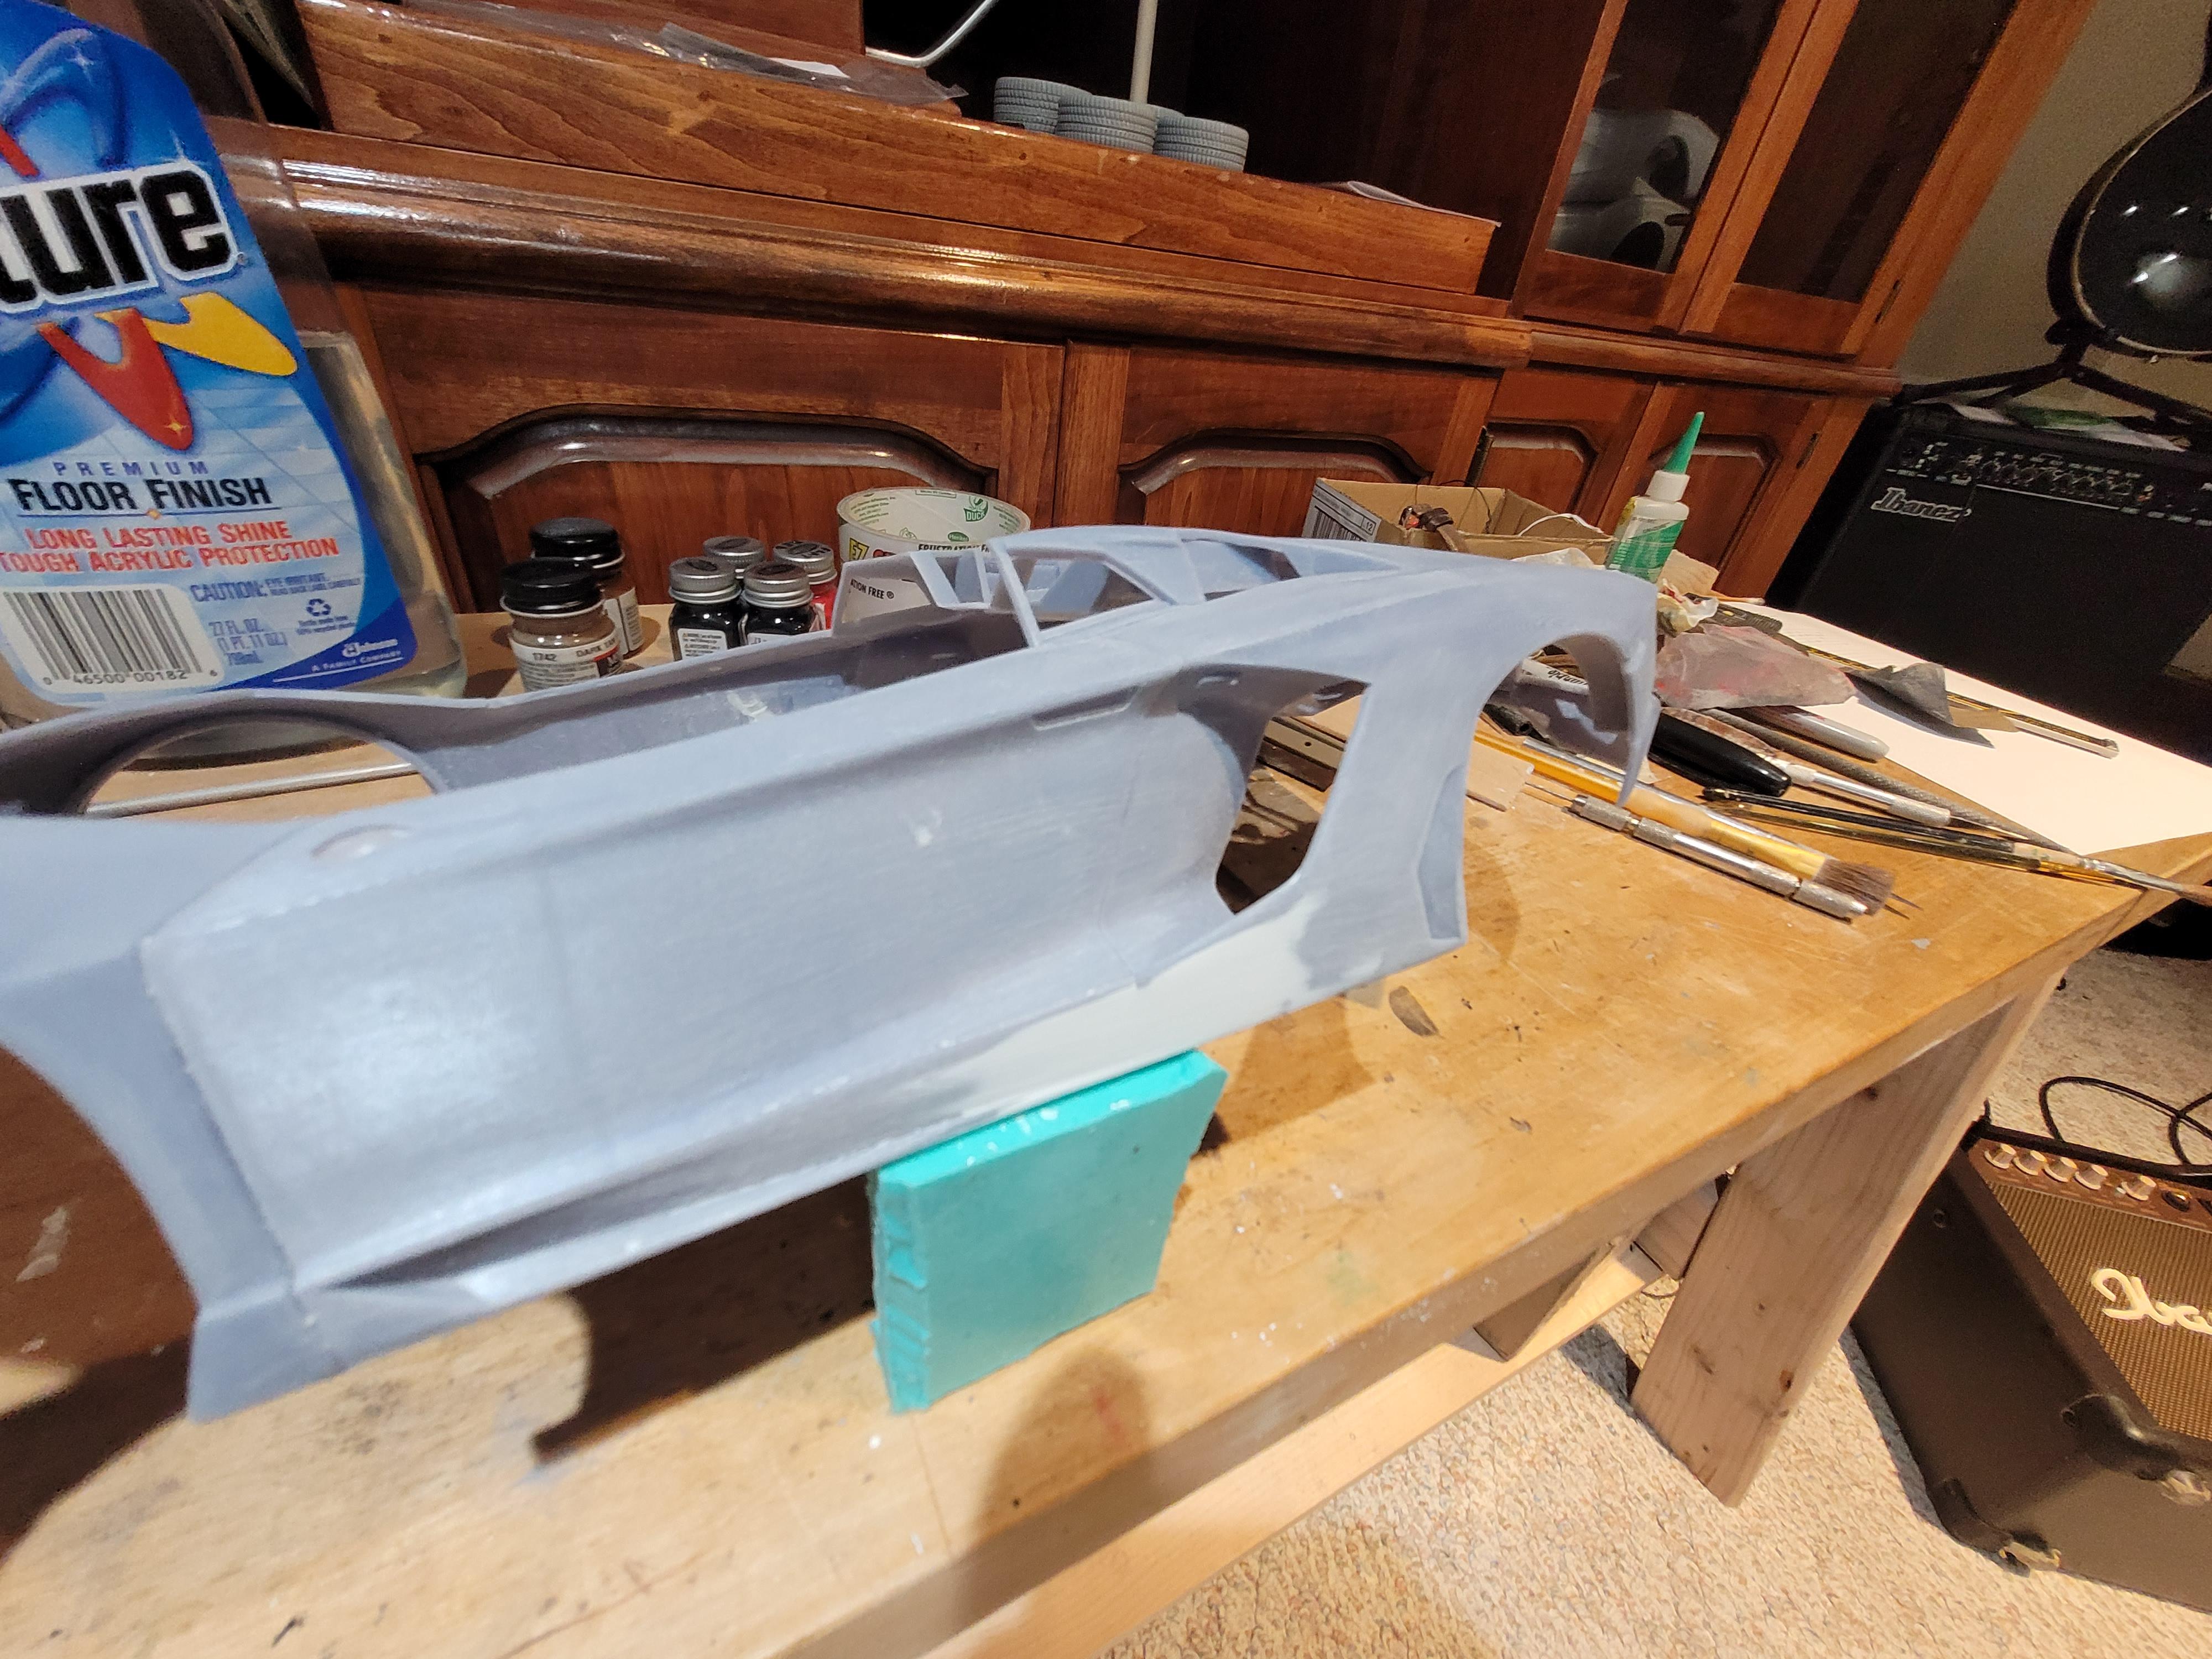
I tried something different as a filler to correct the lower rocker panels. I had a 2 oz jar of Marine-Tex sitting in a drawer, and thought I would give it a try. The first 2 pictures show the bad condition at the bottom of the rockers. The second 2 pictures are filled with Marine-Tex, and rough shaped. This stuff is strong!
-
Thanks everyone. Yes, Harry was the master. His passing left a huge void in the modeling community, no doubt about that. I will post some of these individually, with details and back stories.
-
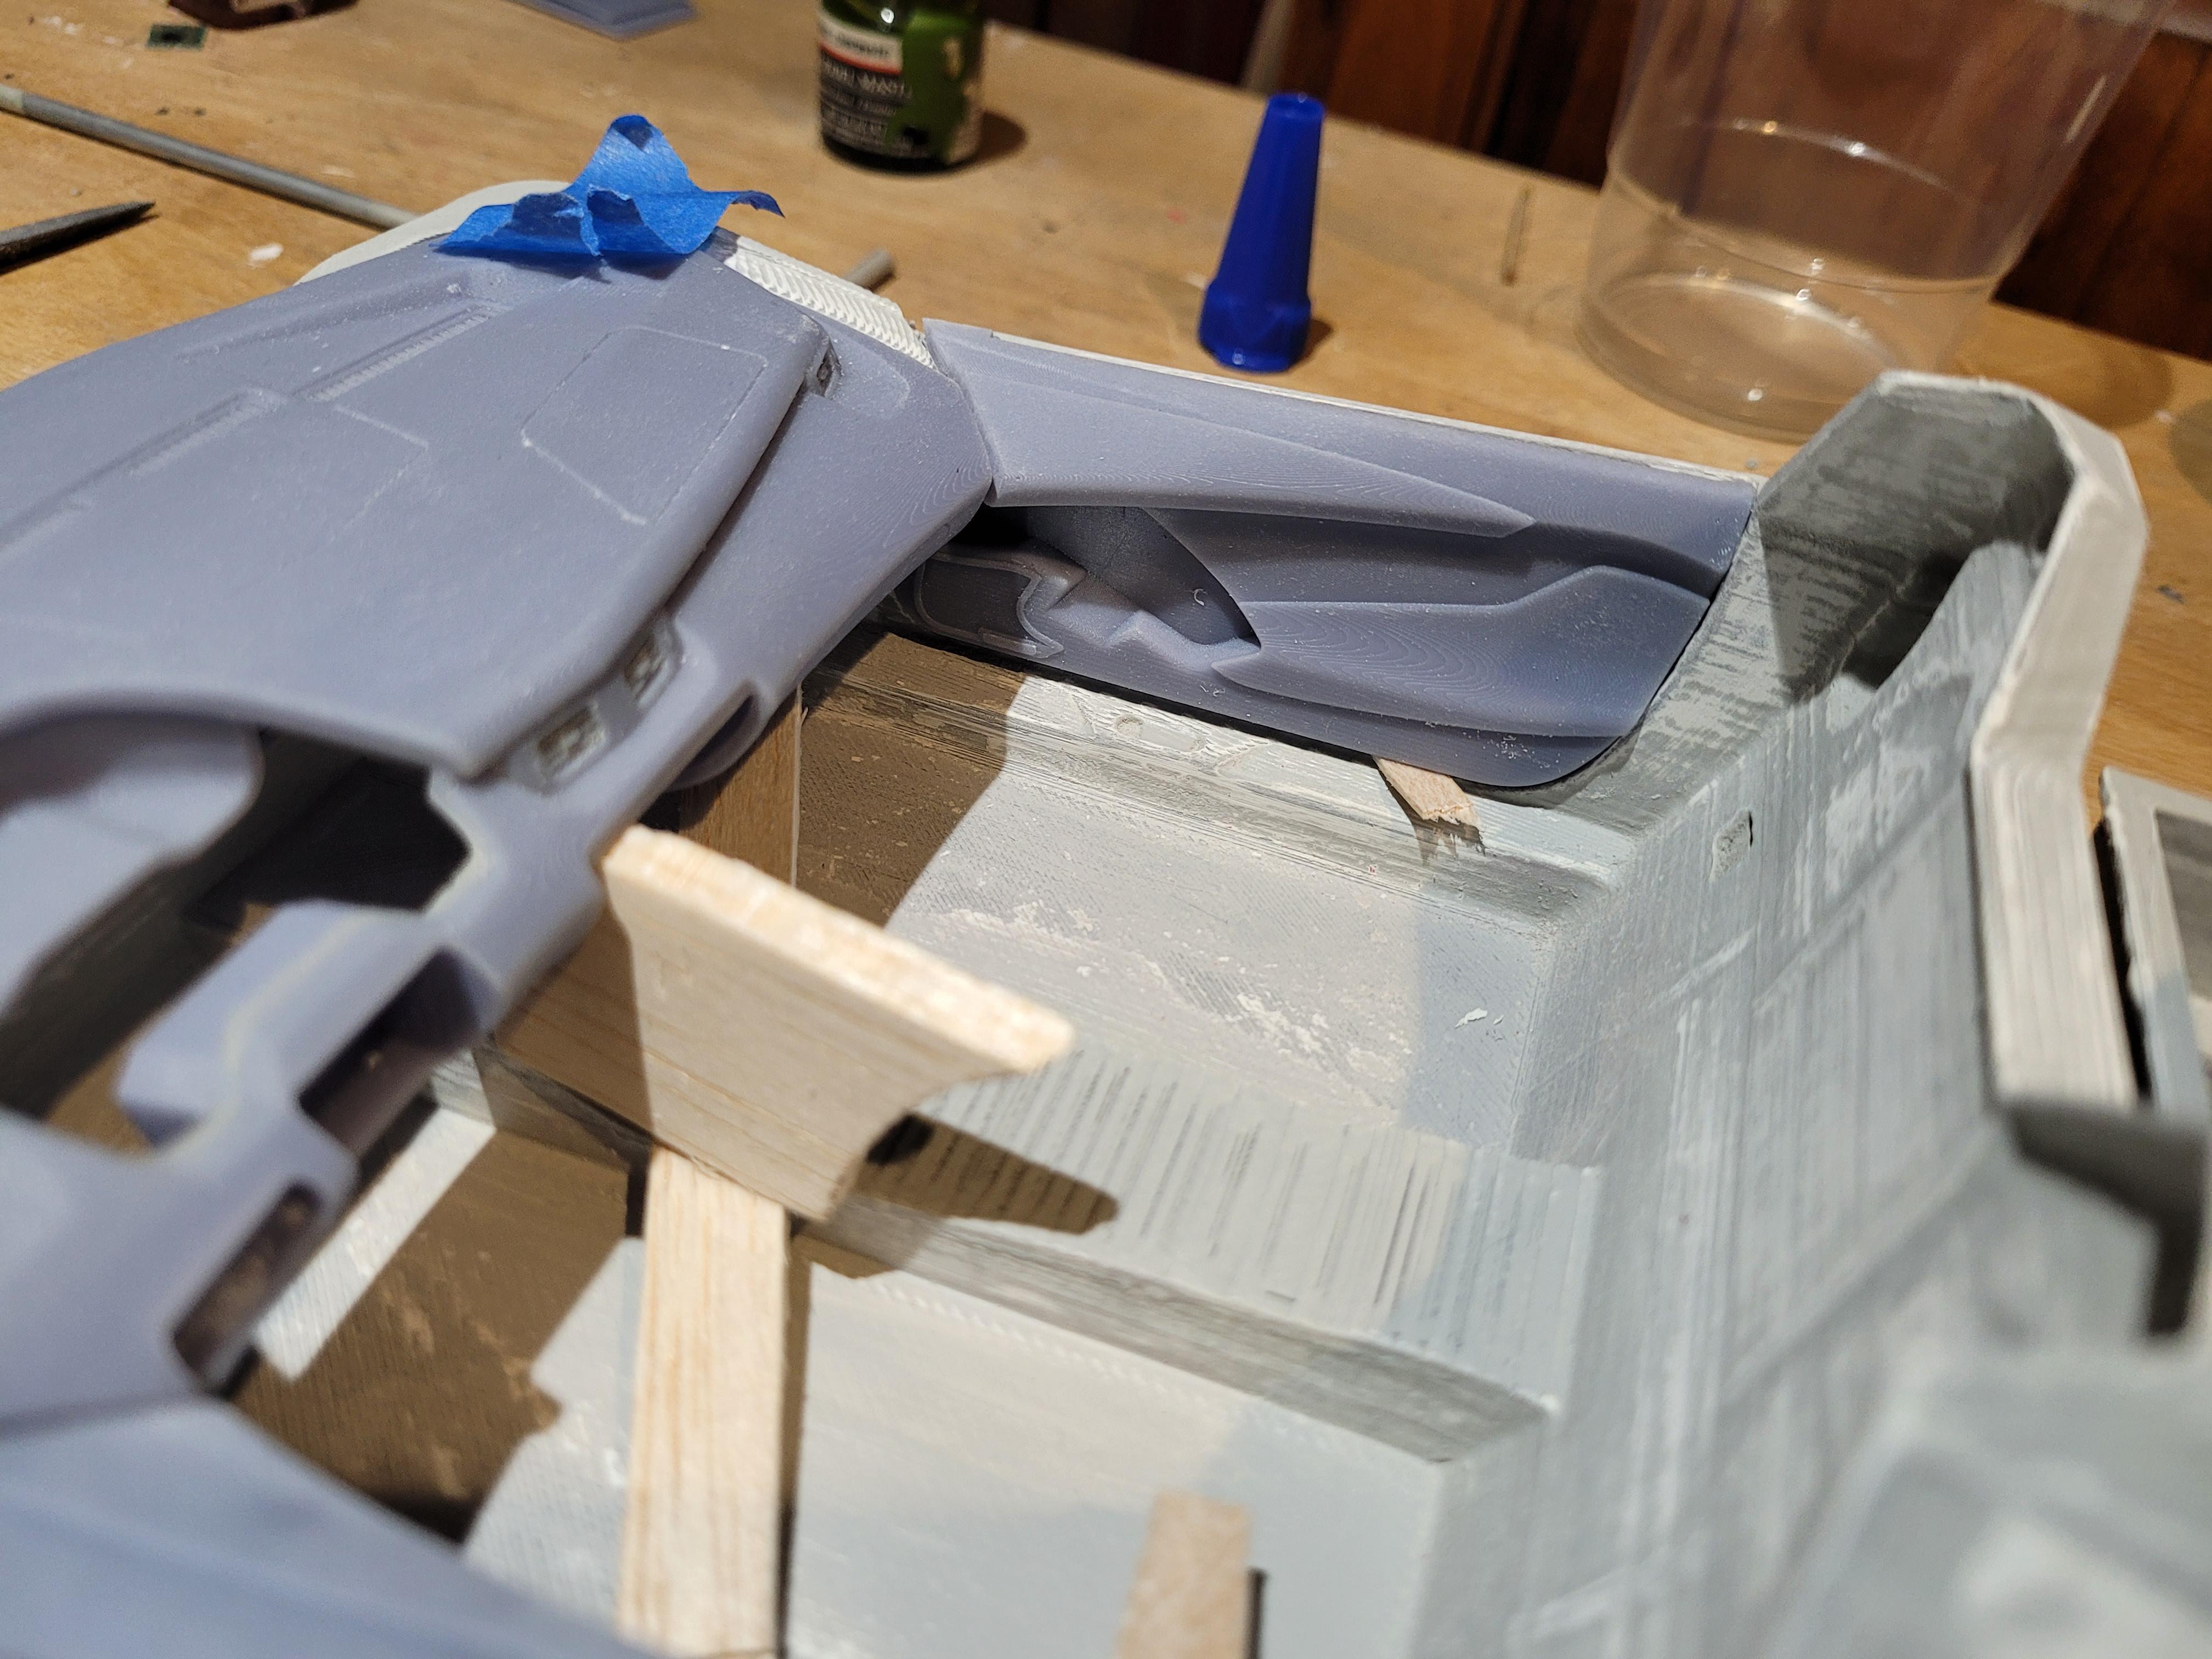
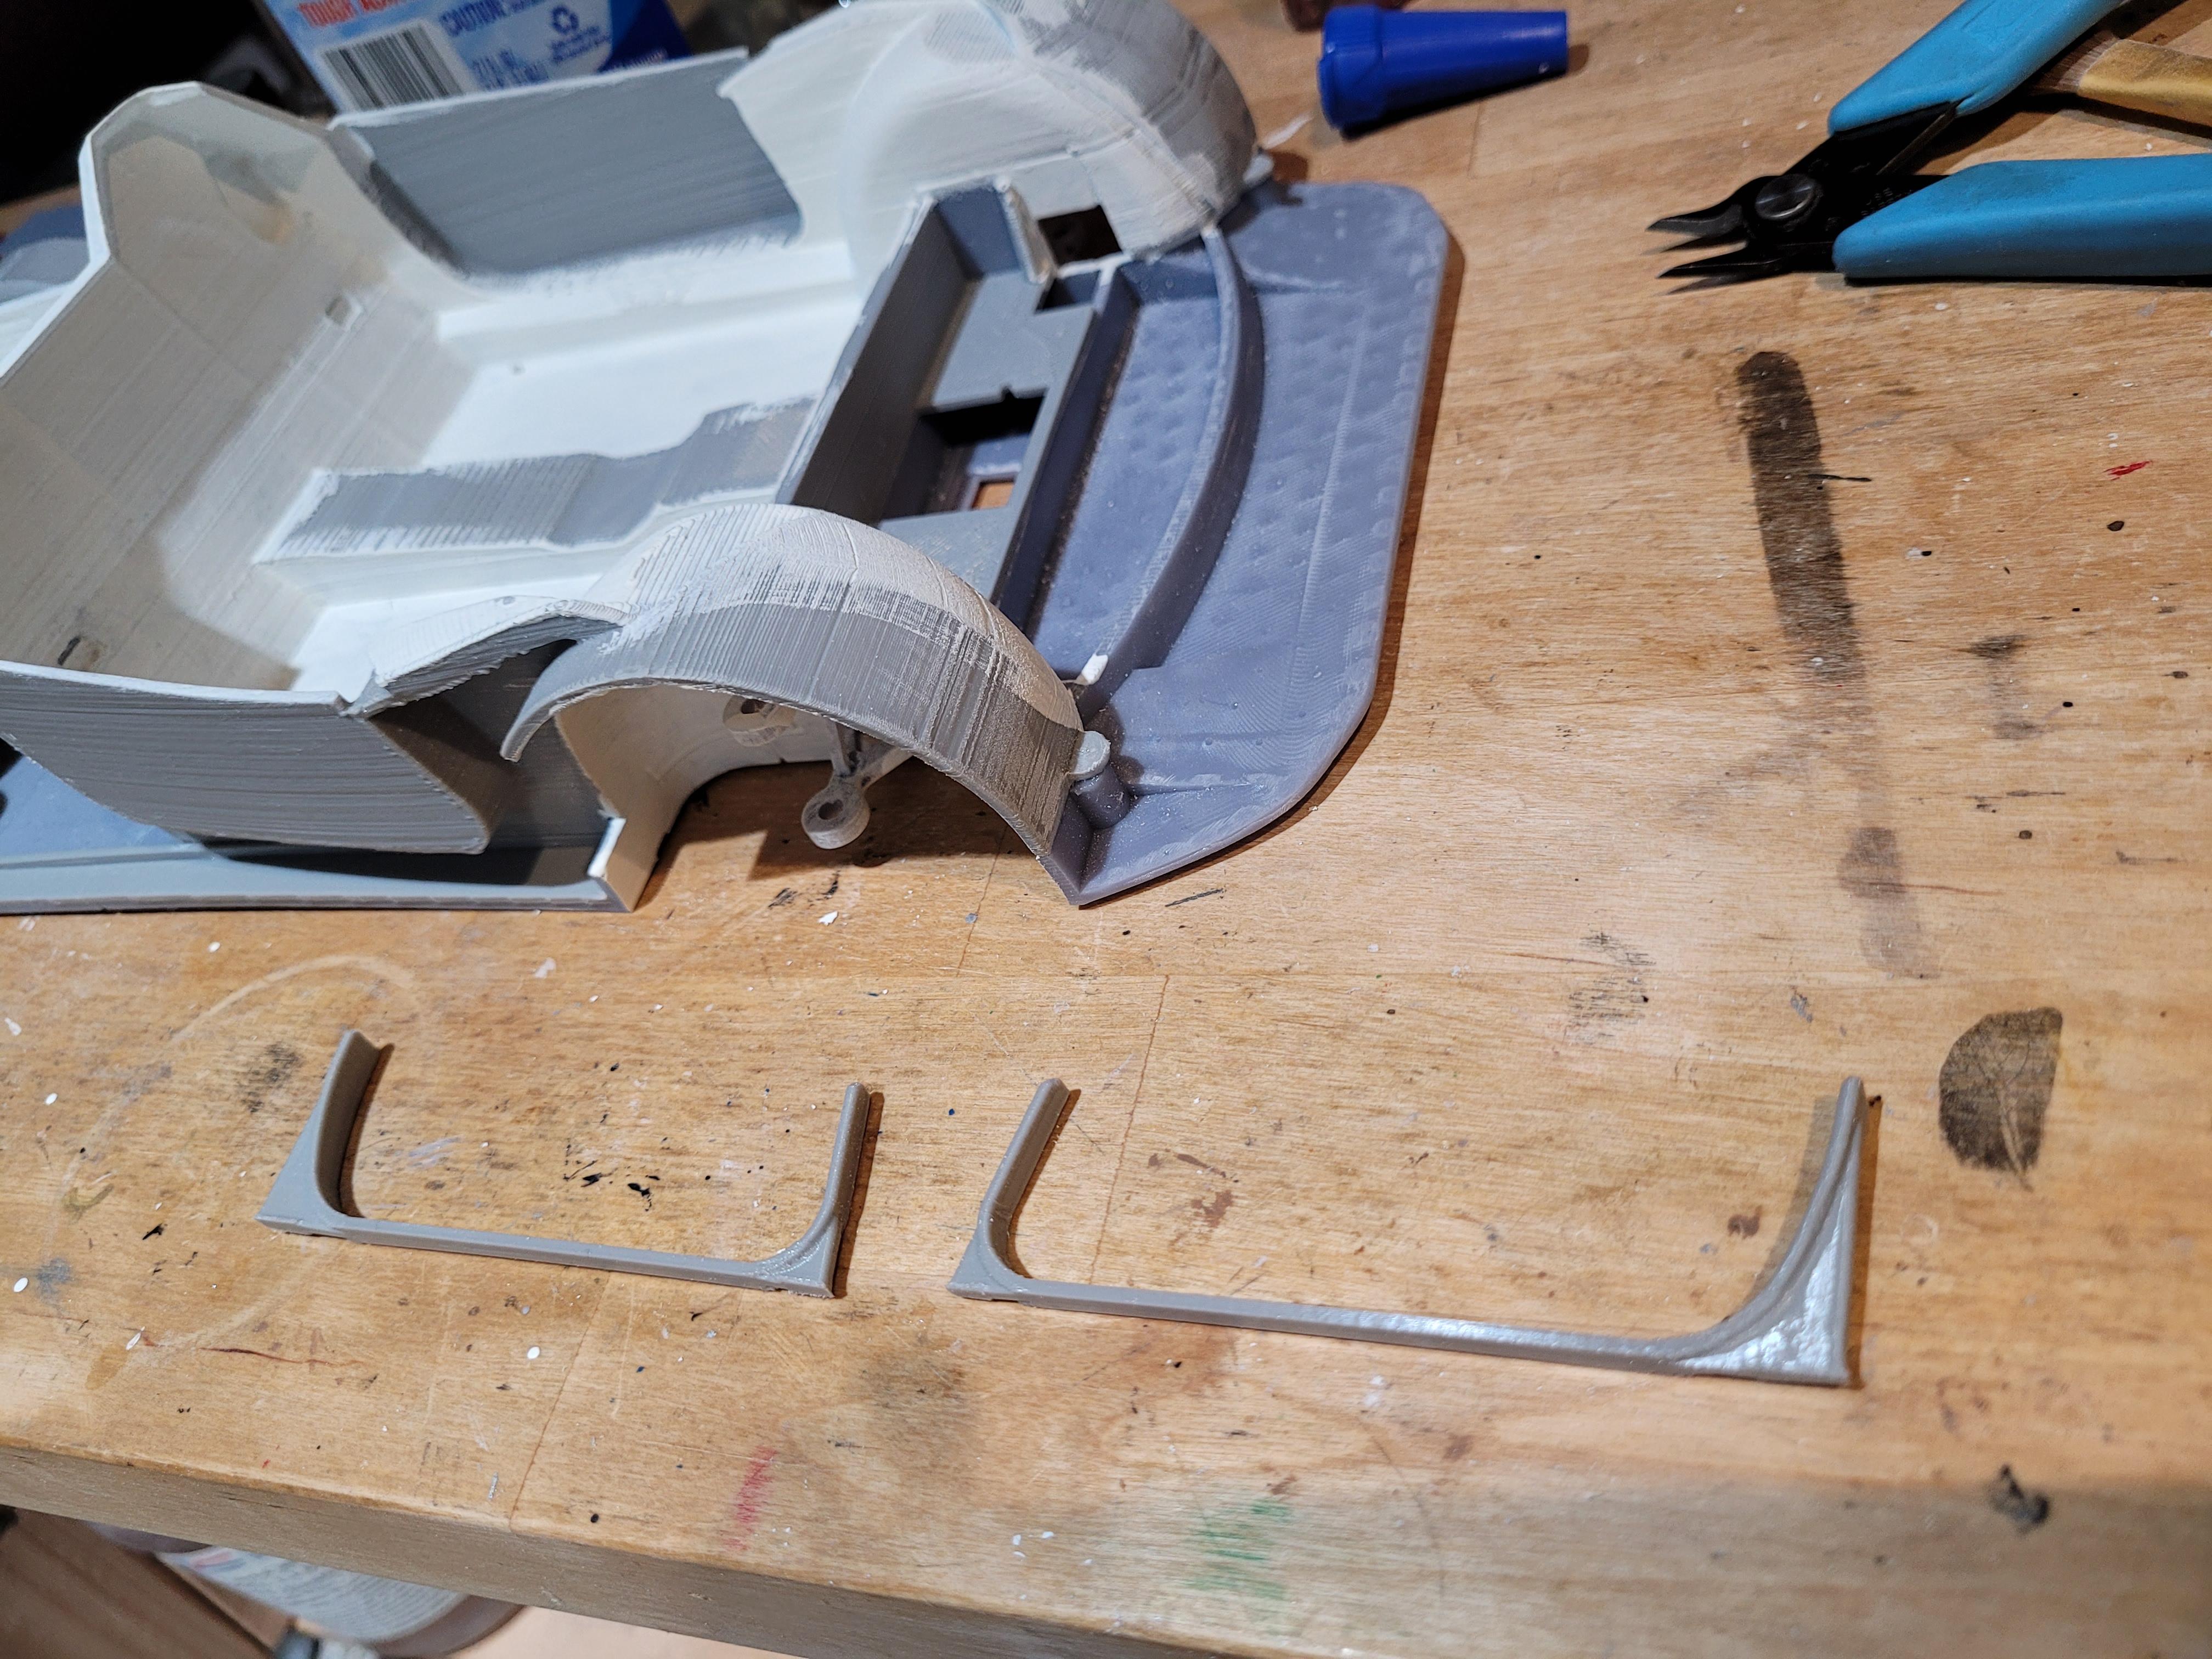
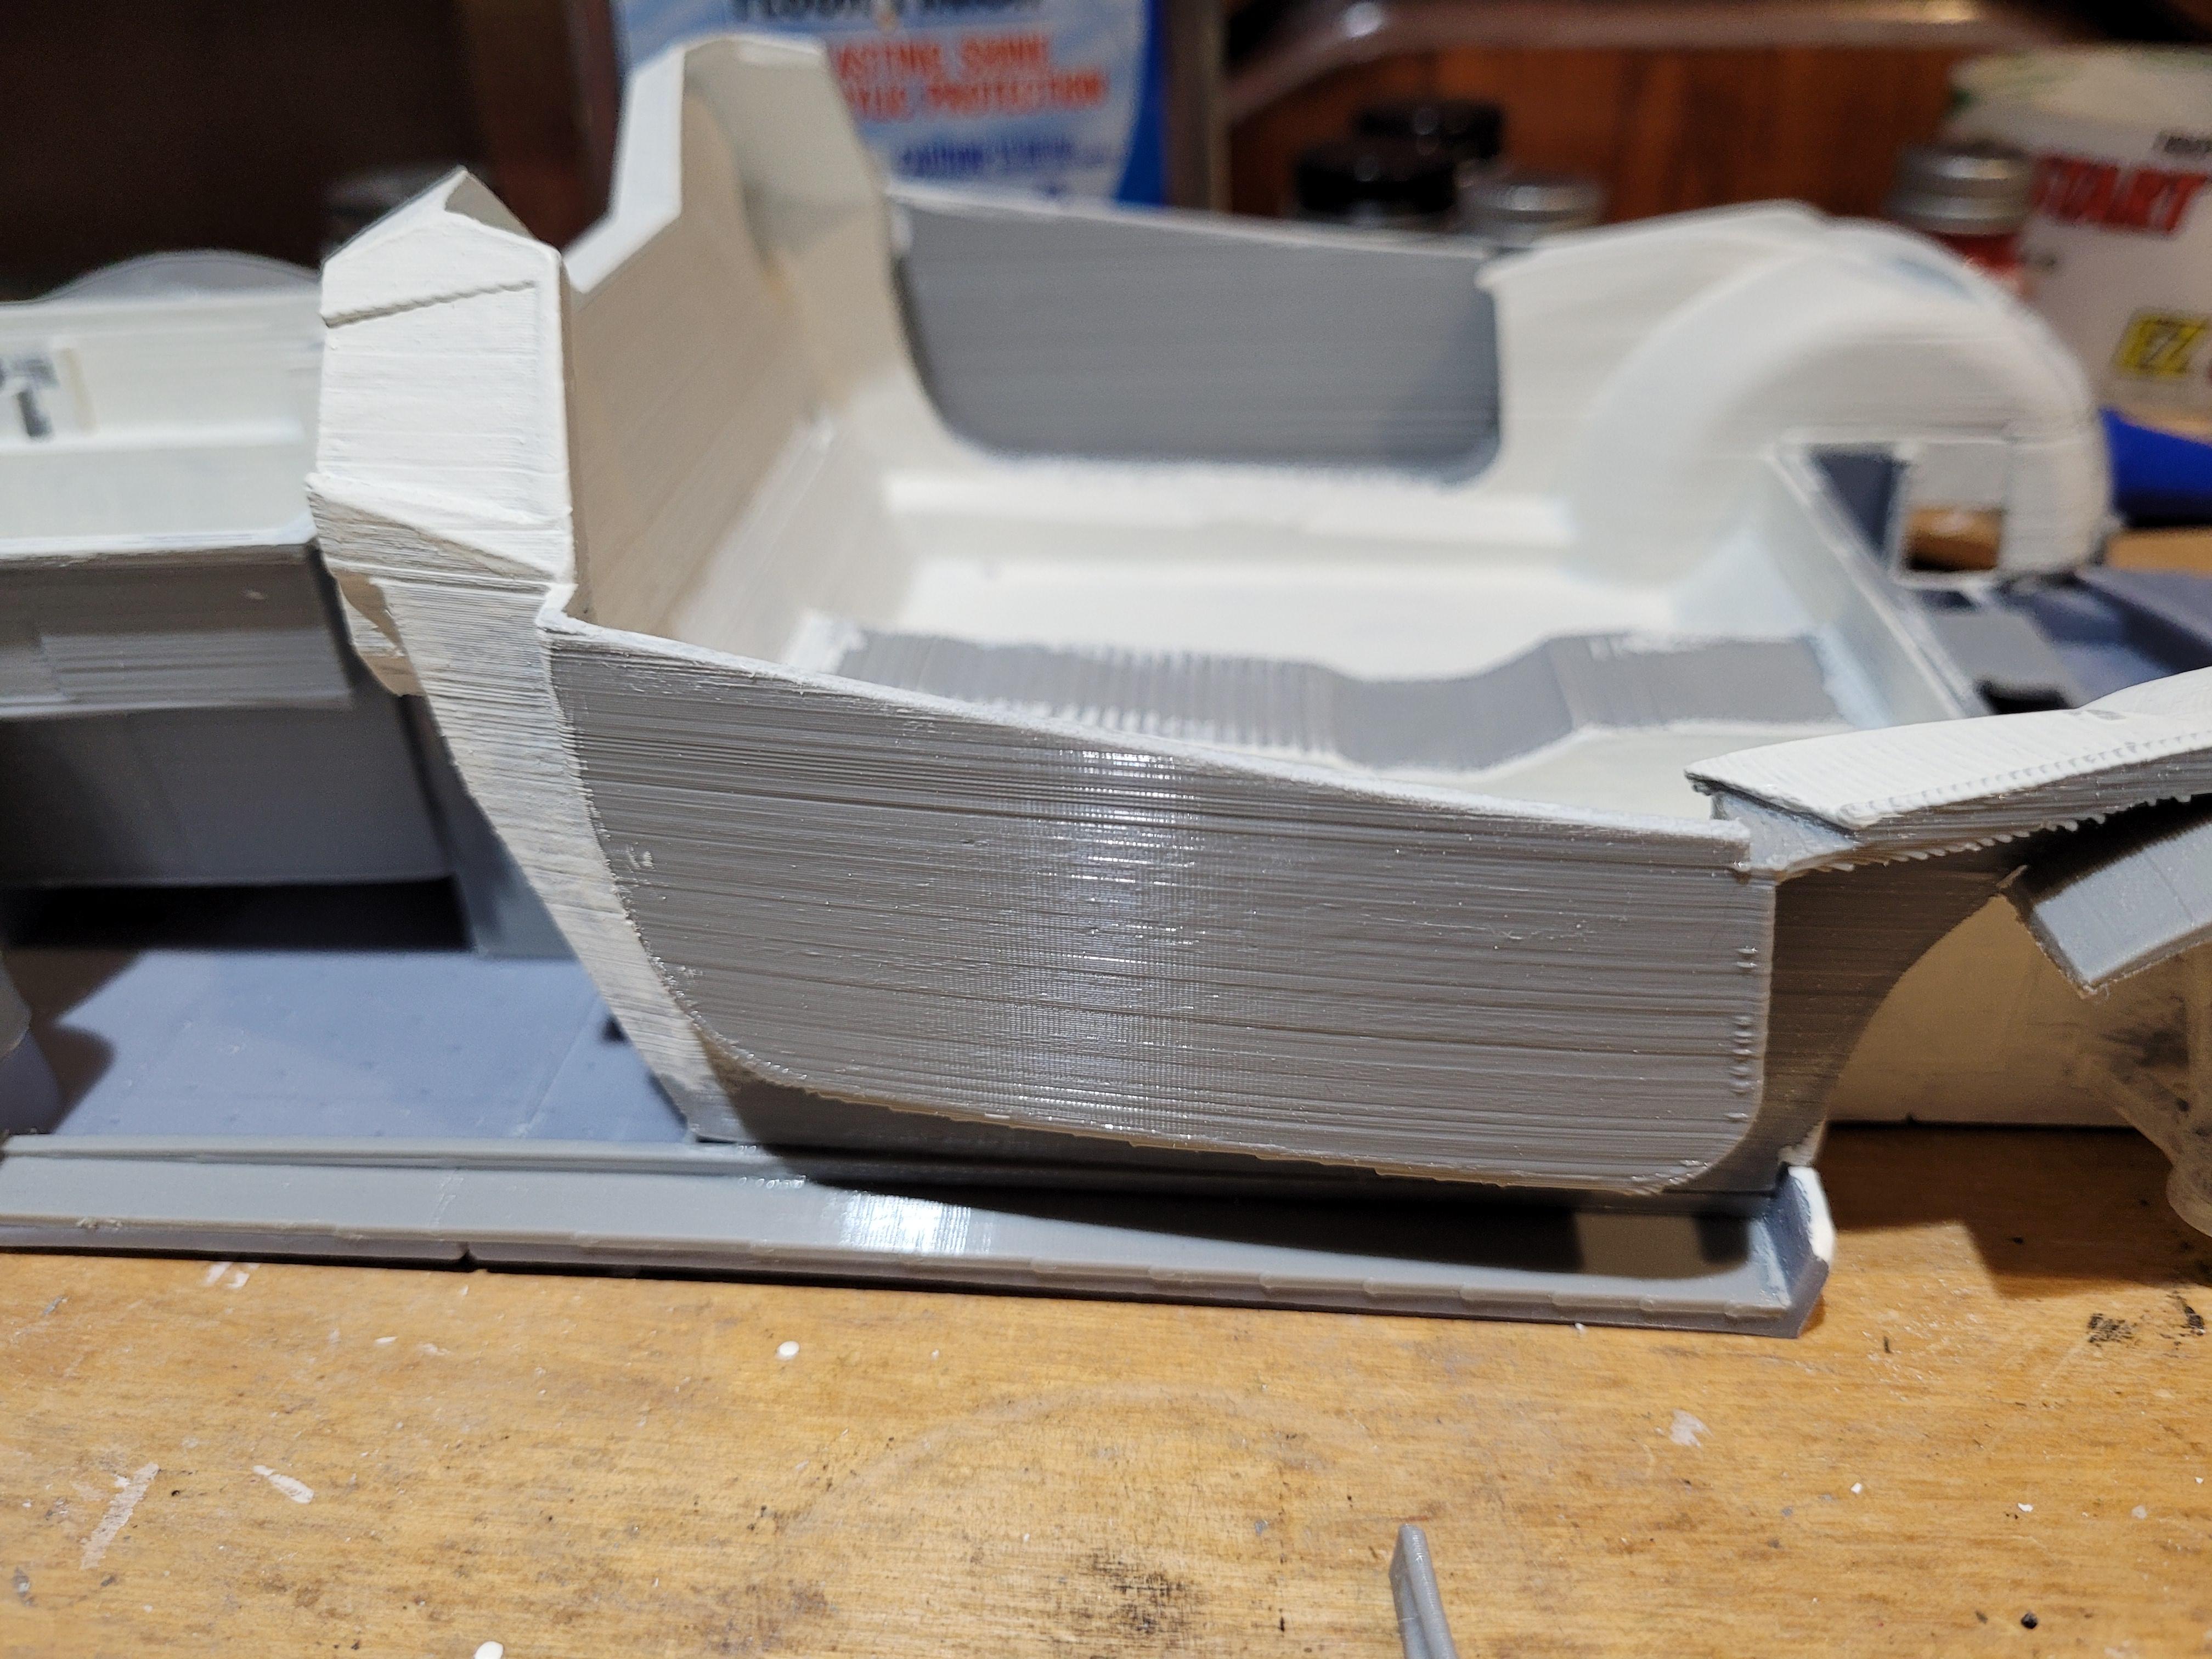
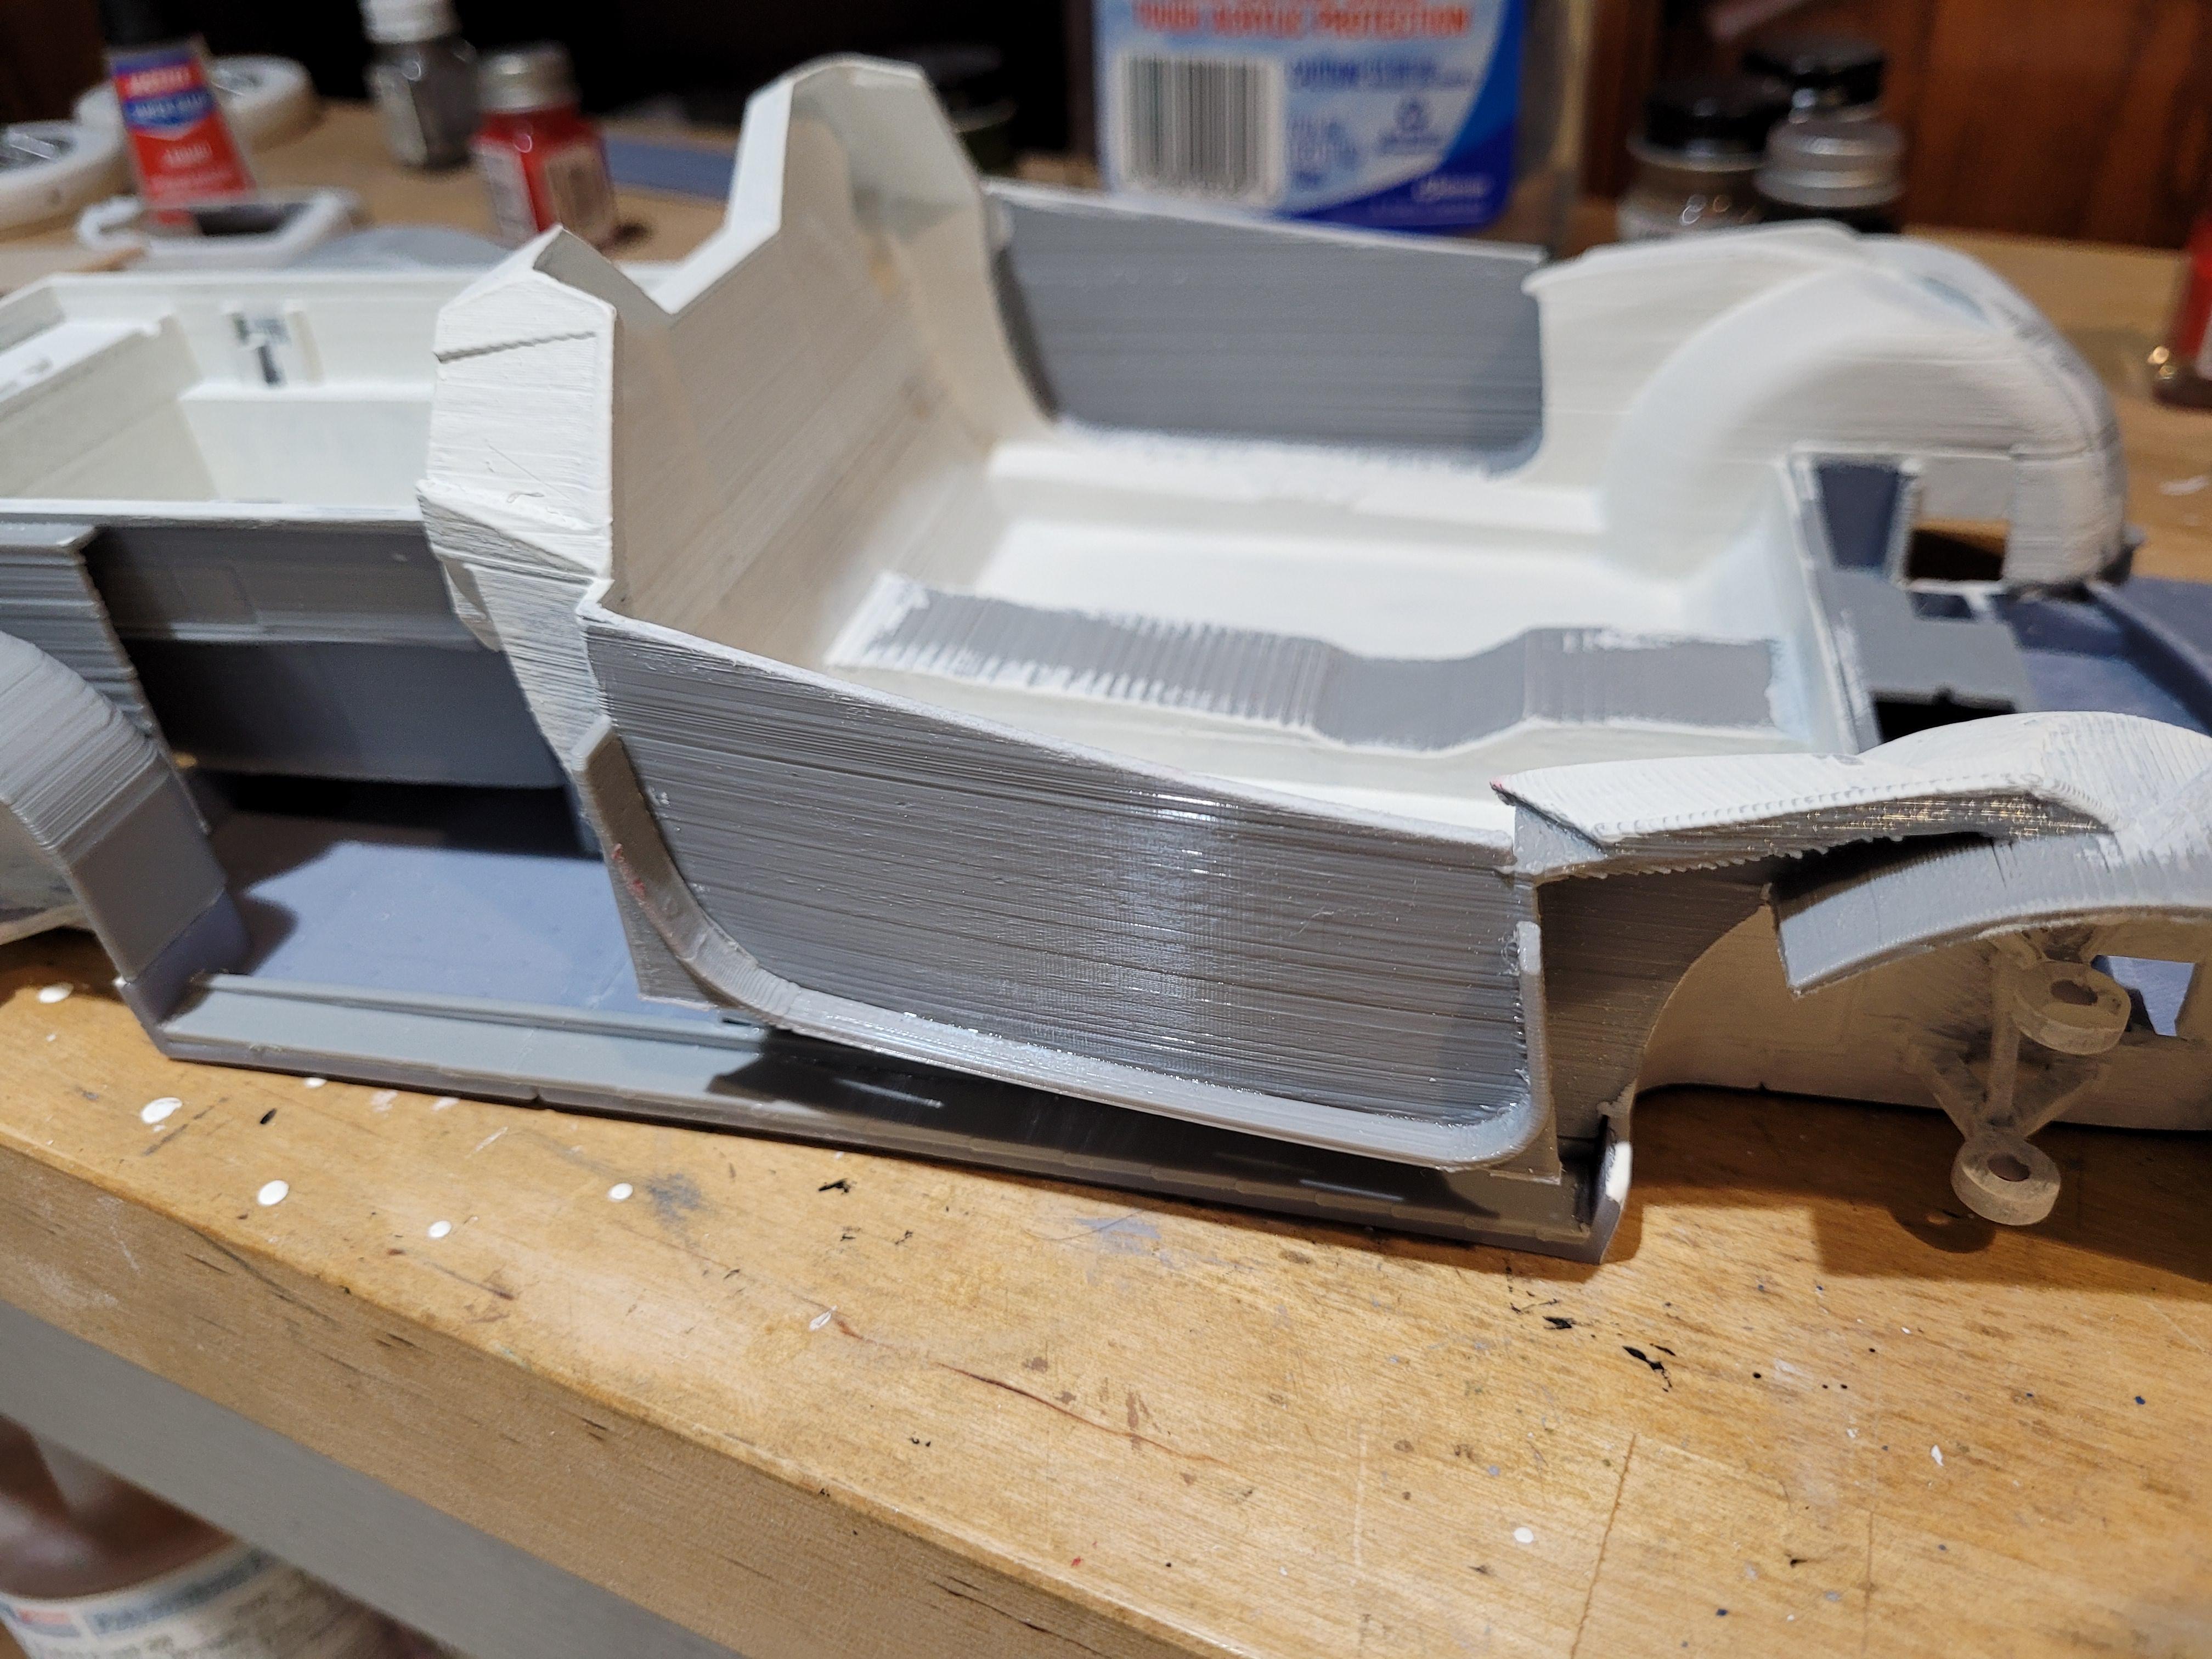
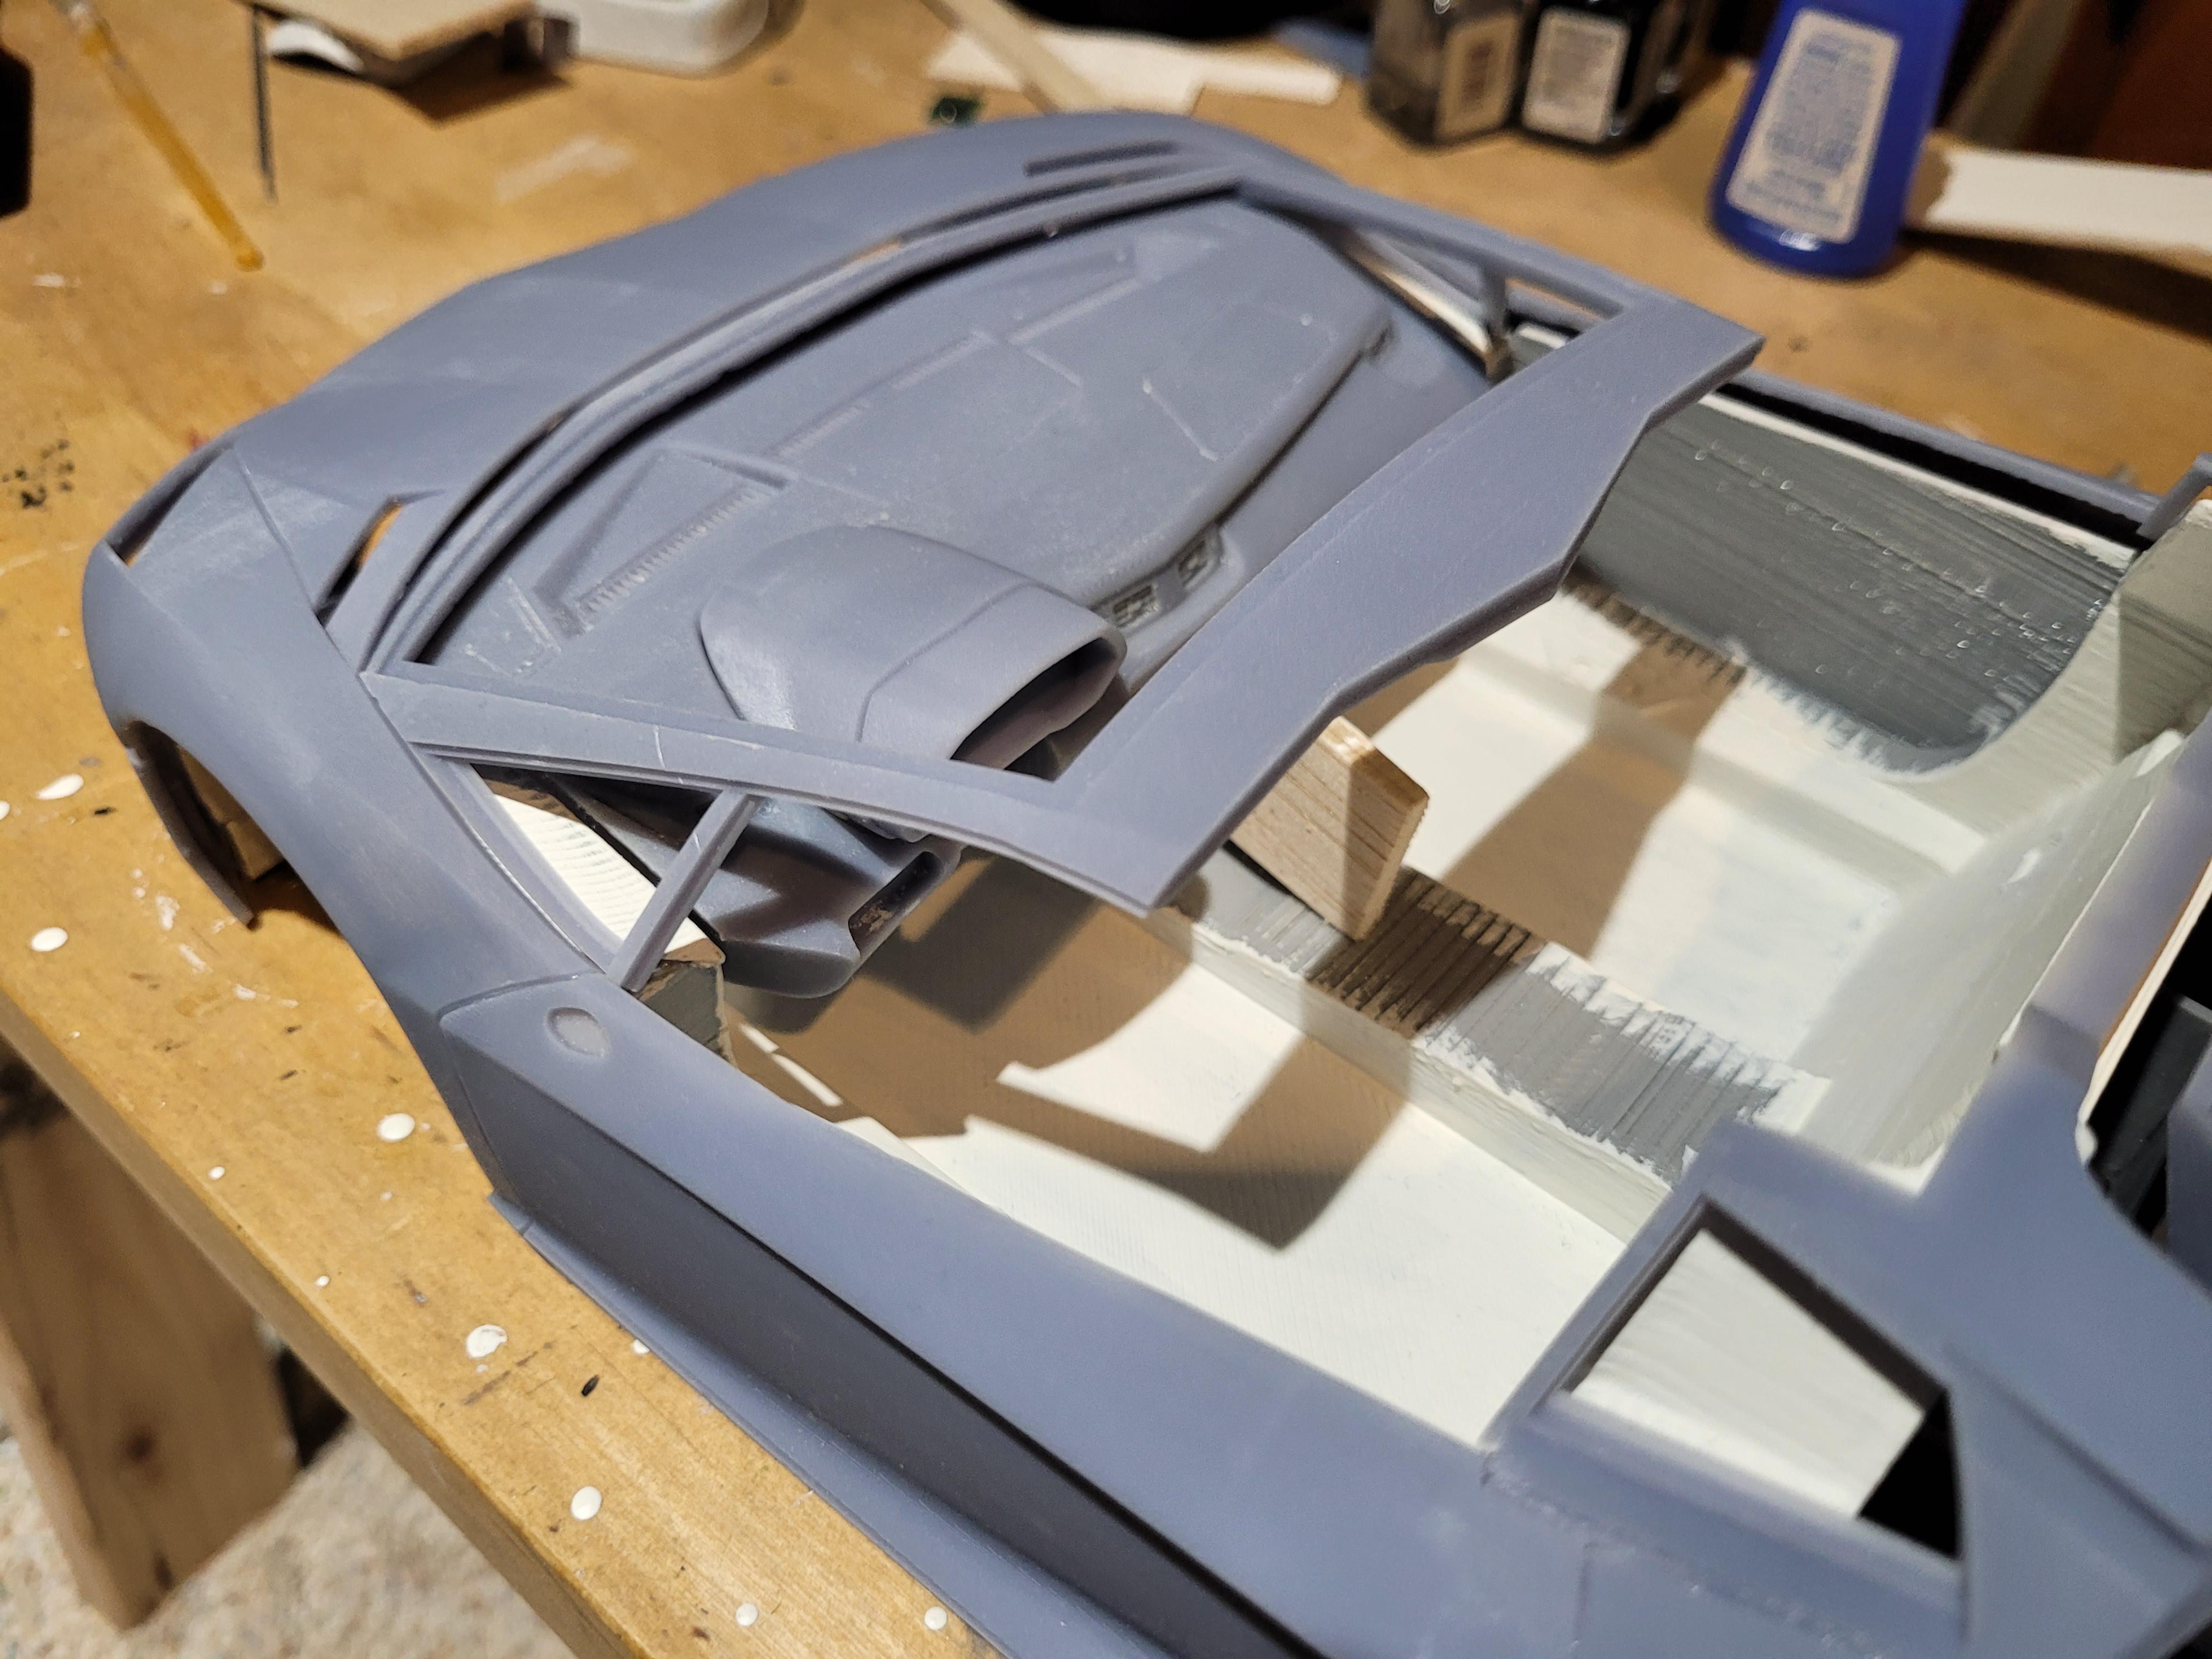
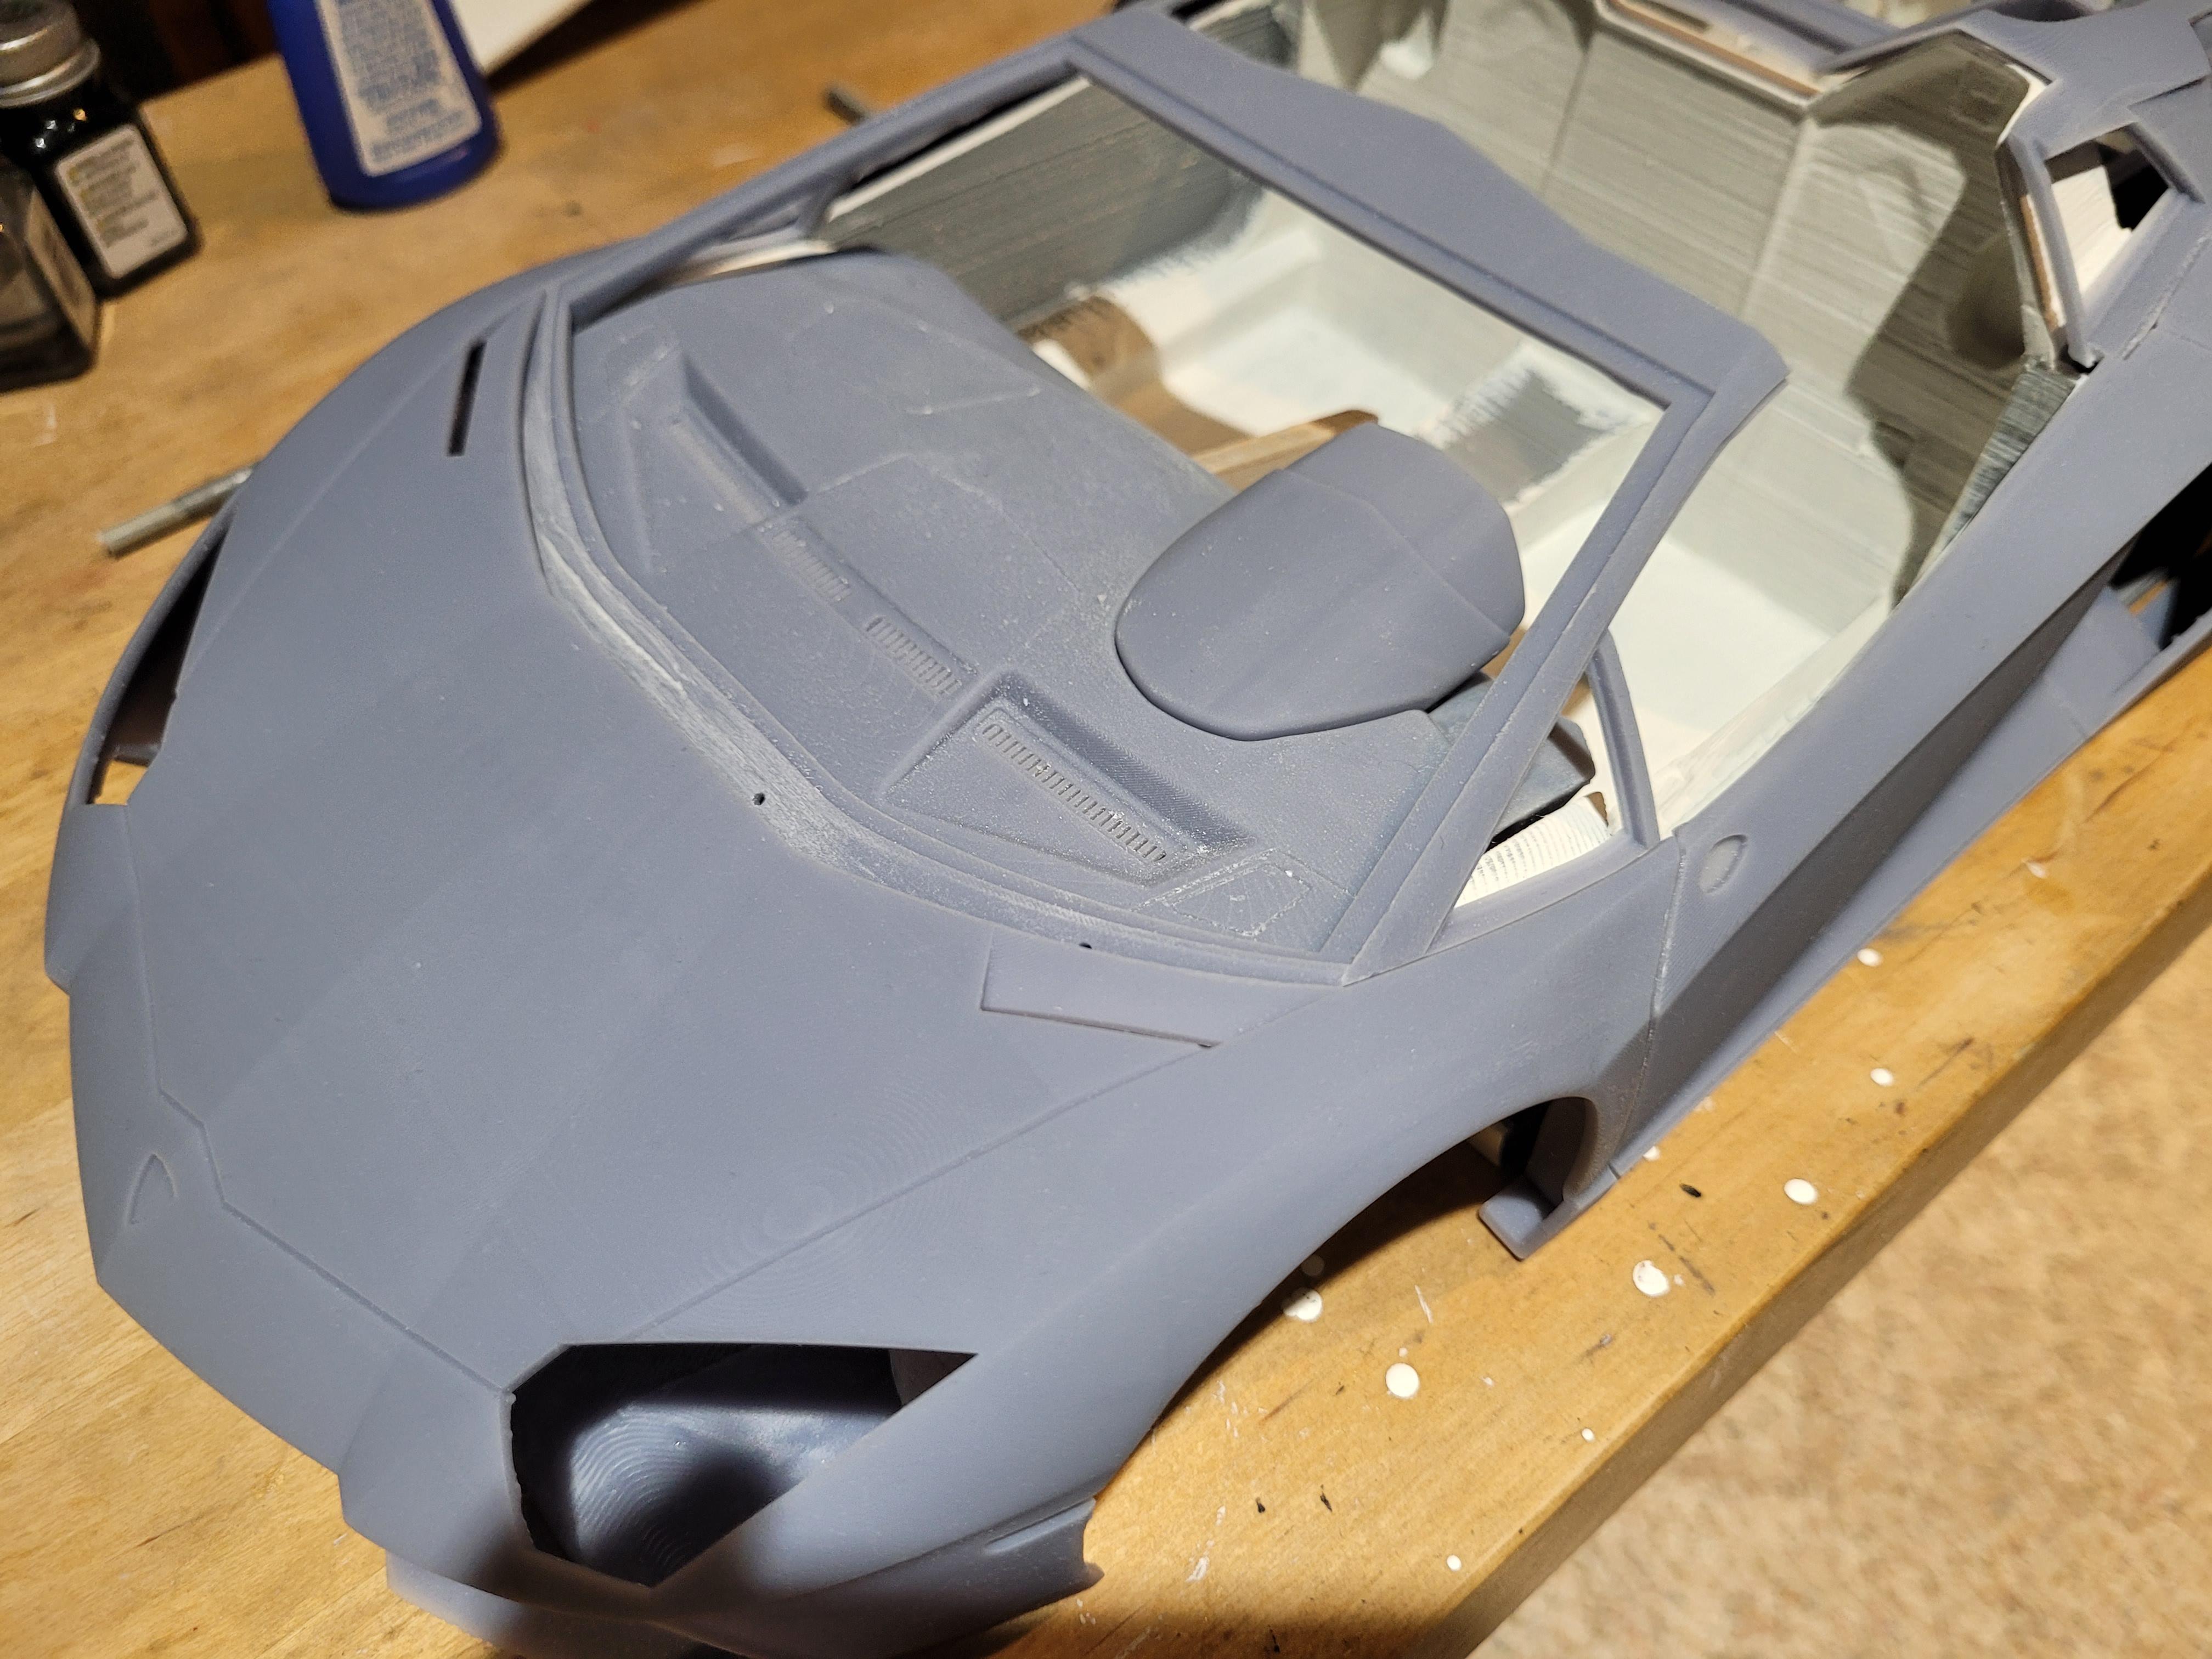
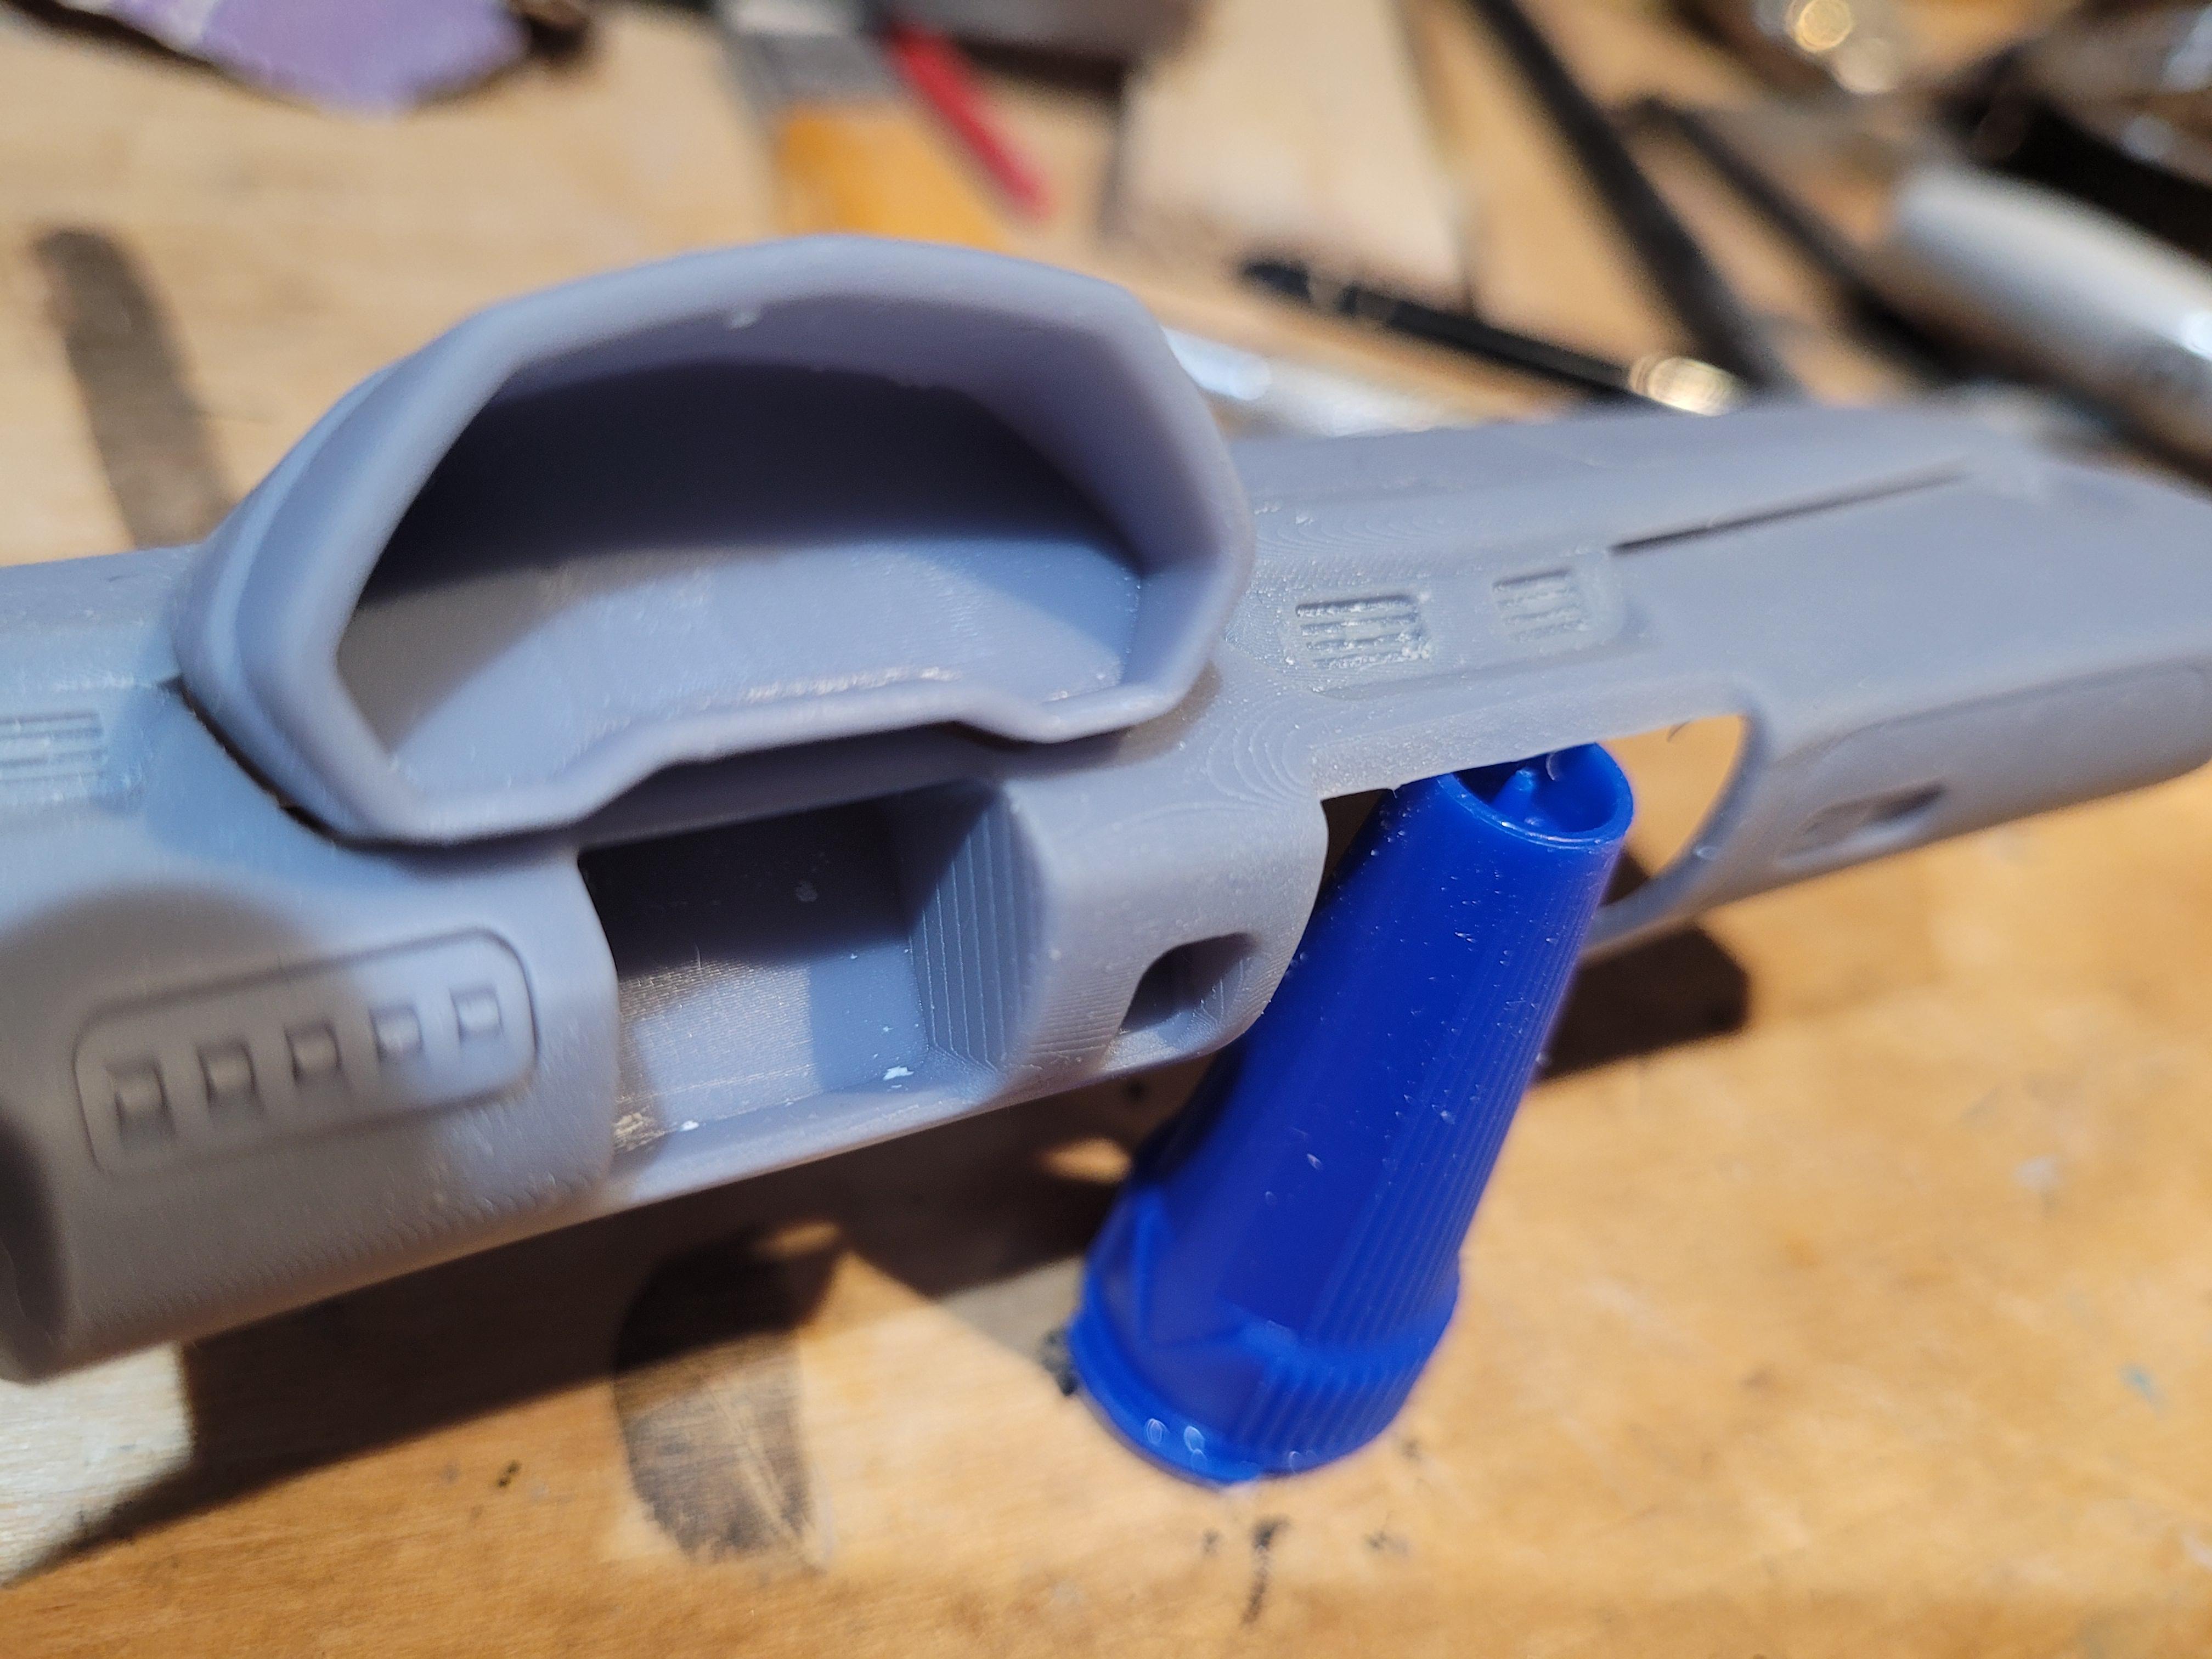
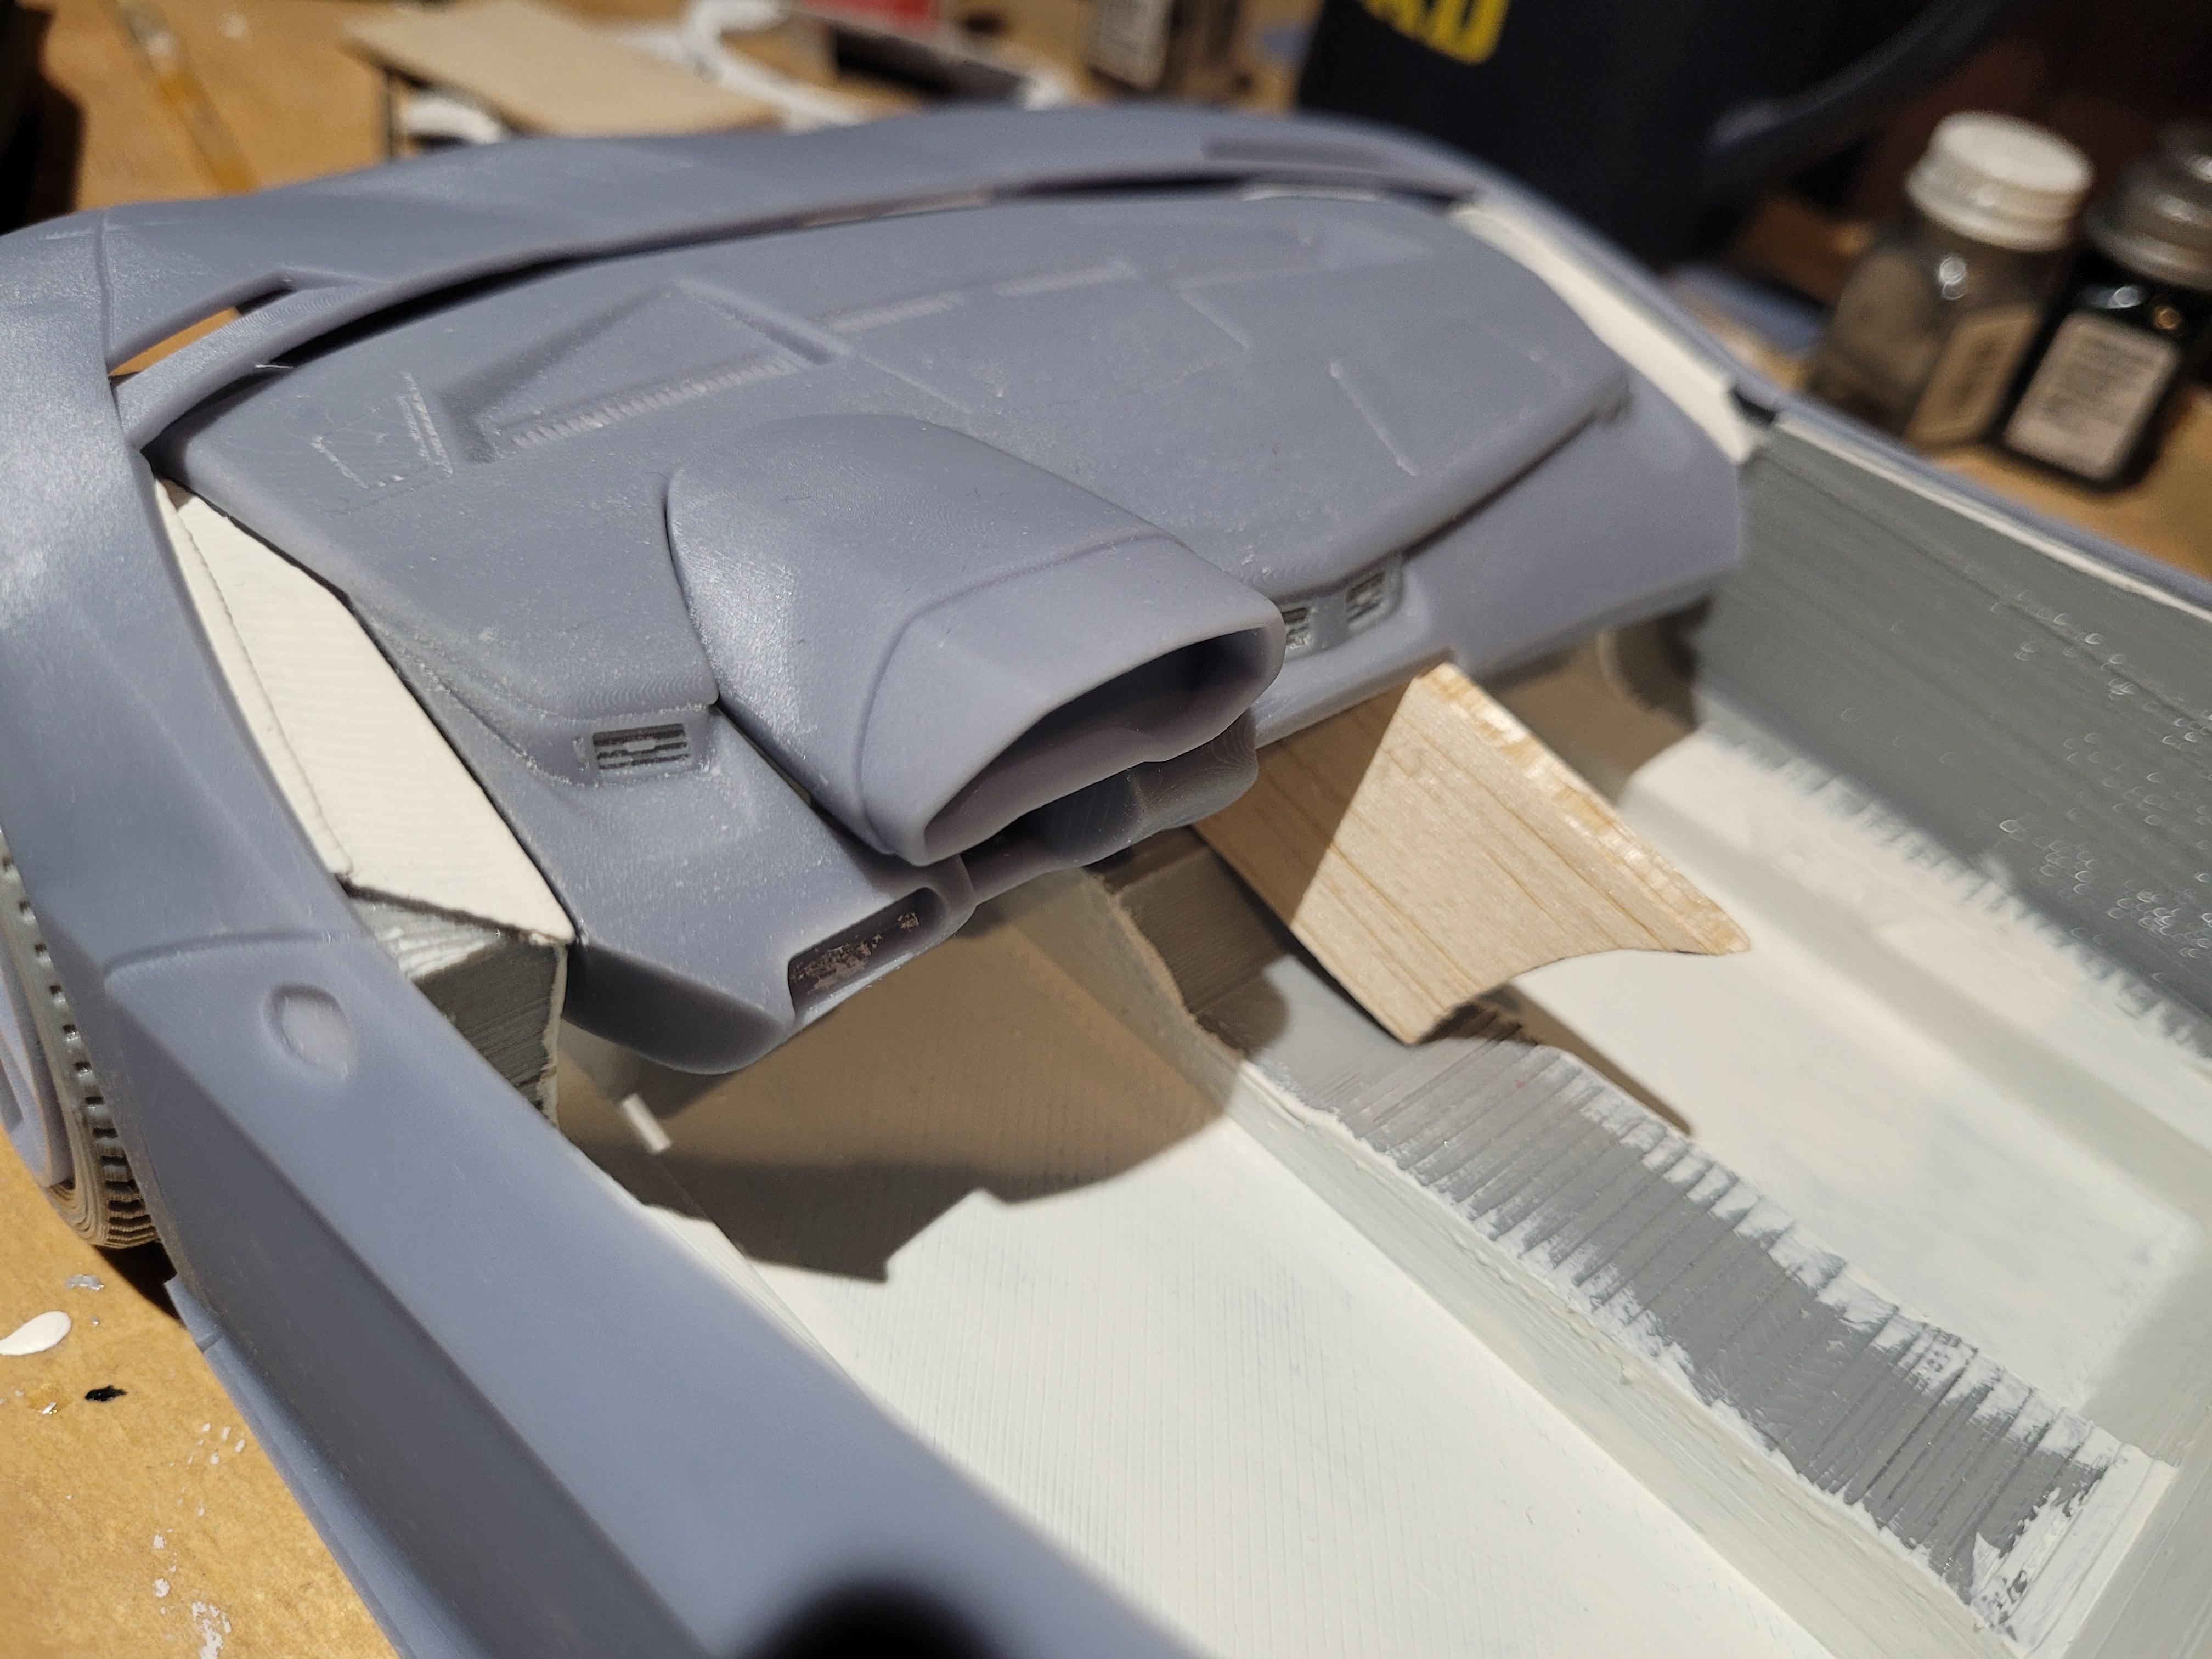
This is the most critical fitment of the entire build. The are 4 parts that must come together at 1 interface: cockpit tub, windshield frame/wiper panel, hood, and inner door panel No sanding was needed, and I am happy with the fit. The joint between the base of the A-Pillar and the upper fender is almost perfect and was not expected!
-
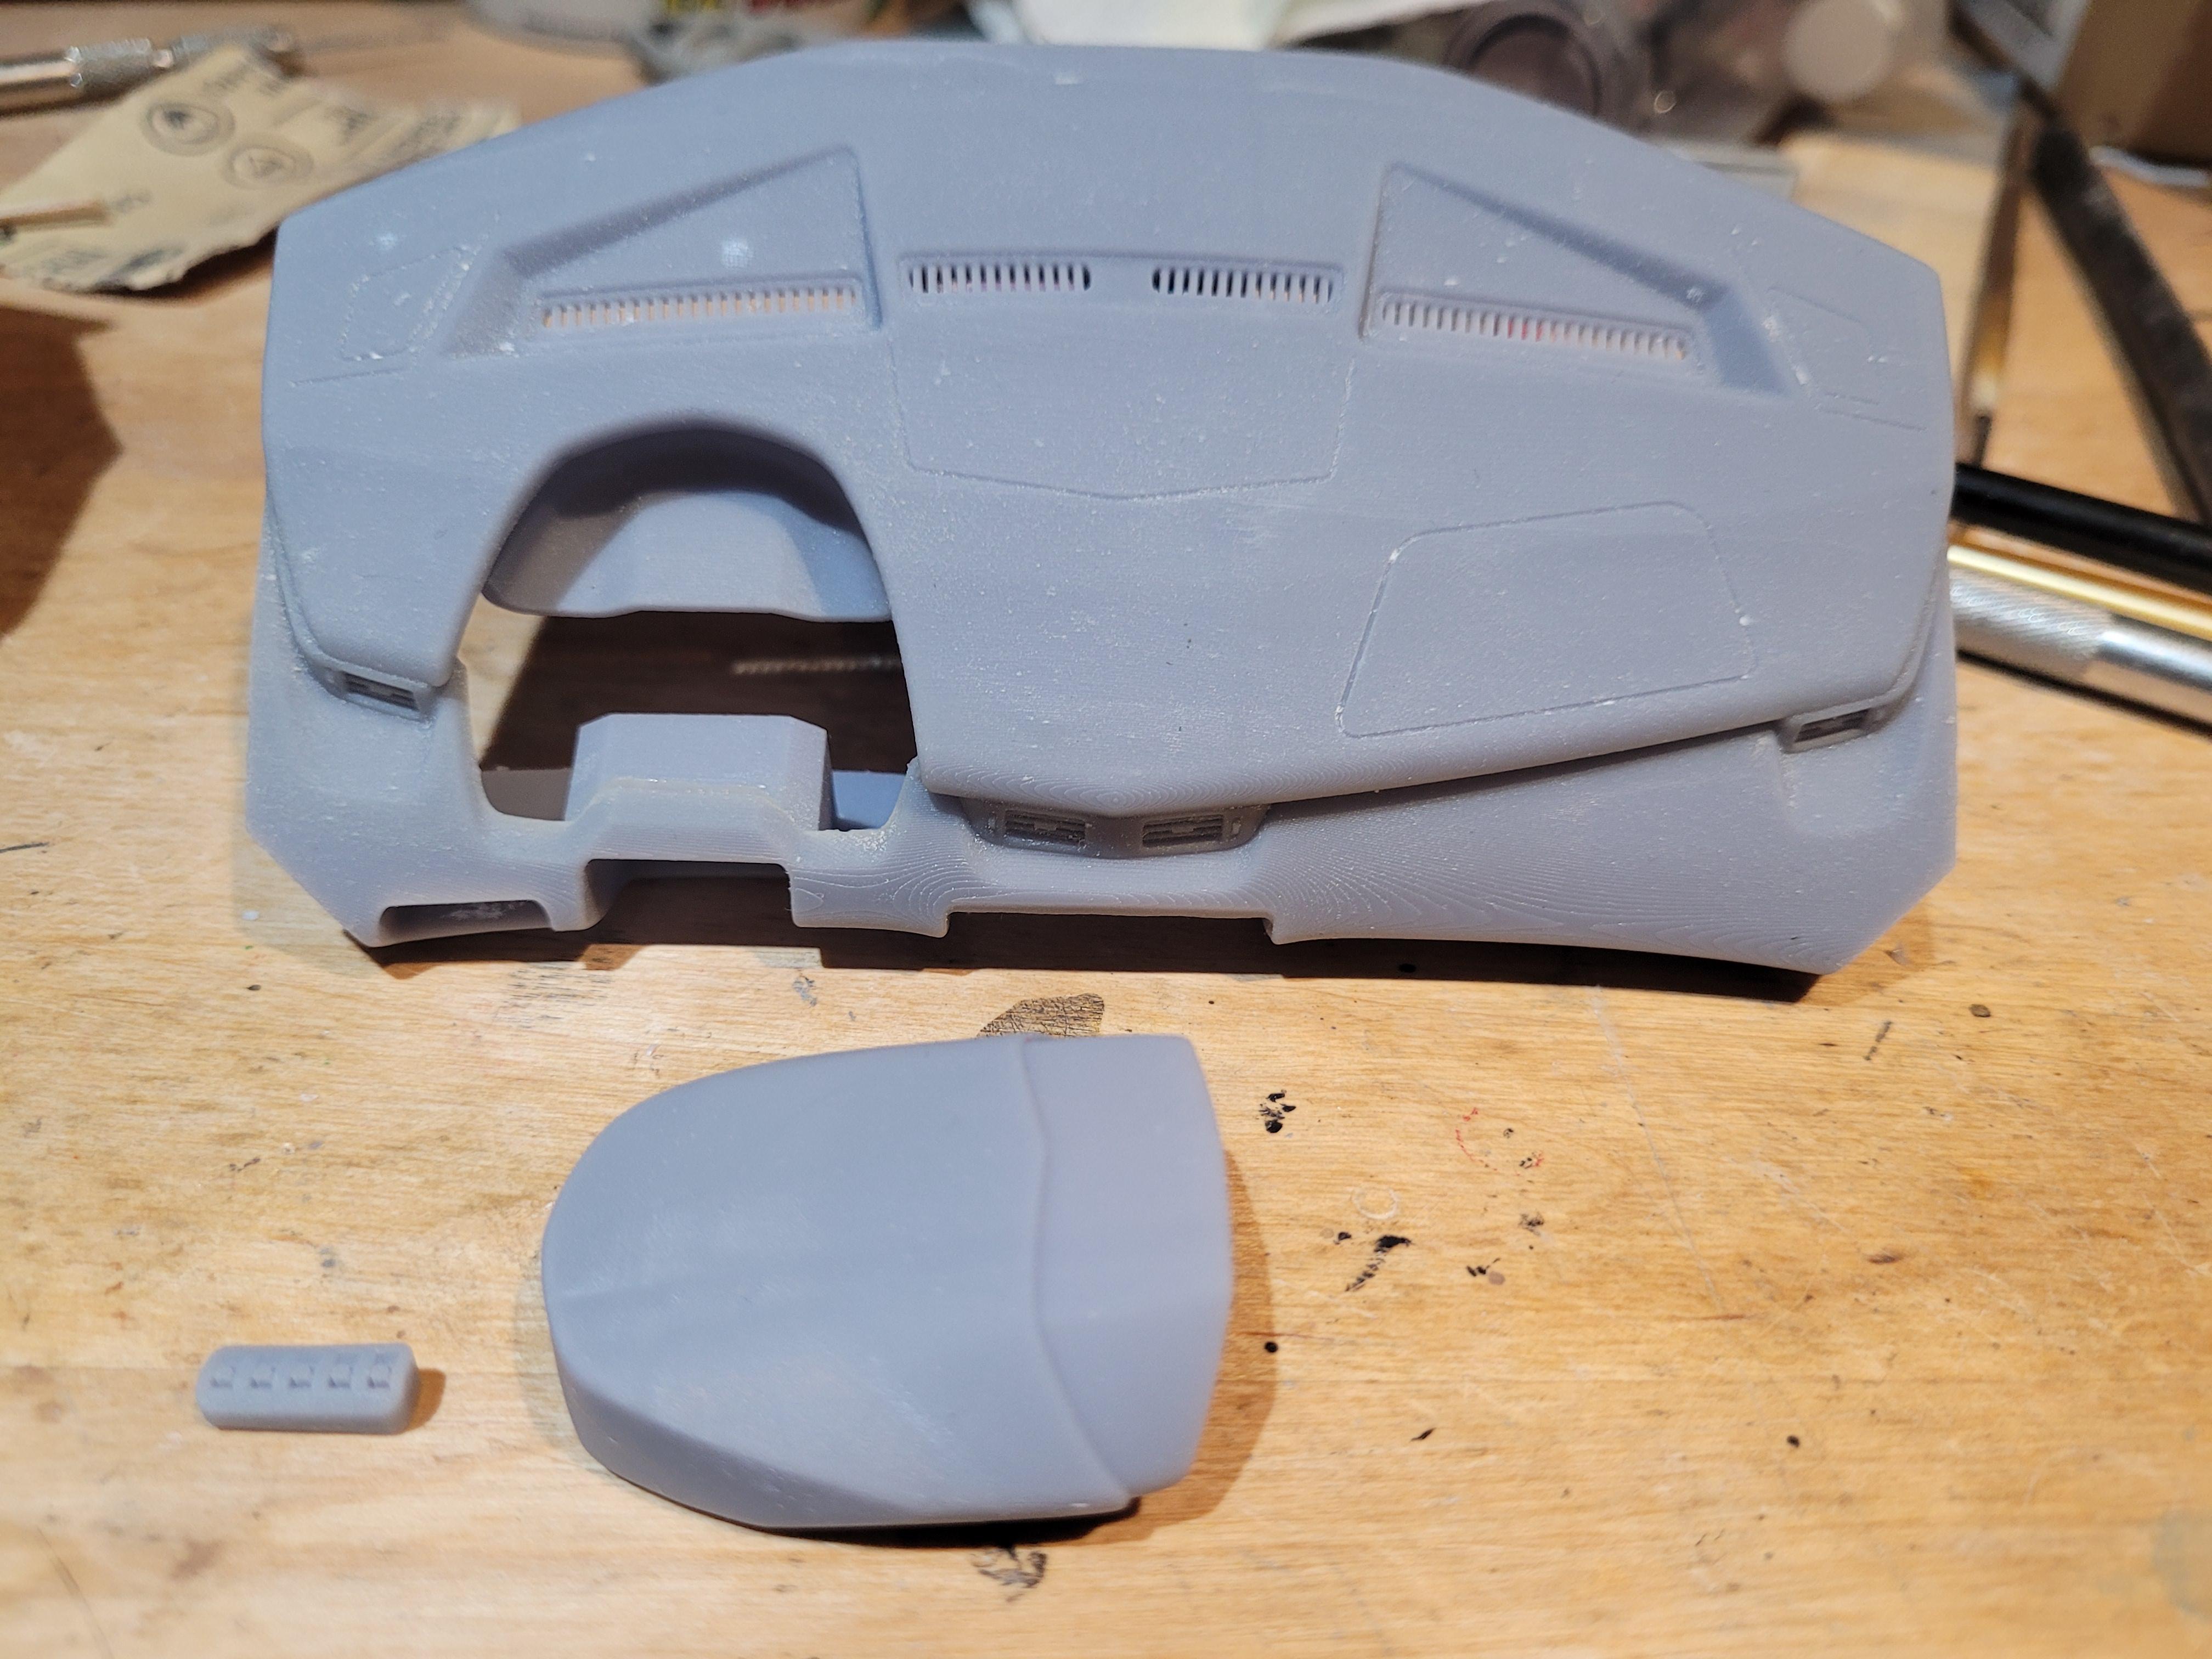
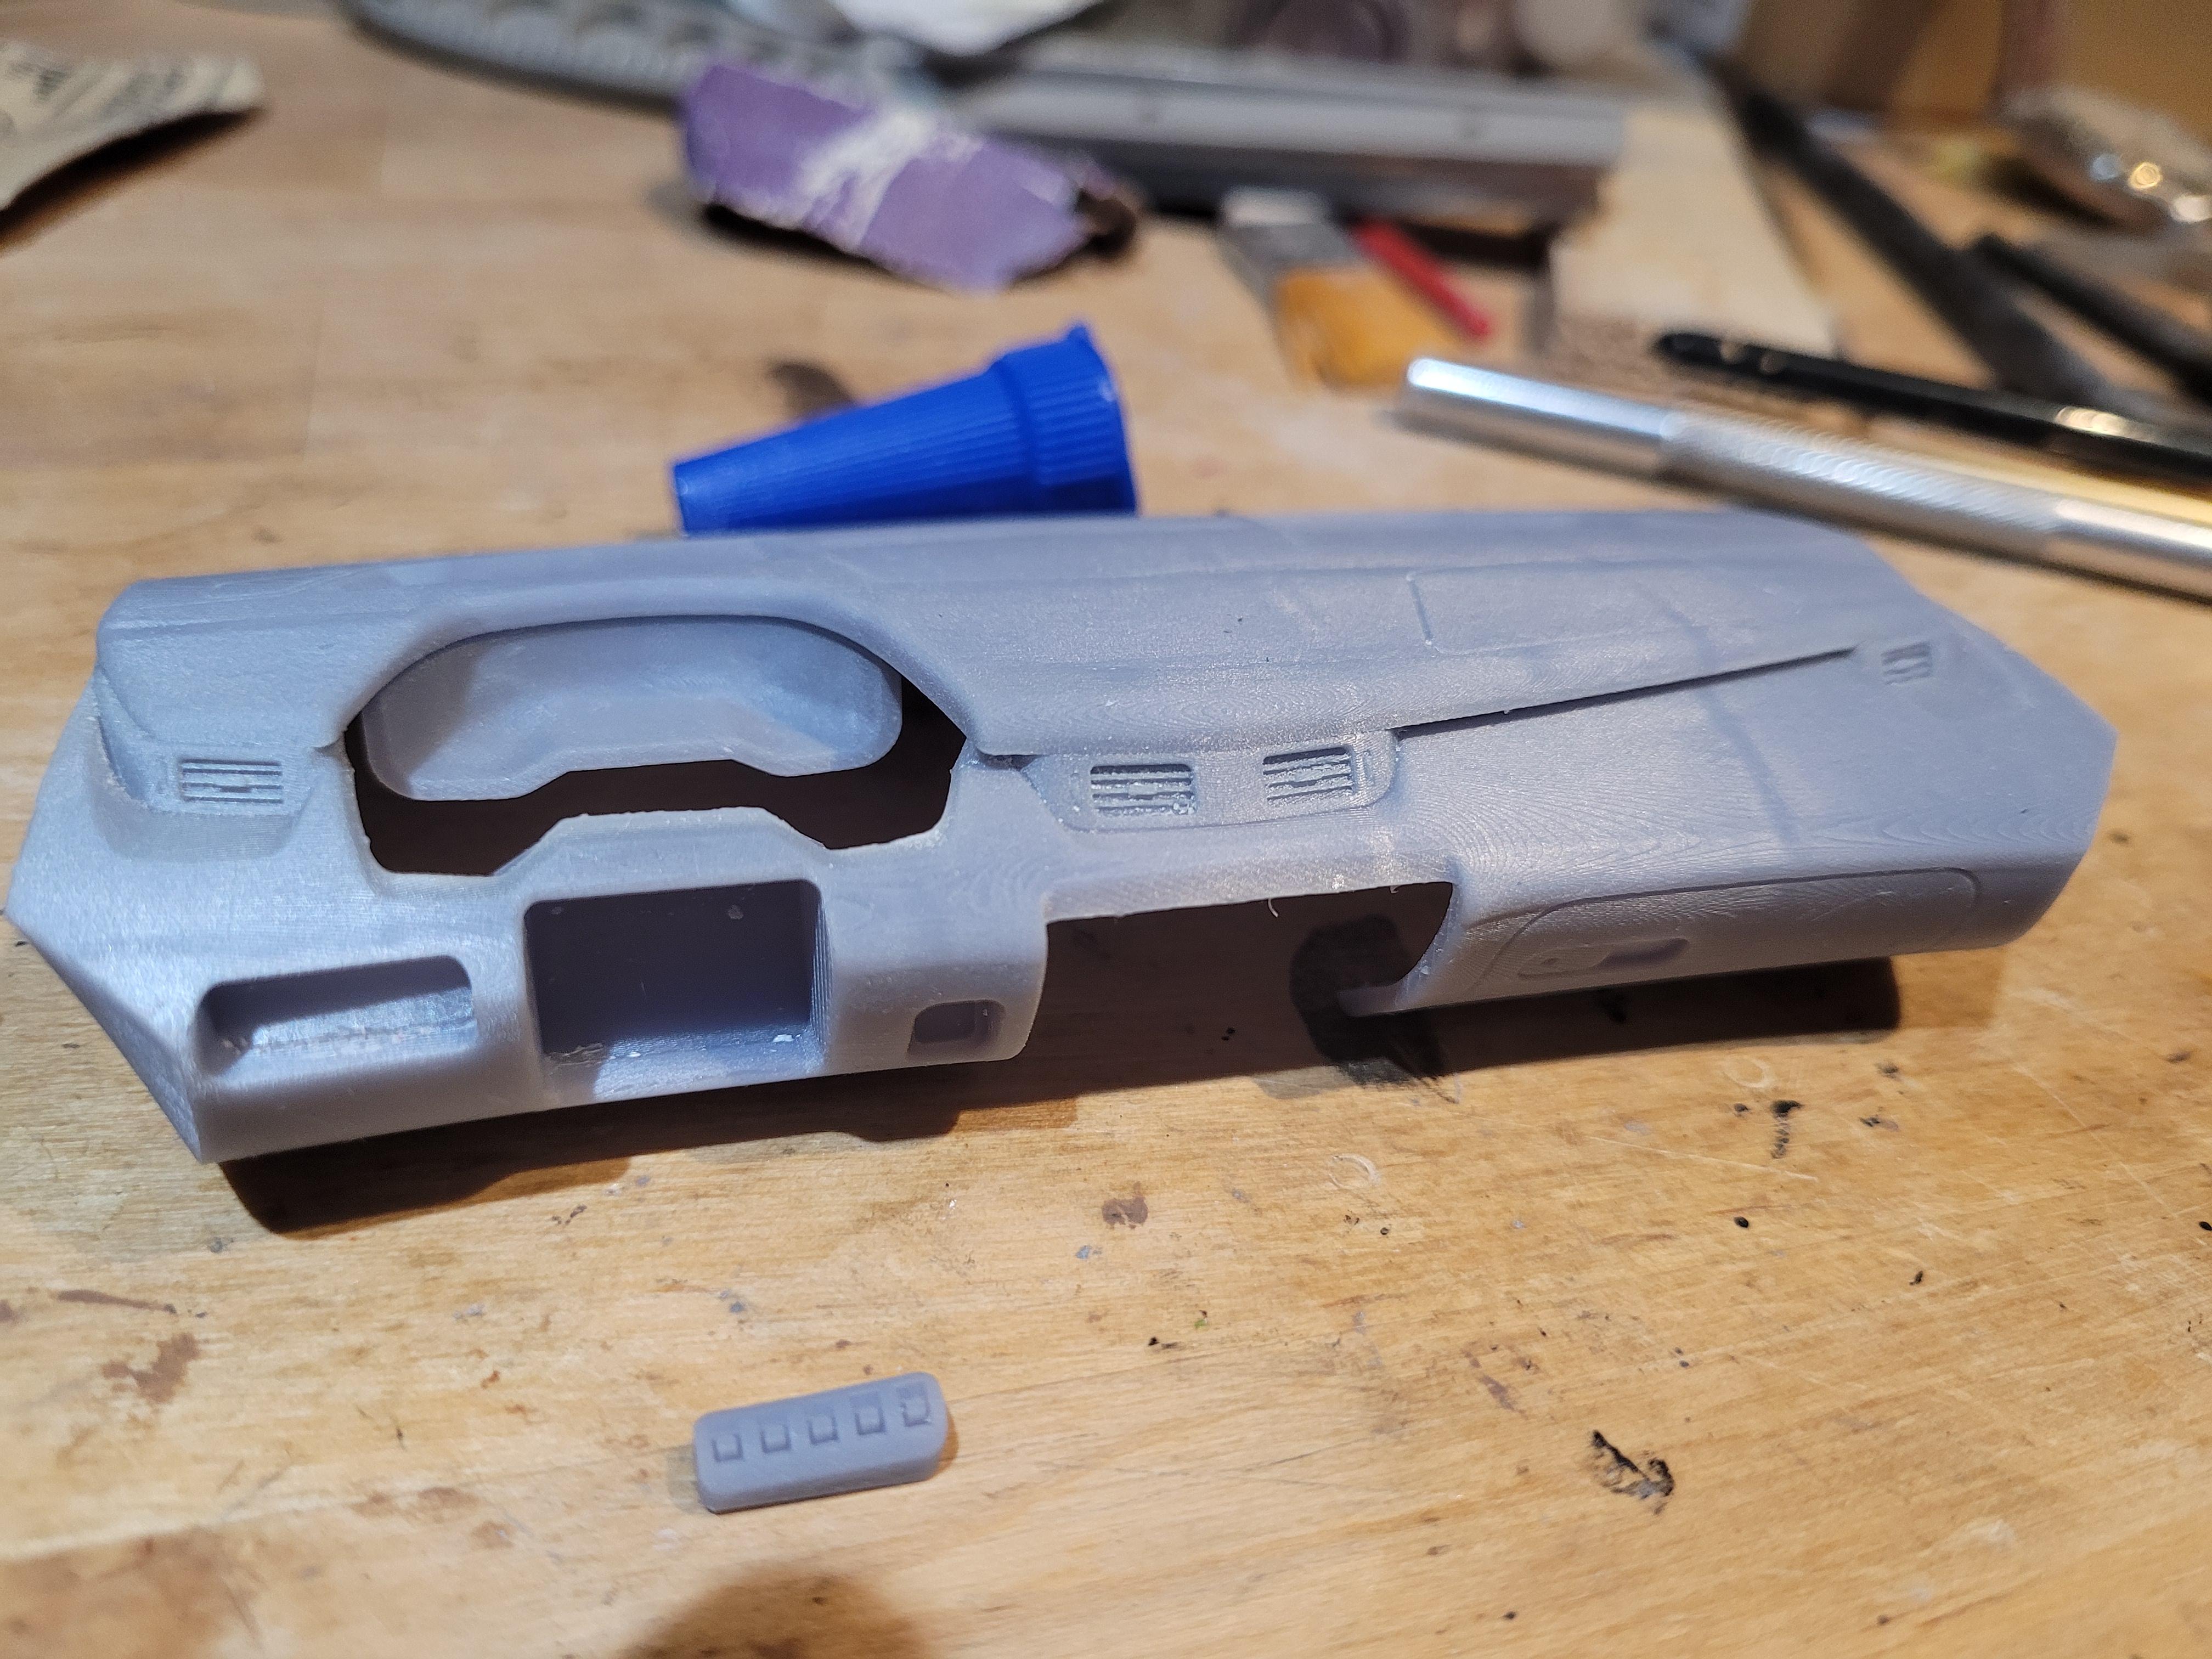
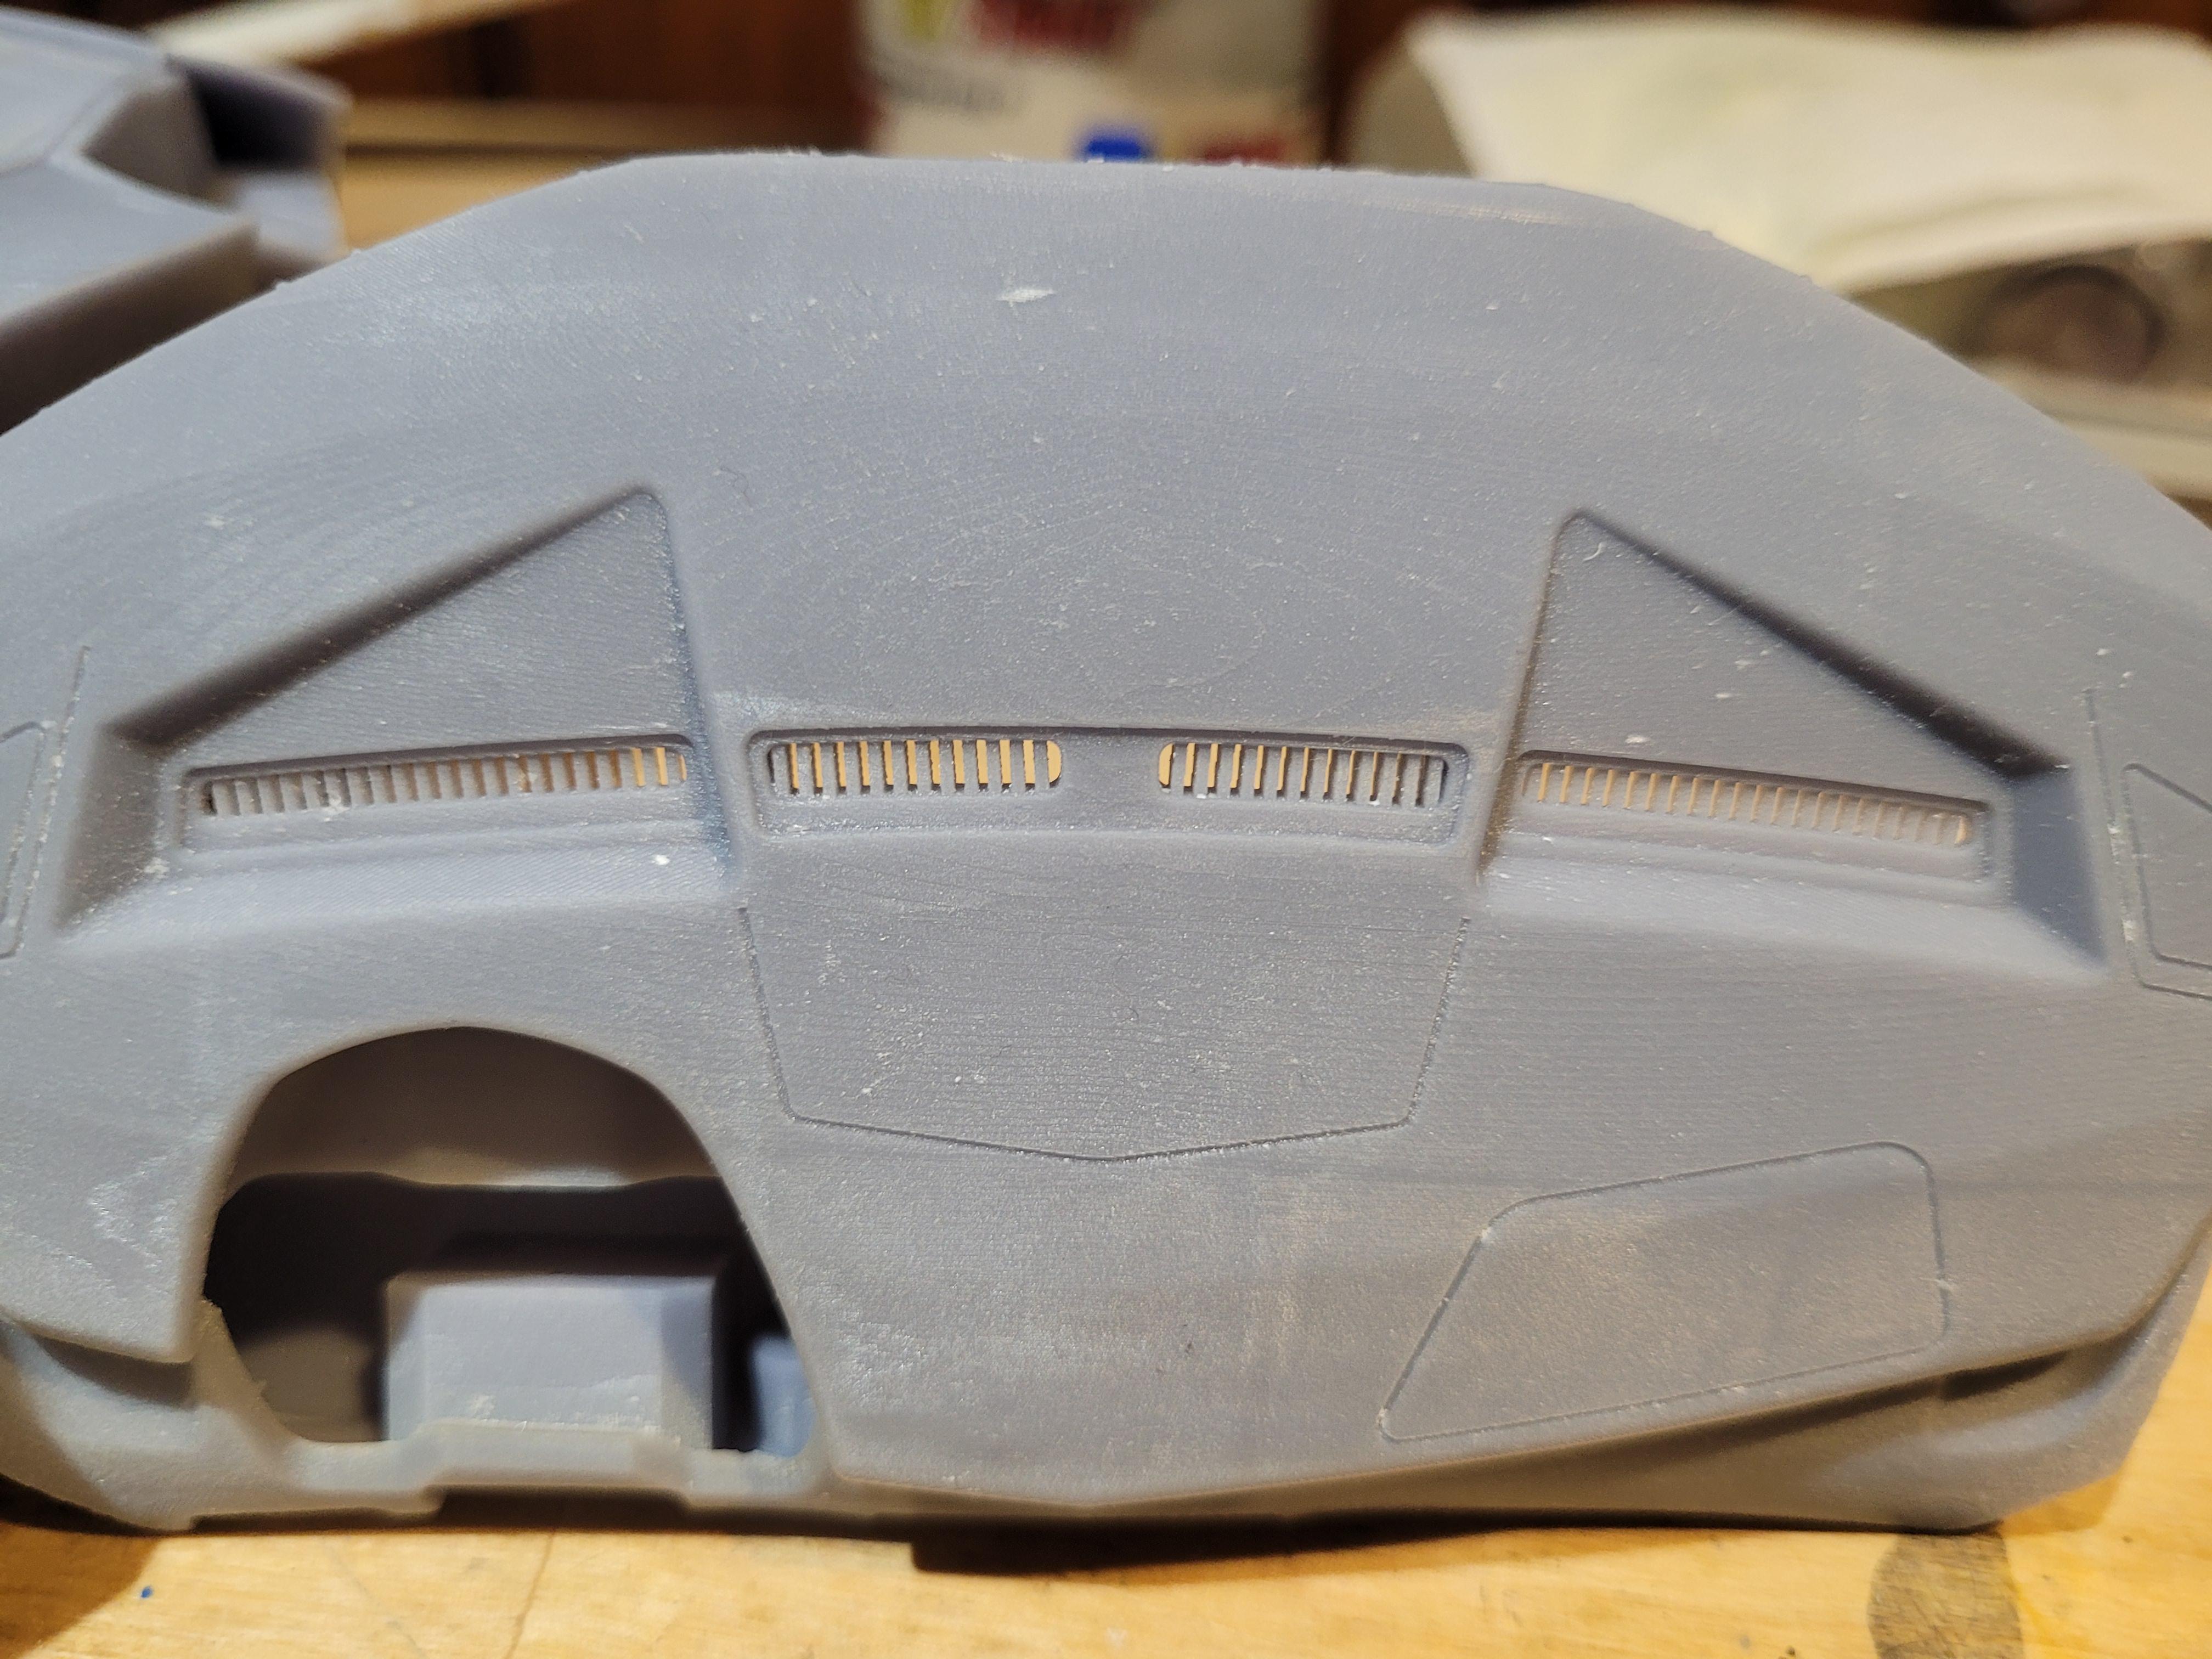
I printed out the instrument panel, cluster hood, and left switch bank. You can see the defroster grilles are printed open. It seems to fit nicely over the cowl, but I anticipate some grinding and sanding to ensure the windshield frame fits between the hood and cockpit tub.