kenlwest
-
Posts
277 -
Joined
-
Last visited
Content Type
Profiles
Forums
Events
Gallery
Everything posted by kenlwest
-
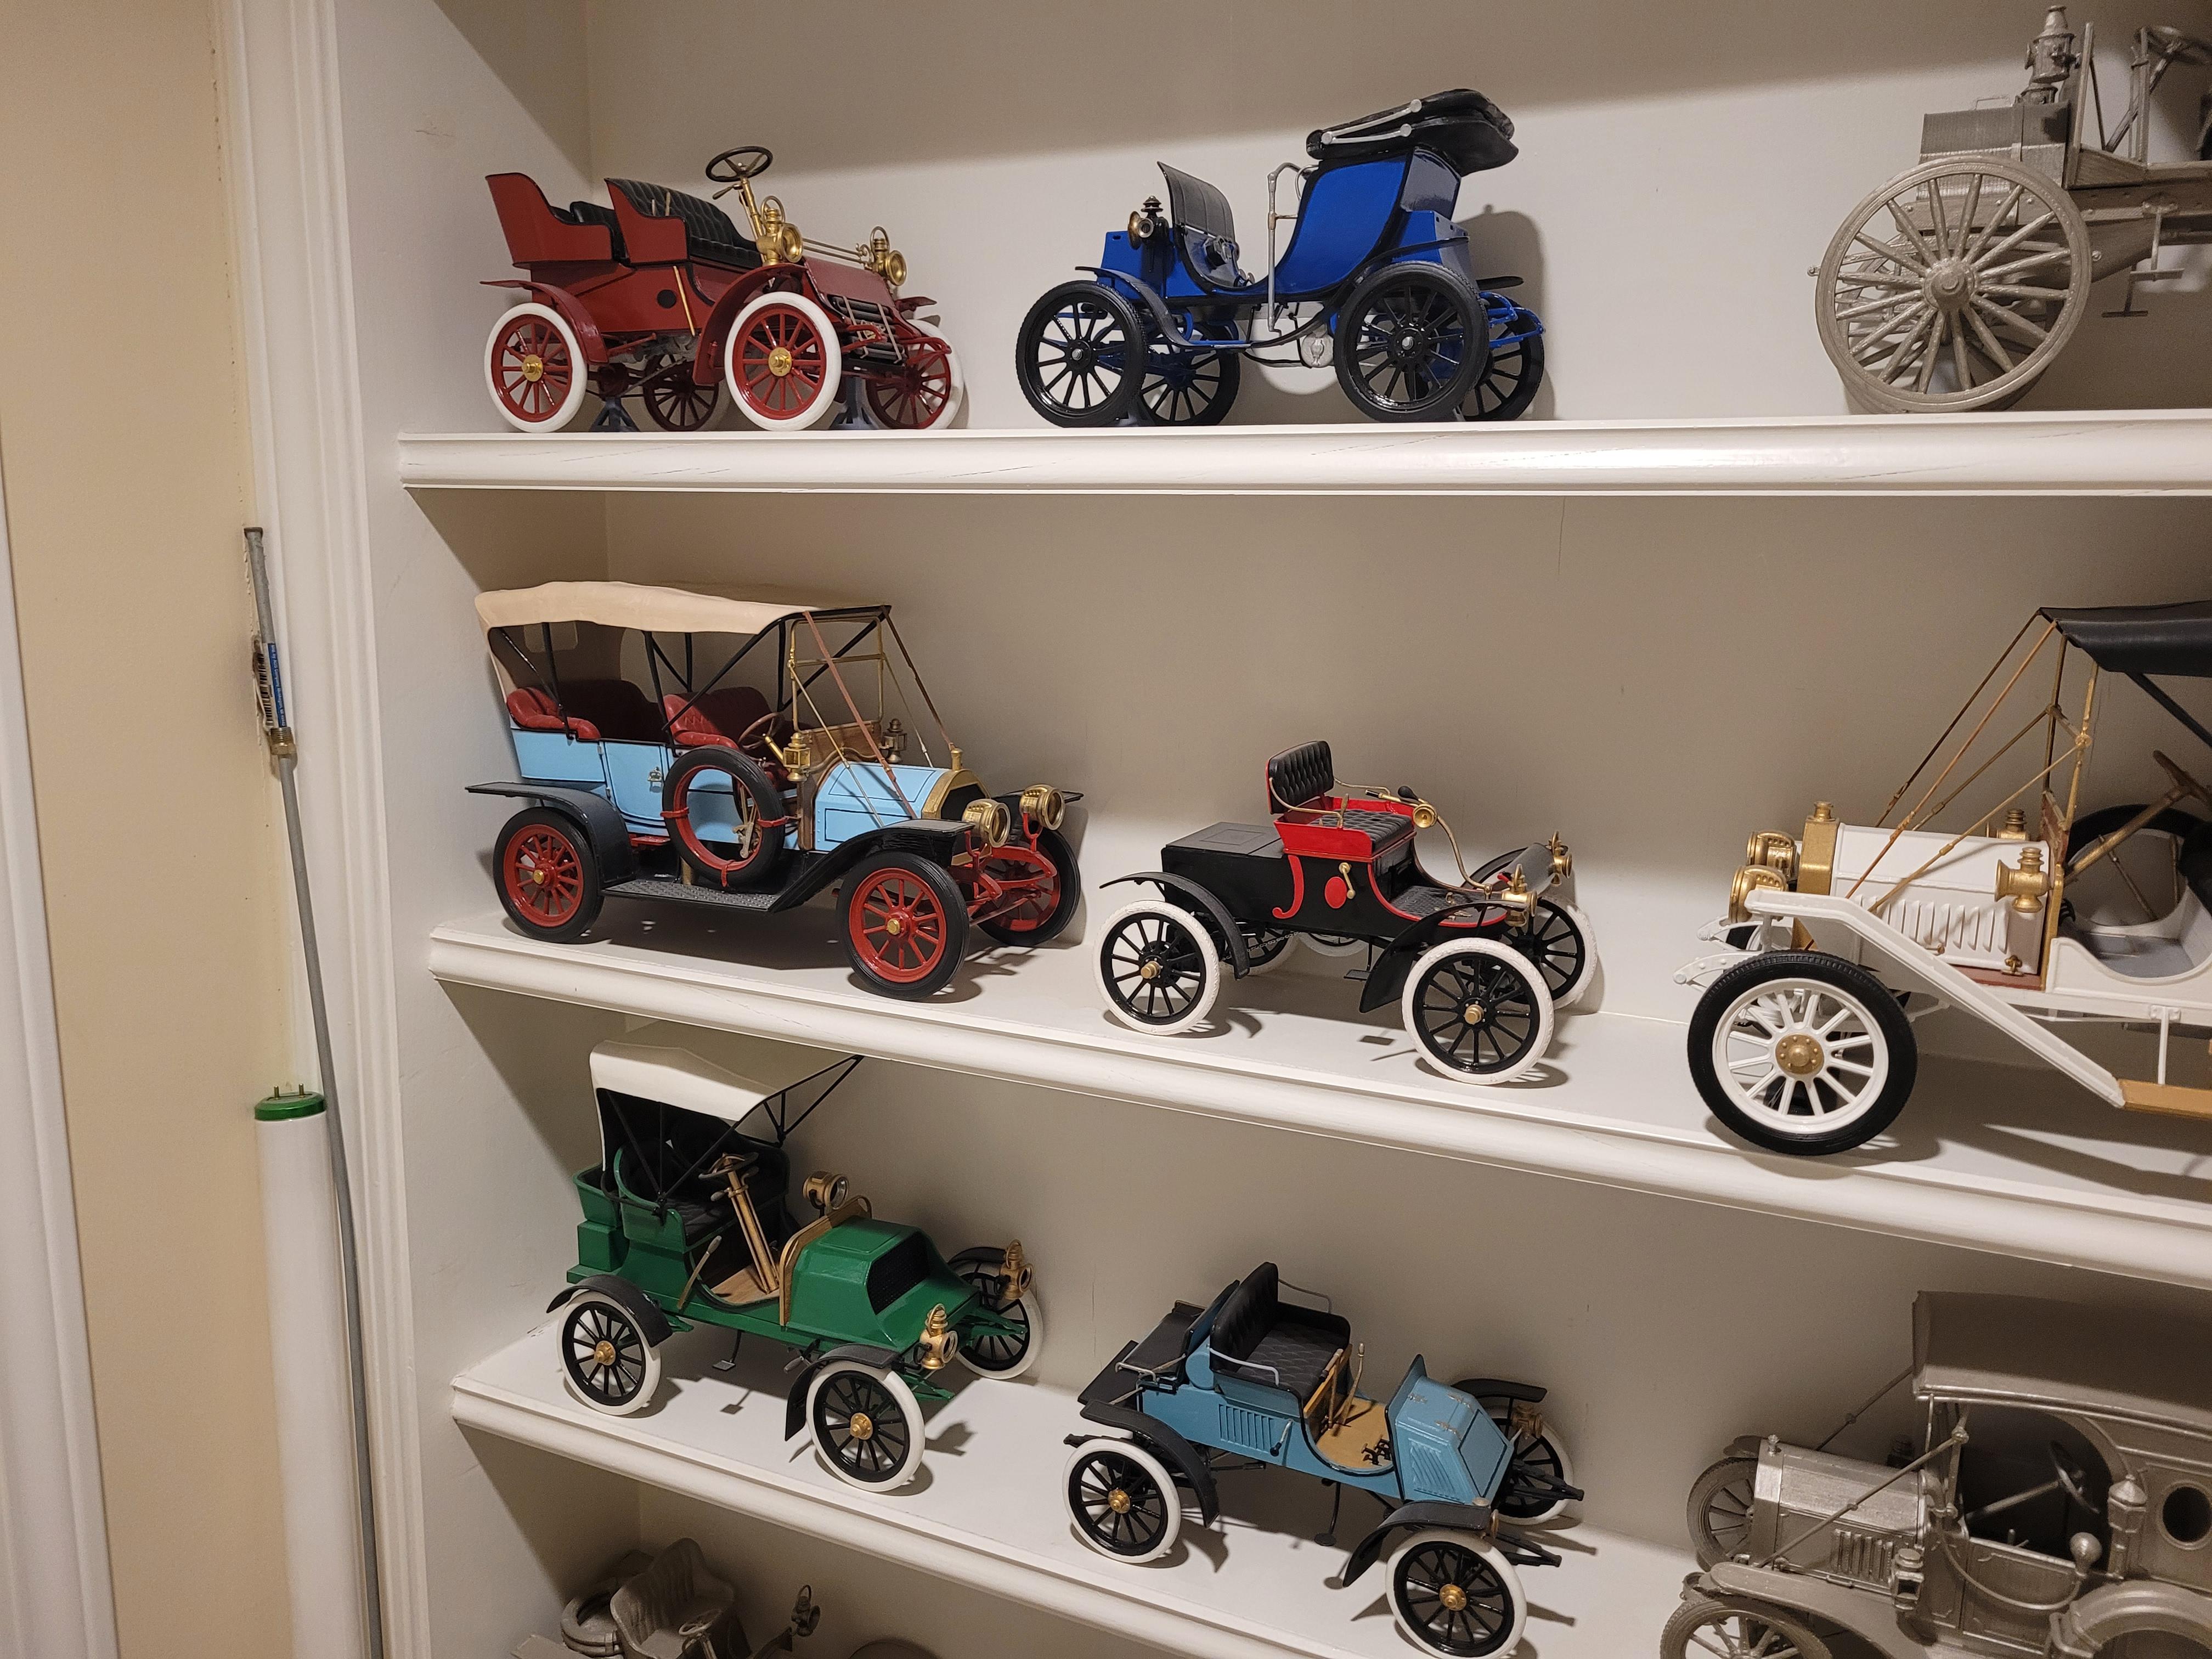
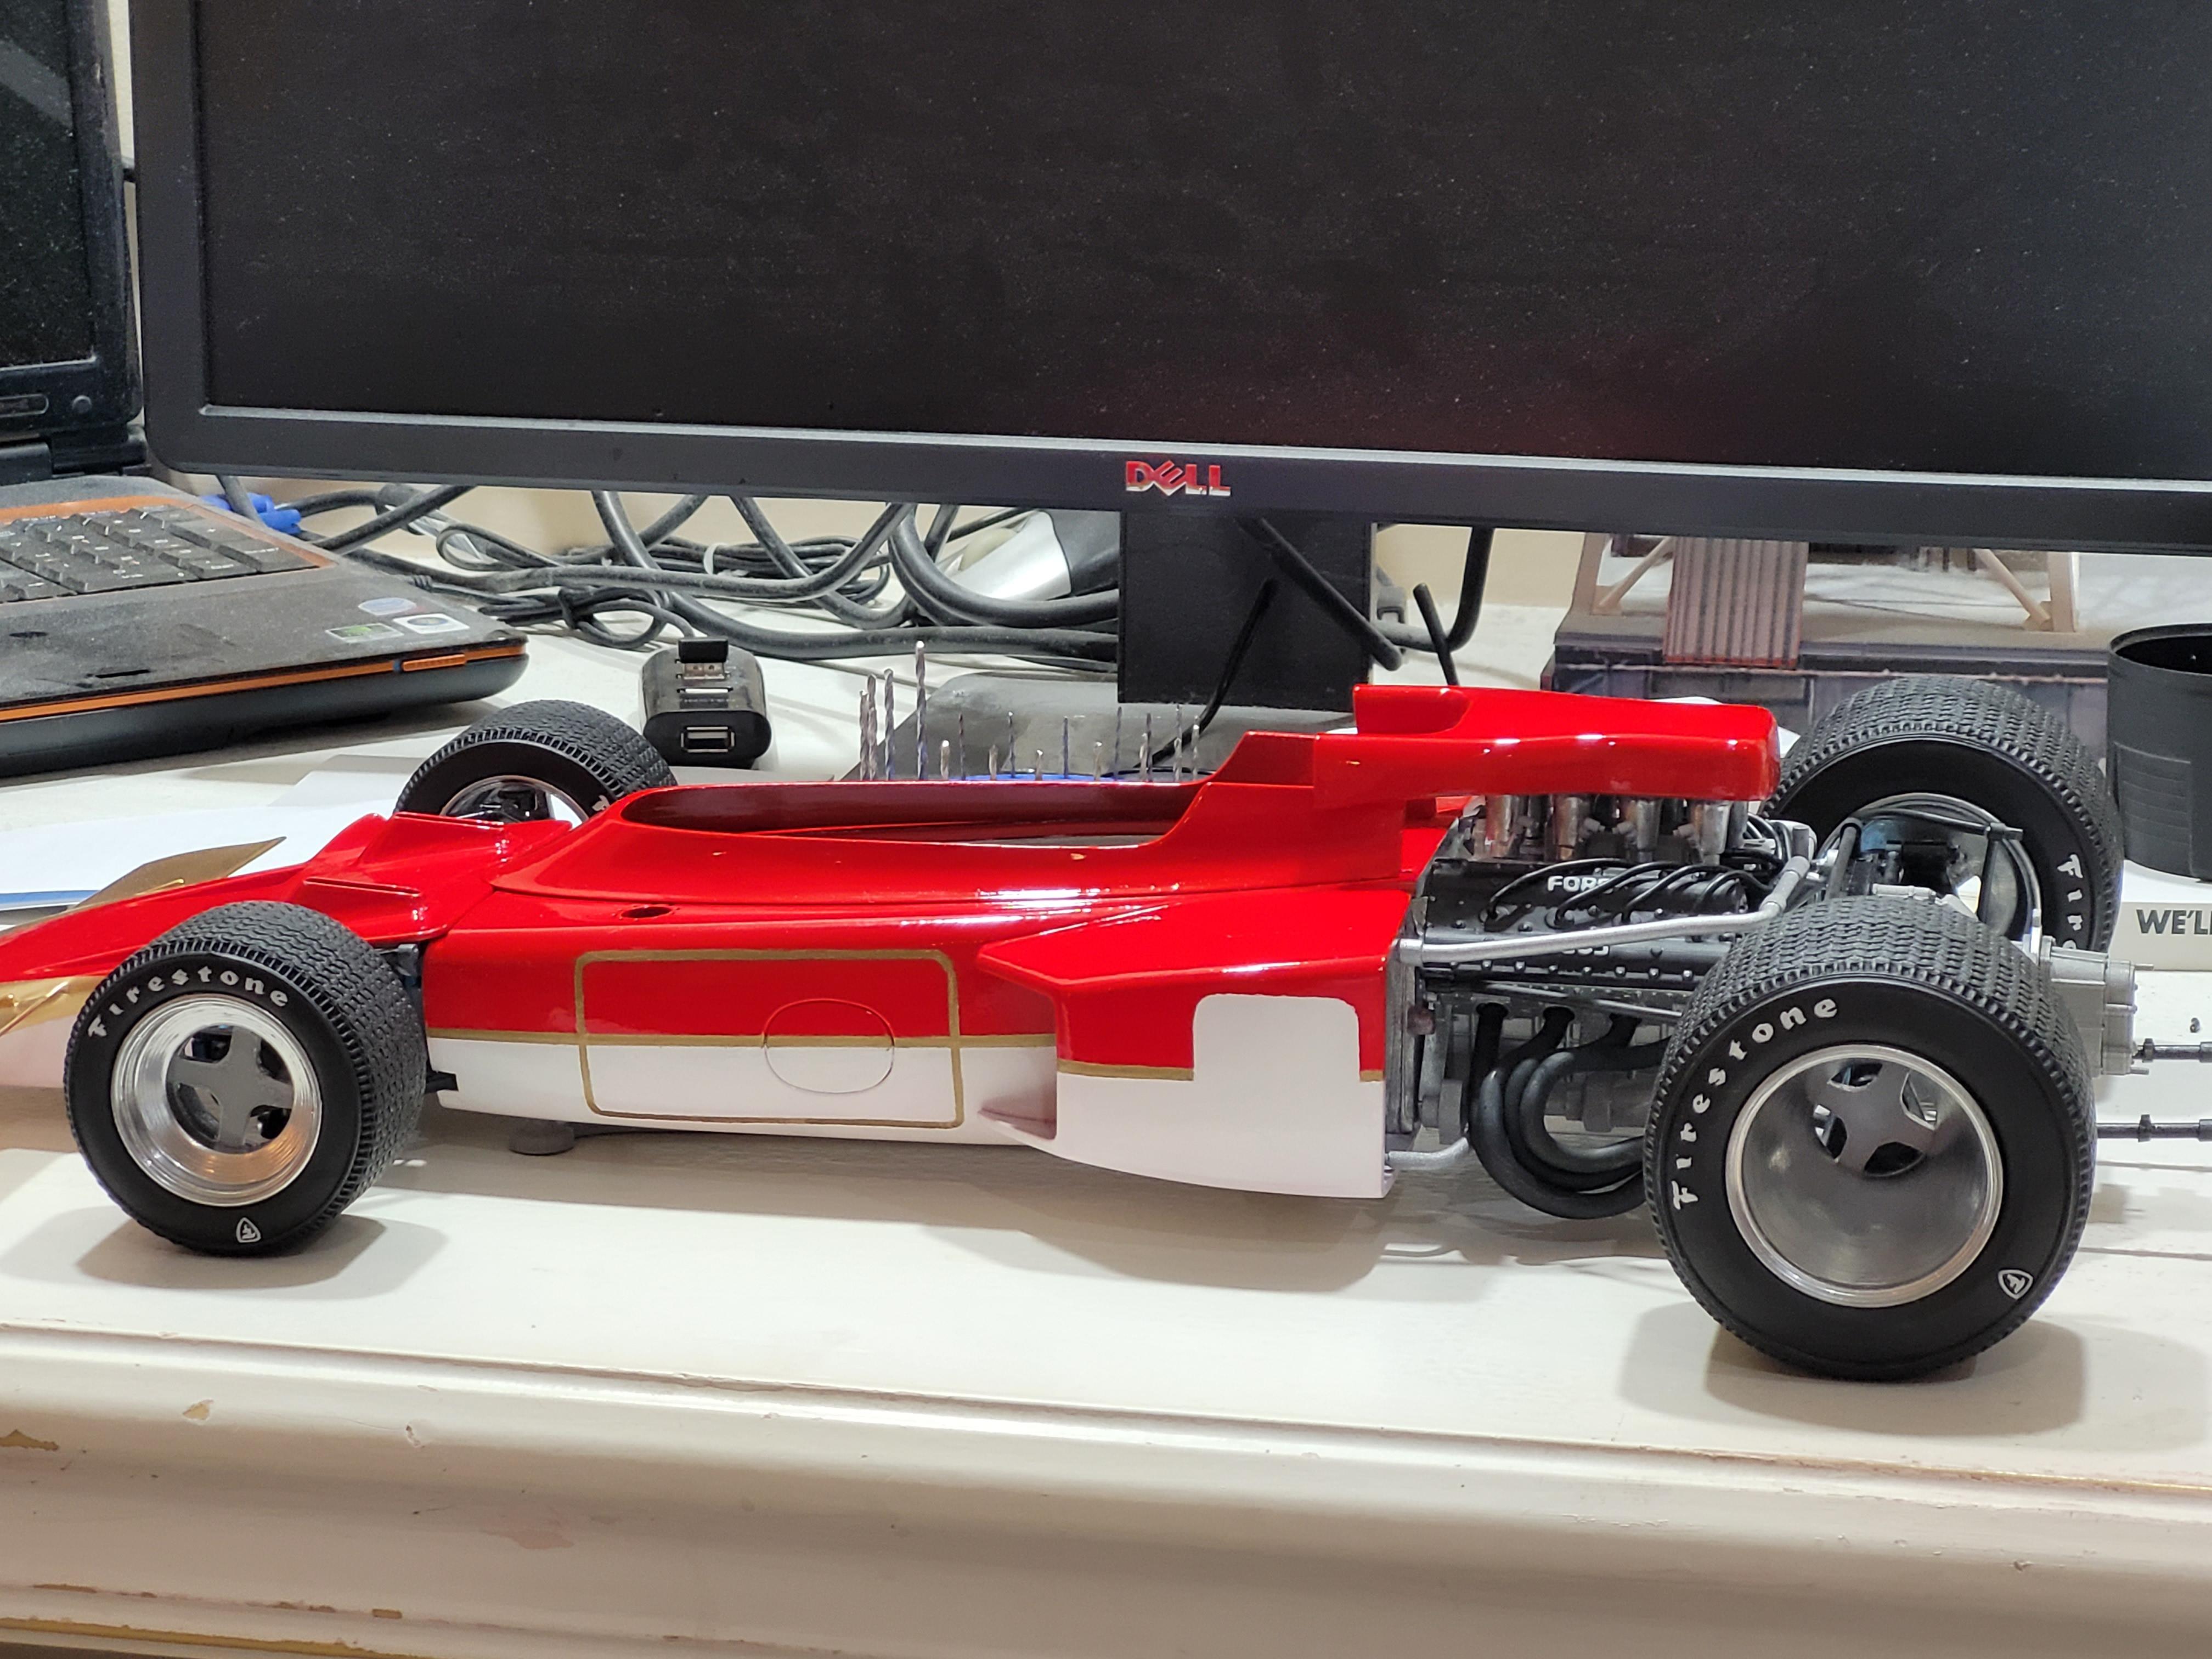
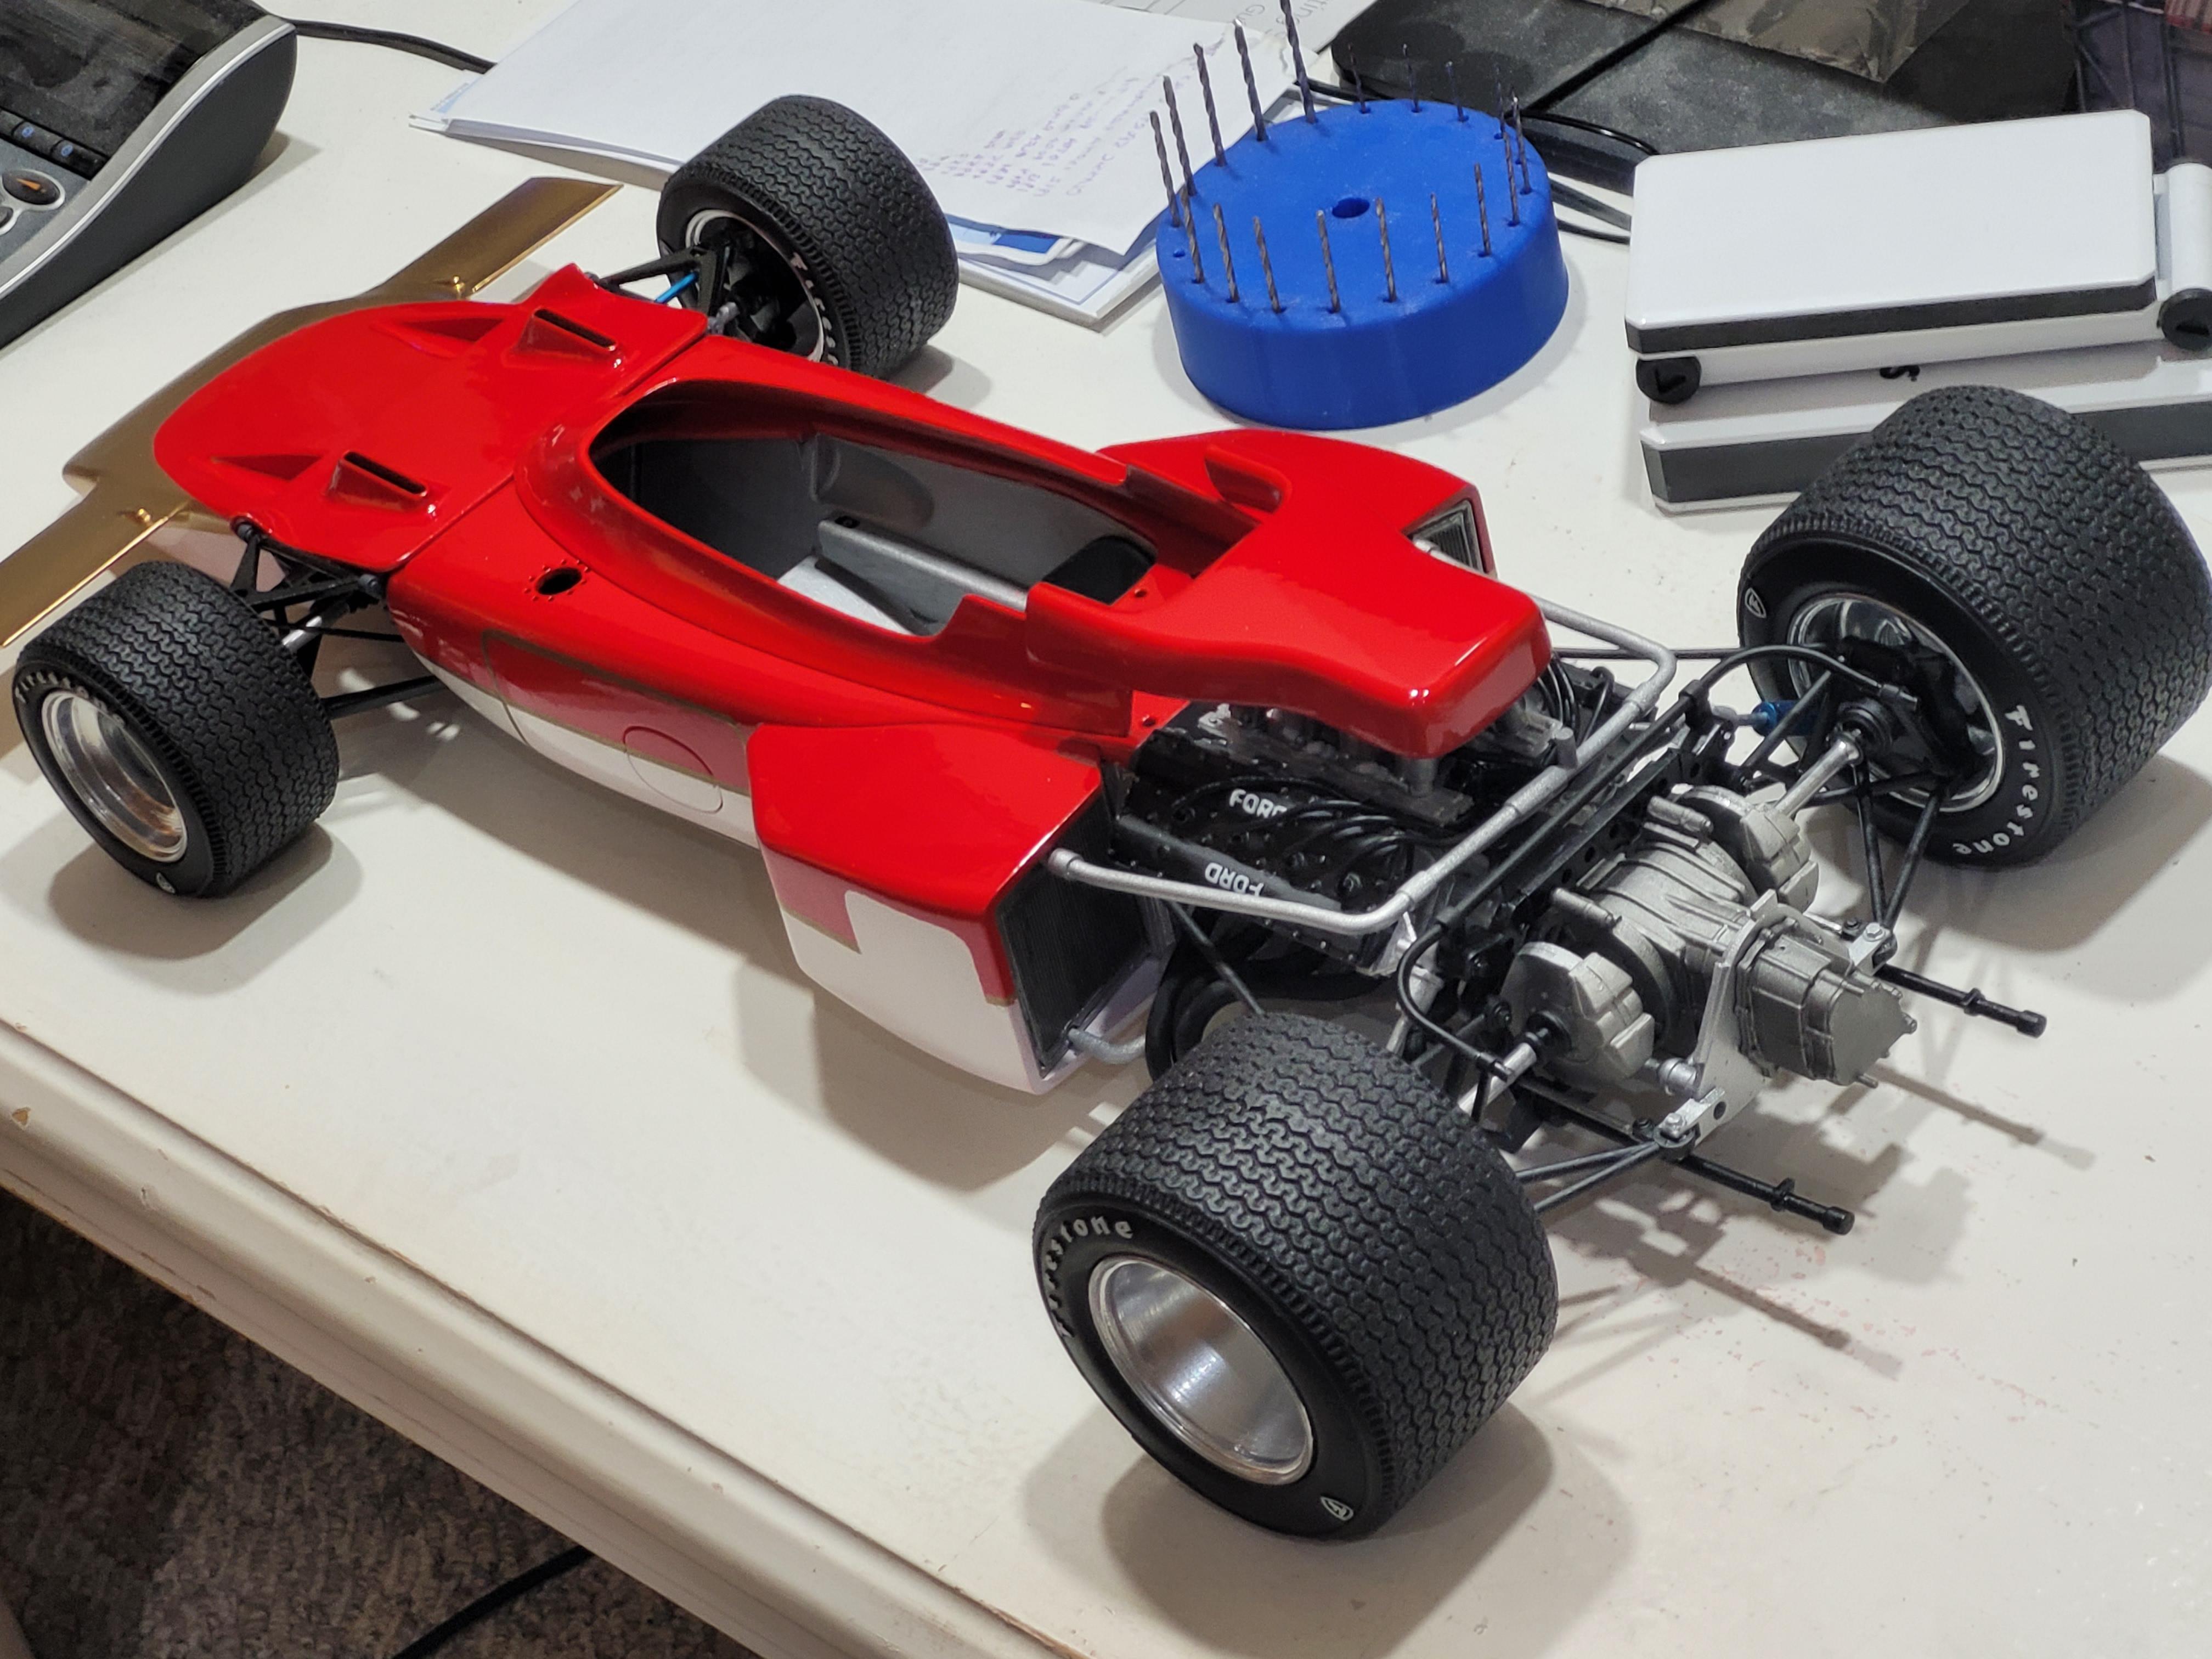
Here are pictures of a few 3d printed model cars. I tend to focus on early subjects, but lately became interested in more complex cars. The first picture is 1/8 scale, and the second picture is 1/12 scale.

-
I posted some pictures of 3d printed models I have designed and built over the years, in the UNDER GLASS forum, if you would like to see what I normally work on.
-
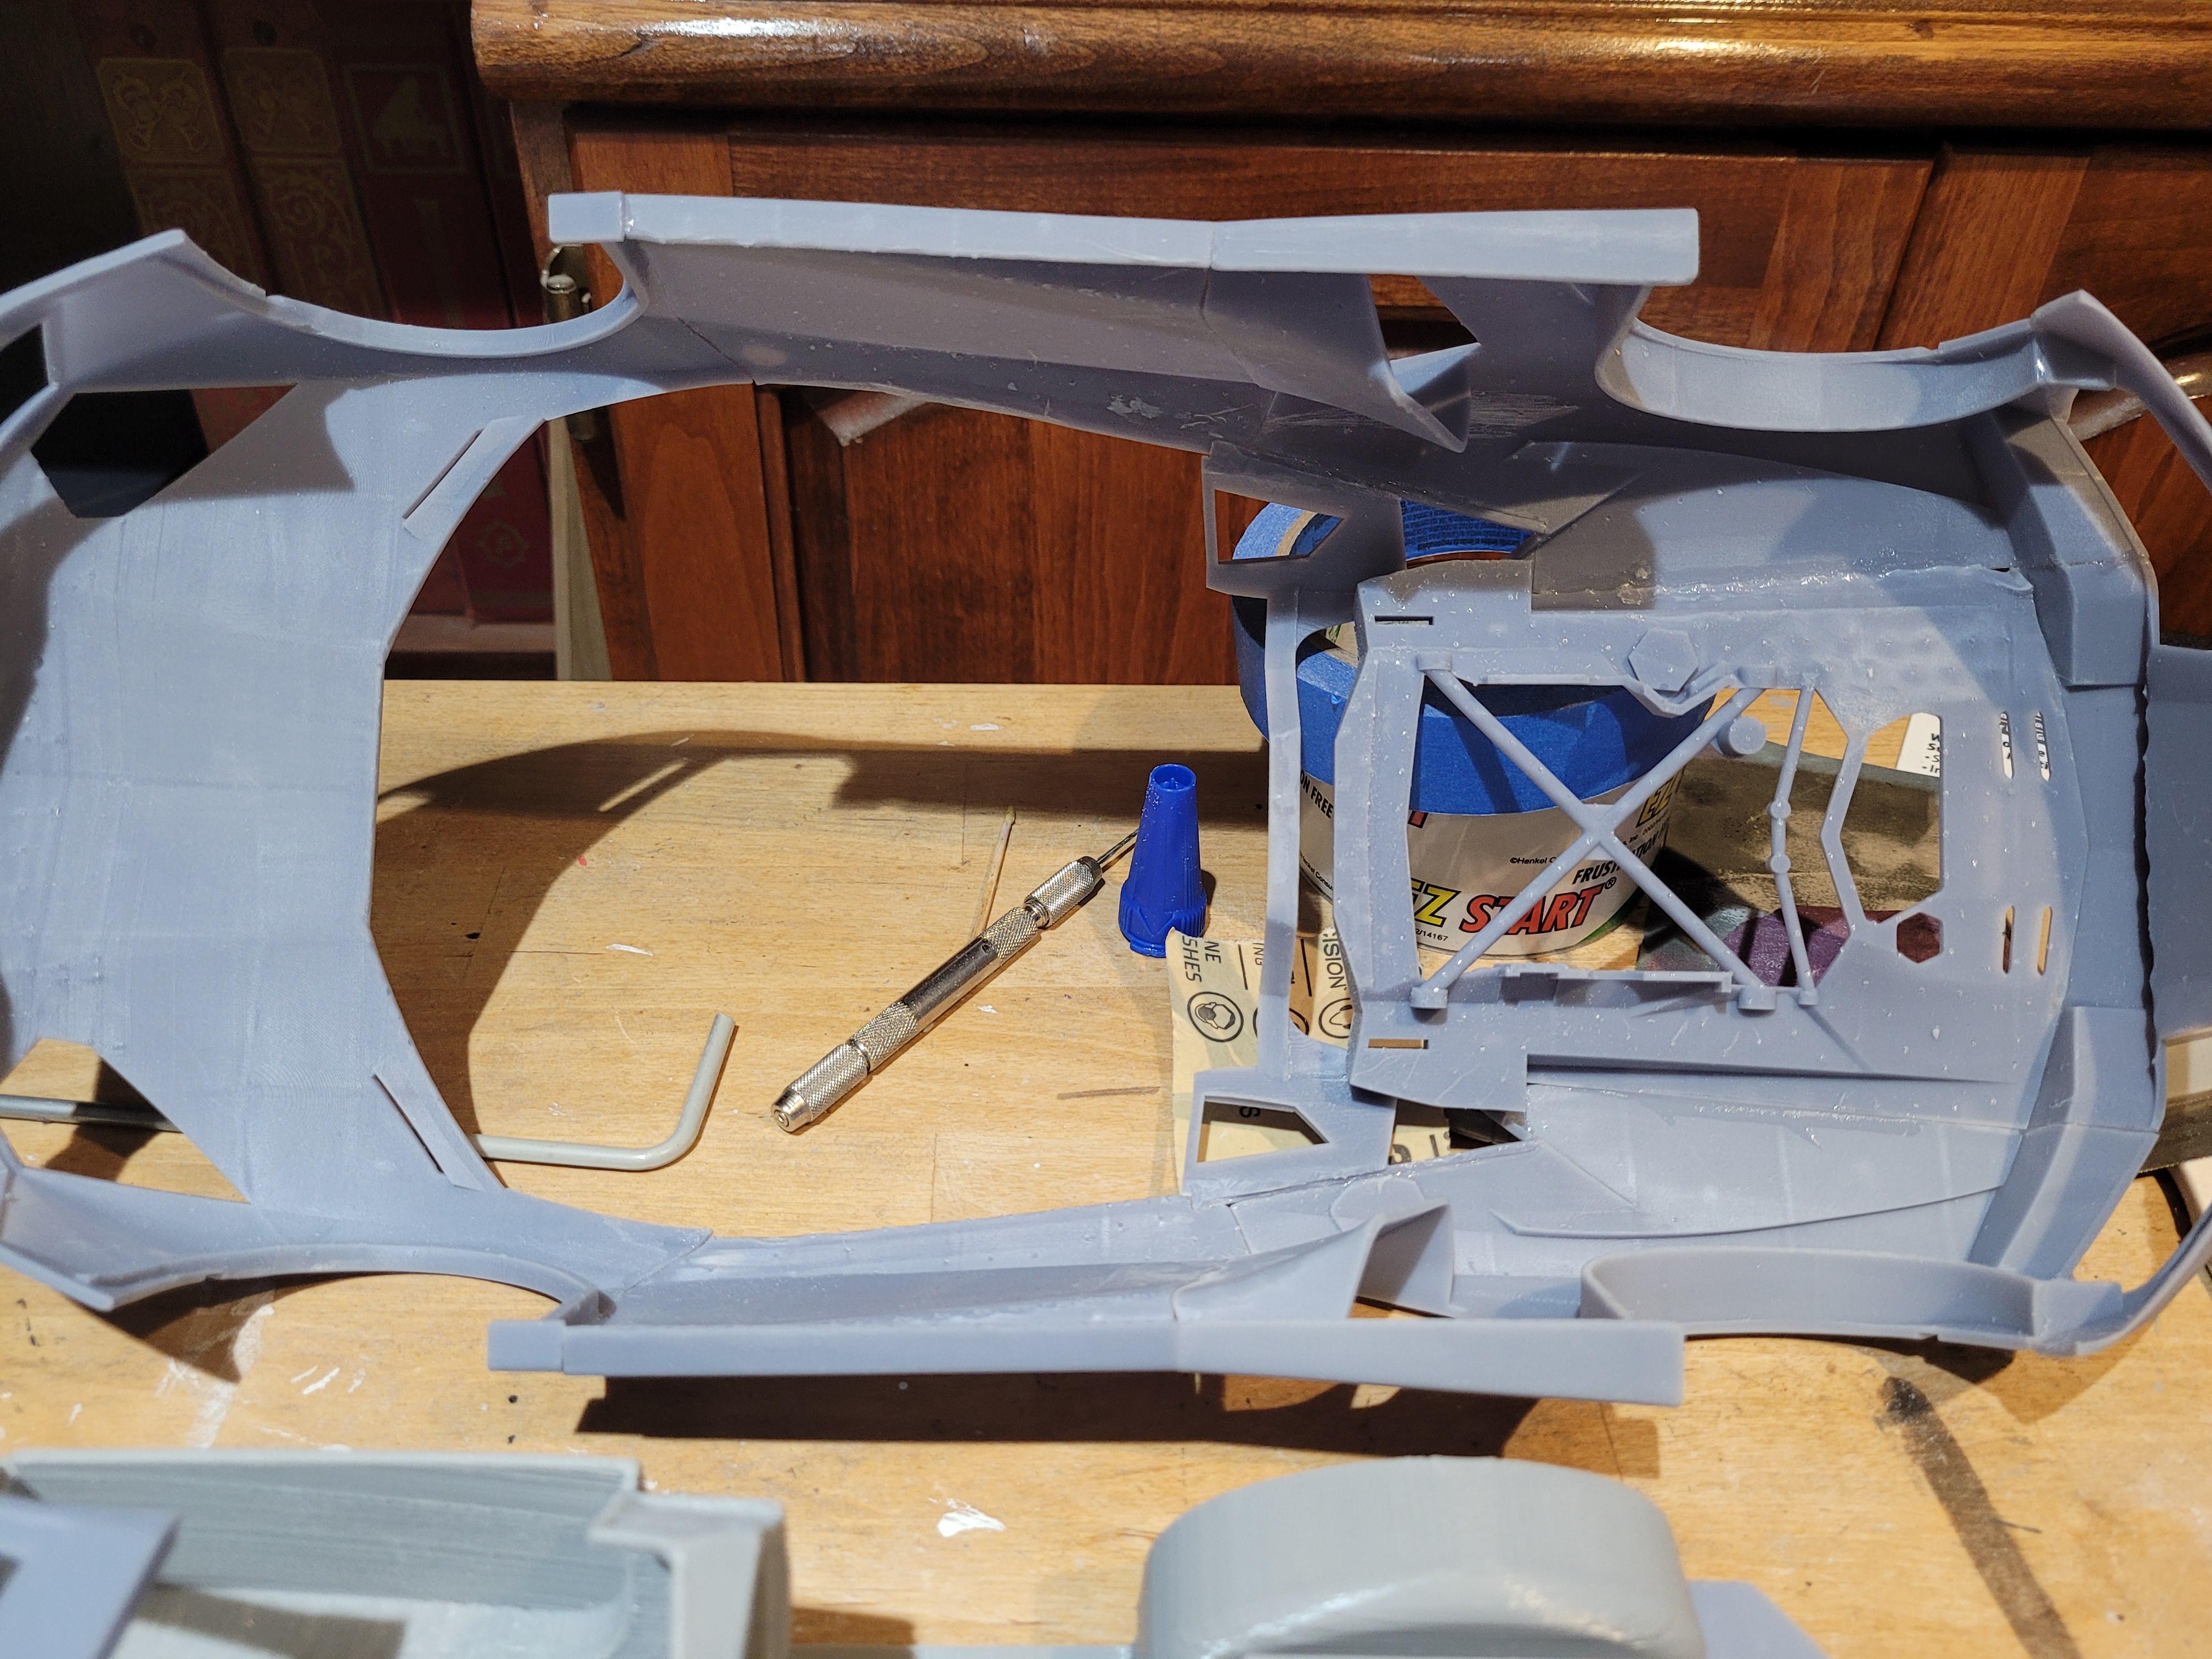
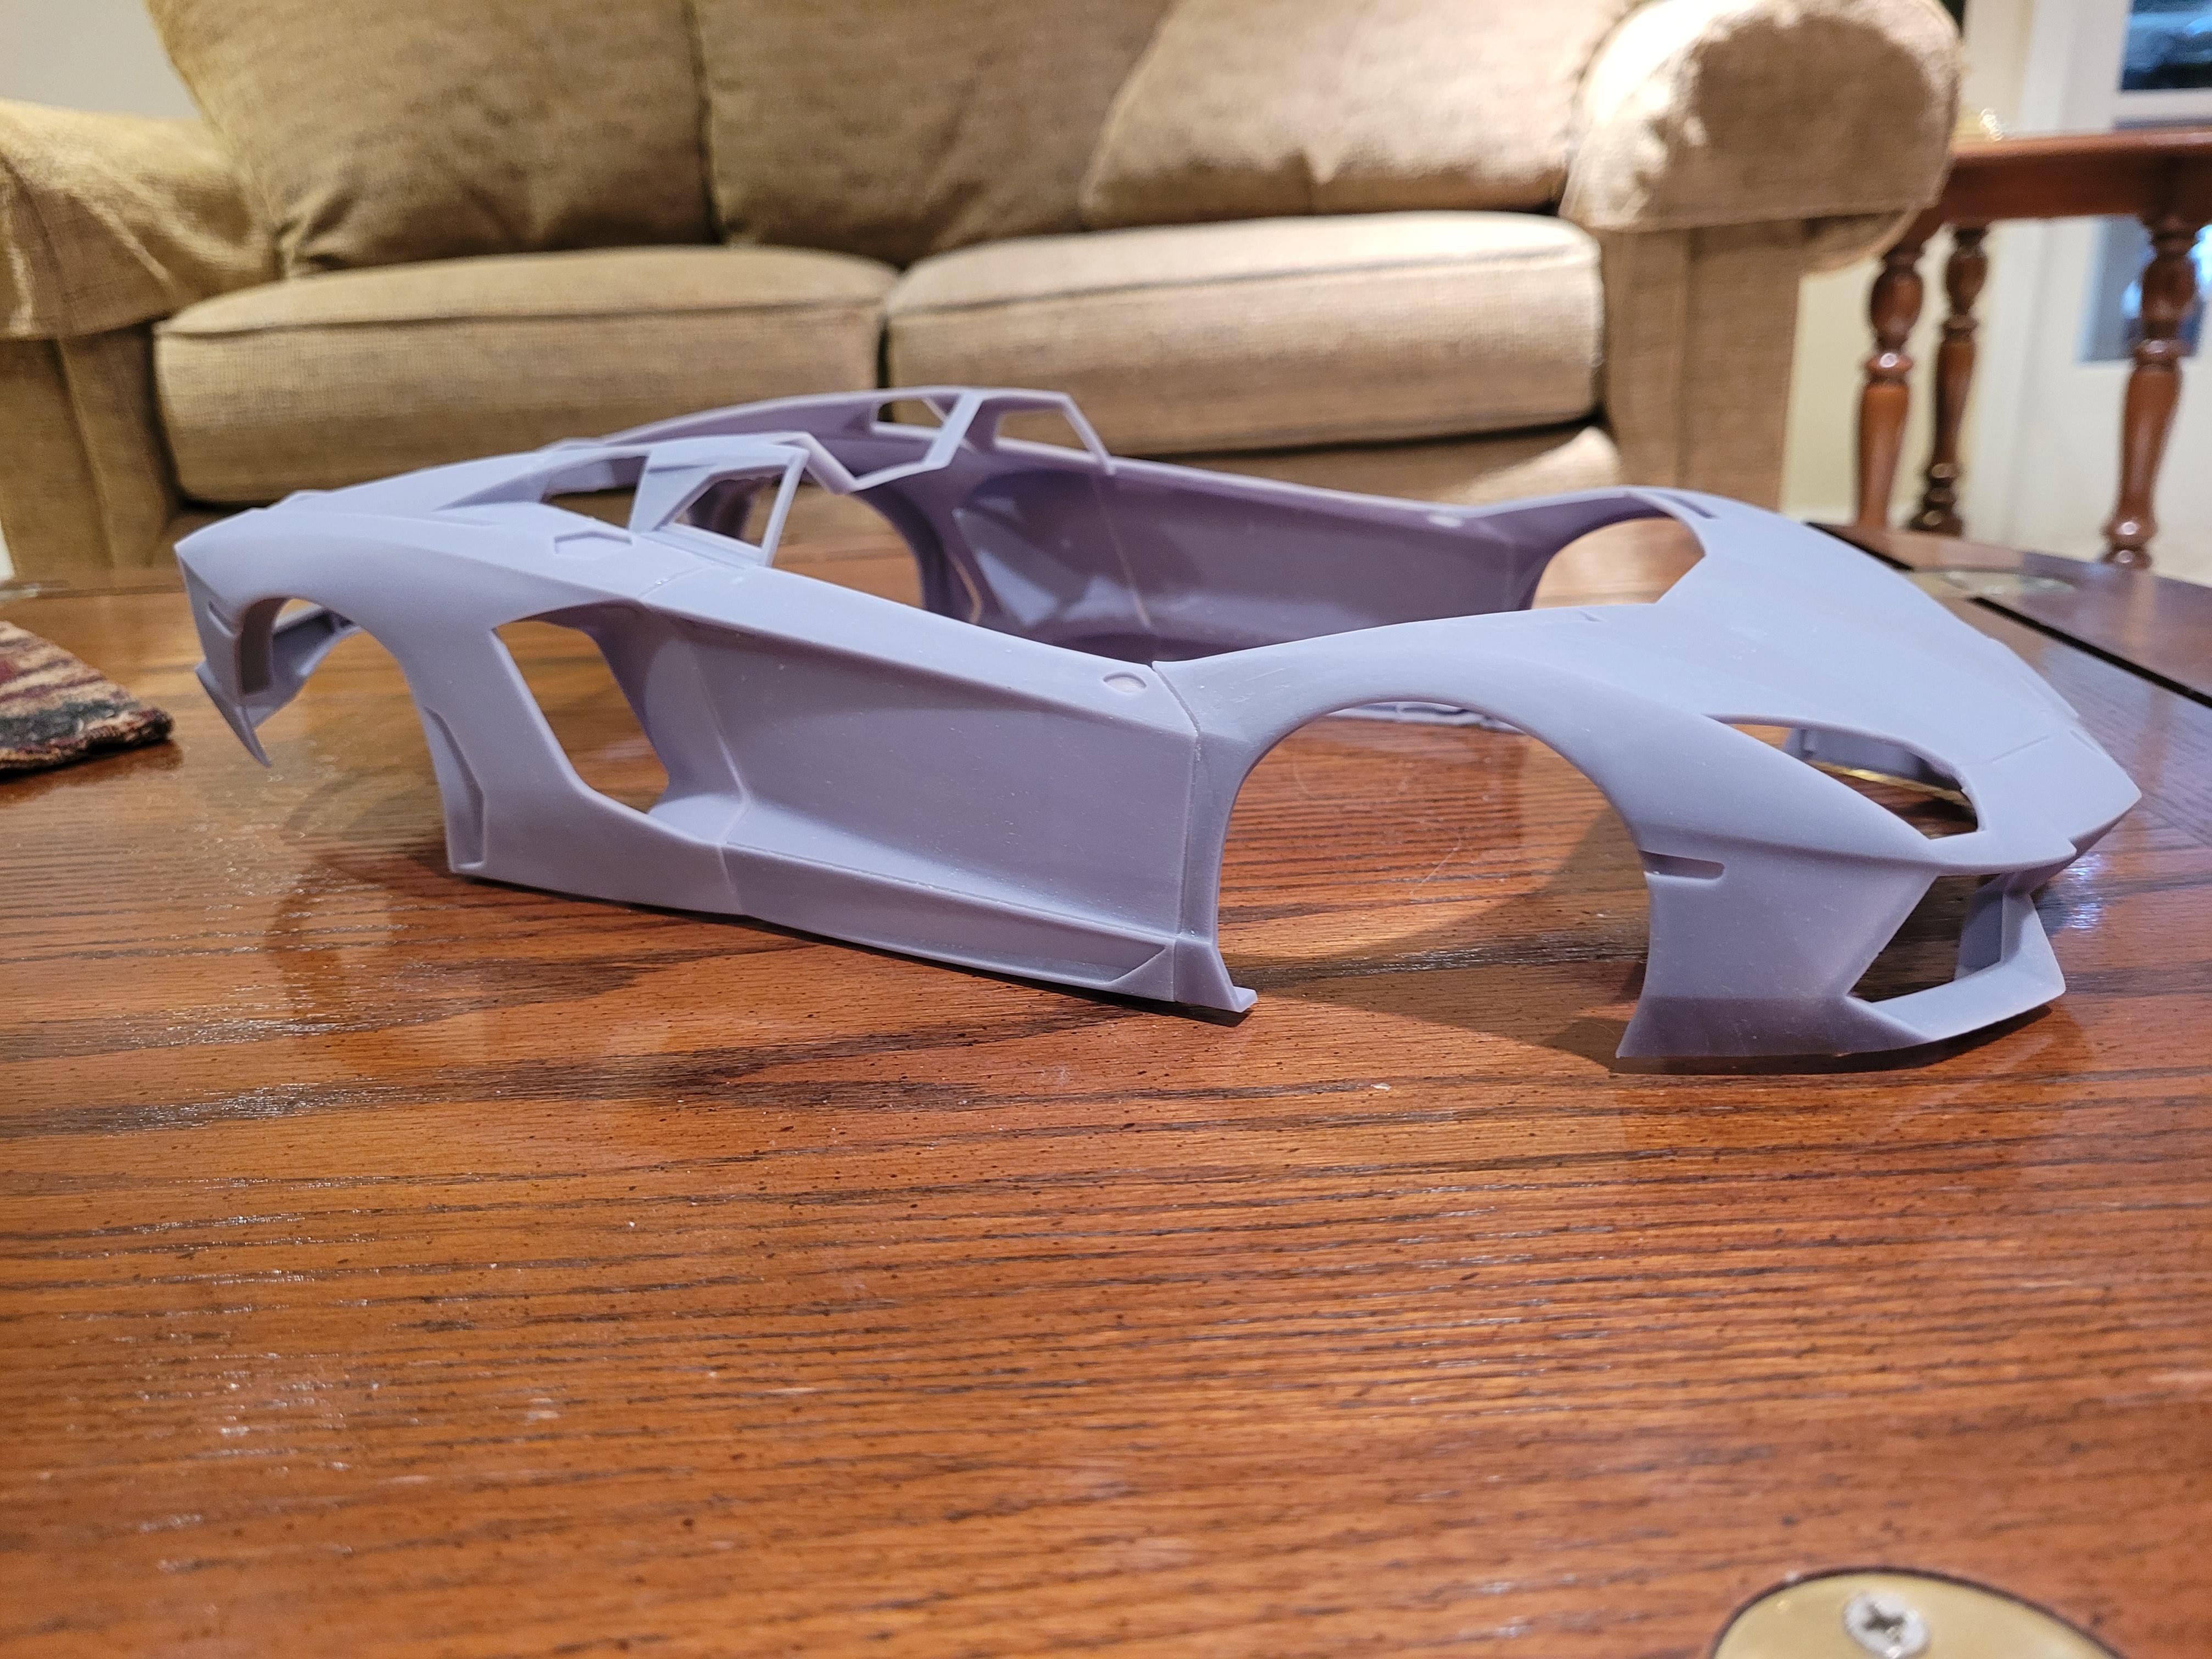
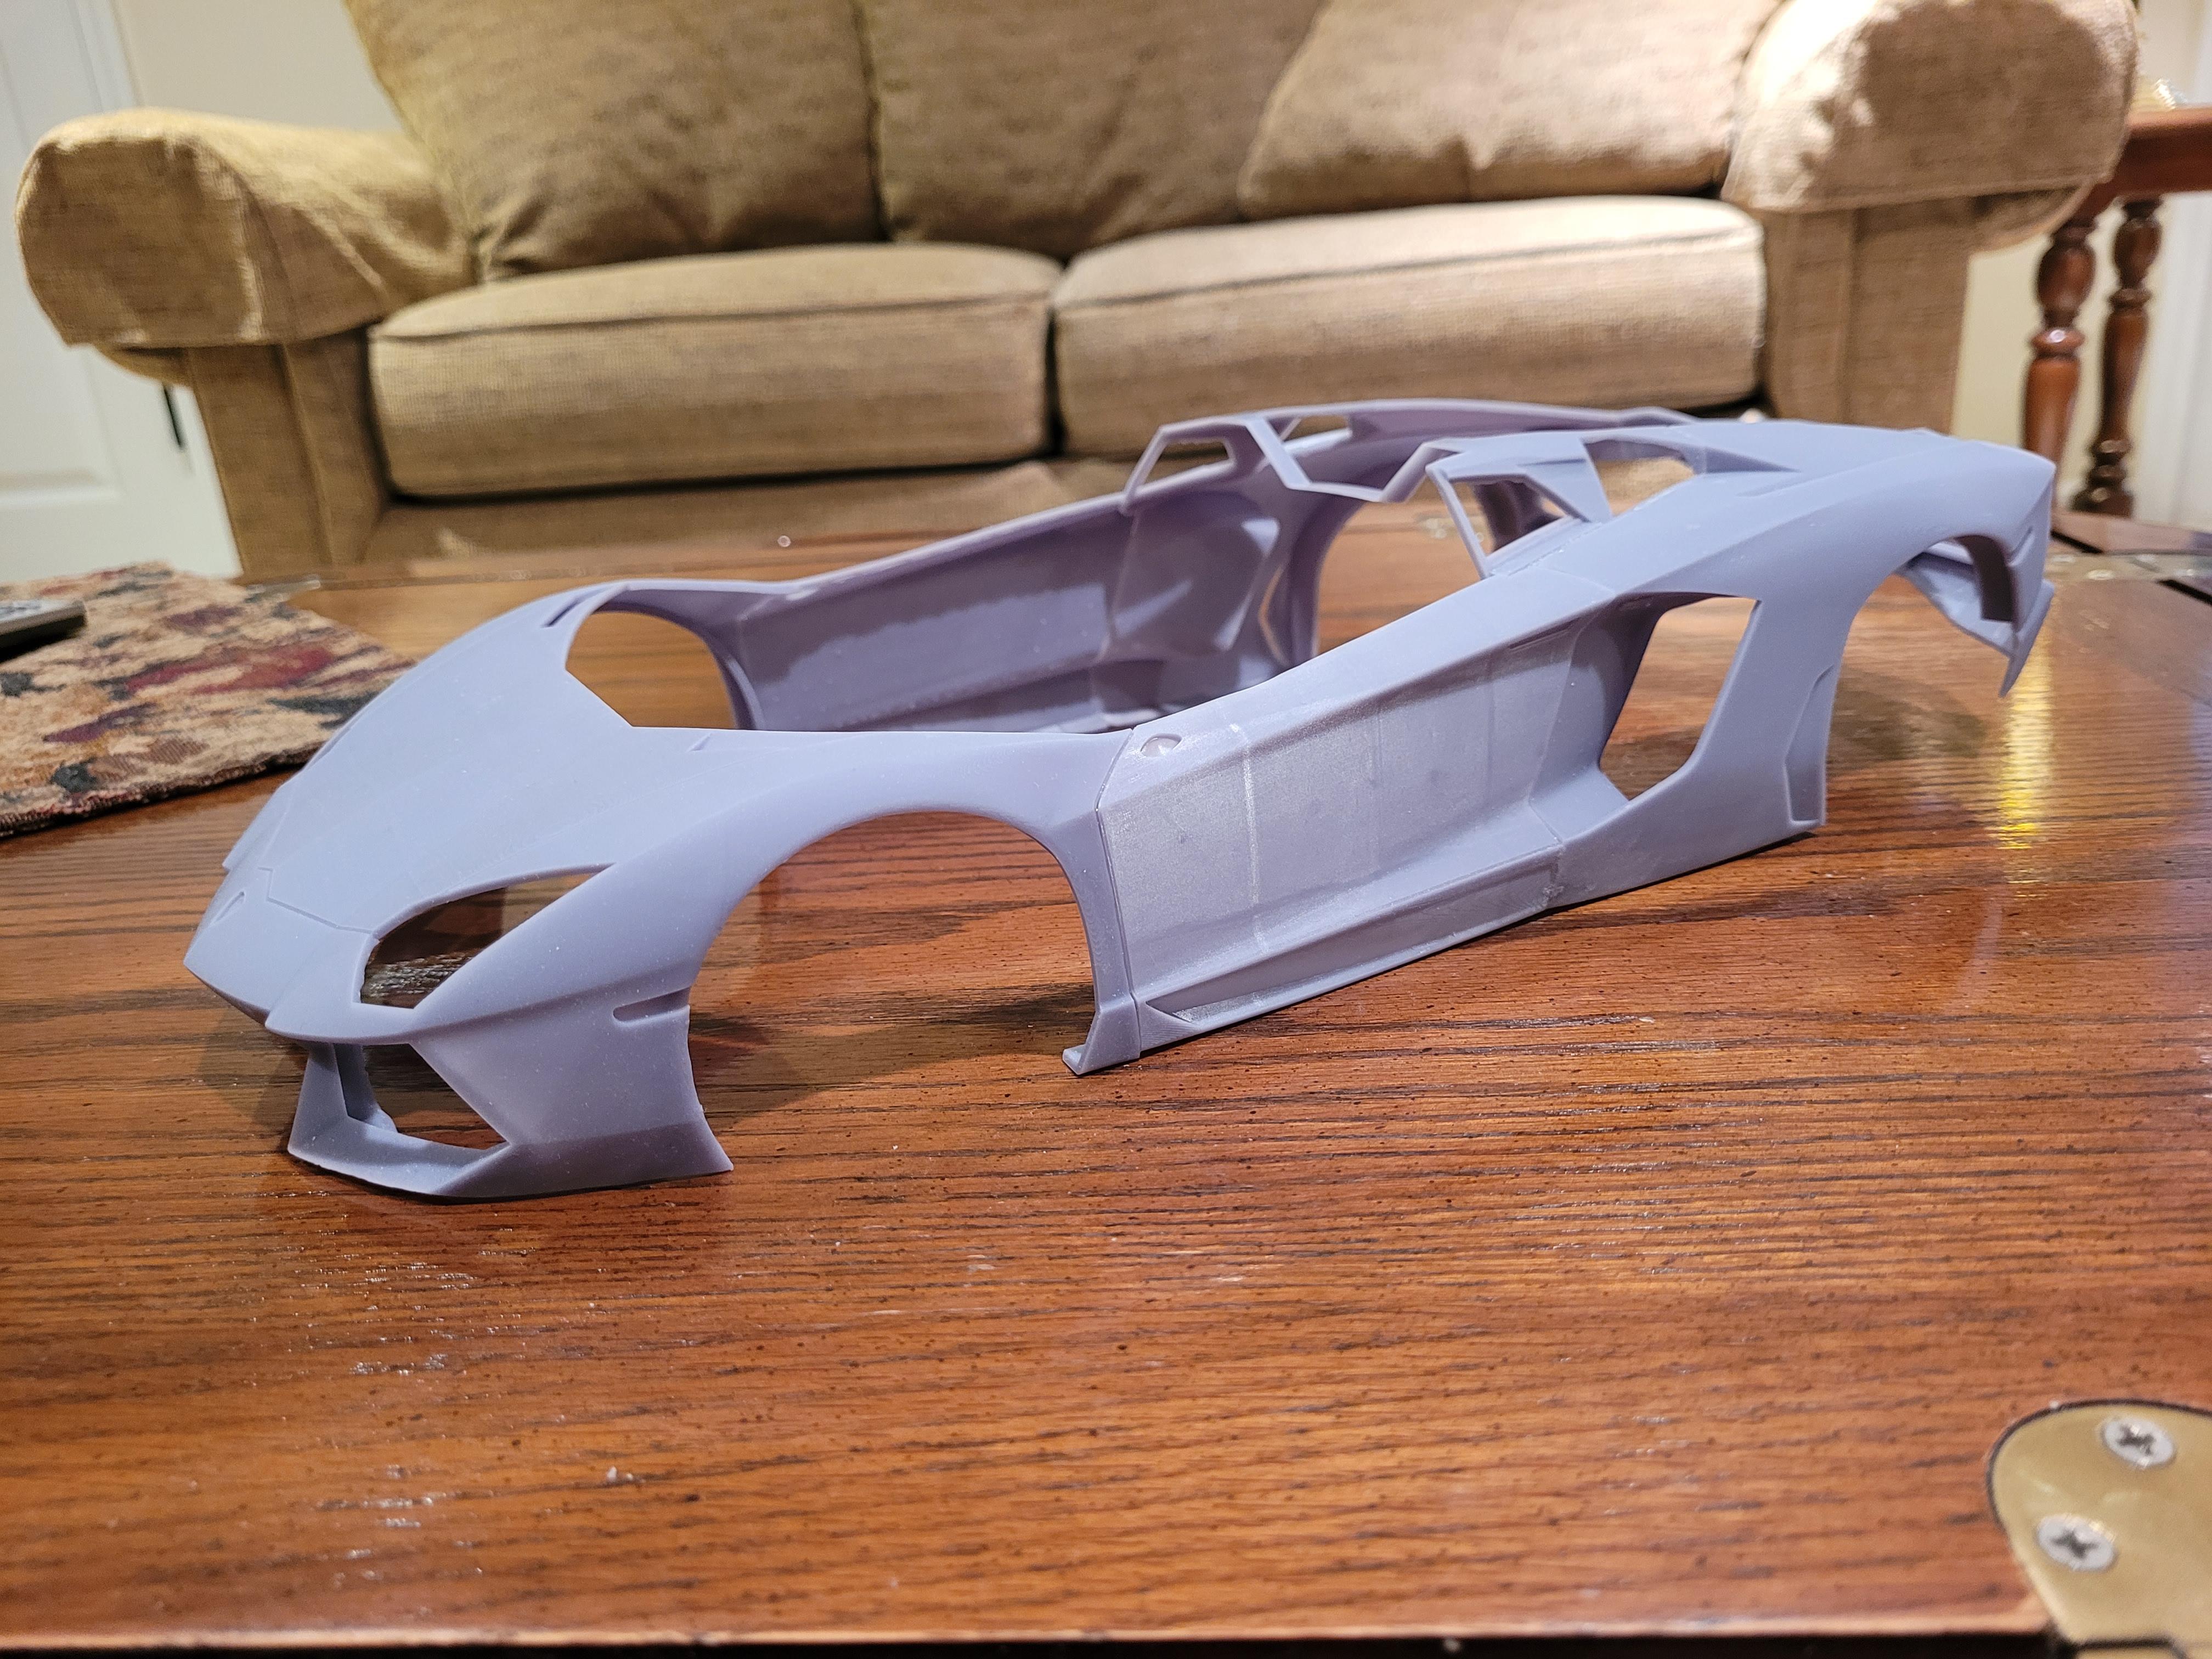
I reversed-engineered a damaged Aoshima 1/24 kit. The parts were completely remodeled in CAD to accommodate 3d printing process, whereas the kit was designed to be injection molded. Most parts were designed with a .02 inch clearance between parts. I am using a lot of picture references to enhance detail where I can.
-
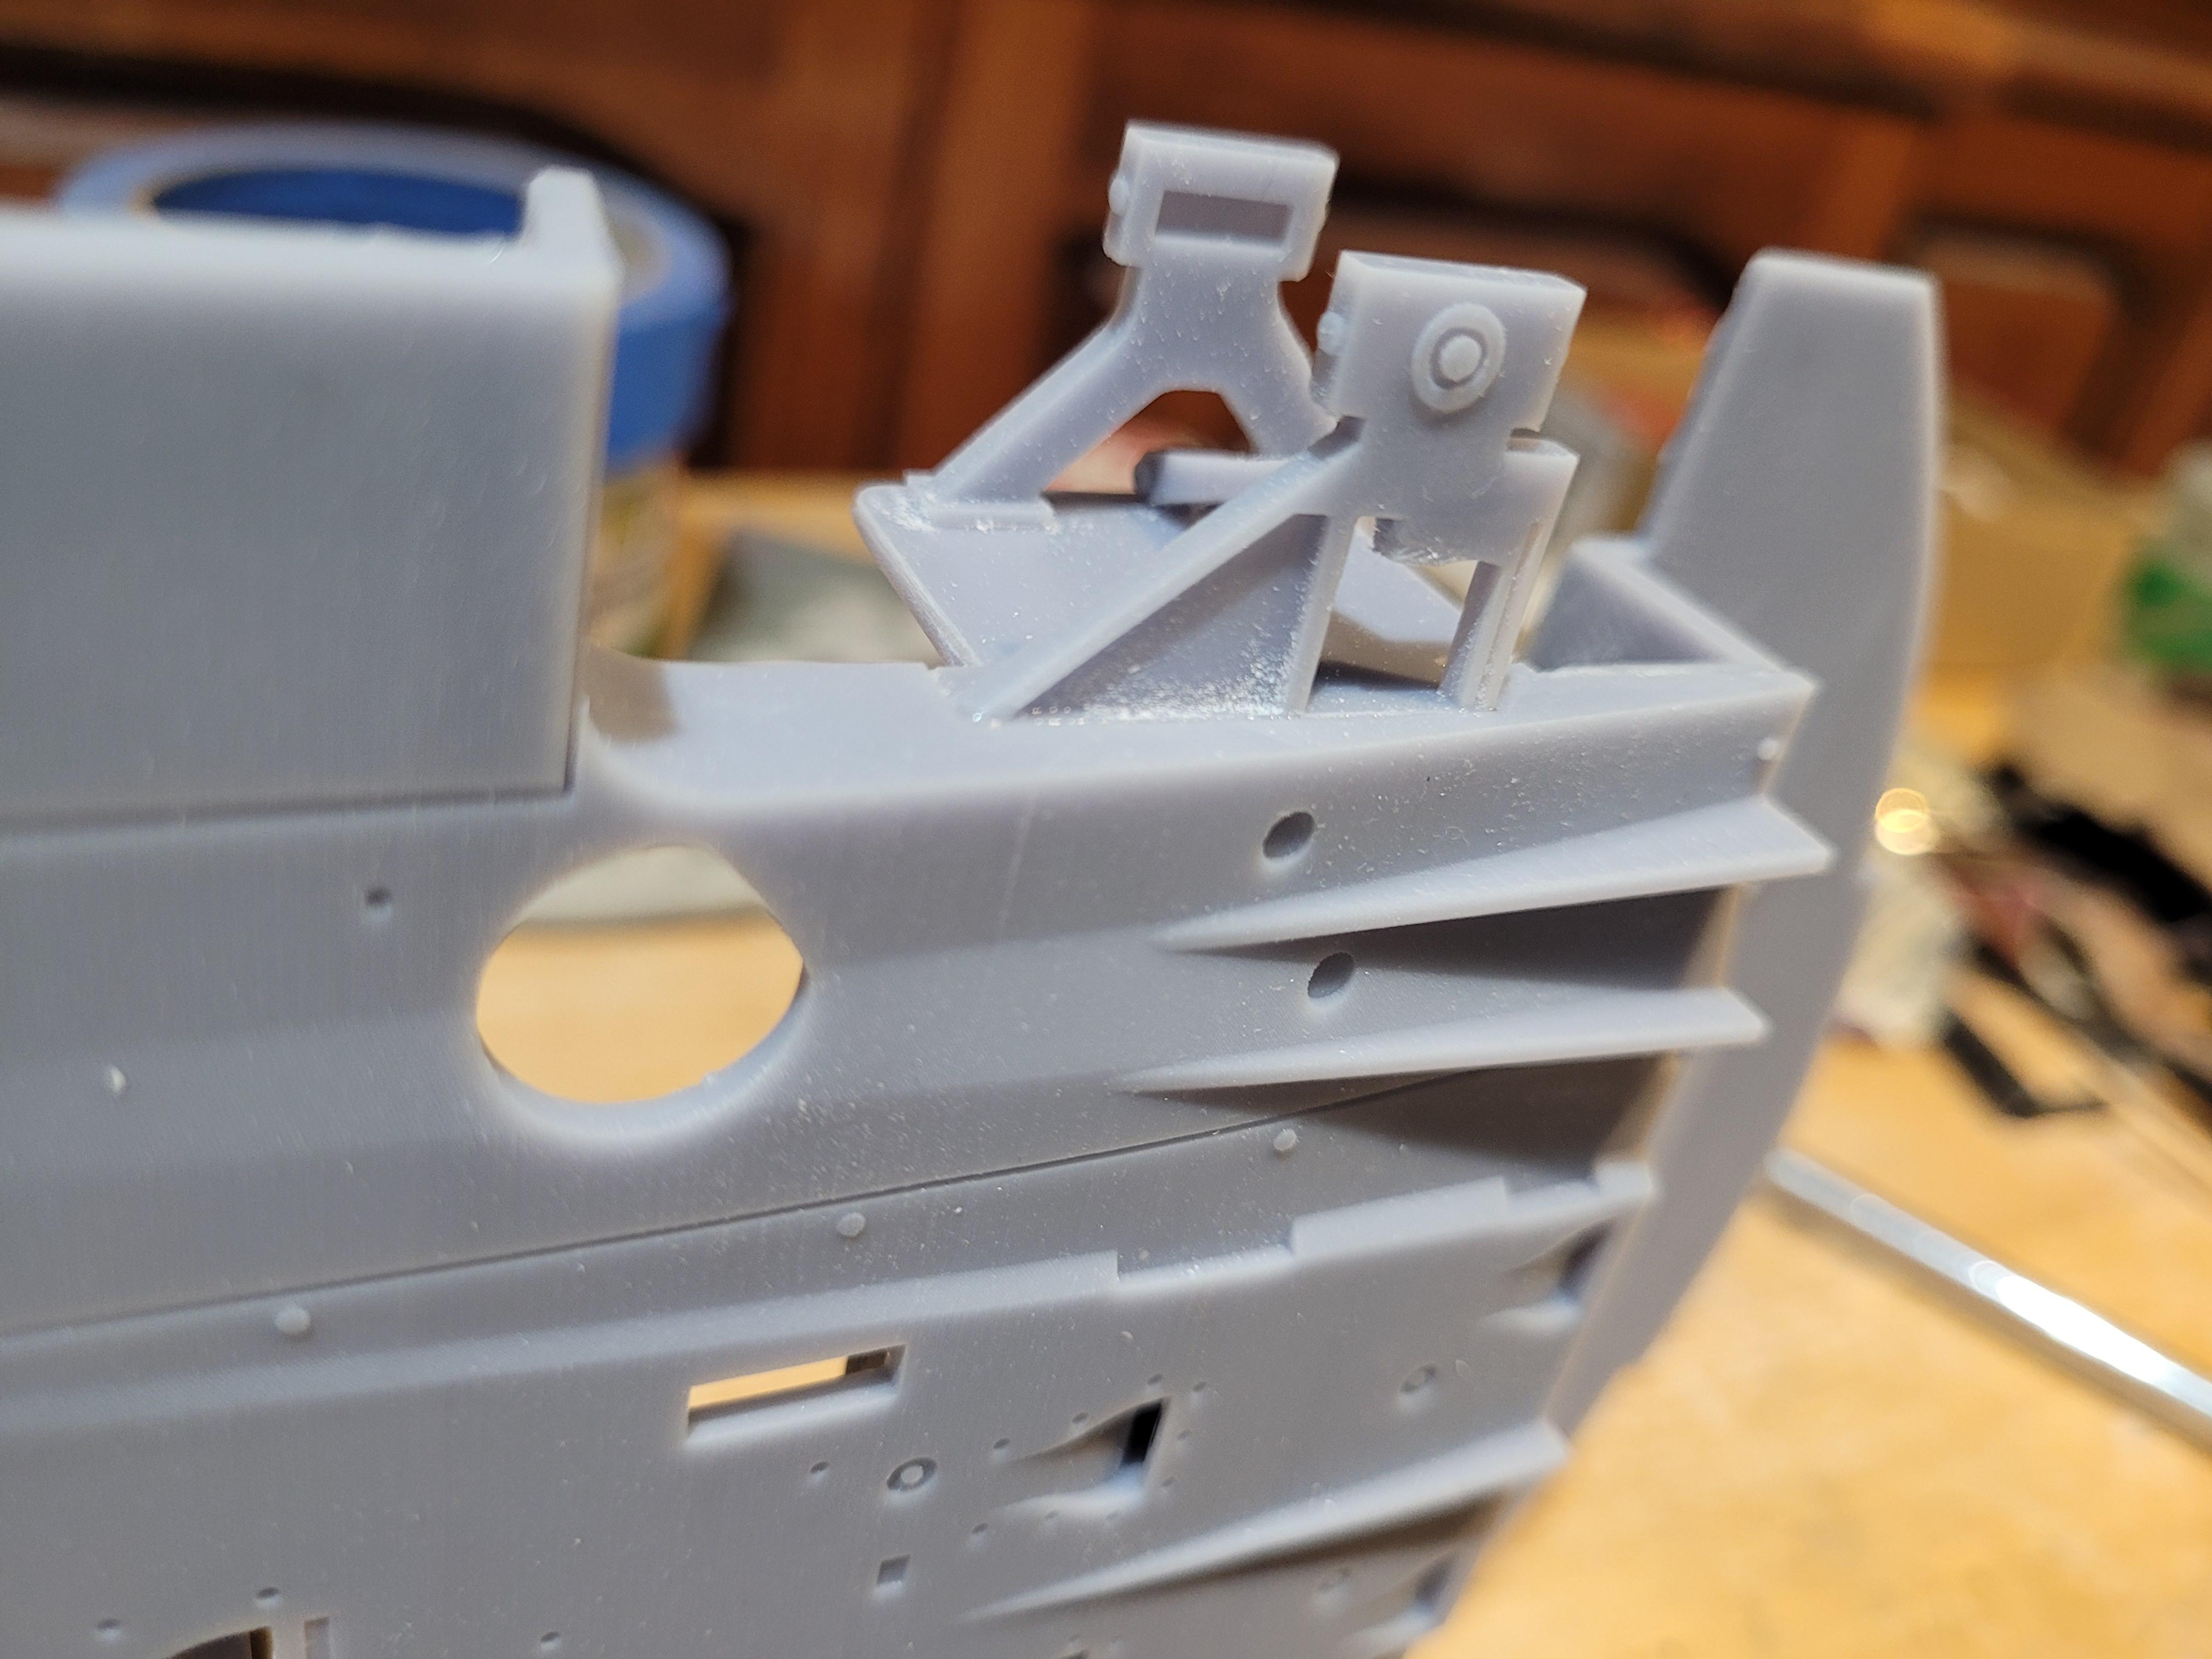
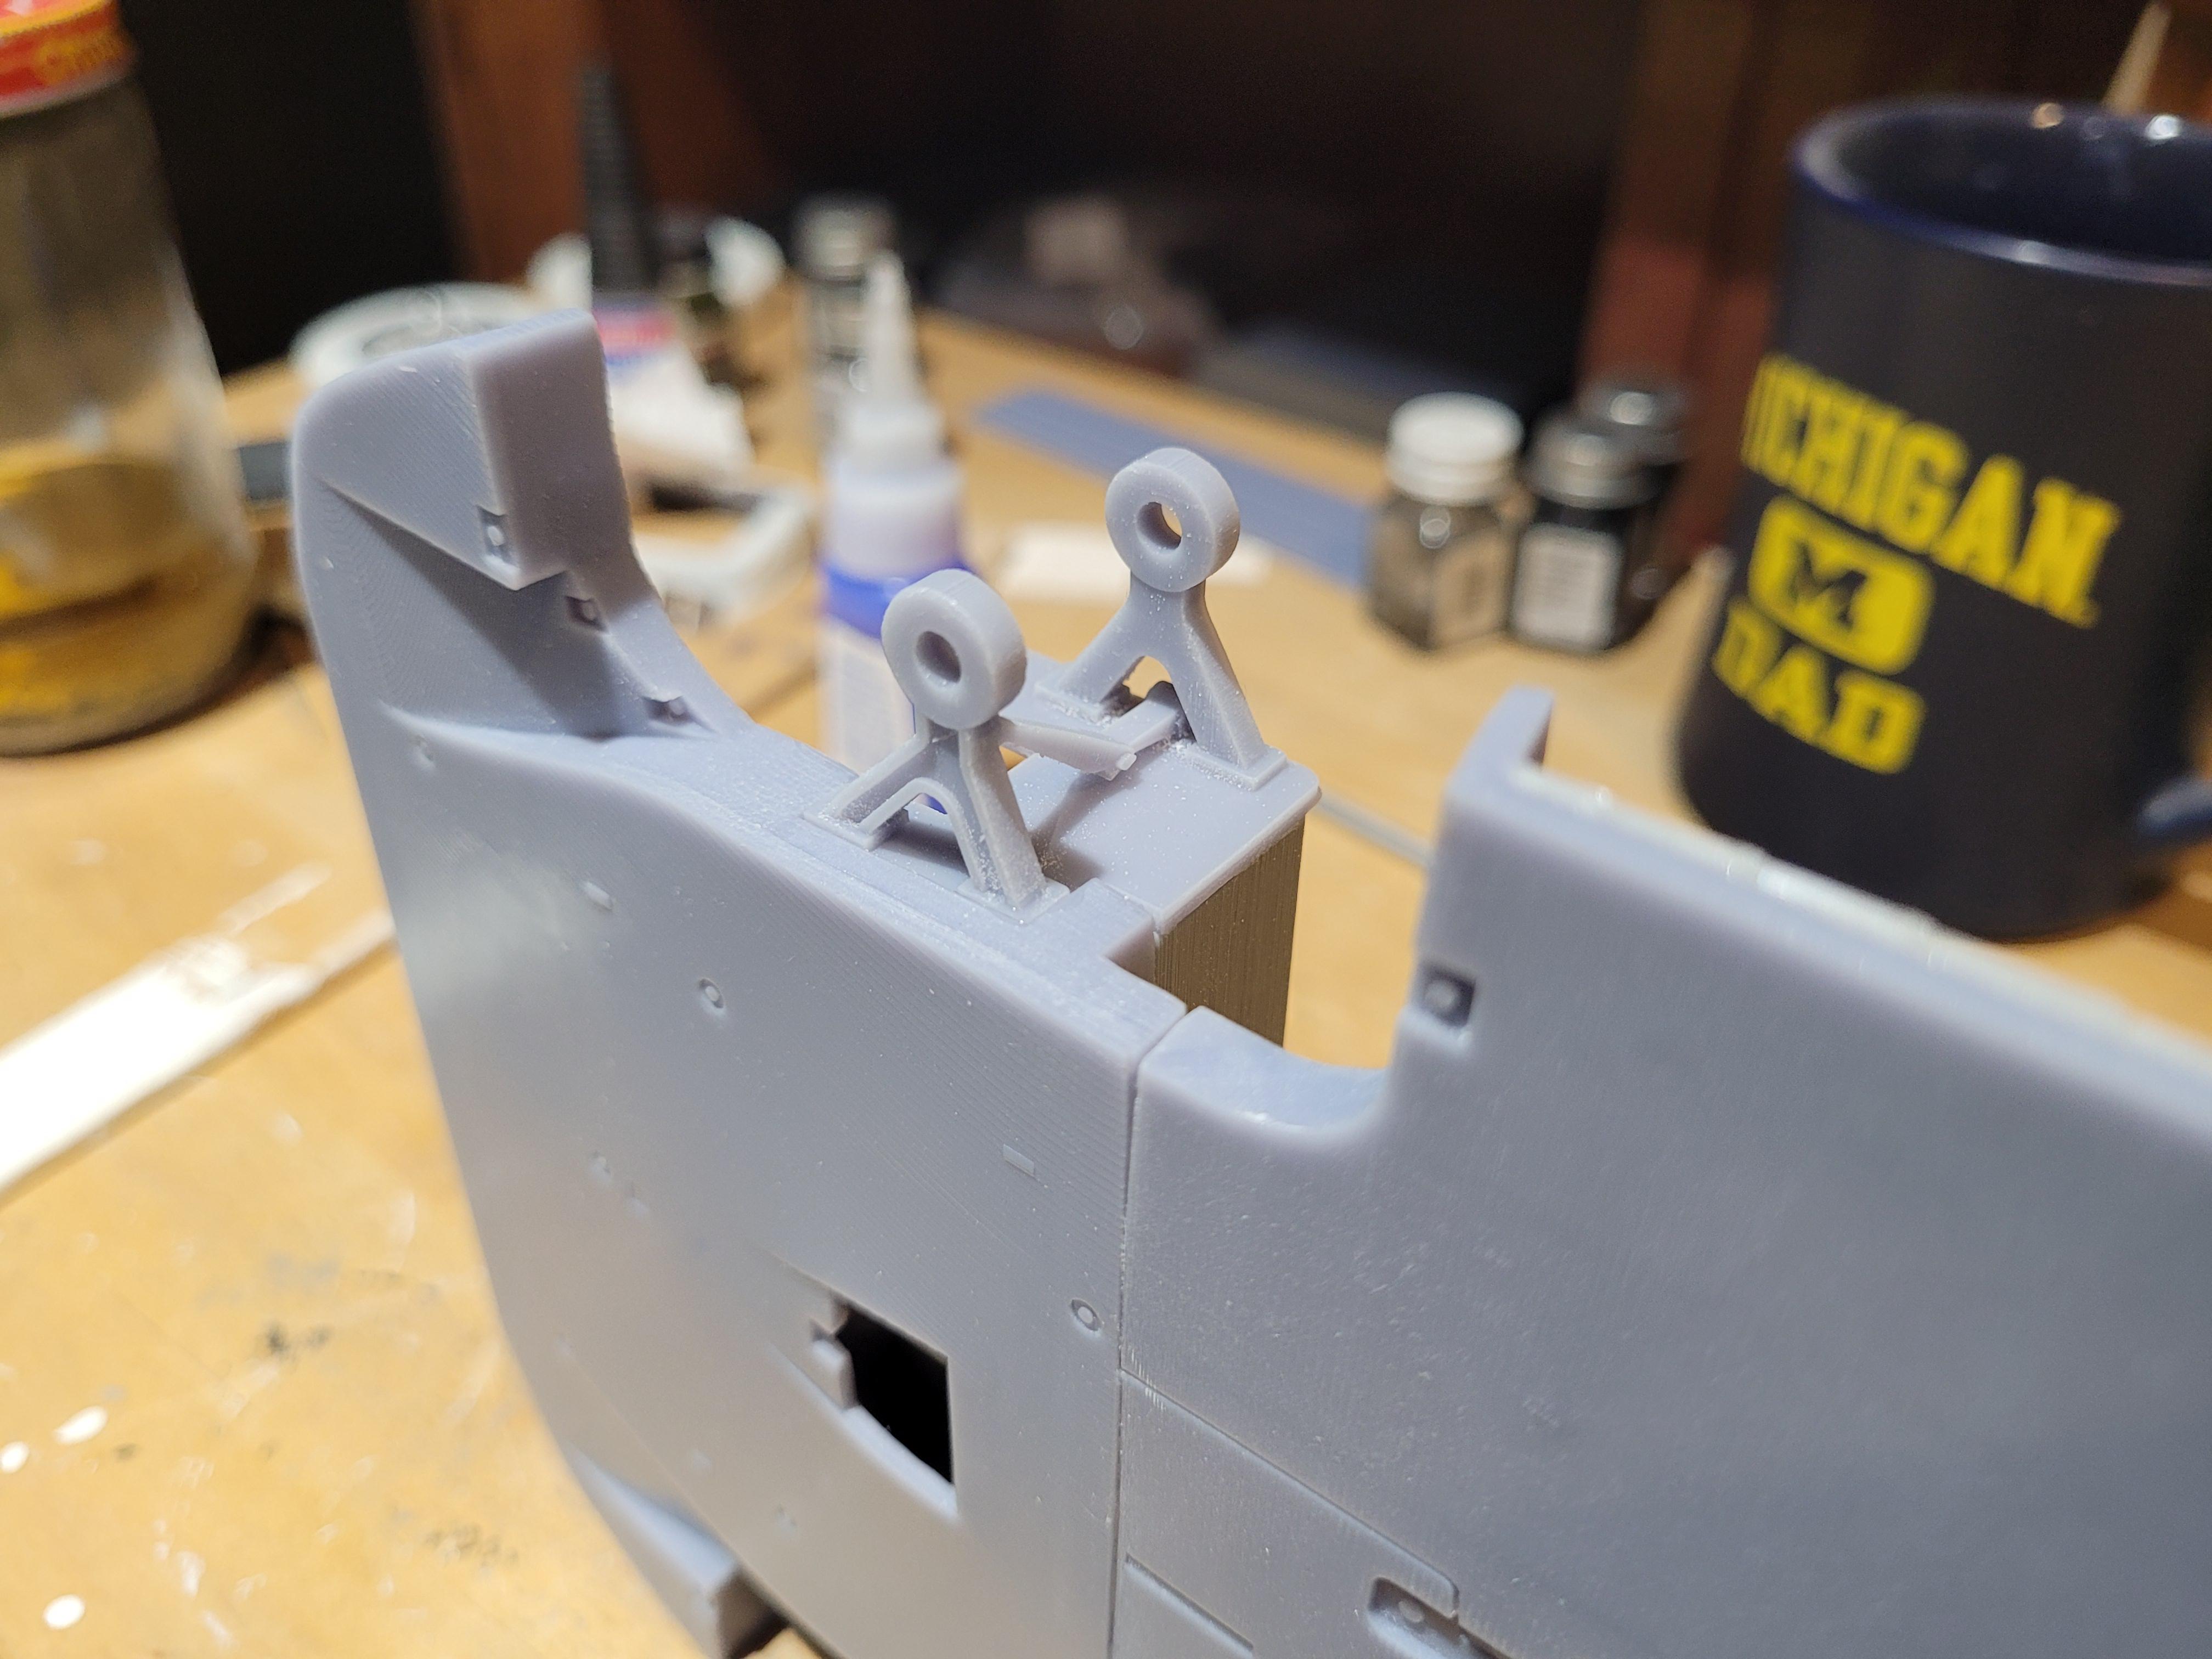
Many model car kits have partially open wheelhouses. This is due to tooling limitations, and to provide enough clearance so that the body can be assembled over the chassis. The Aoshima kit of the Aventador, which is used as the template for this project, is one such model having partially opened wheelhouses. I extended the wheelhouses on both the body and chassis to create a closed condition, and to provide structural integrity and support for the resin panels.
-
The suspension arms glued in place.
-
I printed the wheels last light. They will be painted either aluminum or gloss black, not sure yet. Here is the color scheme I am thinking about.
-
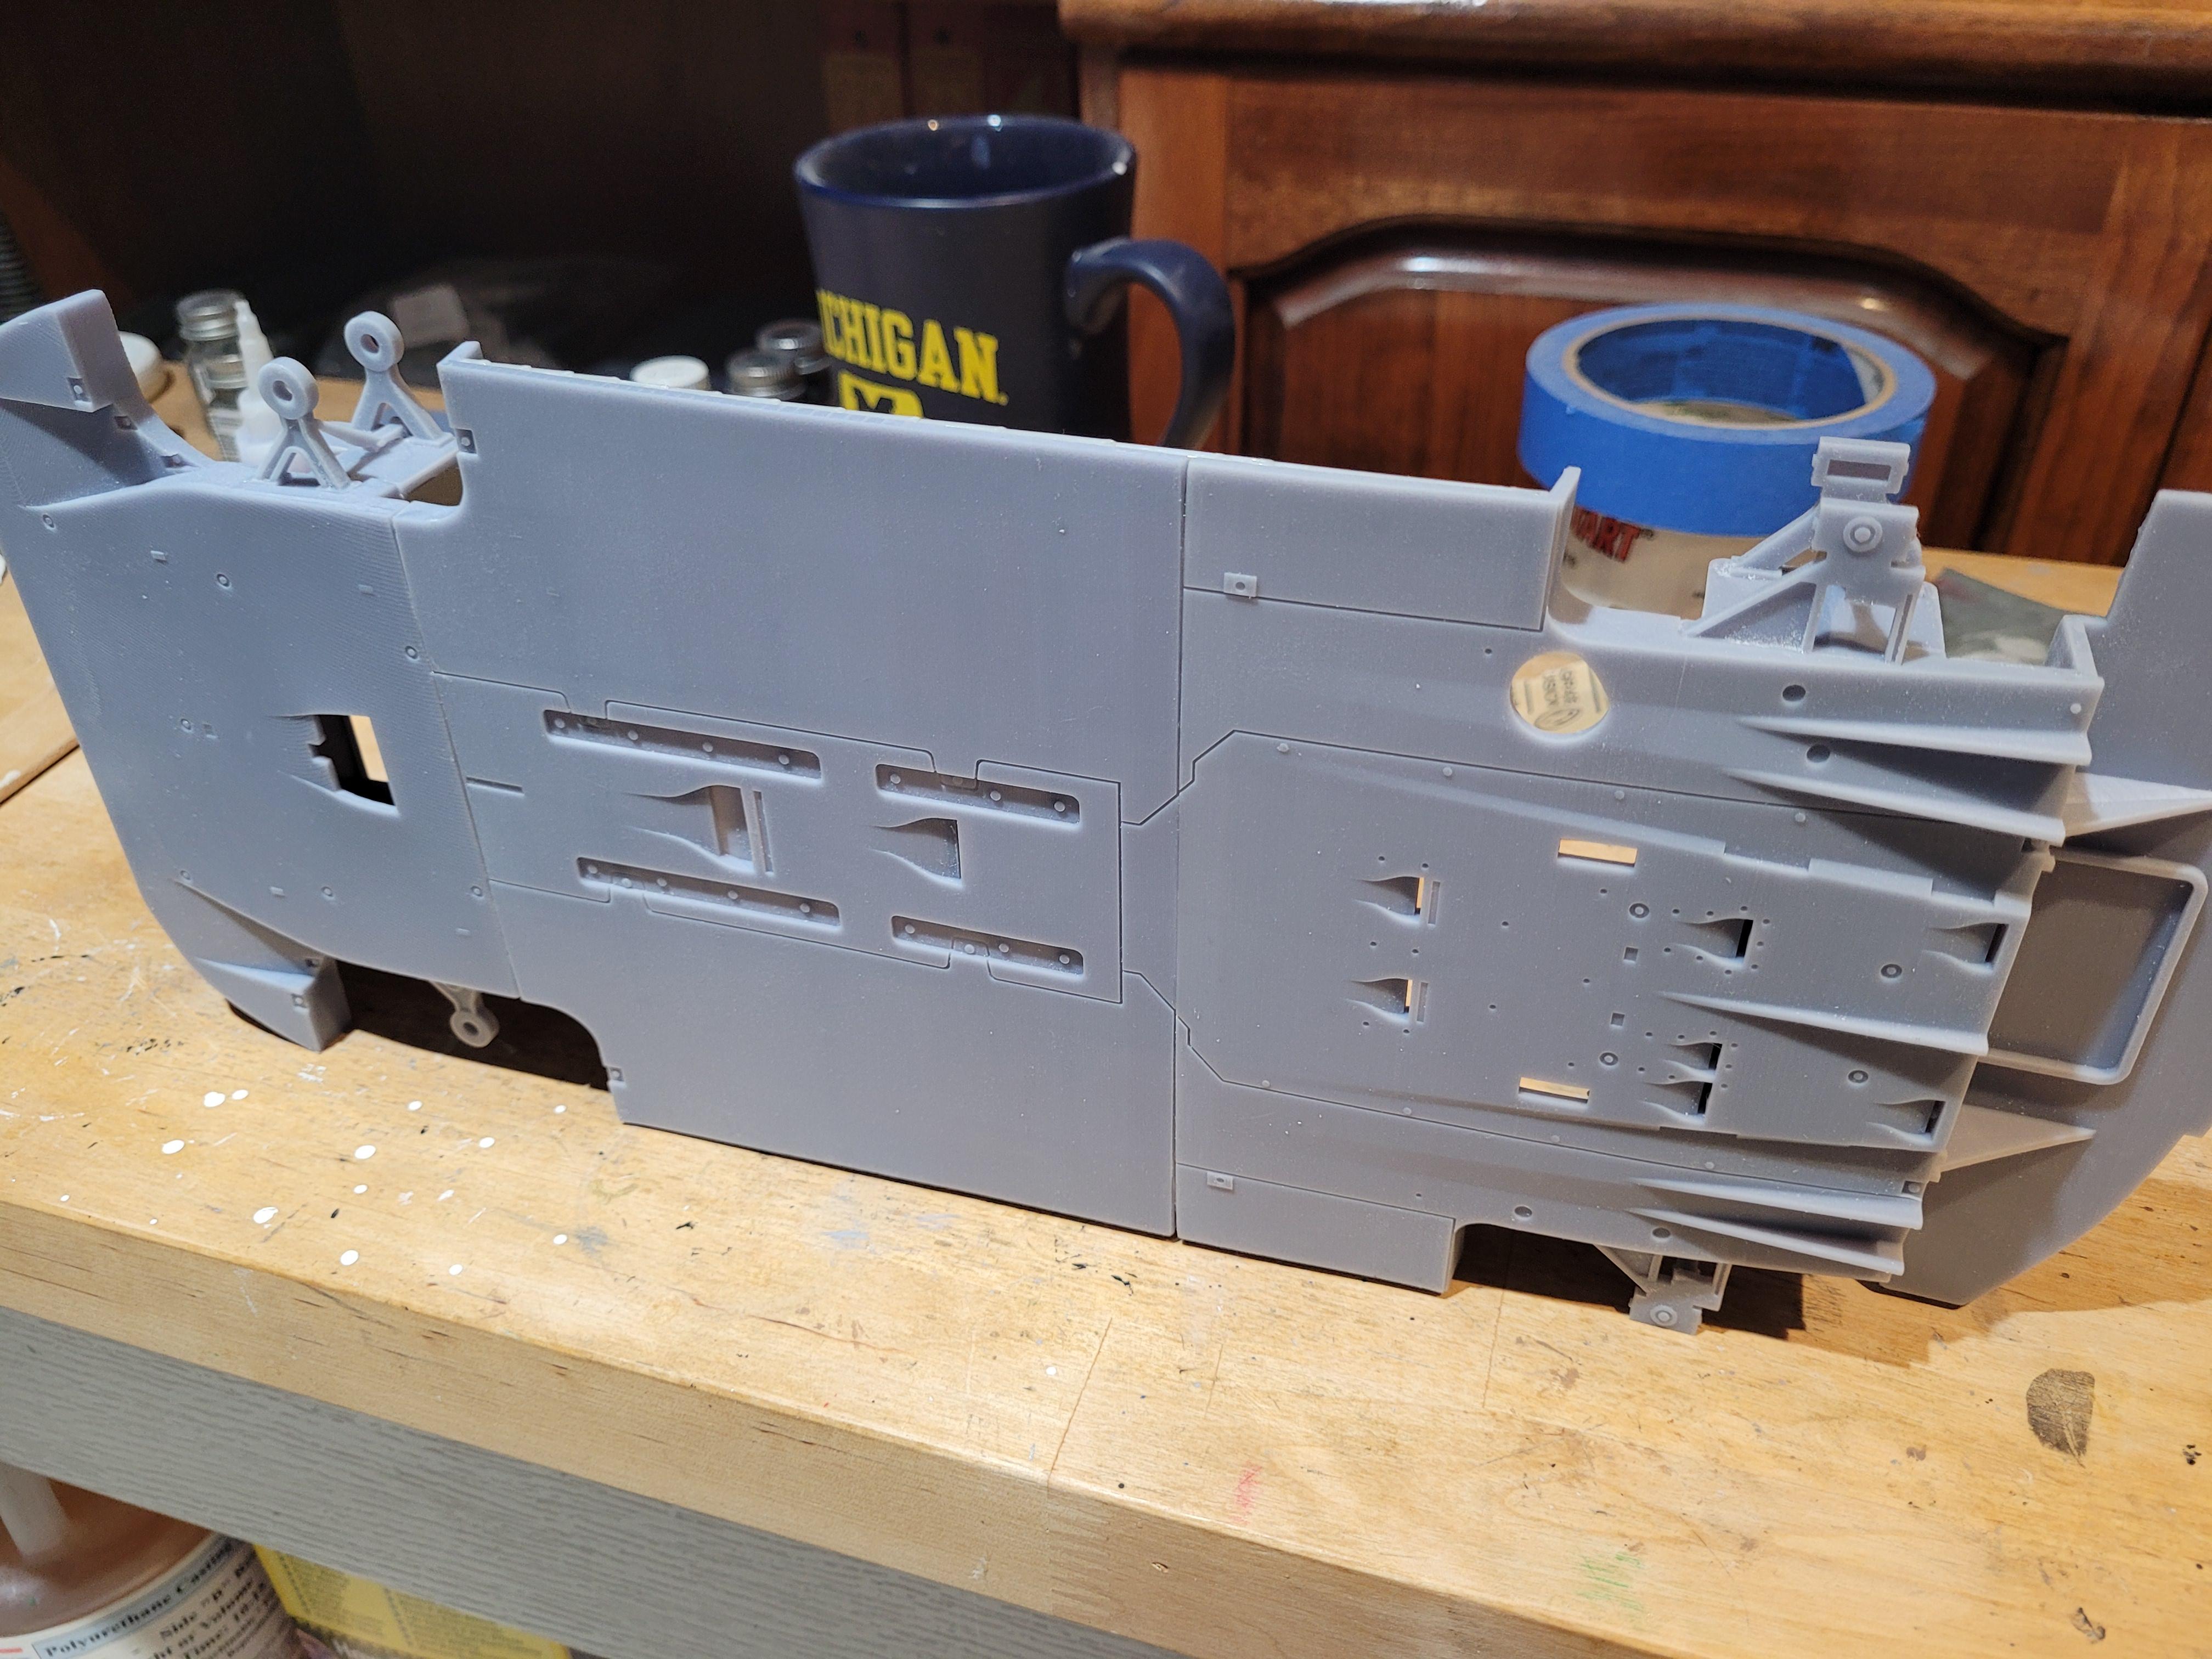
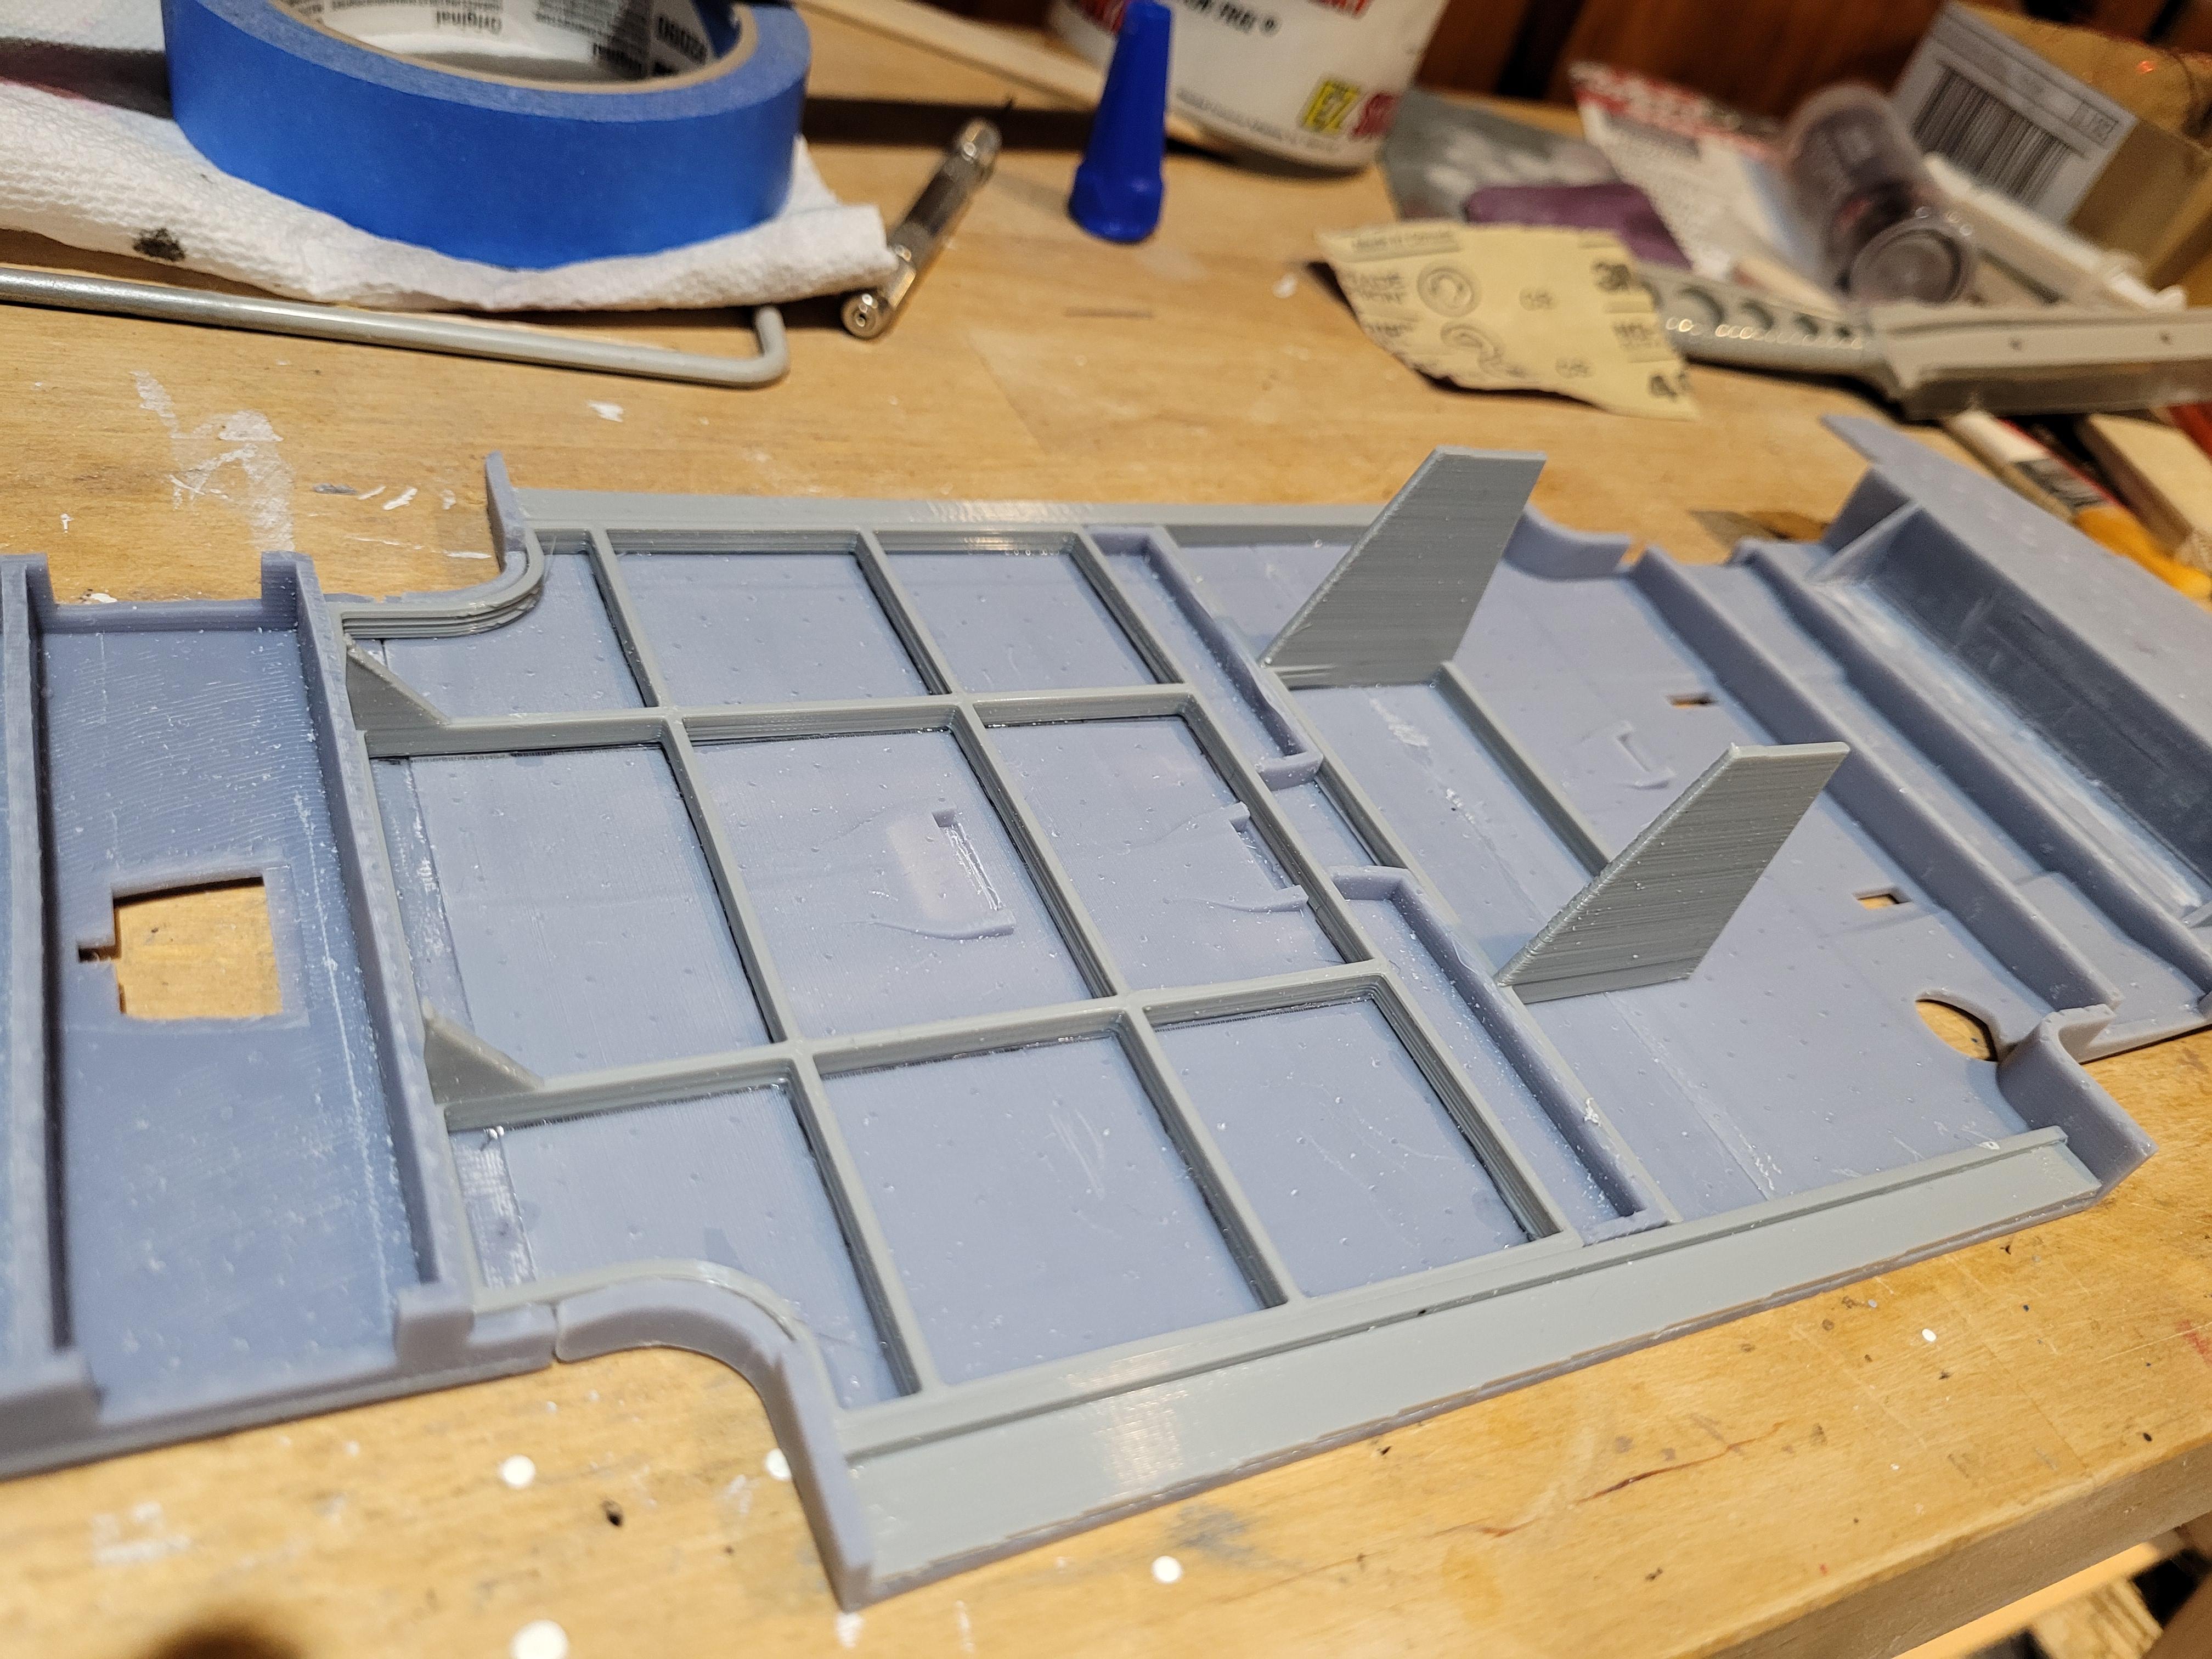
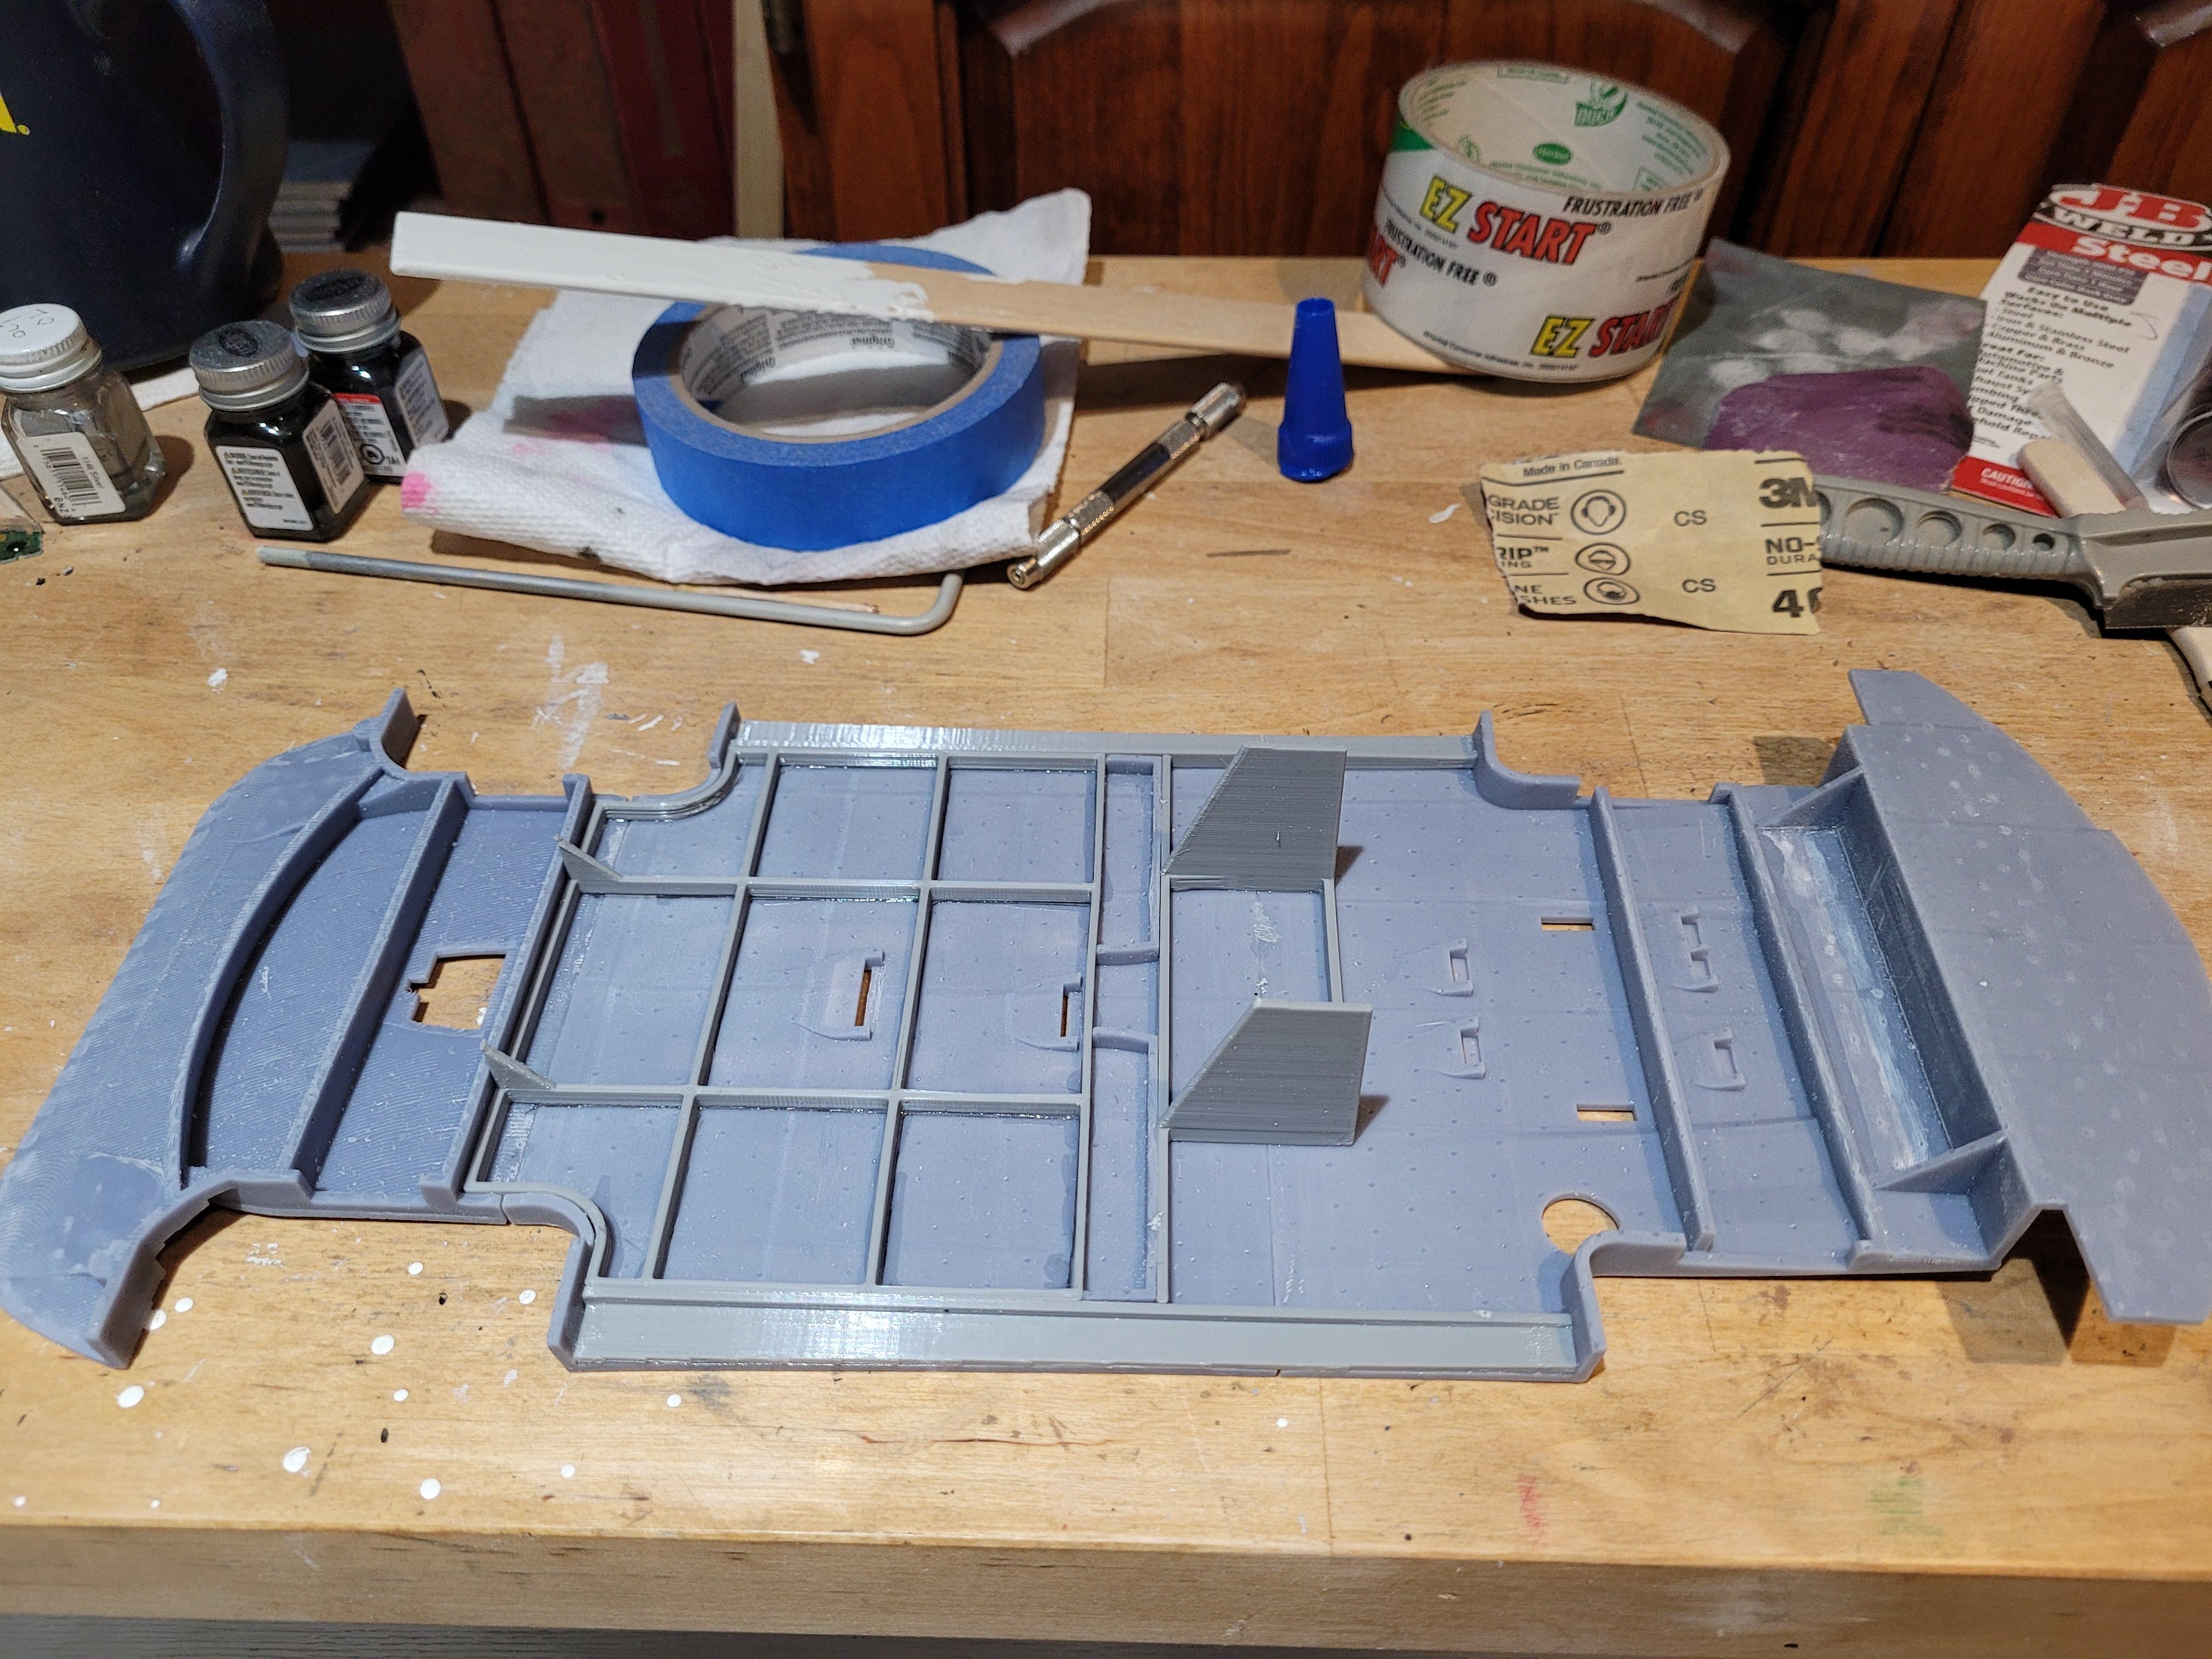
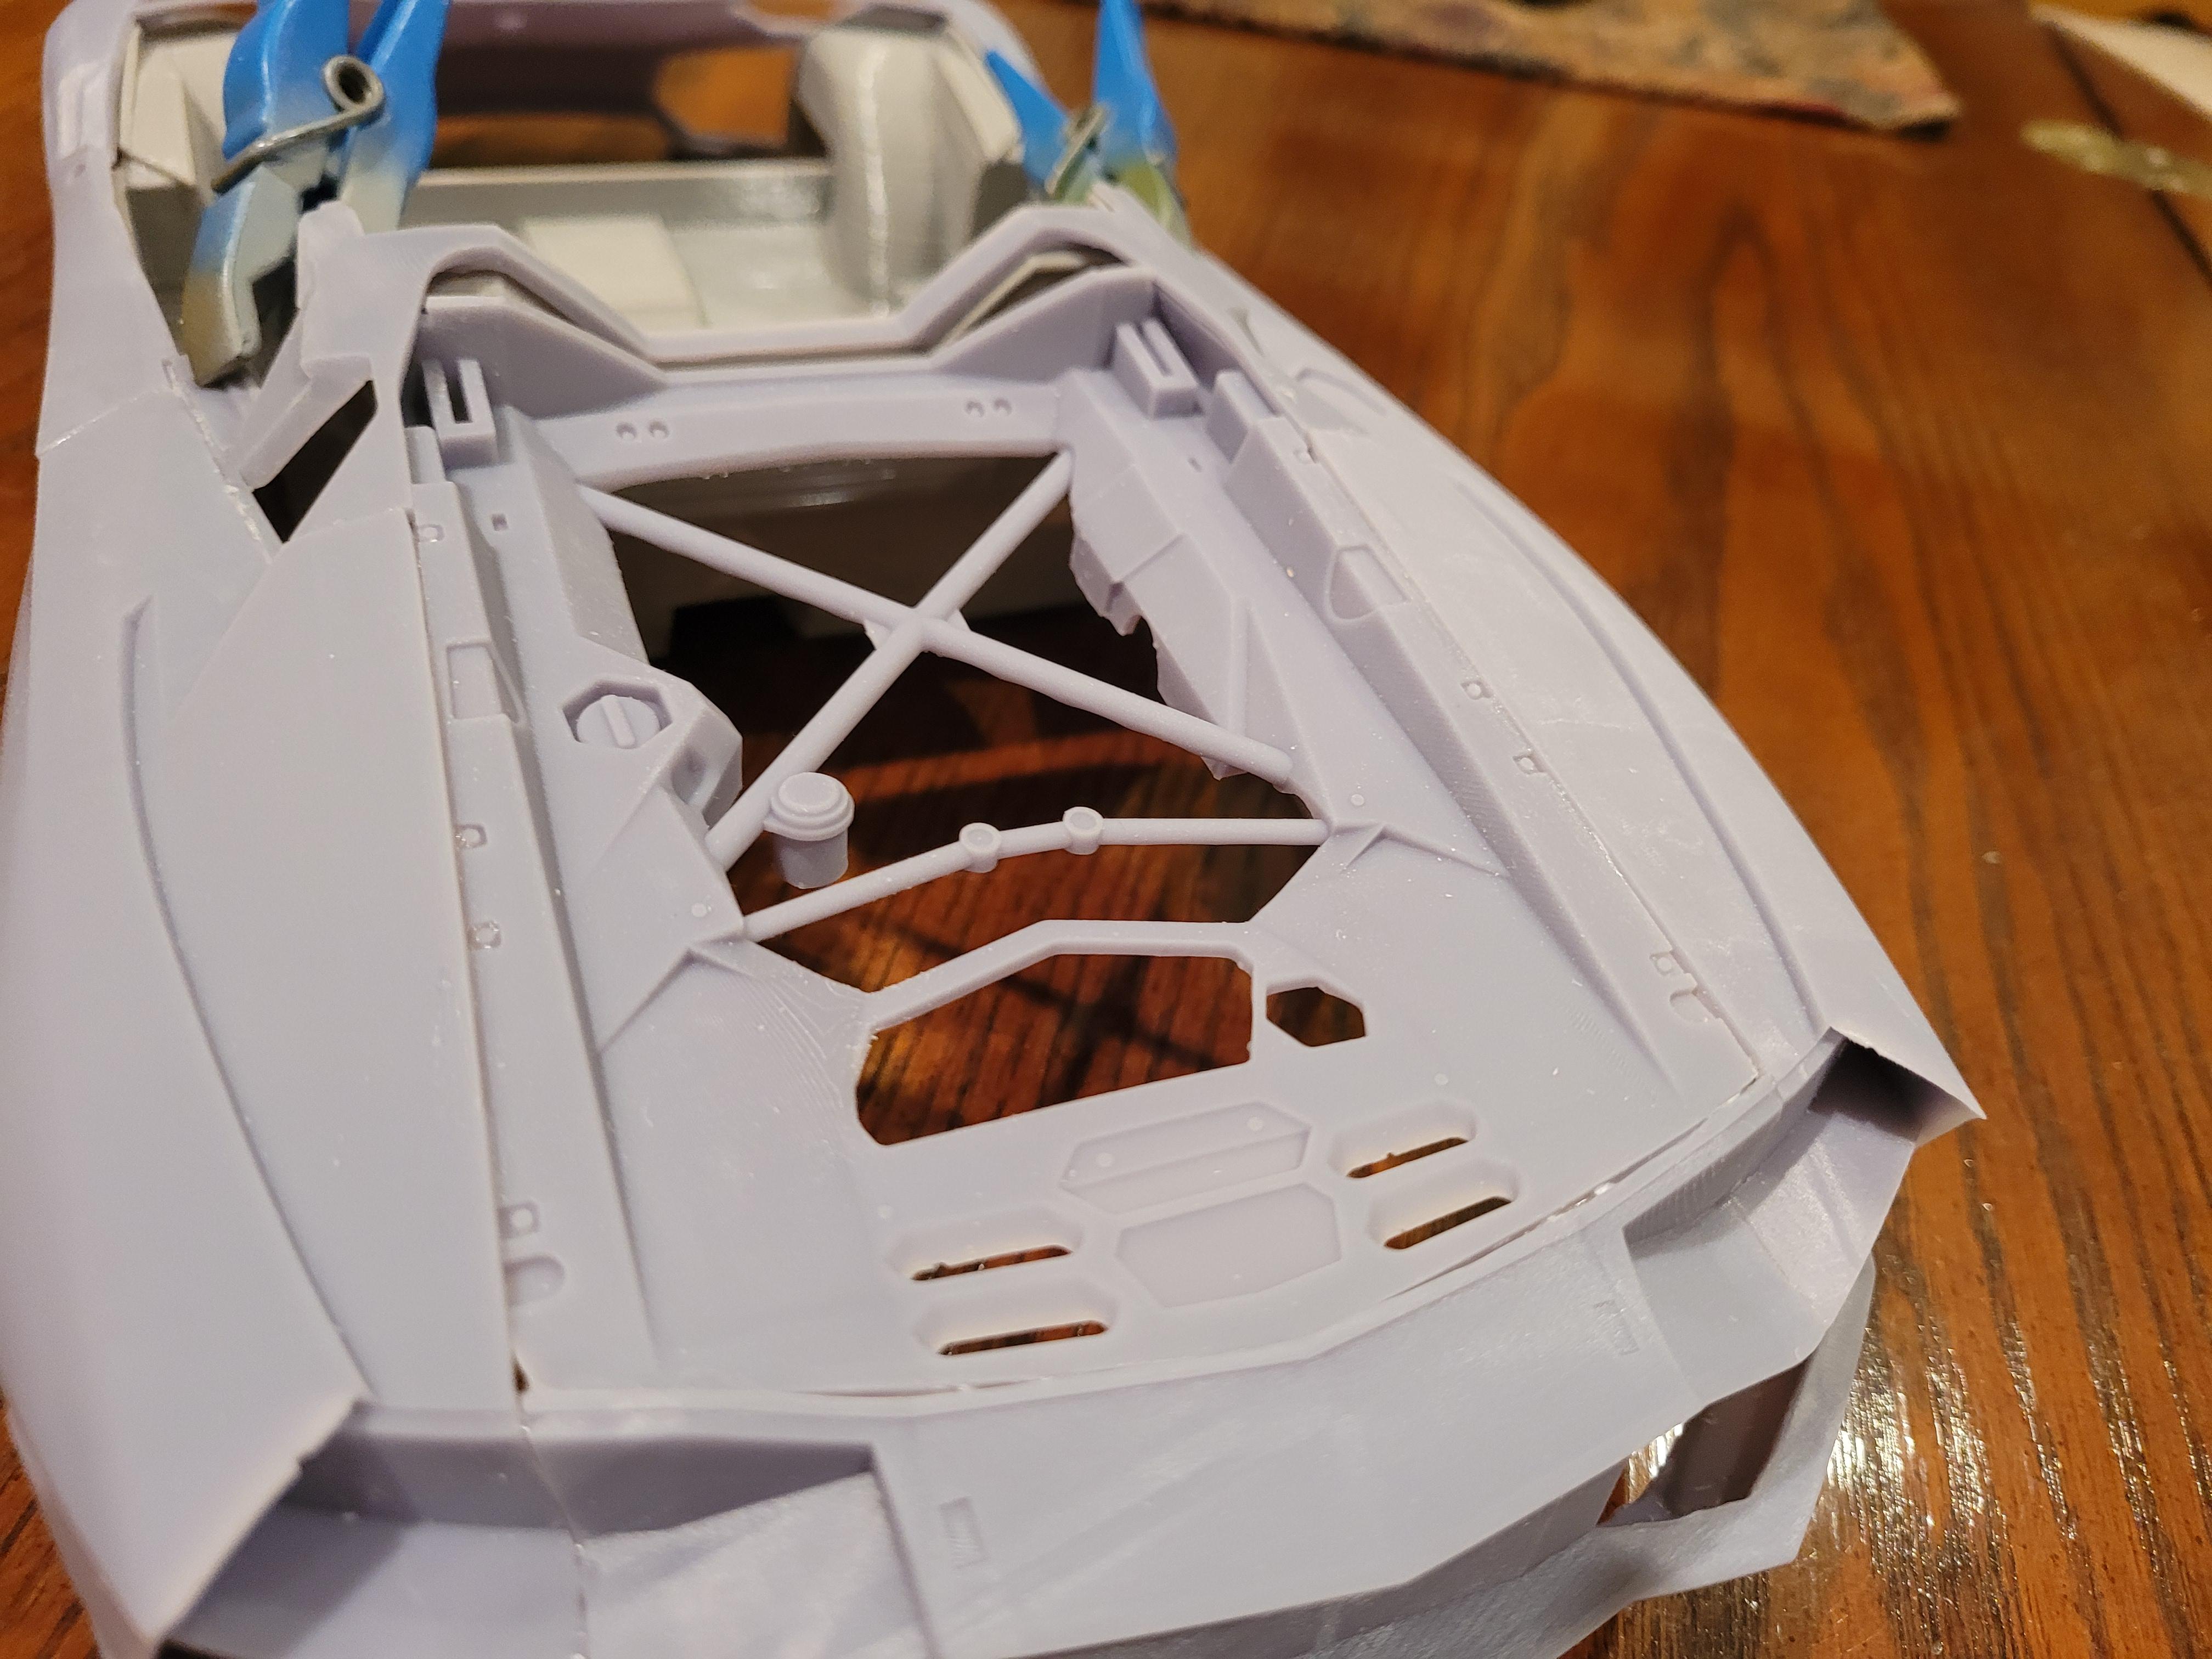
The underbody panels are resin printed in 4 sections. The lighter gray parts are filament printed and used to stiffen and stabilize the flat panels. Large and flat resin printed parts have a tendency to warp. The light gray parts are strong and serve to restrain the panels until they are fully cured.
-
Not sure yet. There are a lot of great color schemes out there. White or lighter blue maybe.
-
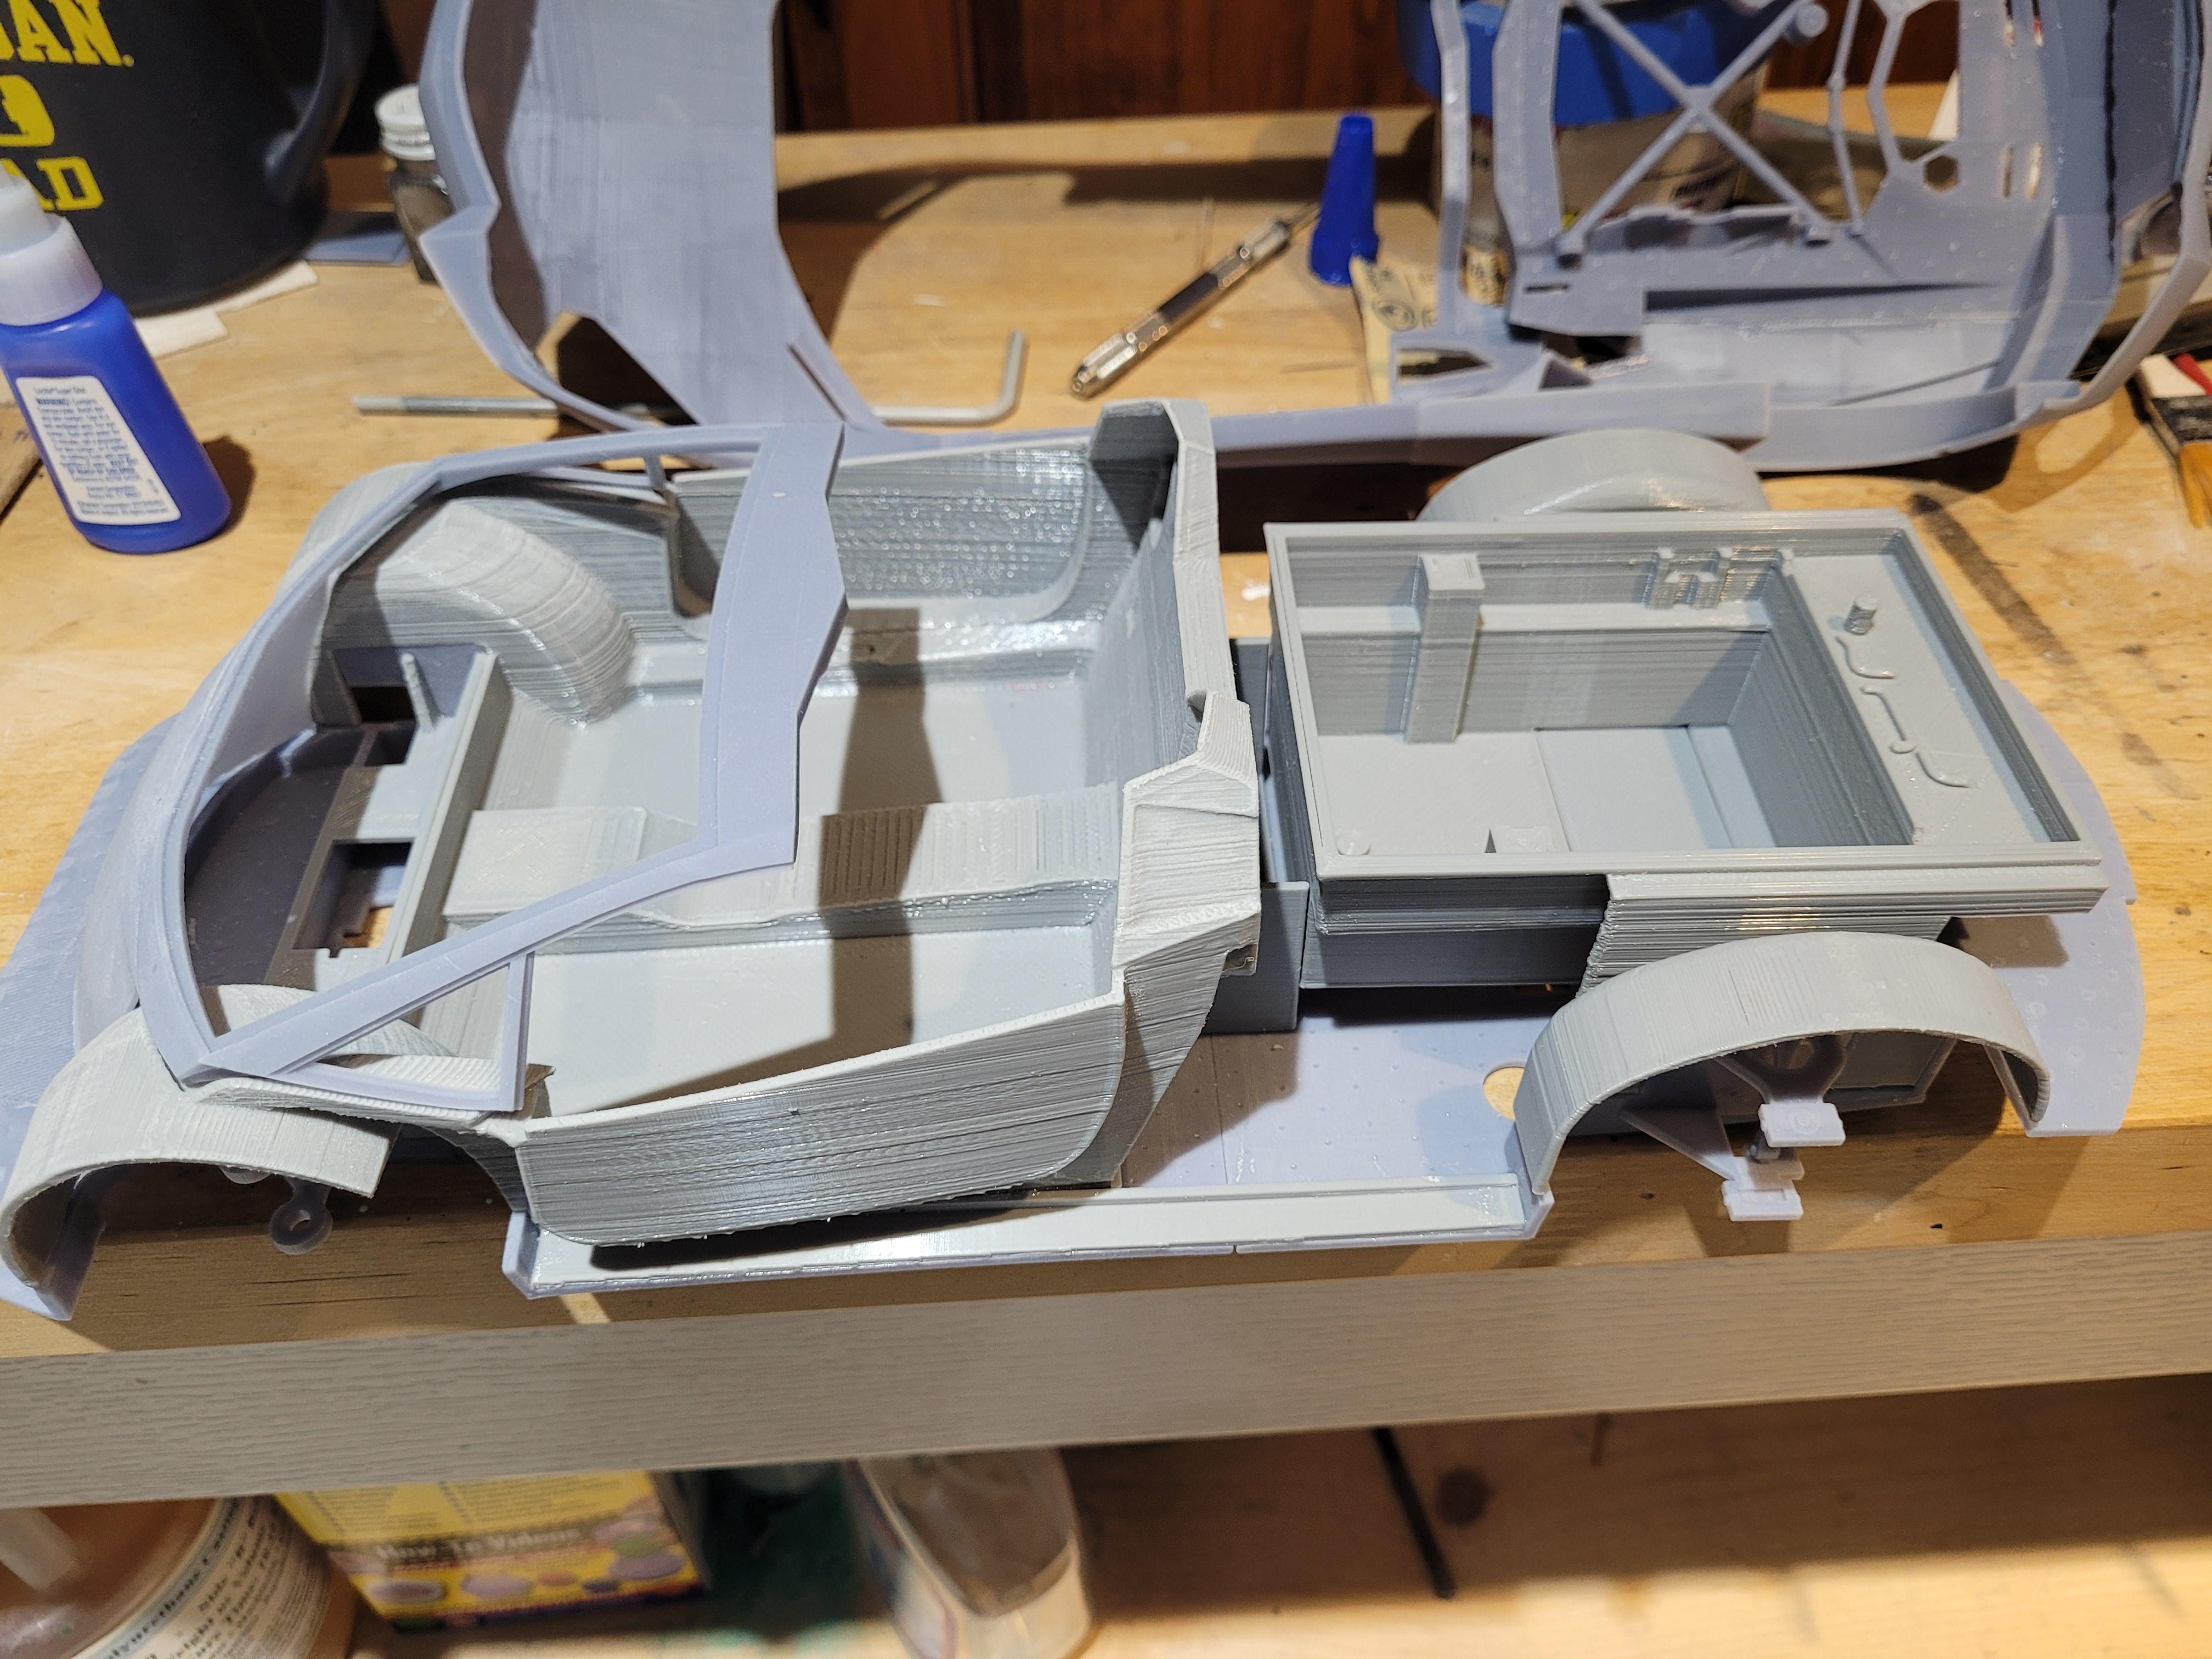
Rear compartment upper structure in place. Test fitting the cockpit tub.
-
Ha! Yes. Ice rain today.
-
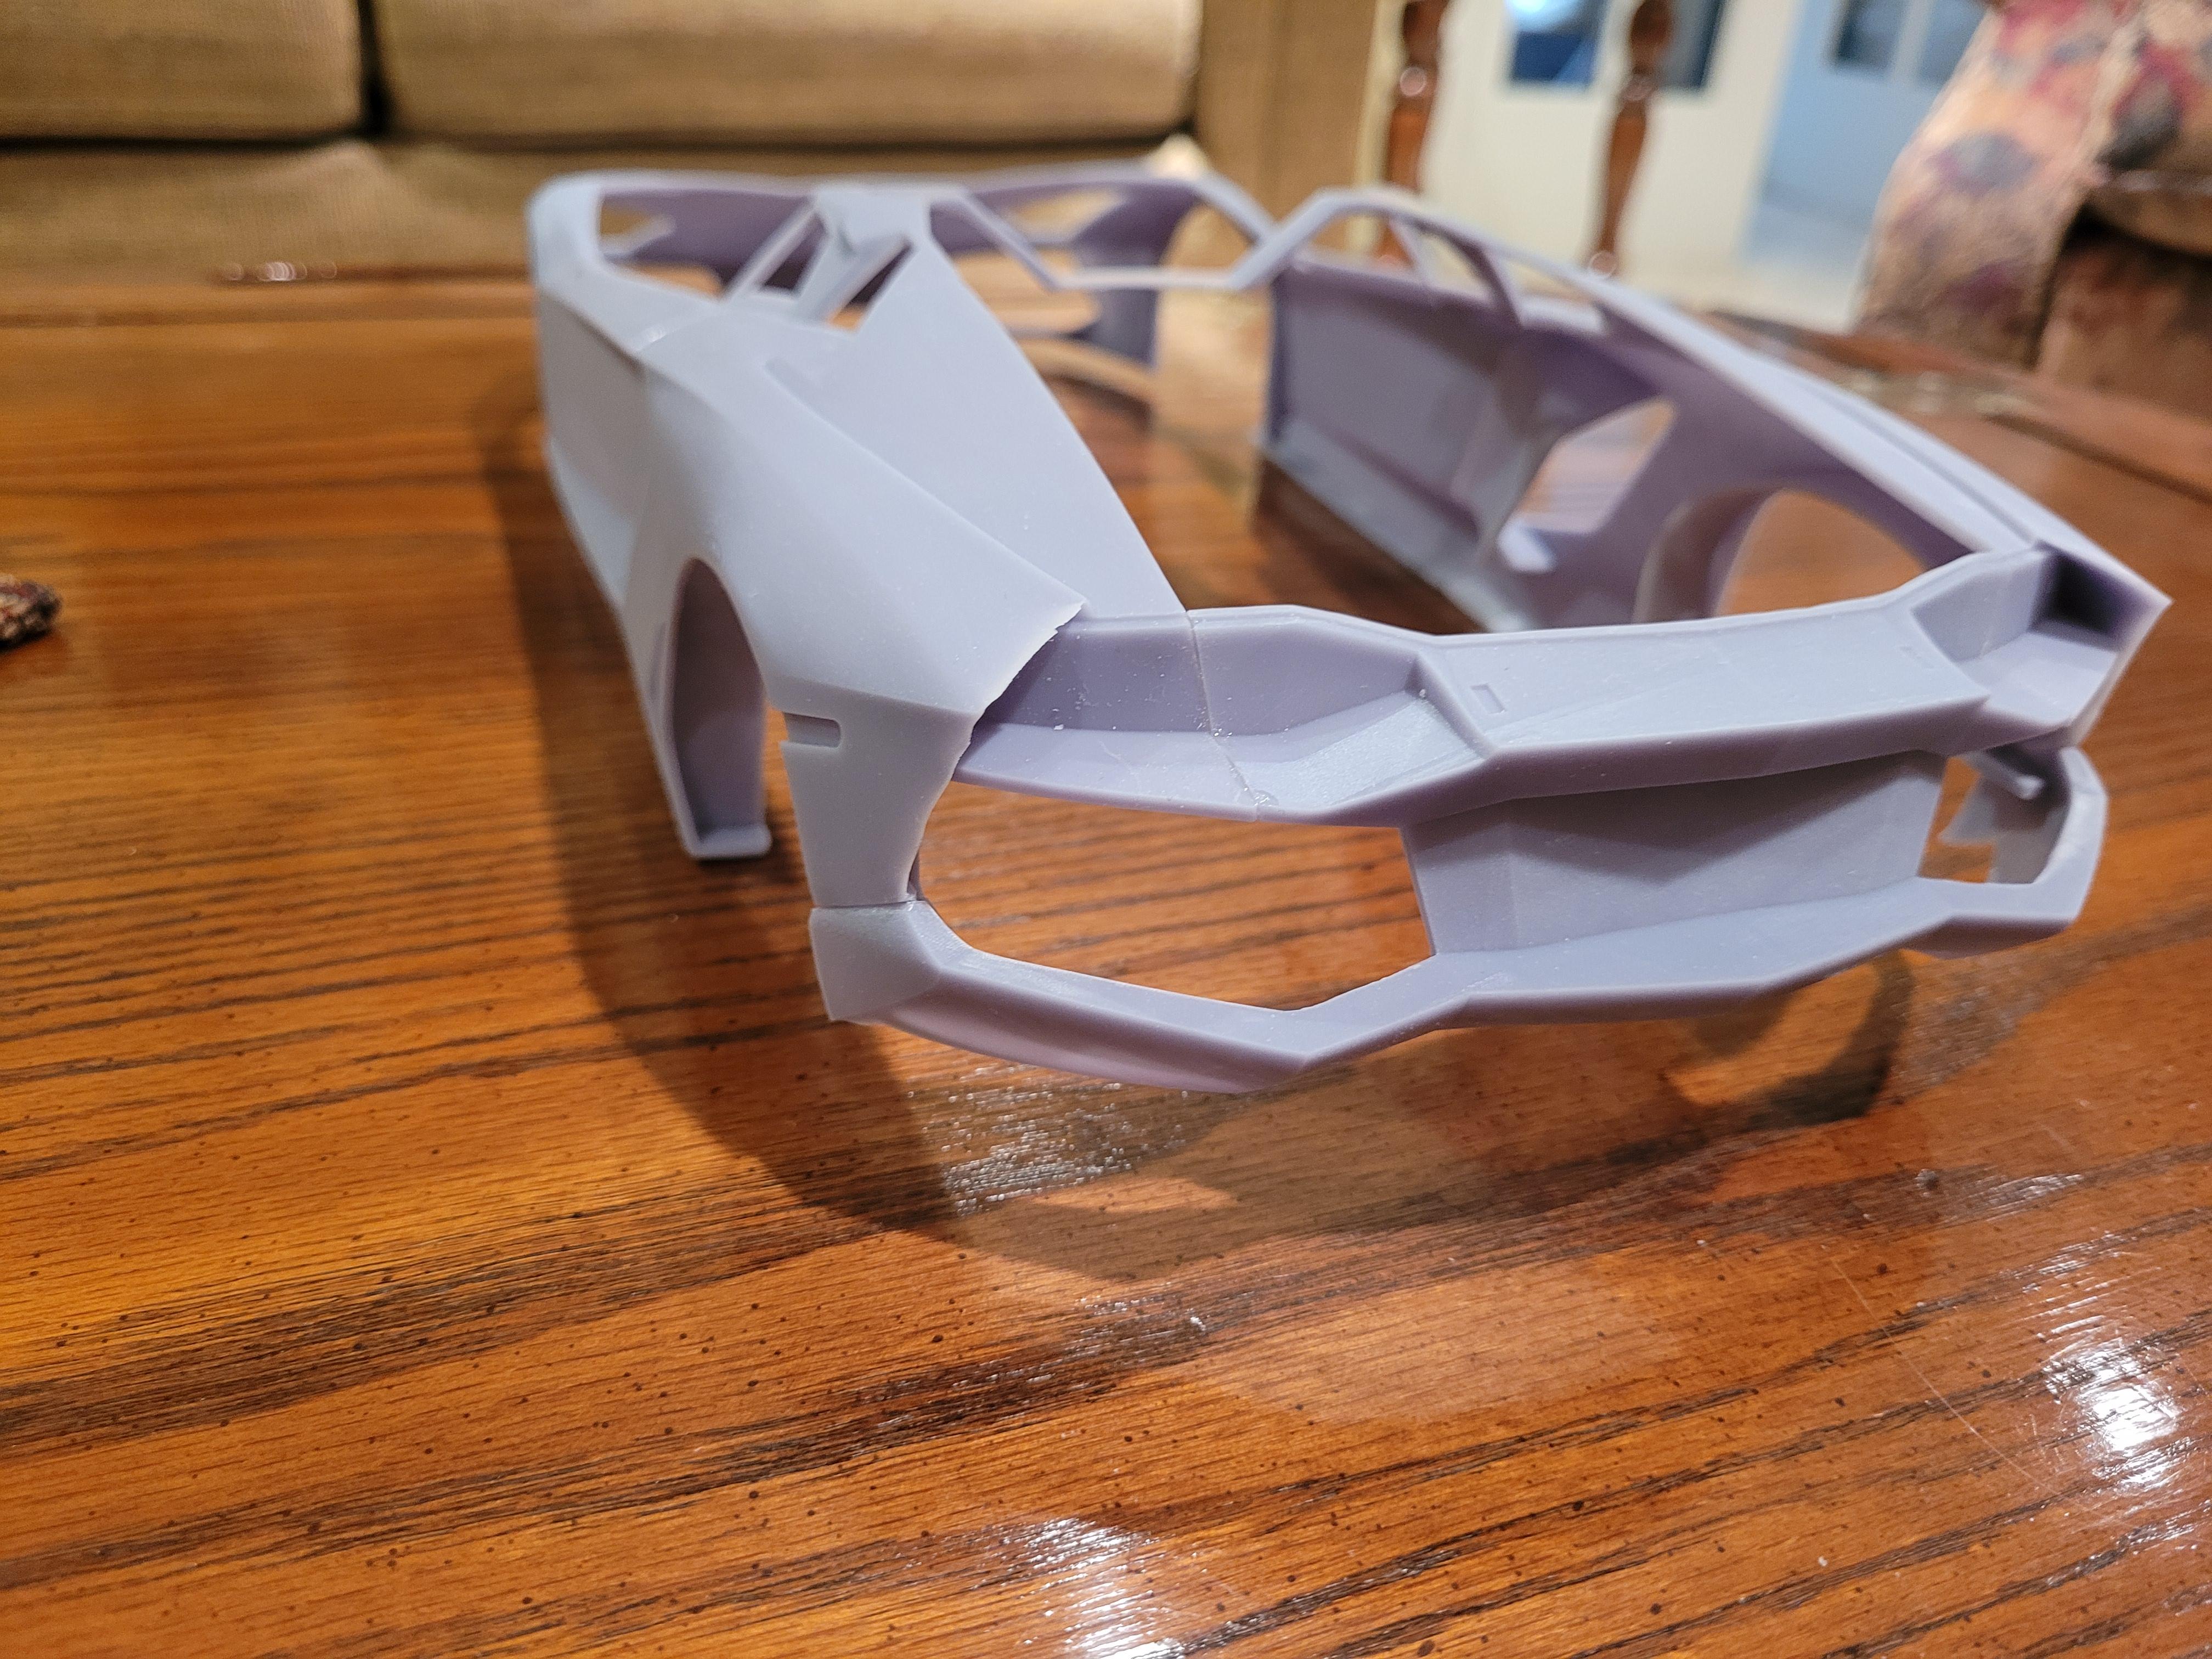
The panels have been glued together. Any gaps or non-flush issues will be dealt with. The same uv resin will be used as filler, but I need to wait for a sunny day so that the sun can cure the resin.
-
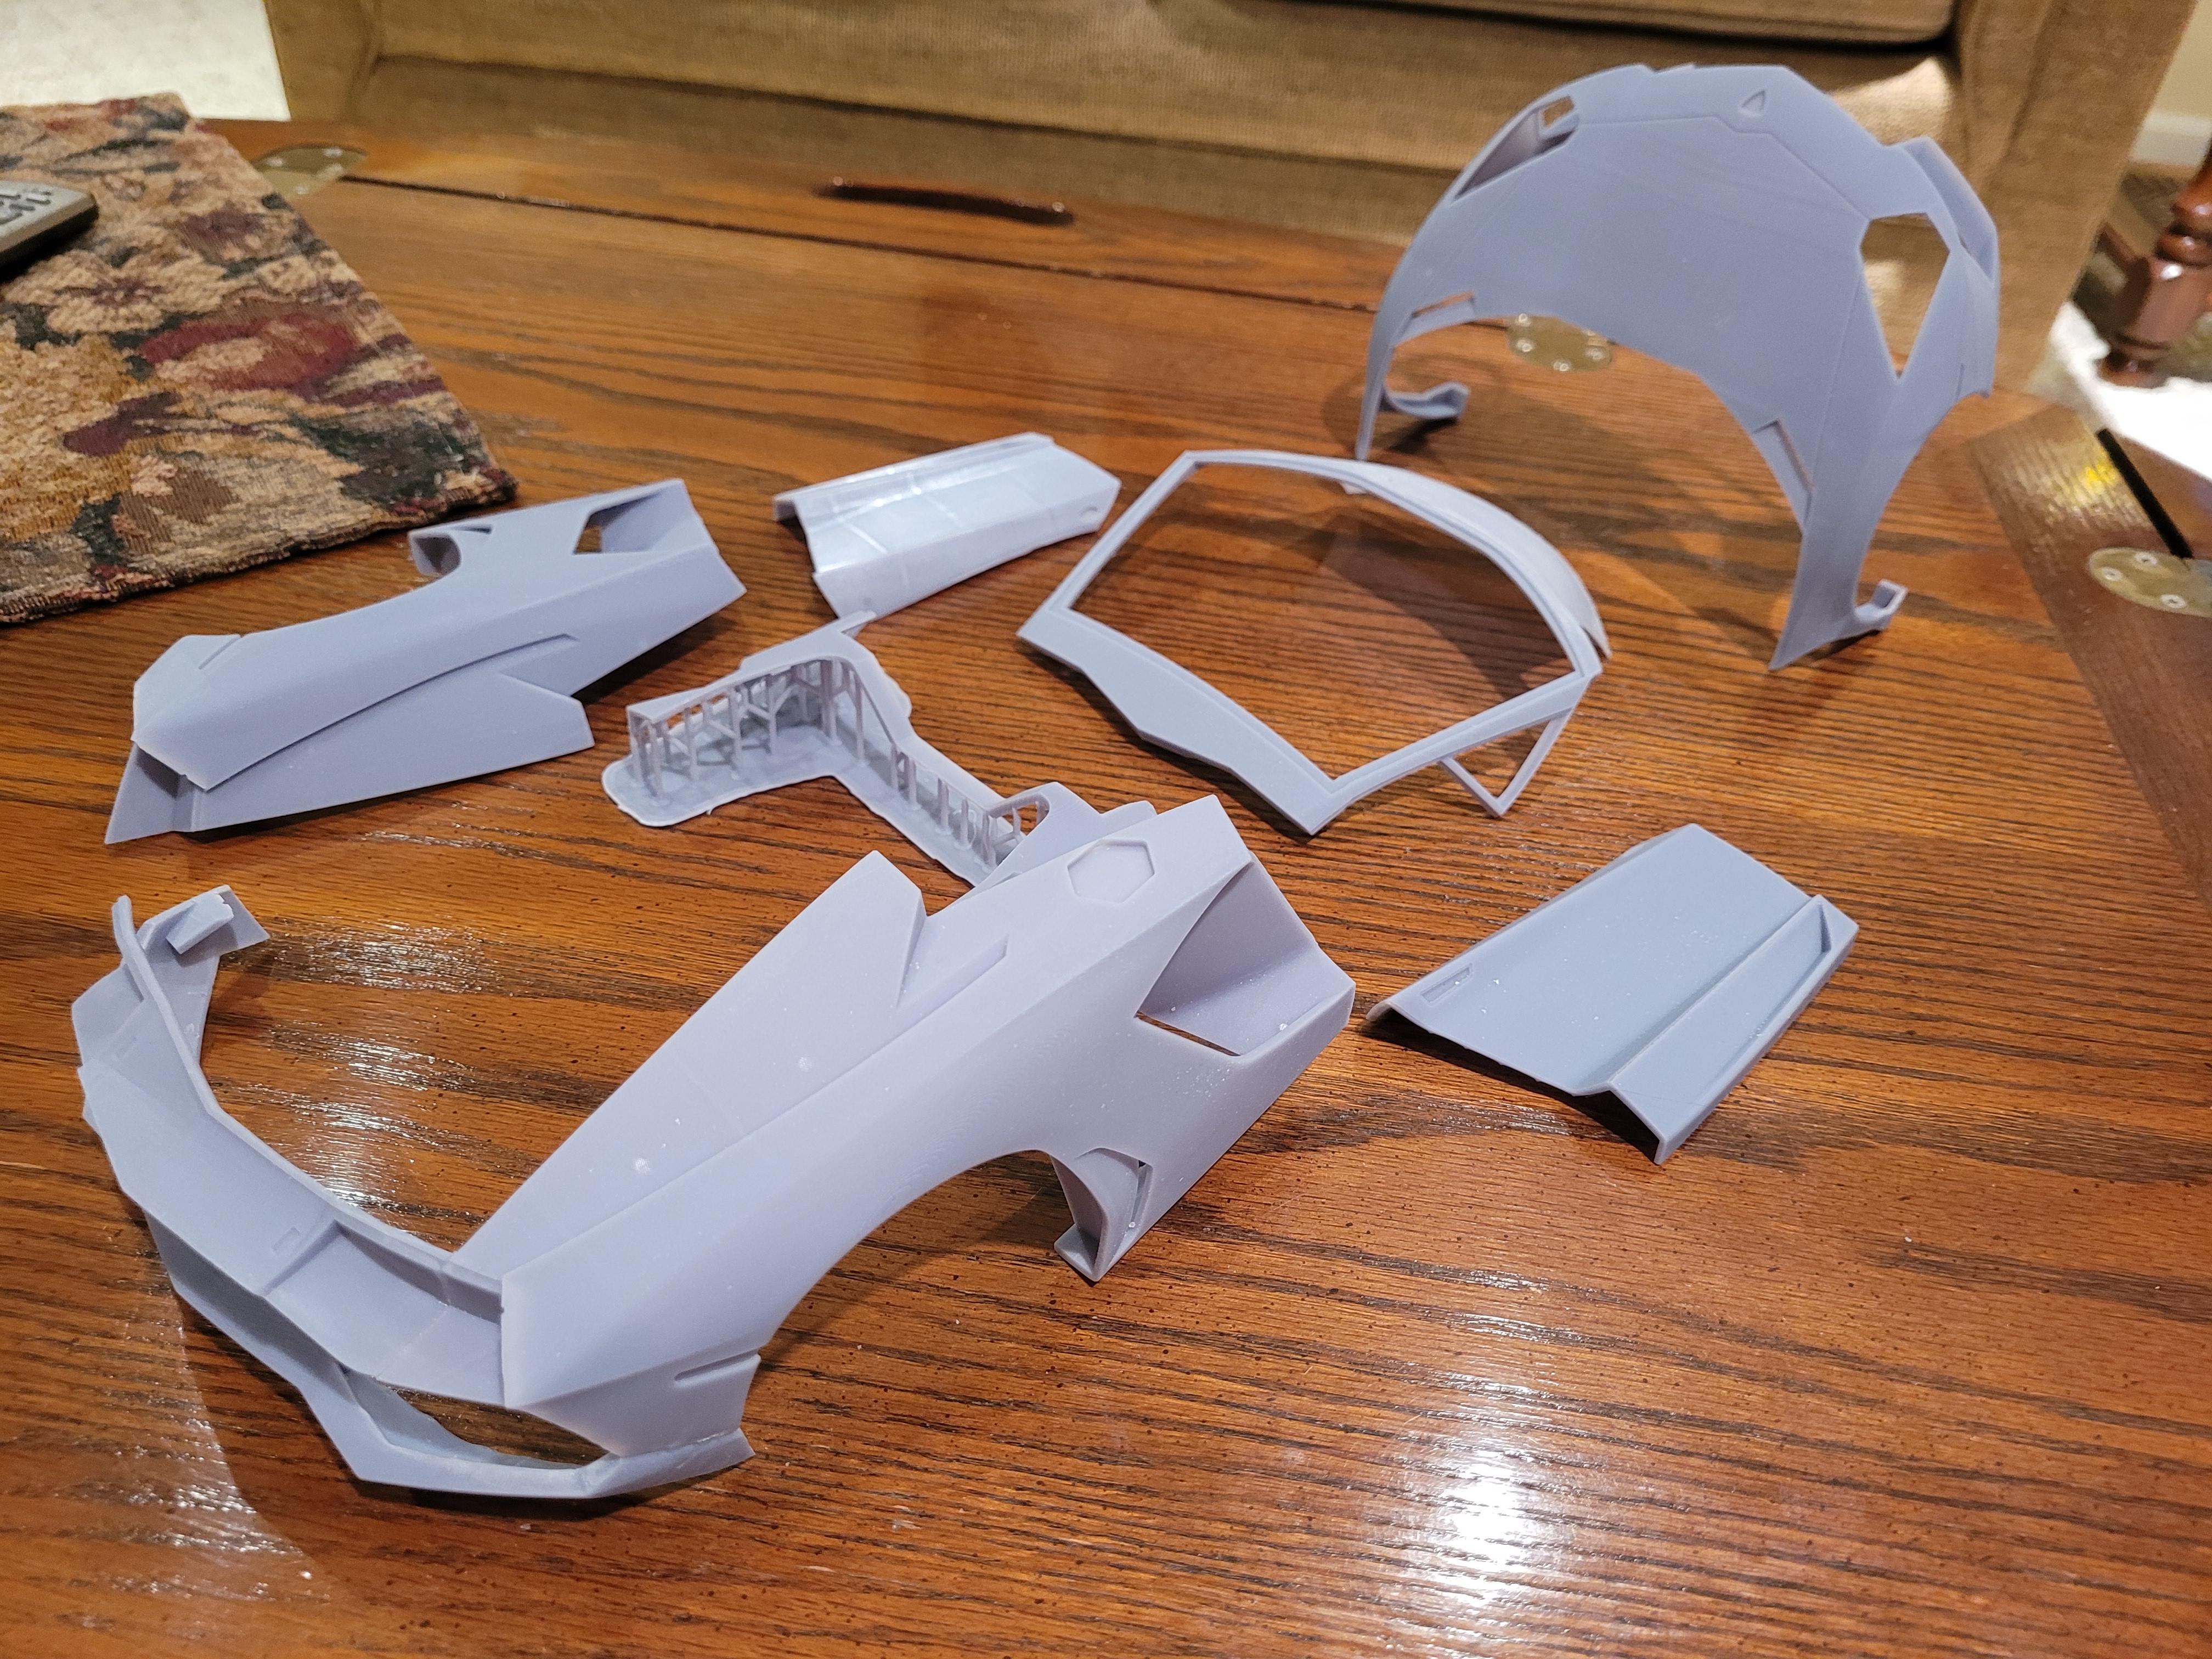
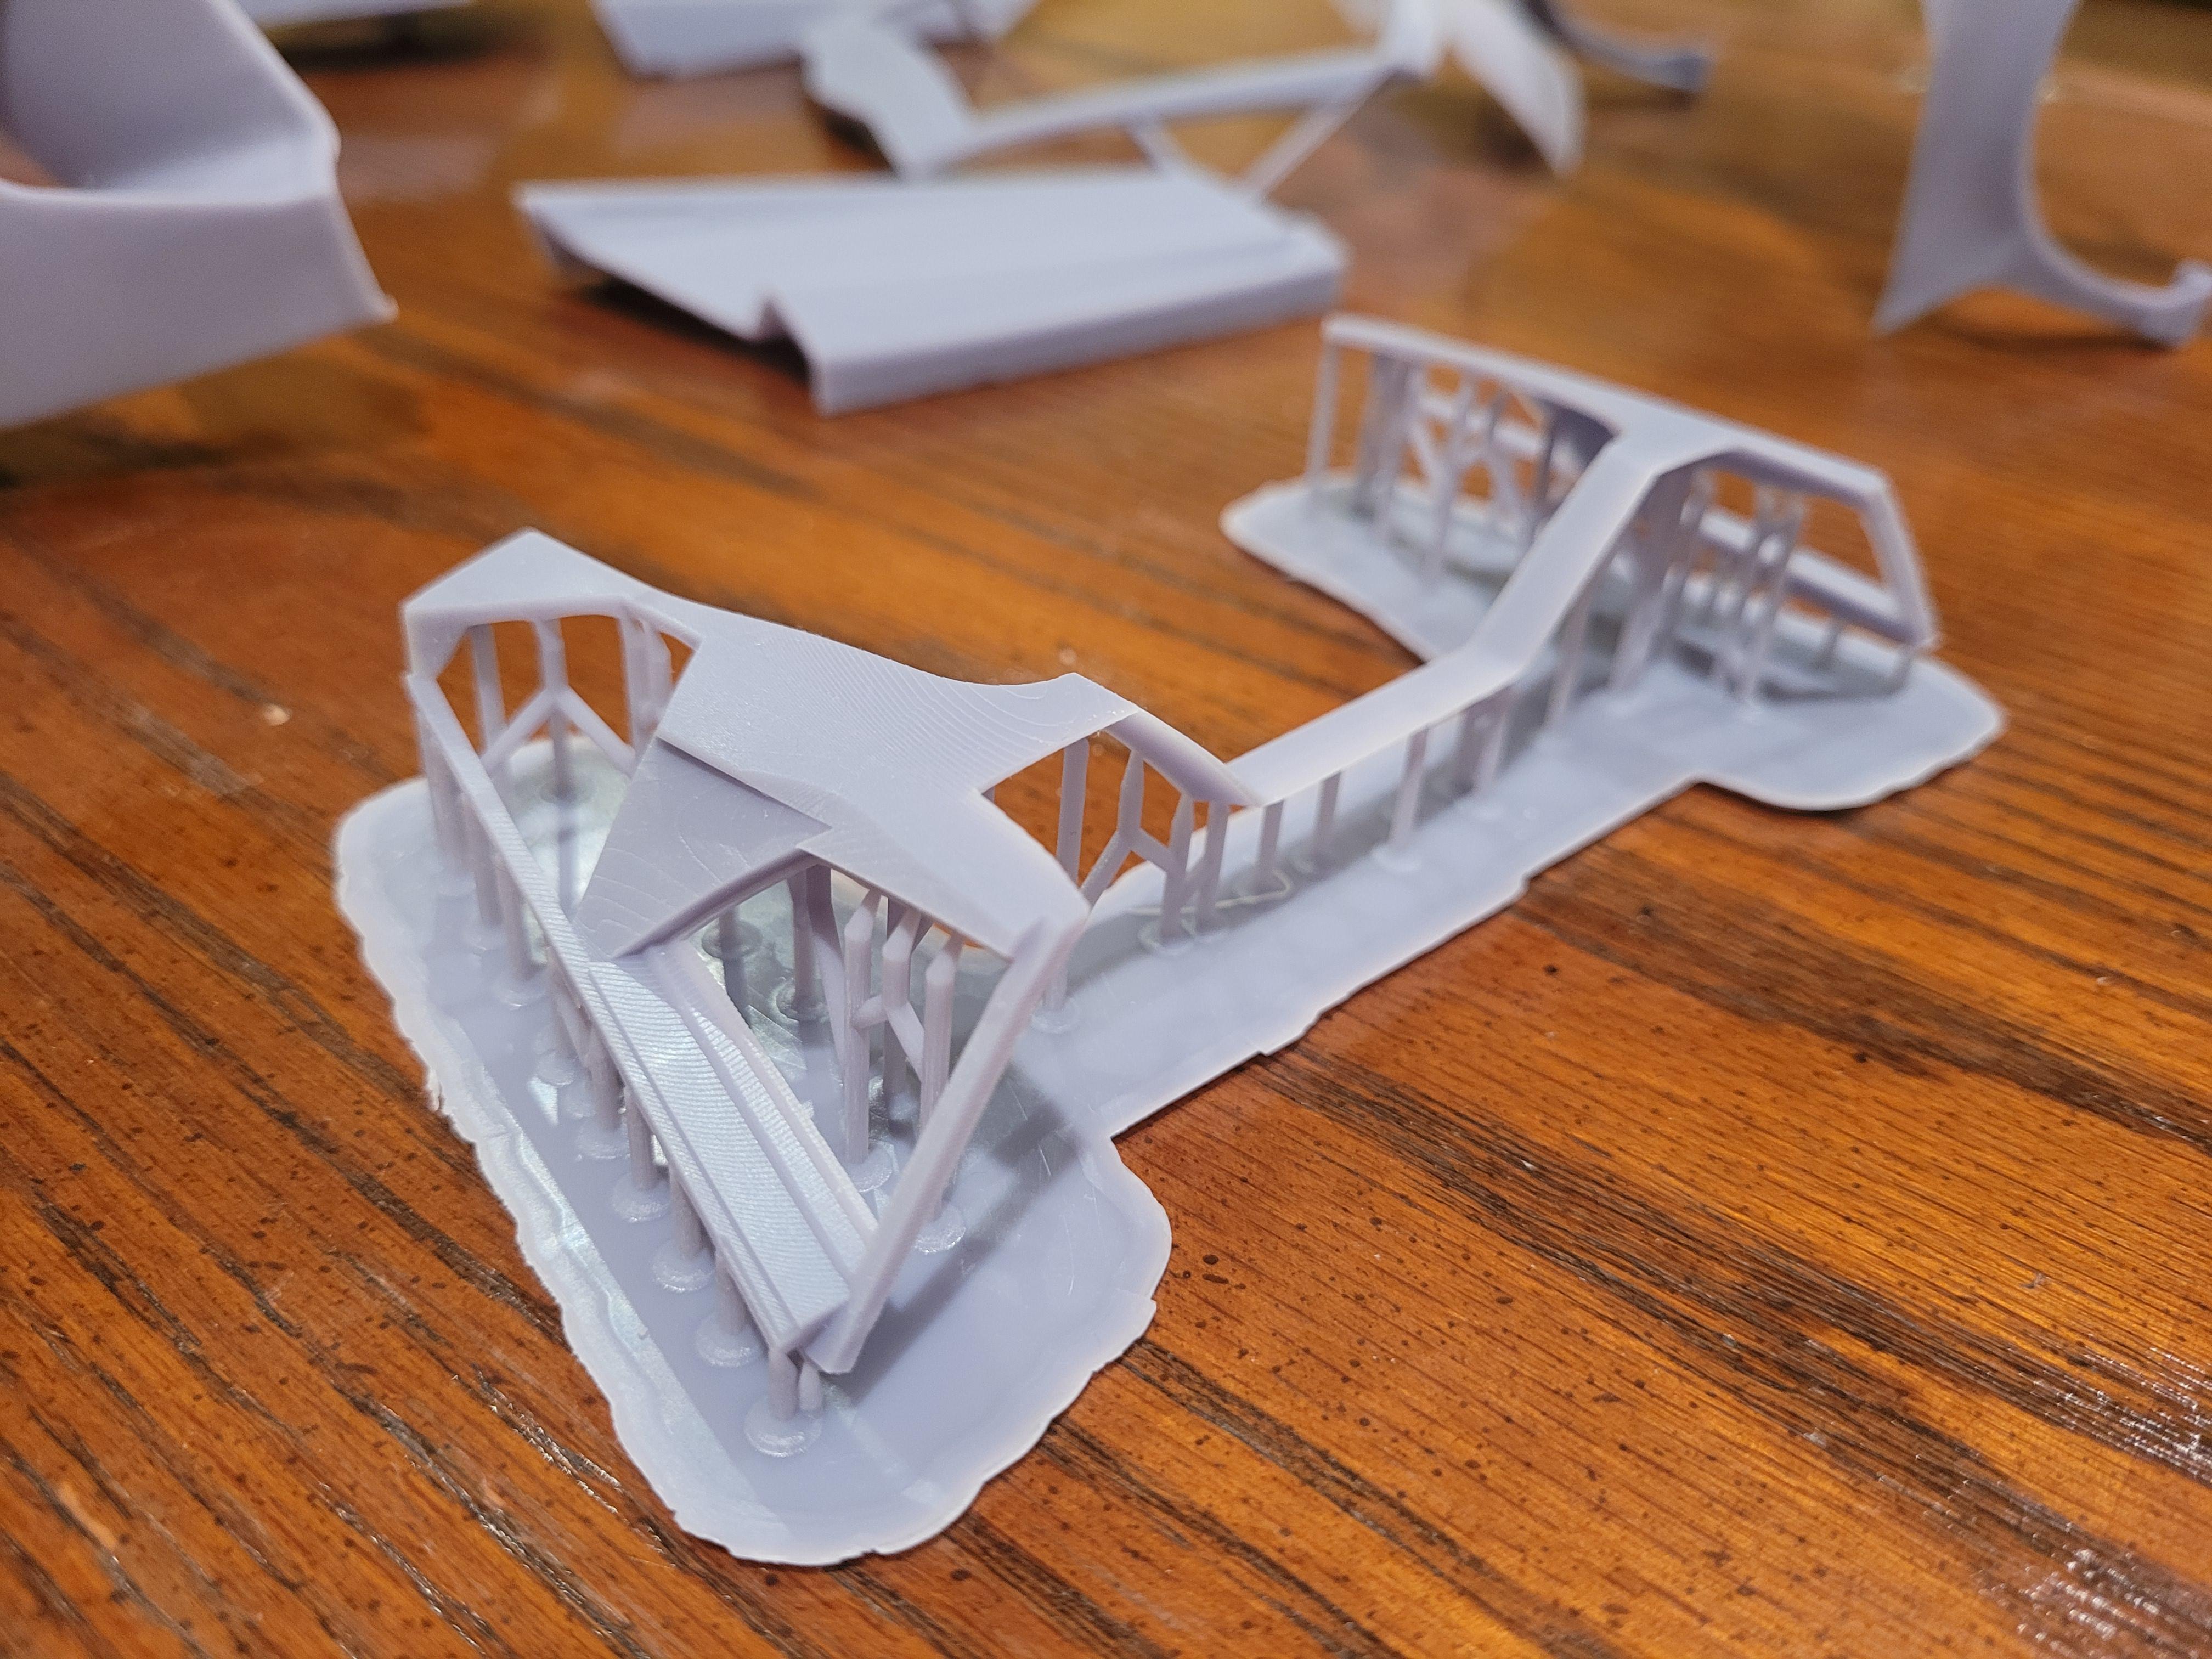
Here is the start of a 3d printed Lamborghini Aventador. I have been designing and building large scale model cars for years. This project will be the most challenging to date. Here are the body panels, ready to bond together. I left the support structures on the upper roof crossmember to show what printed parts look like coming off the printer. What you see here took roughly 20 hours to print.
-
Magnifier 1/12 Ford GT 40 Done !
kenlwest replied to cobraman's topic in Other Racing: Road Racing, Salt Flat Racers
Your awesome building skills and determination makes up for the fitment issues with the kit. It turned out great! -
Magnifier 1/12 Ford GT 40
kenlwest replied to cobraman's topic in WIP: Other Racing: Road Racing, Land Speed Racers
I was wondering if these grommets have through holes in the centers? You probably tried this already.. but I would use a wire,nail, pin.. with a diameter appx the hole size of the grommet, as a guide. Place the pin through the grommet, and slide the grommet up the pin. Then place the pin in the seat hole. Then use tweezers to slide the grommet on to the seat. If the seats have already been installed, you might still be able to do this. -
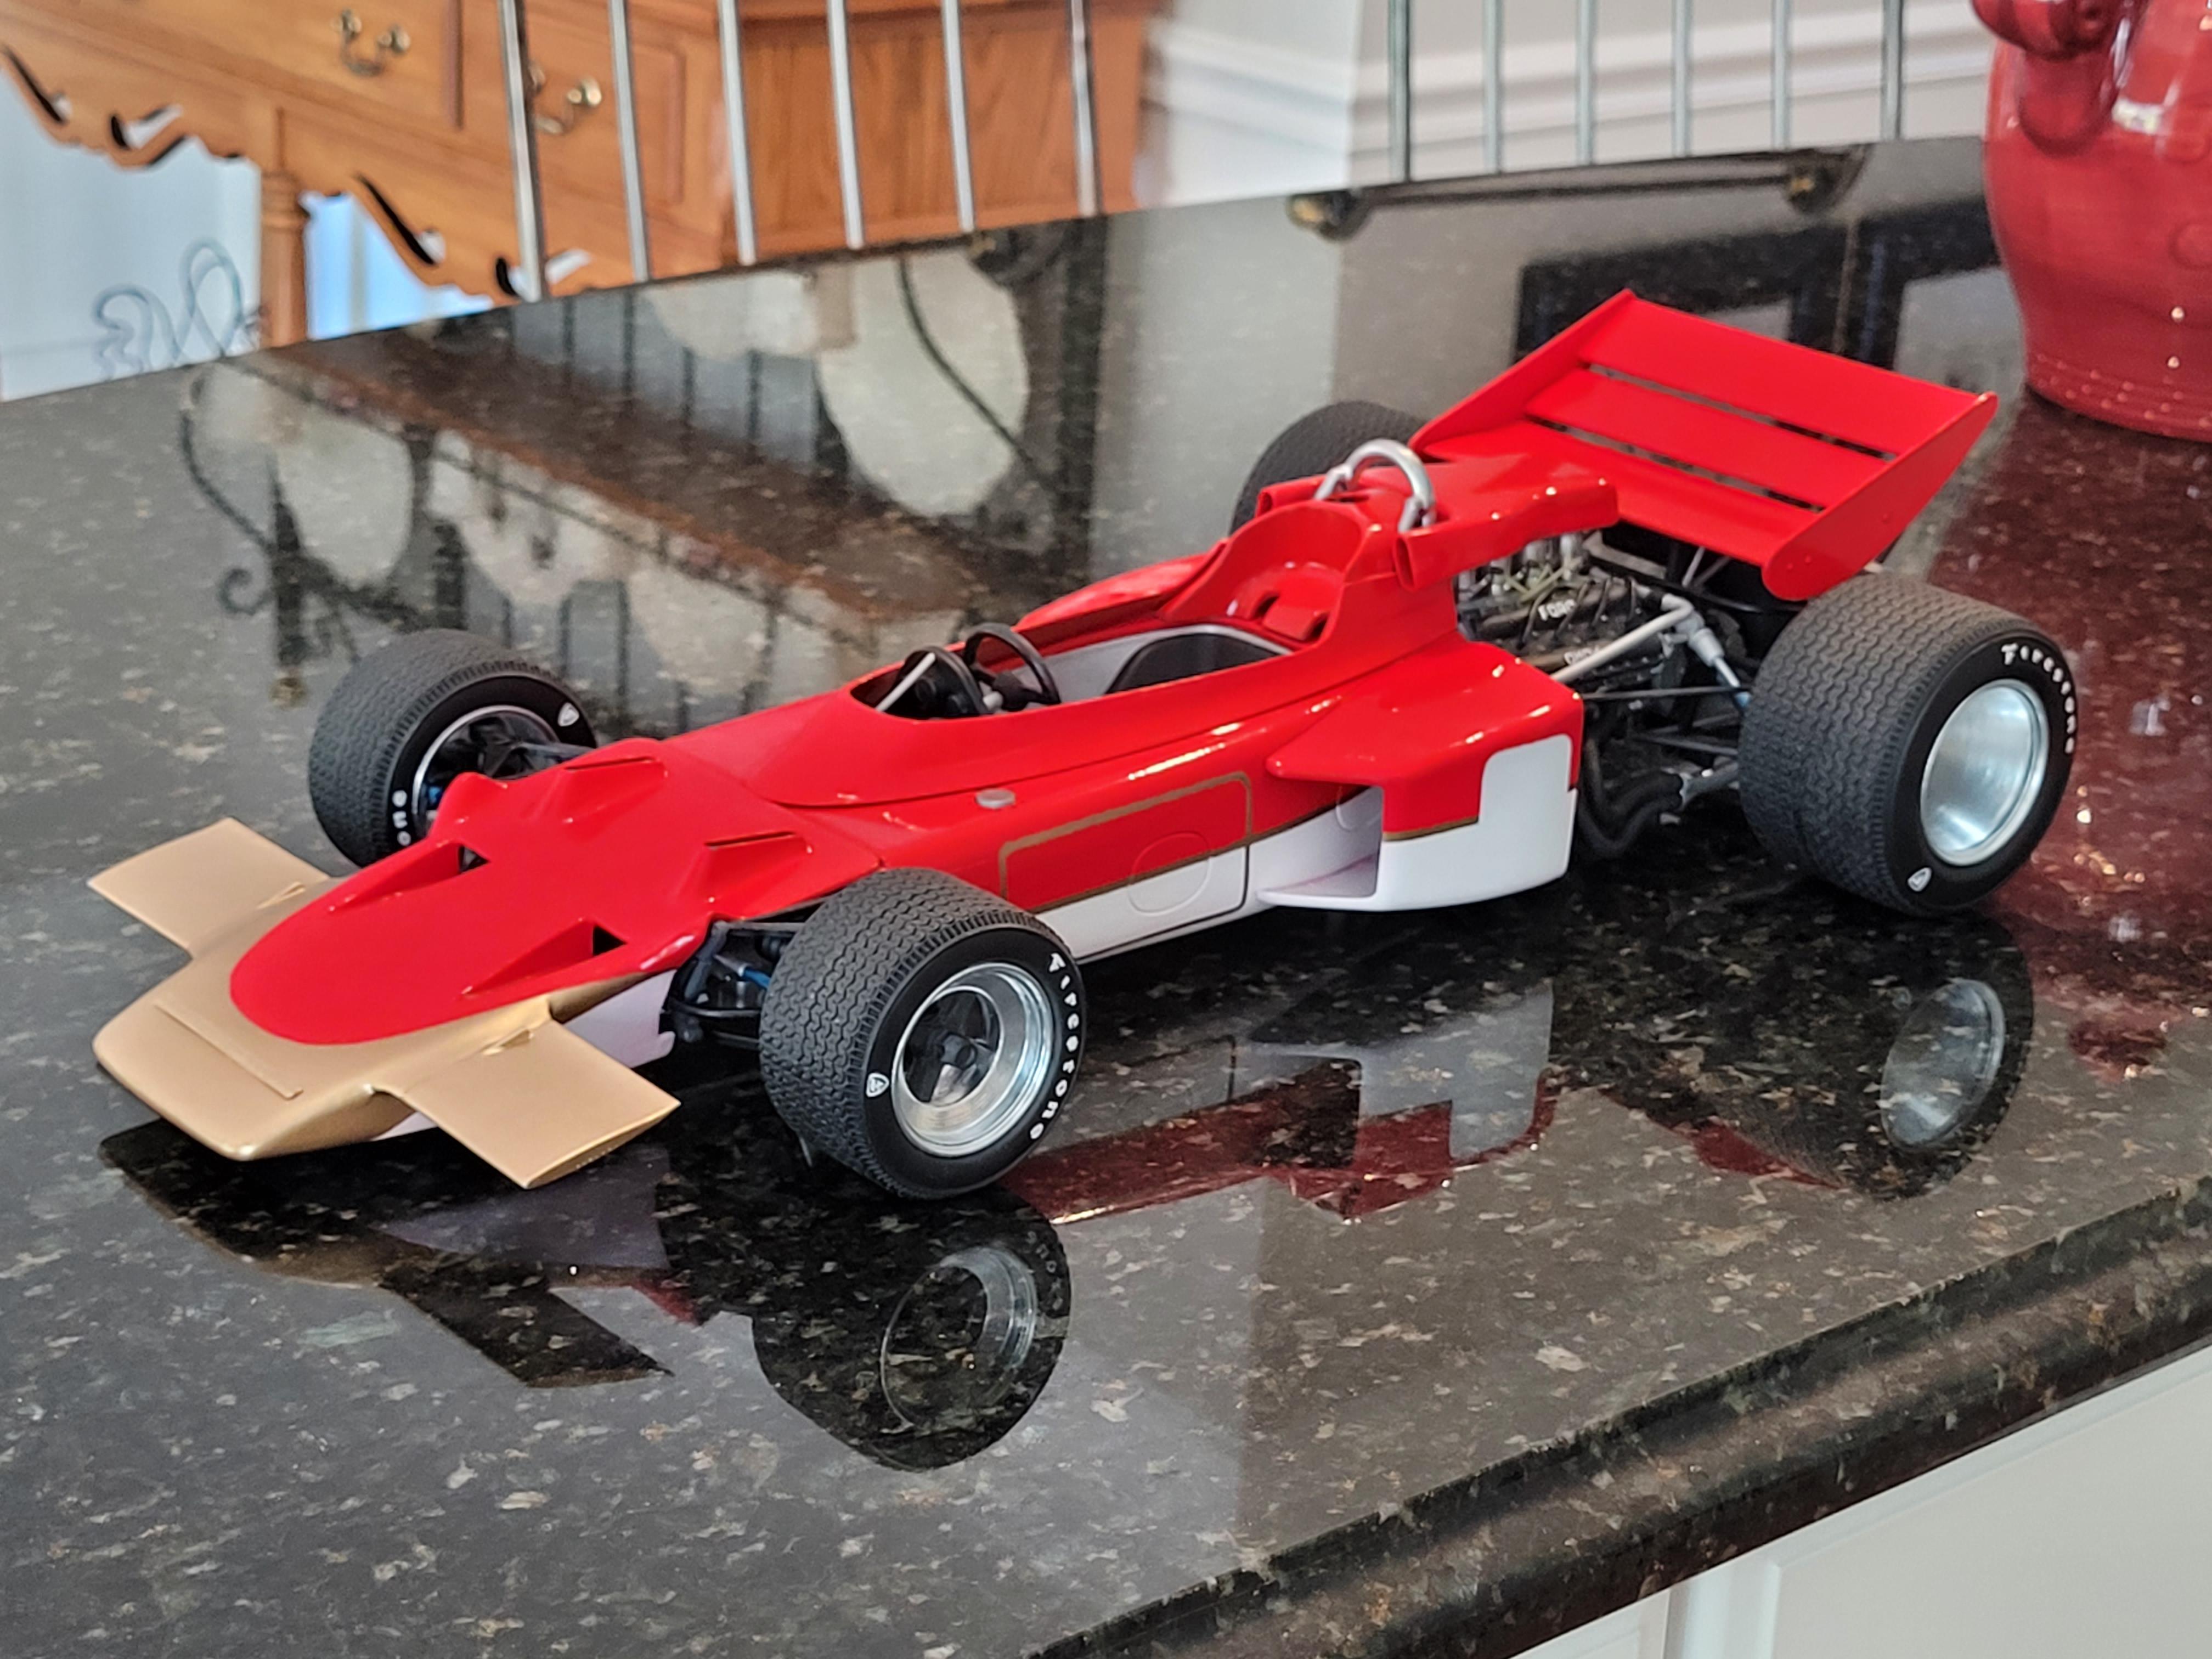
1/8 Scale Lotus 72c -3d Printed
kenlwest replied to kenlwest's topic in WIP: Other Racing: Road Racing, Land Speed Racers
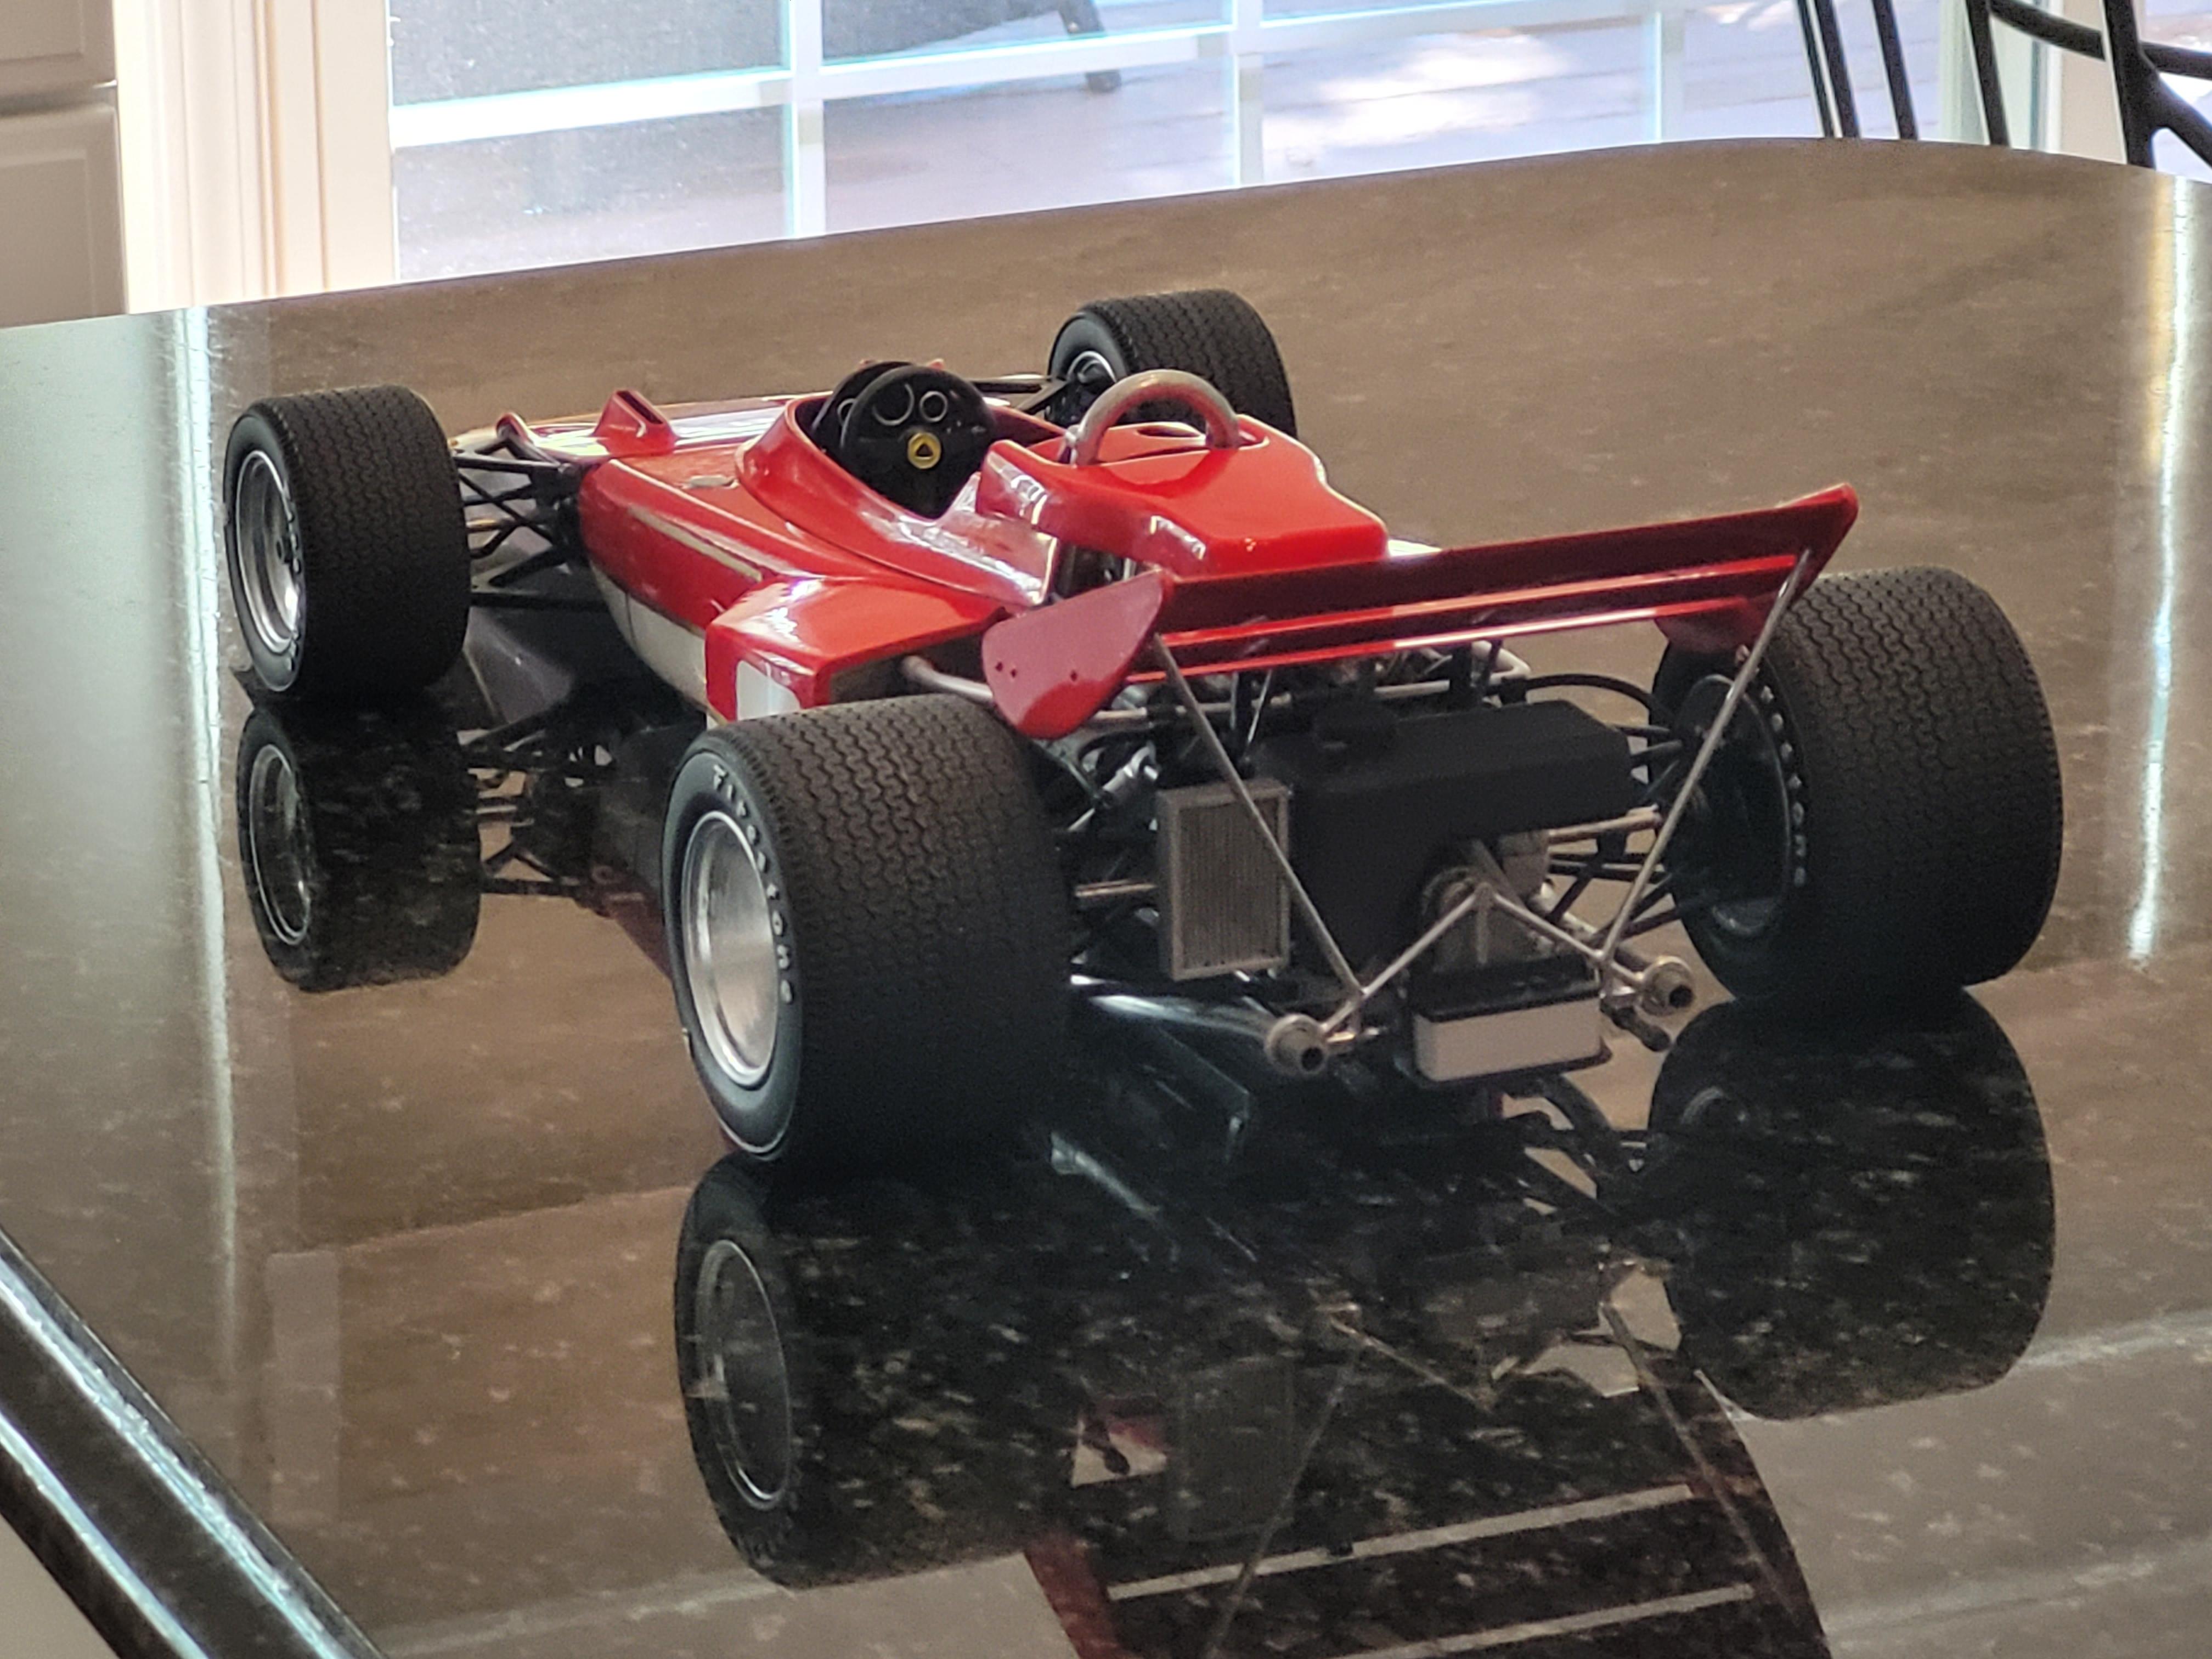
Almost looks like it's sitting on wet pavement!
-
1/8 Scale Lotus 72c -3d Printed
kenlwest replied to kenlwest's topic in WIP: Other Racing: Road Racing, Land Speed Racers
Getting close to completion. Decals and windshield yet to go. I will be building a vac-form machine to make the windshield. It is close to 5 inches long.
-
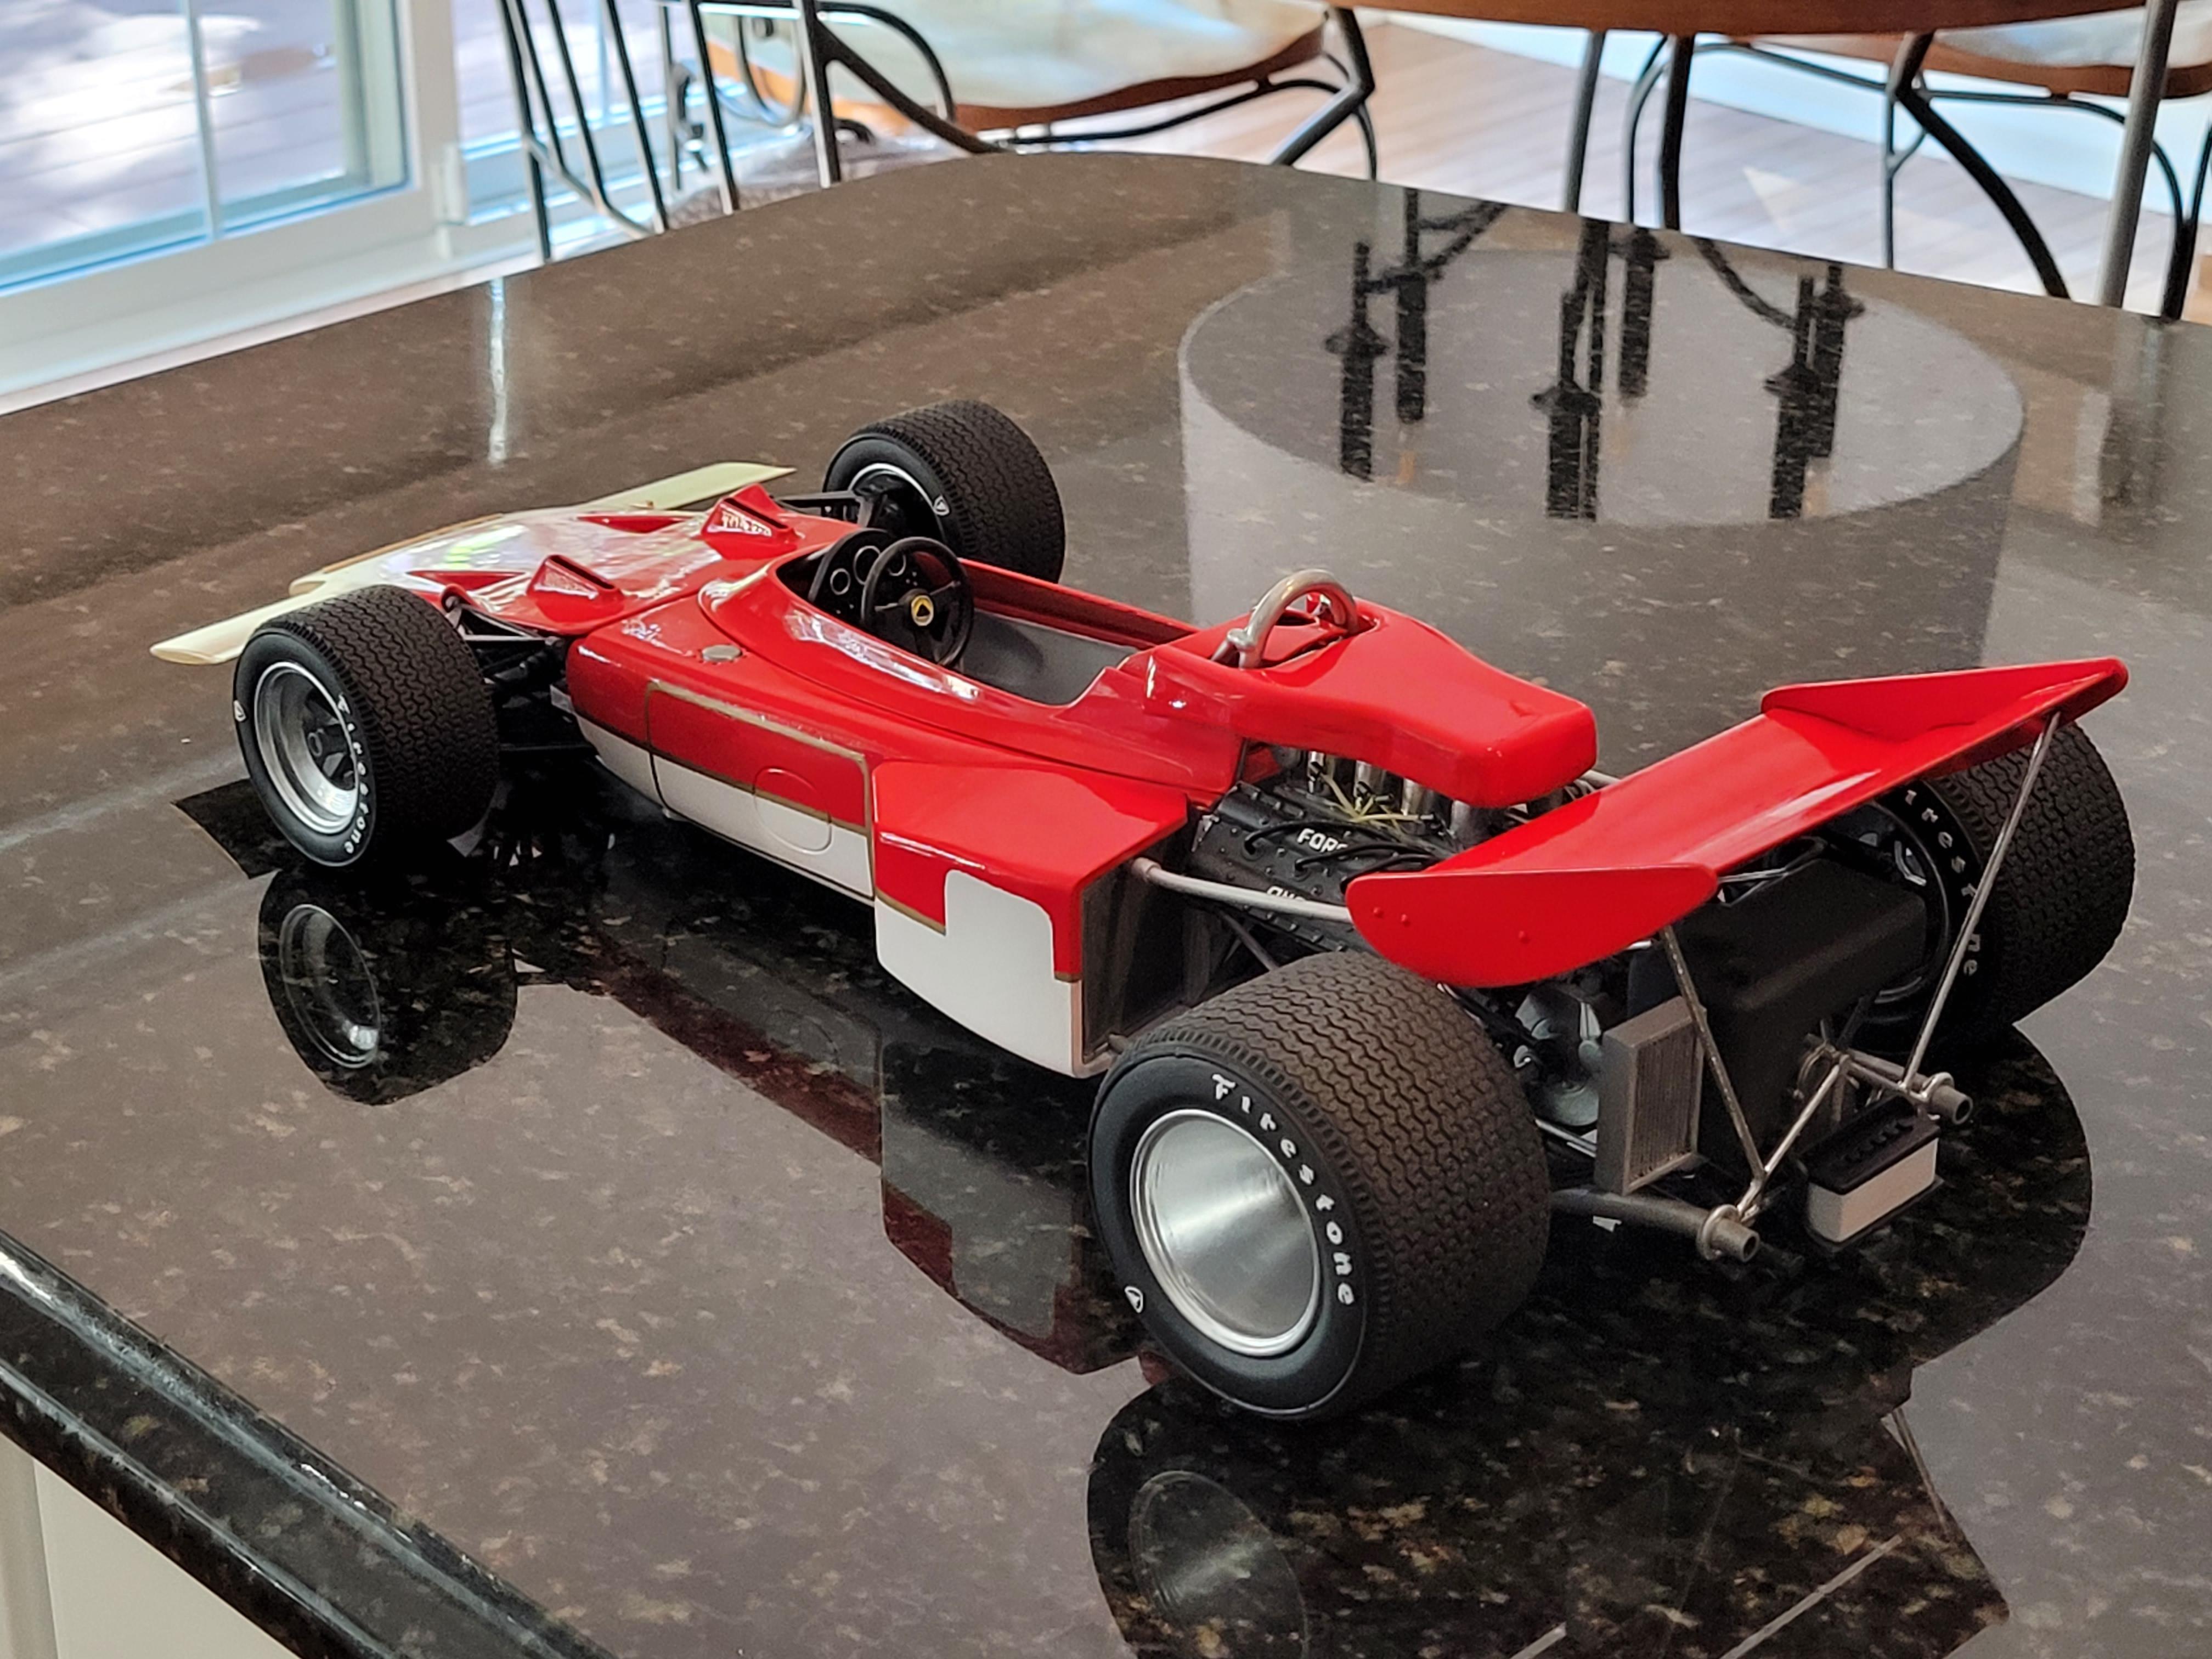
1/8 Scale Lotus 72c -3d Printed
kenlwest replied to kenlwest's topic in WIP: Other Racing: Road Racing, Land Speed Racers
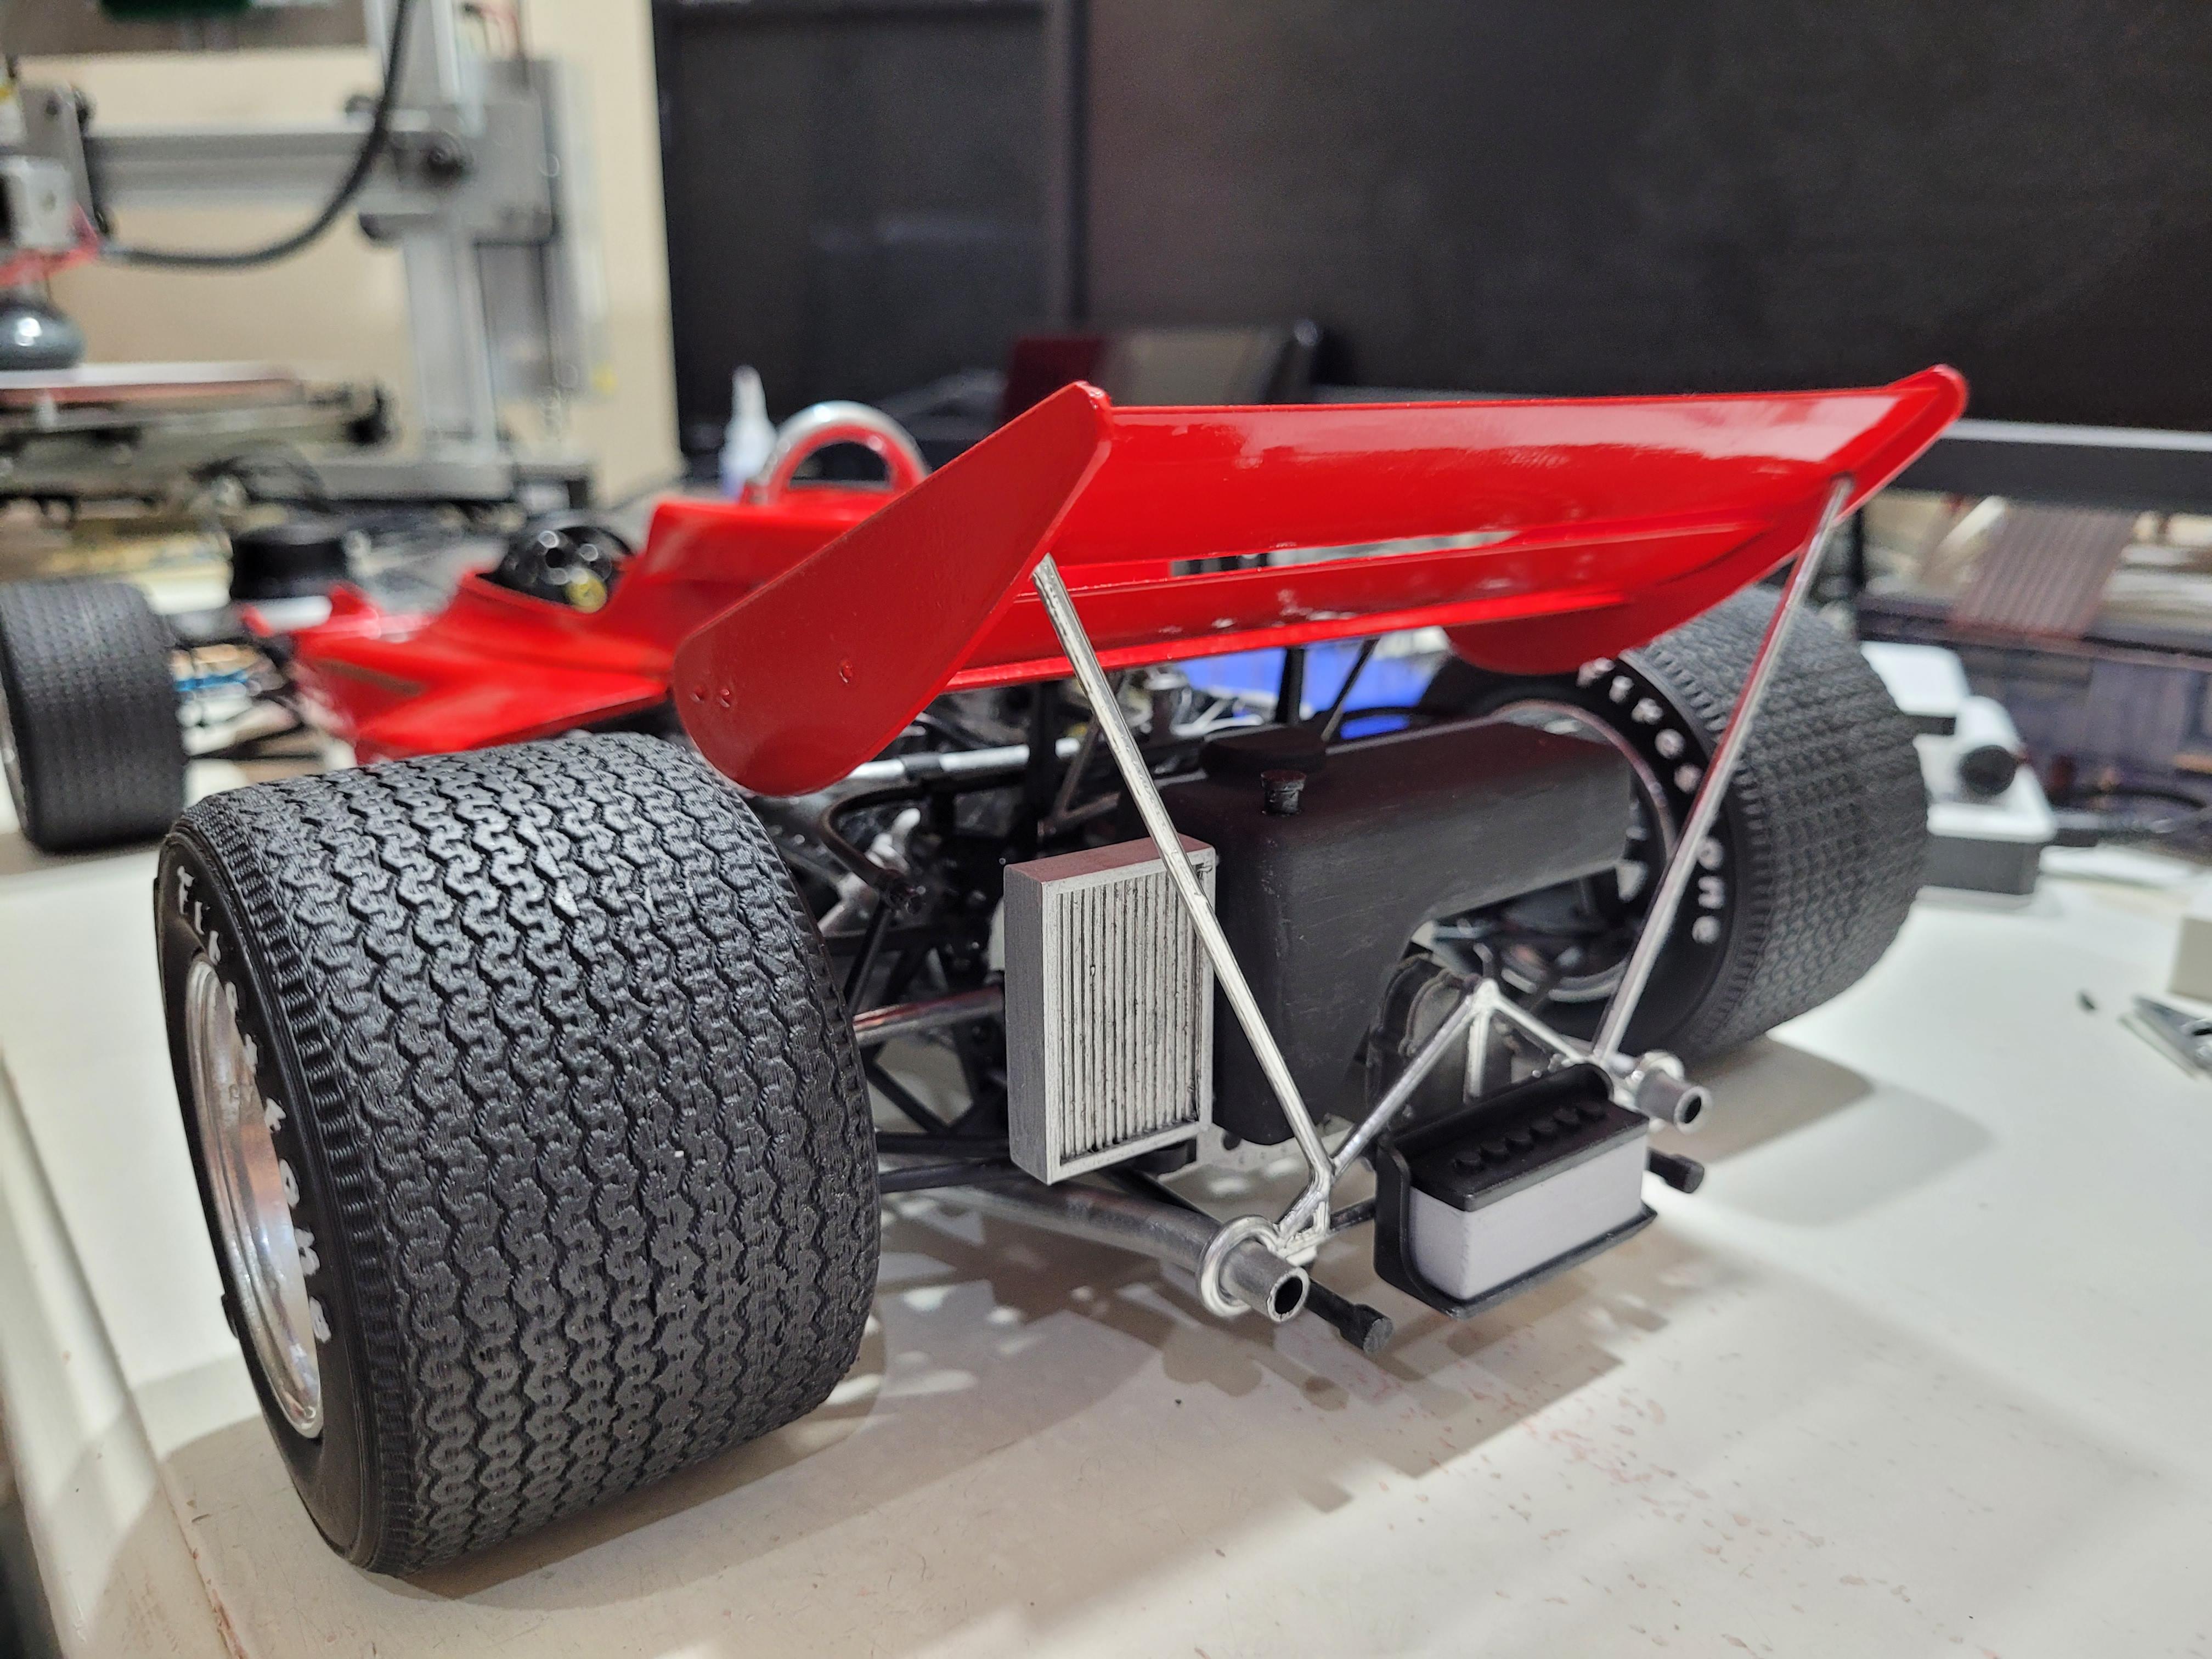
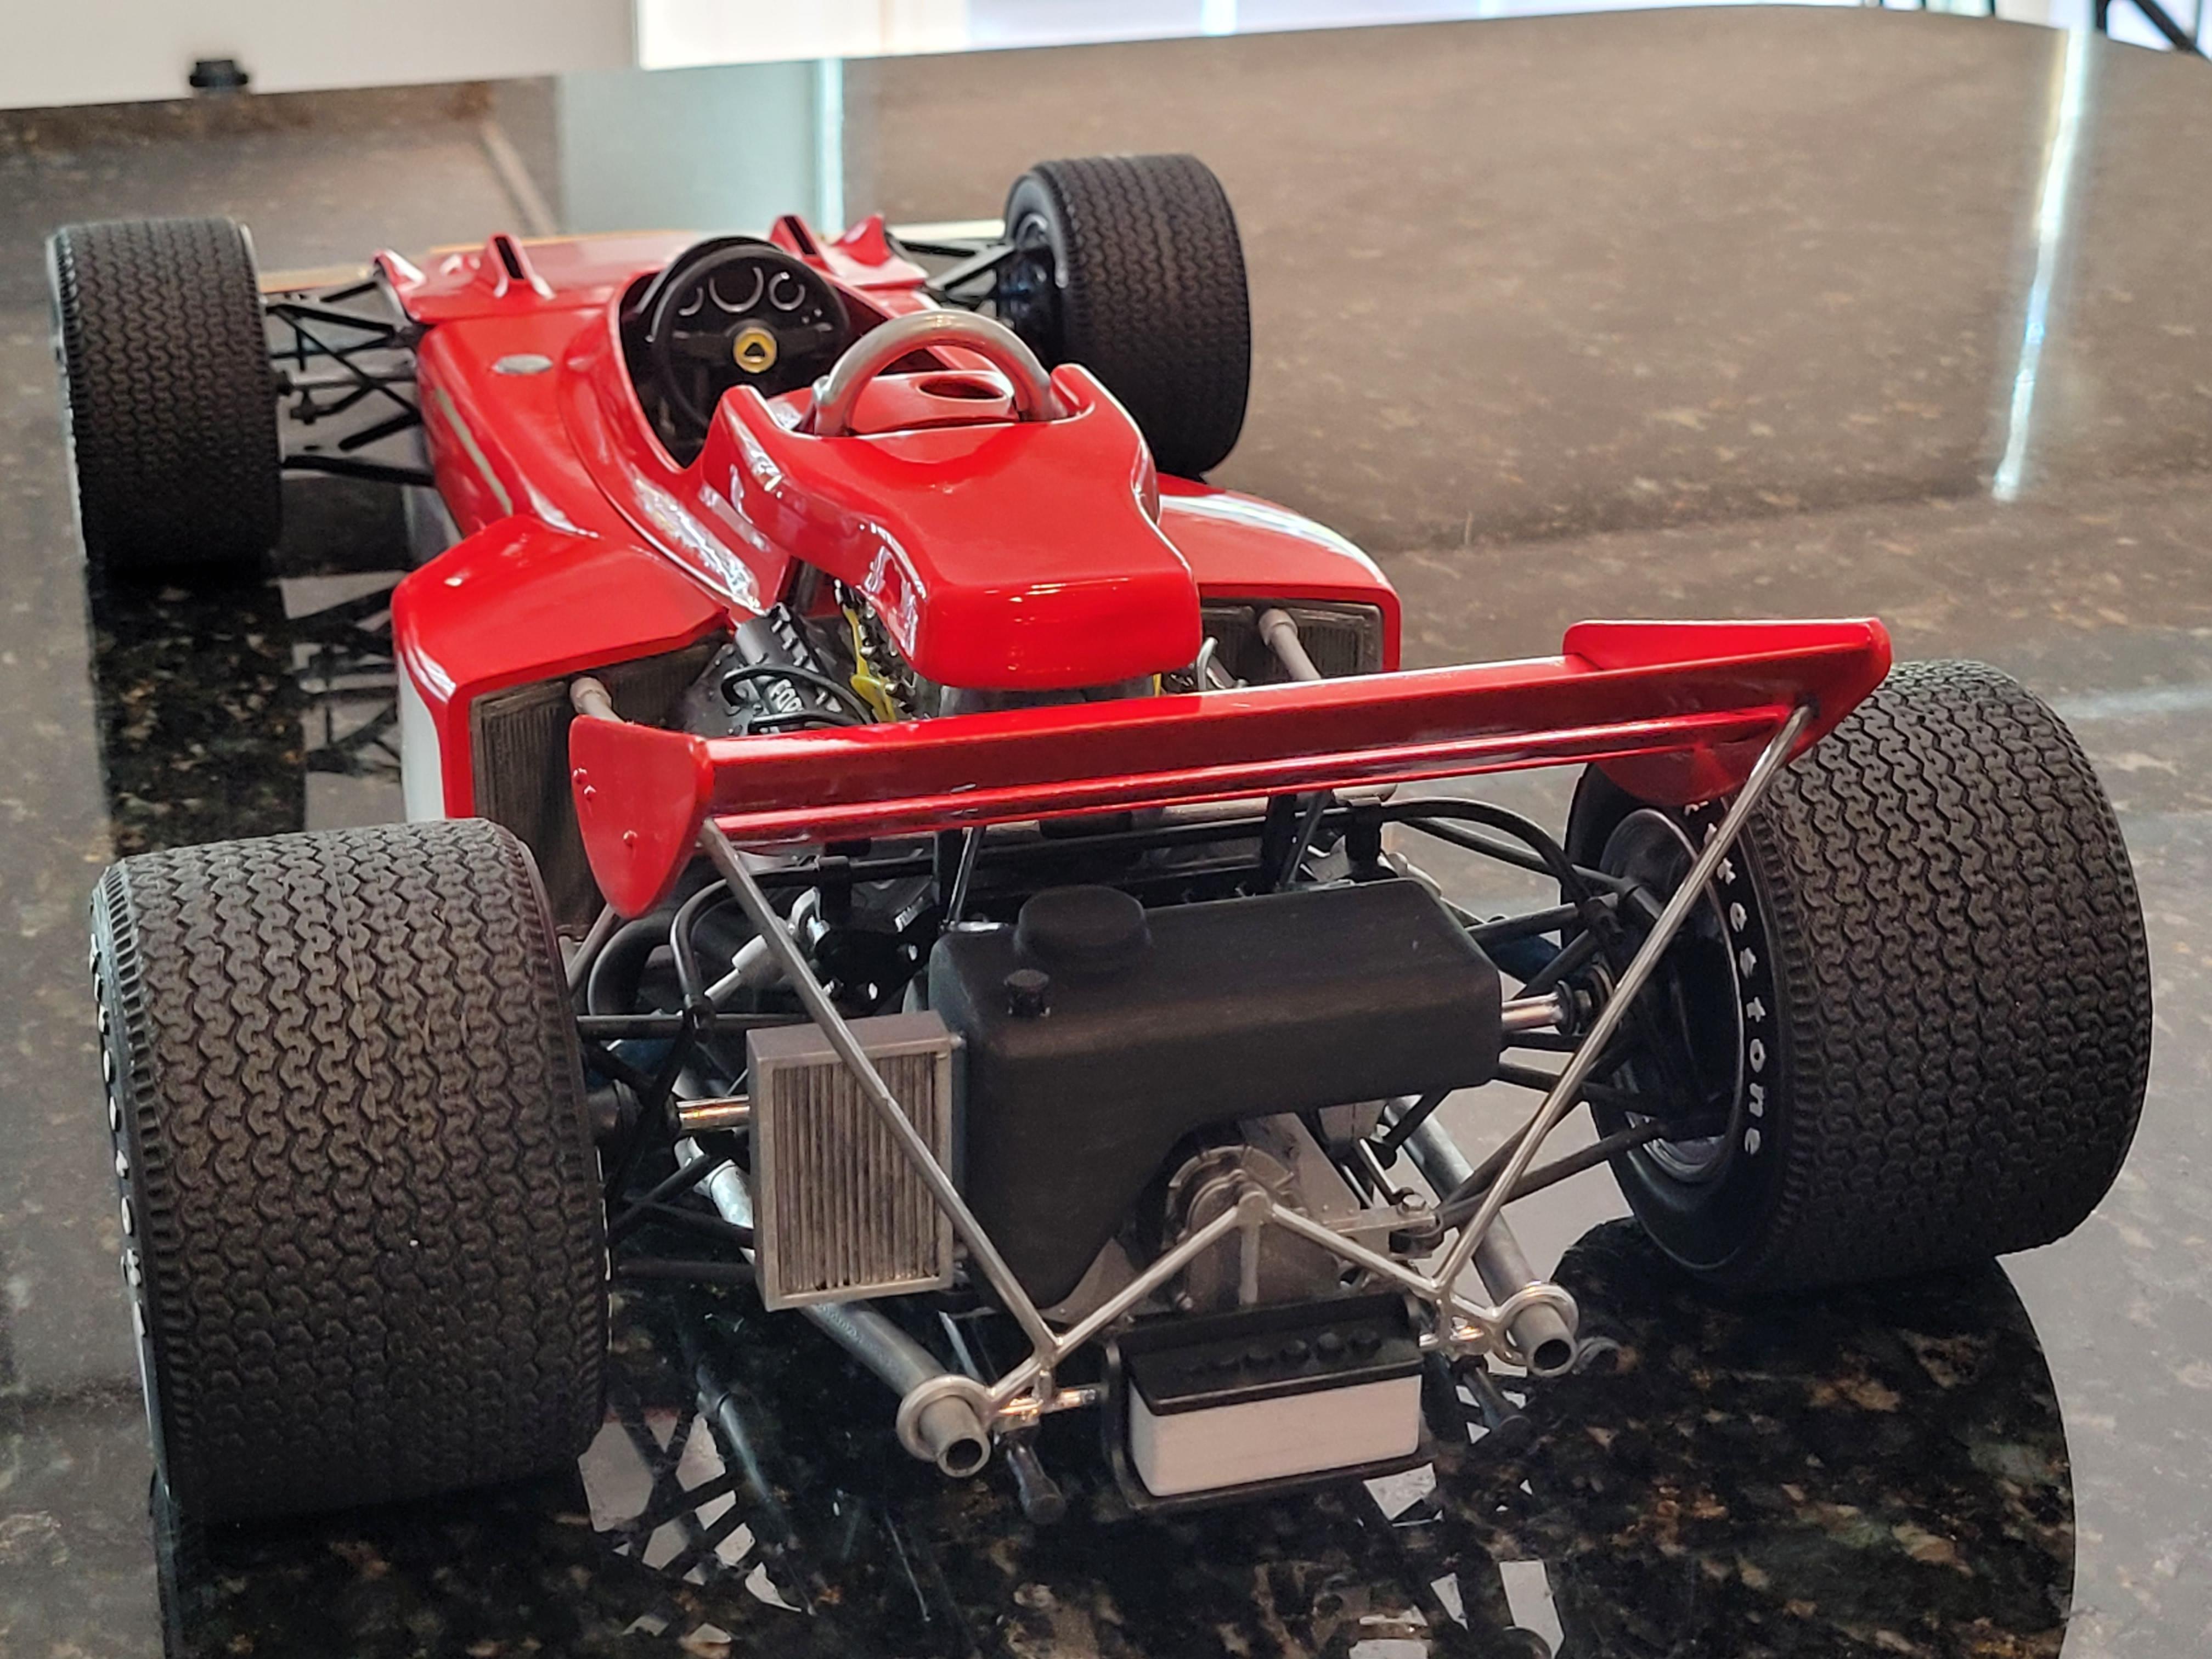
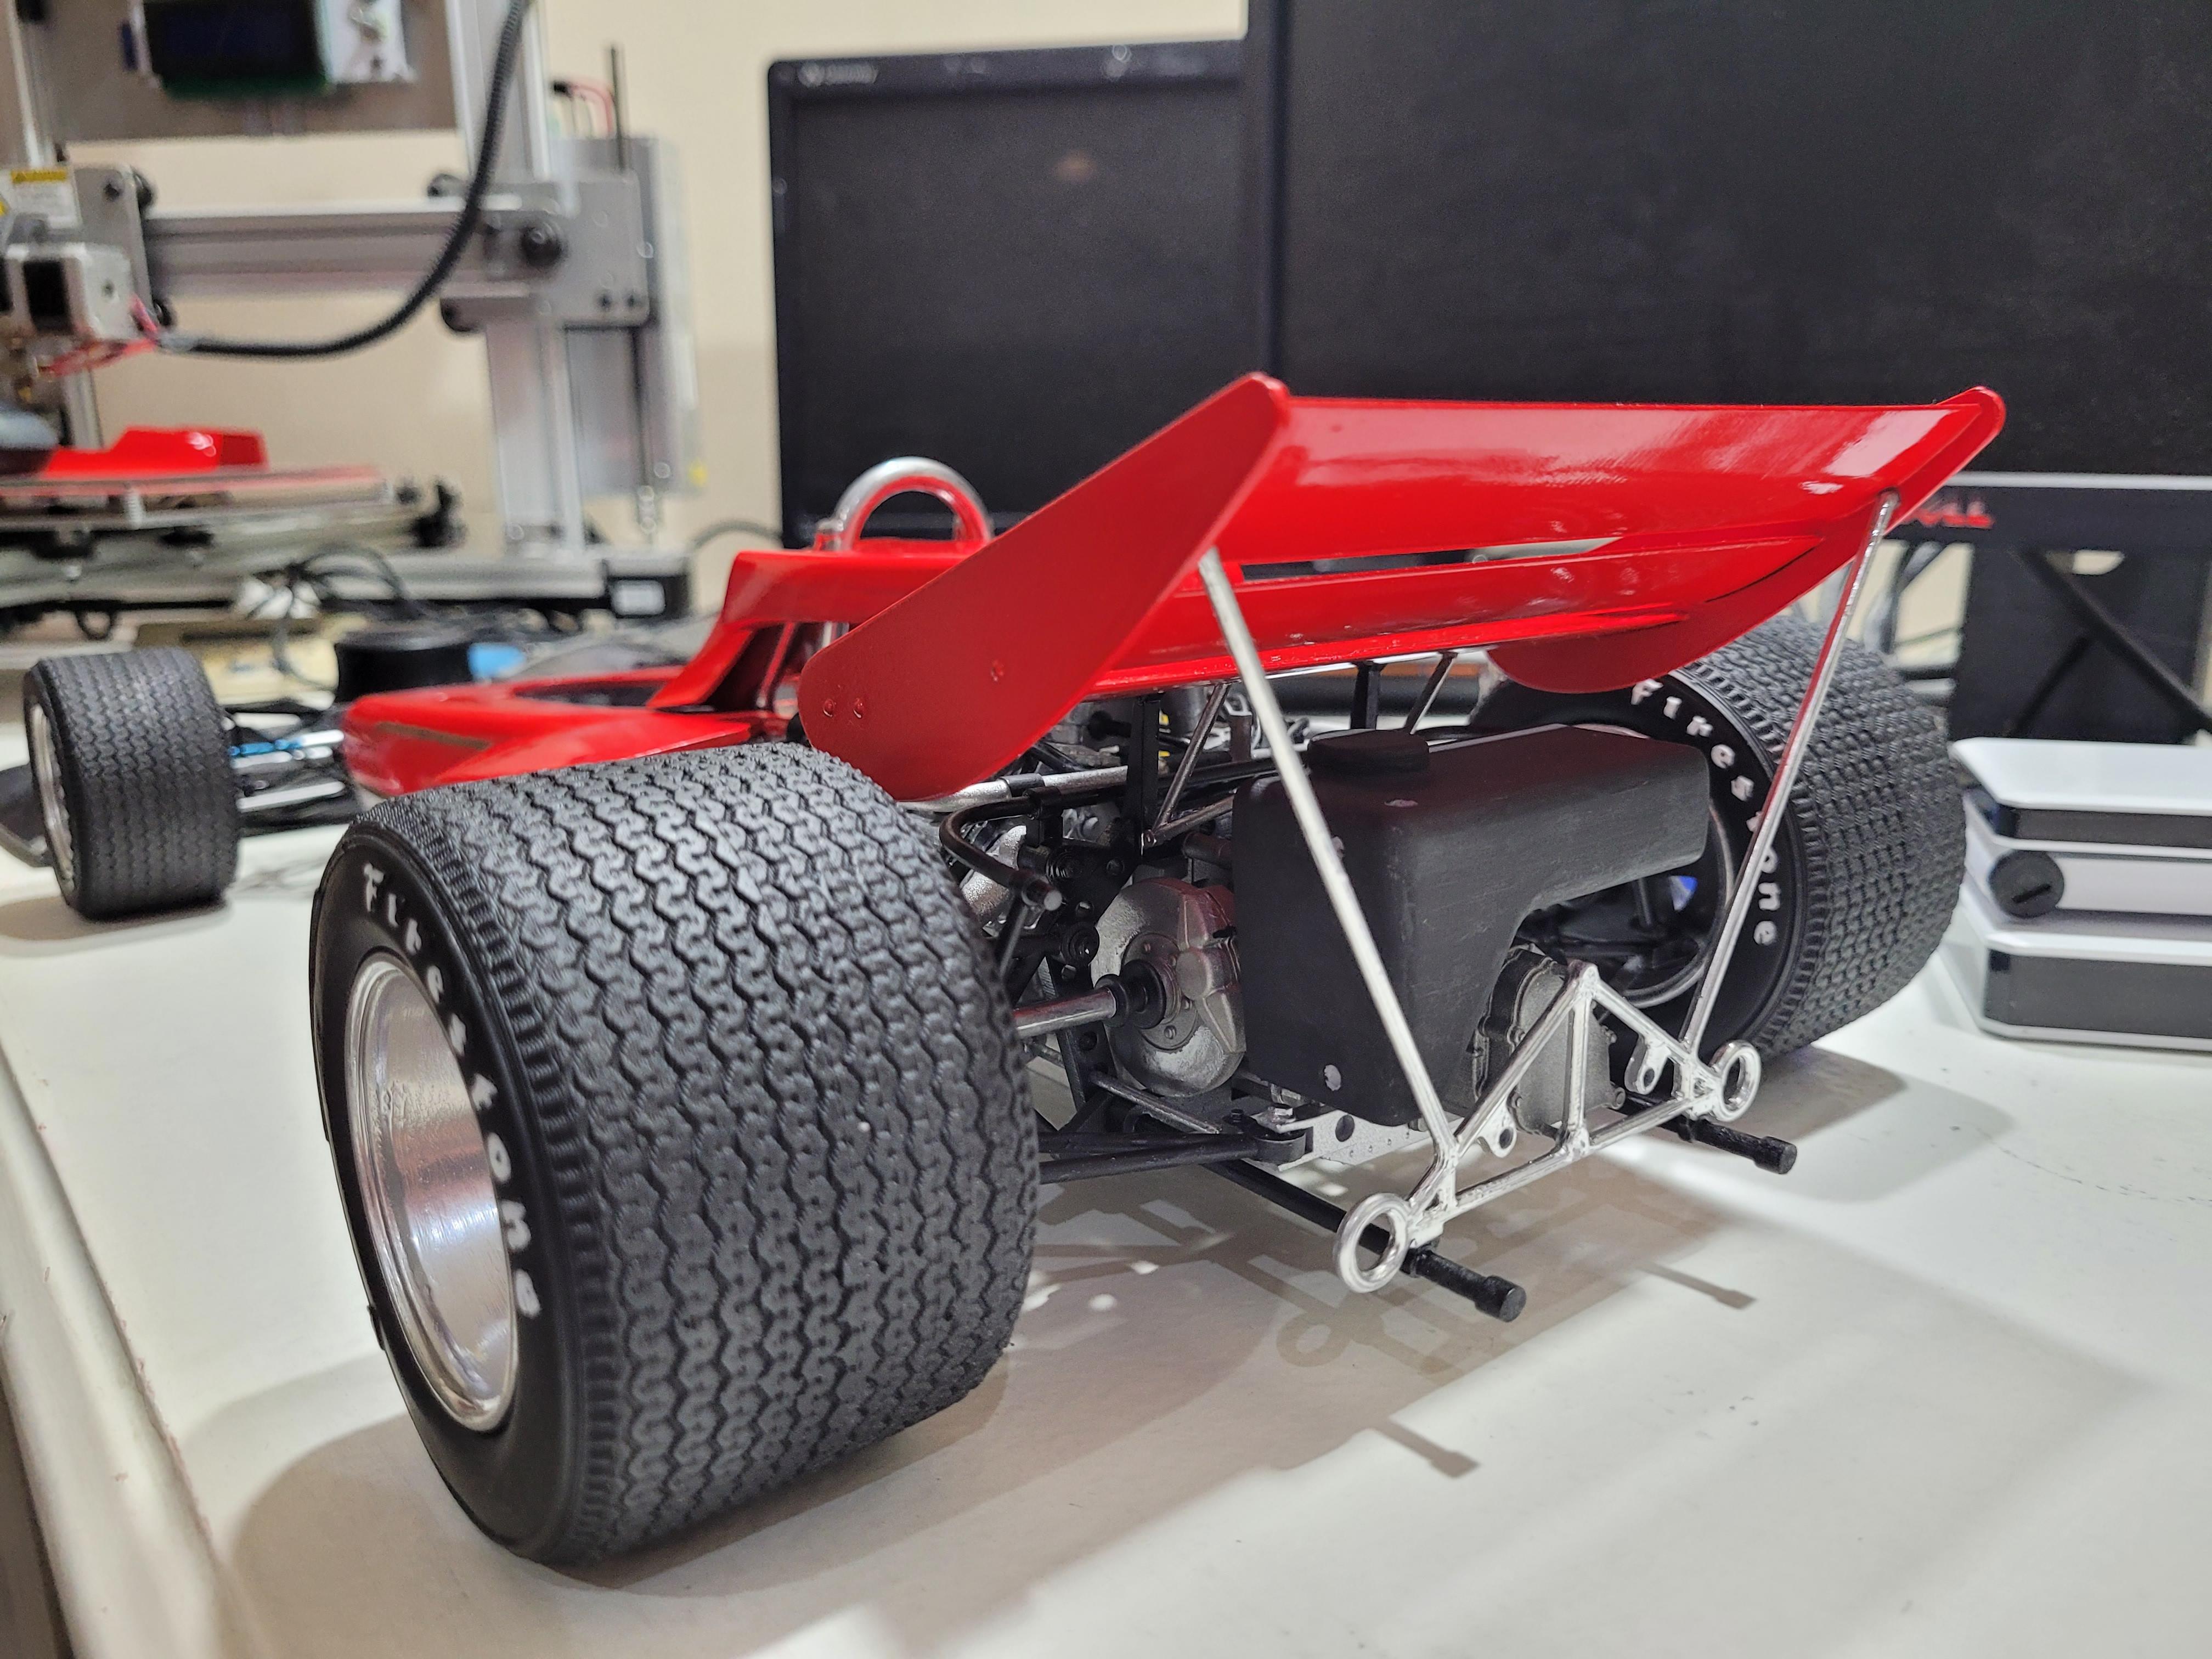
Rear wing and reservoir tank in place.
-
1/8 Scale Lotus 72c -3d Printed
kenlwest replied to kenlwest's topic in WIP: Other Racing: Road Racing, Land Speed Racers
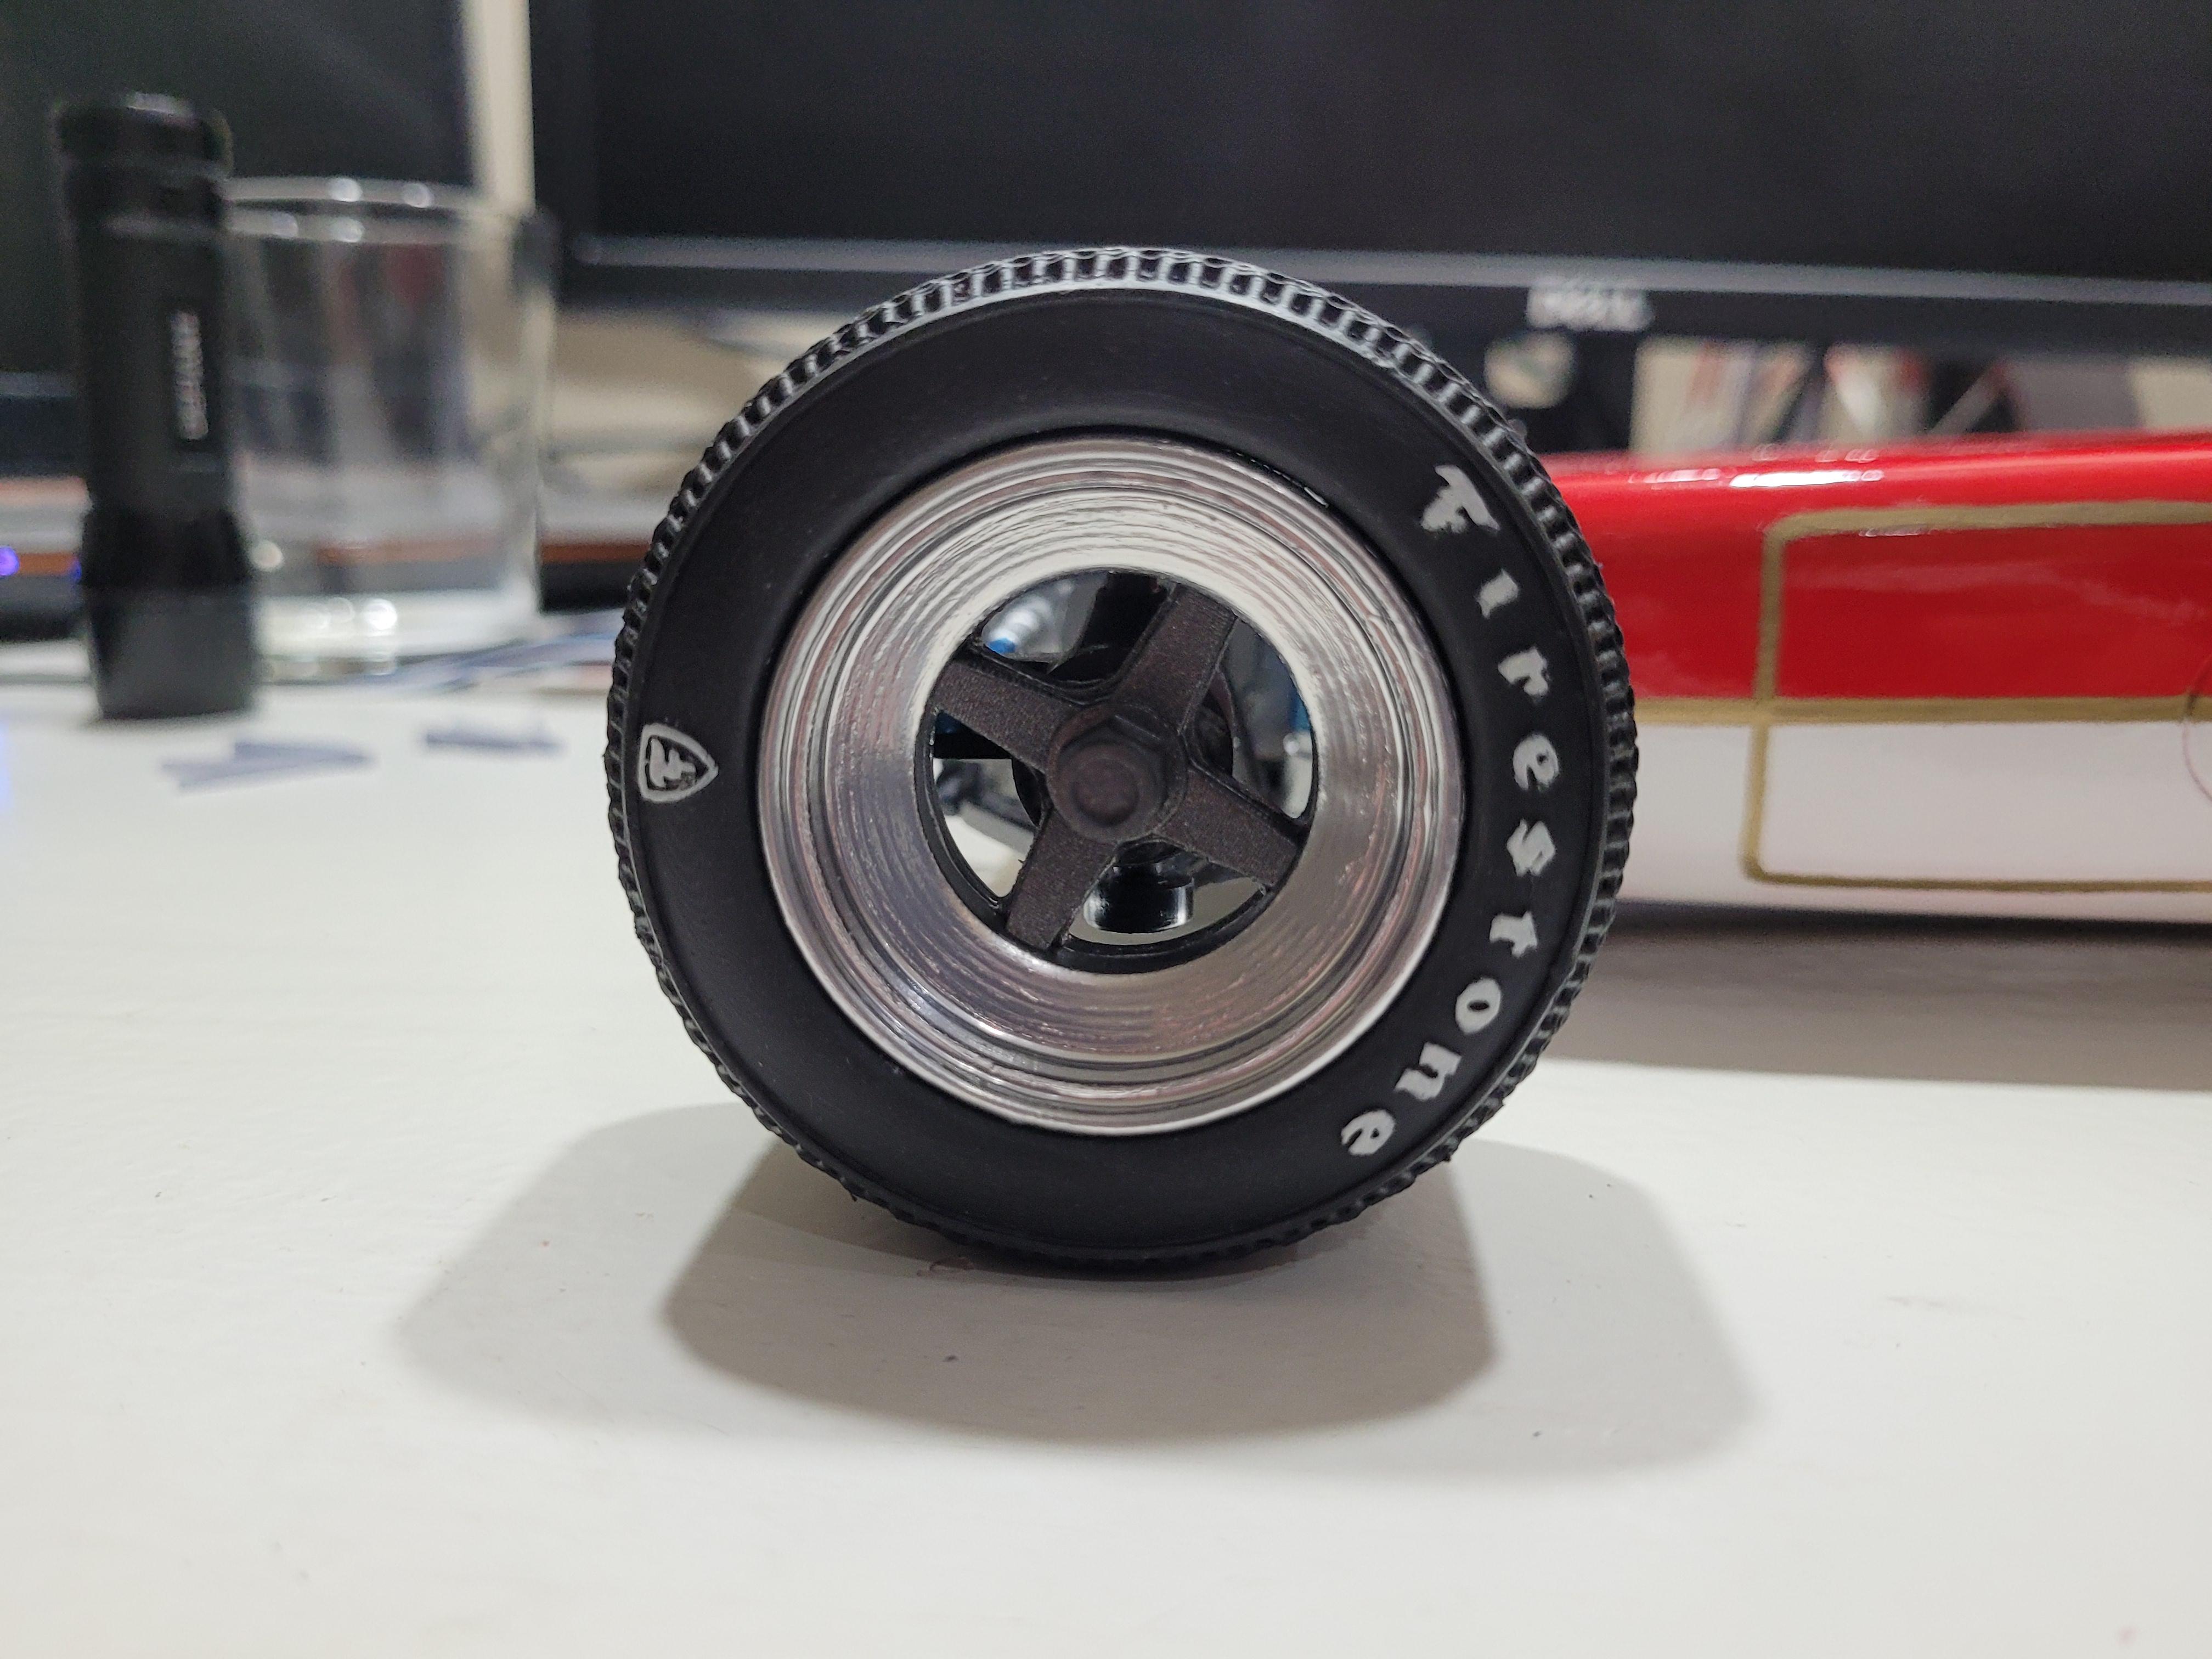
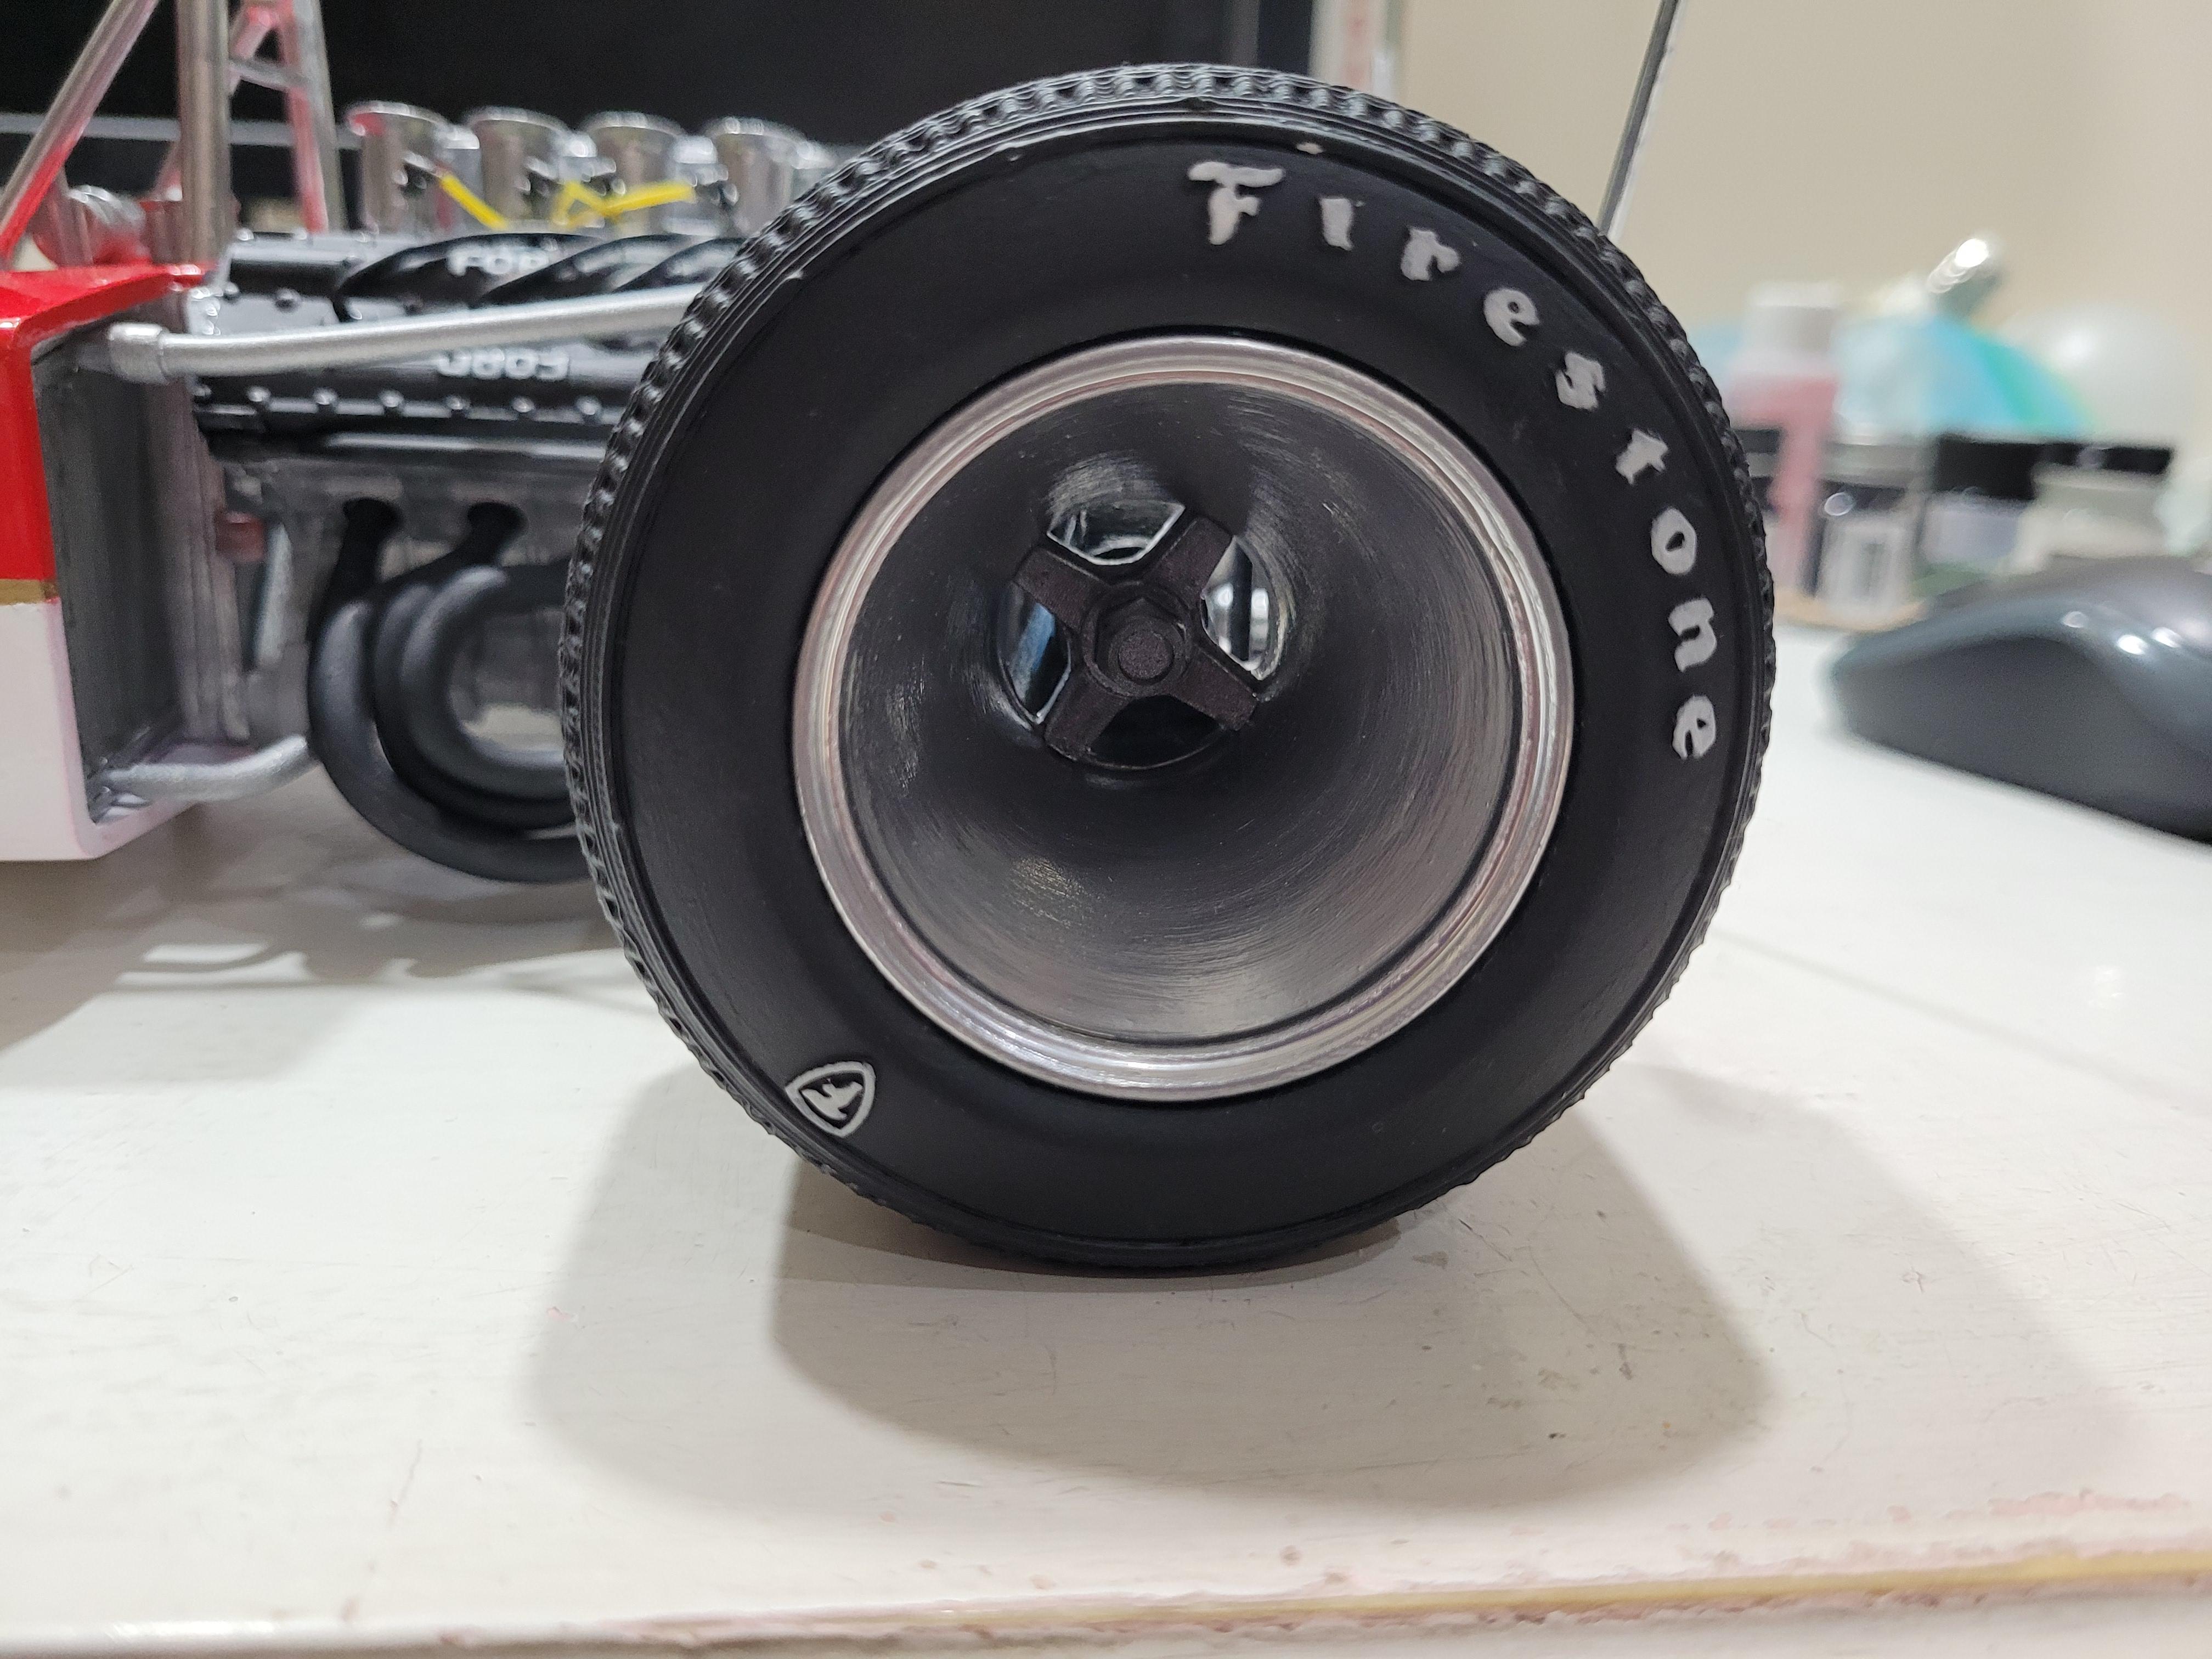
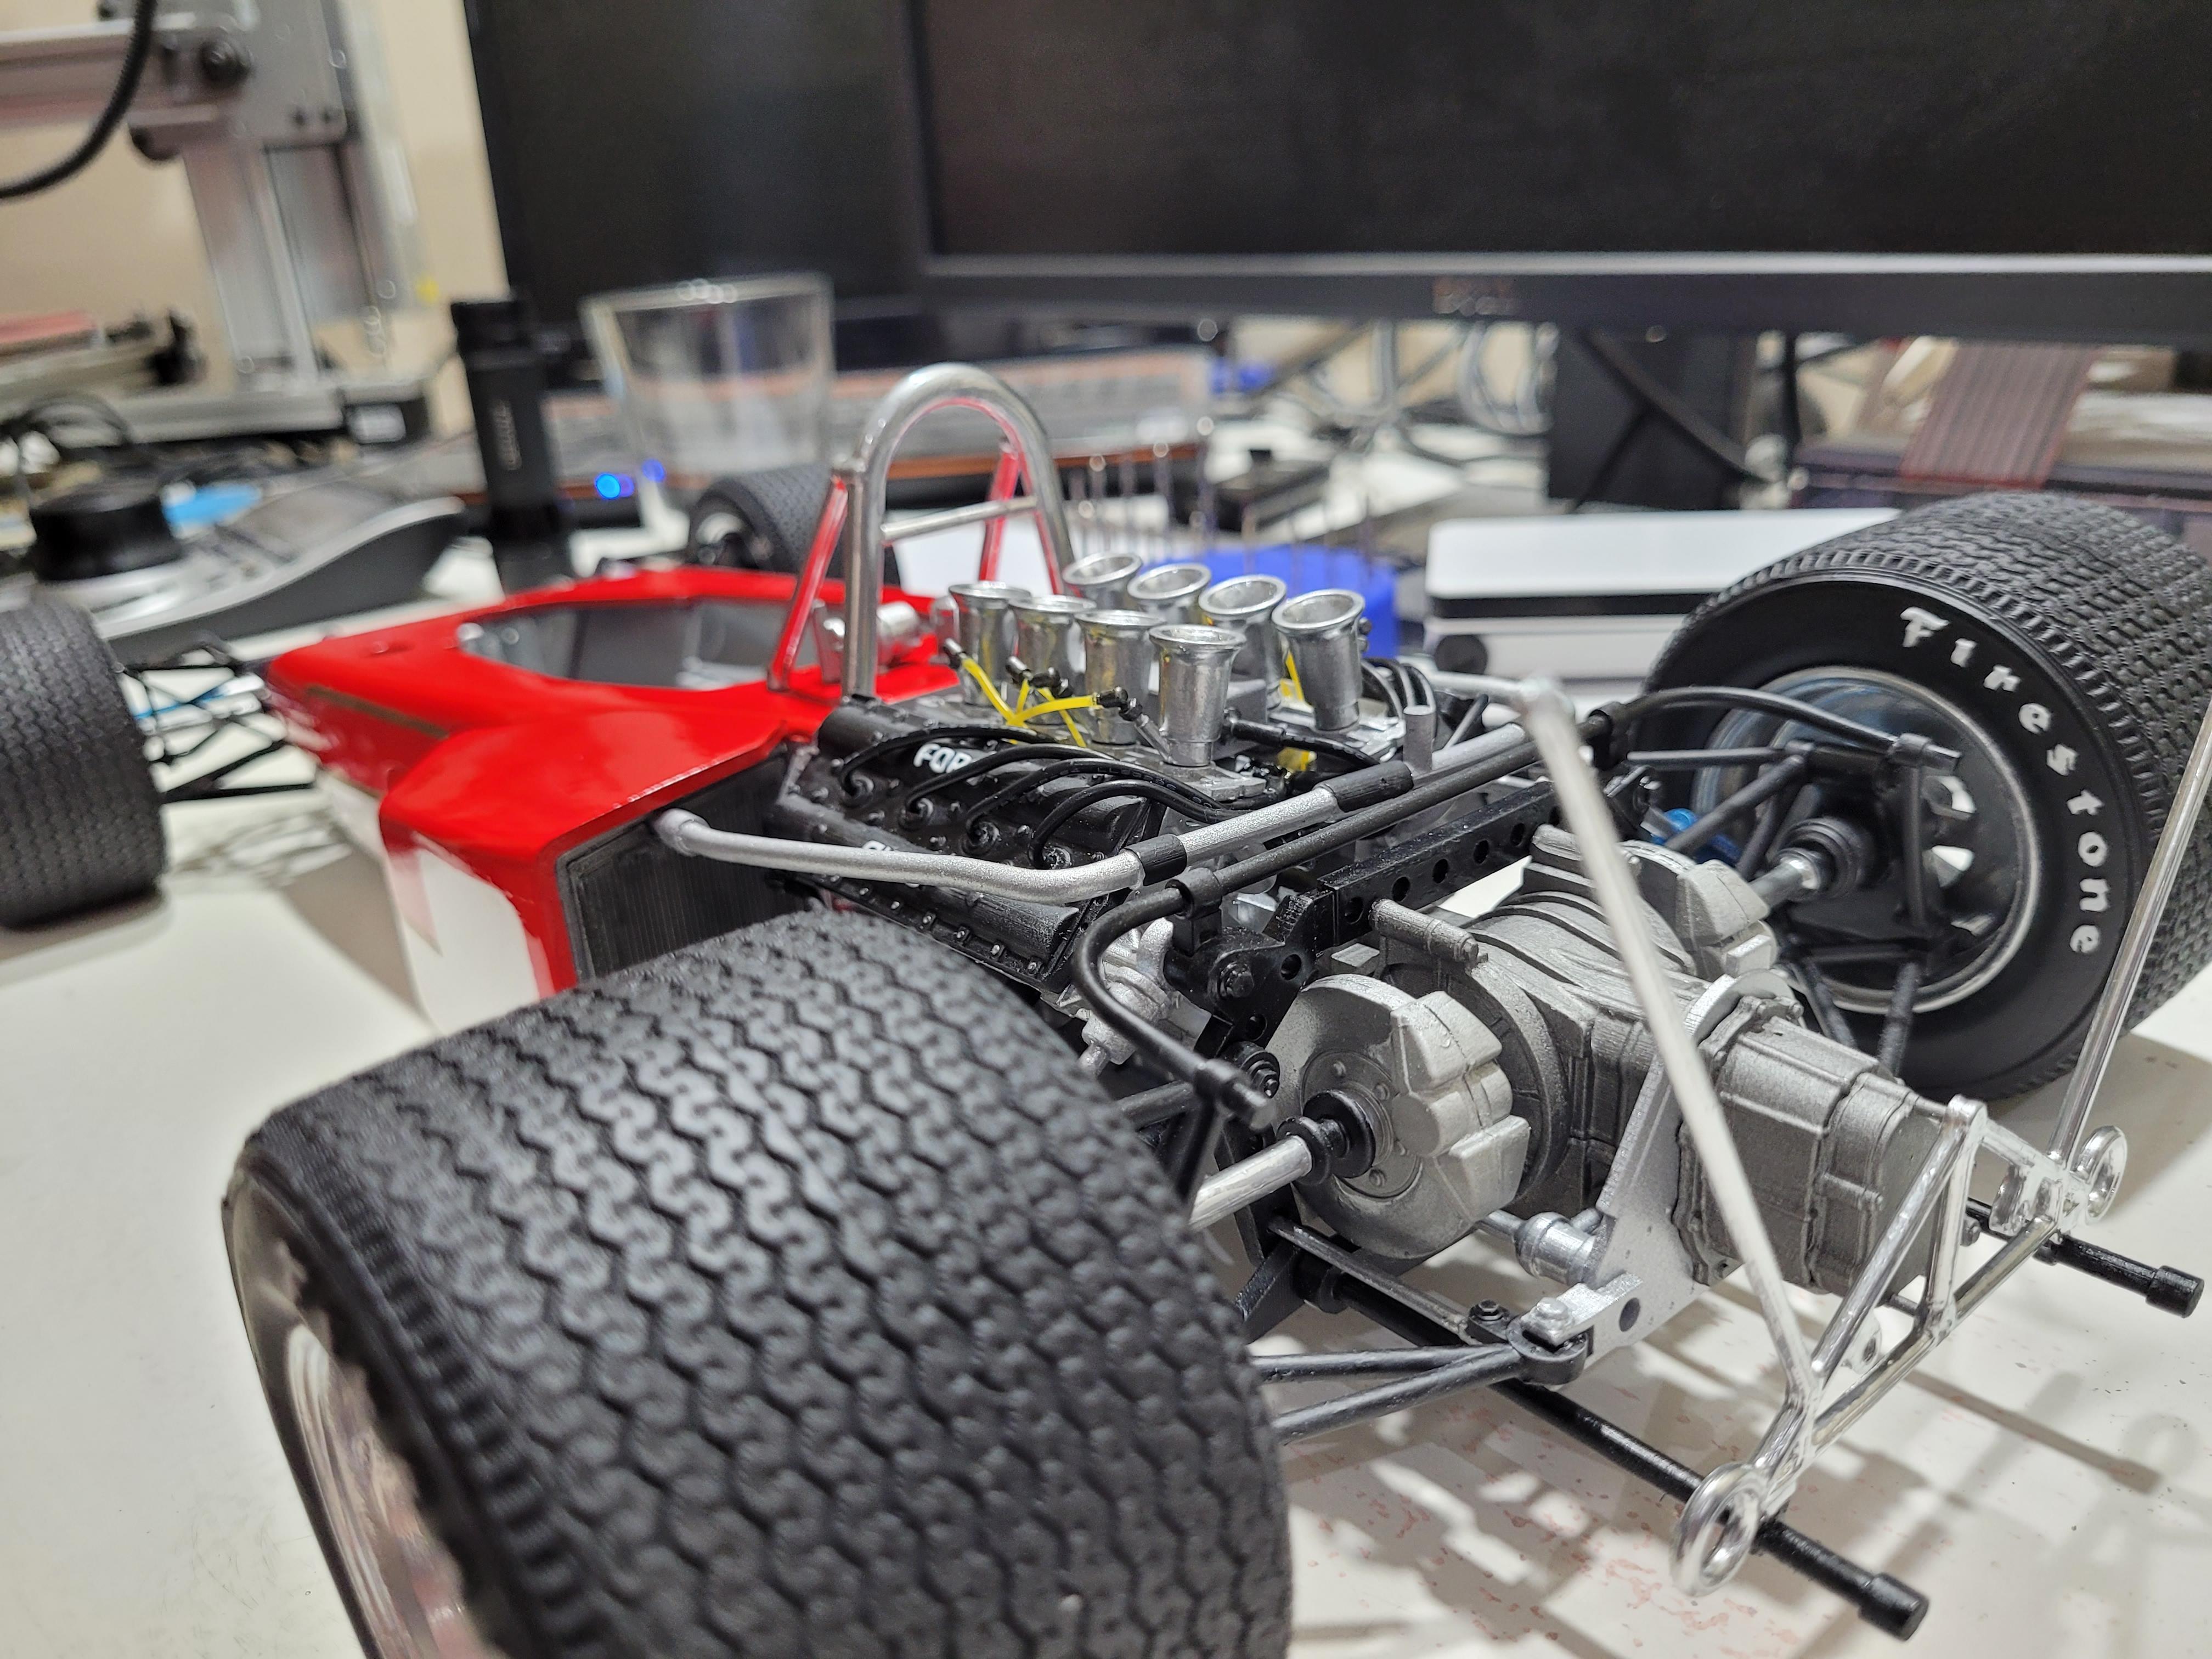
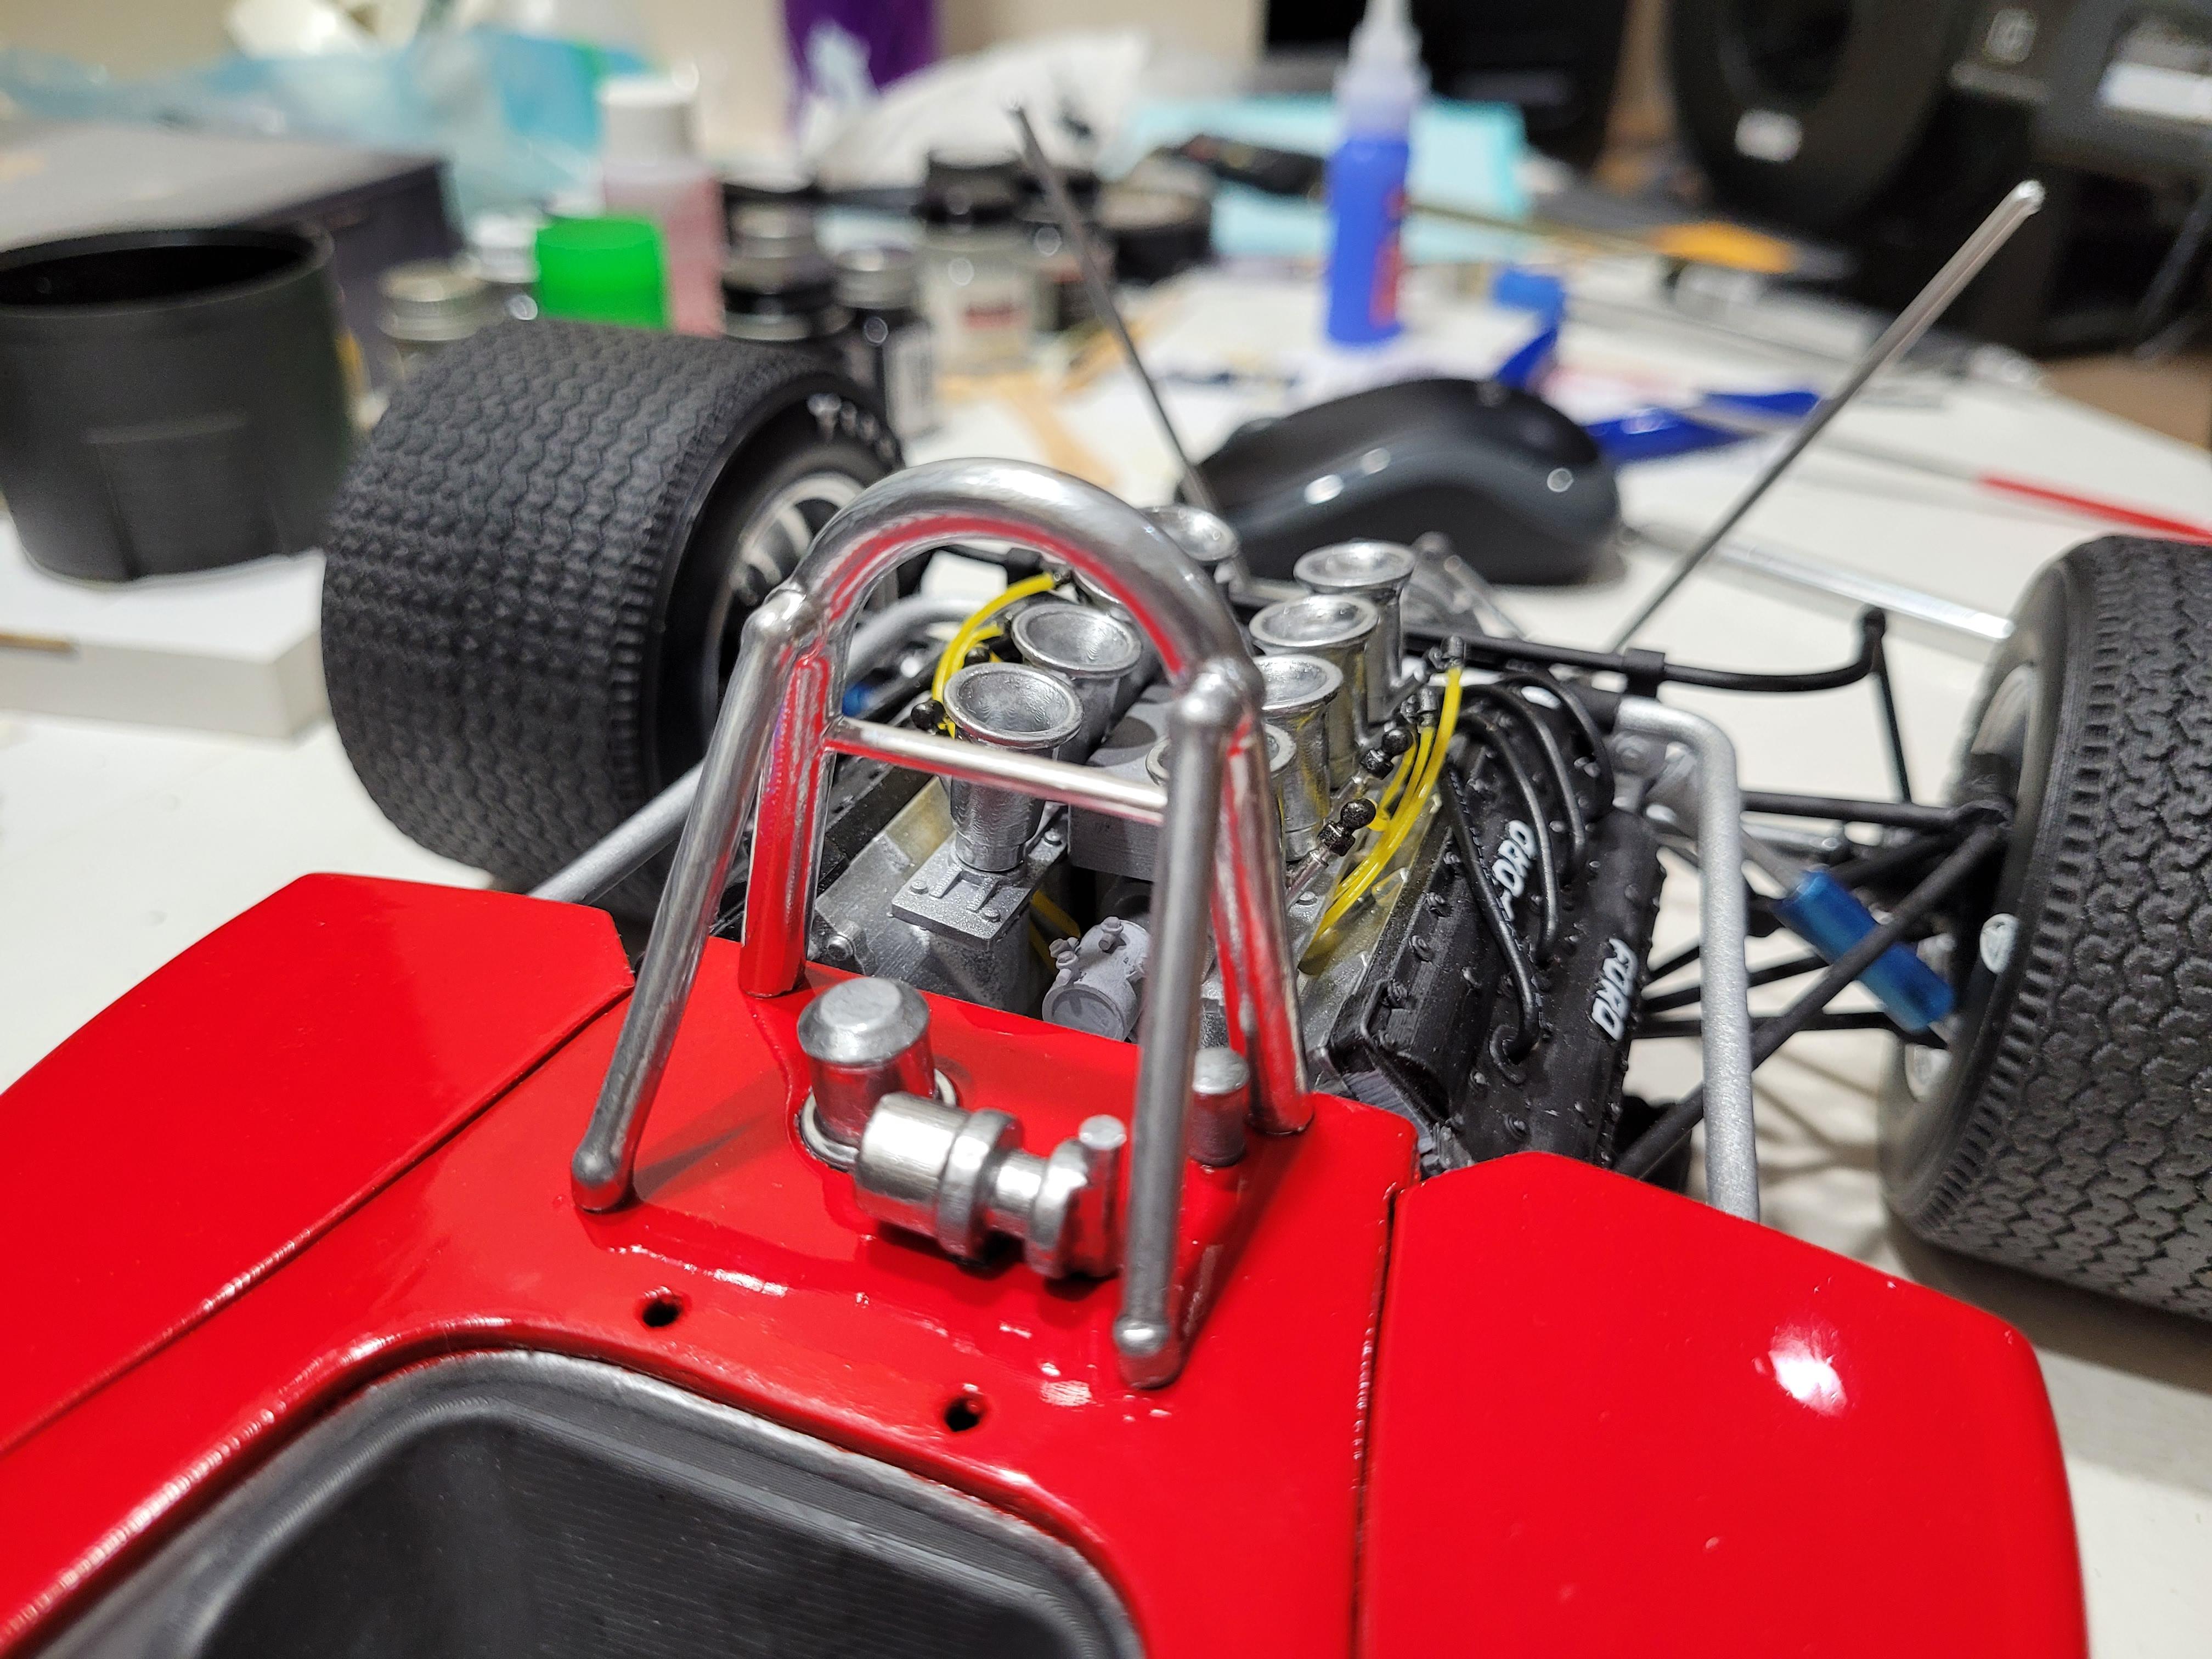
Today, I managed to make a little progress. I made the fuel lines from extruded yellow pla filament. Maybe it's too yellow, but I couldn't find anything else laying around that I could use. The lines are a bit translucent, which was a fortunate accident. I painted and glued the inside of the wheels into place, and then permanently glued the wheels and tires on the suspension. Also glued the roll bar in place as well as the rear wing "w" brace.
-
1/8 Scale Lotus 72c -3d Printed
kenlwest replied to kenlwest's topic in WIP: Other Racing: Road Racing, Land Speed Racers
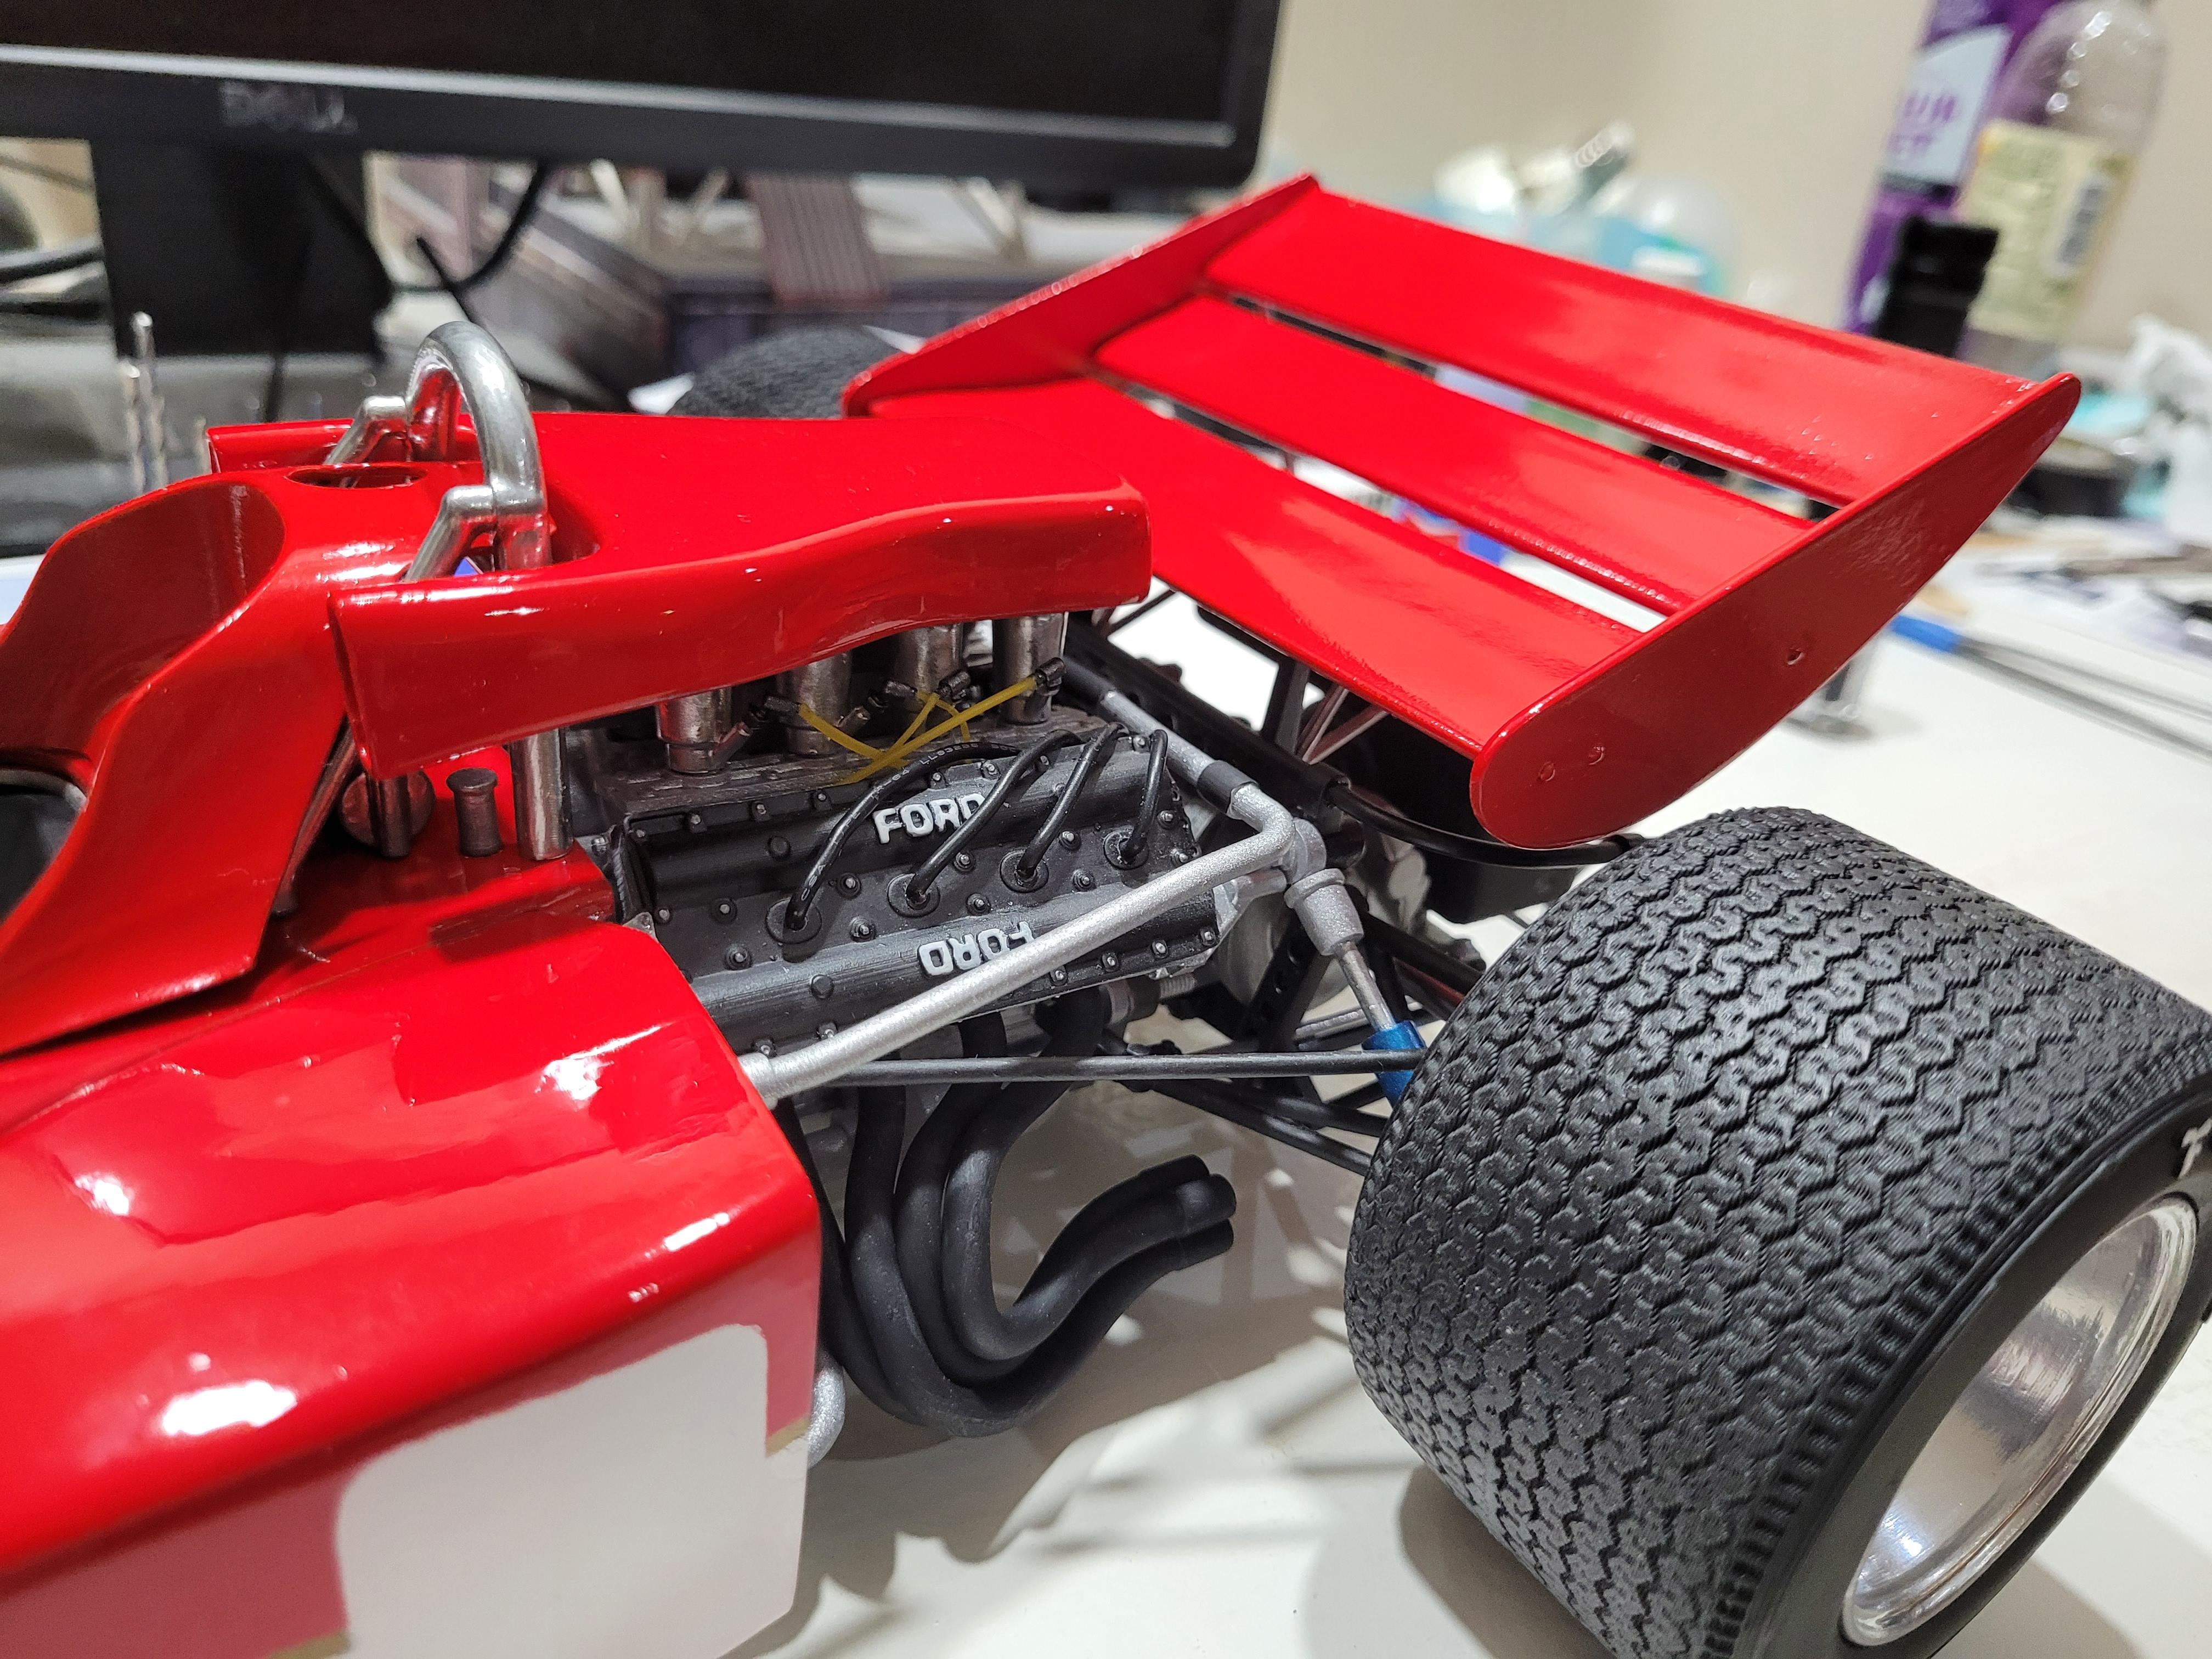
I added the rear stabilizer and intakes.
-
1/8 Scale Lotus 72c -3d Printed
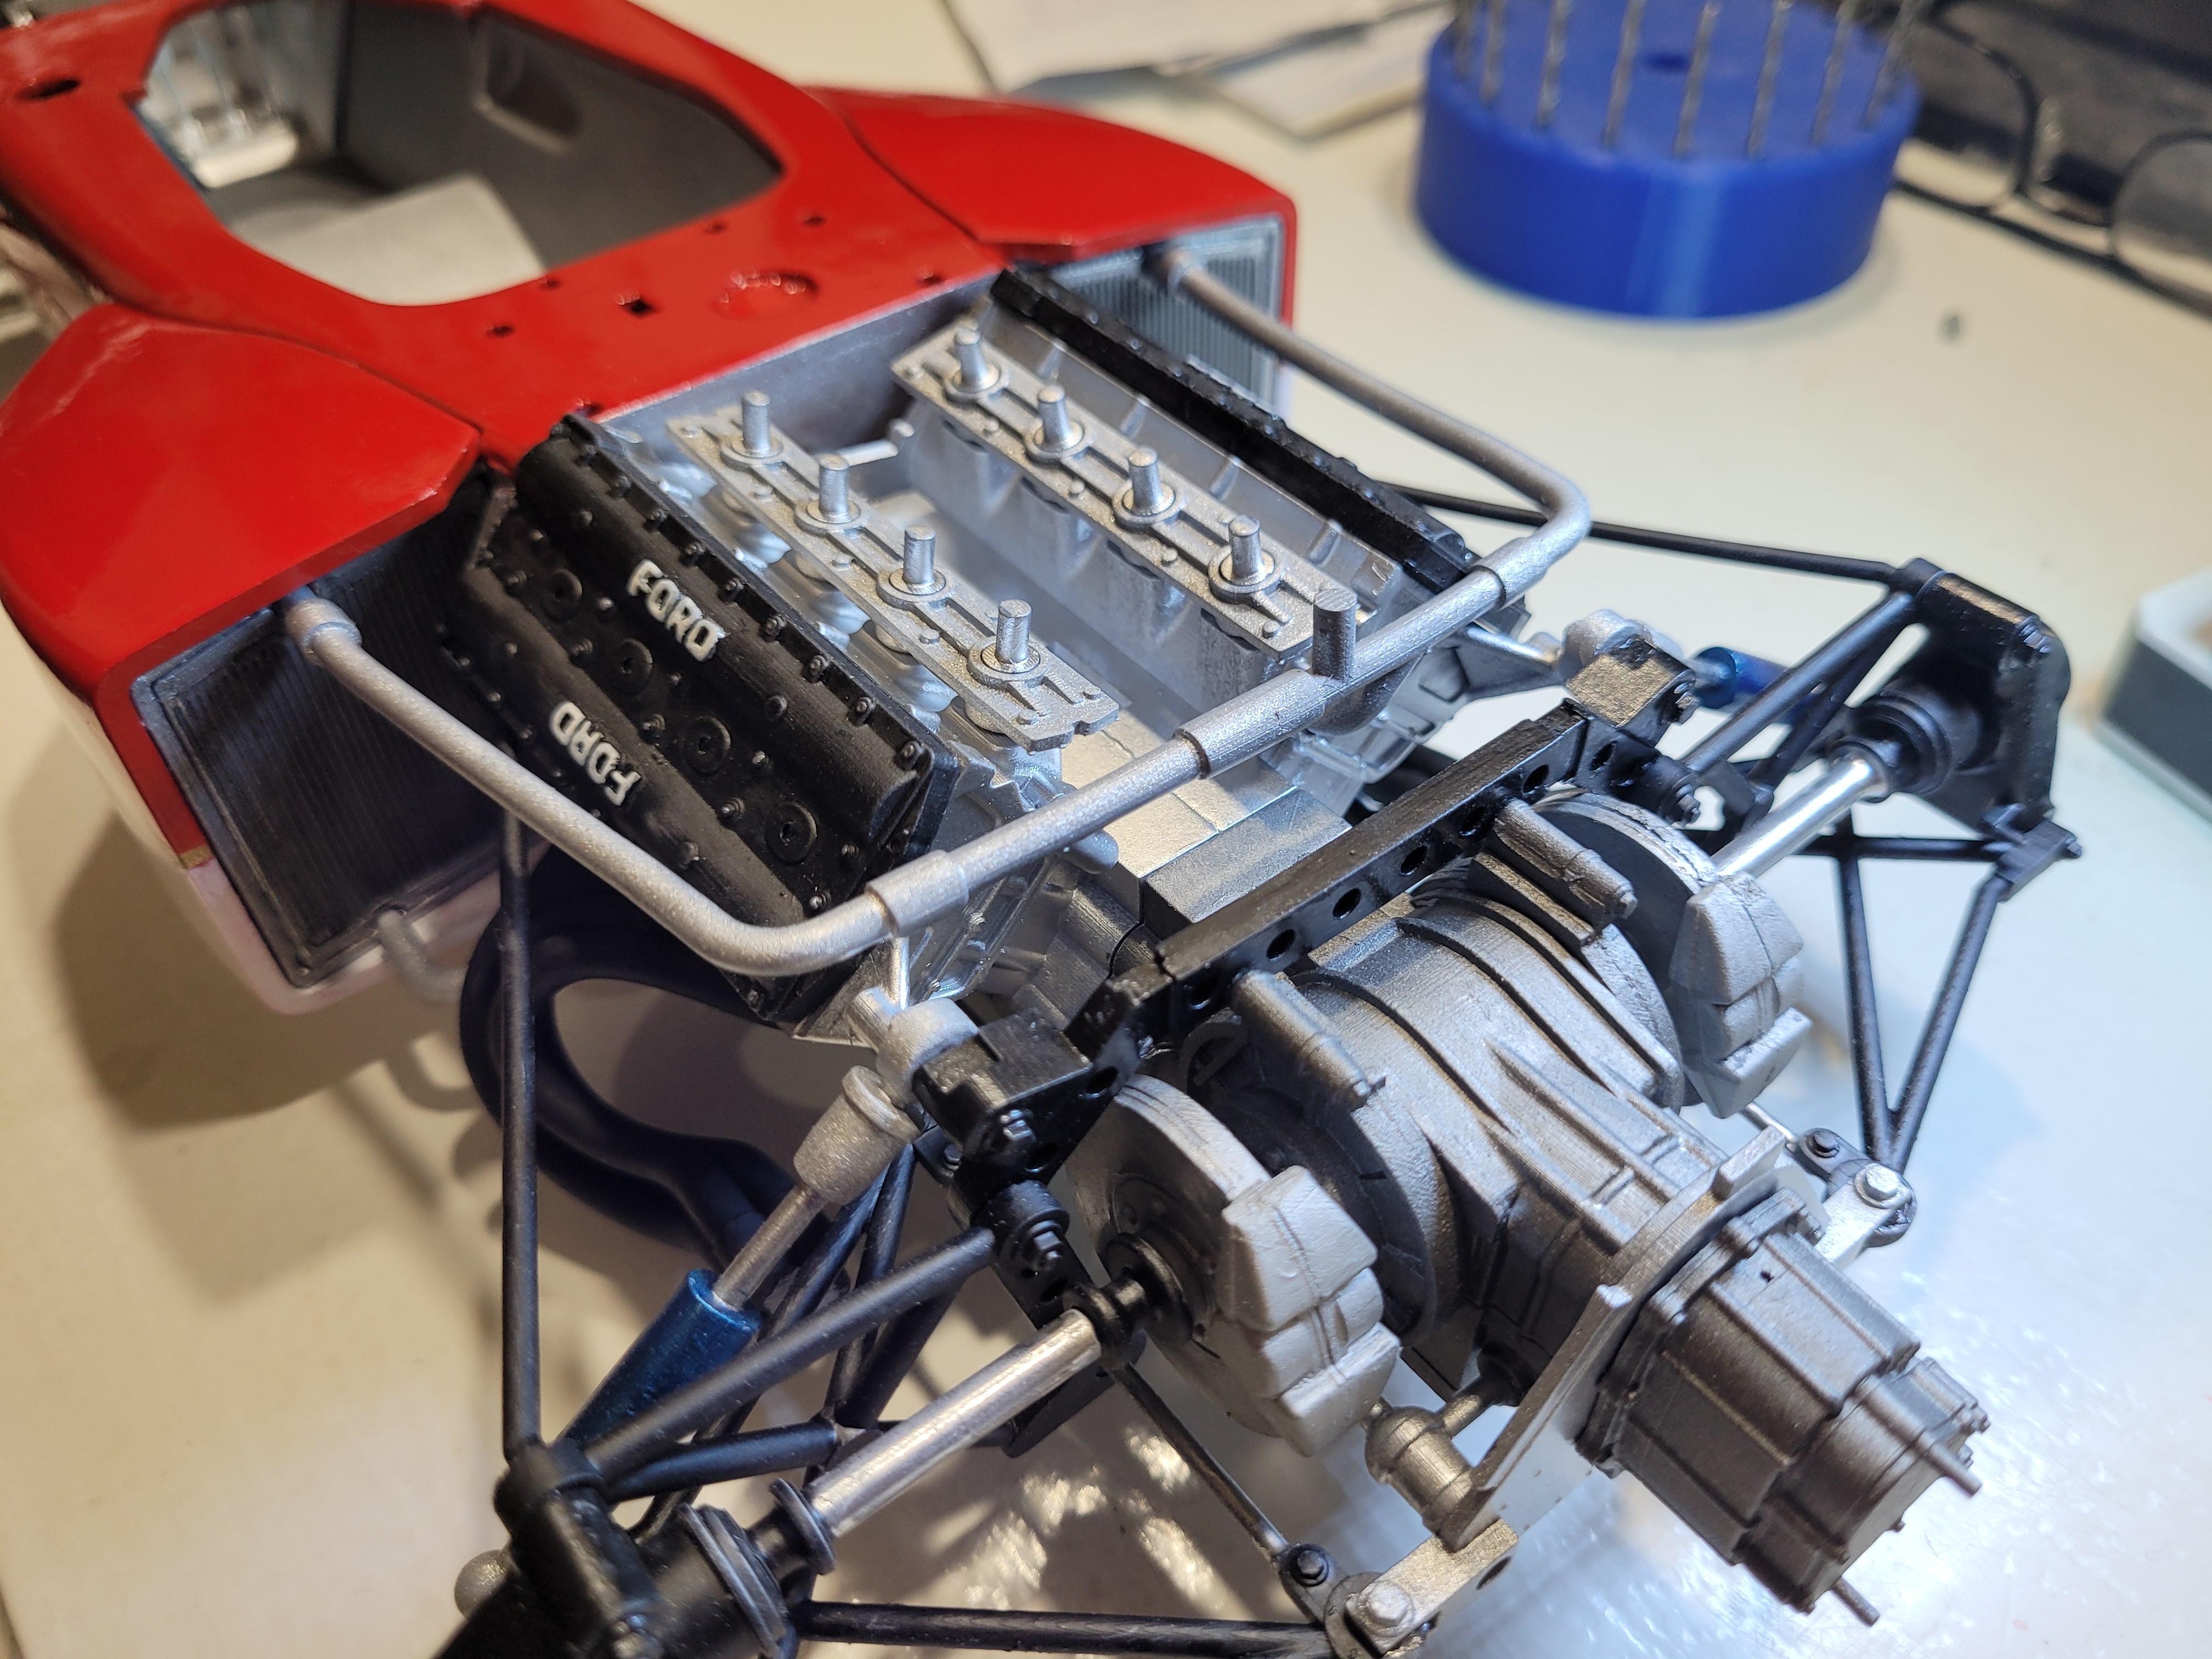
kenlwest replied to kenlwest's topic in WIP: Other Racing: Road Racing, Land Speed Racers
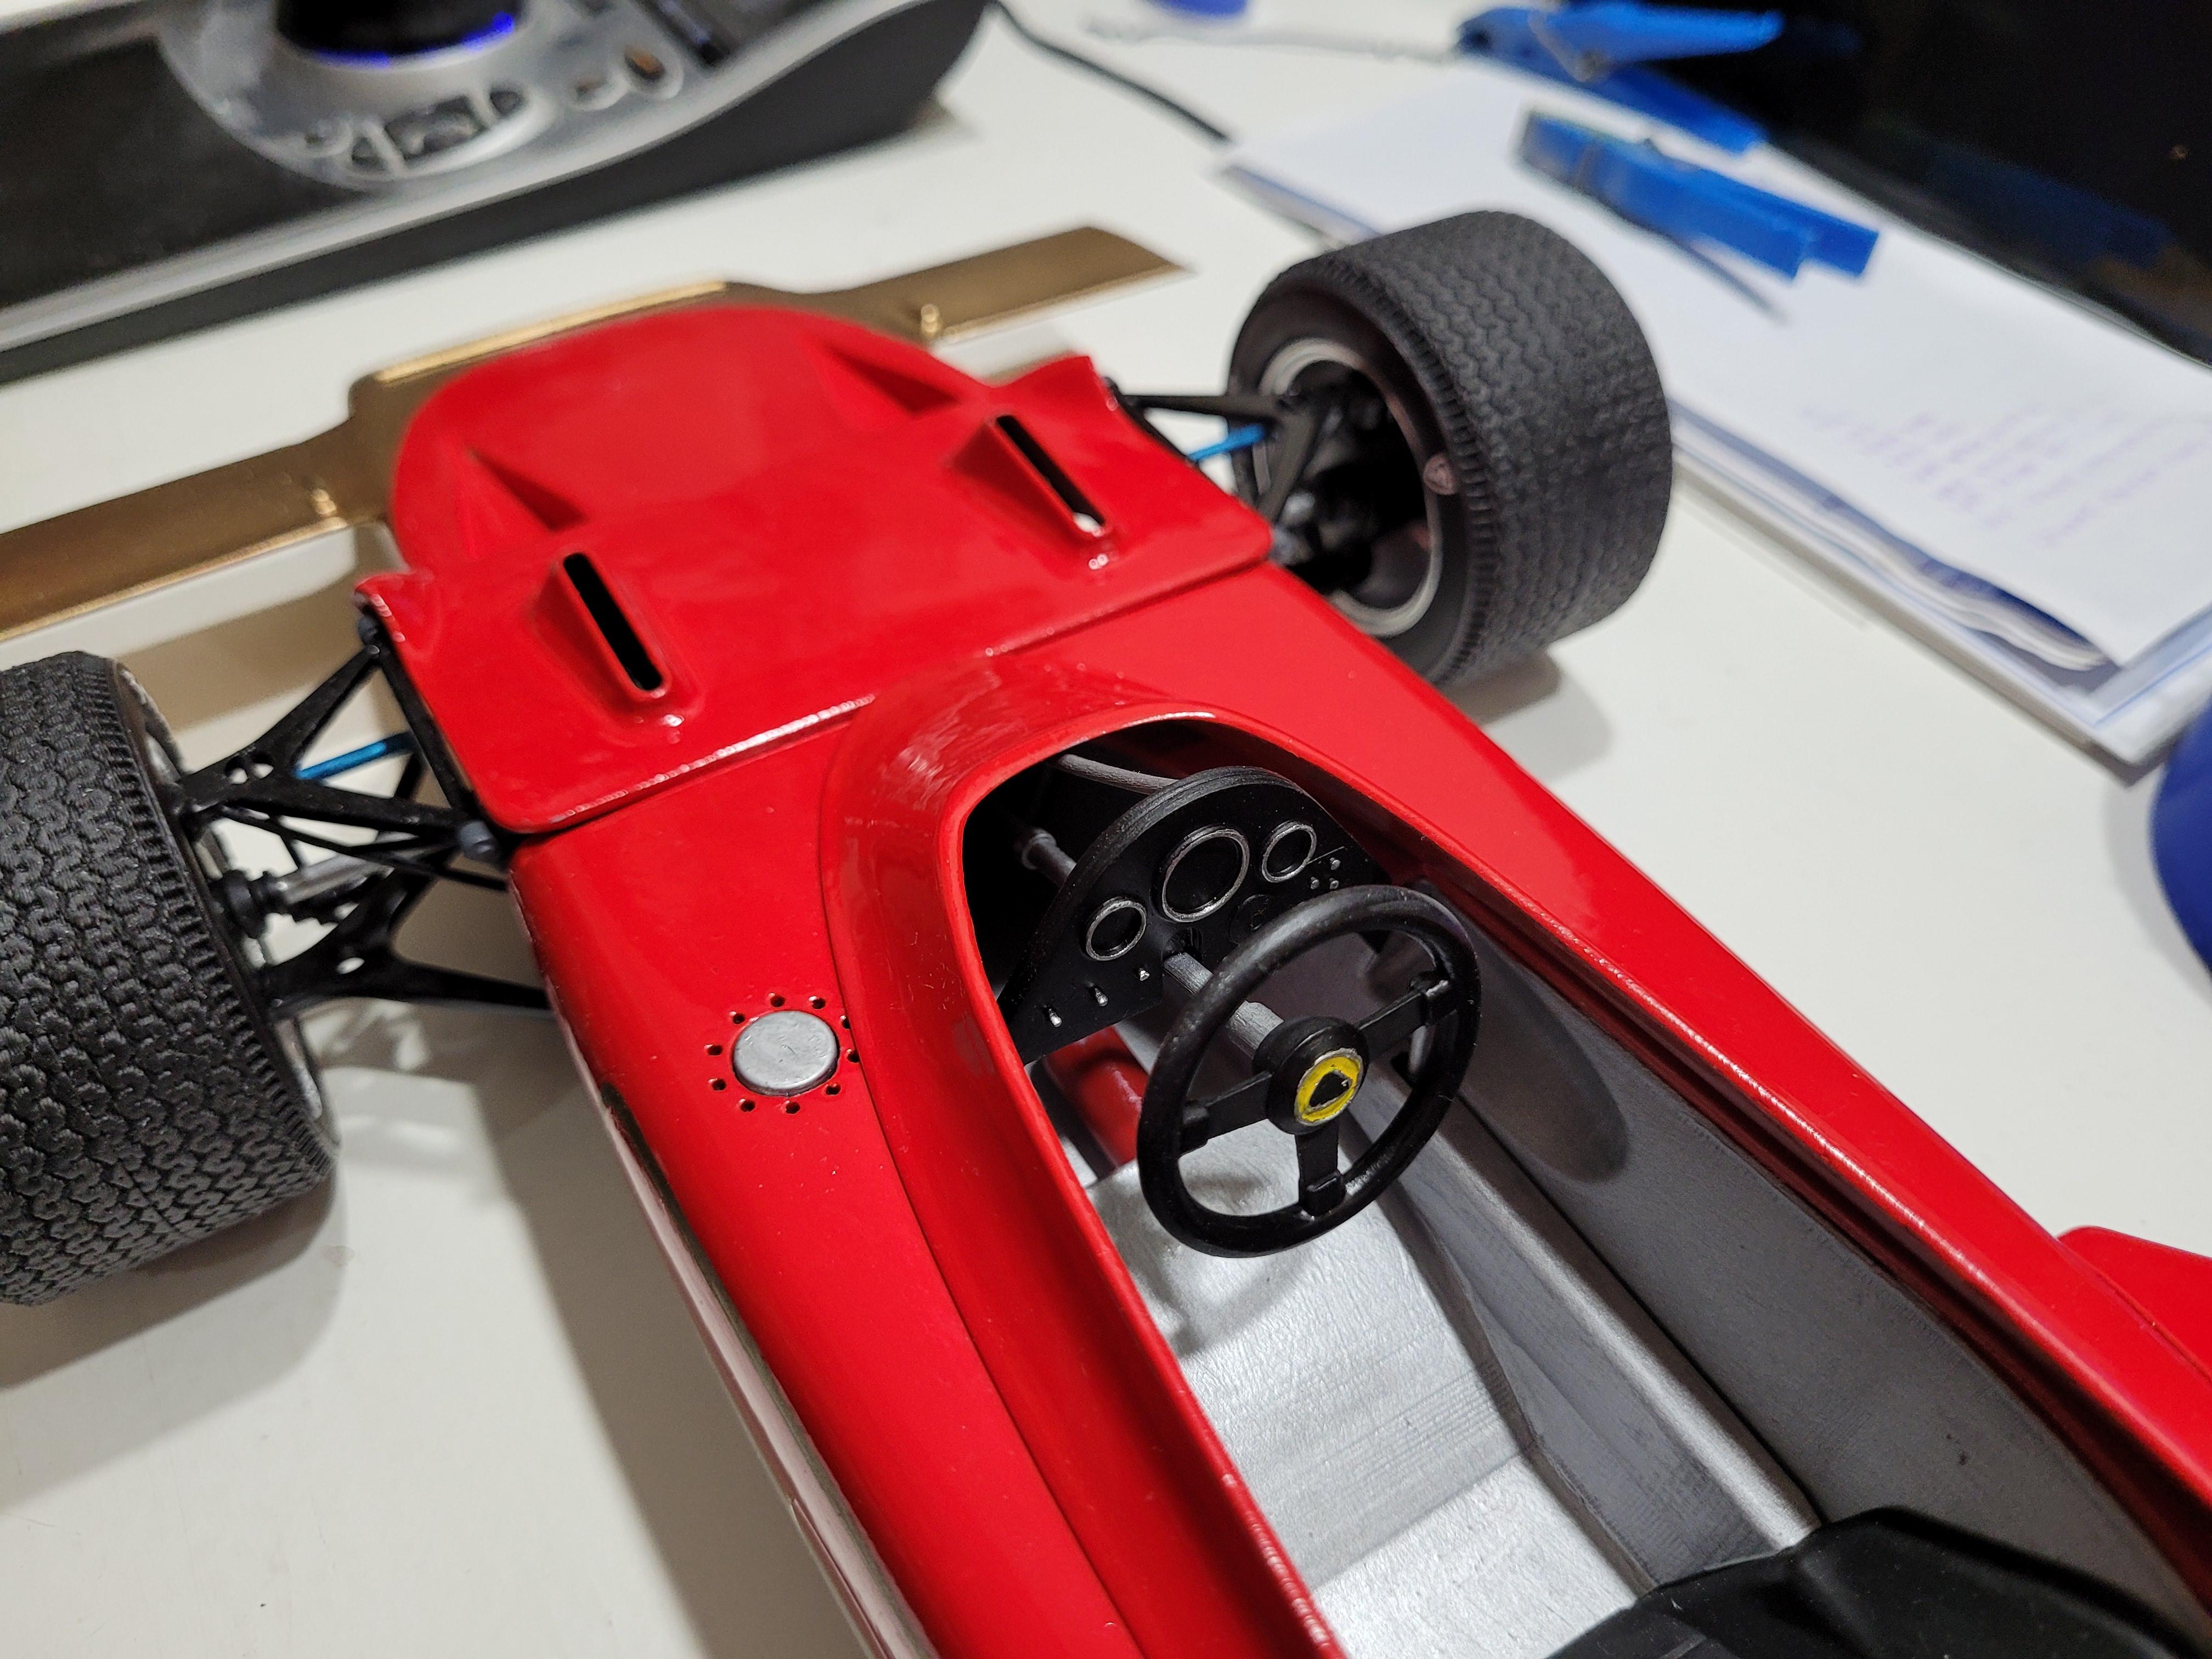
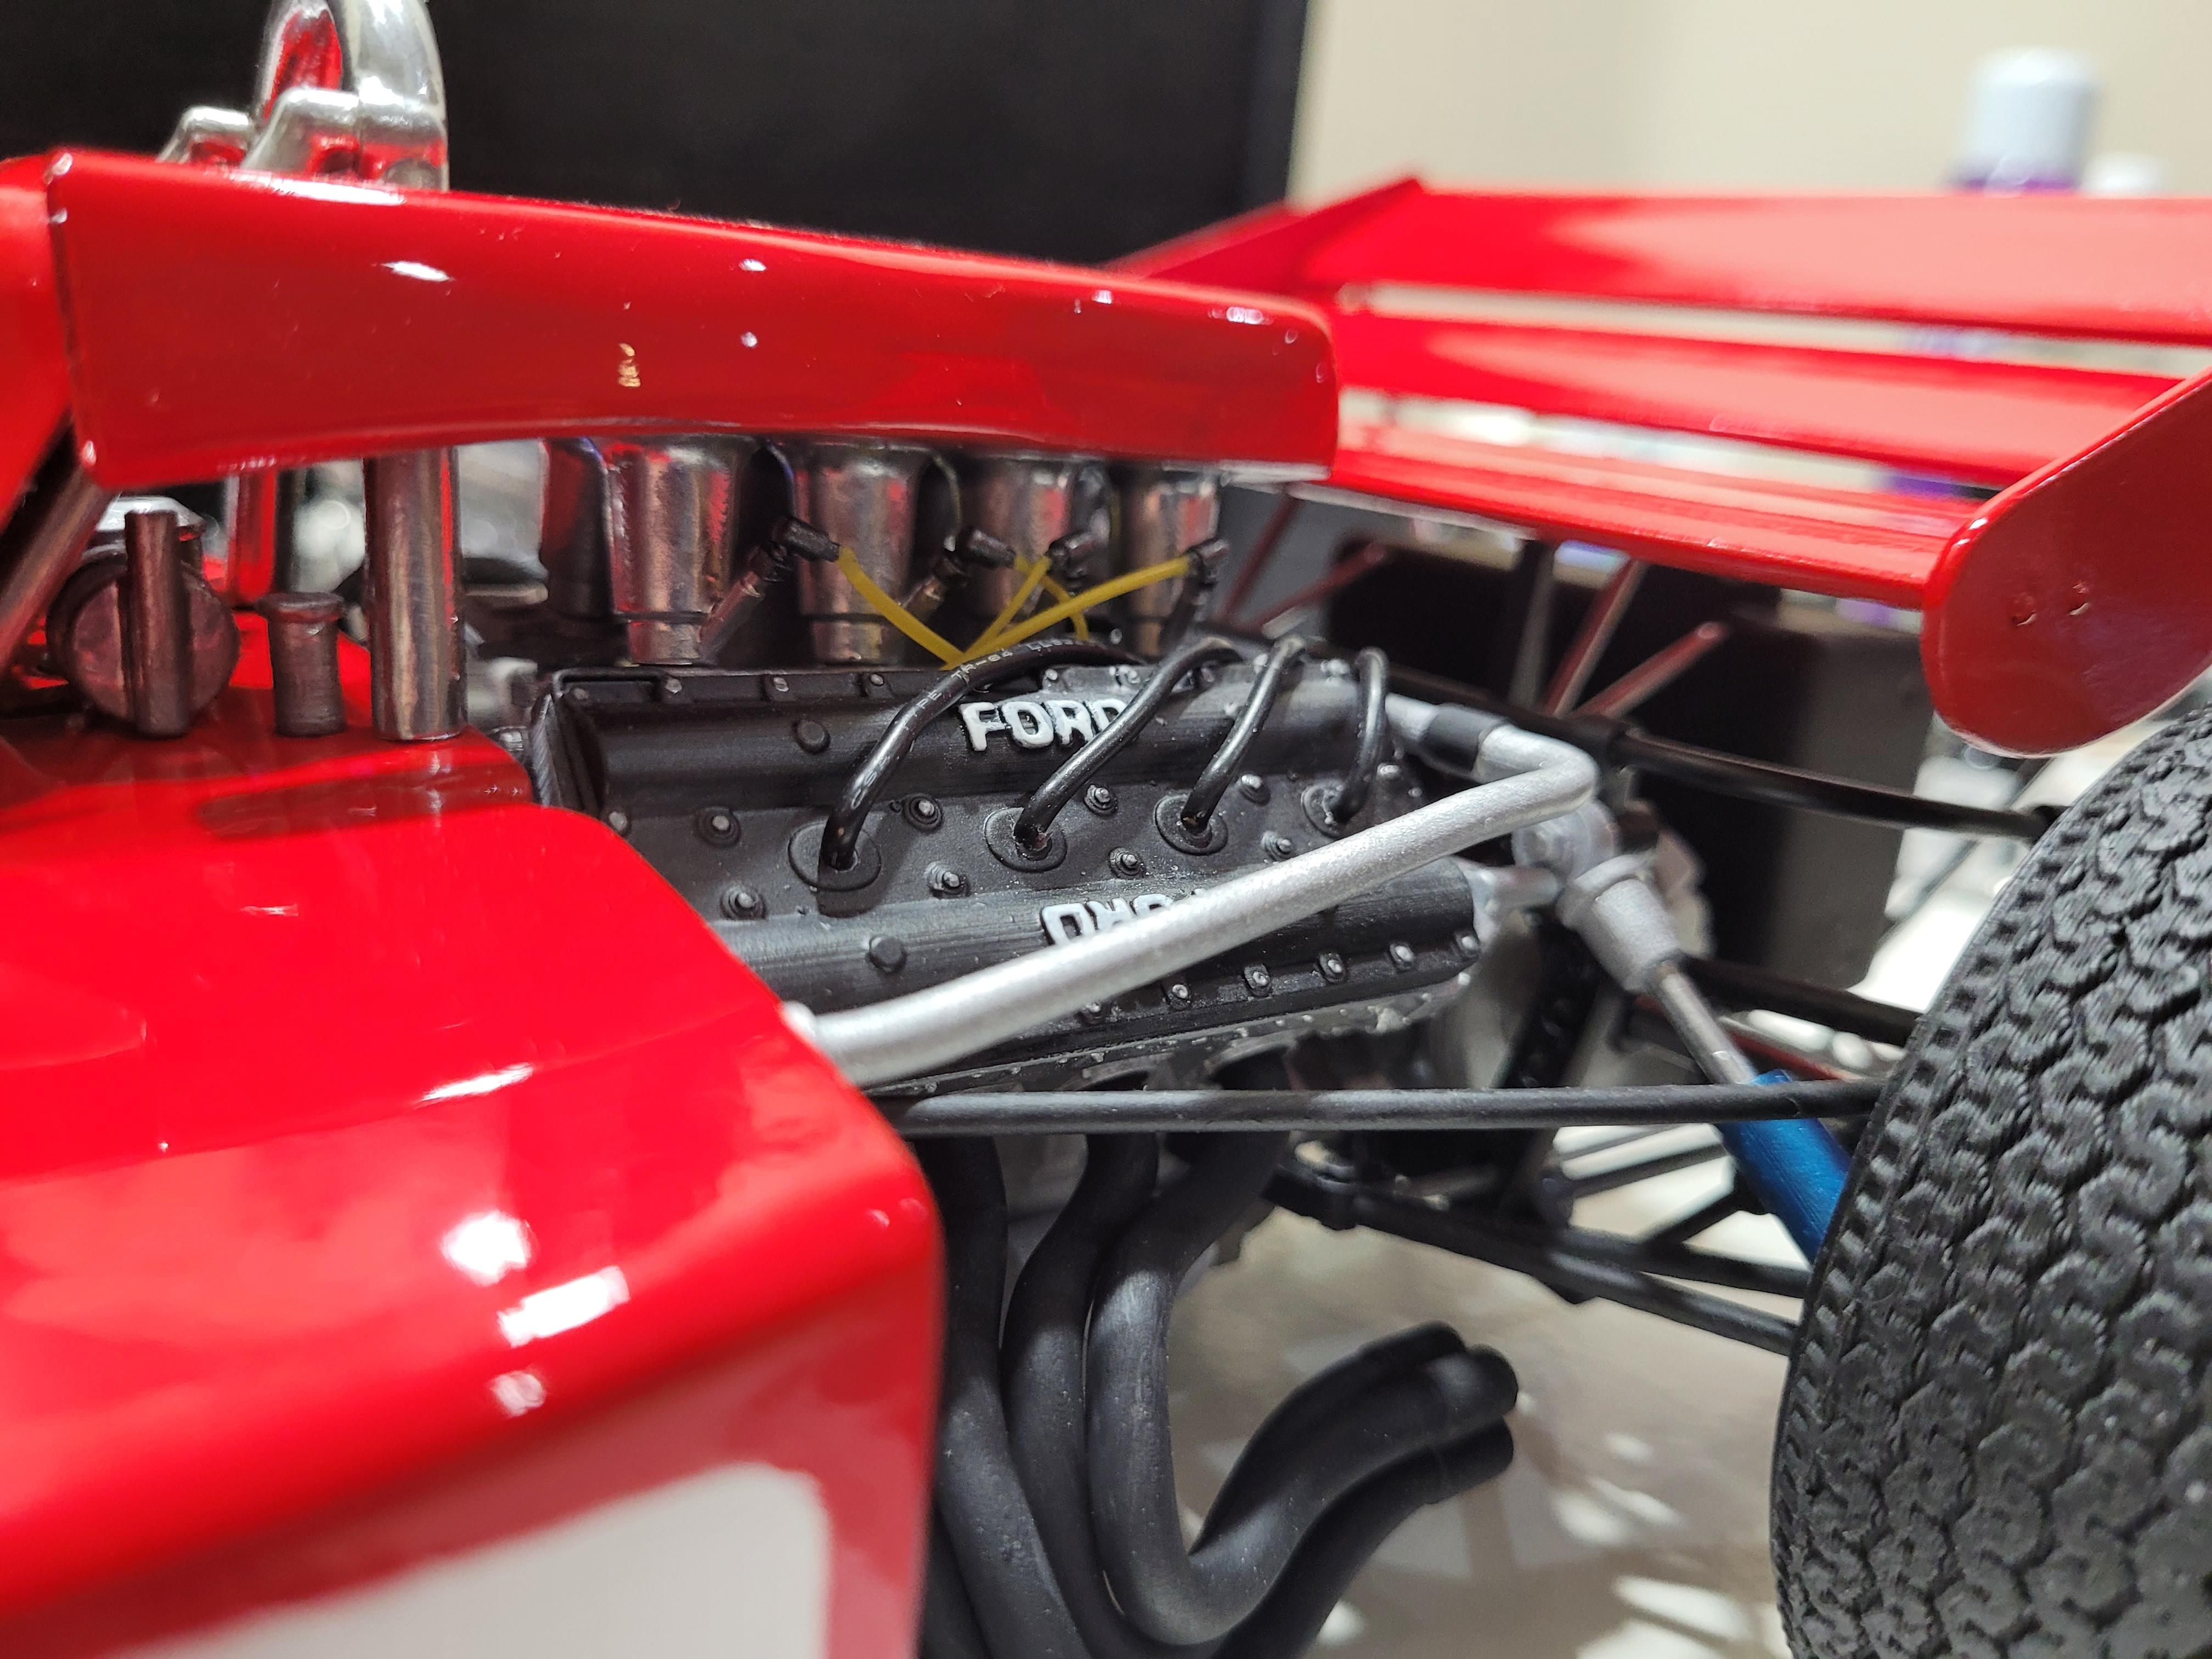
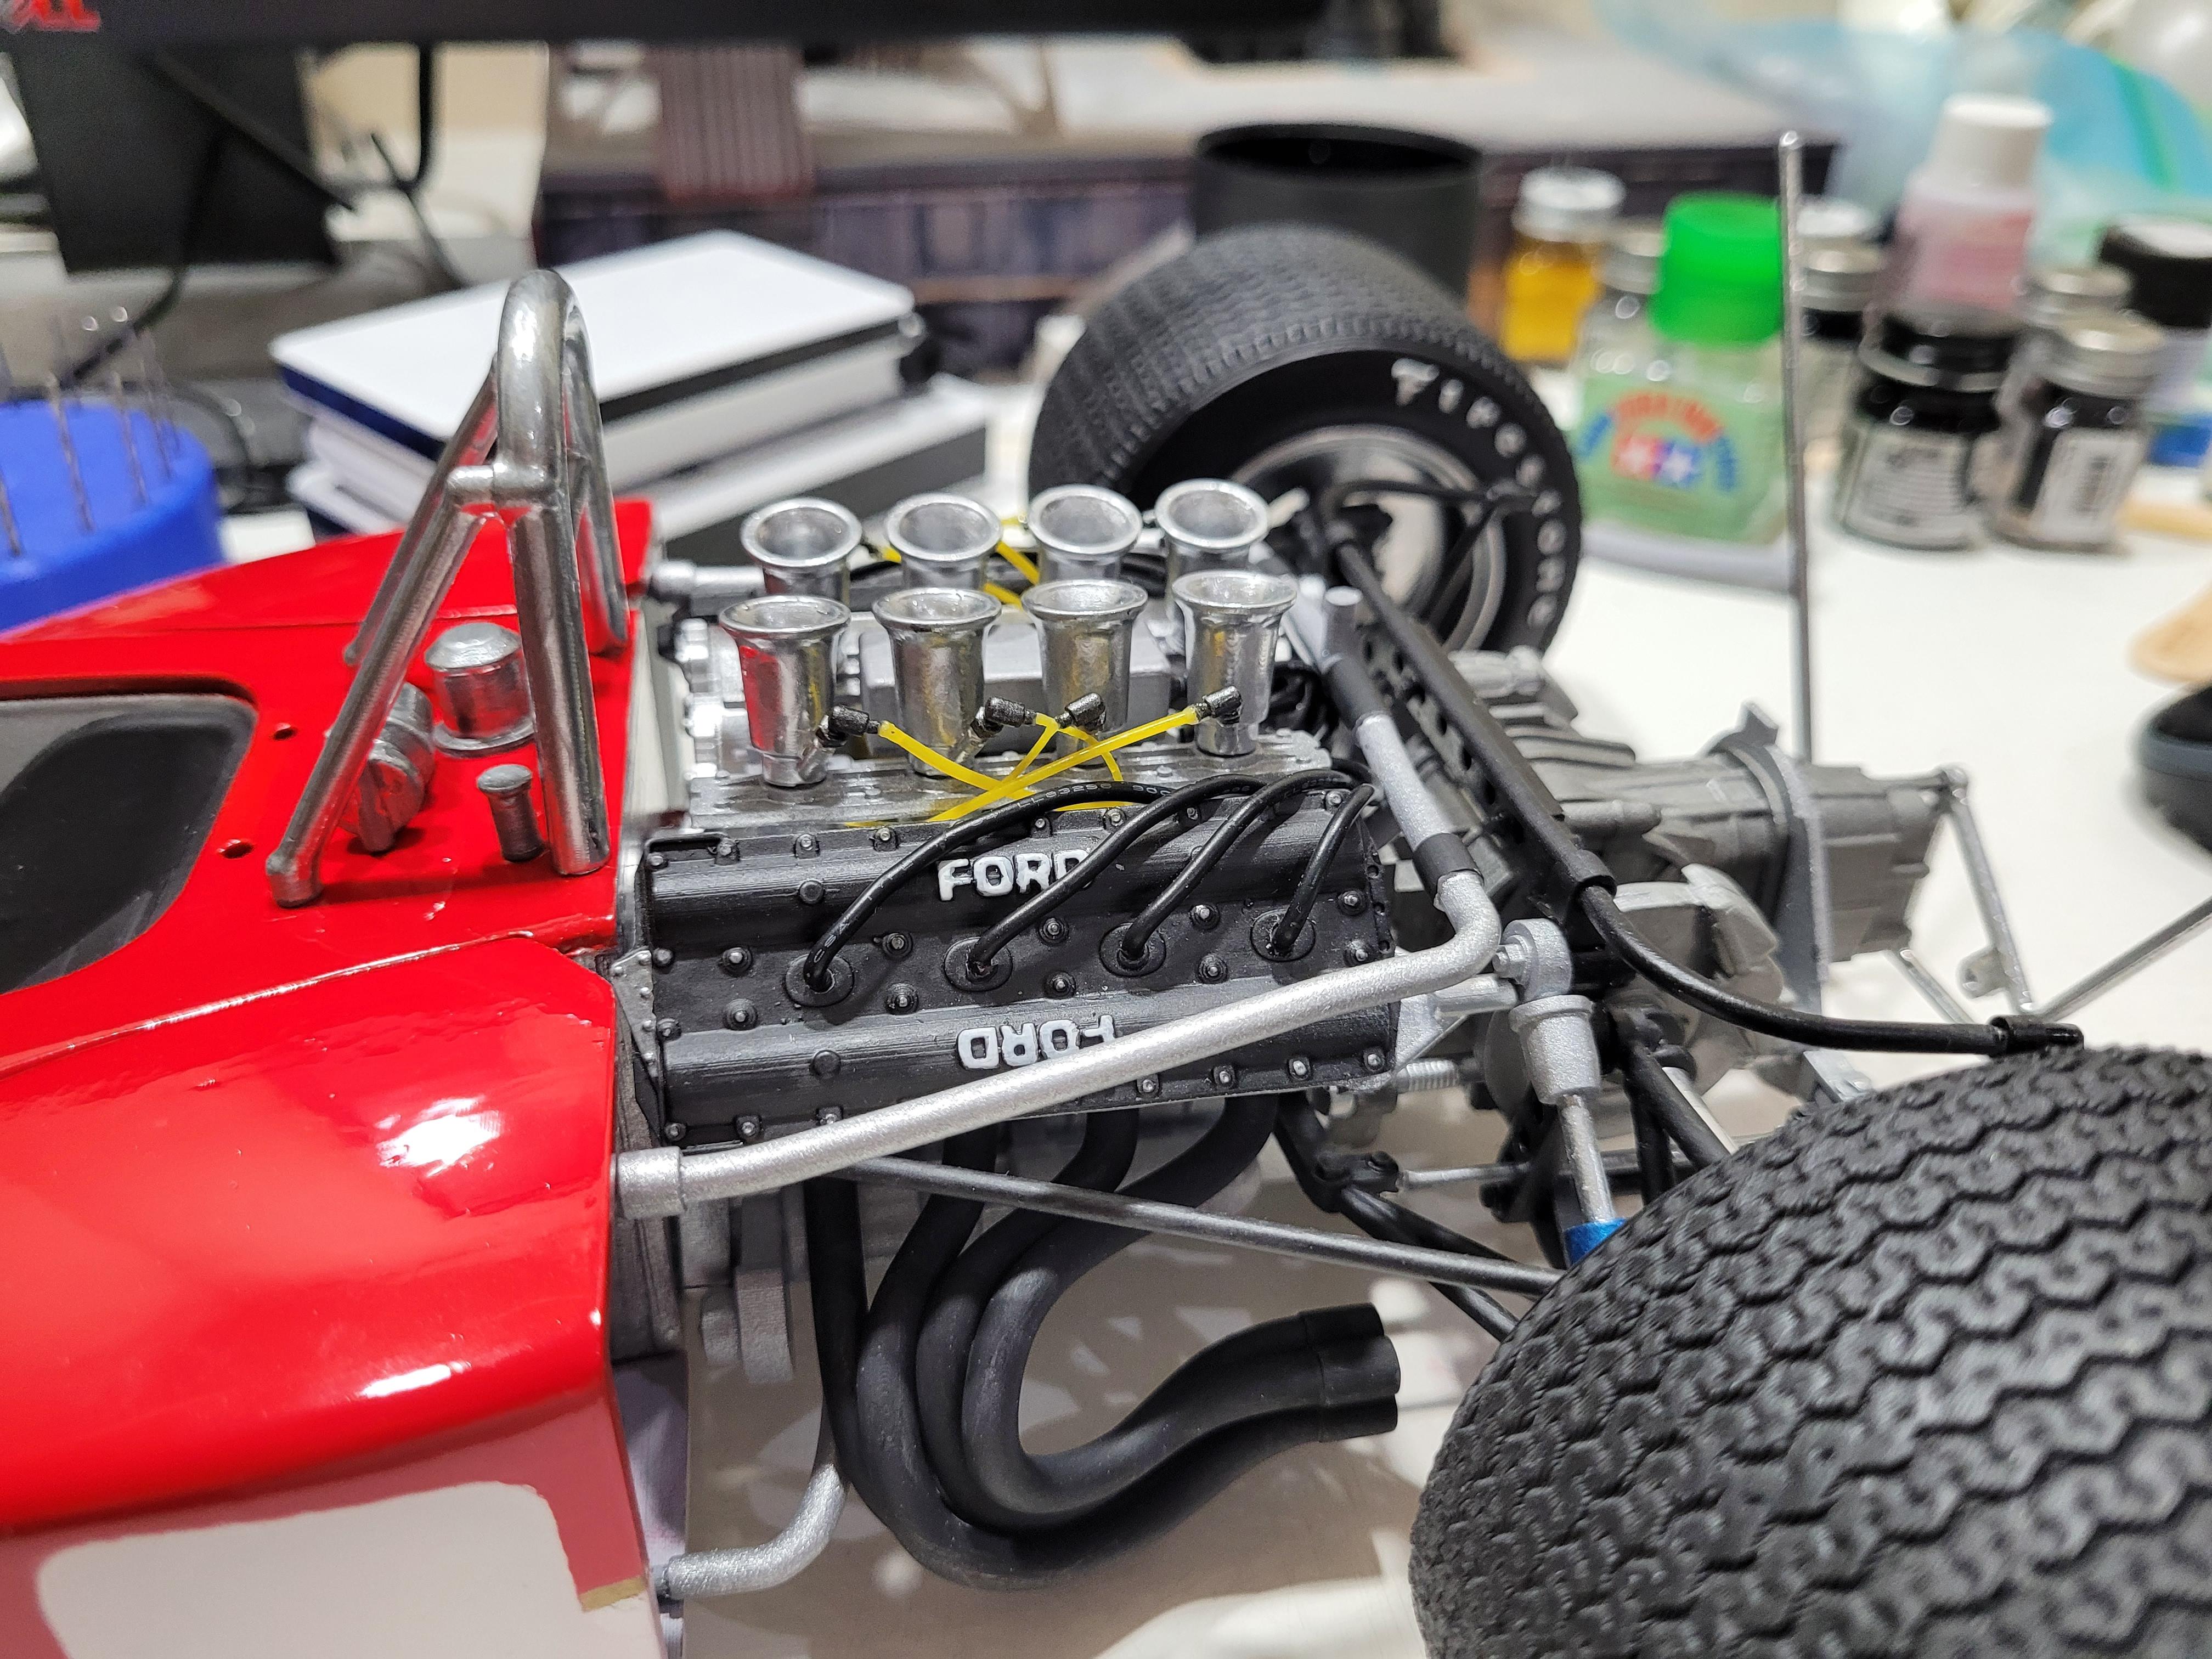
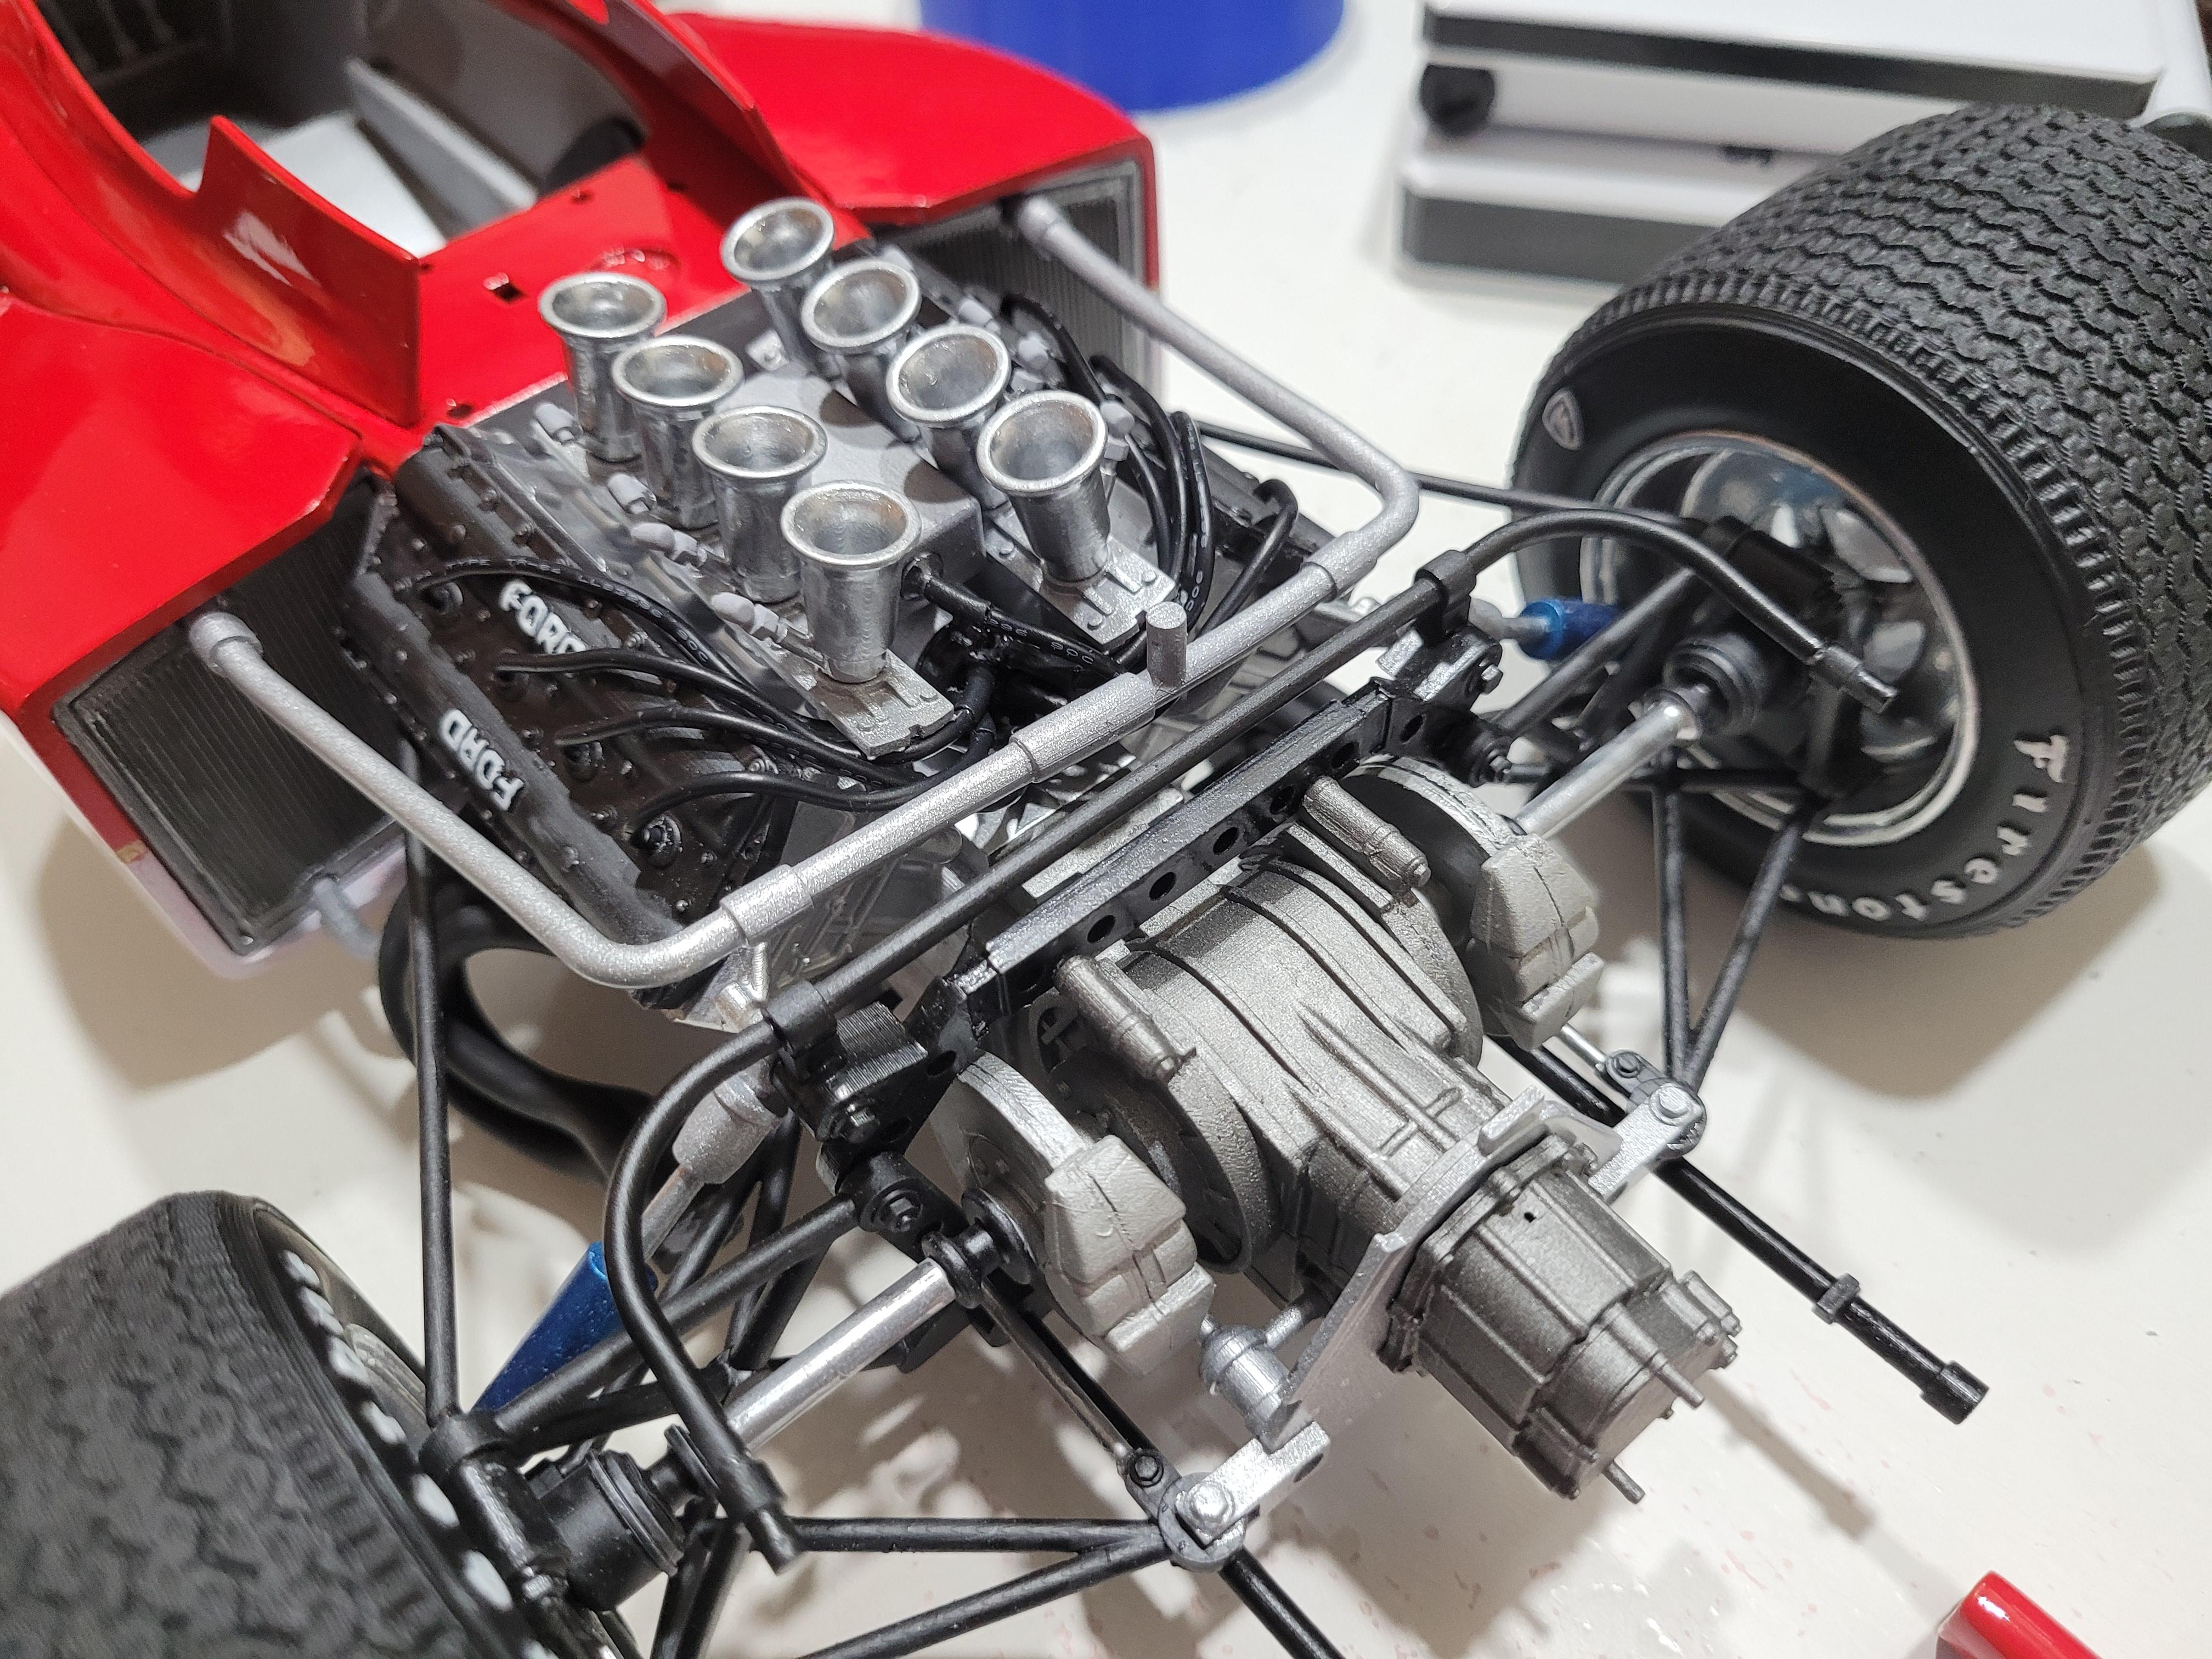
I have the ignition system in place. I need to find a suitable material for the injector lines. More to come on that.
-
1/8 Scale Lotus 72c -3d Printed
kenlwest replied to kenlwest's topic in WIP: Other Racing: Road Racing, Land Speed Racers
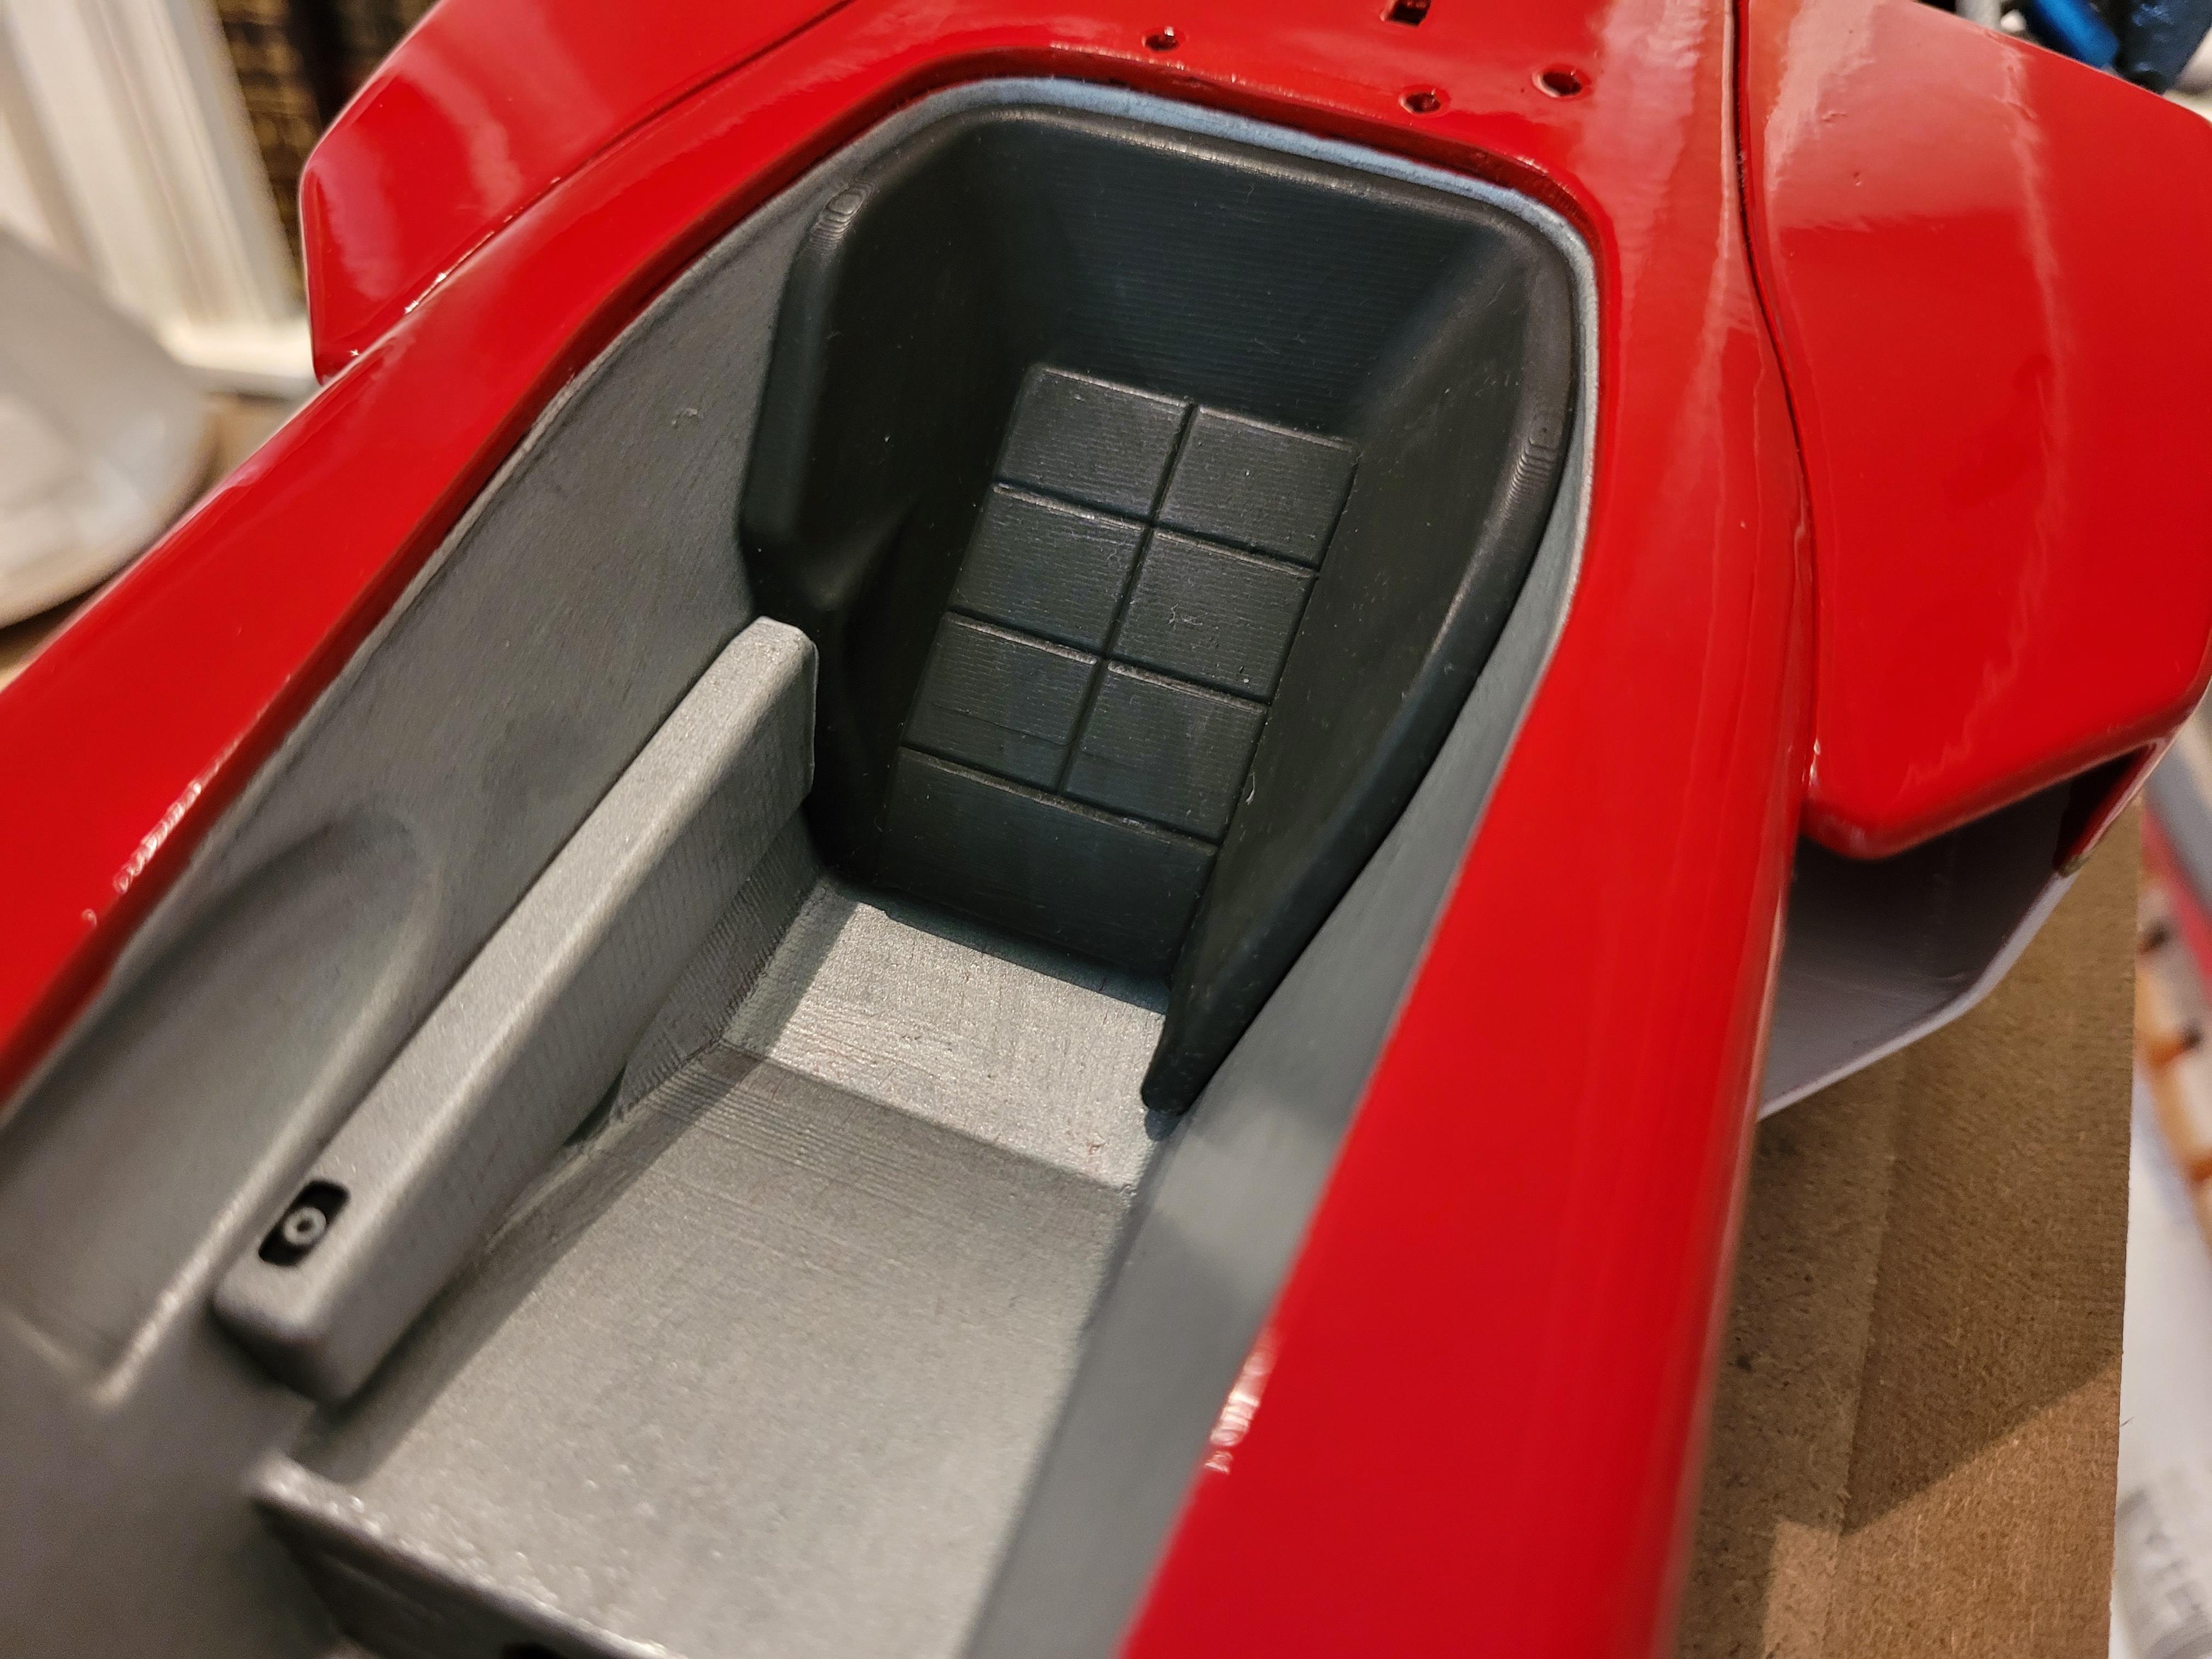
I forgot to show the installed seat.
-
1/8 Scale Lotus 72c -3d Printed
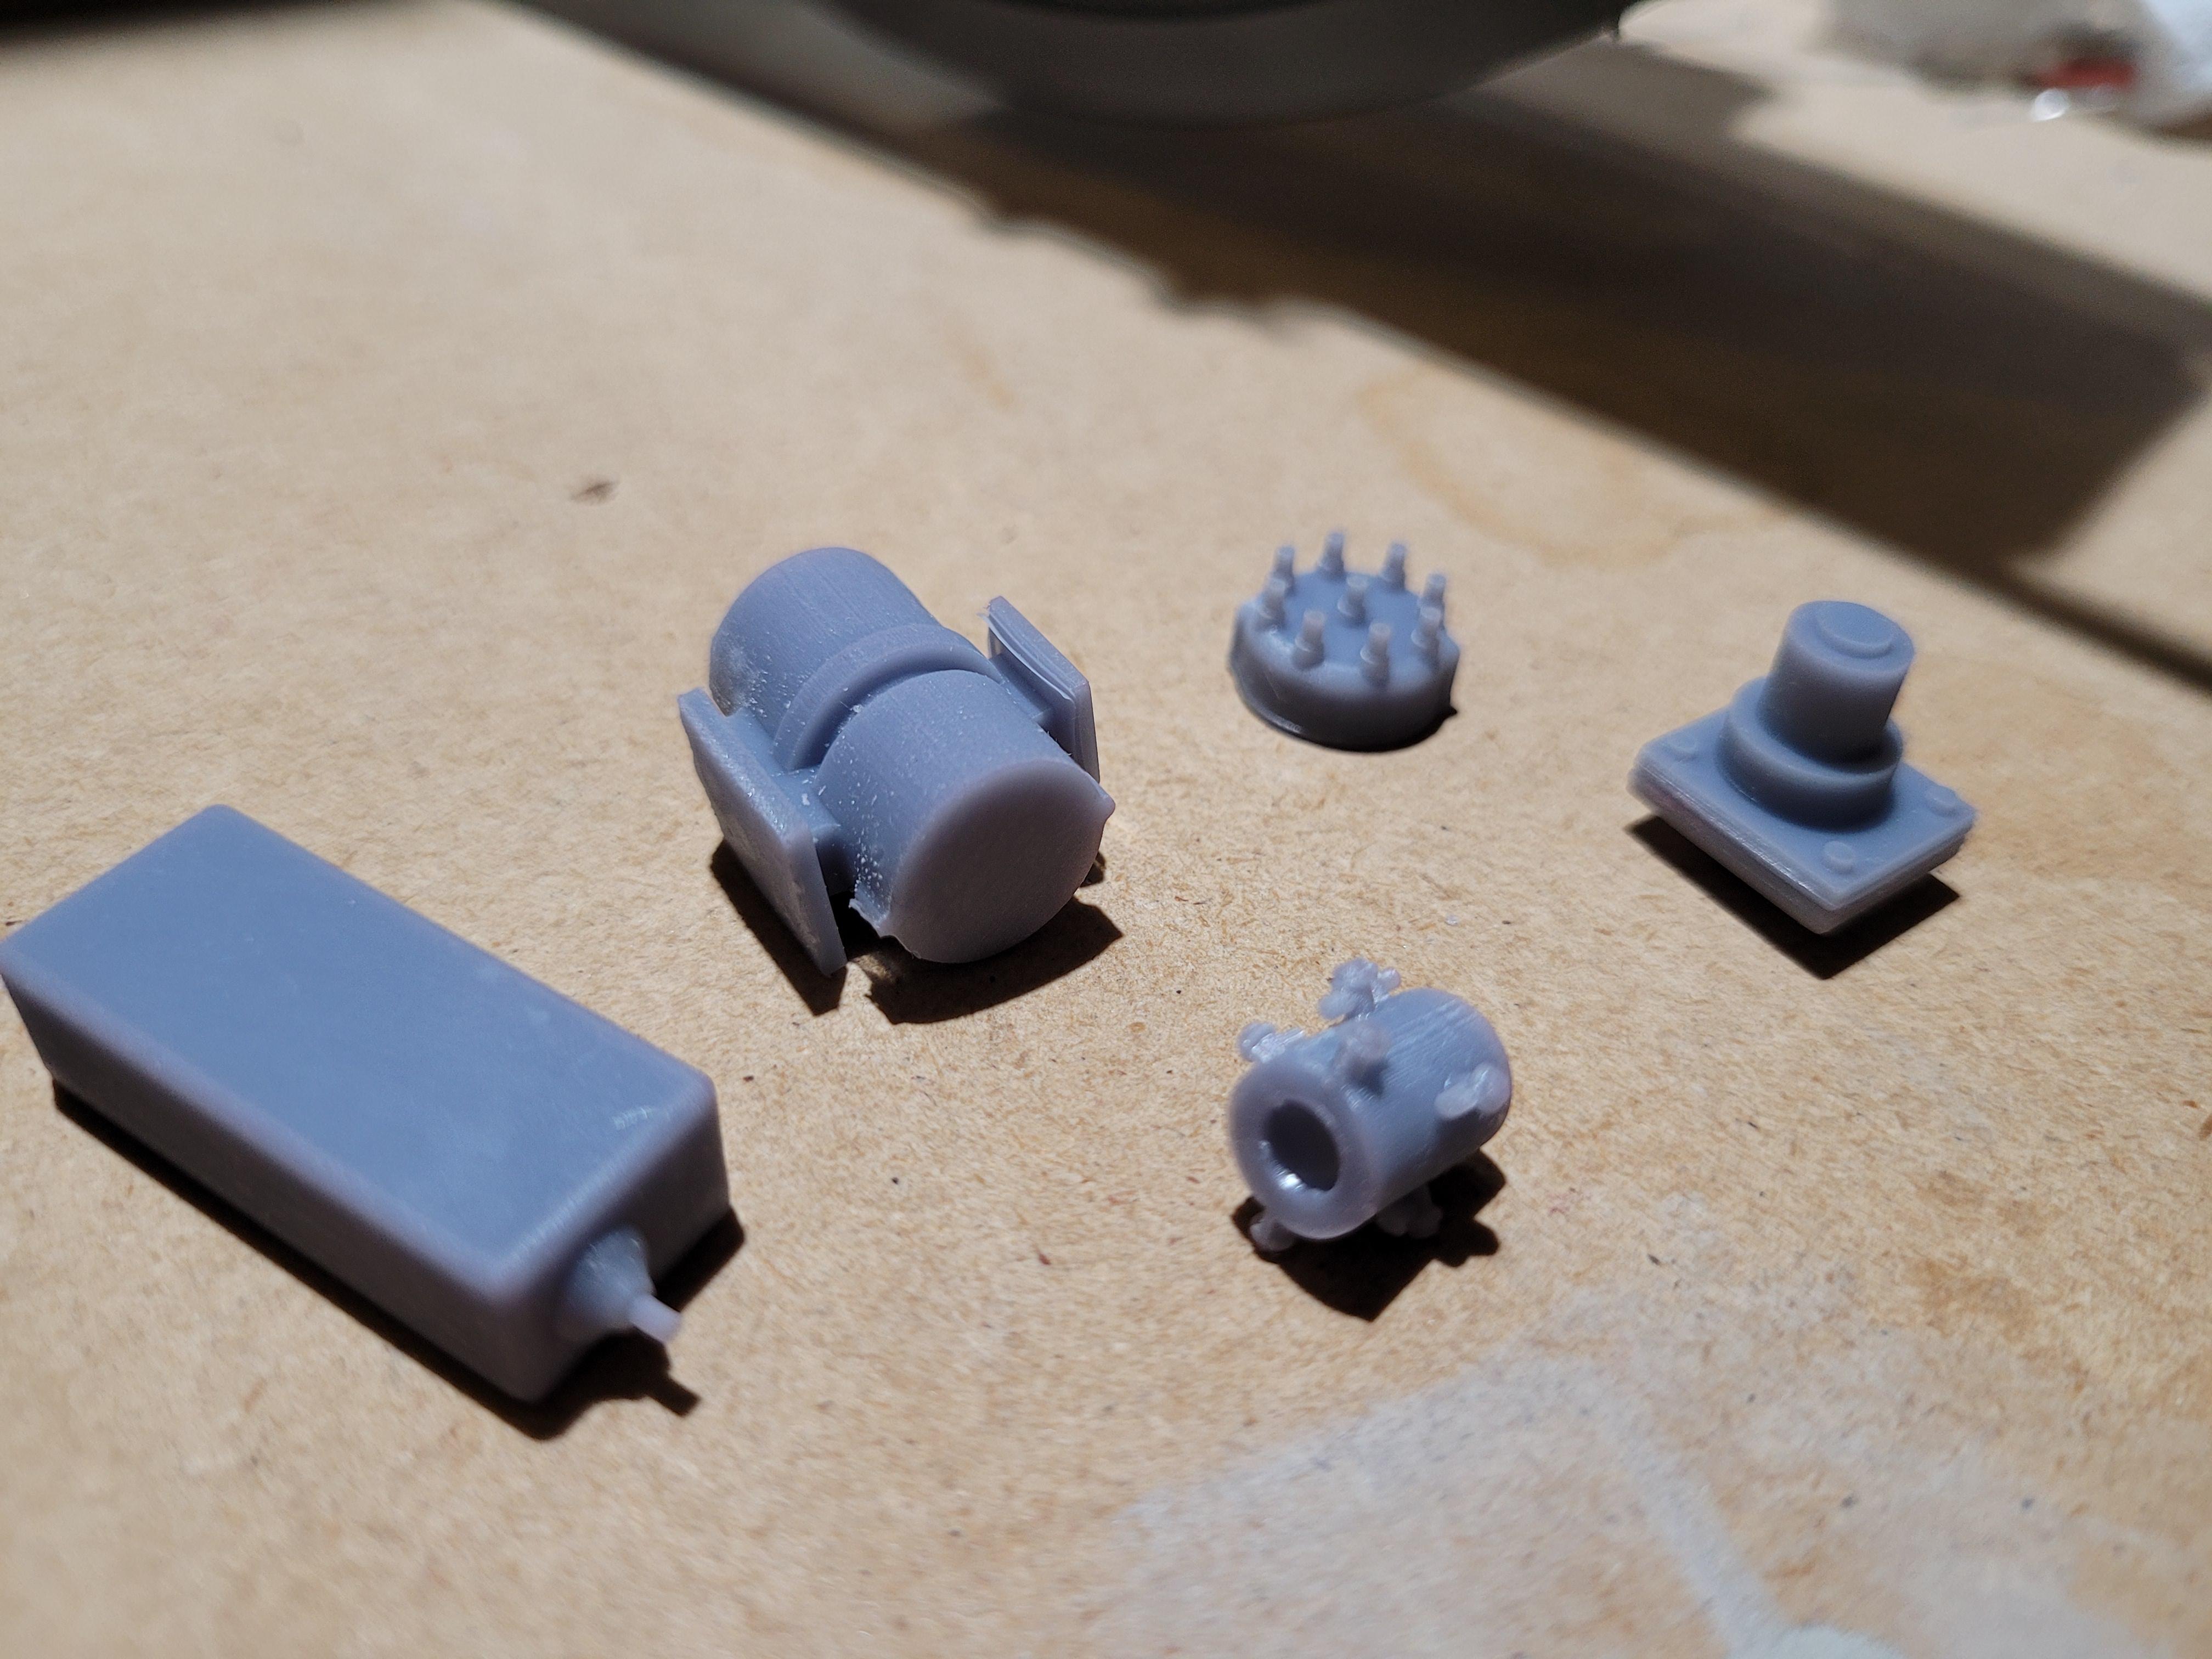
kenlwest replied to kenlwest's topic in WIP: Other Racing: Road Racing, Land Speed Racers
Yes! My eyes won't let me build 1/24 anymore.. without making a mess. Here are the fuel injection and ignition parts fresh off the printer. I'll be plumbing and wiring next week.
-
1/8 Scale Lotus 72c -3d Printed
kenlwest replied to kenlwest's topic in WIP: Other Racing: Road Racing, Land Speed Racers
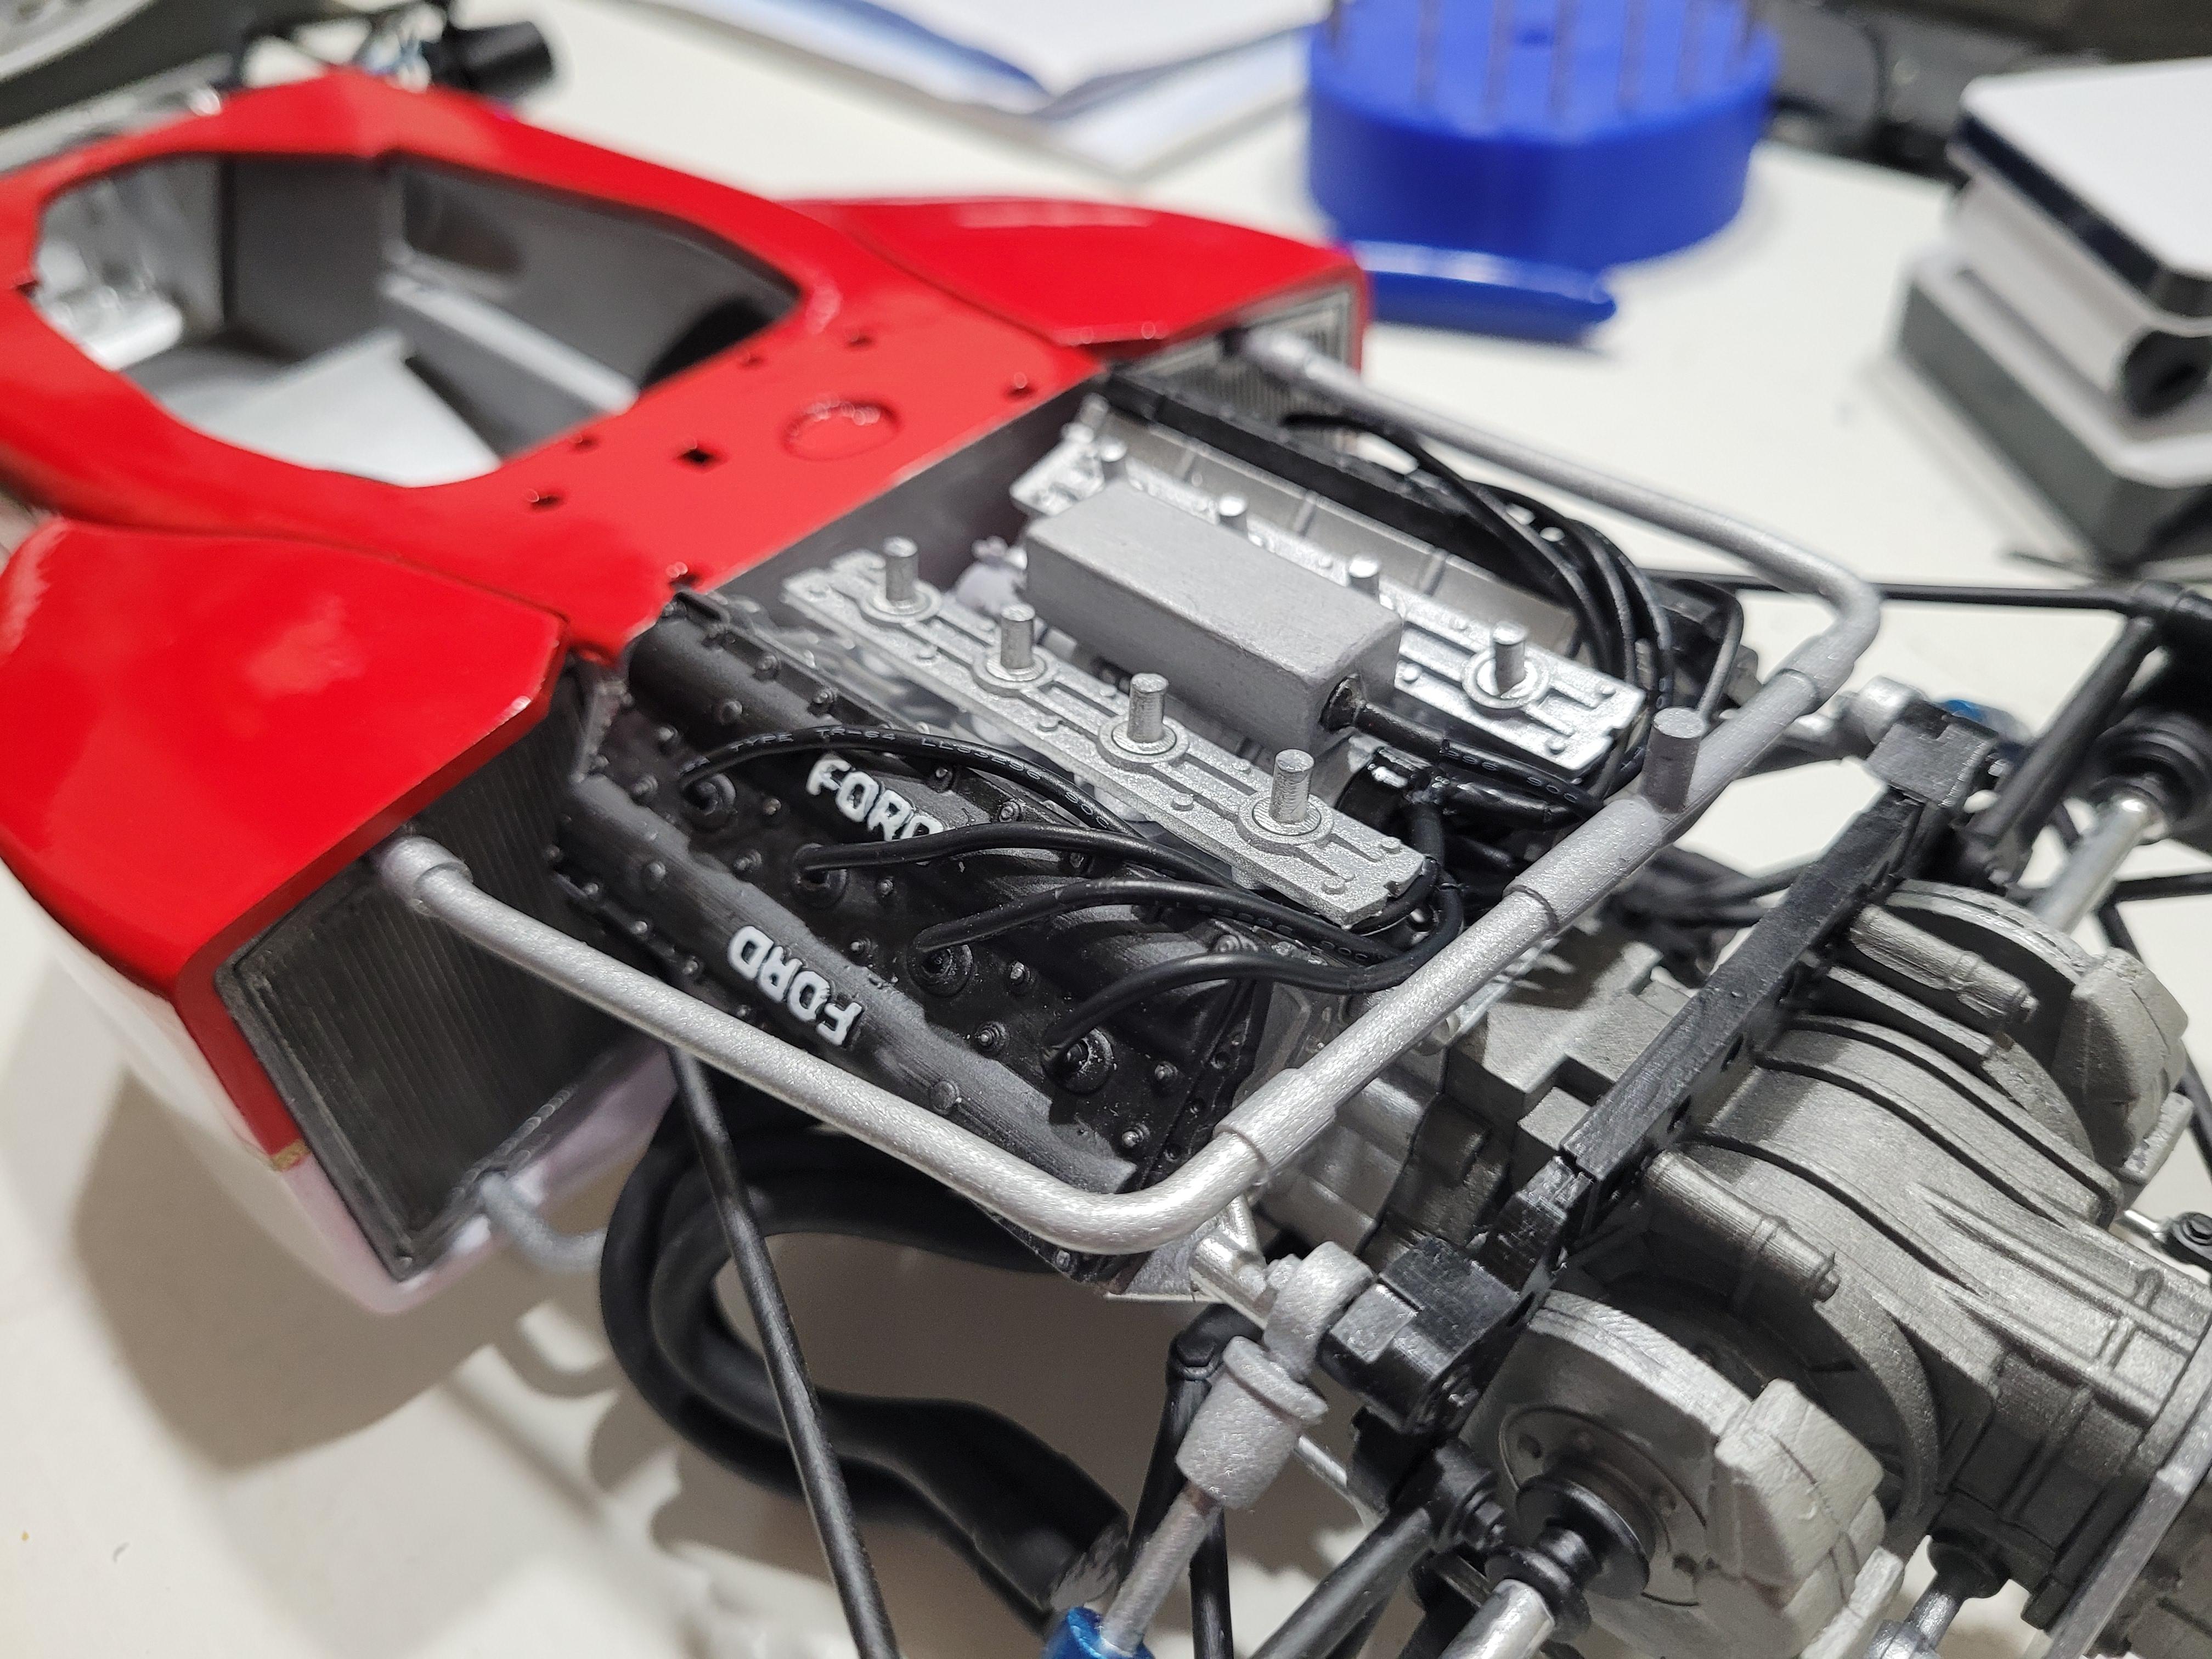
Upper coolant lines are in place.
-
1/8 Scale Lotus 72c -3d Printed
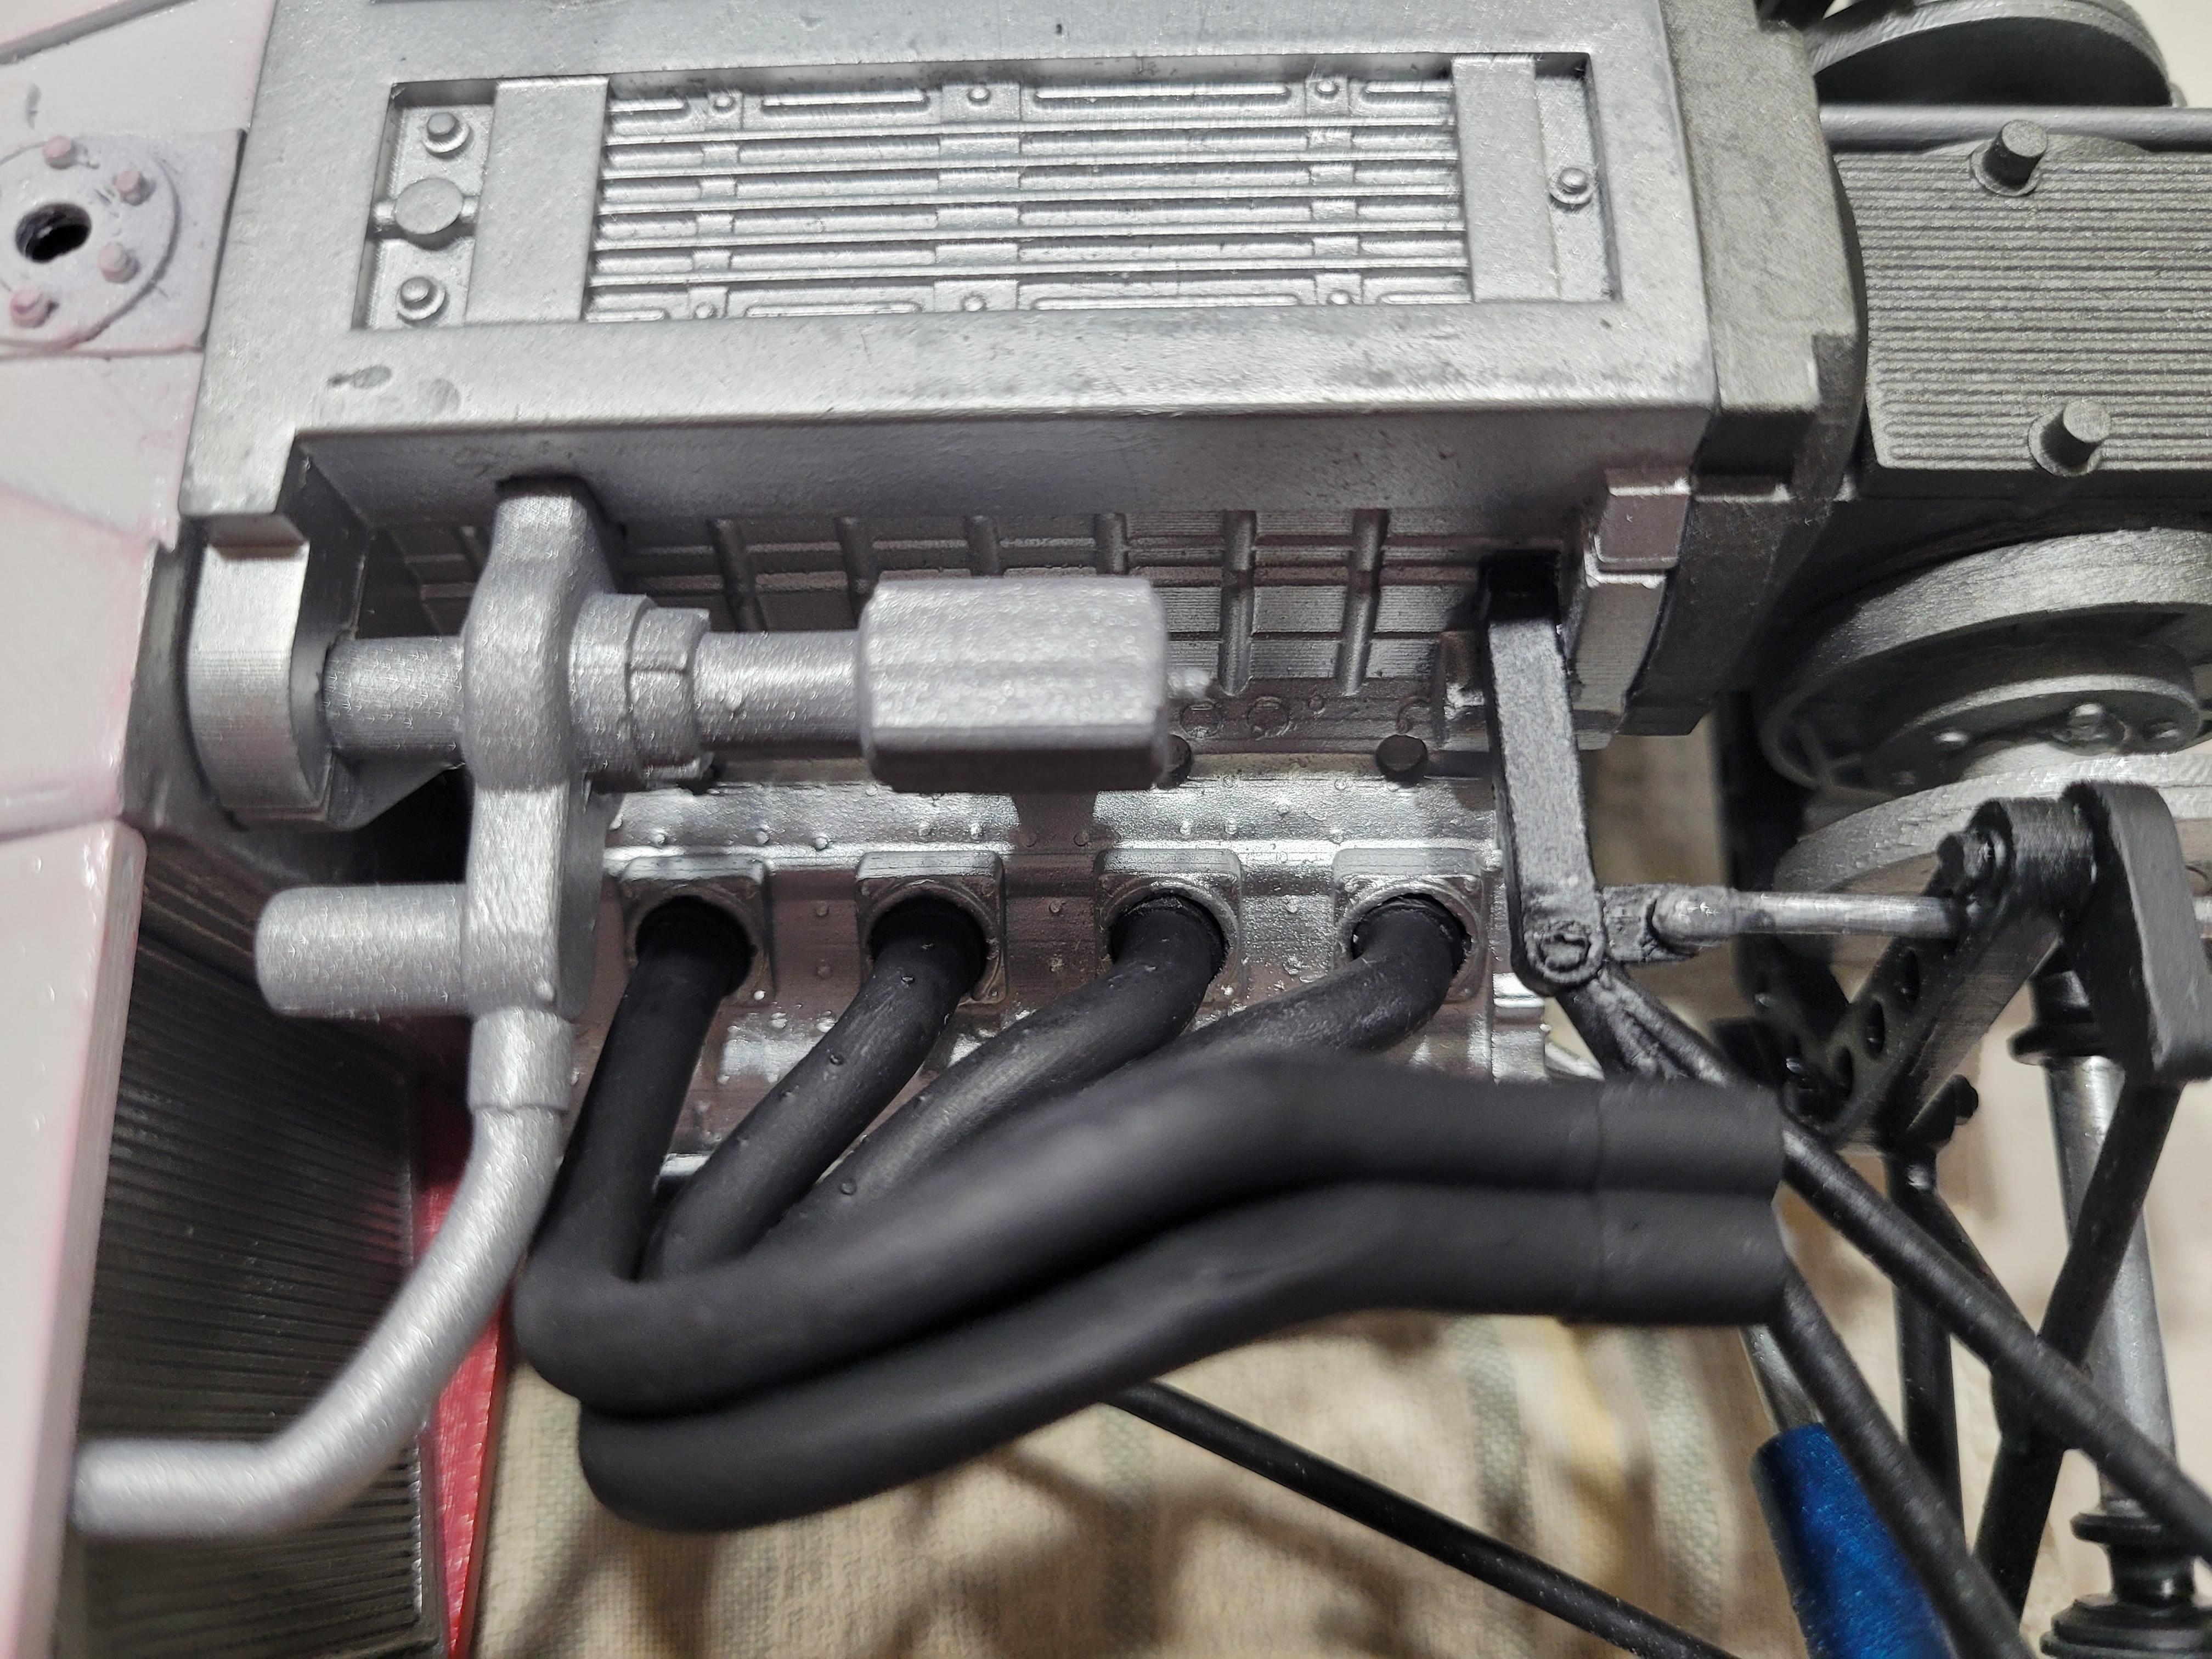
kenlwest replied to kenlwest's topic in WIP: Other Racing: Road Racing, Land Speed Racers
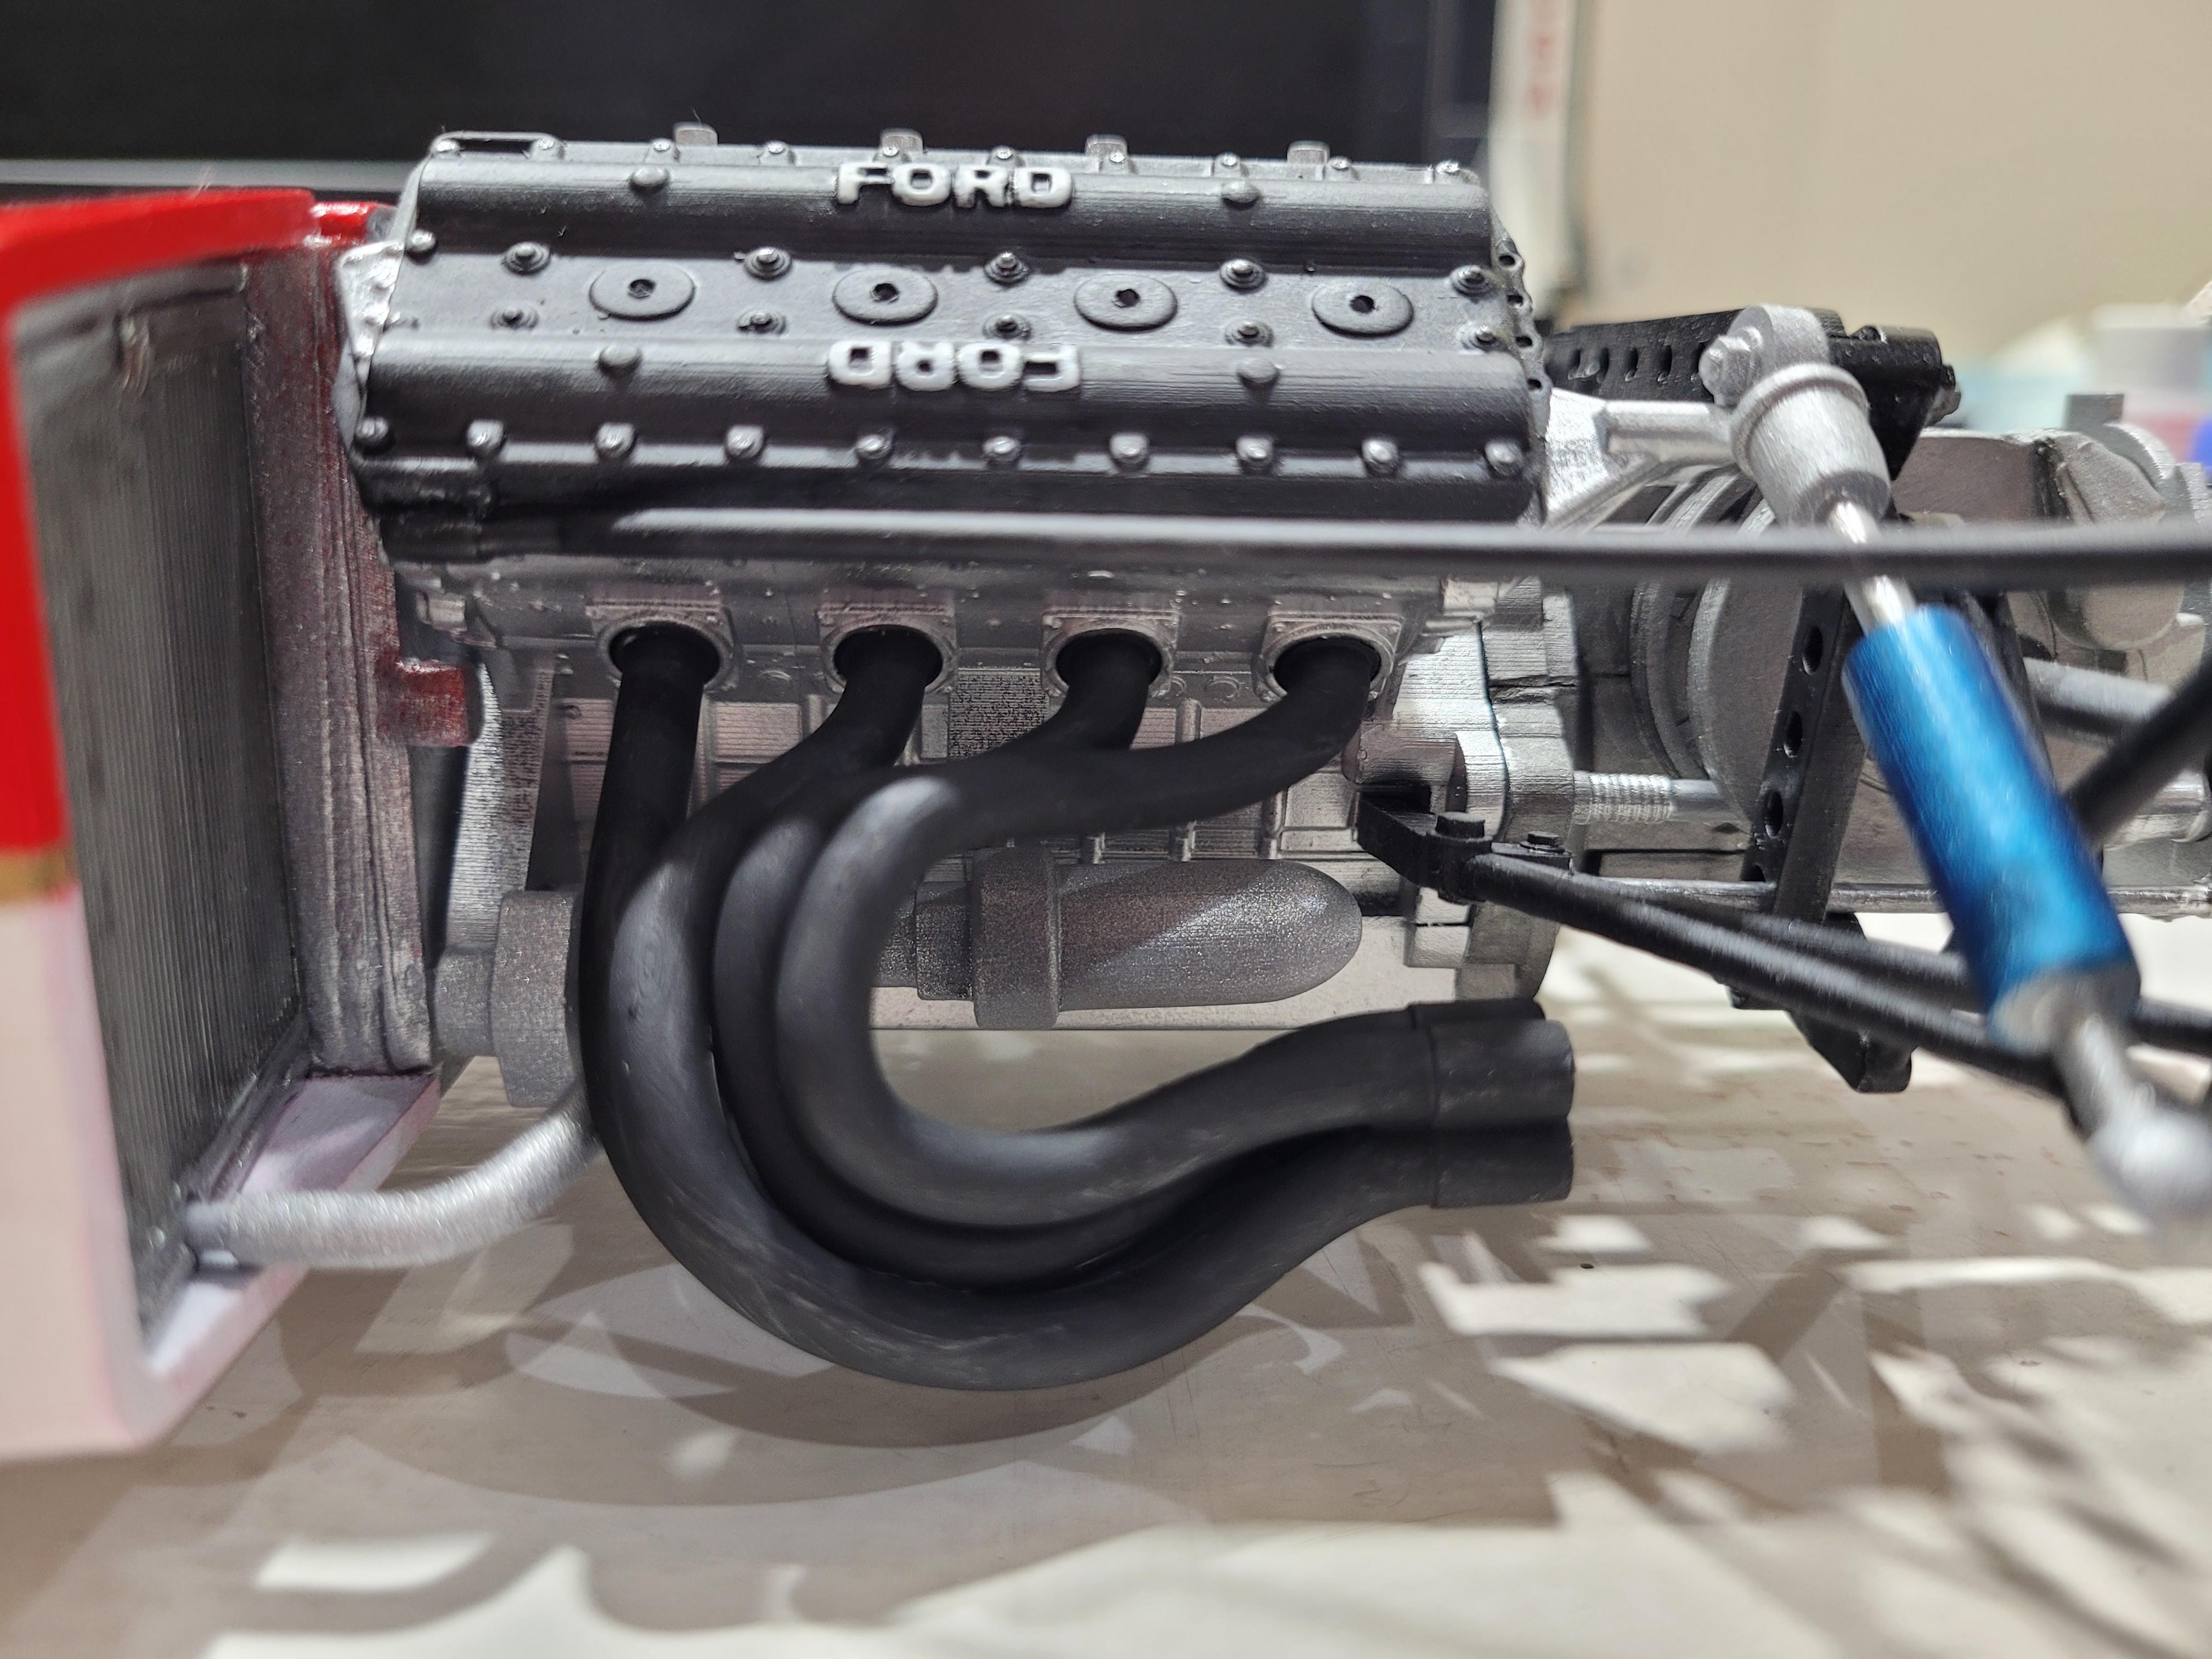
The headers are fitted to the engine.
-
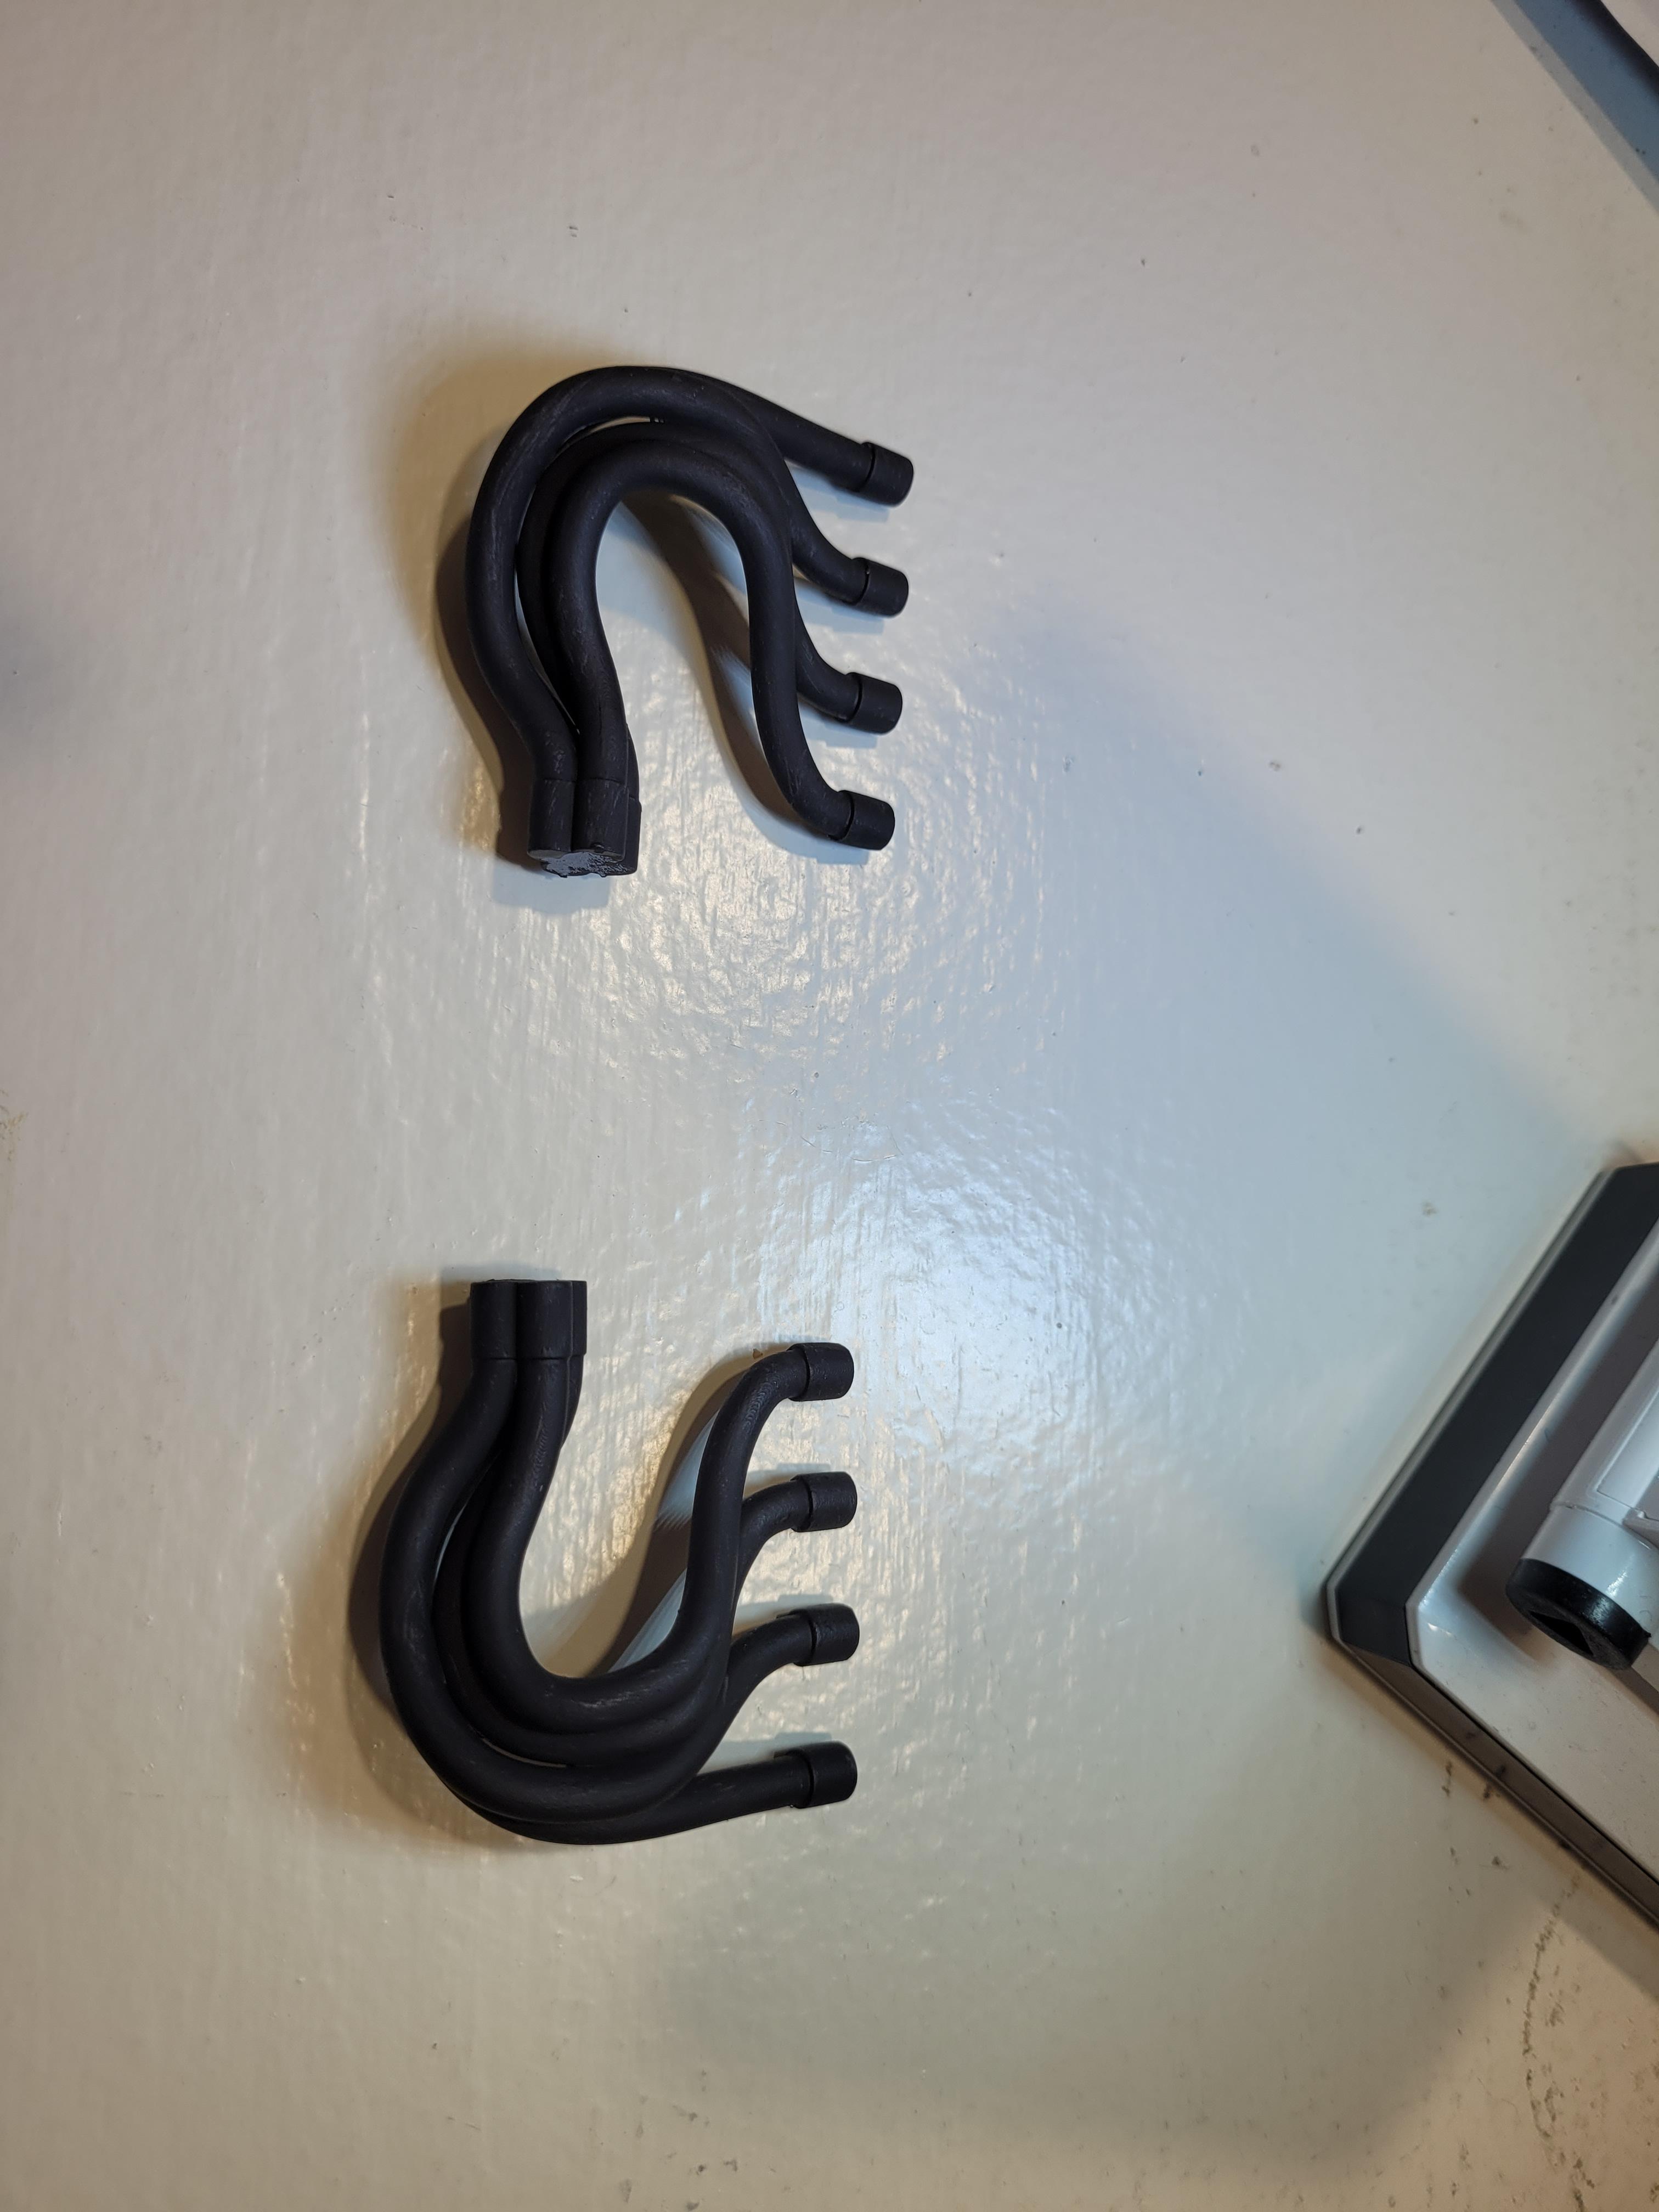
1/8 Scale Lotus 72c -3d Printed
kenlwest replied to kenlwest's topic in WIP: Other Racing: Road Racing, Land Speed Racers
The headers were modeled and printed in one piece. This is one of the advantages of 3d printing; the part does not have to be removed from a mold. Each tube lines up correctly as they were modeled.