kenlwest
-
Posts
277 -
Joined
-
Last visited
Content Type
Profiles
Forums
Events
Gallery
Everything posted by kenlwest
-
1/8 Scale Lotus 72c -3d Printed
kenlwest replied to kenlwest's topic in WIP: Other Racing: Road Racing, Land Speed Racers
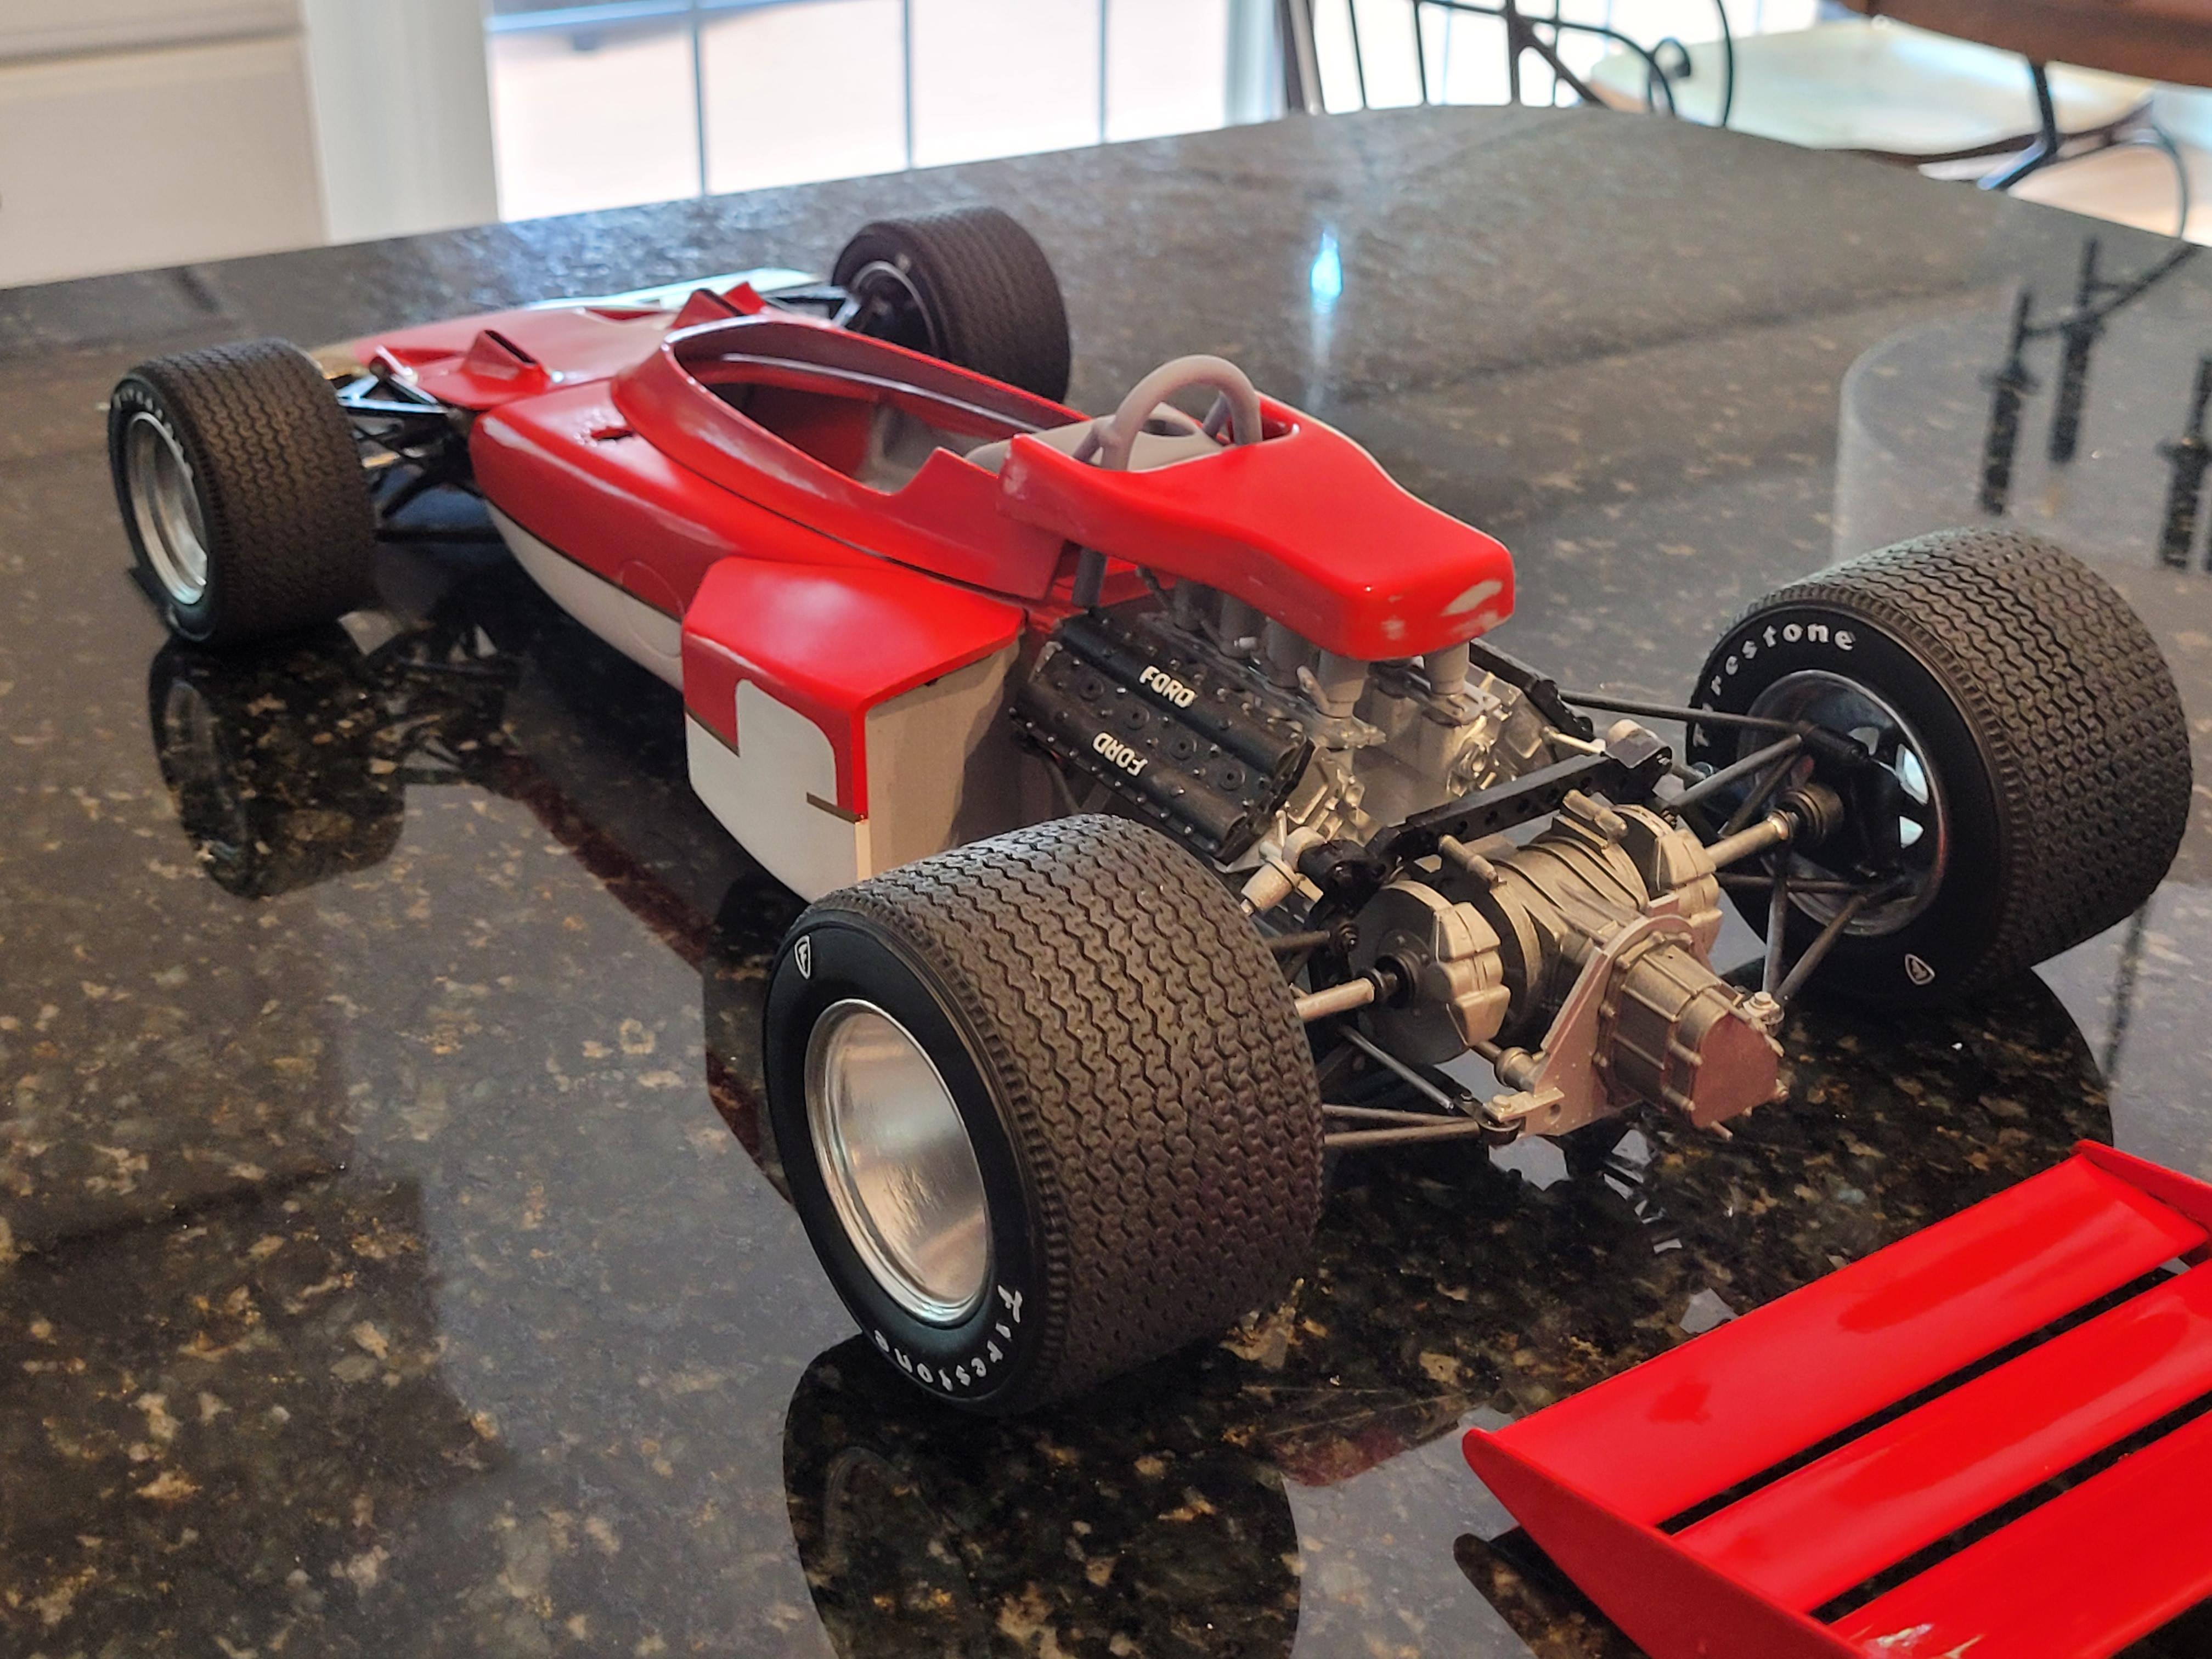
I permanently attached the front and rear suspension and drivetrain.
-
1/8 Scale Lotus 72c -3d Printed
kenlwest replied to kenlwest's topic in WIP: Other Racing: Road Racing, Land Speed Racers
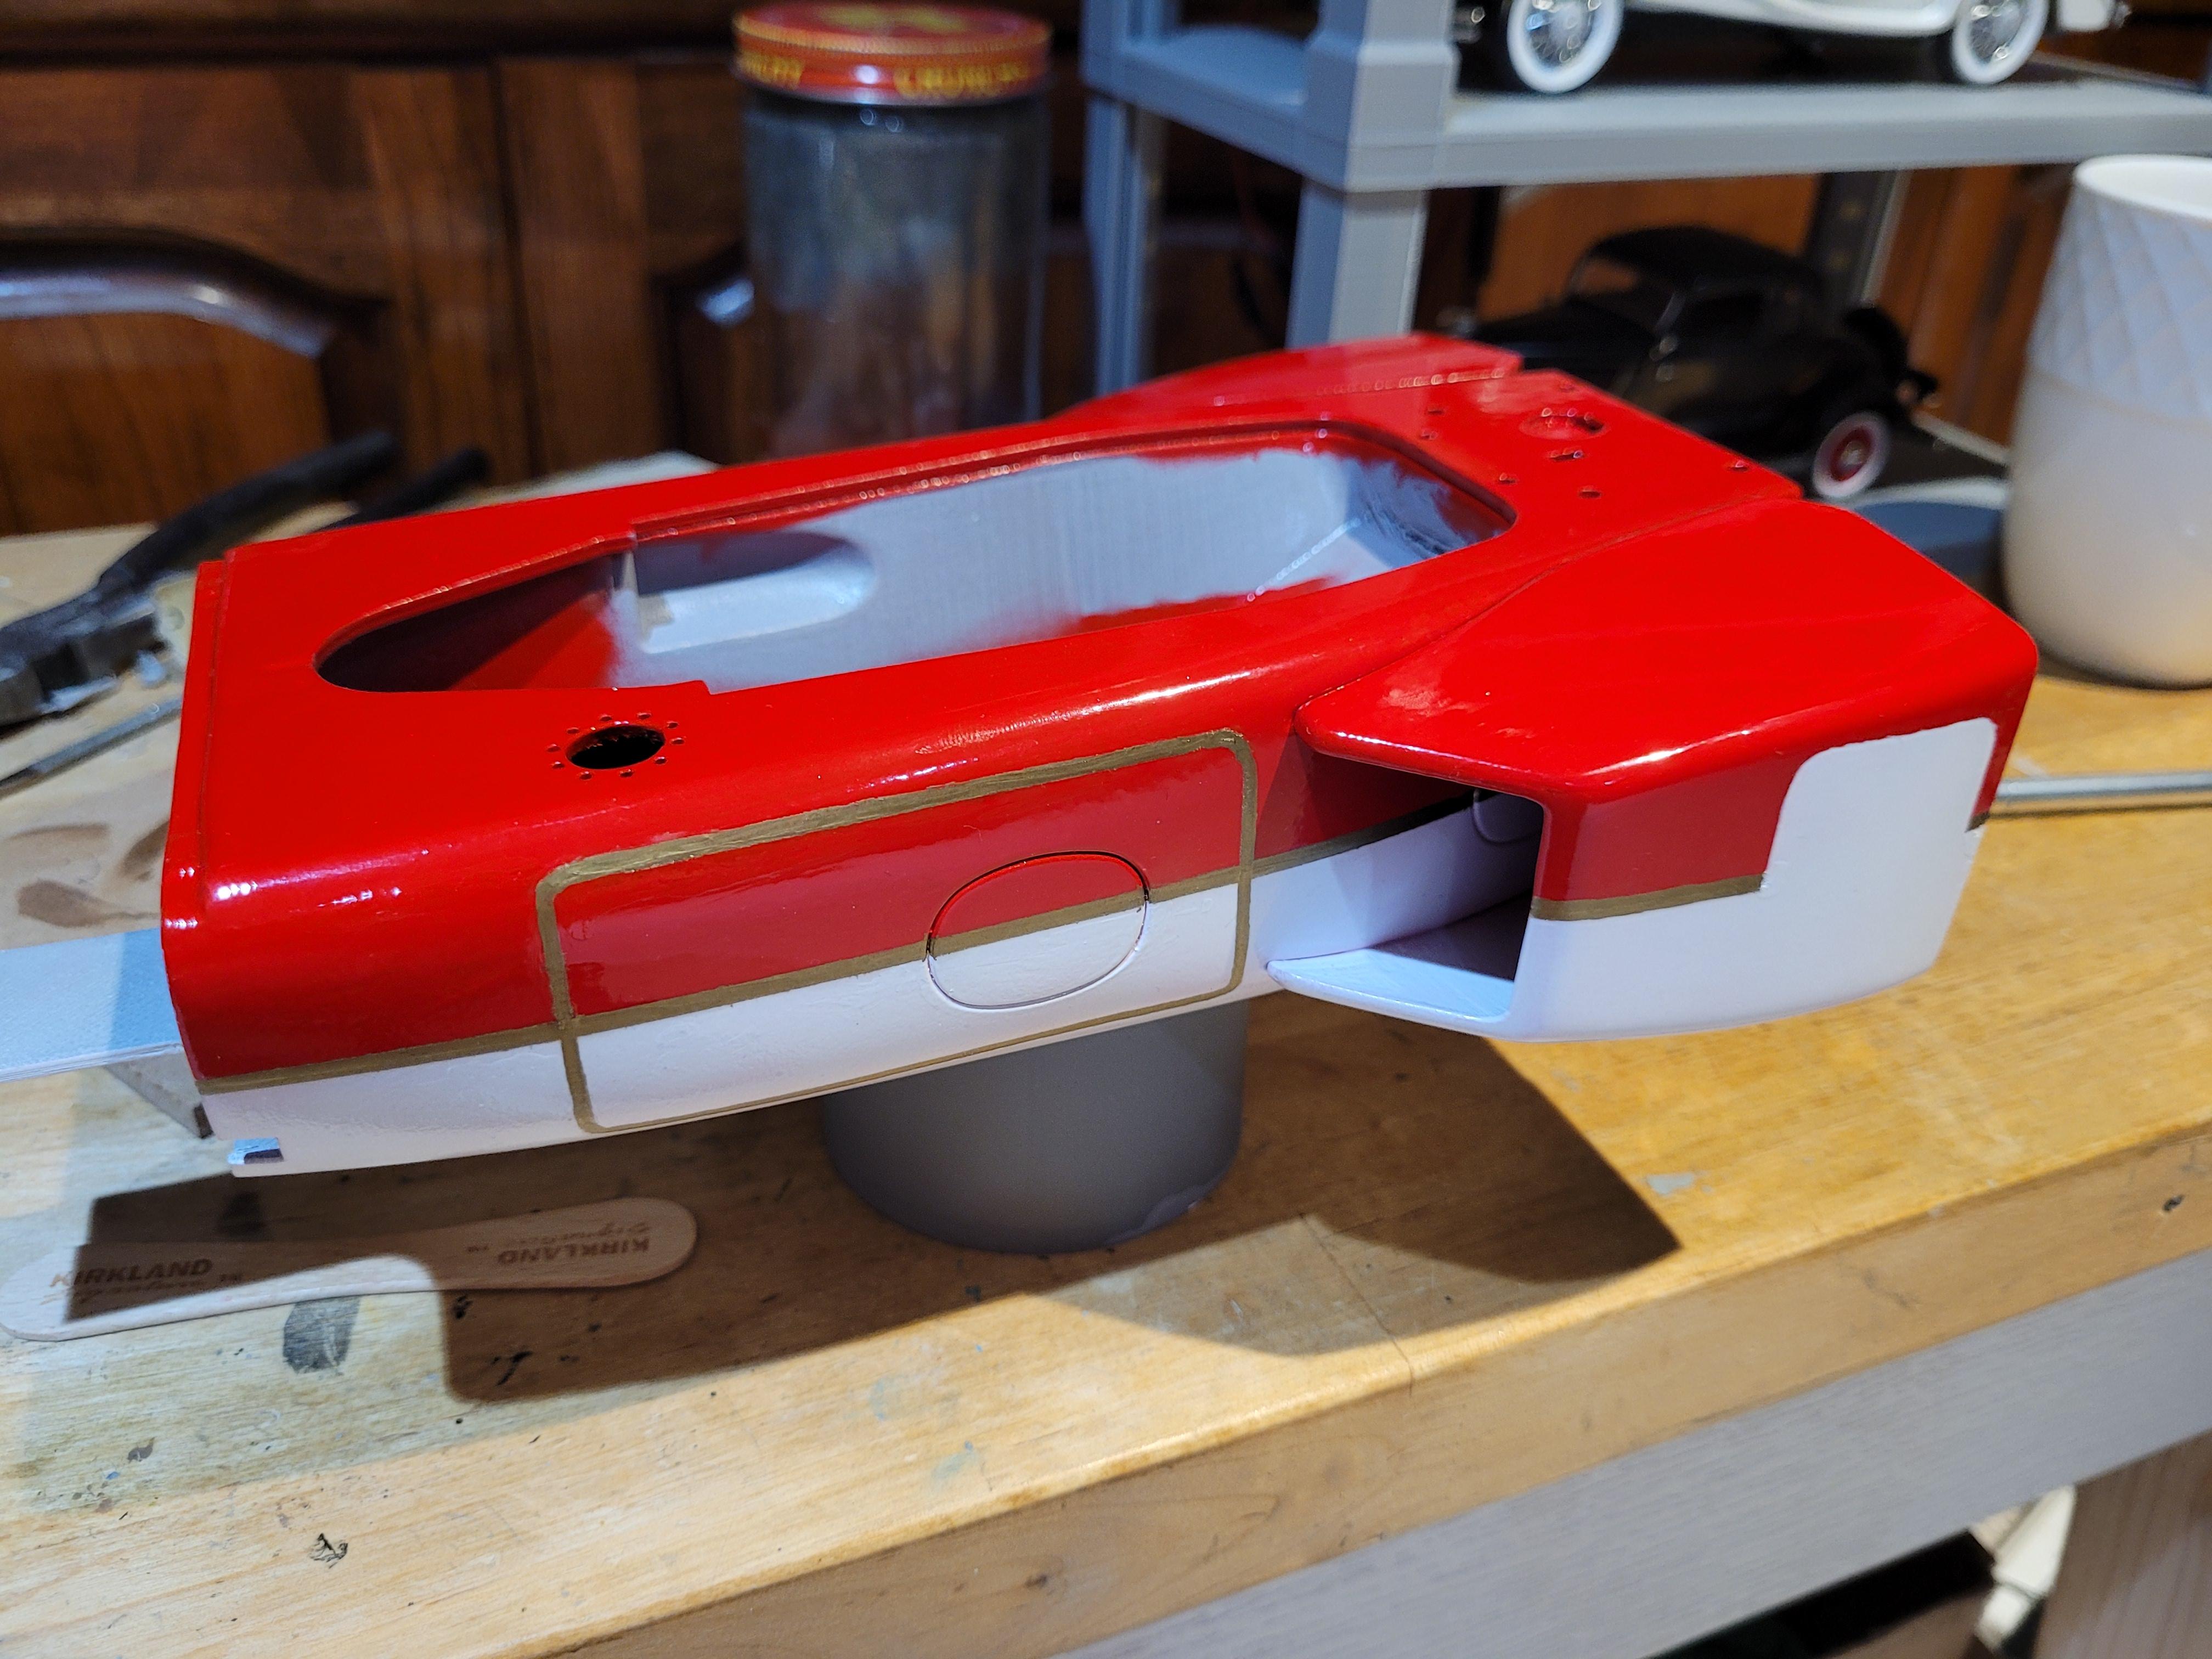
I finished up the paint and gold trim. Not the best, but good enough for my limited painting skills. I glued the radiators in place, and here are a few pictures of them.
-
1/8 Scale Lotus 72c -3d Printed
kenlwest replied to kenlwest's topic in WIP: Other Racing: Road Racing, Land Speed Racers
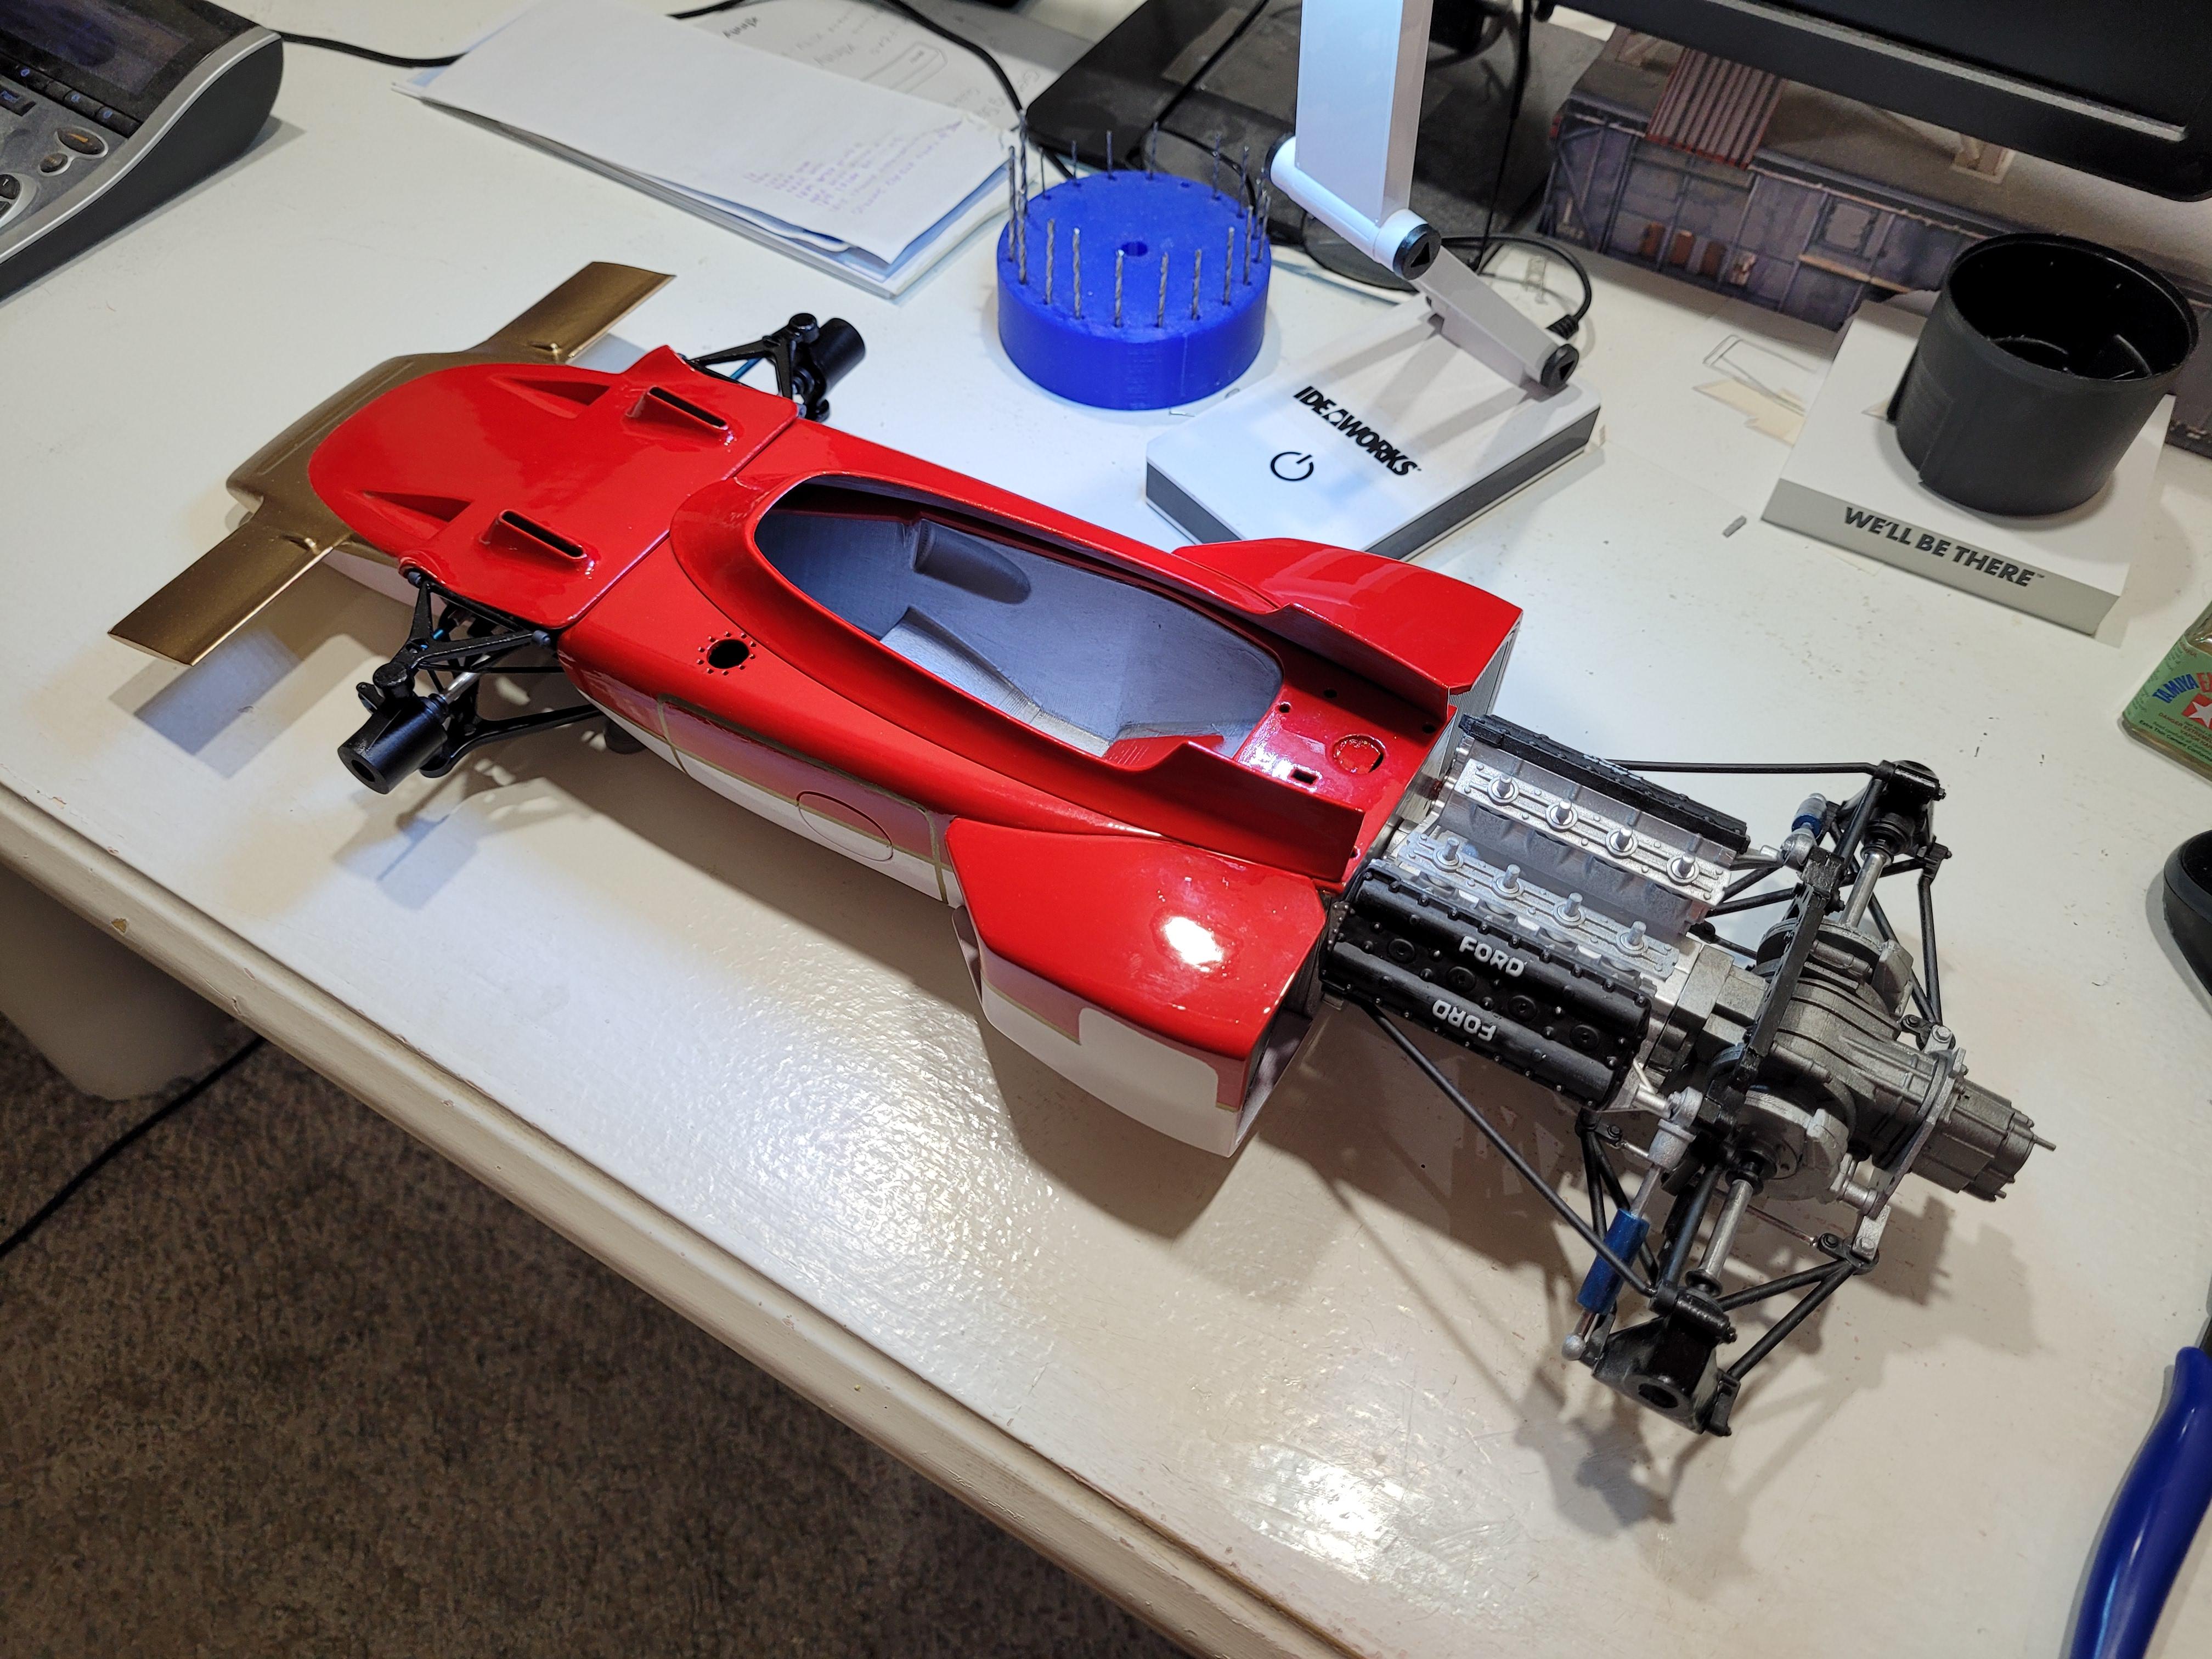
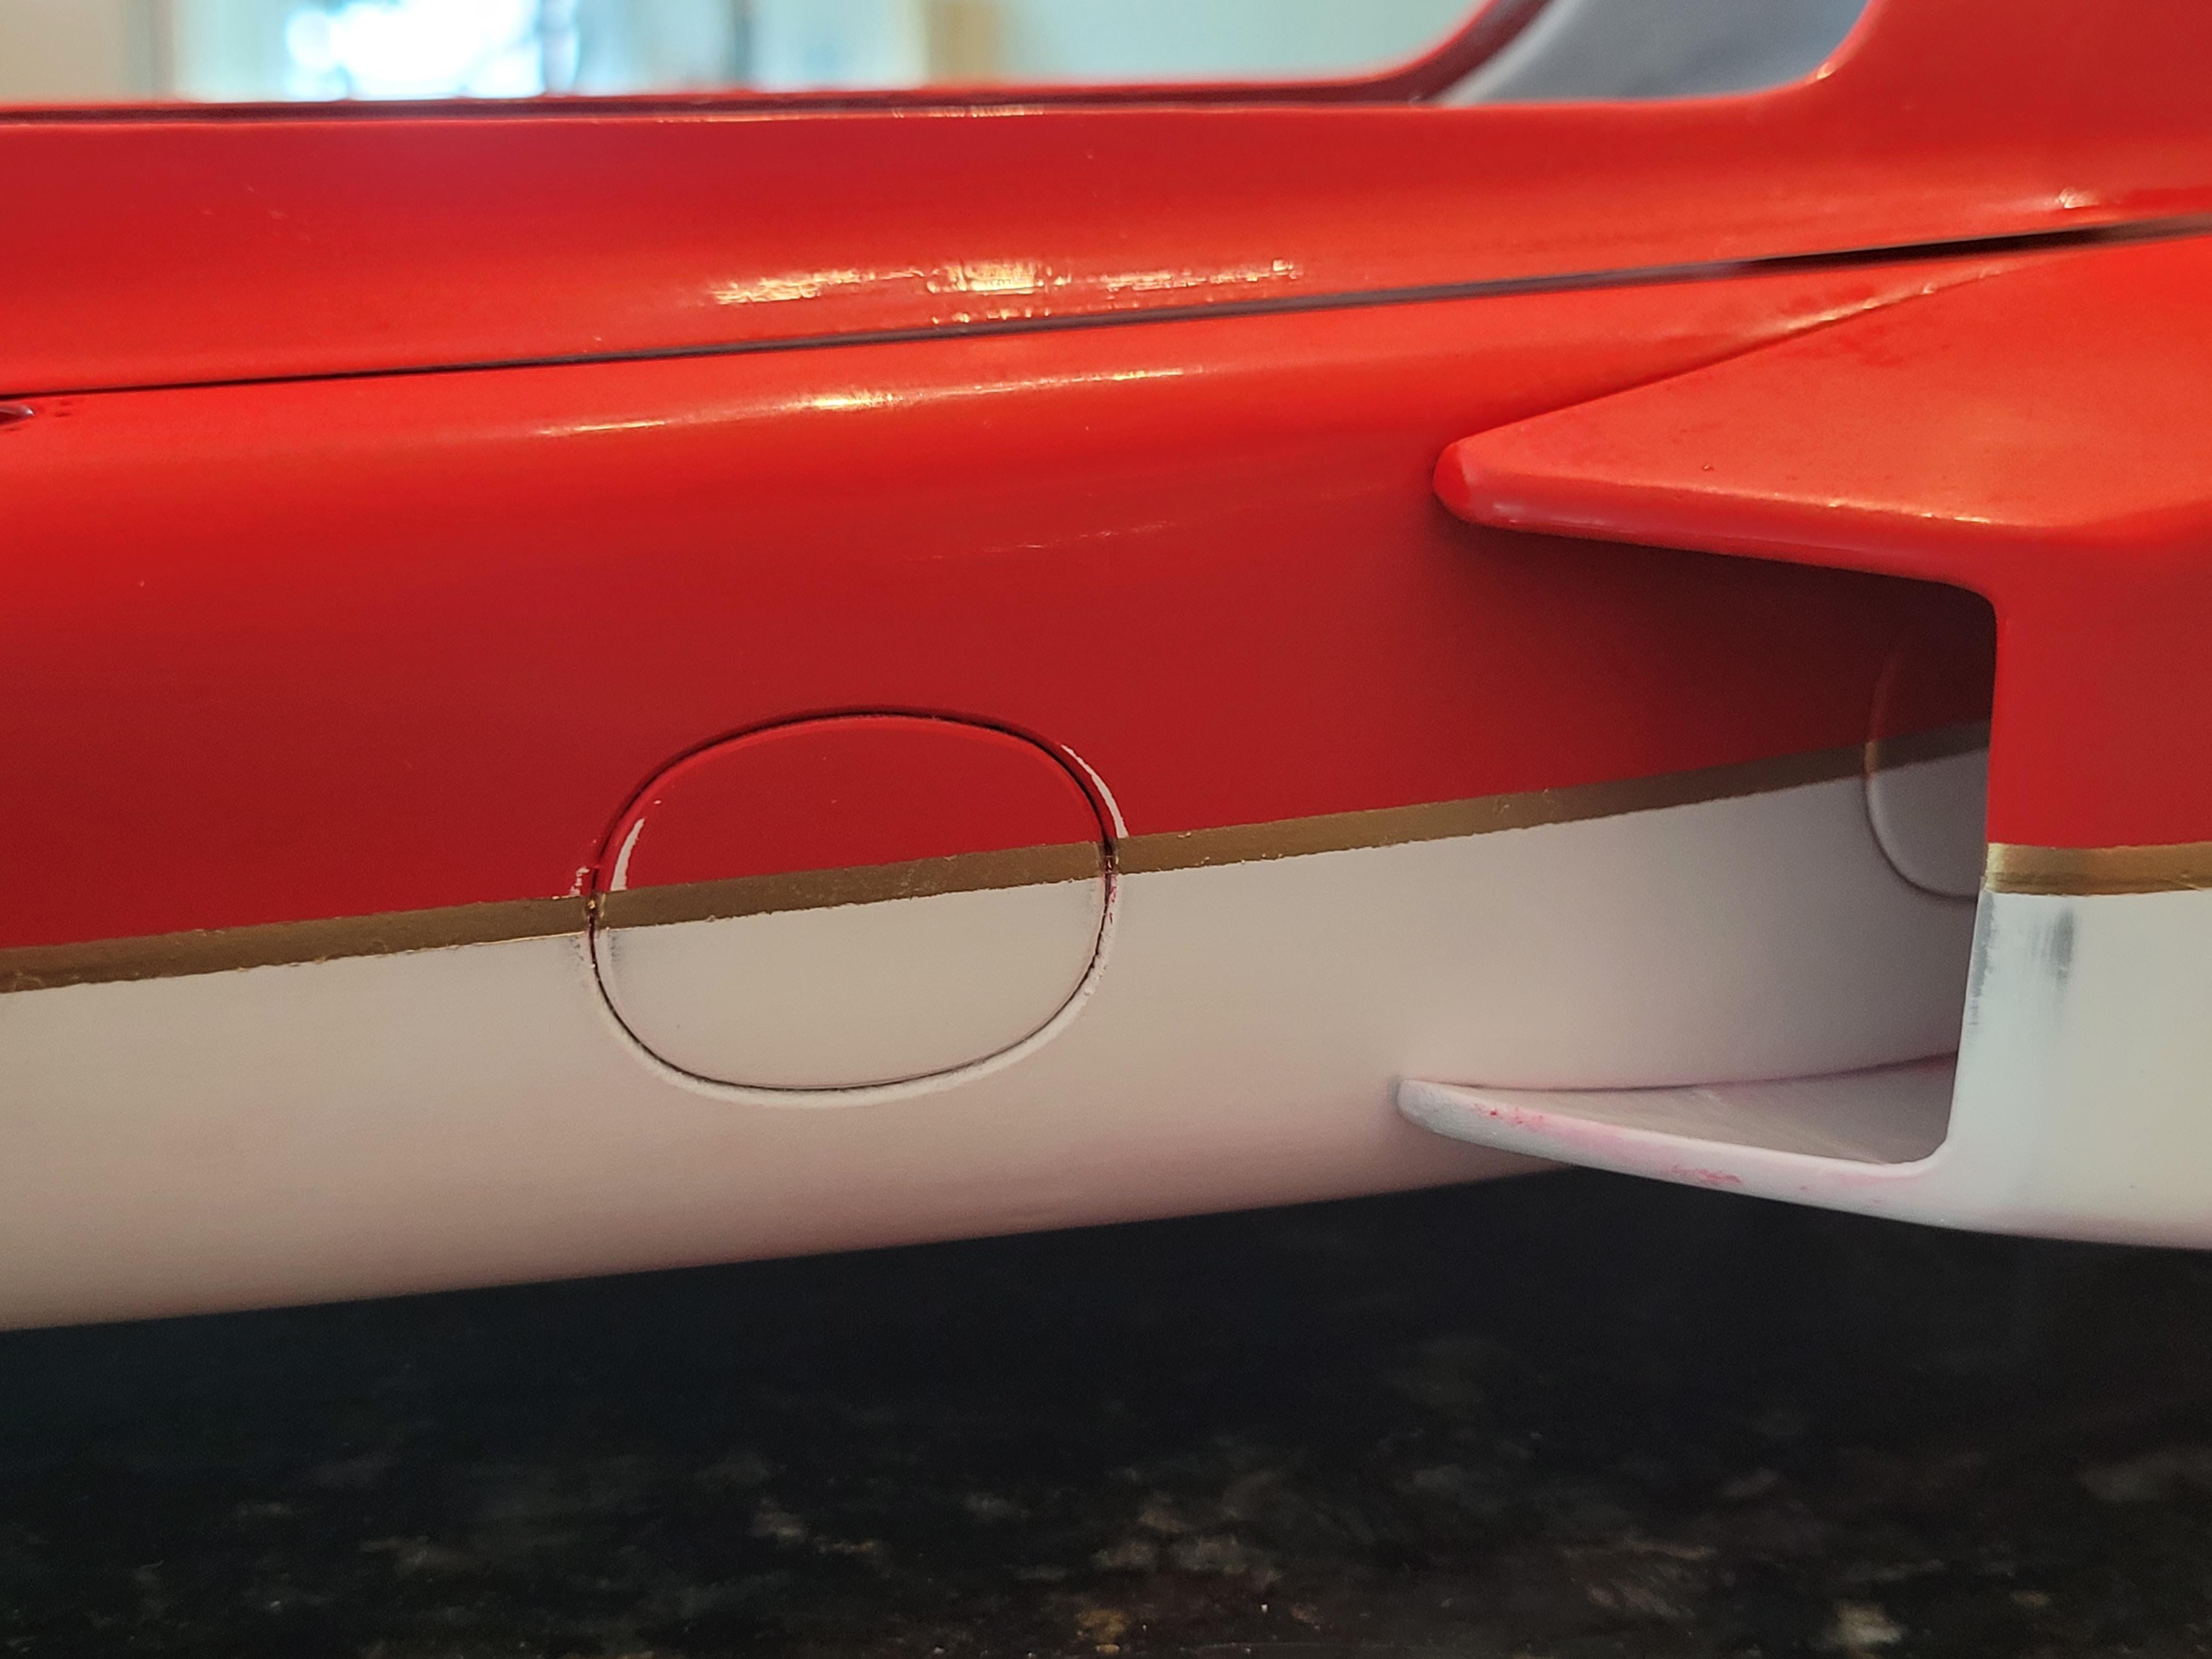
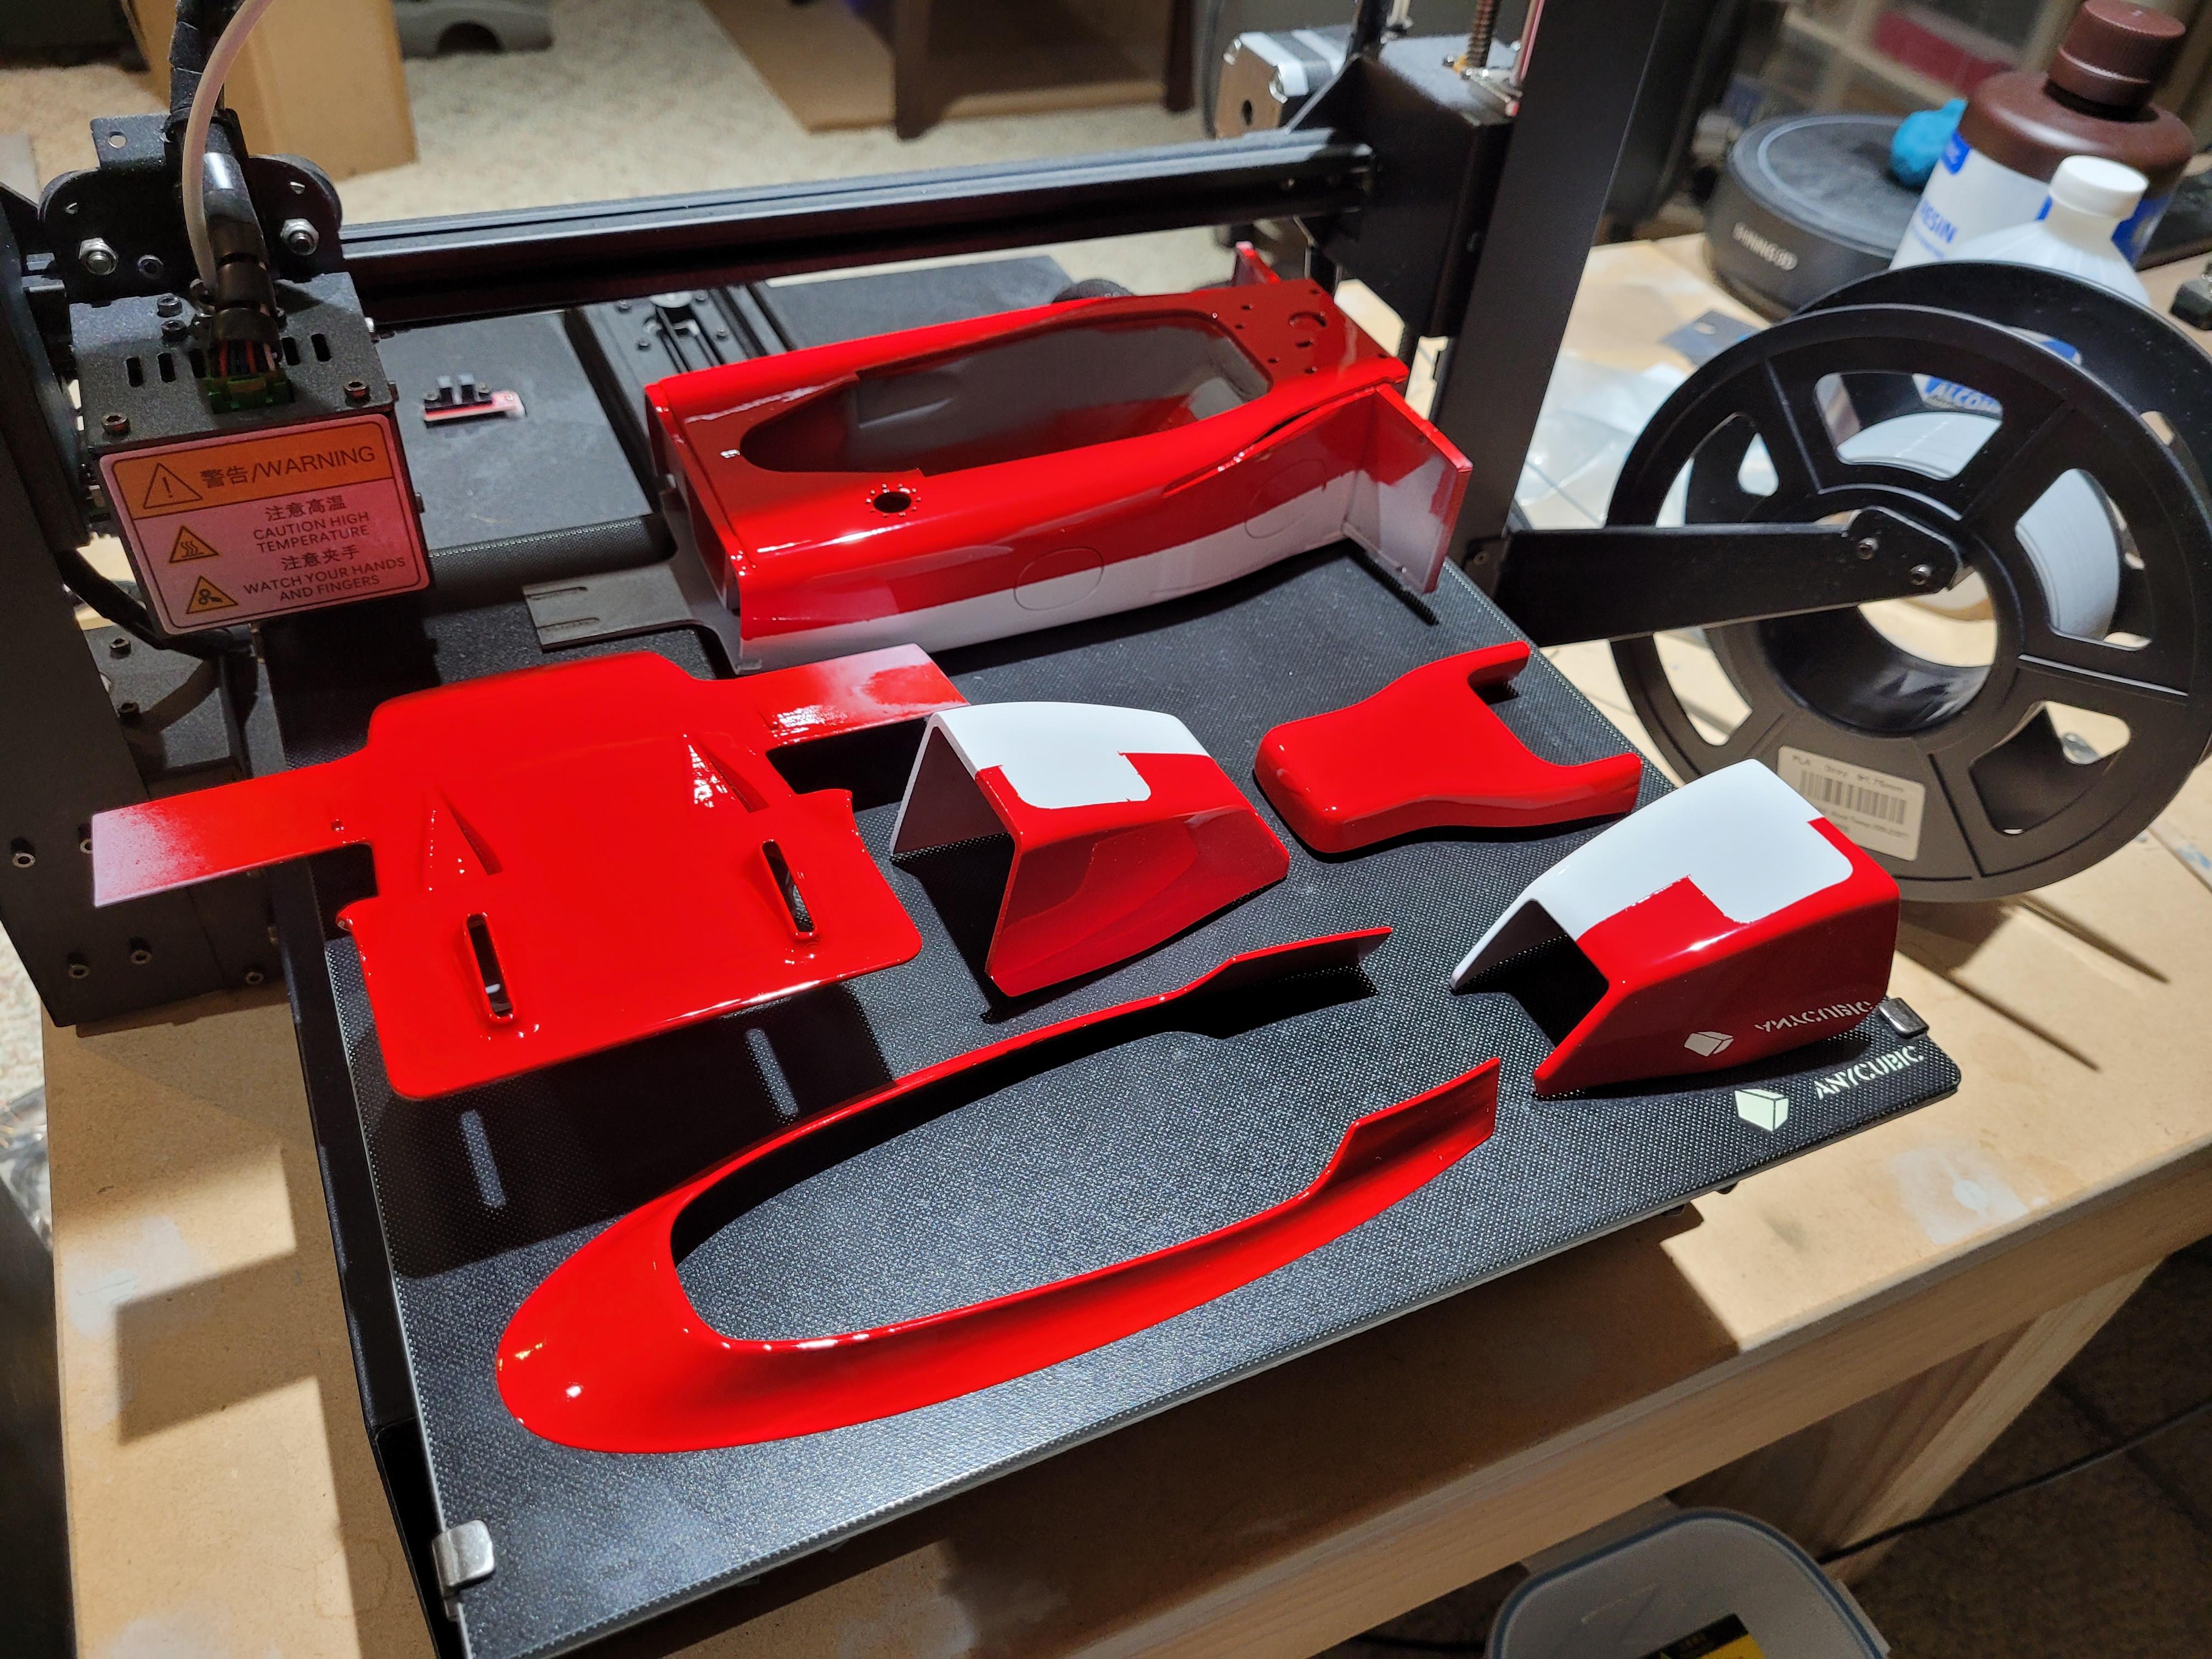
I over-sanded the red and white, so some touch up is in order. Just more proof that i need more experience to get to the paint quality level of many modelers in this forum. But I did apply gold on the nose and the side stripe. I built this mockup to see how everything lines up. I am happy with the results so far.
-
1/8 Scale Lotus 72c -3d Printed
kenlwest replied to kenlwest's topic in WIP: Other Racing: Road Racing, Land Speed Racers
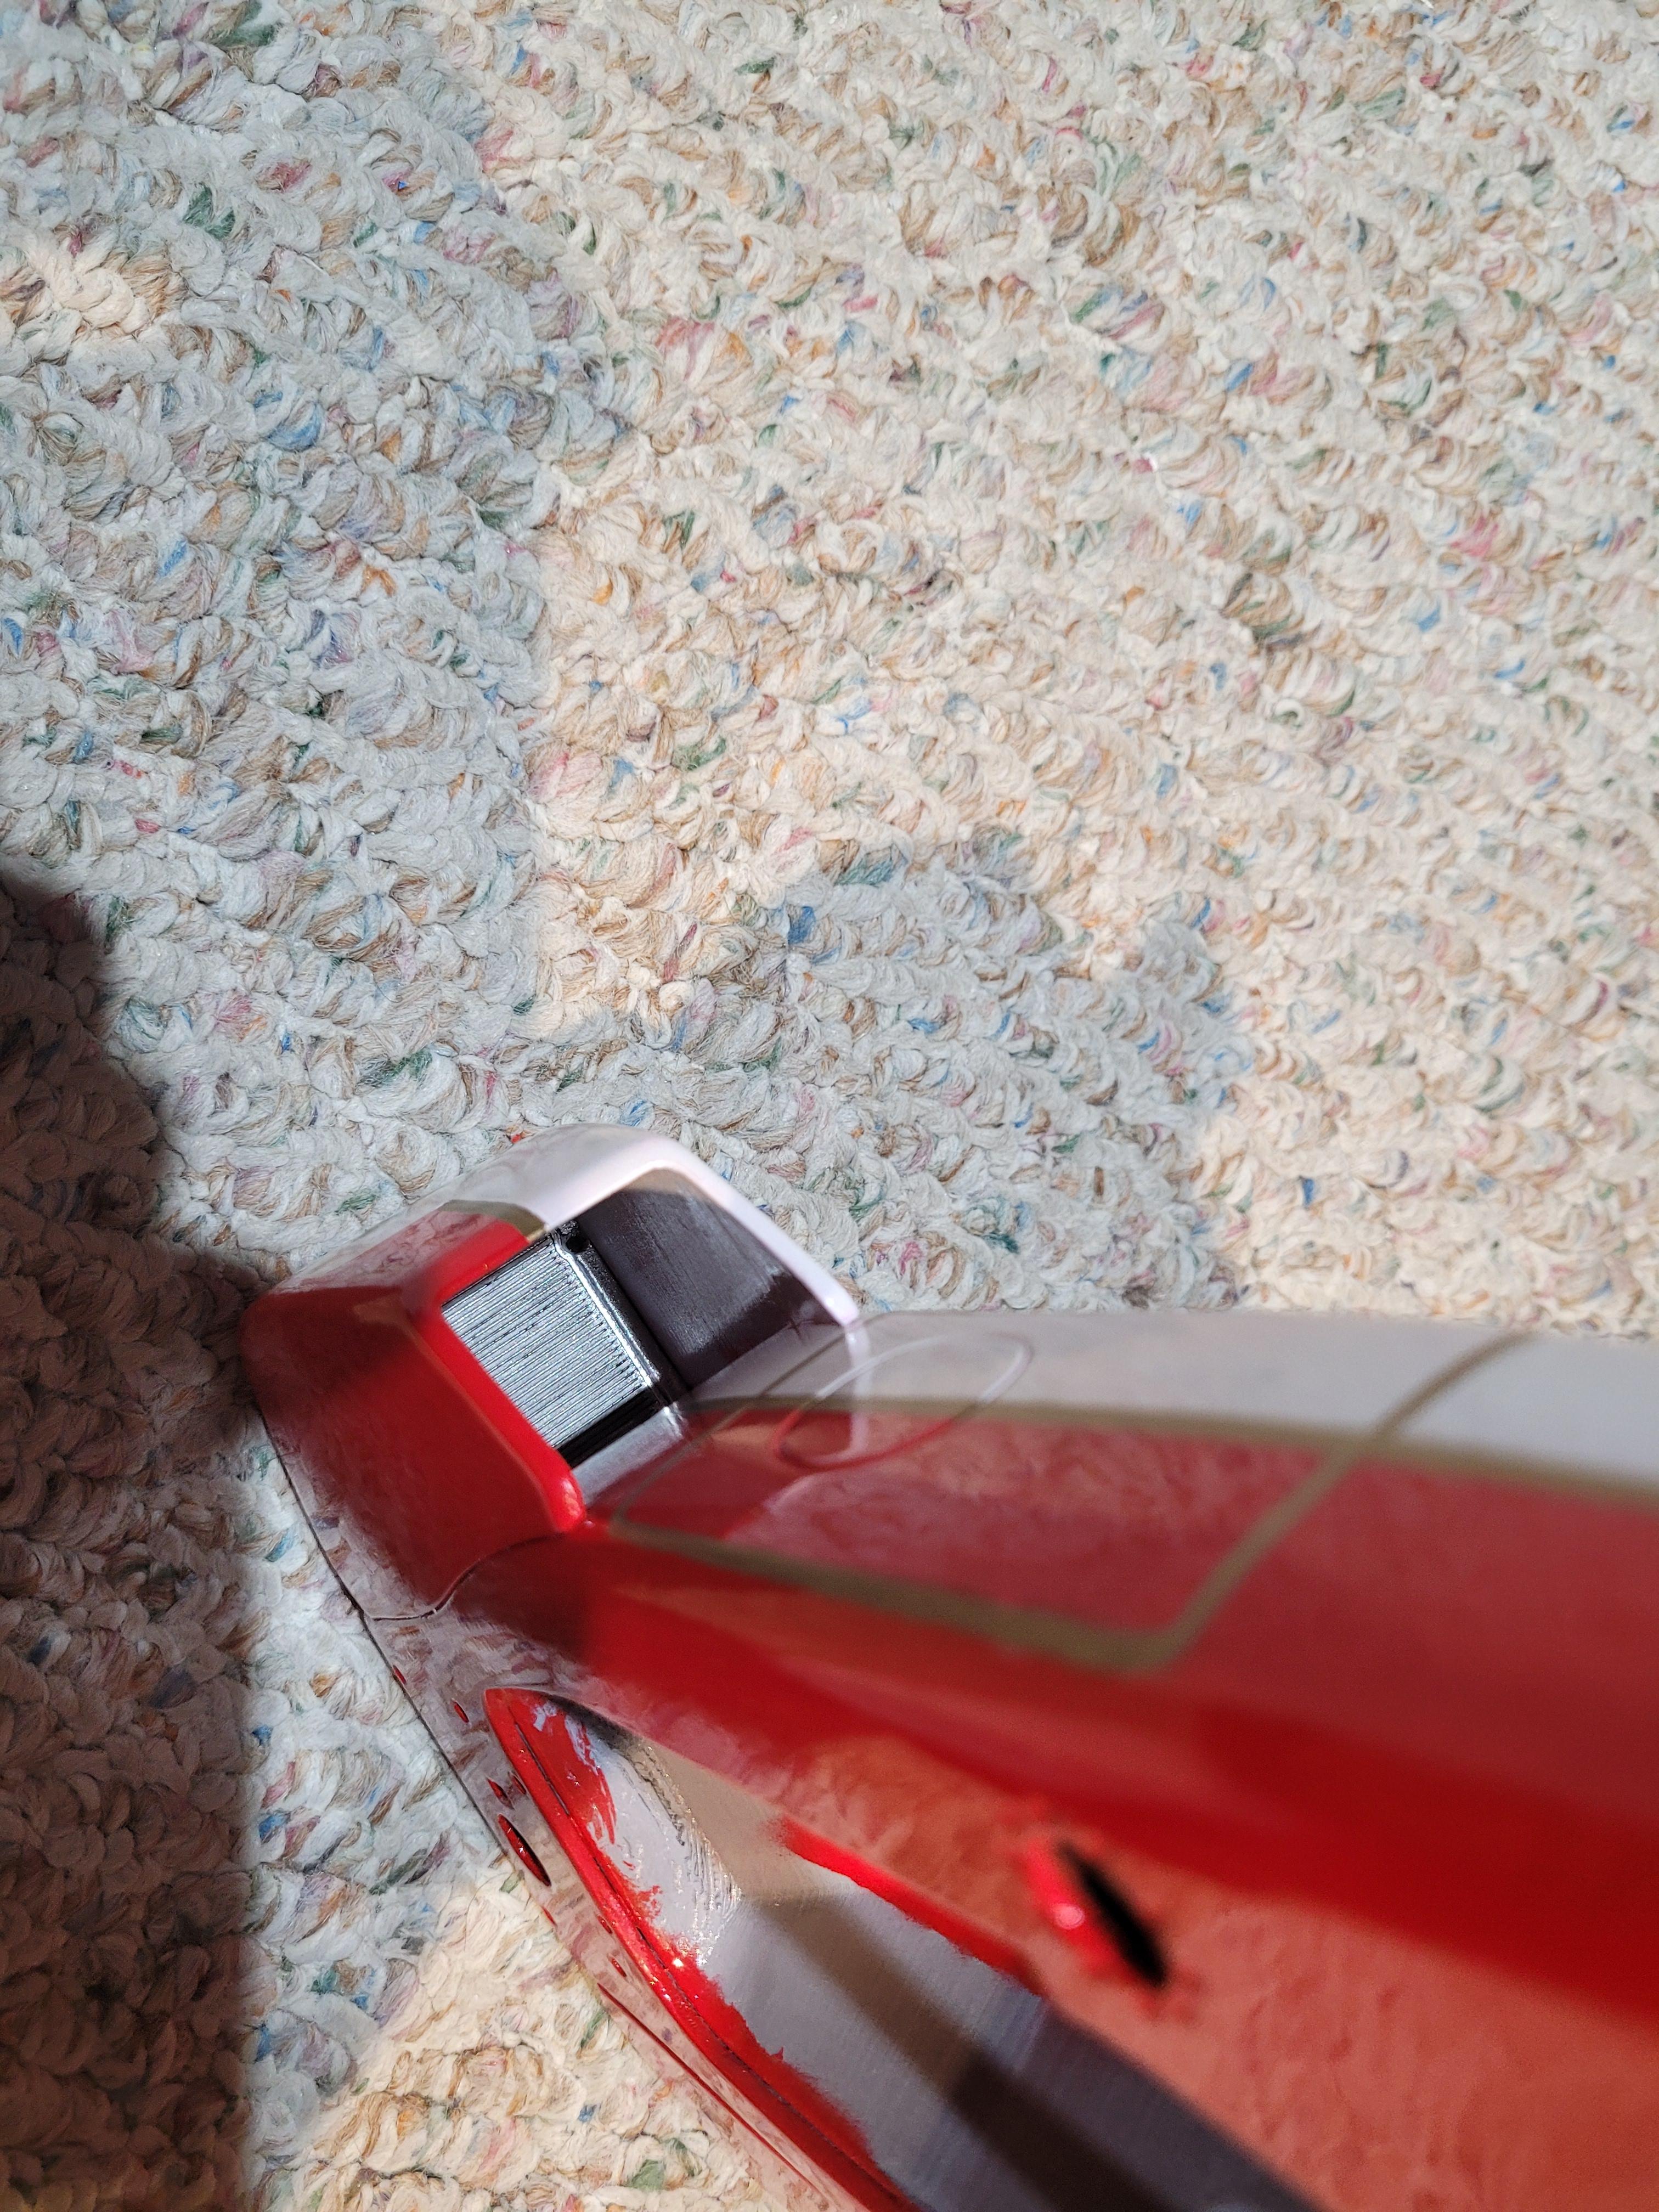
The color parts are painted. Some bleed through issues. This will be wet sanded to smooth out a few sags, and to provide a flat surface for the gold stripe that paints over the white/red interface. Since I am using rustoleum paint, the total process can take a week to get satisfactory results I can live with.
-
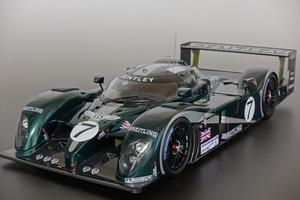
2003 Bentley Speed 8
kenlwest replied to Chris Smith's topic in WIP: Other Racing: Road Racing, Land Speed Racers
This one? Just looking at the boxes of parts makes you want to build it! Your skills will do it justice. Ken
-
1/8 Scale Lotus 72c -3d Printed
kenlwest replied to kenlwest's topic in WIP: Other Racing: Road Racing, Land Speed Racers
Wet sanded the body and other color parts. Ready to paint!
-
1/8 Scale Lotus 72c -3d Printed
kenlwest replied to kenlwest's topic in WIP: Other Racing: Road Racing, Land Speed Racers
Ditto for the front...
-
1/8 Scale Lotus 72c -3d Printed
kenlwest replied to kenlwest's topic in WIP: Other Racing: Road Racing, Land Speed Racers
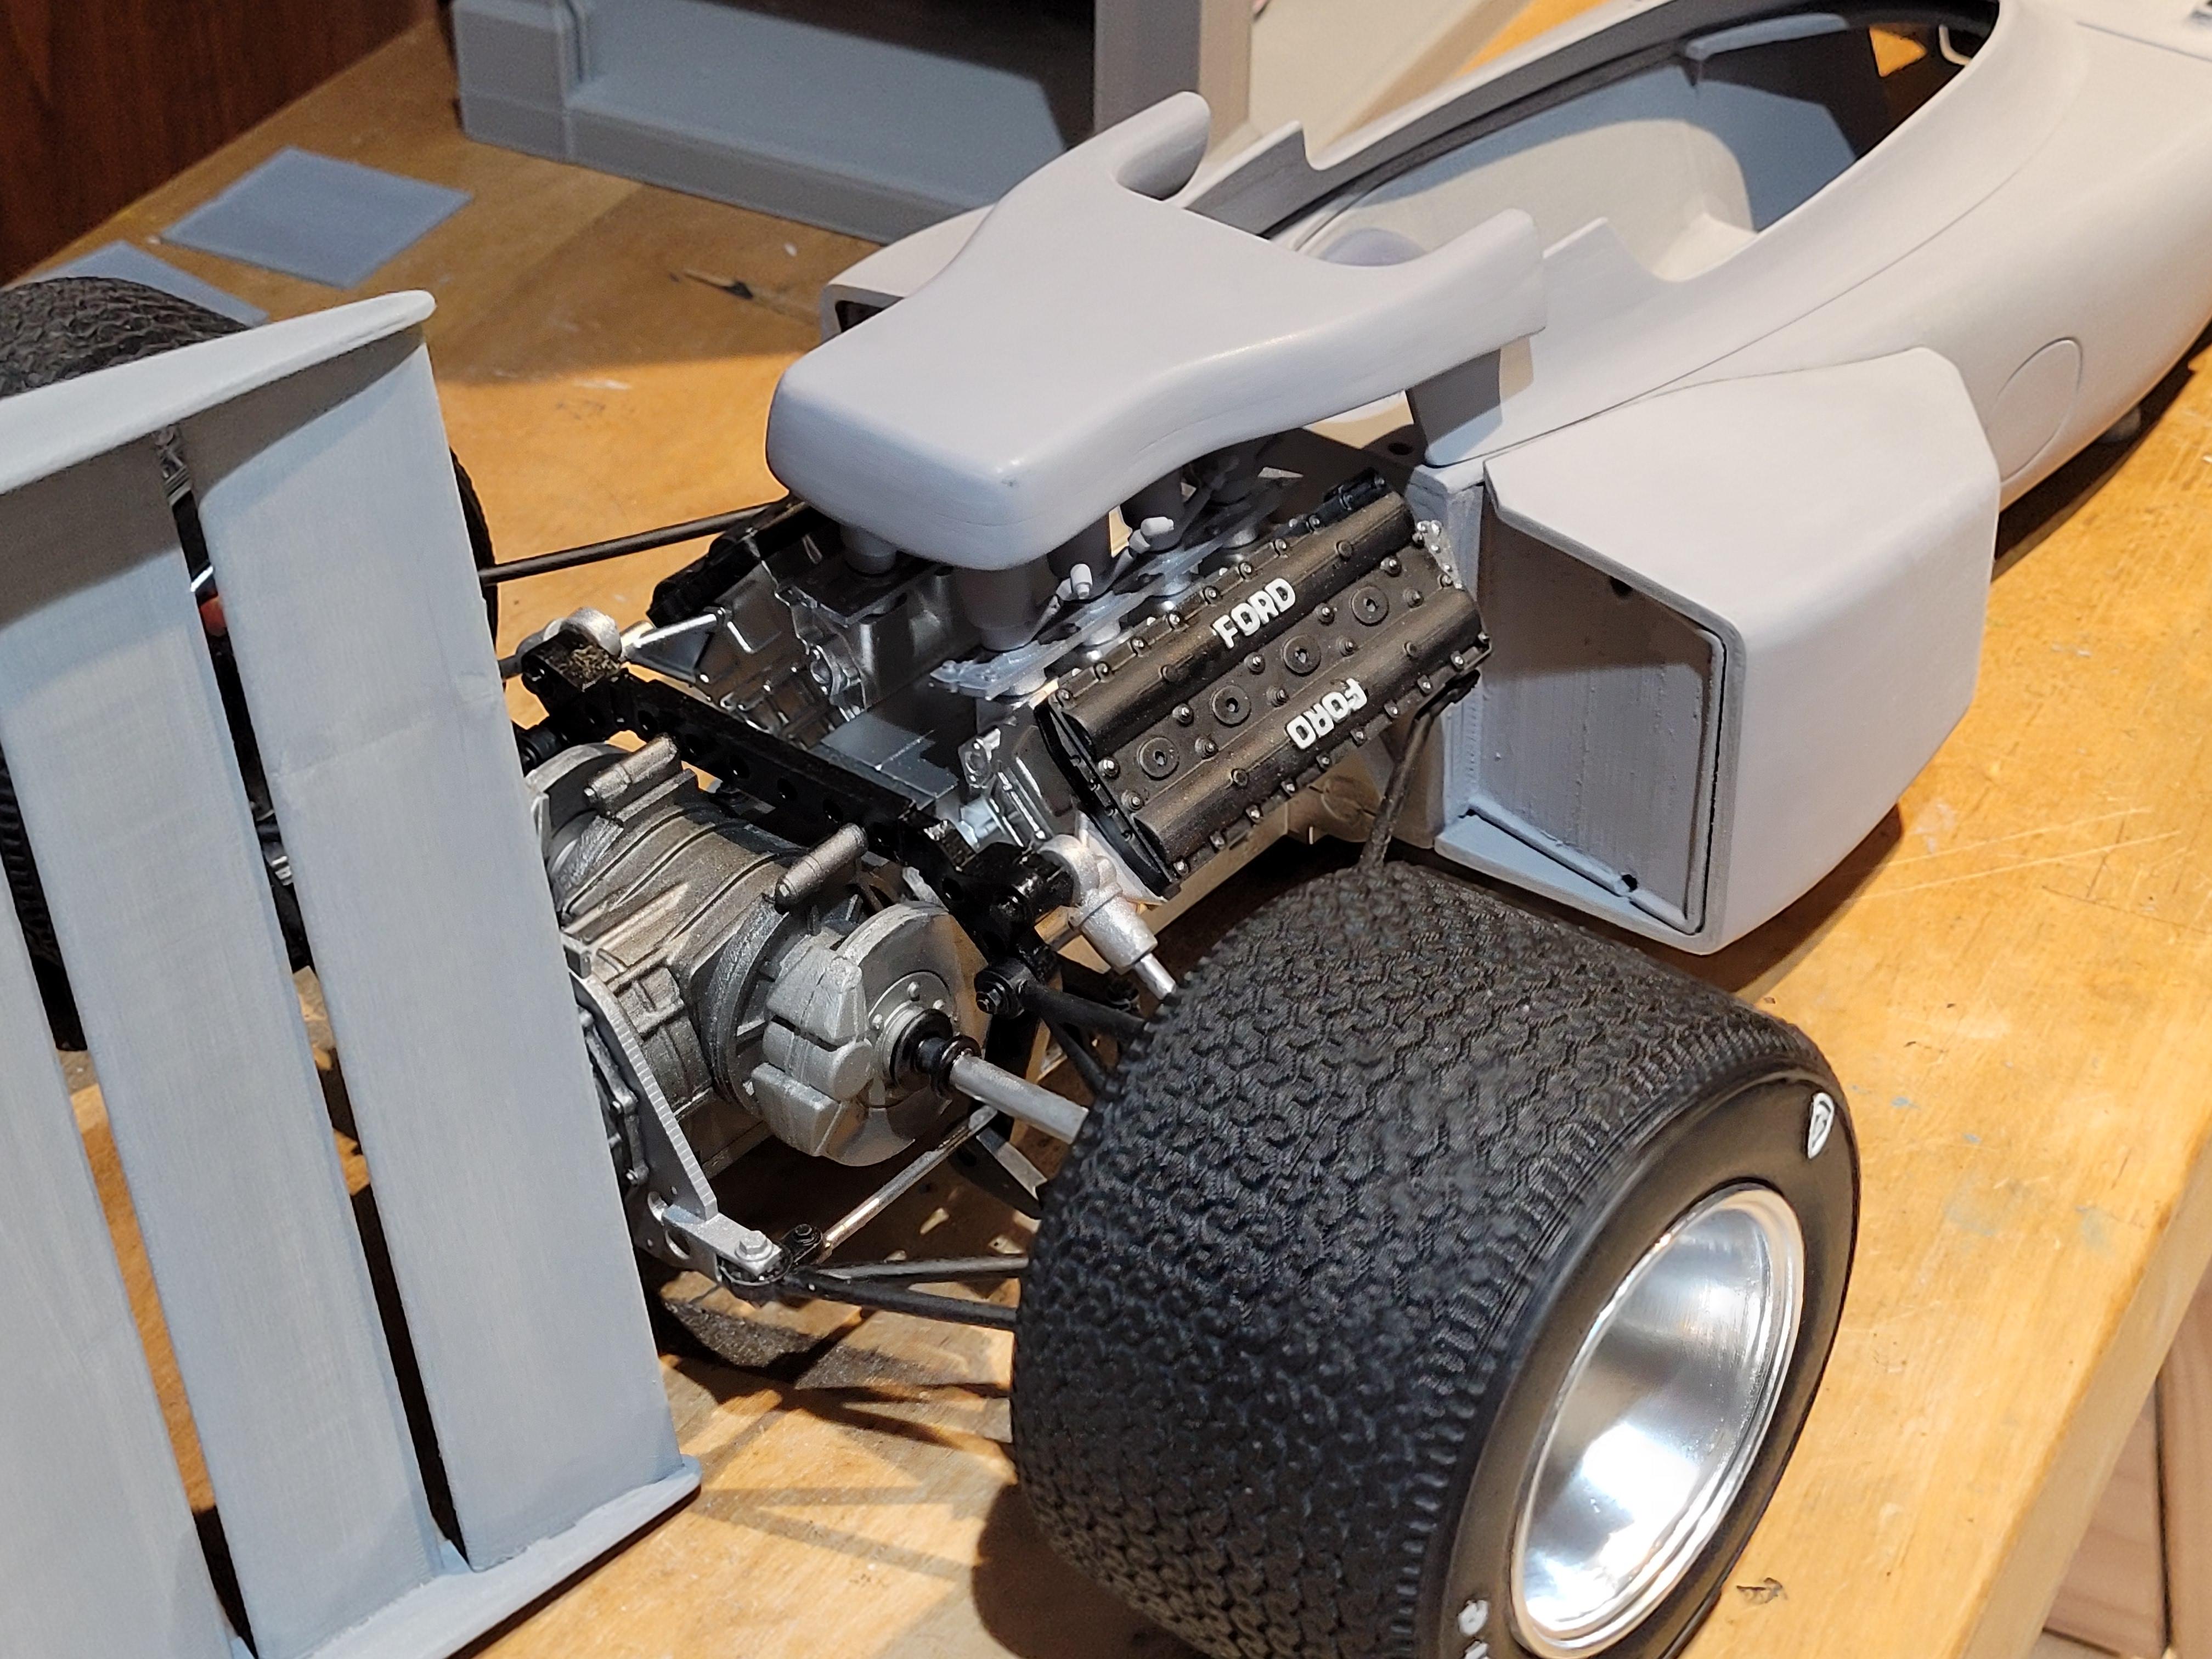
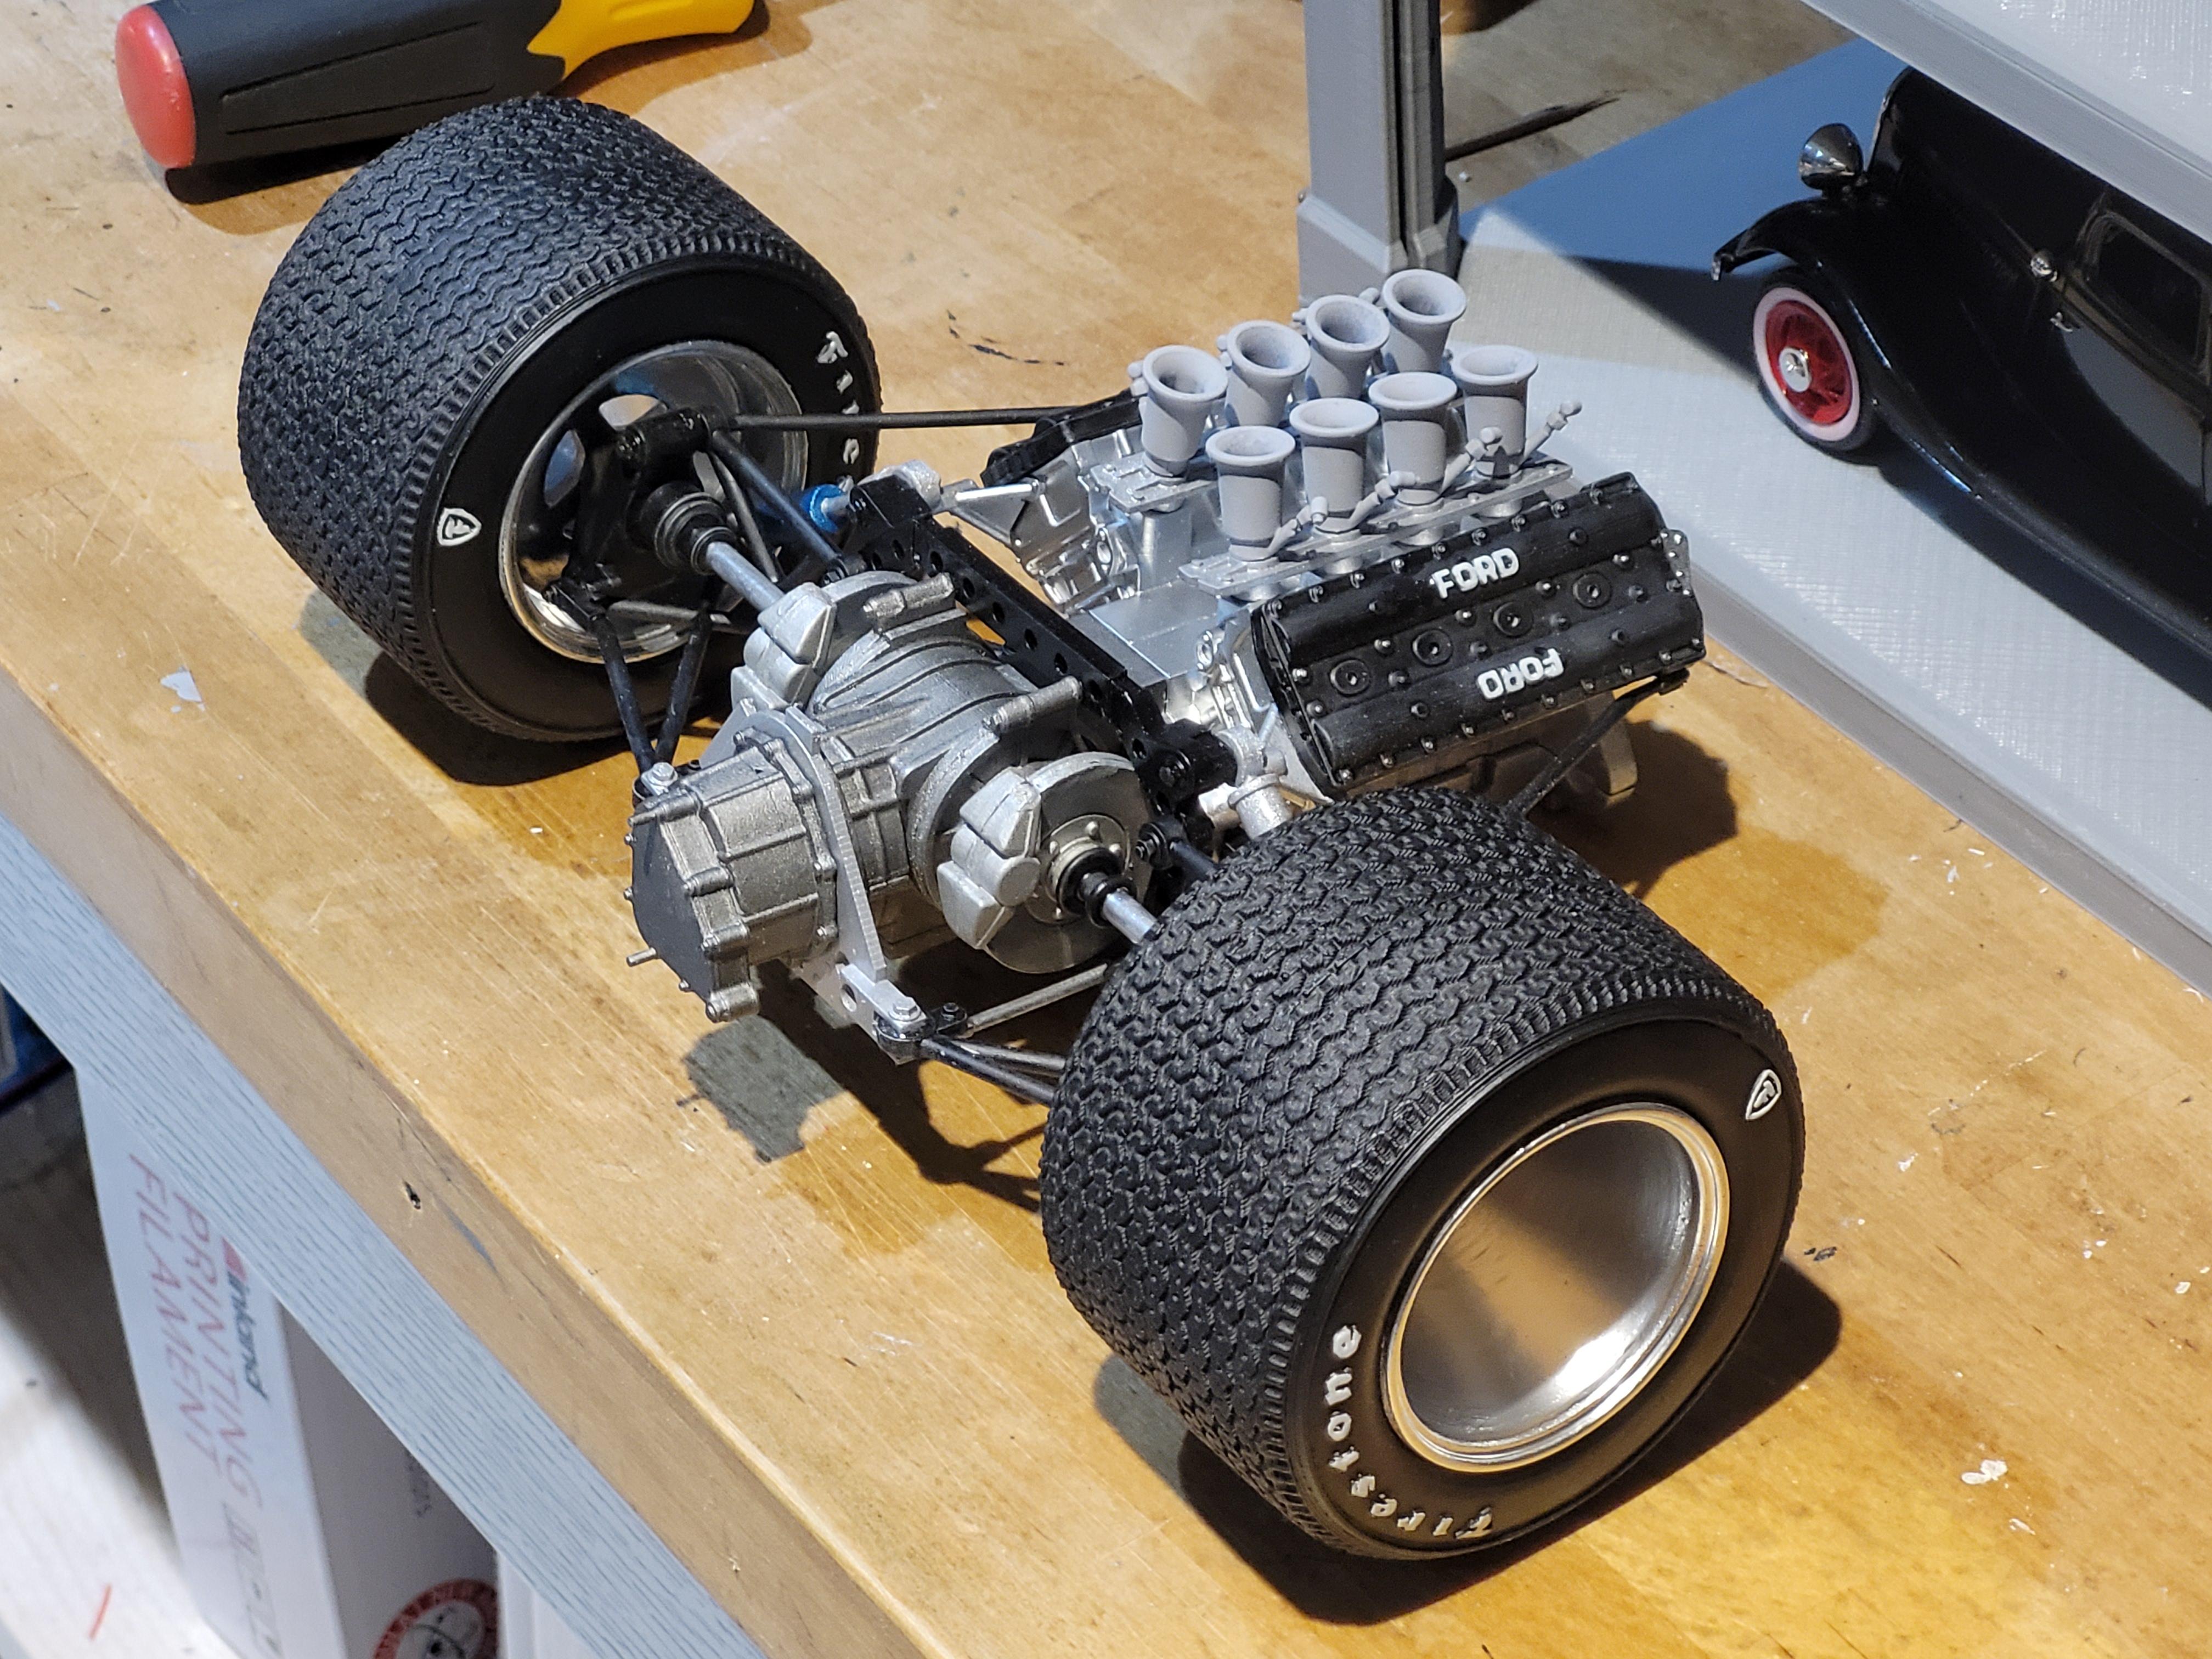
I couldn't resist placing the wheels onto the rear suspension assembly just to get a feel for the scale. So far so good. Stay tuned.
-
1/8 Scale Lotus 72c -3d Printed
kenlwest replied to kenlwest's topic in WIP: Other Racing: Road Racing, Land Speed Racers
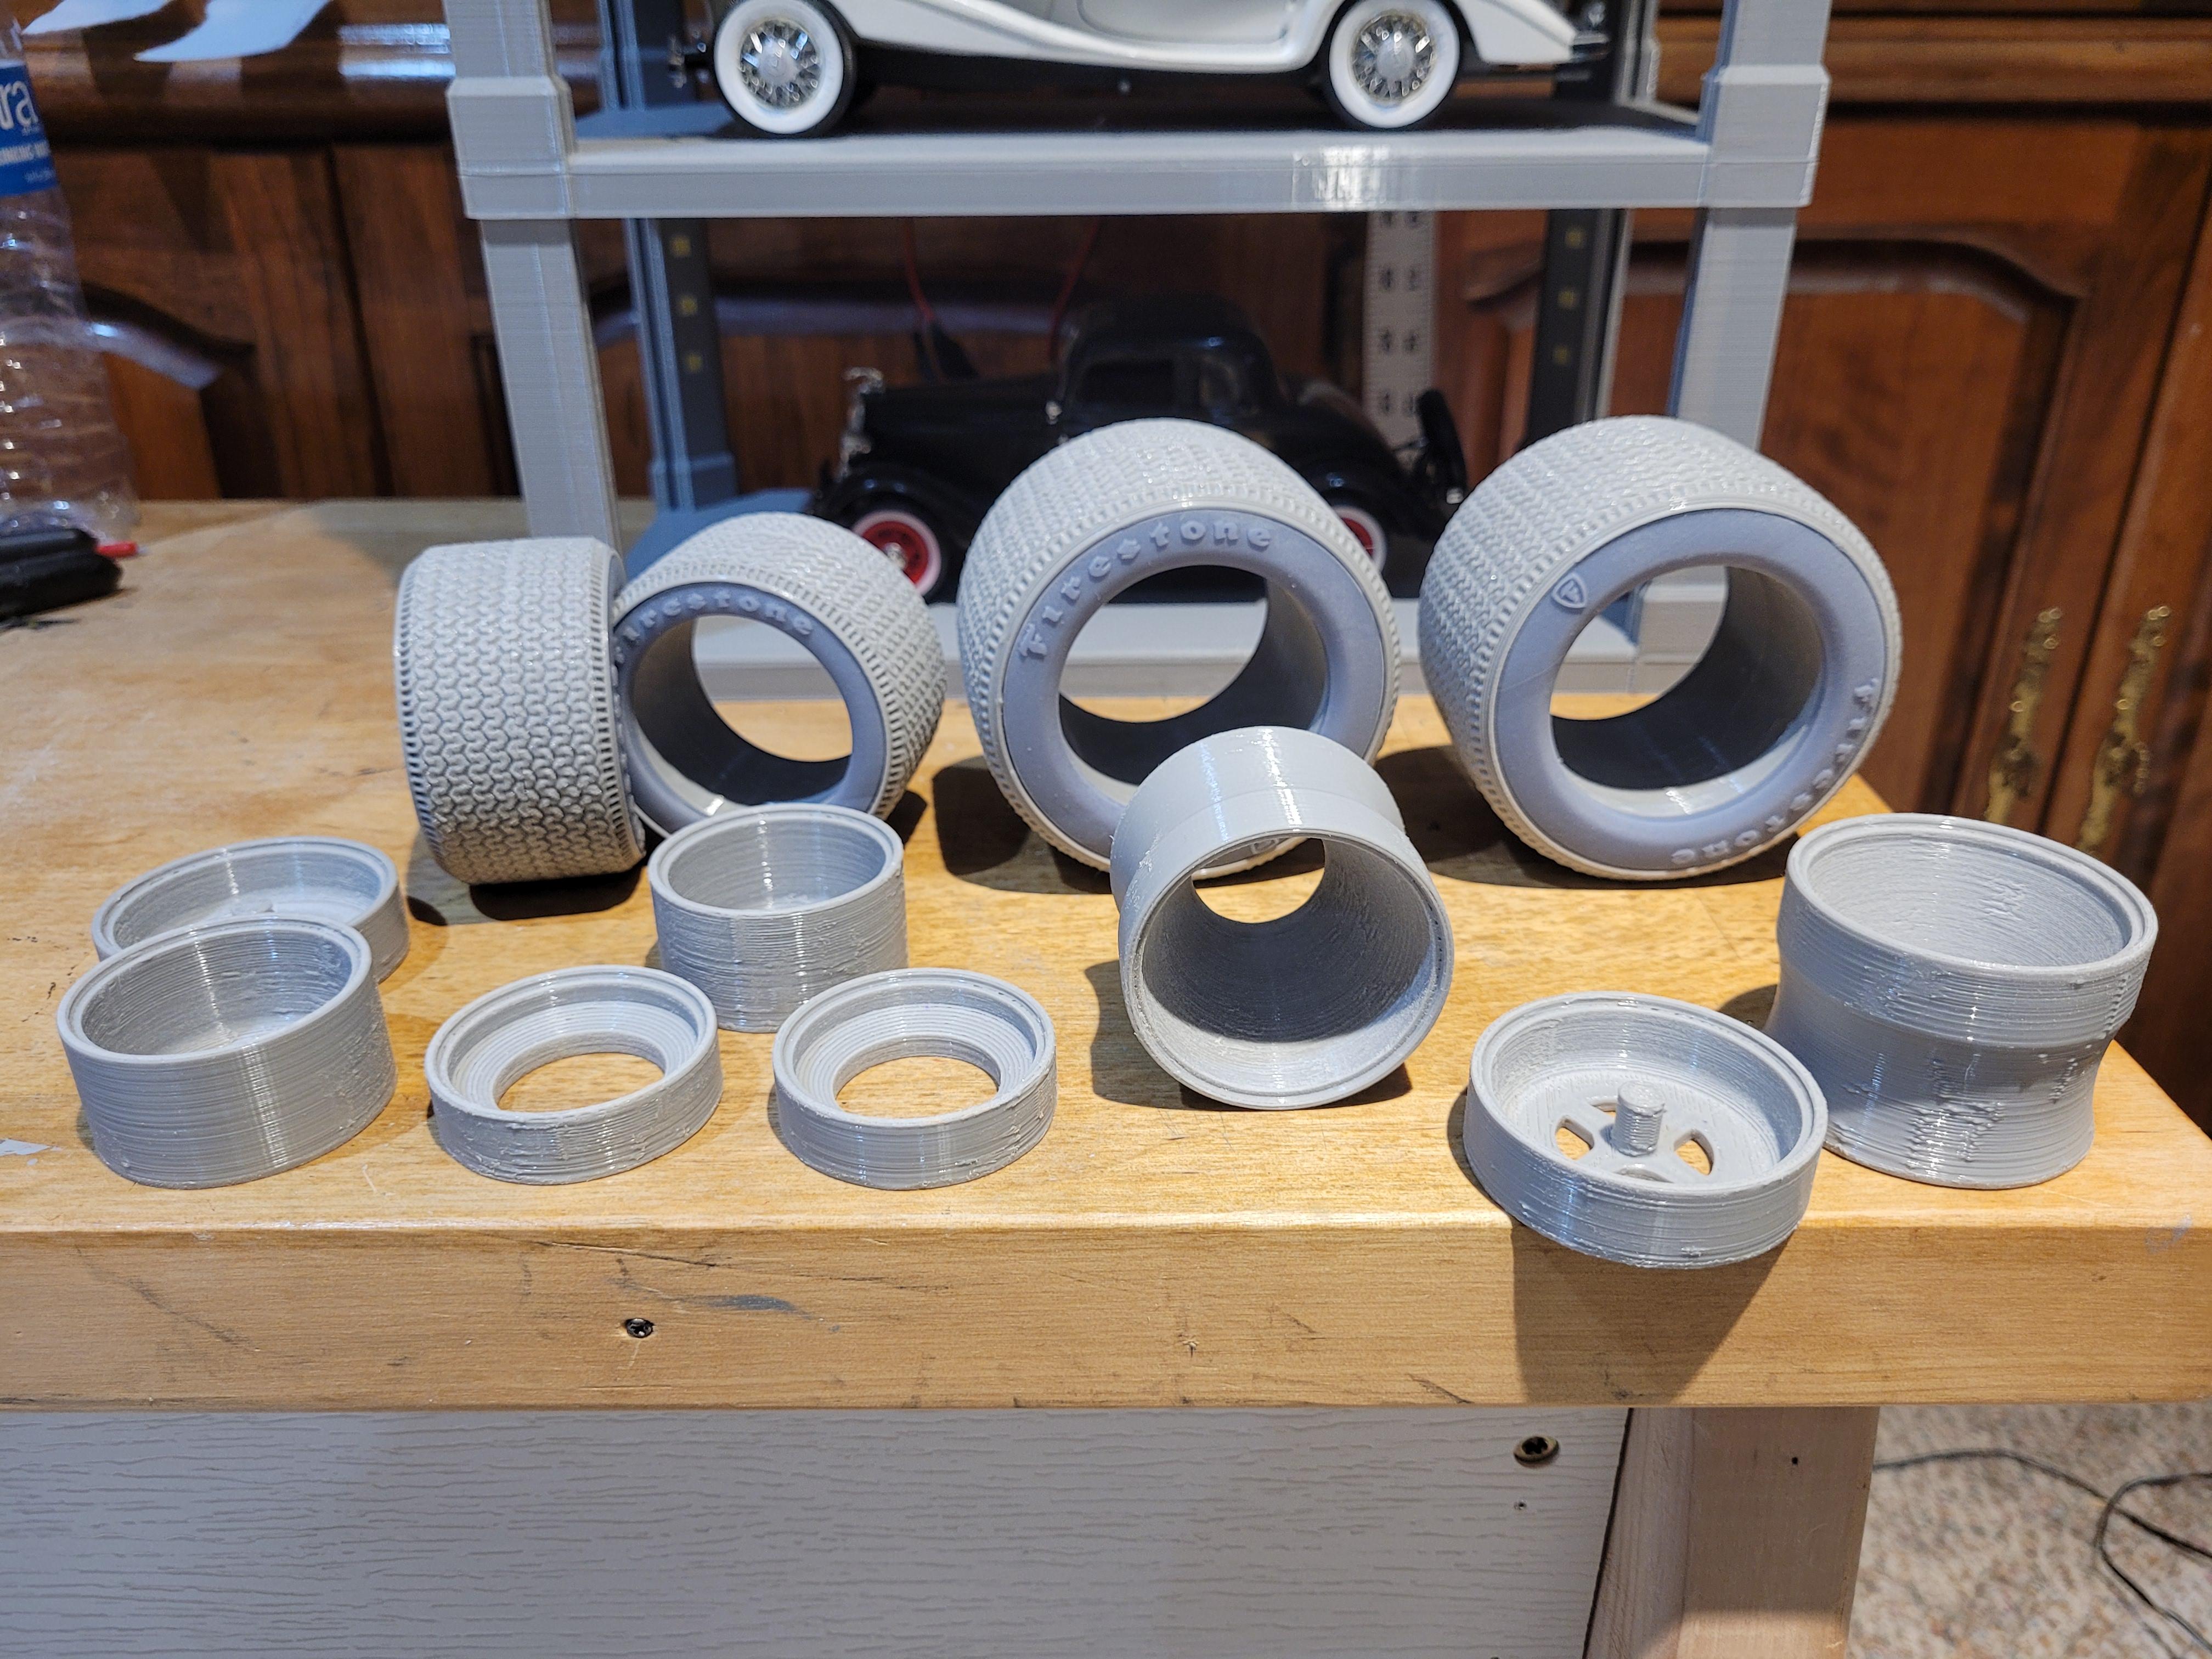
The tires and wheels are almost there. I will be painting the treads flat black to render a driven look, and tone down the treads a bit.
-
1/8 Scale Lotus 72c -3d Printed
kenlwest replied to kenlwest's topic in WIP: Other Racing: Road Racing, Land Speed Racers
By the way, in the background, you can see the stackable shelves I designed and printed. LED lighting is integrated into the pillars.
-
1/8 Scale Lotus 72c -3d Printed
kenlwest replied to kenlwest's topic in WIP: Other Racing: Road Racing, Land Speed Racers
One more coat of primer, then wet sand and paint.
-
1/8 Scale Lotus 72c -3d Printed
kenlwest replied to kenlwest's topic in WIP: Other Racing: Road Racing, Land Speed Racers
The tires were fdm printed, gray filament, but the darker inserts were resin printed. The reason for this is because filament printing does not provide the resolution required for the Firestone letters and logo. 20220811_121728_99.mp4
-
1/8 Scale Lotus 72c -3d Printed
kenlwest replied to kenlwest's topic in WIP: Other Racing: Road Racing, Land Speed Racers
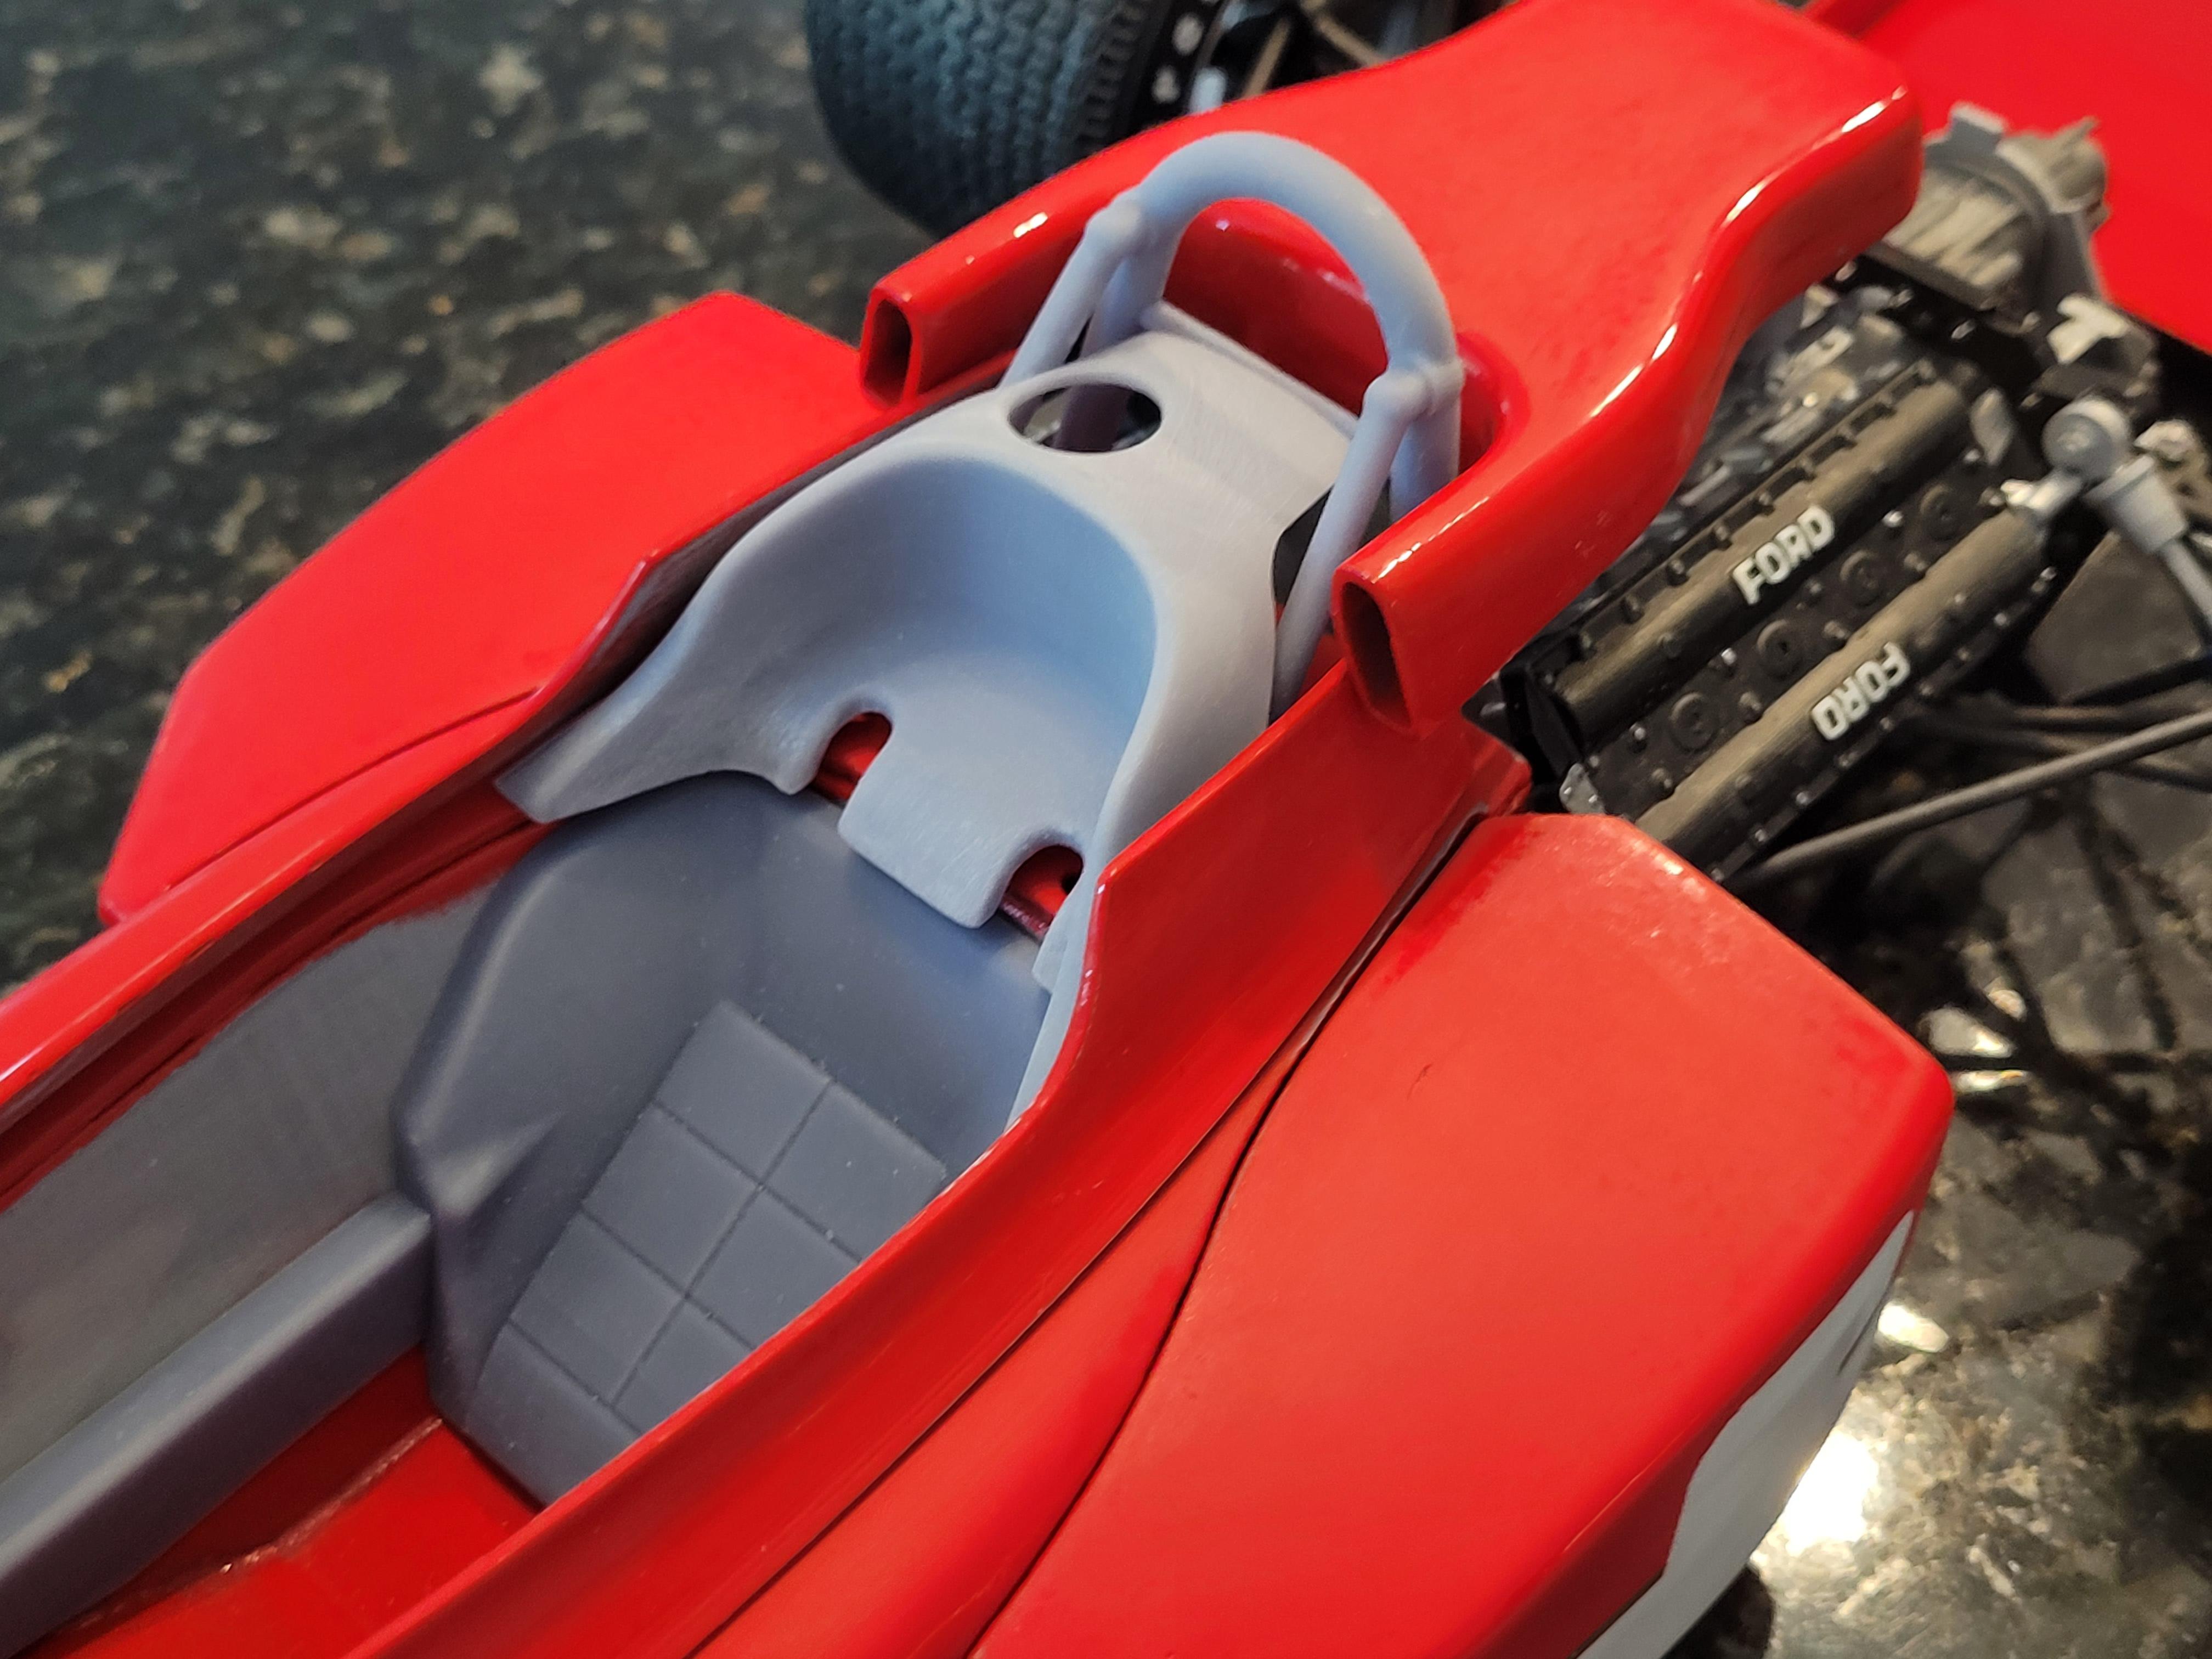
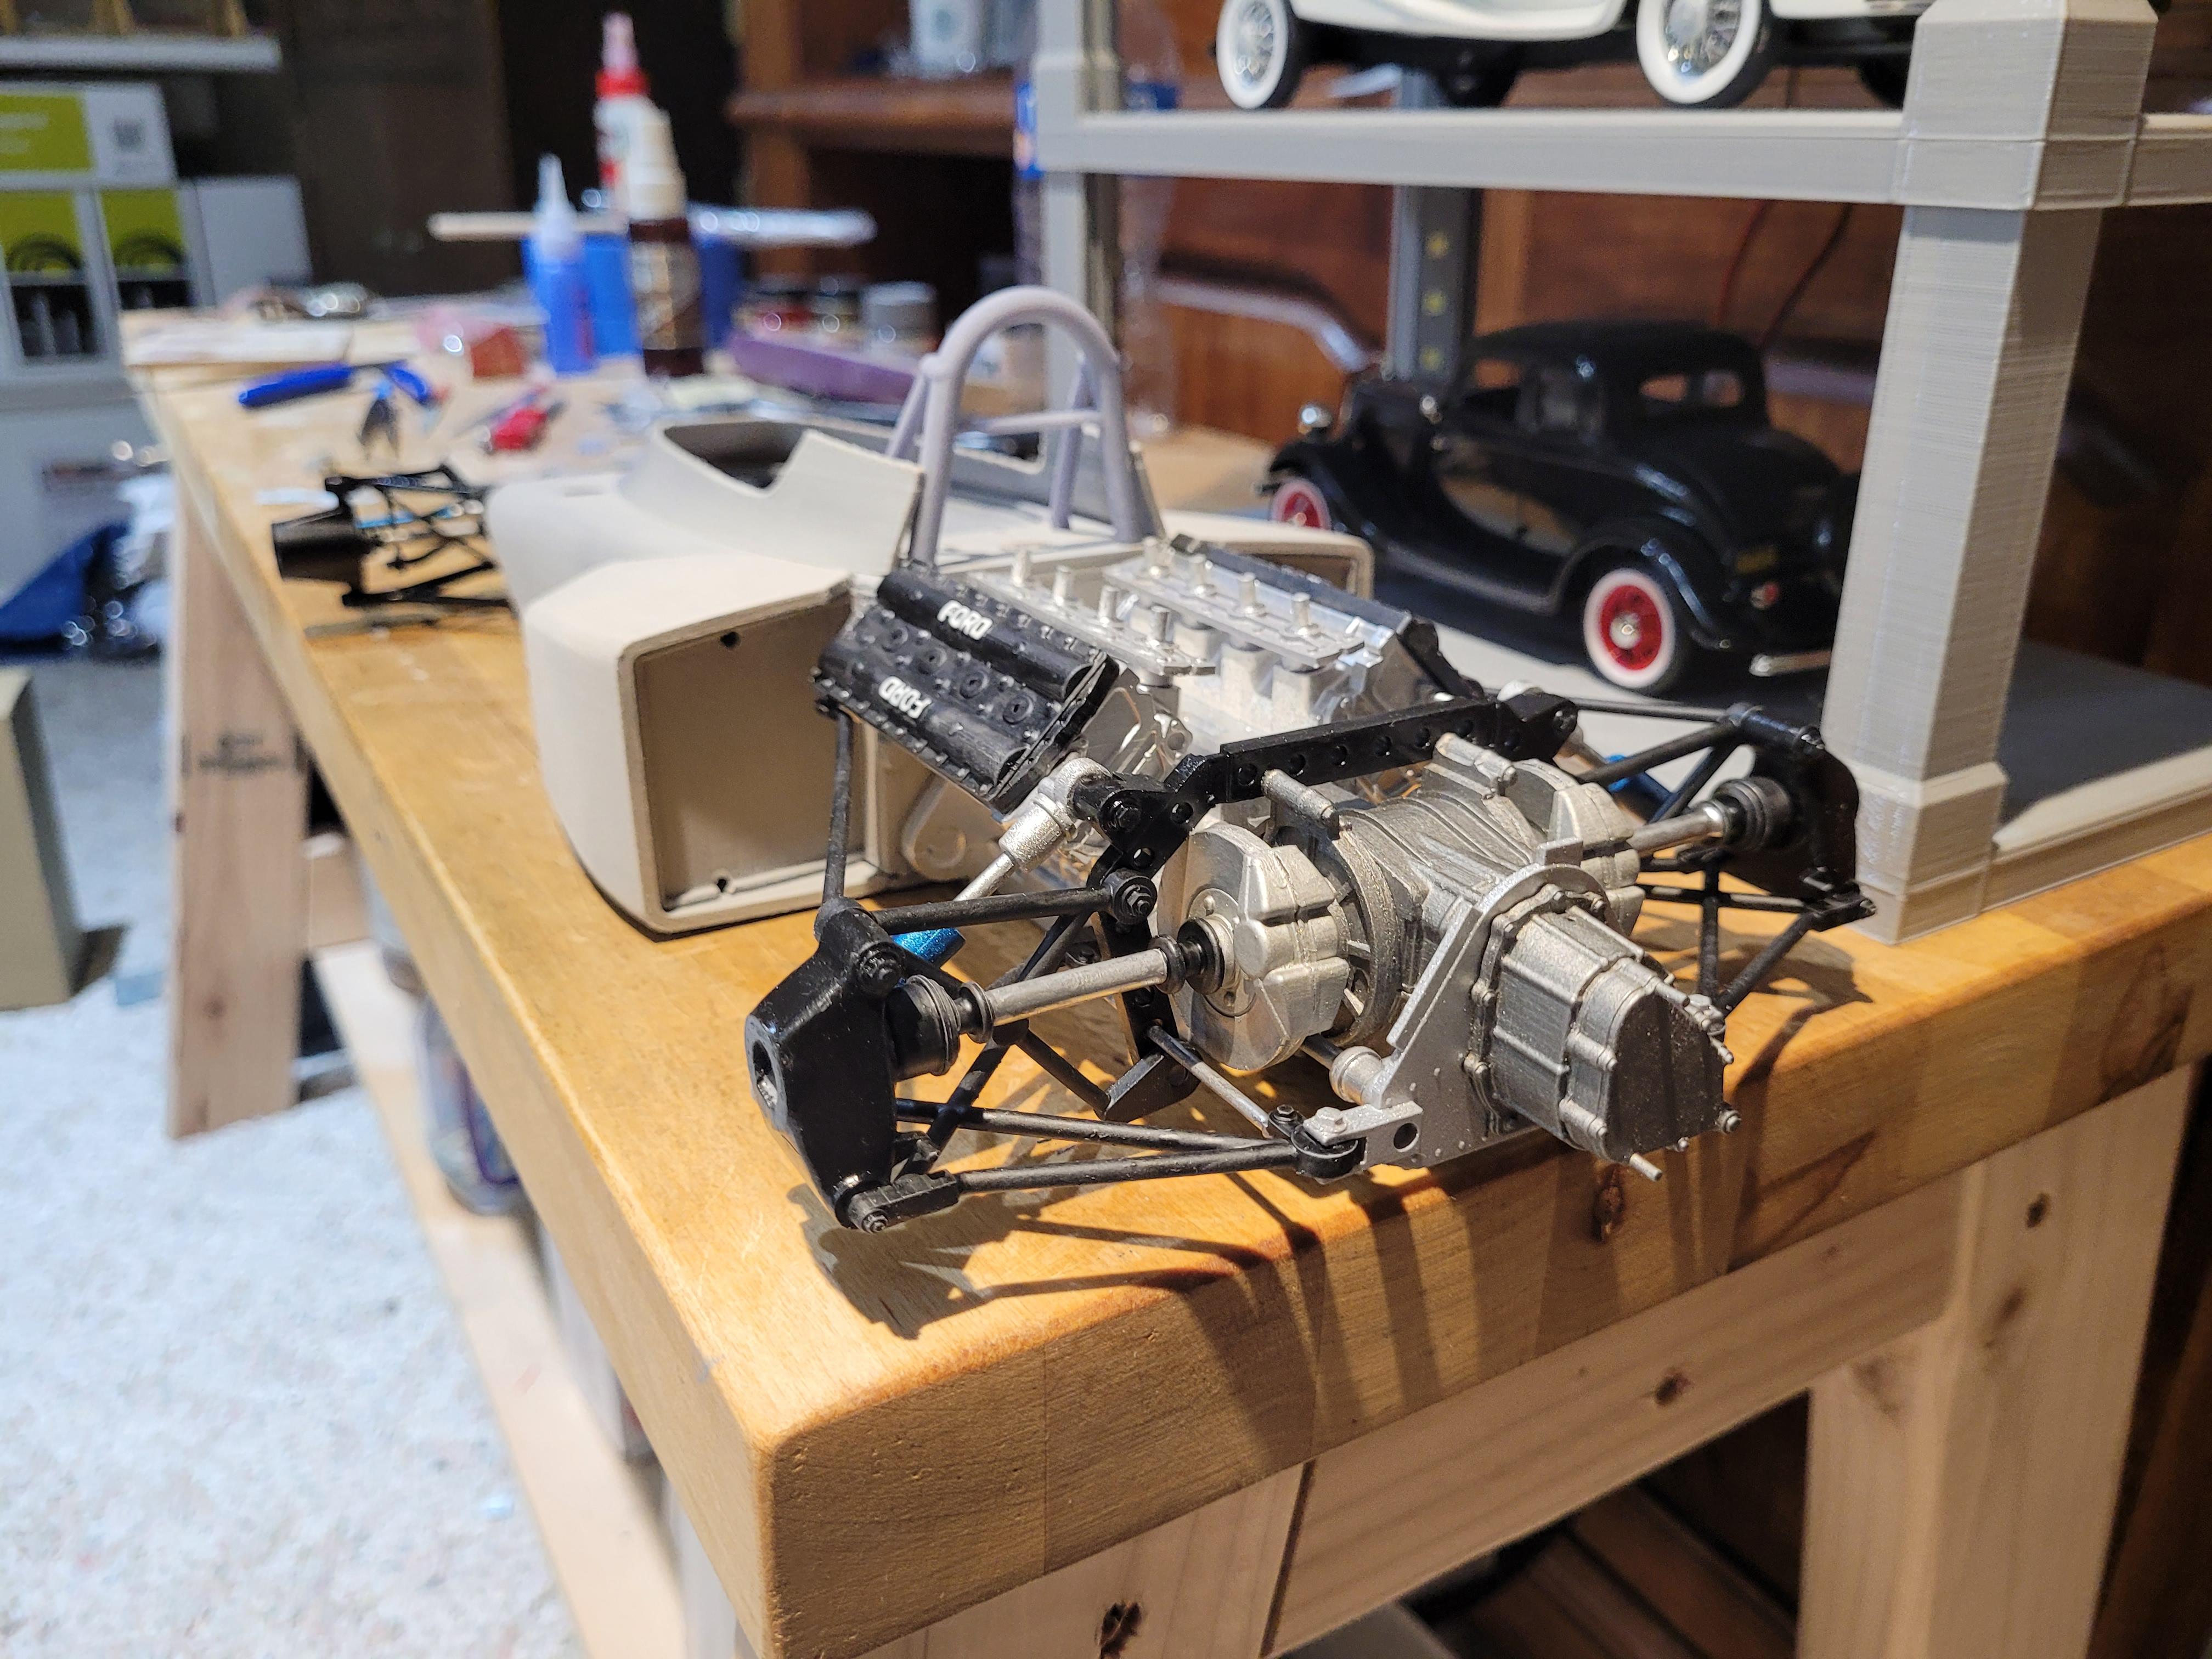
I have been working on the intake and funnels. The intake is designed to be removed for viewing.
-
1/8 Scale Lotus 72c -3d Printed
kenlwest replied to kenlwest's topic in WIP: Other Racing: Road Racing, Land Speed Racers
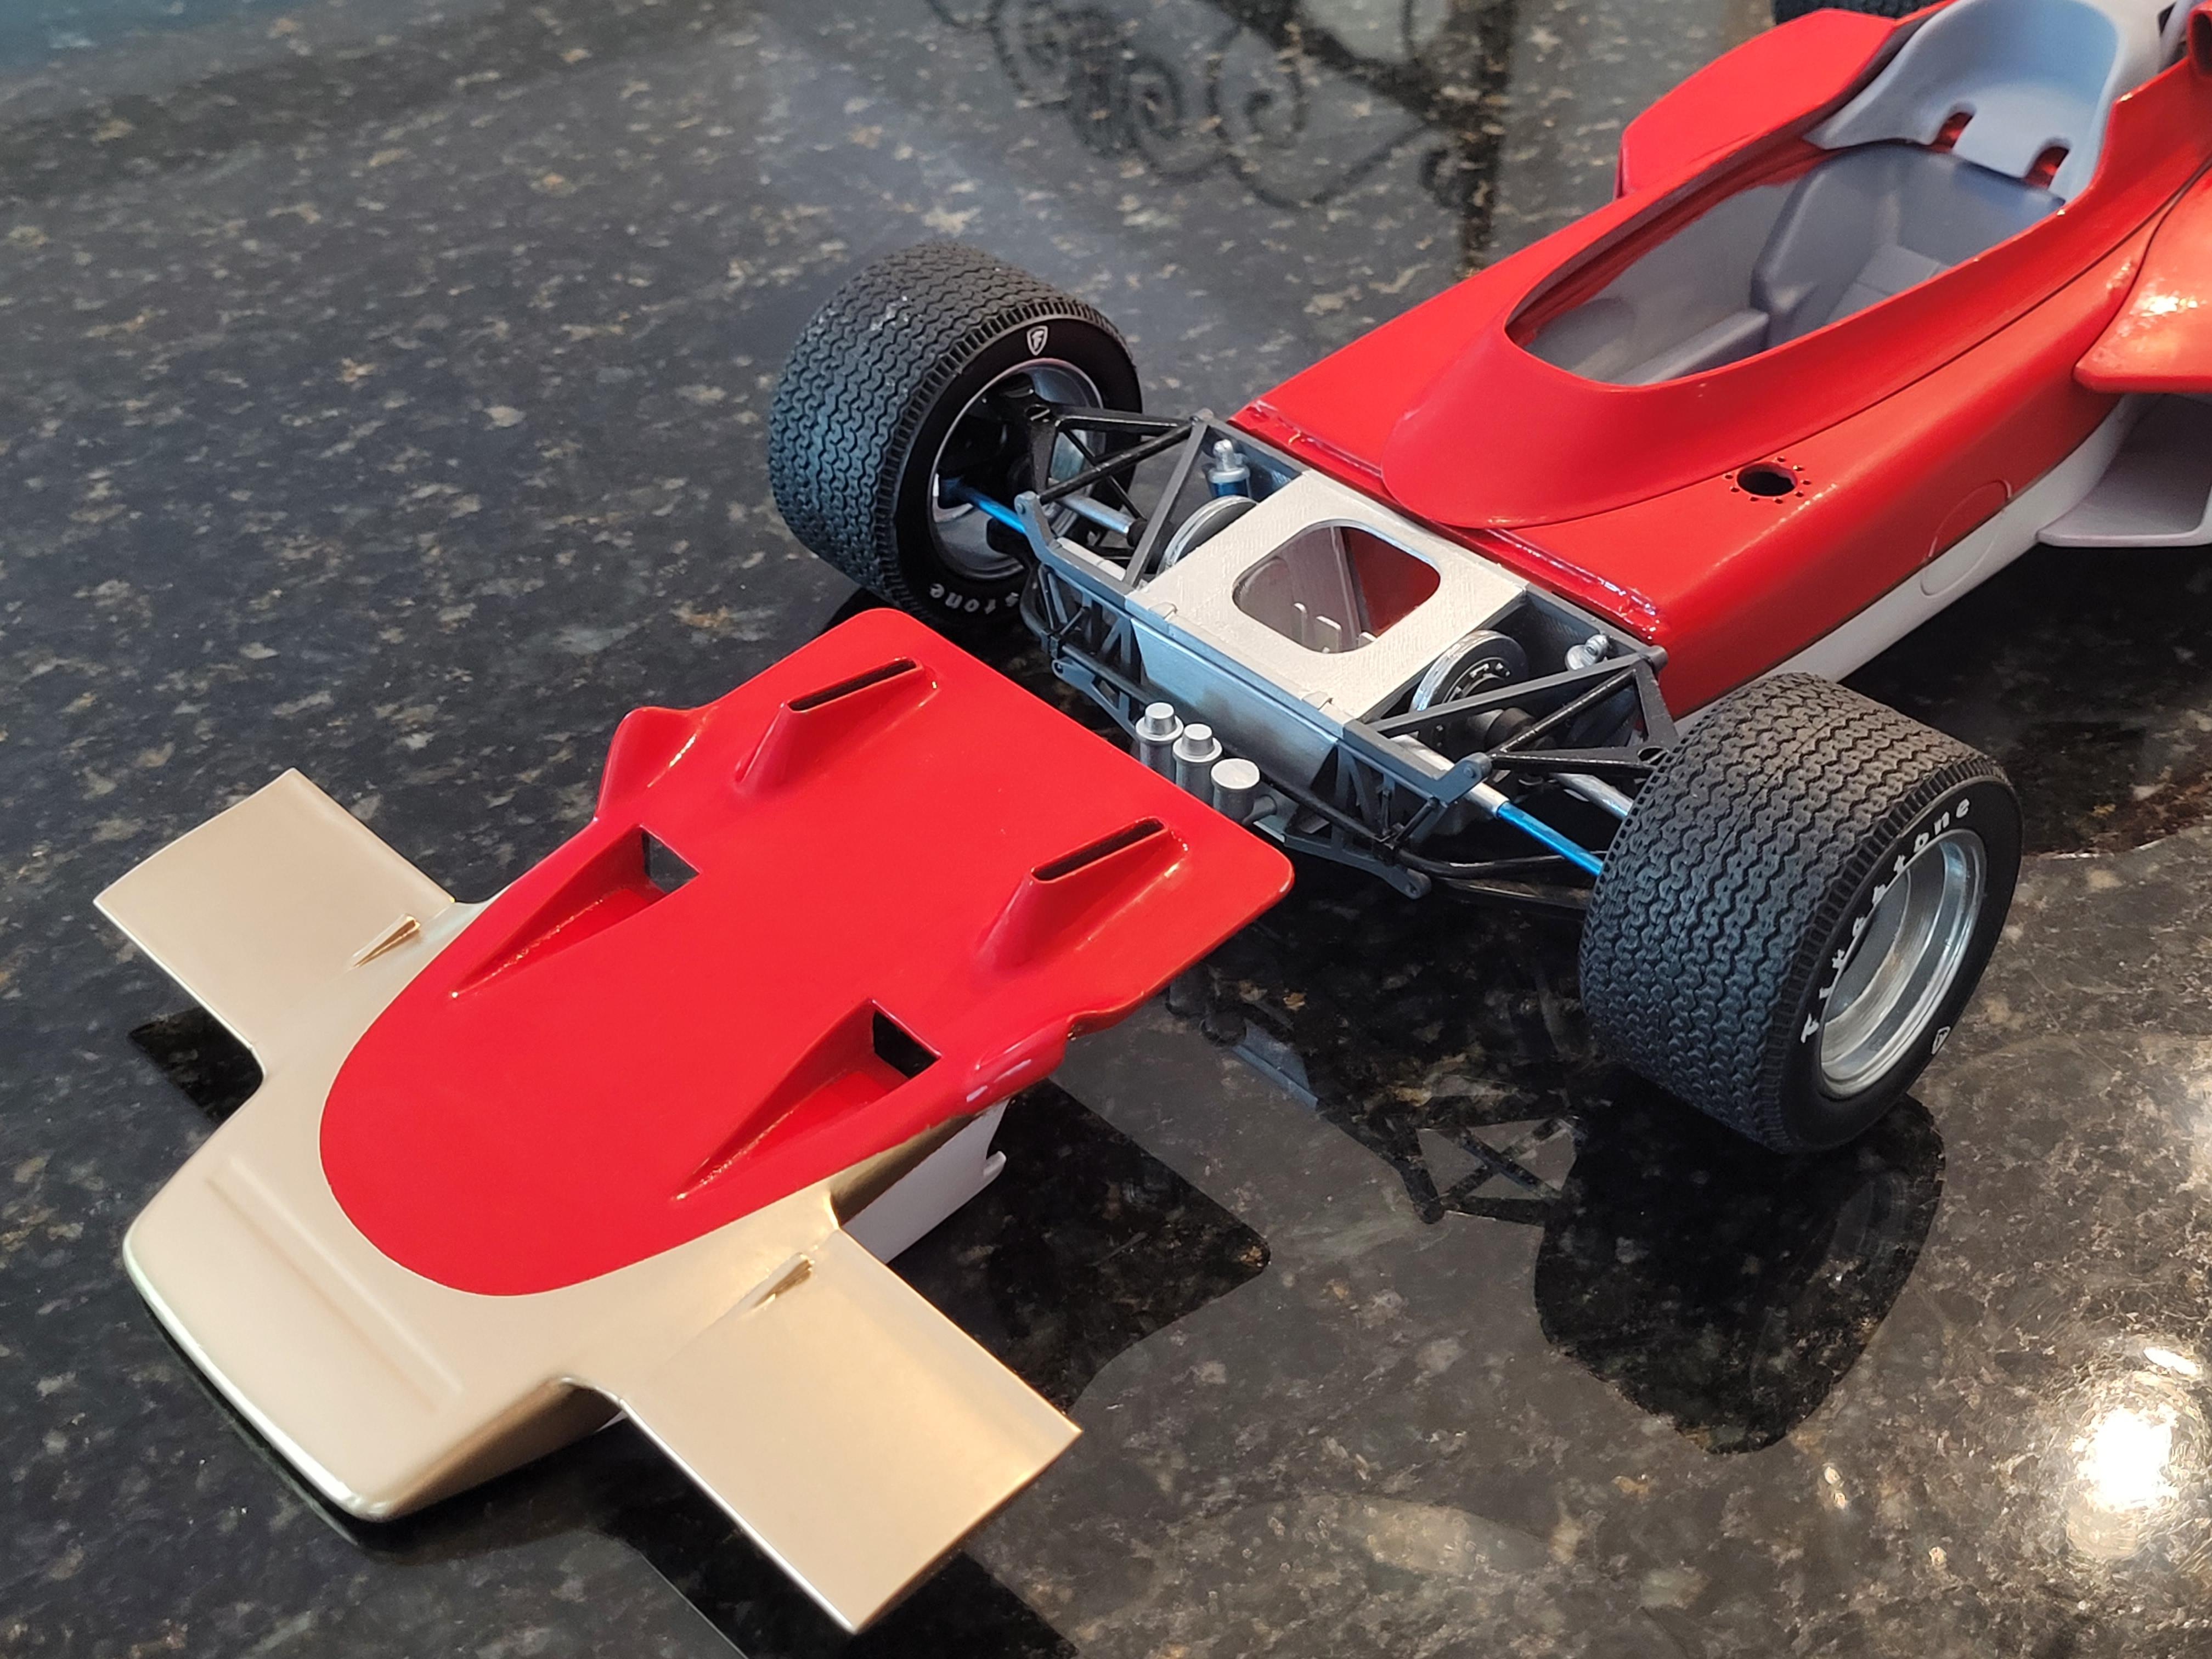
I just finished the front suspension. I placed both front and rear suspension assemblies loosely in position. Next up, the body and cockpit. Thanks for looking!
-
1/8 Scale Lotus 72c -3d Printed
kenlwest replied to kenlwest's topic in WIP: Other Racing: Road Racing, Land Speed Racers
I made some progress on the rear suspension. The assembly went together as expected. I am the world's worst painter, as my eyes are not what they used to be, but I am happy with the project so far. One of the benefits of large scale, is that mistakes are less noticeable when viewing from a distance.
-
1/8 Scale Lotus 72c -3d Printed
kenlwest replied to kenlwest's topic in WIP: Other Racing: Road Racing, Land Speed Racers
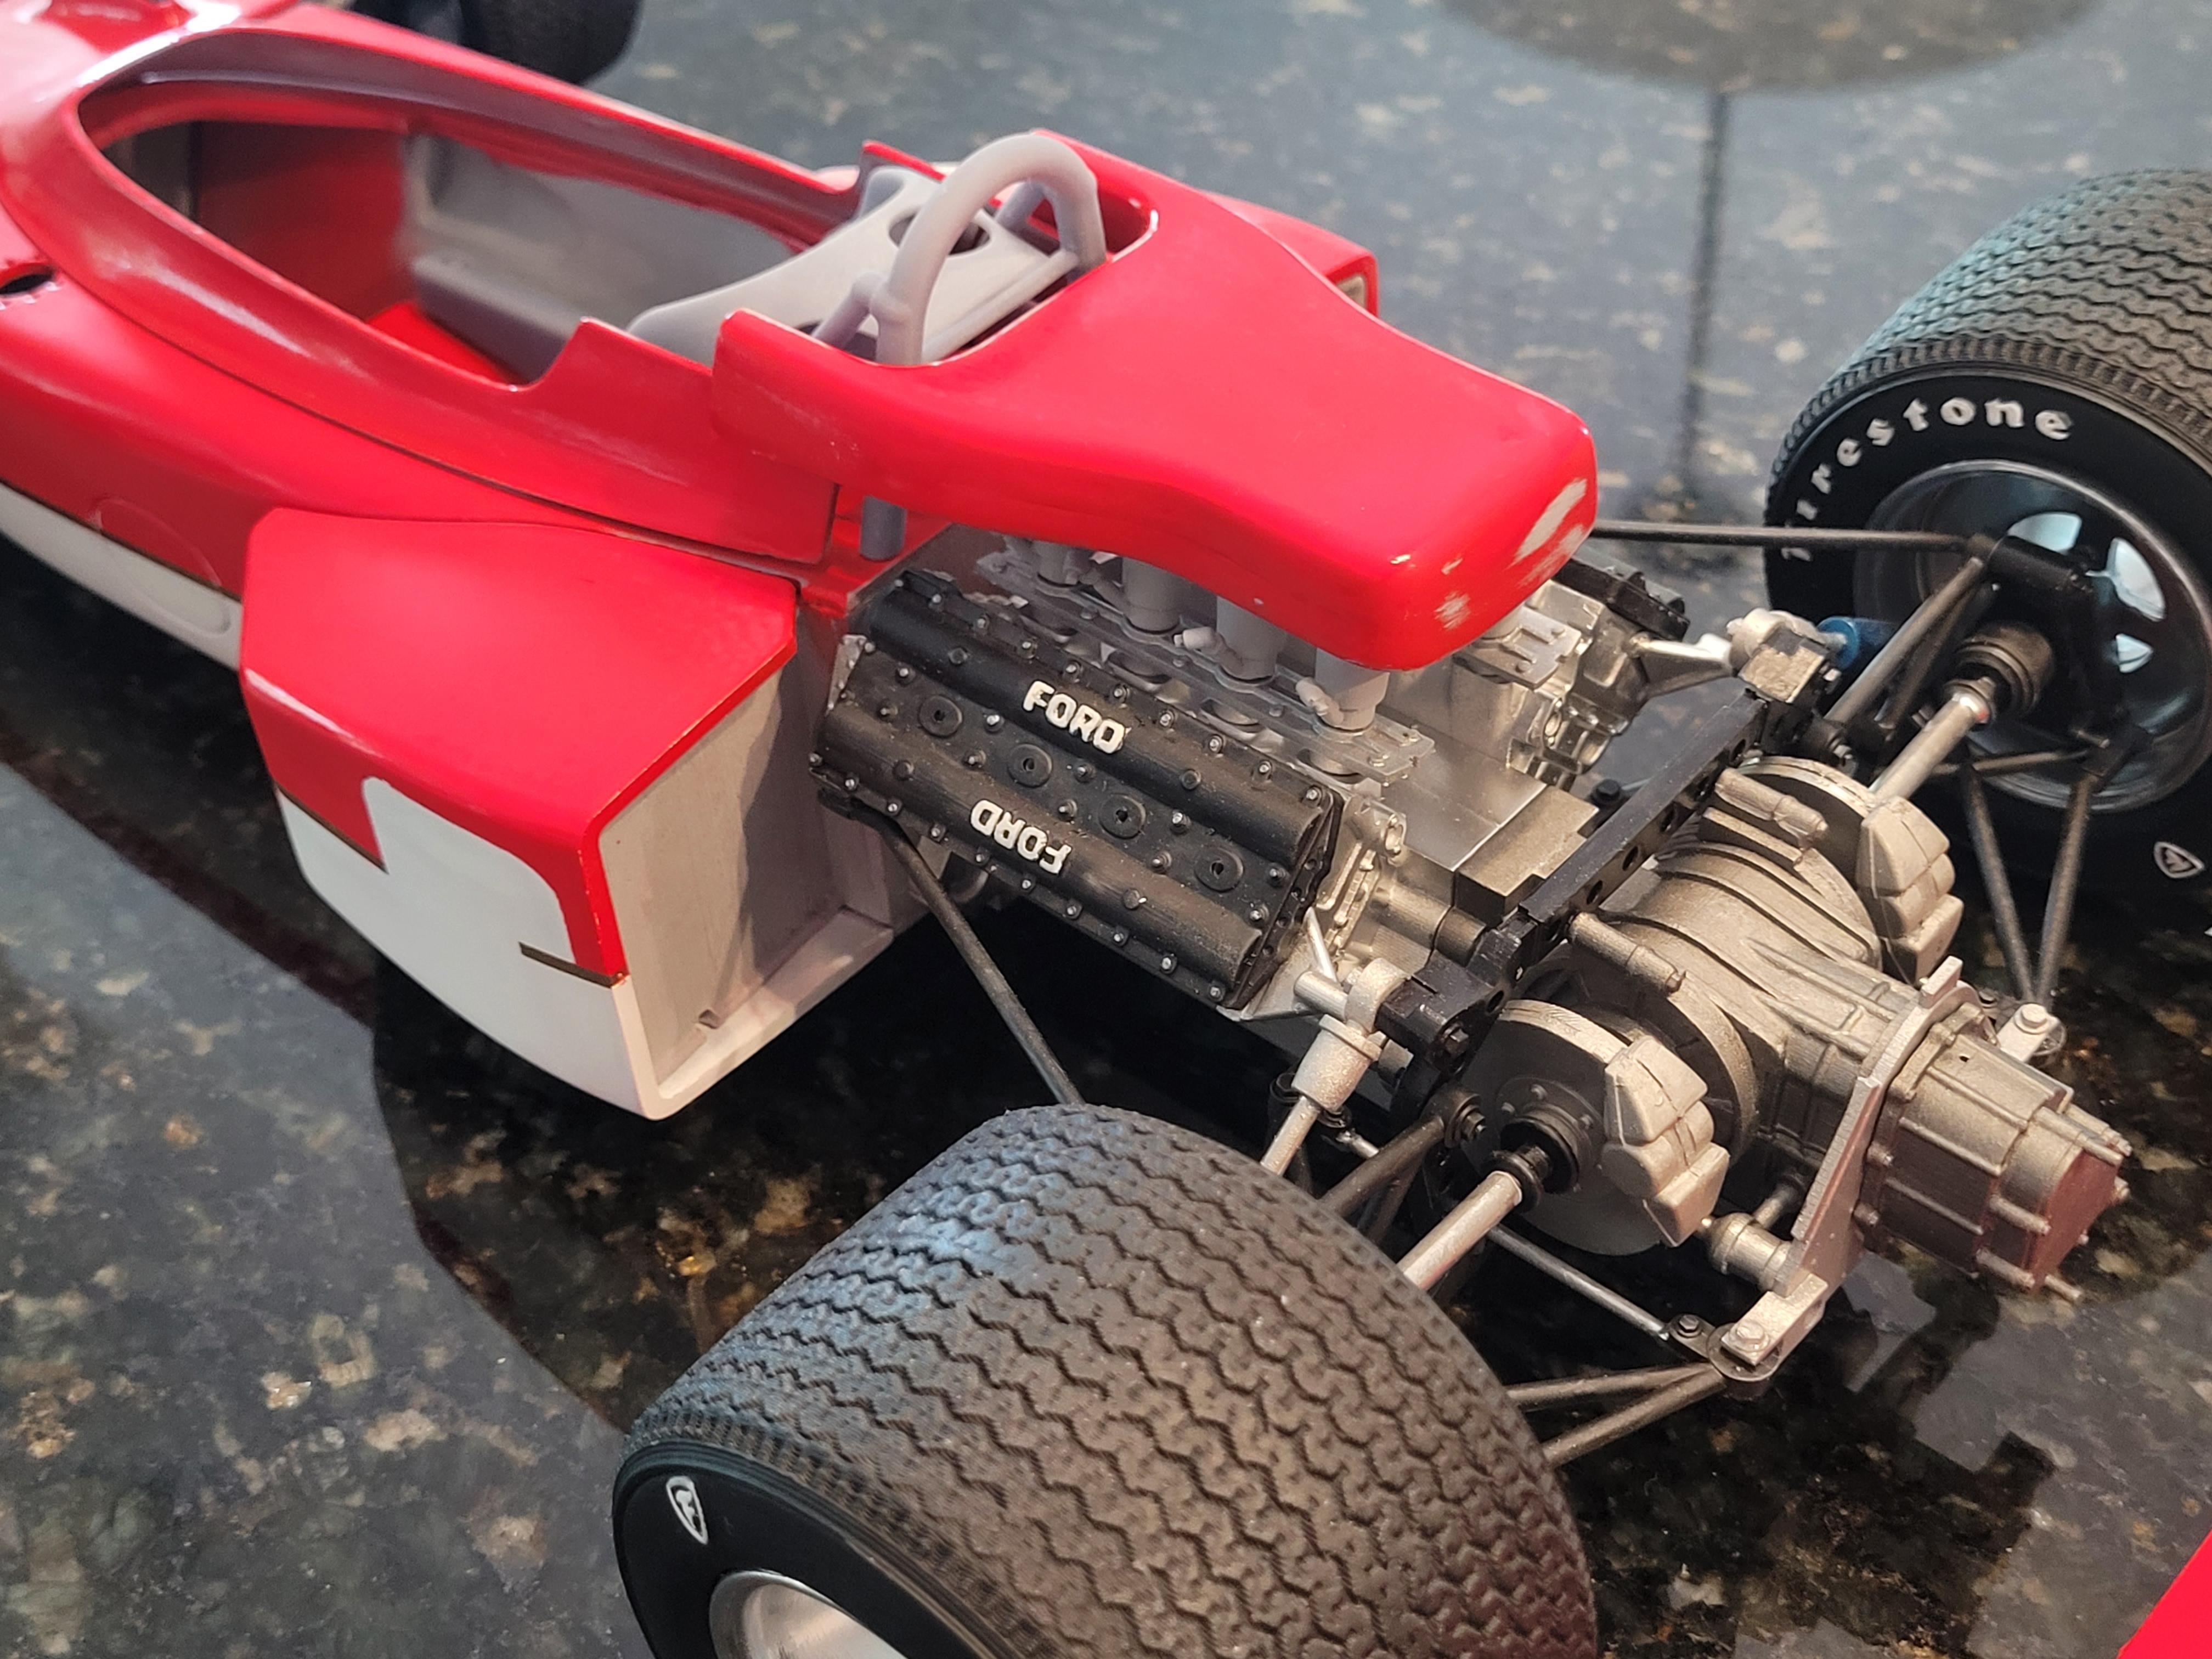
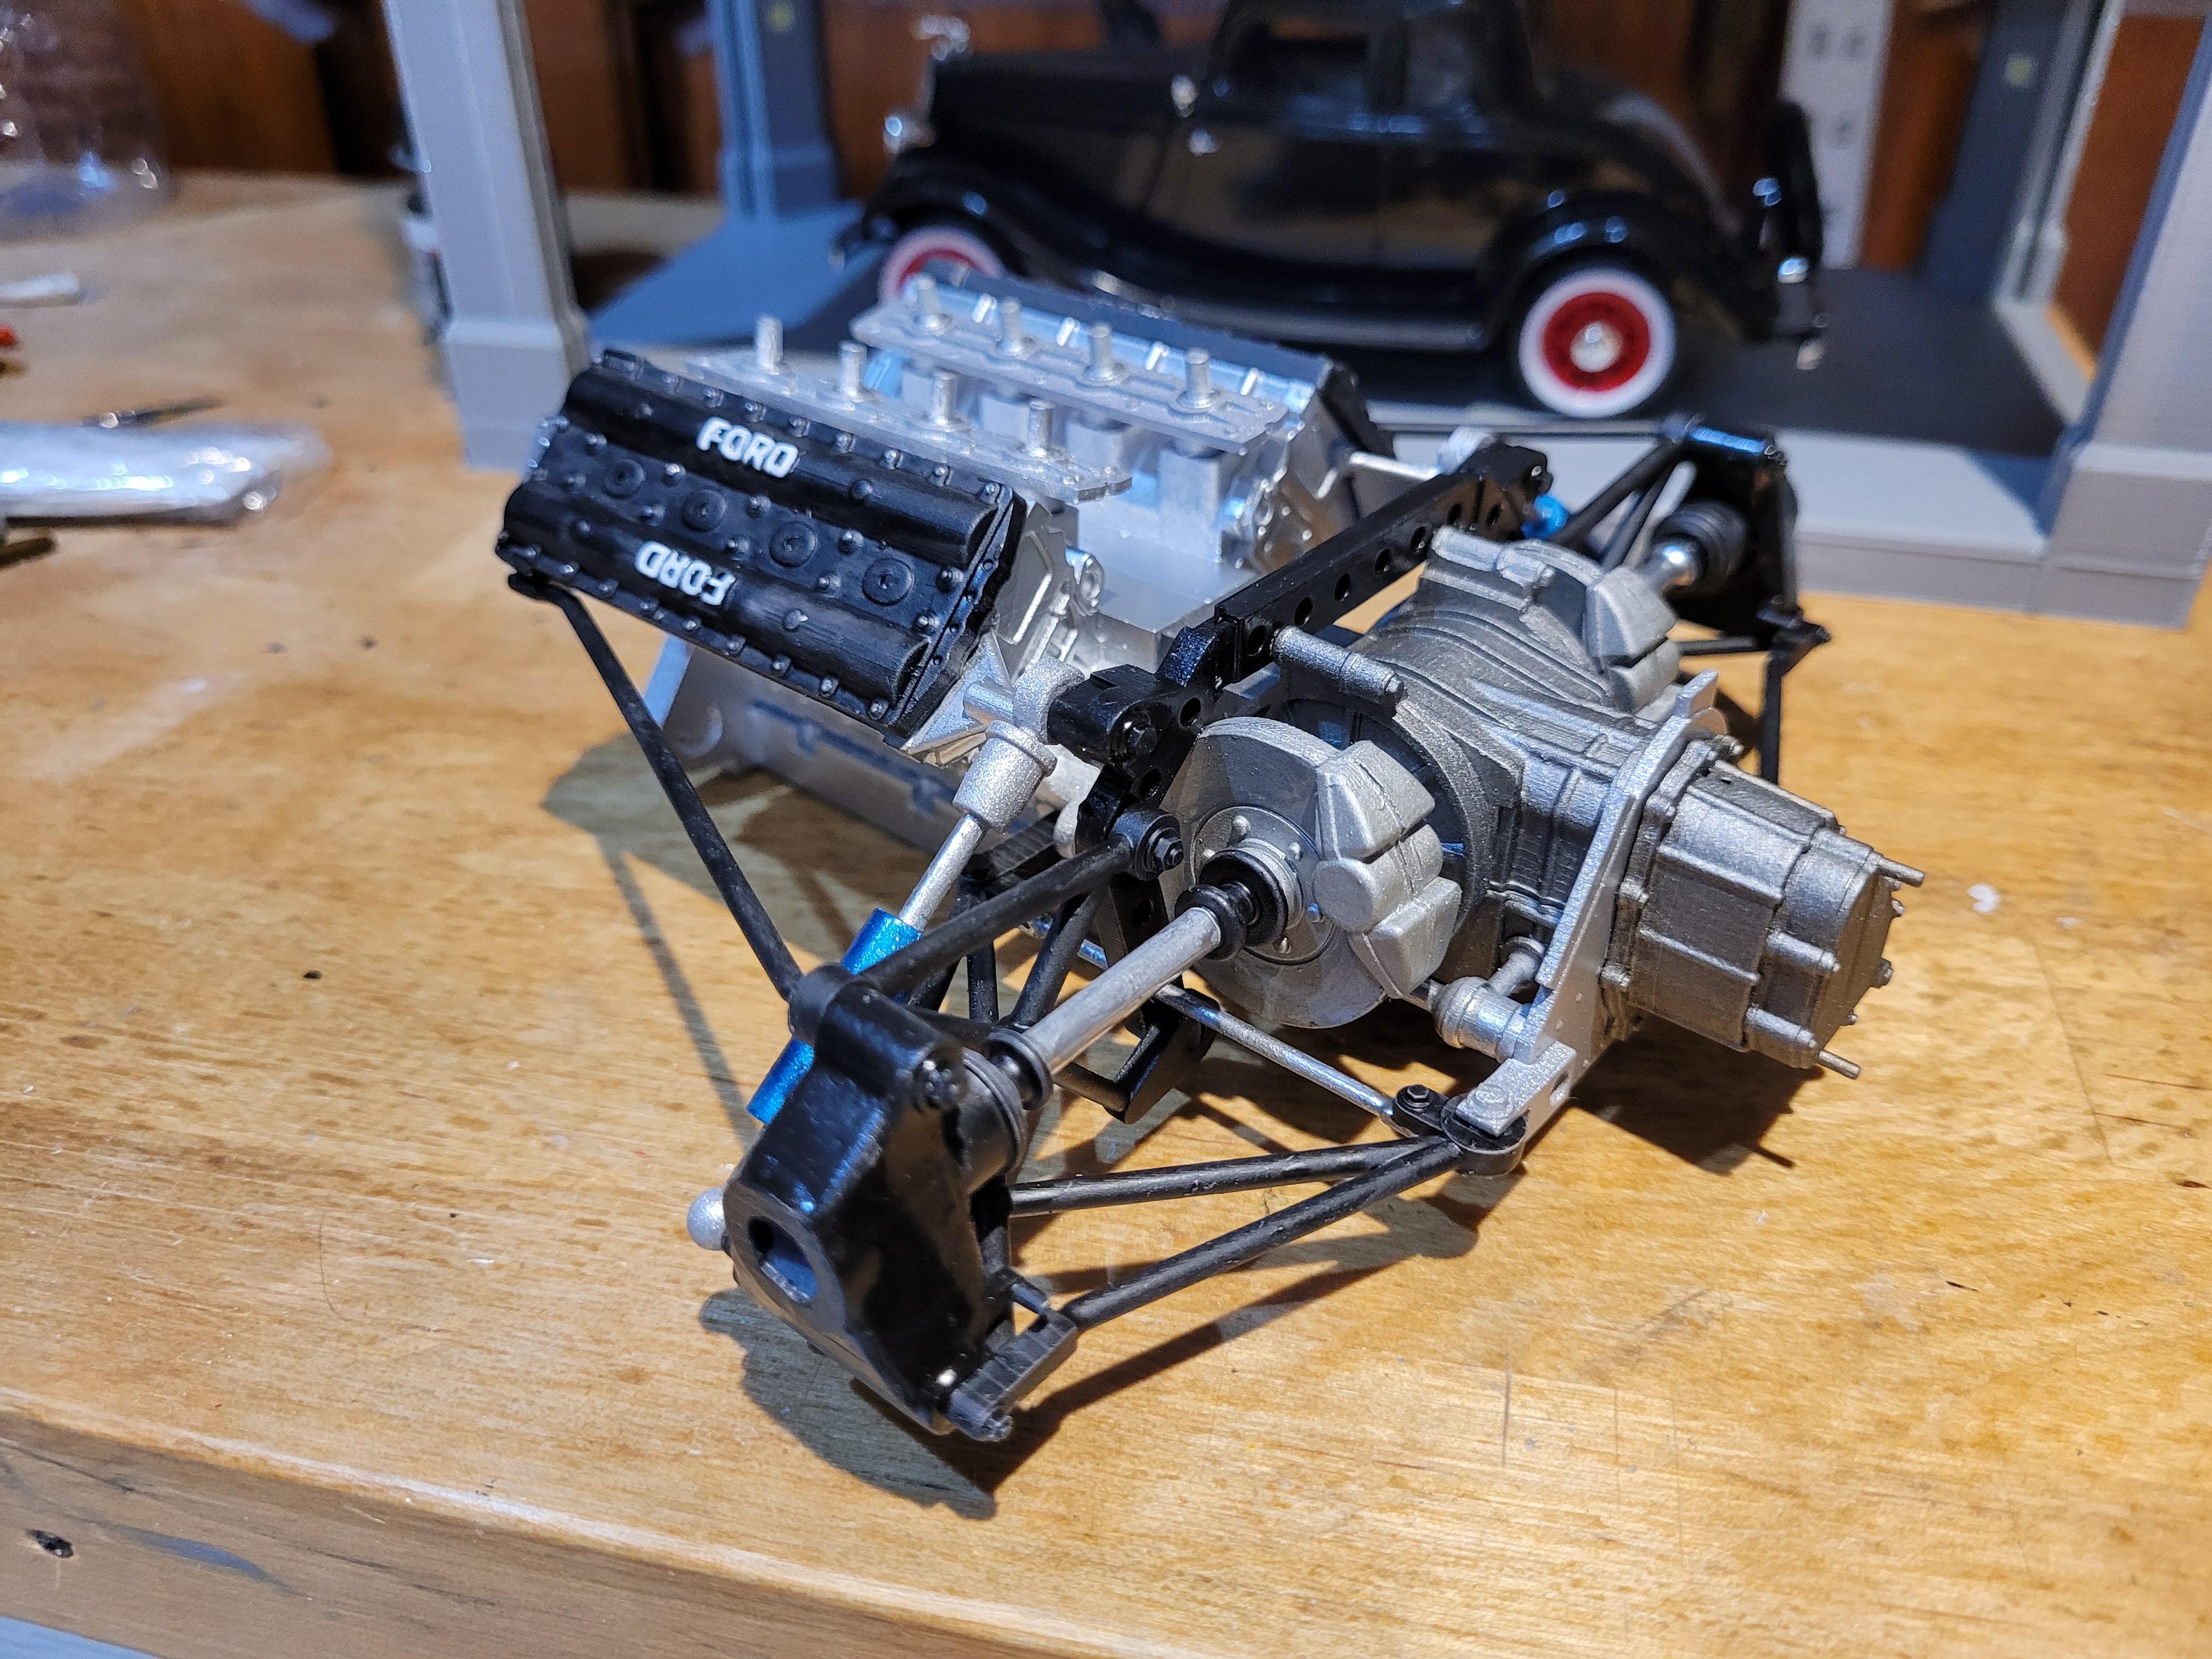
Actually, I have my own printers. The larger parts are fdm and smaller detailed parts are made with dlp printers. I started assembling and painting the engine.
-
1/8 Scale Lotus 72c -3d Printed
kenlwest replied to kenlwest's topic in WIP: Other Racing: Road Racing, Land Speed Racers
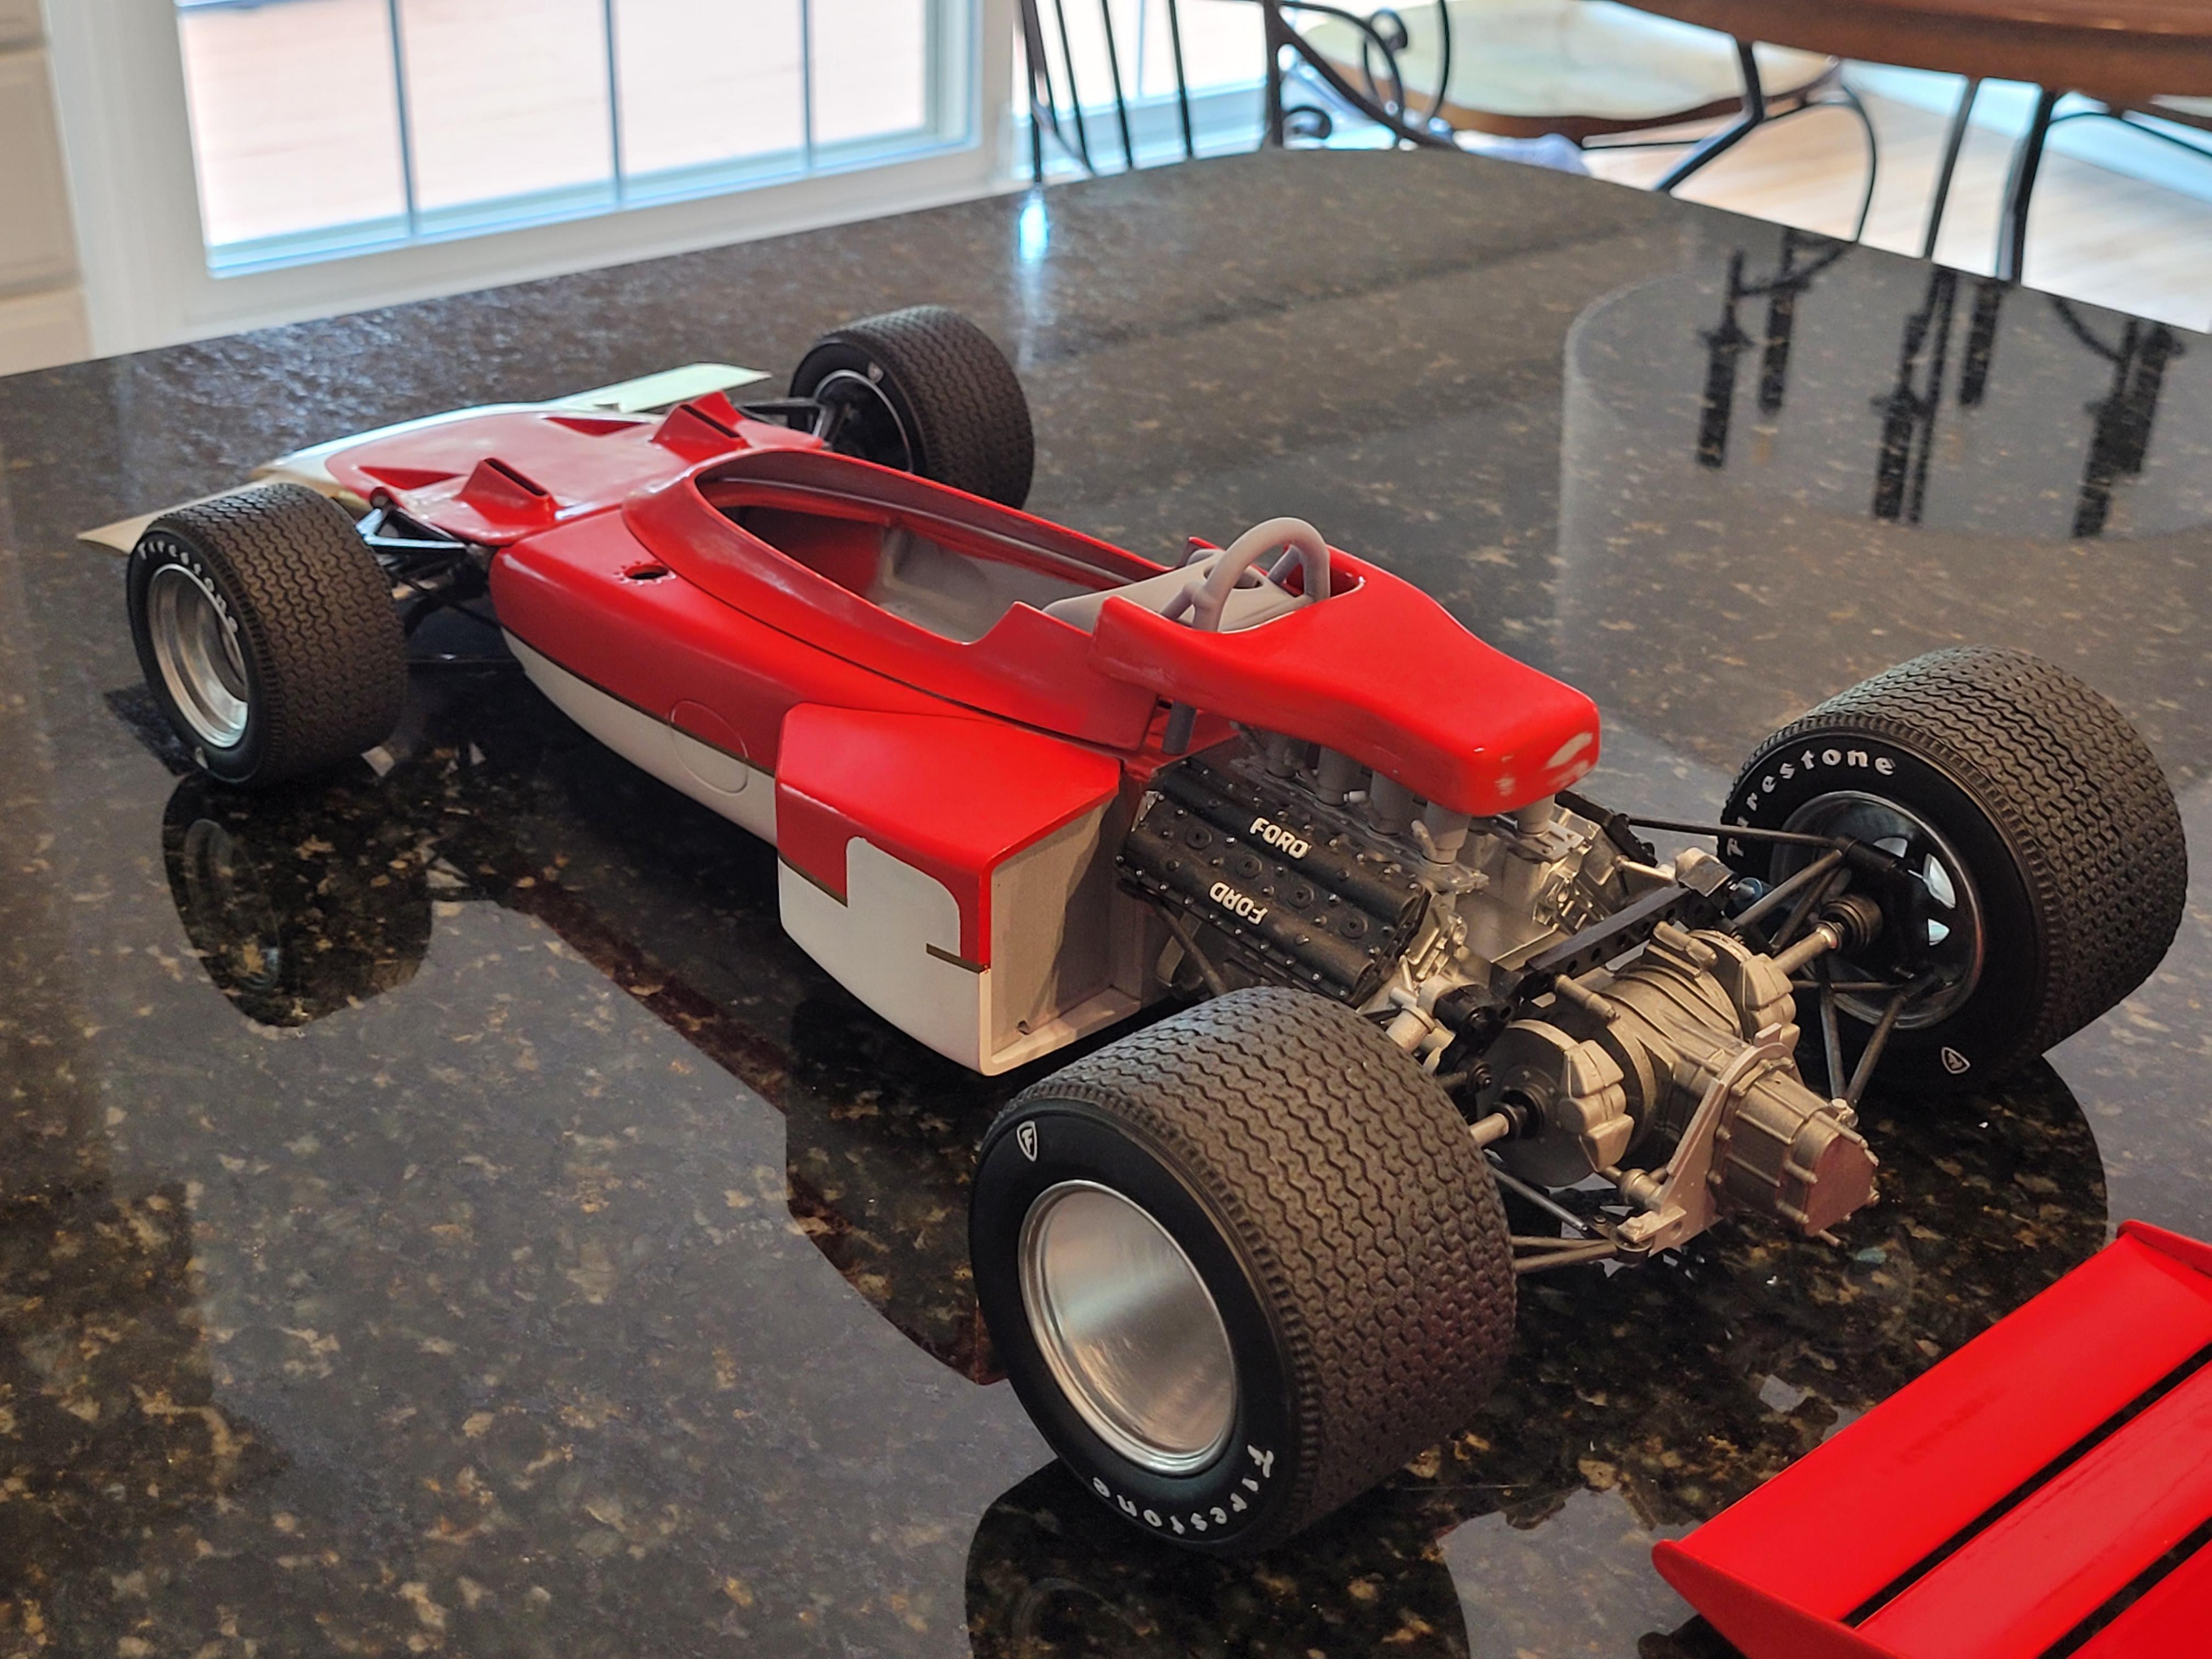
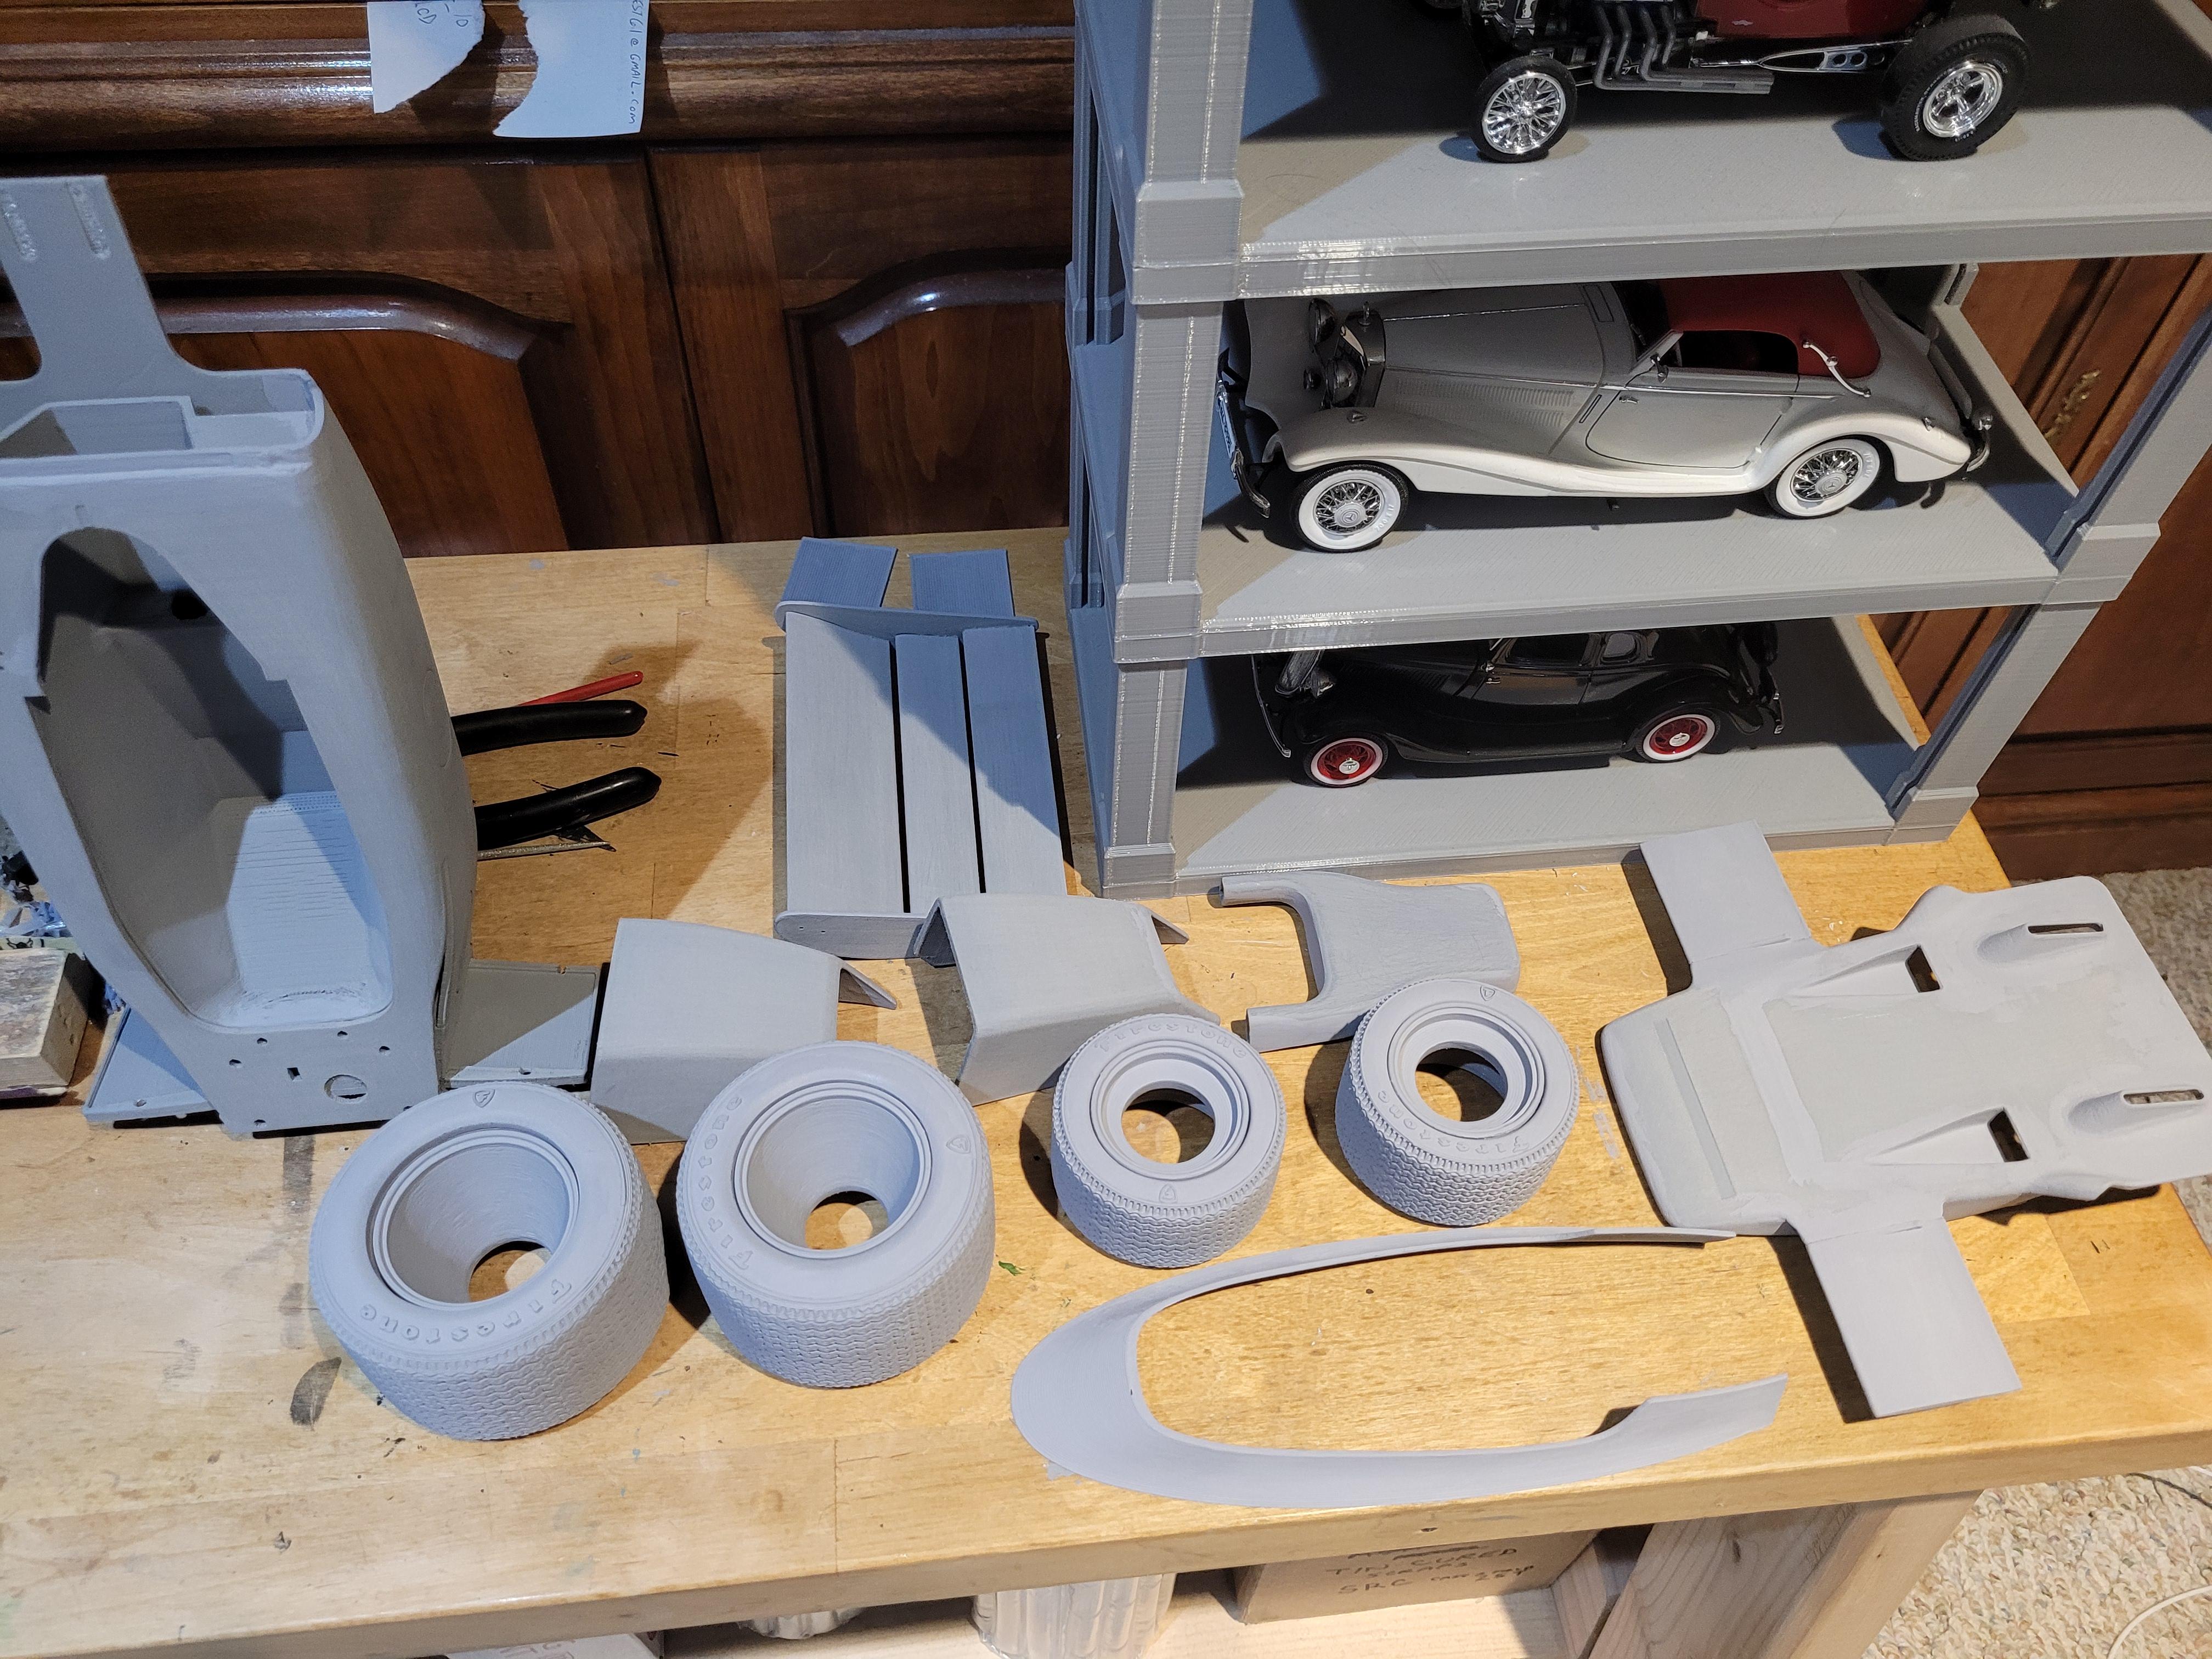
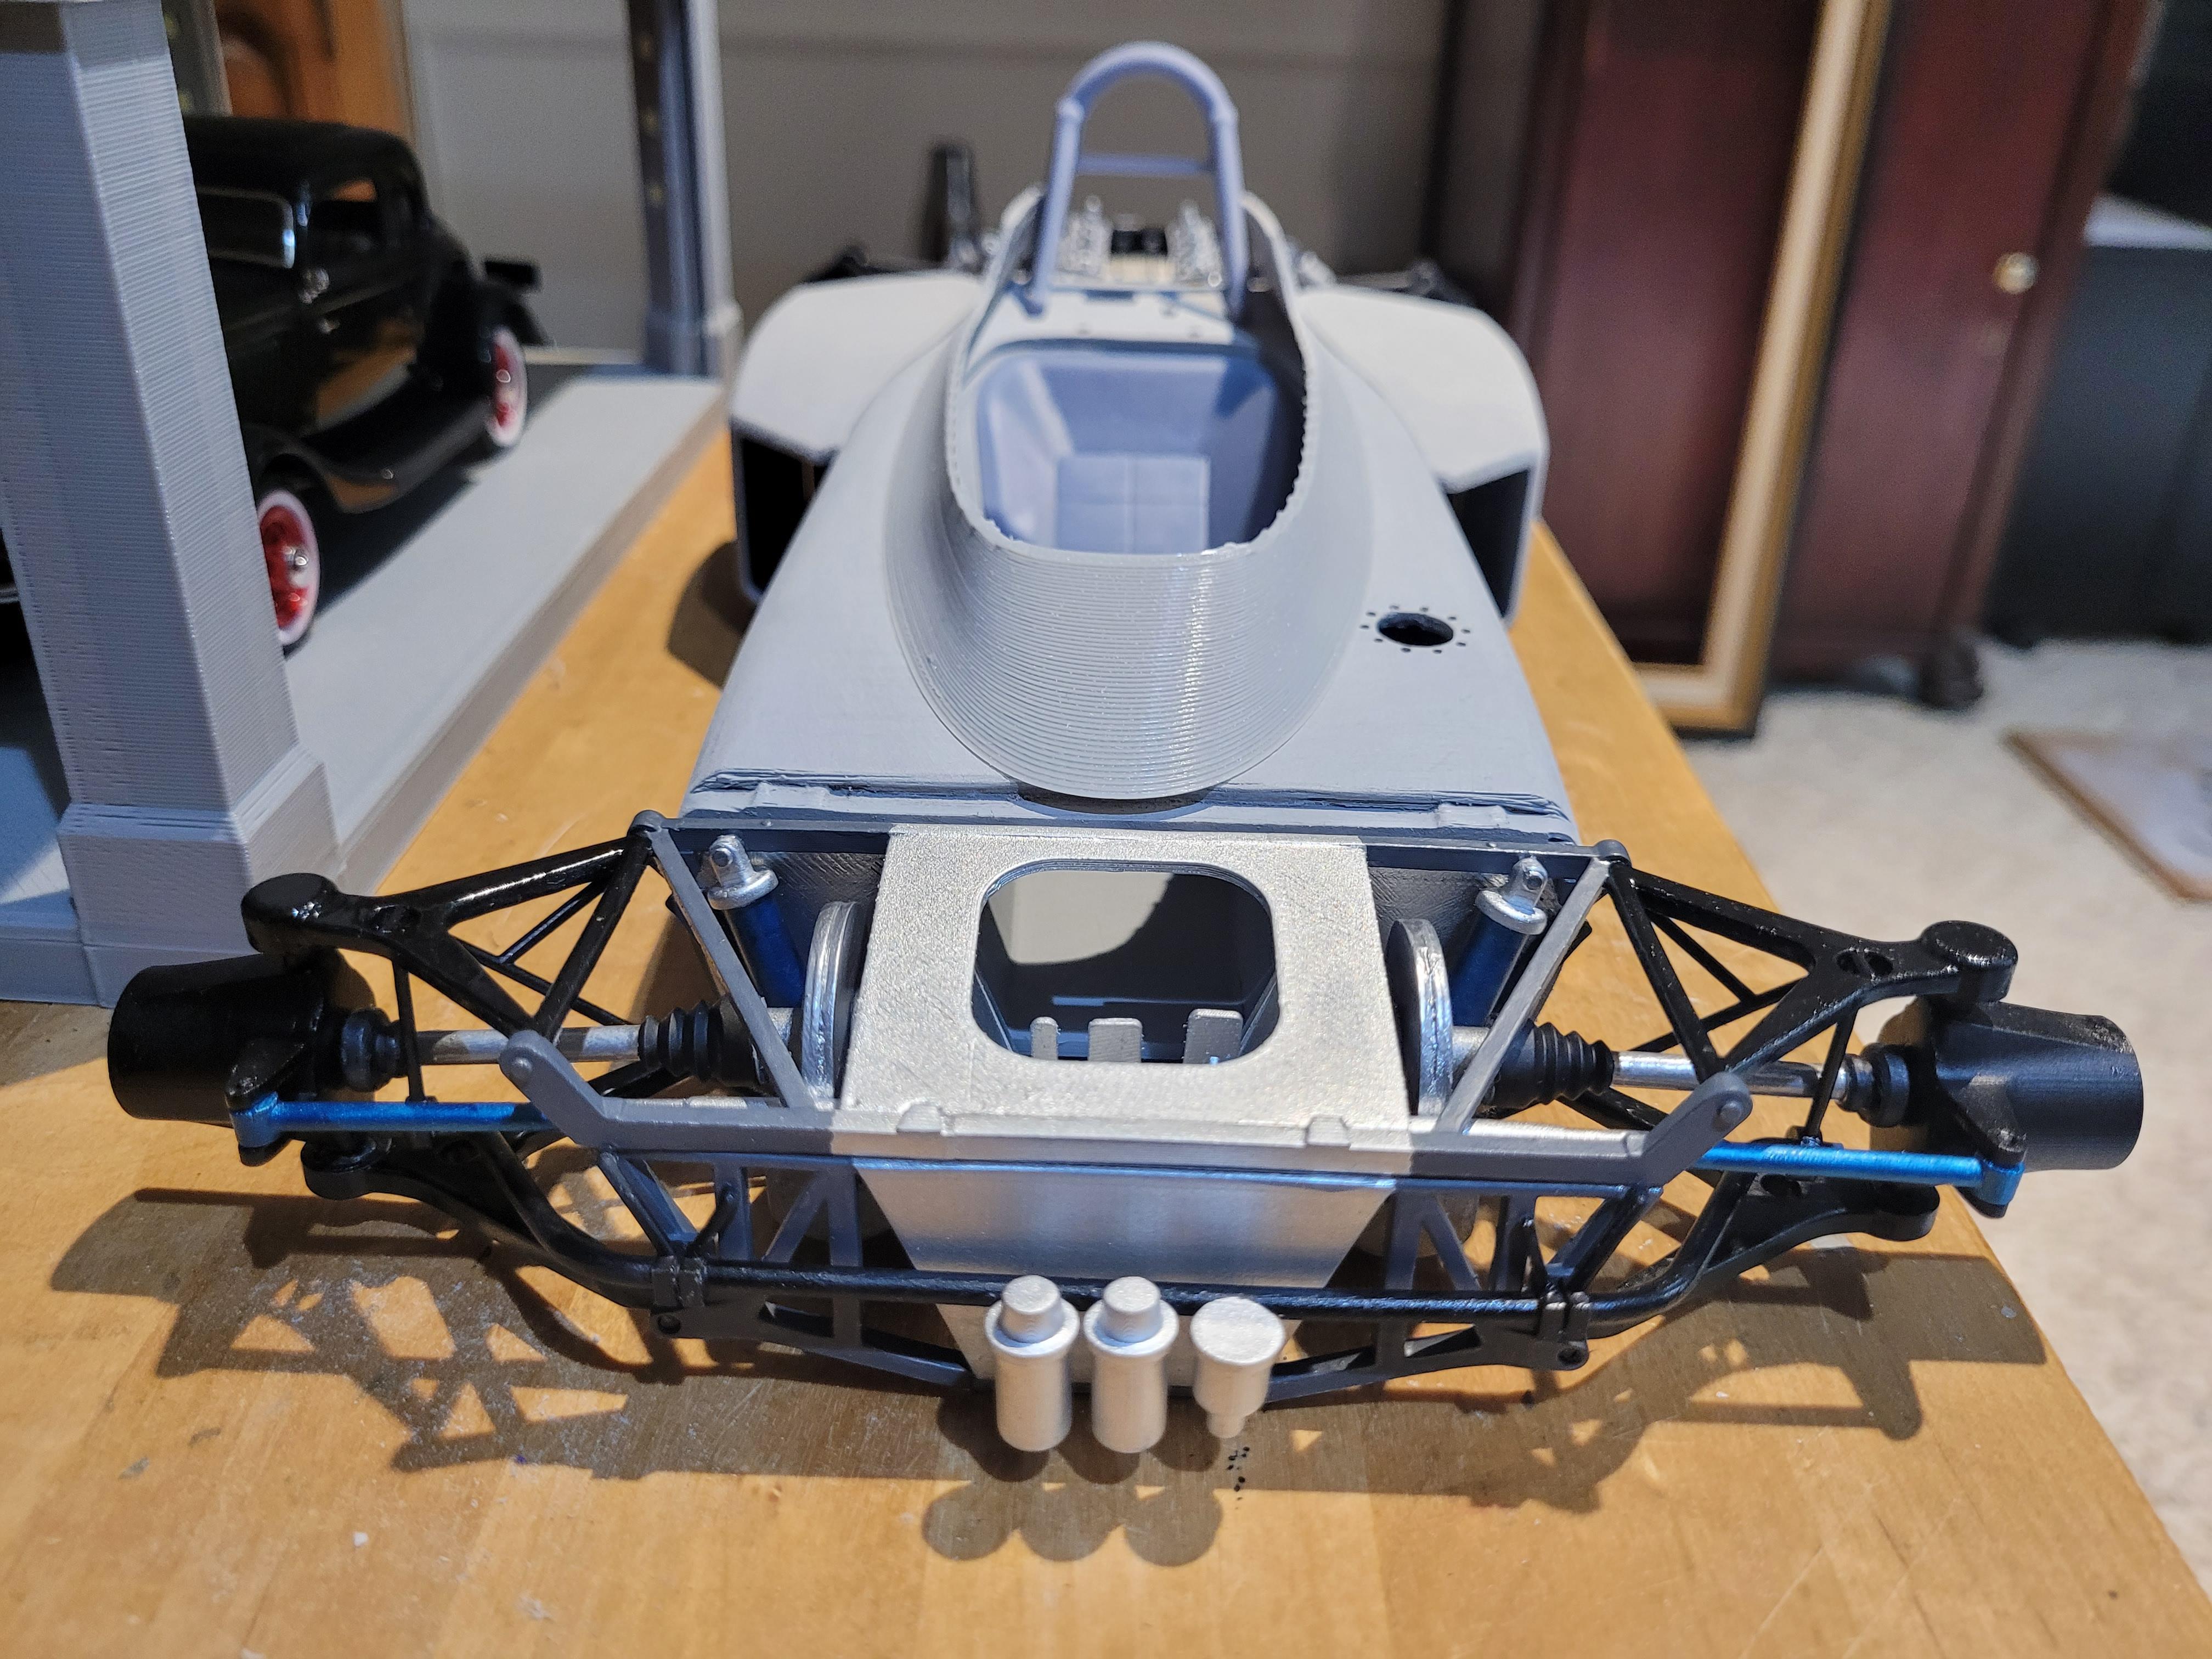
Sneak preview of body and front nose - note the size comparison to the 1/25 Ford in the background.
-
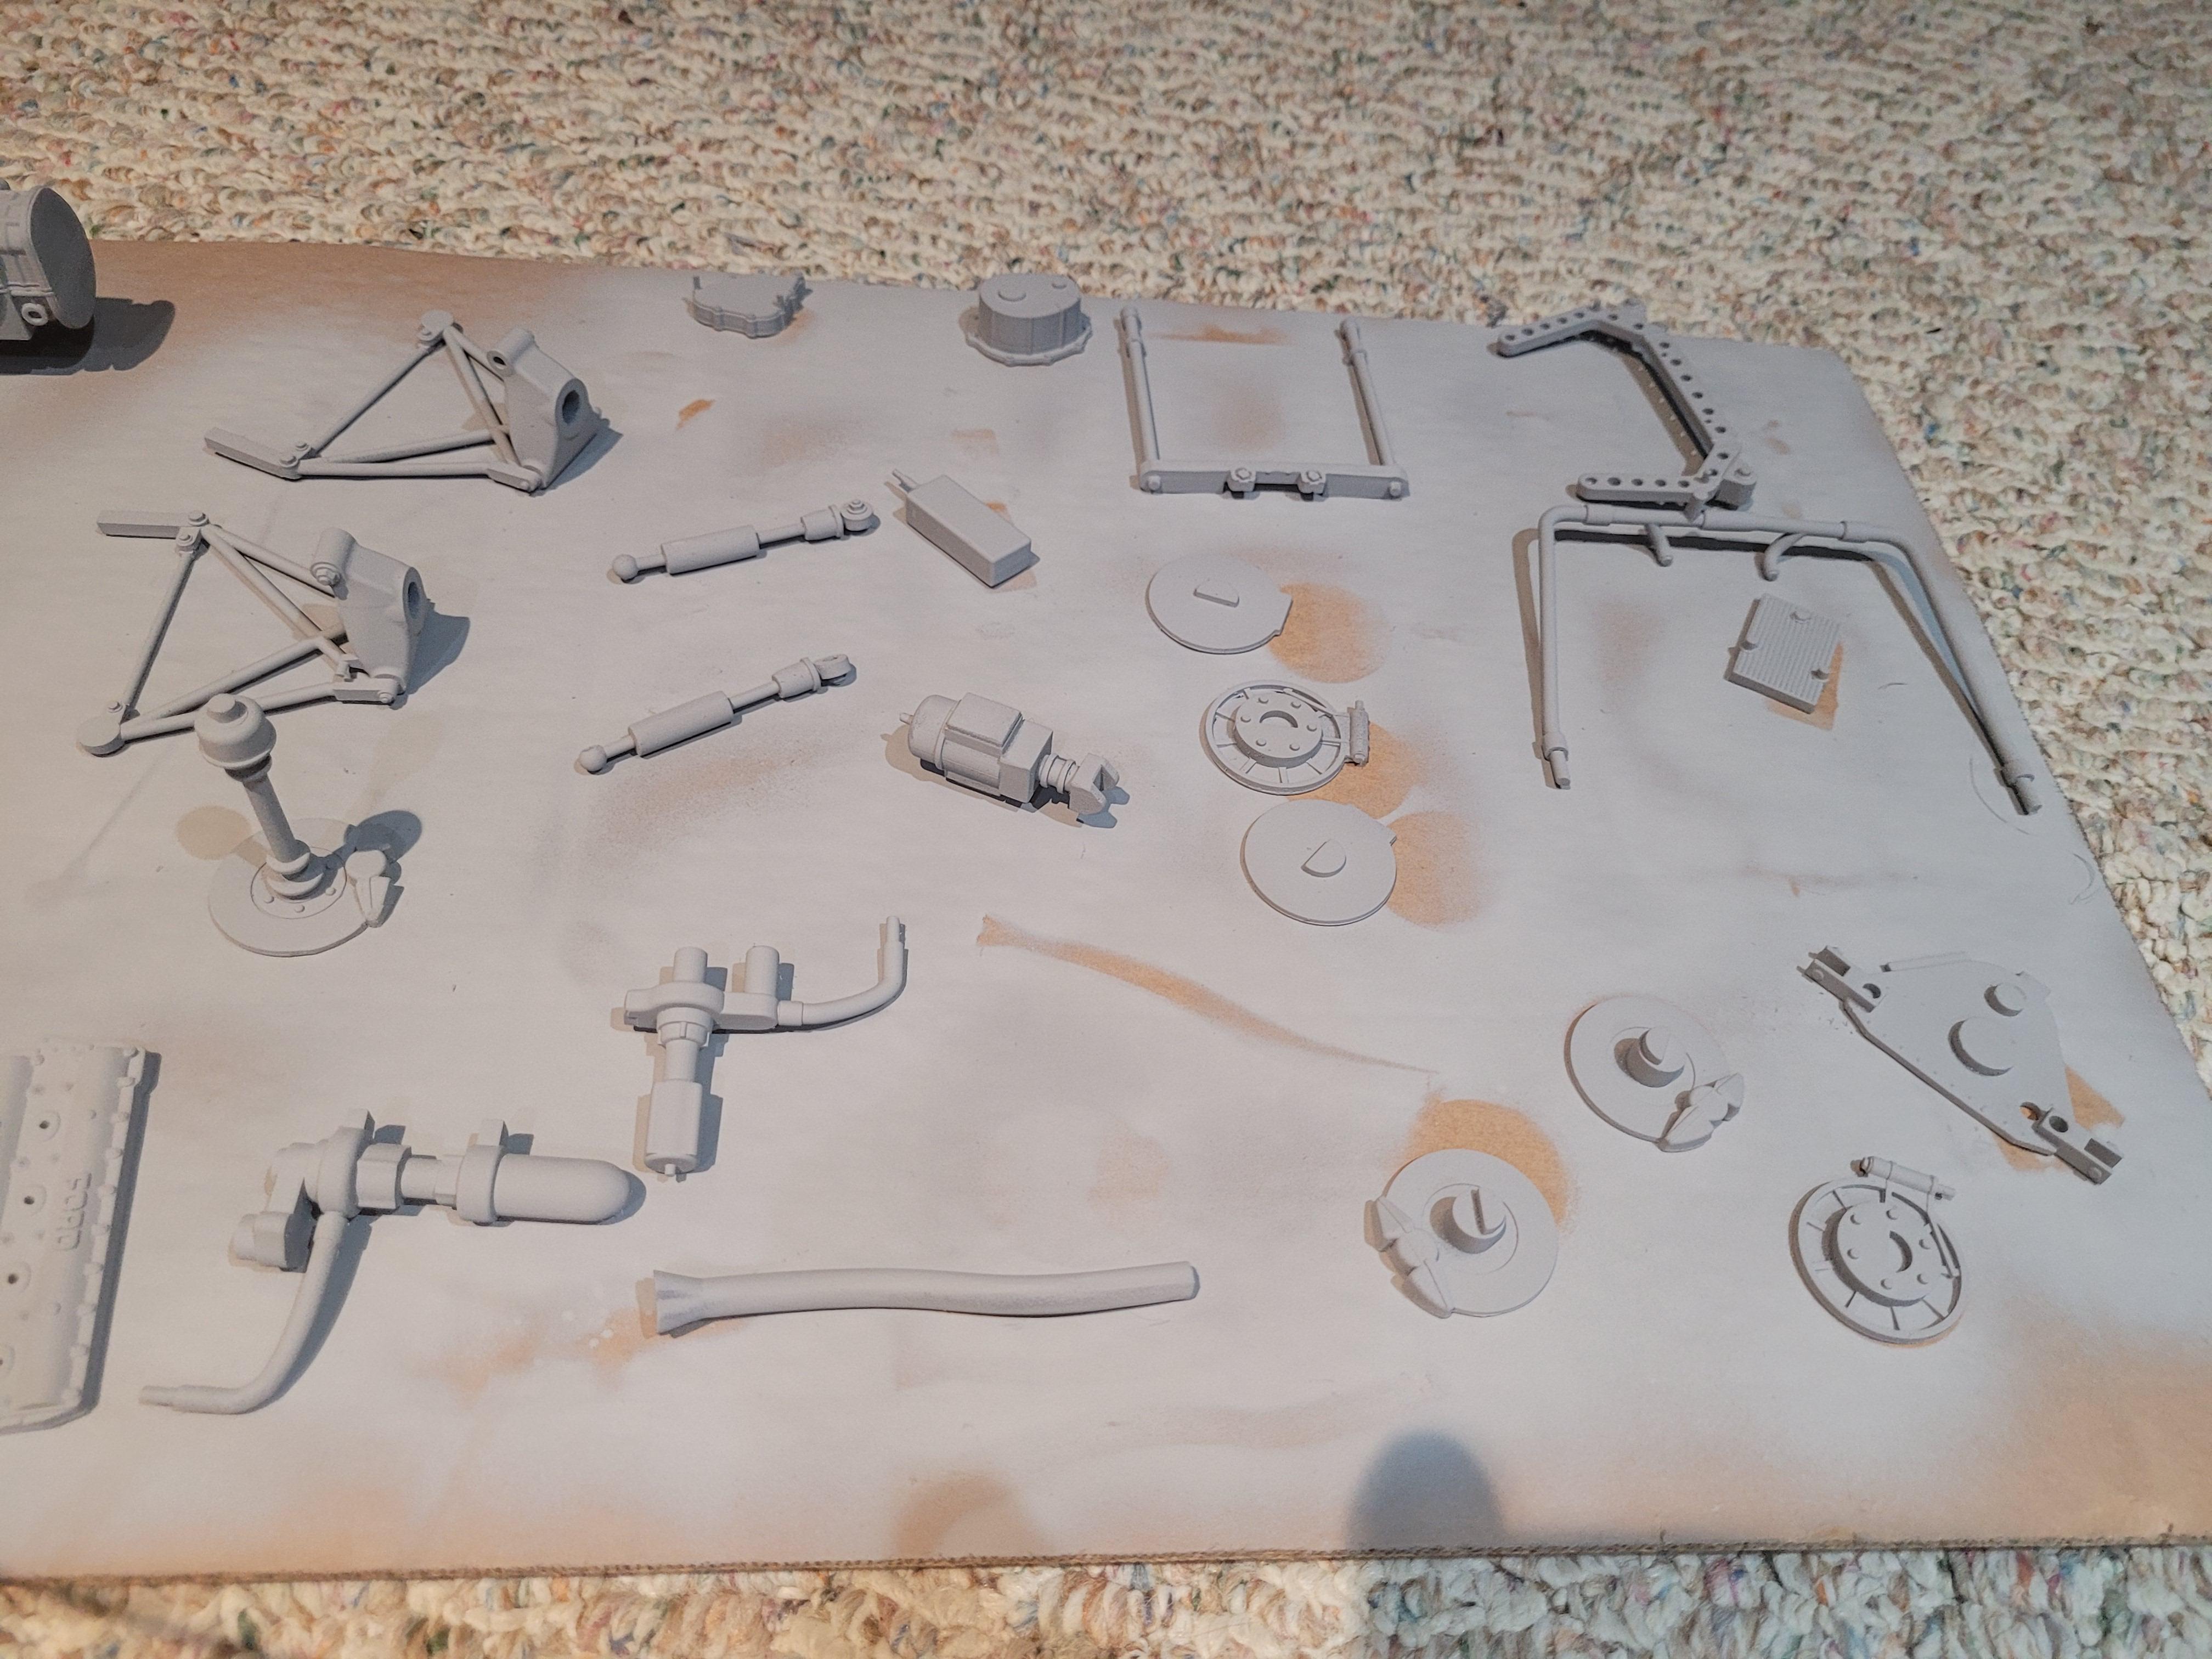
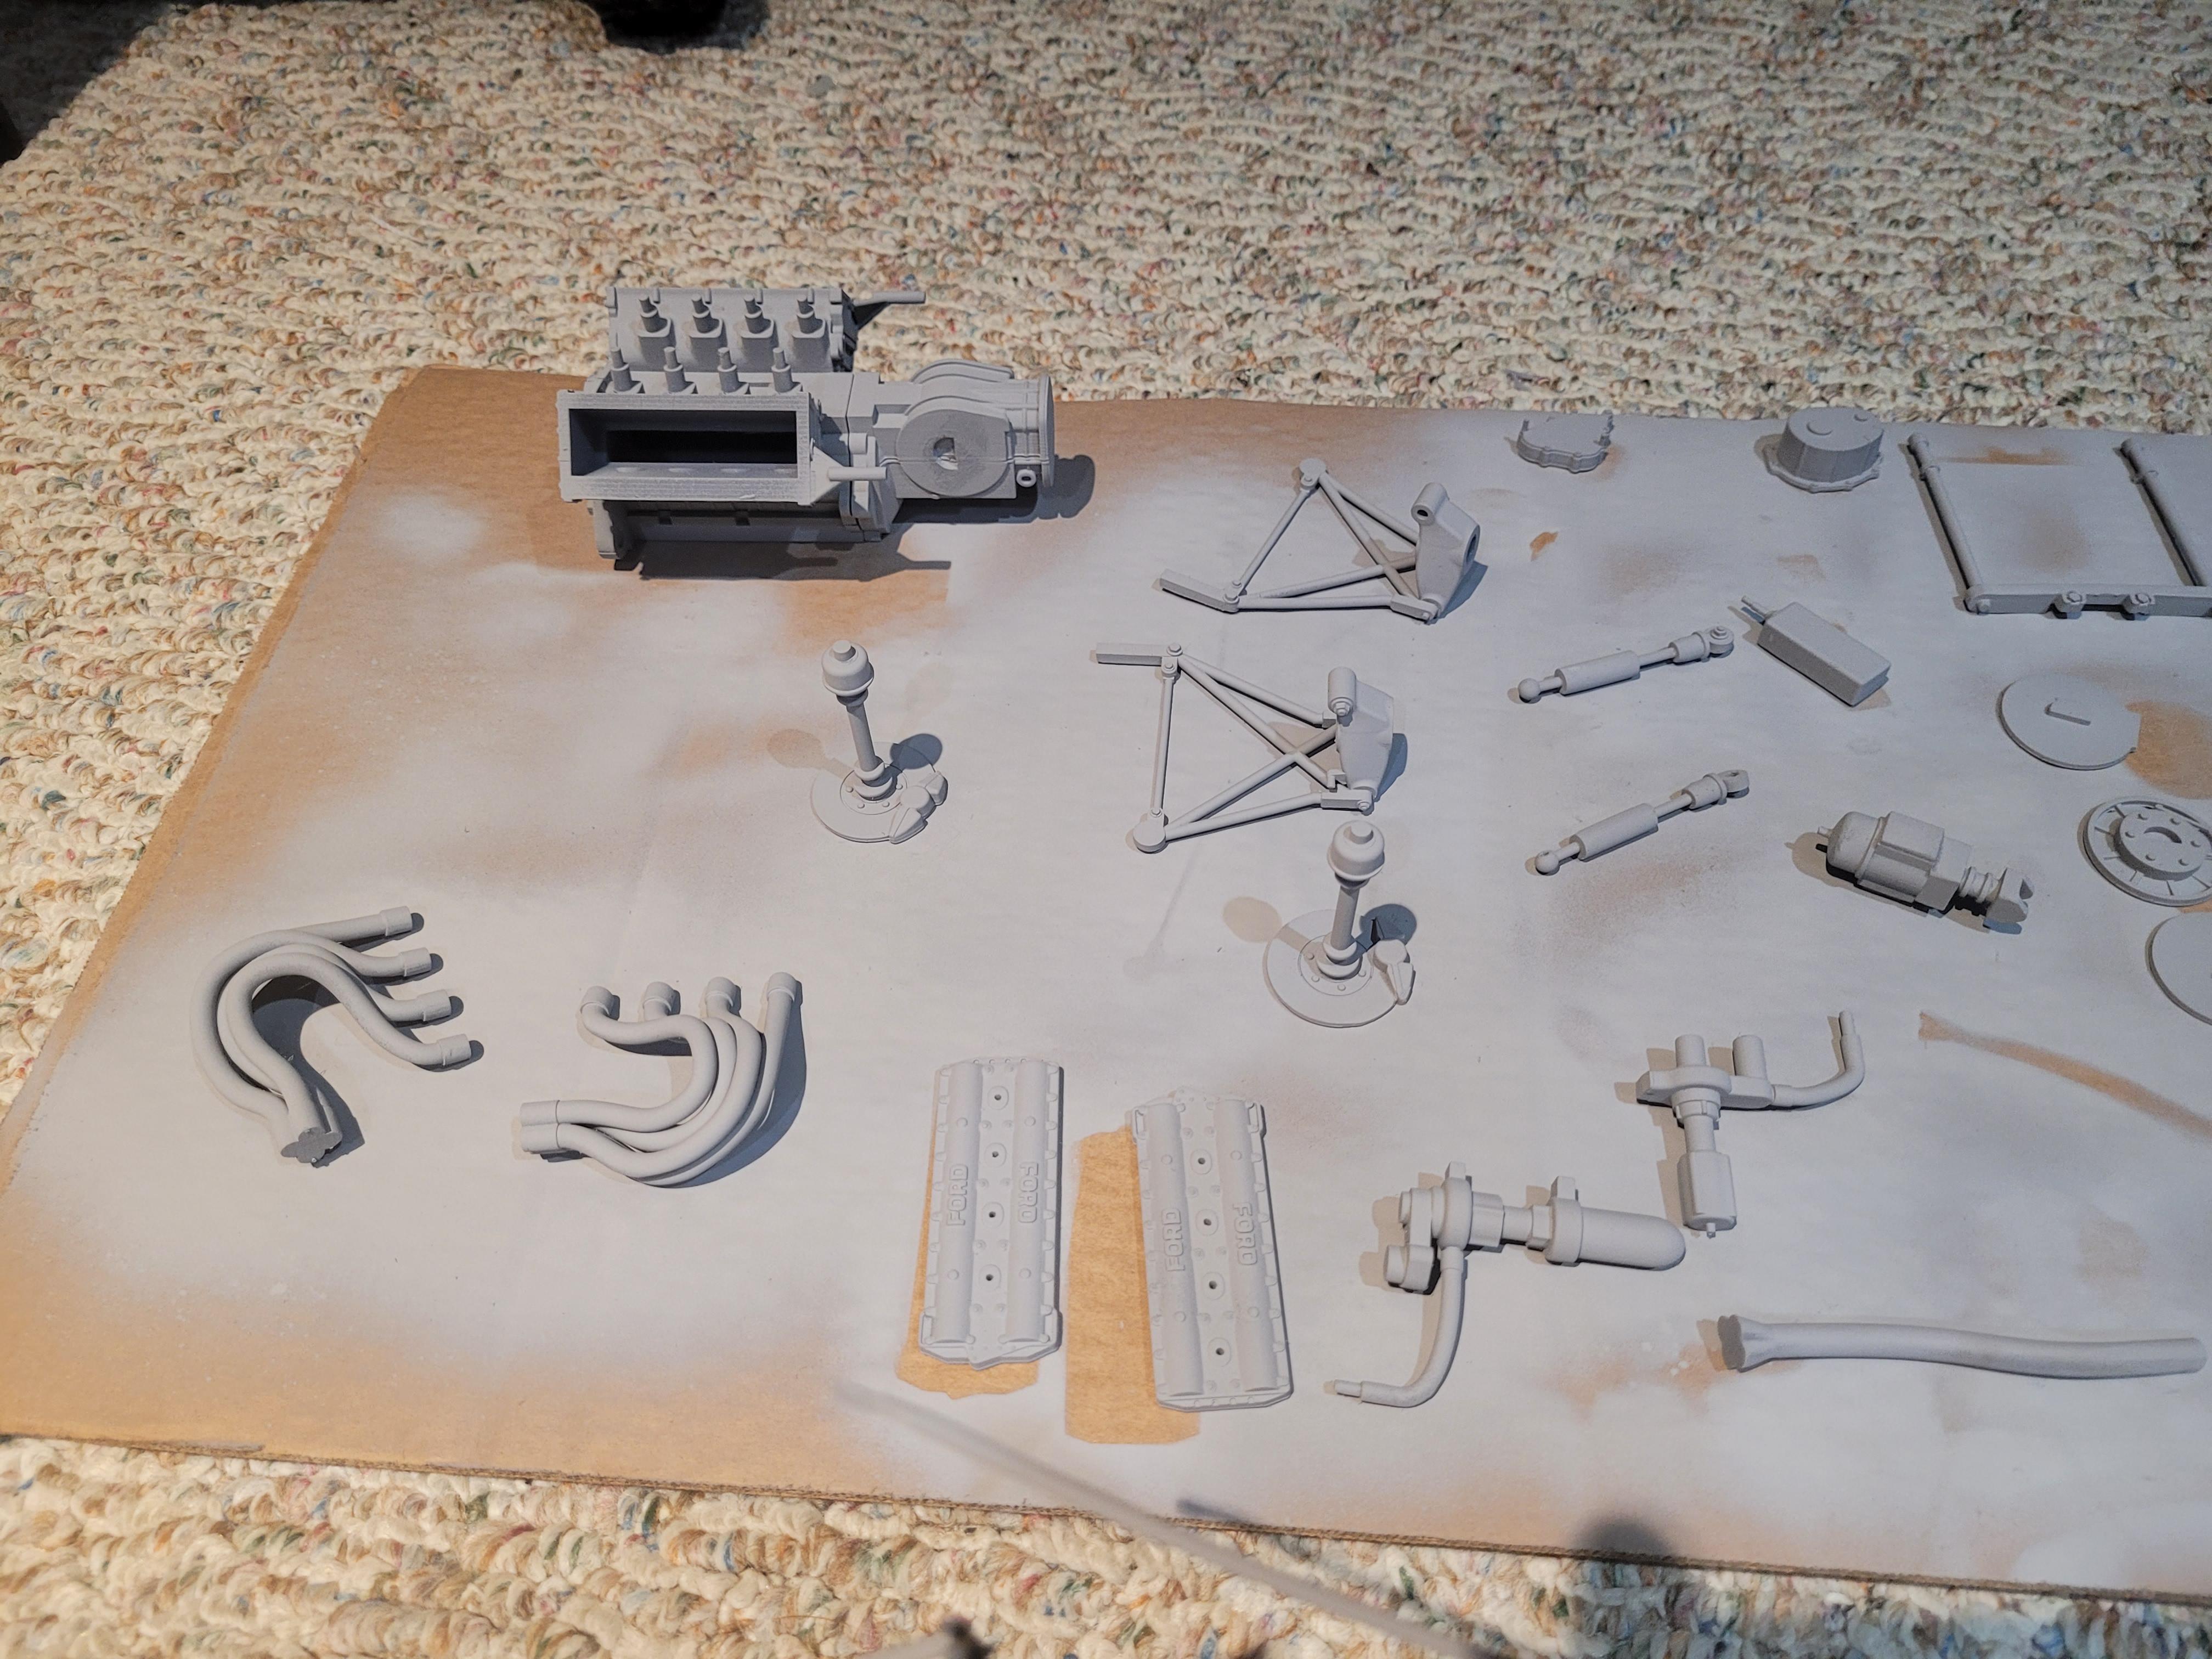
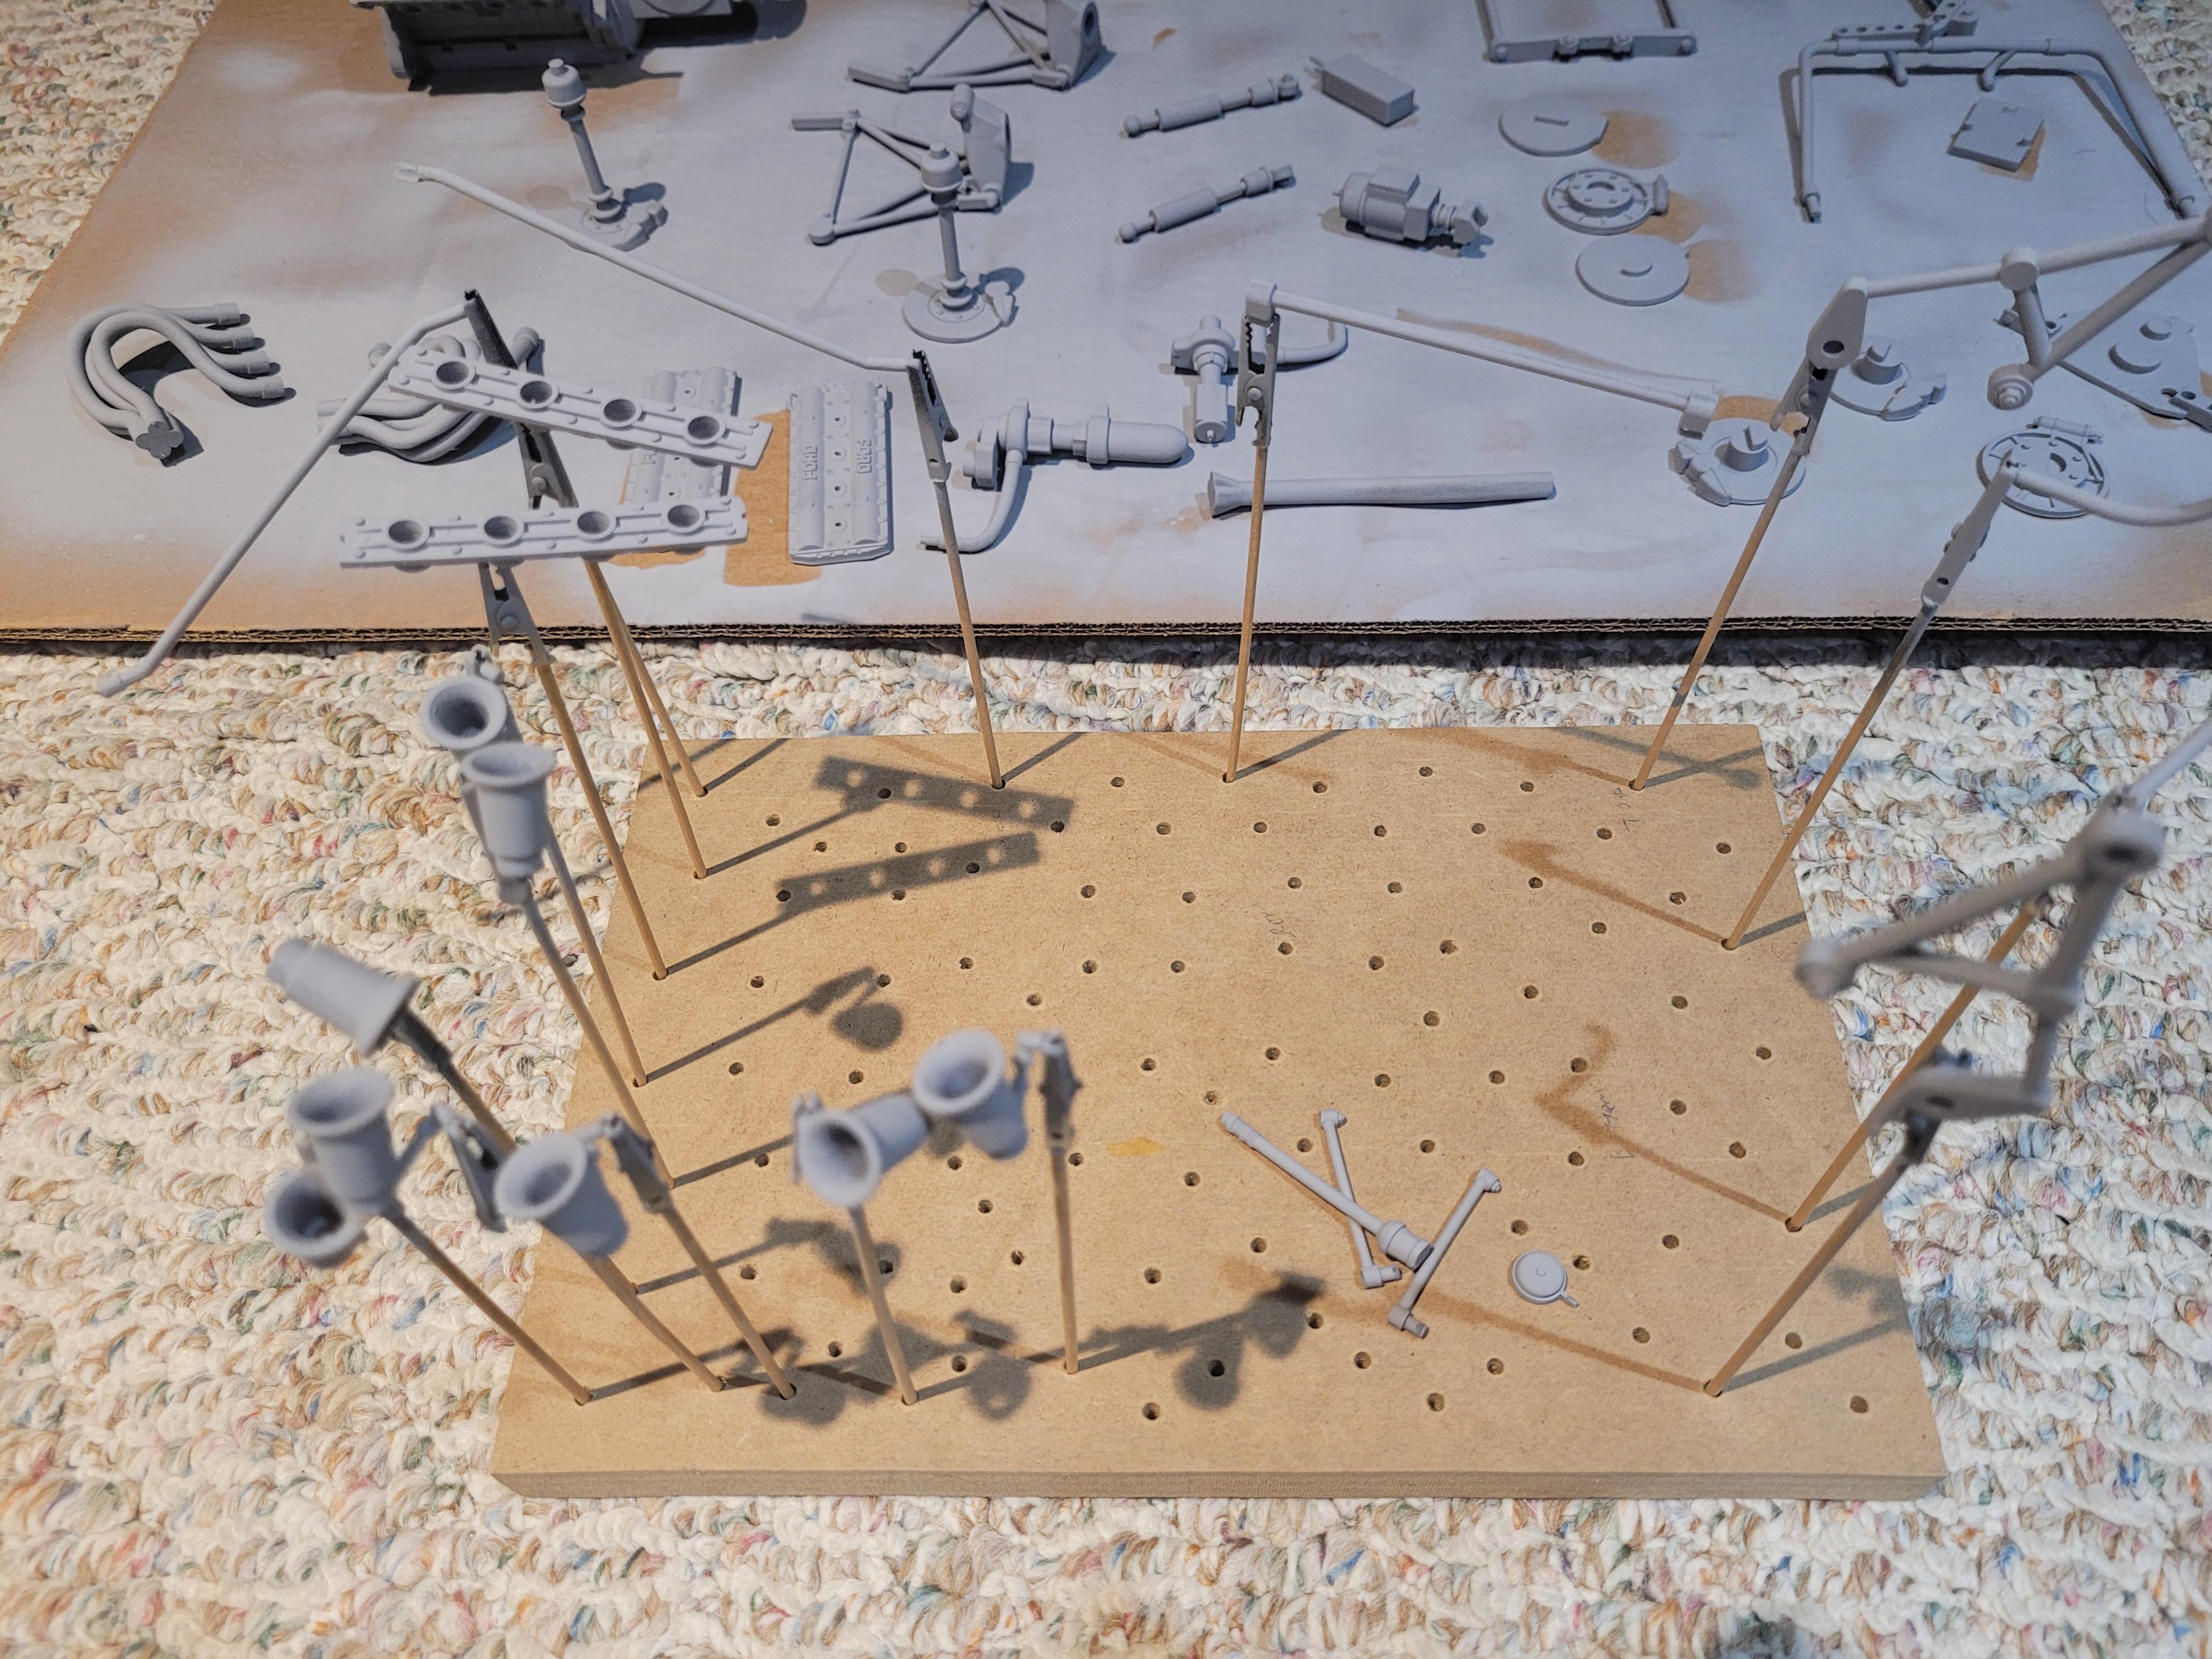
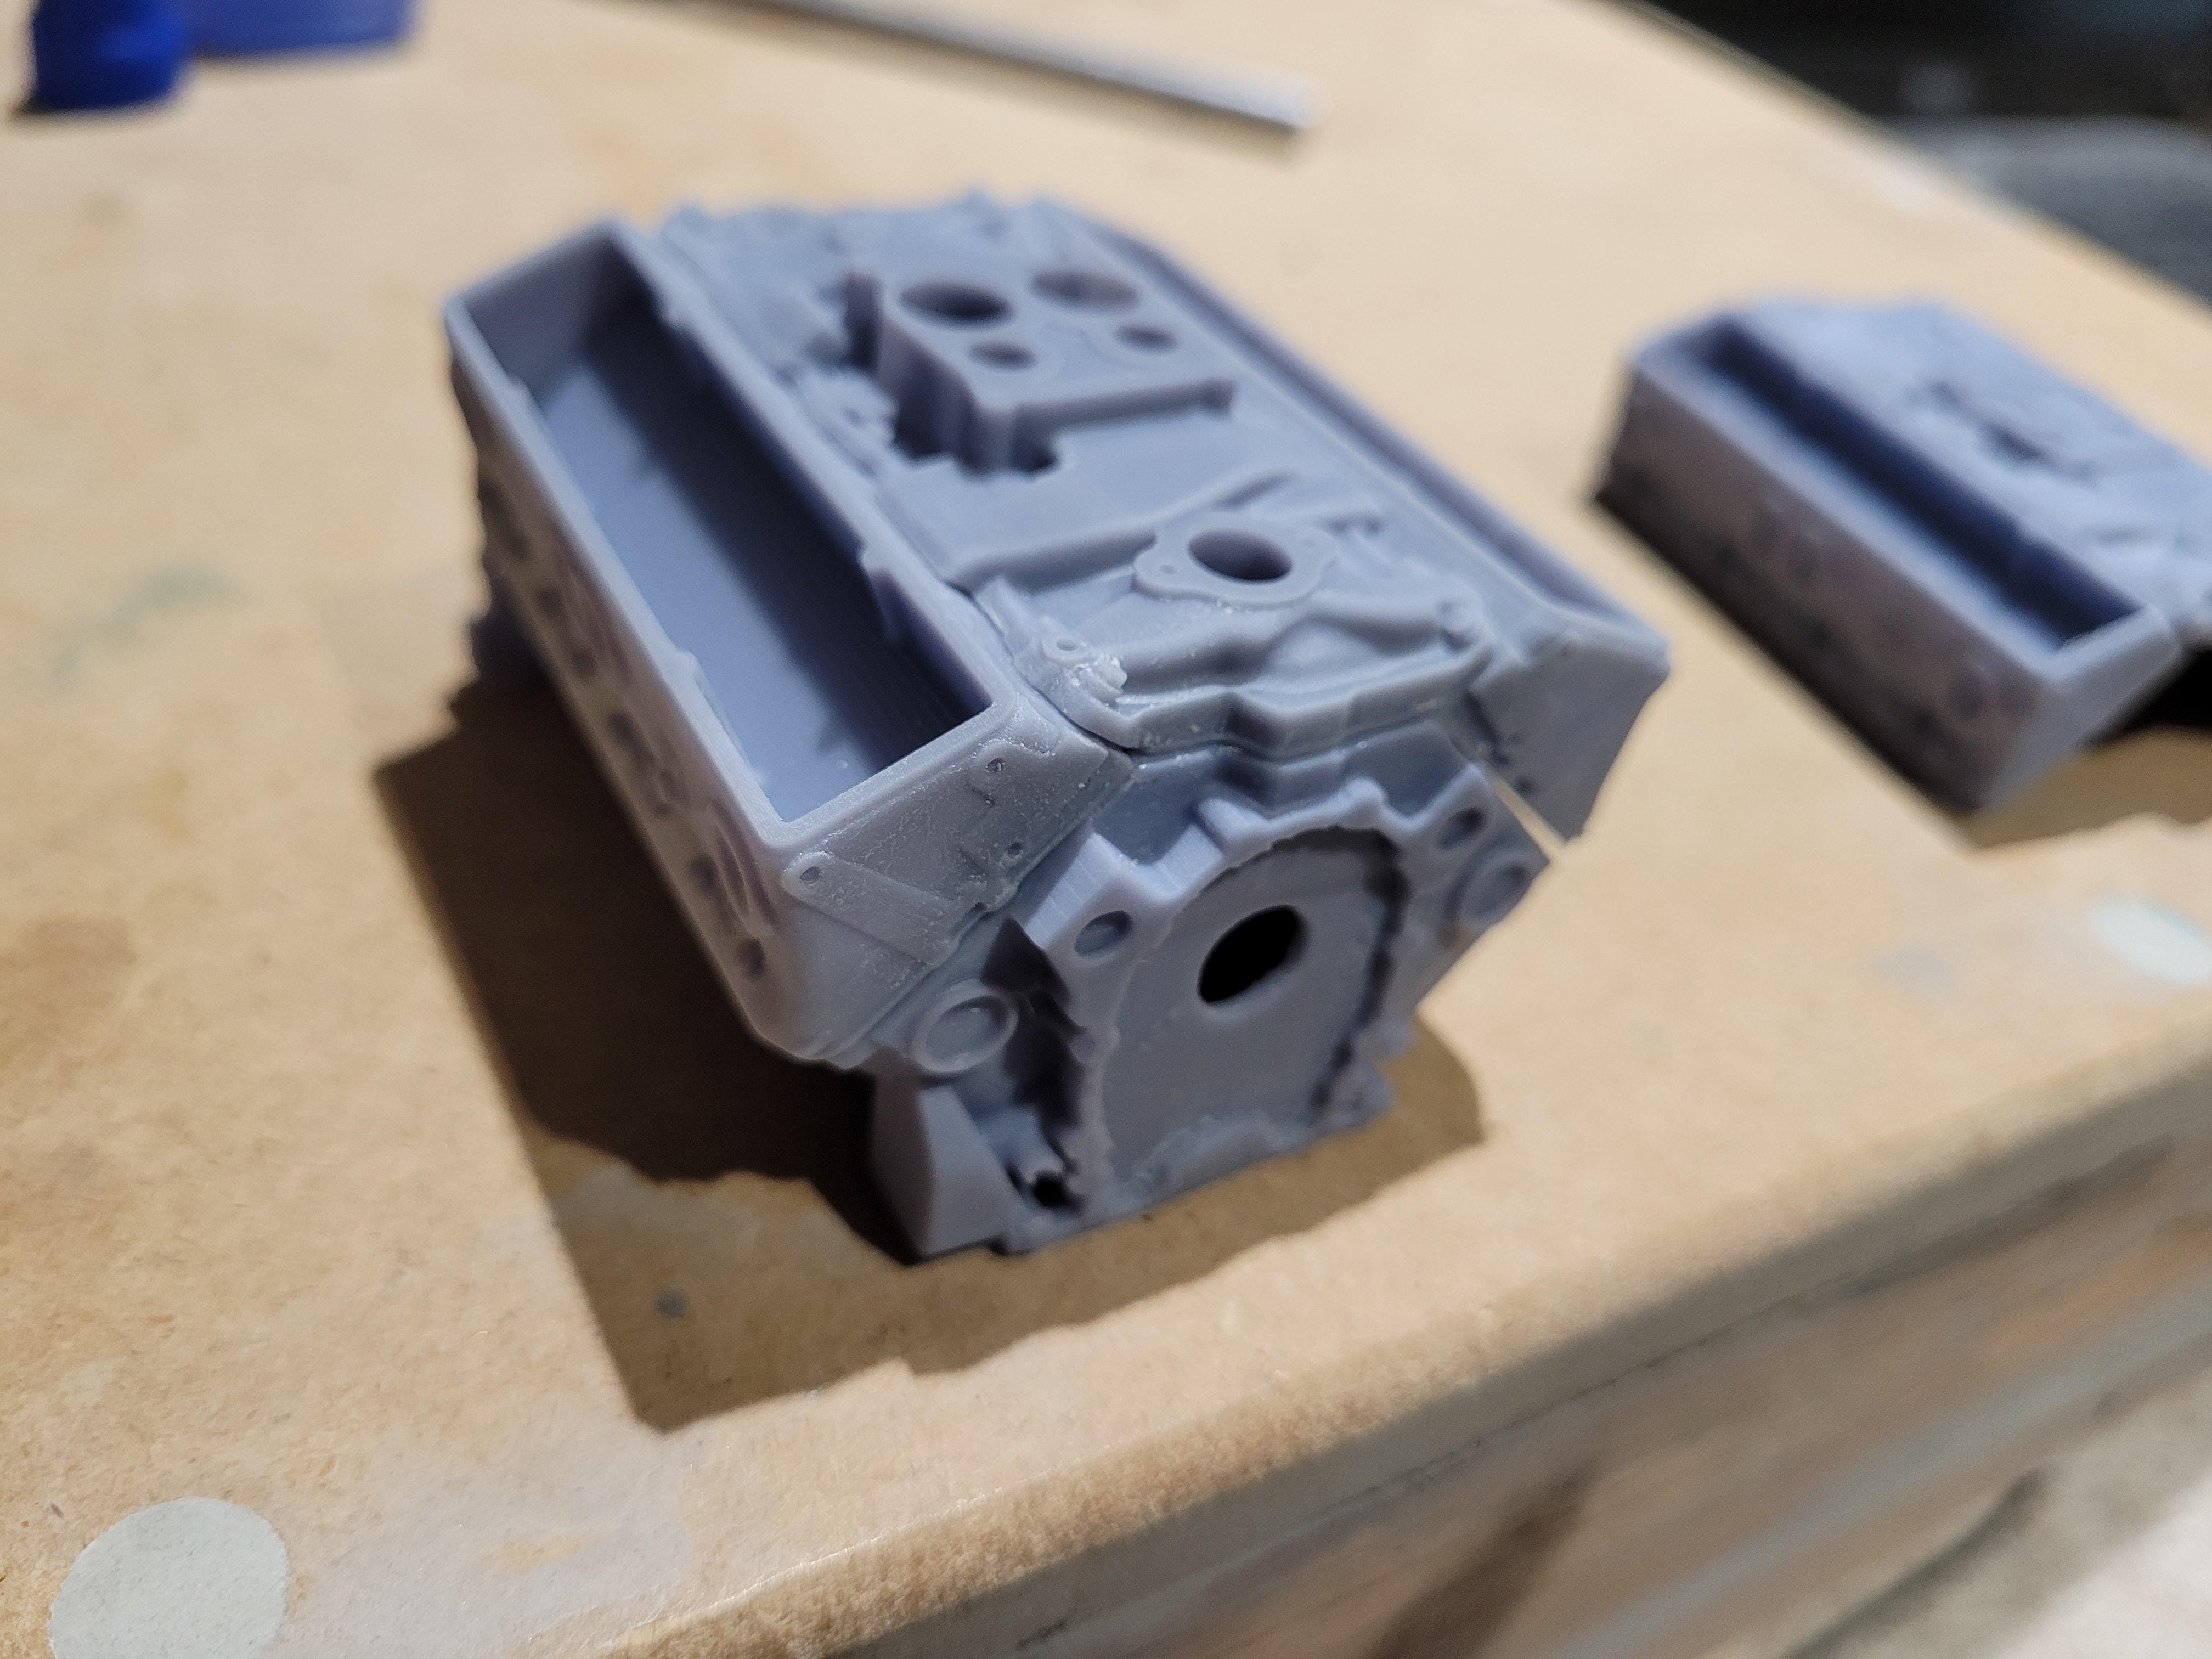
To all, Using the Ebbro kit as a basis, I redesigned all of the parts so that they are 3d print friendly, and scaled them up to 1/8. Here are the parts that comprise the engine, transaxle and rear suspension.
-
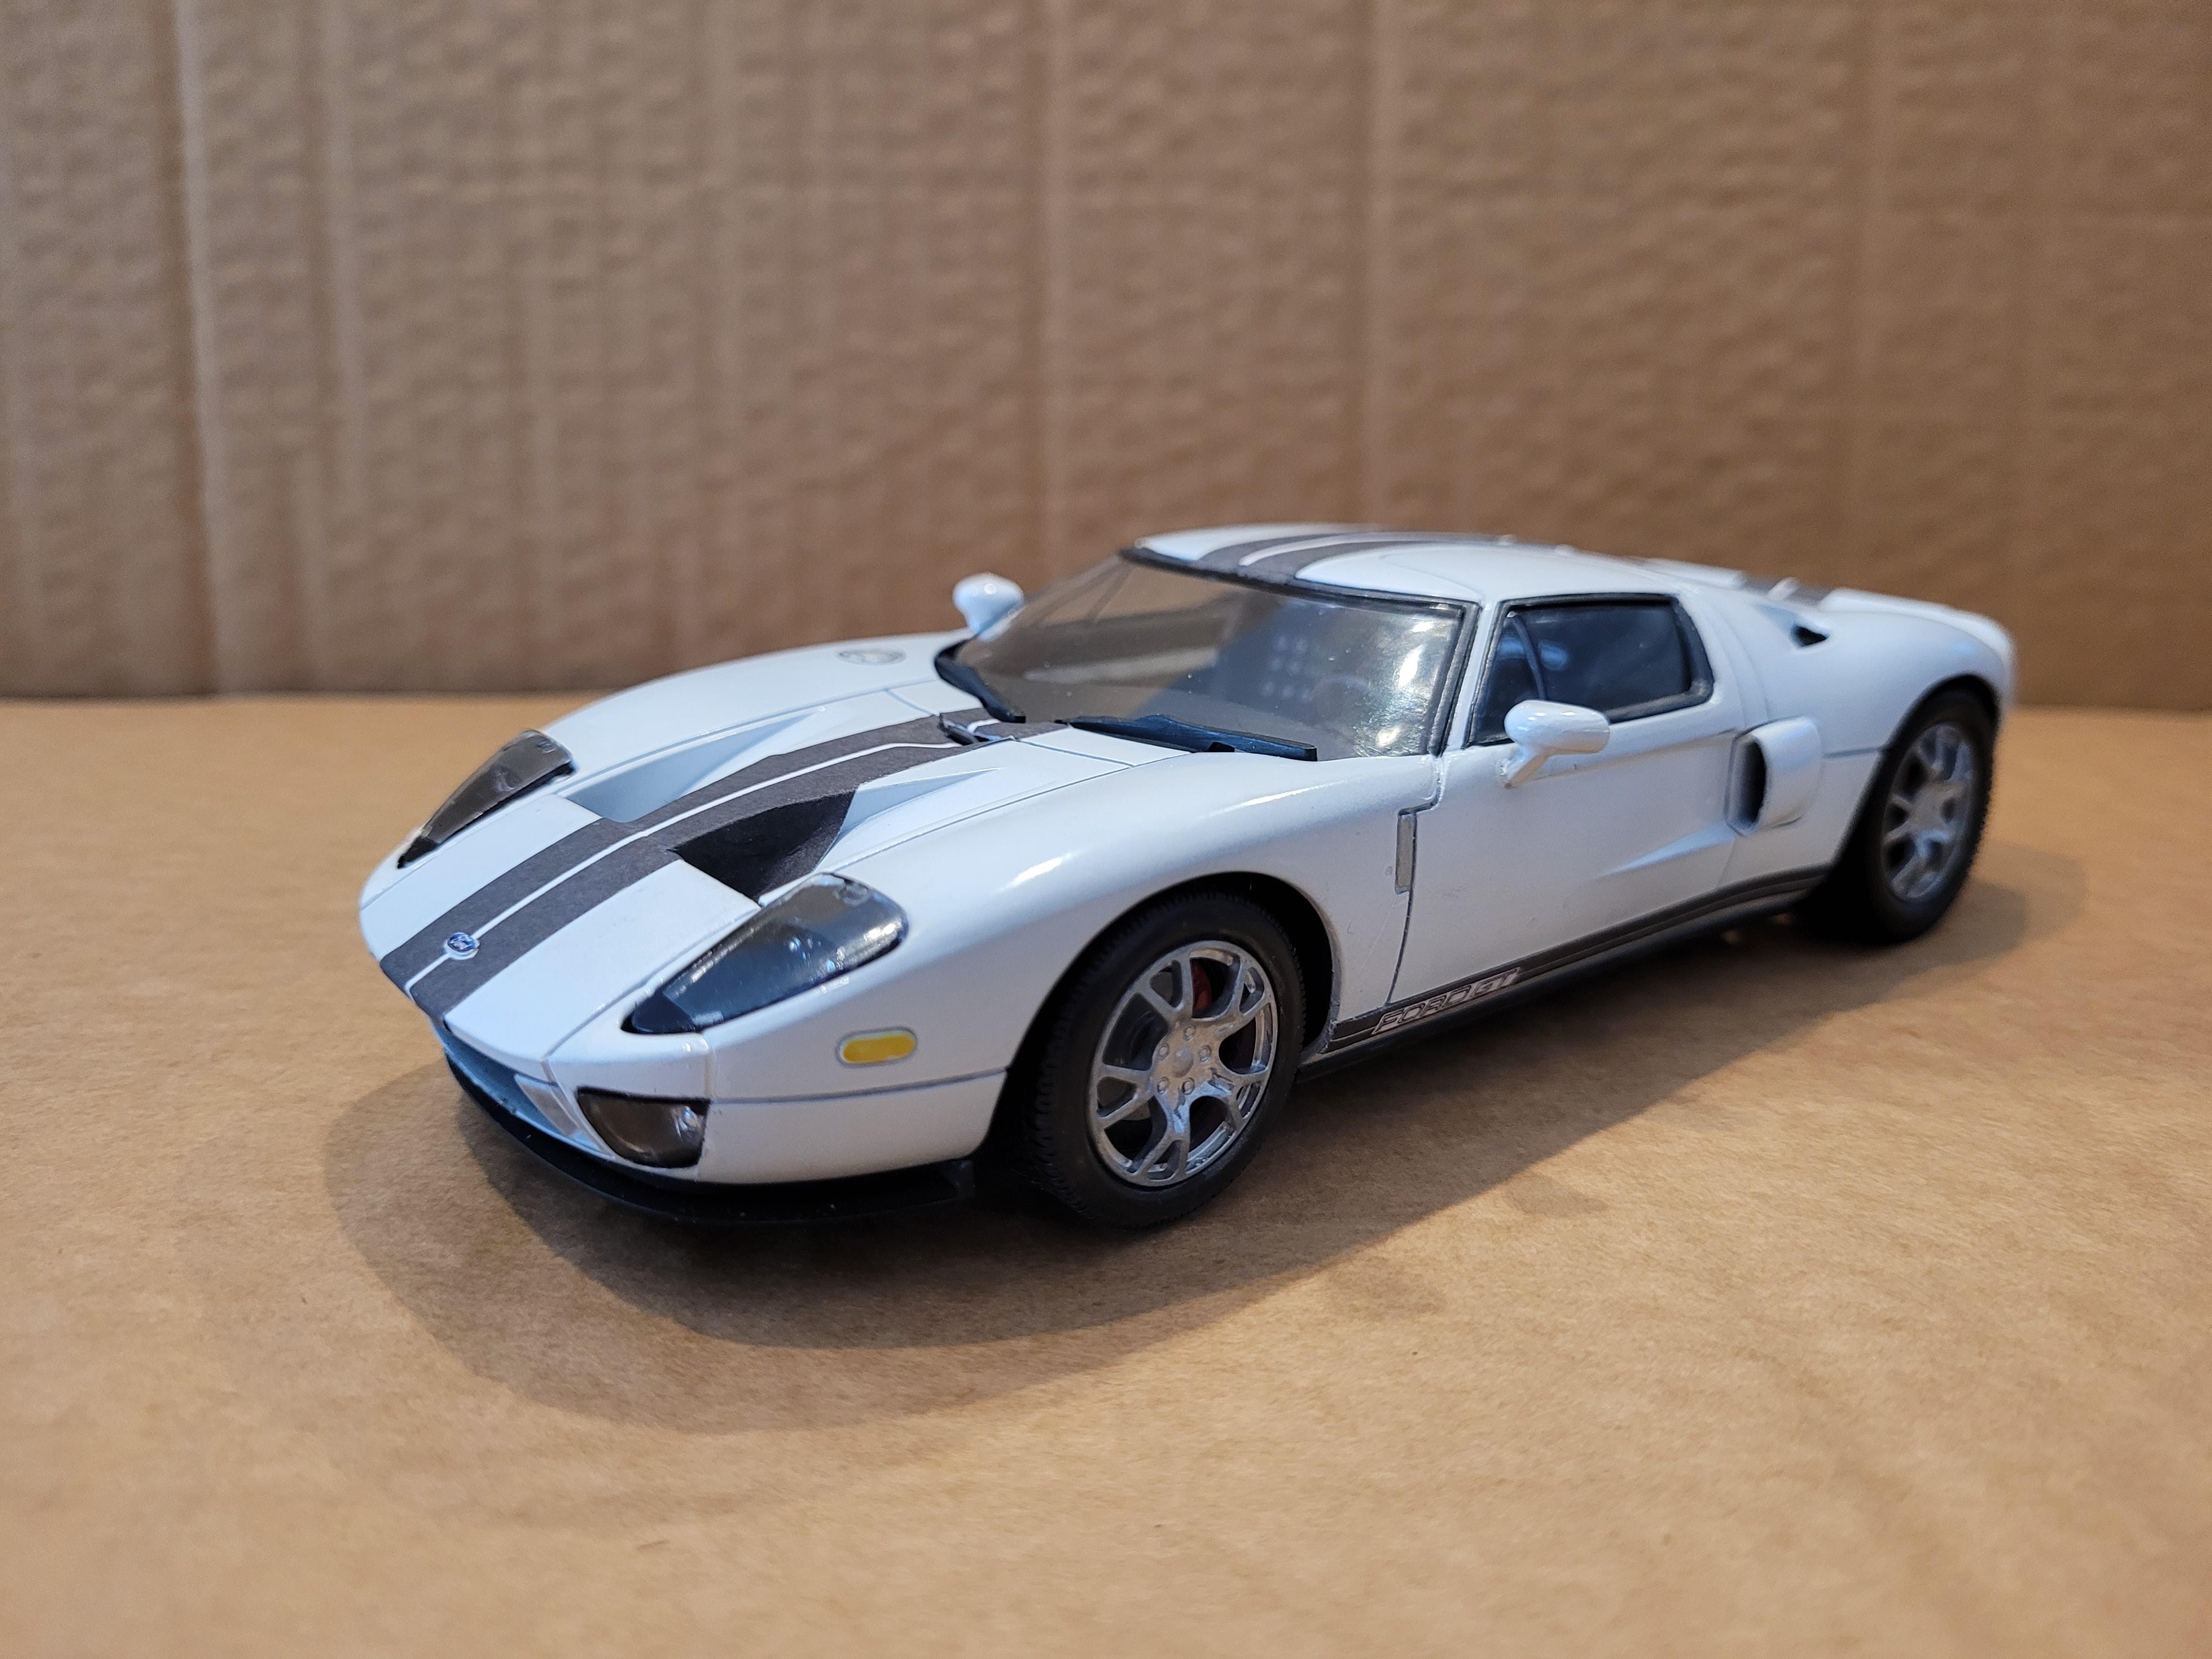
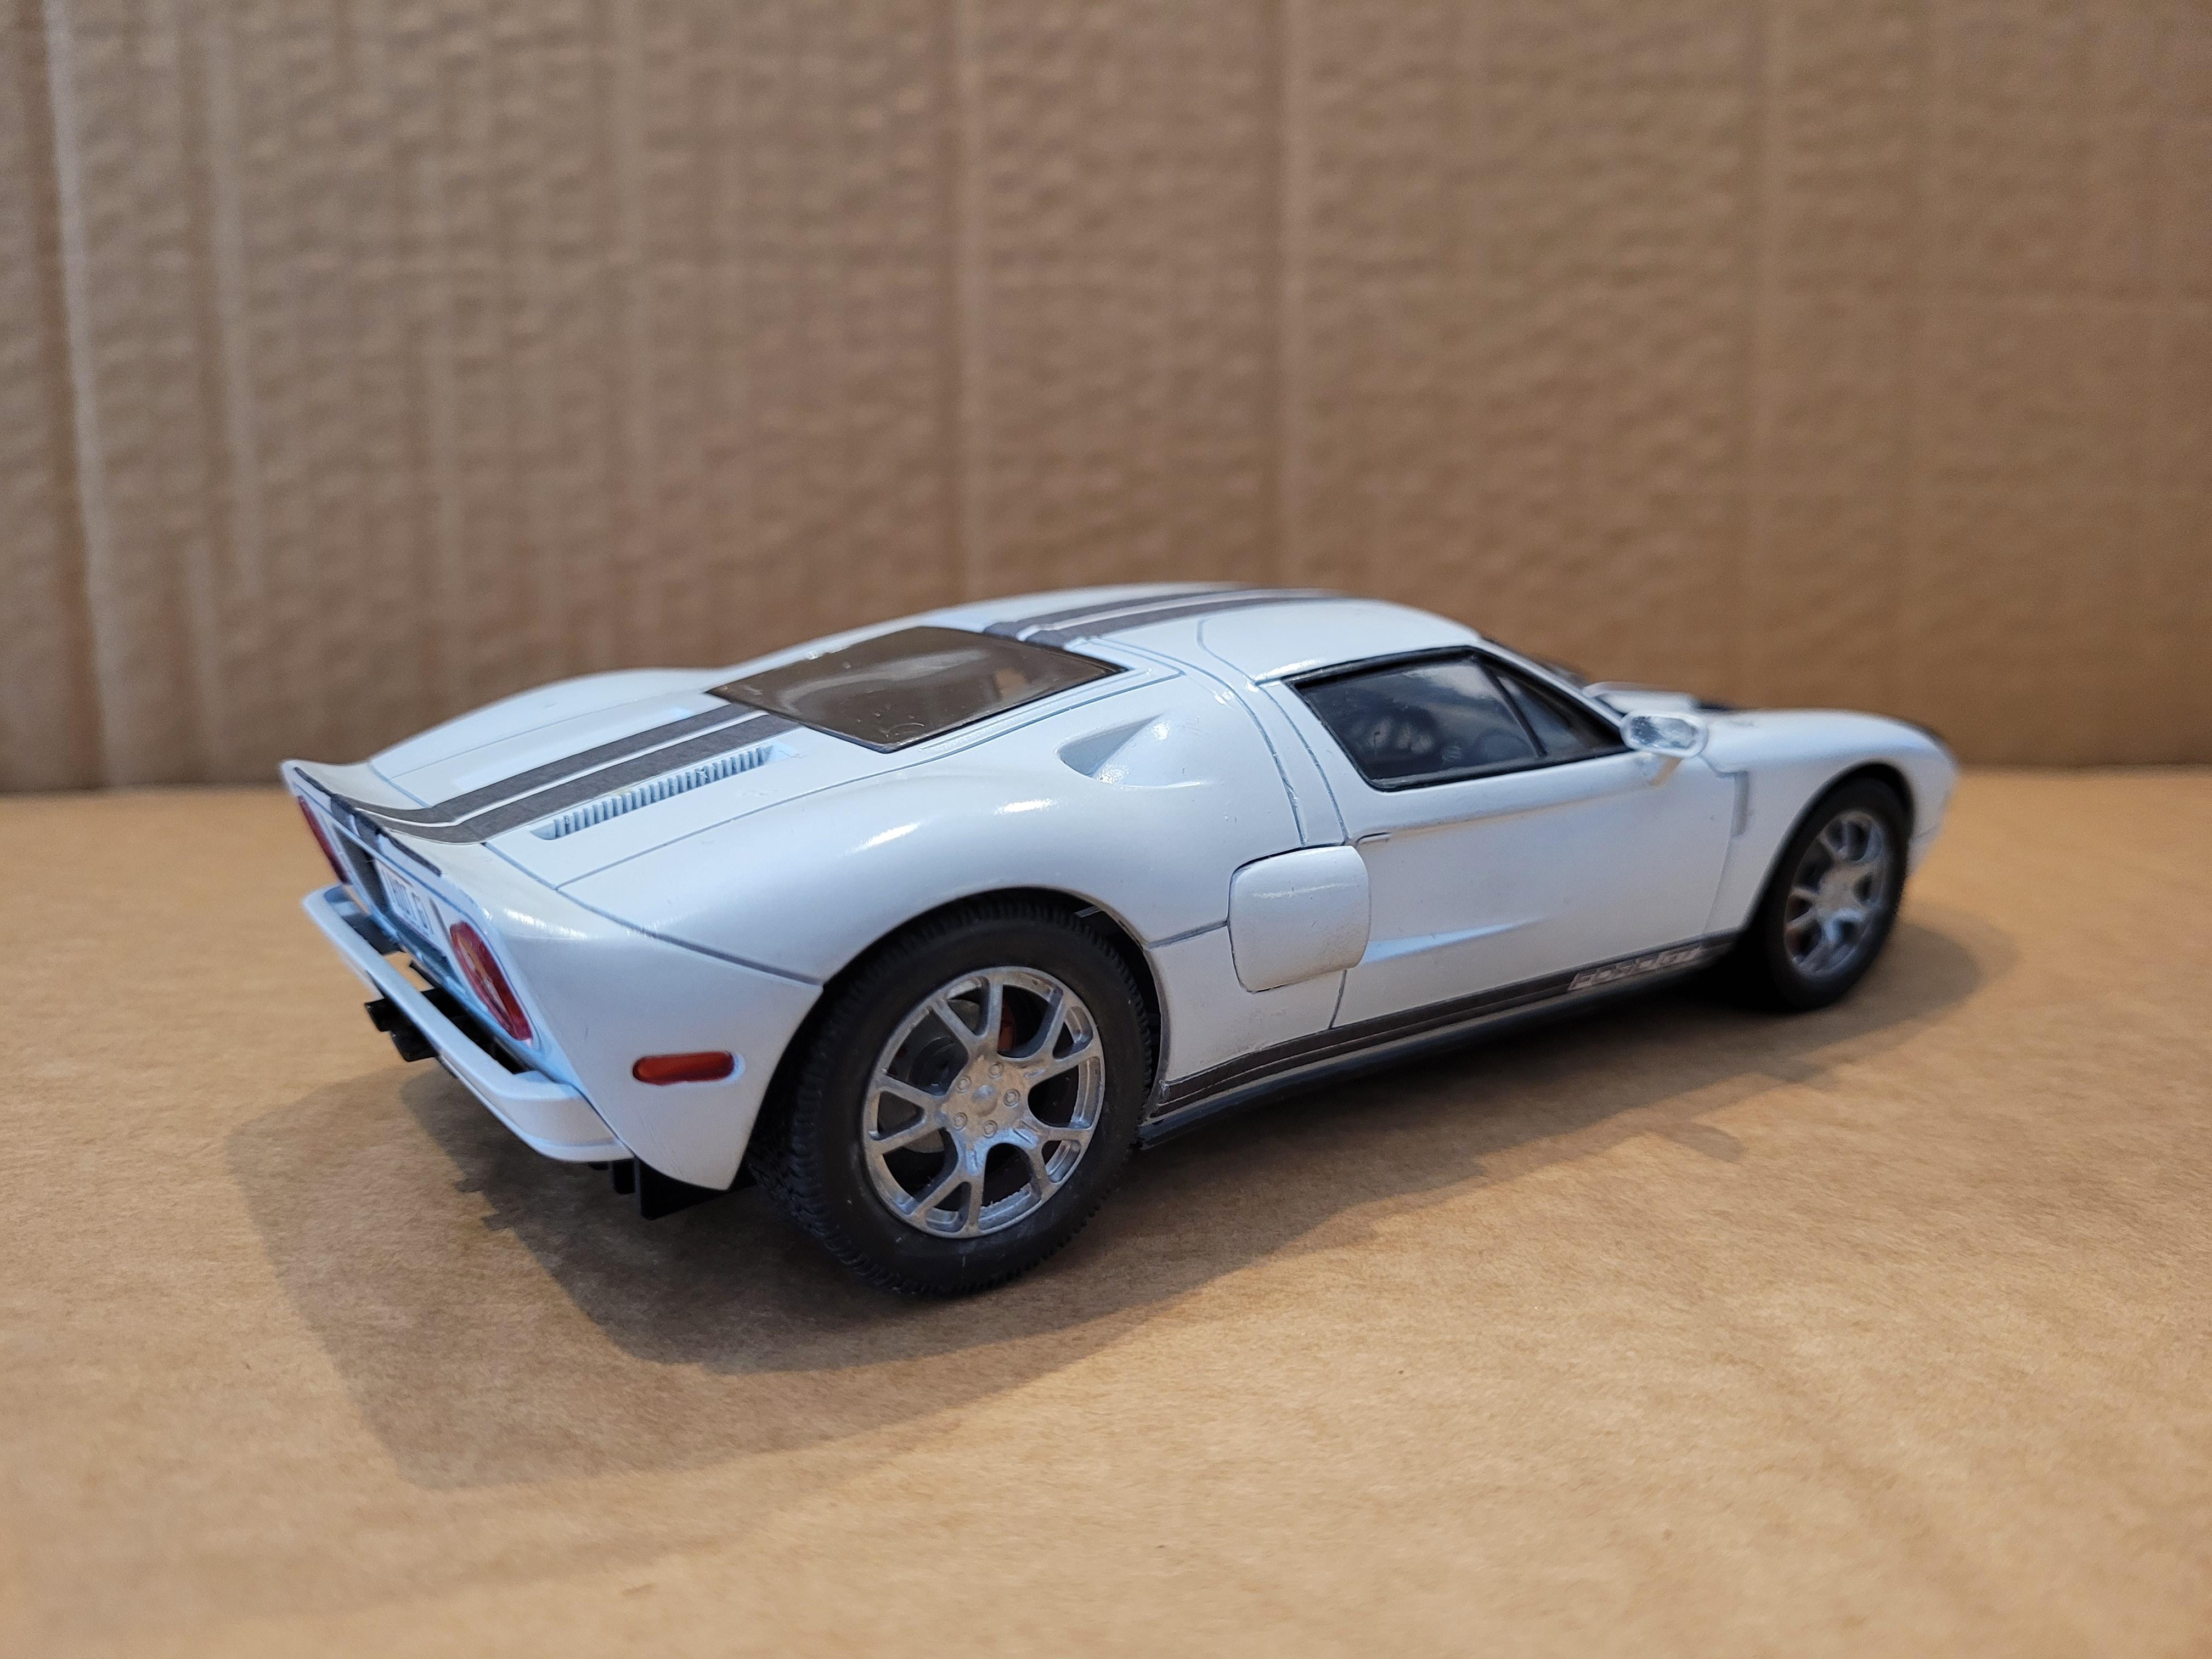
Anyone who says that snap kits are easy, they haven't built this one. But it's the only kit in this scale, so I gave it my best shot. Too many issues to list, but here is what I did to try and mitigate them. All of the glass is molded in 1 piece, and when placed in the body, the windshield looked like it was 5 inches thick. I separated, filed, sanded, fitted, and edge painted. The decals were as thin as gold leaf on a candy wrapper, and immediately disintegrated in water. The decals you see on the model were printed and glued over the paint. The clear lenses over the fog and headlights were too big, and the headlamp buckets didn't fit without using an arbor press to install them. Many detail inaccuracies. Having said all that, I am happy with how it turned out. If I were to do this one again, I am sure it would come out better, knowing what to watch out for. Hope you like it!
-
This reminds me a lot of the 66 Coronet RT convertible I had in the mid 70's. Similar color, but black interior. My dad sold it for 500 dollars after I enlisted in the Army. The car is worth a fortune today! Oh well, thanks for the memories Michelle!
-
1966 Chevrolet Pick Up
kenlwest replied to jbattersby's topic in Model Trucks: Pickups, Vans, SUVs, Light Commercial
That rust job is about as real as it gets! -
BEAUTIFUL!
-
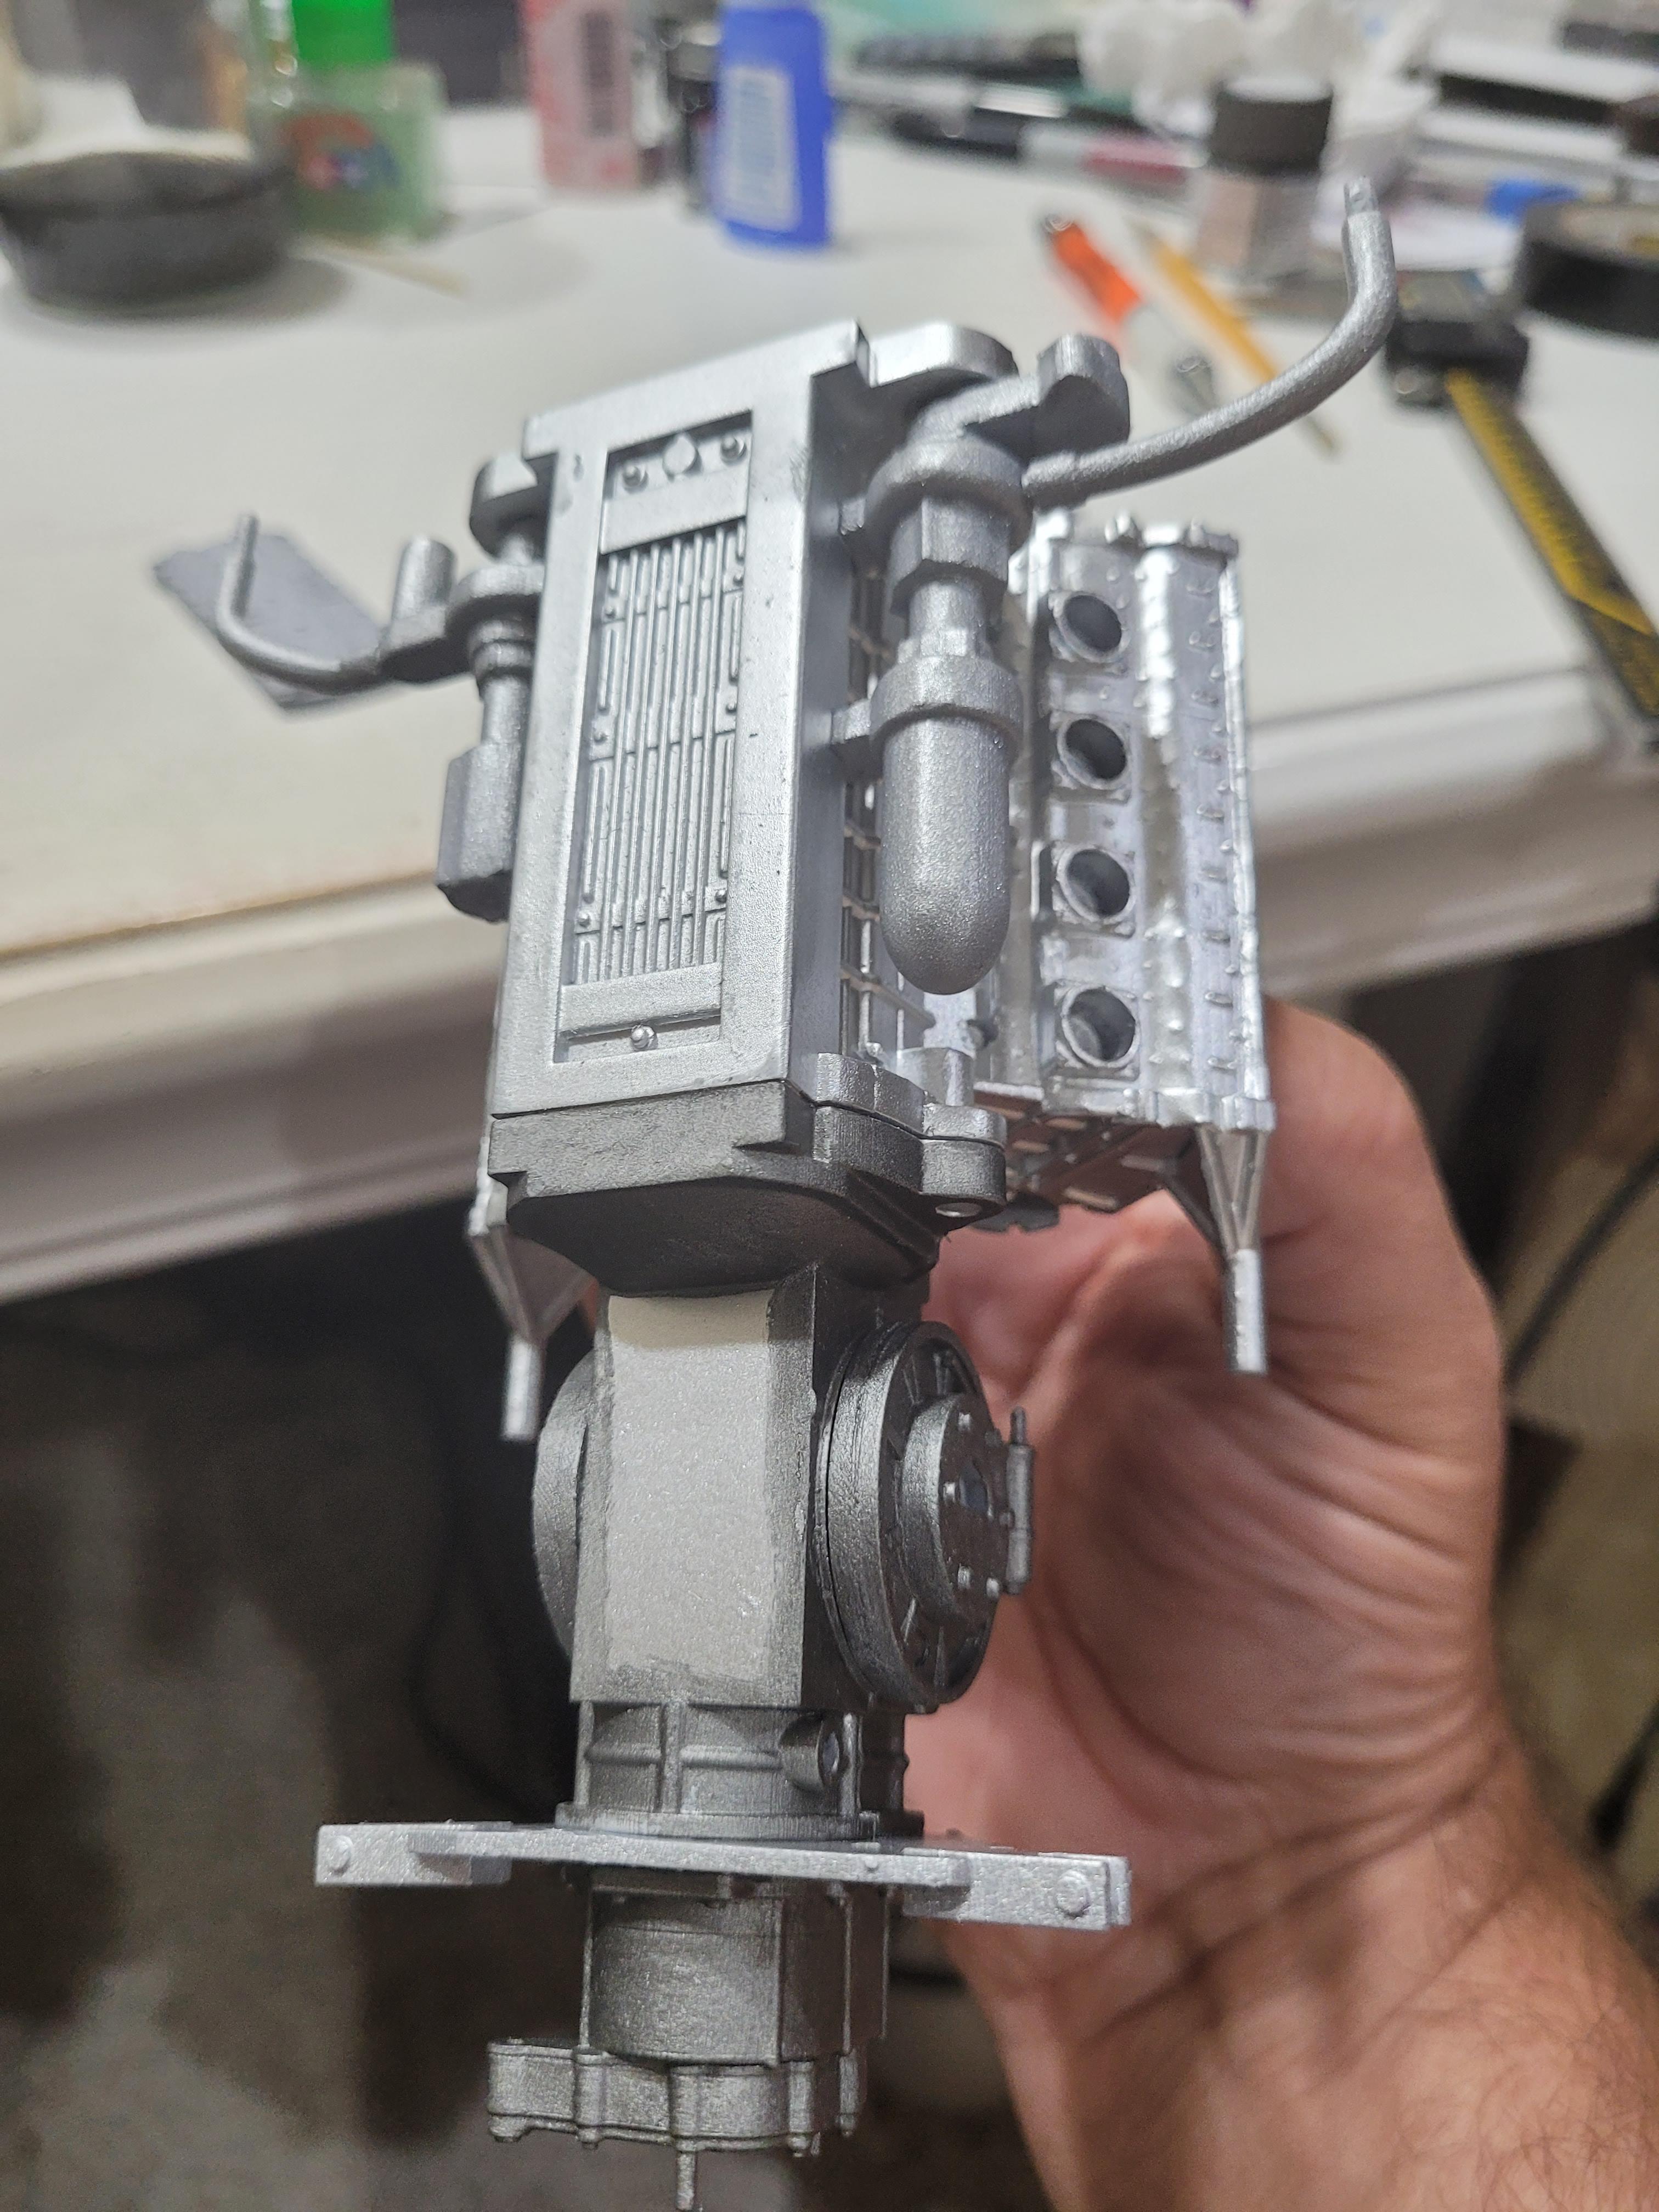
I redesigned the heads with an additional 4 degree front view angle, and remodeled the intake manifold. Here are some before and after pictures.
-
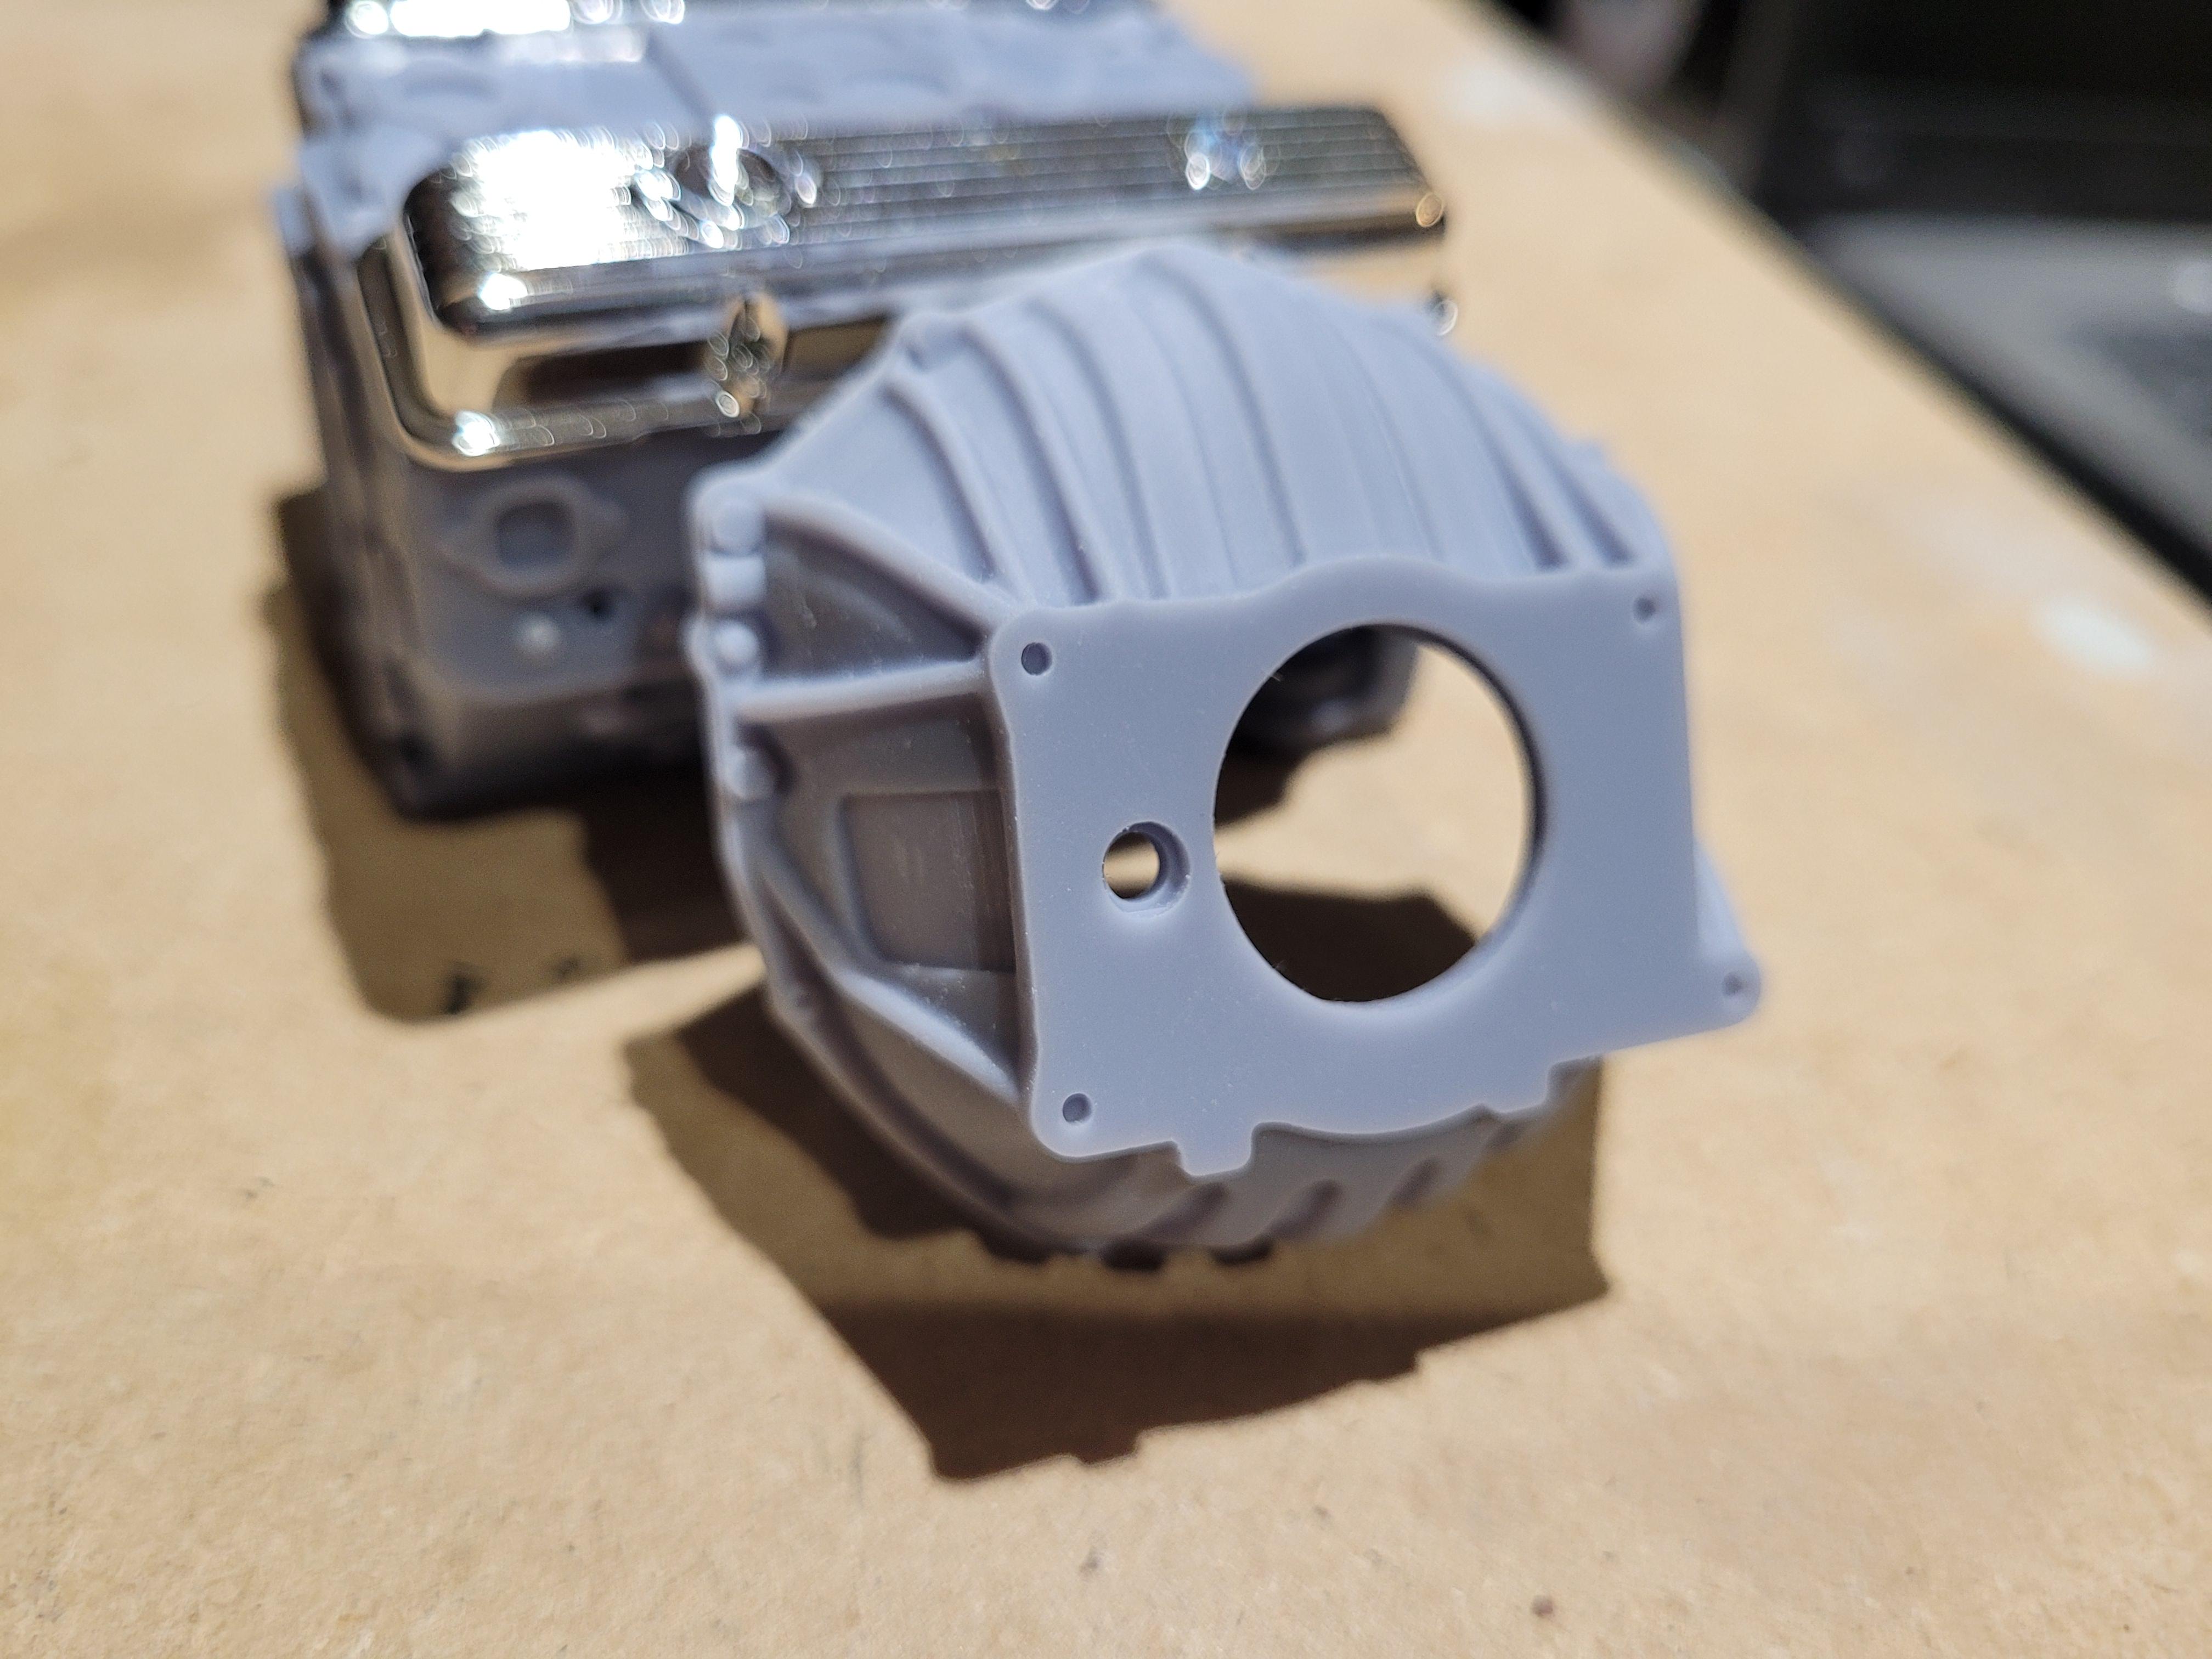
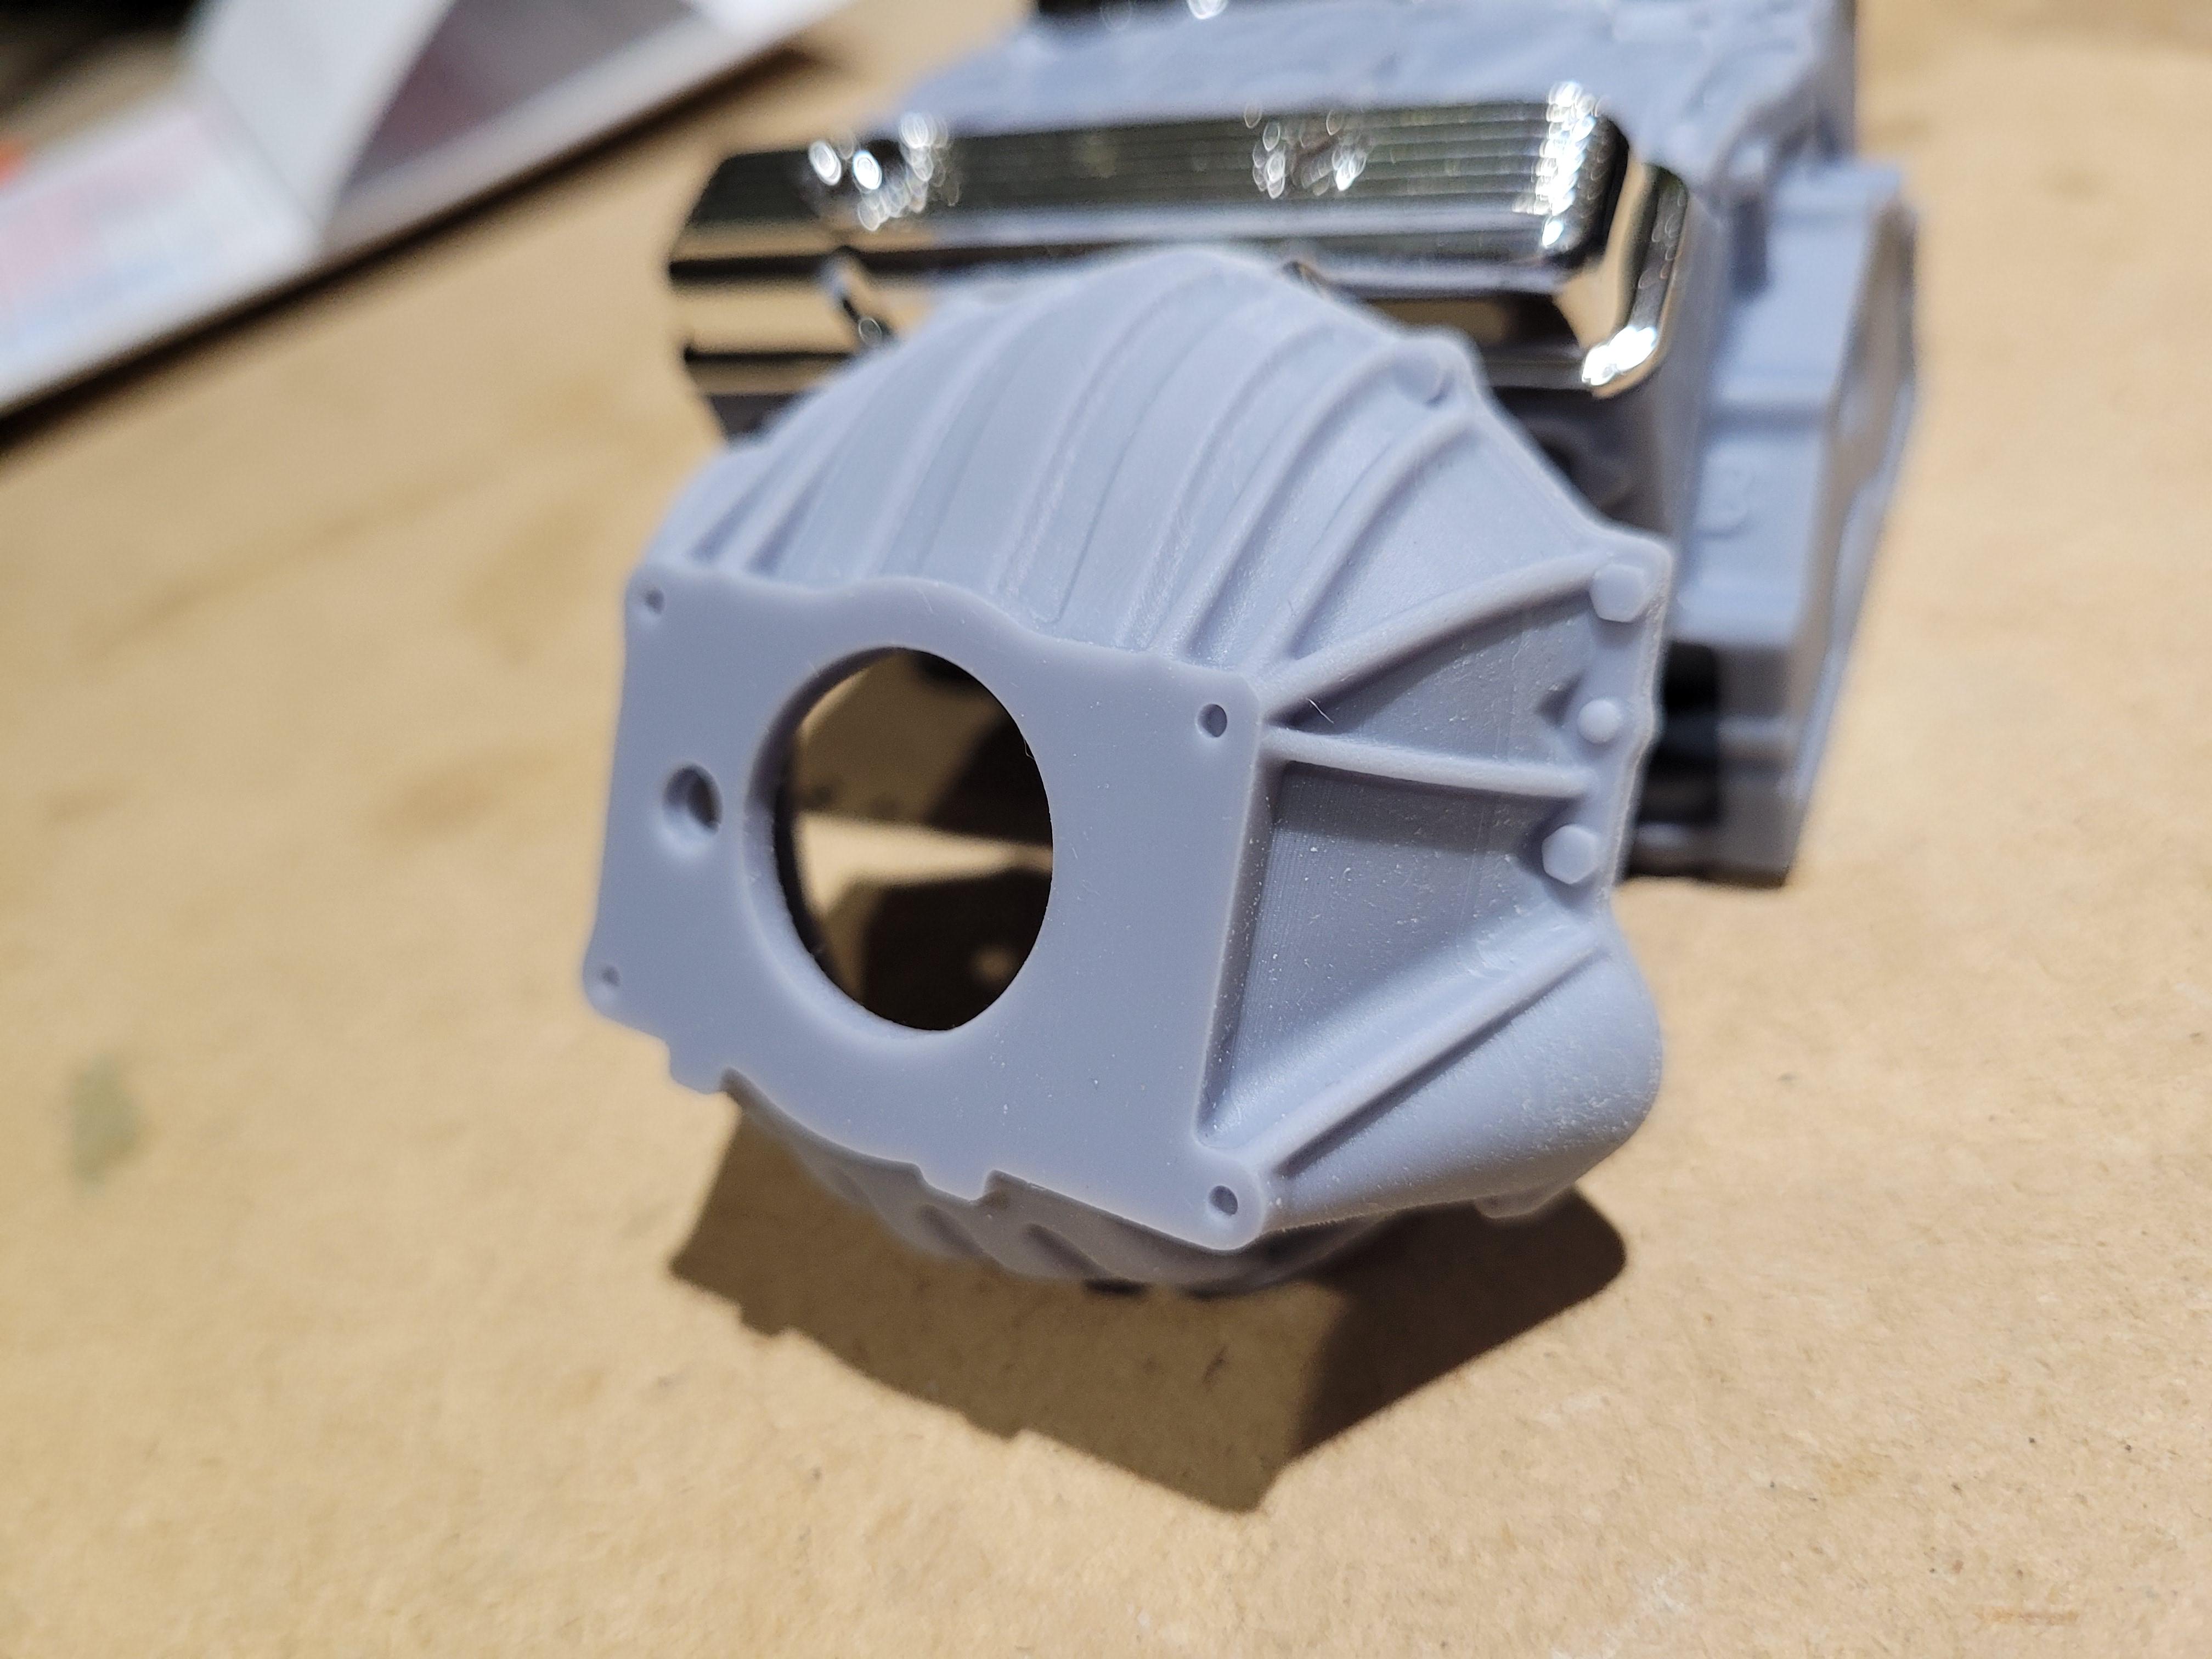
I found some very good photos of the correct bellhousing for 1972. I finished modeling it this afternoon and printed it. Also, I attached a picture of what I used for reference.
-
Nice! I always liked the silver anniversaries.