cpspoogie
-
Posts
246 -
Joined
-
Last visited
Content Type
Profiles
Forums
Events
Gallery
Everything posted by cpspoogie
-
Hi David, this is approximately 1/12 scale at 16” long. It’s technically not a model but a toy promo car that I am converting to a model. It’s a big one!
-

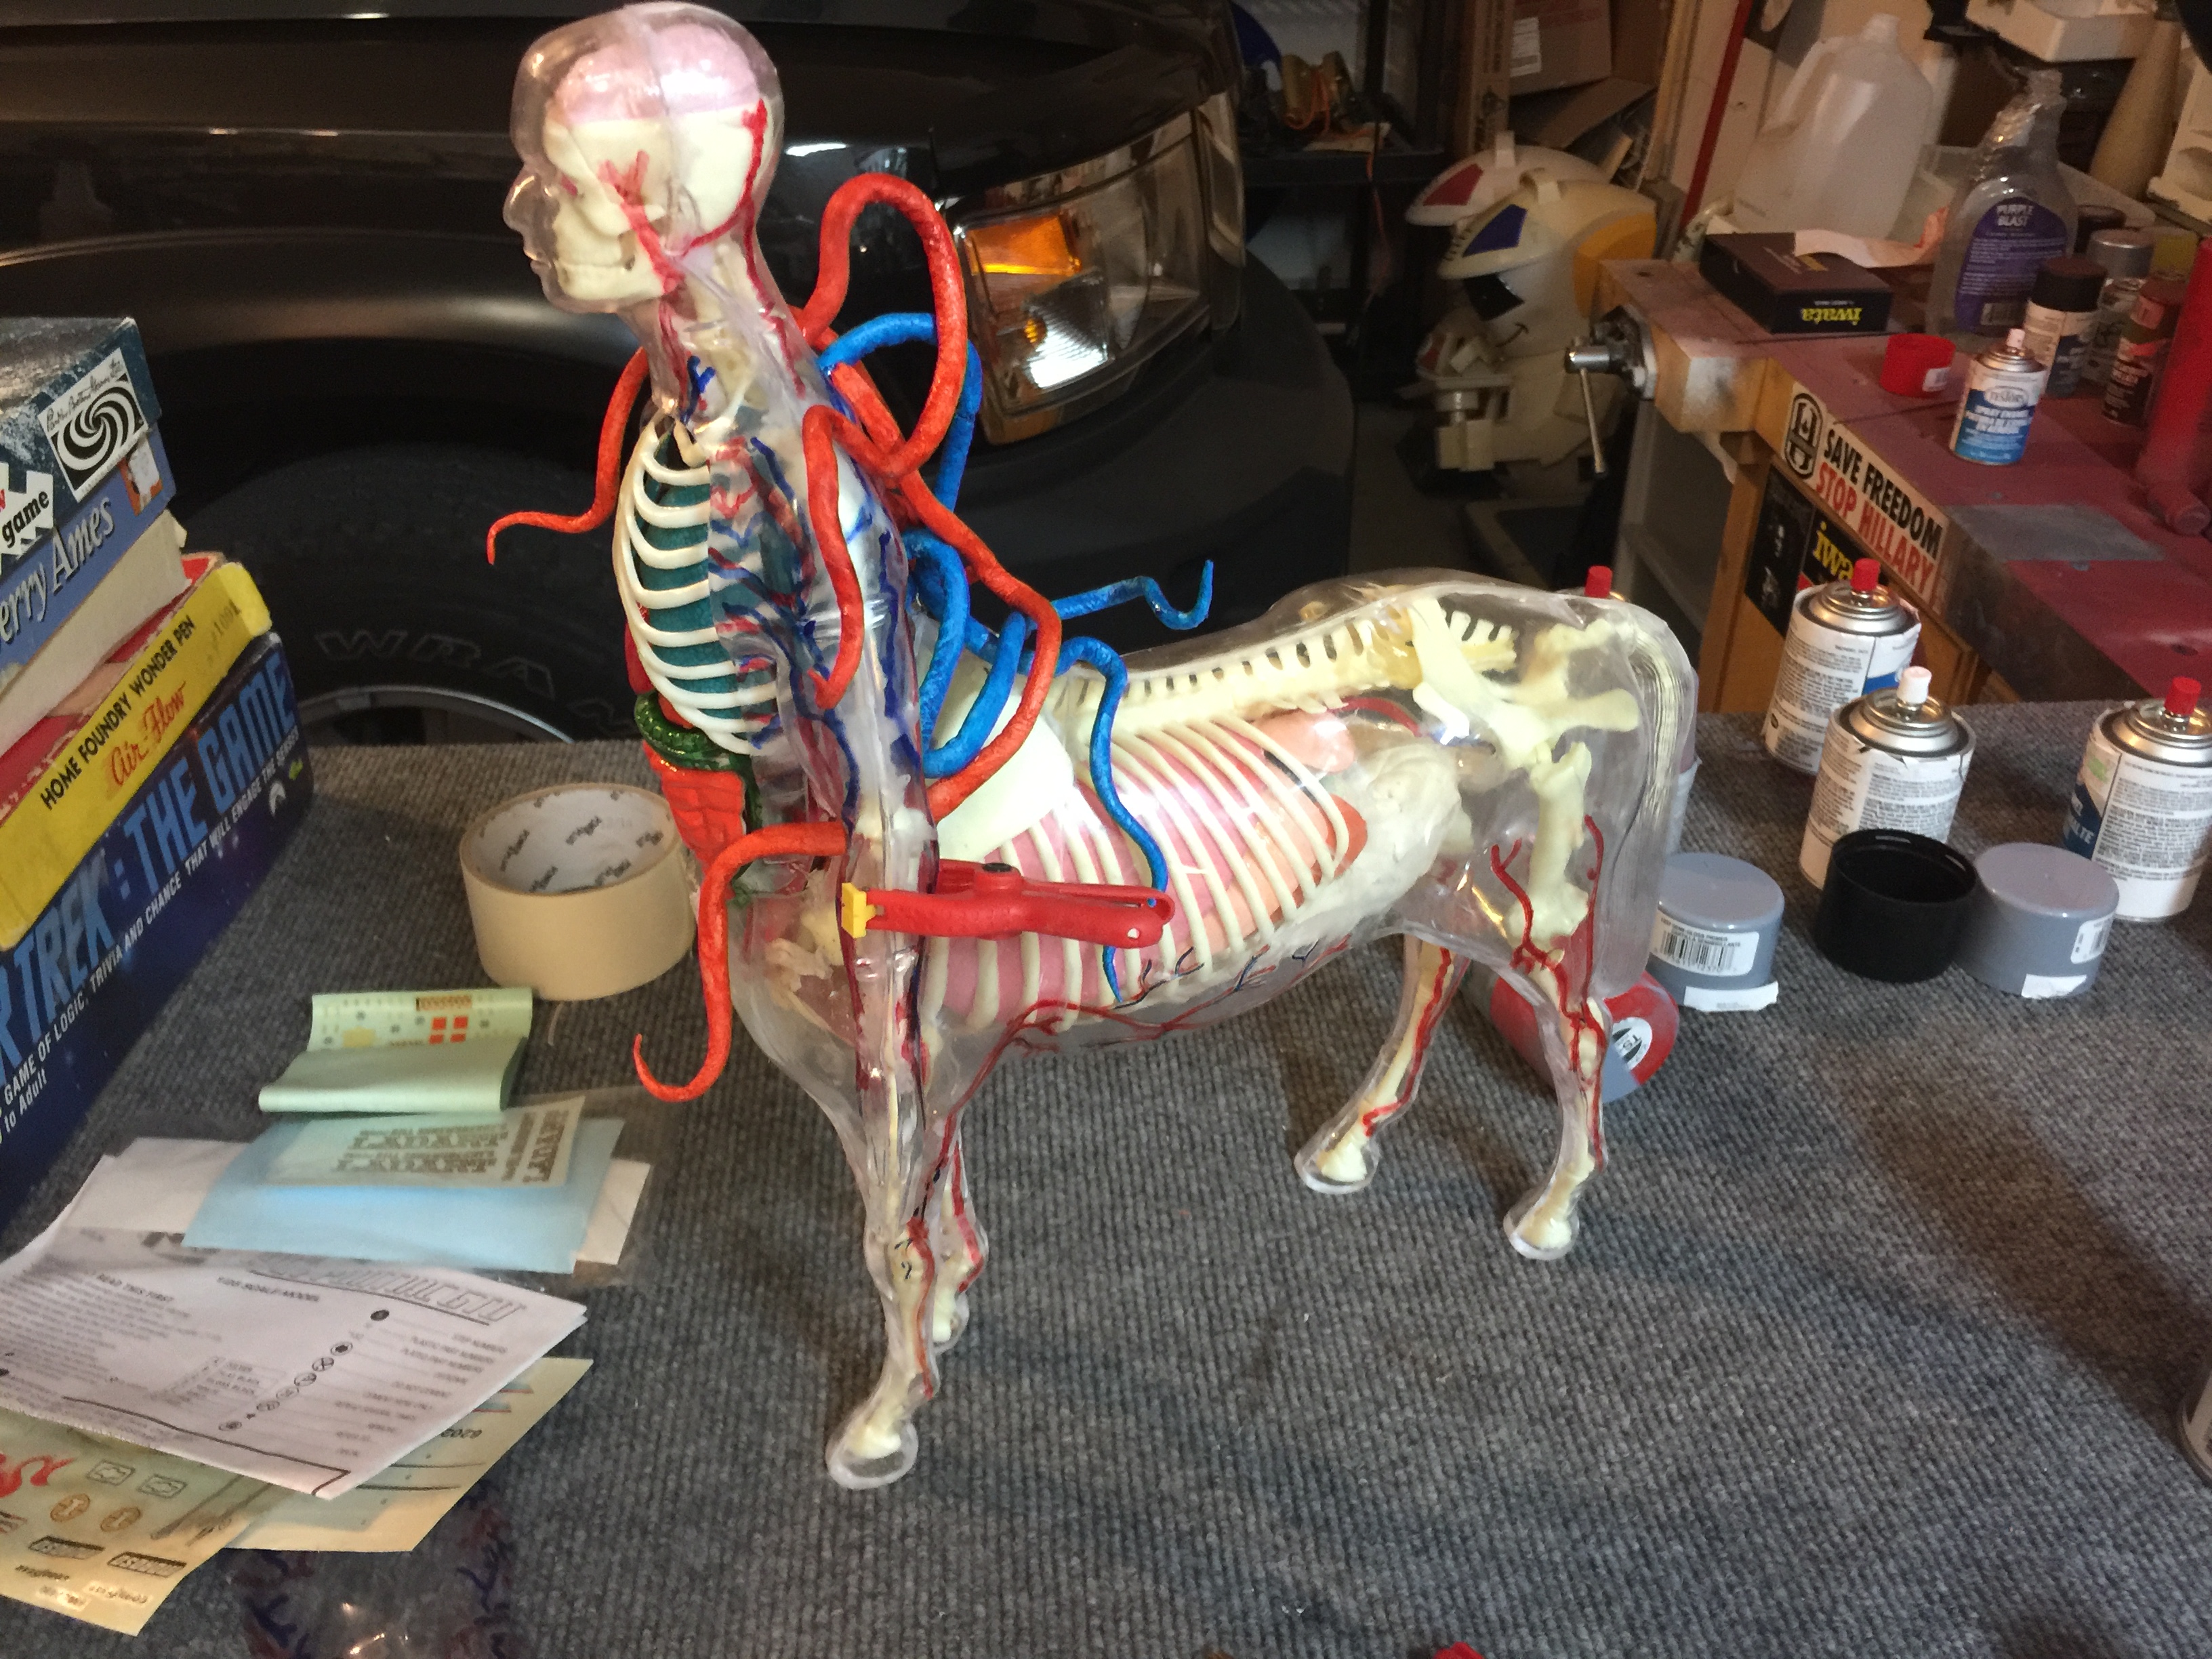
Visible Centaur
cpspoogie replied to cpspoogie's topic in WIP: All The Rest: Motorcycles, Aviation, Military, Sci-Fi, Figures
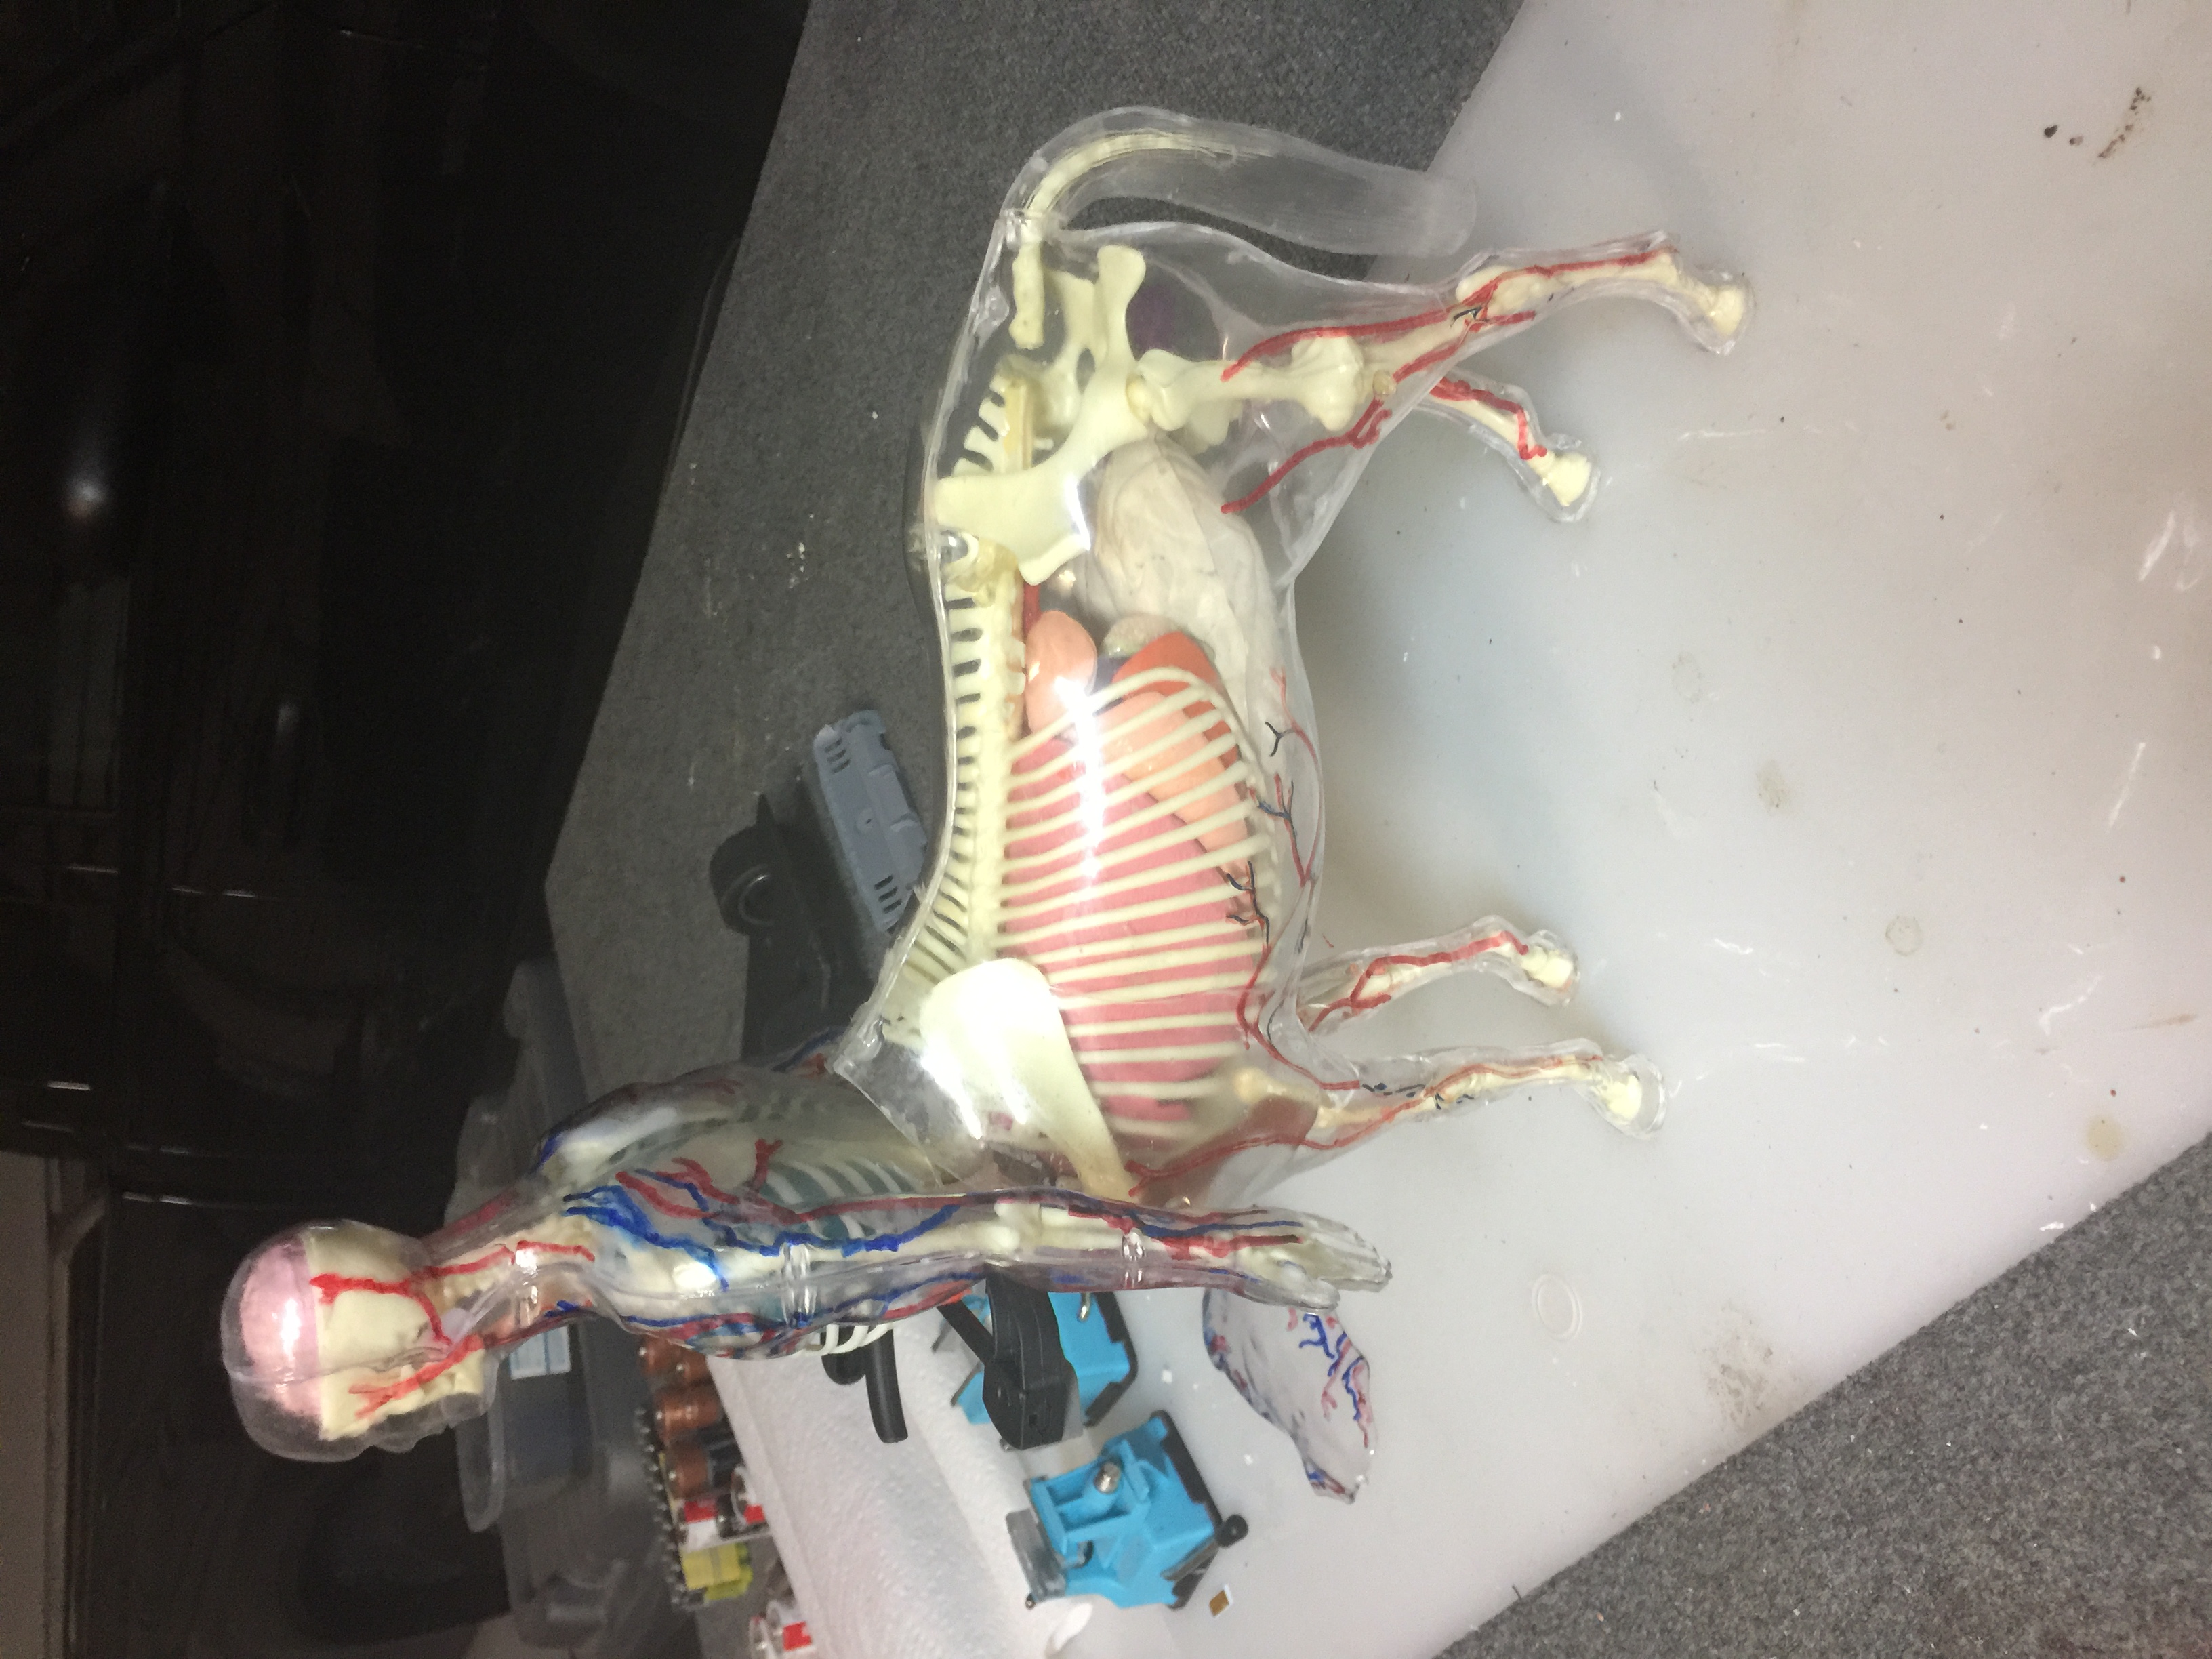
First layer of veins/arteries/tentacles on and painted.
-
David, that looks really nice. Very tedious work!
-
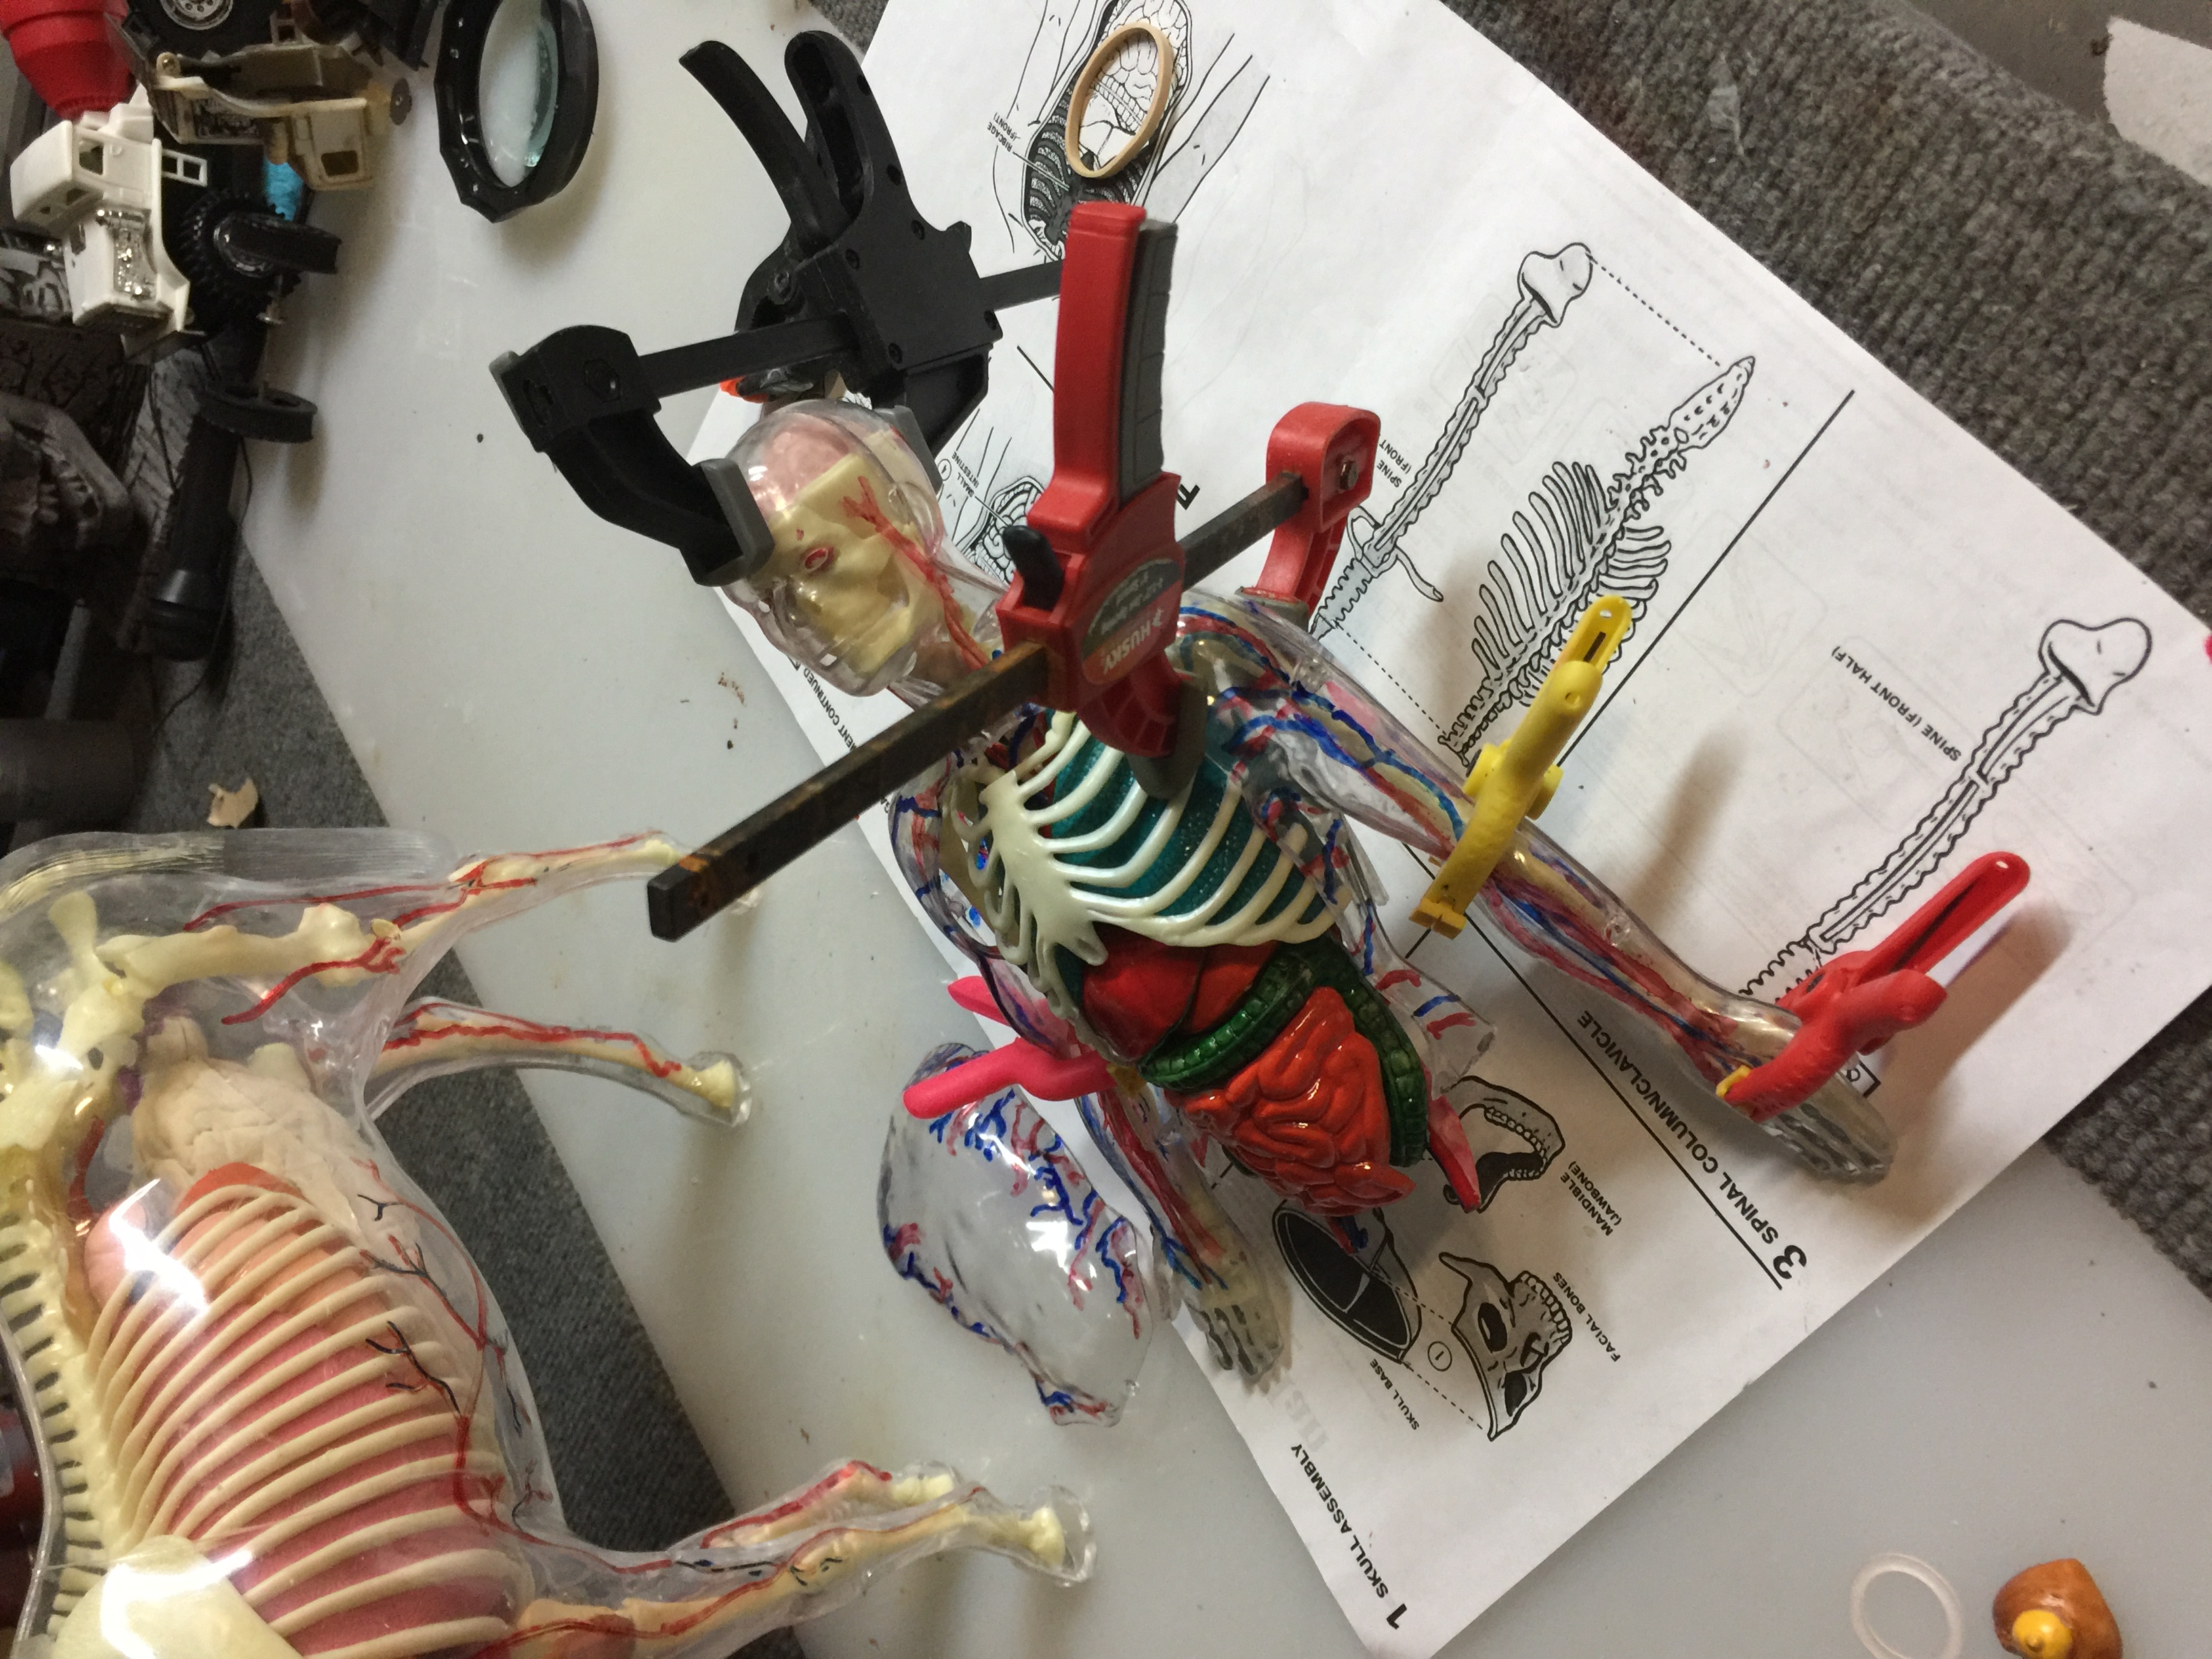
Test fit. Body paint will need to cure about a week then I’ll put it all together.
-
Ok you can email me at drjellynutz@yahoo.com
-
I have a chassis and working restored battery box and electric motor I would get rid of. Just private message me.
-
-
First few coats of gloss red.
-
Visible Centaur
cpspoogie replied to cpspoogie's topic in WIP: All The Rest: Motorcycles, Aviation, Military, Sci-Fi, Figures
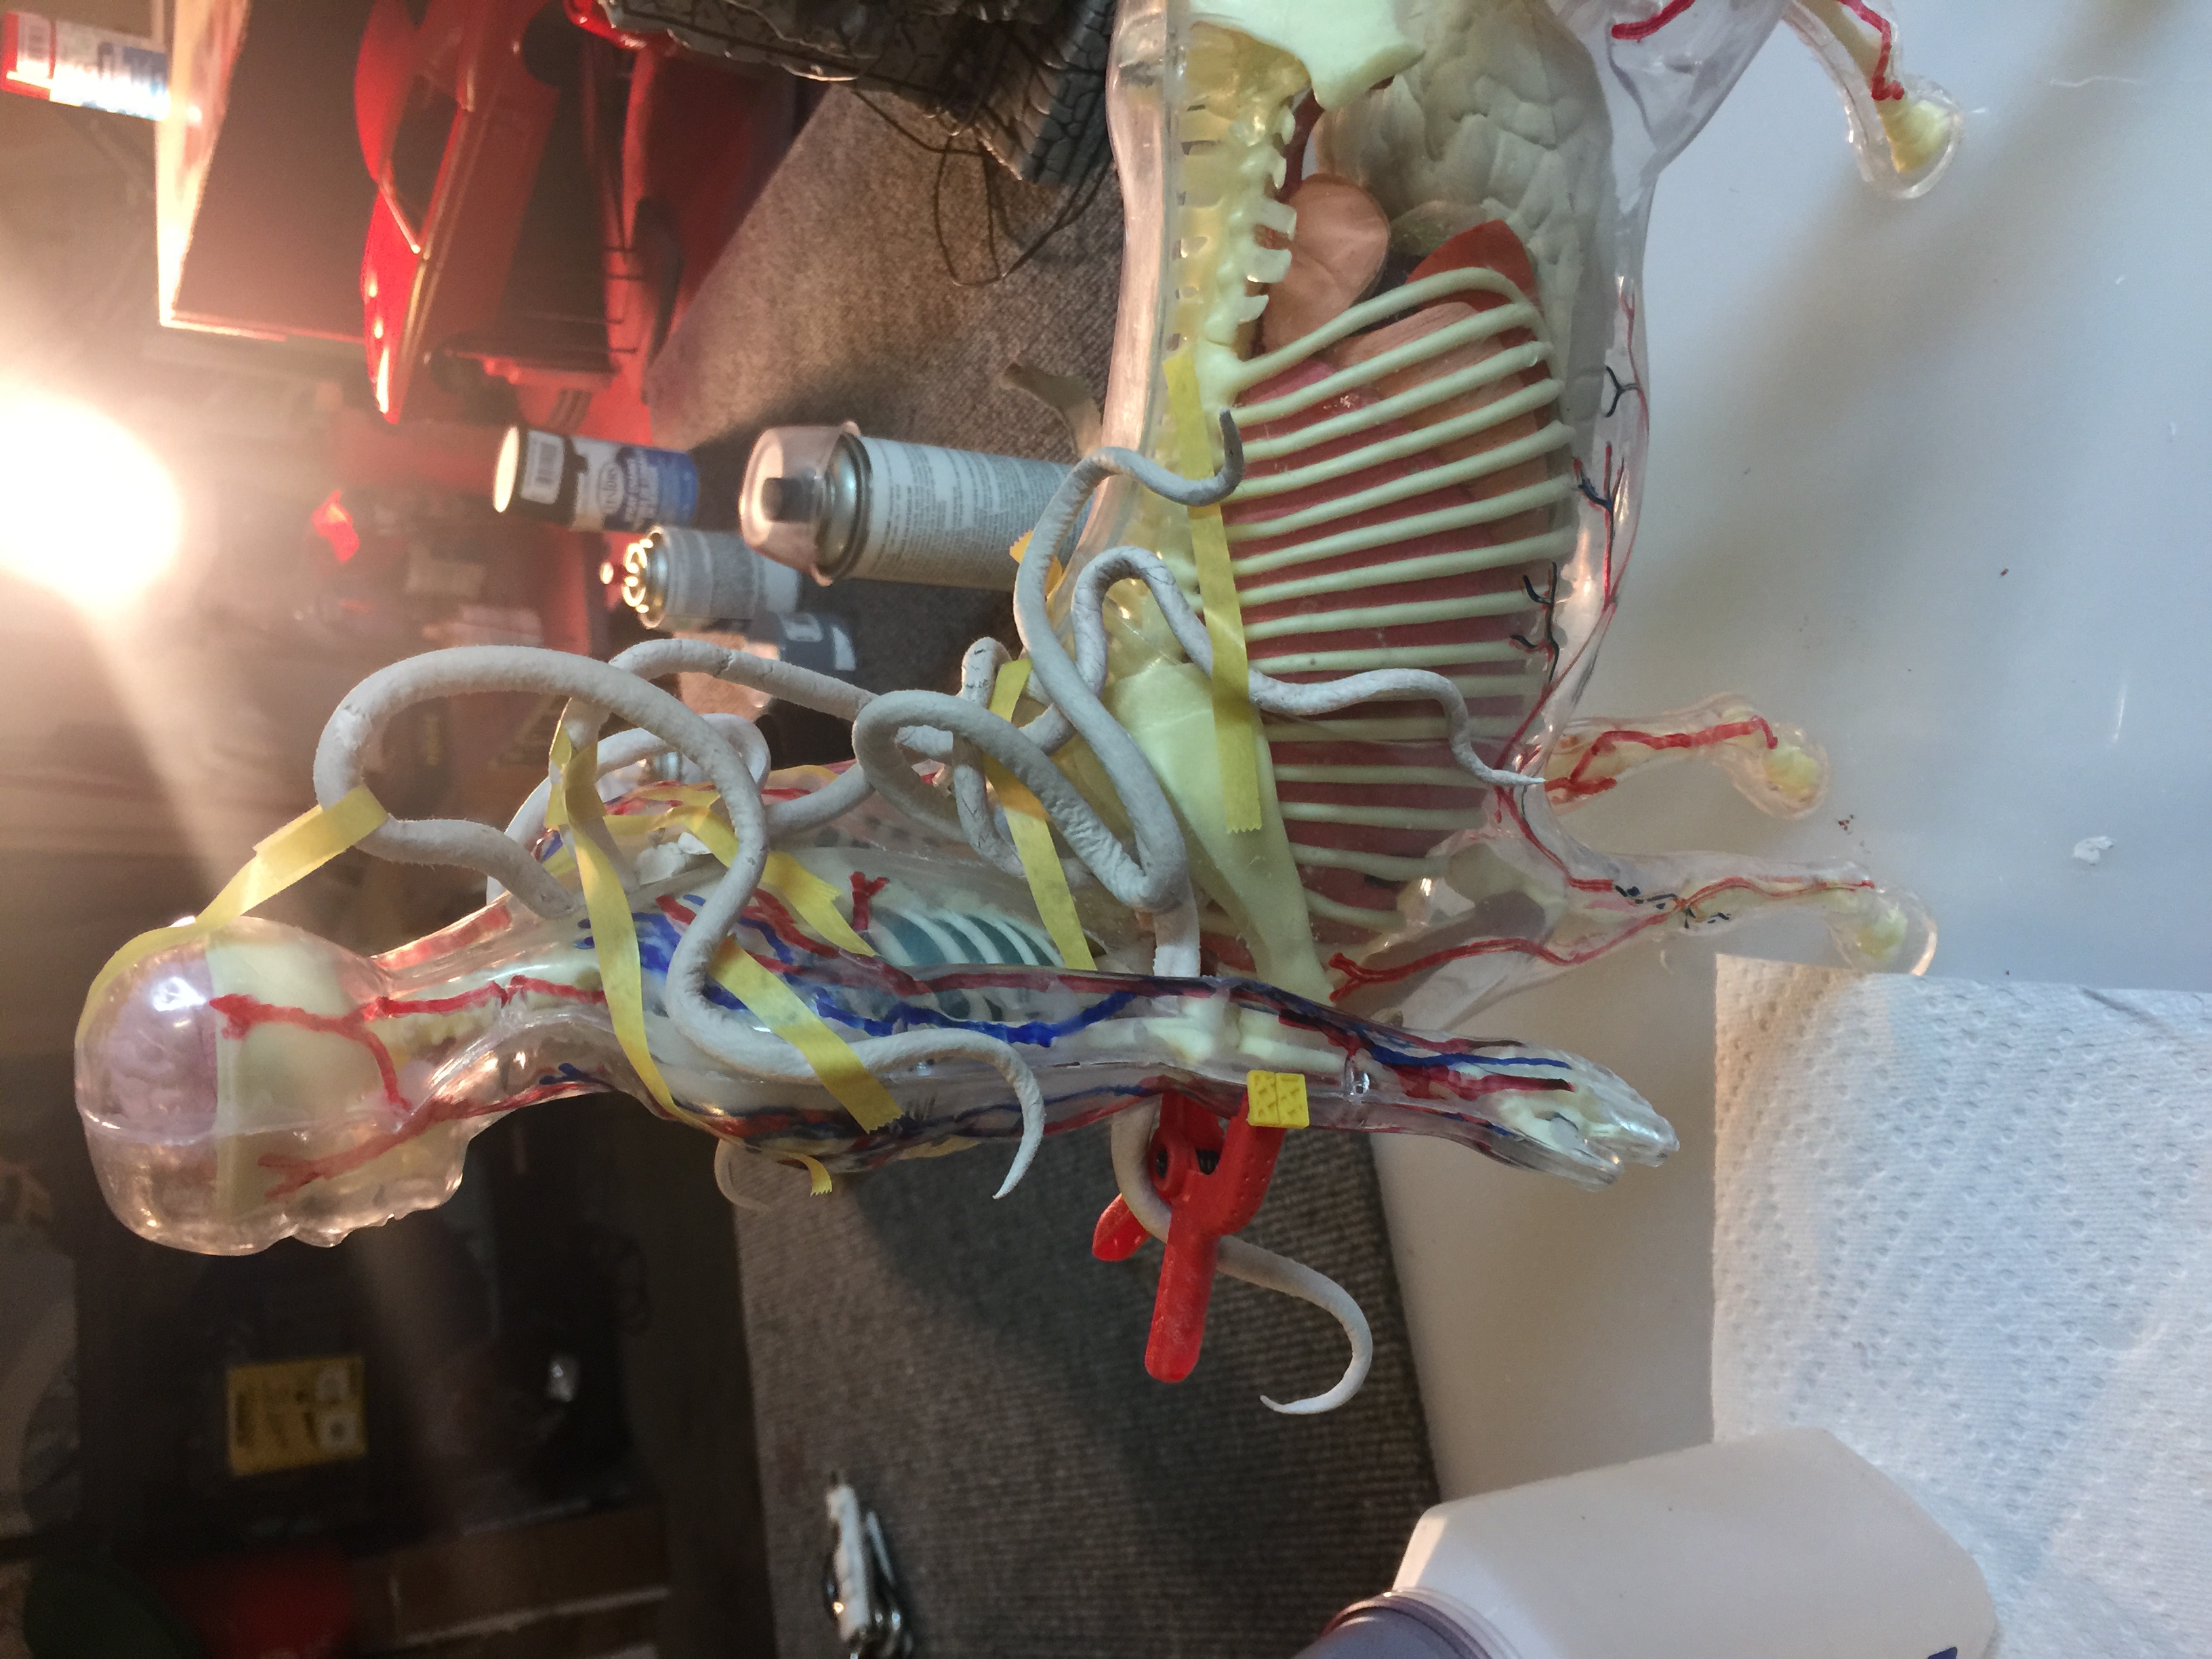
Idea has evolved from a mane to tentacles. This is air dry clay that will be painted alternating clear red and blue to match the veins and arteries. I will add many more. Will be different and very easily hide the seams.
-
Visible Centaur
cpspoogie replied to cpspoogie's topic in WIP: All The Rest: Motorcycles, Aviation, Military, Sci-Fi, Figures
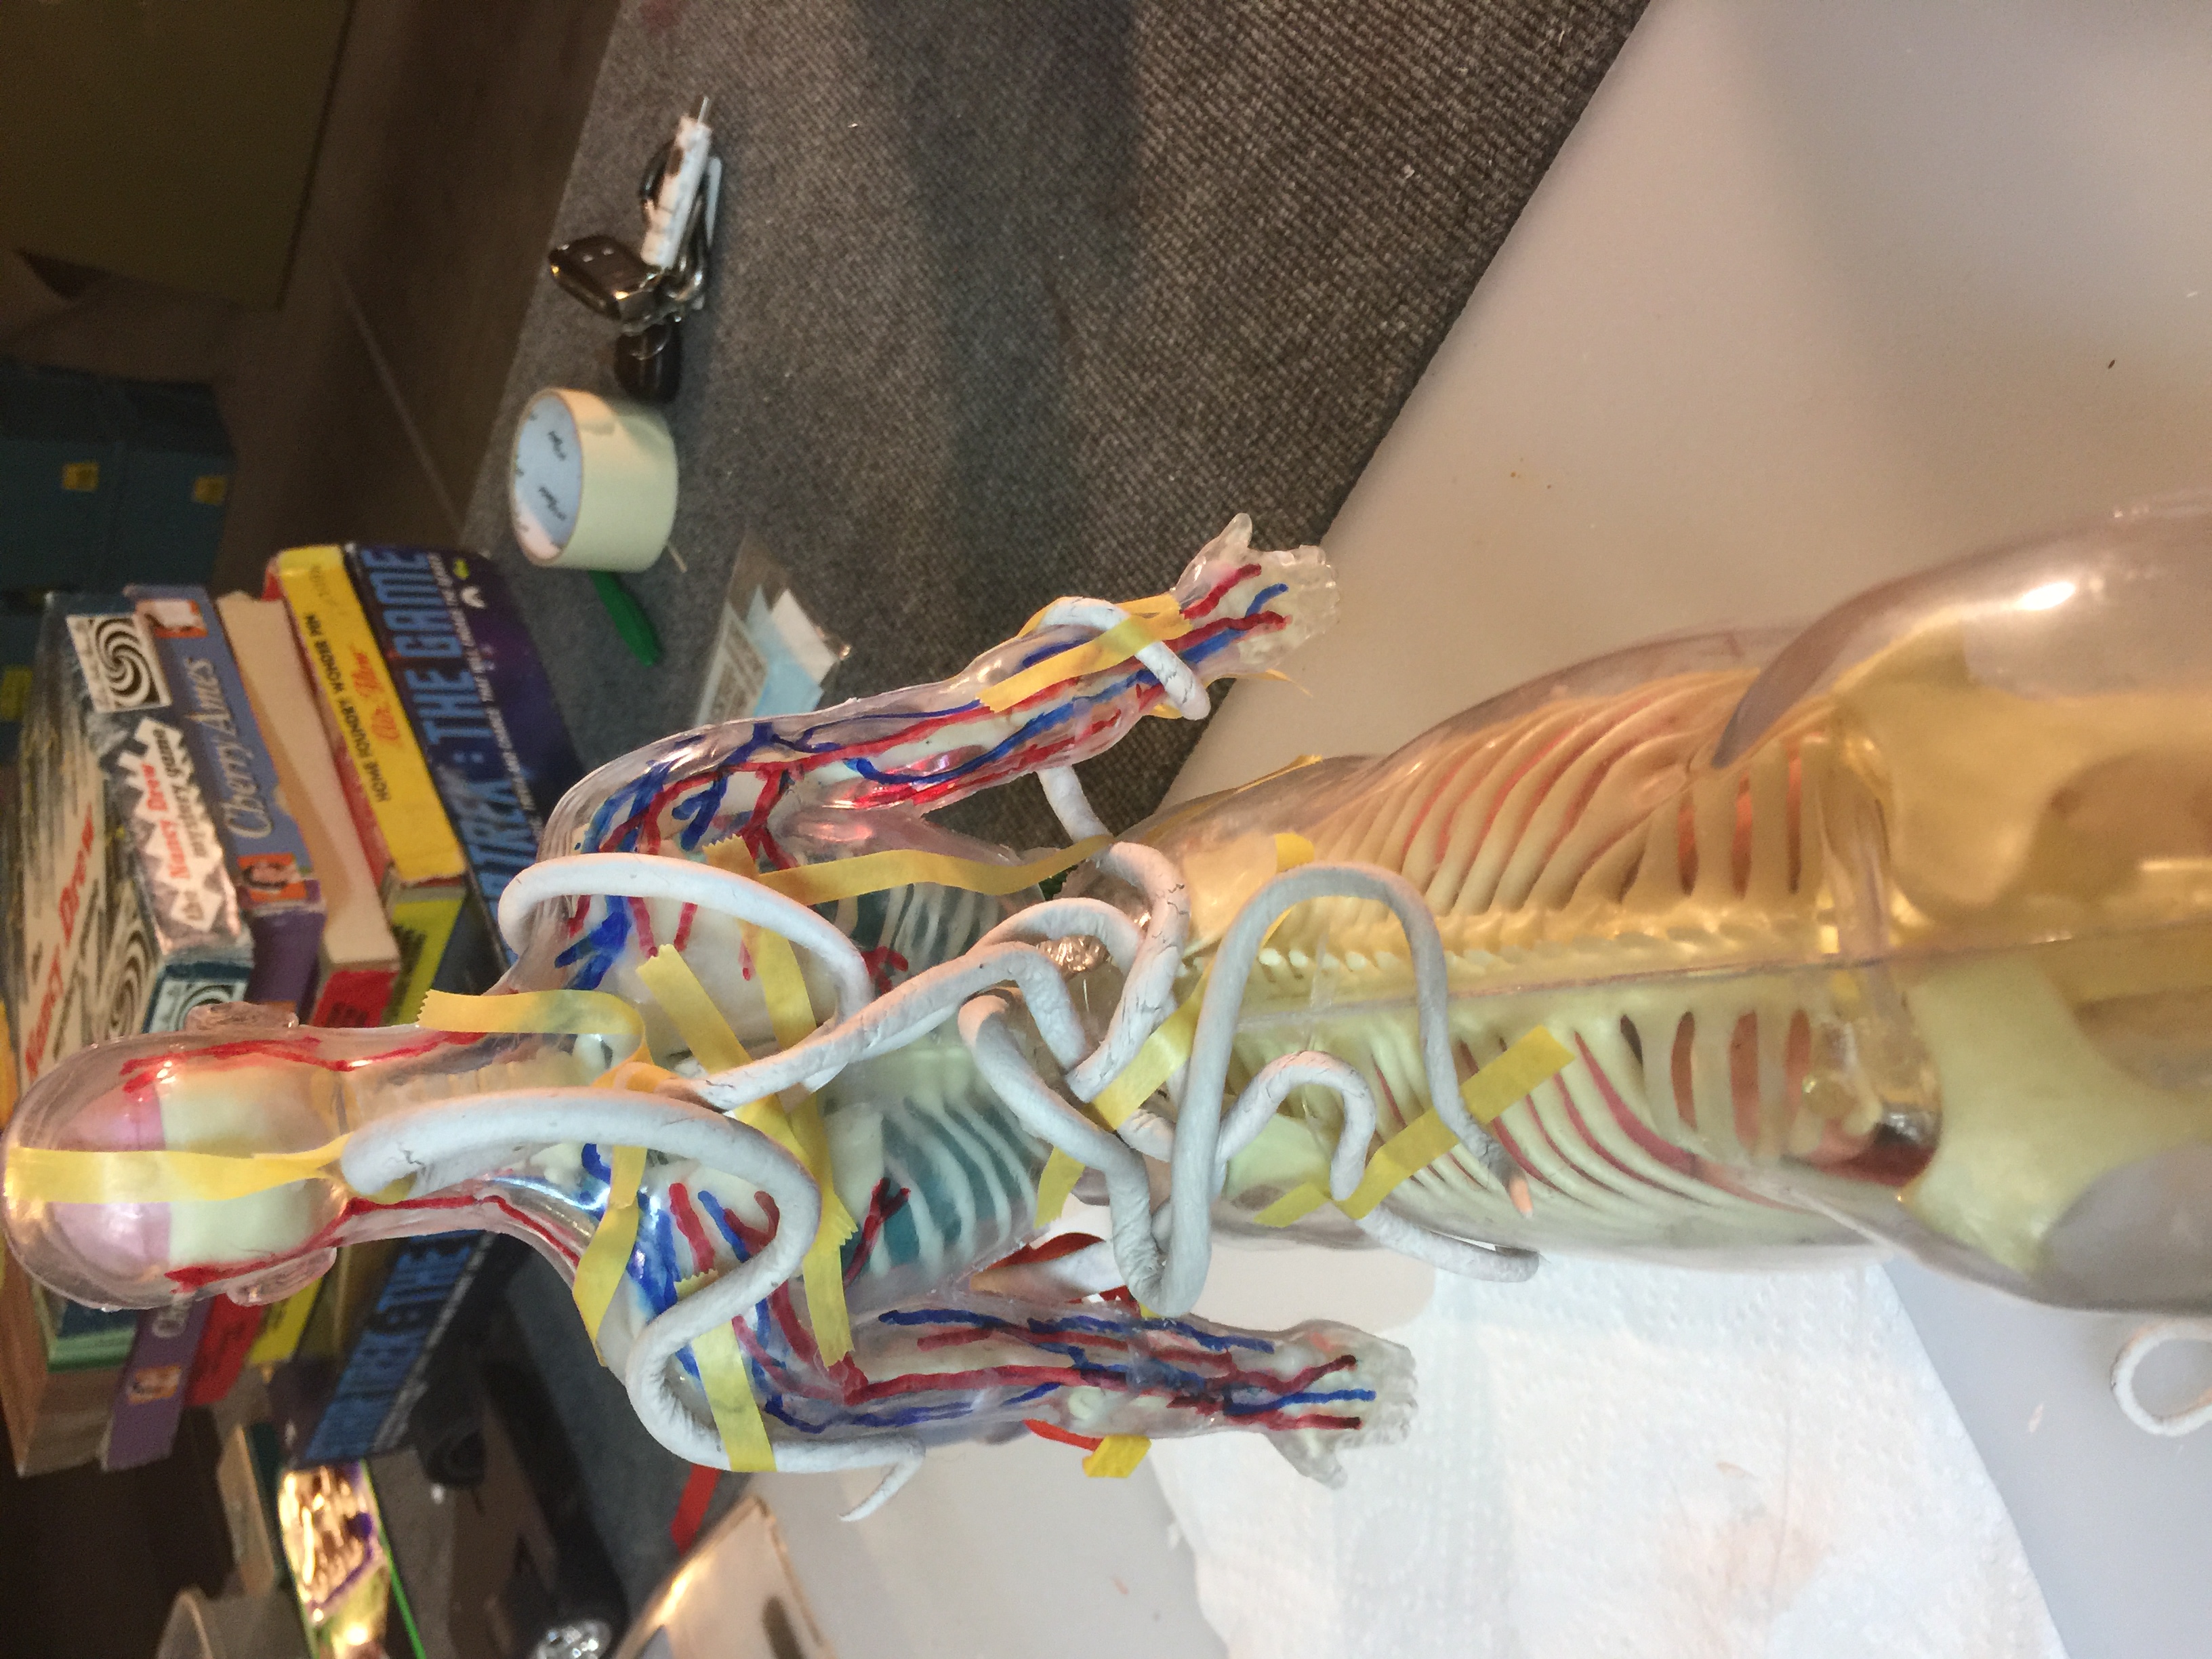
Final stages...he will have a clear mane of hair coming down his back to hide the seams.
-
Visible Centaur
cpspoogie replied to cpspoogie's topic in WIP: All The Rest: Motorcycles, Aviation, Military, Sci-Fi, Figures
Almost there...
-
Visible Centaur
cpspoogie replied to cpspoogie's topic in WIP: All The Rest: Motorcycles, Aviation, Military, Sci-Fi, Figures
Finally got back to this project while I’m waiting on my Wen MAC Mustang Conversion to cure.
-
my 1st sculpt..
cpspoogie replied to cam.chris's topic in WIP: All The Rest: Motorcycles, Aviation, Military, Sci-Fi, Figures
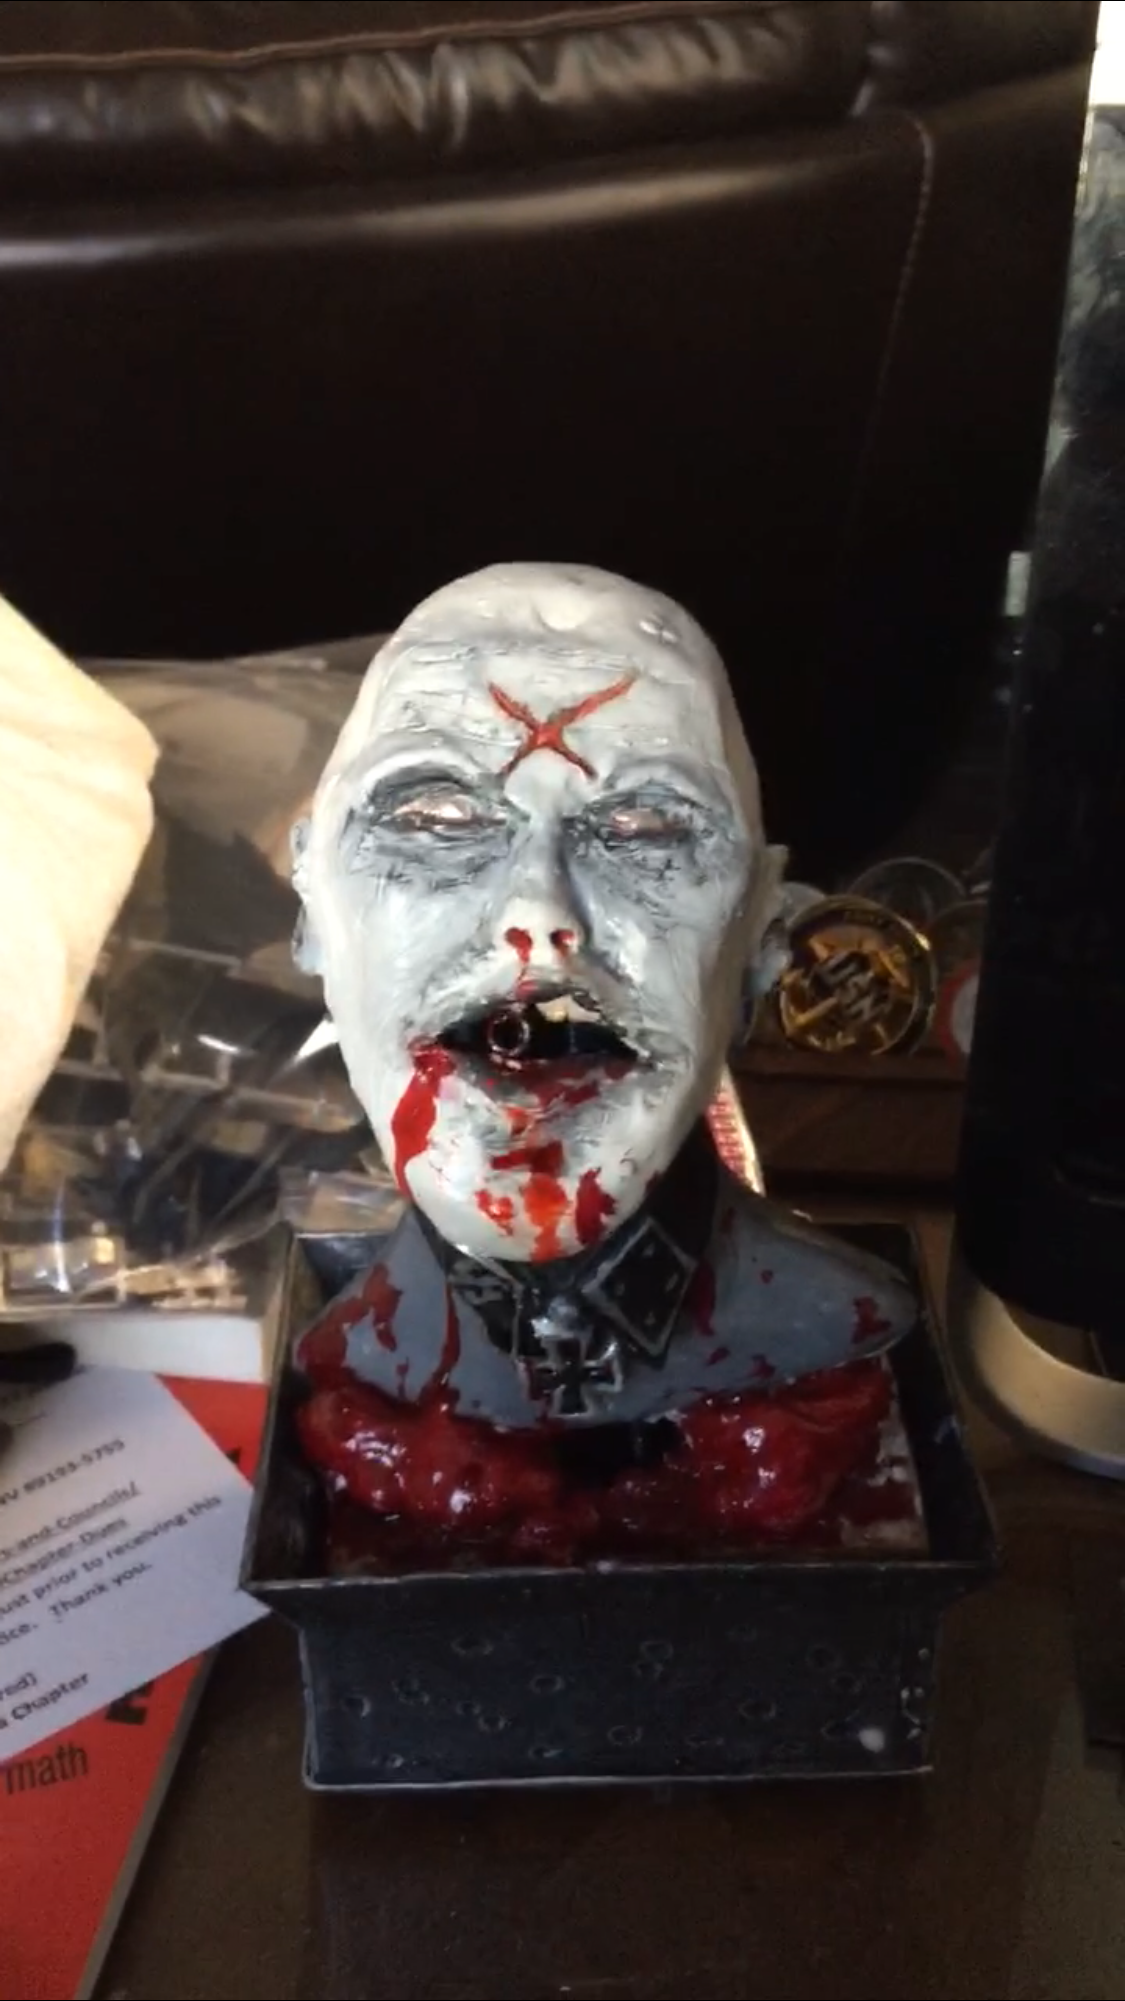
That’s great! I’m into sculpting too. I used Sculpey on this one. Armature is just a wad of aluminum foil. This is one of those battery op tabletop “tranquility” fountains from Goodwill for $4. I cut the rocks and stuff off the top and sculpted this Nazi Zombie then ran the tube up through his neck so the water comes out his mouth. I colored it with red food coloring to look like blood.
-
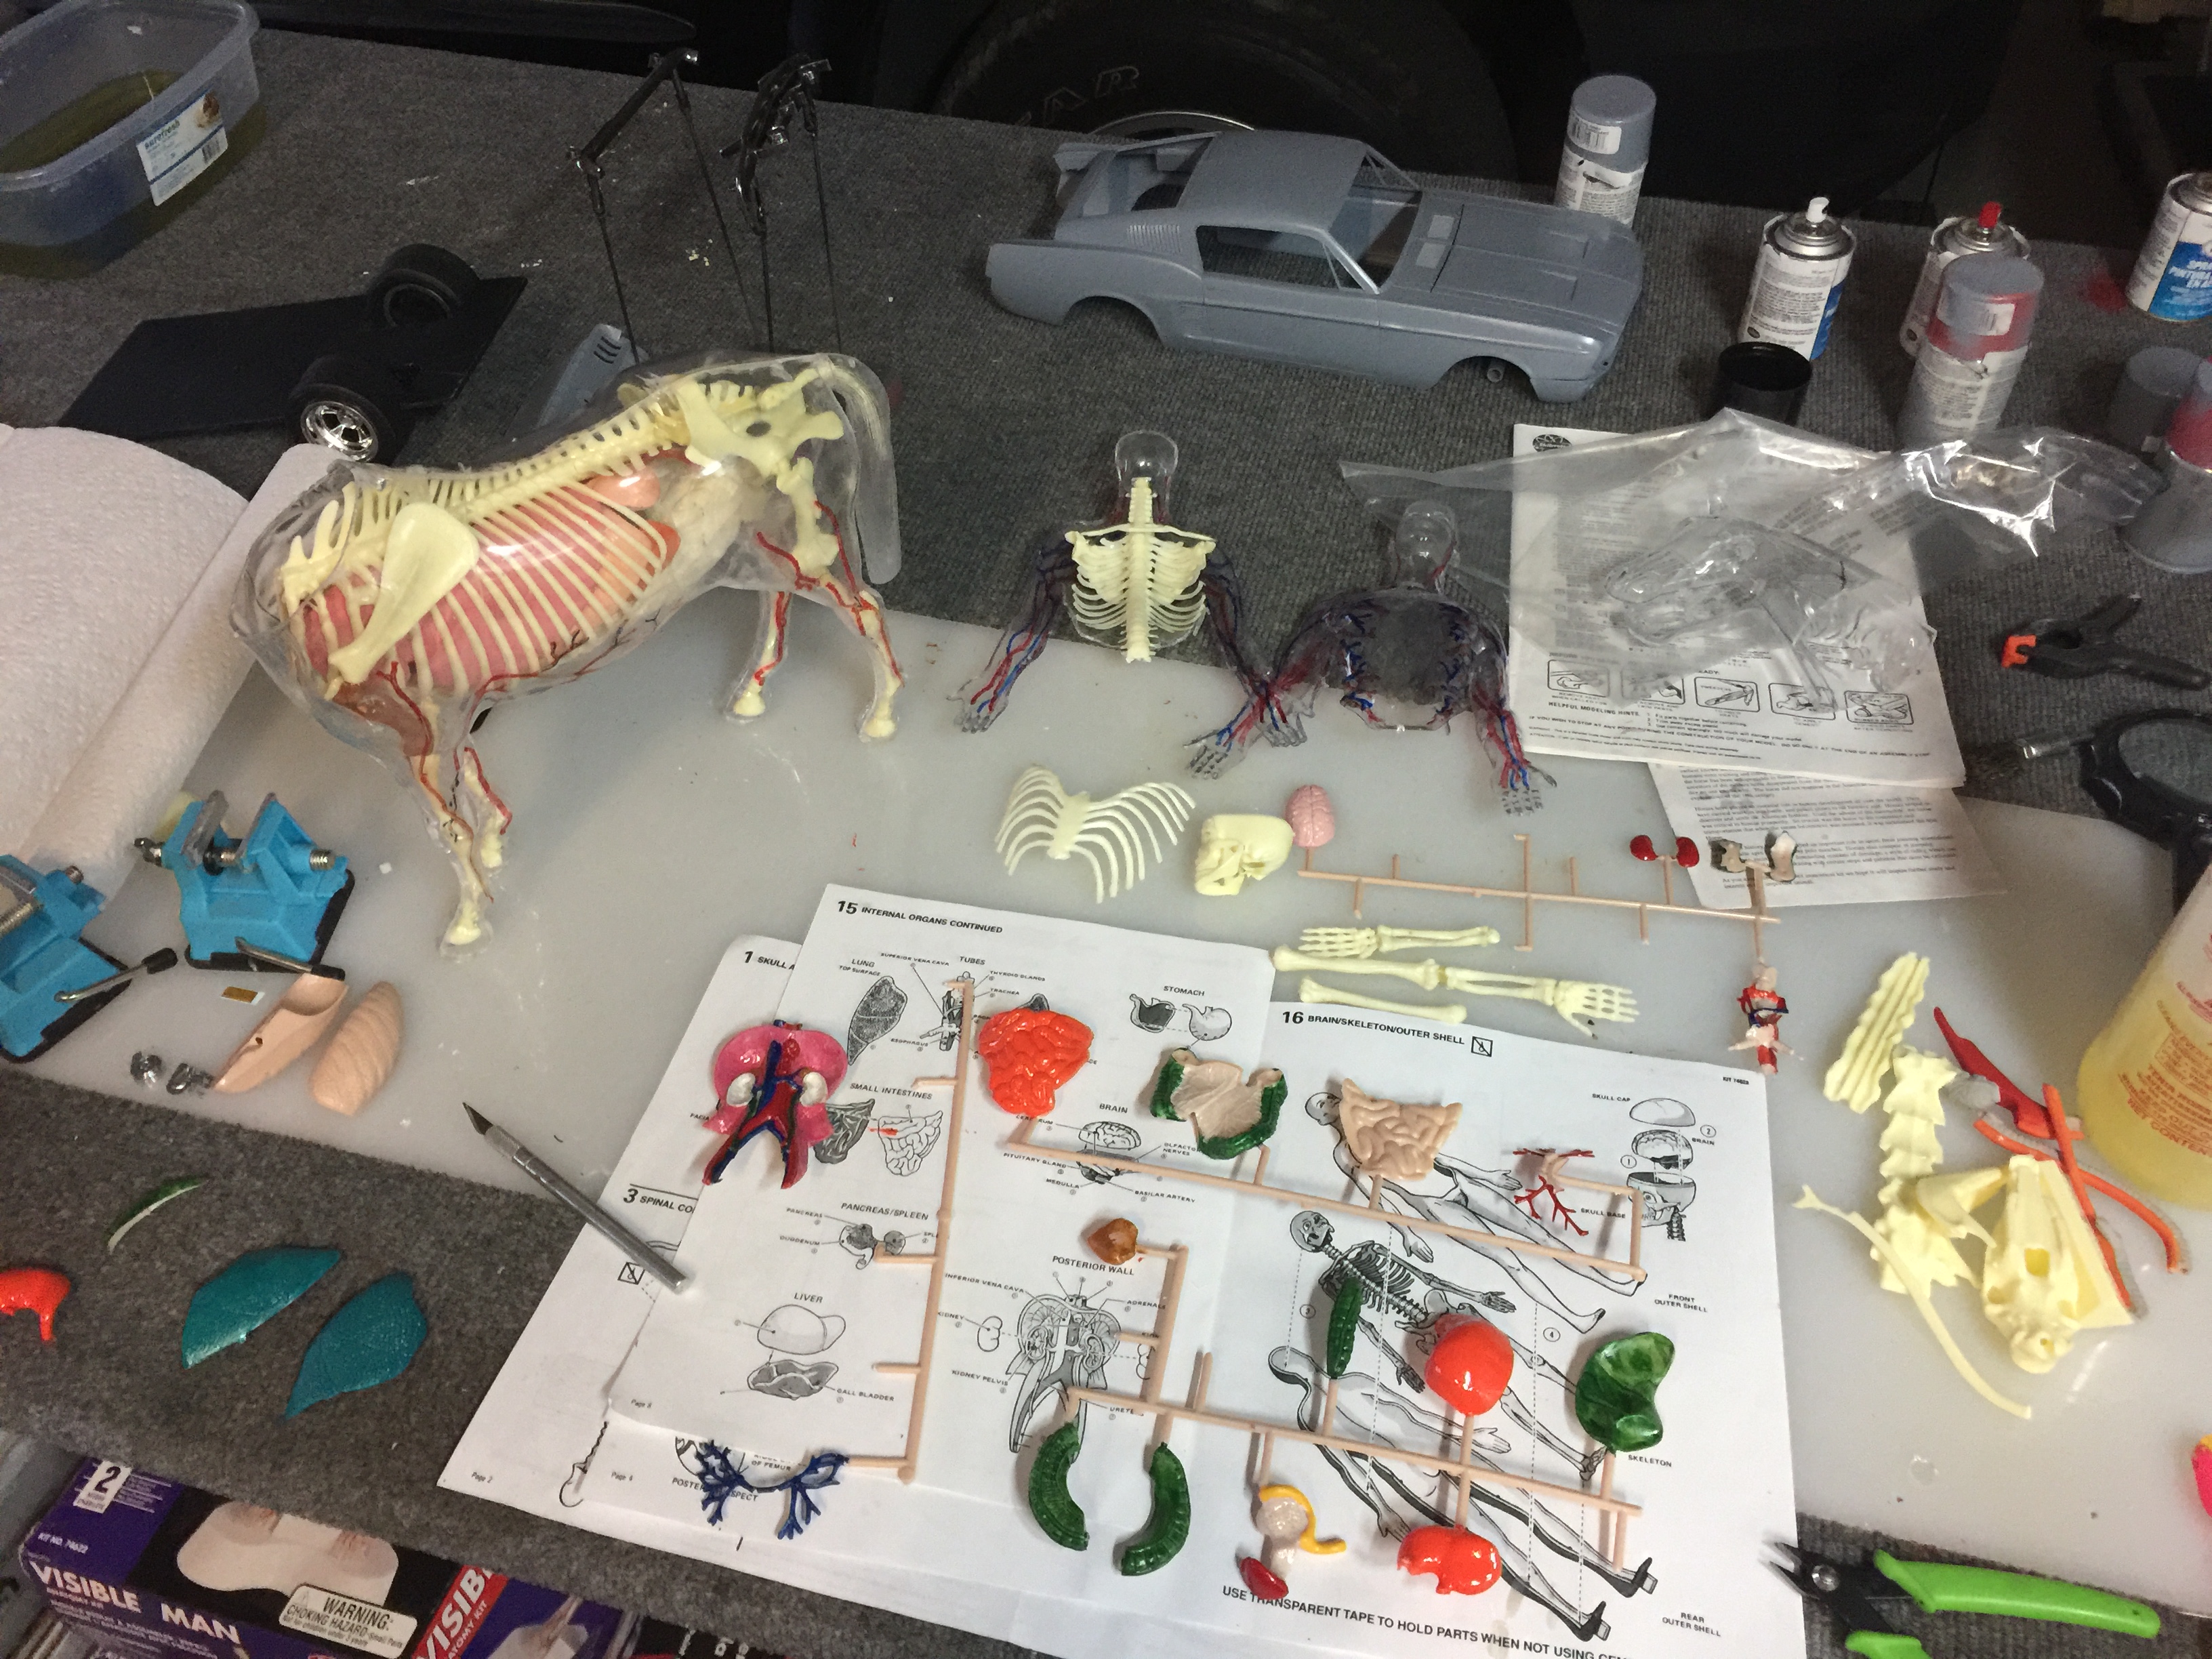
I’ll snap a few pics of what I have. I think I just have the figures.
-
Test fit of the chassis and body went very well. Not bad for eyeballing and no measurements. The main thing is I wanted the traction bars, gas tank, differential and shocks to be visible since it’s jacked up. Anybody have any suggestions where to find 1/12 scale Good Year tire decals?
-
Very nice. Since these are really considered toys and not models, Wen MAC just cheaped out on the interior detail. That leaves lots of fun for us scratch builders to create interior details. Scratch building is limited to the imagination, my friend. If there’s anything I can do or suggest as you do your interior, let me know. I have a few tips up my sleeve! Chris
-
Test fit of the body to the chassis and the clearance is great. I was a bit worried that it wouldn’t be jacked up enough or the traction bars wouldn’t be visible. I didn’t measure anything, just eyeballed it so I was happy to see it will work out without adjustment. Primer will cure for a few days then I’ll paint the body.
-
absolutely. I knew it was off-scale, because it’s technically a toy and not a scale model. Seemed like a cool way to turn it into a scale model though, and it’s so fun to scratch build the parts to make it hat way. And since it was a toy, the detail in the interior is minimal. I just made side panels and a rear window deck tonight.
-
-
Chassis painted and weathered.
-
Primered chassis and body, after making a very rudimentary front axle. Will not be seen, so no detail.
-
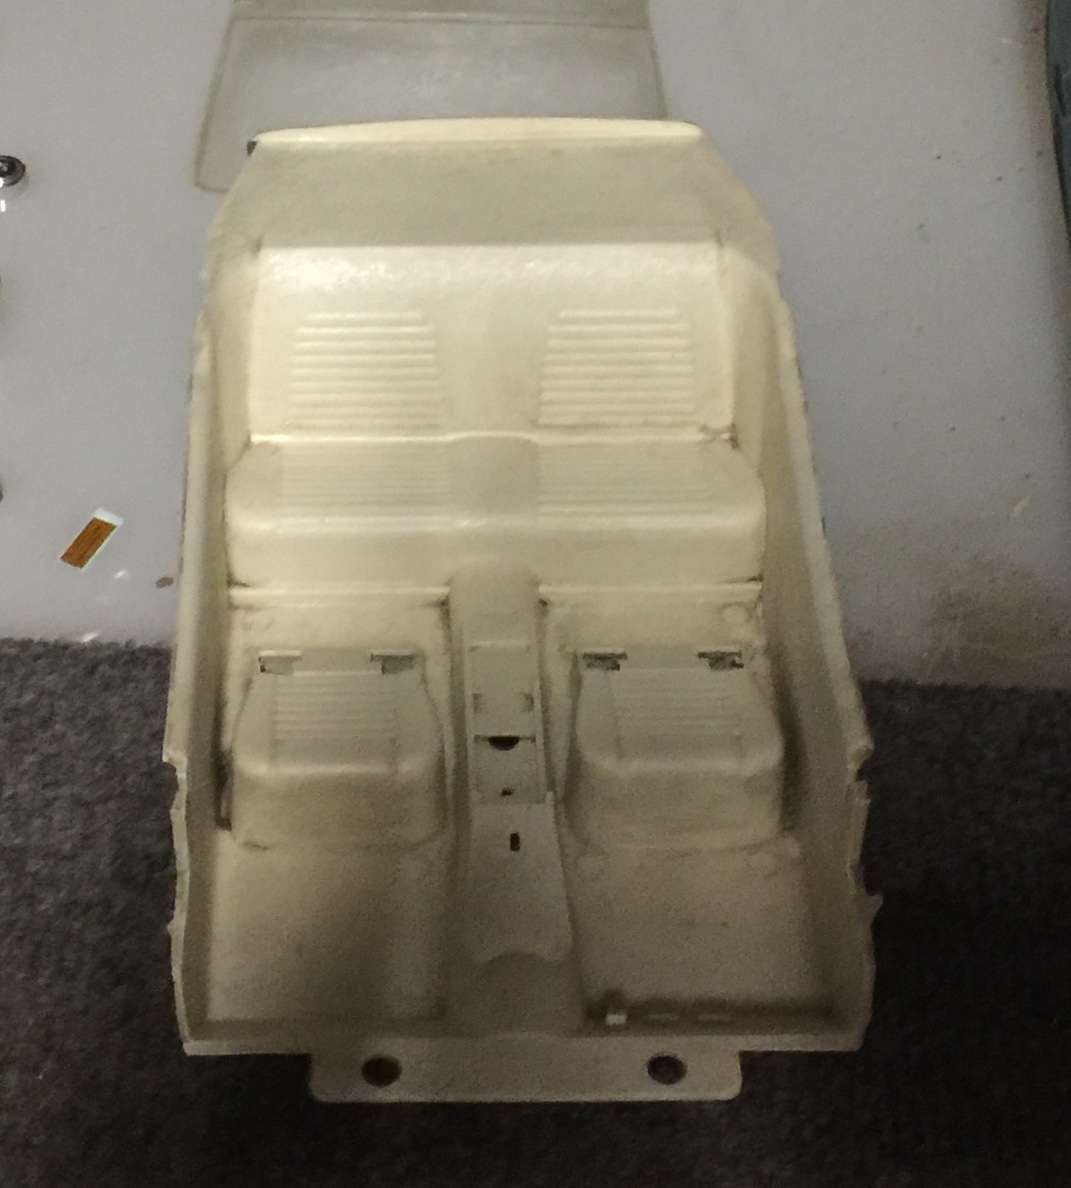
The interior didn’t have these air vents, so I made some.
-
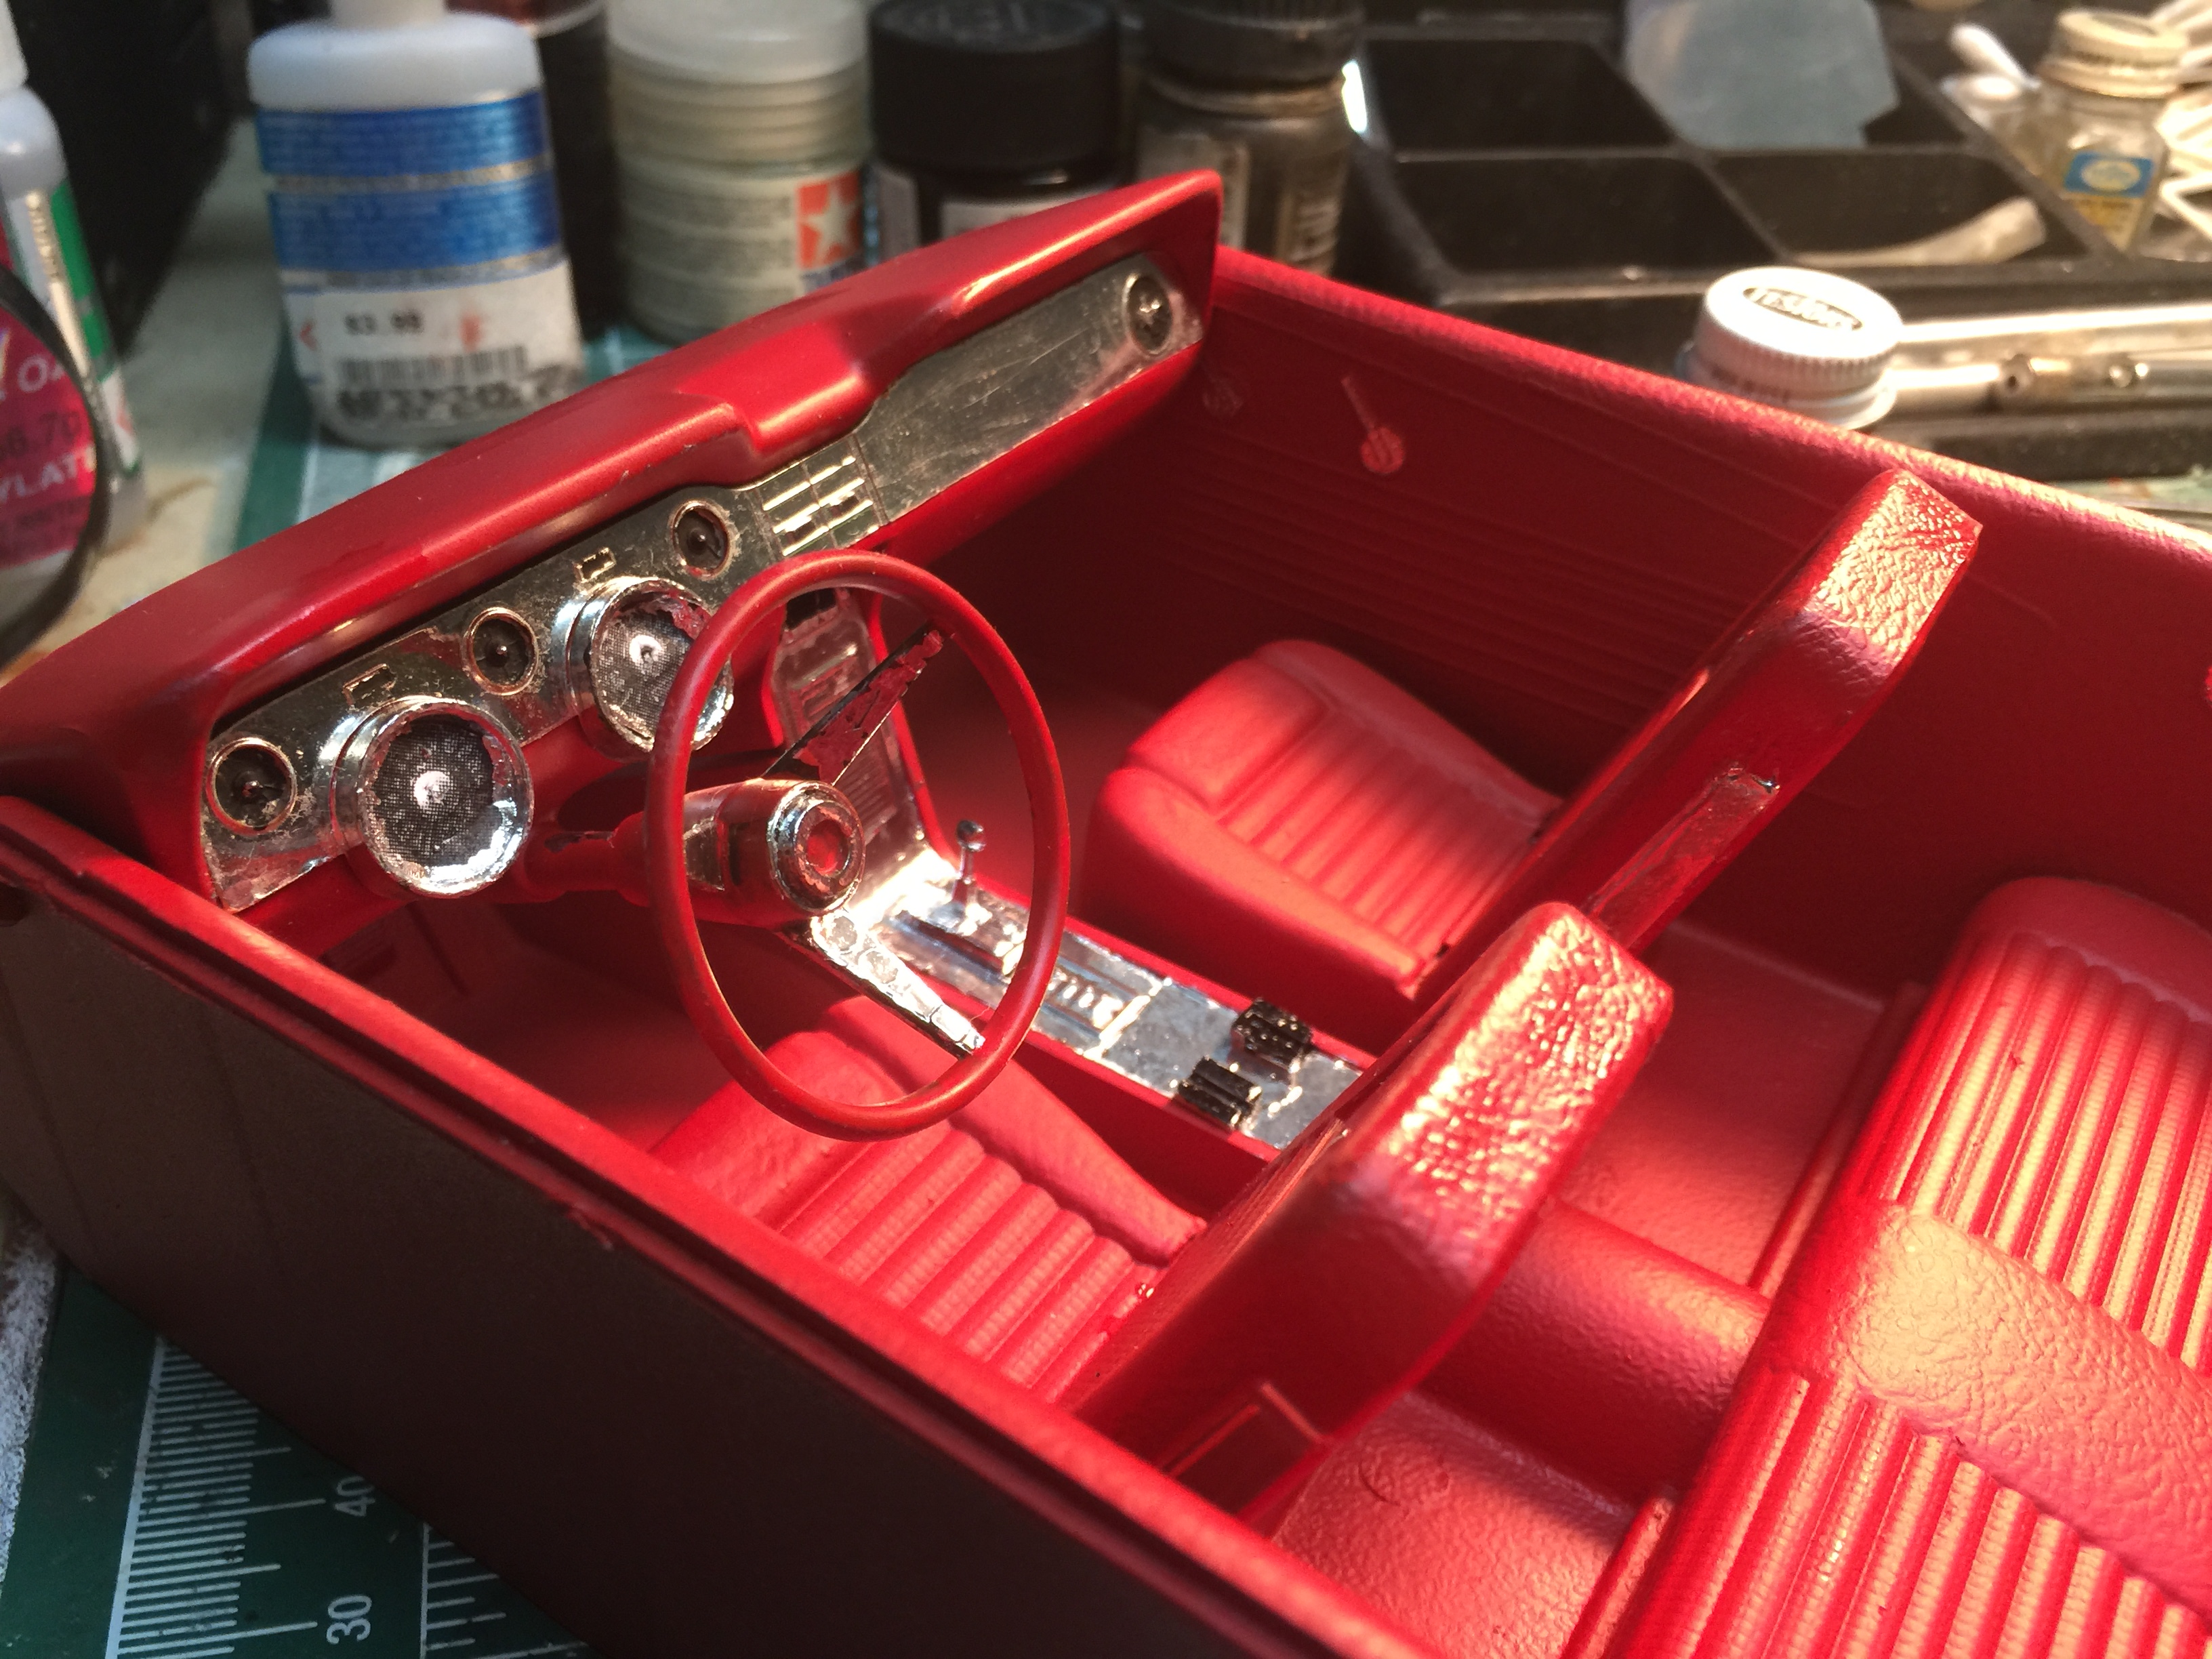
Interior done, and here’s what the Wen MAC bumpers look like when stripped. I’m rechroming them.
-
I have repaired several so I can help if you need it. Most times a cleanup of the battery leads and manual turning of the motor to free up years of gunk is all it takes. Bulb is a standard flashlight battery.
-
I honestly don’t know. I’d say not standard like maybe 1/11 because this was considered a toy and not a model. I know 1/11 doesn’t exist, but that’s as close as I can figure because it’s not standard. The wheels and tires I’m using are from those diecast Muscle Machines cars with the exaggerated blown engines. They say those are 1/18 but the tires and wheels aren’t. They work well on these Wen MAC bodies.