cchapman195
-
Posts
275 -
Joined
-
Last visited
Content Type
Profiles
Forums
Events
Gallery
Everything posted by cchapman195
-
superglue vs chrome
cchapman195 replied to inskeep123's topic in Model Building Questions and Answers
Steve, it looks like I have some testing to do. I have always been told that superglue will not stick to paint or clears and have to be scraped off for it to adhere to parts. I use acrylic paints and future for my top coat clears and have always cleared the paint and clear off for the gluing. This is the first time hearing somebody using superglue over acrylic. I will do some testing and thank you for possibly making my building easier. Always willing to try new things. -
superglue vs chrome
cchapman195 replied to inskeep123's topic in Model Building Questions and Answers
Sorry bud, I am not sure how you remove it. As far as I know it is called crazing. As far as I know the chrome is ruined. Super glue does not go at all with chrome or clear parts. I usually scrape the chrome off of a n area not seen then put a small dab of glue and install. Keeping the glue away from chrome. If there is not a place away from the chrome I will put Testers clear parts cement or Testers high gloss clear both take a bit to dry but it will not hurt the chrome. Both clear cement and high gloss clear dry clear so you wont see it if it seeps a little. -
Thank you Chris, Arno, Larry and Donald.It means a lot.
-
Thanks so much Carl,Danno and Gilbert.
-
Thank you AZ Boy.
-
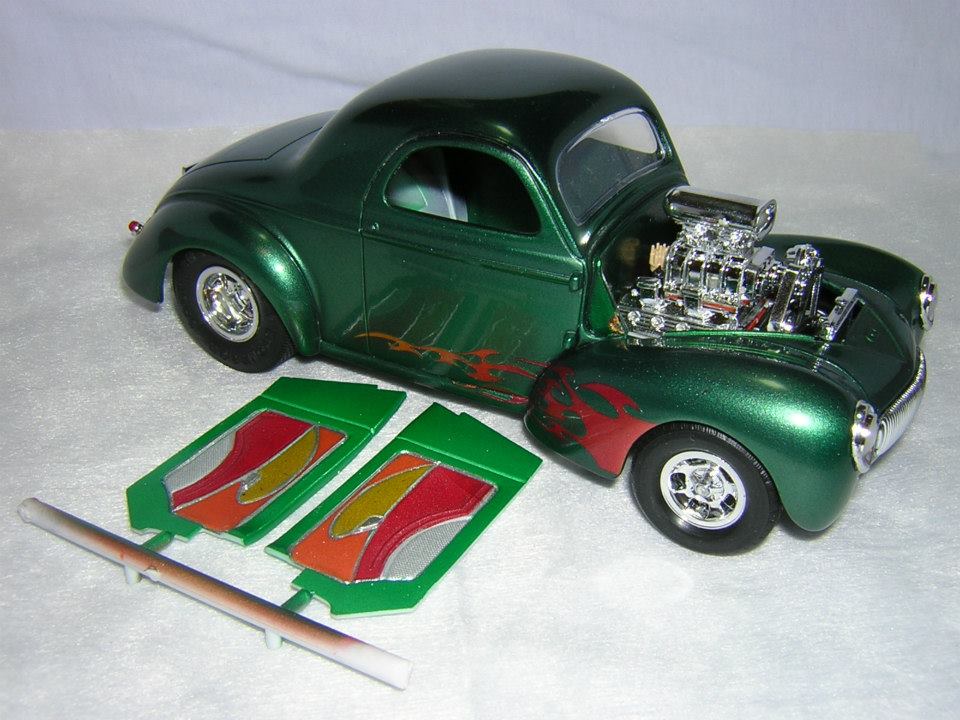
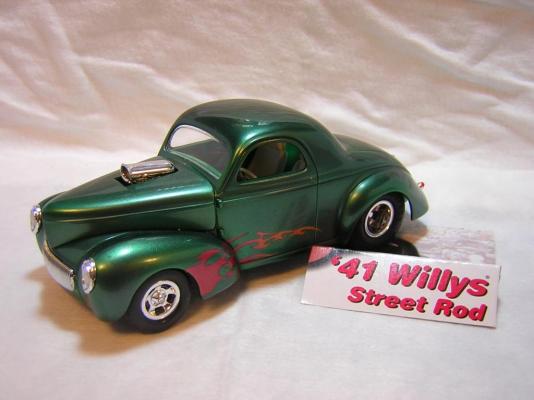
this is my '41 Willy's. HOK paints were used. My first airbrush attempt.

-
Testor's One Coat post mortem
cchapman195 replied to MitchP's topic in Model Building Questions and Answers
I have heard a few people mention mixing the different mixtures has caused the same problem. From what I have understood if you use one coat lacquer wet look clear it needs to be over a wet coat color. Wet coat over a lacquer color for some reason have caused this effect you are dealing with. Again a few people have mentioned it and I have yet to try any of the testors rattle can paints since I use an airbrush. May be something to look at and research. -
Taking forever for brush paint to dry!
cchapman195 replied to Speedfreak's topic in Model Building Questions and Answers
Humidity is a HUGE factor with enamel paints. Was it or had it been raining in your area at the time you painted it? Temp is bad as well. Enamel is best at 70 or above degree's anything less then that will cure the outside leaving the inside gummy. Enamel especially those with metallic's in them are worse. A good base or primer can help, acrylic as John said can help but weather and temp can't be fixed no matter what you do. -
The other color's can also be used on the door and trunk panel lines. Mix them to darken or lighten. An orange painted car take the orange detail color add a little black to darken the orange color and paint it on all the door and trunk lines wipe off excess and it will make the lines stand out. Also the detailer products dry glossy. For door and trunk you want them to be a flat as it is supposed to show shading in recessed areas. Never seen a shiny shadow myself but I never know.
-
Very clean, nice, sweet build.
-
Thanks everyone for all the great feedback.
-
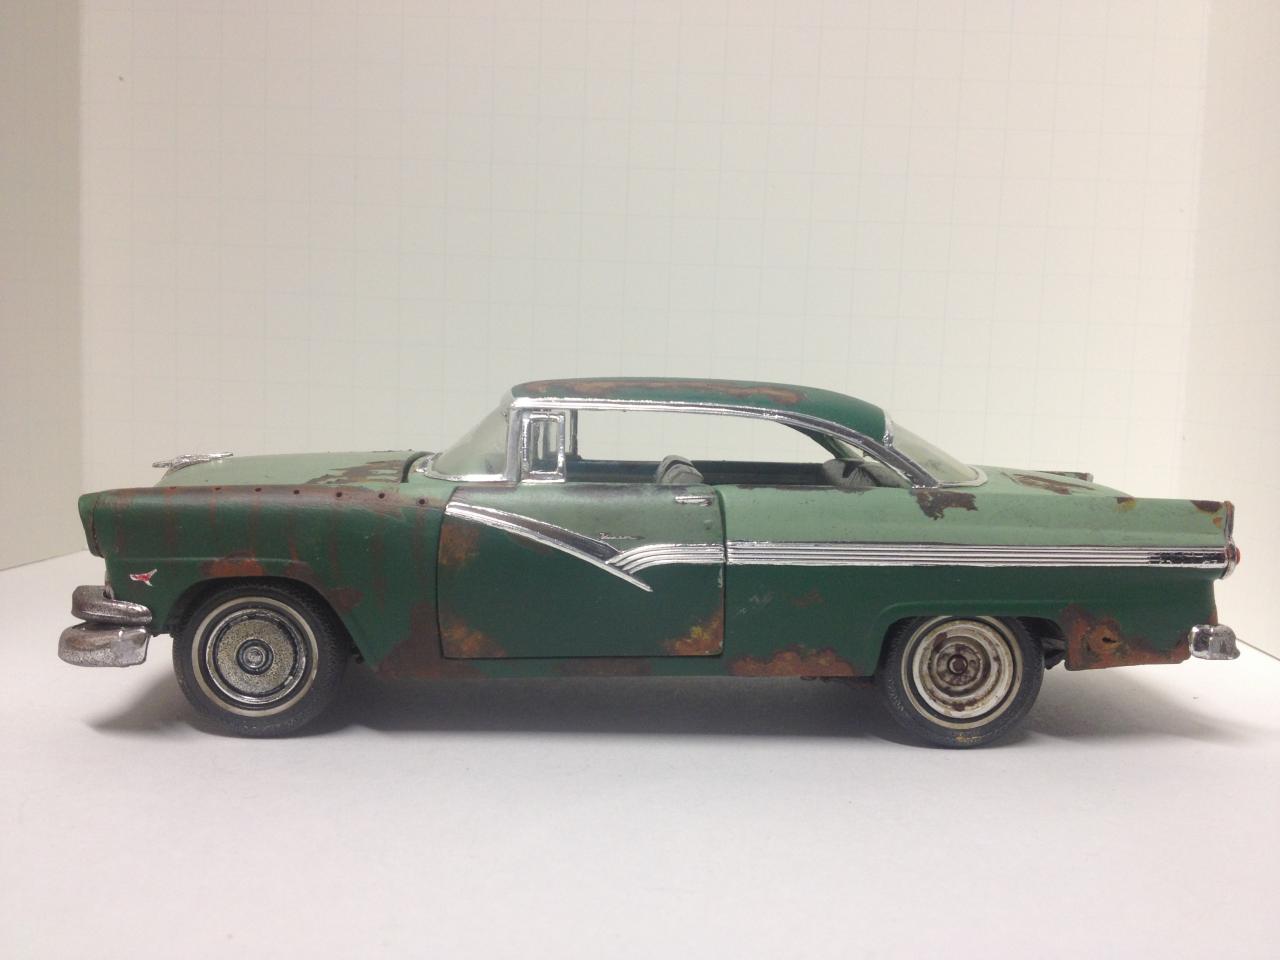
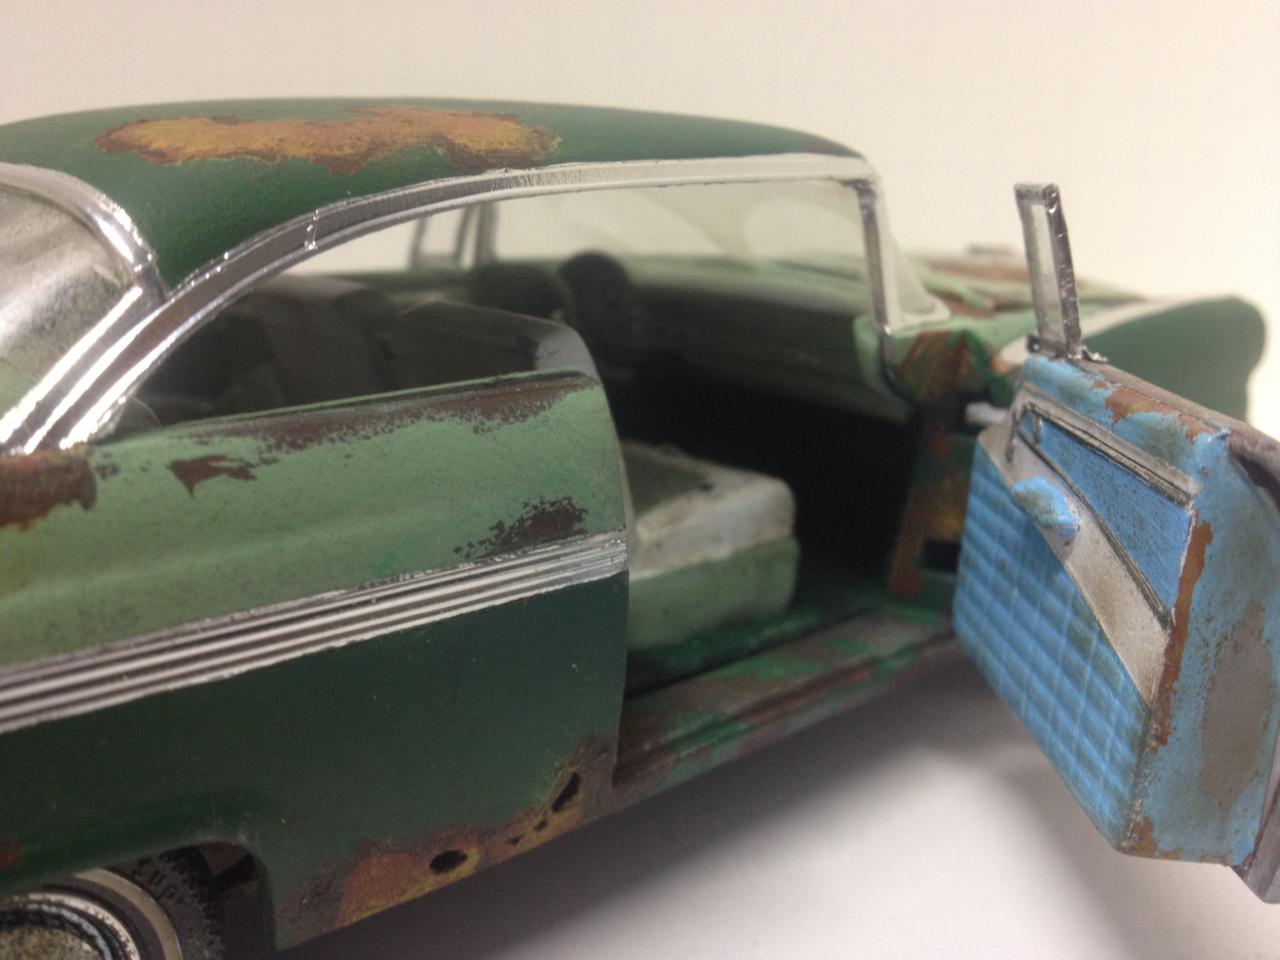
This is my 1956 Ford Victoria daily driver junker. All paint was done with acrylic paints. You can check out entire build album Chapmans model cars on Facebook. While there click on hte like button on my page if you want to keep updated on future projects. Thanks for looking.
-
John and Pete, thank you so much and Pete, Try em this one was a blast.
-
Thanks again to all the new comments. Means a lot.
-
Looking good bud!
-
Thank you so much Mark and Sam.
-
Thank you very much Tom. It is the Lindburg kit. Thanks everybody for the kind words.
-
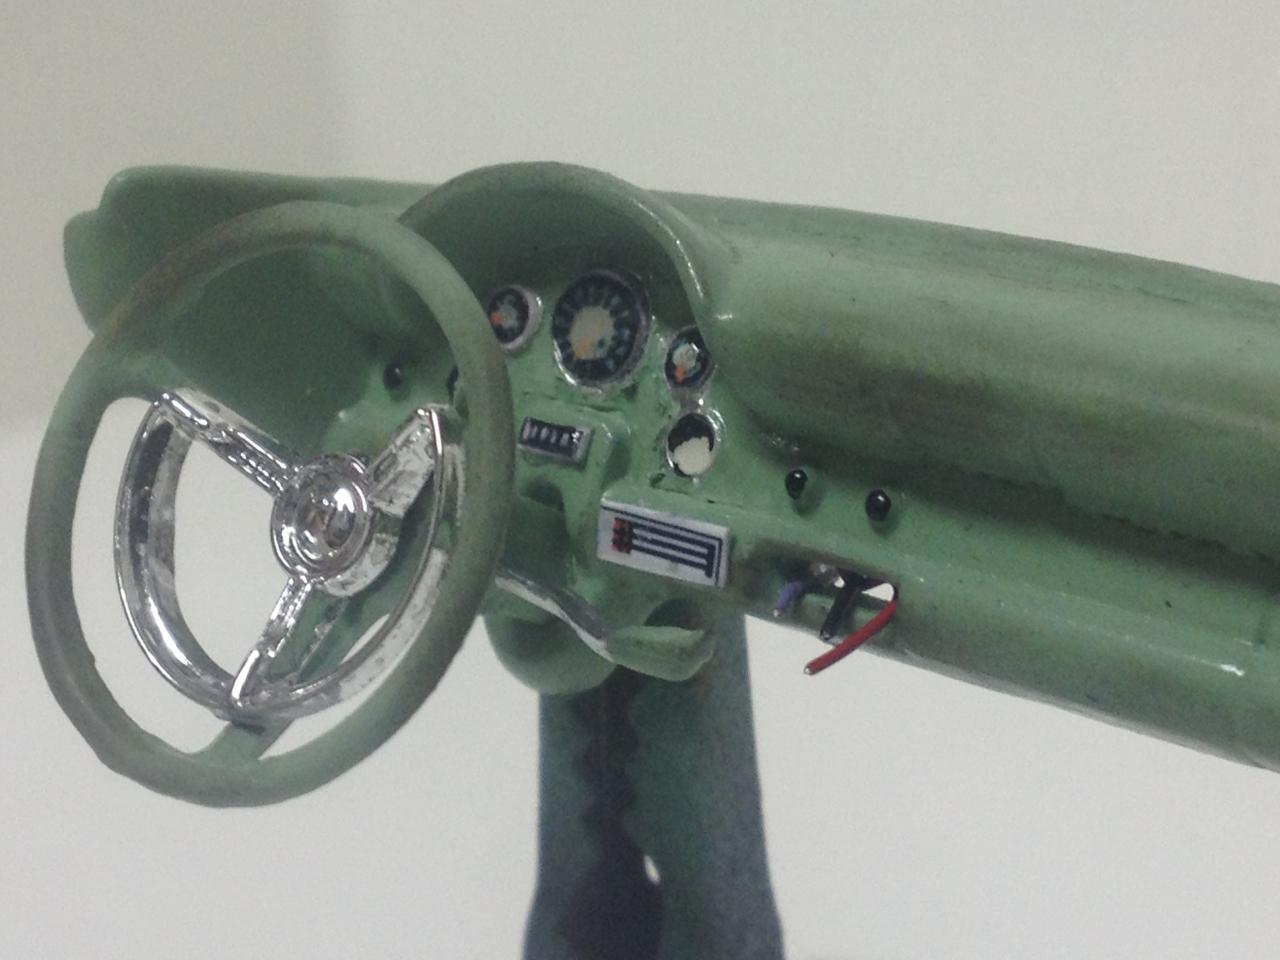
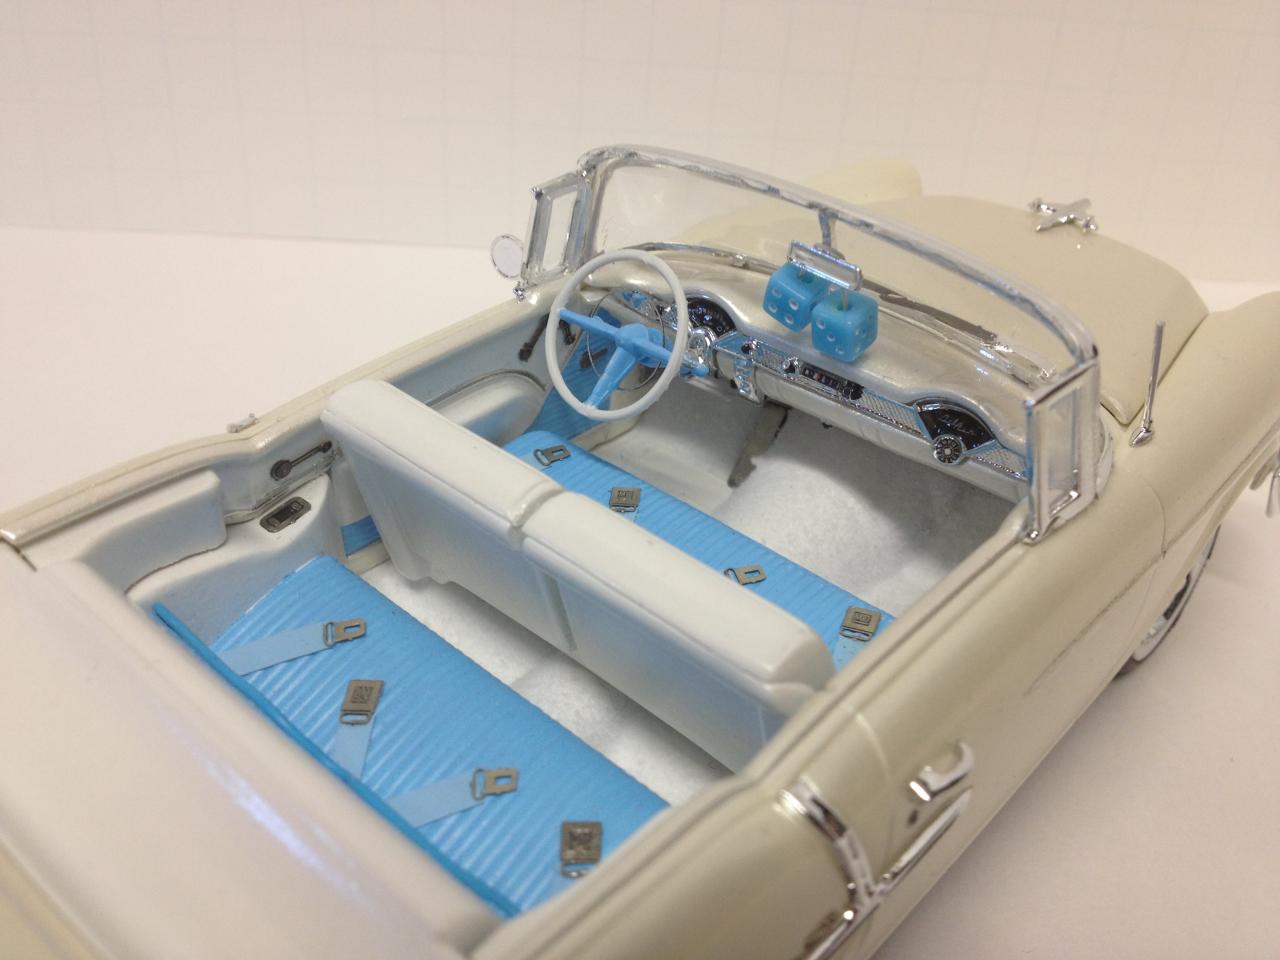
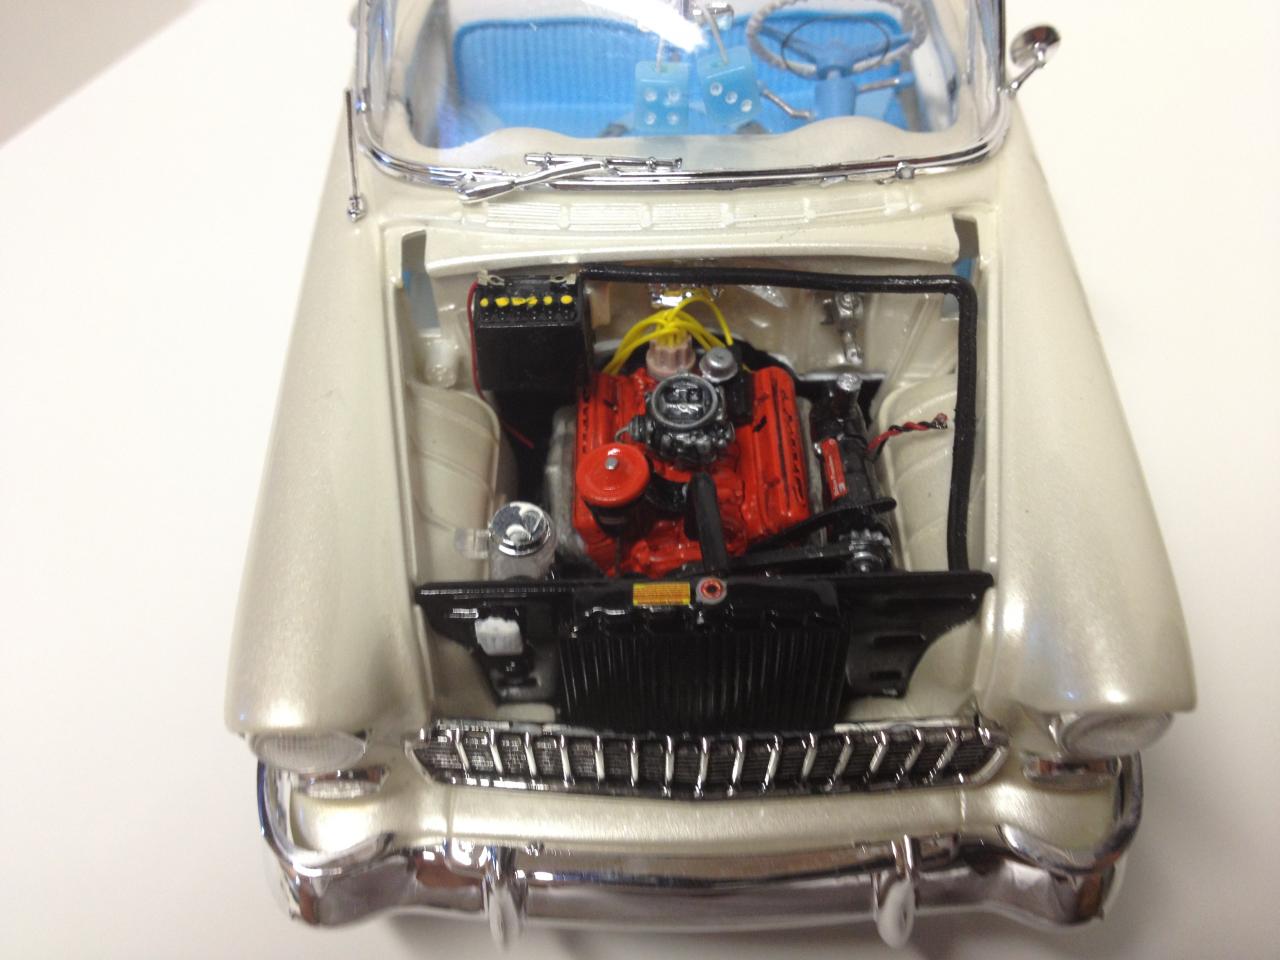
Thank you Lee, my father bought the car painted that color by the previous owner. I believe the interior was factory though. He only mention the paint had been done on it. Jeff thank you as well for the comments. That black line was supposed to replicate a wiring harness that has all the wires that go up into the headlight and horn in the grill. Now that you mention it it does look quite large and also to be coming from the negative battery post. I guess I got excited to finish and really did not pat attention to the size. Thank you for the kind offer of sending some wire but I do have different scale wire. I will need to get it off the shelf and re think that. lol.
-
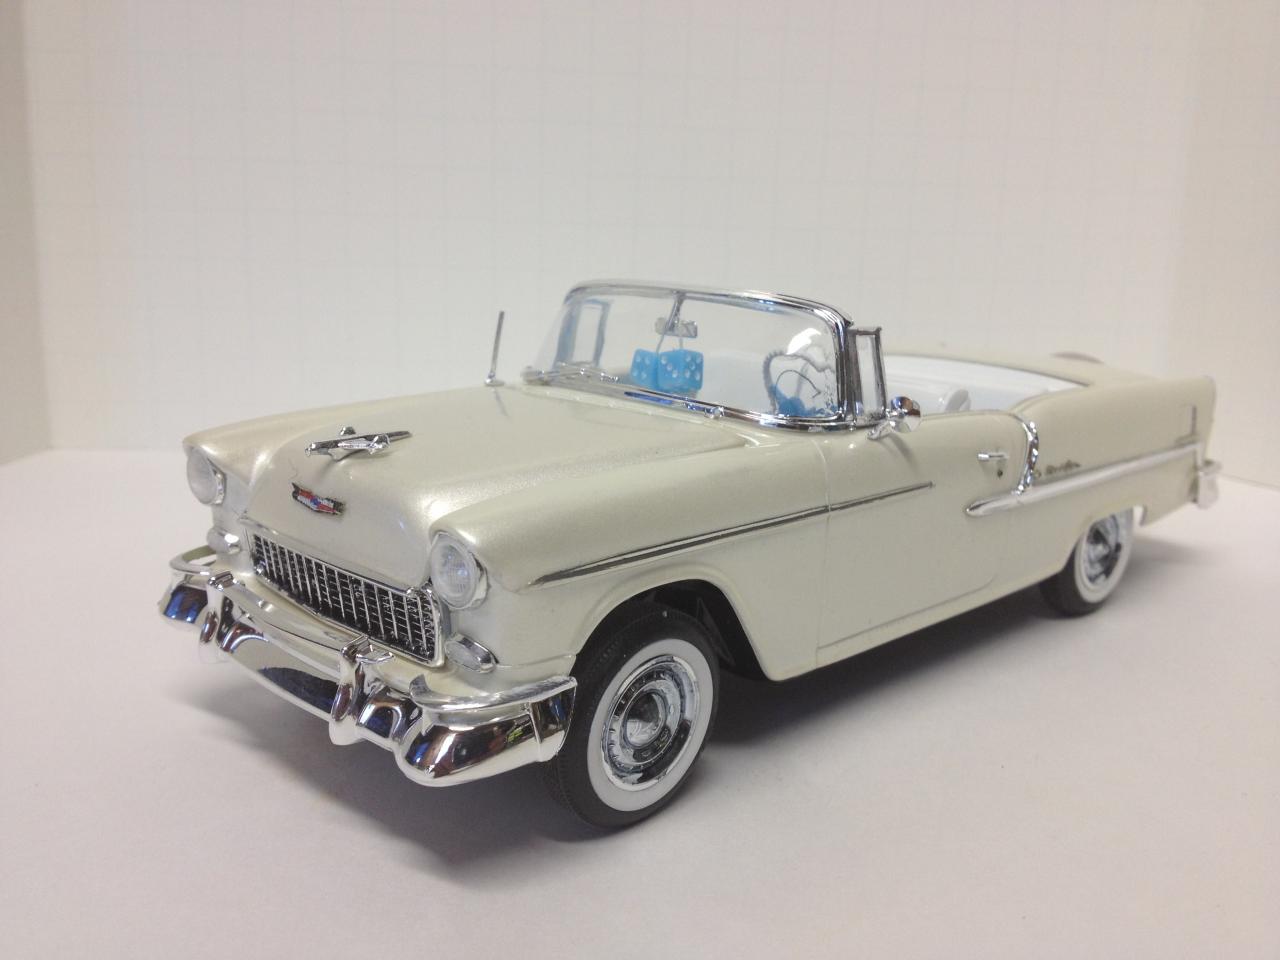
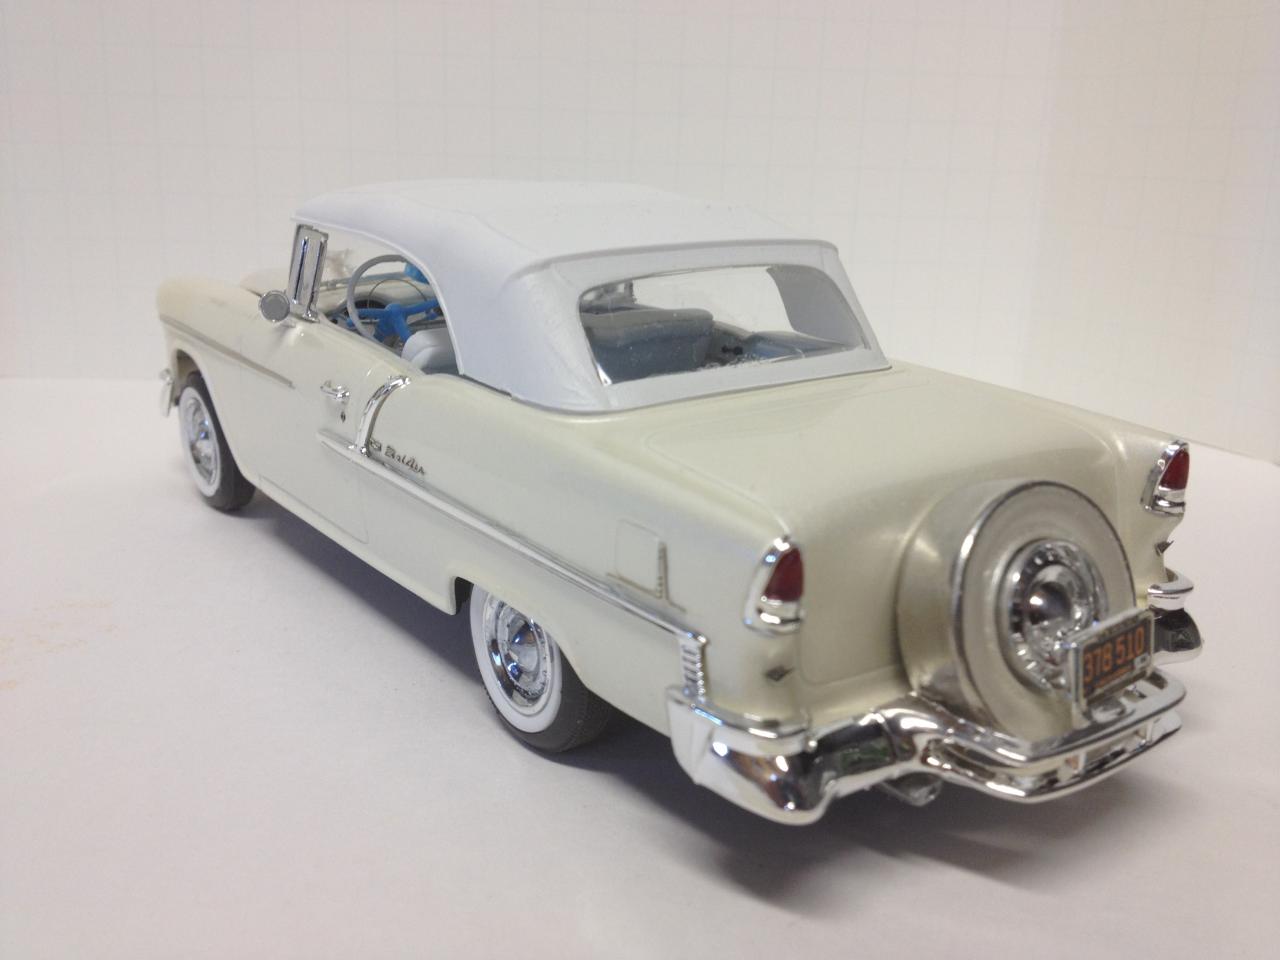
I built this kit as a tribute to my father. It is a replica of a car he had when he was younger. Biggest regret he had was selling this because it messed my mothers hair up with the top down. I wish I would have built this before he passed away. I think he would have liked to display this one.
-
Thank you all very much for the kind words. Shardik, Just do it. I did have a blast and it was because every time I did something another idea came to mind for something else and I could not believe what I had when it was finished. A 1/25th scale would have been much easier to detail then this little thing. That is where I would start if I were you. Do a little at a time take LOT"S of pic's so you can see what and how you did something and use these reference pics on all your builds. A photo will let you know when you went to far so you can take it back a step on the next build. Plus looking at these pics of your work reminds you of what you have done and the feeling of accomplishment is amazing. Good luck and I hope to see some of your work here soon.
-
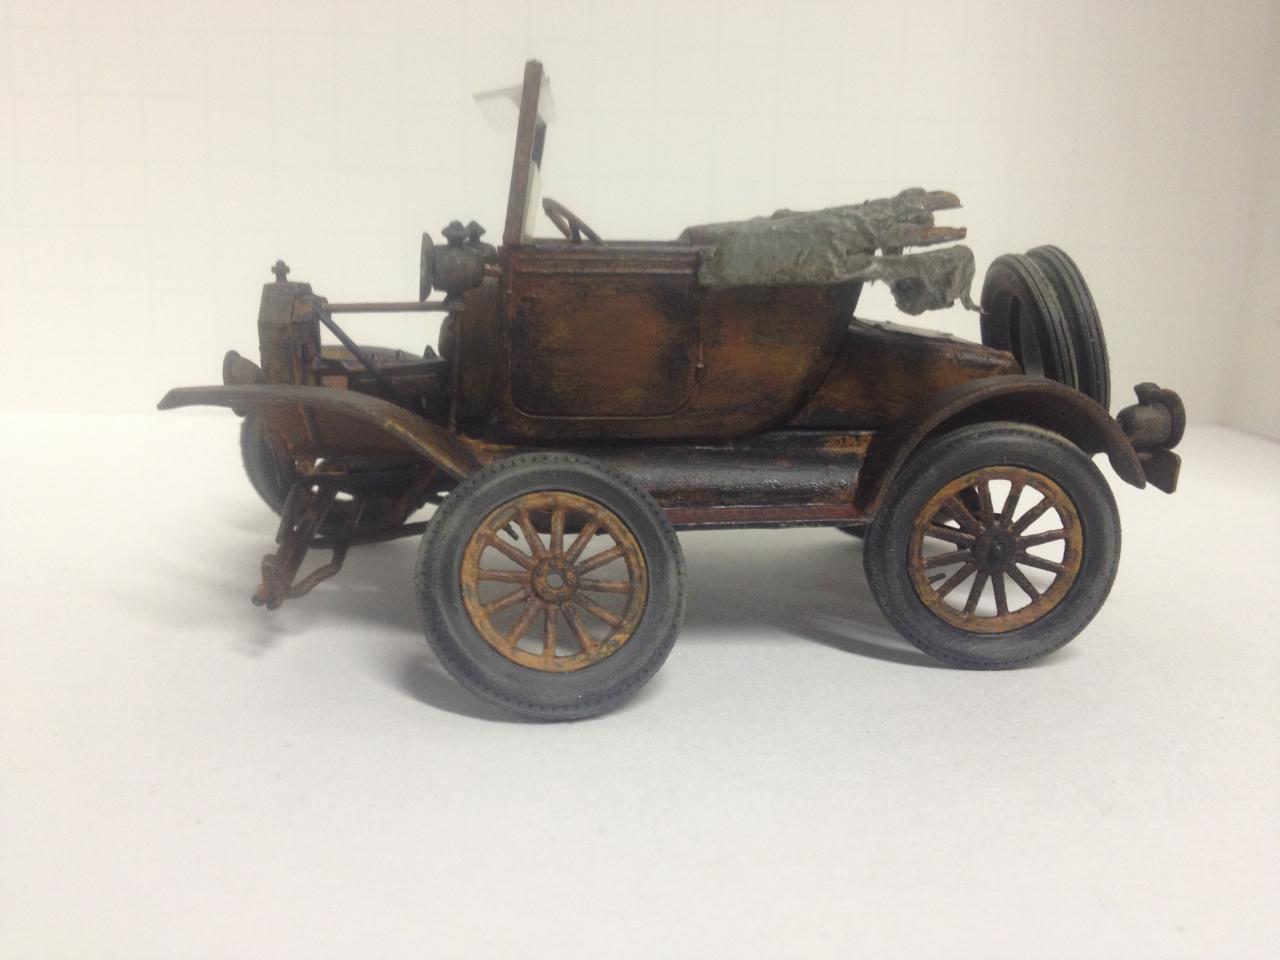
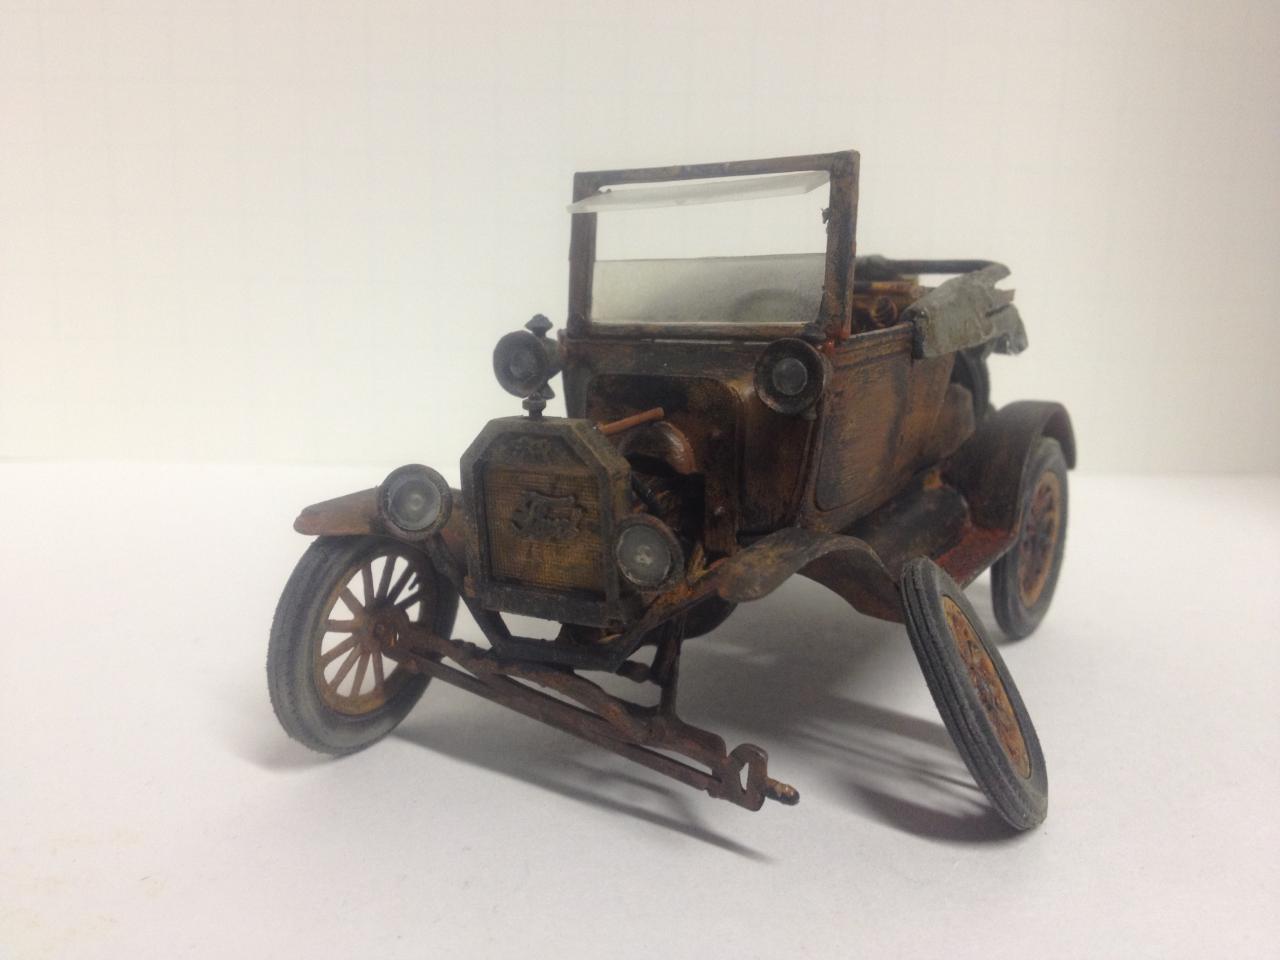
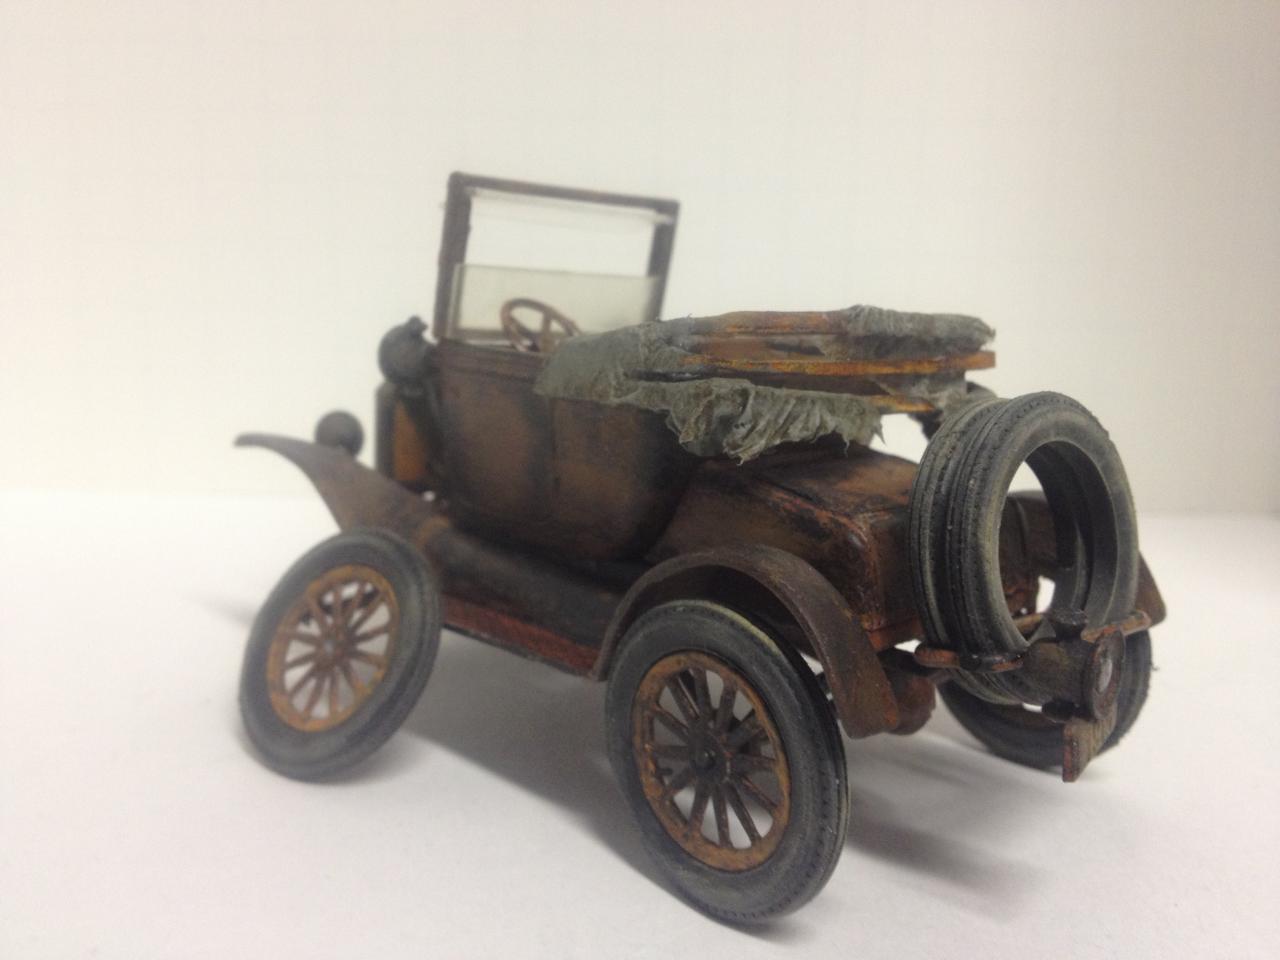
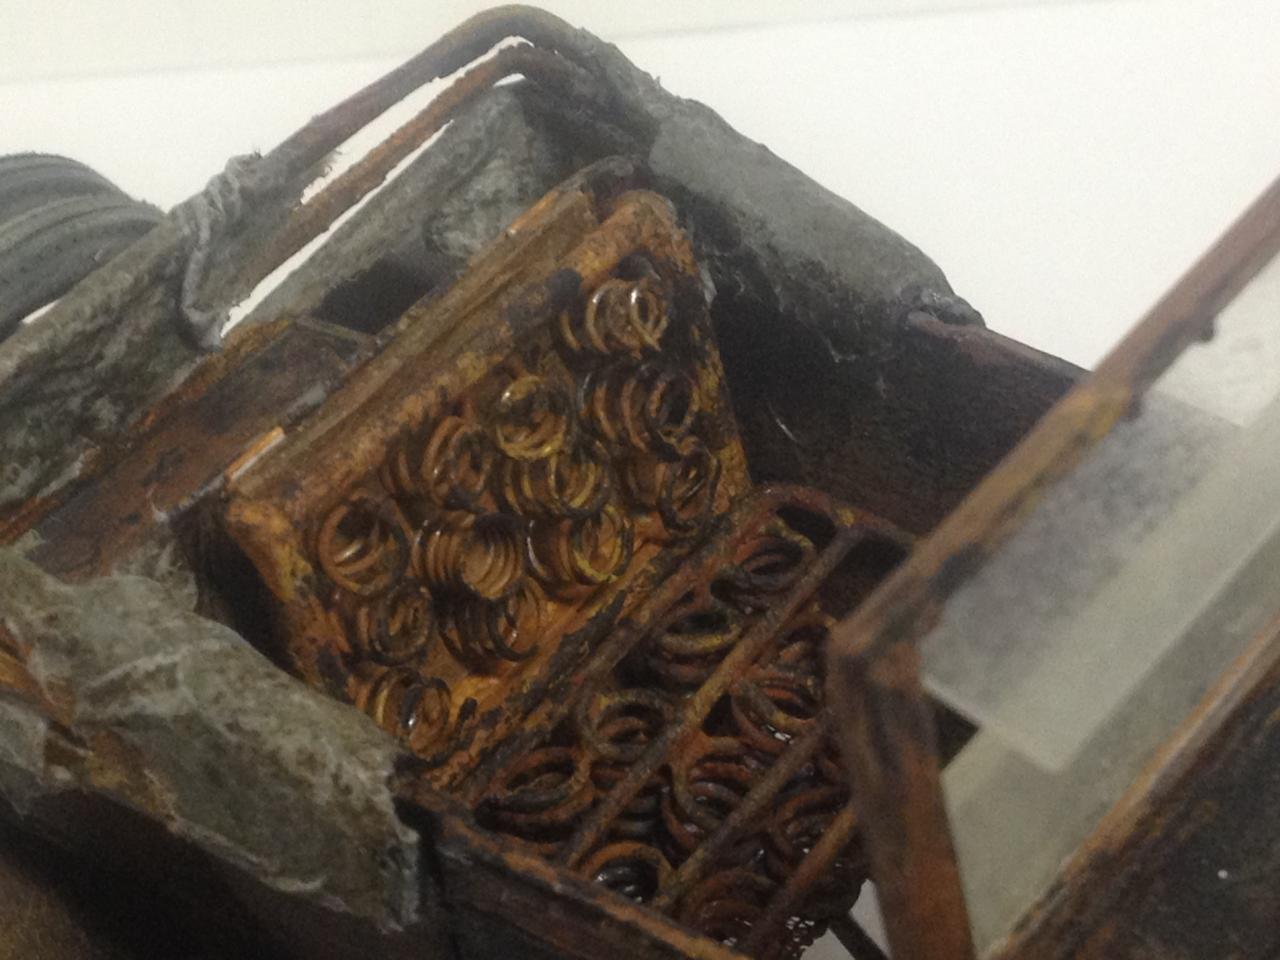
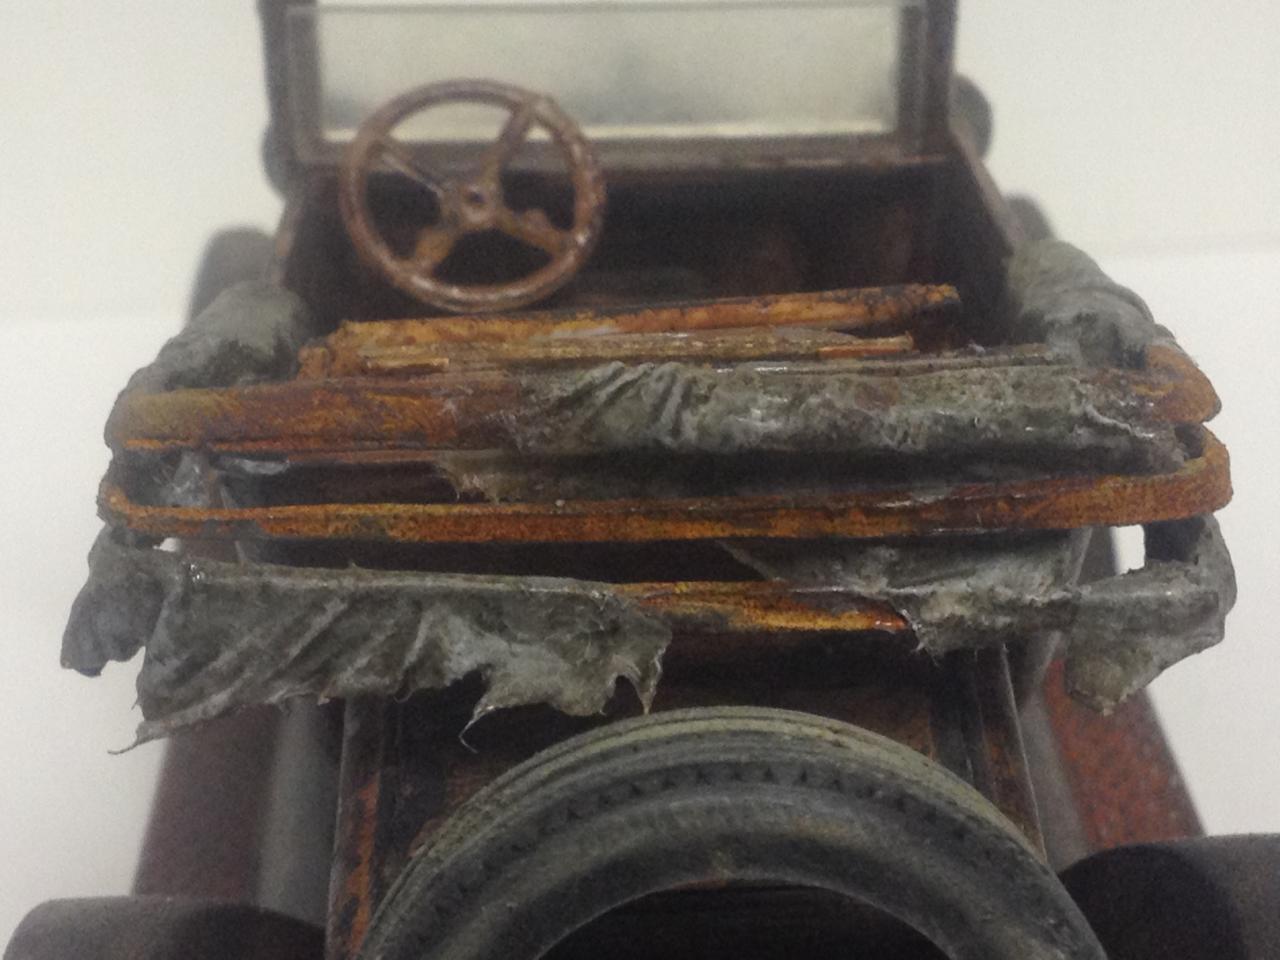
This is my 1/32nd Scale 1915 Ford Model "T". It was rusted with acrylic paints by hand. Sophisticated finishes was used for canopy support bars and under carriage. I used metal wire for the seat springs and styrene for the seat frames. The canopy is made with toilet paper and Elmer's white glue diluted with water. This was a blast to build but 1/32nd is not what you build to try new things like springs and torn canopies. Was a blast to though.
-
Micro Stix Adhesive Tip Applicator
cchapman195 replied to Chillyb1's topic in Tips, Tricks, and Tutorials
Very nice tip bud. I use some similar to these but I have to order them and wait for them to be delivered. Nice I can go to Hobby Lobby and get them now. Thanks for sharing. -
Hey bud. I go to a dollar store and buy the ladies eye shadow kits. A buck and you can get 8-12 colors. It is just like the chalks but in powder form.
-
-
Dr. Cranky has a video showing all types of glues and there applications. Hope this helps. Also I use Testors High Gloss Clear for emblems and small parts on painted parts. It dries clear and shiny to match whats underneath it.