cchapman195
-
Posts
275 -
Joined
-
Last visited
Content Type
Profiles
Forums
Events
Gallery
Everything posted by cchapman195
-
Thanks everyone again for the kind comments. James, I got them at Walmart. They are around two dollars each and they are tea strainers. Great for putting small parts in and soaking washing and drying.
-
I would like to welcome and thank those of you that are following. I have made some progress, so lets get started. First I drilled little holes where the door and truck key locks go. This is so I know where to place the PE door locks and have a place for the glue to adhere to clean styrene. I then sanded the entire body with 400 grit sand paper. The blue dots indicate the low spots. These need to be filled in to have a nice, clean and smooth surface. The trunk lid is the worst. All them dots will get filled in. This body is surprisingly clean. The blue mark on the bottom left is the worst. It will be tricky to fix as there are lines running across the body trim. Next I will scribe the trunks panel lines. These are the tools I use for this. First I use the back of a number eleven x-acto blade to run around the lines lightly. This will deepen the lines. I then use my scribe to widen the lines and make them more noricable. Here you can see the difference made by doing this. I do this on all doors, trunks , some window trim lines. Now I use a fine jeweler's file to clean up the edges on the panel lines. This is how it looks after it is all cleaned up. I have re cleaned with soap and water to get rid of any dust and oils from my fingers. This is all I have got for this segment but I will be filling and sanding and should have an update soon. Again, Thanks for tagging along.
-
I have decided to use my next build as a learning experiment. As I build this I will be posting pic's with an explanation of how I do the procedures in the process. My hopes is to help others new and old to the hobby learn something they did not already know. All of the techniques here I have learned from a lot of the builders here on this forum and YouTube. My main goal is to learn myself as well. I hope to show how I do something and hope that if any of you following this build know or have a different way with an easier or better outcome then please share. Good or bad criticism is always welcome. The only way for me or others is to be told how to do something better. So with that said. We will start off with the kit. AMT '58 Chevrolet Impala Sport Coupe 1/25th scale. I will be using acrylic paints for the entire build. Body will be Patina Bronze. Interior will be tan, raw and burnt sienna. Chassis will be black and gray. All washed and aftermarket parts are ready. Photo etch, wired distributor and custom hubcaps from another kit. I begin with the body. I use a black sharpie to mark everything to be cleaned and removed. I will be removing all emblems, Mold lines, and sand all parts with 400-1500 grit sand paper until all are smooth and black sharpie no longer shows. I also remove door locks as well as they will be replaced with locks from the PE set. Time for me to get to work. I will post more as I get work done. Thanks for tuning in.
-
It's a beautiful build bud. You should be very proud.
-
Great build!
-
Very nice! Very clean, very smooth. Great build.
-
Very nice! Love the Mopar's.
-
Very nice!
-
Very nice!
-
Very nice!
-
Very nice! Love these older cars.
-
Very nice!
-
Very nice!
-
Very nice!
-
Great build bud!!! Love it!
-
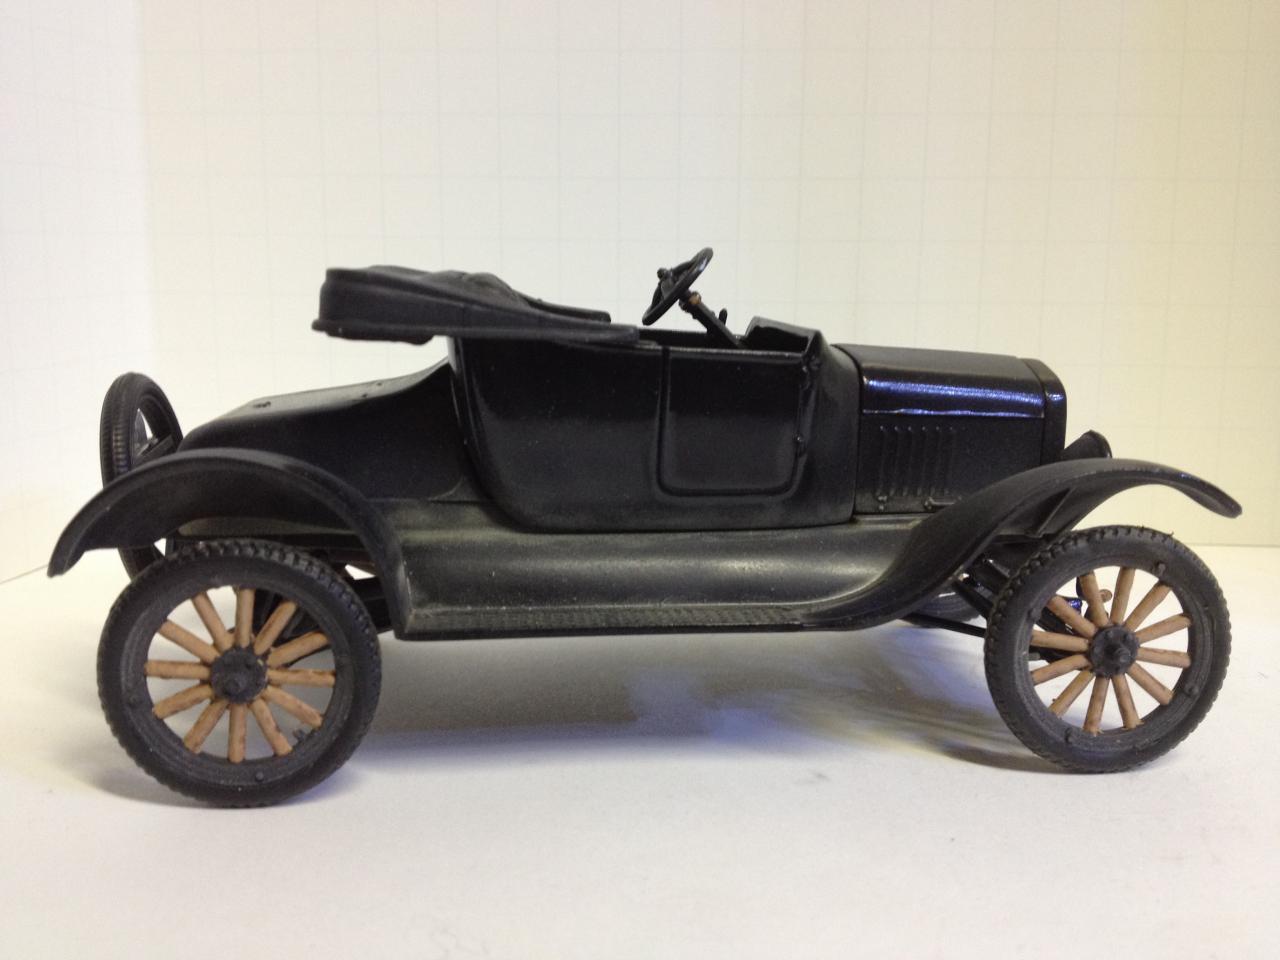
Cool topic. Here's my 1925 Ford Rat Rod.

-
1957 Dodge - - Finished - - Class of '57 - Entry #2
cchapman195 replied to Ramfins59's topic in Model Cars
Beautiful build. Nice and clean. Great job! -
Love weathered vehicles. Great job.
-
Beautiful car, beautiful detail. Thanks for re-sharing.
-
Very nice collection. Thanks for sharing.
-
Thanks go out to all of you for looking and all the kind comments.
-
1925 Model T. All acrylic paint: Black with different clears. Powder sand for weathering. Missing window frame. Have to scratch build one after I get the materials.
-
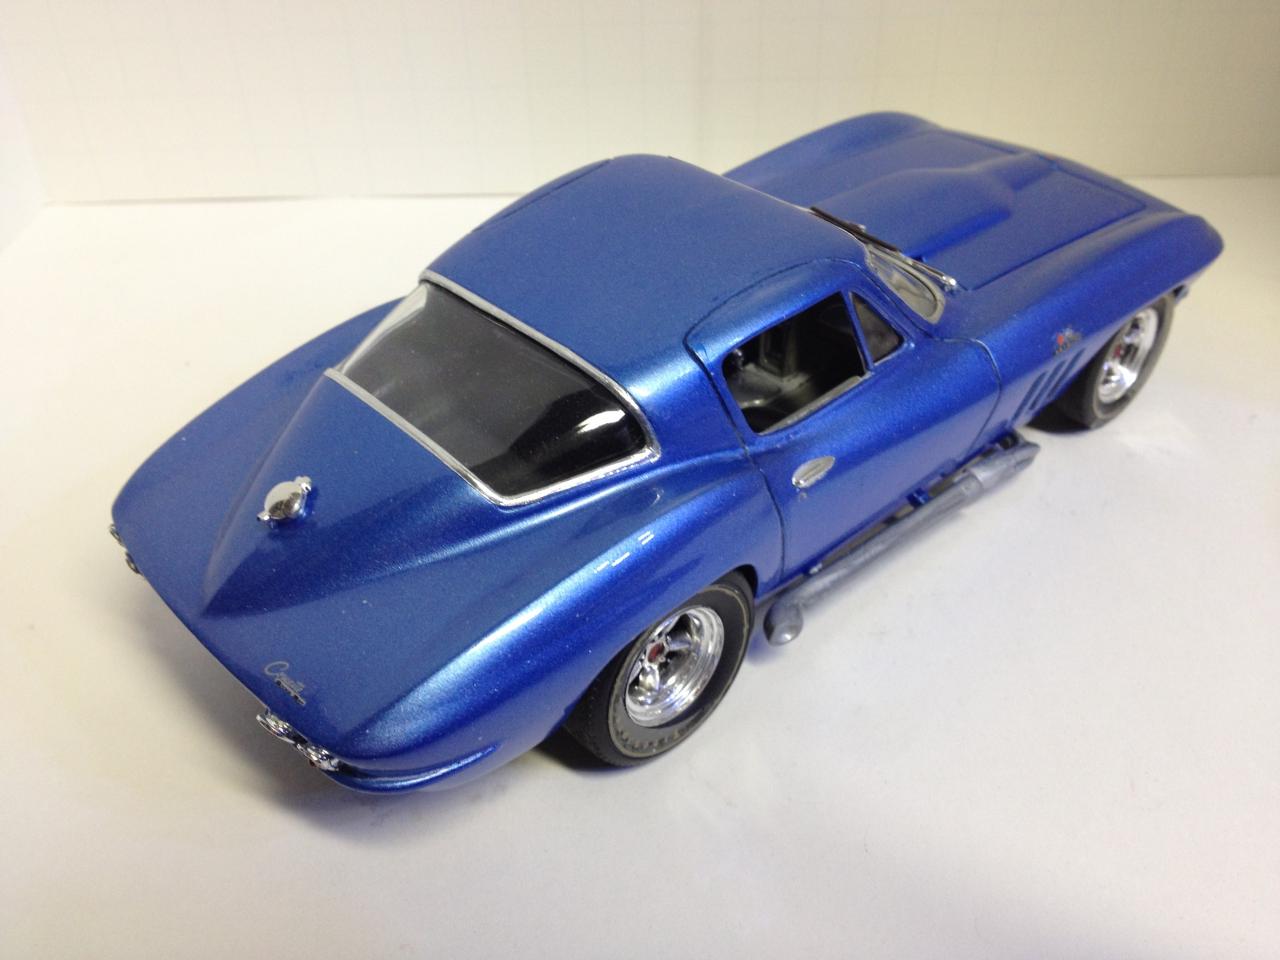
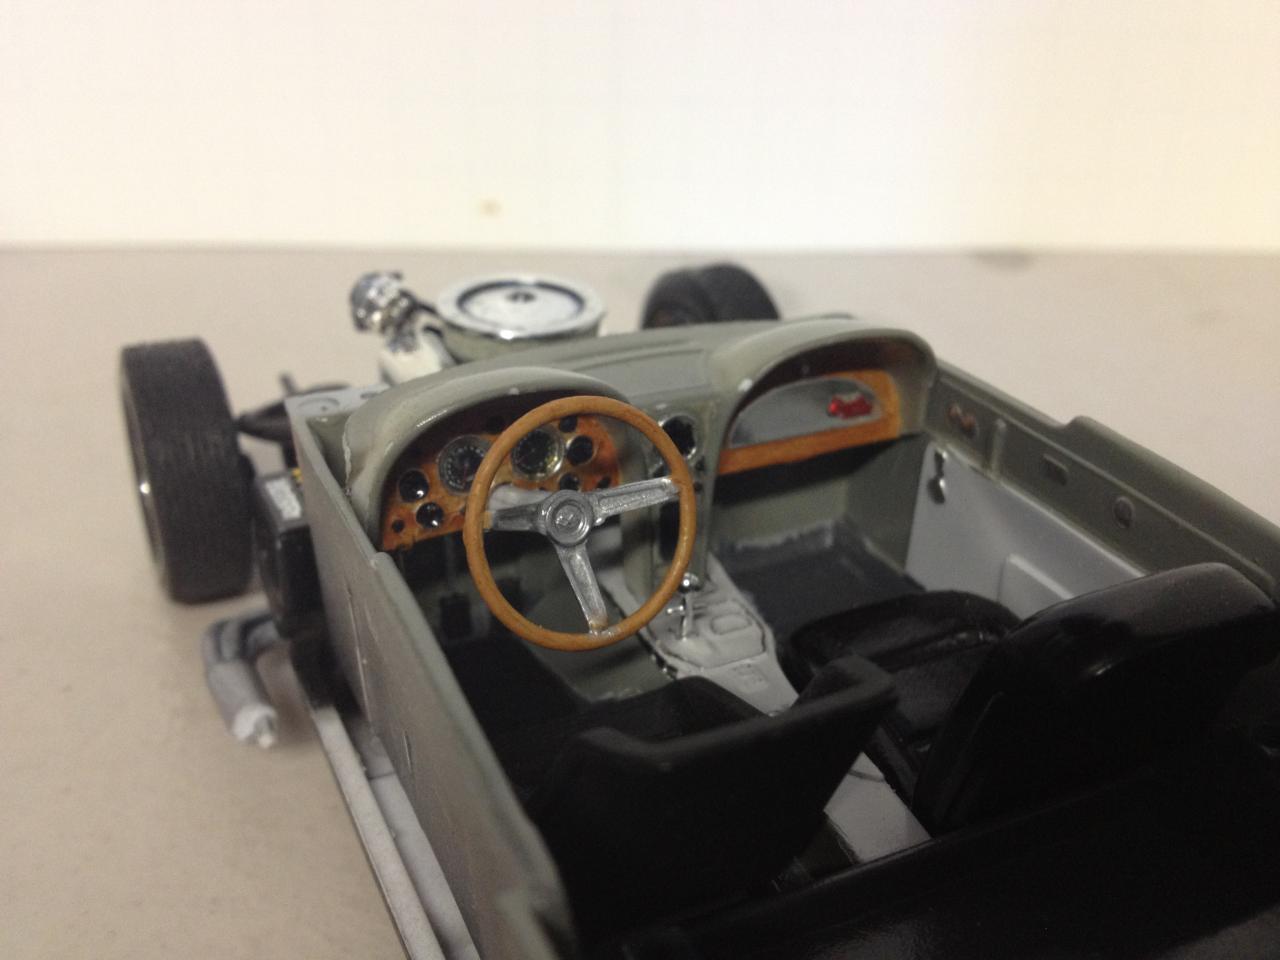
1966 Penski Racing Corvette. Painted with: Acrylic Blue Sapphire Metallic. Future floor wax for topcoat clear. Interior paint: Dove Gray. Light Gray. Wood. All acrylic.
-
Welcome Jerry.