Search the Community
Showing results for tags 'monte carlo'.
-
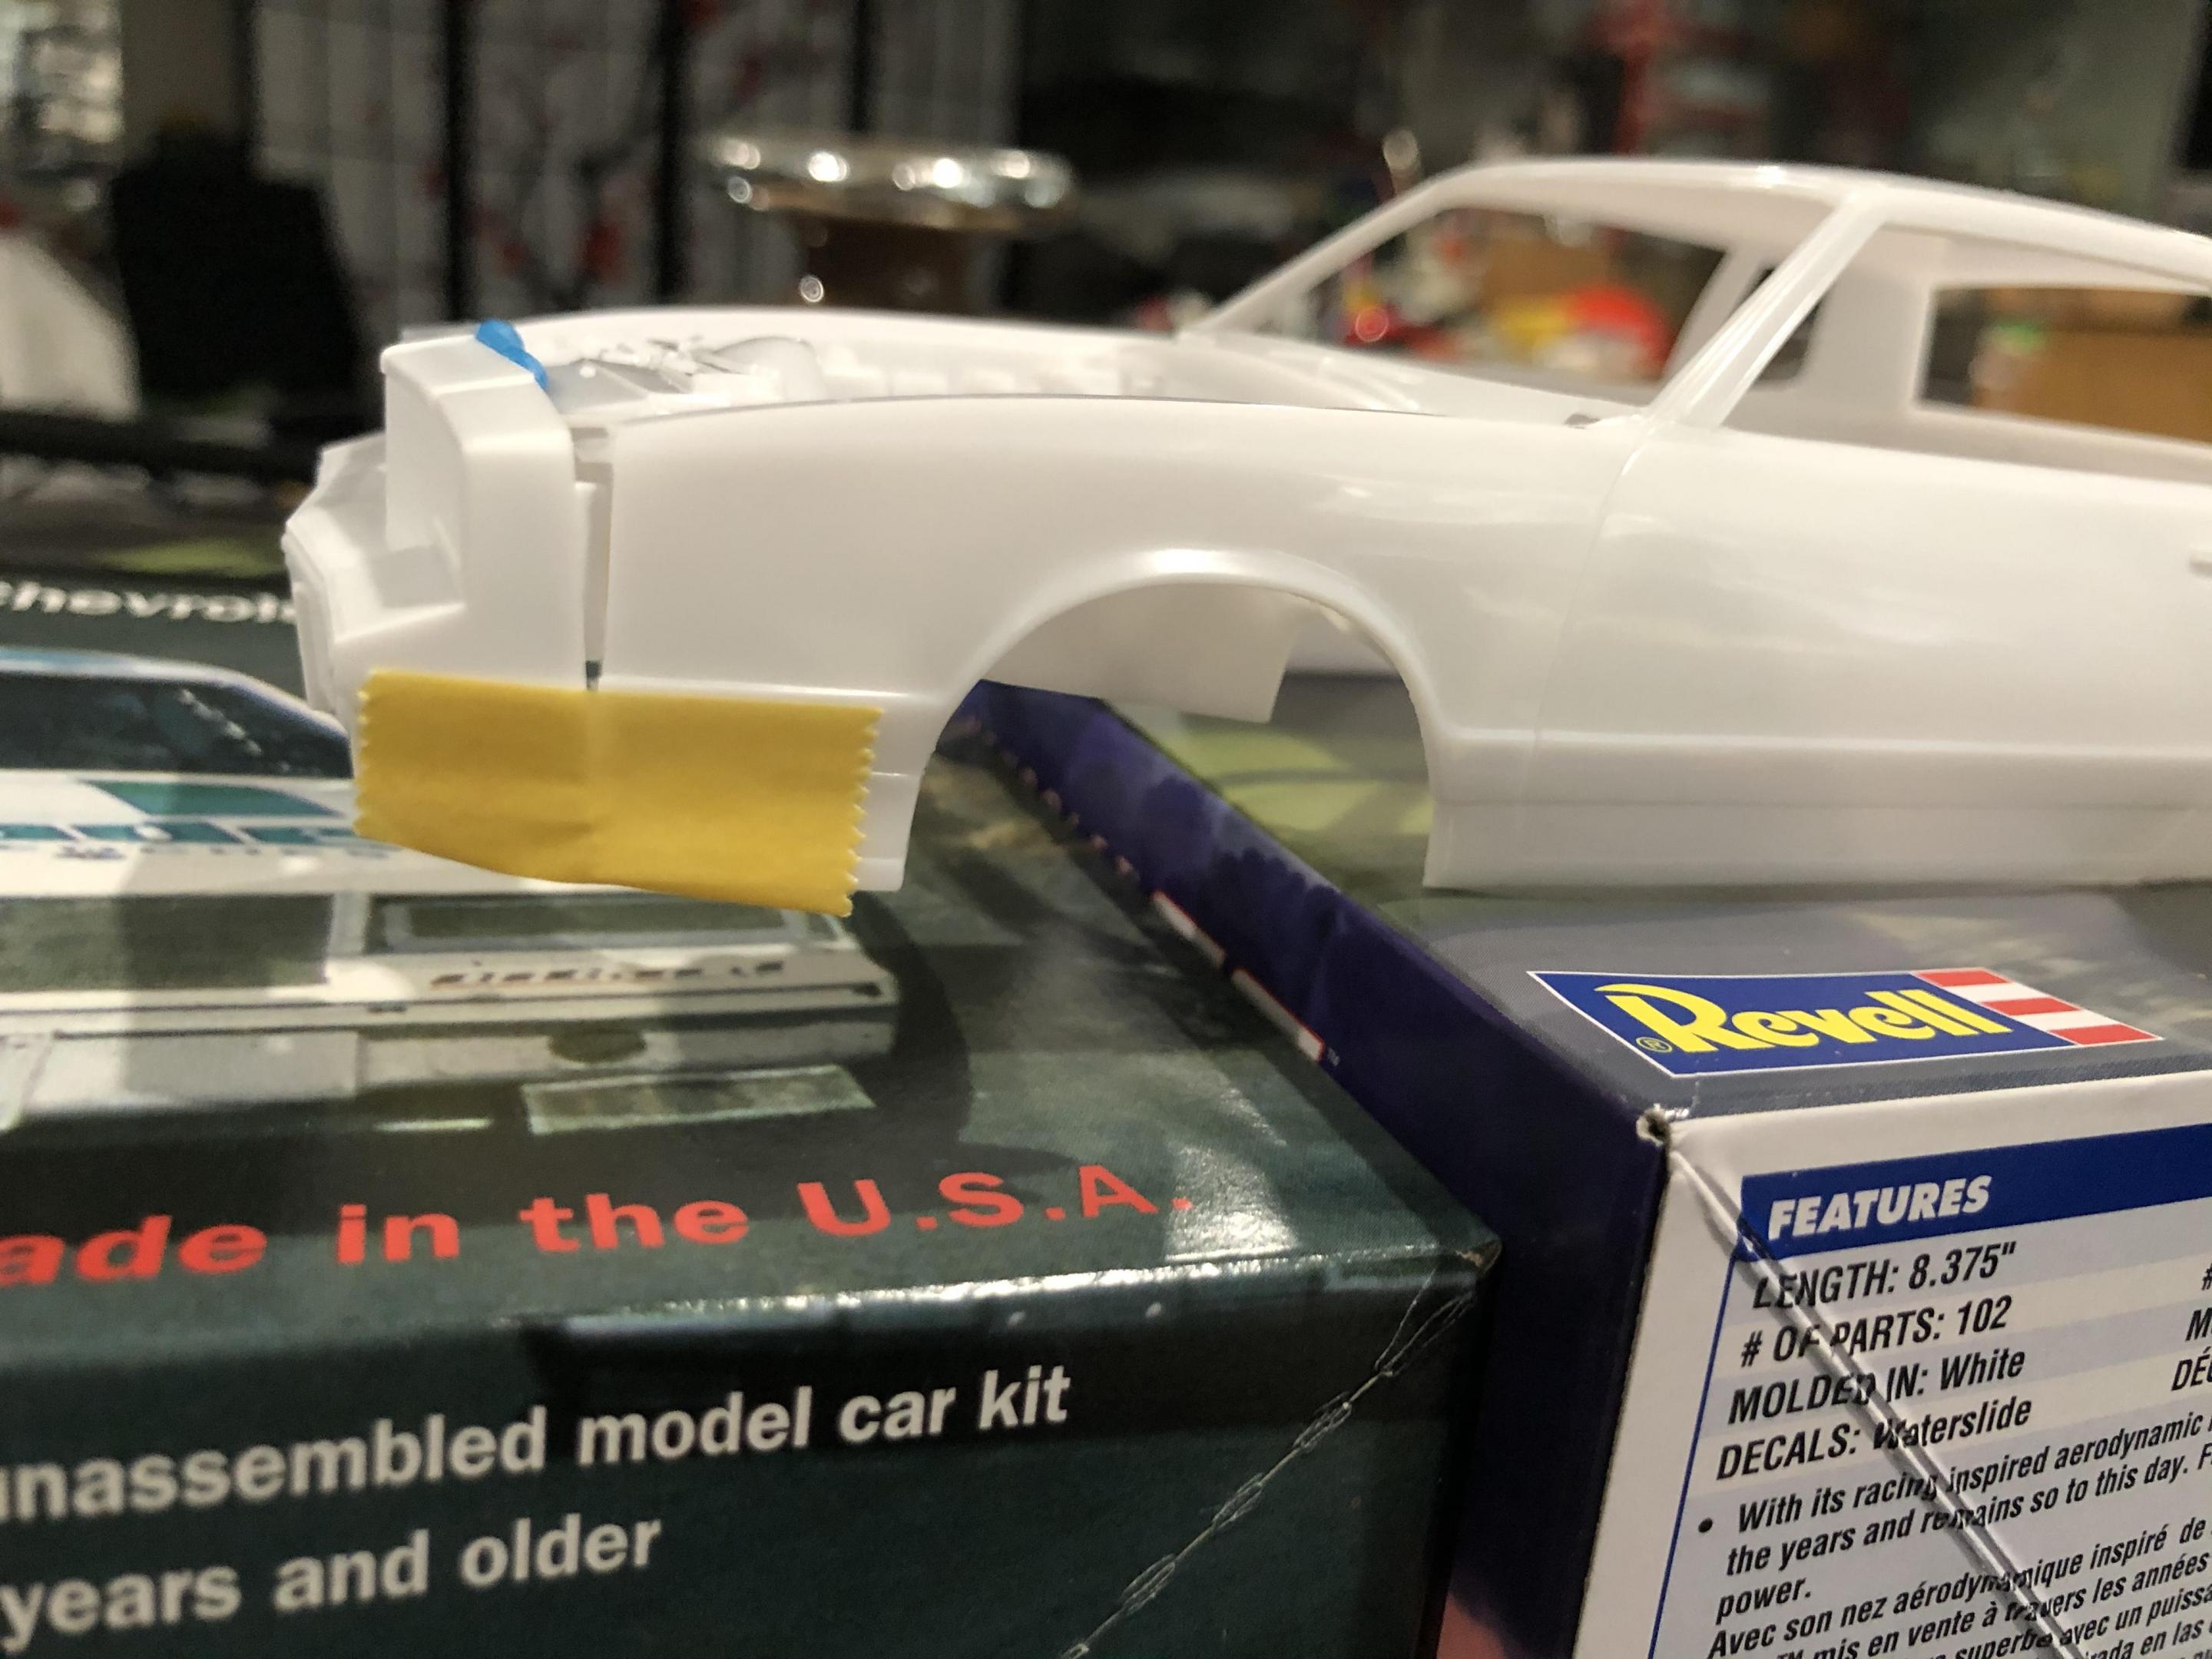
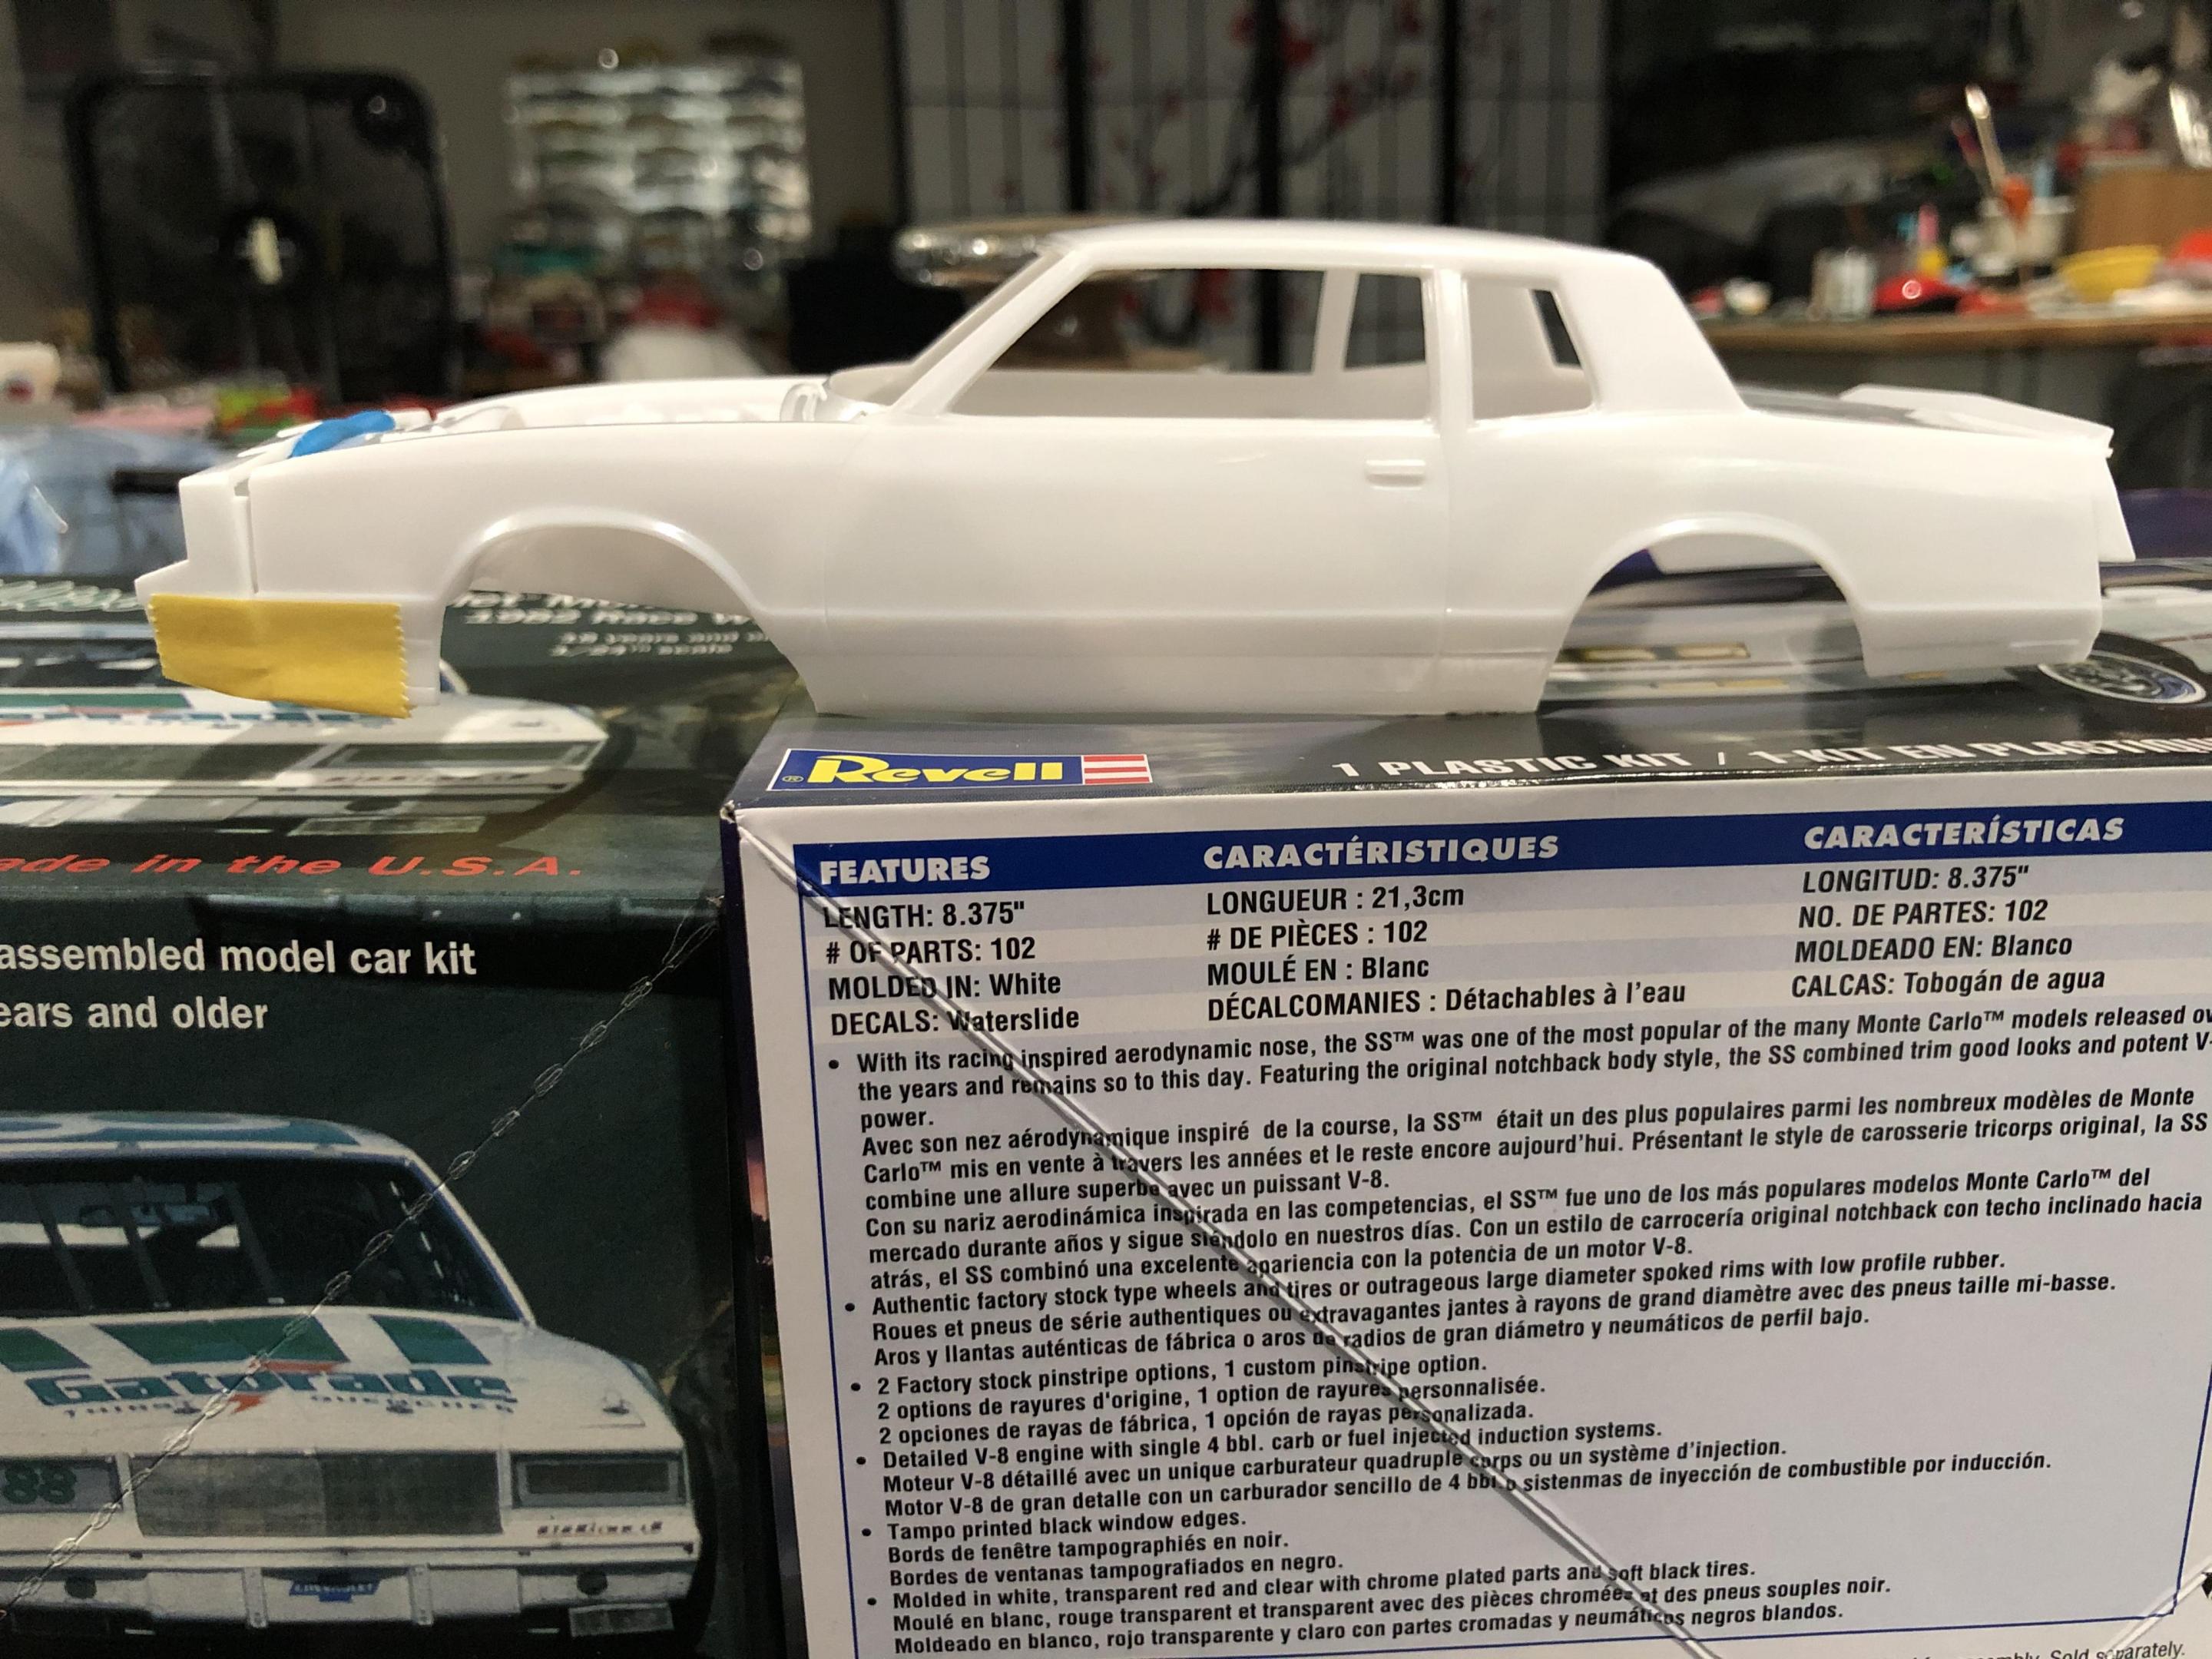
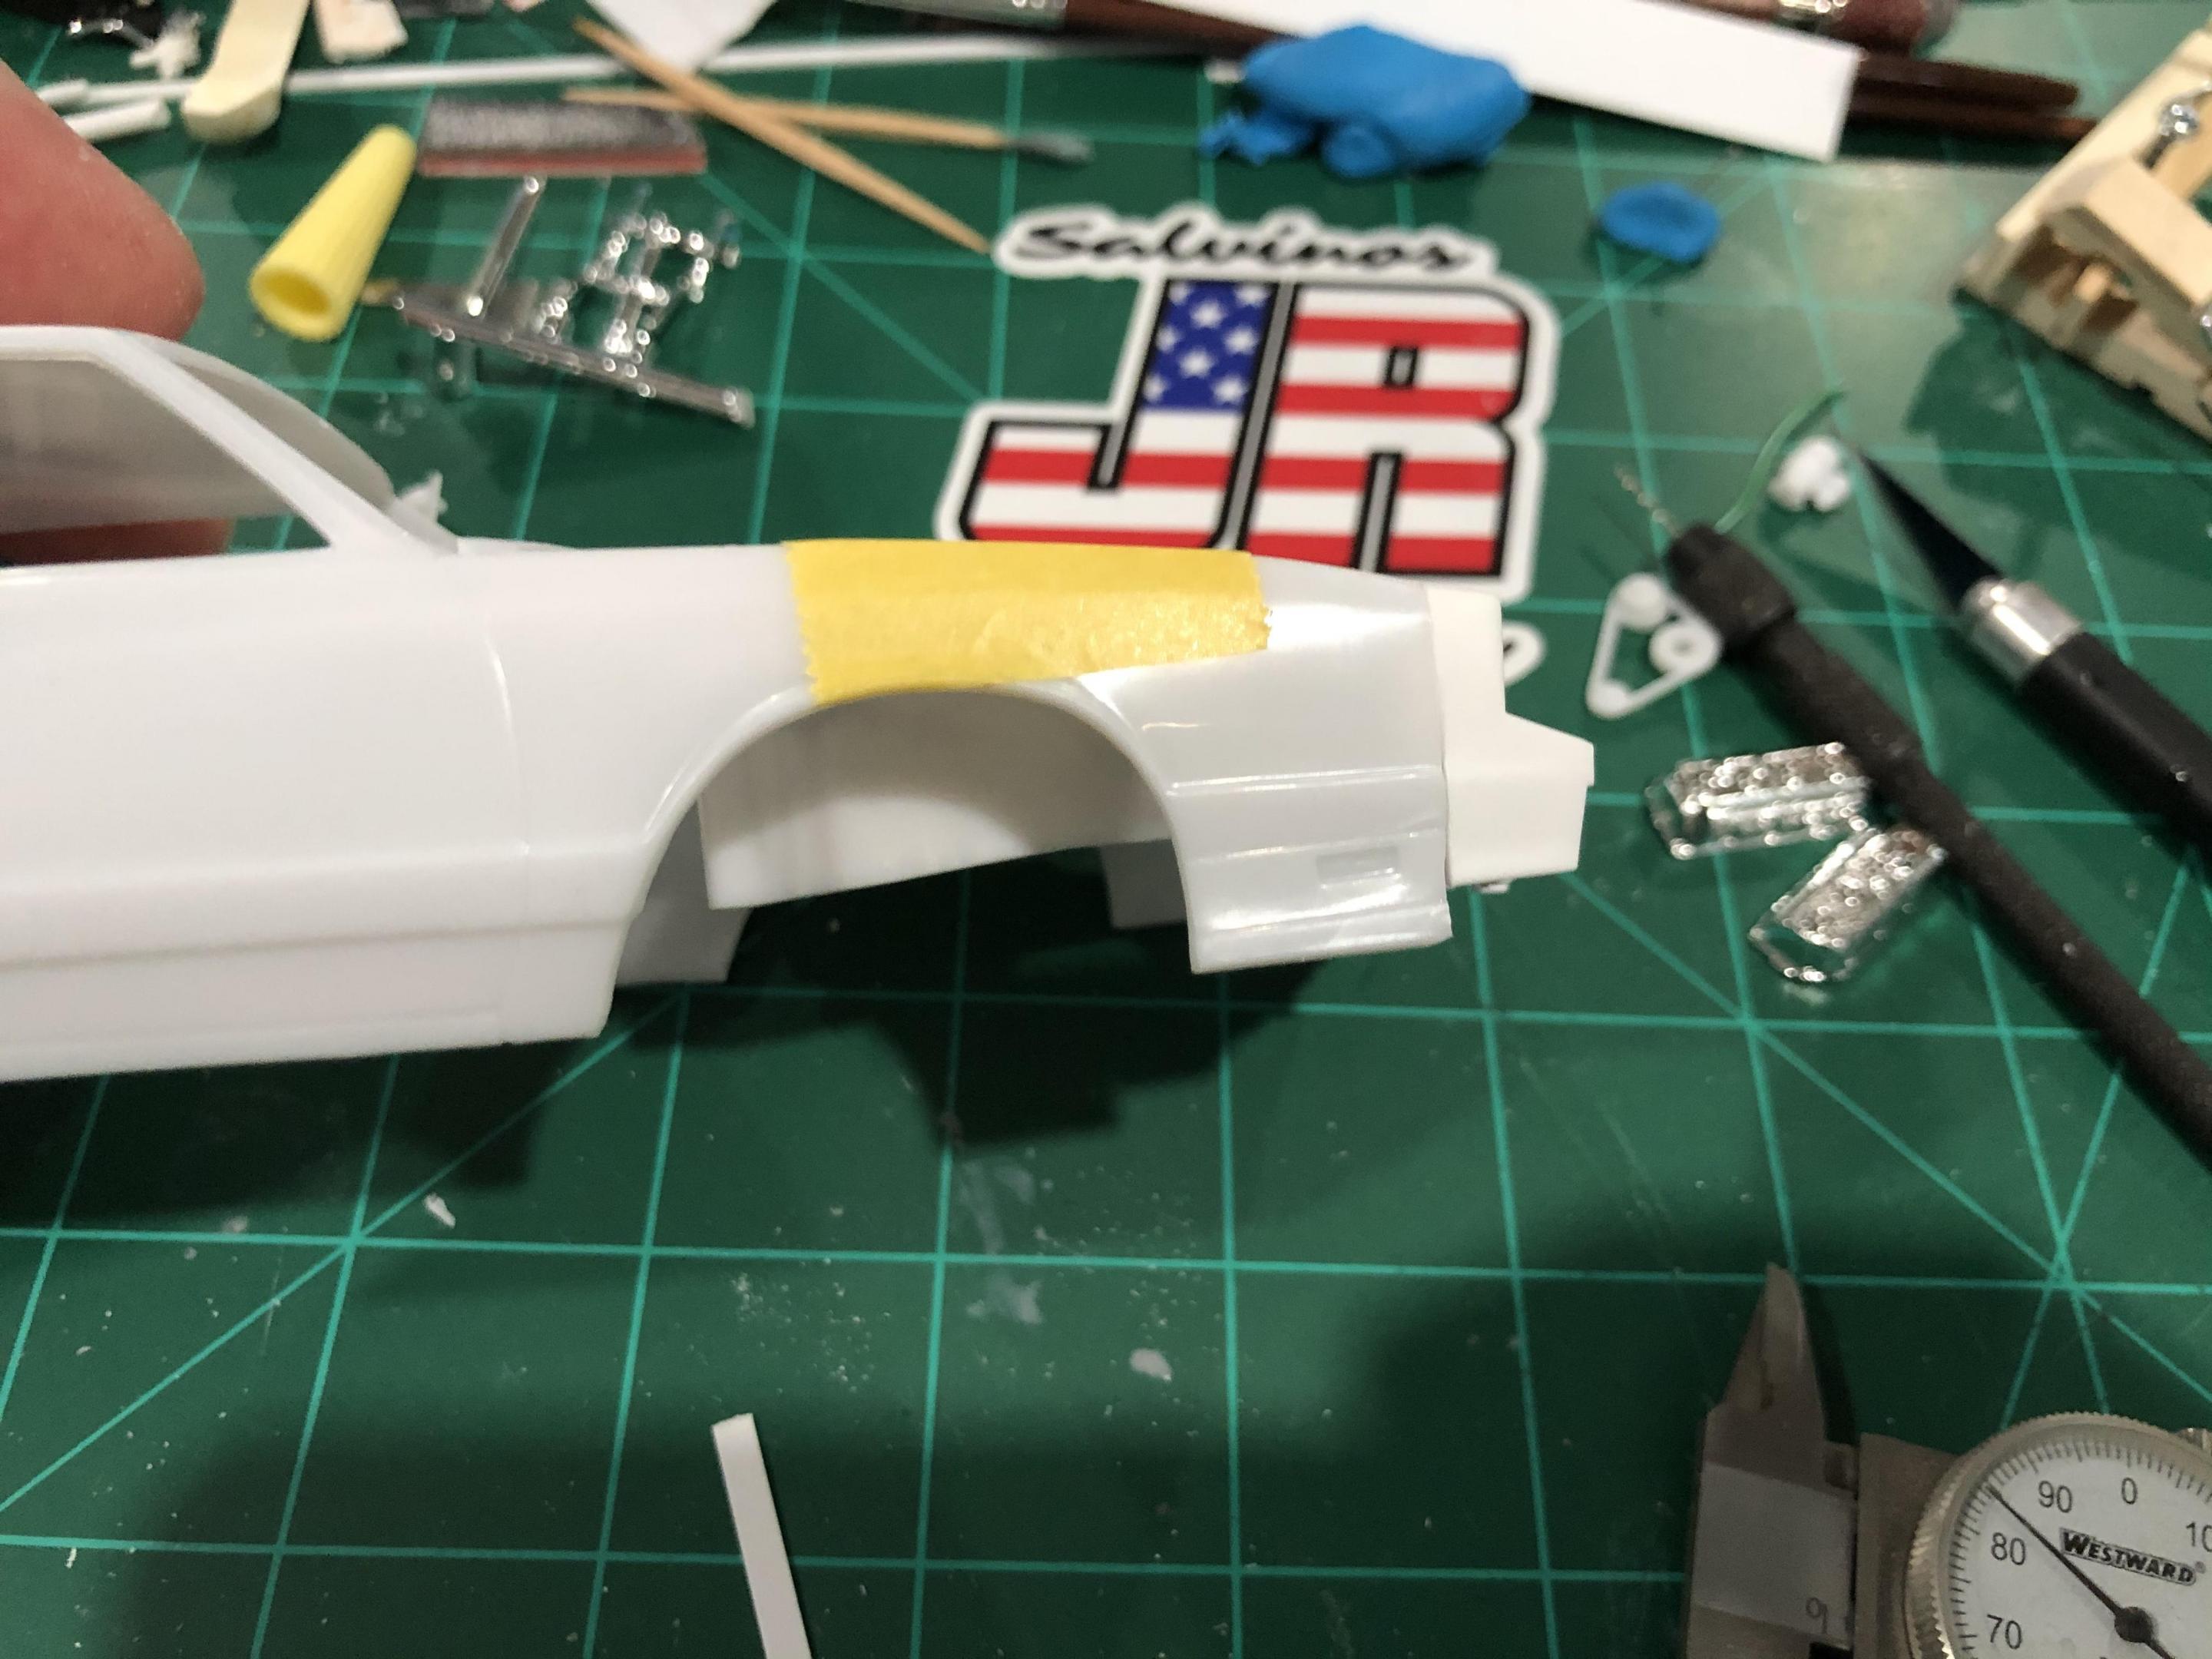
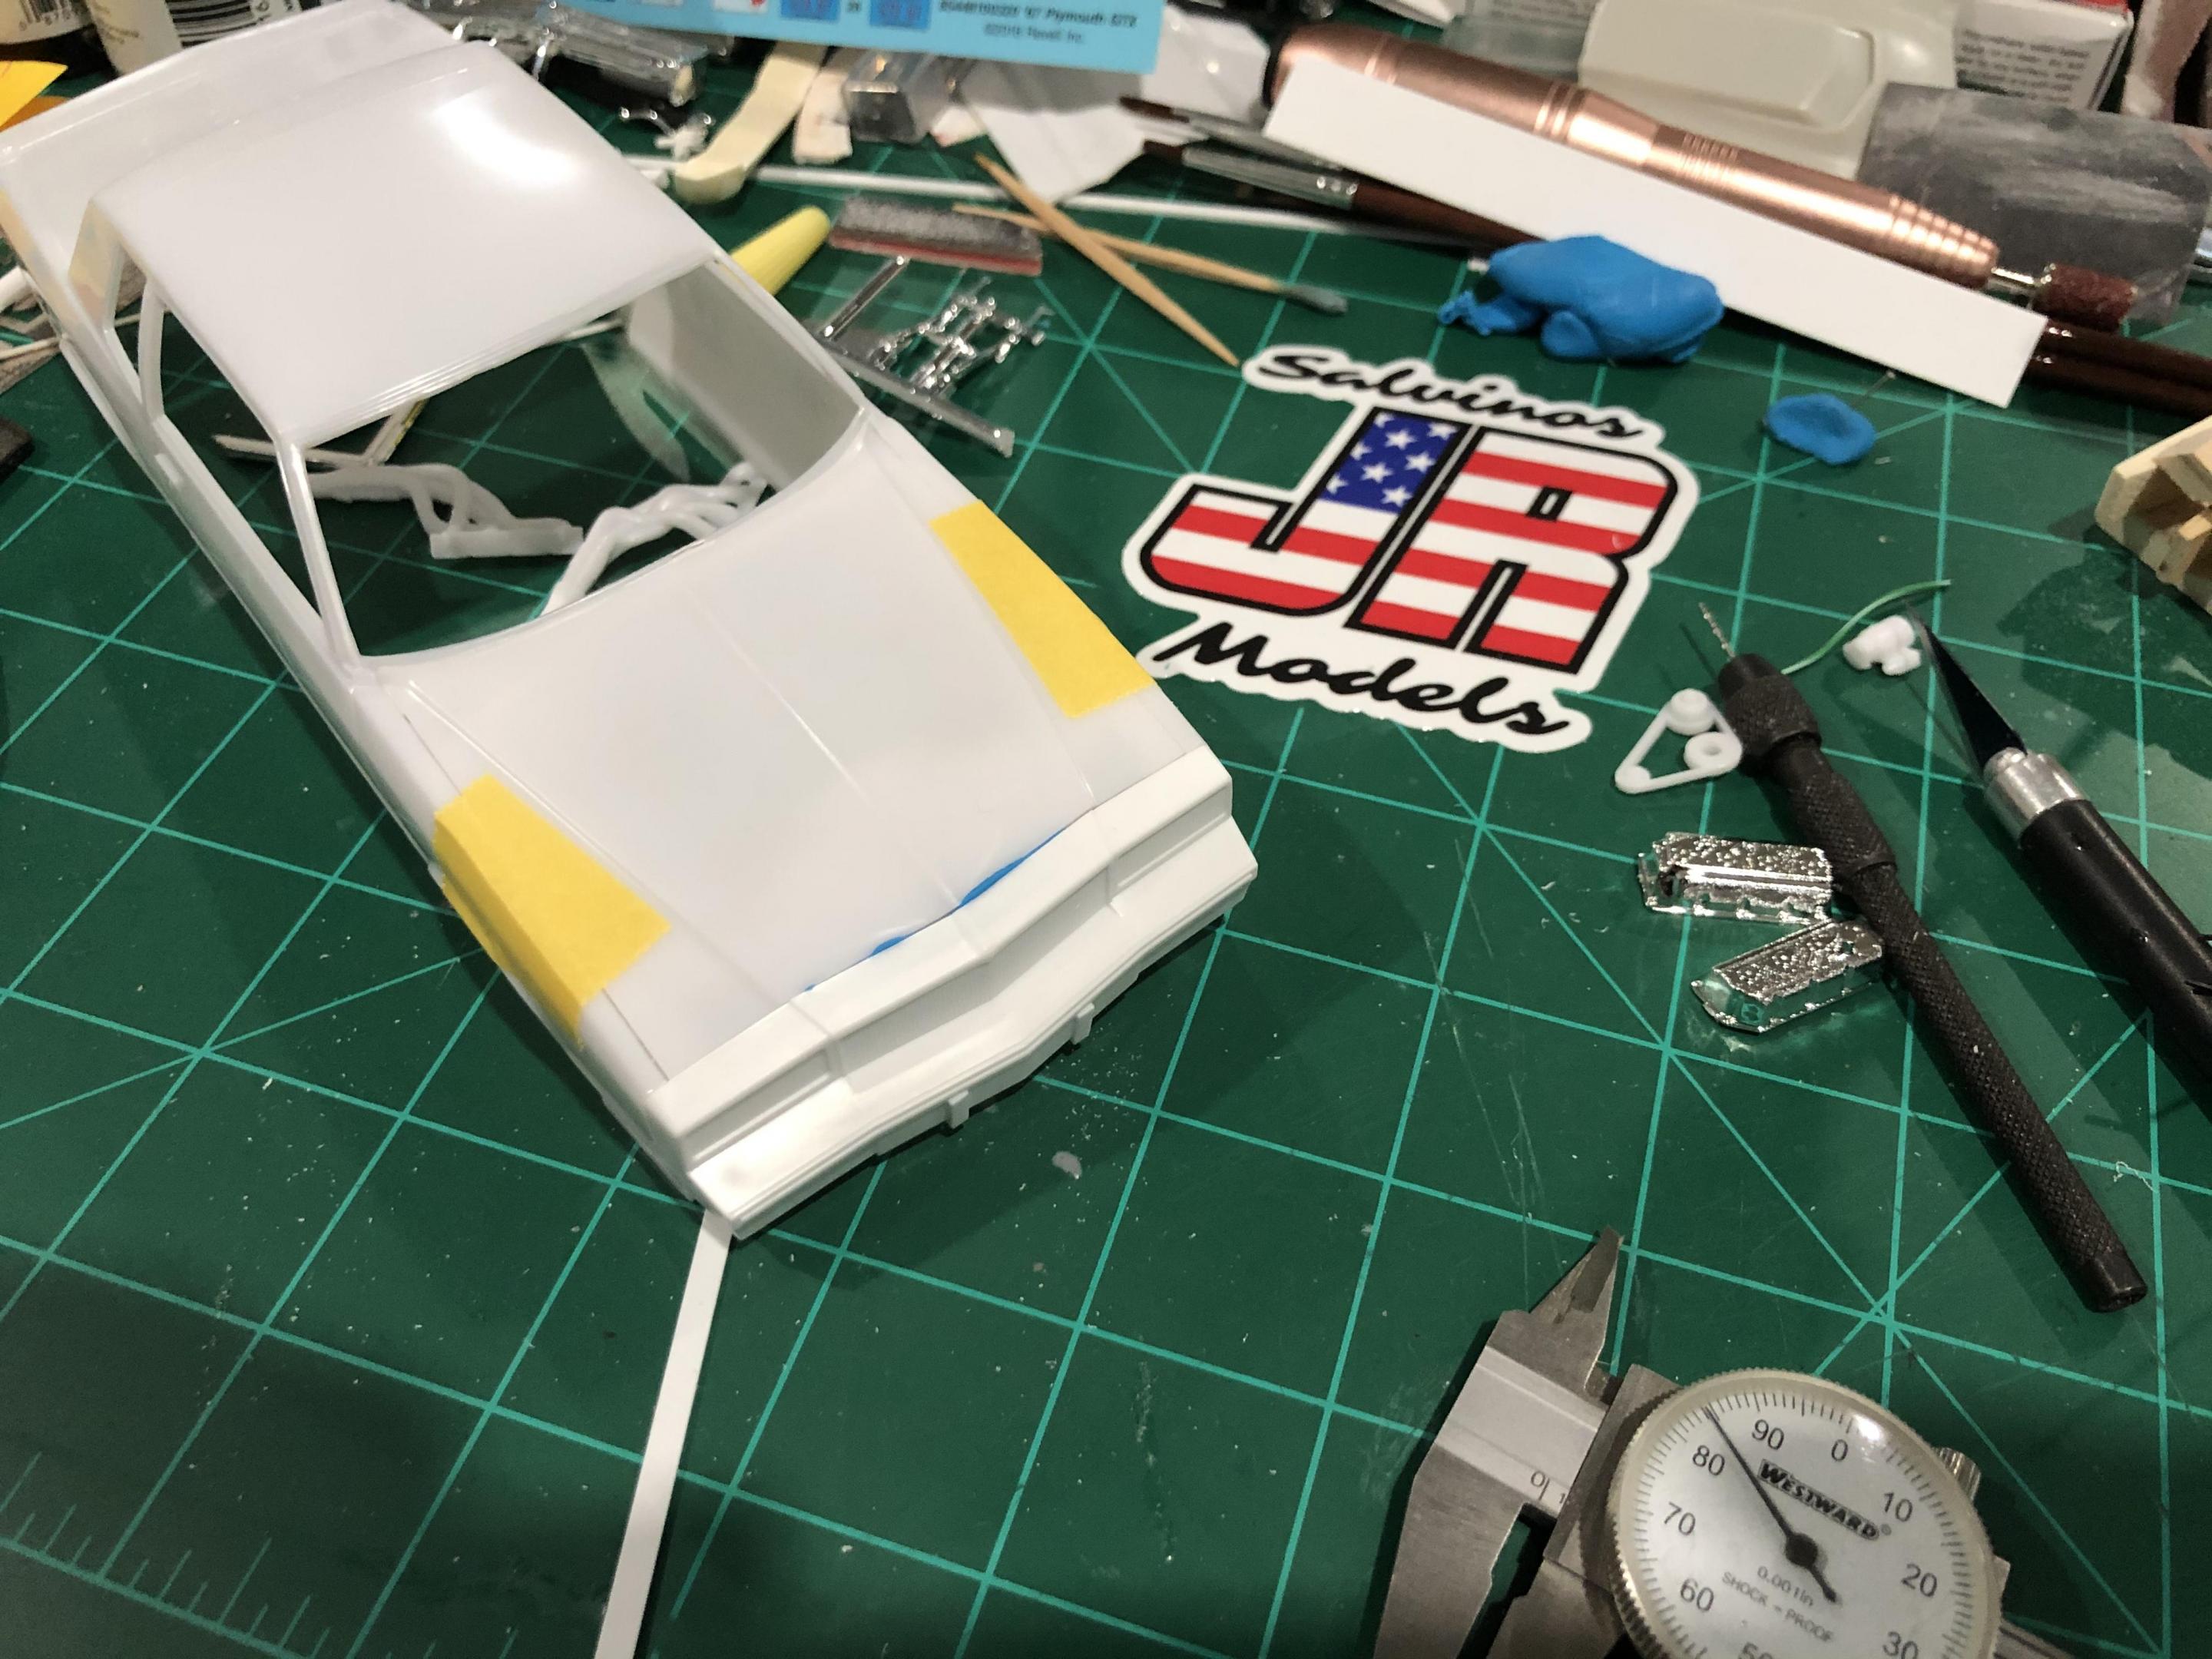
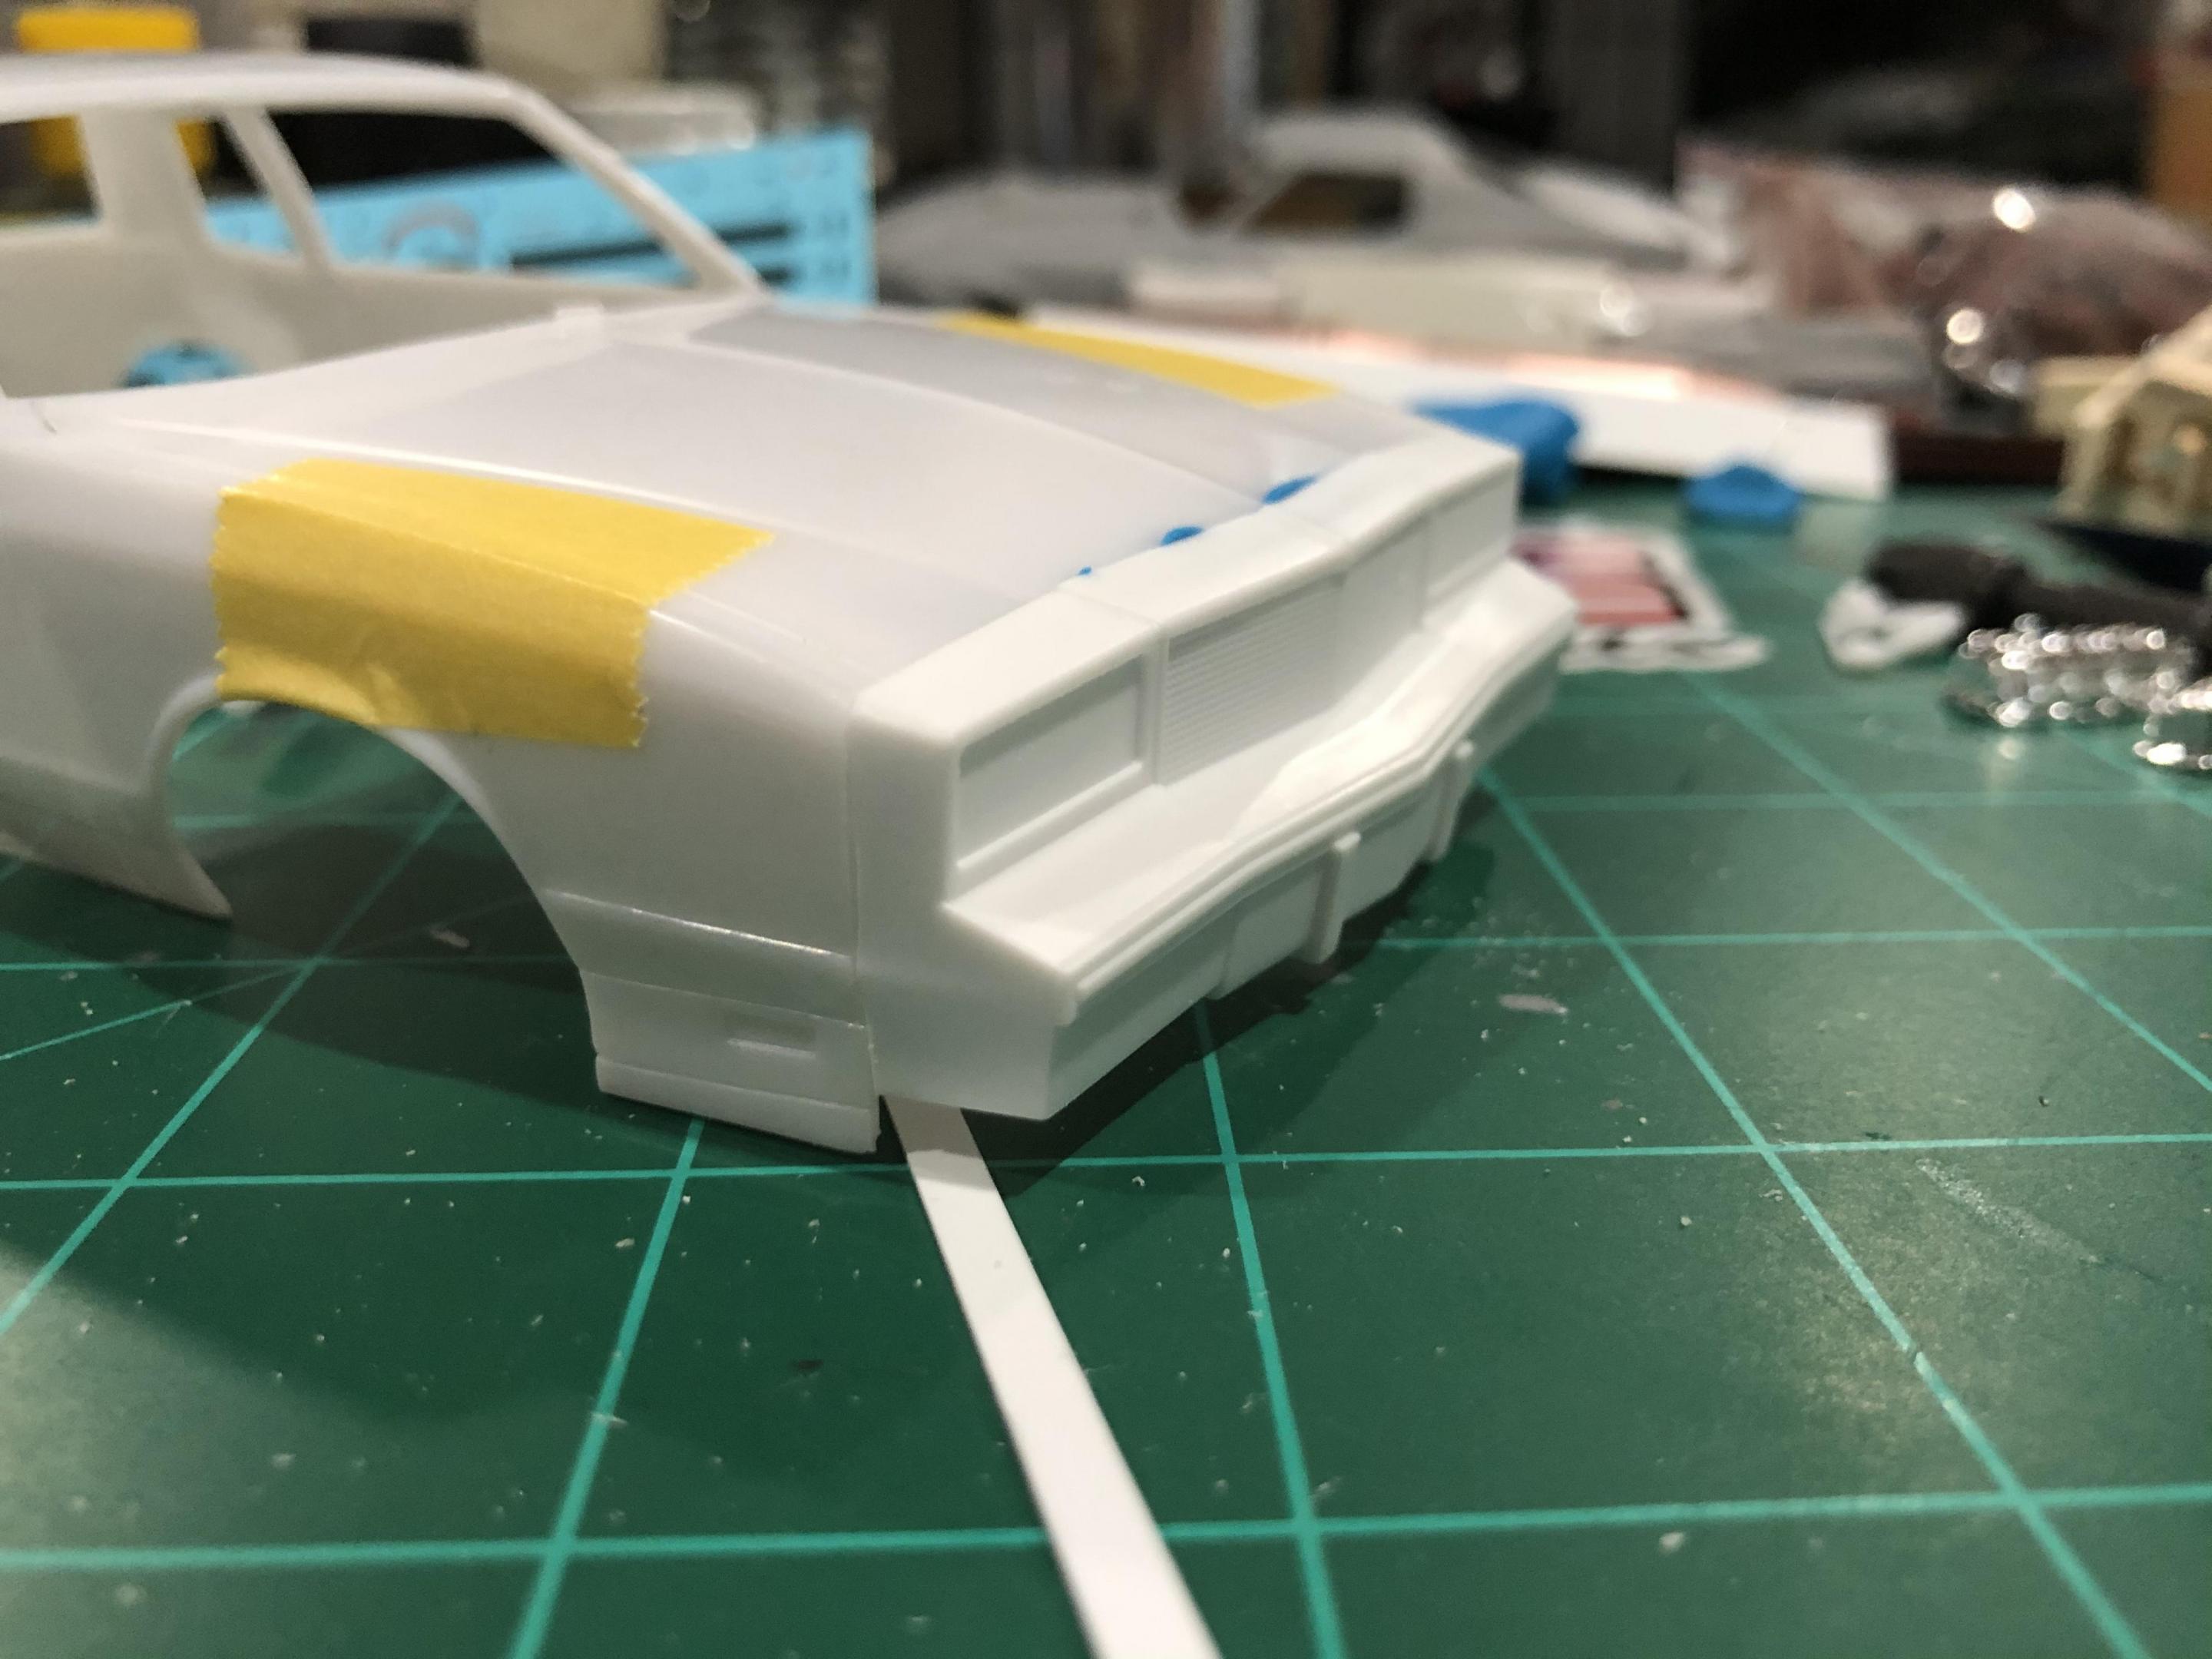
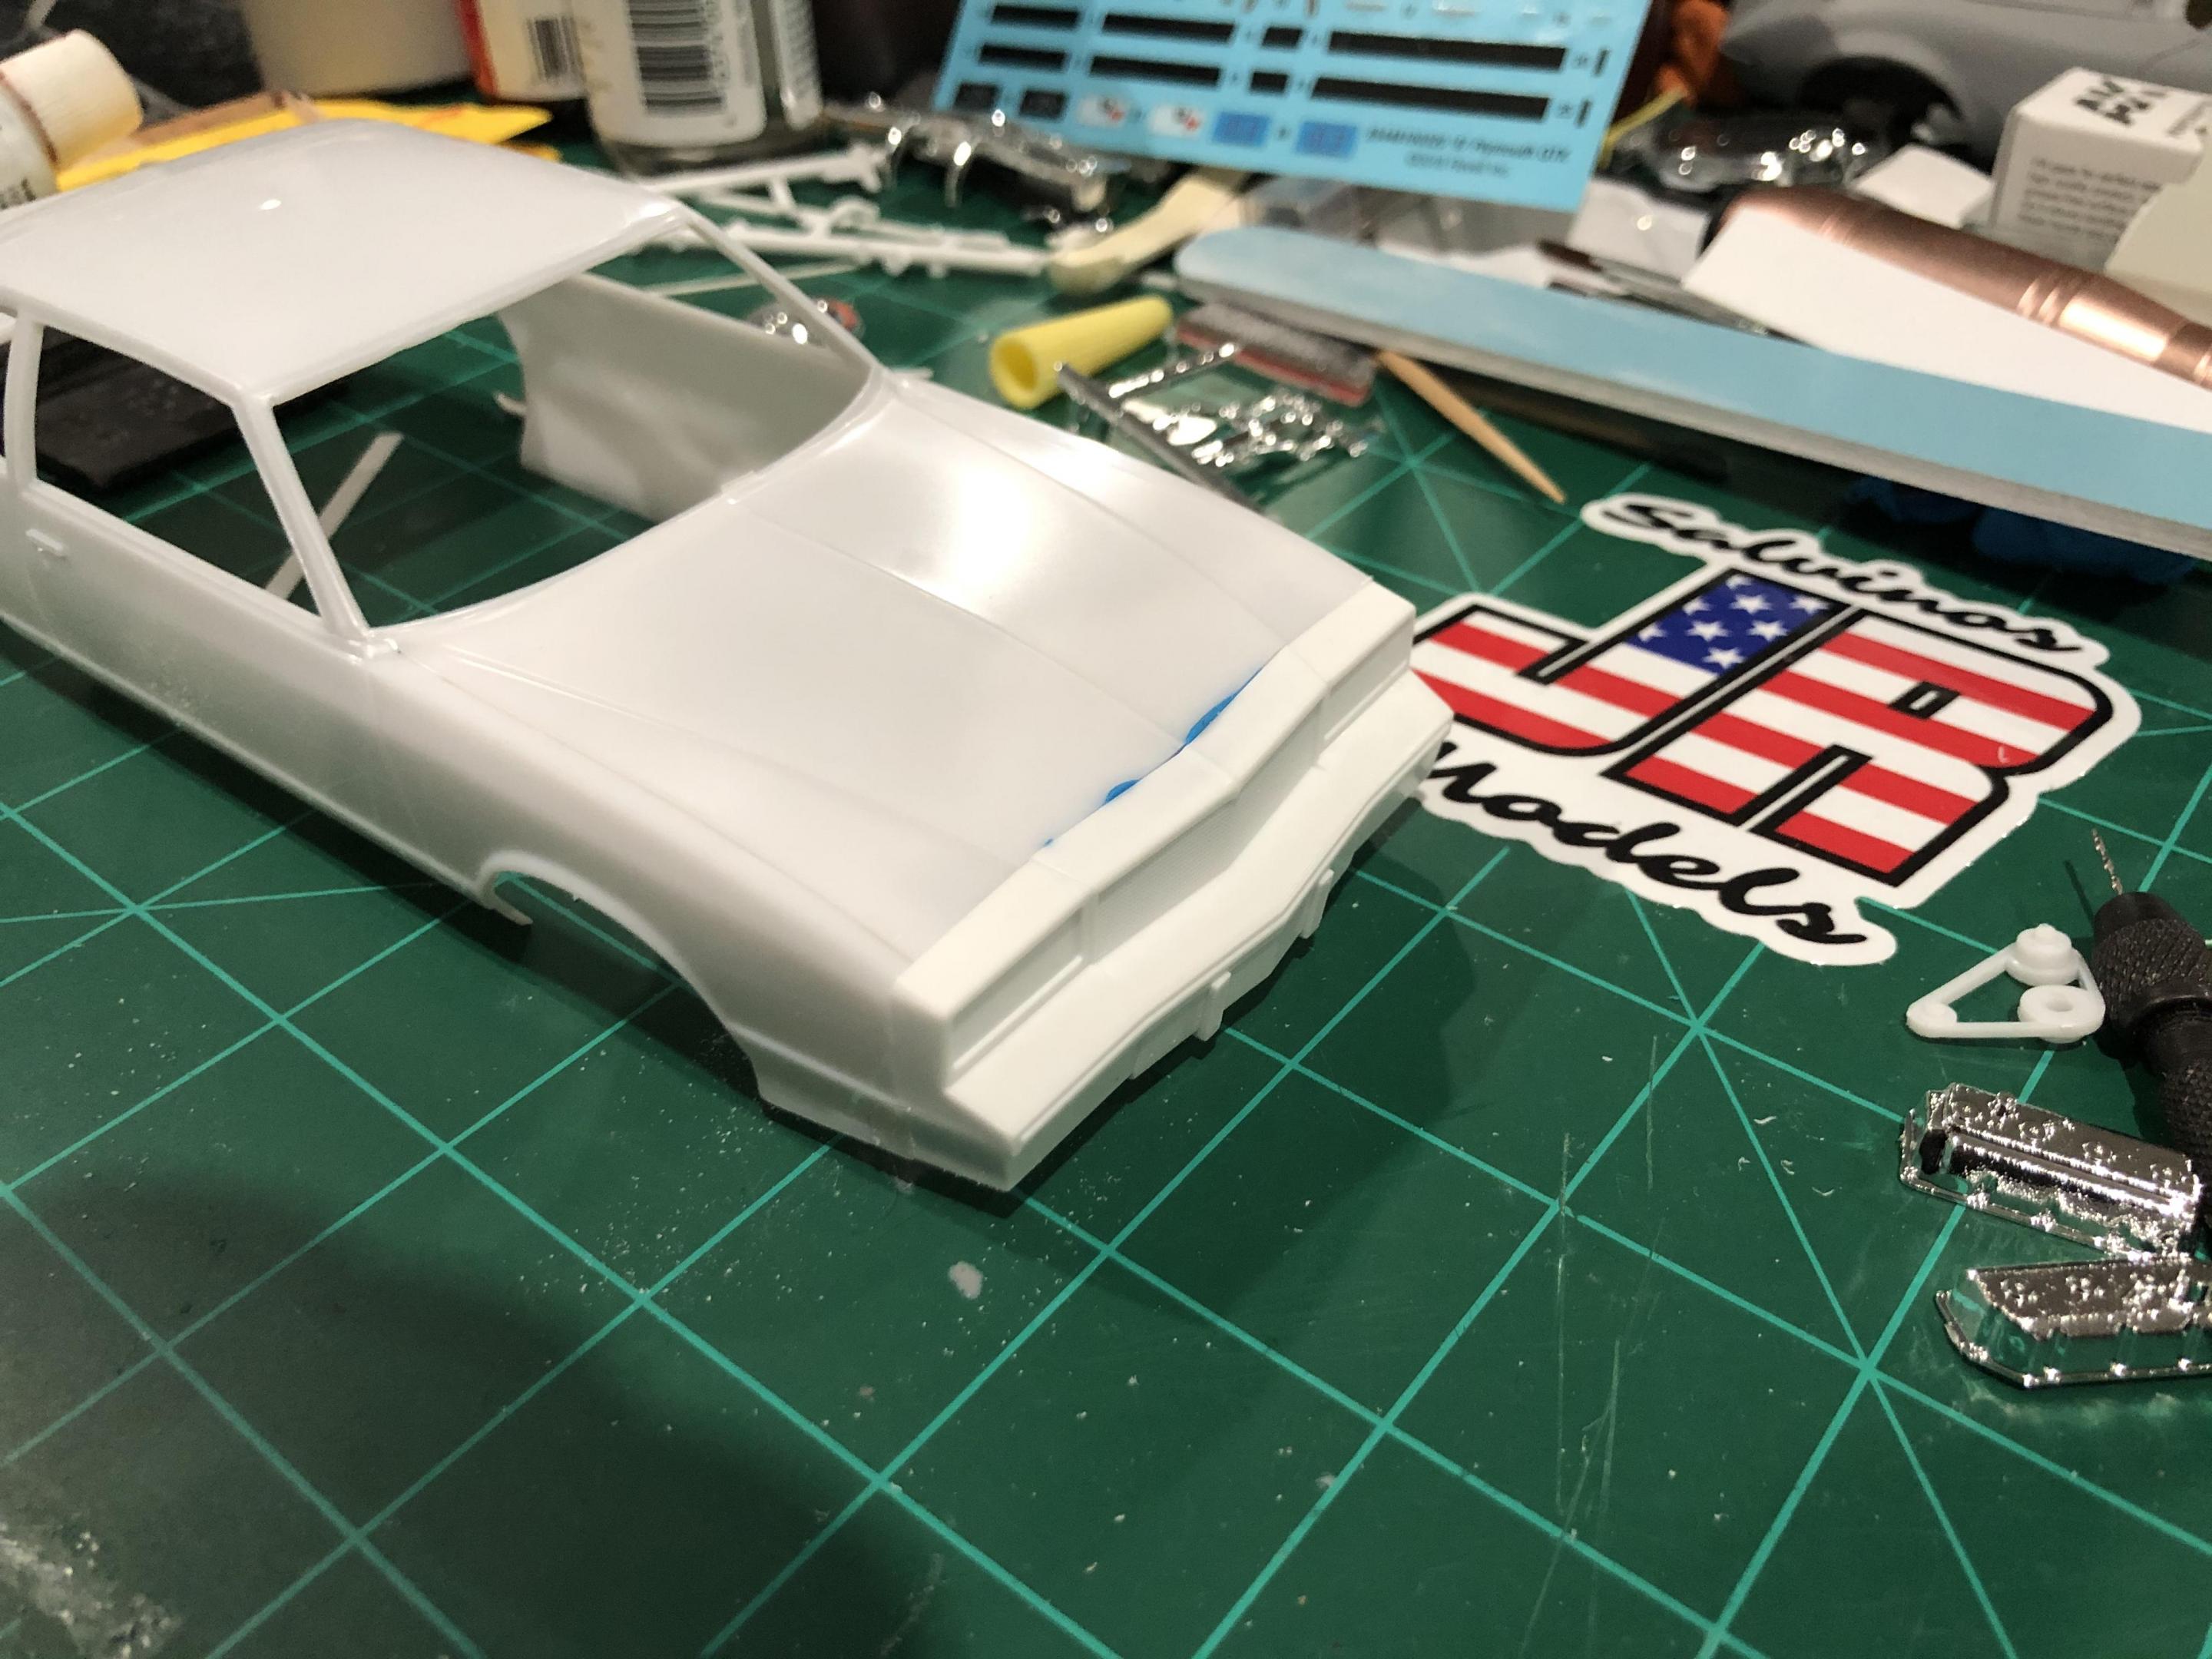
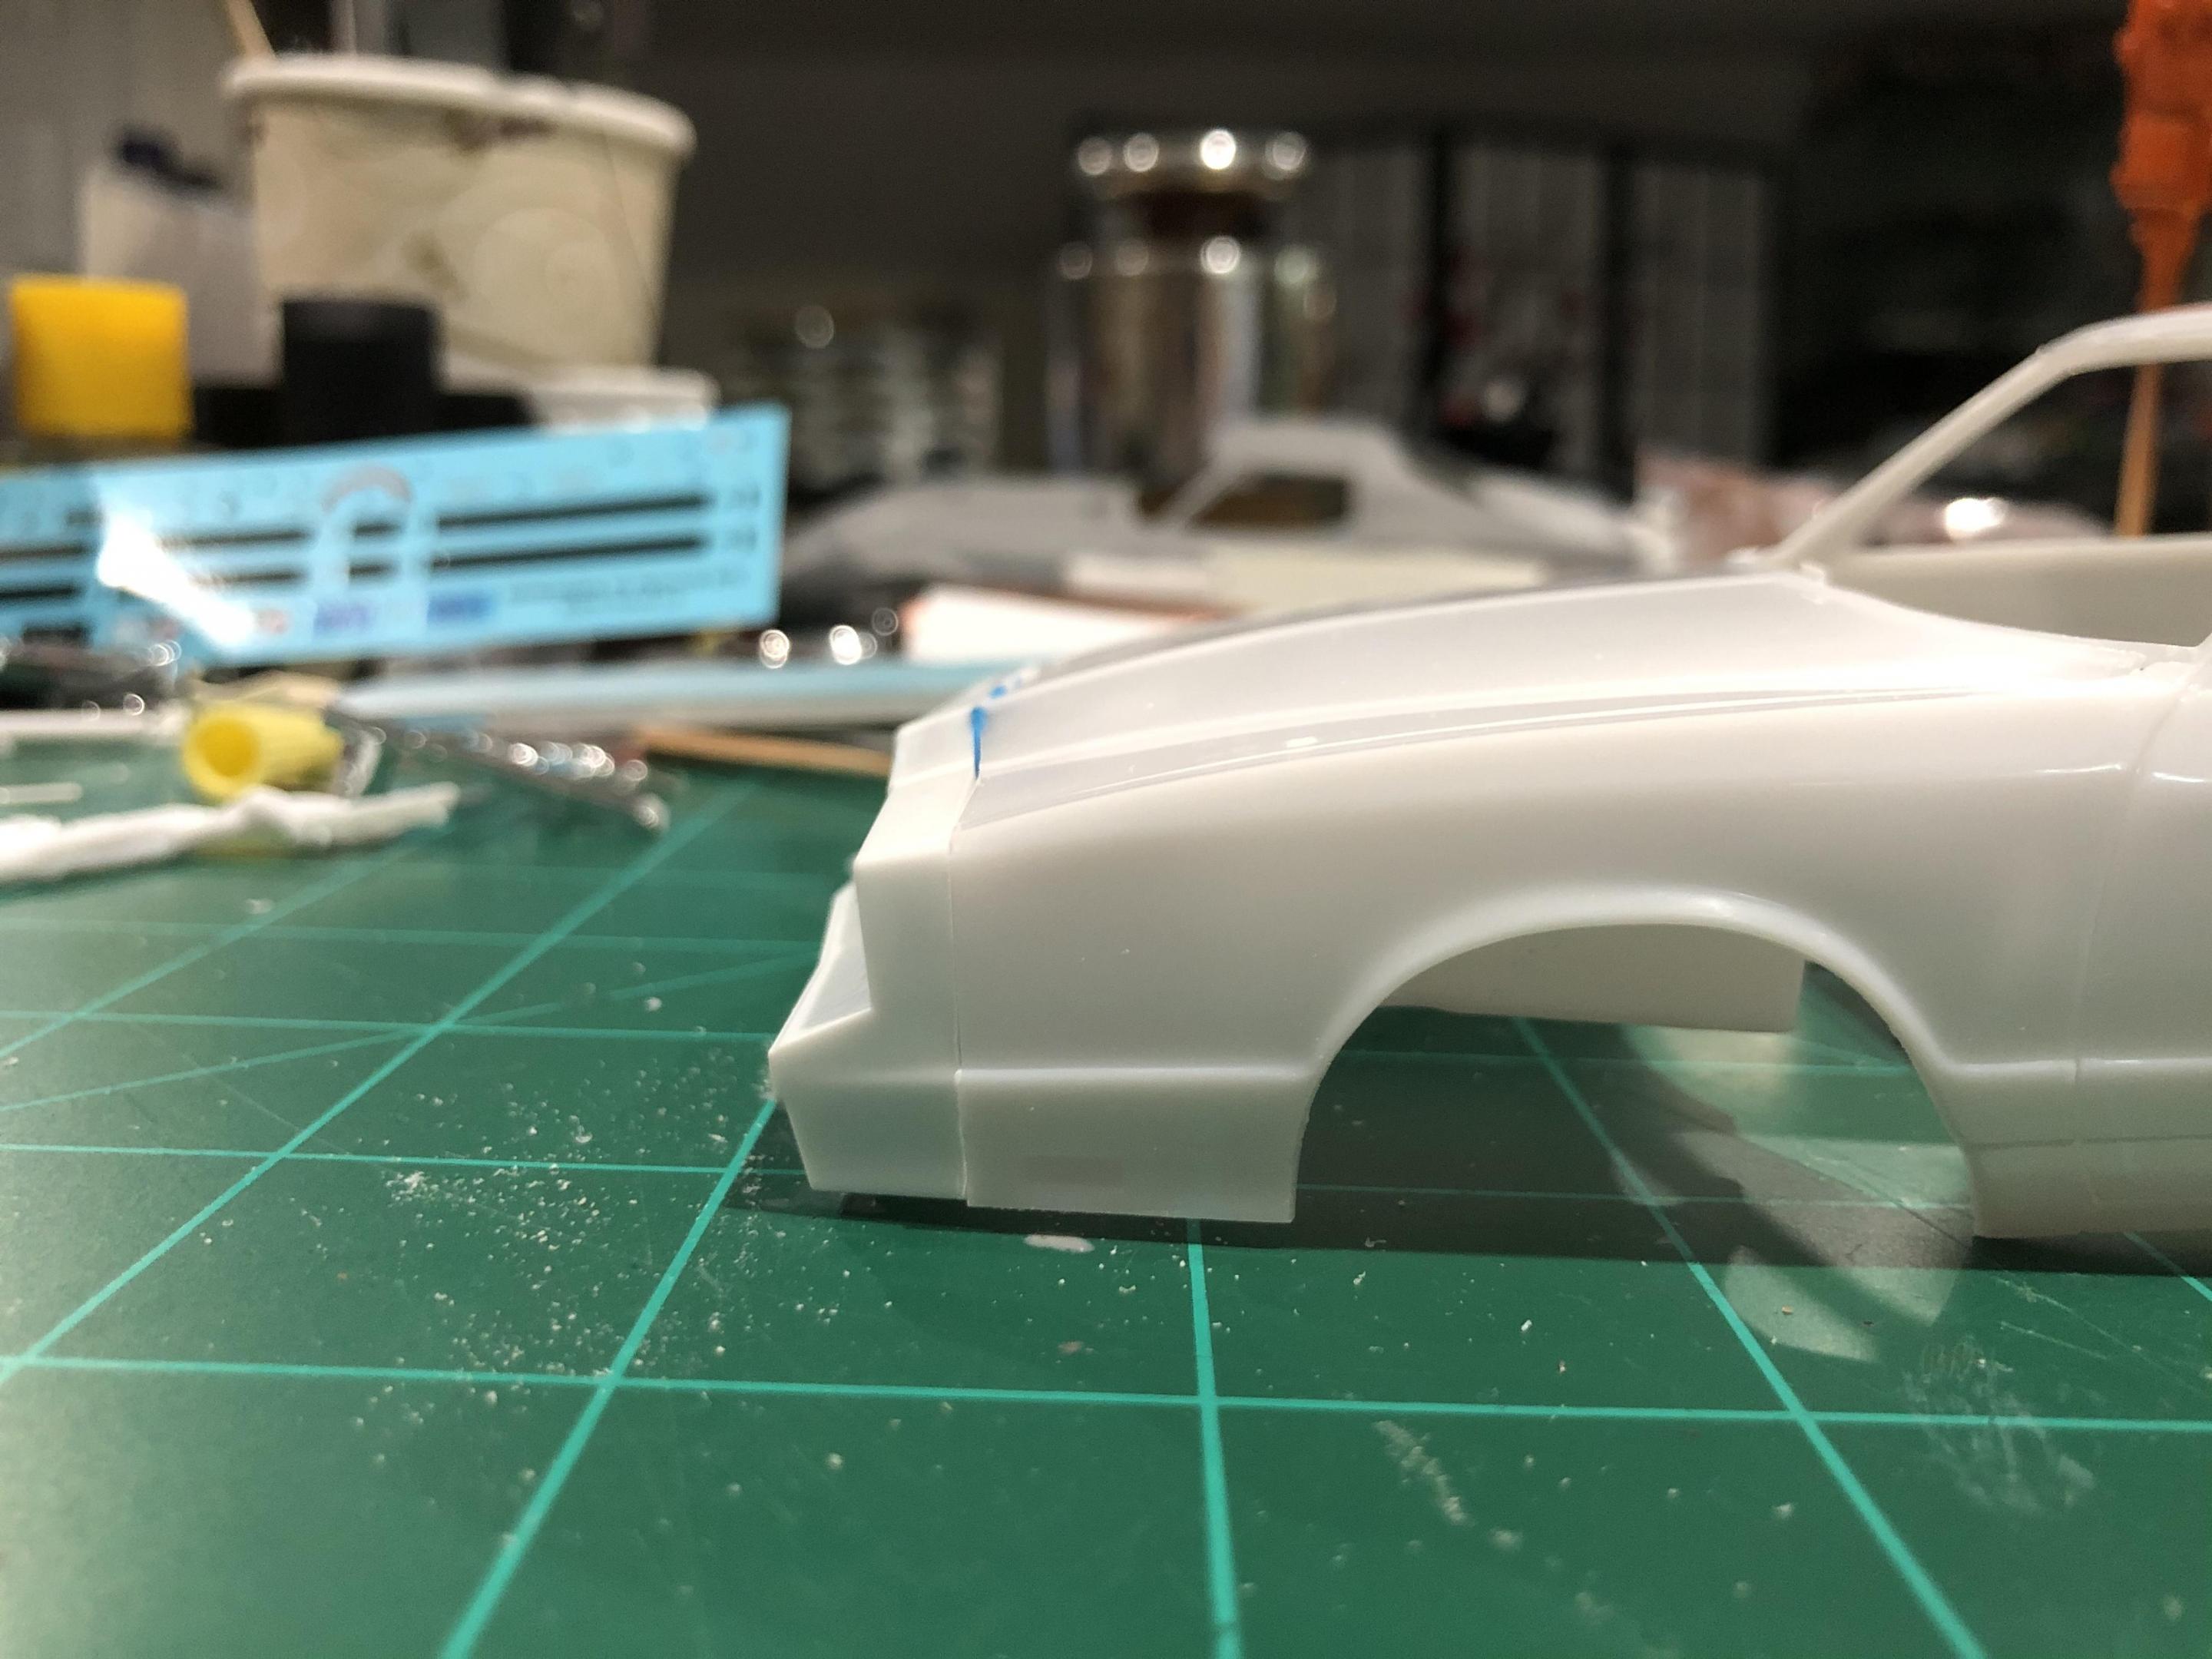
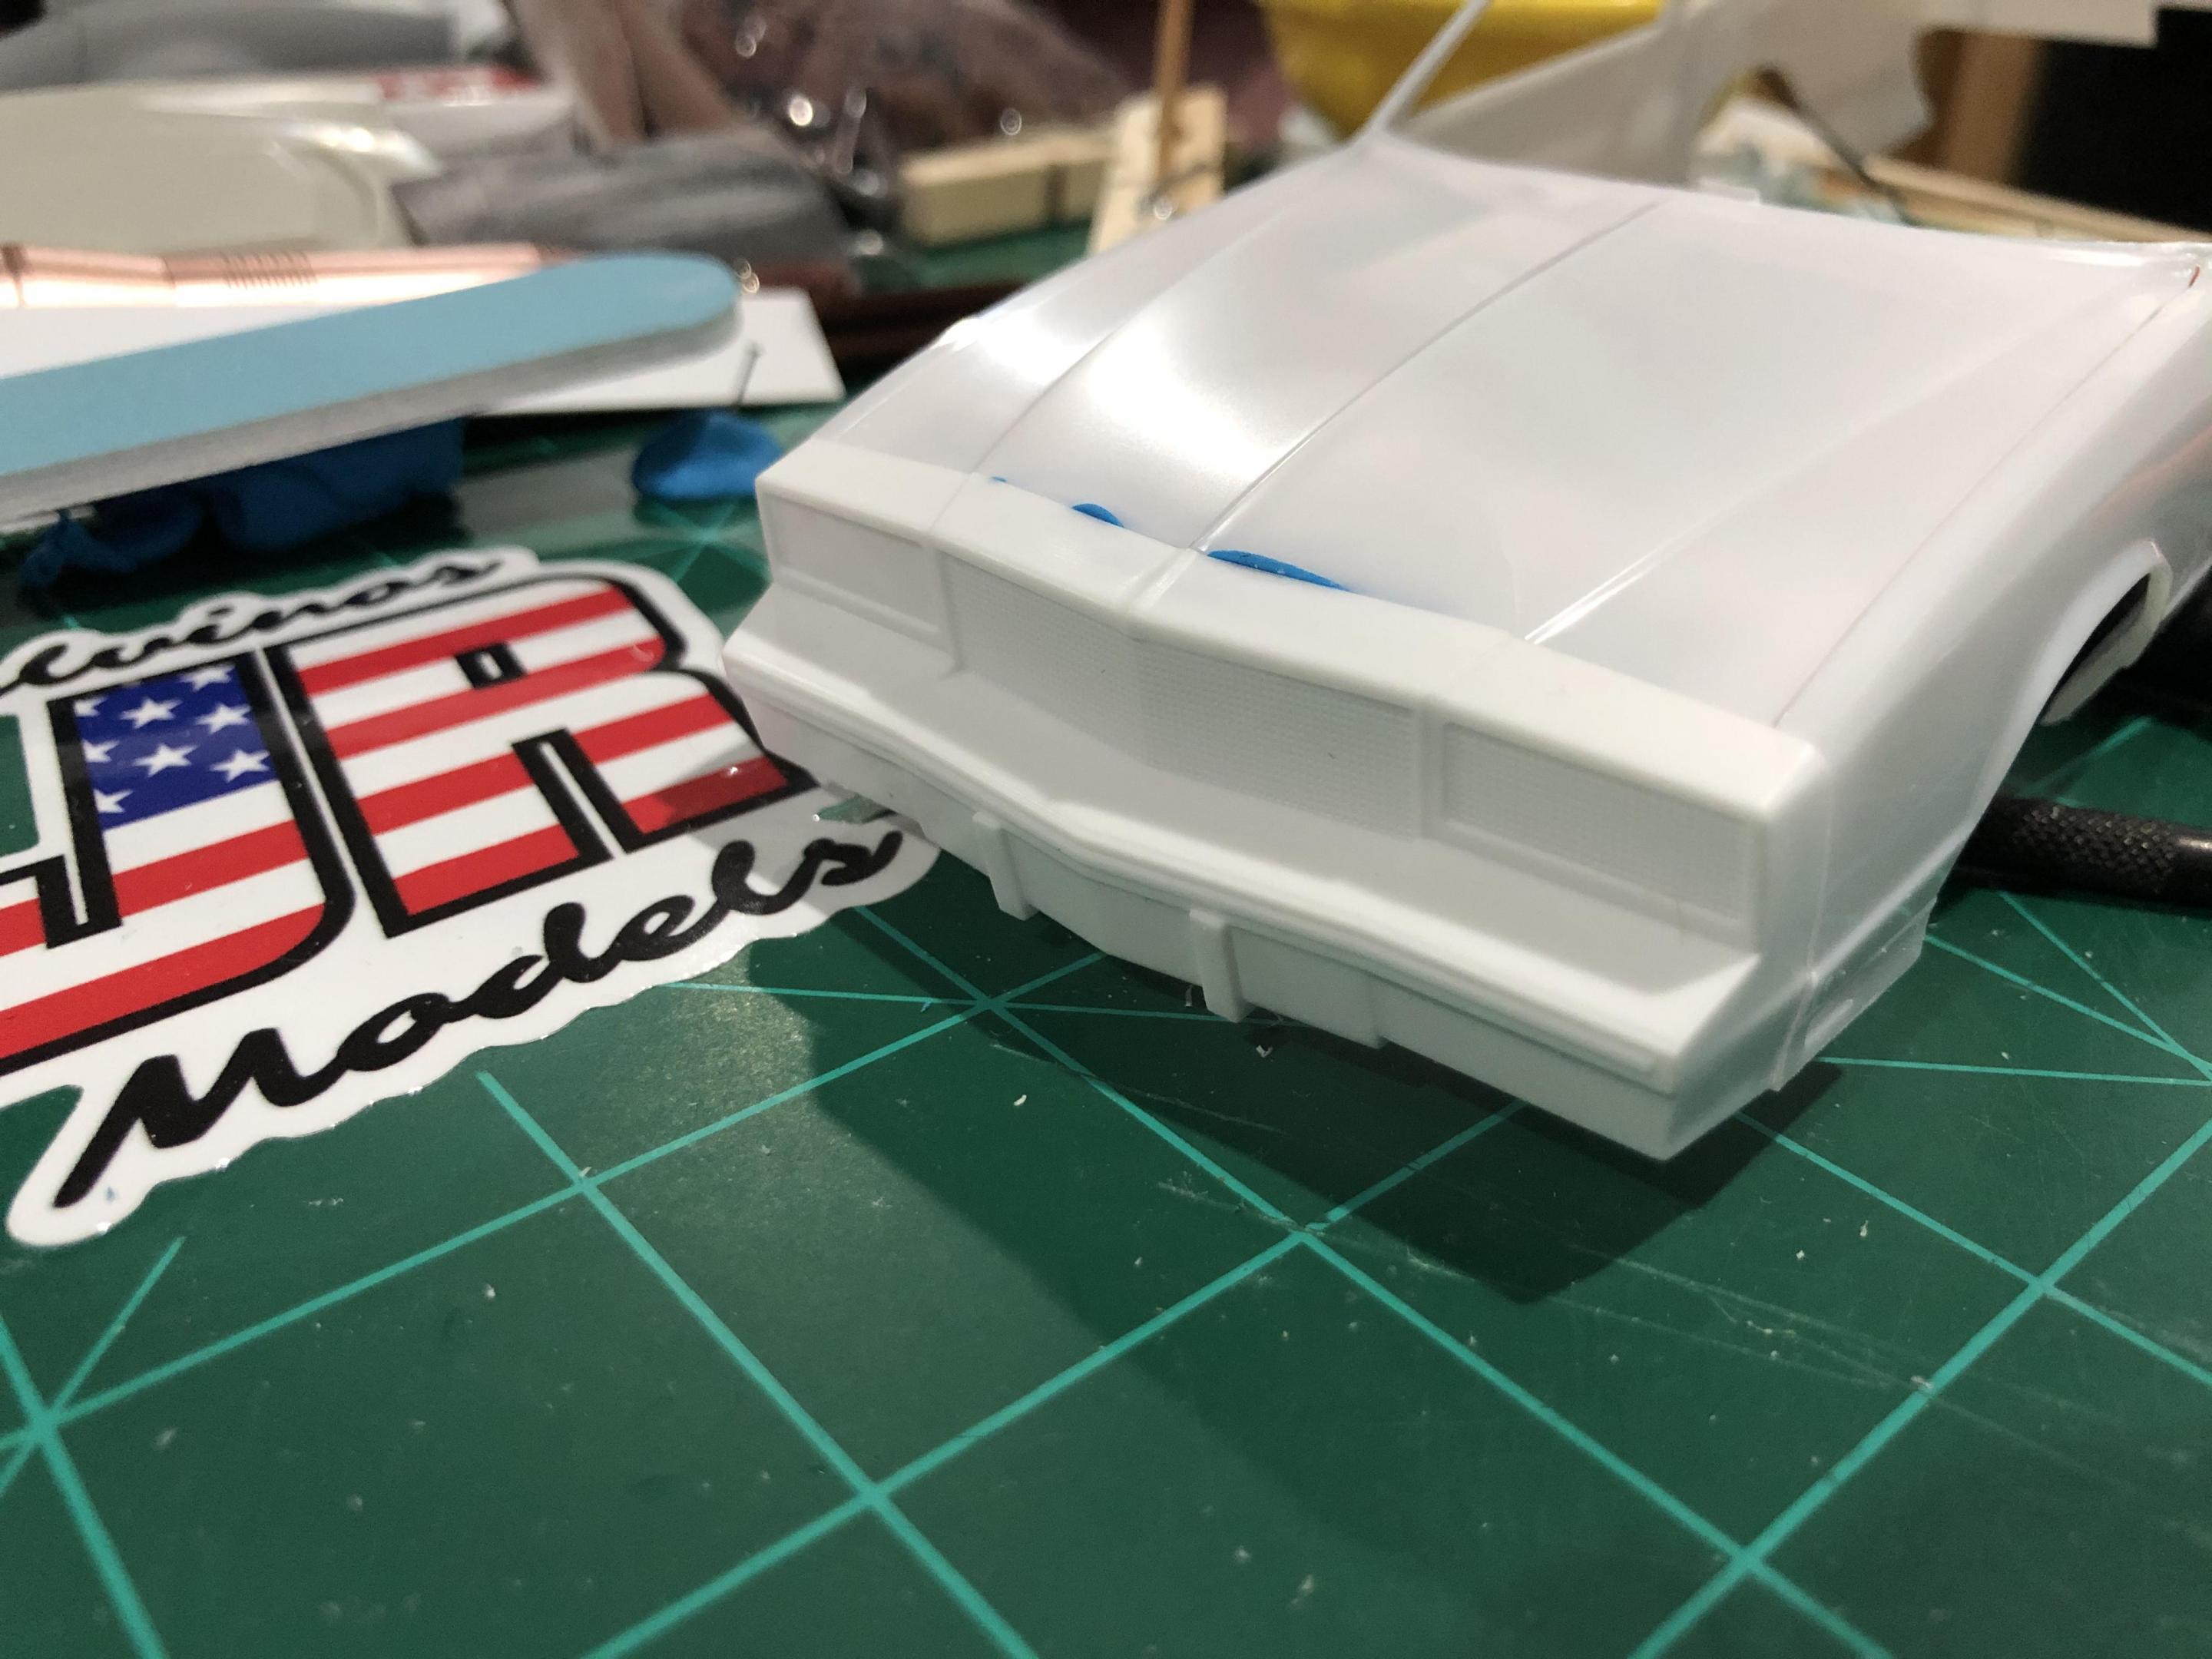
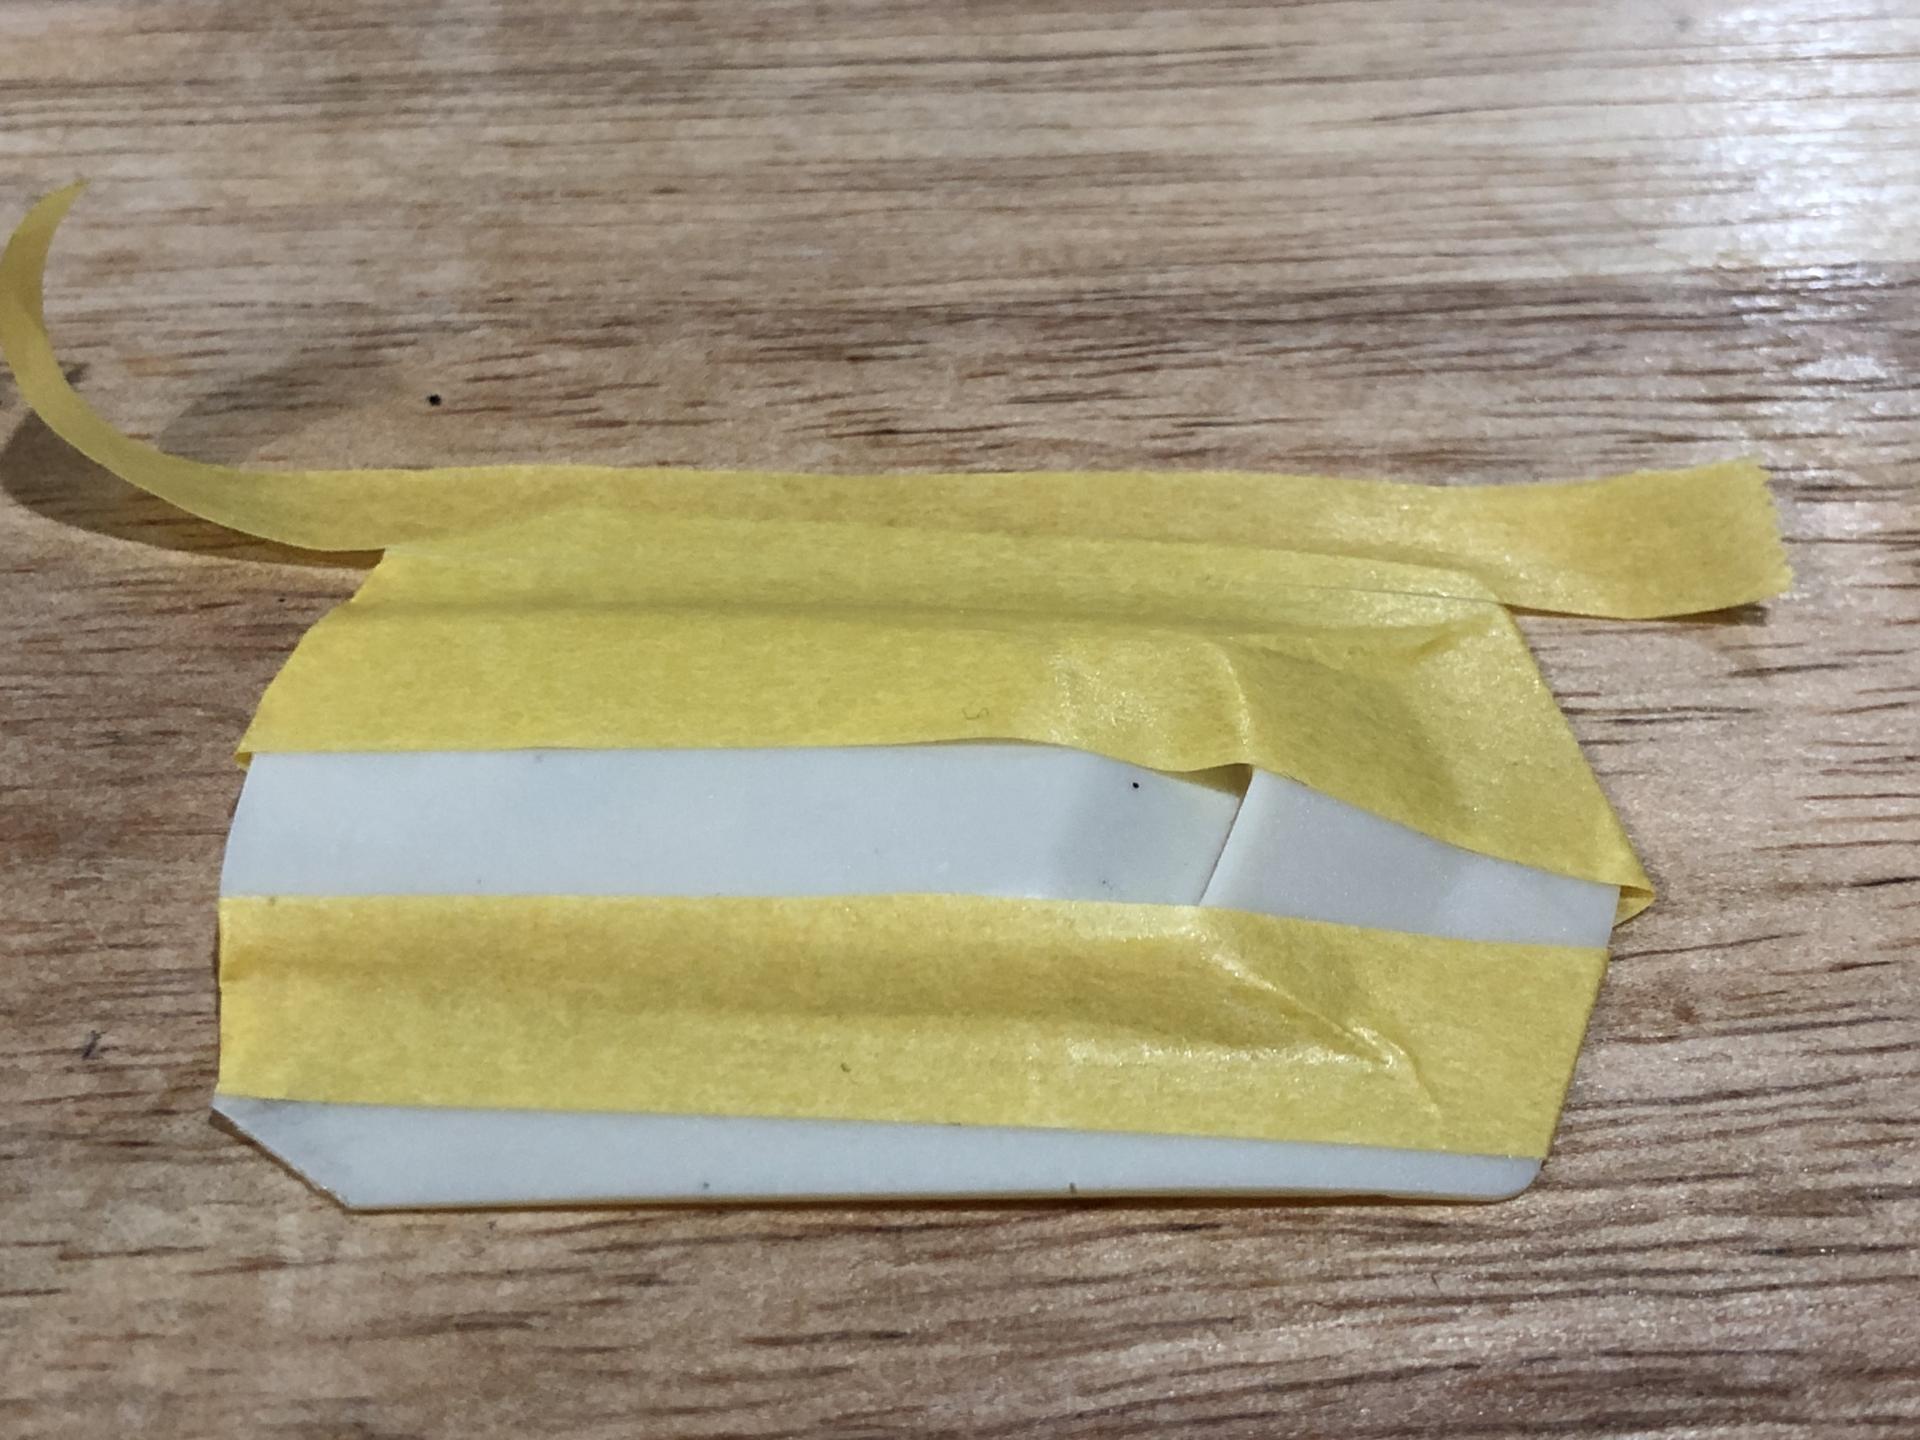
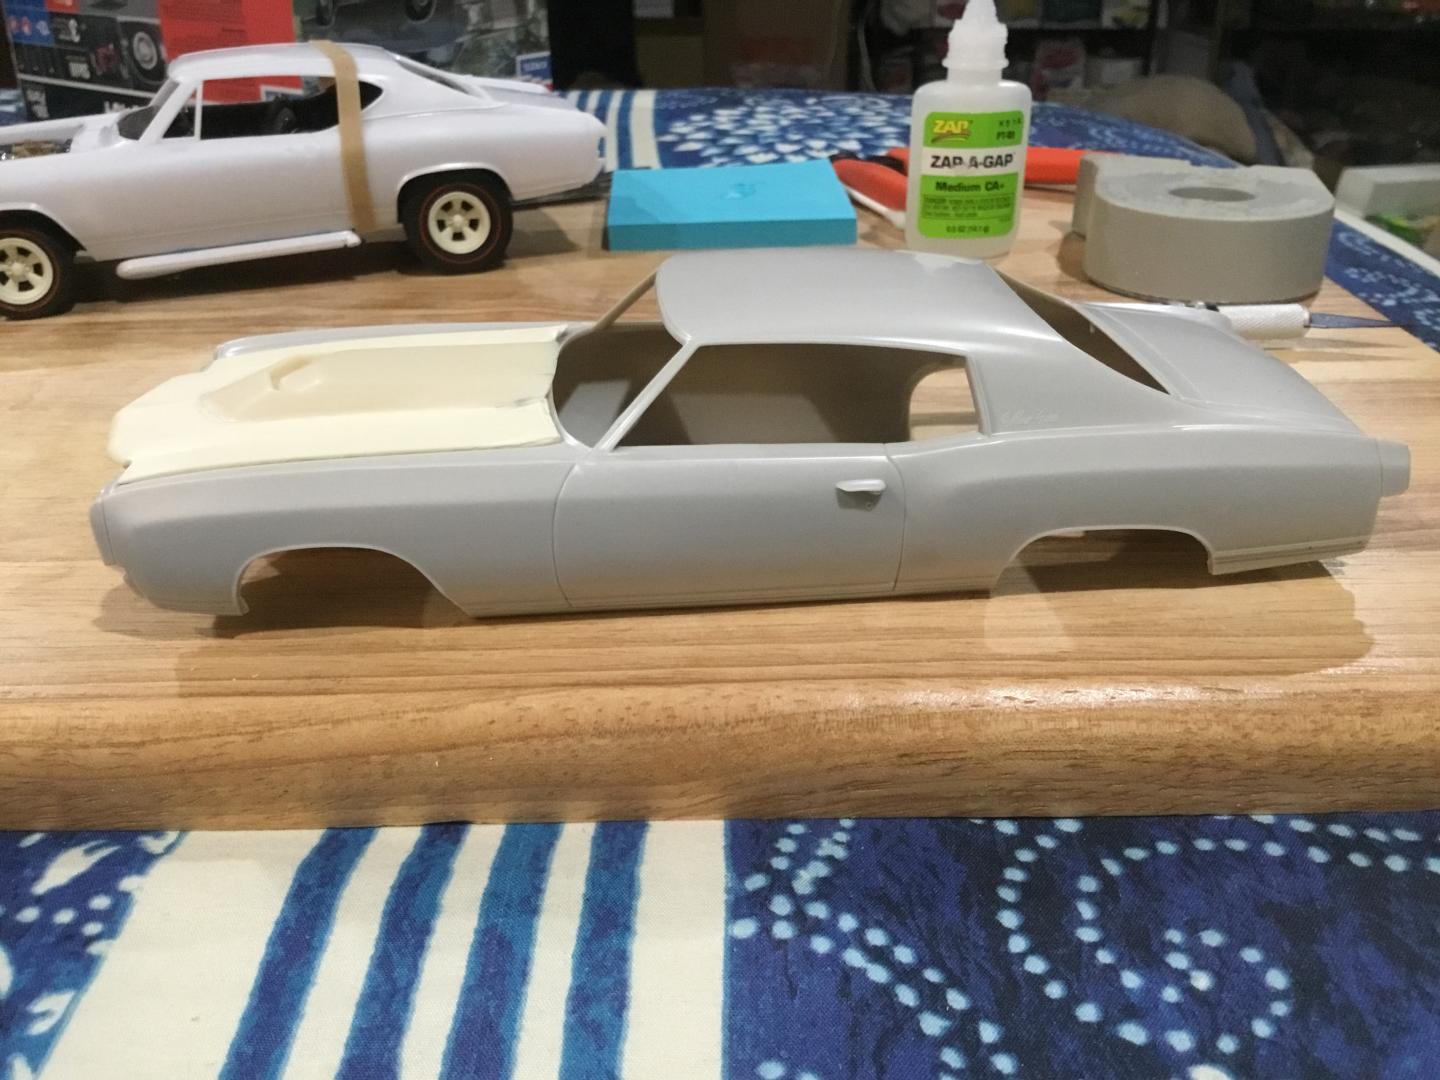
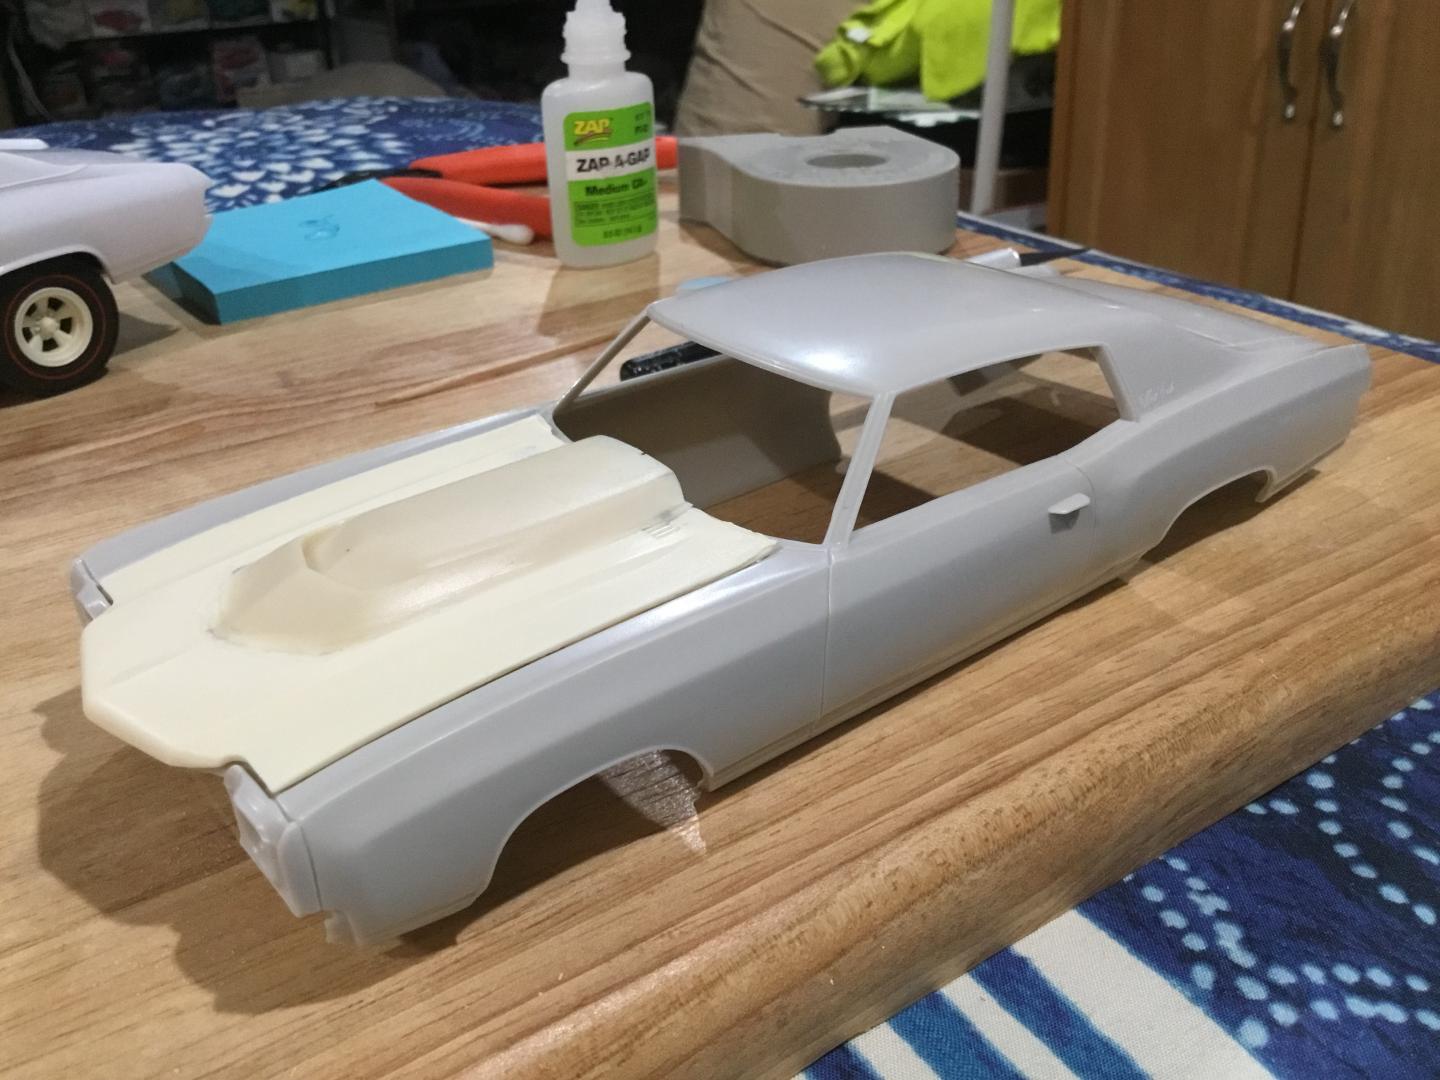
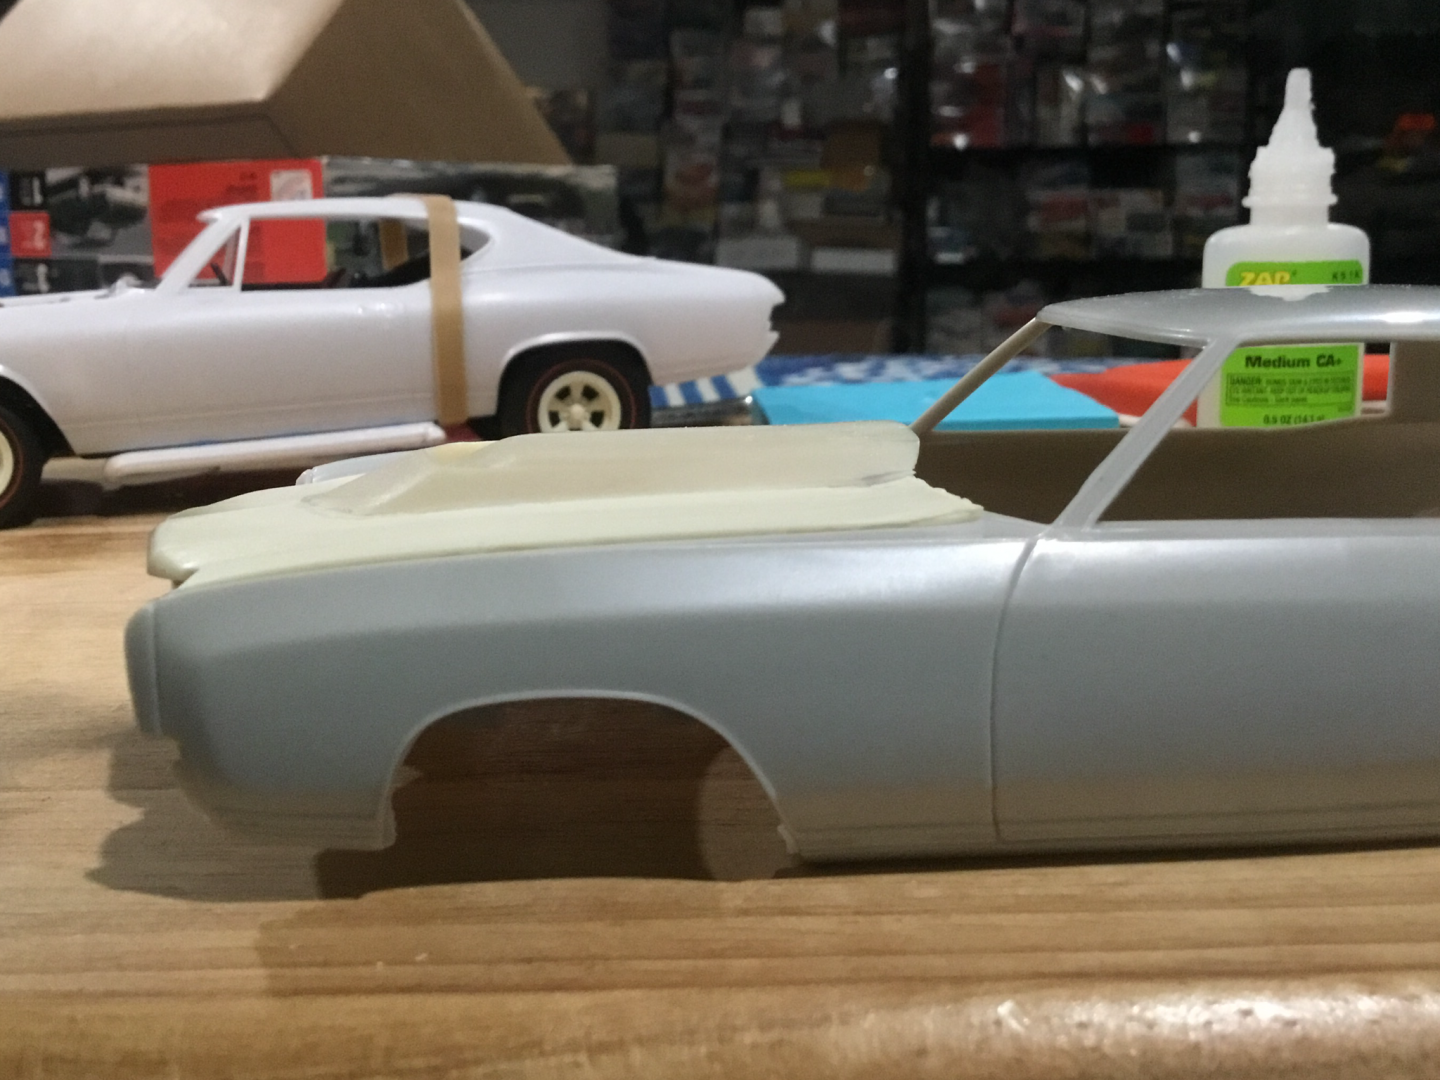
Recently, Salvinos J R Tooled up an LS nose for the NASCAR Monte Carlo kits. Since Stock Cars in the 80s hadn’t gotten completely away from their production counterparts yet, I thought I would test fit this nose on the most recent release of the Monte Carlo SS. Mounting it directly to the front fenders resulted in a nose pointing up. So I pulled the top away from the hood until the lower body line leveled out. I measured the gap at the top and transferred that measurement to the bottom. I placed a piece of tape from the measurement to the top corner and cut out a pie slice from each side. That pulled the whole nose into the fenders. The result matched what I found in the dealership brochure. I think this is going to work pretty well. I will have to scratch build a grill and headlights right now.
- 11 replies
-
- 5
-

-
- monte carlo
- ss
-
(and 2 more)
Tagged with:
-
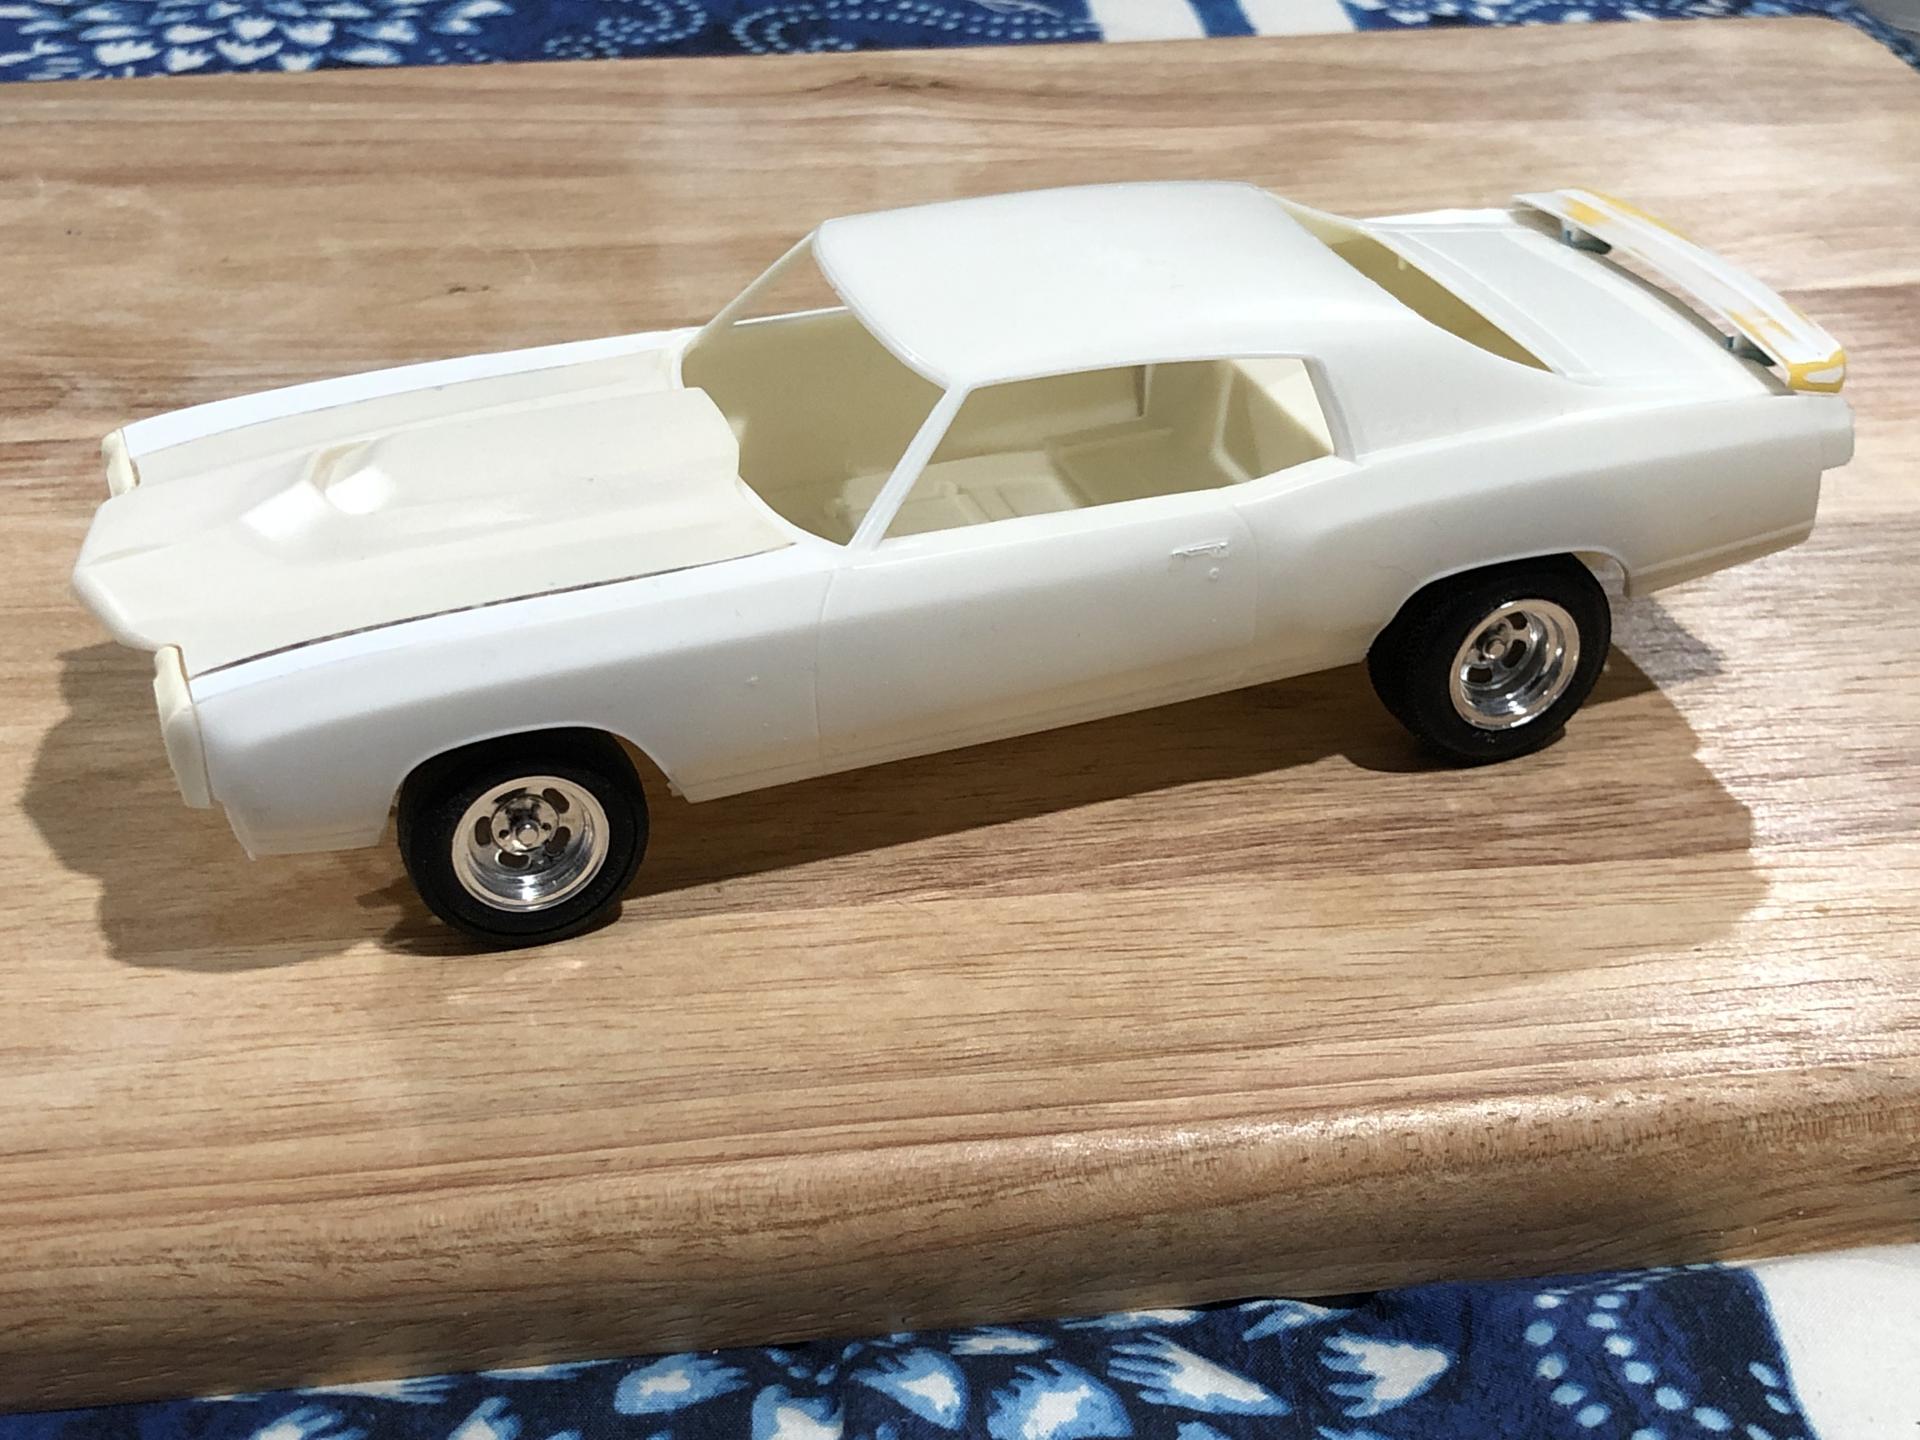
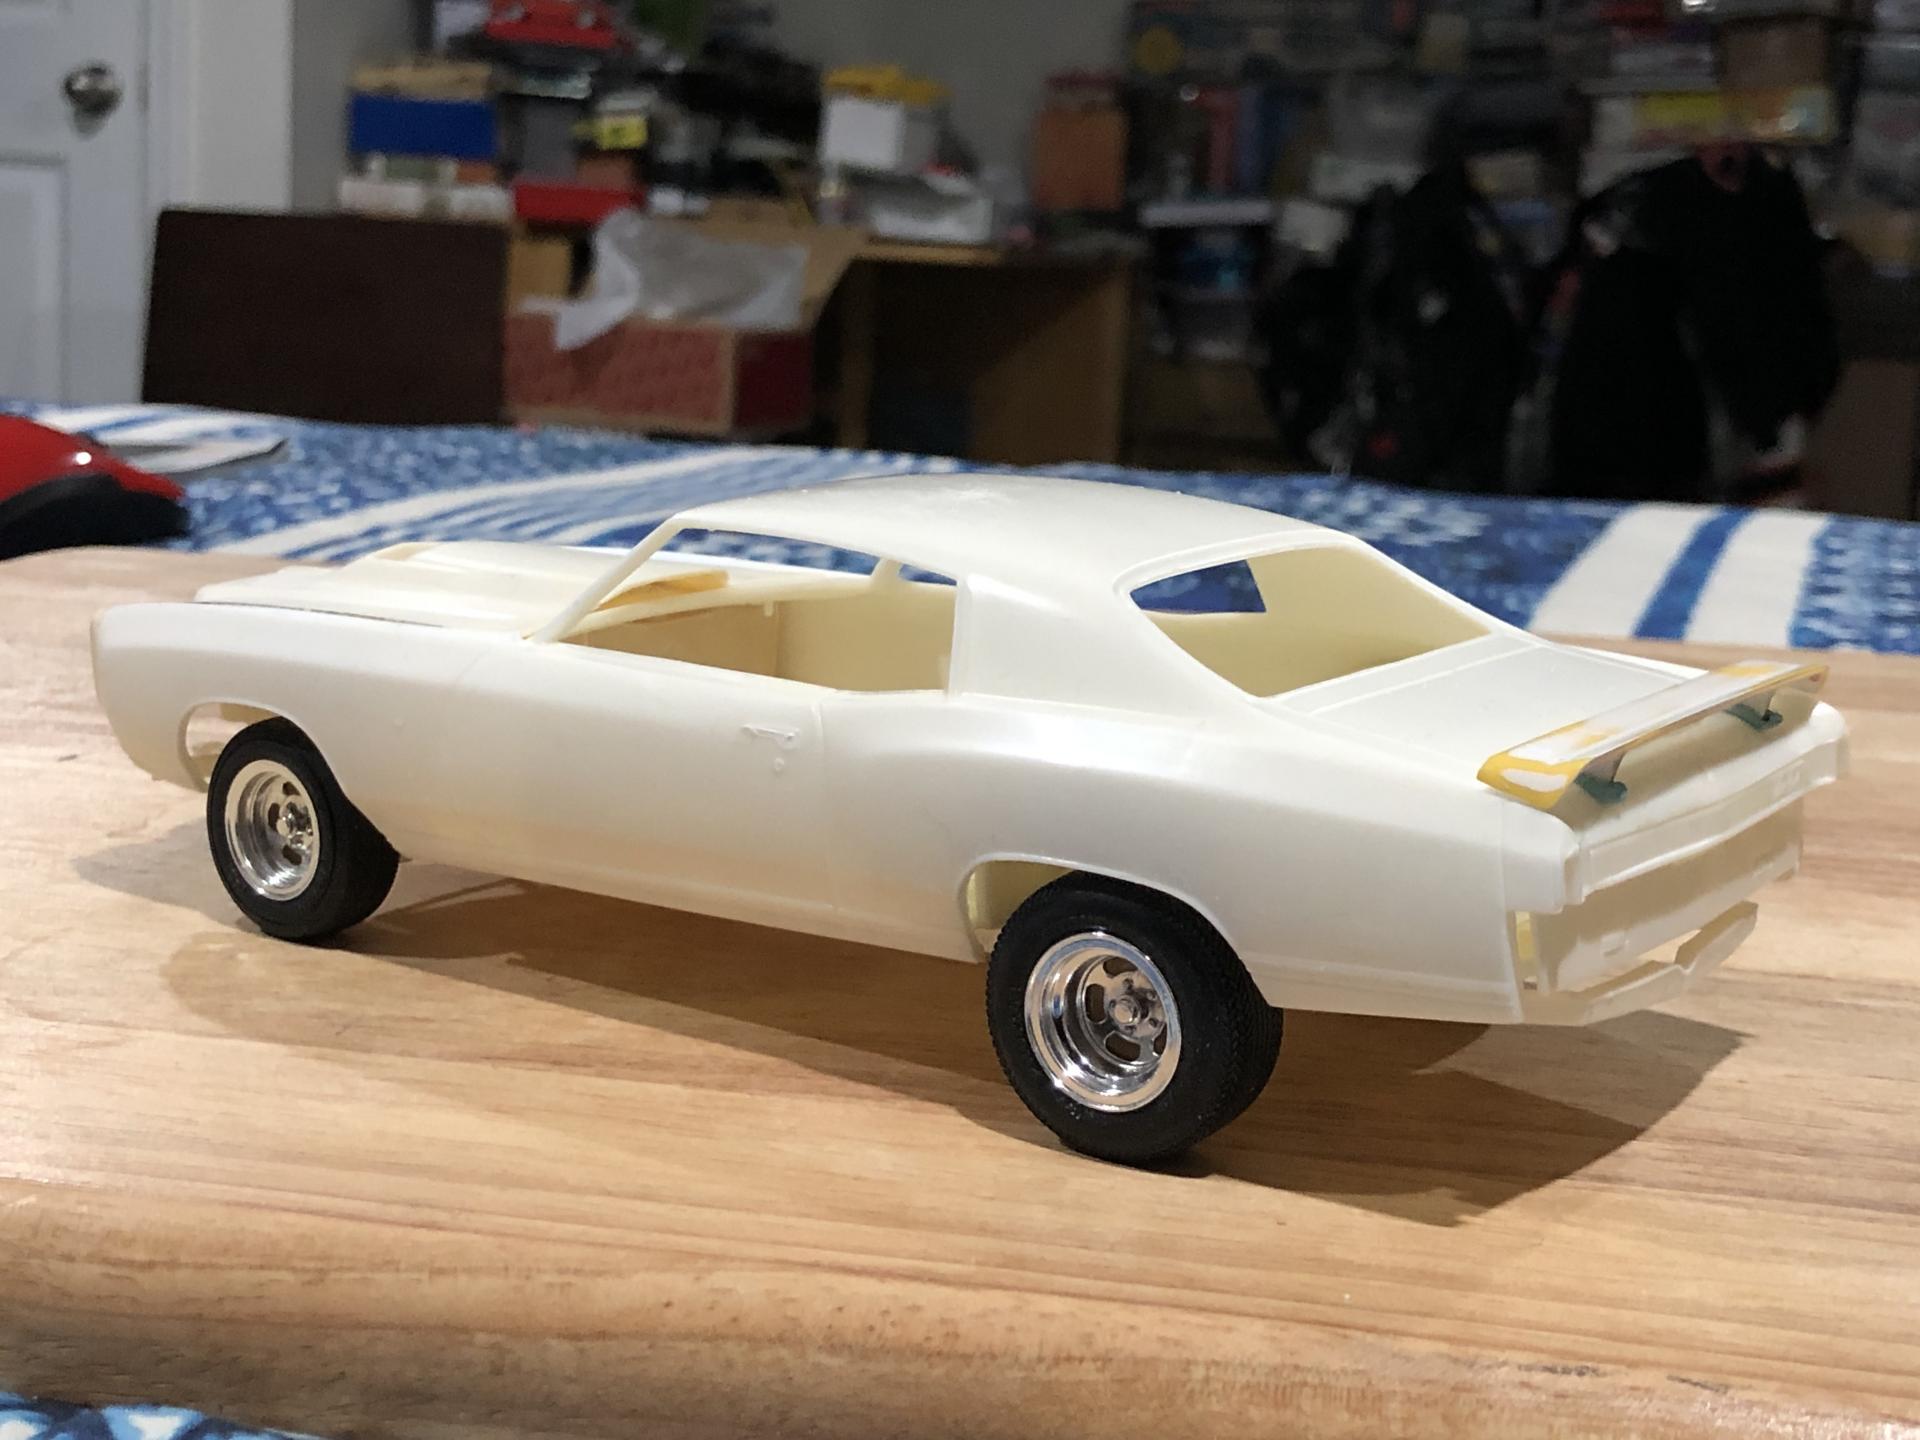
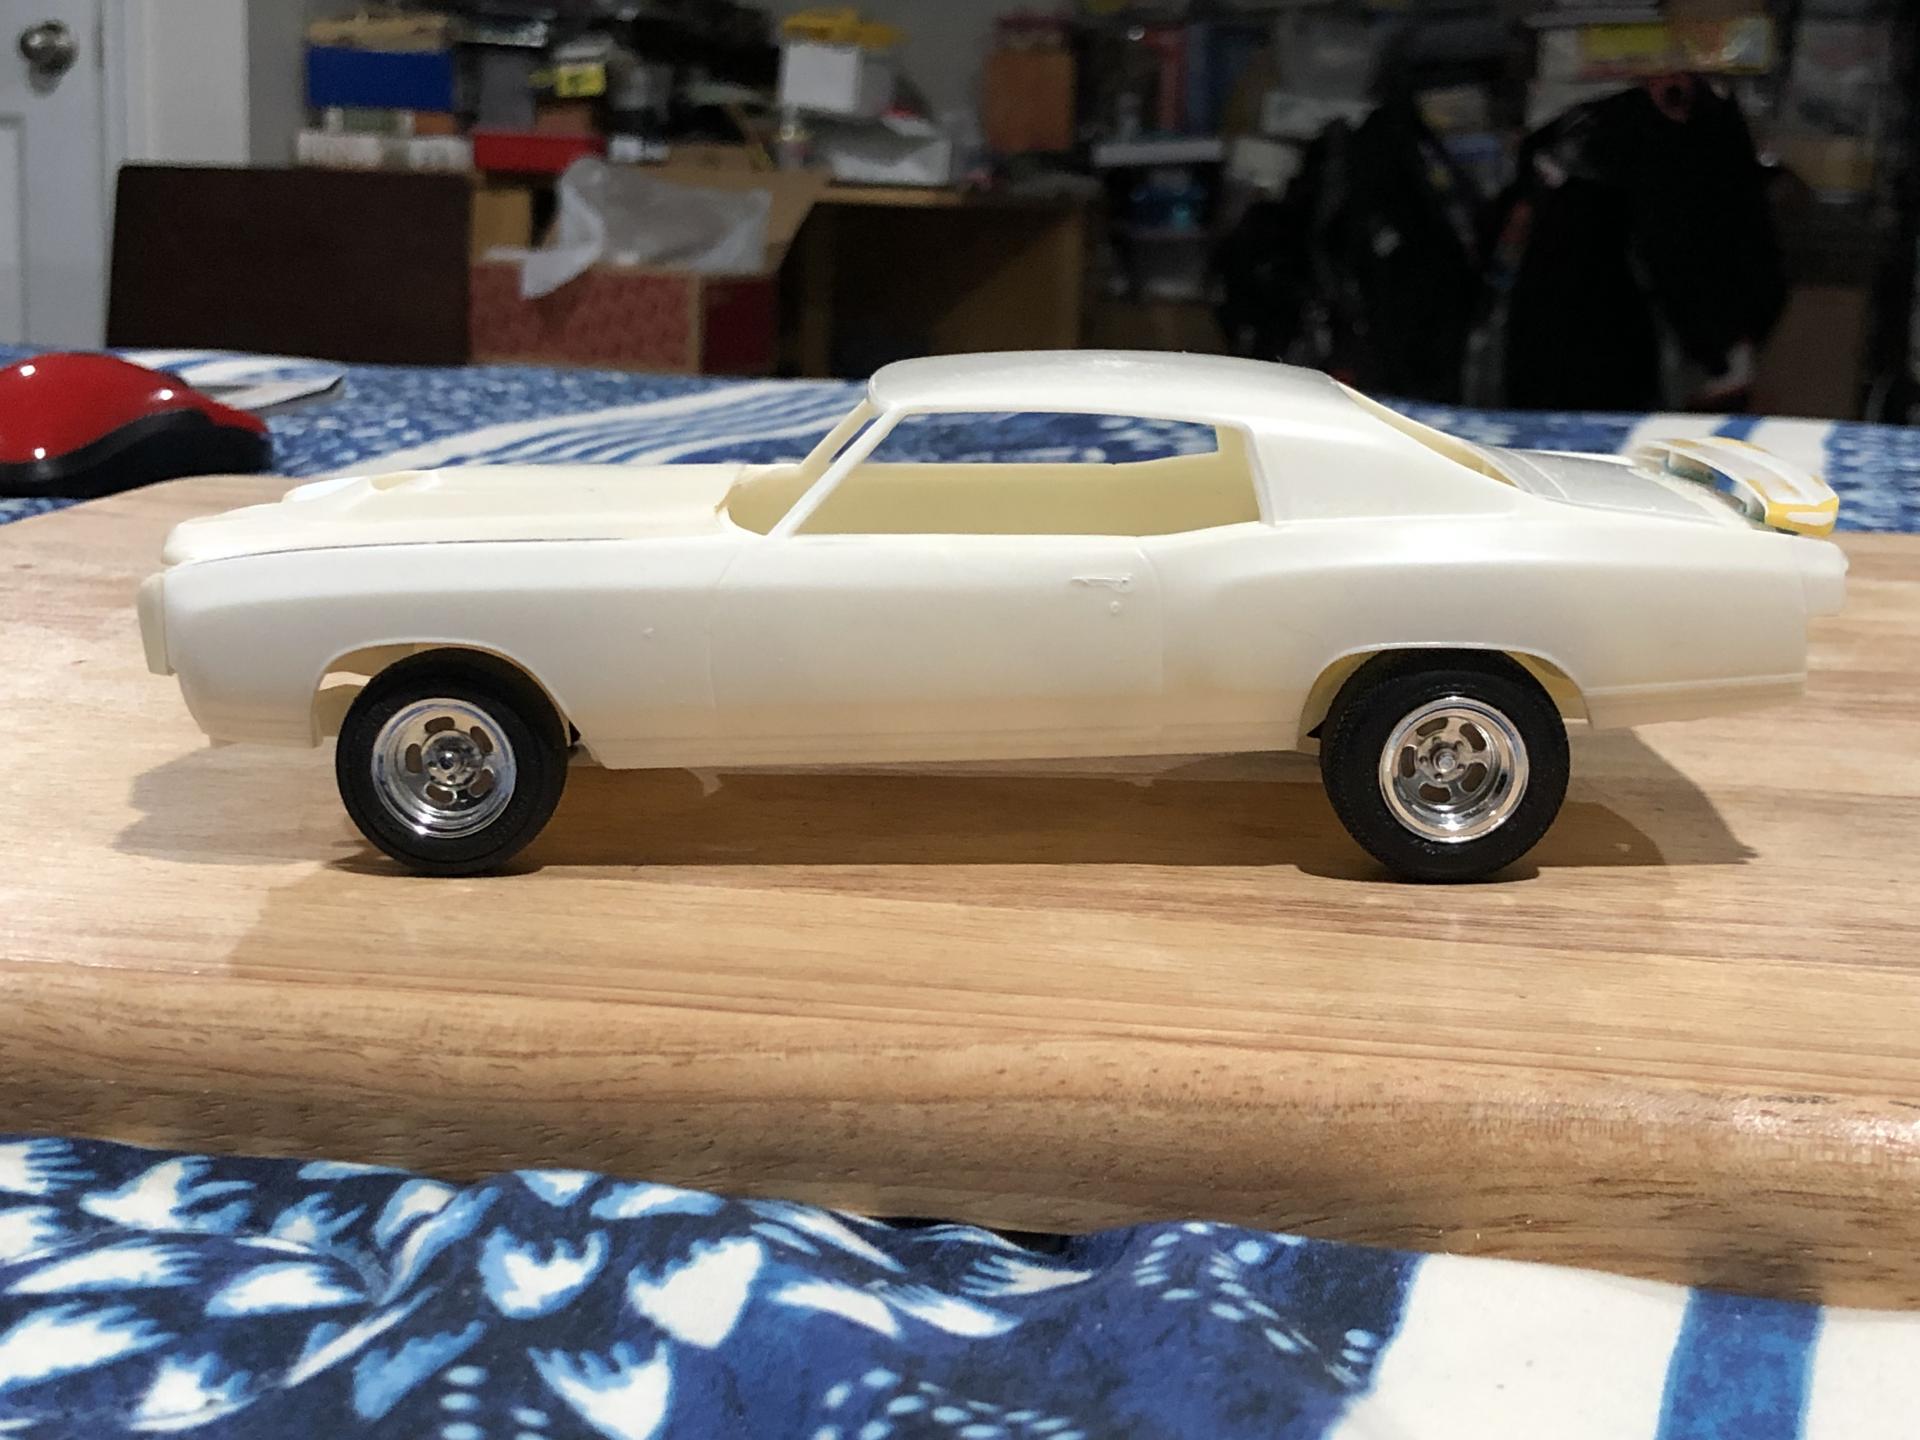
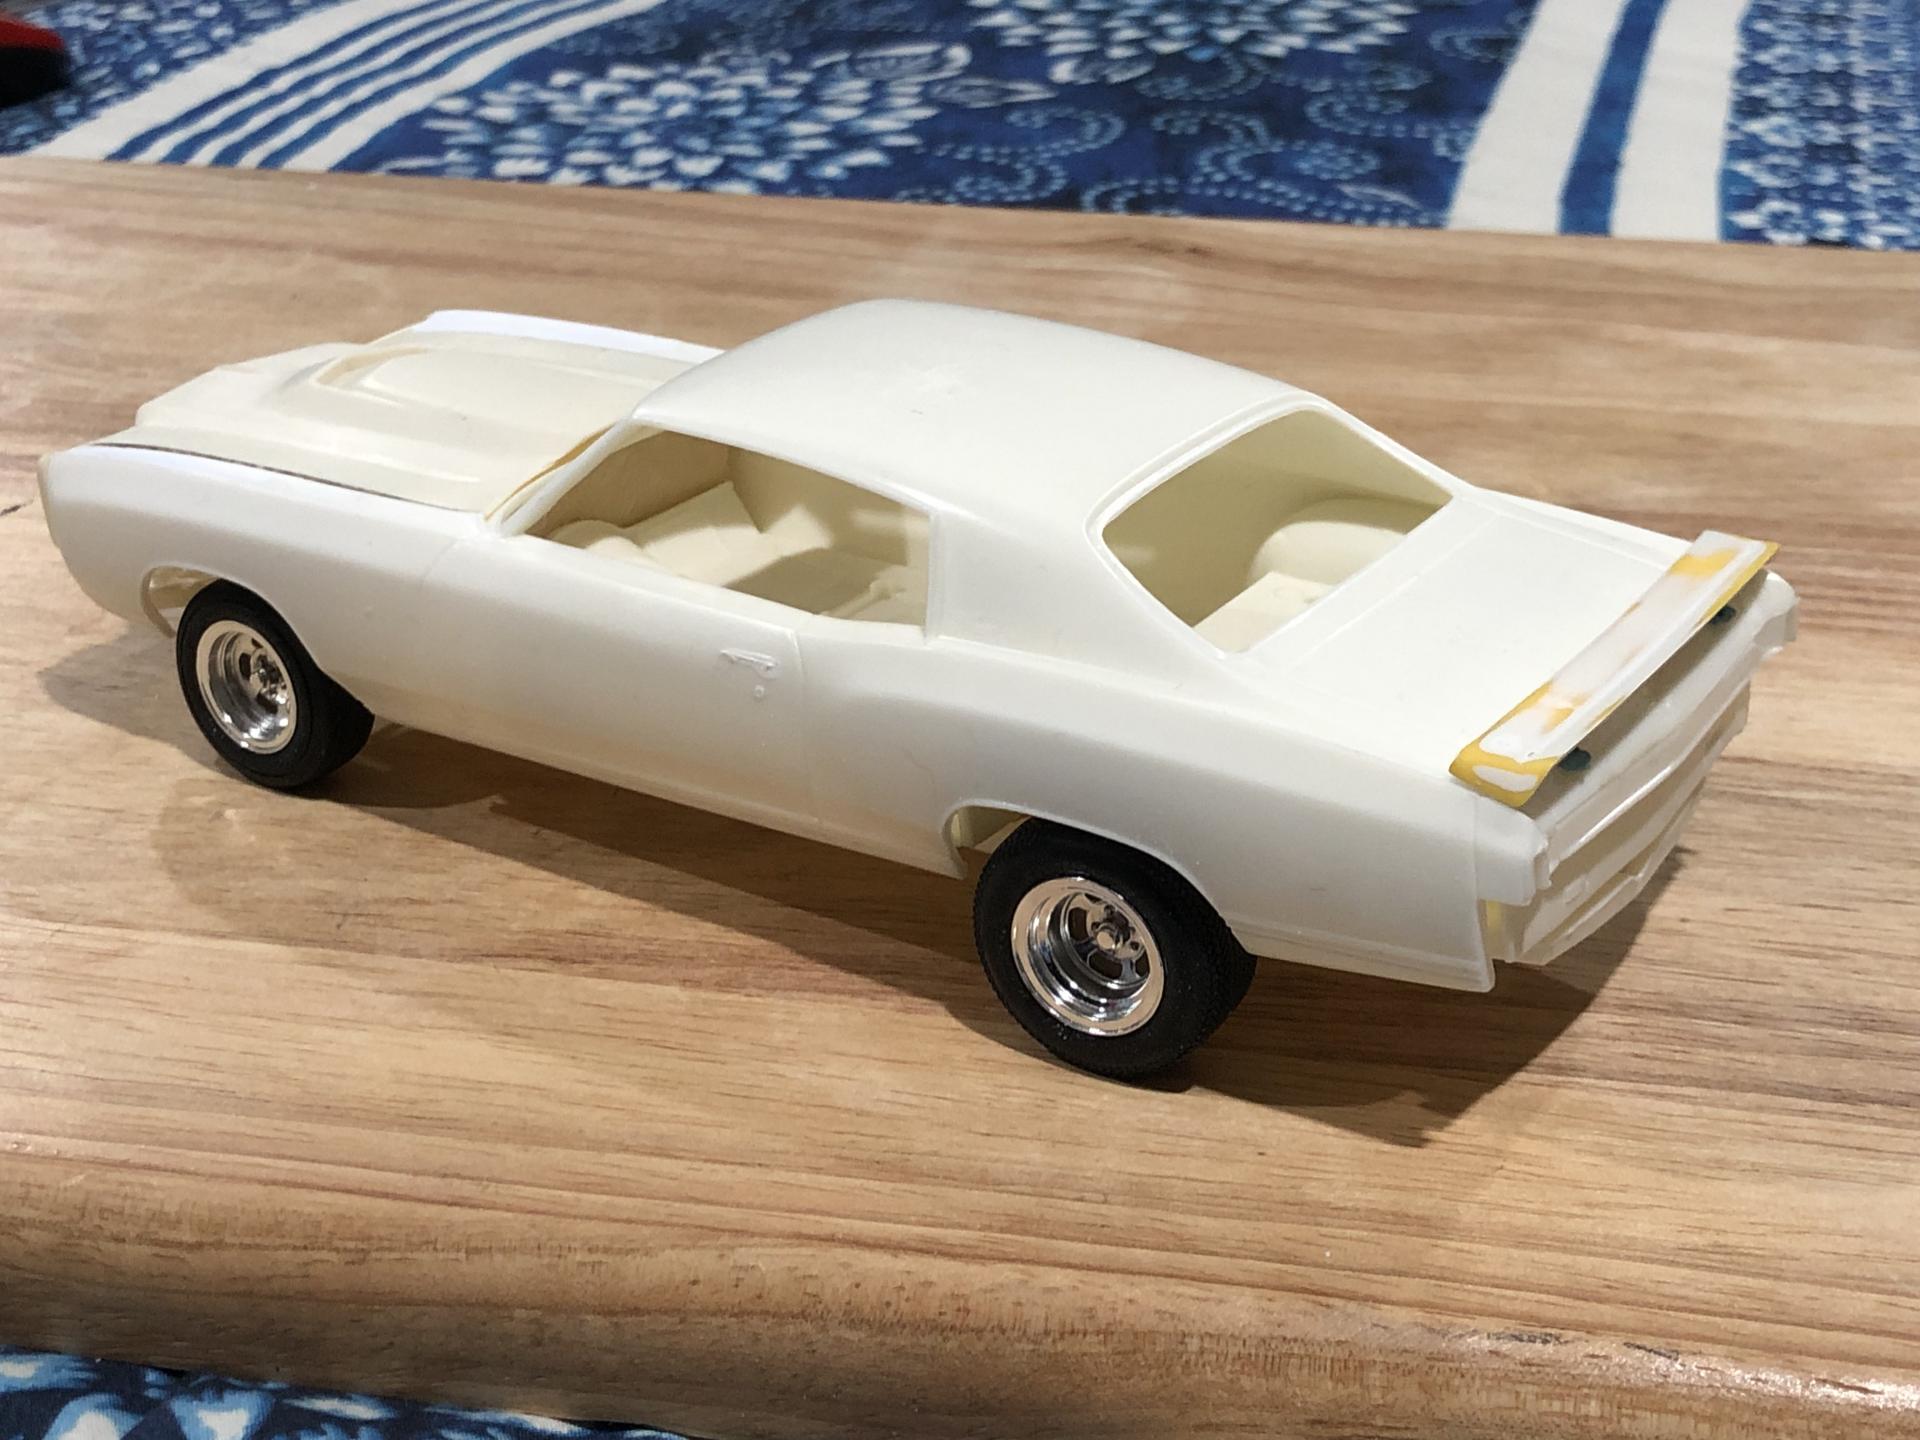
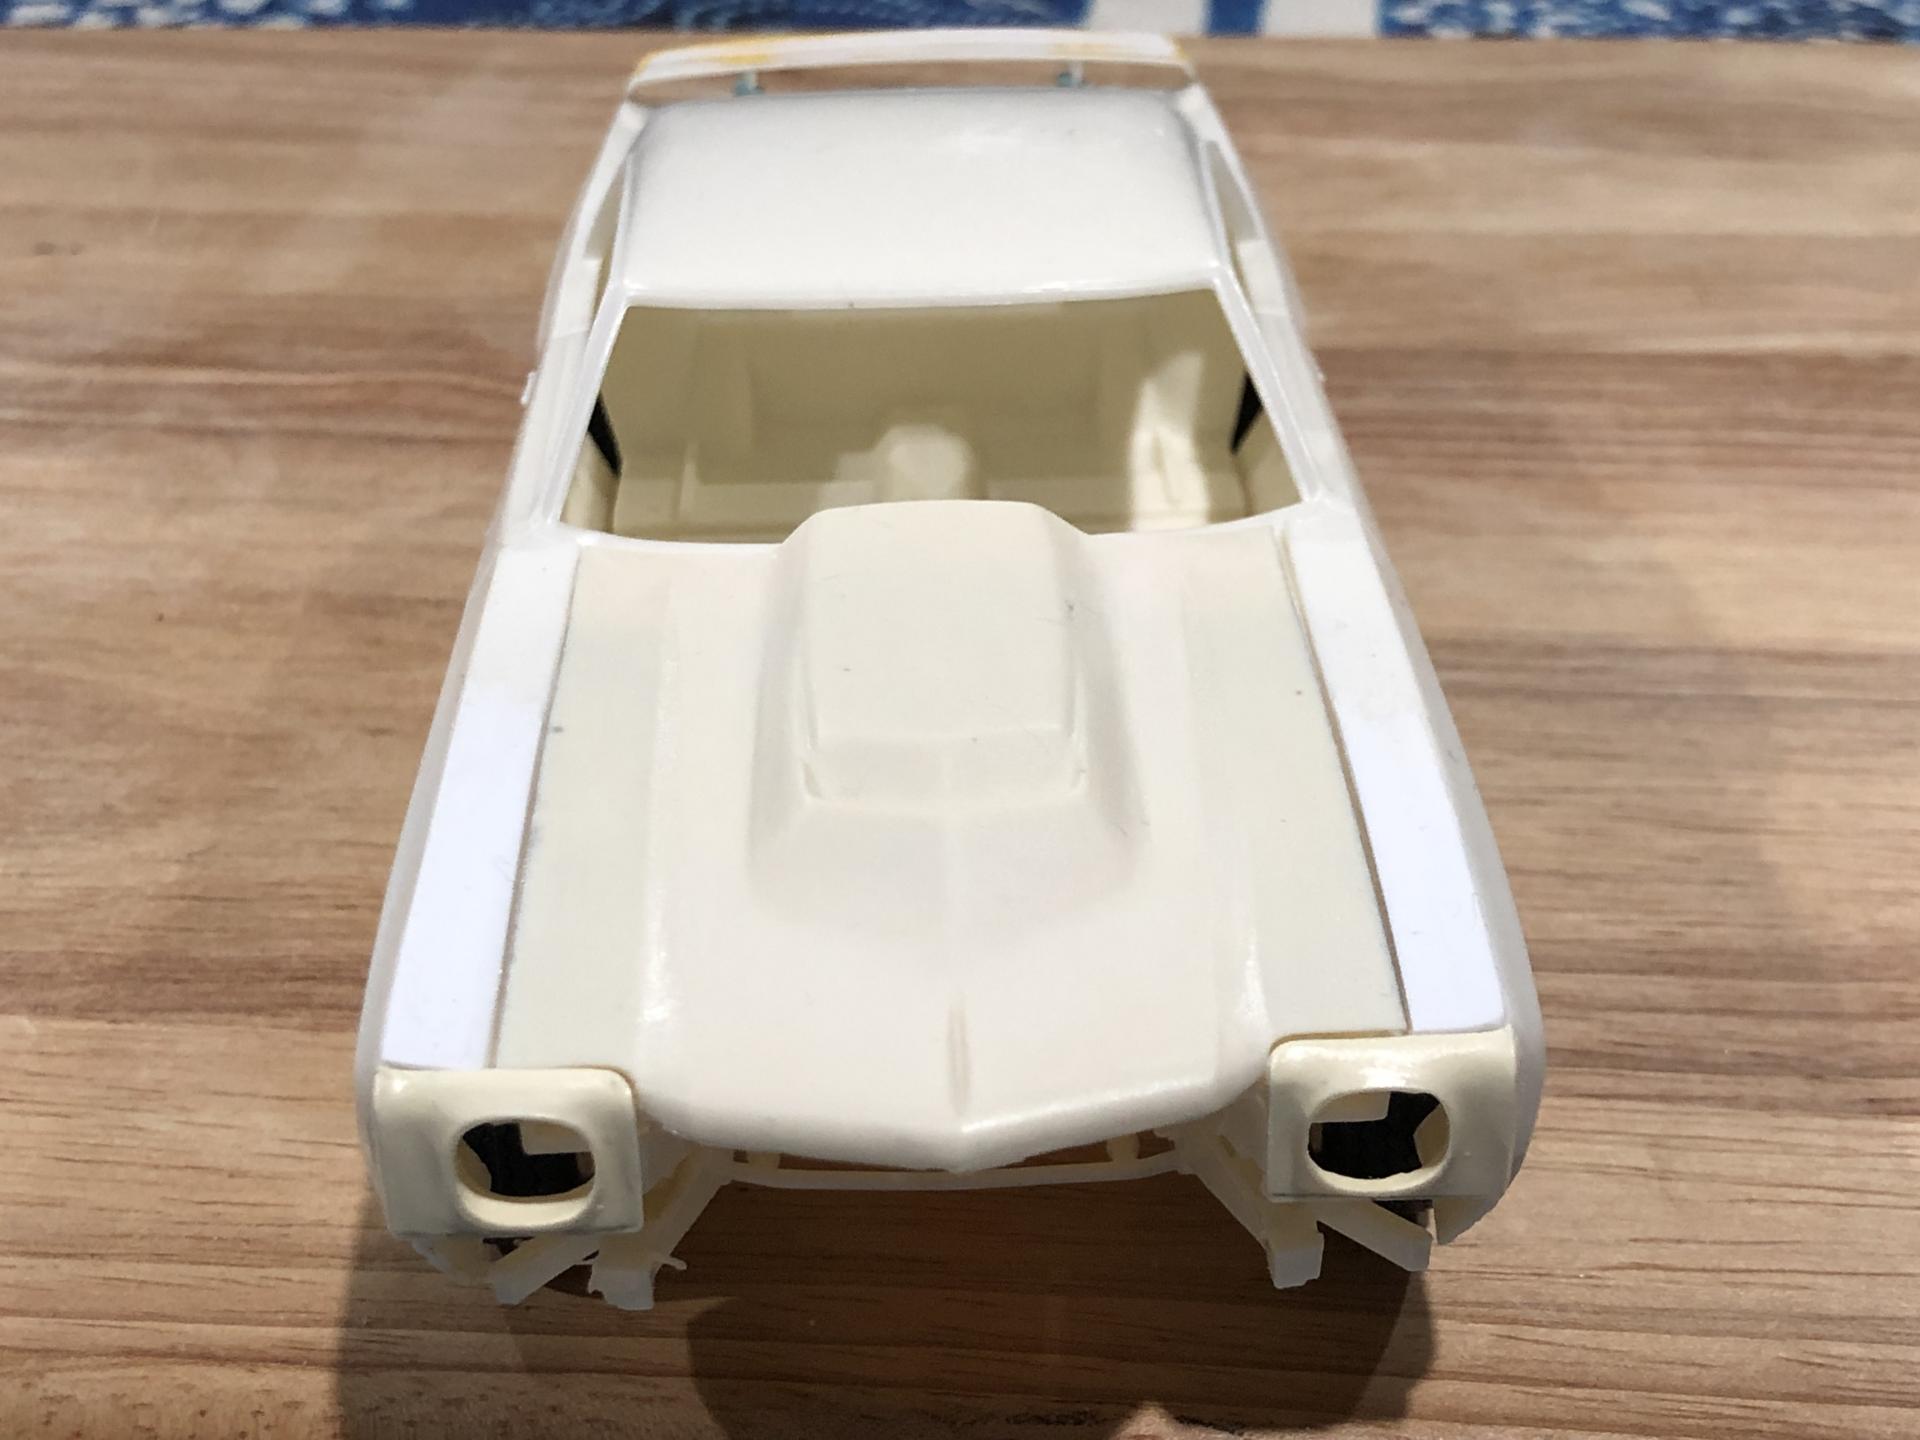
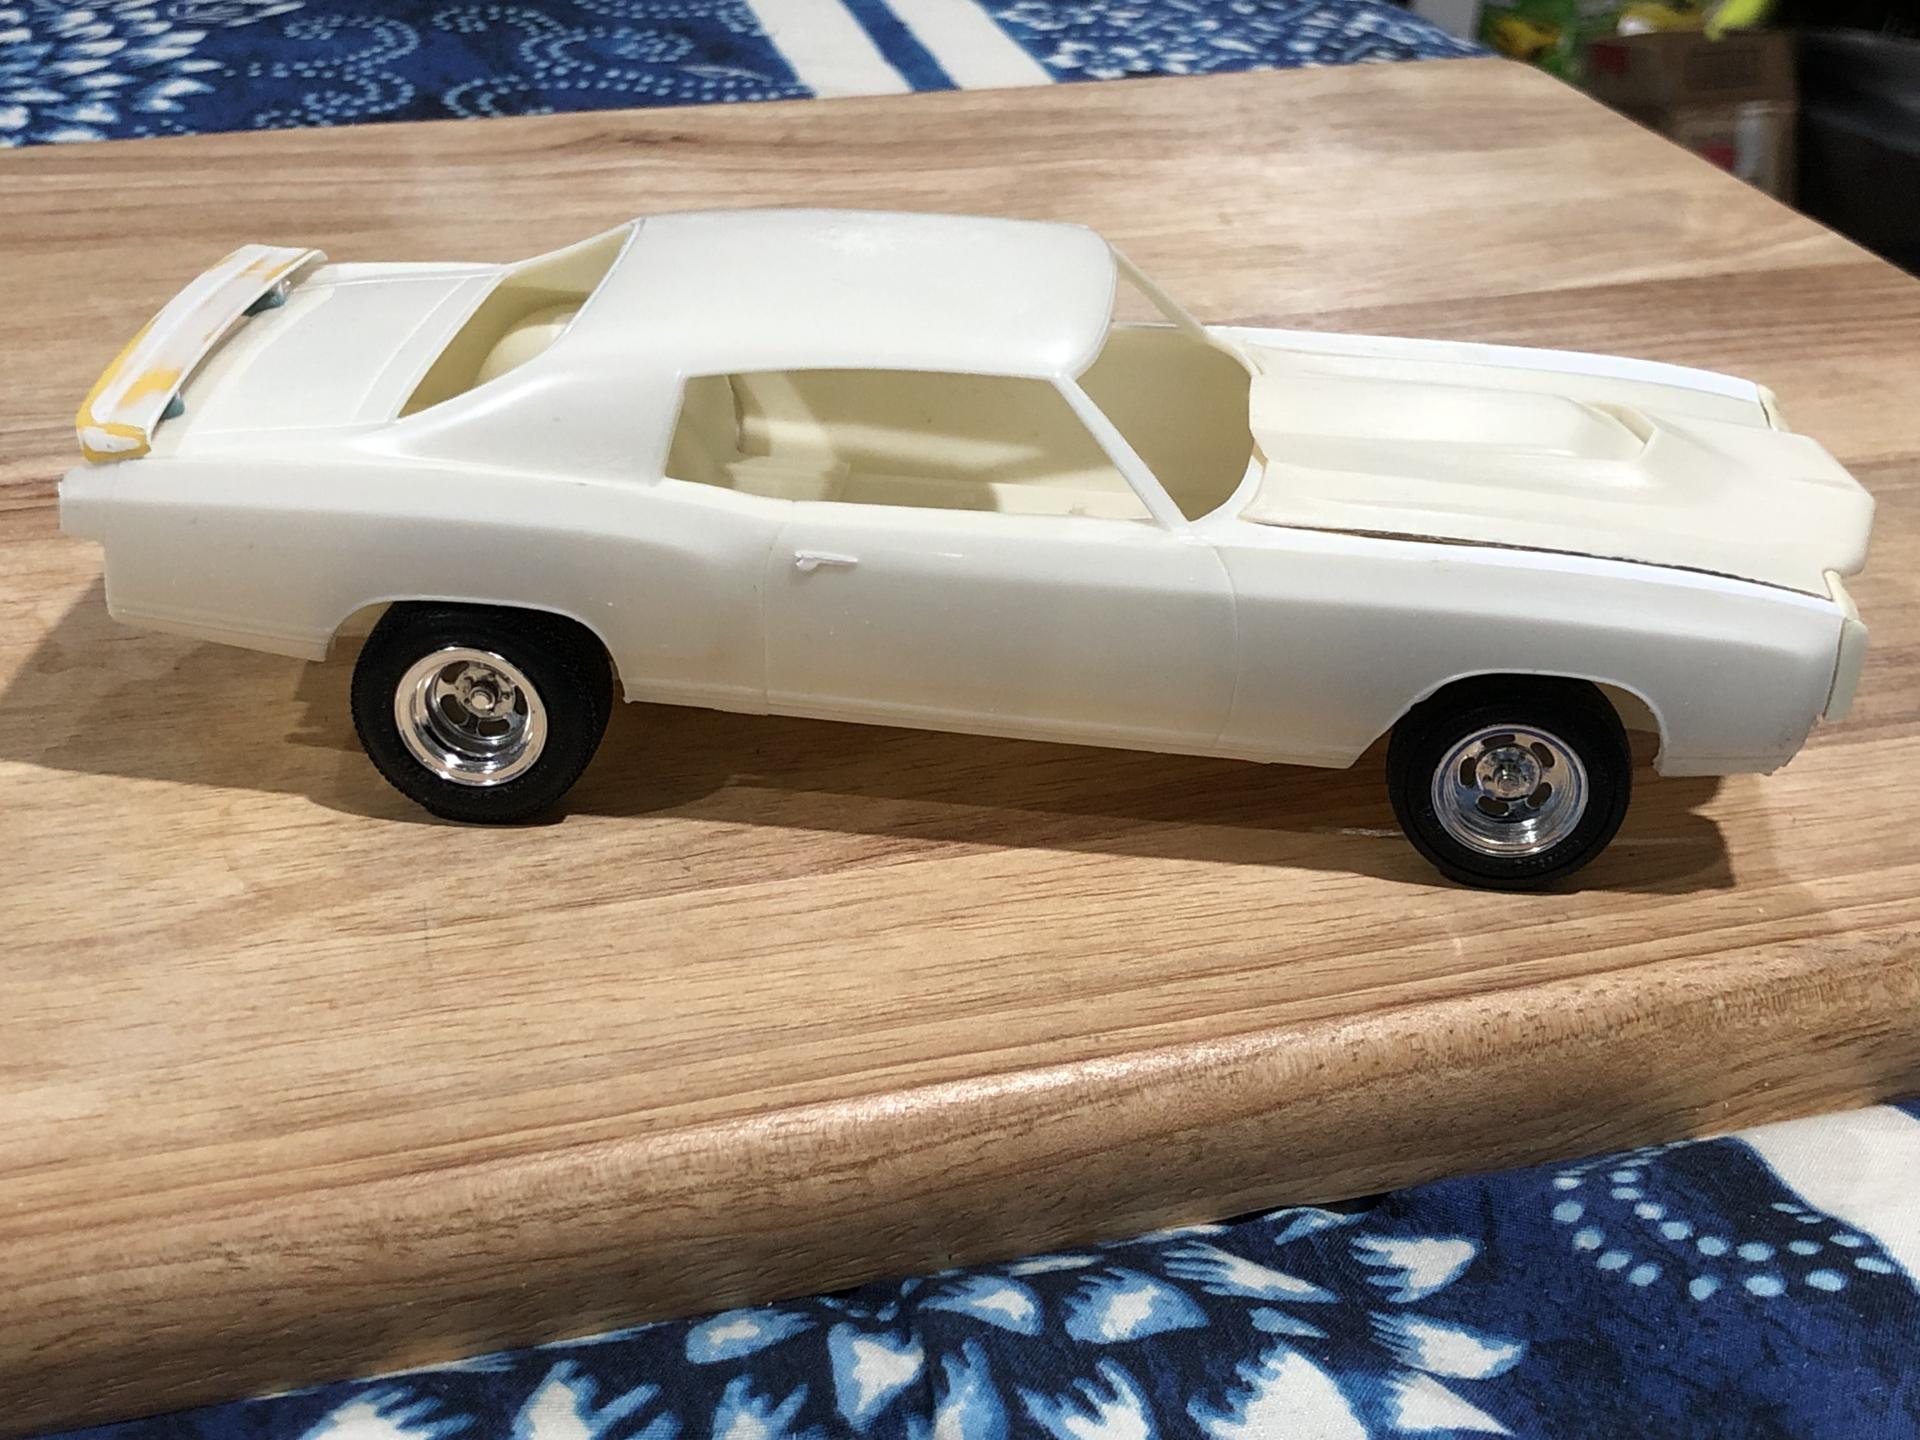
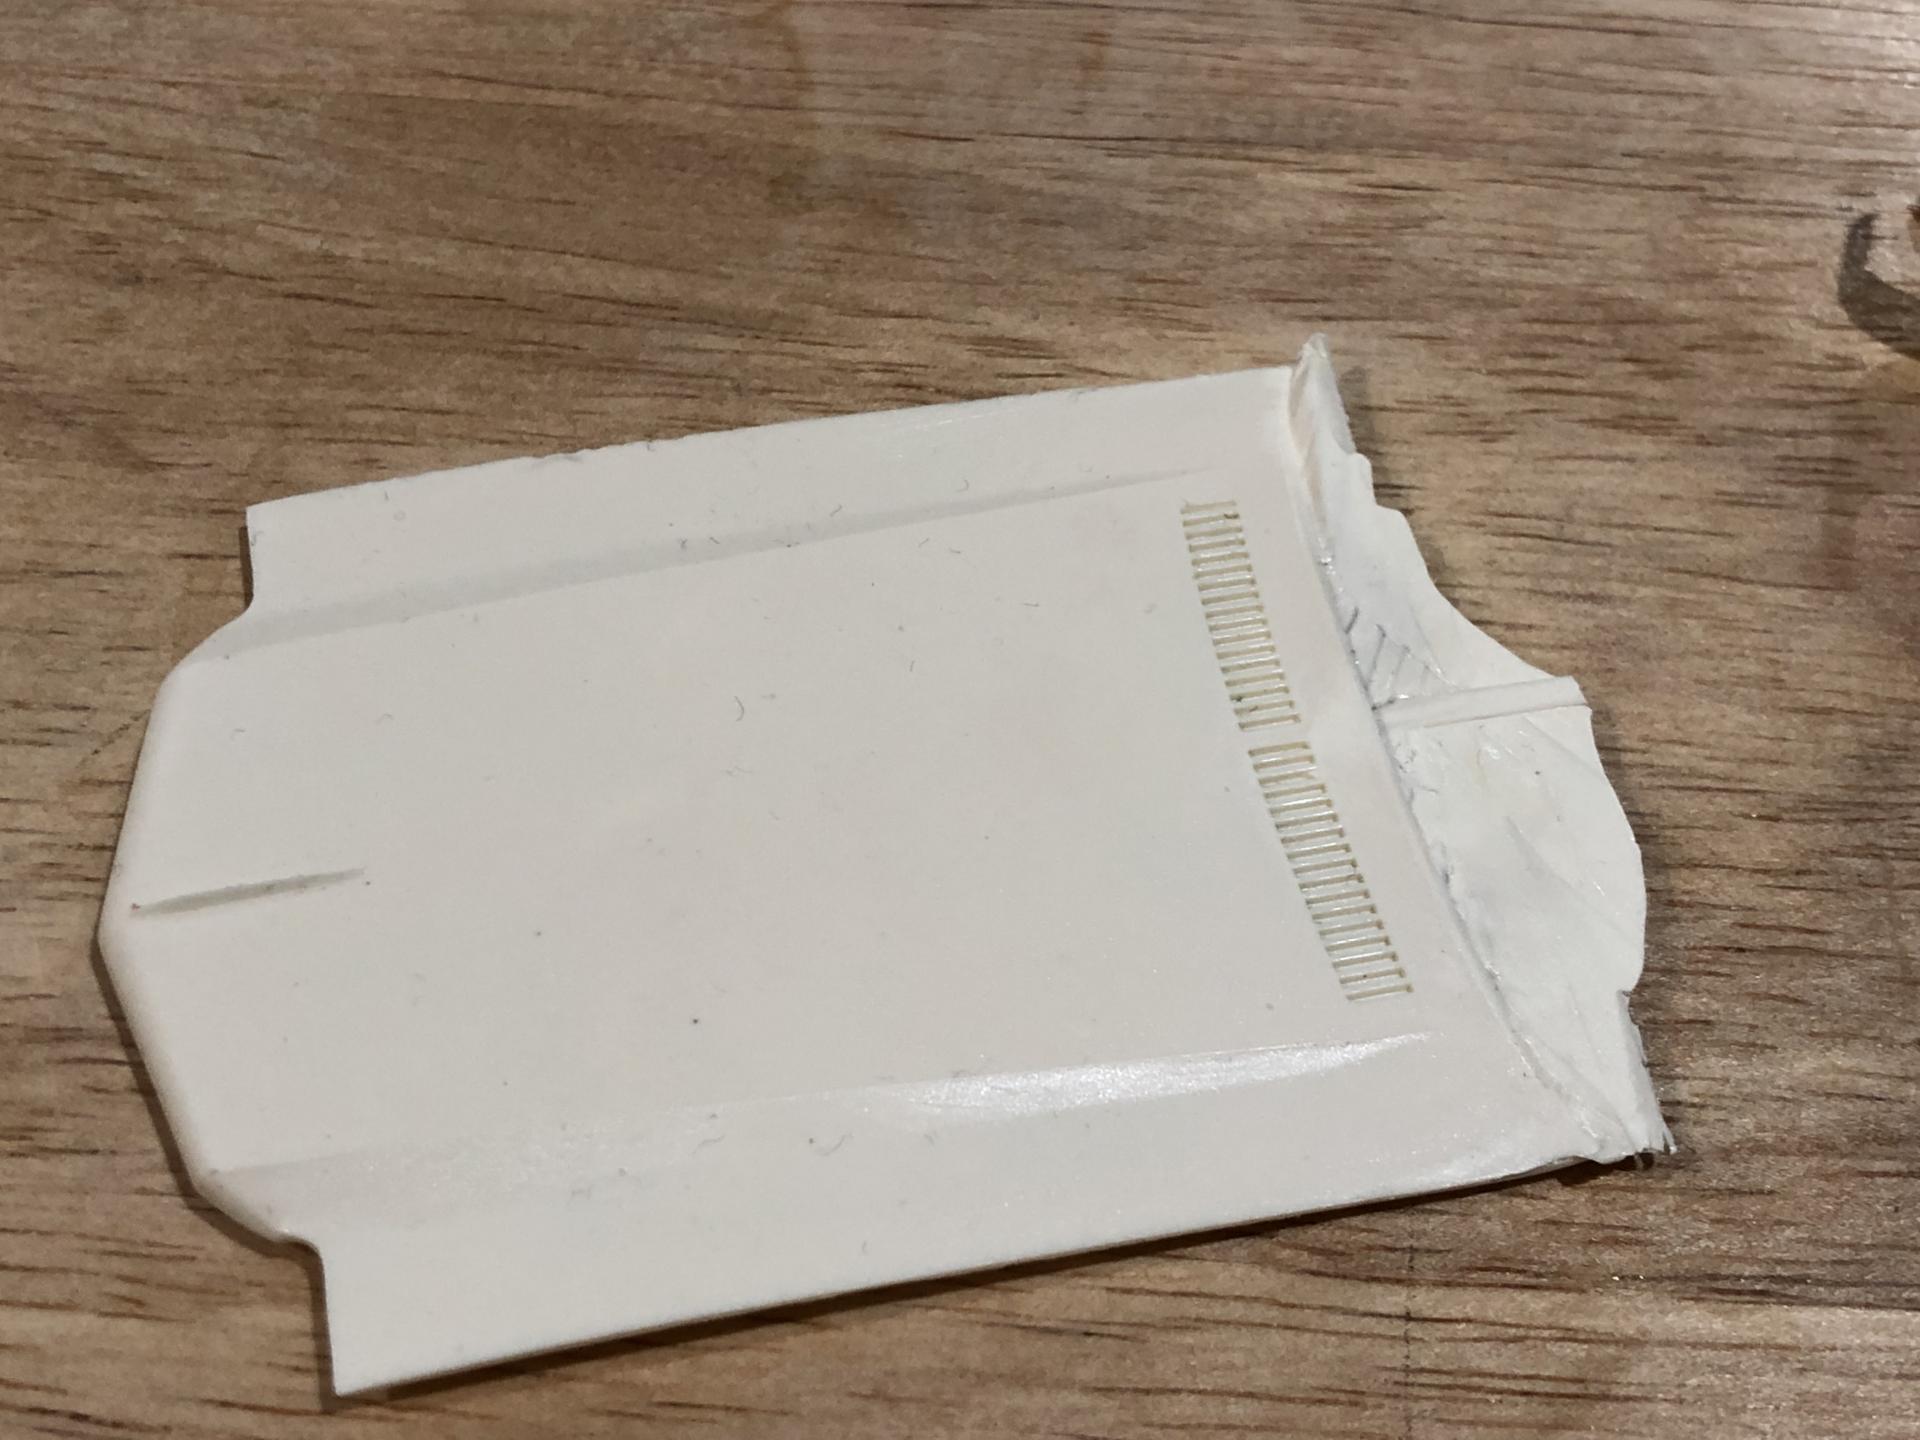
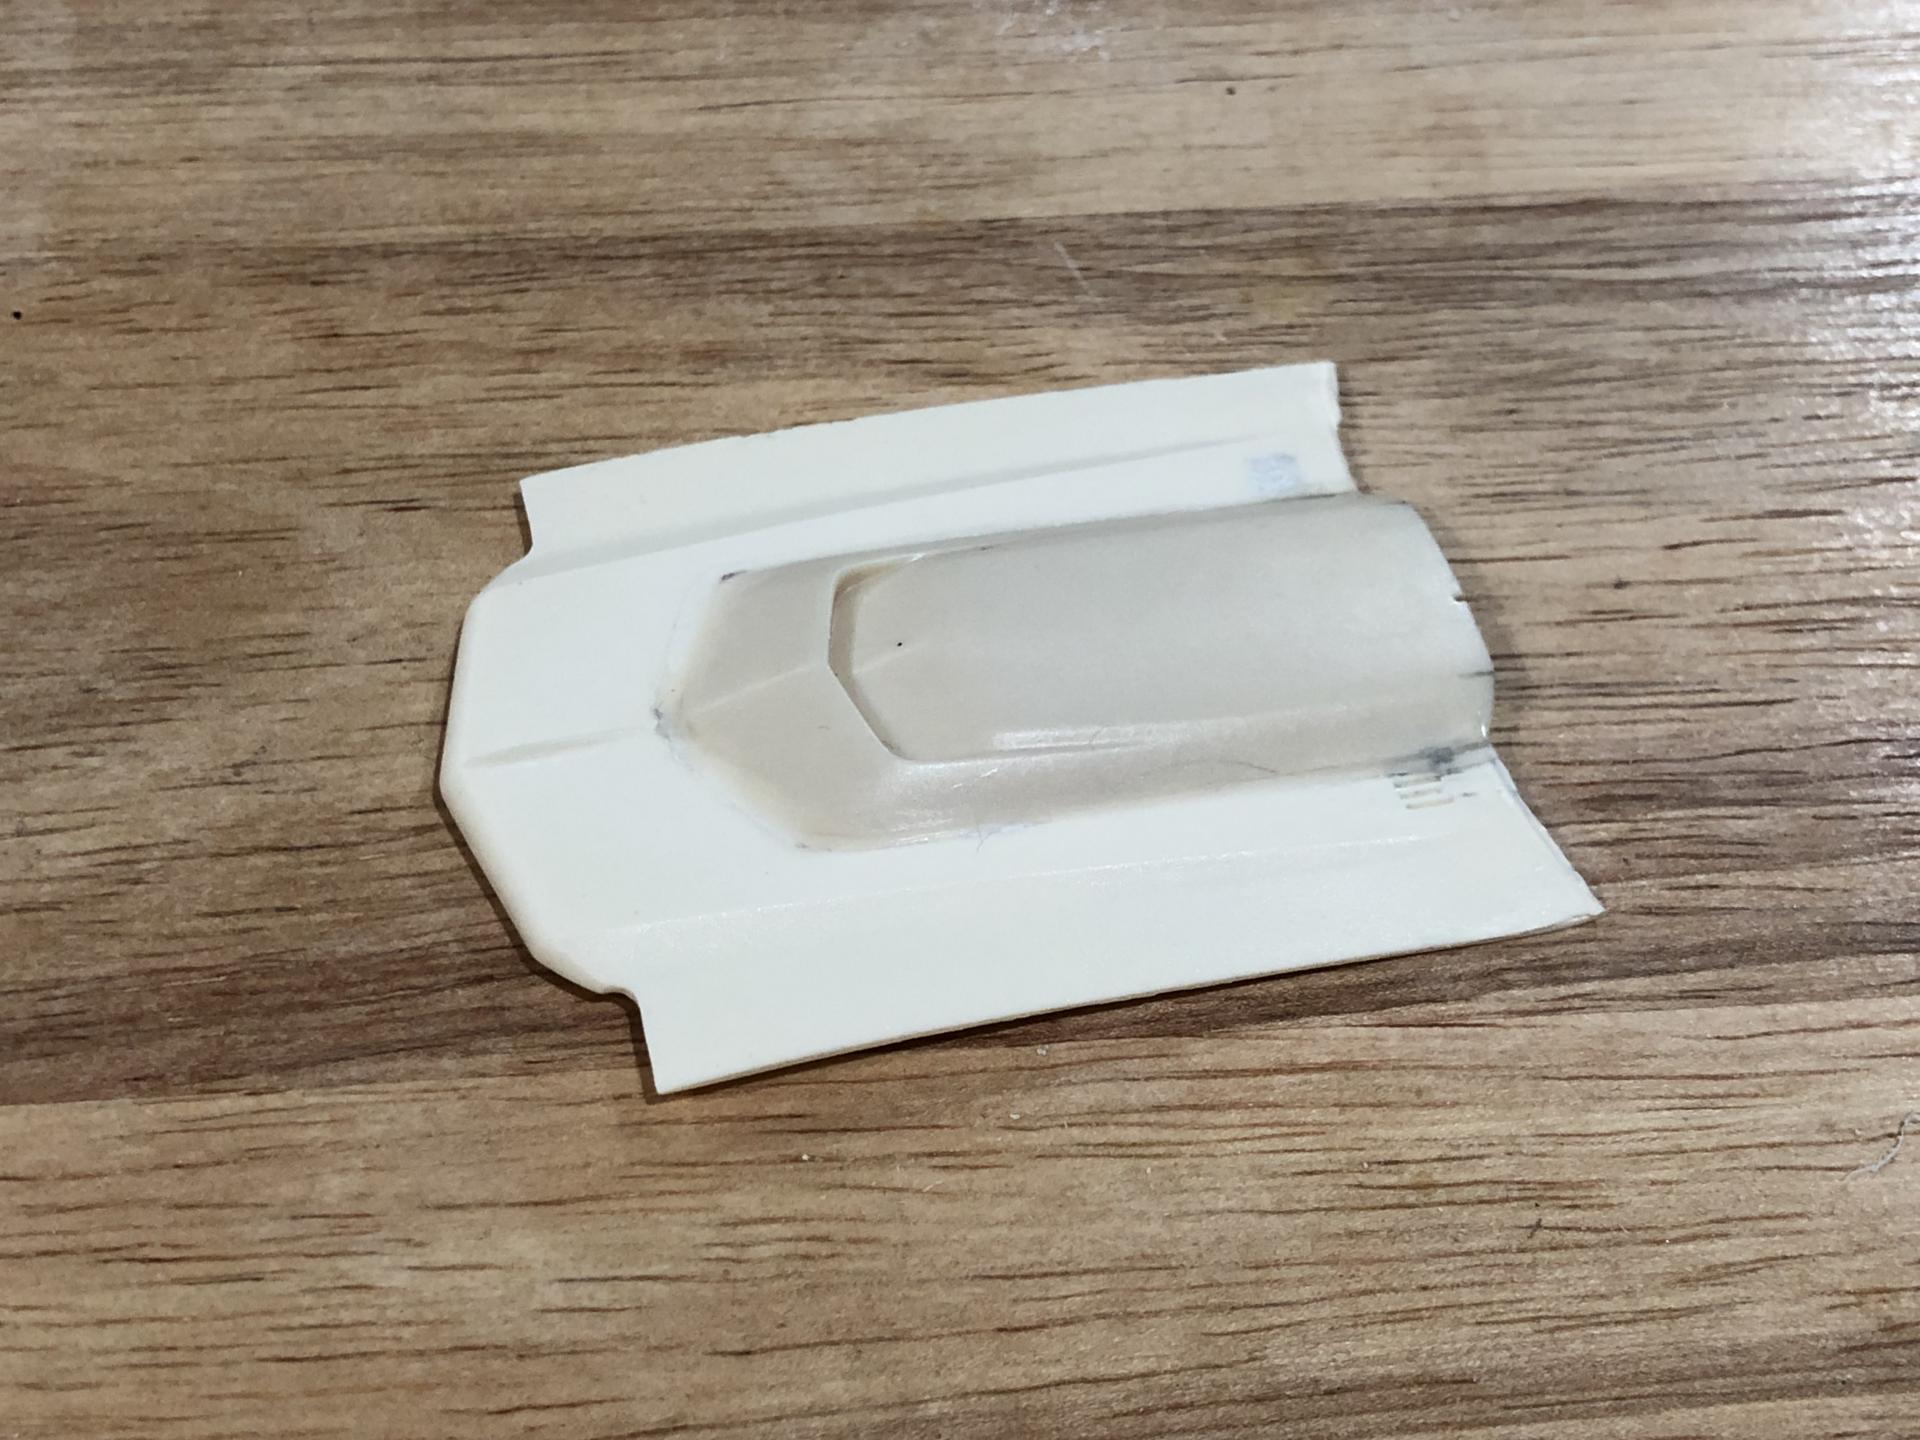
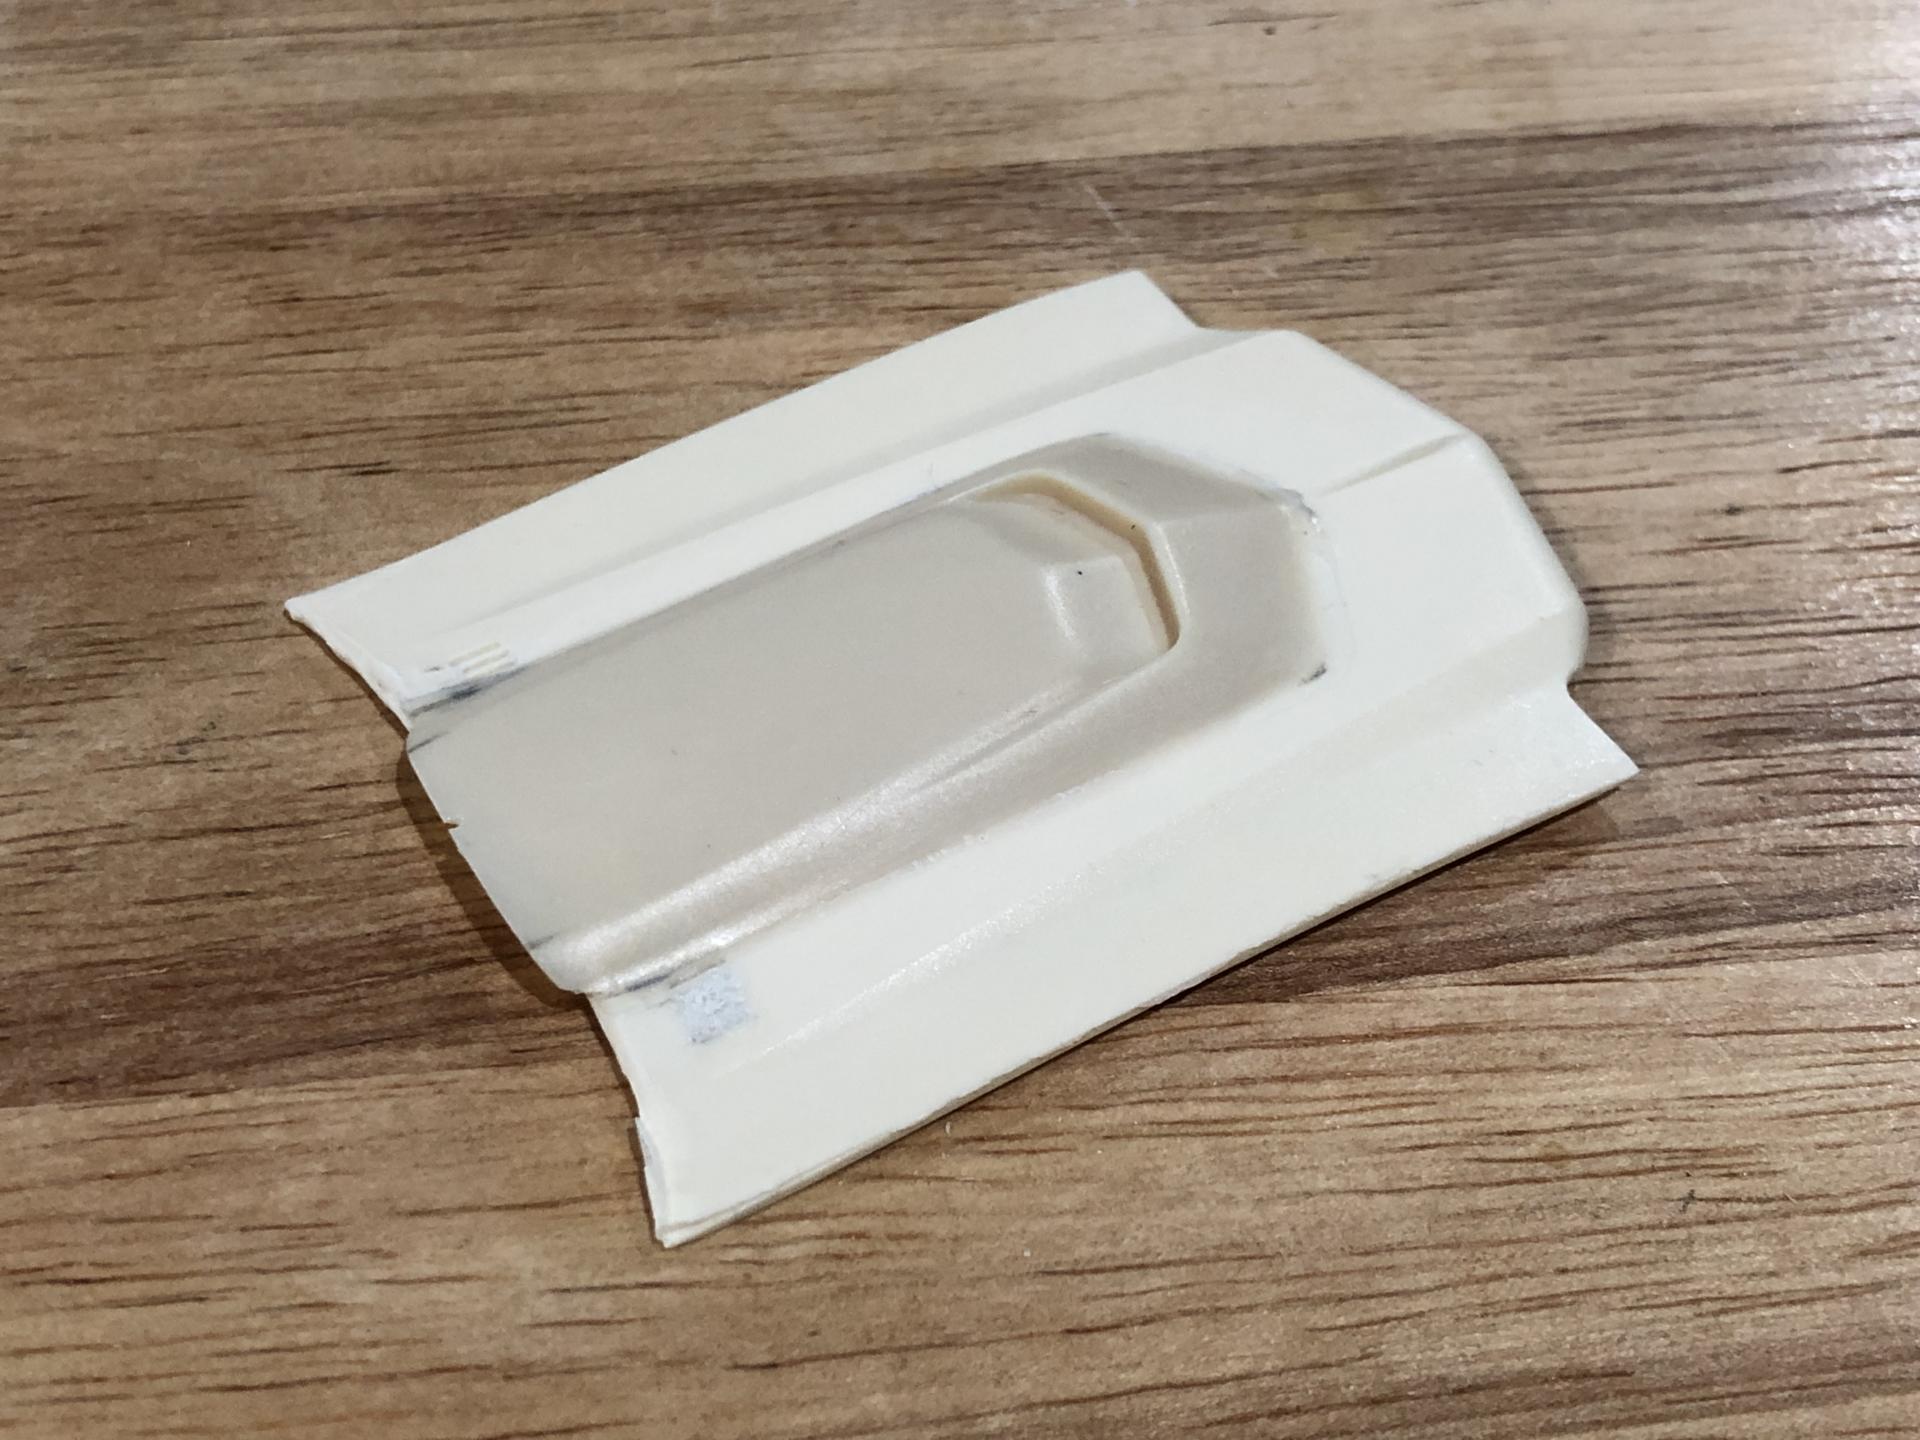
Ever since I mastered and cast this L88 hood for the 1970-72 Monte Carlo, I’ve been itching to build a “what if” Baldwin Motion Monte Carlo. I know Baldwin Motion never offered to modify the Monte Carlo when they were due. I’m hoping this will follow in the spirit of a Motion type build. The tires are from the Baldwin Motion 1971 Camaro. I cast these slotted wheels for my Baldwin Motion Phase III Corvettes. I felt that the Buick GSX deck lid spoiler fit the Monte Carlo pretty well! I’m thinking of using the GSX chin spoiler too. I look at it this way, if Baldwin Motion could get a Chevrolet Biscayne to do the quarter mile in 11 1/2 seconds, the Monte Carlo could’ve been done too. I’m going to send these pictures to Joel tonight and see what he thinks. I’m also going to ask him if there was a reason behind excluding the Monte Carlo from the line up. As always questions and comments are welcome.
-
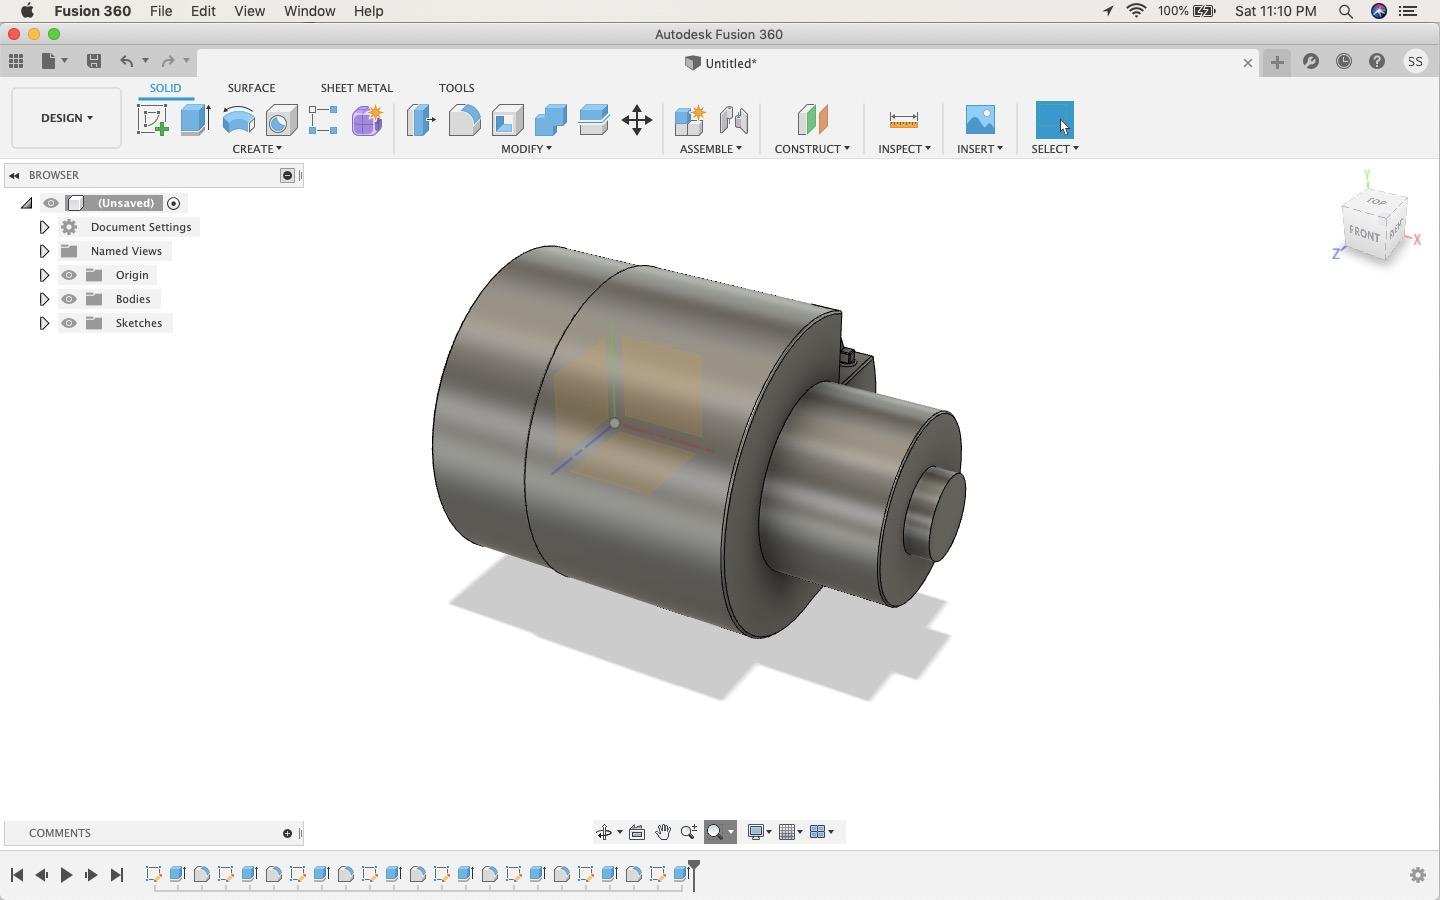
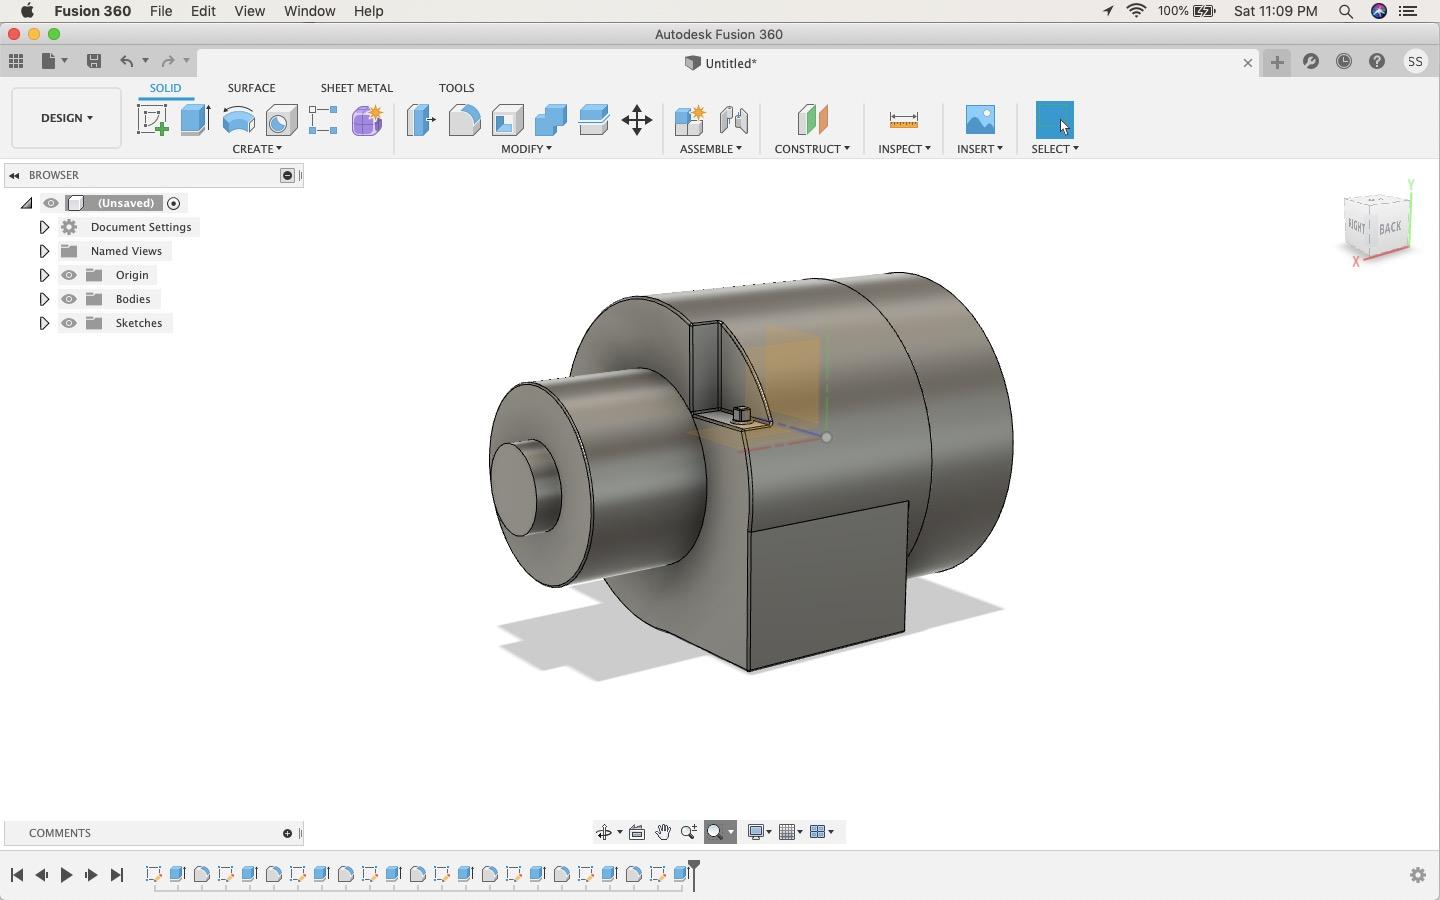
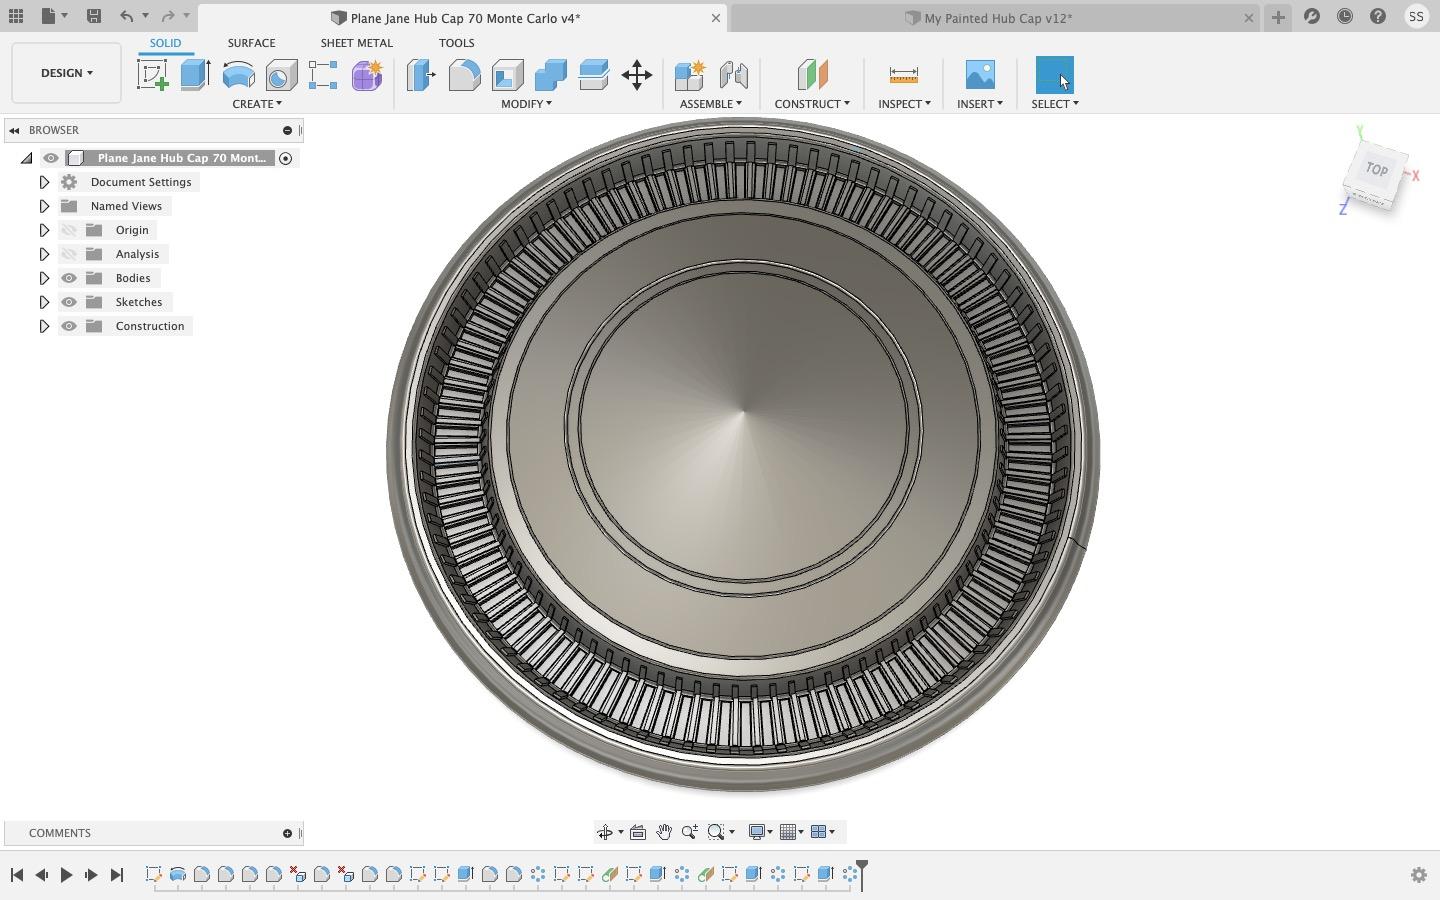
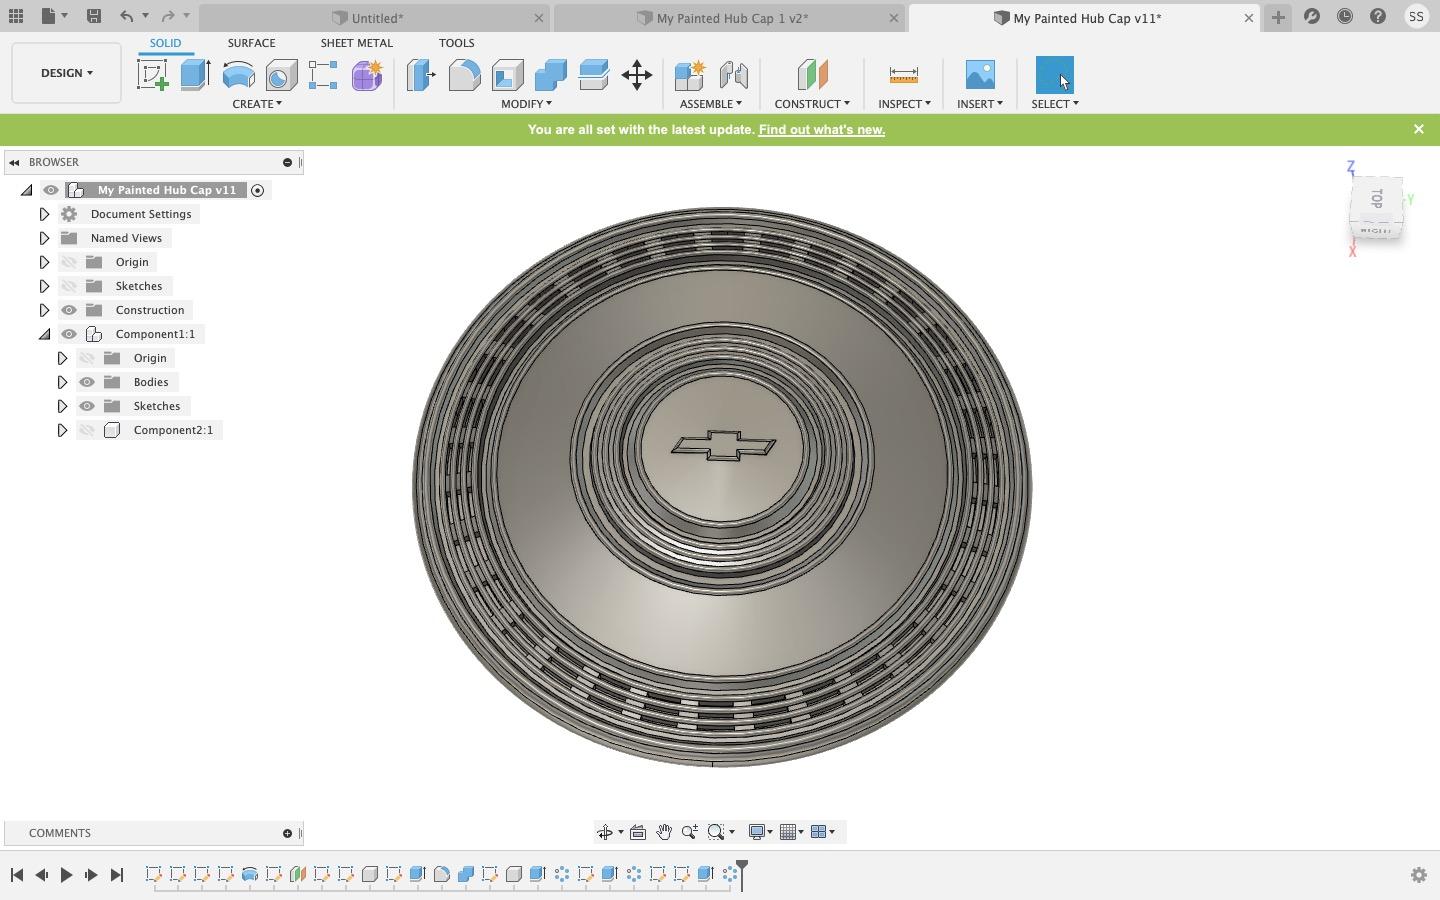
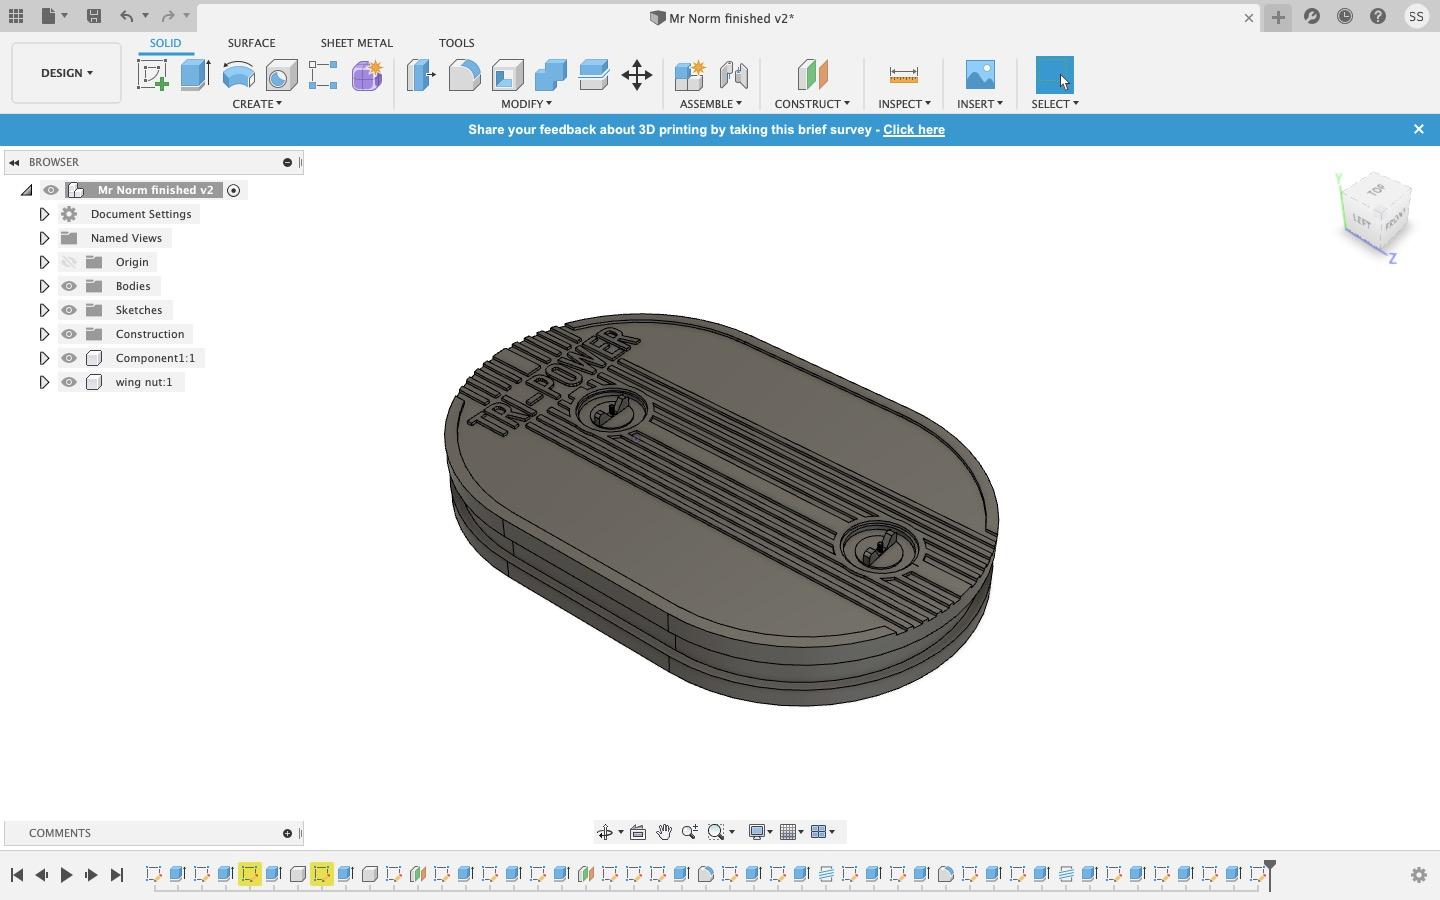
I’ve been trying to teach myself to draw in 3-D the last two weeks. I’m using Fusion360 And I’ve created several different projects from YouTube videos. My first solo project was the painted hubcap pictured below. It’s for the 1970 Monte Carlo. My second drawing is the plain Jane hub cap or a base model for the 1970-72 Monte Carlo. After that, a friend of mine asked me to draw an air cleaner for Mr. Norms Dodge Tri-Power. And presently I’m working on a Hone O Drive for my Motion cars.
- 19 replies
-
- monte carlo
- 1970
-
(and 2 more)
Tagged with:
-
I'm going to build this as a hopper, because while I was watching YouTube for lowrider research, I became amazed at the pounding these cars get, especially the hoppers. I really like it when the car 'statues' and balances on its rear bumper. I'll paint this with nail polish and rattle cans and also use a few decals.
- 44 replies
-
- monte carlo
- lowrider
-
(and 1 more)
Tagged with:
-
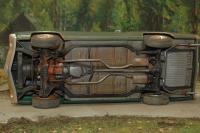
I can't seem to stop making lowriders at the moment. I'm obsessed or something. anyway, here's my go at a 1970 Chevy Monte Carlo. I reworked the rear suspension to drop it as far as the chassis would allow and converted it to a 4-link setup. Paint is all nail polish, with rattle can clear. It's base colour is orange, in case your screen makes it look red. The interior is Tamiya orange with some gold flake highlights. Any comments or questions are welcome. thanks for looking
-
New project on the bench. I have a body with the front and rear bumpers molded in for this one. I’ll take pictures when I dig it out. I started it over 15 years ago. Maybe Snake will let me throw it in the next “Bring Out Your Dead” assuming there’s one starting in January. It is sitting a little high in the rear here. I notched the top of the tub’s and move them up here. I think I will drop the front a little too. Here is the inspiration!
- 4 replies
-
- pro street
- monte carlo
-
(and 1 more)
Tagged with:
-
Below are some slot car bodies I made for a friend. He had a pretty good stash so we worked out a deal where I got a kit of MY choosing and he would select a kit for the body. I would detail out the body for him and get to keep all the rest of the kit for parts. The silver Super Bee turned out really nice. Note: the wheels shown were only for mock up pics.
- 5 replies
-
- super bee
- monte carlo
-
(and 2 more)
Tagged with:
-
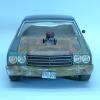
This Monte Carlo was built as a vague recreation of the copper Monte Carlo my dad had when I was a teenager. (Oh the stories that back seat could tell, LOL!) Anyway, this was an open, pre-painted kit I got on ebay. I didn’t like the purple, so I repainted it metallic copper. I usually build my models with the factory “High Performance” option which usually includes a special hood. Unfortunately, Monte Carlos were never offered from the factory with any hood other than flat. However, I learned that PSF Hobbies offers a custom 70 Chevelle Cowl Induction hood for this kit, so I got it. During the build, I had progressed about a third of the way through before discovering that the suspension pieces were missing. Fortunately, members of the DMPCC came through and gave me the missing parts I needed. The kit is surprisingly detailed for an AMT offering. It has details such as separate control arms for the 4-link rear and a complete multi-piece A/C system in the engine compartment. I also added chrome valve covers and air cleaner from my parts box. The gage faces have been decaled from a Keith Marks decal set.
- 12 replies
-
- 1970
- monte carlo
-
(and 2 more)
Tagged with:
-
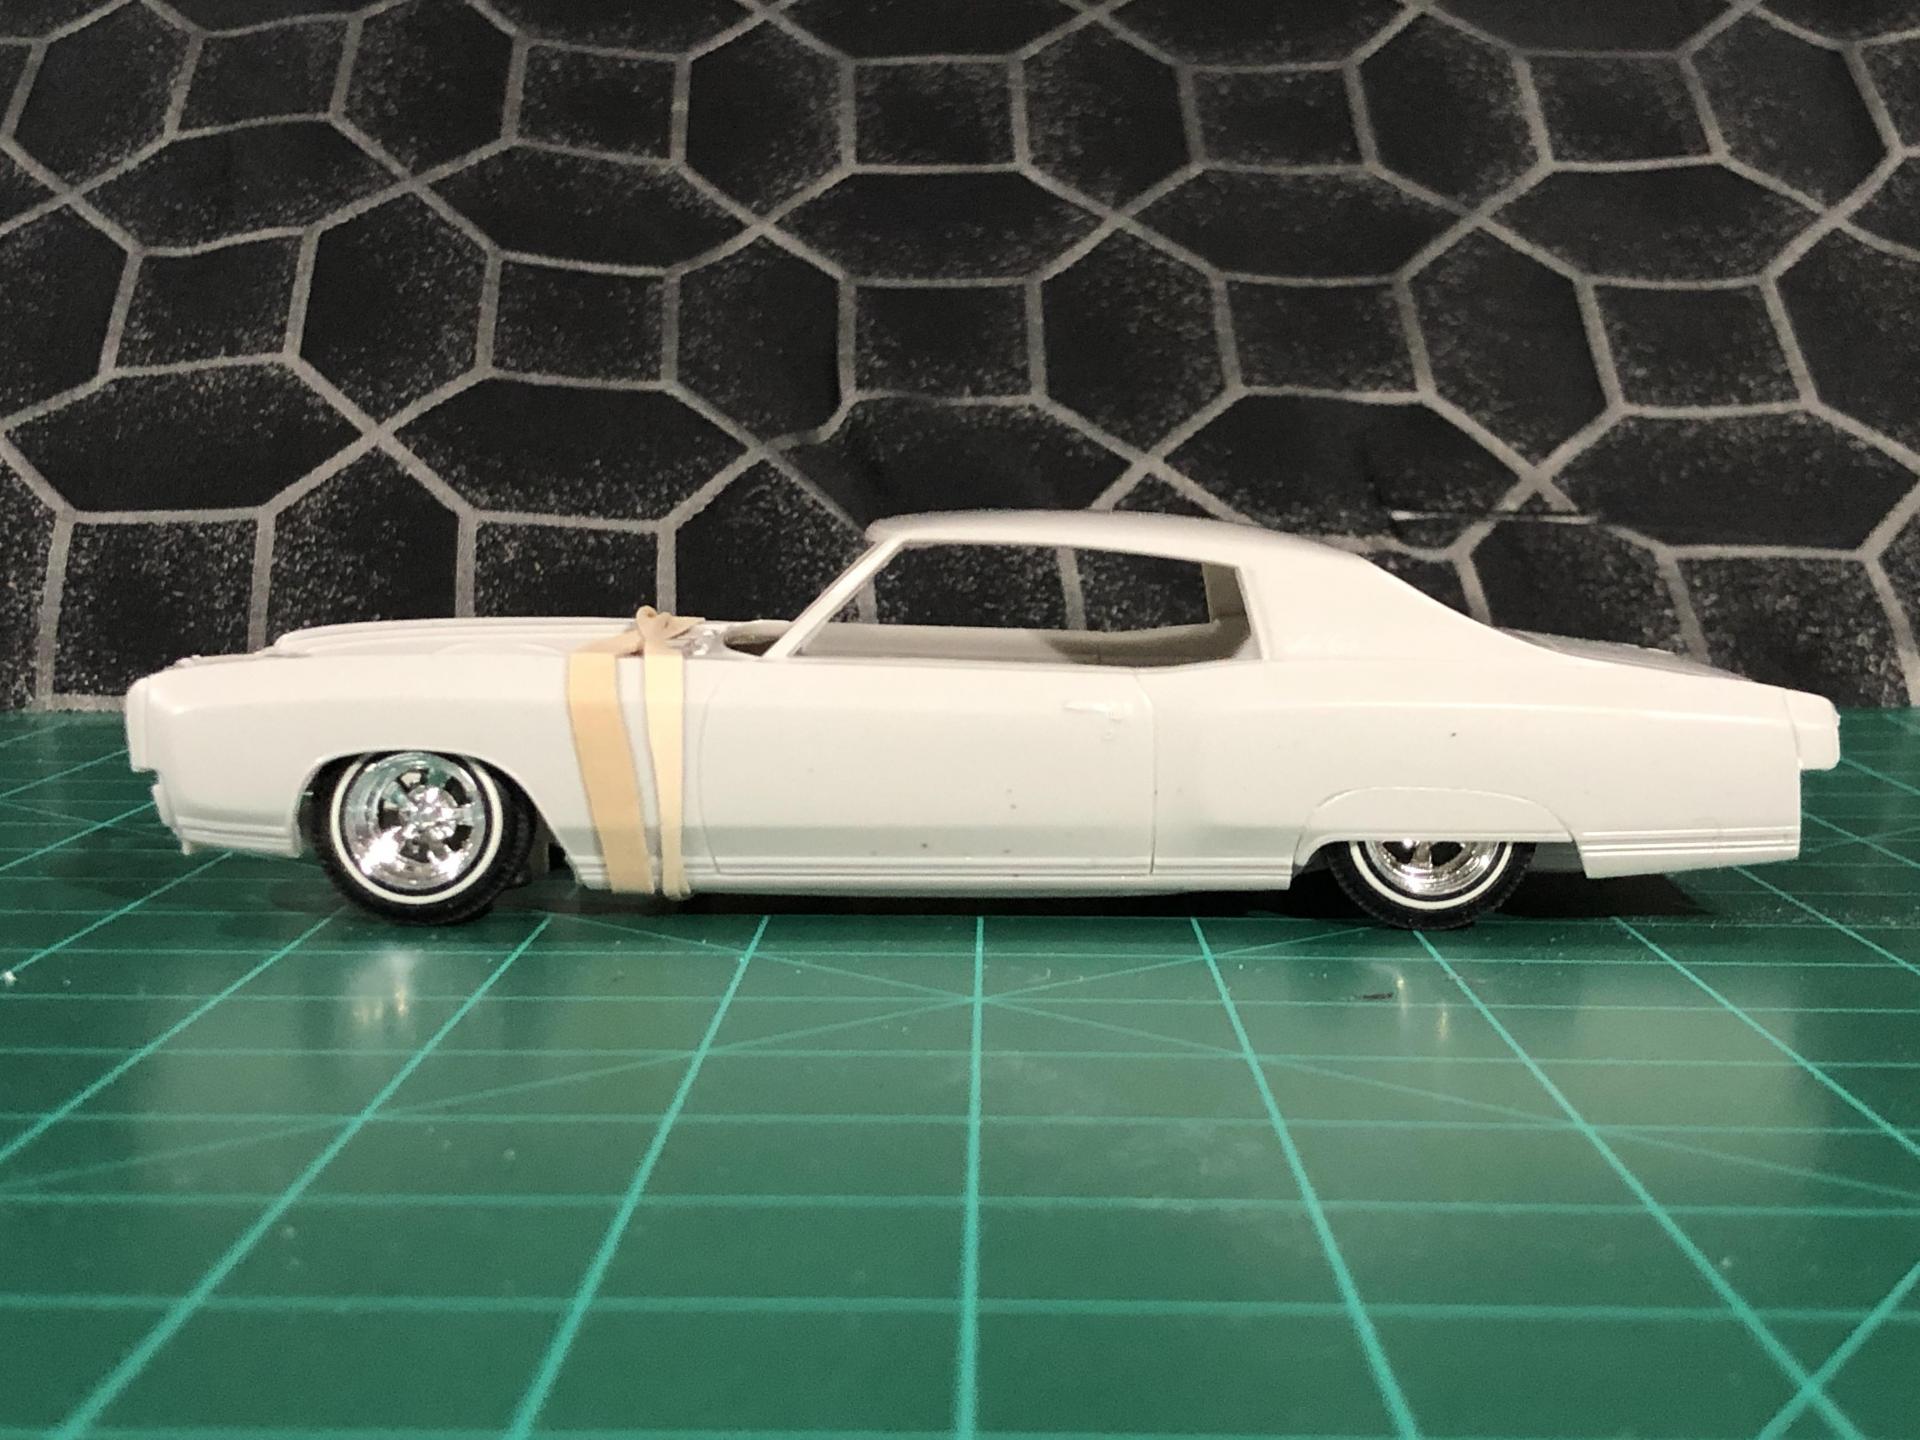
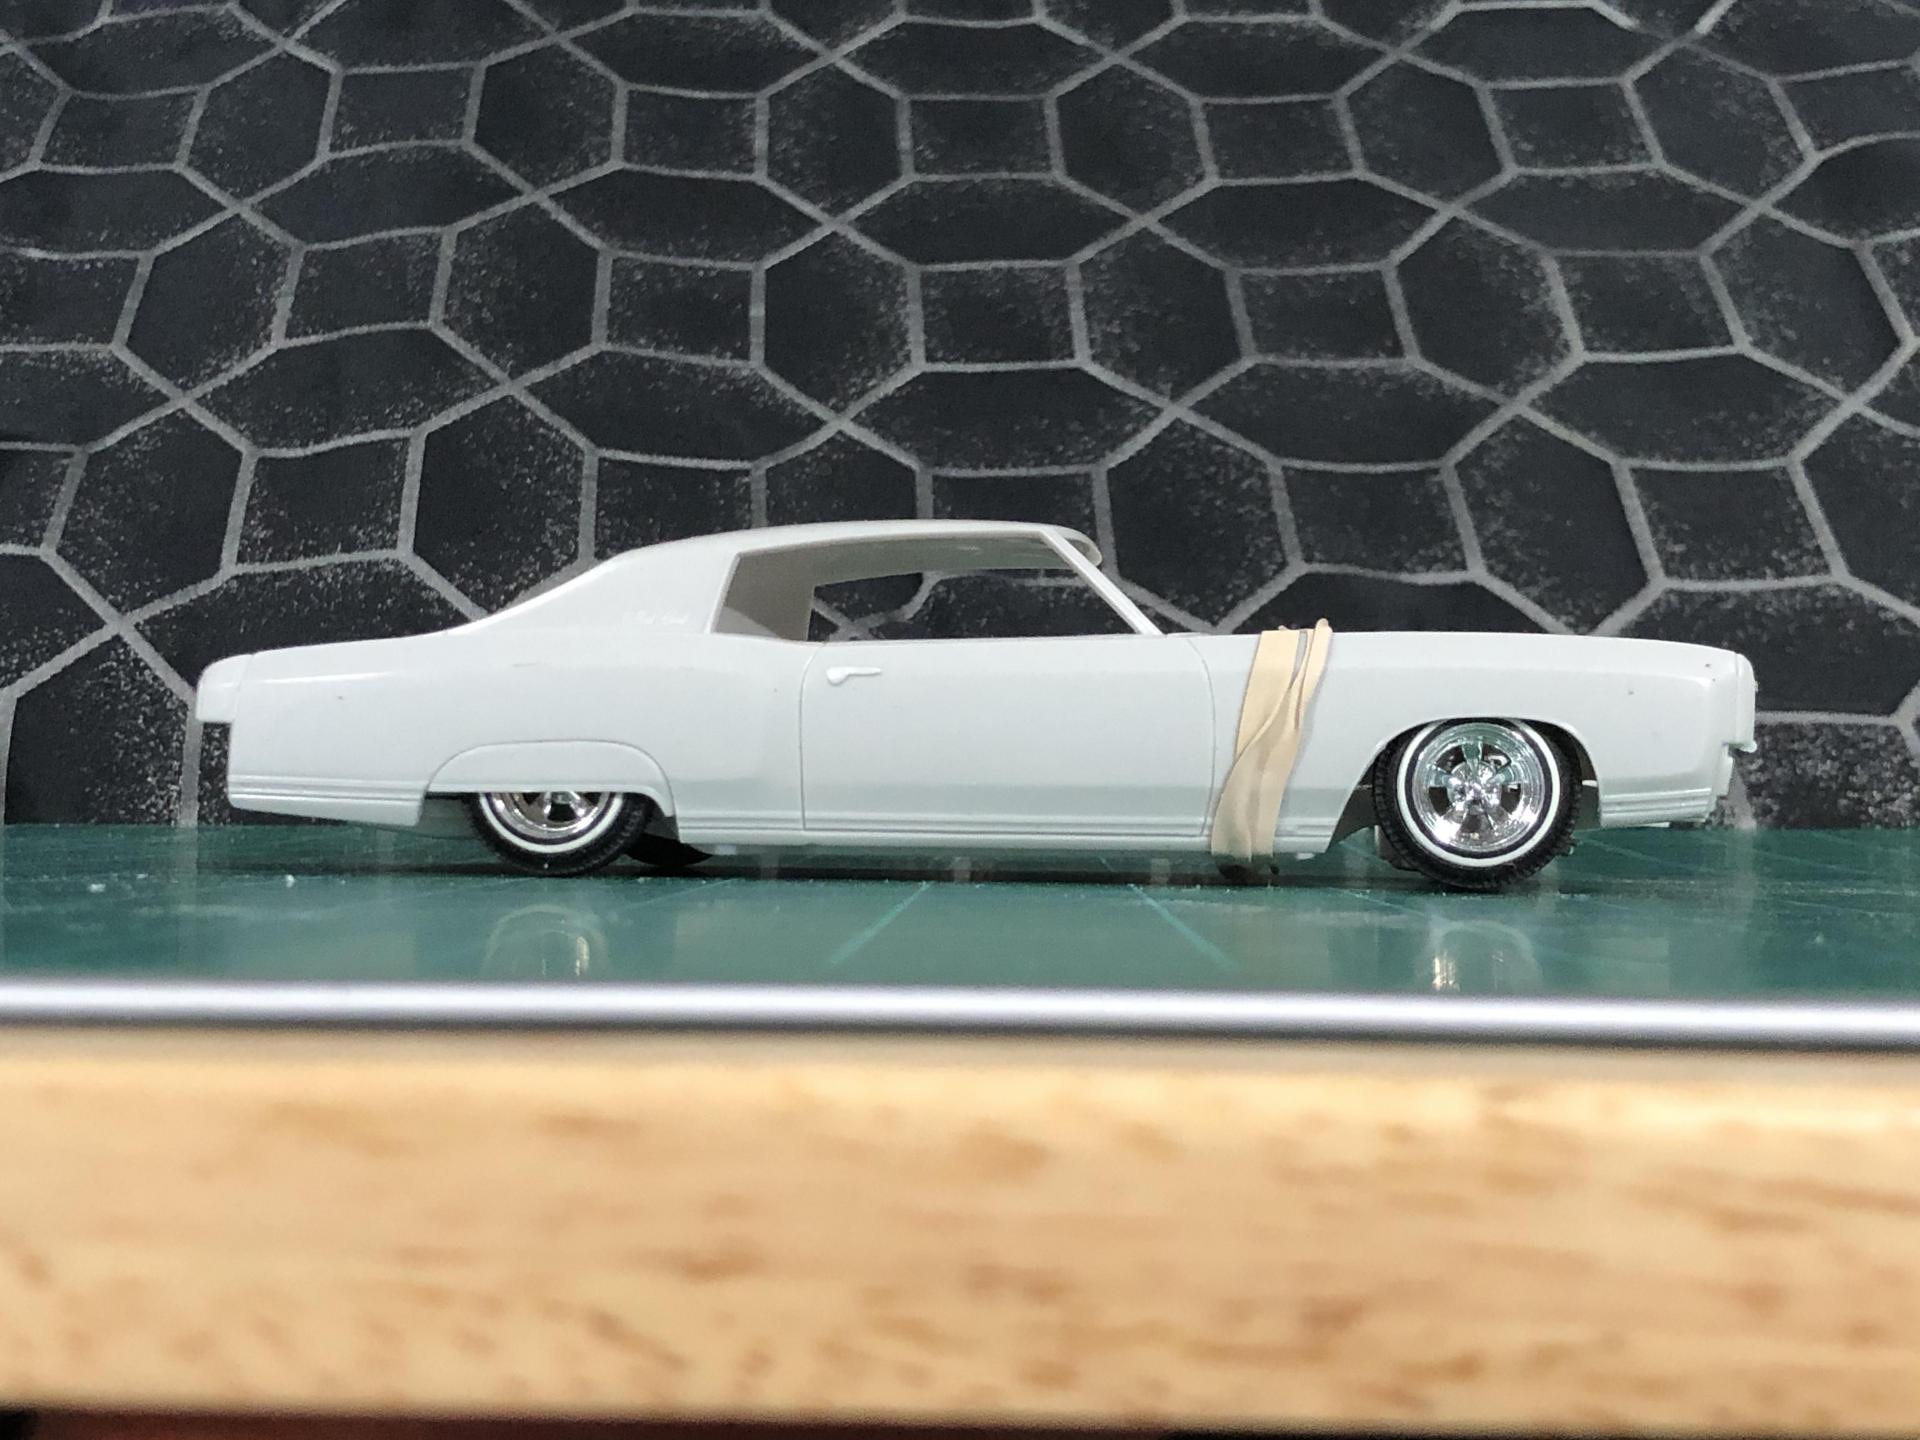
I’ve always admired the workmanship that goes into low riders. Especially the multi layered paint jobs. There’s a guy that shows his models at our local LIARS show and the NNL East. His work is fantastic and always inspires me. After seeing his work a couple weeks ago I’ve decided to dip my toe into the water and give it a try. I’ll be converting the 70 Monte Carlo into a 1971. I don’t know if I’m going to do a multi color paint job or maybe a two-tone. But I worked tonight on the ride height. I wanted it Looooooooow!
- 8 replies
-
- 1971
- monte carlo
-
(and 2 more)
Tagged with:
-
Just finished this Monte. I swapped out the rear axle for something with better detail, scratch built coils and hydraulic struts and made a 4-link suspension setup. Rides on Pegasus wheels and painted with automotive paint and nail polish. Flocked carpet with matching headlining.
- 19 replies
-
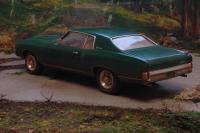
Besides being a Corvette enthusiast, I've also been partial to Monte Carlos. I've owned a '73, a '74 454, a 94 Z34, and a 2002 SS. This is the only Monte Carlo model I remember building many years ago. Not my best paint job but looked pretty good from a few feet away.
-
The 1968 Baldwin Motion hood is in a mold box and awaiting silicon molding. But that won’t happen until Wednesday night. In the meantime, since I will be pouring silicone, I figured I would pop out another custom hood for casting. As you may have guessed from the title, it’s a hood for a First Generation Monte Carlo. Baldwin Motion never offered the Monte Carlo as a package in their Phase III line up, but I have always wanted to build a “what if“. The L88 hood was and natural choice for me since that’s what they put on the 1970 Chevelle. Plus the Monte Carlo has such long hood, the could be made longer, as on the 1973 and later Corvettes. I would also like to put the 1969 Camaro cowl induction hood on a Monte Carlo hood. It too will need a little lengthening.
- 3 replies
-
- 1970
- monte carlo
-
(and 2 more)
Tagged with:
-
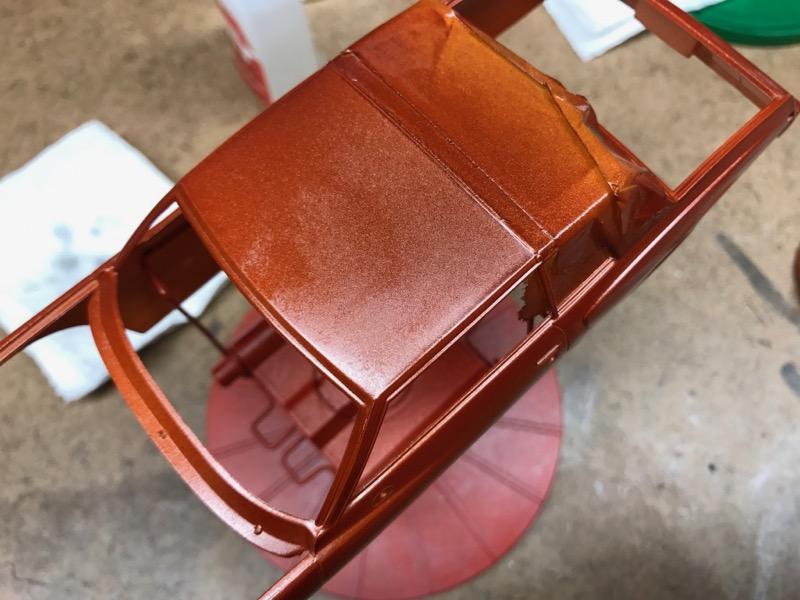
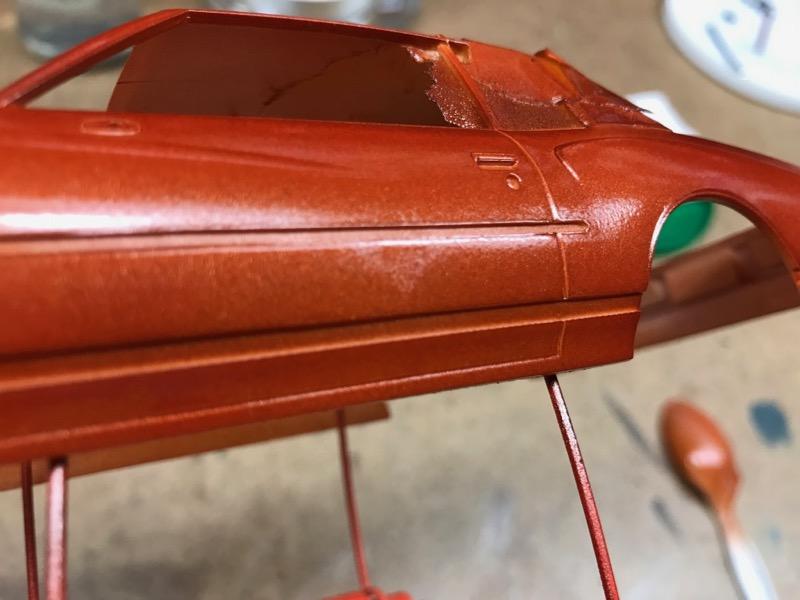
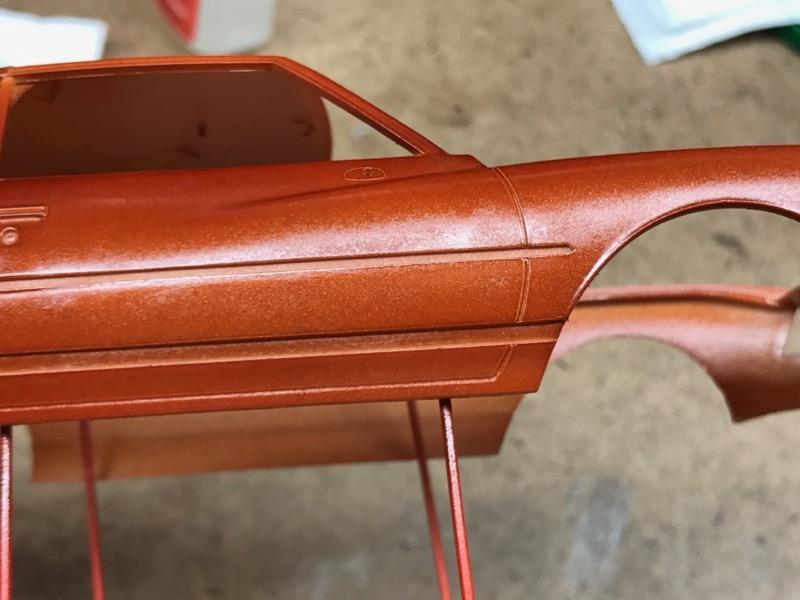
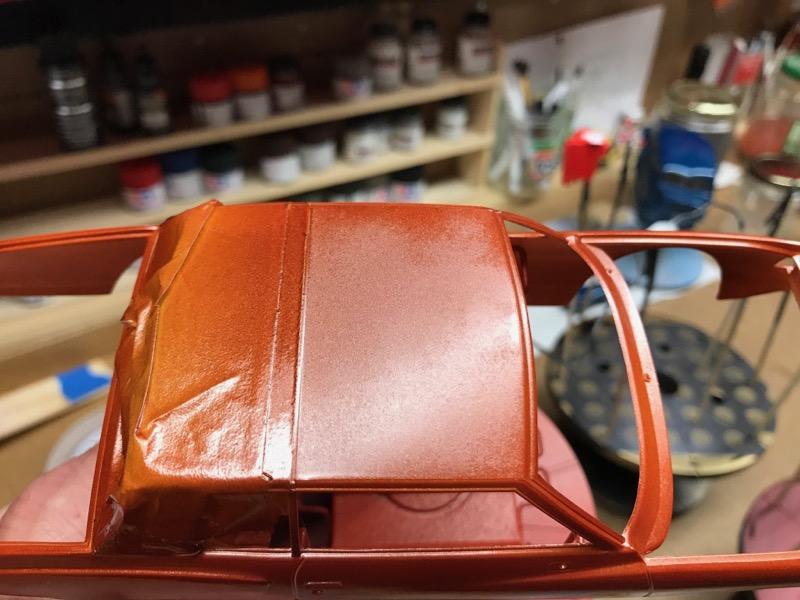
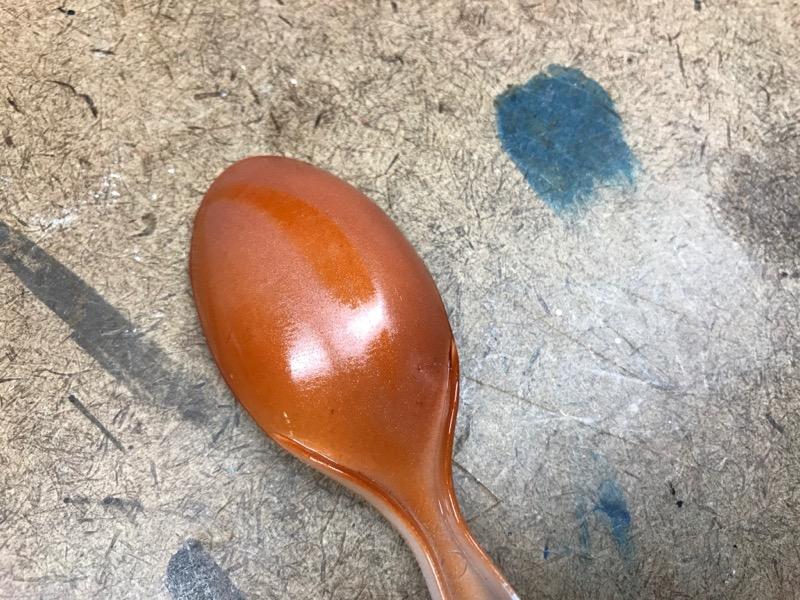
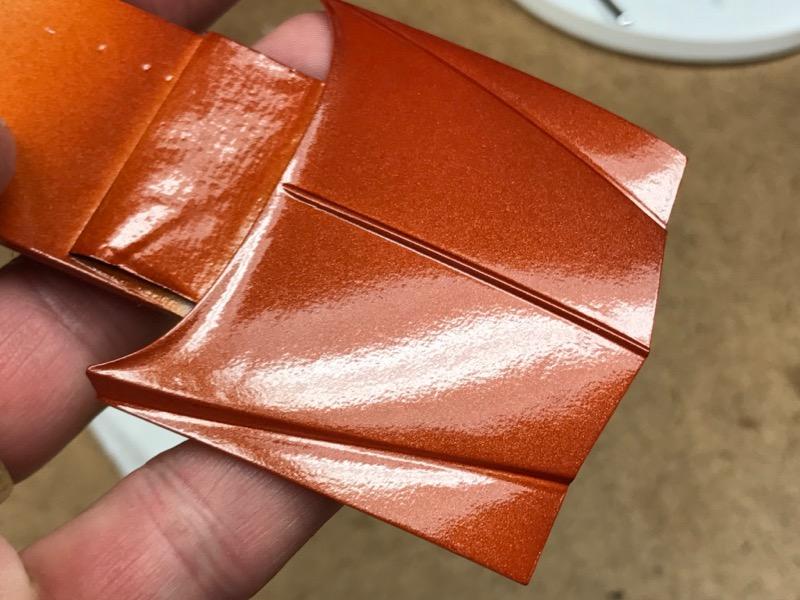
So I'm having another interesting problem with Scale Finishes paint. I am not sure it is specific to that brand. Here is the story. First, spoons. I very often test paint on plastic spoons. I bought a box of 1000 styrene spoons and have bene using them for years. Lately, the spoons show a glossy/not glossy pattern on them - see the photo below. This is with MANY different brands of paint, so I assume it is something to do with contamination in the plastic of the spoon. I tested the Dark Camel color from Scale Finishes on a spoon, and it exhibited the problem. After I applied the paint to the car, I noticed the same problem. See the photos - there are non-glossy patches on the body. This is after several light/medium coats of the paint, and it looked fantastic wet. As it dried, it got blotchy. Notice the picture of the hood, though - it looks great. Yeah it's orange-peely but this is before any gloscoat or sanding/polishing. --> What is going on with this blotchy paint!? Does anyone have any insight? Hoping that gloss coat would make it look right, I took my test soon and put on TWO medium/heavy coats of alclad clear kote, then a very heavy coat. When wet it looked like glass, but after it dried - blotchy. So it seems that no amount of clear coat is going to fix this. It is possible that the hood has more primer on it than the body. I had to fill dimples and depressions, and to cover the putty and sanding it took more primer. Is that the key? A lot more primer? Any help you all can give would be great. Thanks.
- 24 replies
-
- scale finishes
- monte carlo
-
(and 2 more)
Tagged with:
-
Finished these two up in the last week. Two giant pains in the rear in regards to decals, the Monte Carlo's fell apart on the touch so had to decal bond the hell out of it and the Duster decals turned milky yellow. The color on the Duster is apparently a regular RAL standard color(yellow green), thank God it came out as nice and close to the hi-impact colors.
- 10 replies
-
- duster
- monte carlo
-
(and 2 more)
Tagged with:
-
nascarlo attempt, need a chassis!
buggin' out posted a topic in Model Building Questions and Answers
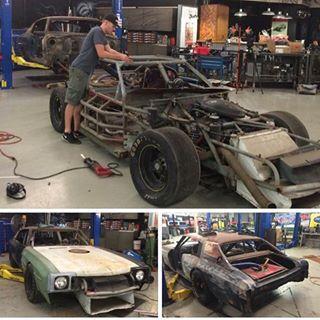
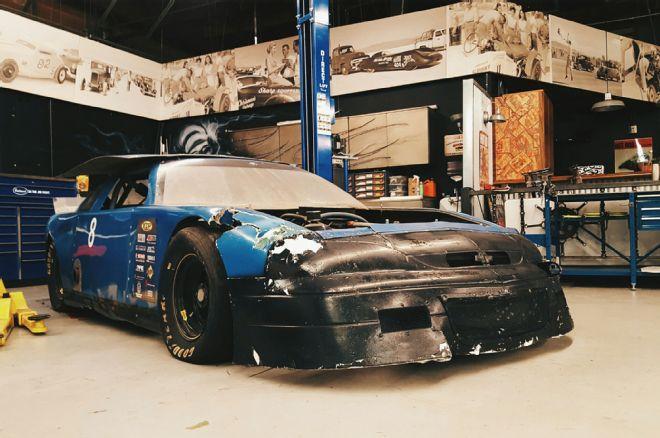
So, there are these guys on youtube called roadkill, they do crazy things with old wrecks of cars, they did a car called the nascarlo, they took some old late model paved oval track race car and put a '70 chevy monte carlo body on it, they had to move the roof back for it to fit, and it looked prety cool and weird: i know the monte carlo body that im going to get, but i dont know if there is a set smilar to the original car they used, something that i could use the chassis from, if not, it will be a bit difficult trying to make the chassis when i have hardly no experience. does anyone know of a set like this, with the chassis, looks like the body is a chevrolet, or an immitation chevrolet atleast. here is a link to the video for anyone who wants to watch it: https://www.youtube.com/watch?v=YUefSKCjP8w i forgot to mention, the picture above isnt the final piece, its what they started with, this is the final car: -
This is my a 1977 Revell Snap Tite, hope yall like it! thanks for viewing!
- 9 replies
-
- monte Carlo
- 1977
-
(and 1 more)
Tagged with:
-
The Idea behind this build was to create an 80's street machine. You know, that boastful, arrogant, tire squealing jerk who would cruise up and down your local main strip listening to AC/DC and twisted sister honking and yelling at all the young girls on the sidewalk. Yea that car! A little background about the build. It started as an aerocoupe and after mucking up the paint on that body I decided to switch the body to flatback monte. It has fought me the whole way. First black paint job was sub-par so Into the brake fluid it went. Second attempt was black again with Tamiya black TS-14. After the mist coats were applied I sprayed the first heavy coat. Bam, Milky haze. No worries, some good advice from the good people at MCM and I was able to save it. Another heavy coat and everything came together. This build has been a lot of first for me. Many parts were scratch build and I really have taken my time with it. I promised myself no new kits until I see this one through. I will not let a black paint job defeat me On with the Pictures Beginning stages of the scratch made cowl hood Black paint job Custom fuel tank, fuel filter Chassis 454, wired, custom headers, dipstick, ect. Interior primed Stance Rear view-exactly what I was going for with the gas tank. I still have lots to do-Have a couple small paint flaws to work out, 3200-12000 and a good ole buff should take care of that. Interior will receive flocking, roll bar, and racing details. Thanks for looking, comments always welcome! Cheers, m!ke
-
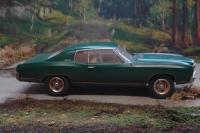
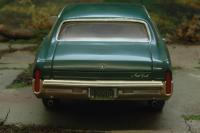
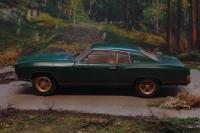
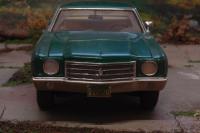
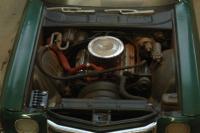
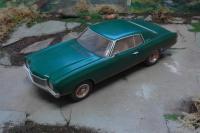
hello plastic mates here i will show you my 70 monte carlo from amt i build it as a daily driver regards maik
- 12 replies
-
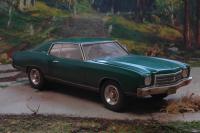
Got this off ebay and will be making the best with what ive got.
- 10 replies
-
- monte carlo
- chevrolet
-
(and 2 more)
Tagged with:
-
This is my a 1977 Revell Snap Tite, hope yall like it! thanks for viewing!
-
- monte Carlo
- 1977
-
(and 1 more)
Tagged with:
-
just a quick build of Dale Earnhardt's 1988 Goodwrench Chevy some parts were missing in the kit but it didnt turn out too bad!
- 14 replies
-
- nascar
- monte carlo
-
(and 2 more)
Tagged with:
