Search the Community
Showing results for tags 'aventador'.
Found 5 results
-
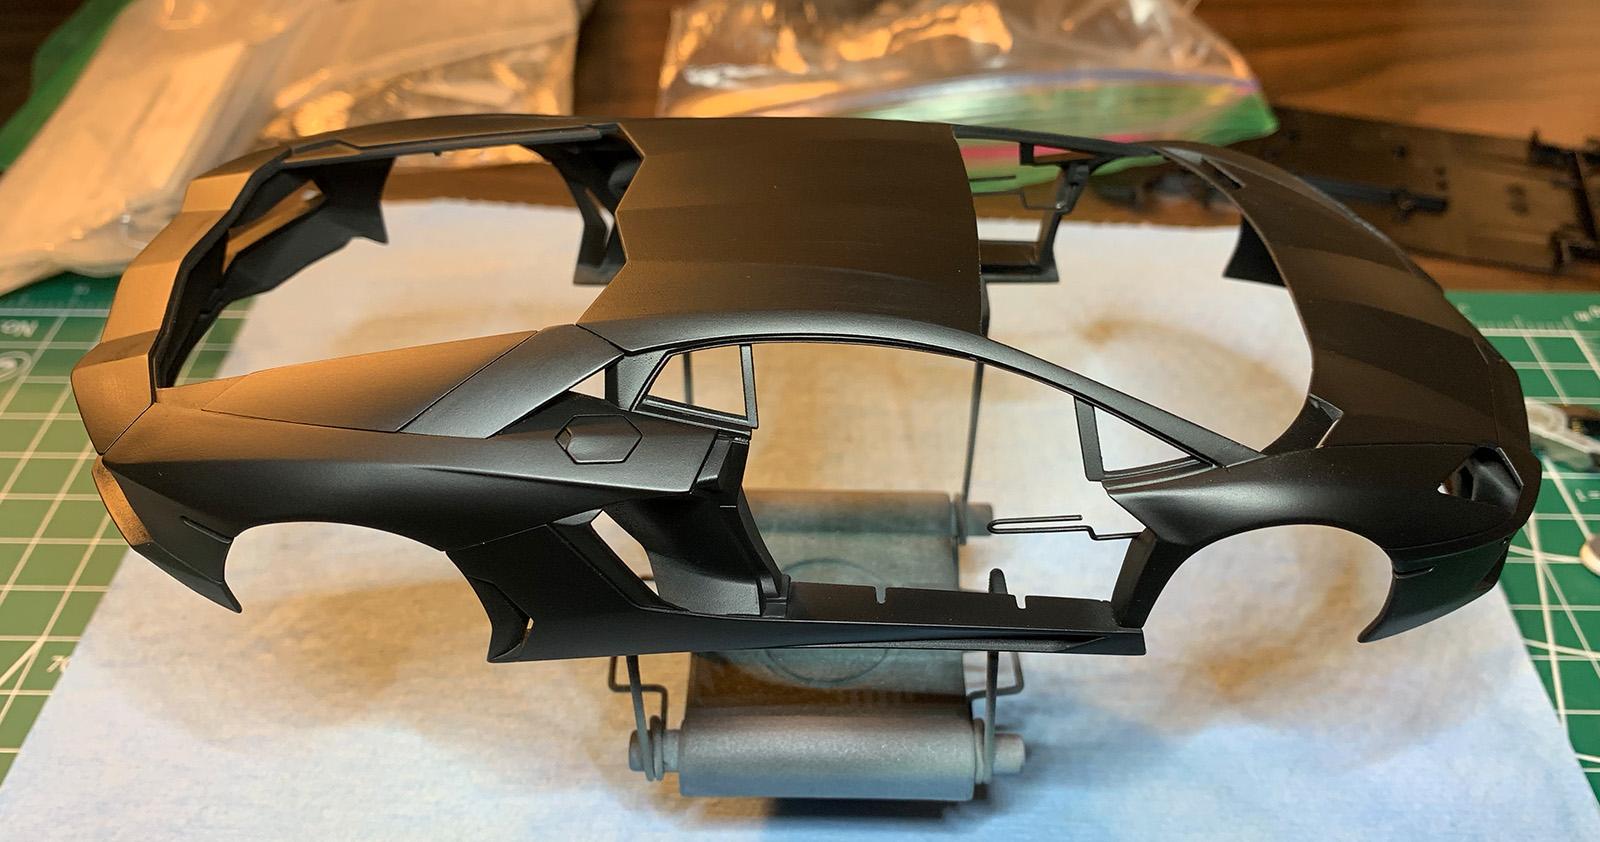
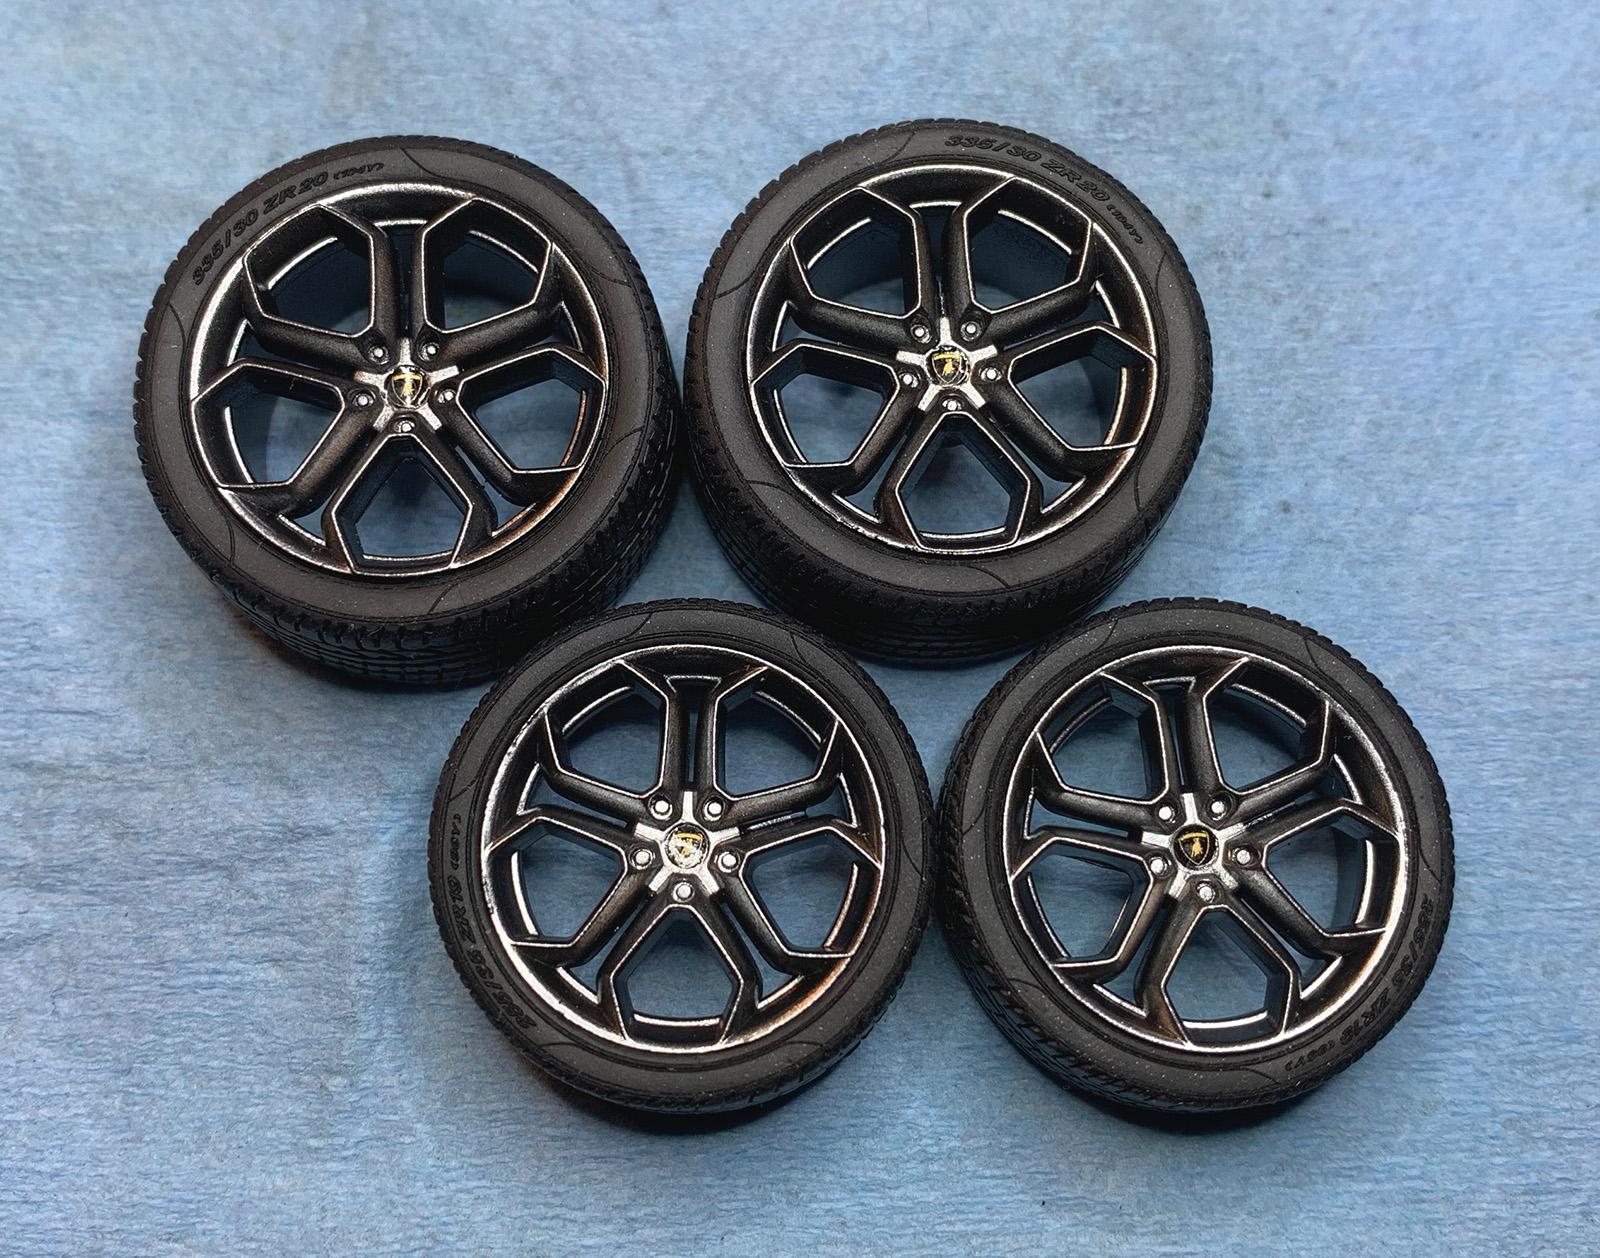
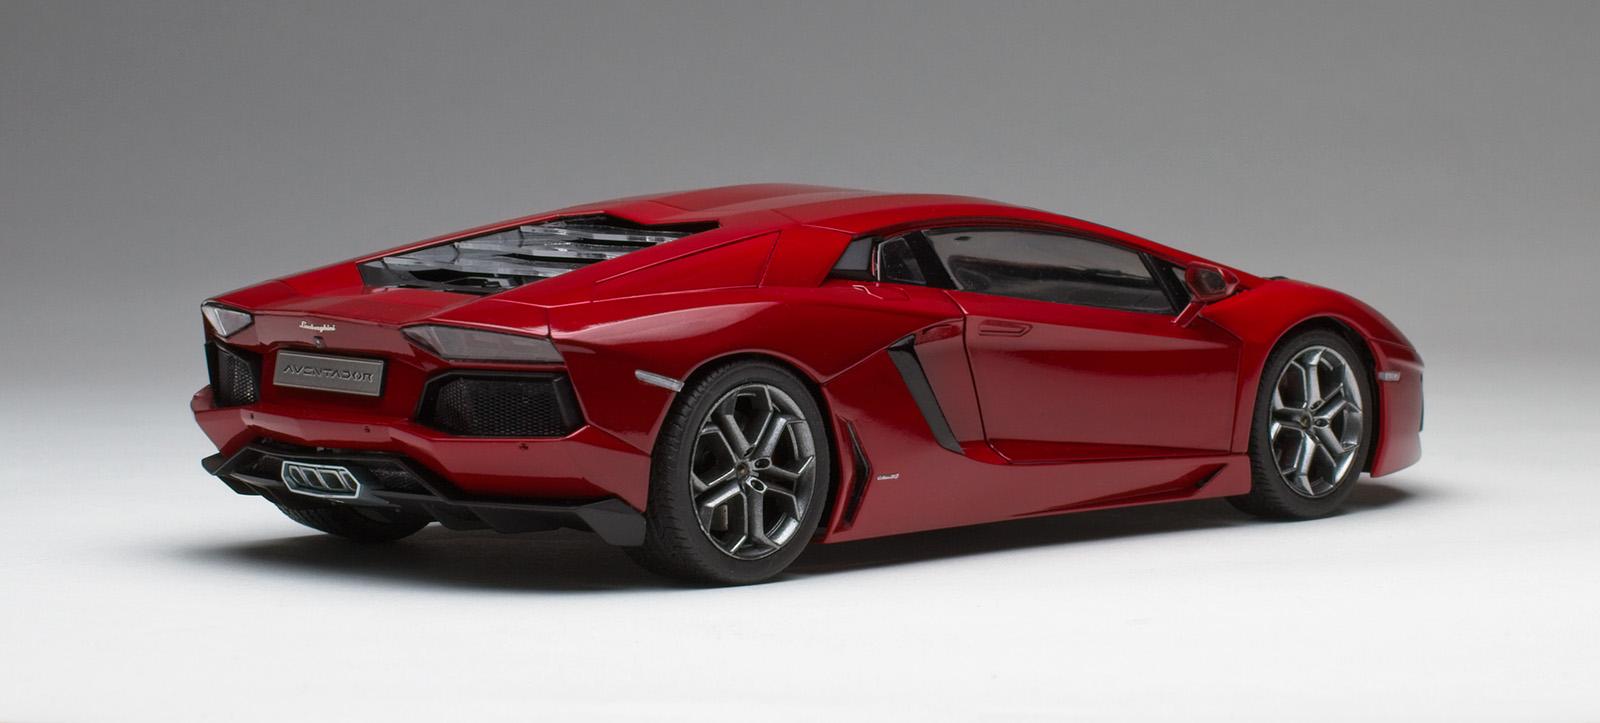
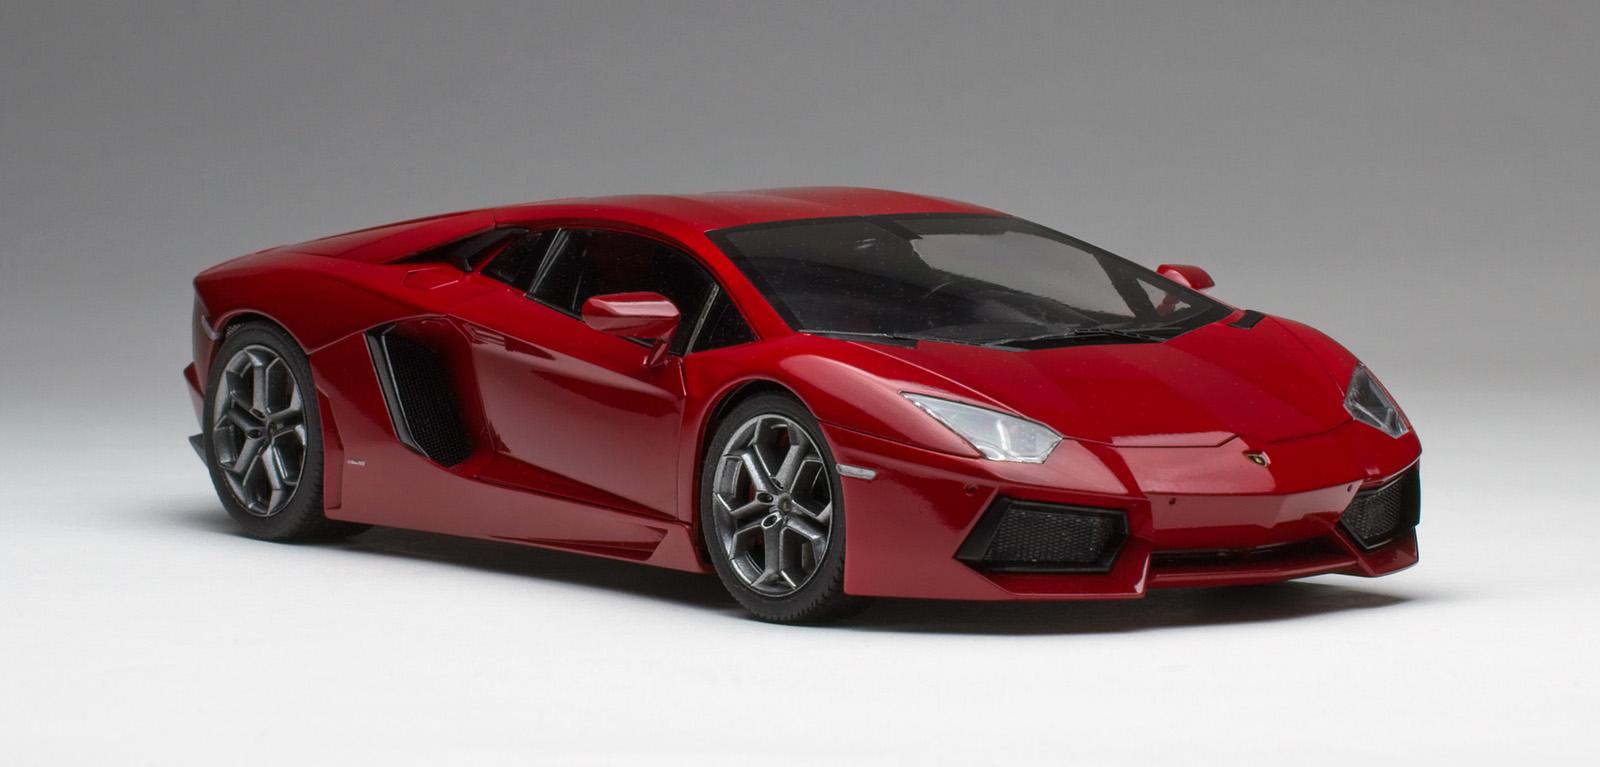
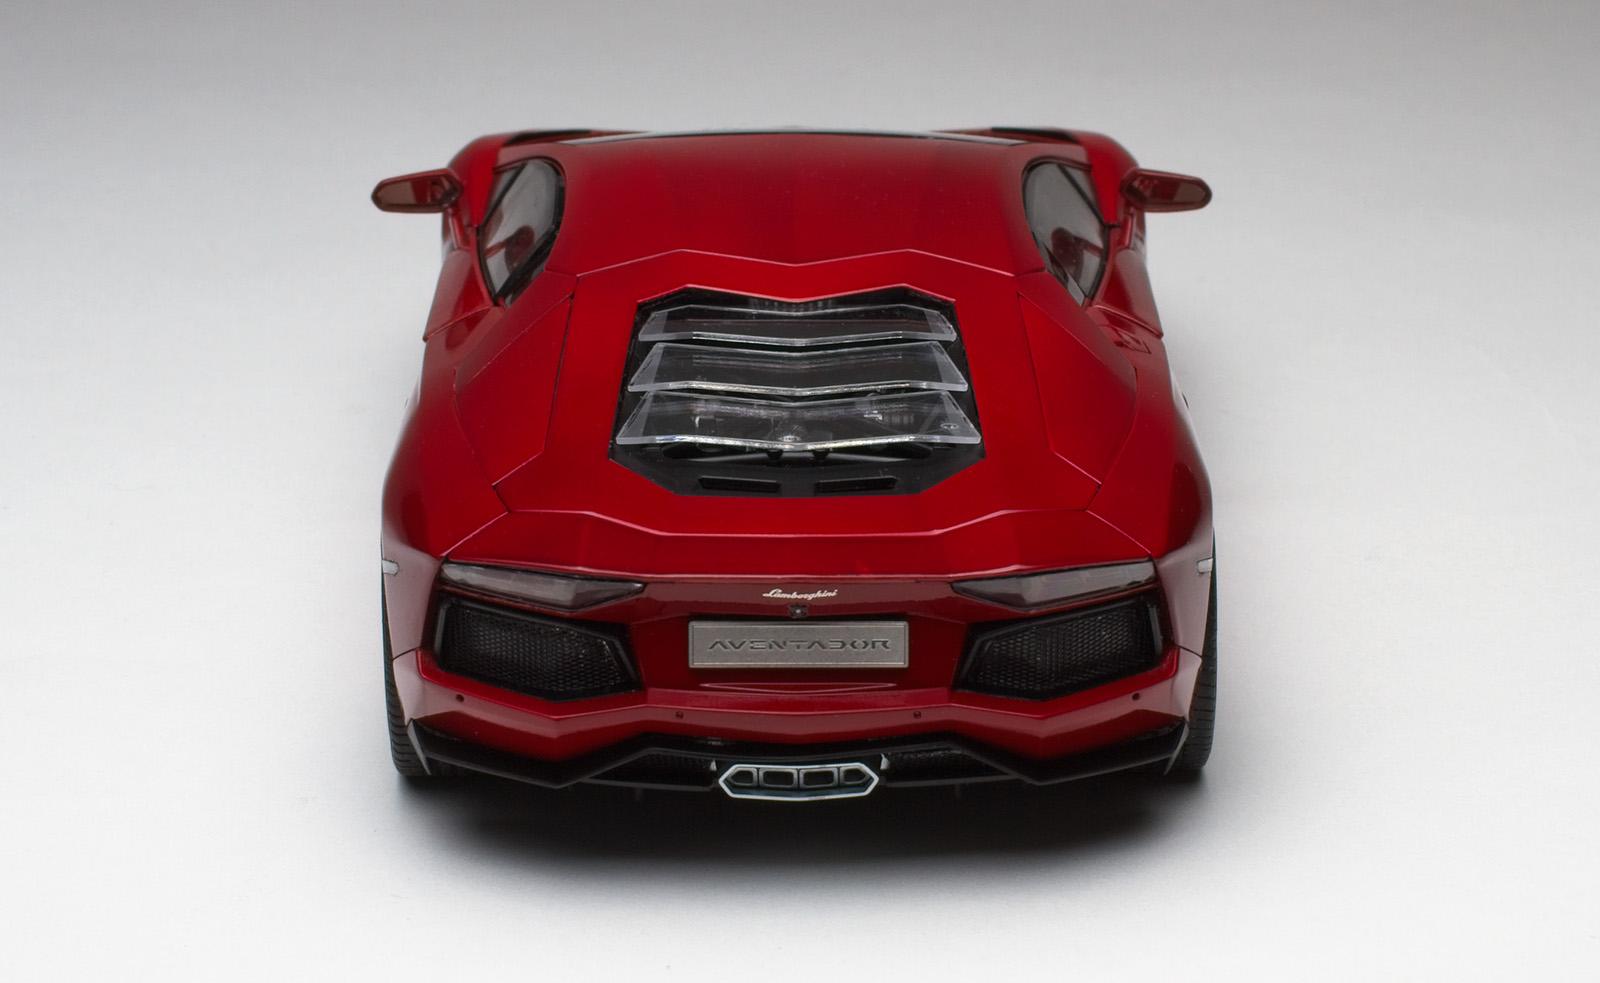
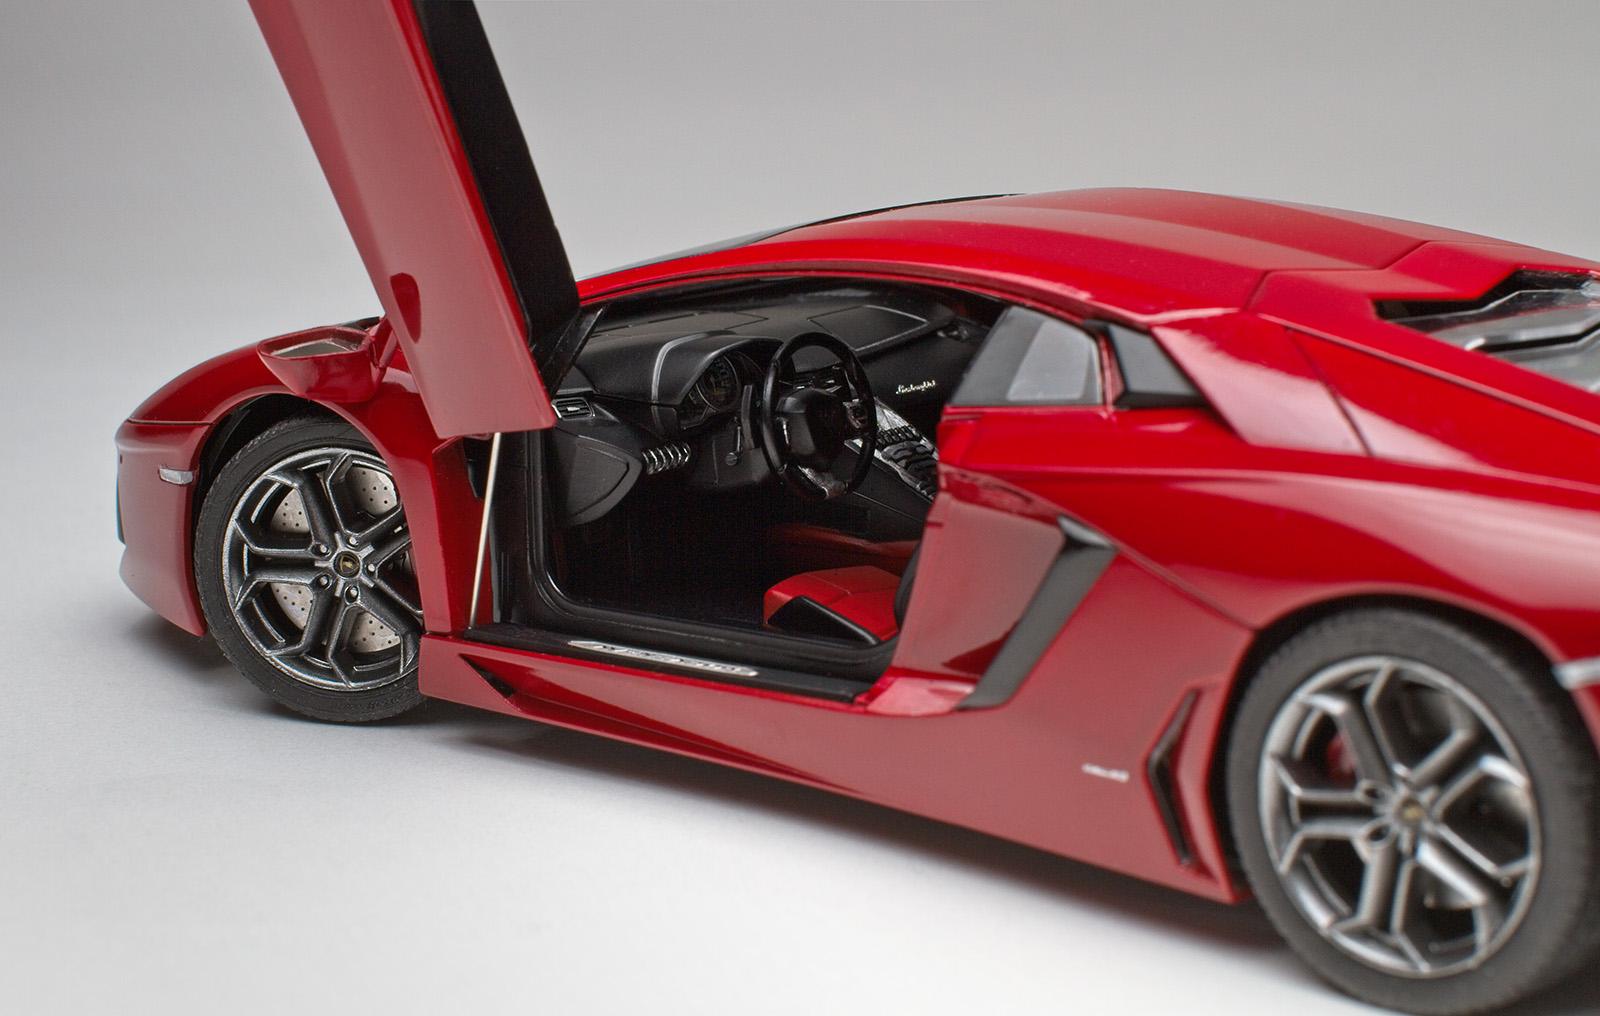
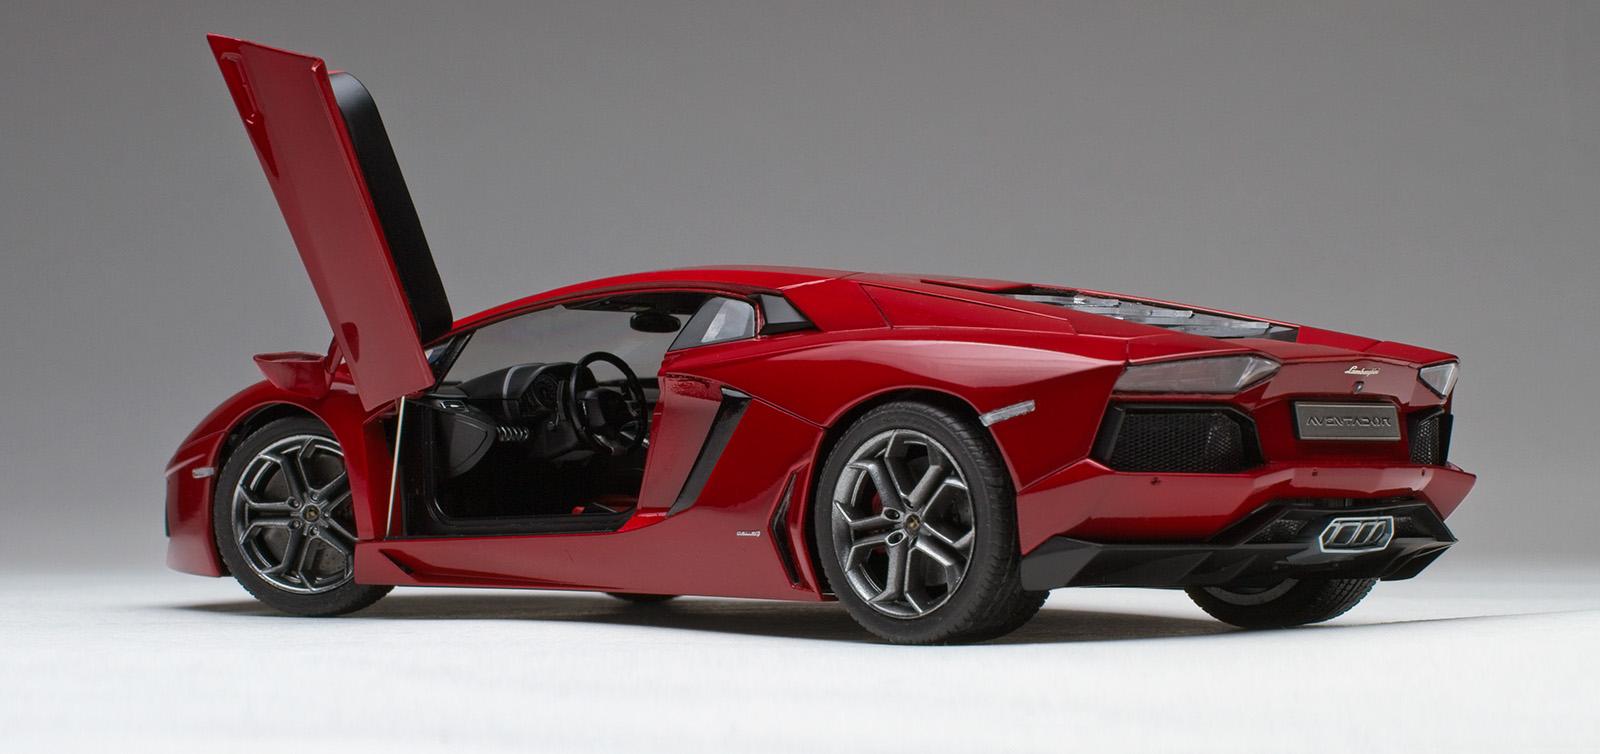
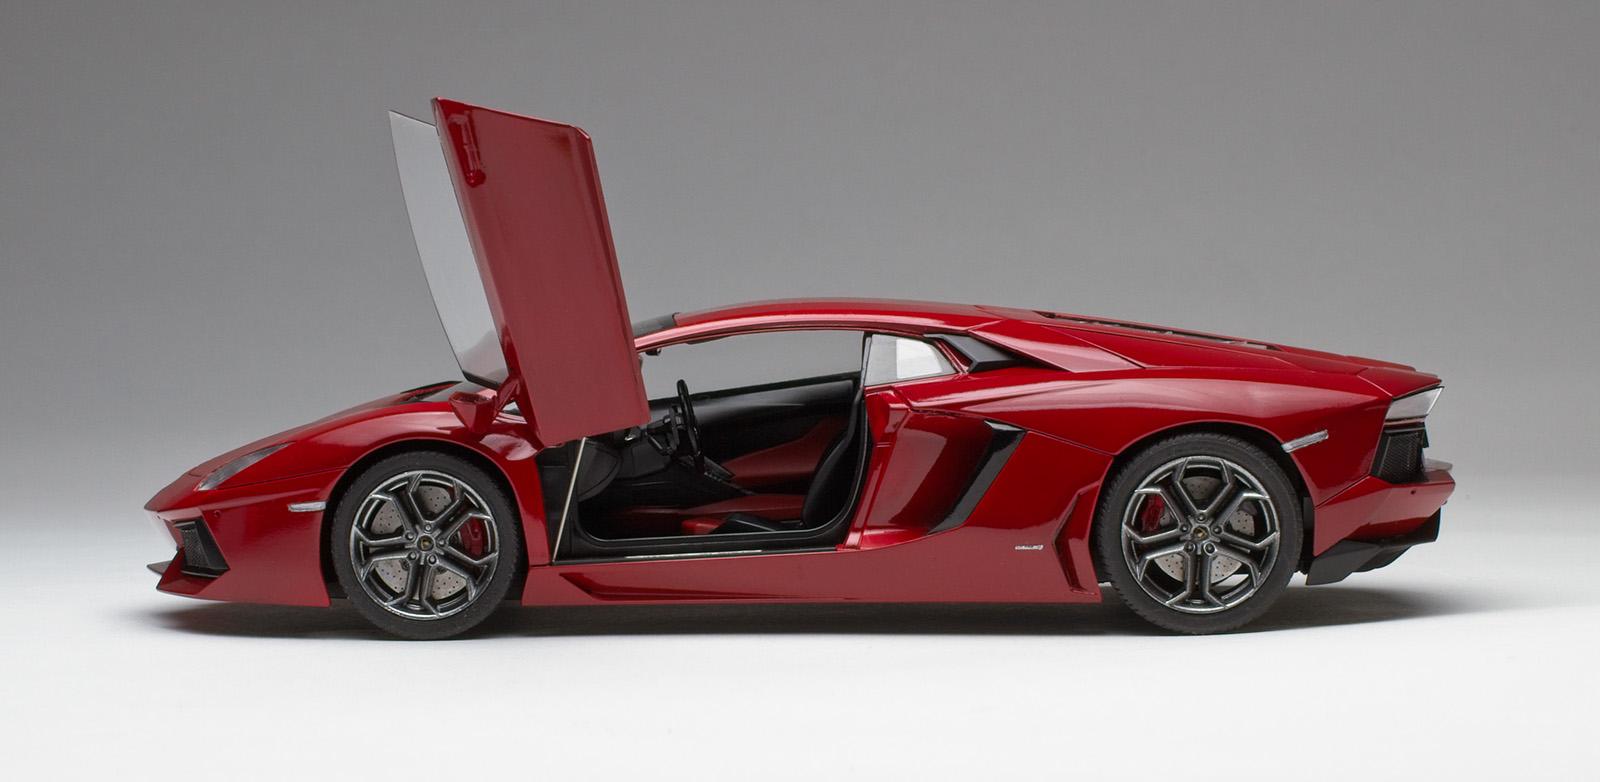
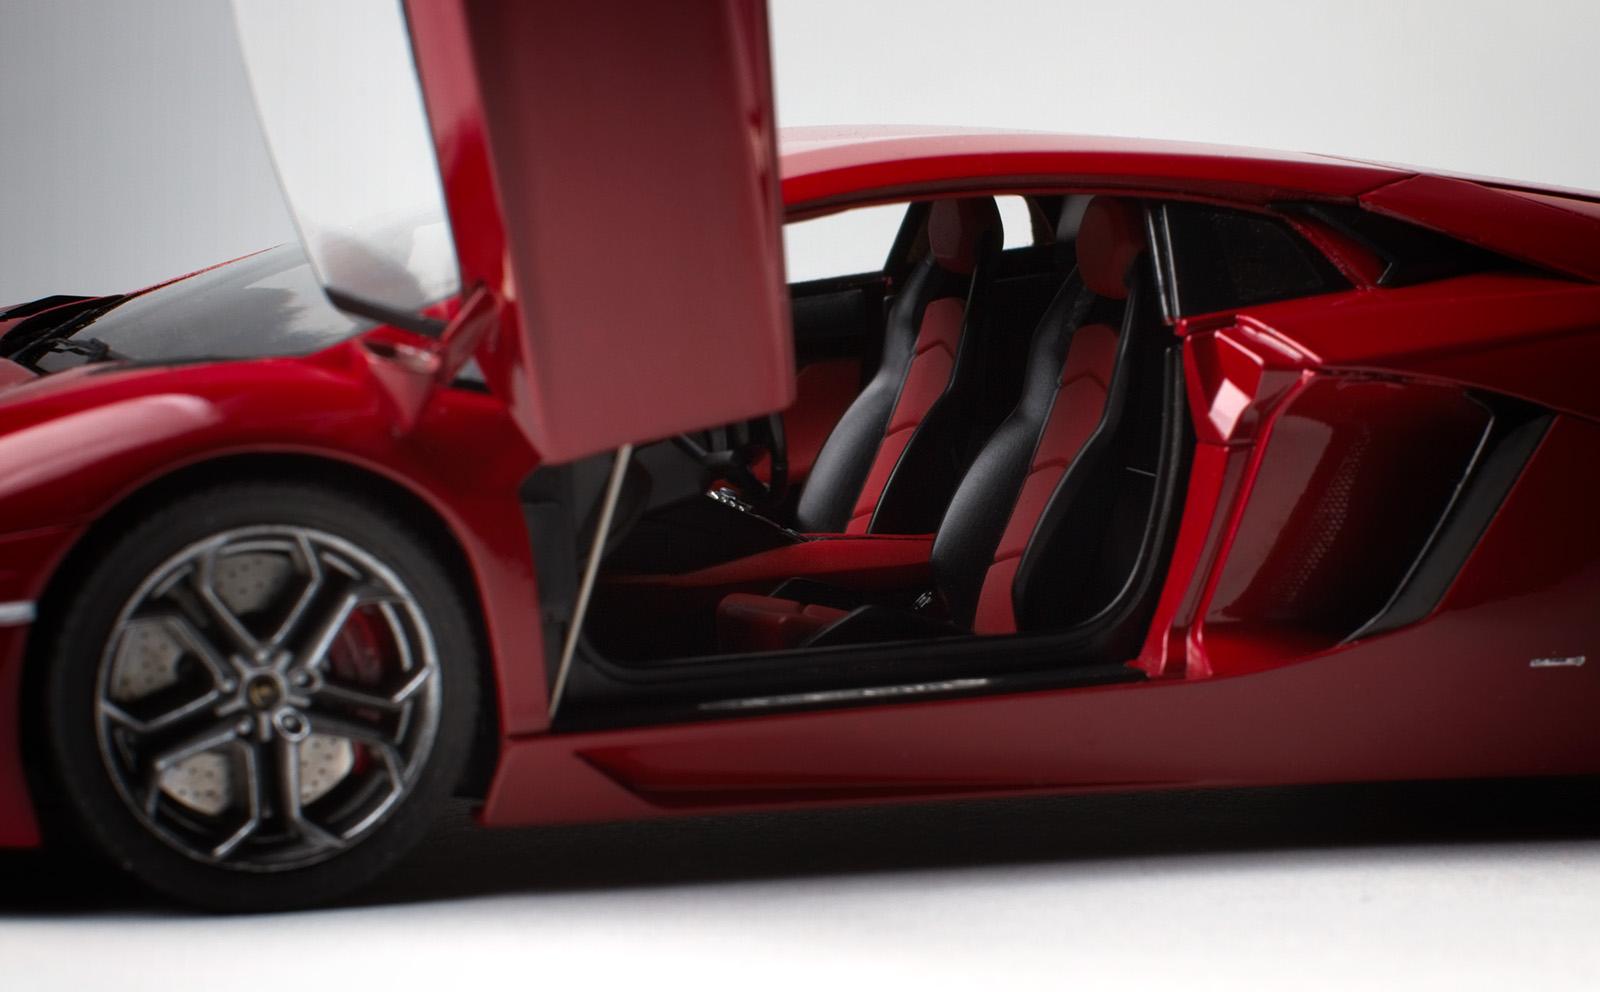
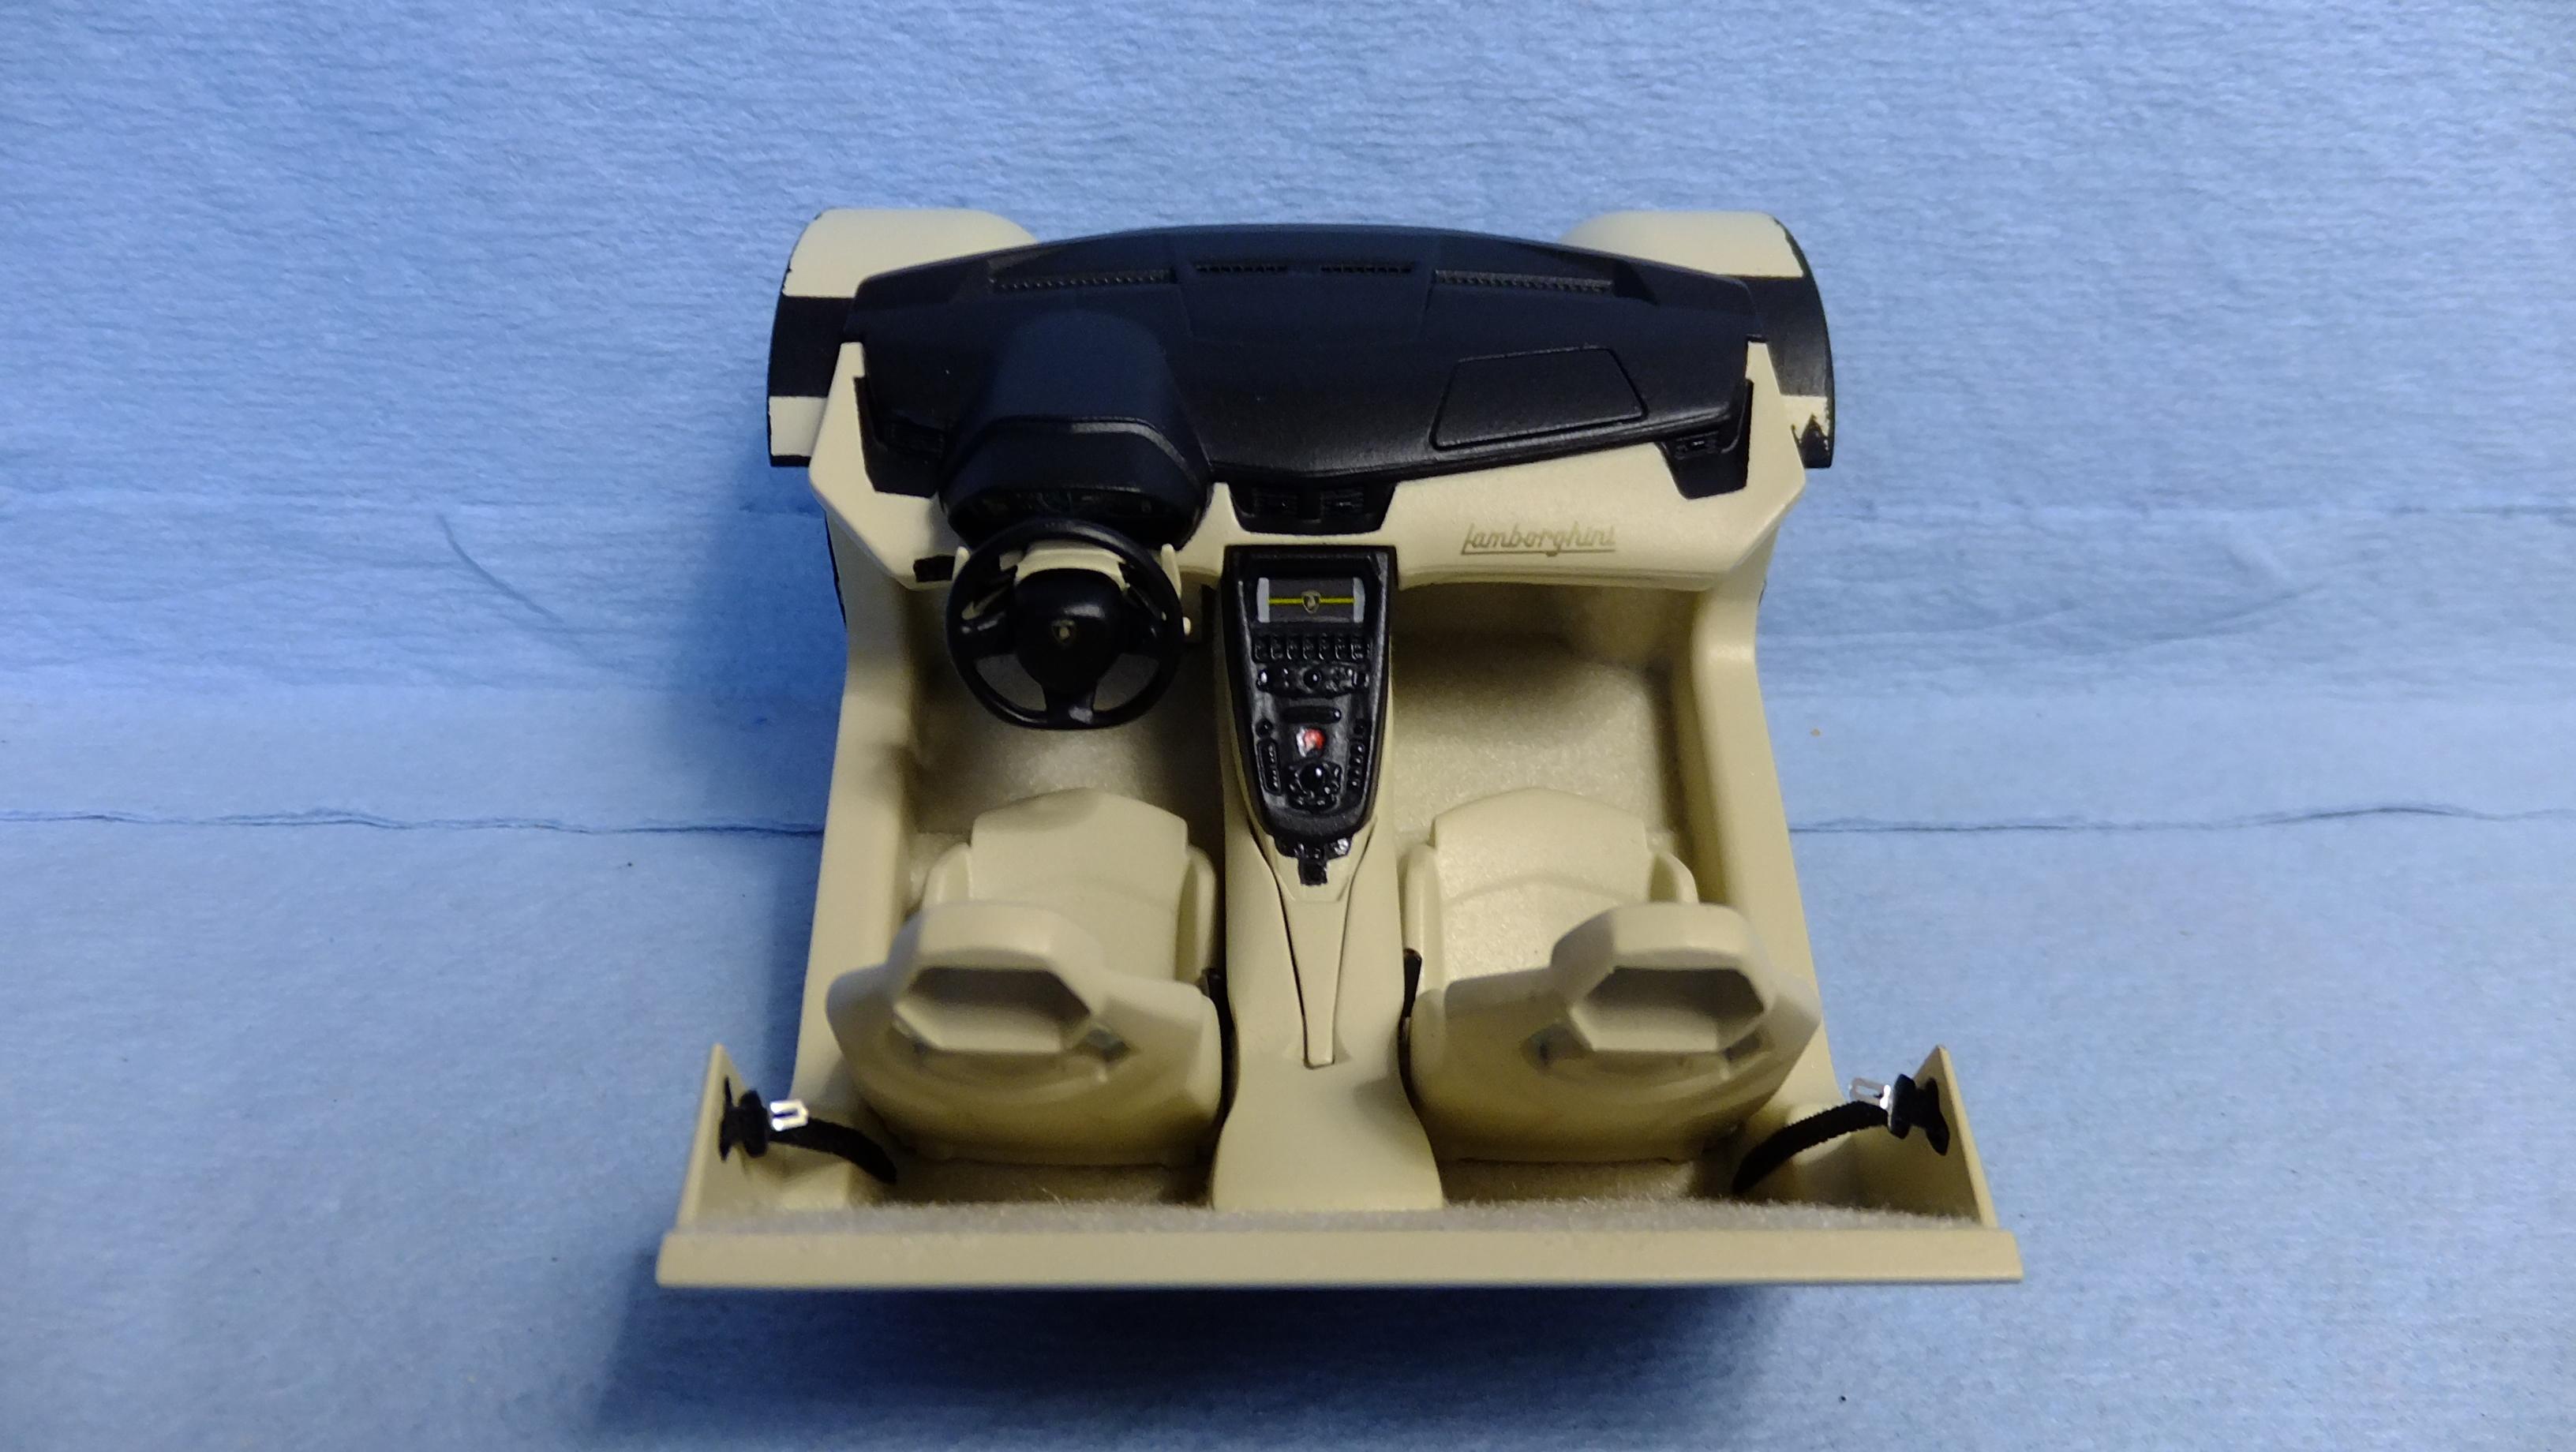
Good Evening, Aoshima's Aventador was meant to be my magnus opus build as my intention was to go all in. Well, needless to say some lessons were learned and familiar mistakes made along the way, so I'd say I'm 75% pleased with the final outcome. The body was primed with Mr. Finishing Surfacer 1500 Black, painted with Tamiya LP-21 Italian Red, then X-19 Smoke and cleared with X-22. The interior is X-18 Semi Gloss Black with XF-7 Flat Red + X-35 Semi Gloss Clear accents. Black embossing powder was used for the carpet. Wheels were chrome-stripped with LA's Totally Awesome, primed with Tamiya Fine Surfacer Grey, base coated with Tamiya X-1 Gloss Black and finished with X-10 Gun Metal. What I learned from this build: 1. Why so much paint? On a test spoon the red came out nice and dark, on the kit it was difficult to cover the black evenly so I kept applying more red. The car ended up looking more like a Ferrari so I thought I would try deepening the colour with X-19 Smoke. Again, not so easy to apply evenly, however, I decided to settle for the subtle tone differences on the car. 2. The doors ended up matching the body reasonably well, but not the engine cover. I dropped the part in LA's Totally Awesome and the acrylic paint slipped off no problem. The underlying LP red was slightly affected so I sanded it down and reapplied the red. Should have known better that it needed to be primed again first. Sanded it down again, reapplied the black primer and red once more. There were some strange, tiny bumps almost like dust or bubbles that were trapped under the paint. Stripped it down again, re-primed and painted it - this time putting the part in a dehydrator to make sure it was super dry. The result... the same bumps in the same locations. In fact, some of these bumps are all over the car body. I just accepted it and moved on. The photos with overhead lighting greatly hide the finish. 3. Getting paint into areas like the side vents was challenging. The same thing often happens when painting interior tubs. It's almost like there's a vortex and the paint either doesn't lay down with enough volume or dries before it lands. Any advice here would be appreciated. 4. First time using Photo Etch parts (ping and a prayer). These are tough little suckers to work with! I lightly sanded the back of the parts and used CA glue to hold them in place - with mixed results. The parts were meant to be glued to glass and I found that the glue was visible in some places after it dried. Any advice is welcomed here, too. 5. A couple parts in the kit were warped. Last time I tried to straighten a part (Lamborghini Miura Louvers) I melted it using a candle ?. This time I used hot tap water and it worked well. 6. The engine cover is meant to be opened, and did perfectly during test fitting, however, sliding the two horseshoe hooks into place at the end was creaky and tight process - popping the glass pieces off their supports (probably incorrect terminology here). Any advice on applying glass parts over painted black areas without the glue showing through is appreciated here. 7. The door hinges required a little patience as did the carbon fibre decal that goes over the engine cover, which was flooded with setting solution. 8. Bonehead moves: I managed to slop a little glue on the widows (my goto move) and body; left a number of fingerprints all over - gotta let that X-22 dry extra, extra long; while polishing and waxing the body I caught the cloth on the PE wiper and bent it. Overall, the parts are nicely detailed, fit very well (minus the two bent parts) and probably the most advanced kit I've built to date. Thanks for letting me waste your time.

-
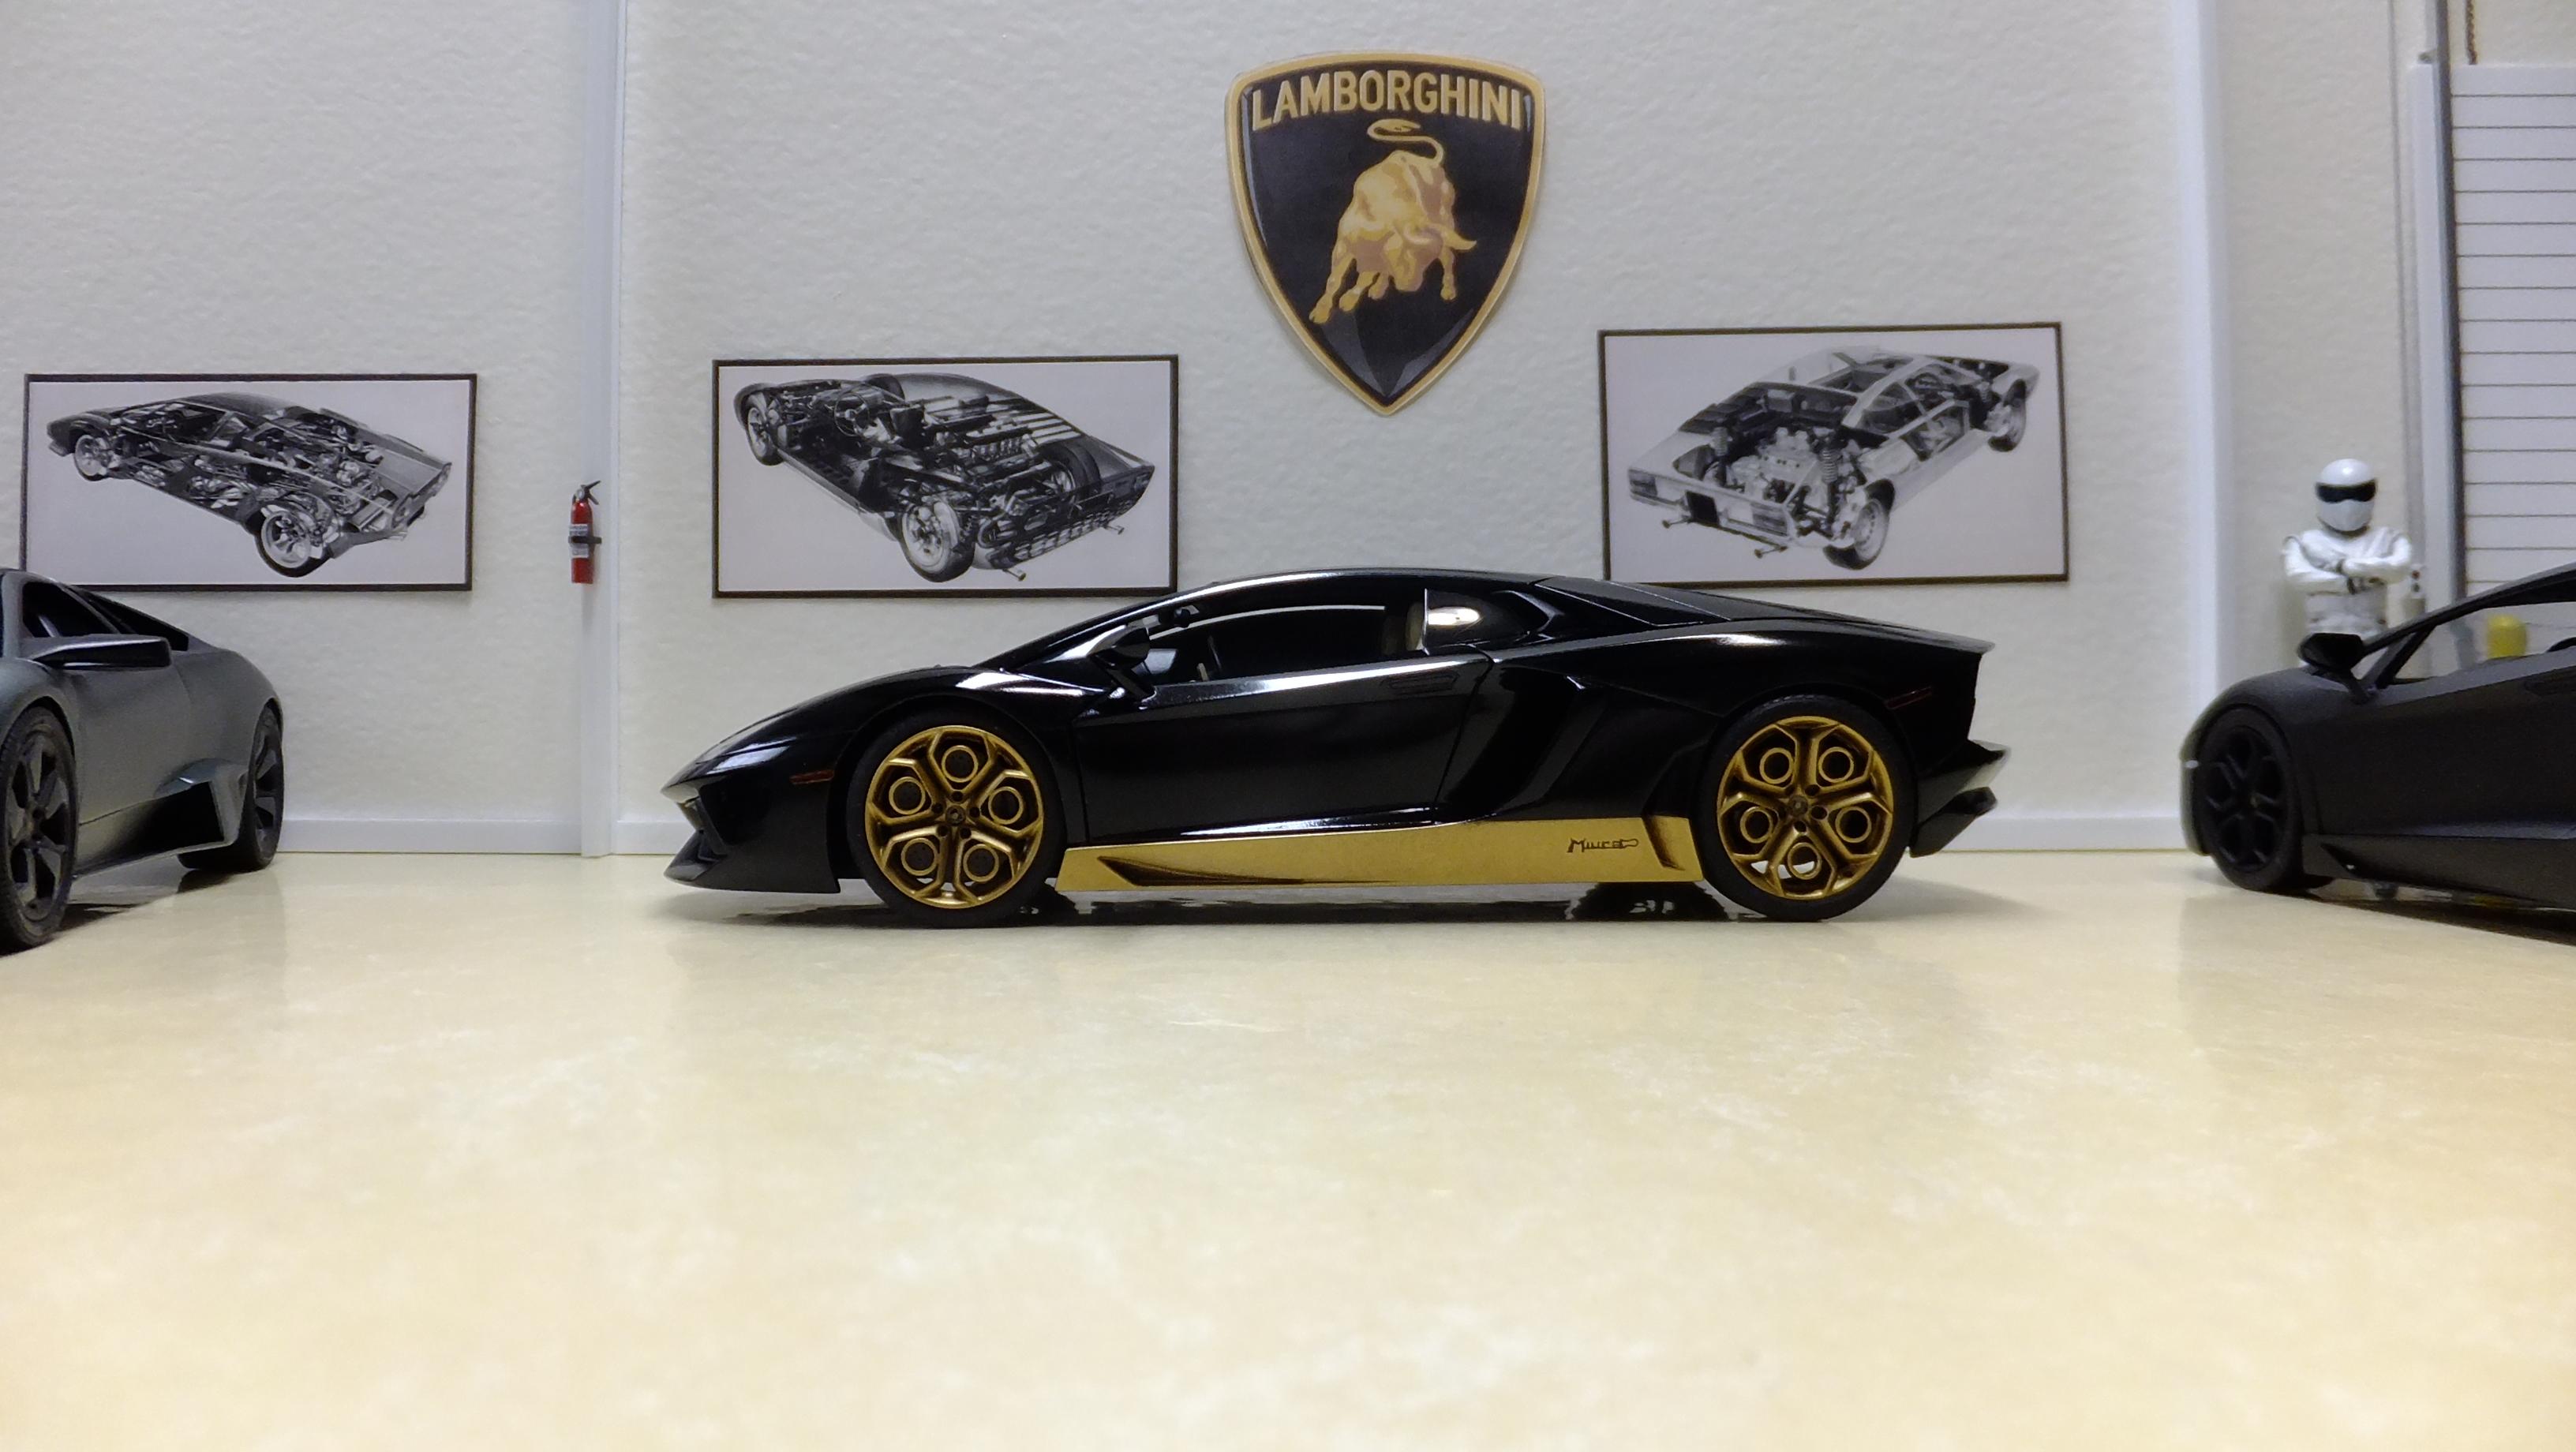
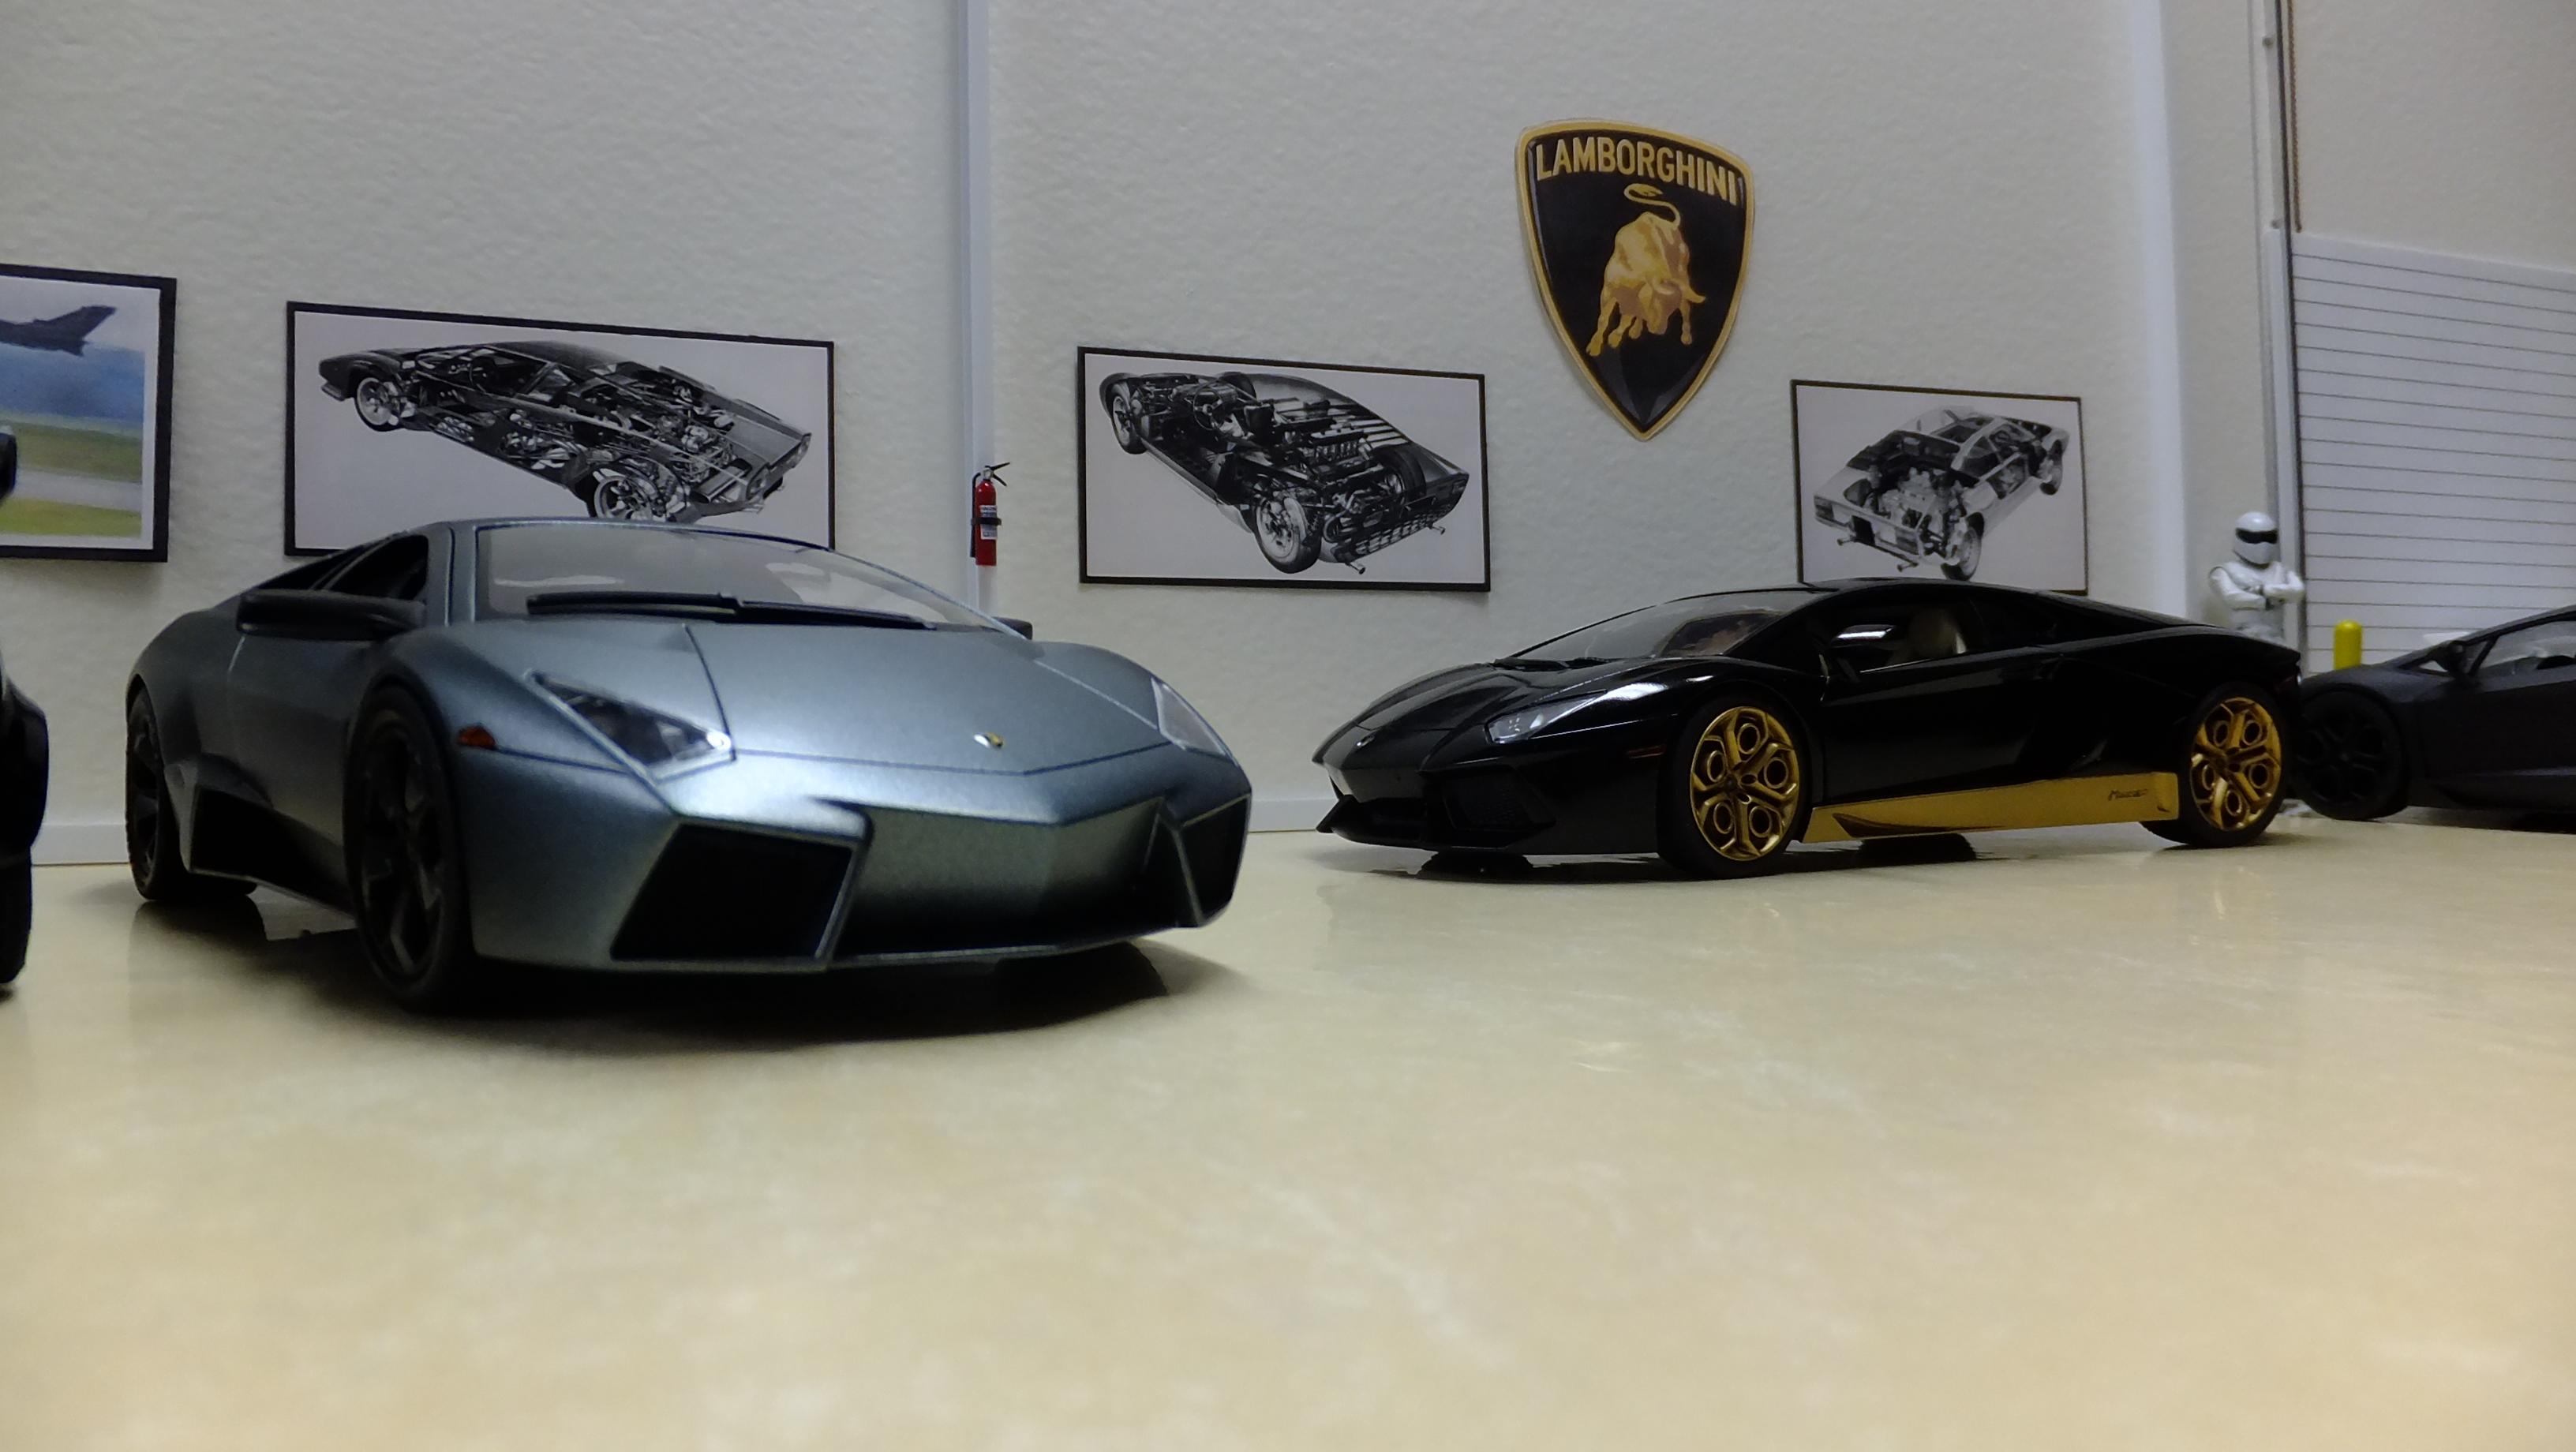
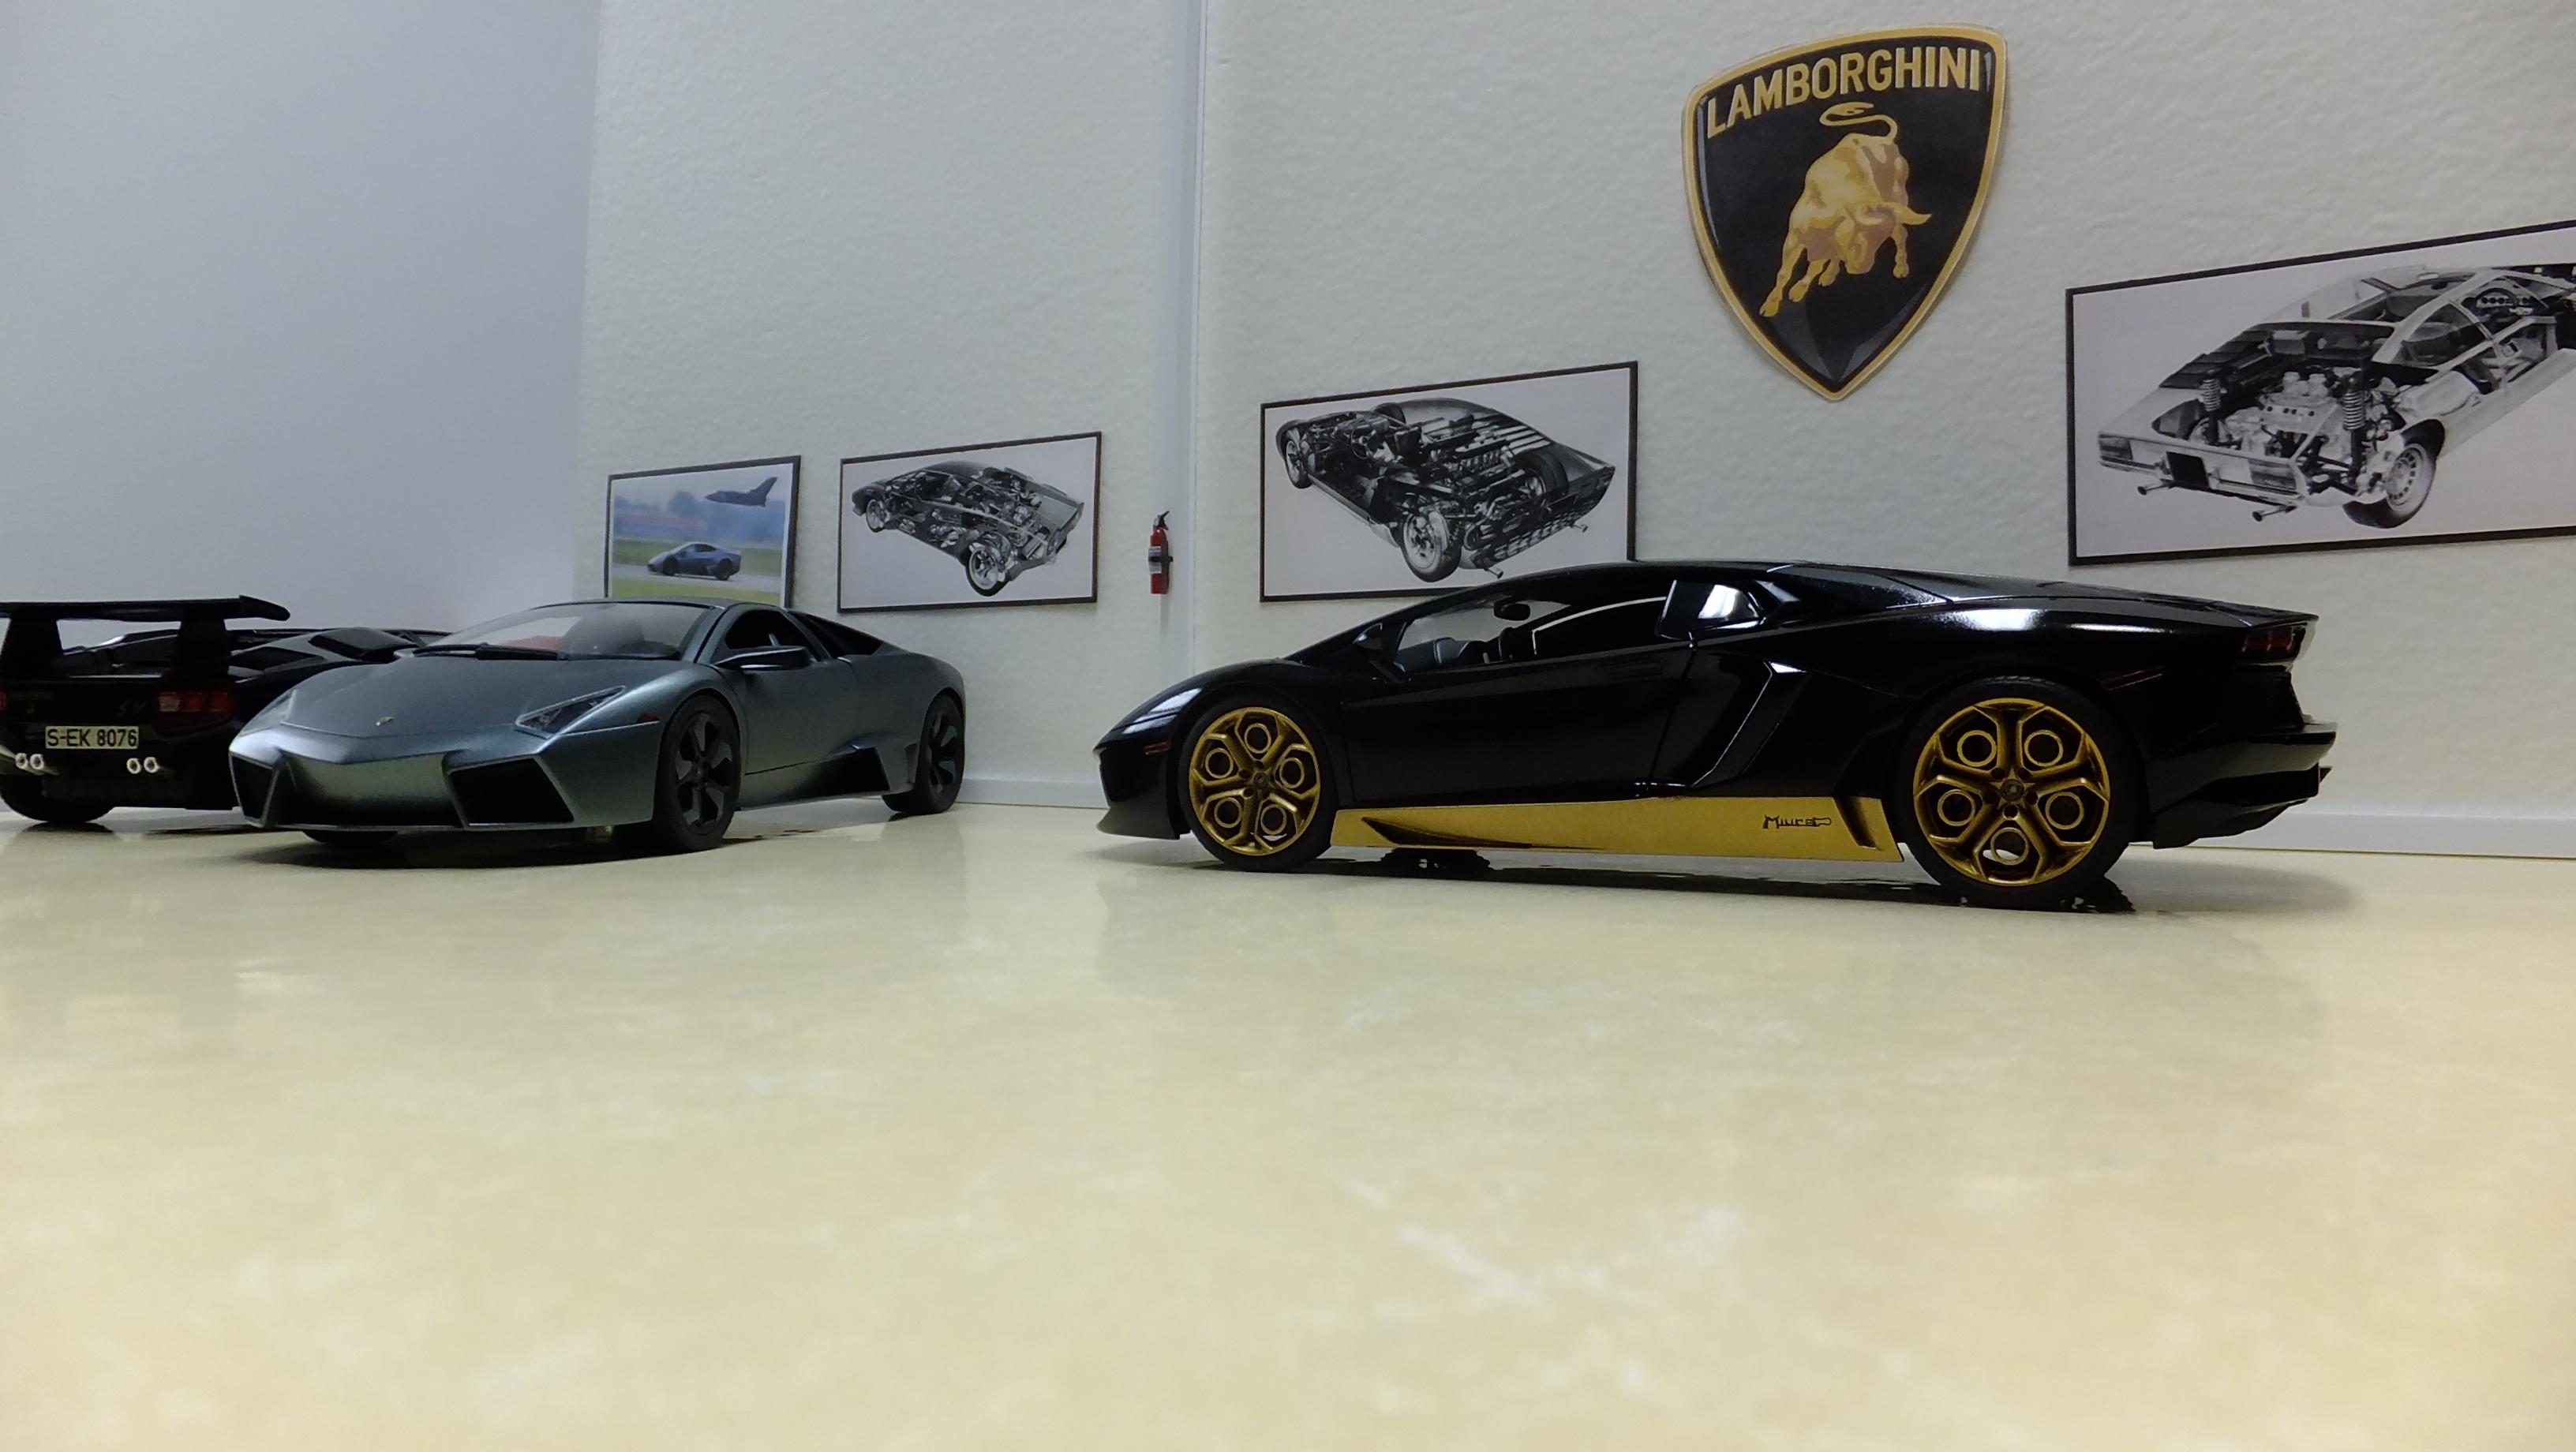
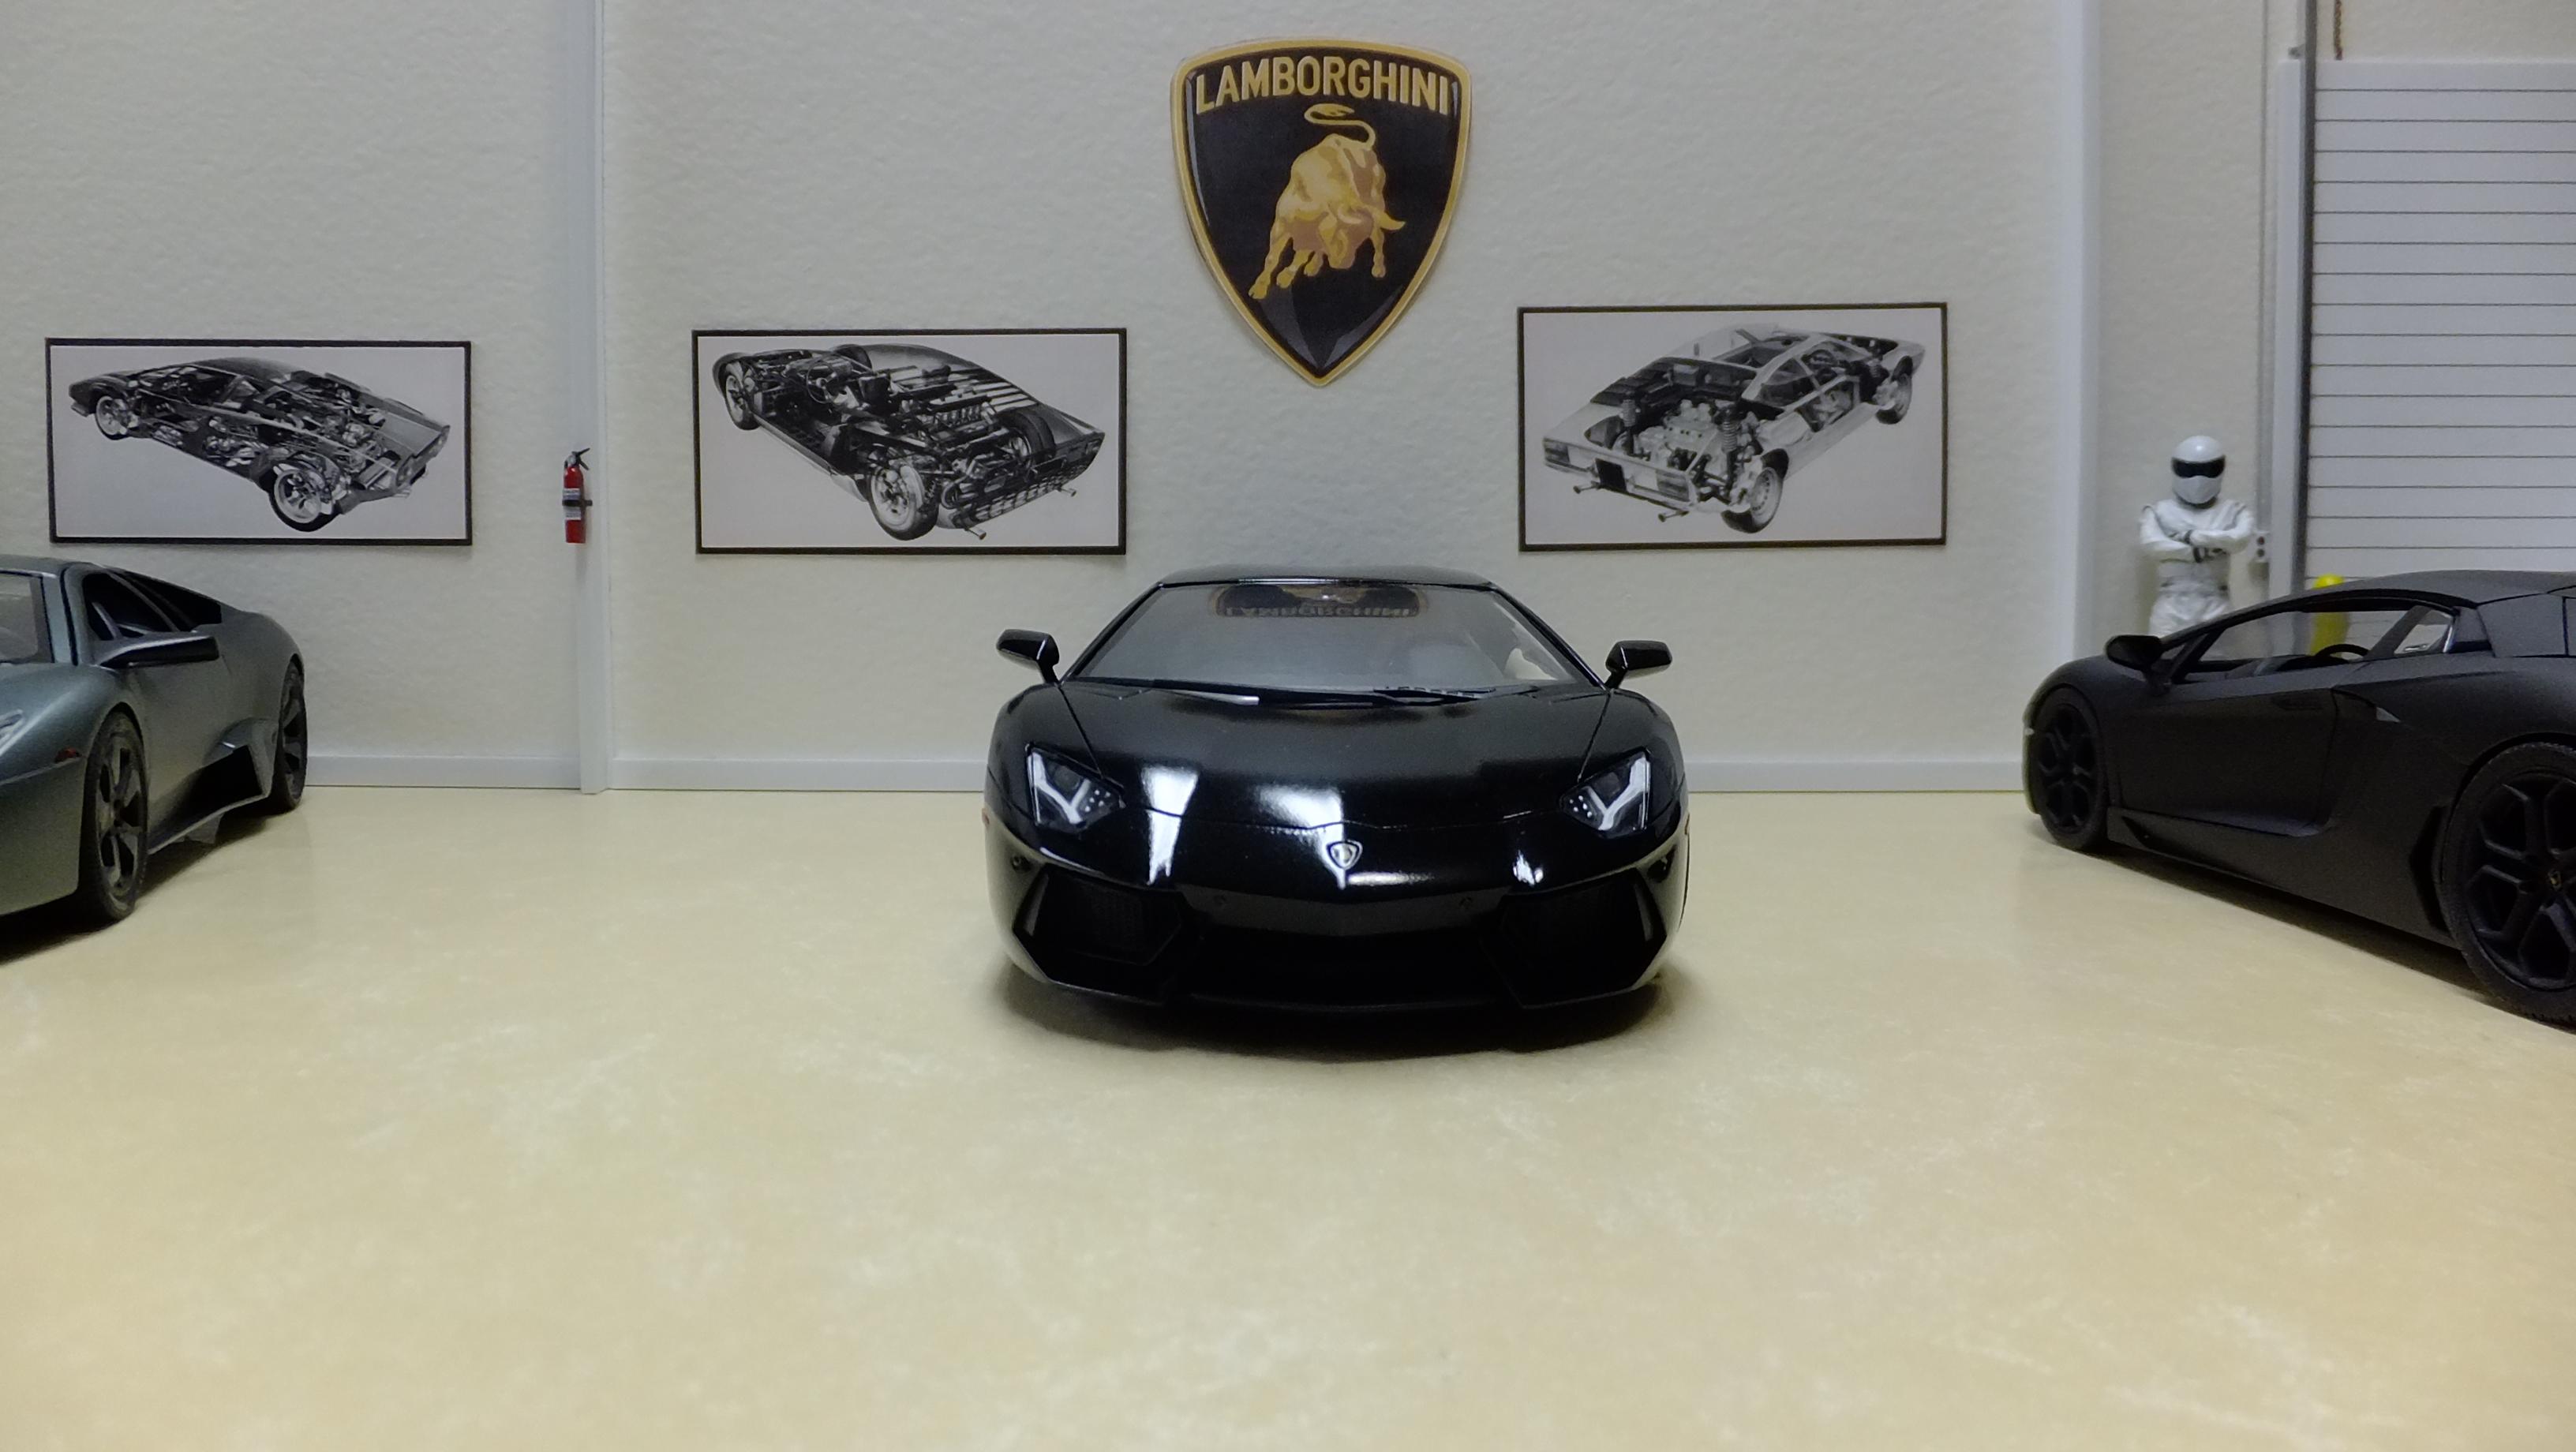
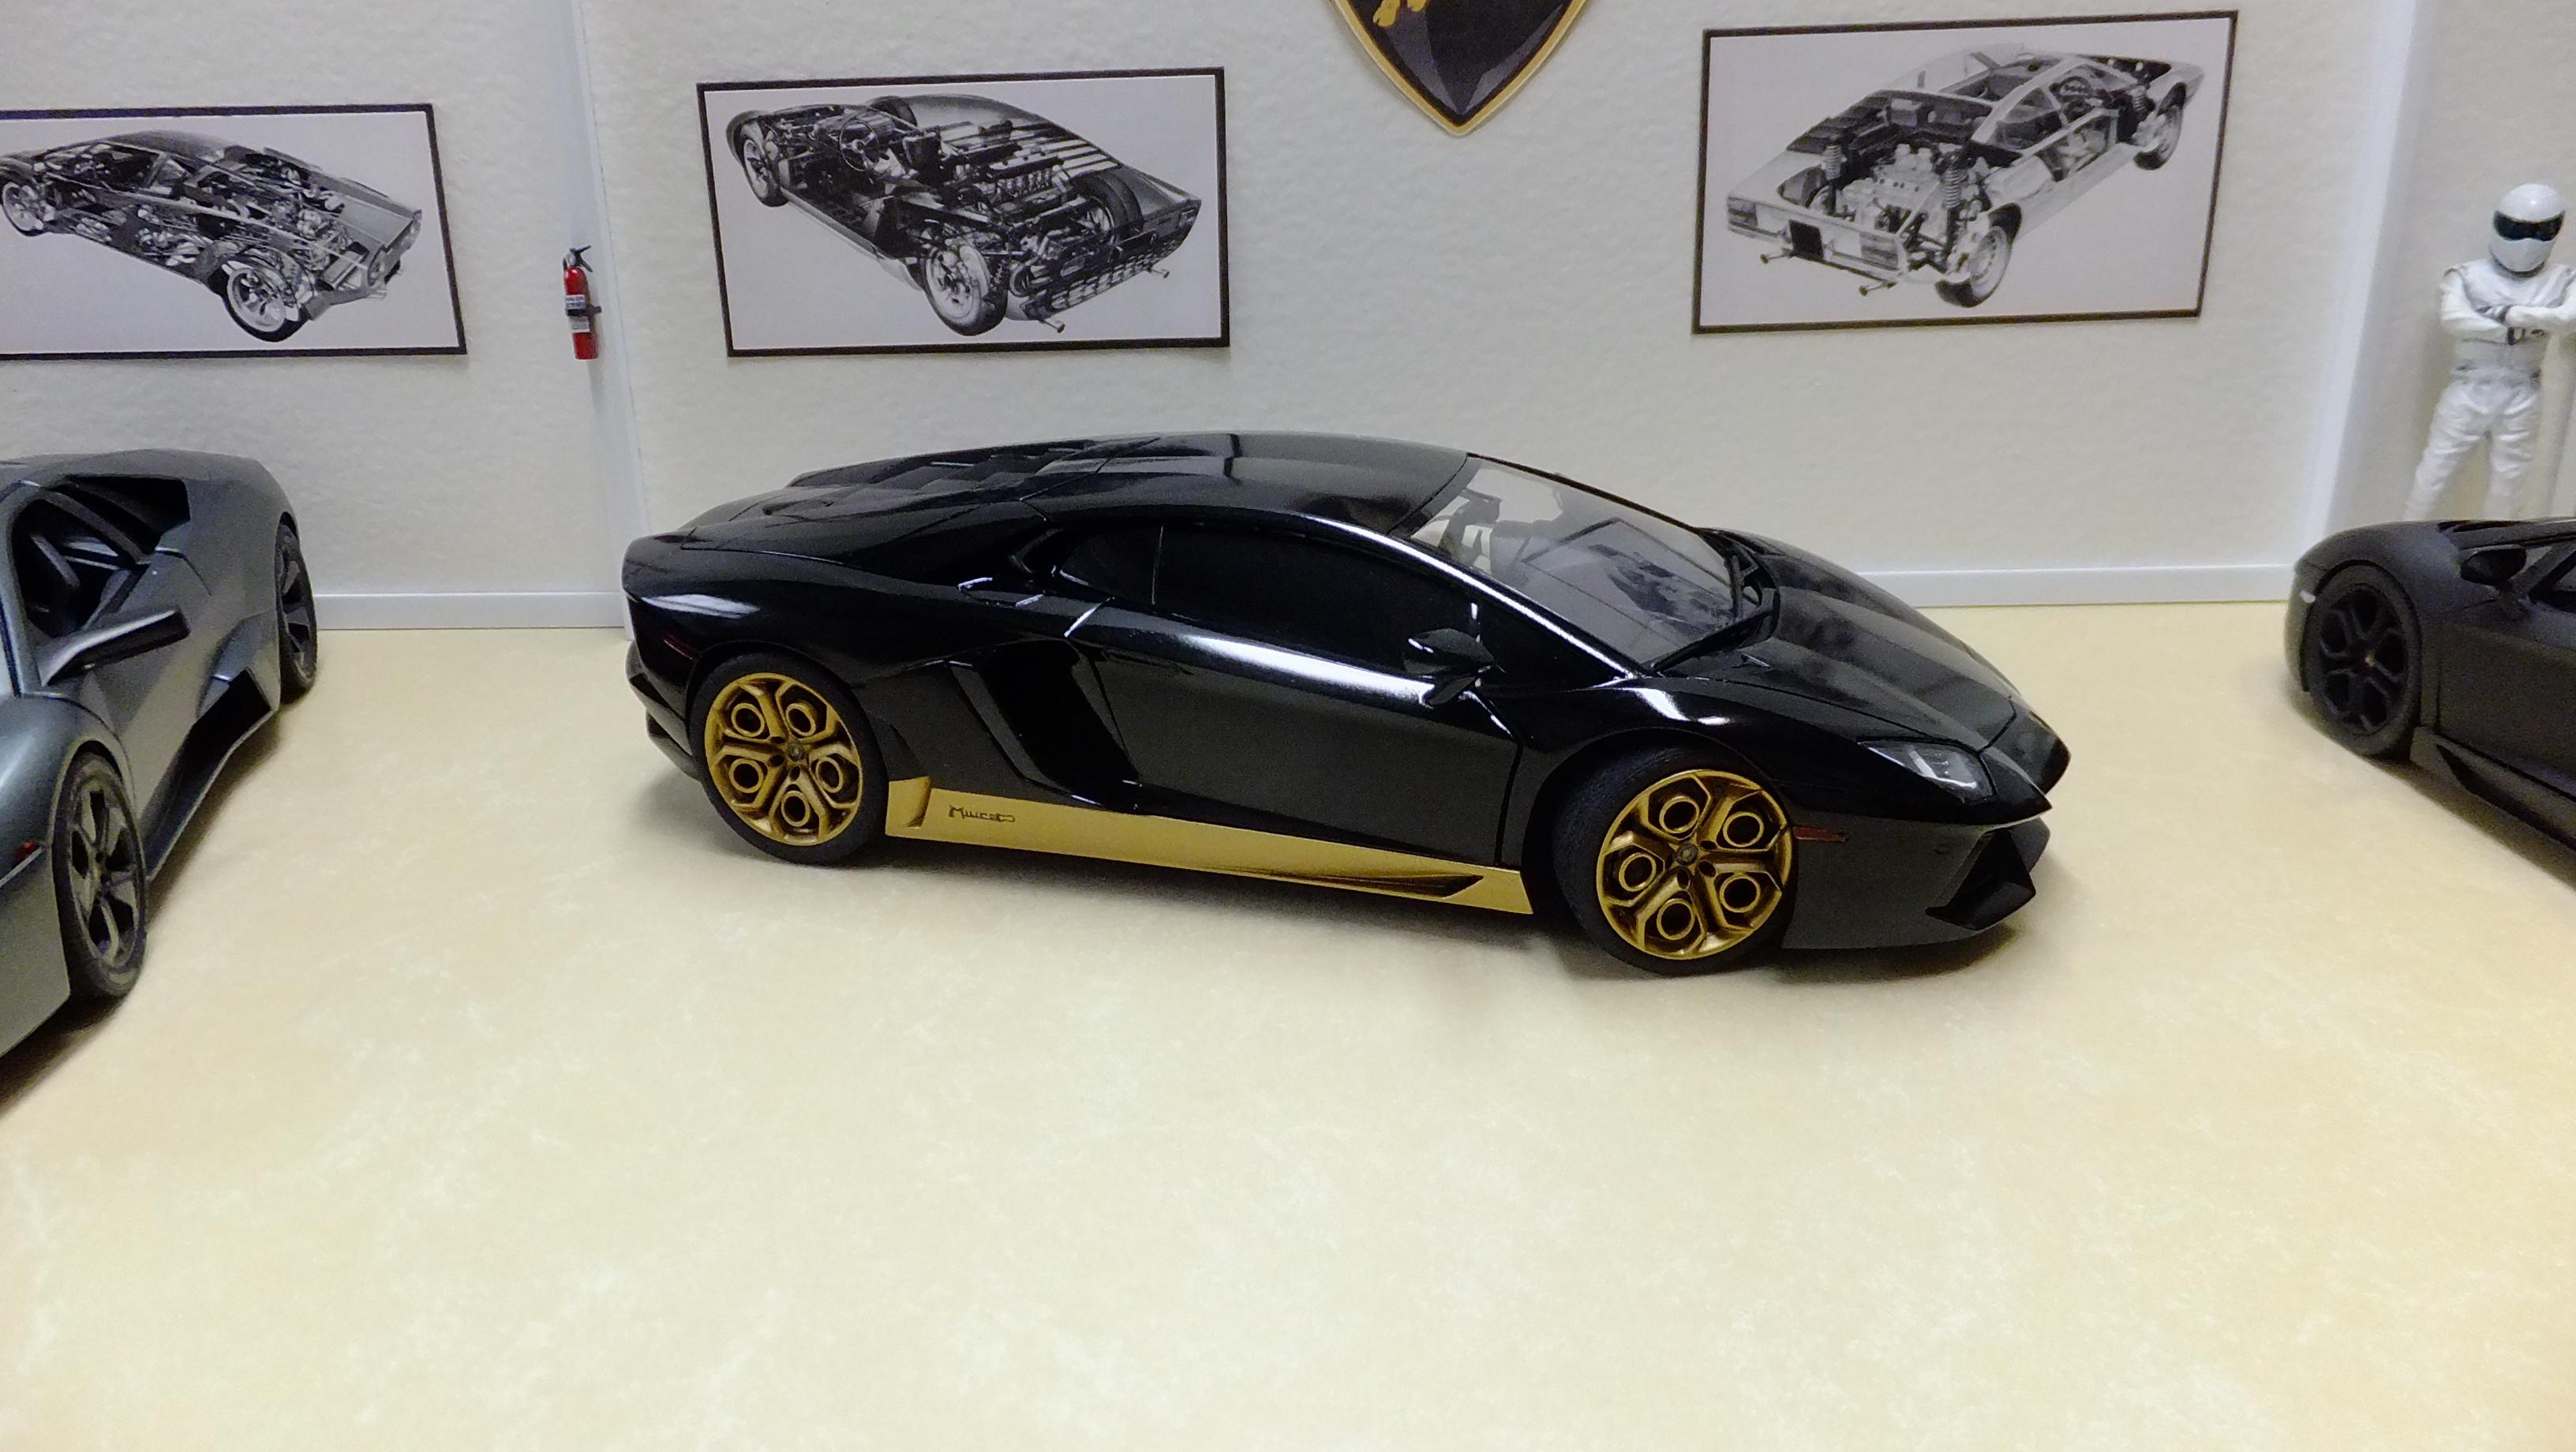
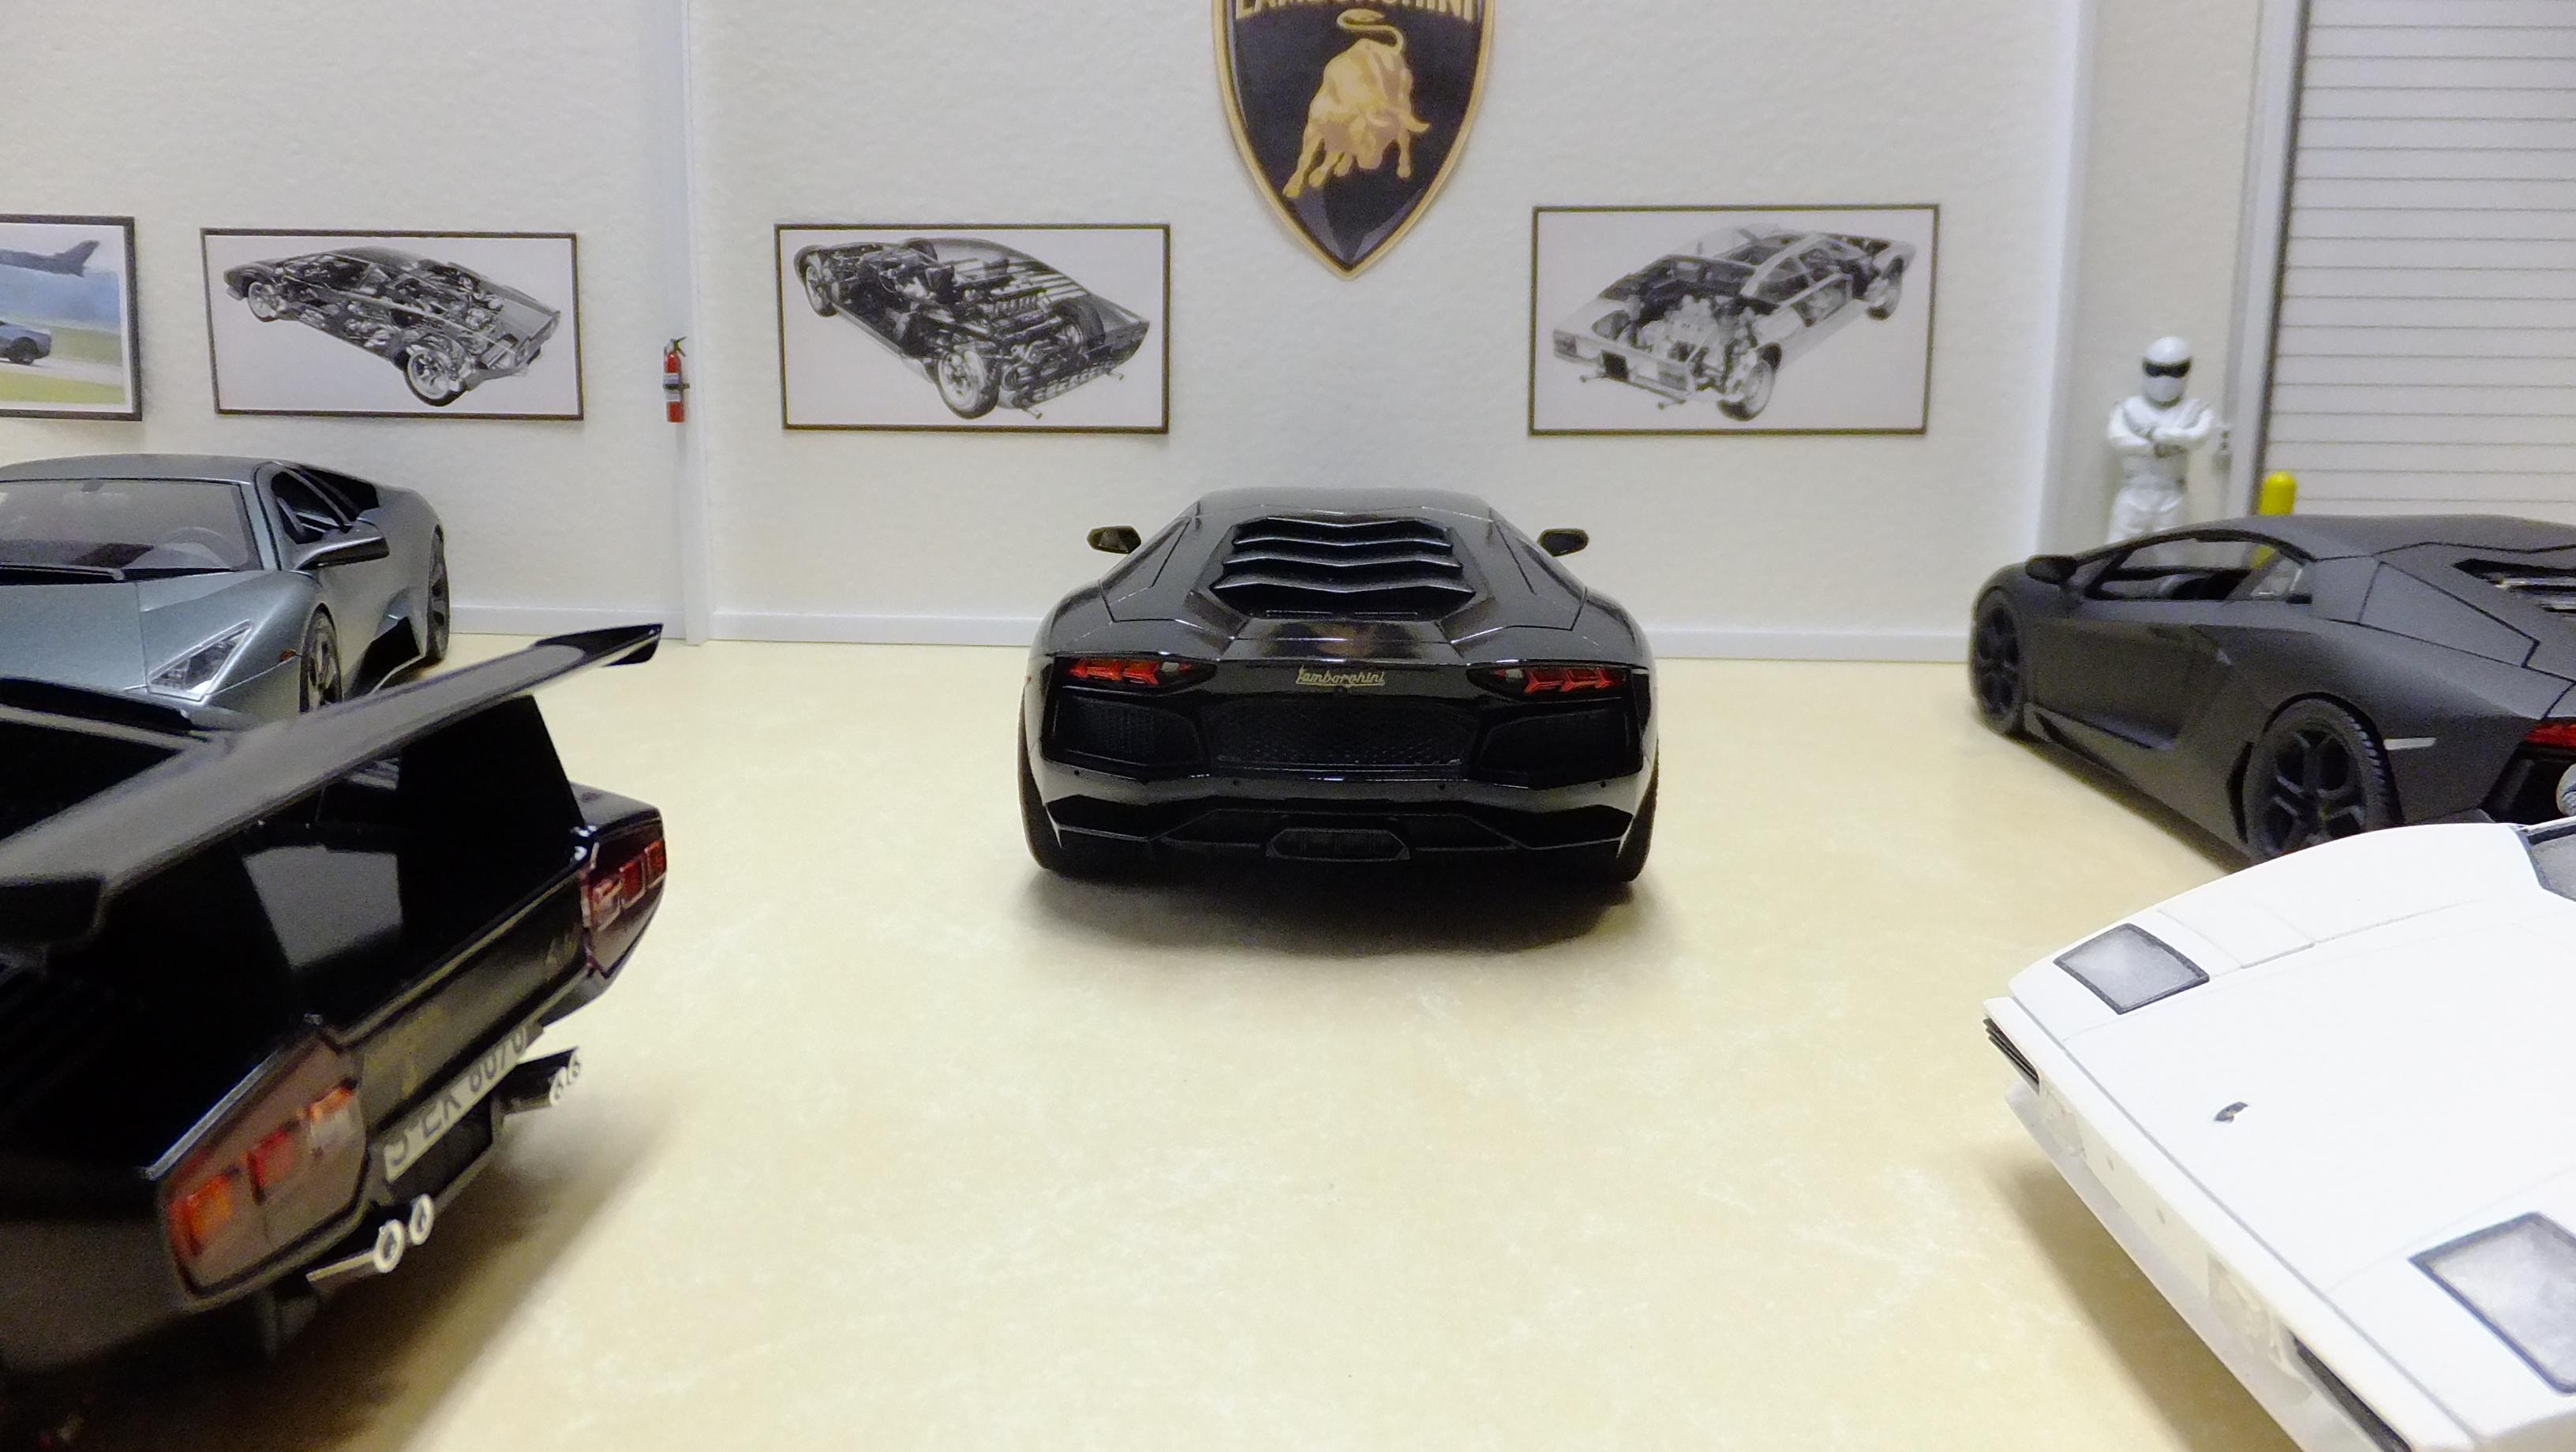
Hey, everyone! I thought i hadnt finished any builds in 2021, but then i remembered my Fujimi Aventador Miura edition...hope you like it! God bless!!
-
I couldnt take photos of this until i had thoroughly cleaned my model room...so here he is finally...hope you like it! God bless!!!
-
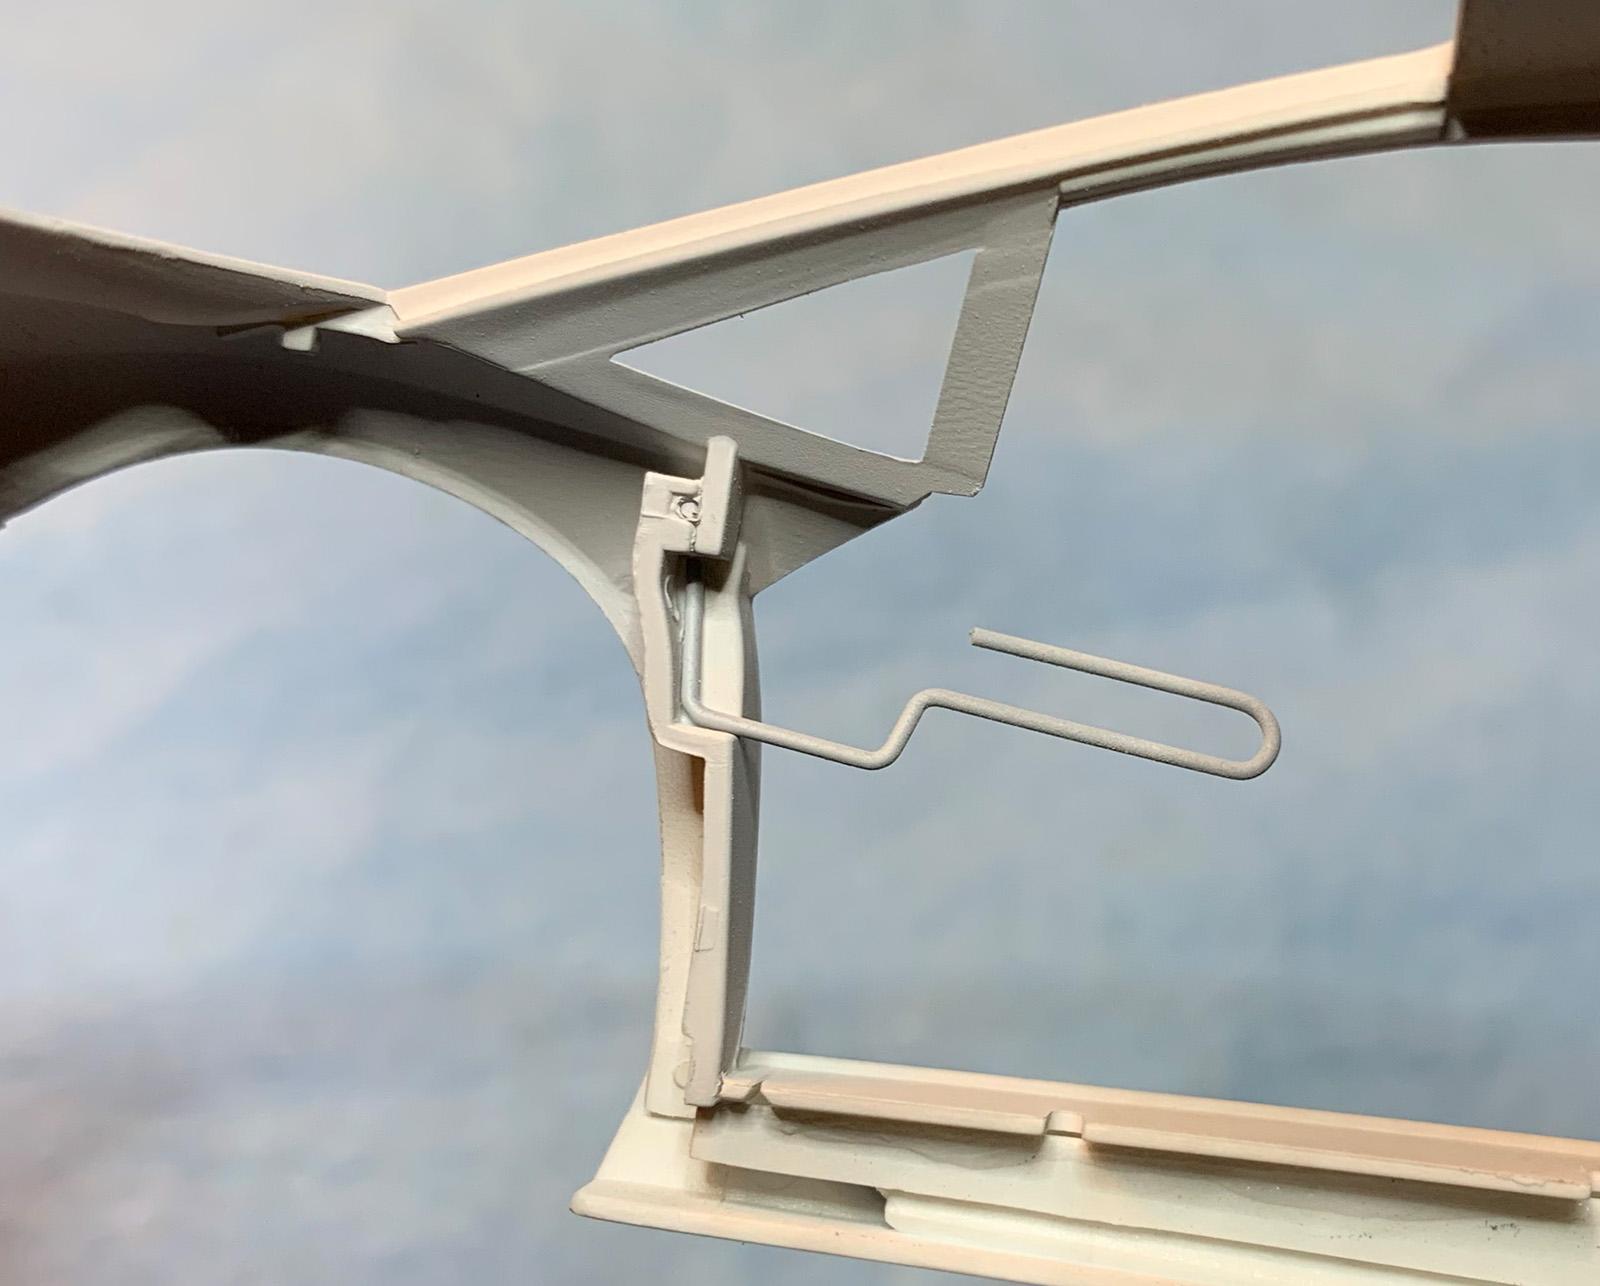
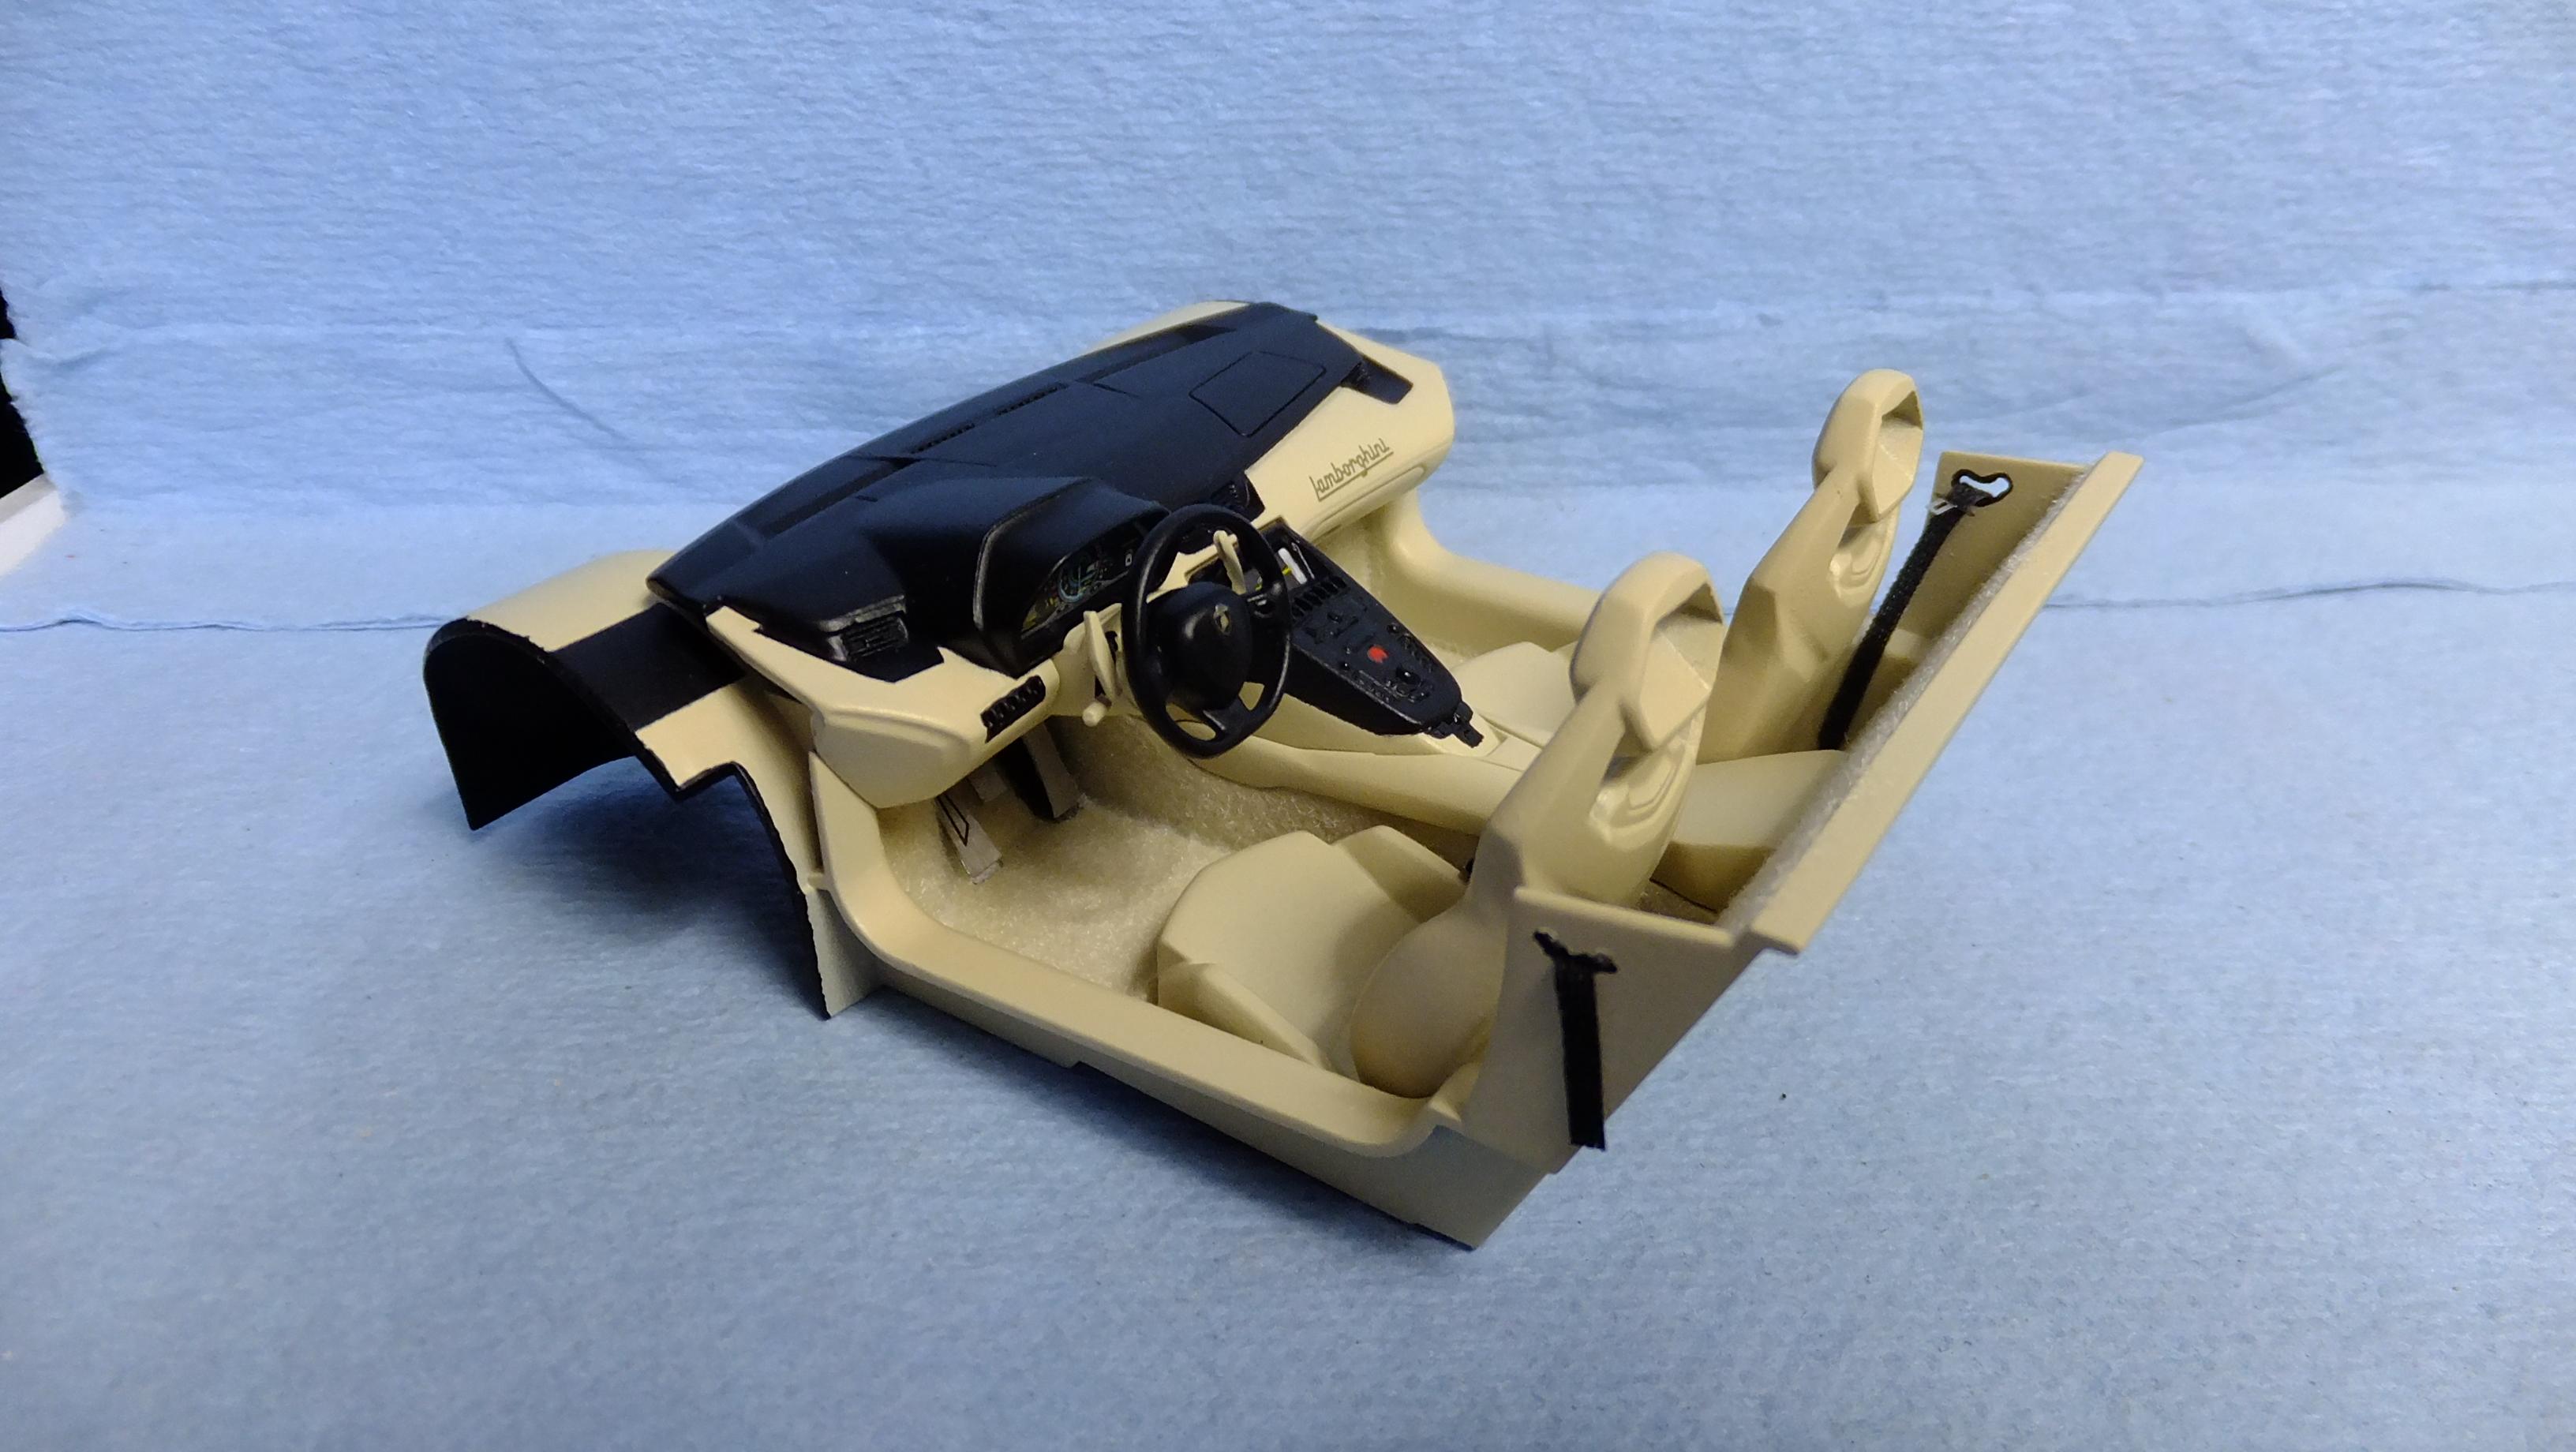
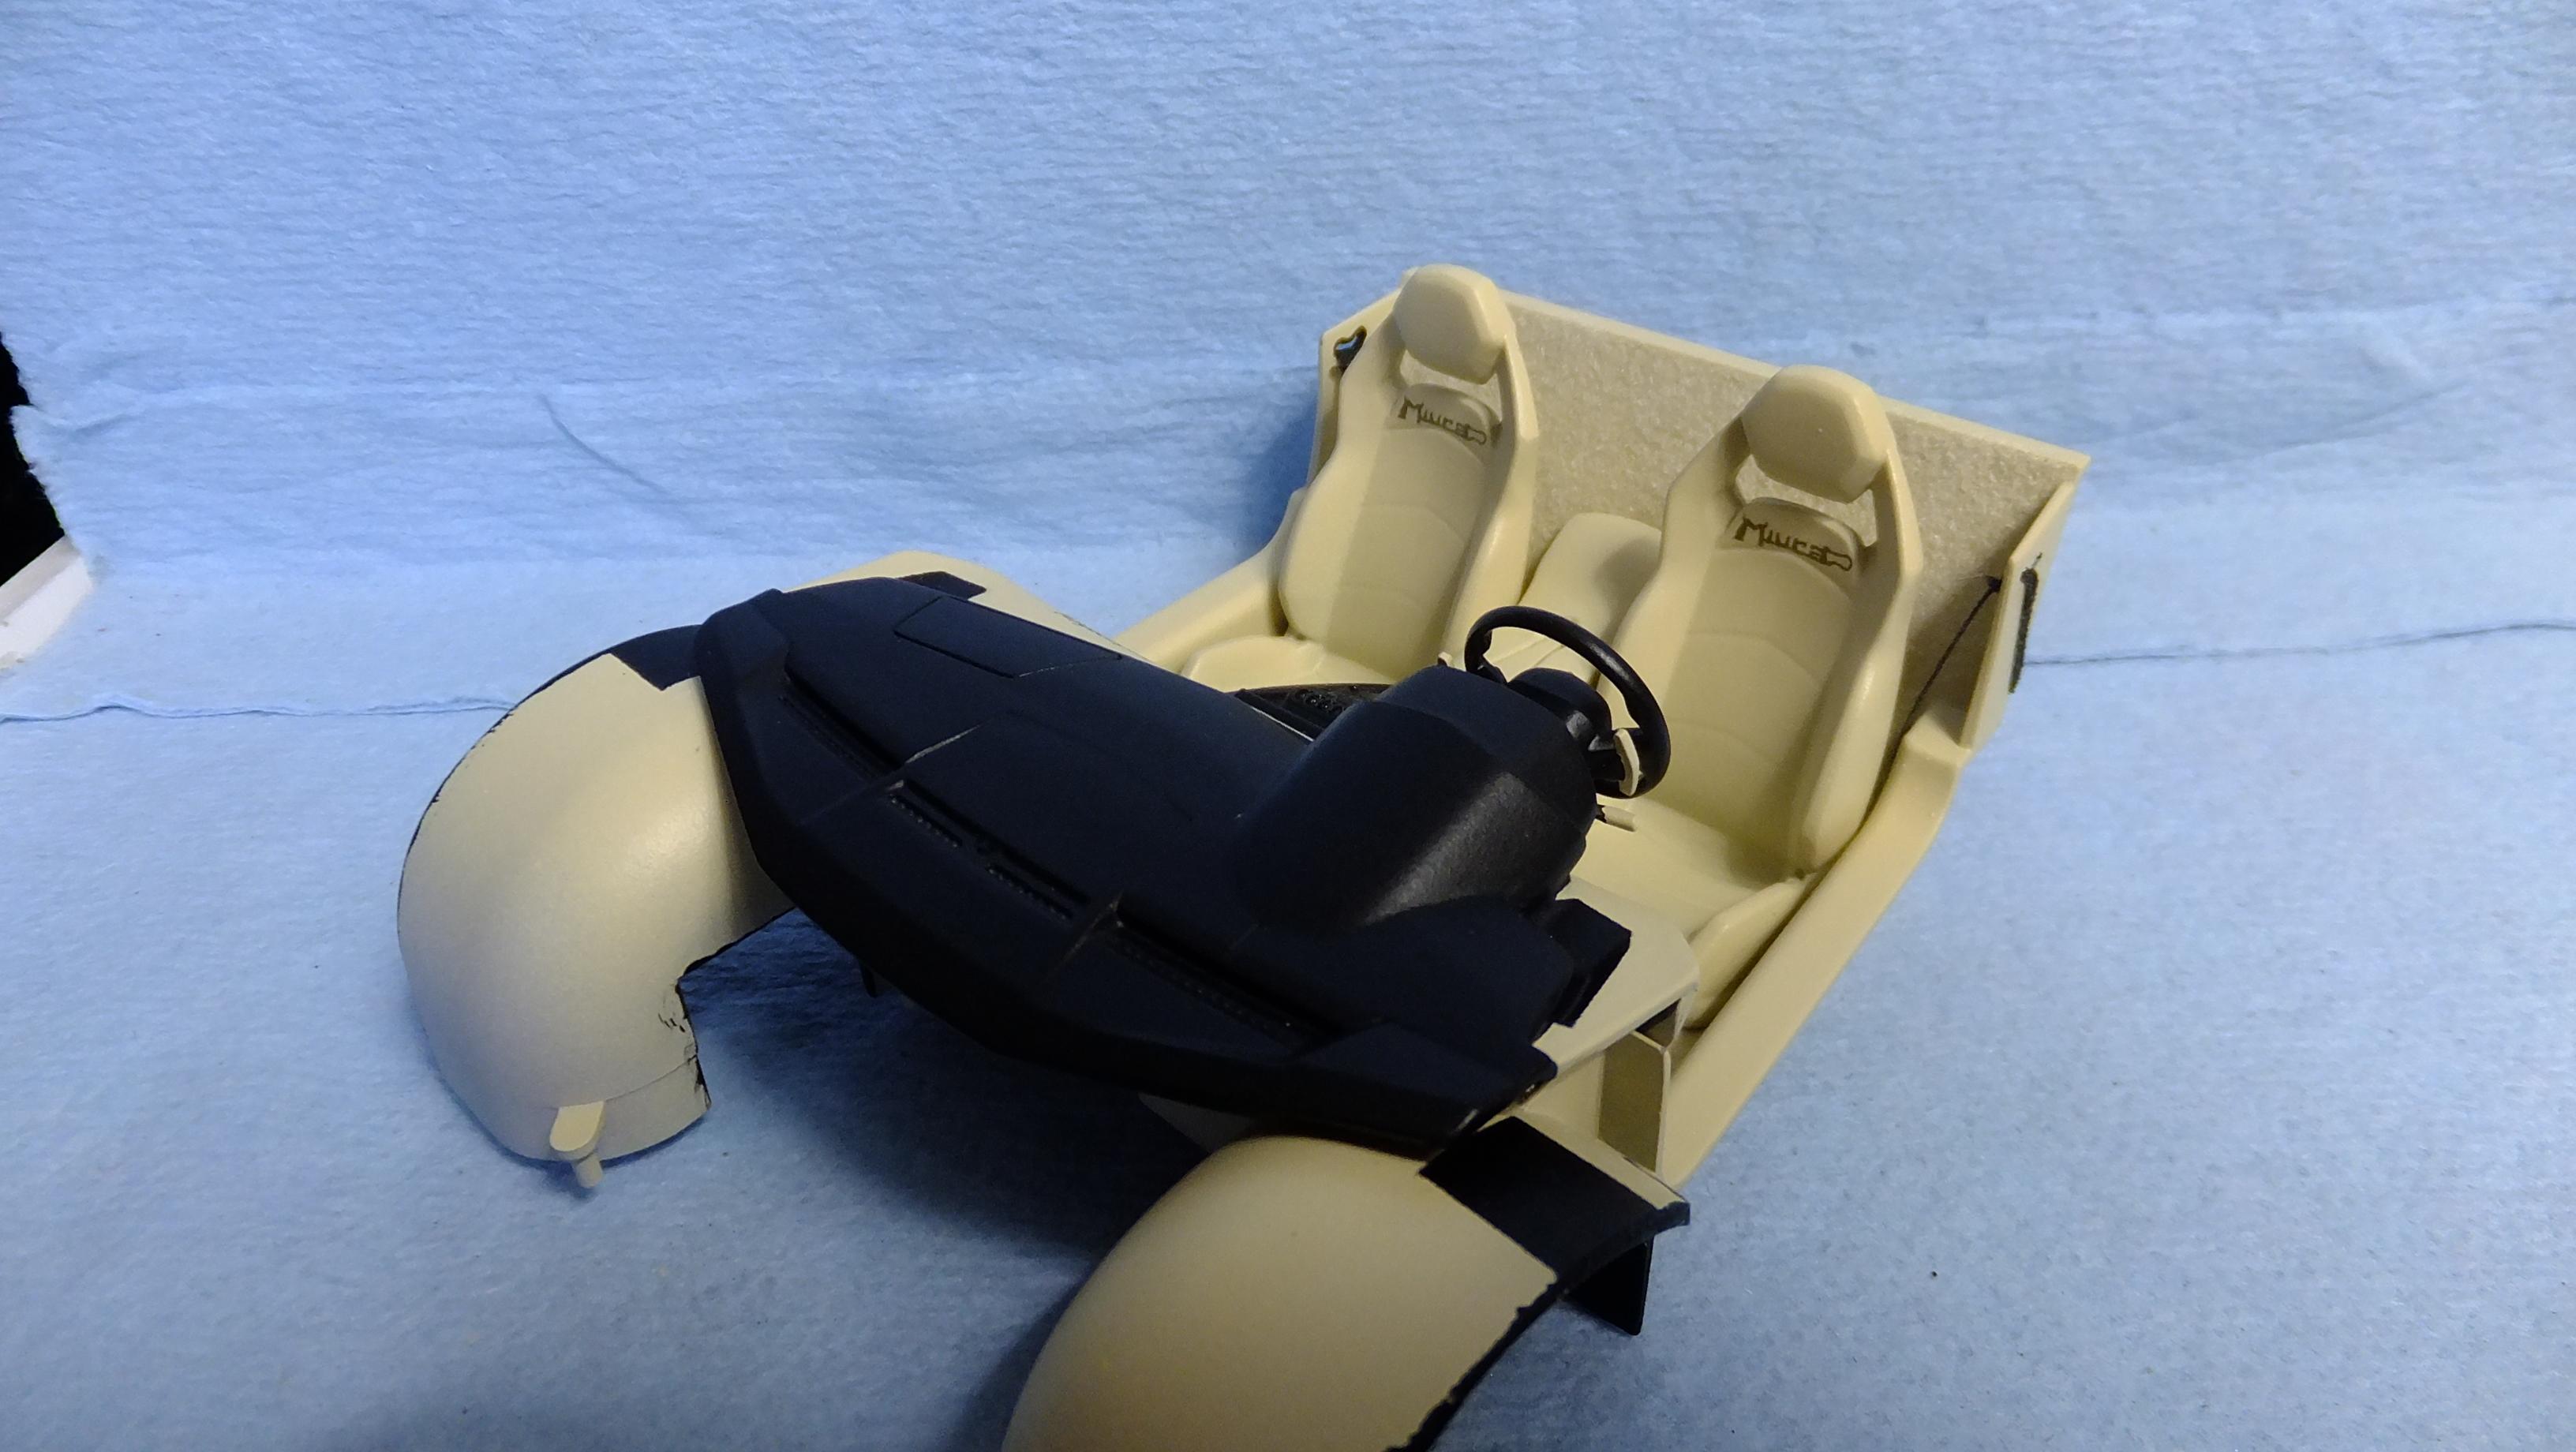
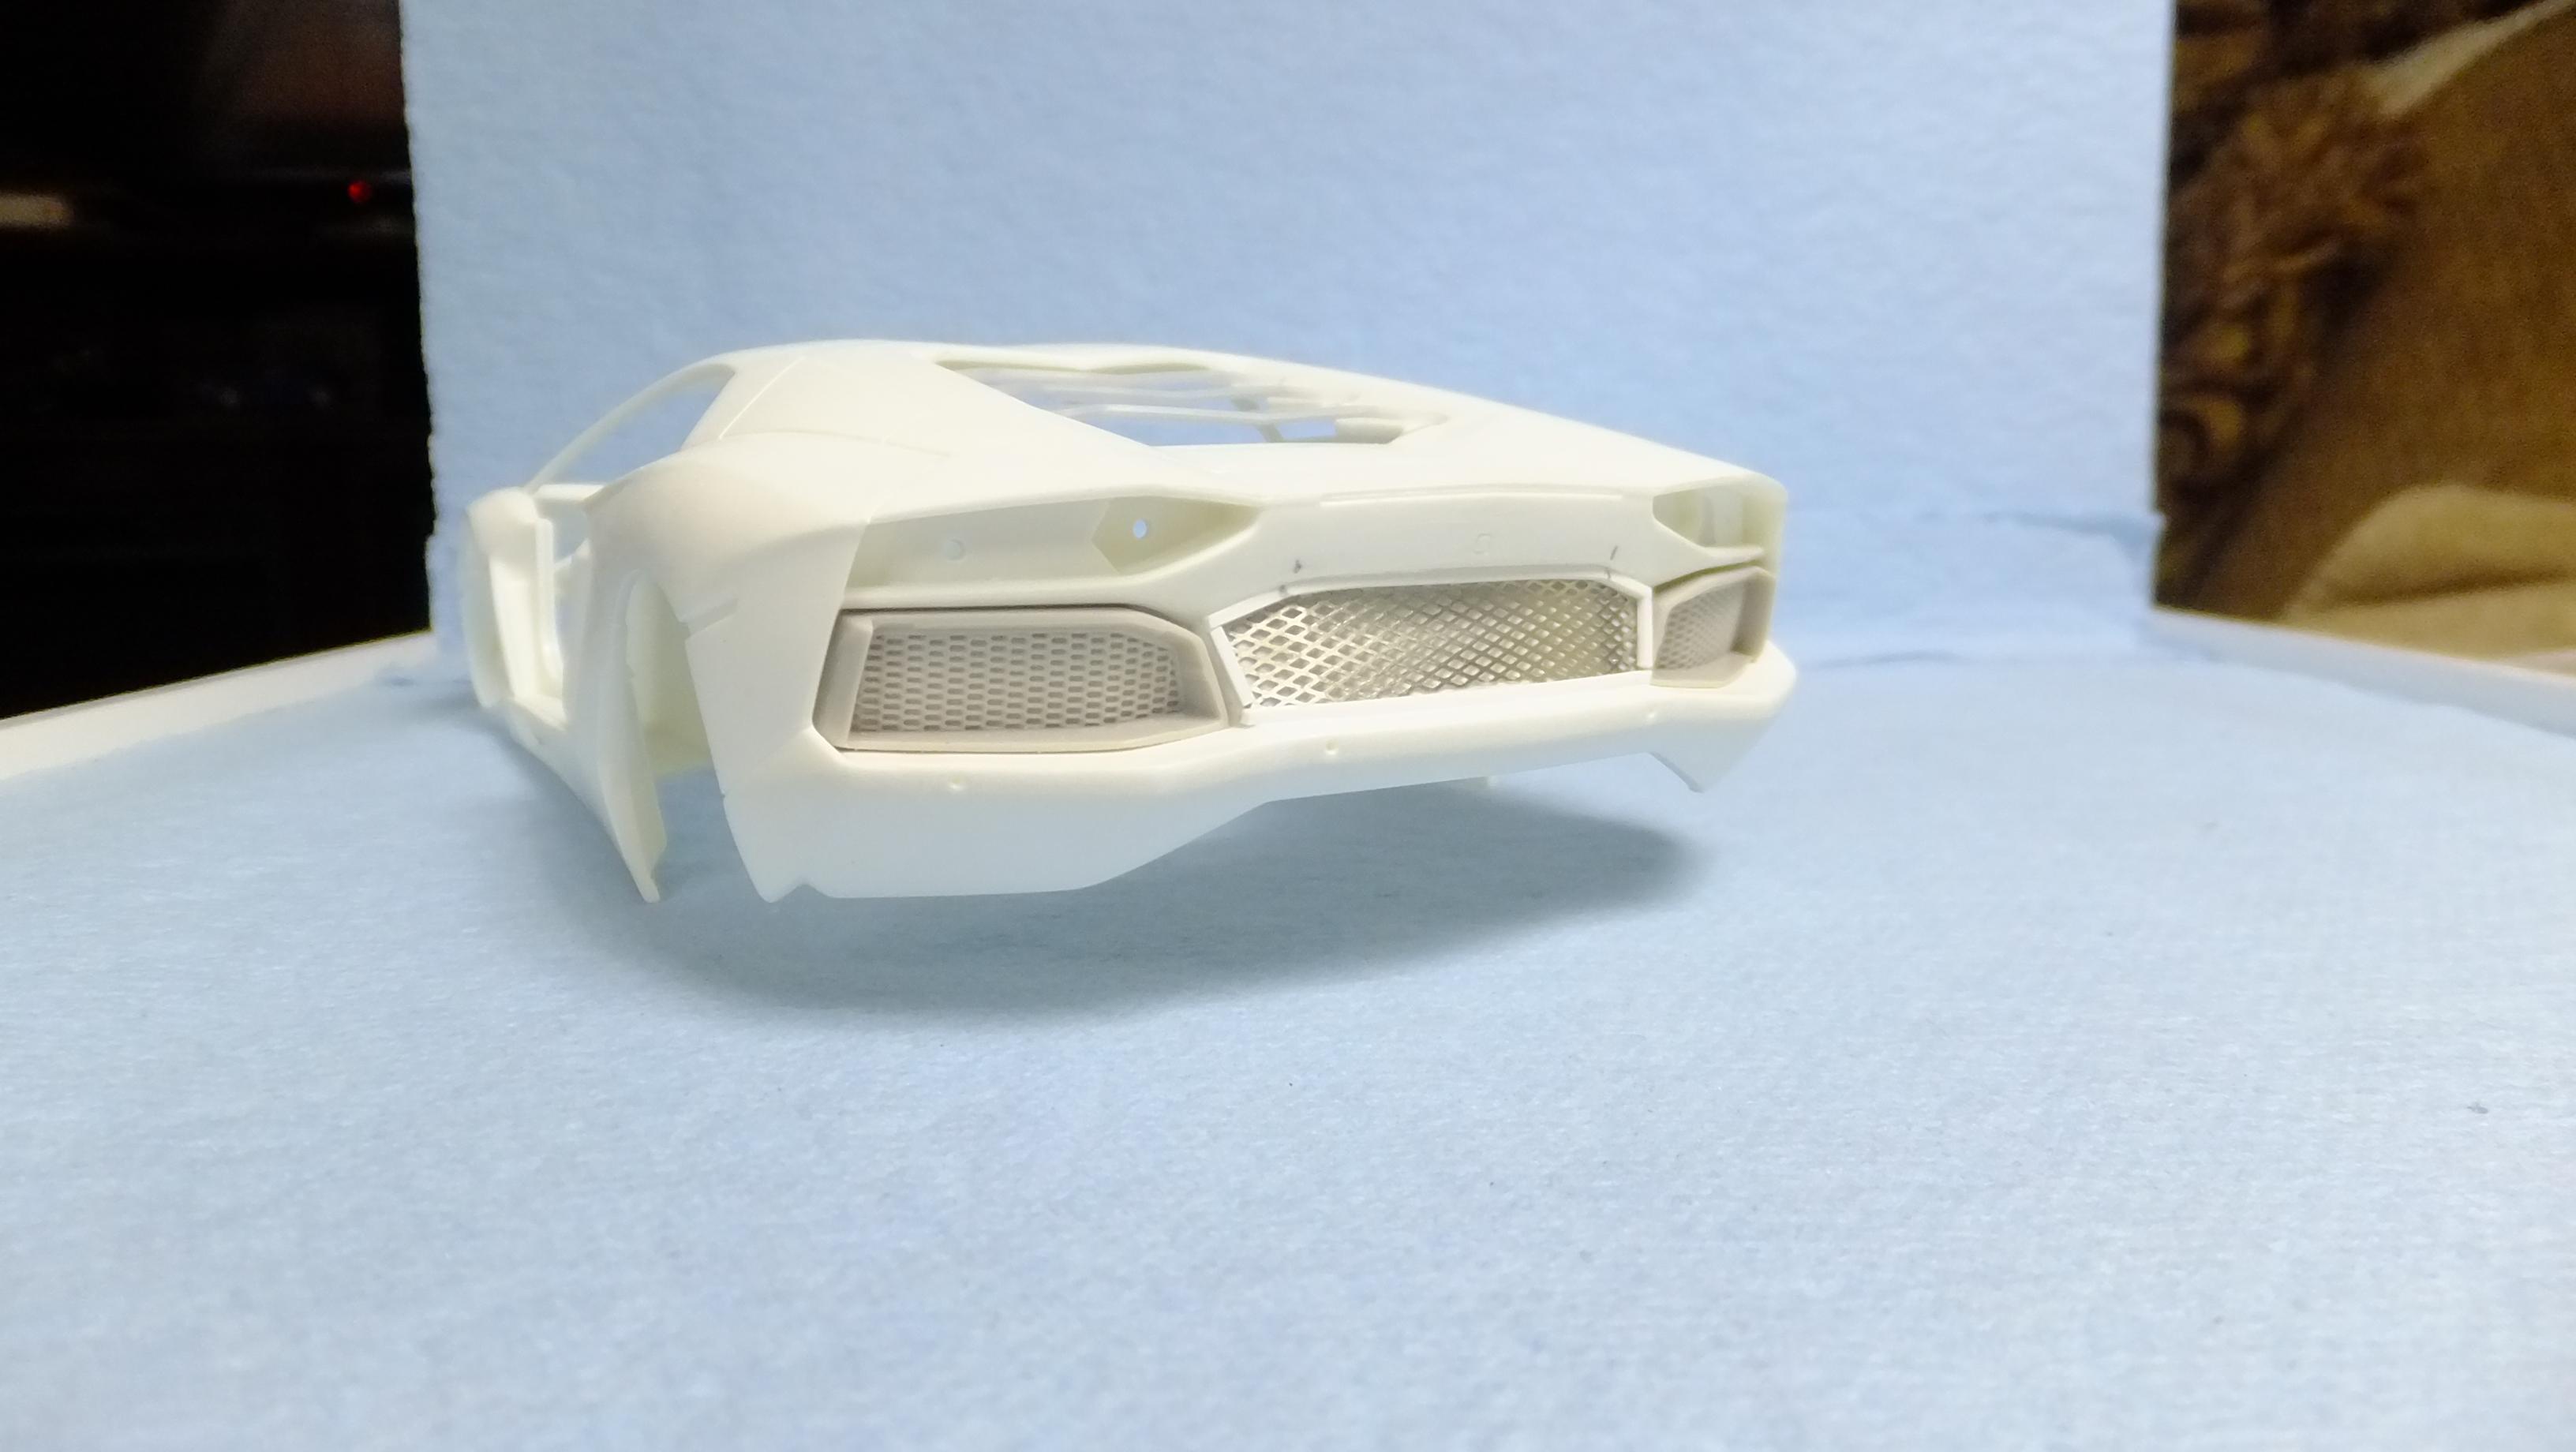
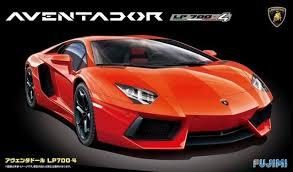
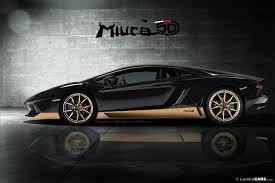
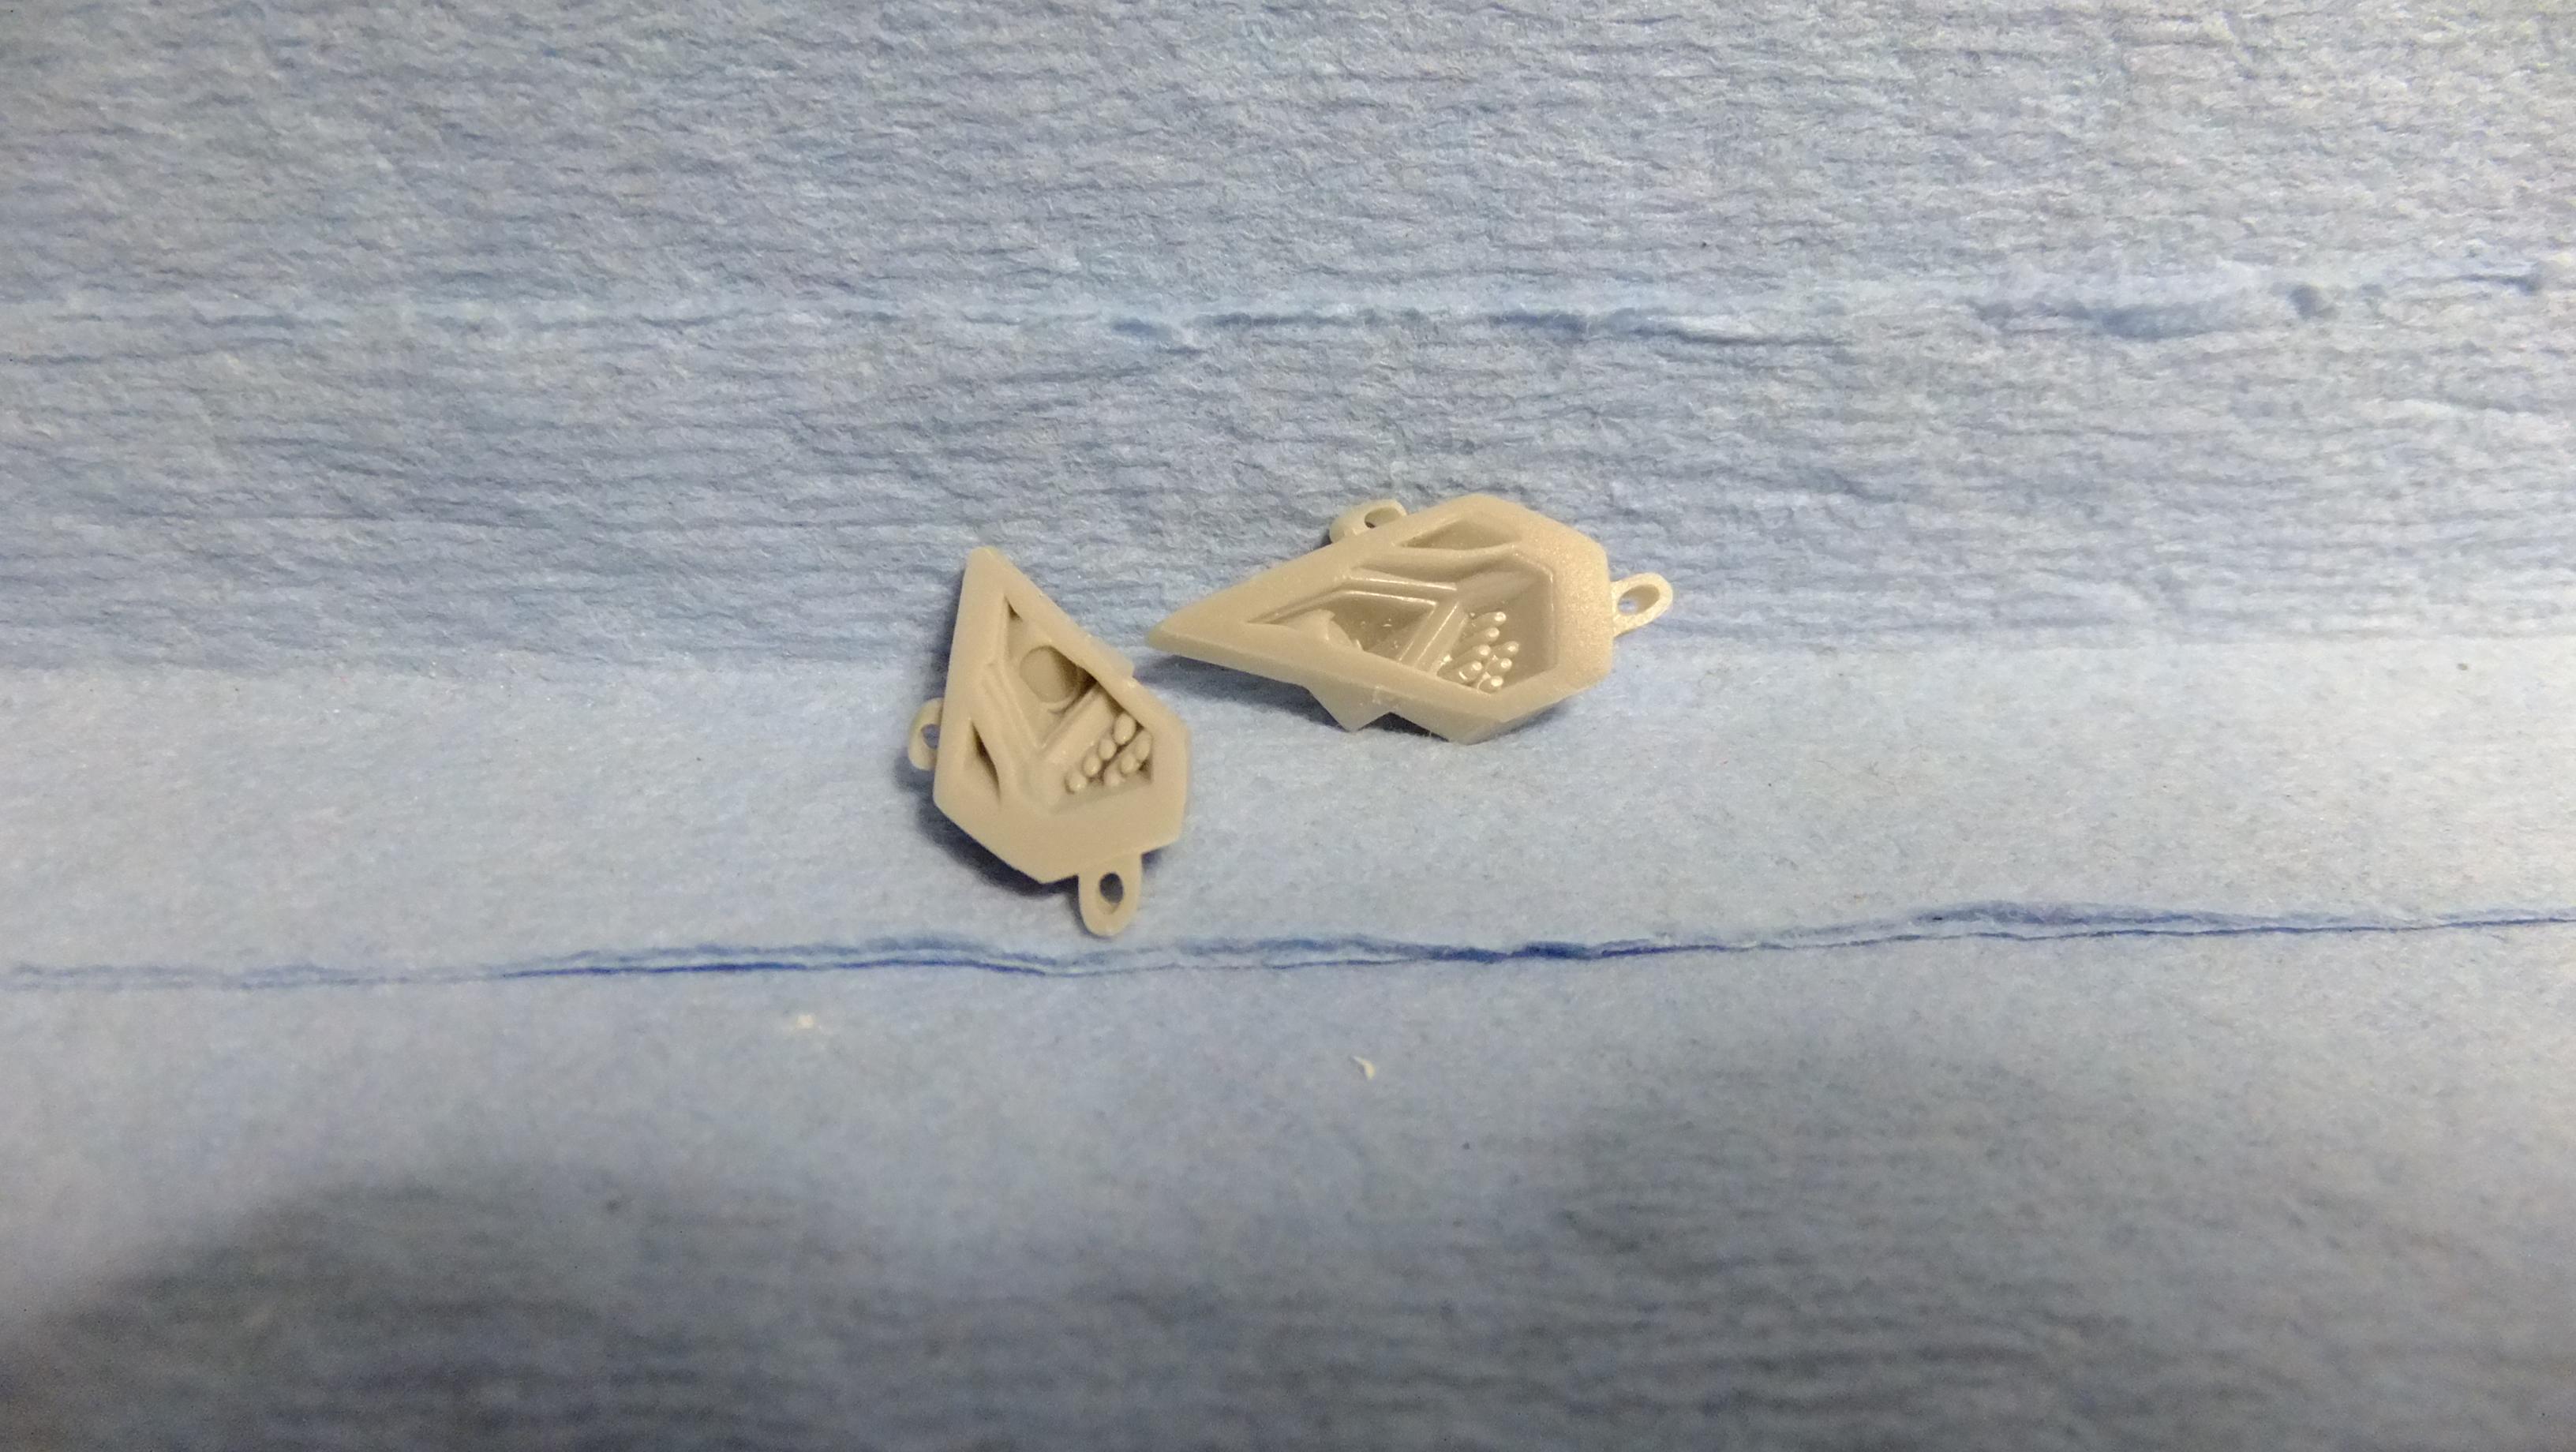
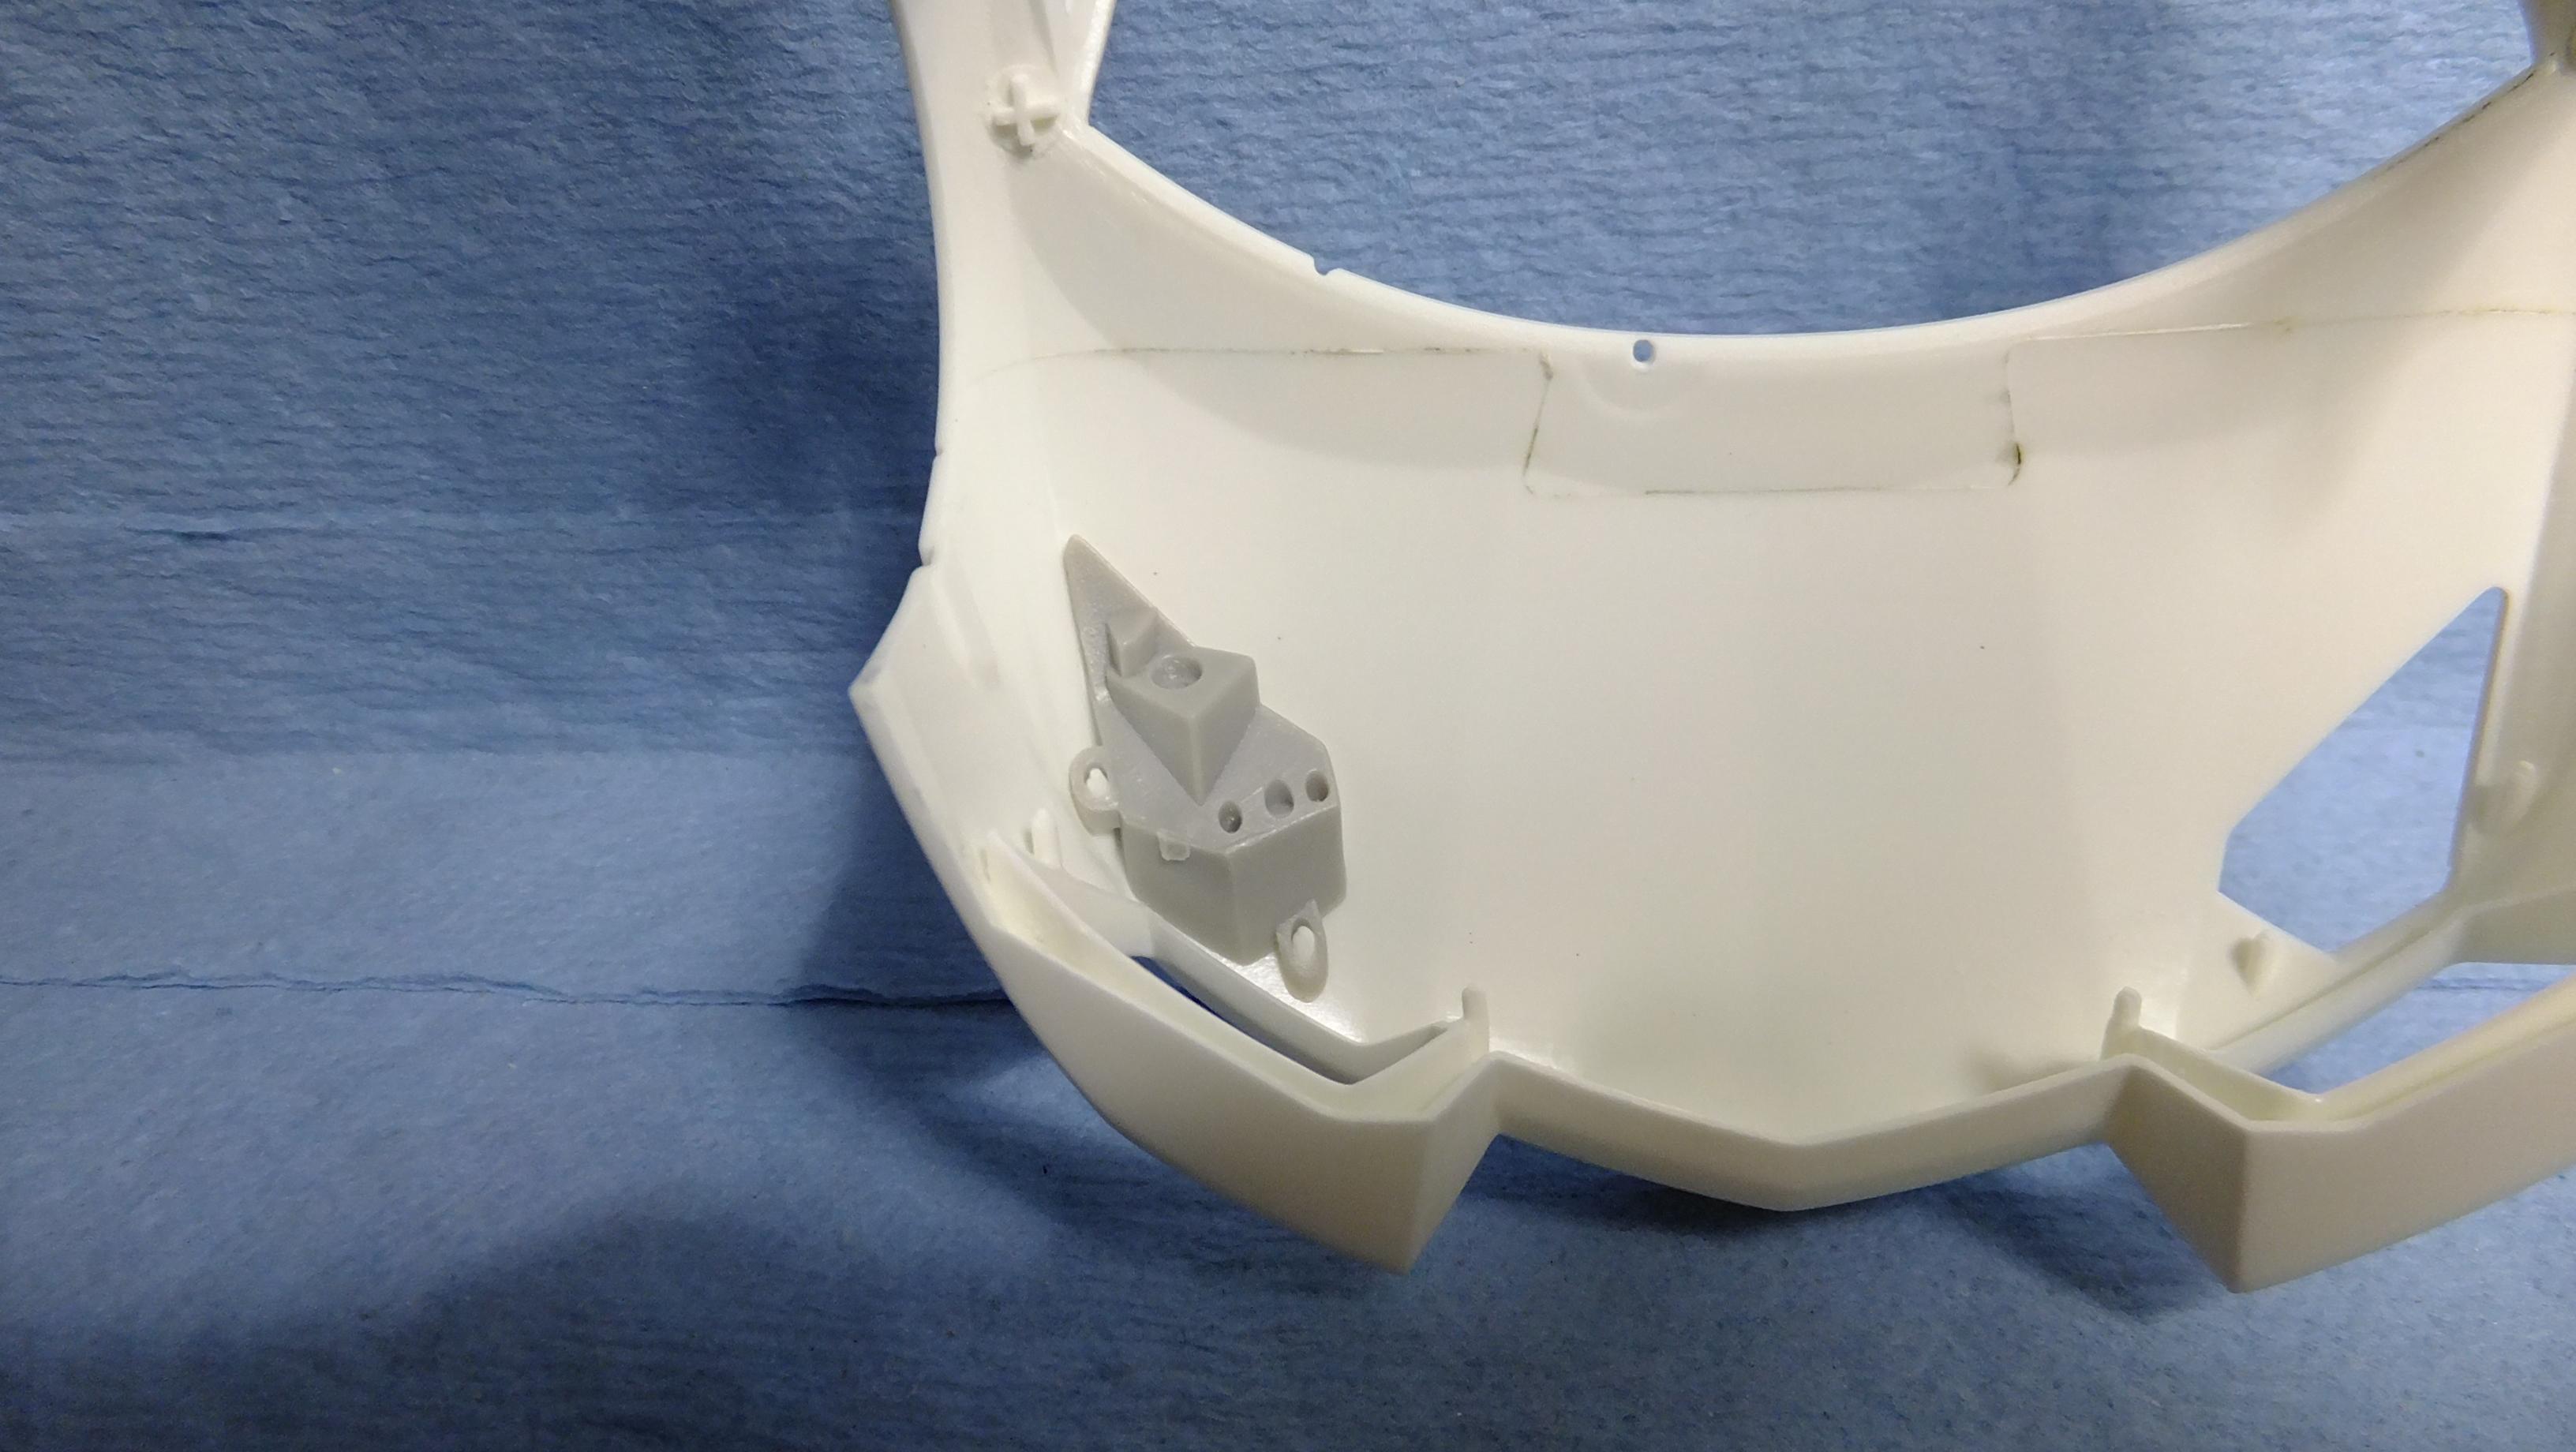
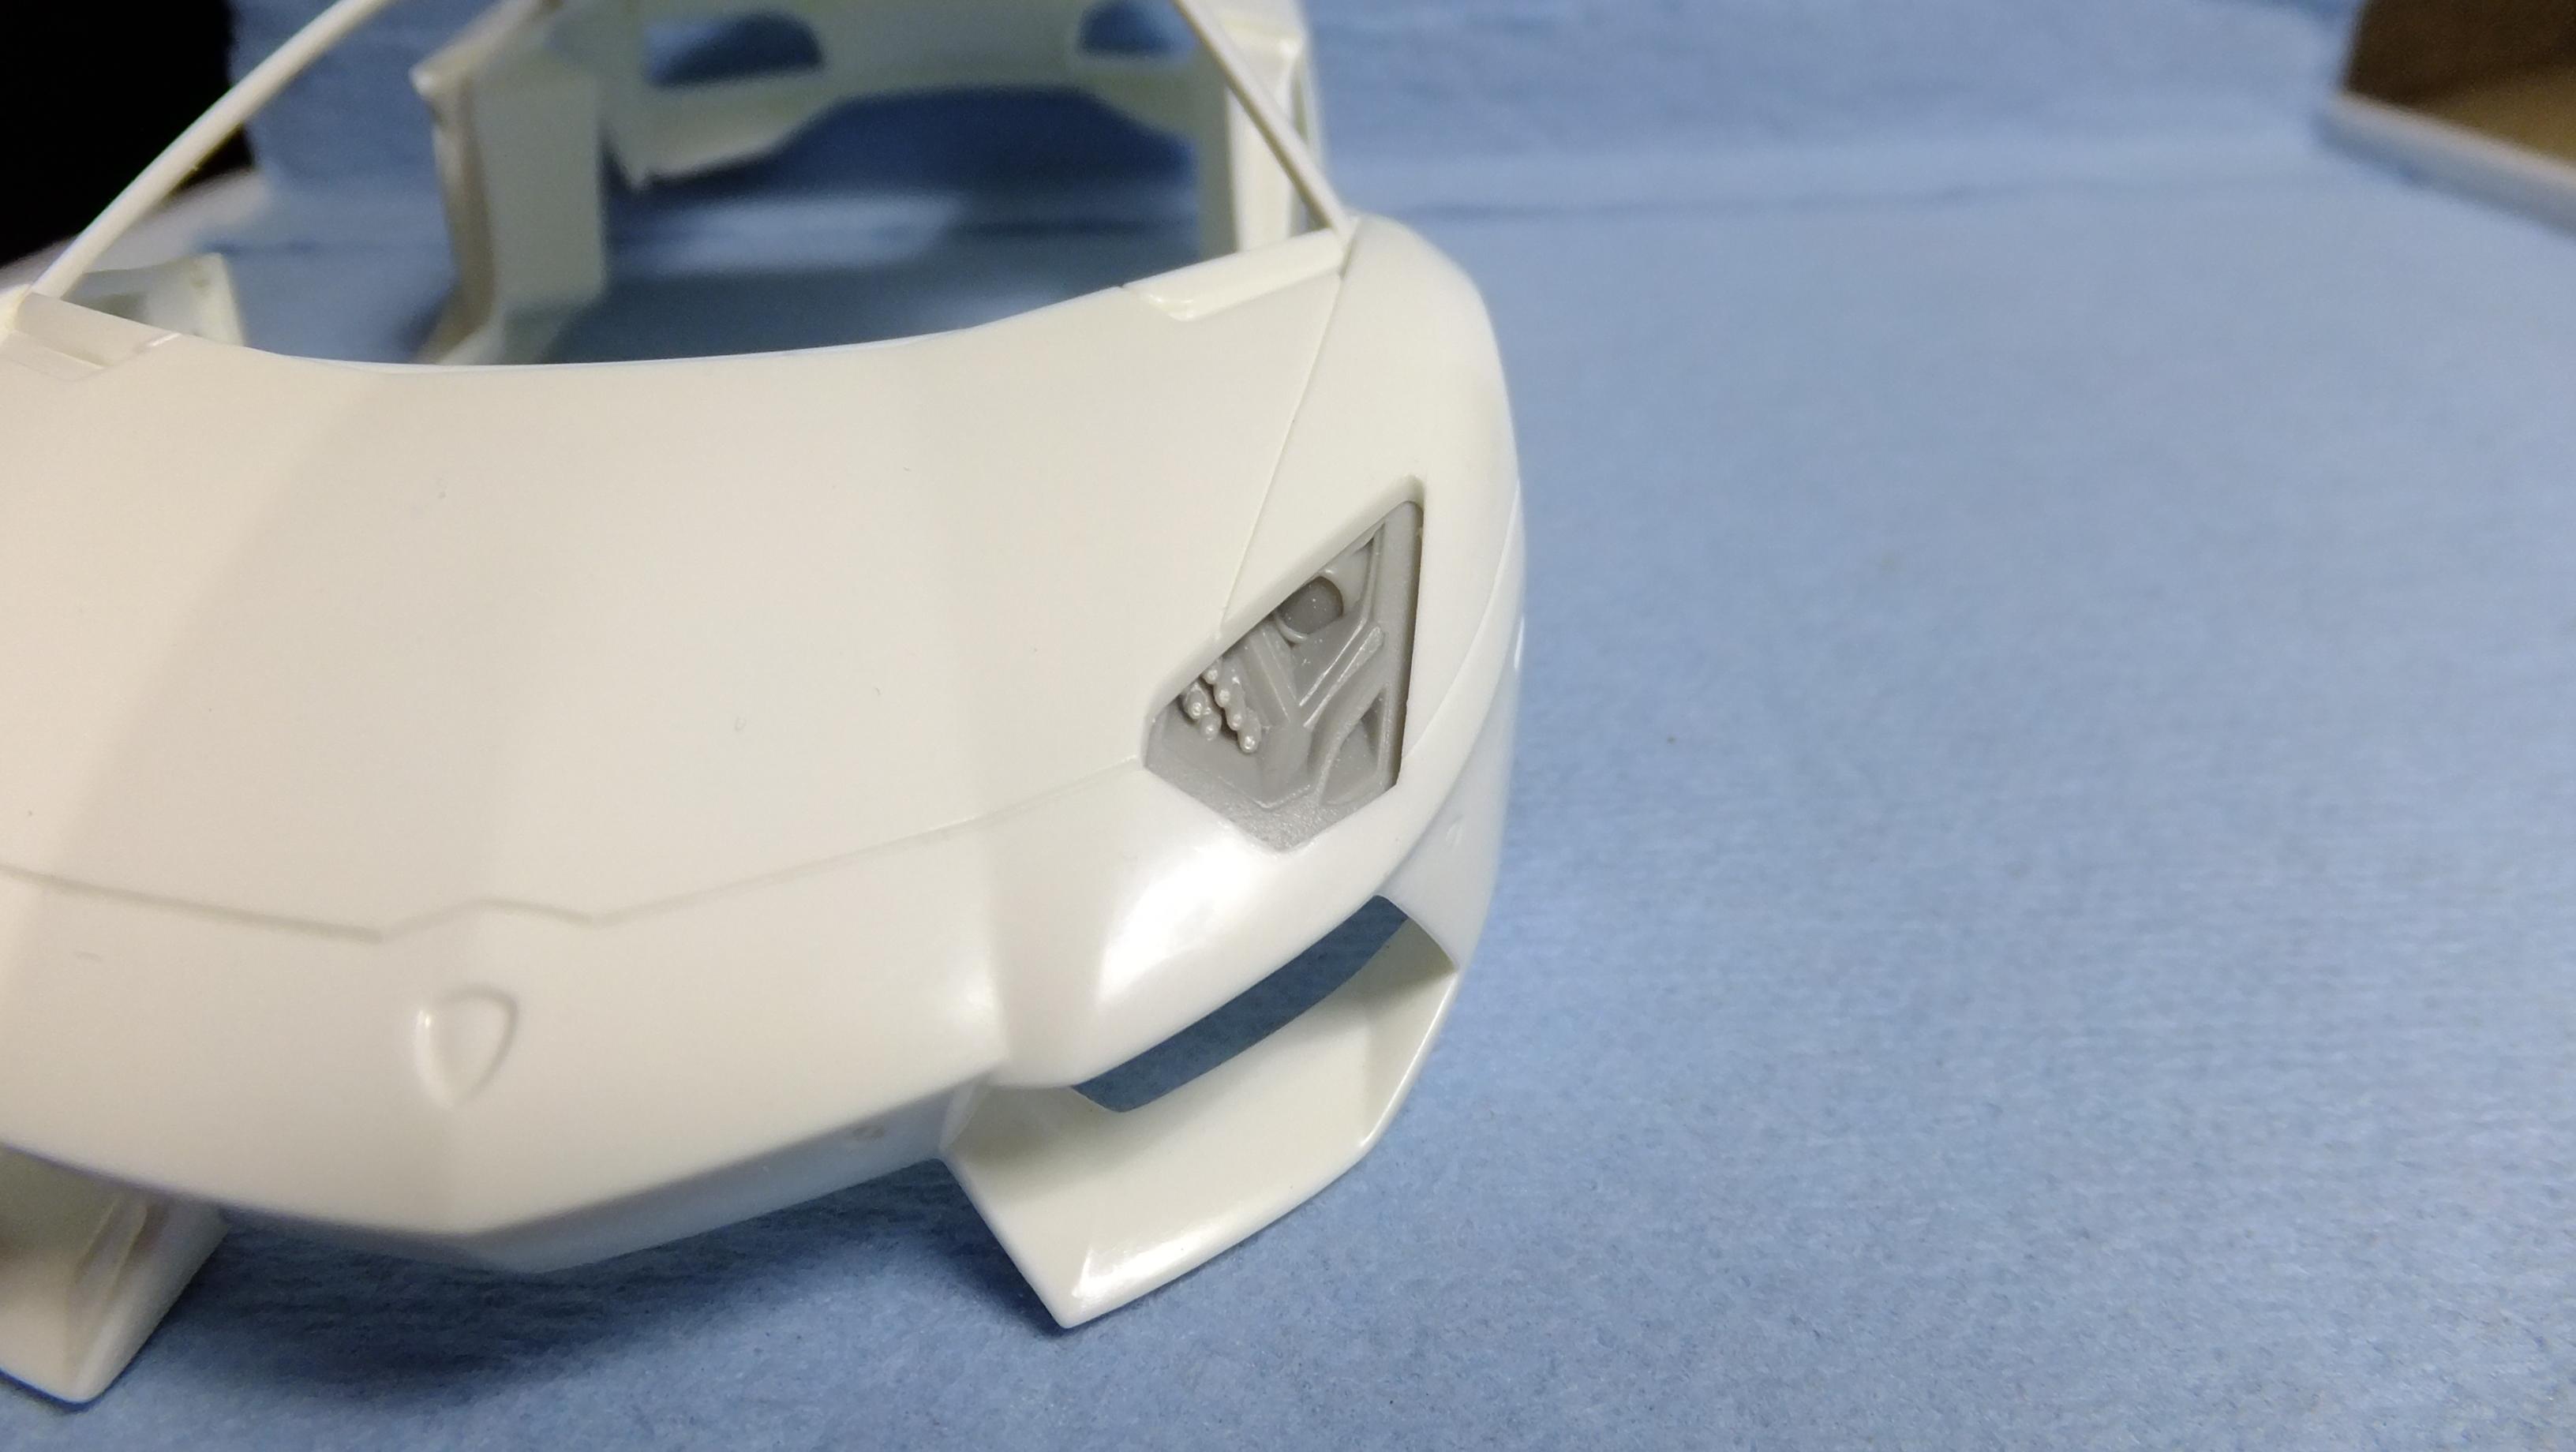
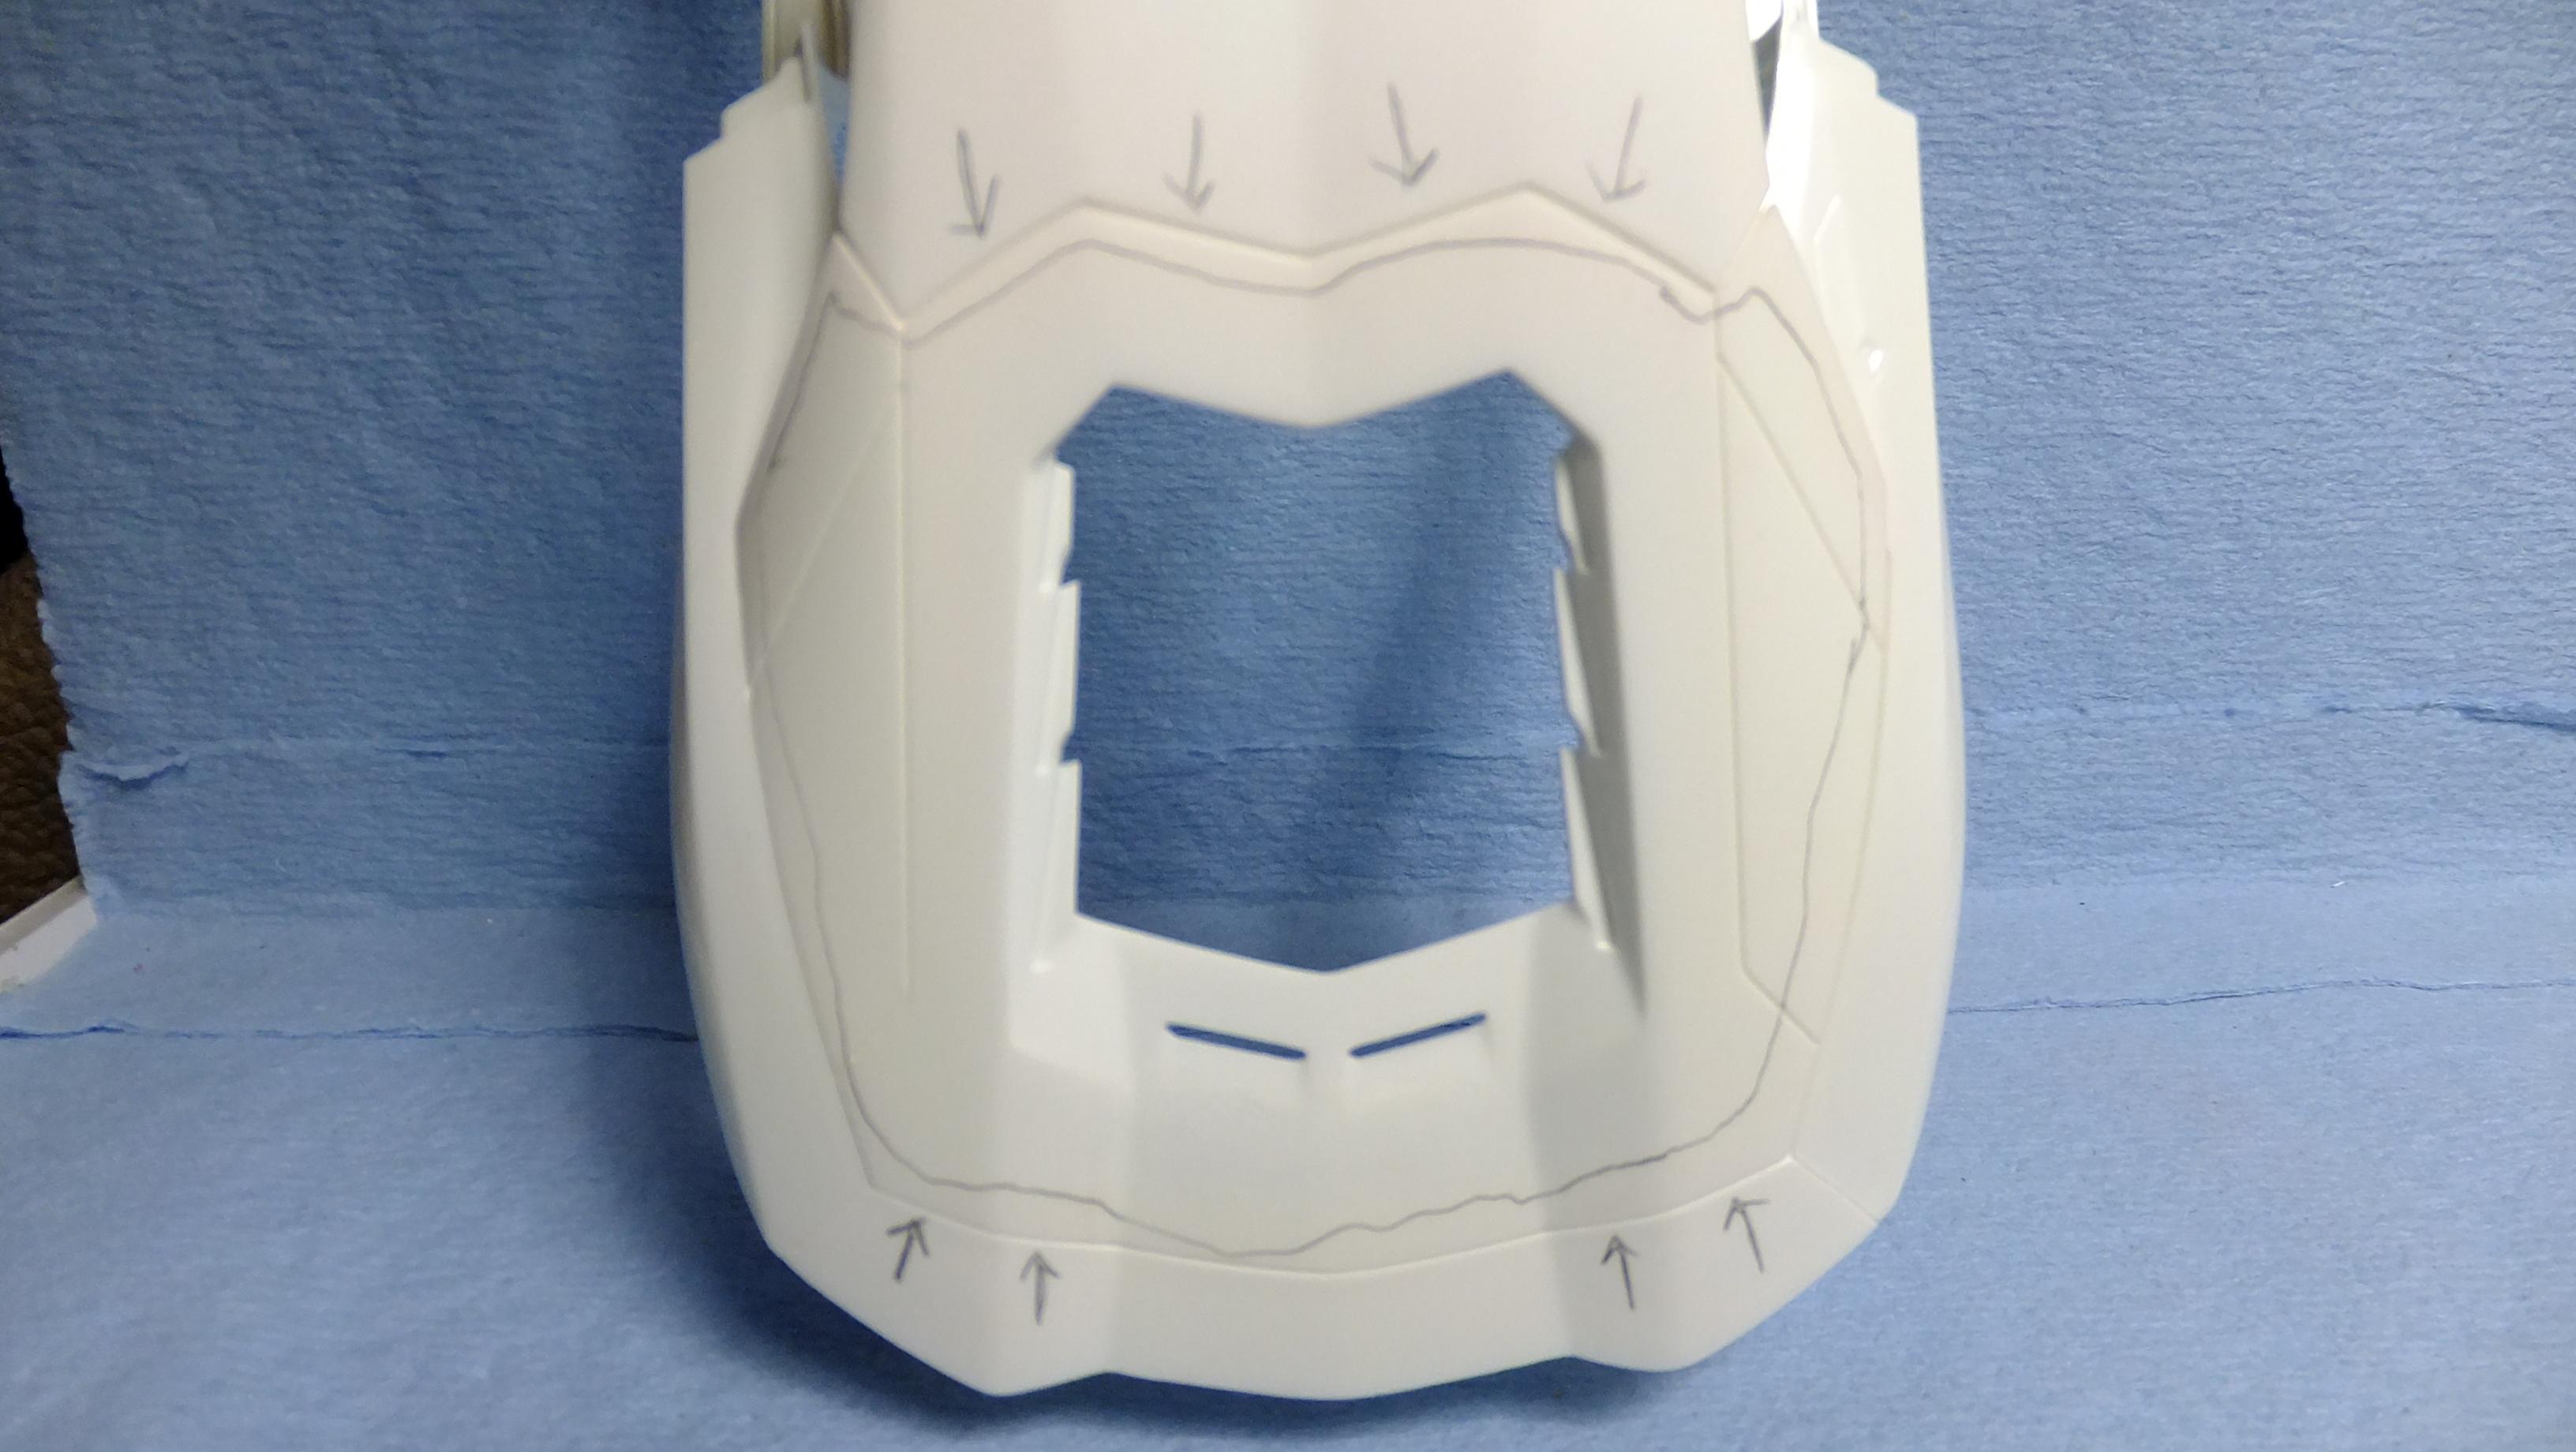
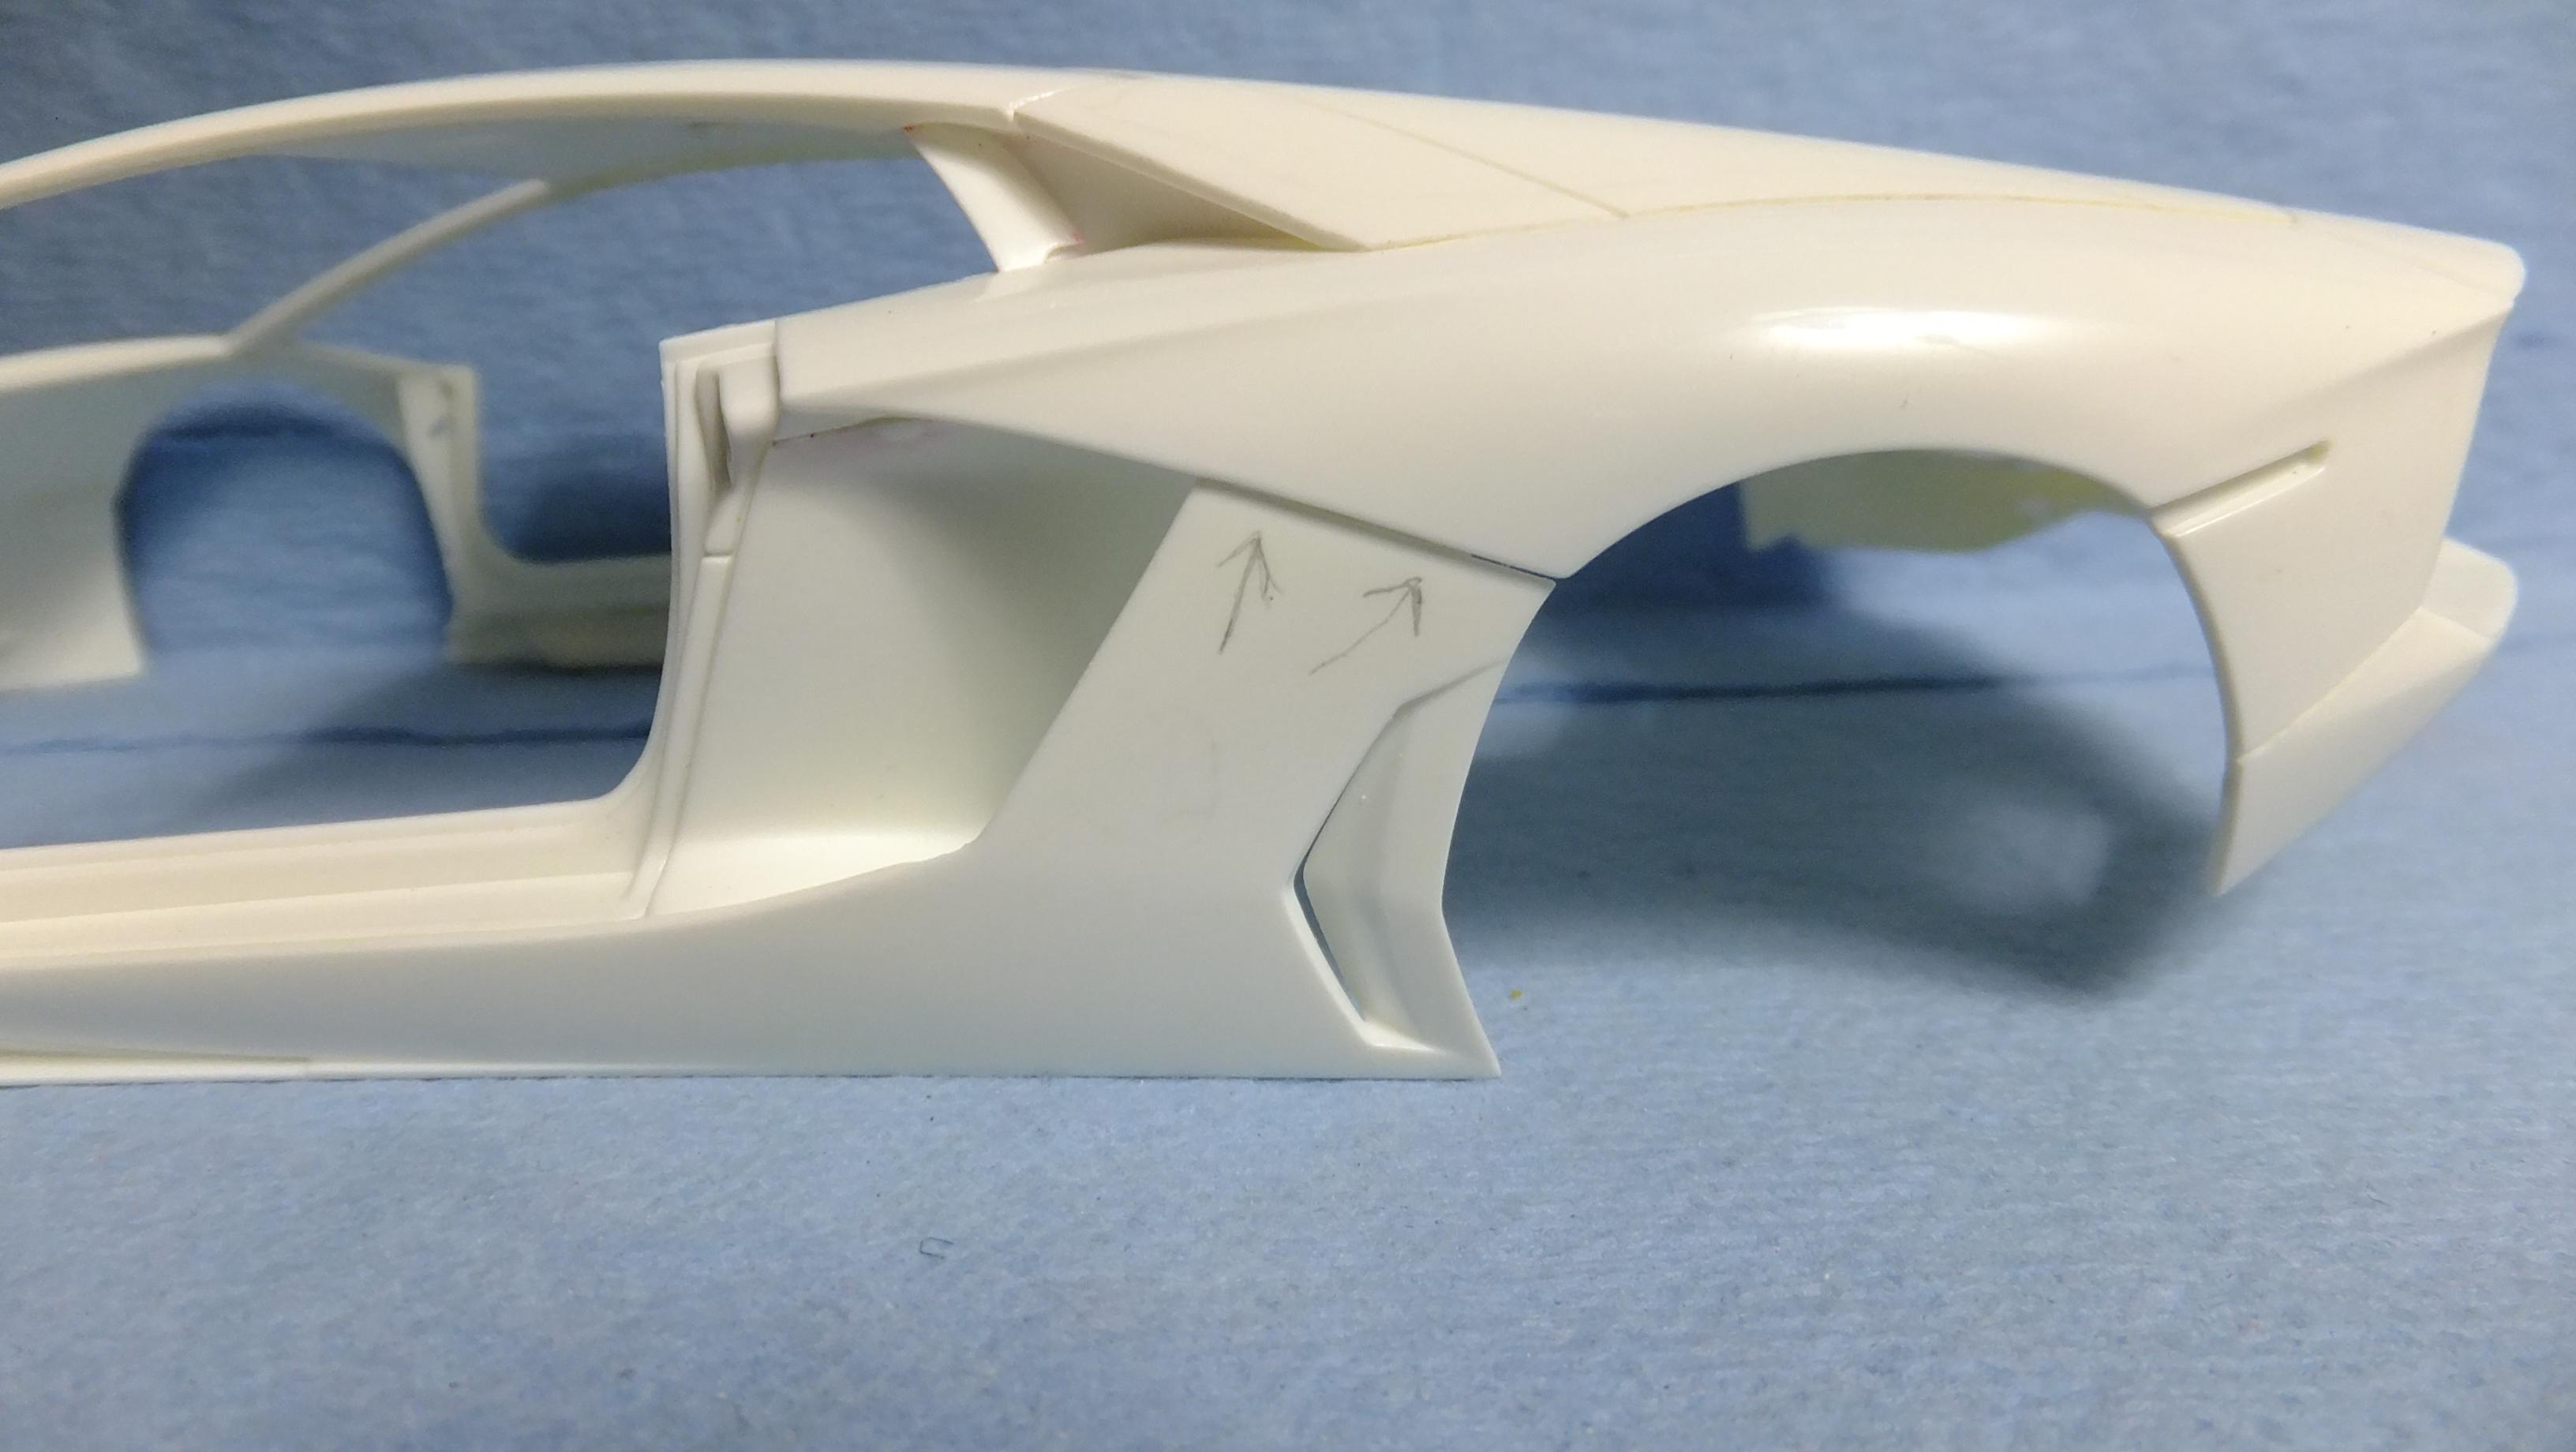
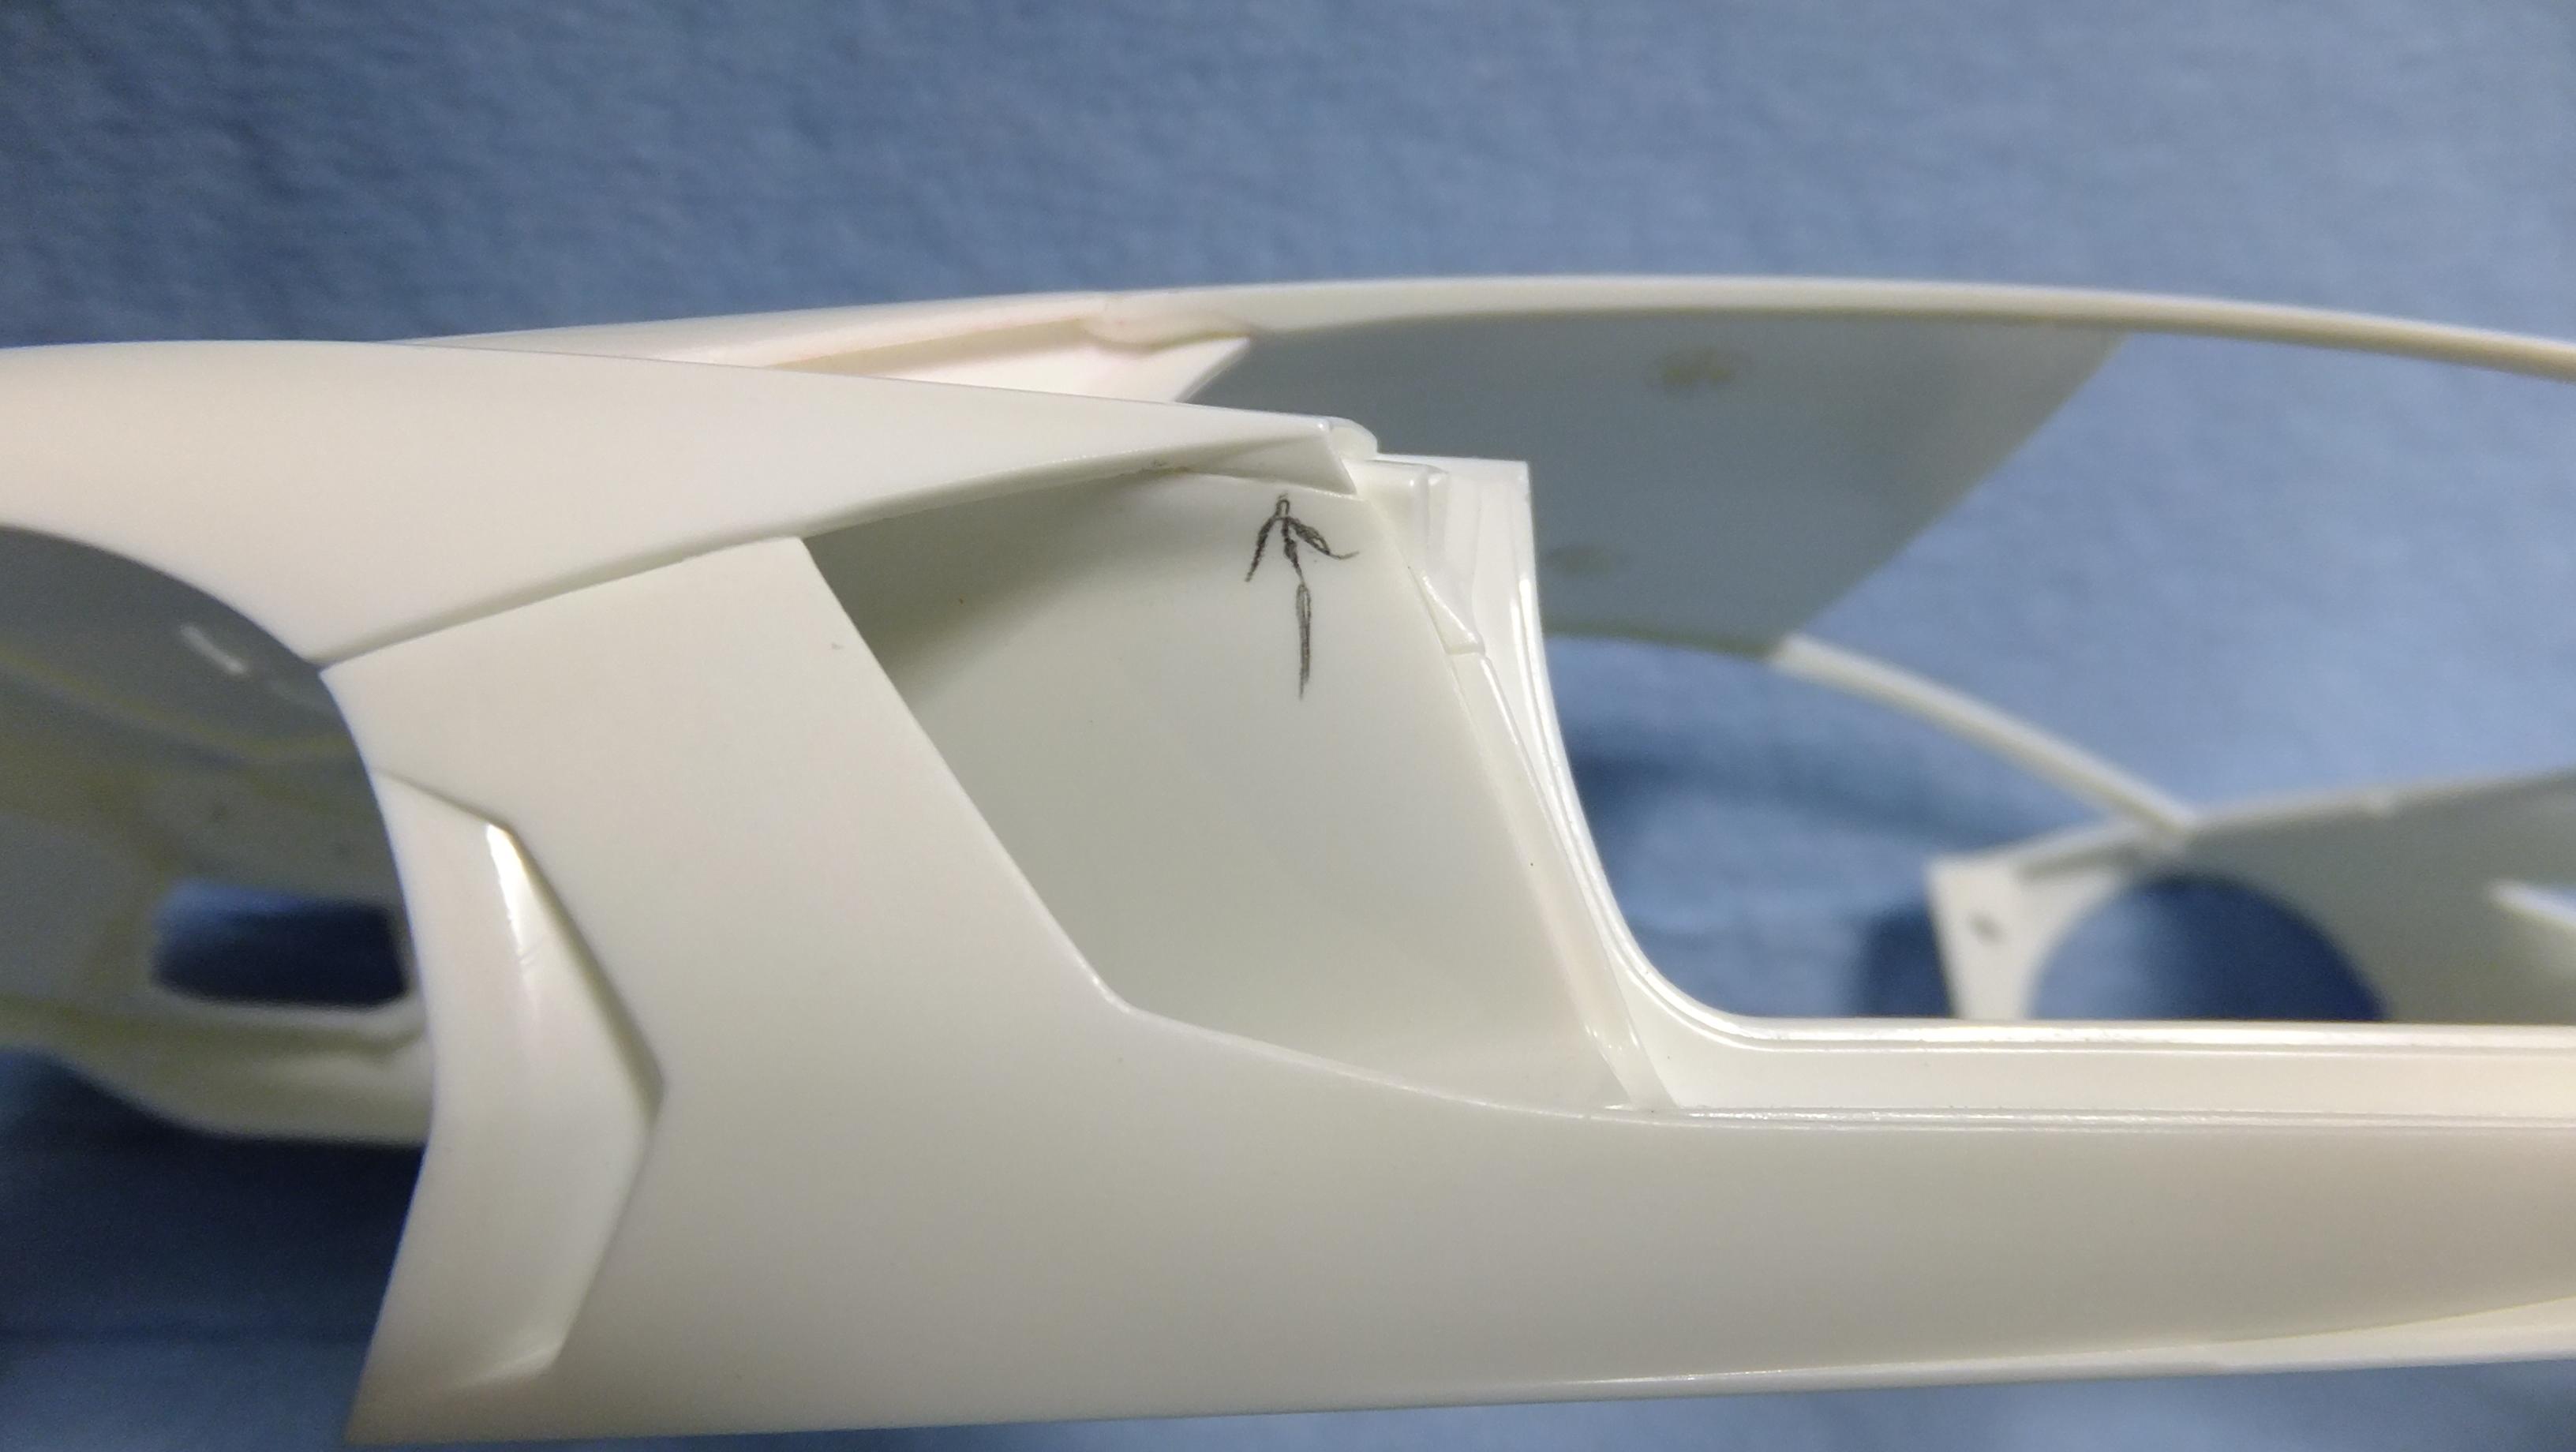
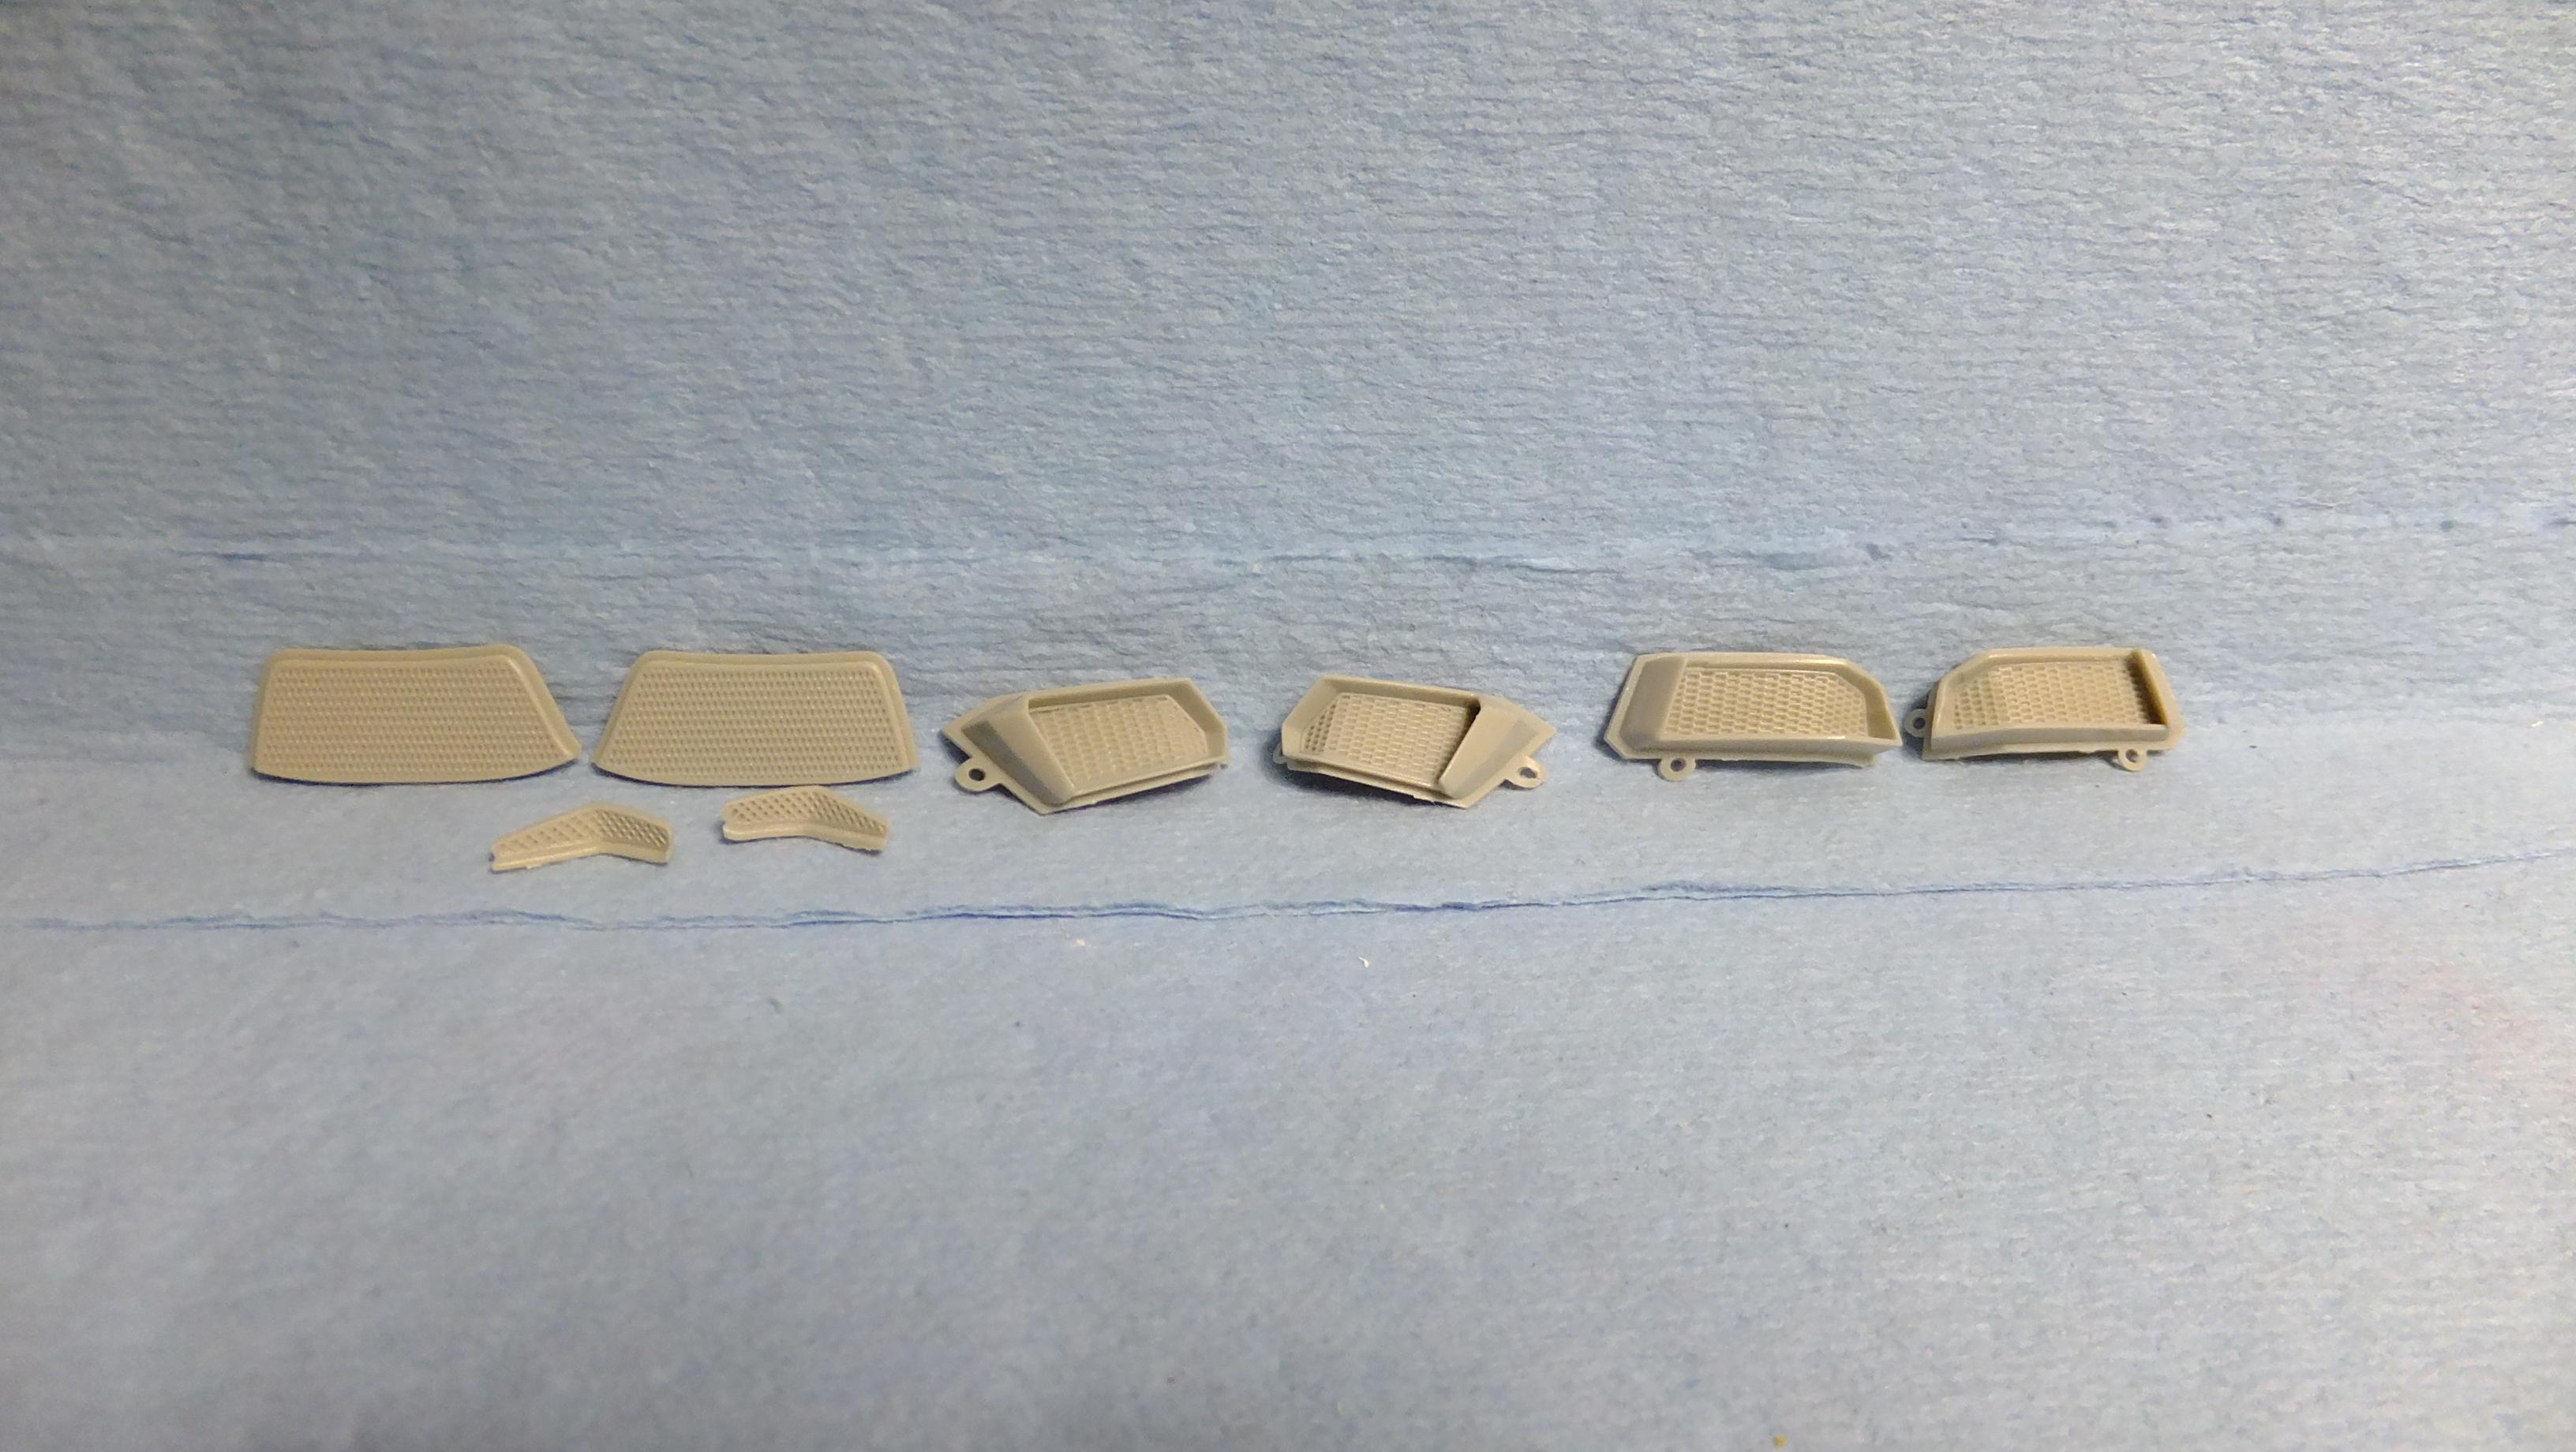
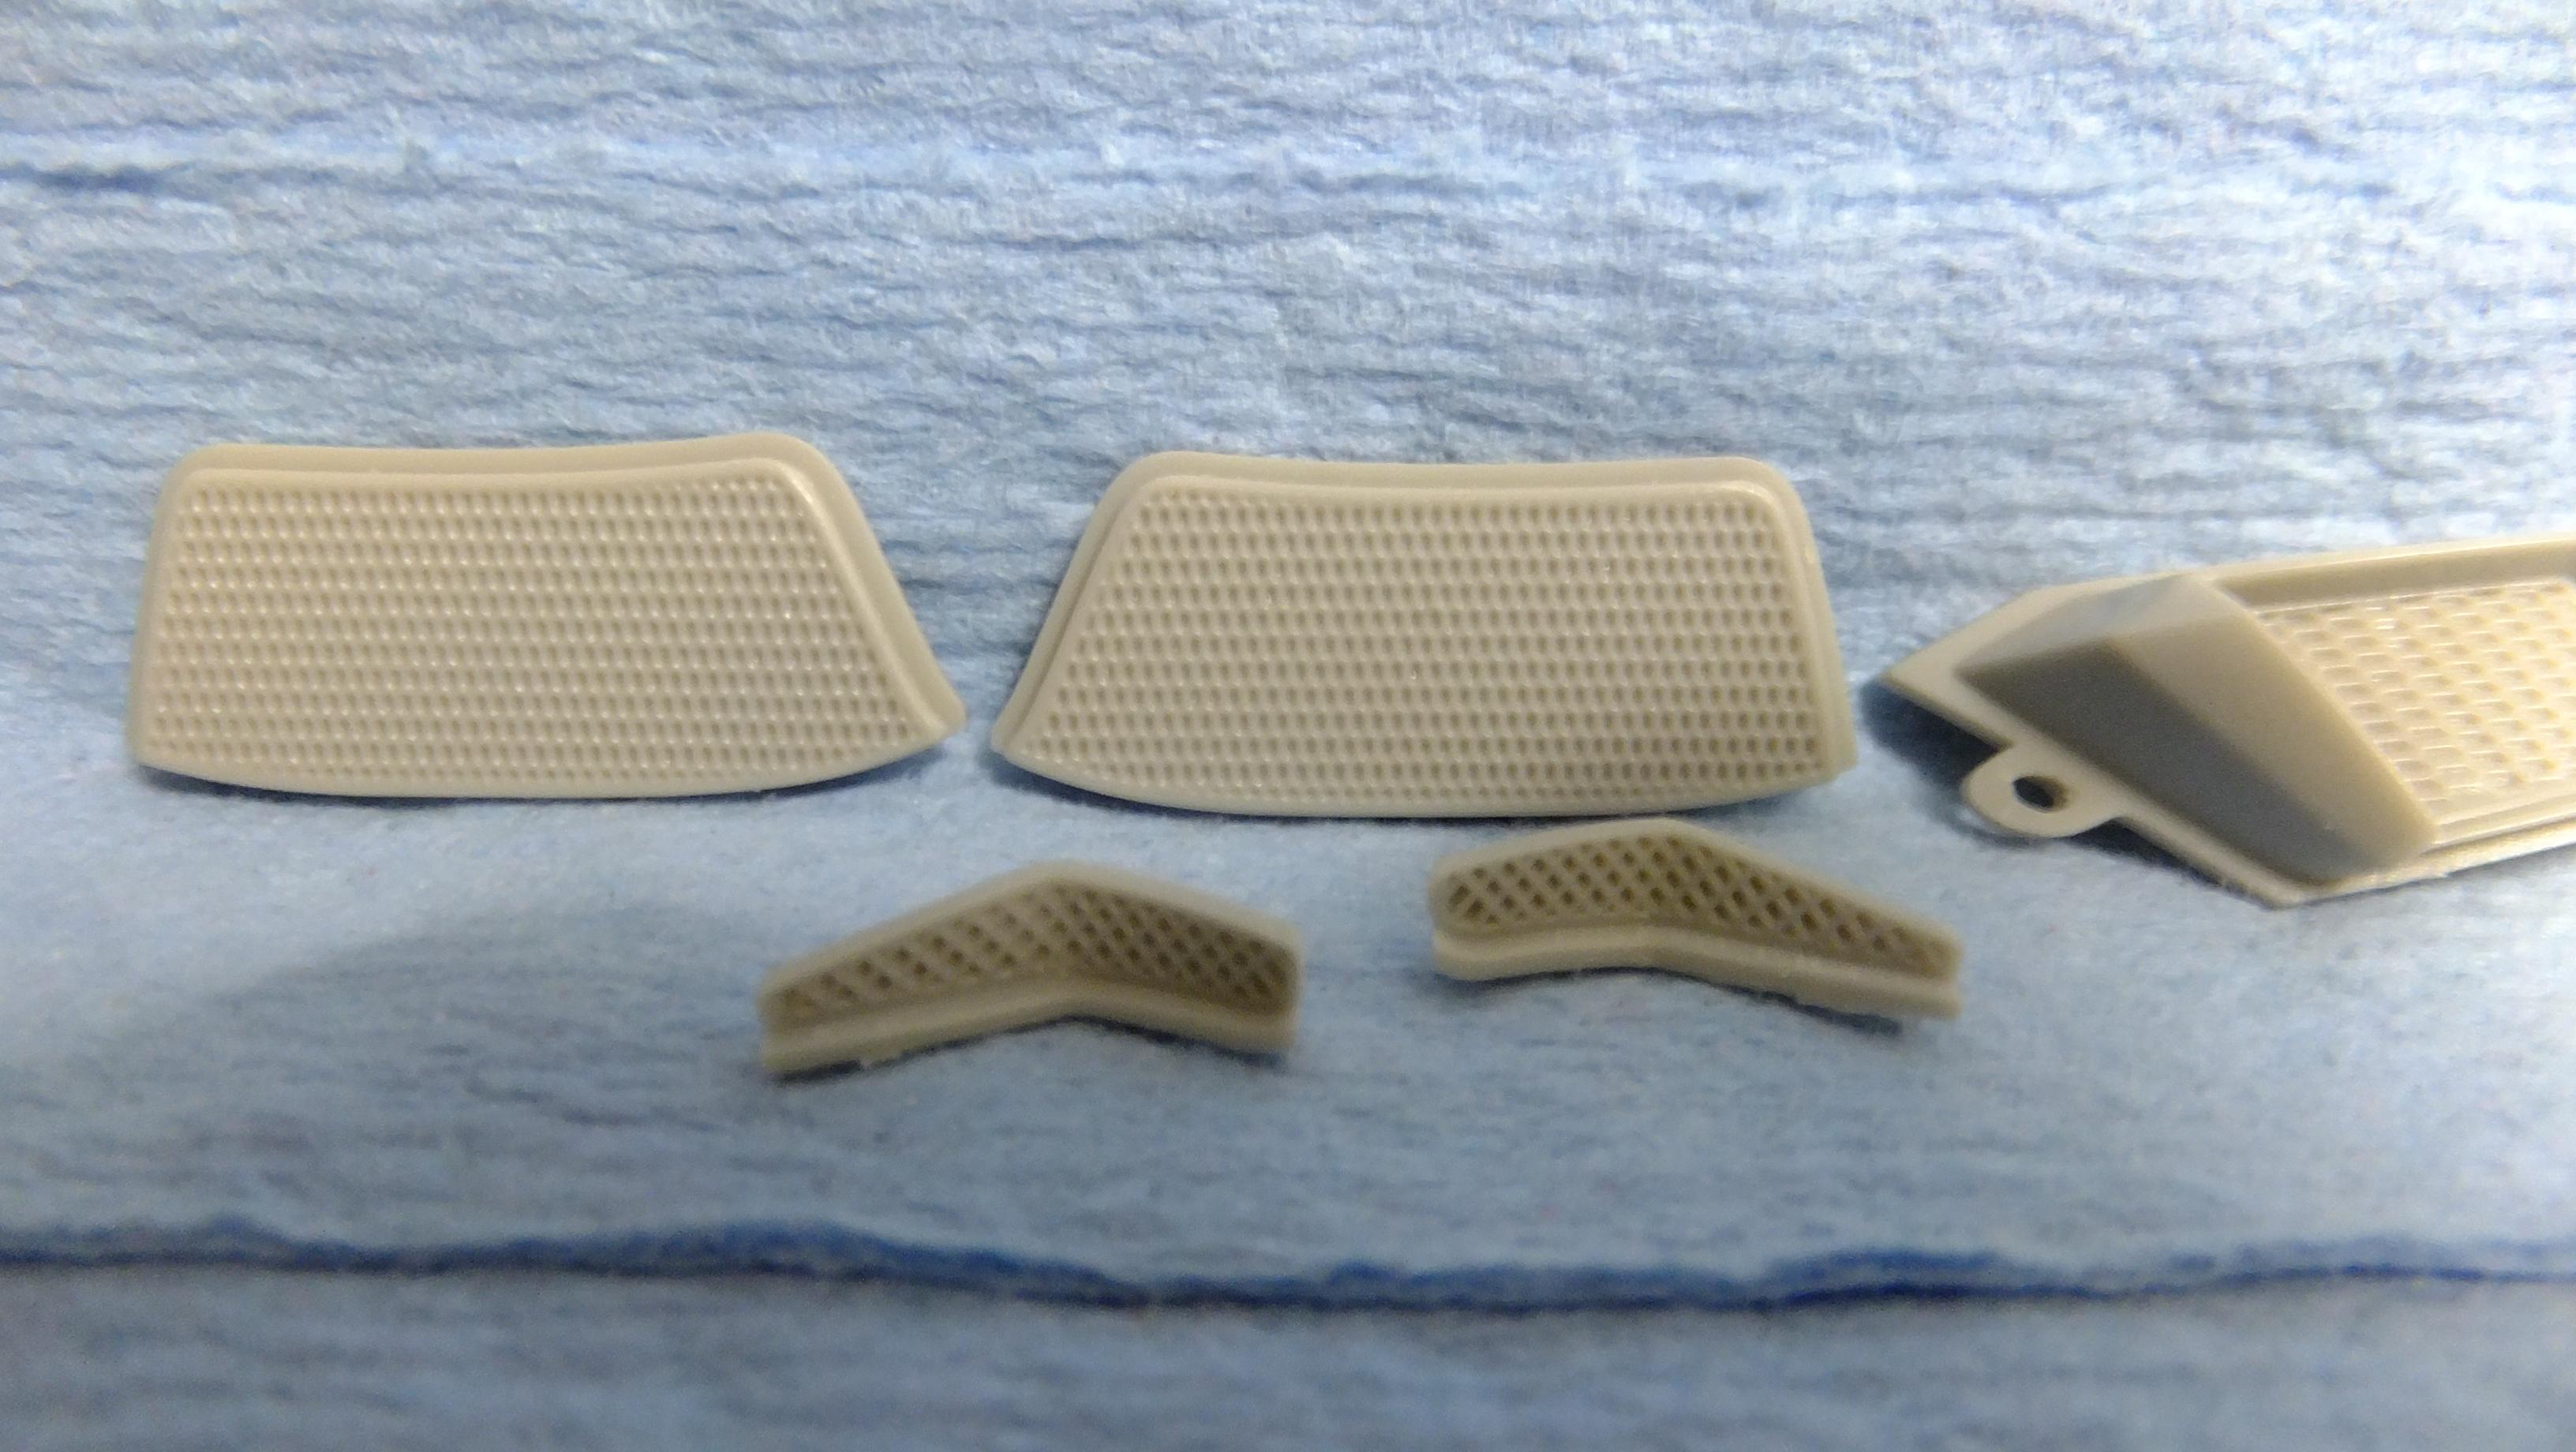
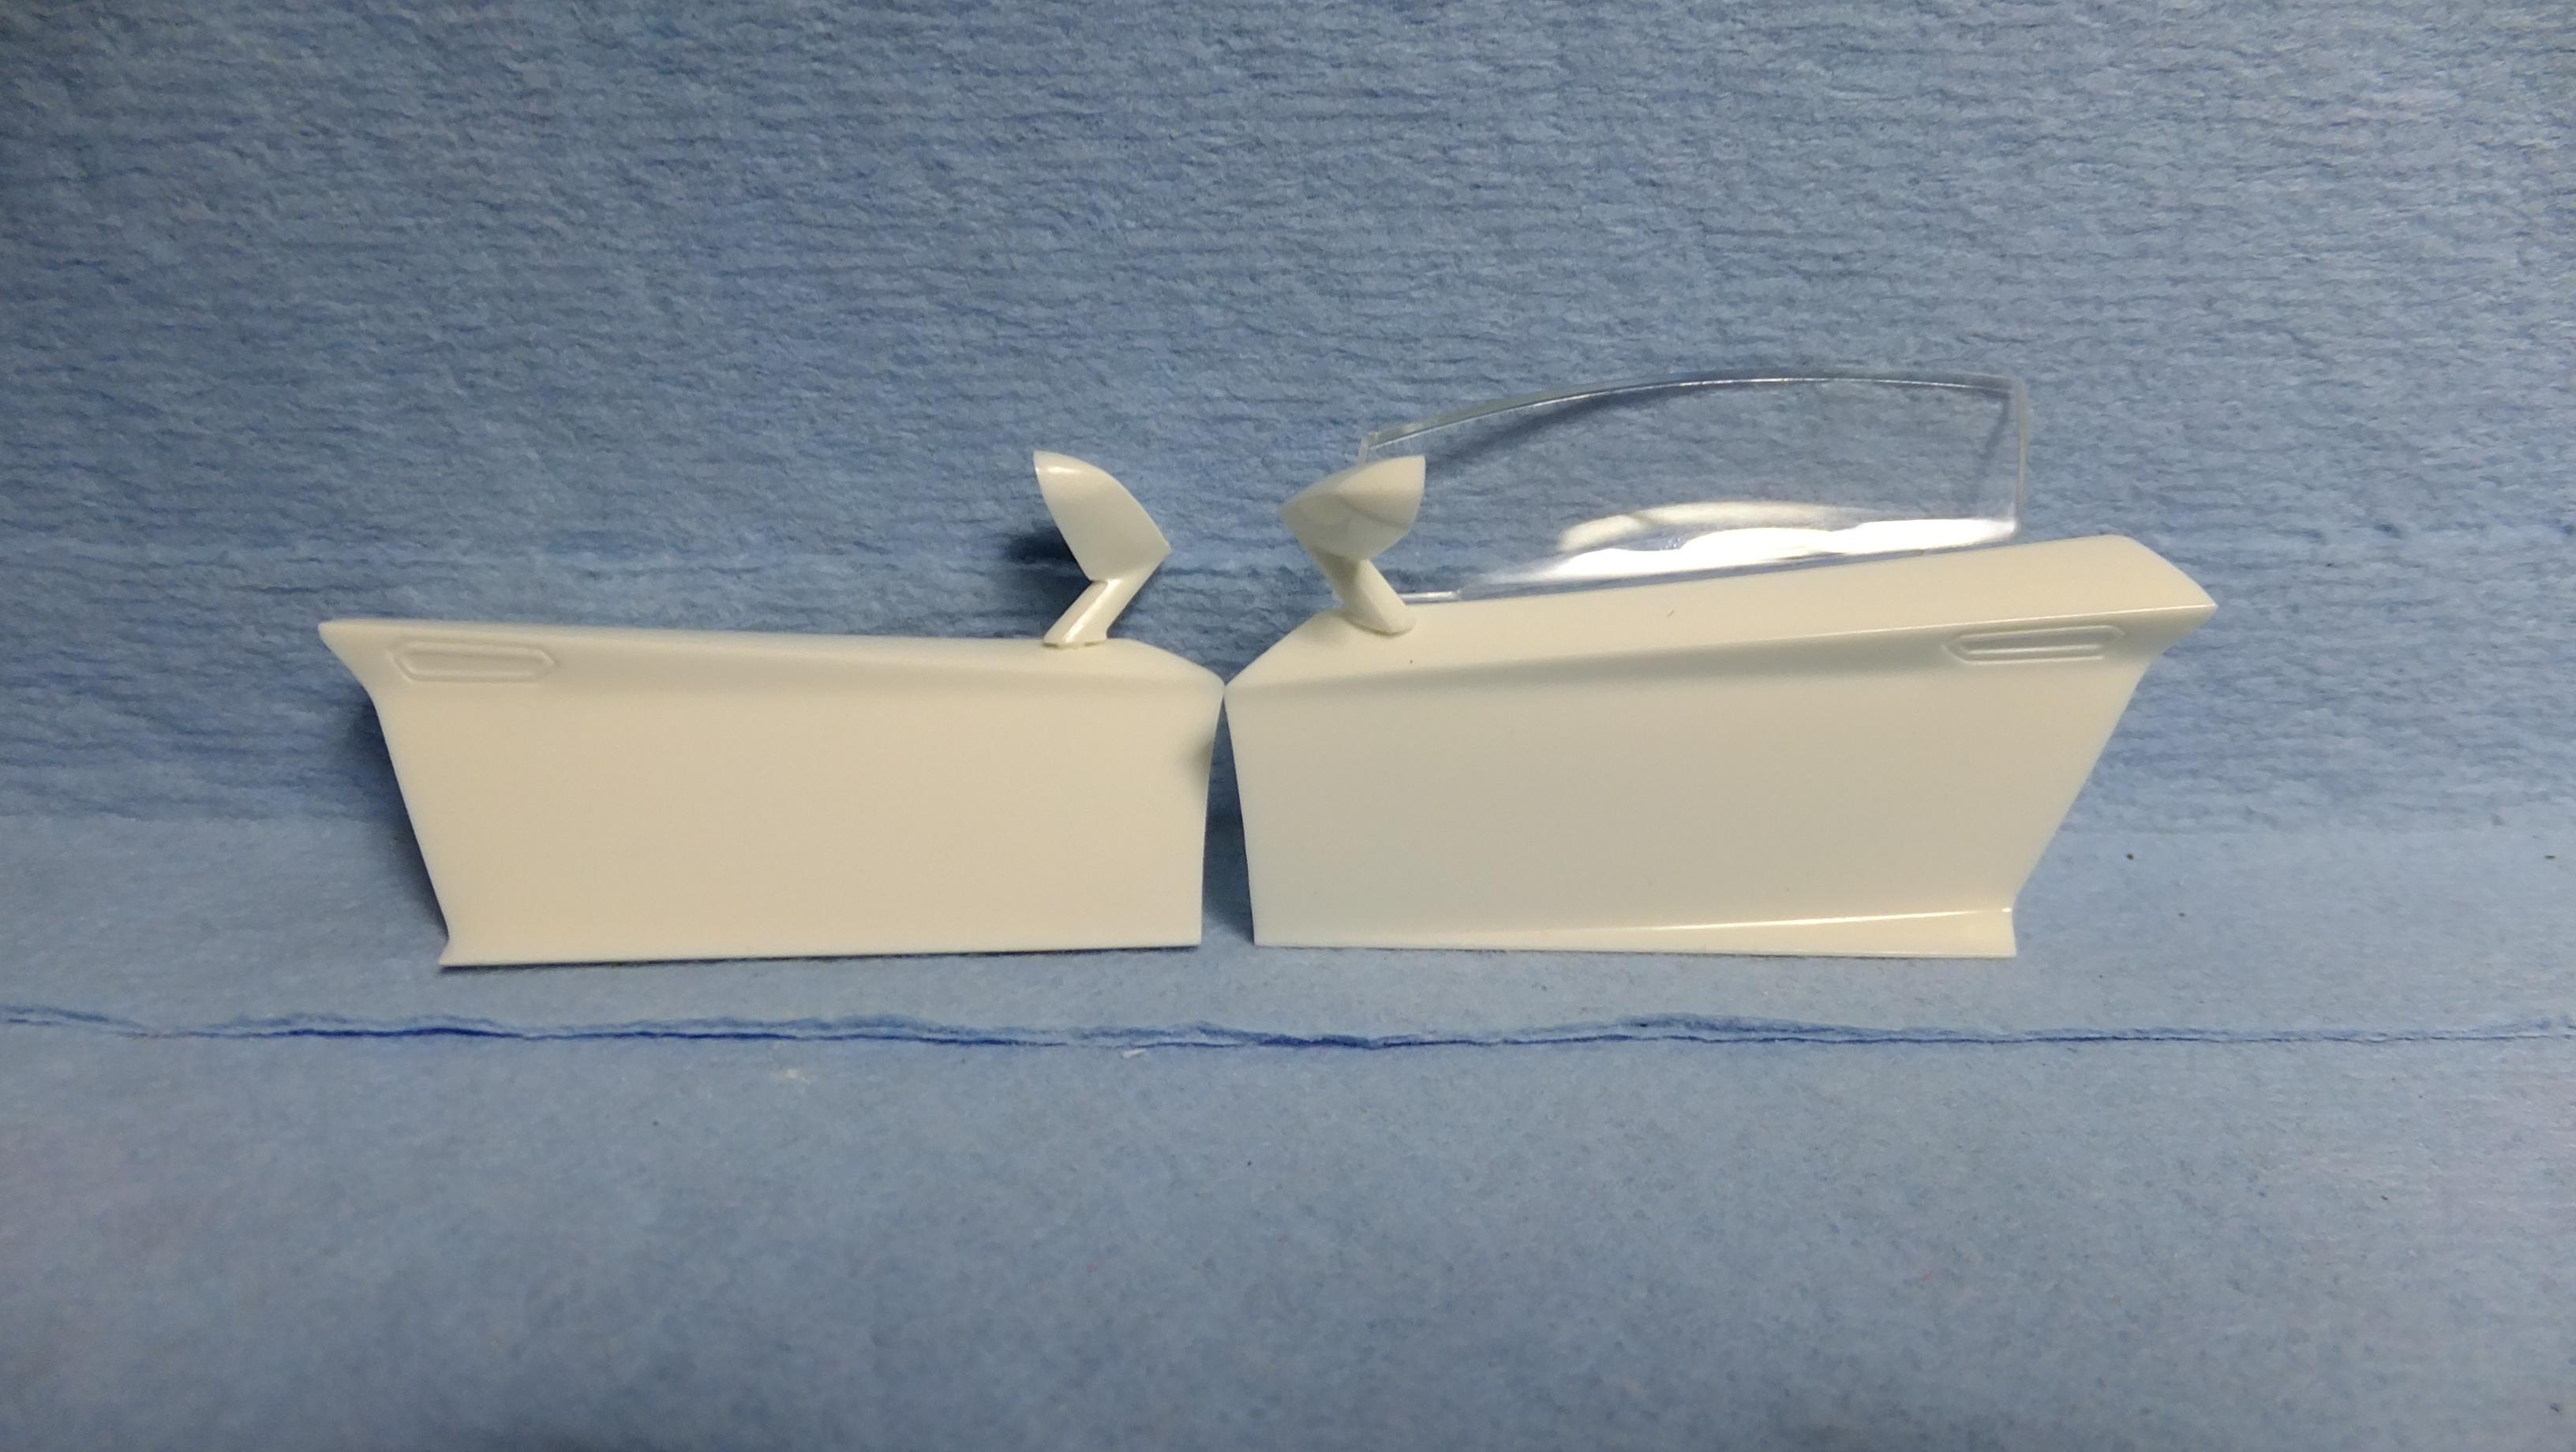
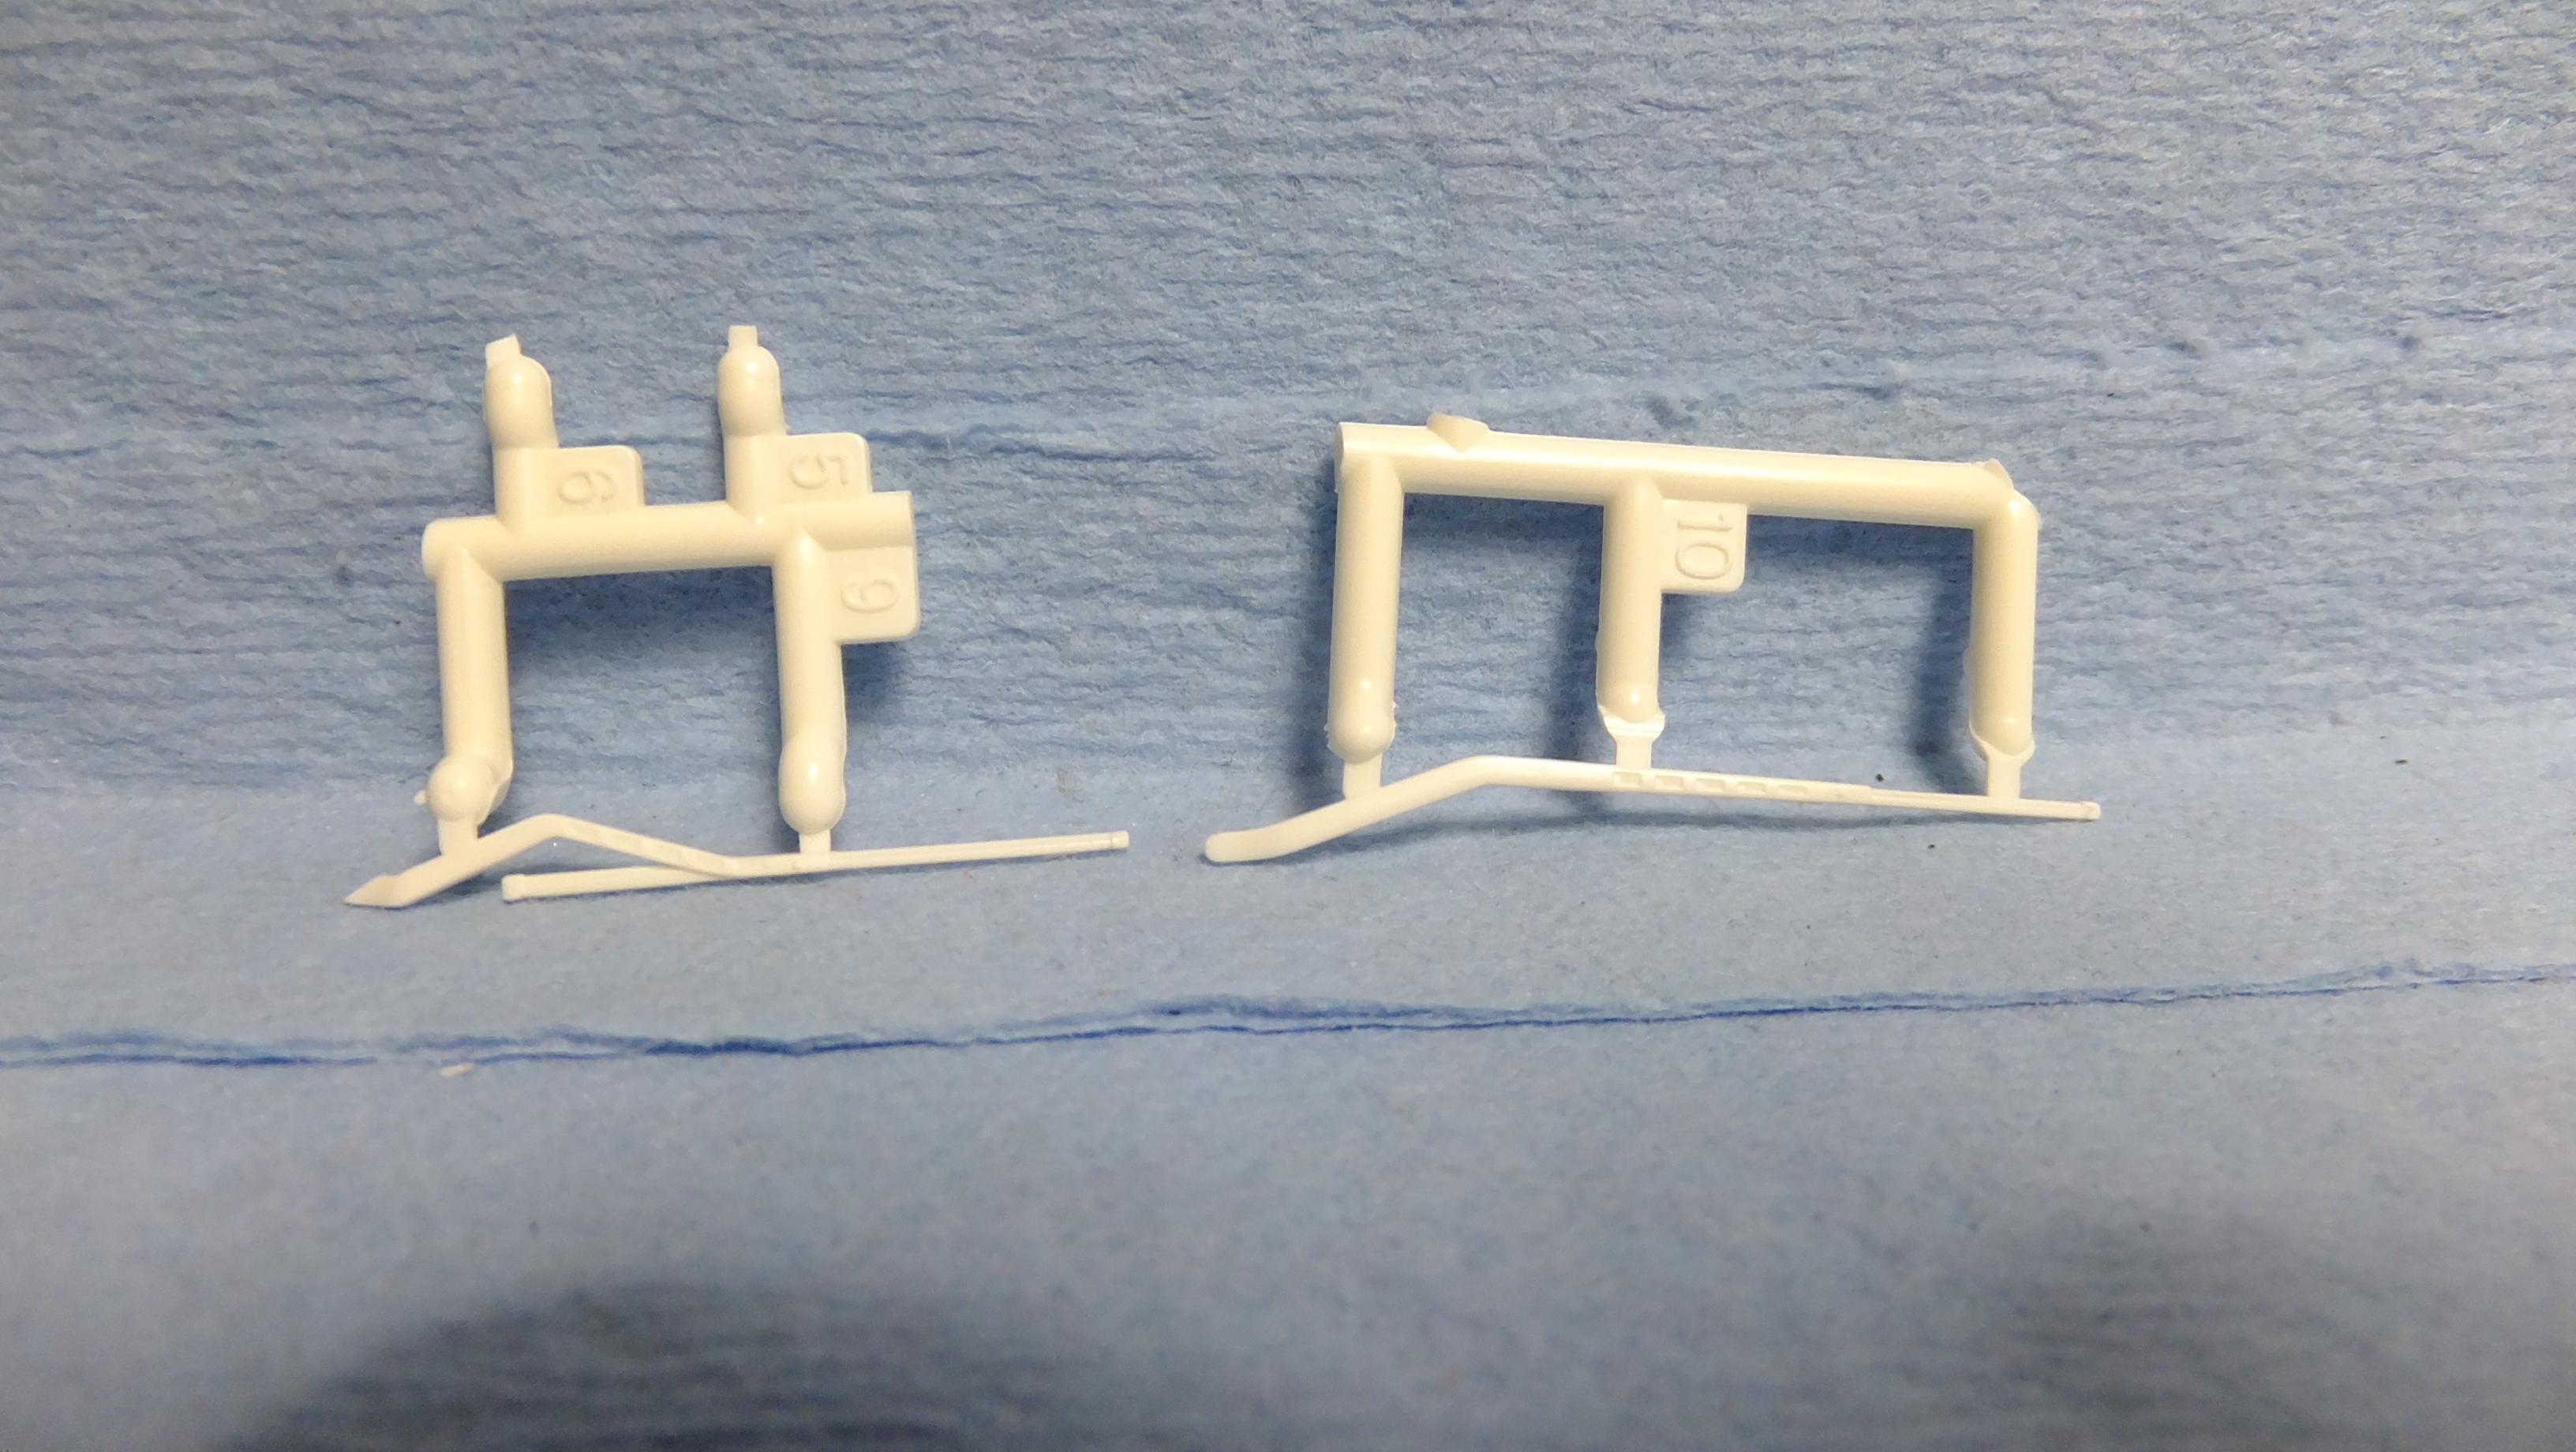
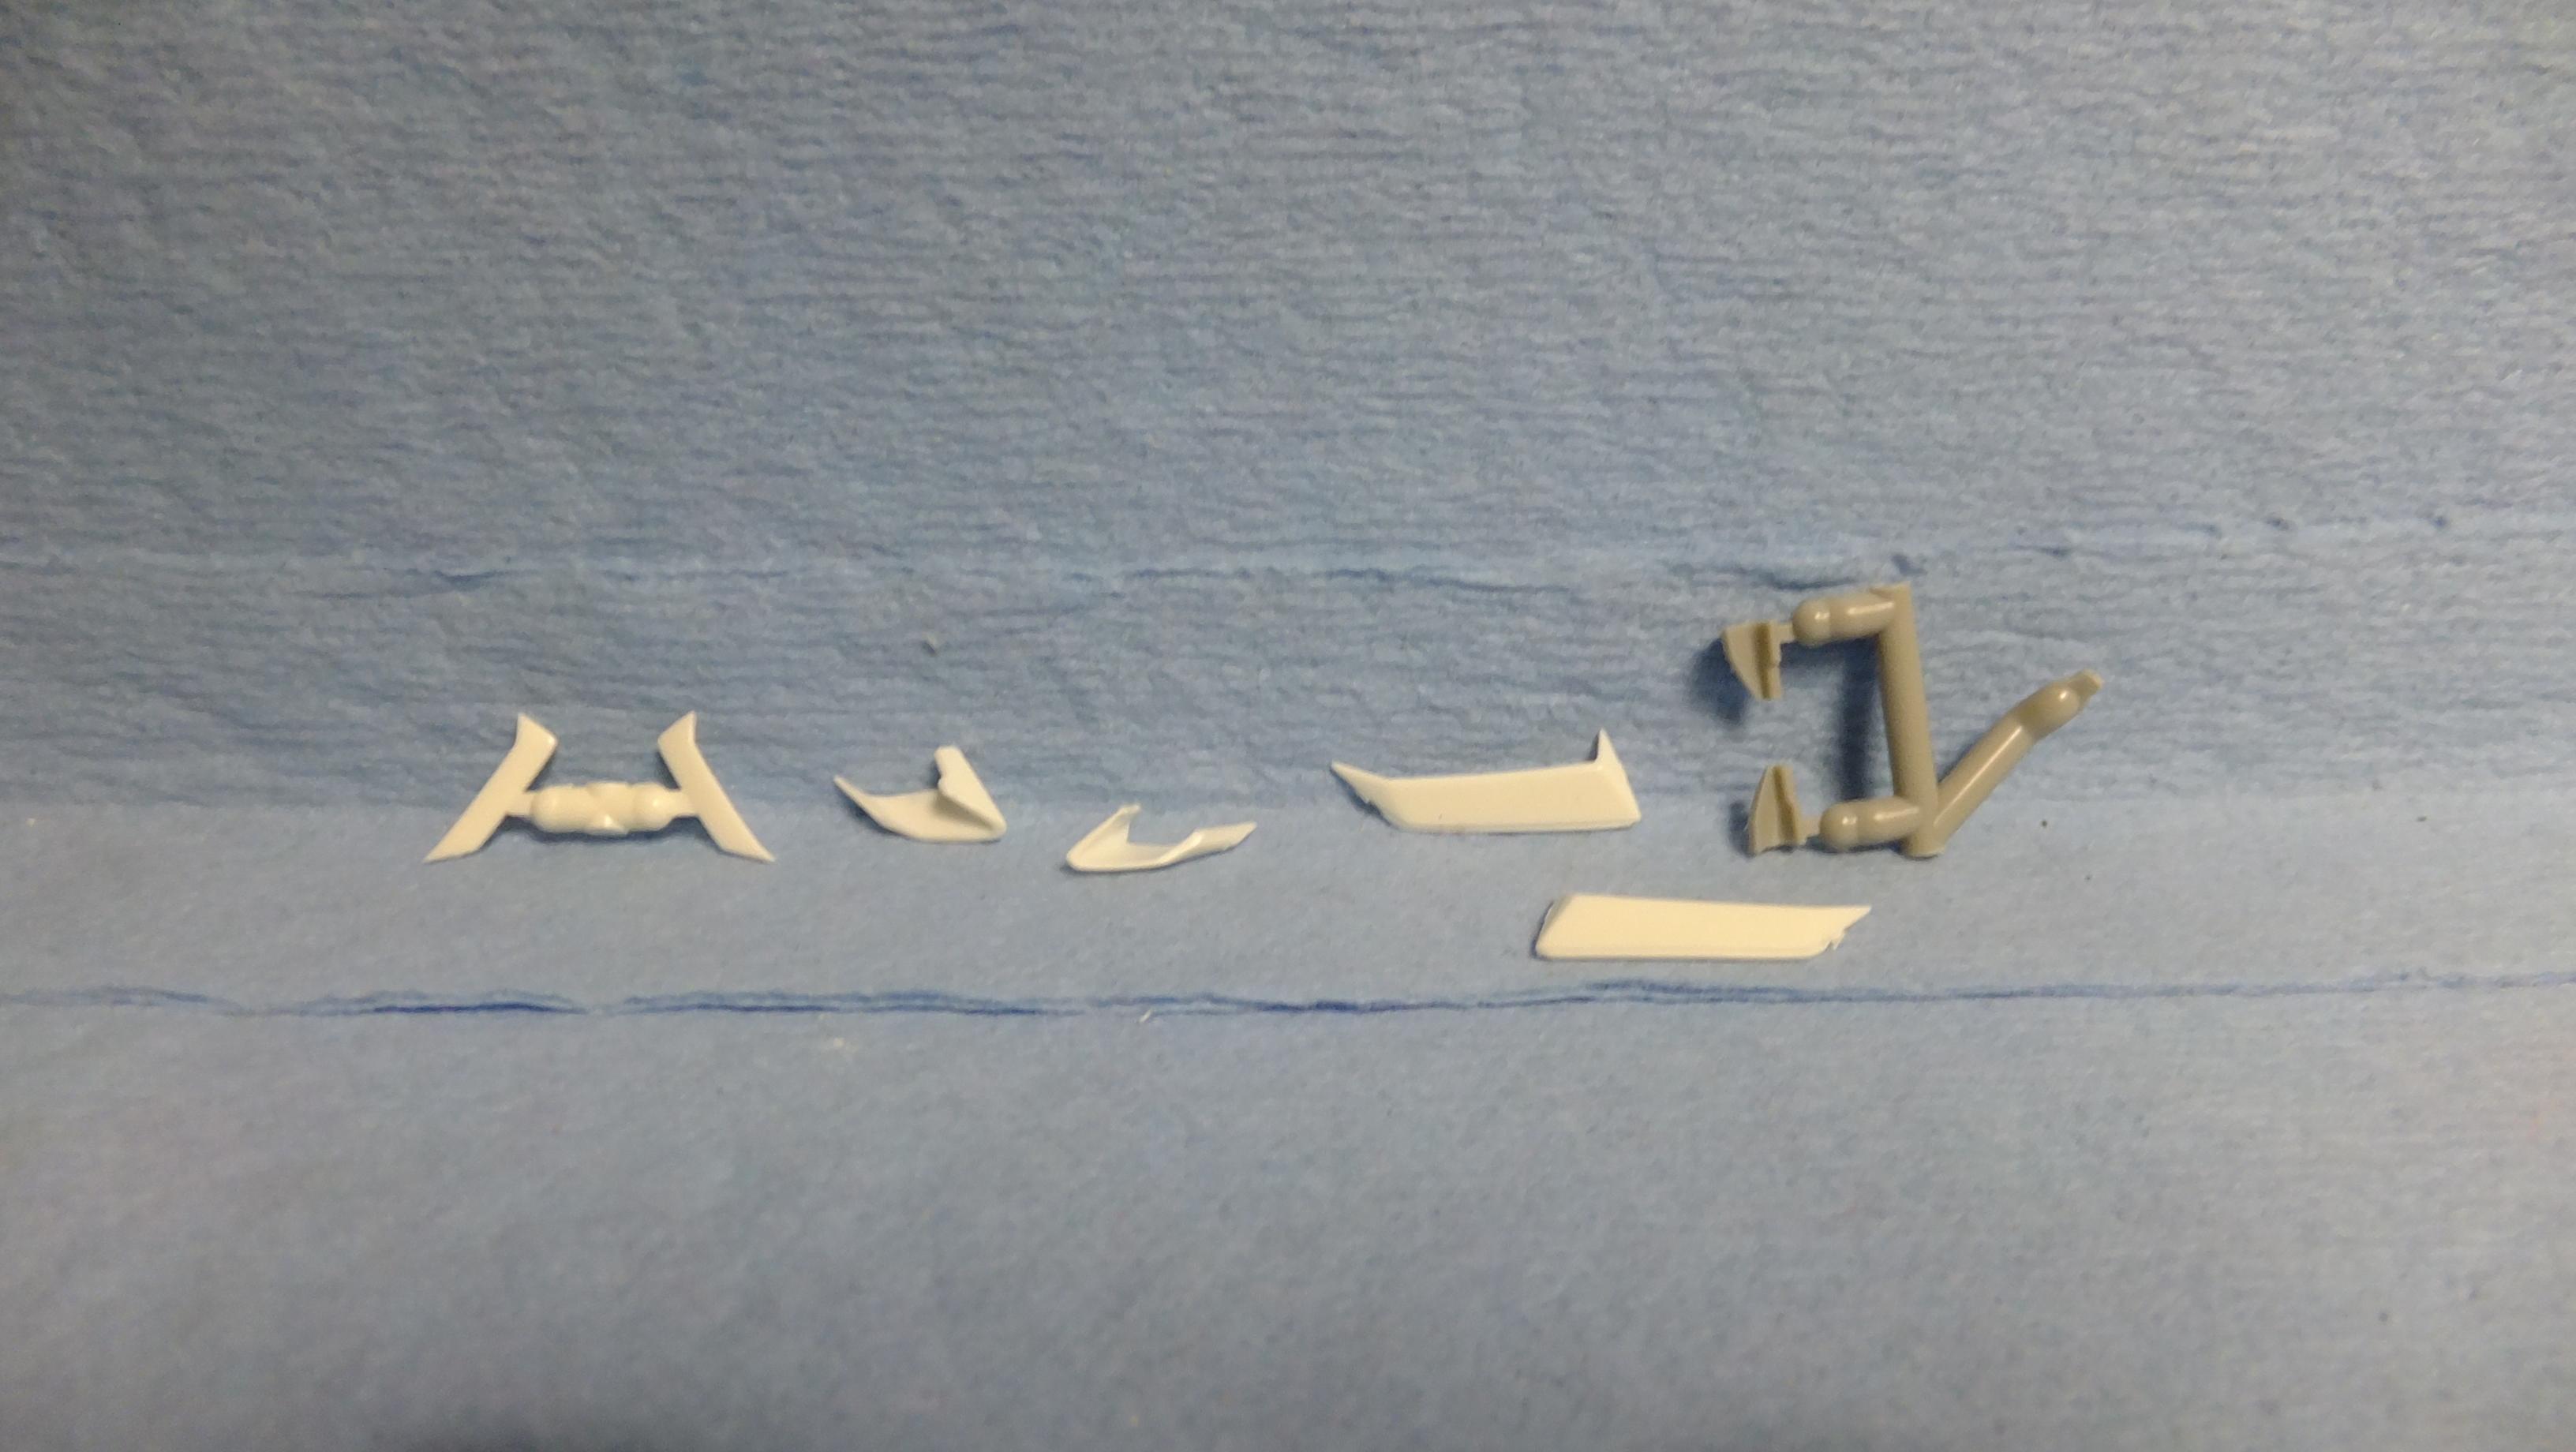
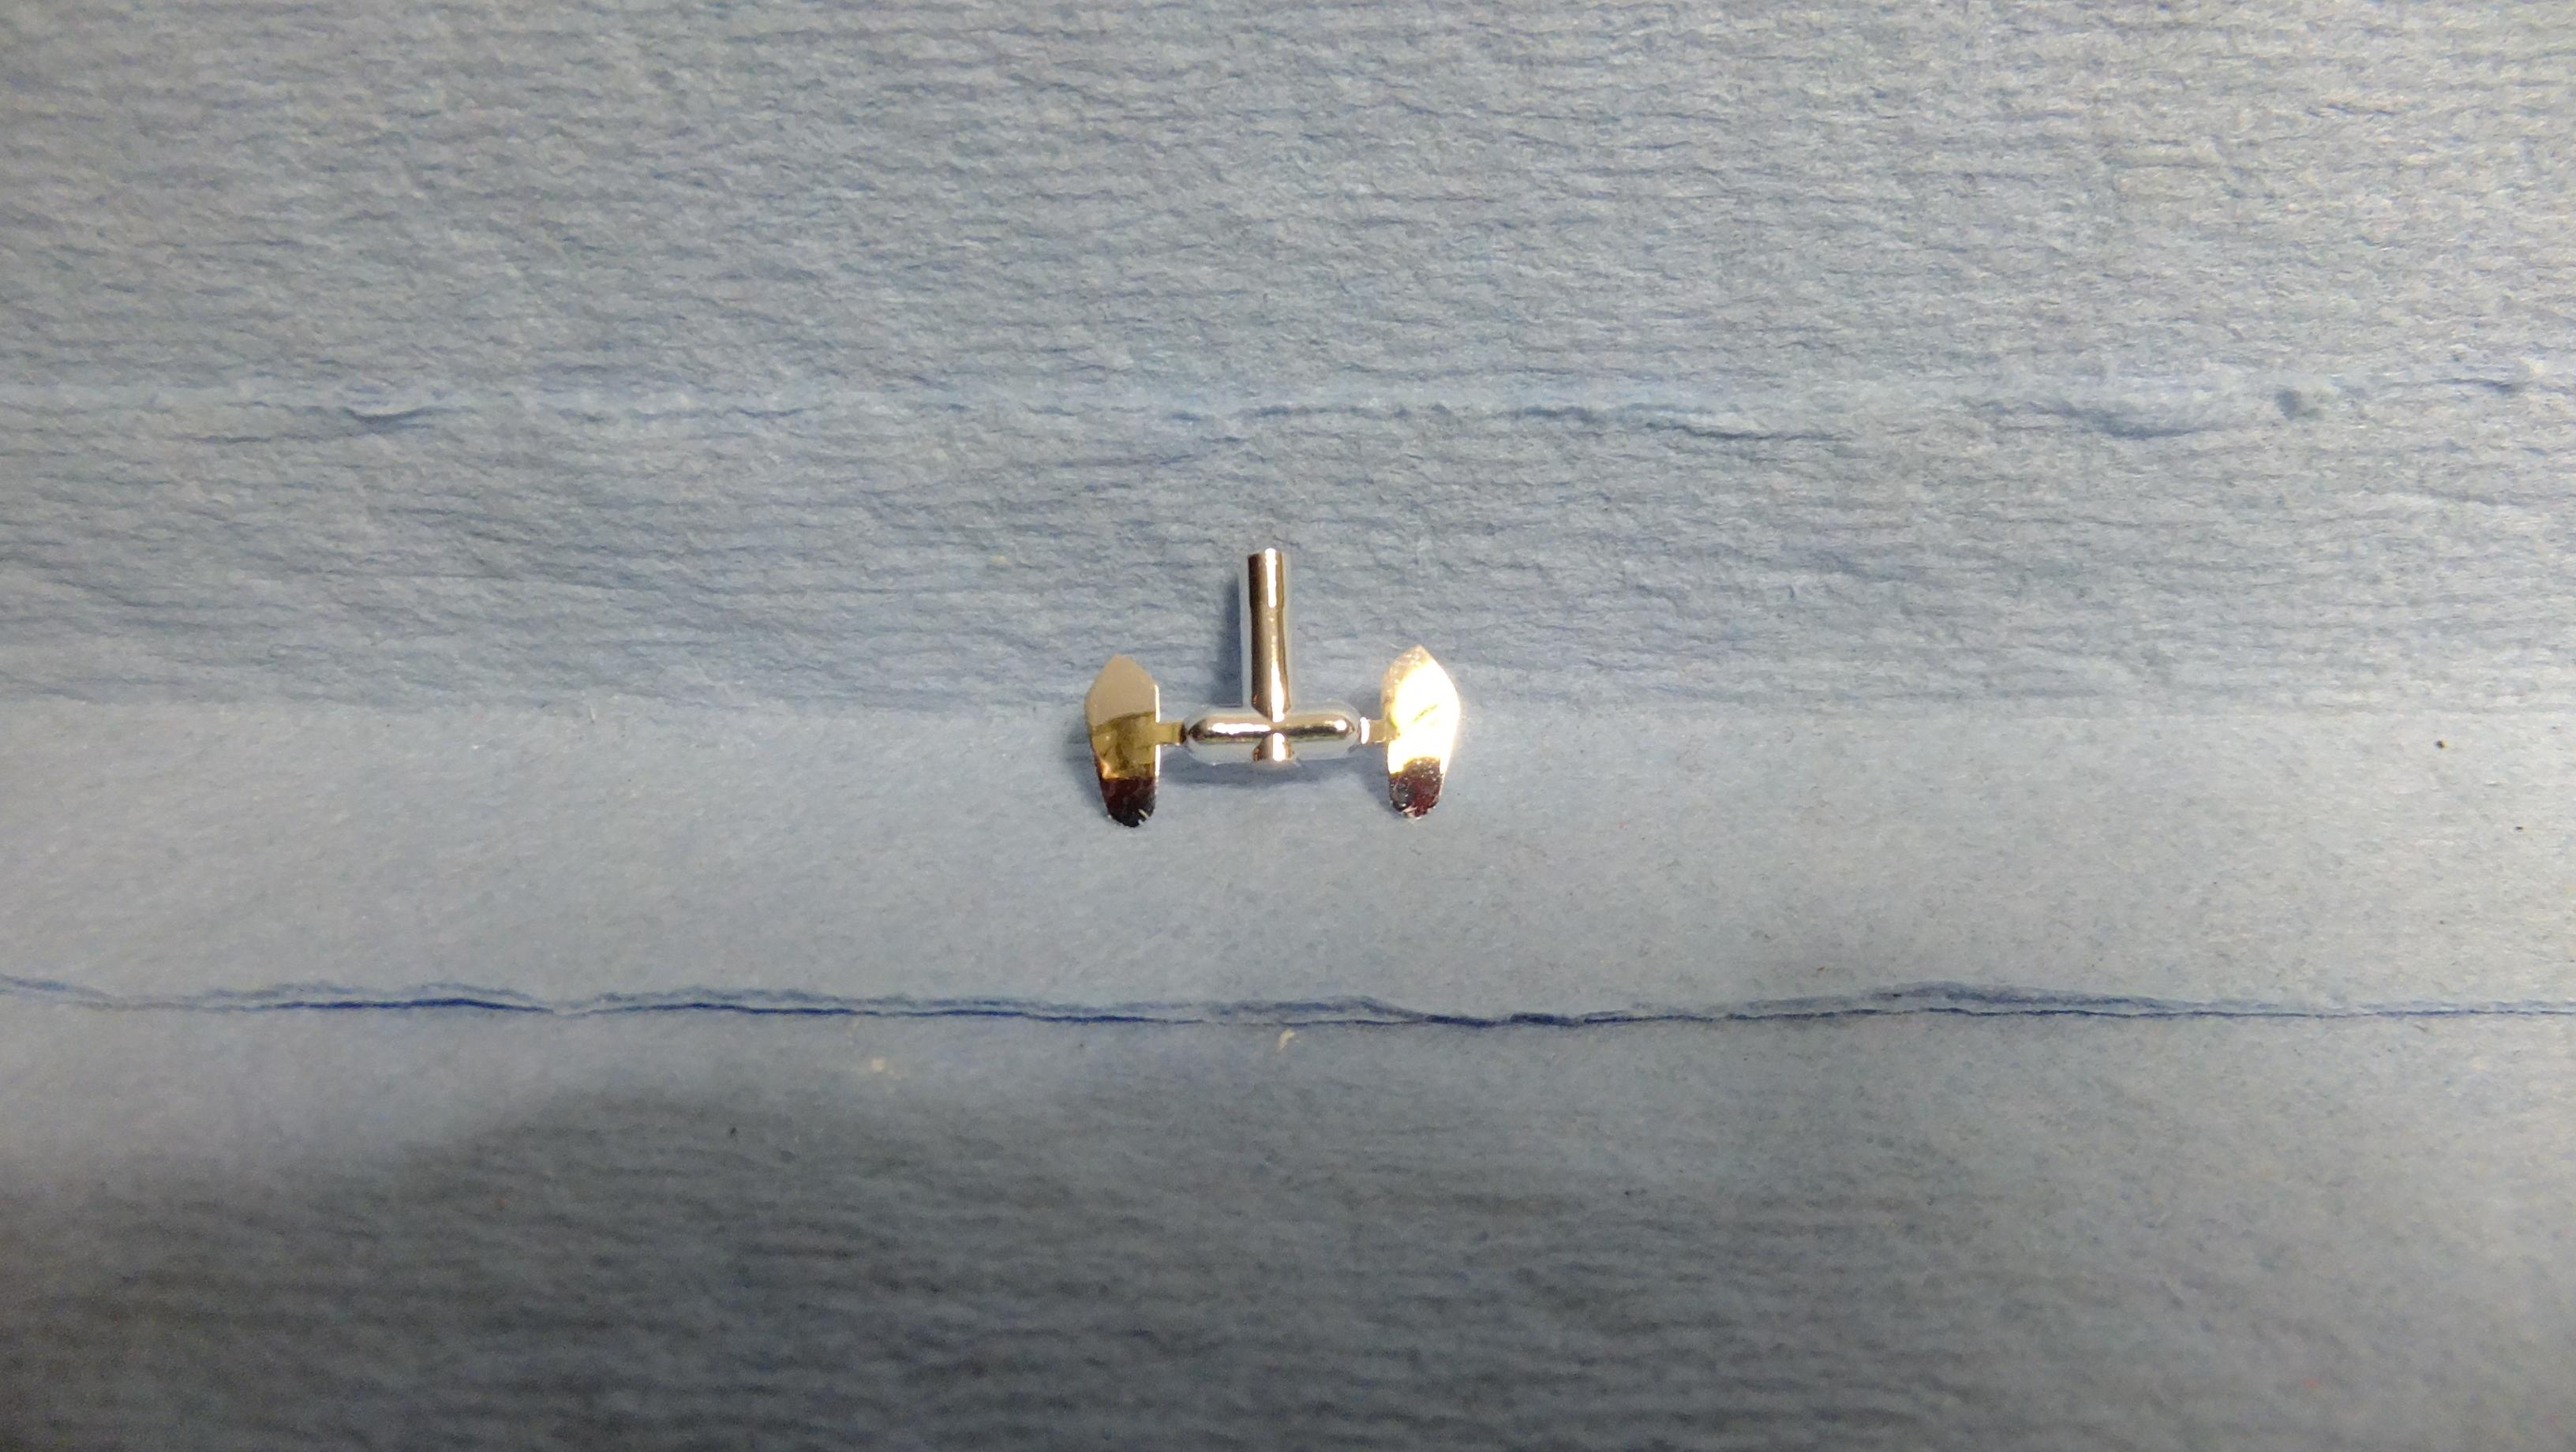
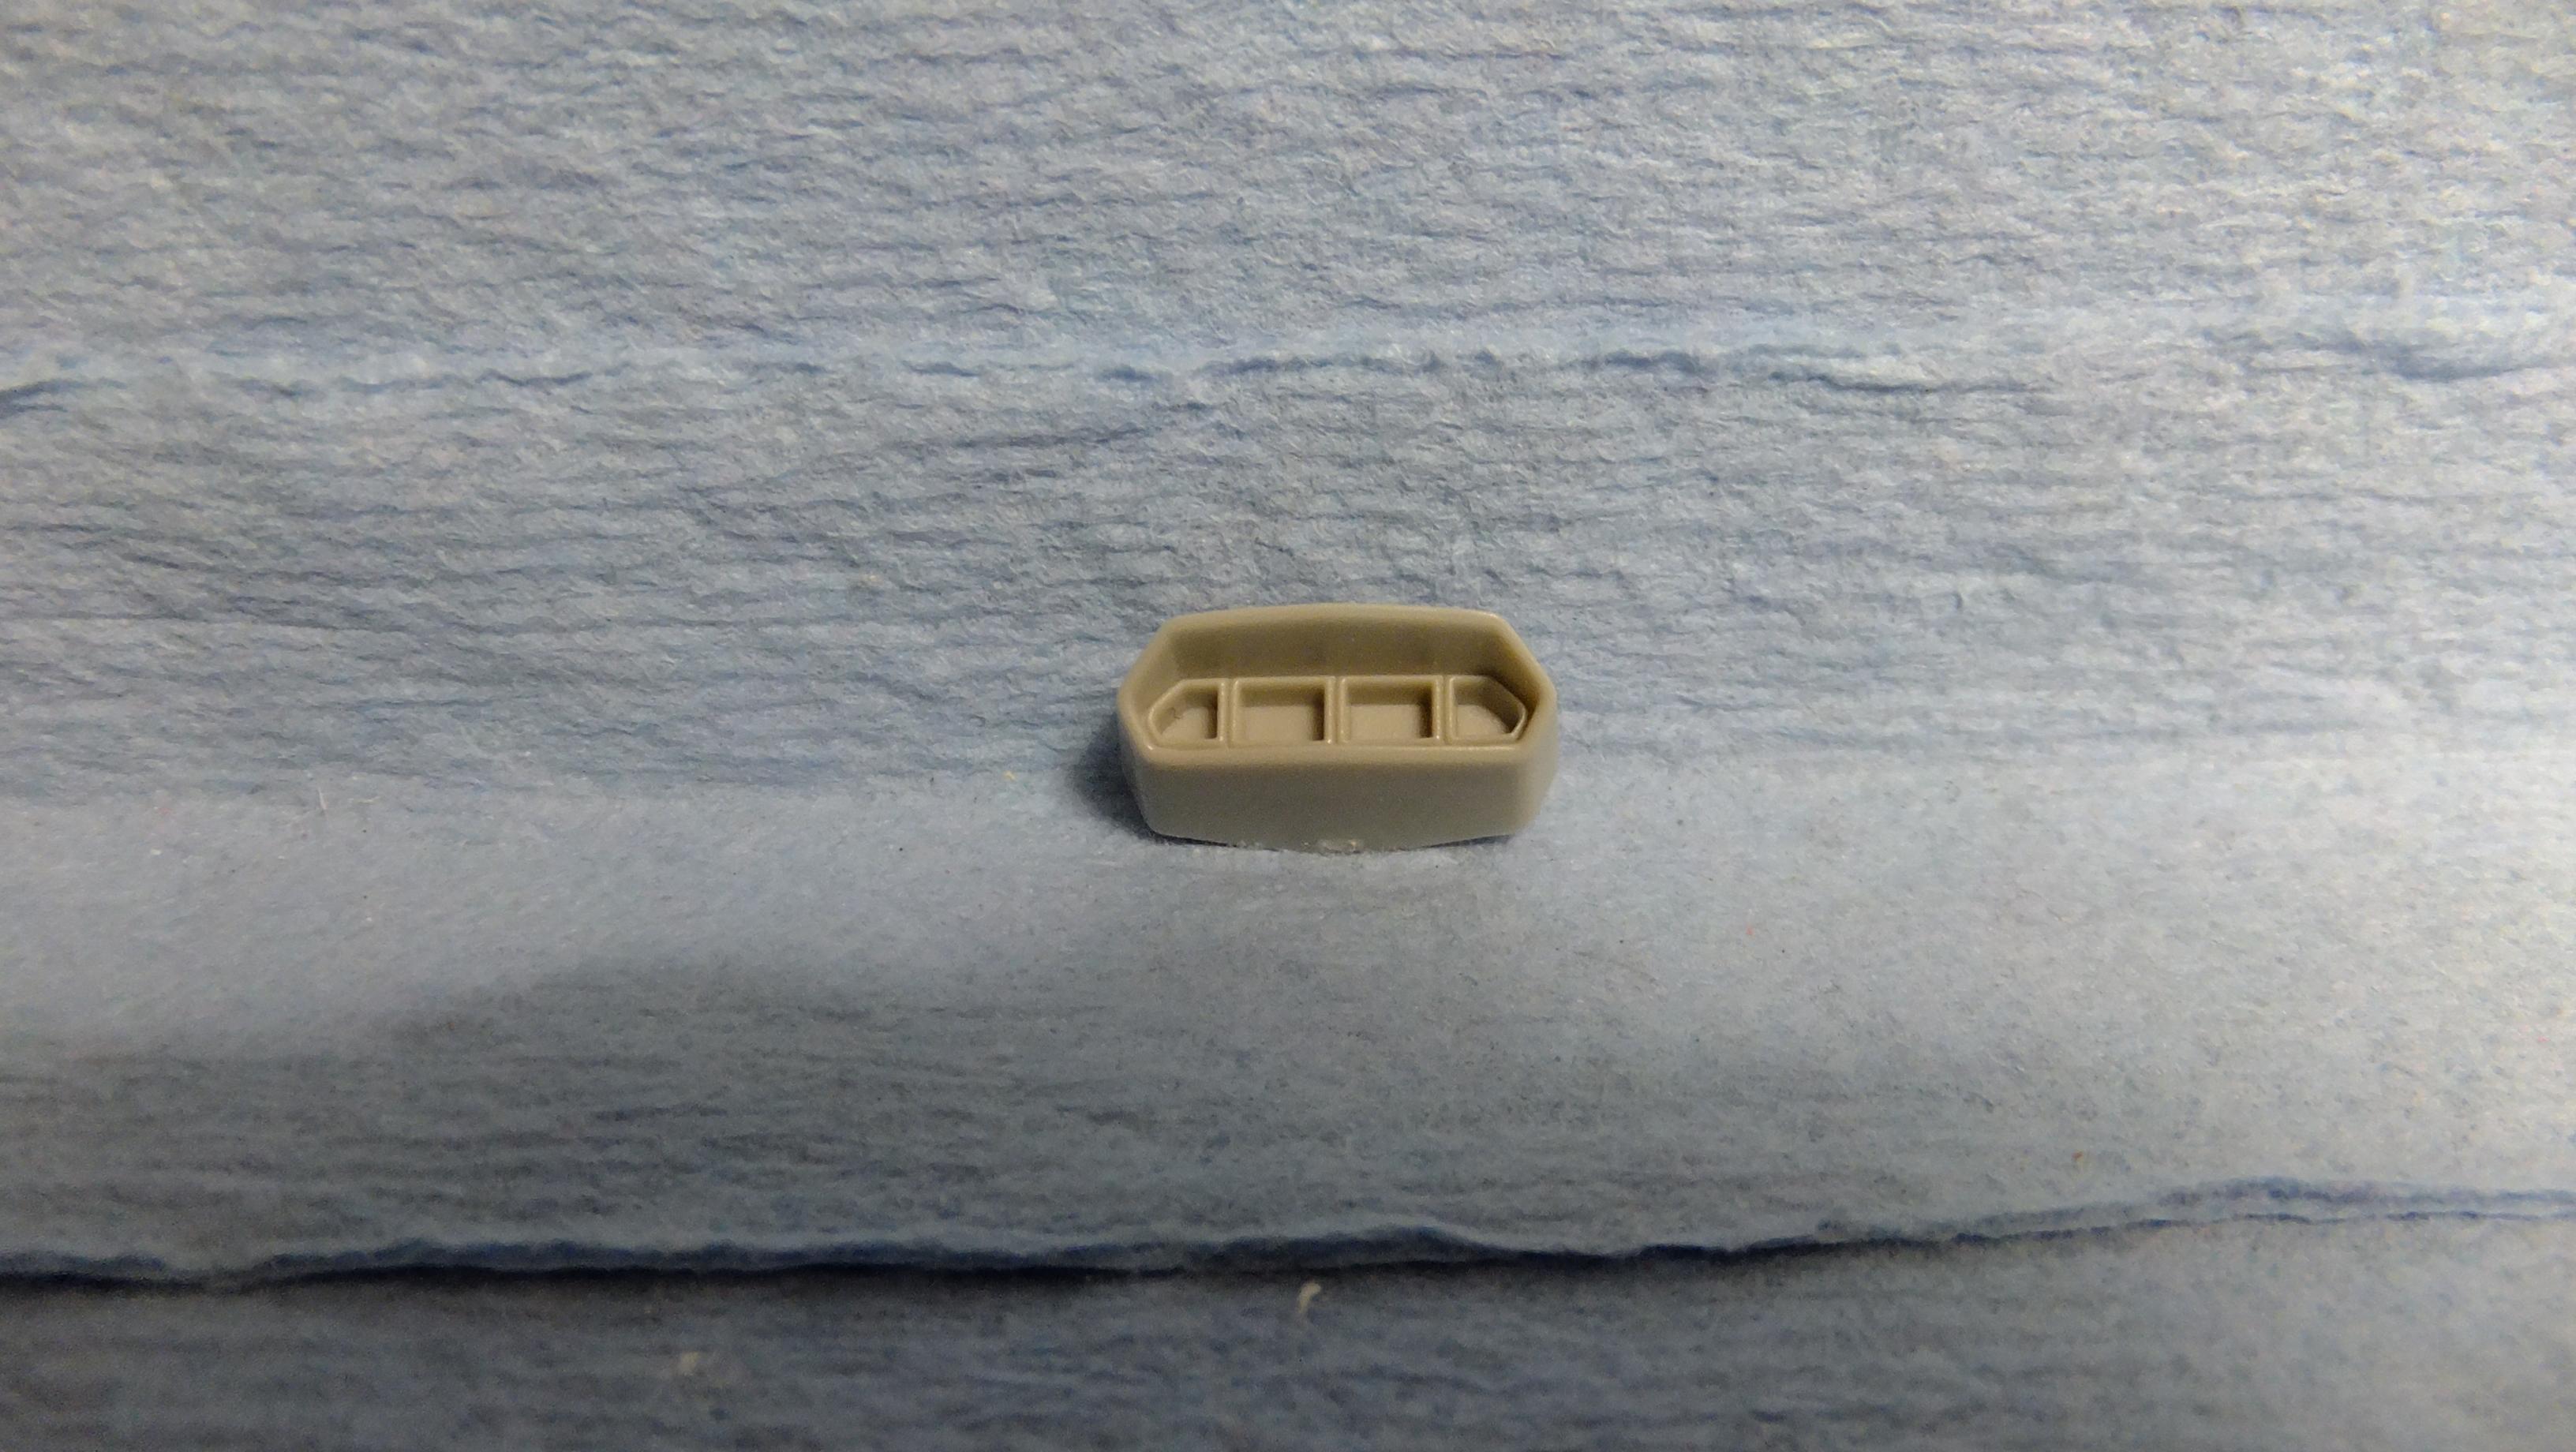
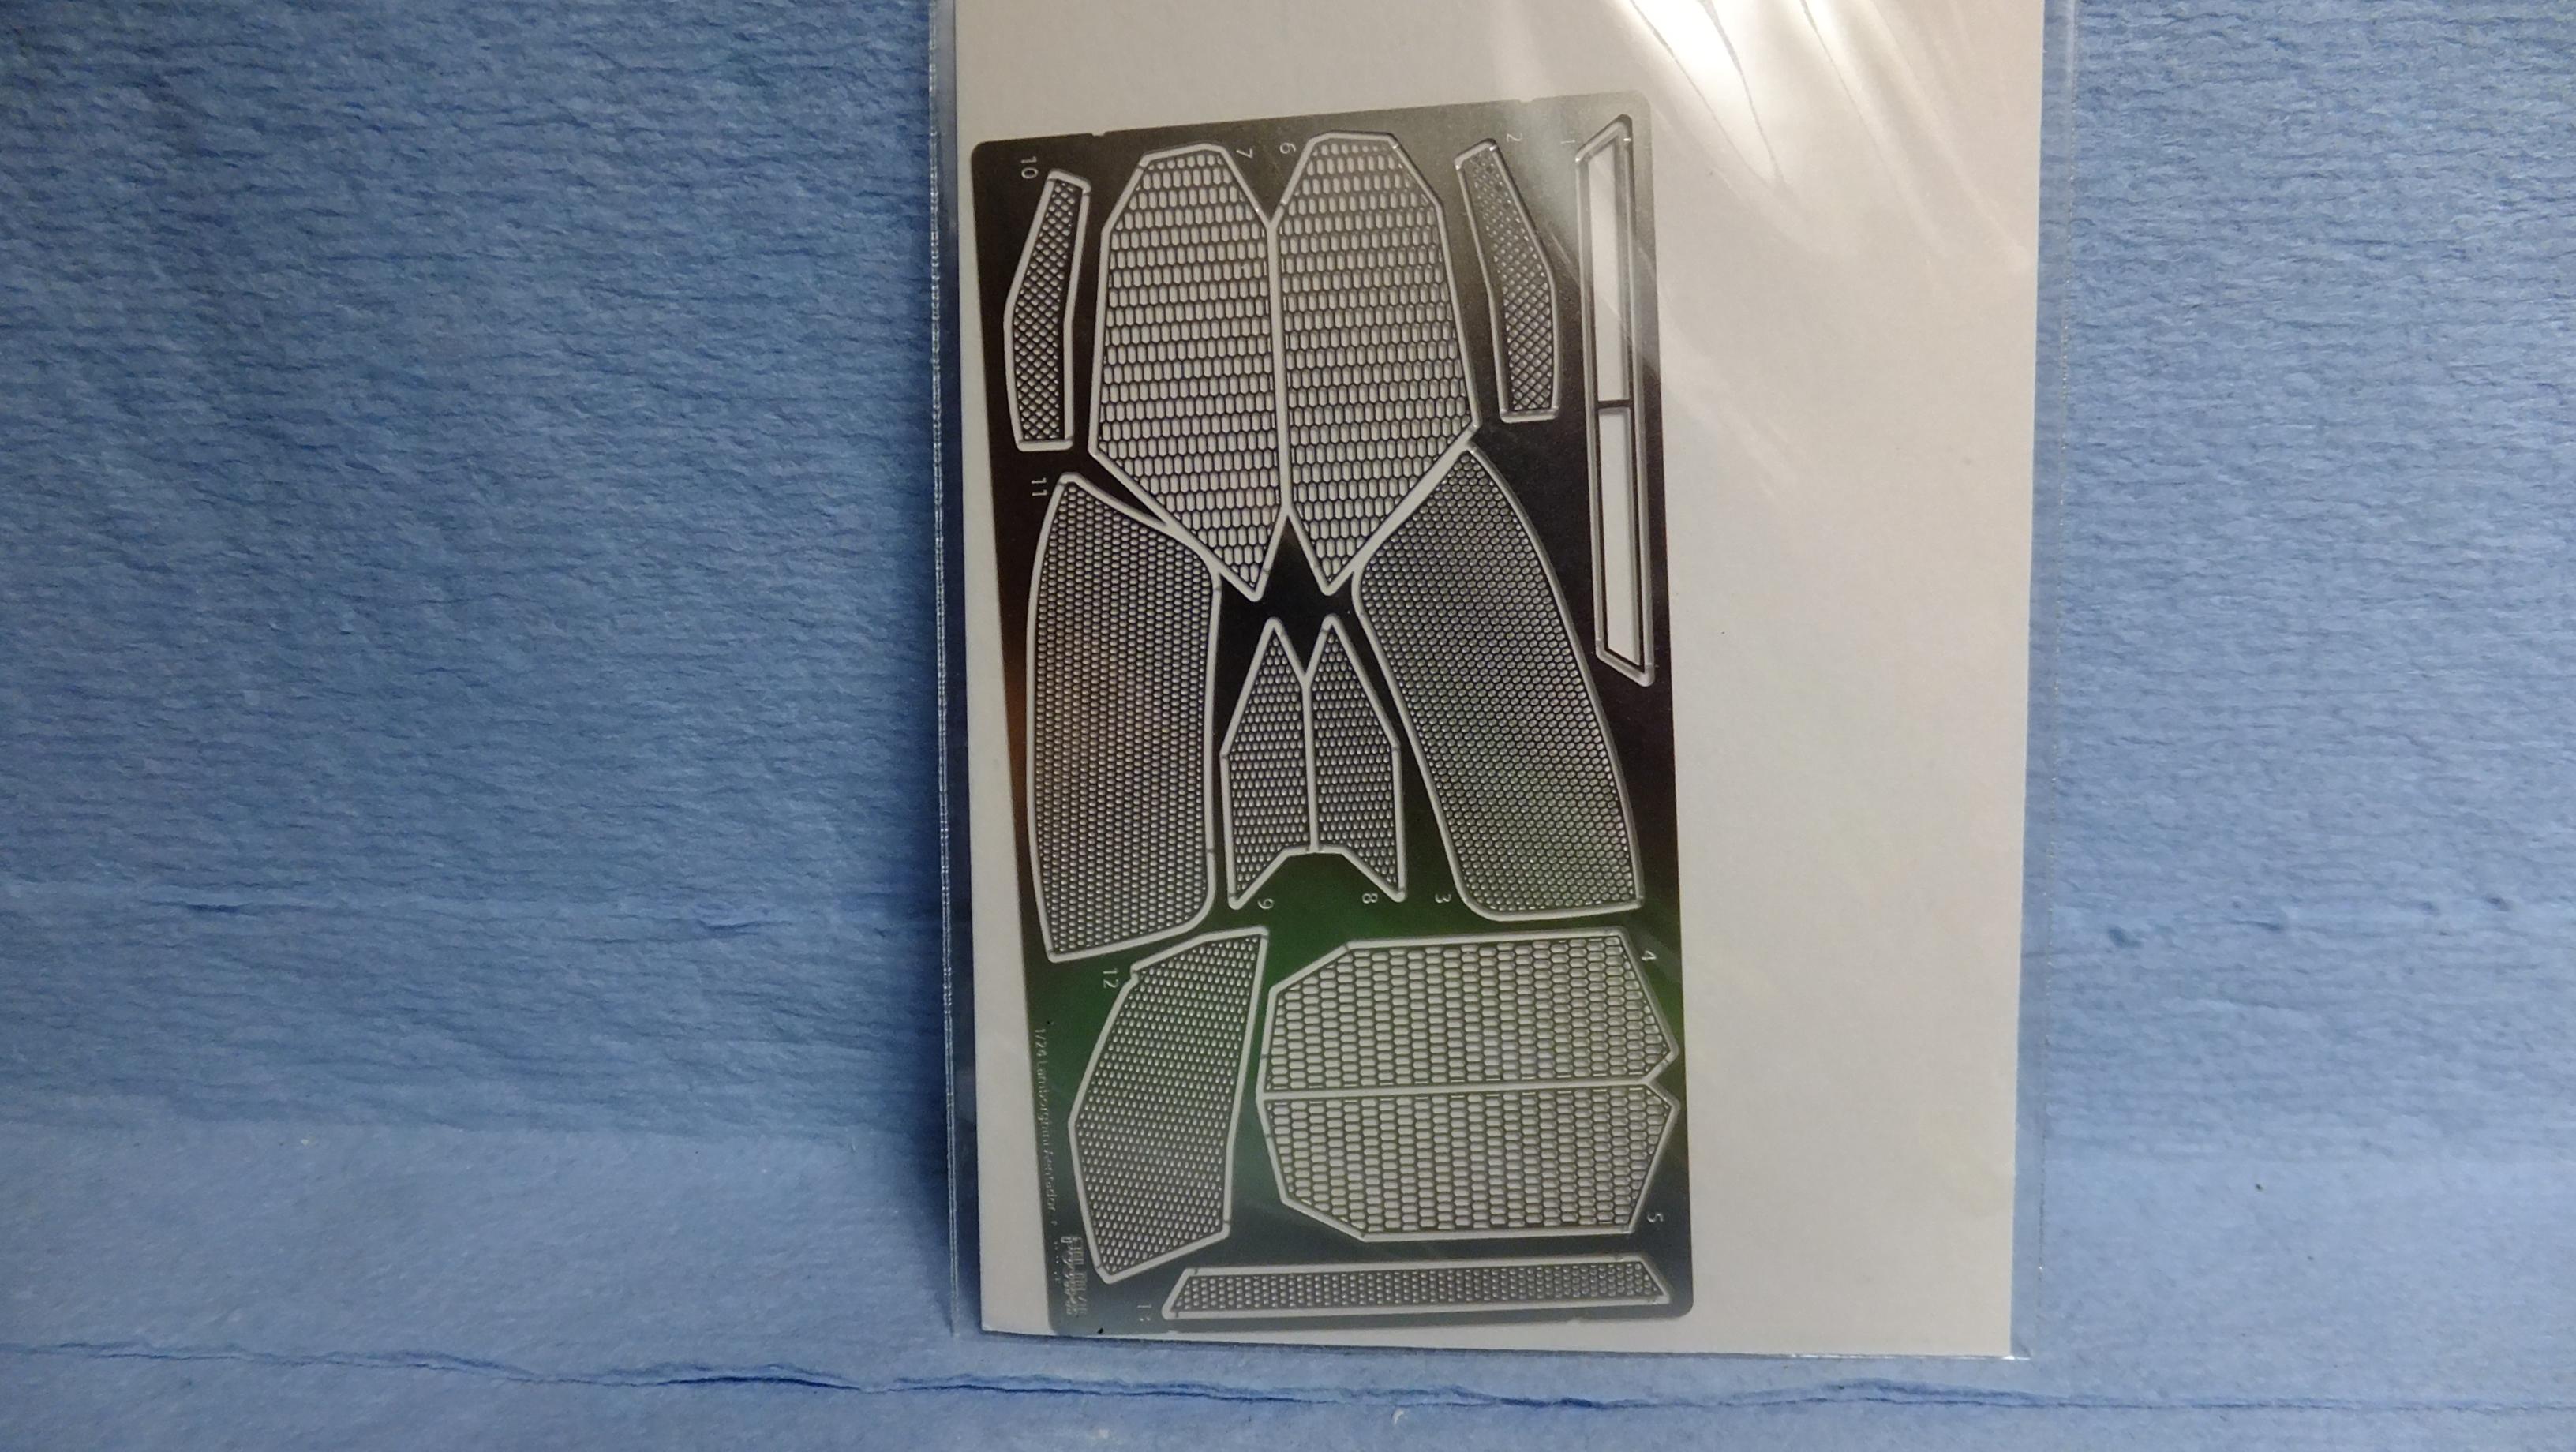
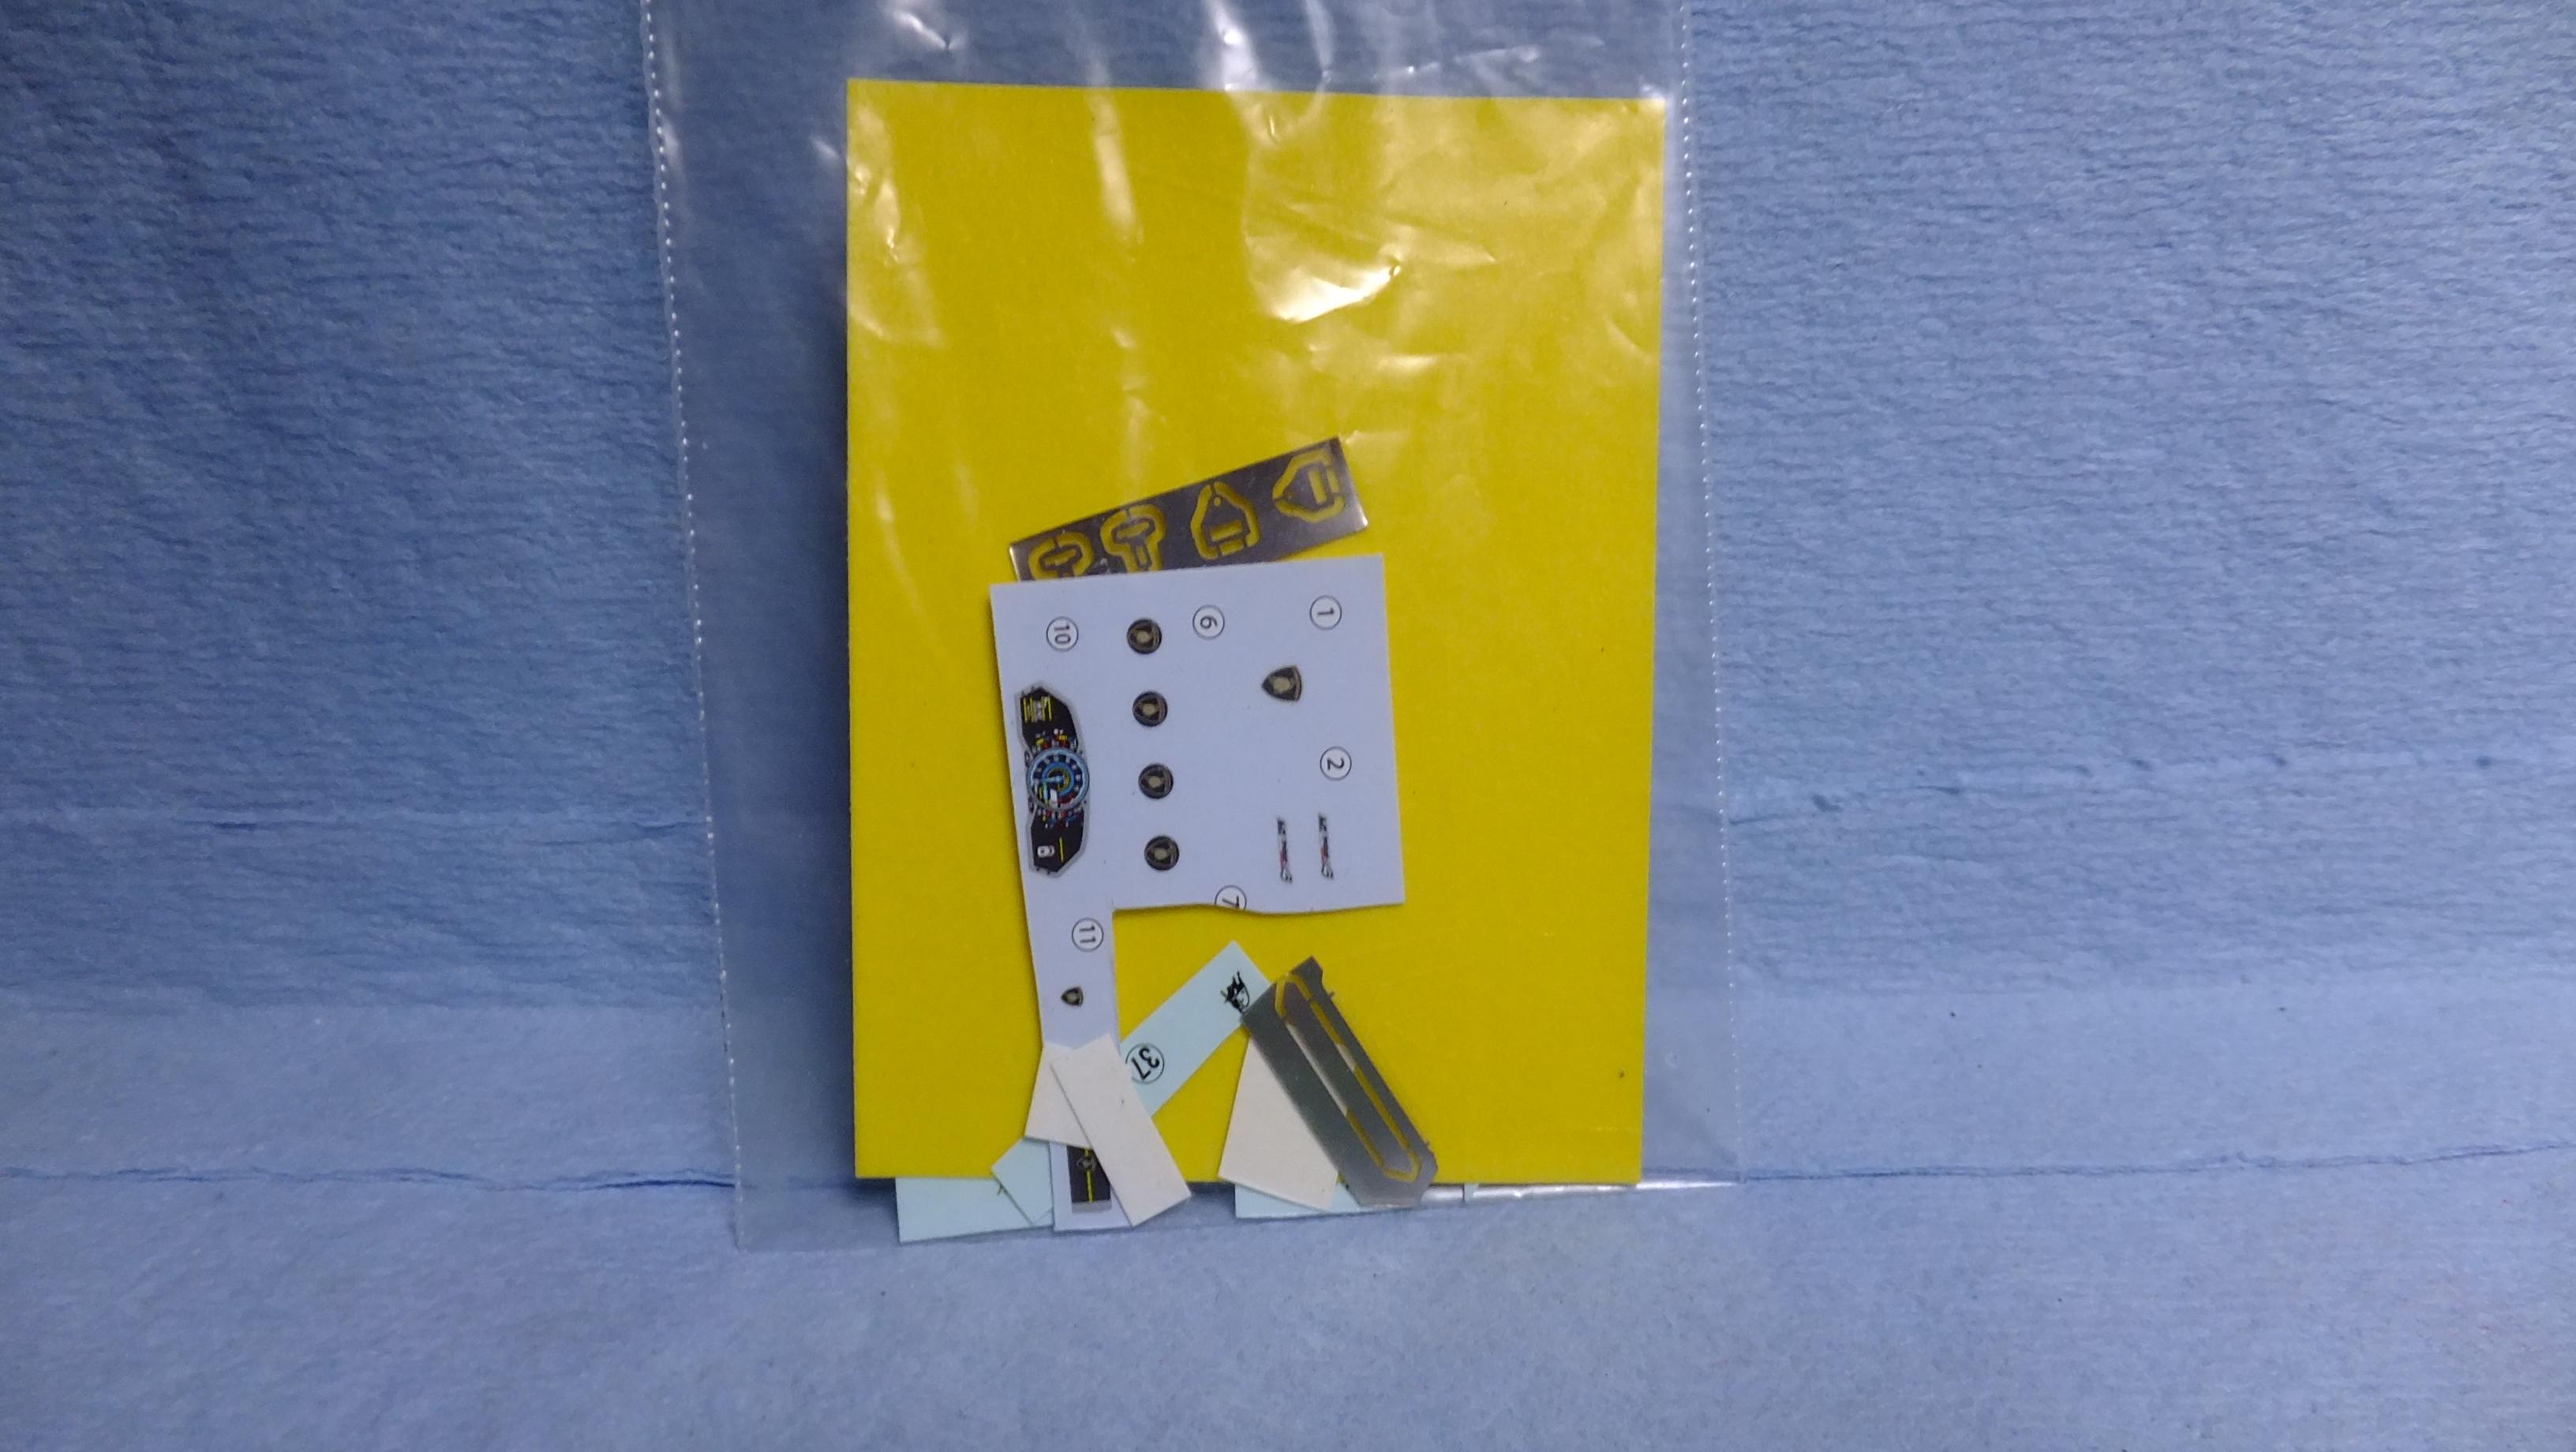
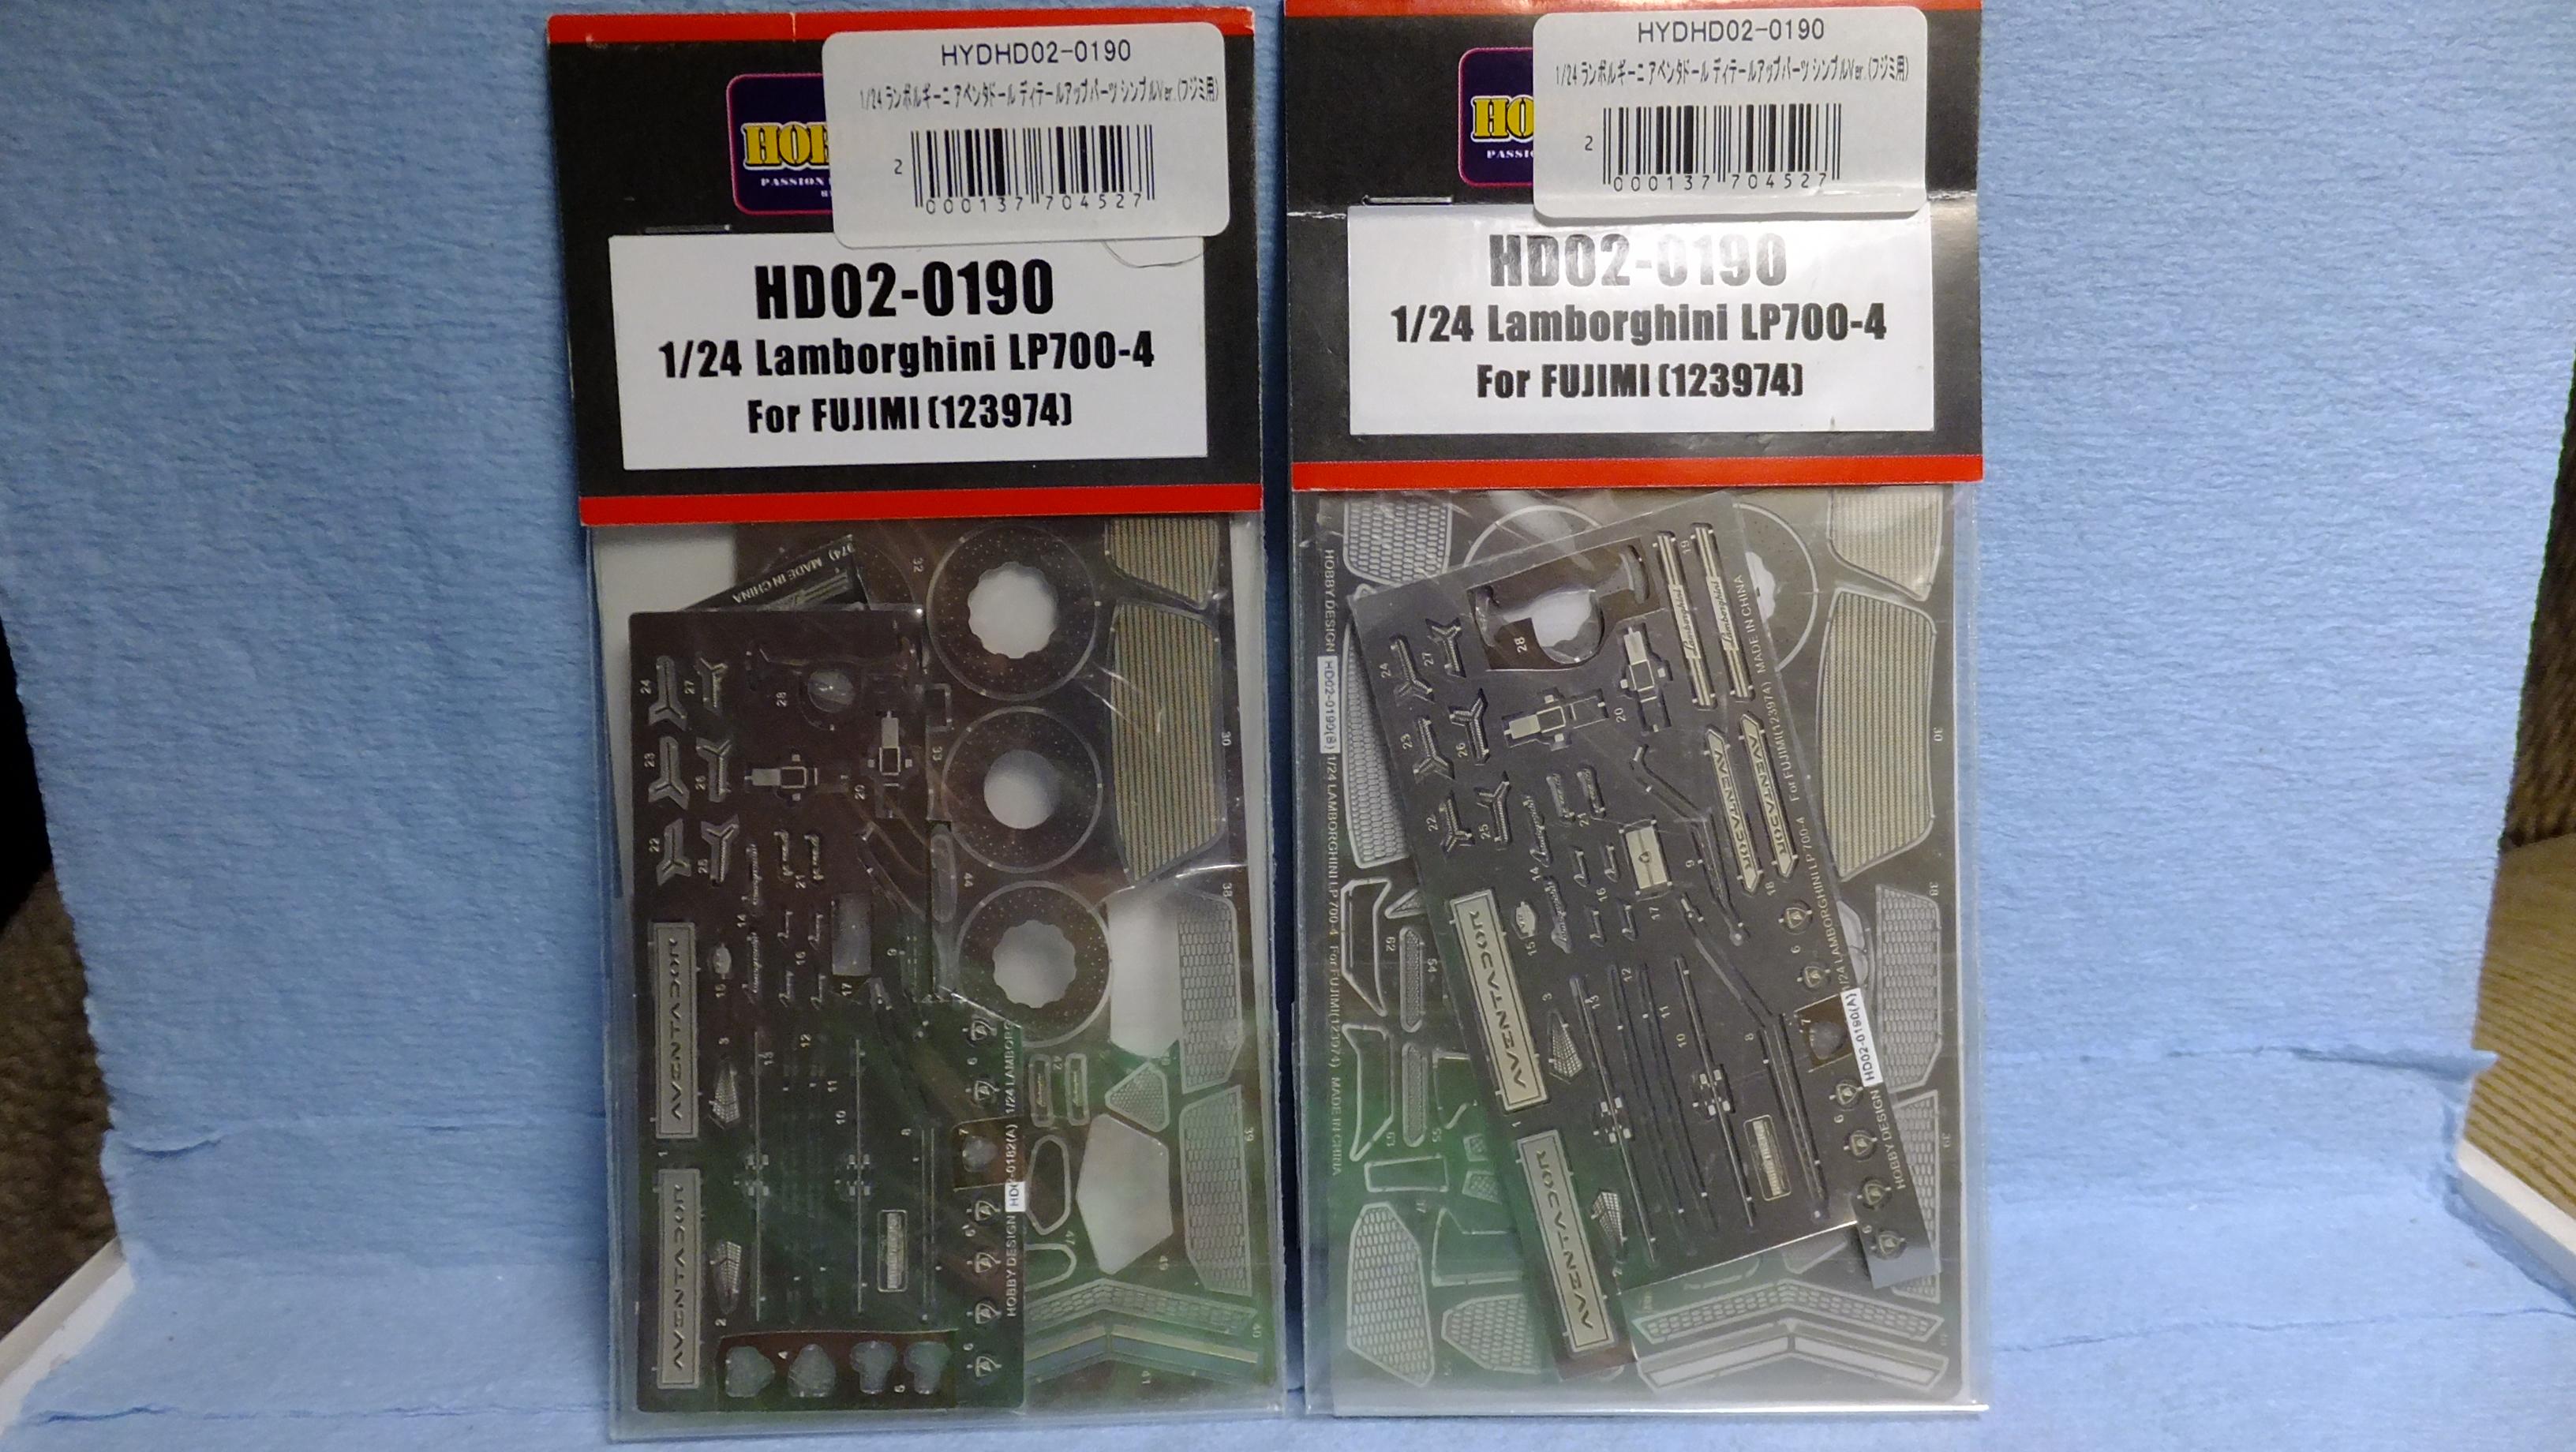
Hey, everyone! I bought this kit because i wanted to see why so many people out there still build this when there are the VERY nice Aoshima kits out there. Having built a couple of the Aoshima versions, i will go through this one, and do a mostly part-by-part direct comparison. Believe it or not, but there are some things that Fujimi did better. -Photo 2; This is how mine will look. -Photo 3-5; I think that Fujimis headlamps are detailed better...are easier to attach, but dont have a separate clear lens like Aoshimas. -Photo 6; The wavy line shows the size of the part....dont know why they did it this way....separate bits like the Aoshima kit is better. The arrows point to areas that are raised pretty decently...it will take a bit to get them level. -Photo 7; If you seat the side panel all the way in, you will end up with a large, uneven ledge, and neither the PE, or the plastic mesh bits will fit in.....so Dont seat it in all the way. Aoshima's Part is better in this aspect. -Photo 8; When this inner side vent part is attached, you will have to grind down, and fill in the seam of the area that the arrow is pointing to...it was a rather noticeable problem. Aoshimas part fit right in, with NO modifications, or unsightly seam. -Photo 9-11; These vents are actually EXCEPTIONALLY nice!! They fit in way easier than Aoshima's, and if you dont want to use PE mesh, these WILL still look totally real! Having built a couple of the Aoshima ones, and adding the PE mesh with SB details behind them, you have to look VERY hard to see through them, so its not really necessary to use the PE vents. Going by the kit parts, Fujimi wins when it comes to the detail, and fit of these vents....Aoshimas plastic vents are molded in smooth, clear plastic, and you have to apply a decal for the mesh pattern....NOT realistic in the slightest. -Photo 12; The doors, and windows in both kits are about the same, but Fujimis has deeper, more realistic door handle detail. -Photo 13; Both kits have pretty nice wipers as far as detail, and fit. -Photo 14; Both kits have decent vents, But Fujimis side vent has a separate trim piece which is nice if you dont want to mask it like you have to on the Aoshima version. The inside of the rocker vent just behind the front tyres, is a separate piece with the Fujimi kit, and is easier to attach mesh to. -Photo 15; This here is a no-brainer....Aoshima has SUPERIOR tailights by FAR!!!.....i'm not looking forward to doing these Fujimi ones....they arent good. -Photo 16; These have to be some of the nicest mirror lenses!....i usually have to strip them on ANY kit, and use chrome sticker as a replacement. Cant remember how Aoshimas were. -Photo 17; The exhaust tips in both kits are pretty close to the same, but the inside detail of the Fujimi one is a bit better....sharper. -Photo 18; This is the PE set that comes in the kit...i WONT be using it, as i'm using the plastic vents. -Photo 19; ...these are all the decals, and seat belt bits that came with the kit, and or the Hobby Design sets. -Photo 20; I basically only got these sets for a few parts.....WONT use most of them.
-
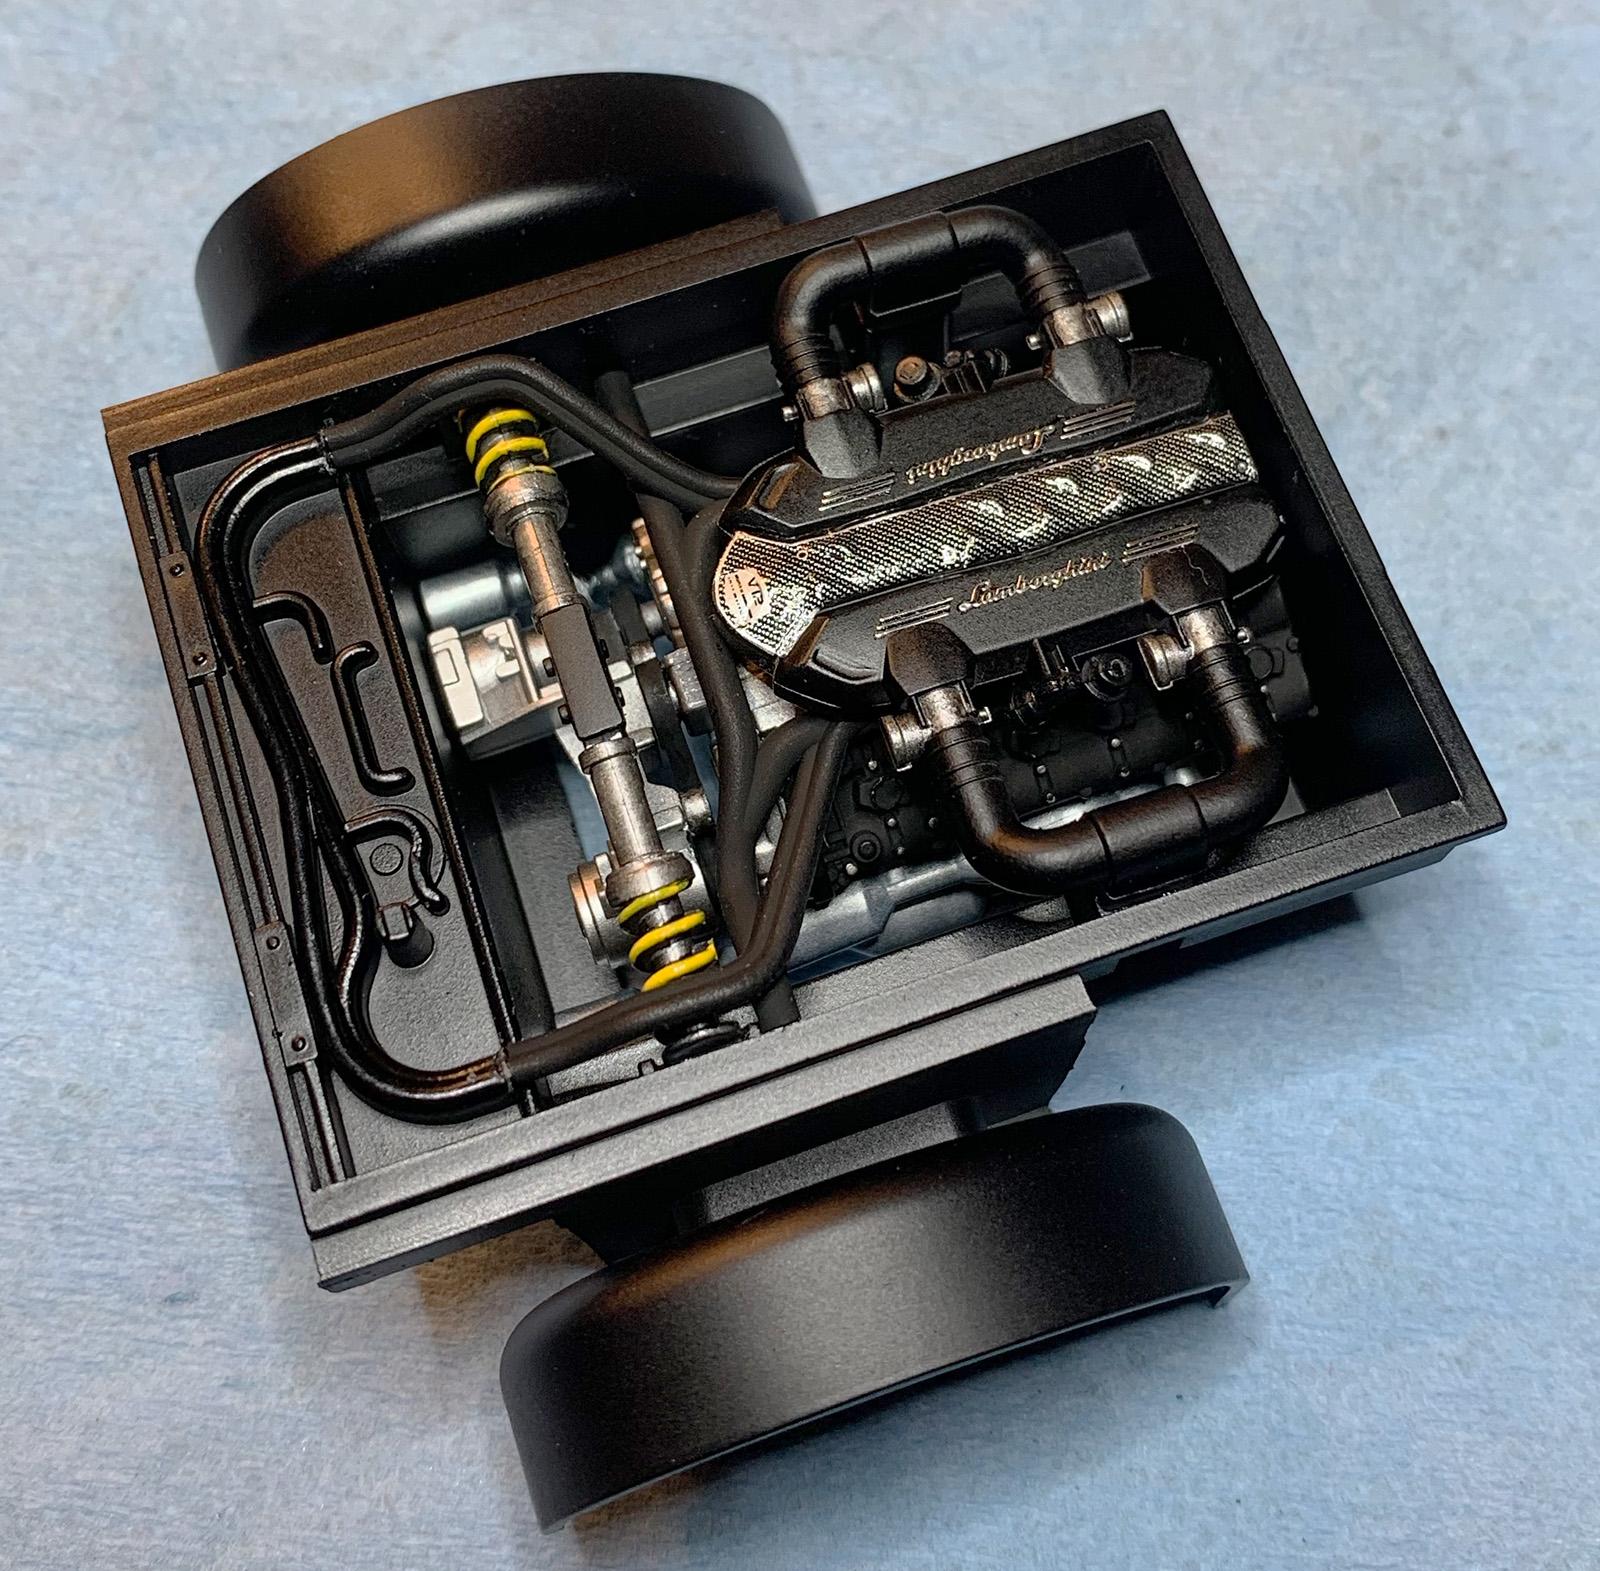
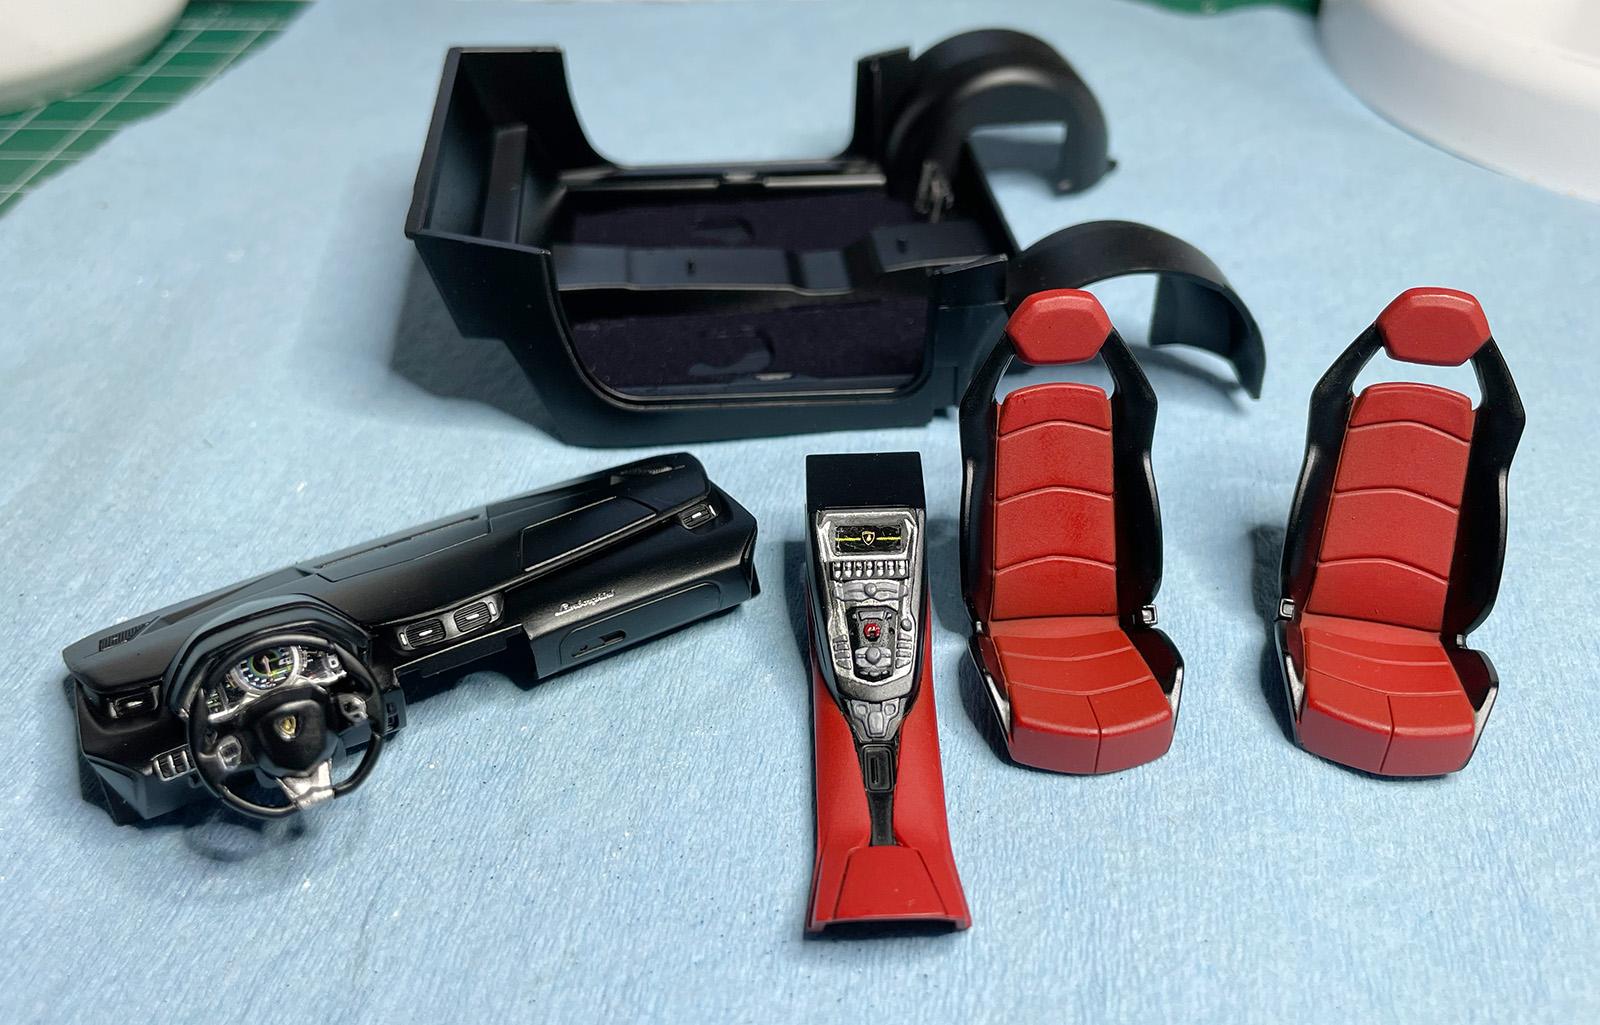
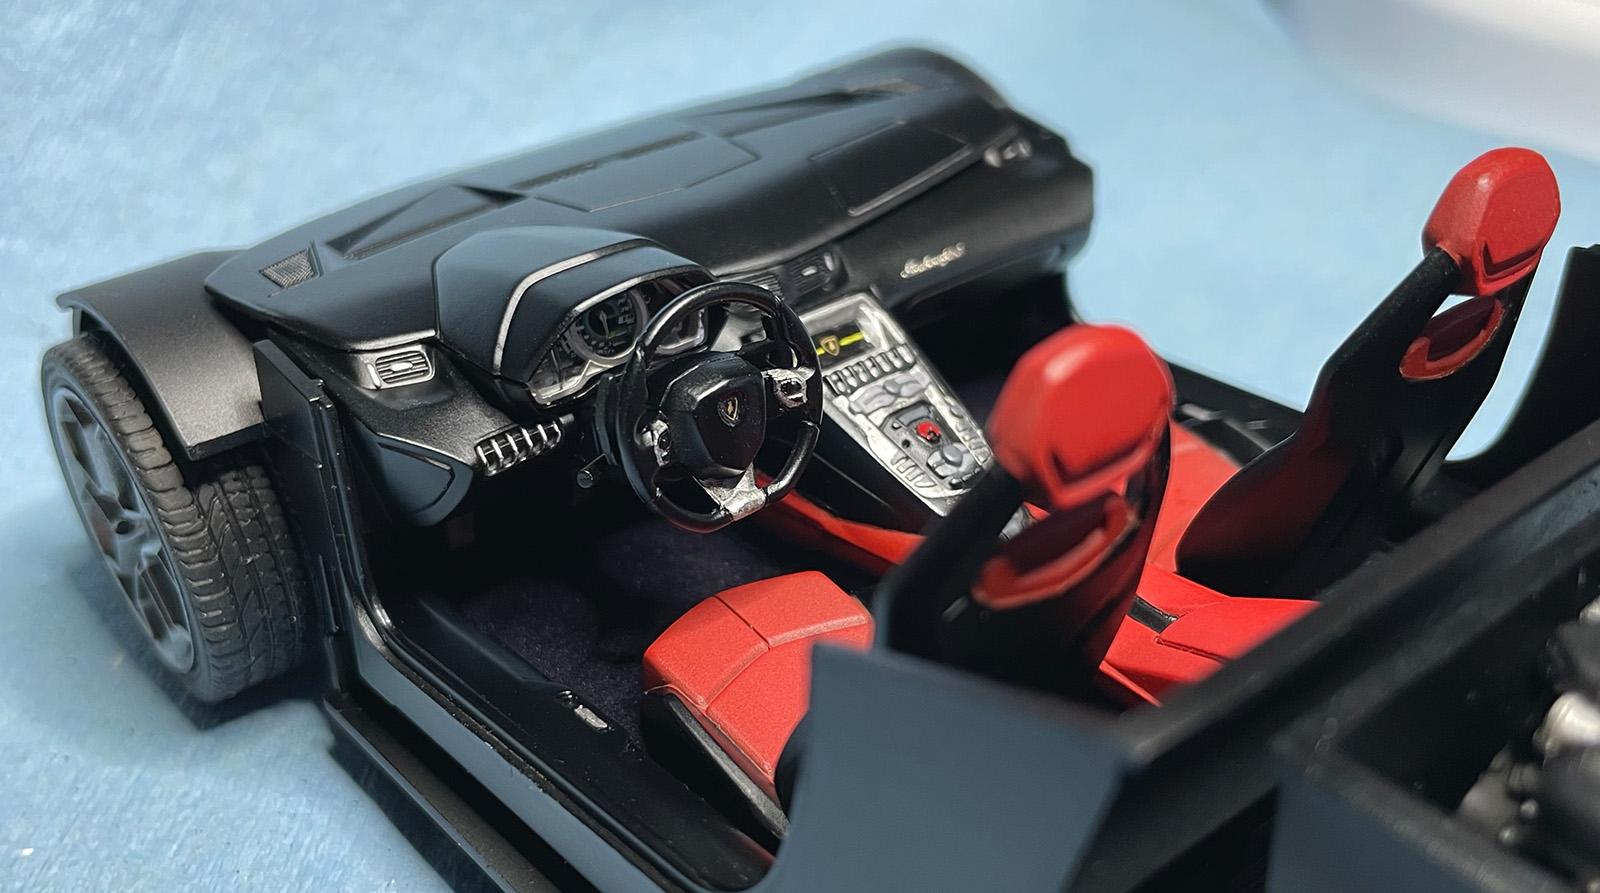
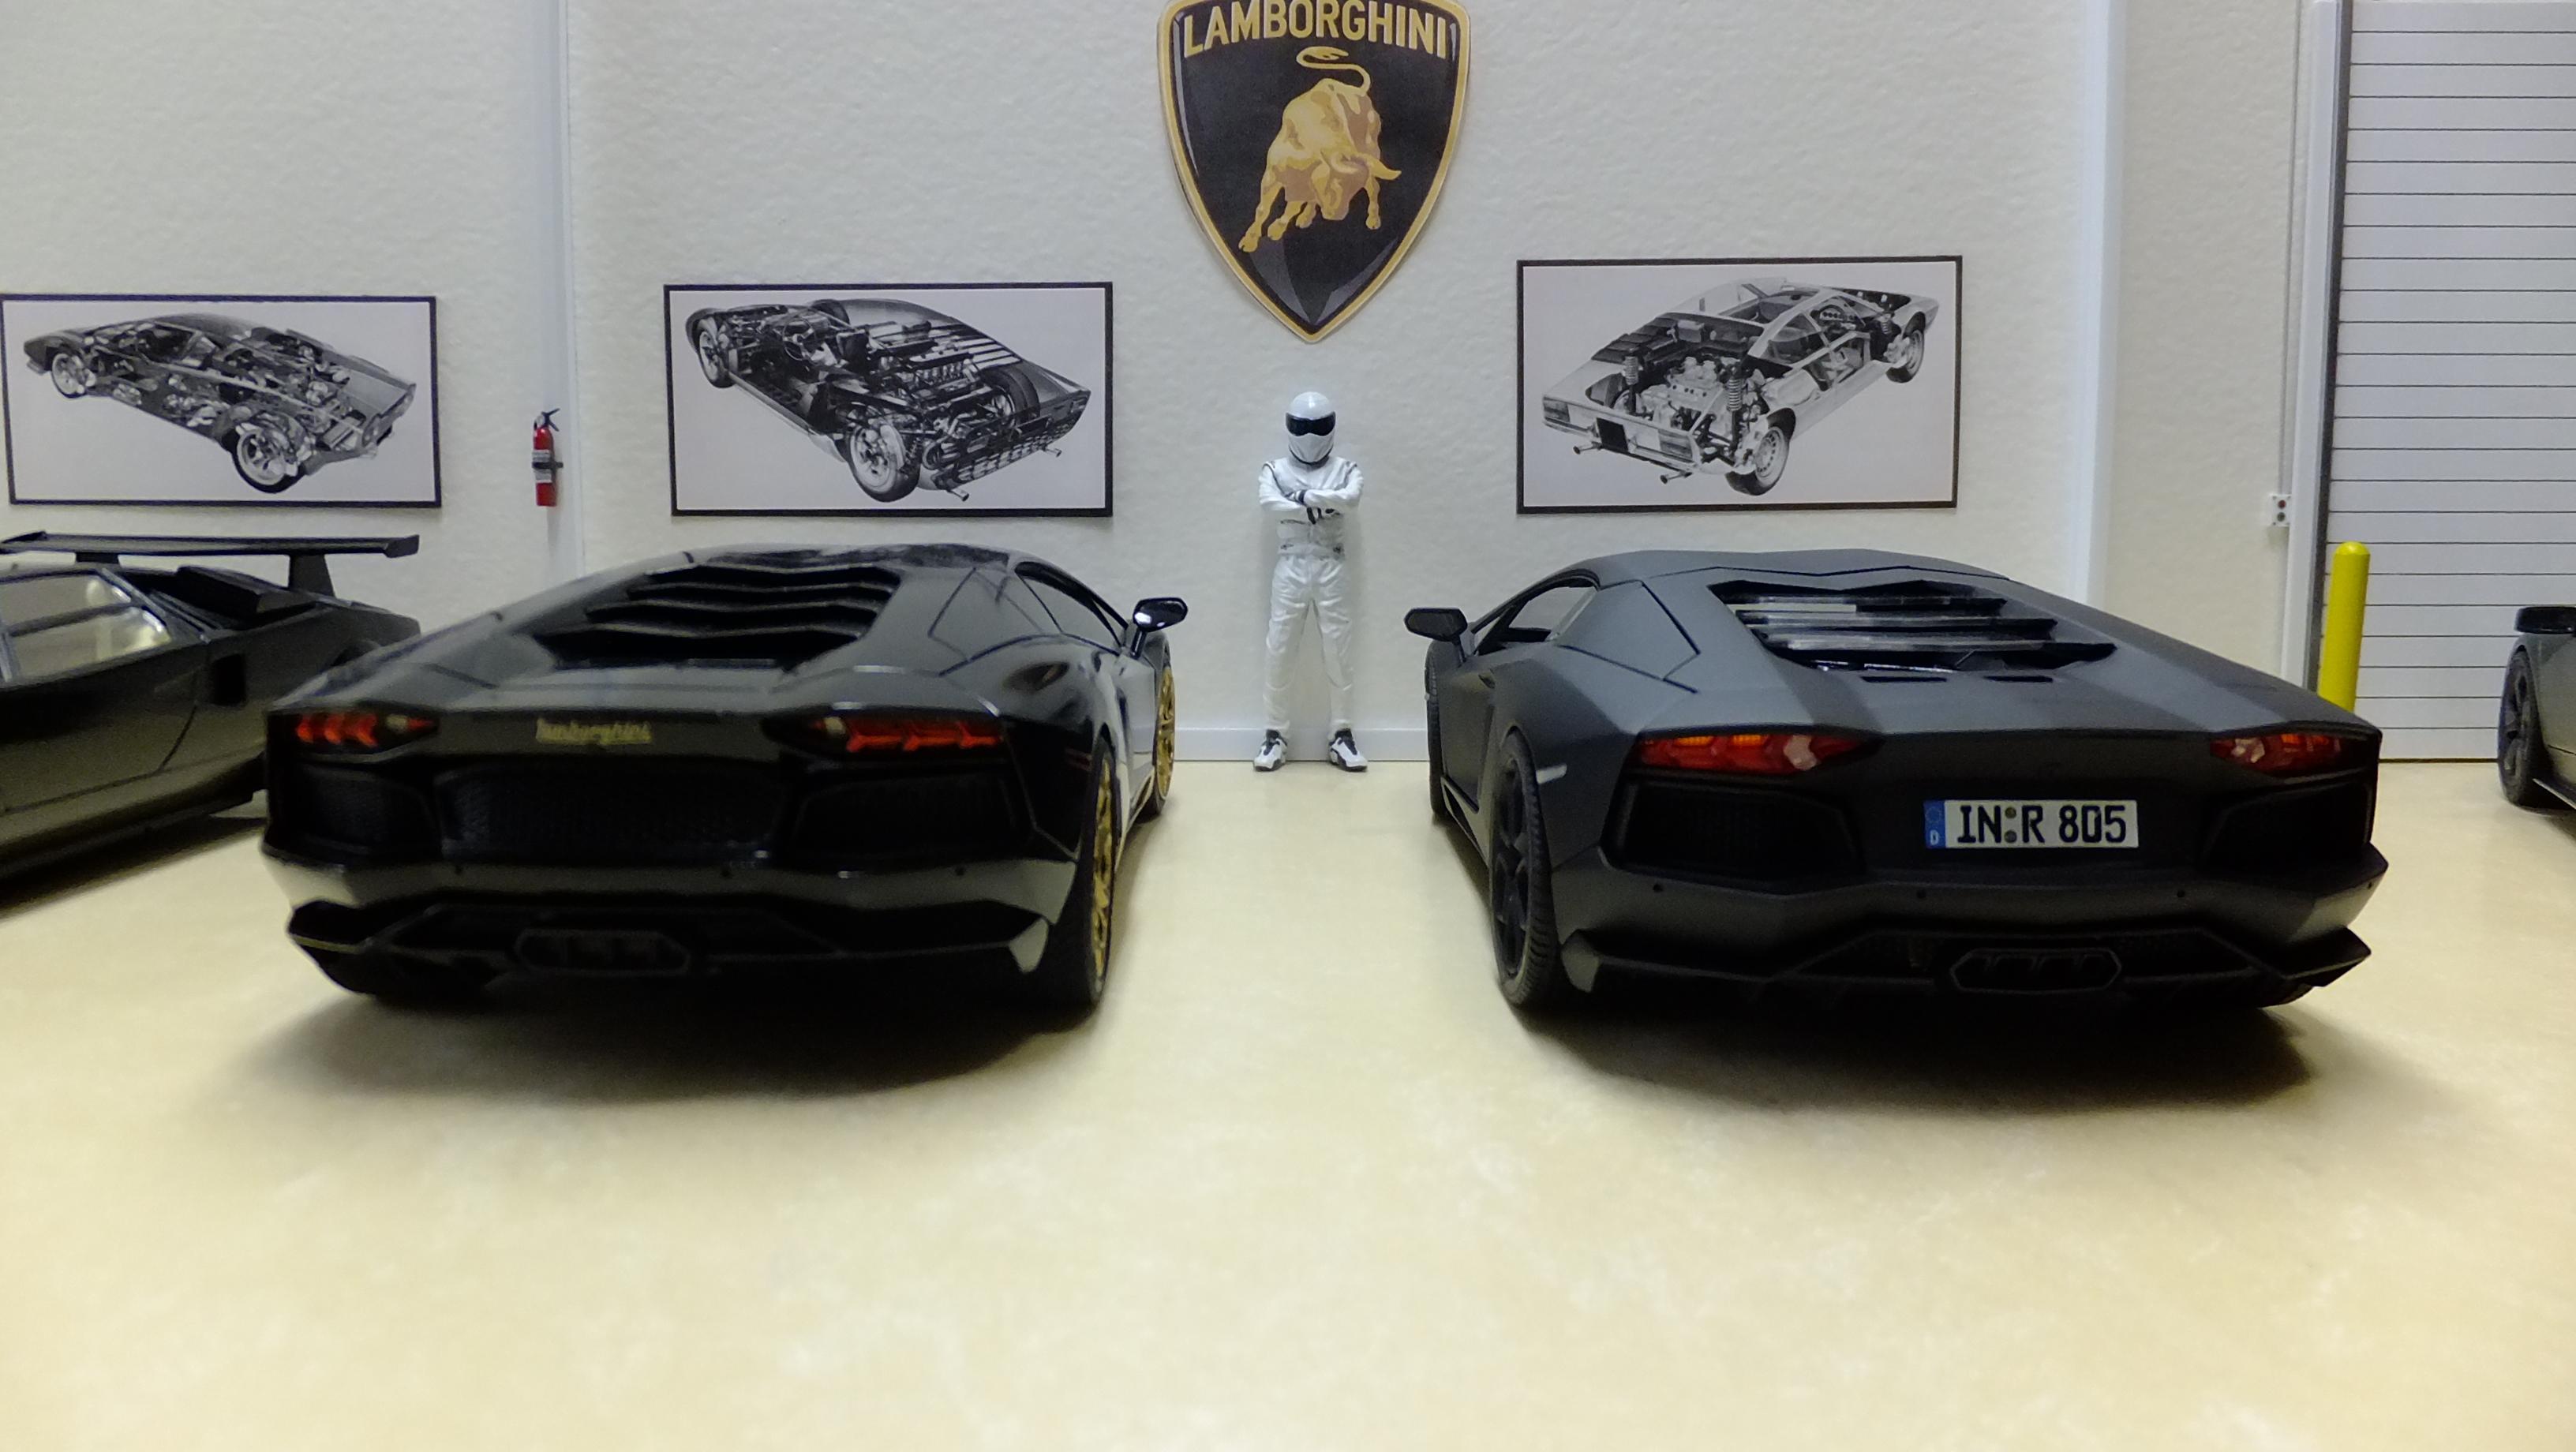
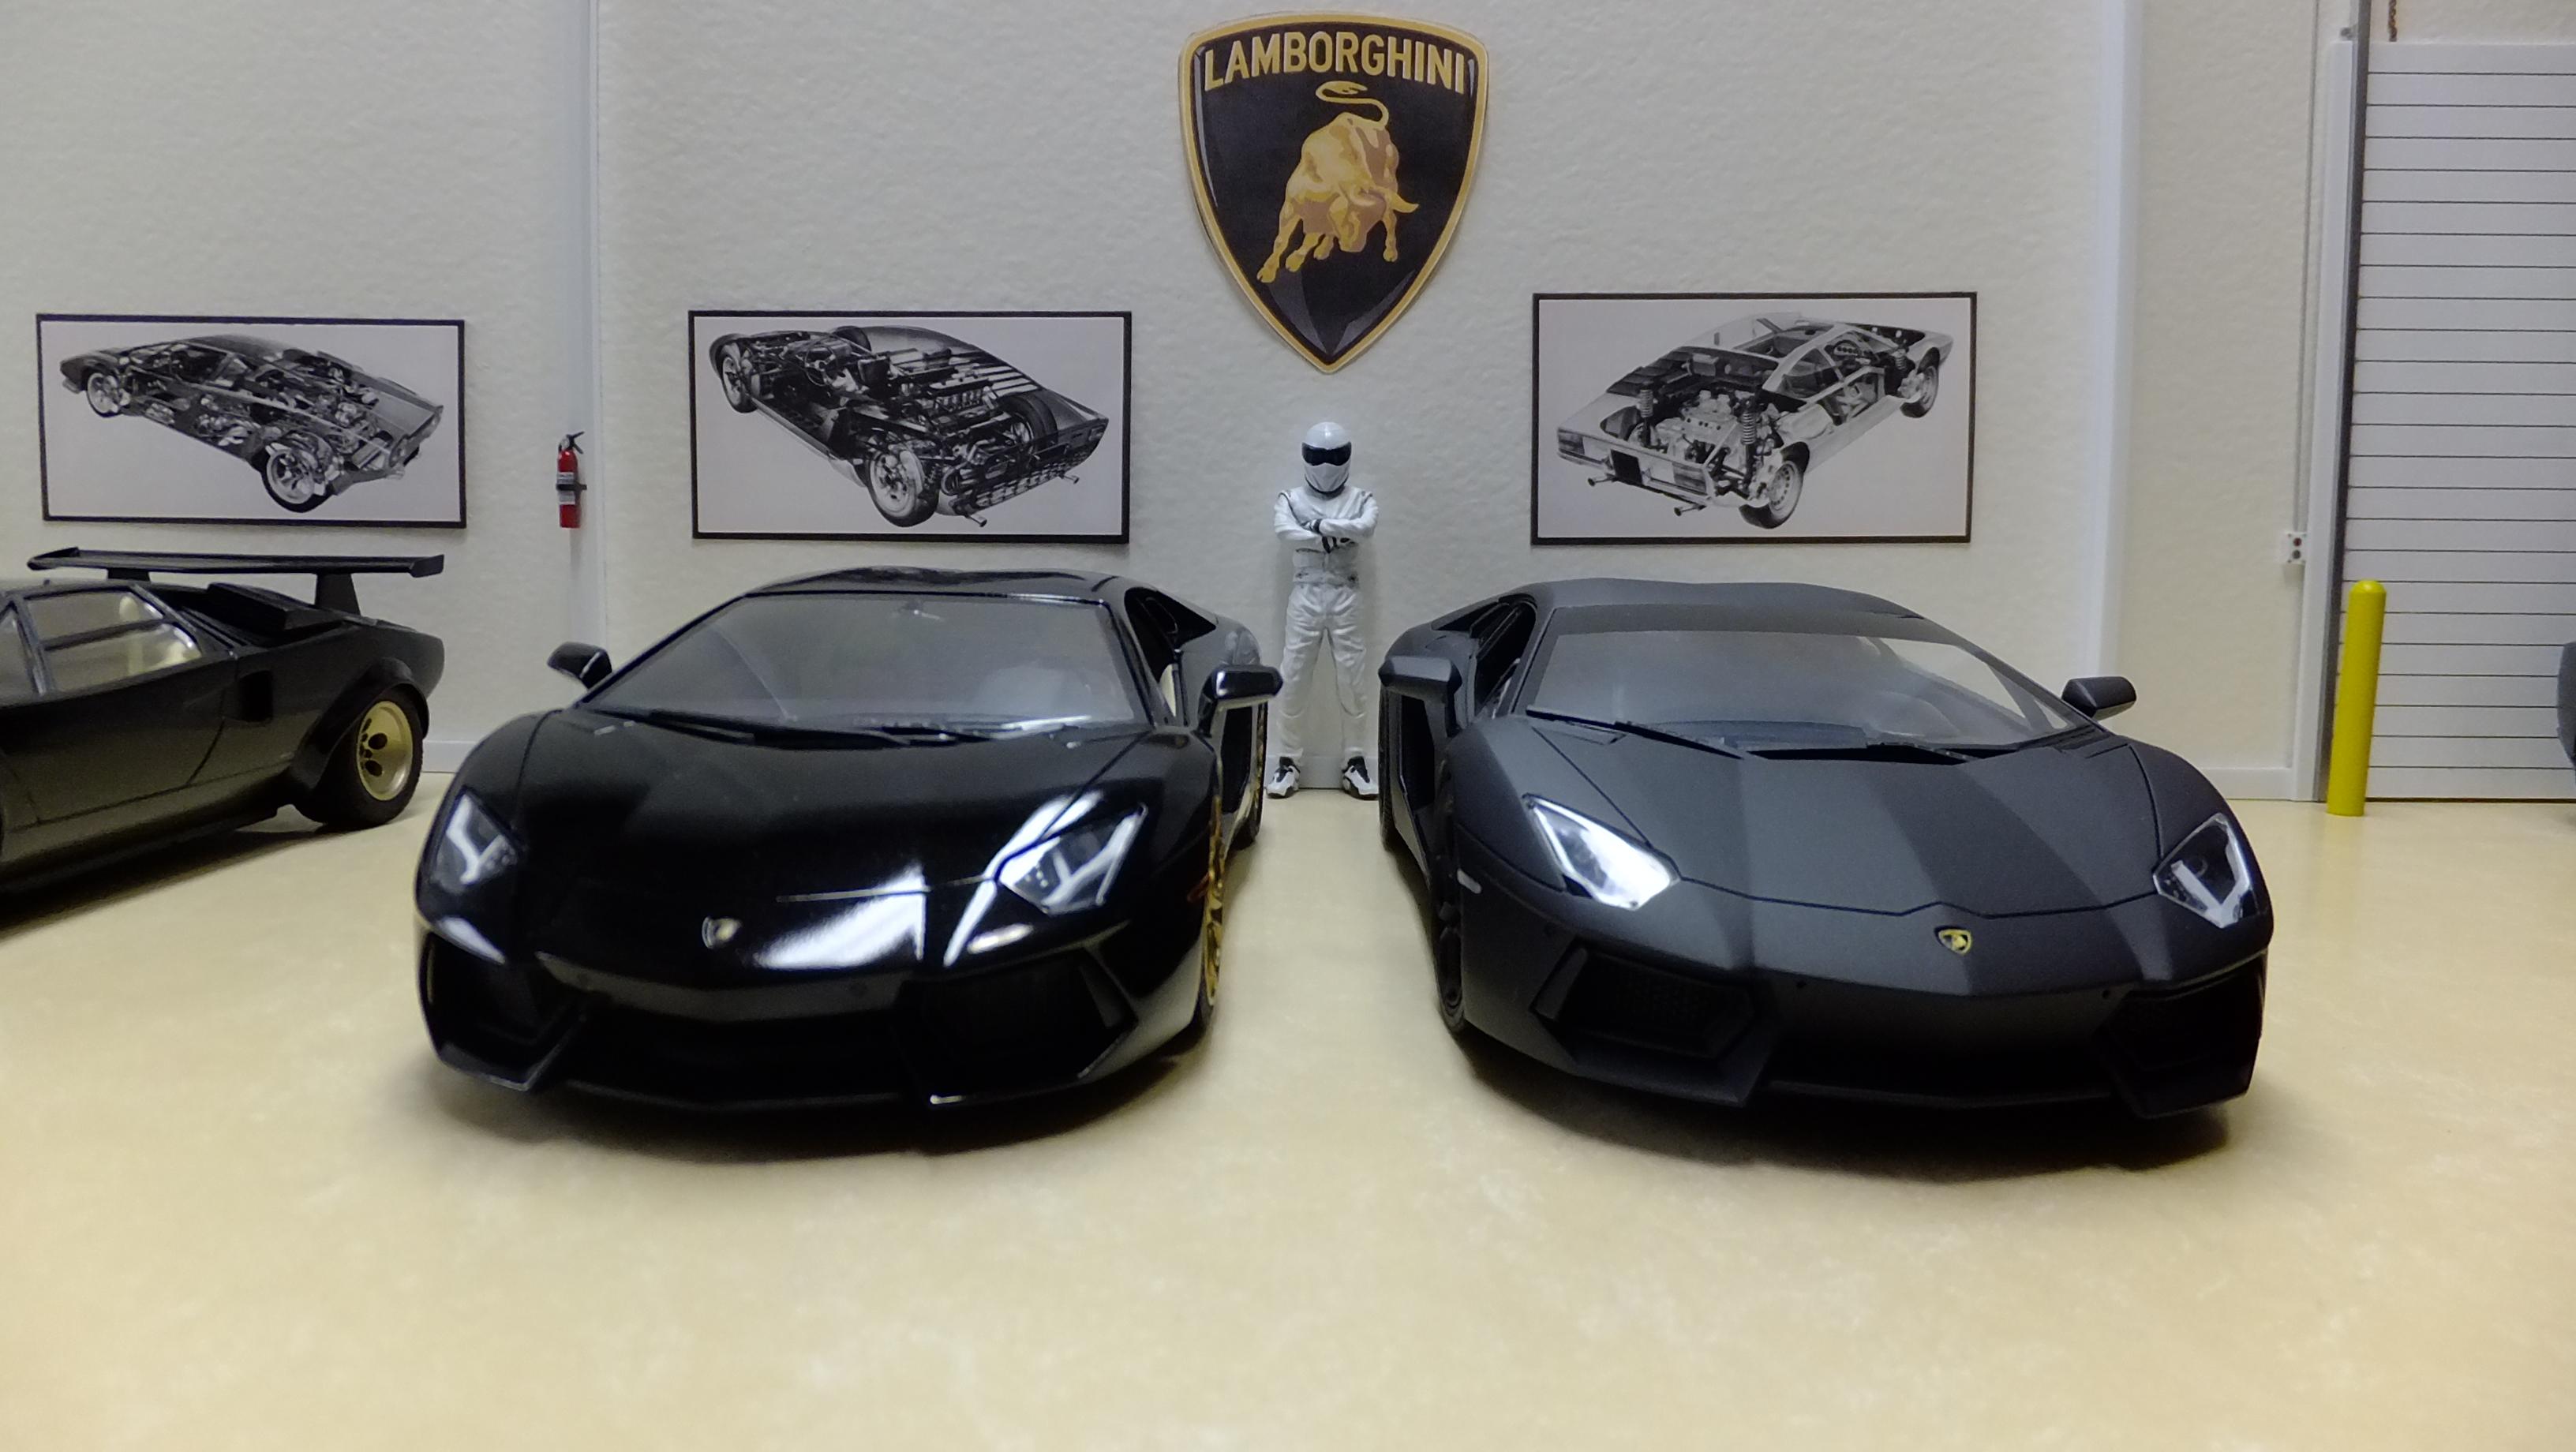
Hello, everyone!, this is my Aoshima Lamborghini Aventador. I love the "stealthy" look on him, I used 3D decal emblems on the bonnet, steering wheel, and centercaps. I carefully cut the side glass out, since I don't really like them up on my builds, I also left off the taillight lense covers.....I don't really like them on it either. This is Aoshima's "full engine detail" kit which actually translates to; A lot of engine stuff, but not everything....the lower-end is missing. Still, with the outstanding way they designed it, the awesome detail of the parts, and the fact that these kinds of autos have full belly-pans, the engine bay CAN still look realistically complete with the help of wiring, painting, and other detail add-ons! This one is proof of it. This kit is so easy, and fun...….I could just keep buying and building them!!