-
Posts
536 -
Joined
-
Last visited
Previous Fields
-
Are You Human?
yes
-
Scale I Build
1/25
Contact Methods
-
Website URL
www.group25.org
-
Facebook
https://www.facebook.com/groups/586162864811209/
Profile Information
-
Full Name
Bob S
Recent Profile Visitors
hct728(Bob)'s Achievements

MCM Ohana (6/6)
-
M-20 Prime Mover
hct728(Bob) replied to Chariots of Fire's topic in WIP: Model Trucks: Big Rigs and Heavy Equipment
Bodywork brings it to life! Neat work on the grille and the curved hood, that's a long one! Triple hinges on the door - there's a lot to replicate, more than meets the eye in the photo, at first glance it's a simple truck, but no. I see lots of louvres in your future too, Boldly Go! -
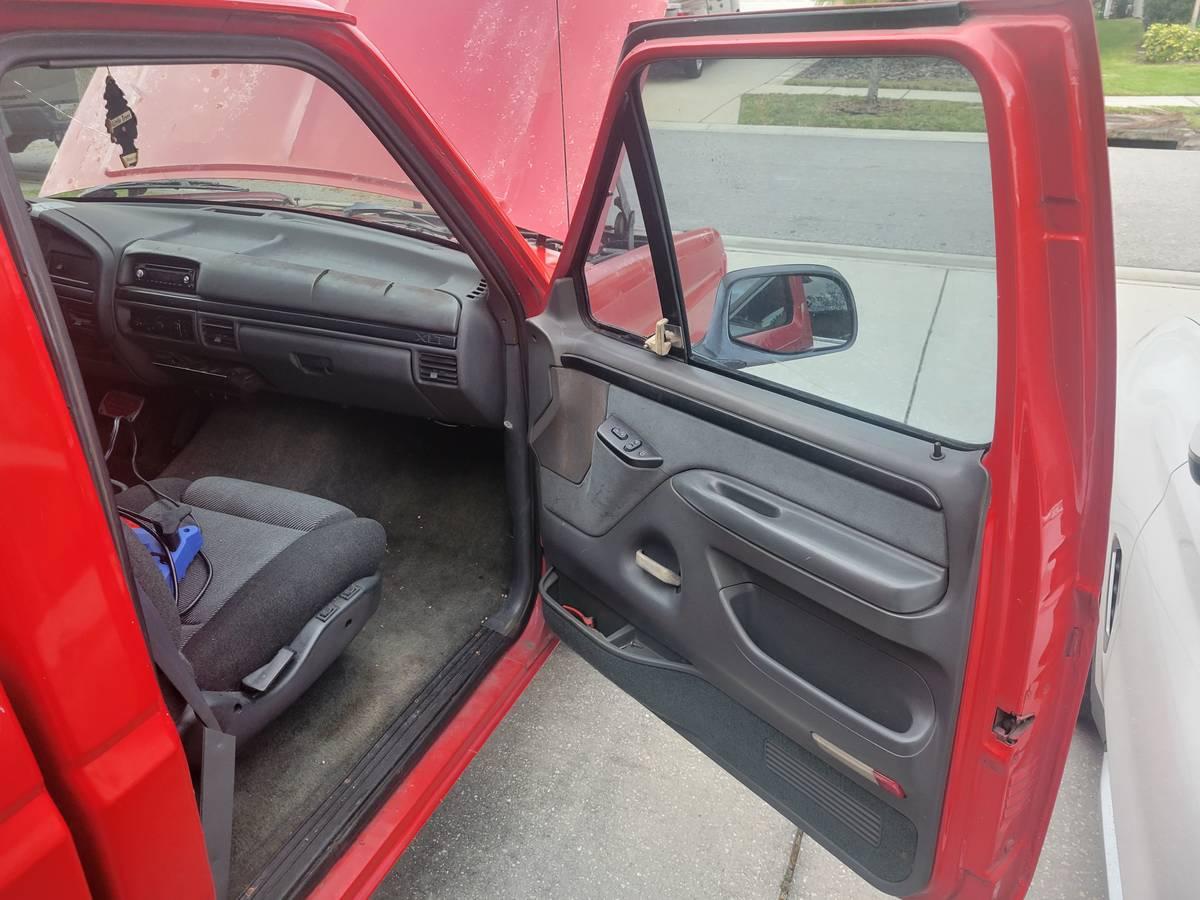
Wow, great job on the headlights and grille! I have a few of these kits, and from references, the doors are the power window version so they wouldn't have the window crank. Like the Moebius kits, I have a few of those as well and I'm trying to do the different trim levels, some of those require mods to the dash and dials, radio delete, etc., talk about going down the rabbit hole! Good you know when to stop! Enjoying your journey
-

Moebius Great Dane 53' Trailer
hct728(Bob) replied to hct728(Bob)'s topic in WIP: Model Trucks: Big Rigs and Heavy Equipment
Got most of the decals on, though they seem to be brittle after sitting for about 10 years since the kit was issued! A coat of Microscale Liquid Decal Film might be advisable, as the three-section stripes will need to be moved around to get perfect alignment. In my case some touchups with red paint will be needed, but for now it sure looks impressive when paired with the Erb Lonestar! -
hct728(Bob) started following Moebius Great Dane 53' Trailer
-
Well finally got started (it's a 2012 issue!) and am now plugging away at the Moebius Great Dane trailer. Pretty straightforward build so far with a few issues to be aware of for those who have room for this monster on their shelf. The I found the landing gear drive shaft to be too short so I replaced it with Evergreen rod and cut the adjacent handle so I could fold it up next to the leg for storage. Lots of holes to be drilled out from the back so pay attention to the instructions before assembly! I had to push out the sides where they attach to the top in between the mounting pegs, as the sides seem to sag inward if not forced out. I used lengths of sprue to push the sides out, then rub-glued little blocks of styrene strip to hold them in place, as seen in the photos. I pretty much painted everything underneath gloss black and touched up the flat black parts later, and the body parts were painted before assembly and went together without paint damage.
-

IMC/Lindberg Dodge L-700
hct728(Bob) replied to Deathgoblin's topic in Model Trucks: Big Rigs and Heavy Equipment
Looks great, nice paint choices and detail painting! So nice to see one finished, they're not an easy build! -
hct728(Bob) started following Kingston Modelrama NNL
-

1973 Ford F250
hct728(Bob) replied to bill lanfear's topic in WIP: Model Trucks: Pickups, Vans, SUVs, Light Commercial
Wow, you sure came a long way from a glue bomb! Neat work on the 3D printing, and the engine and snow plow show some real authentic detail and weathering! That headliner and dash, I just mighta learned a trick or two here, thanks! -

M-20 Prime Mover
hct728(Bob) replied to Chariots of Fire's topic in WIP: Model Trucks: Big Rigs and Heavy Equipment
Such neat work, with no detail overlooked! Nice to see those 'healthy' springs, nice to know they exist, as I got some flak when I made similar ones for my Futurliner, and gave up. I didn't really have good reference photos anyway. Guess they were often seen on heavy military trucks, wonder if GM made something similar You are using wire for the shackle bolts? Do those glass hex beads work as fasteners here or are they just for lug nuts -

Dodge L700 Garbage Truck
hct728(Bob) replied to Chuck Most's topic in Model Trucks: Big Rigs and Heavy Equipment
A good match-up, not seen before! Neat job on the paint and weathering, and the winch adds some interest to the rear end, well done! -

M-20 Prime Mover
hct728(Bob) replied to Chariots of Fire's topic in WIP: Model Trucks: Big Rigs and Heavy Equipment
That's quite the suspension, what a beast! Amazing you made all those parts, with such accuracy too. The castings look good too, many skills at play here! -

1/32 Mack F700
hct728(Bob) replied to The Brush's topic in WIP: Model Trucks: Big Rigs and Heavy Equipment
Really interesting build you have going! Never realized the cab had so much meat to it, this kit is REALLY under-appreciated. Photo is what you started with, amazing work you've done! -

1971 Ford F100
hct728(Bob) replied to Chuck Most's topic in Model Trucks: Pickups, Vans, SUVs, Light Commercial
Nice weathering effects and love the rack, spare and toolbox, neat work there! Nice job on the engine bay too. Need to see some photos of the other side -
hct728(Bob) started following Photos from Toronto NNL on March 3rd
-

Photos from Toronto NNL on March 3rd
hct728(Bob) replied to hct728(Bob)'s topic in Contests and Shows
Yes, it was our club's first NNL in a looooong time! About half the entries were by club members (who aren't allowed to enter the club contest in September) though. Wish the hundreds of people at the flea market in the next two rooms would have displayed their work while they were there! I posted pictures from other shows at https://www.group25.org//2023/Old_Show_Photos.htm -

Fire investigation unit
hct728(Bob) replied to Firebuilder's topic in WIP: Model Trucks: Big Rigs and Heavy Equipment
Nice to see progress, this is very ambitious work, truly challenging but it's coming along nicely! I have a similar issue with 1-2mm stripes over a compound curved contour and you made me wonder if it might be easier to cut a wide band of tape rather than try to bend a thin strip over an edge. The cut edge would stick better too and reduce bleed, gonna try it

