djmcguire
-
Posts
183 -
Joined
-
Last visited
Content Type
Profiles
Forums
Events
Gallery
Everything posted by djmcguire
-
Where'd you get the Ardun conversion and SCoT blower for the Flattie in the first picture?
-
half a dozen 69 camaro's *new pic's 3-8* all 6 complete!
djmcguire replied to tbill's topic in WIP: Model Cars
I've seen them at Hobby Lobby now and then and if you go online you can get one of their 40% or sometimes 50% off coupons good on one item... -
Looks like he went with the KW Suspension upgrade...not a bad route to go as they make great suspension components!
-
I'm working on a Viper also right now...haven't had the paint issues you had on this one but hoping mine turns out half as nice. Job well done, man!
-
Monogram 1970 Challenger T/A Rebuild-Under Glass 03-13
djmcguire replied to mustang1989's topic in WIP: Model Cars
Every time I turn around you're adding some new detail to this. This project is now far from what started out as a simple rebuild/restore...how's the 109 coming along for you? -
What color did you use for the primer/coating underneath the car?
-
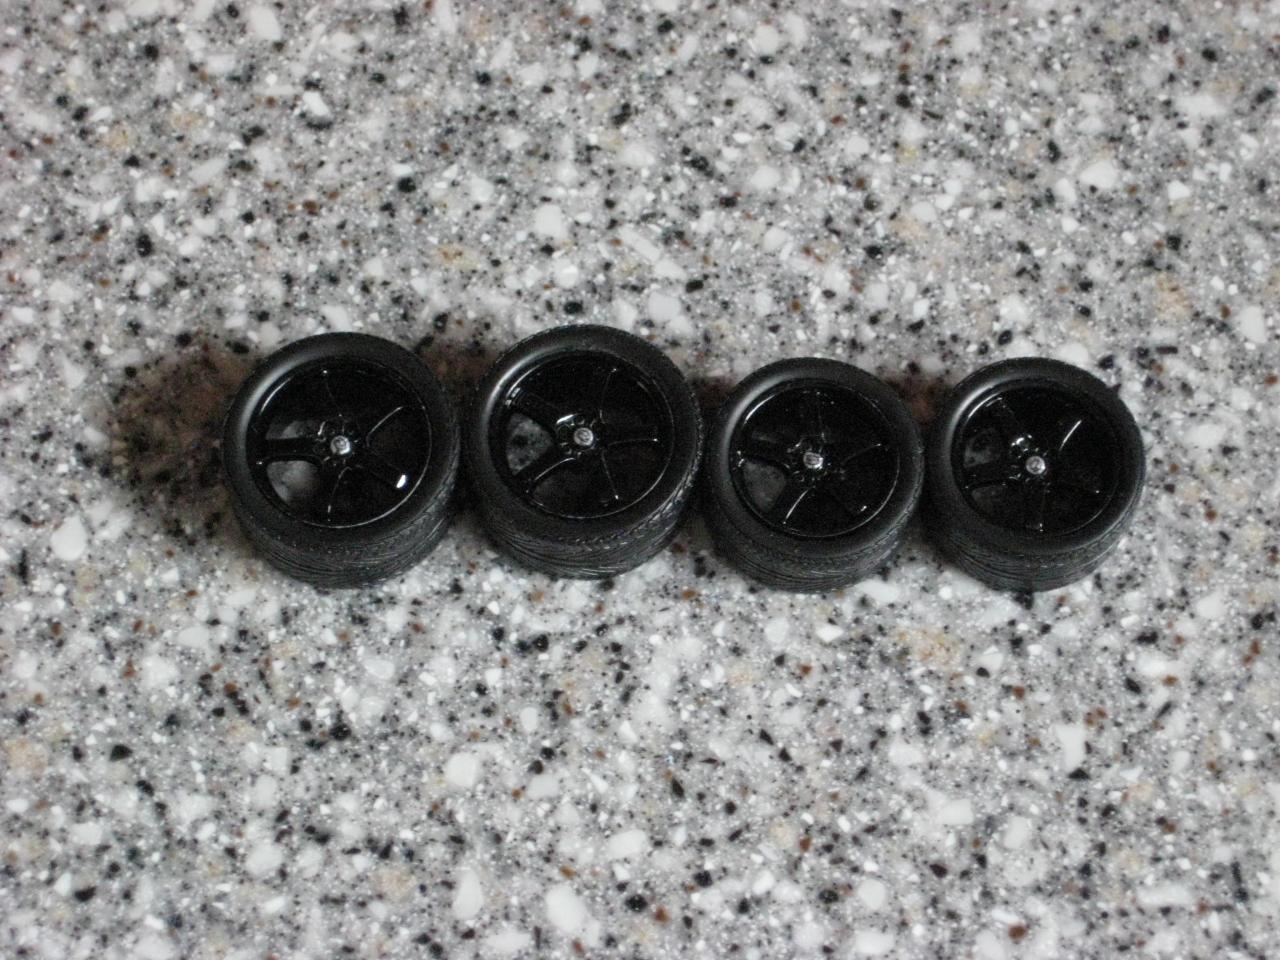
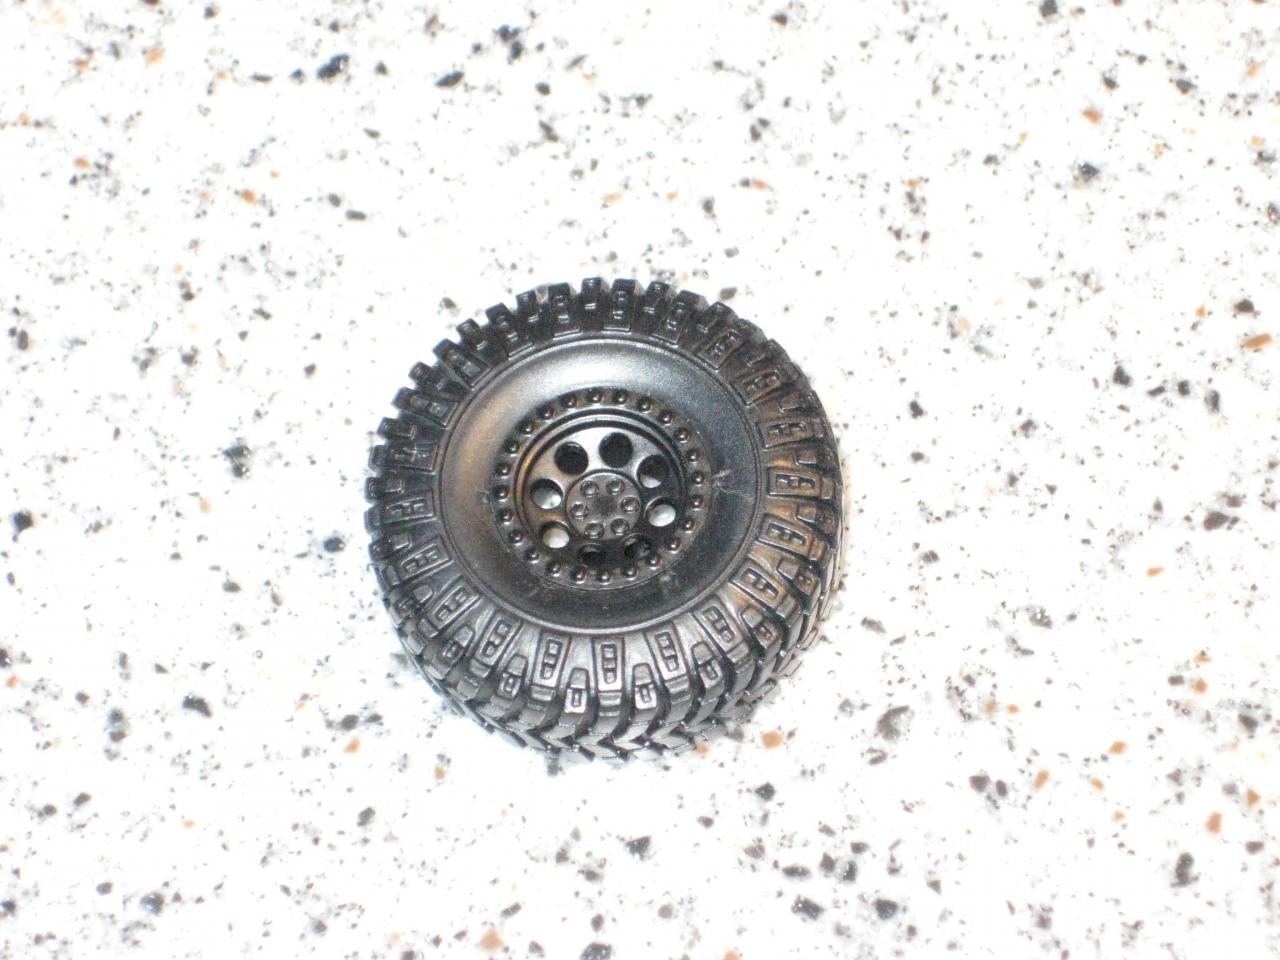
I just measured them and they measure 1.39" in diameter and .54" wide so they would be 33" tires in 1/24th with a tread width of 13" and in 1/25th scale they'd be 35"/13.5". Thanks for the kind words and encouragement Matt...
-
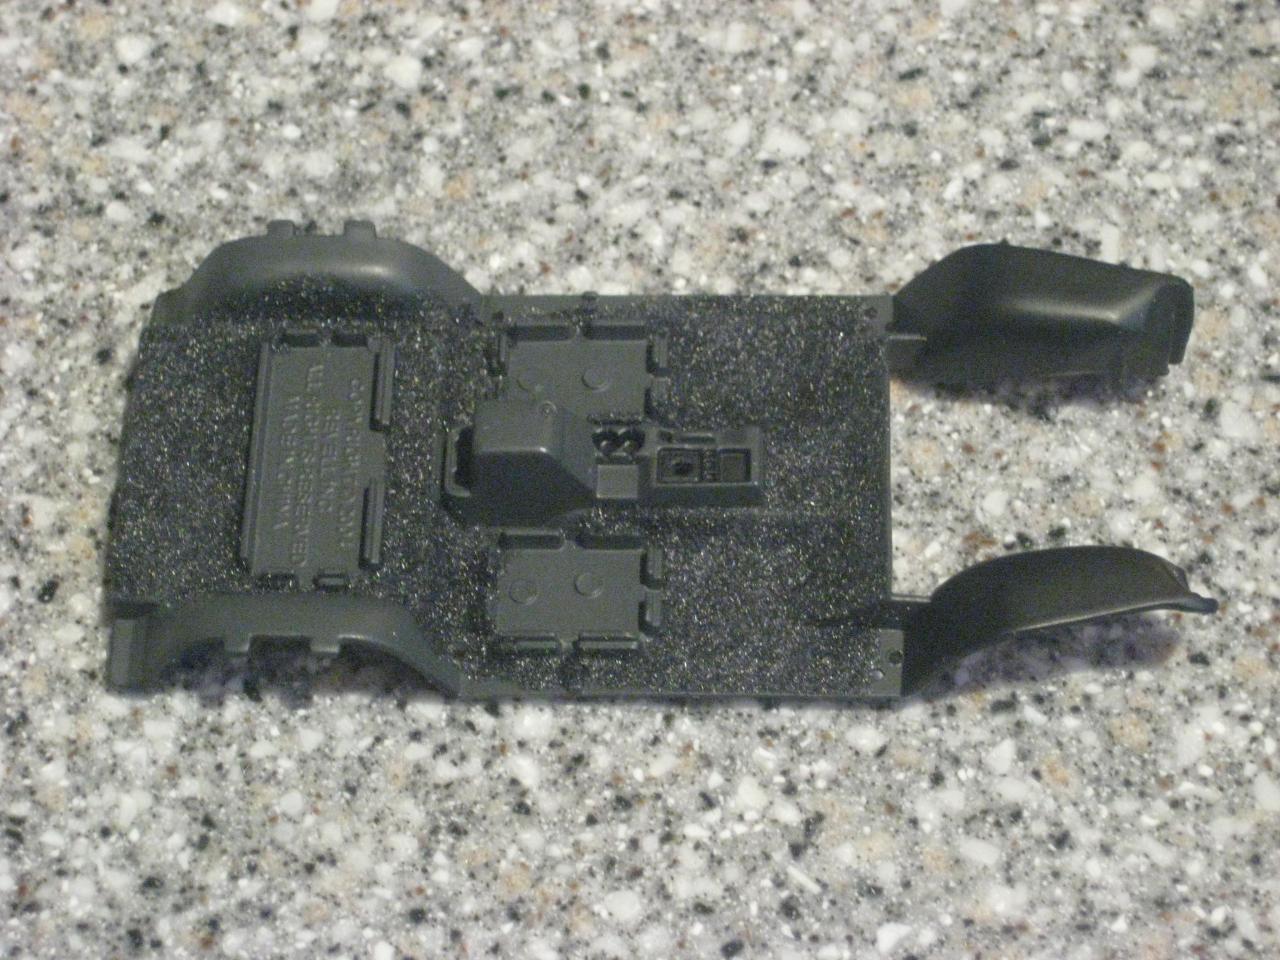
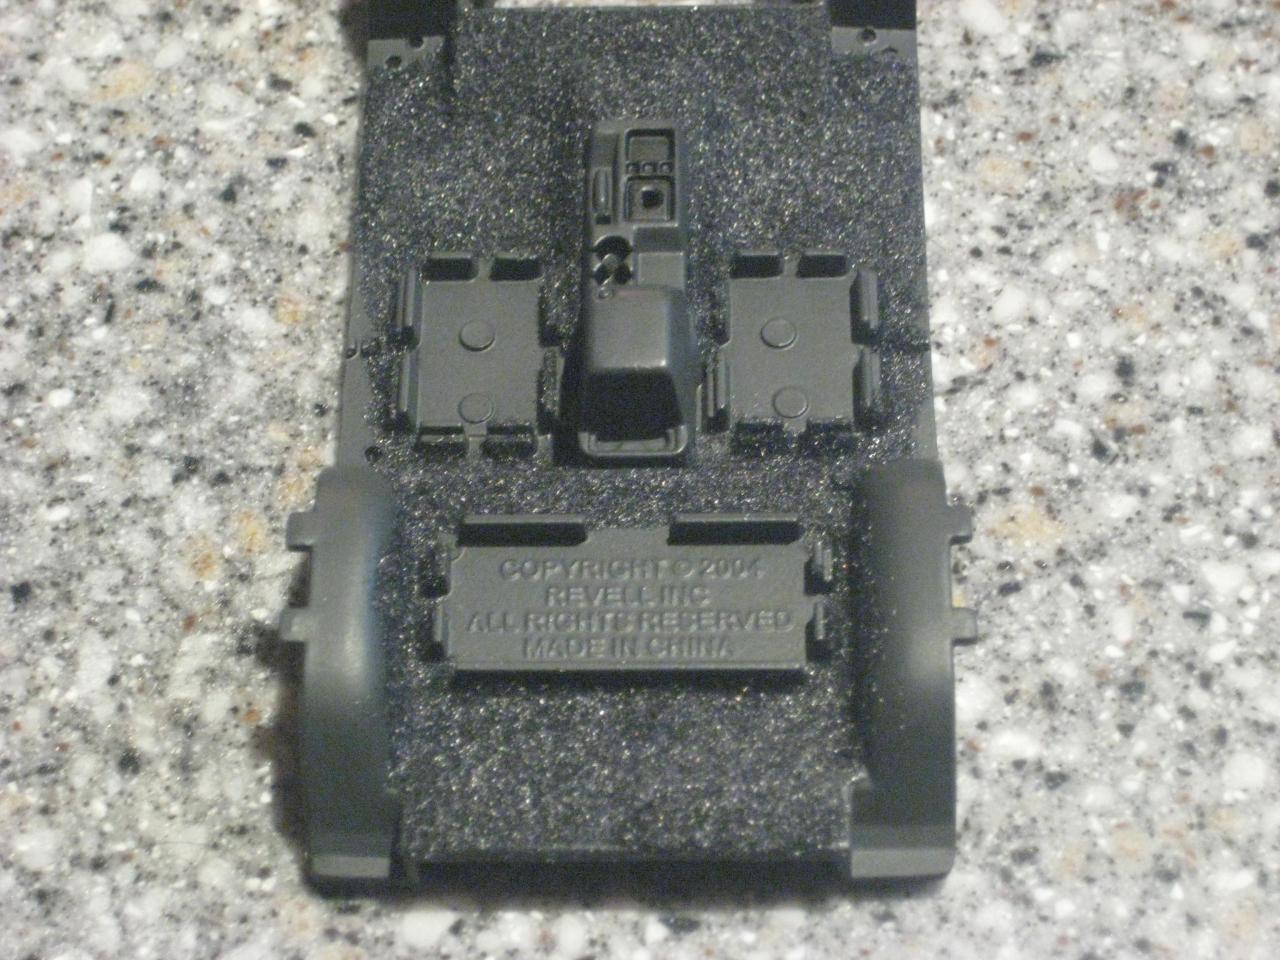
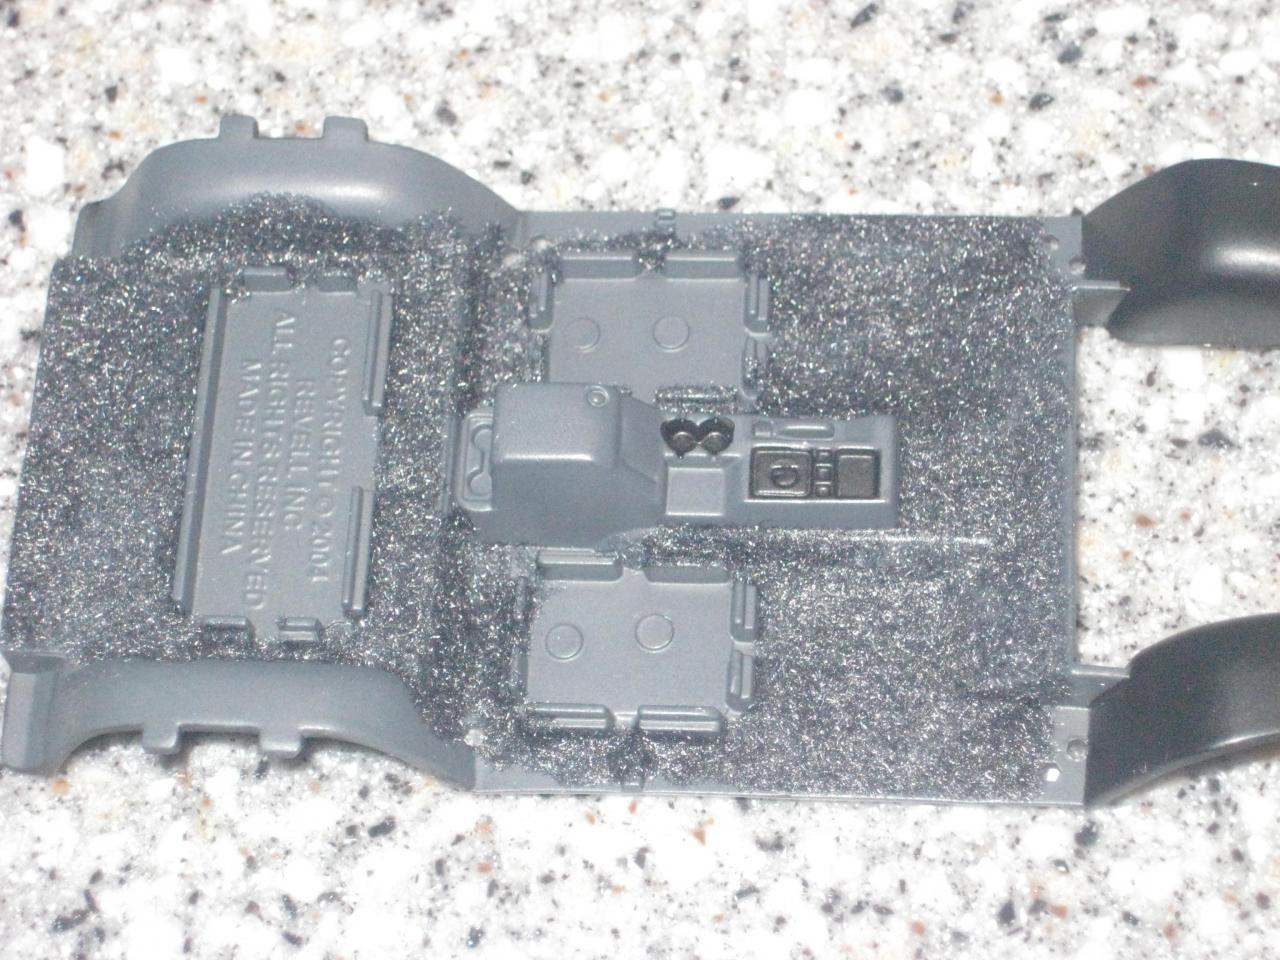
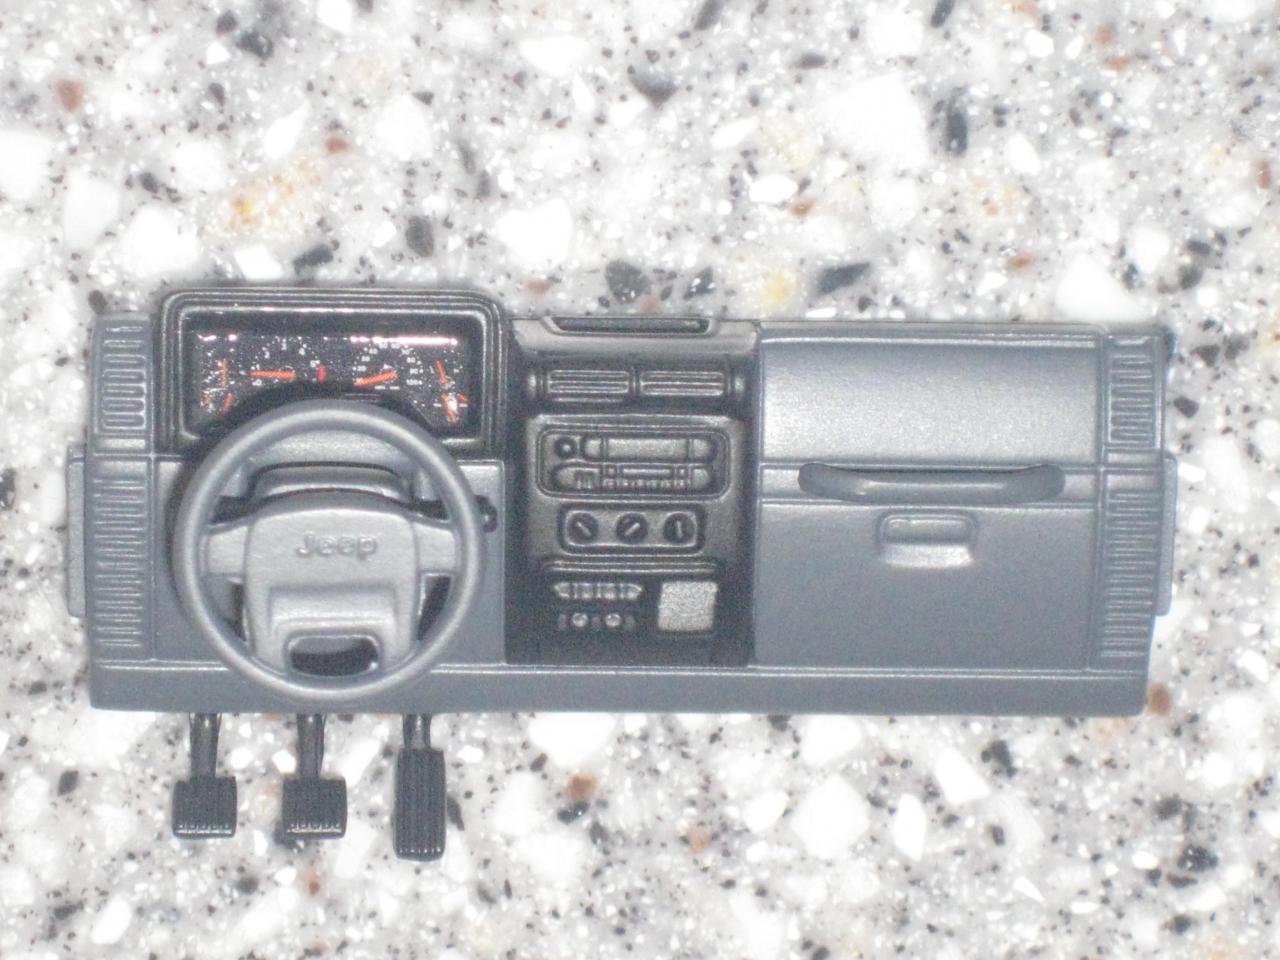
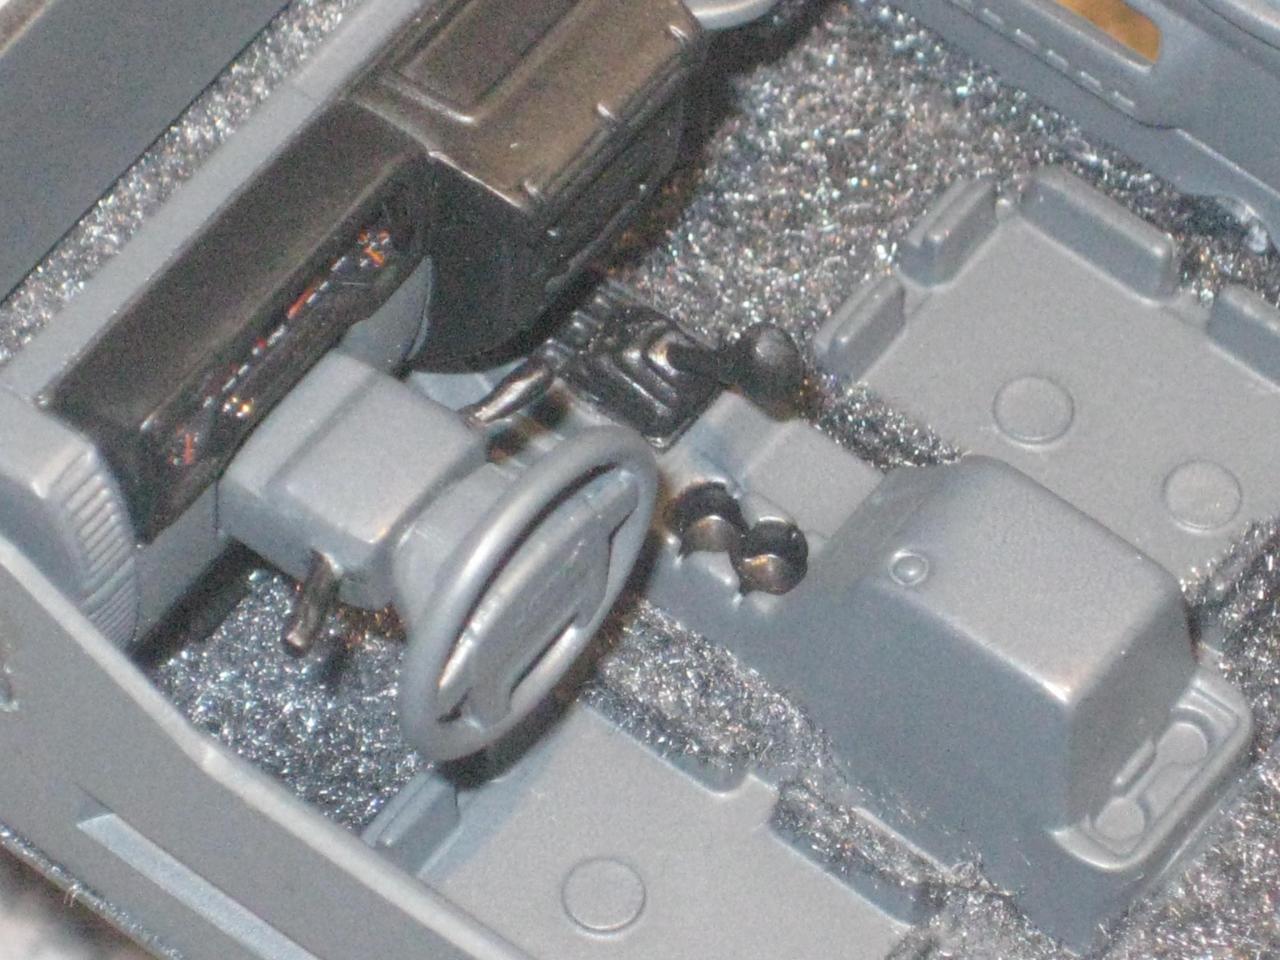
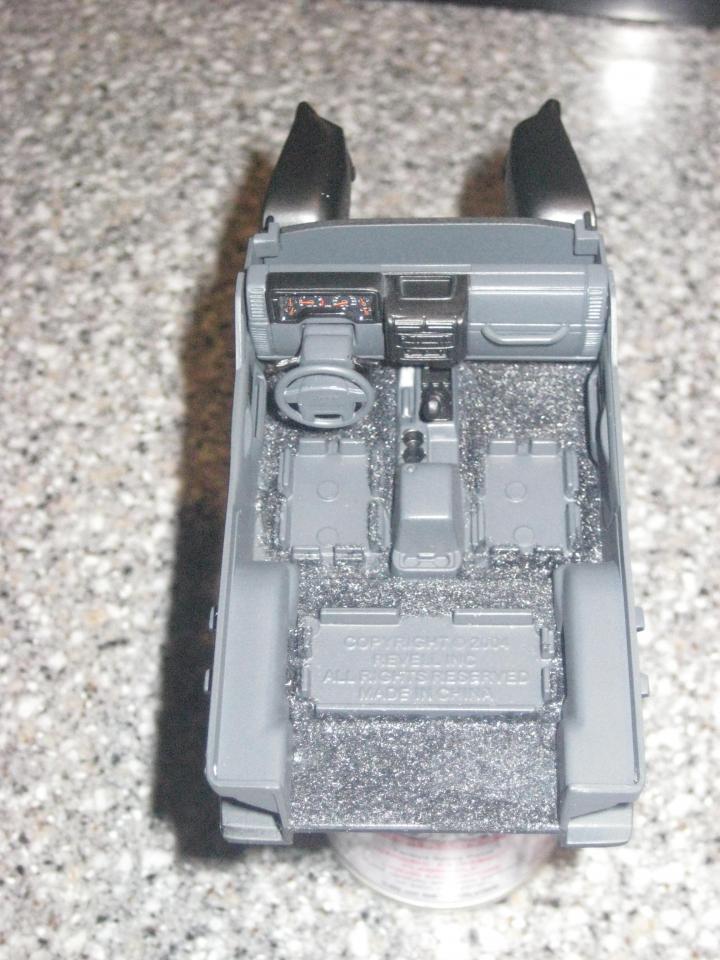
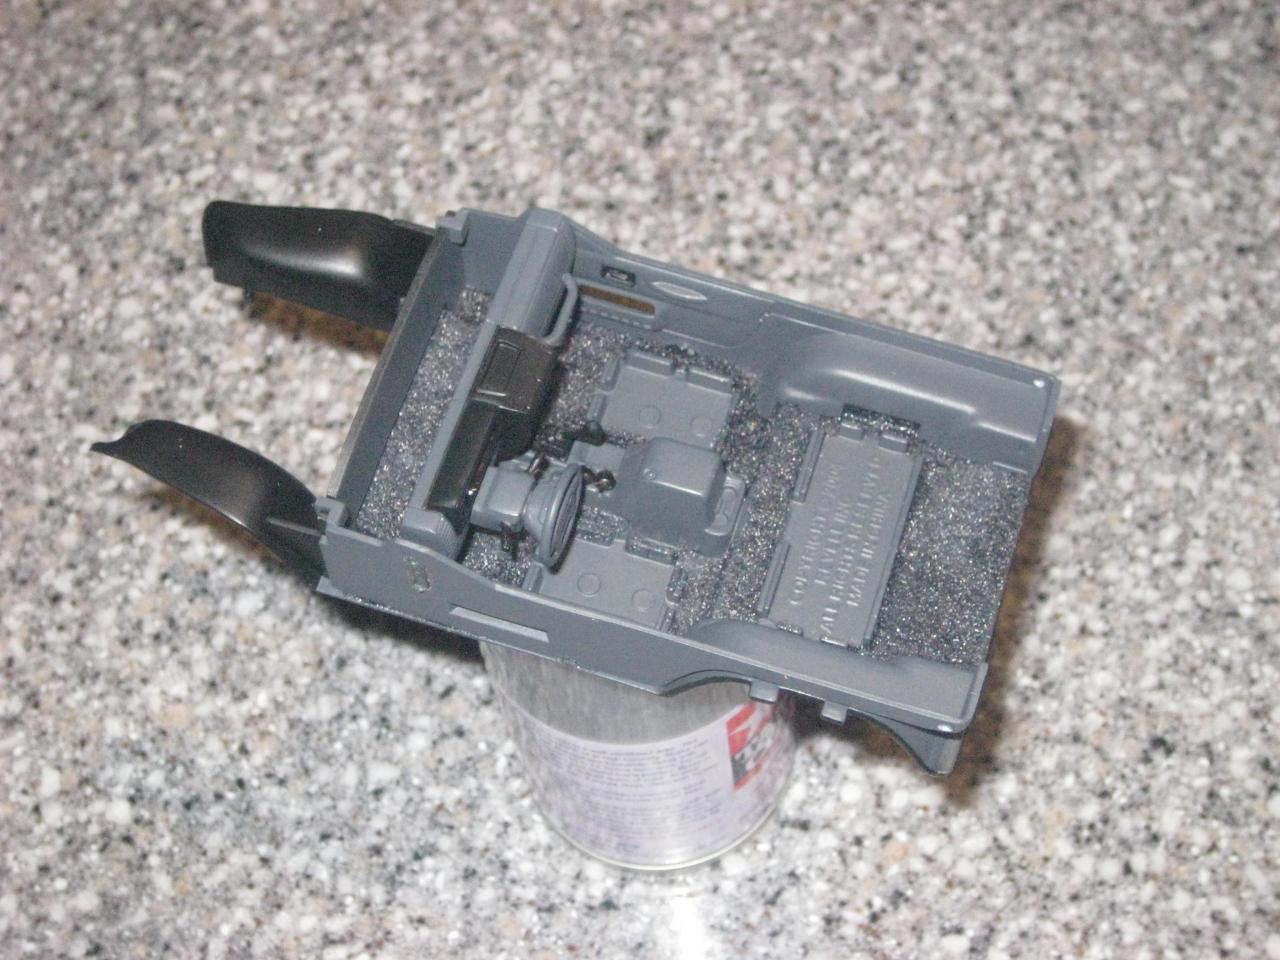
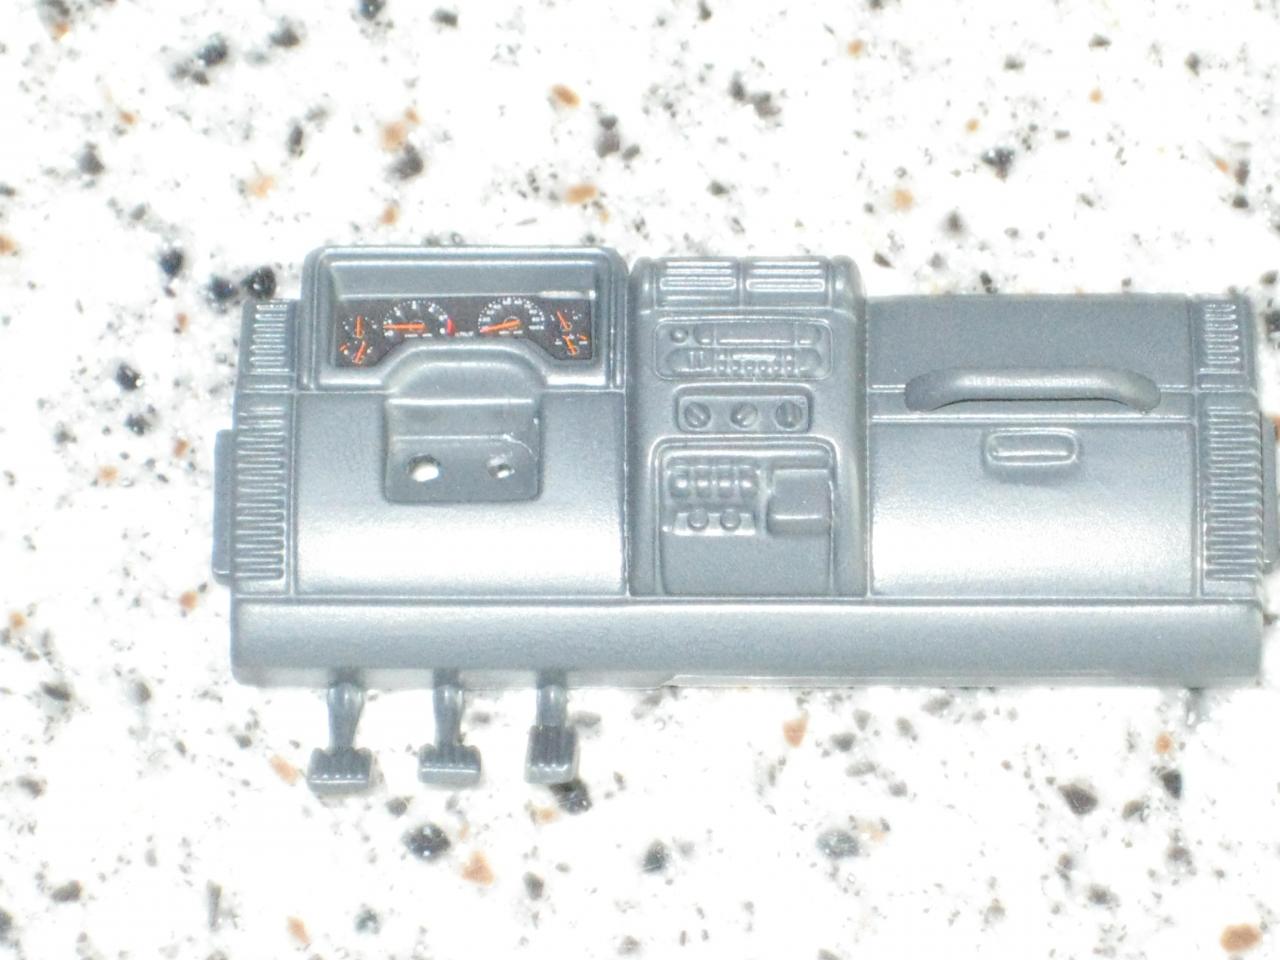
Finally got a chance to work on the interior and I decided to go a different route with this dash (the other one will be used on a 'Tomb Raider' Jeep at some point). This is my first go at flocking and after about a half dozen attempts, using Elmer's Clear Glue so I can wash it off if necessary, this is what I ended-up with. It's thin in a few spots (the flash on my camera brings it out more) if you move the chassis pan around and, if the thin spots weren't fairly well-hidden by seats, I'd consider adding a second 'coat' but with the seats, firewall and sidepanels on you can't tell. I also decided to paint the gauge surround and center stack of the IP with semi-gloss black. In researching Wrangler Rubicons it's difficult to tell if these items are actually semi-gloss black like on the khaki interiors or if it's just a smoother plastic but still in the 'Dark Slate Gray' interior color. Given that this Jeep is going to be black with blacked-out wheels it seemed to fit the theme. And the interior coming together finally...the interior door levers are black on all of the reference pictures I could find but the actual door pulls vary. It seems the soft top doors have 'Dark Slate Gray' pulls so I left those alone. I also painted the lock button on the center console lid after these were taken so it's no longer gray. Working on filling and sanding the seams in the seats and will have those done this week...

-
I'm up in Founders...about 1/2 mile from the King Soopers.
-
Monogram 1970 Challenger T/A Rebuild-Under Glass 03-13
djmcguire replied to mustang1989's topic in WIP: Model Cars
Just a quick aside...who typically puts out the most accurate and/or quality scale planes? -
No pics but figured I'd say 'Hello' to a fellow Castle Rock'er...what part of the Rock are you in?
-
Congrats on the wins! I just picked-up this same kit at Michael's for like $12.00 with my 50% off coupon this past weekend. I like the purple, and may get another one to do in purple (to go along with my 9,000,000 other kits it seems), but I think the first will be a 'carbon copy' of yours. You know what they say...imitation is the sincerest form of flattery and I'm hoping mine turns out half as well. Dan
-
Liberty Walk's 458 just got crushed by a Jeep that rear-ended it in the SEMA parking lot. Lots of fiberglass crunching and the rear wing was definitely gone. You can find it on YouTube...
-
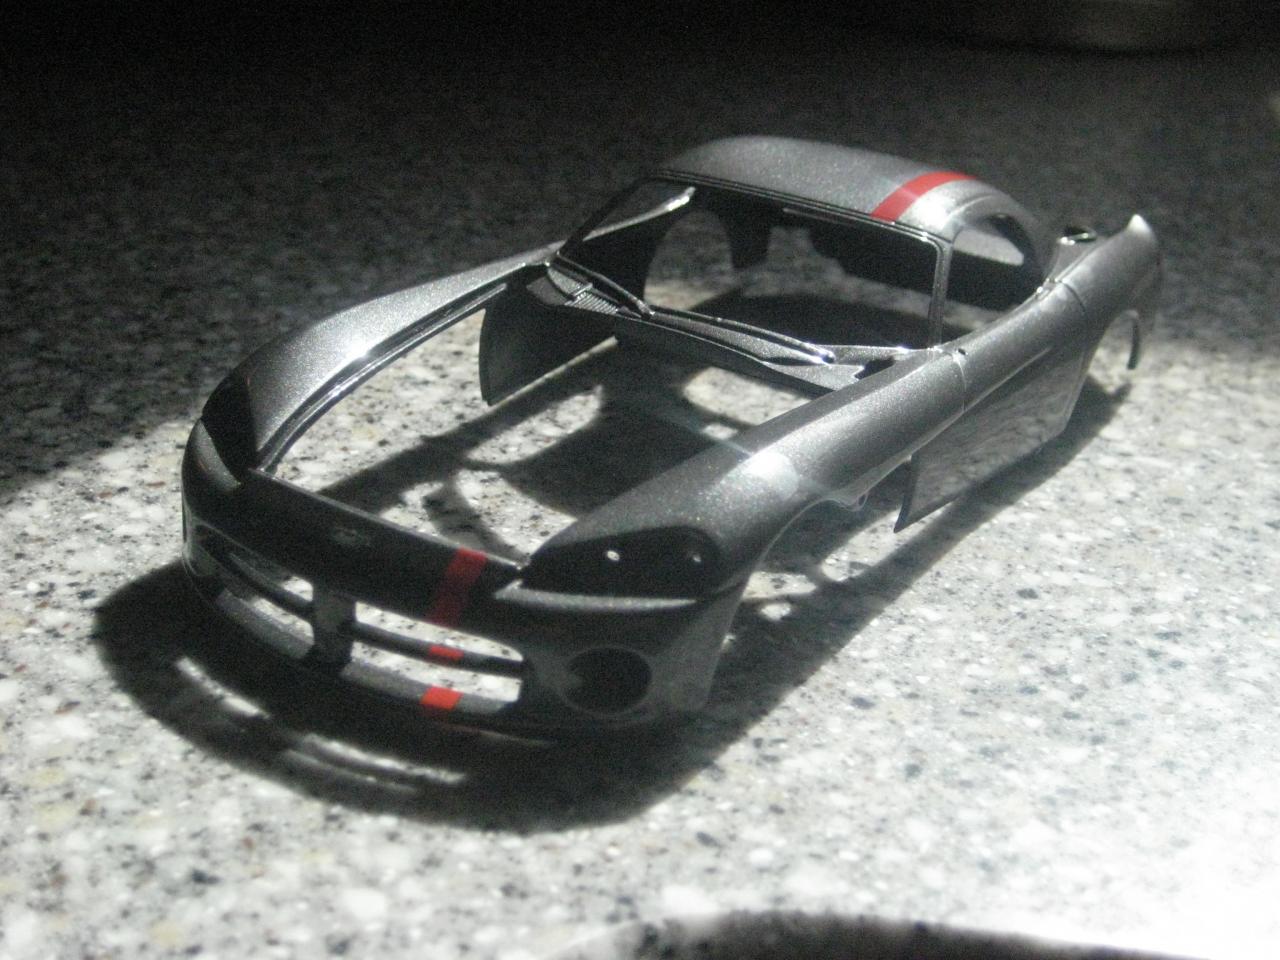
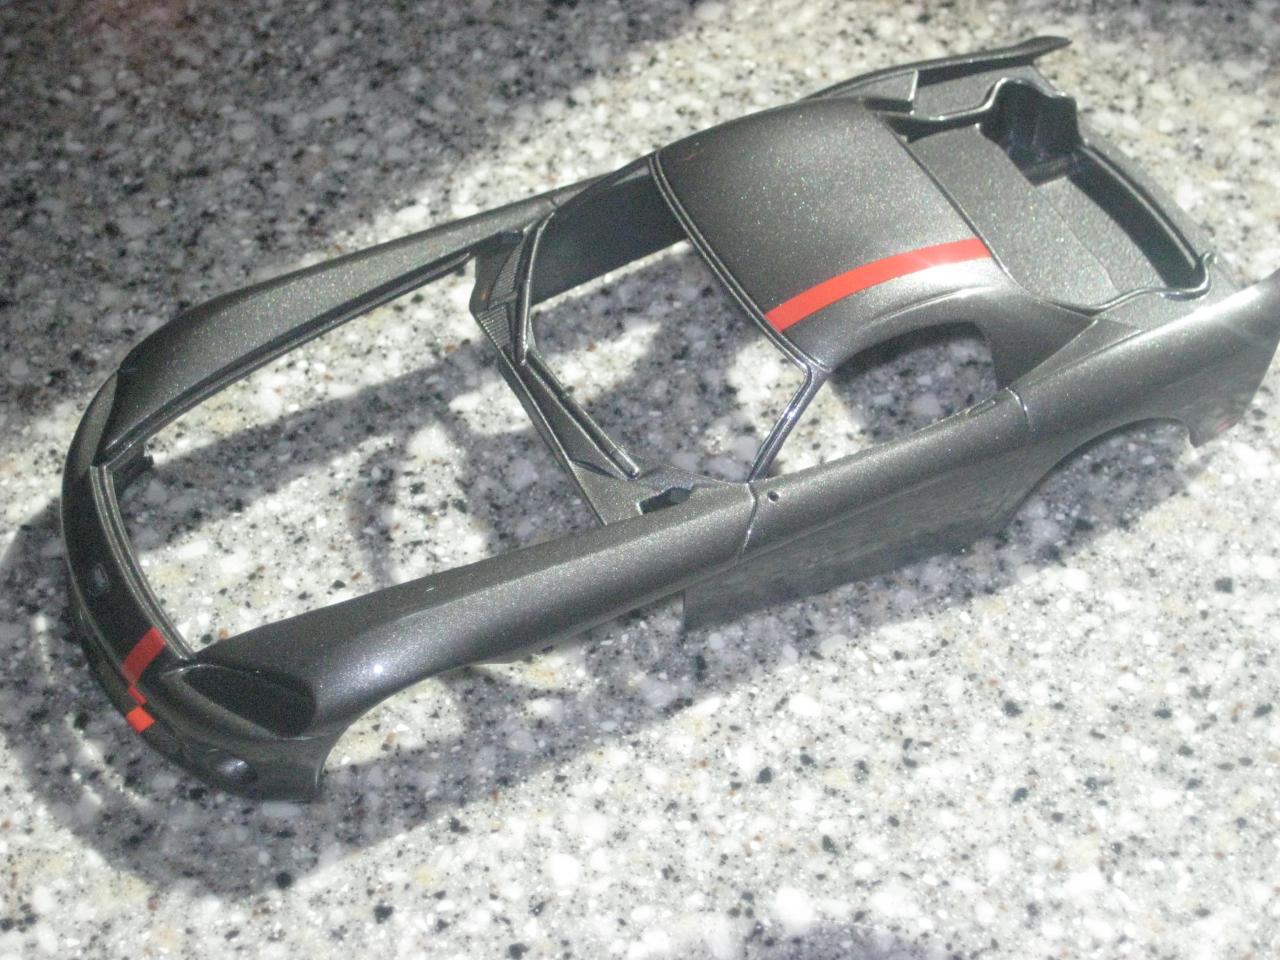
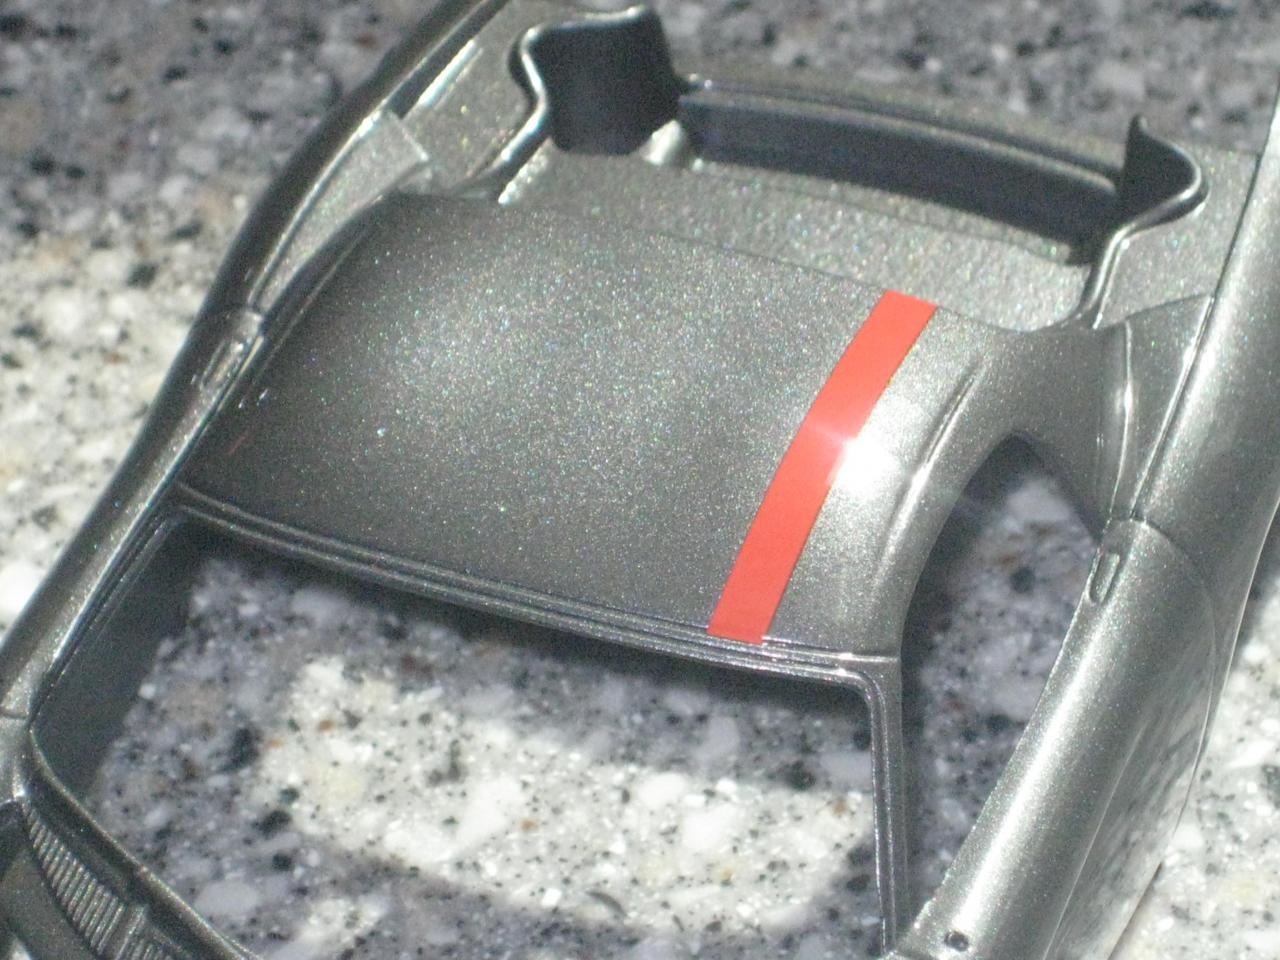
Stripes and emblem added and then clear-coated before wet-sanding with 2000 grit and polishing with 3M Medium Rubbing Compound for dark cars and finished with Menzerna Finishing Polish. Next step is detail painting and adding the widowns, lights, etc.
-
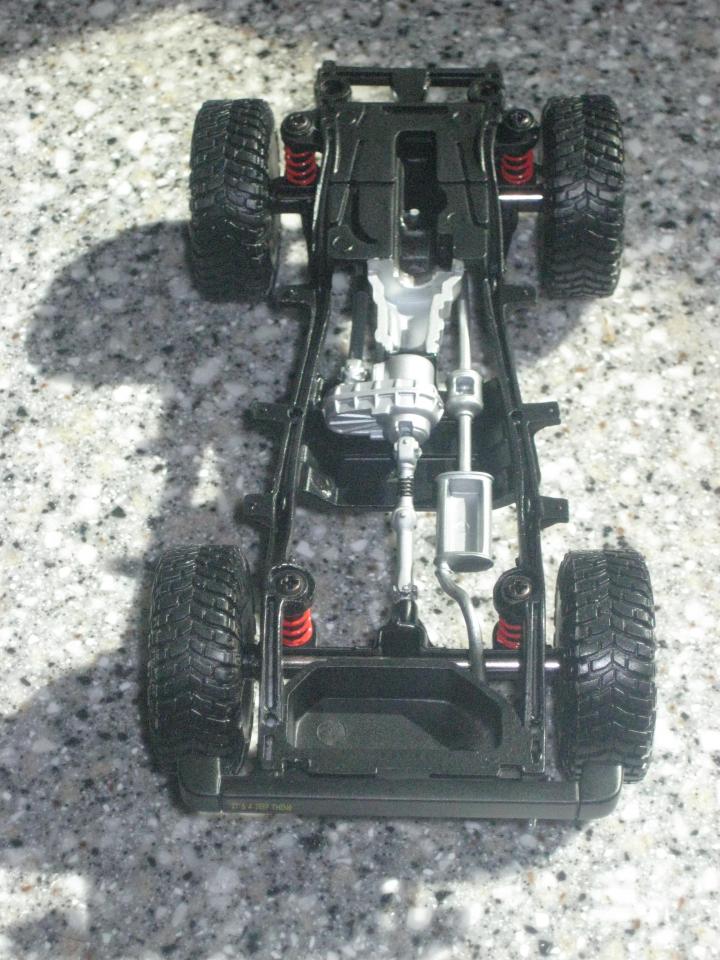
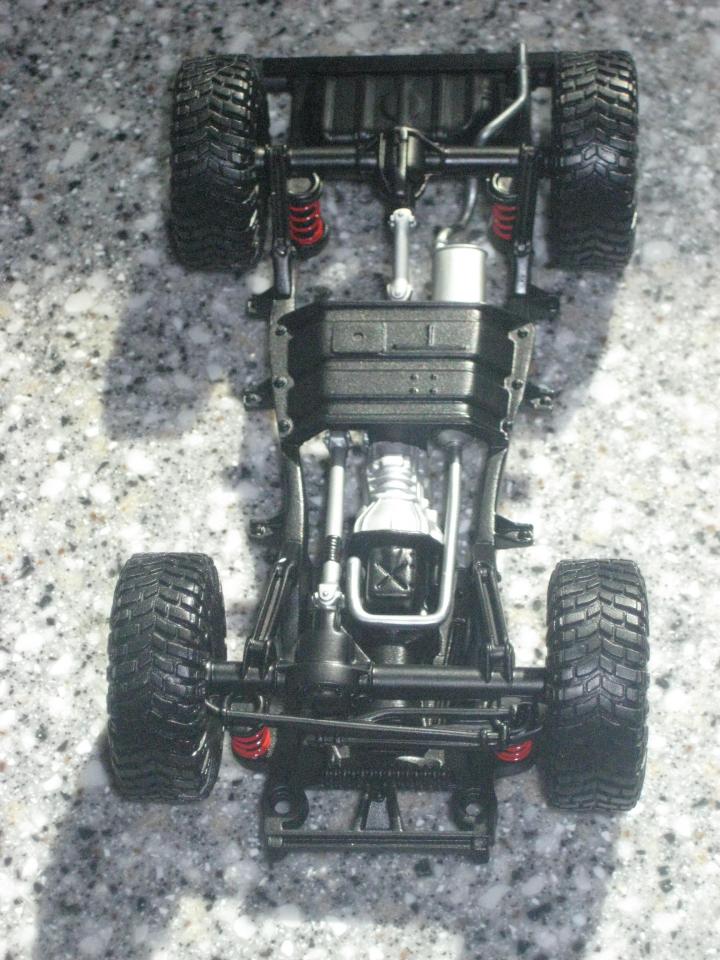
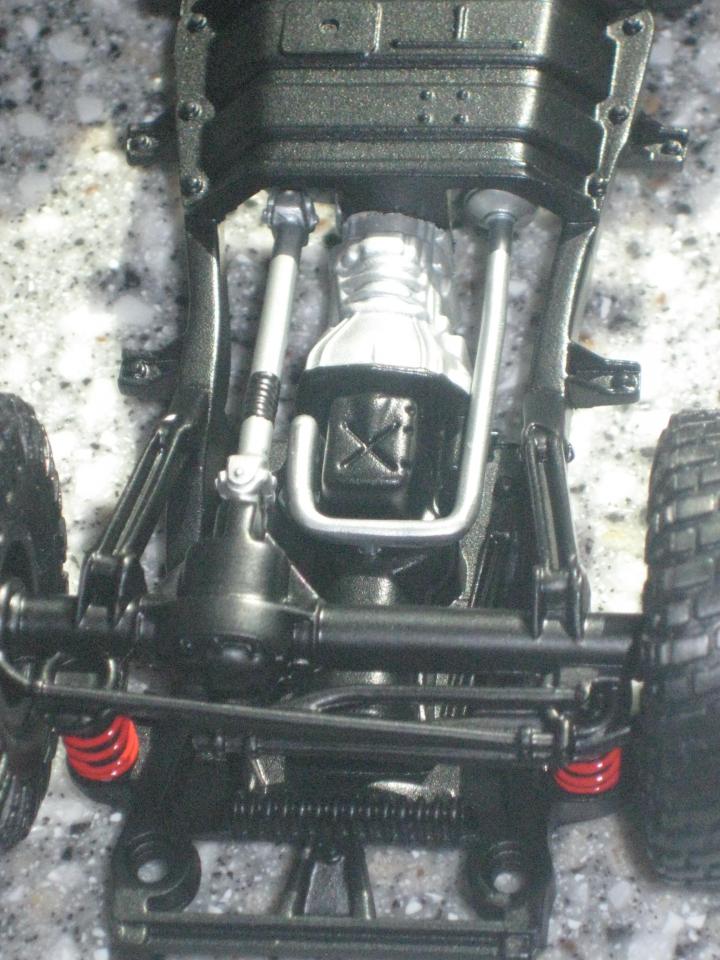
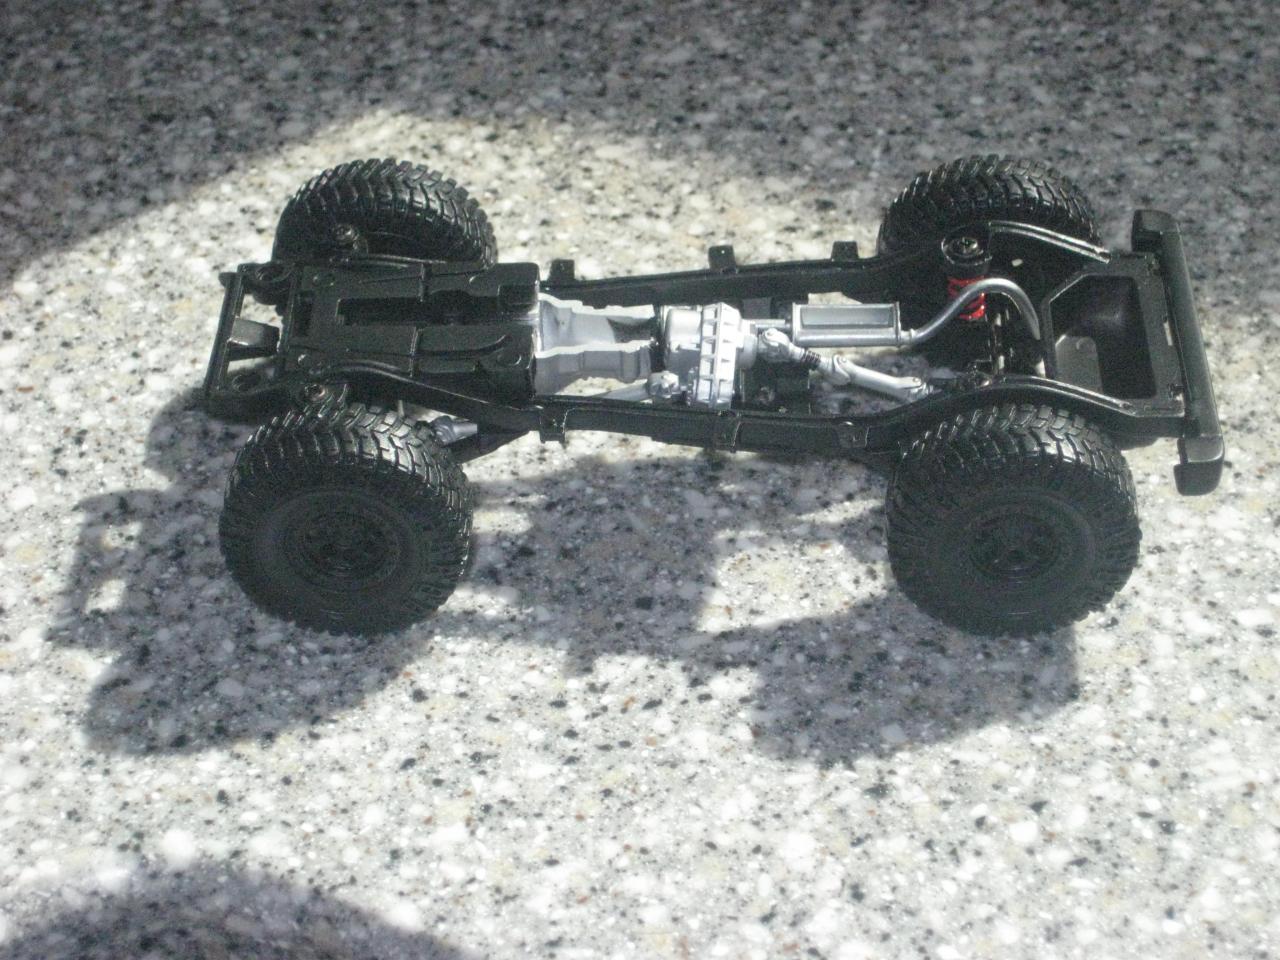
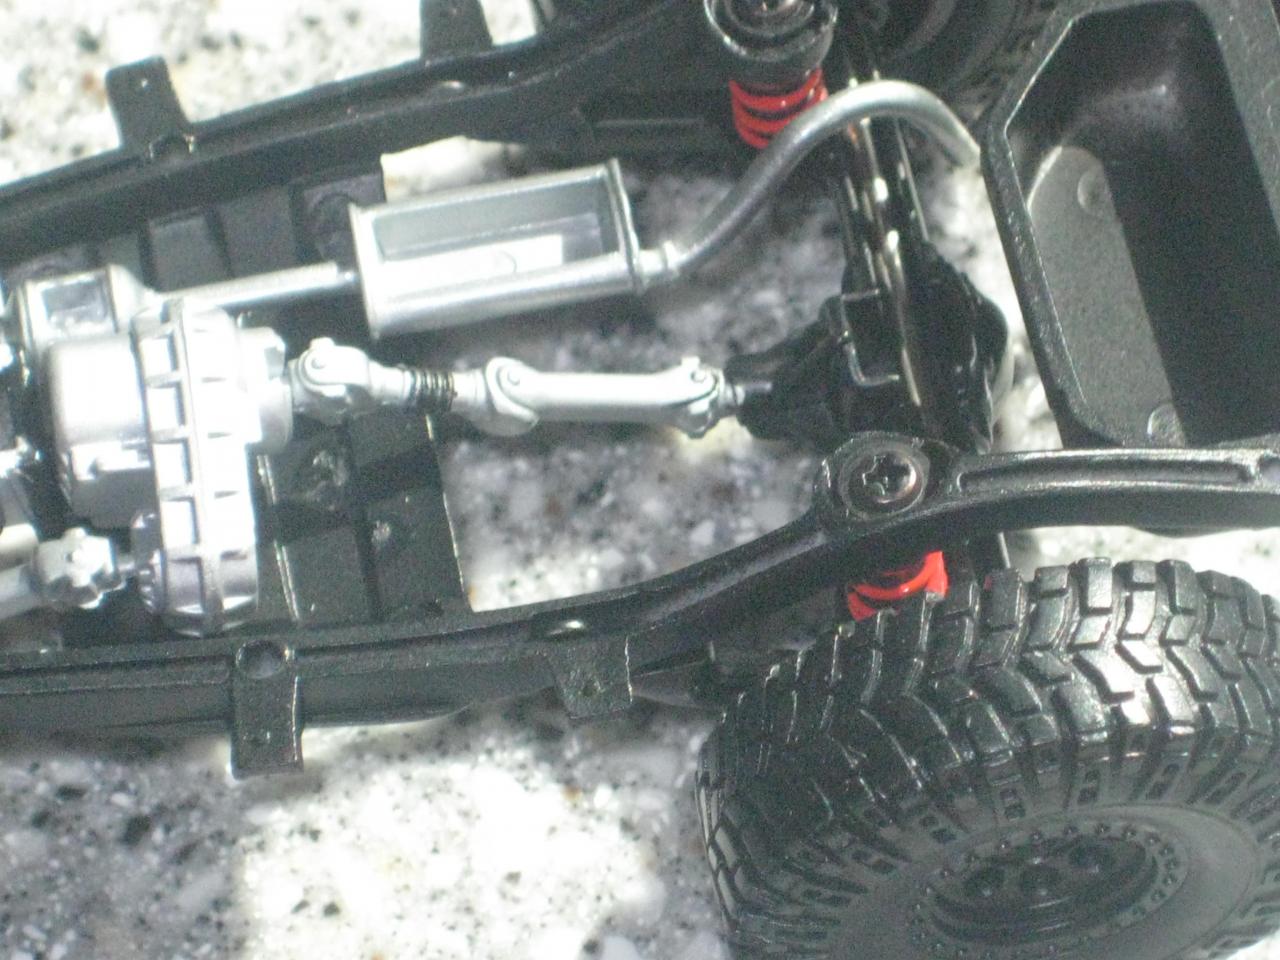
Finally, after 10 months, got a chance to work on this again. Life got in the way but now I am back at it and have a dedicated hobby room, which has made working on kits much easier. Wood flooring so as not a fear losing parts to the dreaded 'carpet monster', dedicated lighting that makes detail painting and PE much easier and I can leave projects sit without fear of things being moved on me. Finished the chassis of the jeep and have the wheels, axles, transfer case and exhaust mounted and now working on the 'tub' and interior before finishing this thing. Here's where we stand now:
-
Just noticed I've got 3/4s of a tank of gas and apparently it's idling since it sits at 750 RPM. Love the little details that you miss the first time around.
-
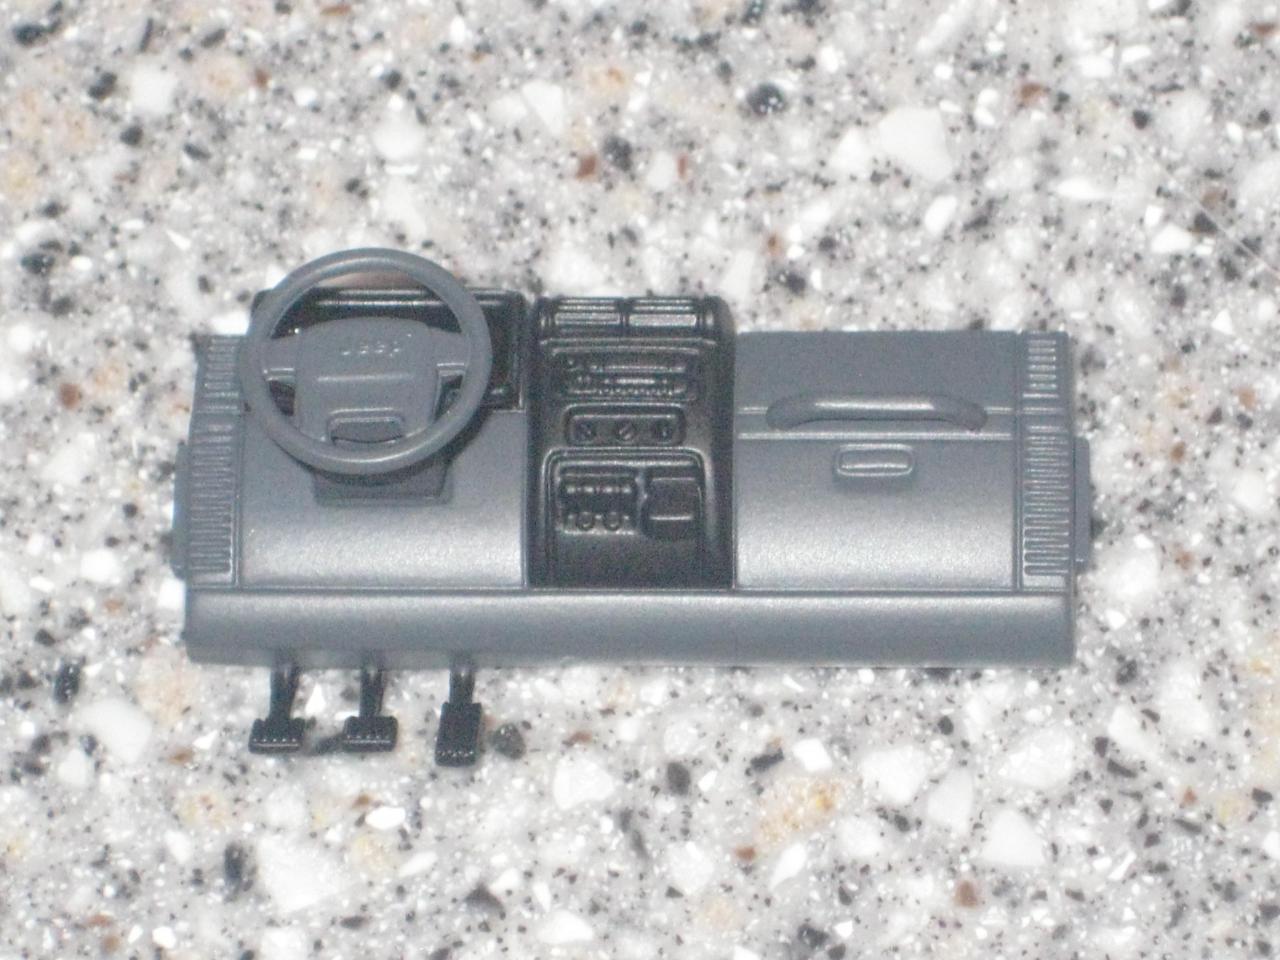
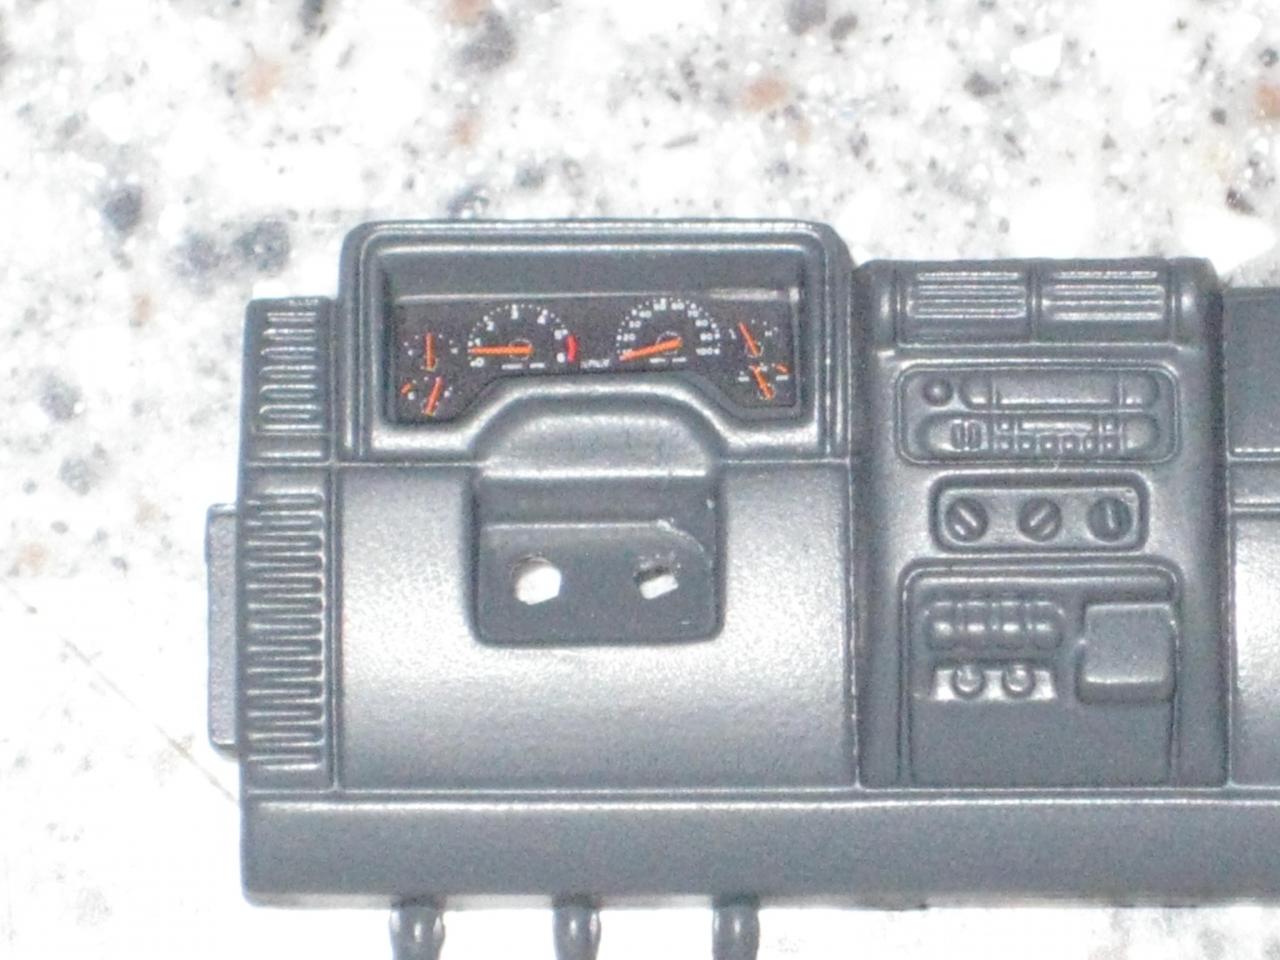
And some more progress...dash done in Dupli-Color sandable primer and then Dupli-Color 'Charcoal Gray' Vinyl Dye (closet color I could find to Chrysler's dark slate gray without spending $10 on a can of paint from the local dealer). Kit decal applied with Micro-Set and Micro-Sol and then a coat of semi-gloss clear. Still need to paint the pedals, gauge surround and center stack in Tamiya semi-gloss black and it's done.
-
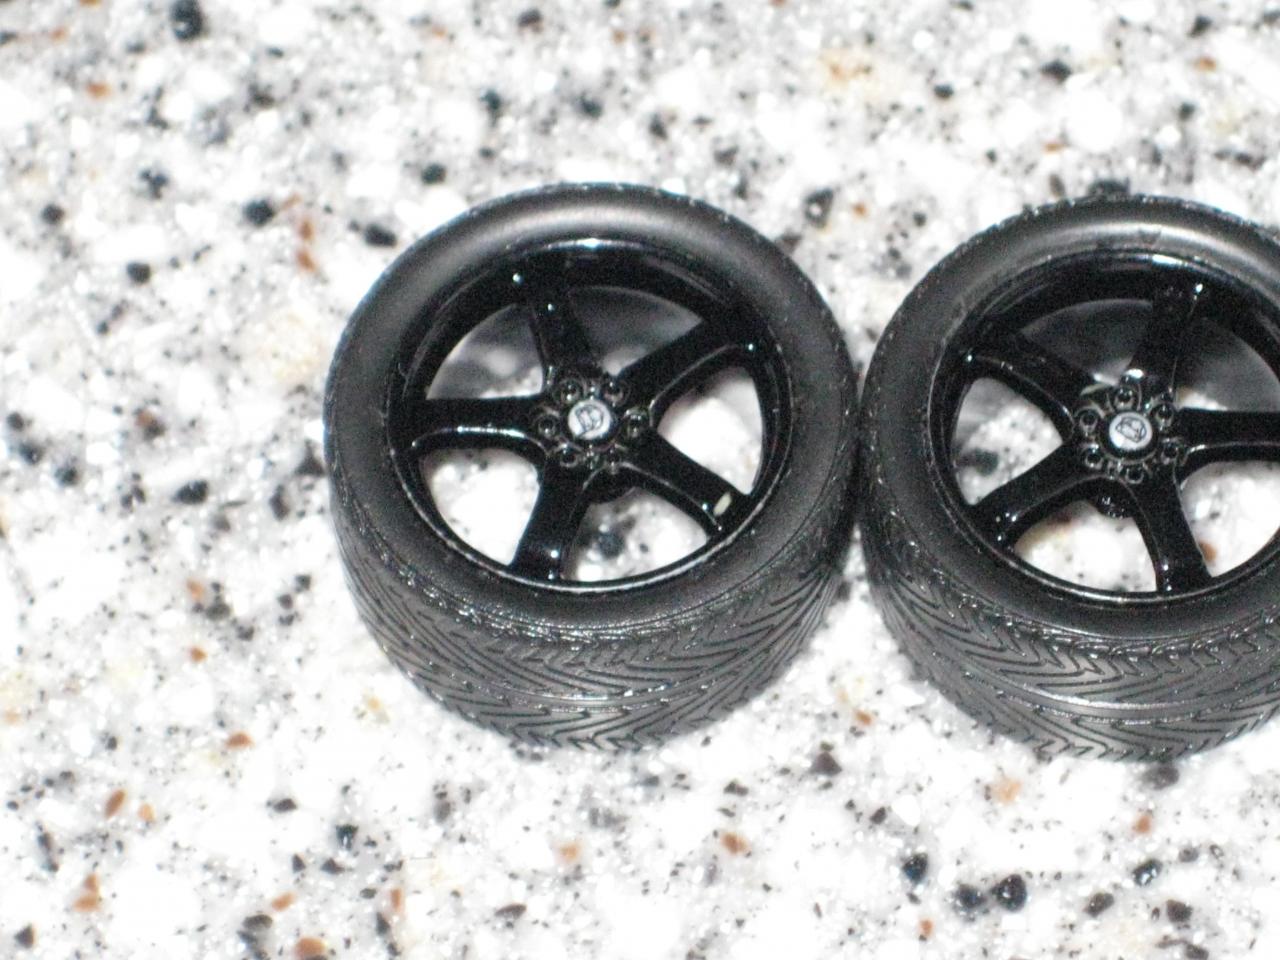
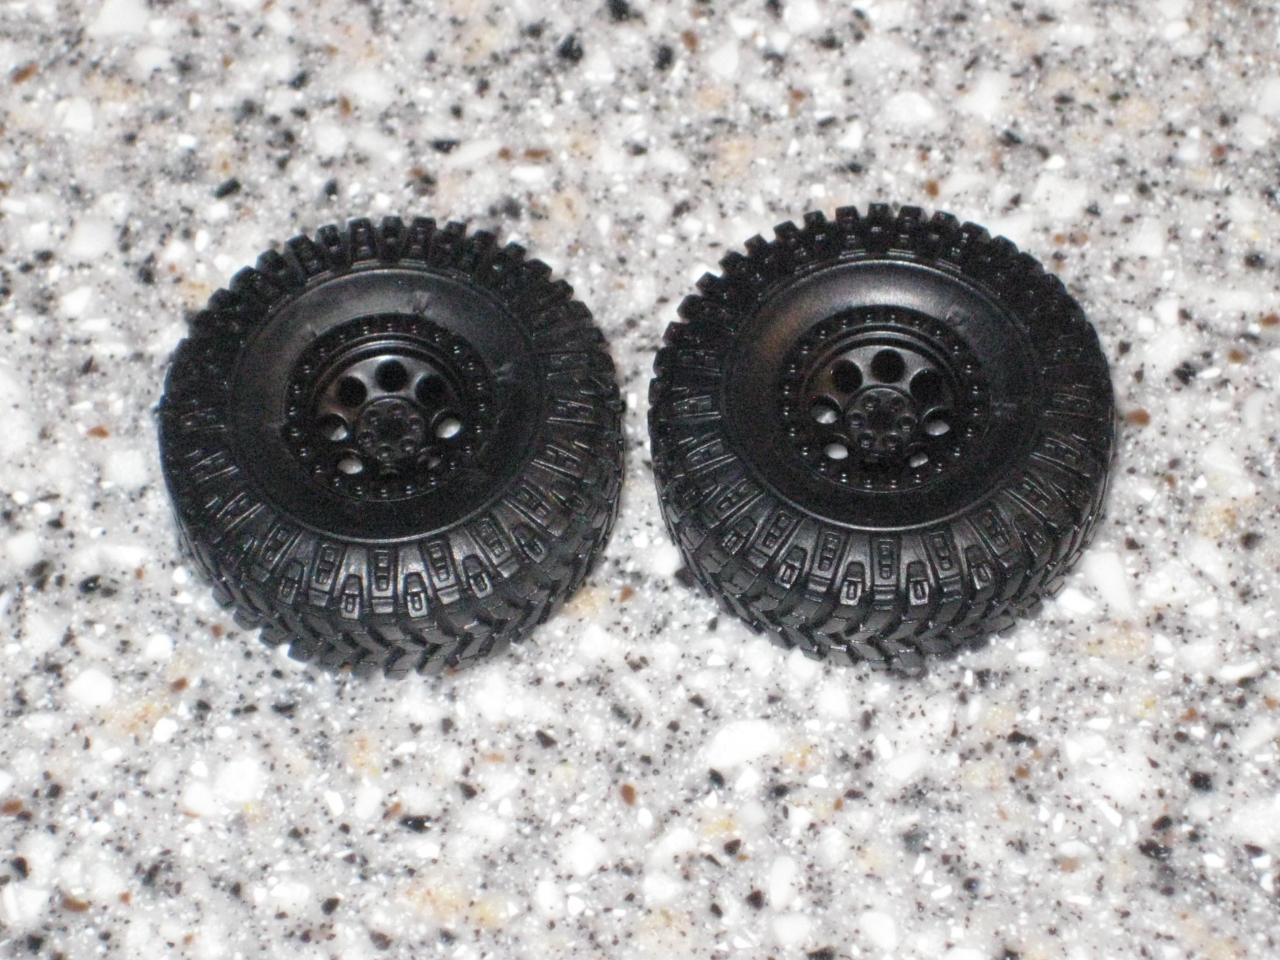
Thanks for the comments guys. Michael, I'm sure your dash is fine as there wasn't anything special done with this other than Tamiya semi-gloss black and then a semi-gloss clearcoat over the kit provided decals. Here are the completed wheels and tires...stripped the chrome off the wheels using Easy-Off and then Tamiya gloss black with the kit decals using Micro-Sol and Micro-Set. Nothing fancy but I think they look much better in black...and I'm a huge fan of black wheels on both models and in real life (all of my cars/trucks have blacked-out wheels).
-
And some detail work done...here's the battery complete with decals that have been Micro-Set and Micro-Sol'ed. The 'Motorcraft' decal actually turned into a four piece decal when I tried to slide it off the backing. I've found that the Lindberg decals, at least in this kit, are absolutely horrible and tend to tear regardless of how long they sit in water. Took me forever to get everything lined-up on that one but it'll be coated with a semi-gloss clear and then I will paint the terminals steel and throw a '+' and '-' wire into them for some added detail.
-
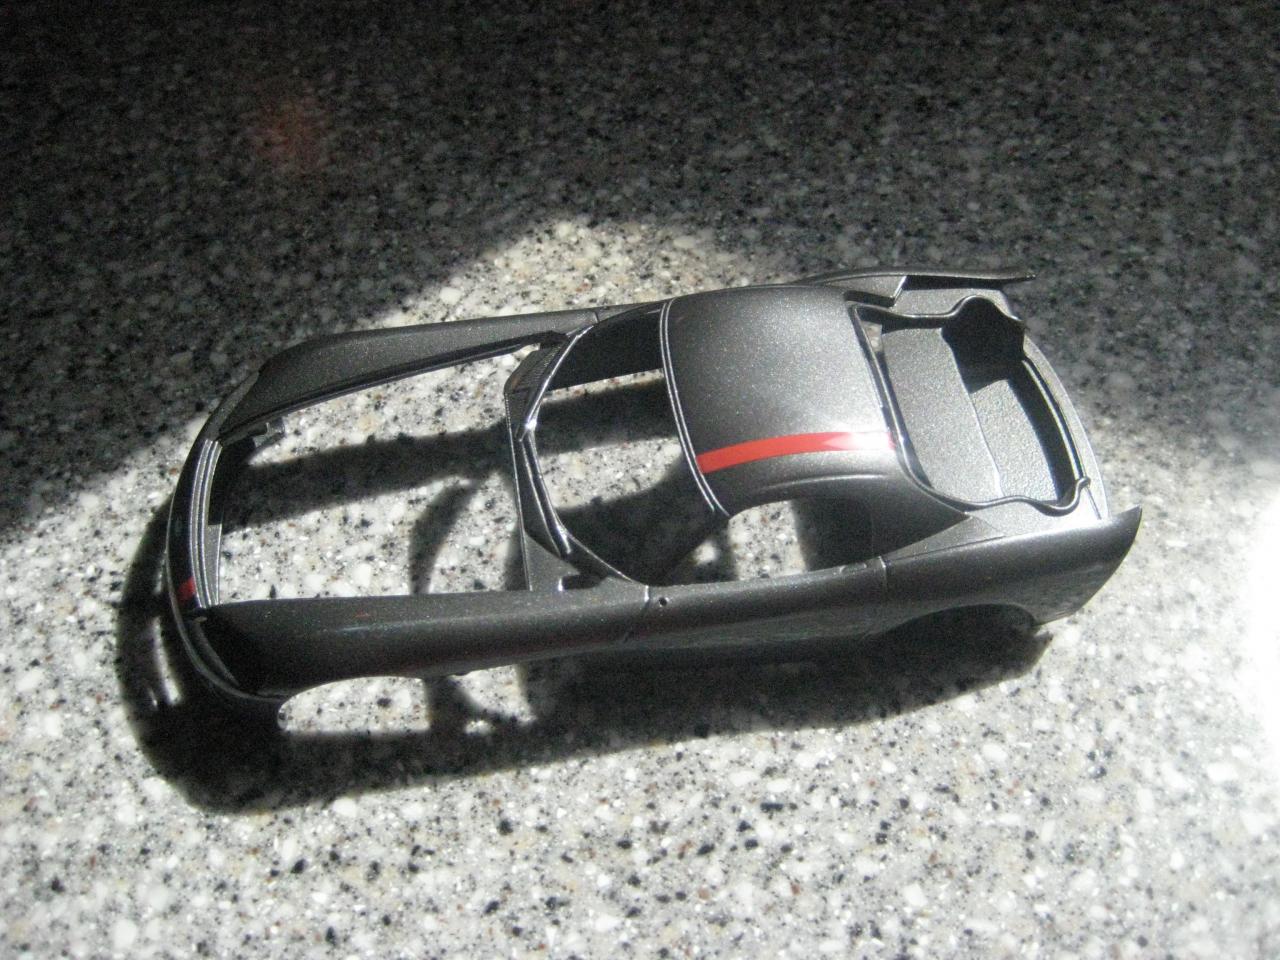
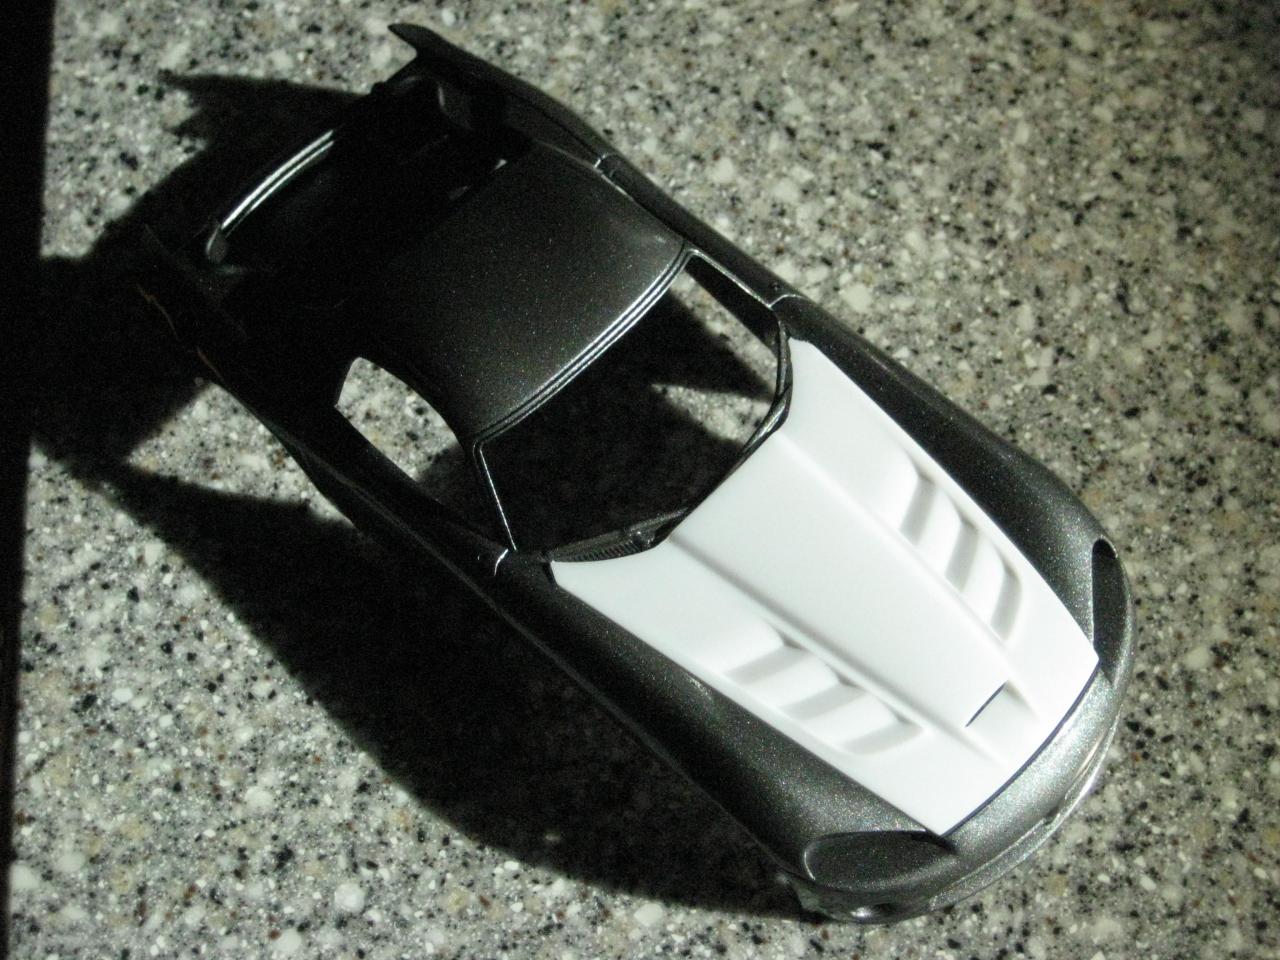
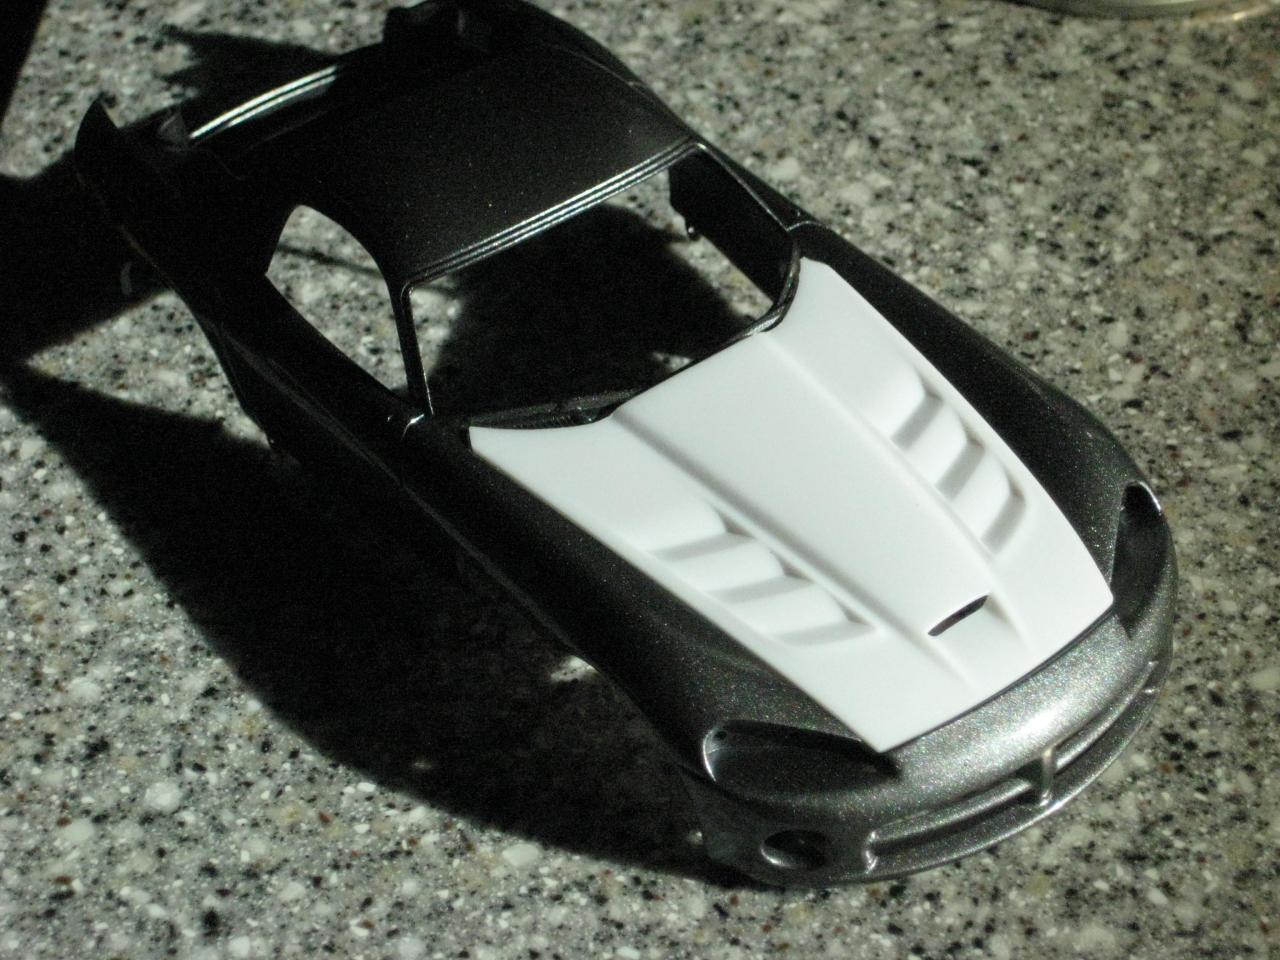
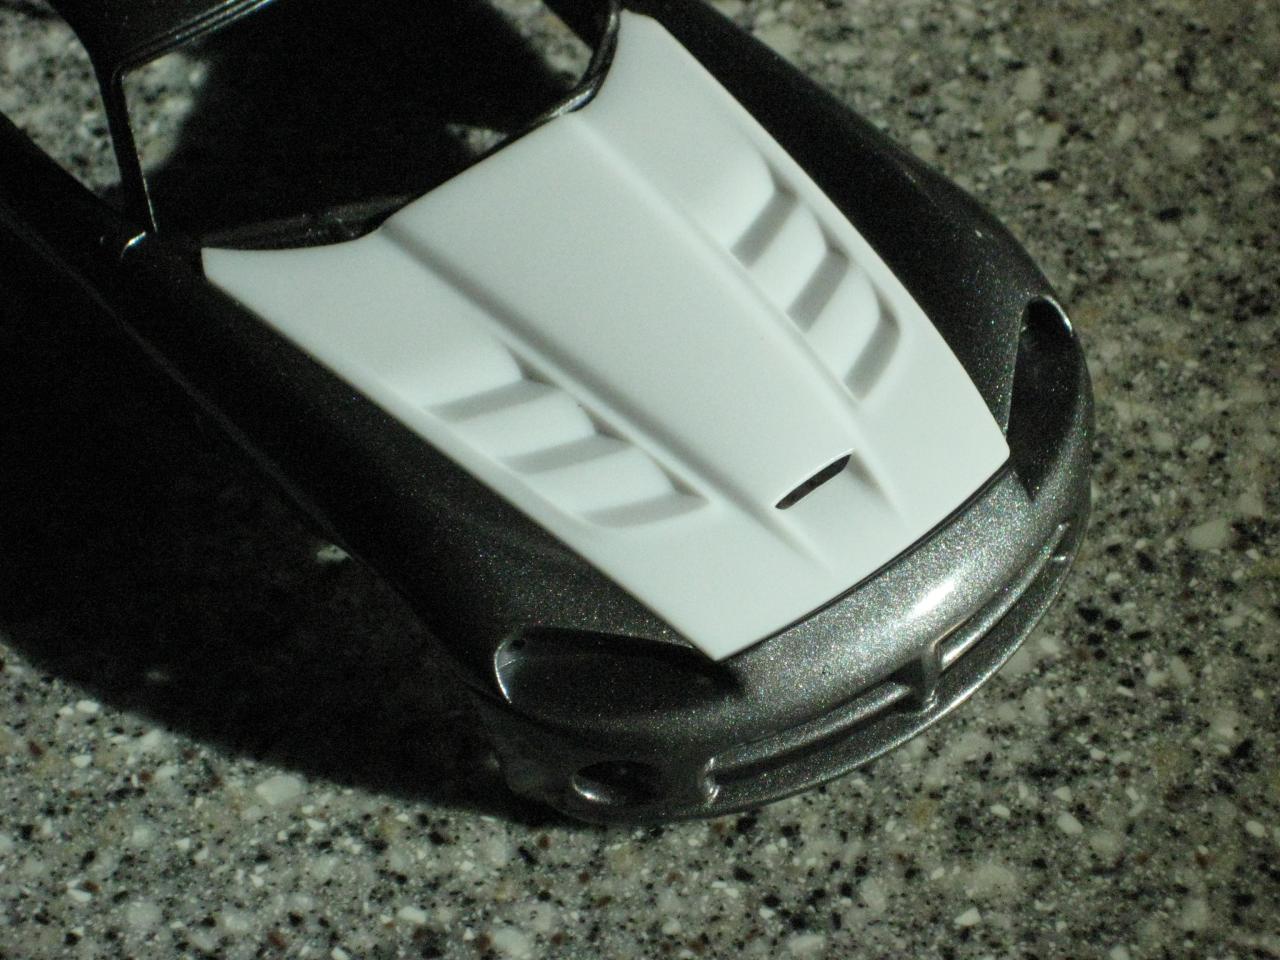
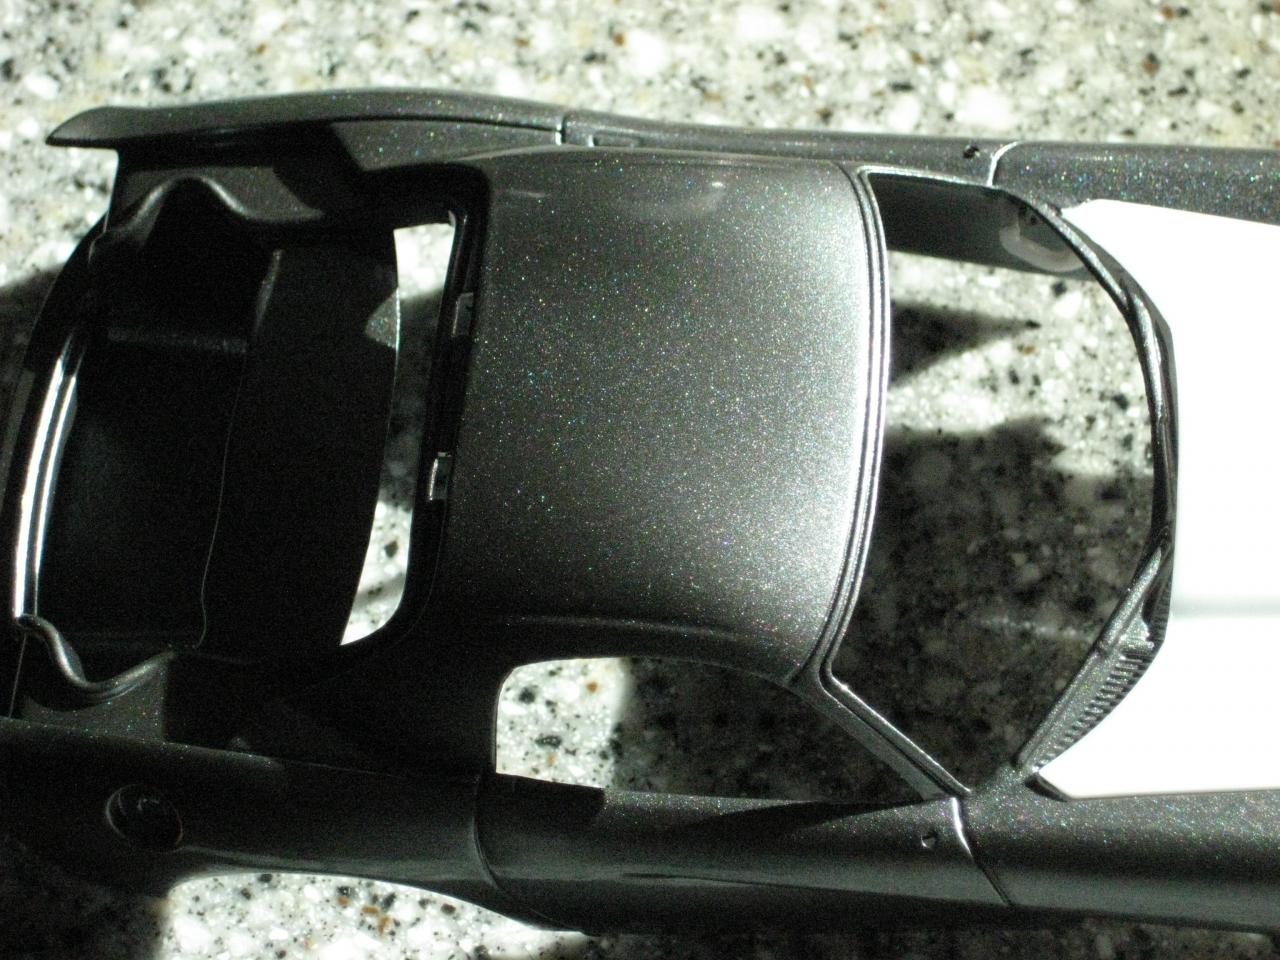
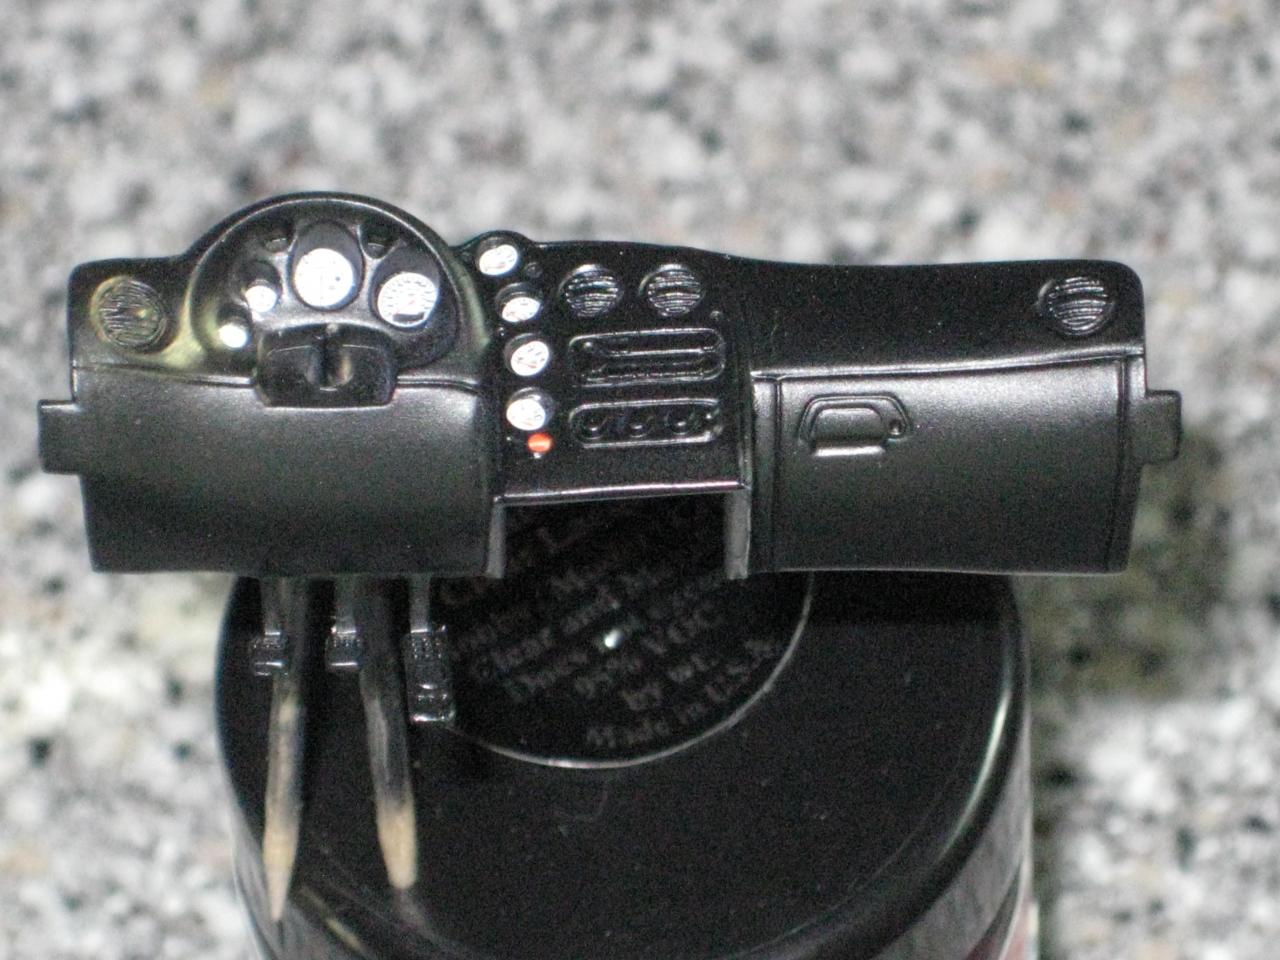
This one's painted with Testors One Coat Lacquer in Graphite Dust straight from the can...unlike others on here I had no issues with it and it seemed to go on smoothly with three light coats over Dupli-Color sandable primer. There were no problems with coverage or flakes, it laid down smoothly with minimal orange peel and the flakes do seem to be 'in scale' for a 1/24th model. Still need to decal and clearcoat but I have to say I am impressed with the Testors 'flake paints' so far. I also got the dash painted and decals put on with a coat of Testors semi-gloss clear to seal them and I will be adding a drop of the Pledge Floor Polish (formerly Future Acrylic Floor Wax) to give them a gloss as if they had lenses. As always, comments and criticisms are welcome. Off we go...
-
Some progress on the body...Dupli-Color sandable primer, Universal Black and four coats of clearcoat. It's already got some good shine but there is some orange peel on the hood and little bit on the sides. A few days to cure and I will wet sand and polish and do some minor clean-up on the interior gray and it should be looking pretty good. I've also finished most of the interior, which will be done when I get my order of flocking for the carpet. Should be done soon I hope. I've got my eye on the 1/8th Pocher Aventador in orange...can't convince myself to pull the trigger on that one yet. On to the pictures (and I noticed that my camera absolutely sucks).
-
How did you paint the fuel tank to get that opaque plastic look?
-
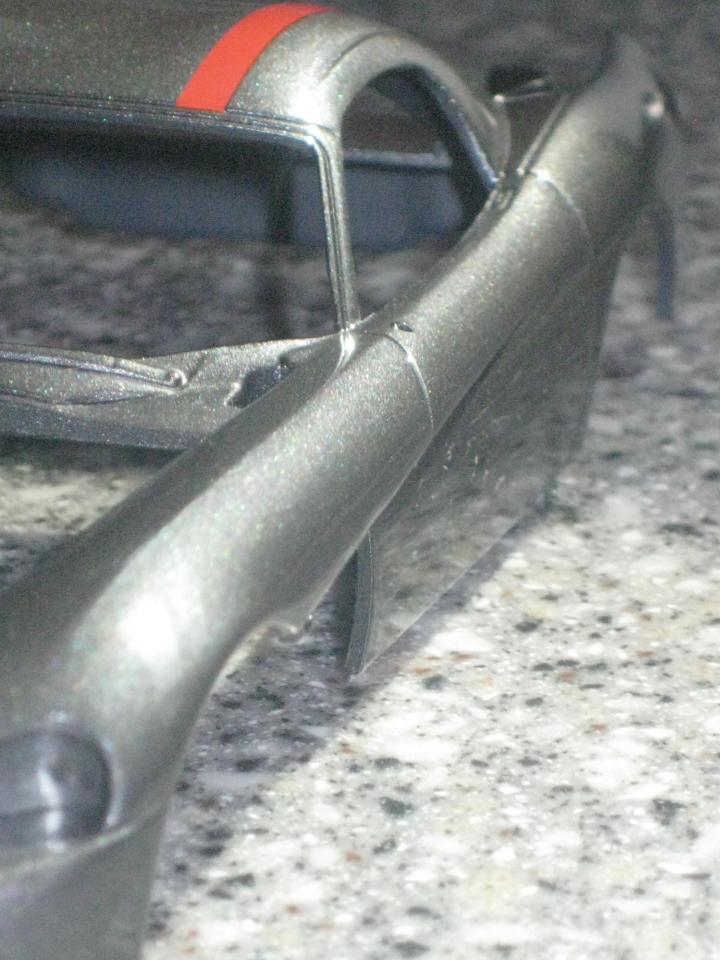
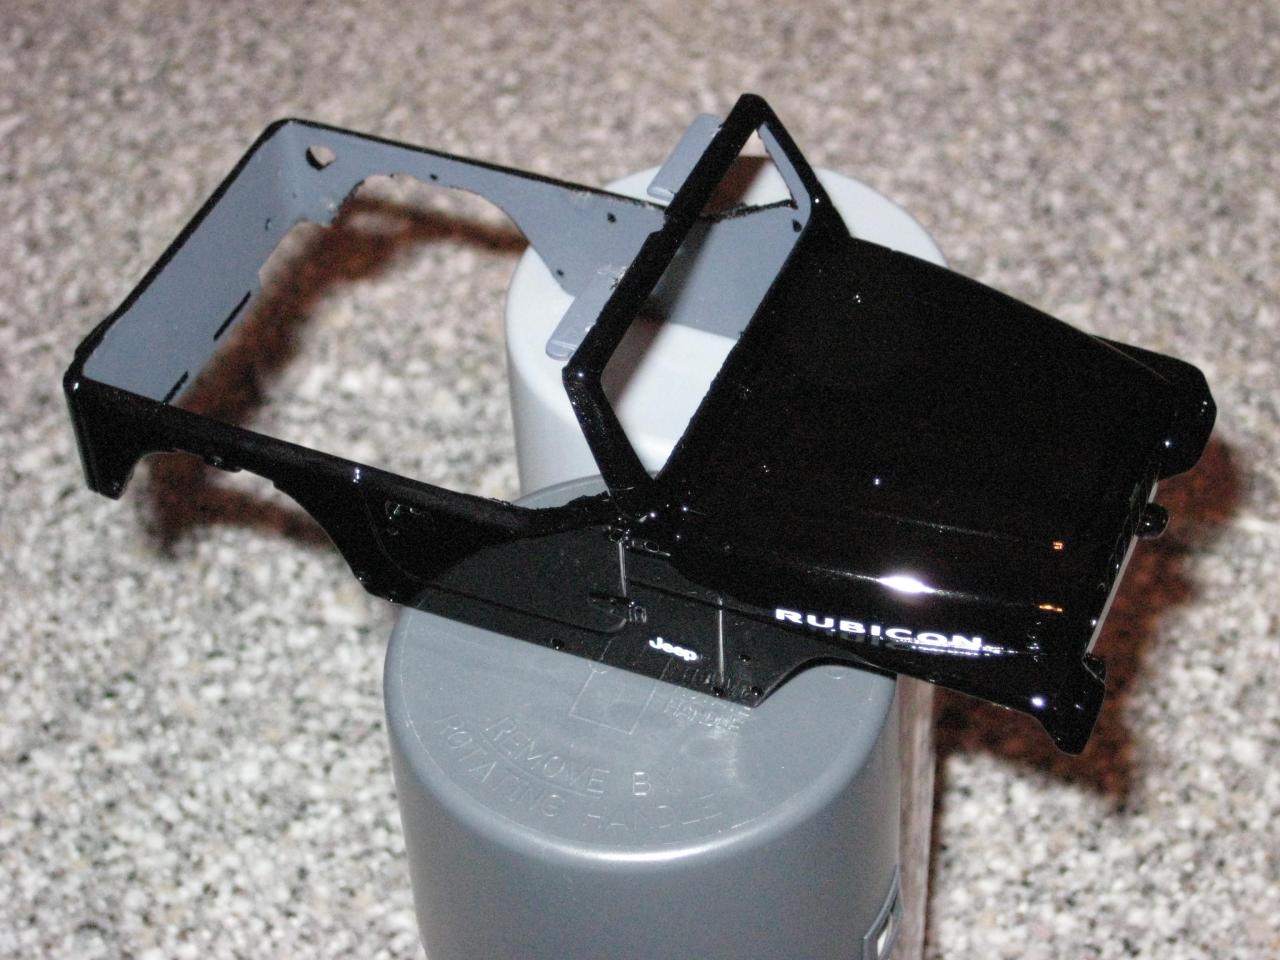
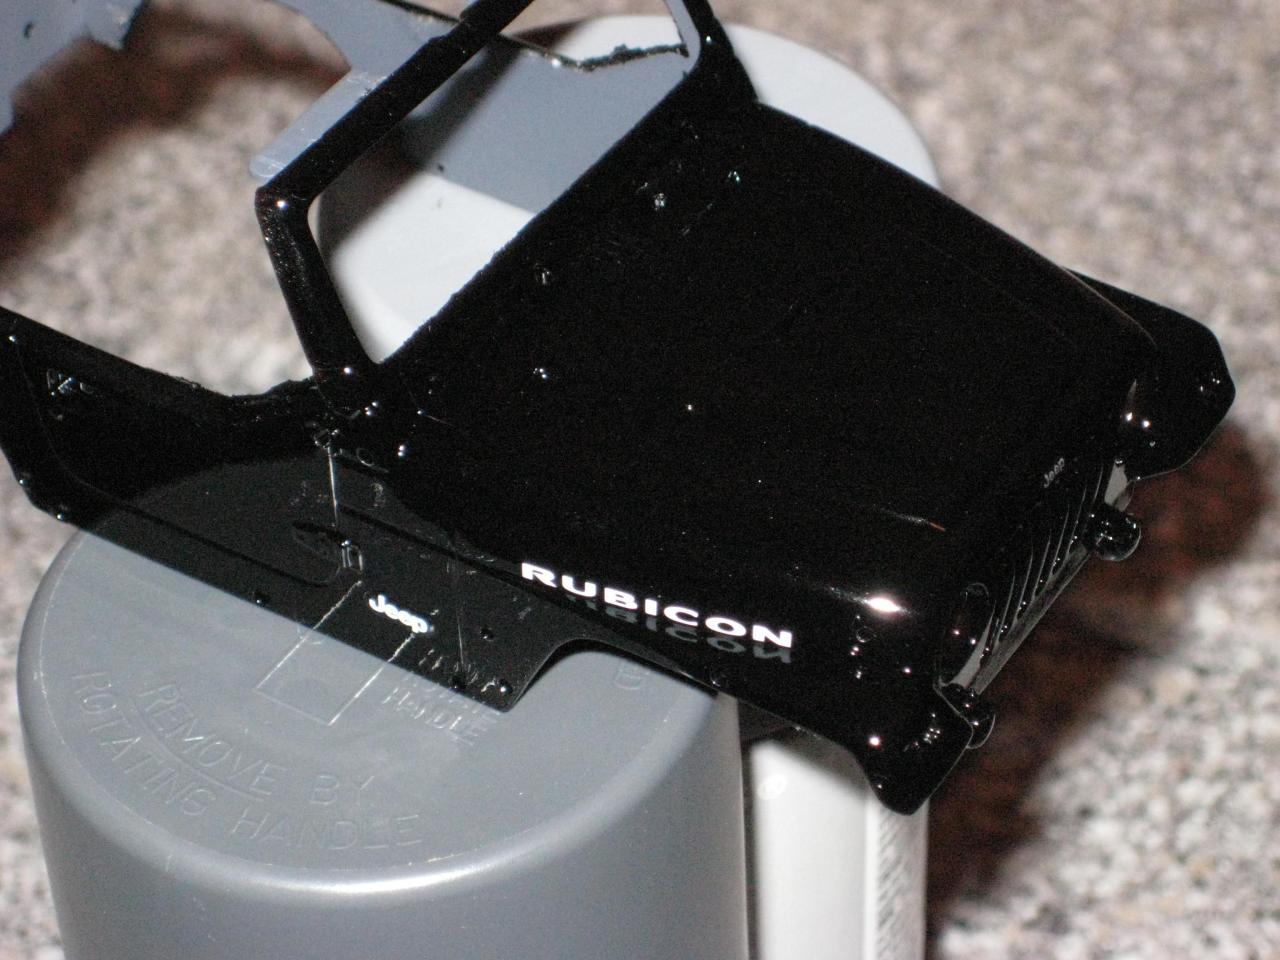
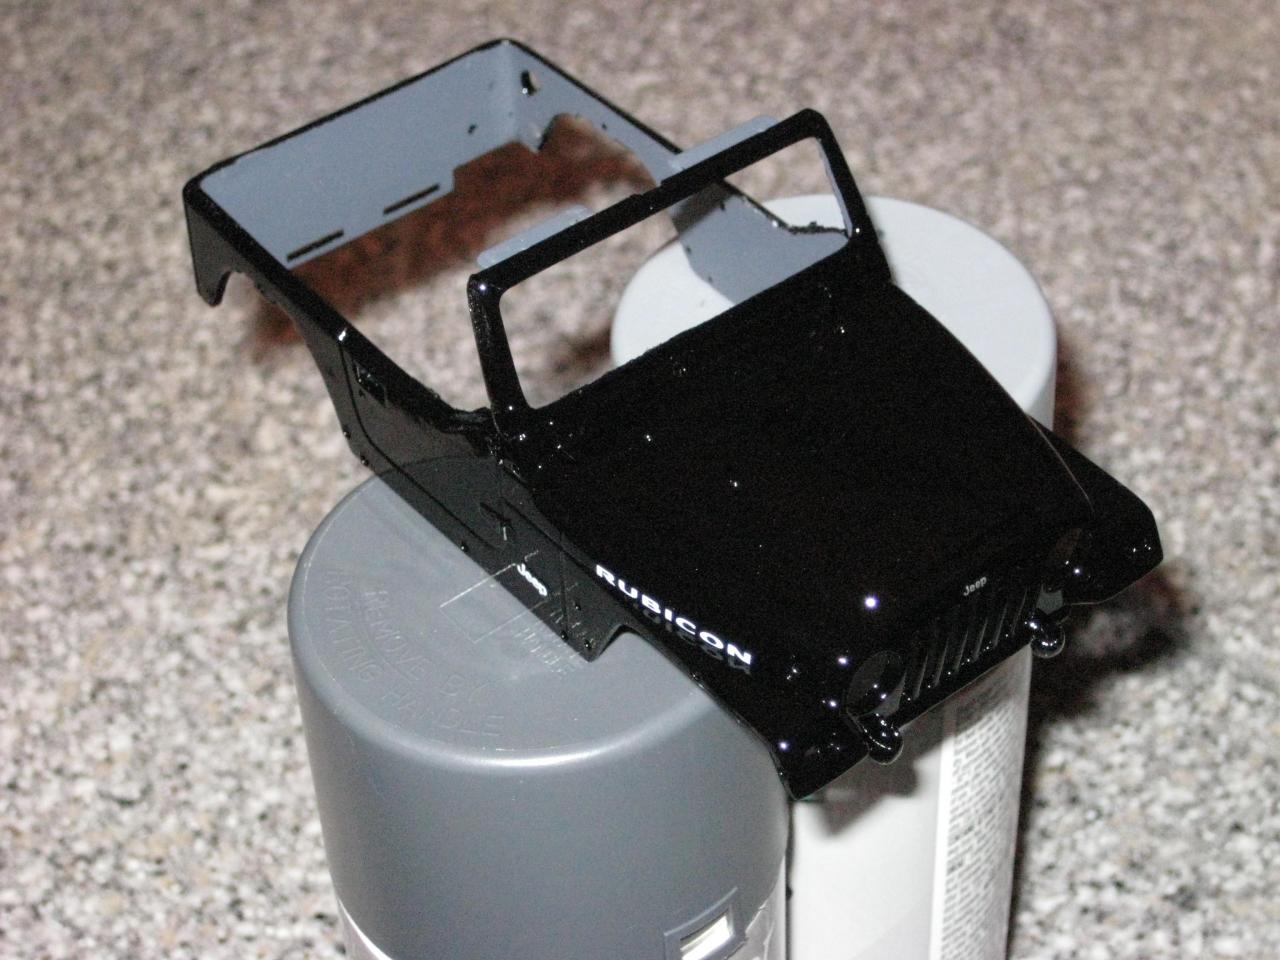
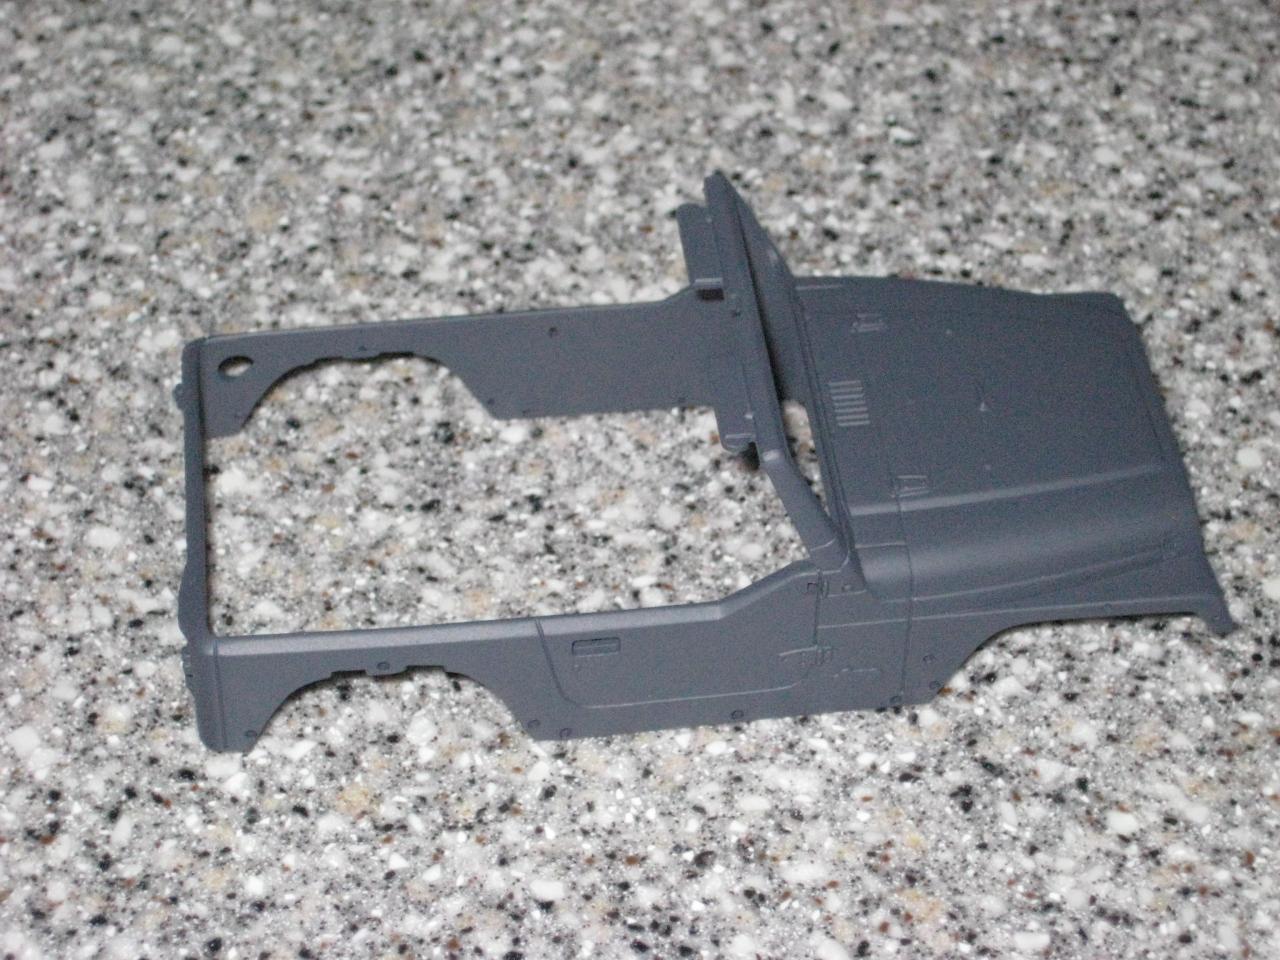
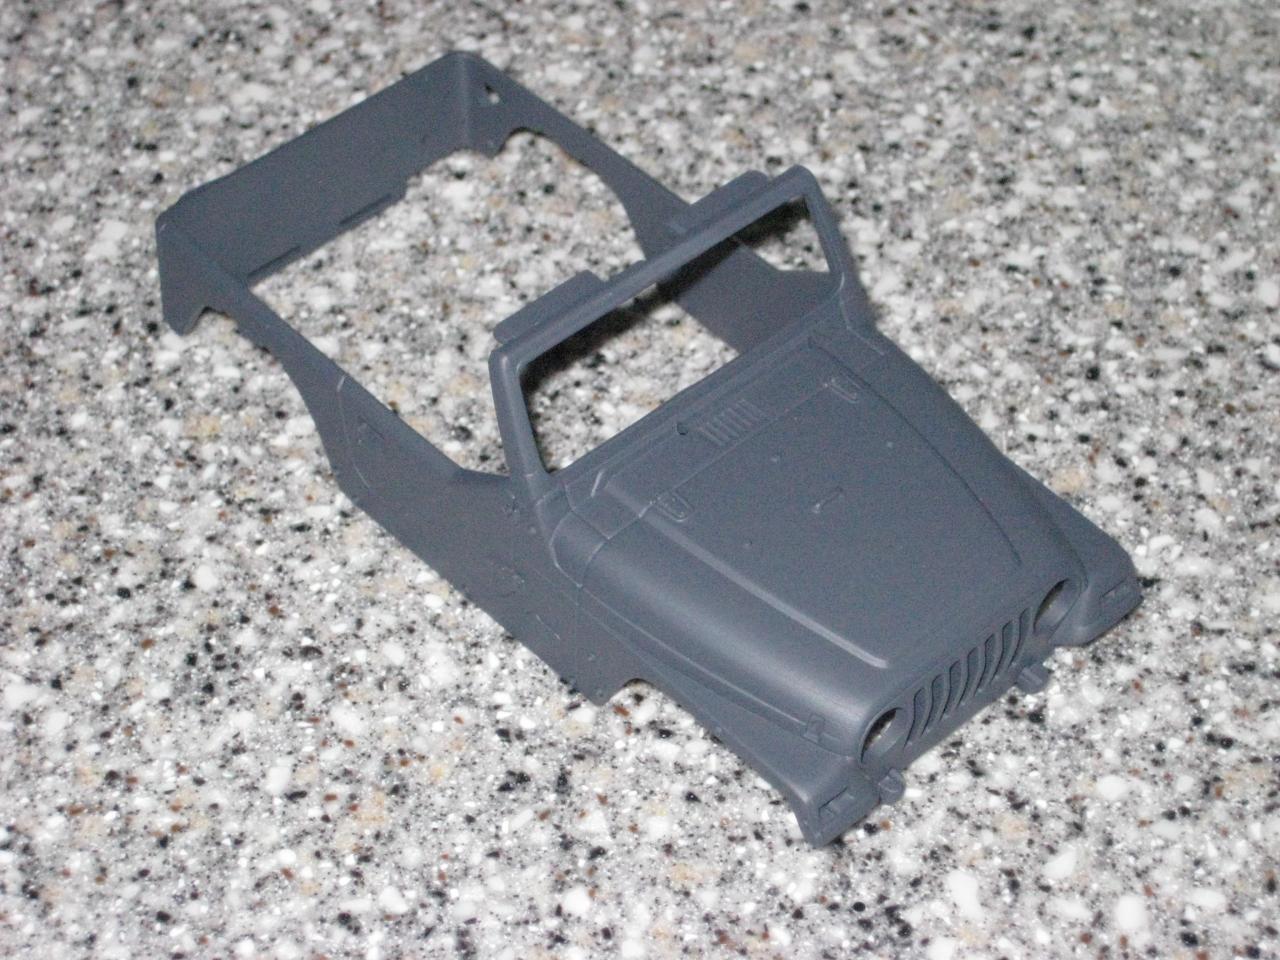
And the obligatory 'body in primer' shots...it's going to be gloss black with semi-gloss fender flares, bumpers, roll bar and diamond plate 'protection'.
-
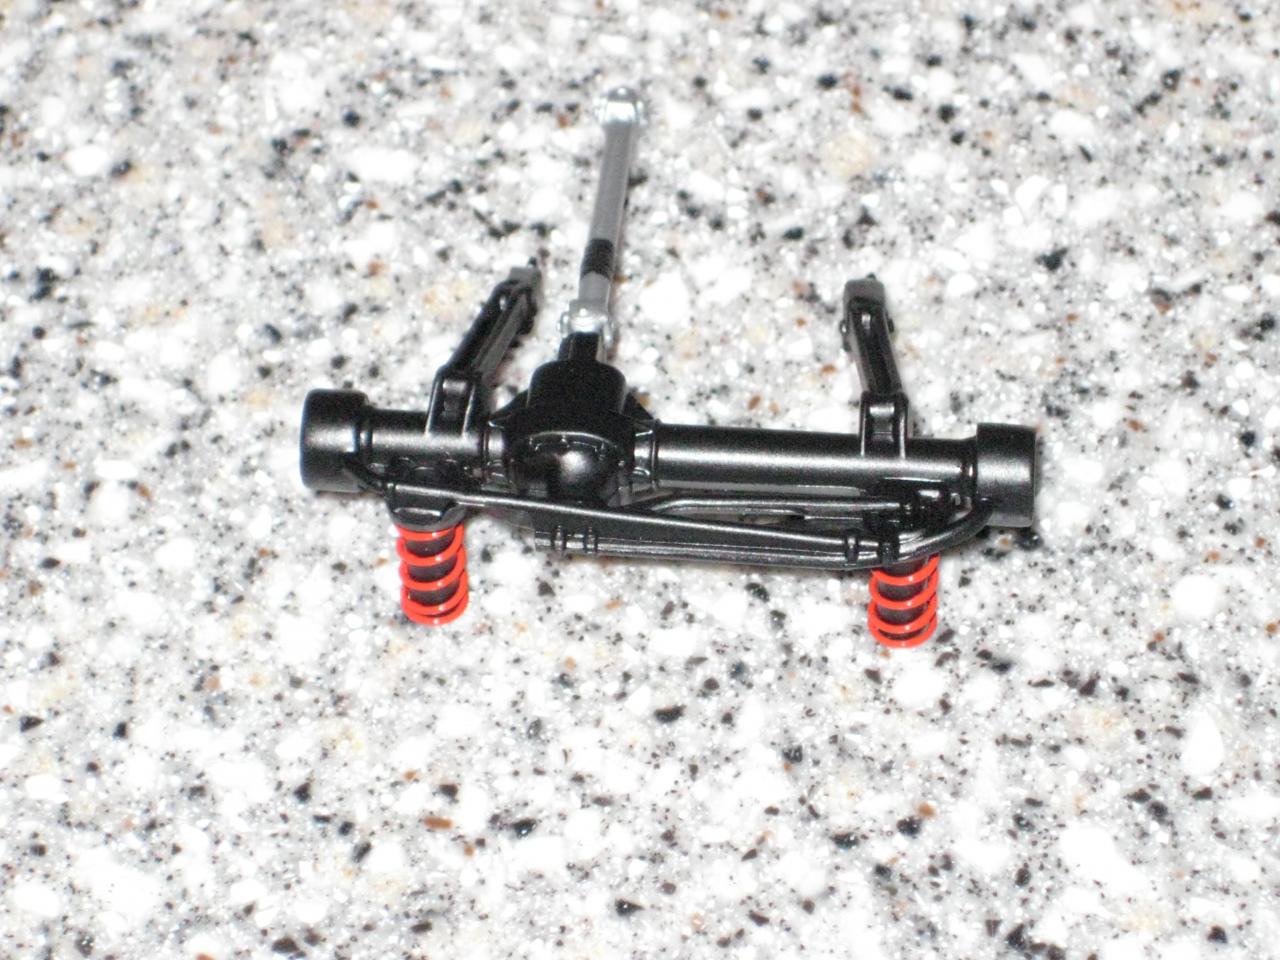
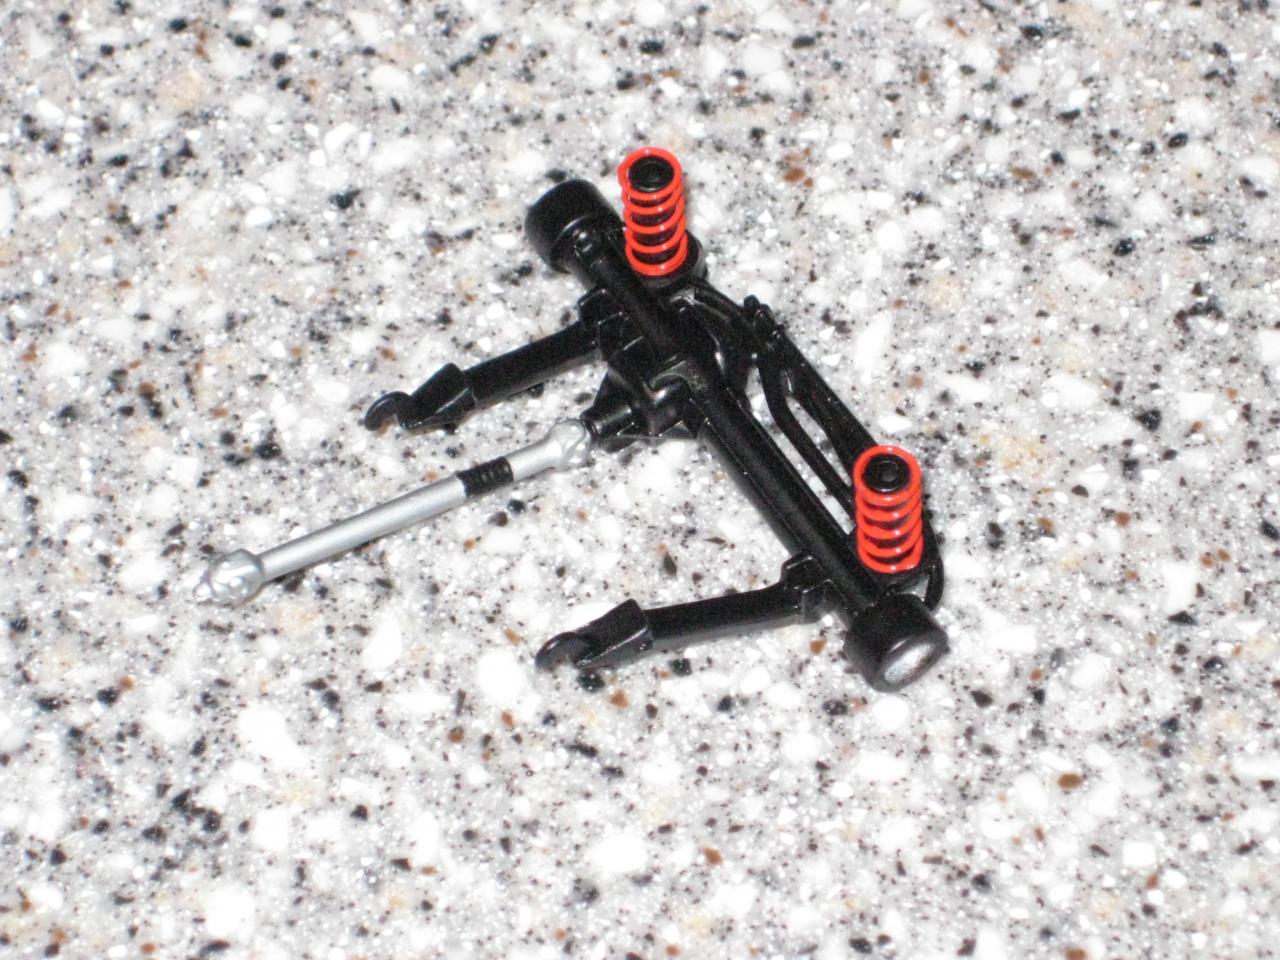
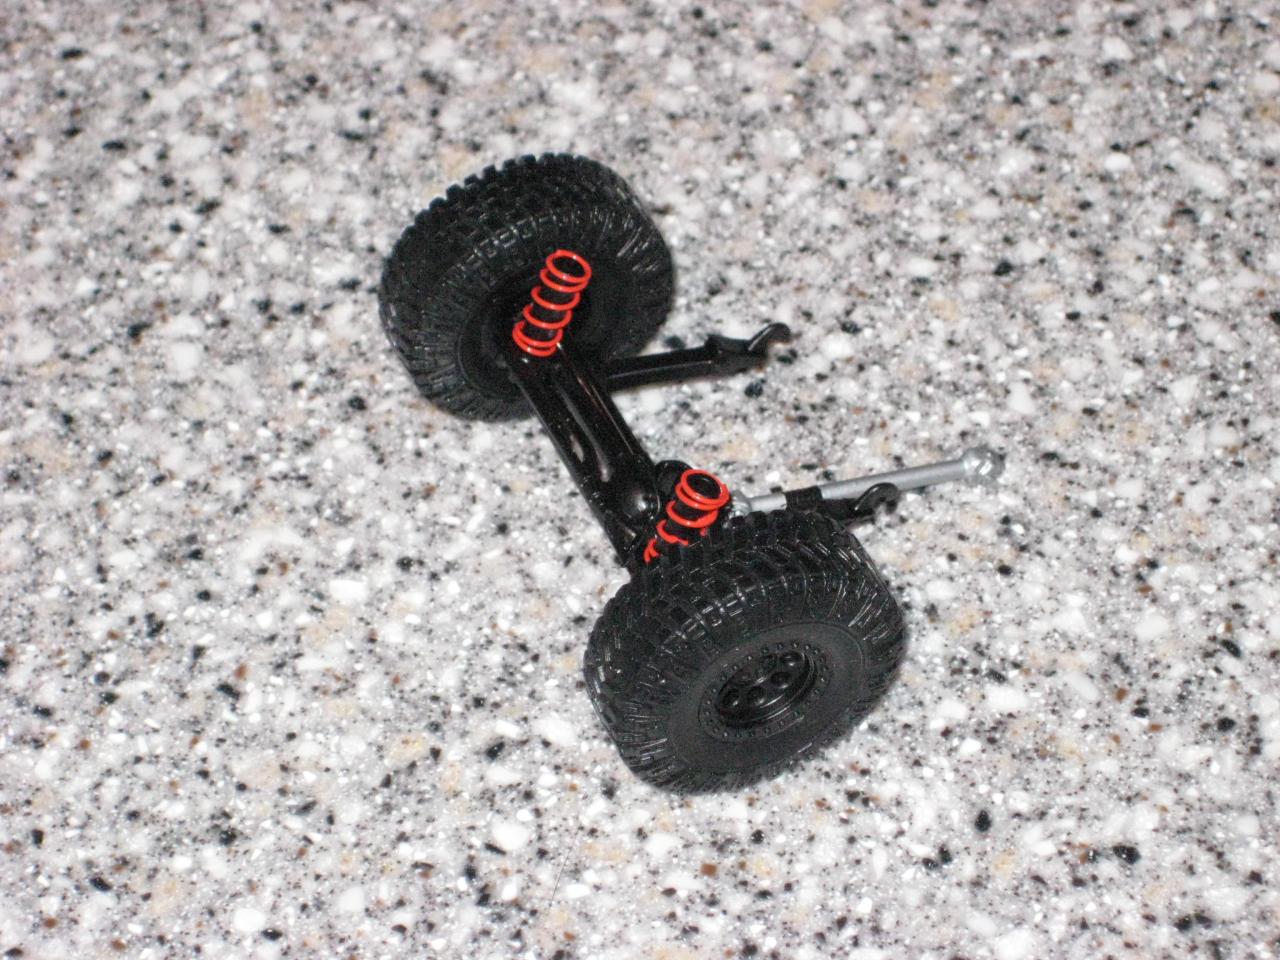
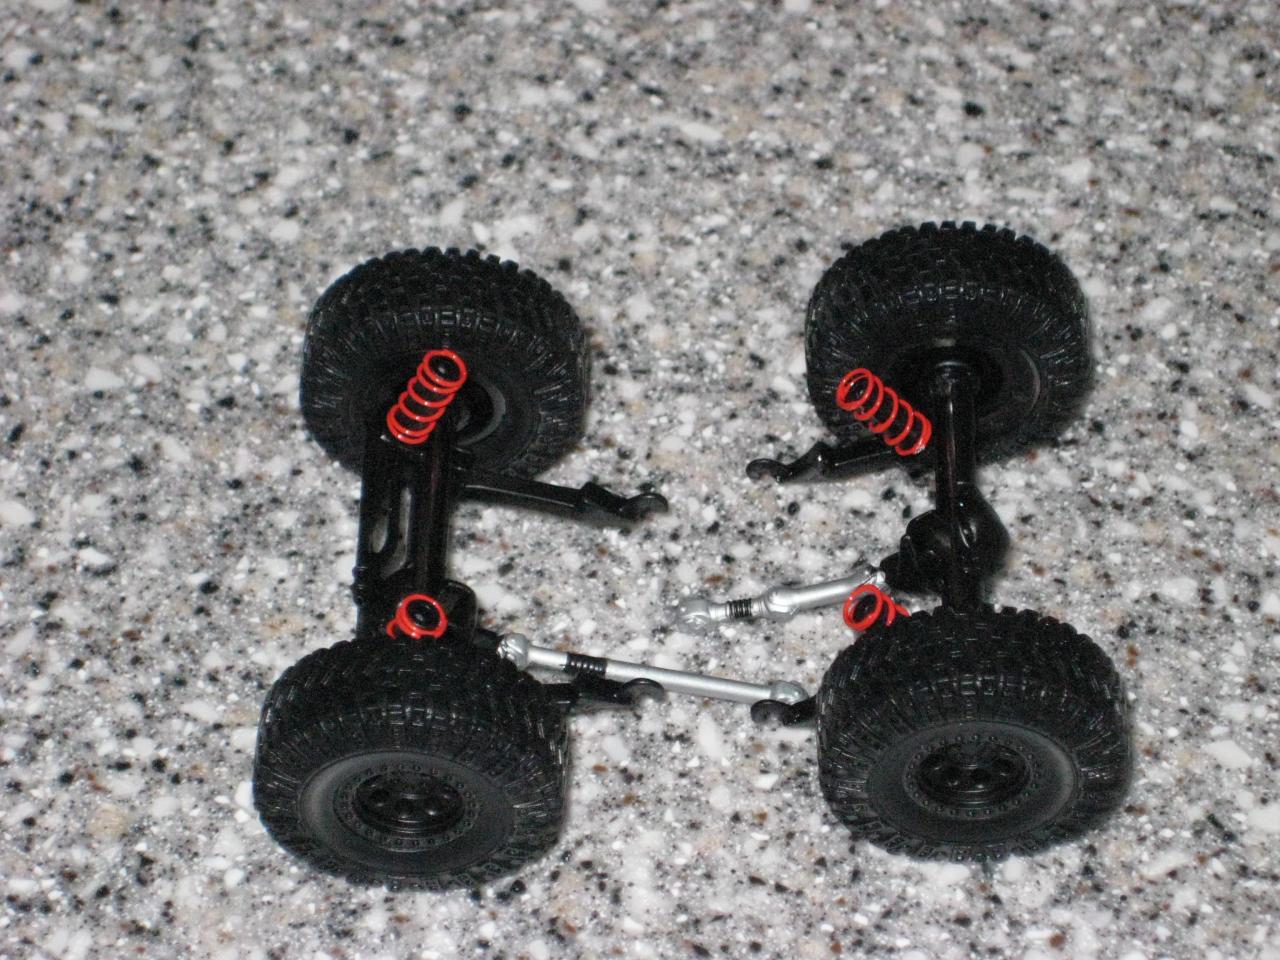
Here's a Revell Jeep that I started working on since the weather has been too crappy for me to be able to paint the remainder of the body for the Lindberg F-150 that I'm trying to finish. Still 'rattle canning' everything when I can get in between snow flakes and -10 degree weather. I'm doing this one 'blacked-out' so I stripped the chrome from wheels. Here are the wheels and axles in-progress:
-
Nice build...I like the work you did on that one.