DoctorLarry
Members-
Posts
1,145 -
Joined
-
Last visited
Content Type
Profiles
Forums
Events
Gallery
Everything posted by DoctorLarry
-
68 Buick Skylark GS 400 with a nod to Yellowsportwagon
DoctorLarry replied to DoctorLarry's topic in WIP: Model Cars
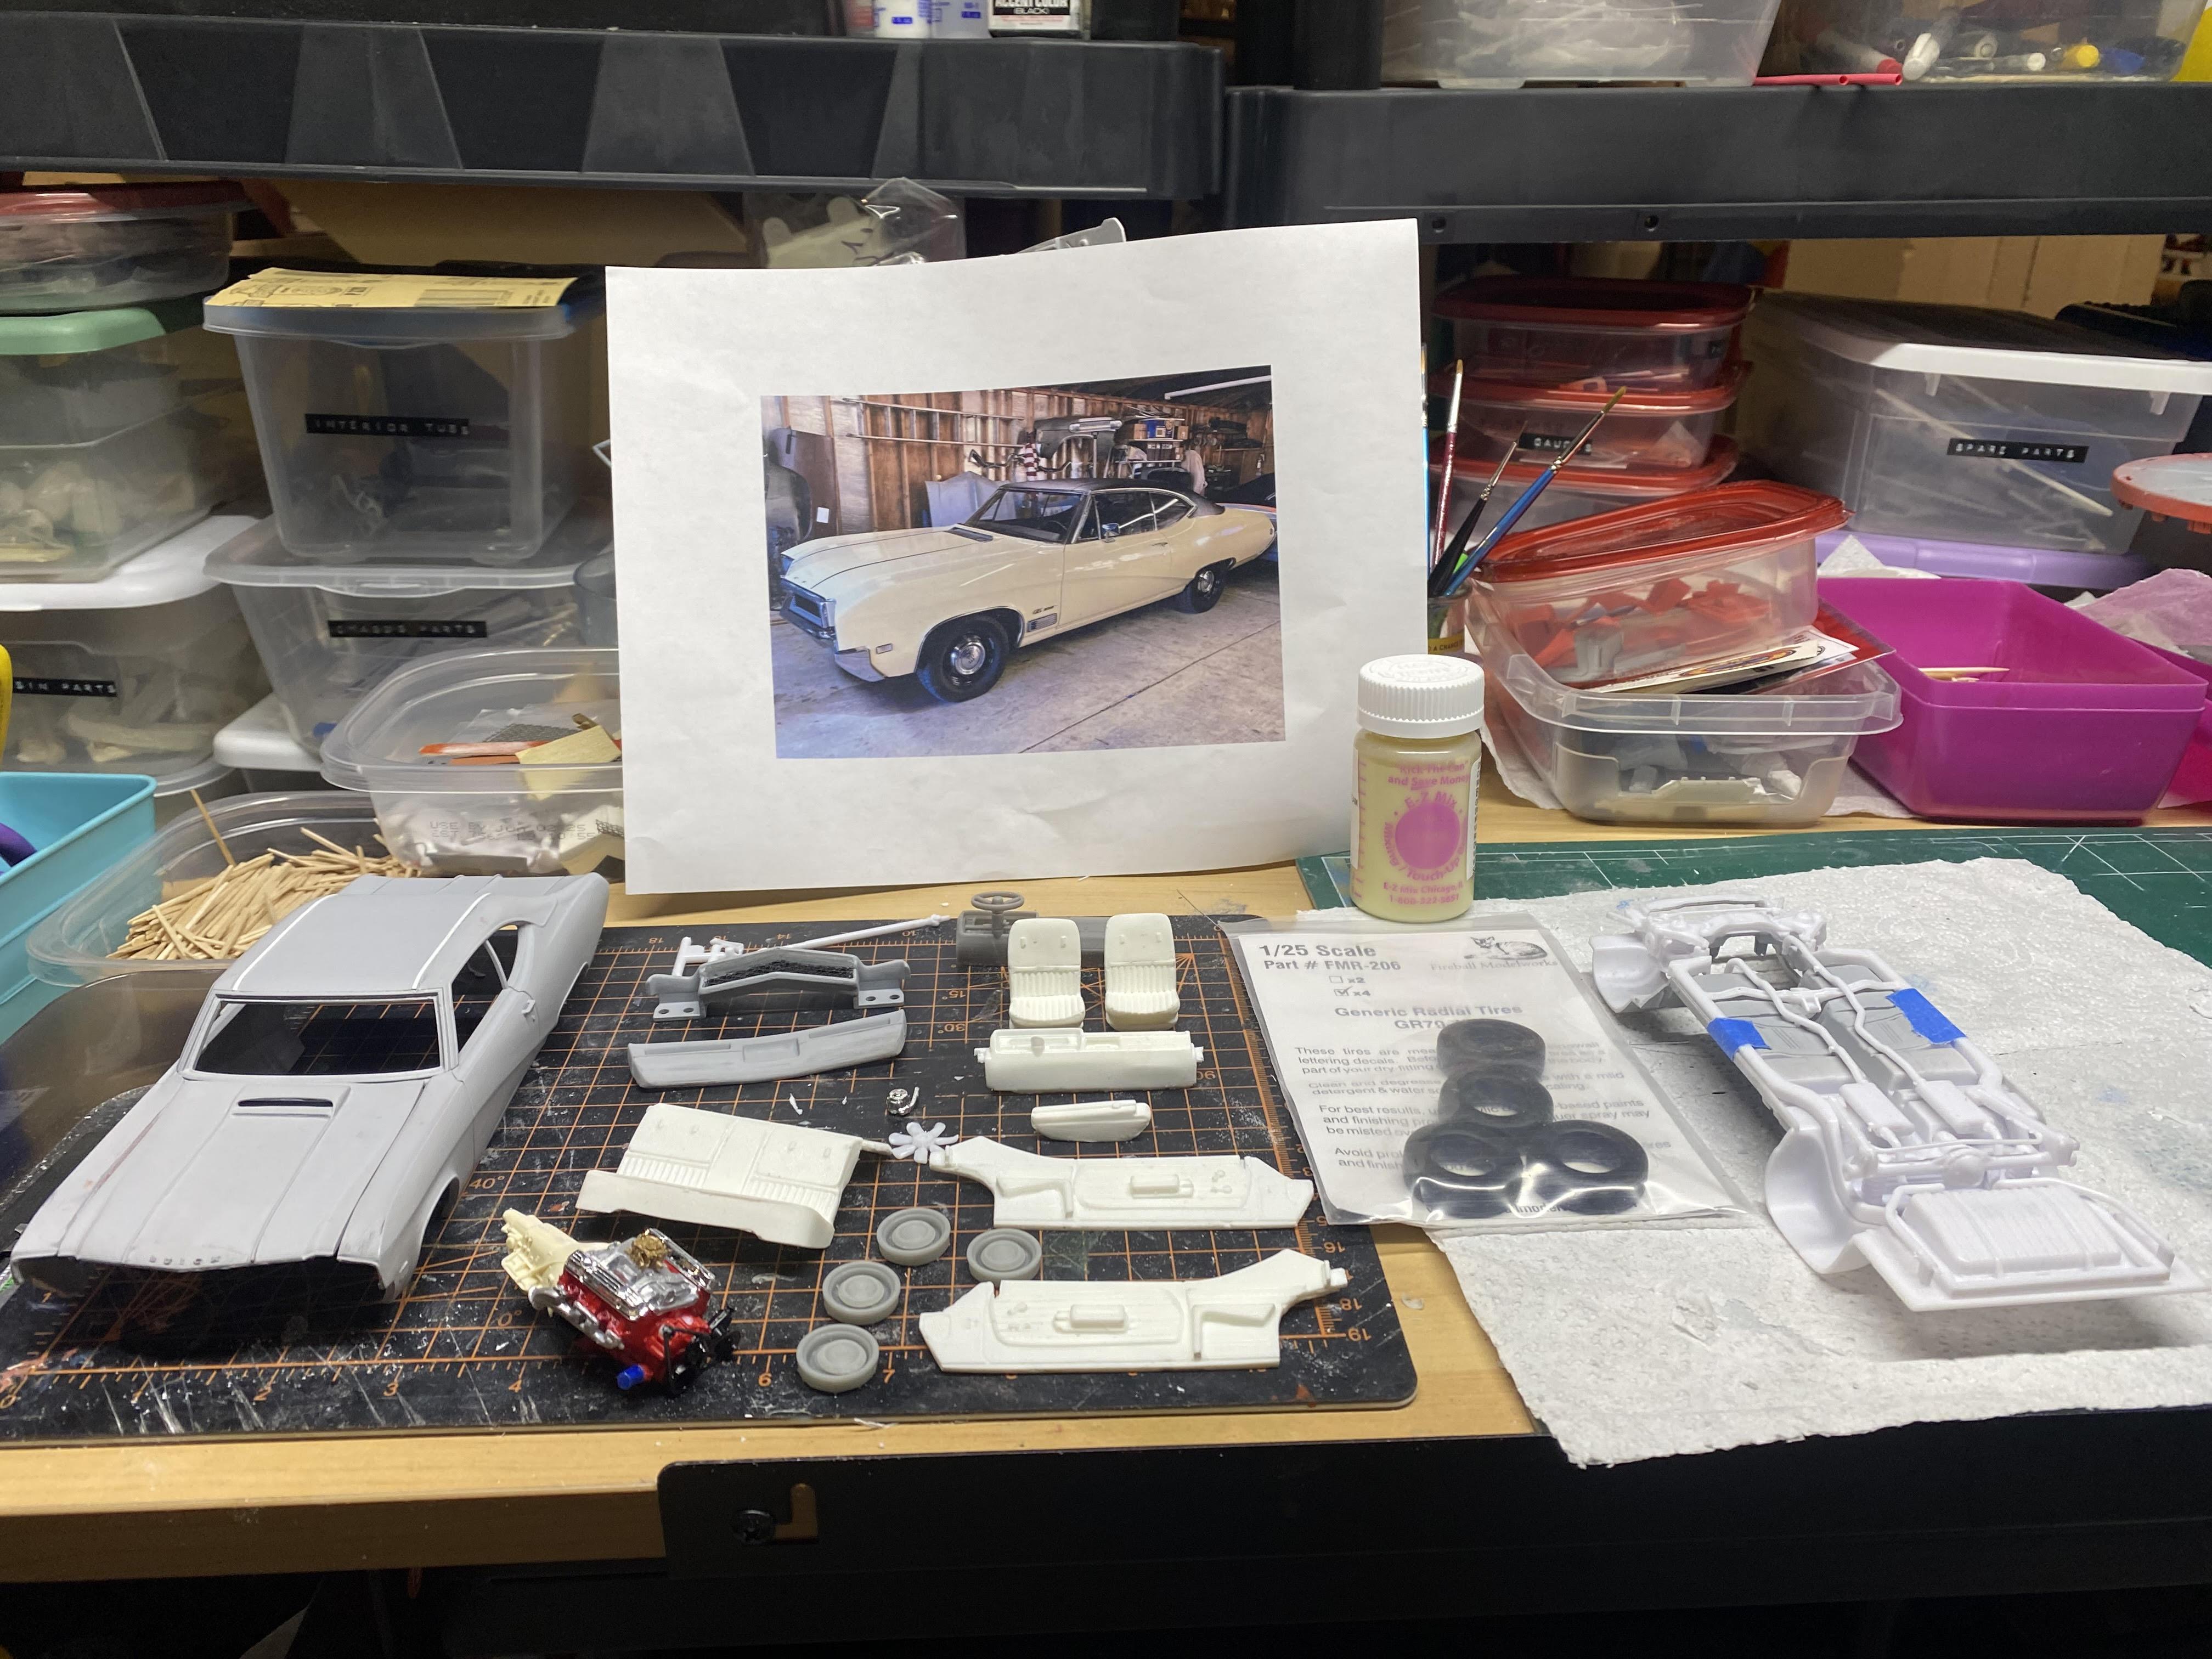
This one had those body line flaws on the hood. Someone (might have been you) pointed that out in my 69 Skylark thread and I fixed them on that one. I did the same here so the body line swept back to the hood corner. The fender gills on the Perry car also stuck out way too far. On the real car the fenders had a hole in them so the gill actually mounted flat but protruded into the fender. I think mine look closer to real but will see when the car is done. -
I ordered a PE set recently and it arrived. It did not seem to take an inordinate amount of time but unless it goes long I tend not to check.
-
68 Buick Skylark GS 400 with a nod to Yellowsportwagon
DoctorLarry posted a topic in WIP: Model Cars
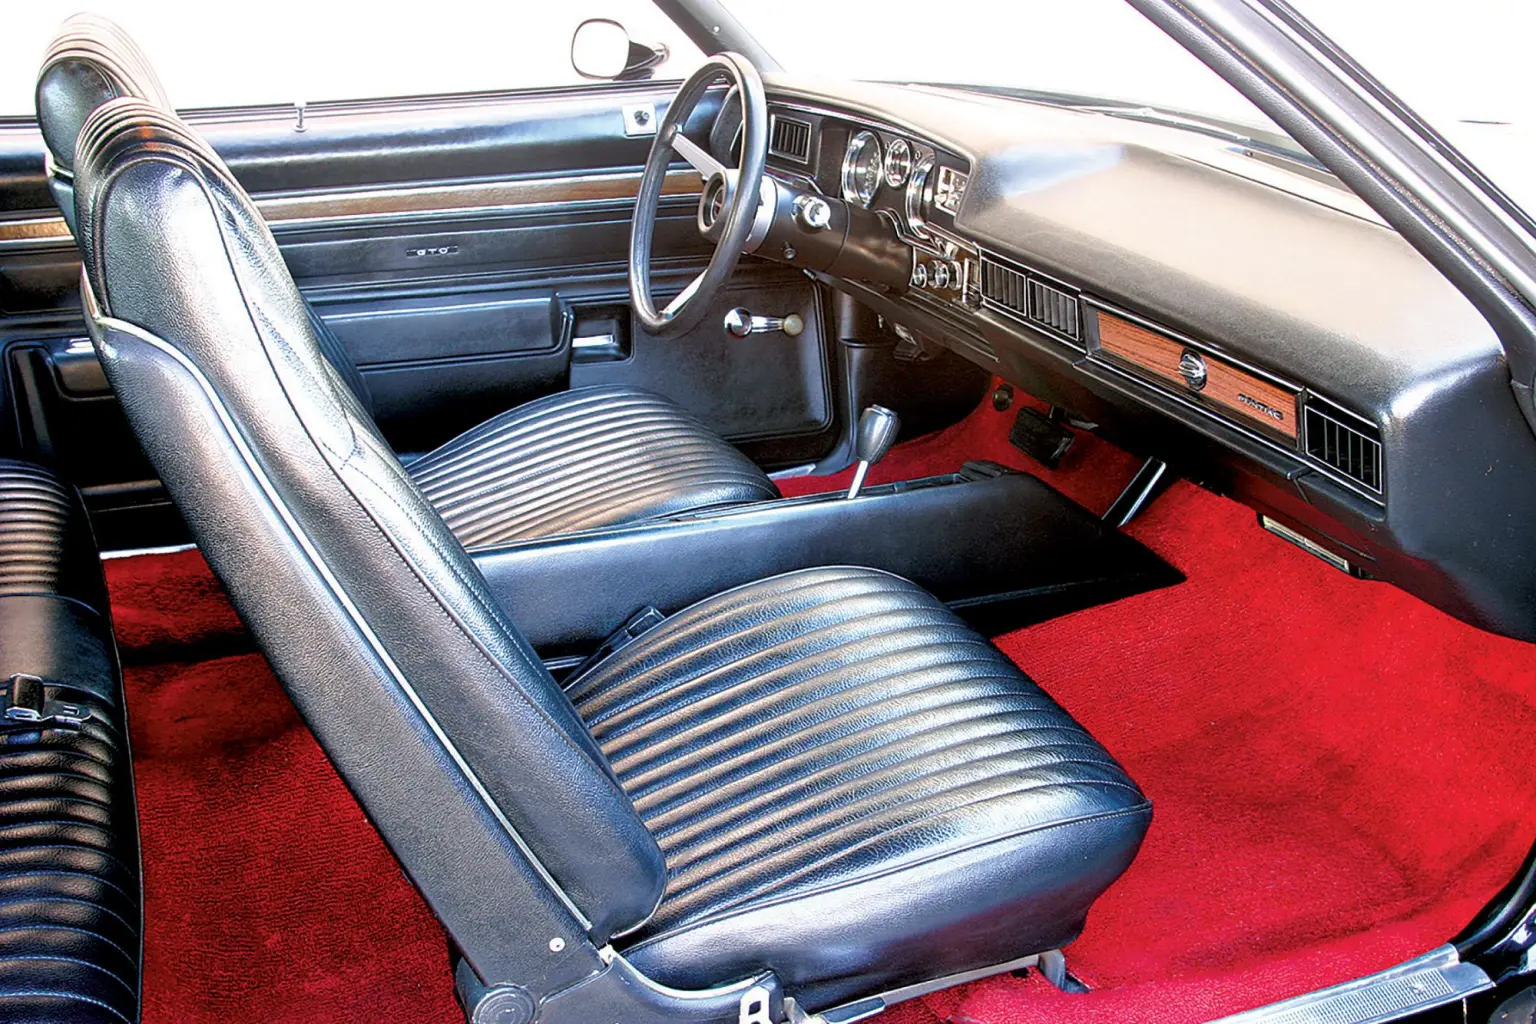
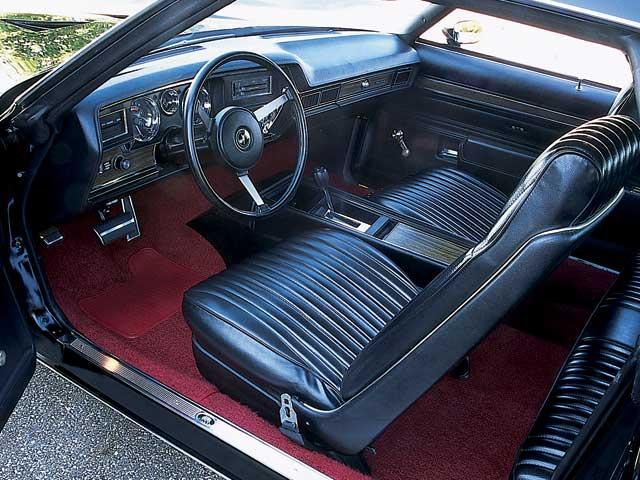
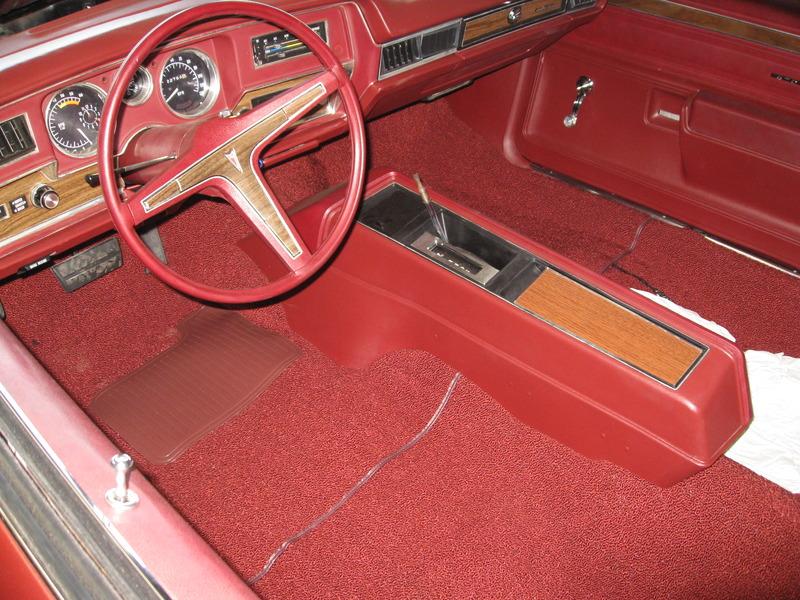
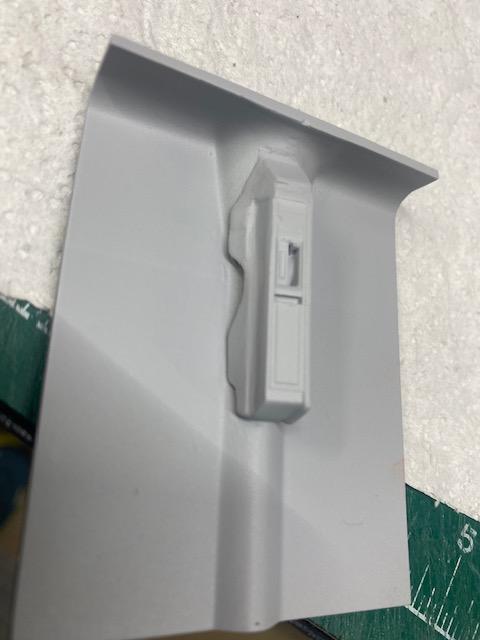
After repeated tries to find a 68 Skylark GS from Perry's Resins, I had to change strategy. There are several 3D prints of 69 Skylarks now so I bought two. One I used for my Motion-prepped 69 Skylark. The other I decided to convert to a 68. The biggest problem with the 69 kits is the interior. They are all wrong for 69 Custom and definitely all wrong for 68. So I created my own for both cars from a Revell 68 Chevelle. I used the frame and pan from the car as well because the chassis on the resin kits has little detail. Engine from a Monogram GS, resin turbo 400, Fireball tires, resin poverty caps and wheels from Missing Link and scratchbuilt hood and console. Model Car Garage photo etch emblems from Monogram the GS. Tim Stevens is my go-to NASCAR build guru and builds killer cars. He also has a couple of neat real cars, including a 68 GS. I decided to do a loose replica of his real car. Cameo Cream PPG acrylic enamel. I created molds of the interior and can reproduce it all in resin. -
Looks just like I remember them in high school. Very well done!
-
Mine is going to be Golden Olive with a Dark Saddle interior. I have a 73 Grand Am 4 door that is Florentine Red. Great color choice!
-
Farthest north I've been is Lithuania. Went to a national park to stick our feet in the Baltic Sea-man was it cold!
-
Midnight? Northern Europe?
-
Looks good.
-
Very neat build of a beautiful car. Front fender wells look like NASCAR T Bird. This looks like something I would attempt (mine would not be this clean, though!) I use a lot of the GTO chassis under Collonades because of the detail. Lately I have been using 68 Chevelle. Same wheelbase, excellent detail and the frame and floor pan are separate so easy to modify.
-
Resin seems to warp easily. Find a large bowl, fill it with hot water, put the body in it so it is covered and let it sit for a minute or so. It will soften and you can take it out and gently twist it back into shape. Then let it cool and test fit. You may have to do it a couple of times. I have done this on several bodies. Some people also use a hair dryer but I think that is harder to control.
-
Looks great to me with those wheels but I like the 5 spokes. Paint looks slick!
-
Love the Renault. I have one of those I want to do. The actual rally cars were beasts. I'm going to change the wheels and I got a detailed engine to transplant from an EBAY built kit.
-
-
Tim, does Mean Machine have a website? Great build!
-
Here is a quote from Jim Wangers on the orange cars in this piece: https://www.angelfire.com/wa/angryclown/CanAmHistory.html
-
How's this?
-
I must have the same kit. Only problem I have is the console is all wrong. The driver's side is not flat but has several curves to match the contours of the floorboard. The front is also a little higher and slopes down more sharply. I modified mine with sheet plastic and putty to make it more realistic. My shifter broke off during shipping so I need to reattach it. My kit had separate door panels.
-
Was the interior part of the kit?
-
I meant dis it come with the body as a kit.
-
Interior?
-
What are you doing for interior?
-
Very nice build. I remember those cars running around town when I was a kid.
-
Looks great, Tim. How does the waterborne paint lay down compared to solvent-based?
-
That looks really good. Very clean.
