BIGTRUCK
-
Posts
2,563 -
Joined
-
Last visited
Content Type
Profiles
Forums
Events
Gallery
Everything posted by BIGTRUCK
-
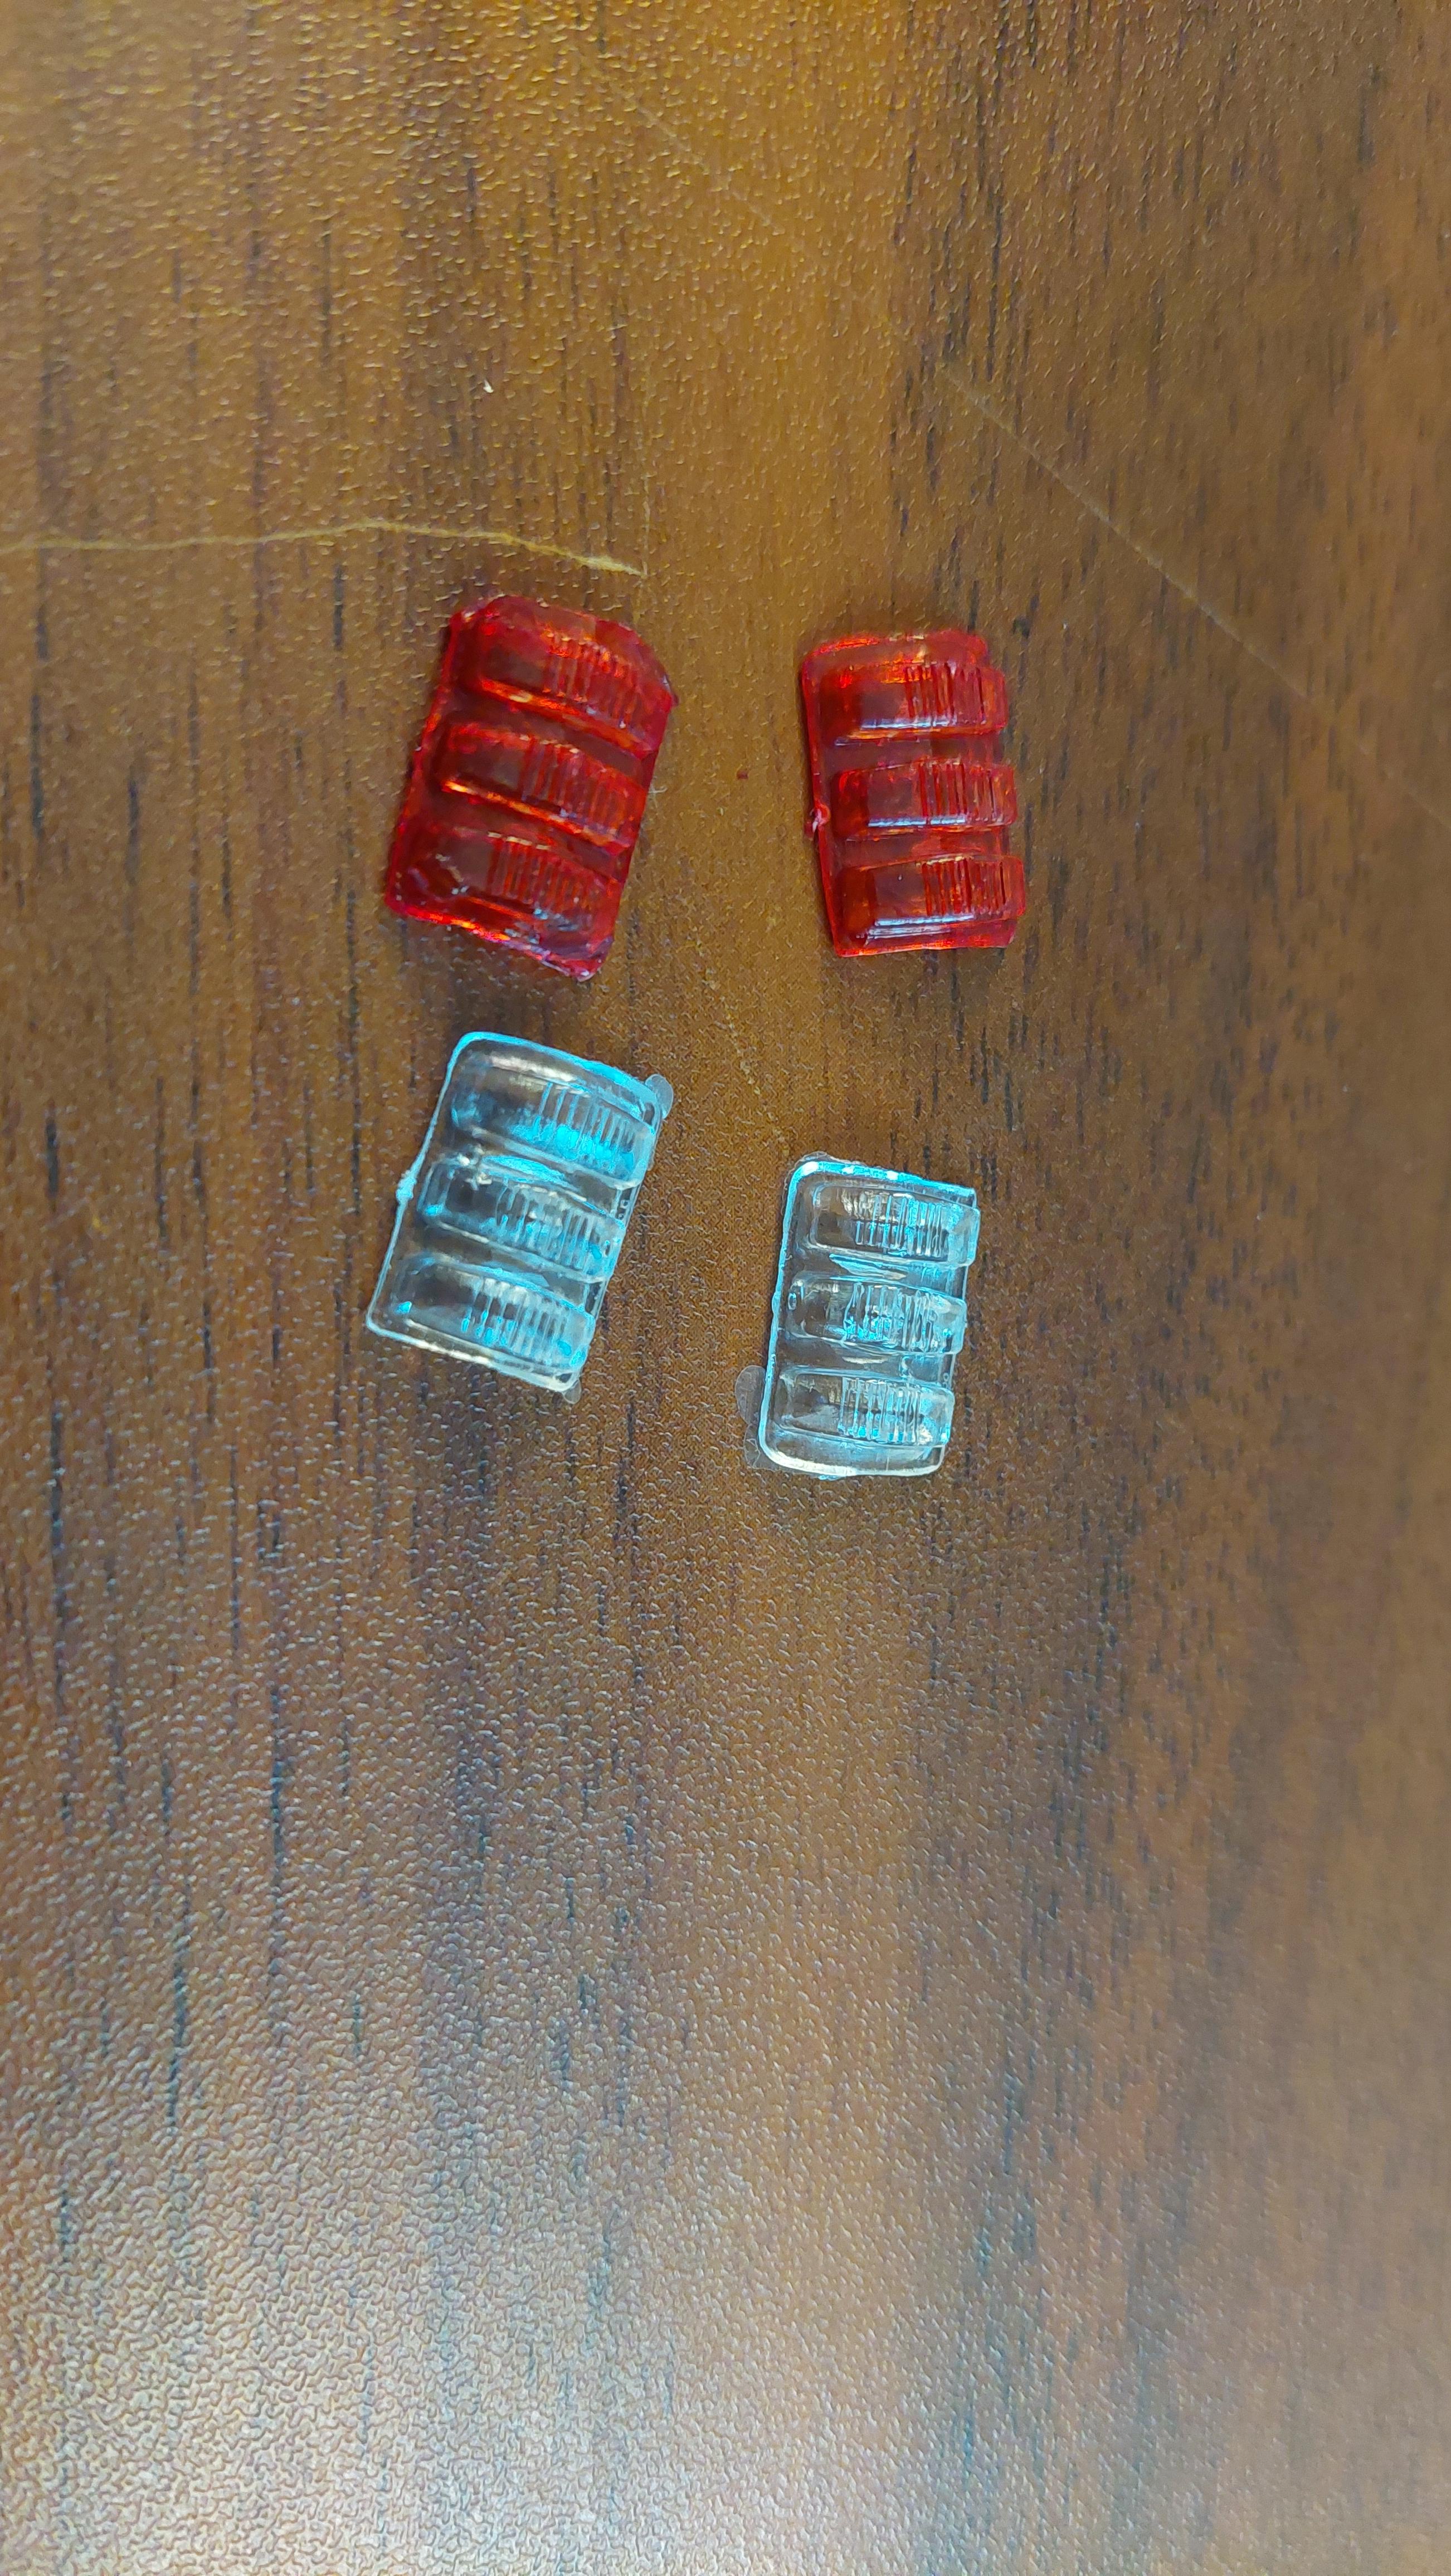
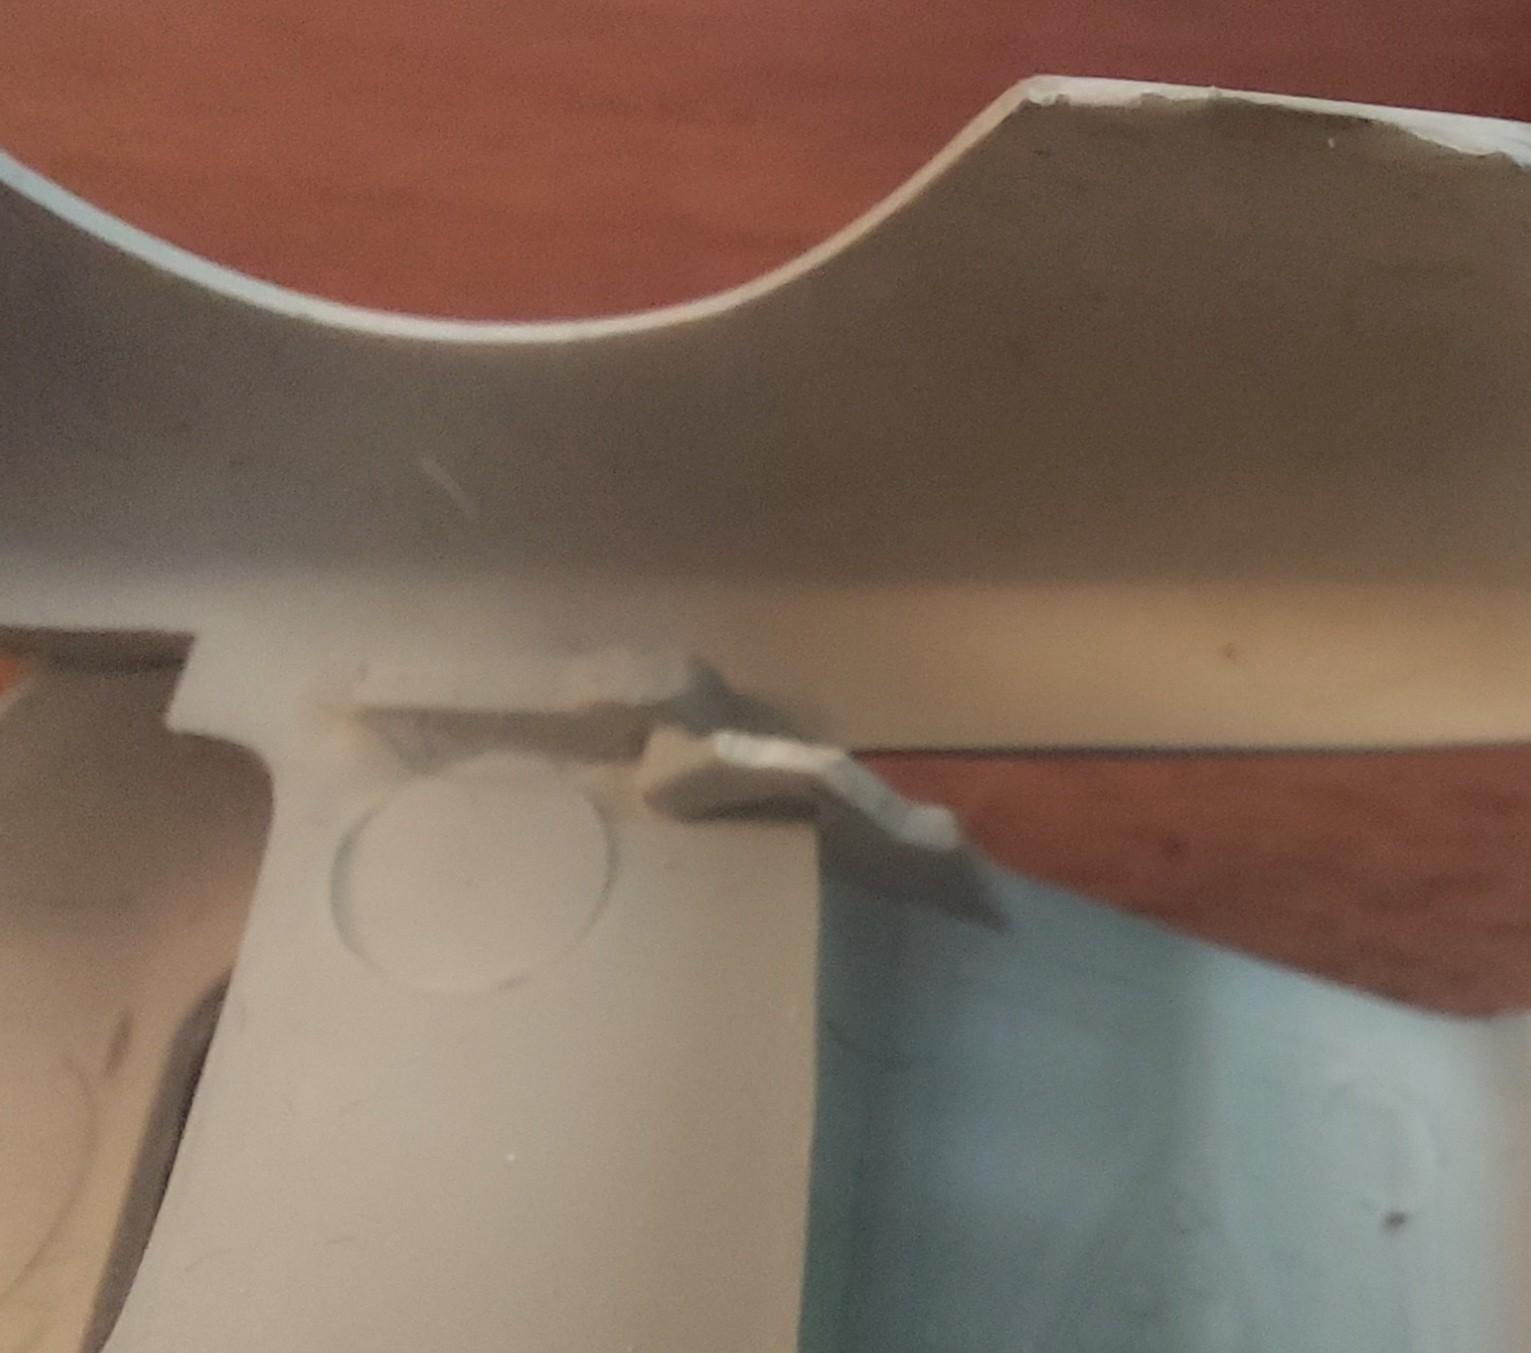
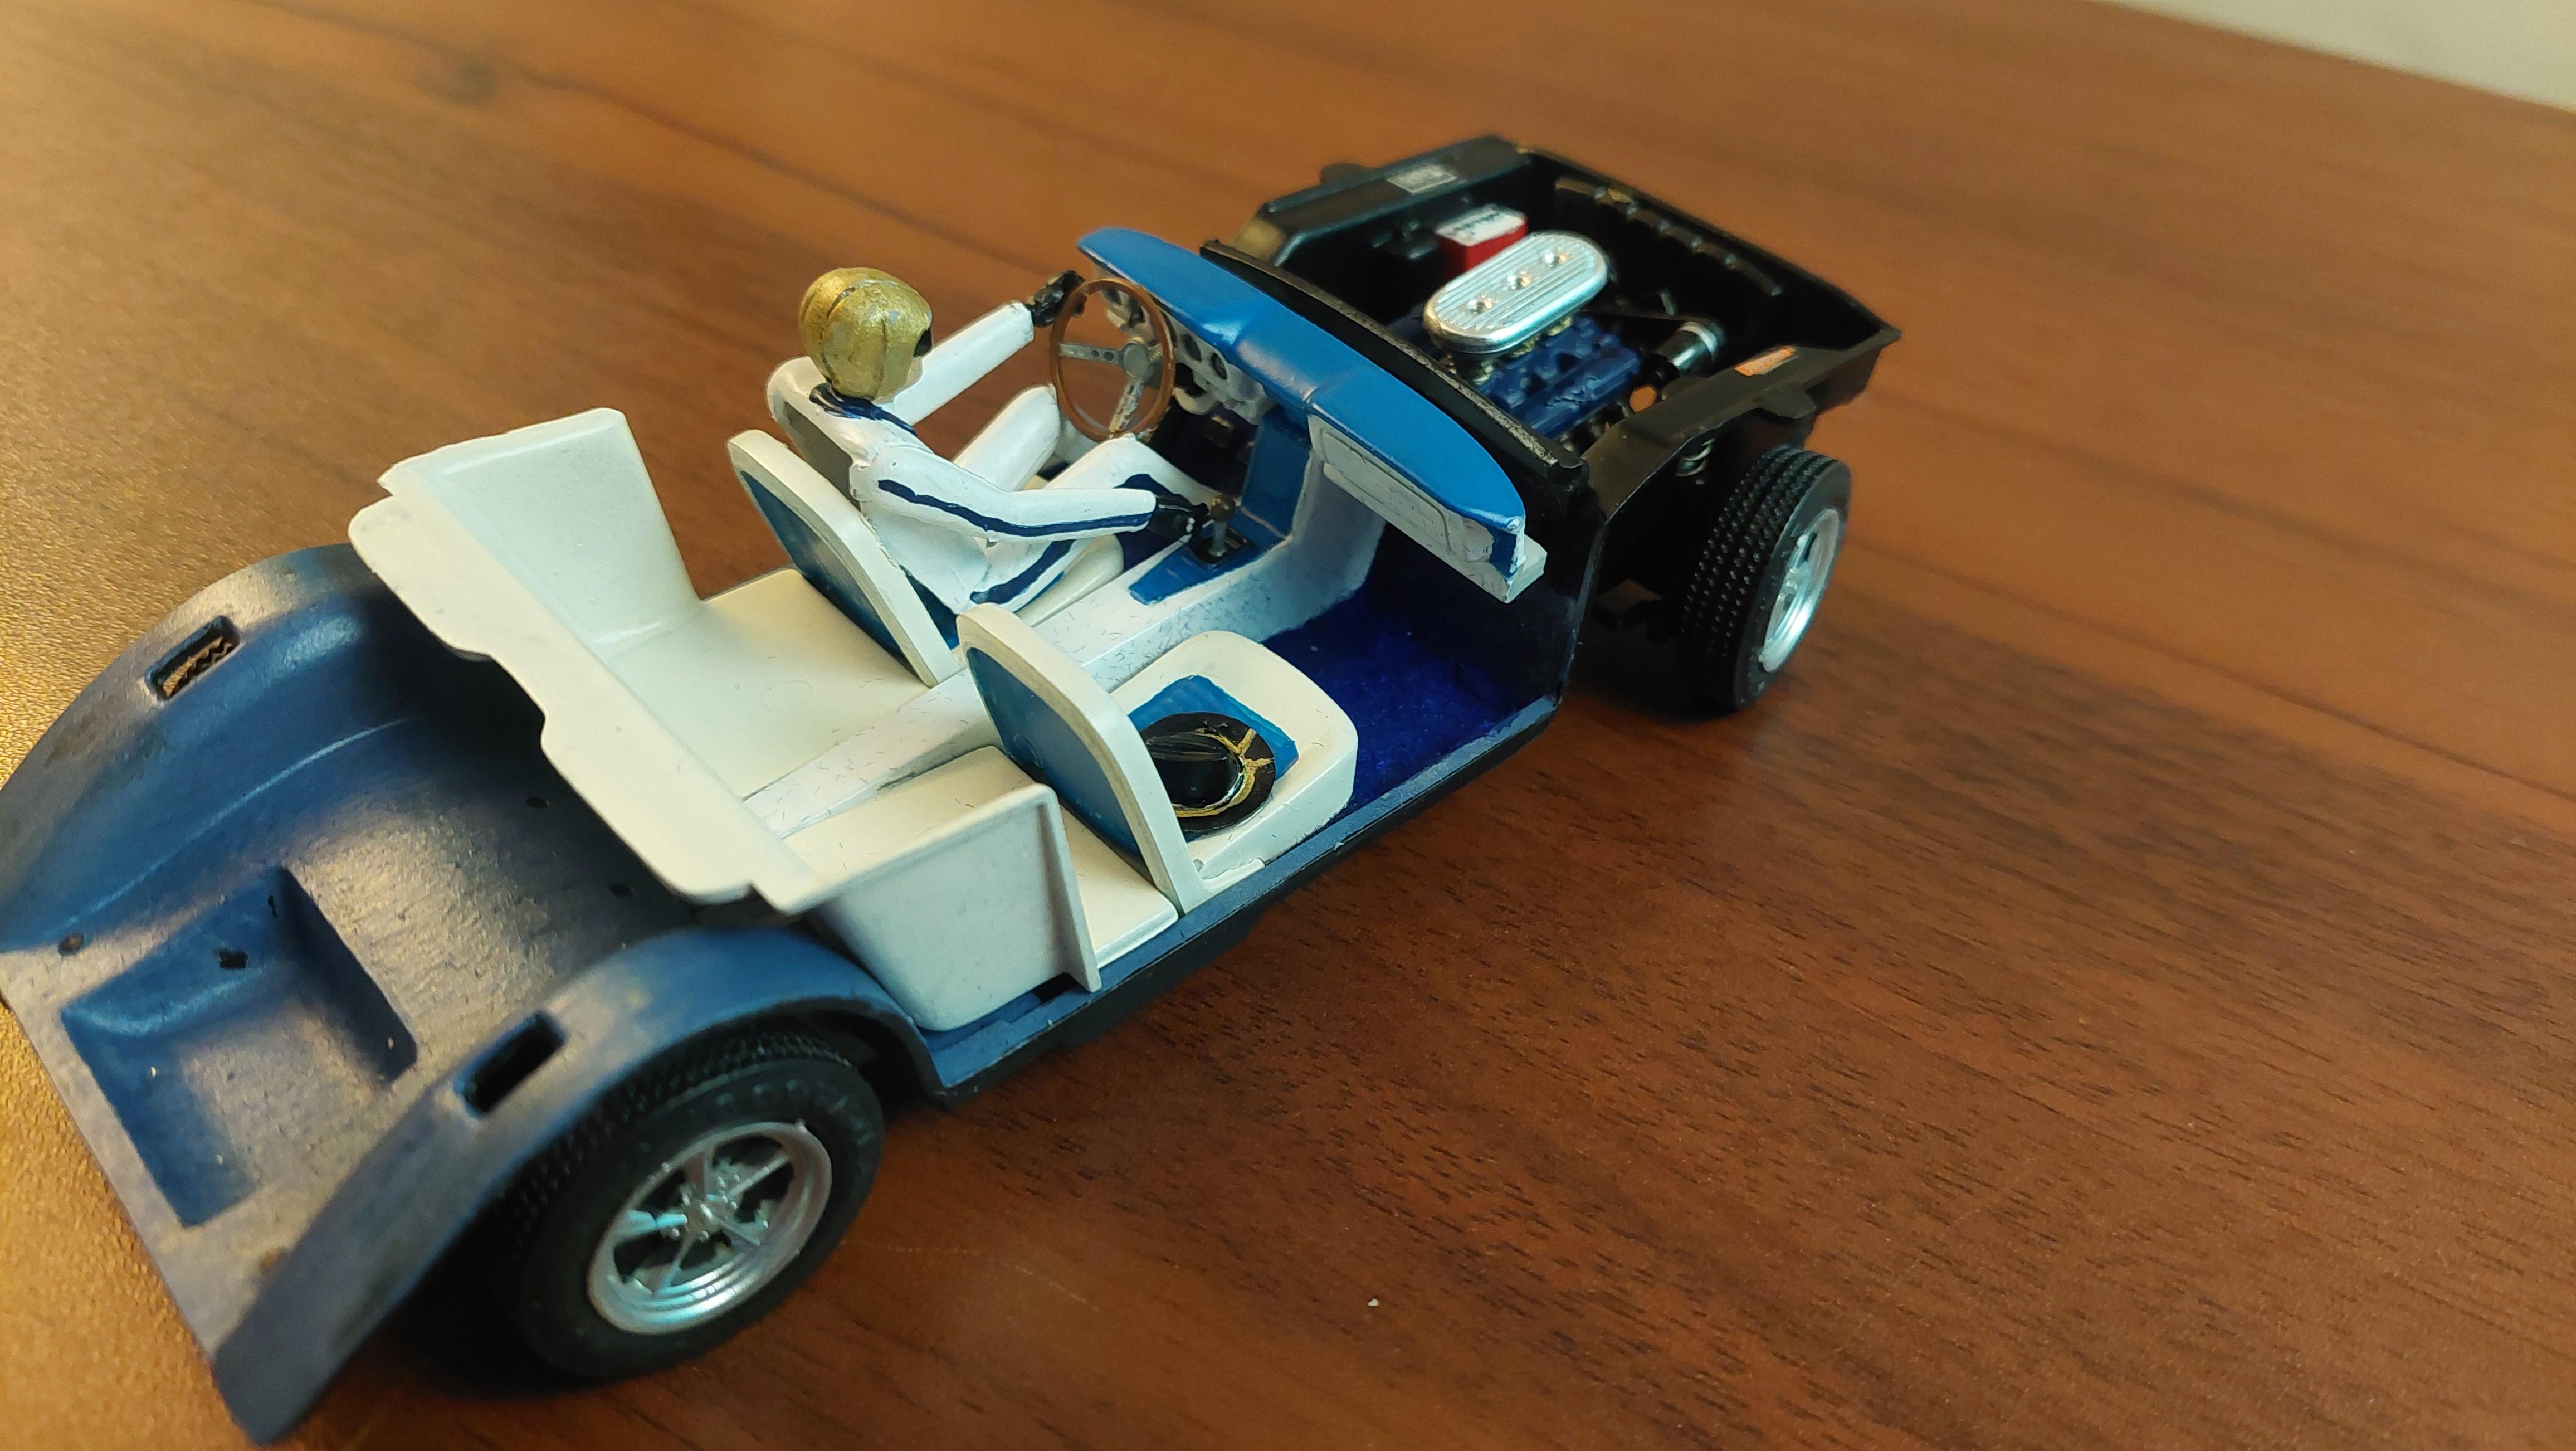
This one is the 1995 Lindberg issue of the IMC kit. The only 2 differences in the kits, the IMC had red rear lights and Lindberg had clear. The decals also differ alot. Kit was pretty fiddly, the top door and trunk hinges needed to be ground down to close properly once chassis was installed, they would bind. Cowboy hat will never fit the driver as in the IMC and Lindberg kit, drivers head already had on a helmet. Everything works as it should, steering,doors trunk ,folding bucket seats and hood but it all needs much trimming and test fitting. I chose the race version with bigger motor, mags and rear seat delete option tub.

-
Yes it did , all healed up thanks. Best of luck finding a GoodGuys kit with useable decals.
-
Still looking for this body if anybody has one...
-
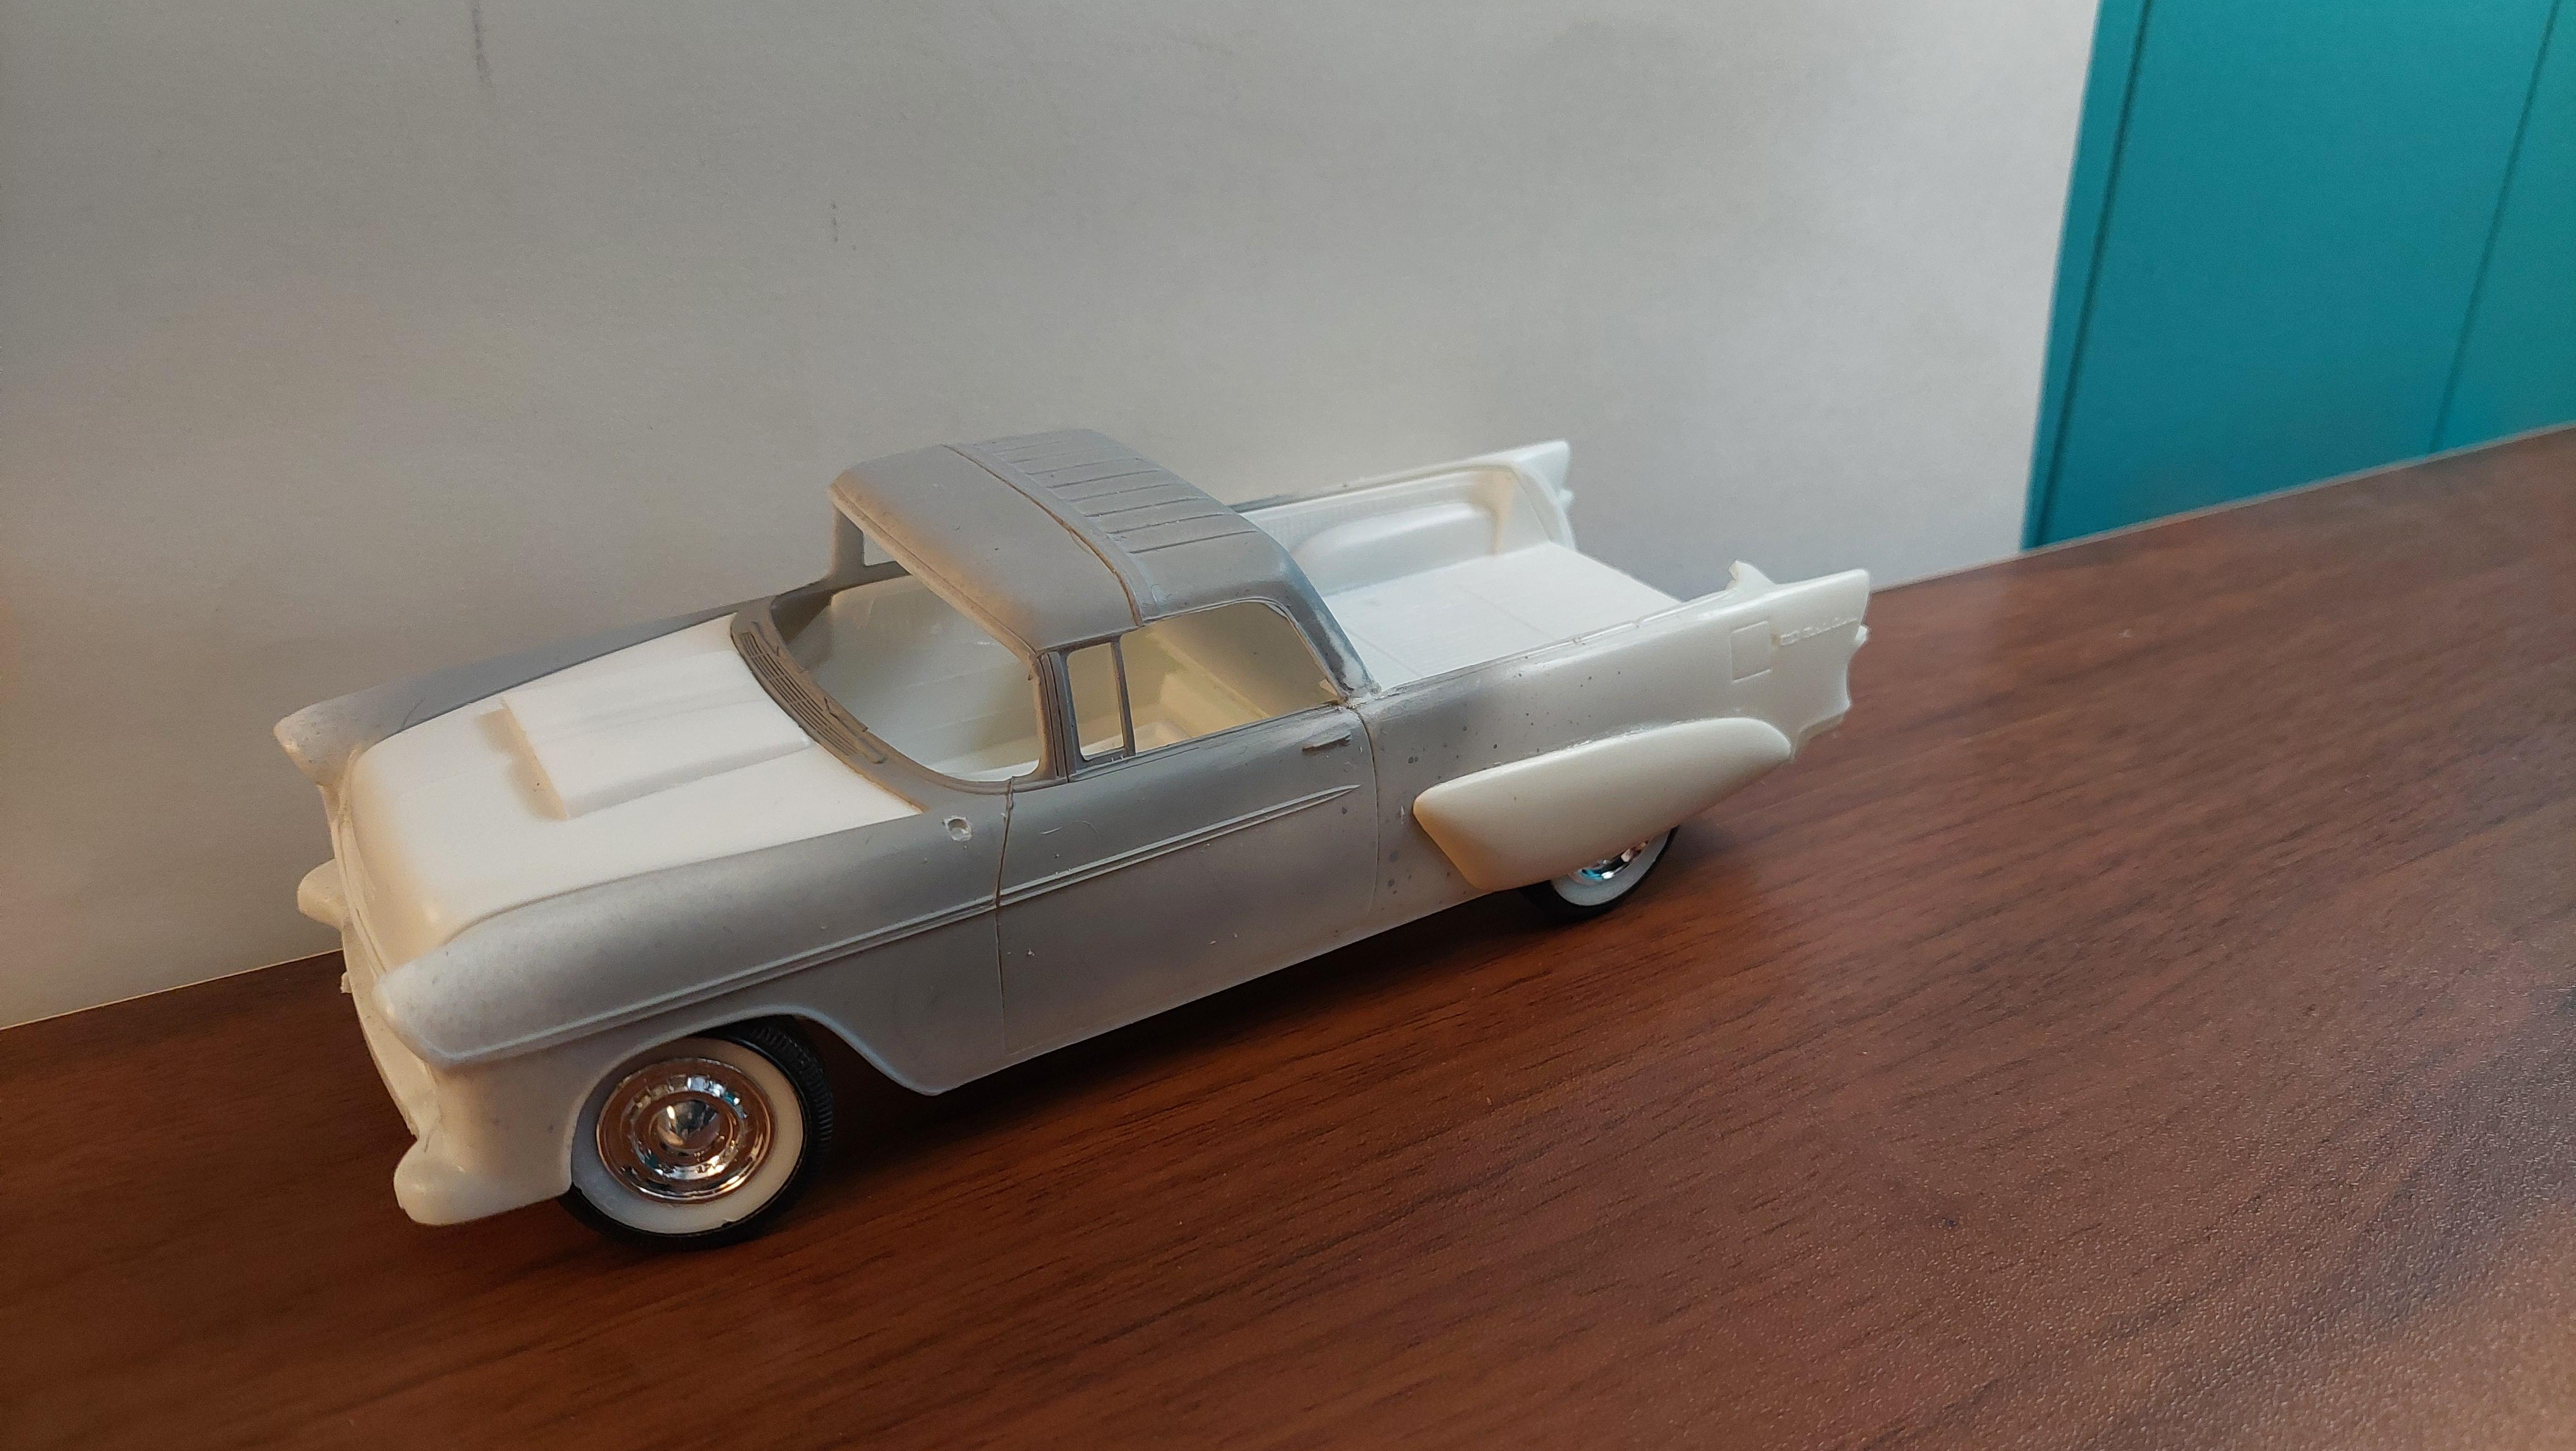
Thank you... and yes it was a 55 wagon, that AMT kit comes with the roof and bed rails to make the ElCamino and the Revell 55 convertible parts fit pretty nice on this AMT kit too.
-
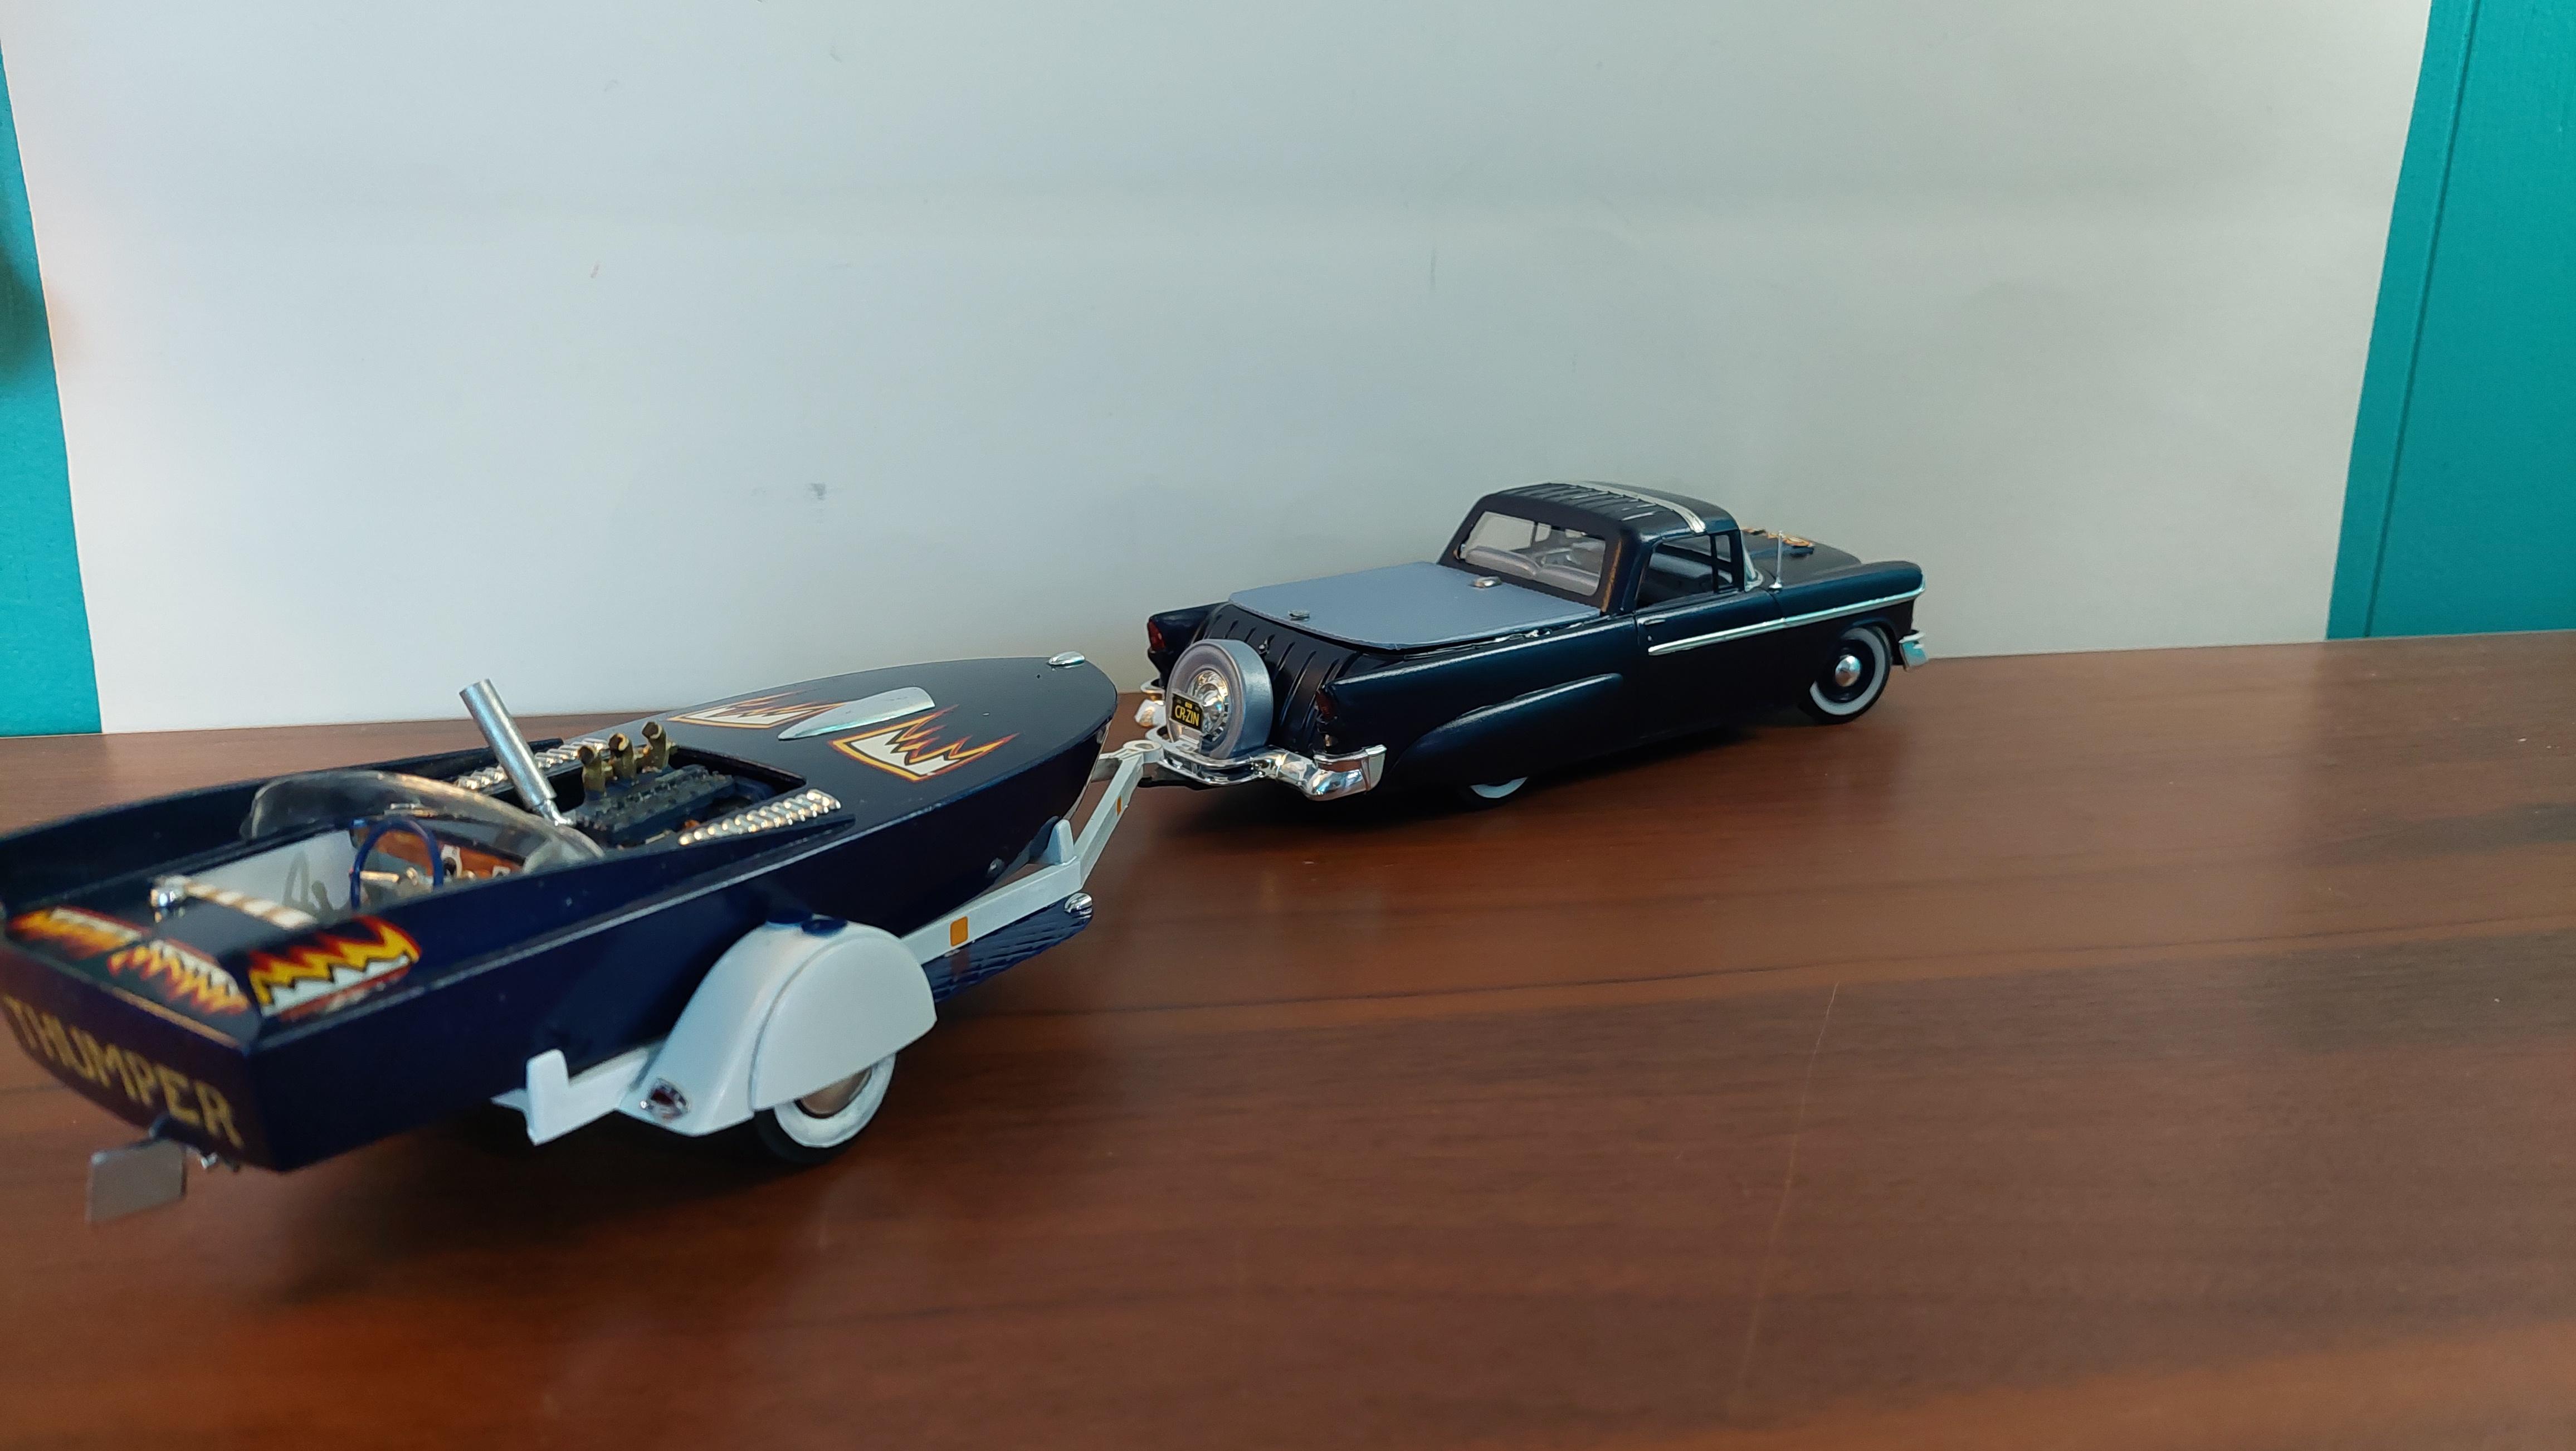
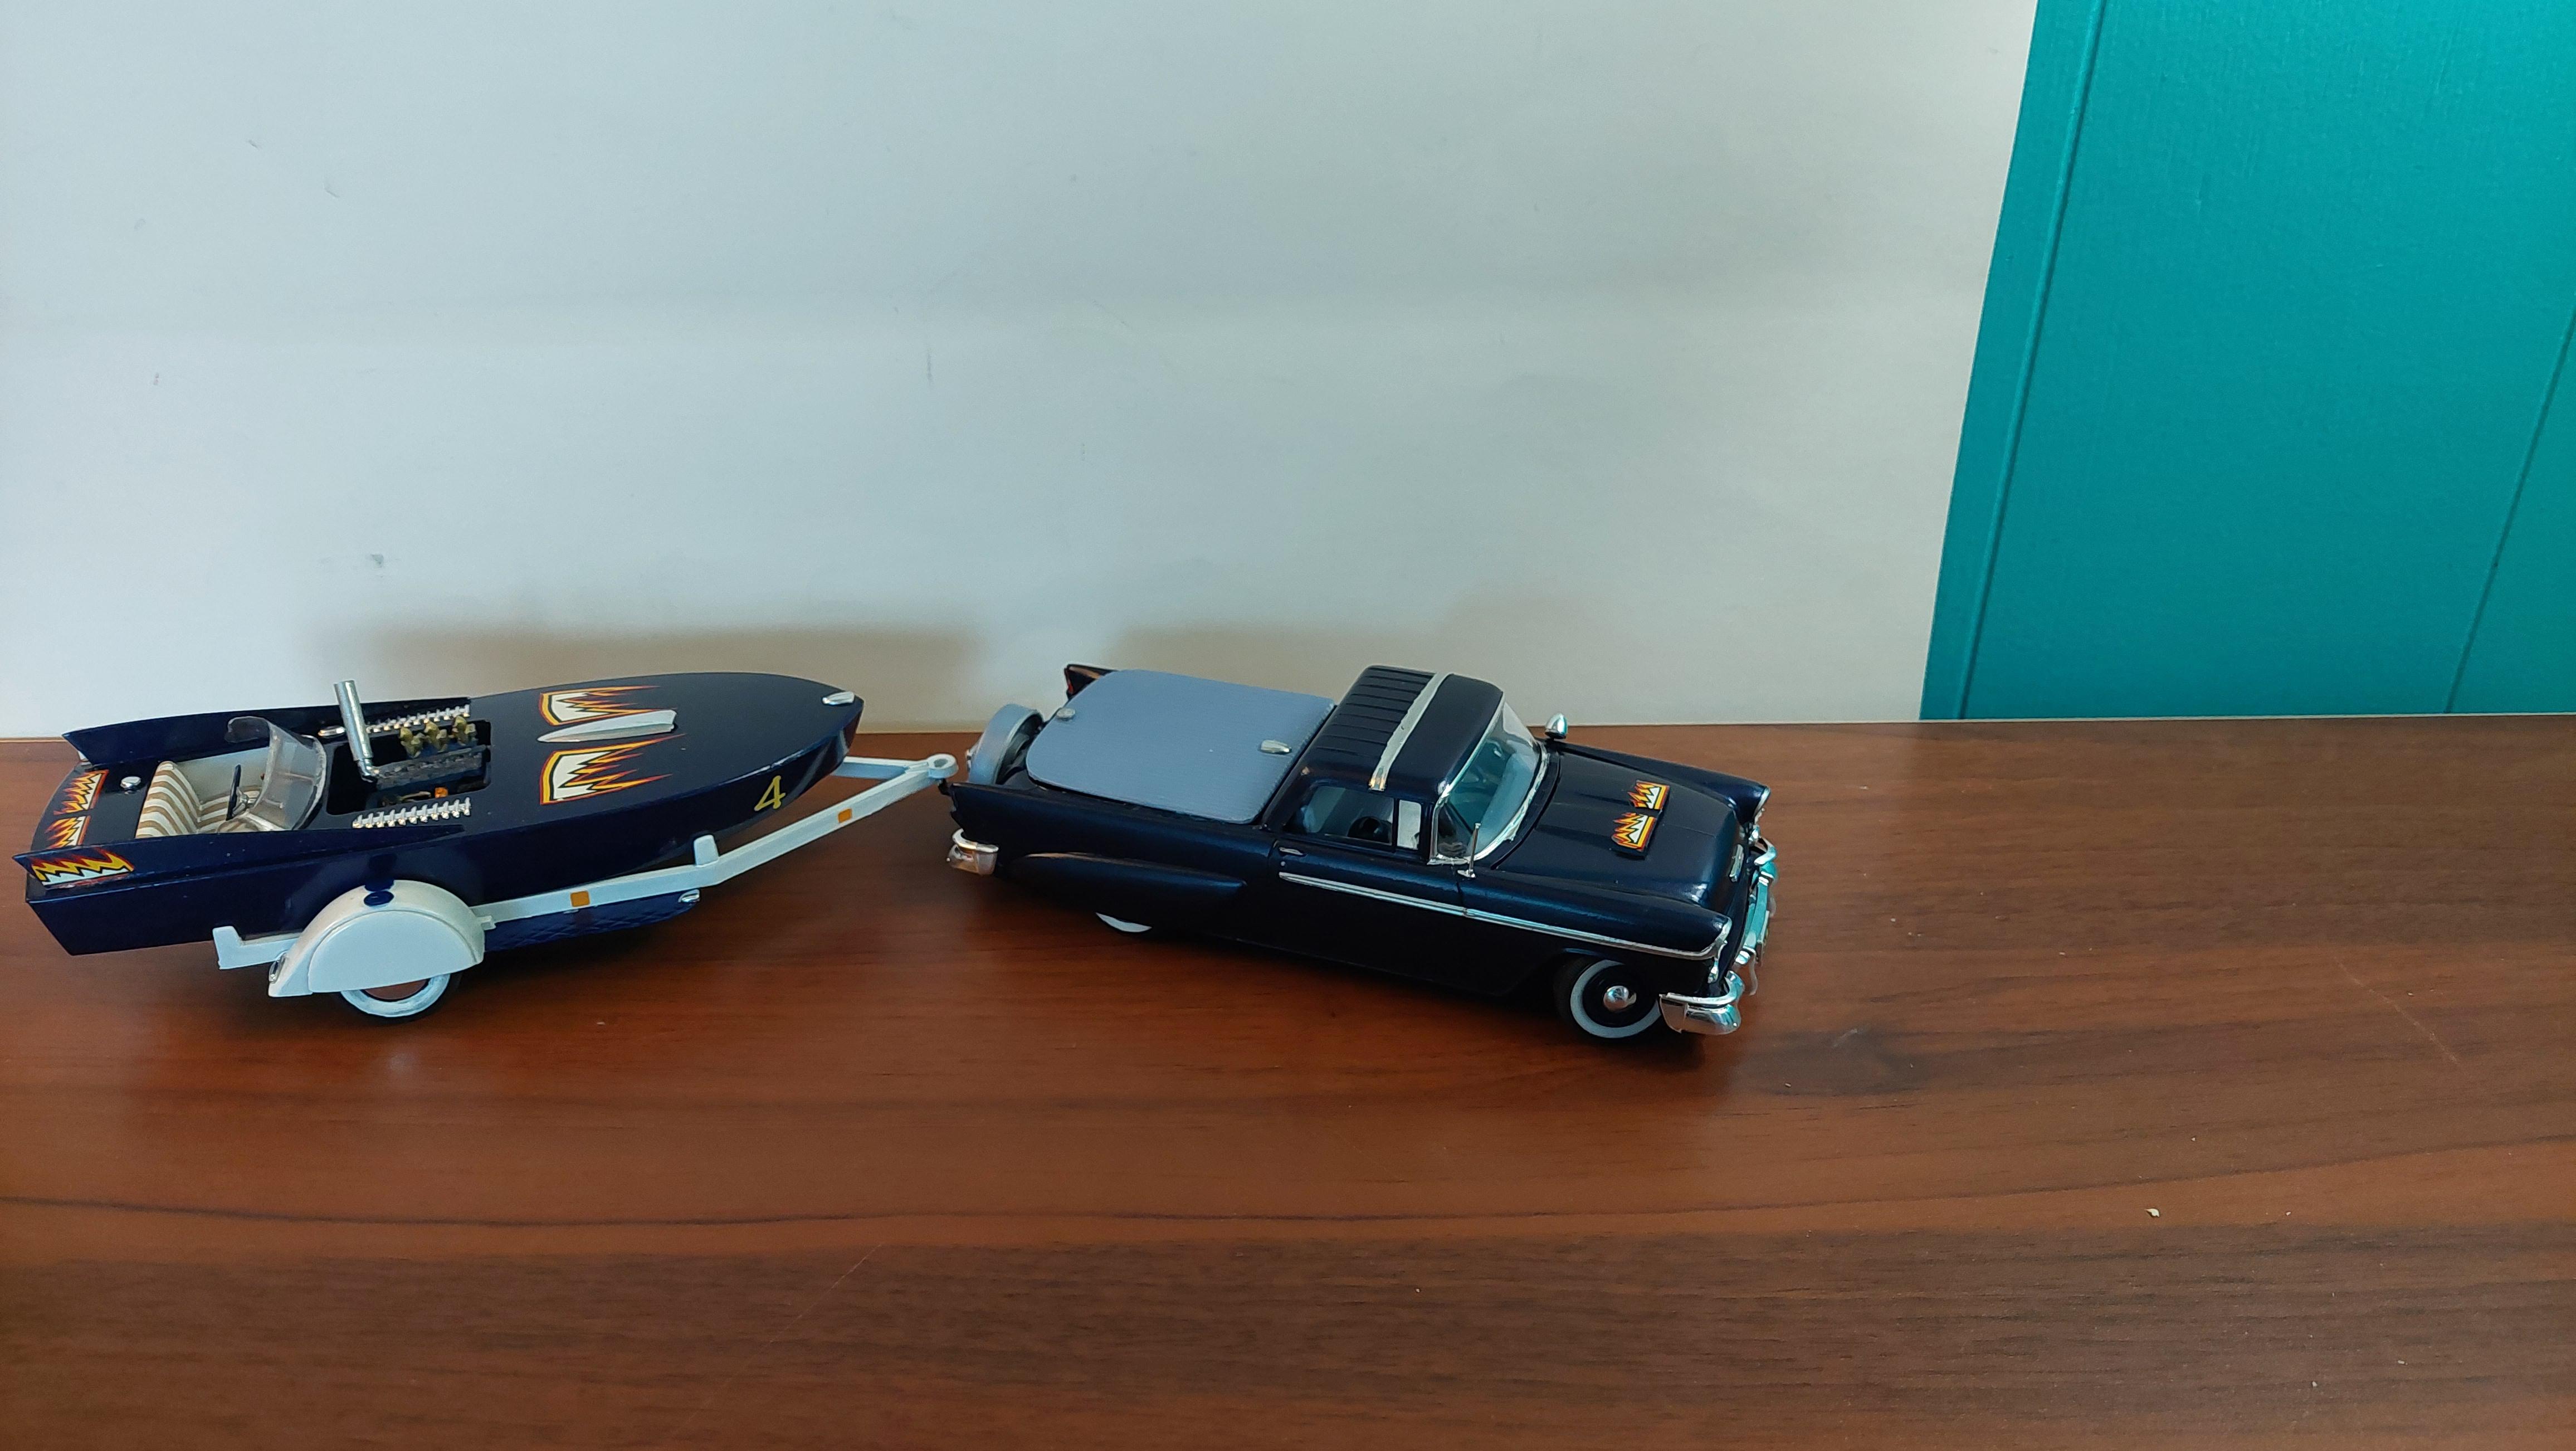
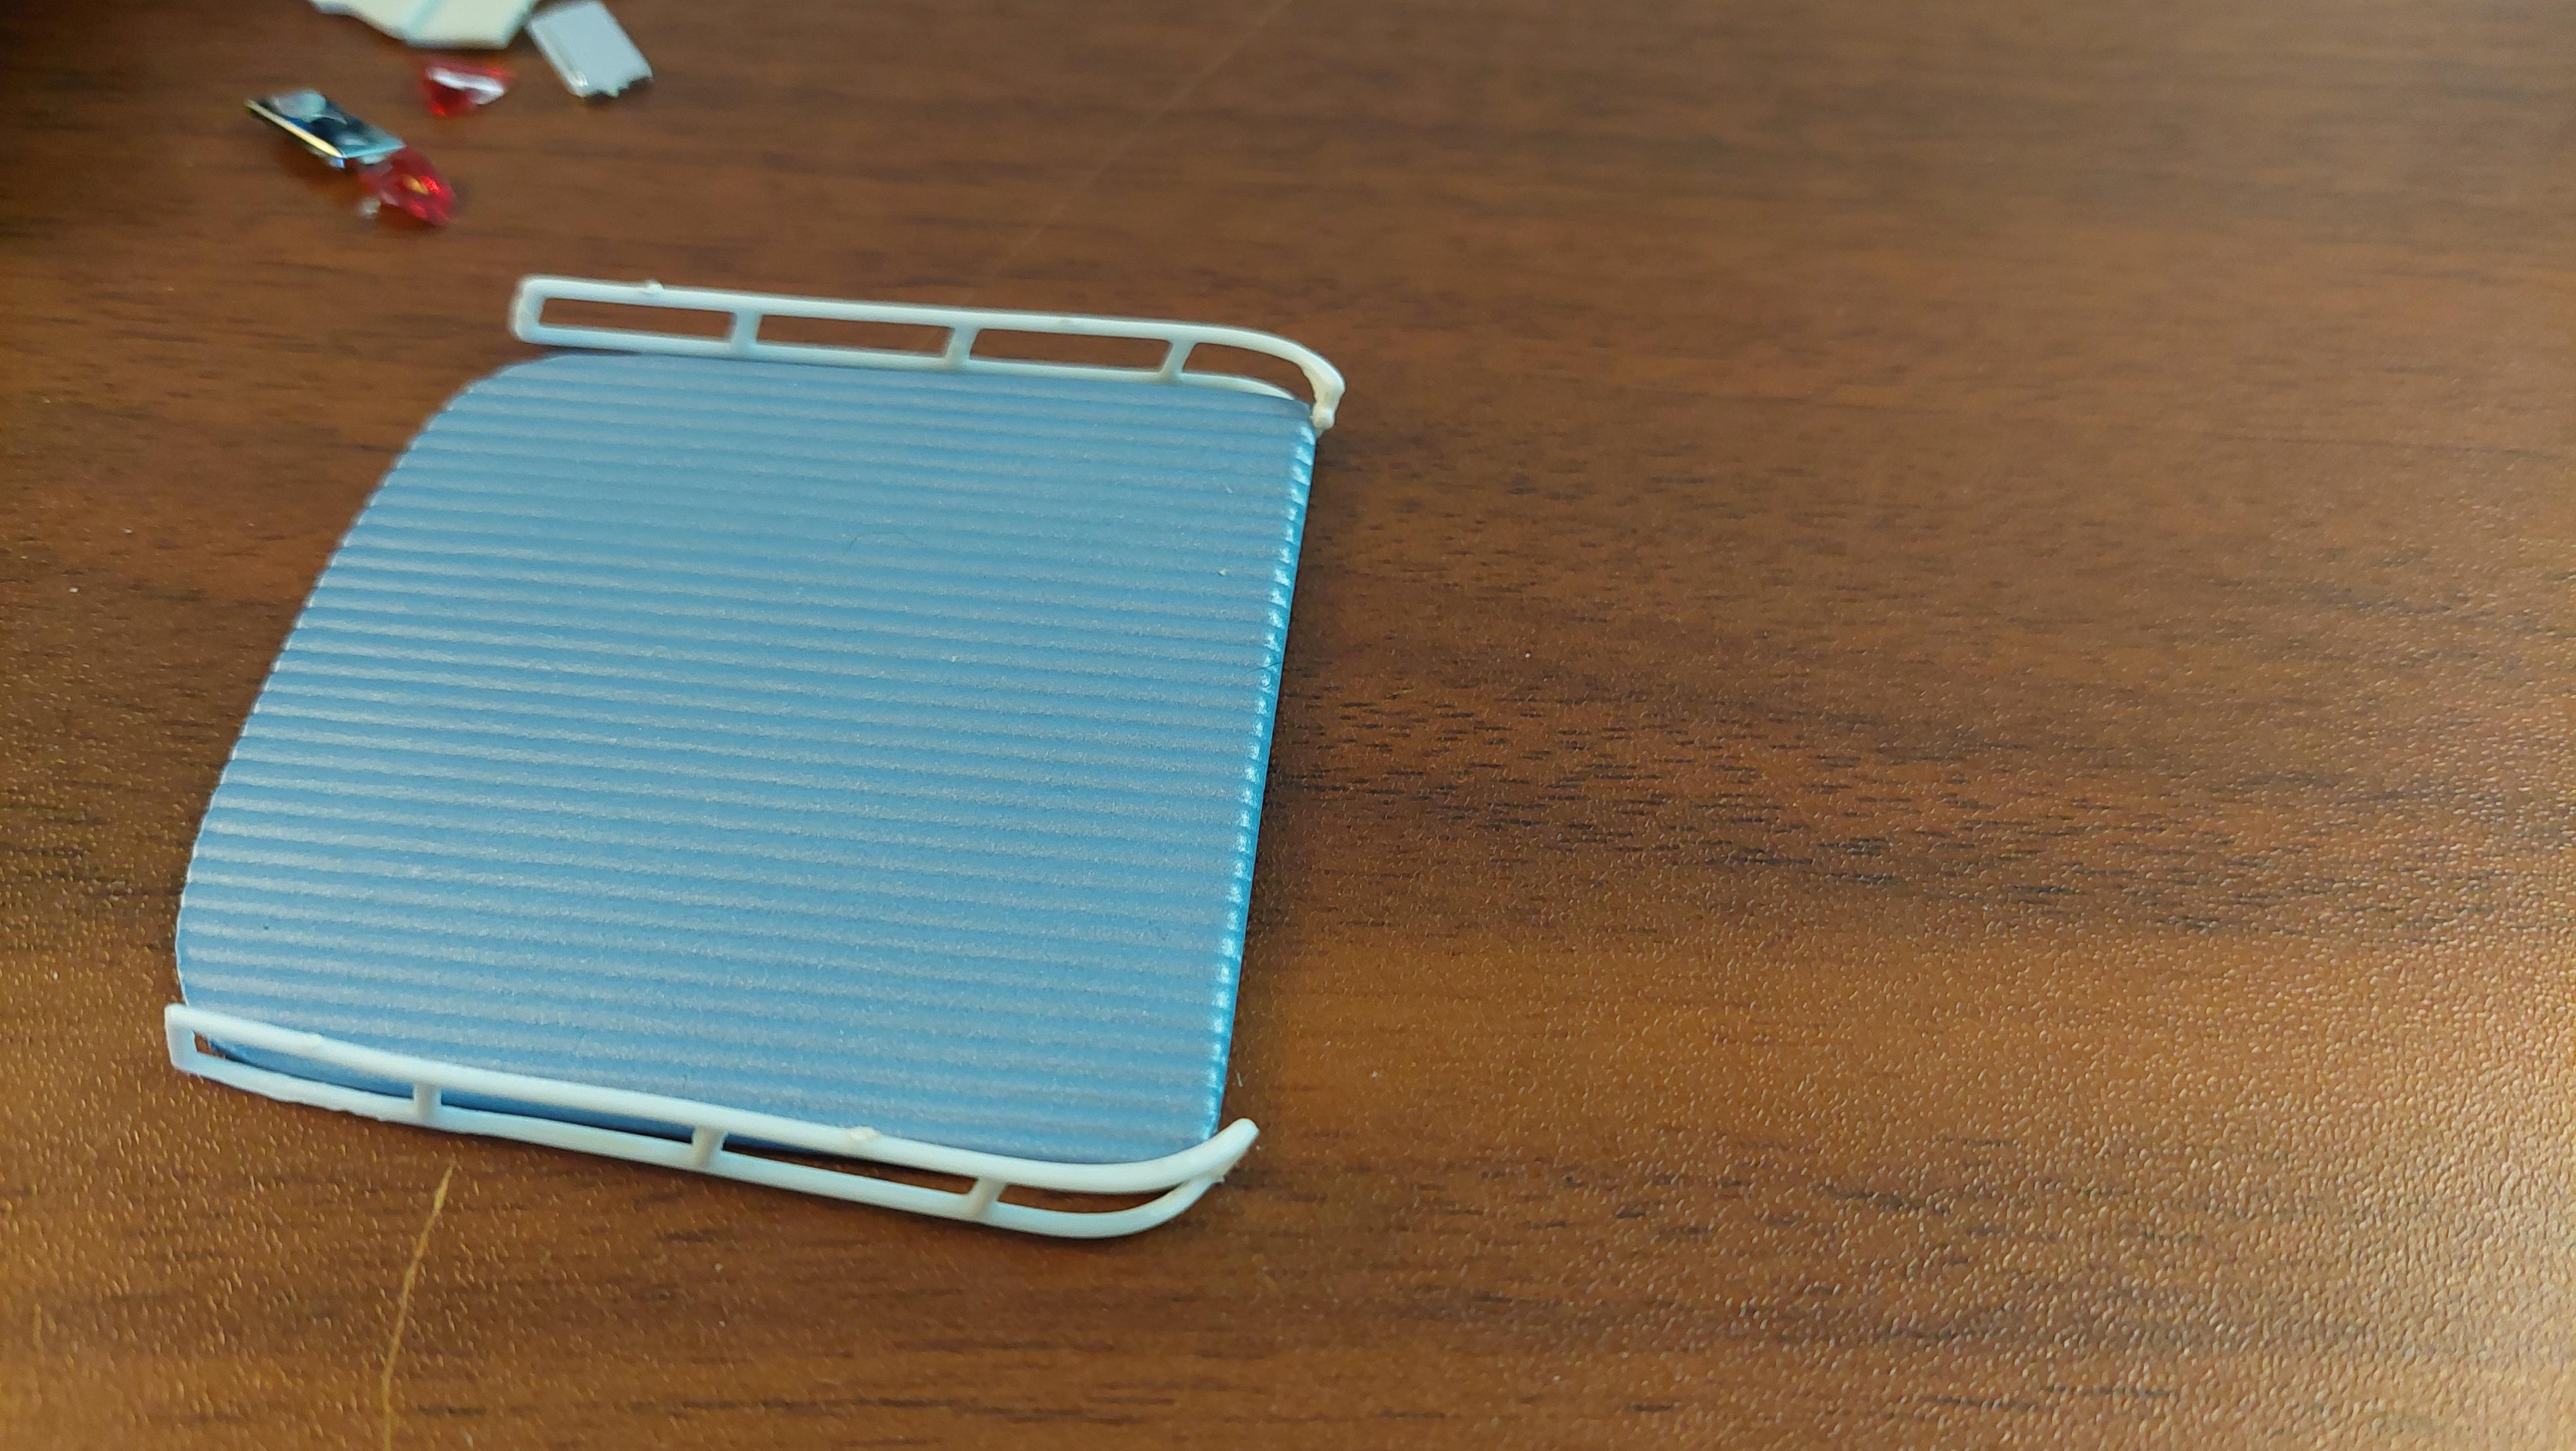
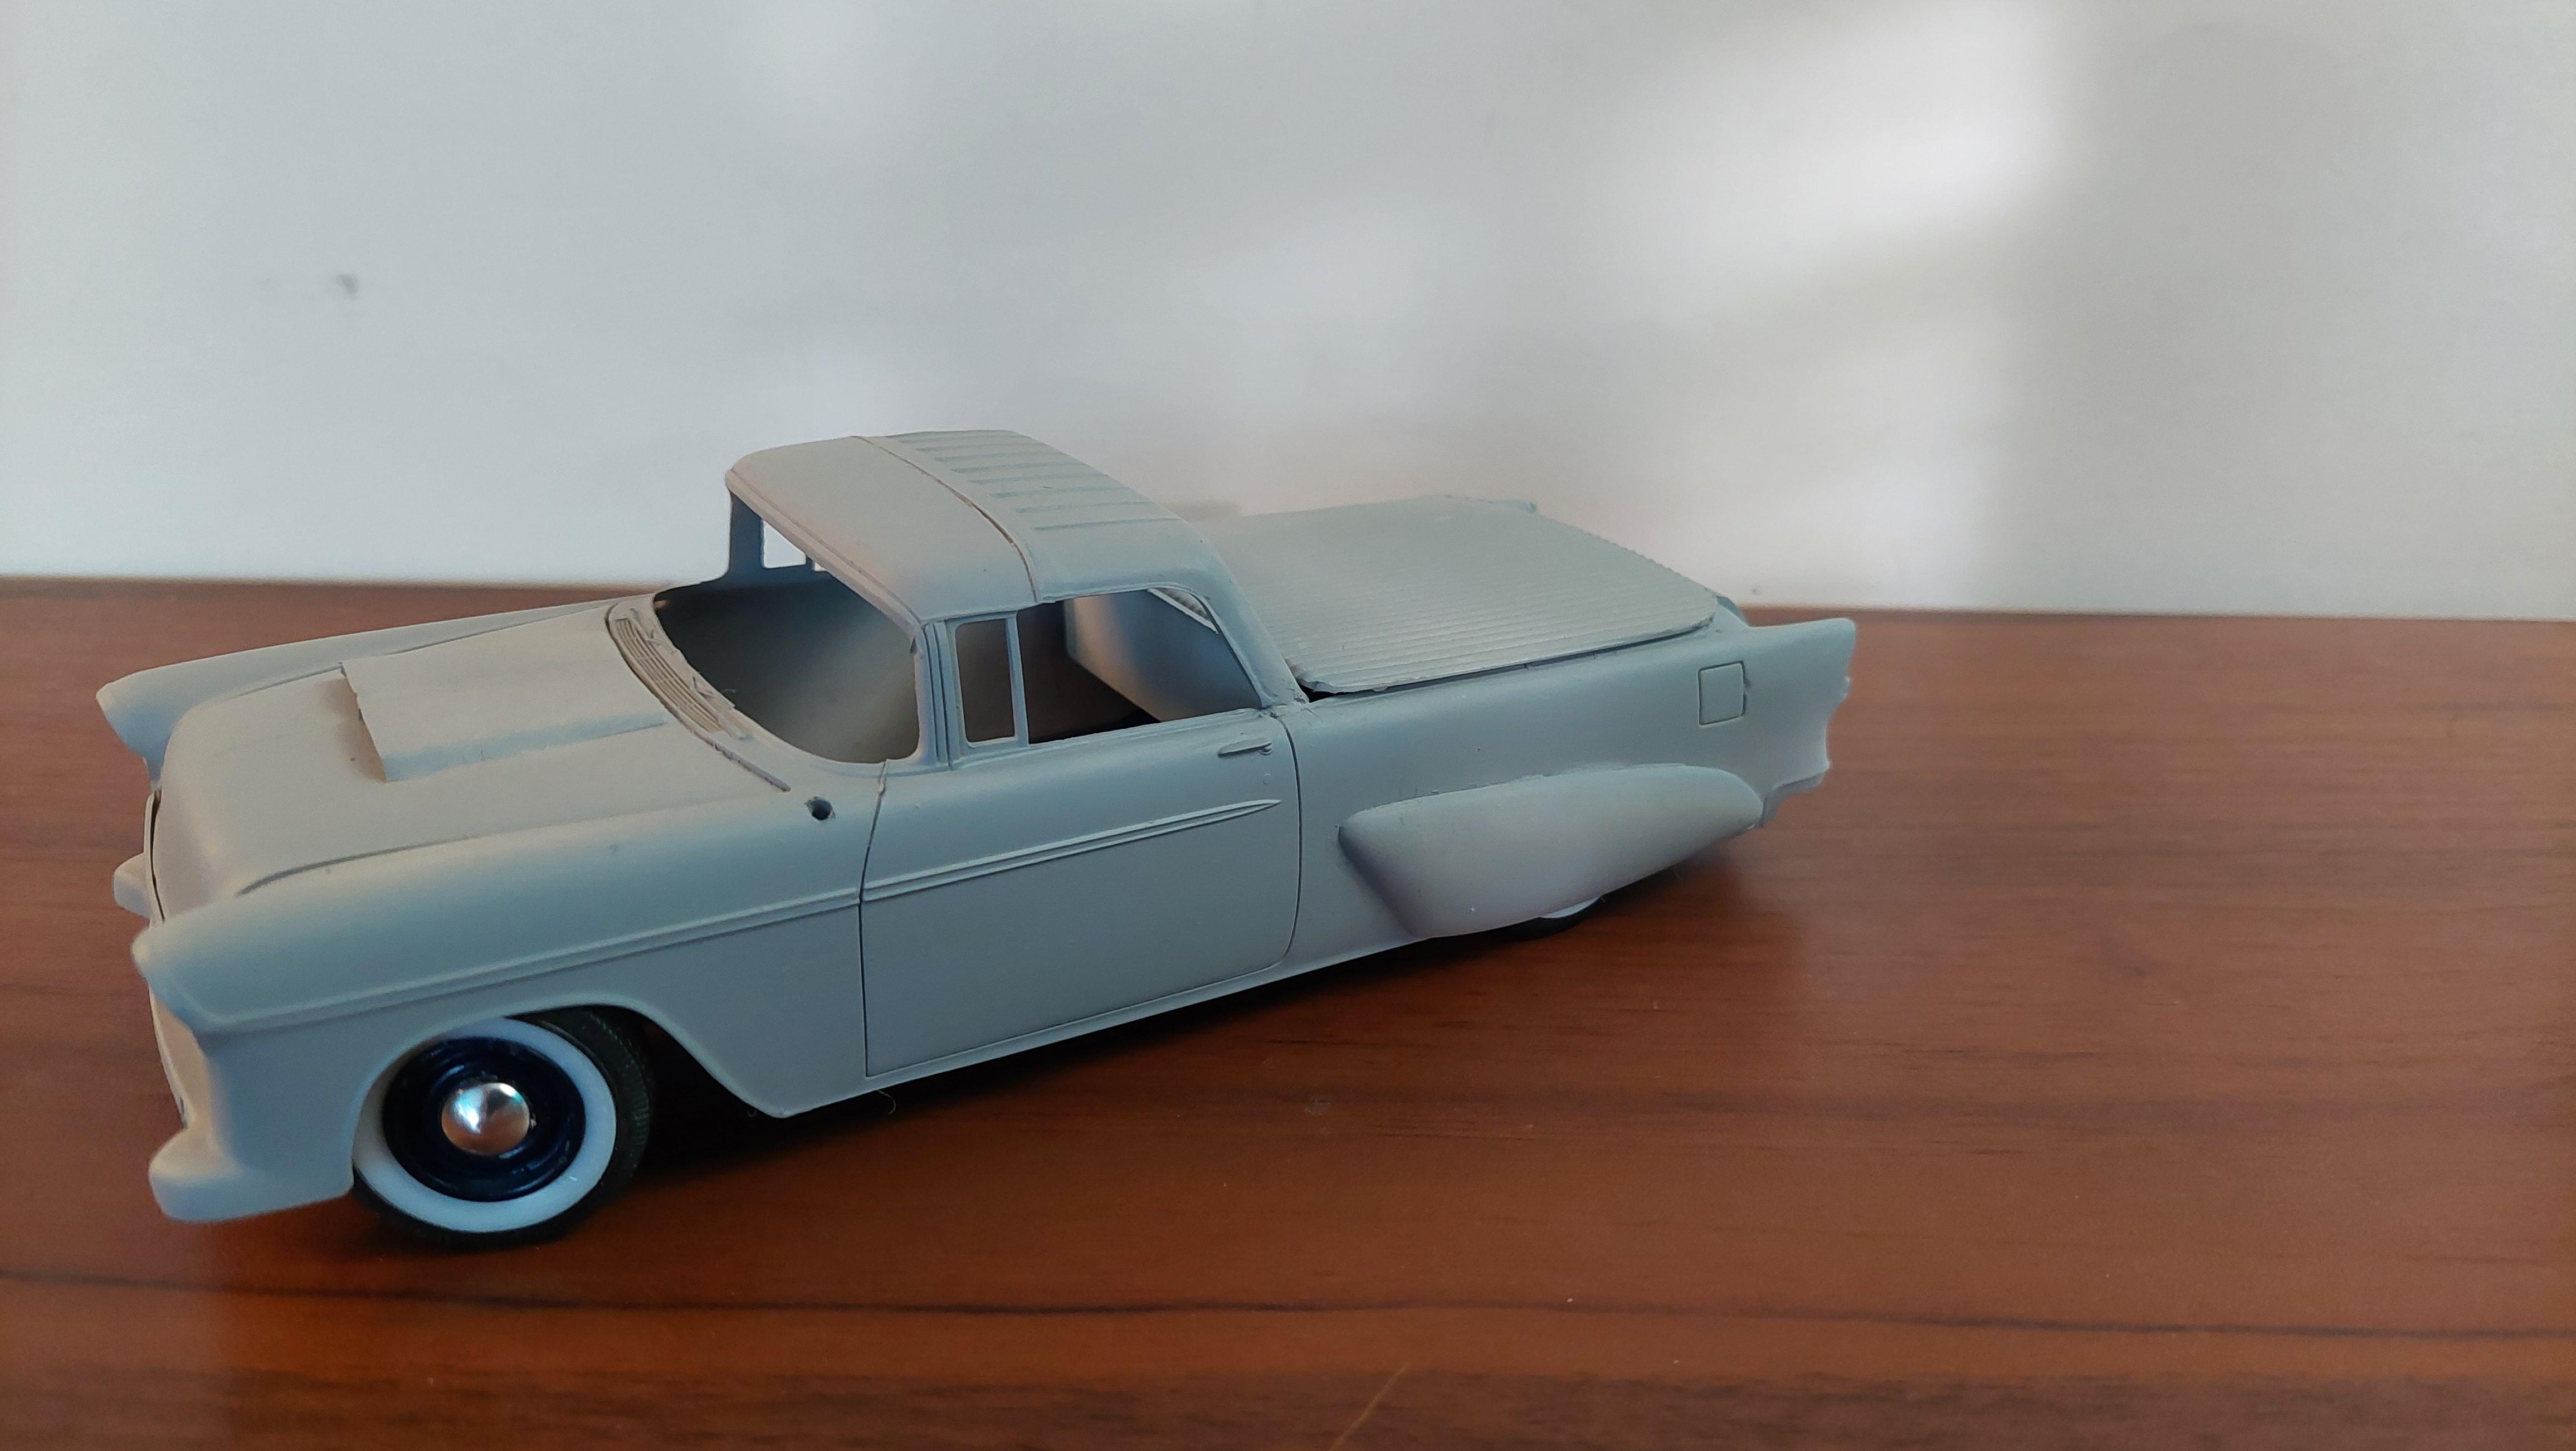
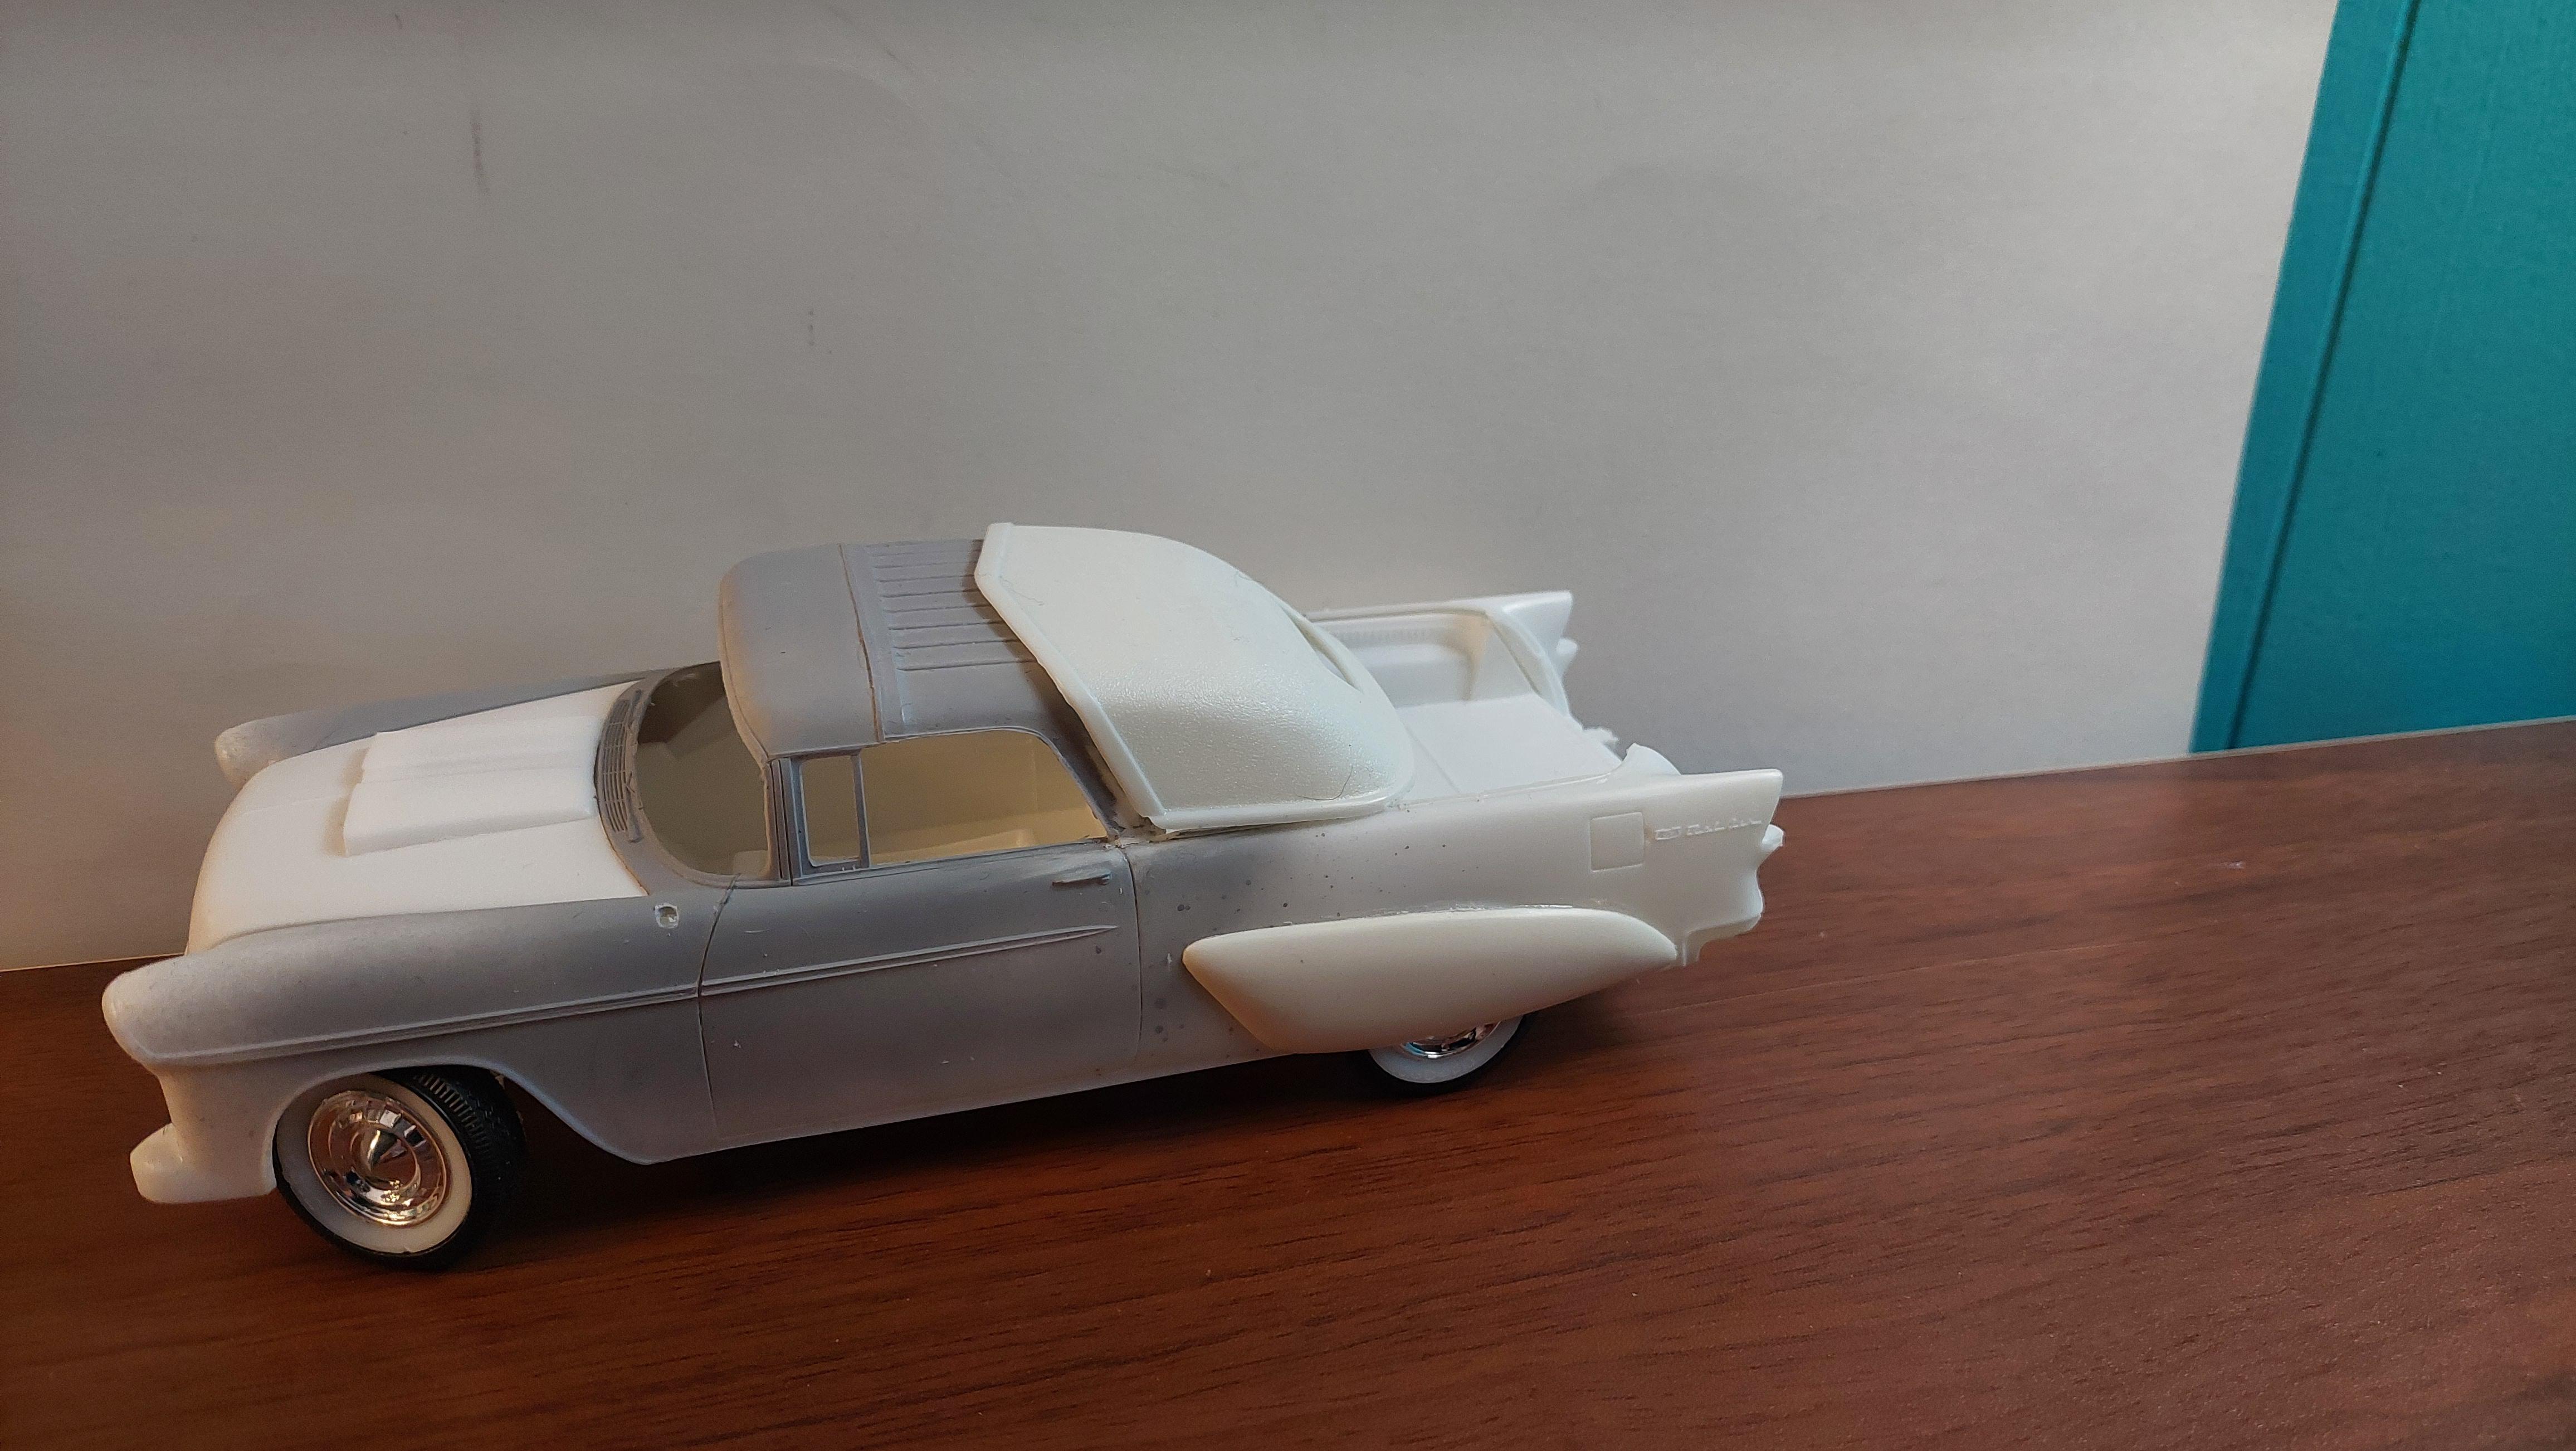
At last got this one buttoned up. Together its 17 inches long. The 55 interior is mostly from the Revell 55 convertible, so are the bumpers and continental kit. Interior detail from AMT is pretty lame but it is old technology. Skirts are parts box as is the tonneau cover
-
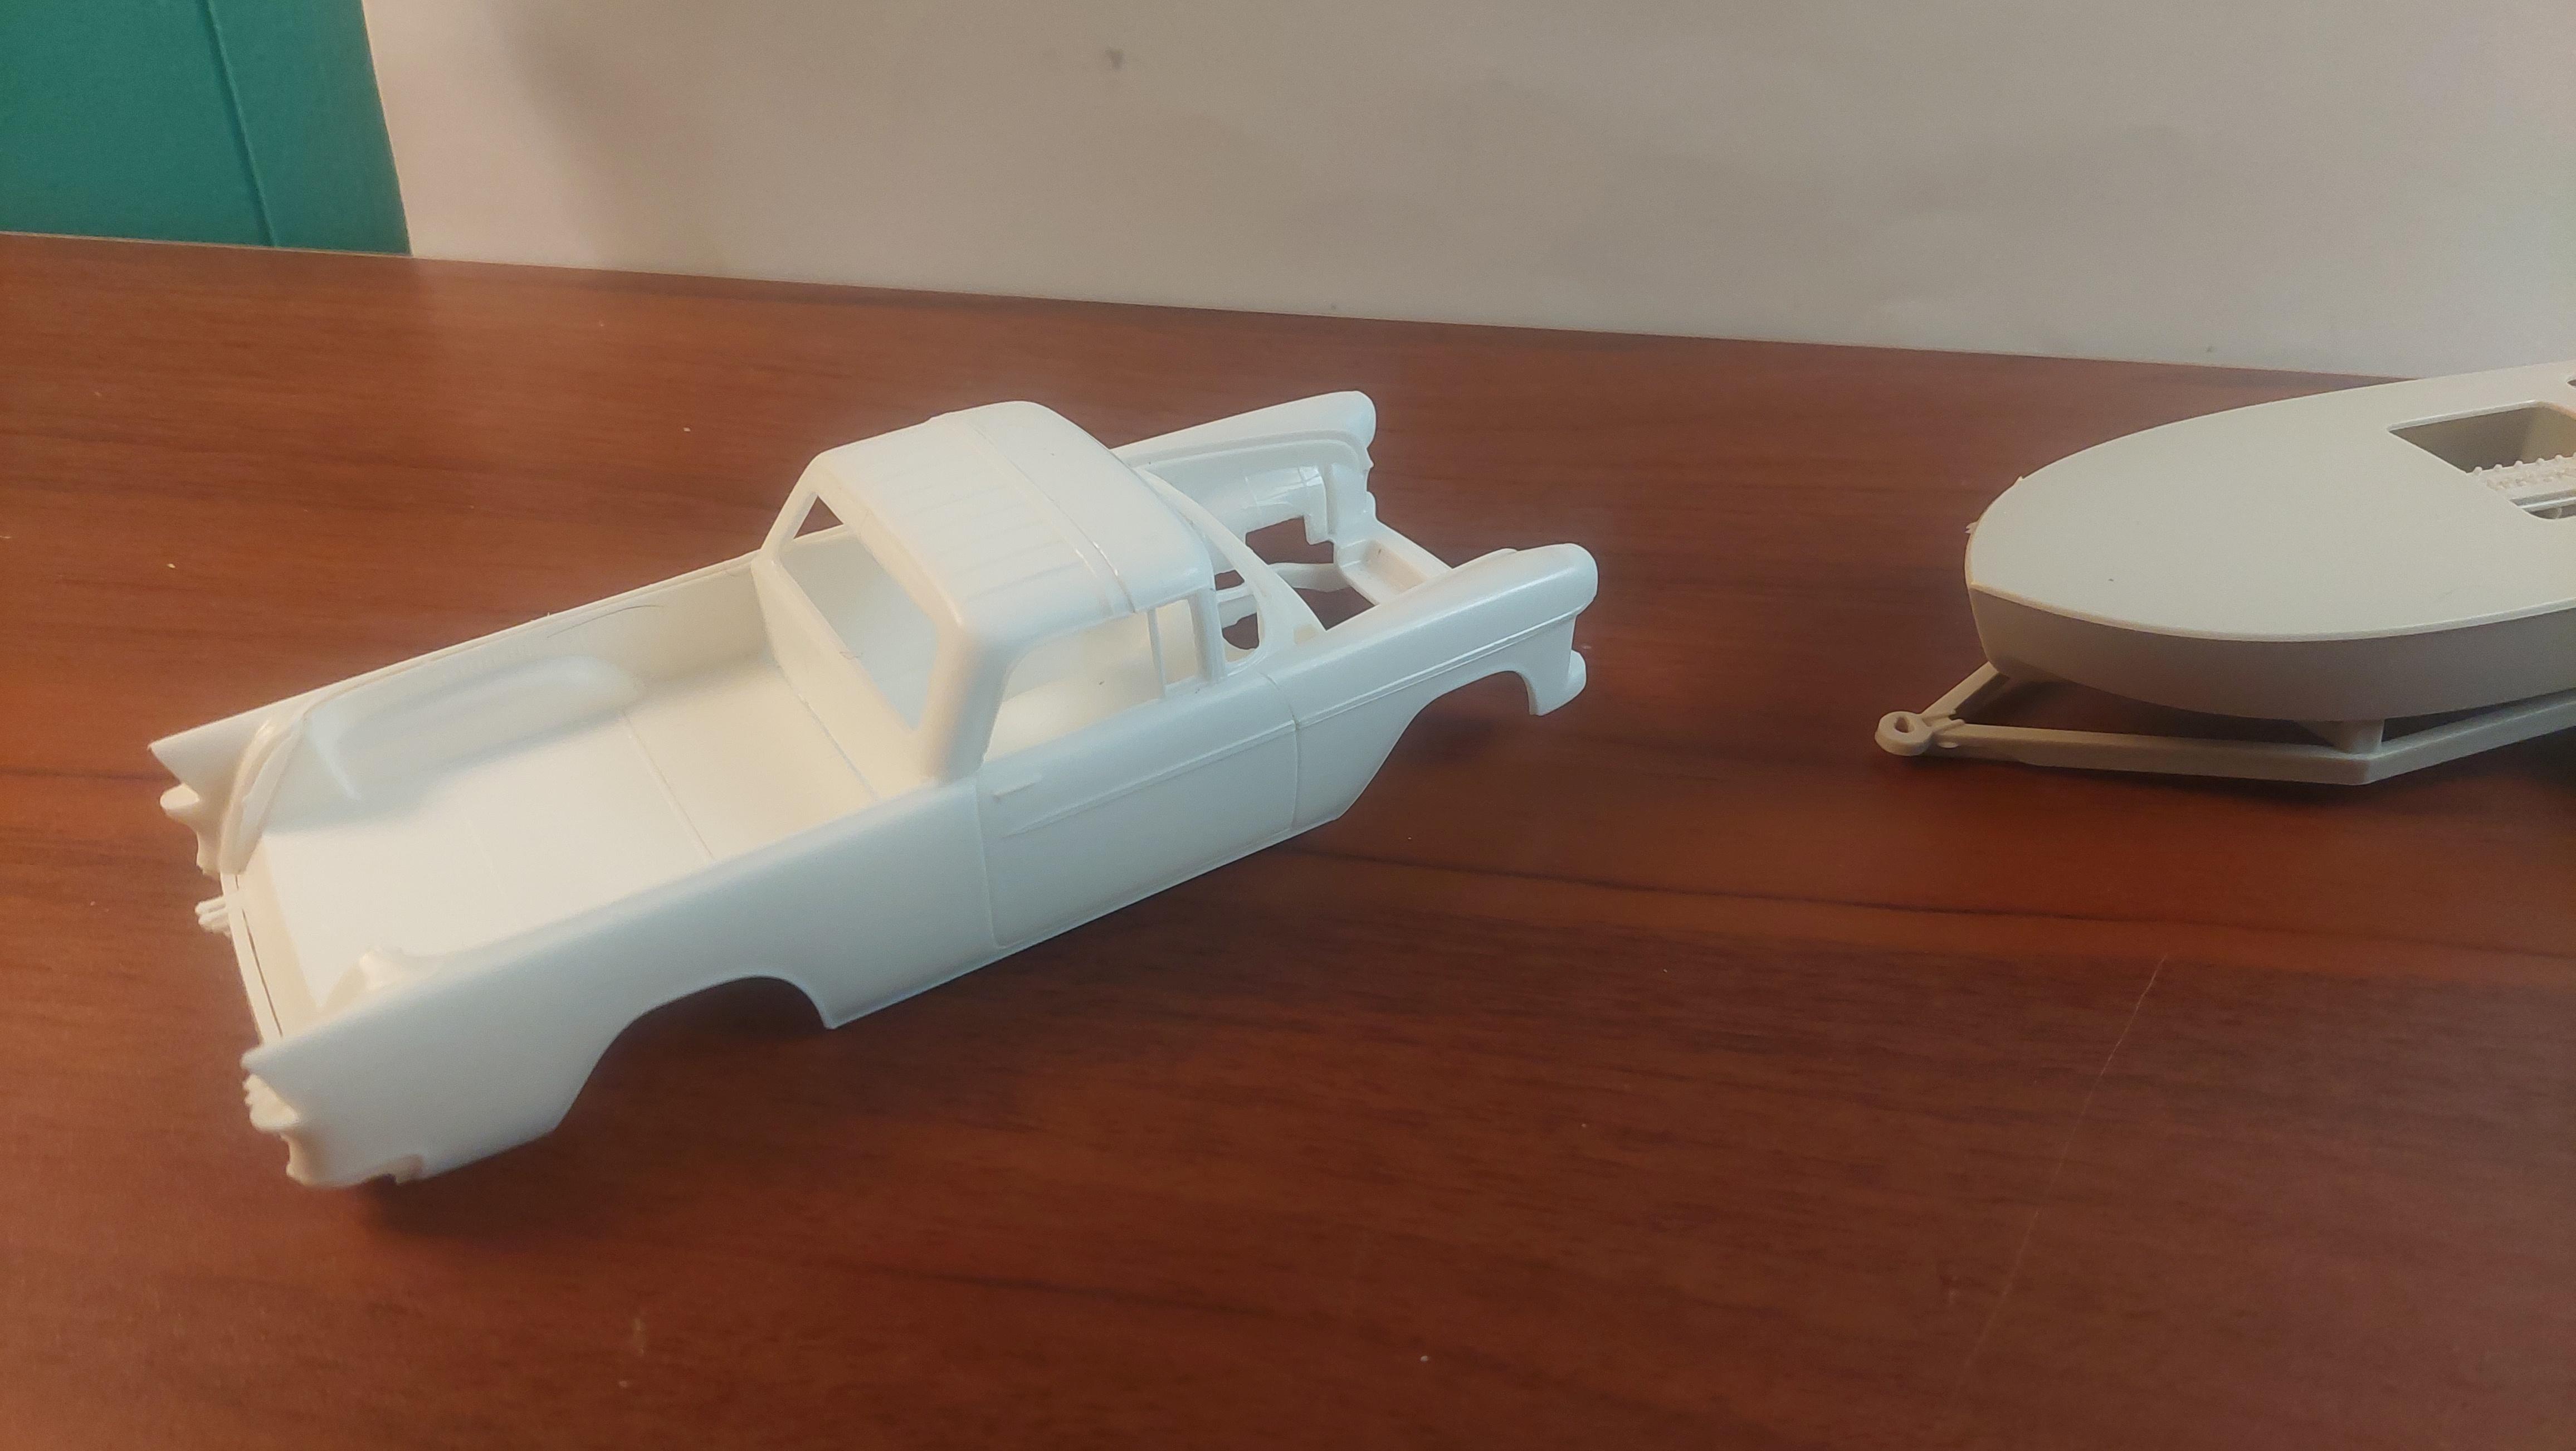
Just about got this boat hauler buttoned up, need a day for final assembly , maybe today or tomorrow. Door panels were from the Revell 55 as well as the bumpers and continental kit. Not sure on bed rails, on or off , I guess I can decide last minute. Tonneau cover is a modified parts box piece, rear moons were left off as they cannot be seen under the skirts.
-
 Its a pretty rare item.
 -
Is that the AMT 28 Ford below the Ala Kart in picture #8?
-
Looking just for the body , no other parts ,box or decals. It doesnt really need to be mint, just usable. If you have a builder thats fine too...I have mucho trade stuff.. Ken
-
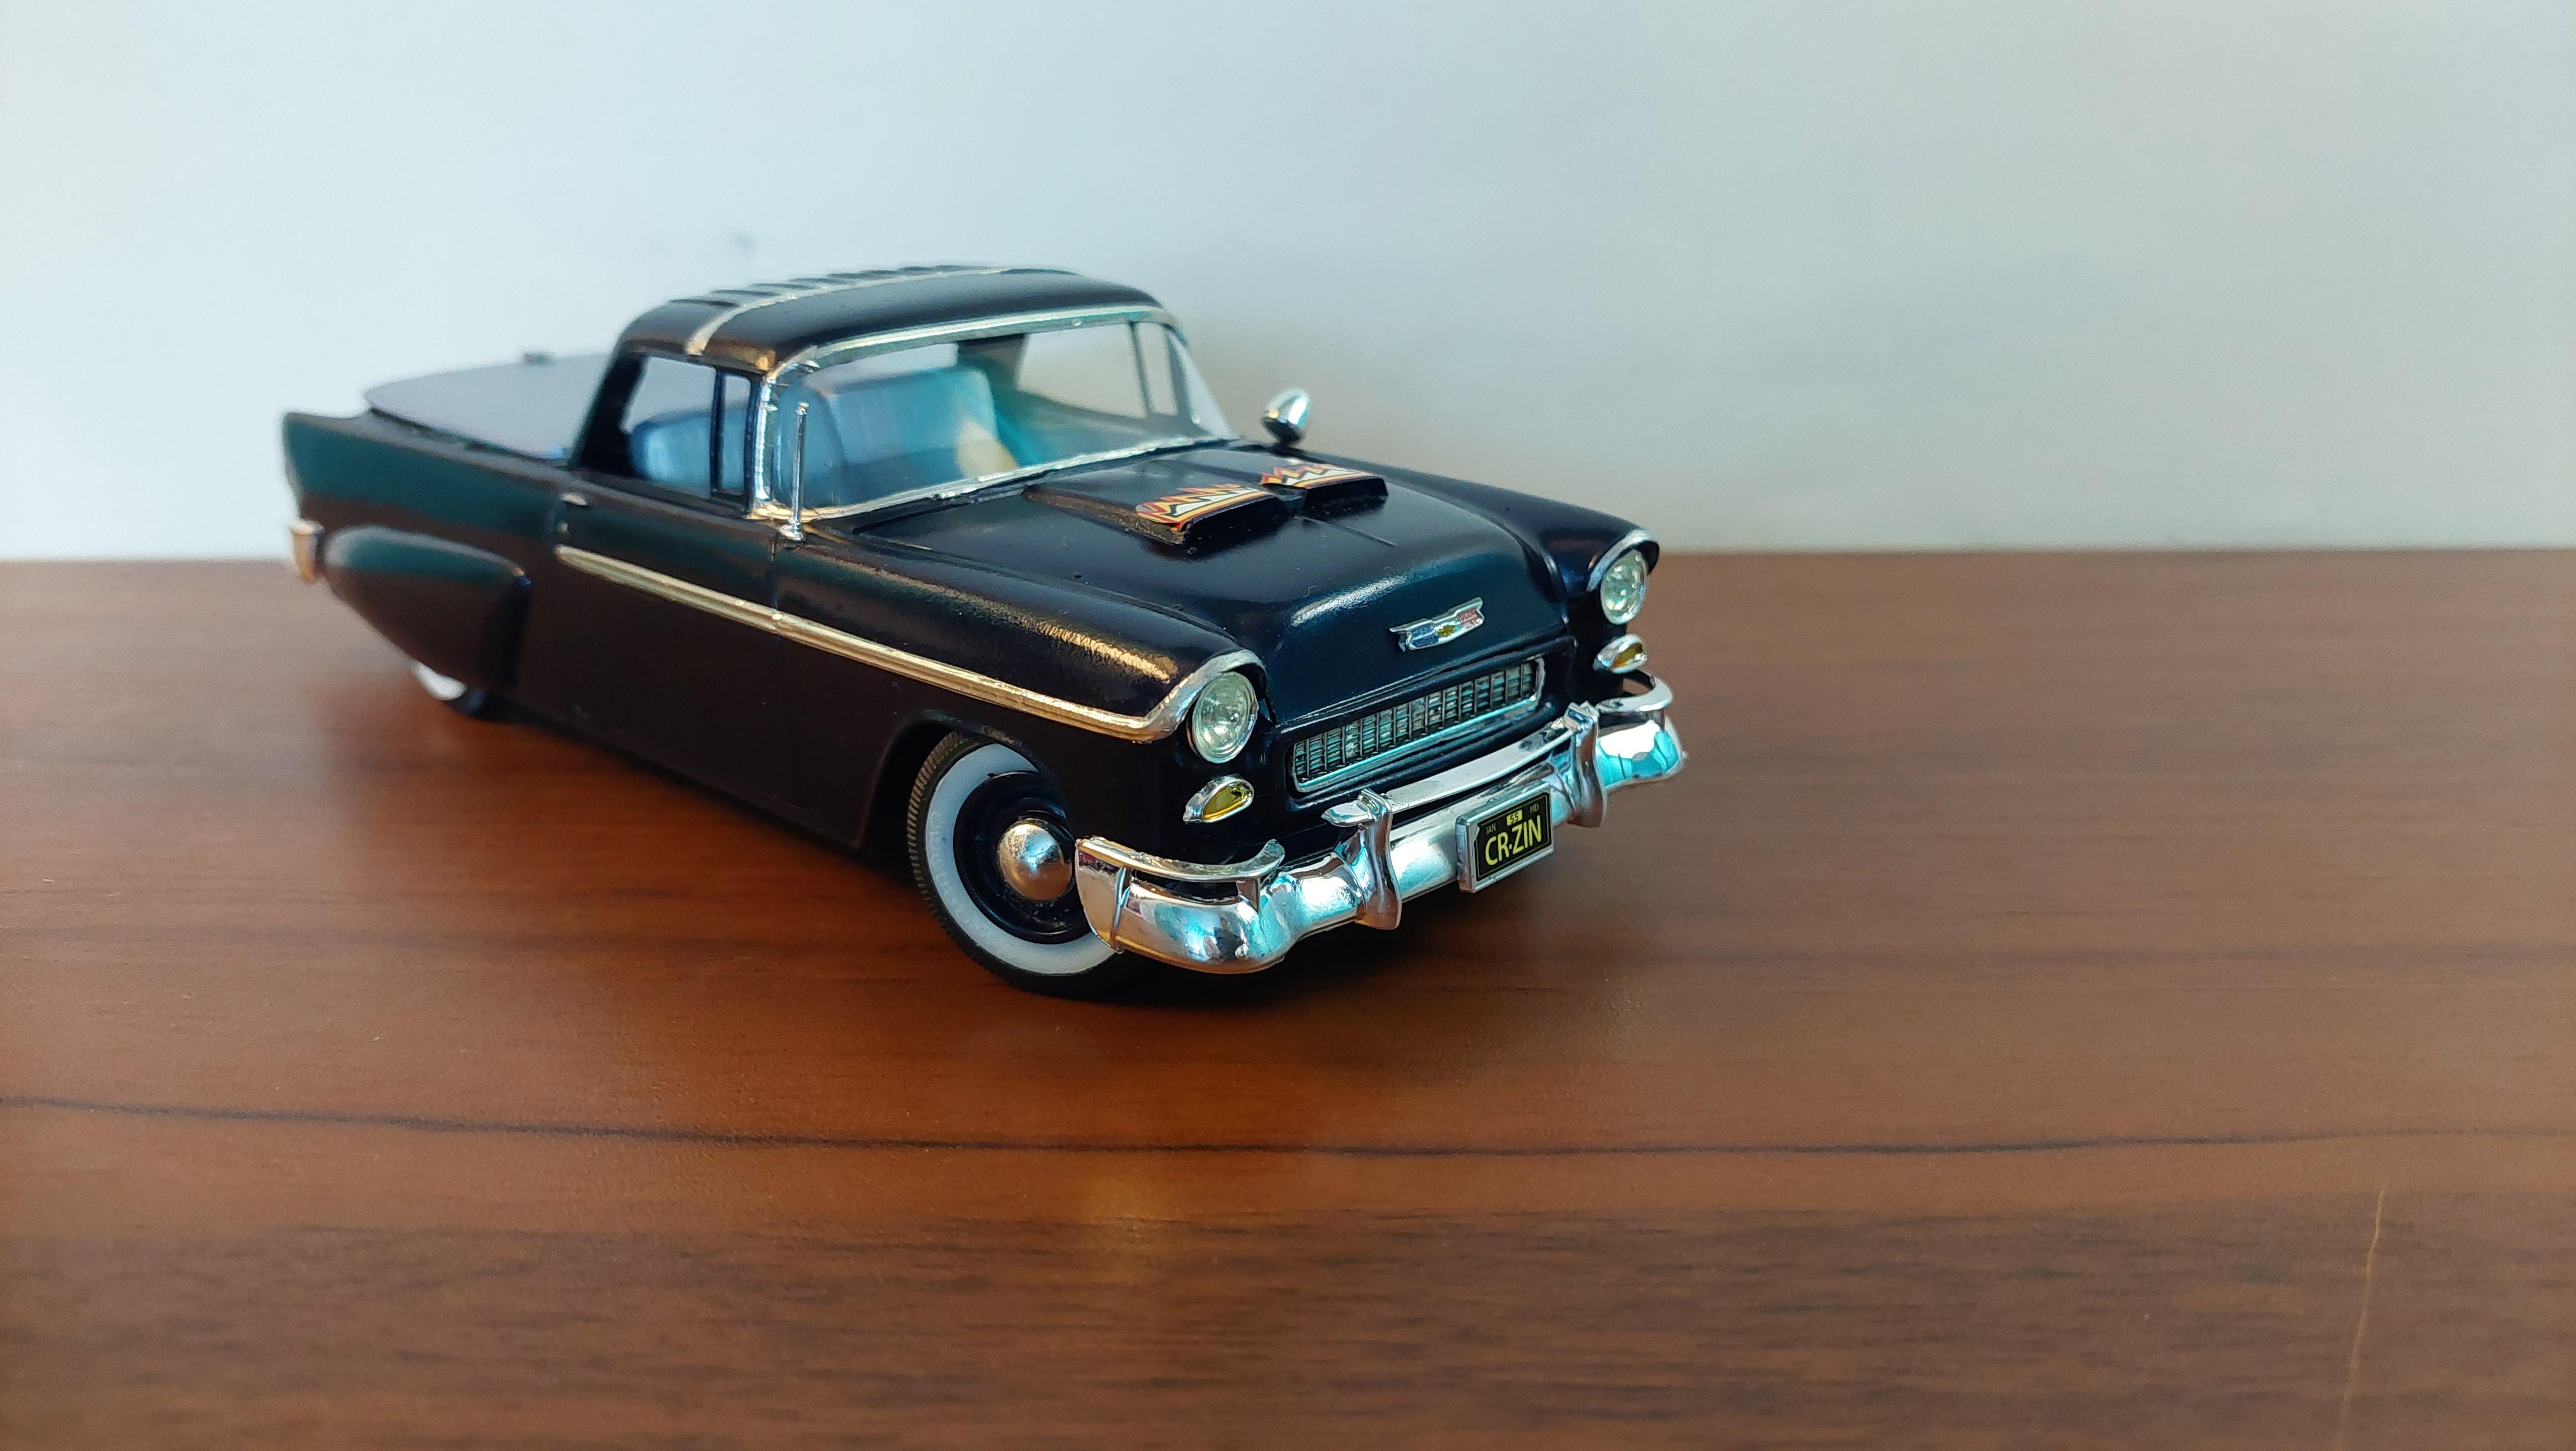
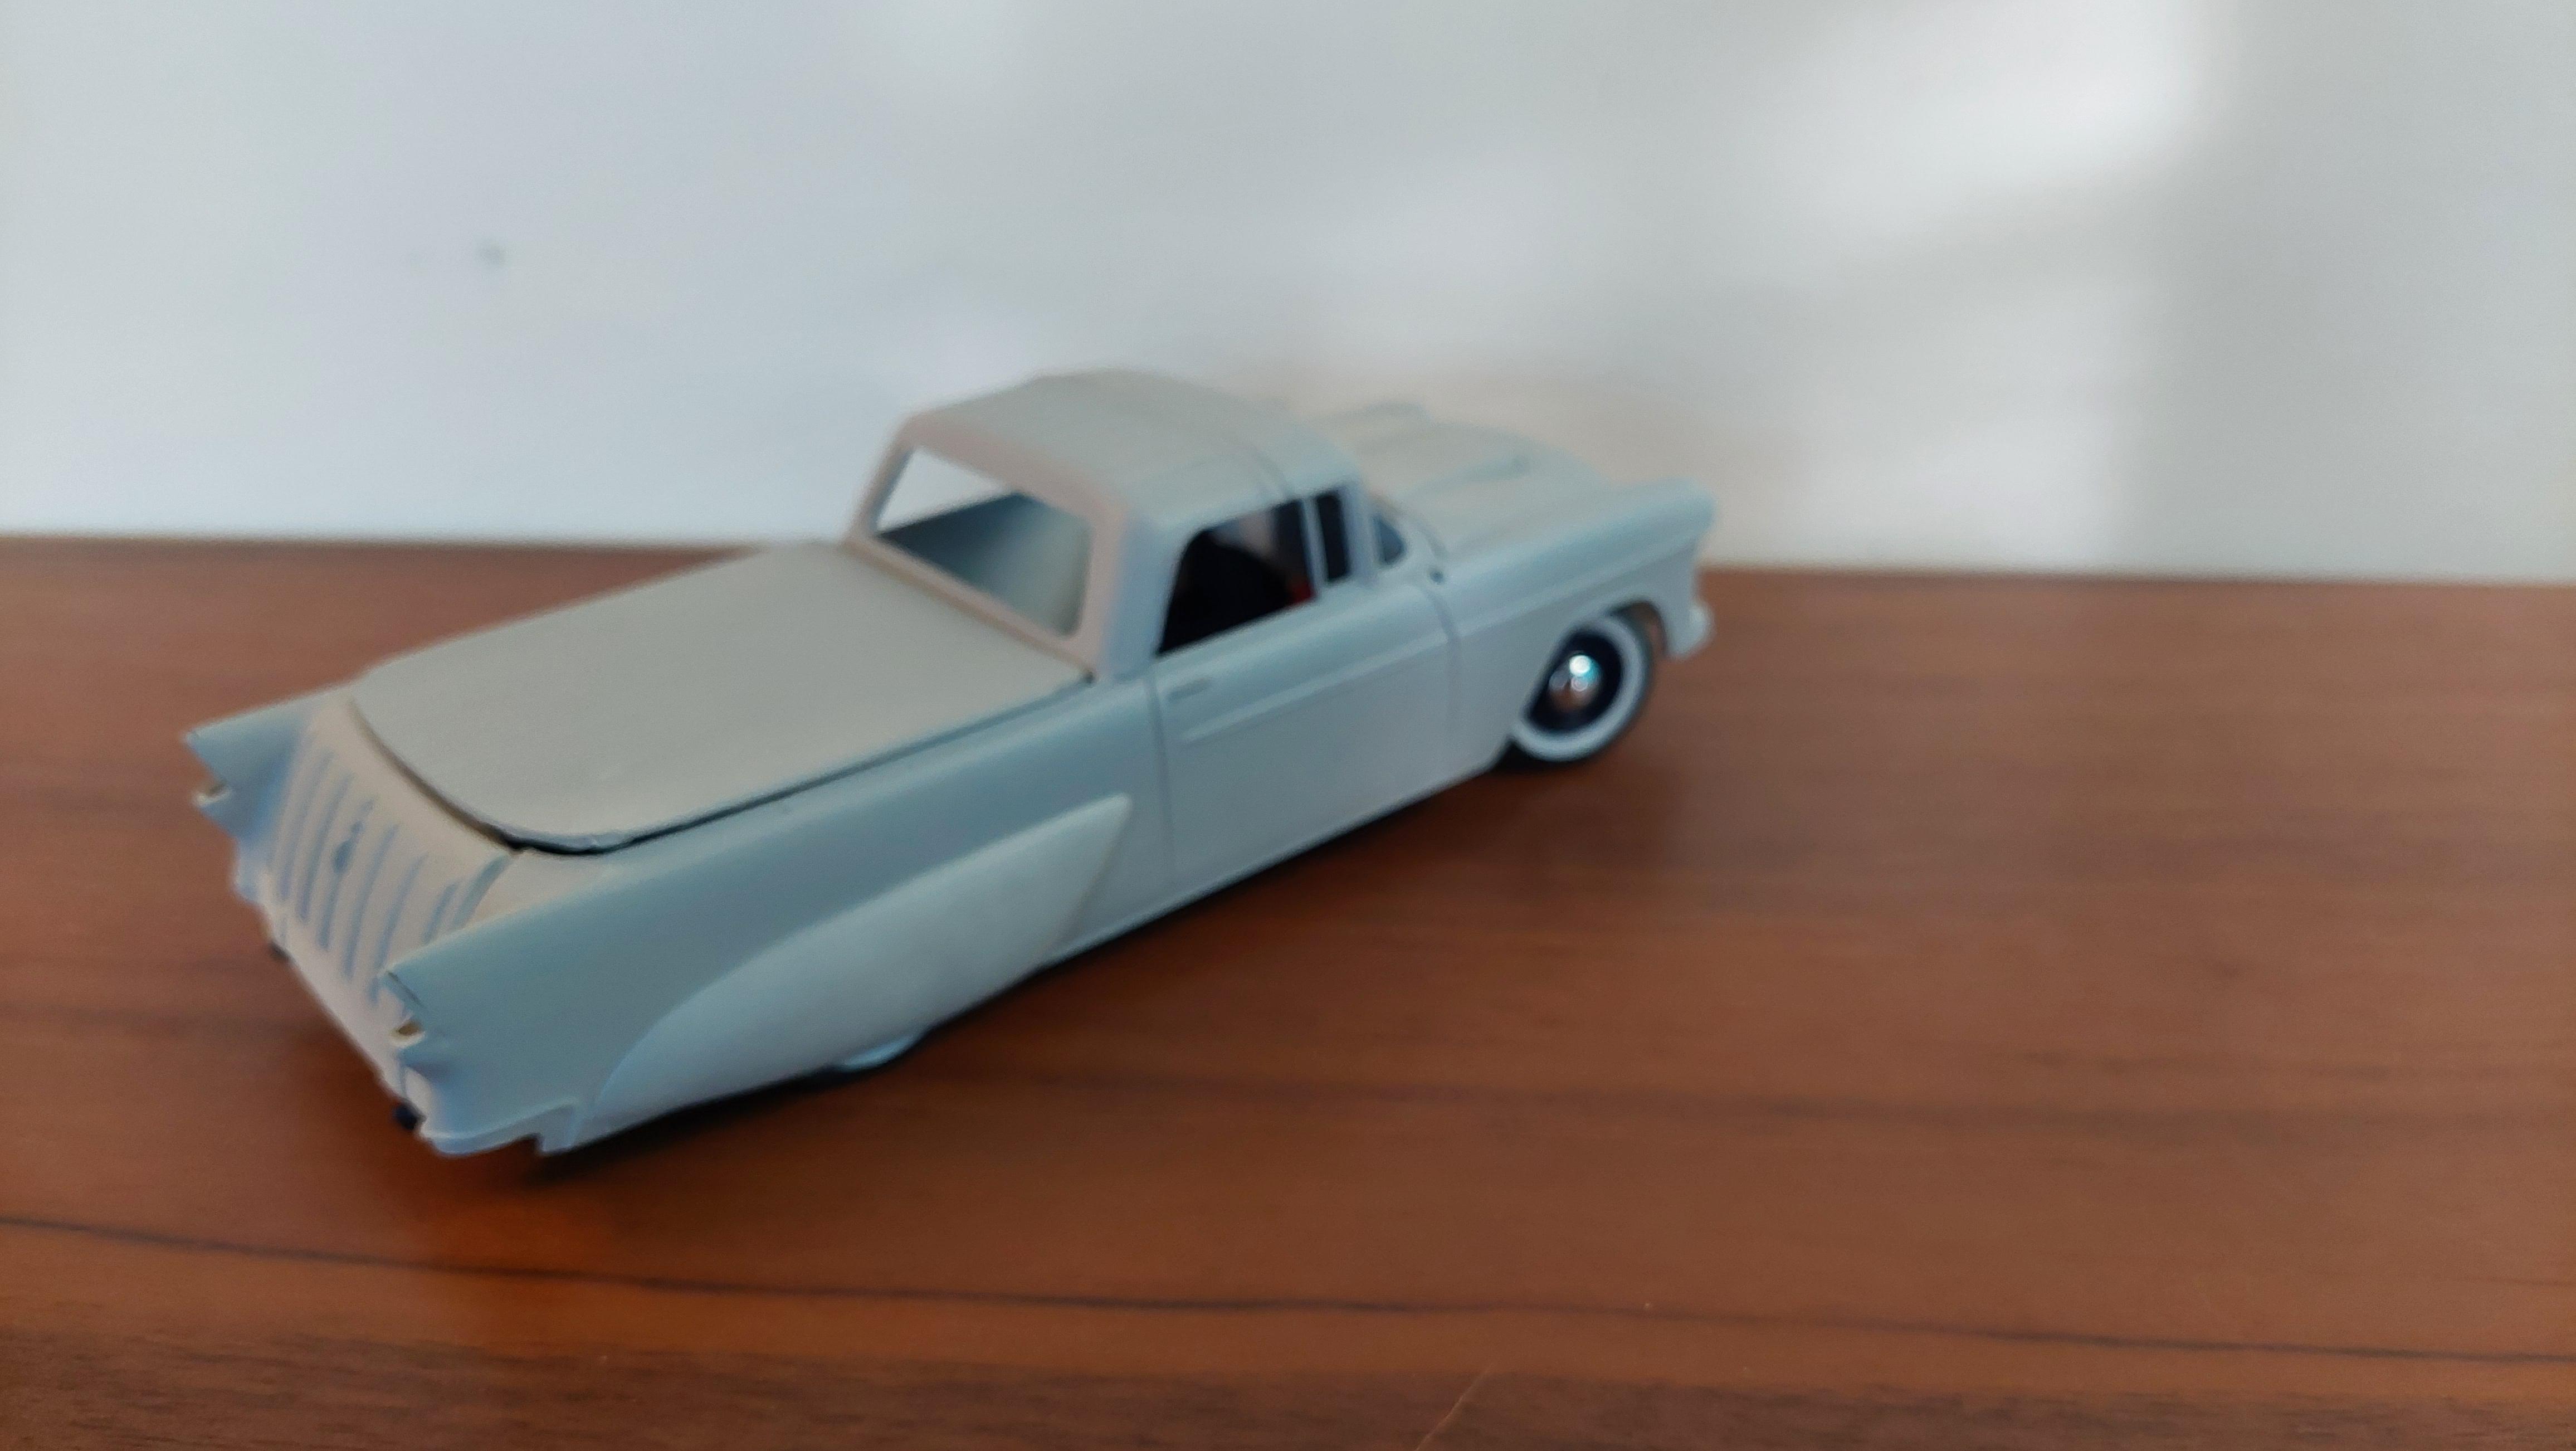
Changed up the wheel selection to baby moons and dropped it down a little more without causing myself grief and more work. Took the front and rear bumpers and continental kit out of the Revell 55 Chevy convertible that look much better. Also took the seat from that kit also, it looks way better than the AMT one , its a tight fit but doable. I had to extend the seat bottom and trim the center to fit over the center console I wanted to use. Found a parts box tonneau cover that fit pretty close but had to round off the rear edge to fit much better.
-
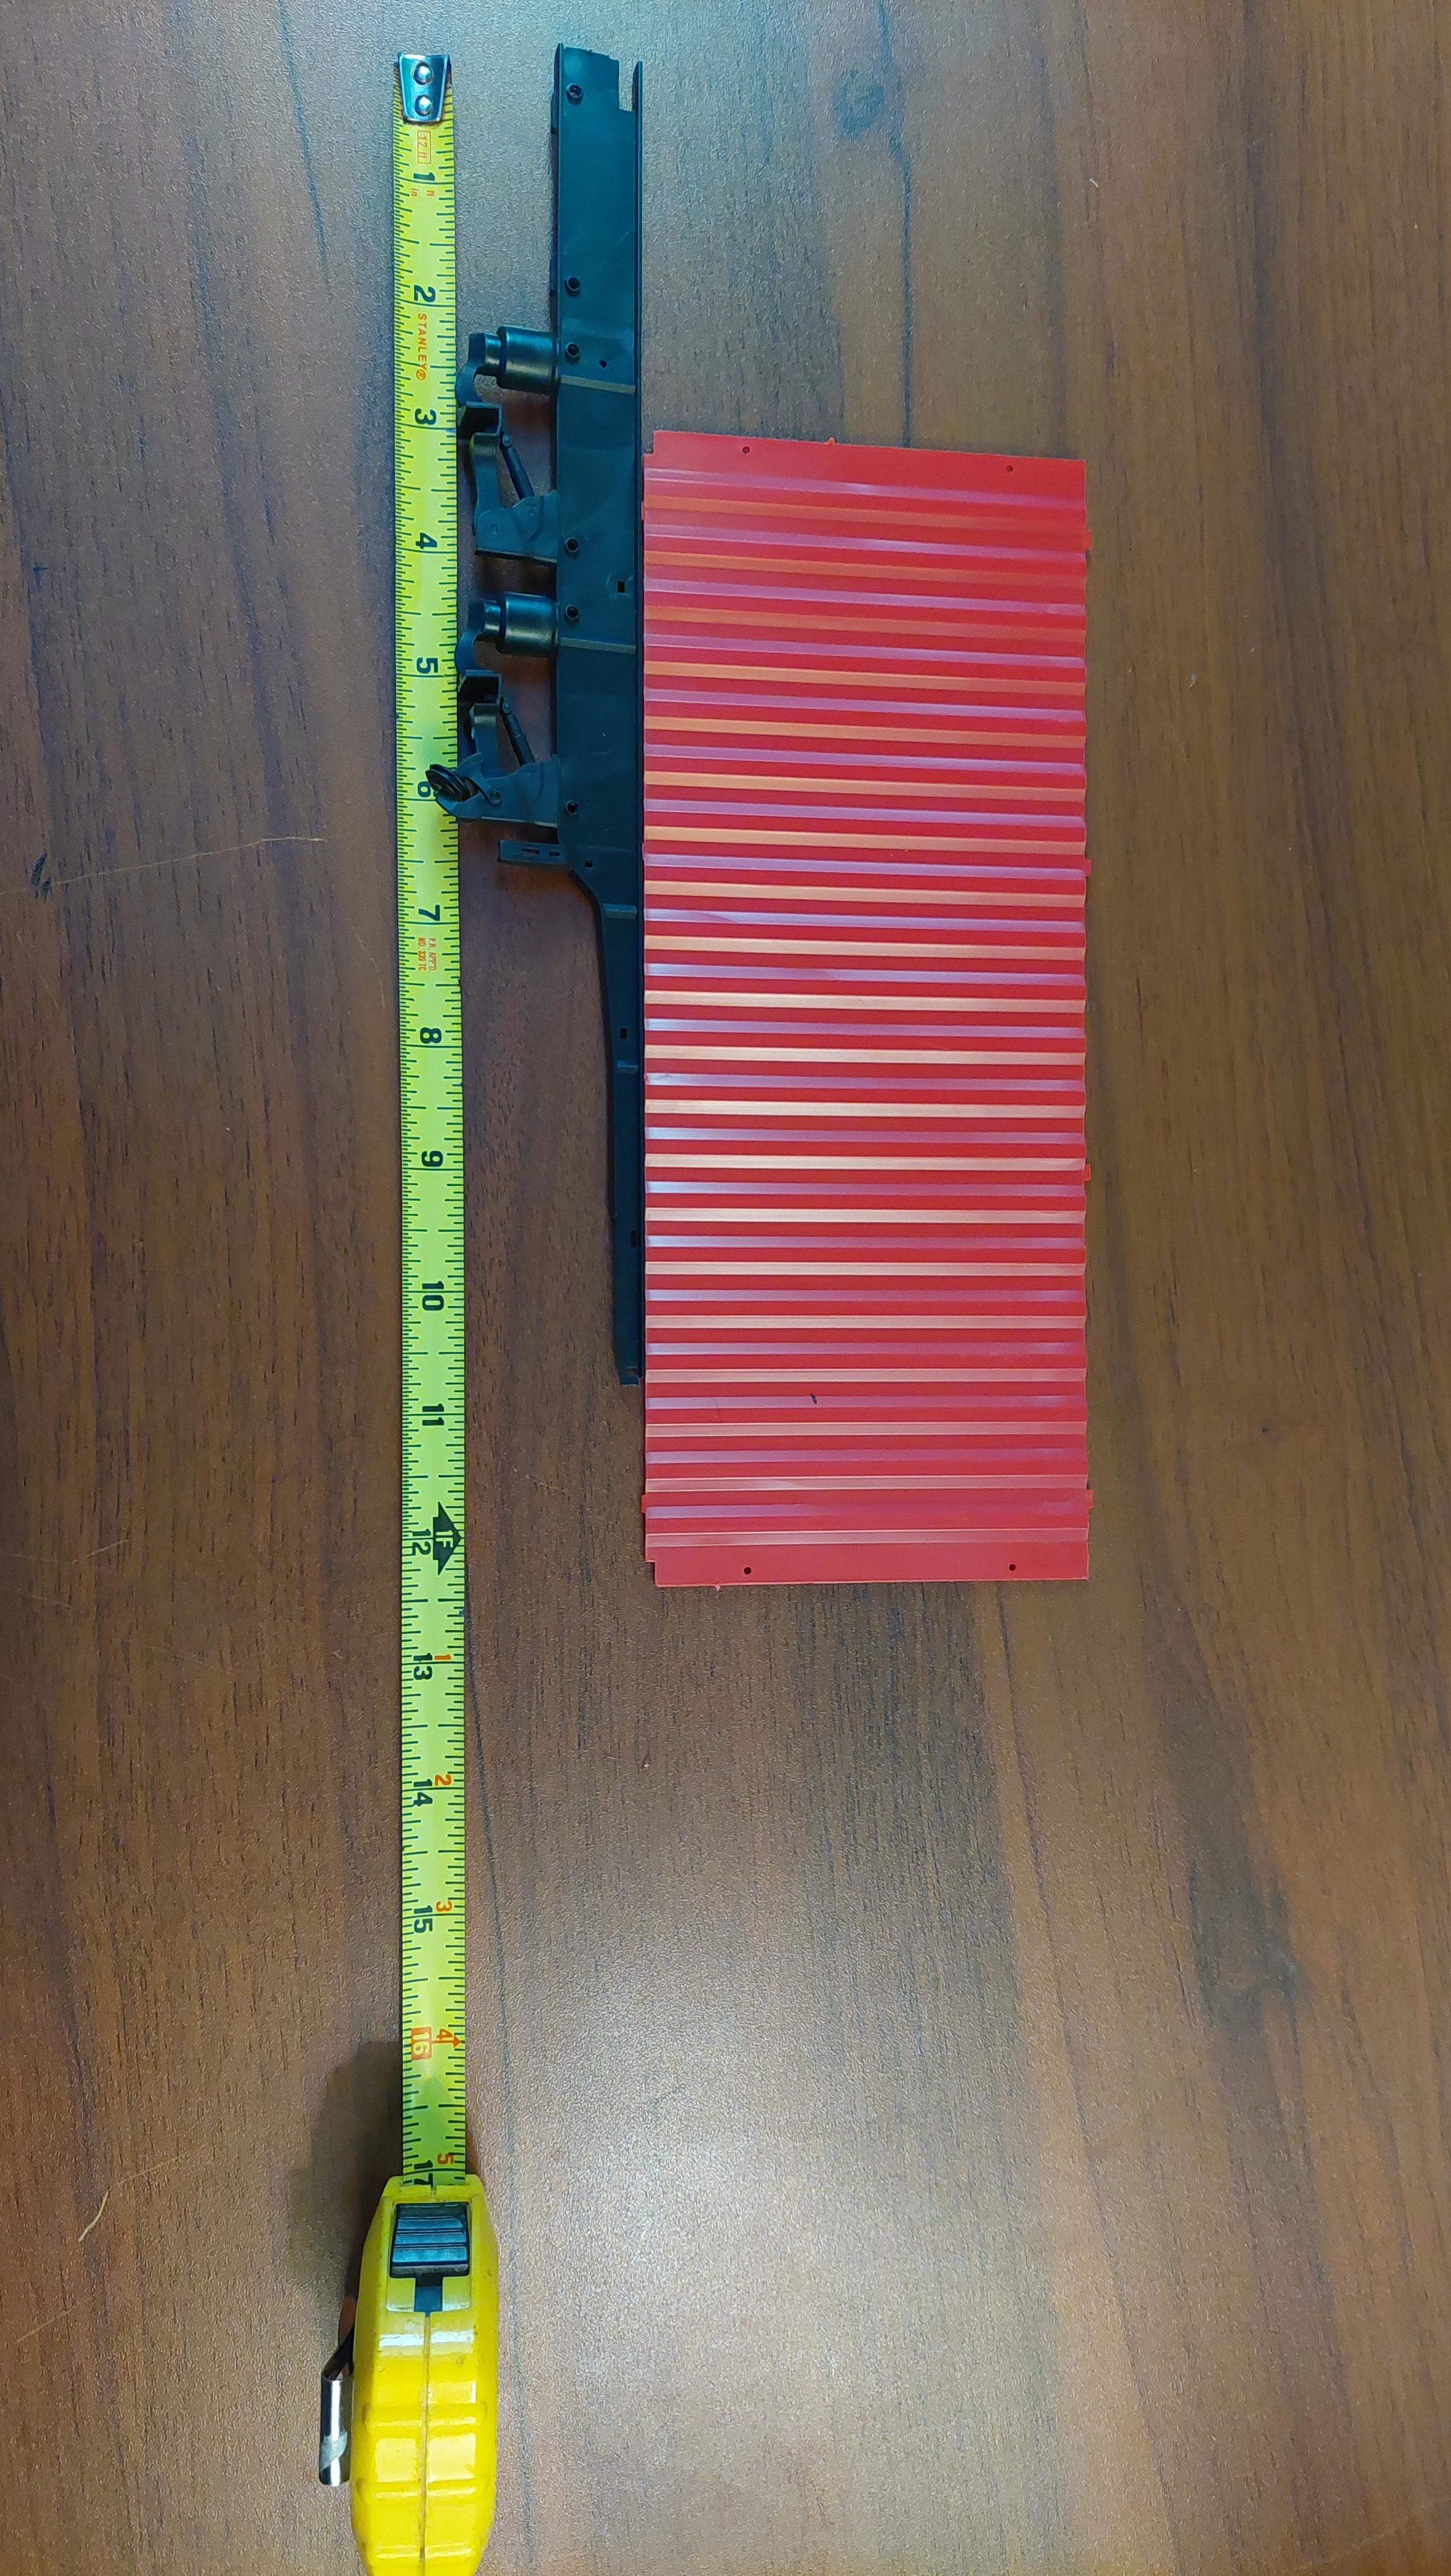
The 55 will match the boat close but not exact.. Heres your measurement on the trailer and off.
-
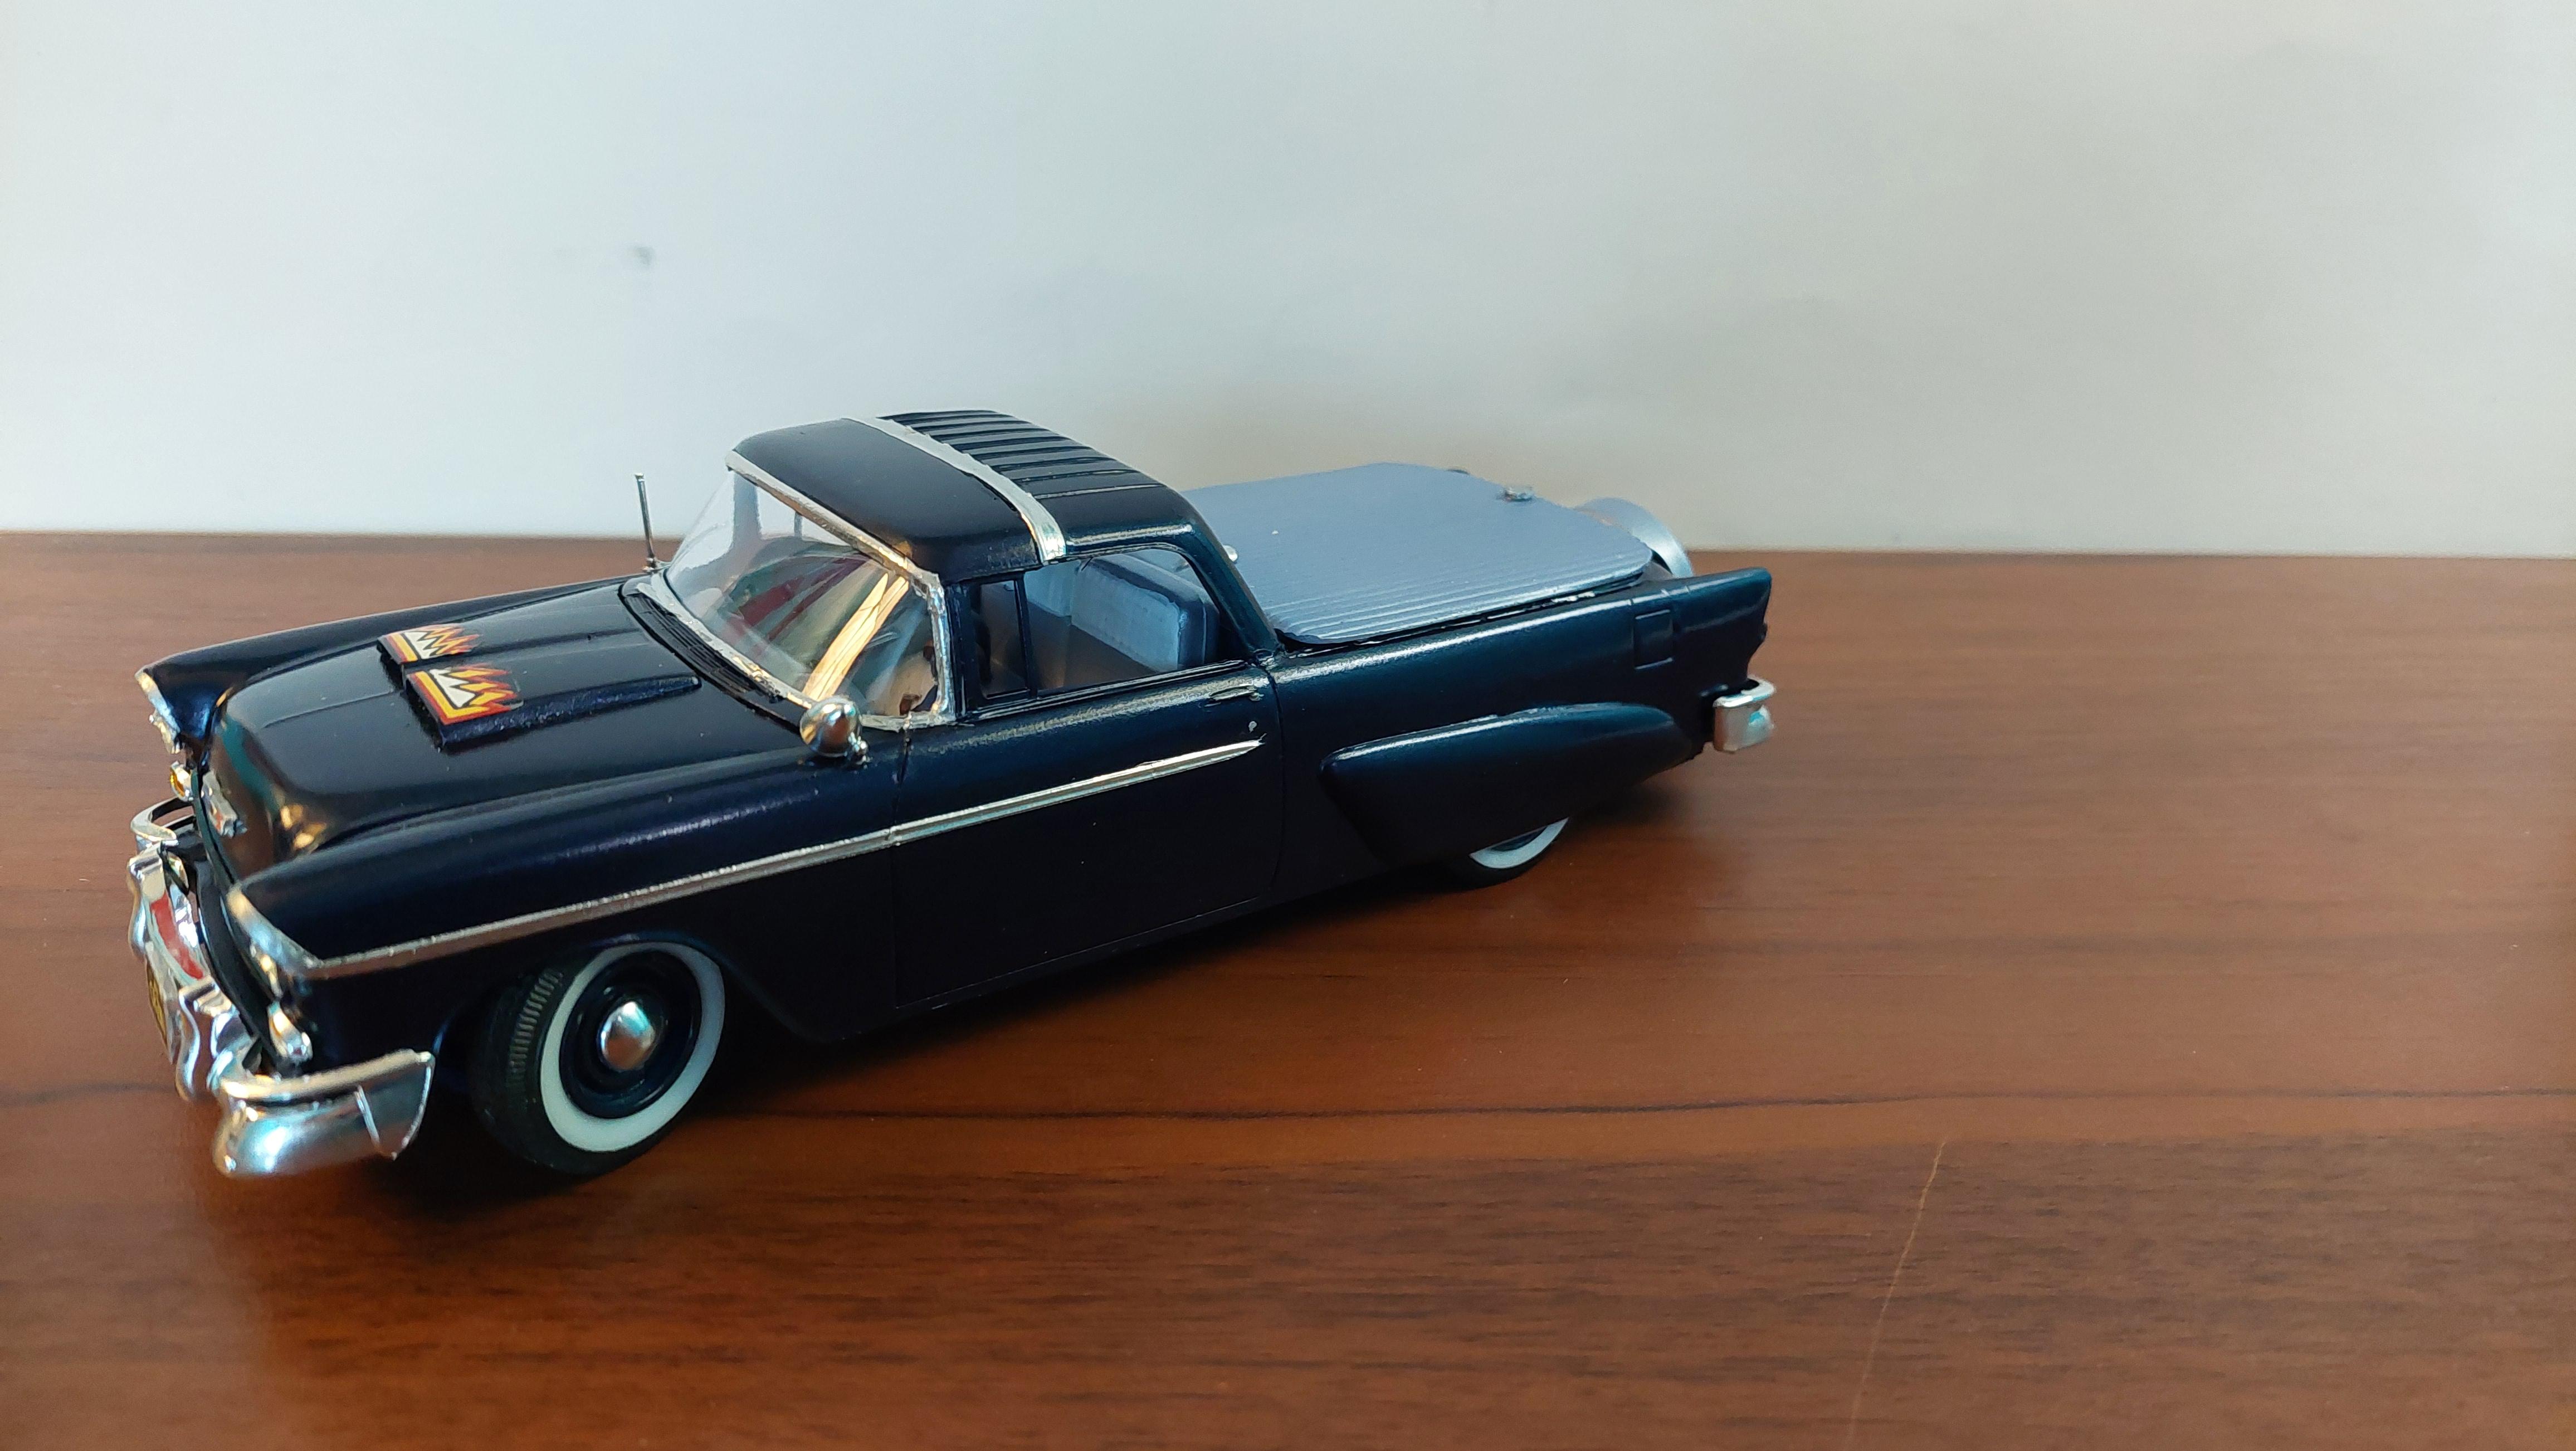
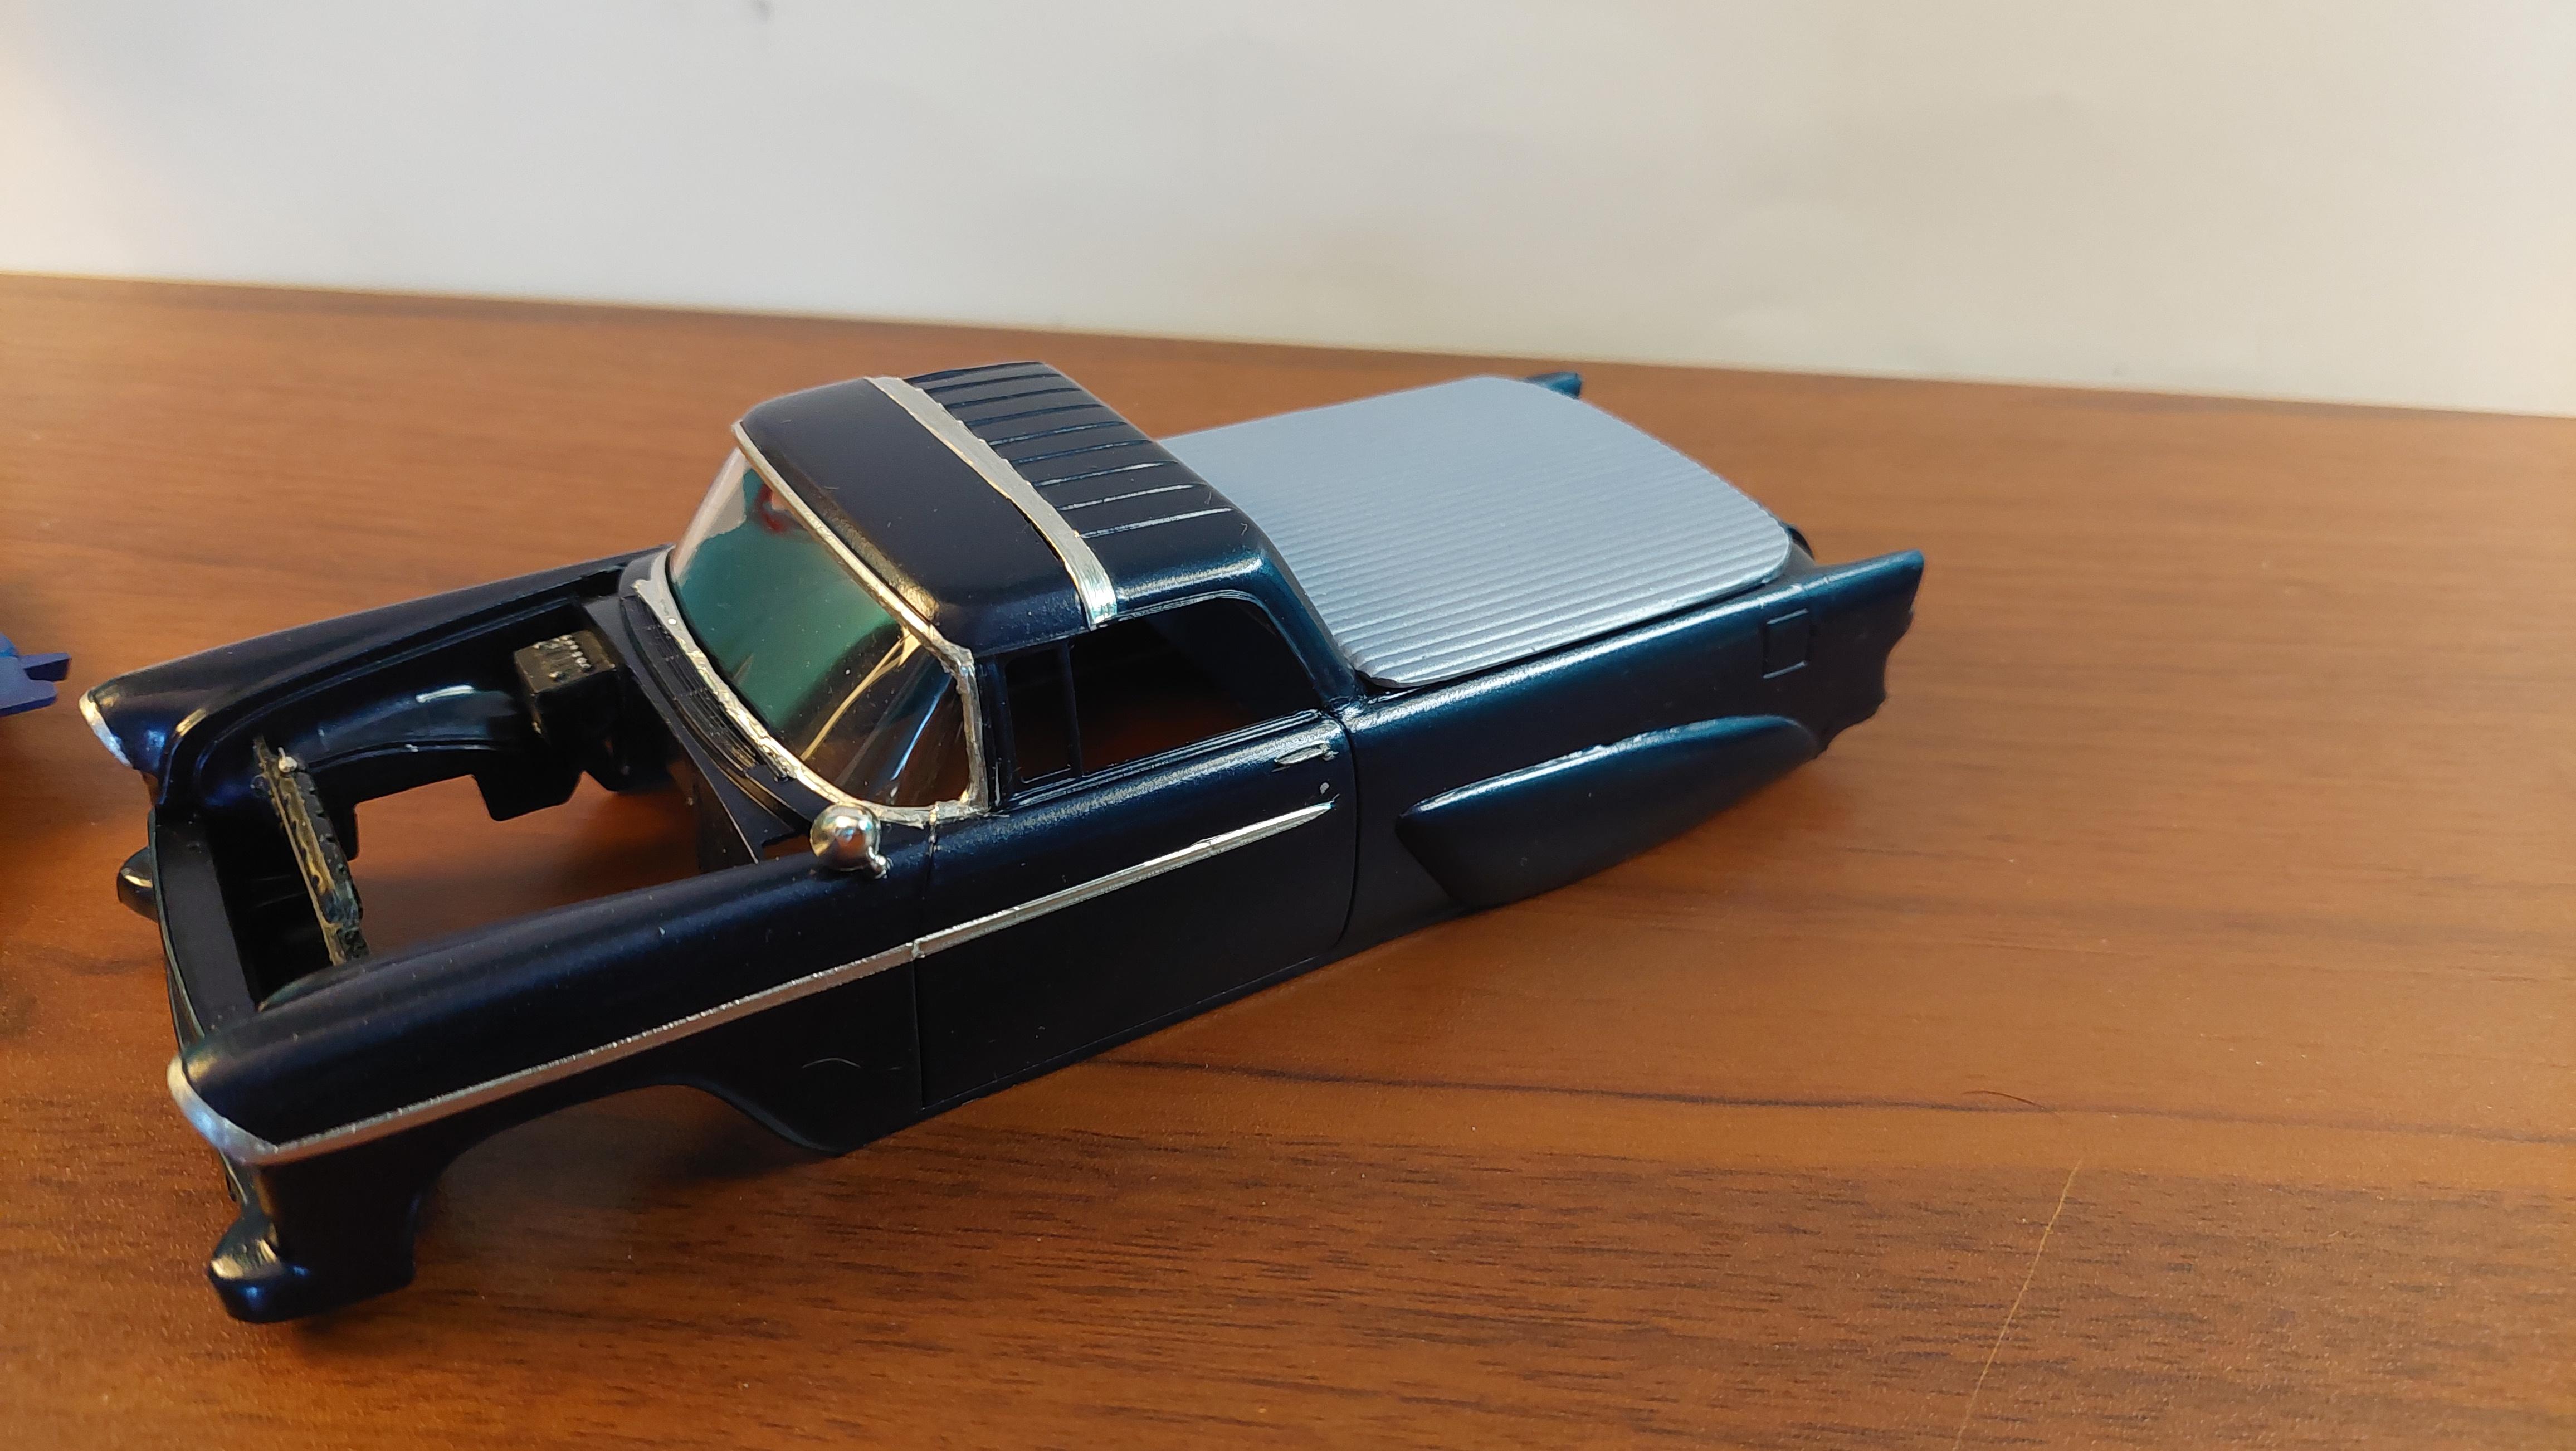
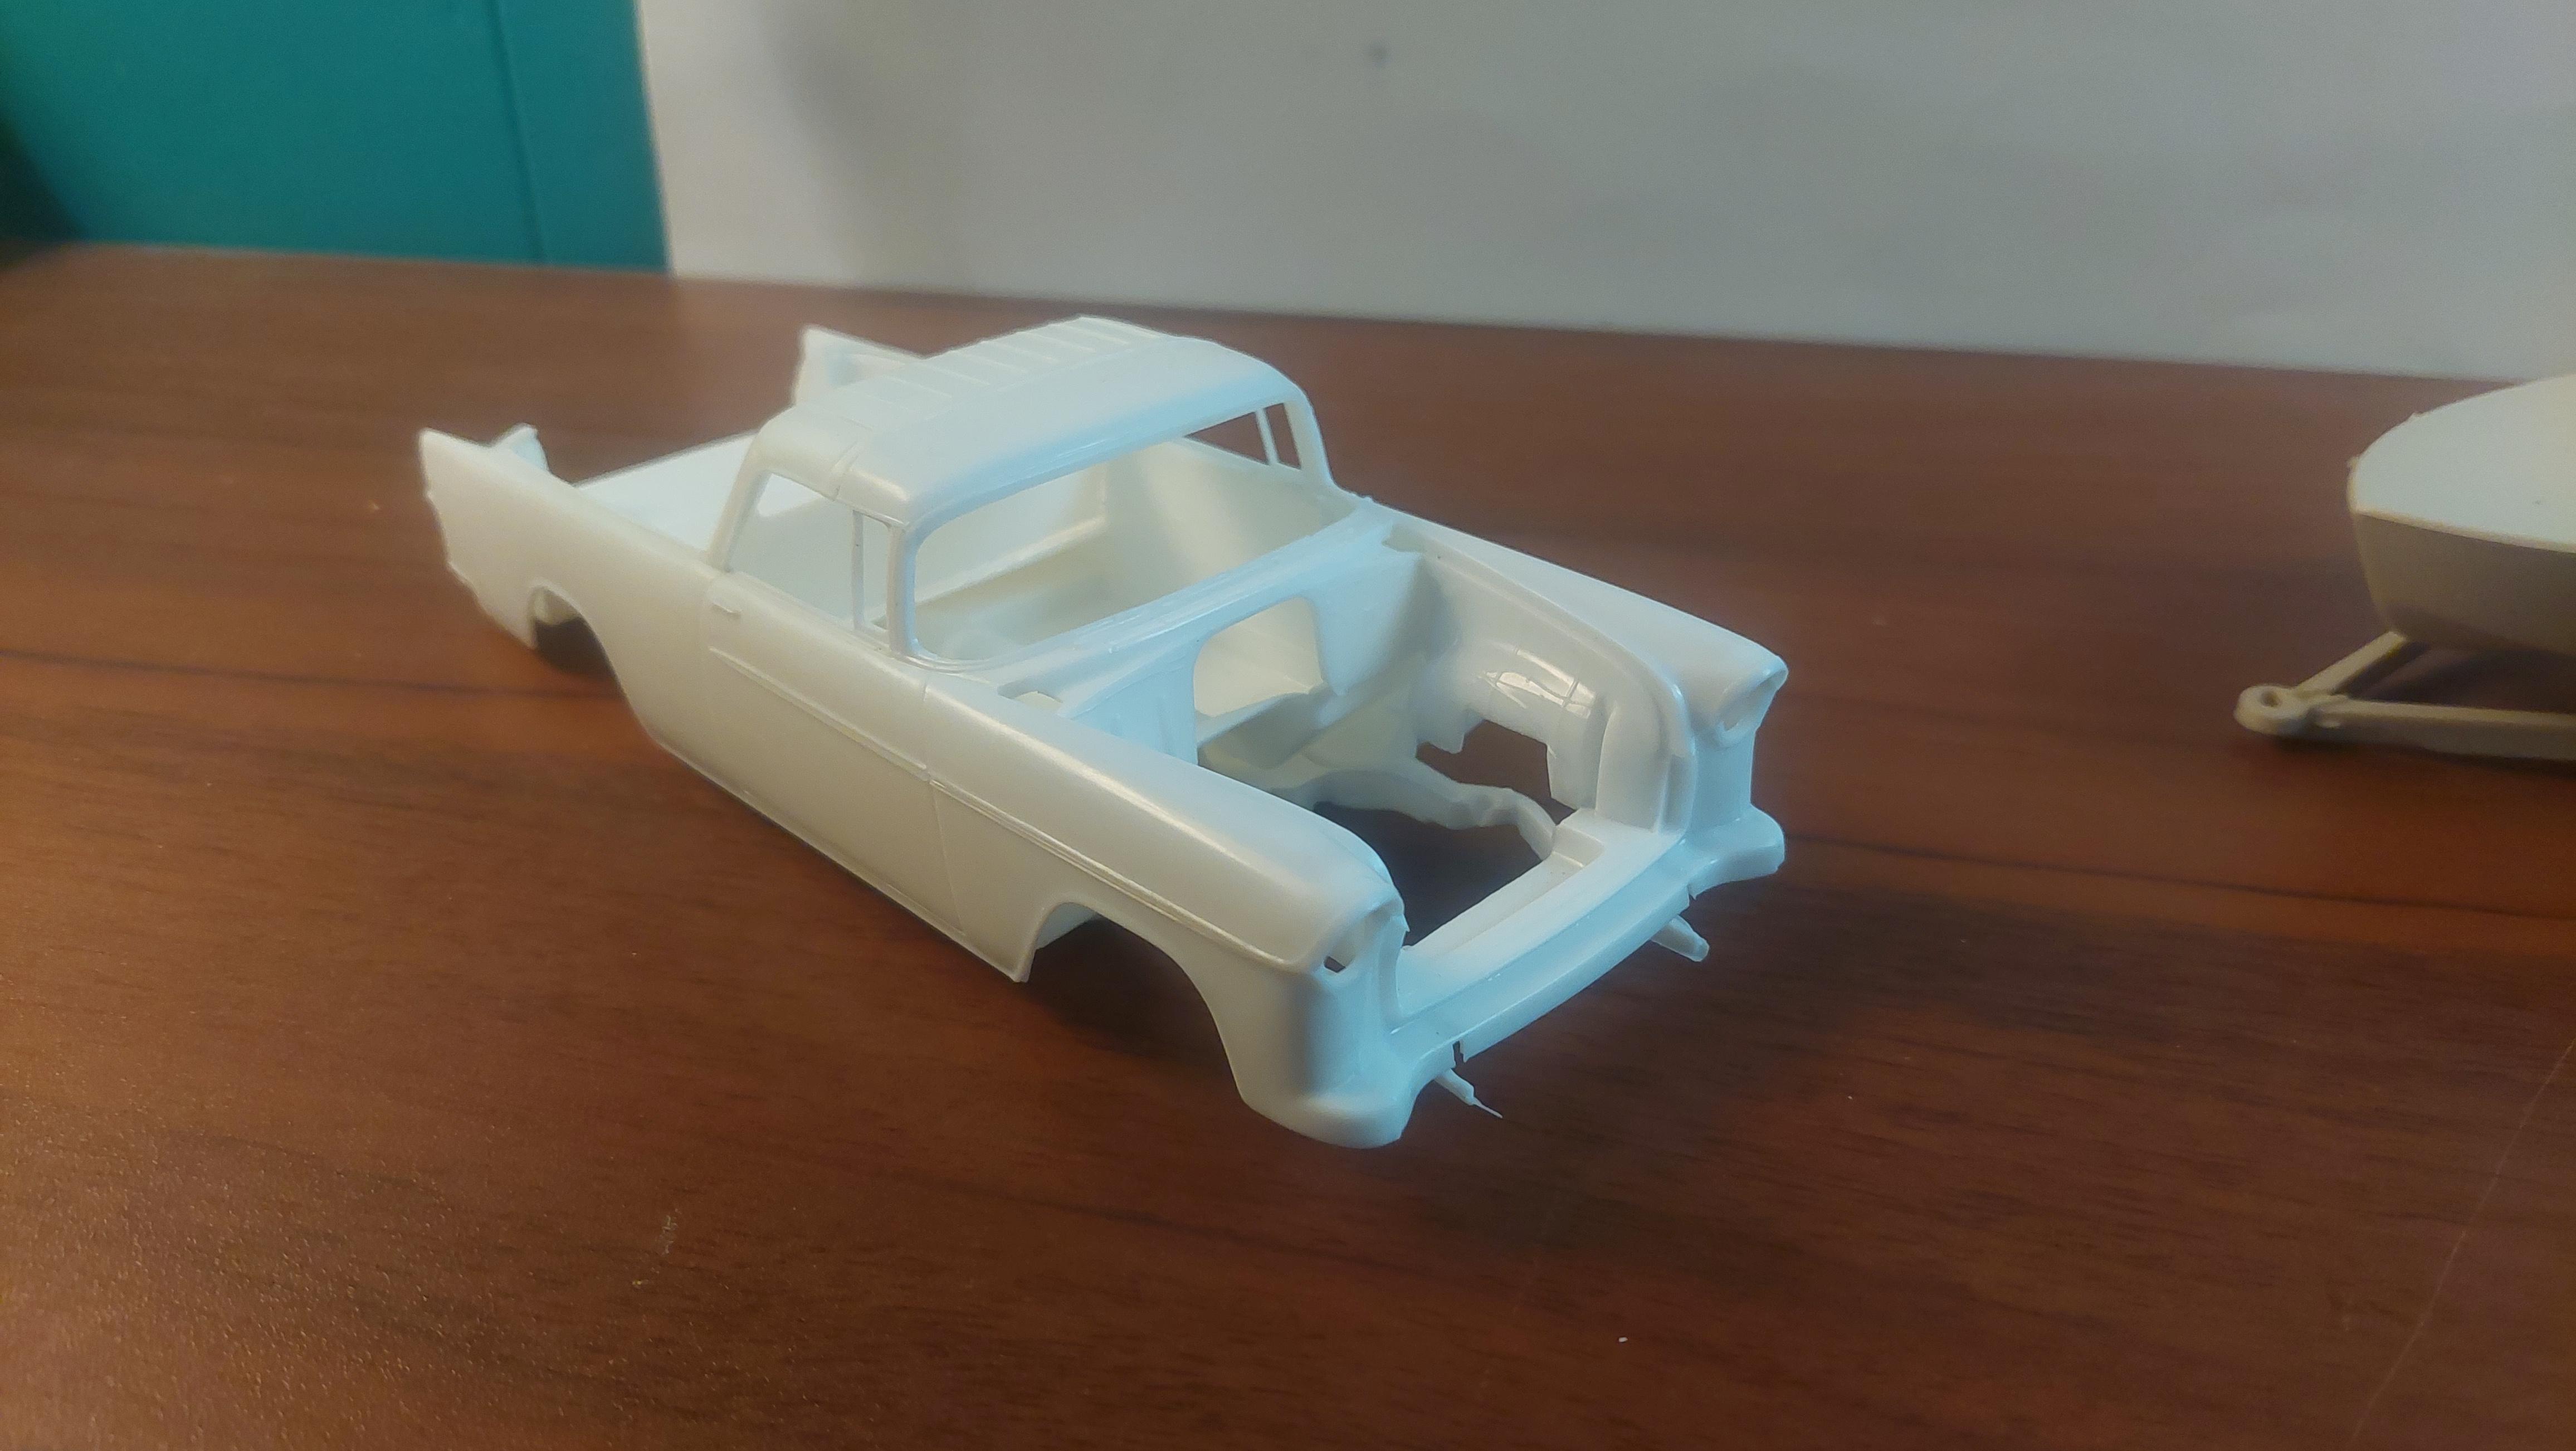
I ptetty much was interested in getting the boat done first, and it was acctually fun. I also knew the 55 was going to take some extra time and I was bashing out different ideas. I came across a roof , maybe the custom roof from 50 Ford kit, that actually fits pretty good on the 55 , maybe a future project. Anyway heres where I'm at now , all things that were chromed that didnt need to be chrome was removed. I am leaving the front stance but I will lower the rear some..
-
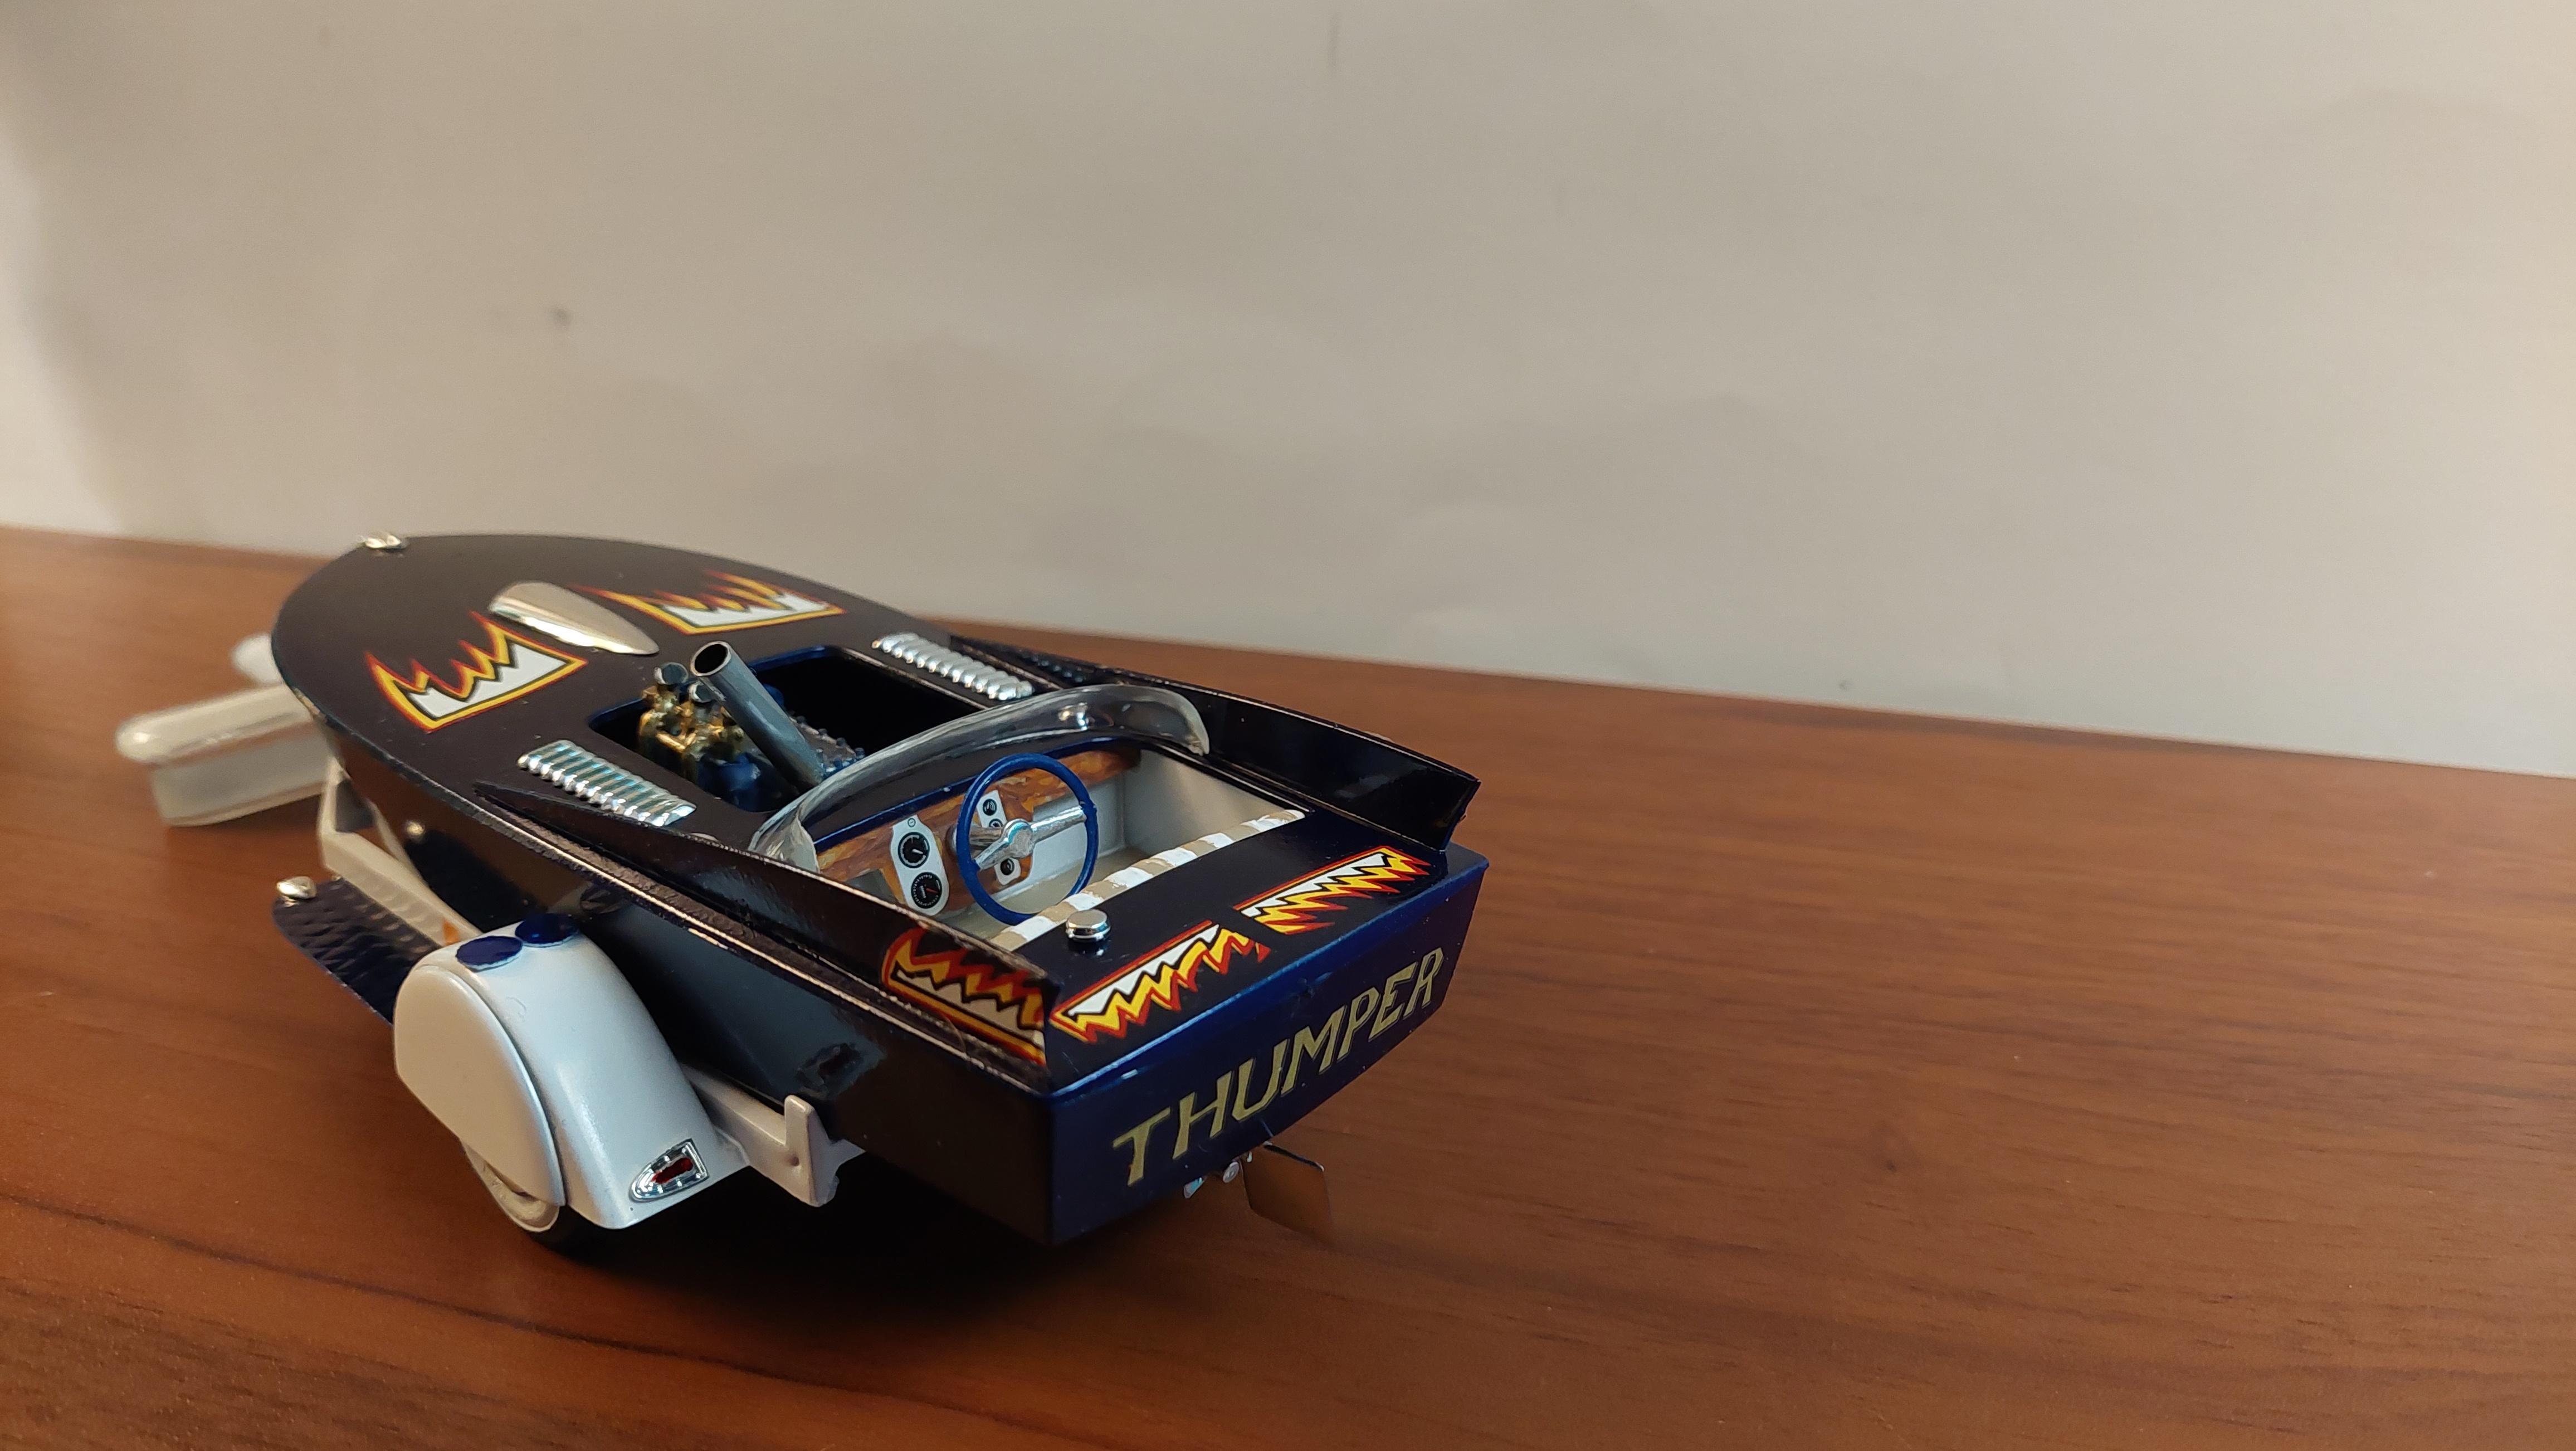
I was going to take it easy on this build but , nah..the 55 is ready for some kind of custom treatment after chopping off the roof and using the el camino style option .Custom car and custom style boat and trailer On mine I had to cut away the new roof from the bed to get it all to fit, and still have a slight bed/front wall gap, but not bad enough to complain. First I will attack the boat kit that I got from a friend that was missing some items but enough there to build something alittle different. Since I dont have the T-bird V-8 or the windshield frame the drag version was the choice but I need to build up the ChrisCraft Hercules engine, it basically is just left and right engine block halves. Need to parts box find intake and make a new exhaust. The decals were missing and I was able to find these 60's decals , if anyone has the boat decals(see pictures) I would trade these early AMT decals before I ruin this set when its time. Not exactly sure what trophy series kit these are from.
-
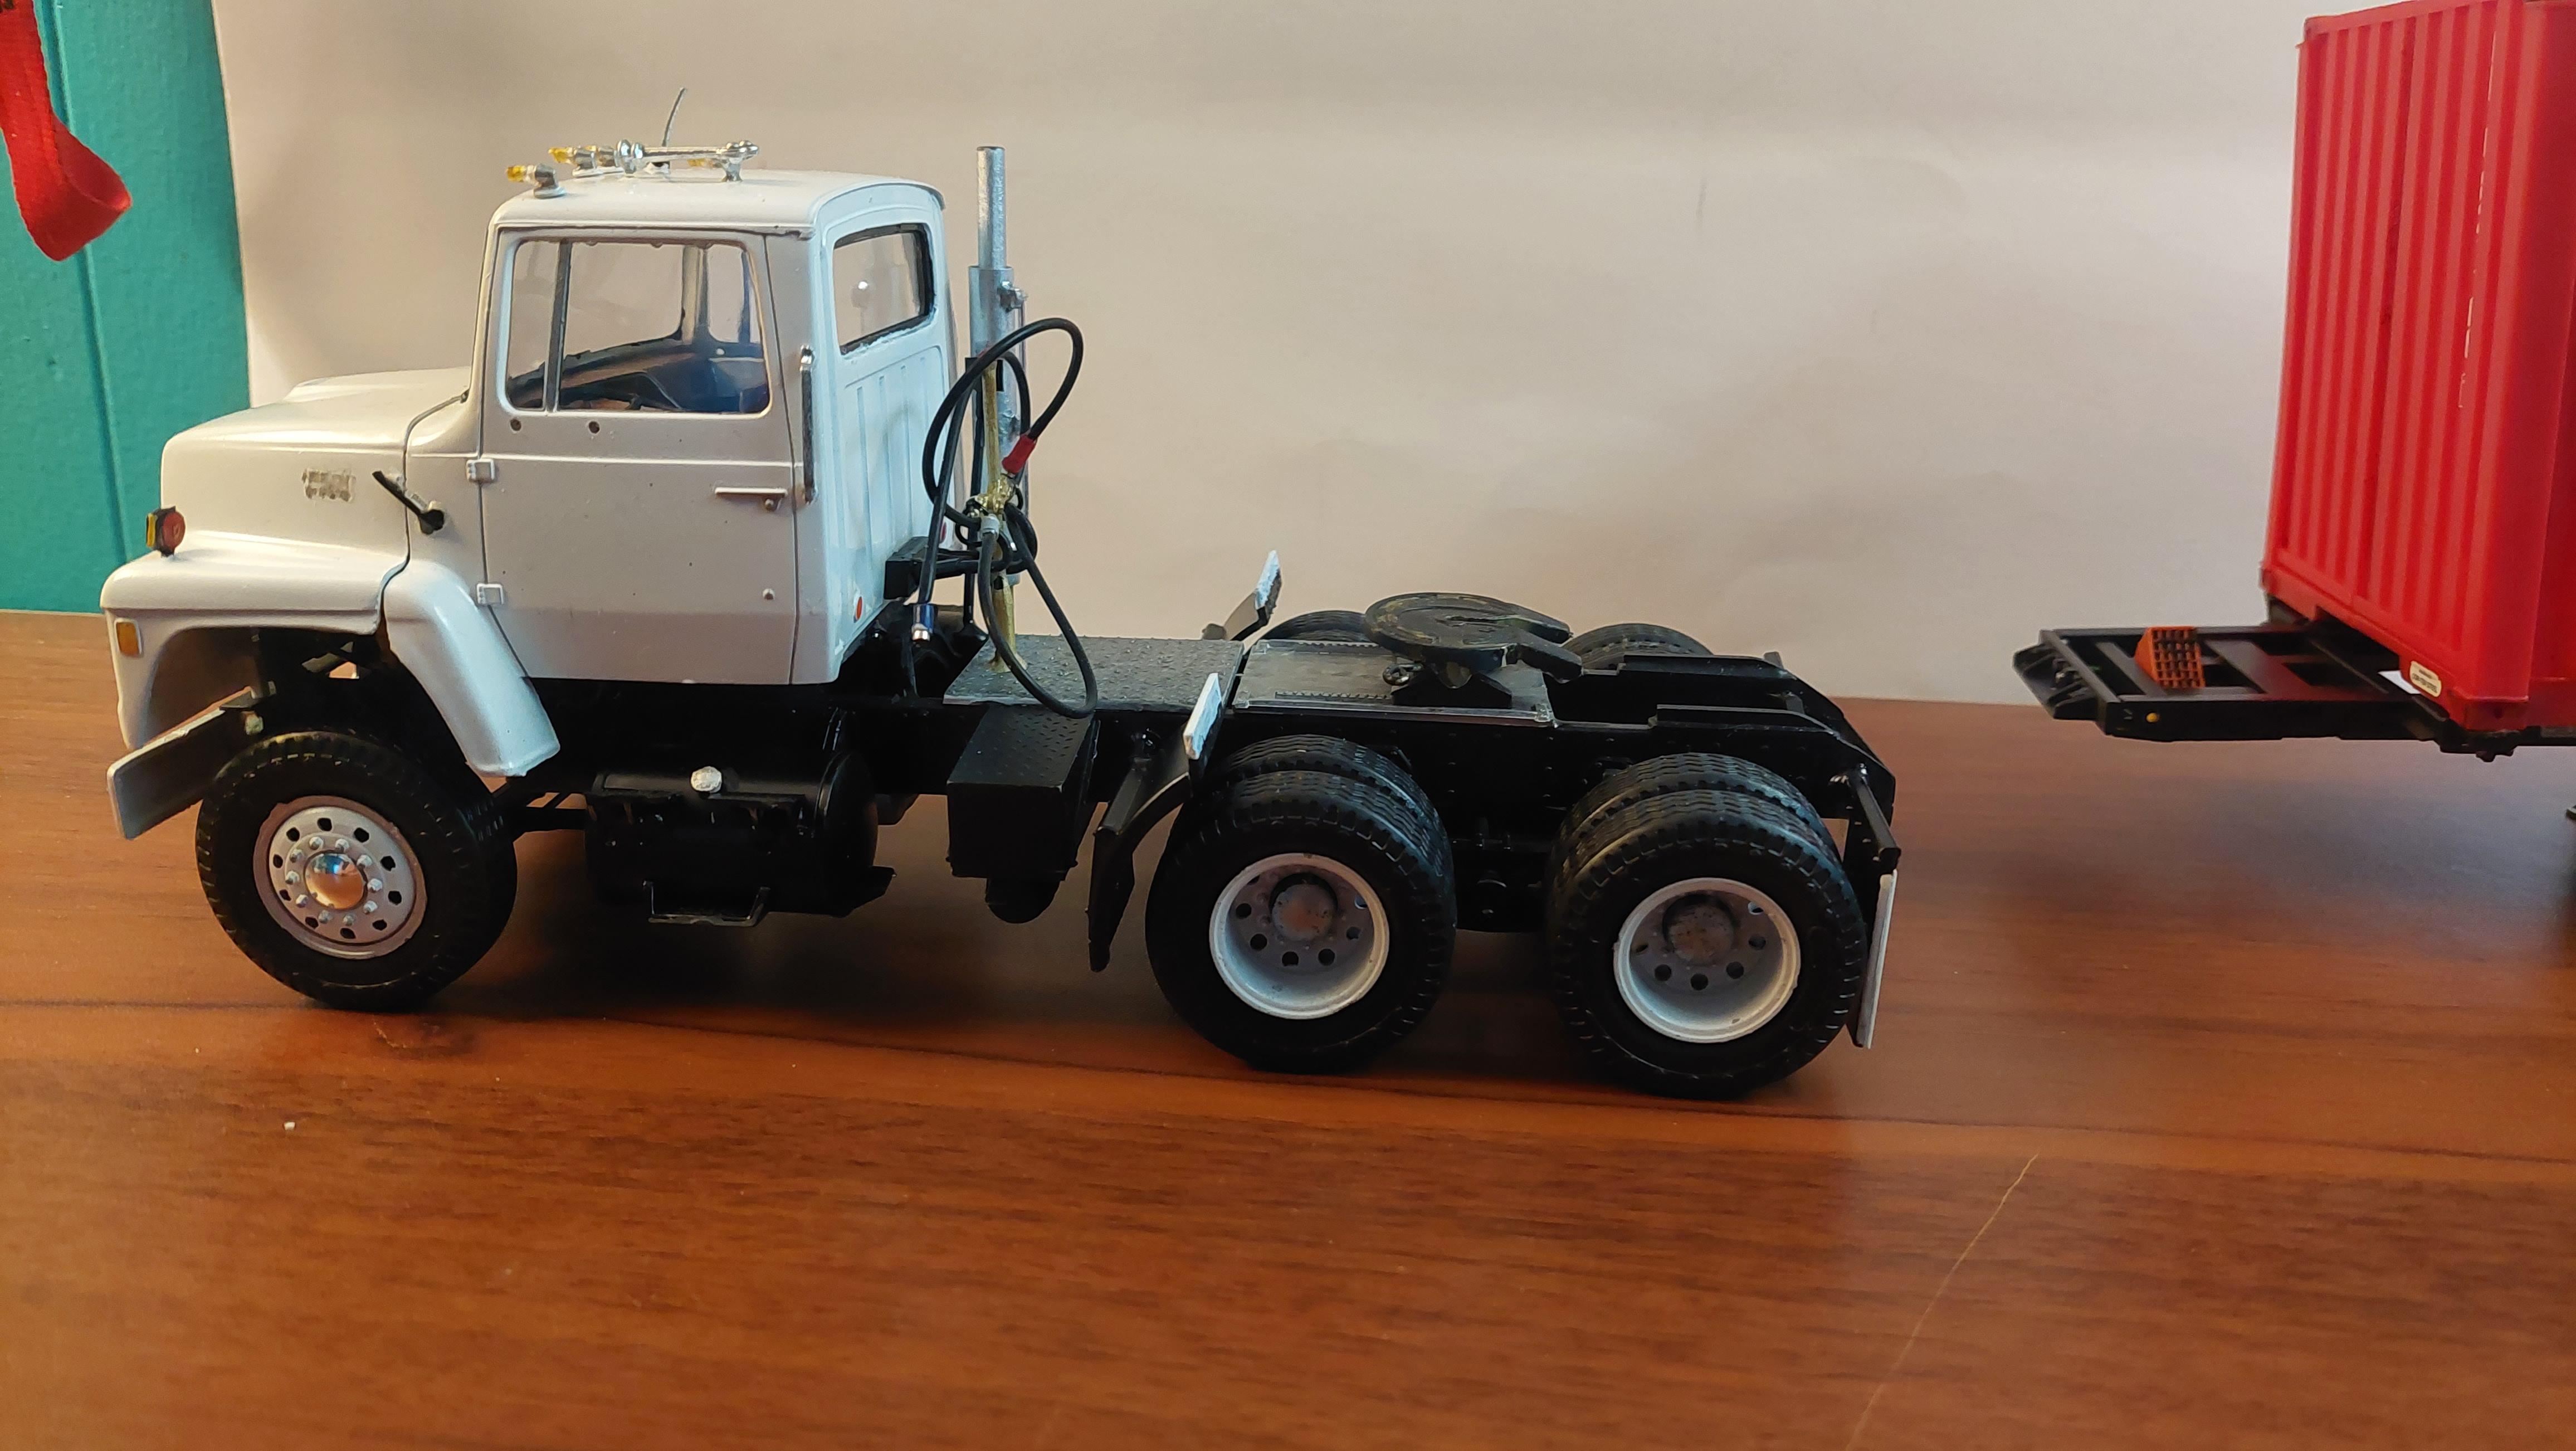
An everydayFord day cab tractor
BIGTRUCK replied to BIGTRUCK's topic in WIP: Model Trucks: Big Rigs and Heavy Equipment
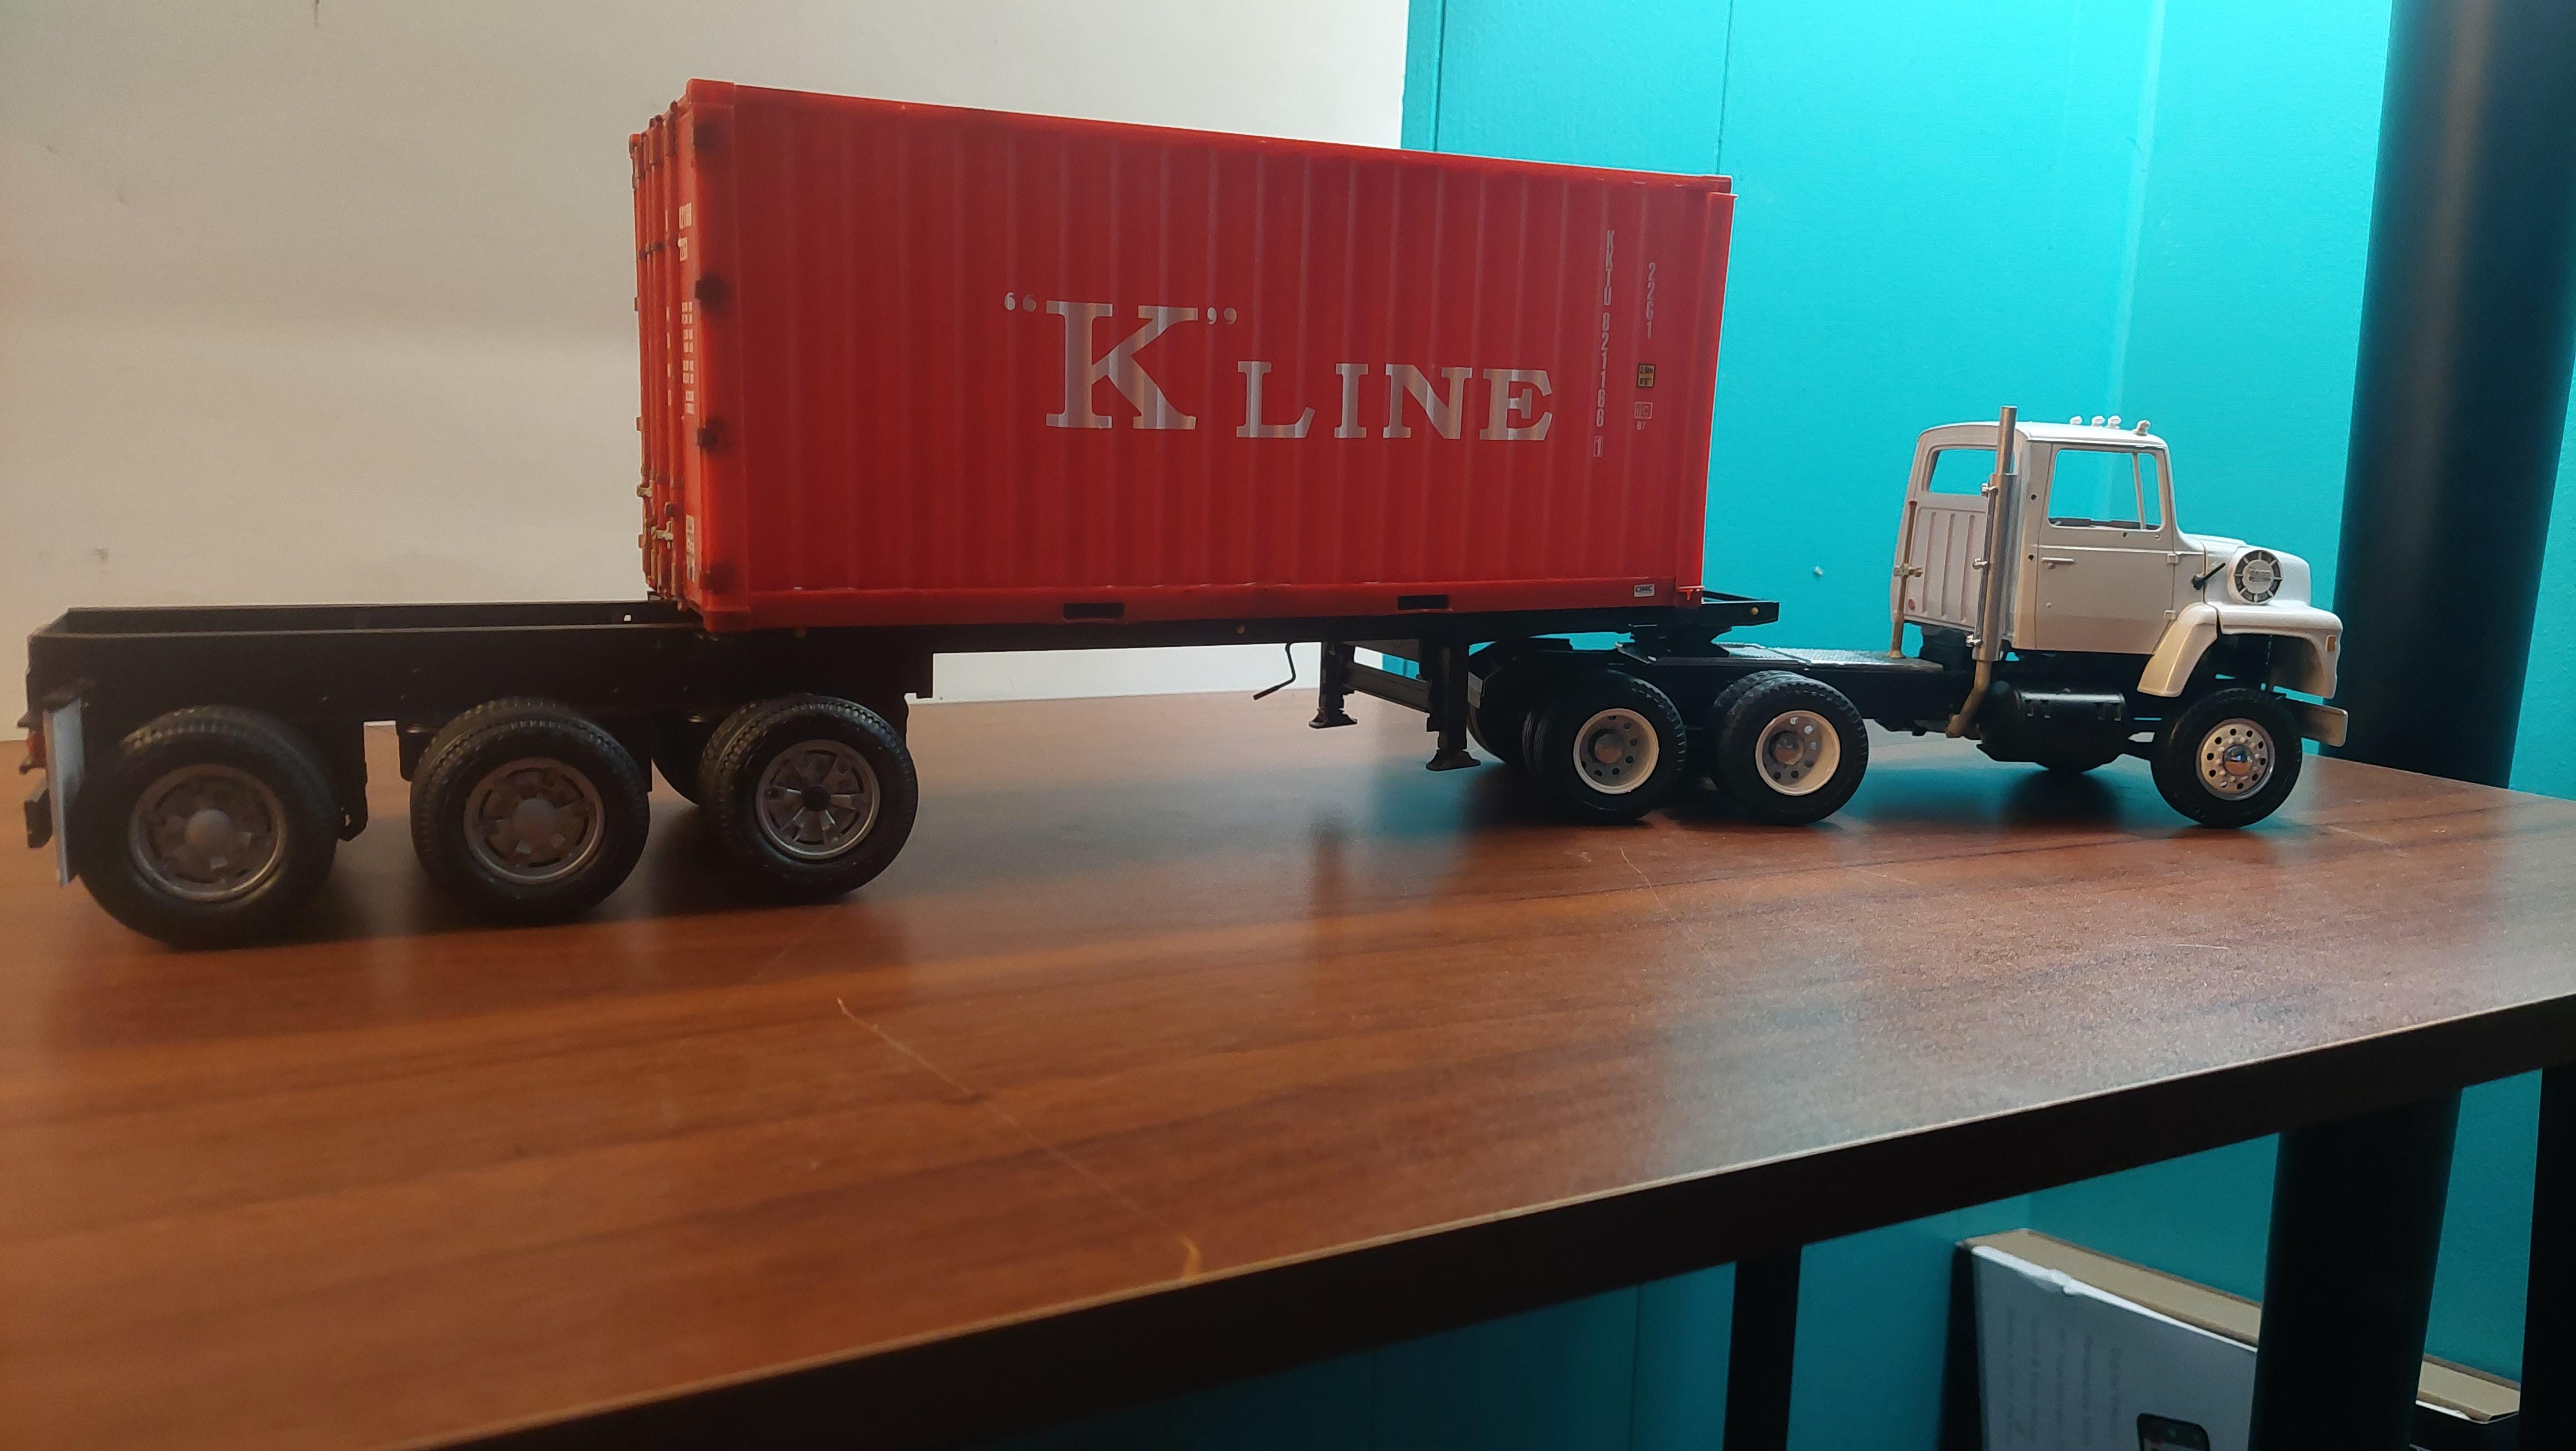
Need to install mirrors but I cant until its lettered up. It was a long project but Im calling it done for now. Trailer hook-ups are fitted with tiny magnets and make as positive click fit, but once you put them on, leave it 😃 or its a magnet pull off repair. Lettering is a custom thing so thats why the wait.
-
An everydayFord day cab tractor
BIGTRUCK replied to BIGTRUCK's topic in WIP: Model Trucks: Big Rigs and Heavy Equipment
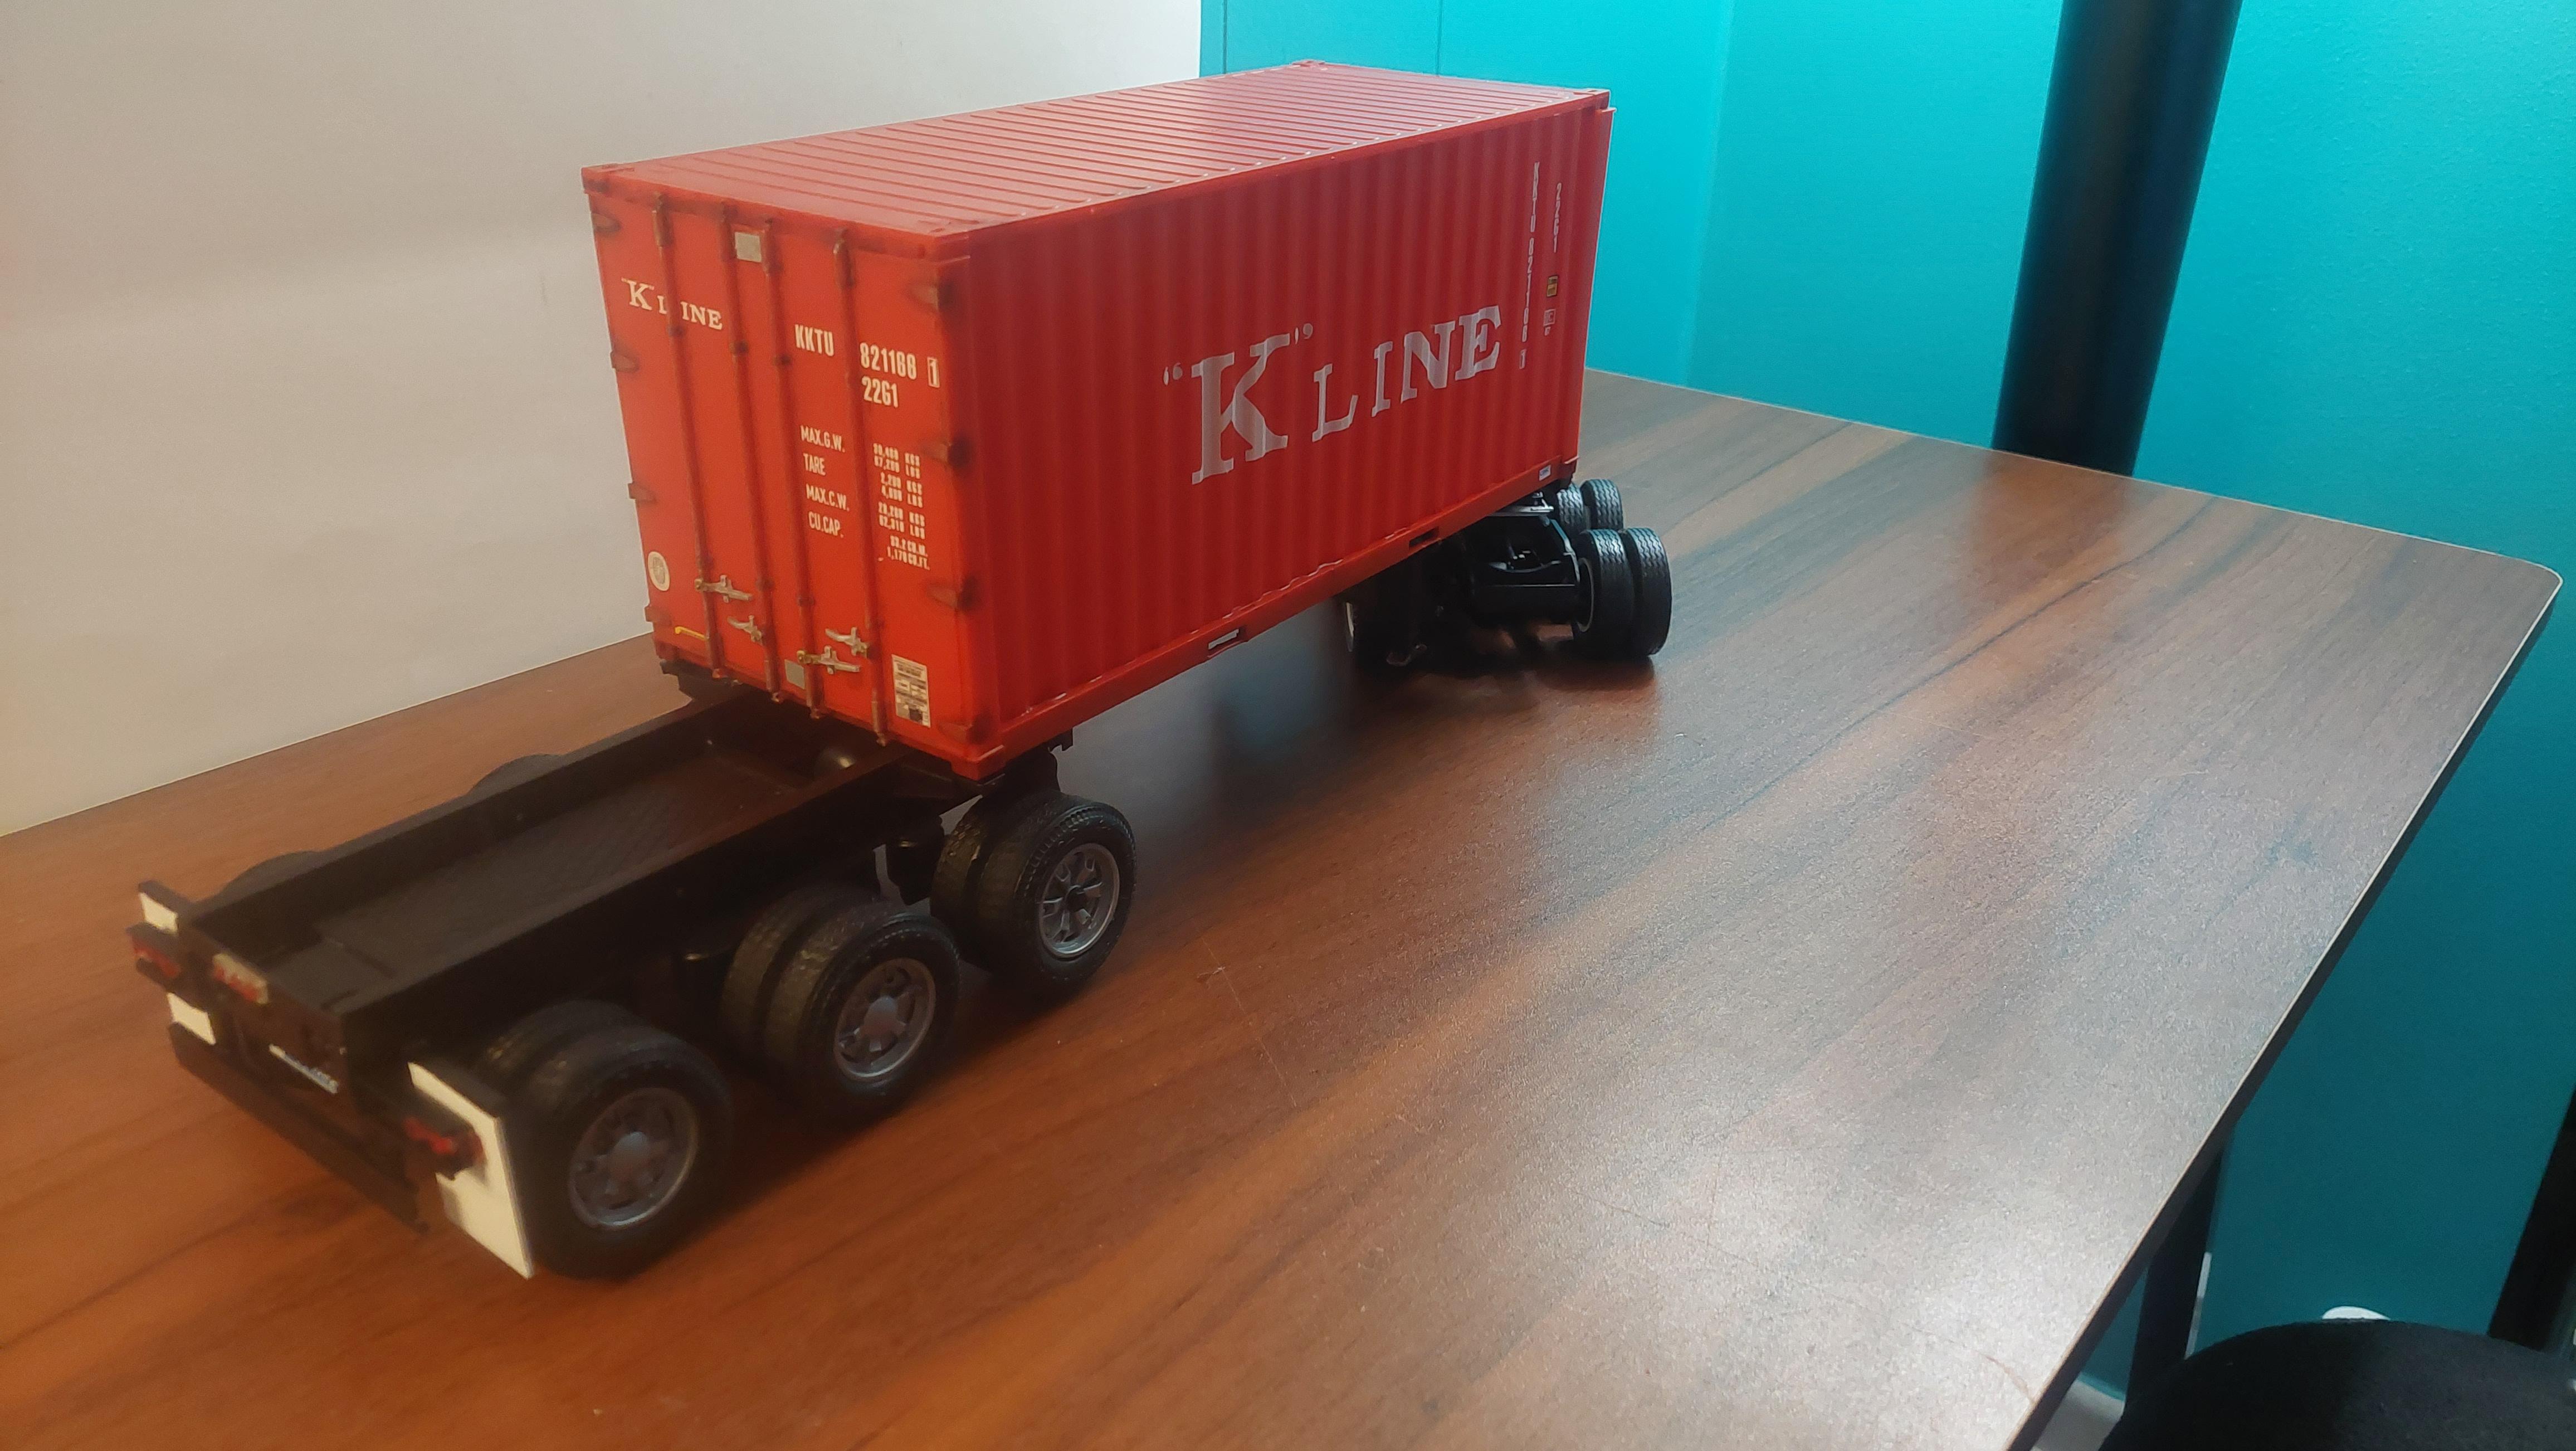
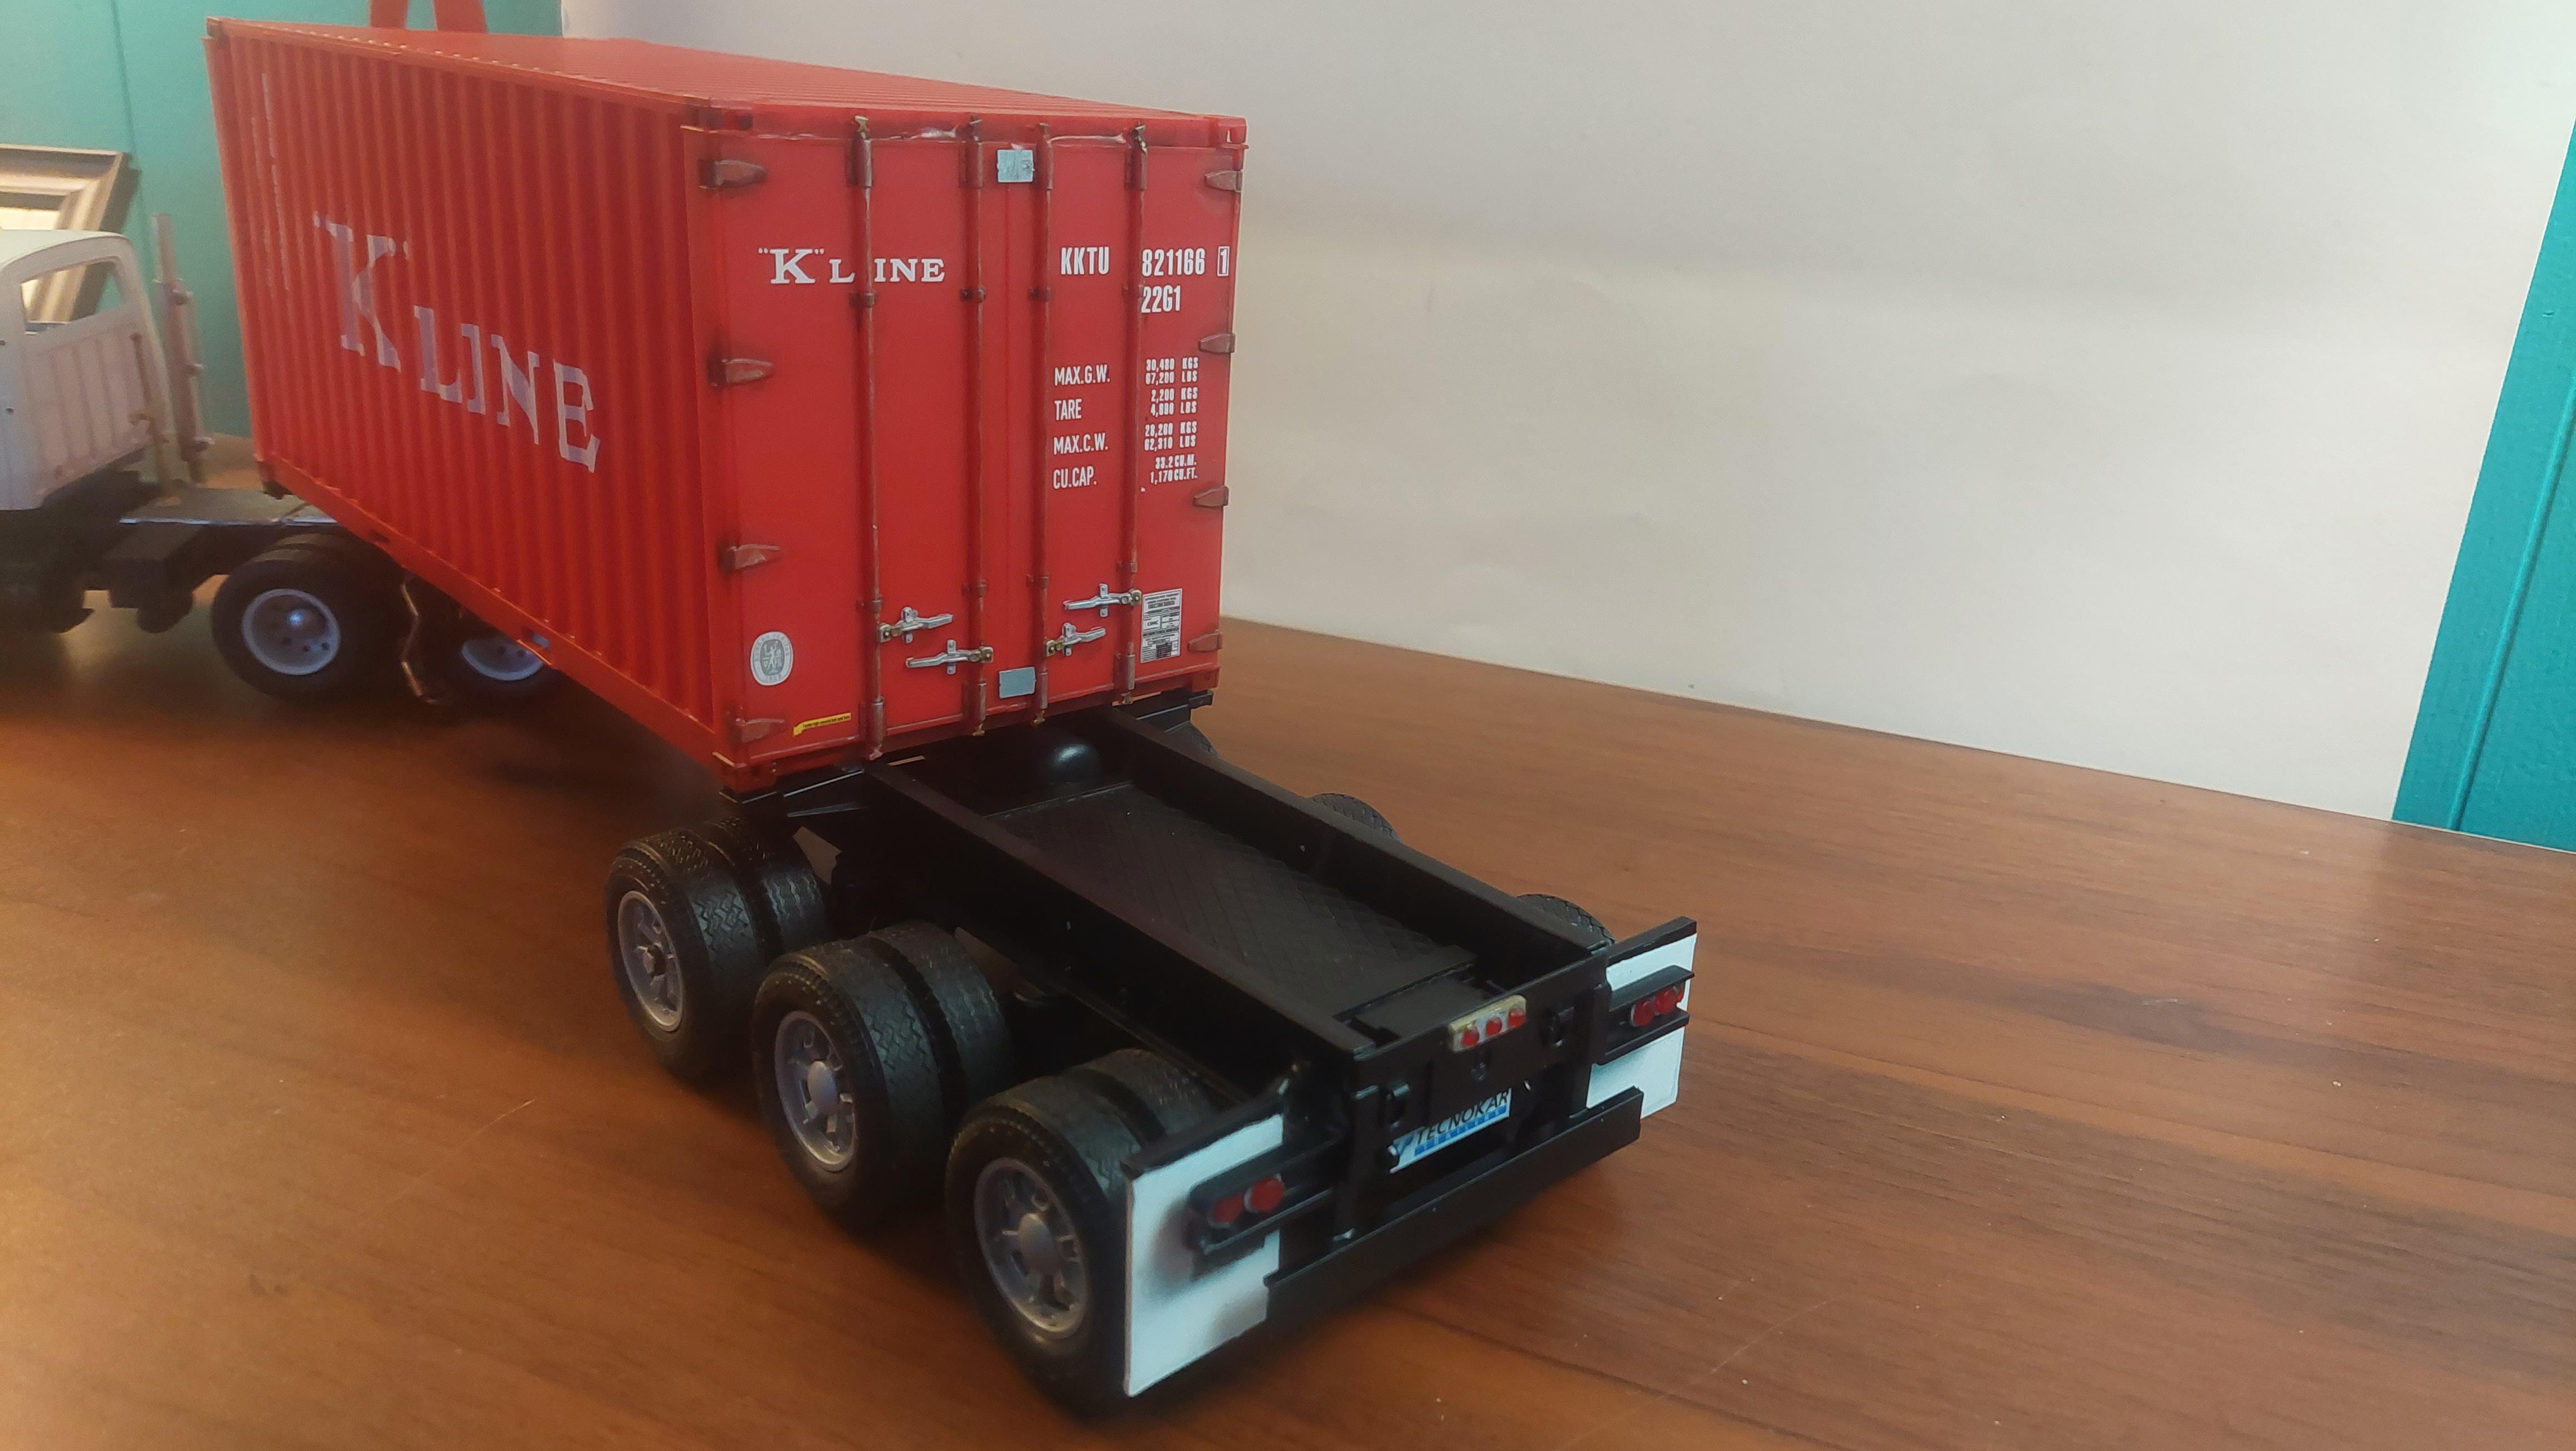
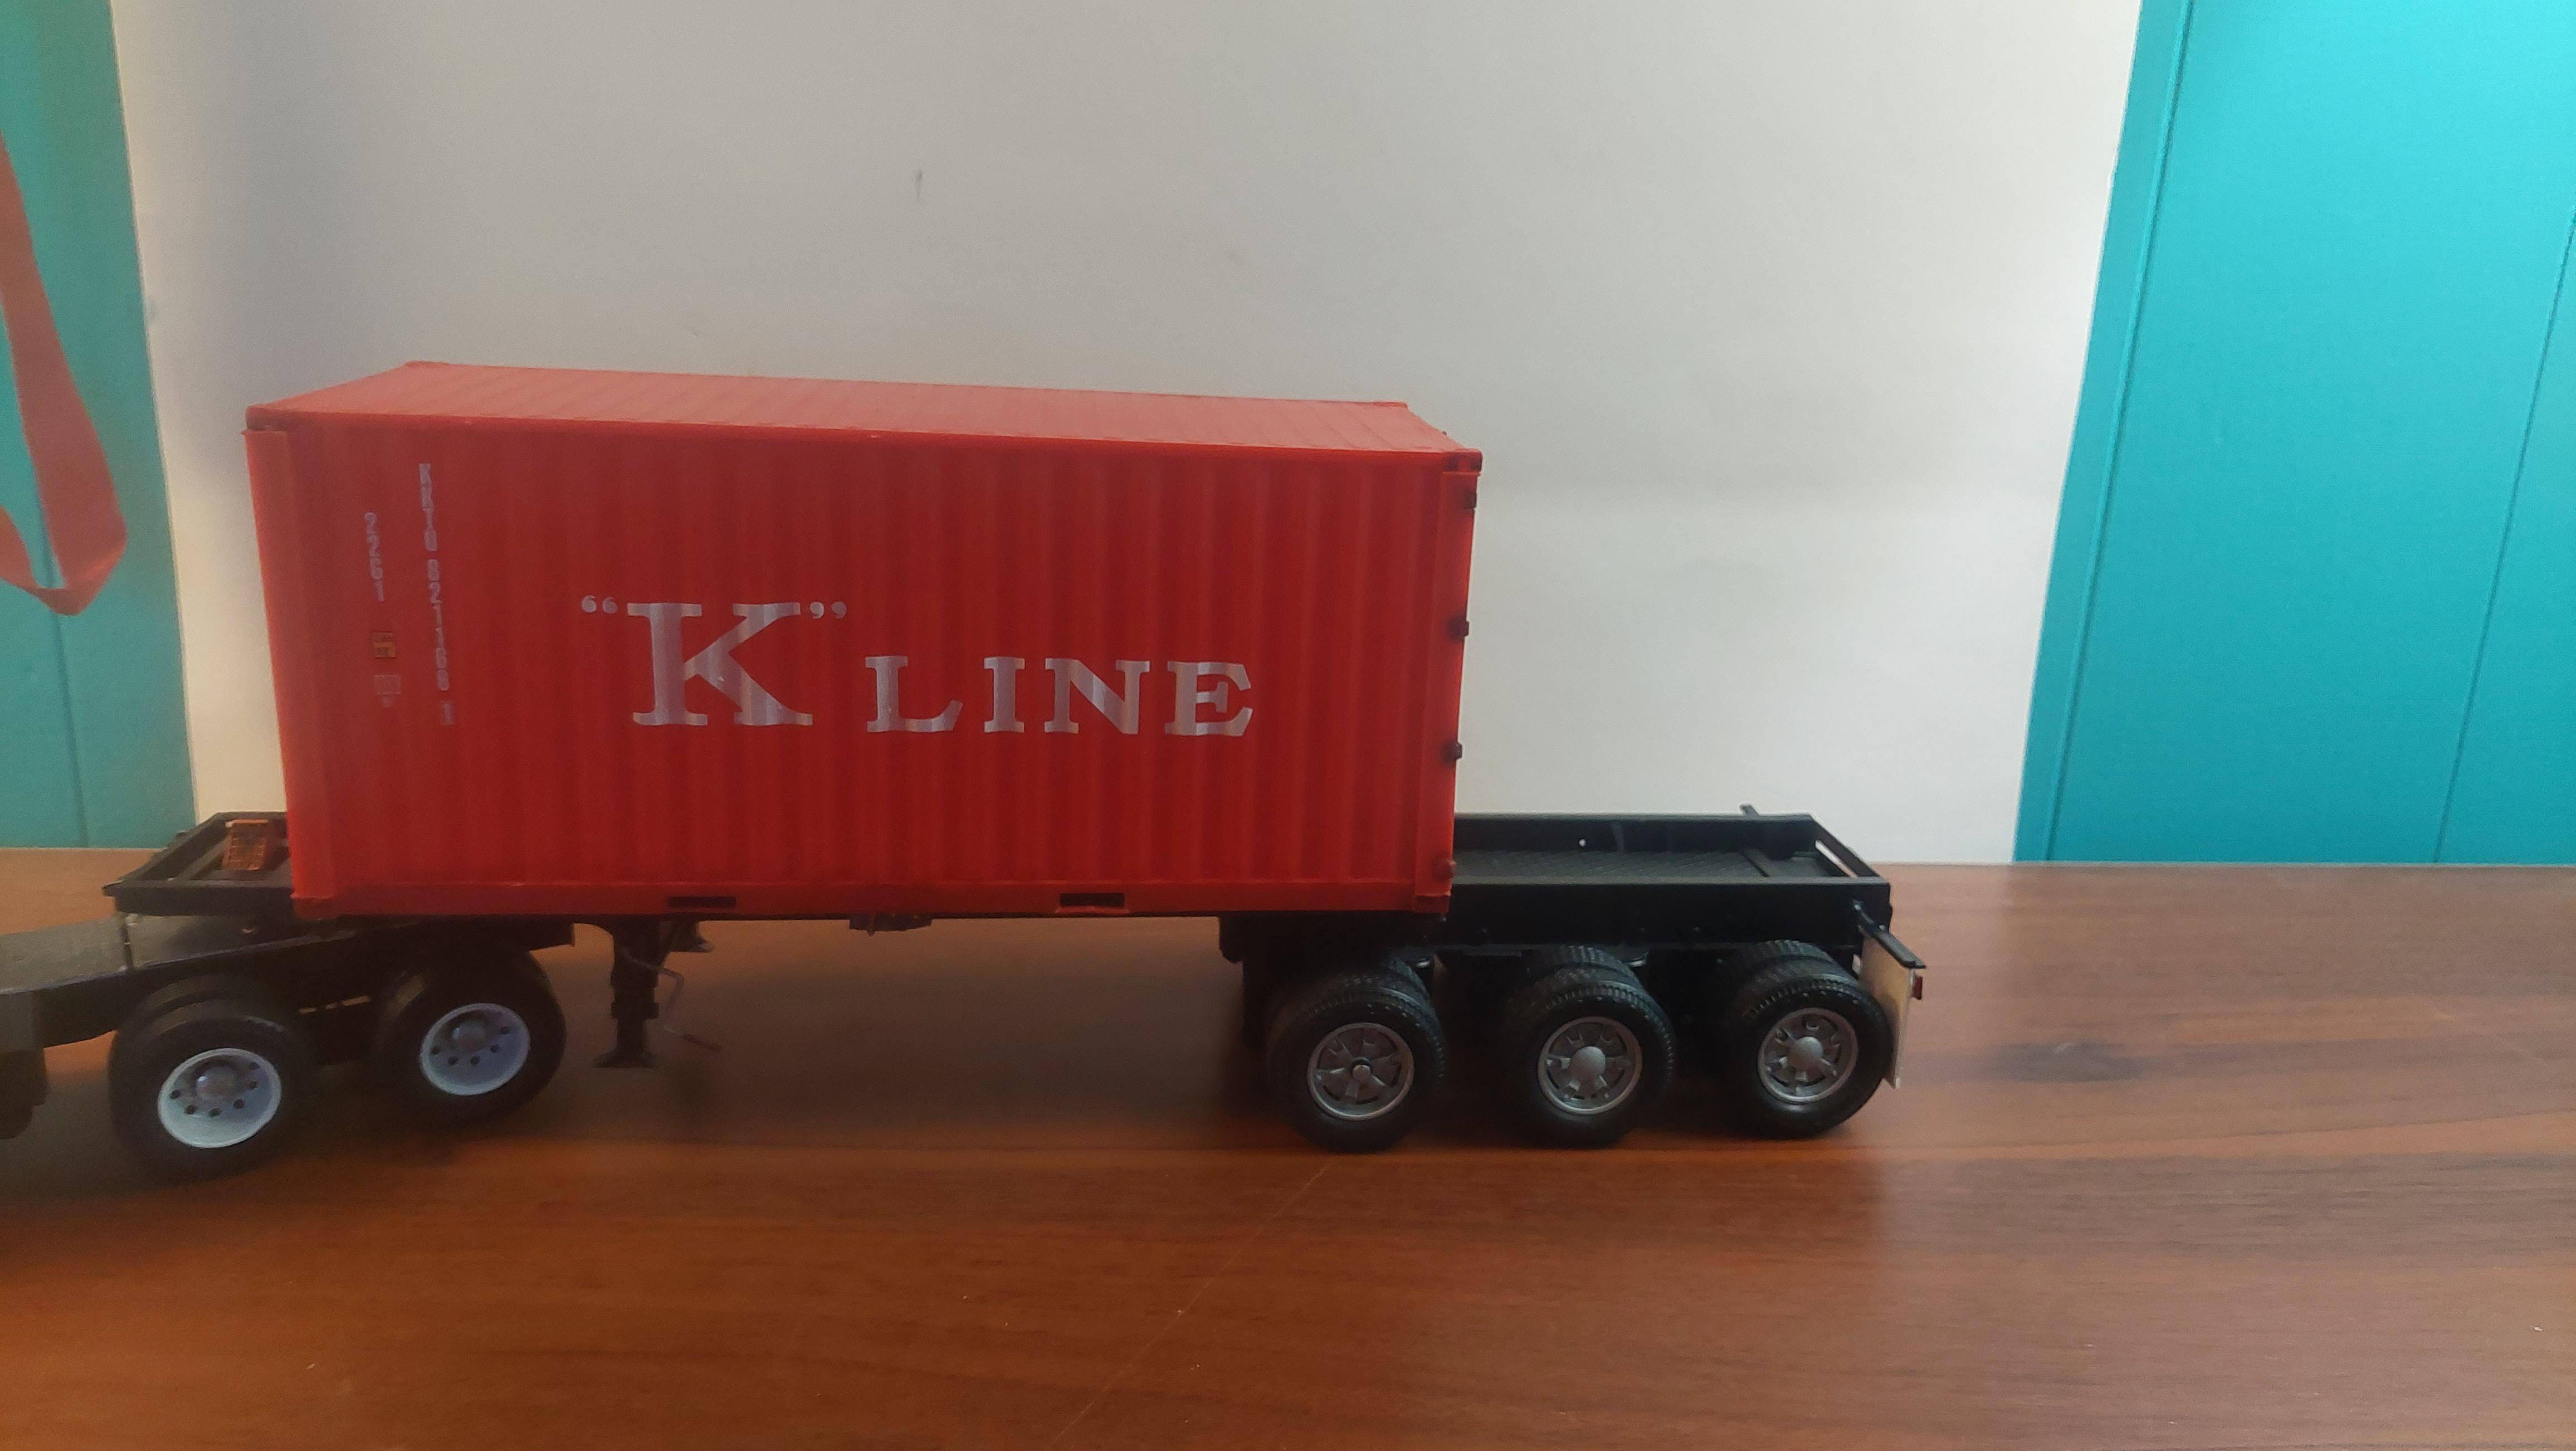
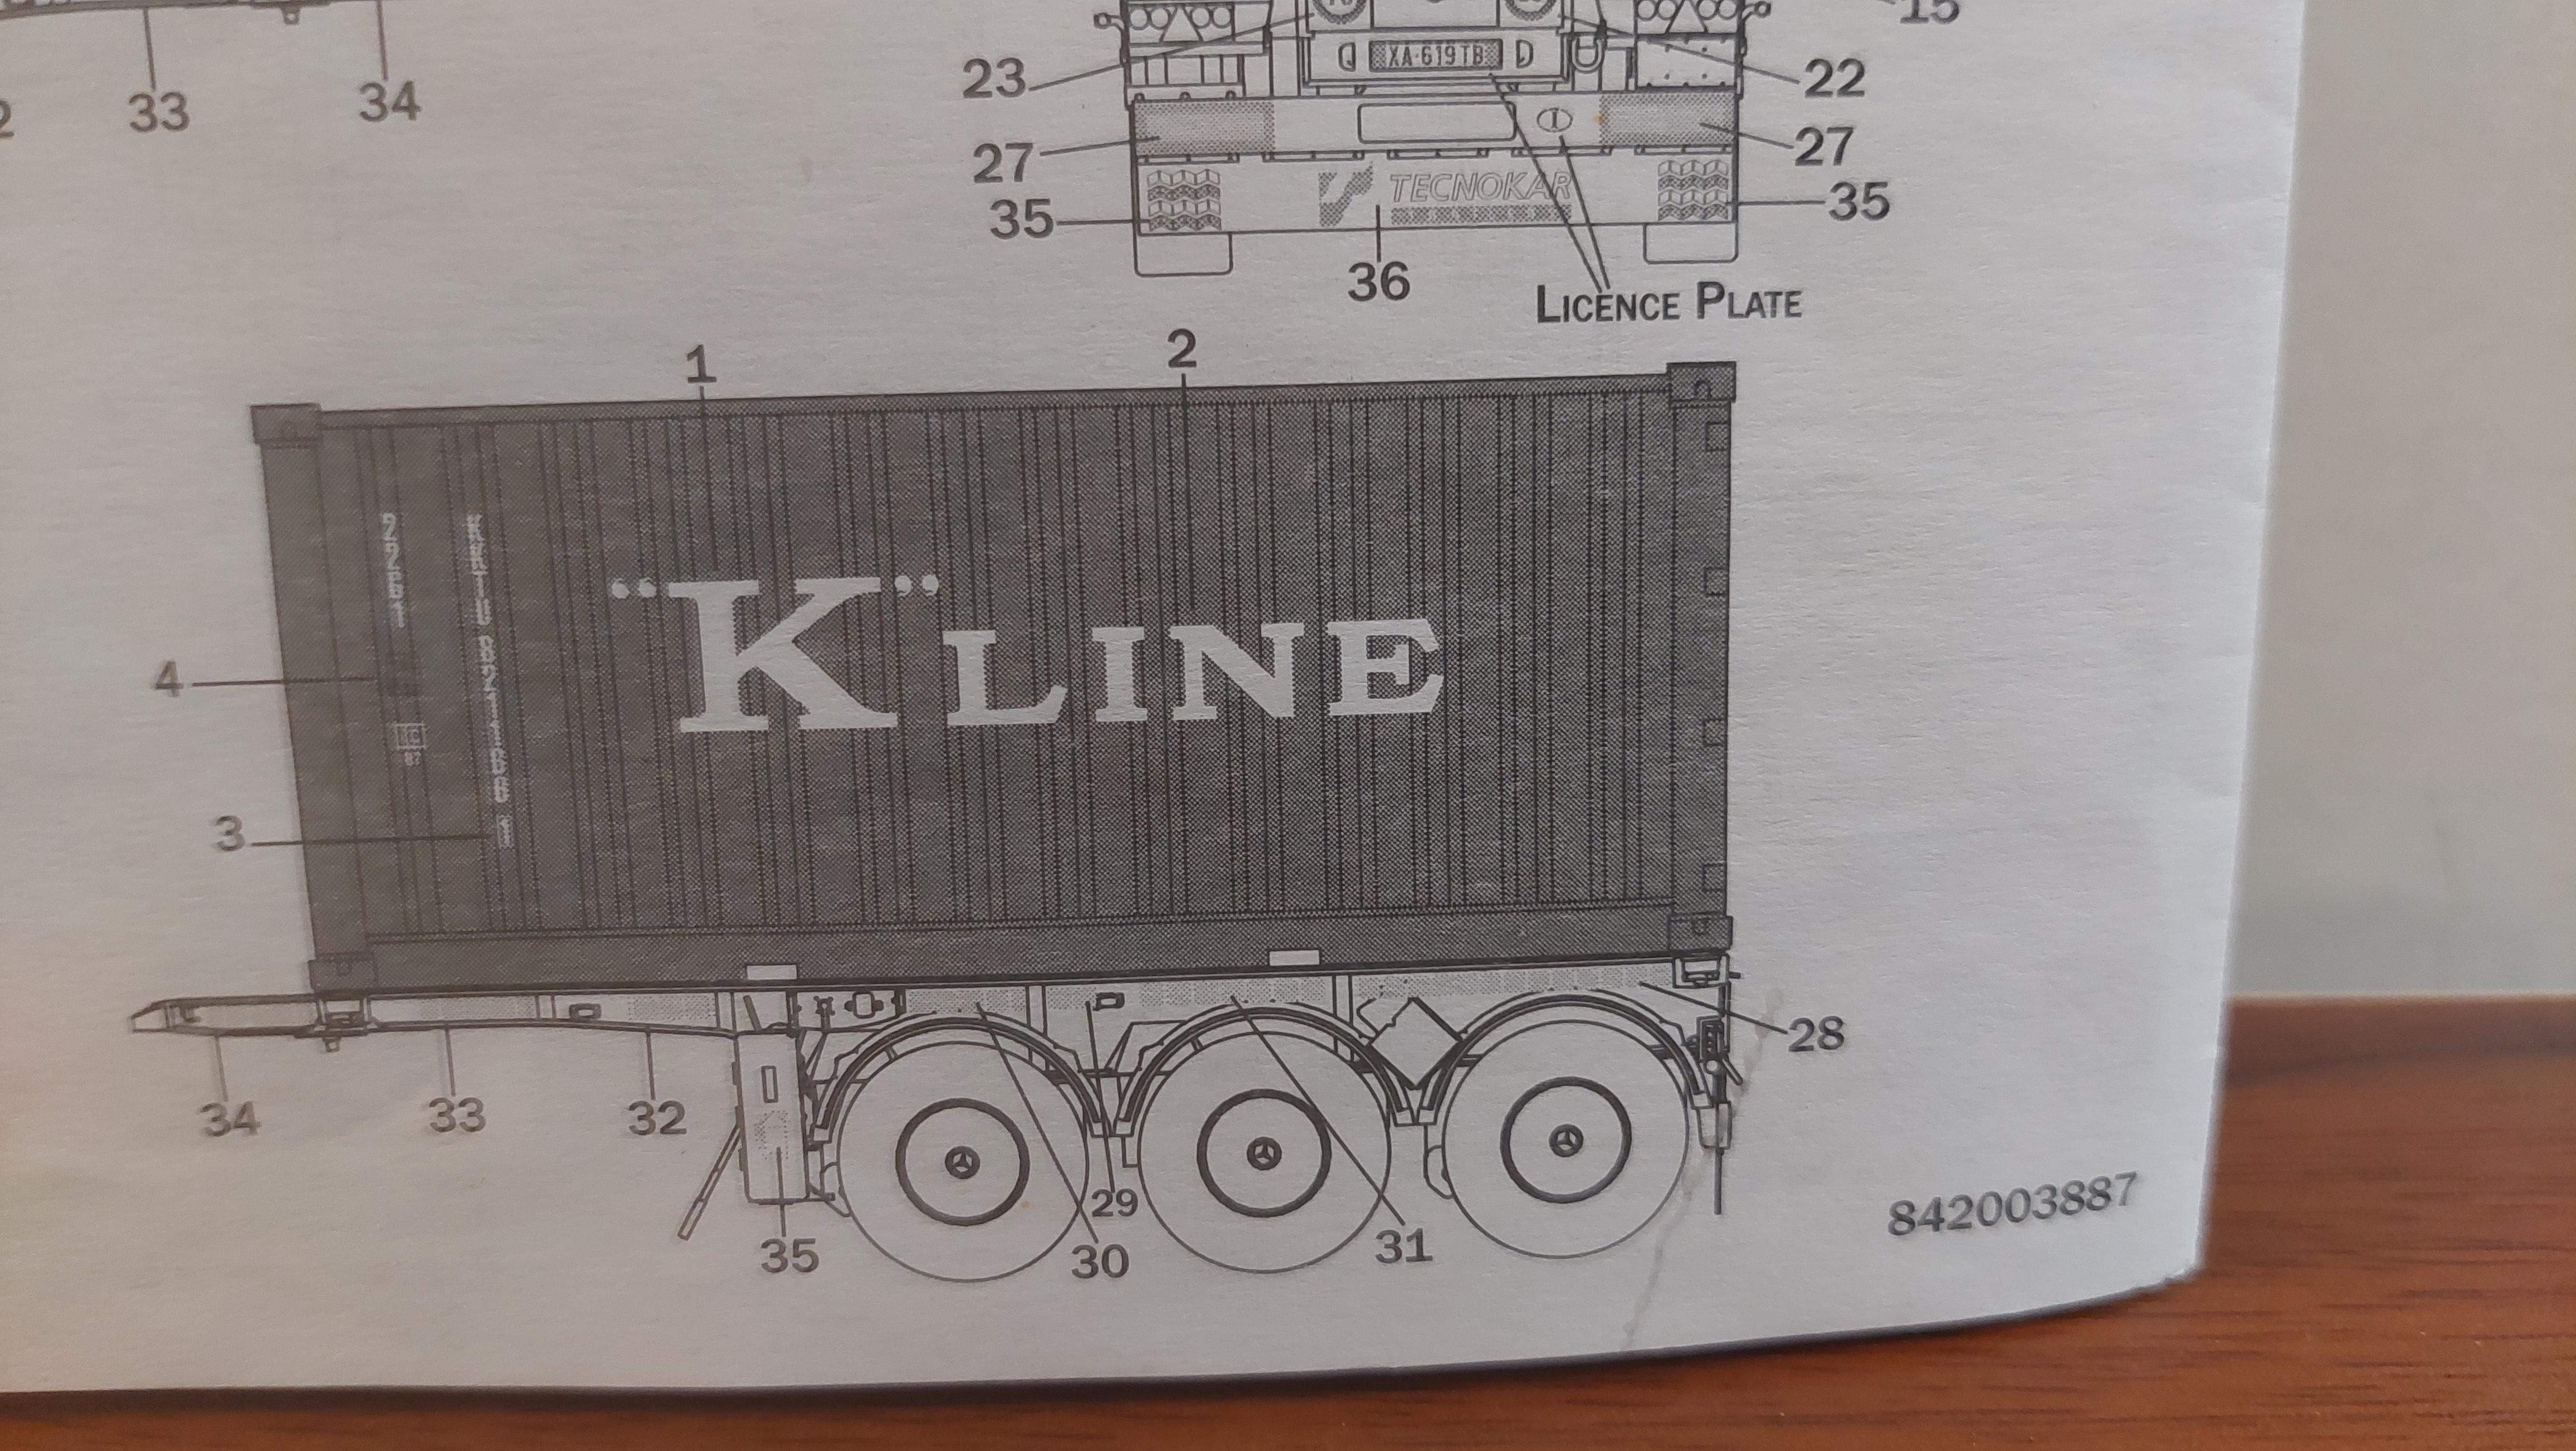
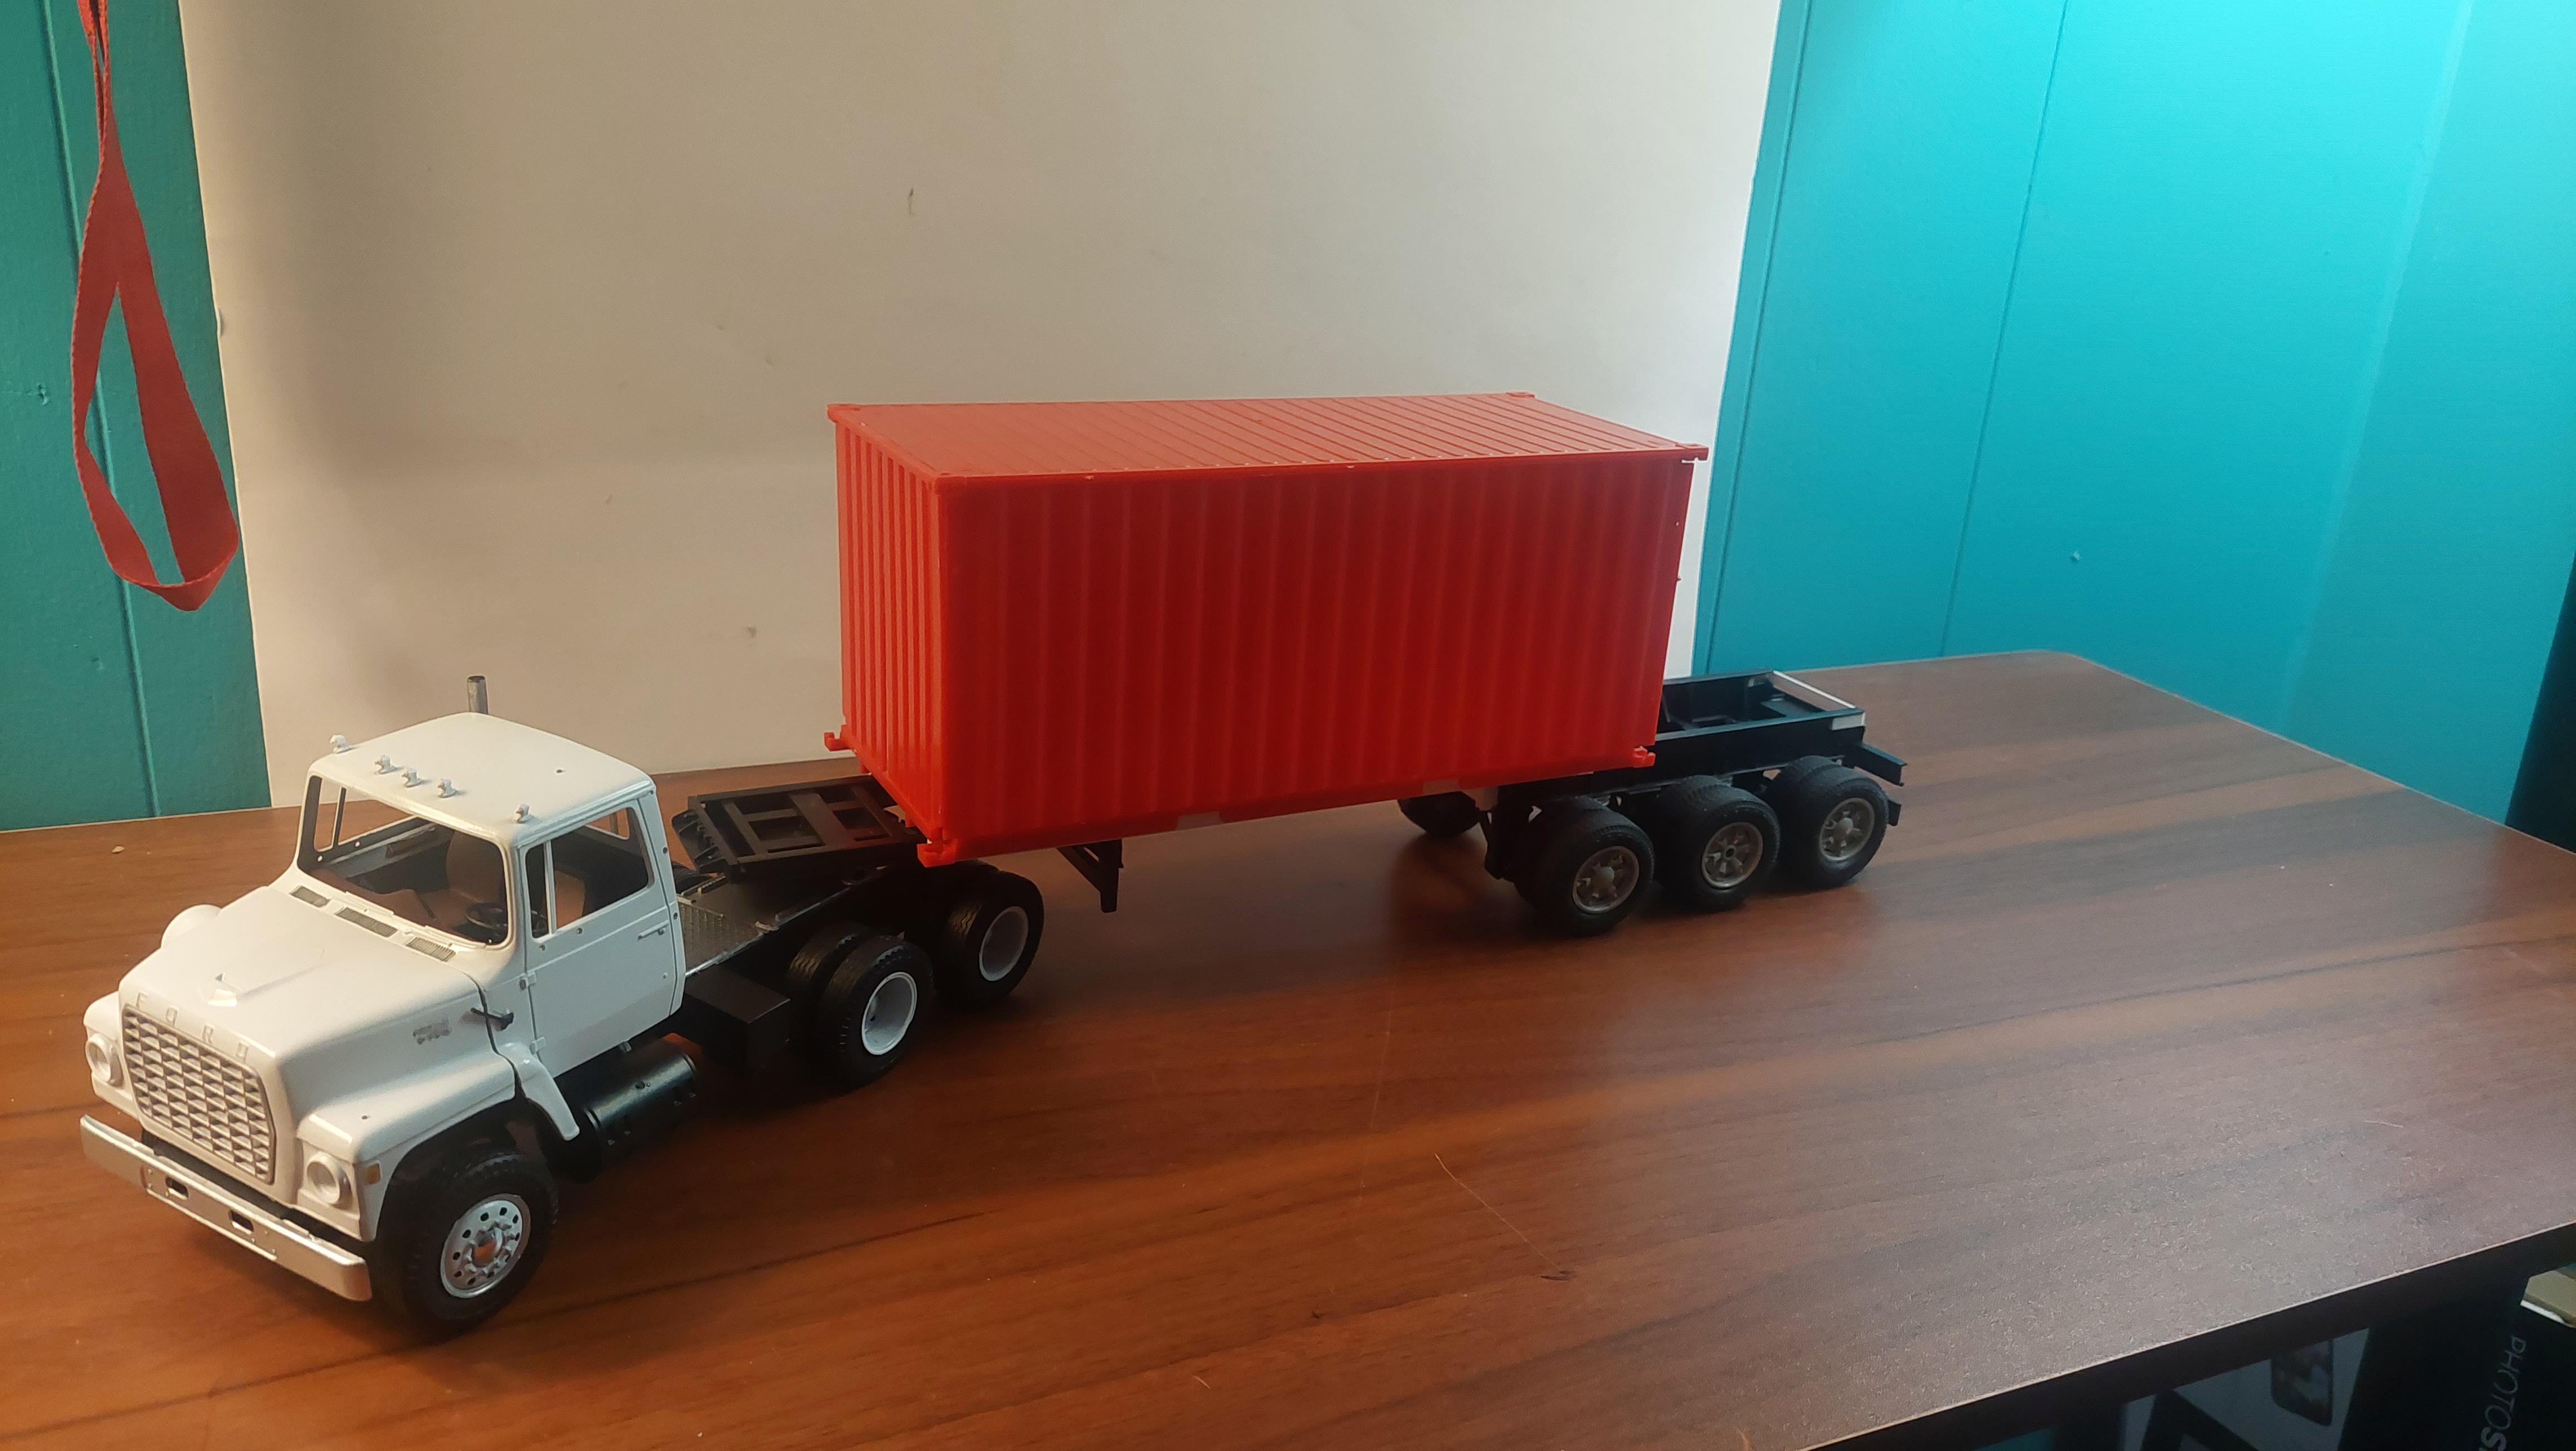
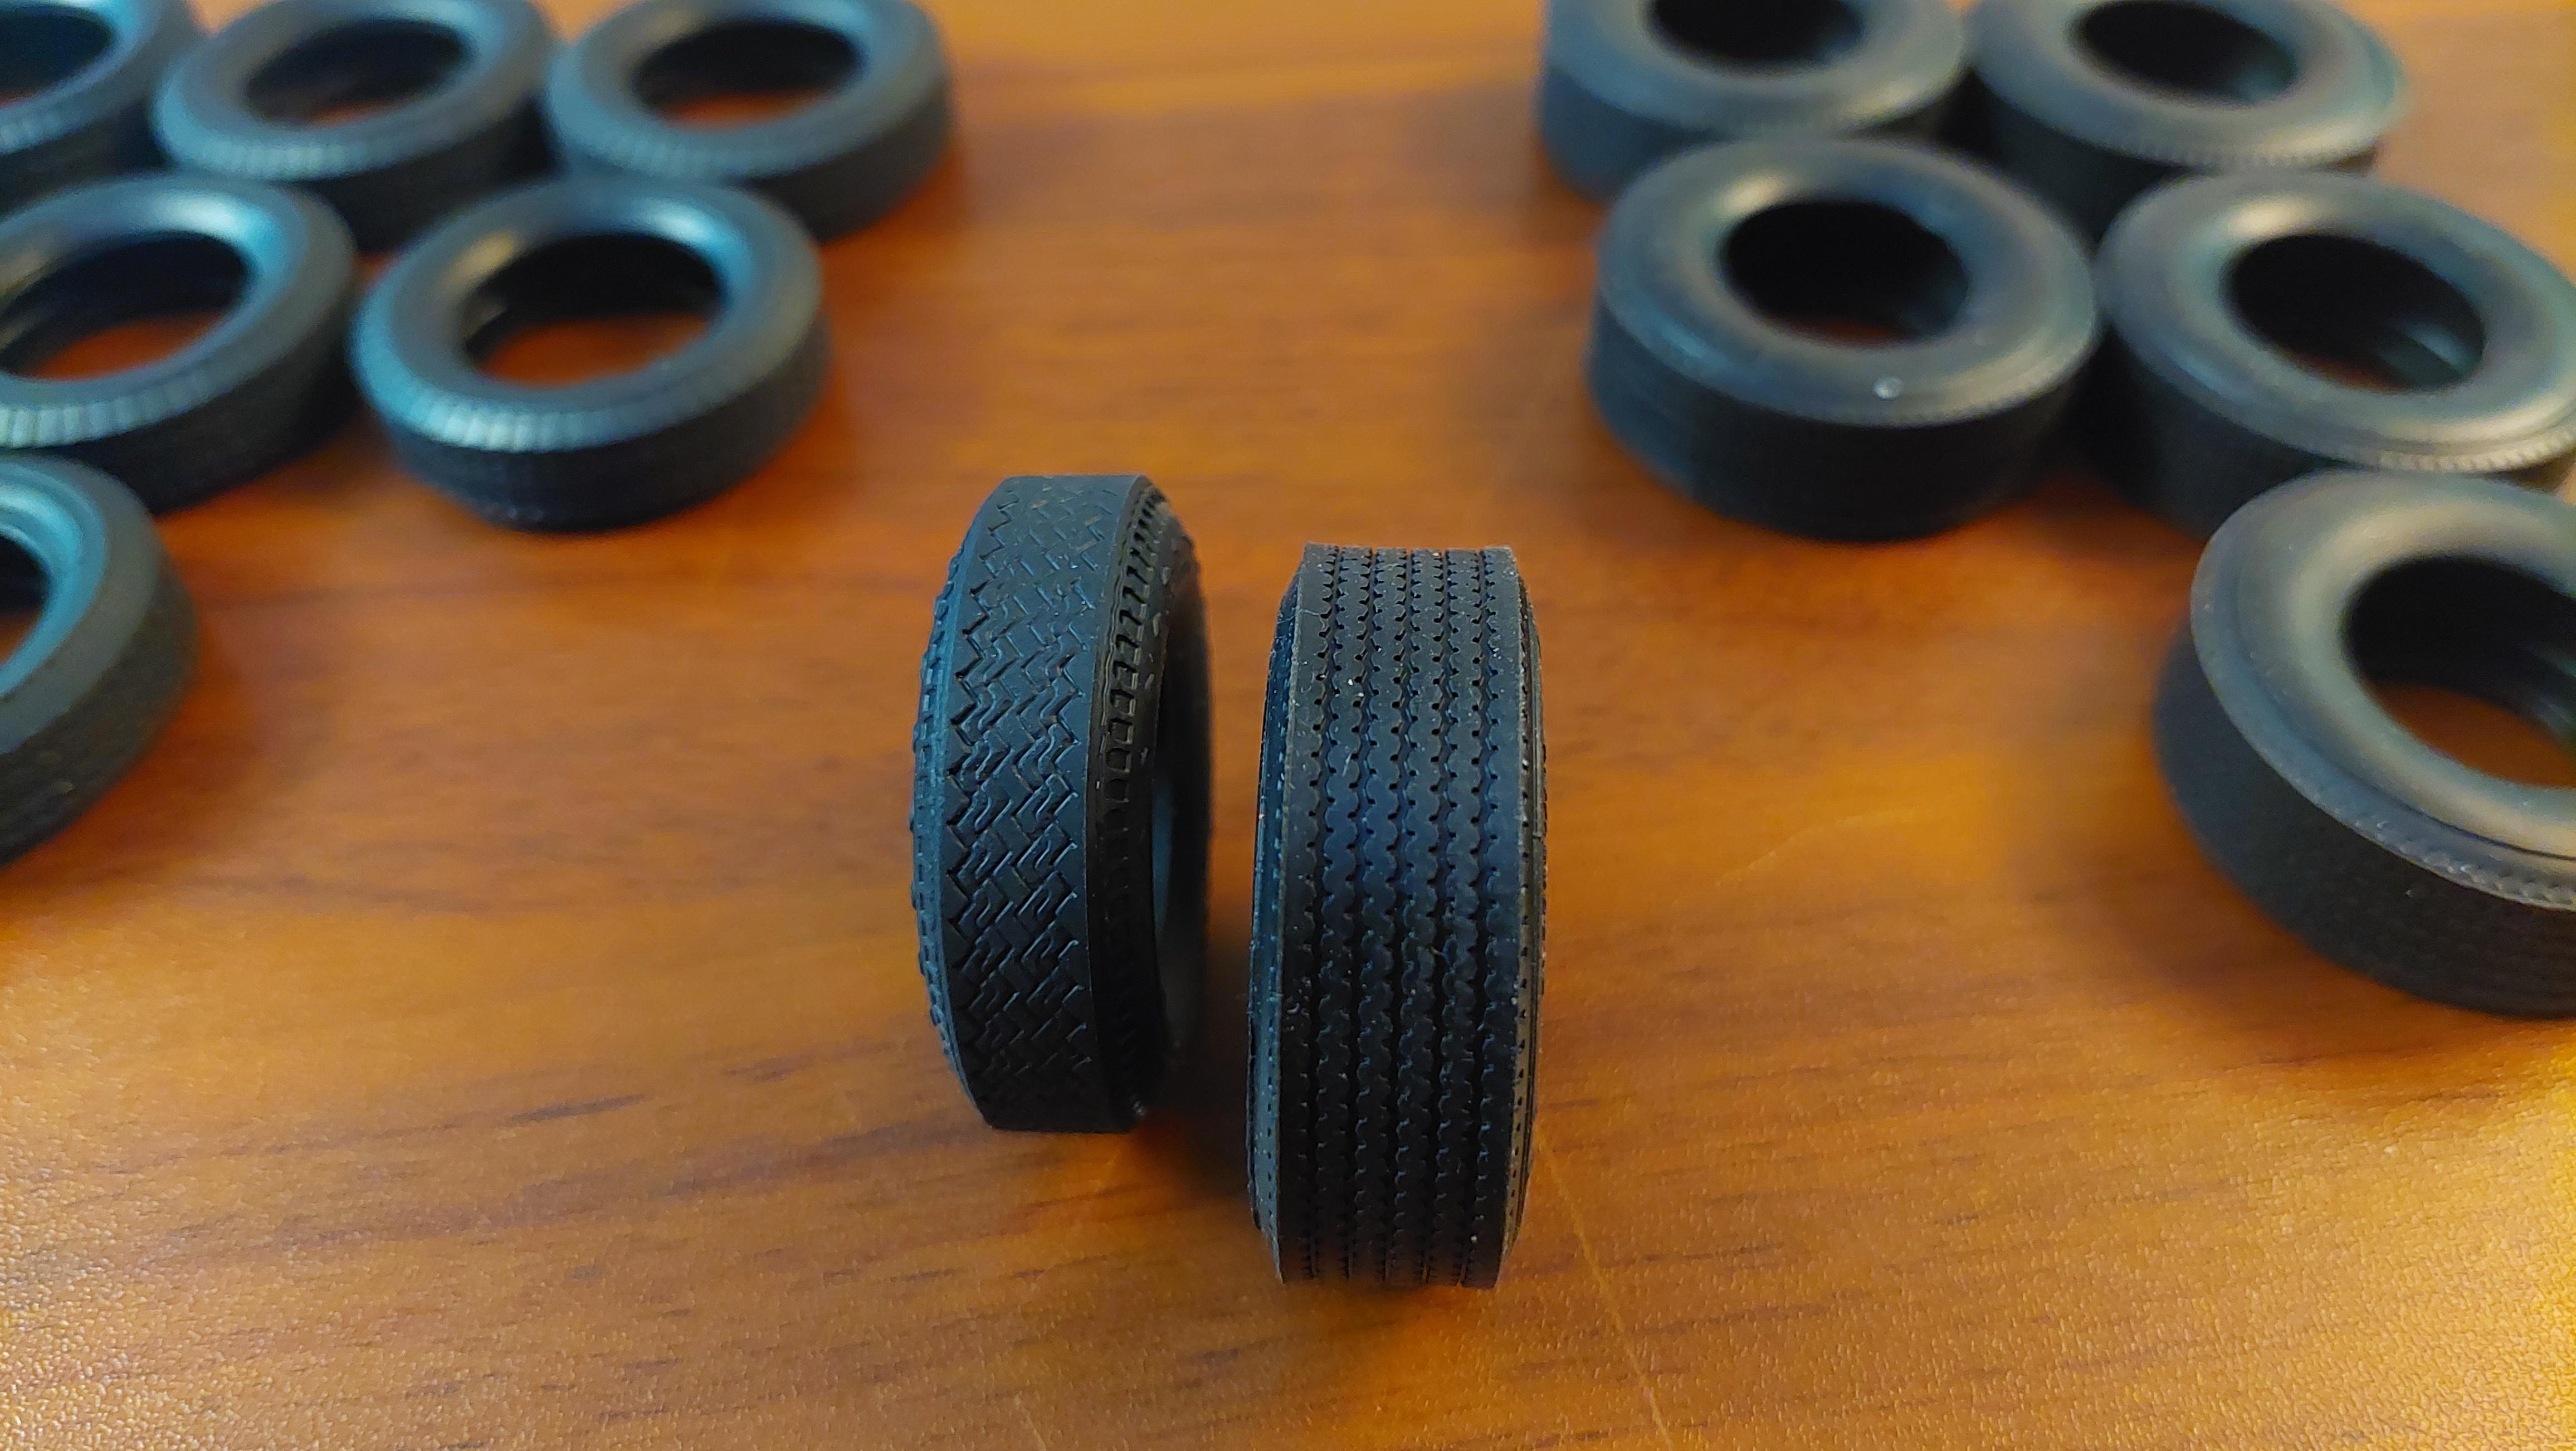
Got the trailer 99% done, just have hose connections left. The stretch and taillight area caused the bulk of the work and narrowed the axles to install 4 tires per axle vs. the 2 that were meant to go on. None kit items: 12 tires- 6 wheels- added wheel chock and pin puller - deck plate over rear axles , mud flaps, lighting and 3 strips of Evergreen .080 x .500 x 24" for the frame, plus othes sizes for crossmembers and channels. Changes can be seen in the instruction pics vs. the way it is now. Decals are kit. Light weathering on container and chassis .Now I can get back to the tractor.
-
Still for trade.
-
Thanks for the offer but I have to decline.
-
Complete unstarted . Will trade up for AMT Chevelle AWB or Chevy II AWB in same condition. Can send whats inside the box pictures but really hate to get it all back in.
-
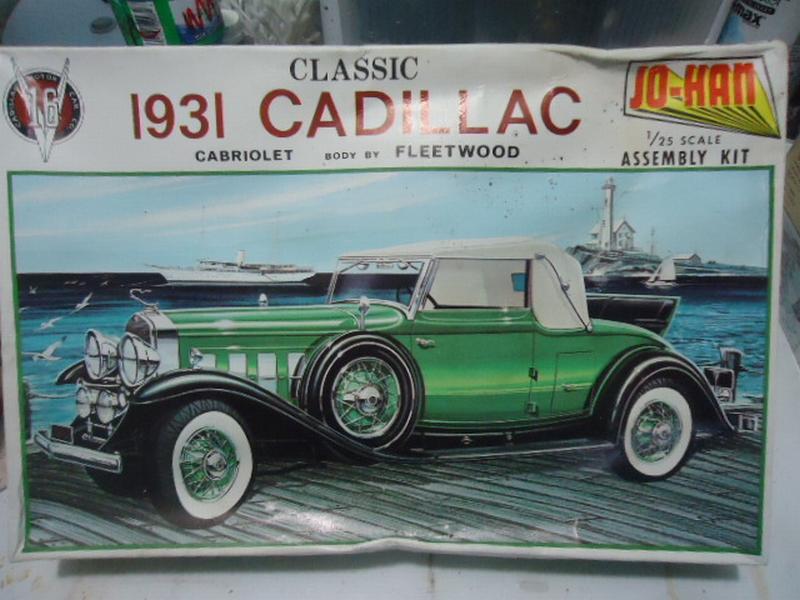
9 kits to trade for Monogram and johan classic cars
BIGTRUCK replied to stevez's topic in Trading Post
PM me if you still need these..complete never started kits.
-
An everydayFord day cab tractor
BIGTRUCK replied to BIGTRUCK's topic in WIP: Model Trucks: Big Rigs and Heavy Equipment
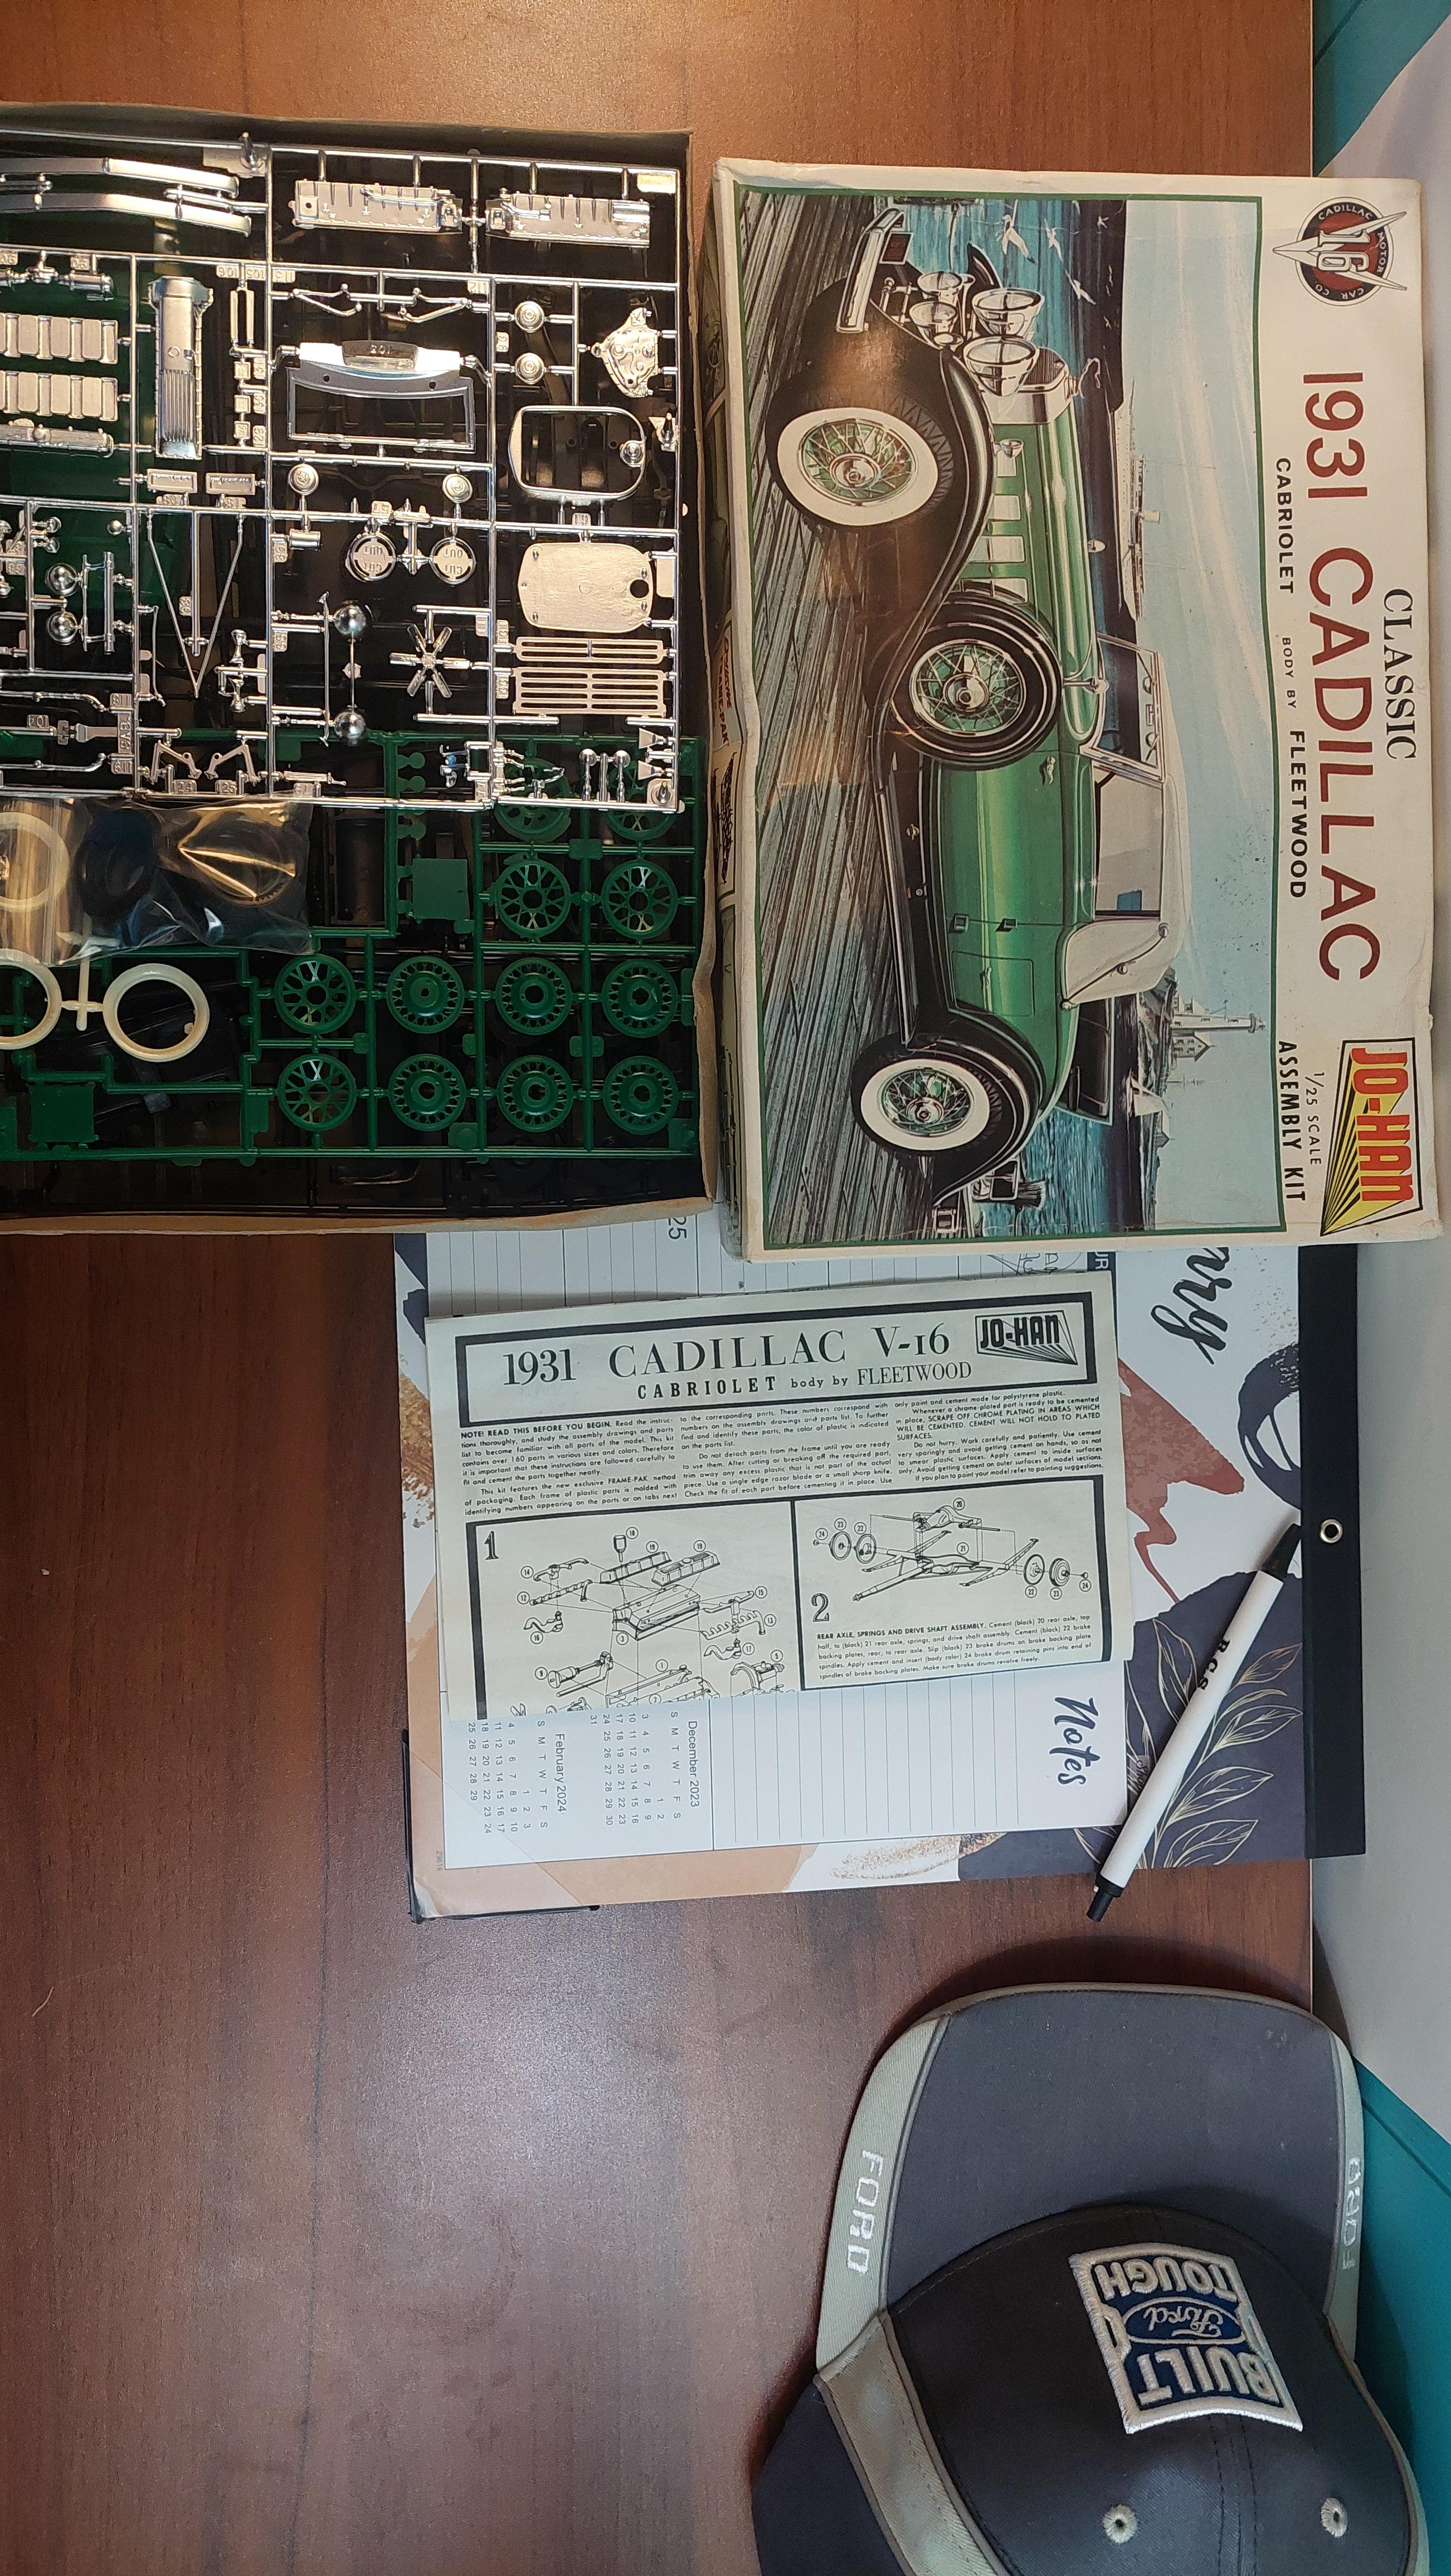
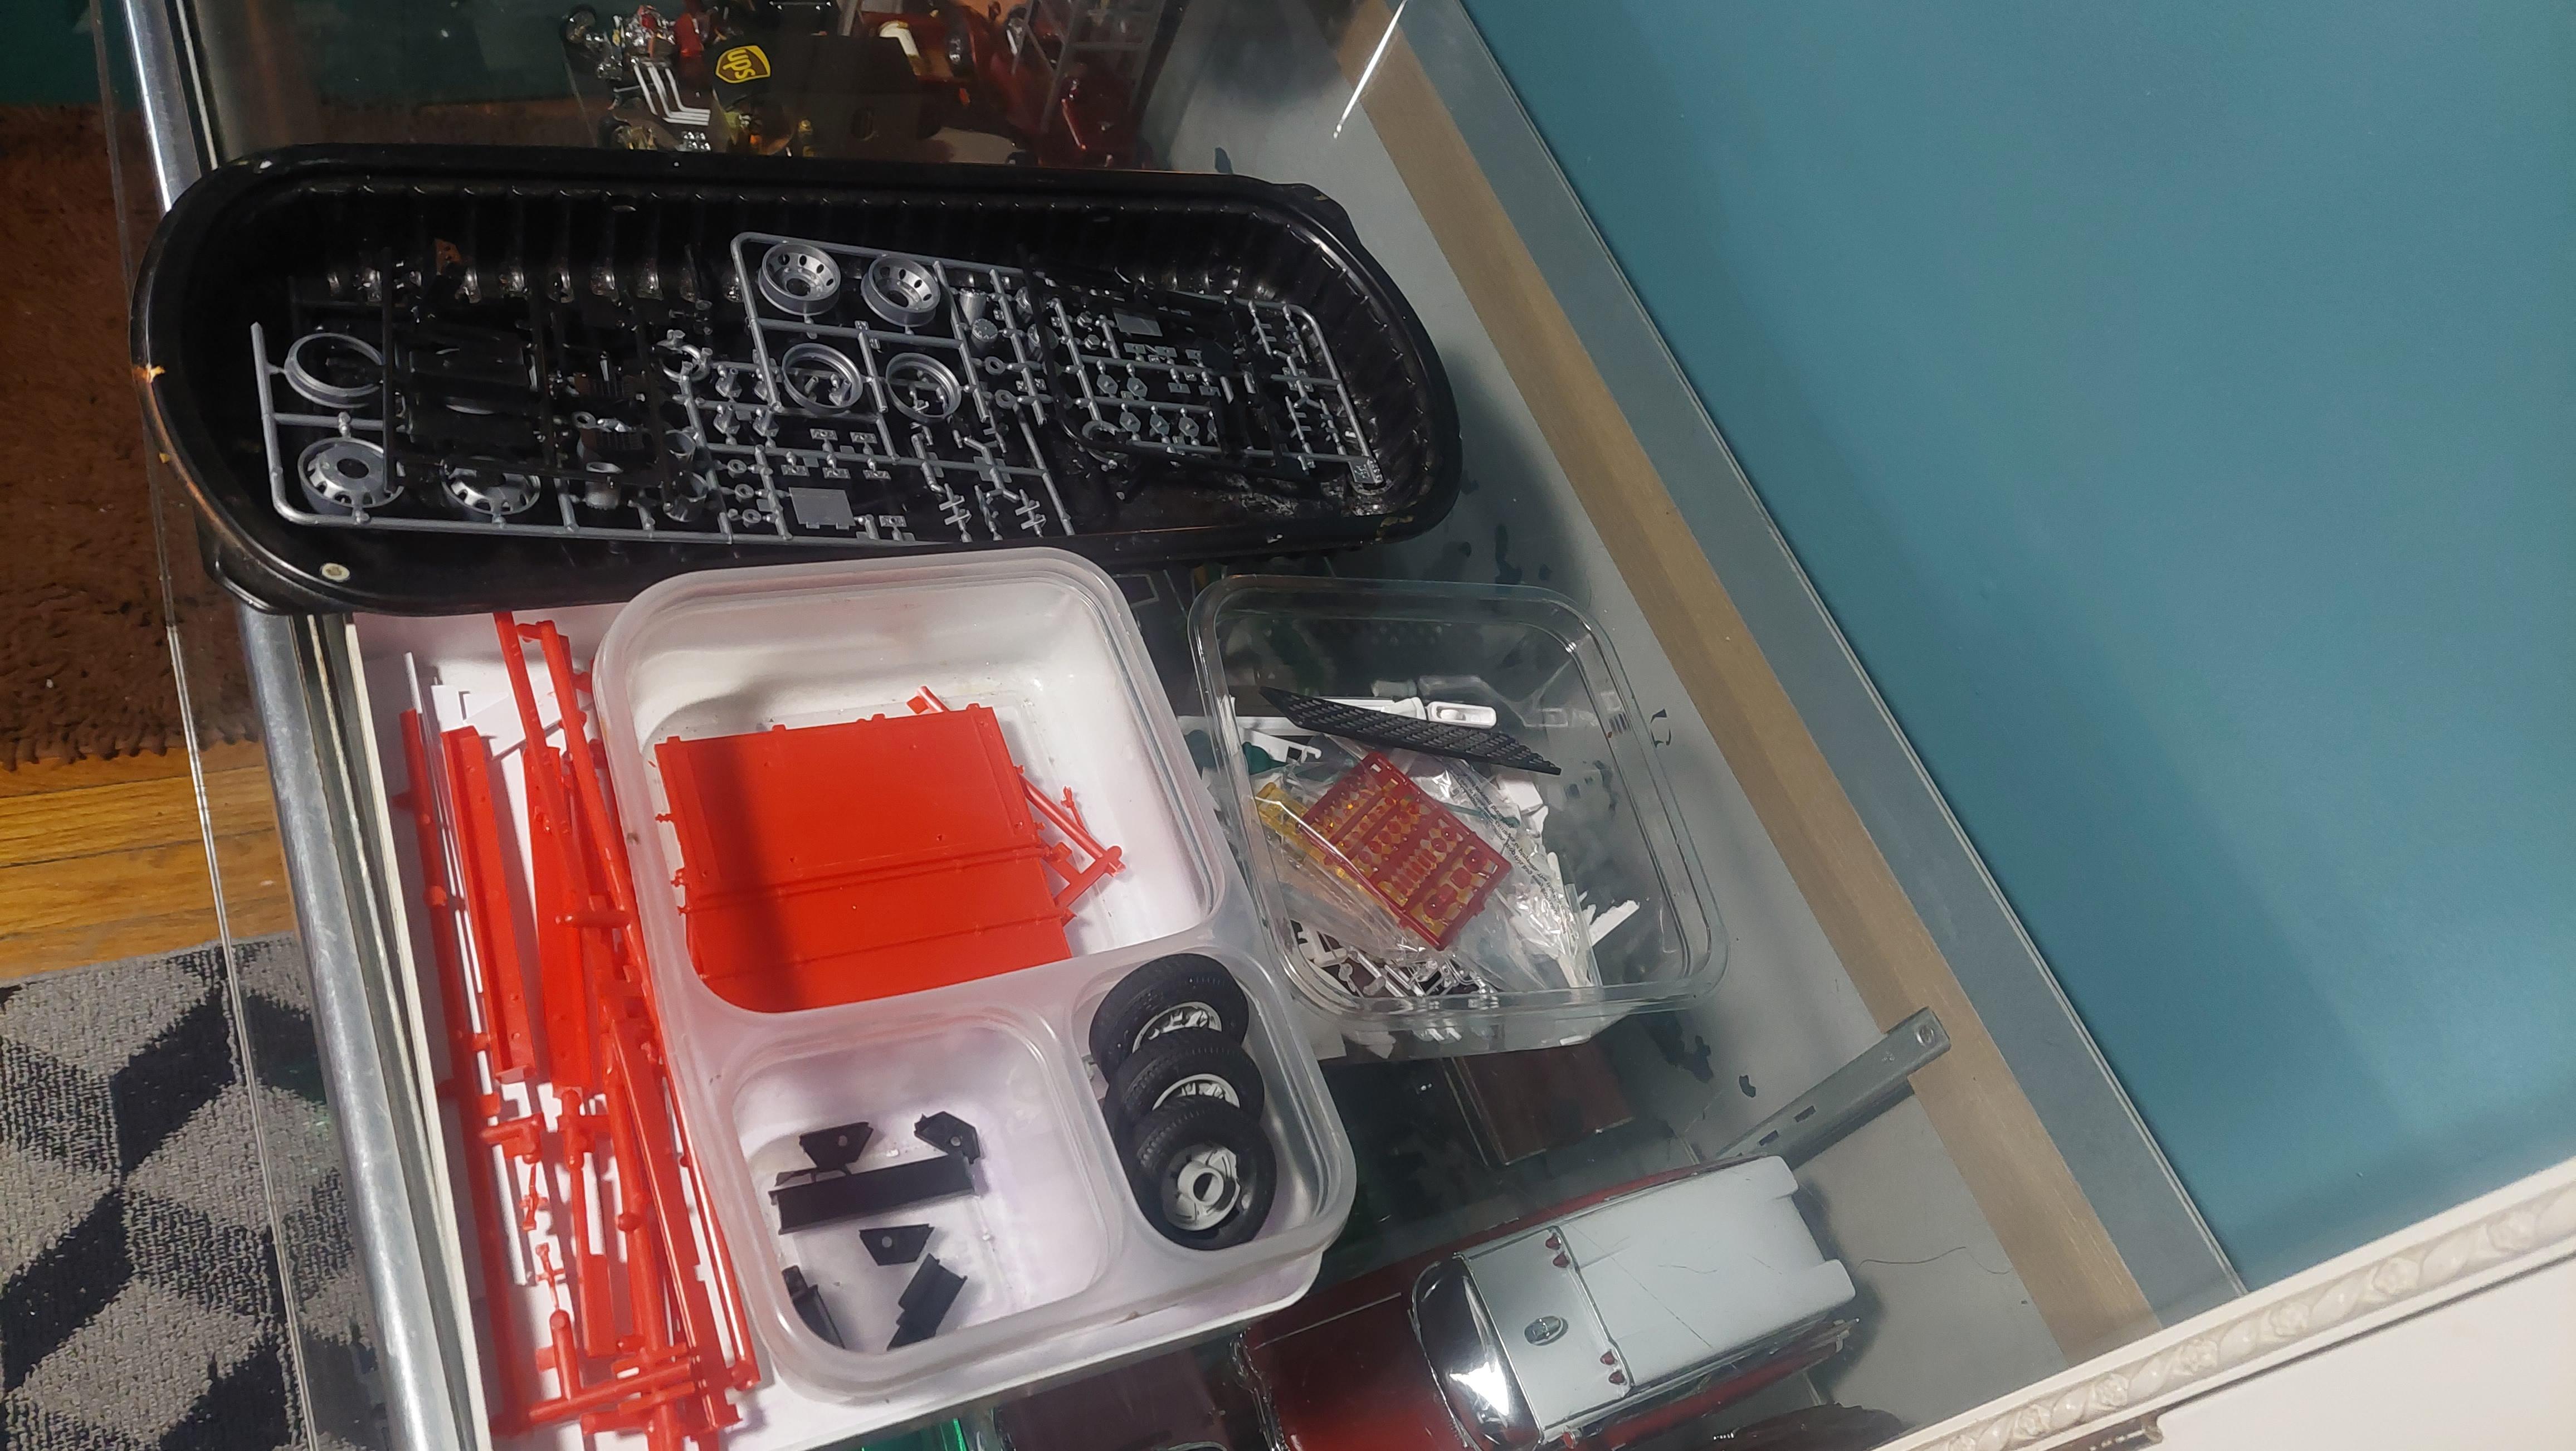
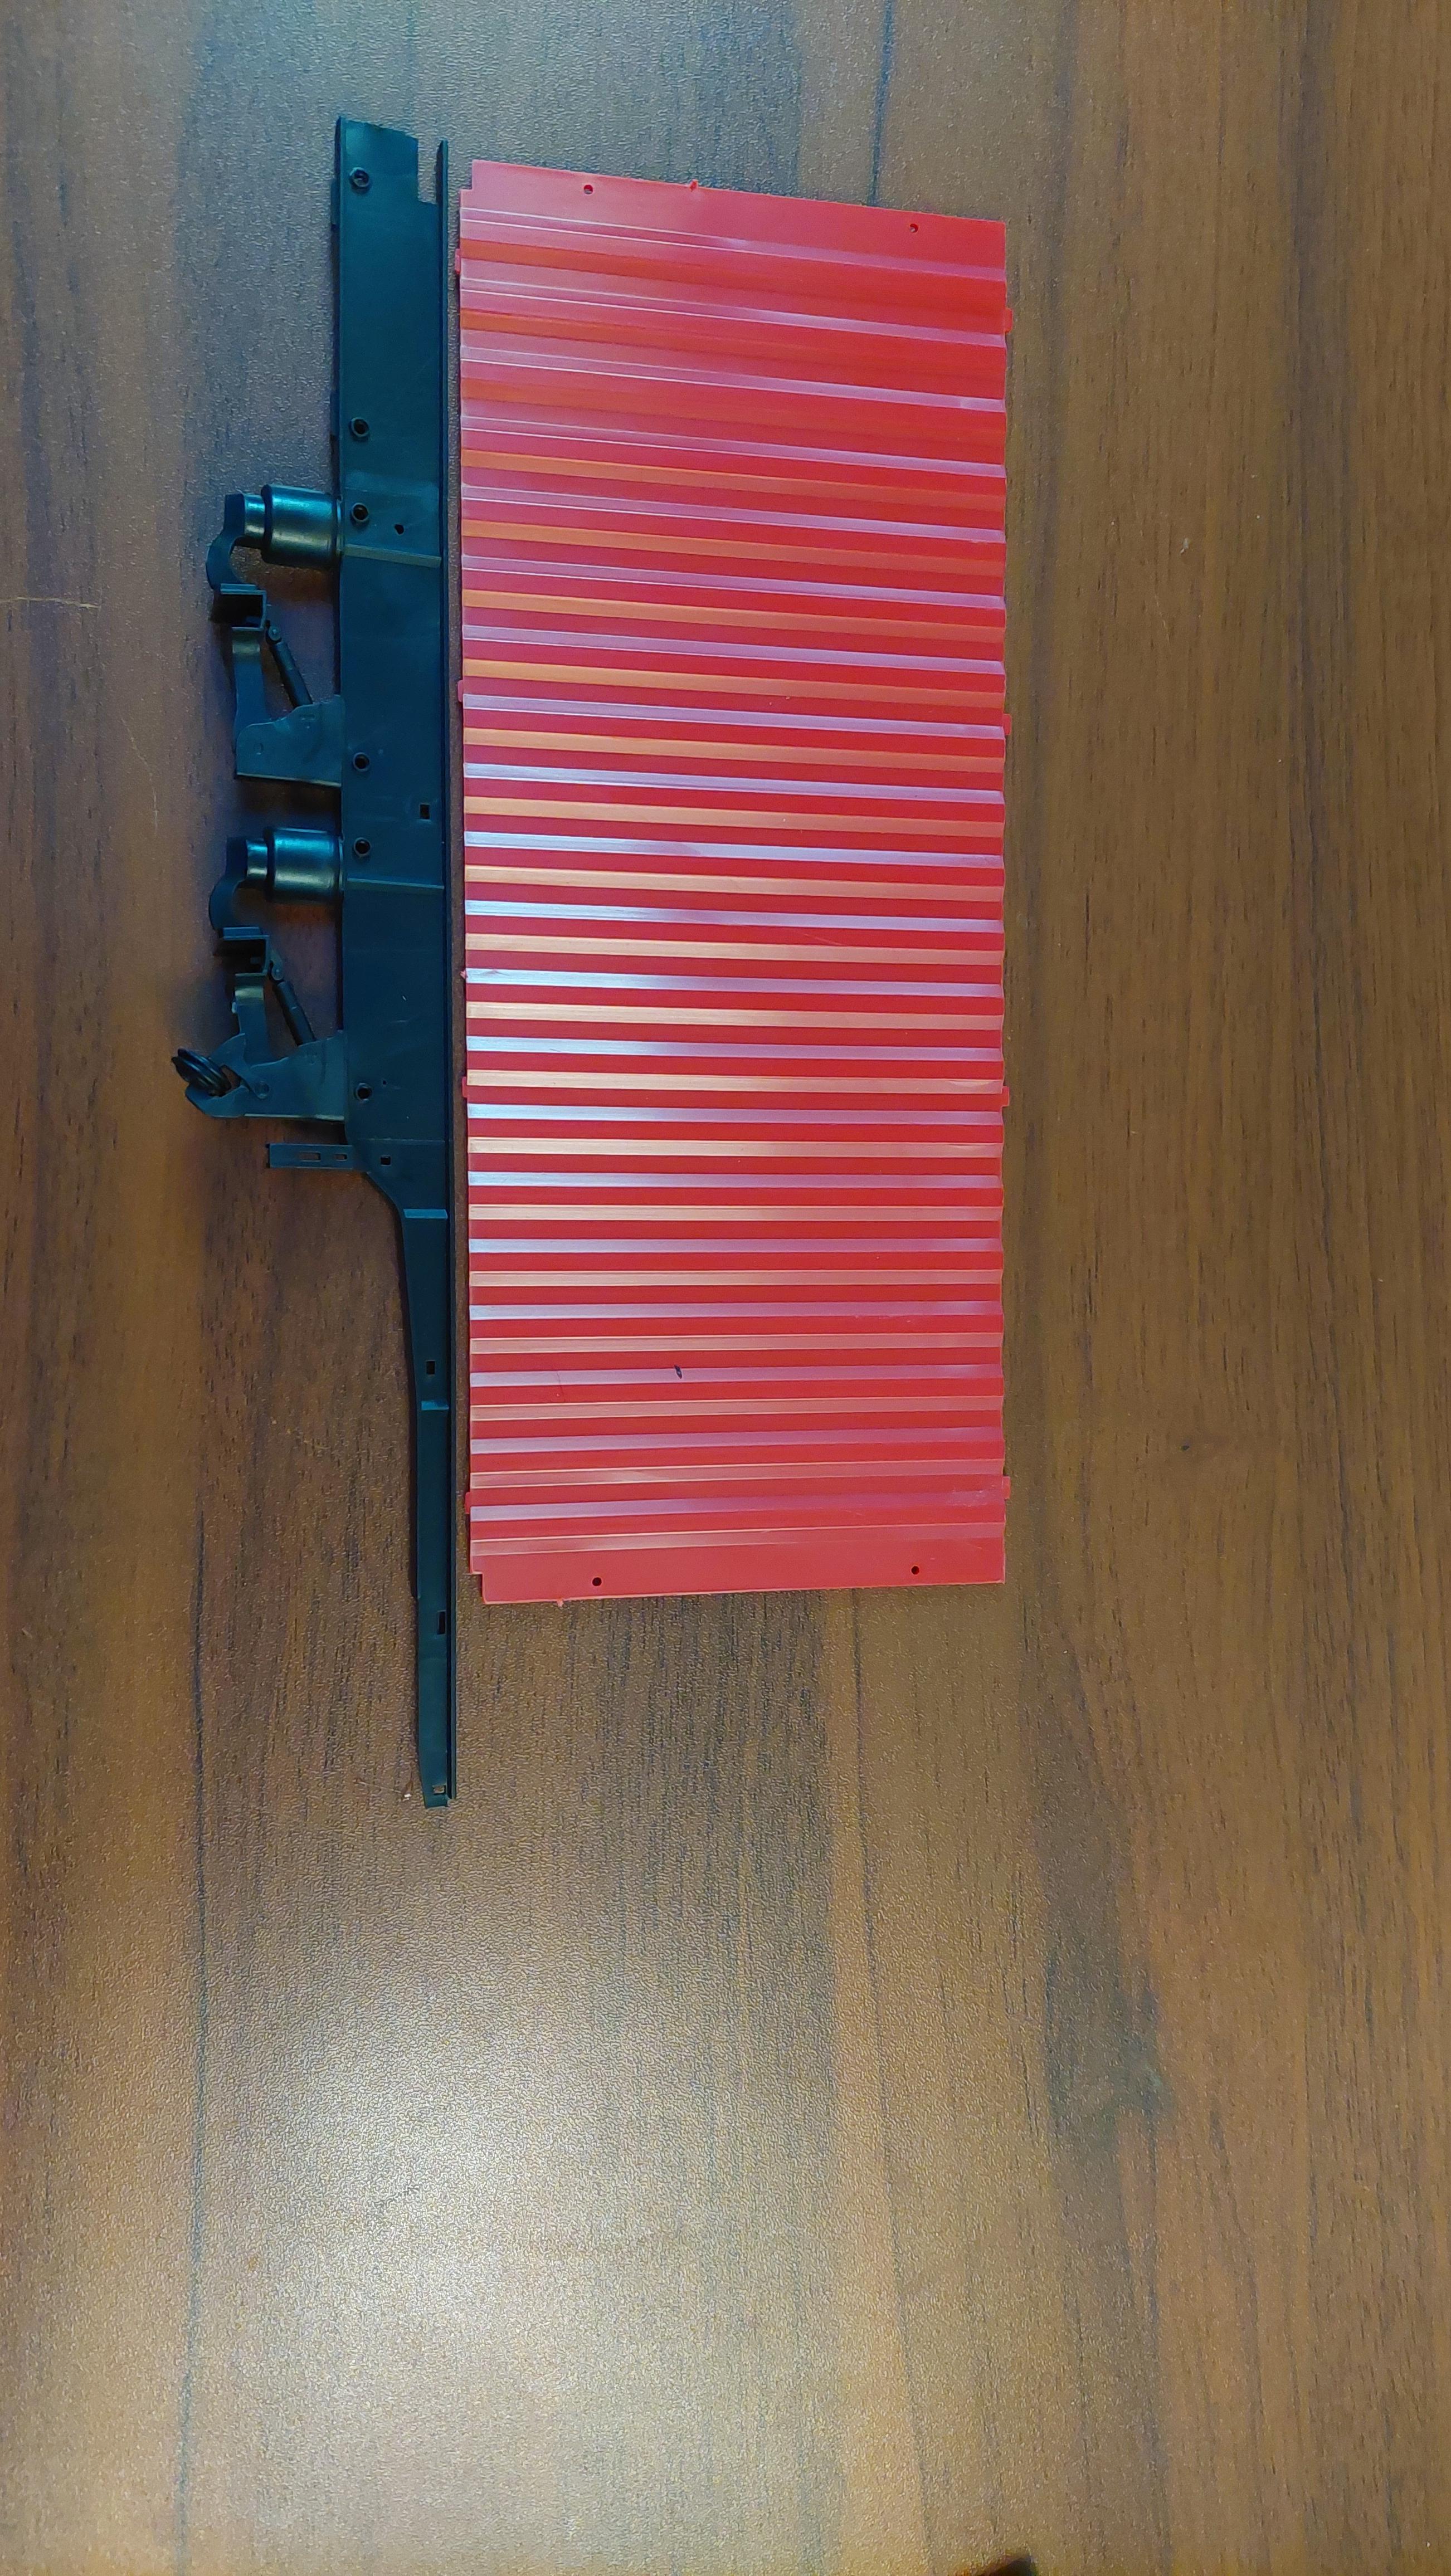
I thought I was getting closer to get the container and chassis in primer soon, but I started gathering up parts and putting them in trays and primer stage will have to wait. I have alot of items to go on yet. I dont know why Italeri would make both sides one piece and the roof ,floor and bulkhead multi piece, the rear doors , yes I understand that ,but its just a box , oh well this is where Im at this week.
-
An everydayFord day cab tractor
BIGTRUCK replied to BIGTRUCK's topic in WIP: Model Trucks: Big Rigs and Heavy Equipment
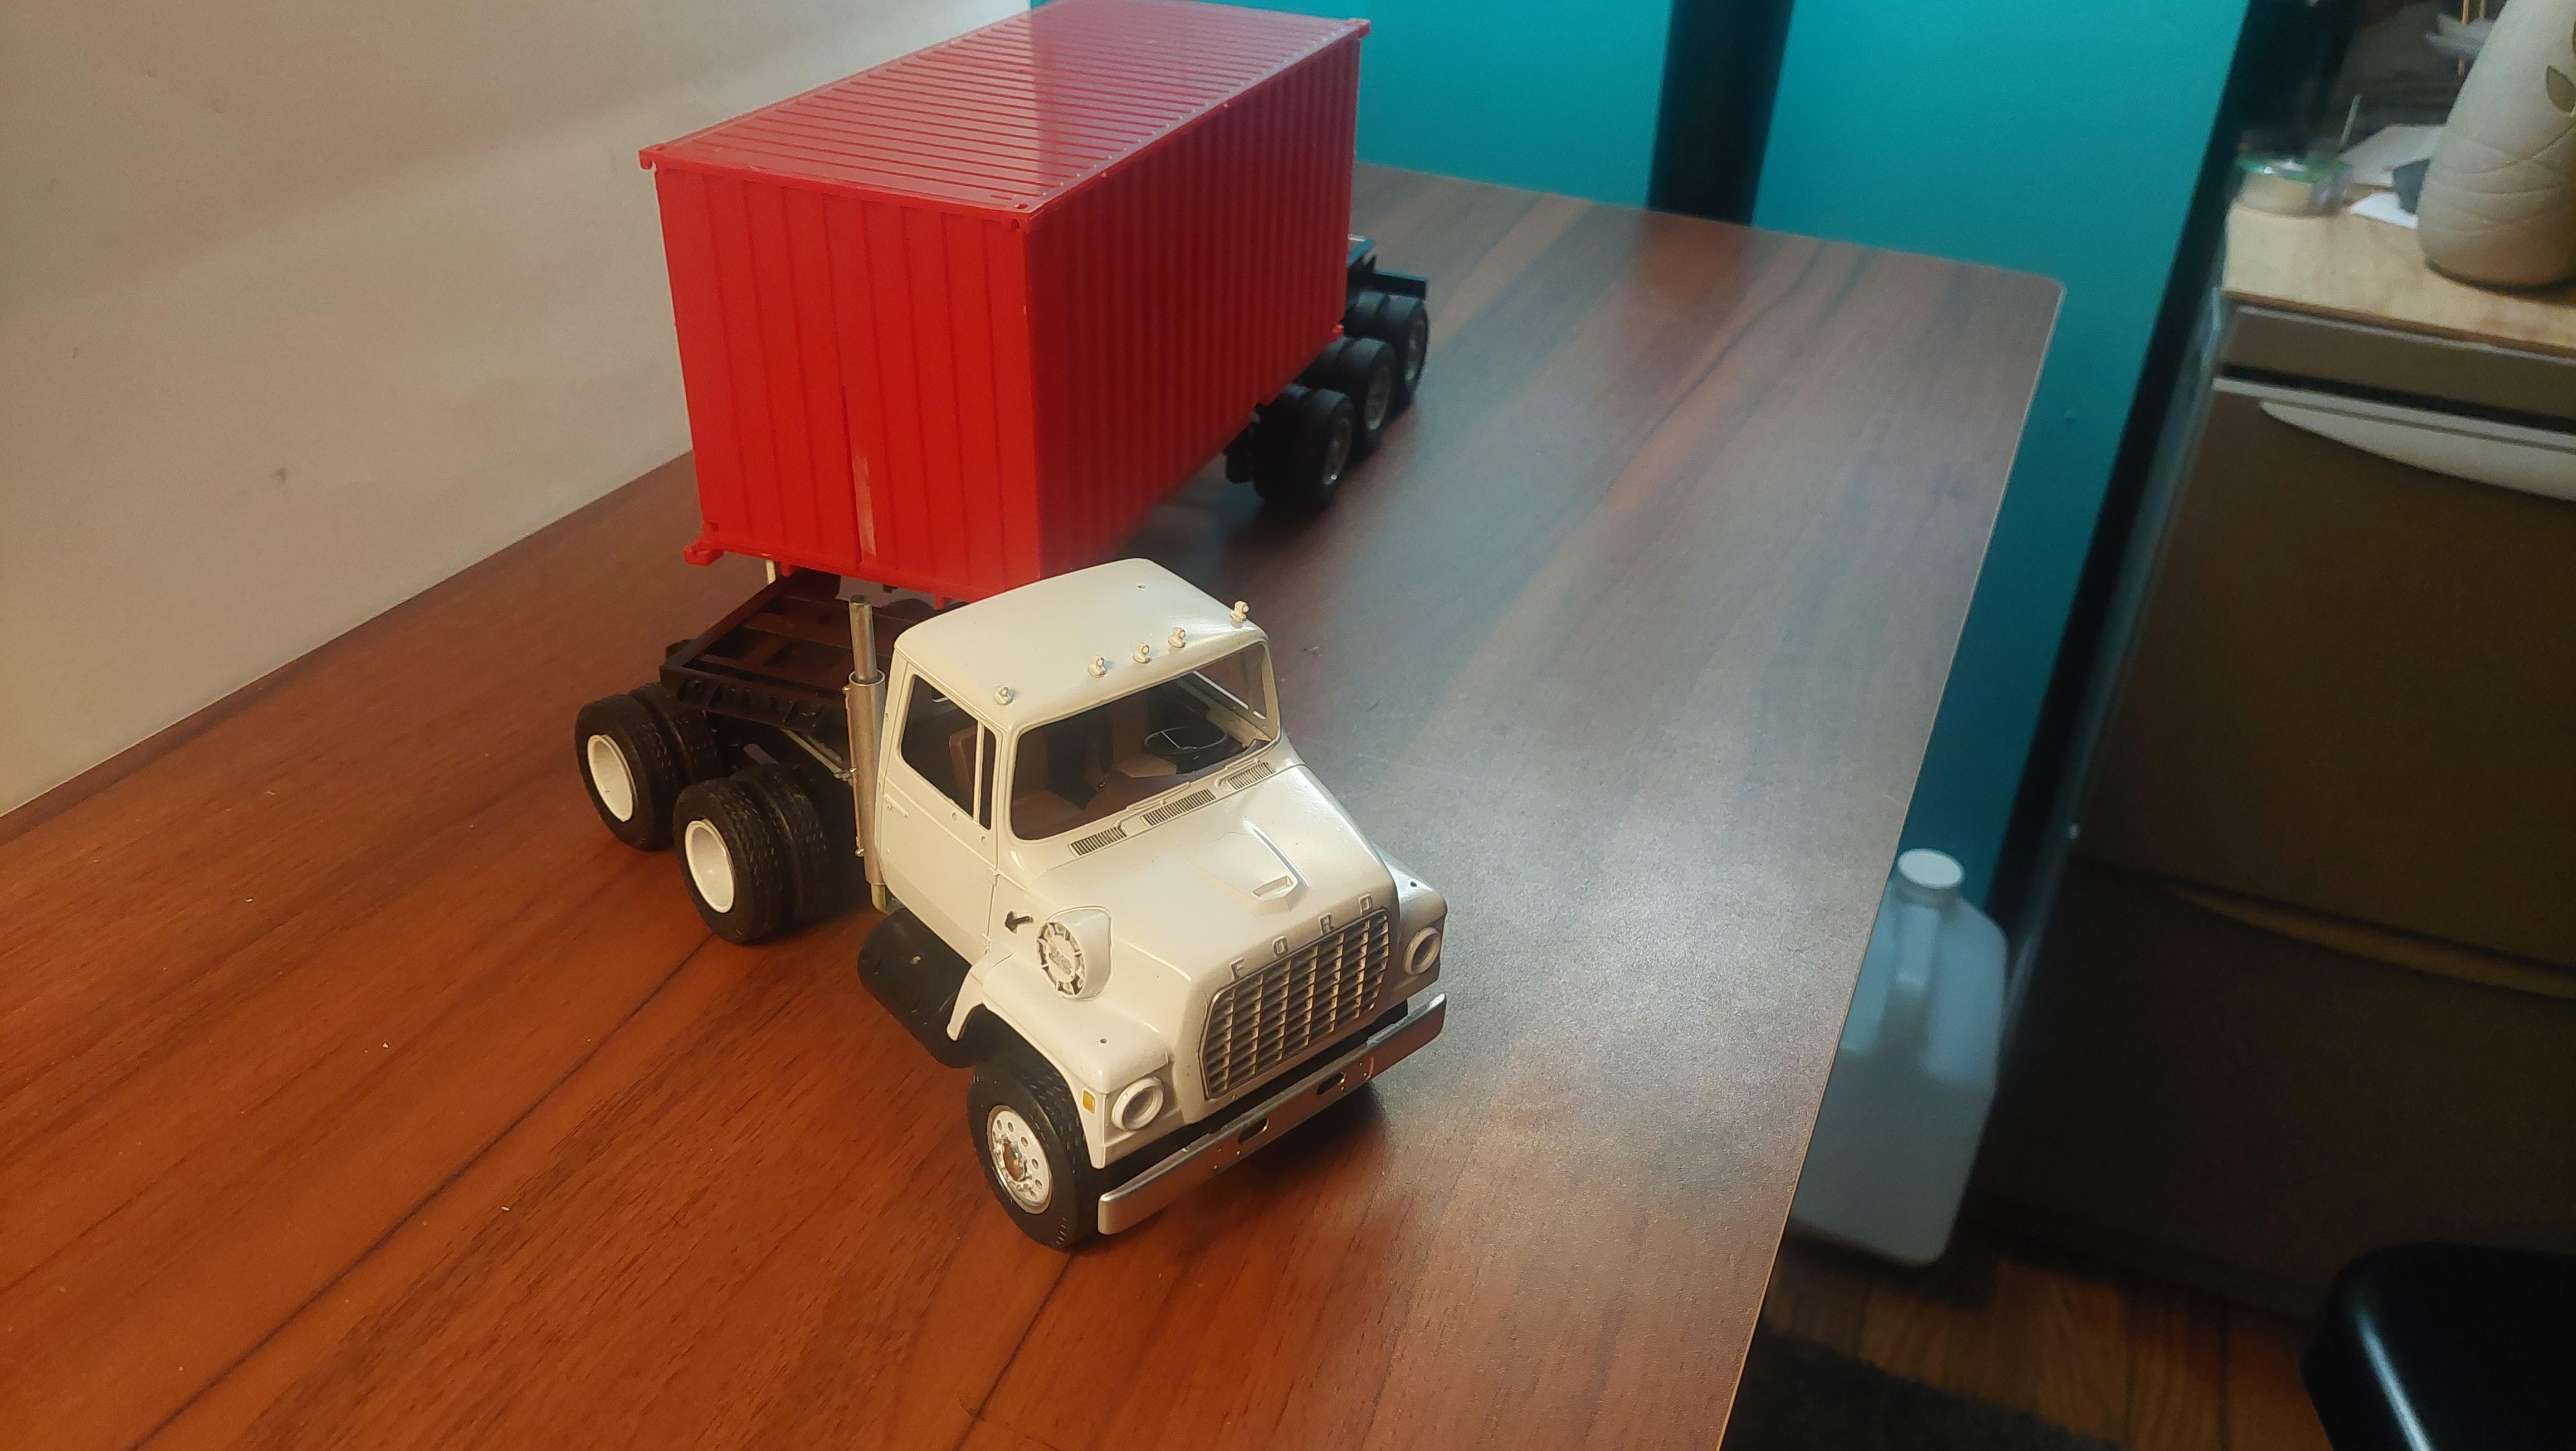
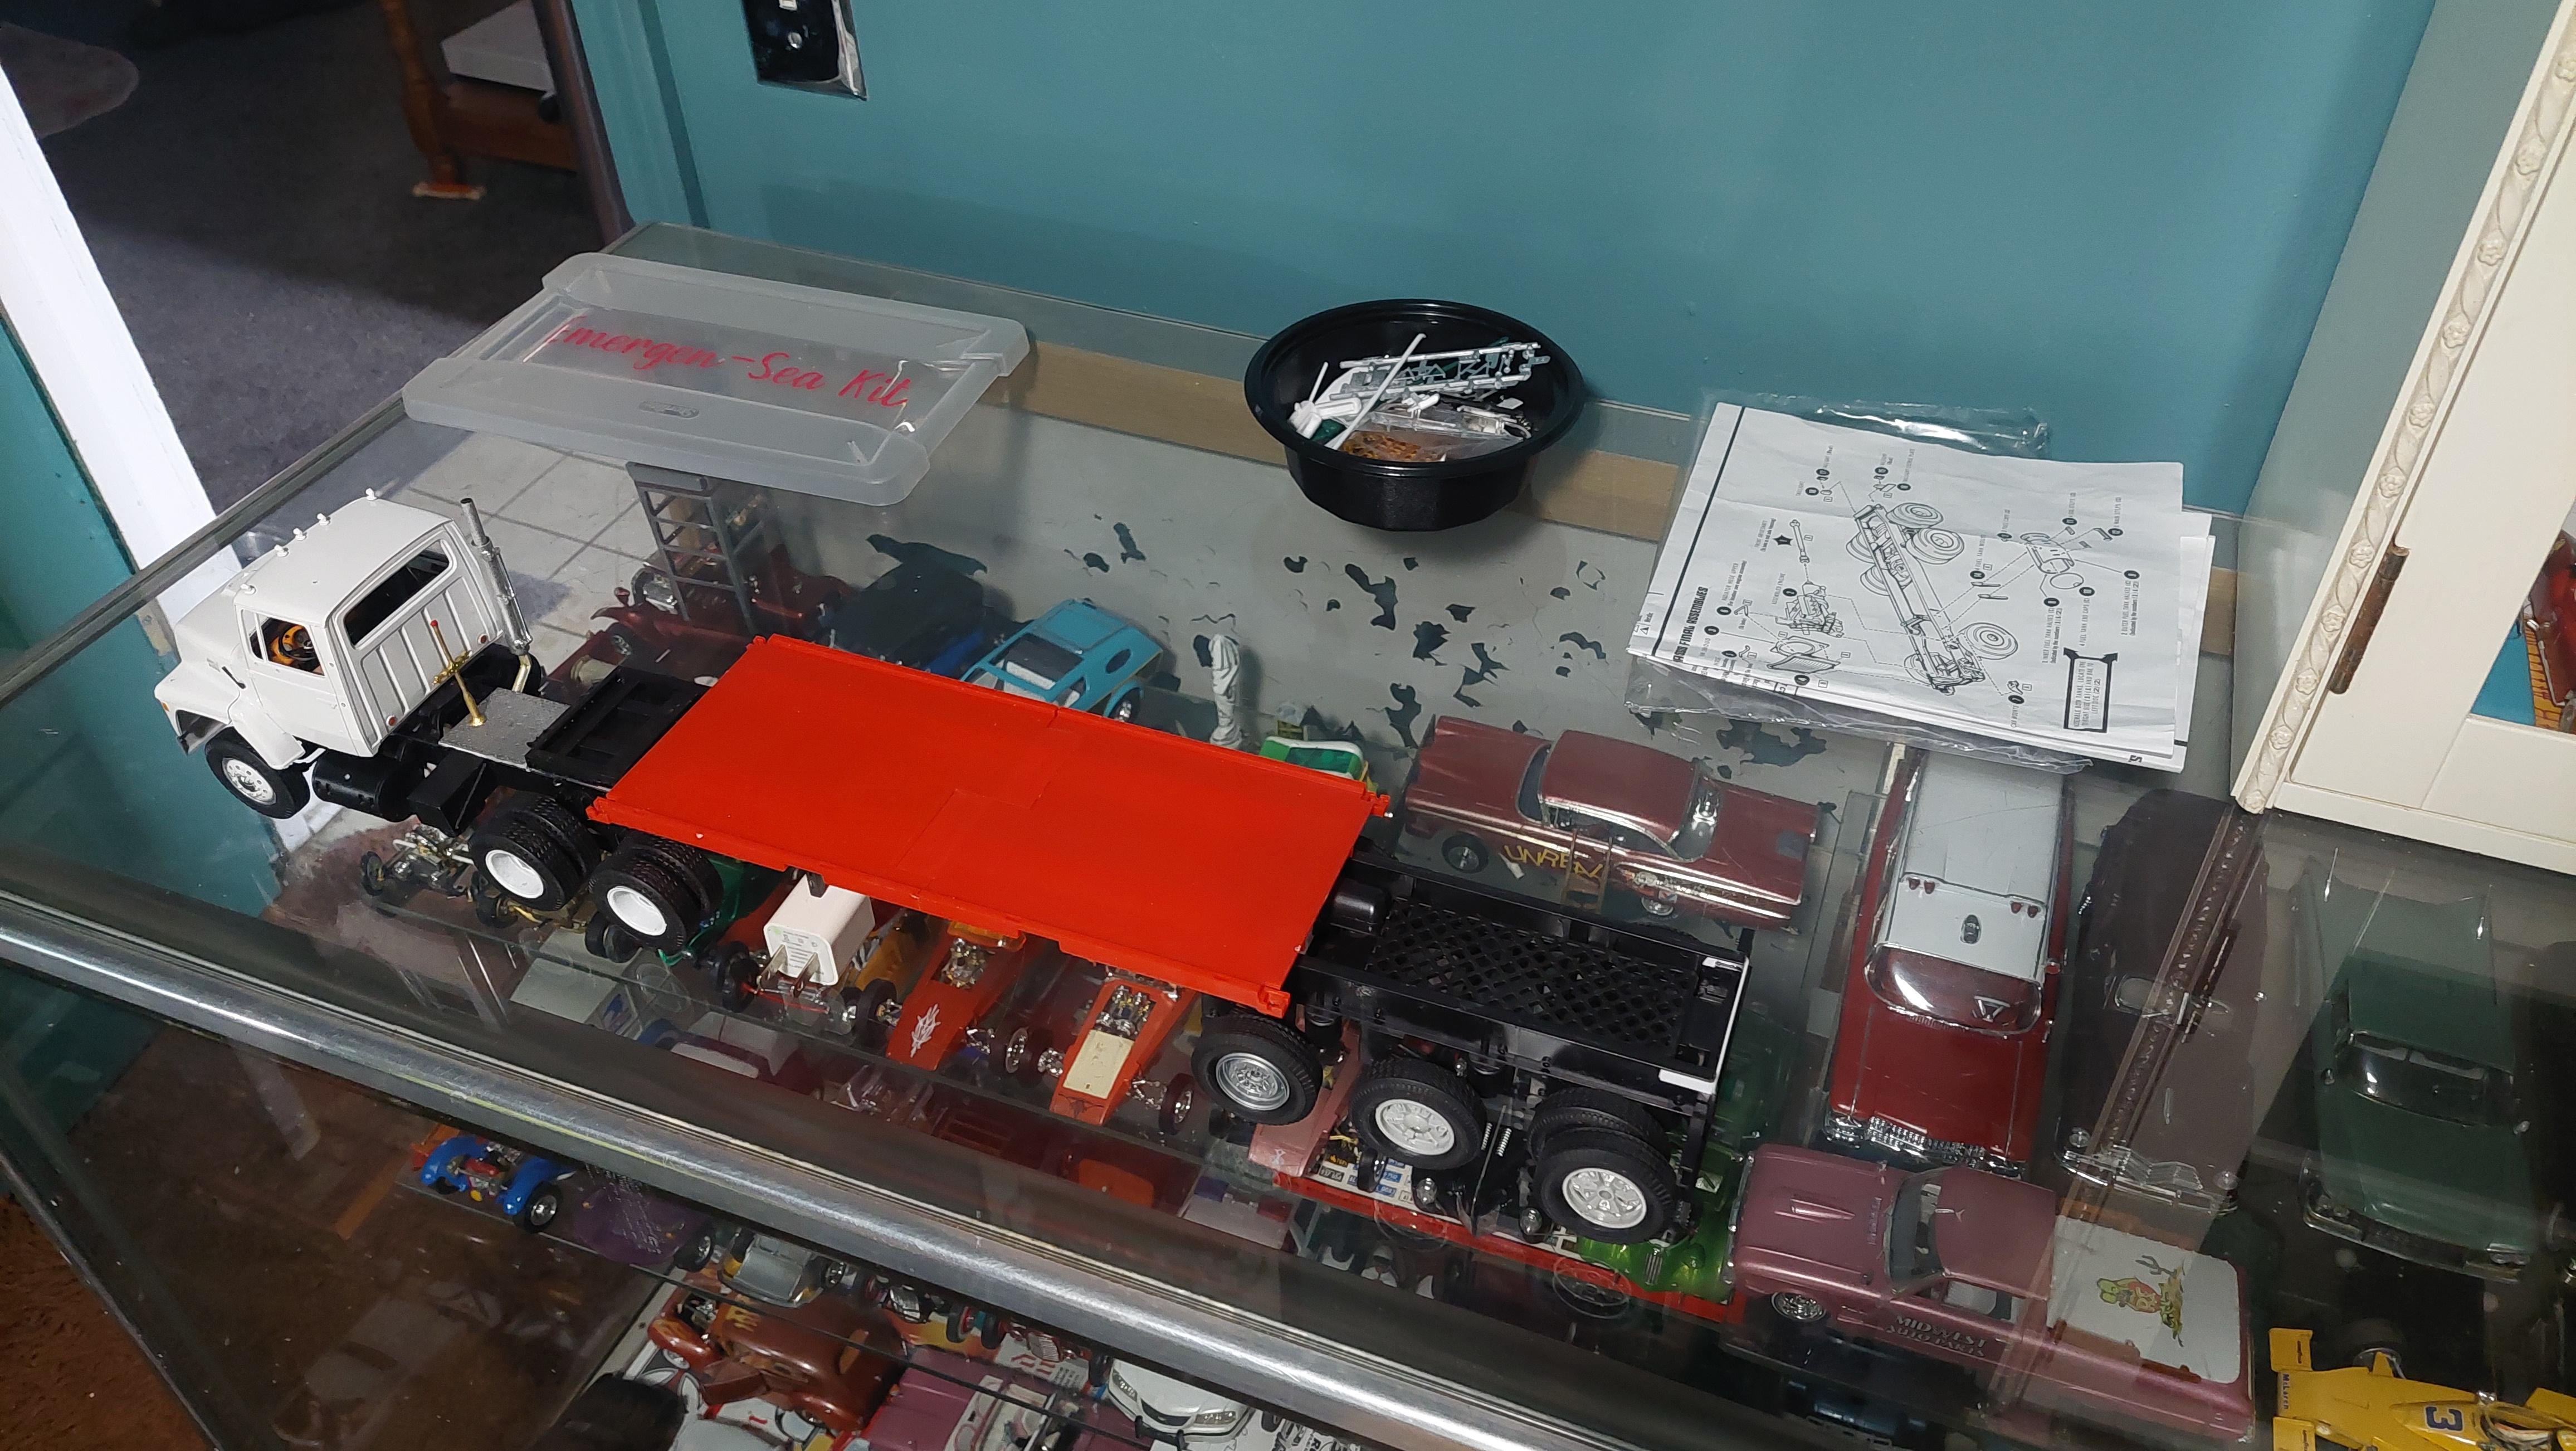
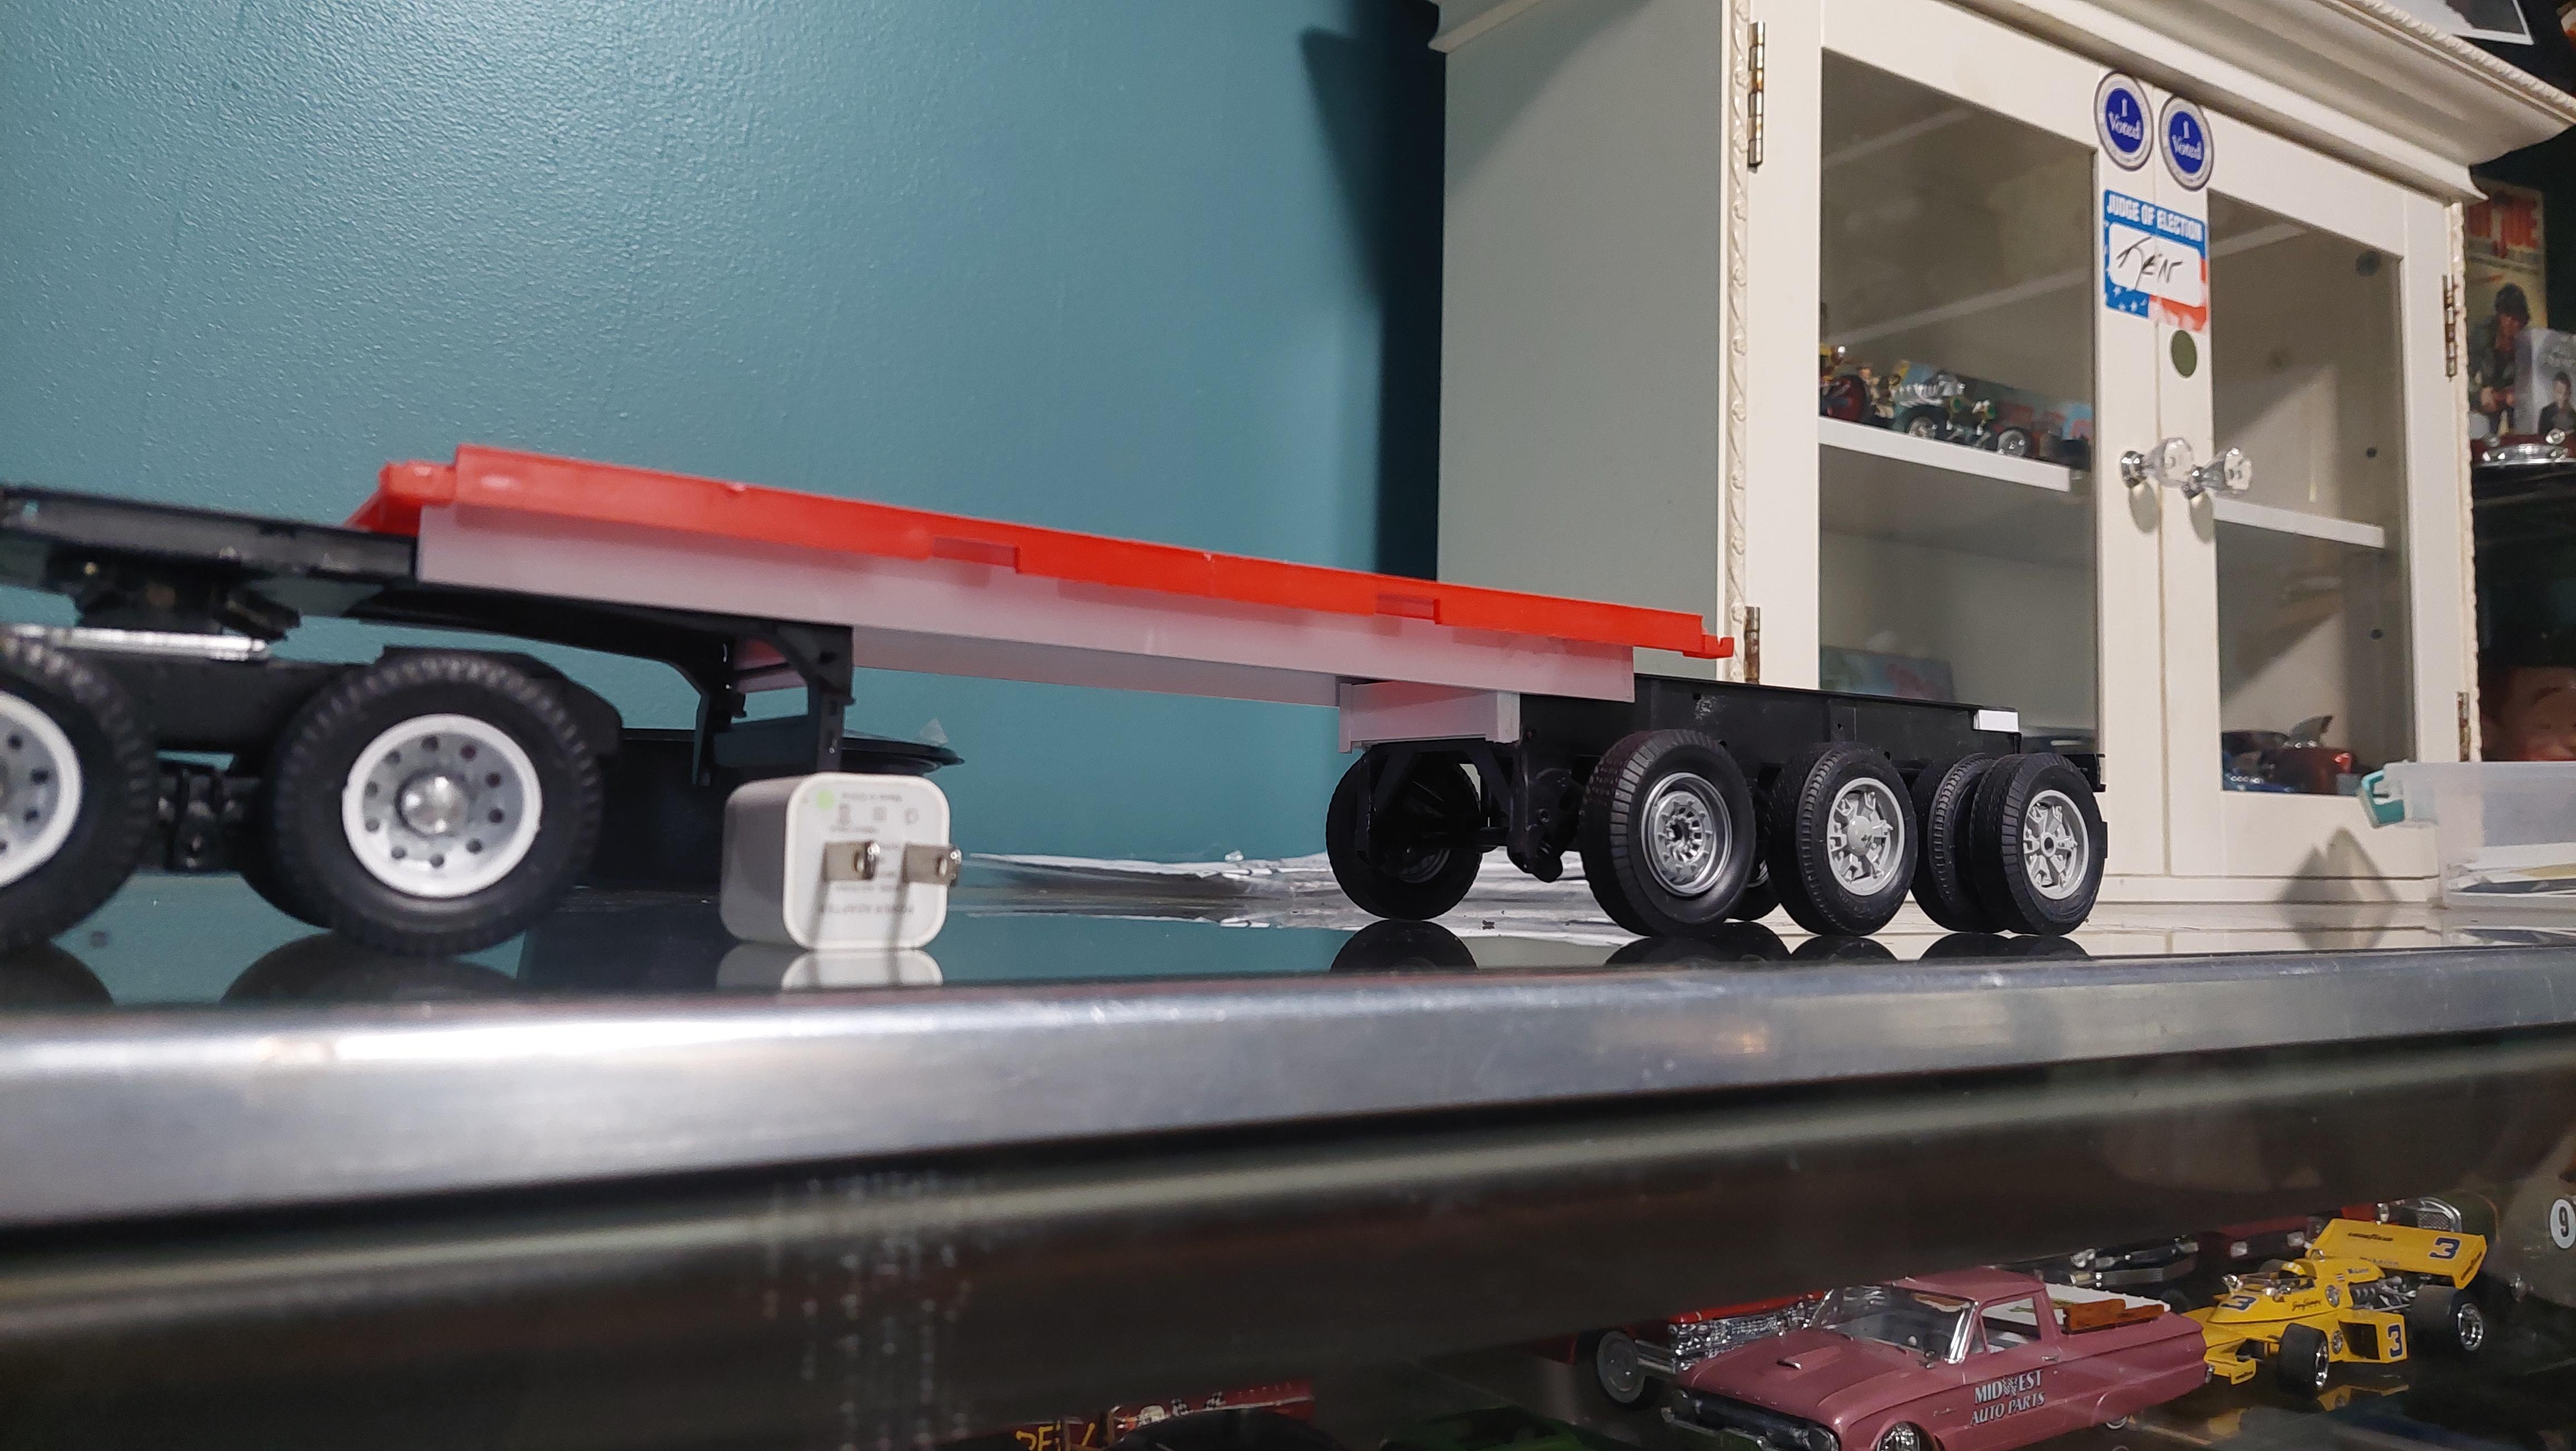
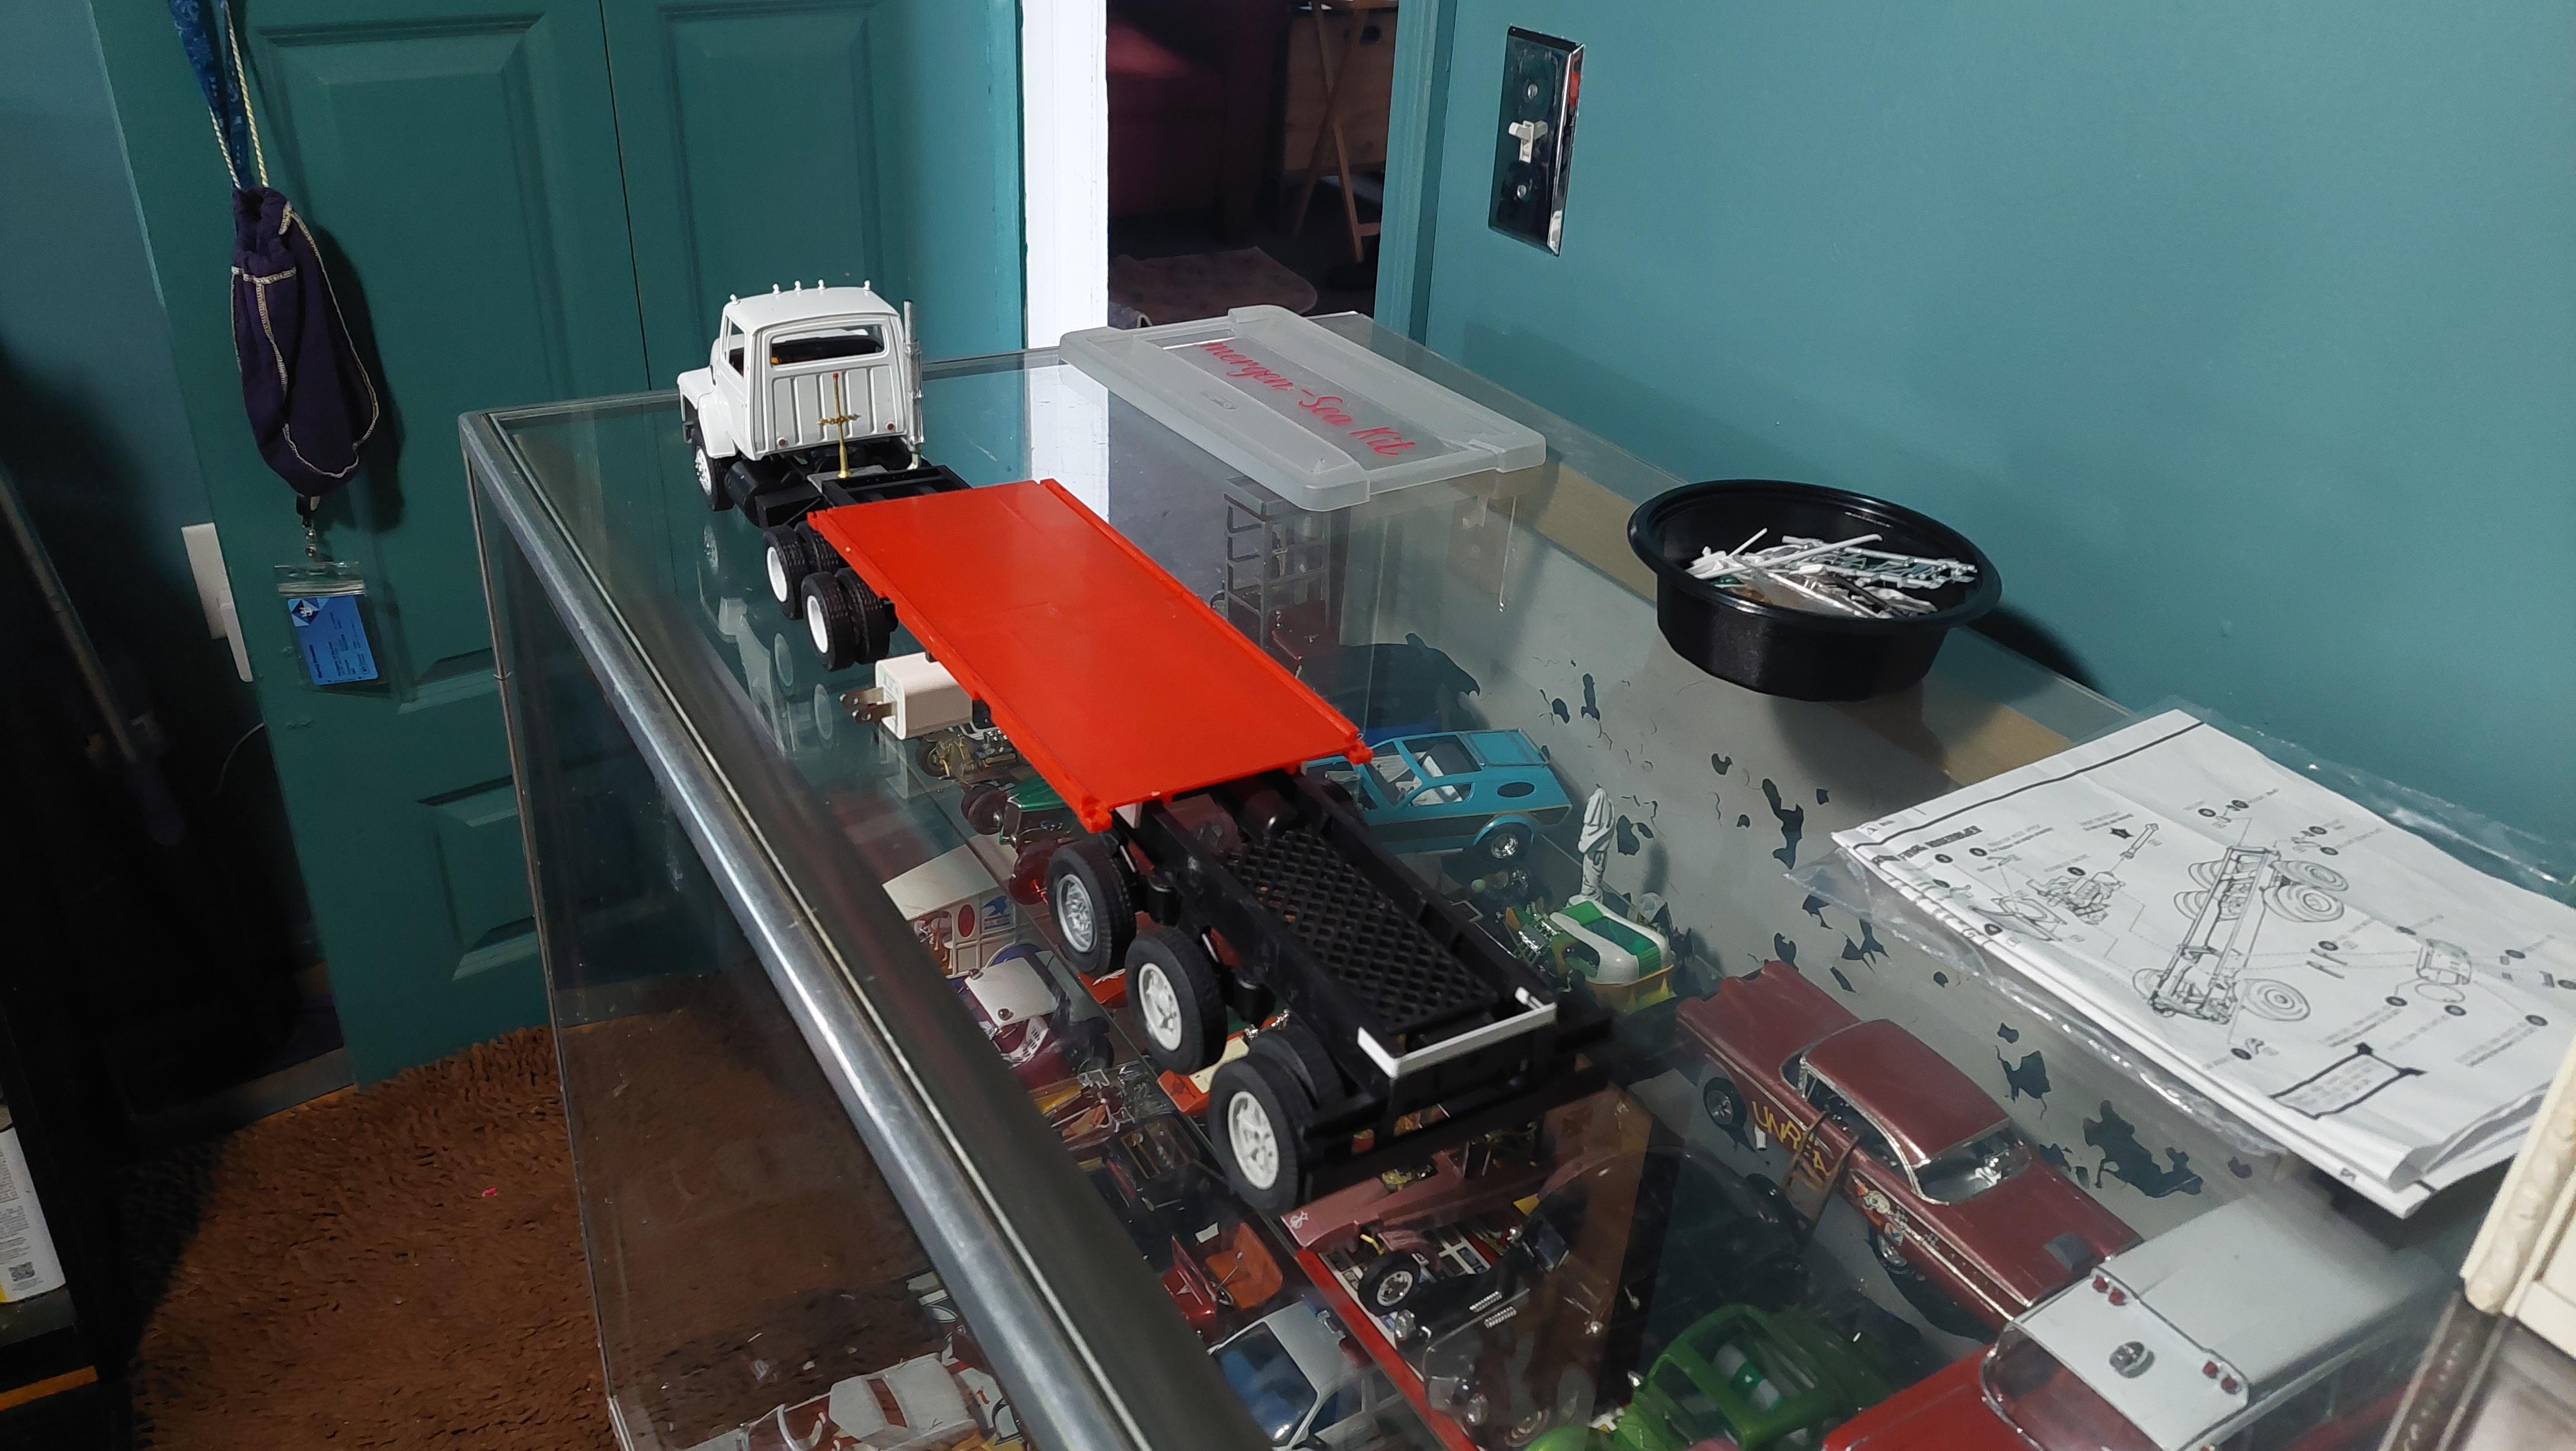
Whie waiting on tractor decals before going any farther, I did some container chassis work and this is the final position of the container on the chassis. Many mock ups and structure changes to get here, but this is the bones. The rear trailer wheels are my choice for all 3 axles. Now I get some things glued and epoxied in.
-
An everydayFord day cab tractor
BIGTRUCK replied to BIGTRUCK's topic in WIP: Model Trucks: Big Rigs and Heavy Equipment
First I added some hood straps , the molded in ones are just bad..so with the tractor almost done the container chassis needs to be stretched so the can rides more in the middle. Also getting rid of the 6 larger single tires (not super singles) and replacing with 6 sets of 2 . Now to find the best chassis cut, adding 4" up to the 15 inch mark.
-
An everydayFord day cab tractor
BIGTRUCK replied to BIGTRUCK's topic in WIP: Model Trucks: Big Rigs and Heavy Equipment
Slow moving but still making progress. Once it has the door logos on, Im going to shoot the body in semi gloss as the container trailer will be done in flat.
-
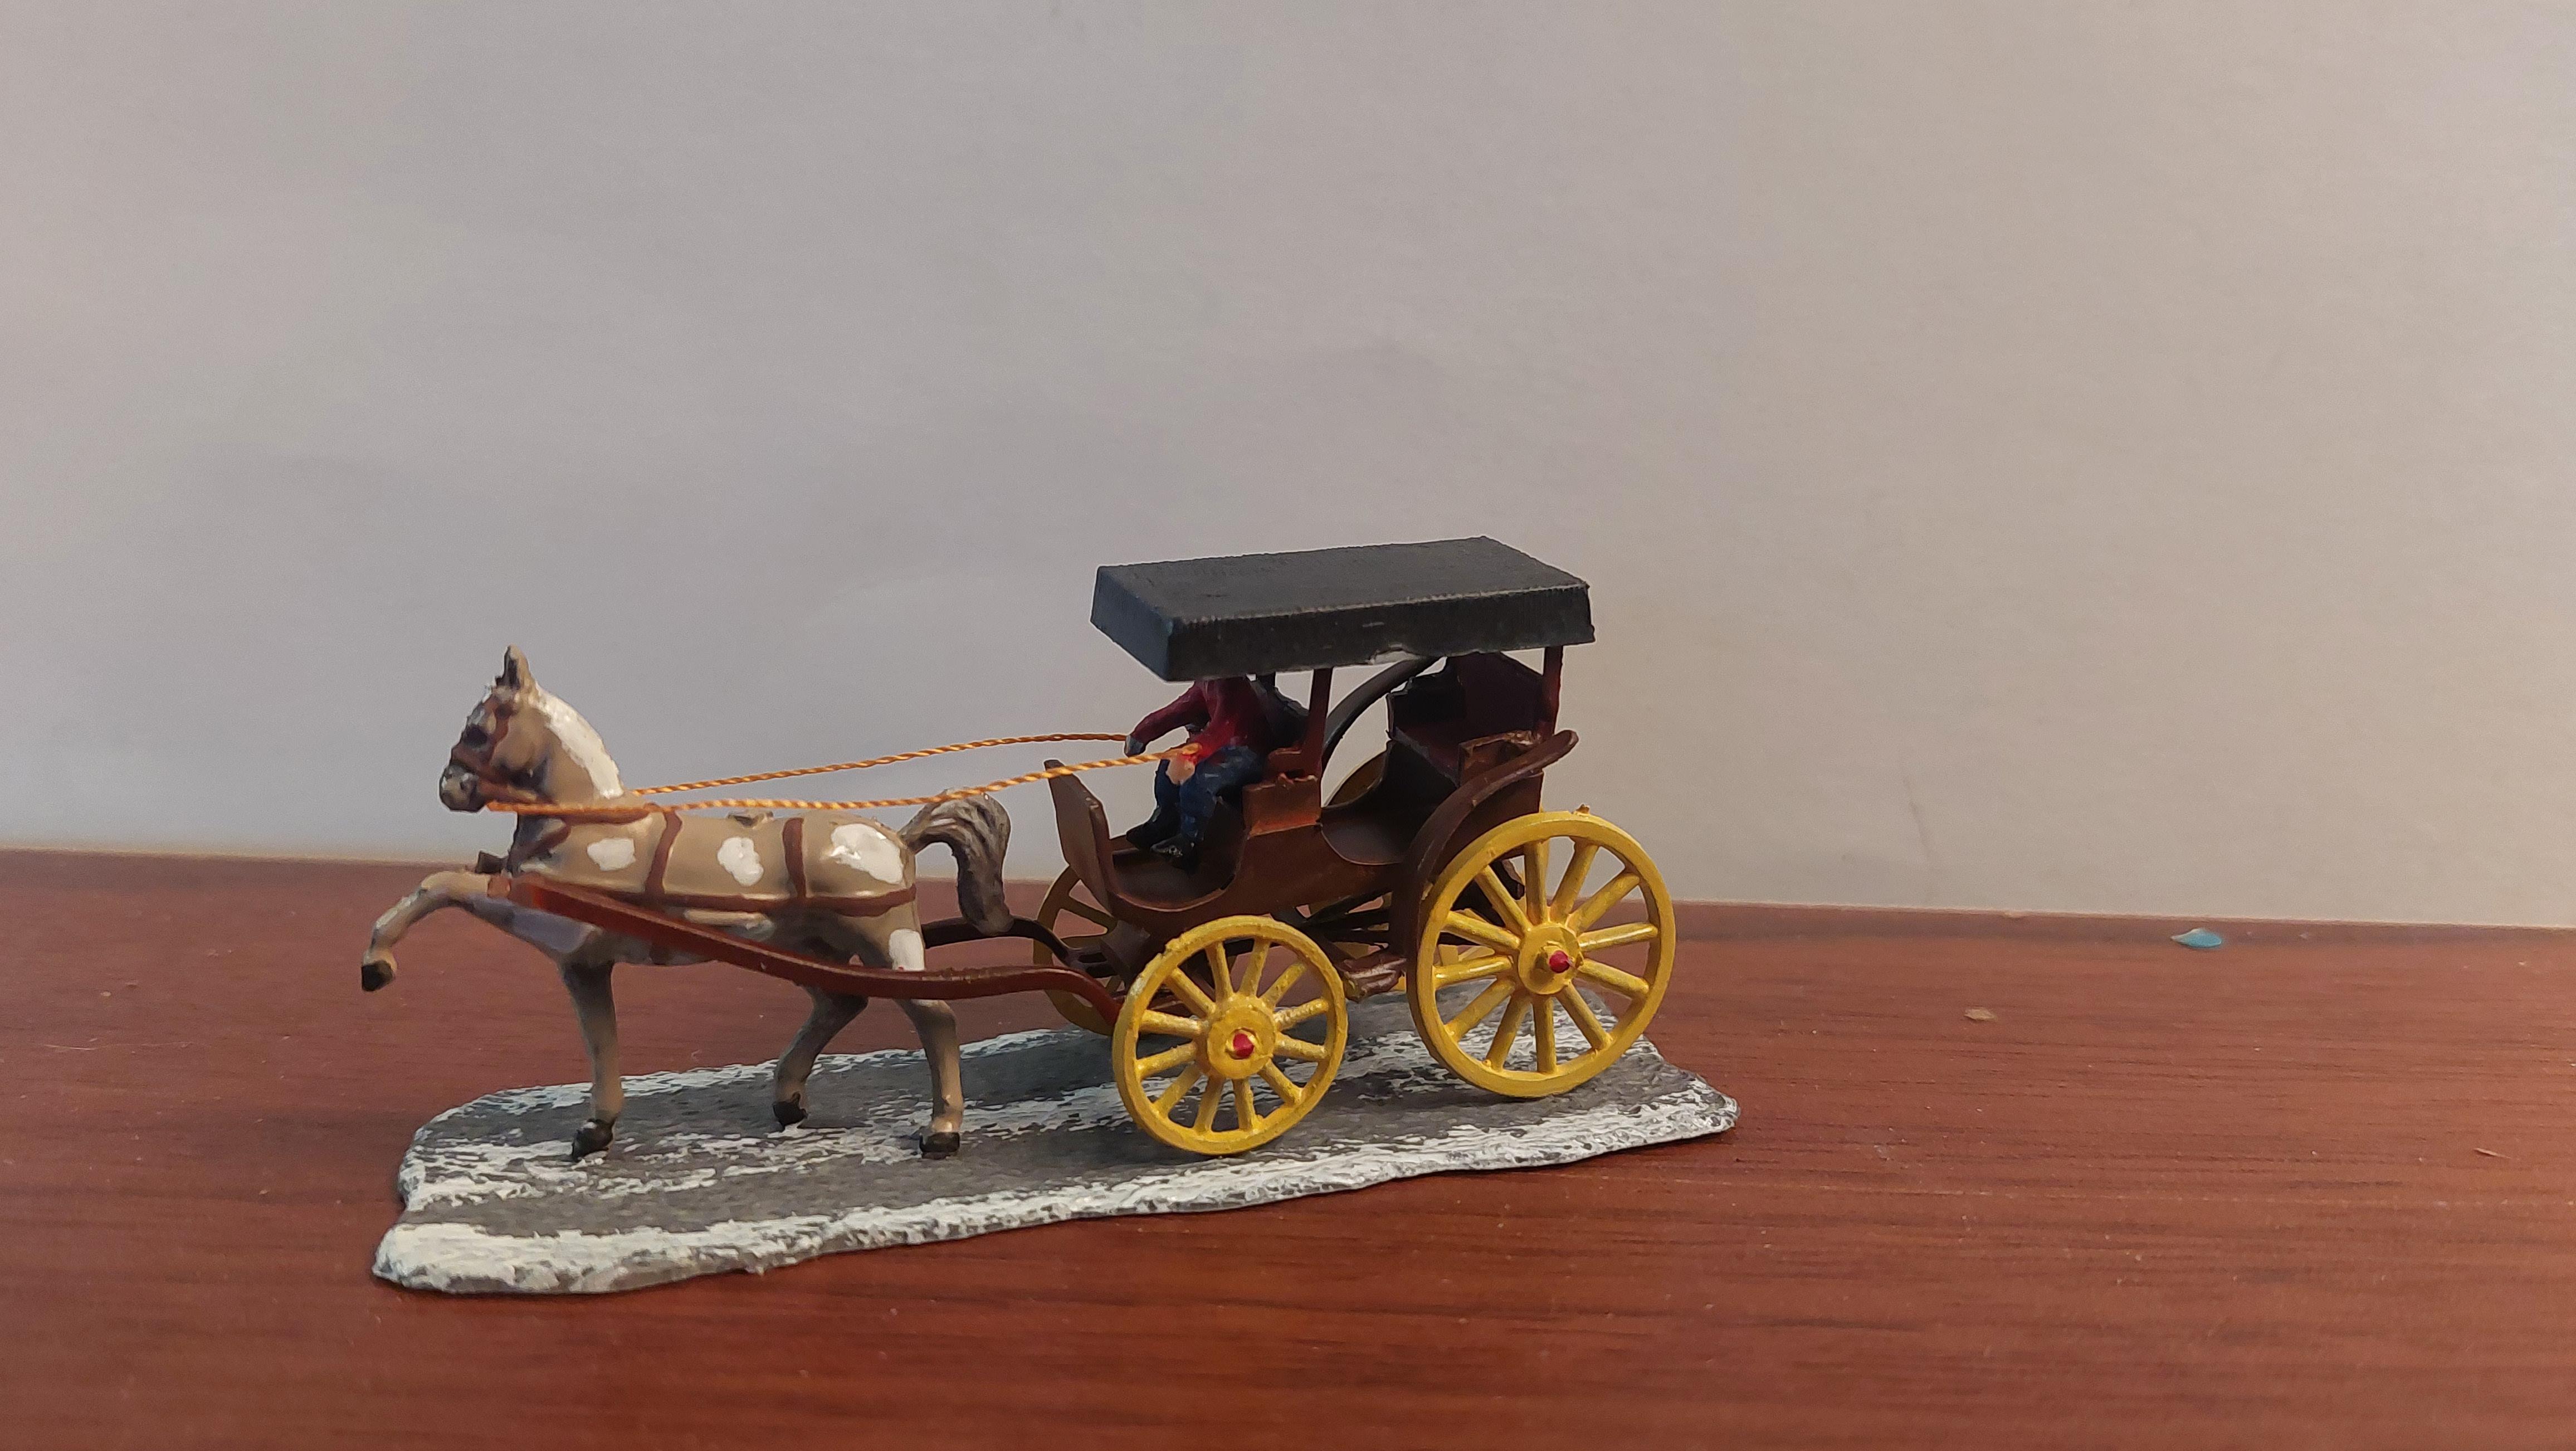
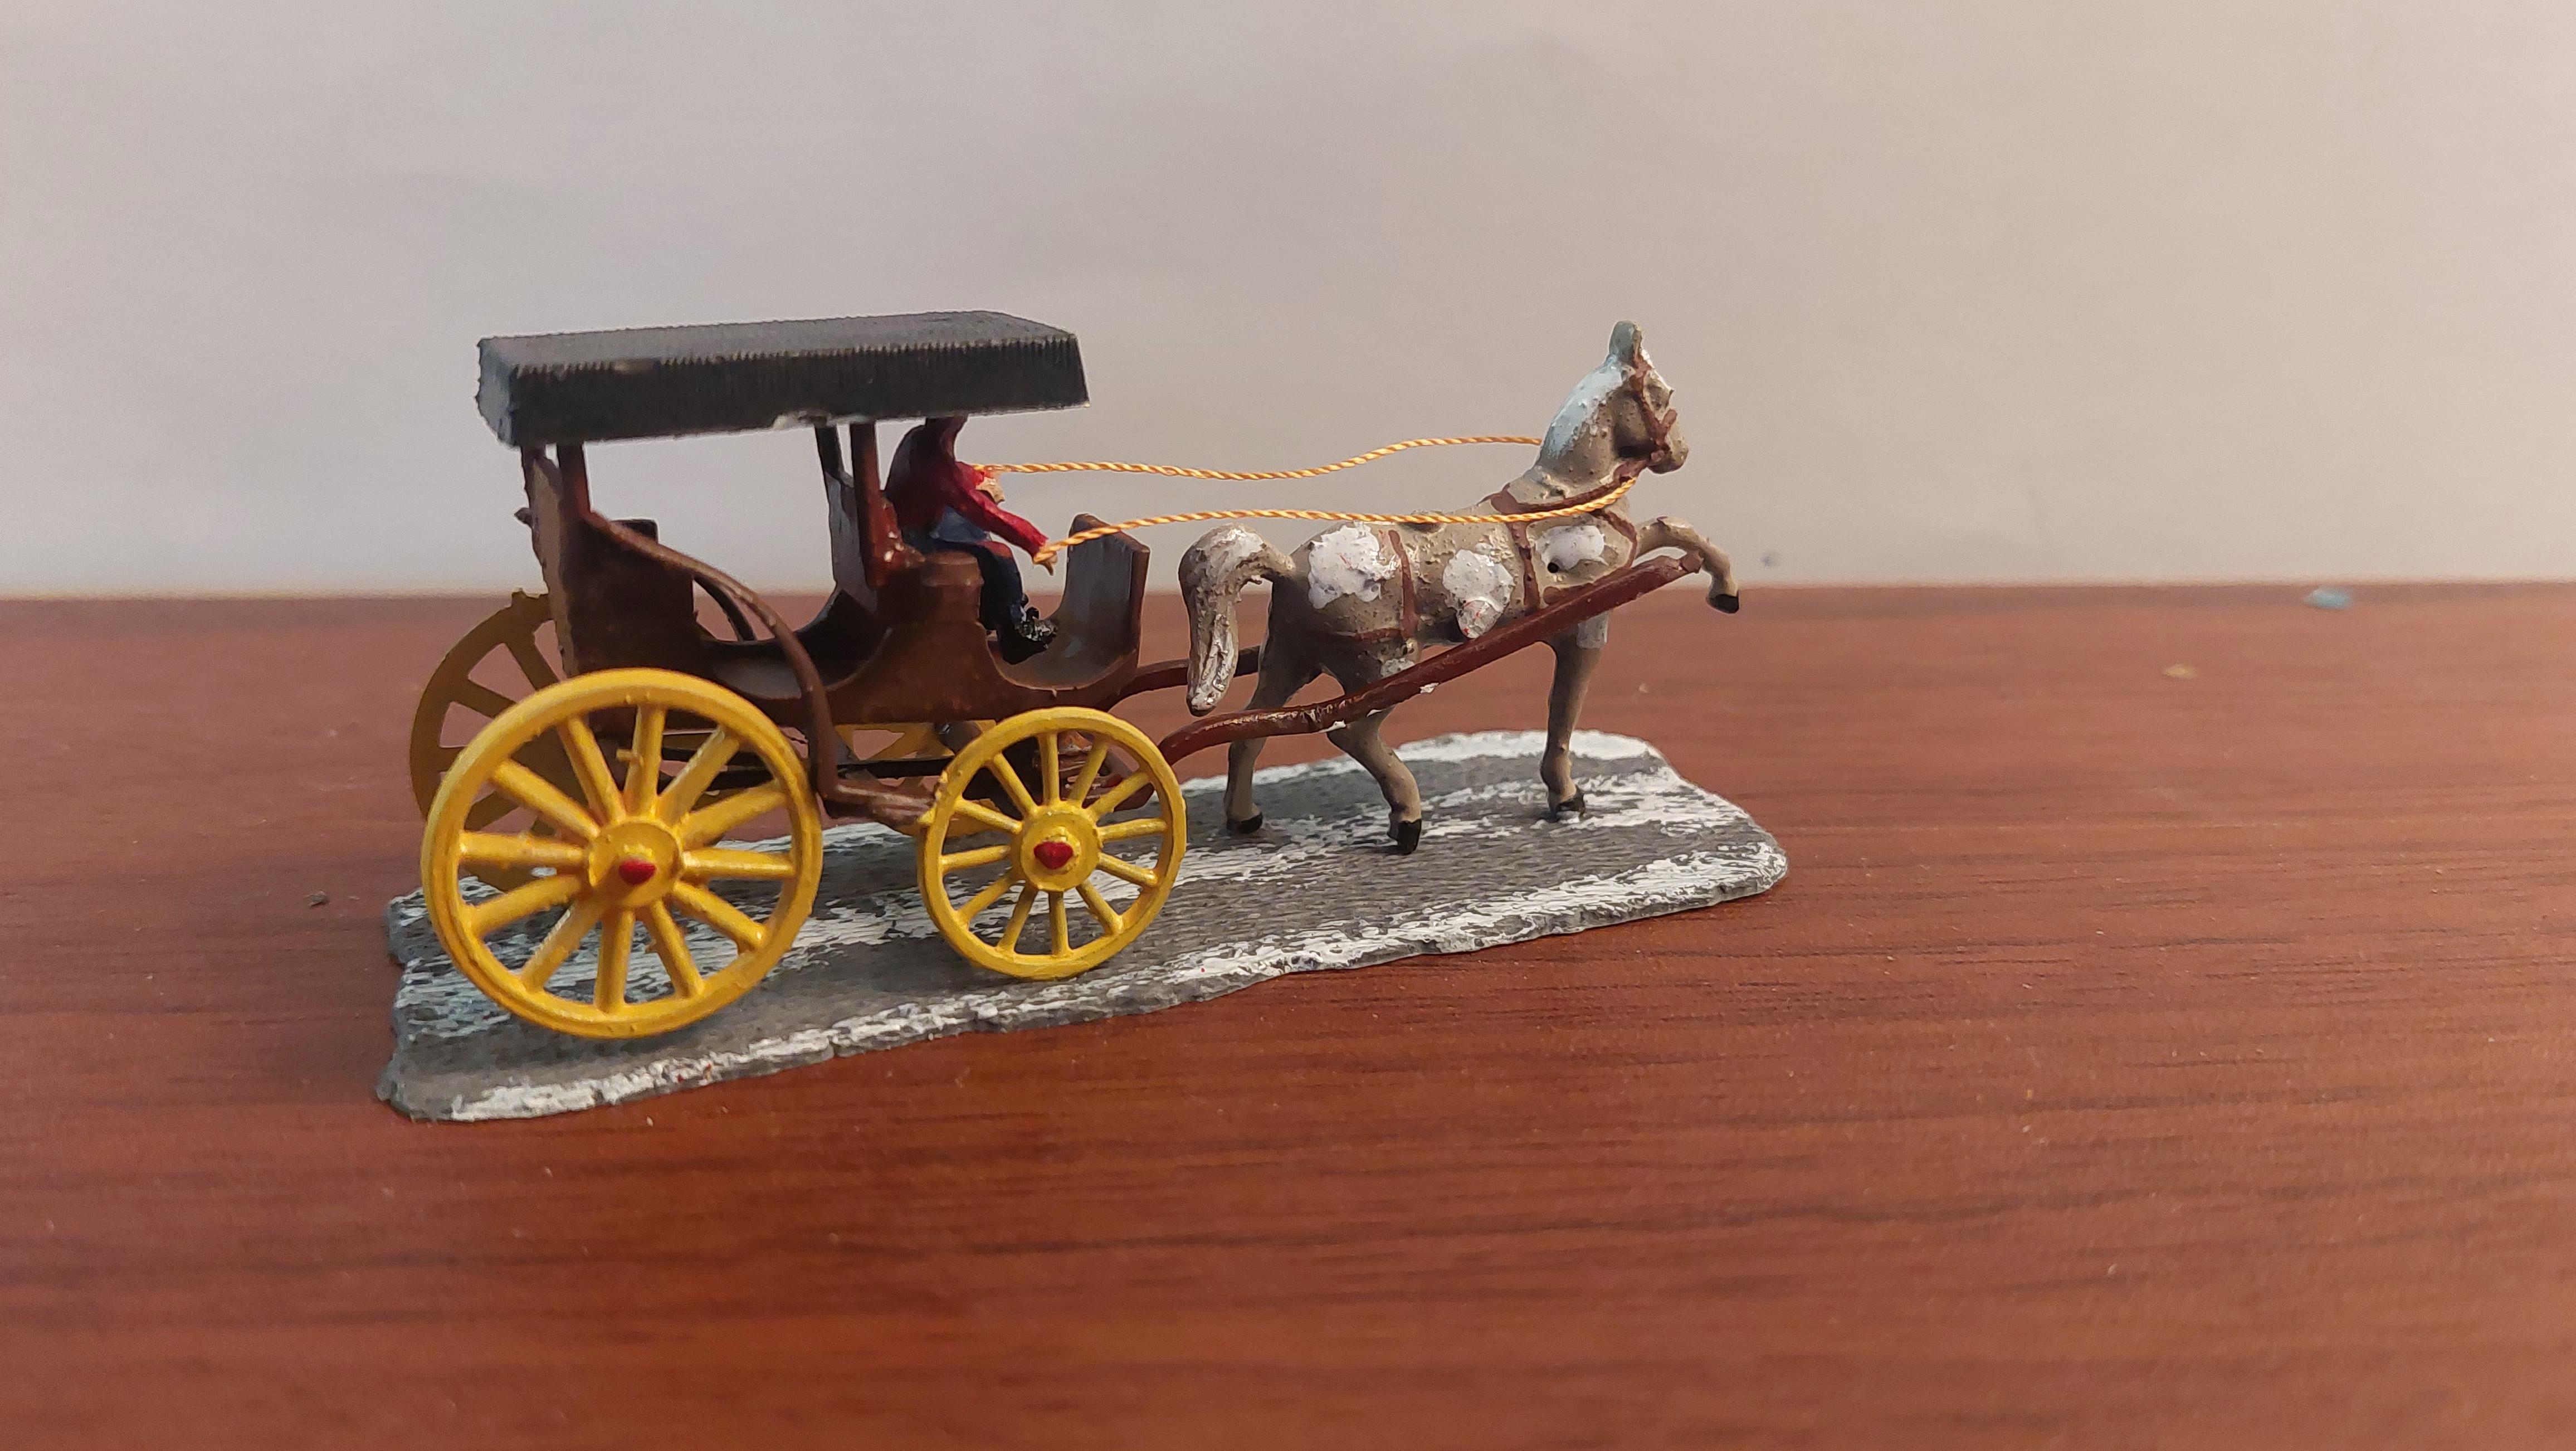
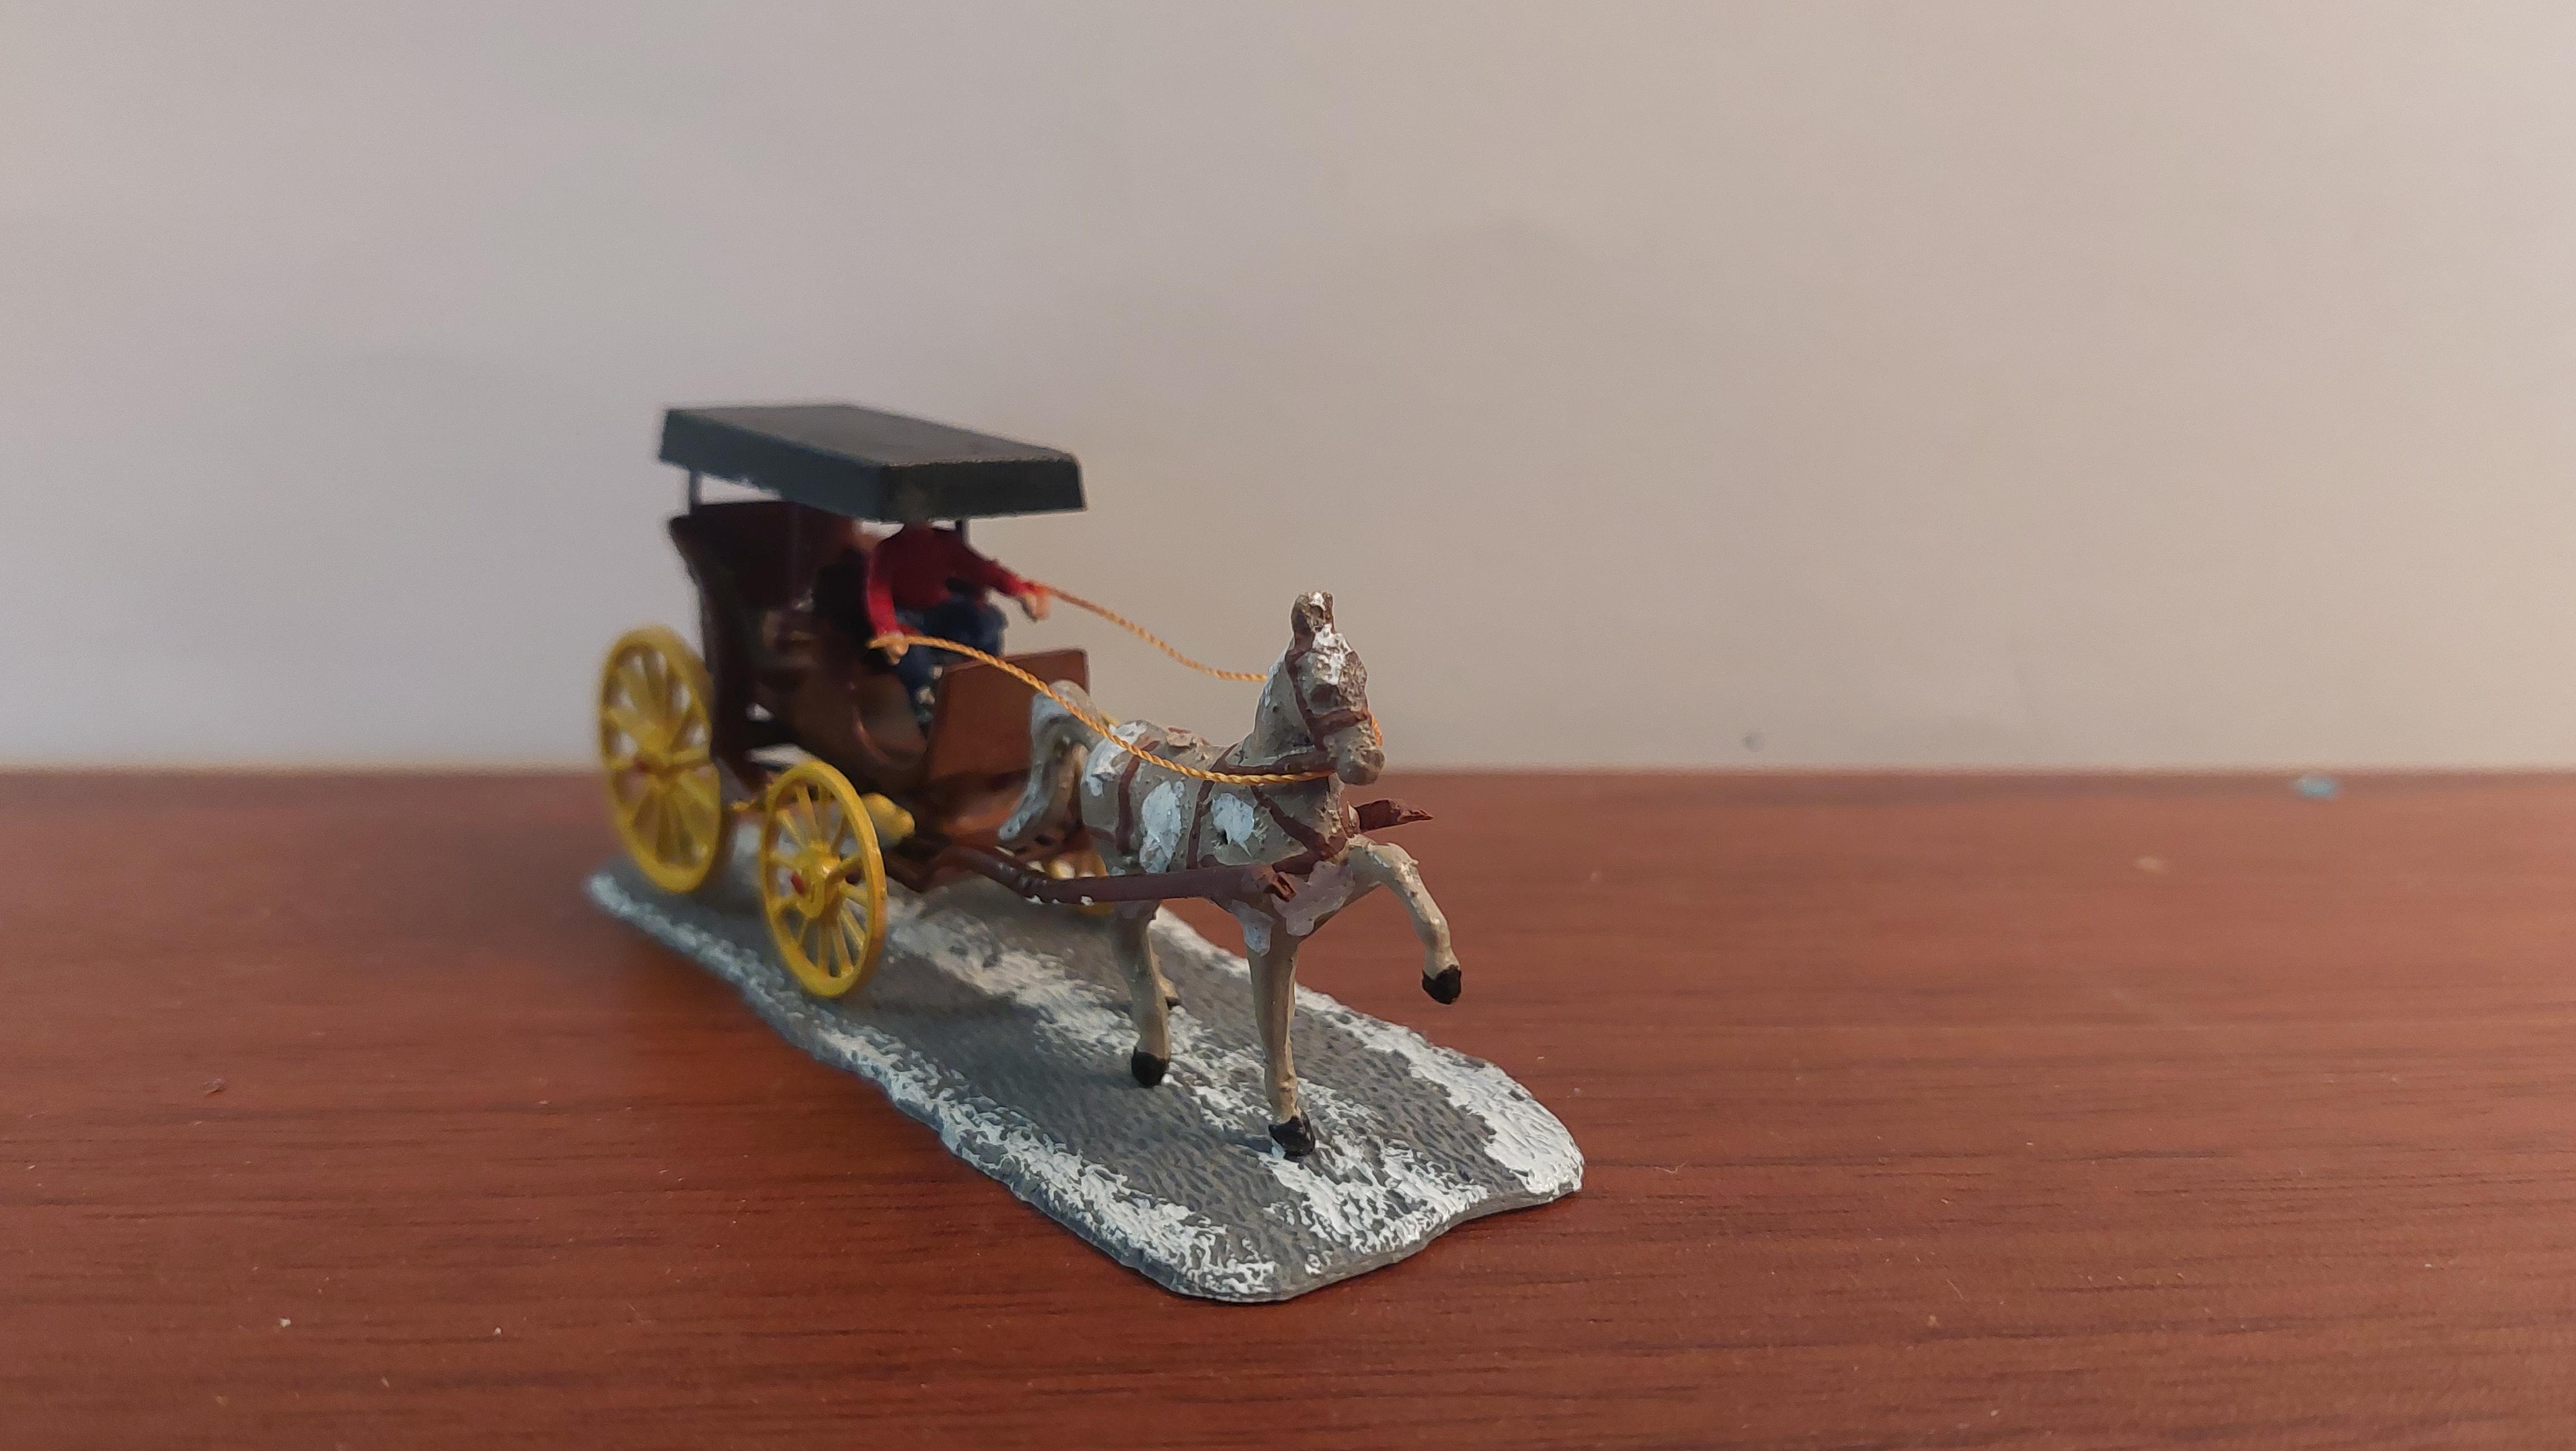
I built this for my wifes Christmas village. The ITC kit is from 1962. Ideal Toy Company HO scale horse and buggy 60 year old kit box bottom was falling apart. Even tho' all the parts were still on the runners they are small enough to fall through cracks in the box bottom so I built 1 of the 2 in the kit. Soon as my eyes come out of squint mode I will do the second one.
- 1 reply
-
- 1
-

-
PM sent