BIGTRUCK
-
Posts
2,739 -
Joined
-
Last visited
Content Type
Profiles
Forums
Events
Gallery
Everything posted by BIGTRUCK
-
Sorry to here about your fall Carl. Mend quickly..
-

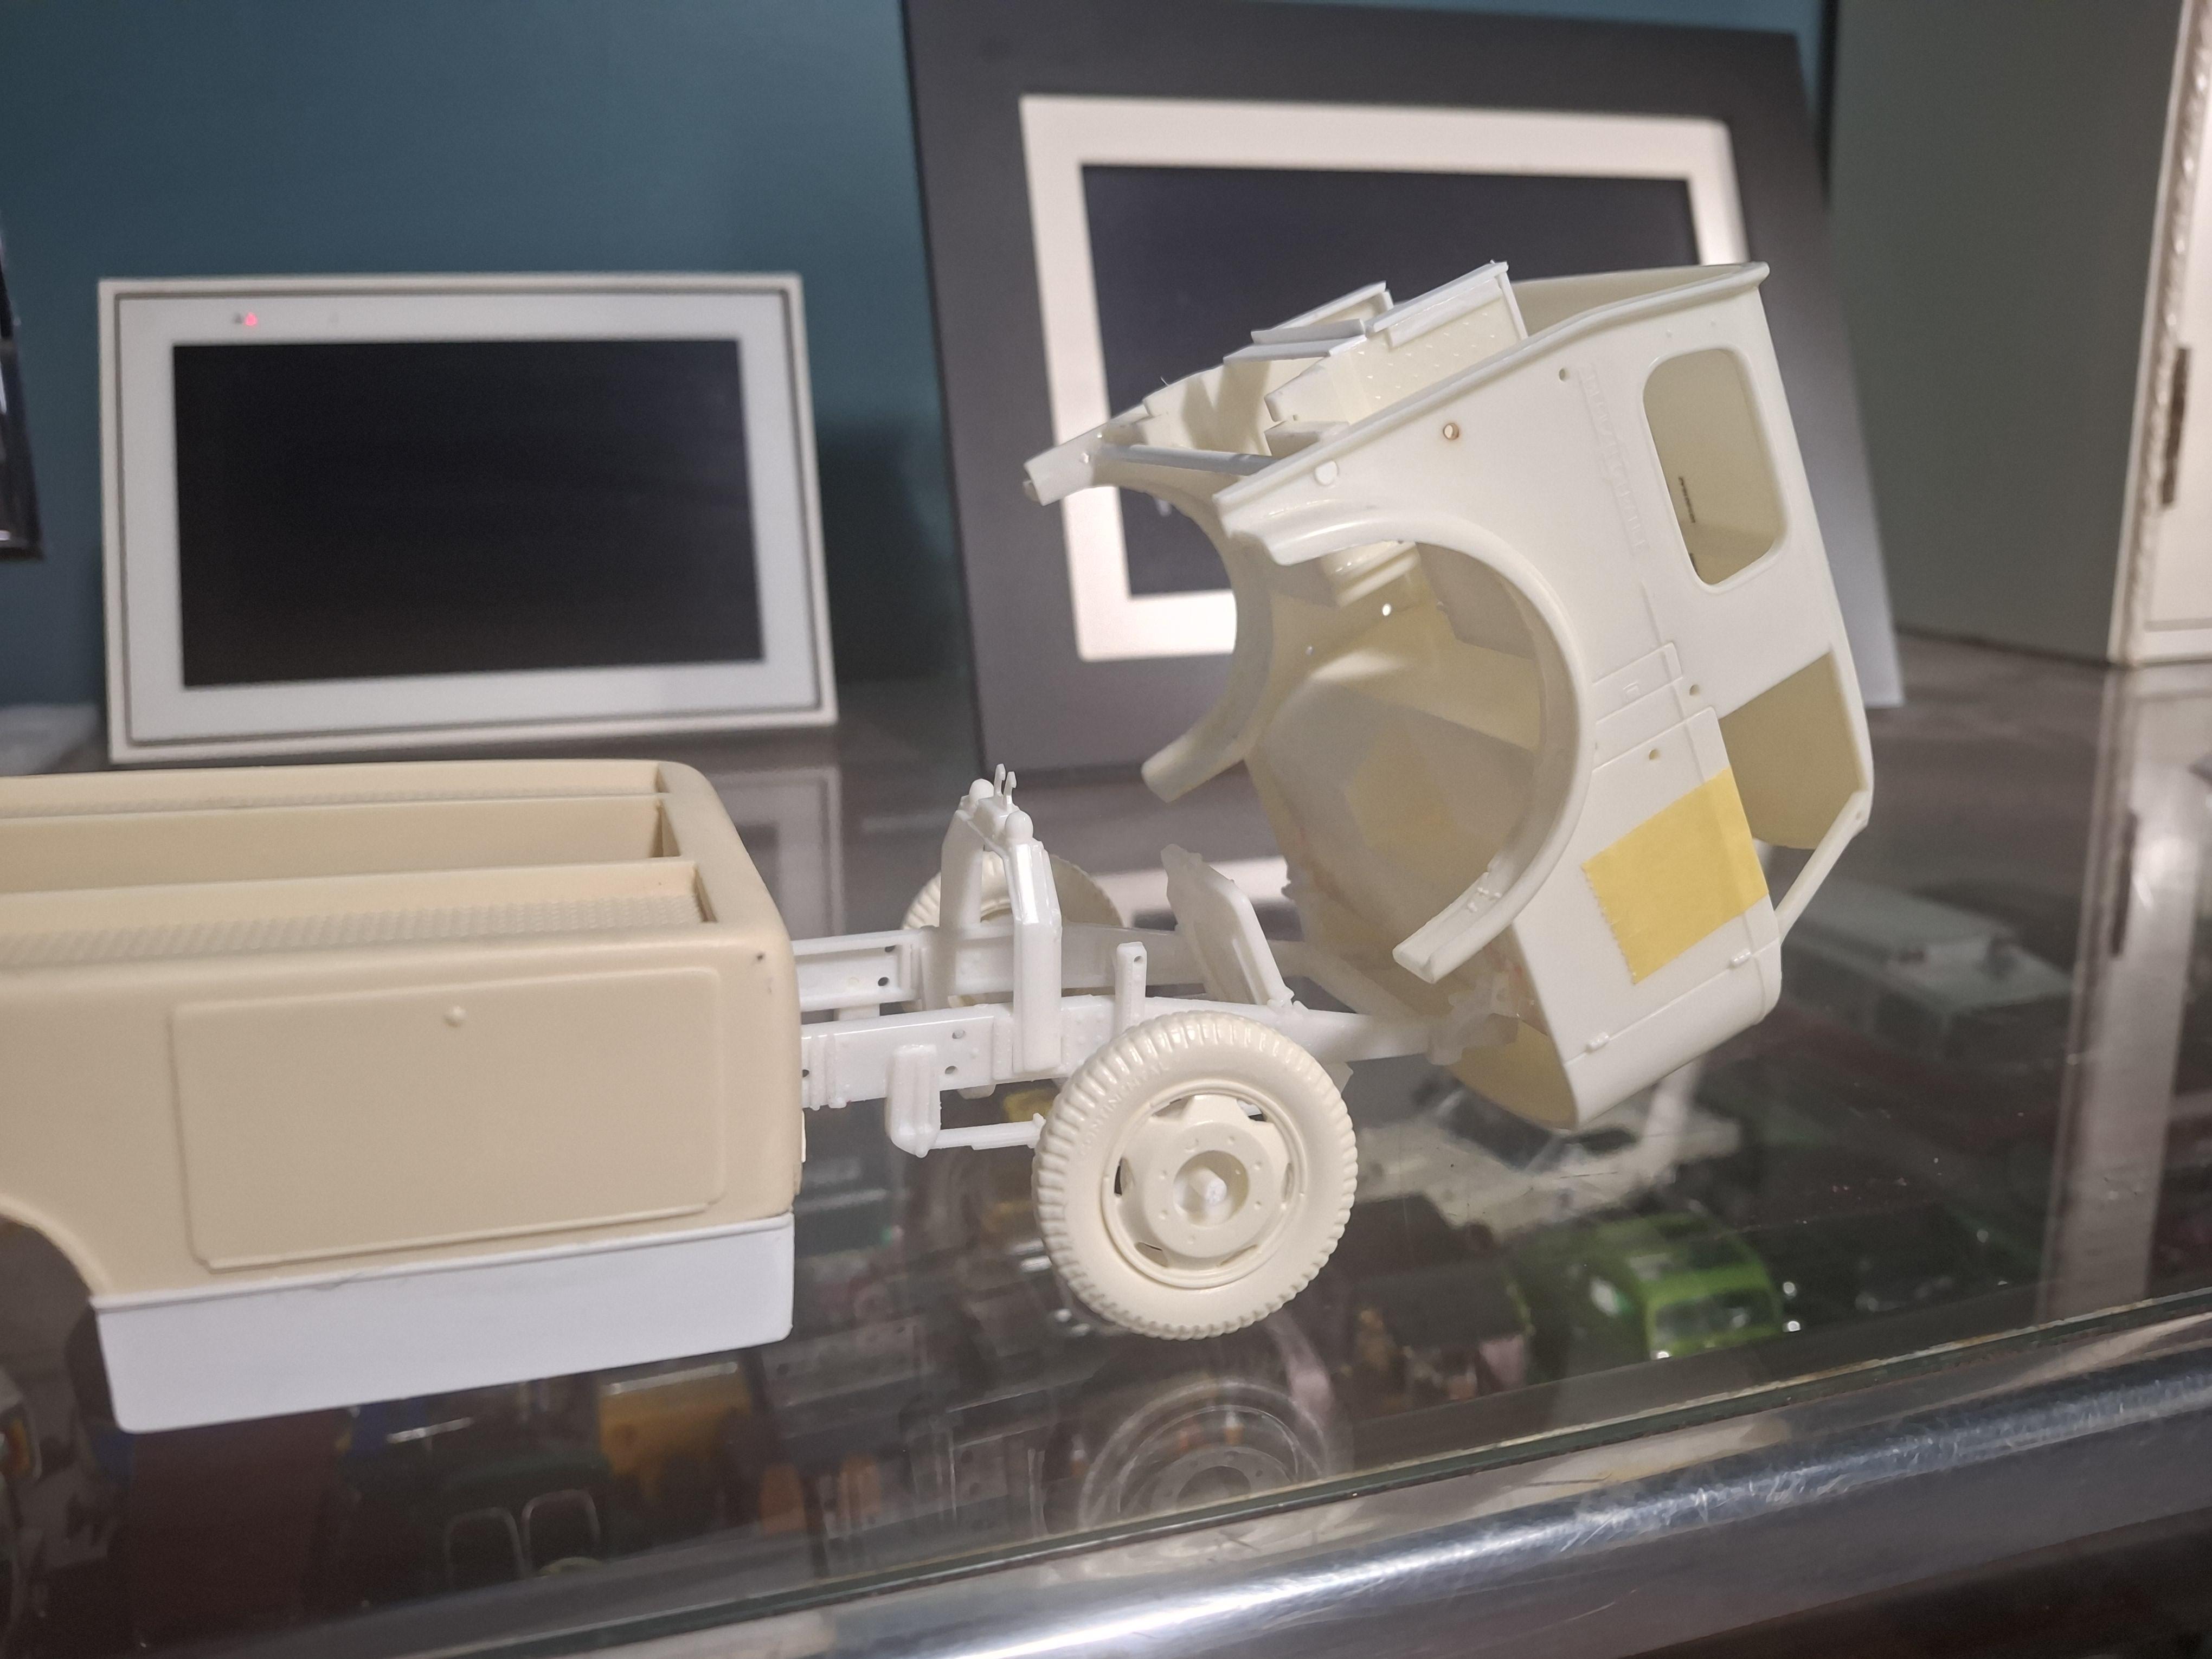
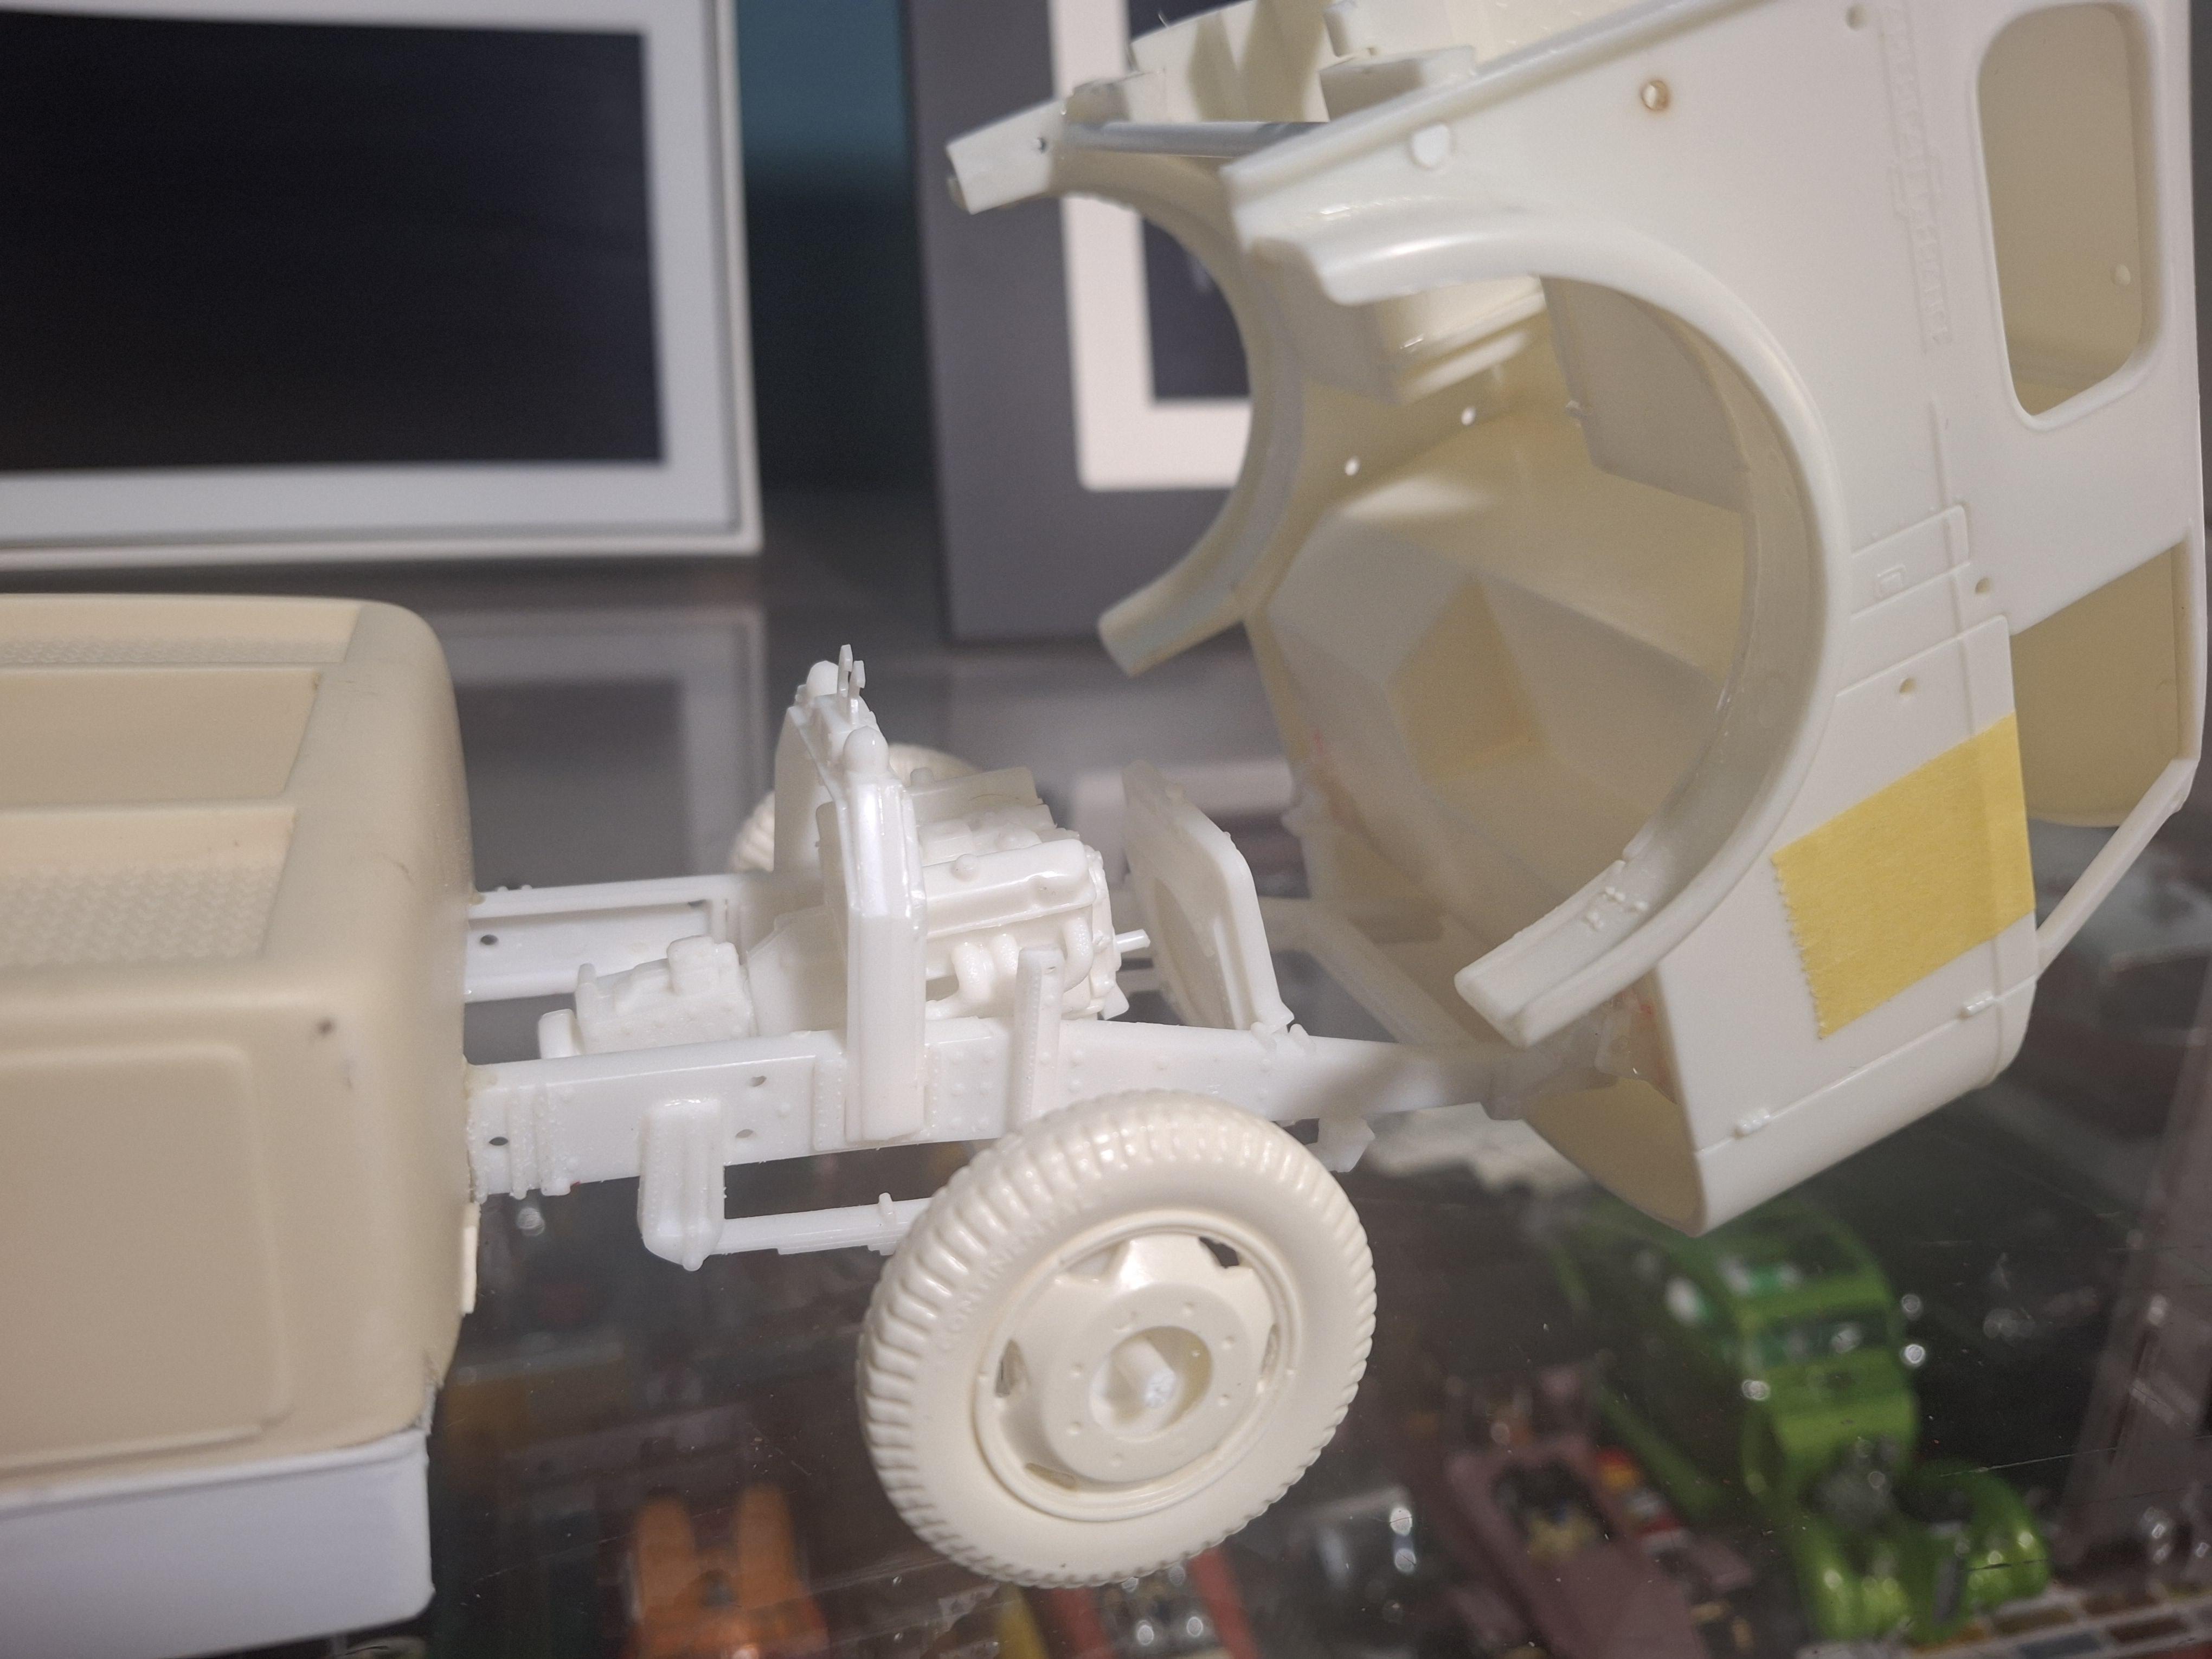
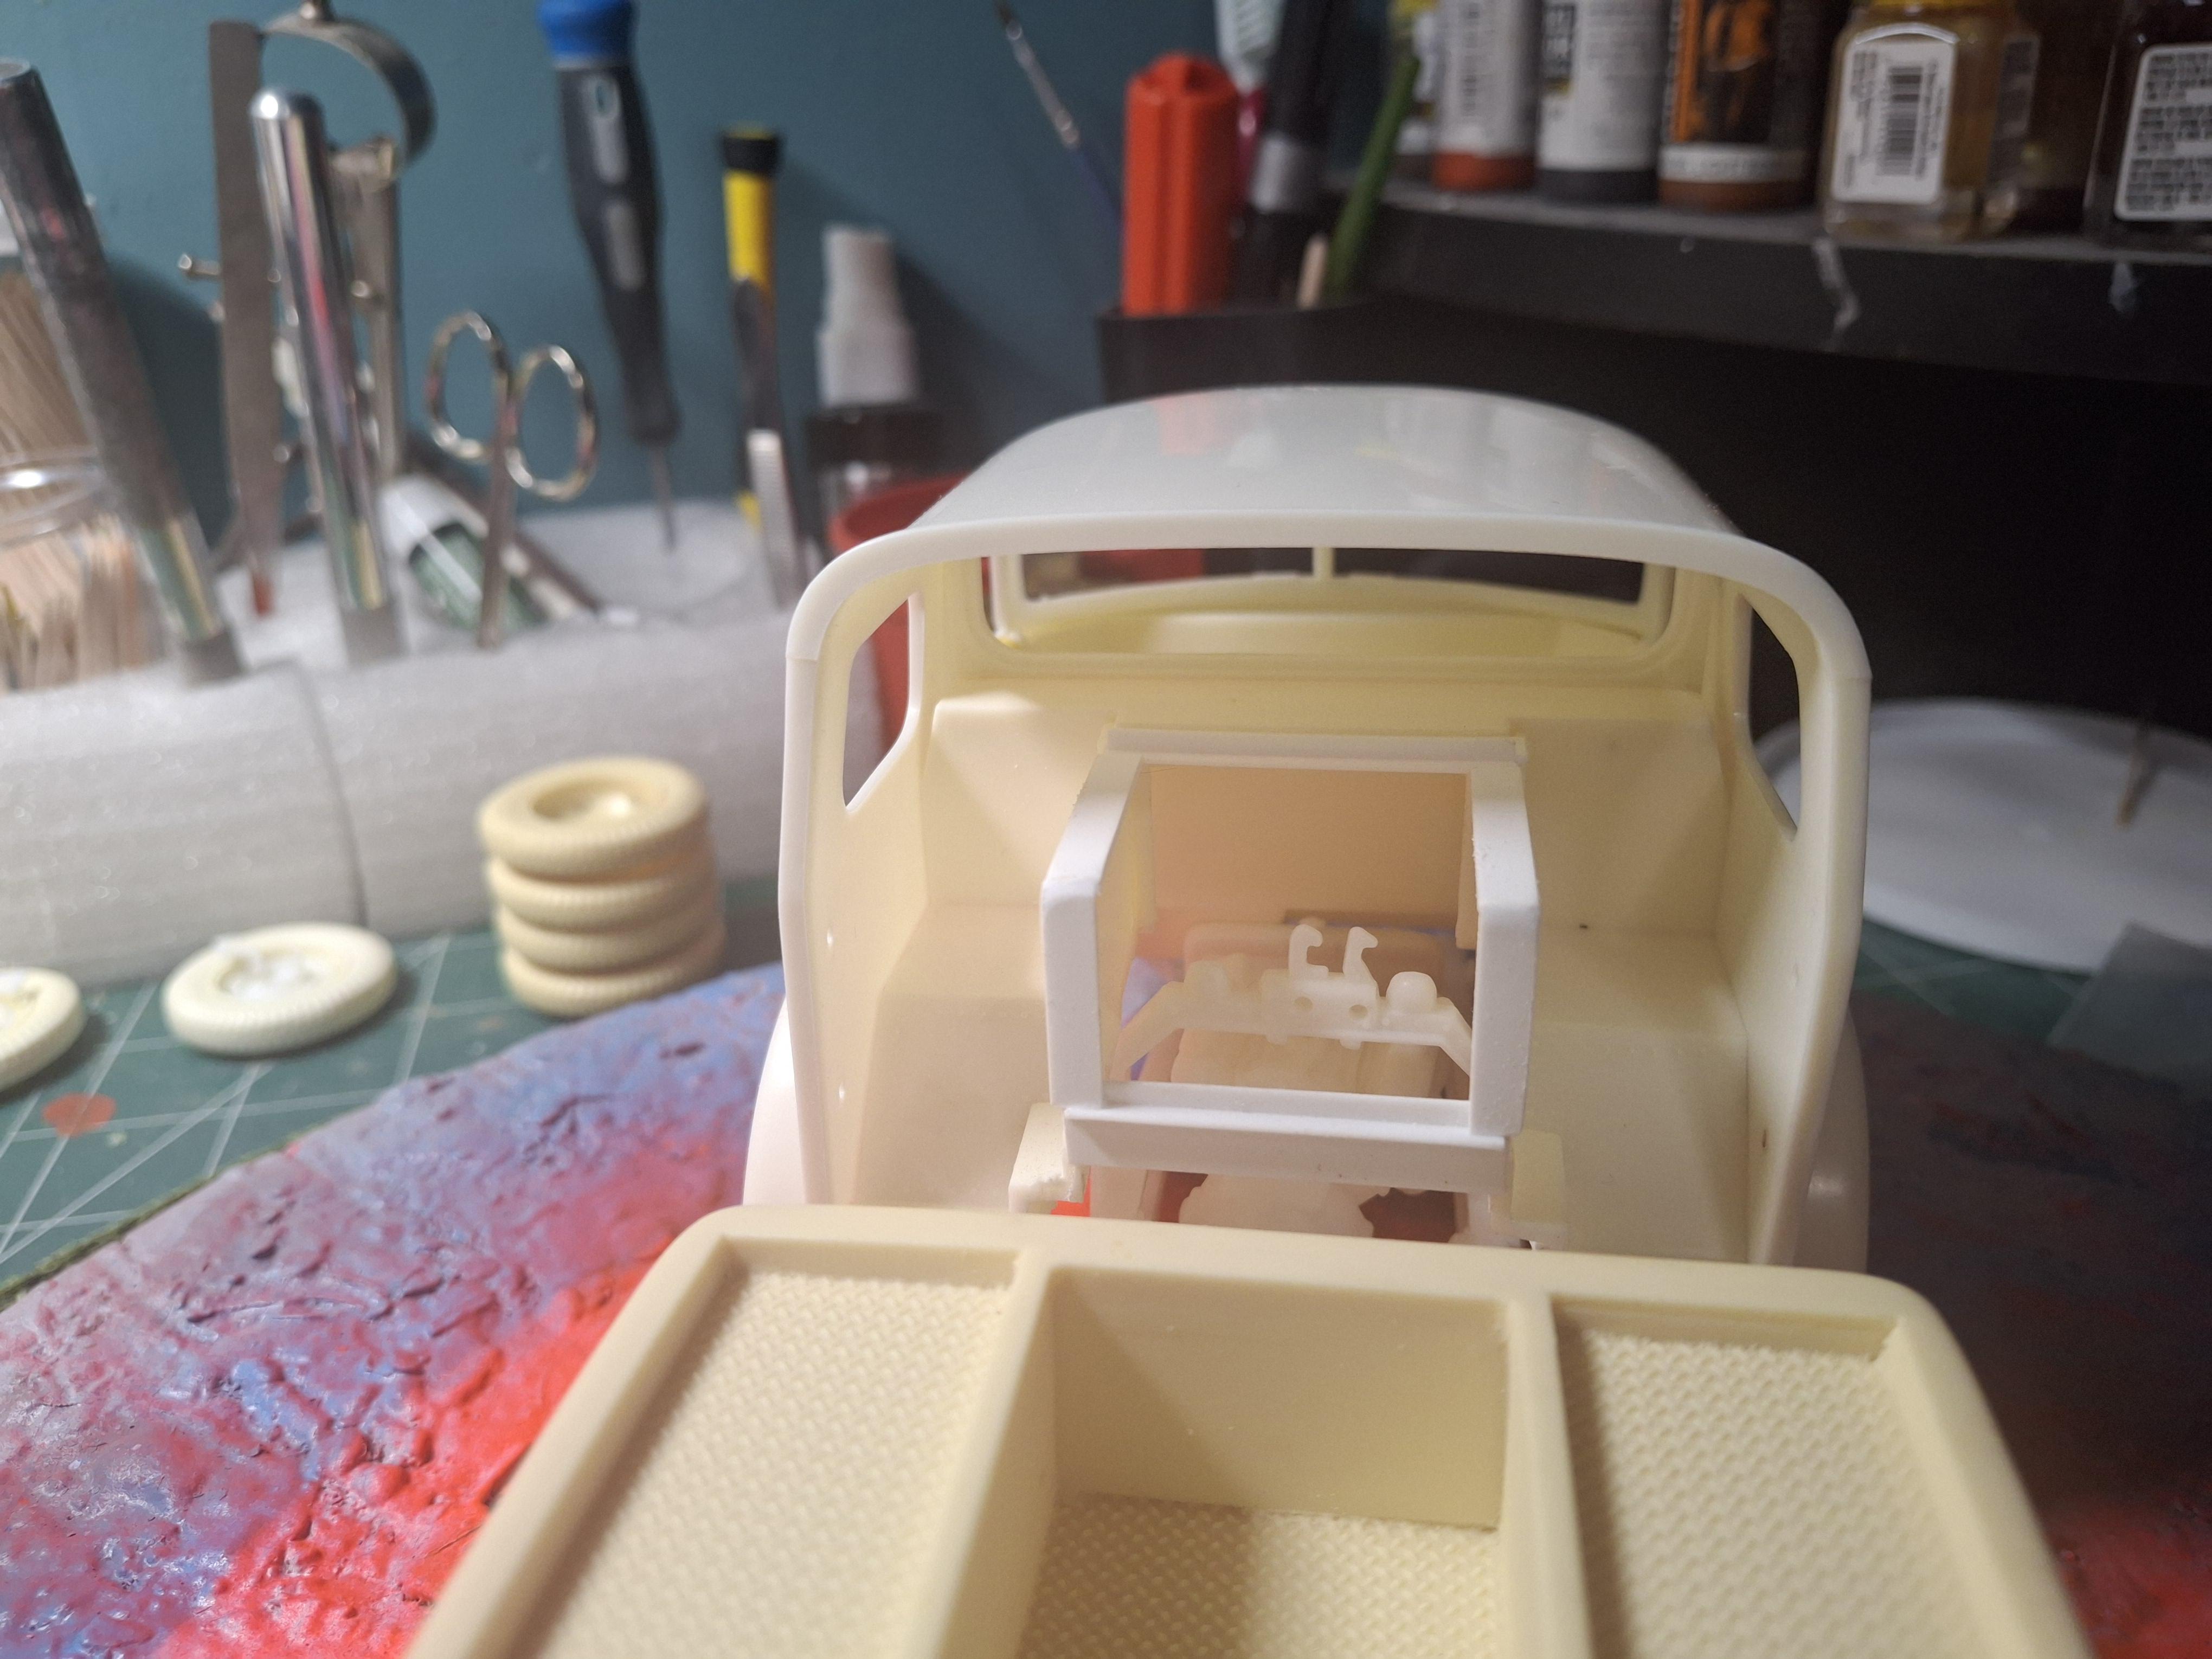
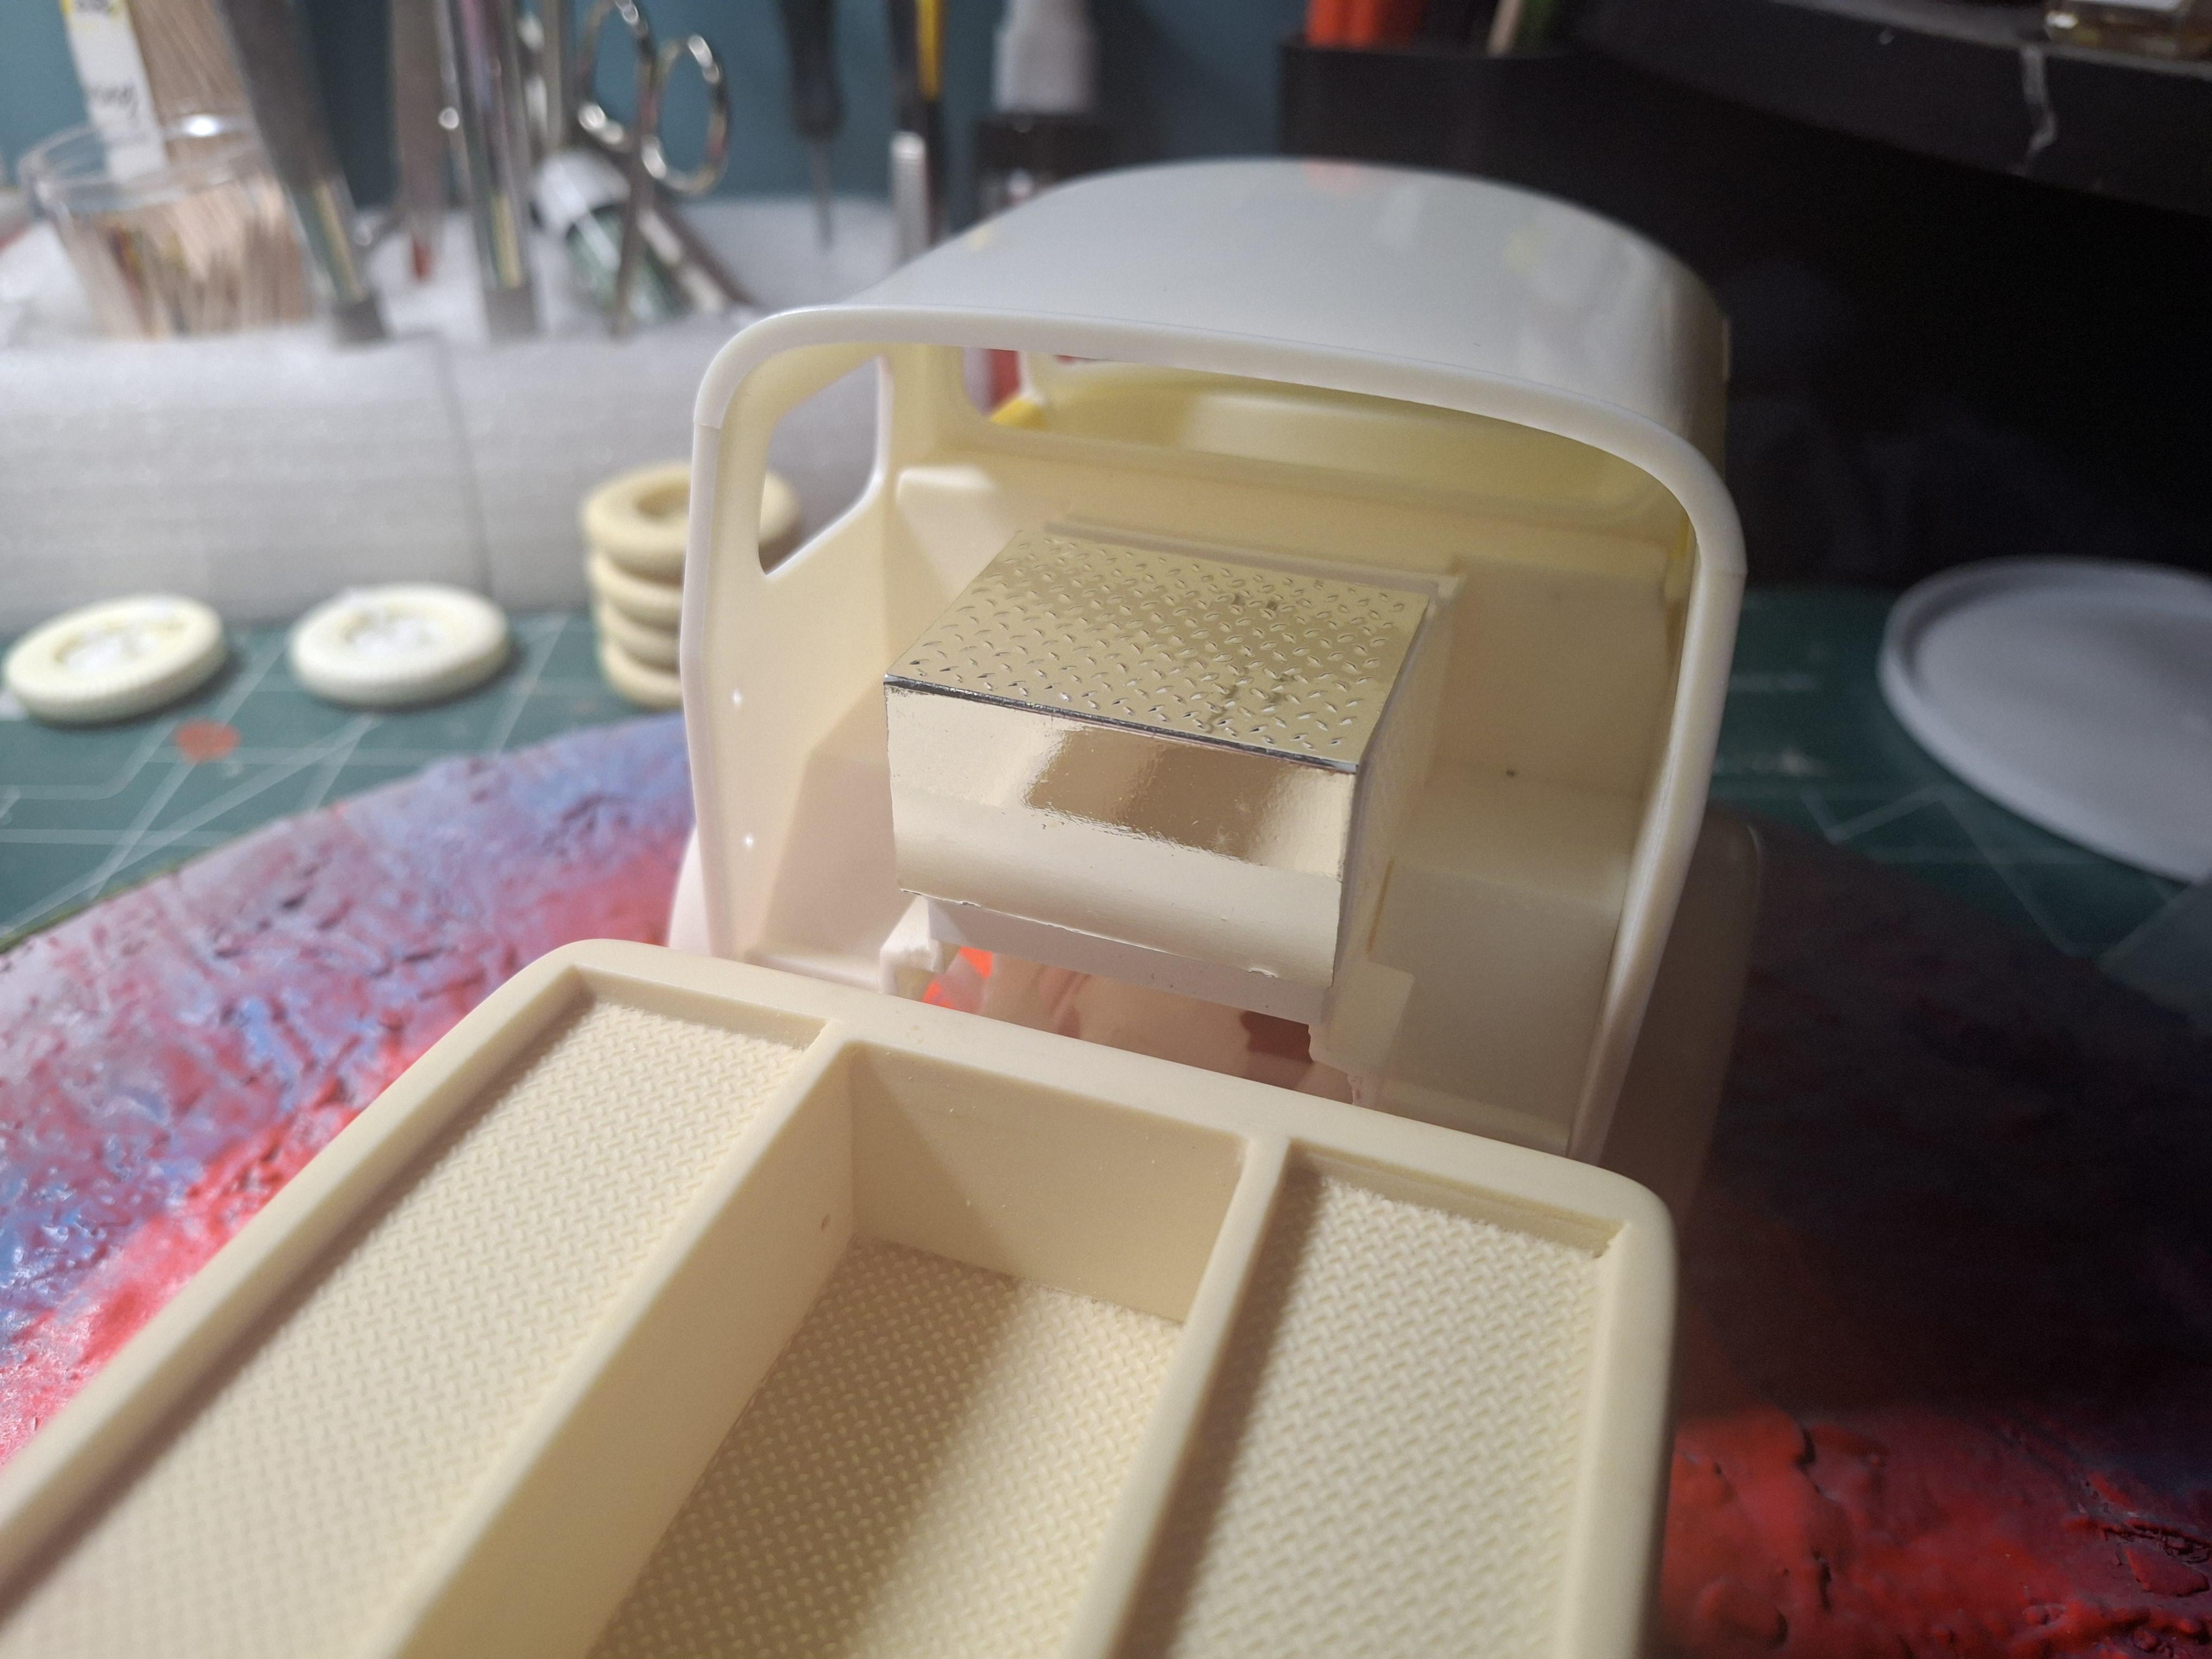
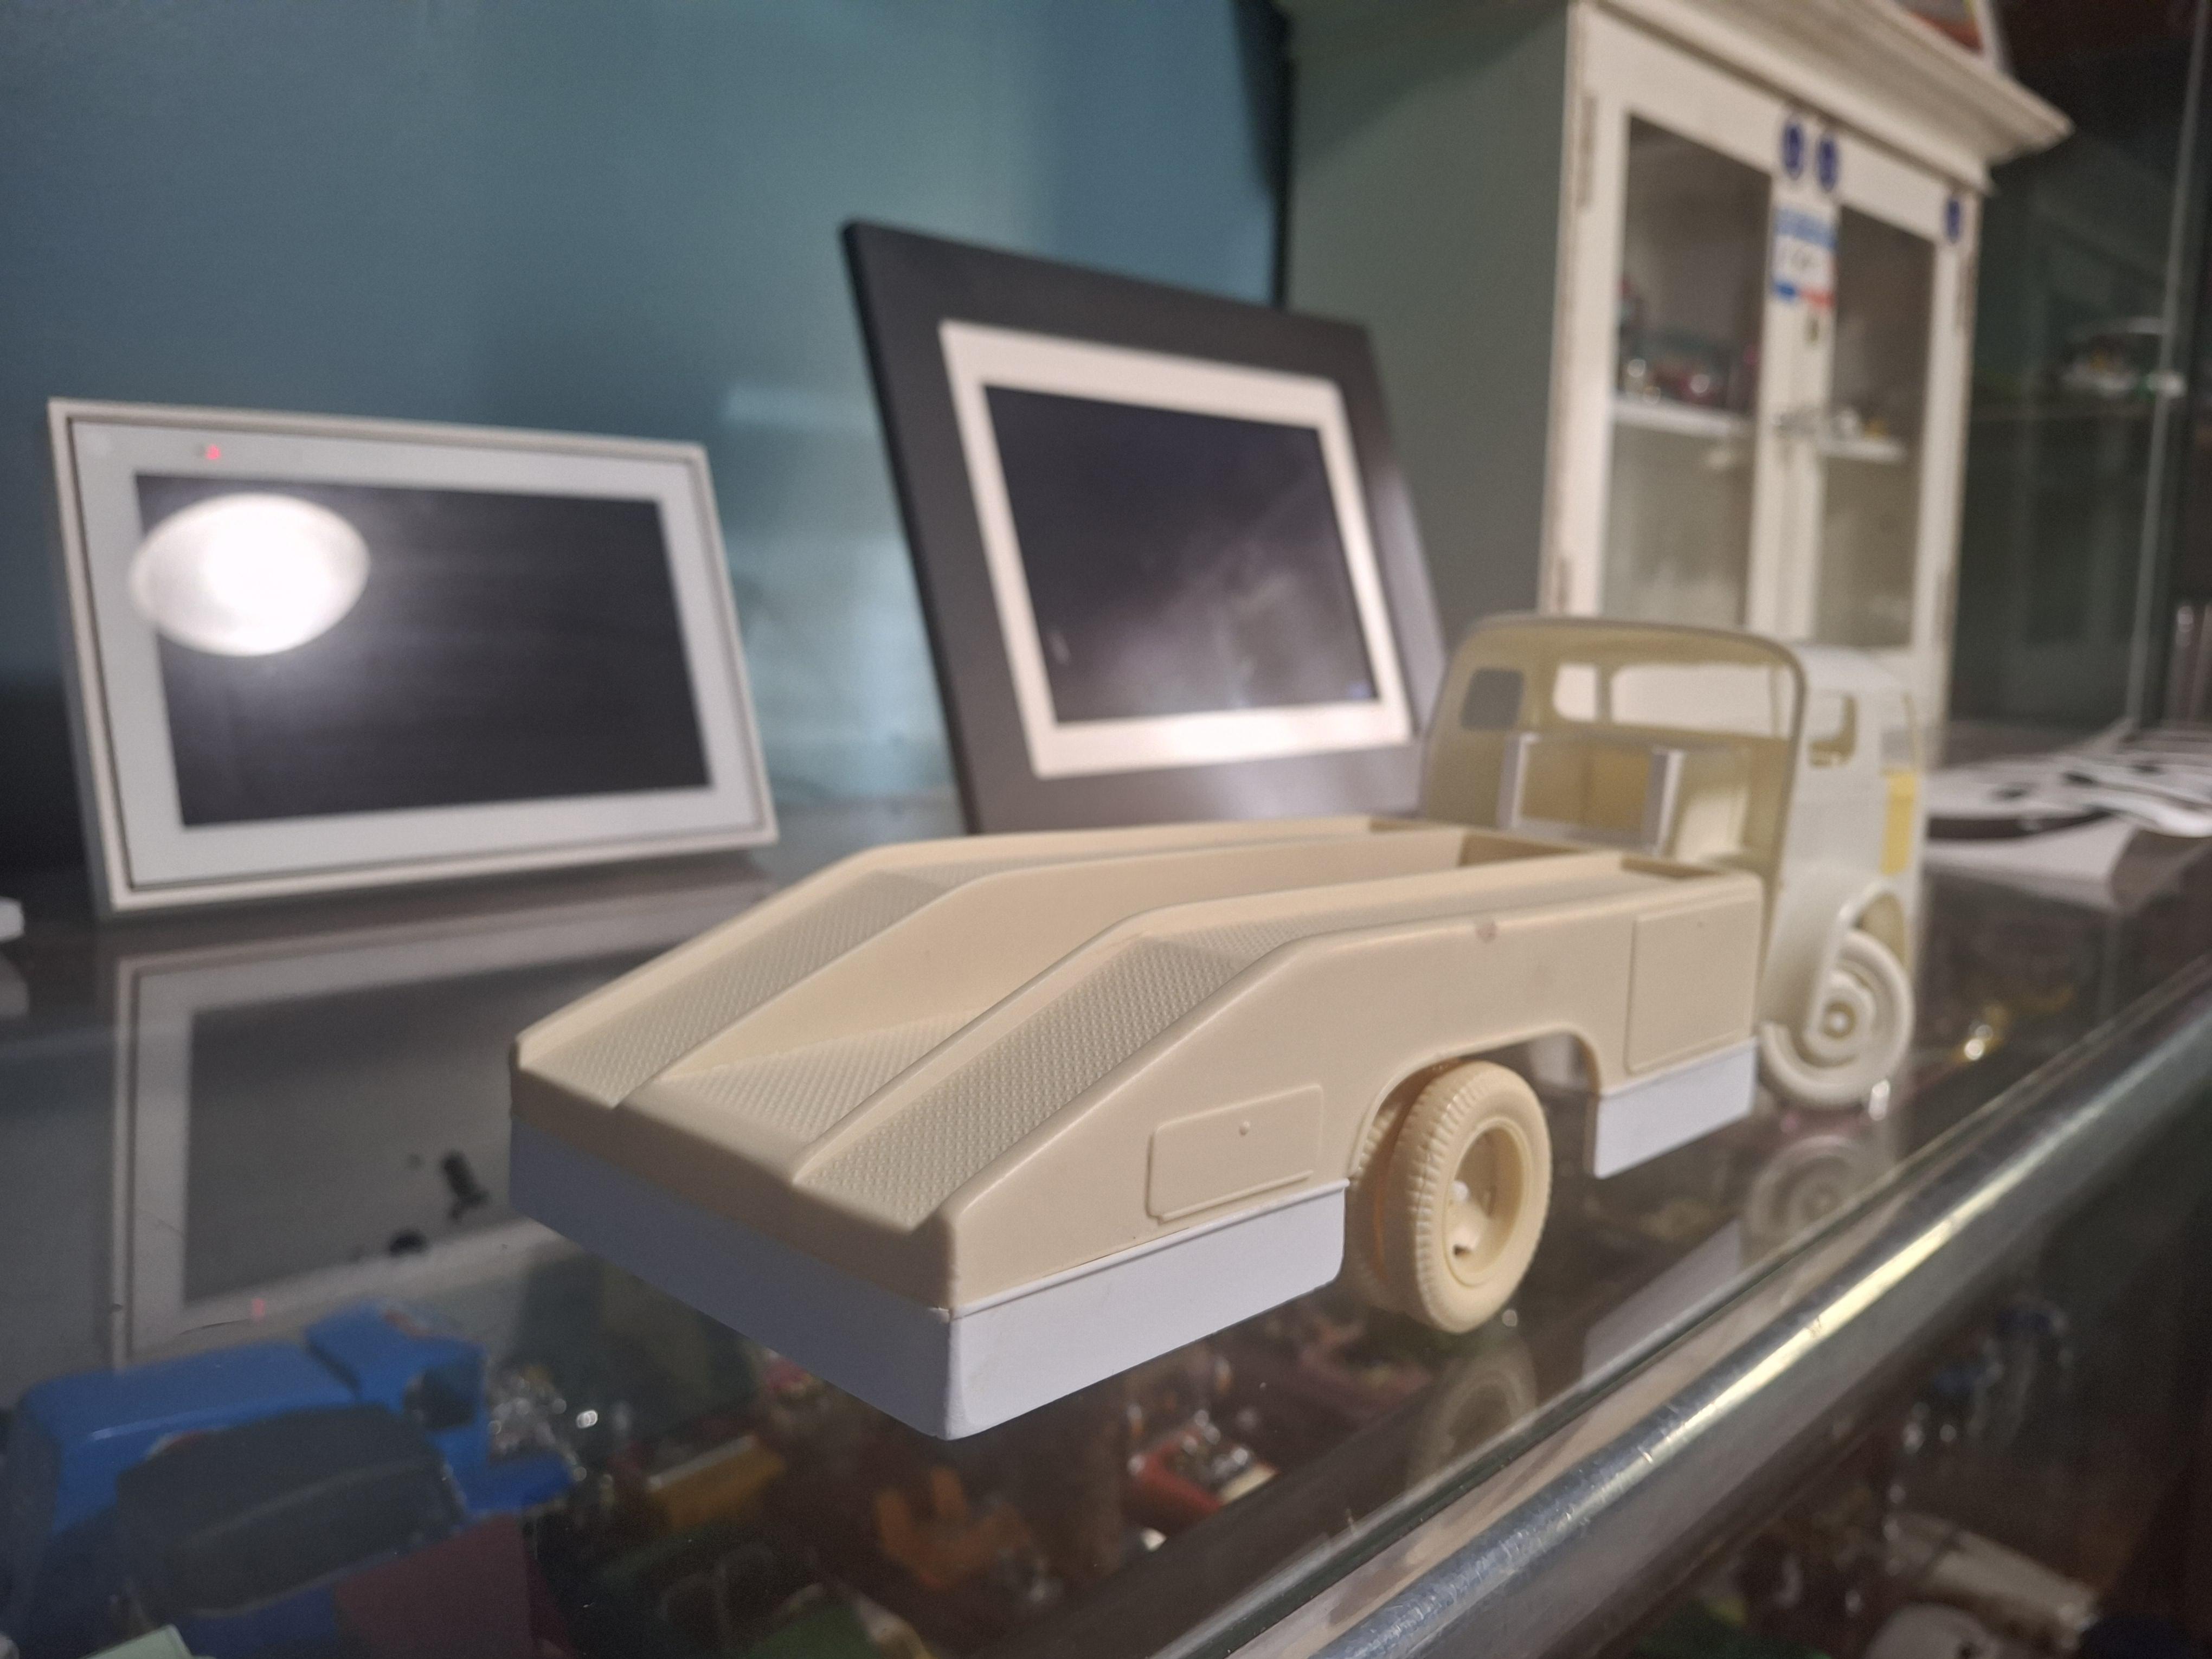
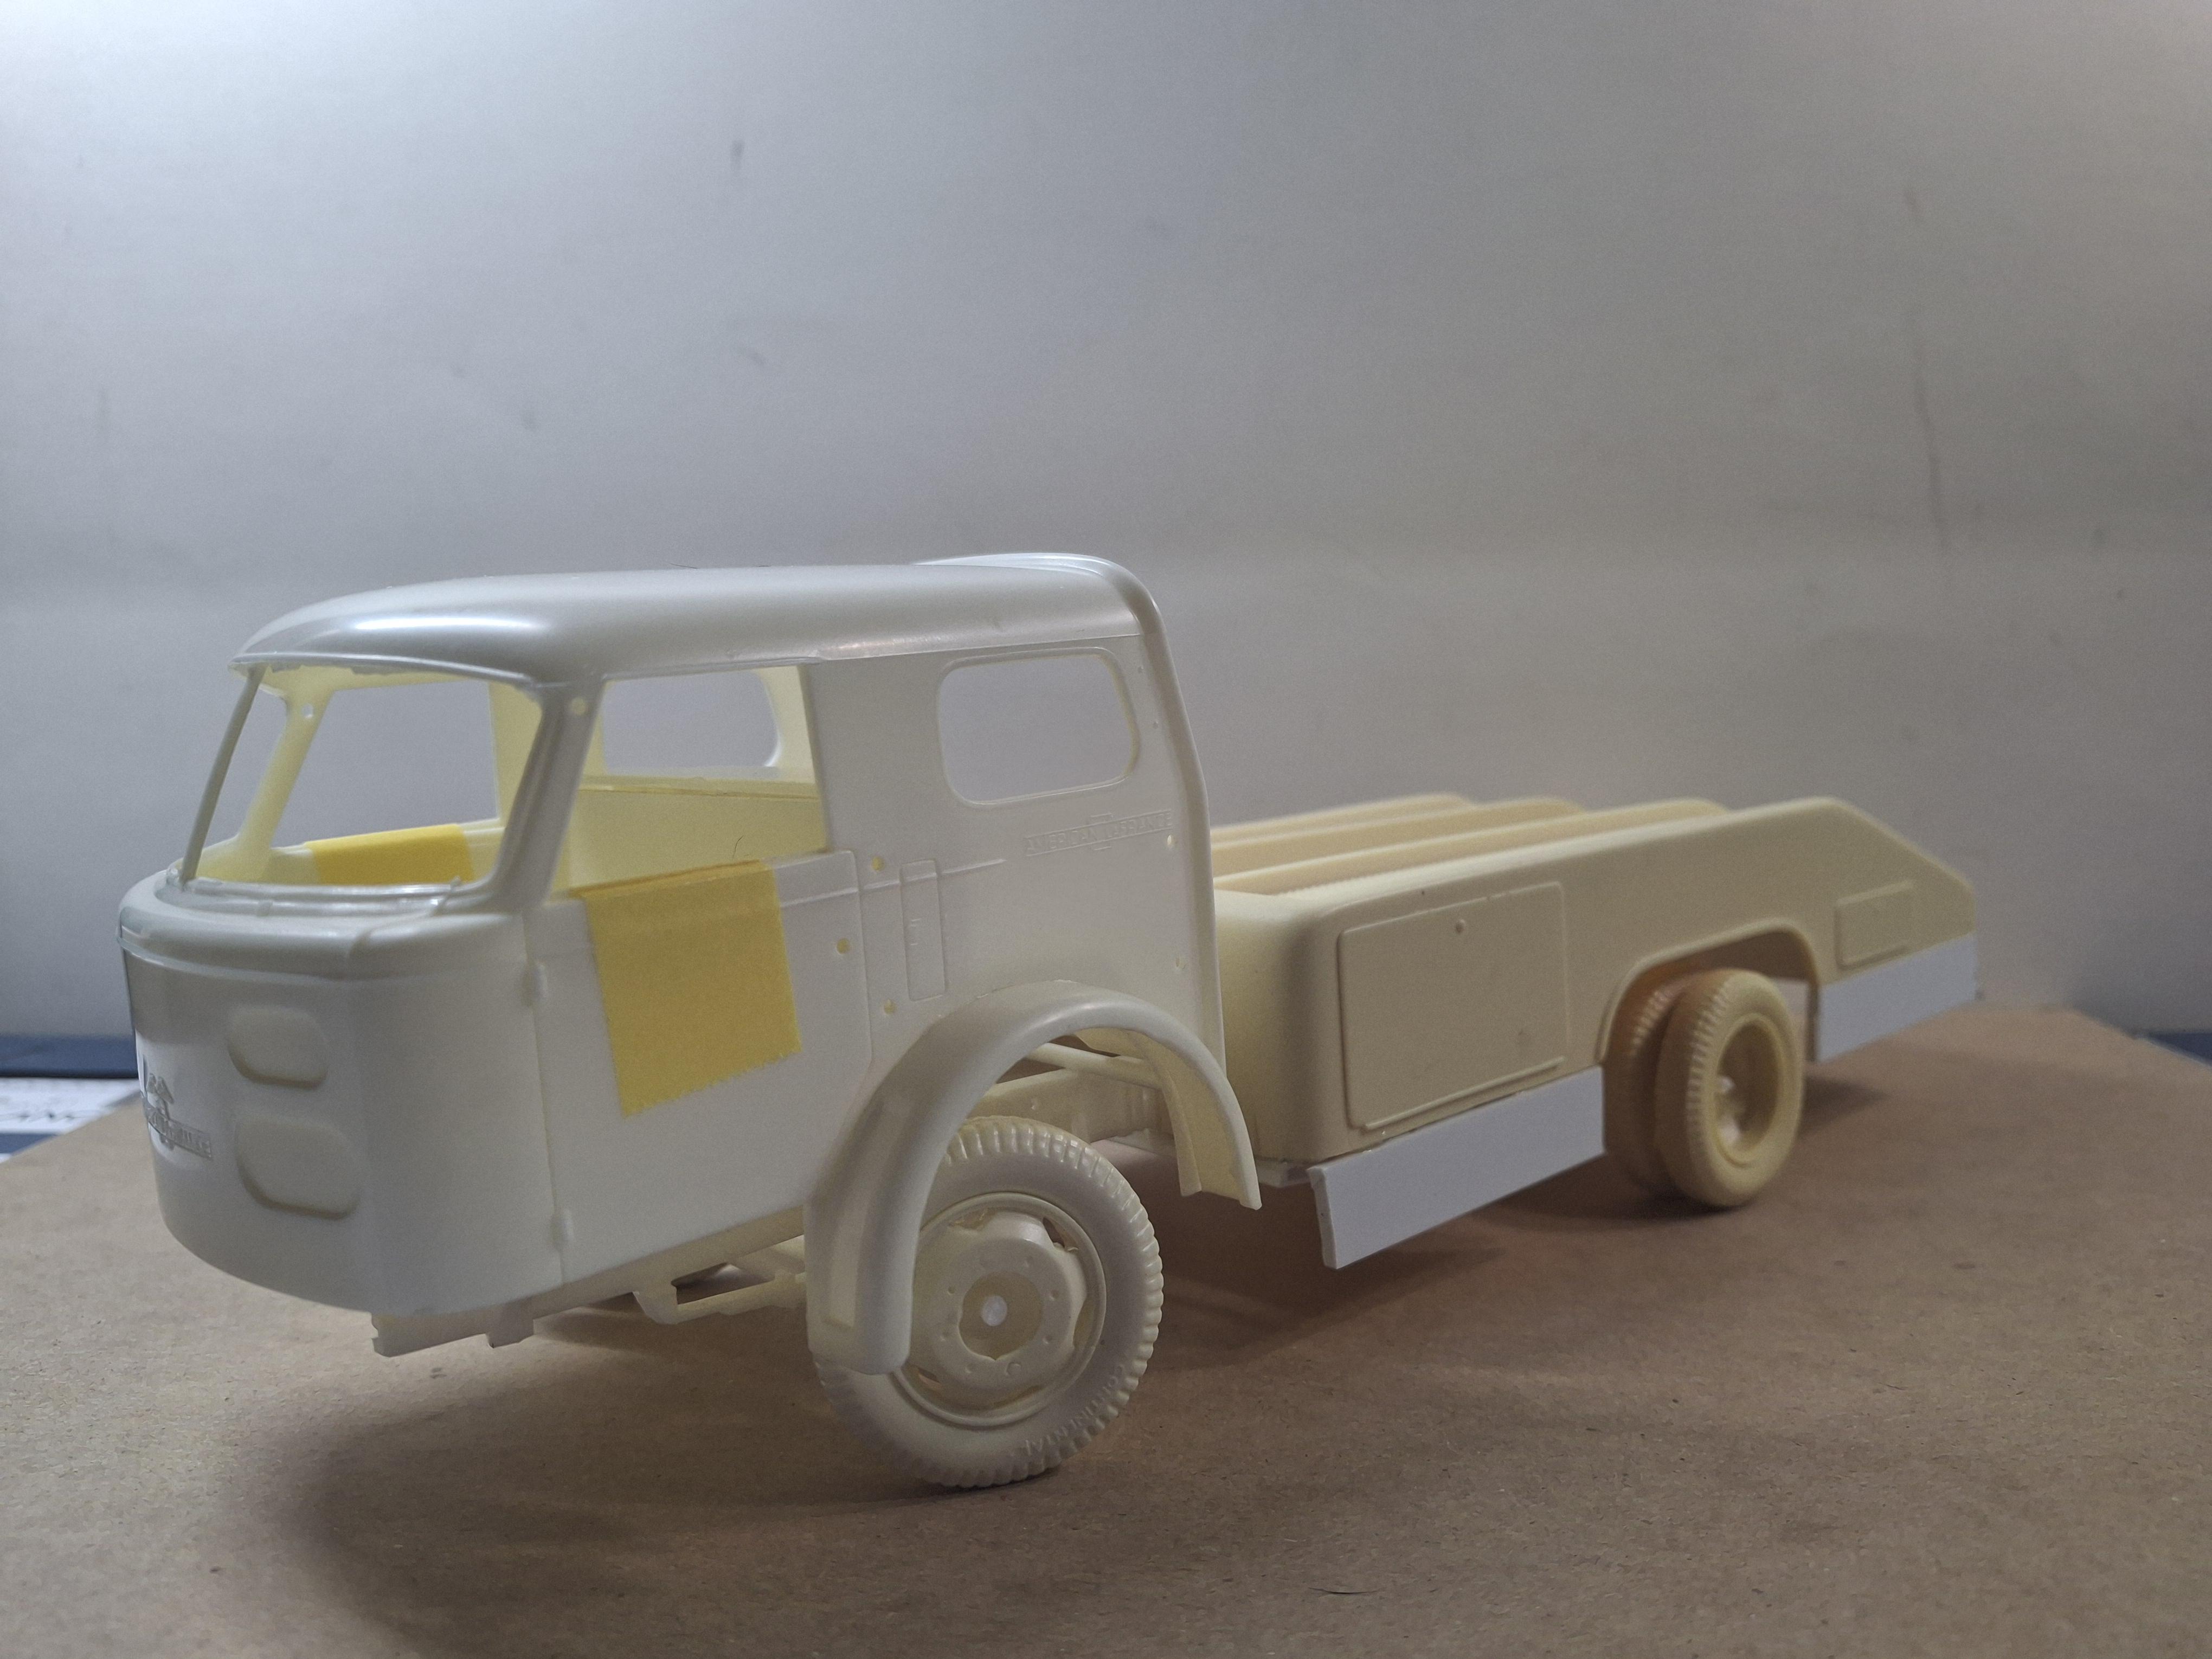
AMT Aero Chief car hauler
BIGTRUCK replied to BIGTRUCK's topic in WIP: Model Trucks: Big Rigs and Heavy Equipment
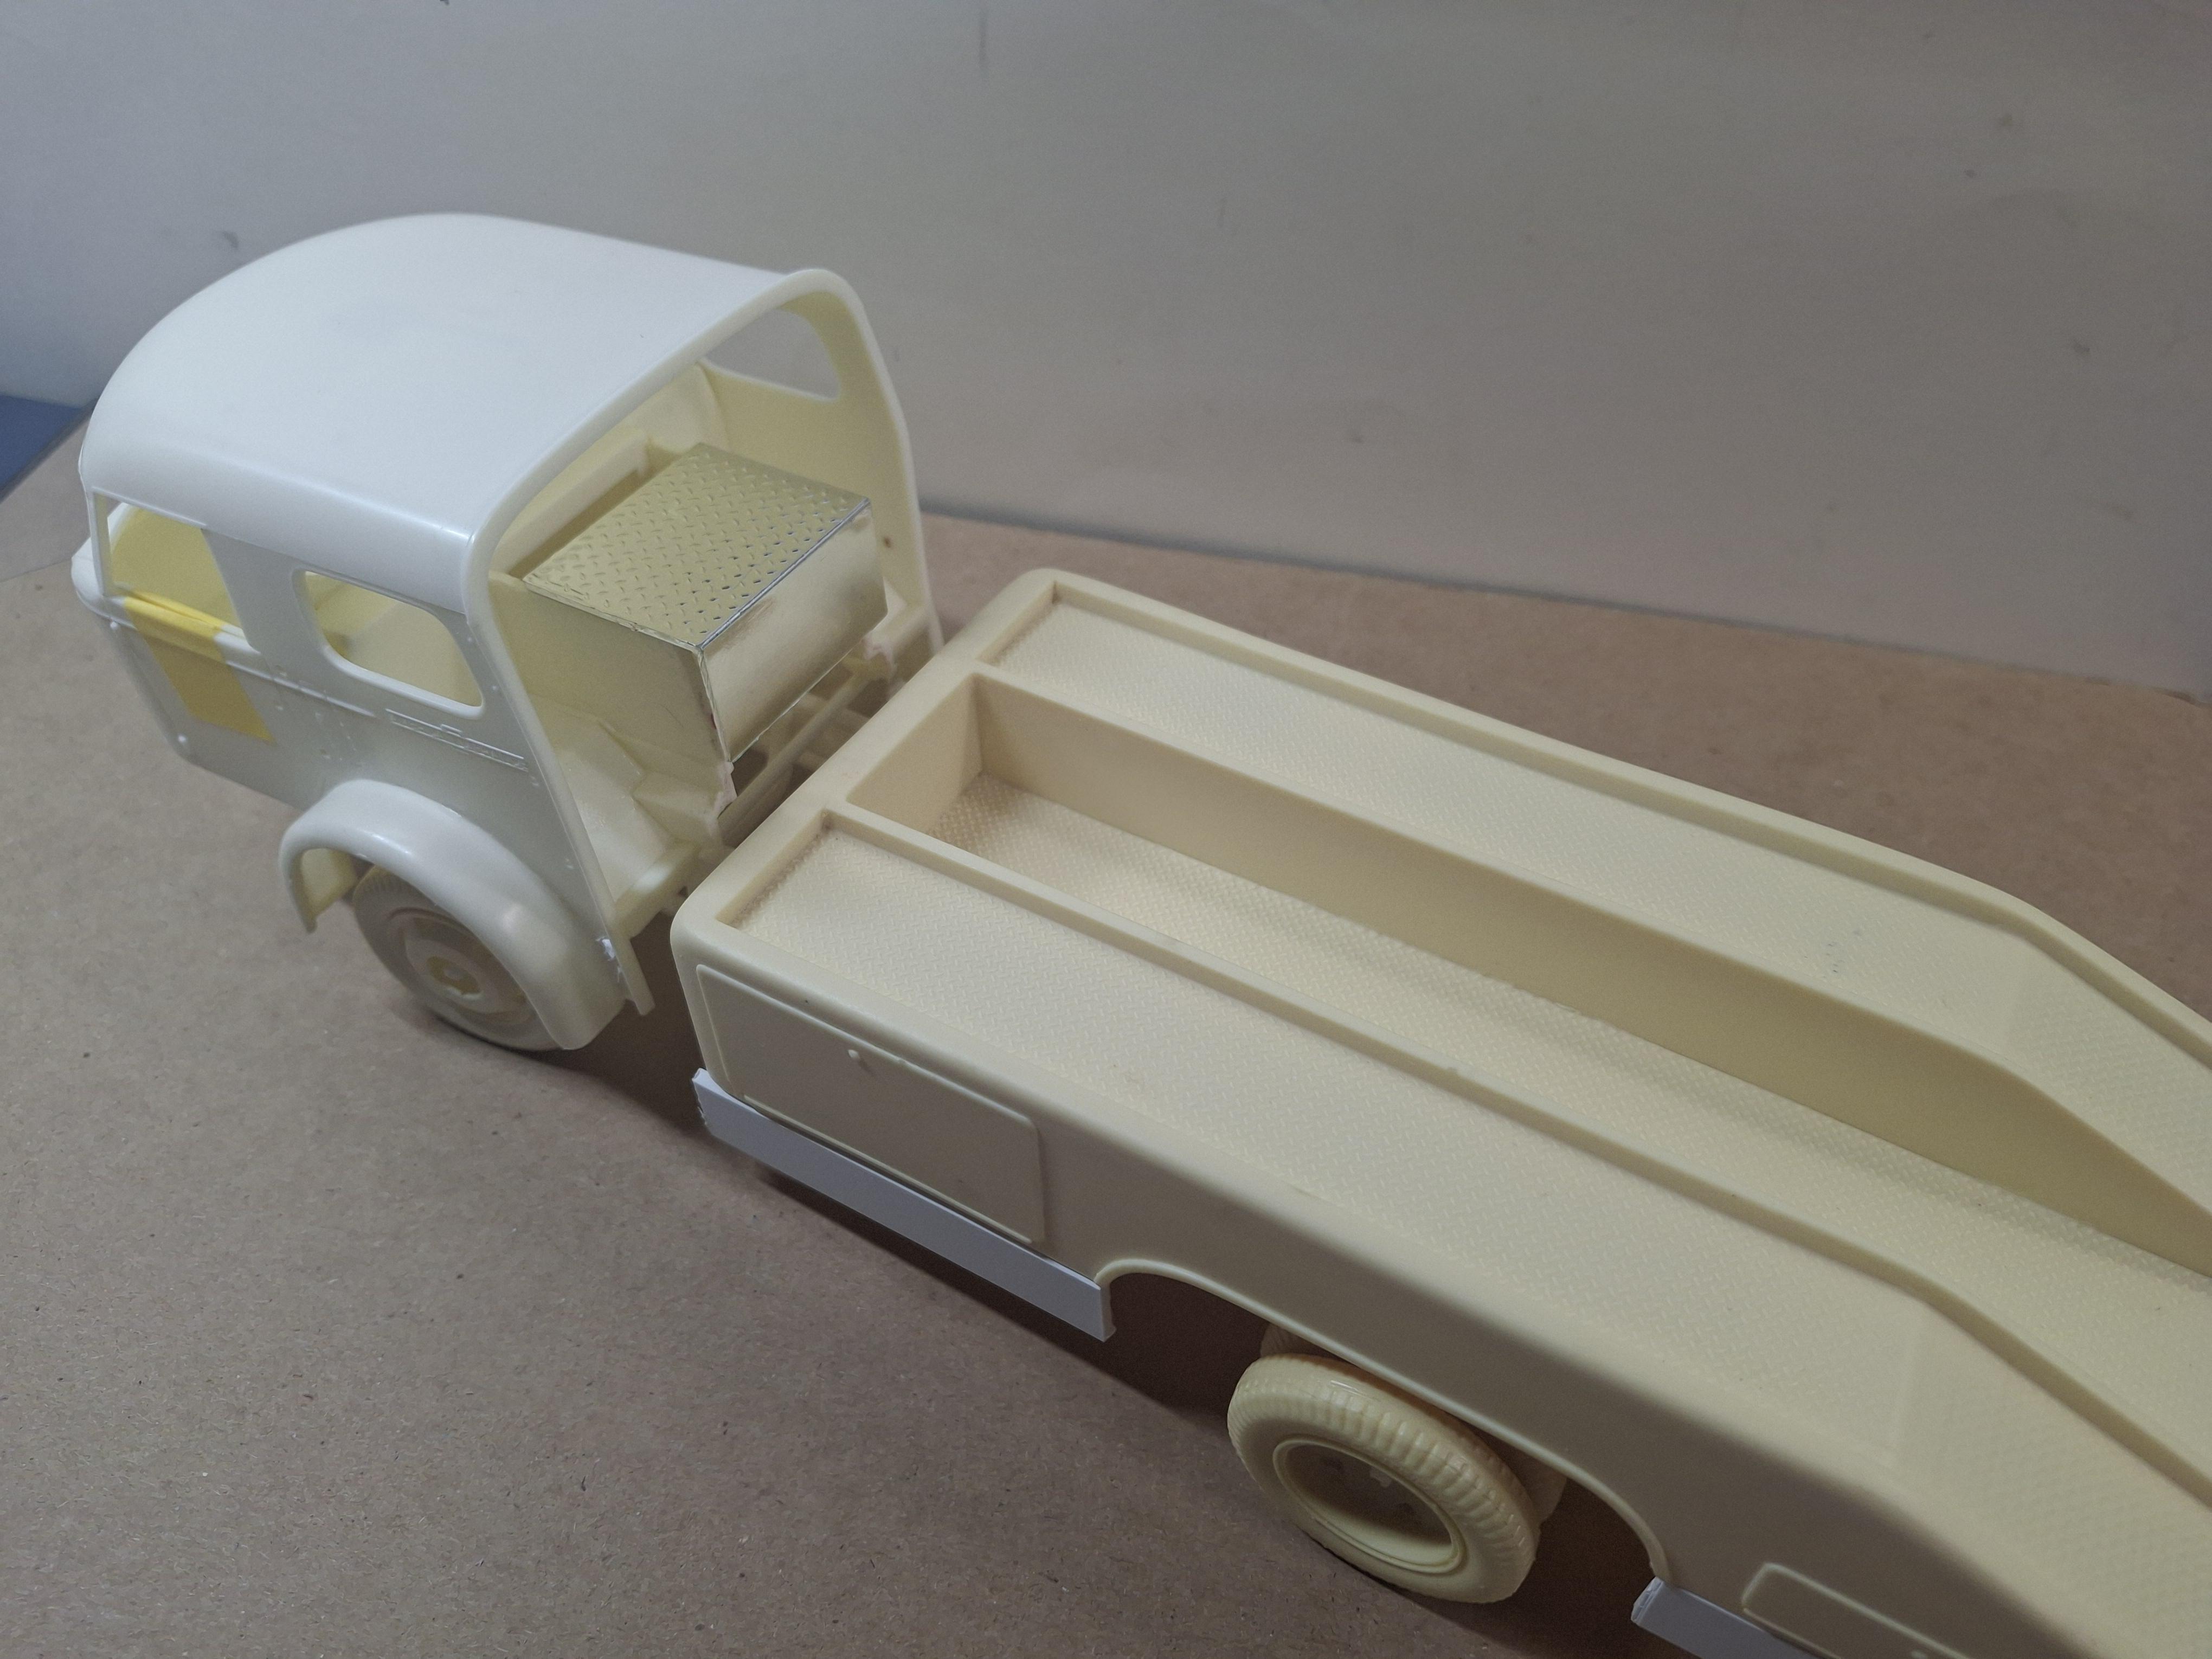
After doing summer things all summer its time to get back and get some work done on this hauler. Not much of an update but I blended in the bed skirts and got the cab to tilt. The only issue is the radiator, I laid it back to follow the contour of the interior floor. Pretty much all the modifications are done, getting 3 different kits to work in harmony has been a chore.
-
I like this build, nice detail work.
-
Monogram Indy car
BIGTRUCK replied to BIGTRUCK's topic in Other Racing: Road Racing, Salt Flat Racers
Thanks Izzy..I checked out your old Indy car , looks great as usual. Im sure you can turn this old Monogram kit into a beauty. -
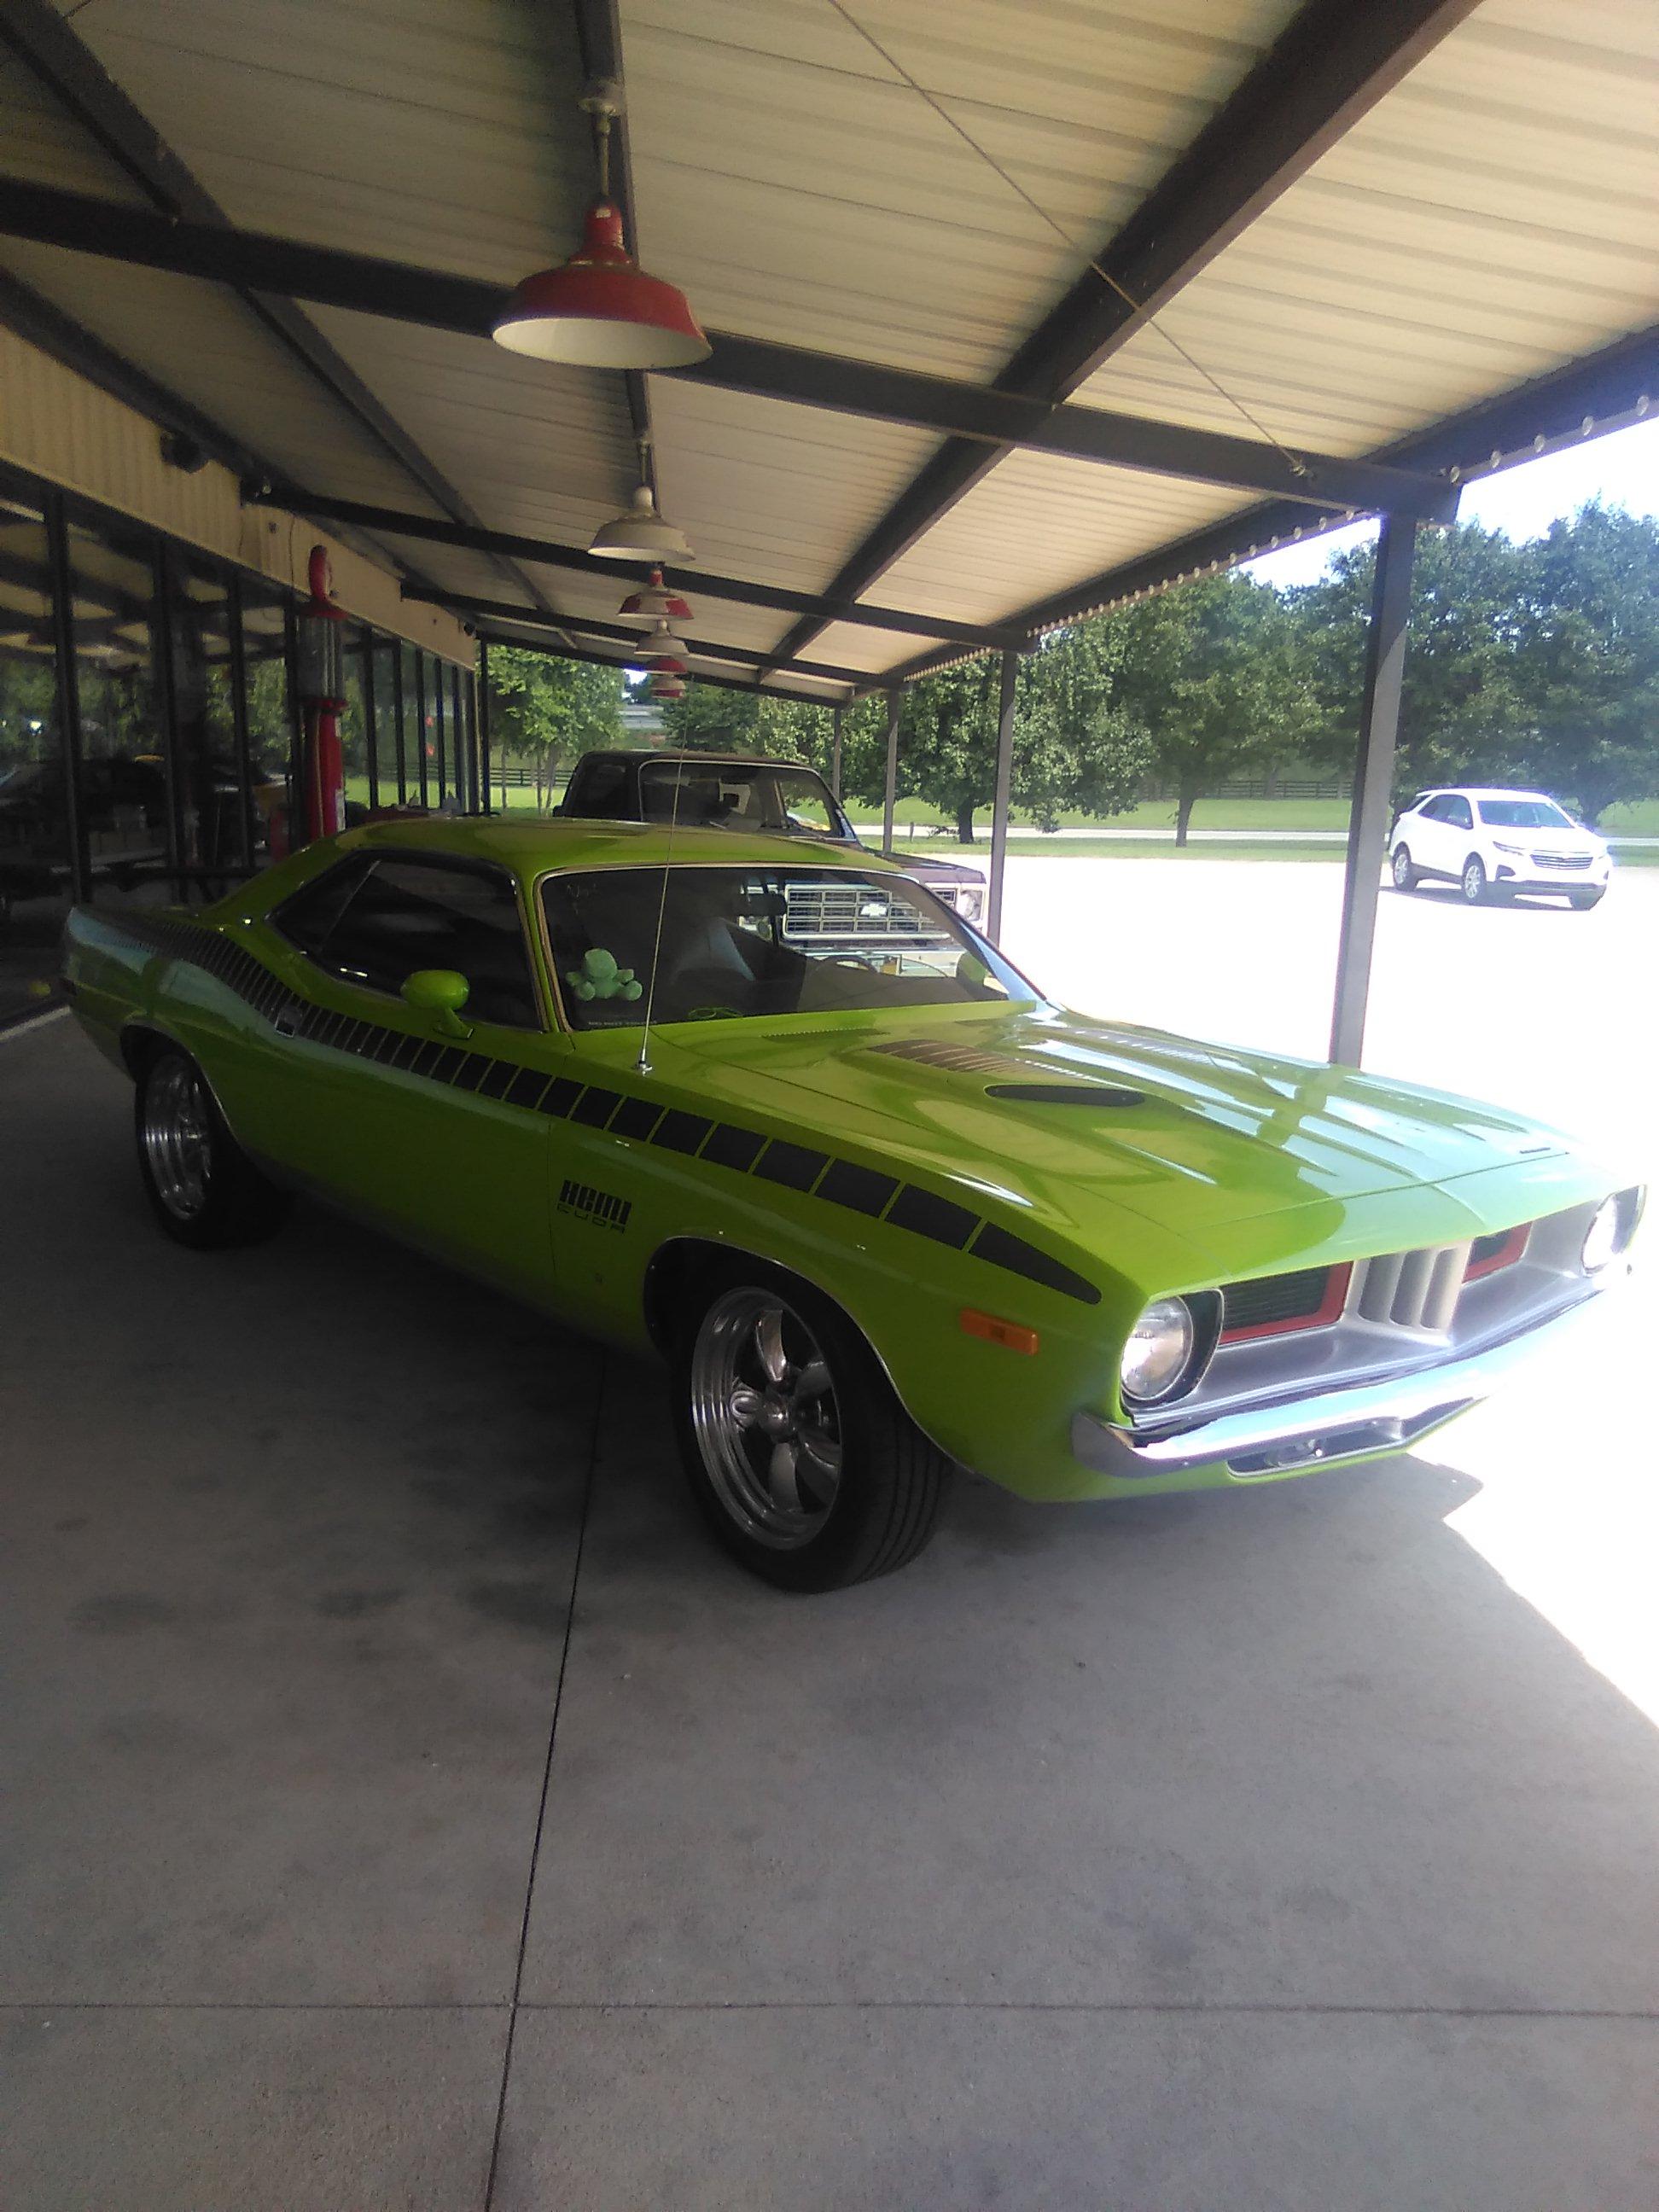
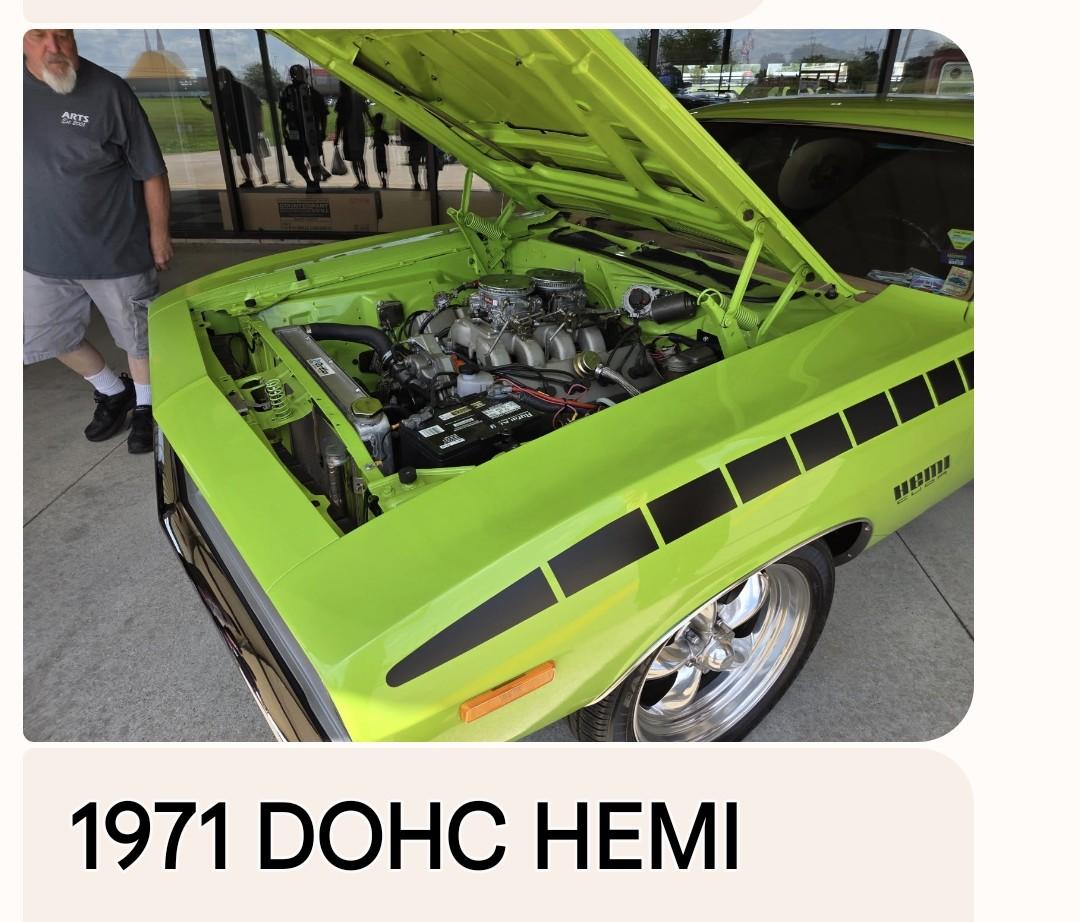
1971 DOHC 426 HEMI CUDA (?)
BIGTRUCK replied to TECHMAN's topic in General Automotive Talk (Trucks and Cars)
Posting pics for TECHMAN (DJ Moore).
-
AMT Aero Chief car hauler
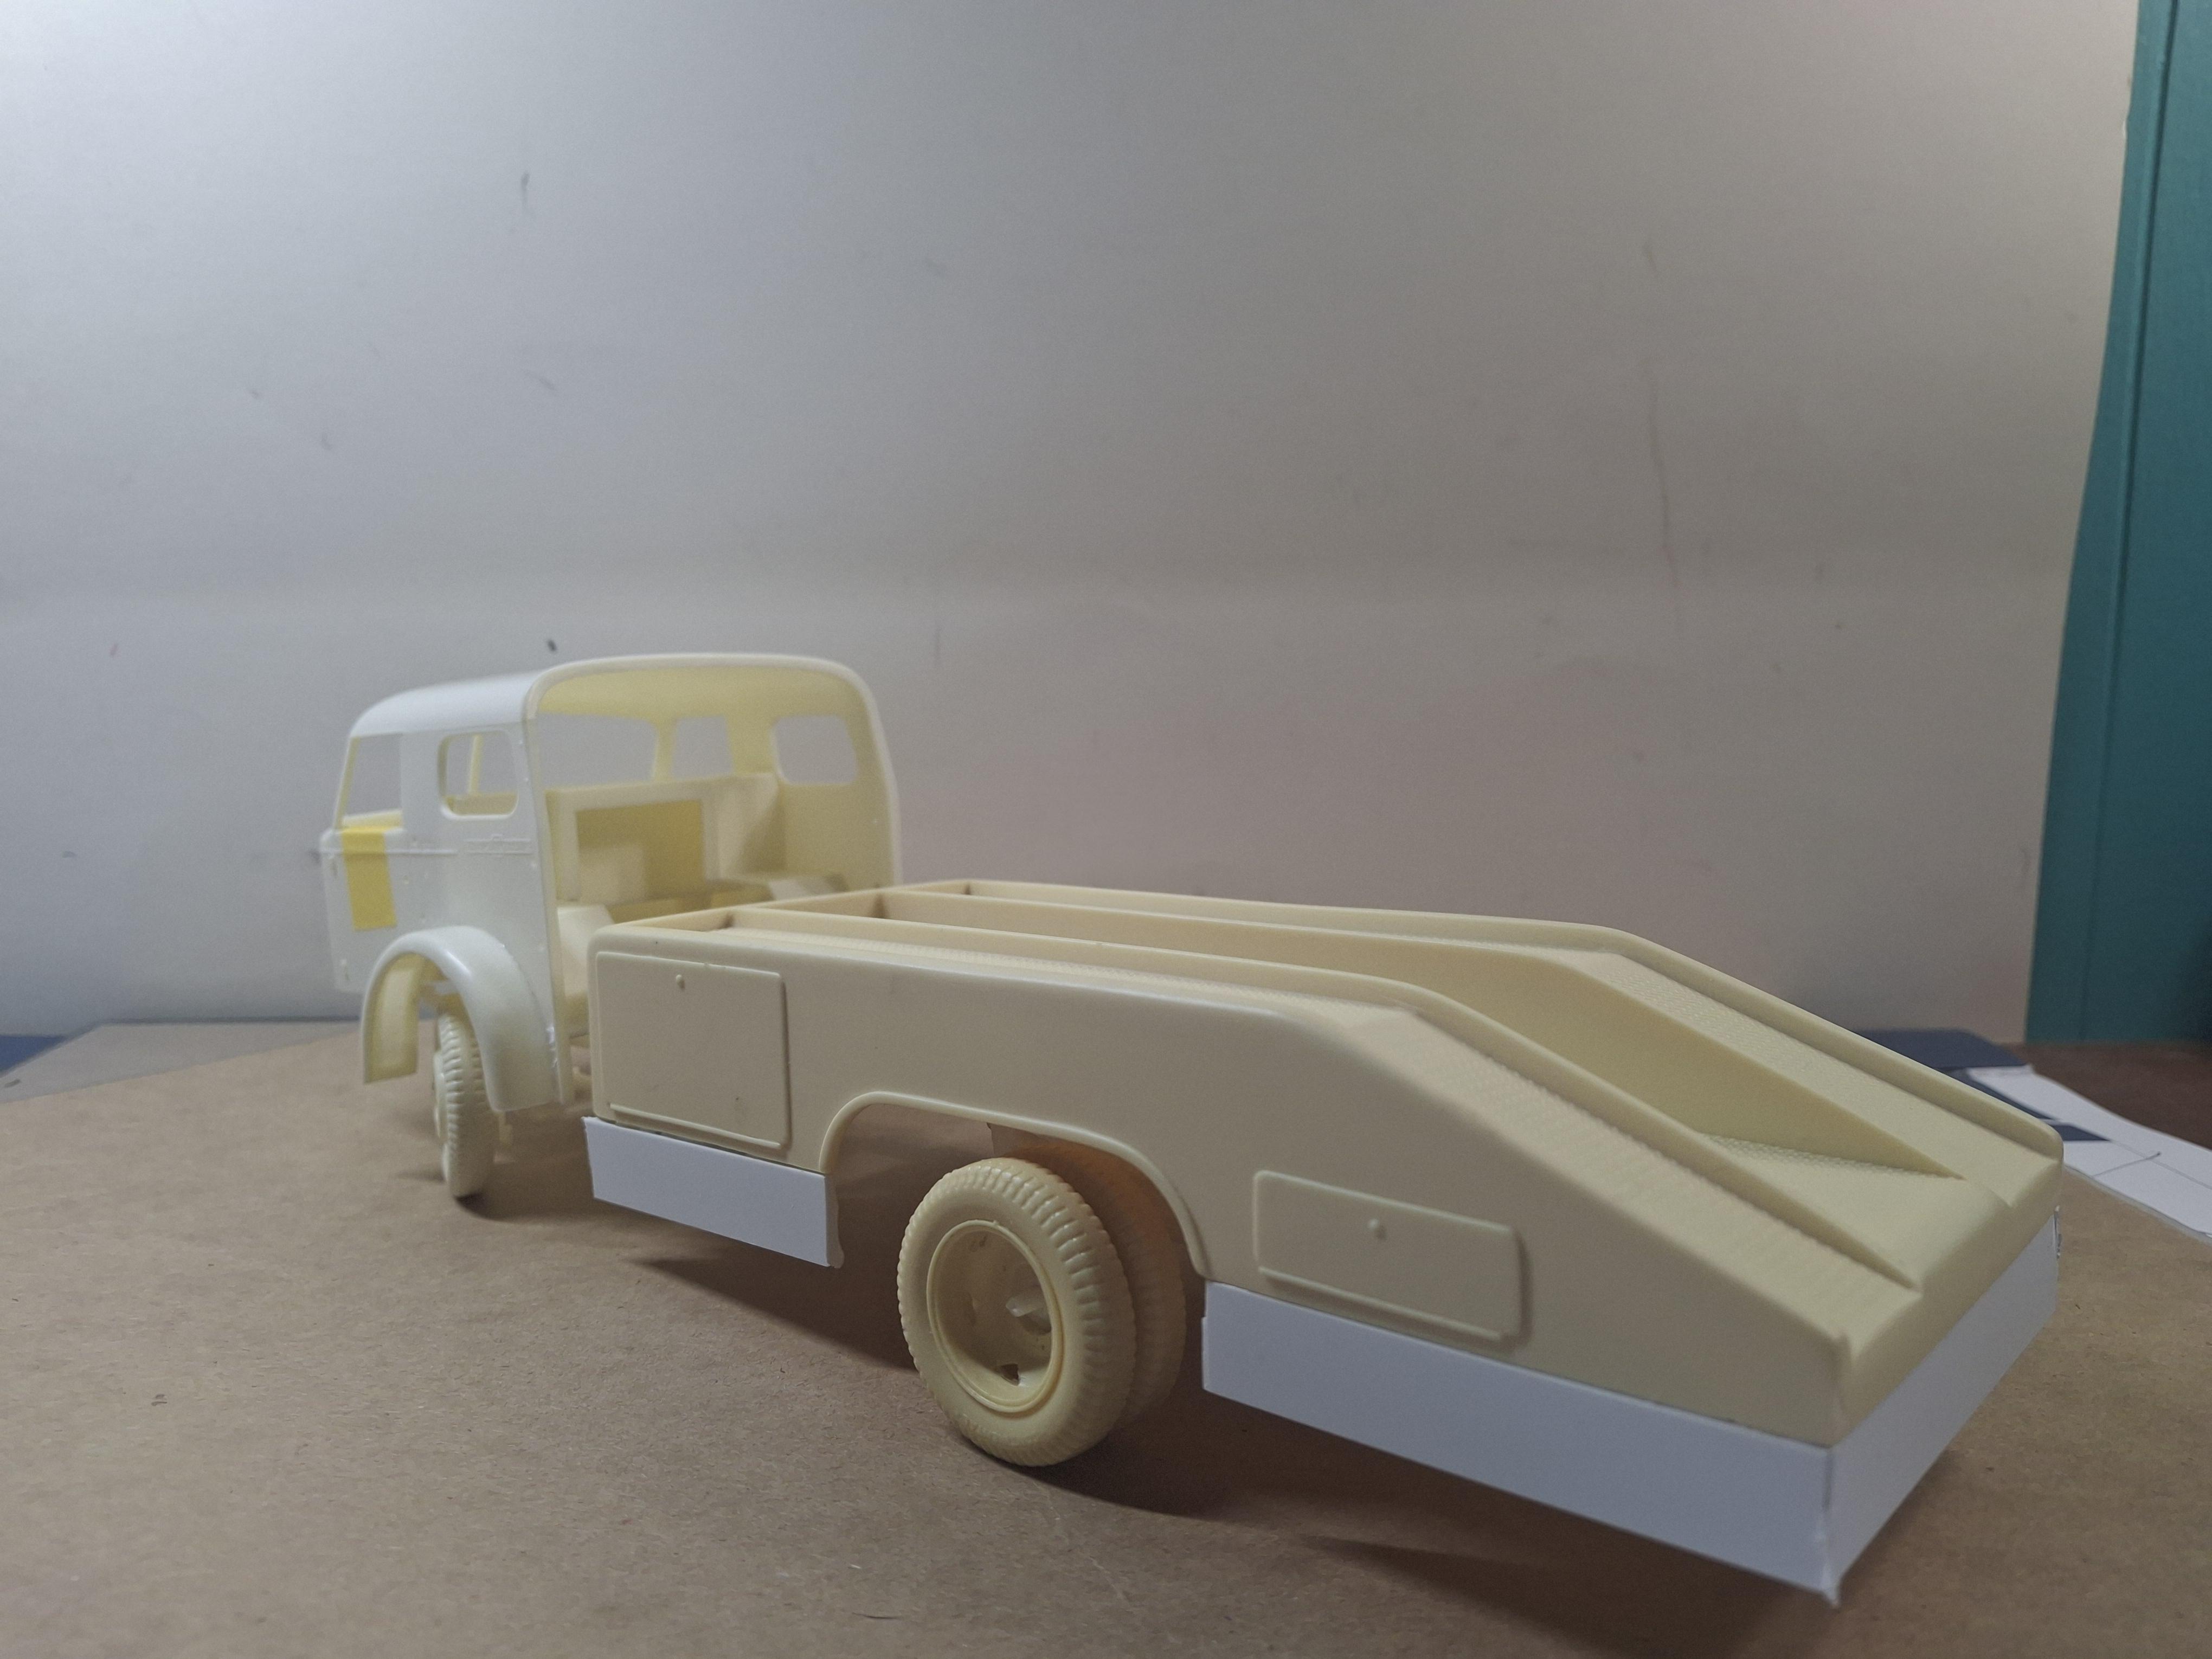
BIGTRUCK posted a topic in WIP: Model Trucks: Big Rigs and Heavy Equipment
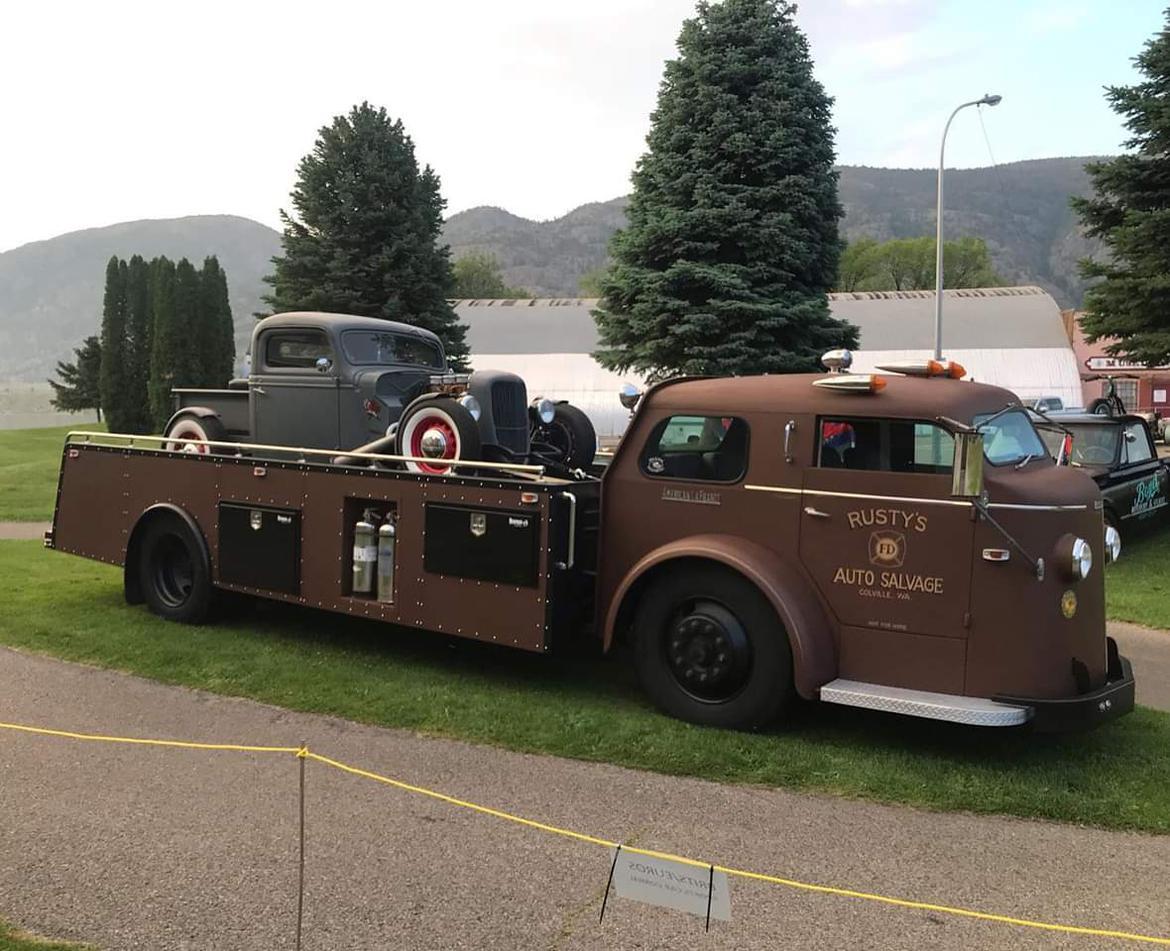
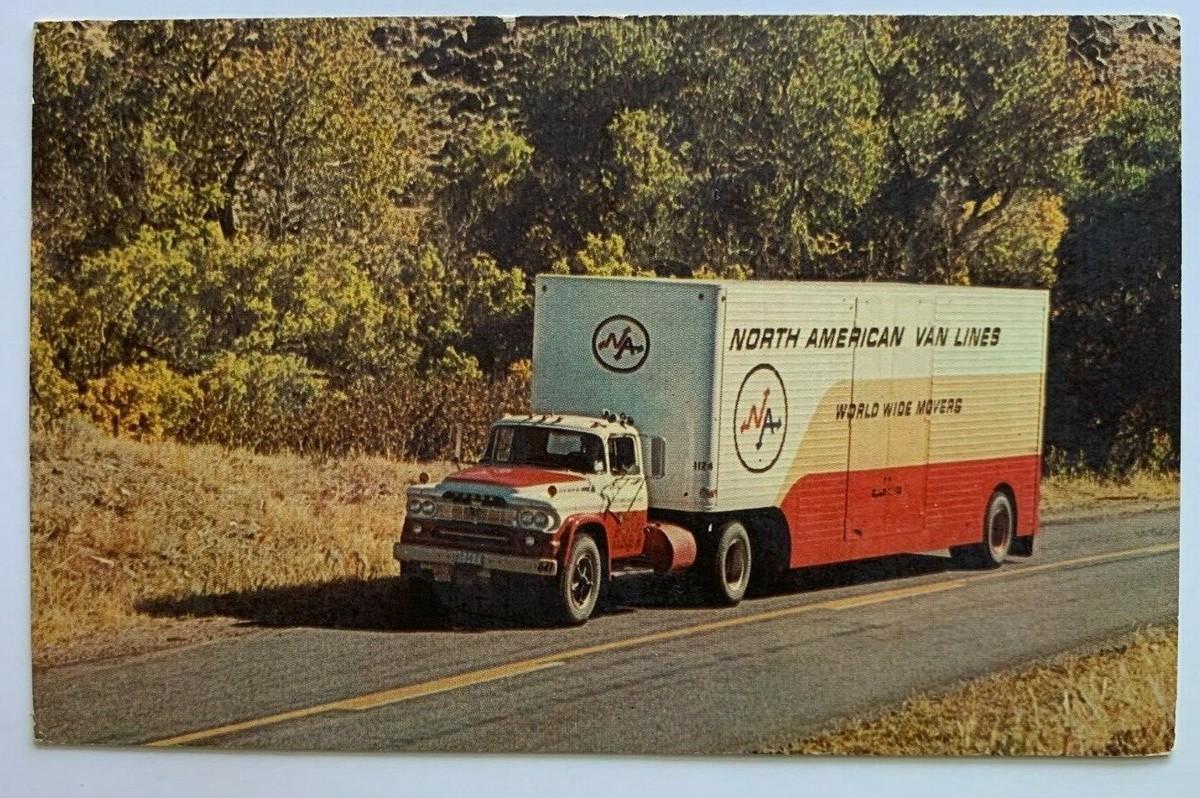
I have the need to try something new for me so here goes: AMT AeroChief cab and interior mounted on the old IMC Dodge L700 chassis with engine. J/F resin flat car hauler and J/F resin tire/wheels. I had to skirt the bottom of the flatbed all around to bring it down some to make it look taller. Chassis was stretched 3" in front of the rear springs. When looking close its possible for the cab to tilt on the Dodge pins with La France interior bottom with some slight mods but looks doable as long as the cabs not real heavy. The look I'm going for is the hotrod/ratrod look as in the posted internet pic. Thanks to DJ Moore (TechMan) for his Firetruck kit leftovers for this bash.
-
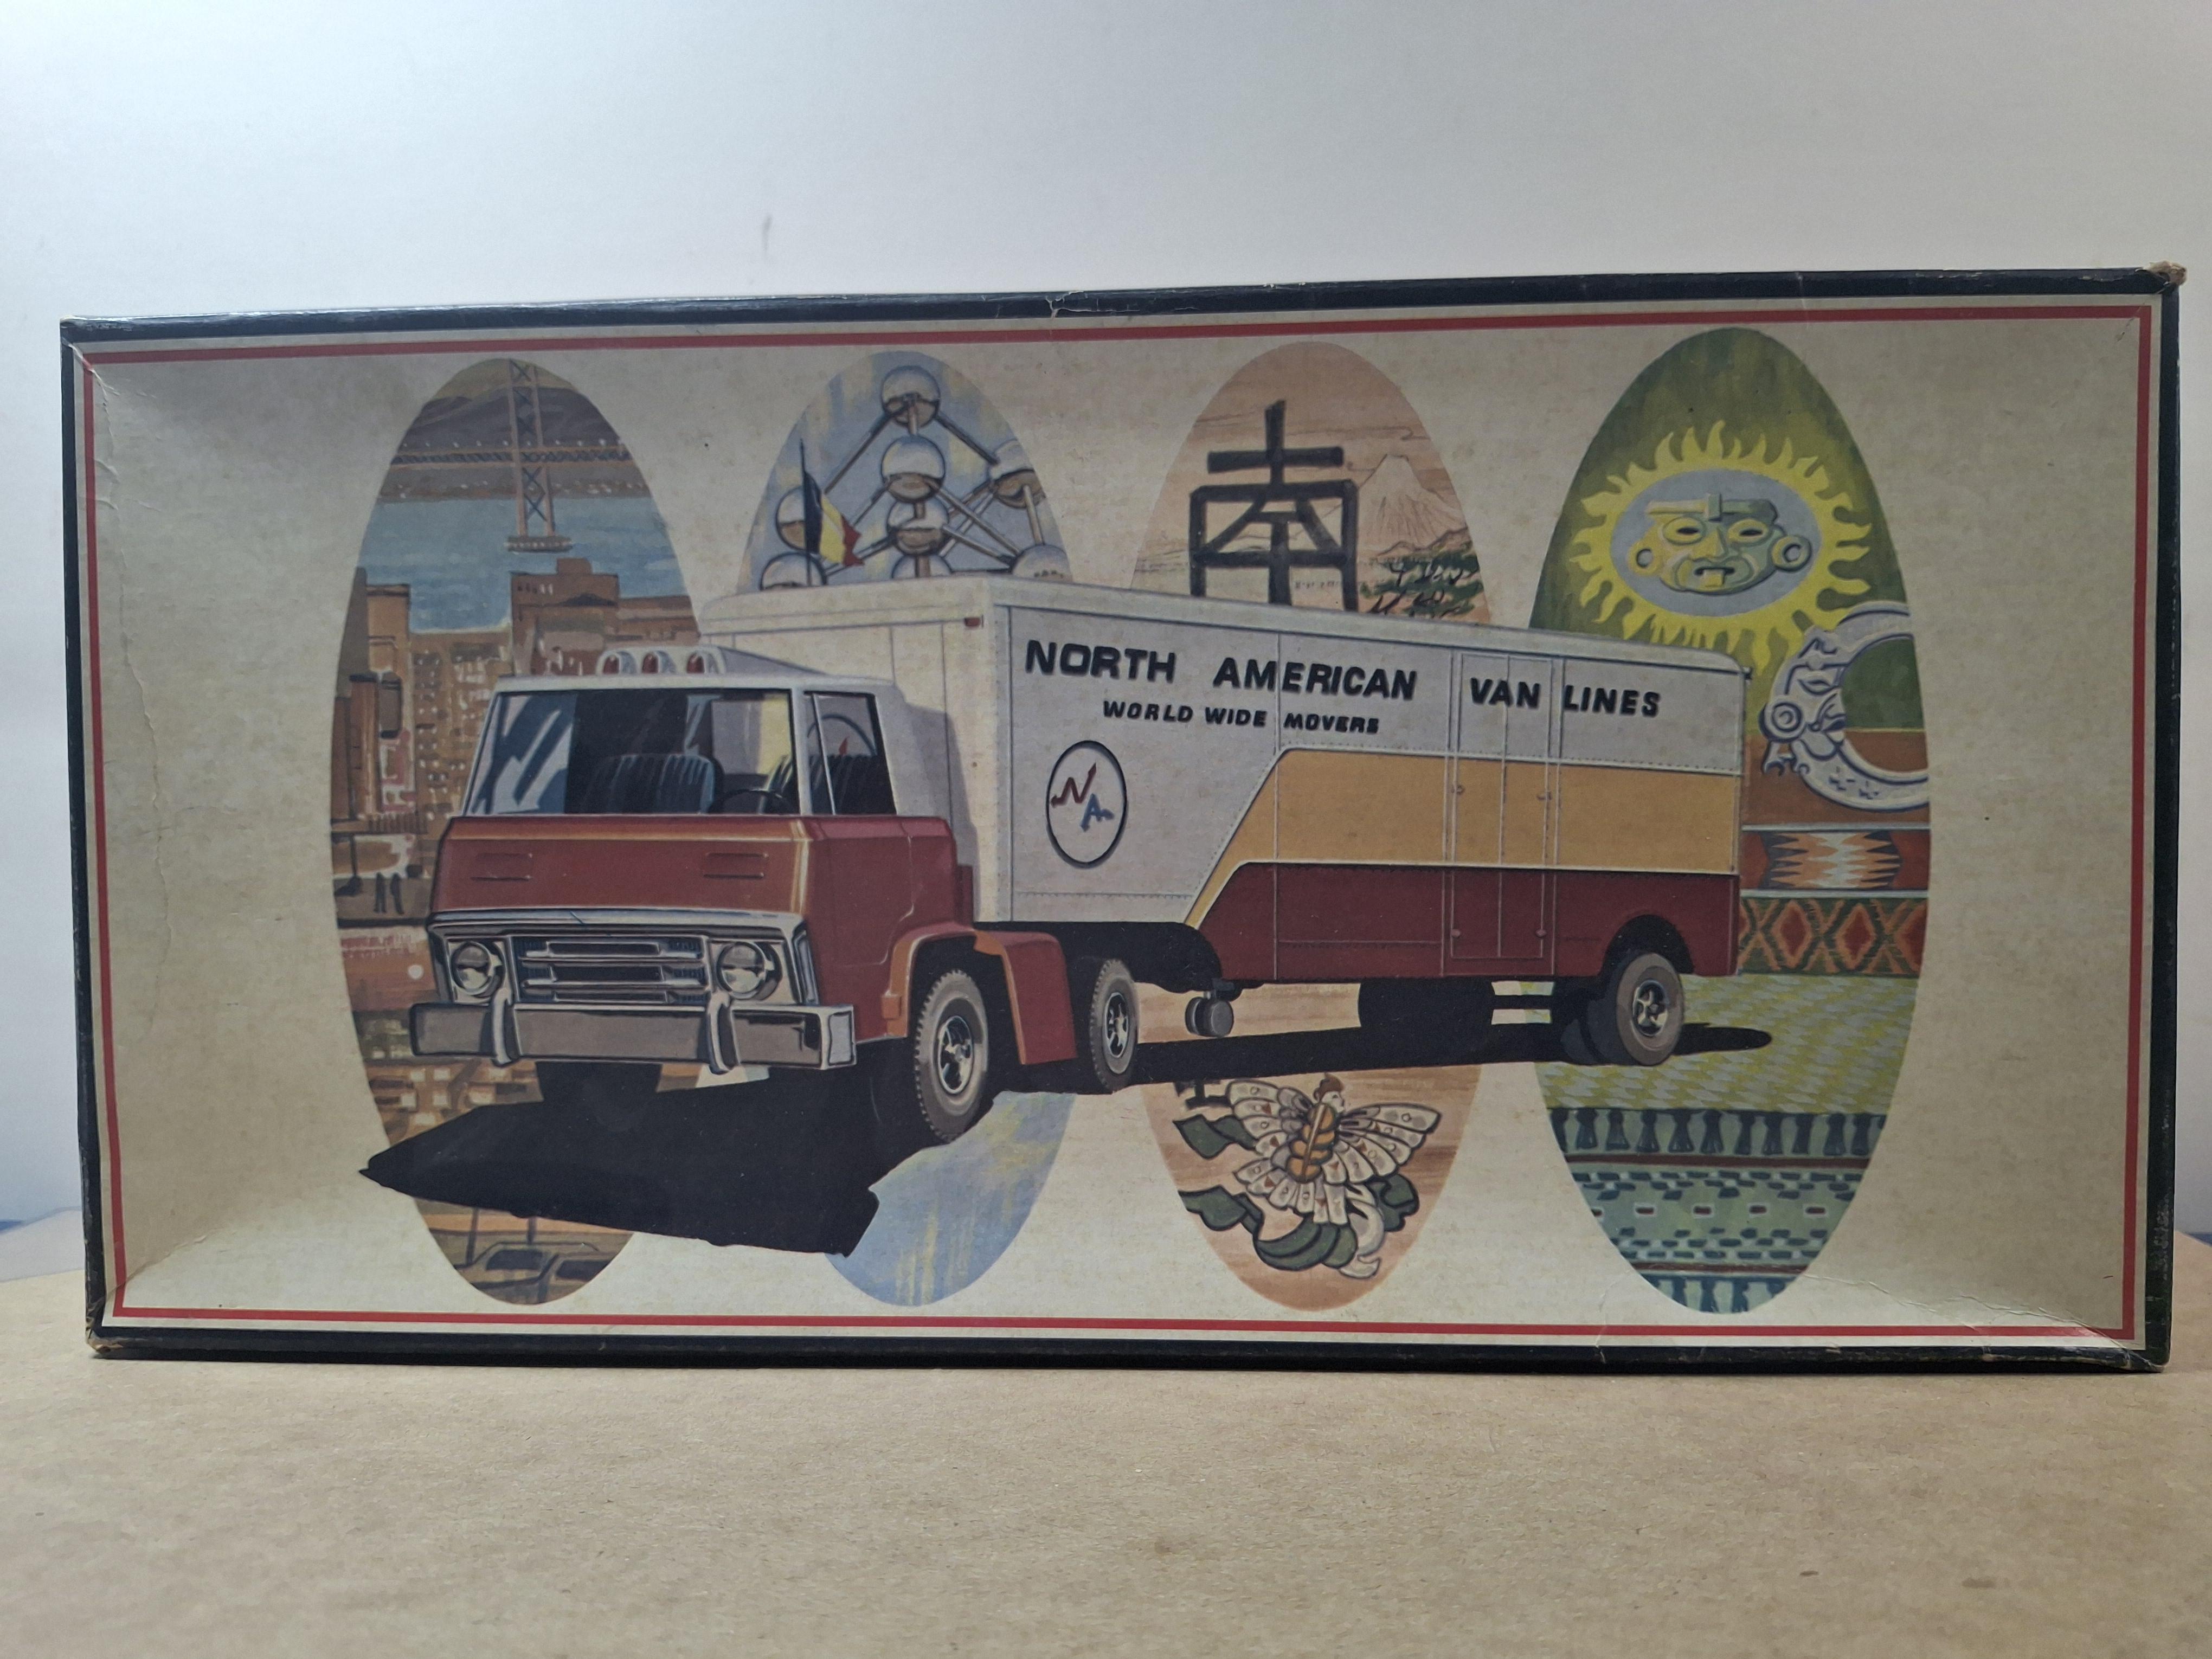
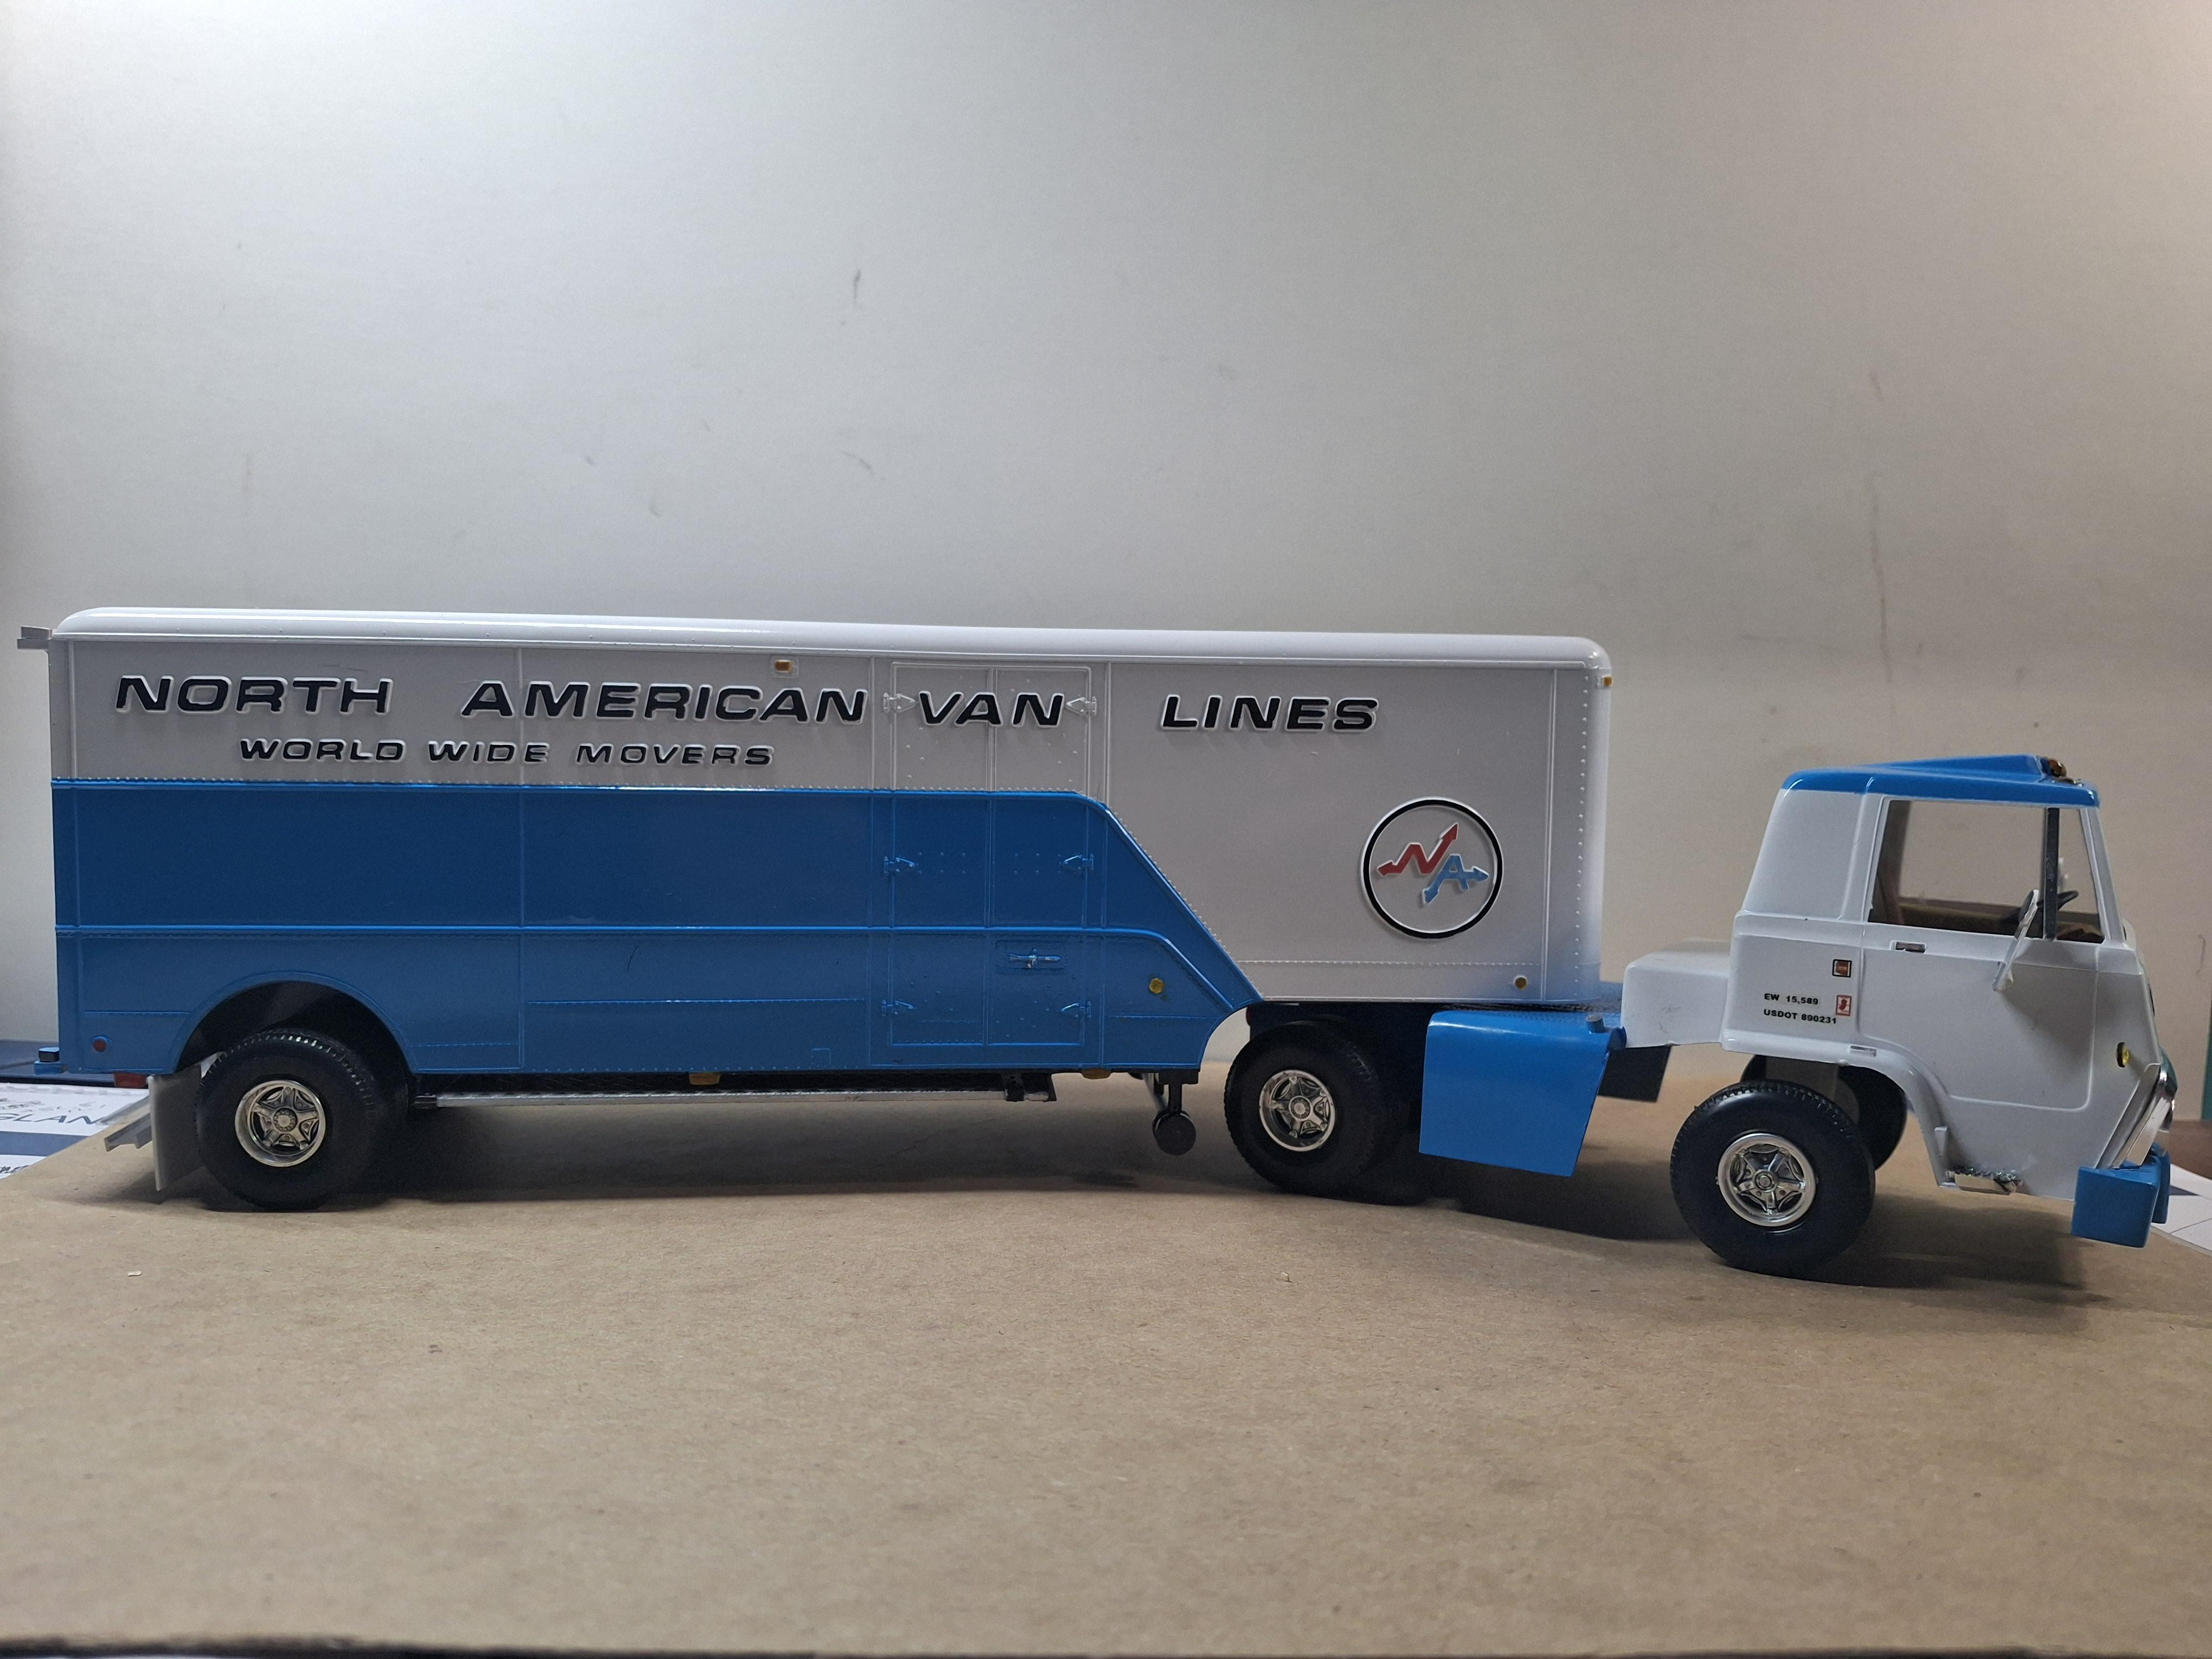
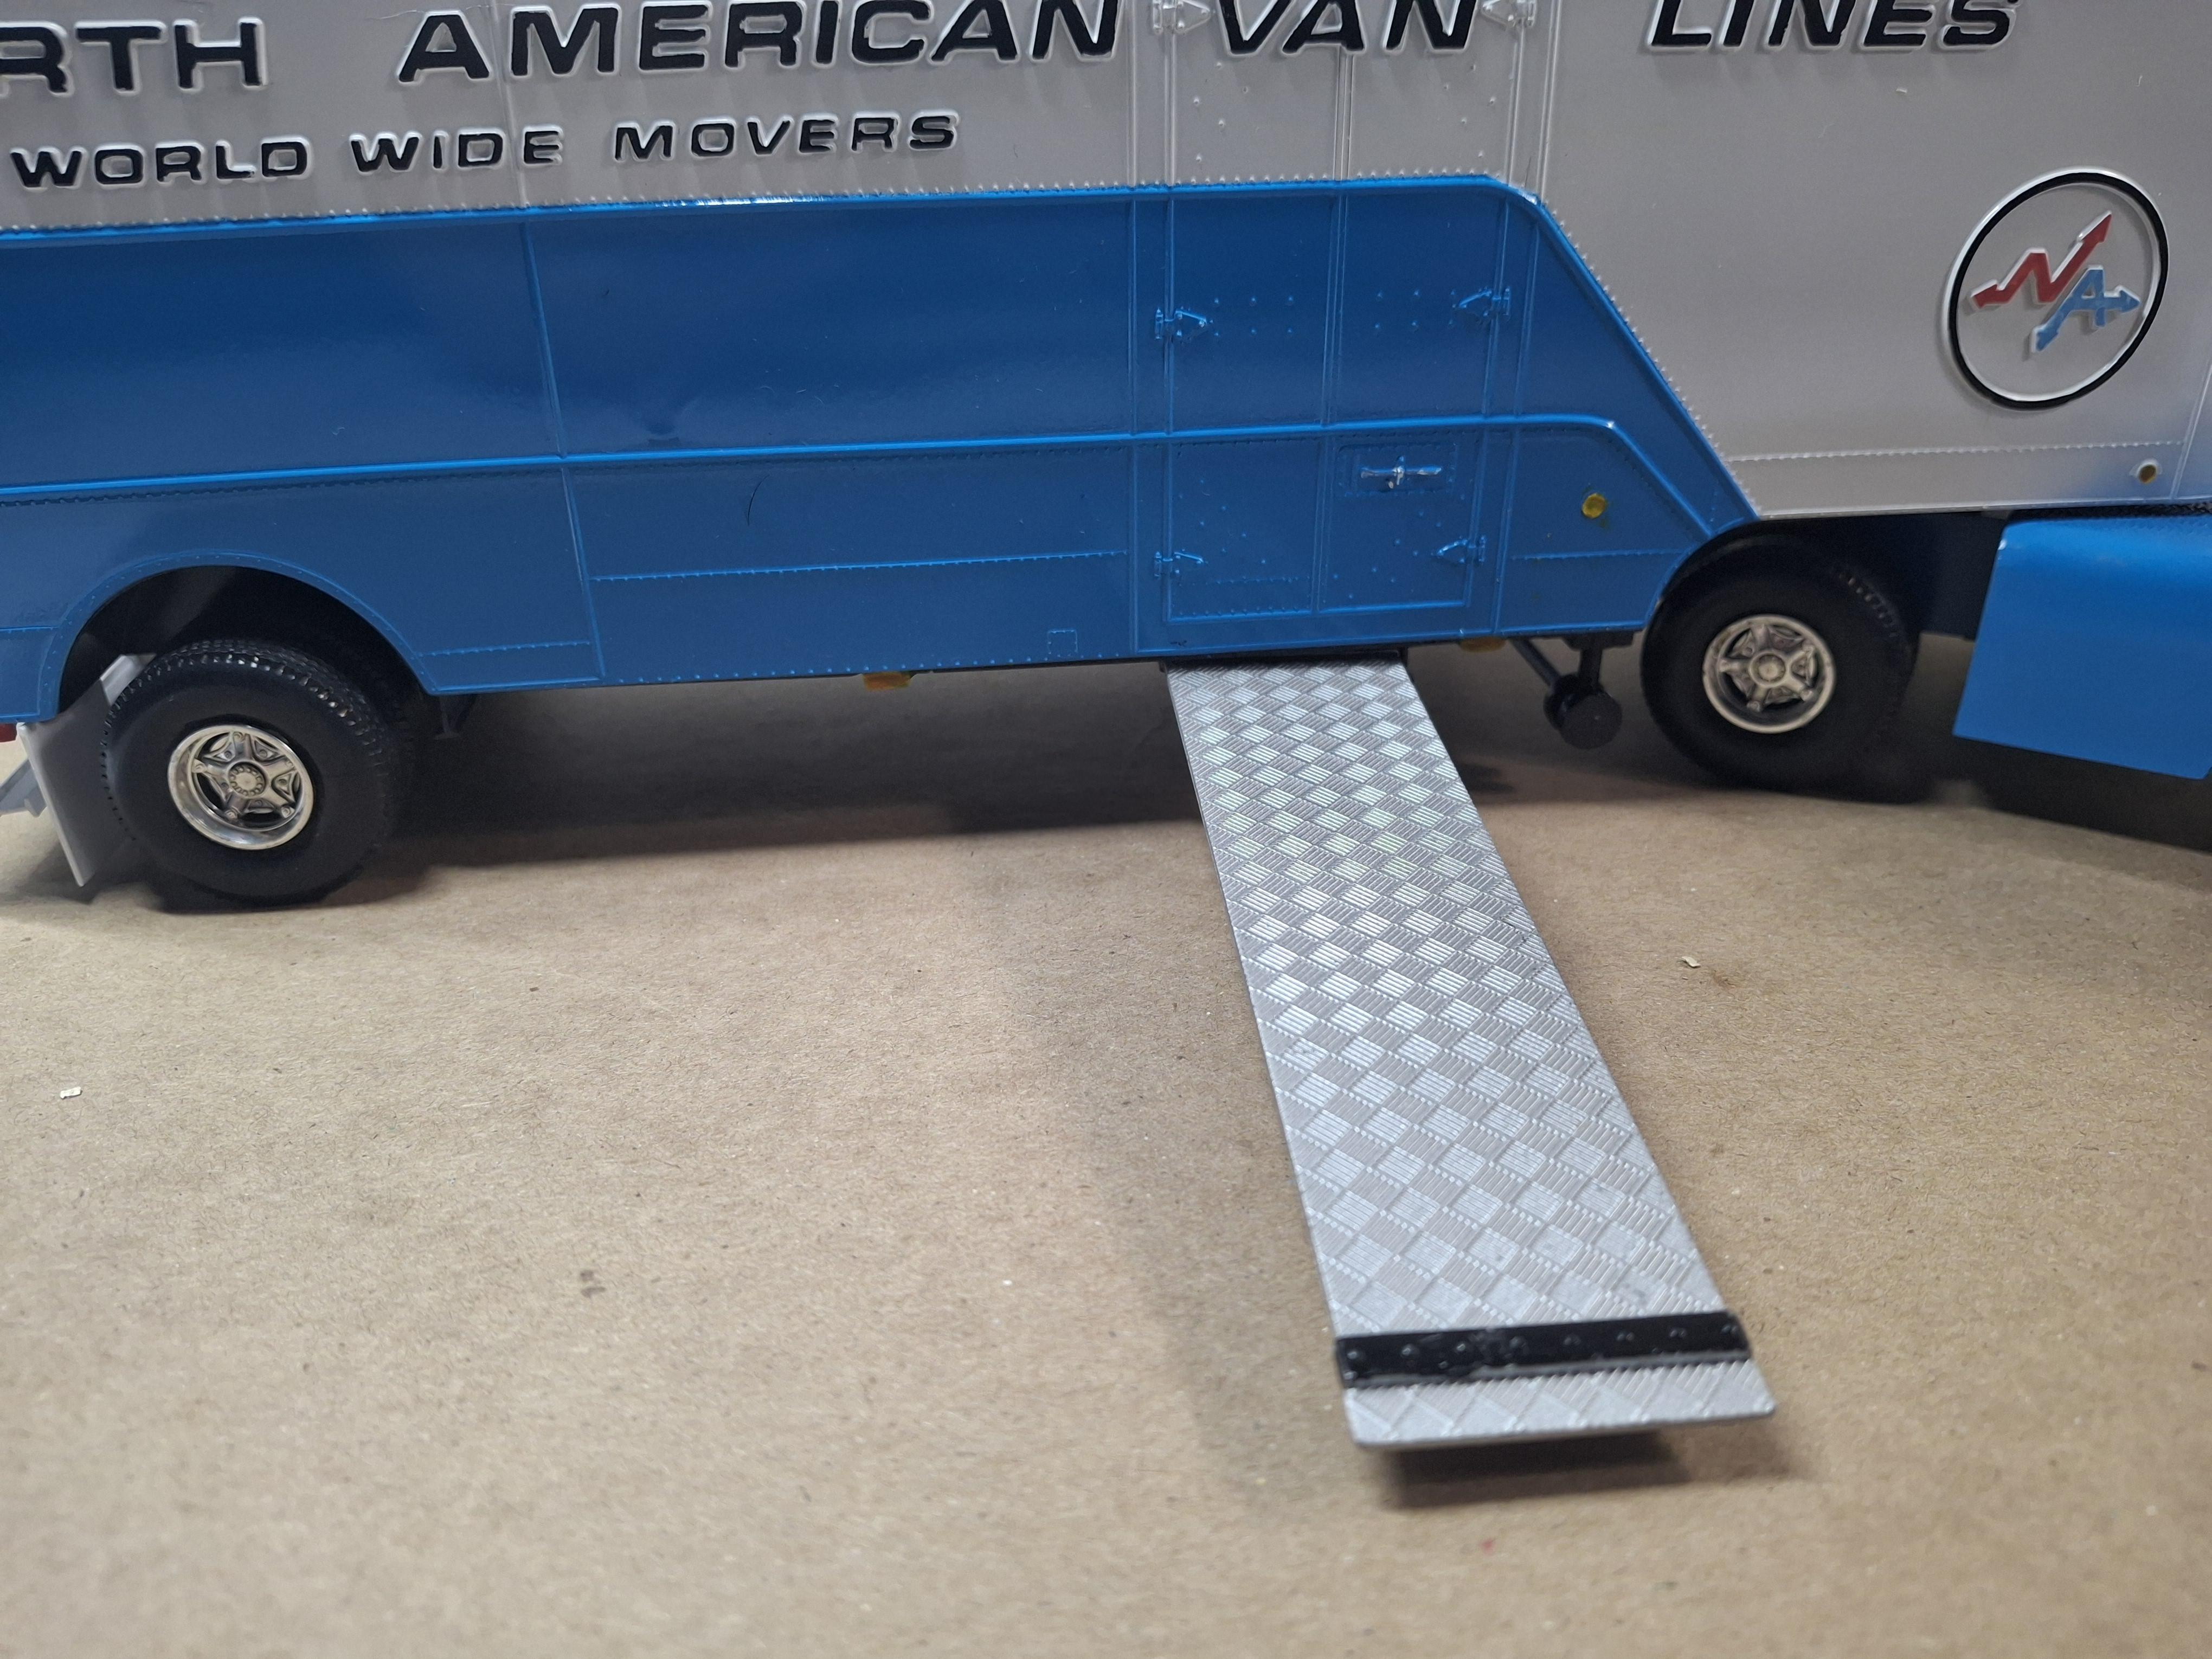
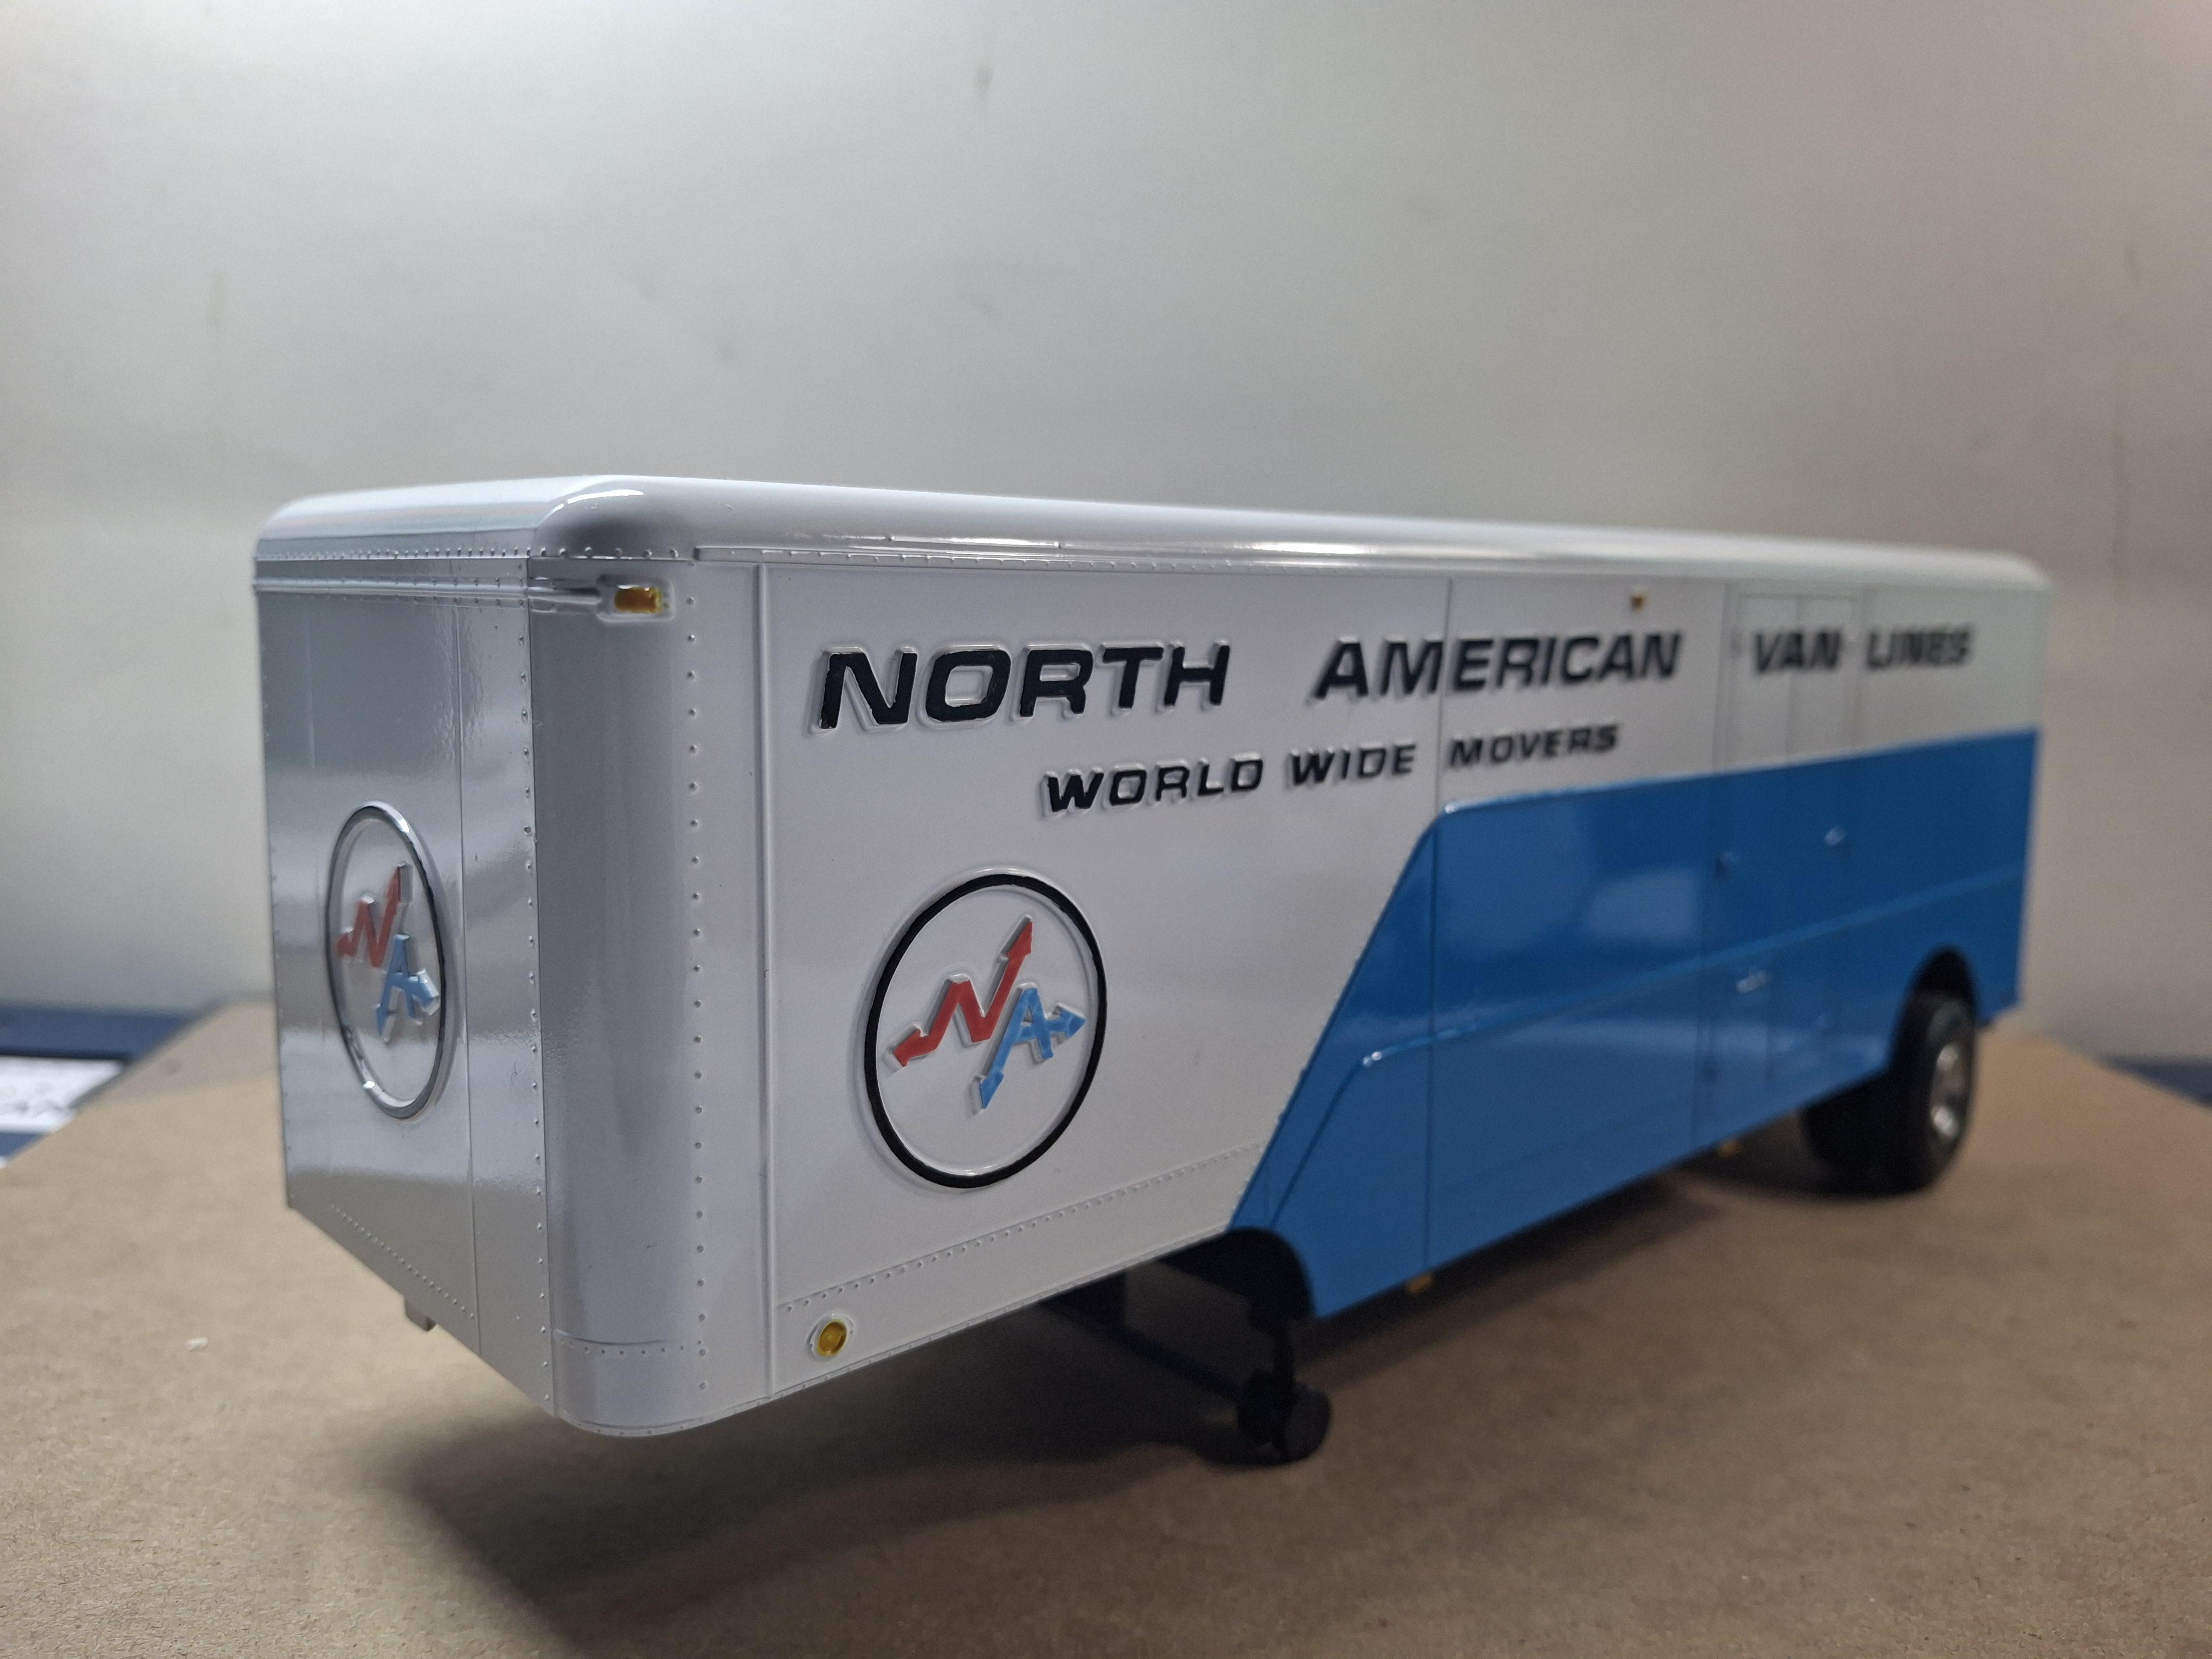
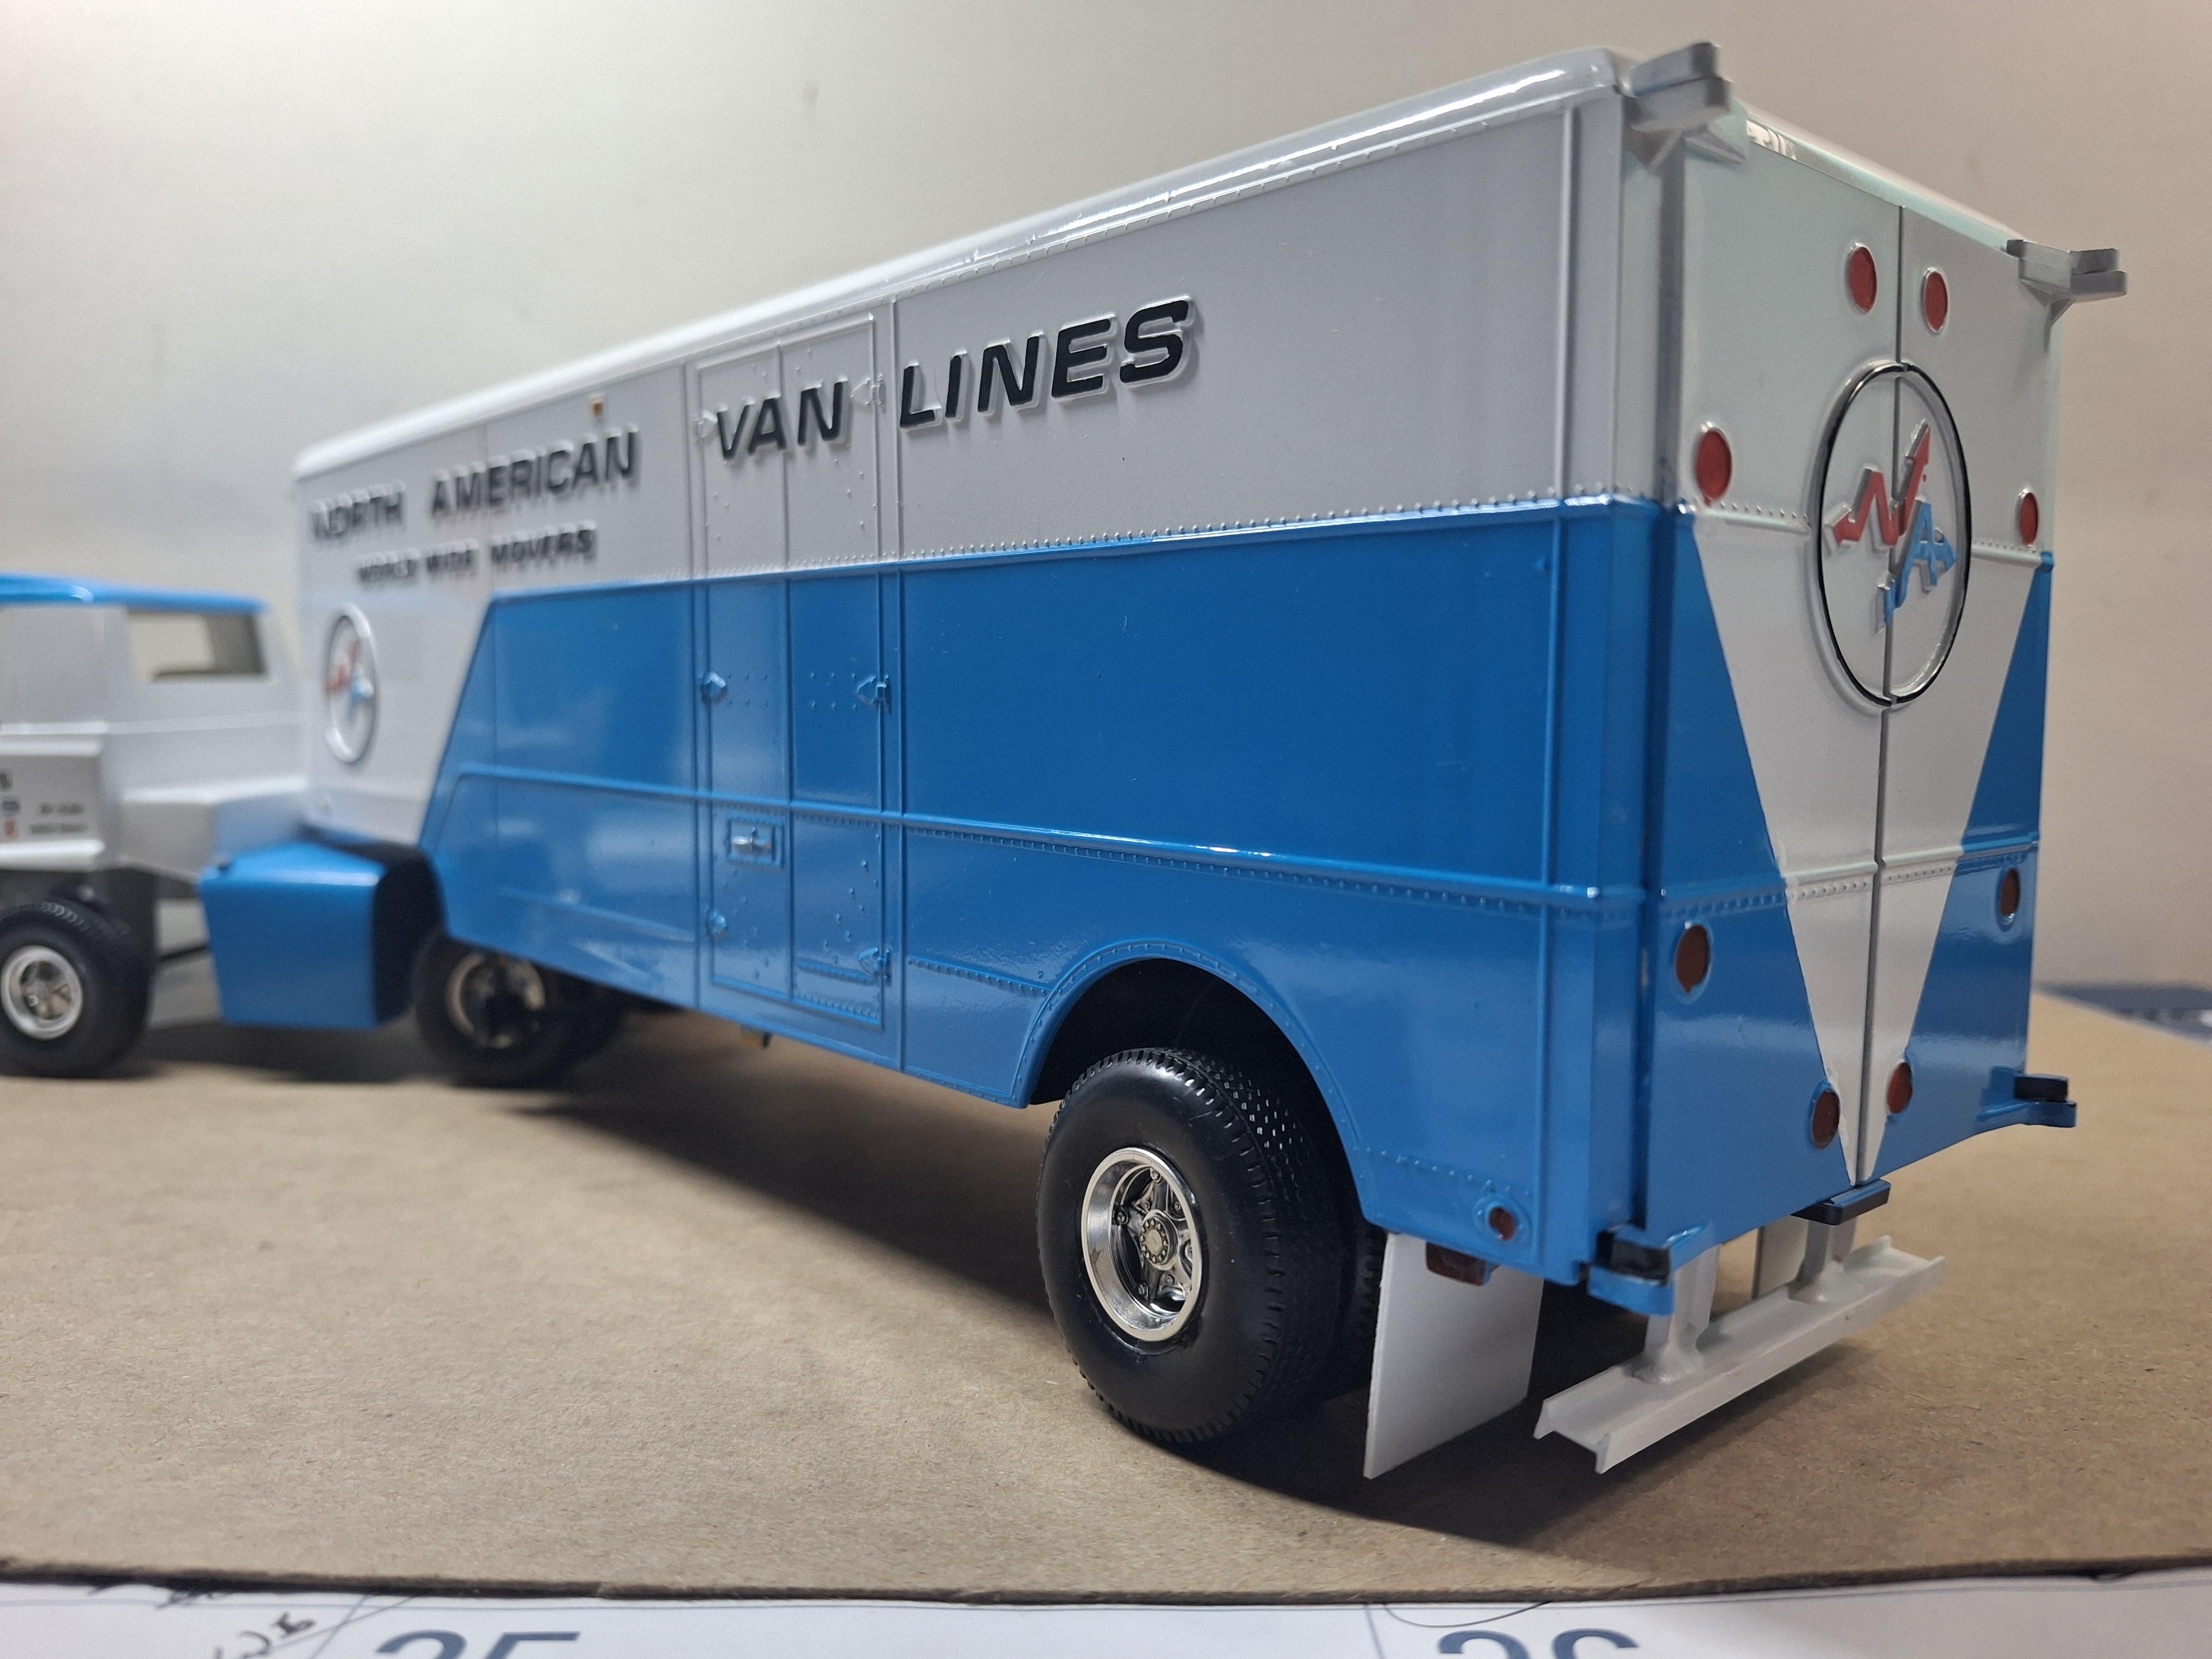
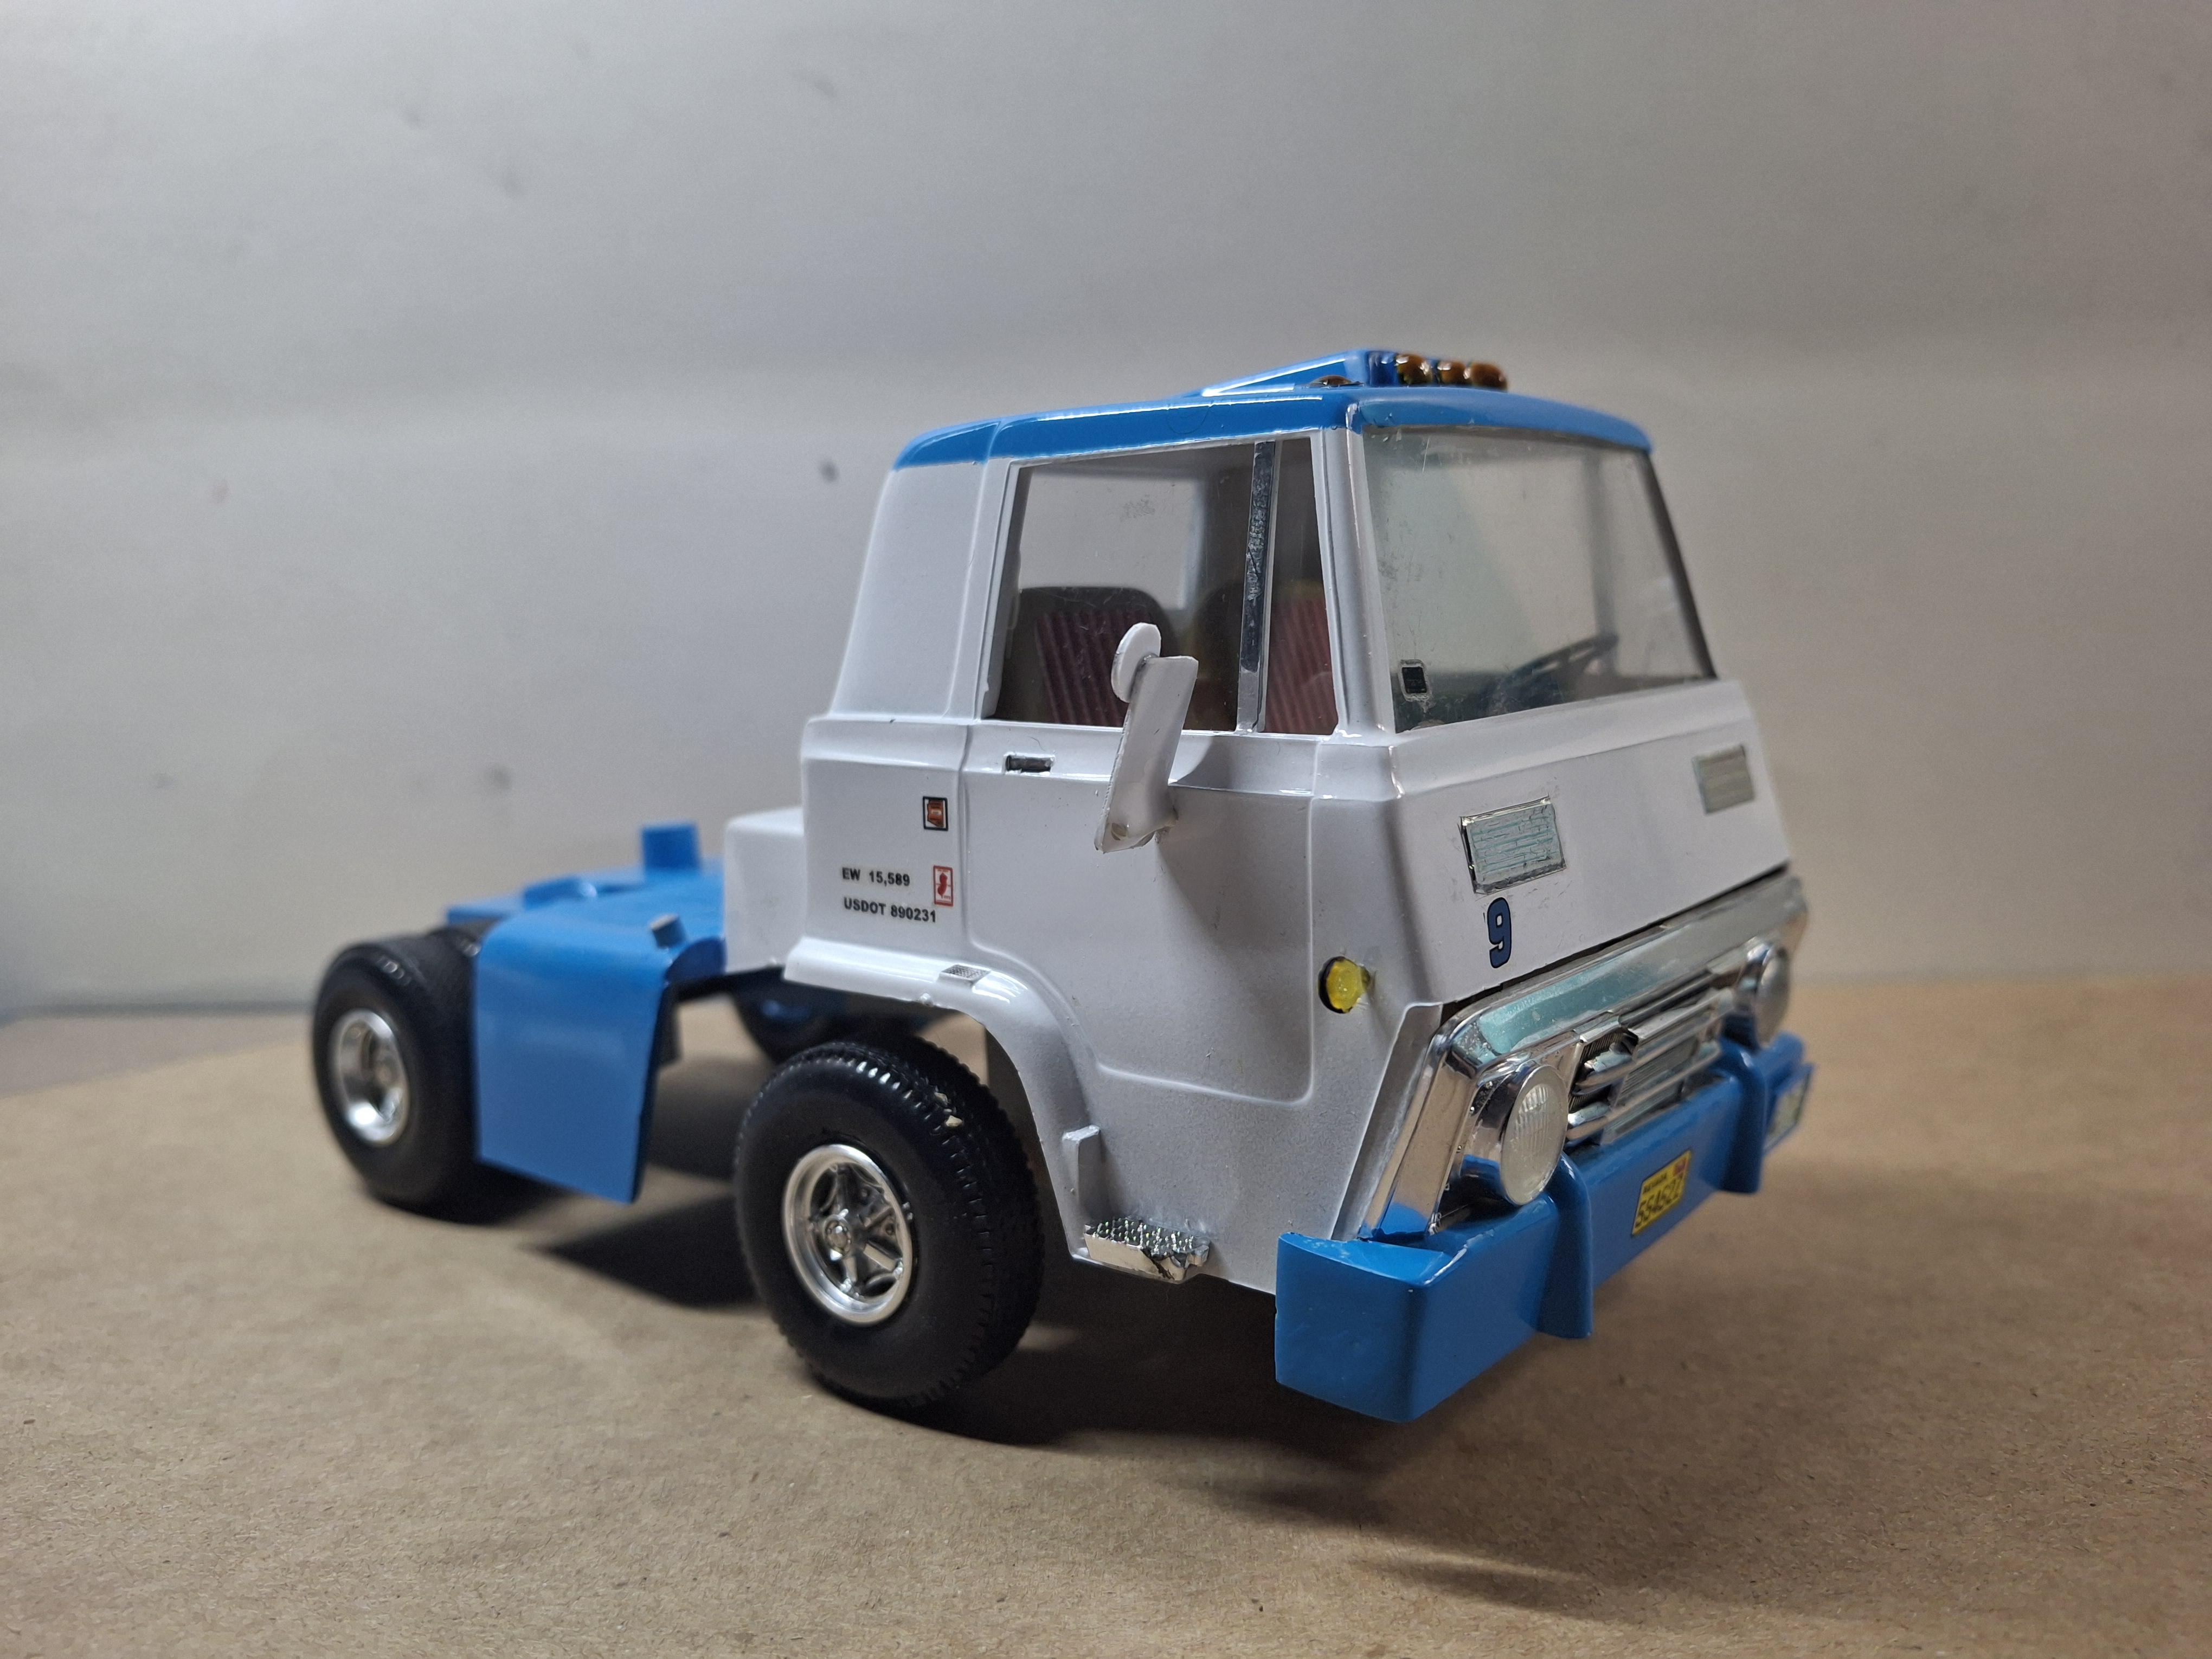
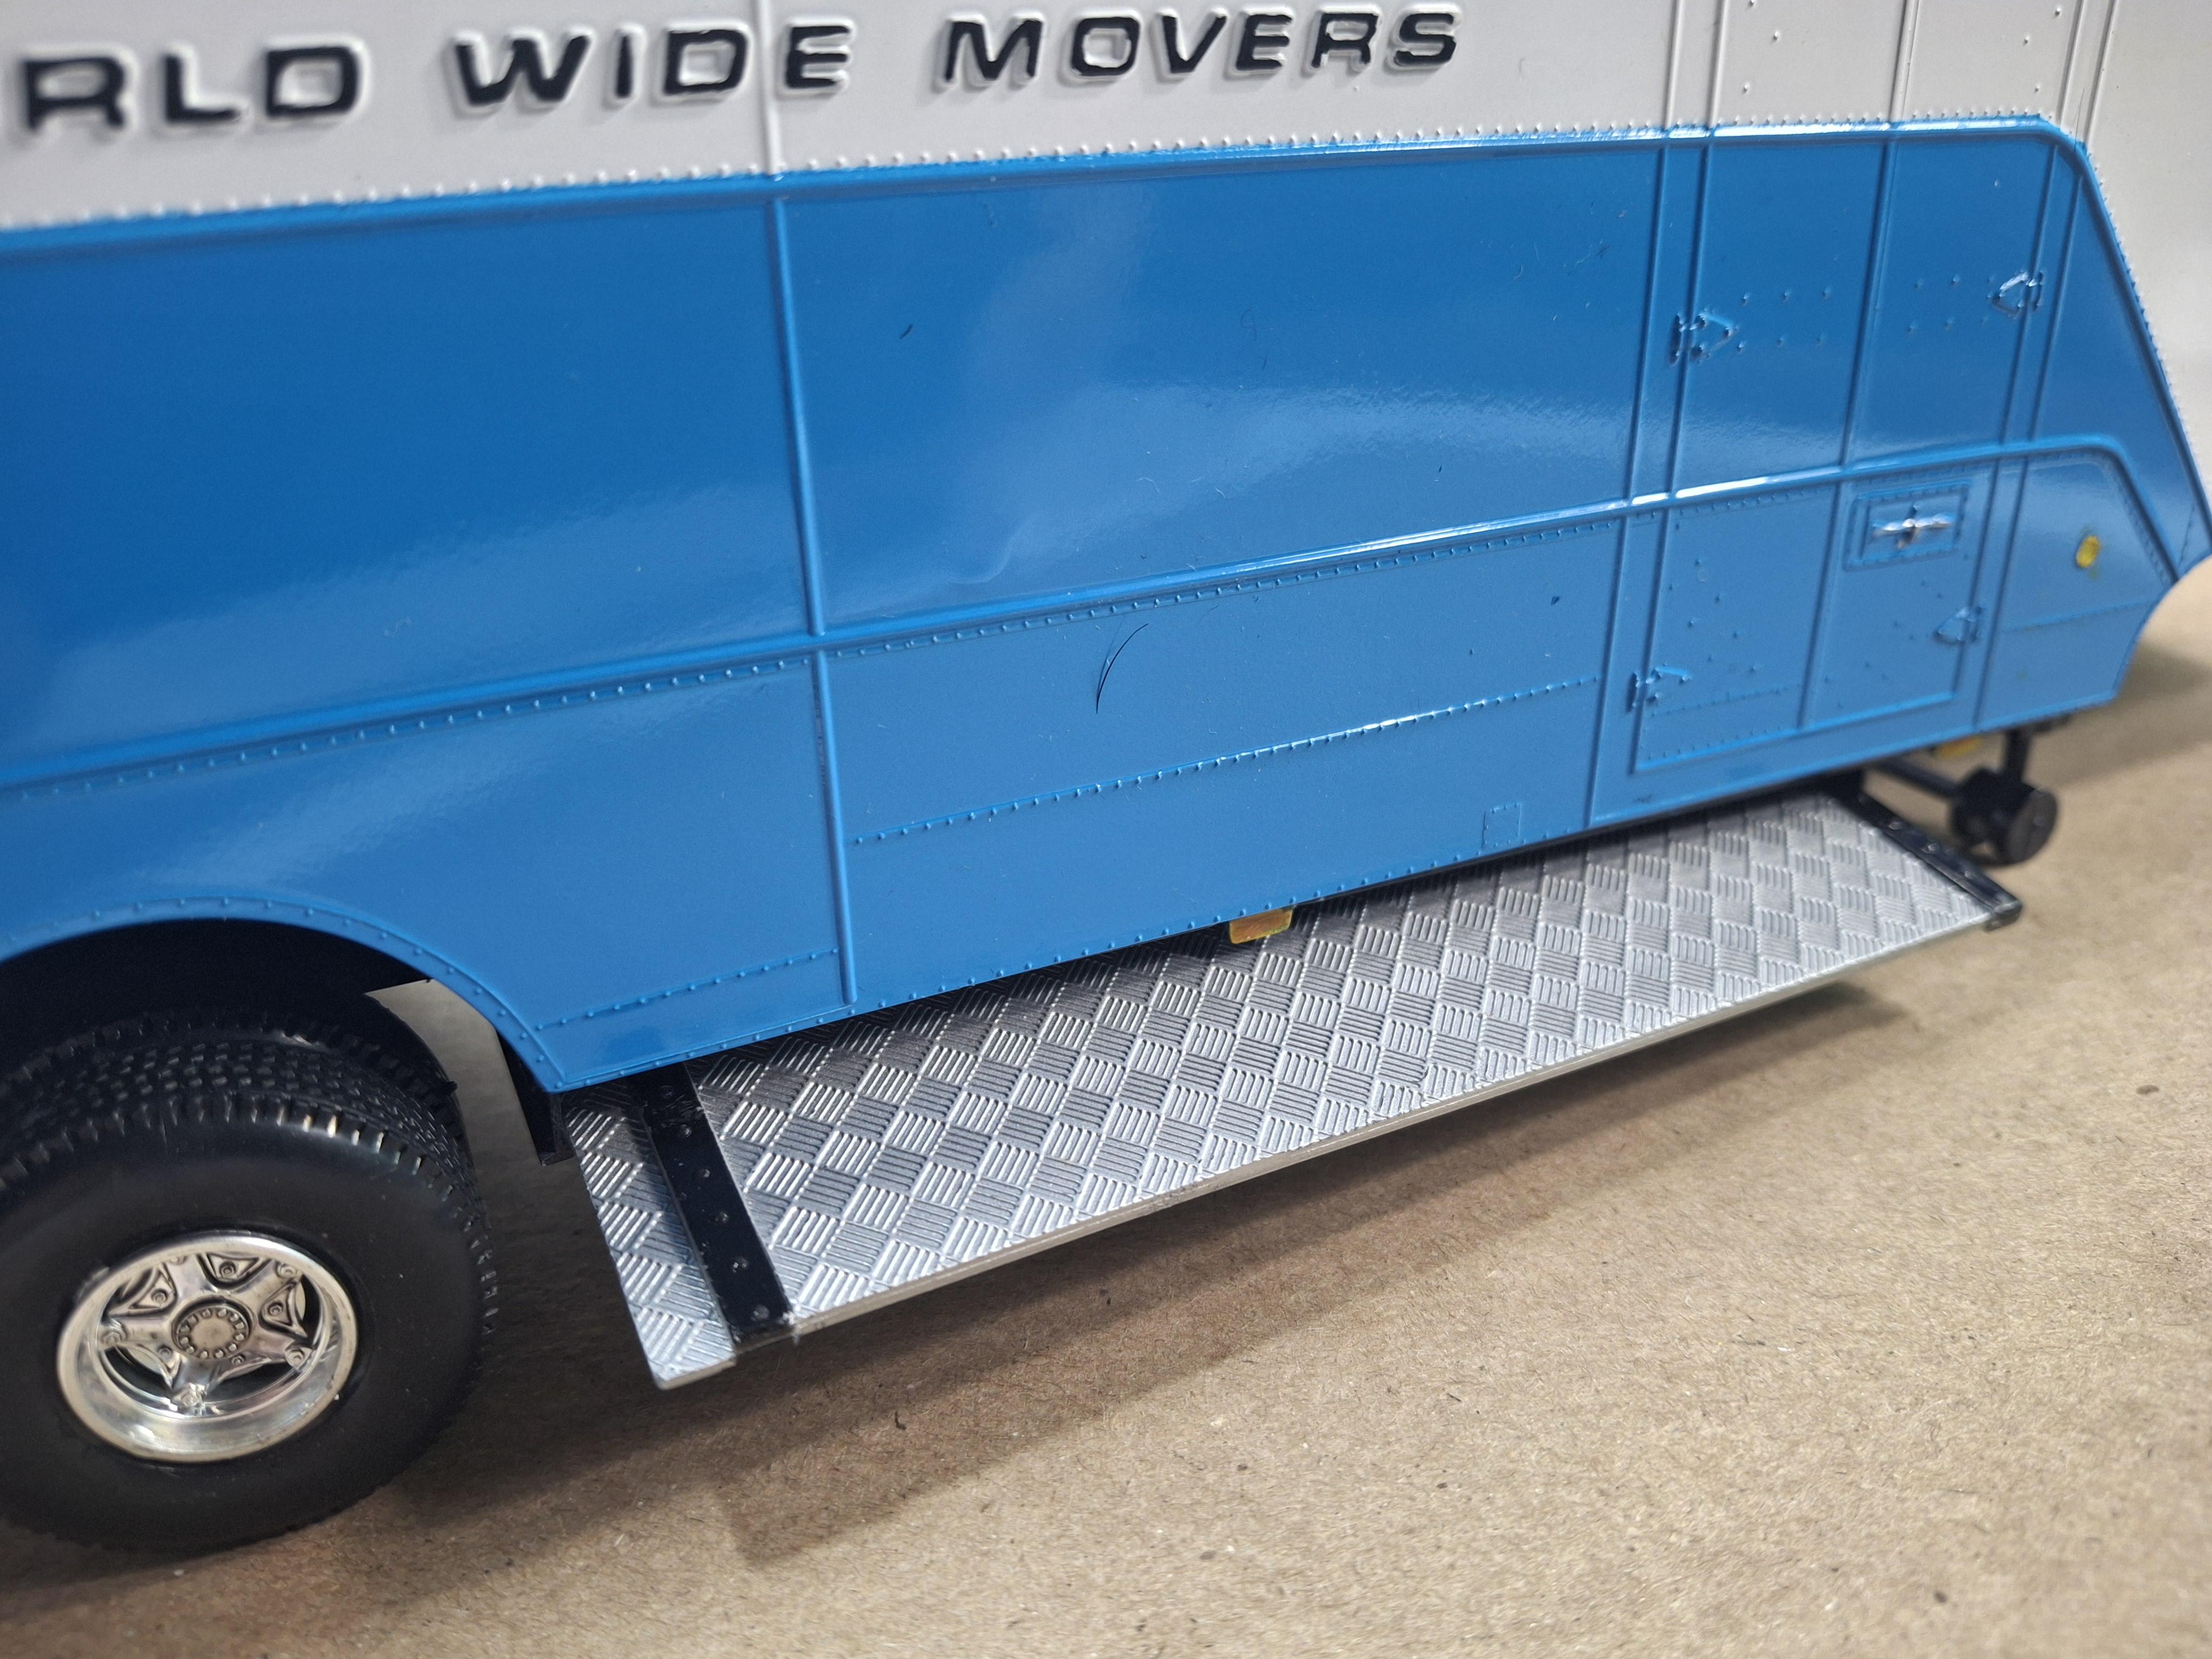
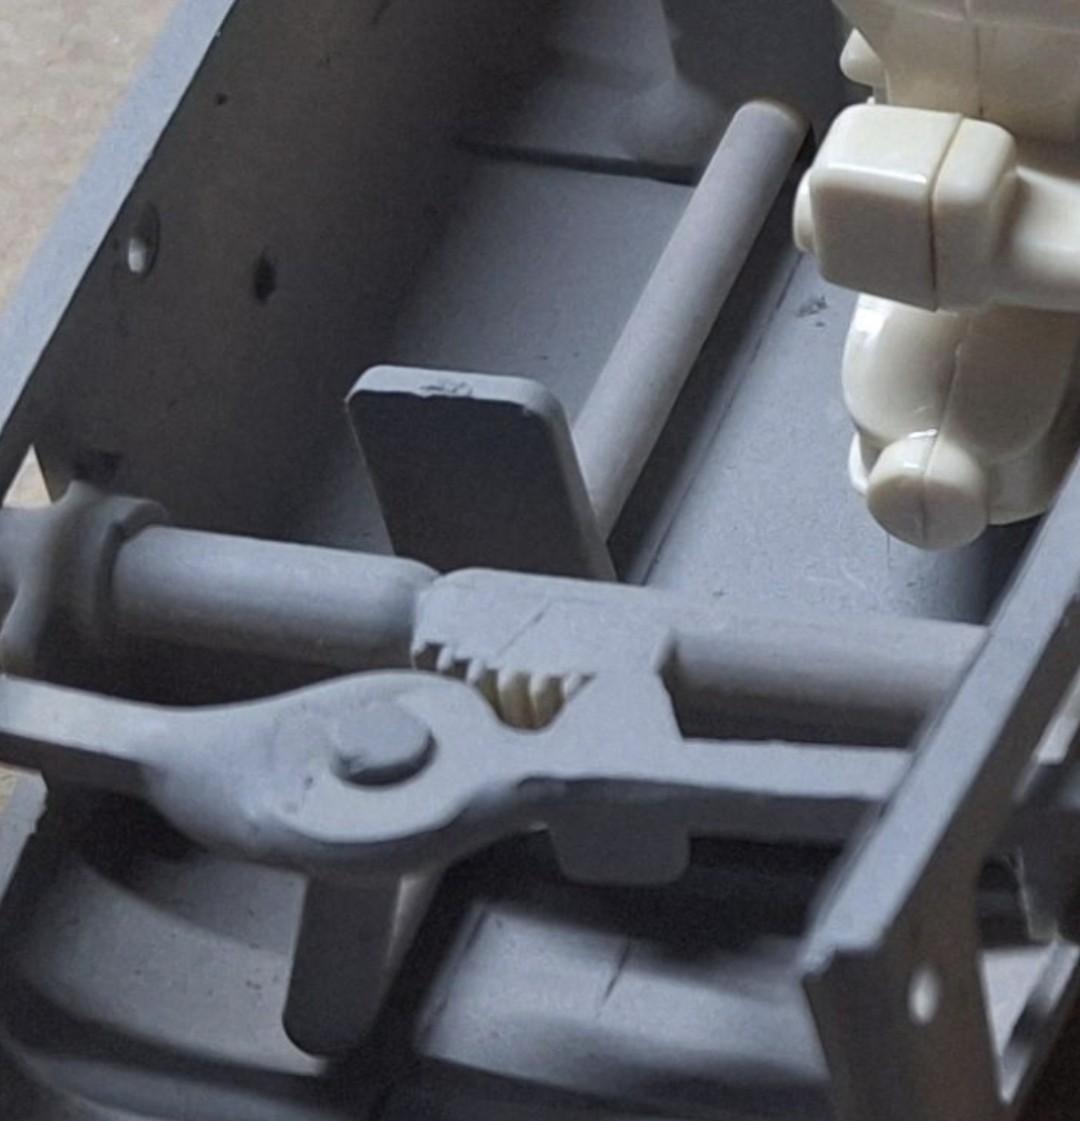
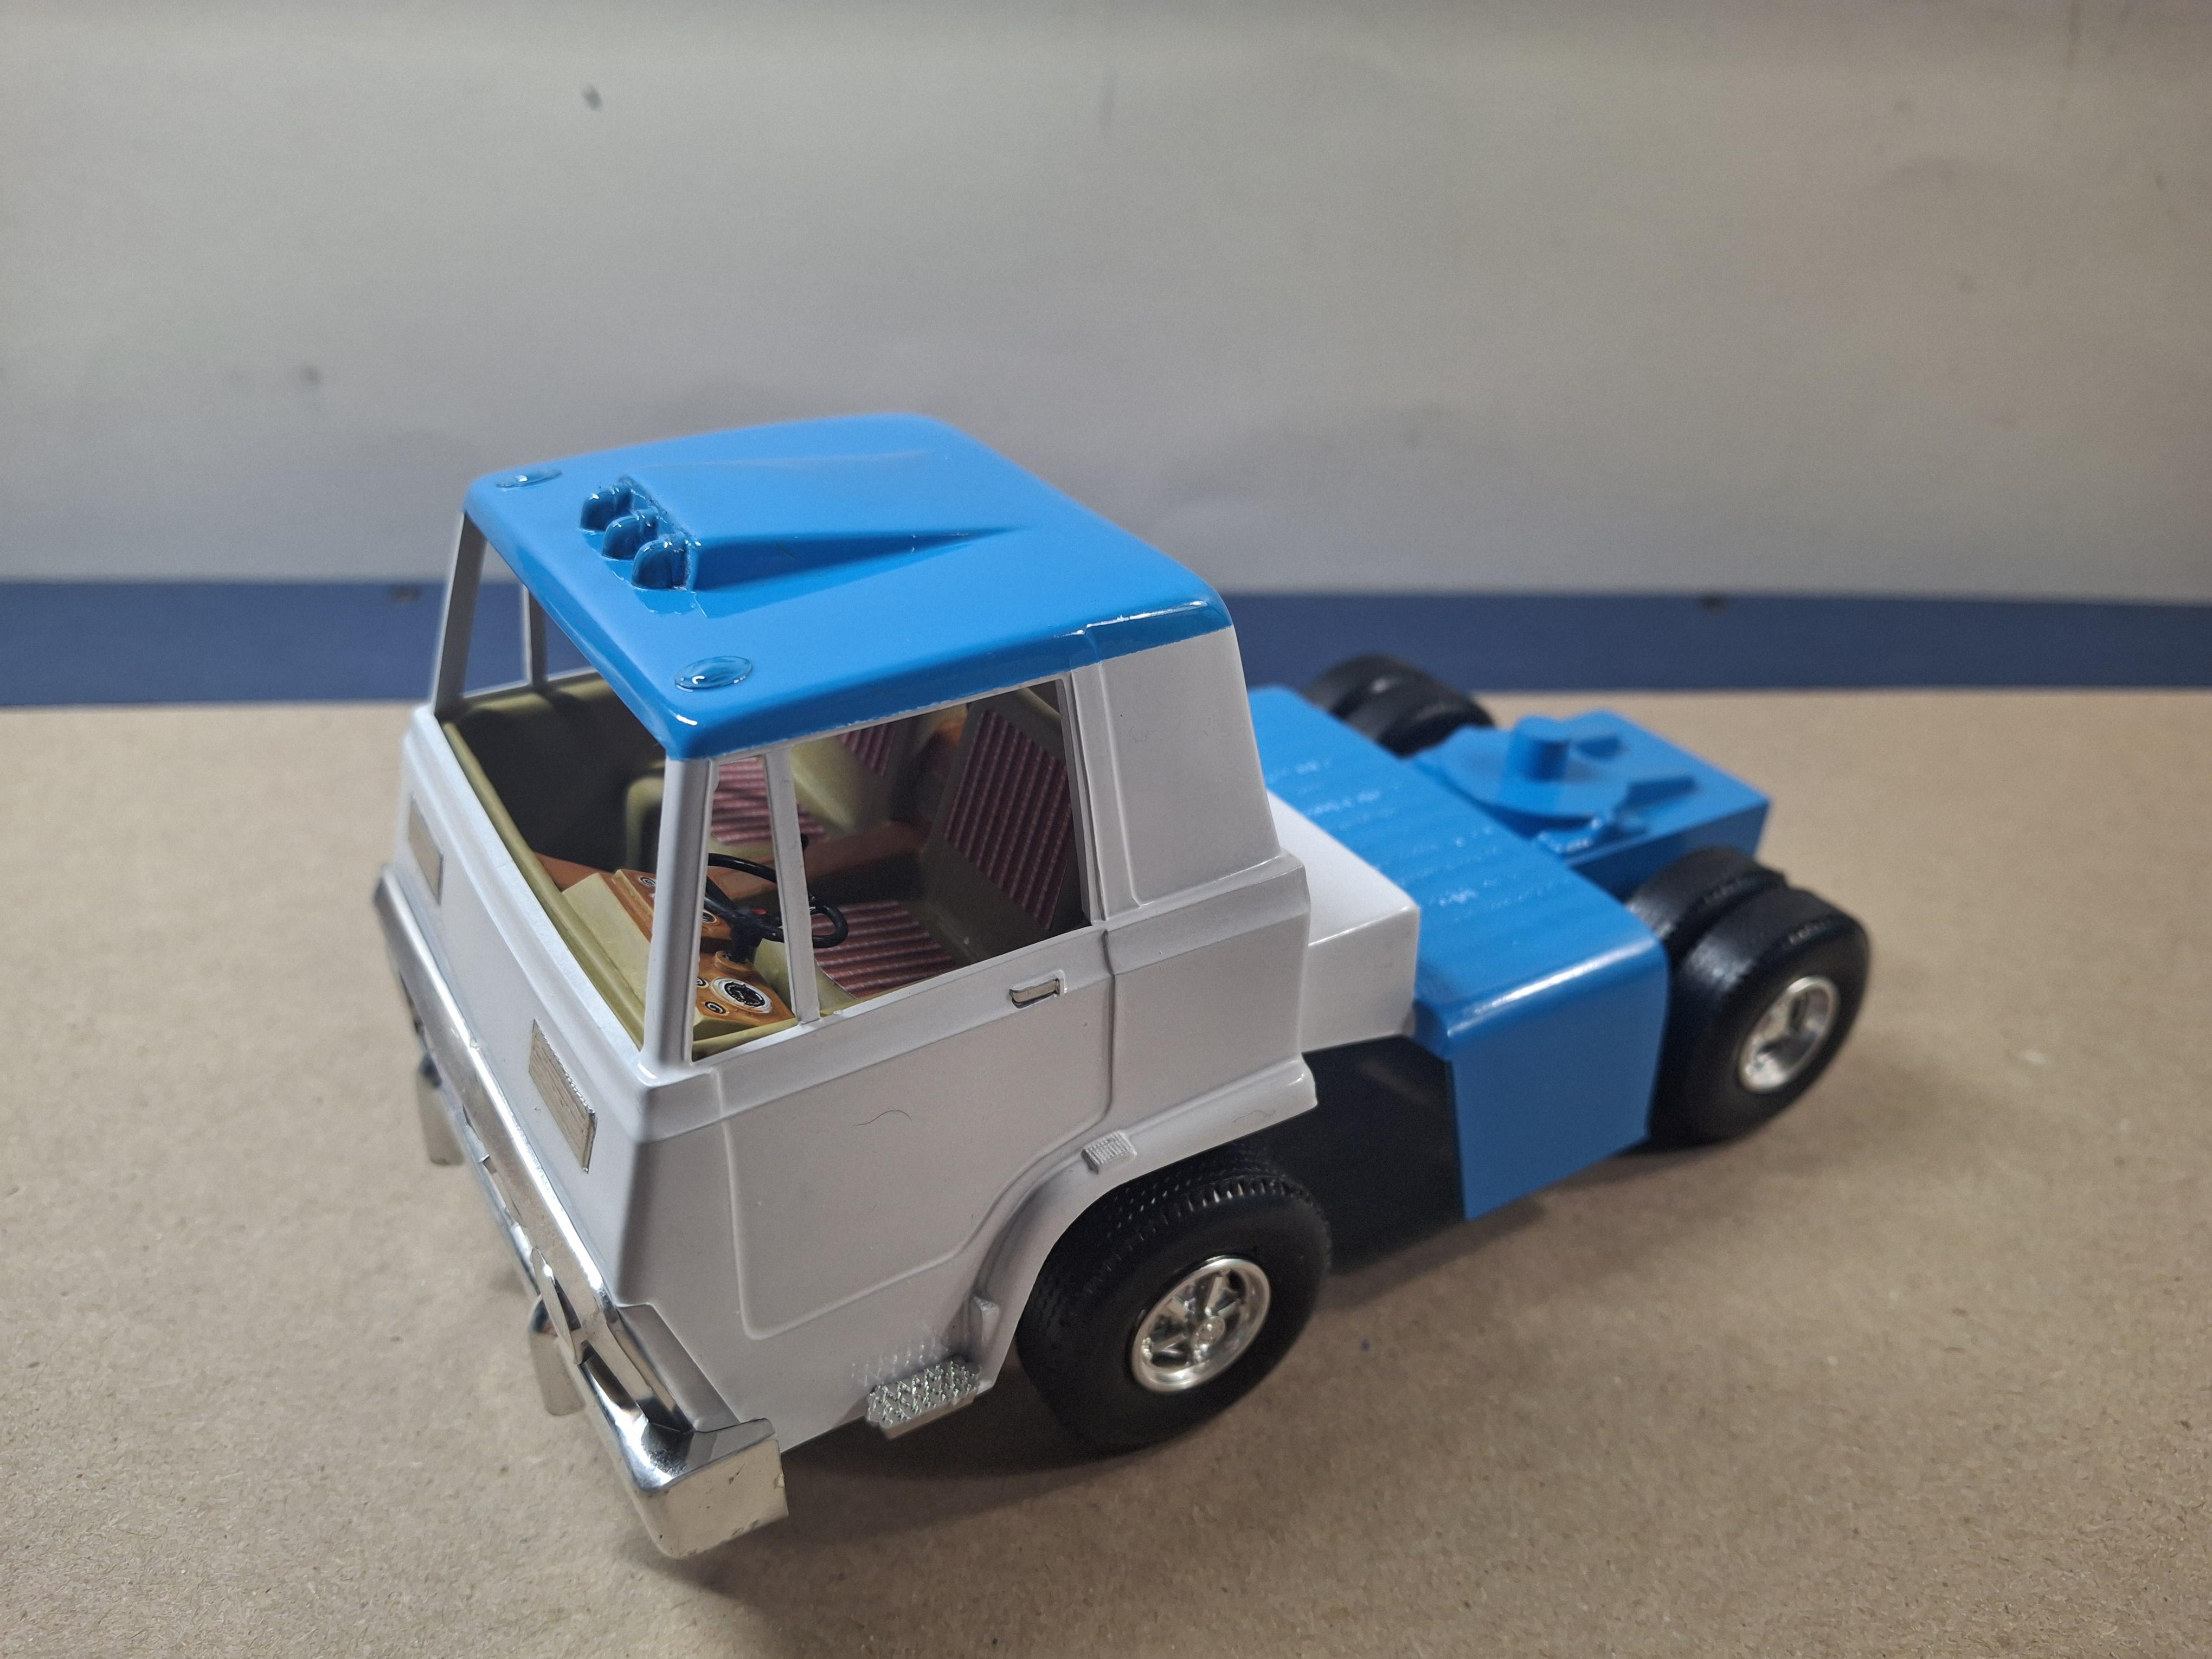
Listed as 1:32nd scale and very toy like but it is a 50 year old vintage model kit so I had to build it .On the tractor I made and added the mirrors, headlight lenses, interior shifter , side and rear glass and turn signals and on the trailer I added mud flaps and ICC bar and walk board with rack. The box art colors were the NorthAmericans colors in the early 60's . I chose the blue/white color scheme most people remember. I didnt add any engine as the tractor really didnt have a chassis. No decalscame with the kit so I added some fuel tax and plates, trailer lettering is raised letters and logo done in acrylic. Rear doors open but nothing to see inside but a speaker grille and some gadgets that hold up the dollie legs.
-
Single drive crackerbox
BIGTRUCK replied to 53gmc's topic in Model Trucks: Big Rigs and Heavy Equipment
Very nice..I really enjoy seeing the 60's and early 70's trucks done..I liked that early style GMC with a sleeper or the daycab version. -
Monogram Indy car
BIGTRUCK replied to BIGTRUCK's topic in Other Racing: Road Racing, Salt Flat Racers
The steering wheel was actually made to turn the front tires but there is way too much play in the design. Posing at the tires works great.
-
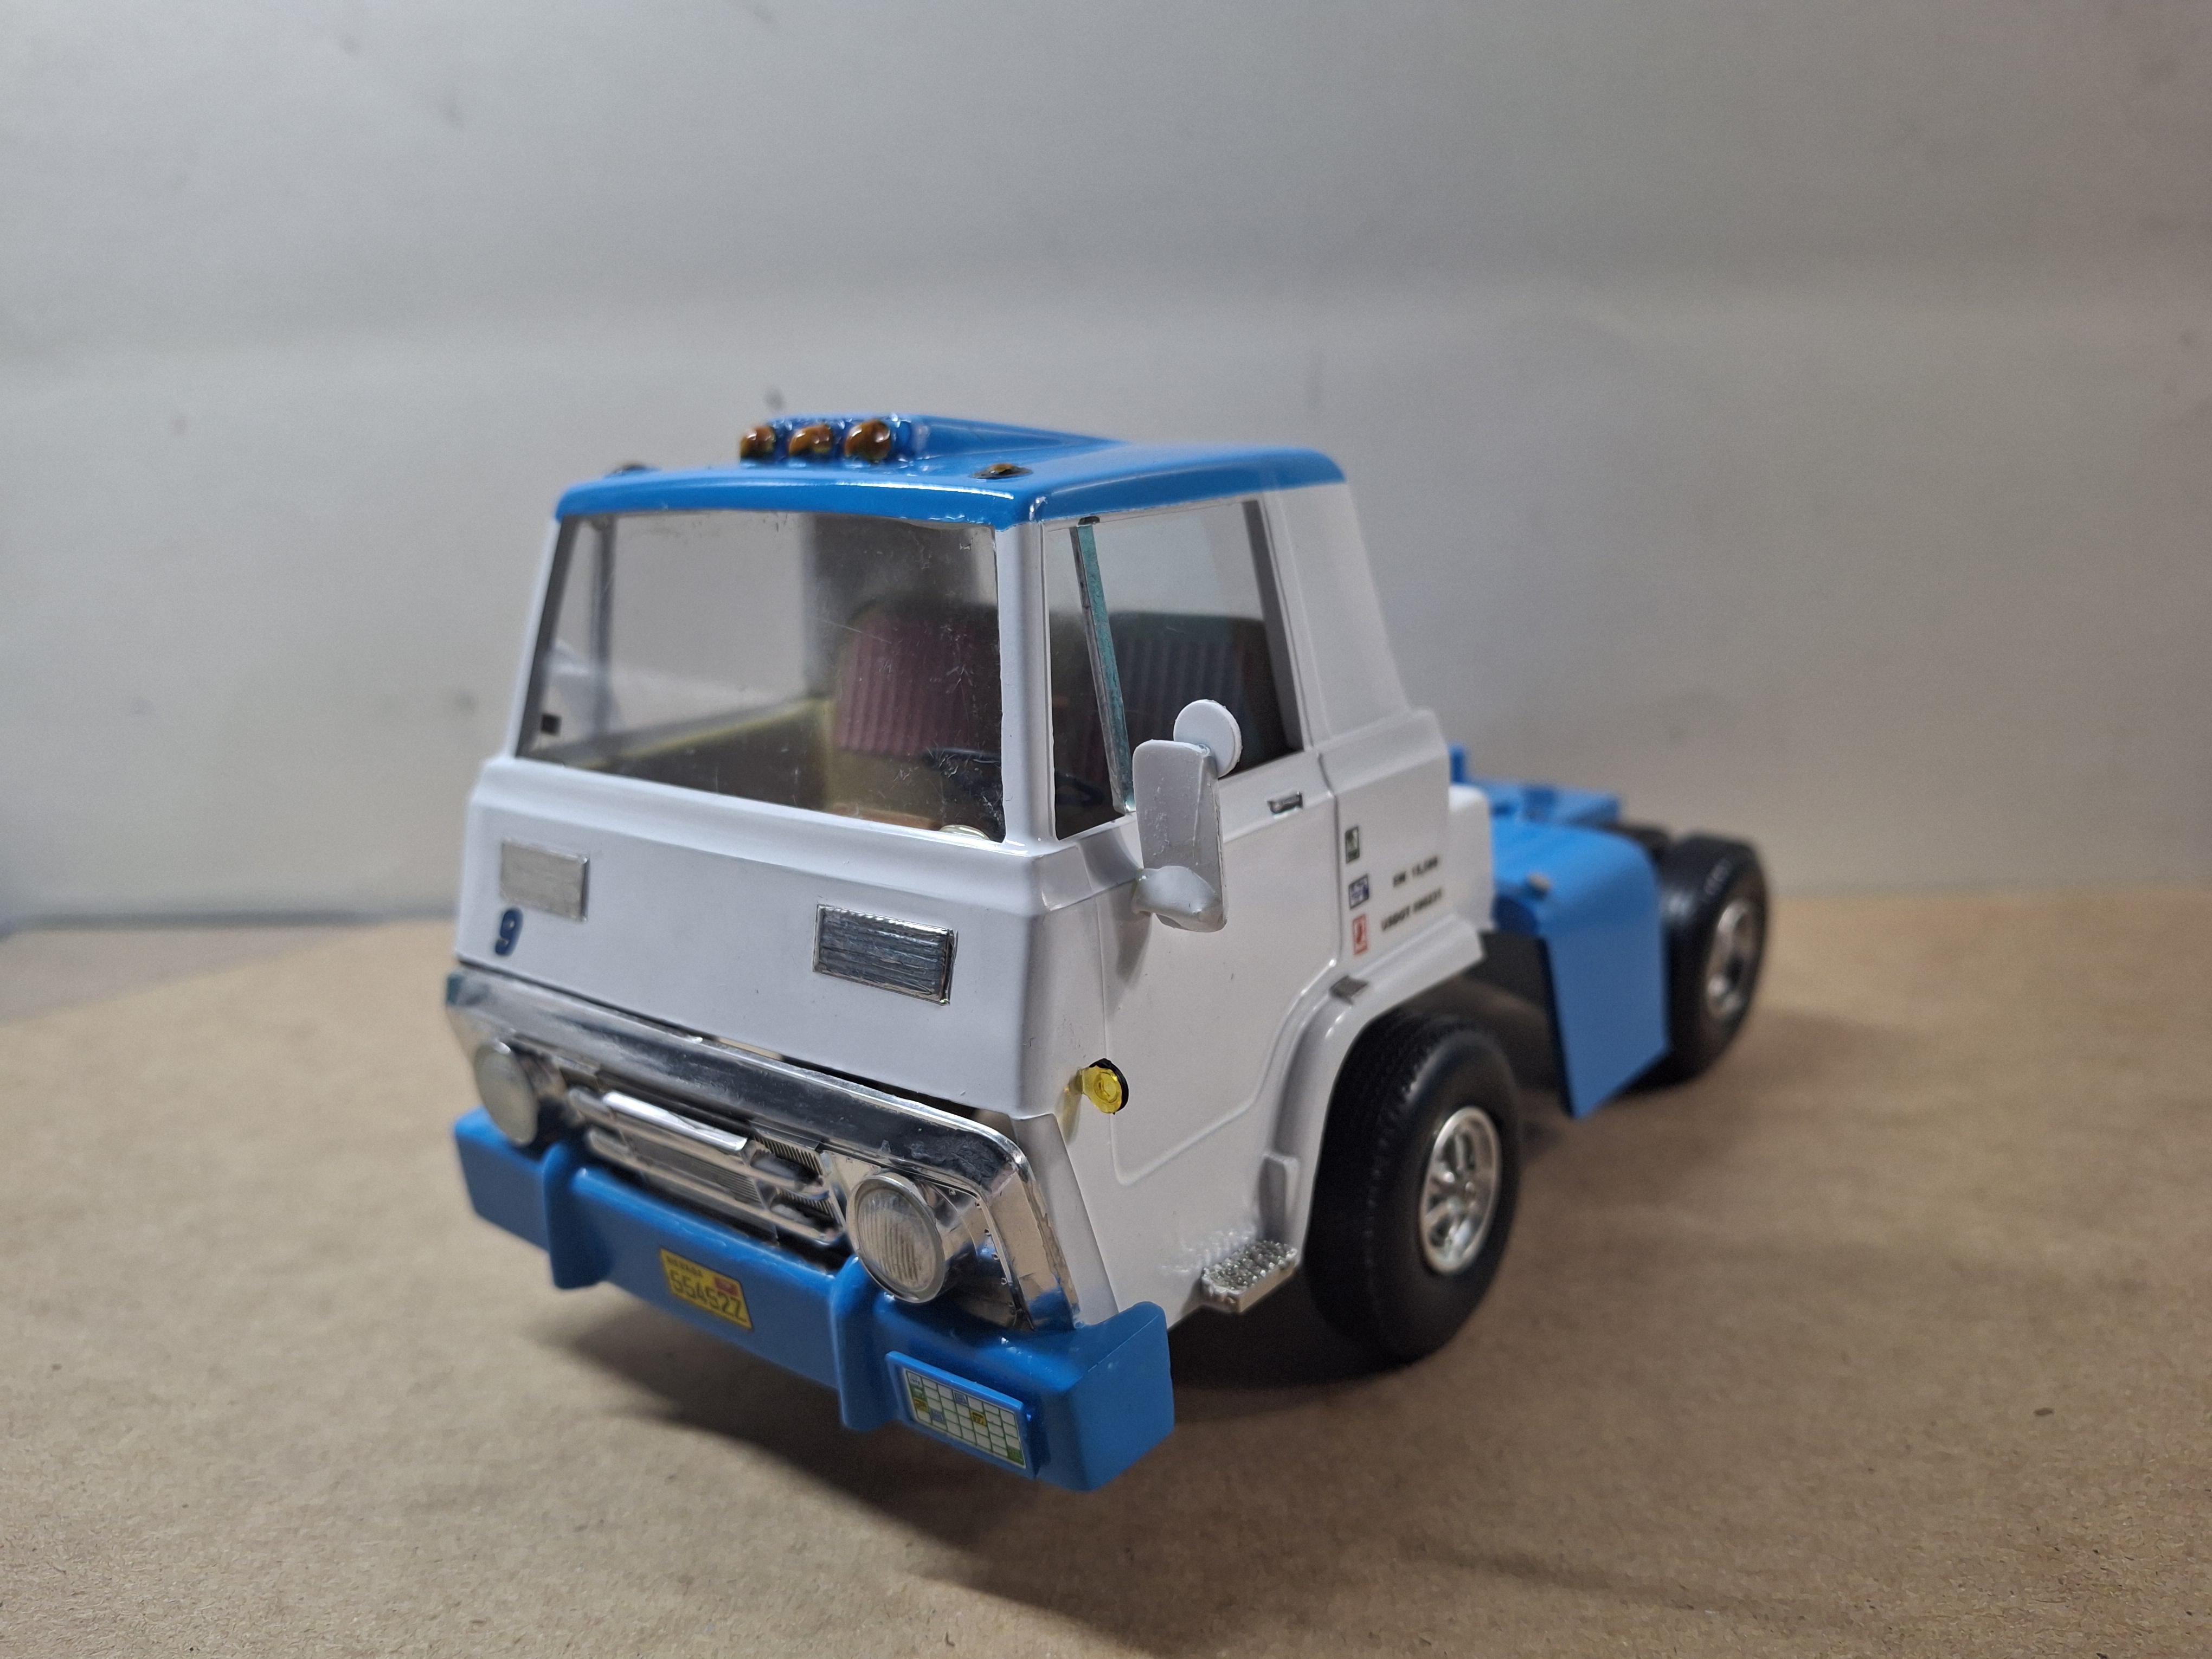
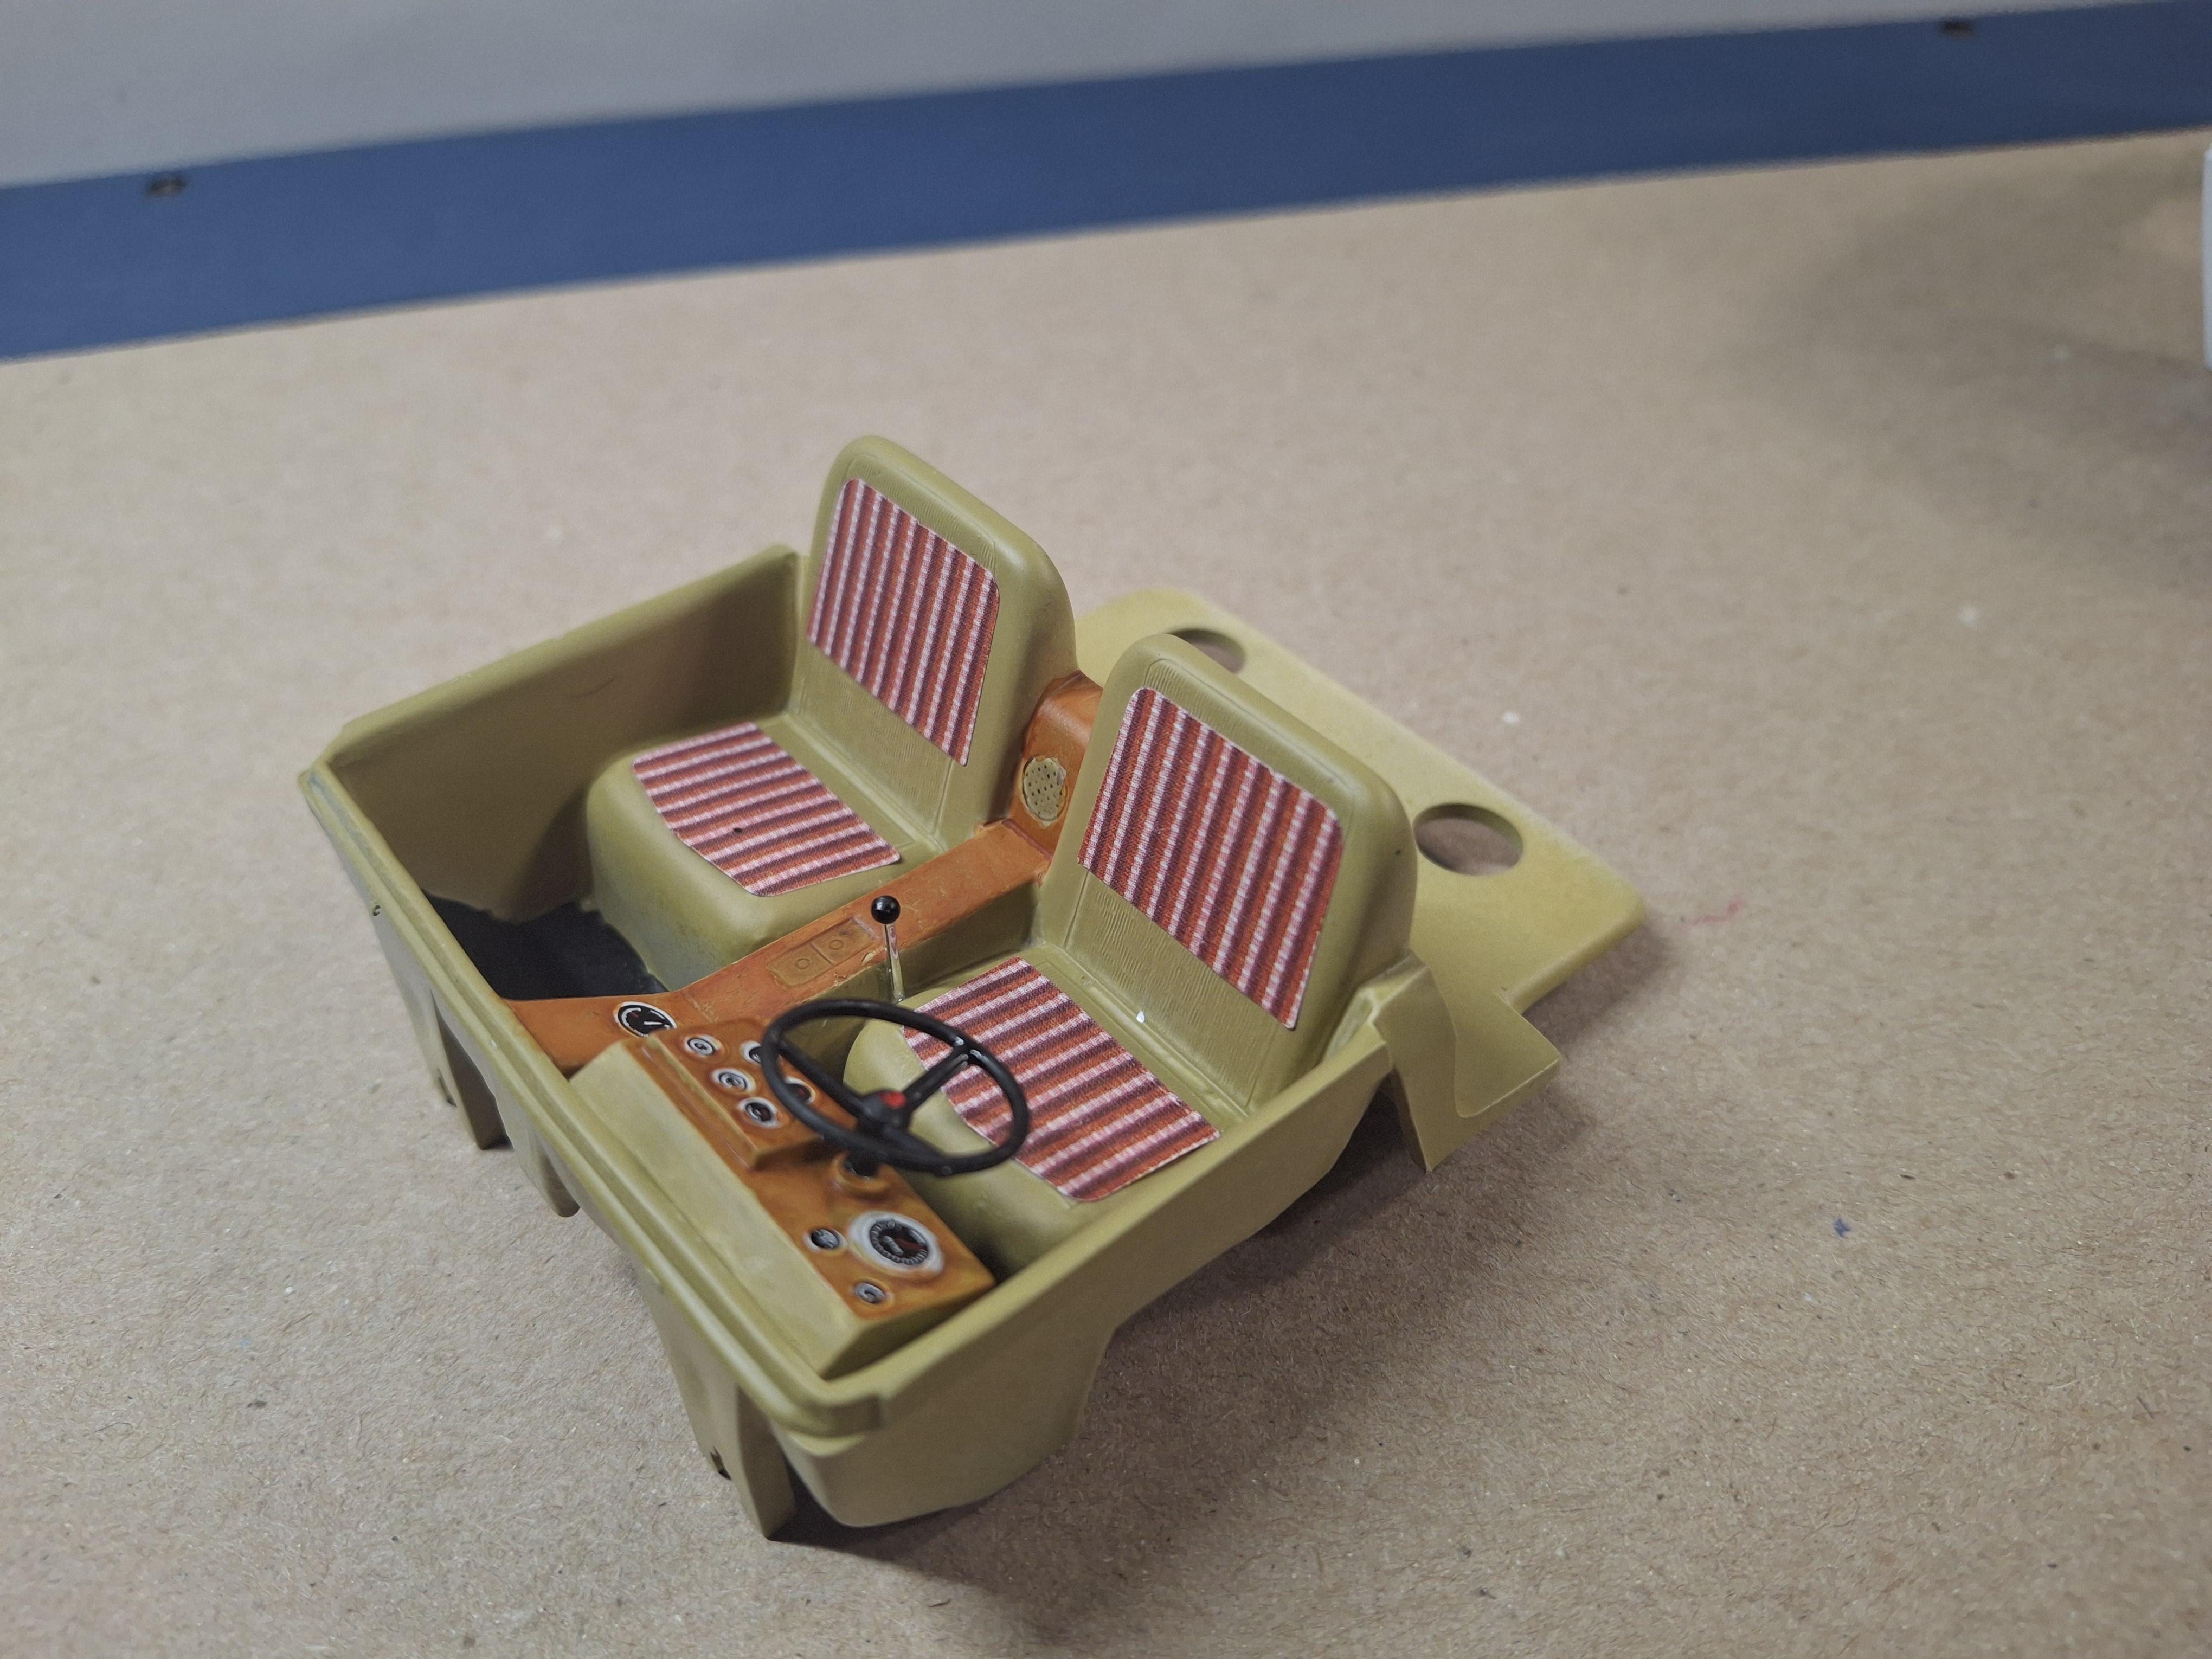
Slow progress building with it being summer but I am getting some thjngs done. I decided to go with North American VanLines colors instead of the boxart theme. The interior came out ok but that front chrome grille/bumper need some work. I will probably get the bumper in blue and maybe drill out those lights. The white on the trailer is cured so time to get the blue on that. If only that cab wasnt so toy-like. As I said before ,it lists out at 1:32nd but a 1:25th scale driver fits.🤔
-
Your Buick modified looks just fine, never put down your work, it takes guts to put your work in front of the world. Build everything your way and have some fun doing it. I enjoy seeing all the builds here.
-
Thanks..after collecting all these years I said when I retire I will build anything in the collection unless it has lost its appeal then I would sell it off so someone else can hang onto it in their collection or build it..
-
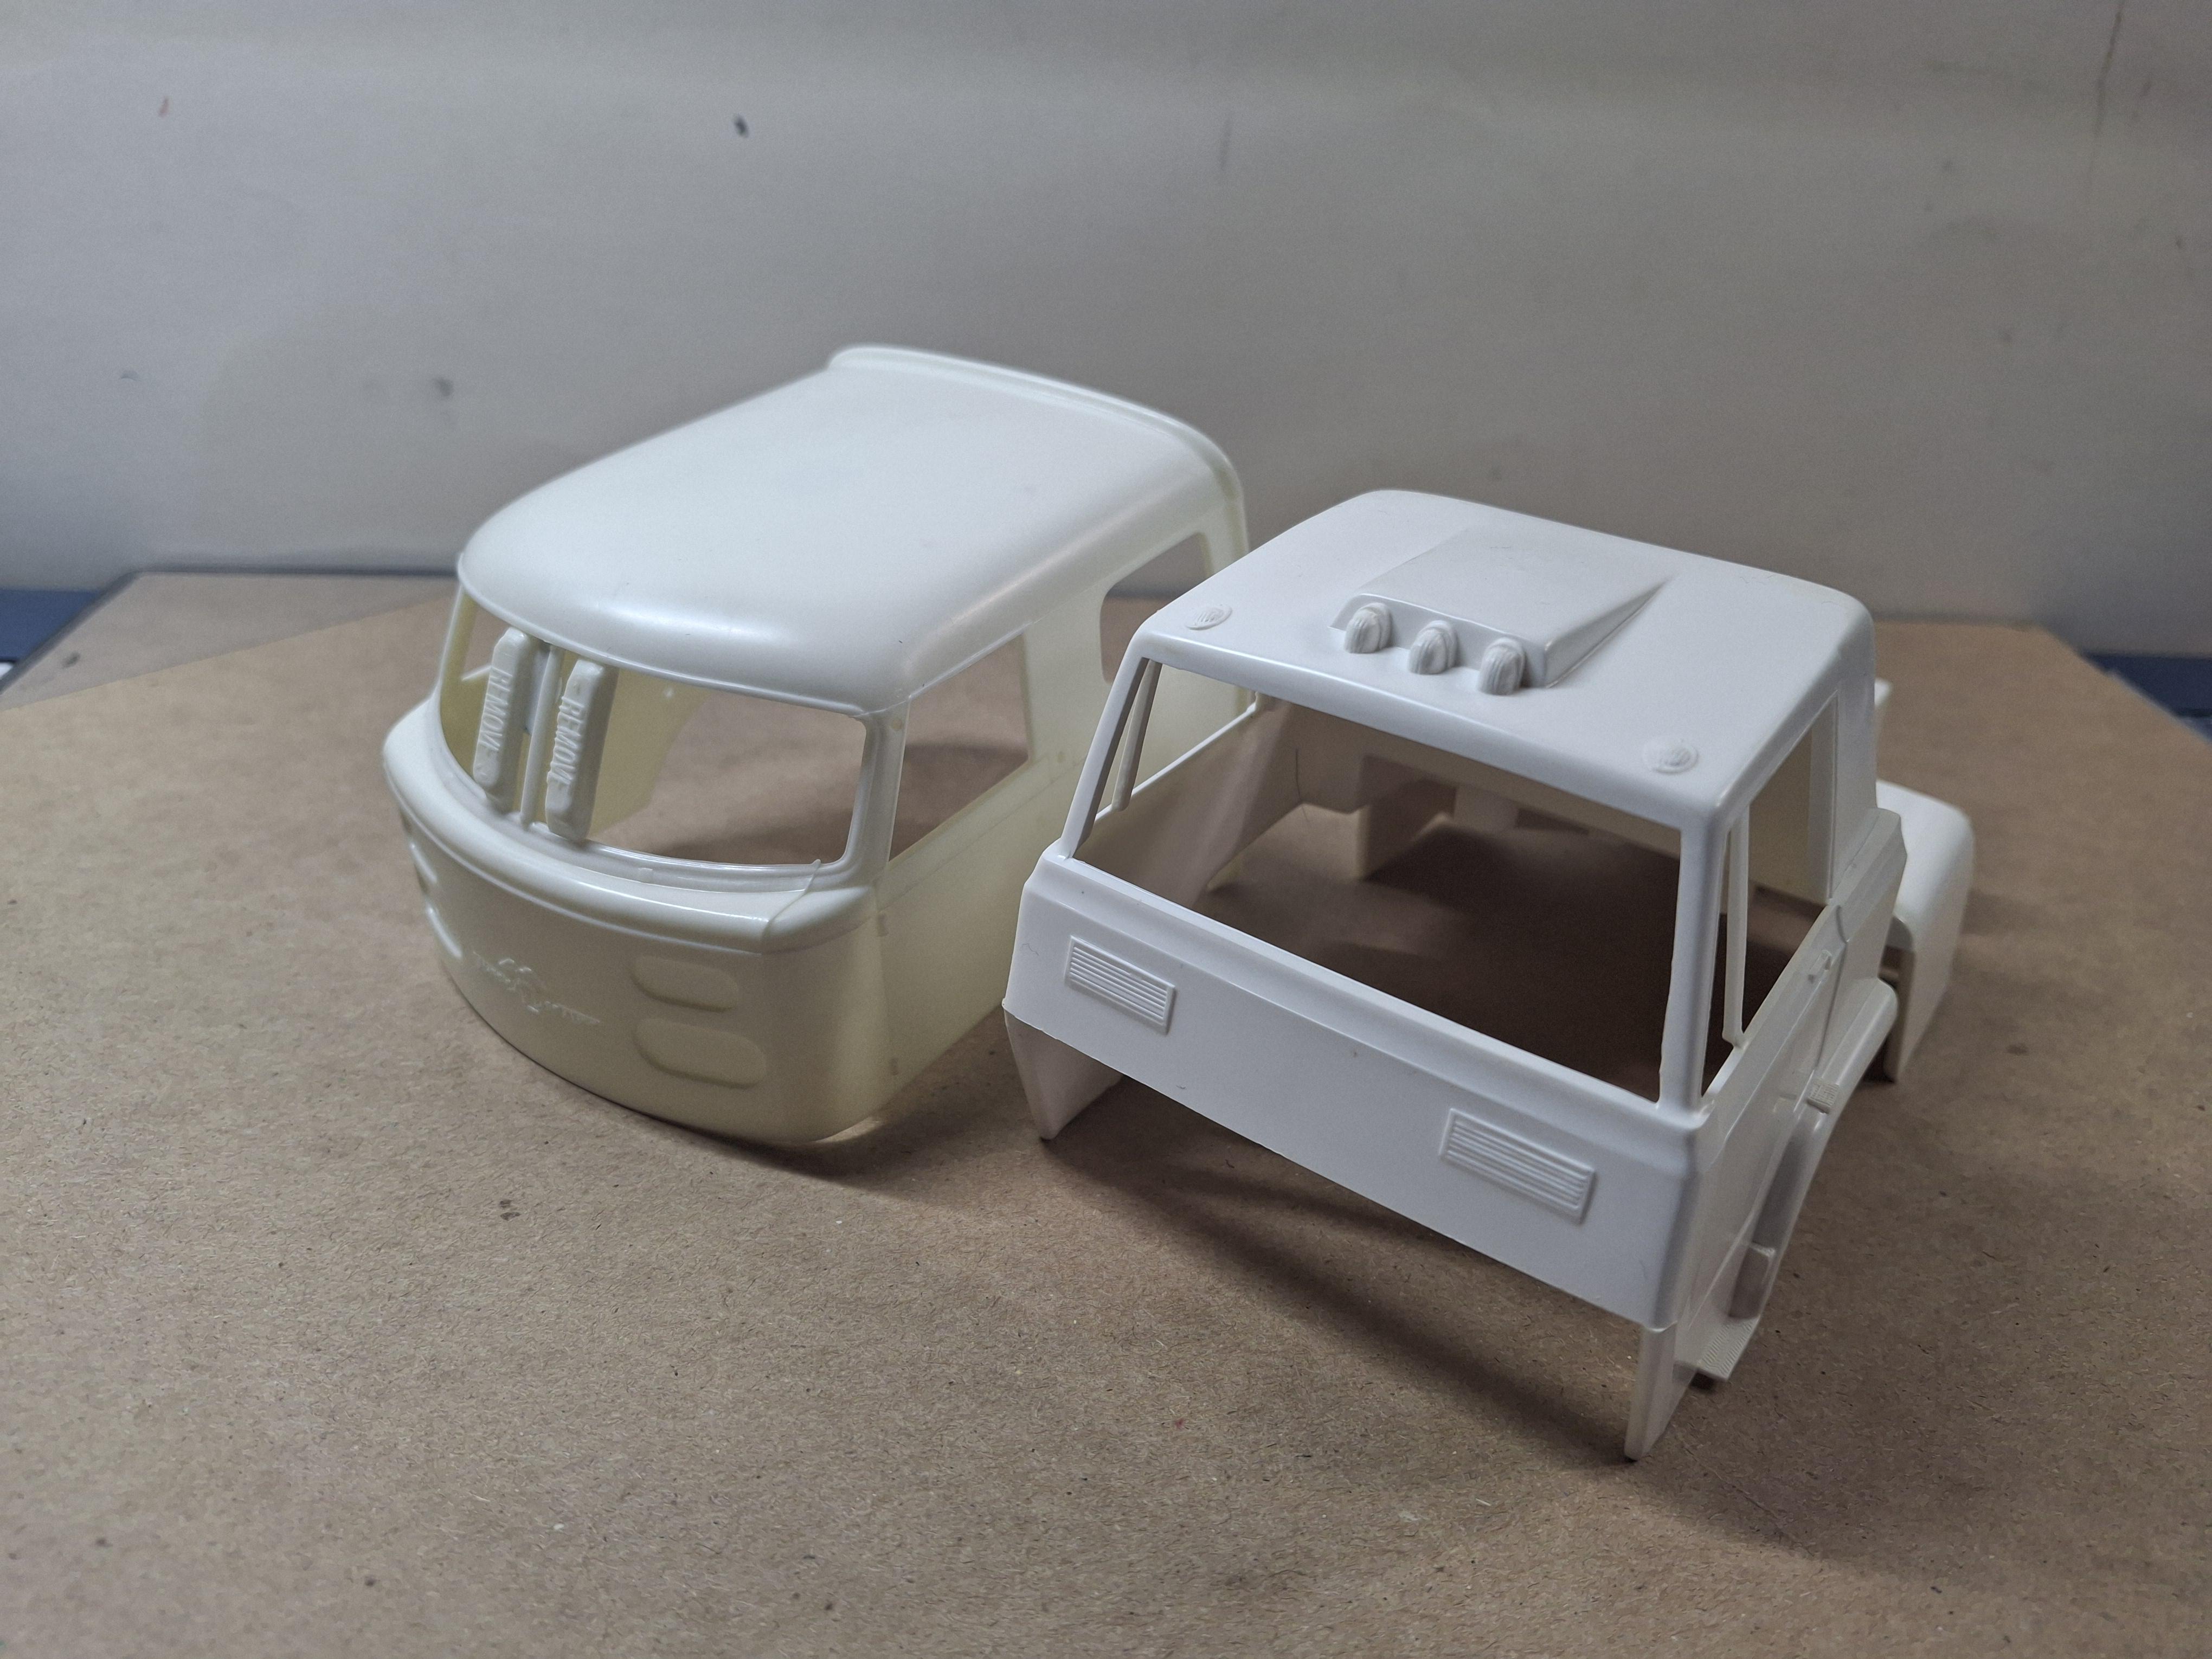
This is a real oddball kit that AMT released in 1967 and claimed its 1:32. Kit # 2020-300 was a new tool according to the Scalemates site. Some parts such as the cab and interior seem to be 1:25 others like the trailer I have no idea on the scale.I compared the 1:25 AMT firetruck cab to this kit cab and as you can see its close or maybe a touch bigger. A 1:25 scale driver fits in the cab with a slight mod. The truck itself does not have a chassis, the trailer does but looks like at one time this was to be a promotional item with a built in radio. No decals, the lettering is molded into the trailer. Only glass is the windshield , the rear and side vents I will have to make. This kit was mint except the hubs were put on the axles. I was going with the original North American colors but decided to just go box art colors. The cab does not represent any truck manufacturer. If I remember right, this cab was also issued as a semi-dump.
-
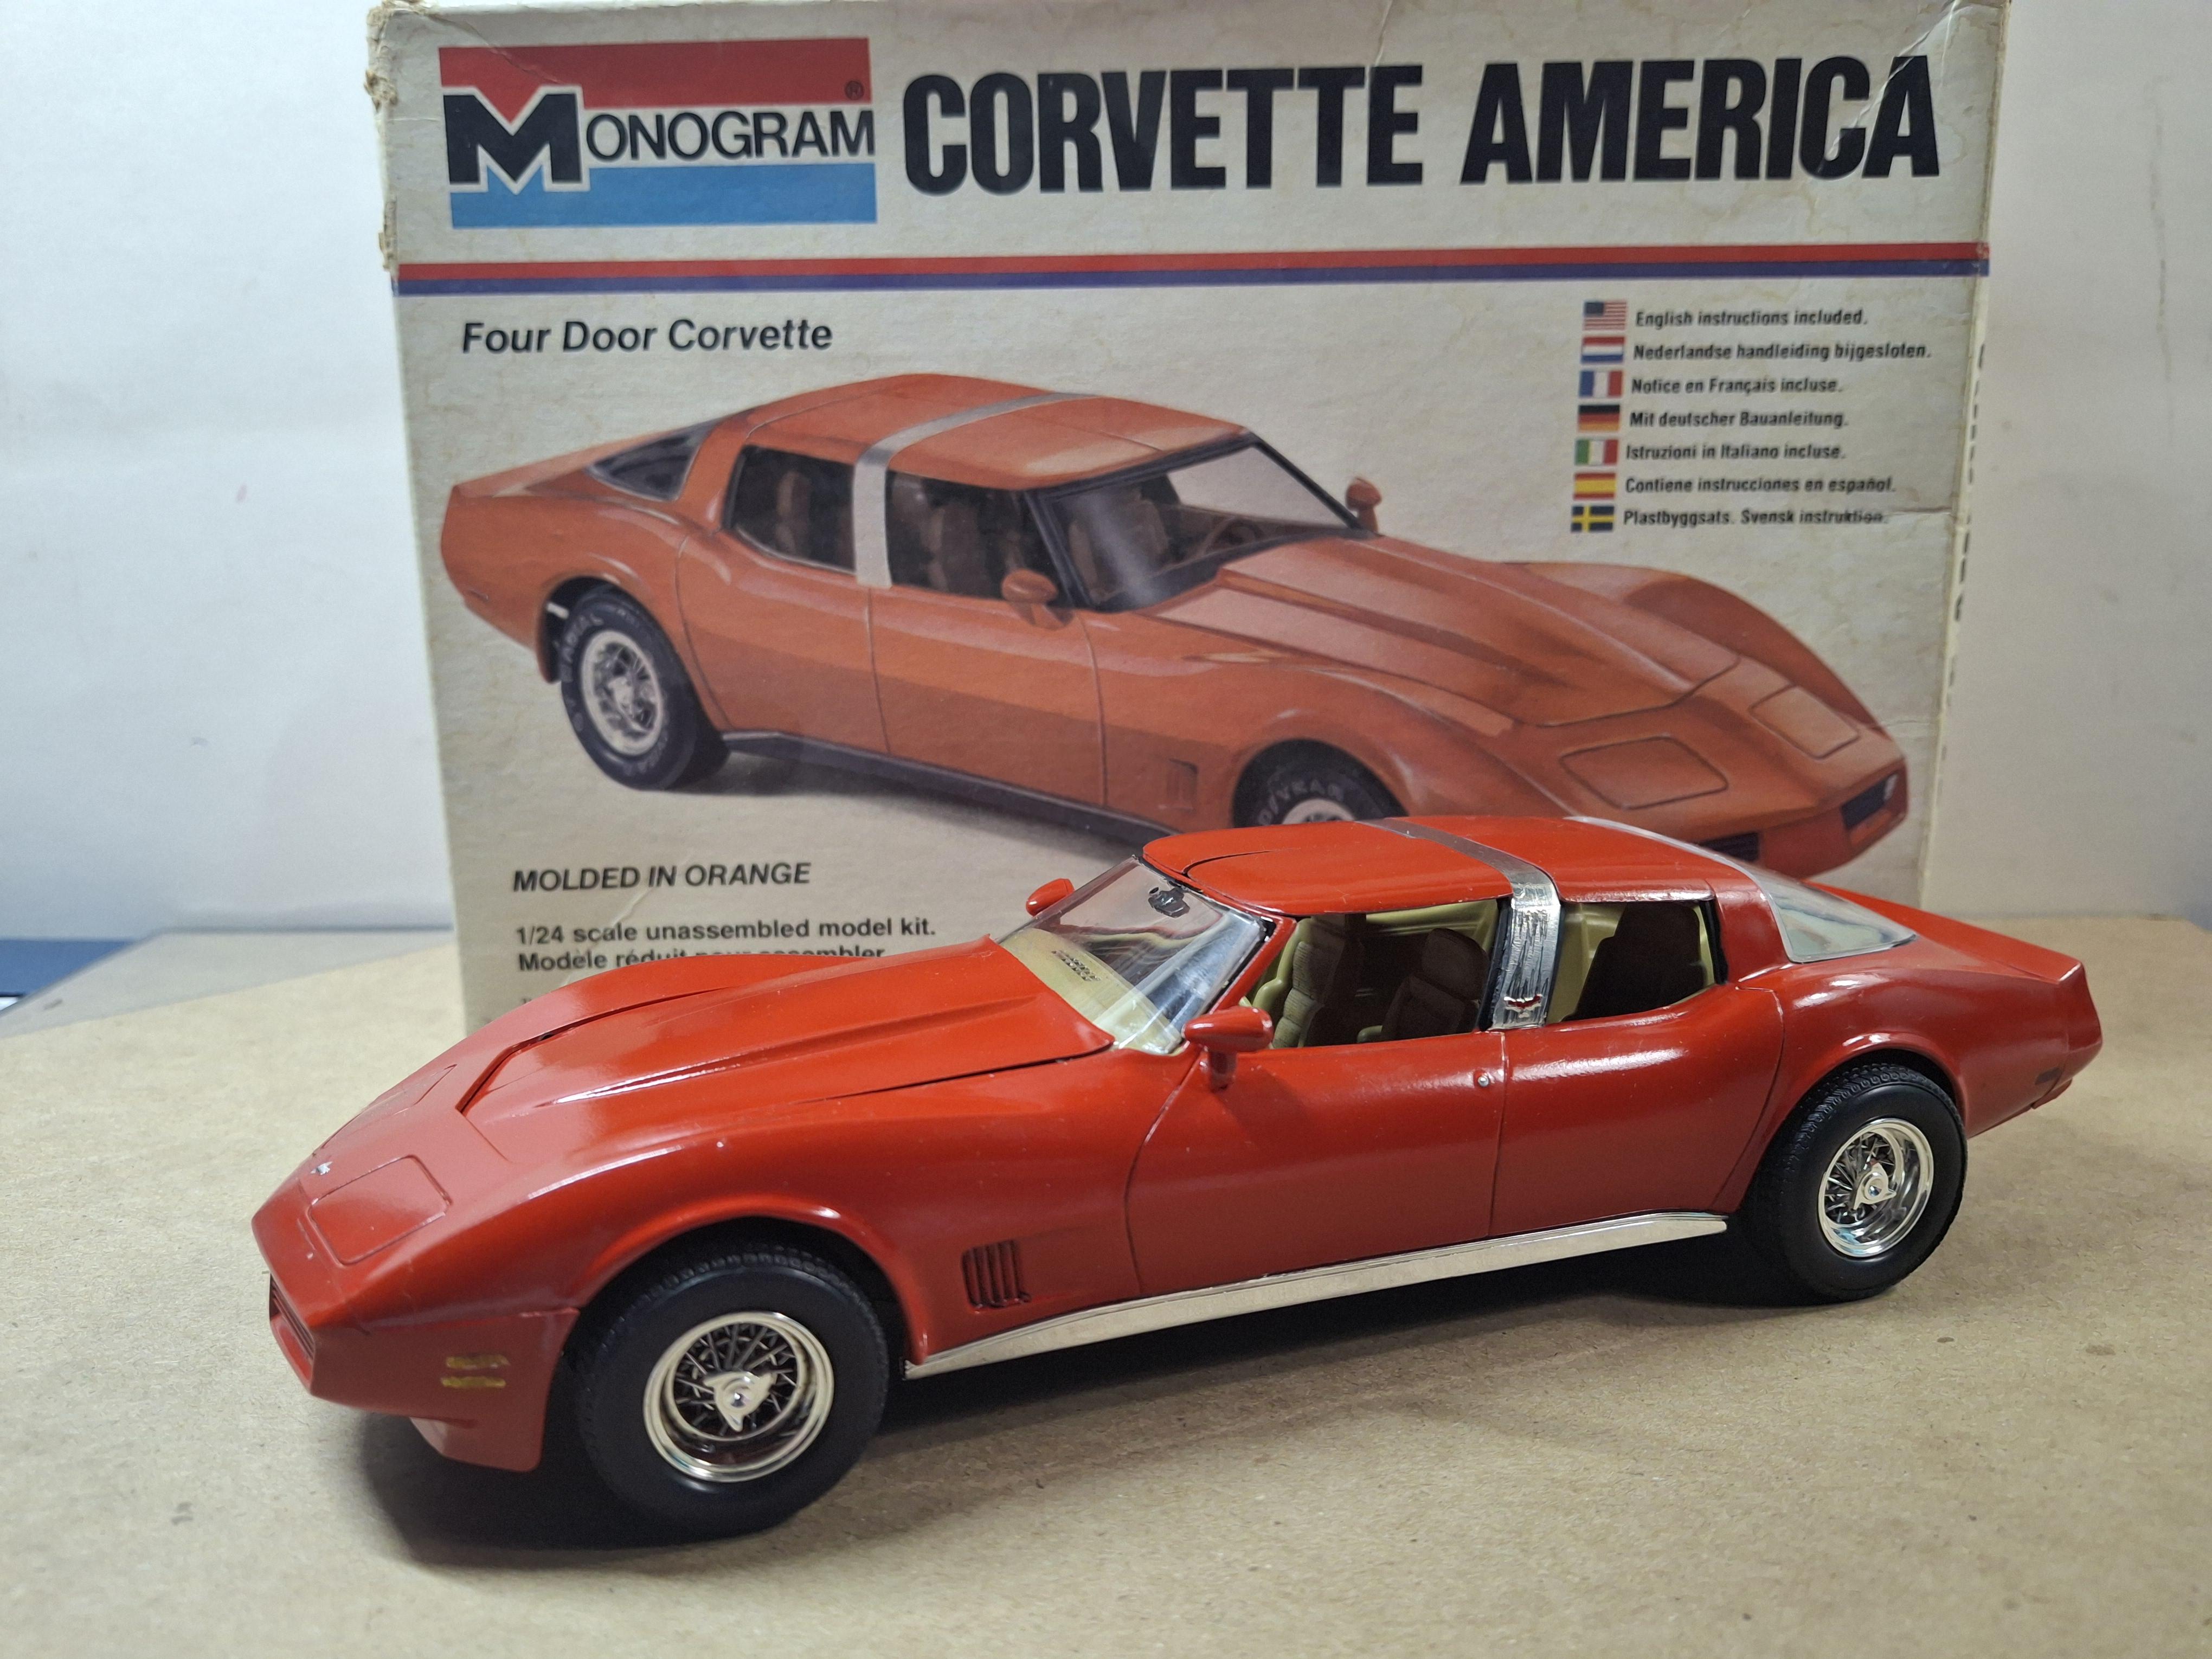
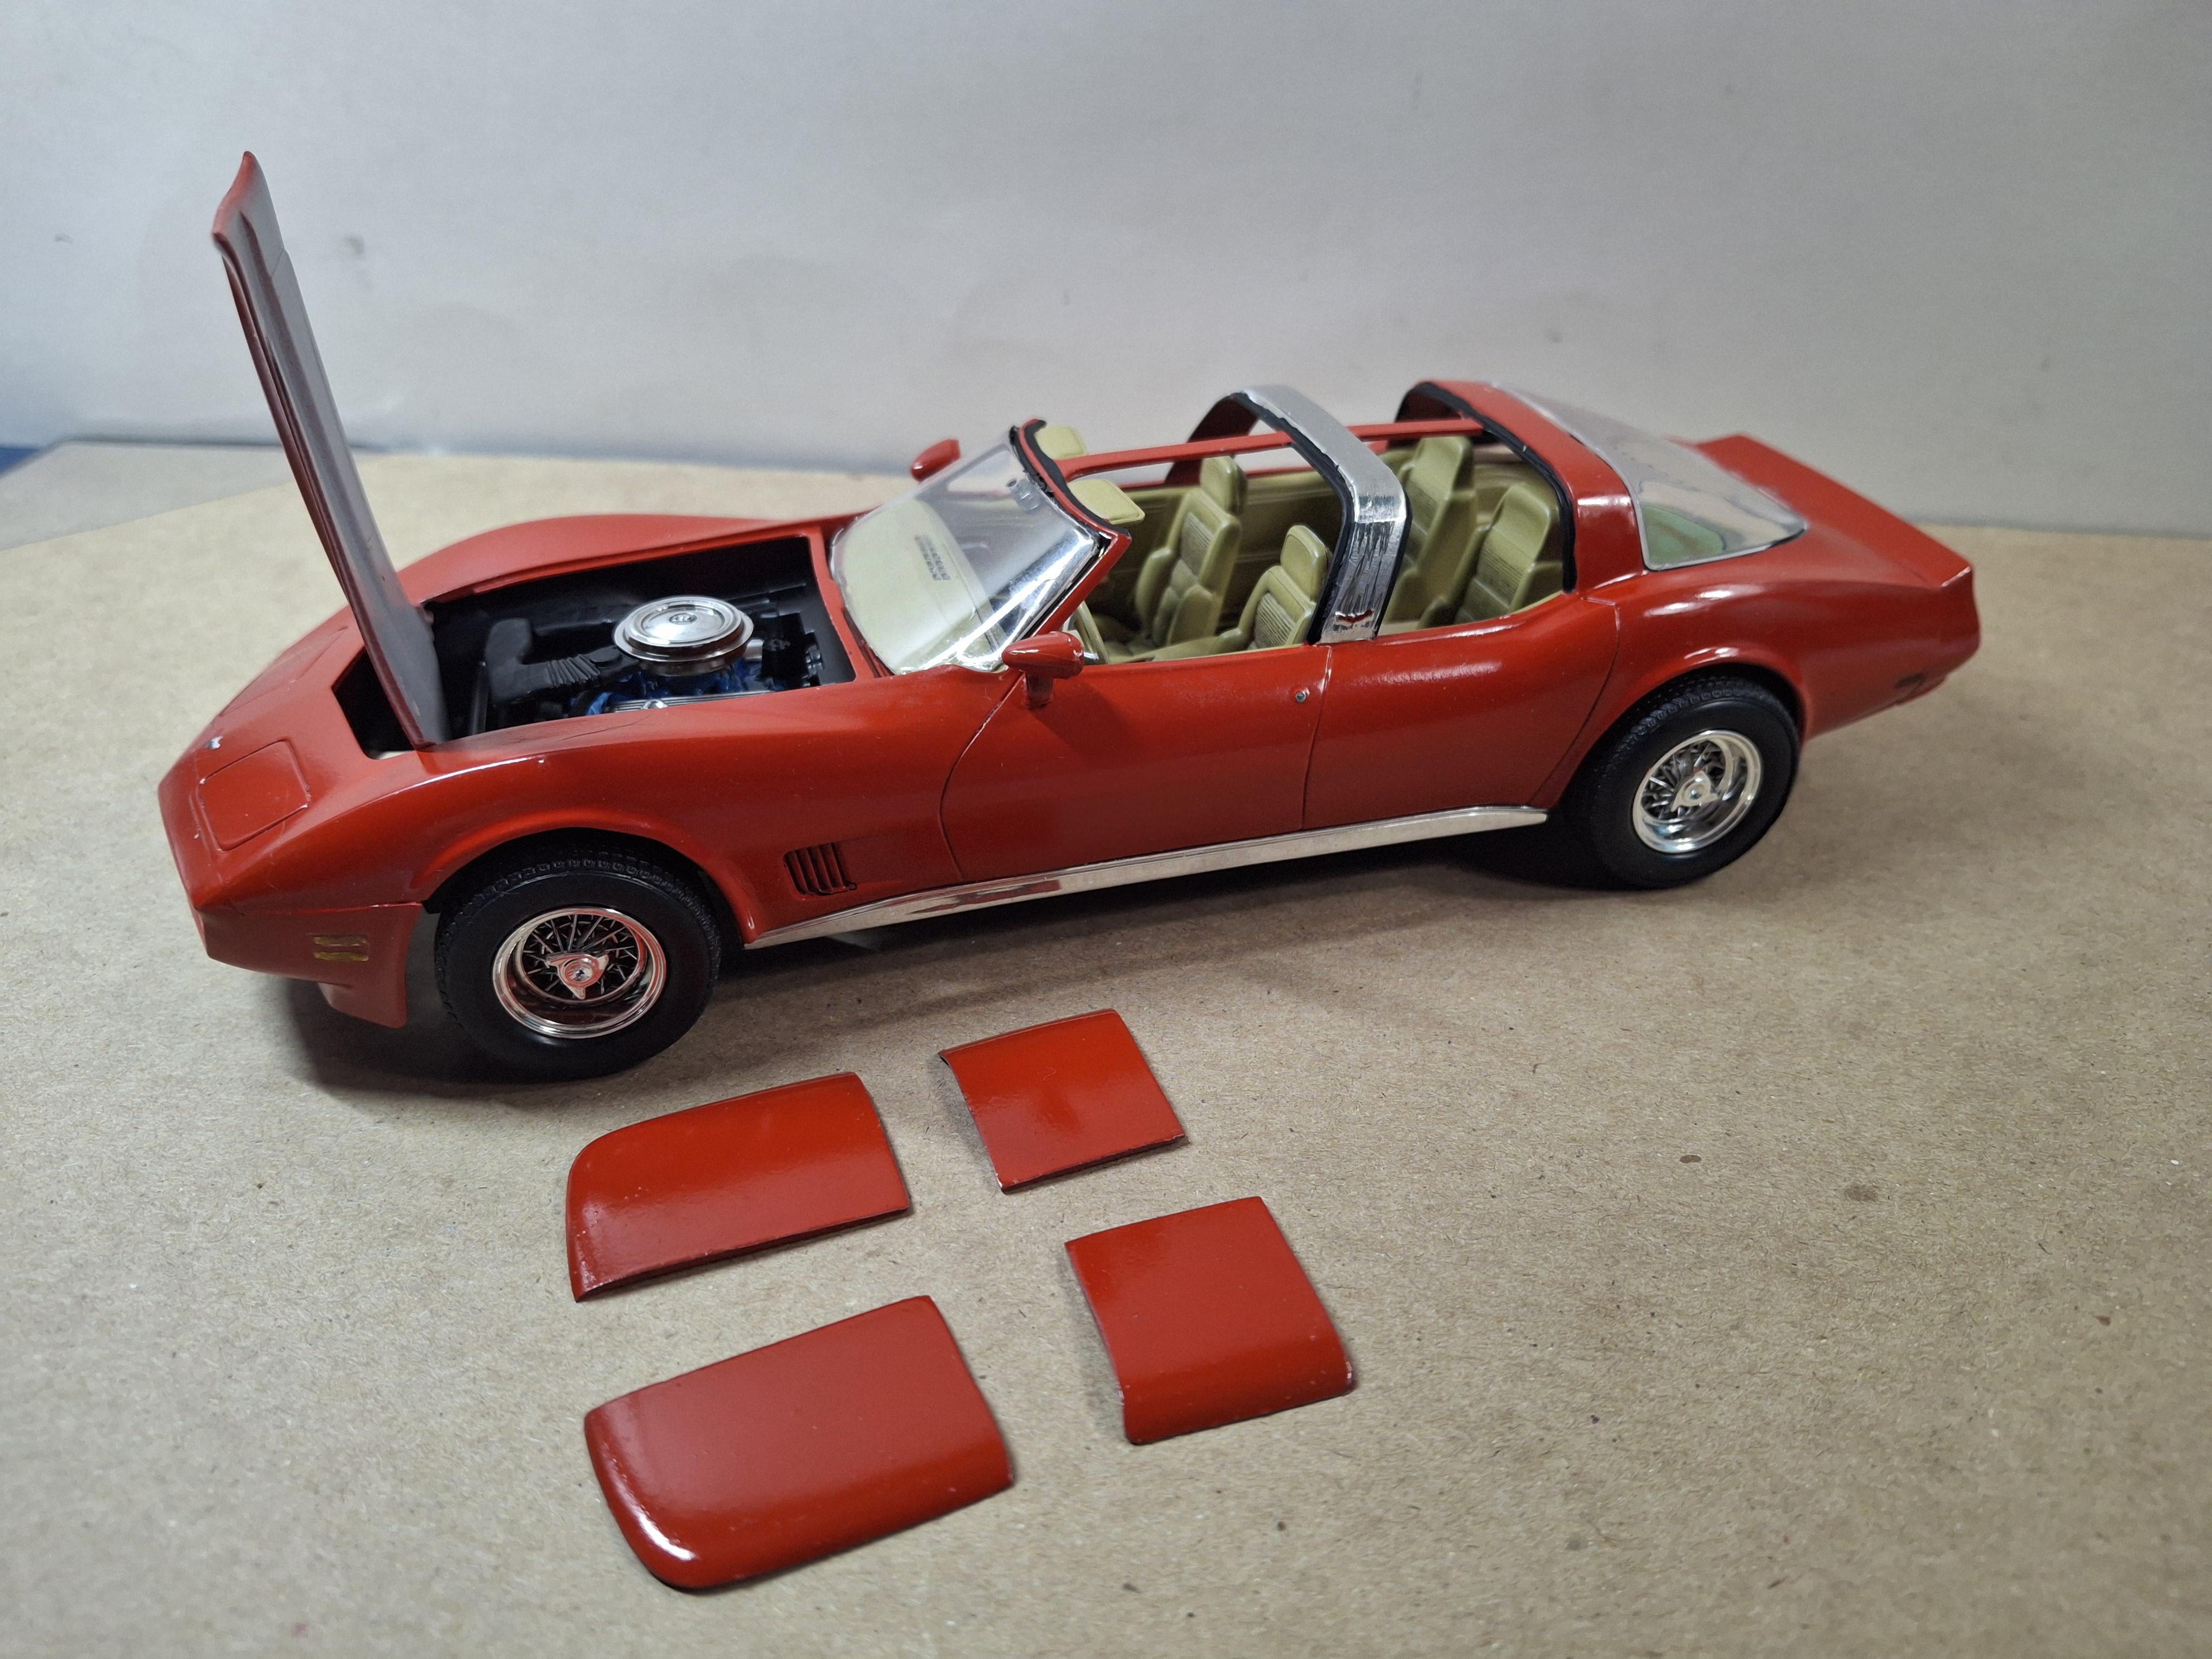
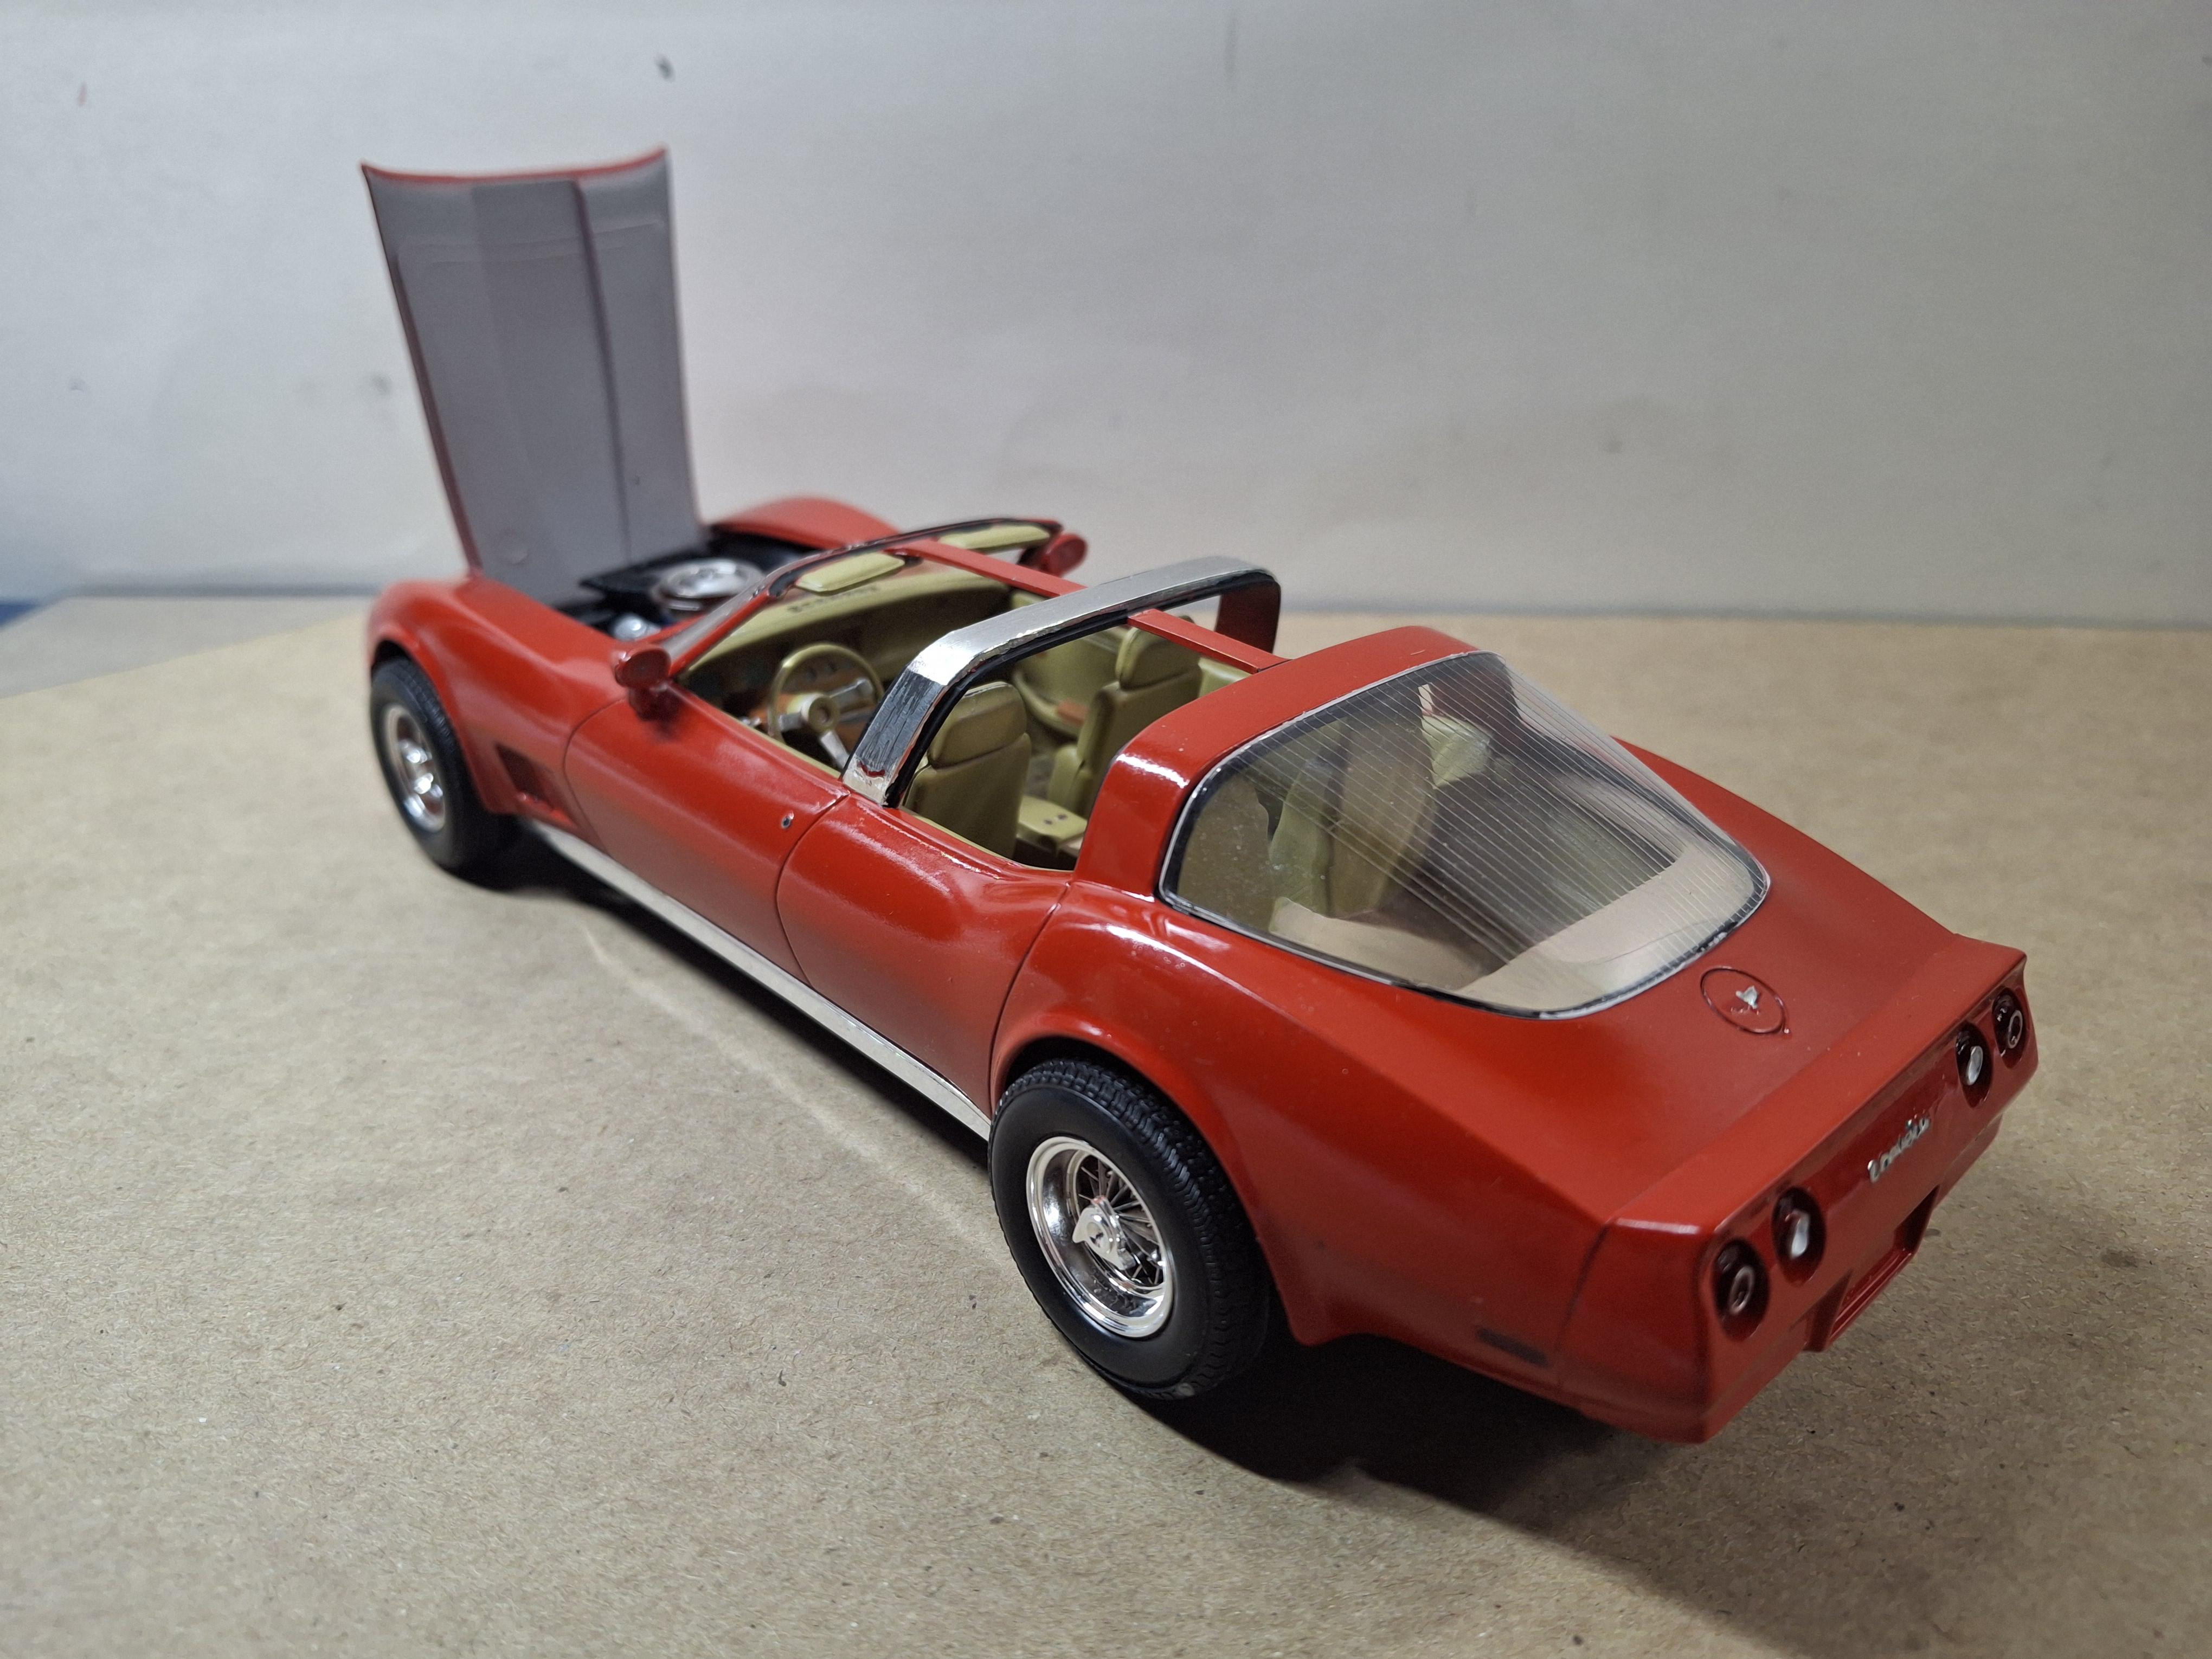
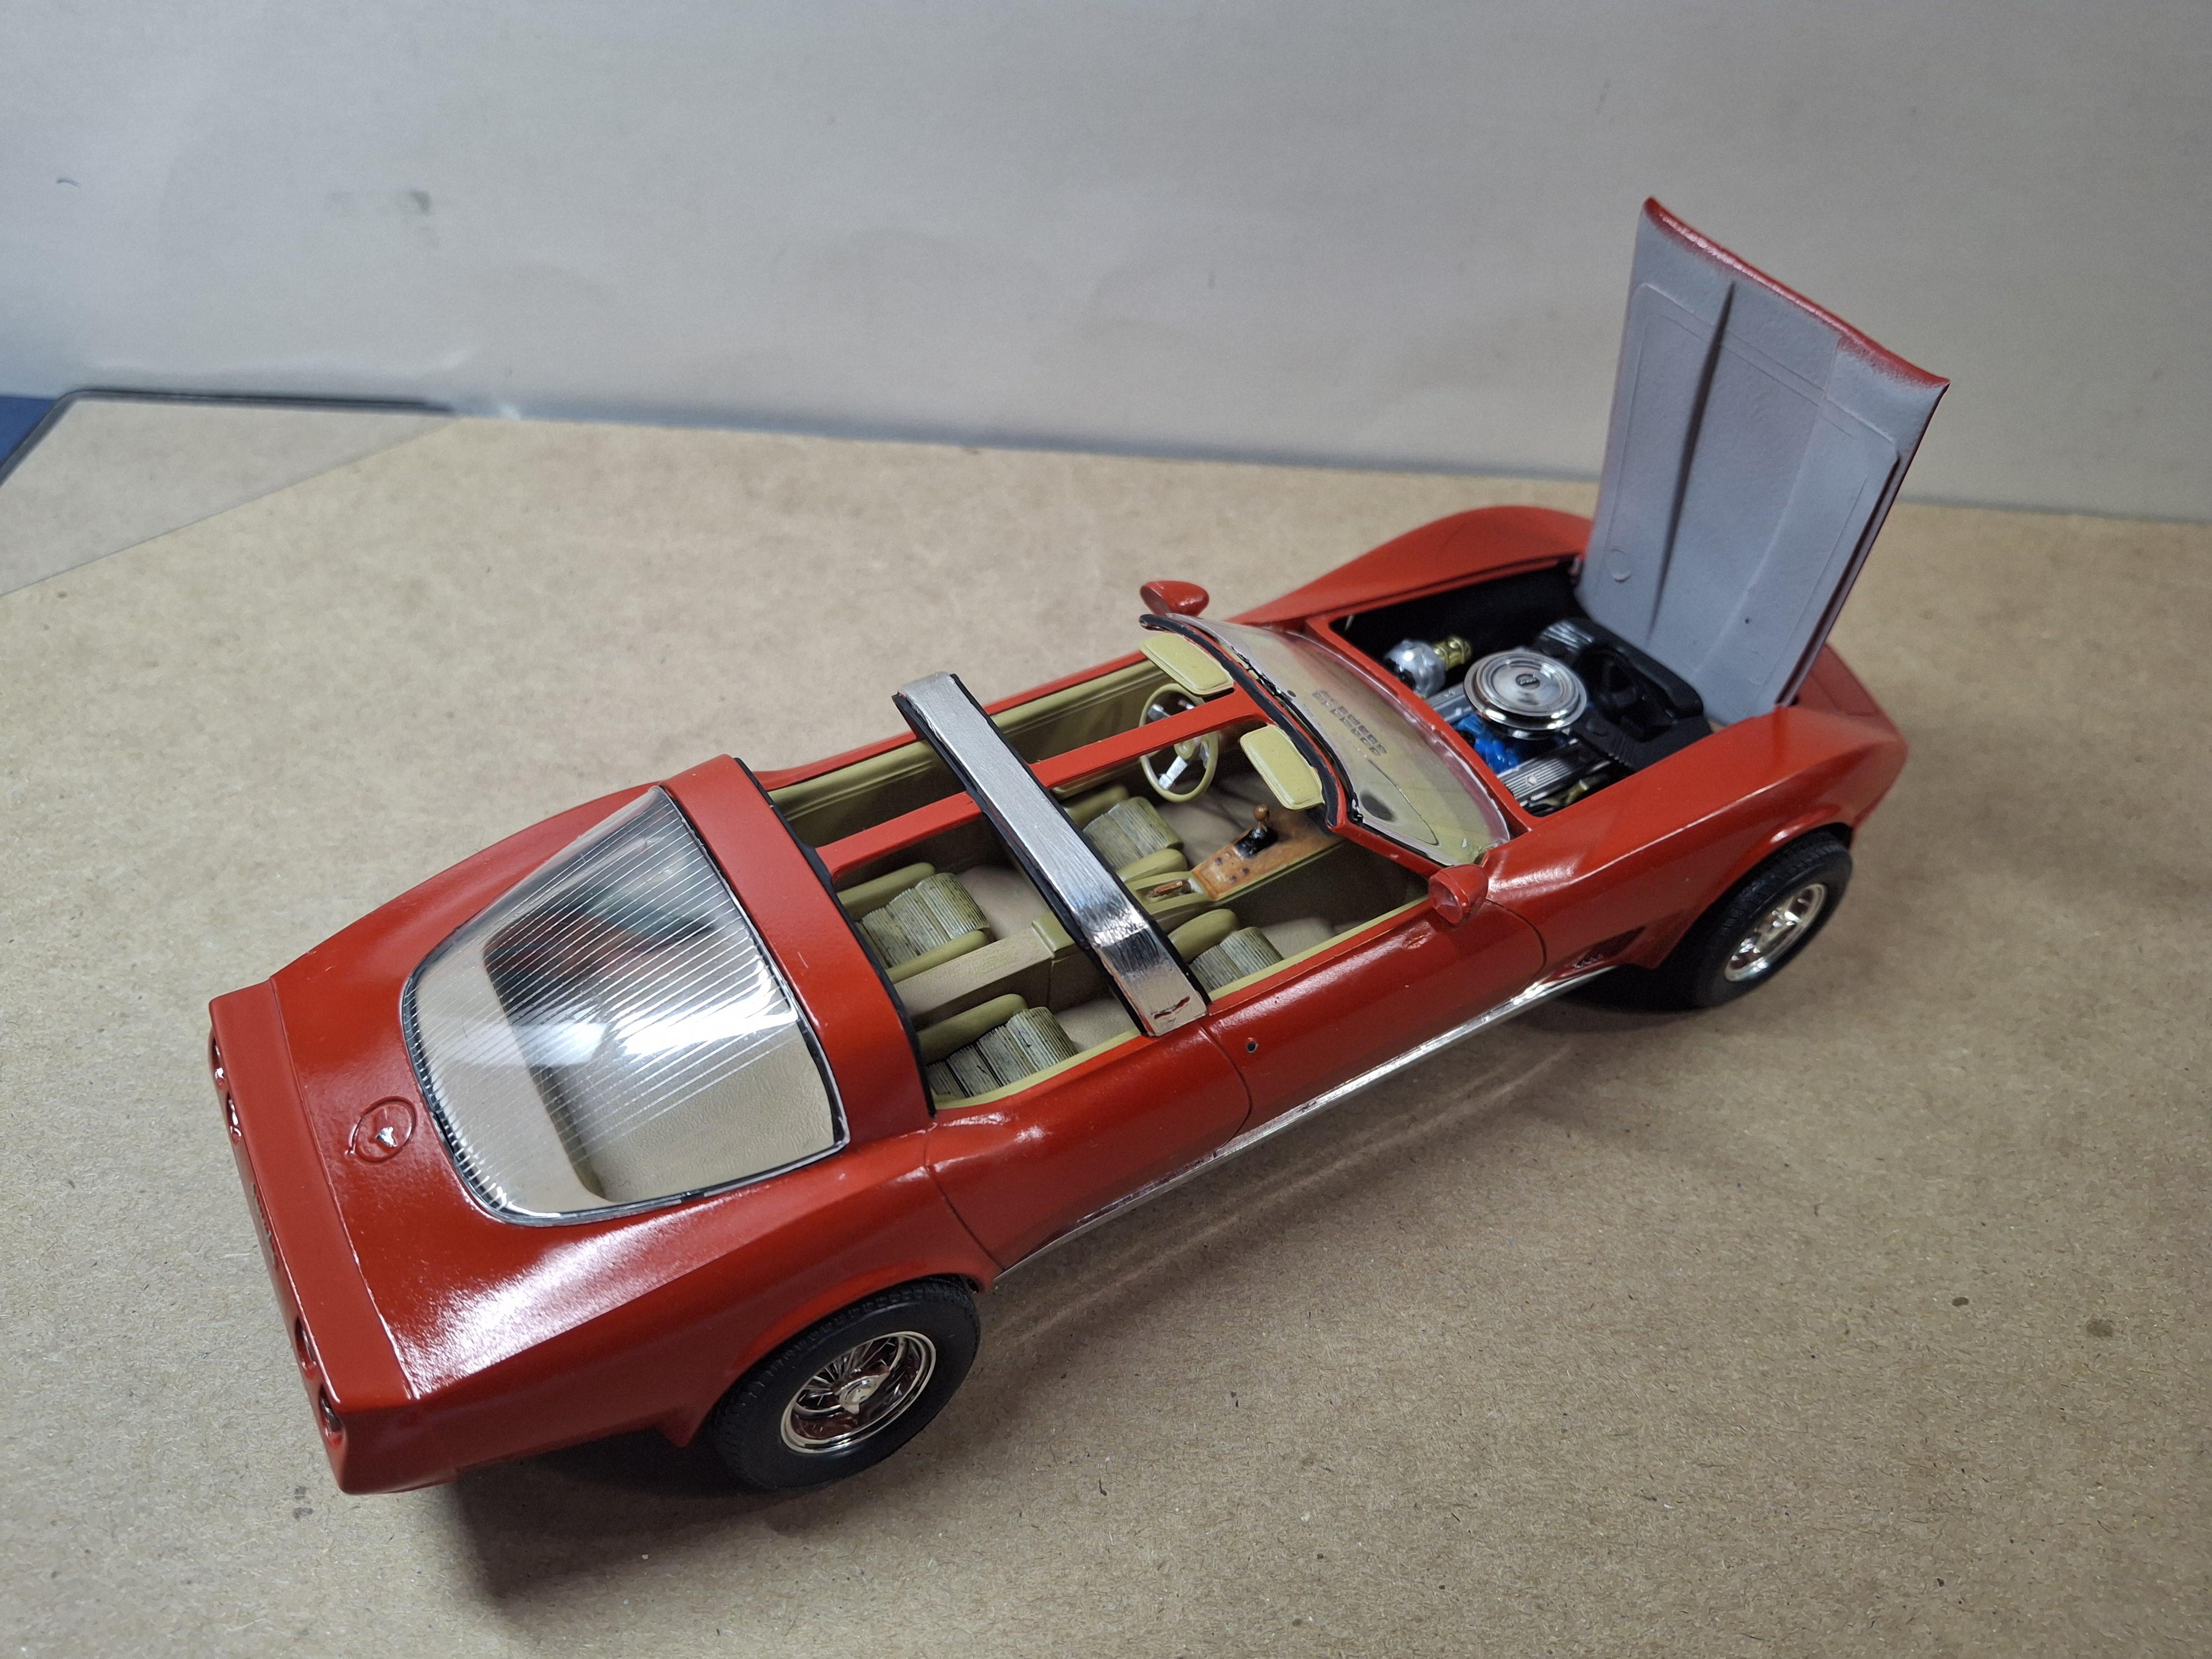
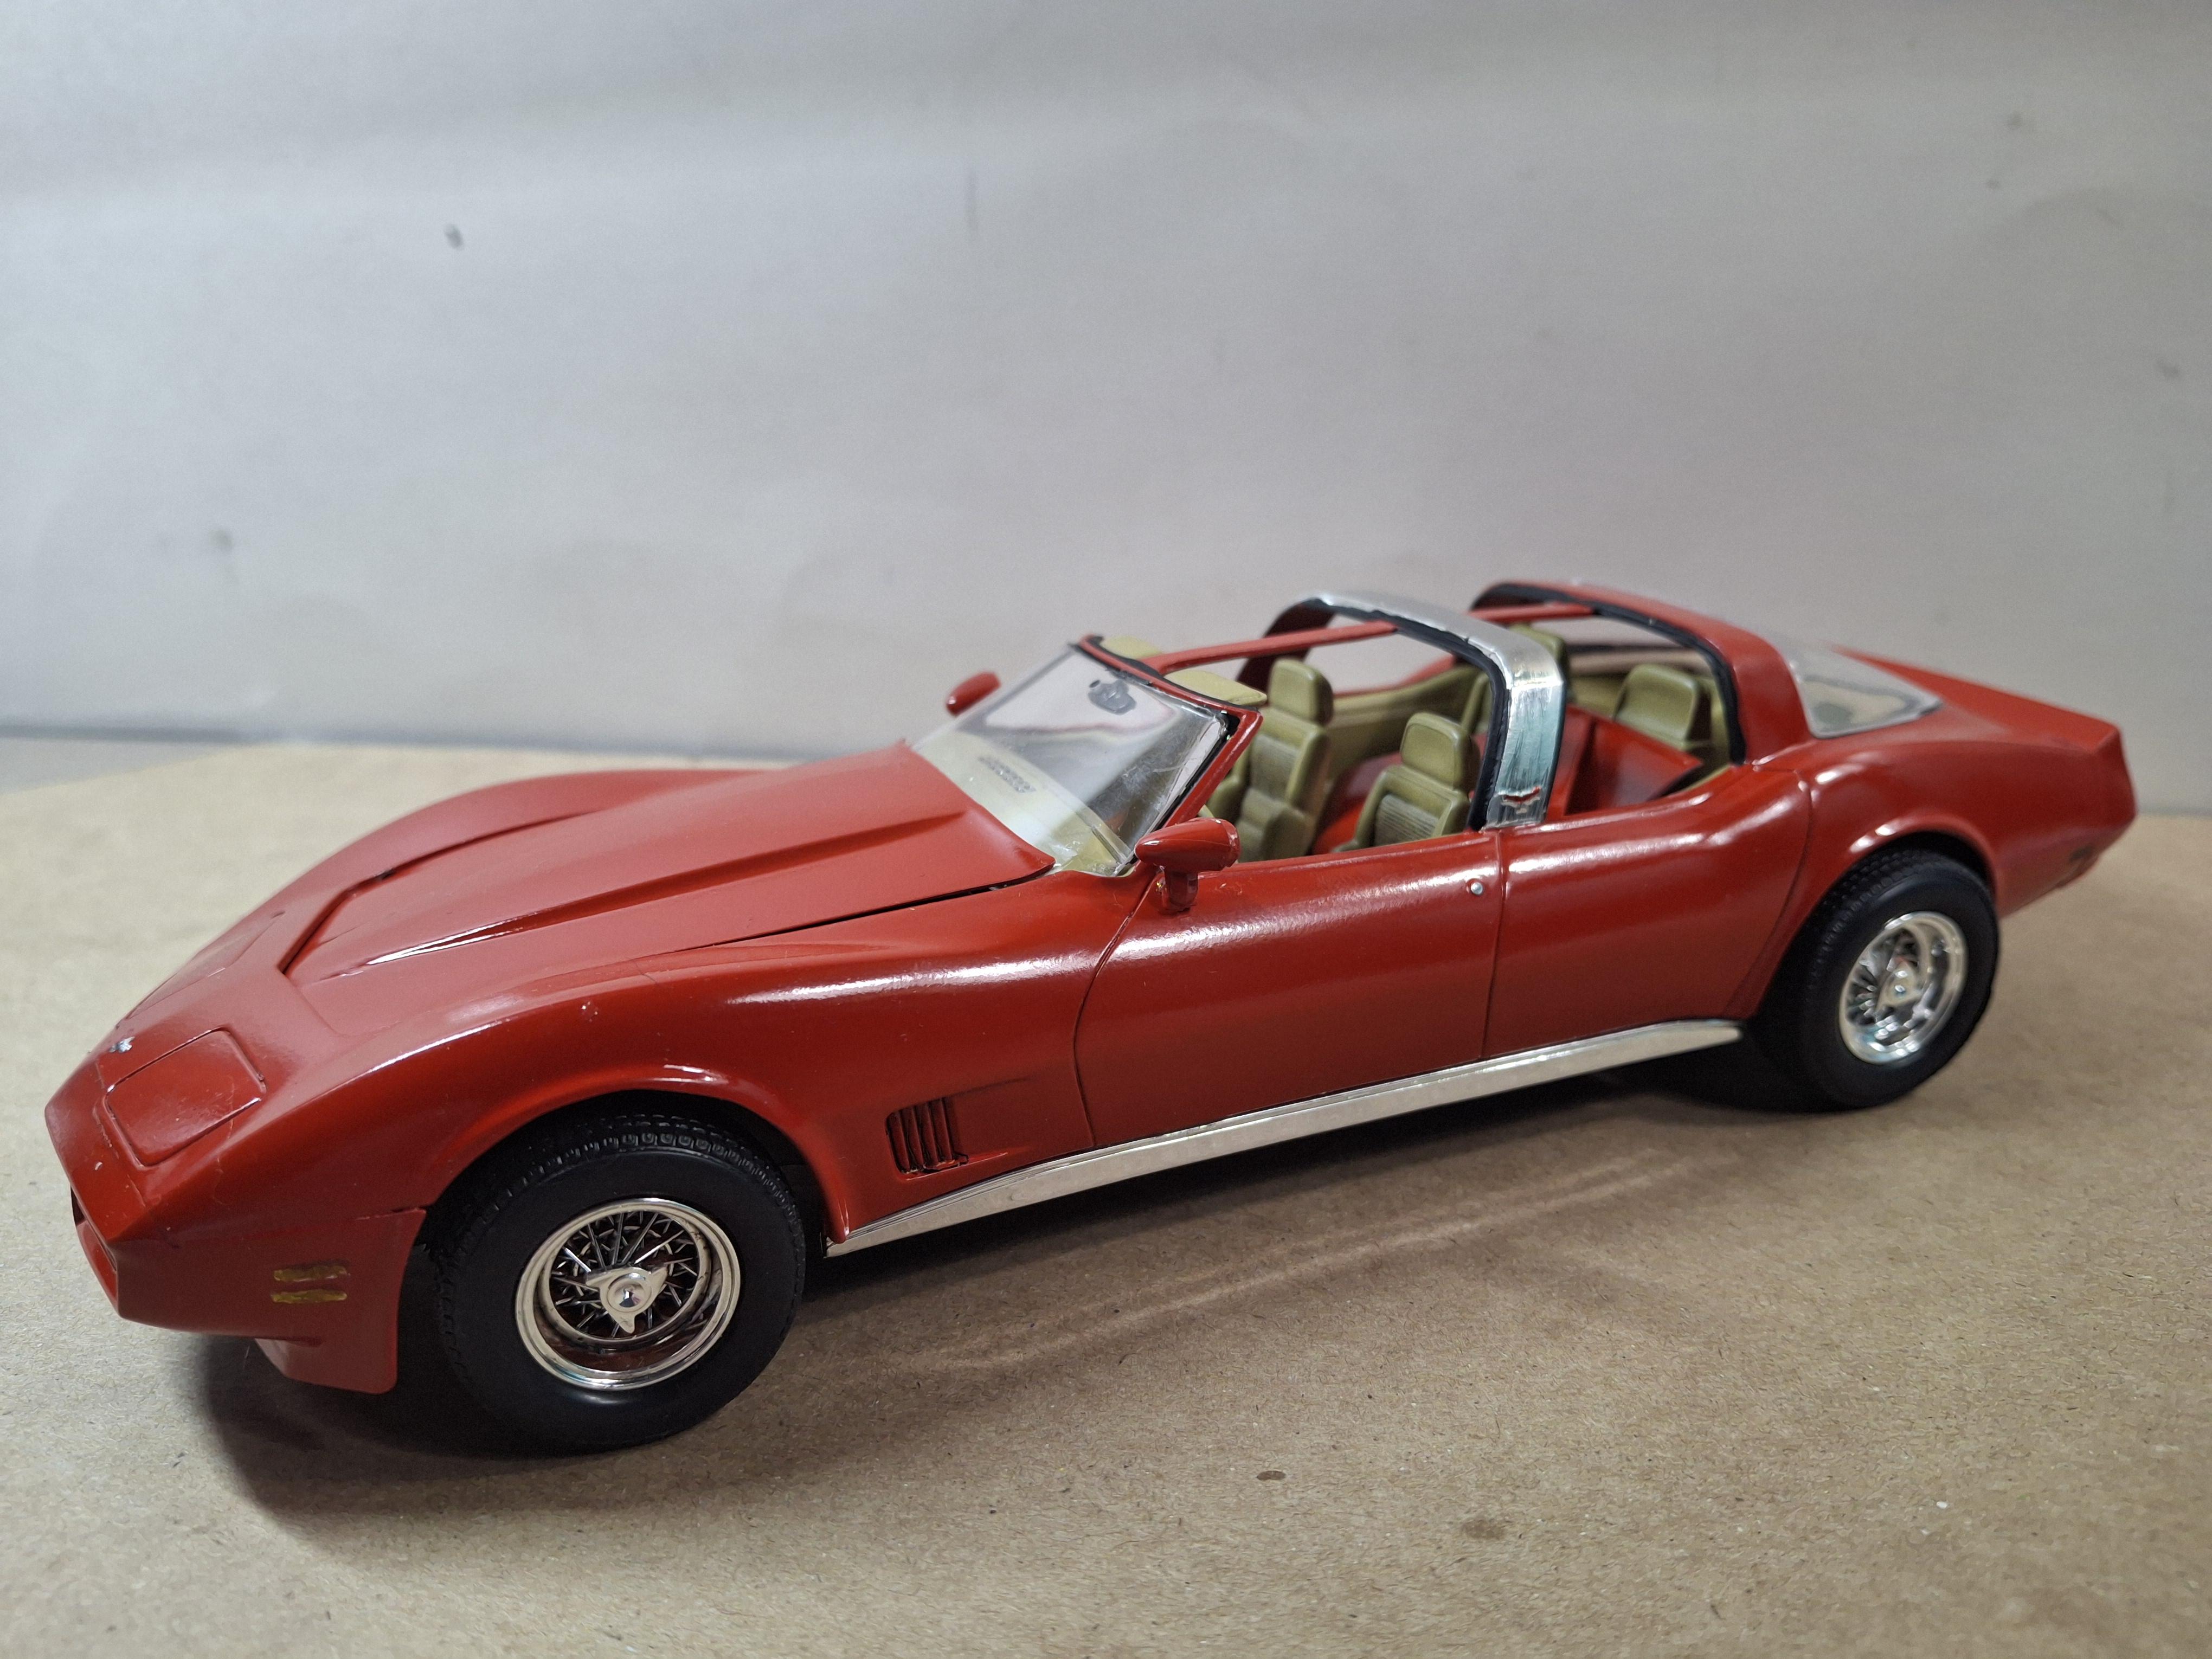
Monogram kit #2269 from 1980 the Corvette American, as far as I know it was only issued the one time. A Custom Coach company in California built these in the 70's early 80's. This kit a few fit issues but not really bad. The mirrors were switched out for the Alternomad Caprice mirrors as they looked better, otherwise built out of the box. The last pic is the real car.
- 10 replies
-
- 13
-

-
1940 Ice Cream Truck
BIGTRUCK replied to Nosferatu's topic in Model Trucks: Pickups, Vans, SUVs, Light Commercial
Really cool idea.. -
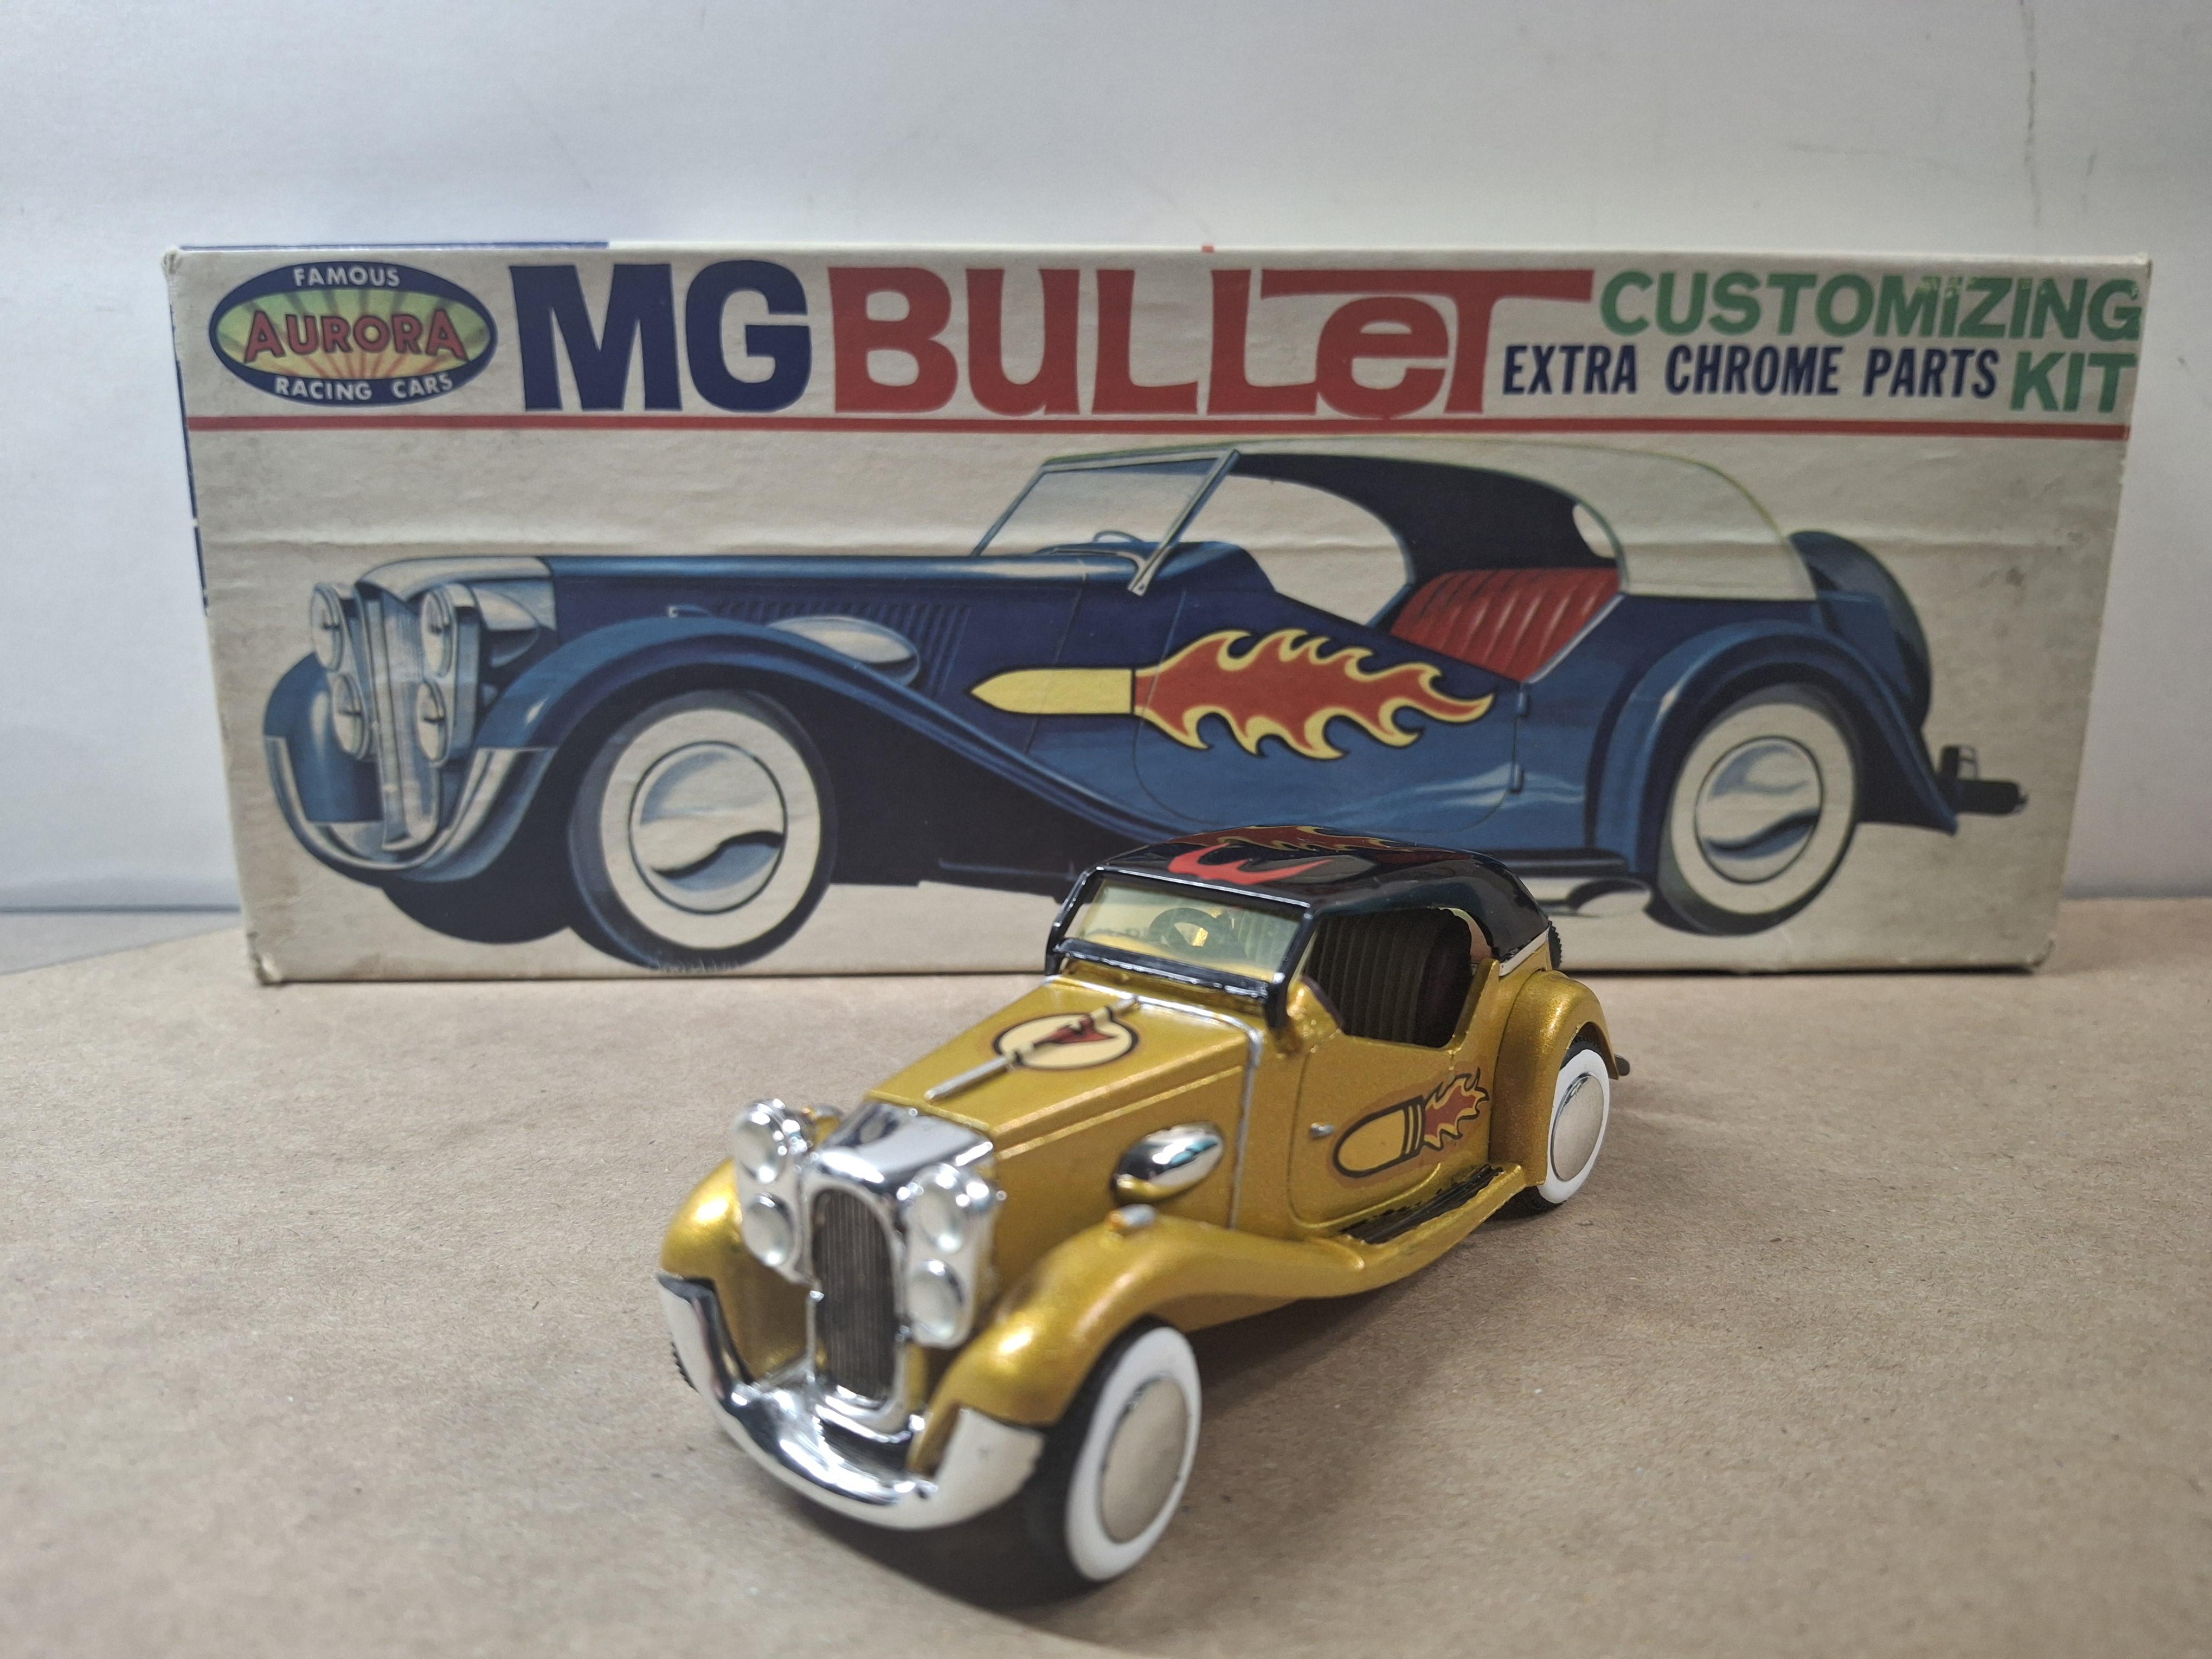
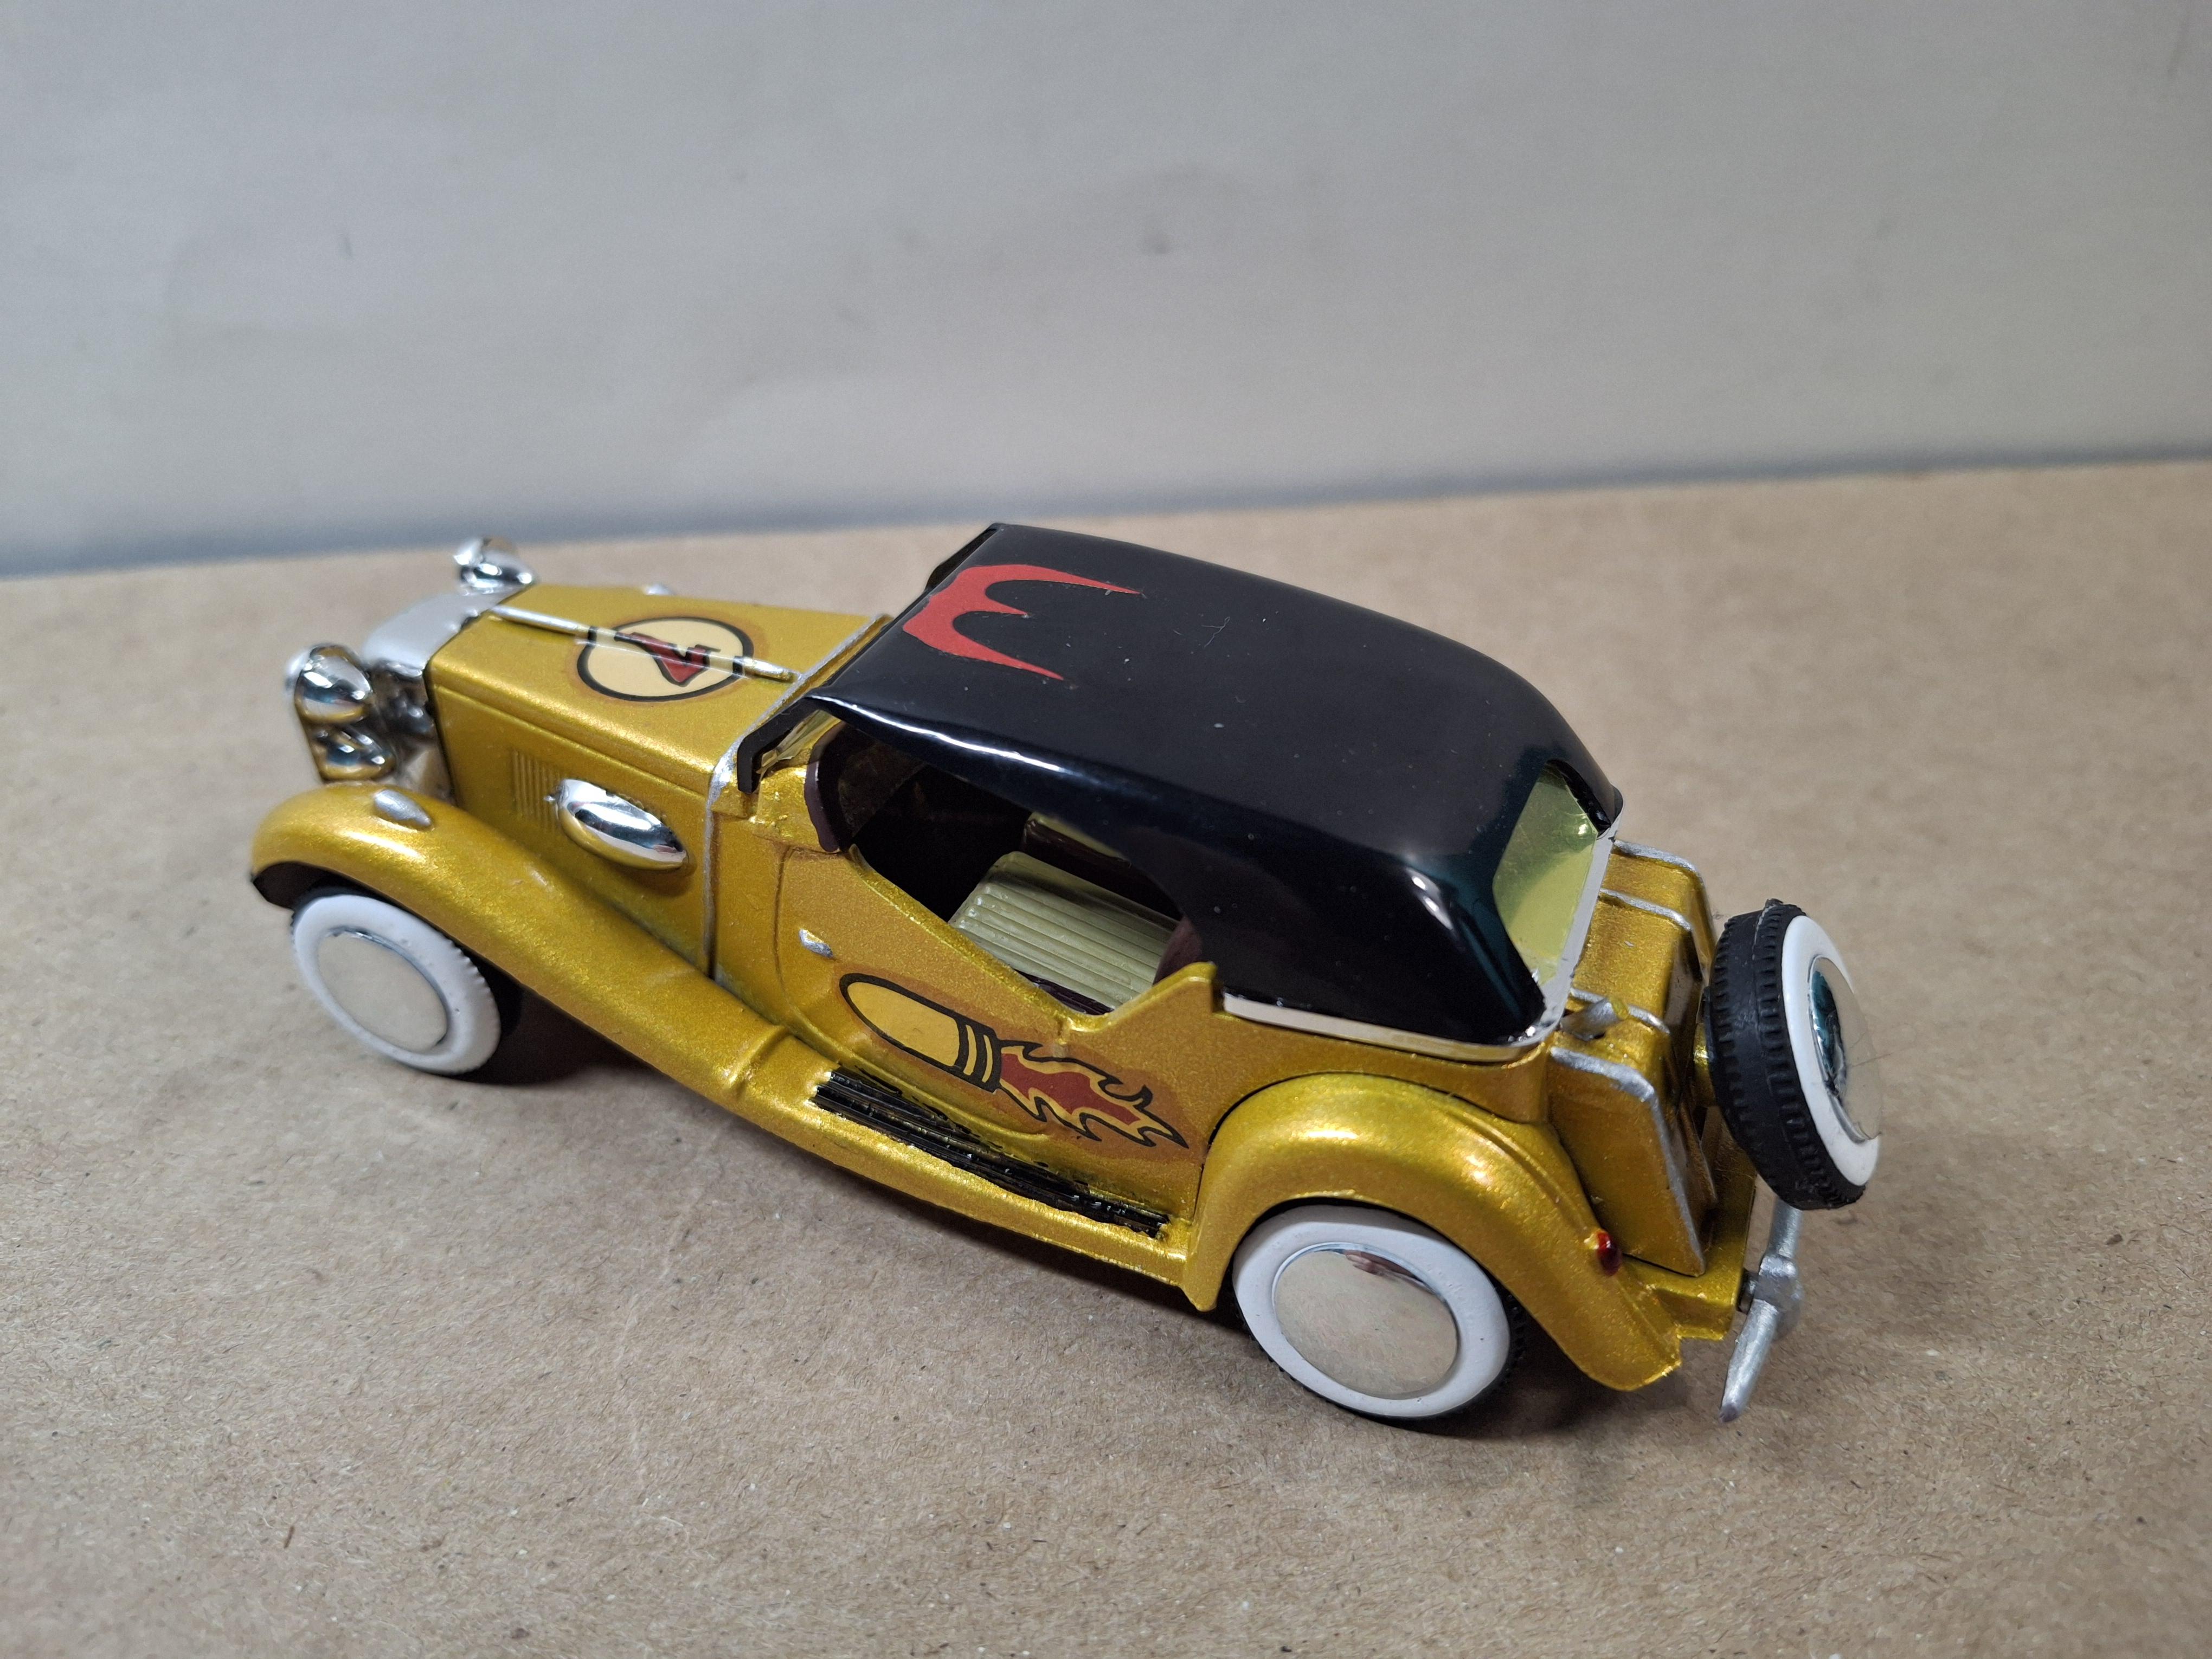
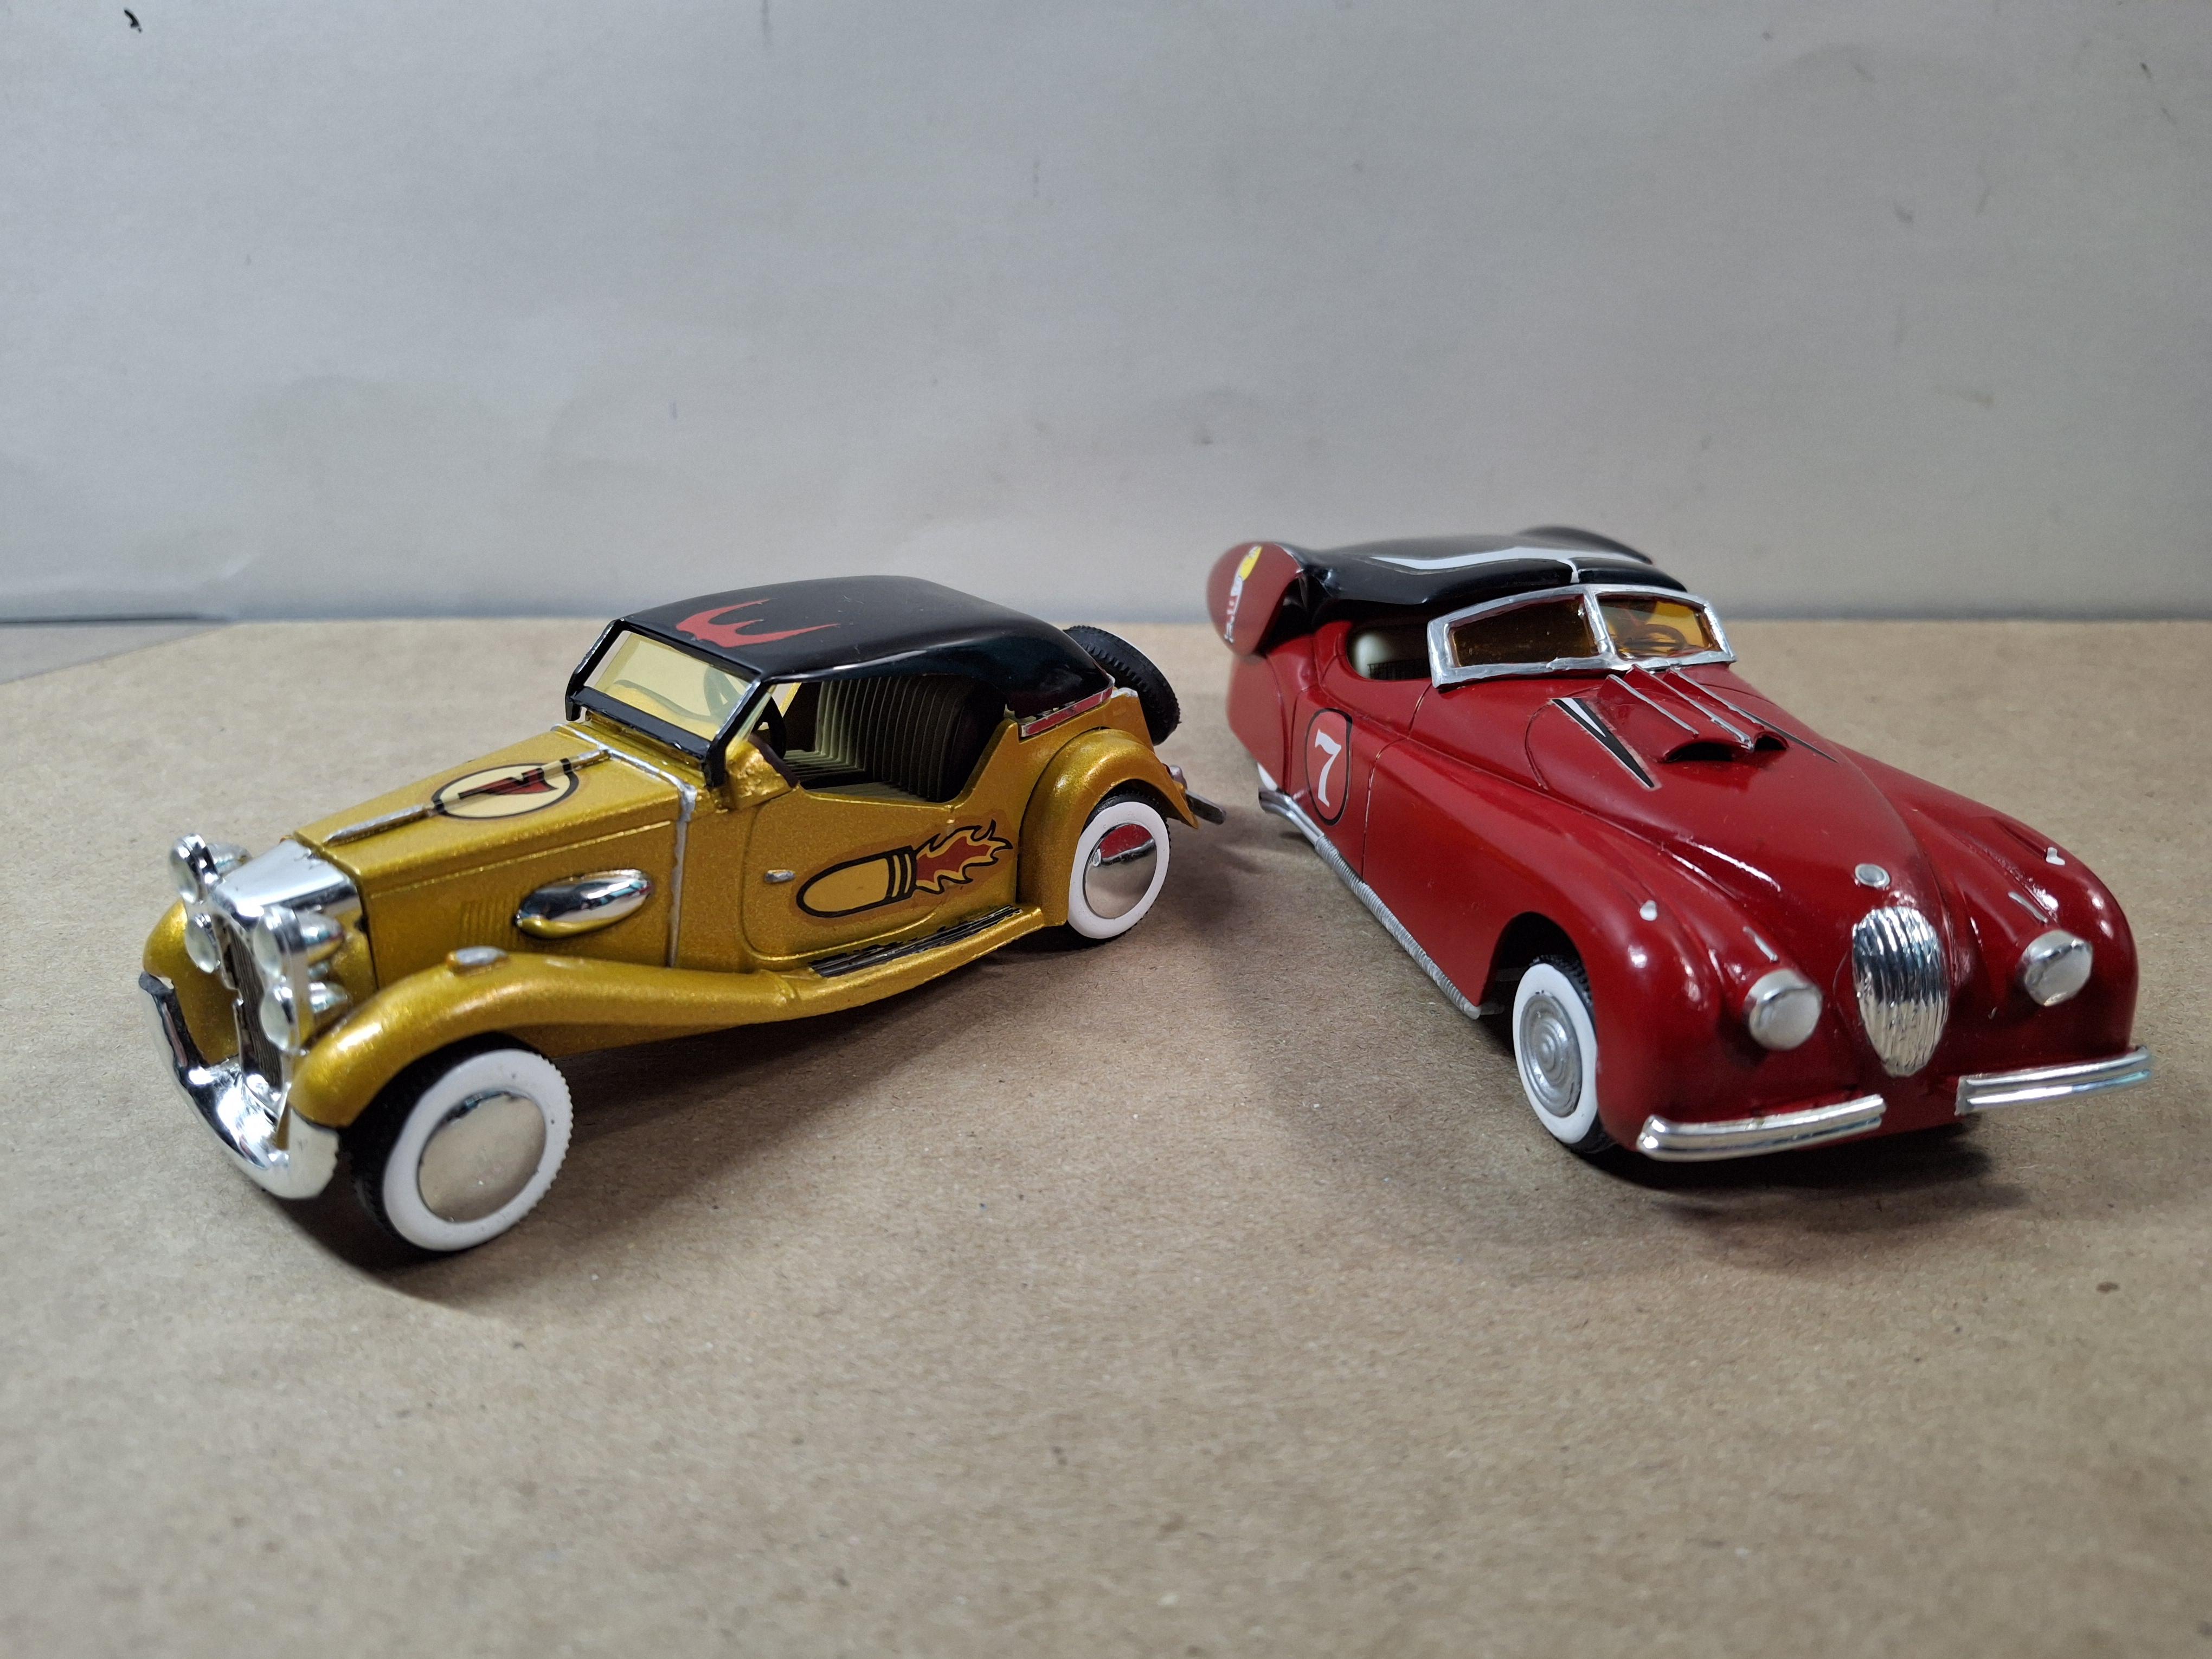
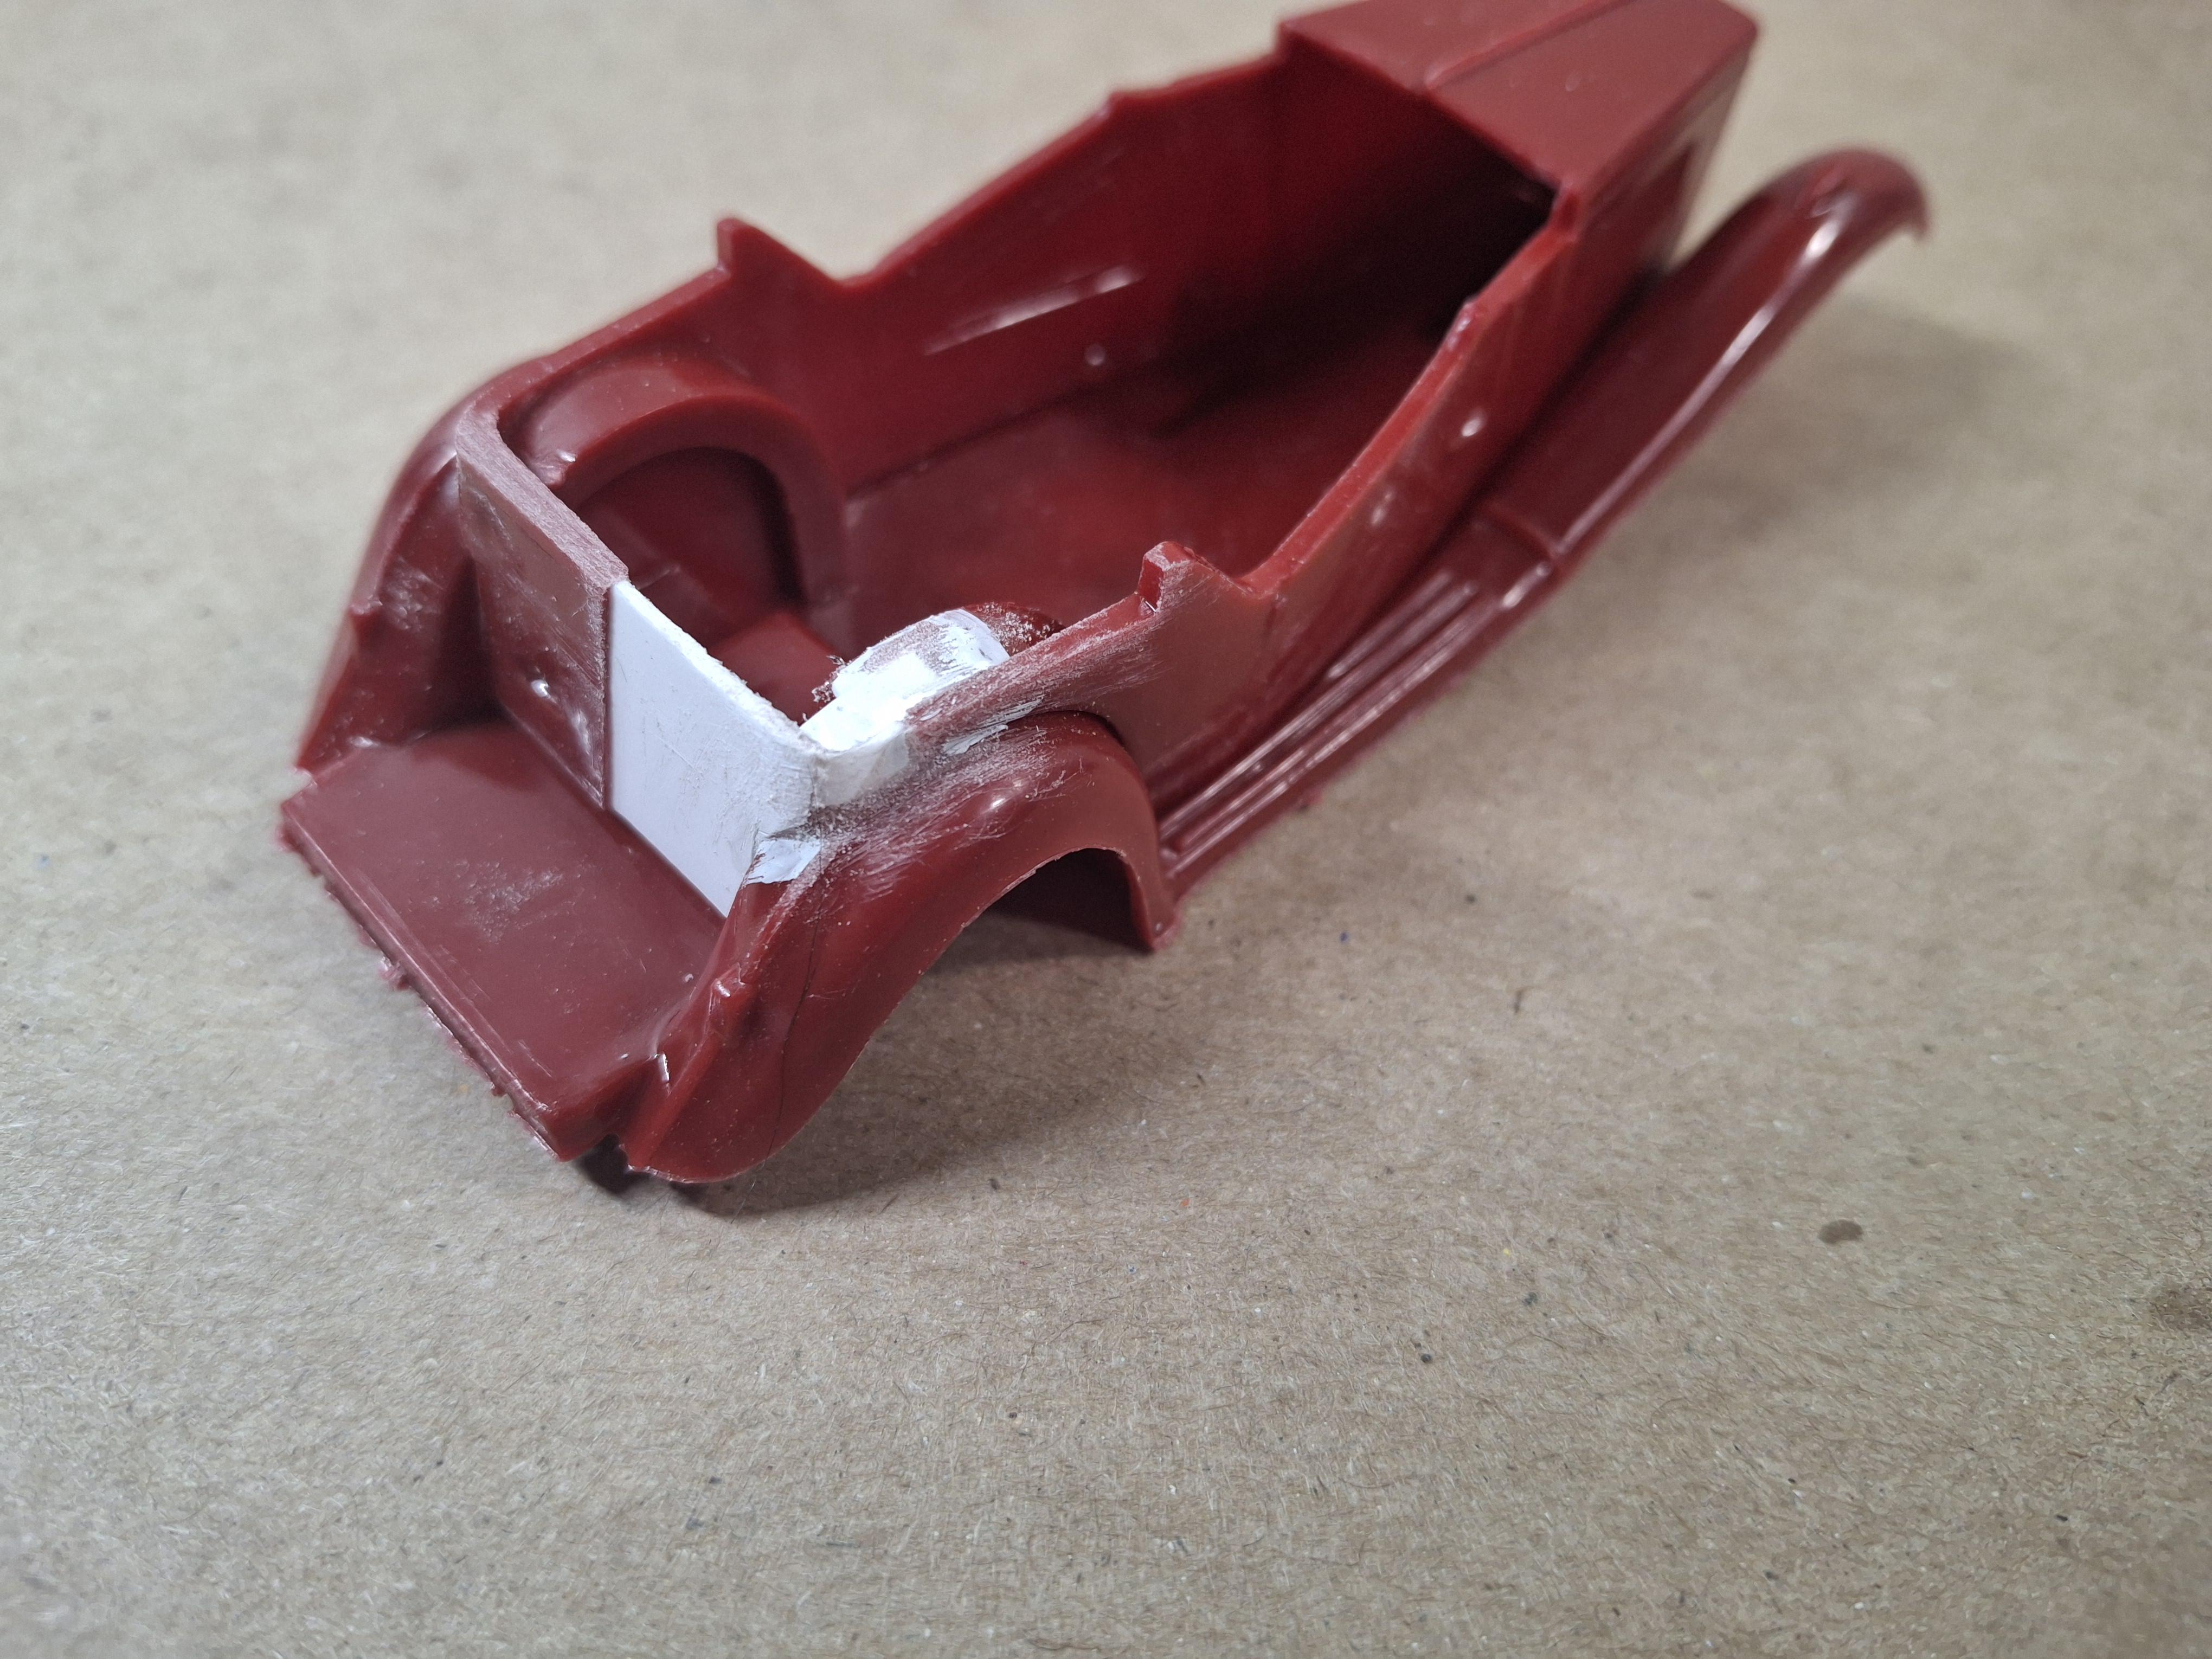
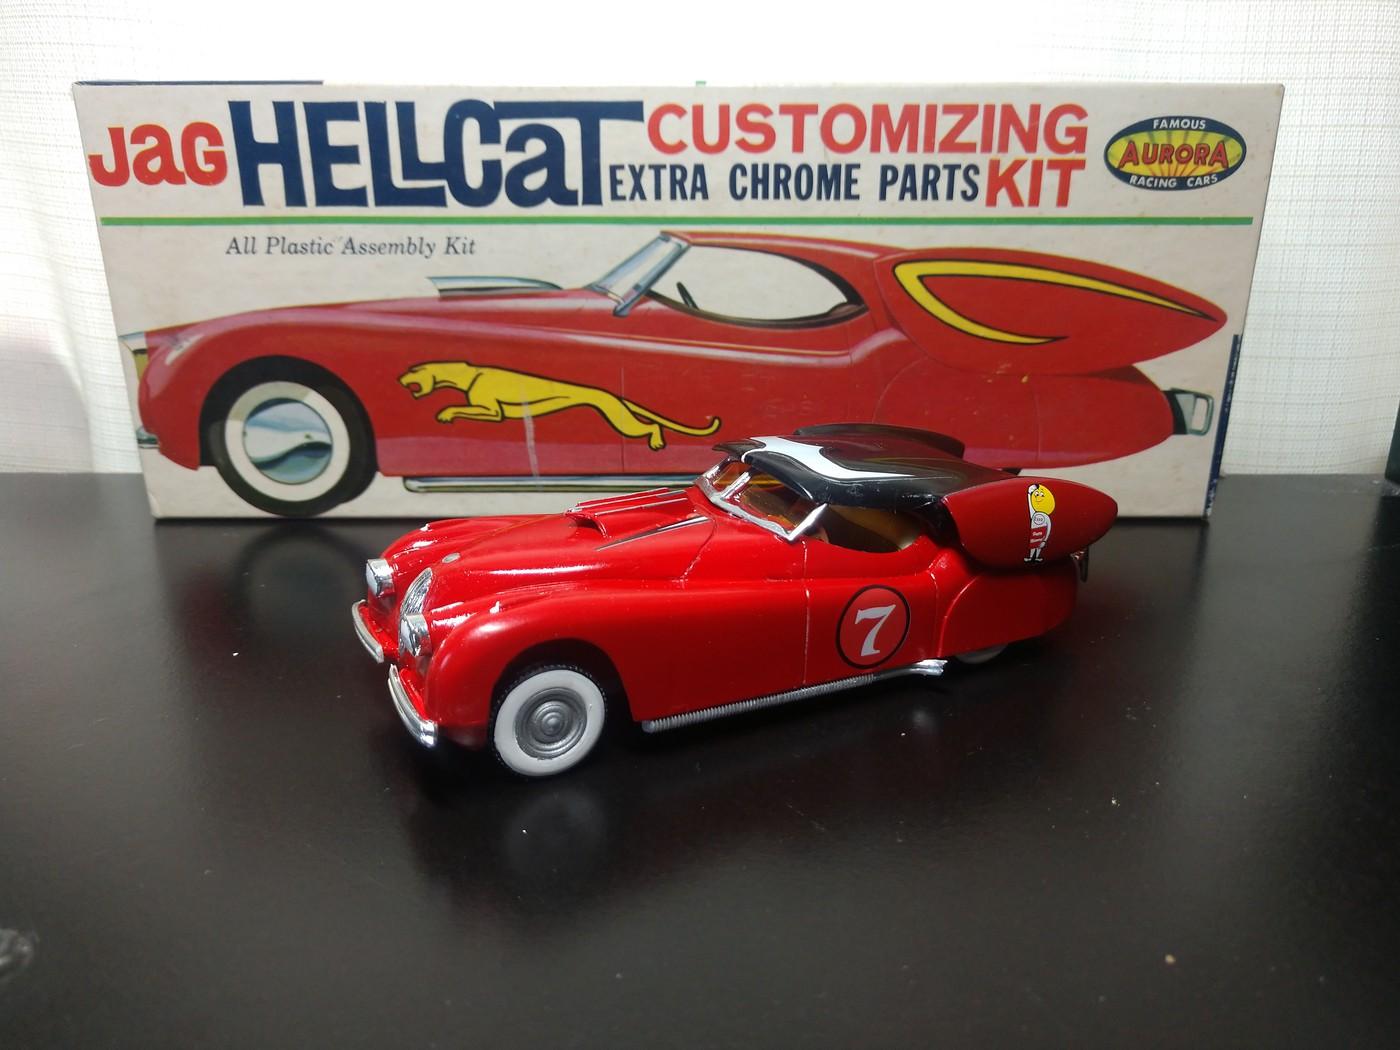
This 1/32nd MG was a 2'n 1 and I chose the custom version. The crazy front end needed some body trimming in order for the grille and smile style bumper to fit. Headlights were rough to install, no location to mount. A dab of CA with zip kicker and a touch of epoxy once set. The roof was the other custom item, I made a front and rear glass for it. Two chrome superchargers on the hood sides and chrome cover under the back of the roof replaces the convertible boot. The decals were a real surprise , I used hotter water than usual and had to peel the decal off the backing but it stayed together perfectly. I used Micro sol & Micro set and it worked fine. The Bullet decals help this 60's oddball make sense.I wish they would have done the custom roof windshield frame a little better,it looks kind of odd. Only non kit item was the one red roof decal. It now sits next to the Aurora Jag Hellcat with all the other 1/32nd scale oddballs.
-
I have 2 of these and will get one done one day. Yours came out really good. Any fit or warp issues?
-
Really a great looking model.
-
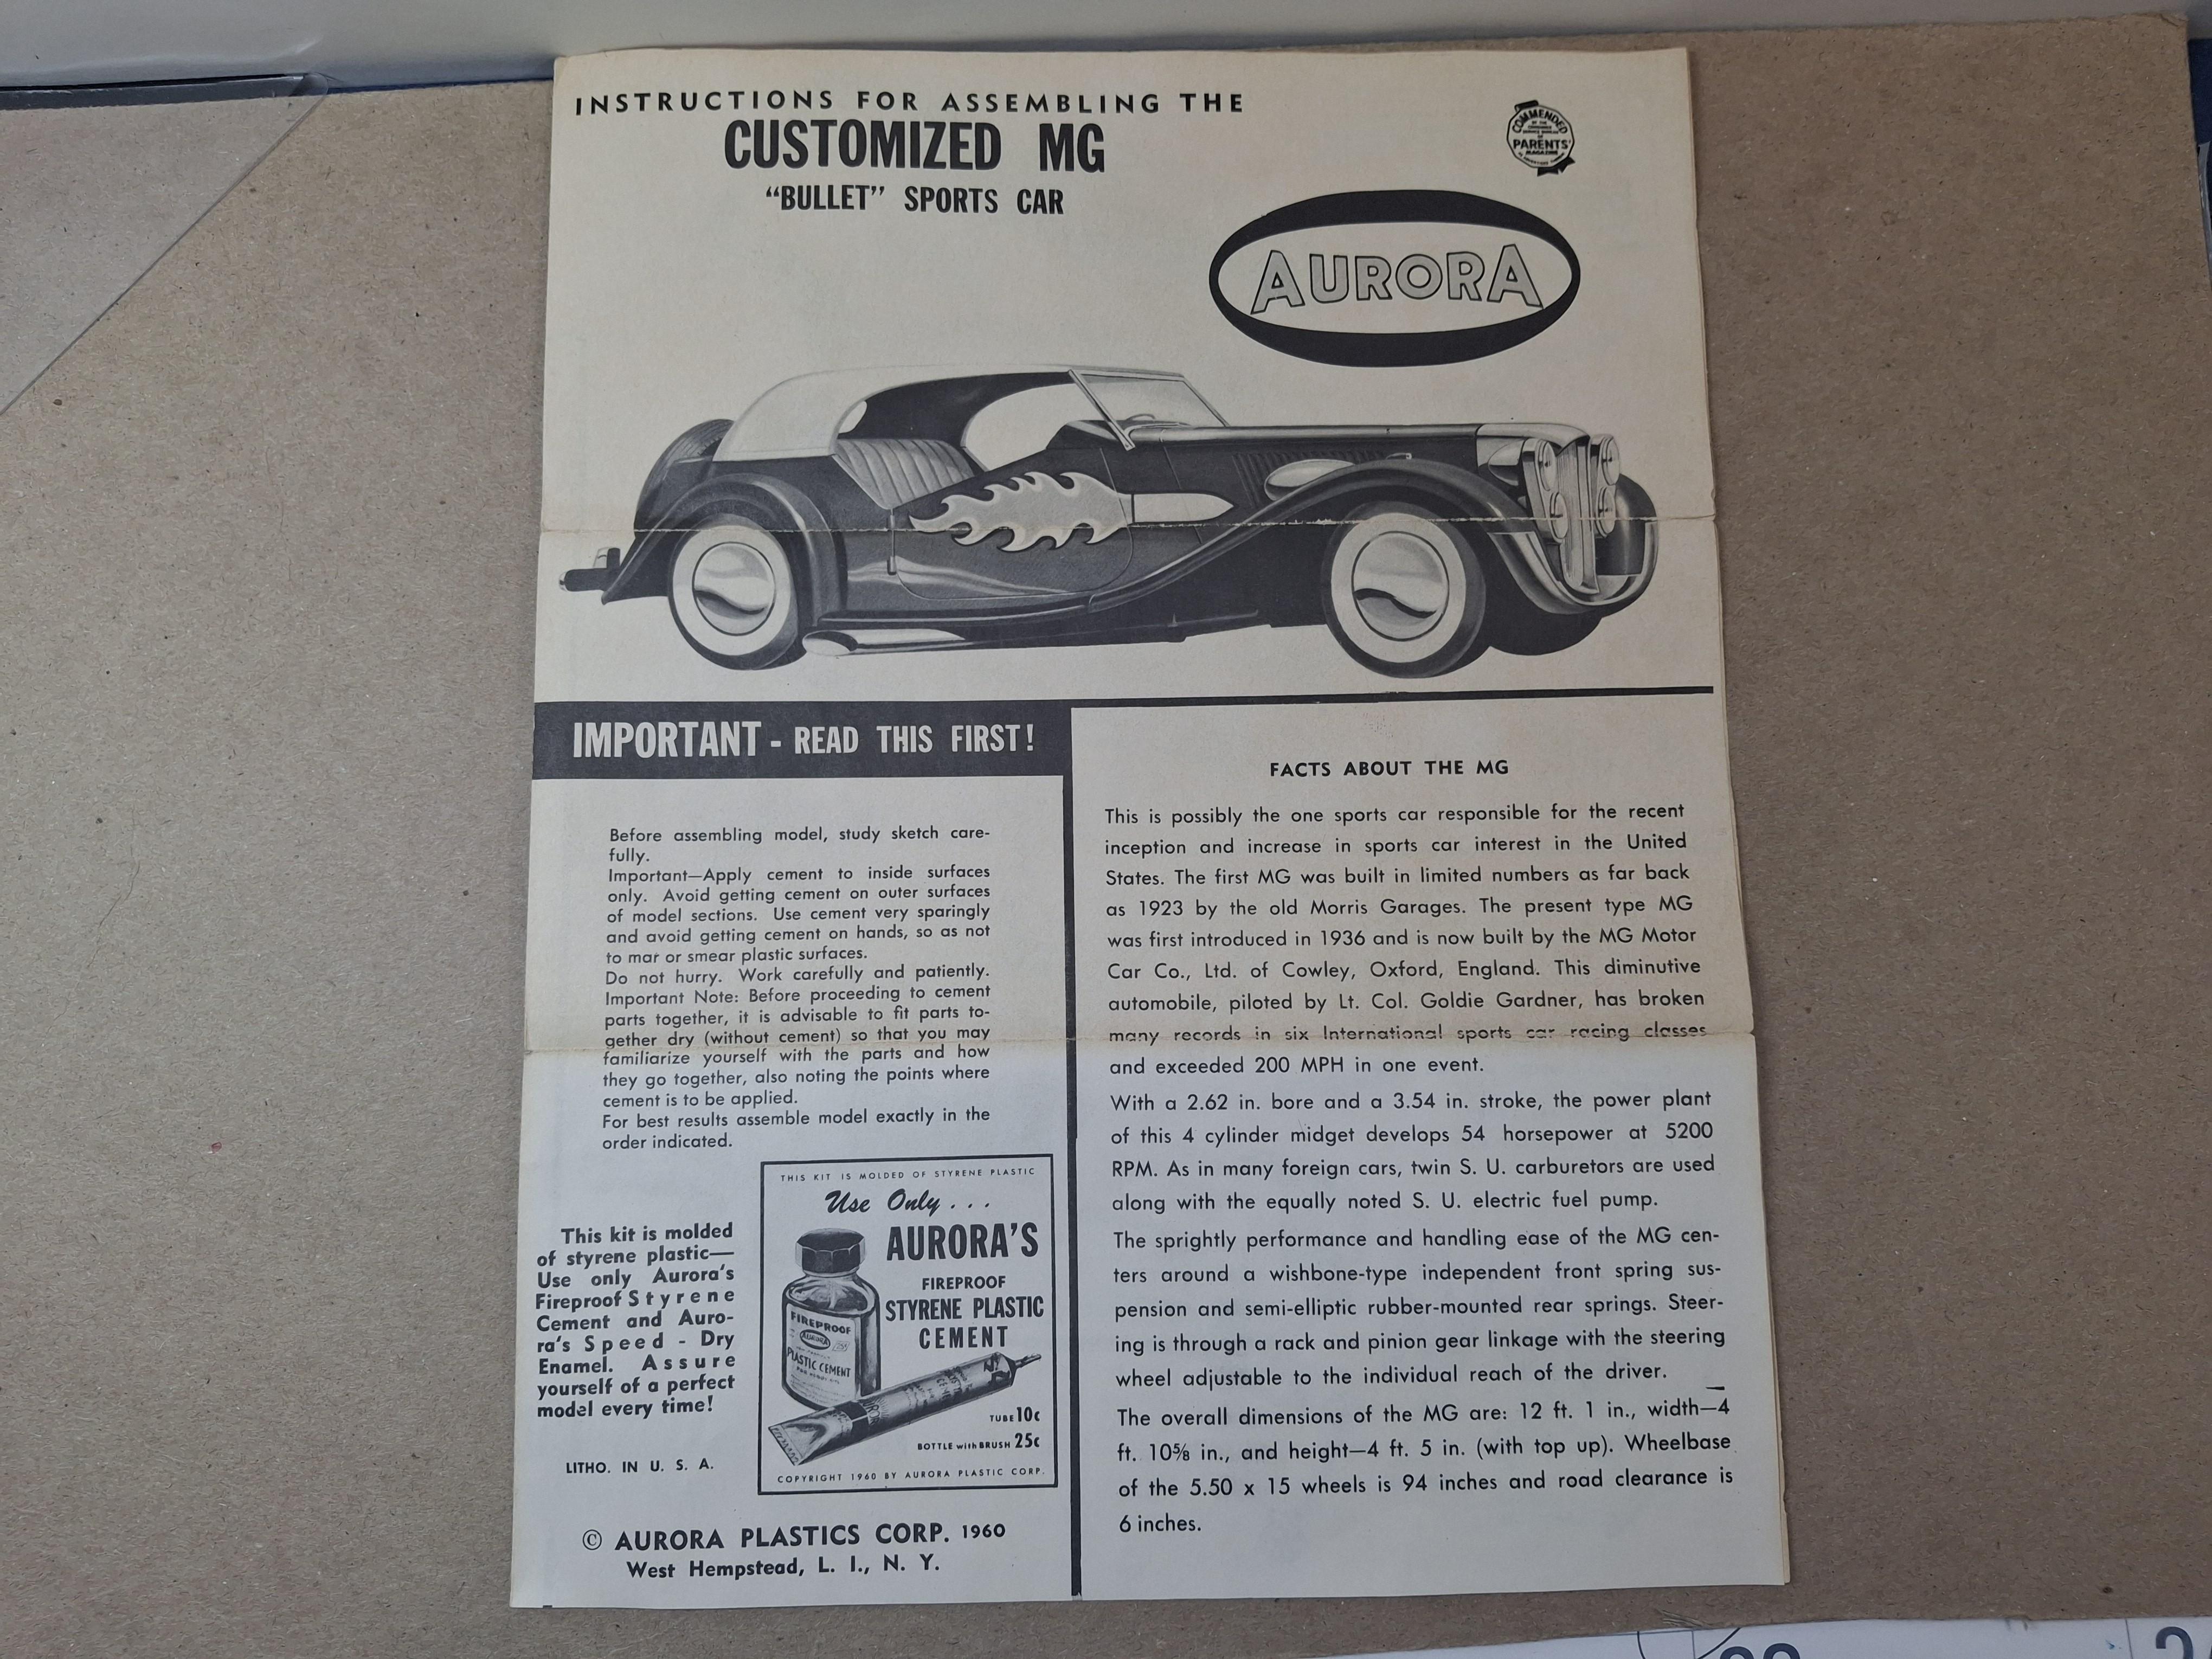
Not very many may remember the series Aurora did turning the stock kit into a 2 in 1 by adding custom parts in 1960. I saw the Cunningham turned into a fastback called the Phantom, I built the Jag XJ Hellcat and now Im building the MG Bullet. I bought this kit mint in the box years ago pretty cheap because the right rear body had a chuck missing but looked like an easy fix and it was..anything white is the repair. The picture with the two rows of parts are the top row stock parts and bottkm rom are the custom parts. It does have a chrome front axle not pictured. Kit came with 2 sets of decals that I will try to use , but that may be wishful thinking. Its always neat to see the small ads in the instructions.
-
1/32 Airfix 1933 Alfa Romeo
BIGTRUCK replied to Gluebomber's topic in Other Racing: Road Racing, Salt Flat Racers
Nicely done getting all that detail in 1/32 scale -
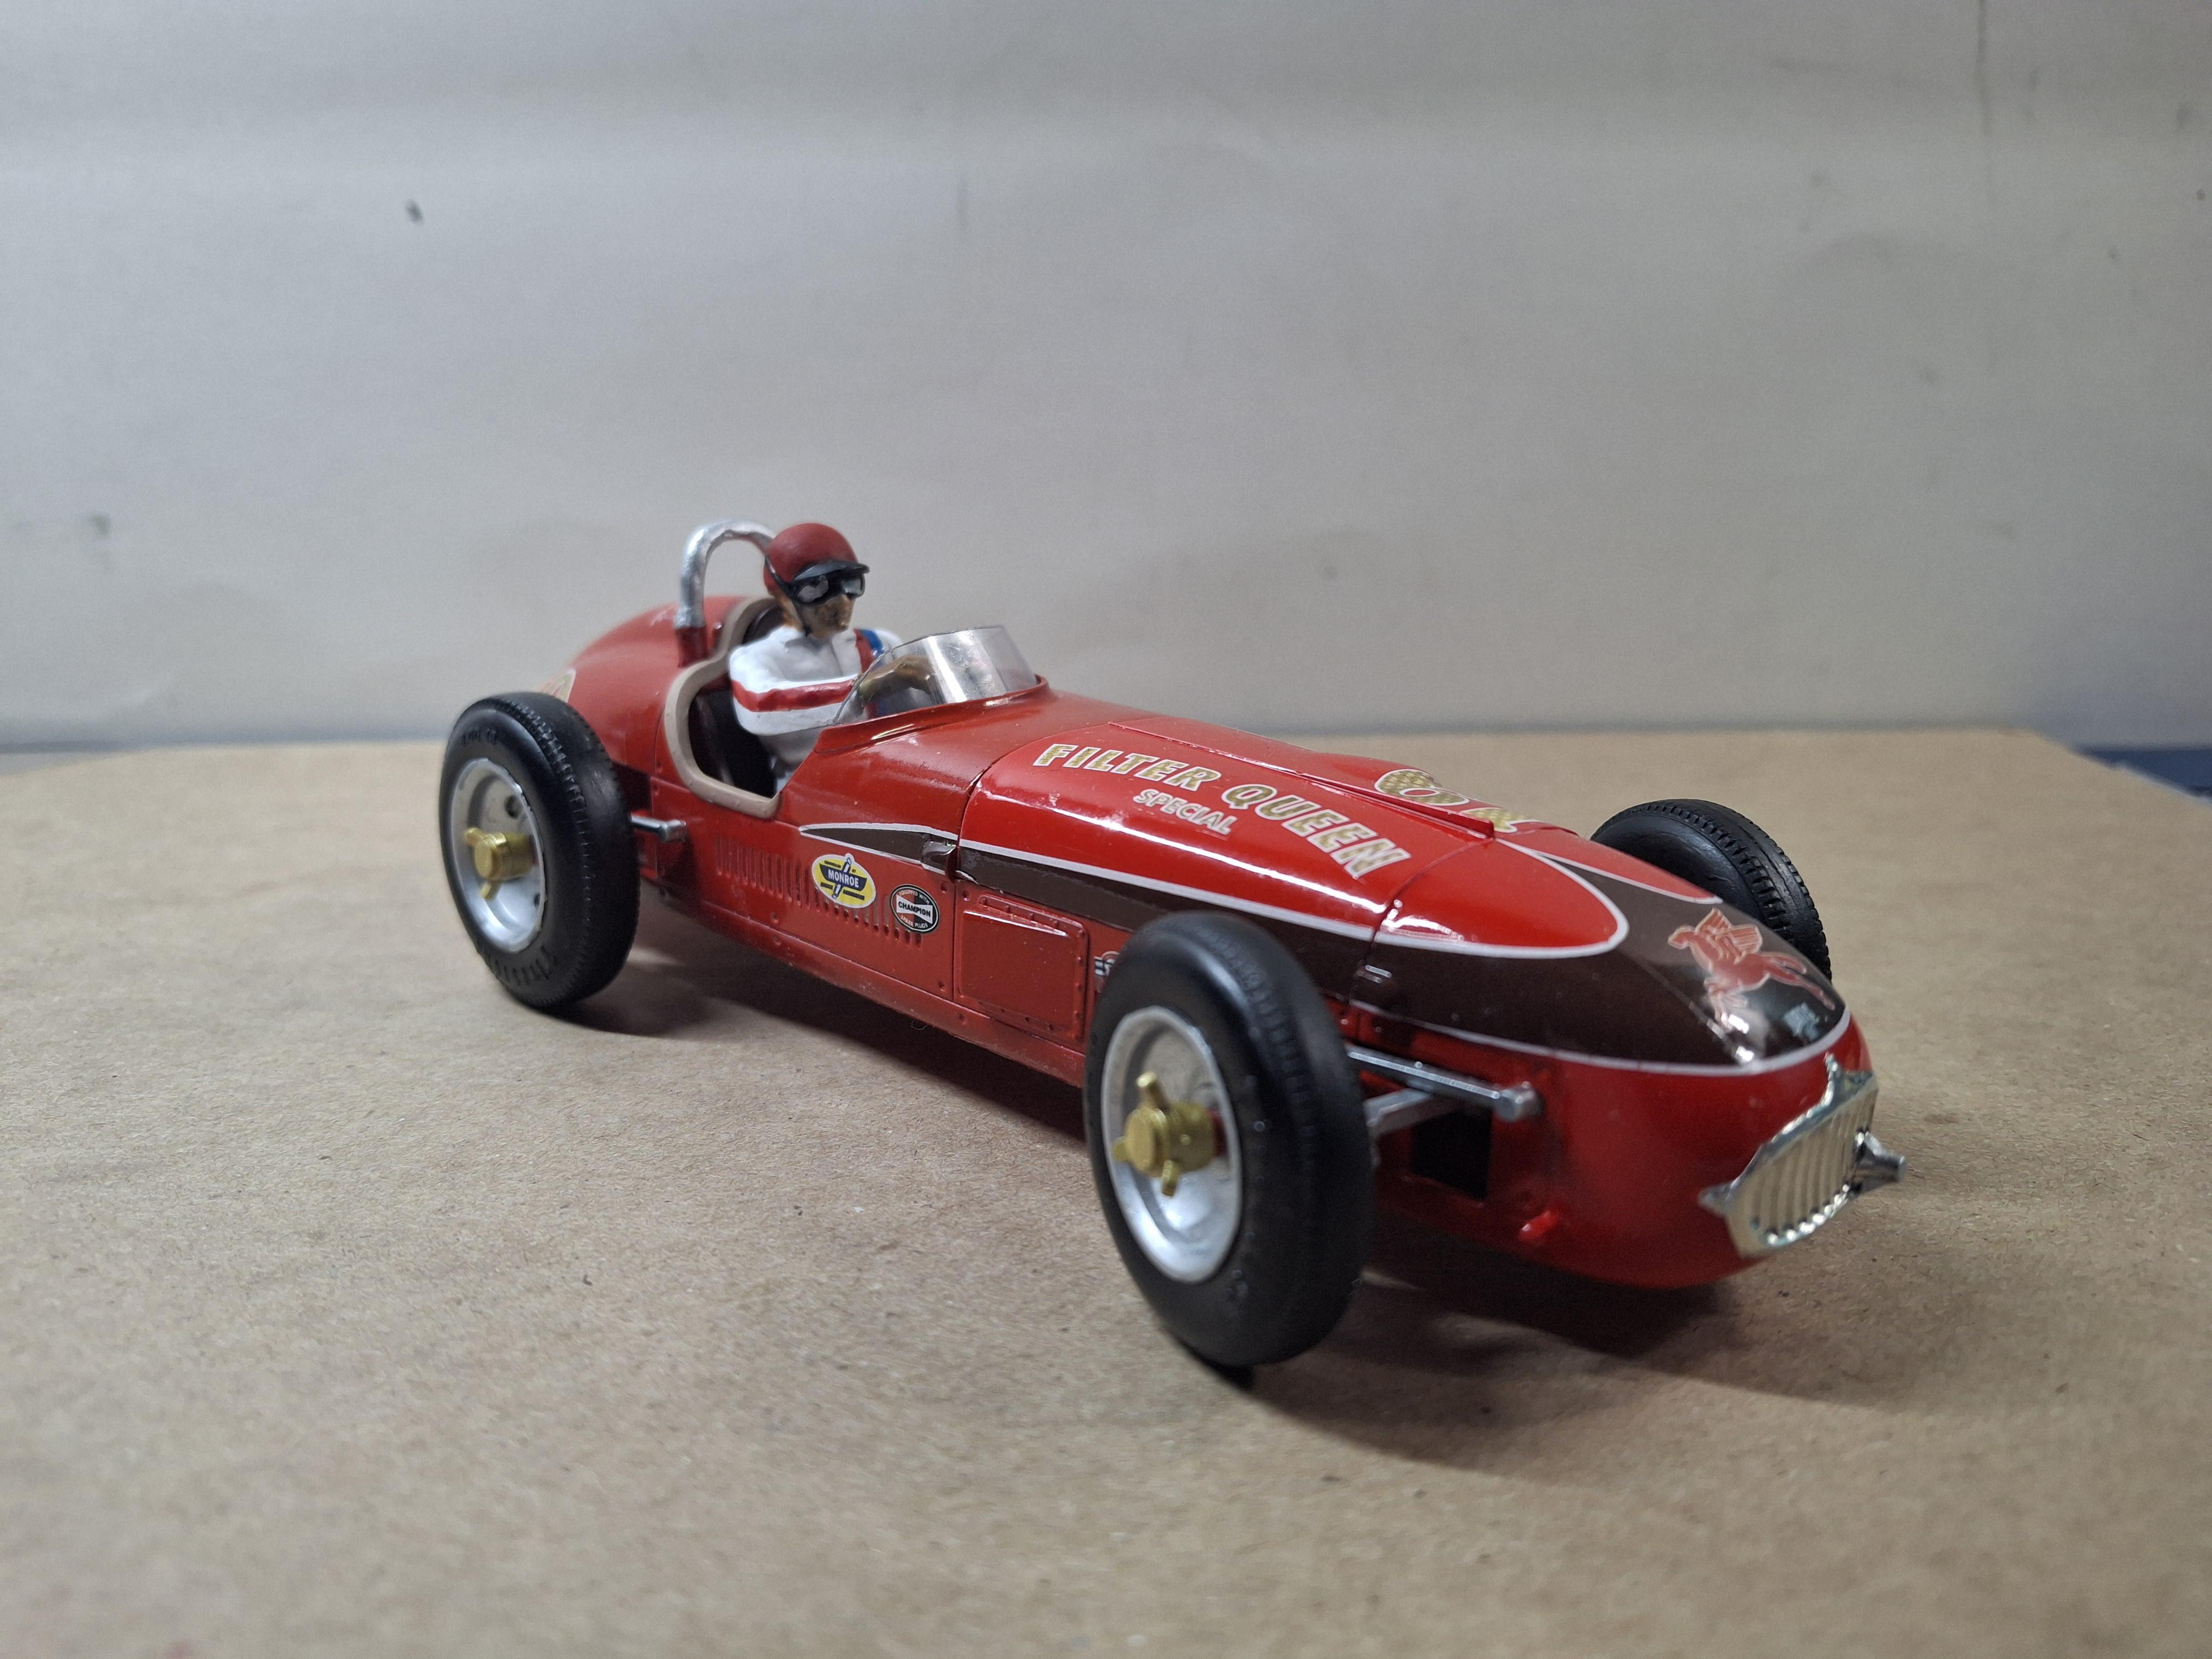
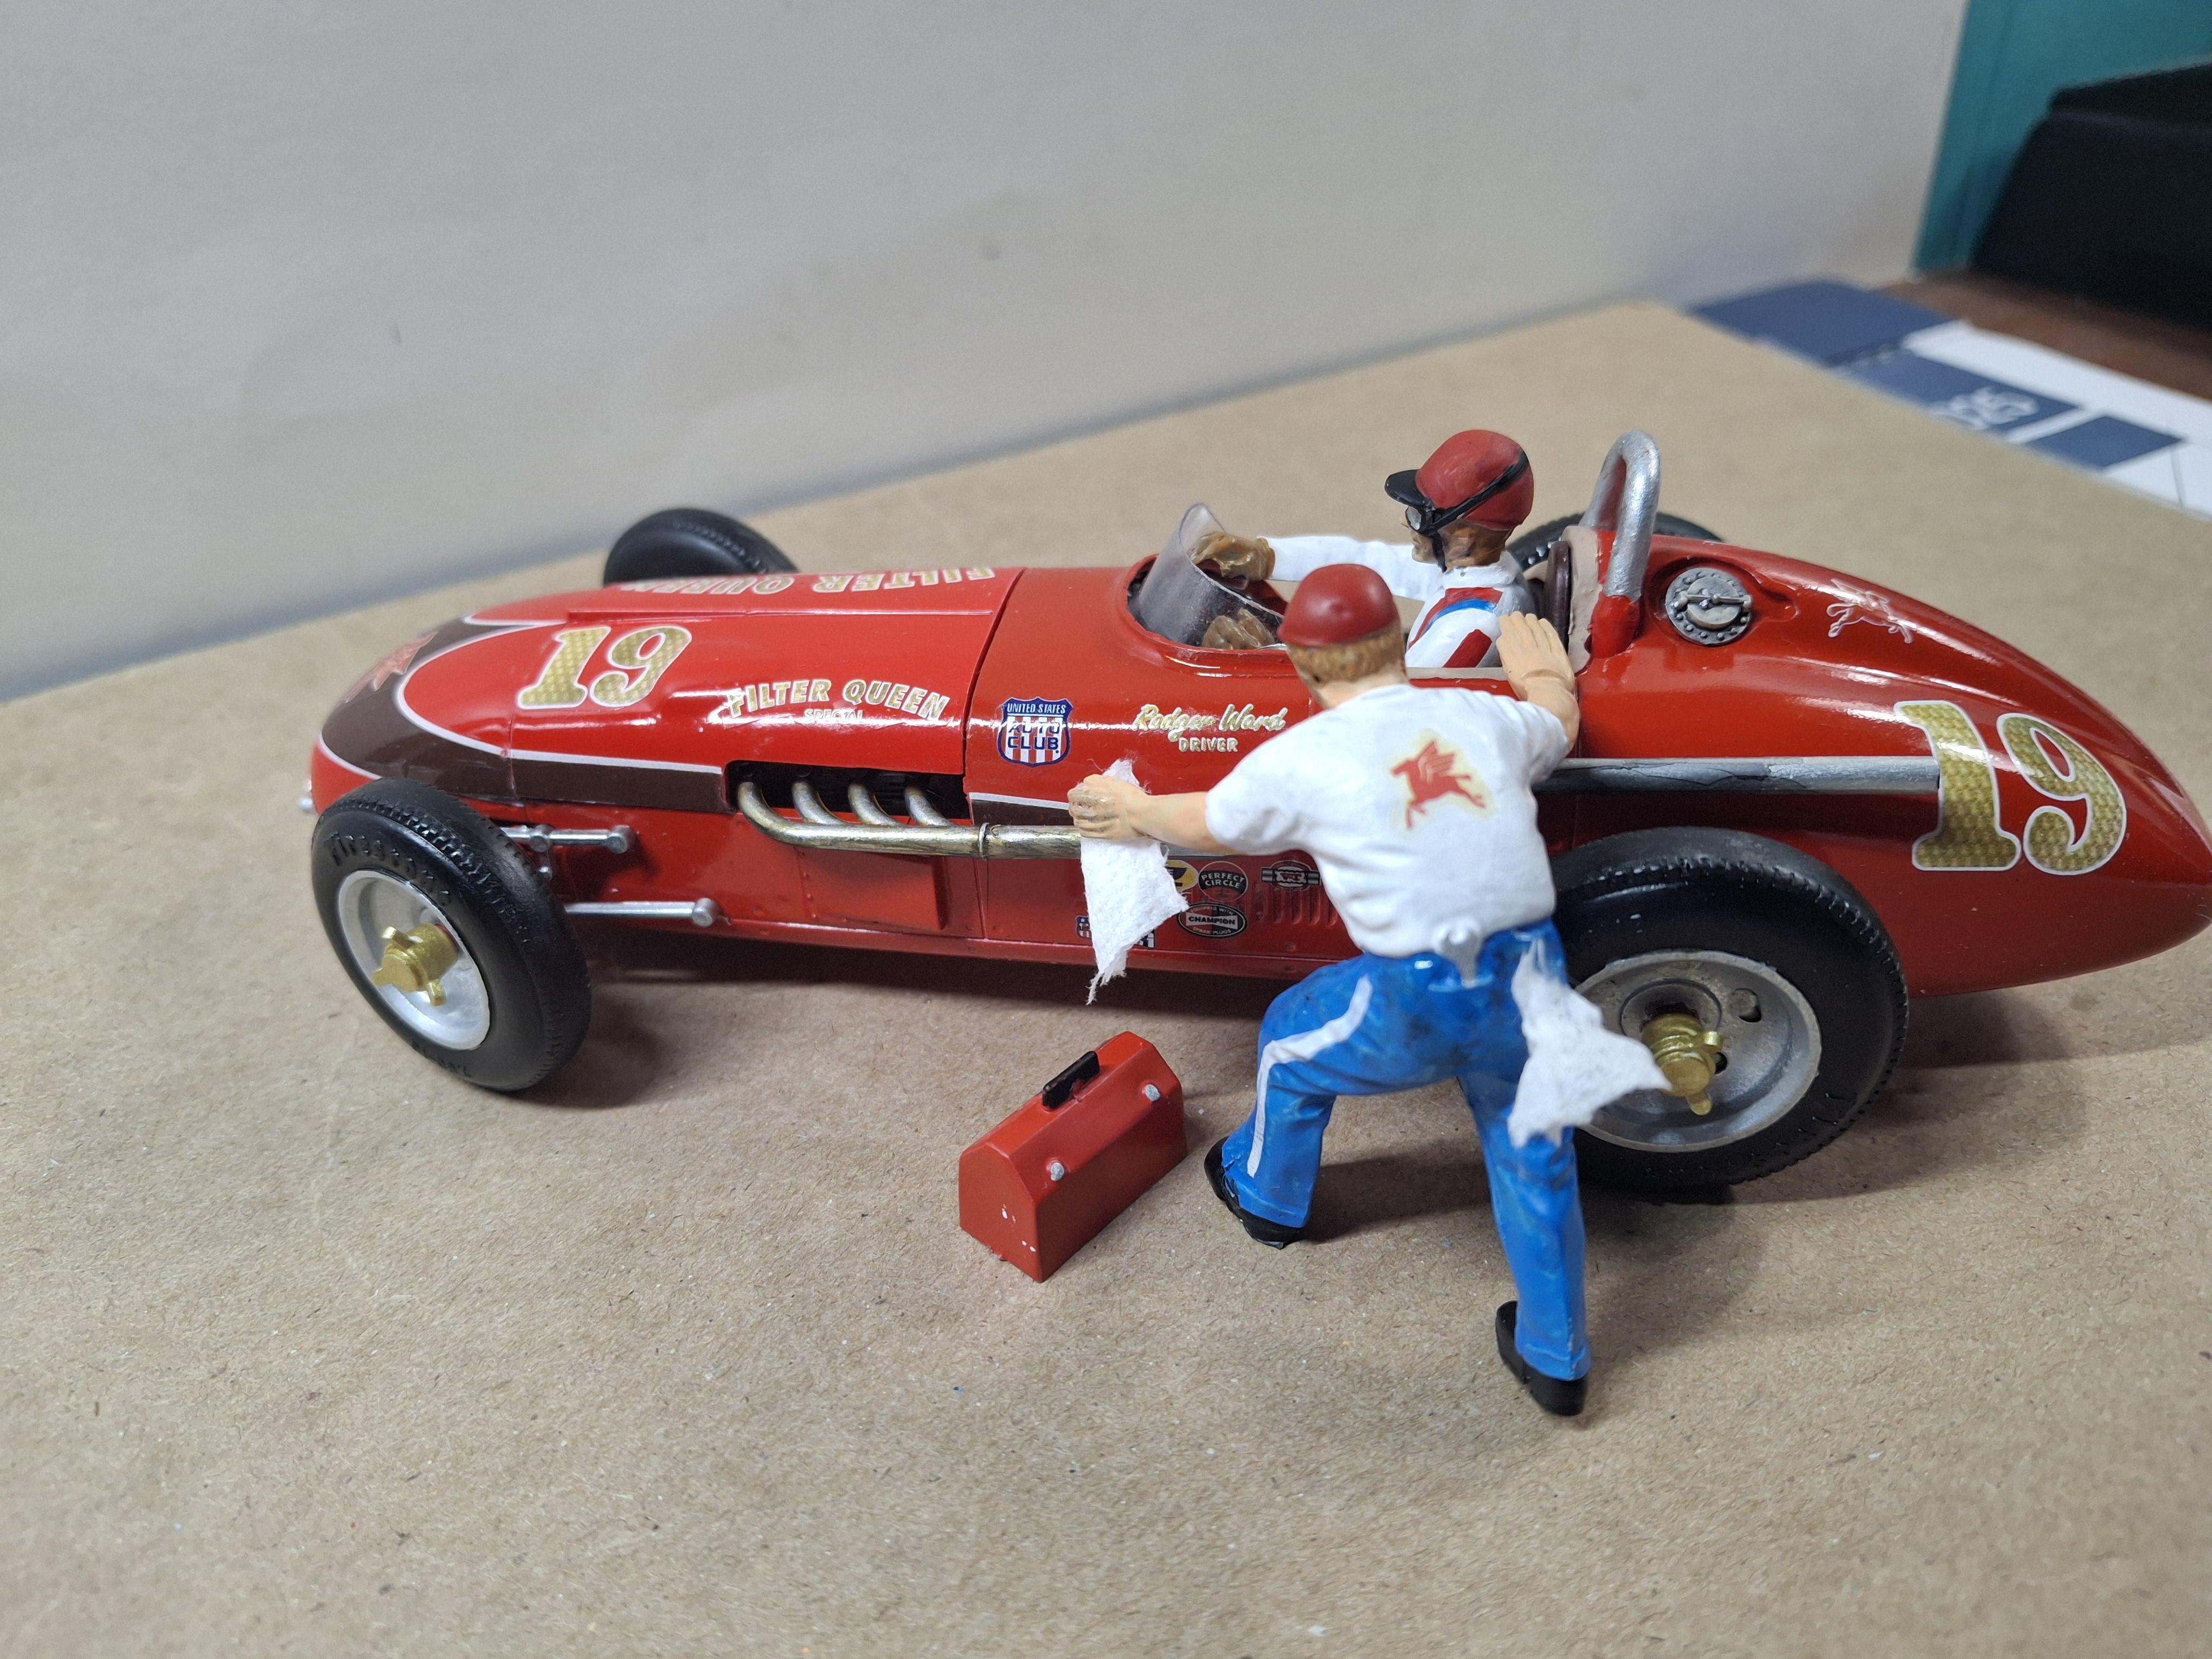
Another kit from yester-year is this Indy car by Monogram with steerable wheels,driver and mechanic with tool box. Decals are from Indycals to make this the 1956 Filter Queen car with Roger Ward as driver. They were out of stock on the tire set so I just went with what I had. Making and getting the glass to fit is an issue as well as getting the driver and steering wheel to fit in together. Its not an exact replica but Im having fun building these older kits.
- 16 replies
-
- 14
-
-
Monogram early Indy car
BIGTRUCK replied to BIGTRUCK's topic in WIP: Other Racing: Road Racing, Land Speed Racers
In paint and Indycals on...very cool product. The decals need to be cut close to the image and they work well with Micro-sol. and if its not trimmed tight to the image, no problem it blends in nice. On some reference images it has a roll bar, on others no roll bar. I elected the roll bar. Interior next. I forgot to say on the right side the body has a bump in front and behind the engine bay for the hood opening pins, these decals and the Micro- sol worked fine in this area.
-
Monogram early Indy car
BIGTRUCK replied to BIGTRUCK's topic in WIP: Other Racing: Road Racing, Land Speed Racers
Ordered new decals from Indycals but the nice tires/wheels are still out of stock so I will have to move on with what I have, kit parts. I chose the #19 FilterQueen Roger Ward ...should look great..thanks for the heads up on Indycals, I never heard of them so to me its another model accessory outlet.
-
Monogram early Indy car
BIGTRUCK replied to BIGTRUCK's topic in WIP: Other Racing: Road Racing, Land Speed Racers
I had a sheet of thicker clear plastic and left out the notch.