Search the Community
Showing results for tags 'Dodge'.
-
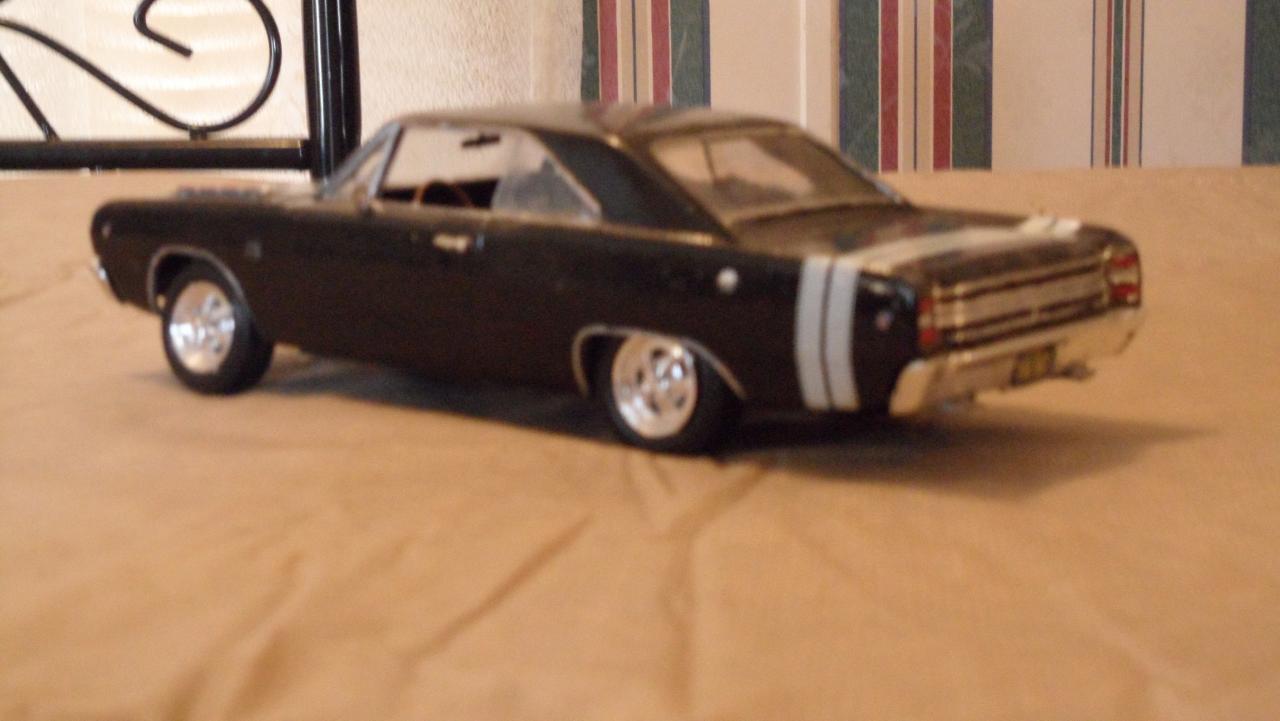
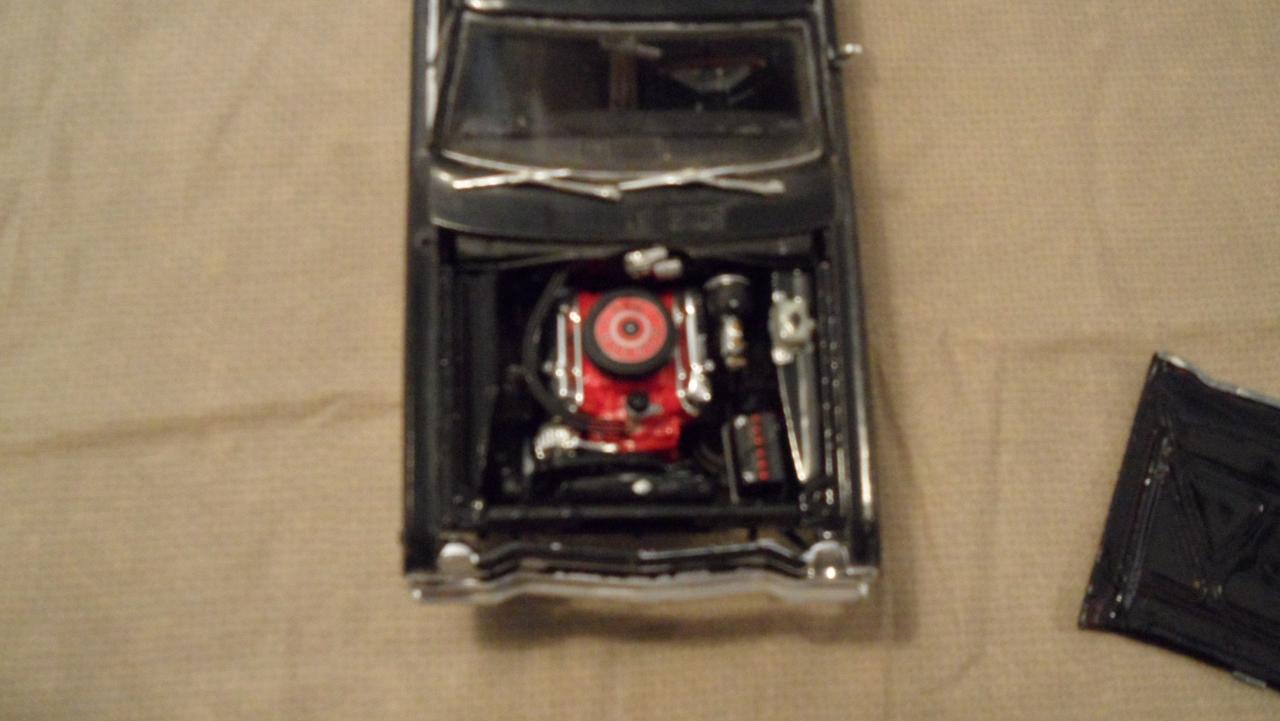
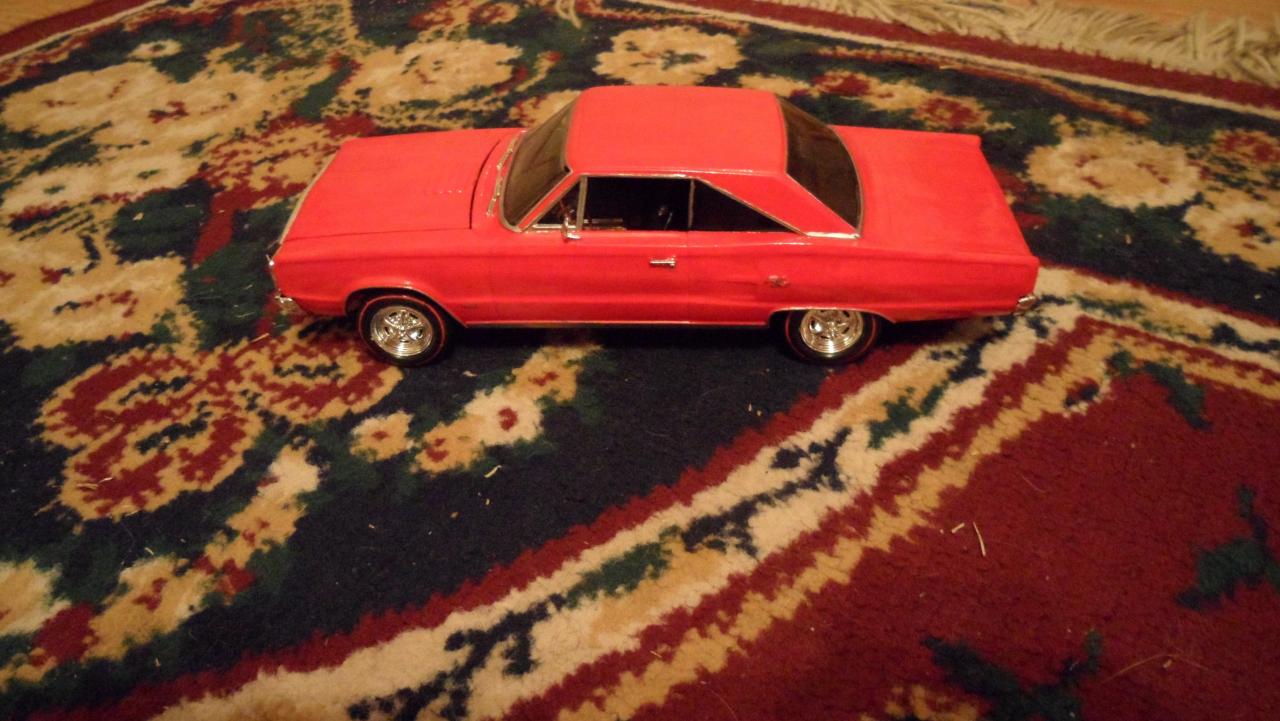
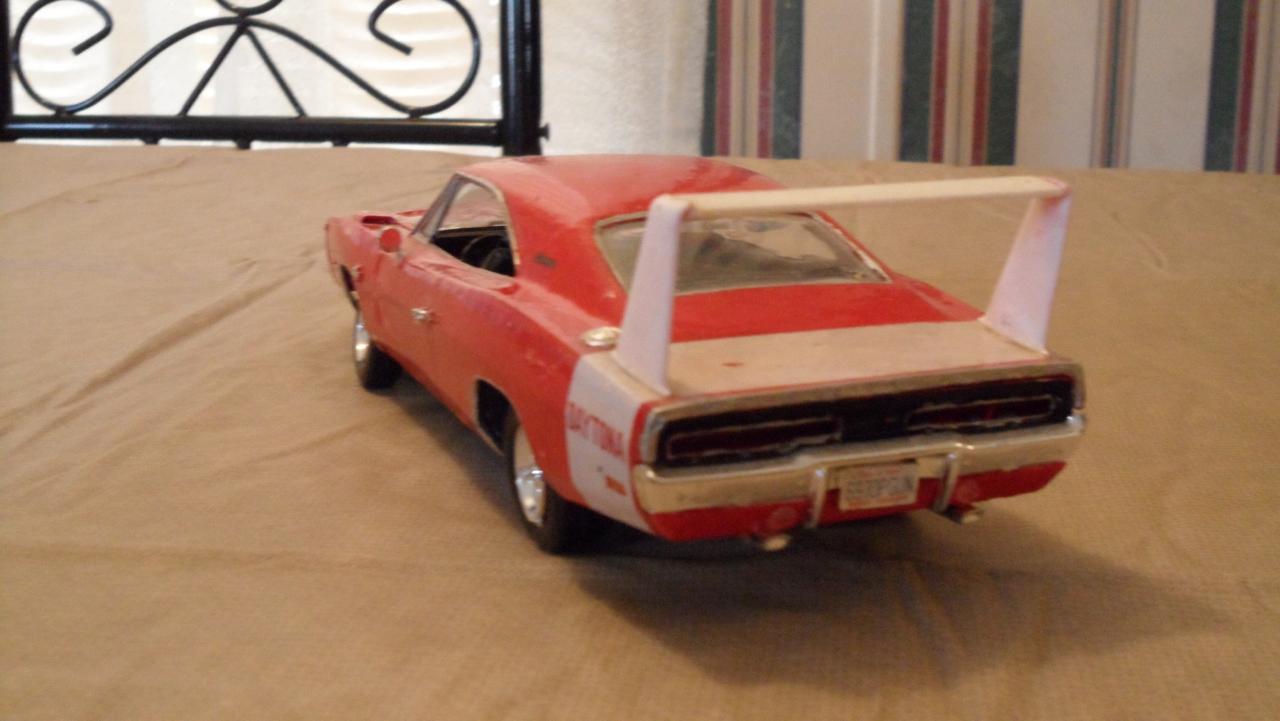
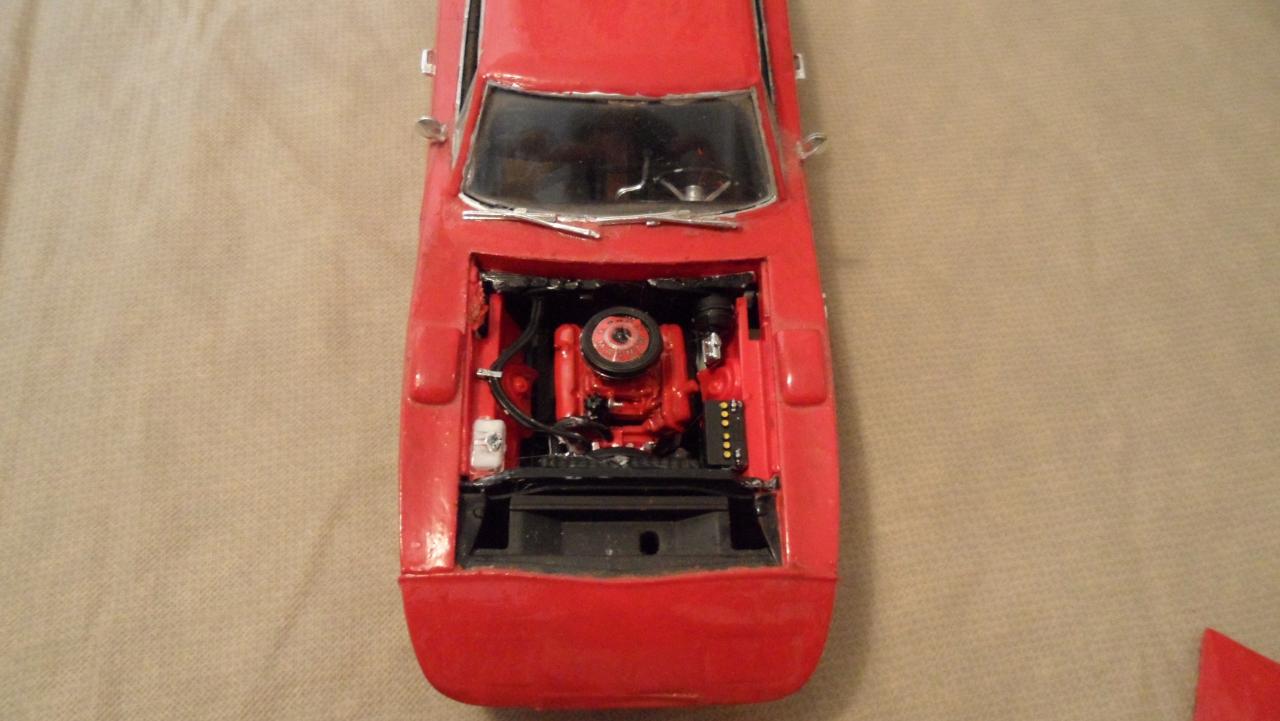
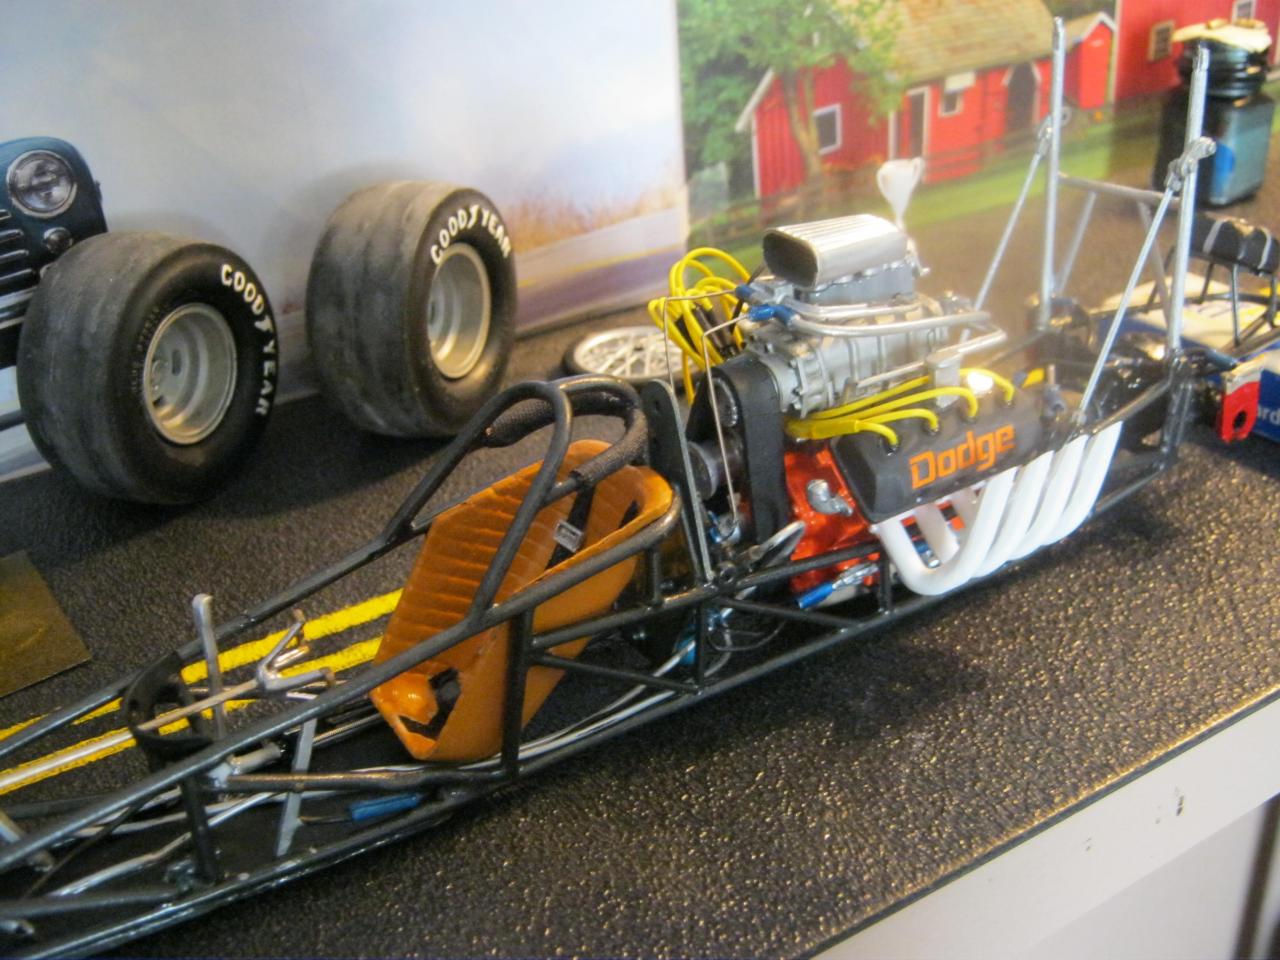
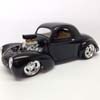
This is the snap kit from Polar Lights. I wish i could say it was just to snap it together,but it`s far from the truth,if i`m not just really out of luck as for what fitment concern. Anyway,i put on some foil,not so easy with the sloppy original painted moldings. I changed the interior color from tan to red,and the engine color from blue to black. Did an attempt at giving the engine and surroundings little bit of detail as wires,heater hoses,coil wire,battery wire,and some decals. The hood is not put 100% in place,such an hazzle to get it off later on. I wanted to try blackwash on the grill in front of the windsheild,but the one i used on the grill i did not dare to try because it`s made of clear and black paint lol. Some pictures.
-
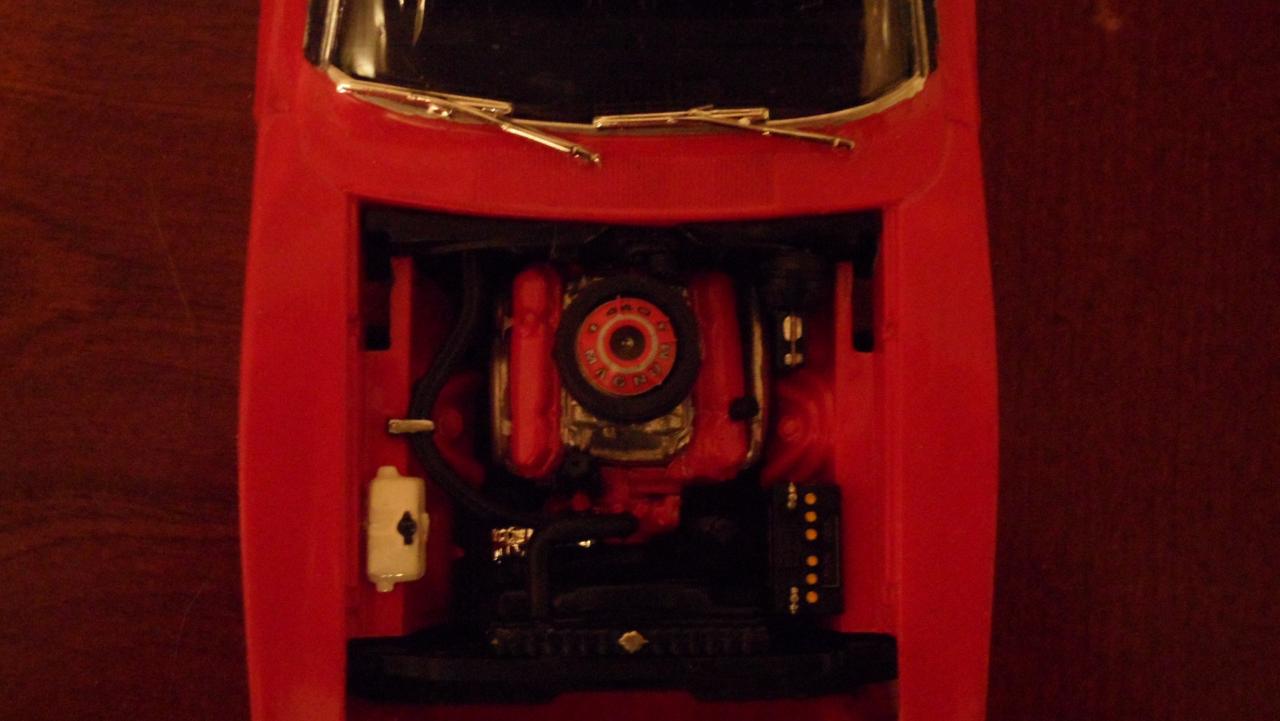
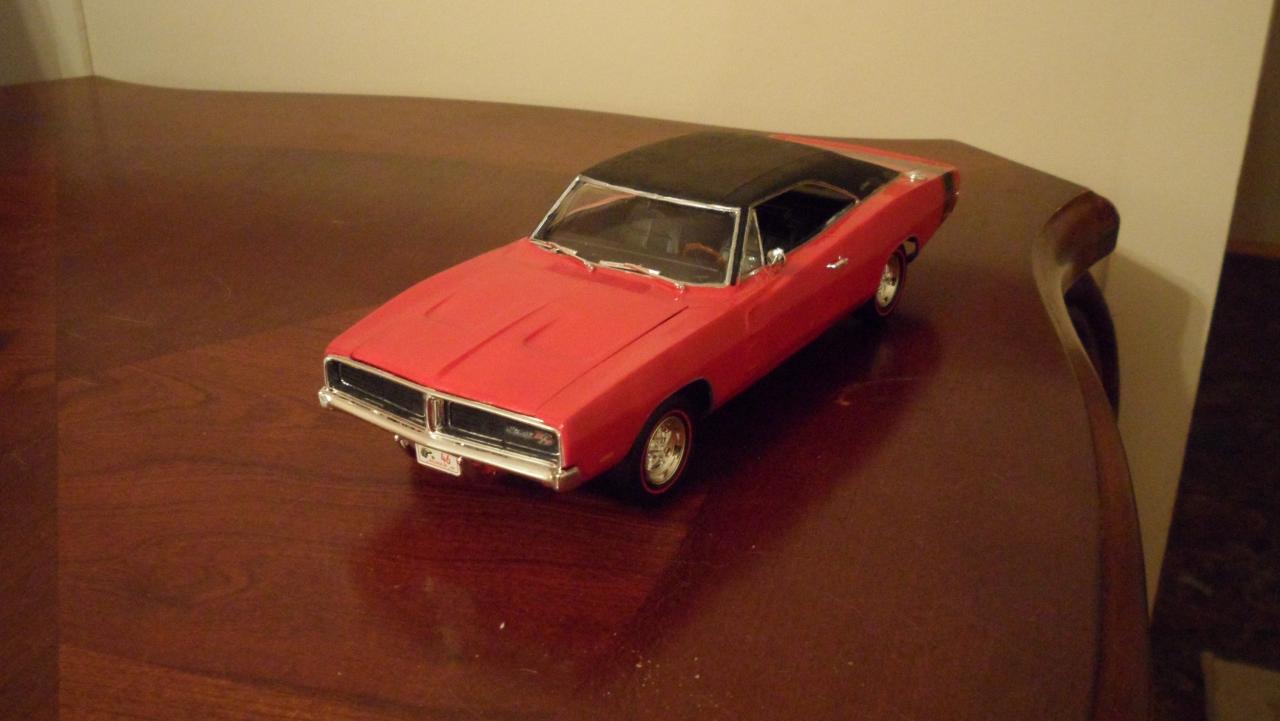
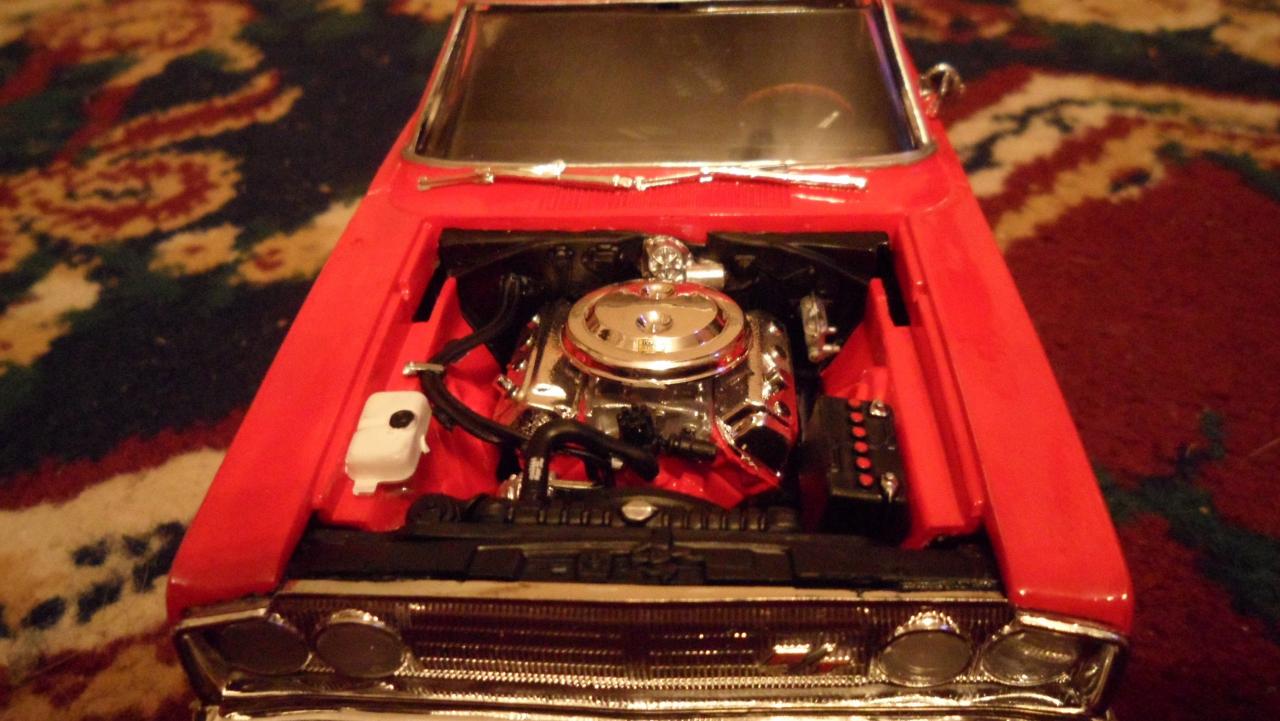
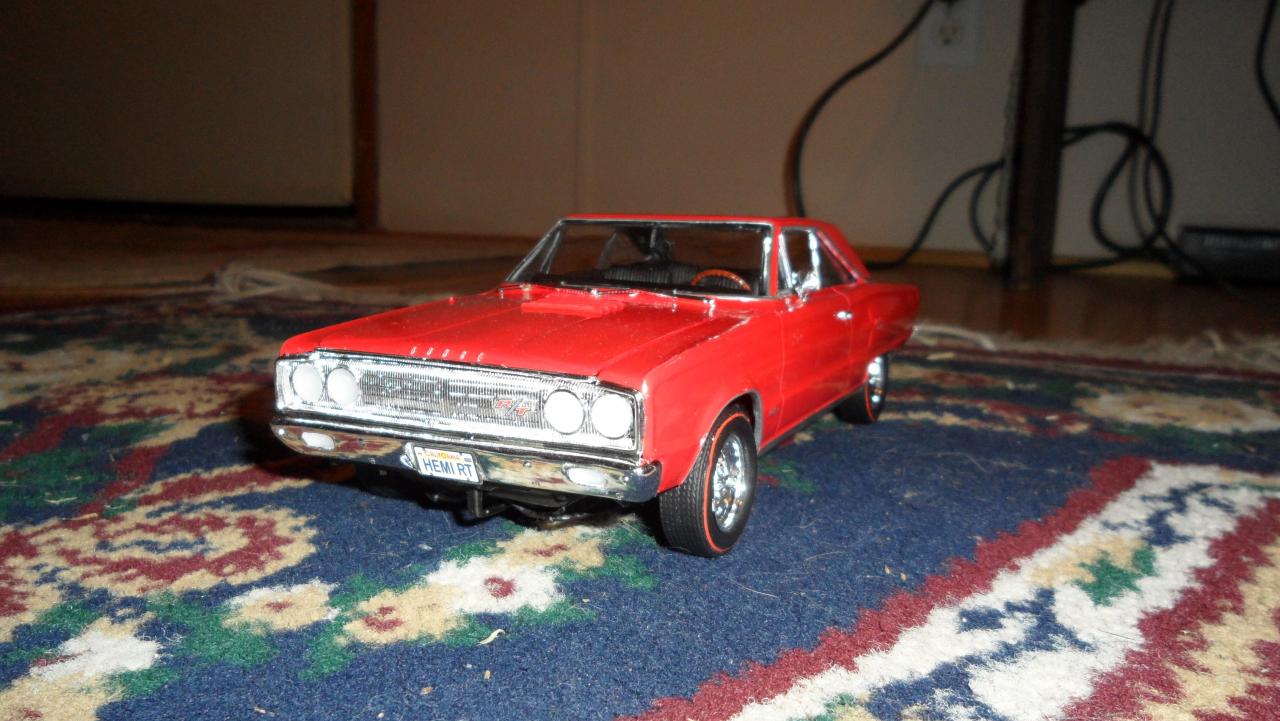
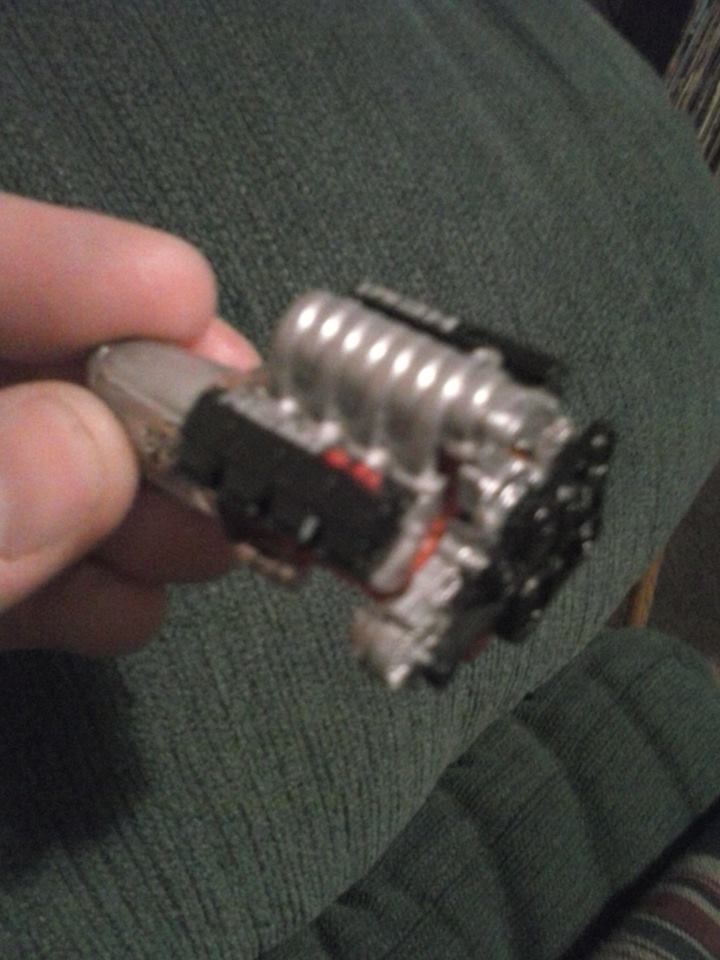
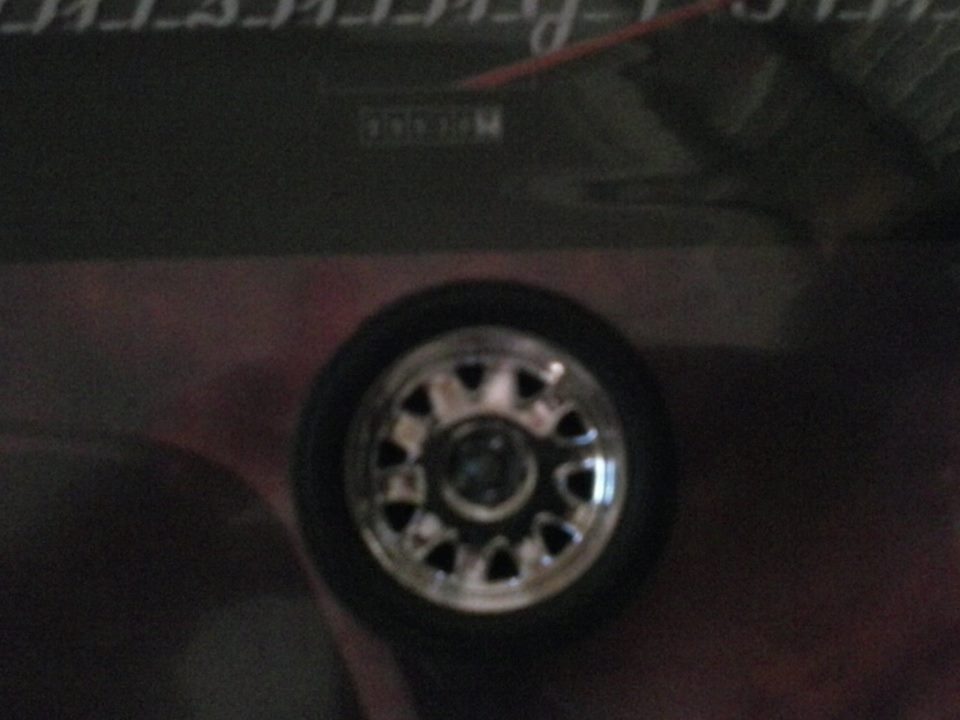
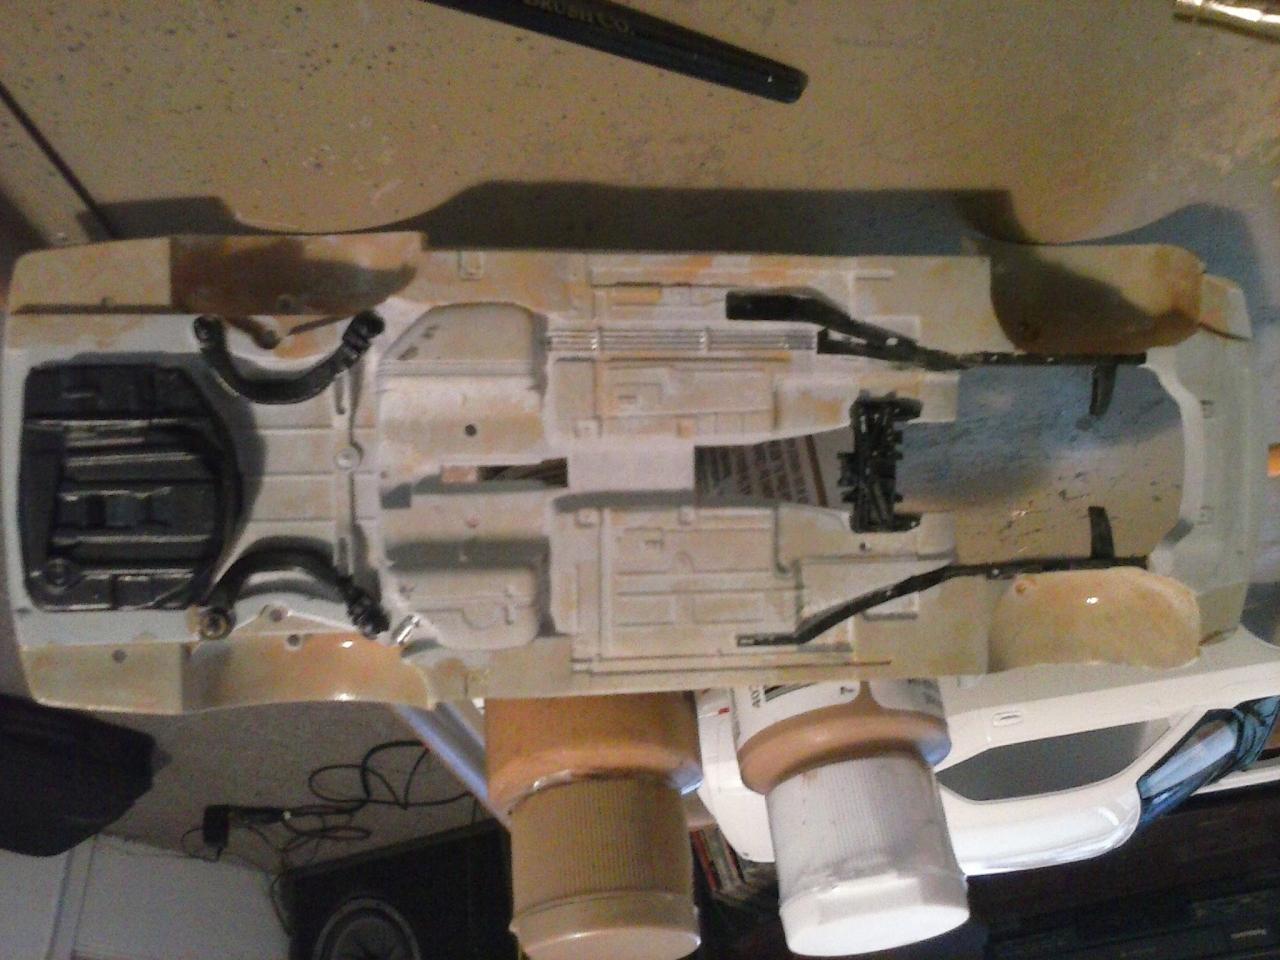
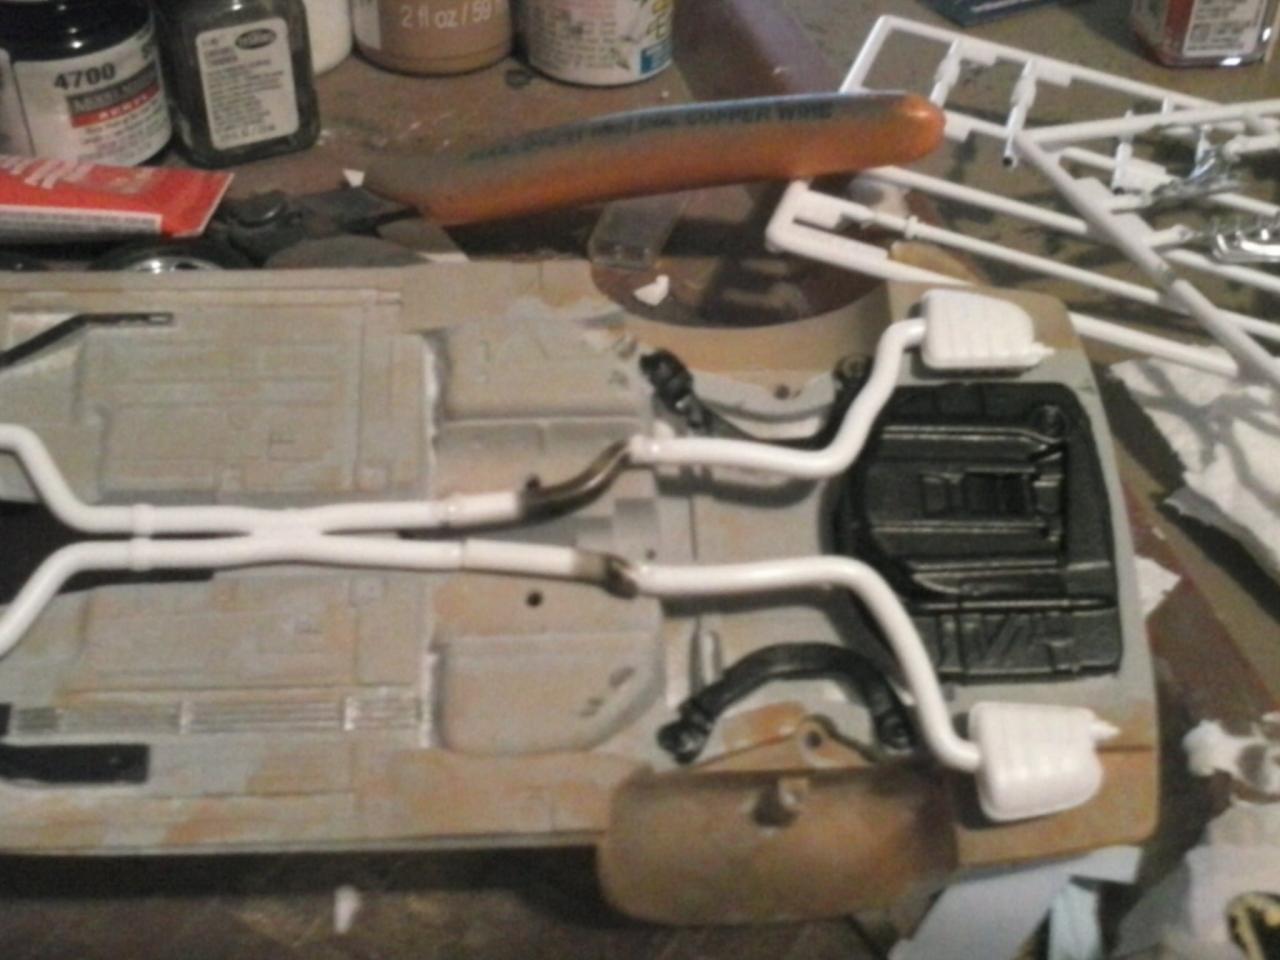
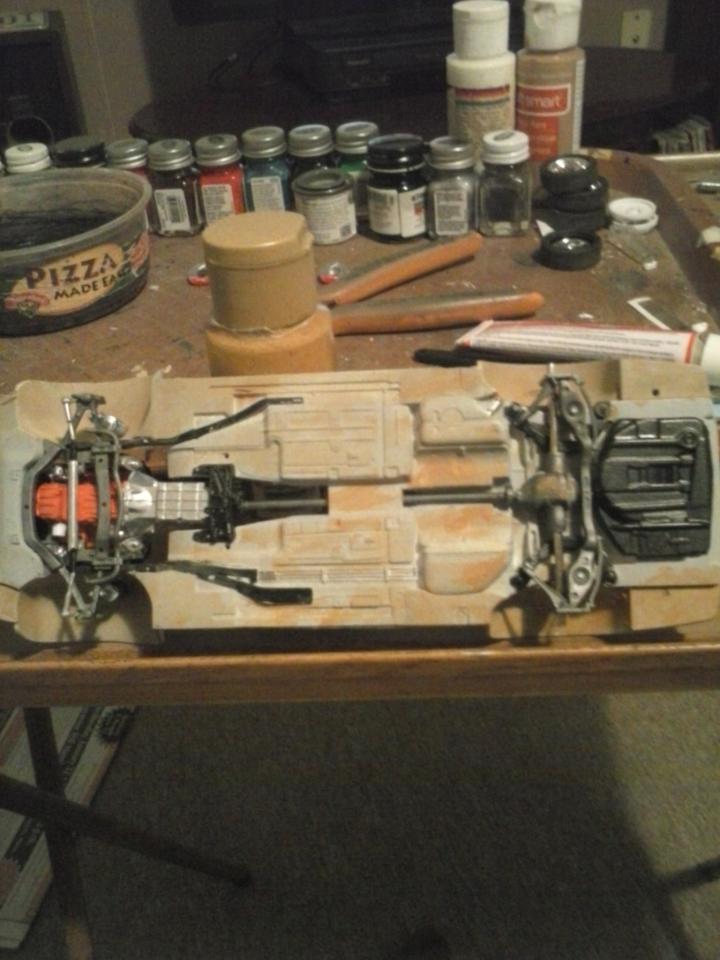
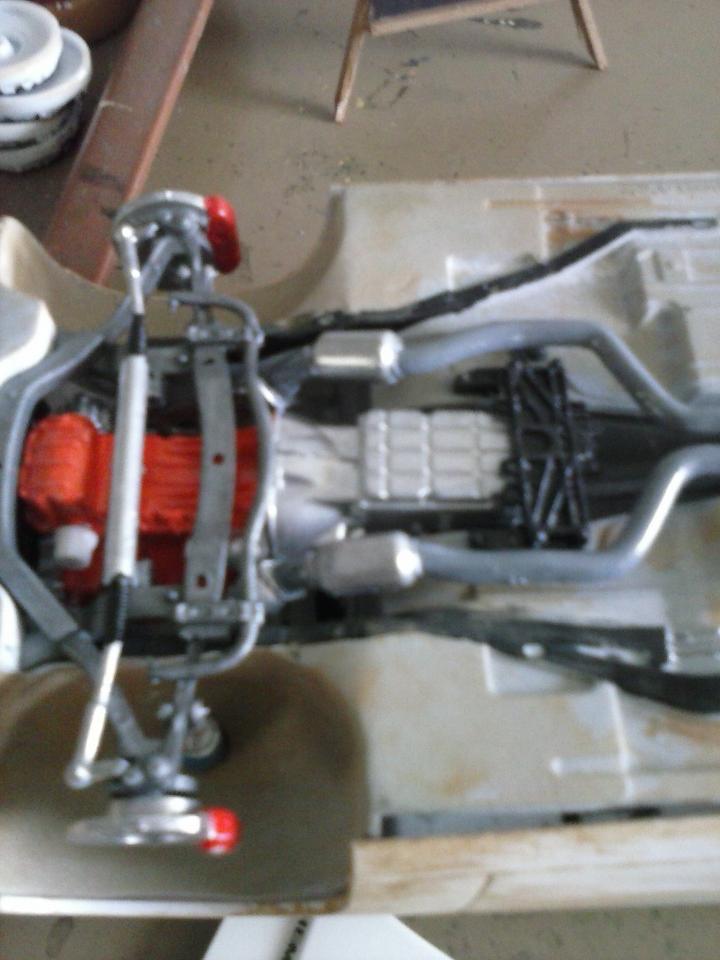
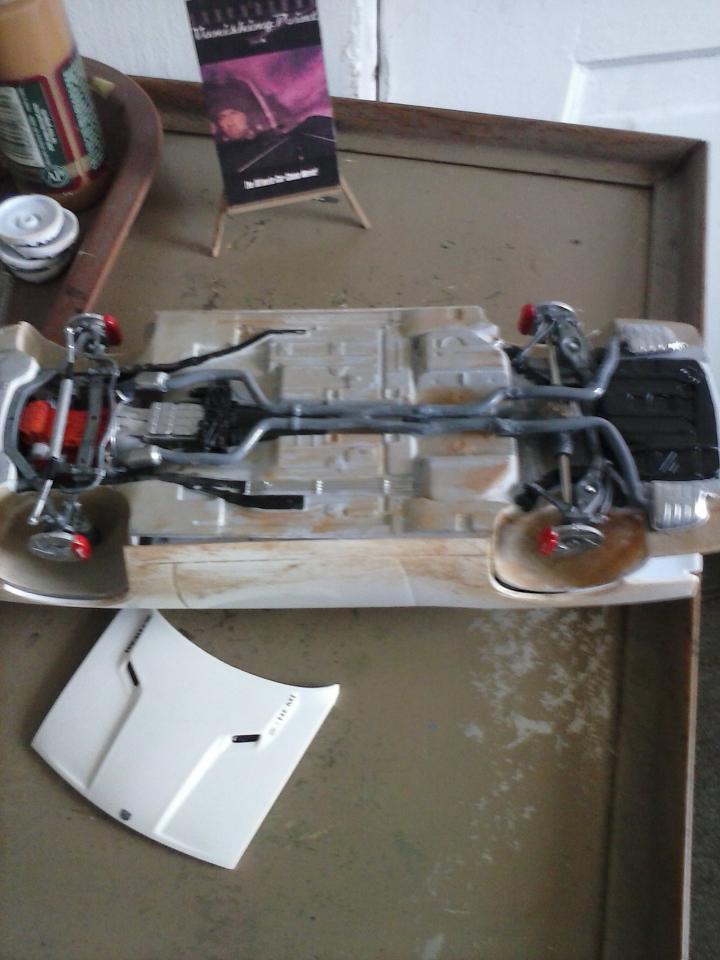
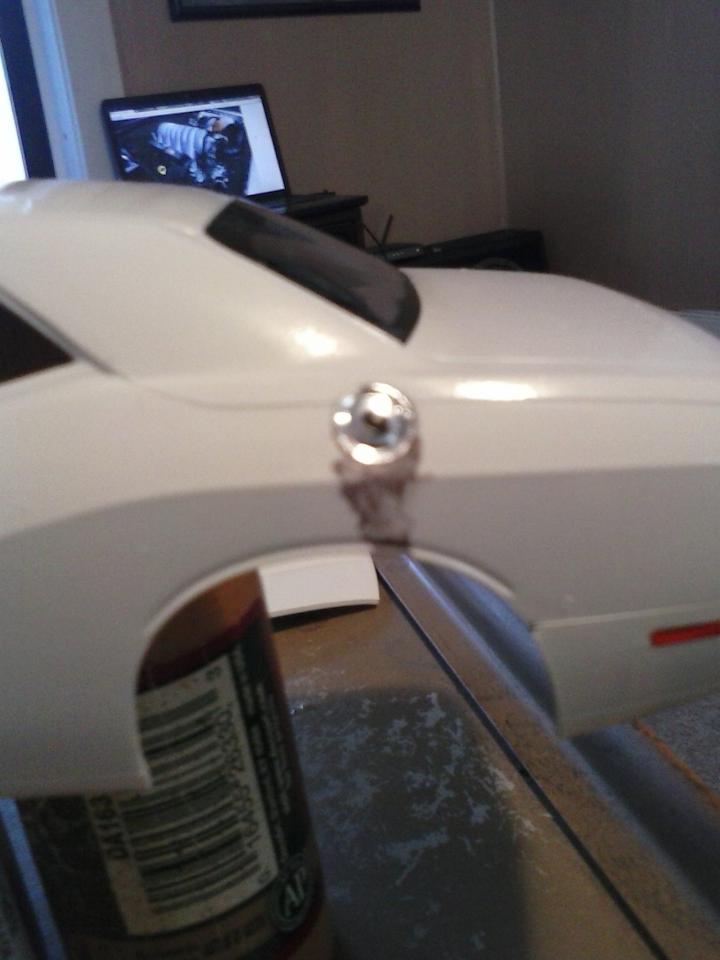
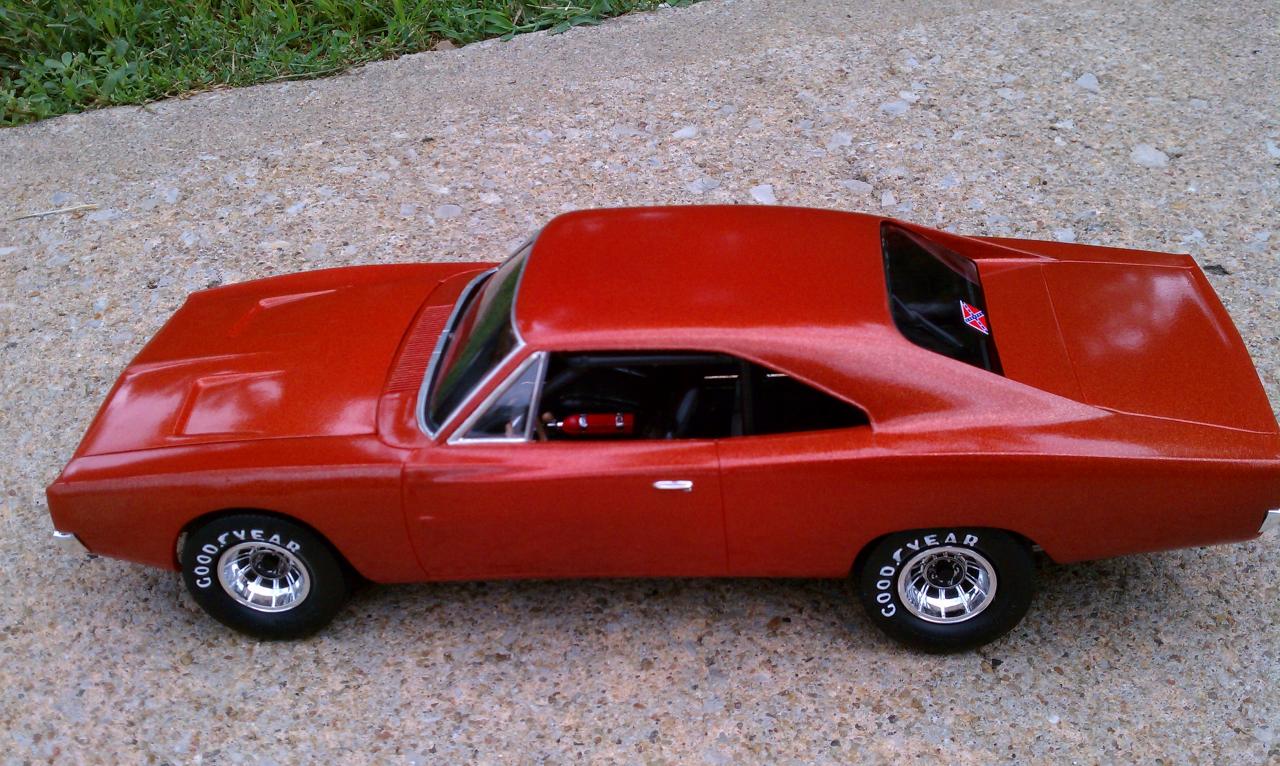
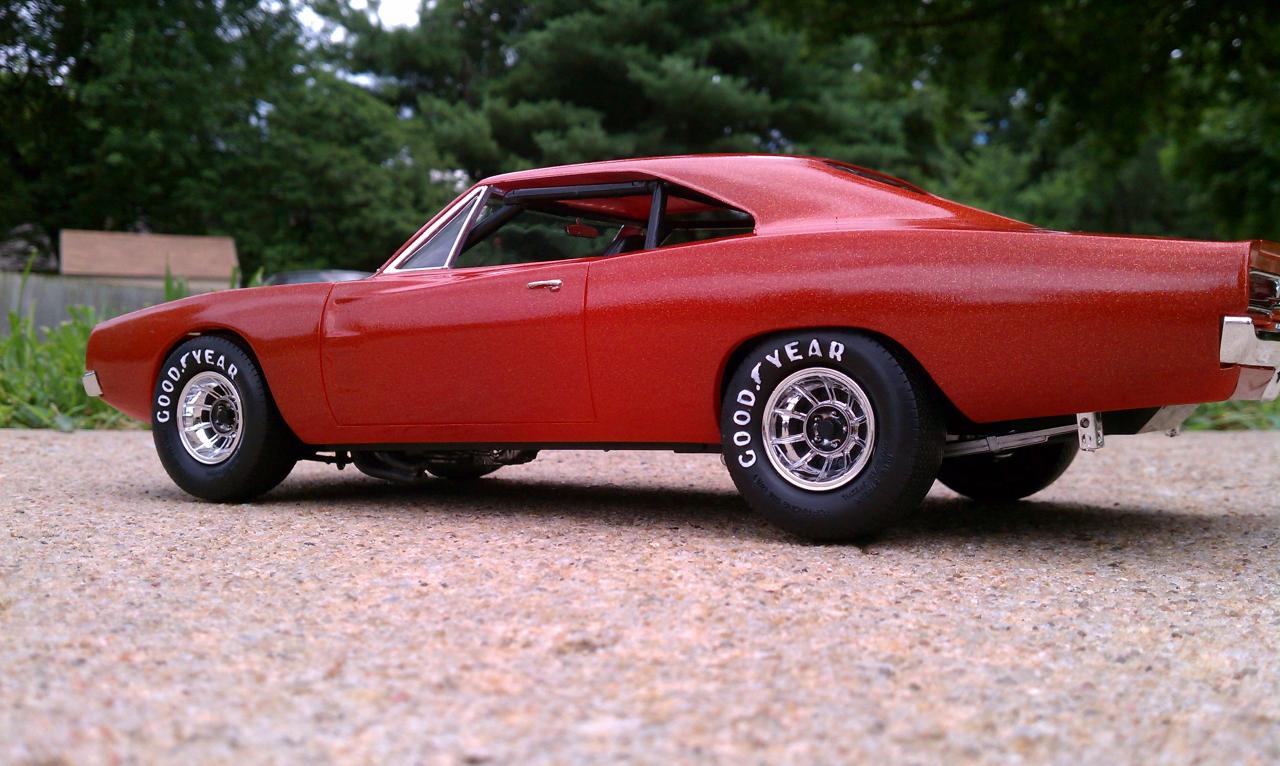
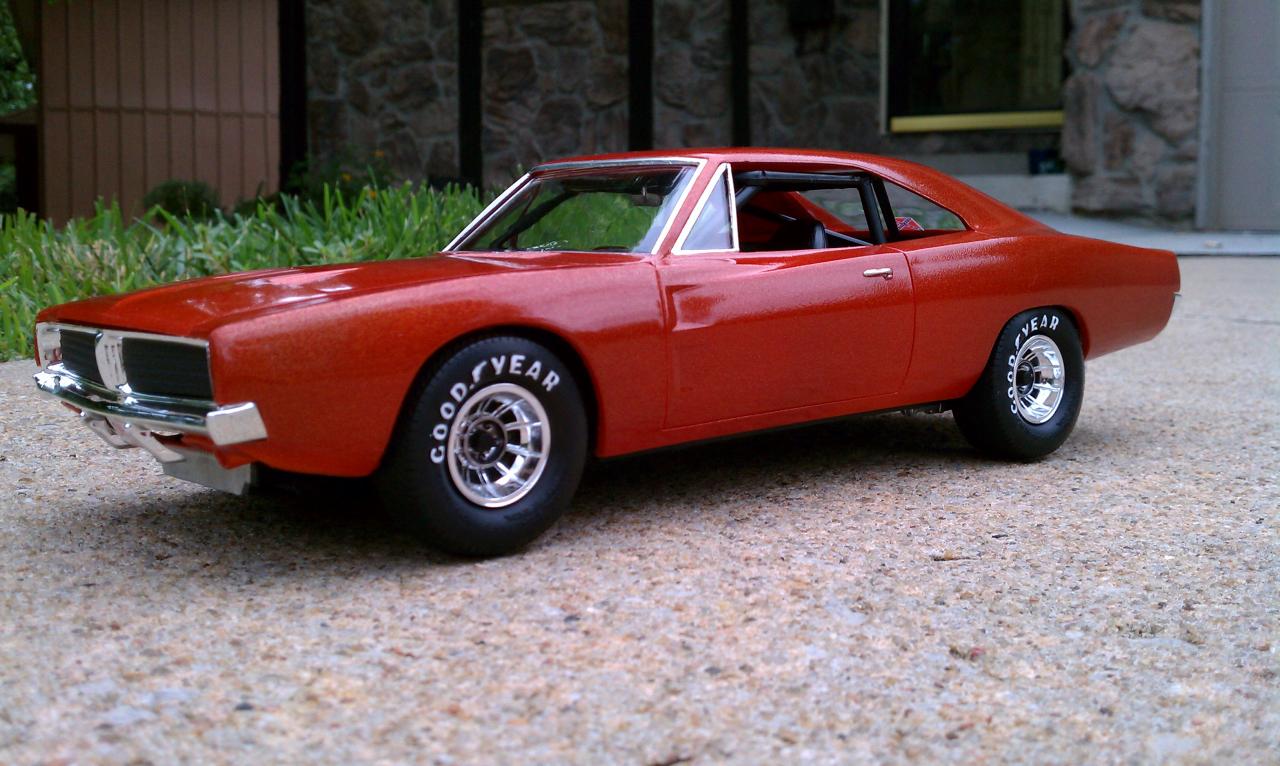
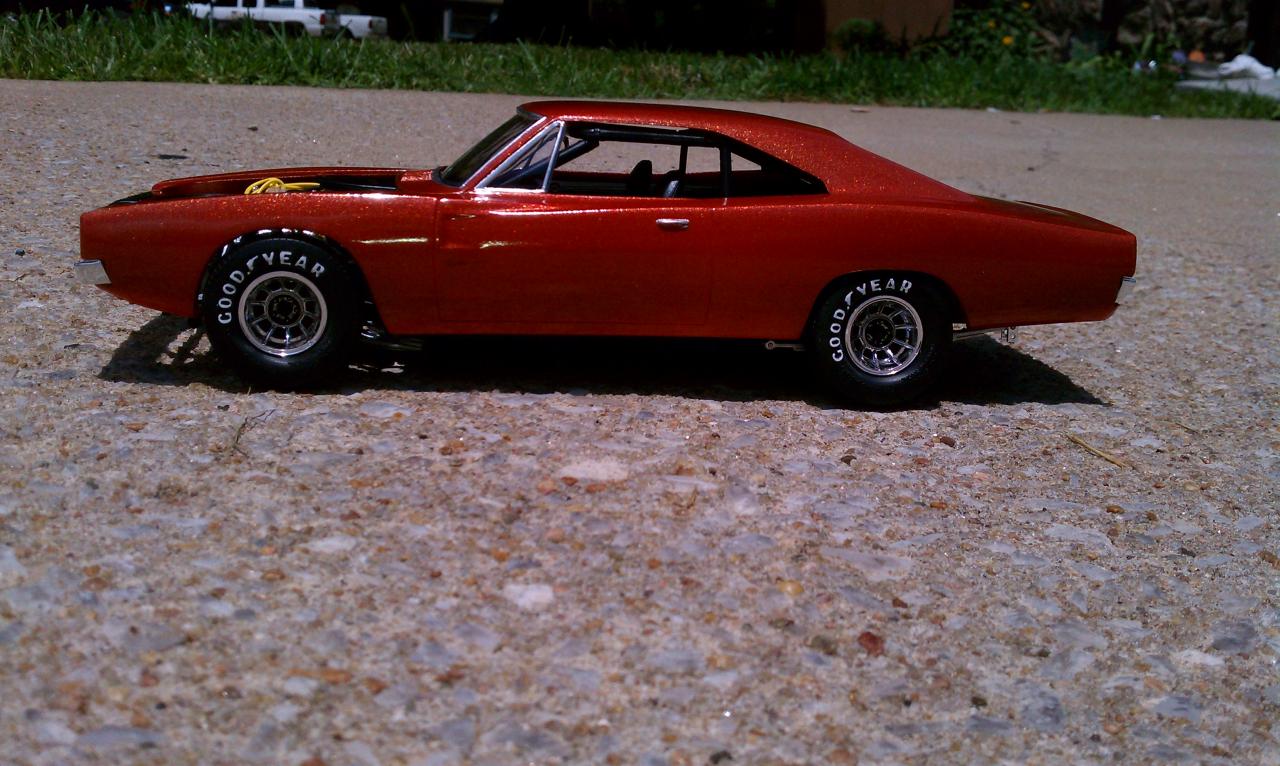
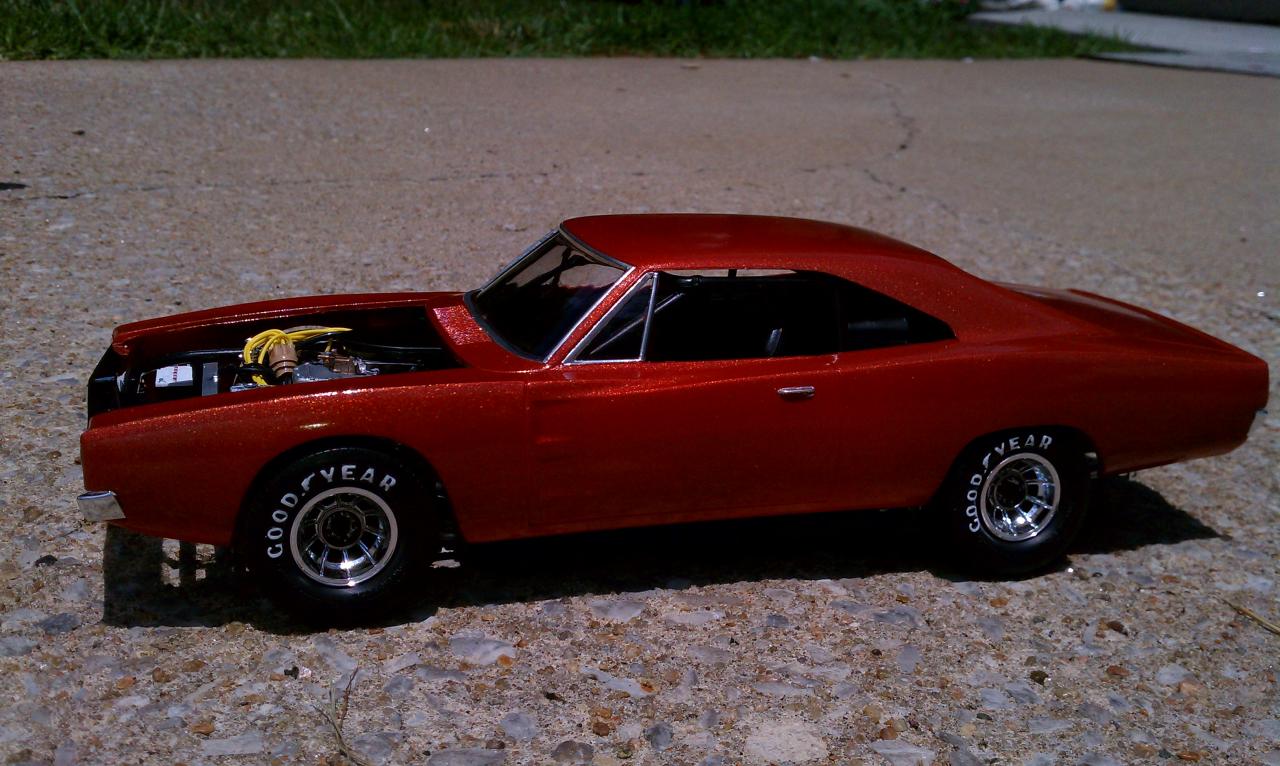
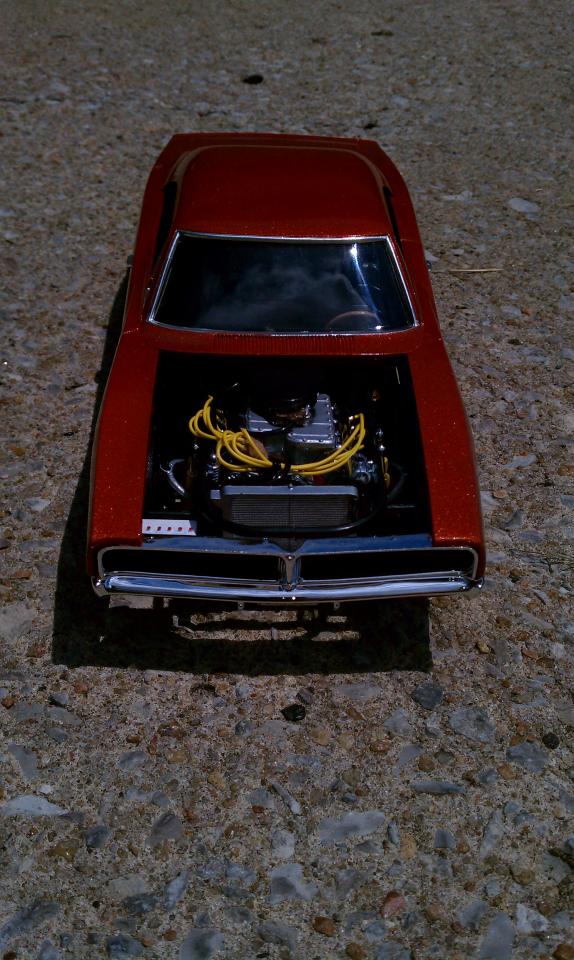
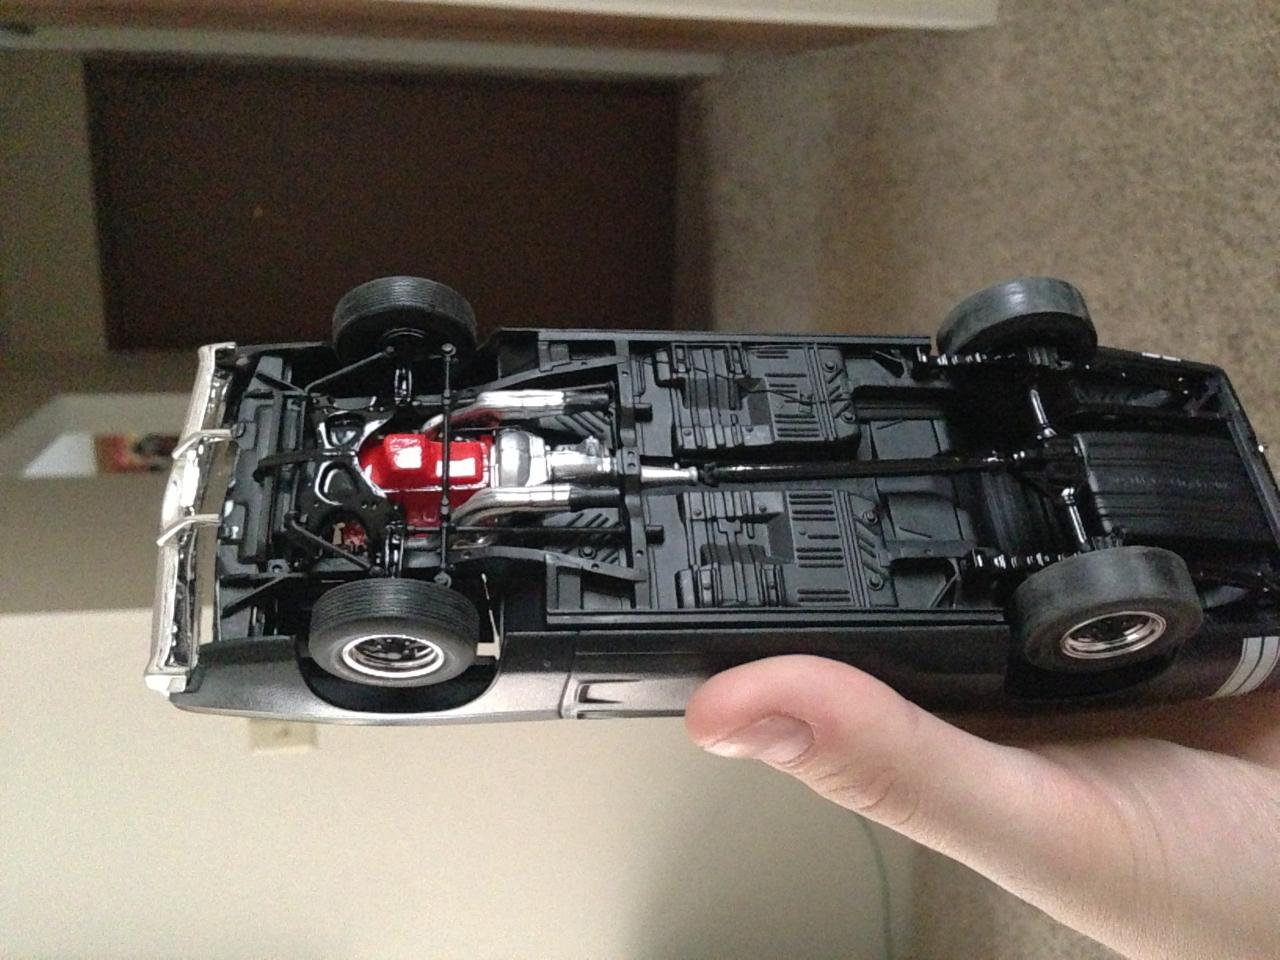
Revell 69 Charger pro modeler kit,build one or two ways,very nice kit if i might say so. As for me i had in mind stock,but this always seem to fail as it goes on. Ok,some facts,primer and paint are Tamiya TS. Distributor is MAD,the supercharger is BNL,i used Alclad on this,the carburators,the air intake is body color (hard to see). Engine is the 426 from the kit (It also comes with an 440 magnum). 4speed manual,stock interior with some foil and attempt at woodgrain paint.flocked the floor and the shelf behind the rear seats. The body is all stock. The floor/chassis is AMT and Revell put together,70/30. Oh yeah,i forgot the mirrior inside the car,also i dont have any braided wire for fuel so i could attempt detail a little more. I belive the washer container should be white,but i took the chance and painted blue on the inside,and its clear. I consider try getting some sort of jig for fuel/brake lines later on,its extremely difficult holding with one hand and fix with the other lol. Wheels are "Customs by Terry" on Ebay. The supercharger belt is from Mike DeLuco "Shucky",yeah i think thats about it. This is my first pro street car so i hope you like it. Also i would like to thank Jeremy Newman "outkast1027" for the rear tires. Here are some pictures.
-
Didn't come out too bad. Had a problem with the fit on the front end of the car.

-
Hi everyone! im new and this is my first post, I am working on a '69 Prostreet Charger by using all kinds of different kits (If your new to modeling this is considered "Kitbashing") I will have pictures up soon but for now I can list the parts im using... A '69 gtx chassis and interior (Both b-bodies) A '68 hemi from the '68 hemi dart kit by revell A general lee kit charger body Testors paint Some old sandpaper A Fuel Cell from a die-cast engine And more... If you guys want to know more just ask me and I'll Have those pictures up soon I also have a youtube account - ModelCars InYards View Goals: 100-X 500- 900- 200-X 600- 1000!- 300-X 700- 400-X 800-
-
Oh it`s him with those never ending projects lol. The weather and location makes it very hard to get some painting done so it takes longer then planned. But it`s getting warmer,also i have made and deal with my grandparents where i can borrow a room for painting. I cant do it where i live now. To the subject,it`s an 63 Polara from Flintstone,pretty okay cast but very thick some places so it an never ending sanding story. Been sanding on and off for two days now and the chassis starting to fit pretty nice. The donor is the 64 Color Me Gone from Lindberg. It`s got the same 119 wheelbase and also some goodies as the engine and hoodscoop. It`s not going to any exact replica of an Max wedge car,but a street machine with factory looks. Obviously the interior will be wrong since its 64. Not decided on color yet,but it stand between black,red or white,non metallics and steelies. The headers from this kit does not look like the one i wanted,if anyone know where to get replicas of the factory 413/426 headers i really appriciate it. Here is the progress so far.
-
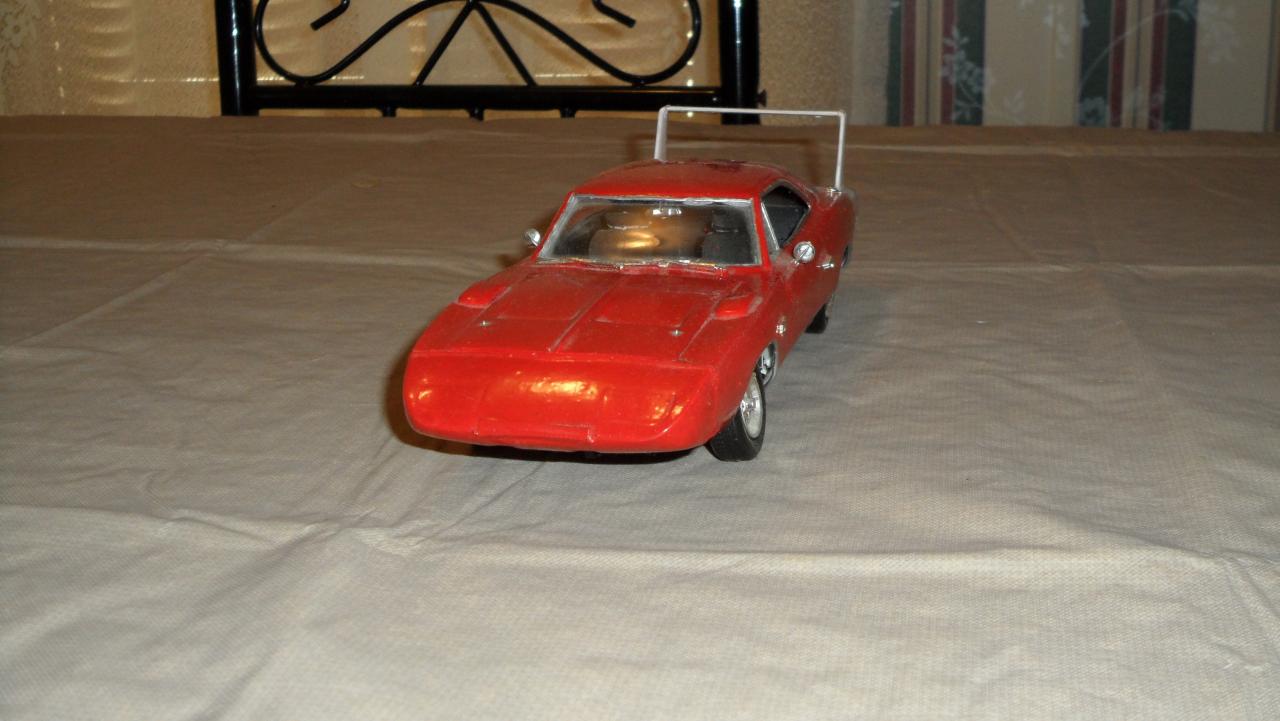
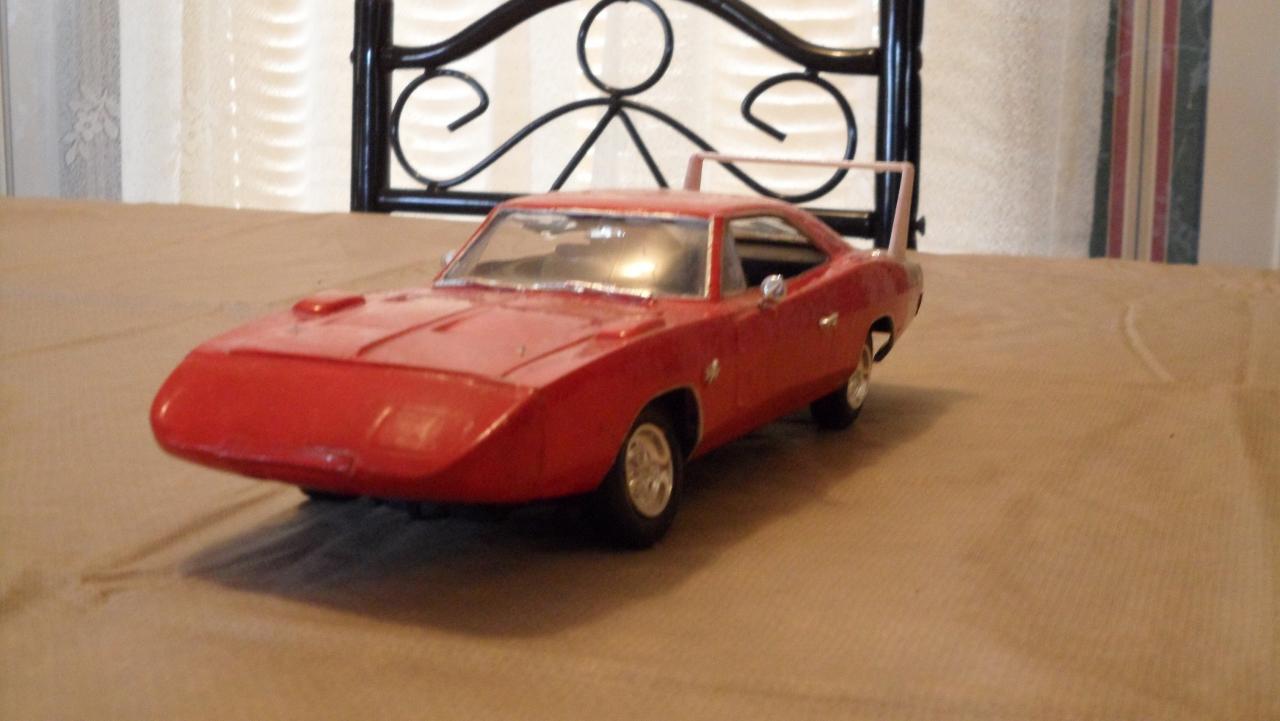
Here's Dom's 70' Charger from the movie Fast Five. Built for the Fast and Furious tribute build to go along side Brian's 72' Skyline also from Fast Five. Built as close as I can to the one seen in the movie. It started out as a Revell 69' Charger, the w.i.p is here http://www.modelcarsmag.com/forums/index.php?showtopic=87233 if anyone is interested in seeing the building of it. The grille was made from scratch with styrene sheets layer over one another then sanded down to be mostly accurate. The wheels were modeled by me and printed by Shapeways. Most of the interior was also made from scratch covered with heat and air duct tape for the aluminum look. I'll try to get better pics of the interior a little later. Thank you for looking!
-
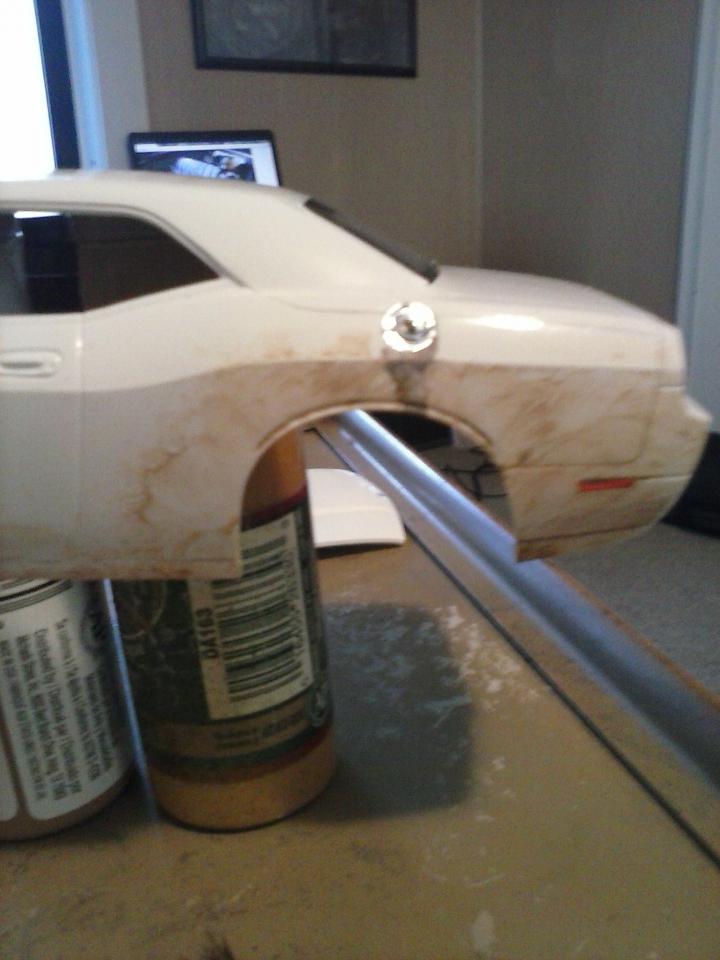
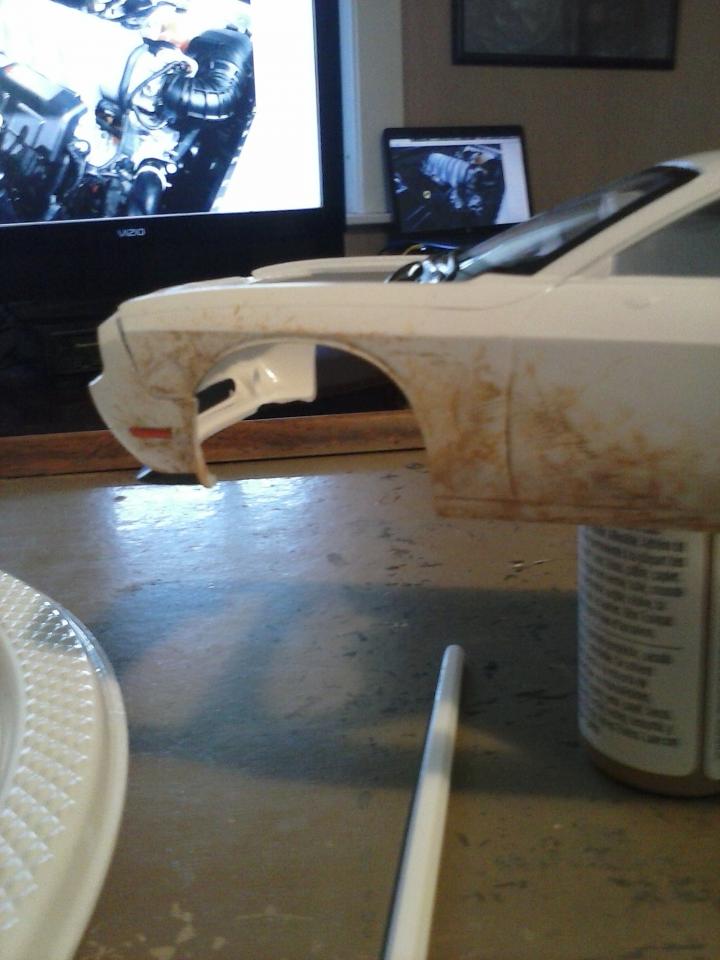
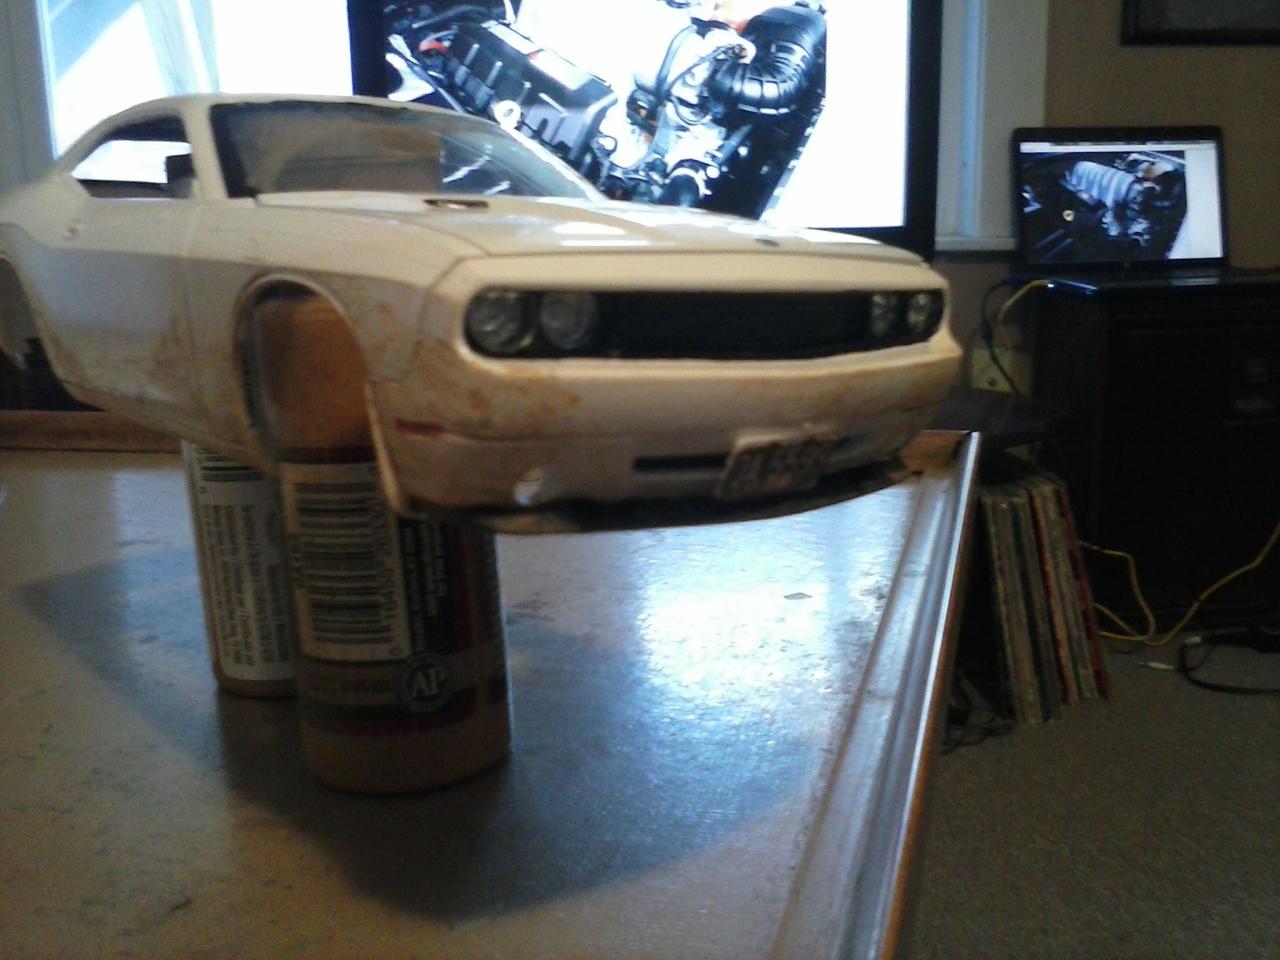
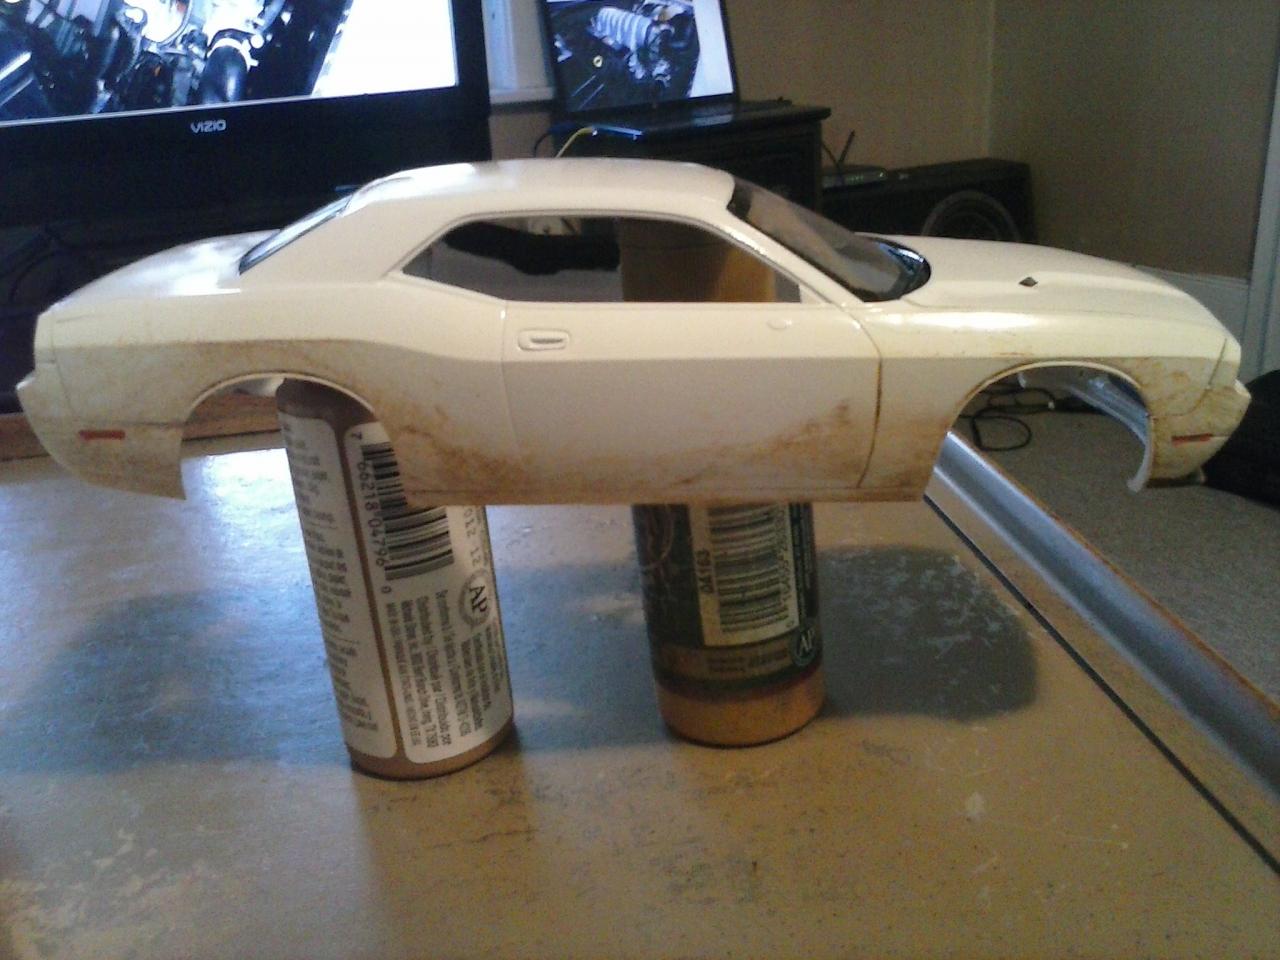
Another rusty build! Both this and my K4 Blazer were previosly built, but I didn't have time to do a full resto of this one. The numbers were from a Snake and Mongoose funny car, and the POW decal was from a Monogram Ford Super Duty. Thoughts?
-
Hey guys, this here is my second build of the year and it's a replica of Dom's Charger from Fast Five. It's being built for the Fast and Furious cbp. Starting out as a Revell 69' Charger it's going to be re worked to look like the 70' charger. Here's the start, small update and end result. First order of business is moving the front reflectors back a bit. Here is what the end result will look like, give or take. Thanks for looking more updates to come.
-
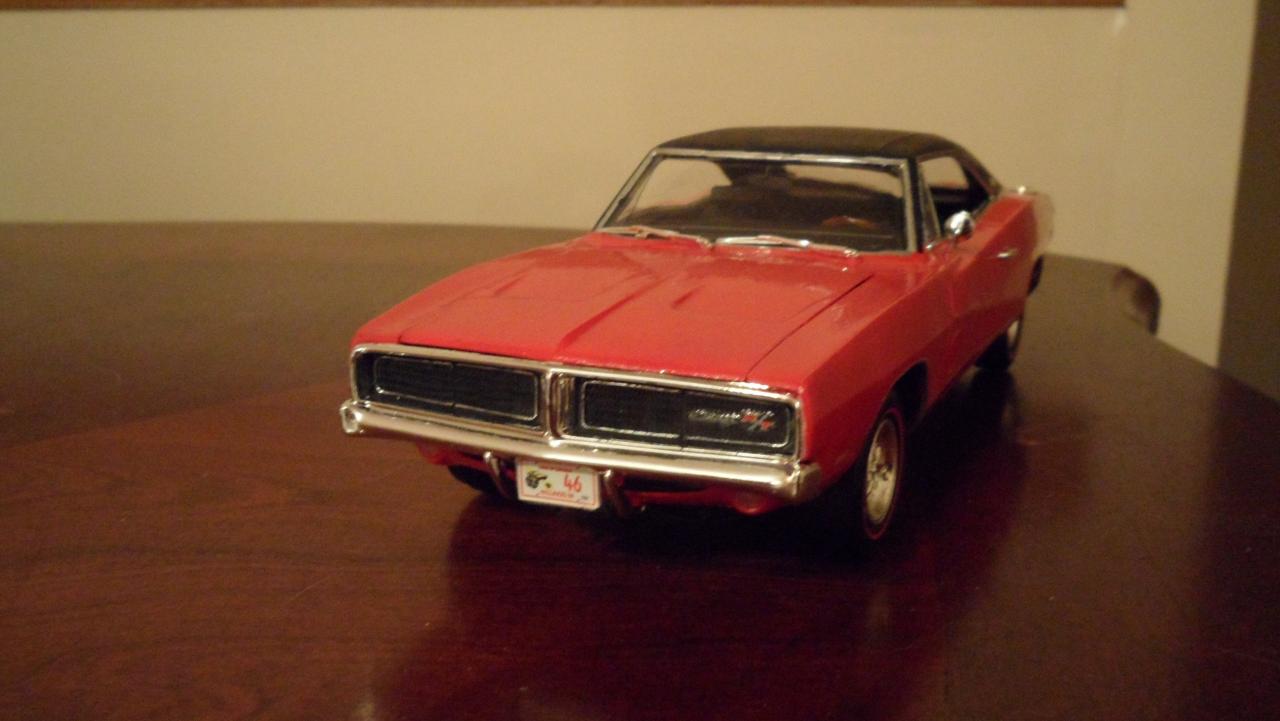
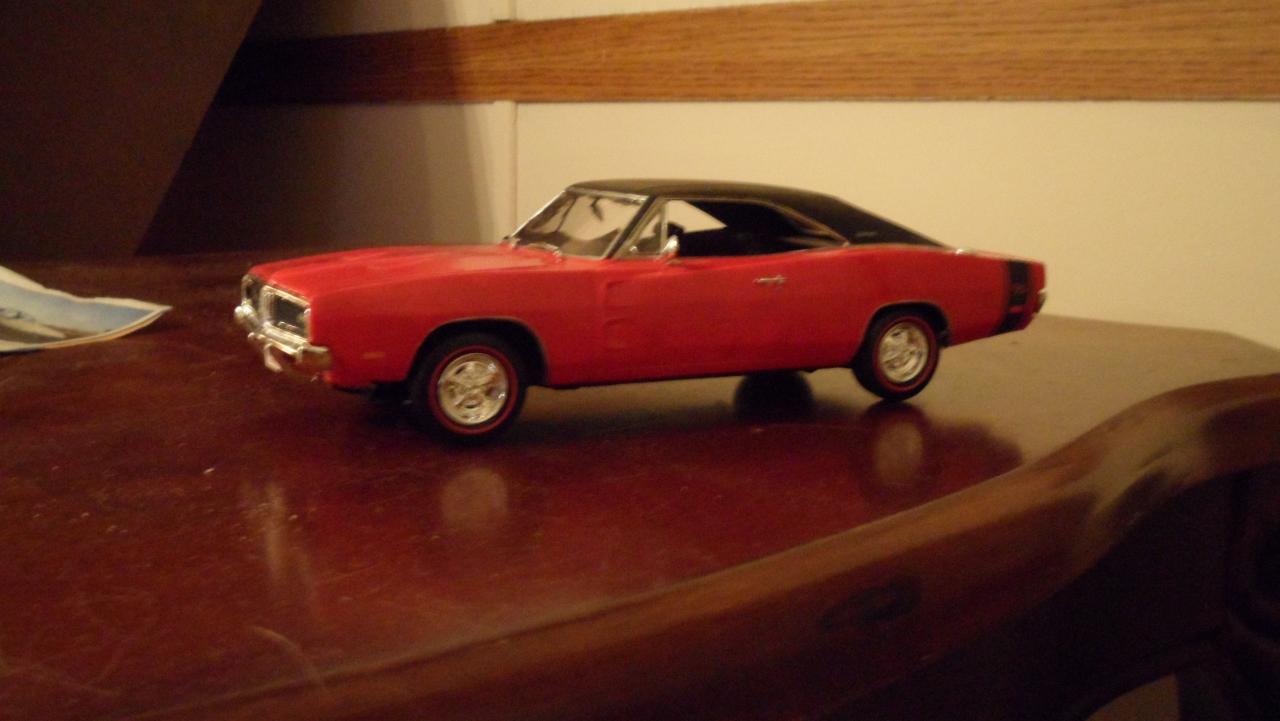
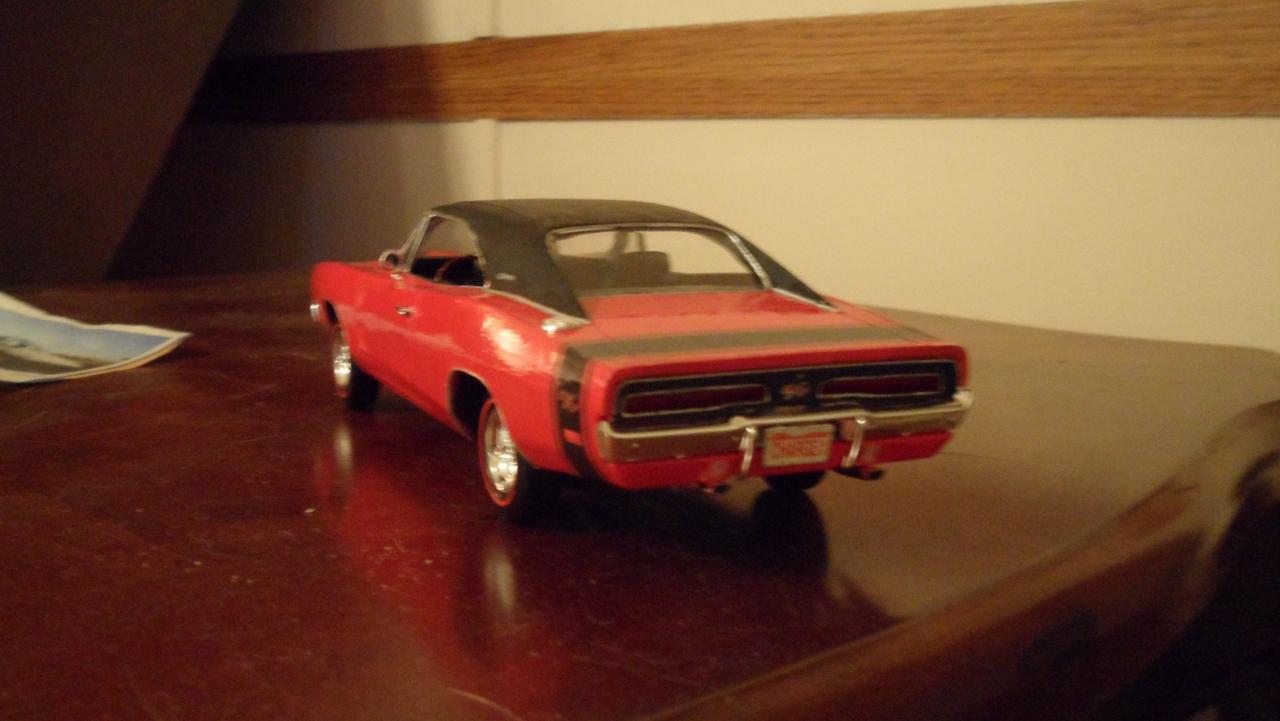
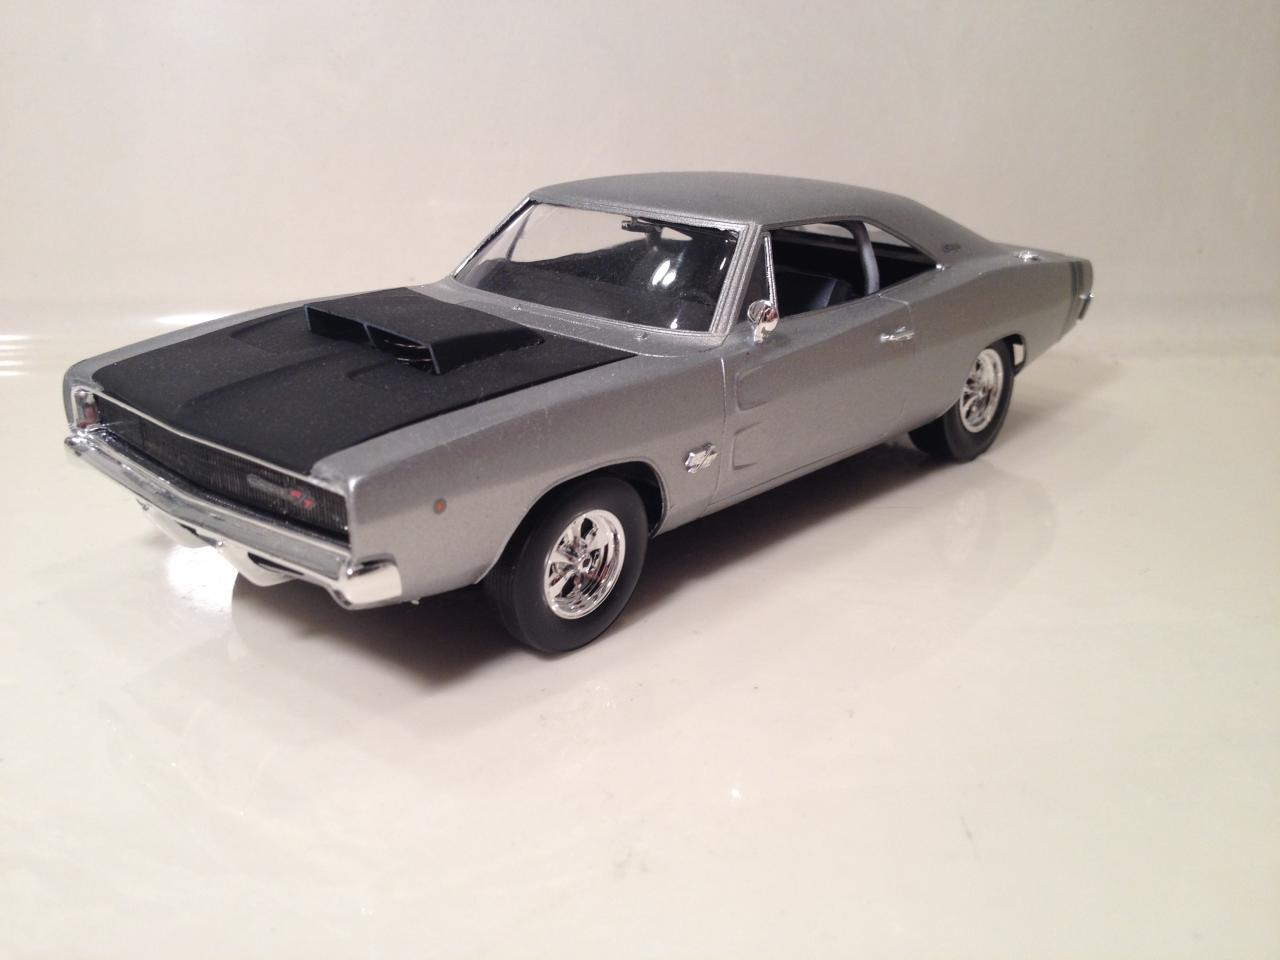
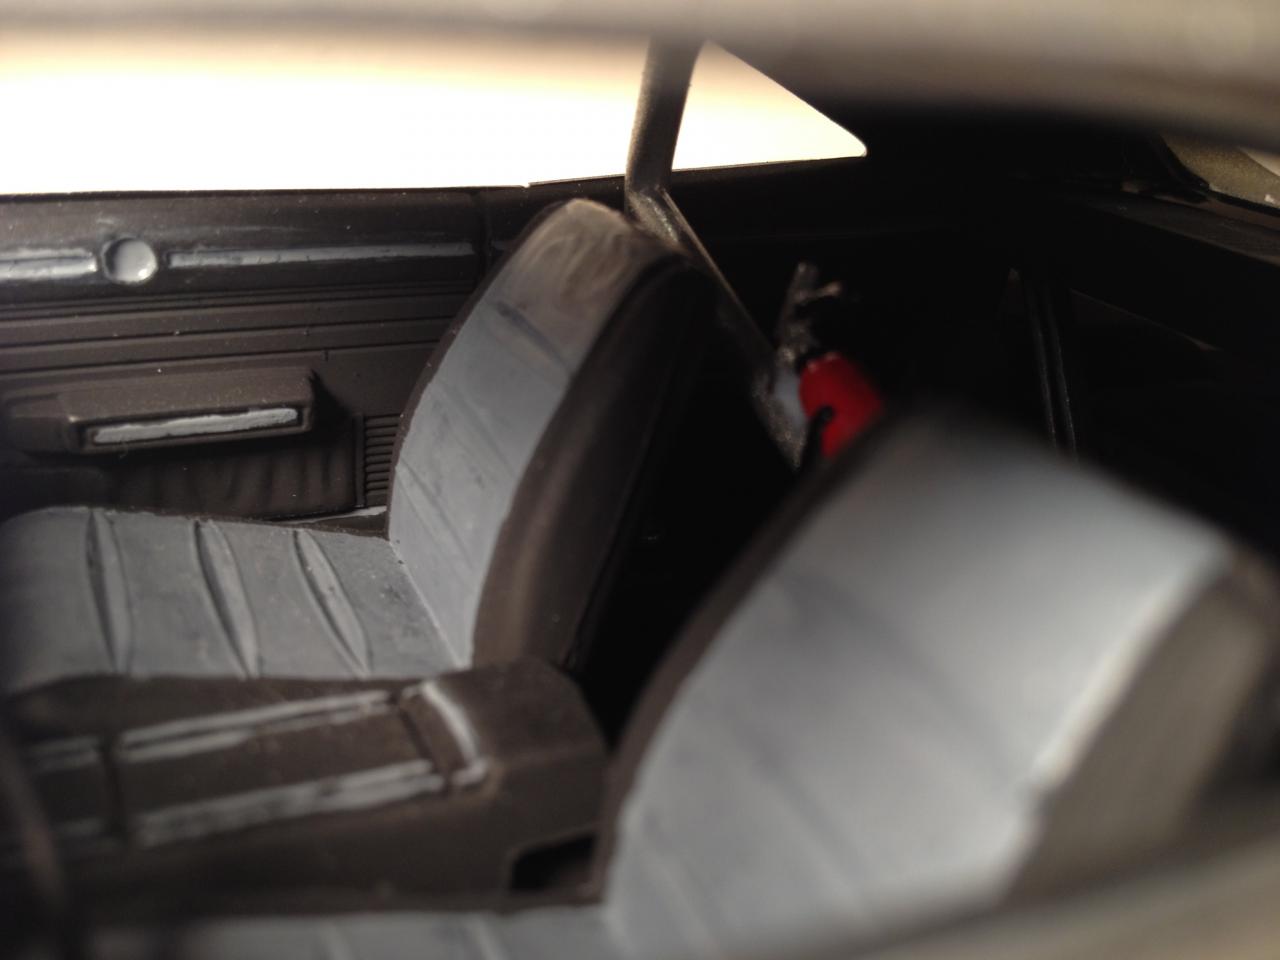
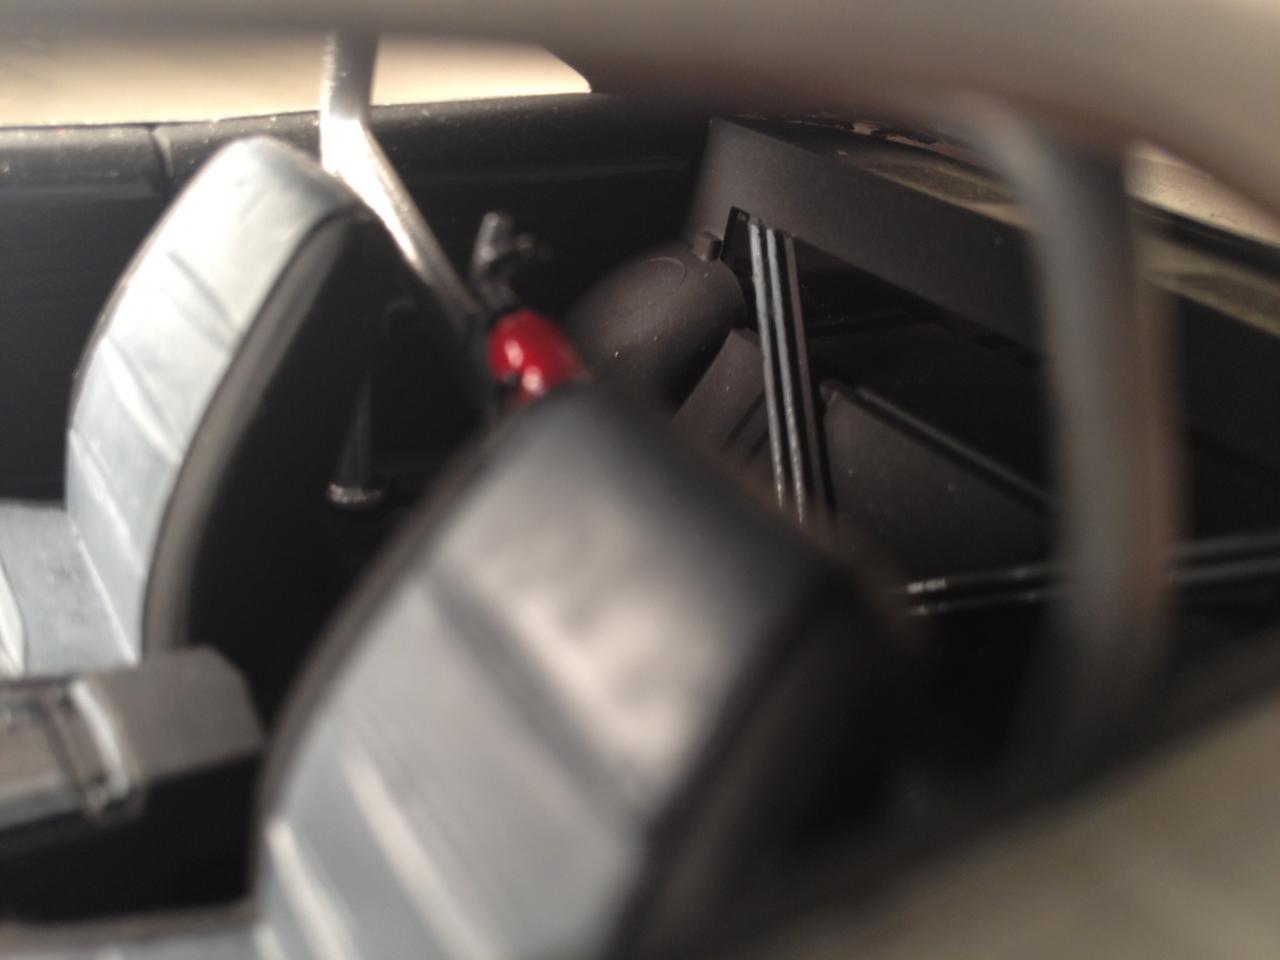
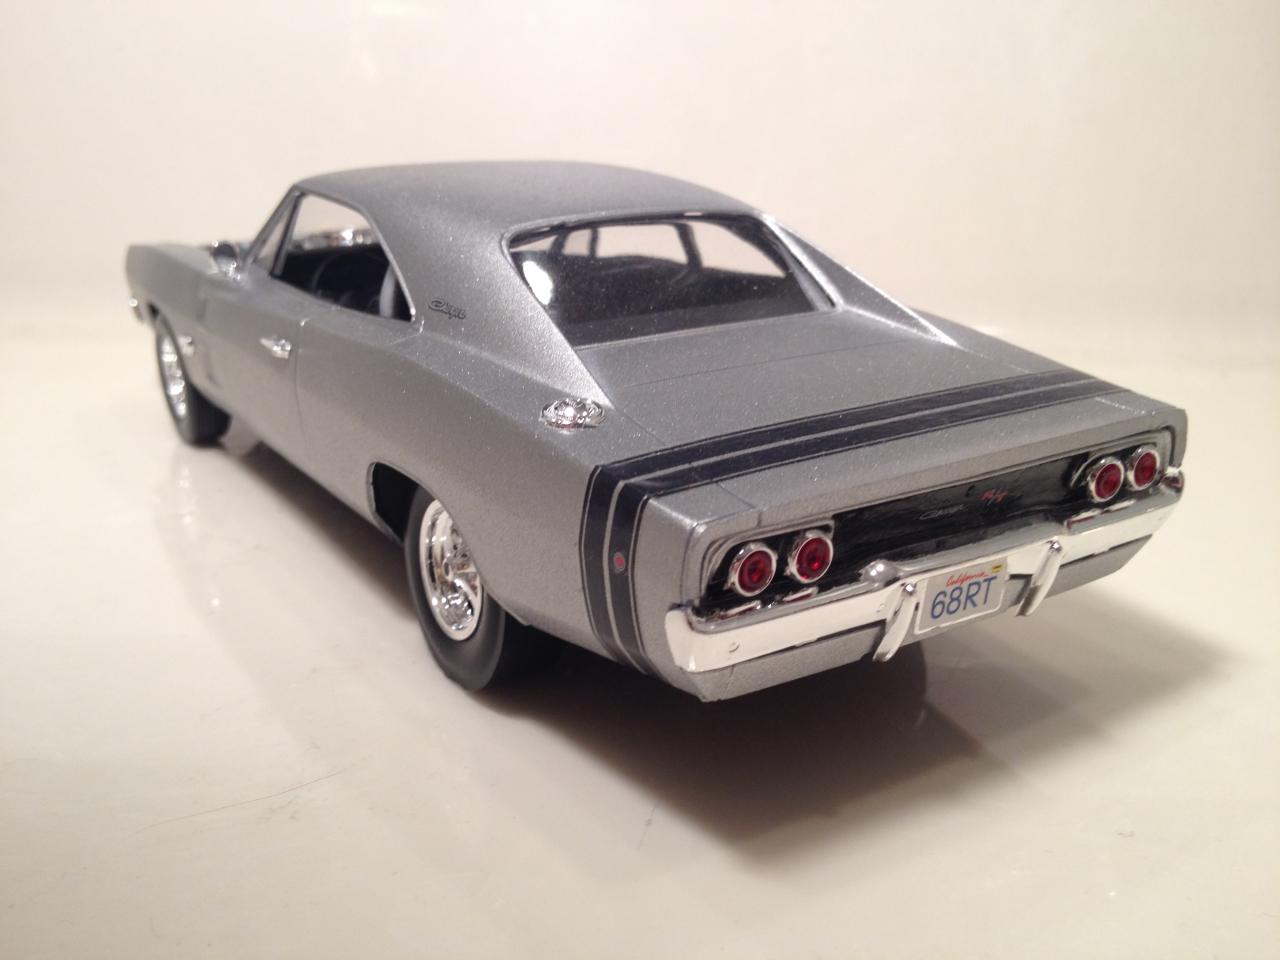
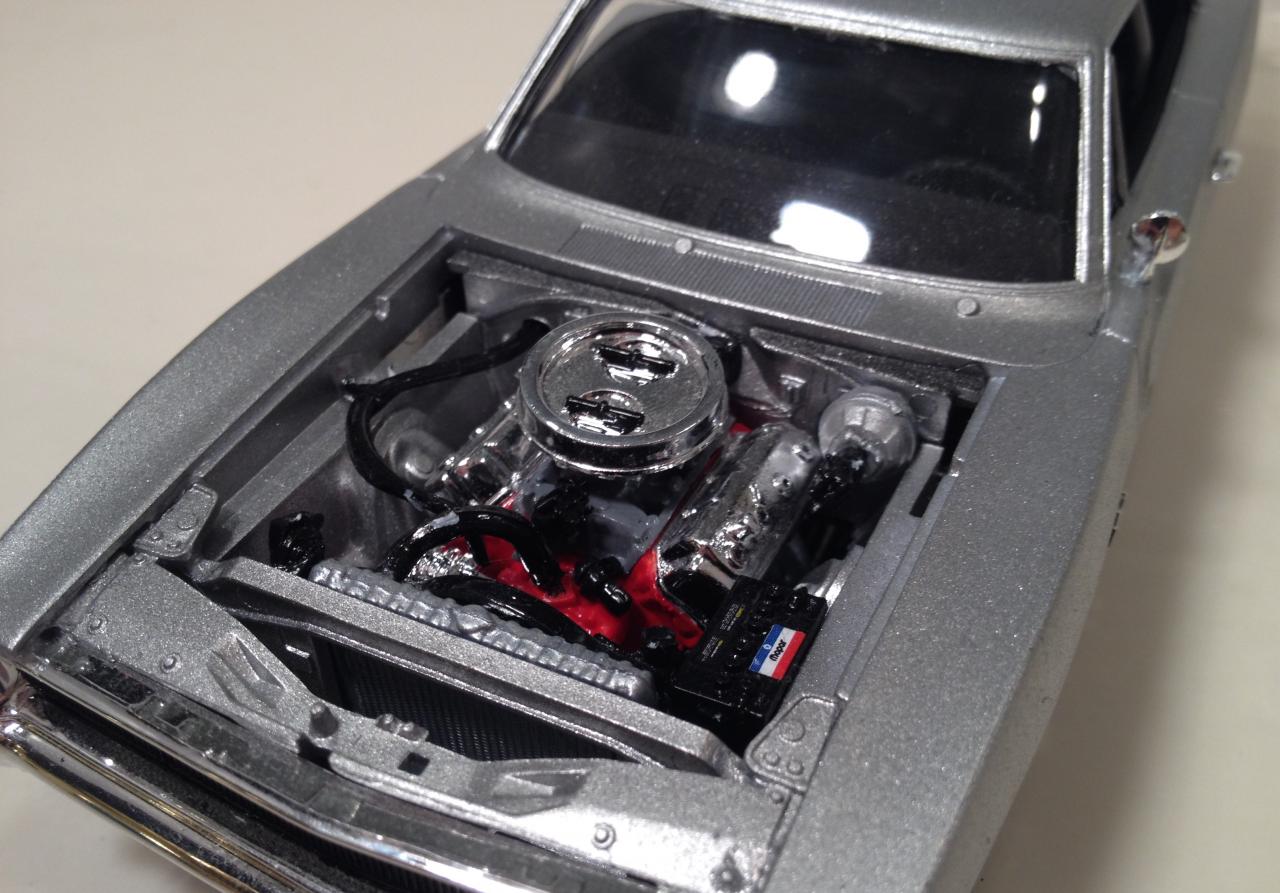
Hi, this is my 68 Charger. I tried to give this model a little bit of a drag racer feel. I'm really pleased with how it turned out. Enjoy
-
This is one of my favorite builds.
-
I think it came out well
-
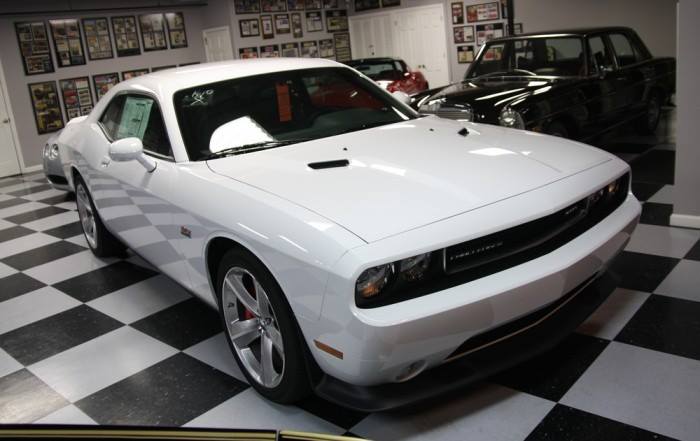
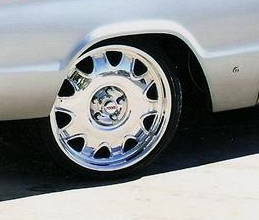
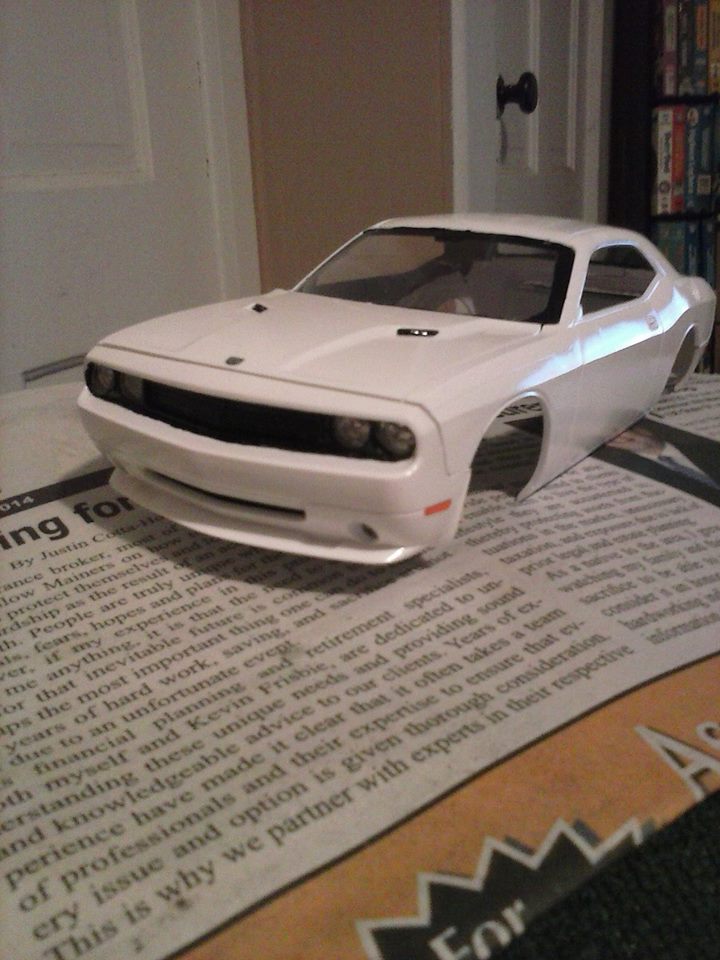
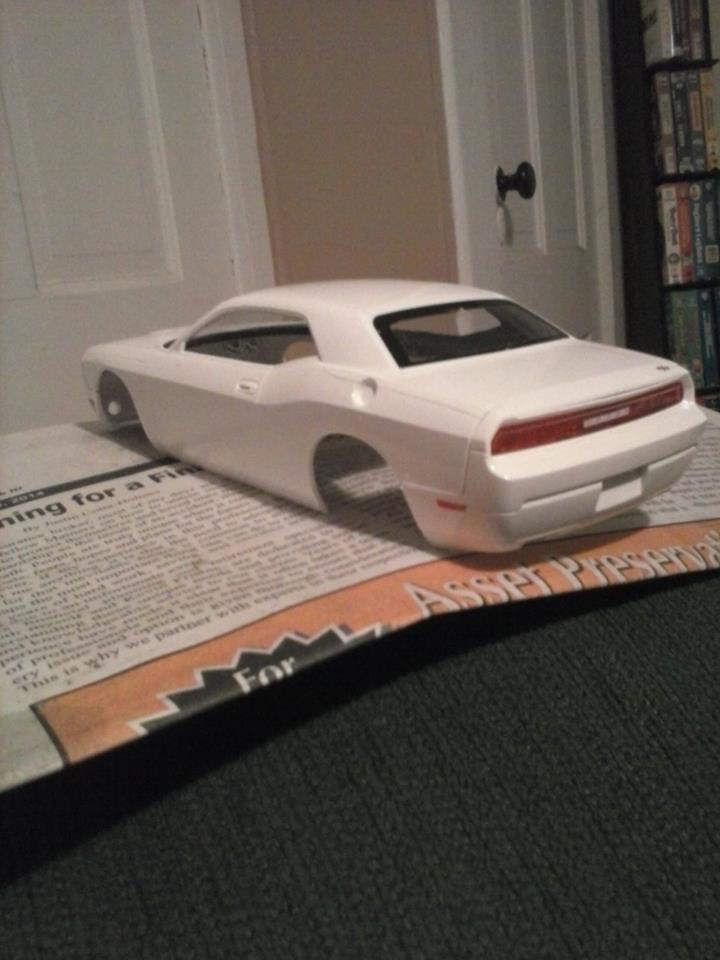
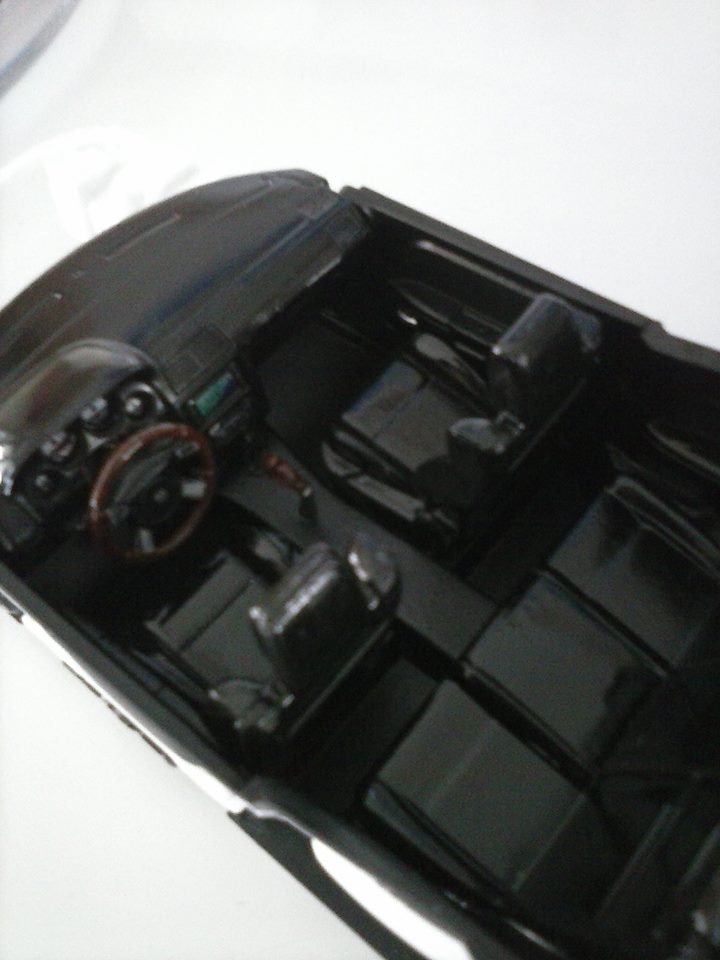
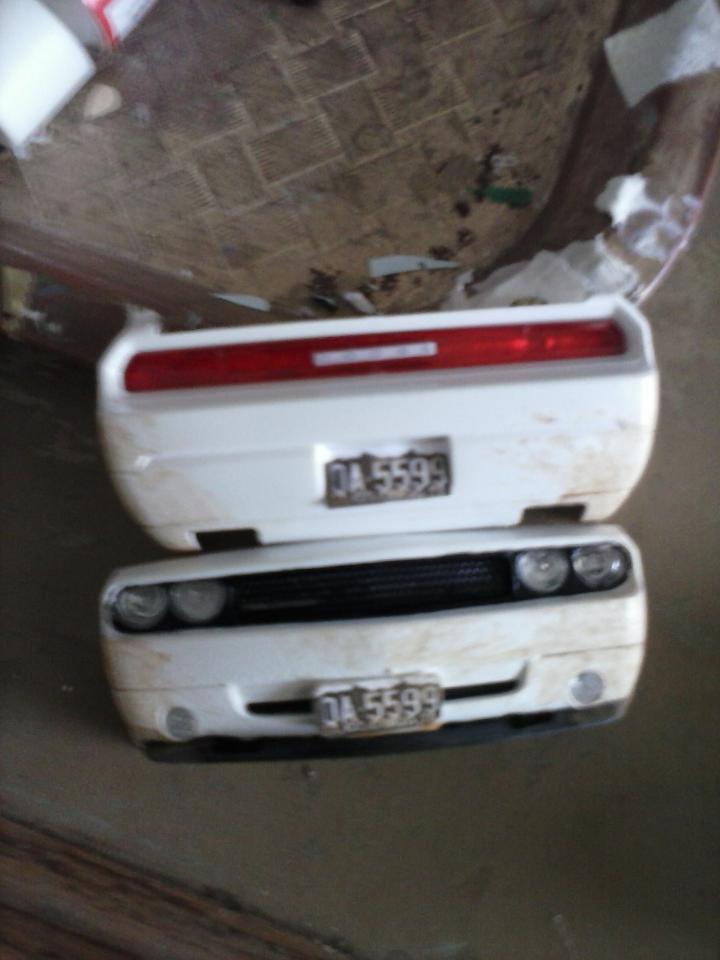
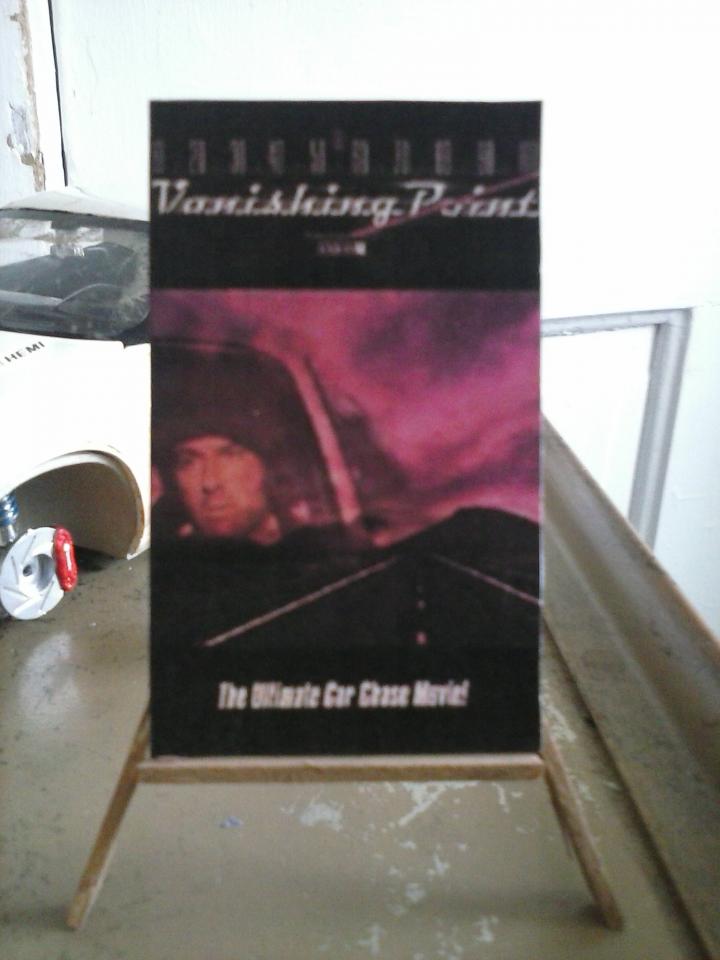
So a few weeks back I got searching the interweb and came across this article on 2 guys taking a "Kowalski Edition" Challenger and rein-acting the race that took place in the movie. So doing a little research I picked up the Revell Special Edition Dodge Challenger and ordered some wheel's from the Revell Chip Foose 1967 Dodge Charger kit and went from there. This is what I have done so far. ** update 2/18/14 ** Finished up the Challenger today except for a few touch ups. I weathered as it would have been in the dessert. "Kowalski Edition" Challenger actual Chip Foose wheels mine from the model kit with gray center. Bad picture quality console delete with a pistol grip shifter
-
This is my friend's favorite car of my collection. It was one of my first builds, and one of my best.
-
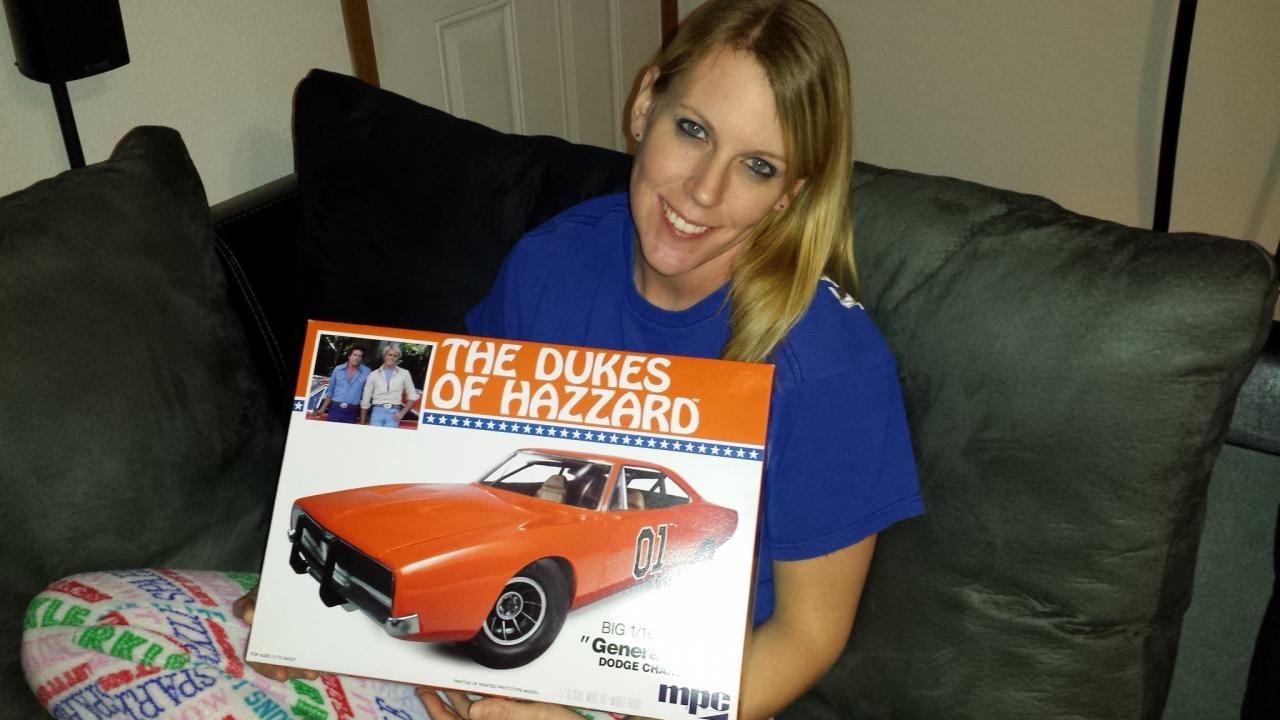
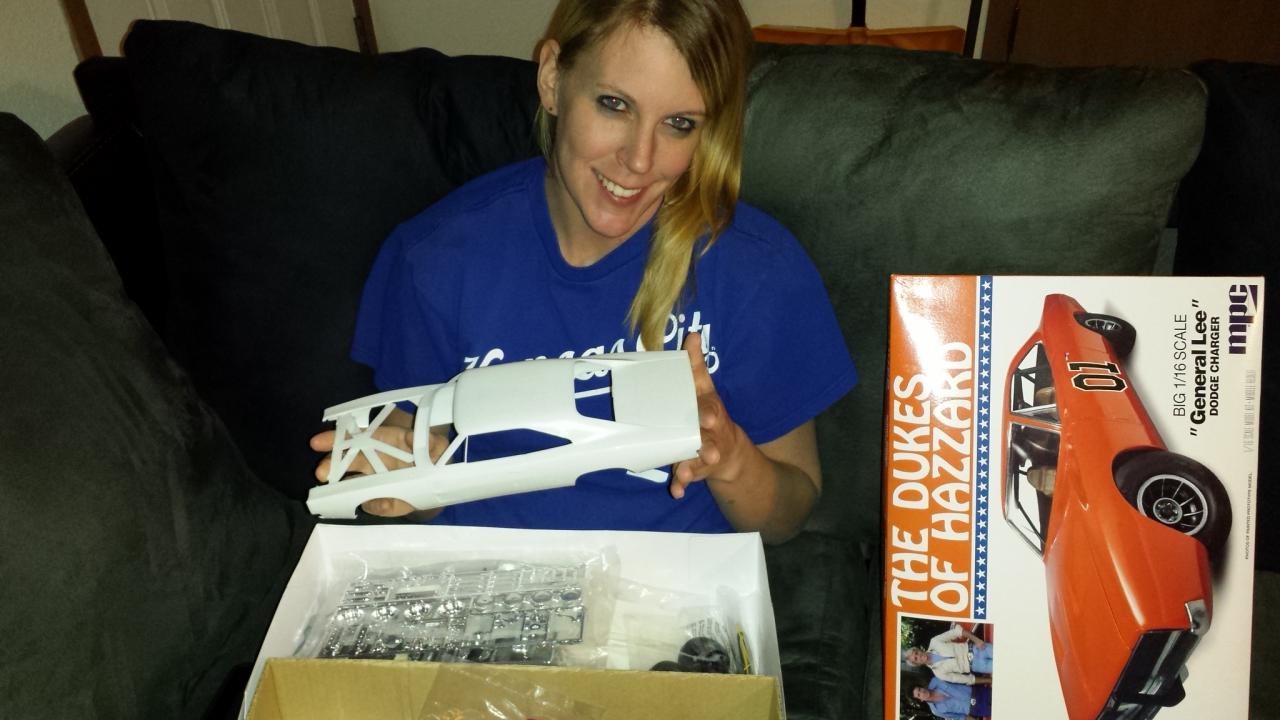
 I've got the bestest wifey ever. She's into my racing,r/c racing and now into modeling.she has built a few snaptites and wants to do her first full blown build without any help from me haha. She wanted me to make her a w.I.p thread so figures why not. More to come.
-
 I had posted a teaser on my 2013 model thread, here's what's on the bench right now. This is a replica of a van a buddy-0-mine drove back in the summer of 1978 when we delivered pizzas in Holmdel, NJ for Luigi's Pizza. Most famous customer? Bruce! He lived on Holmdel Road at the time. Anyway, this project is older than dirt, from back when Jimmy first poured this body. I did the paint job and put all the parts in the box. There were a few things that stumped me at the time, back before PCs and home printers. Now those things are just a piece of cake! We are officially up on wheels for the first time. The chassis is complete, wheels and tires are glued in place. Note that the truck was brush painted so the jagged lines etc are intentional. One dirty white wall, a loner from the bottom of my tire box. It's randomly placed, I had all four tires face down on the bench and just put them on as they were sitting. One of the things that kept this one in the box back before we had computers and such was the graphic Don had painted himself. Of course this one is printed from an Internet image of the original, modified and reduced to fit. I didn't want to mess with masking off the entire truck, so I painted some clear decal stock silver, then printed the image on clear. So it's two decals, kinda Cady decal style. And in this picture you can see how my printer is screwing up right now. At least you can't see it by eye on the truck because it's a small decal. As I worked I remembered more about the truck, and that it was an old Bell Telephone van. So I stopped production to run out and get some Testors Olive Drab. I masked off the truck and shot the inside of the shell. Then I did the extra pieces like door panels. Then I worked on the interior a bit. This is just mocked up, but I did the seat weathering and added belts. Carpet is an adhesive sheet. I honestly don't remember what color carpet he had in it, but I had red and needed to get some colors into the truck. And I don't remember the exact decor, but I had these saved with the project (from an old BMG Record Club flyer) so I just had to use them! And yes, the real truck looked just like this. Letters will be done with Alclad. The project is at the point that I can't stop thinking about it, so I will be back at it tomorrow!
 -
Nothing fancy just a clean quick build. Love how easy these kits build. I saved the decals for the case its in due to the fact the color was way off from what I intended and I didnt feel like stripping and repainting
-
Were these dragged , or were they more on a nascar train of thought? I picked up the 67 Hemi charger kit (non Foose issue) and it has a drag option. I have been doing some research , but have yet to come up with any relevant info. 66's , yes , 68-71 , yes. 1967 , nothing. Thanks!
-
 Just subscribed to this forum and decided to share my first build since about 18 years. Apologies for the Hemi Cuda I got it from a friend and thought it was fun to use it for the pictures.
 -
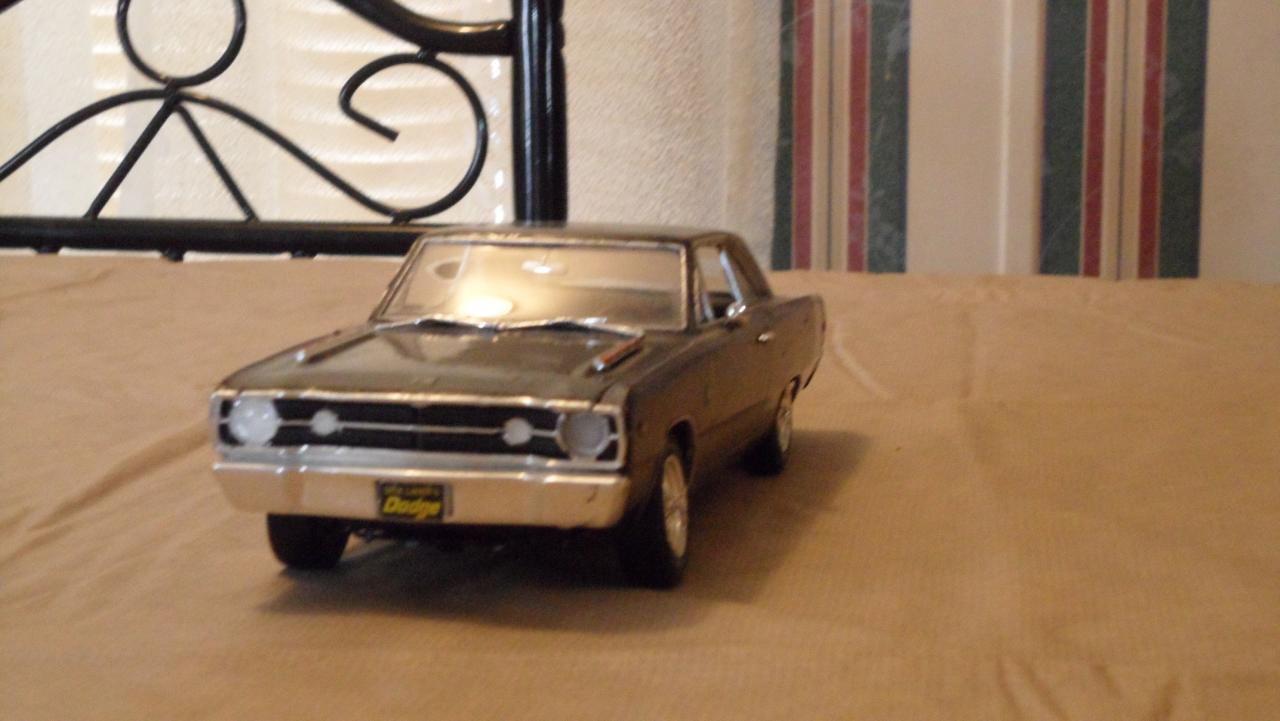
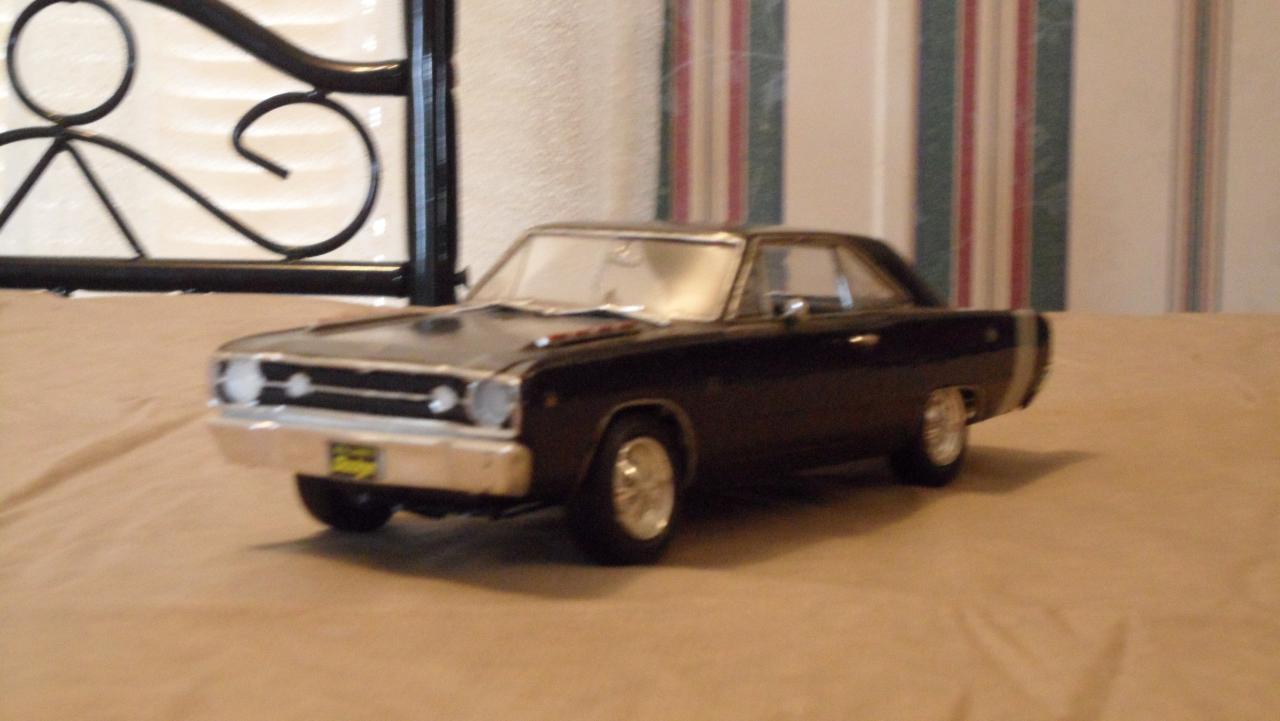
Hi all, ,,just getting caught up on a kit from a recent club meet,traded some of my builts for it. For a kit from 1974,,its not too bad.}Not the greatest tooling} It should turn out ok. Well see where it goes from here,,cheers!
-
Resin repop of the rare MPC '68 Coronet kit. All the build details and more pics are on my site at the link. http://www.svensworldofwheels.com/68_coronet_rt_page.html
-
Hello...again Anyone want to recomend a 63 Polara kit? Post or no post does not matter as long as it is a 2 door. I really enjoy these max wedge cars,is it called Pro-stock? But i would want to try build a more street friendly version,no excact replicas. Also,good tip on what donor is good for suspension/tub etc if not included in any resin kits. I`m quite new to resin stuff so i thought it would be okay to ask on here. Tommy.
-
Not sure where to post,but check out these cool illustrations from this blog: http://ebodies.blogspot.no/ Maby some good ideas for a model kit?
-
Well on lunch here figured I'd post some builds here I have a 71 Dodge Charger RT in pumpkin orange paint.Its going to be box stock but adding steellie body color painted wheels have a look.
-
I dug this up from last year, it needs a little TLC but its technically done...so I'm posting it here.
-
 So, after almost 10 years of celibacy, I have decided it was time to get back and build a few models. A first I was thinking about some 50's winged or finned cruisers, but then I came across Truck drivin' song by Weird Al and that song got inside my head so deep that I decided to build a truck instead. For some time I was thinking about AMT's Diamond Reo, but it turned out that there are no photo-etched details for this set yet, and to be honest, the factory grille in this set is really terrible. And since CMT ( http://www.liaznavzdy.cz/nedtrans/ctm.php ) confirmed plans to create and release the details in the future, I decided to wait for them and select a different truck instead. After seeing Auburn and Cord from Lindberg, I was very skeptical, but it turned out the mold was done by a different company (IMC), and it looked pretty reasonable to build. (Afterwards I also learned that the Auburn and Cord aren't Lindberg molds either, but you know, releasing THOSE kits under your name still tells something about you as well). So L-700 it was. Gathering information about this car is a little tricky, because more than 80% of Google finds show a built model instead of the original car, and engine details are nearly impossible to find. And if you find some, they are dirty and rusty as hell, that you actually can't even tell what the original engine color was. But I want to build a truck that just came out of the factory. I also still don't have the room to set out all the accessories (mostly pistol and compressor), so I started by cutting out the pieces, understanding where and how they fit, and some sanding. And I also glued some components together and drilled a hole into the exhaust. And got pretty upset by the fuel tanks, because they don't fit together - because the bottom part does not go straight up, it is slowly expanding to the sides. I will have to do much more sanding to get that part straight.