customline
-
Posts
3,791 -
Joined
-
Last visited
Content Type
Profiles
Forums
Events
Gallery
Everything posted by customline
-
Thanks, Carl. Thanks, Michael. I think you may already know how much I hate revamping interiors, Greg. The floor of the interior is the determining factor of how the body sits on the frame. This is where the do-overs happened. The floor you see in the interior shots is not the current version. I put this up early this morning 🥱. I was thinking that about the grille. I like to get that right but I think I can make it line up by shimming the body up a little. It looks like a partial channeling job...getting the floor right was a big deal. No more do-overs on that.
-
That's Tamiya semi-gloss. I prefer "satin" for a quieter sheen but I've sworn off Rusto. I'm happy with Tamiya but the expense is making me a bit uncomfortable.
-
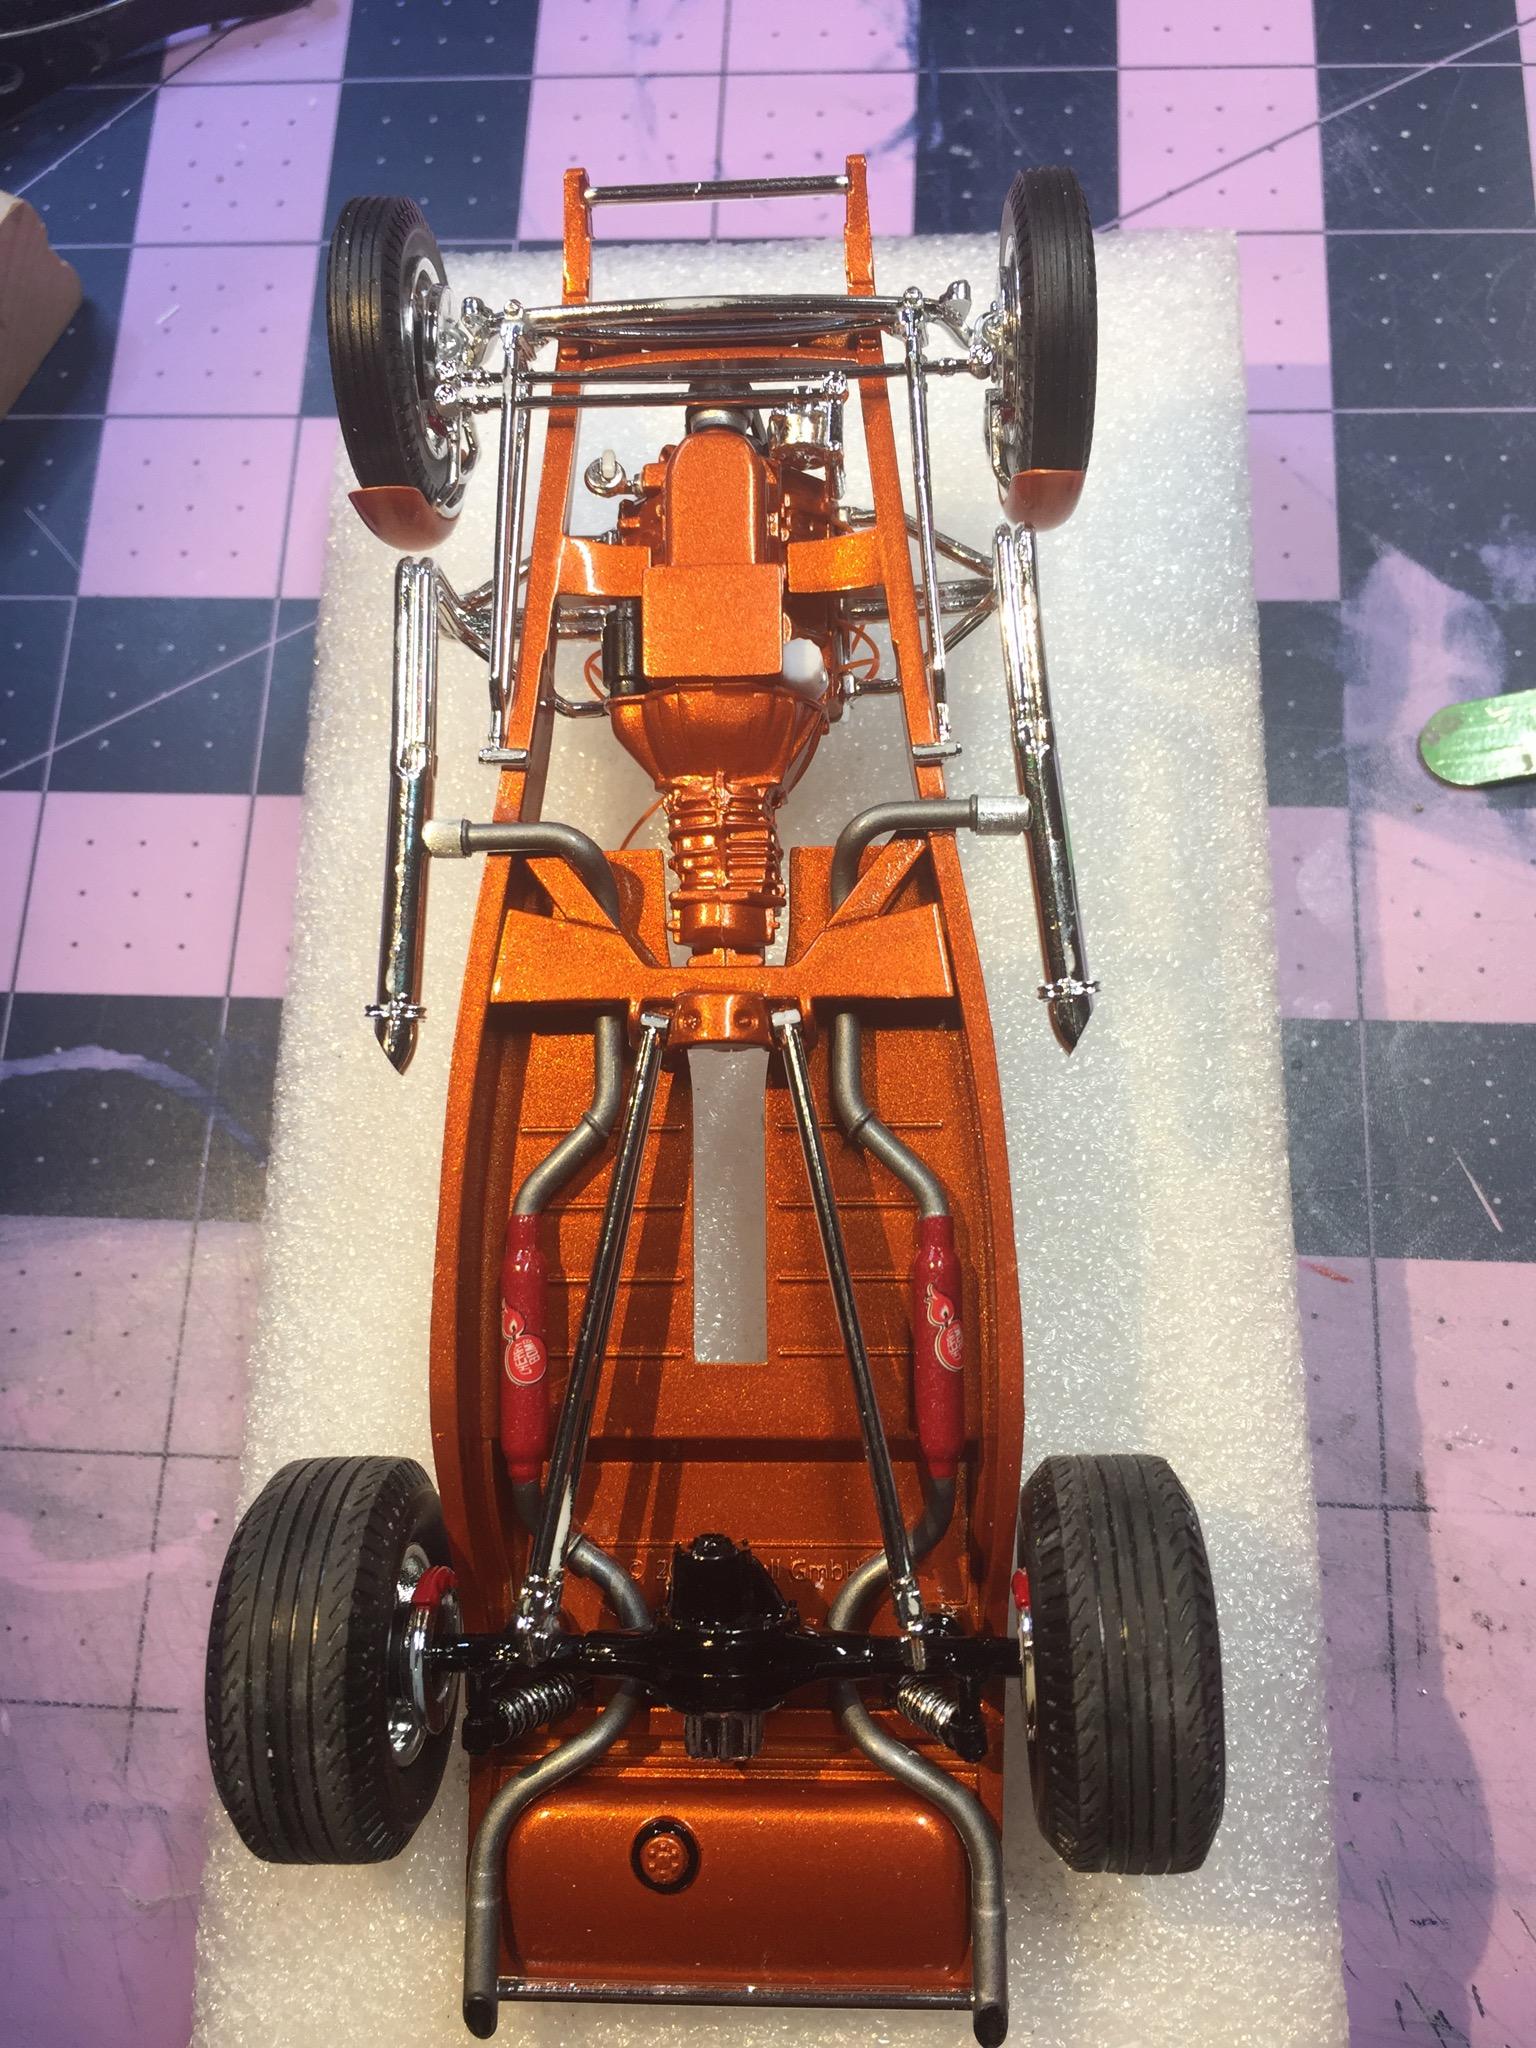
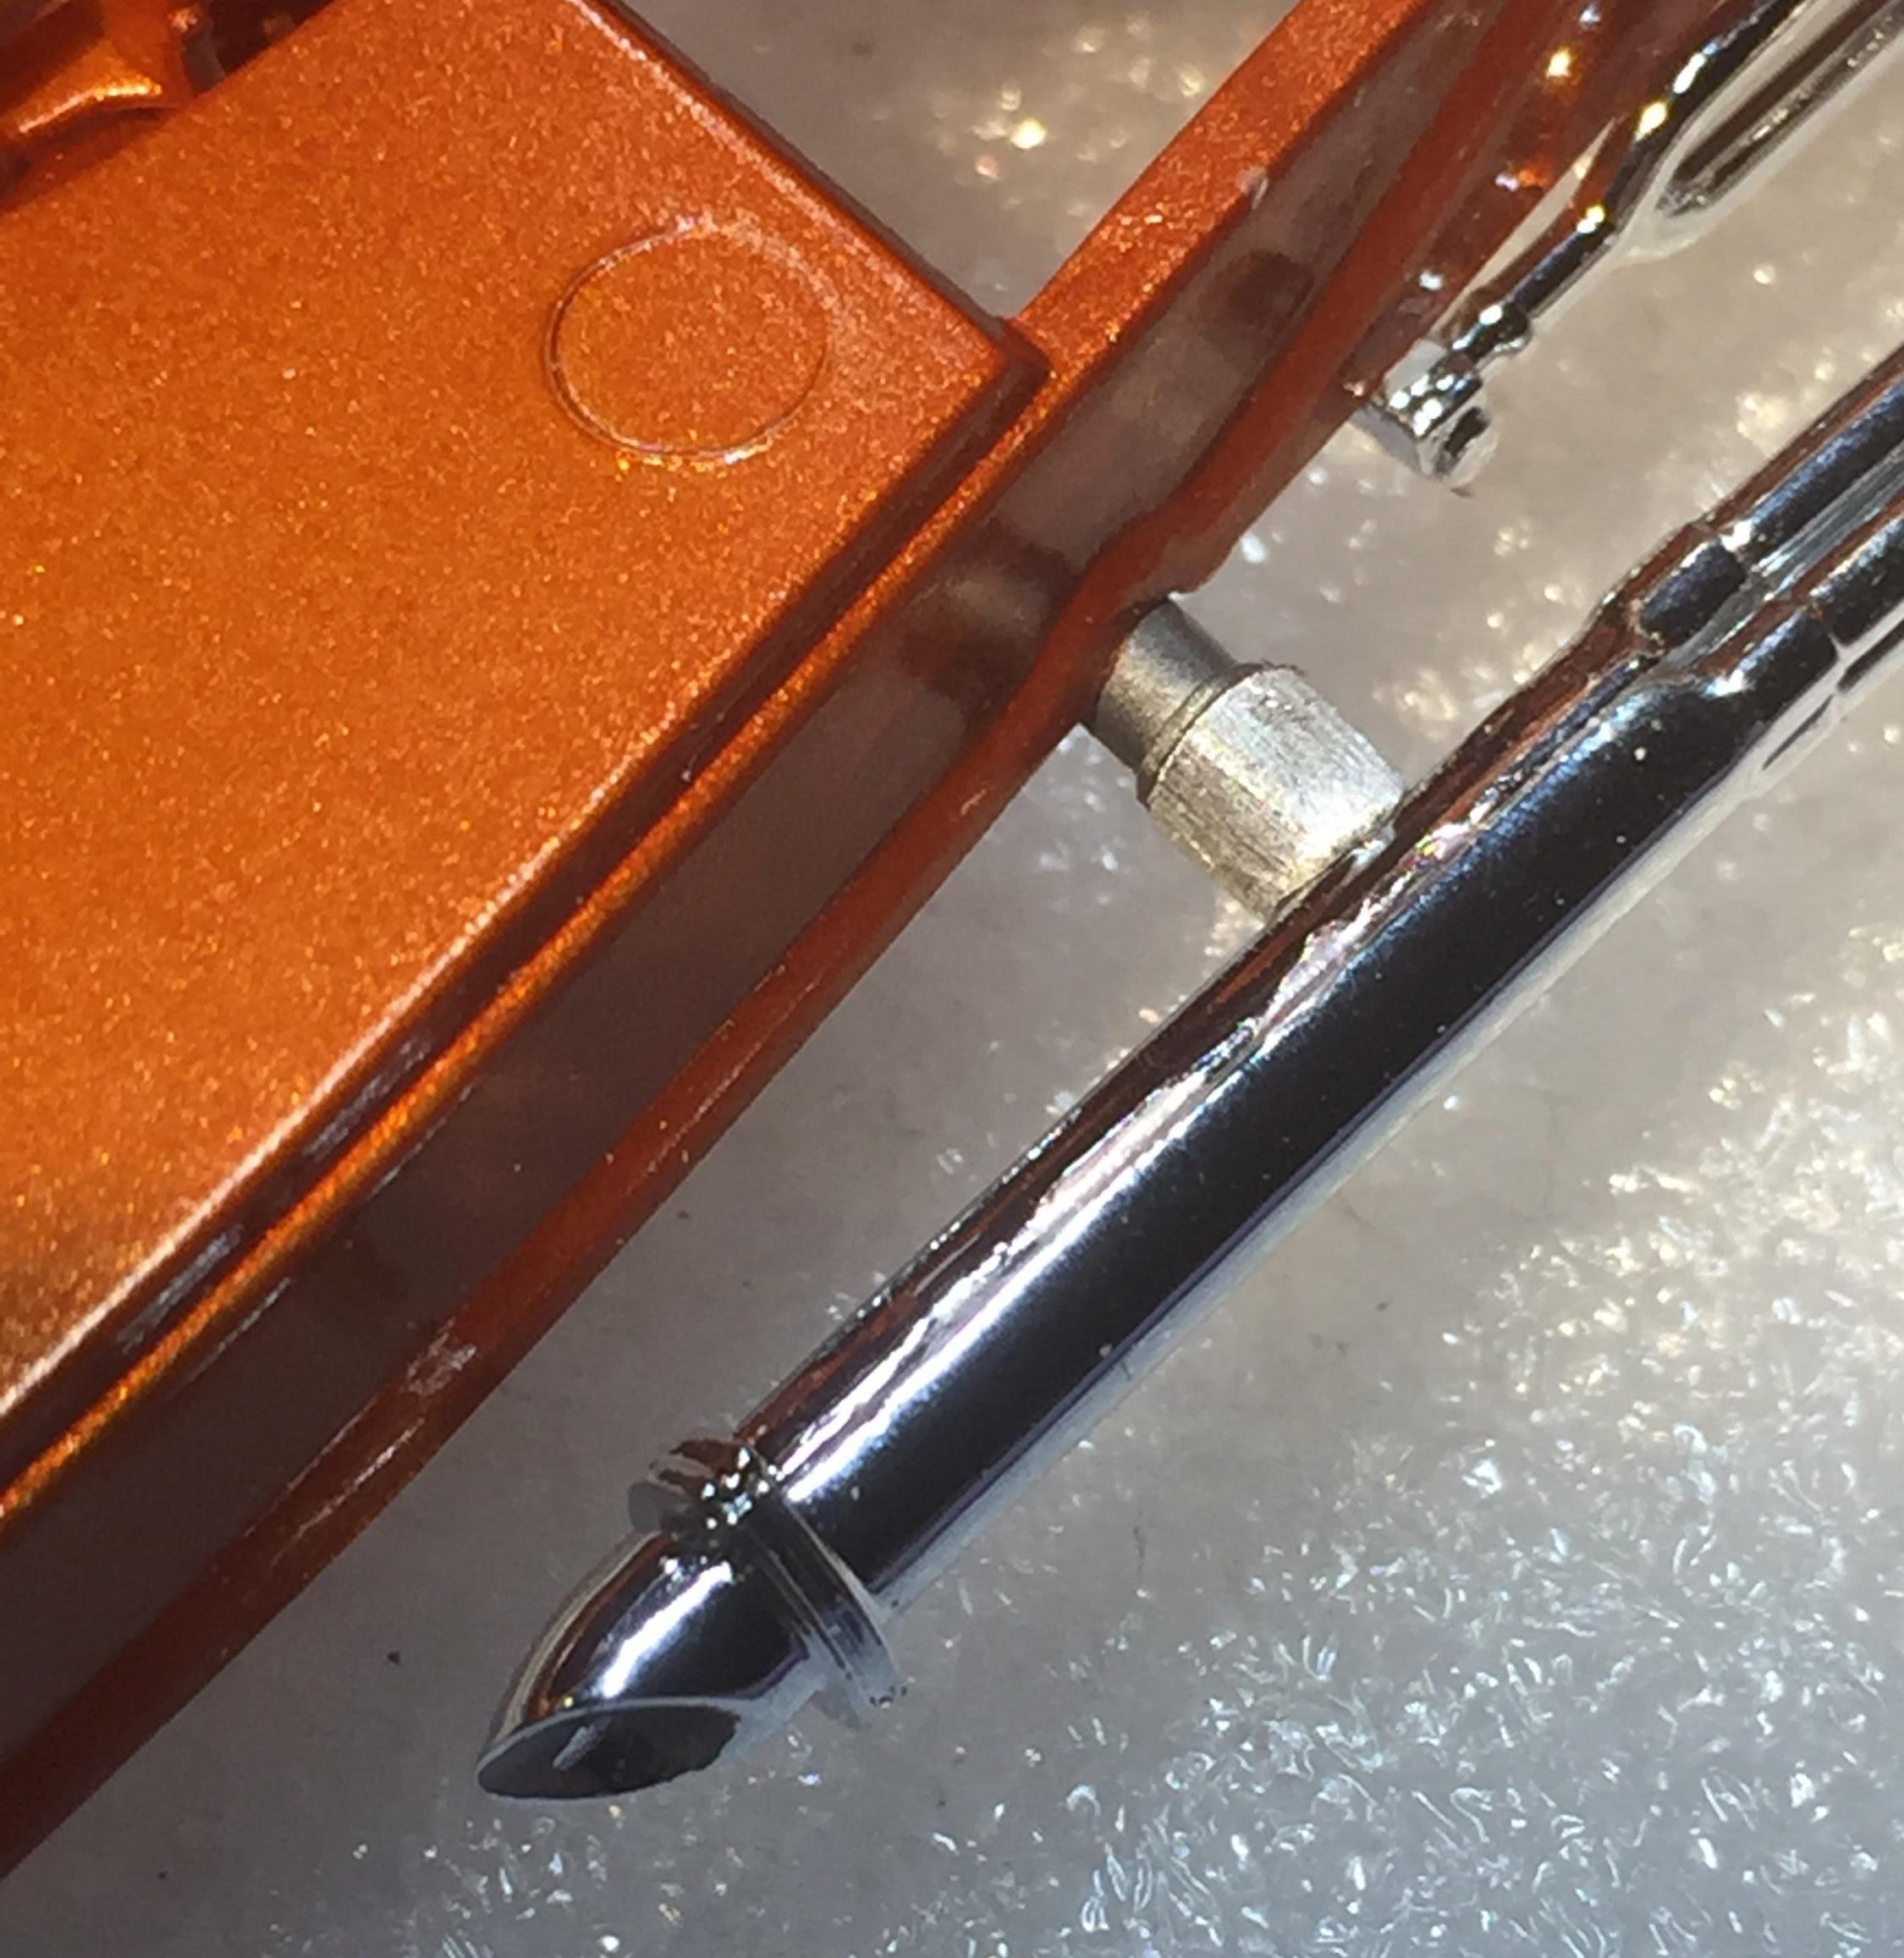
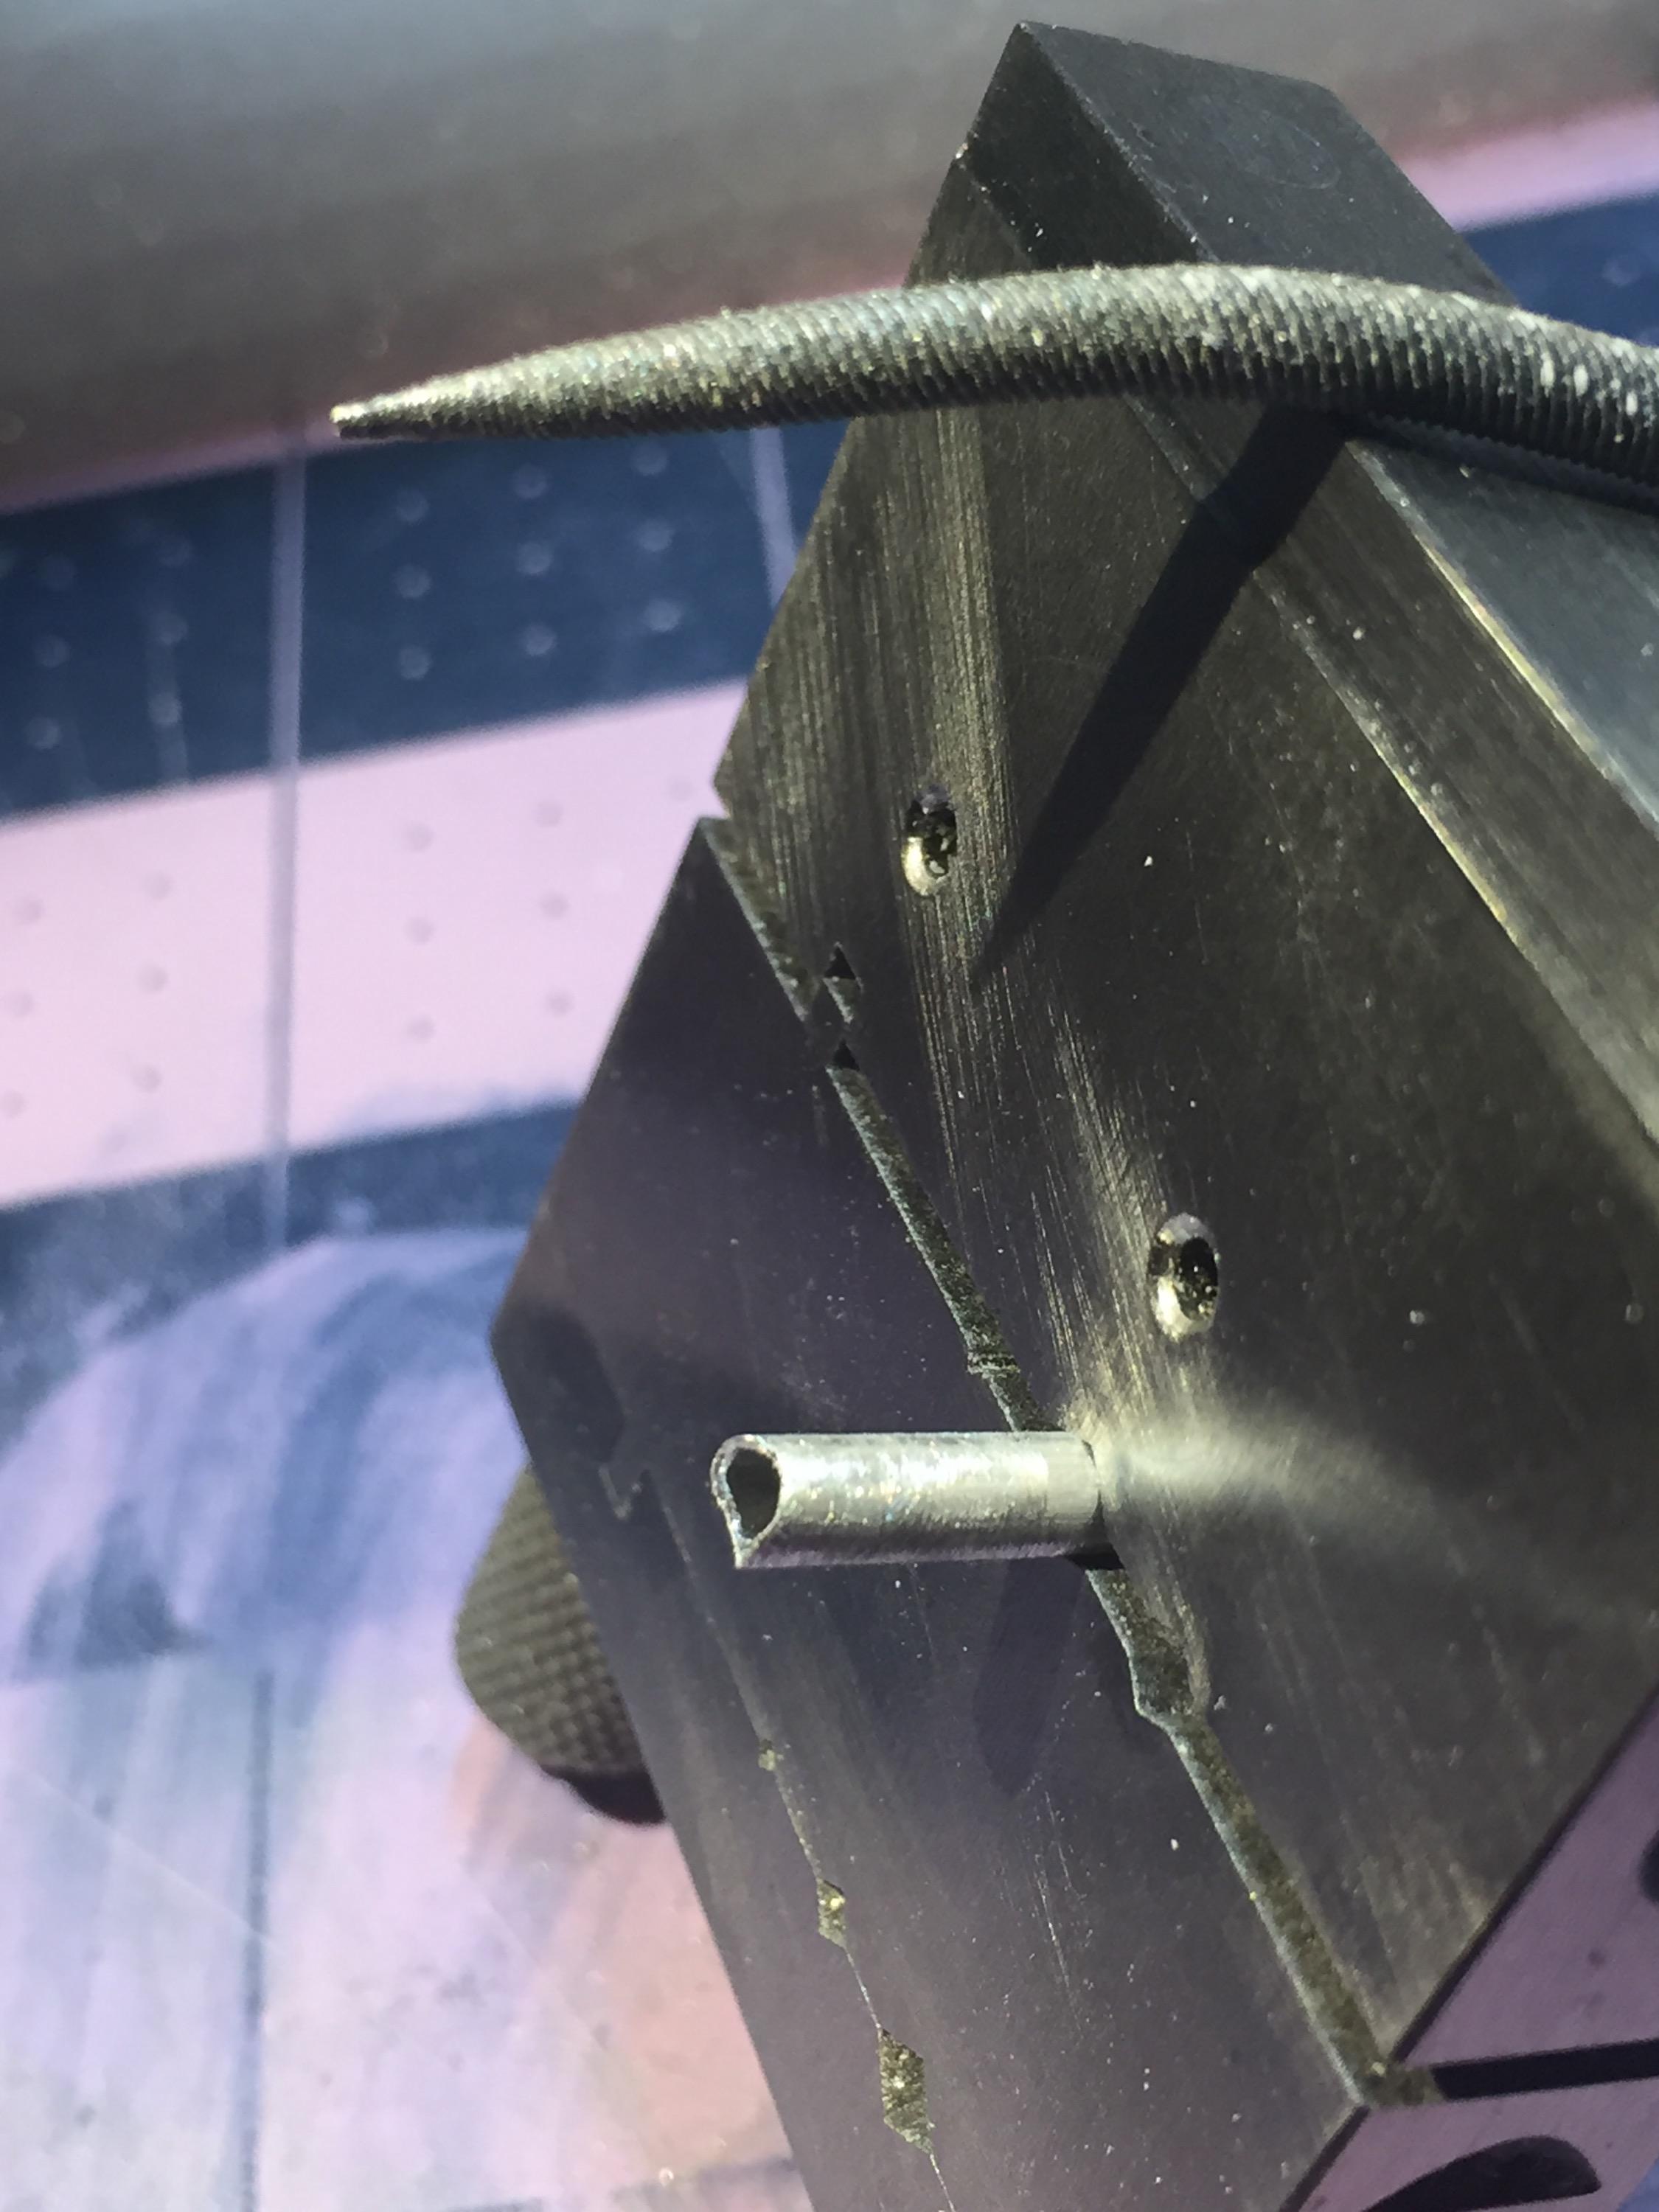
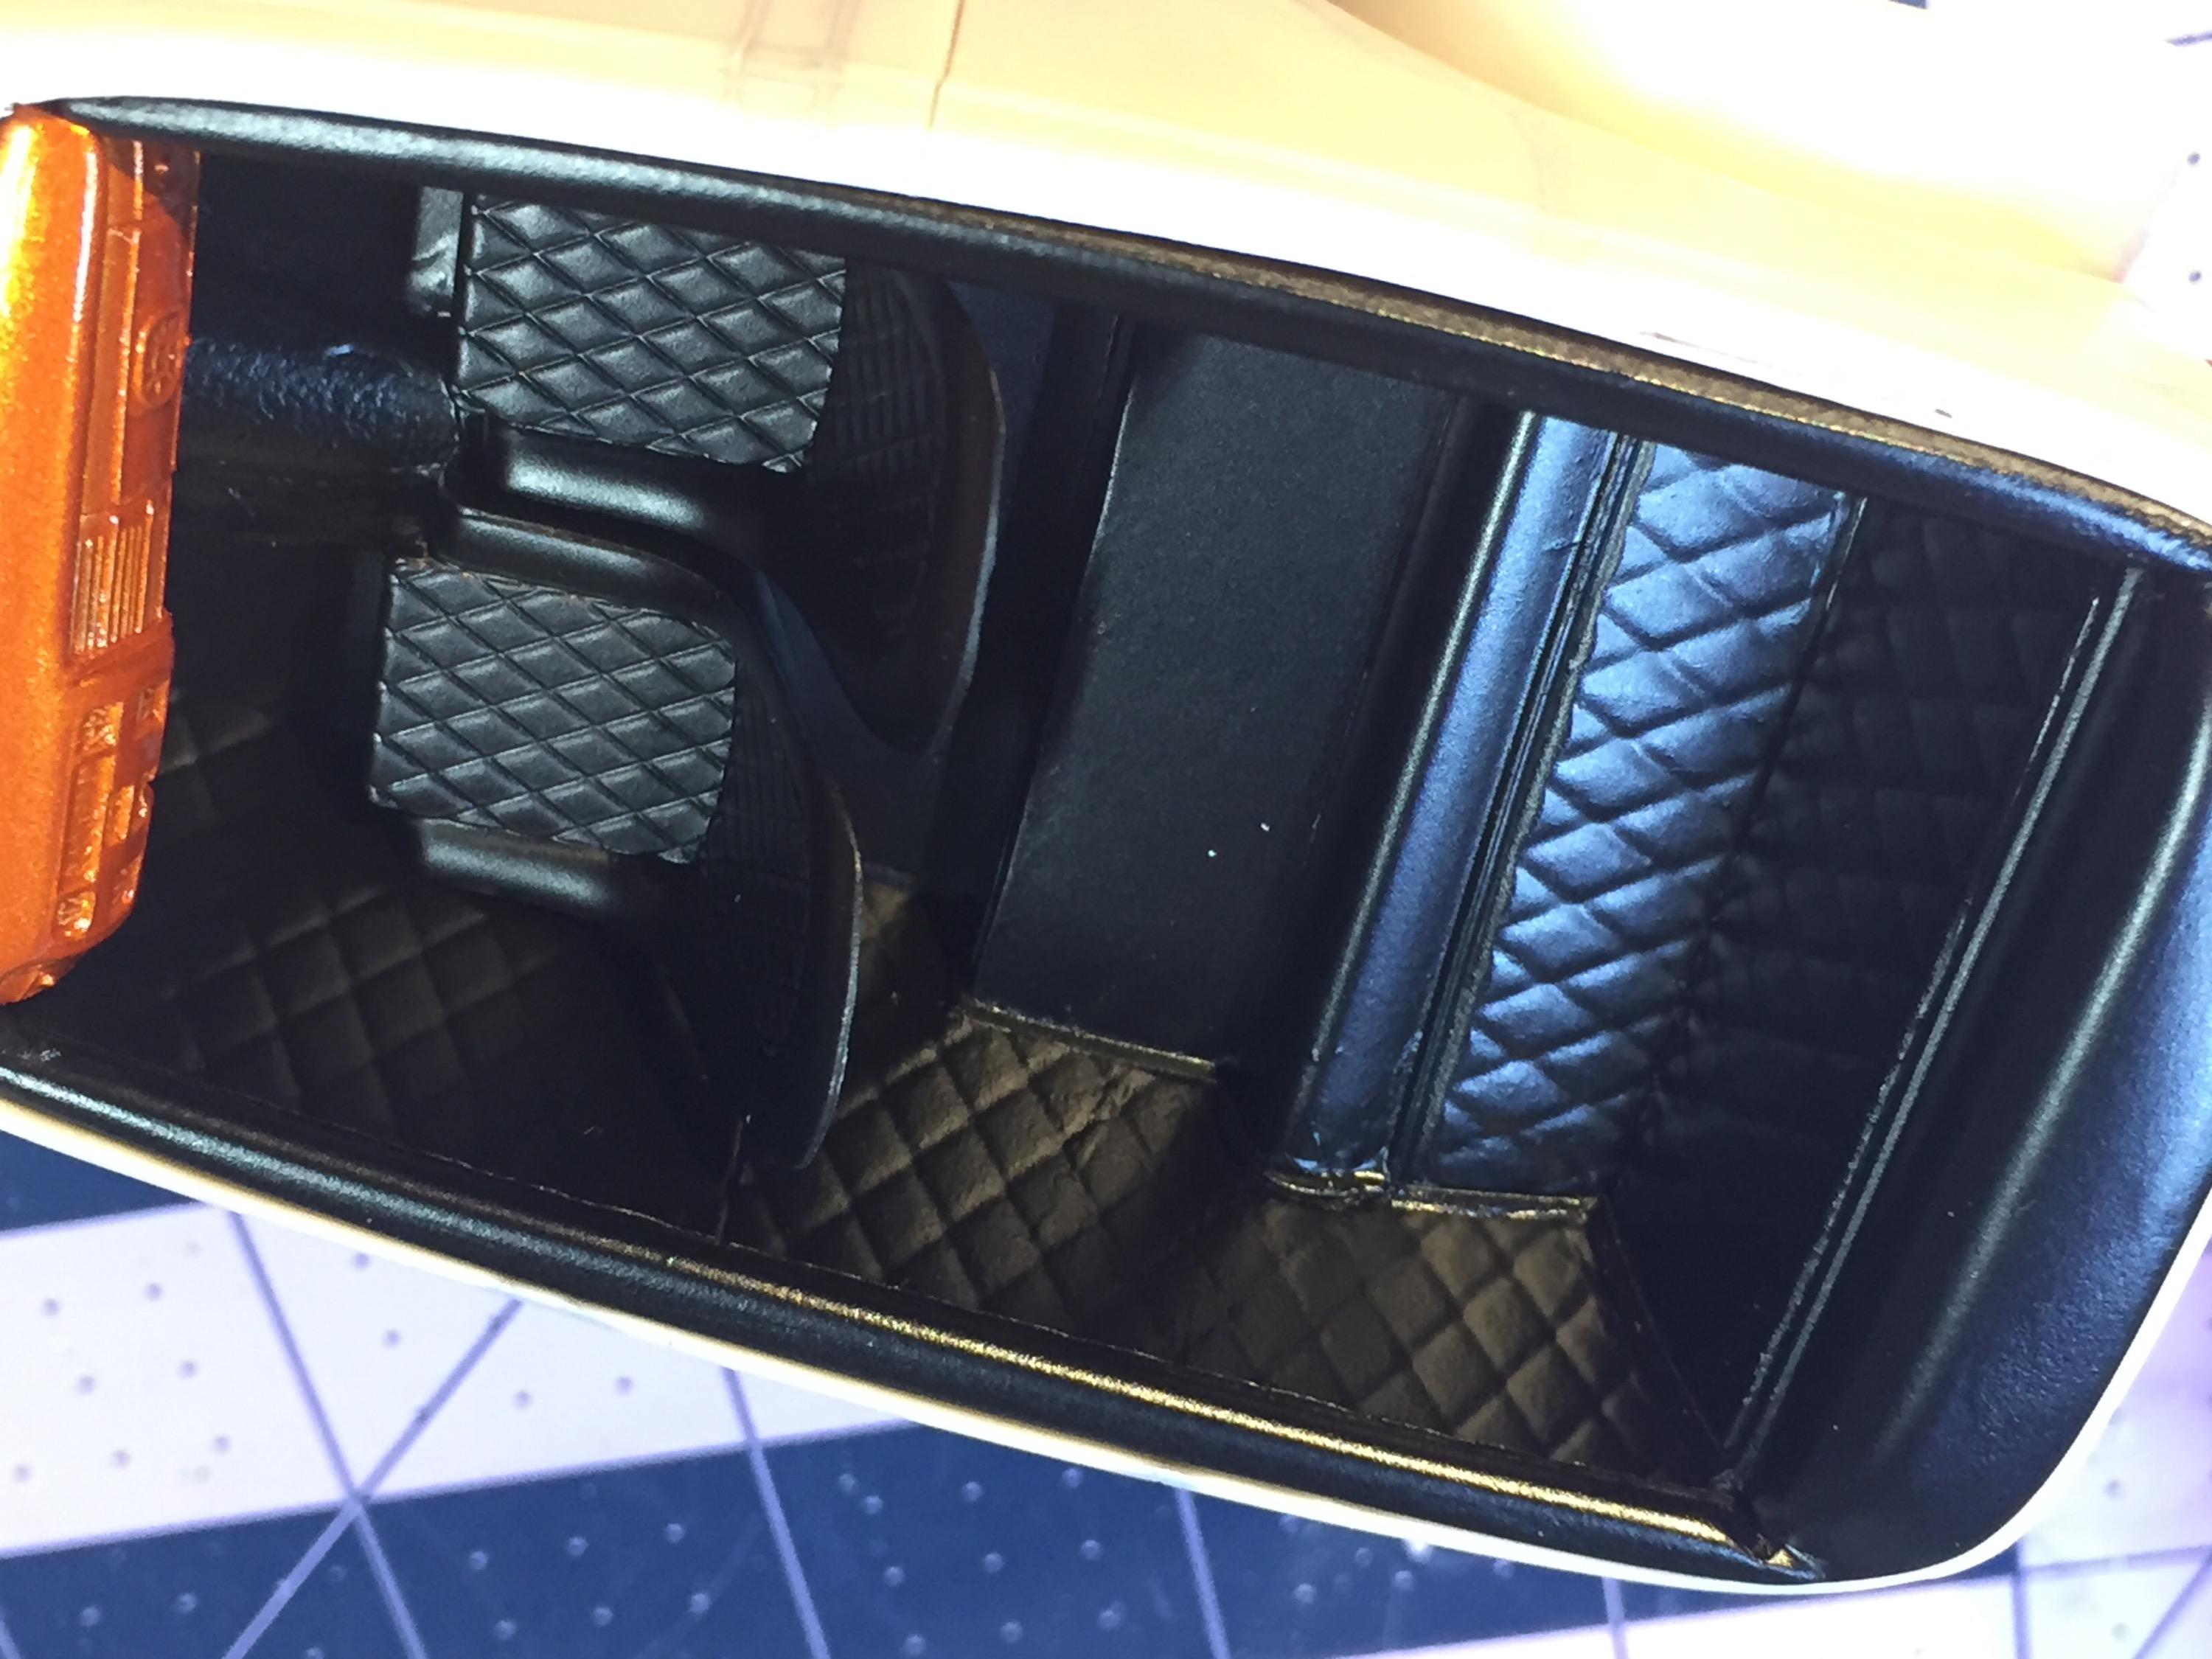
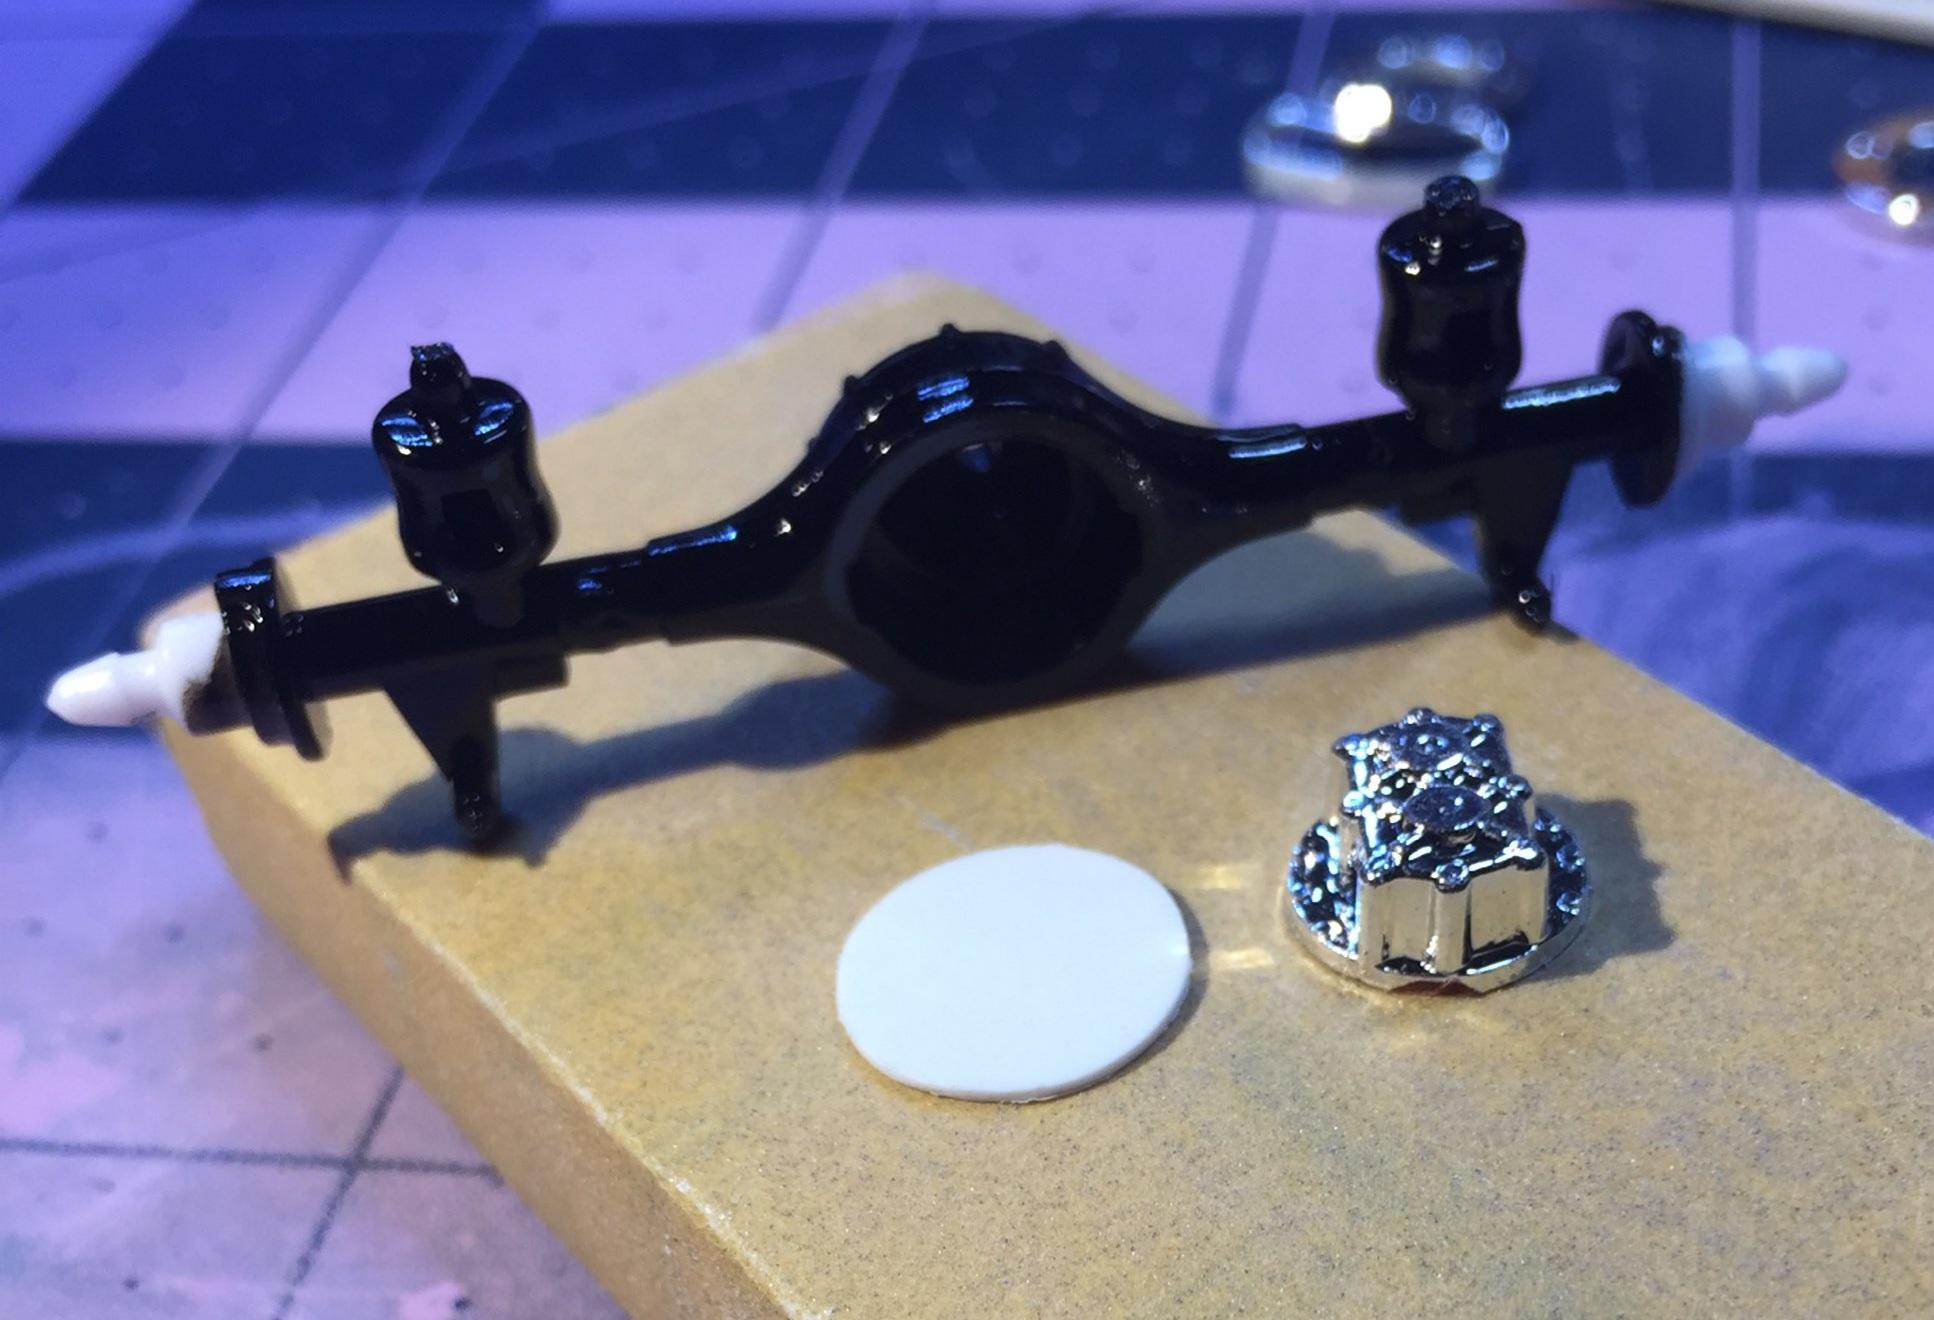
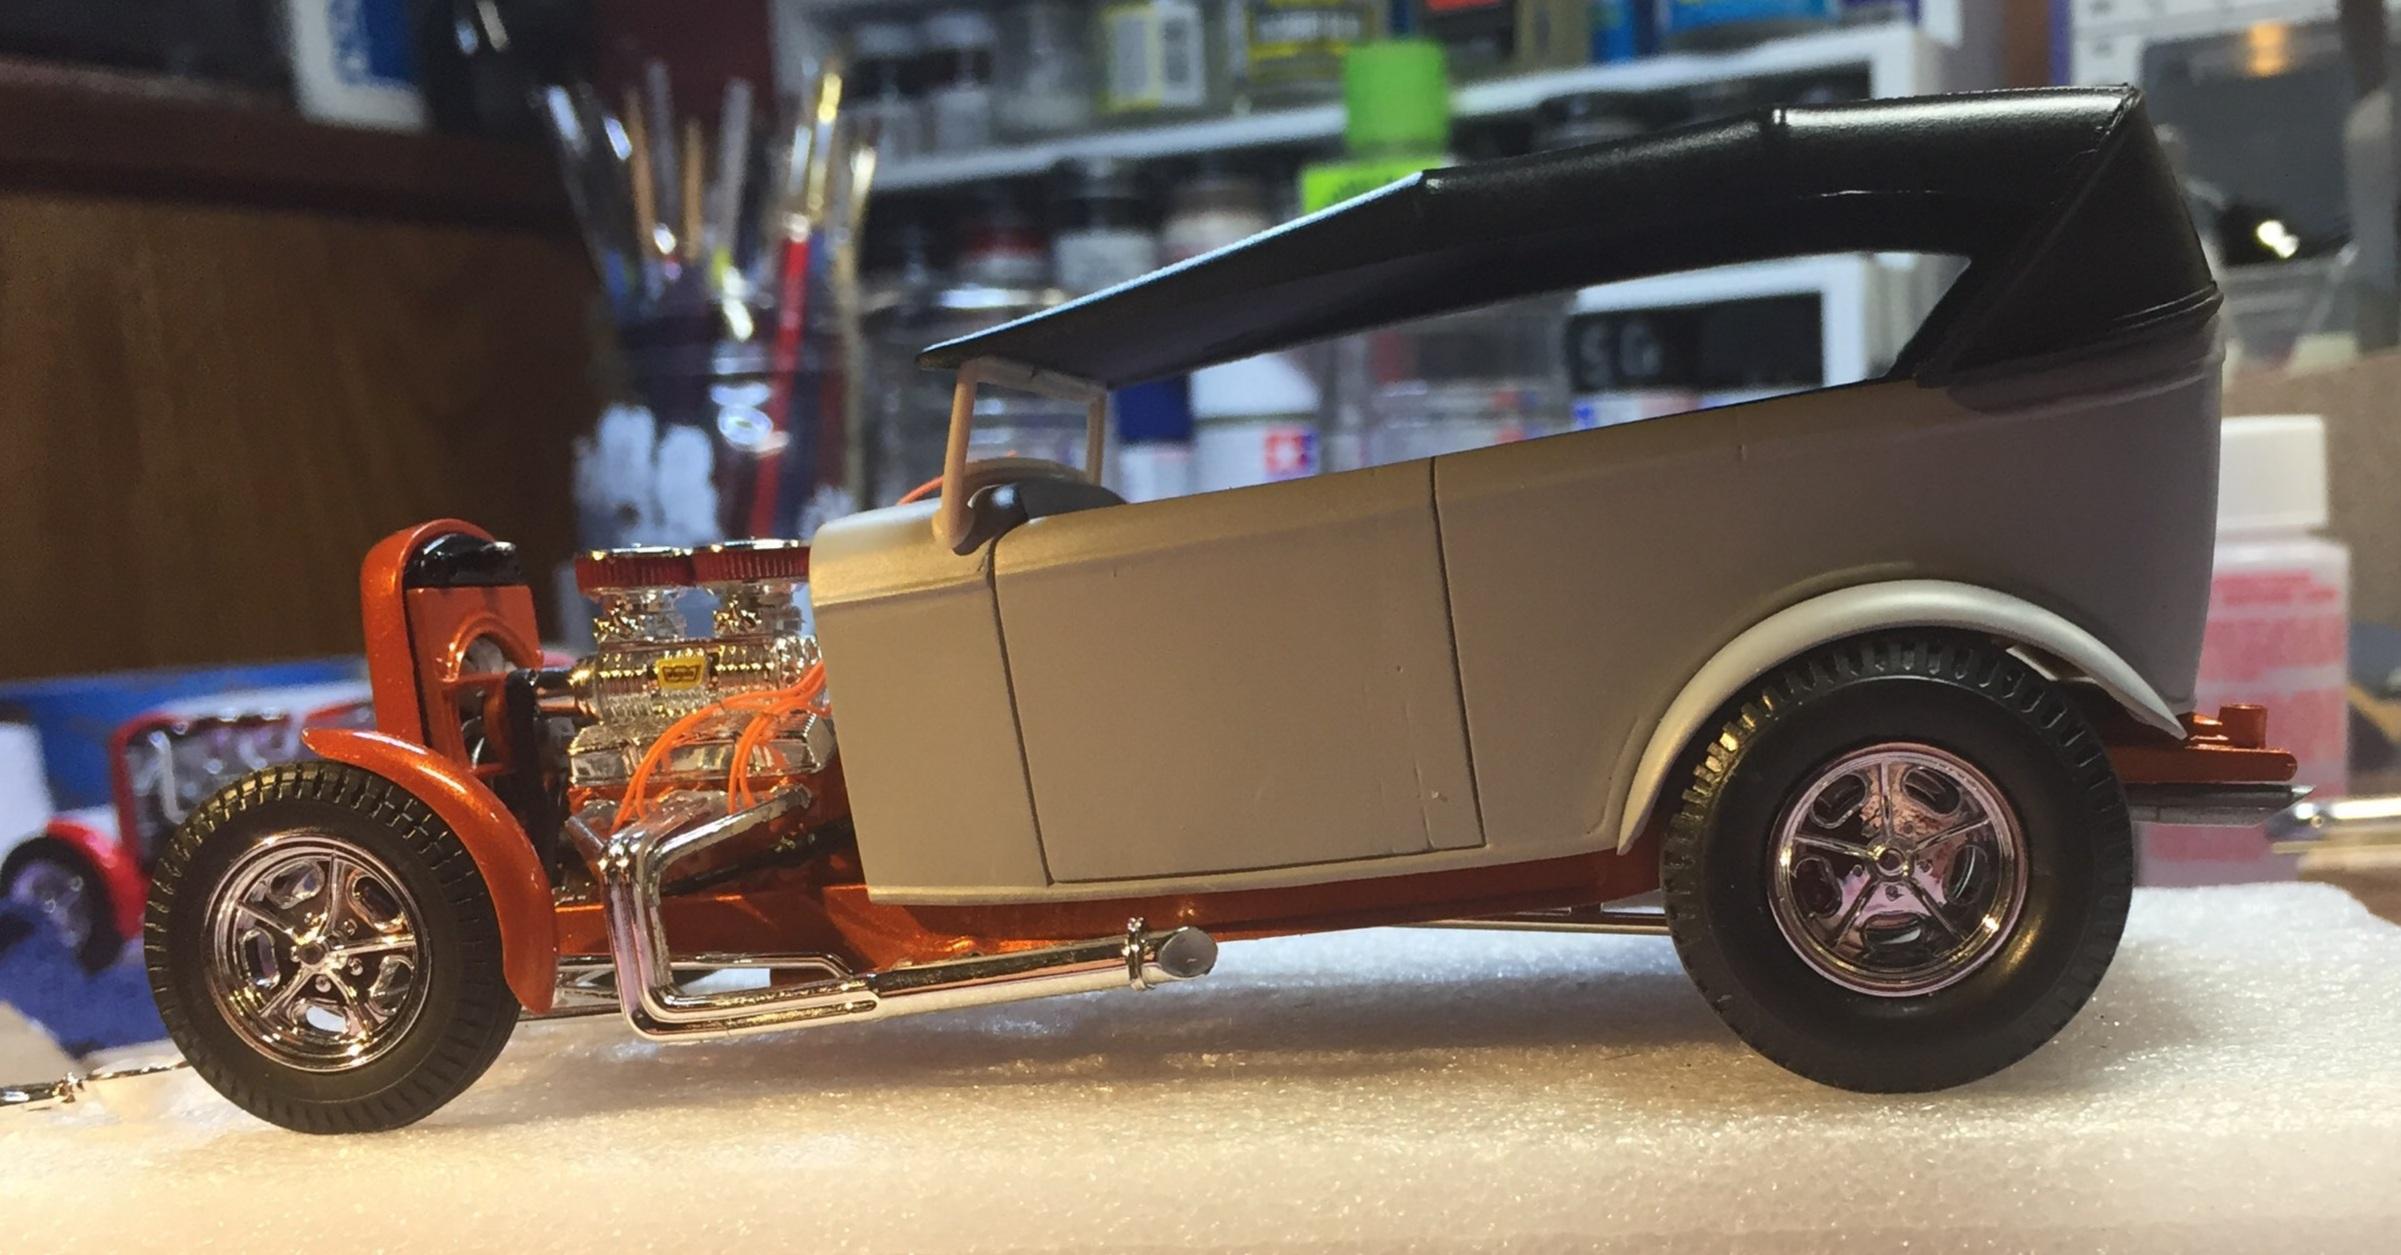
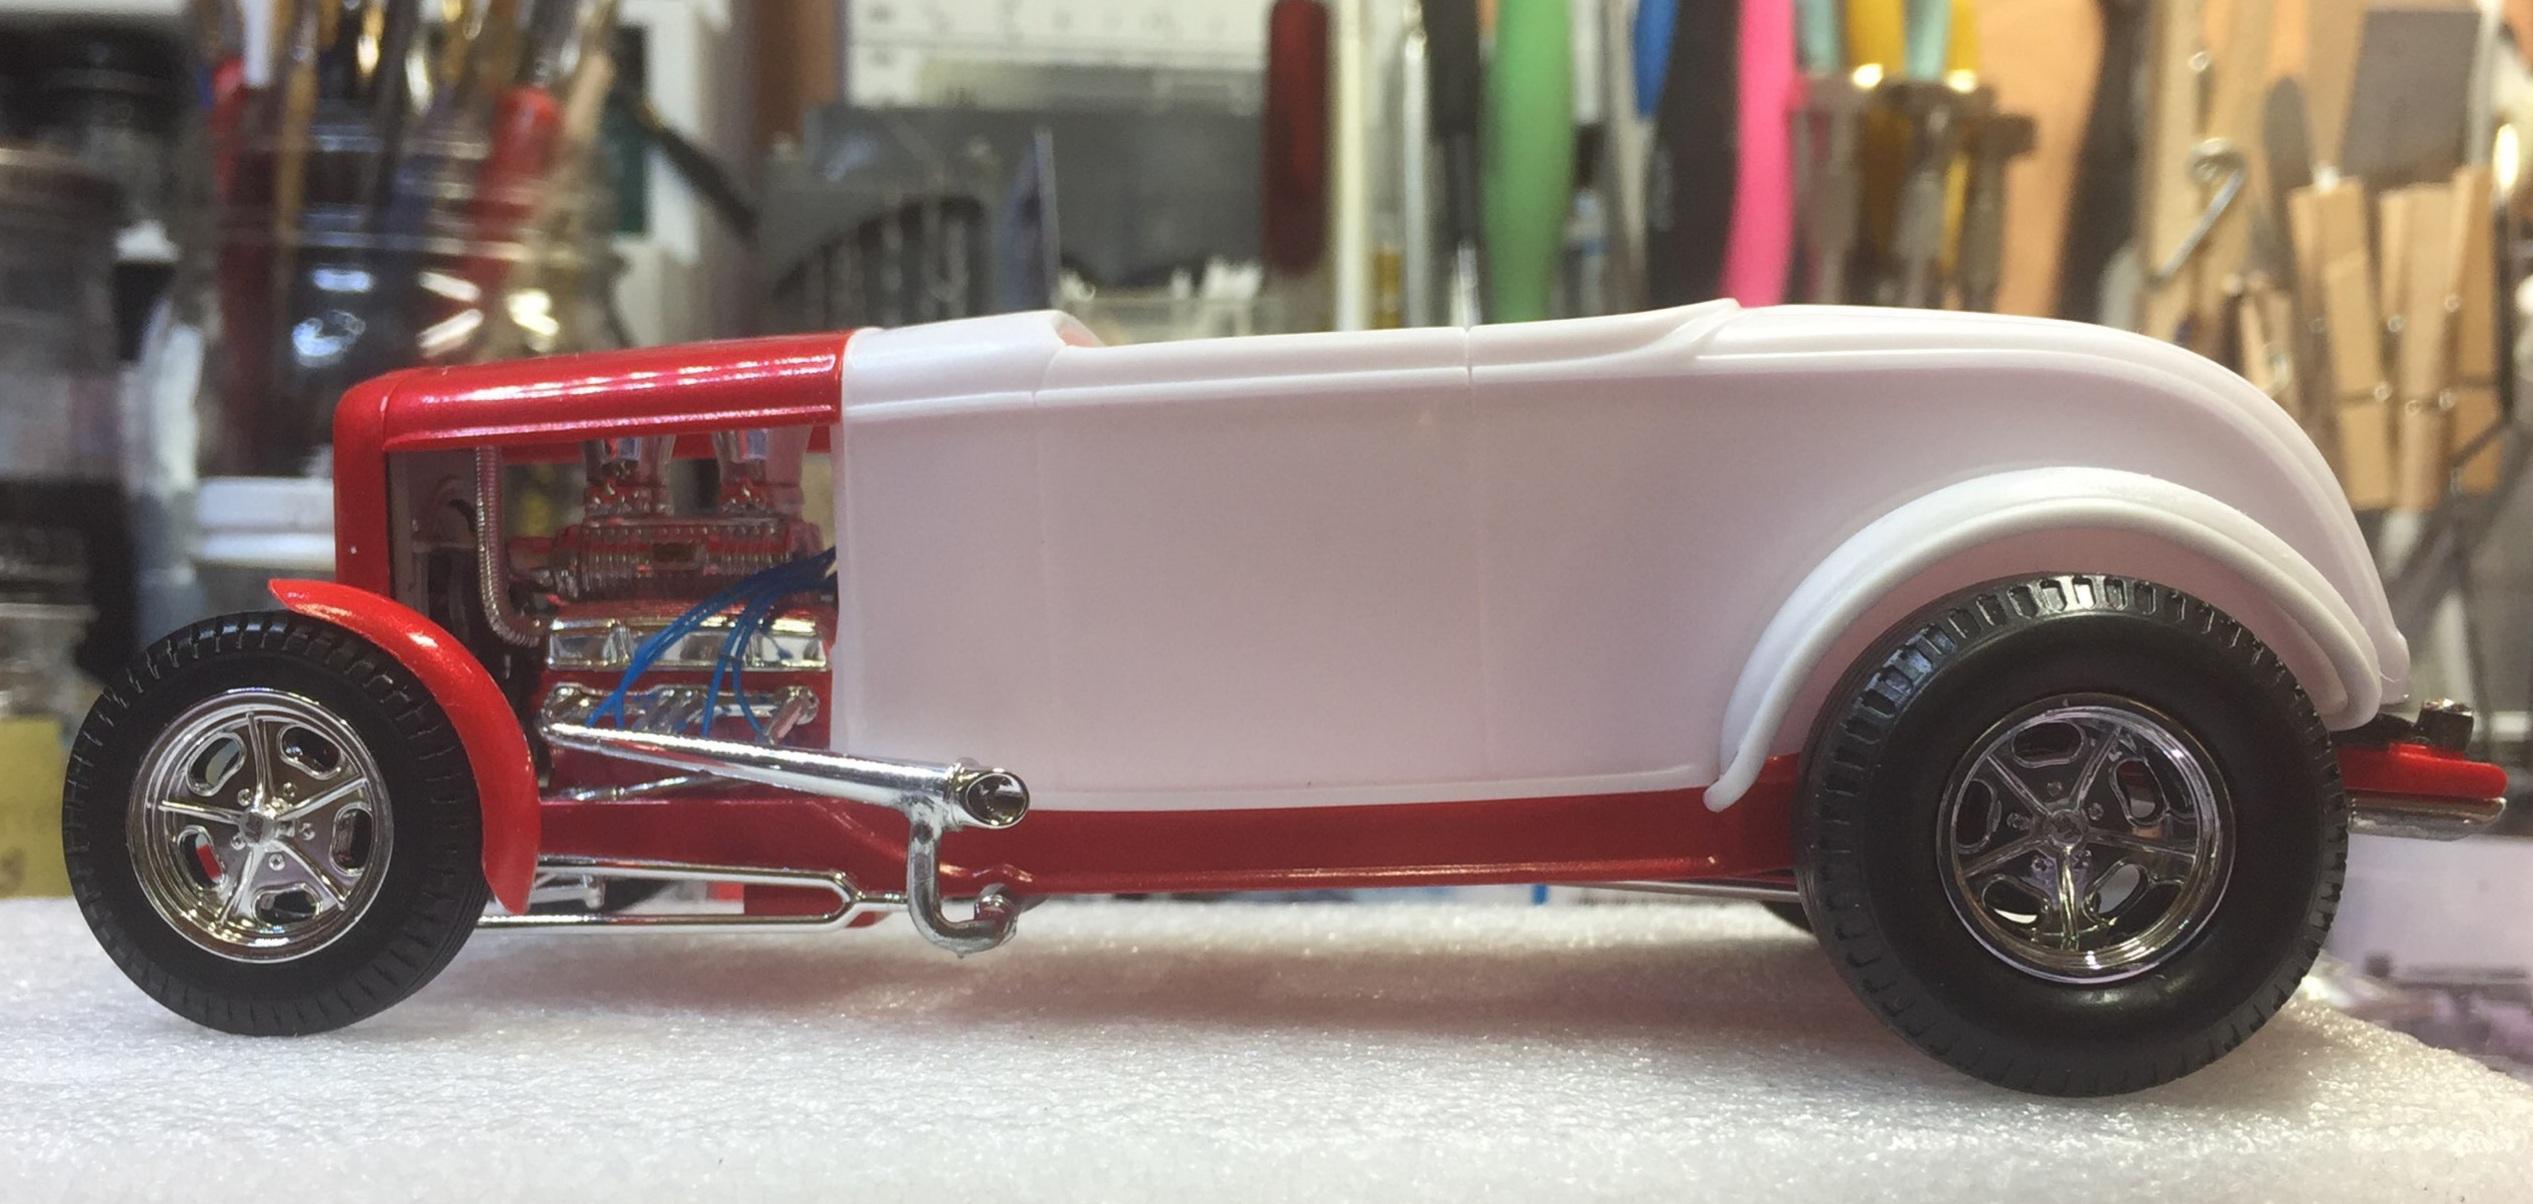
I wasn't sure if this one would get this far but it did so.... here it is. The tub was a "junkyard" find on ebay and the original plan for it has since been abandoned. The chassis donor is the new-ish "Duval" deuce roadster by Revell. The tub's interior "tub" was cut down apparently for a channelled build but I can't recall if it came that way or if I did it and have no memory of it 🥴. The first order of bidness was adding back some depth to the interior. I spent many hours trying to make it work. Do-overs can make a fun build not fun. Now, there's a good chance the tub will succeed as long as I don't screw up this paint. I bought the roadster kit at Ollie's for 13 bucks and the build went well until the paint job sent the body to the strip club but in the meantime I went back to Ollie's and scored another one that I planned to use as bash material. That body is going to replace the one in the pond and should be painted in the next few weeks but that's another thread. The chassis and drive train for the tub is now mostly finished and waiting for the body to get out of the body shop. QUESTION: HOW MANY TIMES HAVE YOU GLUED THE ENGINE IN PLACE AND THEN FOUND THE DRIVE SHAFT SITTING ON THE BENCH WITH A BIG SMILE ON IT'S FACE? I opted for the "old" headers that were left over from the Rat Roaster version. They were attached to the engine as an assembly because I didn't follow the instructions. I pinned them to the block and the tie-ins for the muffler system would not line up. I made bosses from aluminum tube to mate the headers to the pipes. I fish-mouthed the tubing with a round riffler file and they are just glued to the pipes. I can leave them that way or I may try to put a CA "weld bead" at the headers and then Molotow the joints and bosses I thought about adding levers and cables to the bosses to emulate cut-outs but....nah. I found a chrome QC rear end from a 1:24 RM '57 Chevy (probably) but it was a bit small for the kit axle housing so I added an adapter. The rear doors have been eliminated and the current idea is to use the roadster kit handles on the front of the suicide doors. I skinned the cowl with .010 sheet to cover the cowl vent and to help the windshield fit-up. I also added some sheet to the bottom of the cowl to fill the space created by the '40 dash. The dash was a left-over from some AMT kit. Narrowing was necessary and the radio speaker was the victim. Photo later. This is the interior made up of the original back seat covered by another back seat from the stash and then diamond tufting was added. I used some Plastruct tread plate with the back side showing for the side panels and rear seat inserts. It was that or I'd still be lining up short lengths of .040 half-round. Thanks for your interest. Your comments are welcome.

- 114 replies
-
- 19
-

-

Moebius 1965 Plymouth Belvedere - Alclad Candy Demonstrator
customline replied to Justin Porter's topic in WIP: Model Cars
Thanks, Justin. You covered some of the fine points that I was looking for. -
Moebius 1965 Plymouth Belvedere - Alclad Candy Demonstrator
customline replied to Justin Porter's topic in WIP: Model Cars
I have several colors of the candy Alclad II that I bought a few years ago but have not tried yet. Anything you can divulge about how you applied it may help me when I finally get up the nerve to try this paint. -
Chopped, Sectioned and Bobbed…….’63 Corvette.
customline replied to NOBLNG's topic in WIP: Model Cars
Yup. Ditto on all that. Front end looks terrific. -
Chopped, Sectioned and Bobbed…….’63 Corvette.
customline replied to NOBLNG's topic in WIP: Model Cars
Many decades ago there was a magazine article about Ed "Big Daddy" Roth and the pictures showed him slinging fiberglas cloth and resin everywhere and him grinding it all into shape, etc...that's what this reminds me of. 😉 (it's a compliment) -
Gasser!....just kidding 😂
-
1953 International pickup
customline replied to mchook's topic in WIP: Model Trucks: Pickups, Vans, SUVs, Light Commercial
That's some pretty decent looking junk, Mark 😉. Keep it up! -
I thought of it as stumbling around in the dark but thanks, Steve!
-
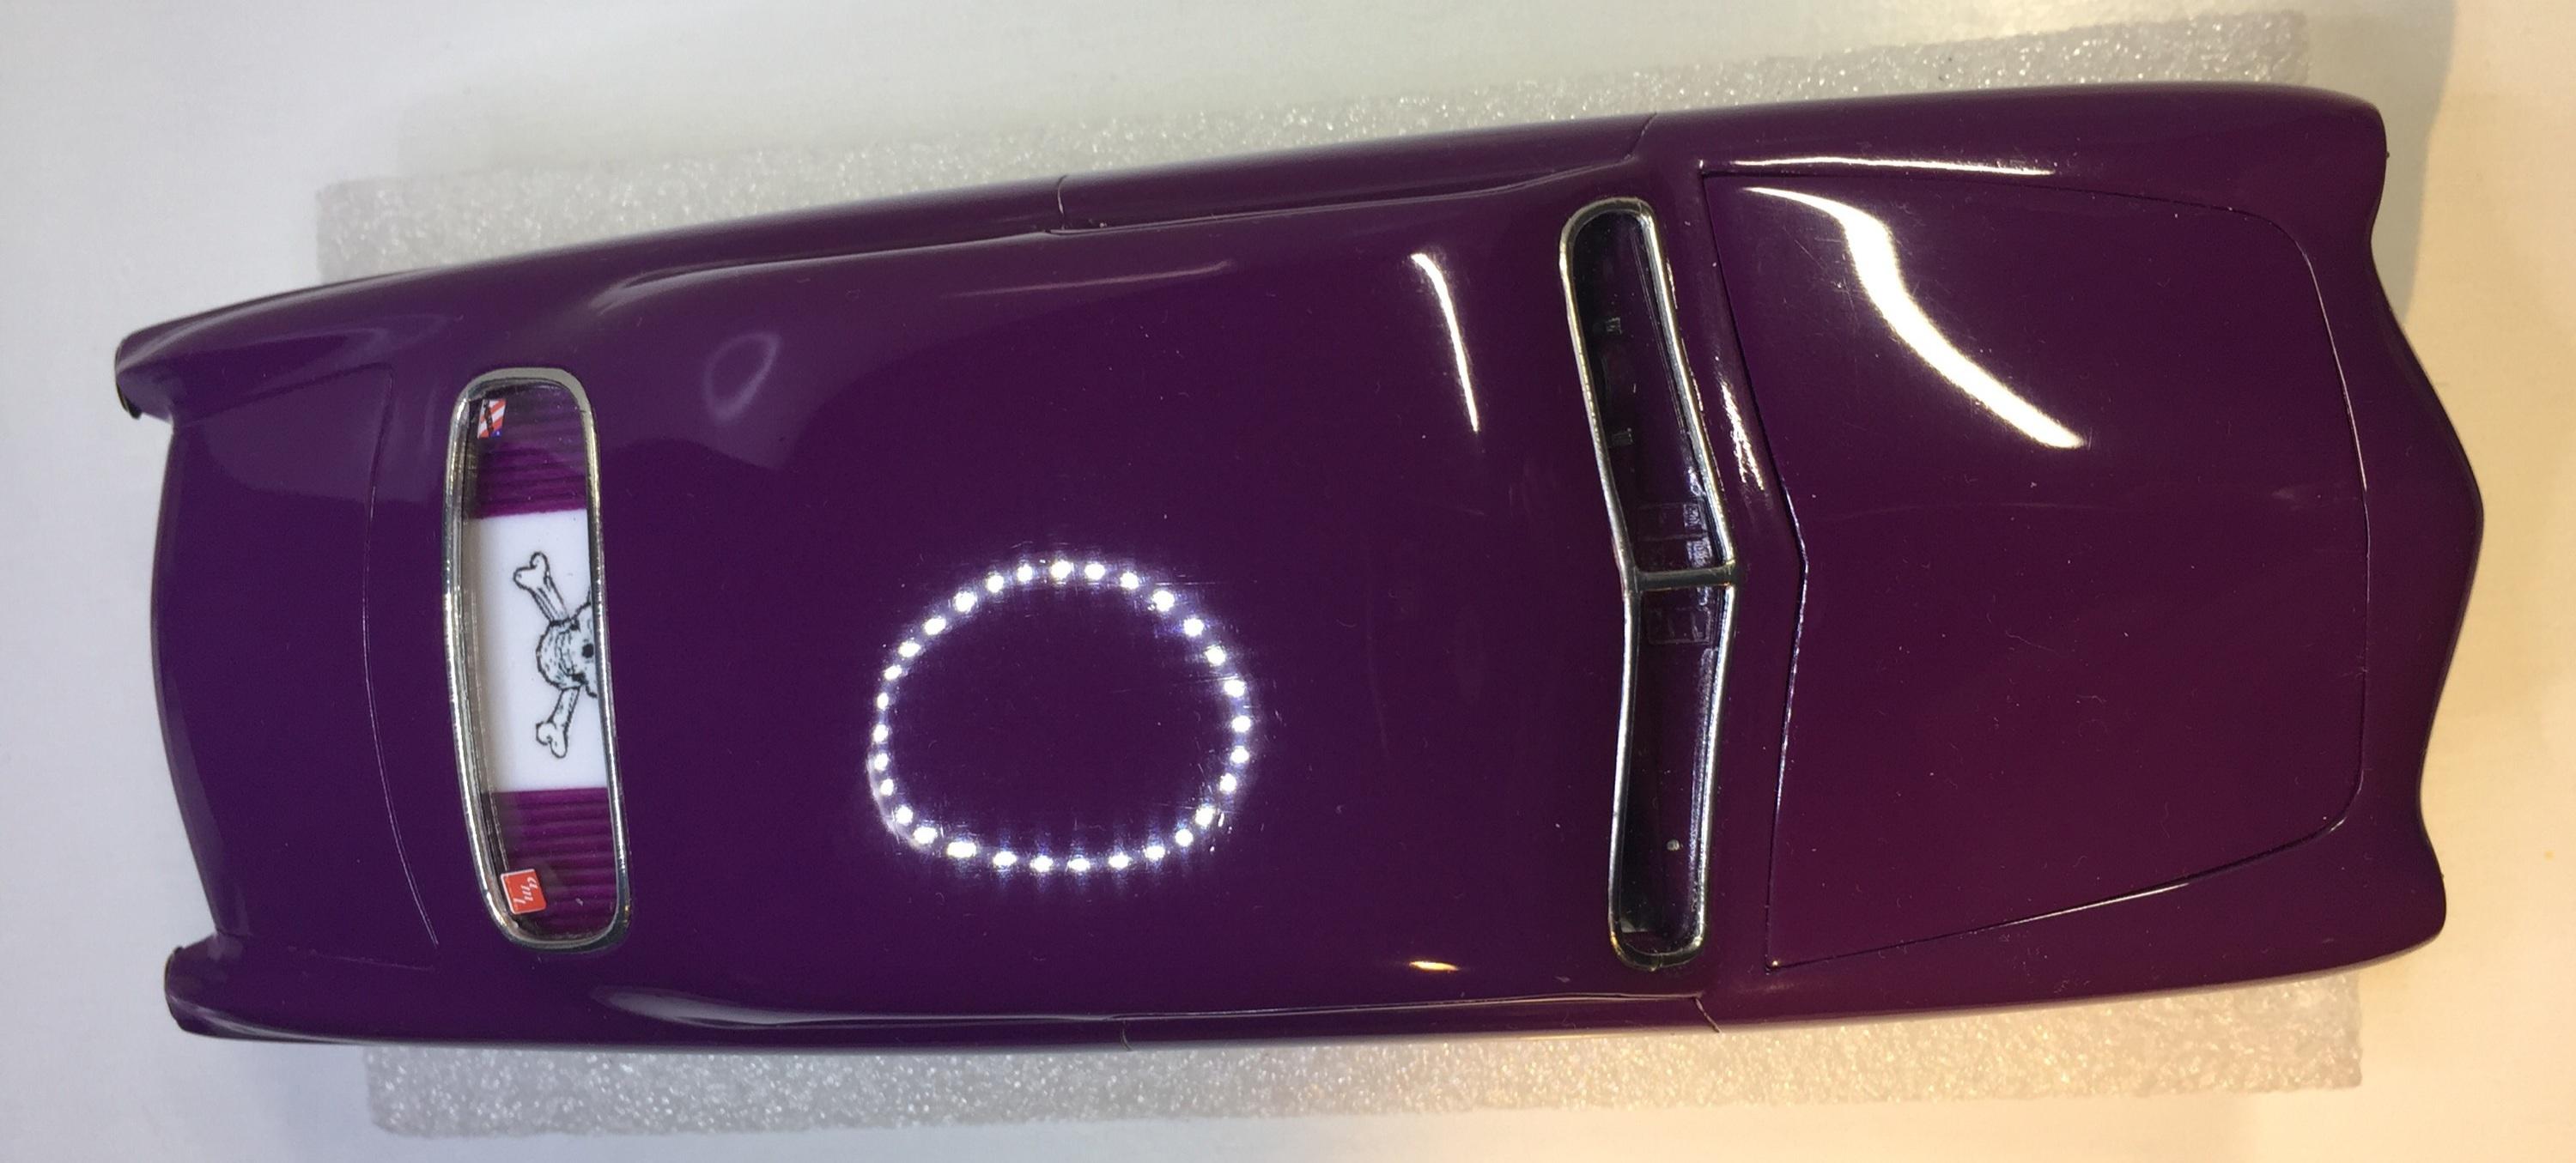
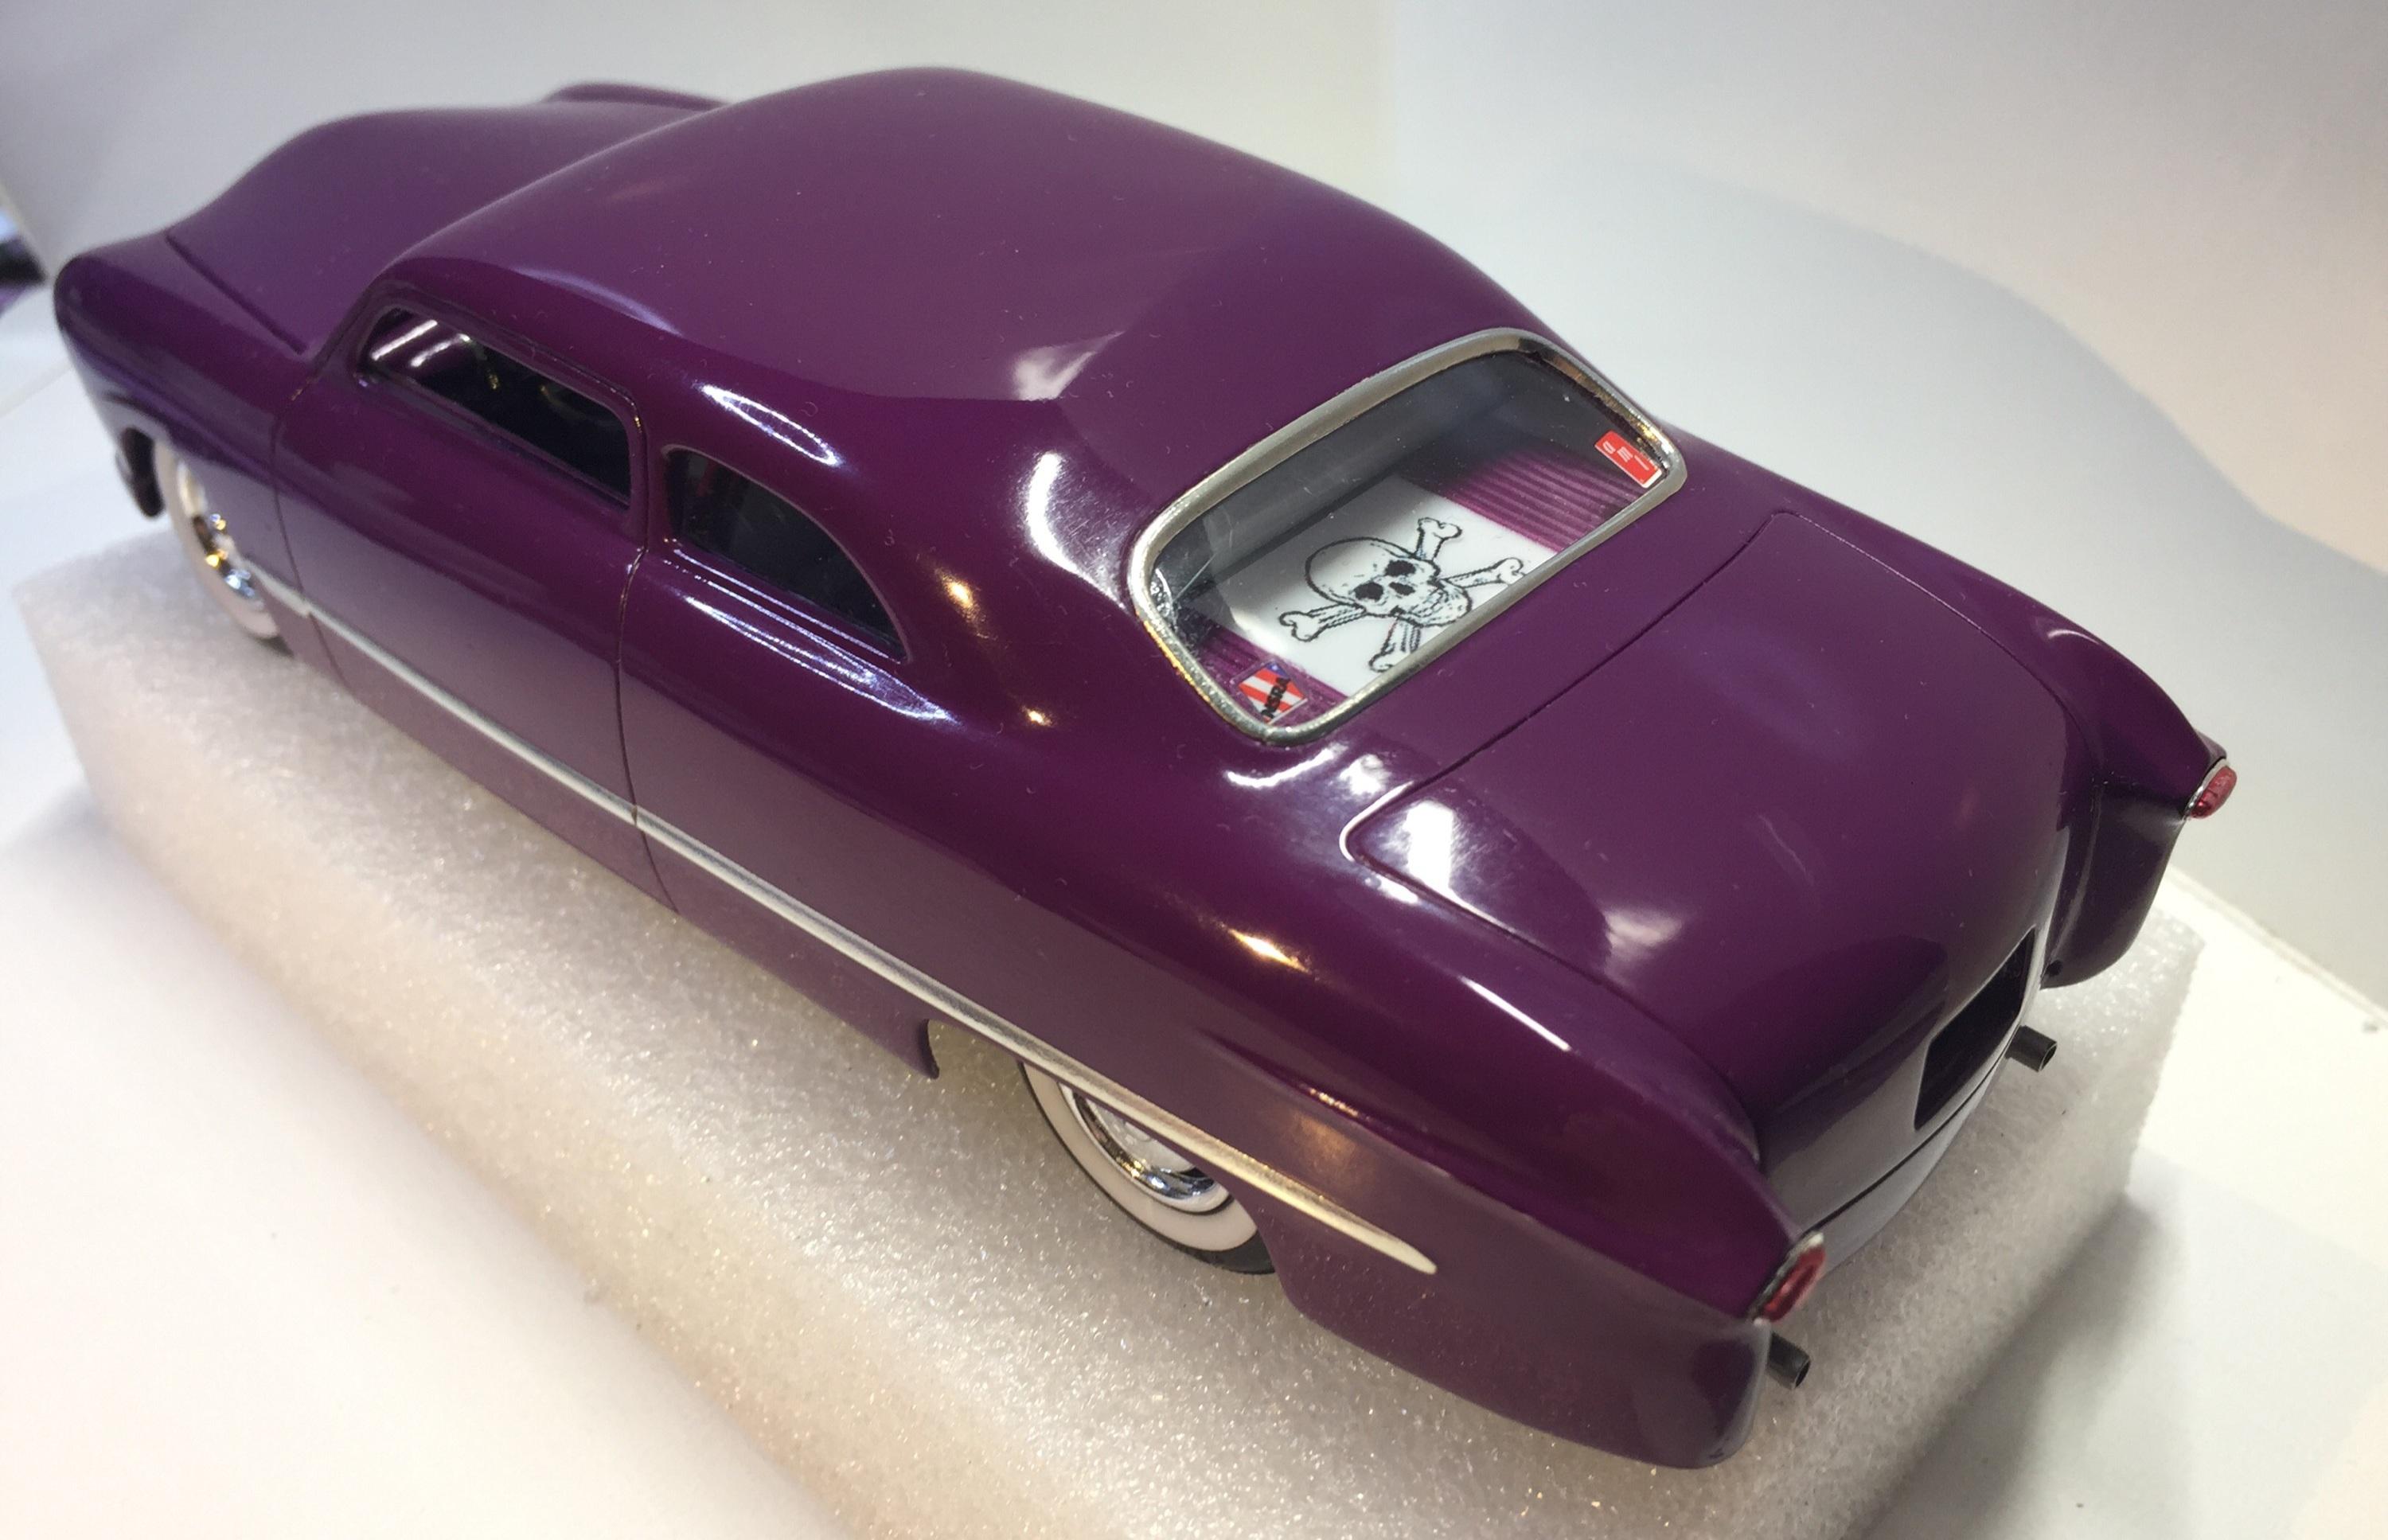
It's a punks car. The pirate icon seemed congruous (my new favorite word) to the rest of it. And it's going on a bit longer, David, I have the bumpers to deal with but I'm juggling three at the moment.
-
Luckily, it was not glued. How's this? It's just laziness, Greg, that's all. 🤓
-
‘55 El Camino
customline replied to NOBLNG's topic in WIP: Model Trucks: Pickups, Vans, SUVs, Light Commercial
I have better luck with enamel 😕 -
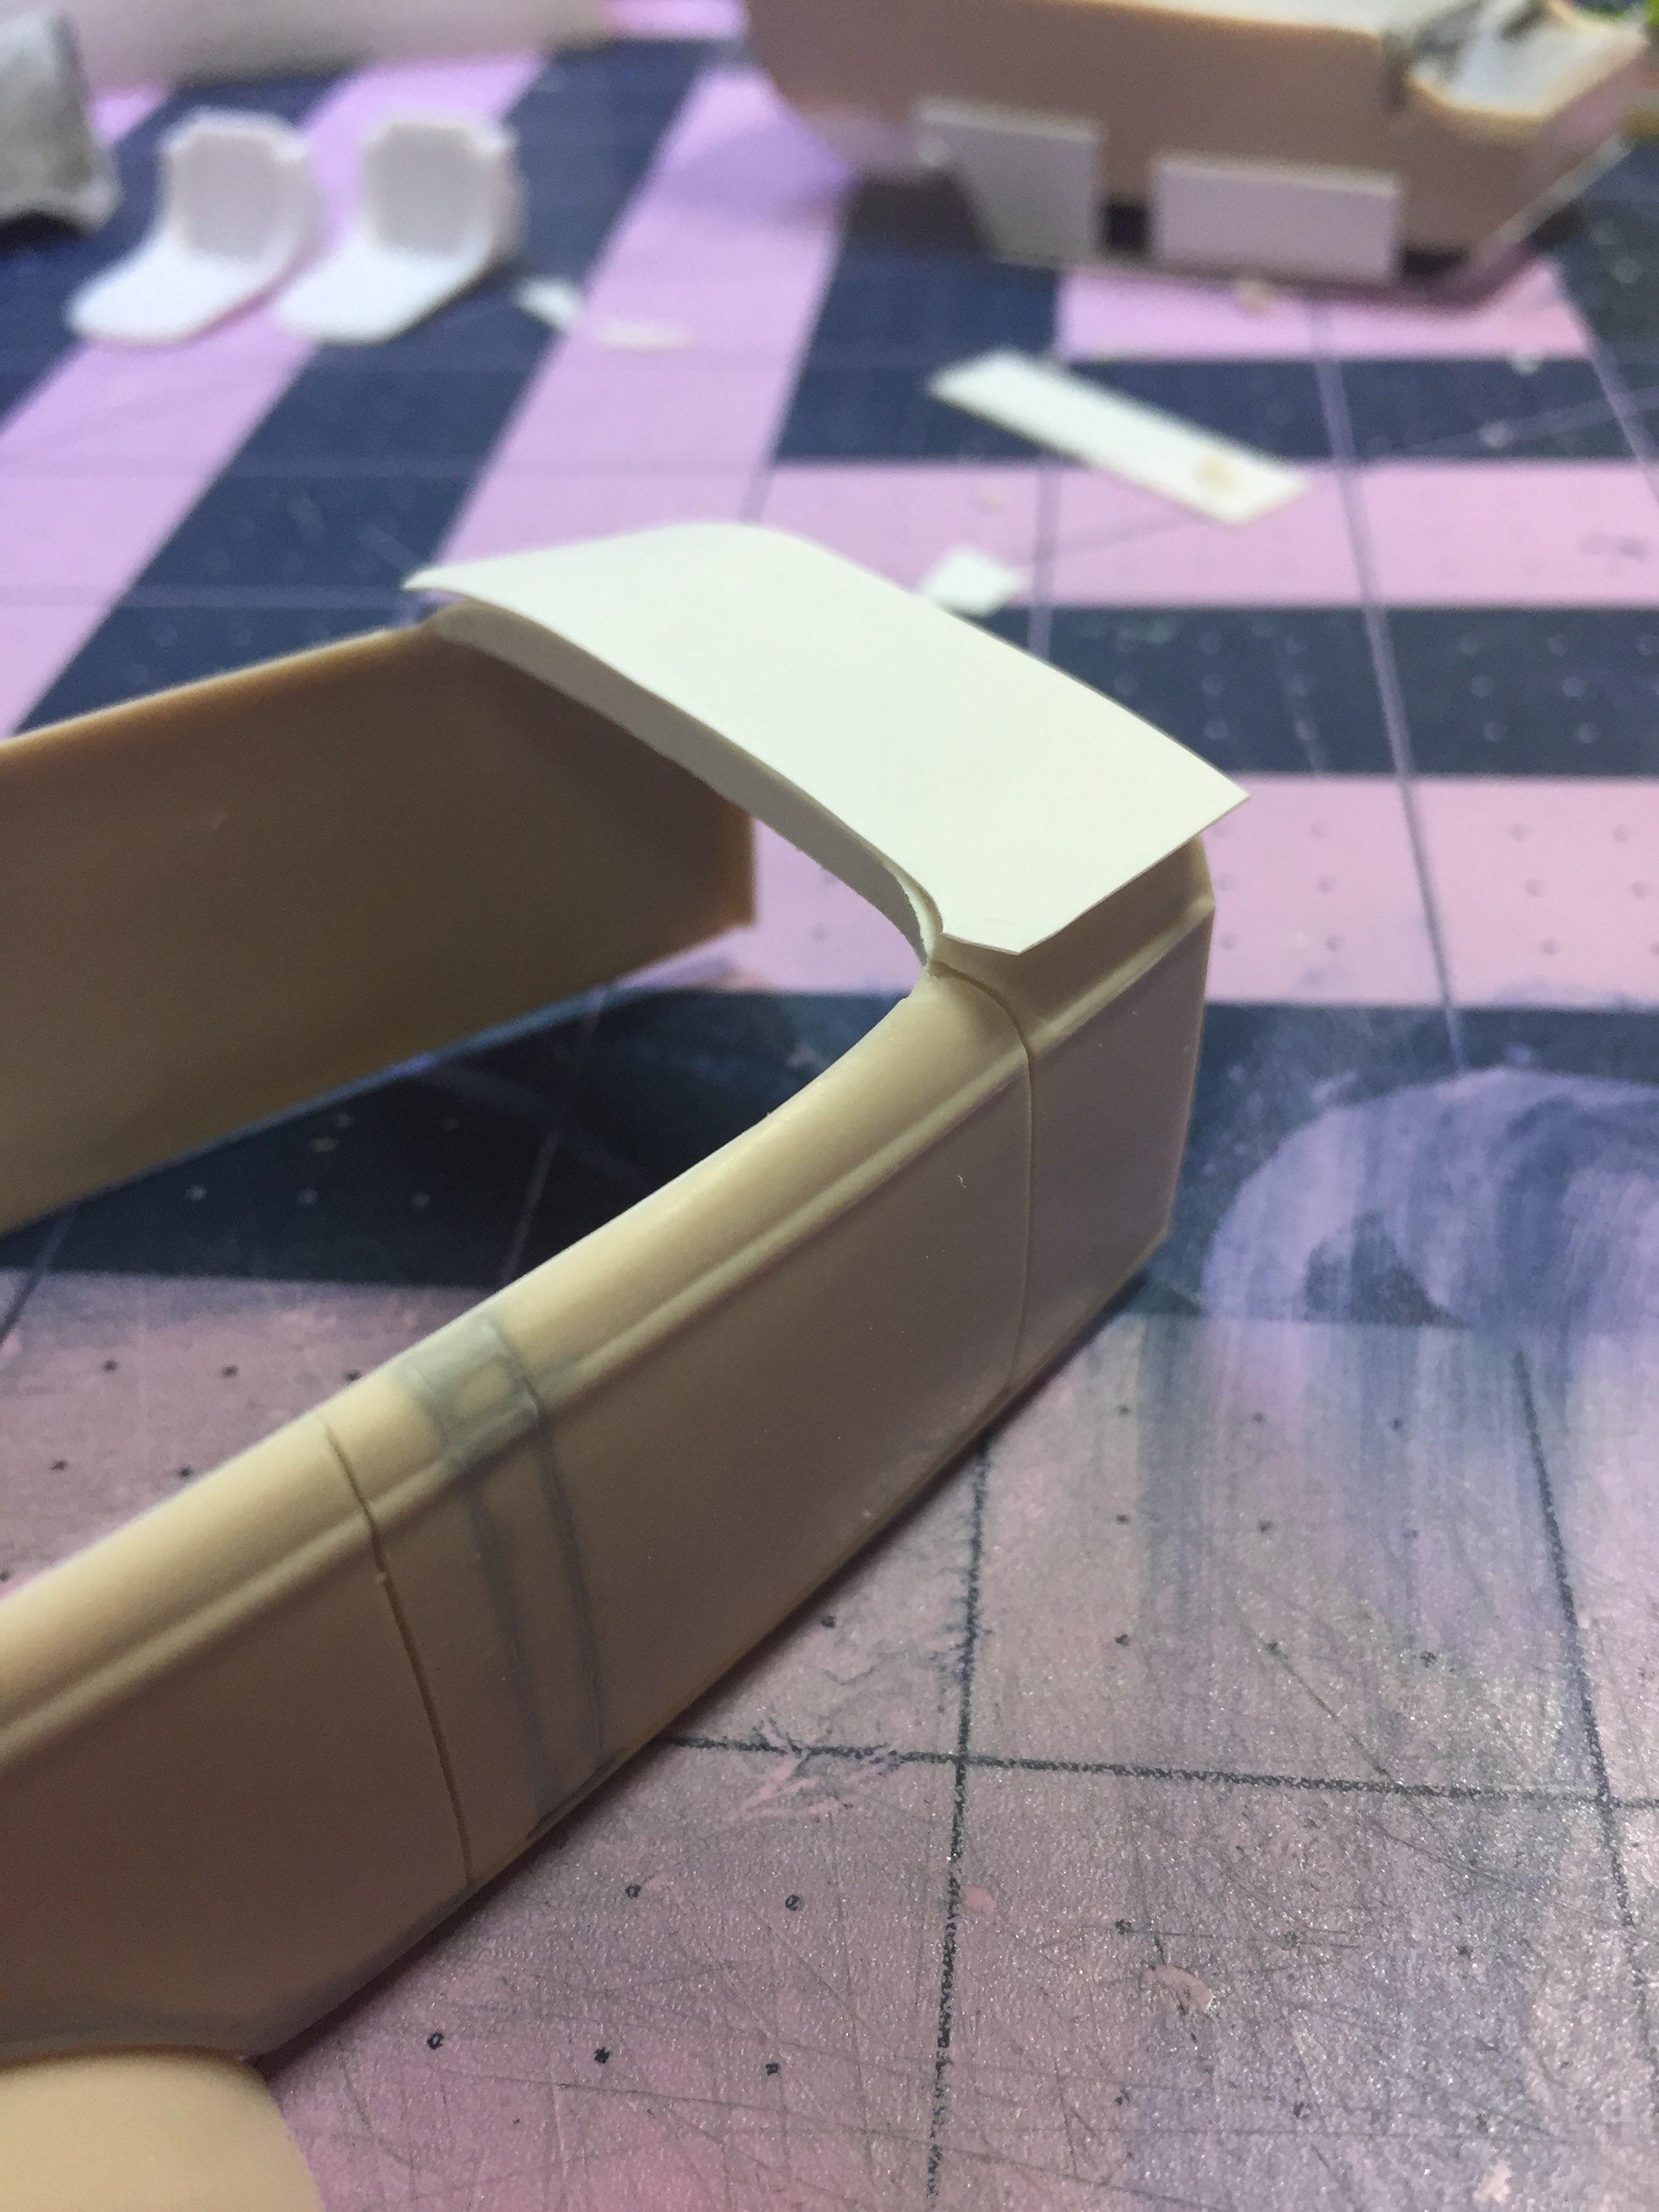
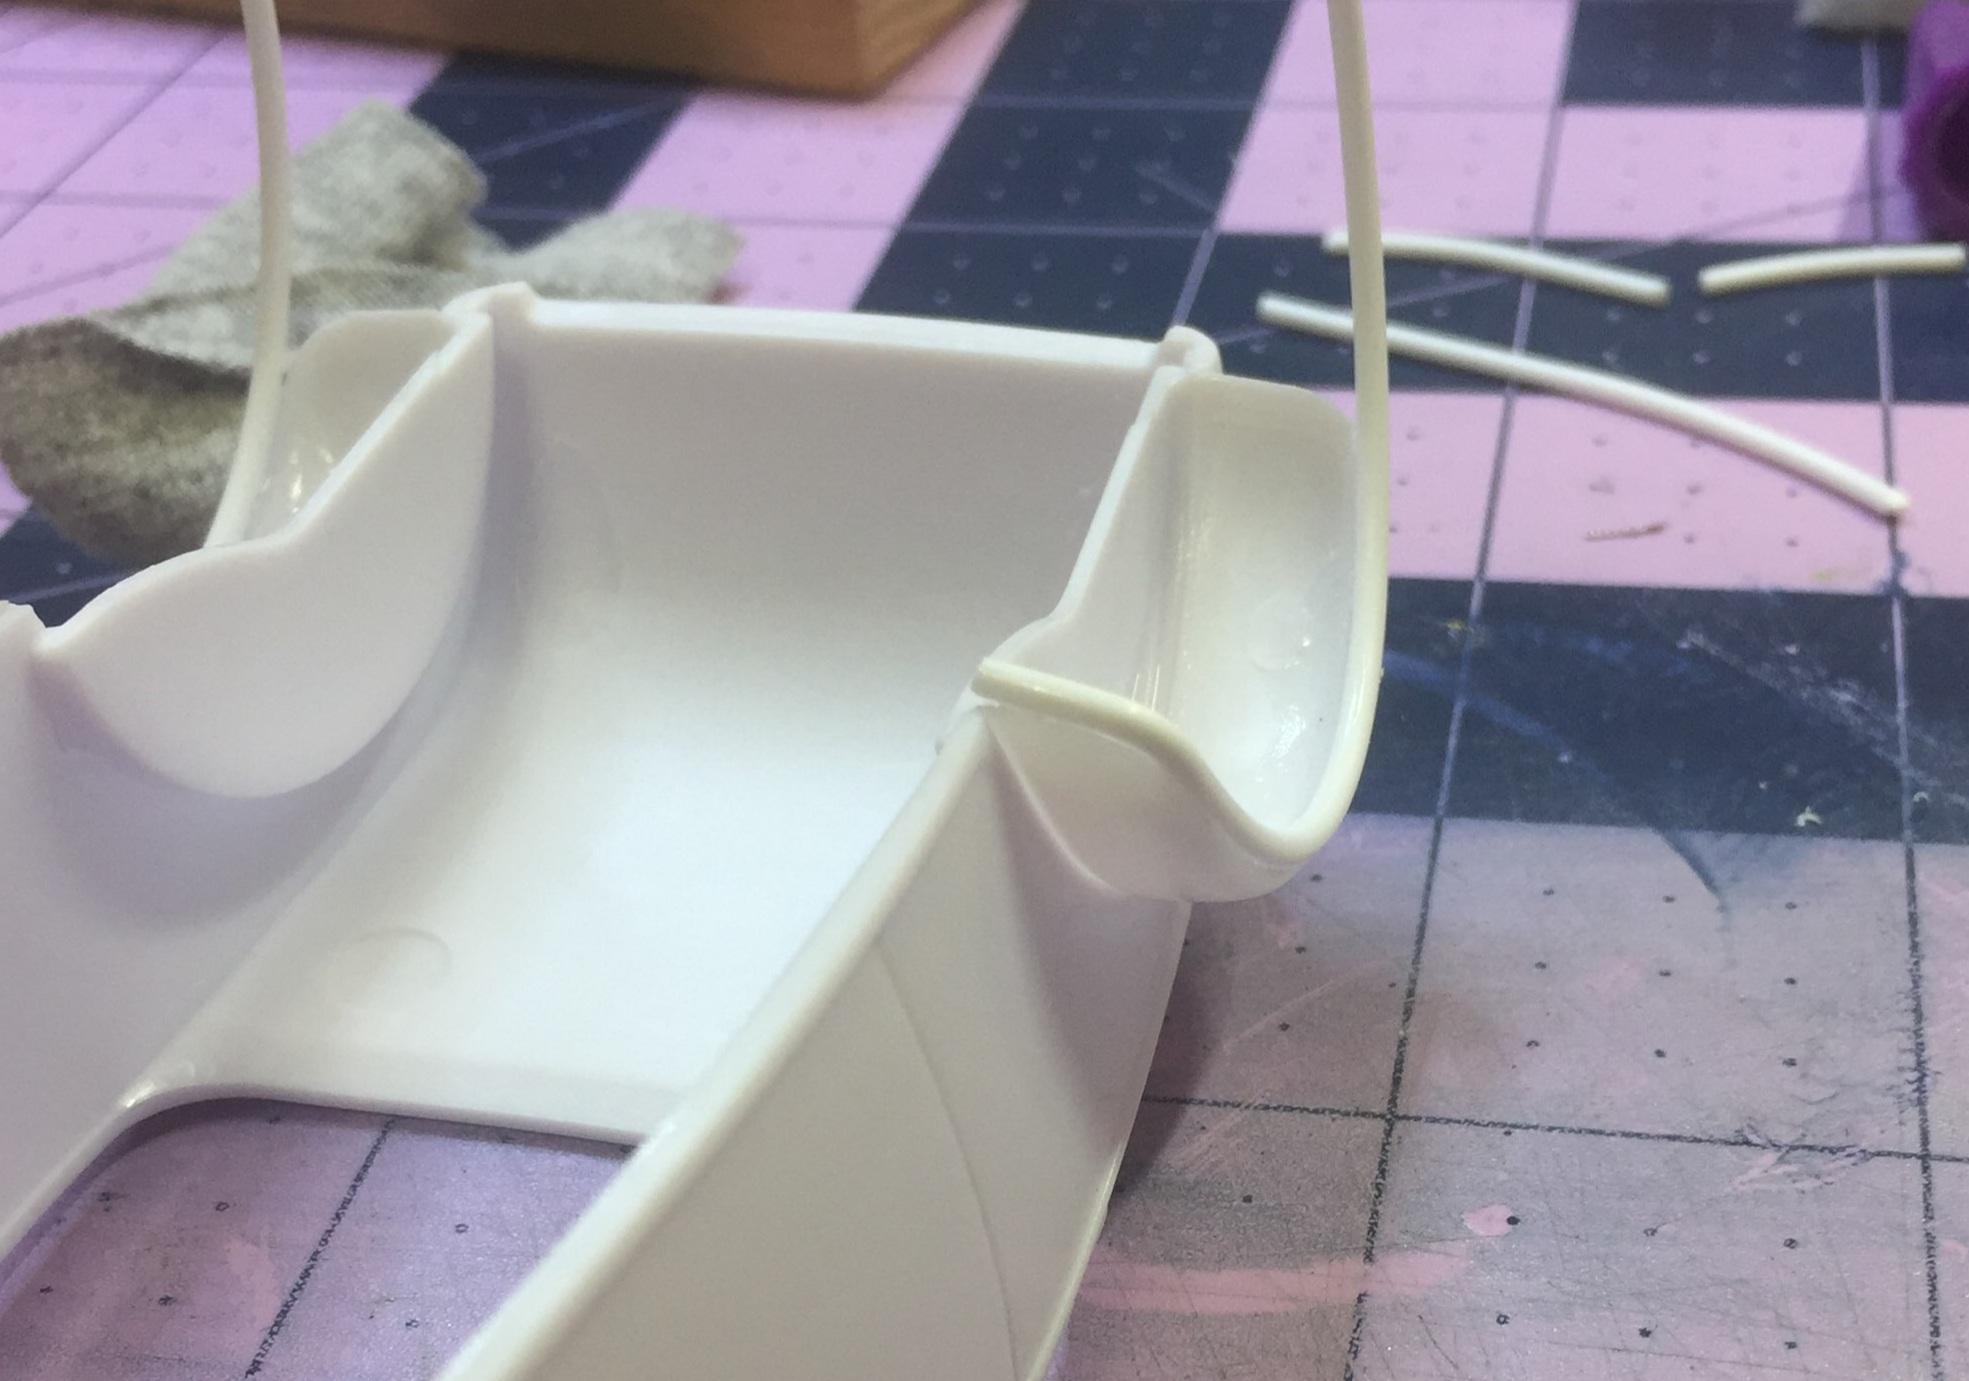
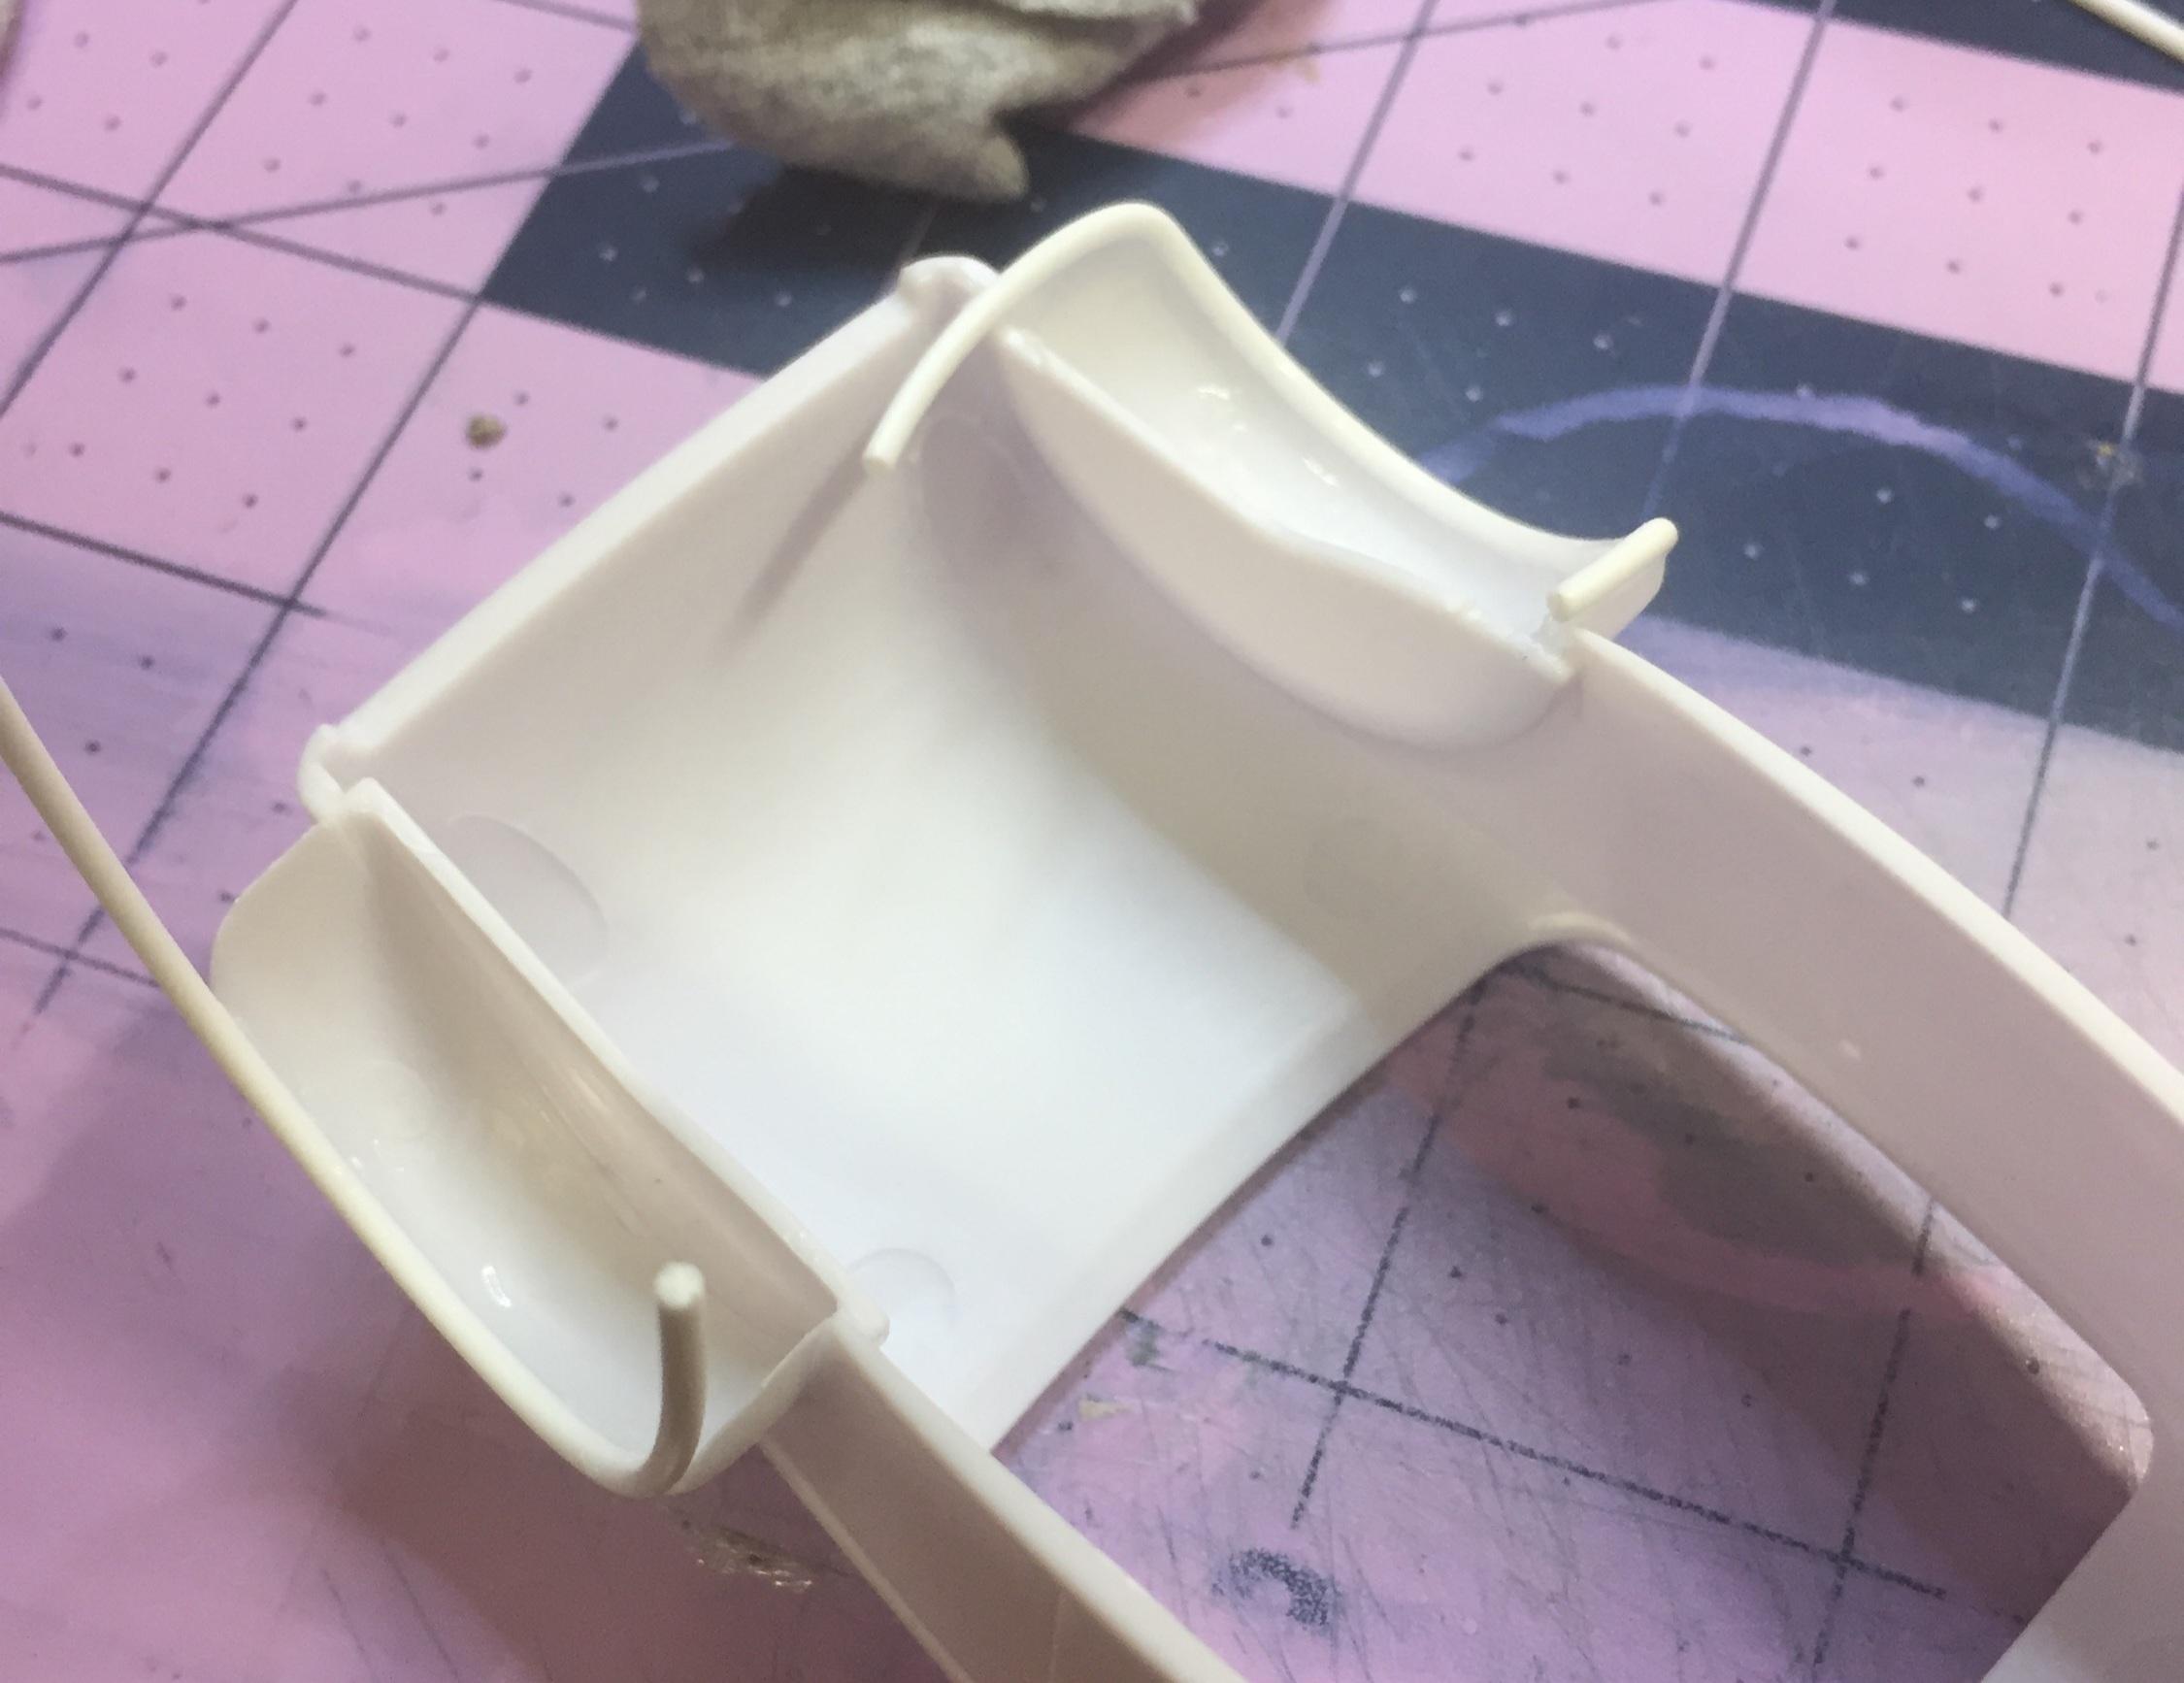
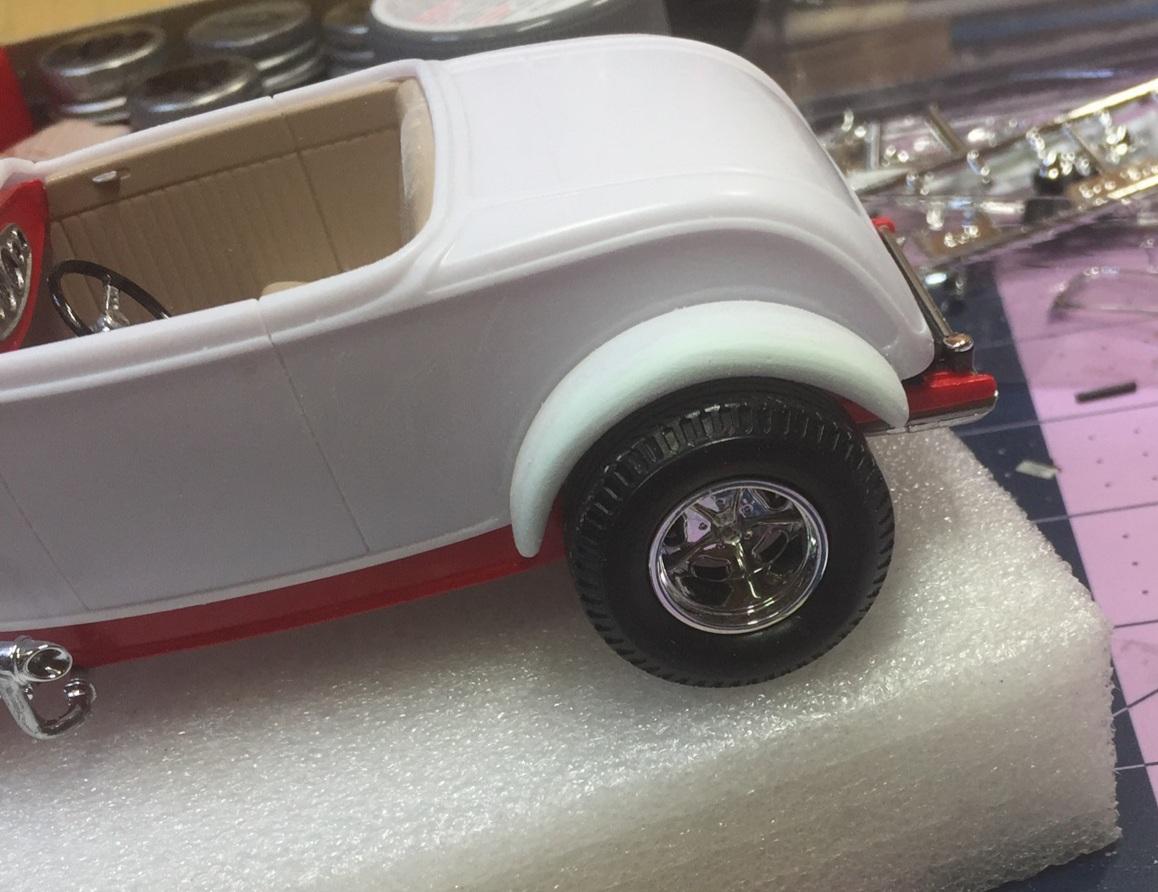
....AND ITS A GOOD THING THAT I DID . While my nice red roadster body is in rehab (for a little paint issue), I figured I would go ahead and use the new body. So now I get to make the same mods again with a slight improvement for the bottom corners of the rear fenders but that's not final. Gotta see it in primer before I keep it that way. Comments and sympathy is always welcome 💩. 1/16" rod curled and shaped with my talented fingers. While holding the rod in position I hit it with solvent cement. CA is added later to the inside for reinforcement. Then I bent the corners. I had to "over-bend" the rod to reduce the spring power and hold it there while gluing and kicking it. Time for some primer. Interchangeable parts was a pretty good idea, huh? Wasn't that Henry Ford?....nope....
-
‘55 El Camino
customline replied to NOBLNG's topic in WIP: Model Trucks: Pickups, Vans, SUVs, Light Commercial
Do you recall any abberations when using Tamiya gloss clear? My roadster went in the pond yesterday. 😡 -
‘55 El Camino
customline replied to NOBLNG's topic in WIP: Model Trucks: Pickups, Vans, SUVs, Light Commercial
That's a whole lot better, boss. How's that Mr. Hobby clear ? I had a disaster with Tamiya.😱 -
‘55 El Camino
customline replied to NOBLNG's topic in WIP: Model Trucks: Pickups, Vans, SUVs, Light Commercial
Another thought on the tape "ghosting" issue. If you need to mask on Tamiya lacquer, assume it will happen and allow for the wet-sanding. At this point, without a clue as to what the cause is, I need to deal with it because I just bought a $100.00 worth of Tamiya lacquer spray paint 🤨. I like Tamiya spray lacquer but it seems it is not without fault. I'm just going to act accordingly and figure it into my paint plan for now. Maybe somebody will figure it out. 😕 -
1953 International pickup
customline replied to mchook's topic in WIP: Model Trucks: Pickups, Vans, SUVs, Light Commercial
Great project, Mark! Looks like you have it going your way. Will you be emulating the inspiration truck? -
Chopped, Sectioned and Bobbed…….’63 Corvette.
customline replied to NOBLNG's topic in WIP: Model Cars
Can't wait to see it painted, boss! 🤠 -
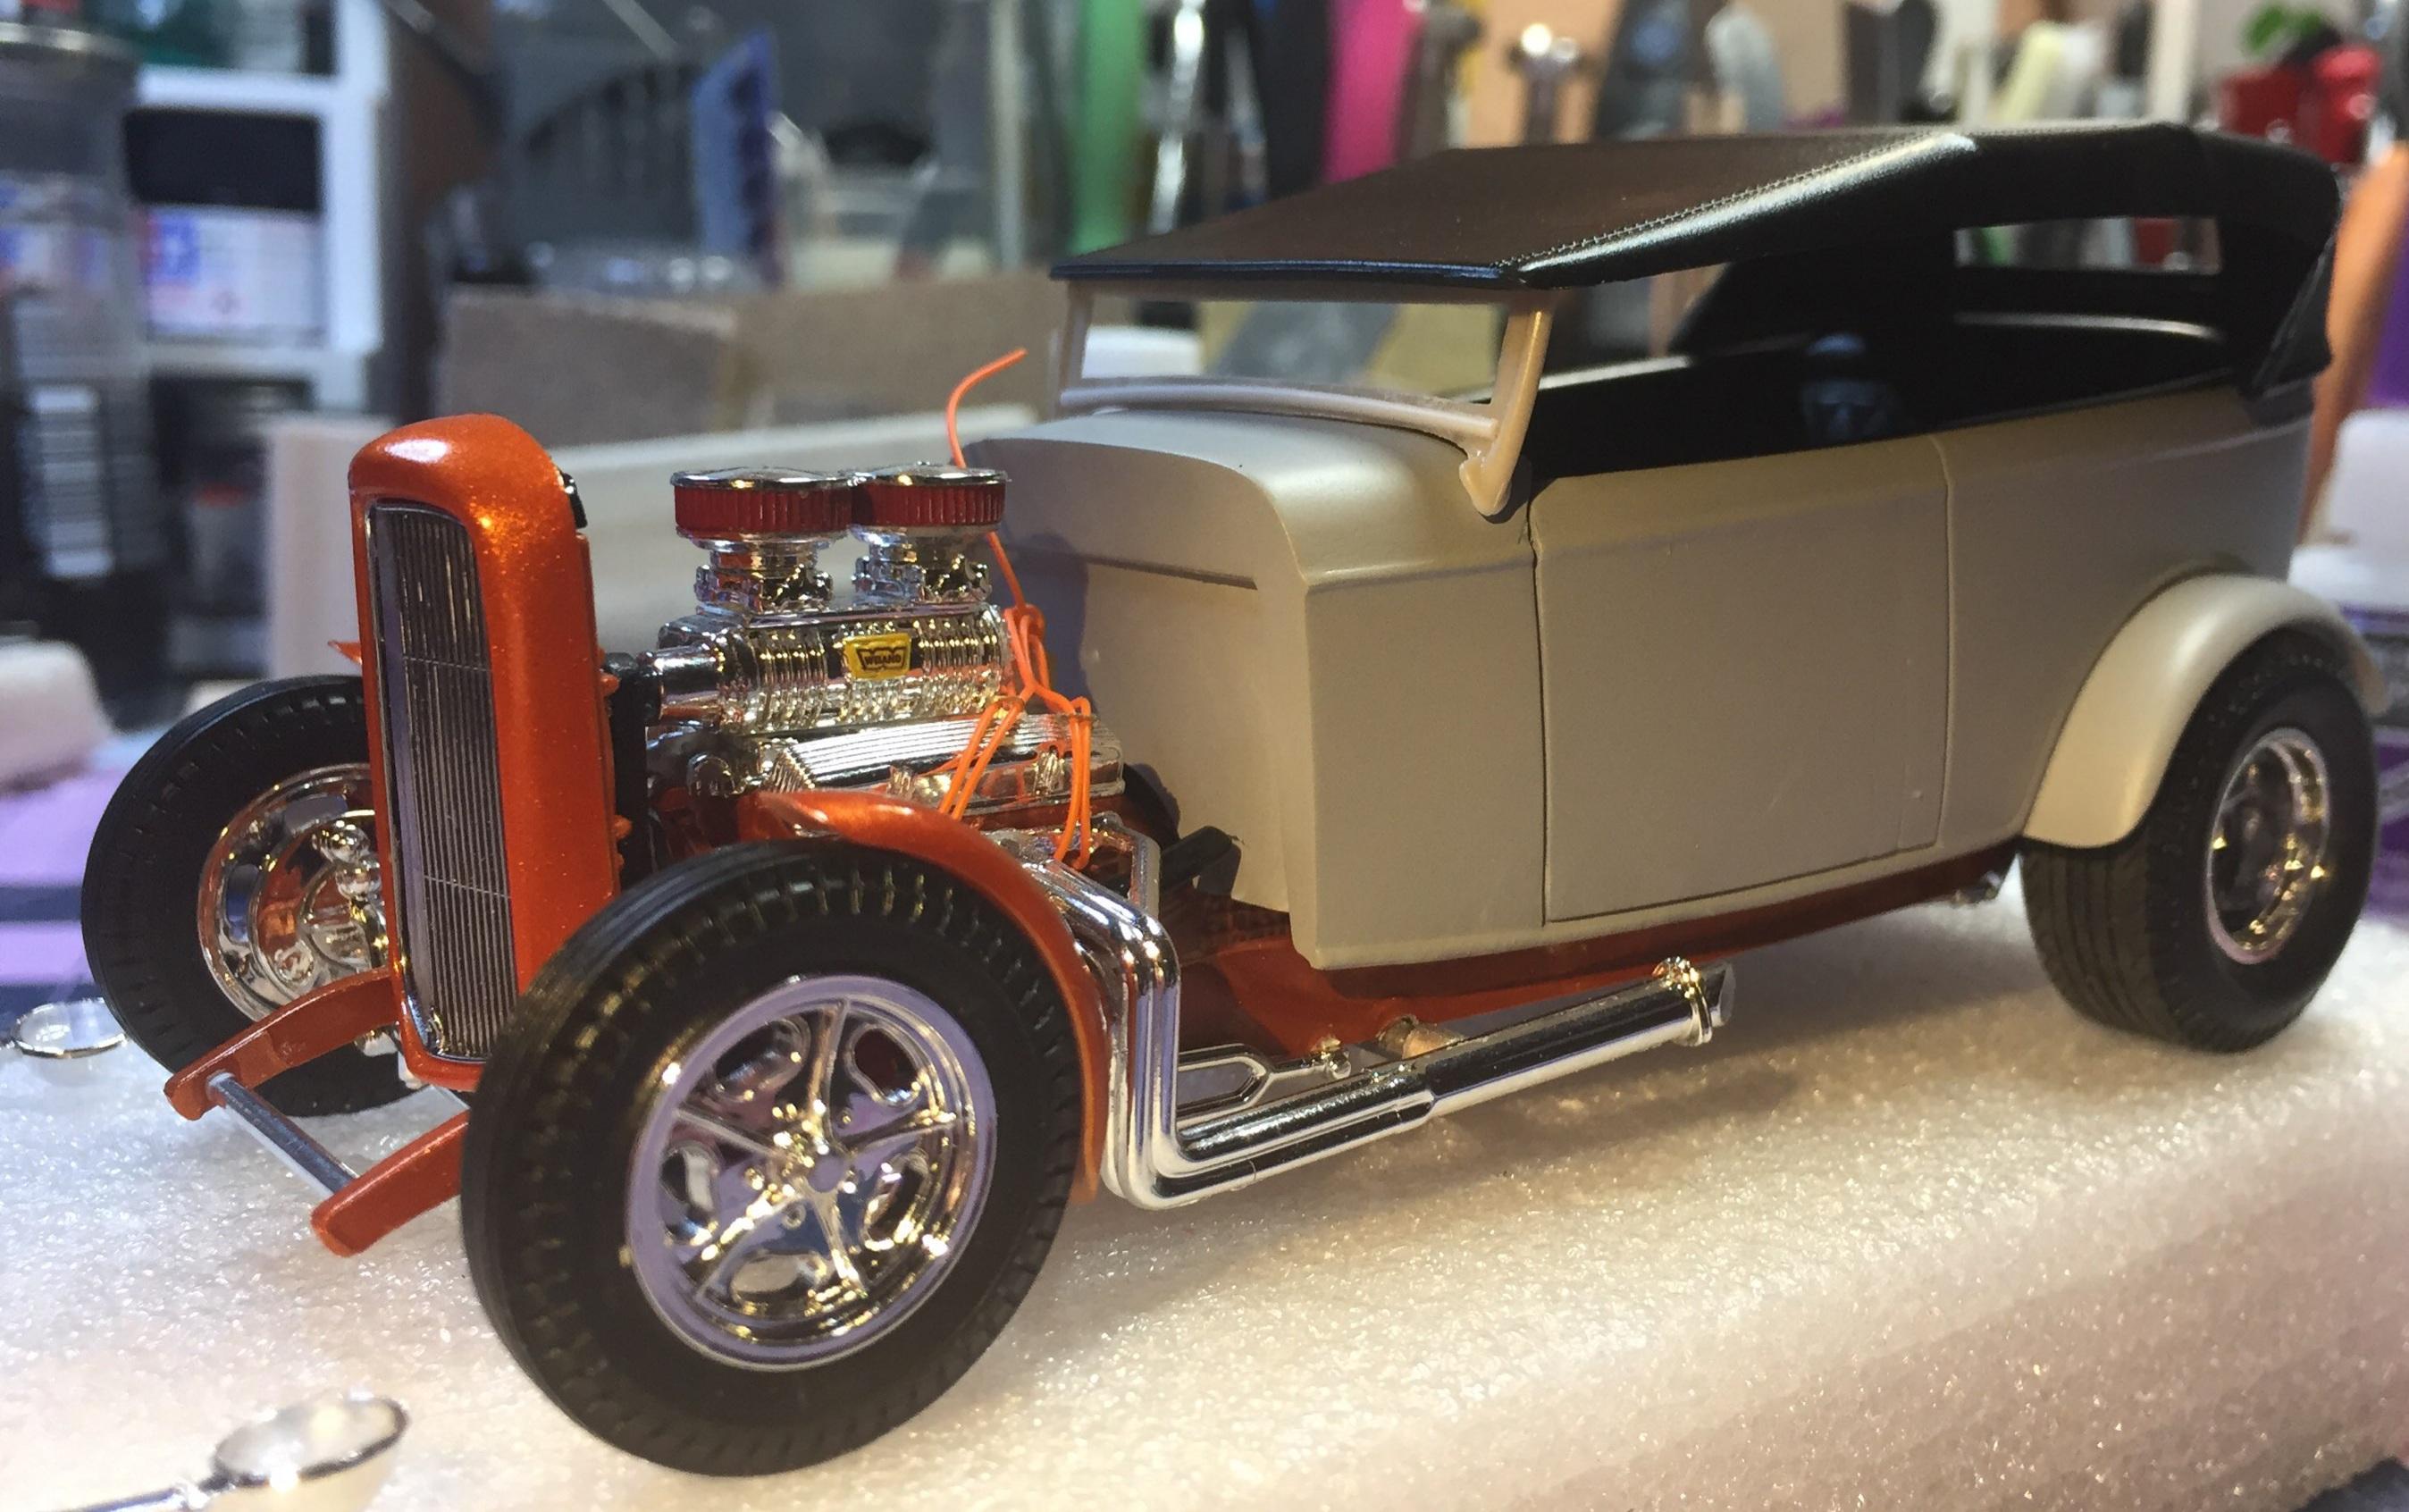
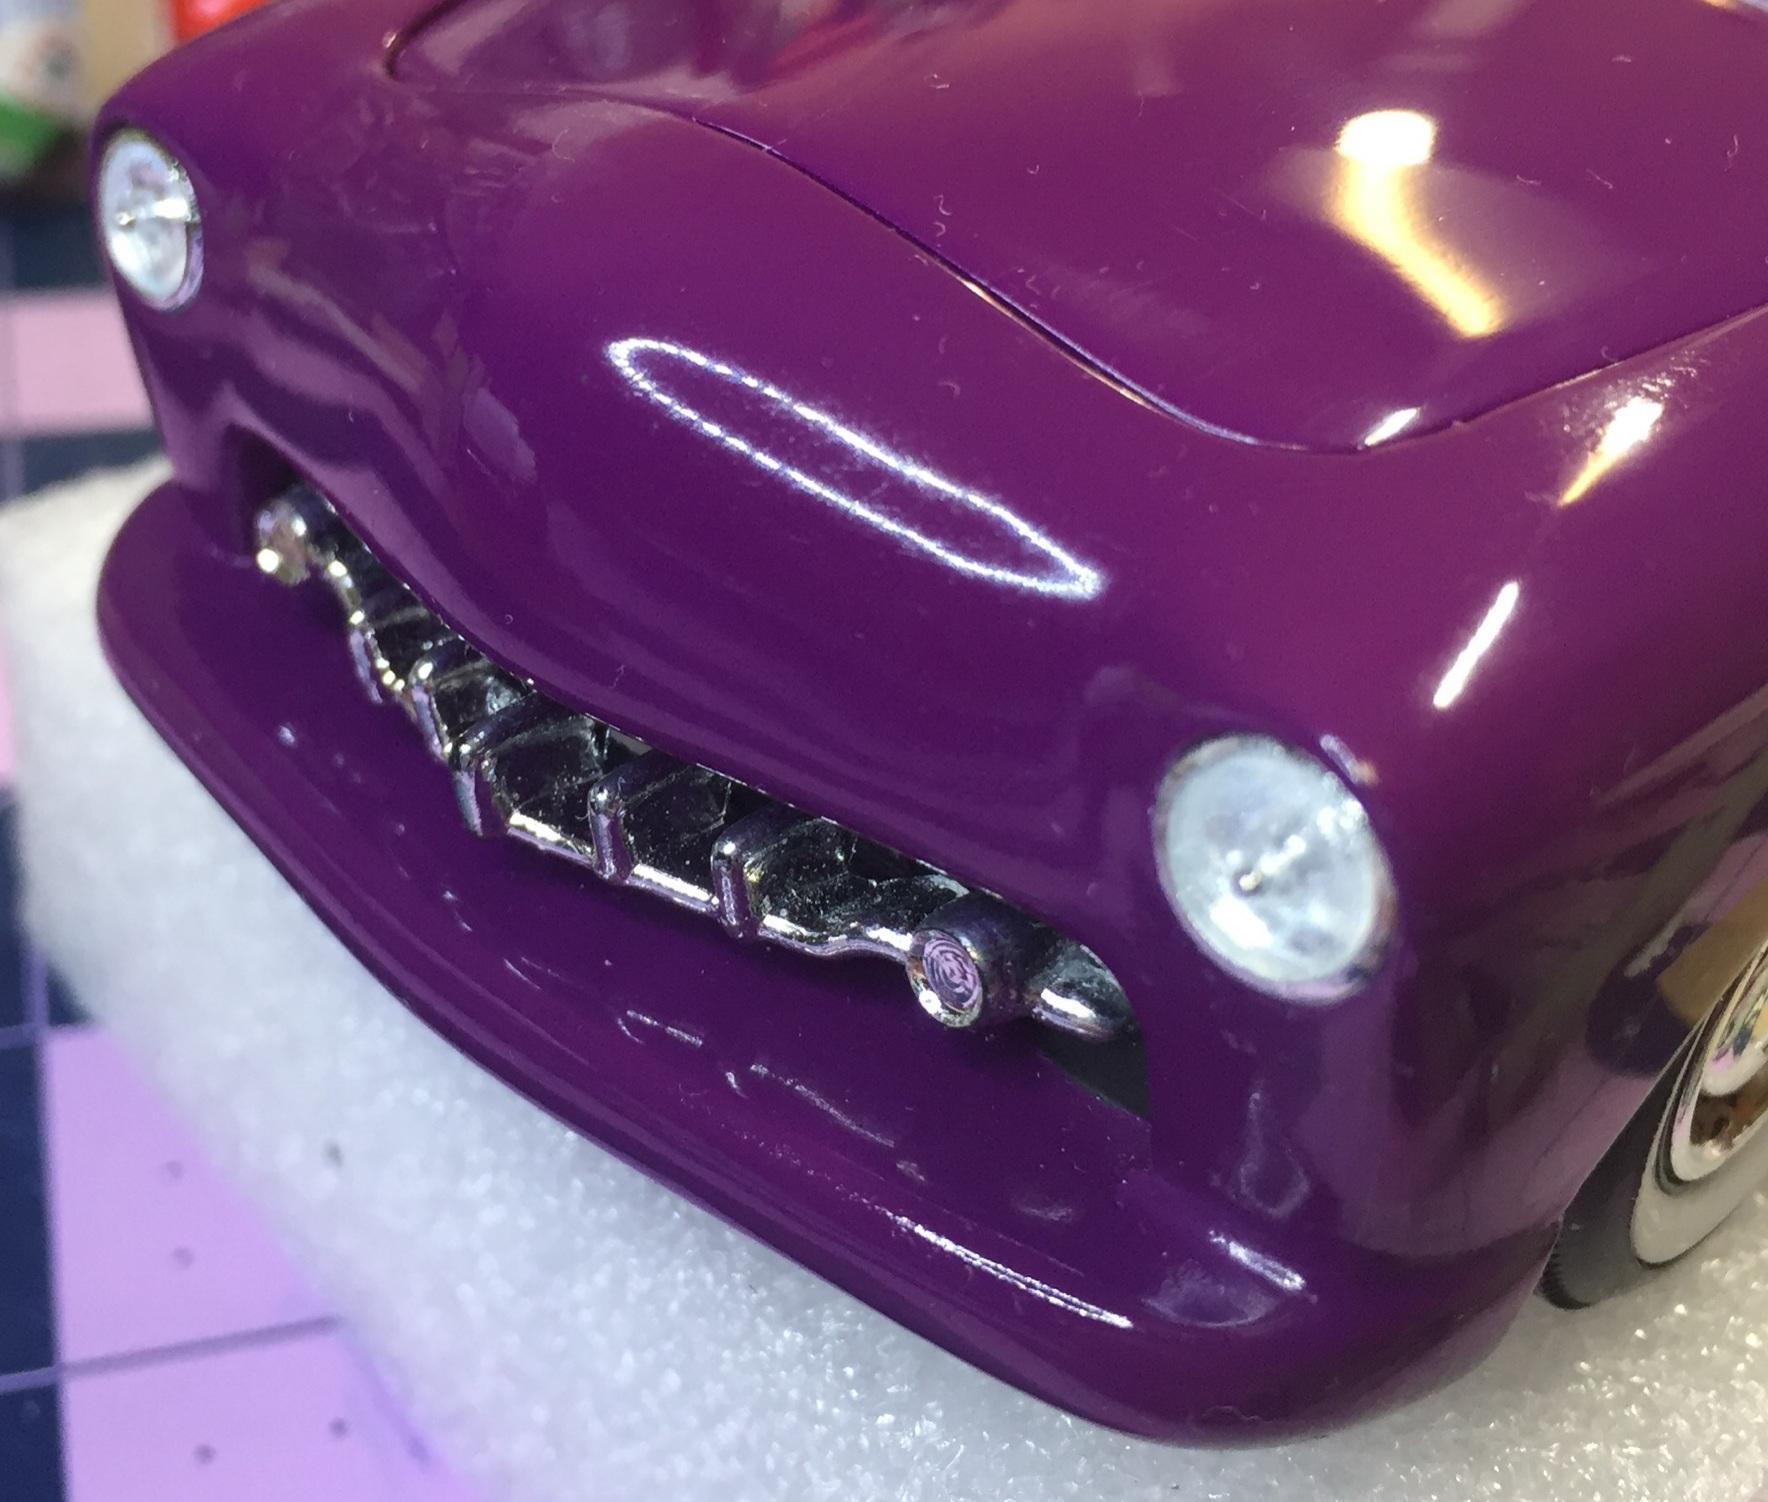
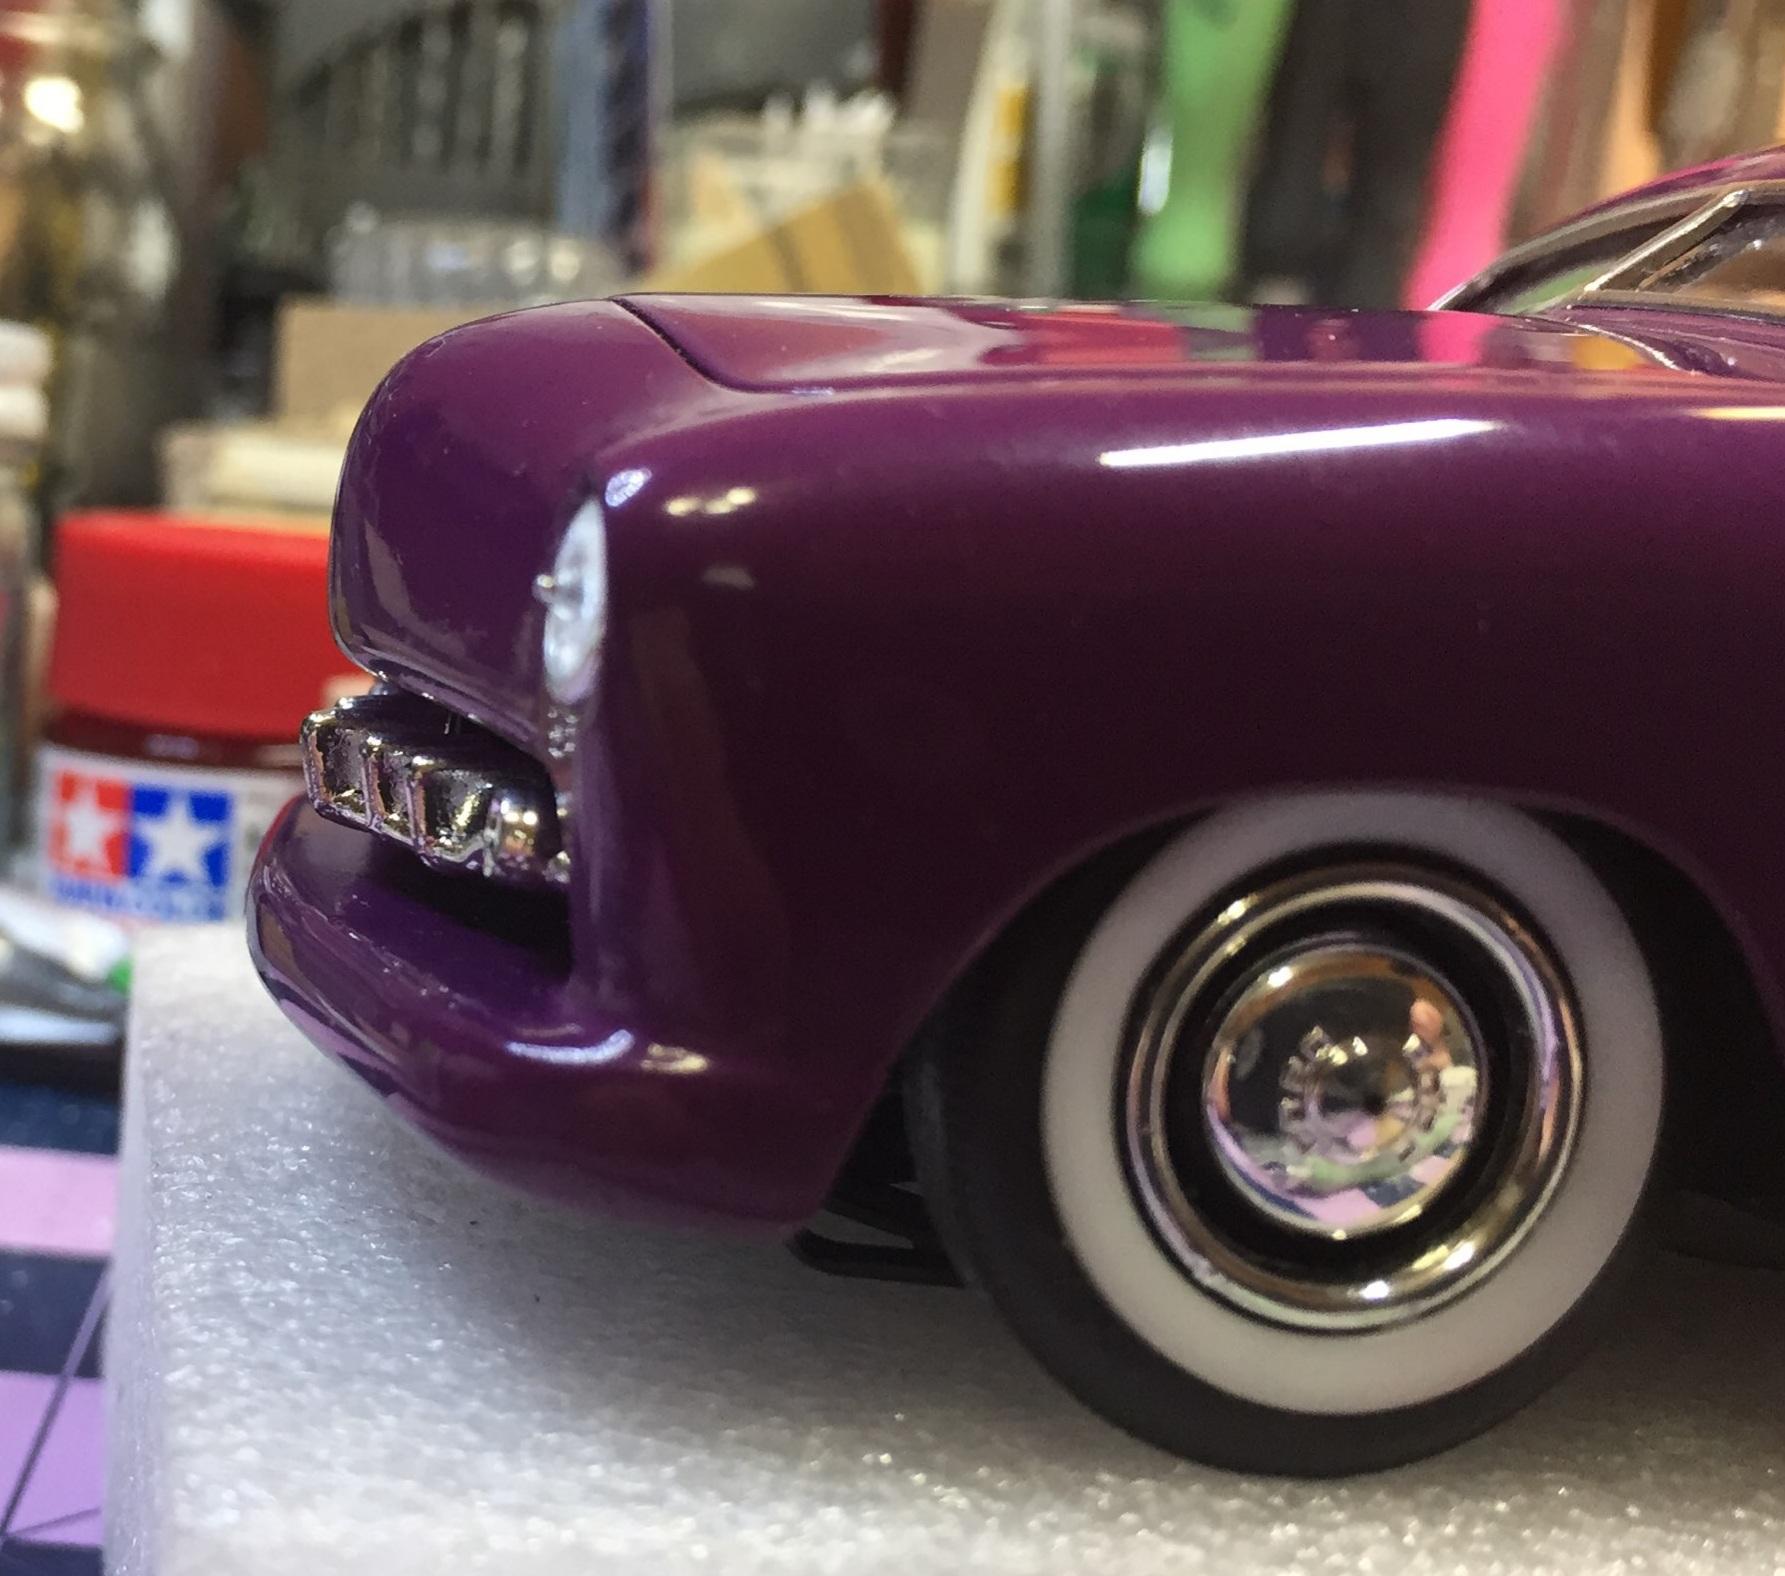
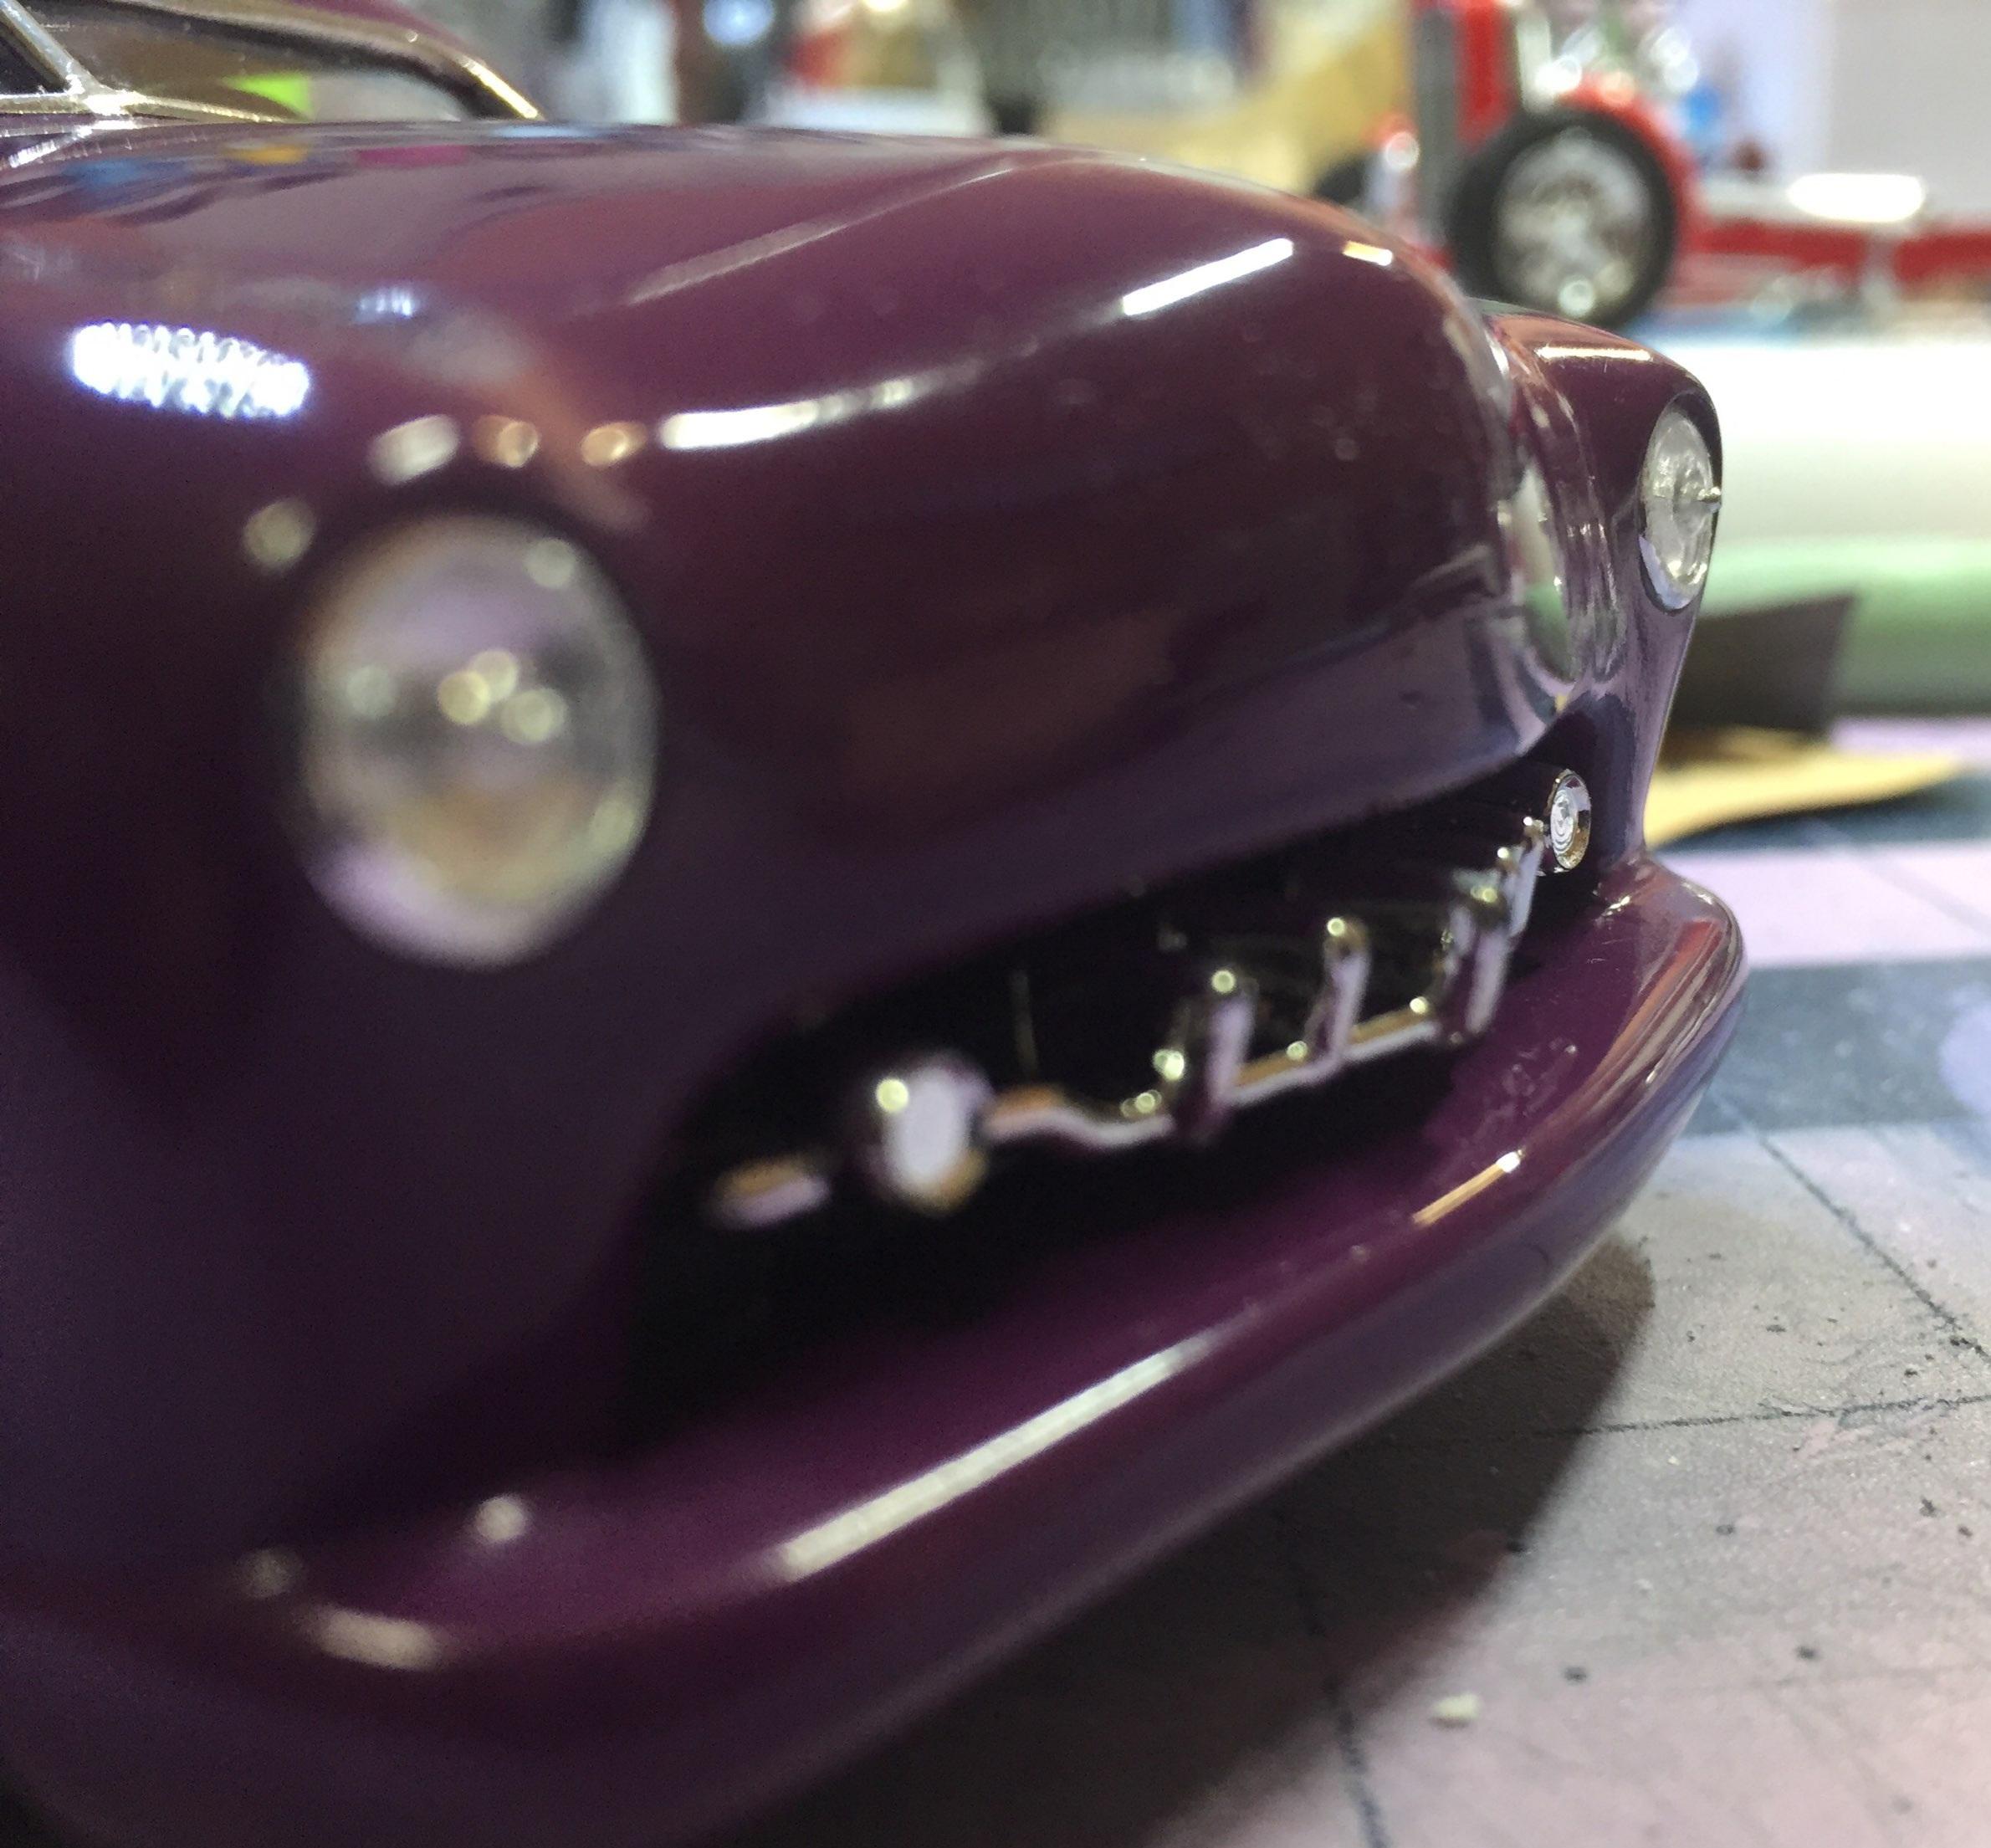
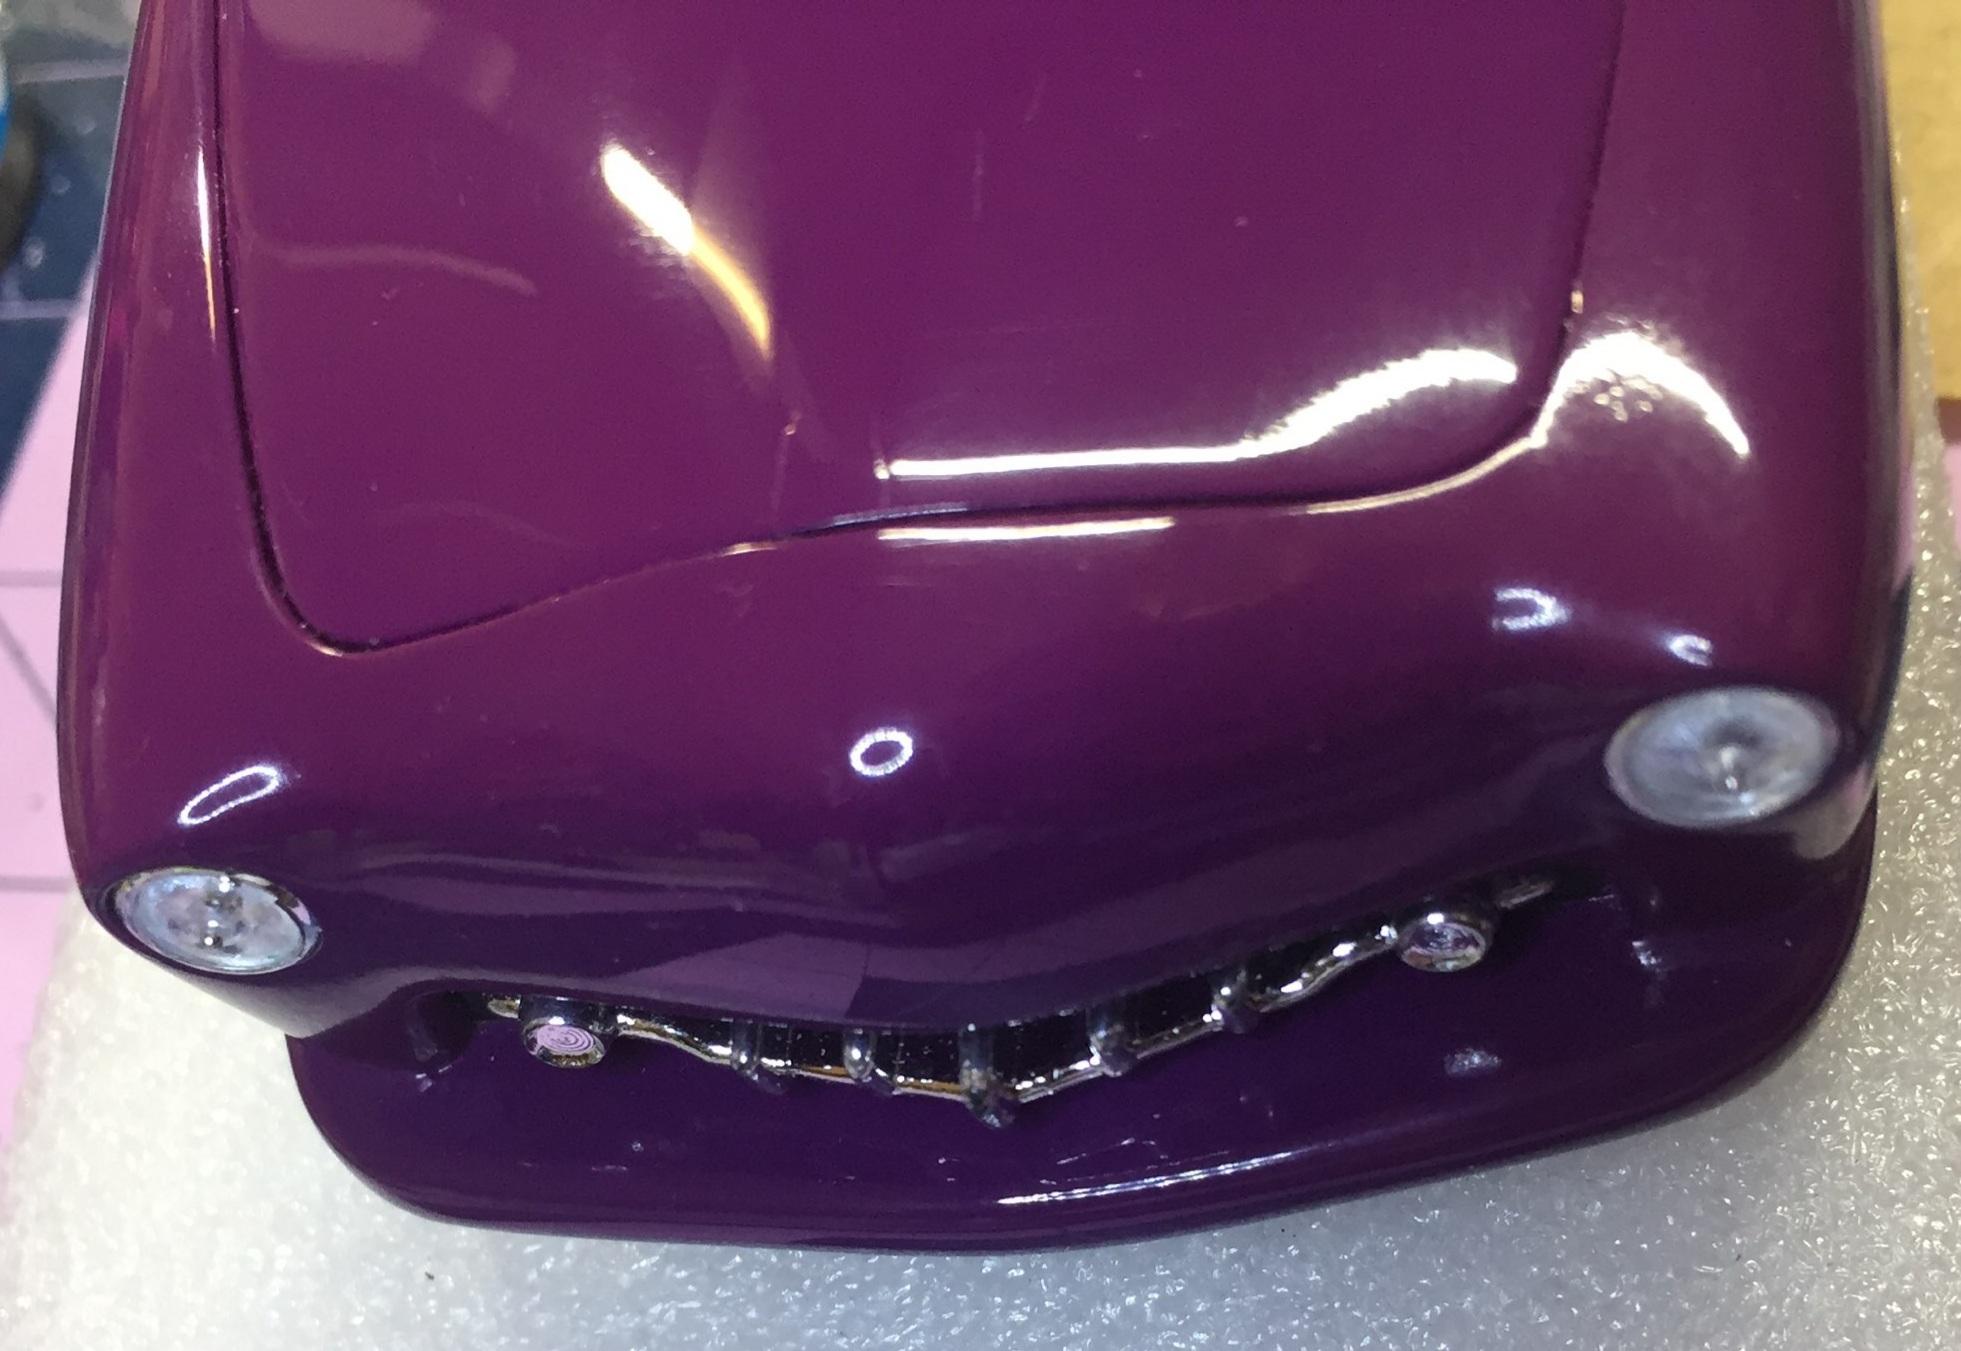
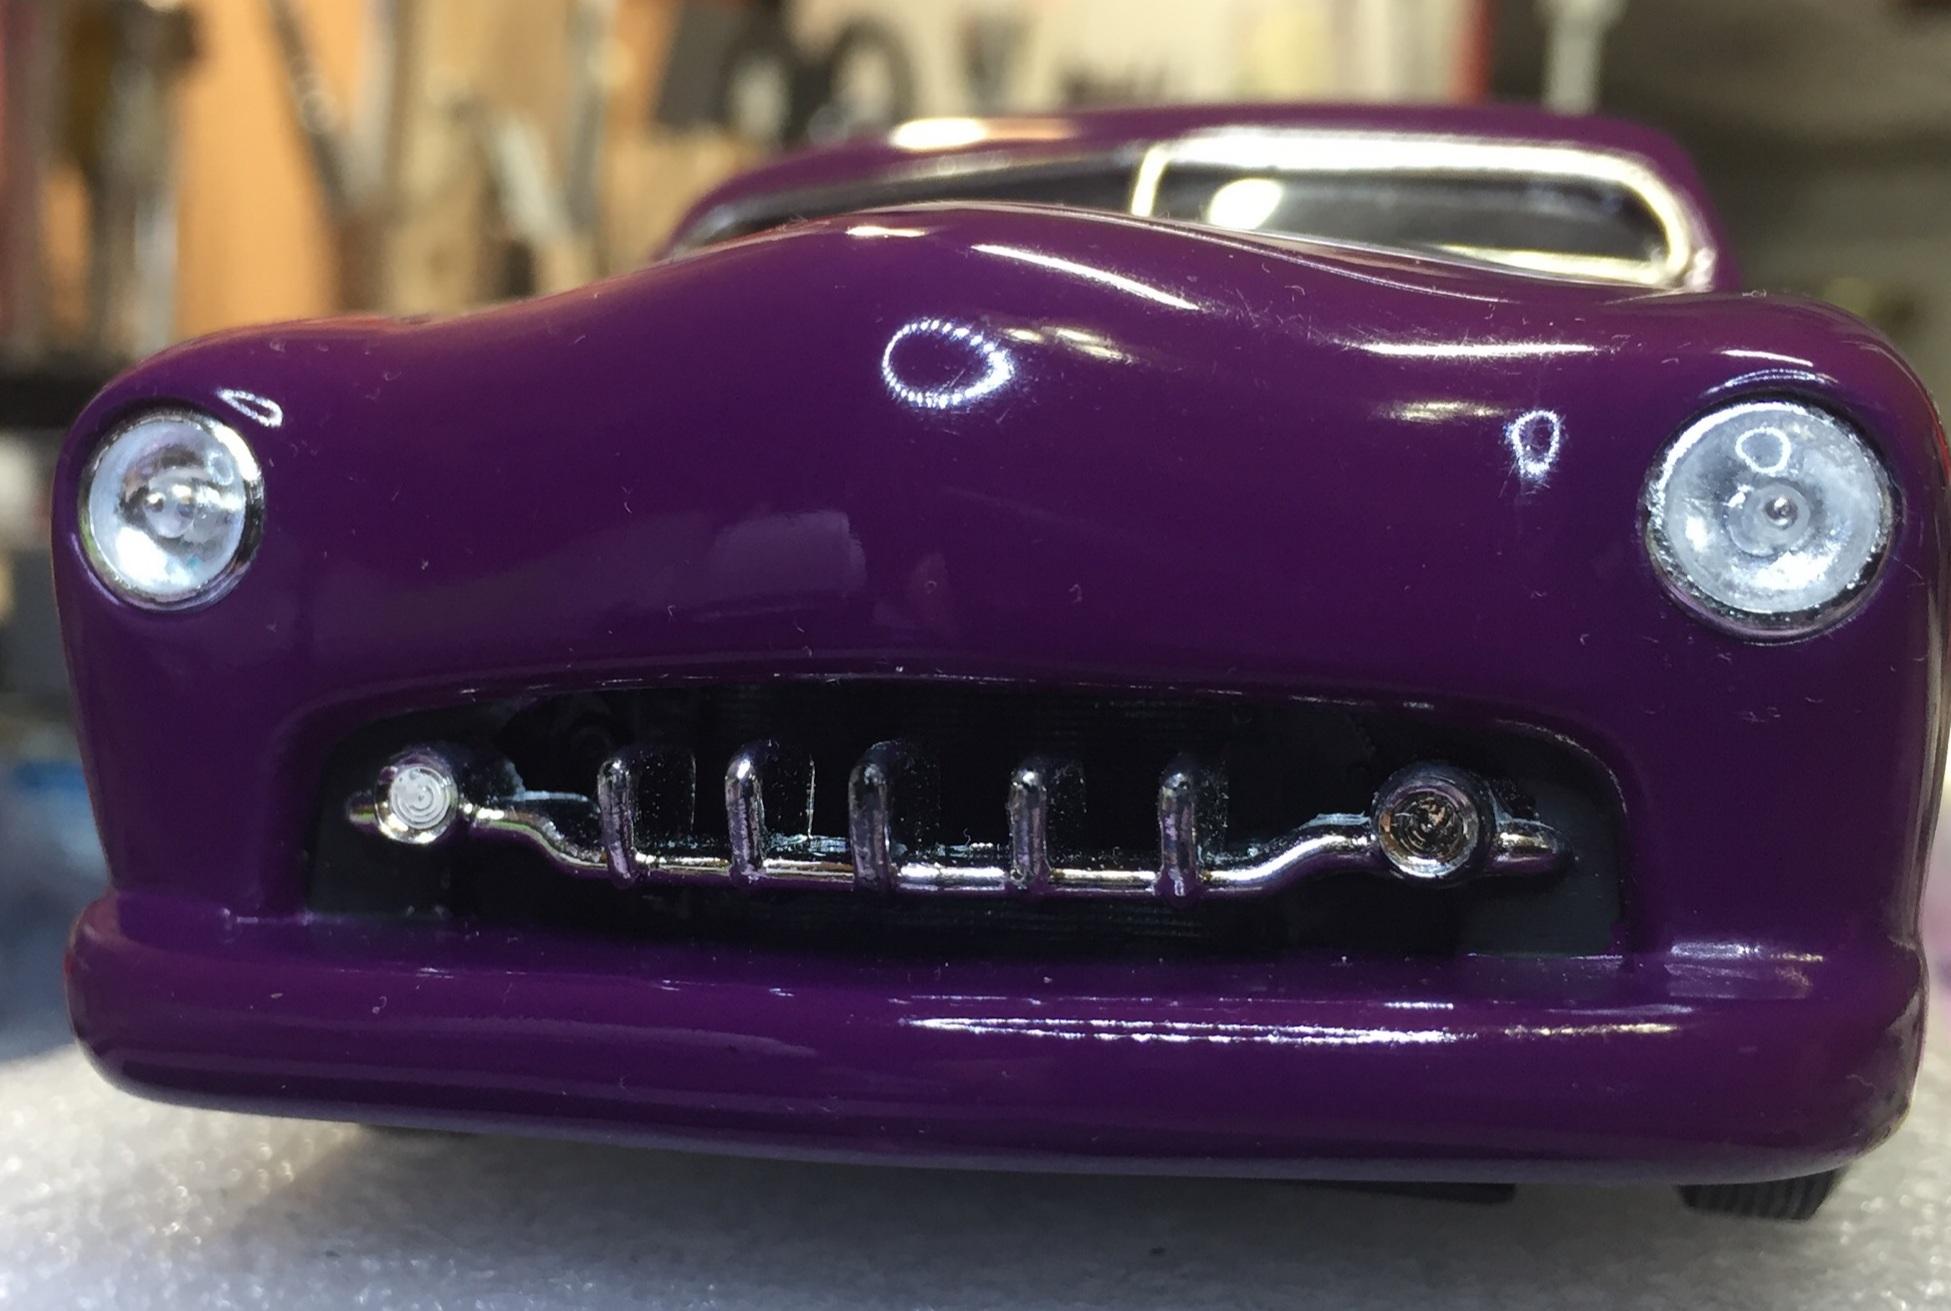
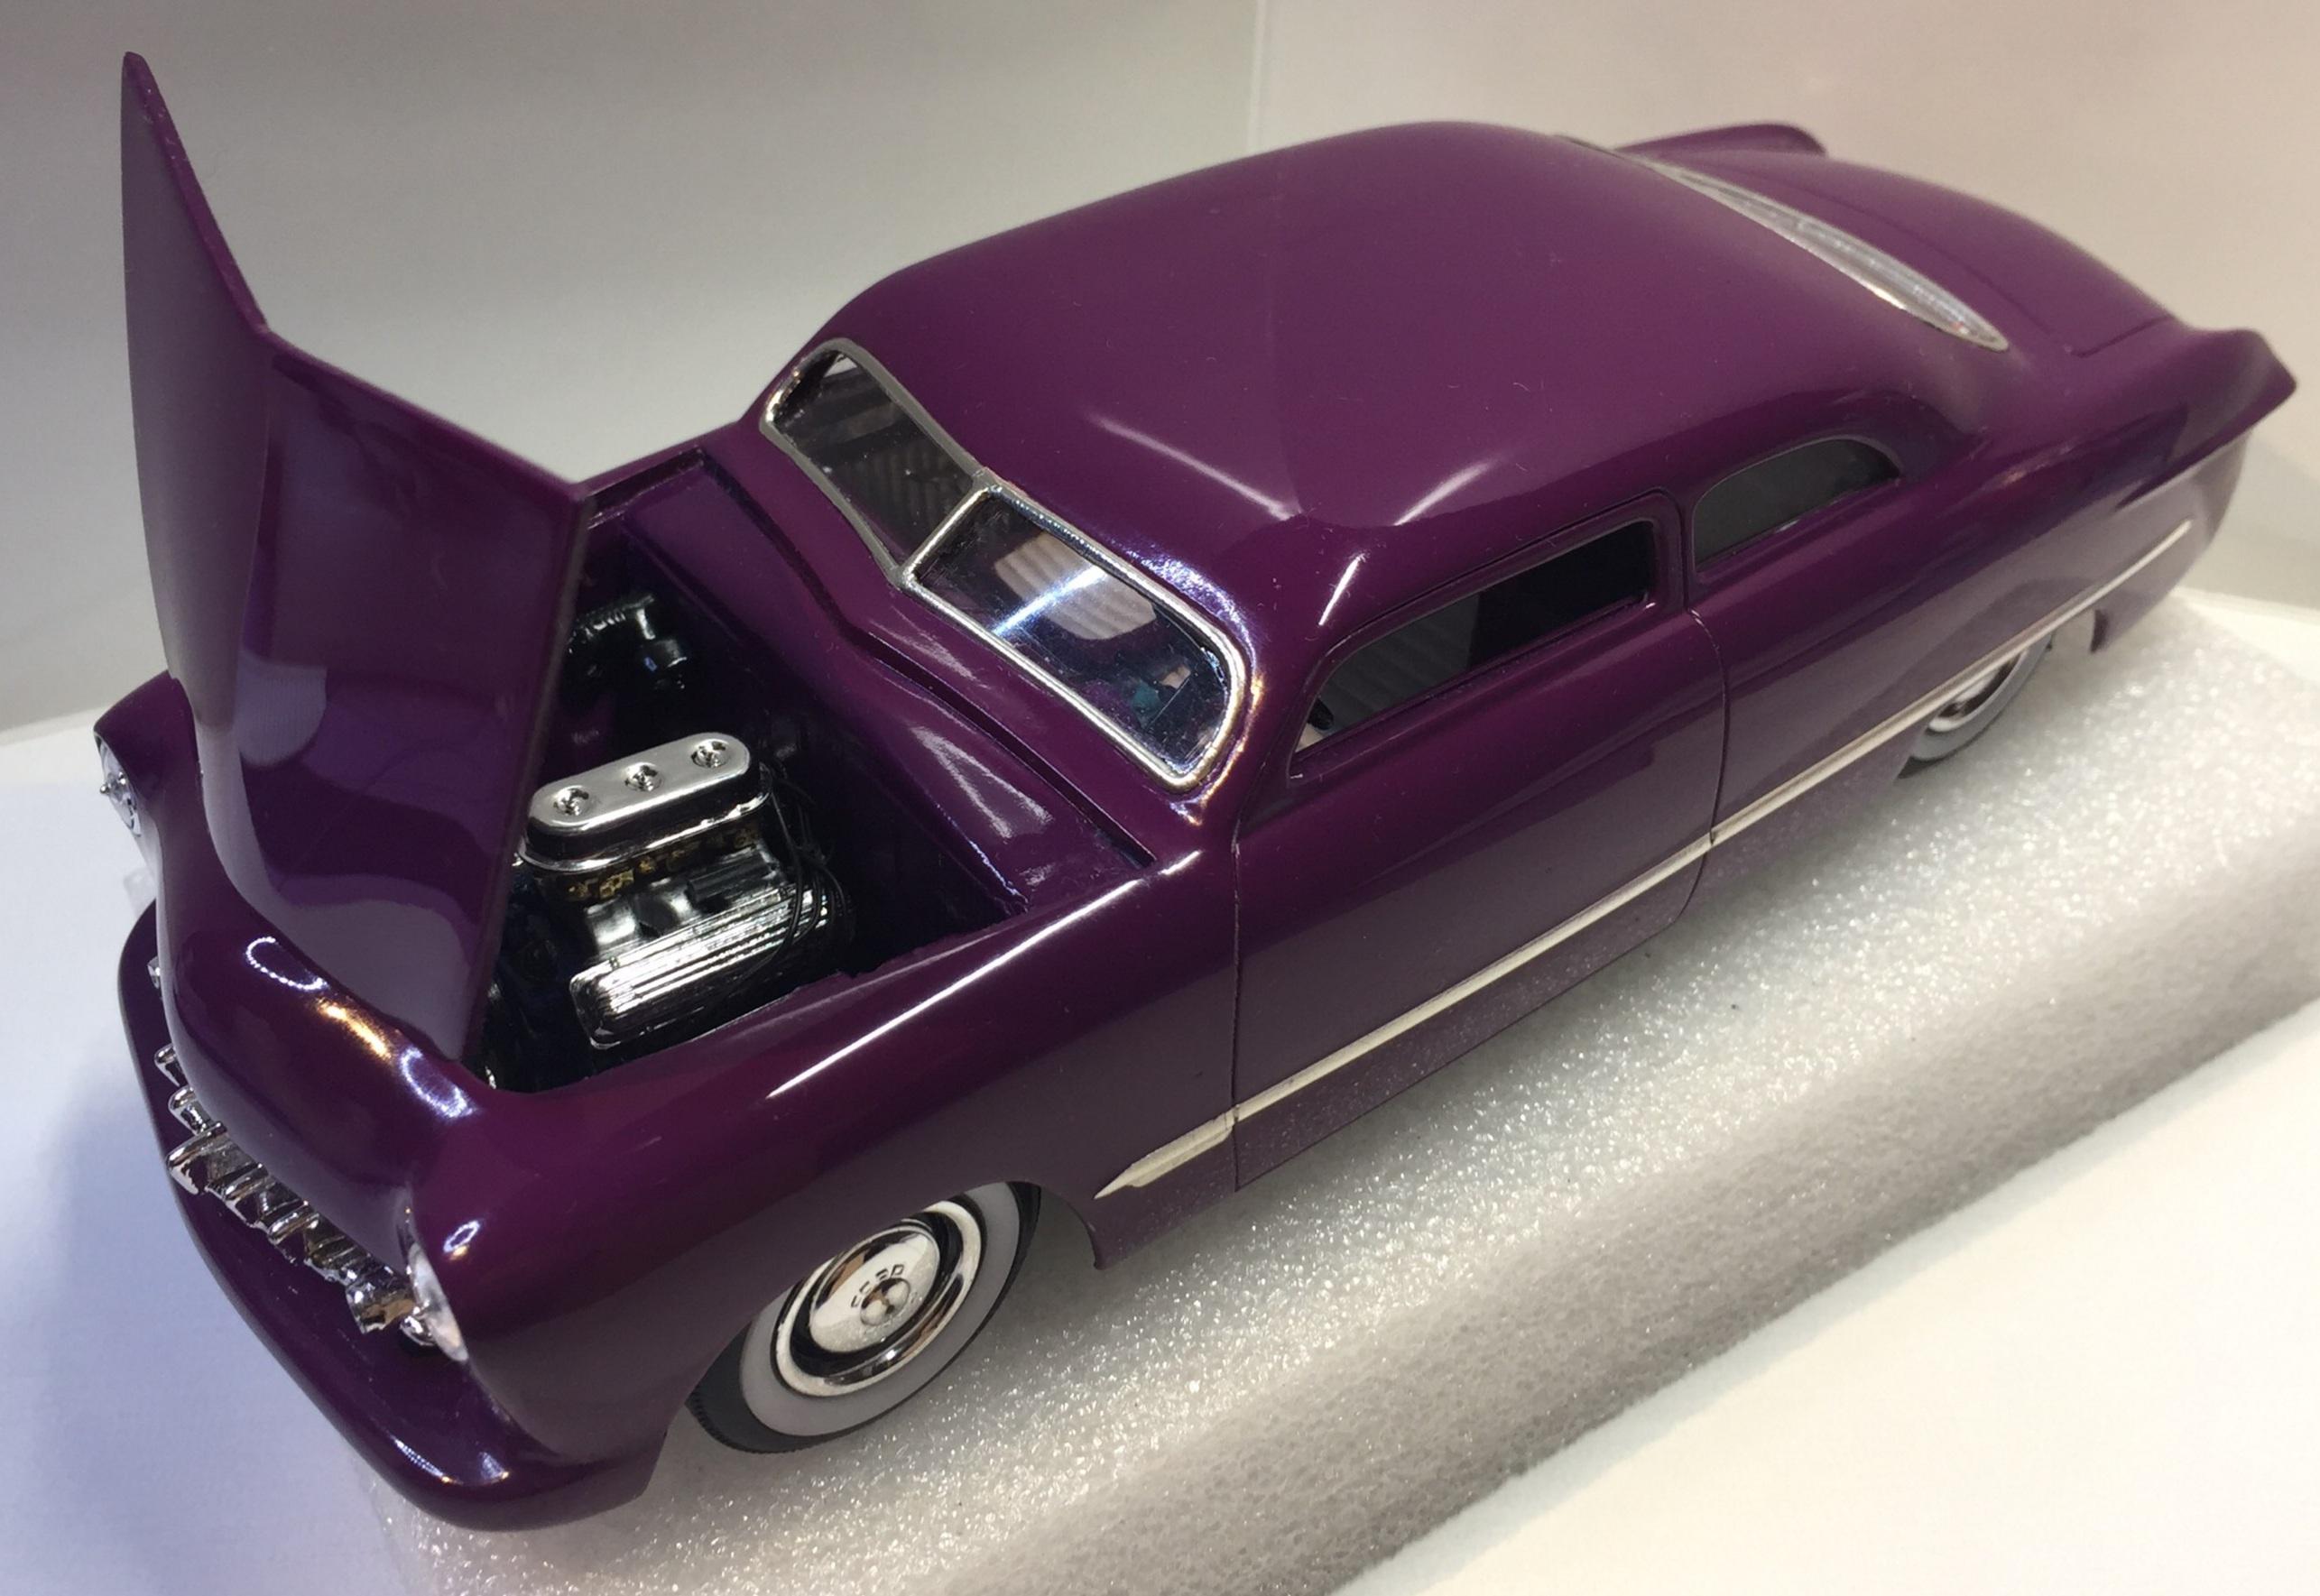
Oooooo....no can do, Greg. It's in as far as it can go, much to my disappointment. It looks okay from a front view but some angles show the grille sticking too far out. Luckily, it's not permanent. I think. 🤔
-
Just what was in the kit, Dave. Probably the ones that wrap around the corners.
-
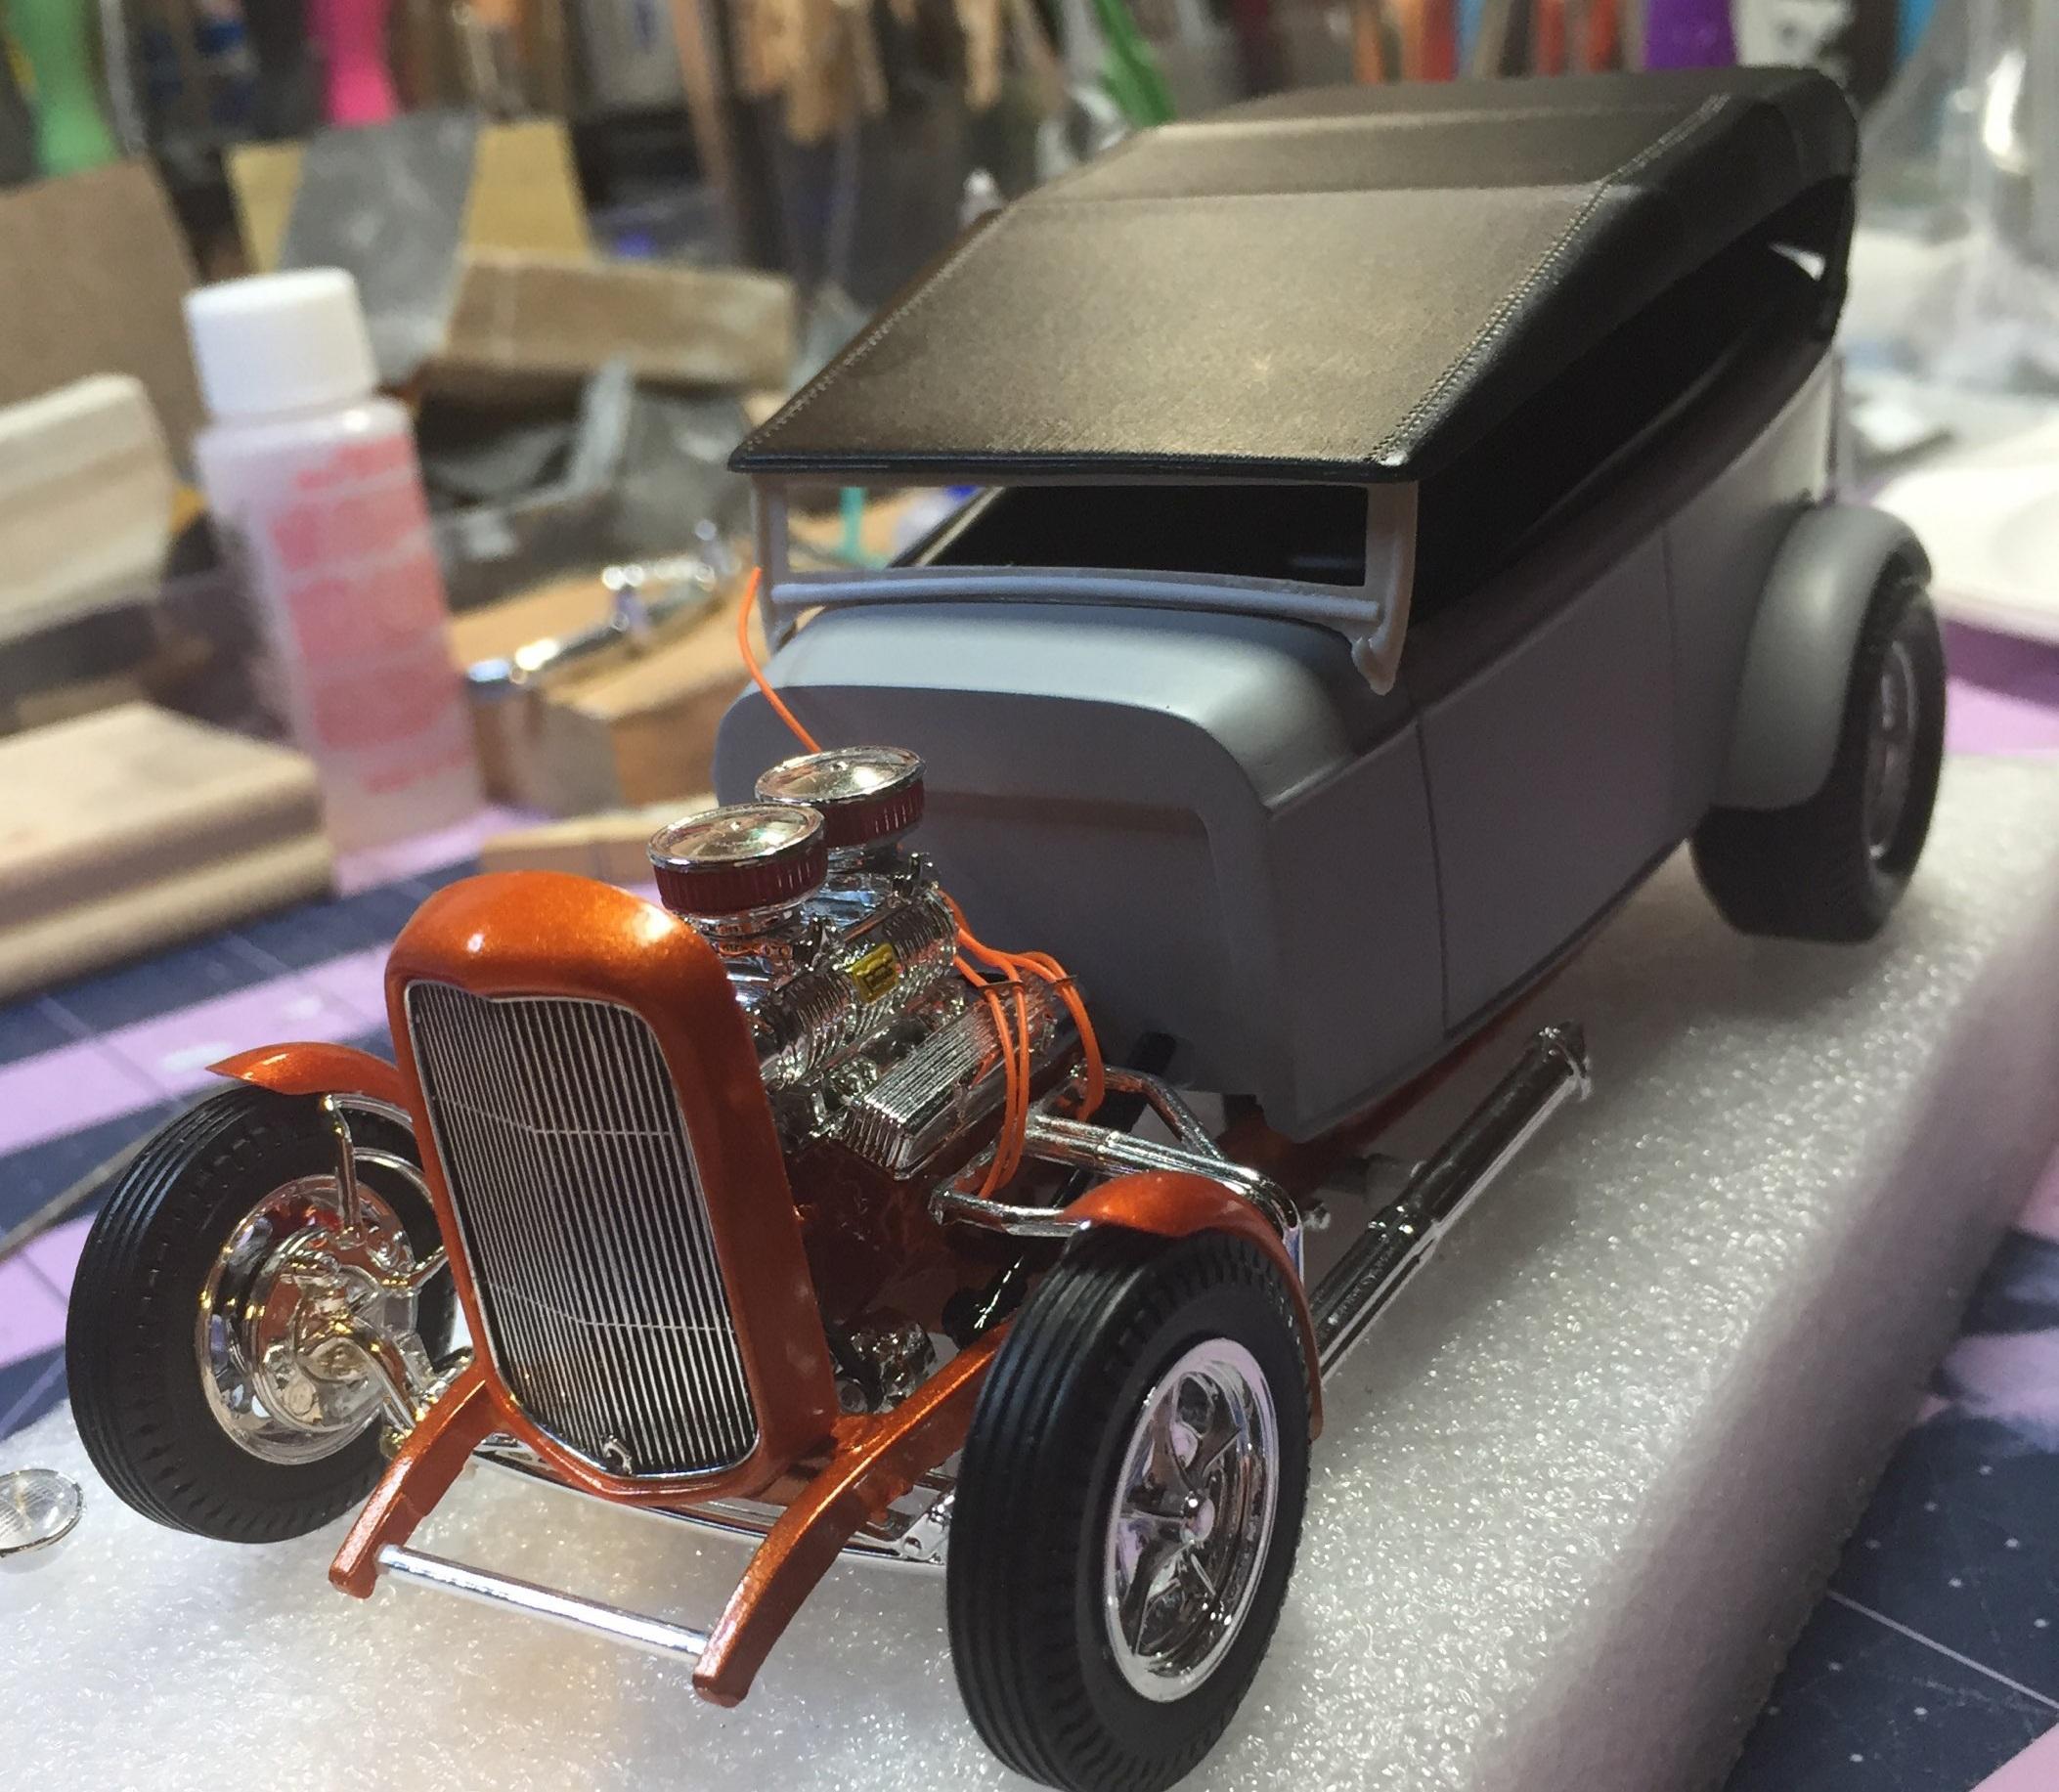
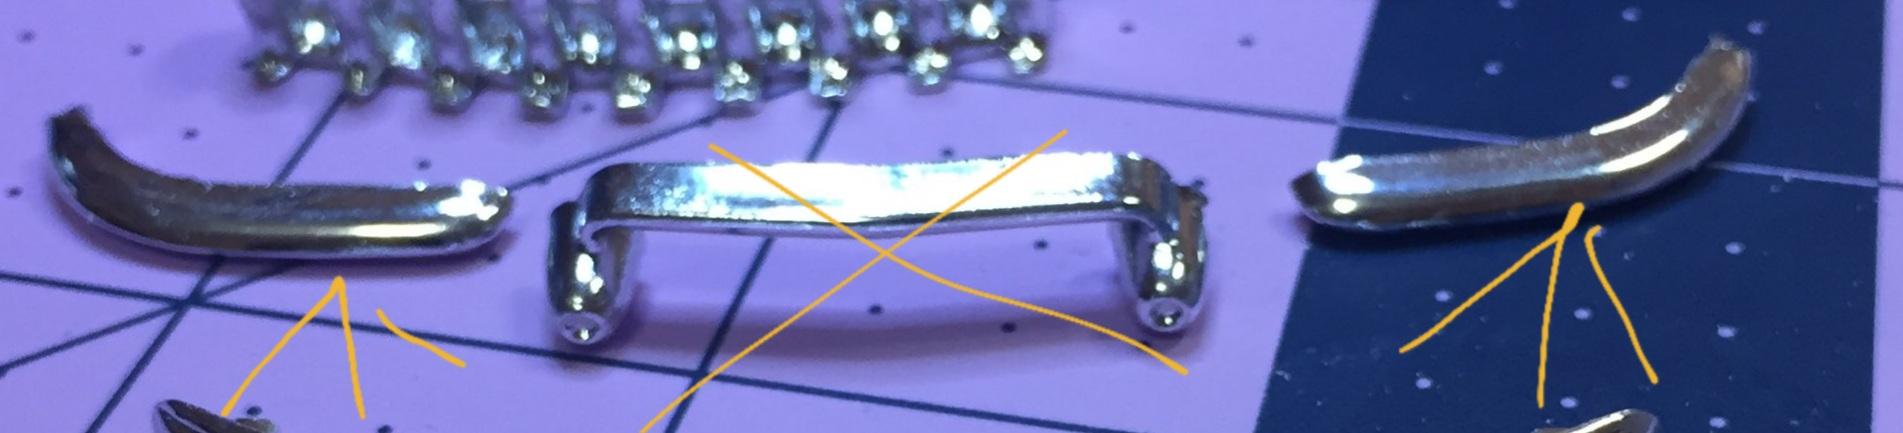
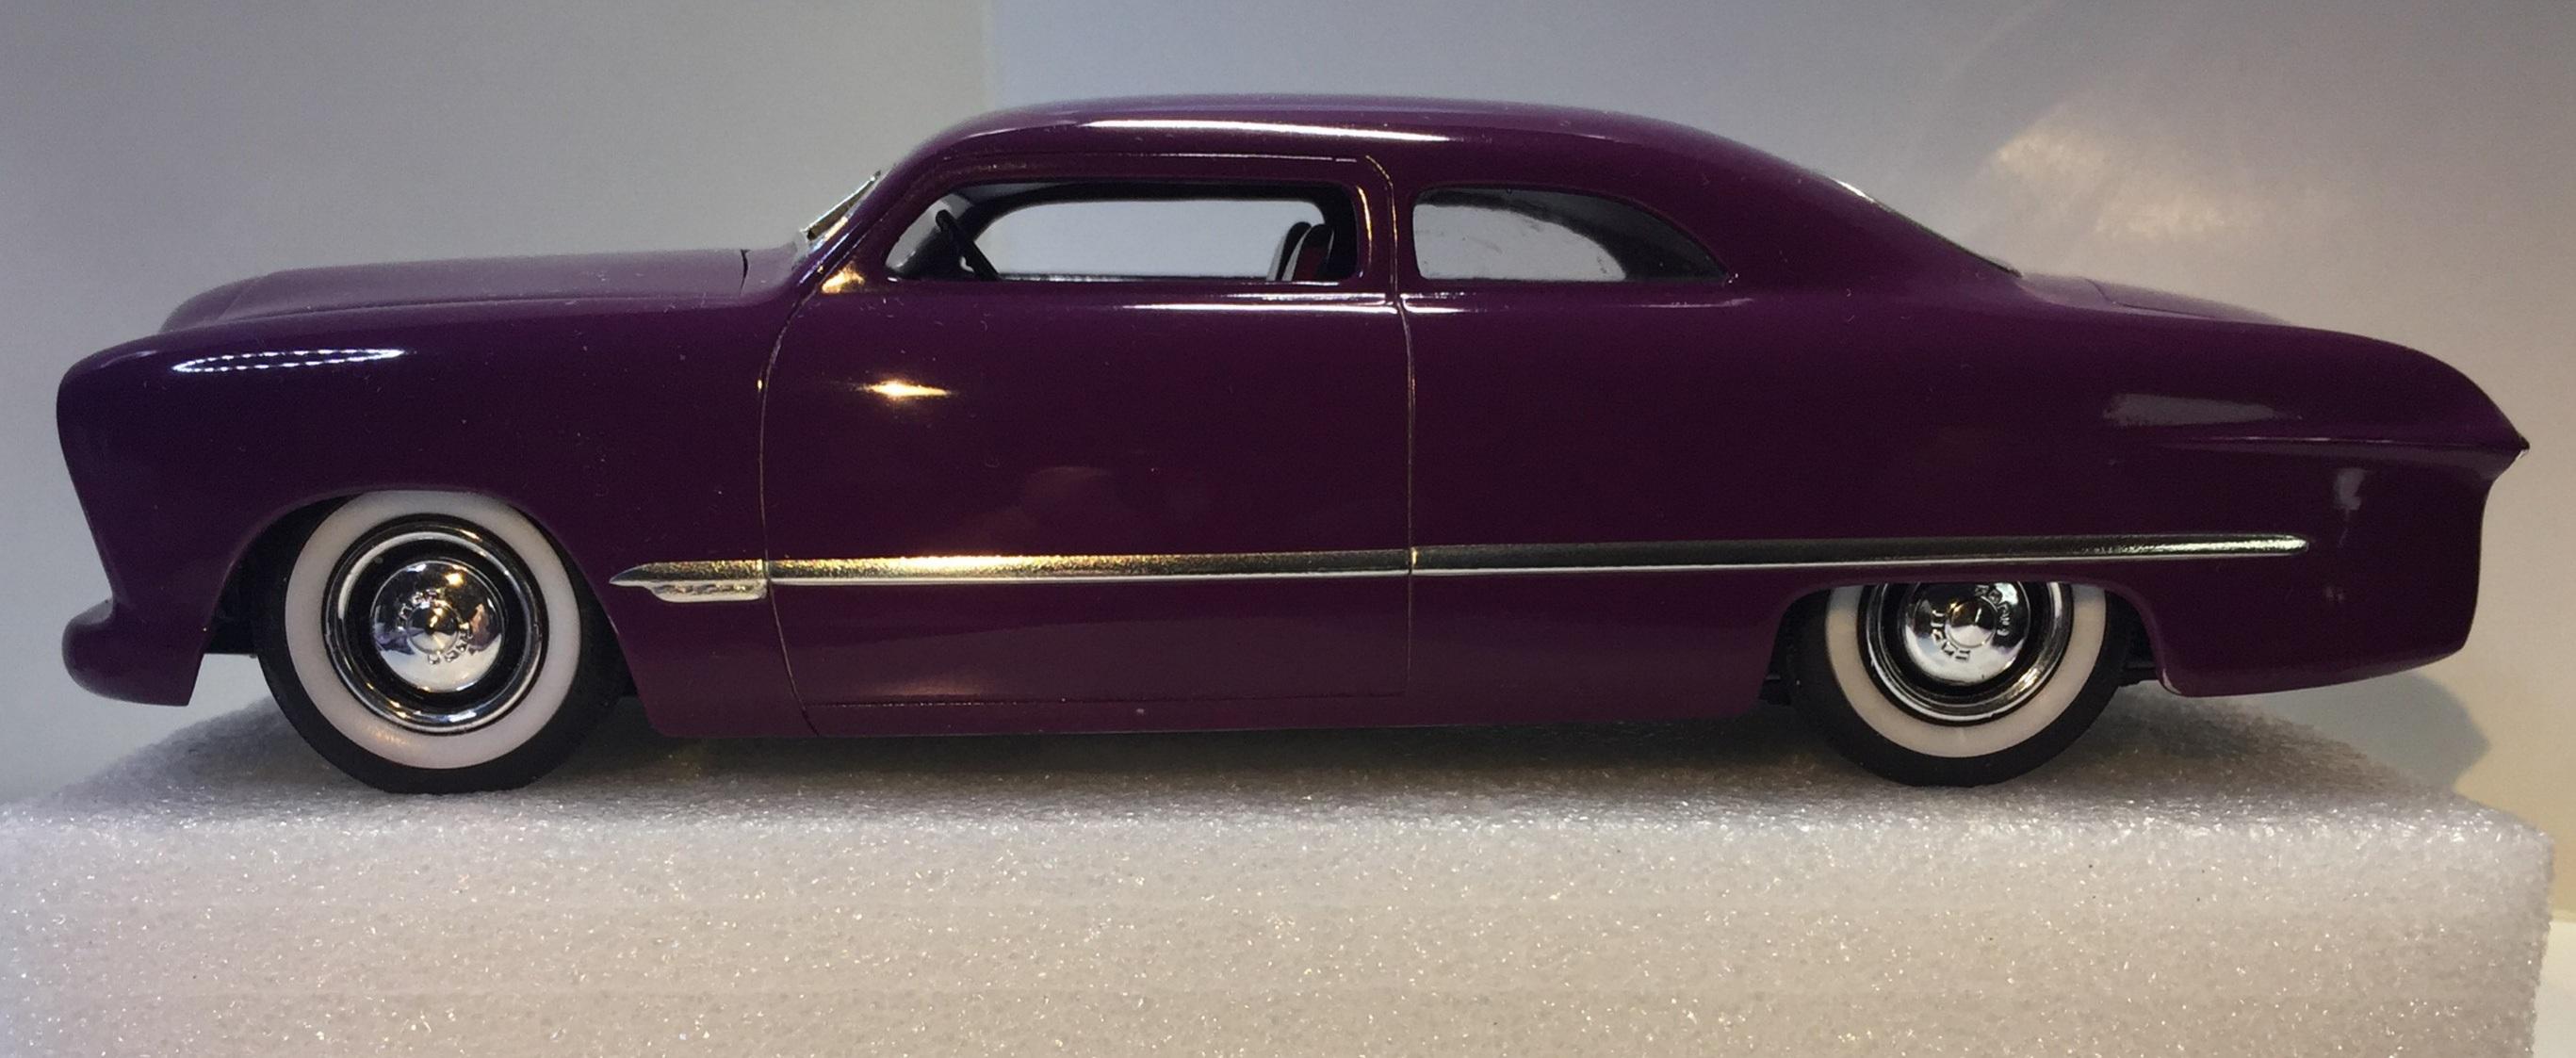
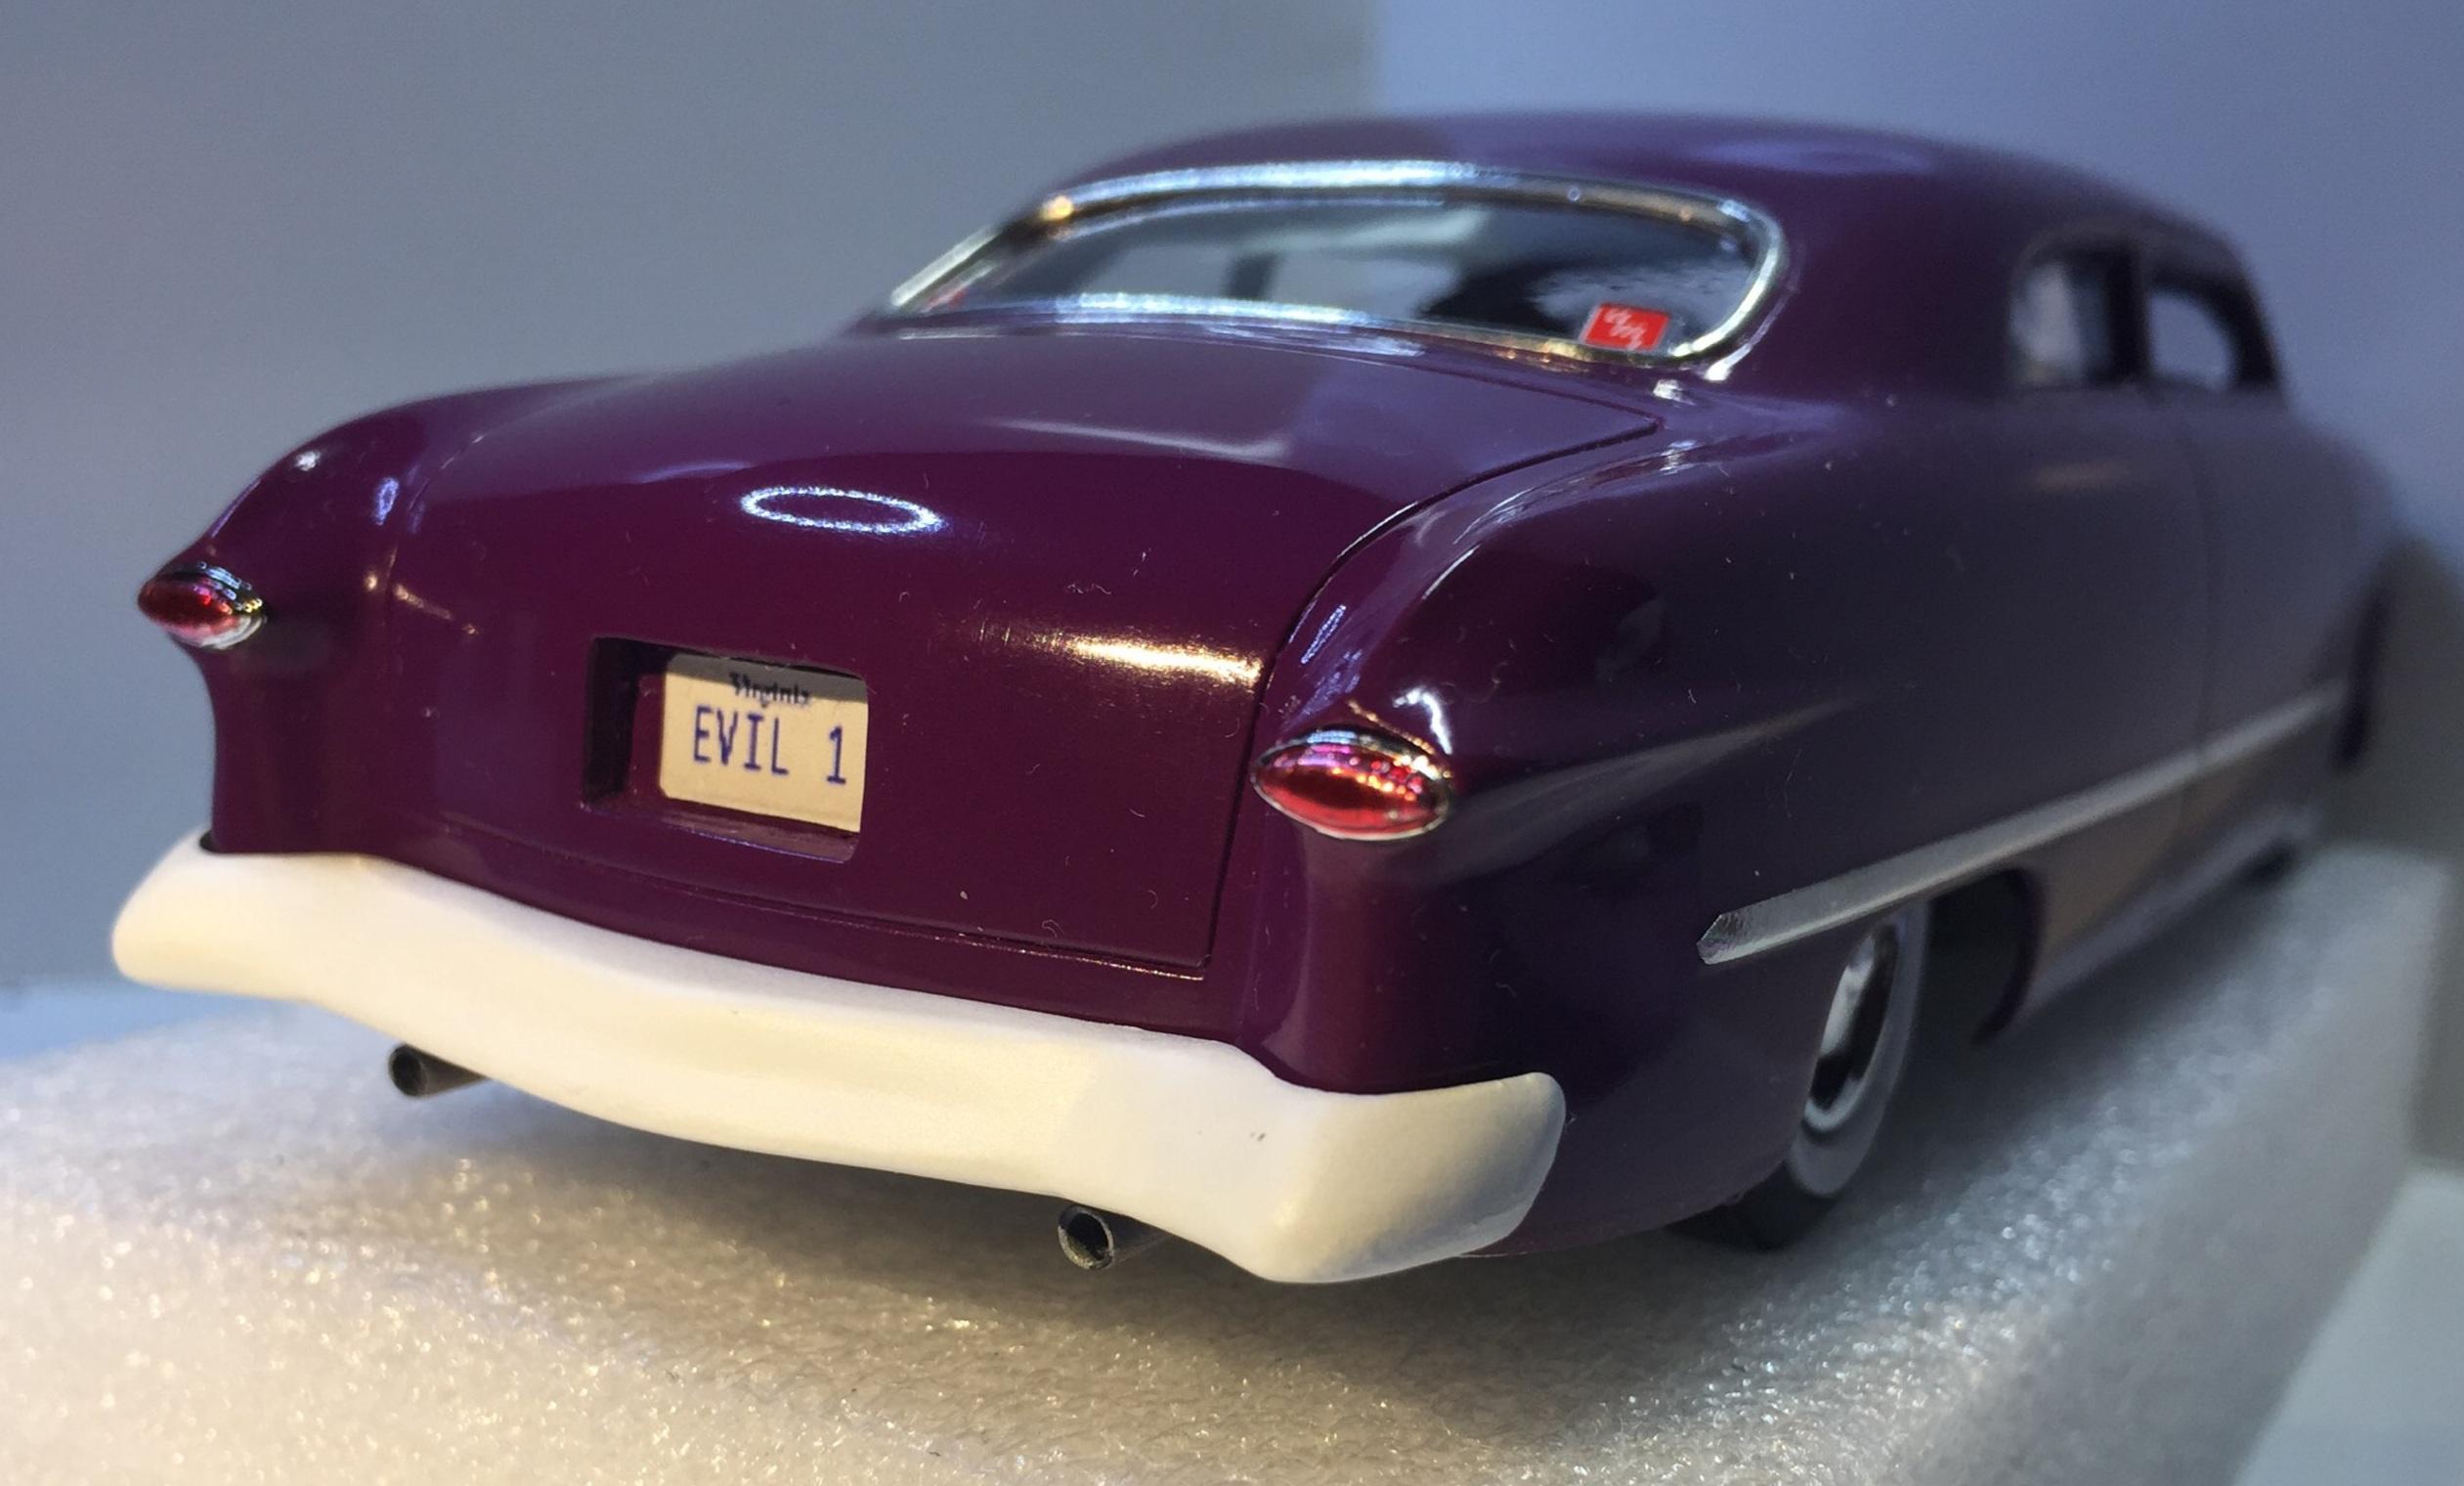
And here's where the EVIL 1 stands today. I am so done with this build. The hood was perfect after the first repaint. Somewhere along the way a drop of acetone found its way onto the hood so I sanded it and back to the paint department it went... It polished up pretty well. I just need to get the back bumper in chrome and figure out what to do in front with nerfs. For now, though, it moves to the back burner. I'm still not sold on the grille
-
A big applause for the front seats, Elliot. Somebody had to do it. I wanted to 😌.
-
FYI : I did pick up another one today. 🥴 Yup, they still had 'em. This one will most likely be spread around a few projects at Jimbo's chop shop.
-
Thank you , gents.