-
Posts
3,791 -
Joined
-
Last visited
Content Type
Profiles
Forums
Events
Gallery
Everything posted by customline
-

Chopped, Sectioned and Bobbed…….’63 Corvette.
customline replied to NOBLNG's topic in WIP: Model Cars
Looks like you're moving right along, Boss. Not much room for a frame there, Greg. 🤔 -
I used to re-finish old furniture, Dave, and this Howard's product is one I have not seen but that brand has a familiar ring to it. I've been using the Novus stuff with the blue label for the final finish. Does the Feed N Wax give you any visible improvement or are you just protecting your paint?
-
I'm well aware of the way all that works. I'm not a very good painter, Steve, and the older I get, the less good it gets. Y'all have answered my question and I'm happy with the modest improvement the Scratch-X made on a few of my recent paint jobs. I know my painting skills need some improvement and I think I might slow down during the rub-out process. I appreciate your input, always.
-
In the case of orange peel, I start wet with 2000 and a drop of Dawn. Then, after I knock down the OP till its only faint. I follow with 3200 until I see no more of the OP traces. Then 3600, 4000, etc. It could be I'm not doing enough on the middle grits, Steve, but I stopped using the Novus heavy scratch remover. I get worried about my nice paint job getting too thin. That stuff seems too coarse. Lots of color comes off on the rag.
-
I tried the "Scratch X," figuring McGuire's is top shelf (it was, 40 years ago 🥴), so why not start at the top? I tried it on the '53 roof with good but not great results. I can't see any change, scratch wise, but it is noticeably glossier. That's a win, 🤓 ain't it? Maybe I should polish it several more times...🤔
-
And yet you opened it! 🤣 wasn't that a great idea? Hey...I totally understand. Patience is not something I'm known for. I'm leaning towards lighter colors now so I don't see the swirlies as easily but I shall purchase the McGuire's version today.
-
I'd like to hear more about the bees wax, Dave (unless it's a secret formula, of course) I appreciate it, gents. I now have a nice "short list".
-

Lindberg's '53 Ford - following the instructions
customline replied to customline's topic in WIP: Model Cars
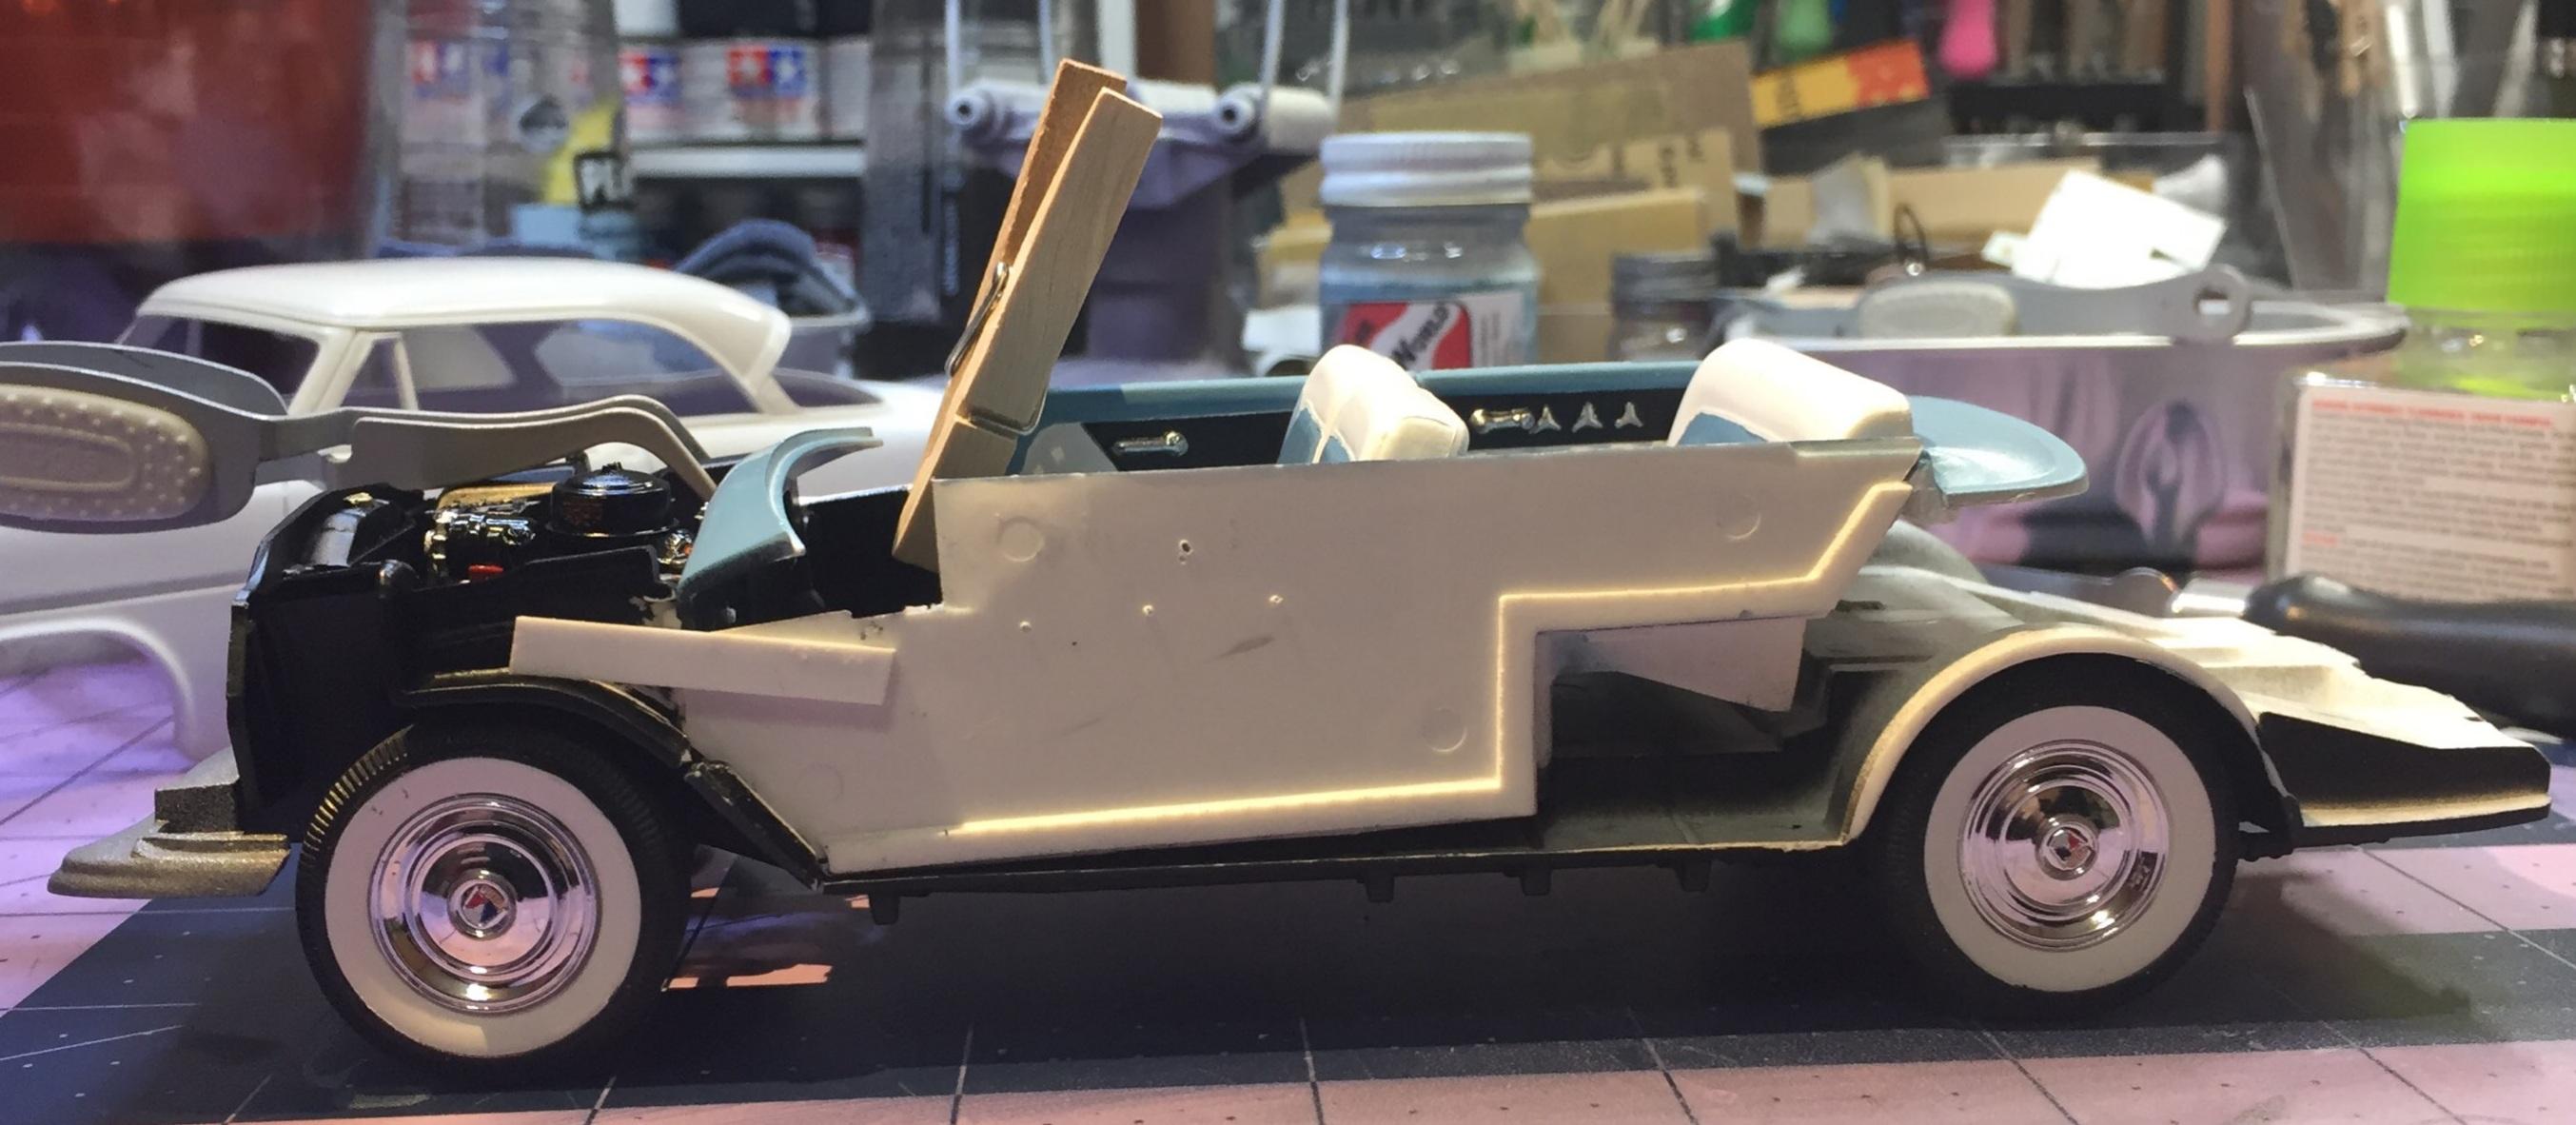
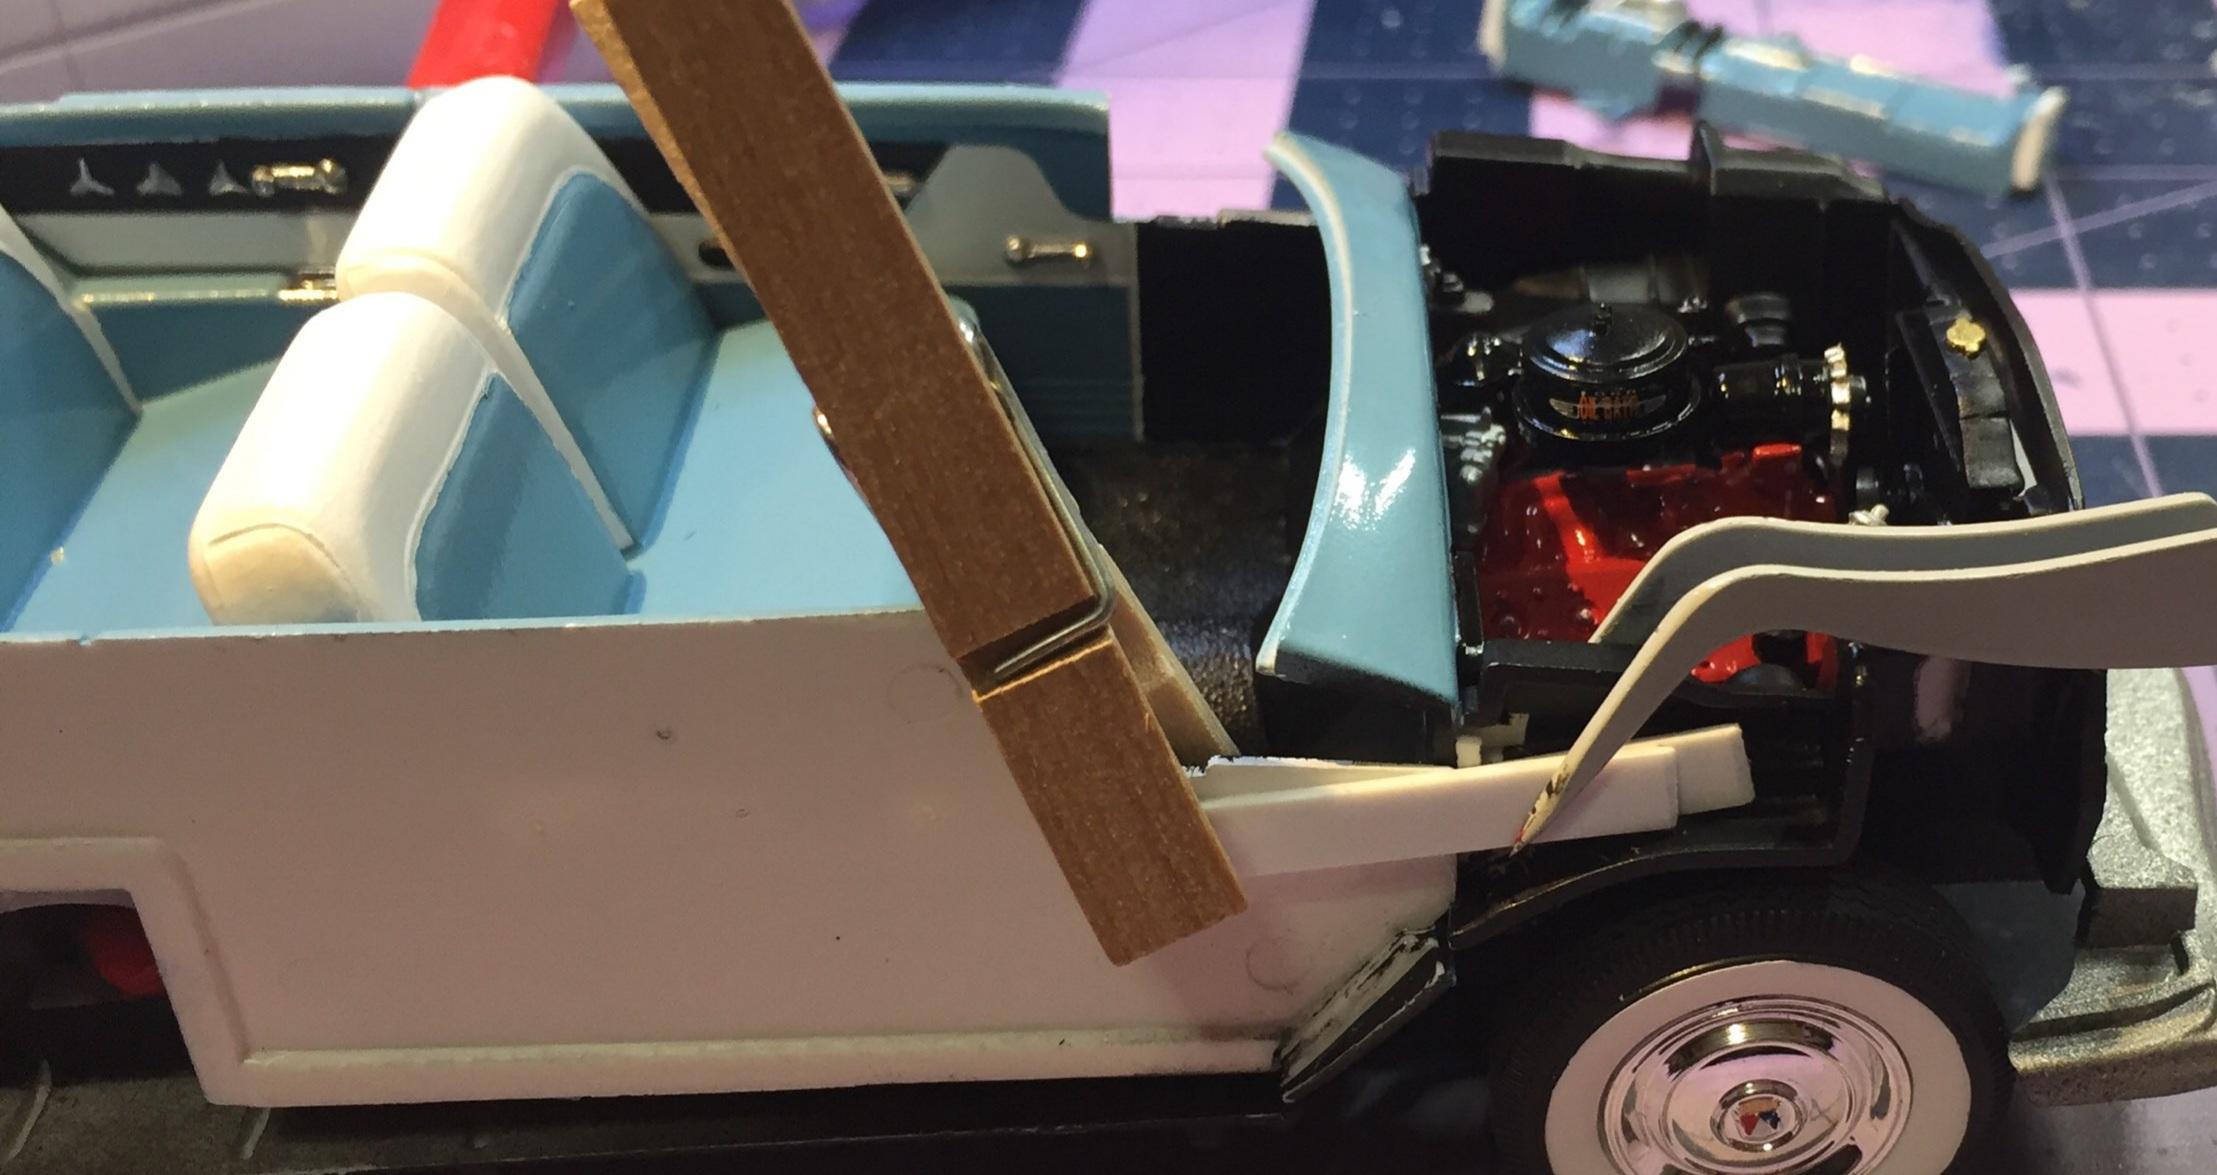
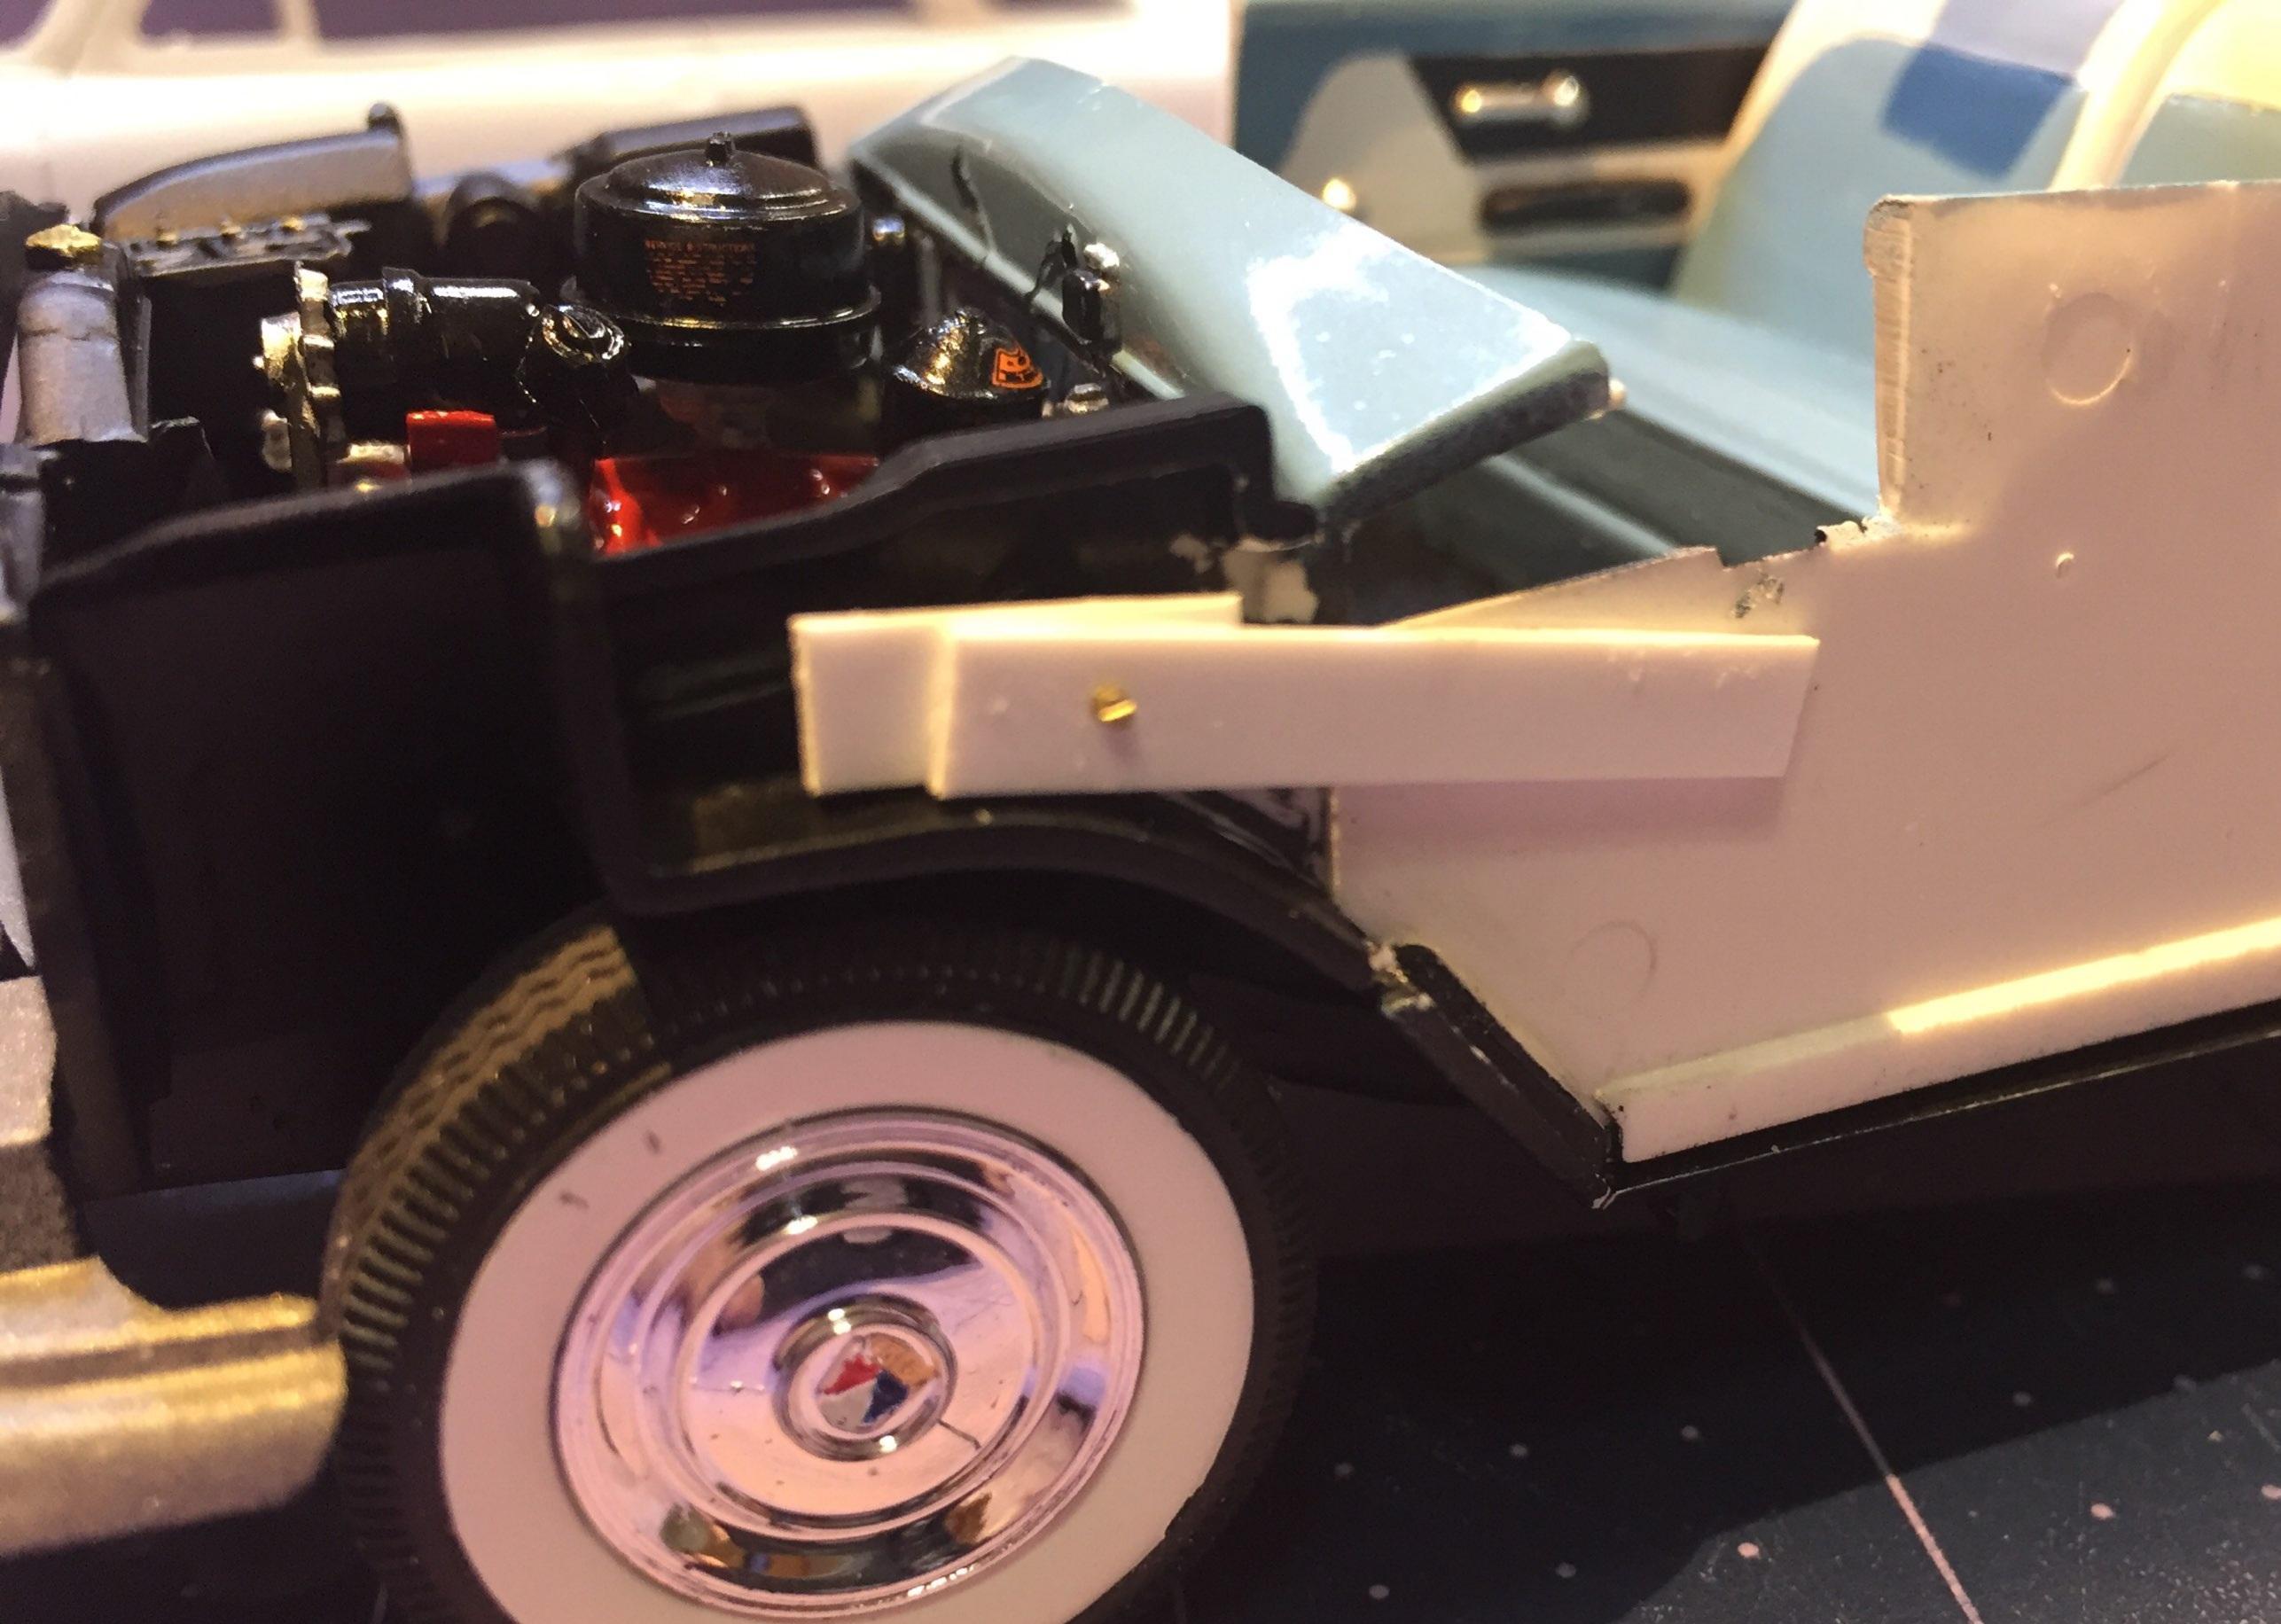
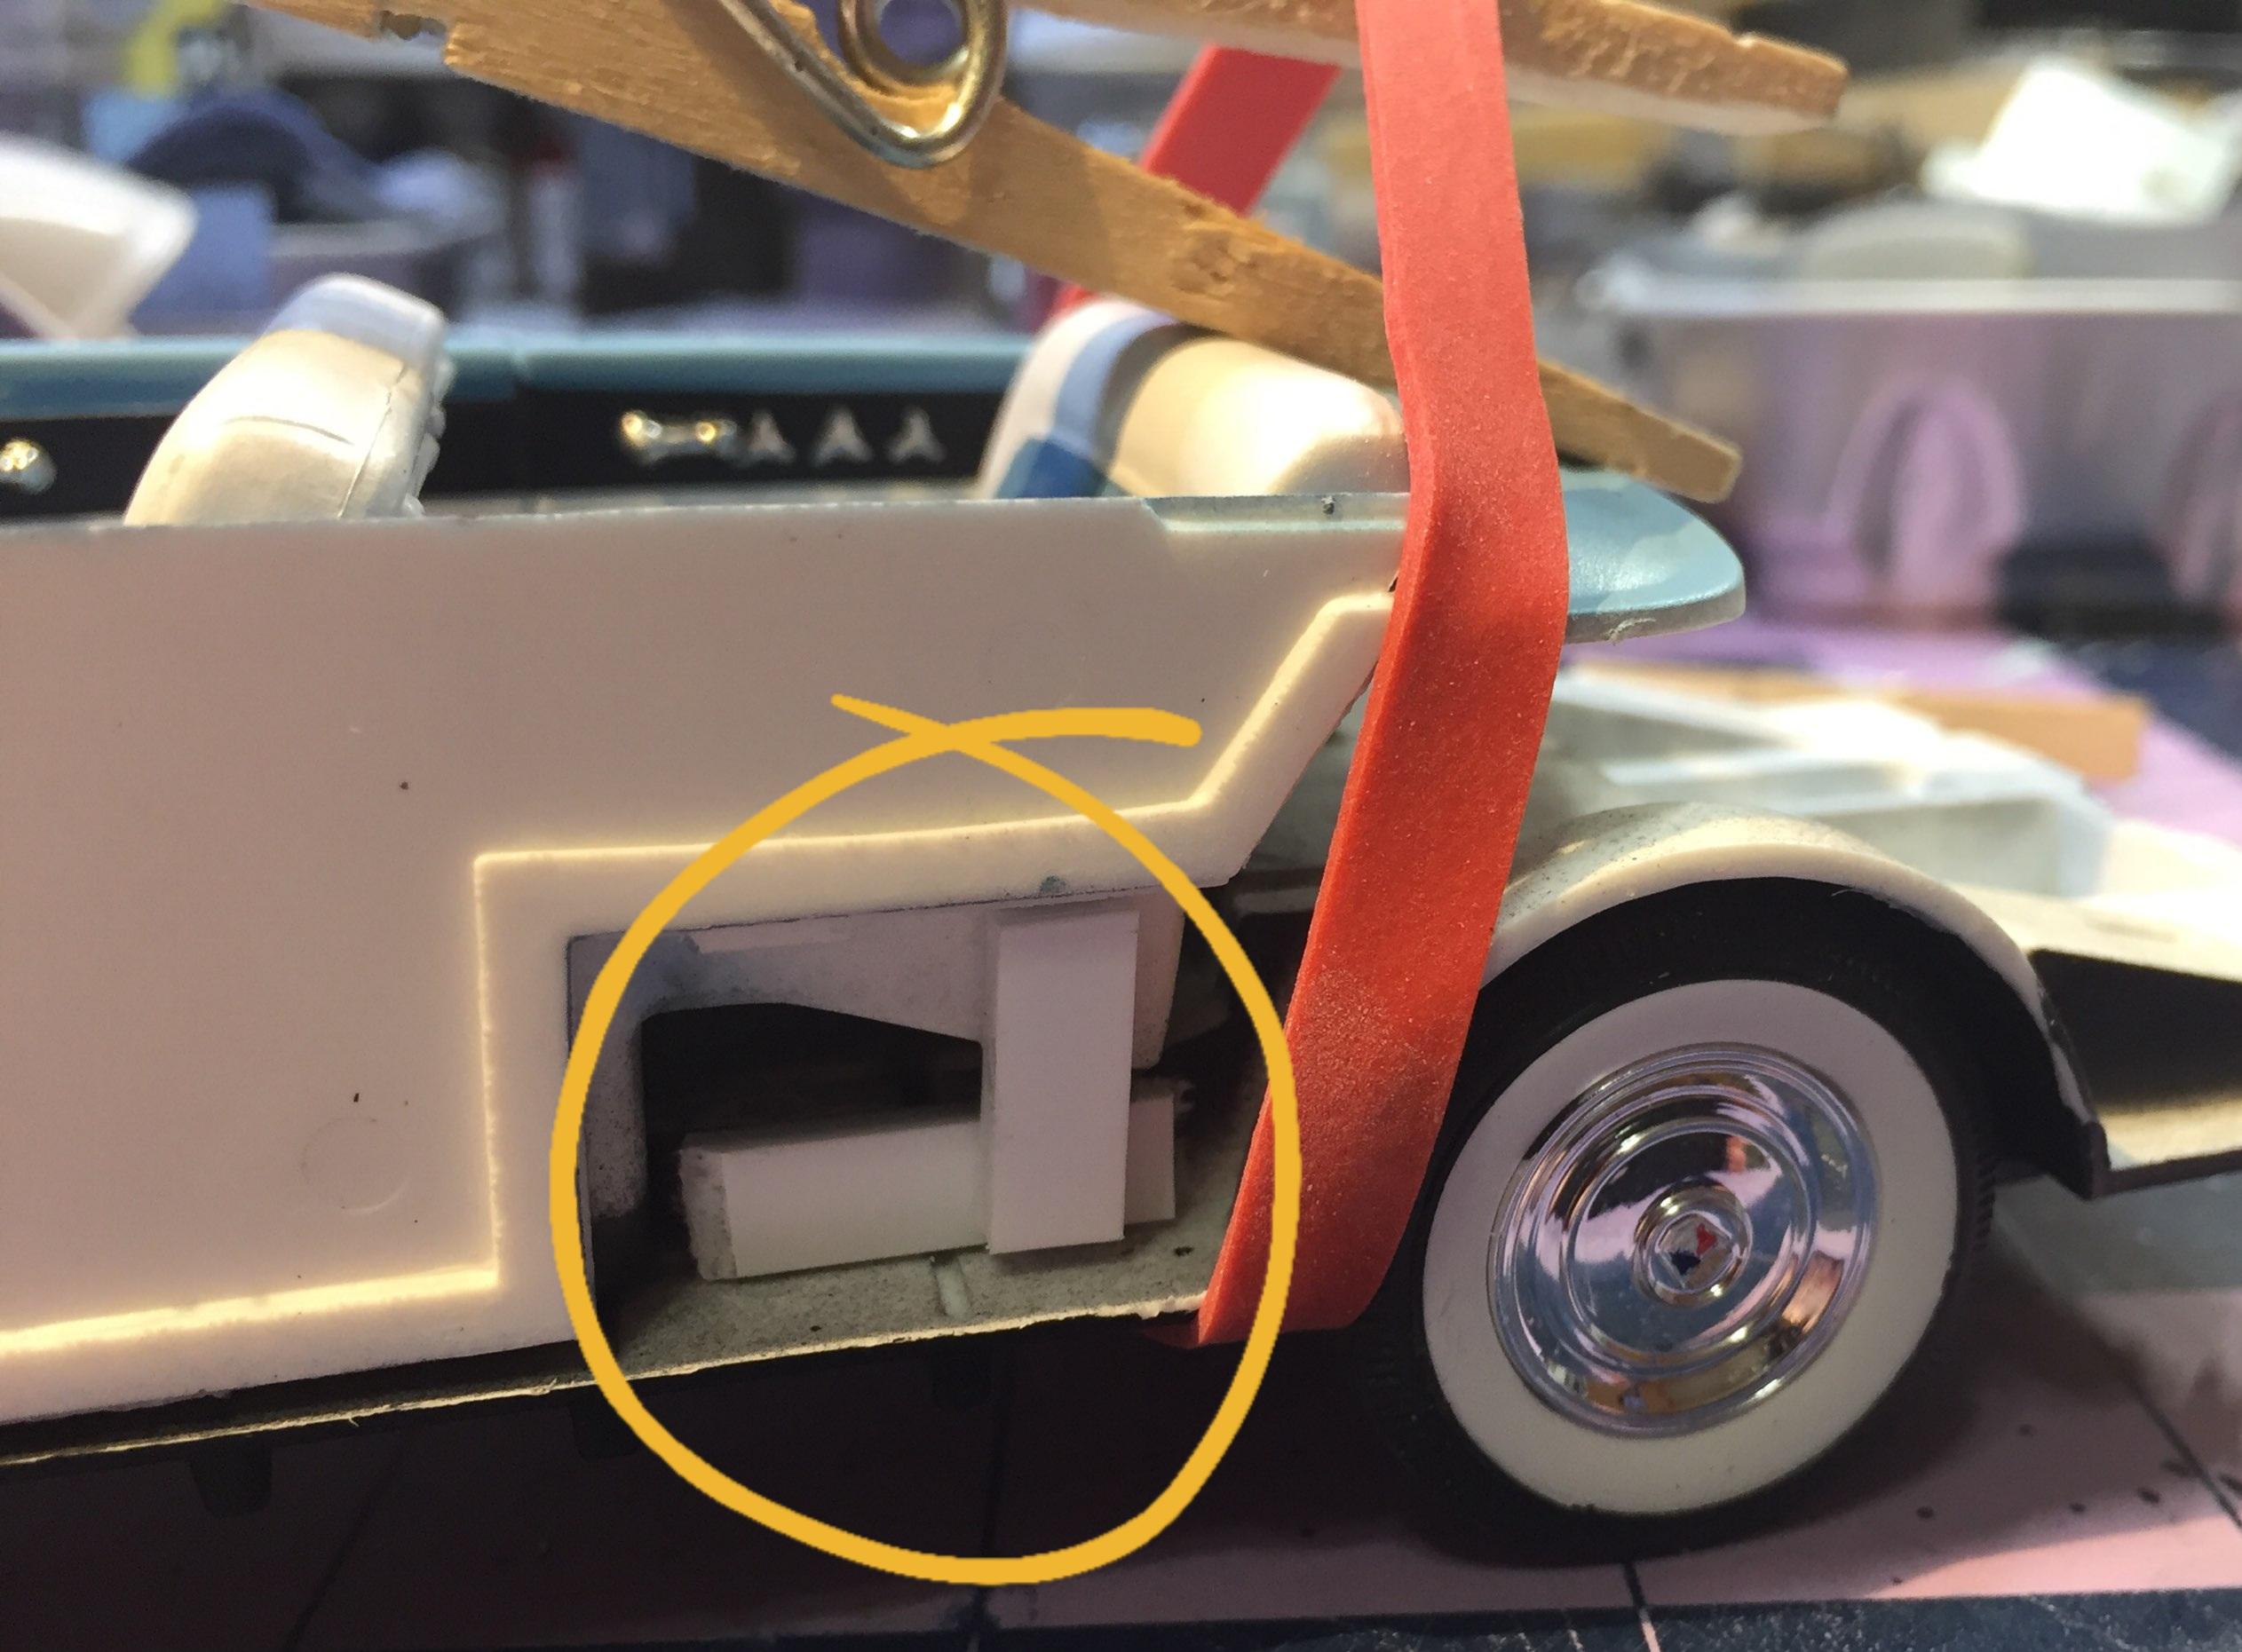
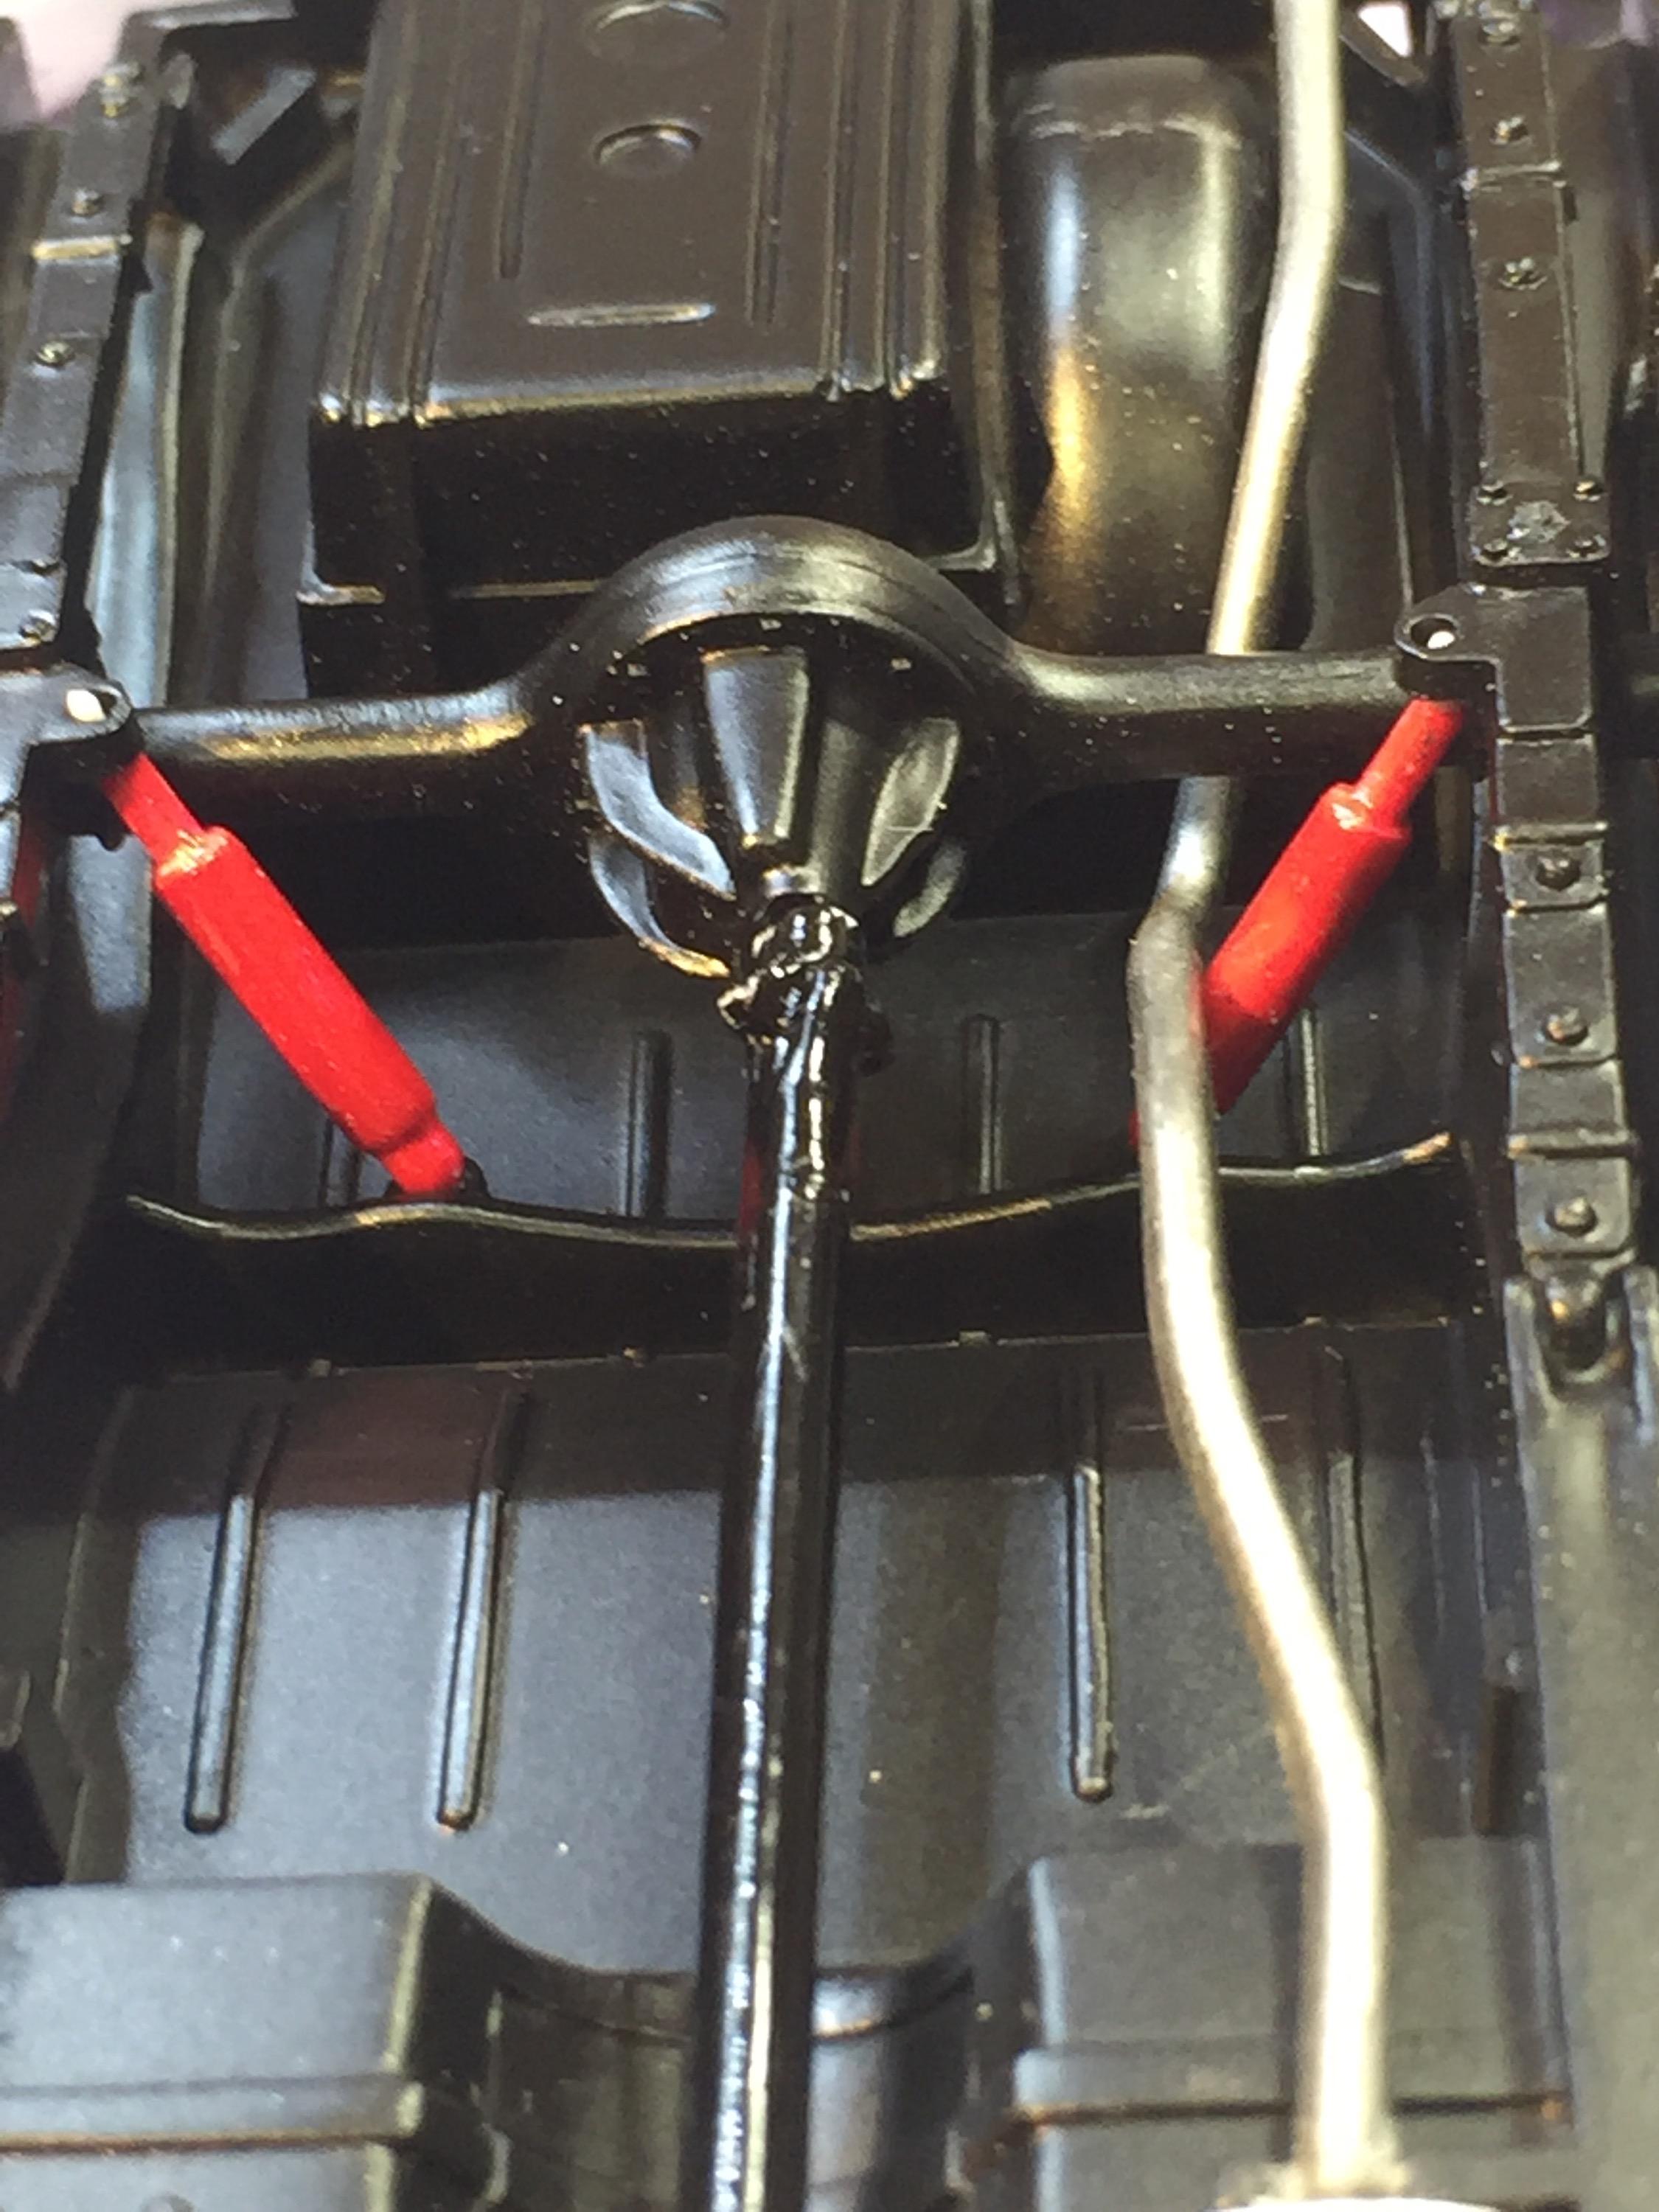
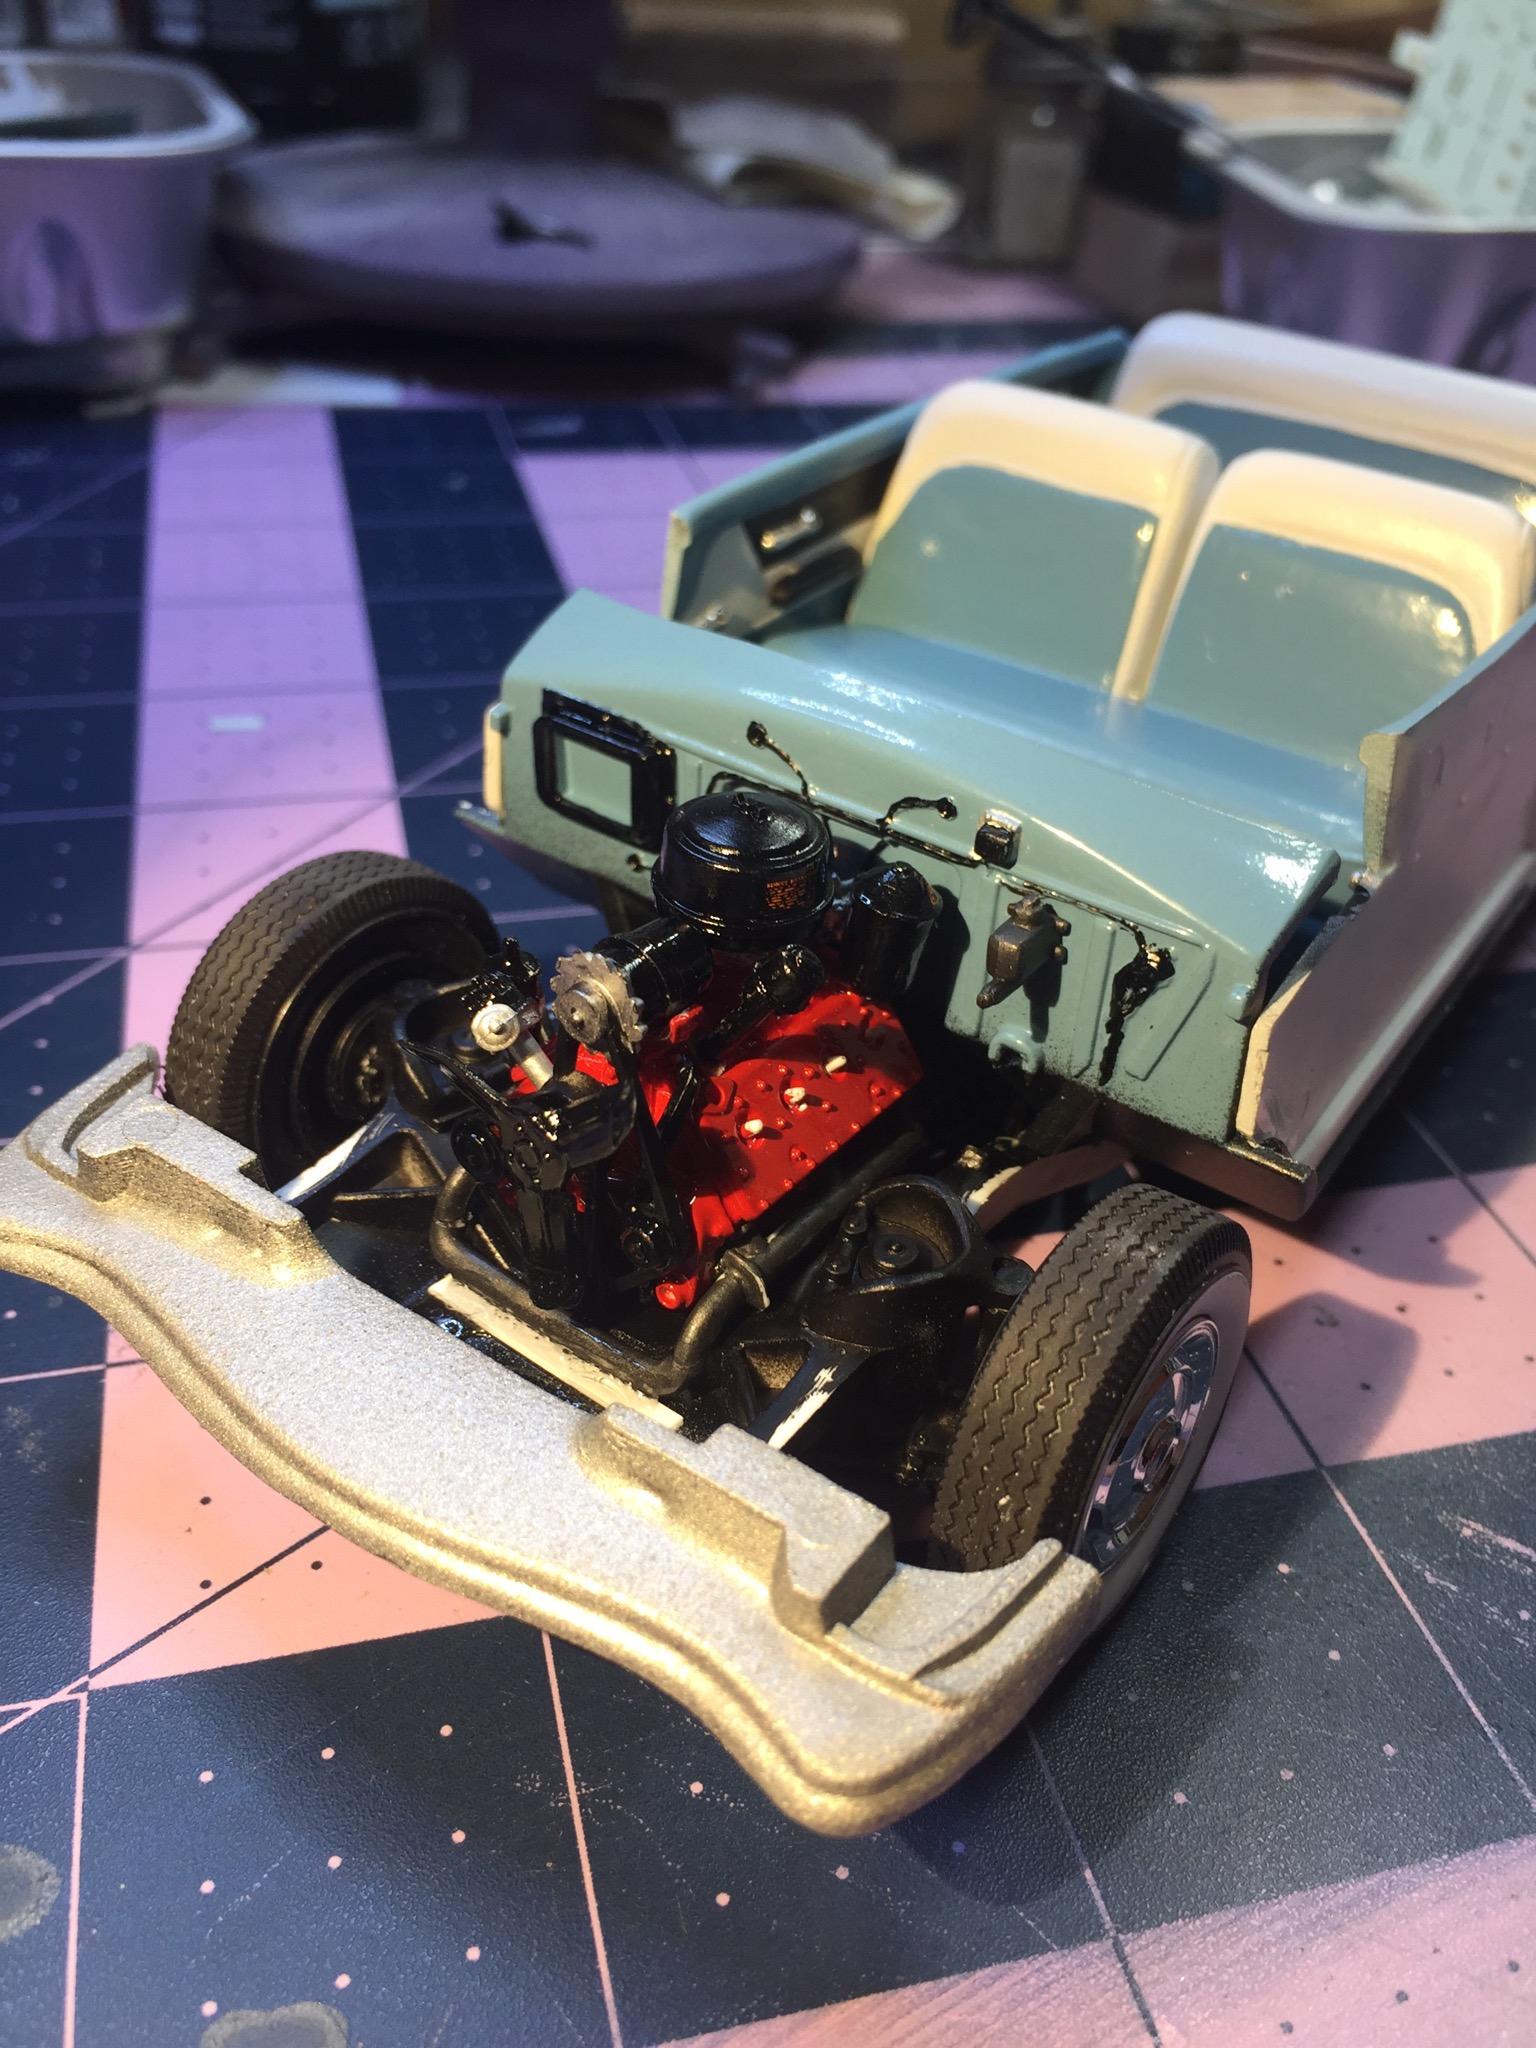
In my previous post I mentioned the warped chassis issue. I decided to tackle that today. It was way too late in the game to heat it and bend it so what I did was secure the front of the interior (the firewall) to the inner fender/radiator support assembly which has been glued to the frame previously. I added some heavy members for reinforcement and inserted brass pins for extra security. The first pic shows the firewall bonded to the inner fenders with some Evergreen added. Notice the angle of the interior tub to the chassis. Here it is with pin in place. The pins go through the inner fender panels and a bit of s g black hides it. Evergreen was welded to the chassis in the rear to get a good base for a strong attachment. Using the leverage of the tub at the rear to bring the assemblies together, and then, under tension of the rubber band I then bonded the styrene strips It worked... but not 100%. The left side came together and there is a smaller gap on the right but it needs a pretty good squeeze to get contact. If I was doing a "beater" I'd just leave it hang. Oh...and..... There now. Both upside-down. 😂 During the work, the steering box mysteriously became detached (sure, now it falls out.) I had a dandy time with that. It made the right front Firestone breaking off pretty tame in comparison. A good time was had by all. -

Lindberg's '53 Ford - following the instructions
customline replied to customline's topic in WIP: Model Cars
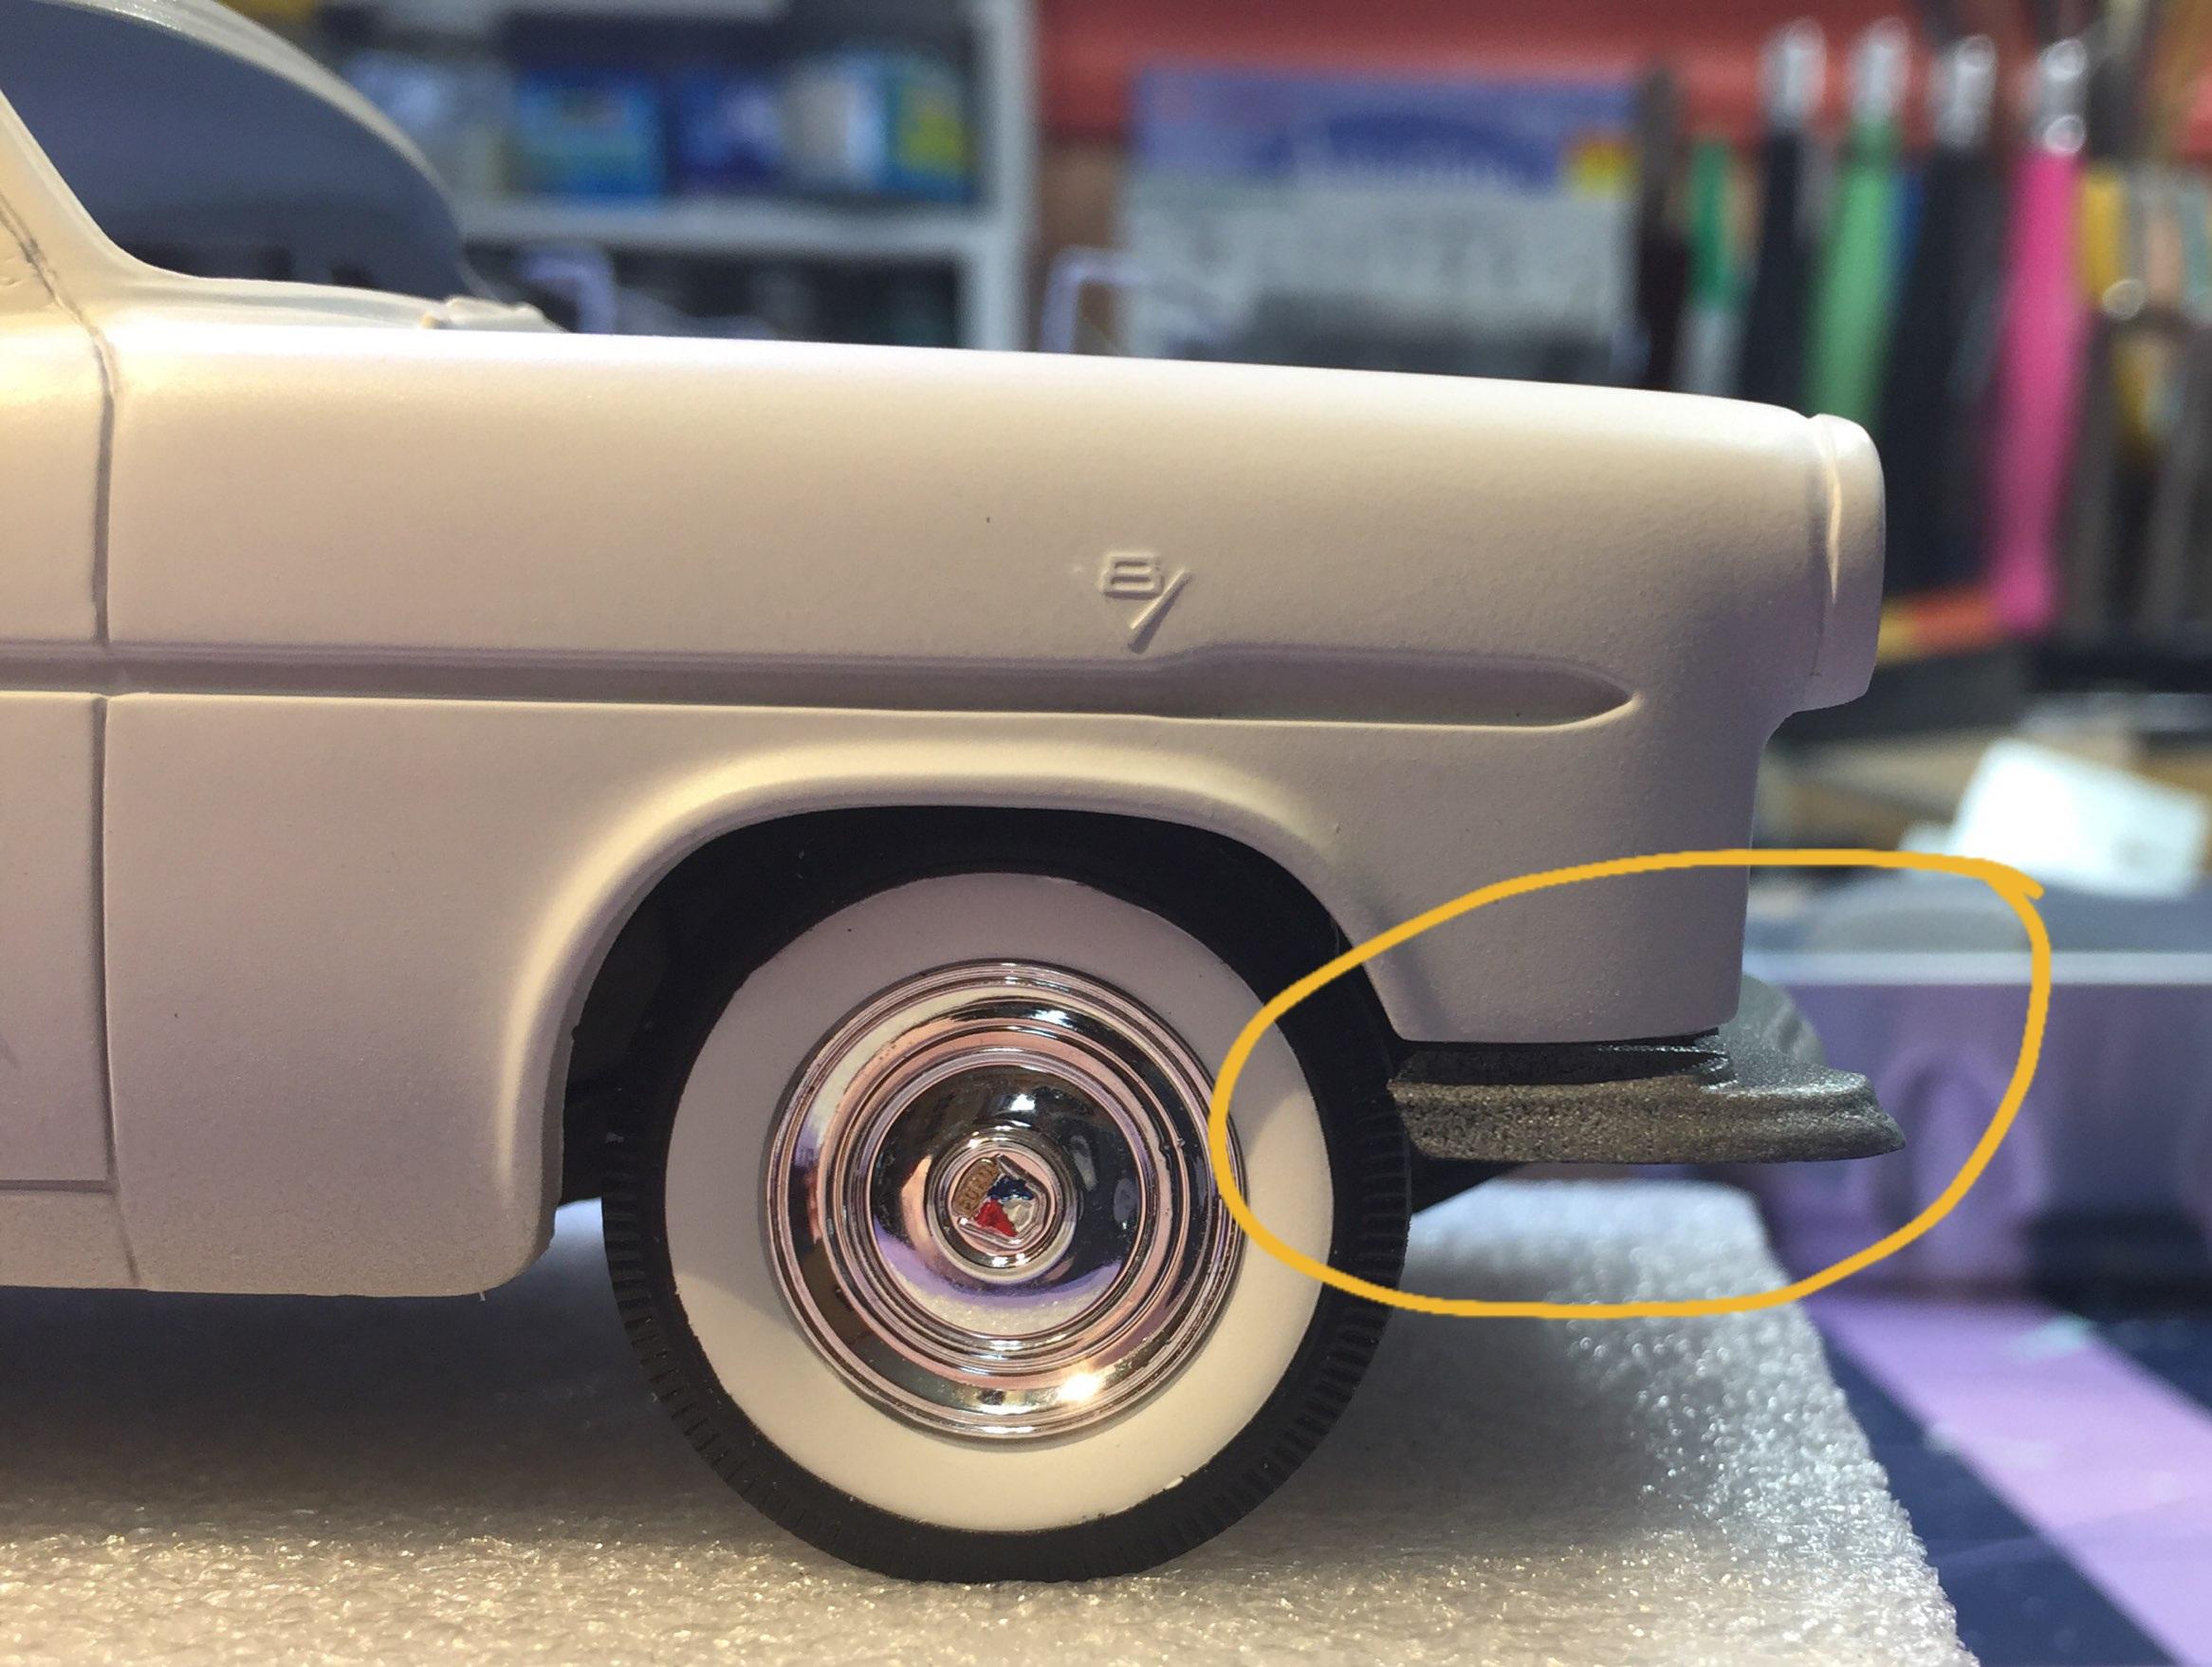
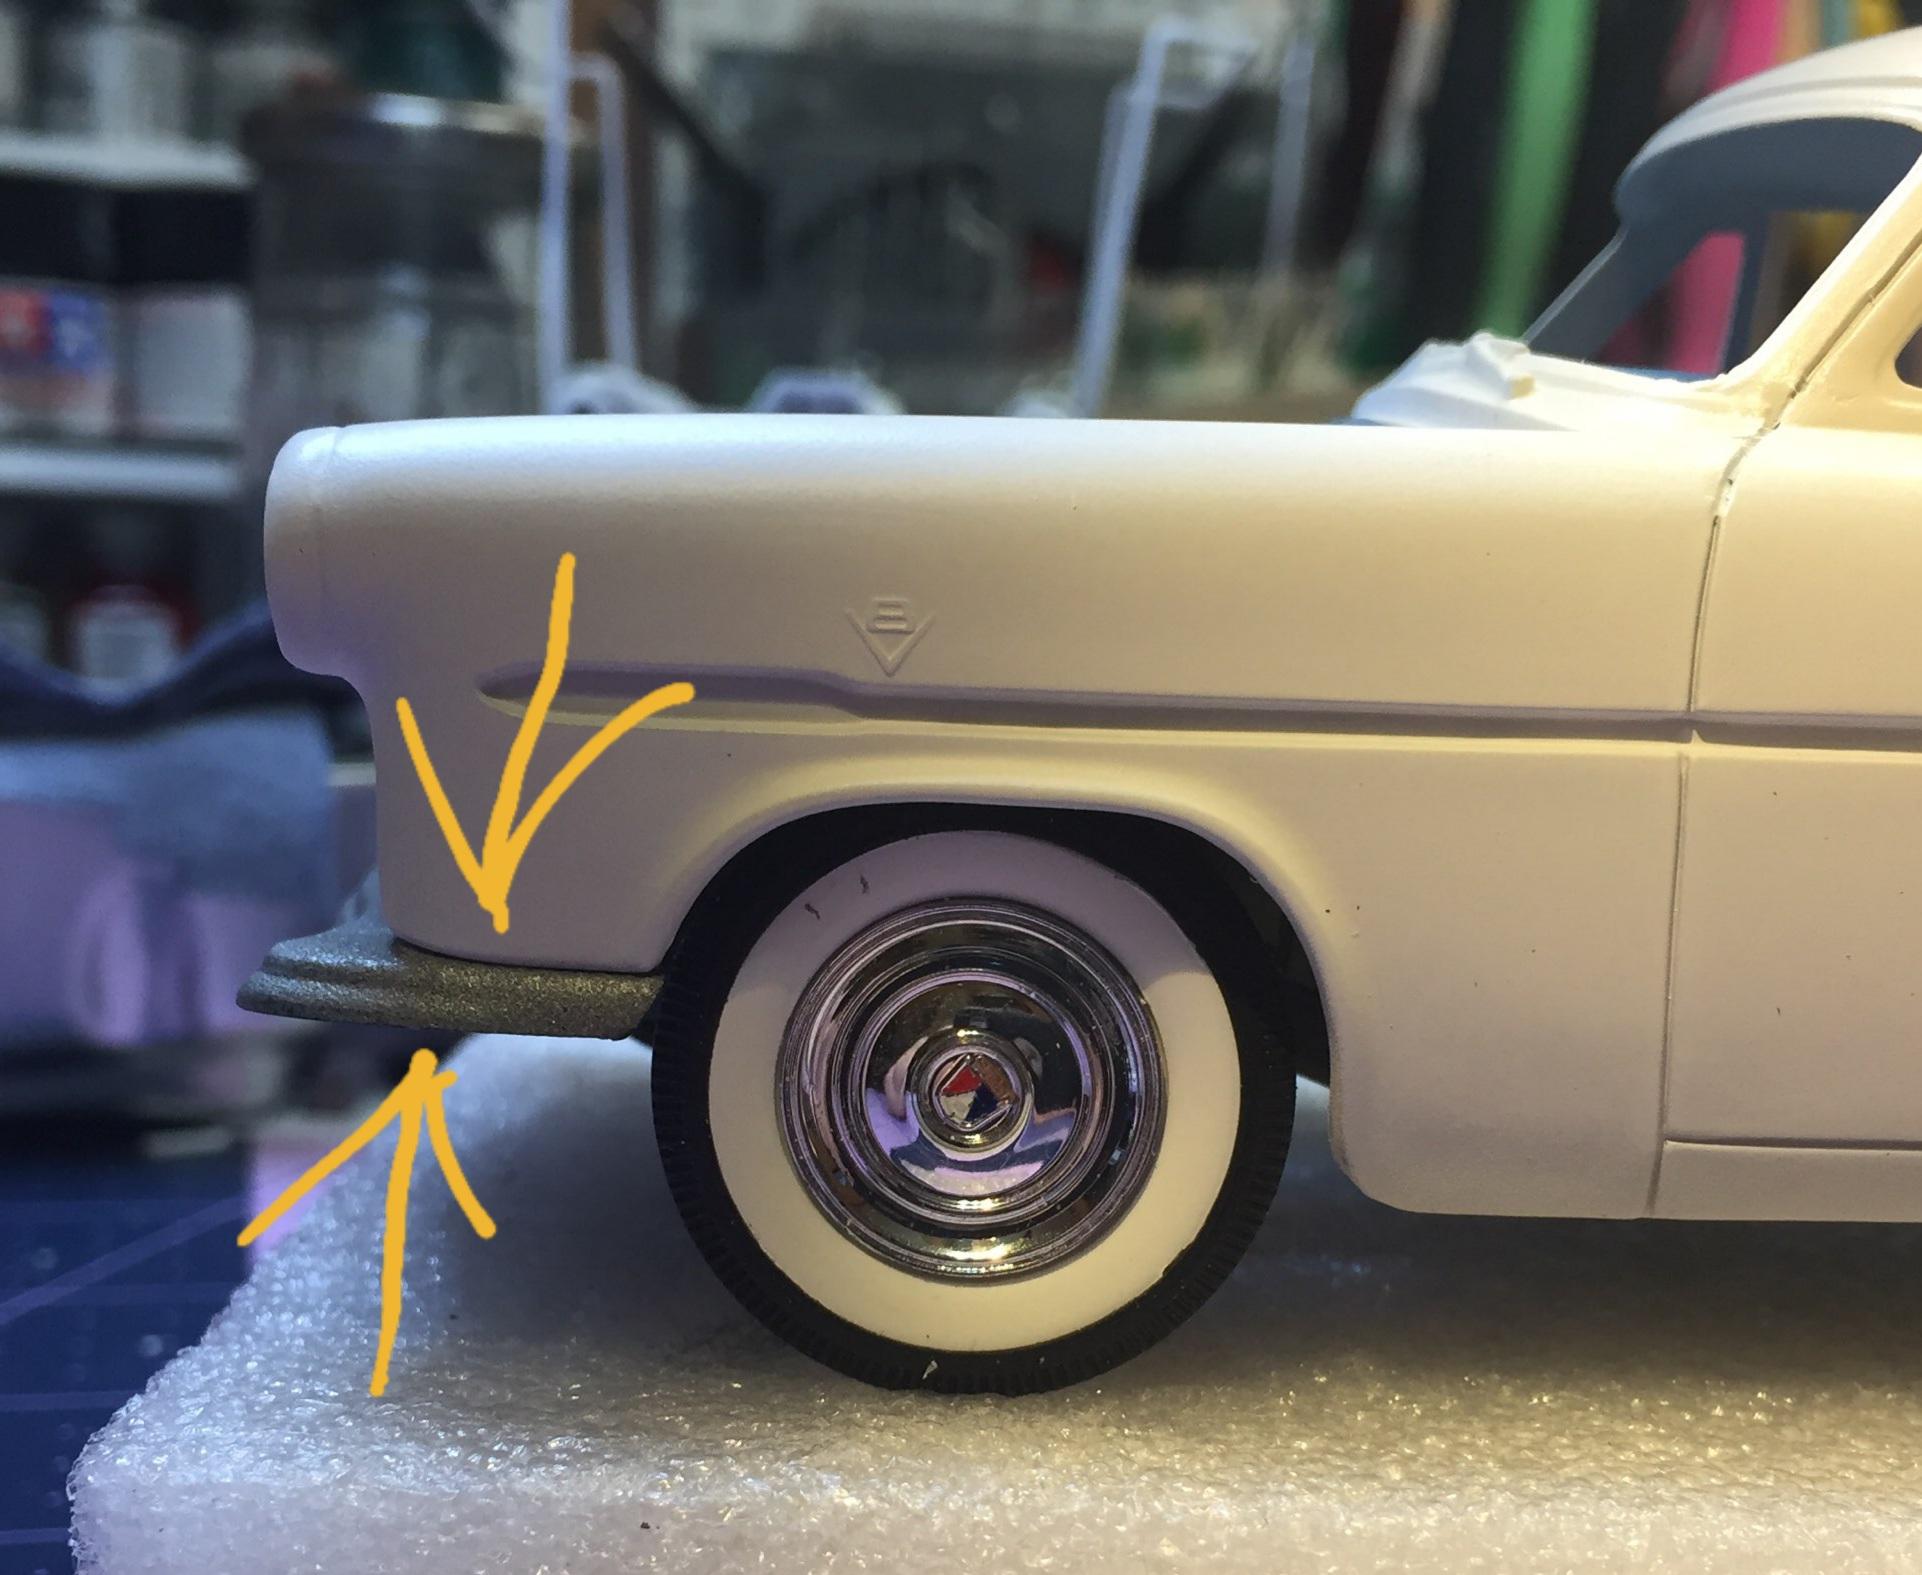
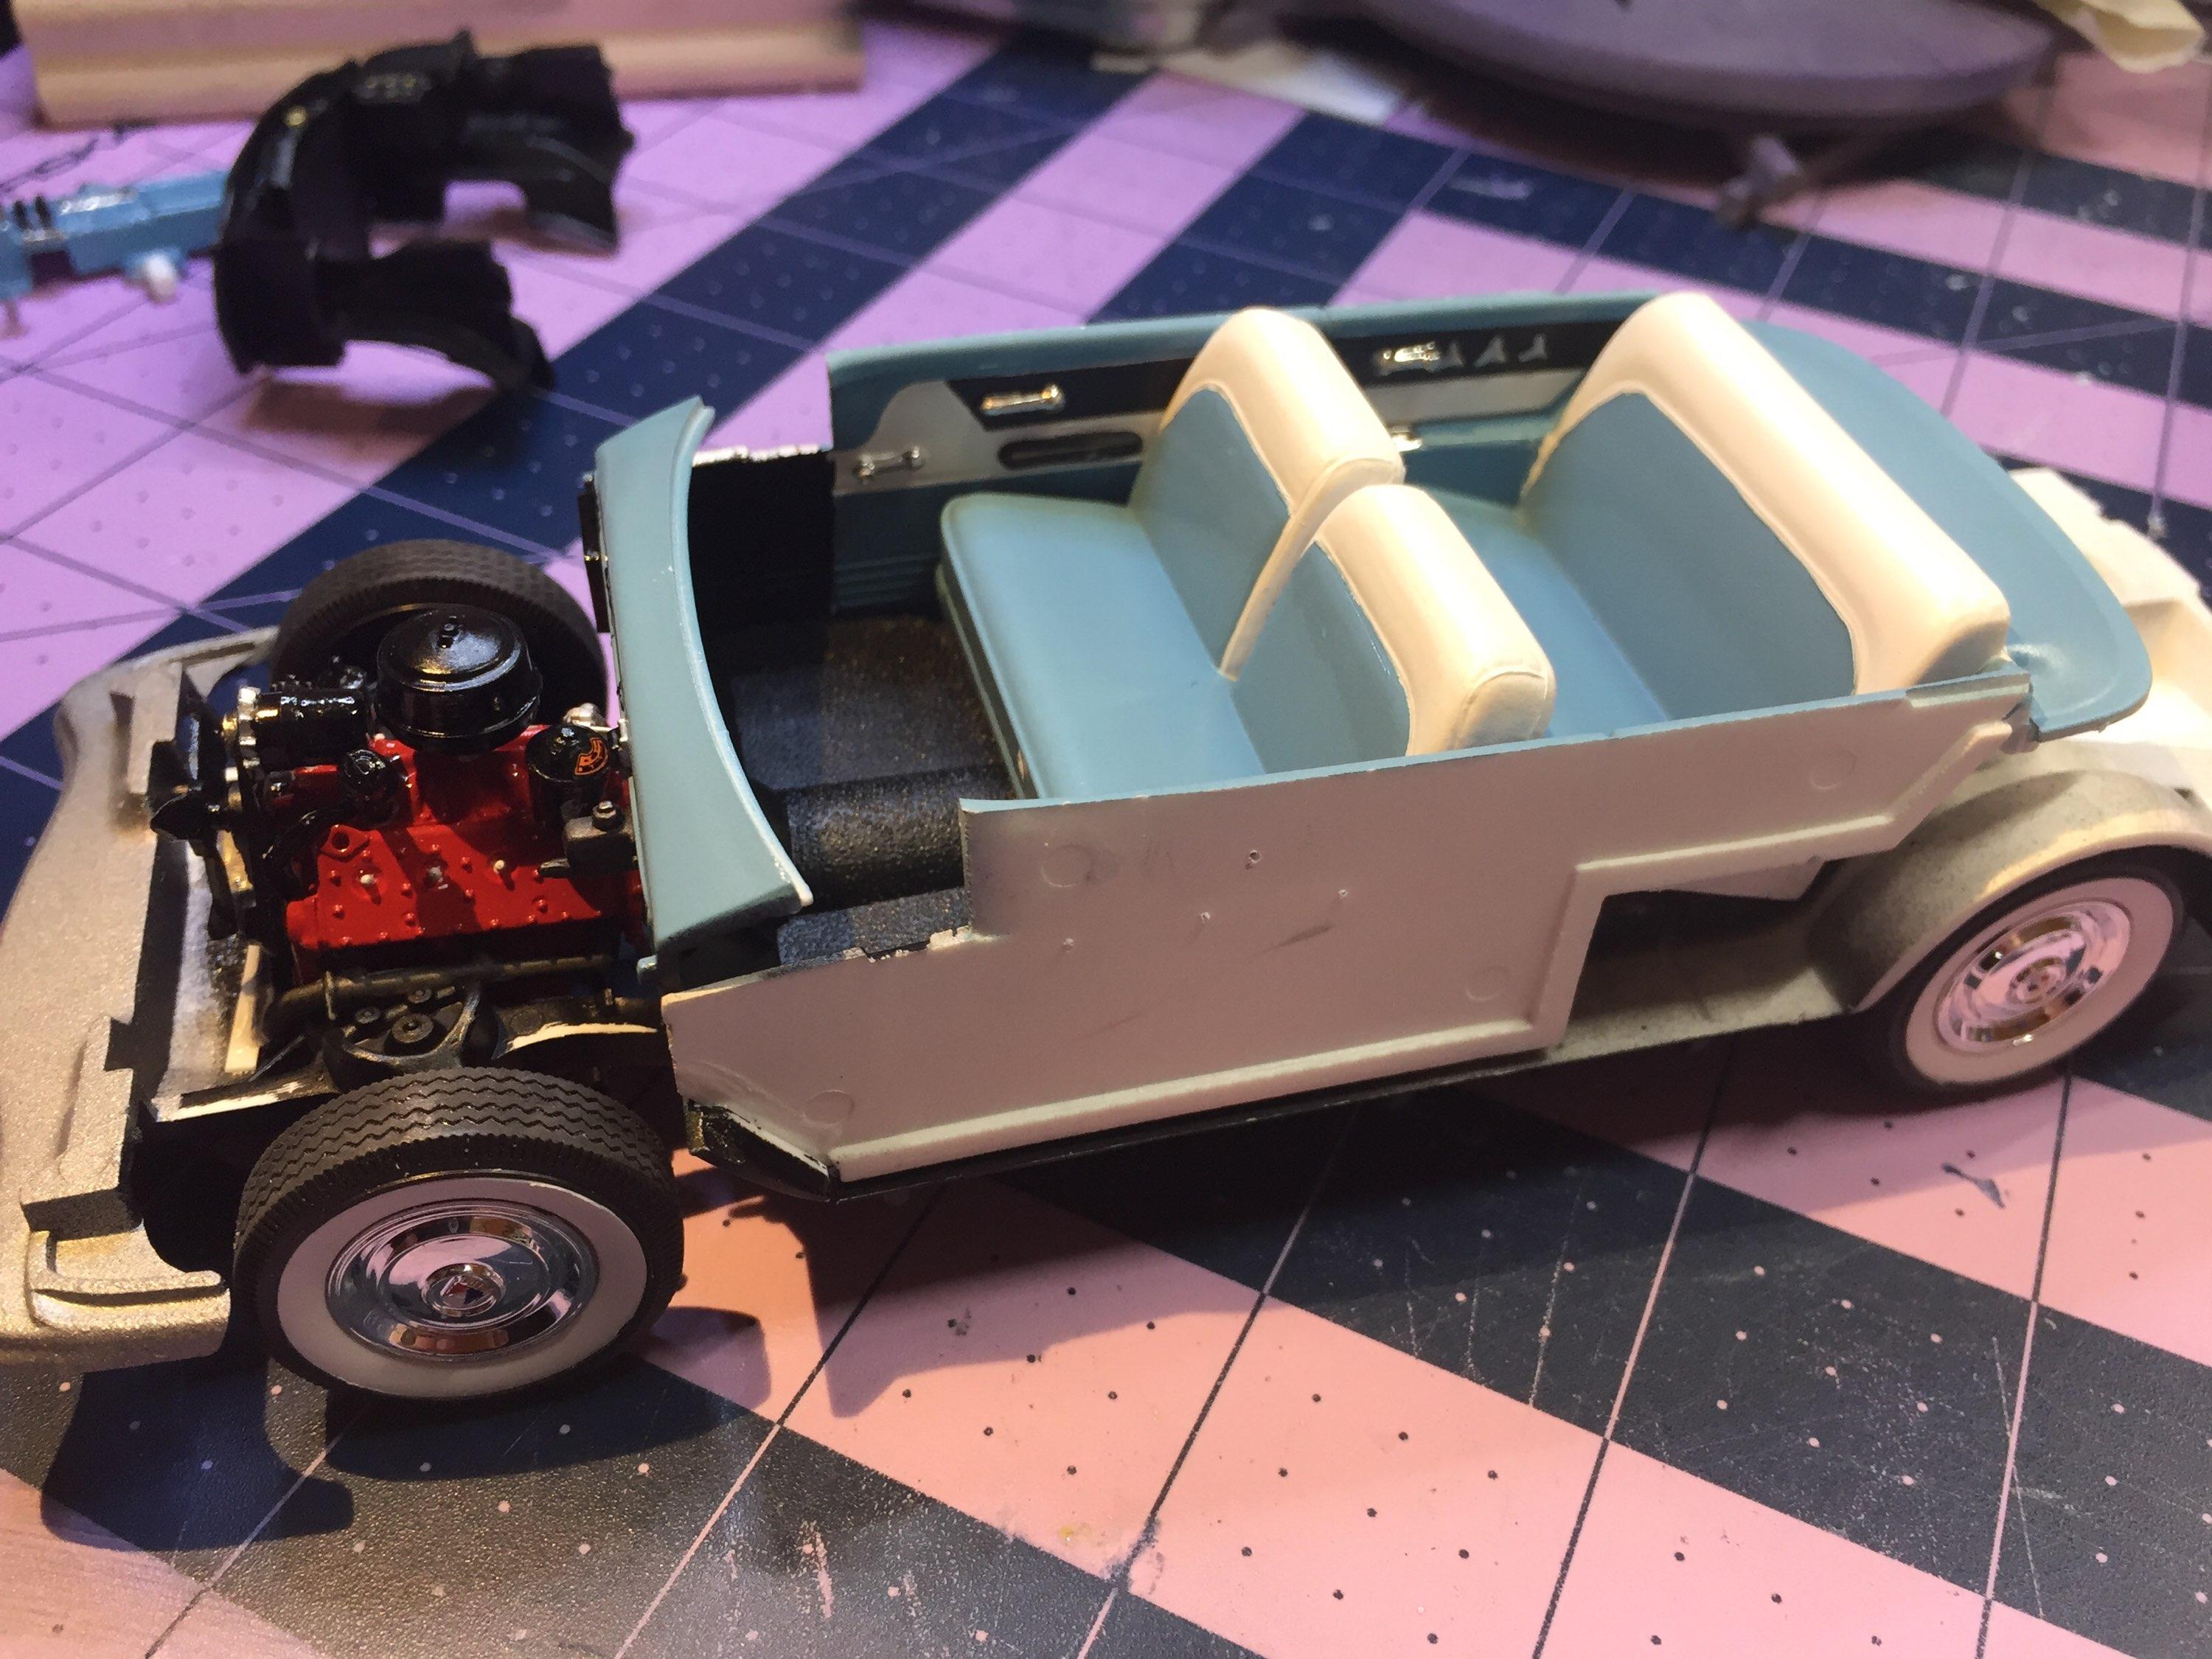
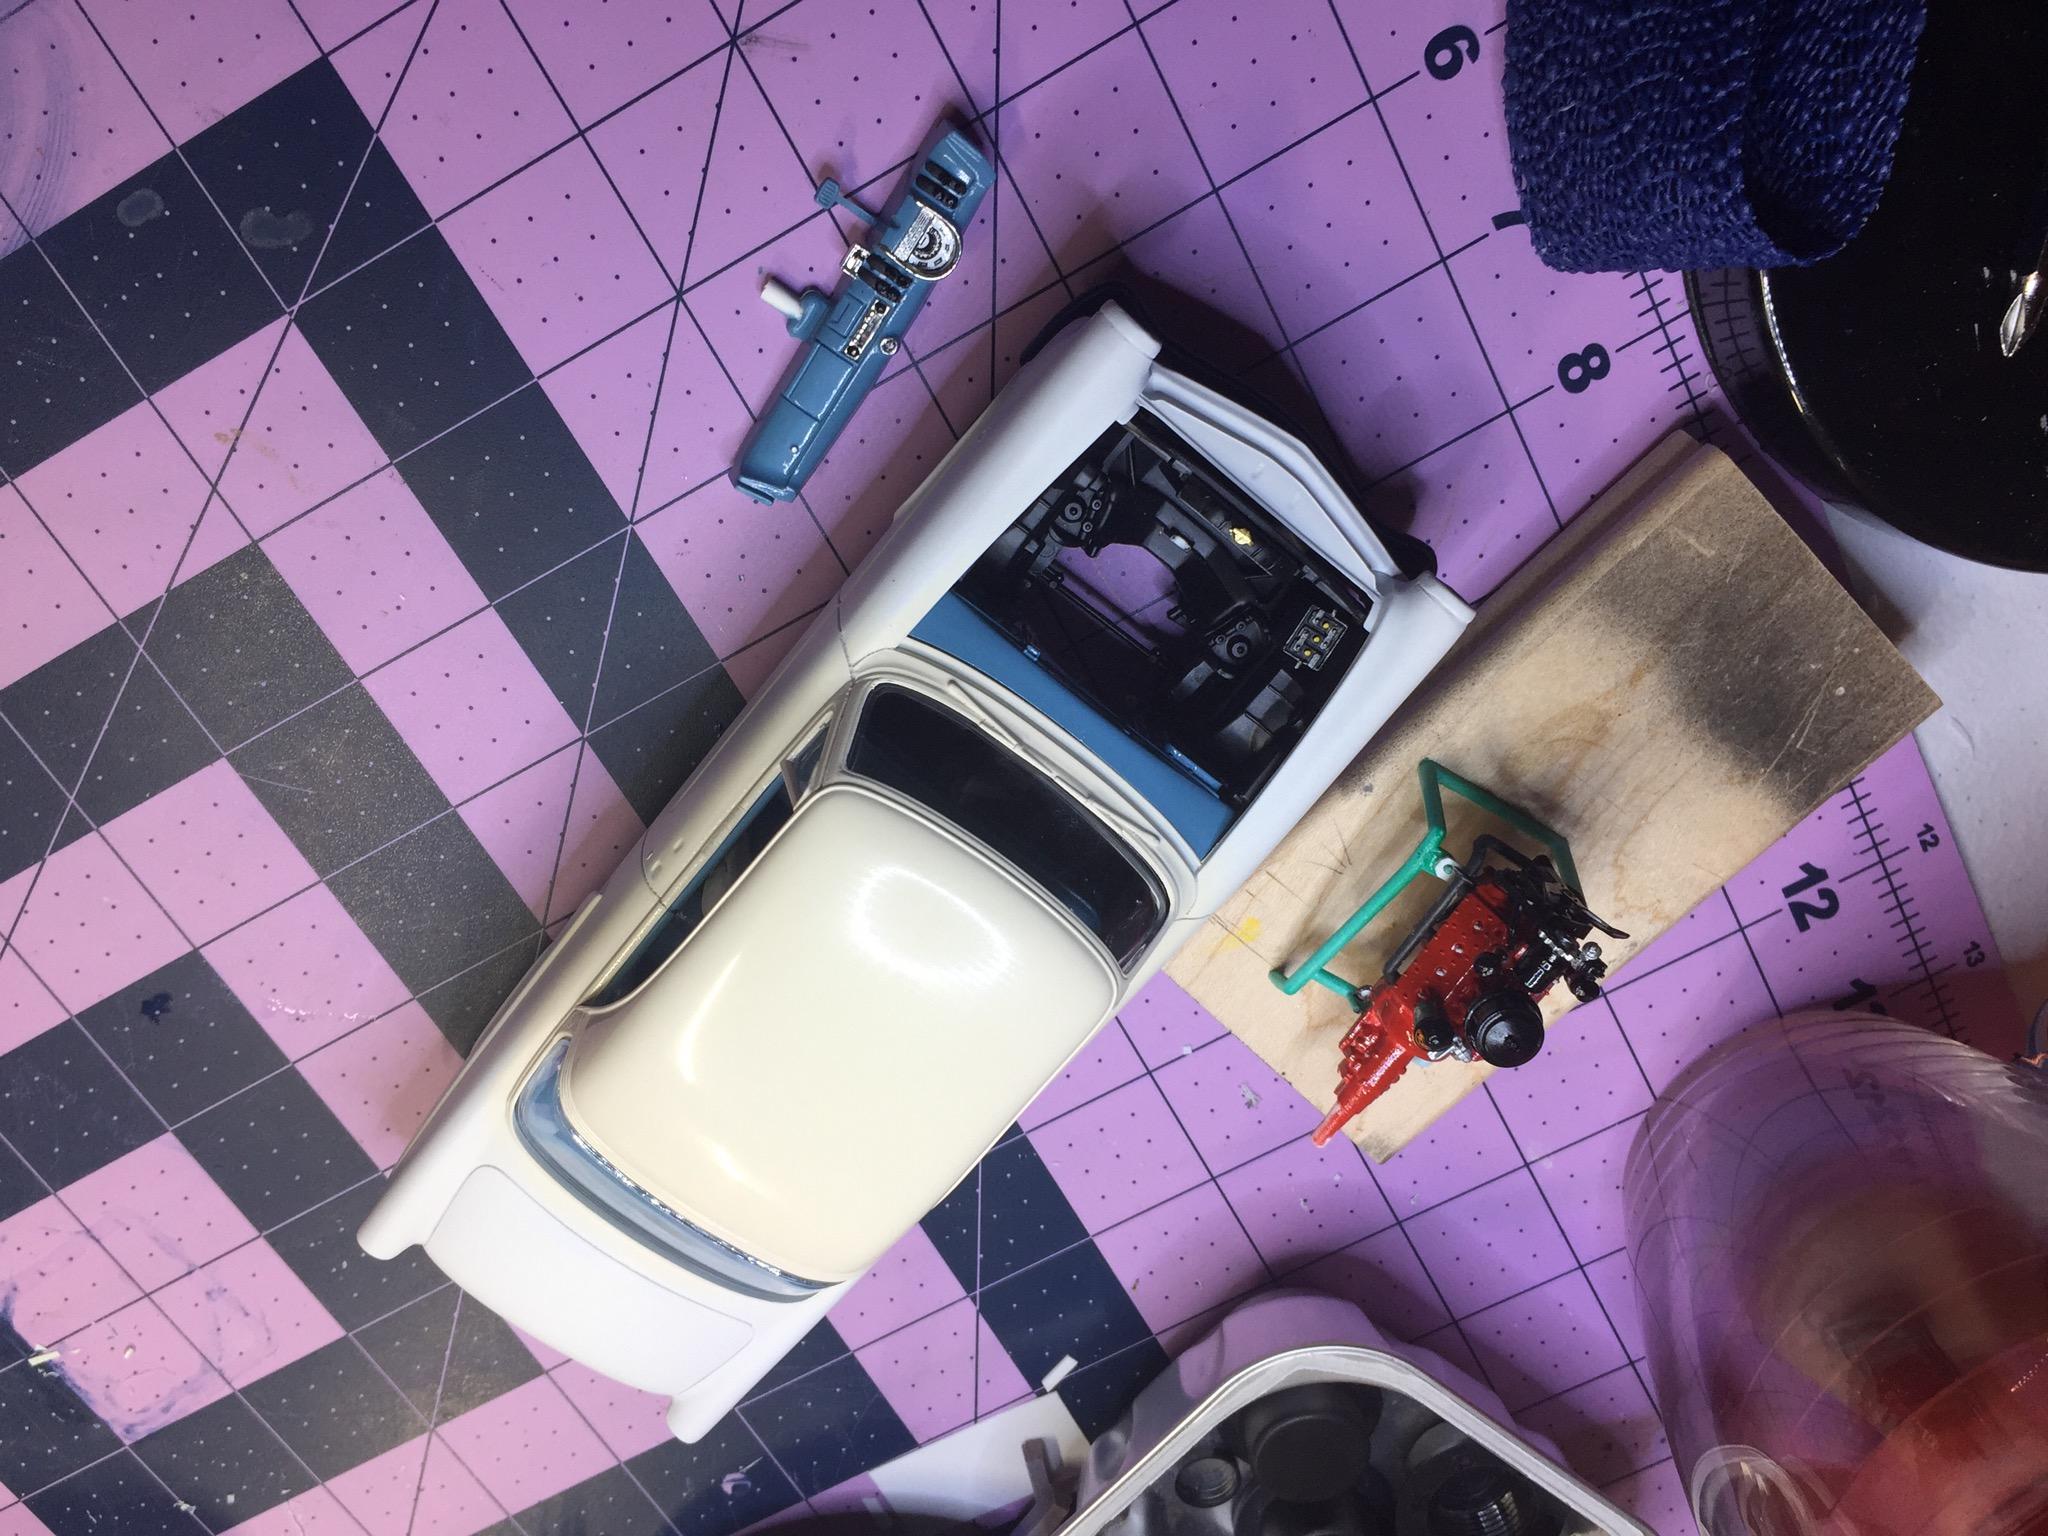
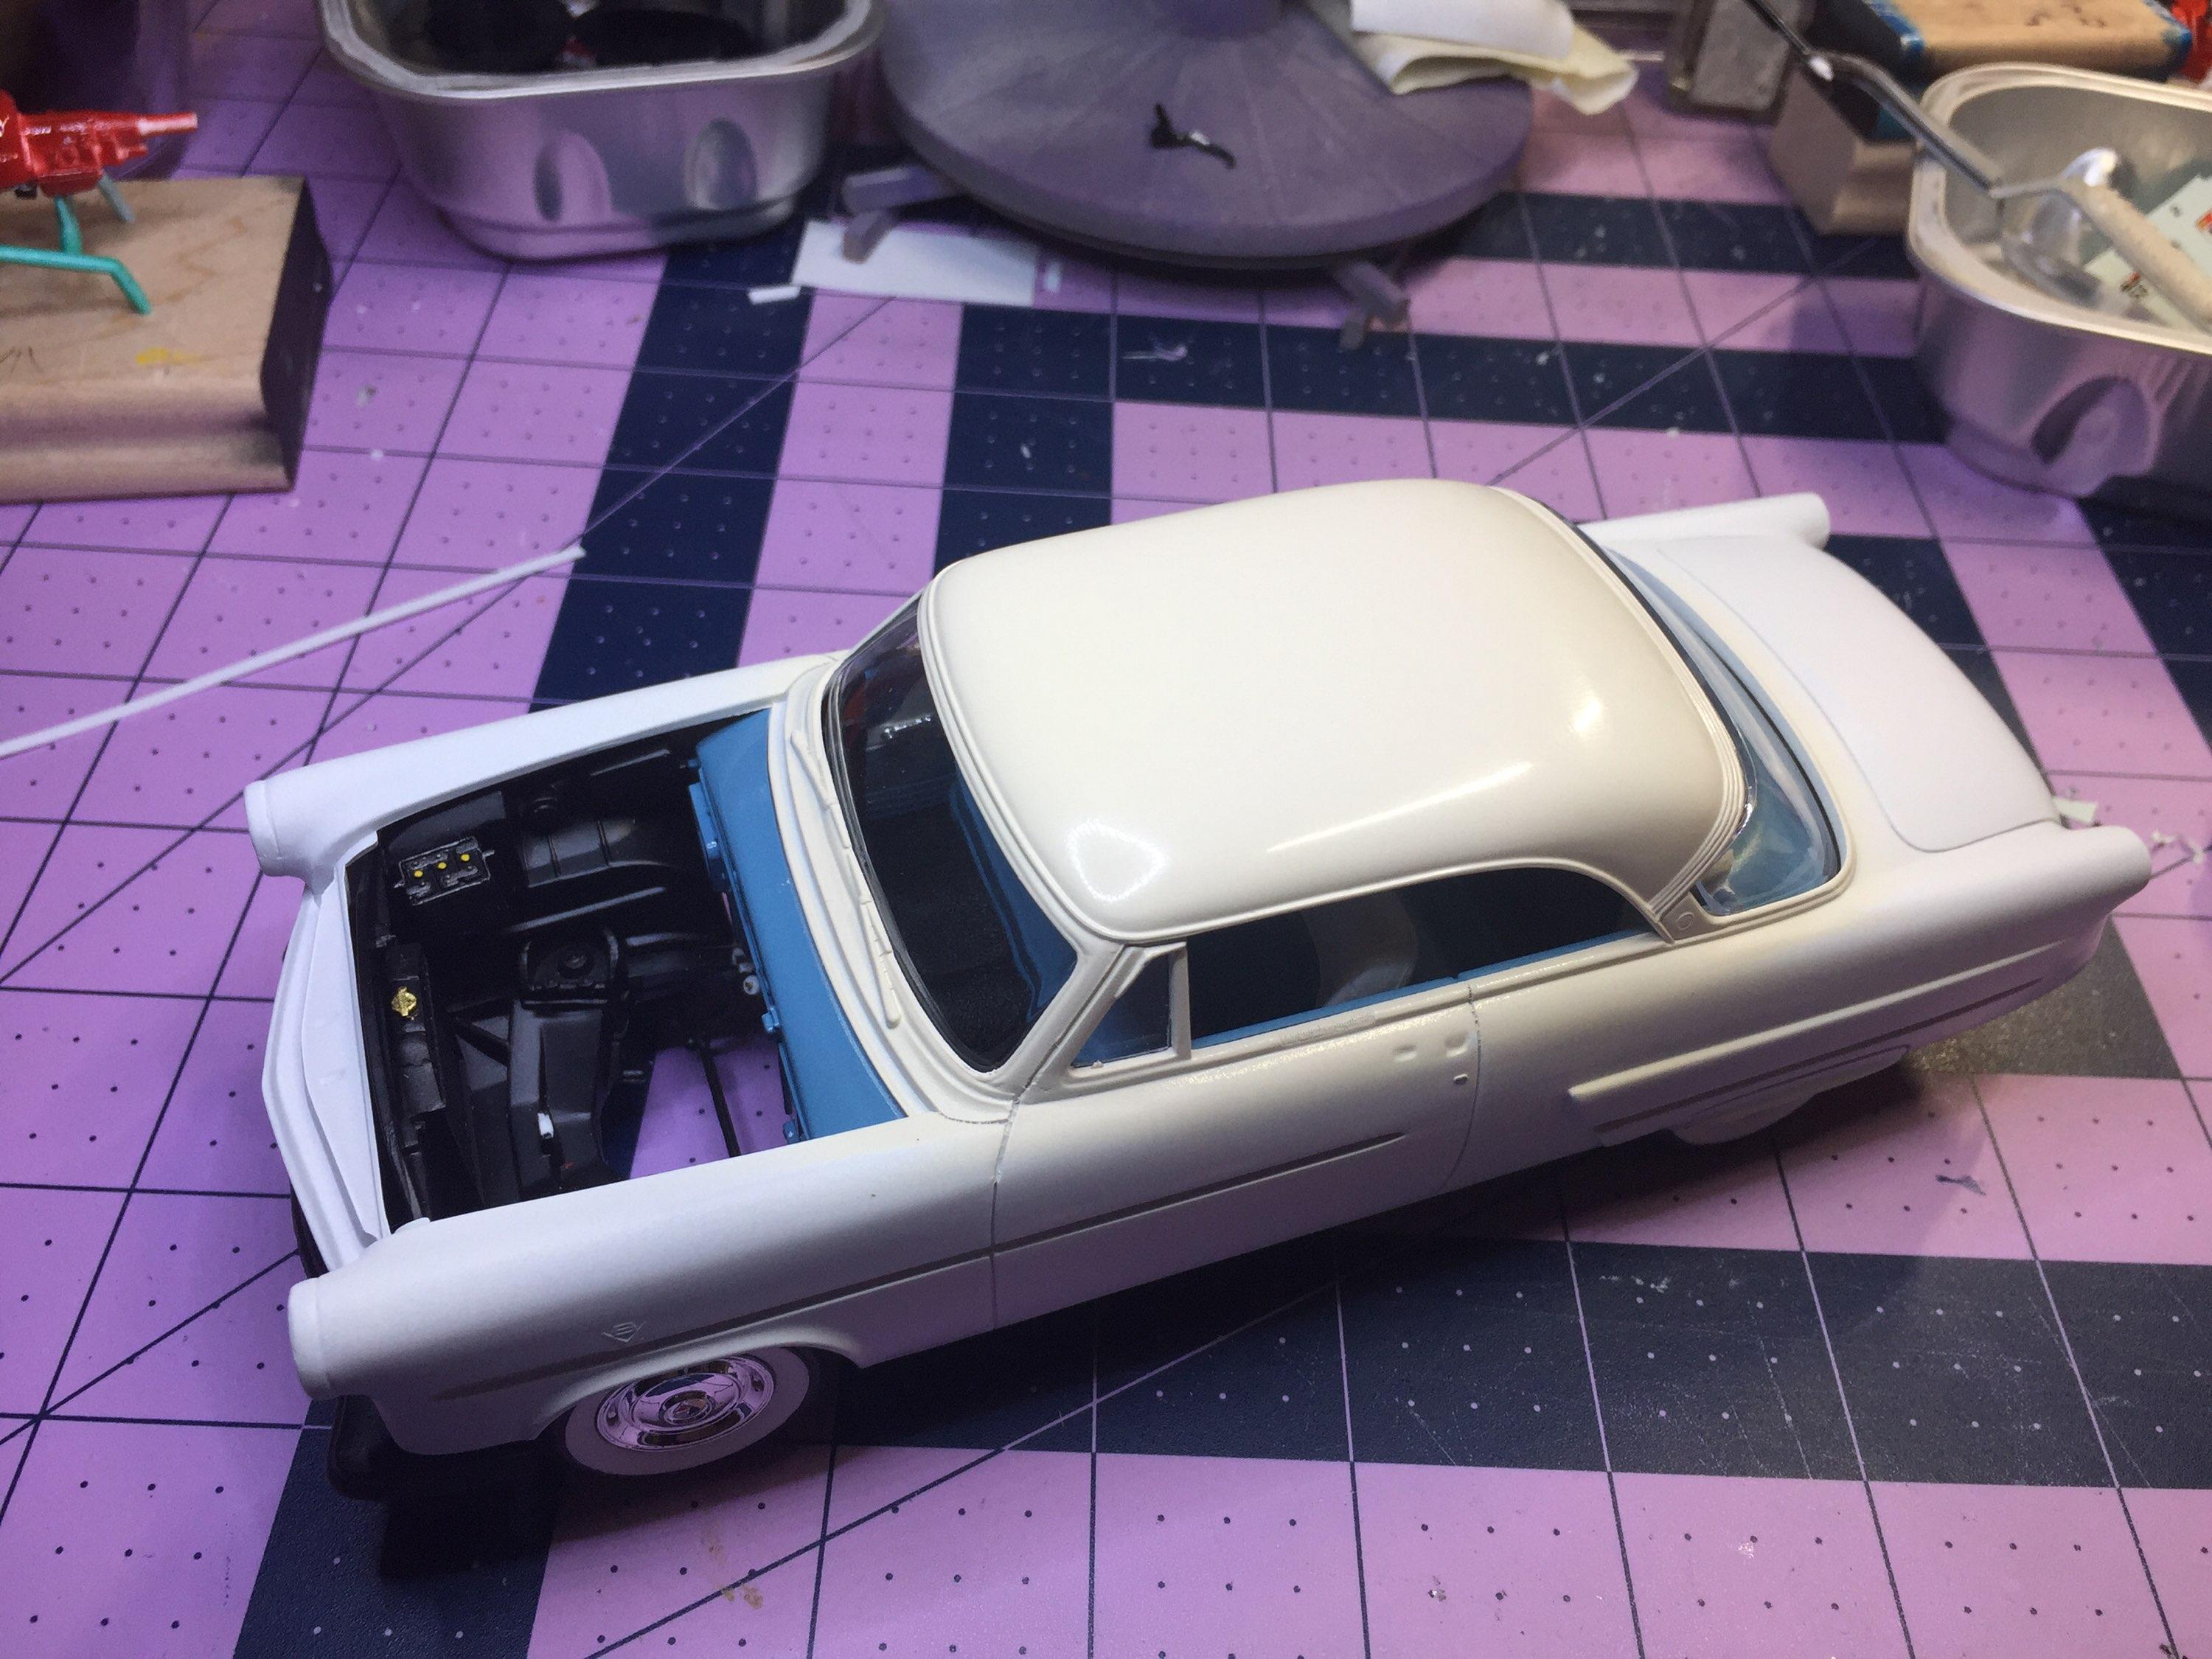
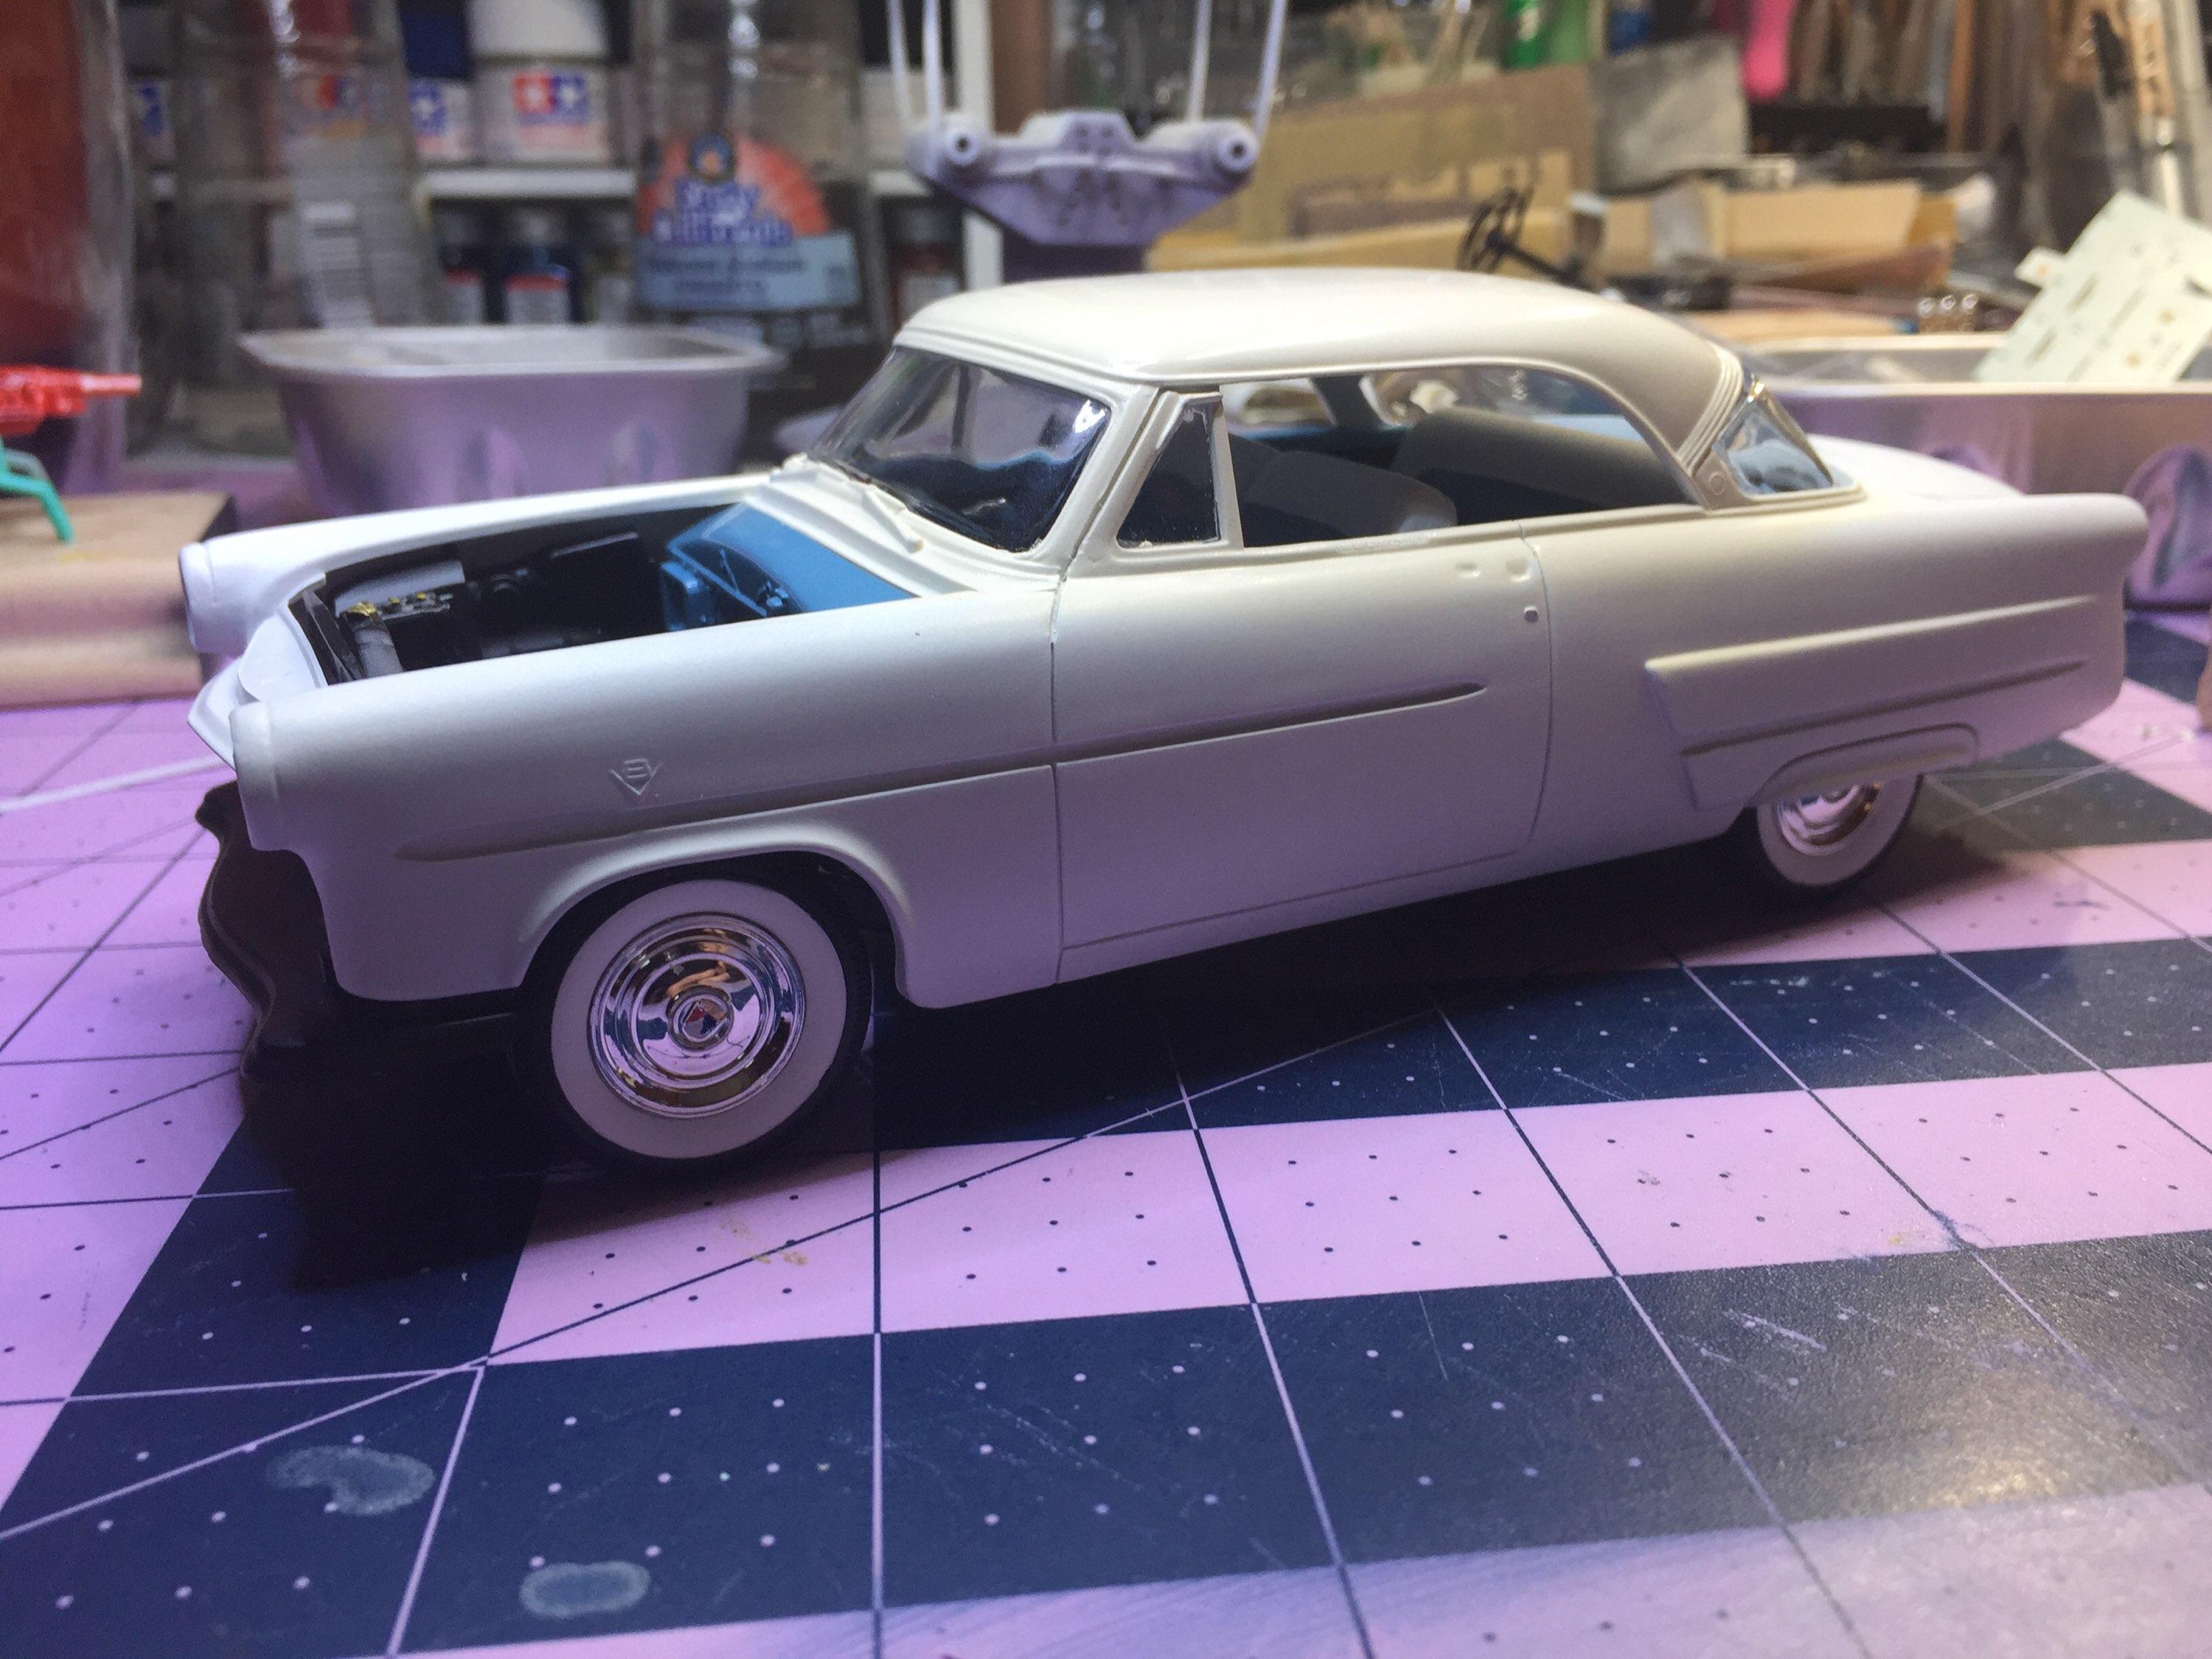
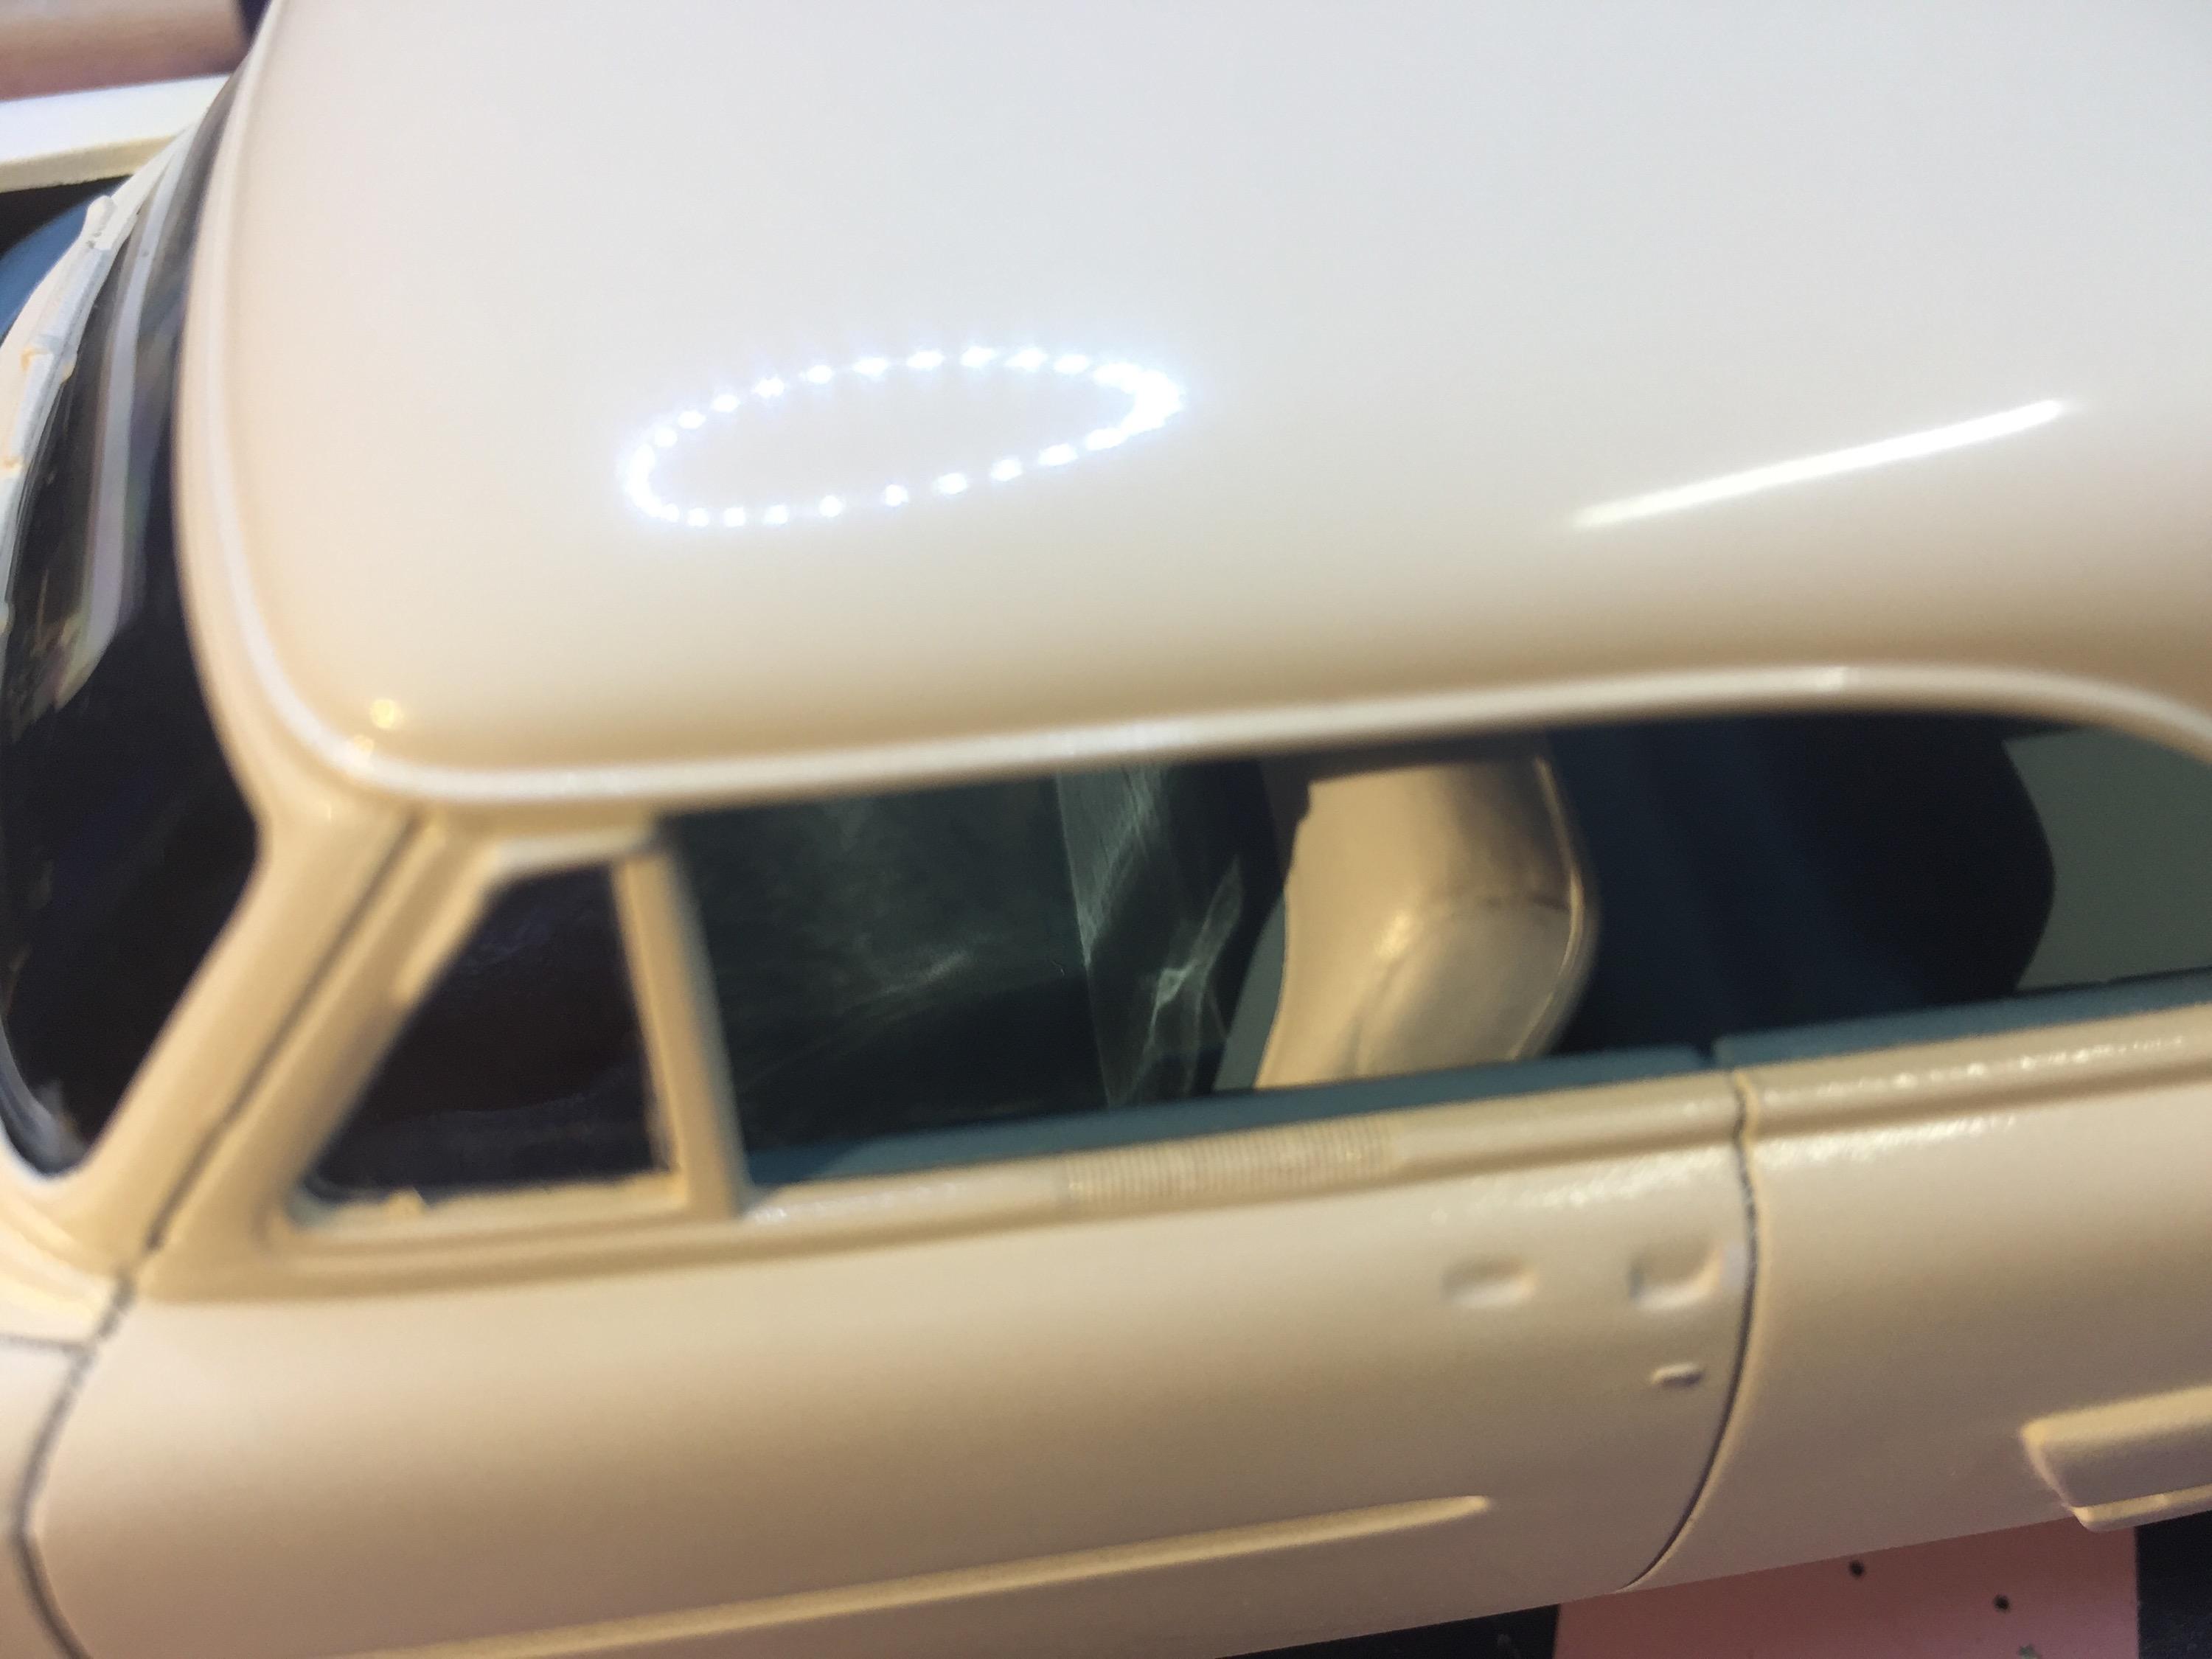
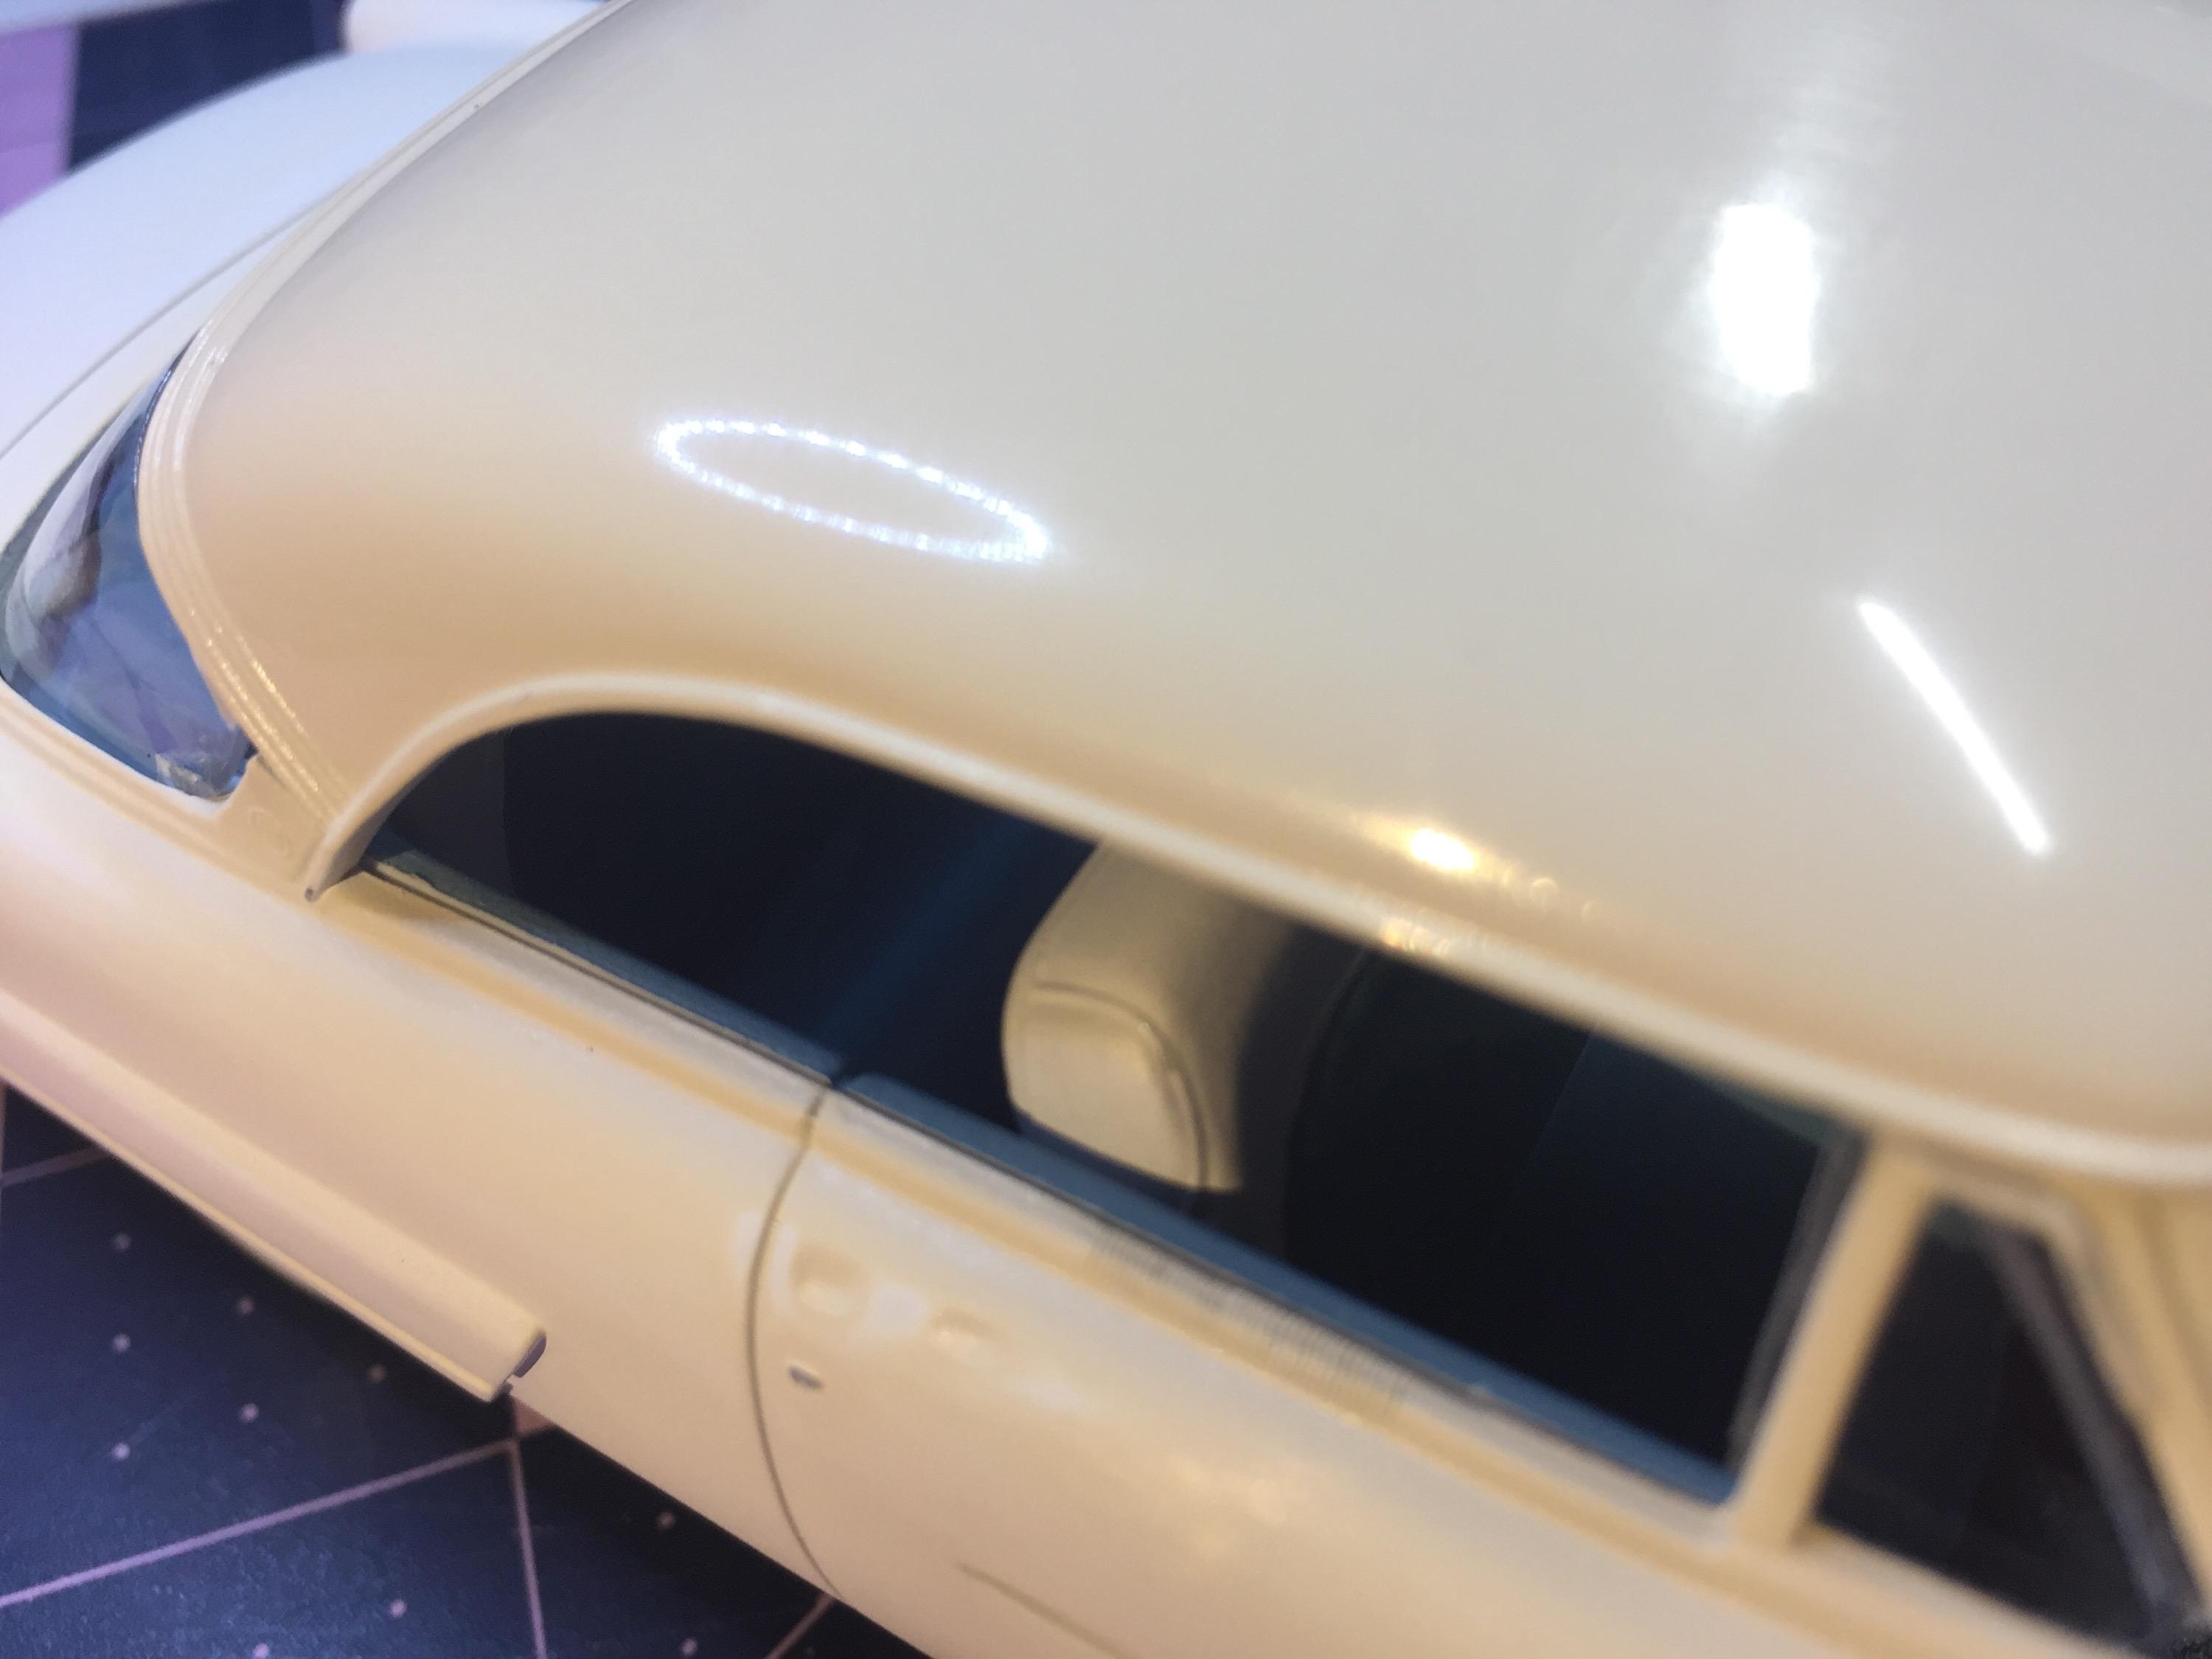
Here's where we're at today - I polished out the roof and I've been fiddling with the dash, with mixed results. I hate this dash. It's kinda weird and the '54 and '55 were strange too. Anyway, here's some mock-ups for your curiosity 🤔 I want to show what a great fit of interior assembly to the body. I went off script with the package shelf. They show it gluing to the body. I didn't think it was a good idea. I glued it to the back seat. I was extremely careful with the assembly of the interior. The glazed body is supposed to be dropped over everything else. Everything depends on the interior. It has positive fit elements molded into the interior floor and the chassis. They fit together perfectly. But there are problems. The chassis has a slight upward bow in the middle that is messing with the fit of the front fender to splash pan. It's gonna need a clamp. I wish I had spotted the warp before I put it together. Note to self: oh....forget it. The things I am very happy about are the great fit of interior to body and the fit of the firewall to the body. The firewall is a glued-on part of the interior. It is a very precise fit and a lot depends on it. So far, so good but I must have goofed on the front suspension because the right front hits the splash pan which is integral to the chassis. The kit has some fit issues but it goes both ways so it is basically a pretty decent kit. Thanks for the drive-by 😎 -
I've been using the Novus fine scratch remover for years (and I'm slow to change) but would appreciate some info on final rub-out products. Something to remove the ones that the Novus leaves behind.
-

Lindberg's '53 Ford - following the instructions
customline replied to customline's topic in WIP: Model Cars
How do I know if I turn one around, they won't both be upside-down, huh? 🙃 -

Lindberg's '53 Ford - following the instructions
customline replied to customline's topic in WIP: Model Cars
Well he DID say ONE of the rear shocks...OK. OK, I'll fix it!😬 -

Lindberg's '53 Ford - following the instructions
customline replied to customline's topic in WIP: Model Cars
Yeah, I knew that. 🥴. Glad I didn't glue them in (can't complain about the fit 🙂.) I've got a lot of stuff like that I need to do. Thanks for the reminder, Russ. -

Chopped, Sectioned and Bobbed…….’63 Corvette.
customline replied to NOBLNG's topic in WIP: Model Cars
I've made ladder bars from those. It could work! -

Lindberg's '53 Ford - following the instructions
customline replied to customline's topic in WIP: Model Cars
-

Chopped, Sectioned and Bobbed…….’63 Corvette.
customline replied to NOBLNG's topic in WIP: Model Cars
Well I'm late to the party again. Wow, Greg, this looks like major fun. Crazy body work. What are you thinking for a chassis ? -

Lindberg's '53 Ford - following the instructions
customline replied to customline's topic in WIP: Model Cars
I don't know if it will help to keep it there but yes, a satin clear. Once it's inside the body, it should be safe from harm. Maybe it all peels off in a few days and I throw it against the wall. I dunno, Len. I took a chance. If I have to strip it, it probably won't take much. 🥴 -

Lindberg's '53 Ford - following the instructions
customline replied to customline's topic in WIP: Model Cars
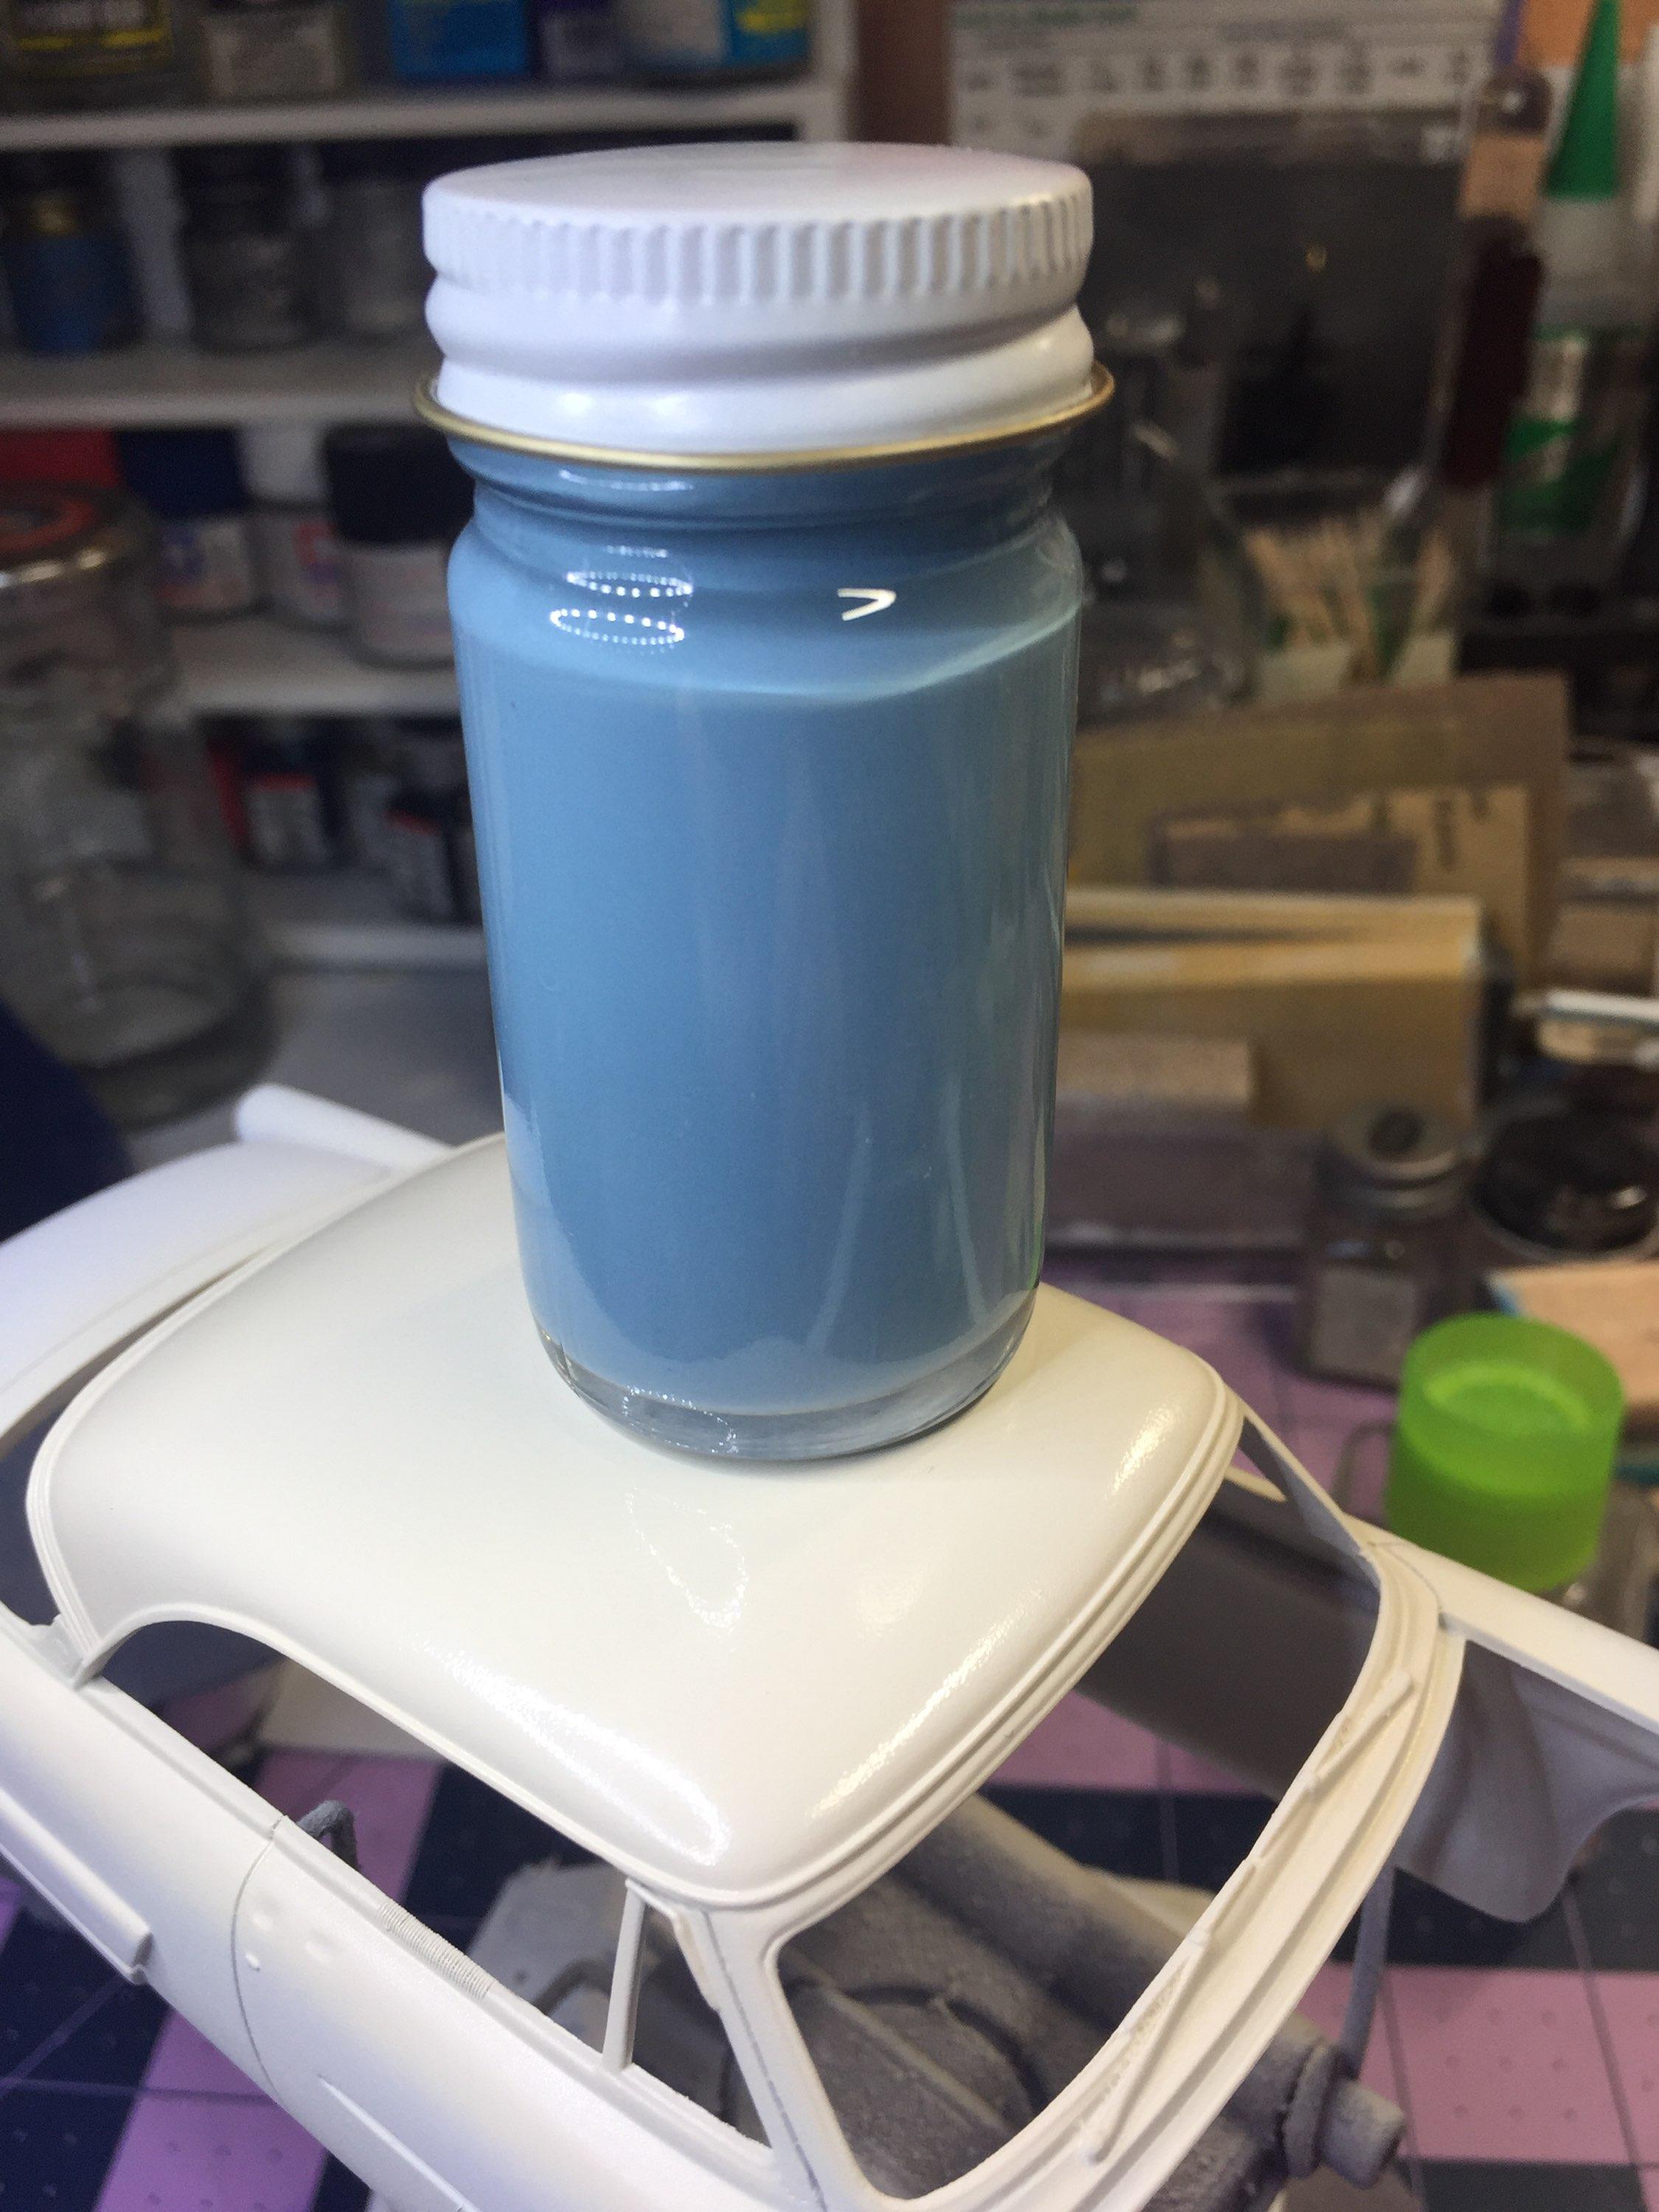
That grayish blue is not the best color for this car but it's a personal favorite of mine. But I did get a bottle of "Coral Mist" to paint another one of these. It's very light. -

Polycarbonate paint question
customline replied to customline's topic in Model Building Questions and Answers
FYI: today I answered my own question. I sprayed it on Tamiya fine white primer. Everything seemed fine. Later, while peeling masking tape the poly paint lifted off the primer in a sheet. Basically, what I have now is pressure-sensitive non-adhesive film on my seats. Just my personal experience. -

Lindberg's '53 Ford - following the instructions
customline replied to customline's topic in WIP: Model Cars
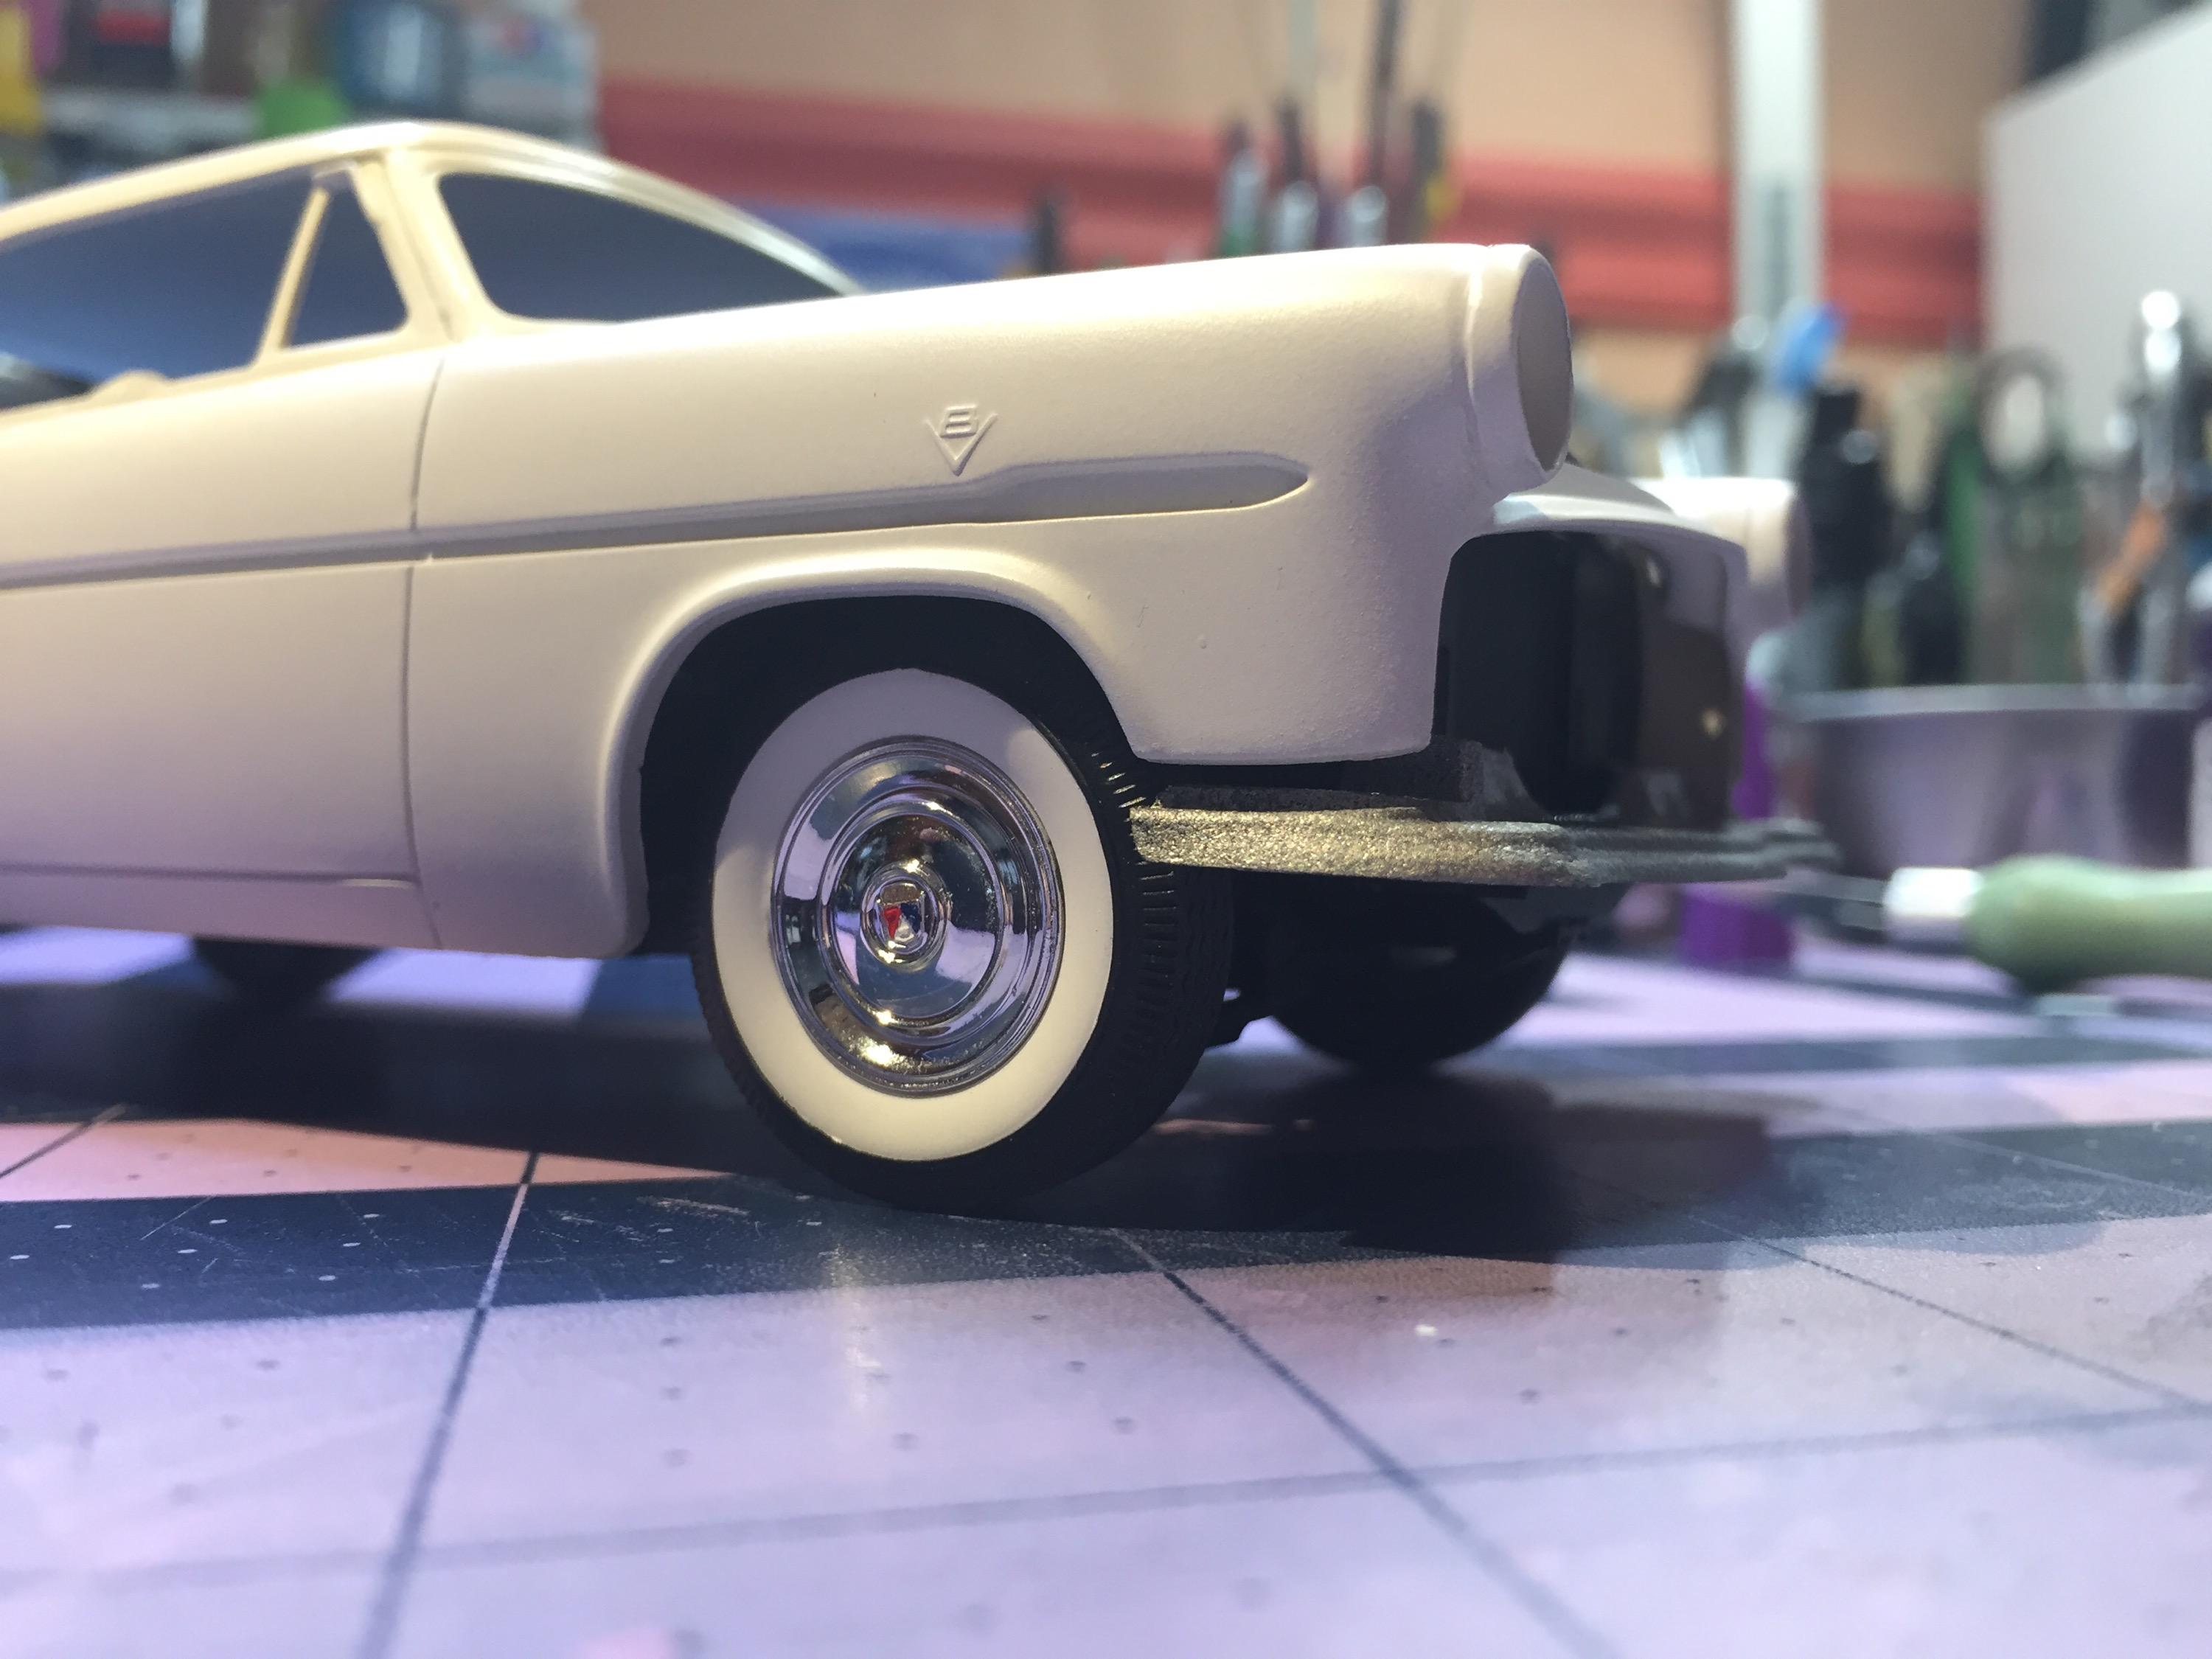
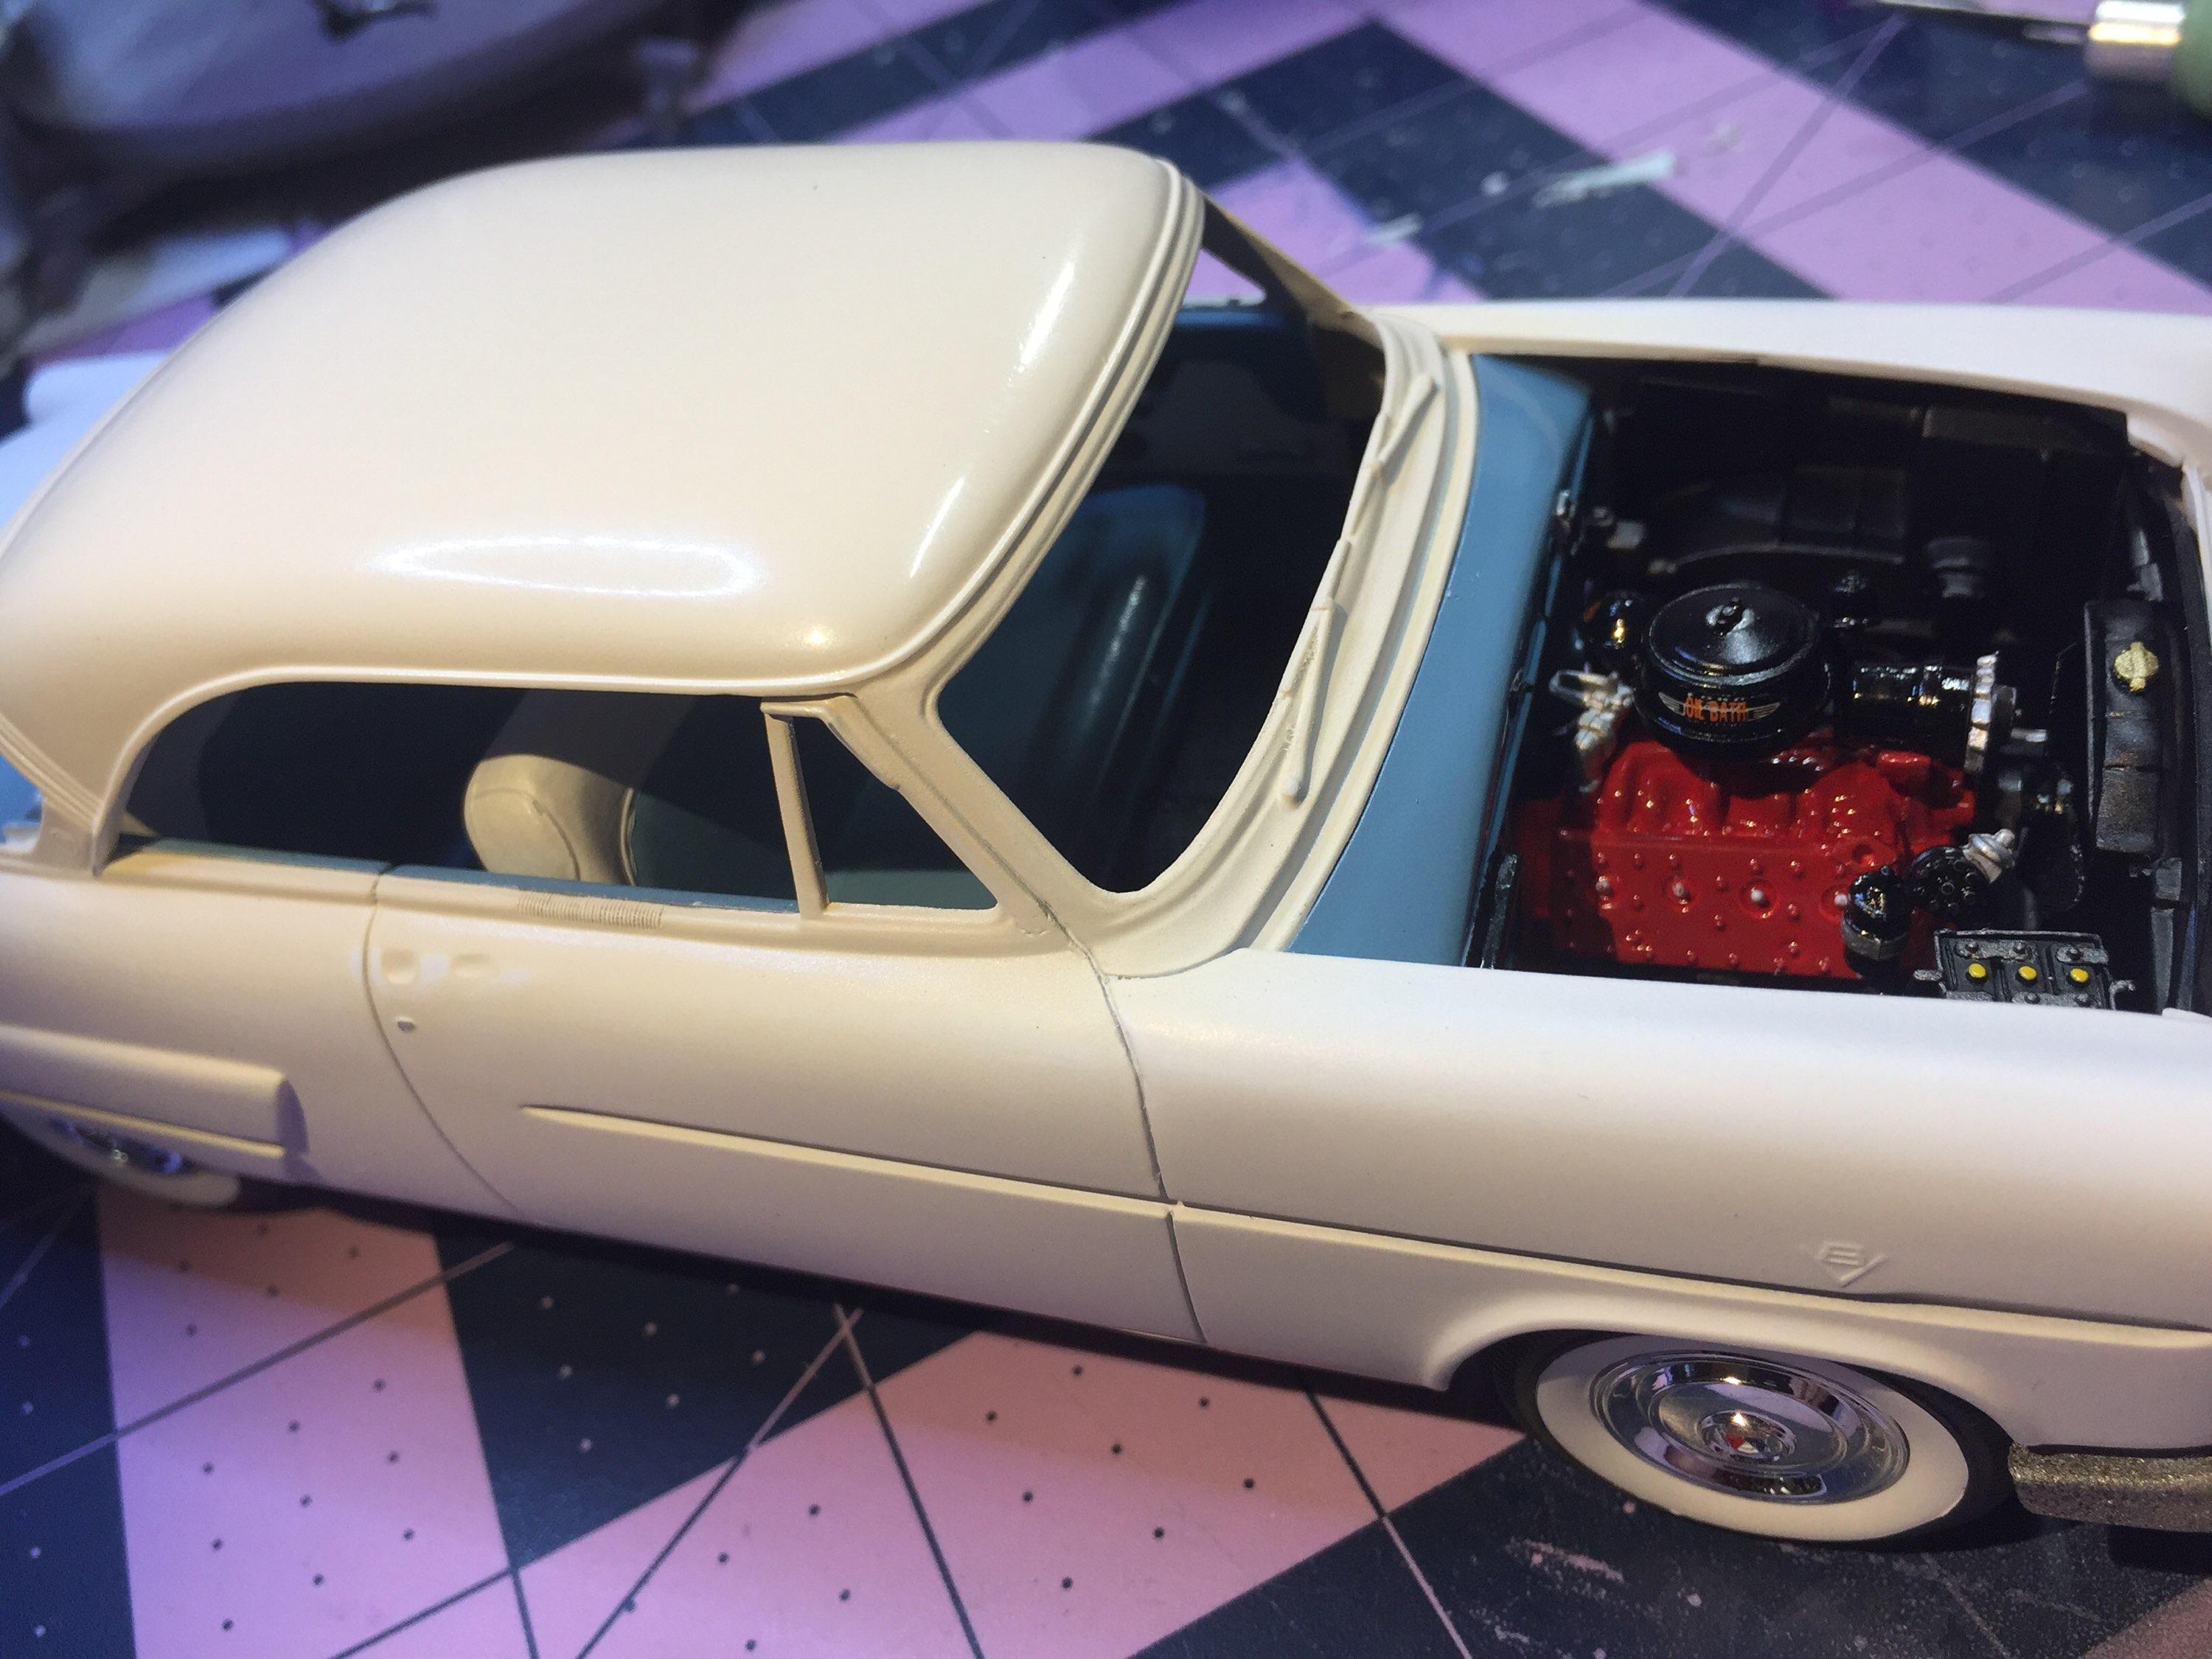
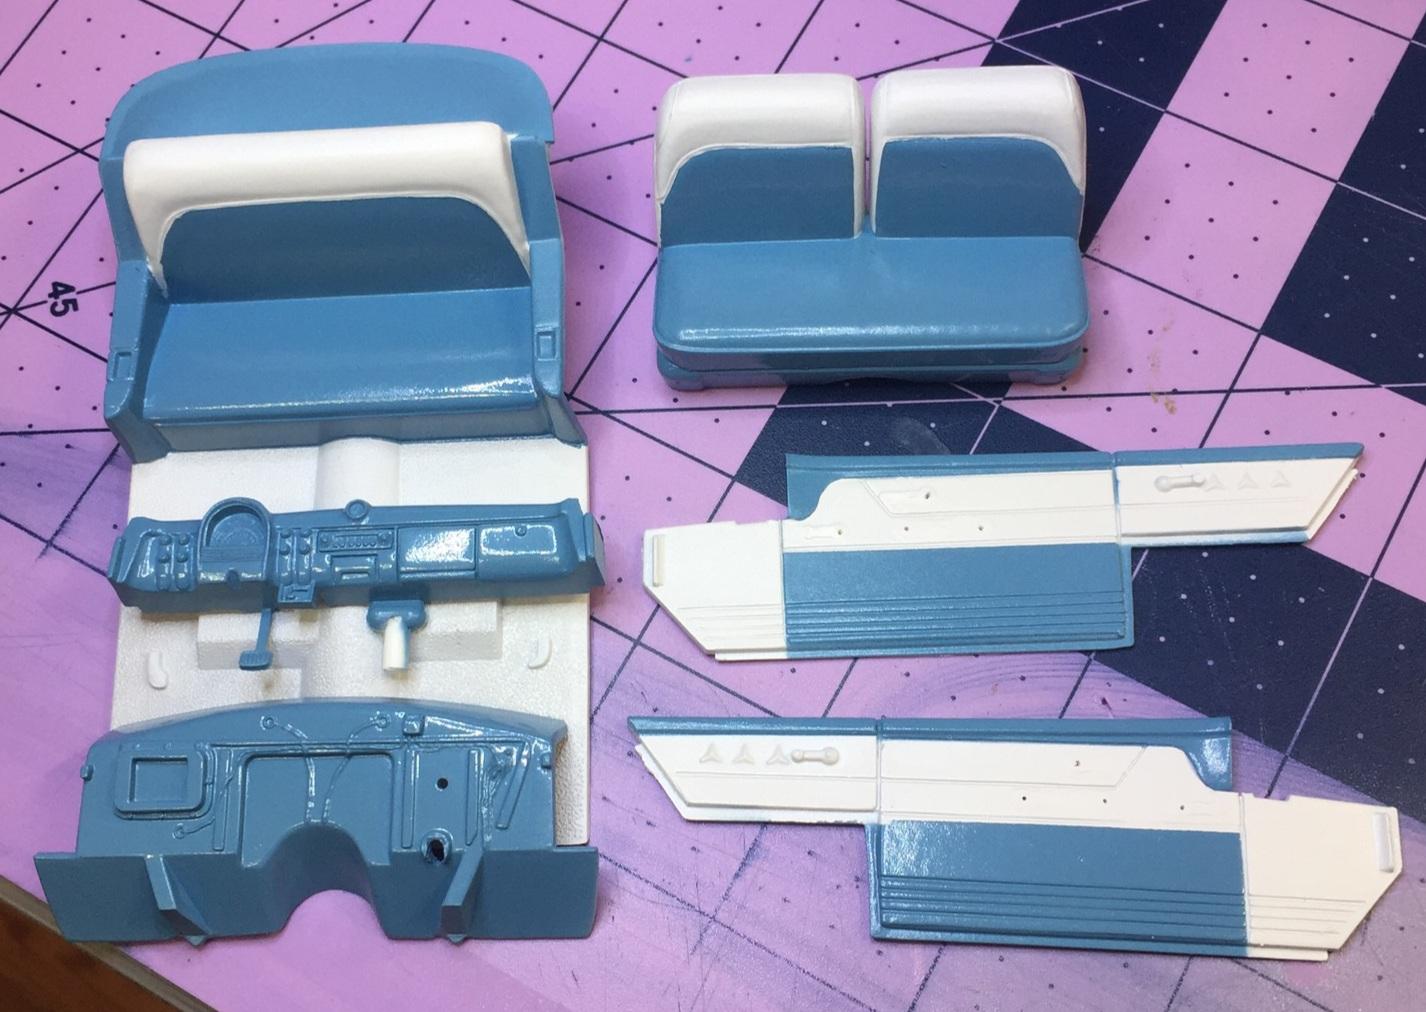
Interior has progressed a bit today. I had to check out the new paint 🤓. I thought I would see what the Tamiya white pearl looked like (the Poly version) so I put it on the white areas of the seats and door panels. Later, I masked it out and shot the blue. BE ADVISED ! The Poly paint does not stick well to Tamiya fine white primer. It will peel off in sheets. After discovering this, I downshifted to second and started removing the masking tape vehhhhhhhry carefully 😬. Thanks for checking in 🖖 The blue is MCW lacquer in the factory correct "Glacier Blue". The roof got painted too. MCW lacquer, Ford's "Corinthian White", a close facsimile. -
I'm sorta familiar with that situation 😂 I like the way you reconfigured the roof, Jay. You were wise to keep the chop mild. The proportions look right.
-
Really like the sun visor idea, Dennis. I'm definitely doing that! The radiator thing is pretty weird but not for AMT 🤣. Nice save on that one. 👍🏻
-
Oh my, how did I miss this? I'm envious, Rooster. Very, very cool 👍🏻
-
Well thanks! You must have been terribly bored to drag this one up but I do appreciate it!


