-
Posts
335 -
Joined
-
Last visited
Content Type
Profiles
Forums
Events
Gallery
Everything posted by Karl LaFong
-
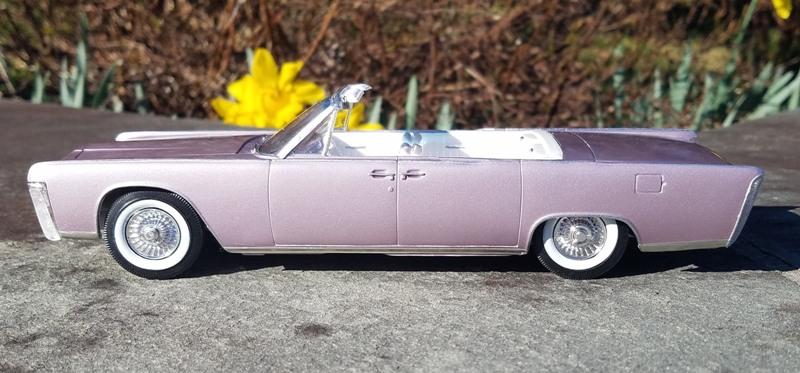
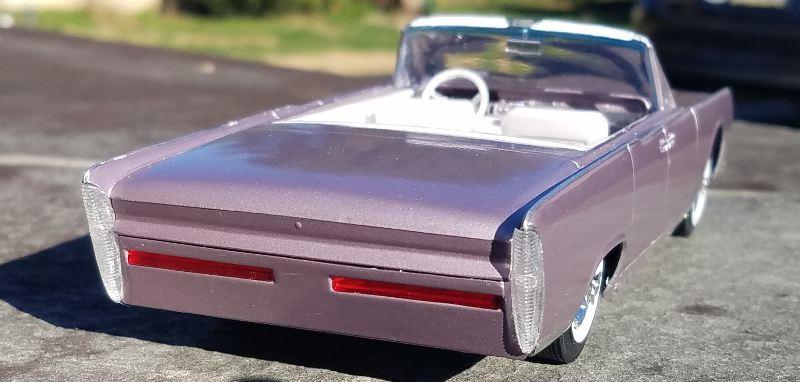
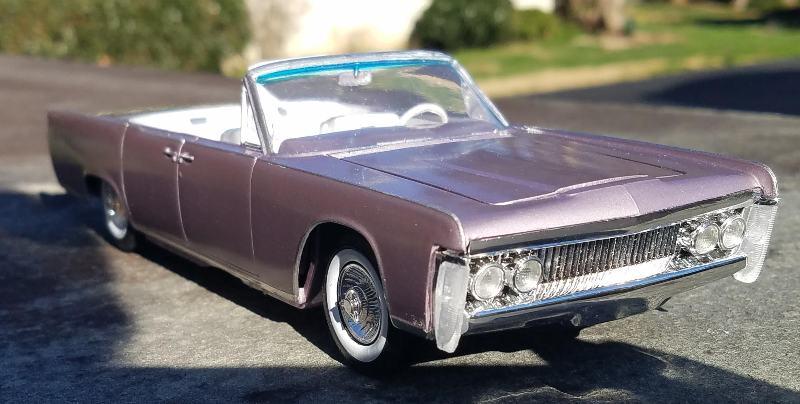
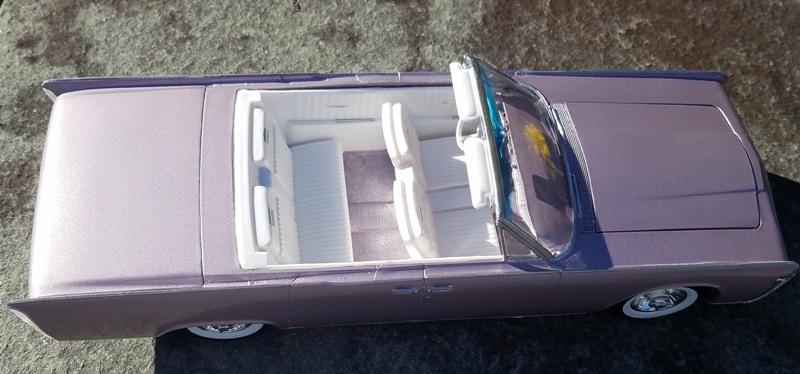
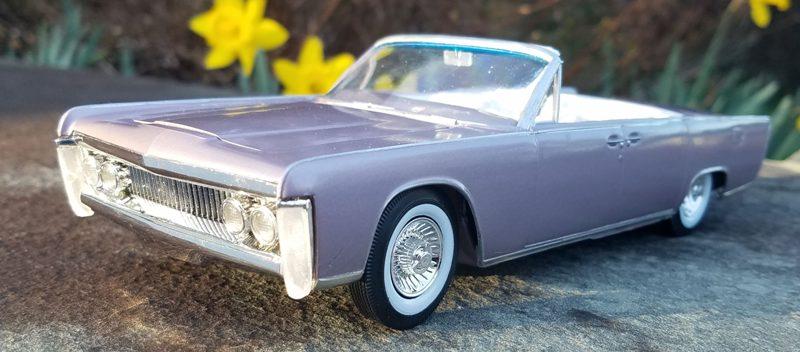
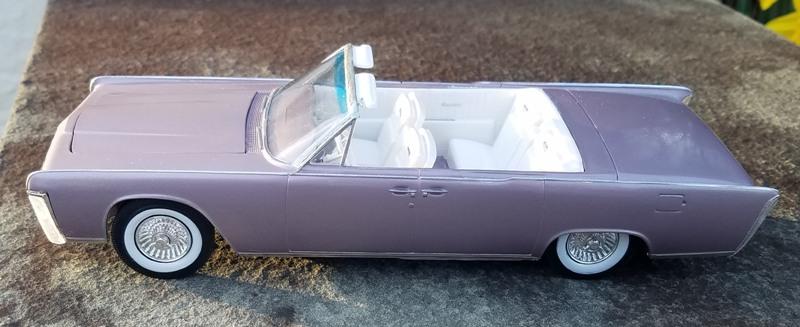
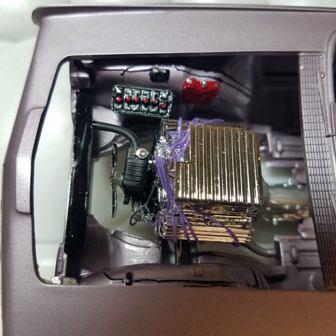
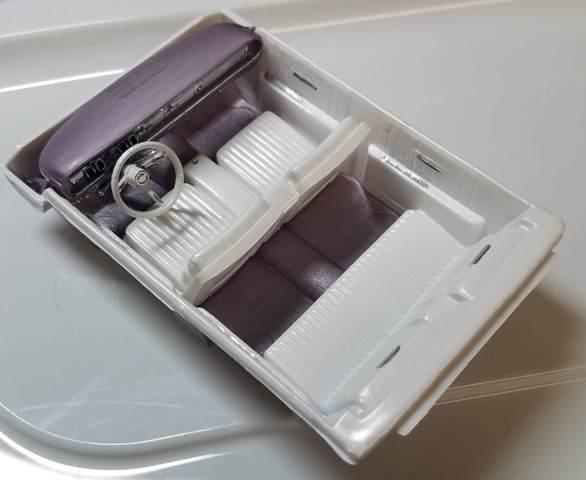
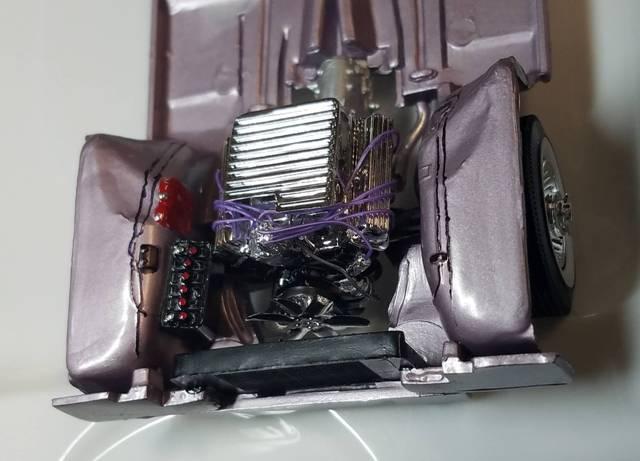
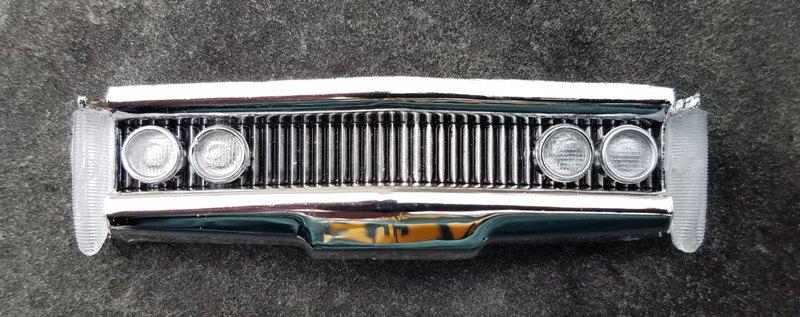
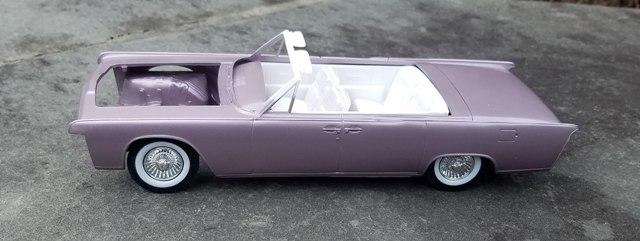
I finished my 1965 Lincoln today. Build details and engine compartment pictures can be found here: Orchid Silk - 1965 Lincoln Custom - WIP: Model Cars - Model Cars Magazine Forum No major issues assembling this kit - I did have to slightly enlarge the body opening for the interior so that the interior would fit, and the back of the front grill had to have some material removed from the back so it would sit flush. Otherwise, an enjoyable build.
-
Most Involved Part of Building?
Karl LaFong replied to JollySipper's topic in General Automotive Talk (Trucks and Cars)
Applying Bare Metal Foil - I have to remind myself "It's only a hobby, it's only a hobby..." -
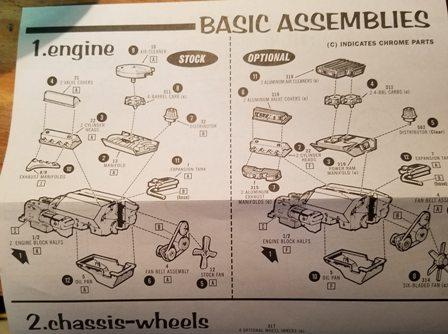
Andy, You're correct! I think the original designer of the kit manifold took some artistic license with the distributor location. The stock manifold has the distributor in the correct location. The driver's side portion of the custom air cleaner would interfere with distributor. On the kit engine, the expansion tank is located on a spike that projects from the water pump.
-
I made some headway on the Lincoln. Engine was wired and installed - I still have to add the expansion tank. Interior is done - steering wheel and steering column are from the parts box, chrome courtesy of Molotow, orchid silk and Tamiya pearl white paint.
-
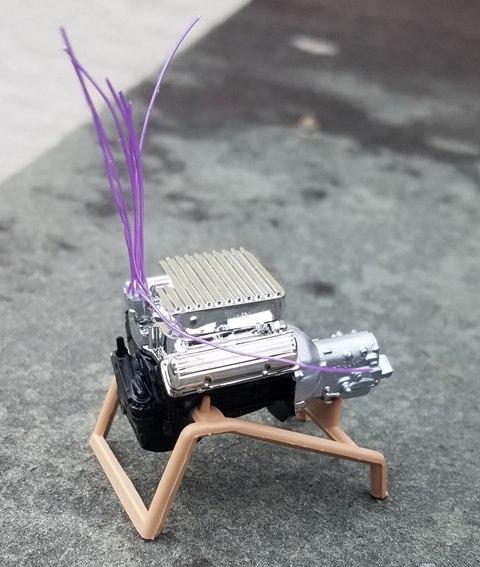
Thanks to modelers ADHD, my Plymouth Satellite is on hiatus. Several years ago, my wife bought me a can of Testor's Burgundy Purple Metallic. I was mostly using Tamiya sprays at the time, so it just sat on the shelf. With both an increase in price and lack of availability of Tamiya spray paints, I've been returning to Testor's. During the 60's, AMT had a metallic lacquer called "Orchid Silk". I had an unbuilt AMT '65 Lincoln that I wanted to build as a custom, so I thought I'd try to re-create the Orchid Silk color. I decanted the Burgundy Purple into a bottle and added Testor's Metallic Silver until I had the color I wanted; this was airbrushed over a Metallic Silver base. This will be basically out of the box, with some modifications. The wheels are from the AMT '64 Mercury; while thin white walls would be period correct, I thought they looked better with the wide white walls. I didn't like the "cyclops look of single headlights, so I used a spare set of custom headlights for dual headlights; lenses are parts box items. I had buyer's regret after purchasing some purple ignition wires, but they go well with this vehicle. That's it for now!
-
Thanks!!! That'll save me some buck$!
-
Does Hobby Lobby have the James Bond/Ford police car on the shelves? I don't see it on their website. In advance, thanks - this may save me a trip!
-
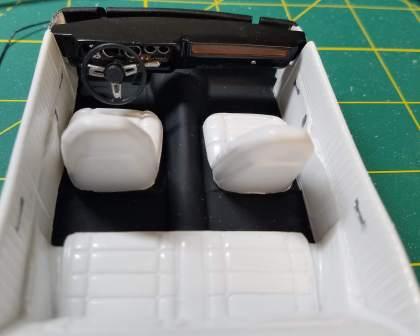
I managed to get some more work done on the Satellite. For the interior, I wanted to use a 3 spoke poverty steering wheel, but didn't have one in the parts box, so I opted for the kit wheel. The "wood" on the dashboard is Testor's leather paint. I've seen Satellites with & without the woodgrain on the door panels; the engraving is so light I went for bare vinyl. I was able get some color on the body before today's snow storm. Unfortunately the hood is chock full o' fisheye, so I have to redo it.
-
There was a choice of rear leaf springs or coils - both were included in the Model King kits.
- 108 replies
-
- mpc
- super stocker
-
(and 1 more)
Tagged with:
-
I'm going to leave it - I can always tell people it's a prototype ?
-
Thanks, Tom!
-
Thanks! You're right about the 71 Charger; I was trying to do this relatively low buck. The kit chassis looks like it had it's origins in the 60's.
-
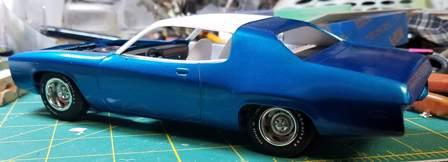
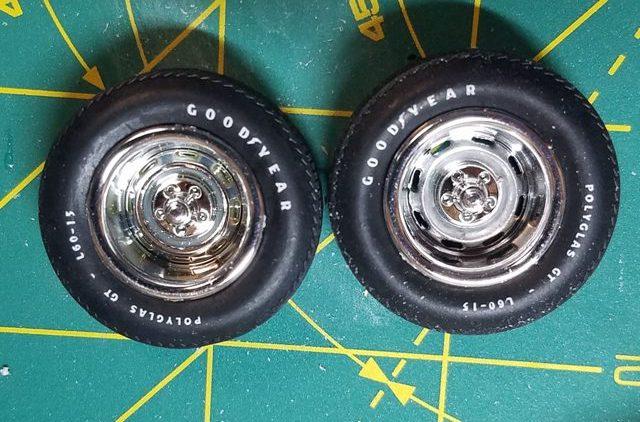
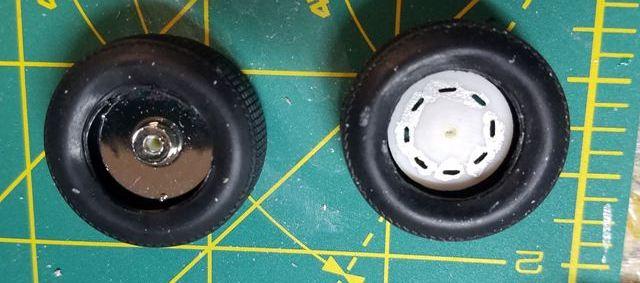
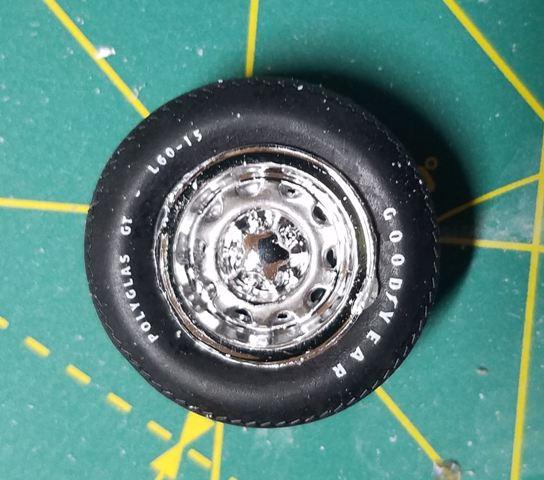
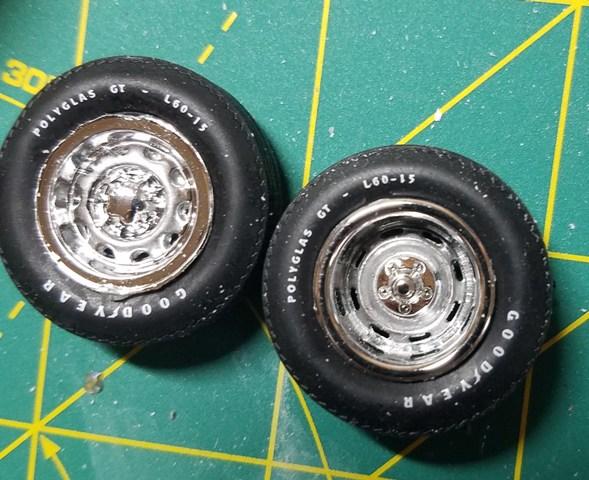
When I removed the stock wheels from the runner, I gouged the edges. I found an alternative wheel in the AMT 1975 Gremlin kit; it's basically the same as Mopar Styled Road Wheel, which was an option for the Satellite in 1974. I removed the axle stub filed the back of the wheel until the vents were open. (wheel on right) The vented part of the wheel was painted Testor's steel. A vast improvement over the stock wheel!
-
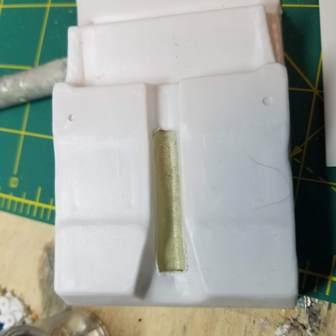
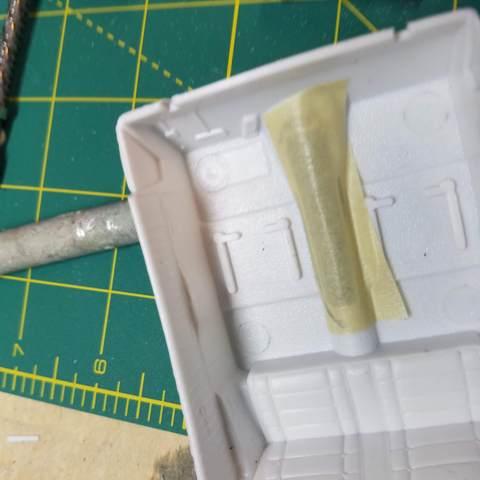
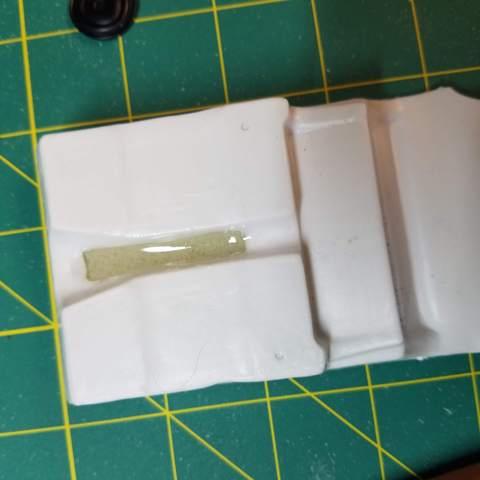
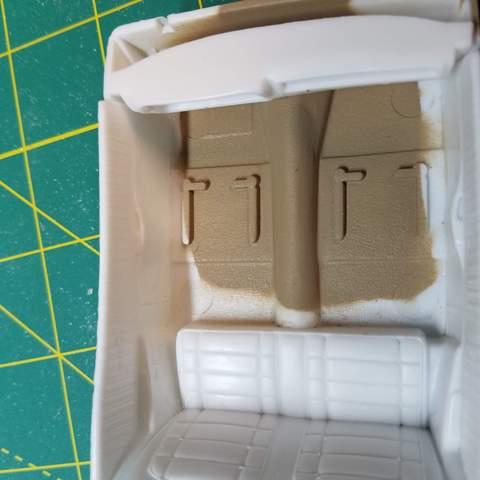
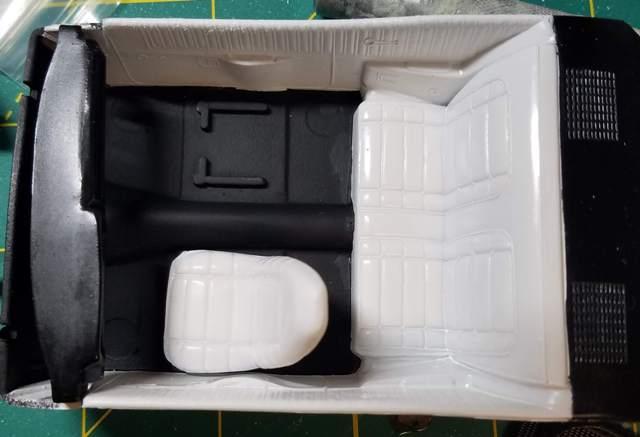
I didn't want to use the center console molded into the floor of the interior. I ground it out and attached a piece of masking tape - I tried to match the shape of the driveshaft hump as closely as possible . I filled the hole with 2 part epoxy. This was allowed to cure for 24 hours. I removed the tape, did some minor blending of the epoxy and styrene, and applied Testor's fabric paint - this was done to provide a uniform grain to the floor. After applying Testor's Flat Black enamel, the repair can't be seen; goodbye Road Runner, hello Satellite!
-
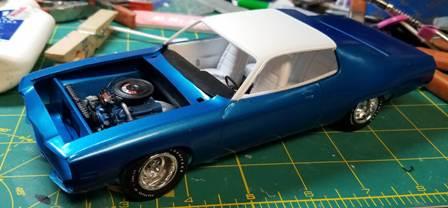
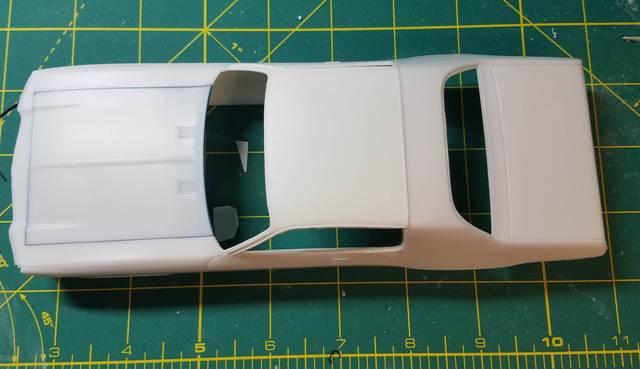
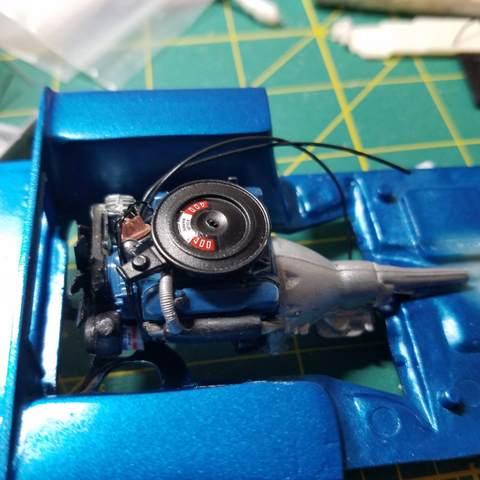
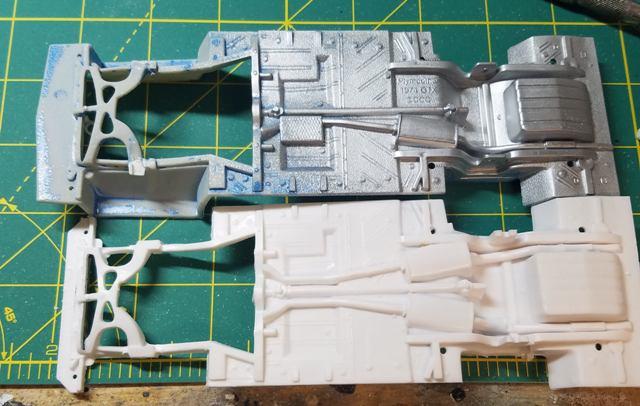
For 2021, I thought I would start with a Disco-era replica stock. I chose the MPC 1974 Road Runner, but instead of something top of the line, I went with a basic Satellite. I added a vinyl half-top, made from Evergreen strip and Testor's White Primer, shot from over a foot above the roof - this produces a pretty good grain effect. I also am using a Missing Link Resin base hood. While the kit chassis (bottom) has duel exhausts, I went with the chassis that was included in the 2006 version of the kit (top); it is a single exhaust and it eliminates the large gap between the radiator and front splash pan. There is a large gap between the front wheel well and the body (this seems to be a common problem with MPC kits), so I added a .080 X.188 Evergreen strip to the top of the well; I also used the radiator support from the AMT '69 Plymouth GTX. The paint is Tamiya Light Metallic Blue (TS 54). The engine is the 383 from the Revell '68 Dodge Dart; the distributor is a Replicas & Miniatures item, the air cleaner and exhausts are from the AMT 1971 Charger. Because it's a single exhaust, one of the snorkels was removed from the air cleaner. The Mopar oil filter decal is from Revell; the air cleaner decal is from the current 1974 Road Runner kit.
-

Buying a builder
Karl LaFong replied to slusher's topic in General Automotive Talk (Trucks and Cars)
I've tried the freezer method, net result = no luck. I've had much better luck with mineral spirits - it softens the glue without attacking the plastic. -
What's intriguing is that in the original Mooneyes Dragster kit, it calls for the front suspension wishbone from the Model T frame parts tree (see below). Is it too much to hope that, even though only 1 part is required, the entire frame parts tree will included? Considering that the individual Revell Custom Car Parts go for big buck$ on Ebay, this kit could be the bargain of the year! https://public.fotki.com/drasticplasticsmcc/mkiba-build-under-c/instruction_sheetsh/instruction_sheets/revell-6/revell-sanitary-t-b/file5.html
-
What imperfections? Great job! How did you do the interior wood graining?
-

Dirt Chevelle's
Karl LaFong replied to CRANMAN1's topic in Stock Cars (NASCAR, Super Stock, Late Model, etc.)
Looks good - nice job! -

1962 S seres Valiant speedway sedan
Karl LaFong replied to Alan Barton's topic in Other Racing: Road Racing, Salt Flat Racers
I really like the subject matter and it looks like it's been in some battles. Good job! -

SnakeBite
Karl LaFong replied to svend66b@gmail.com's topic in Other Racing: Road Racing, Salt Flat Racers
Sweet! -
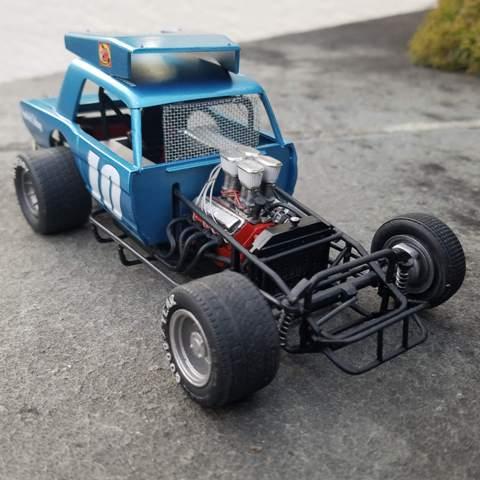
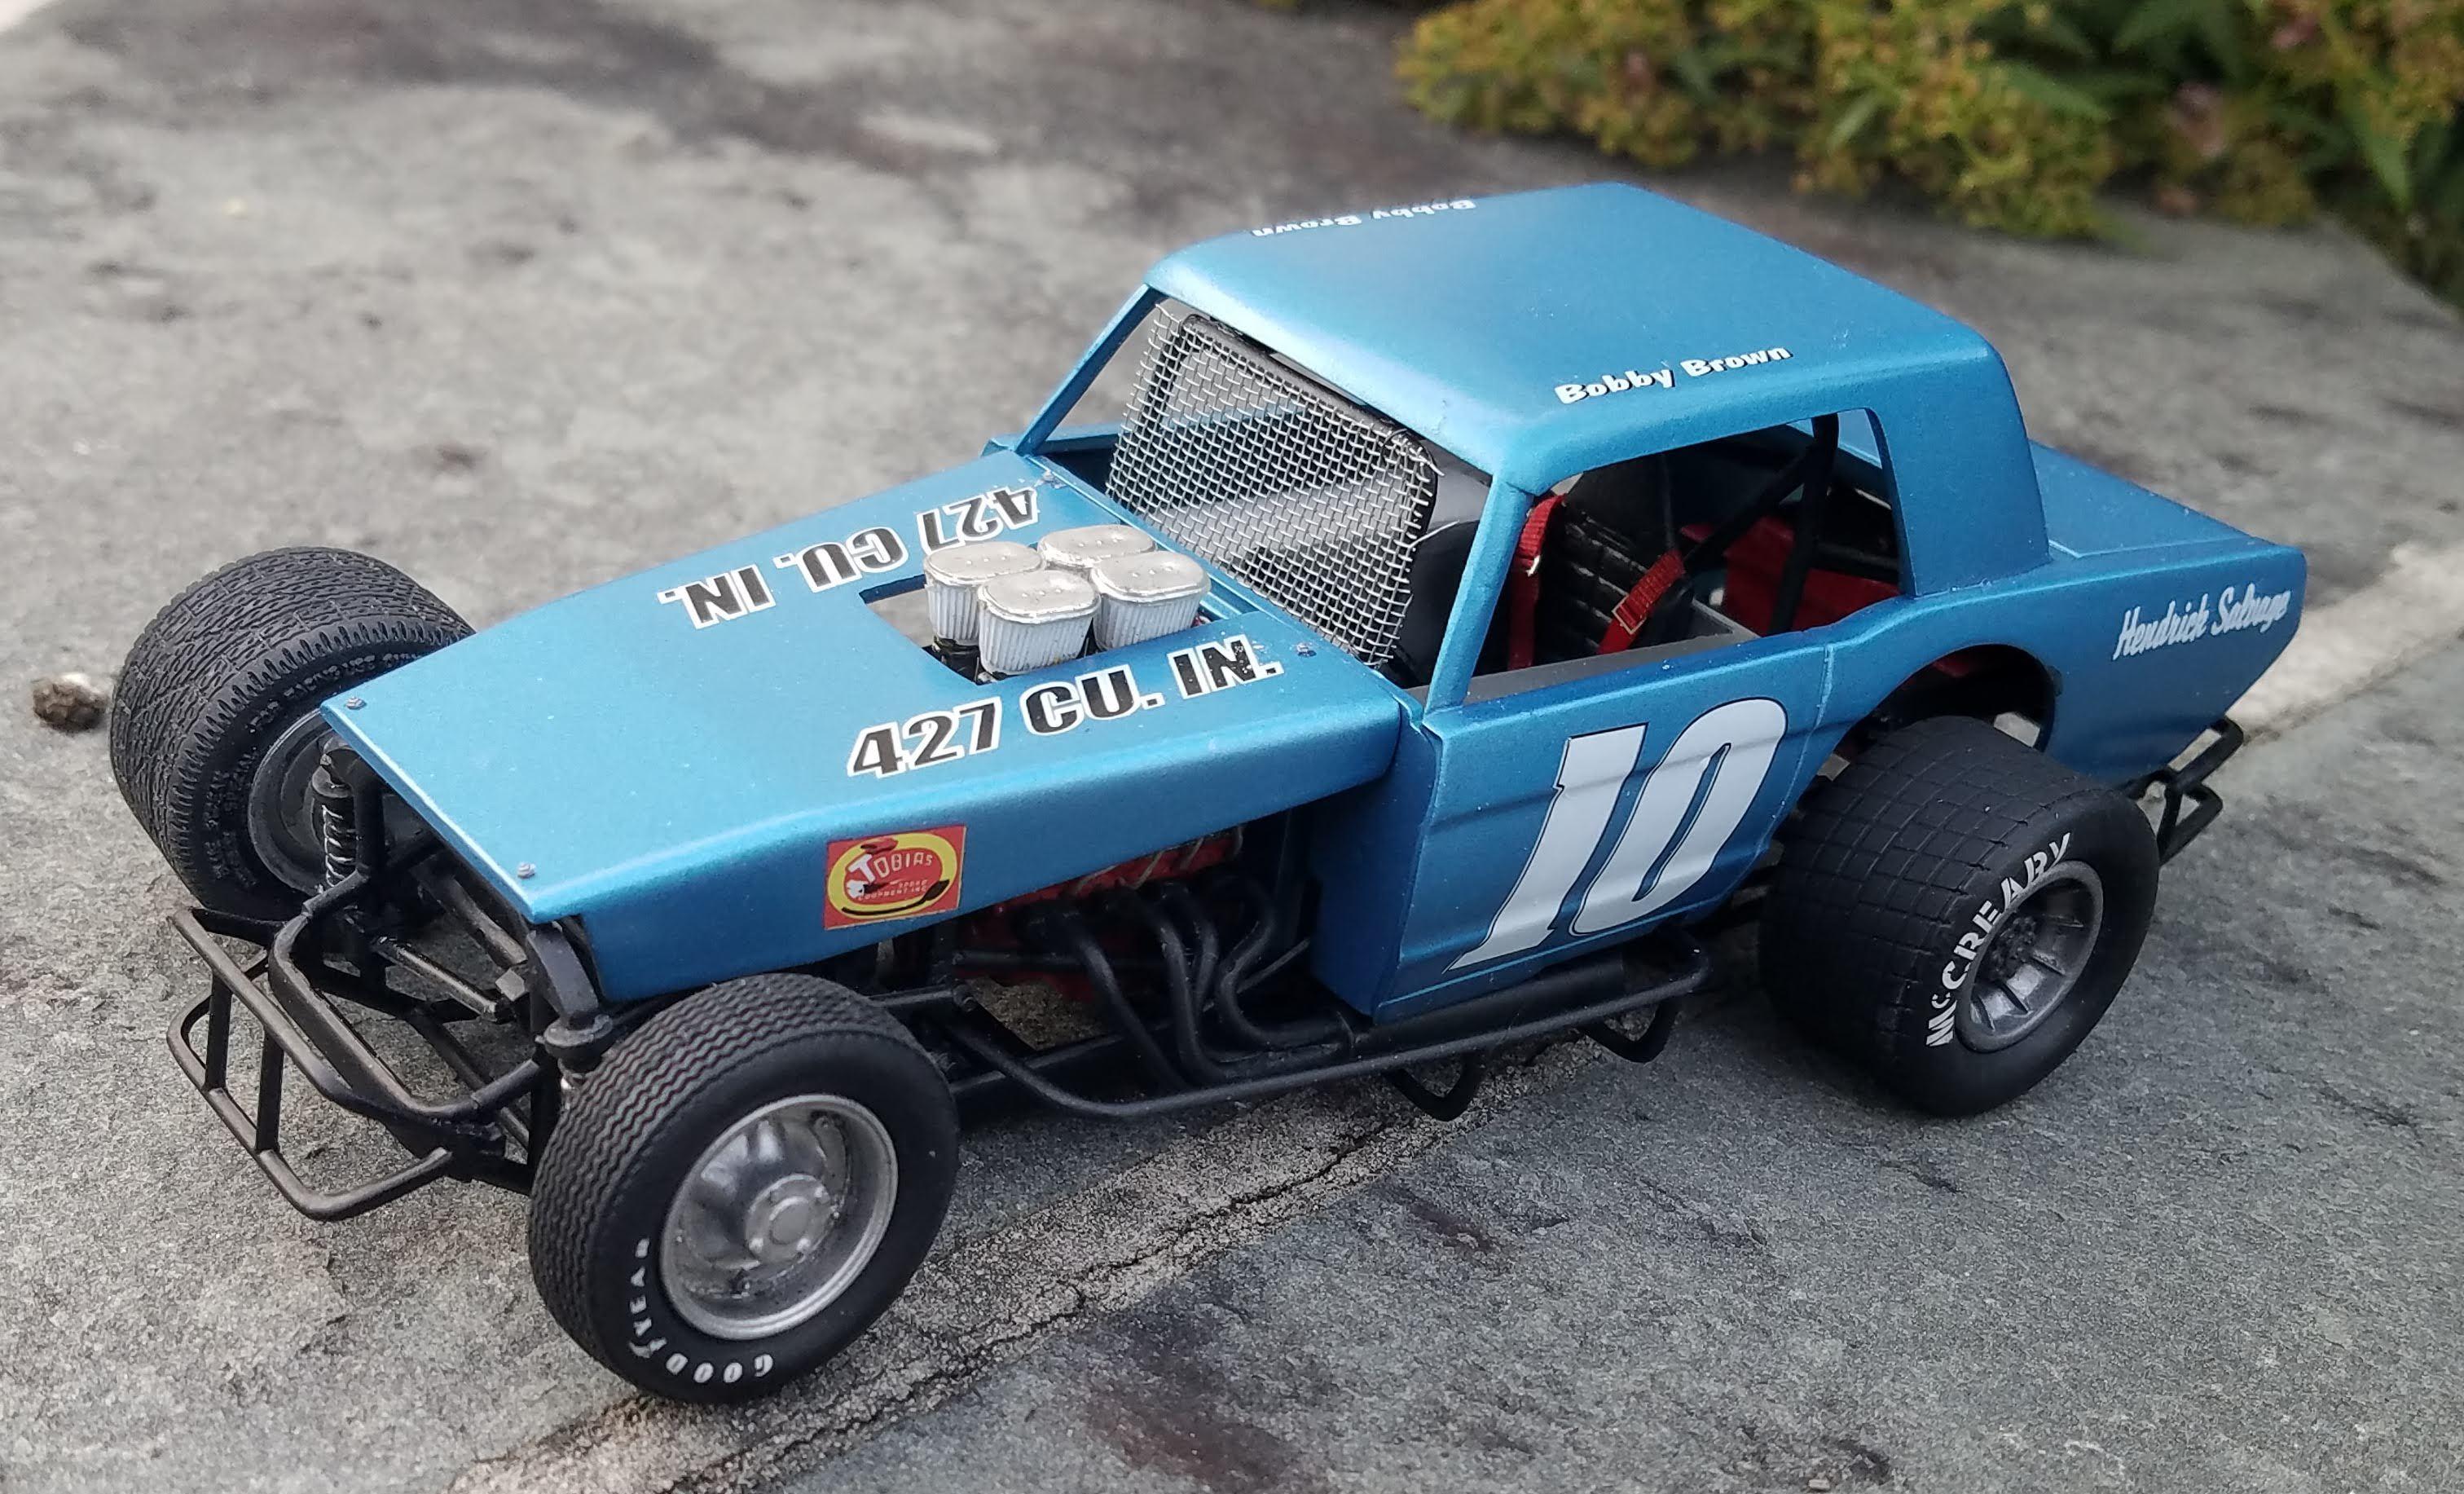
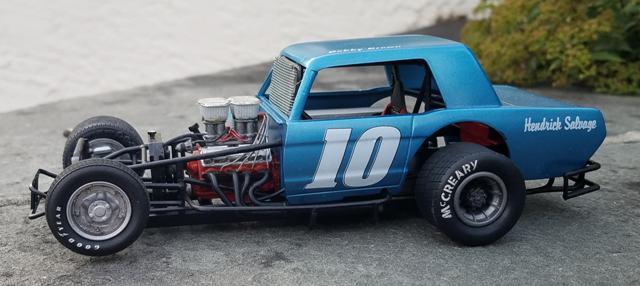
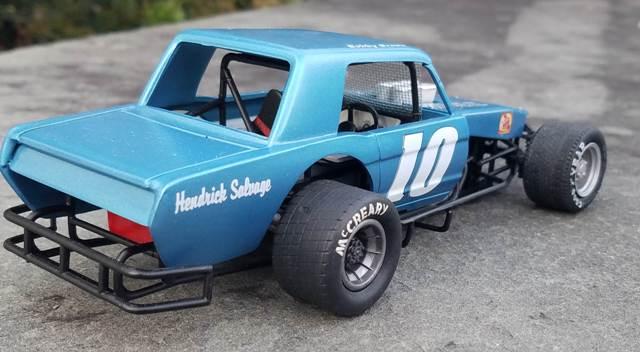
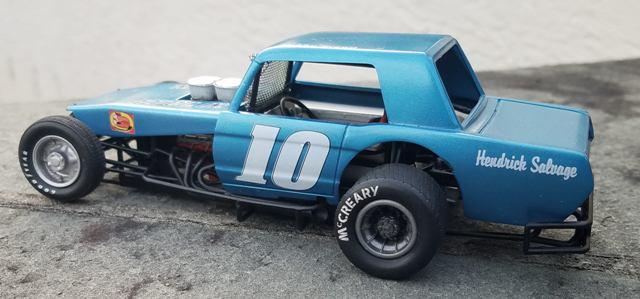
I started this AMT Mustang modified over 15 years ago - dug it out and finished it this year. Engine is the AMT 1967 Chevelle, with the fuel injection system from one of the old Monogram sprint cars and modified kit headers. Rear tires are Plastic Performance Products dirt tires, fronts are from the parts box. Rear wheels are from the kit with hubs from a Revell ASA kit. The front right wheel is a Plastic Performance Products Wide 5, front left is an old Fred's Resin Workshop item. Rear nerf is from an MPC pavement modified kit. Paint is Testor's Model Master Chevy Nassau Blue. It's a little too clean for an active race car, but they all start out straight and clean...
-

Ollie's strike again
Karl LaFong replied to GLMFAA1's topic in General Automotive Talk (Trucks and Cars)
$7.99 -

Ollie's strike again
Karl LaFong replied to GLMFAA1's topic in General Automotive Talk (Trucks and Cars)
Stopped by the Media, PA Ollie's today - for the first time in months they have a new batch of model kits. In addition to some LARGE ships and a submarine, they had a case of the Lindberg 1938 Ford Sedan delivery street rods. Unfortunately, nothing else of interest.

