yellowsportwagon
-
Posts
1,881 -
Joined
-
Last visited
Content Type
Profiles
Forums
Events
Gallery
Everything posted by yellowsportwagon
-
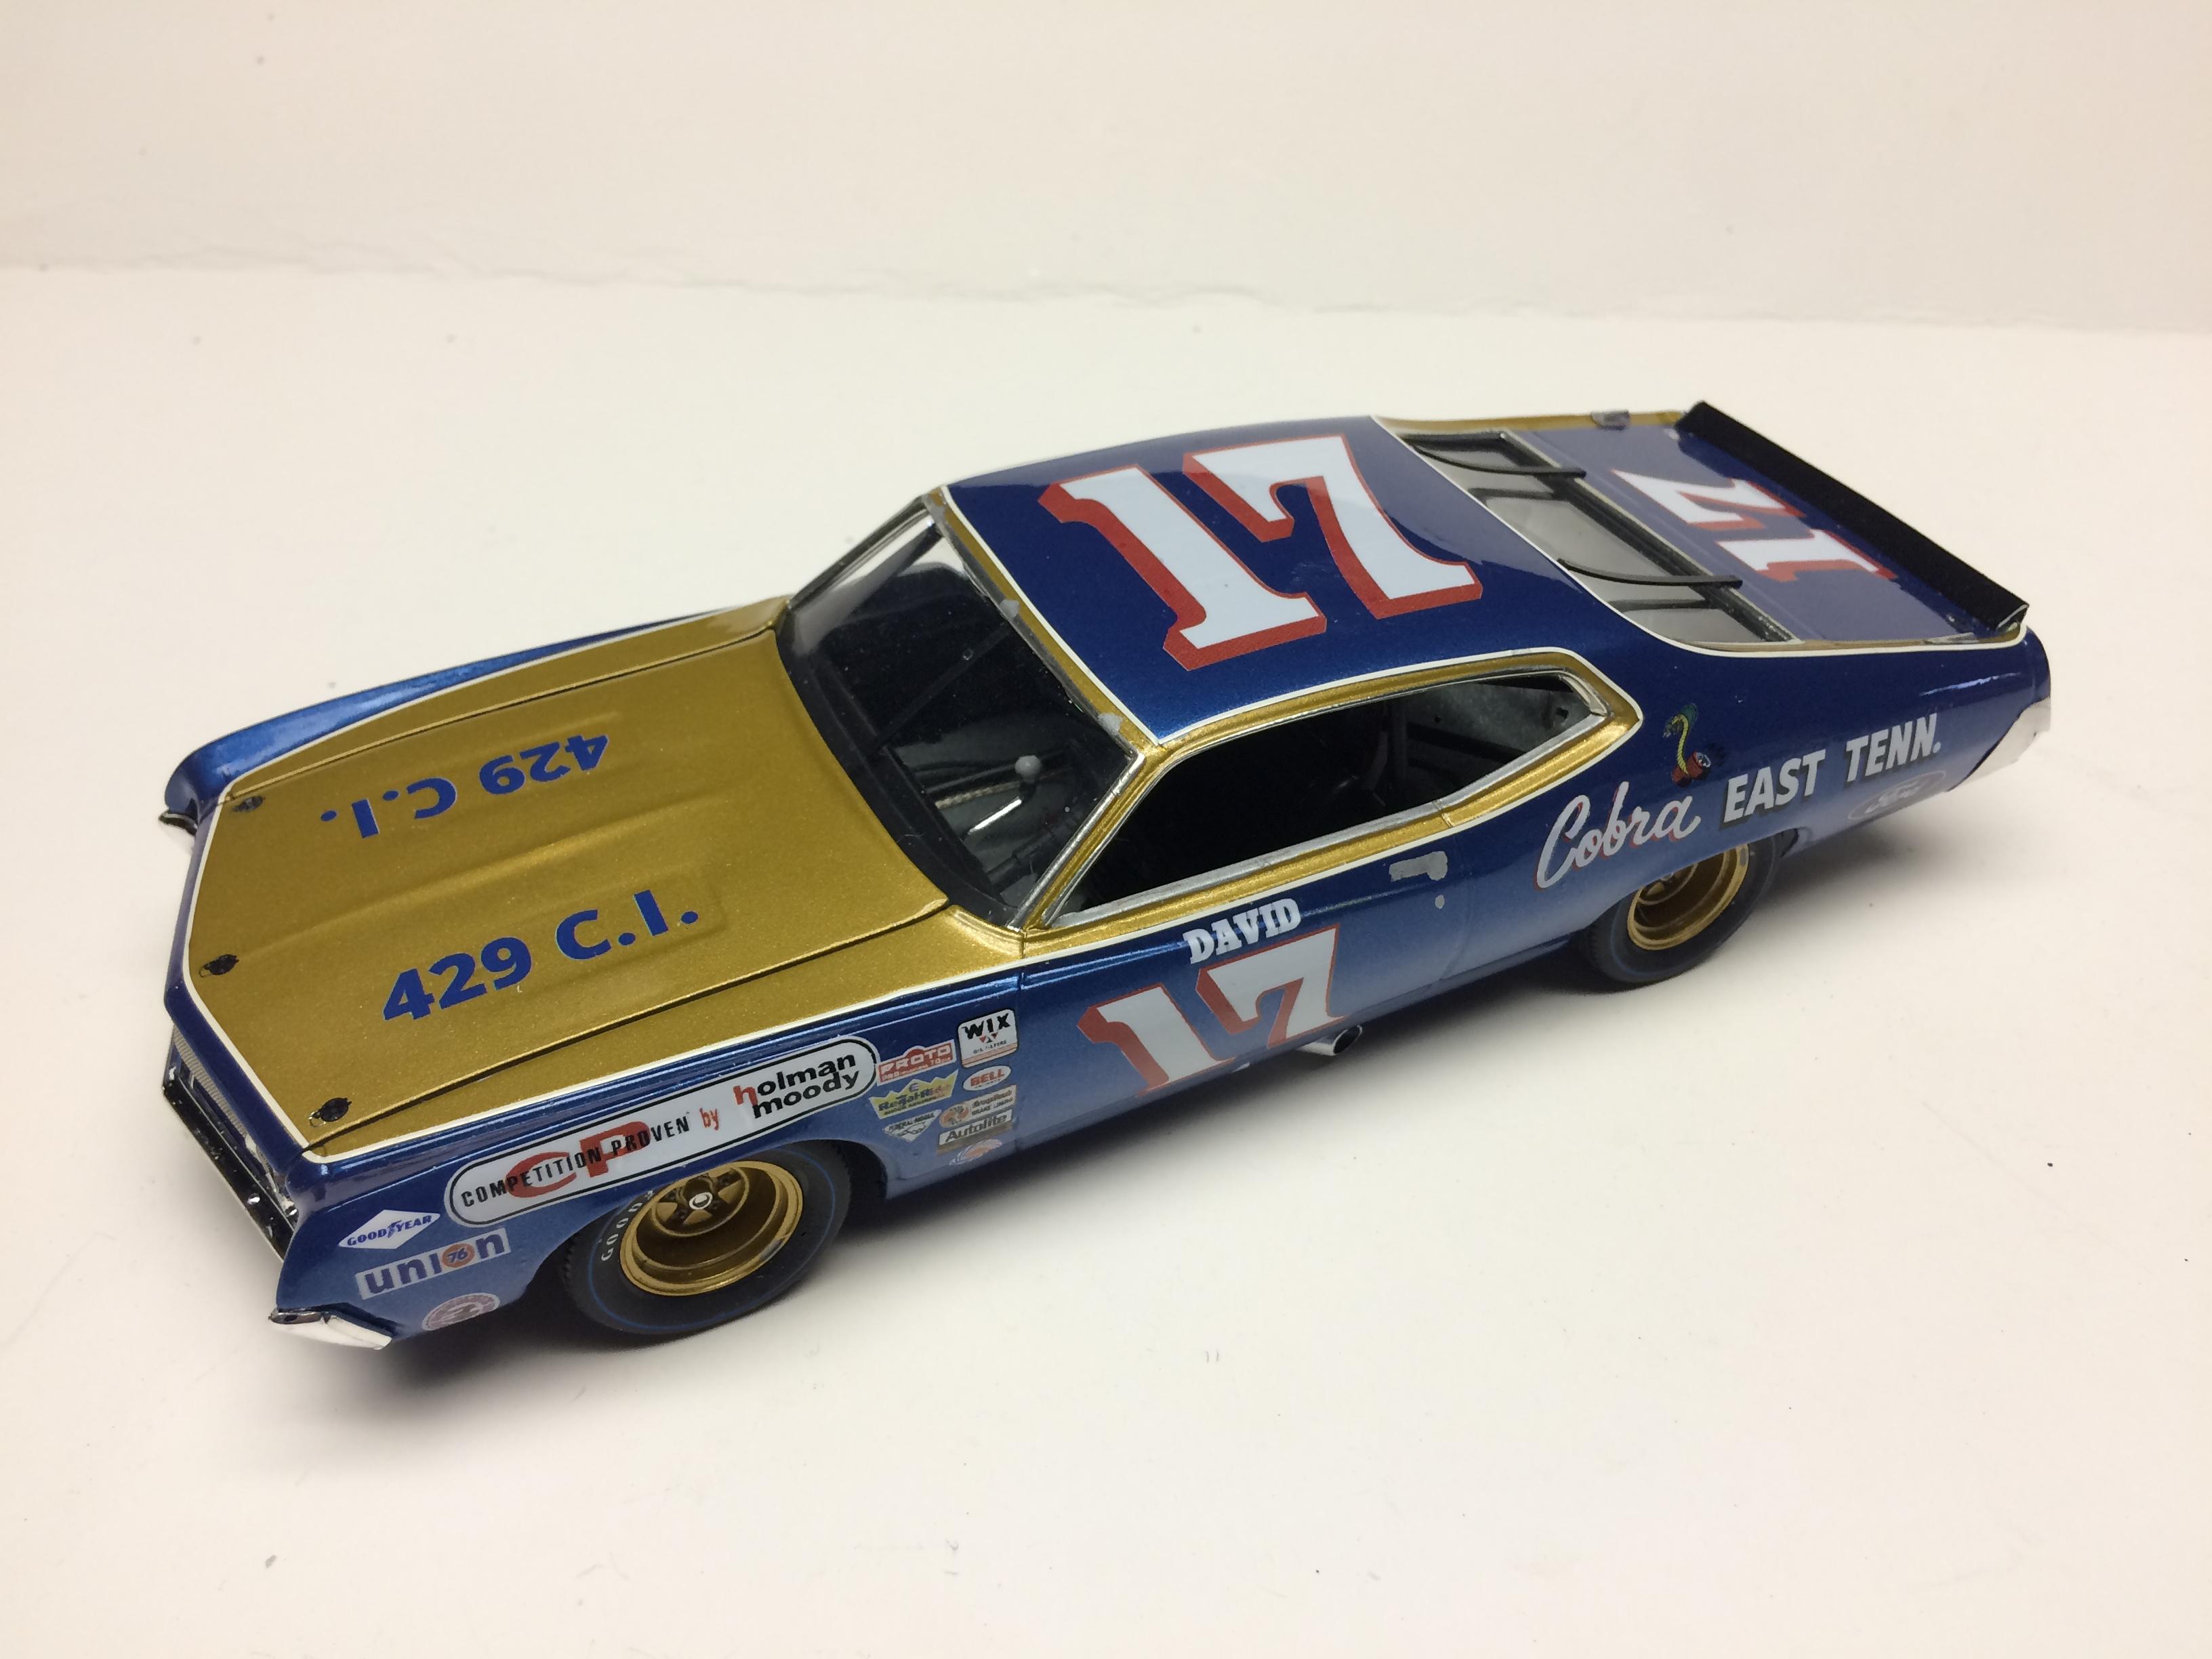
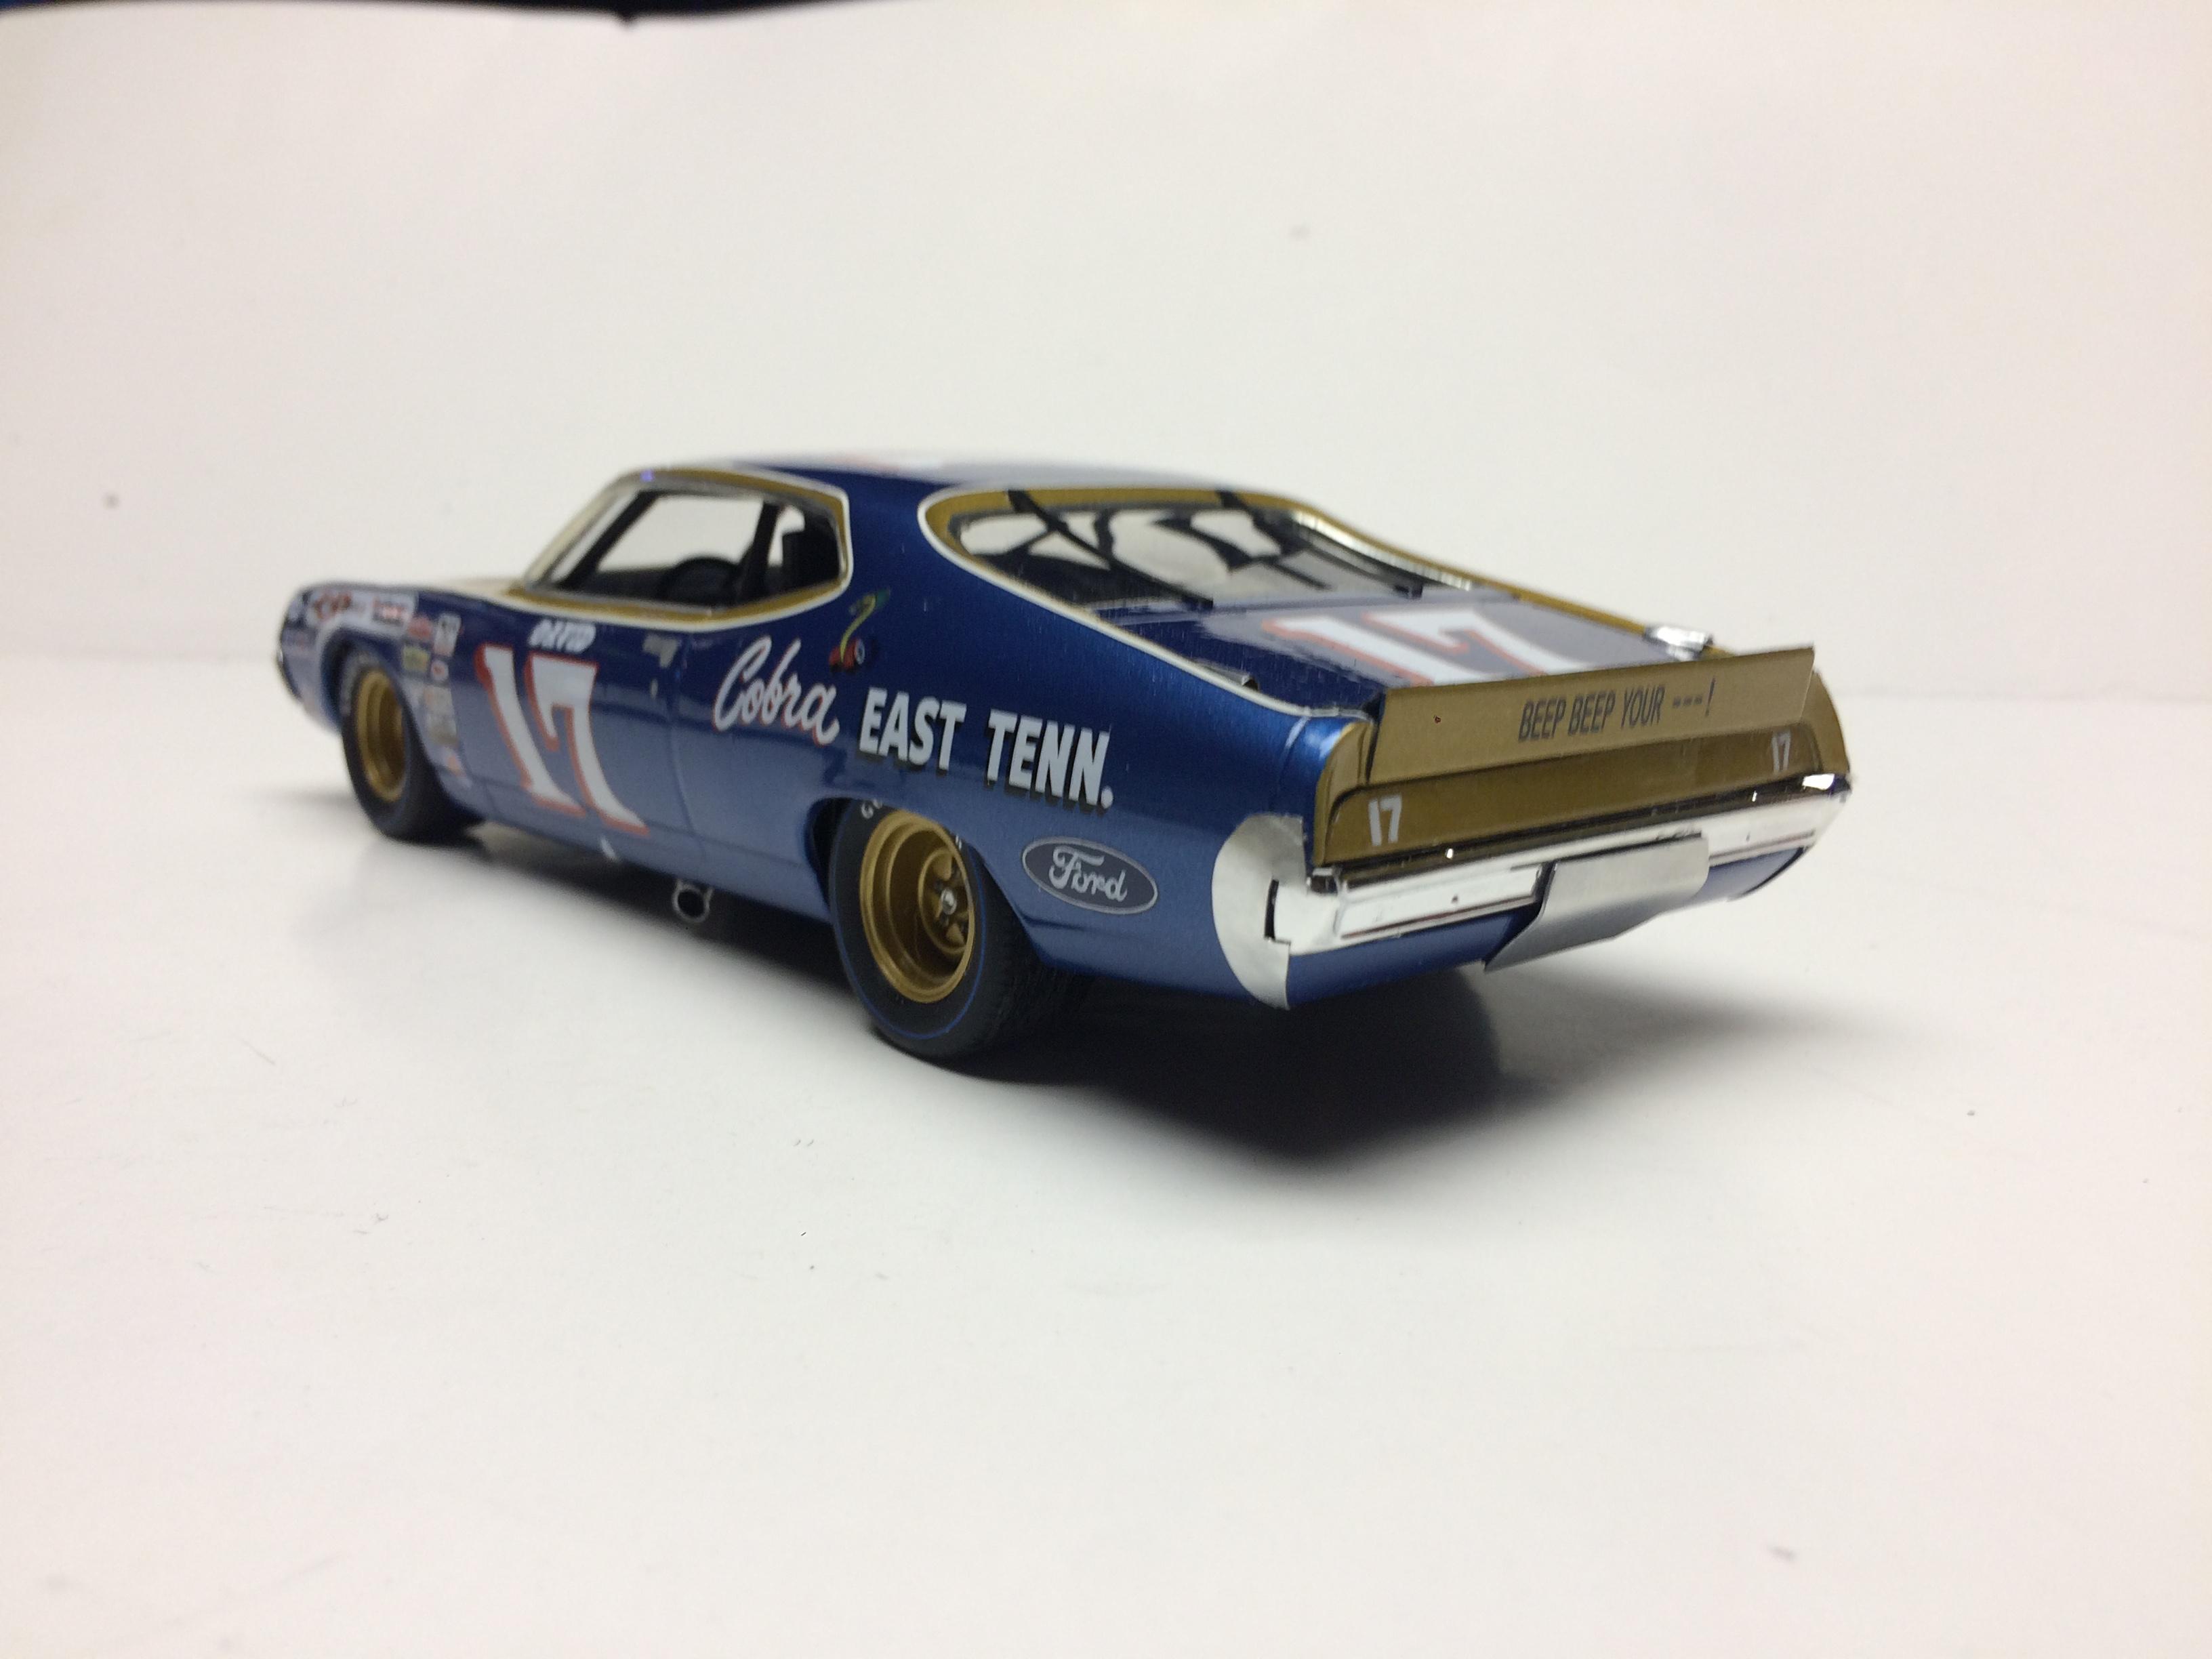
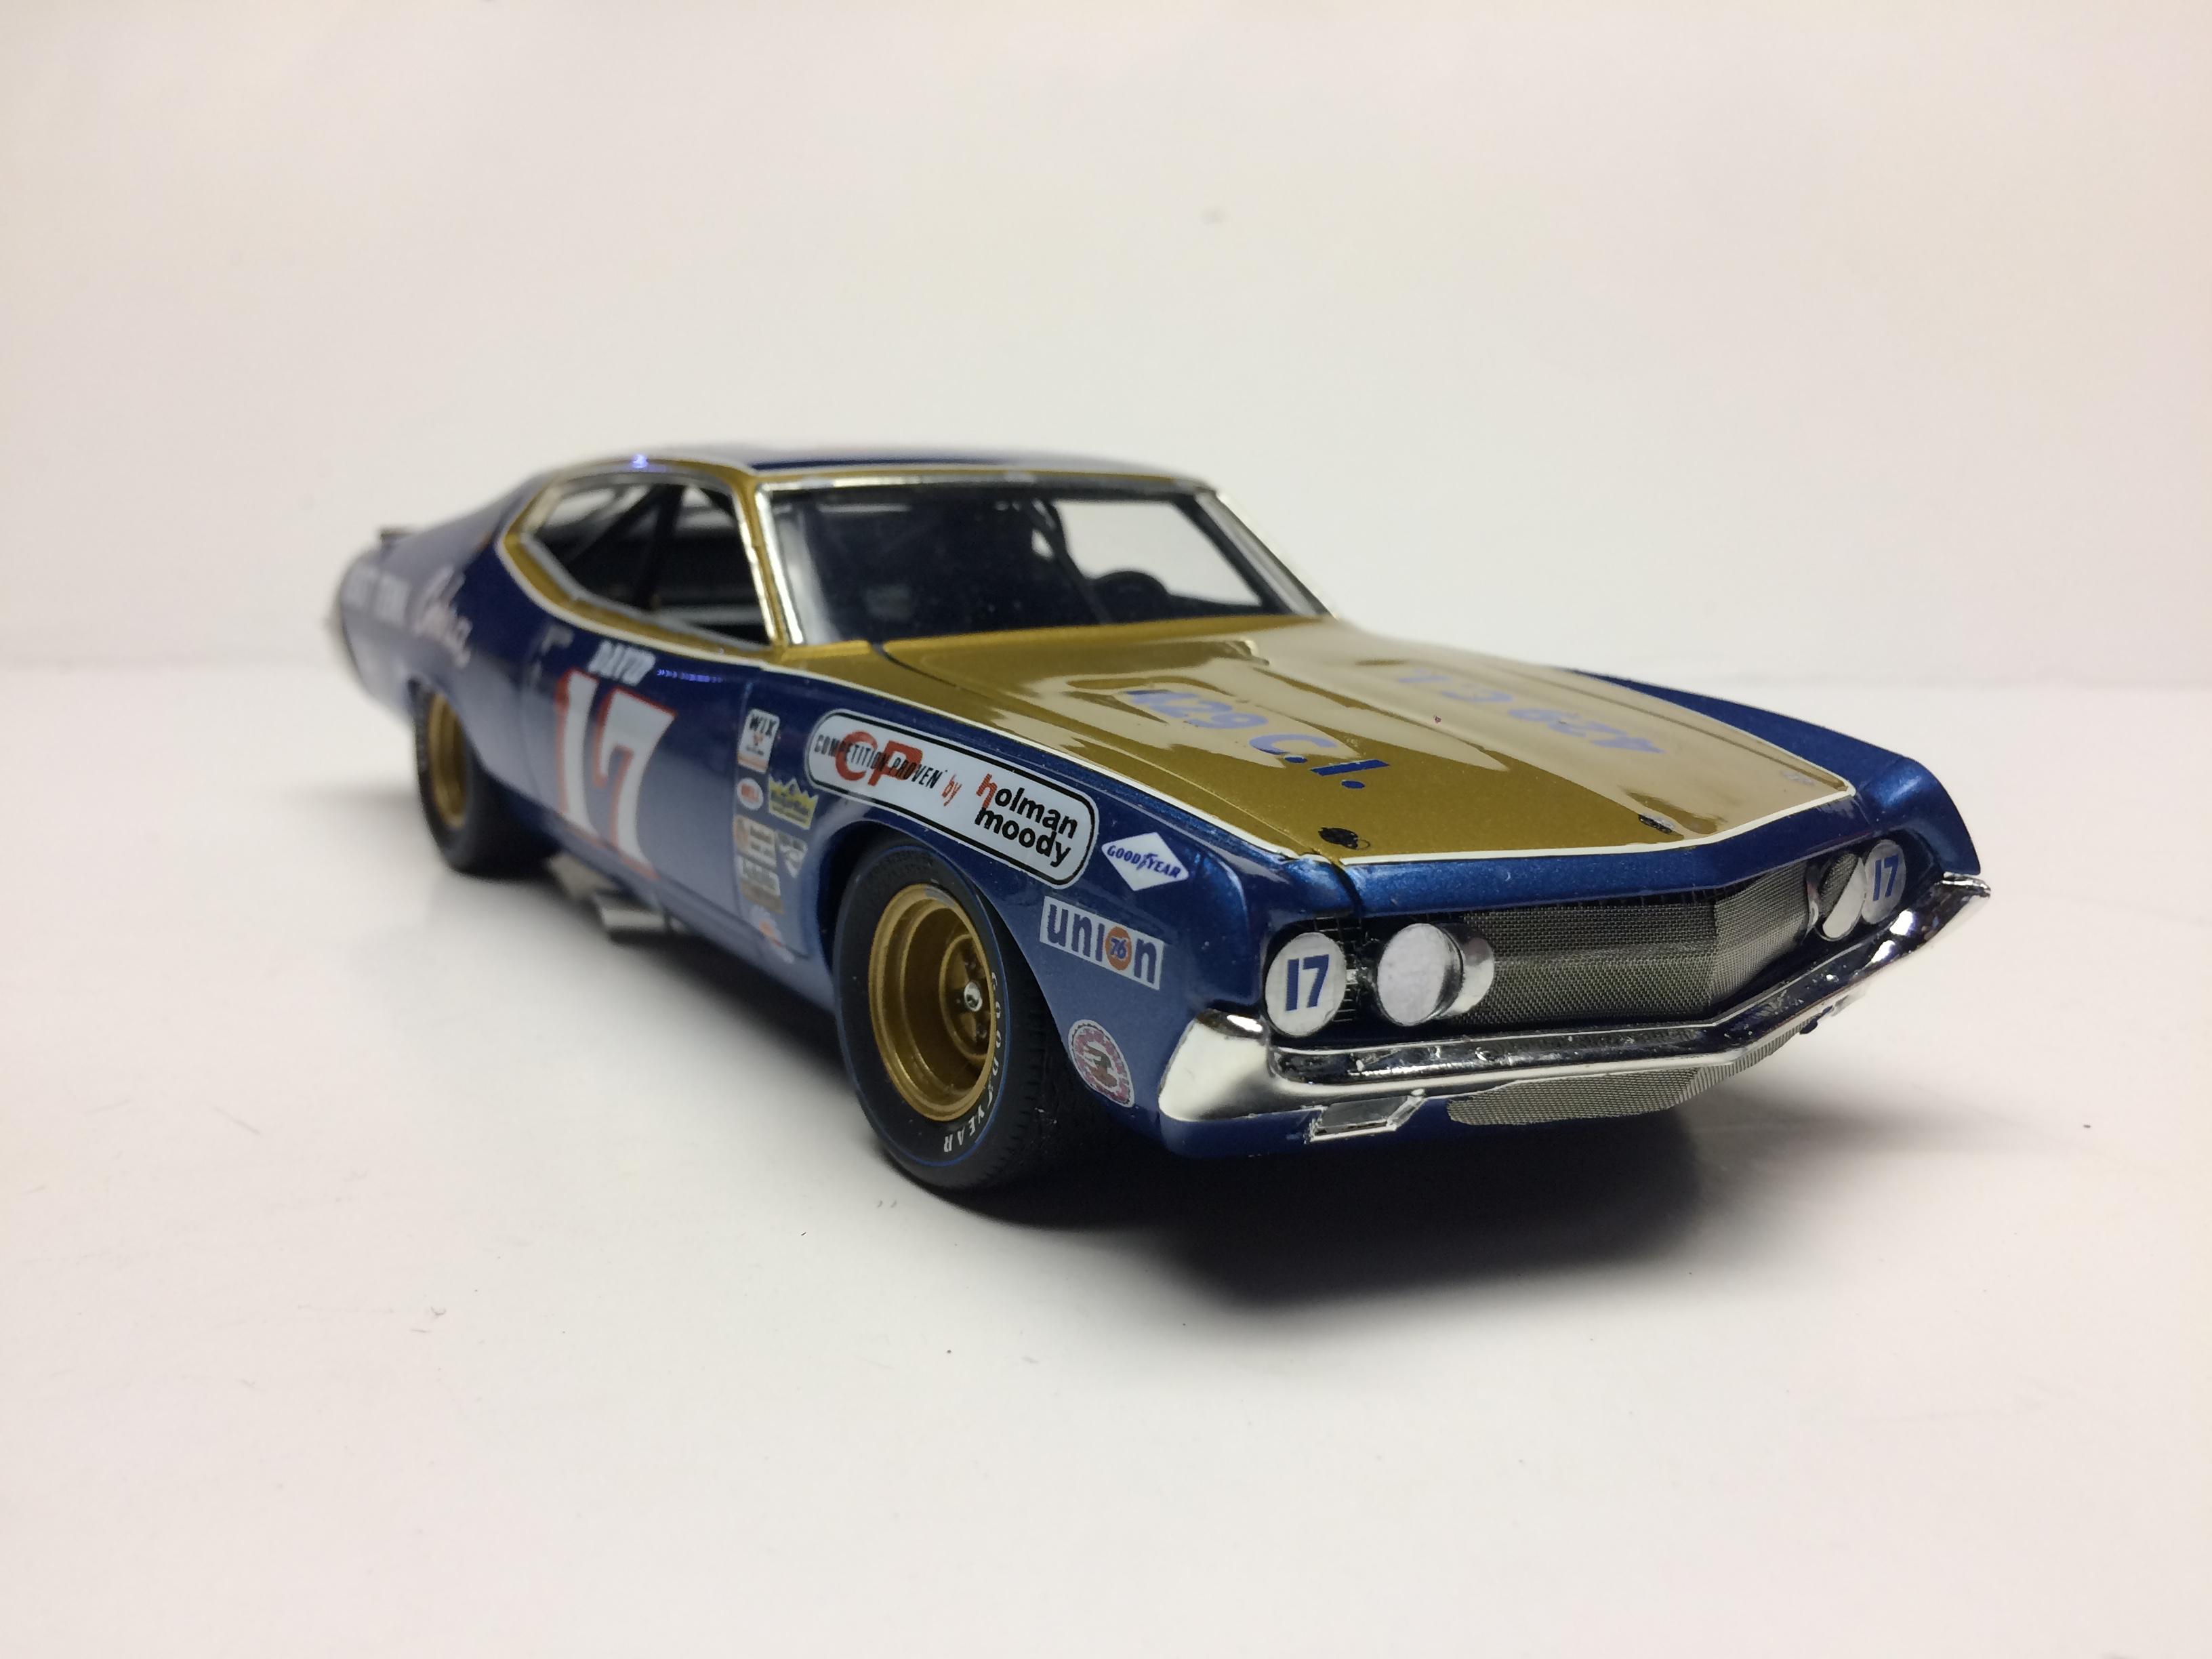
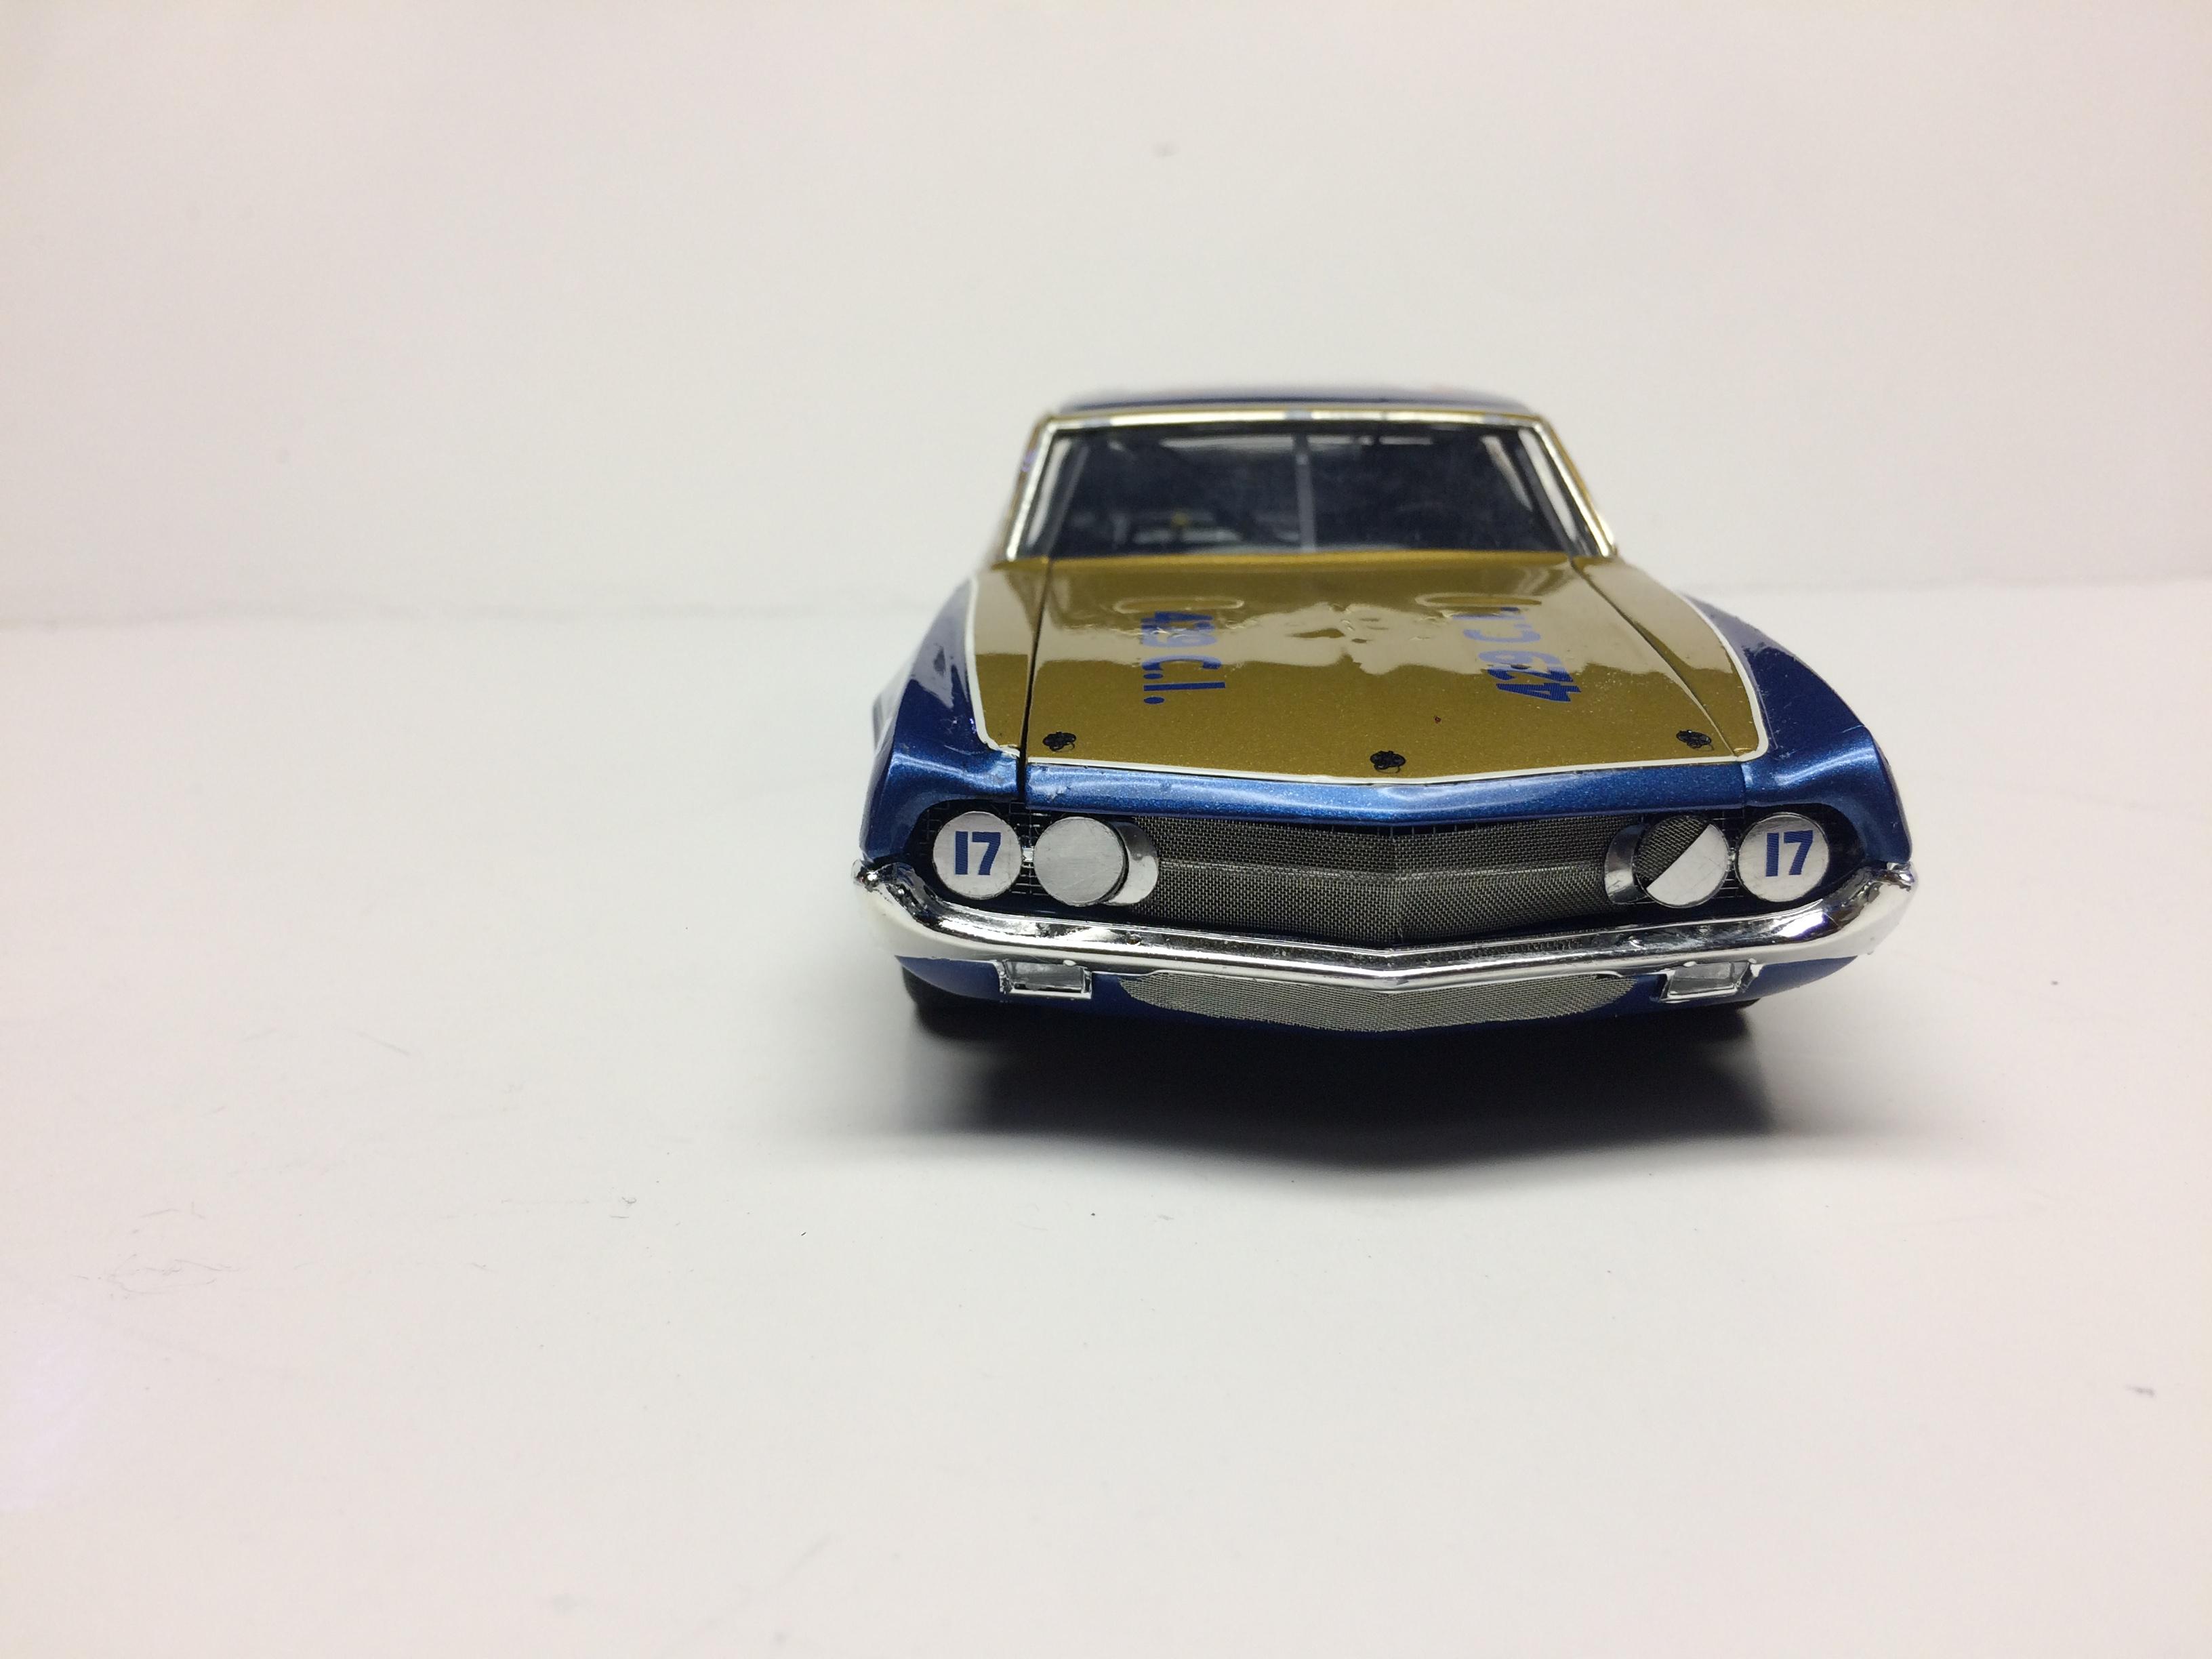
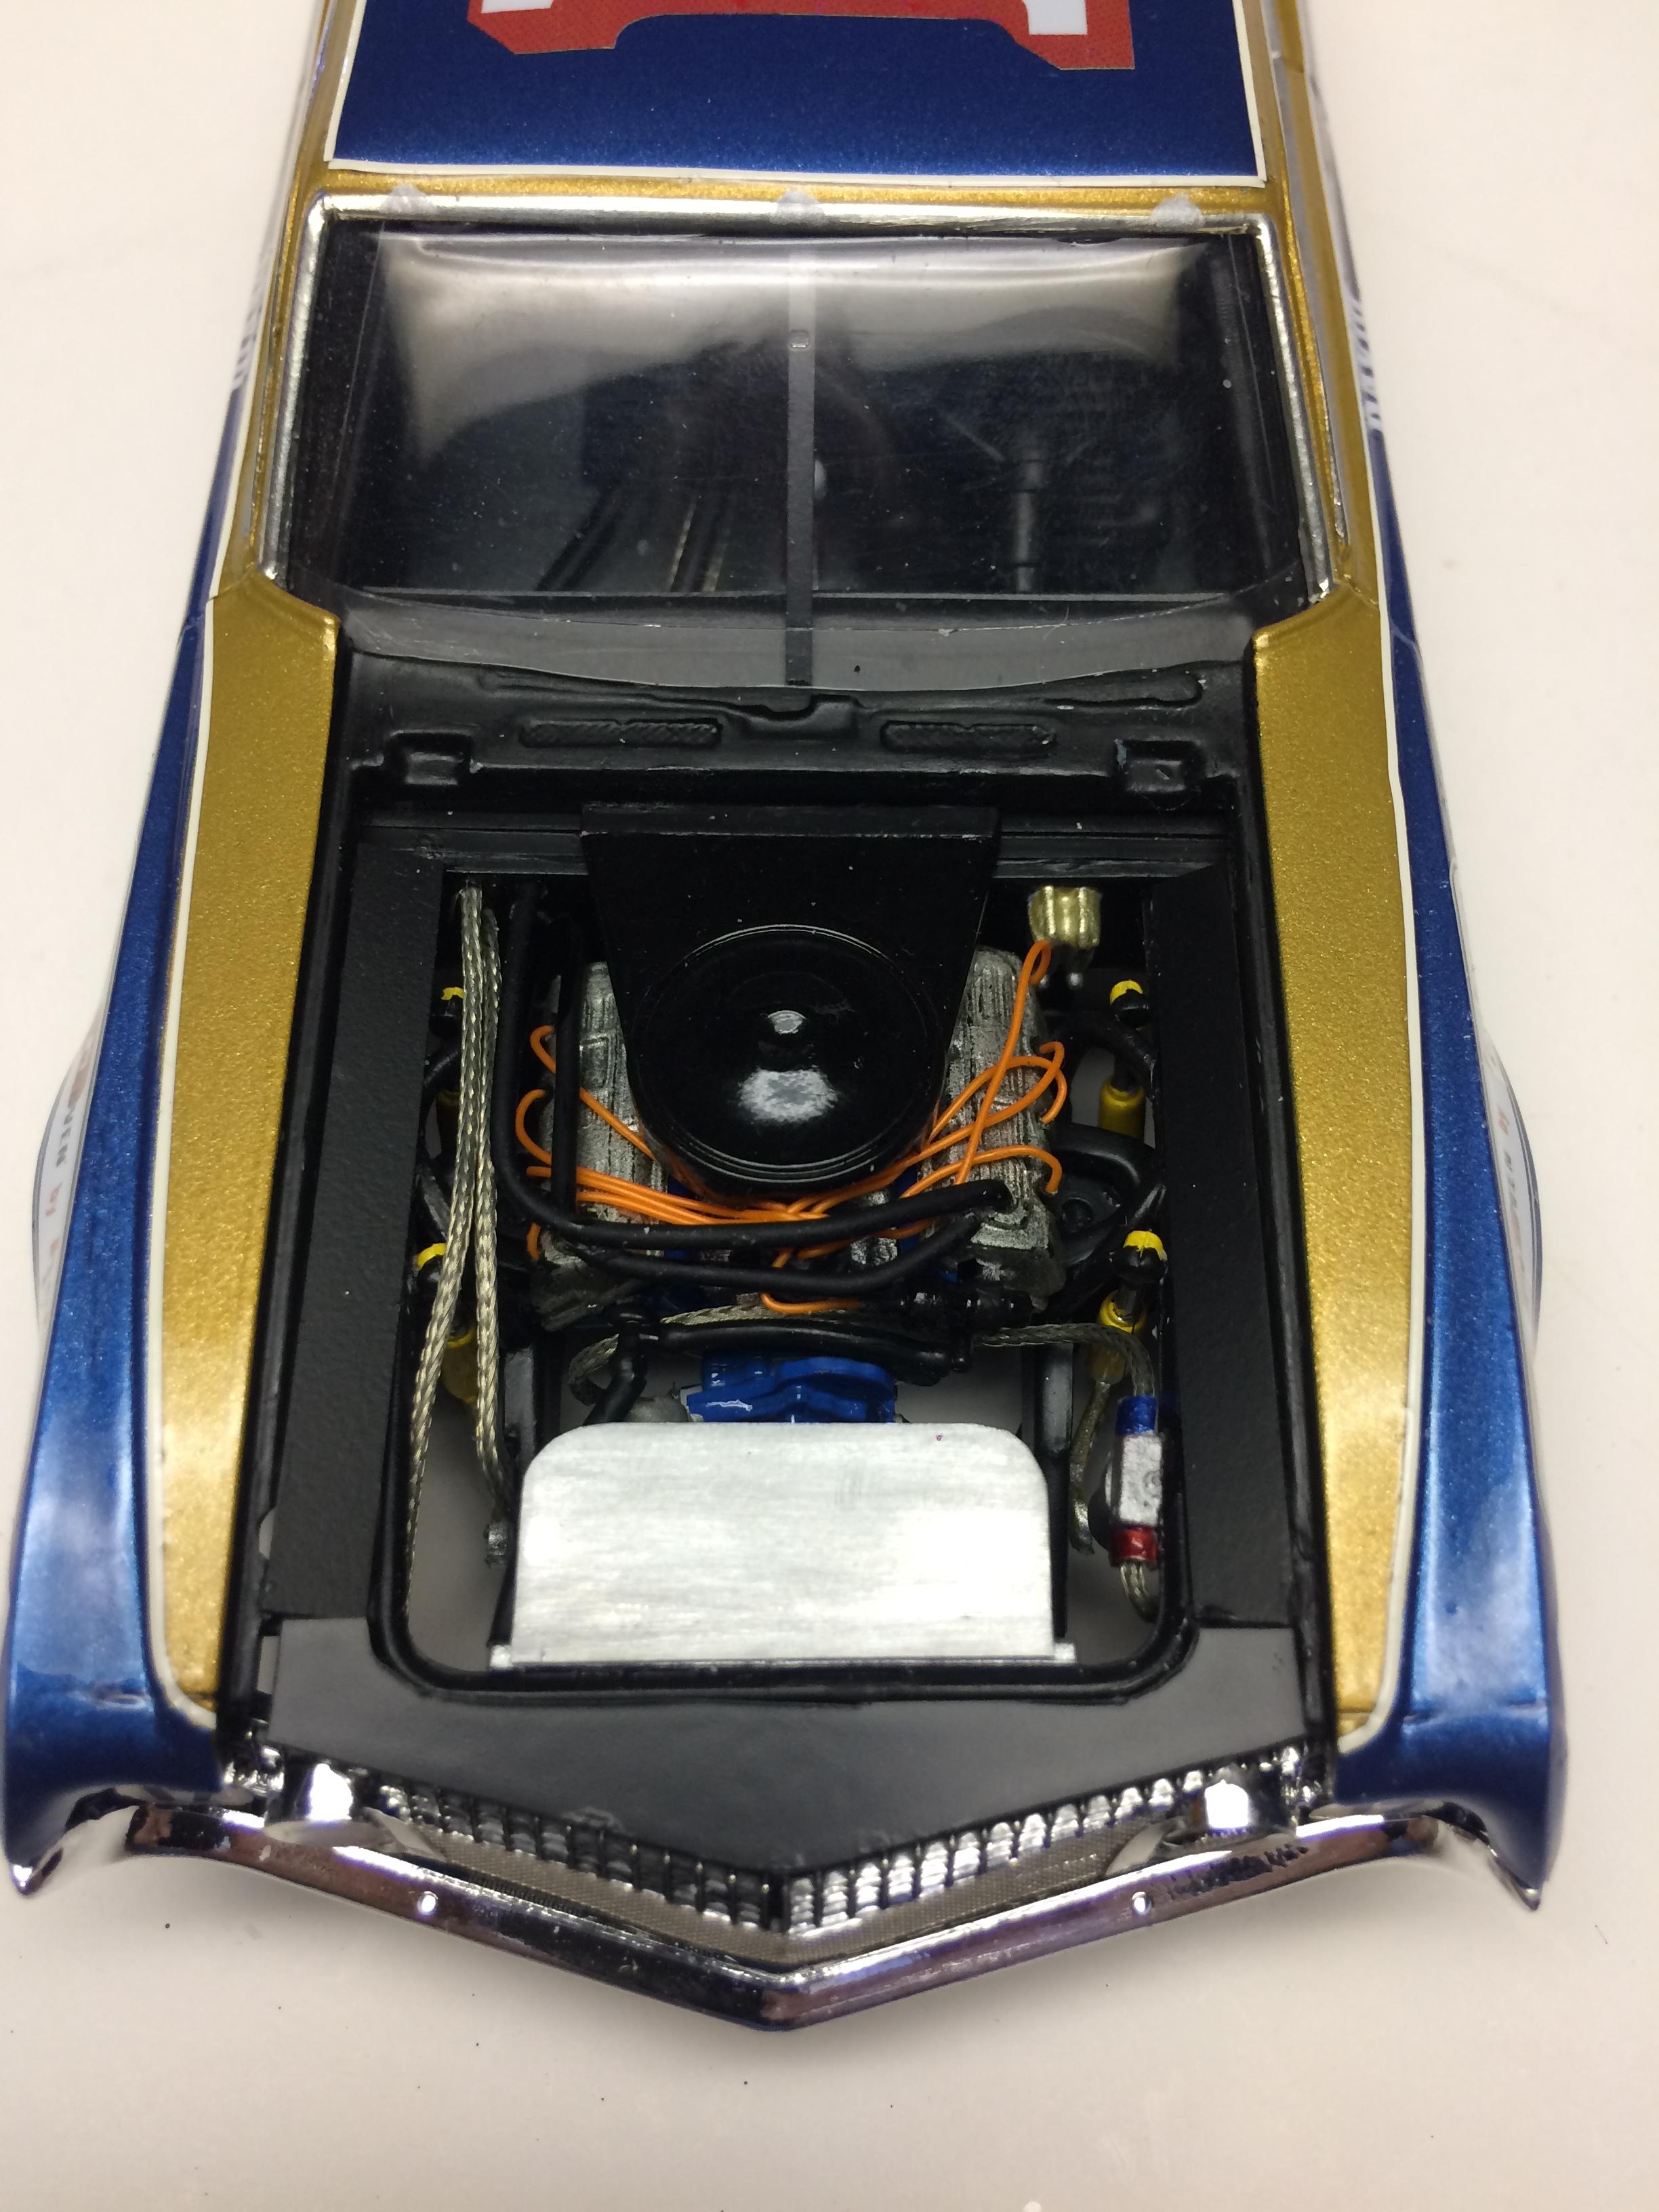
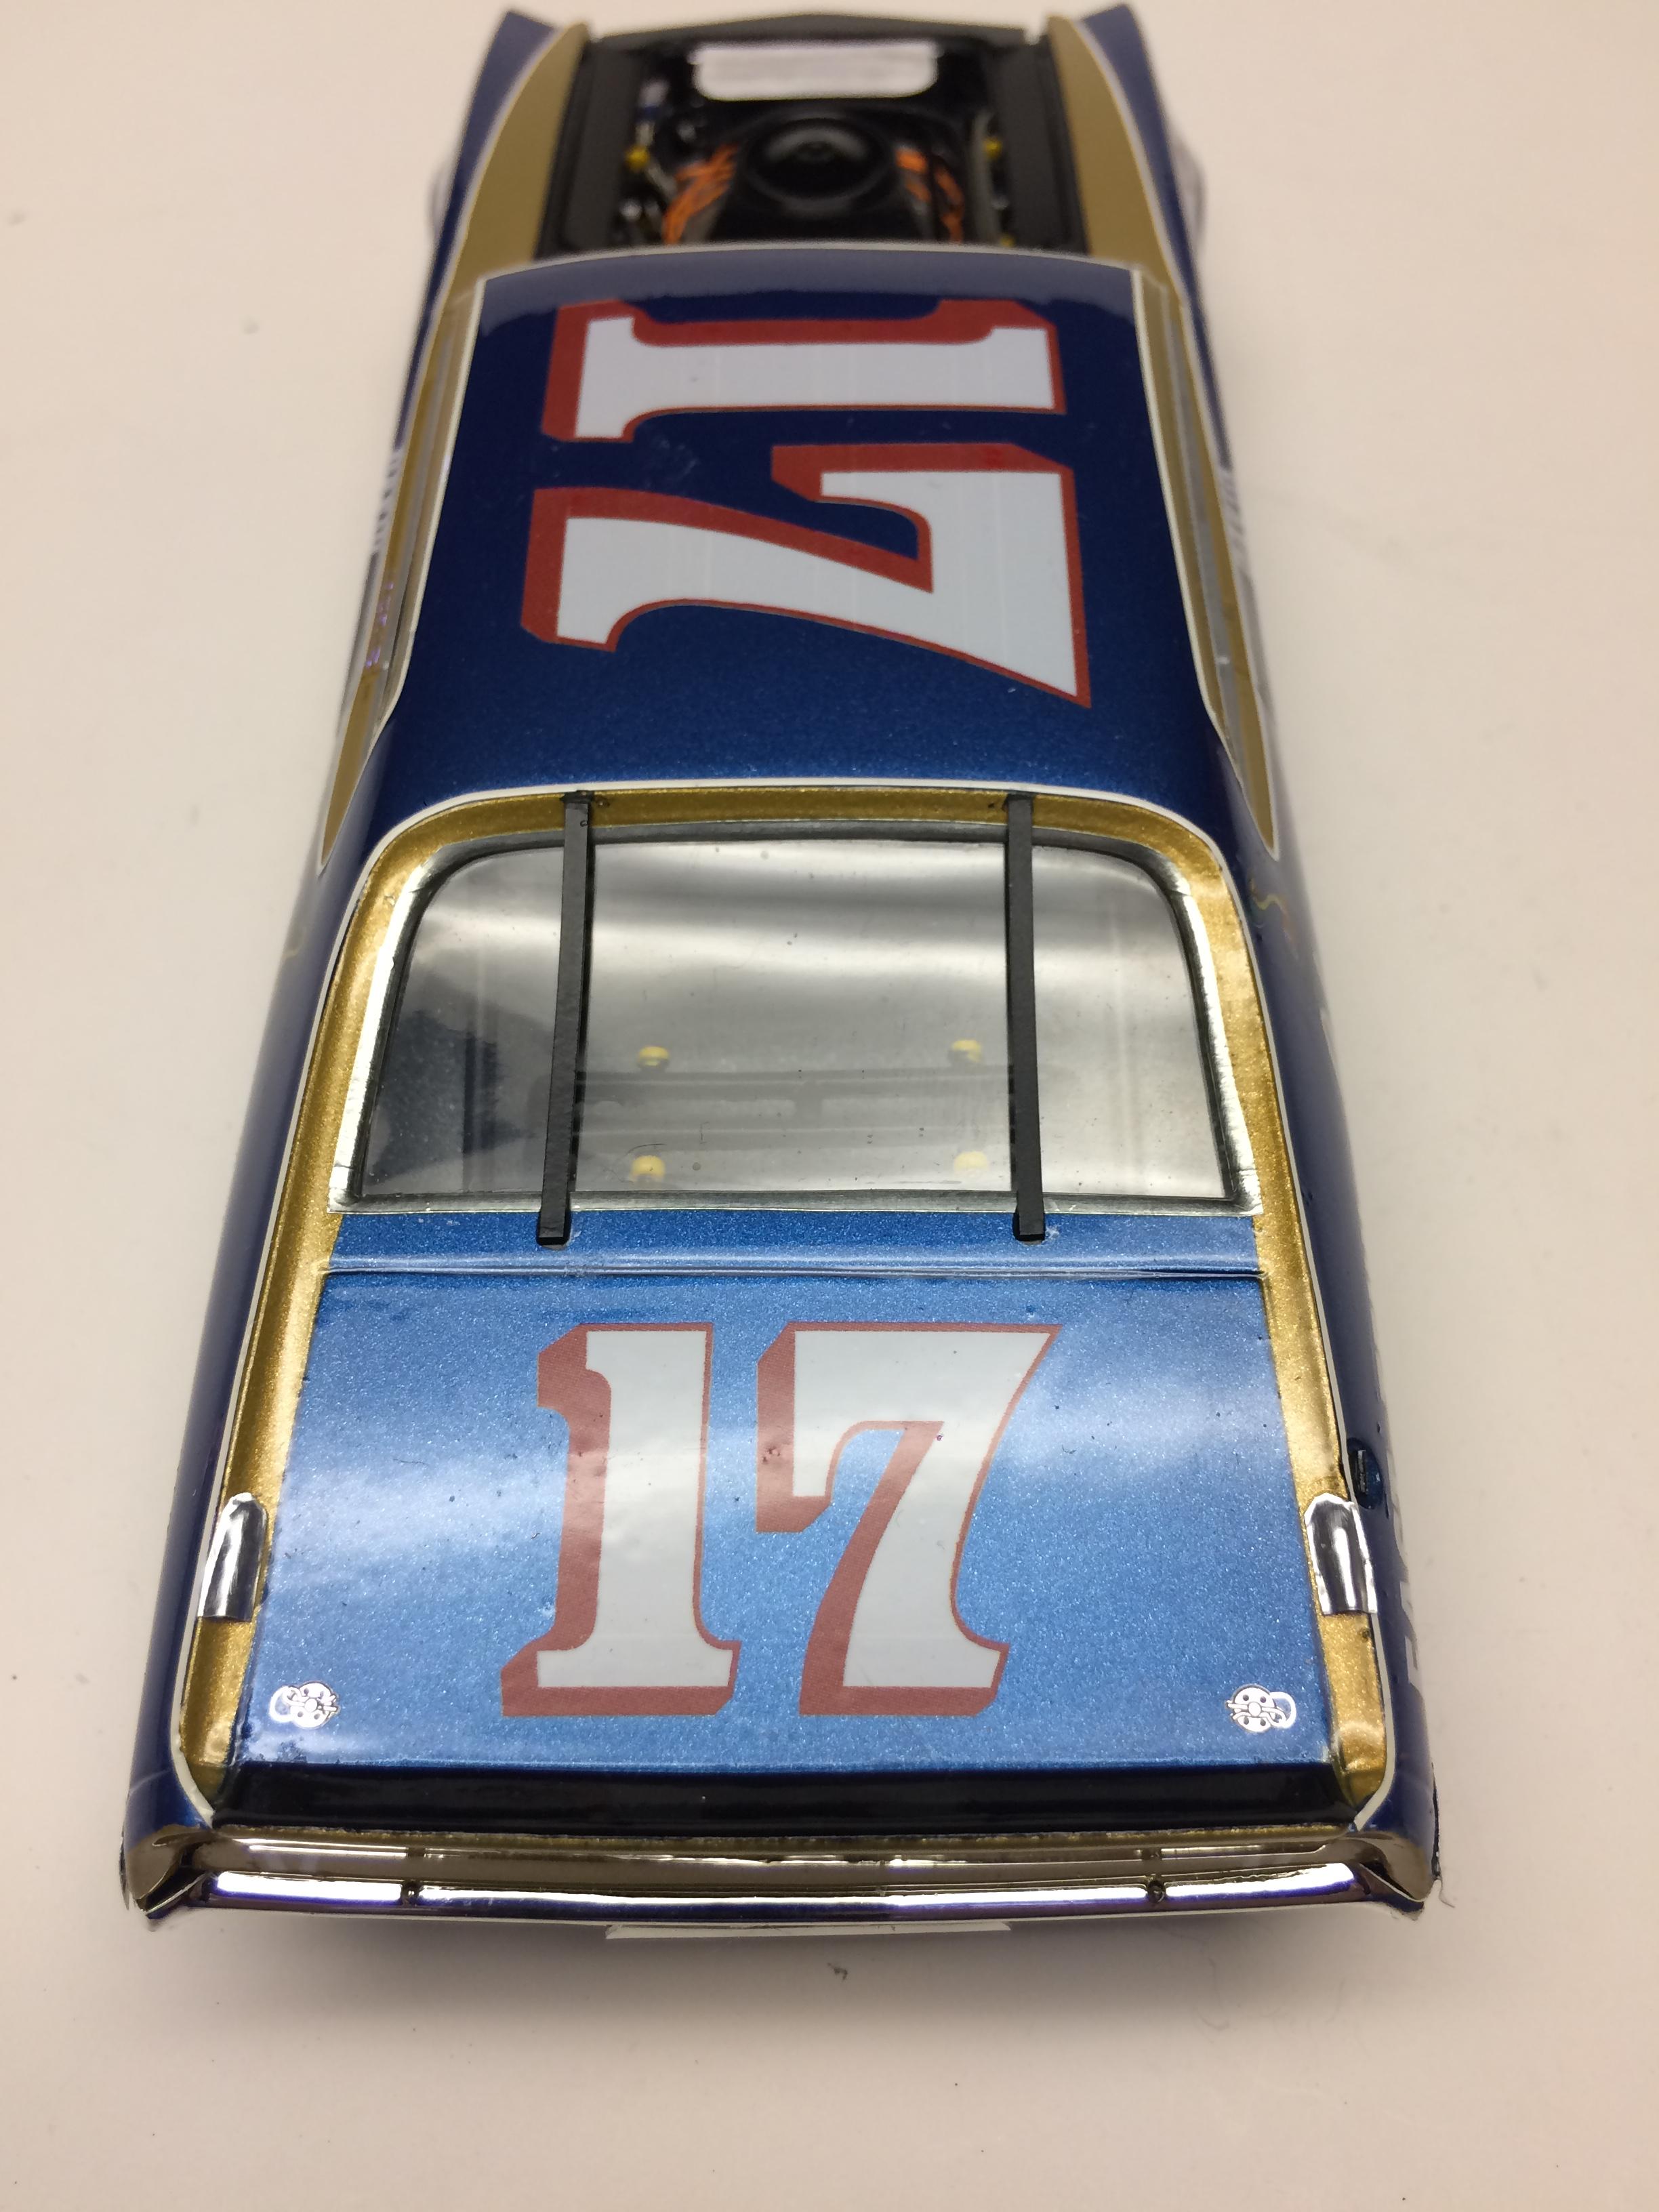
This is David’s 70 Holman-Moody Riverside 500 car. Revell body Polar Lights Chassis. Lots of scratchbuilt parts. PPP wheels and tires custom decals. 1970 Acapulco blue and bright gold. A coat of yellow candy over the gold.

-
It only took about 4 tries too. This whole car is rough to foil.
-
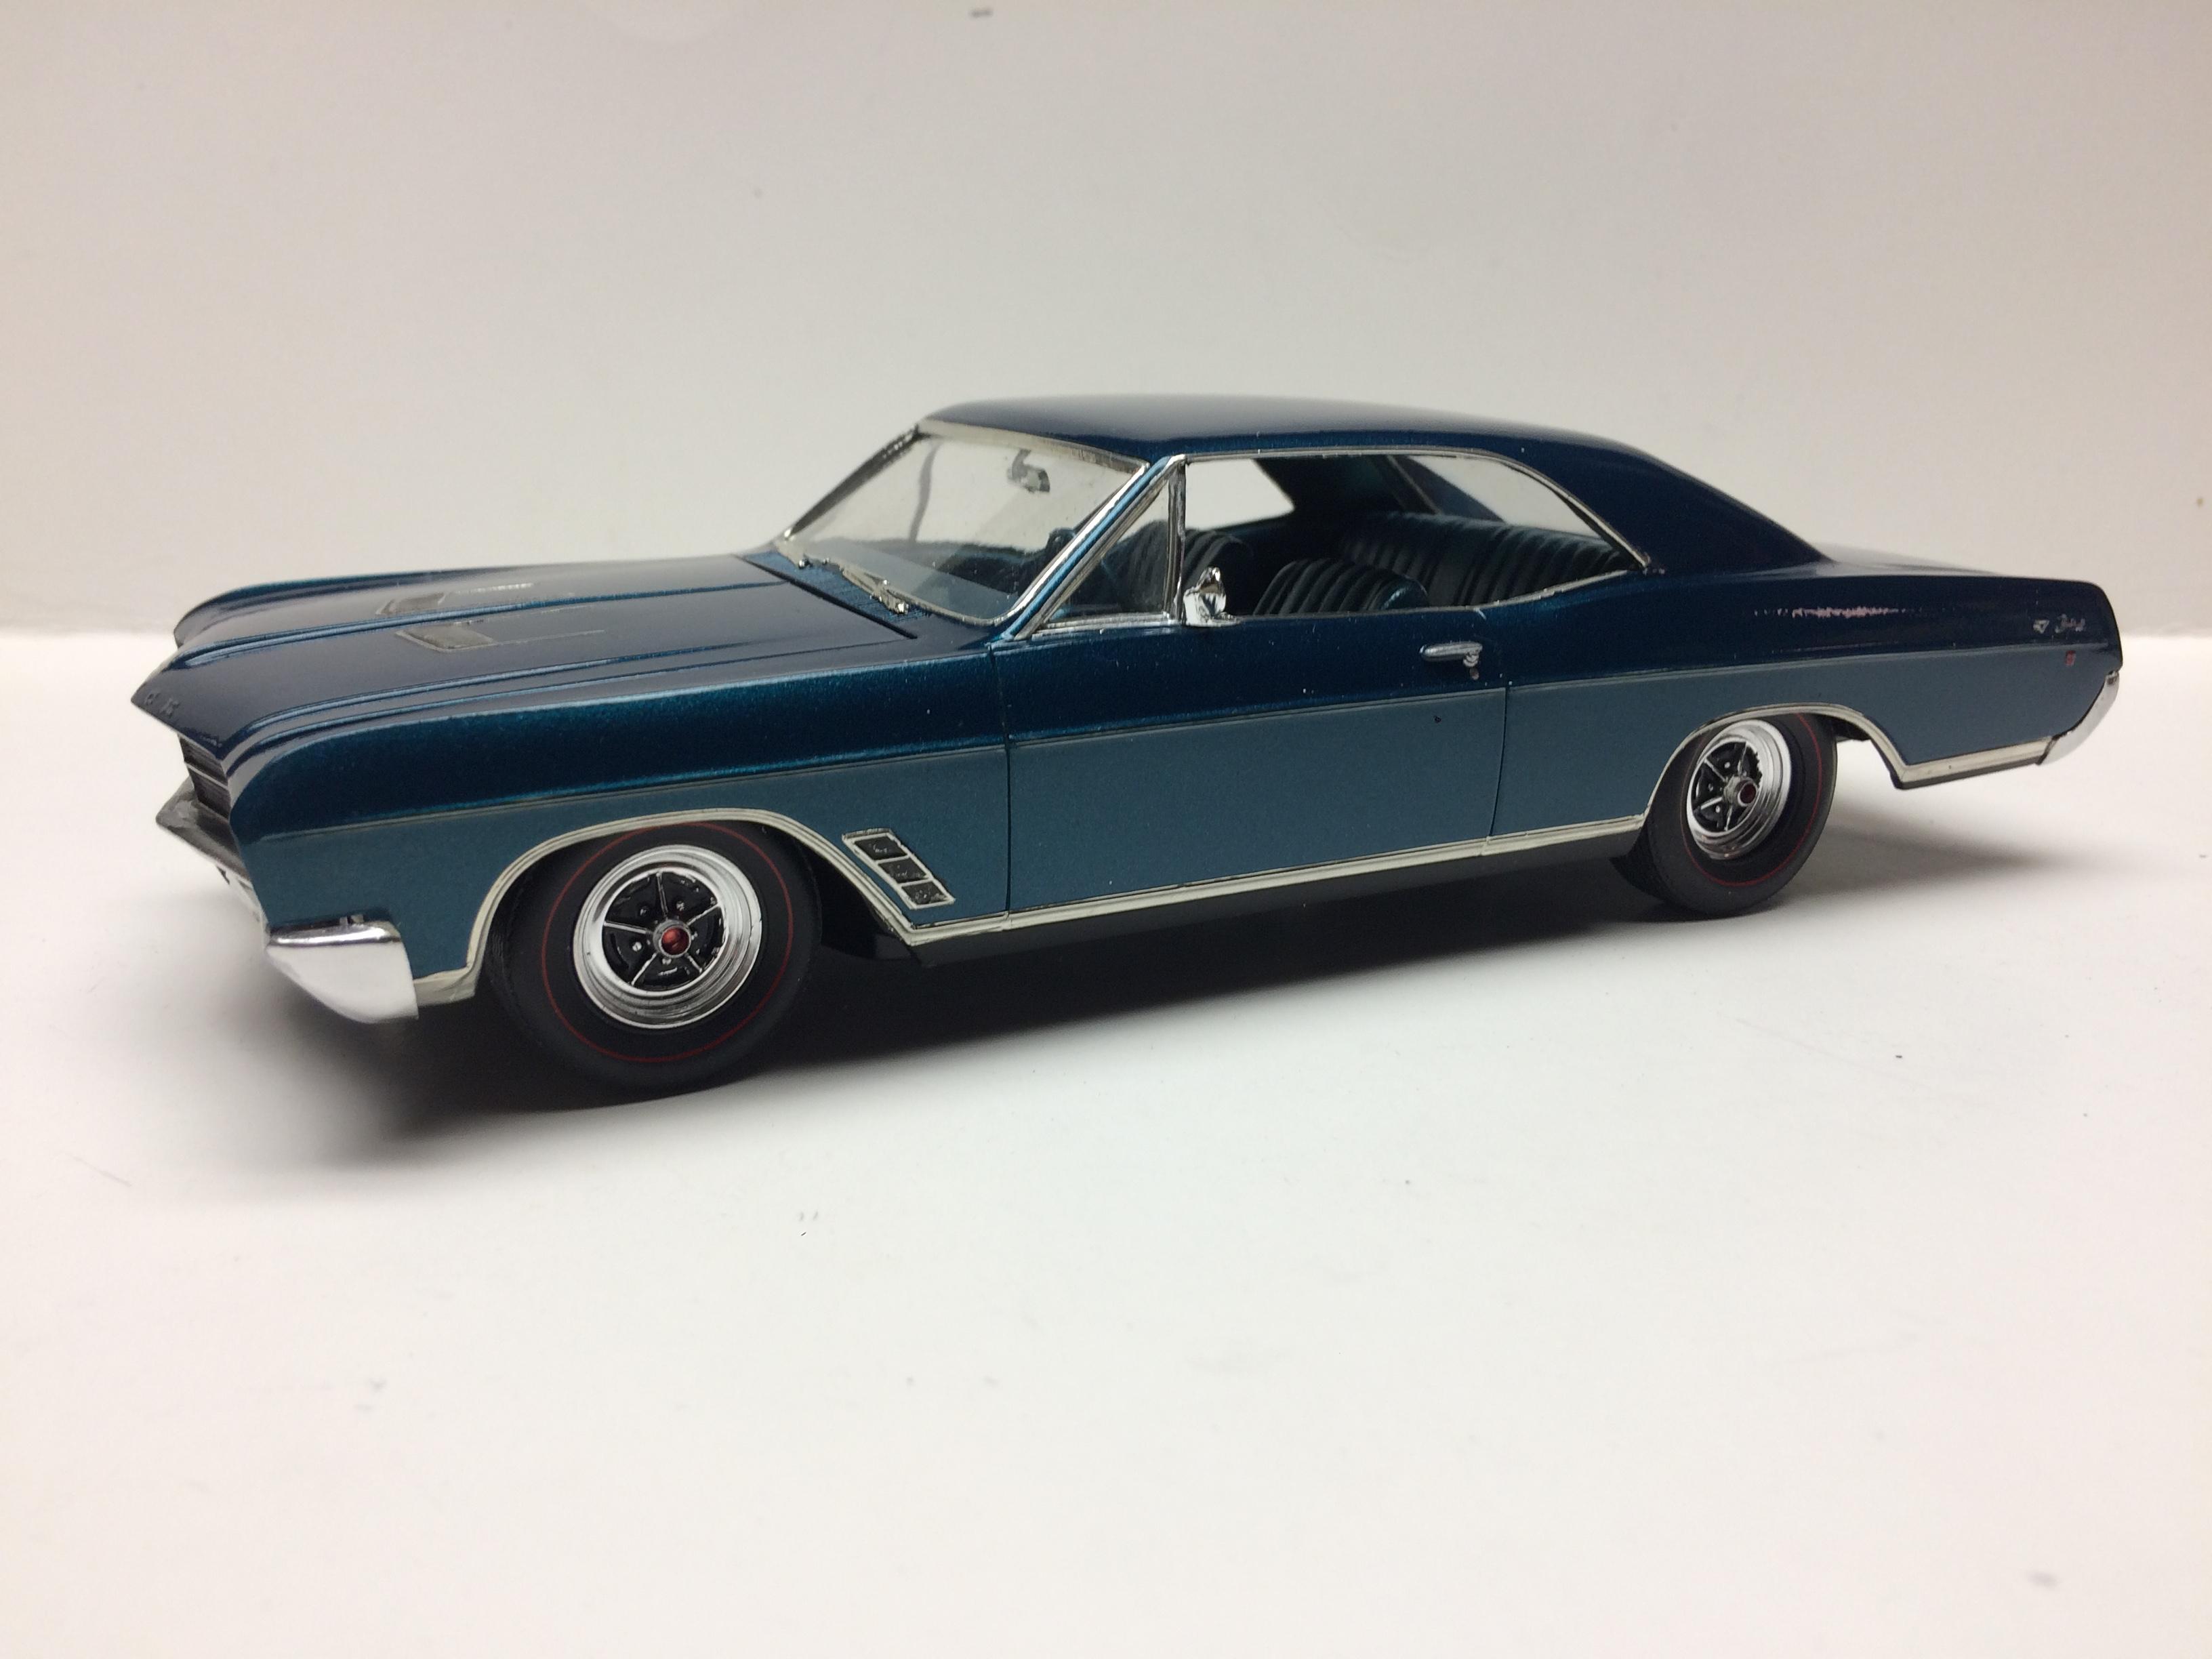
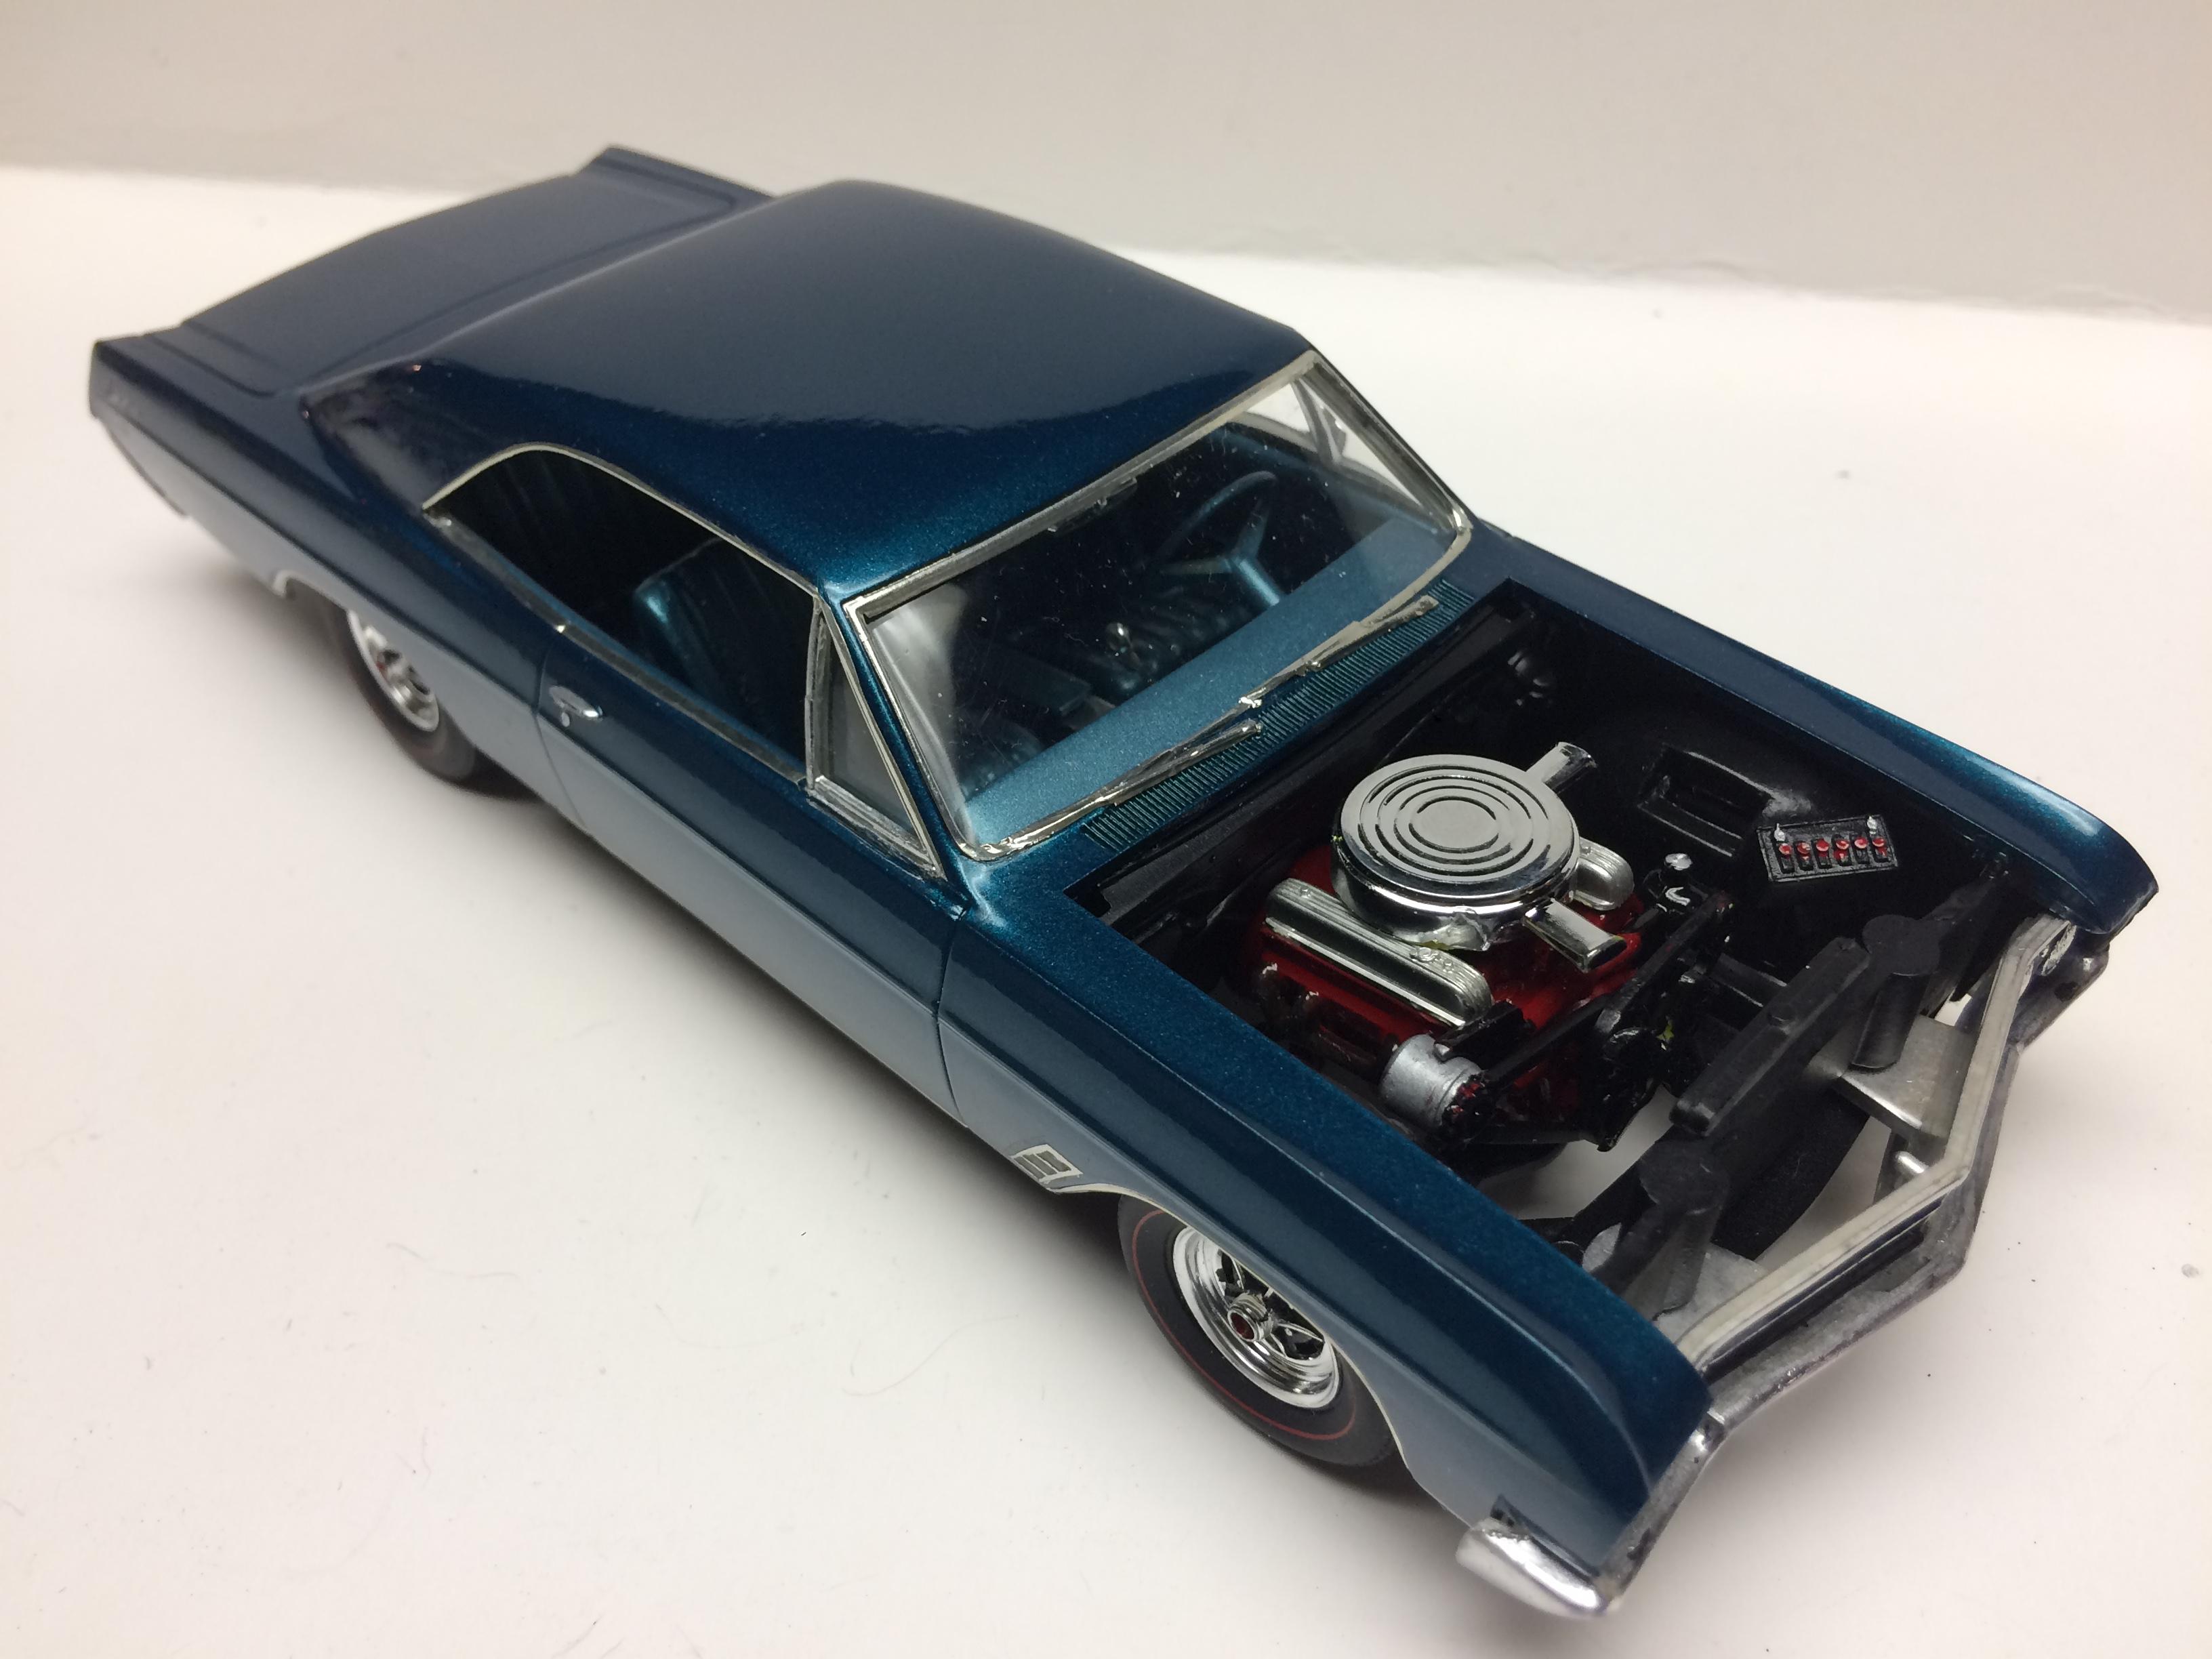
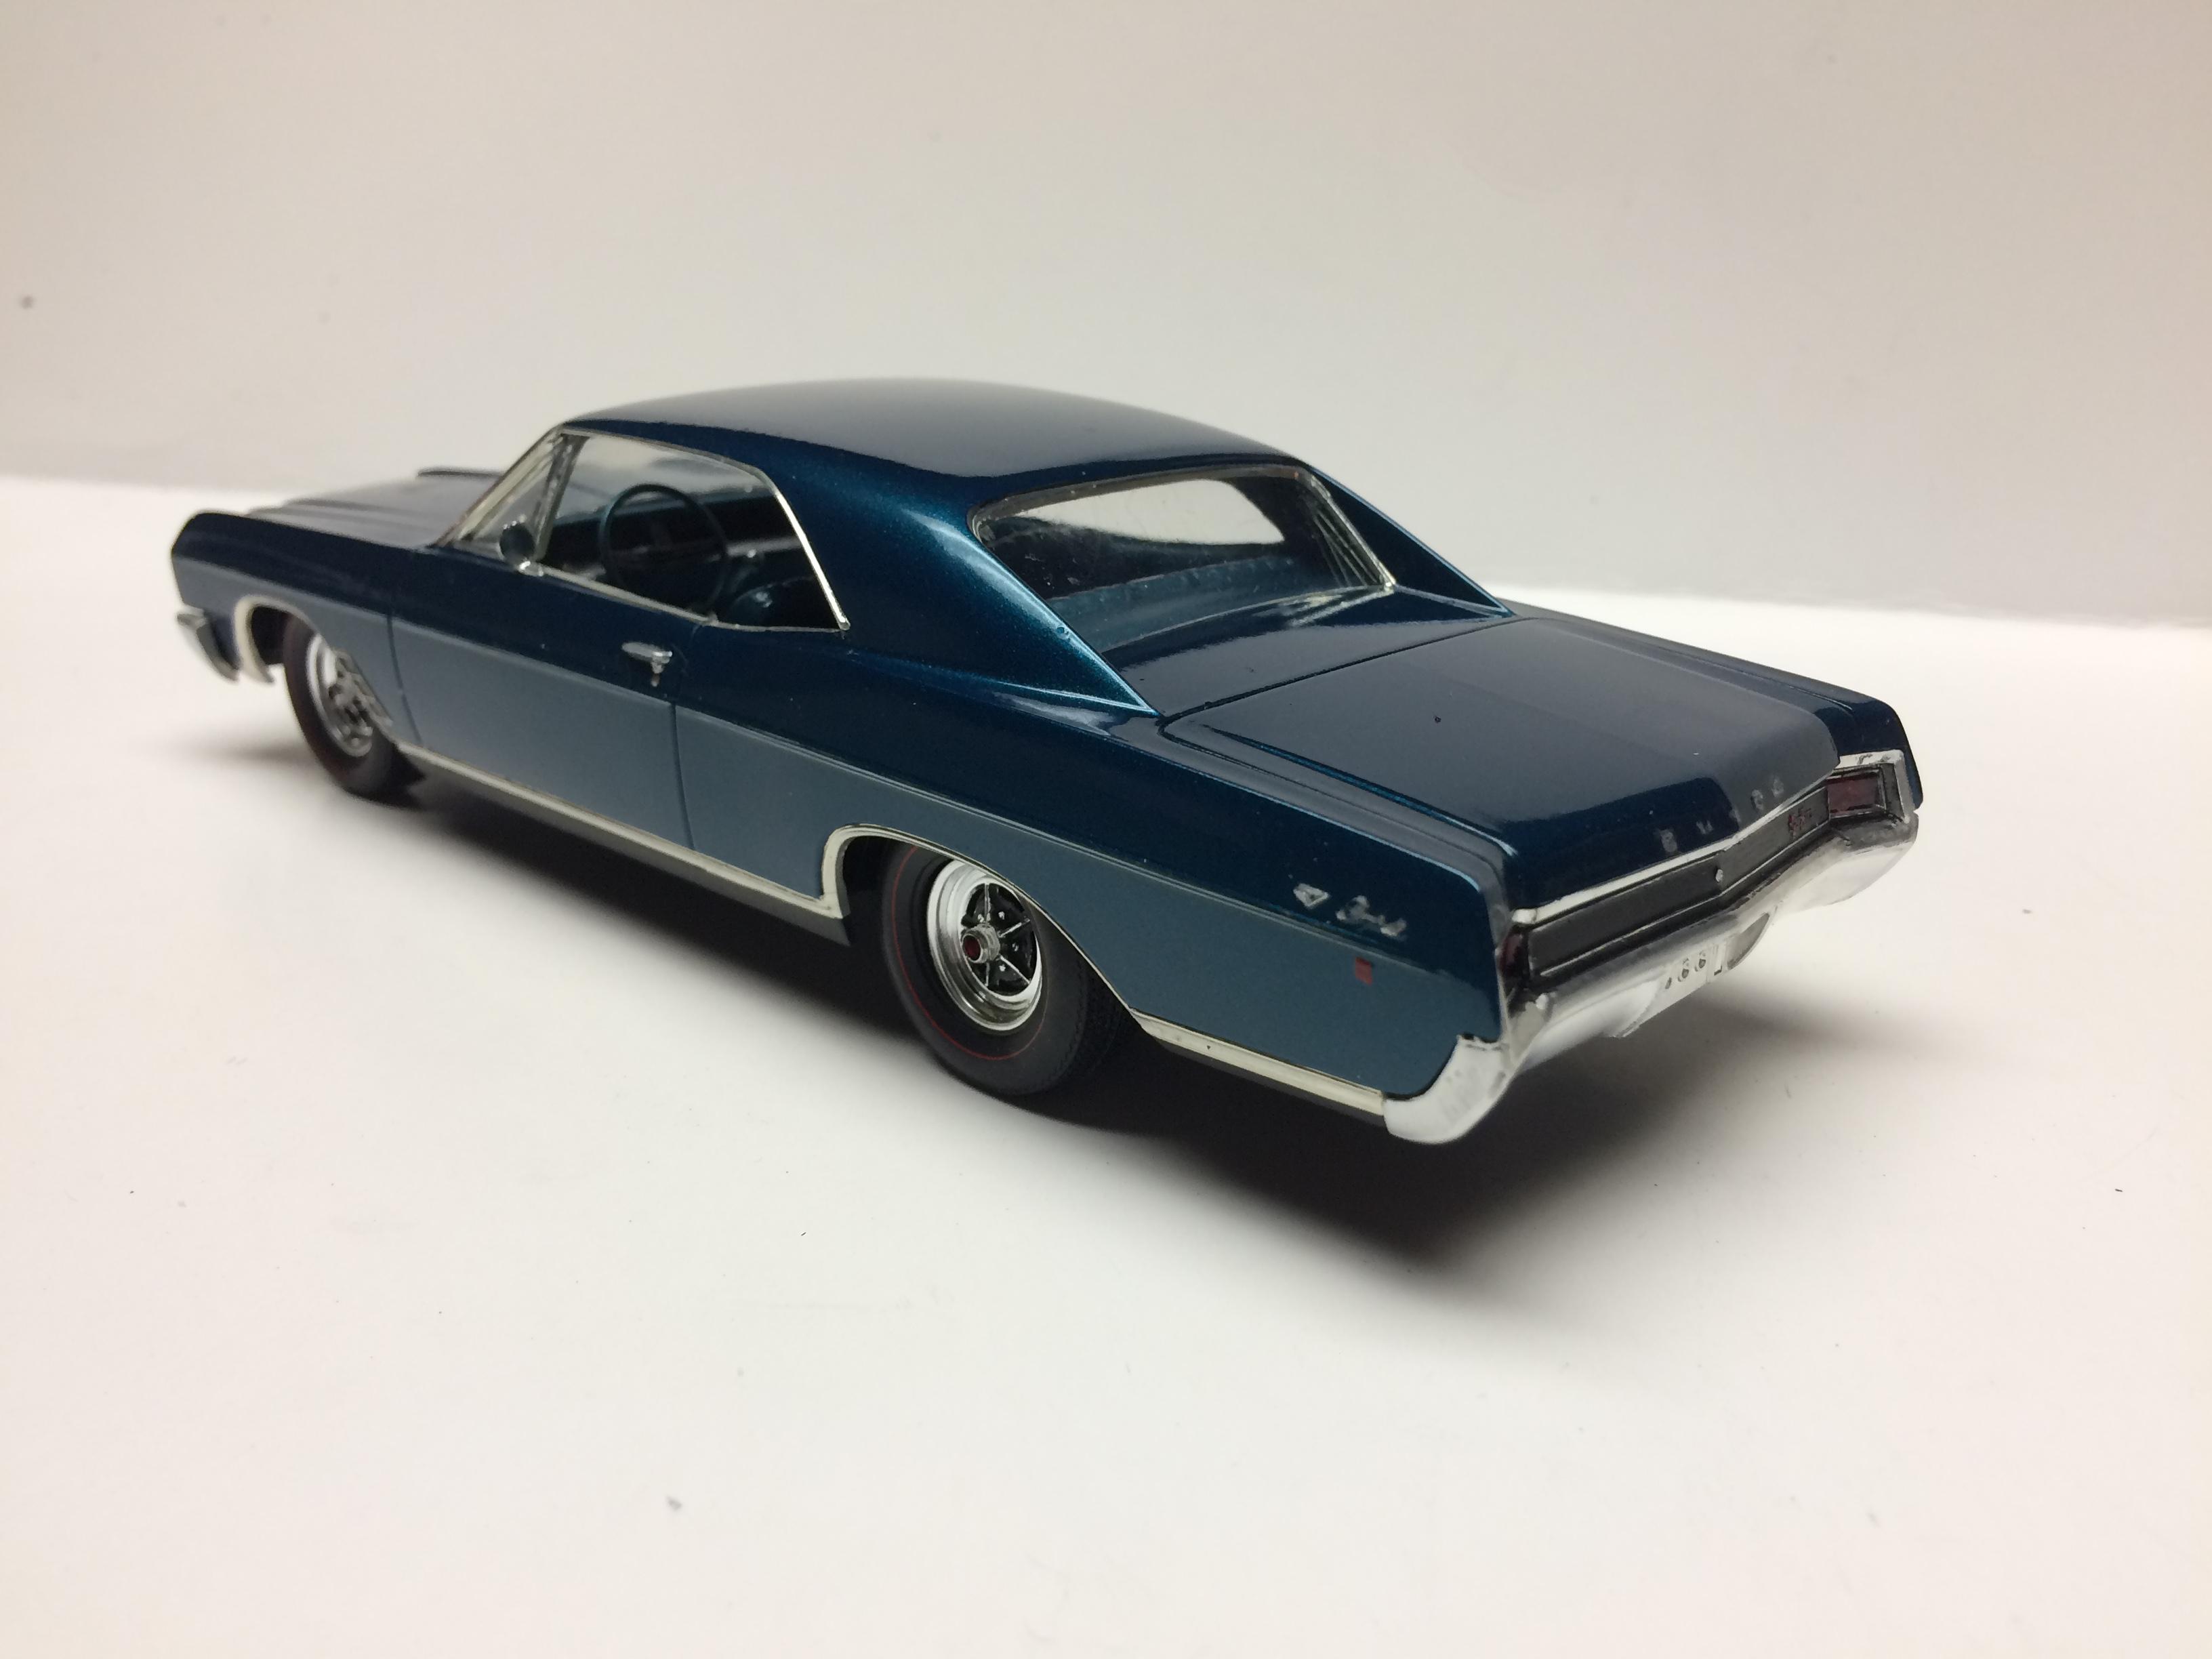
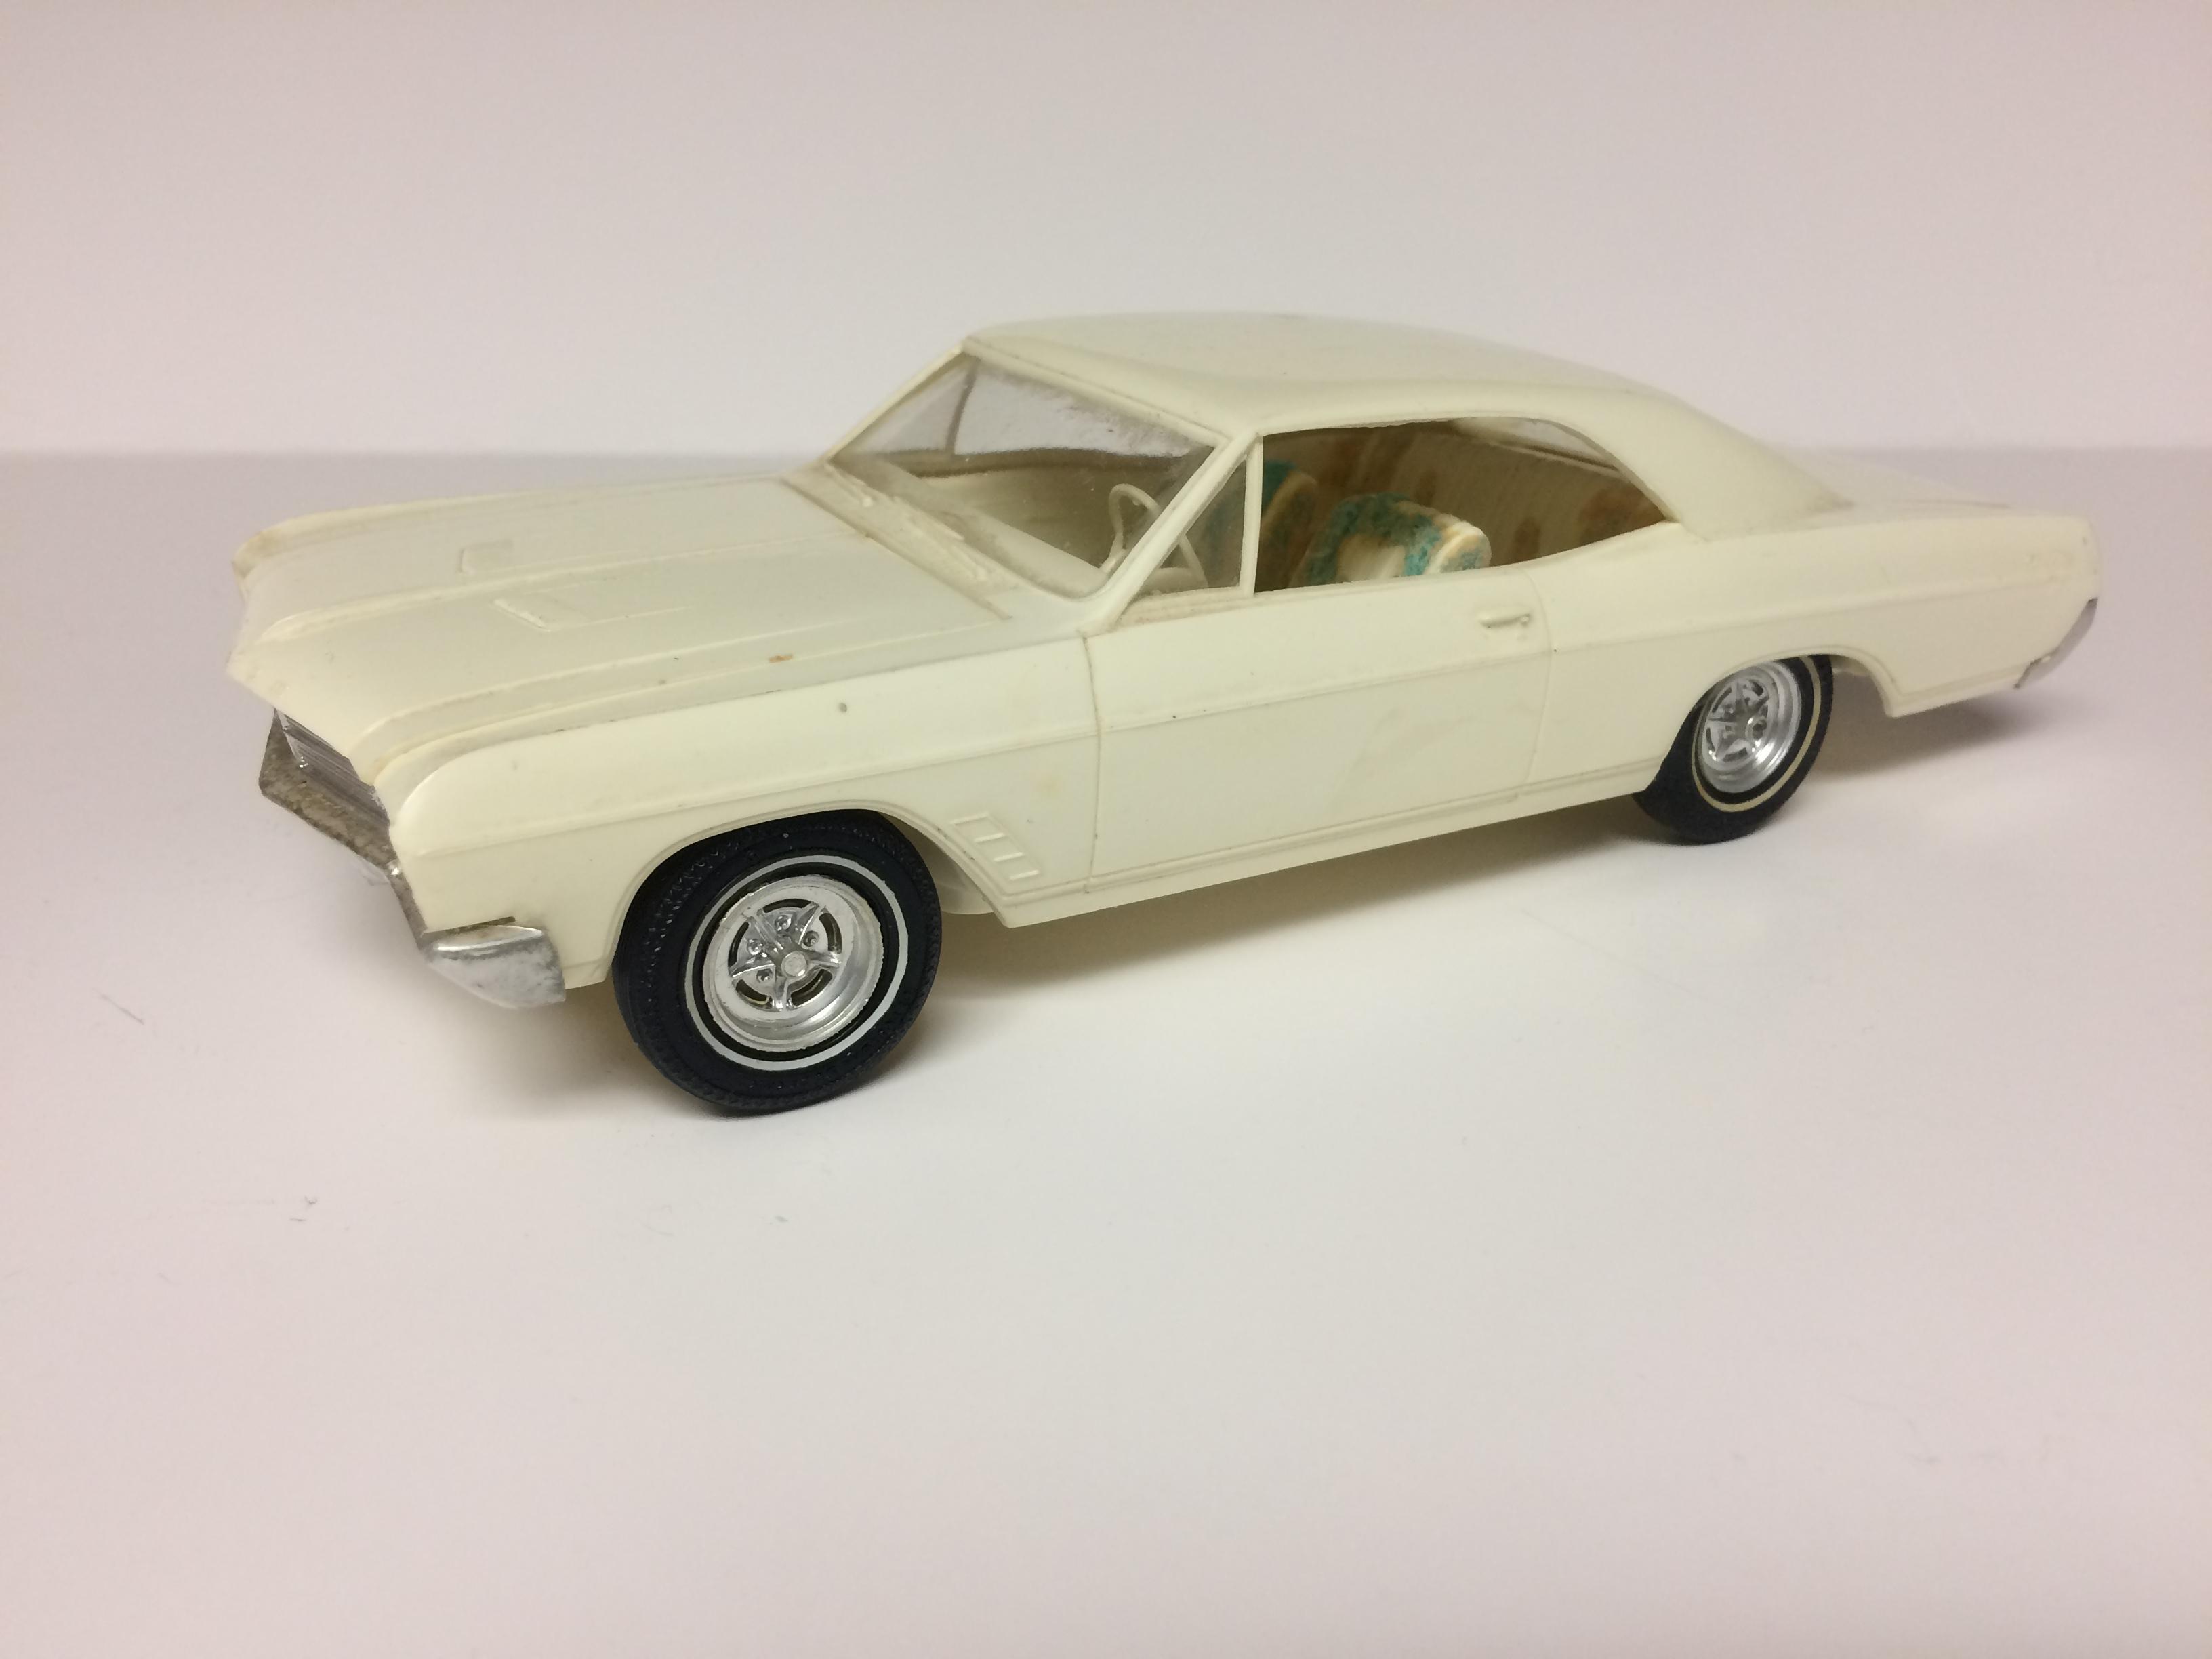
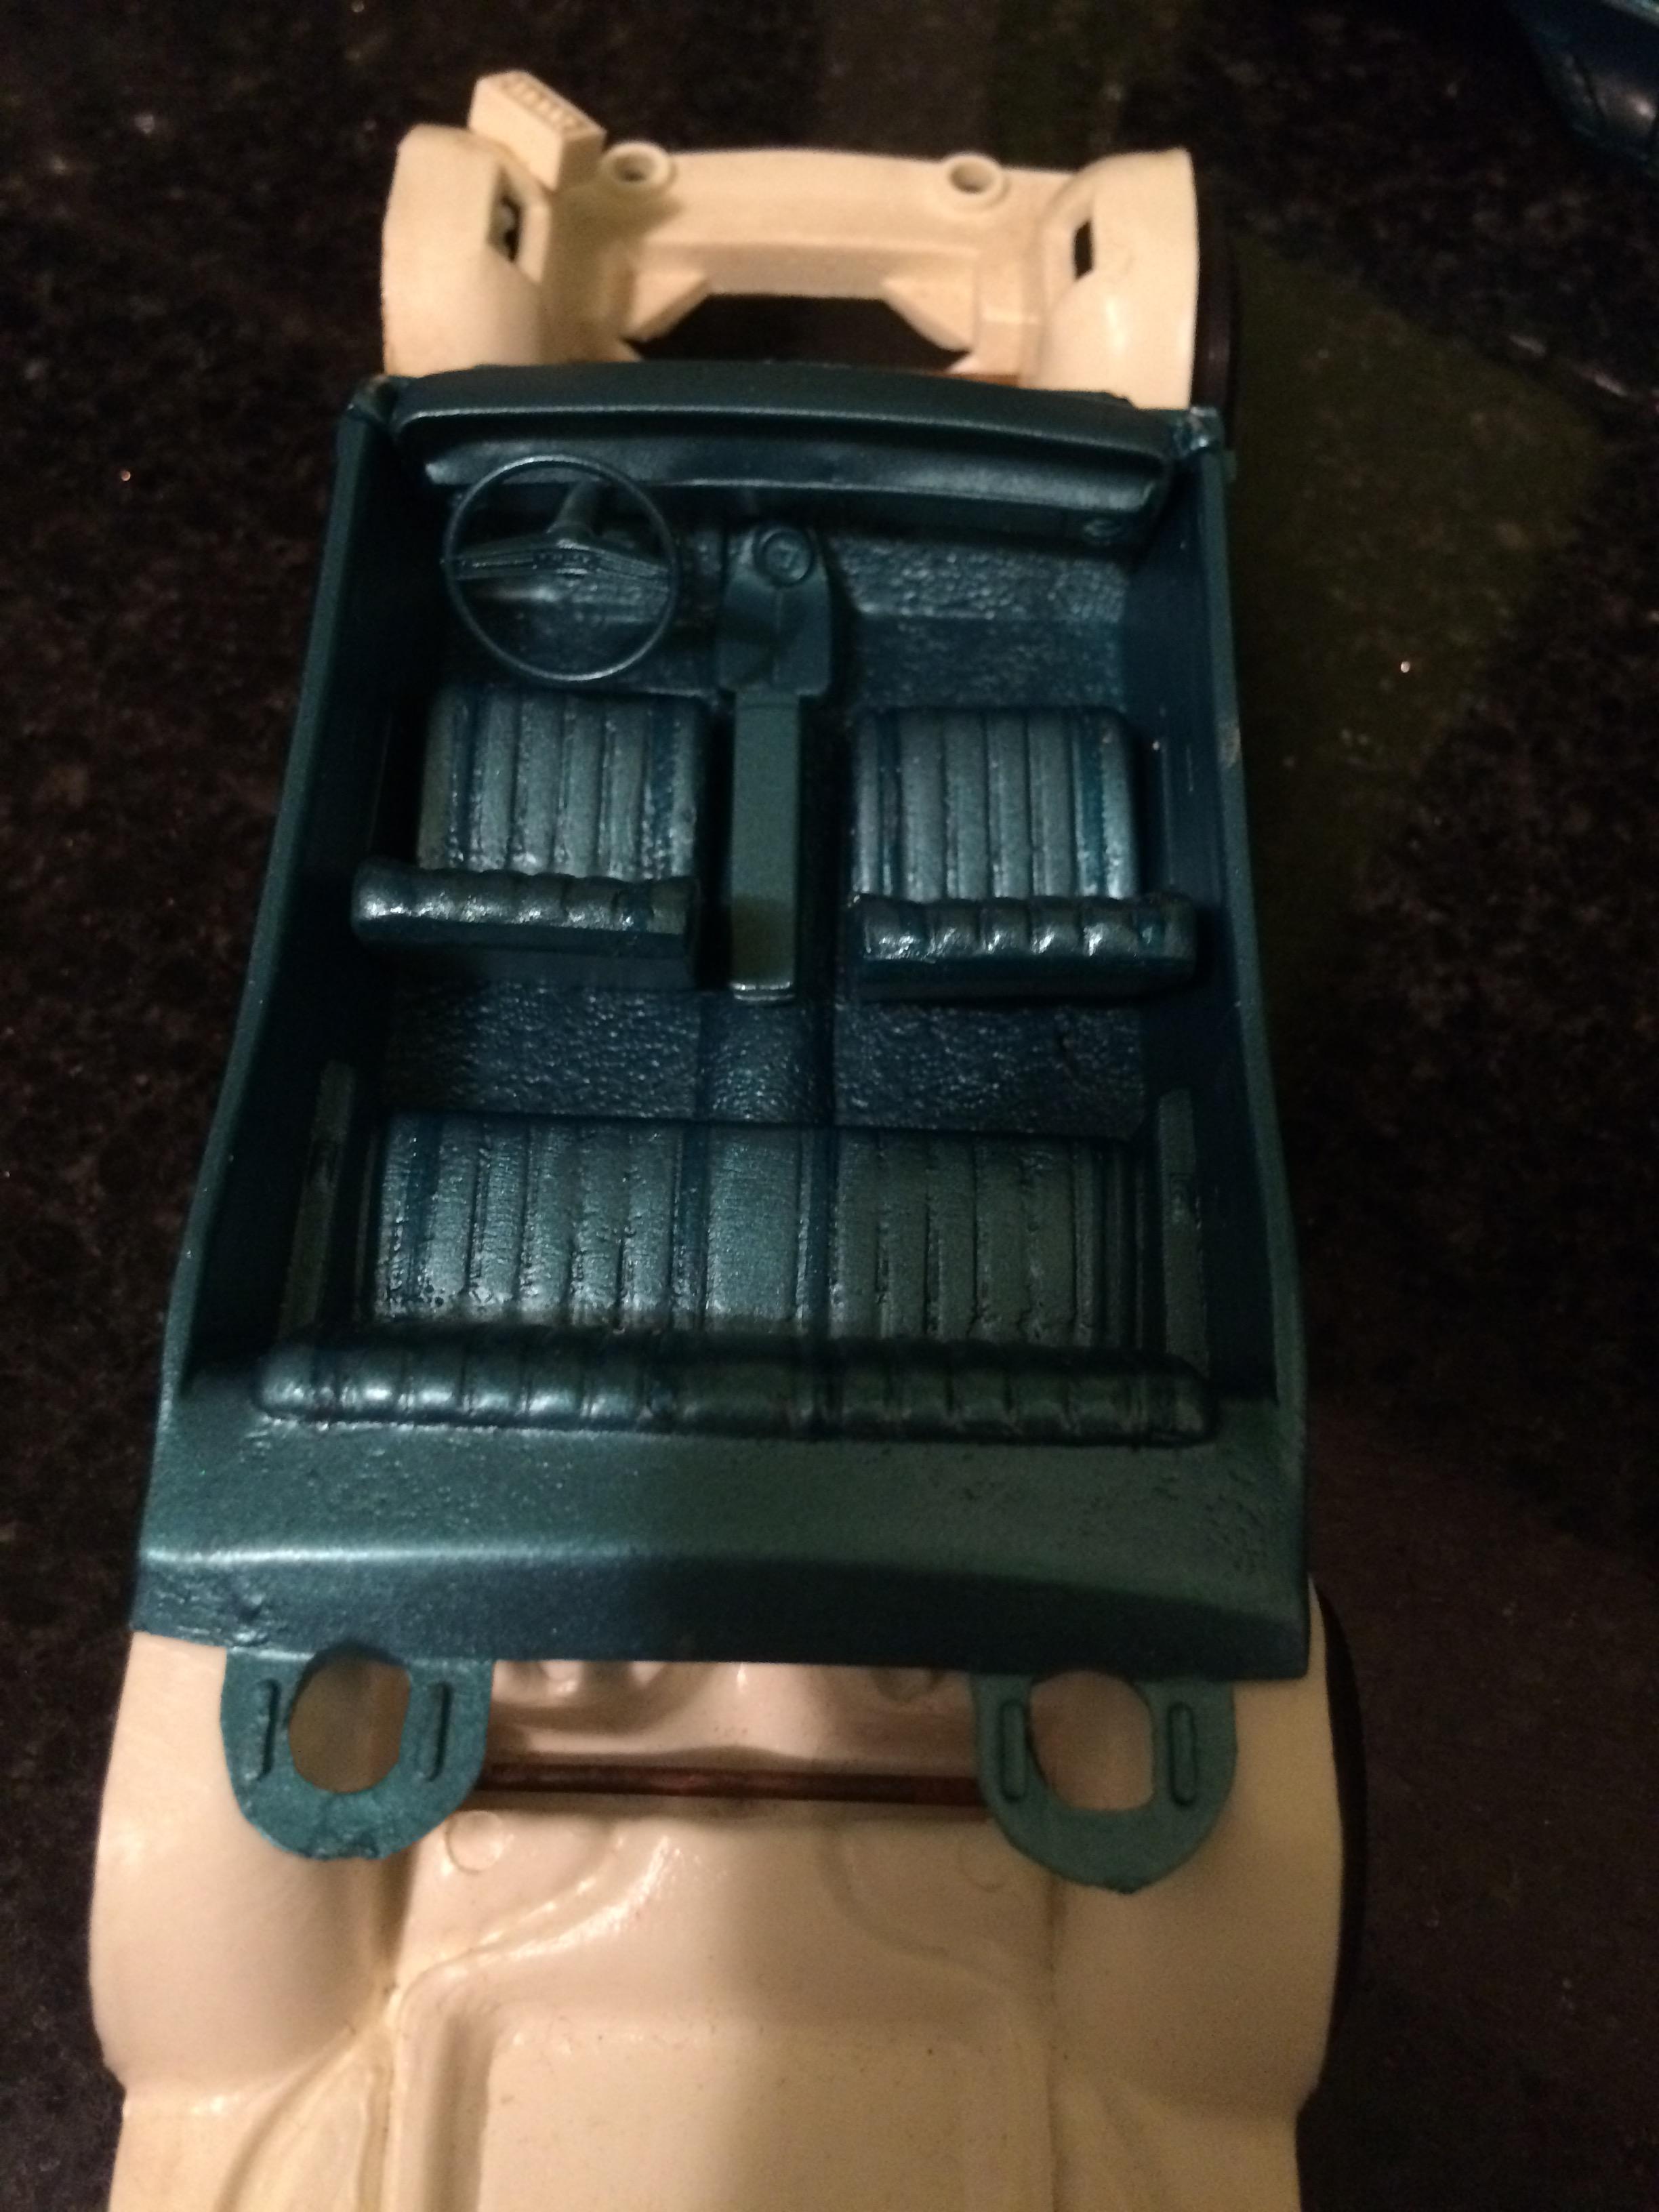
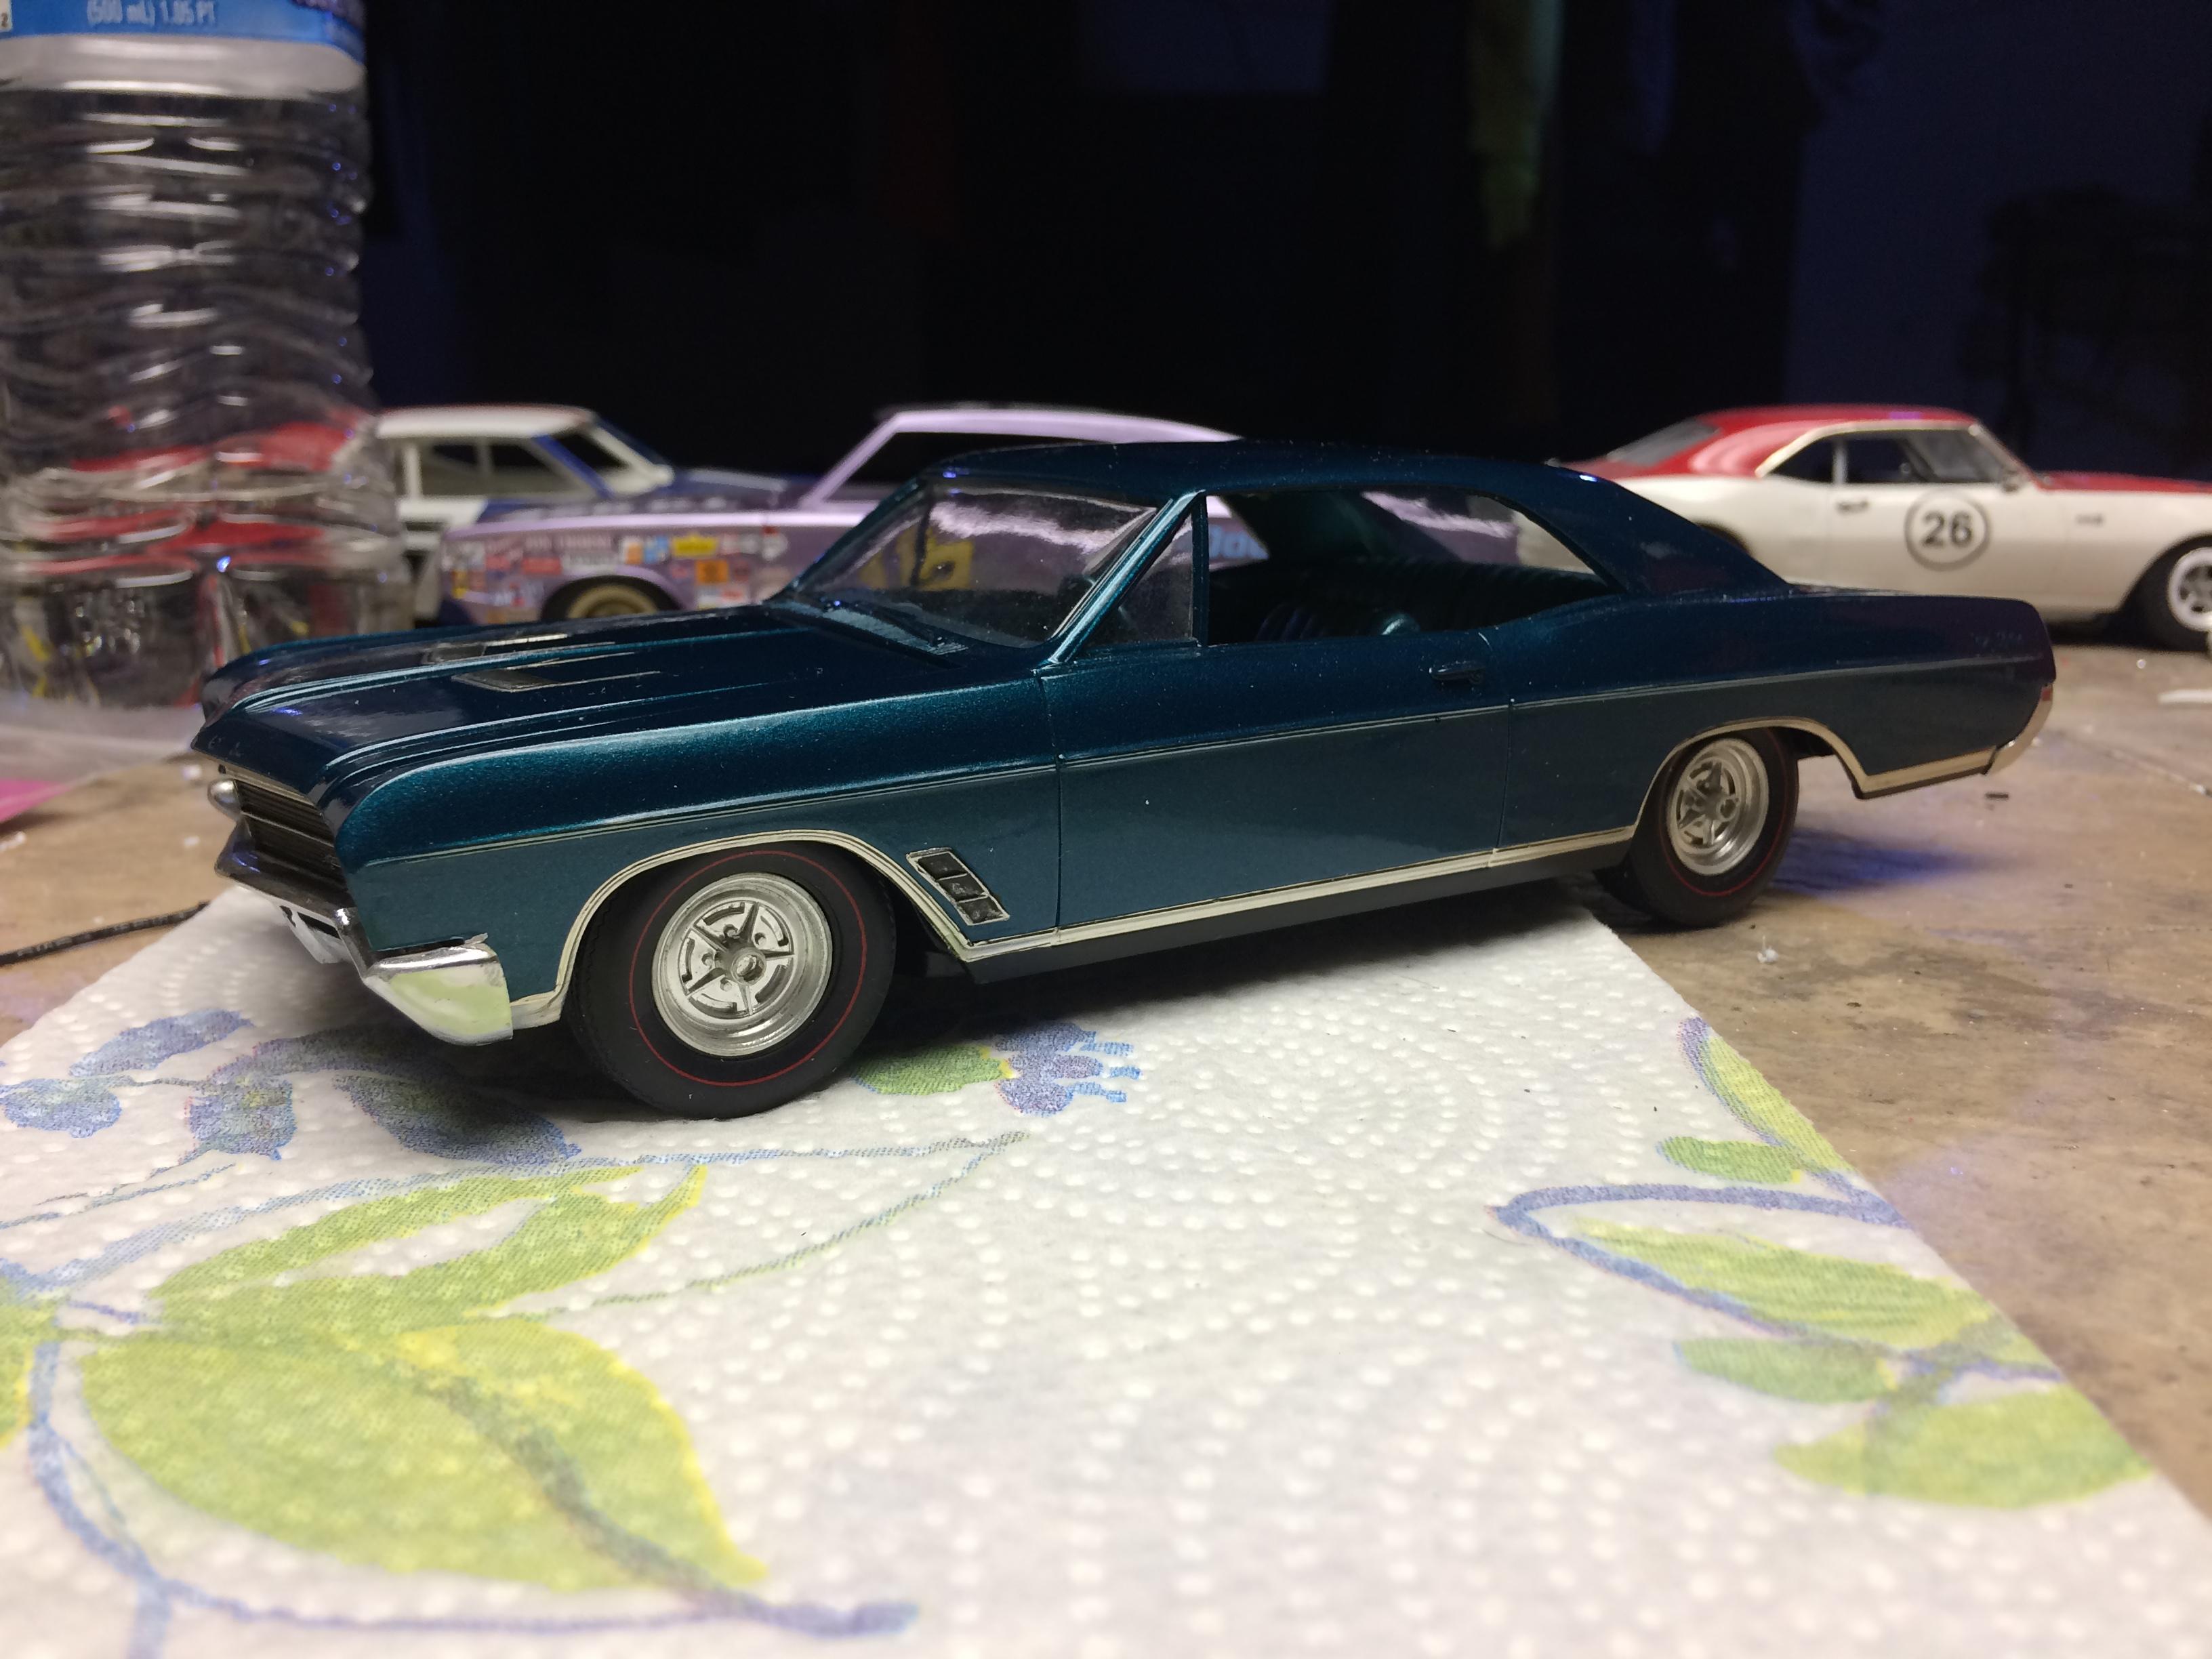
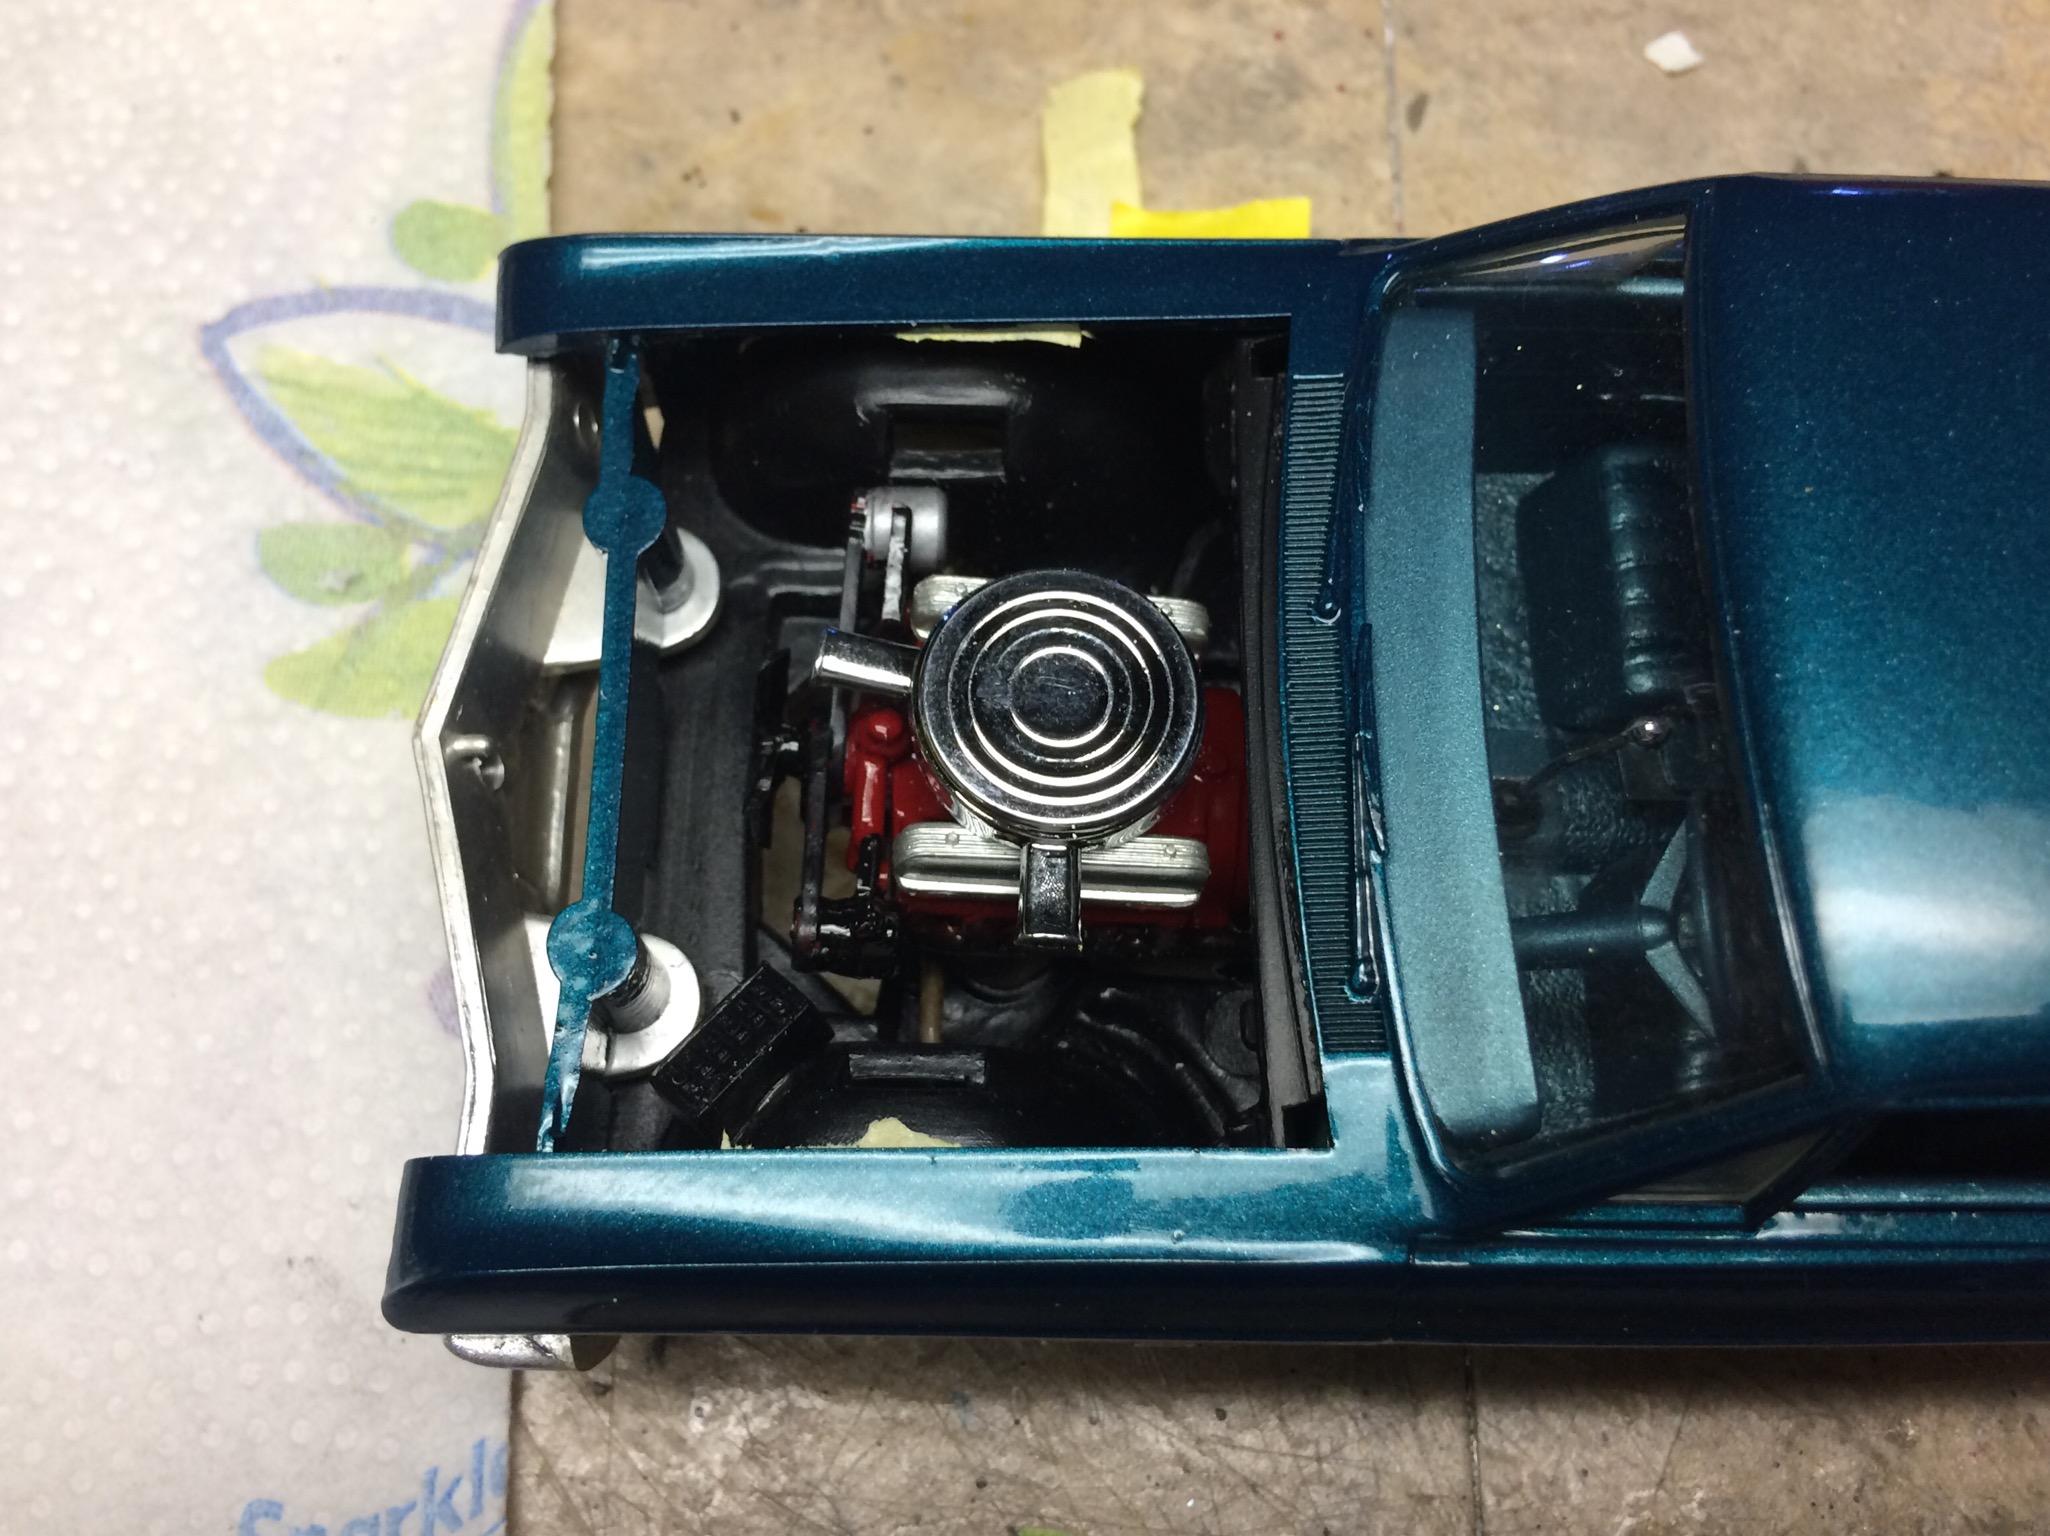
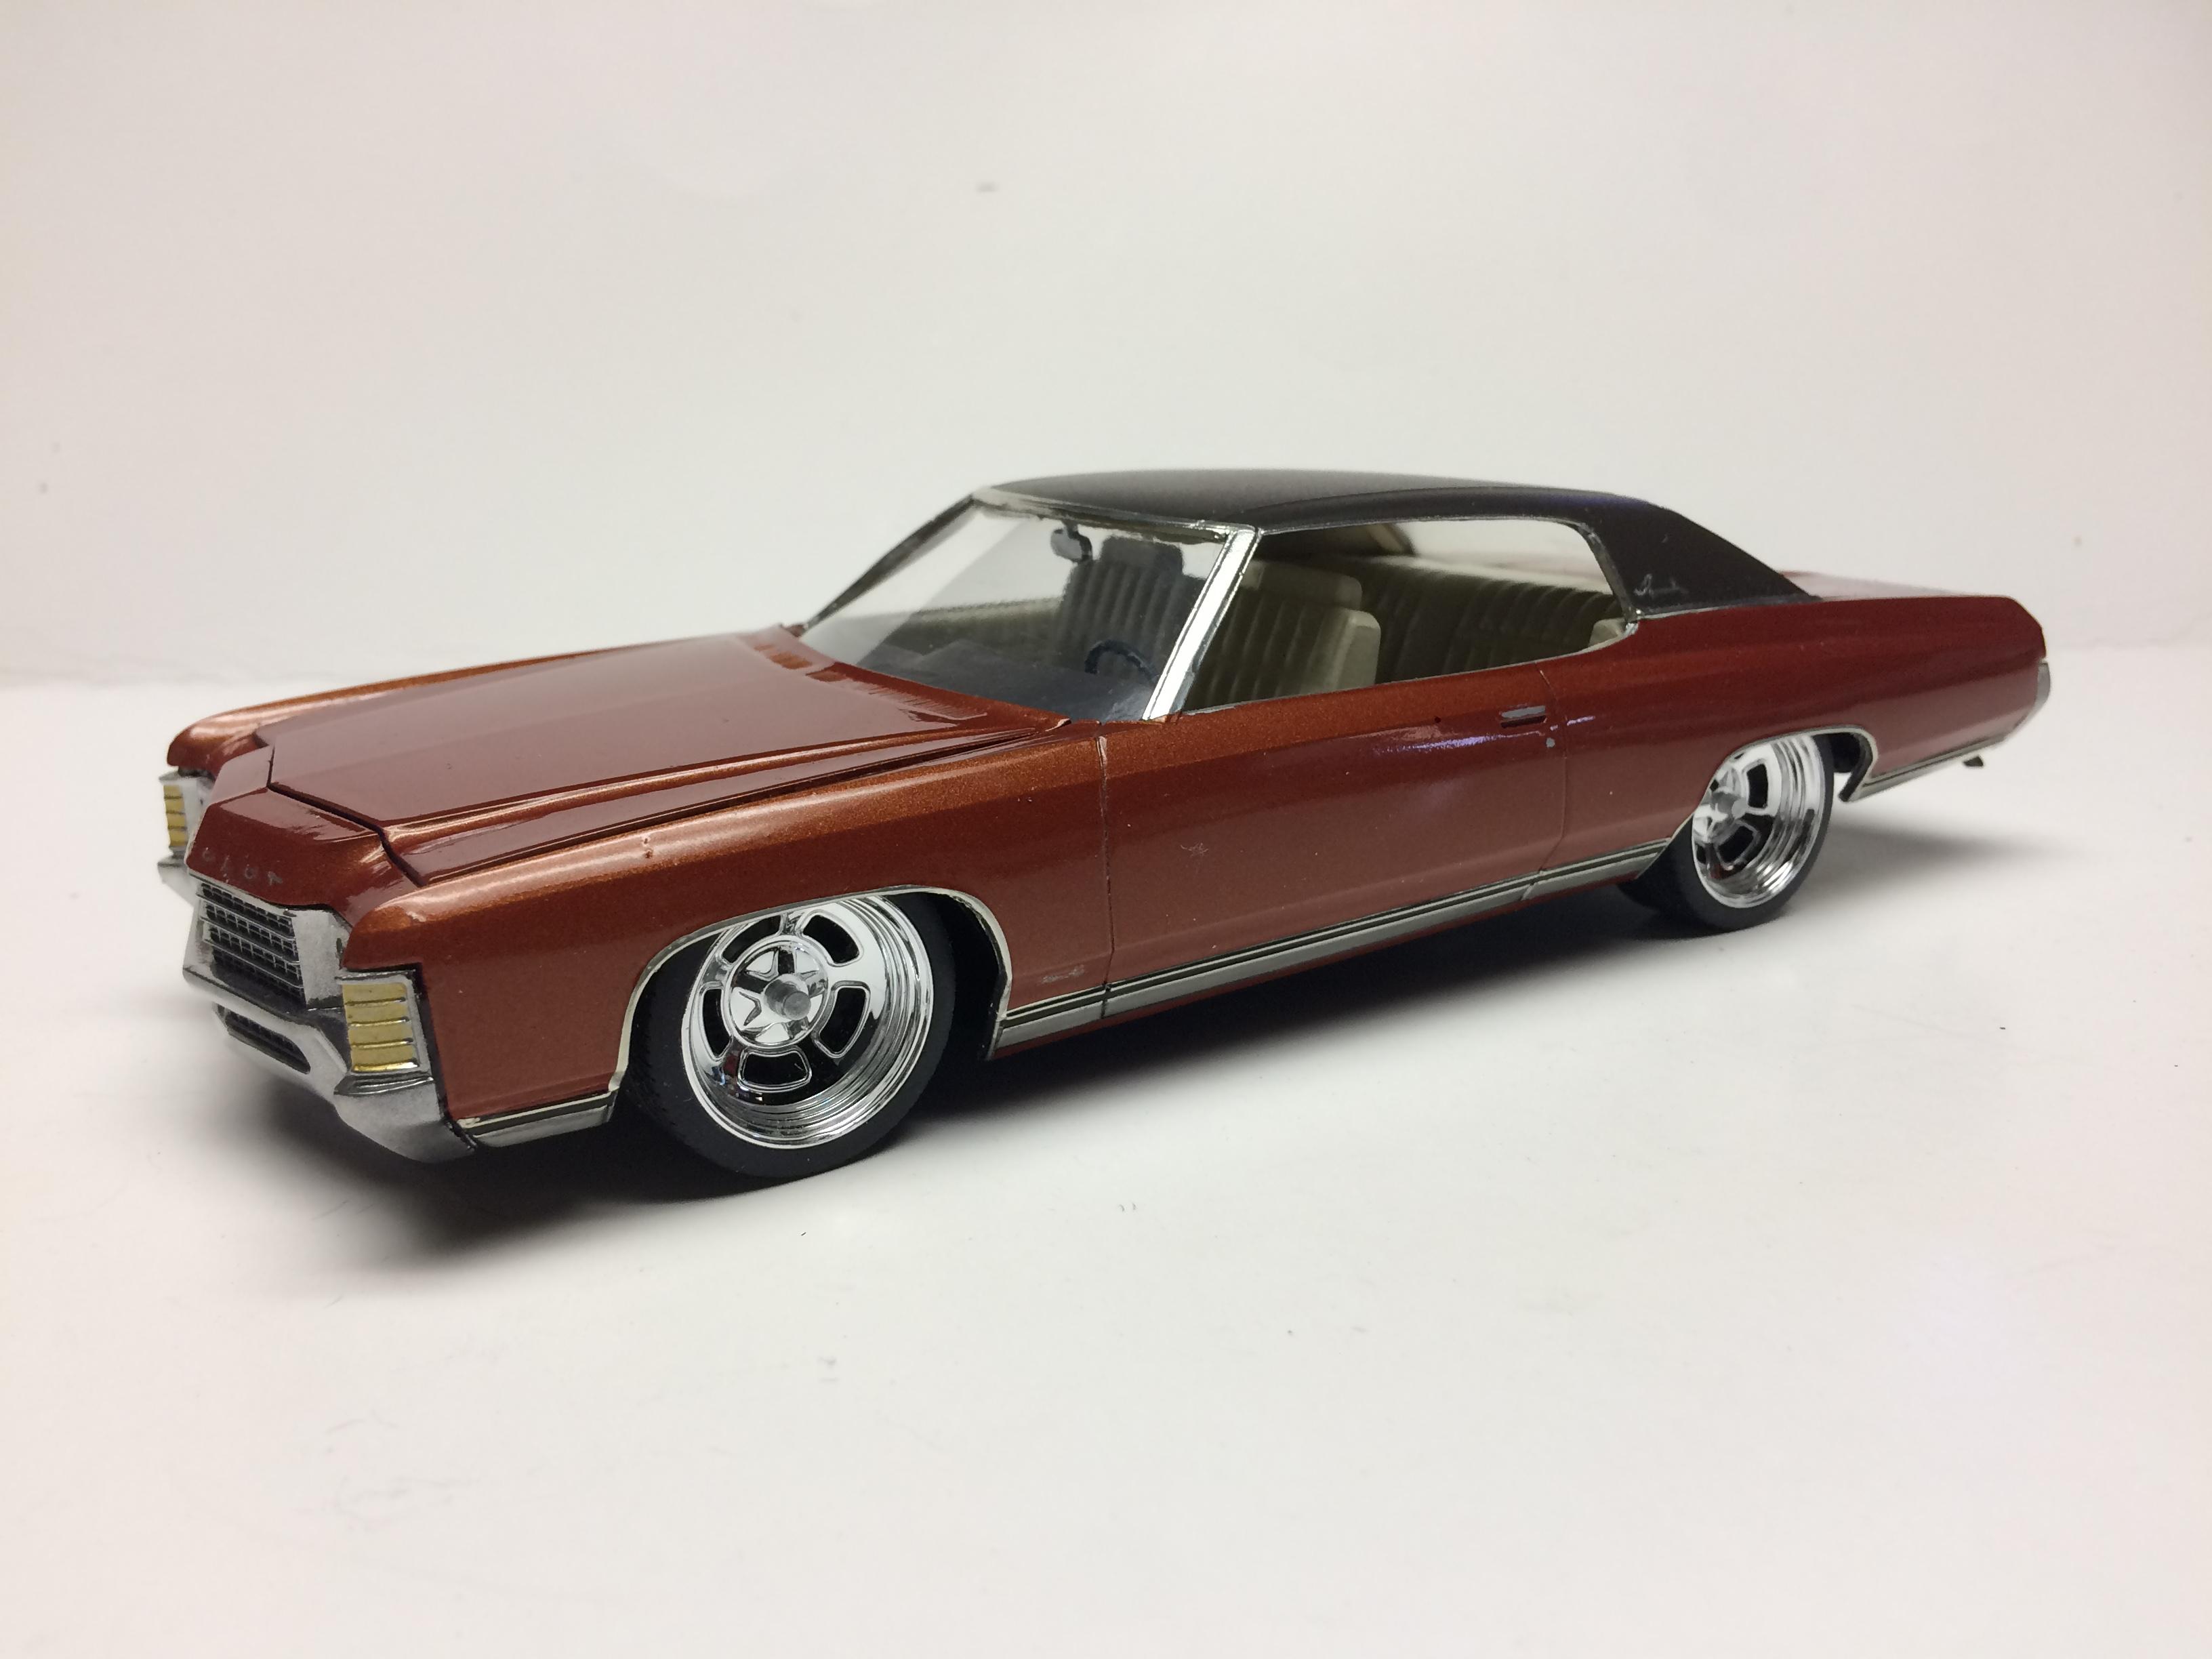
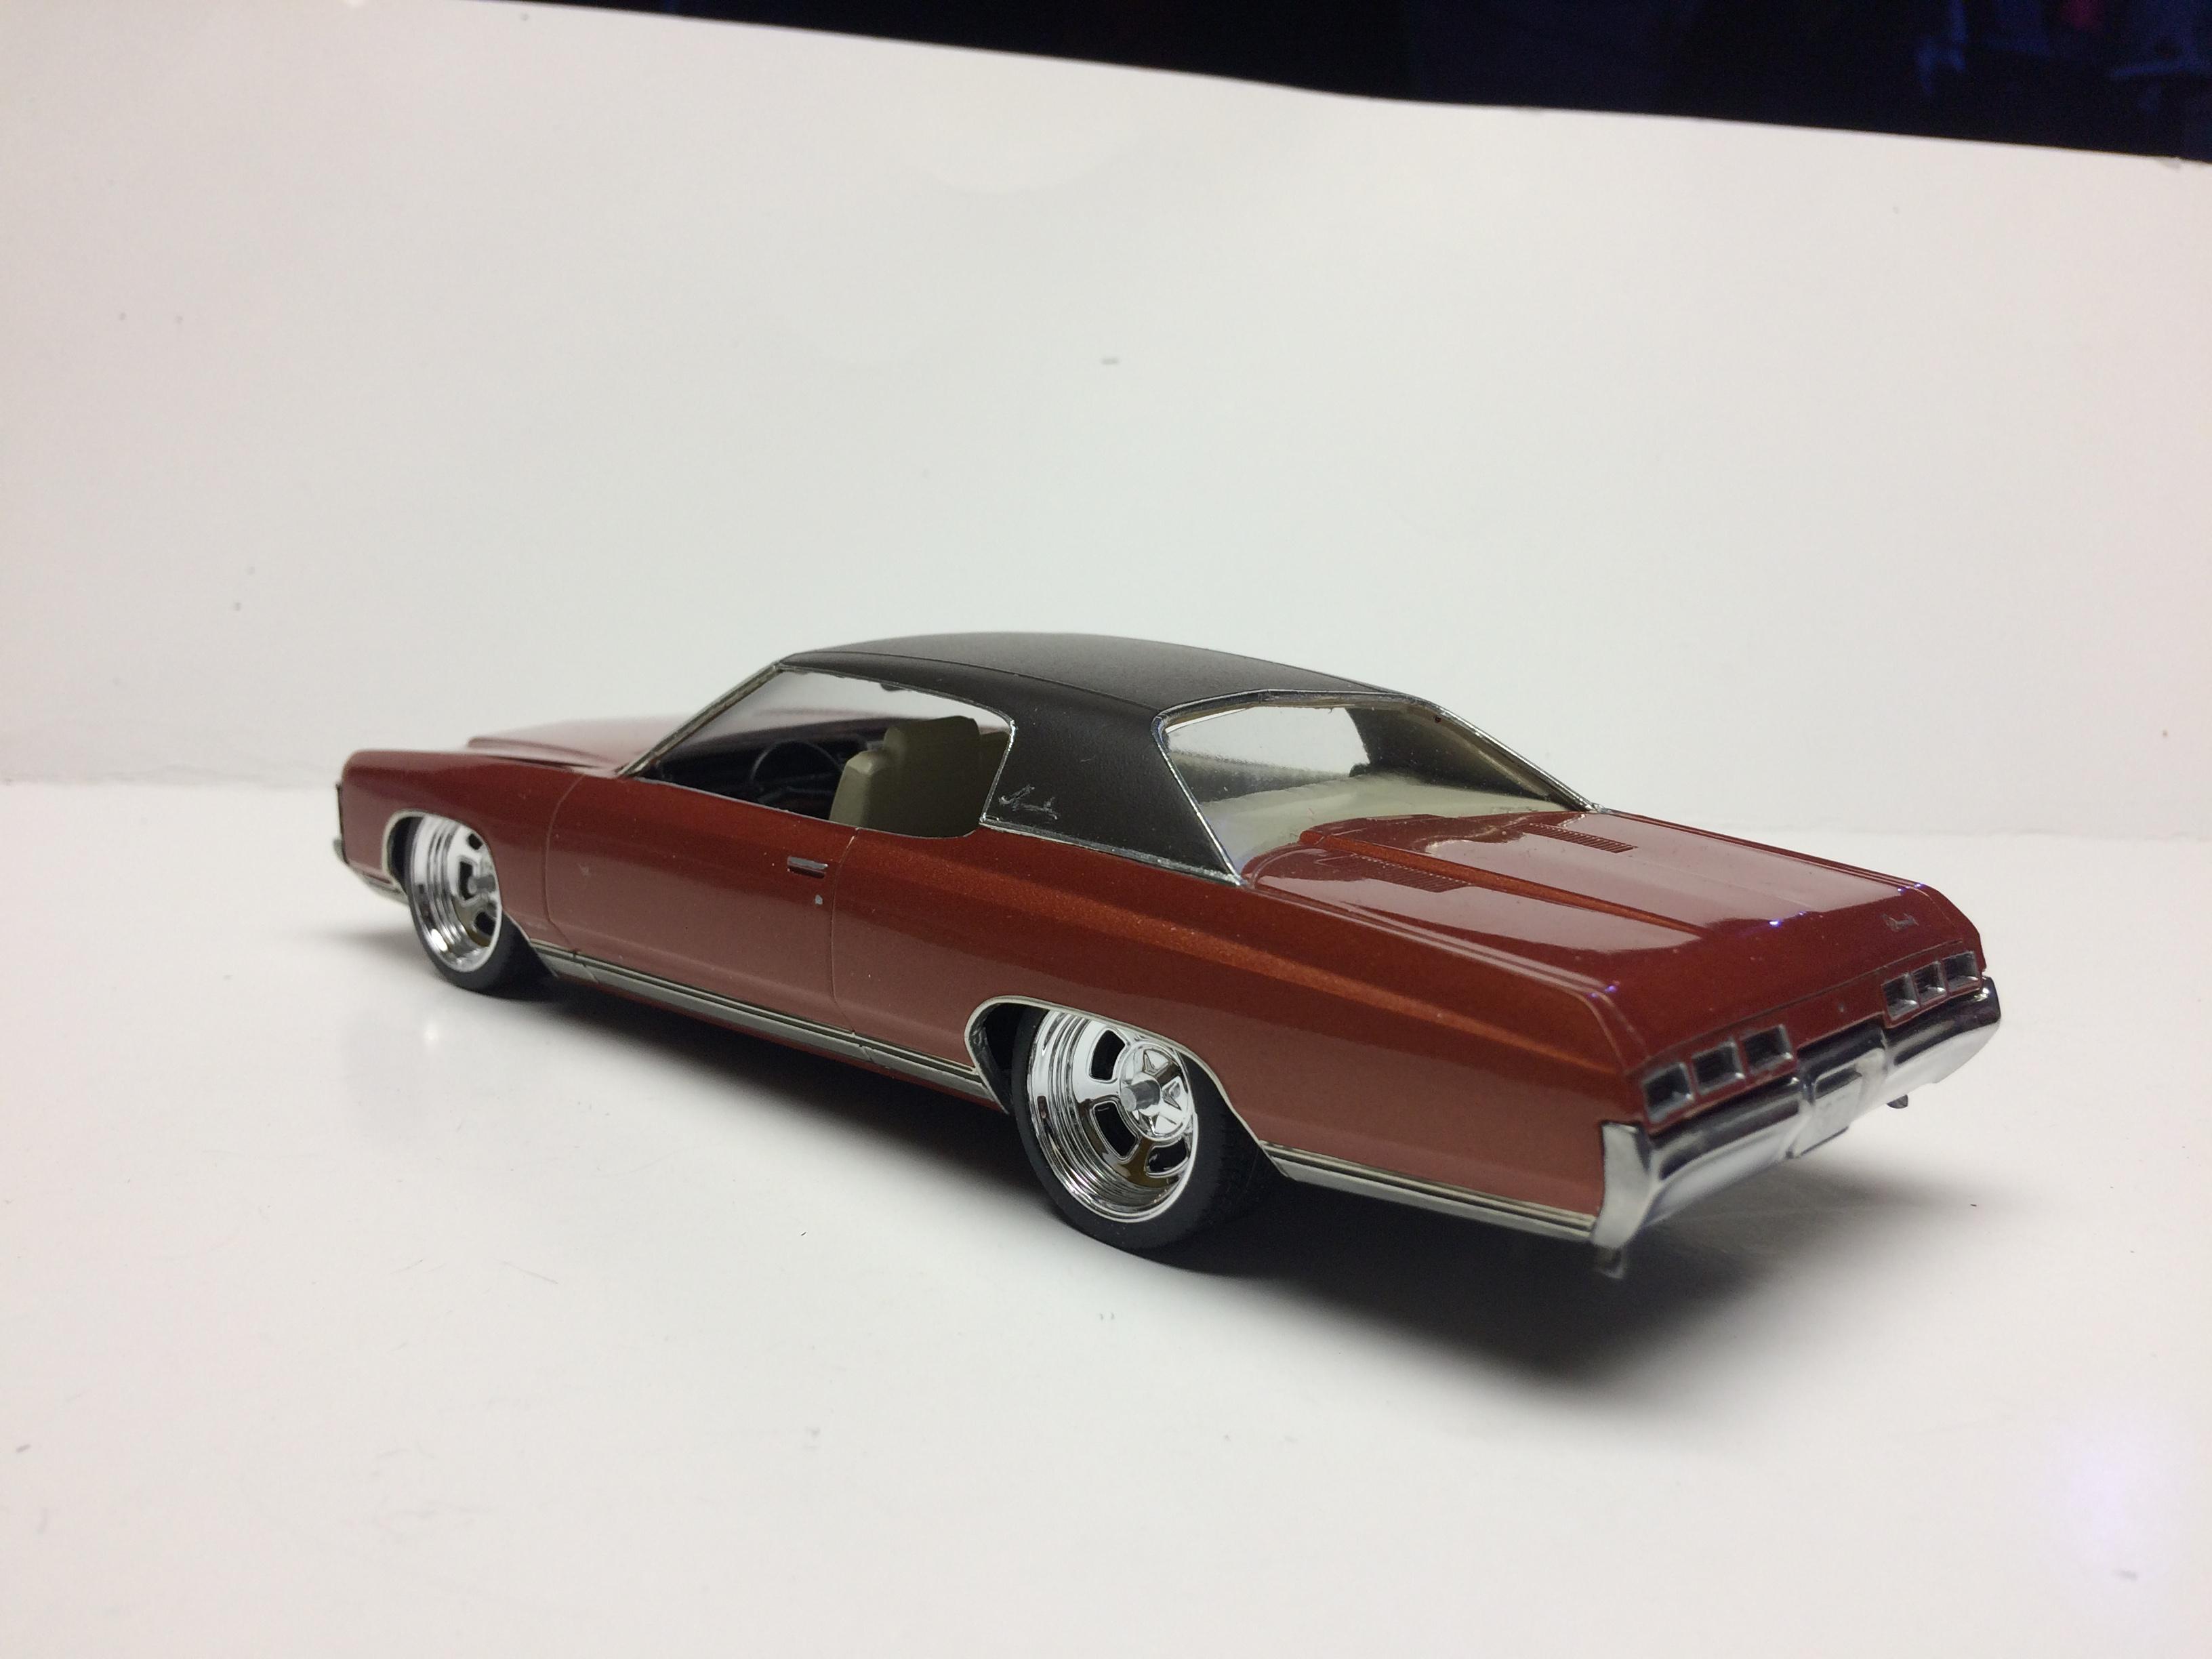
This is a glue bomb restore I started a couple years ago. It got sidelined for a long while. I’ve been clearing out half done stuff lately so here it is. The body was nice but someone glued felt all over the seats and floors. I dug it off and fixed it as best as I could. Made a set of frt and rear 4sod consoles to match the trans. Added dual quads from a 65 Riv and a parts box radiator. The kit never had one to begin with. Lastly put it on some new AMT redlines. Probably should have had the bumpers replated.
-
The Grand Am was cool too!
-
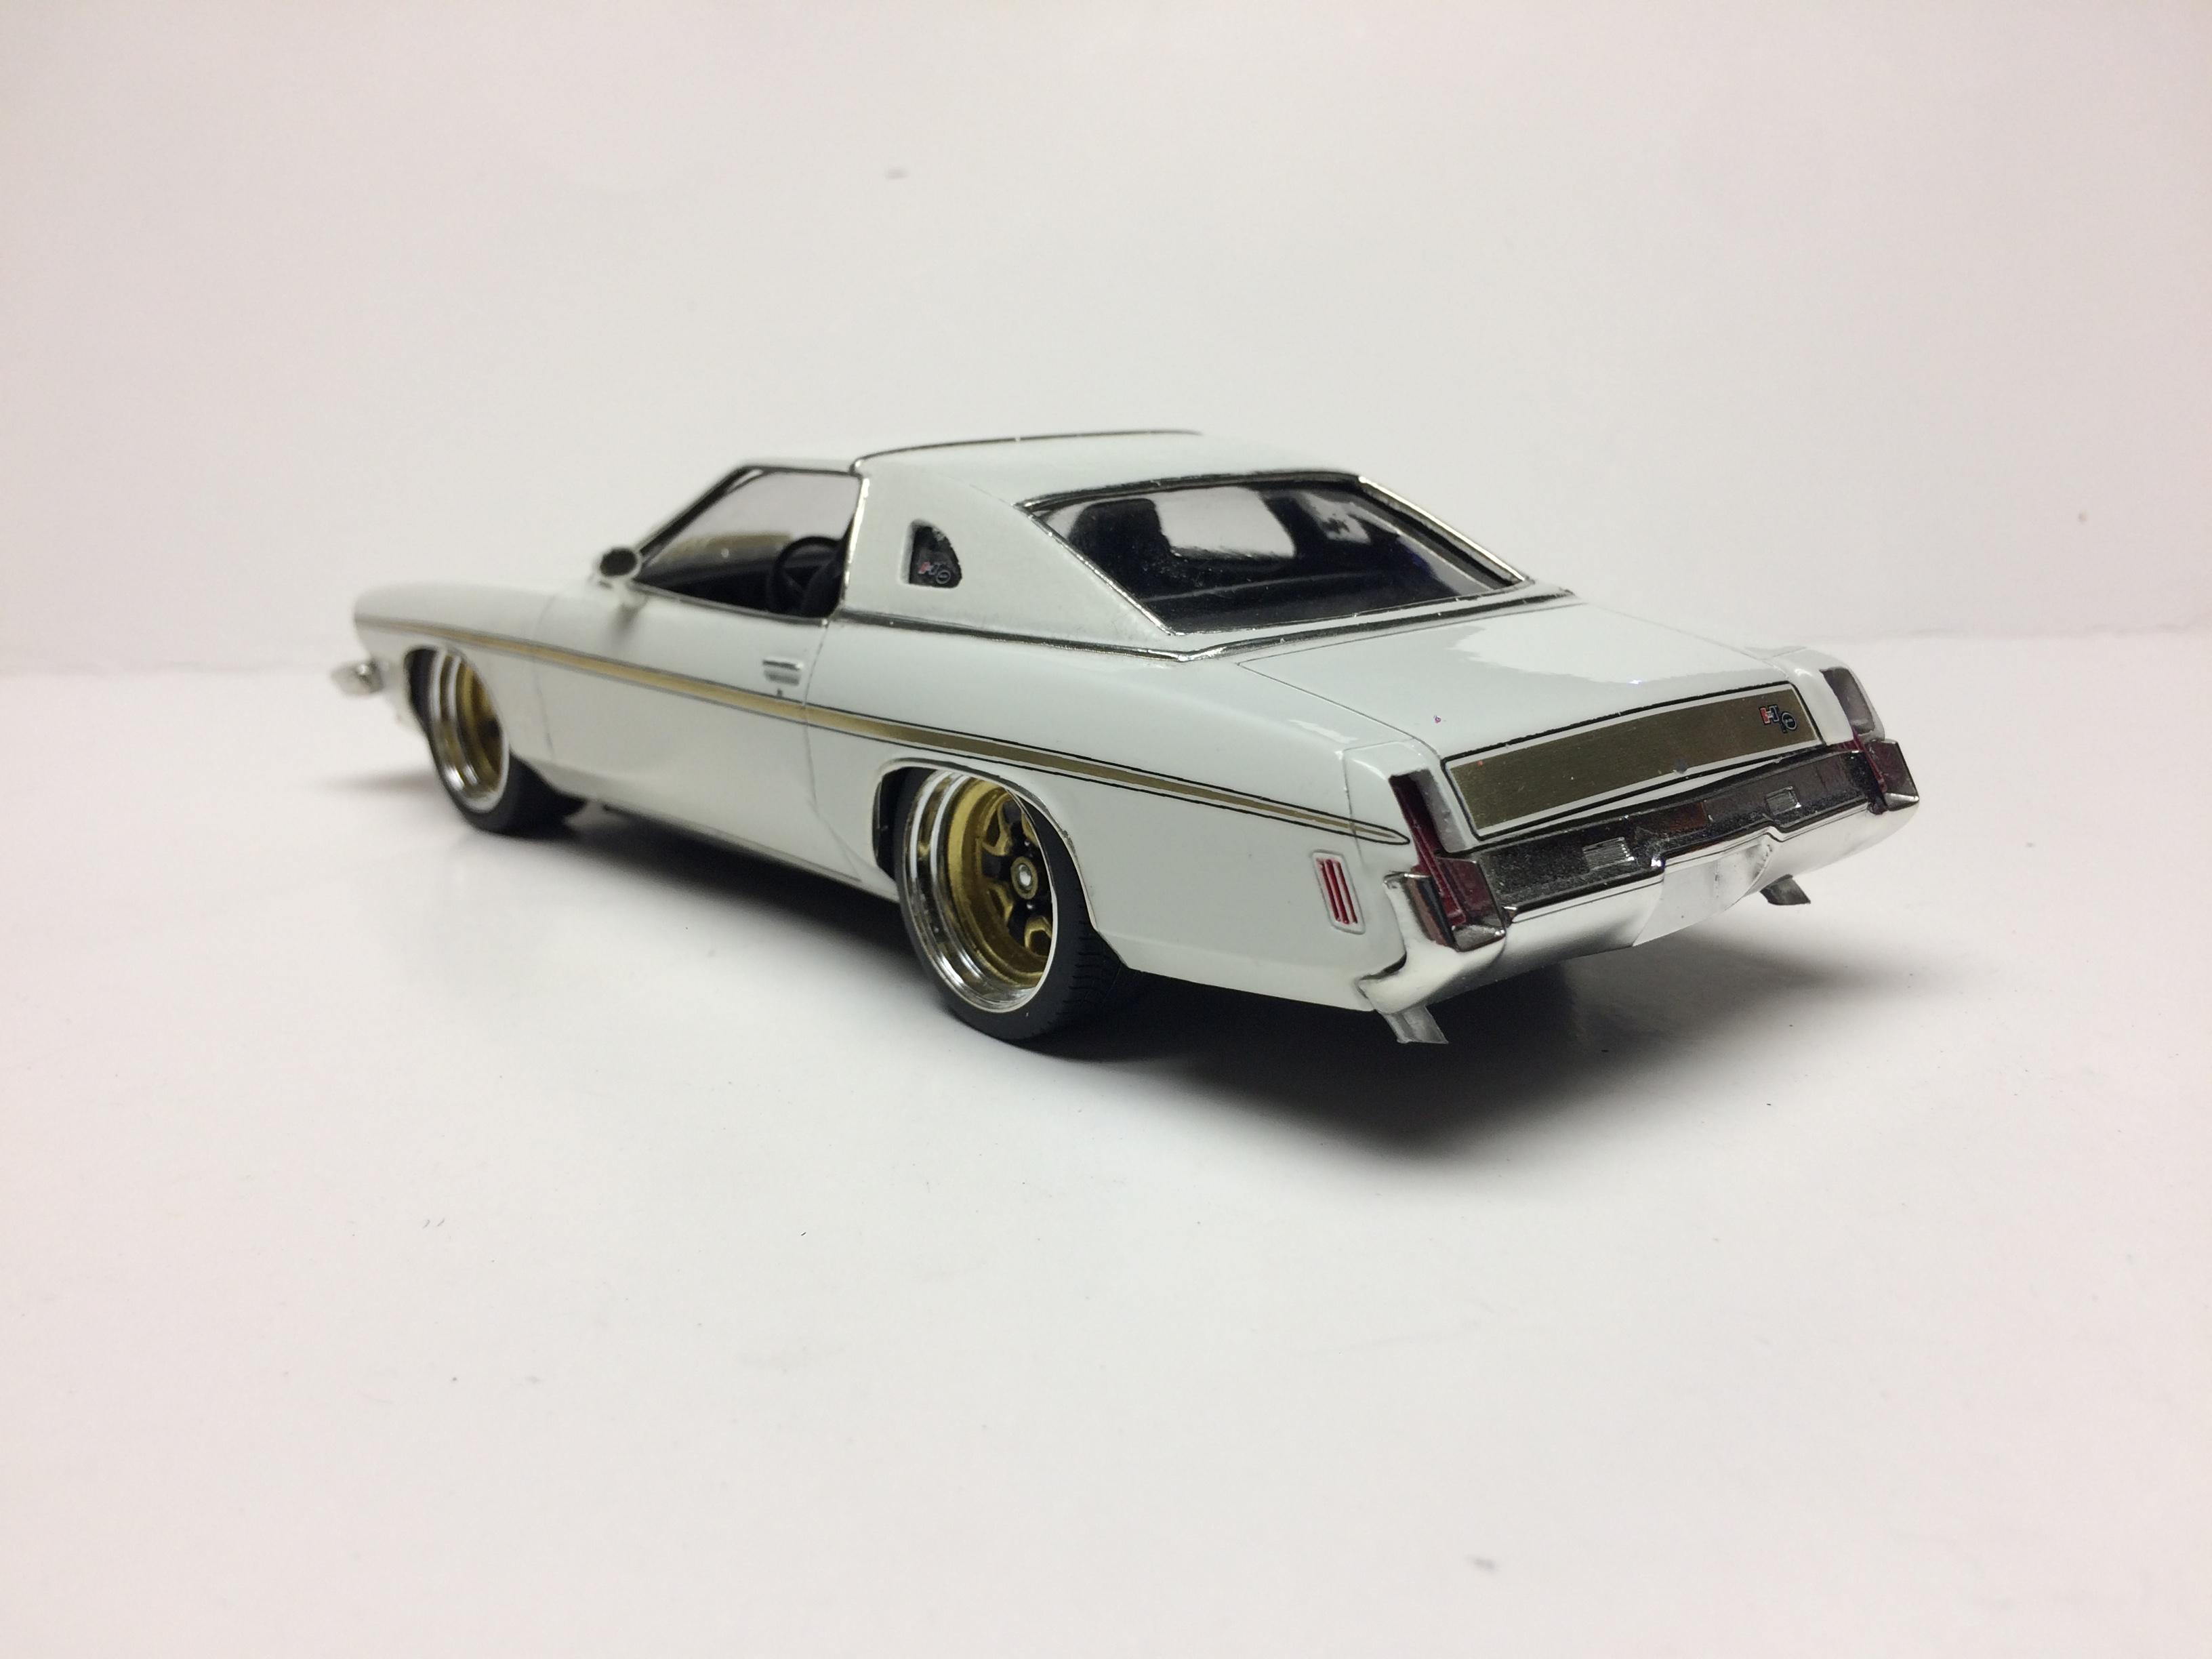
You are thinking of a Pontiac Grand Am . They had louvers. Also Slantnose Lagunas has some louvers. The Hurst Olds in 73 is the only one that had this shape window.
-
Not a good one.
-
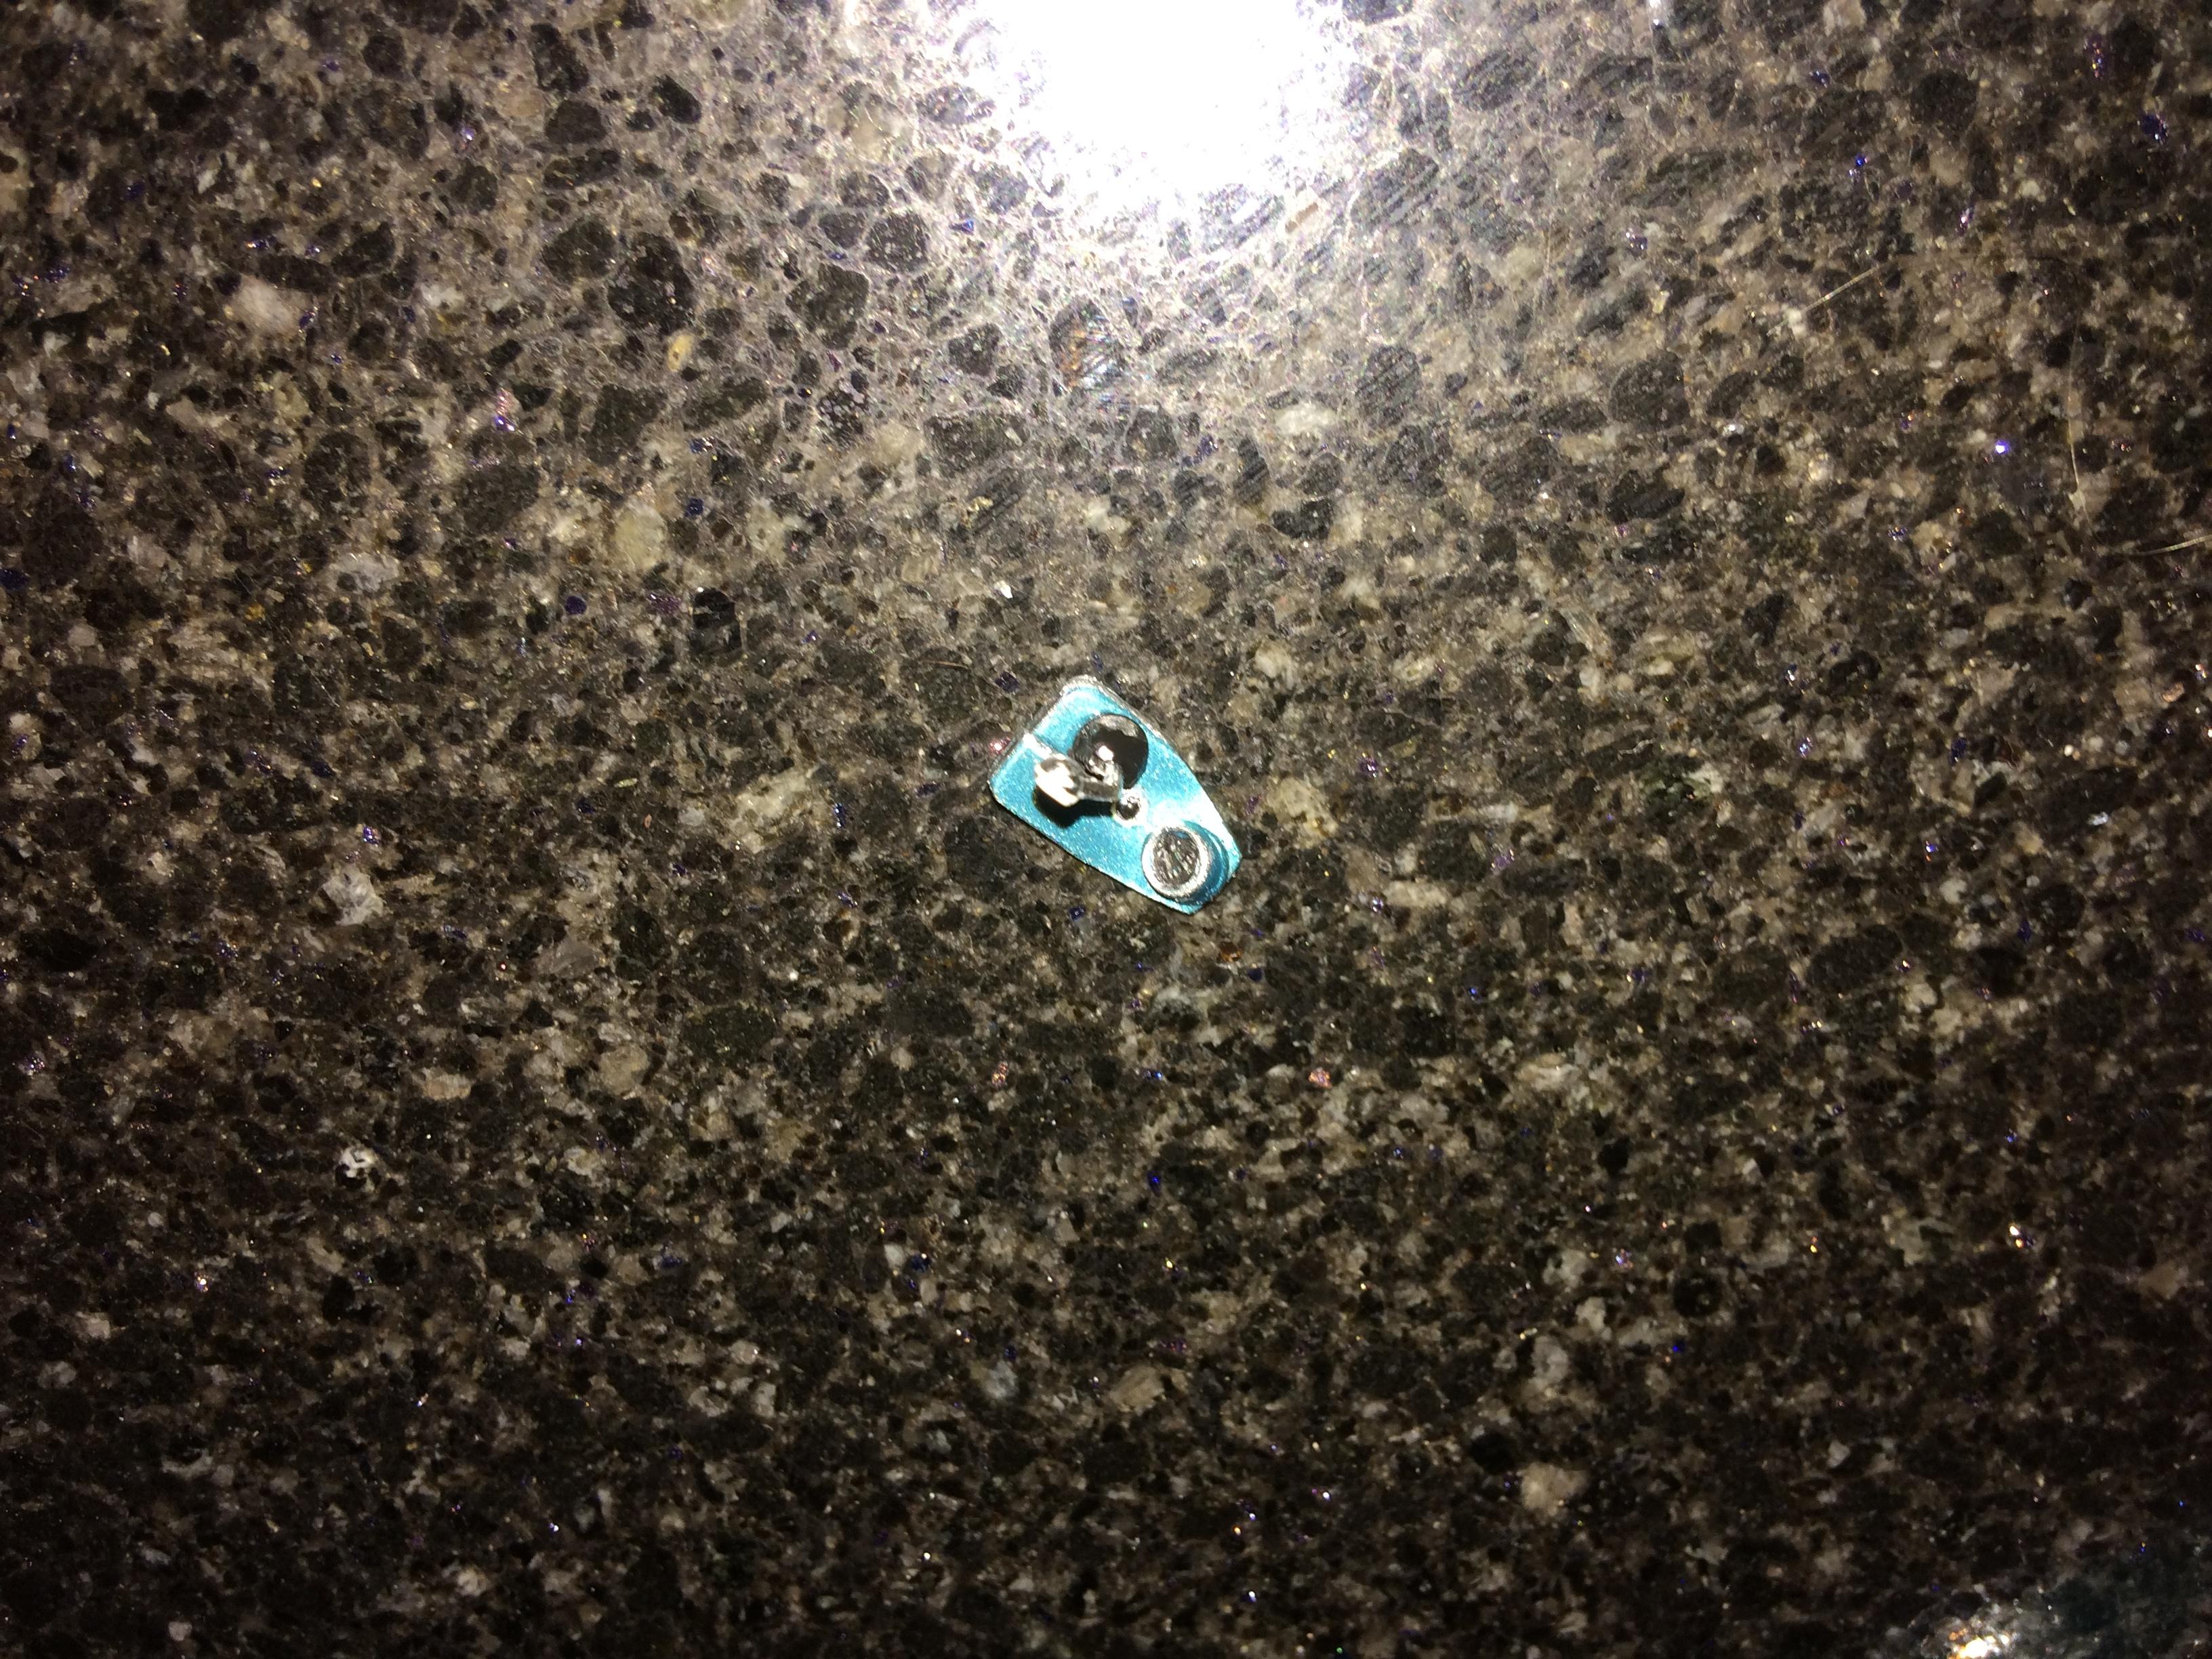
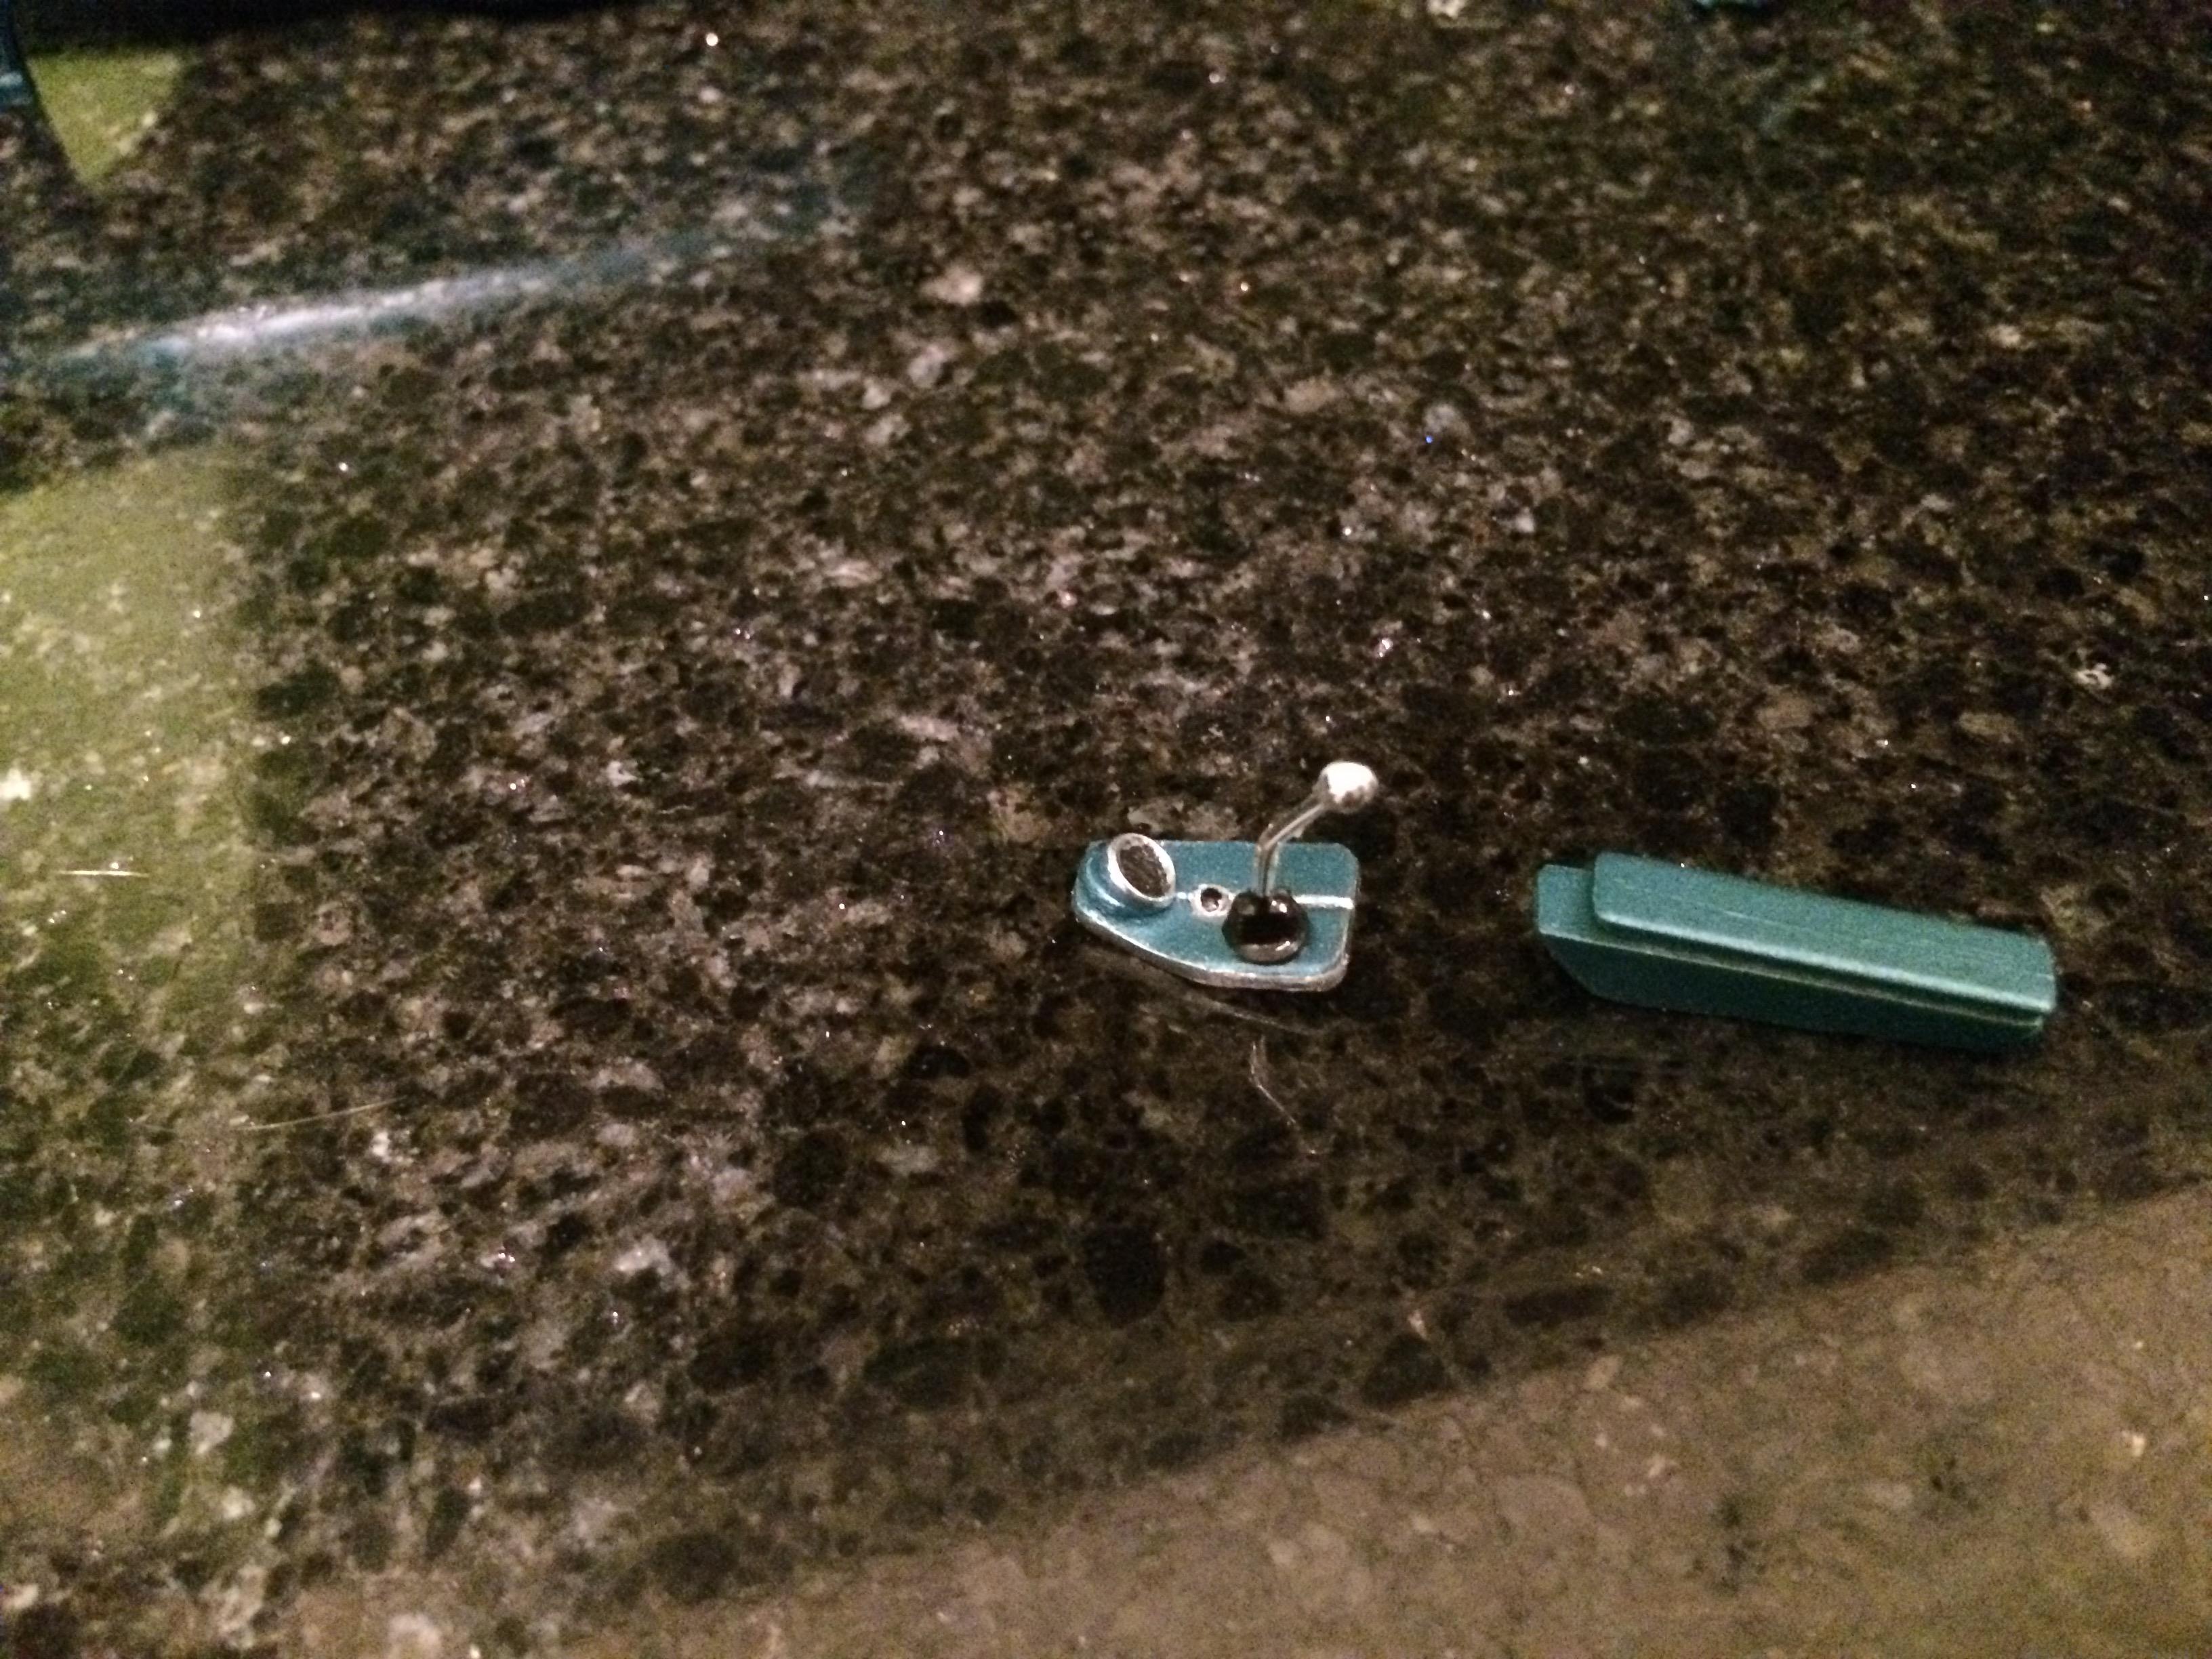
I forgot before pictures . The body was real nice and nobody ever glued the glass or interior in. But they glued felt all over the seats and floor. I did my best to fix it up to be presentable.I also hate it when a model has a four speed trans and automatic condole and shifter. So I made the consoles a 4 spd car would have
-
Or sell to me??
-
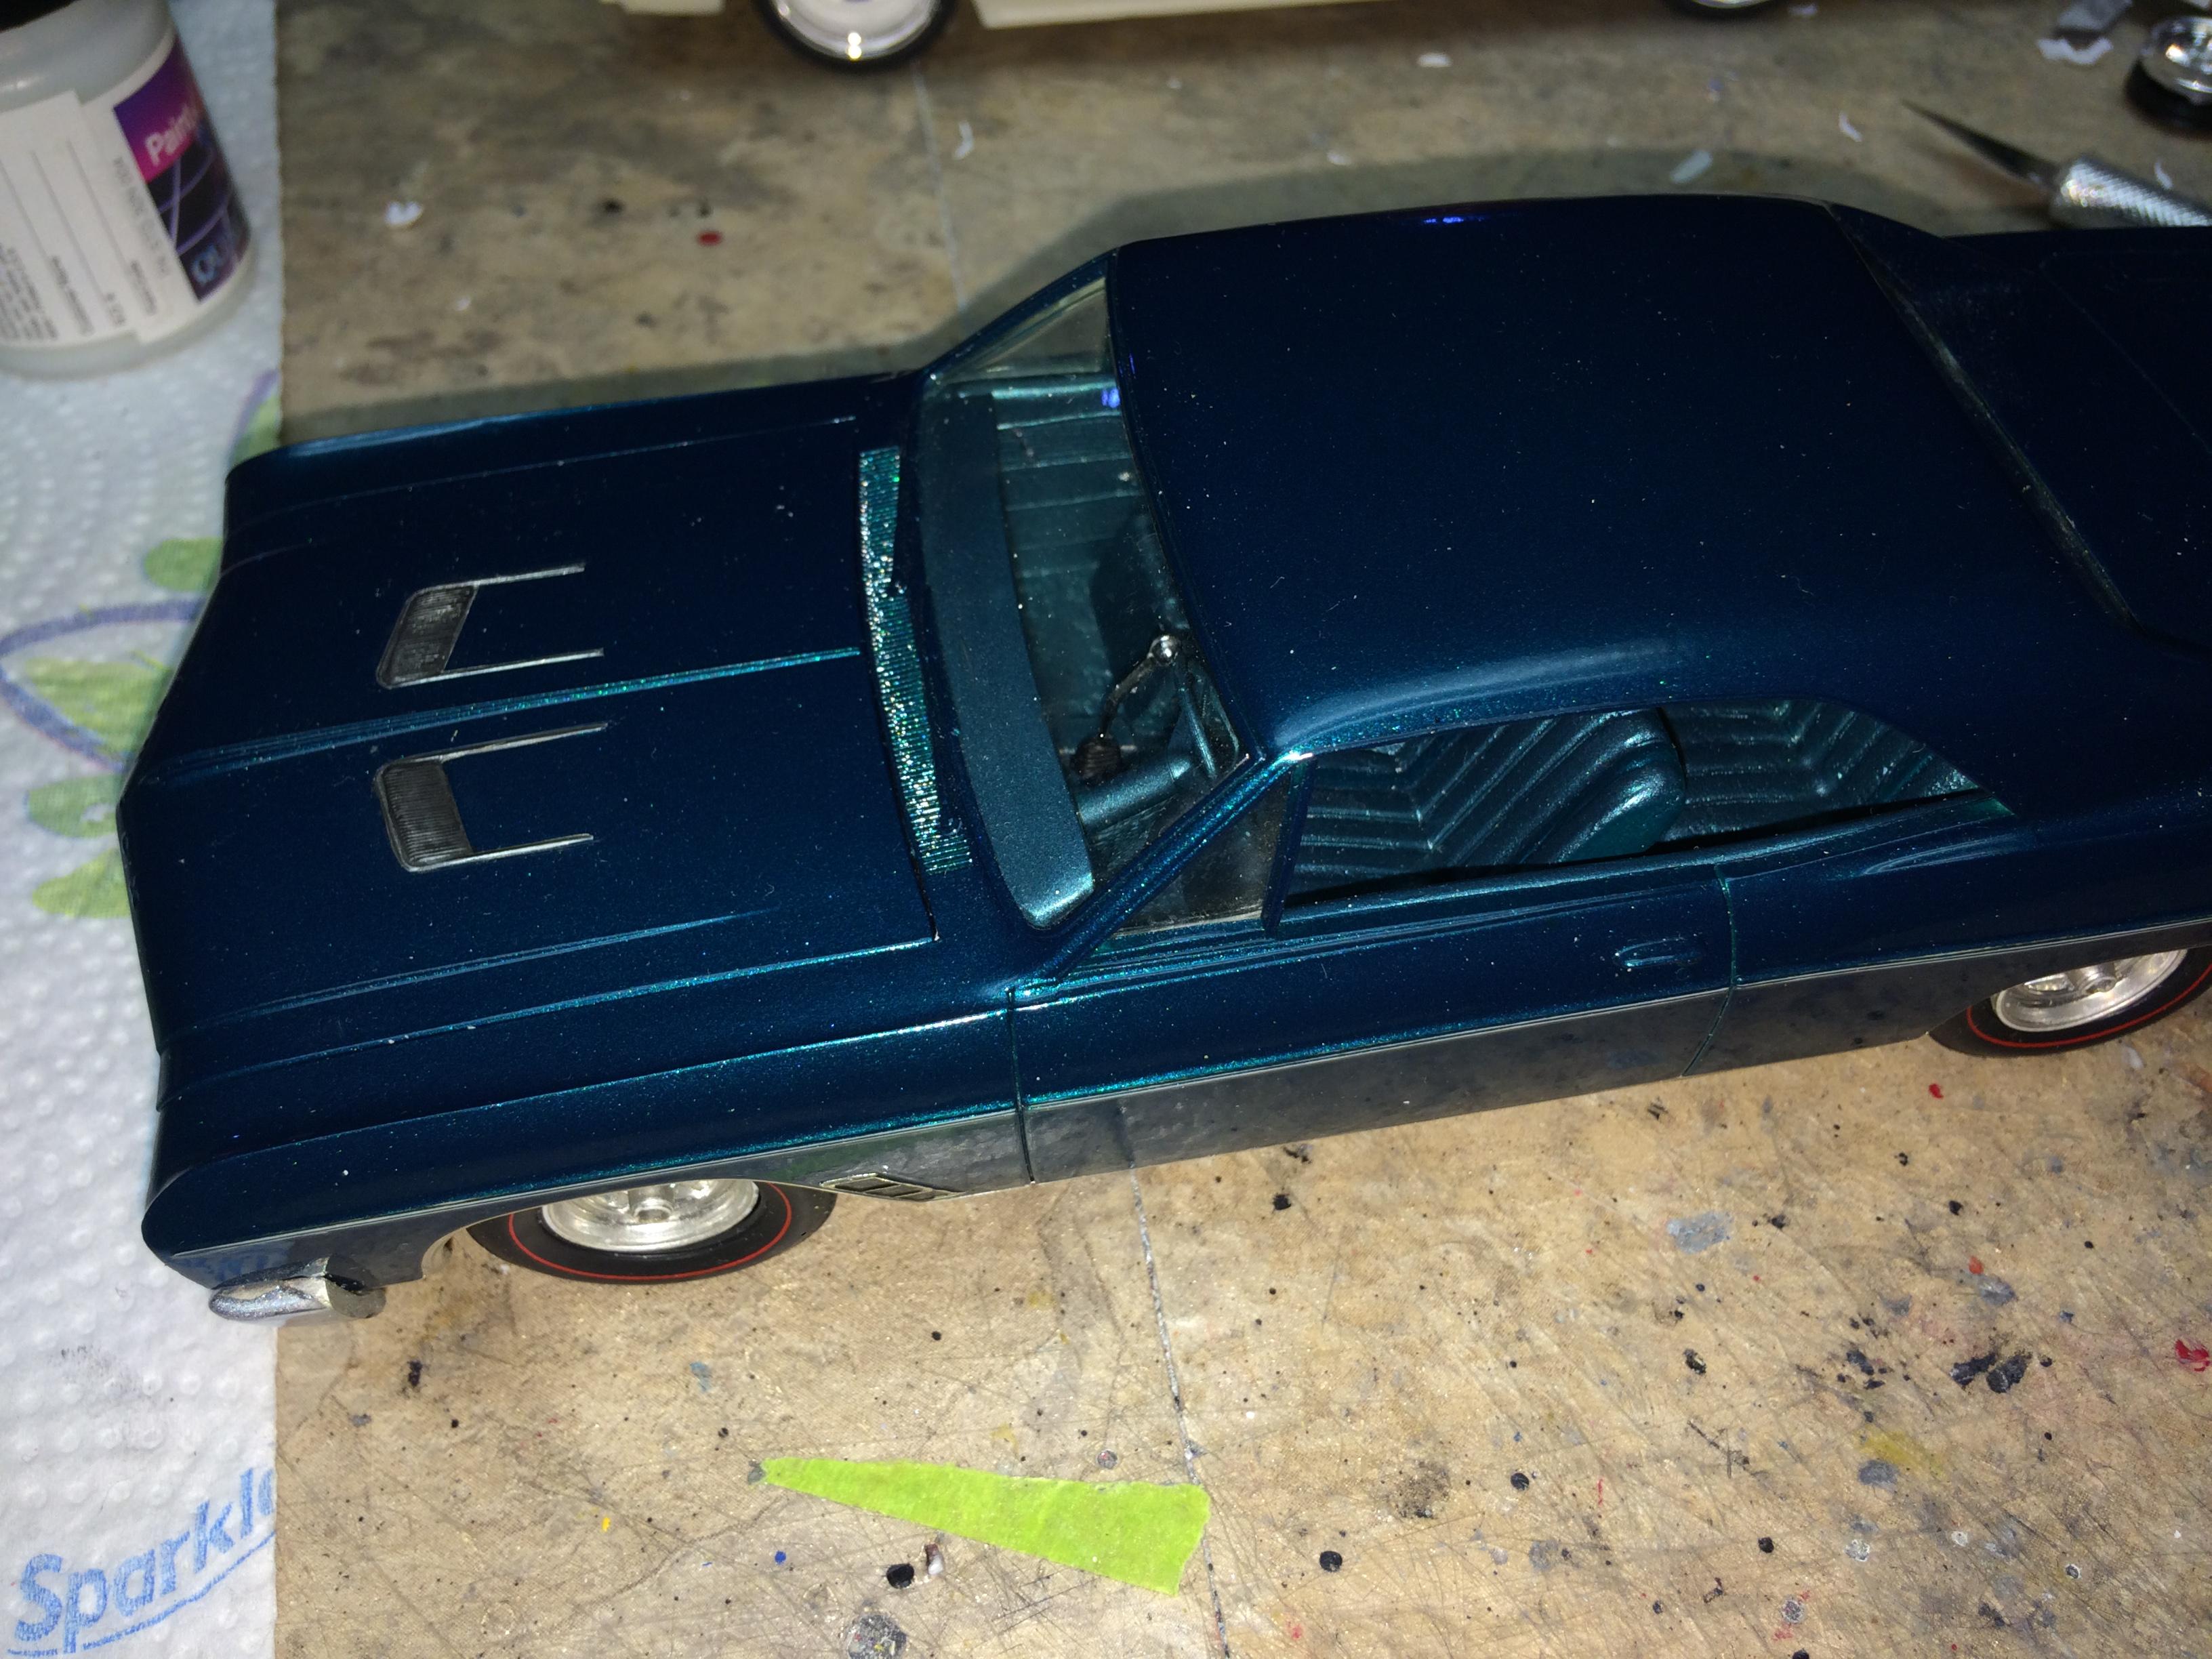
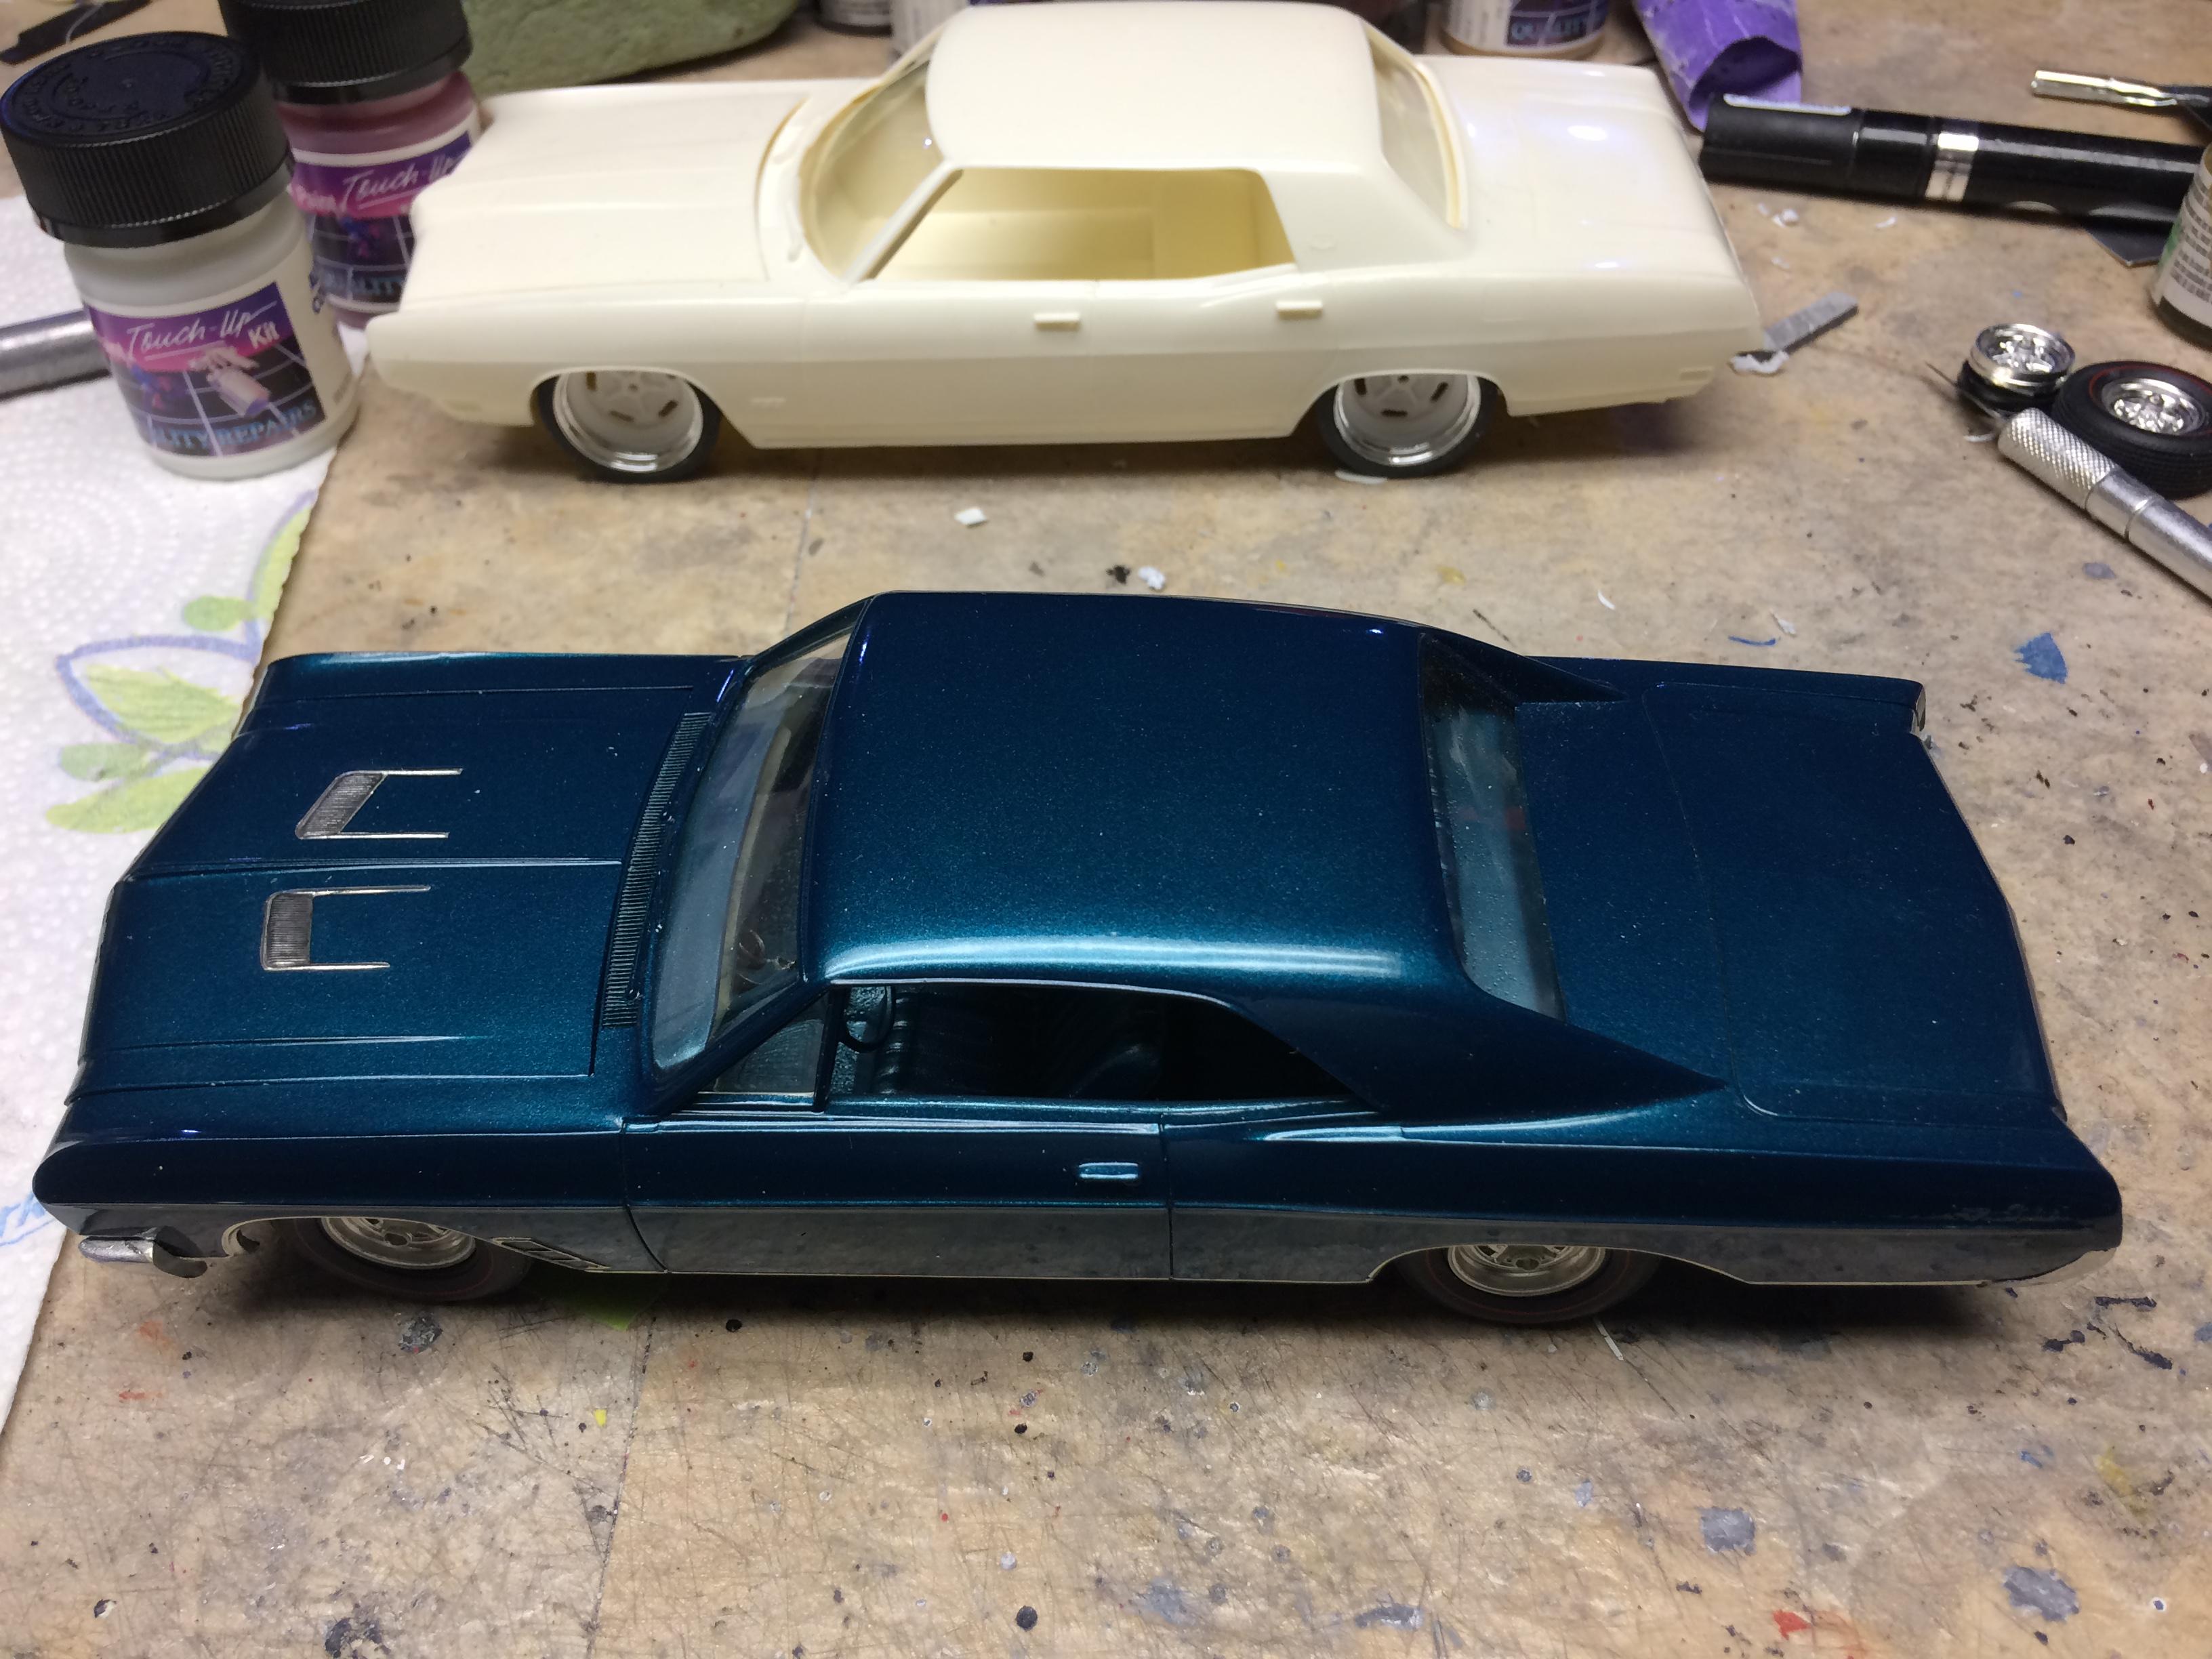
I started this years ago. Got the interior fixed ,body painted,engine painted and mocked up in the chassis. Used some new AMT redlines and a dual quad set up off a AMT 65 Riv. Need to take it apart and finish foiling and paint the headliner. Find a parts box radiator too add to it as the kit never had a radiator. Lots of sets
-
This !!!! Then cast this pan in resin
-
One more piece of advice. Leave the tube that will go across the frt of the engine cage off until your engine is in final. Otherwise you will have to remove it. Yours is looking killer too.
-
I build kits. Even rare ones. I also like to restore gluebombs.
-
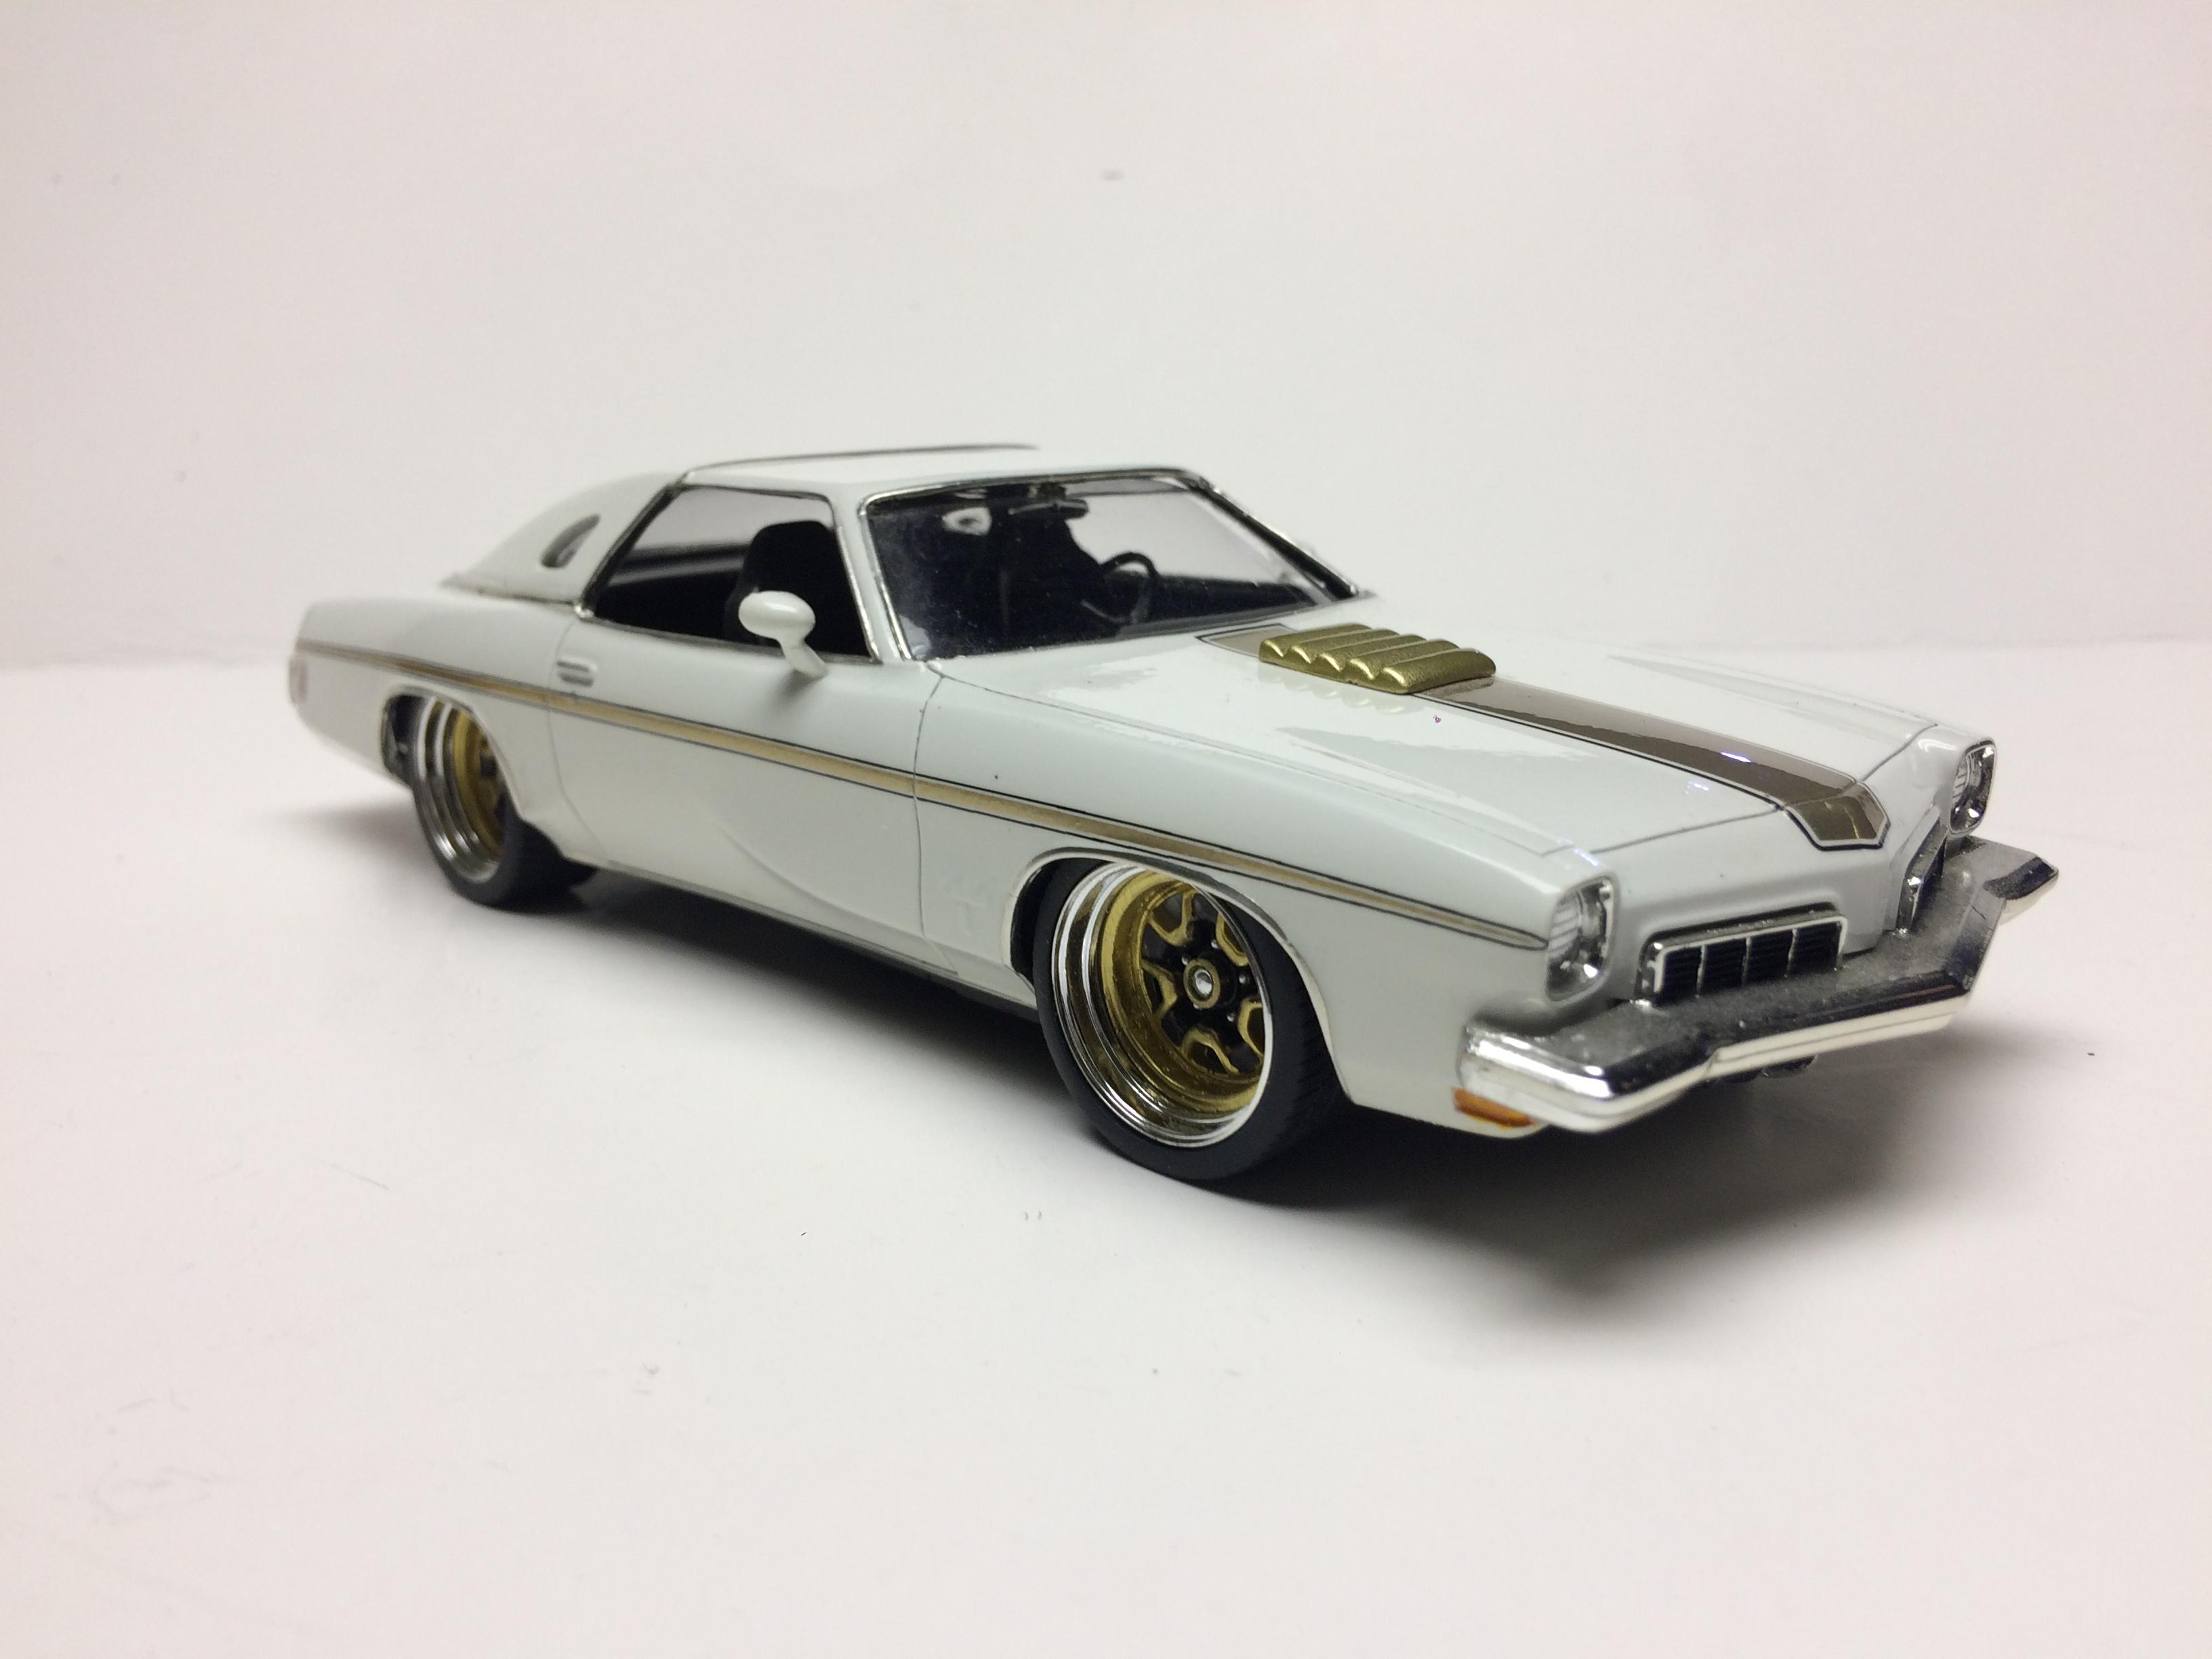
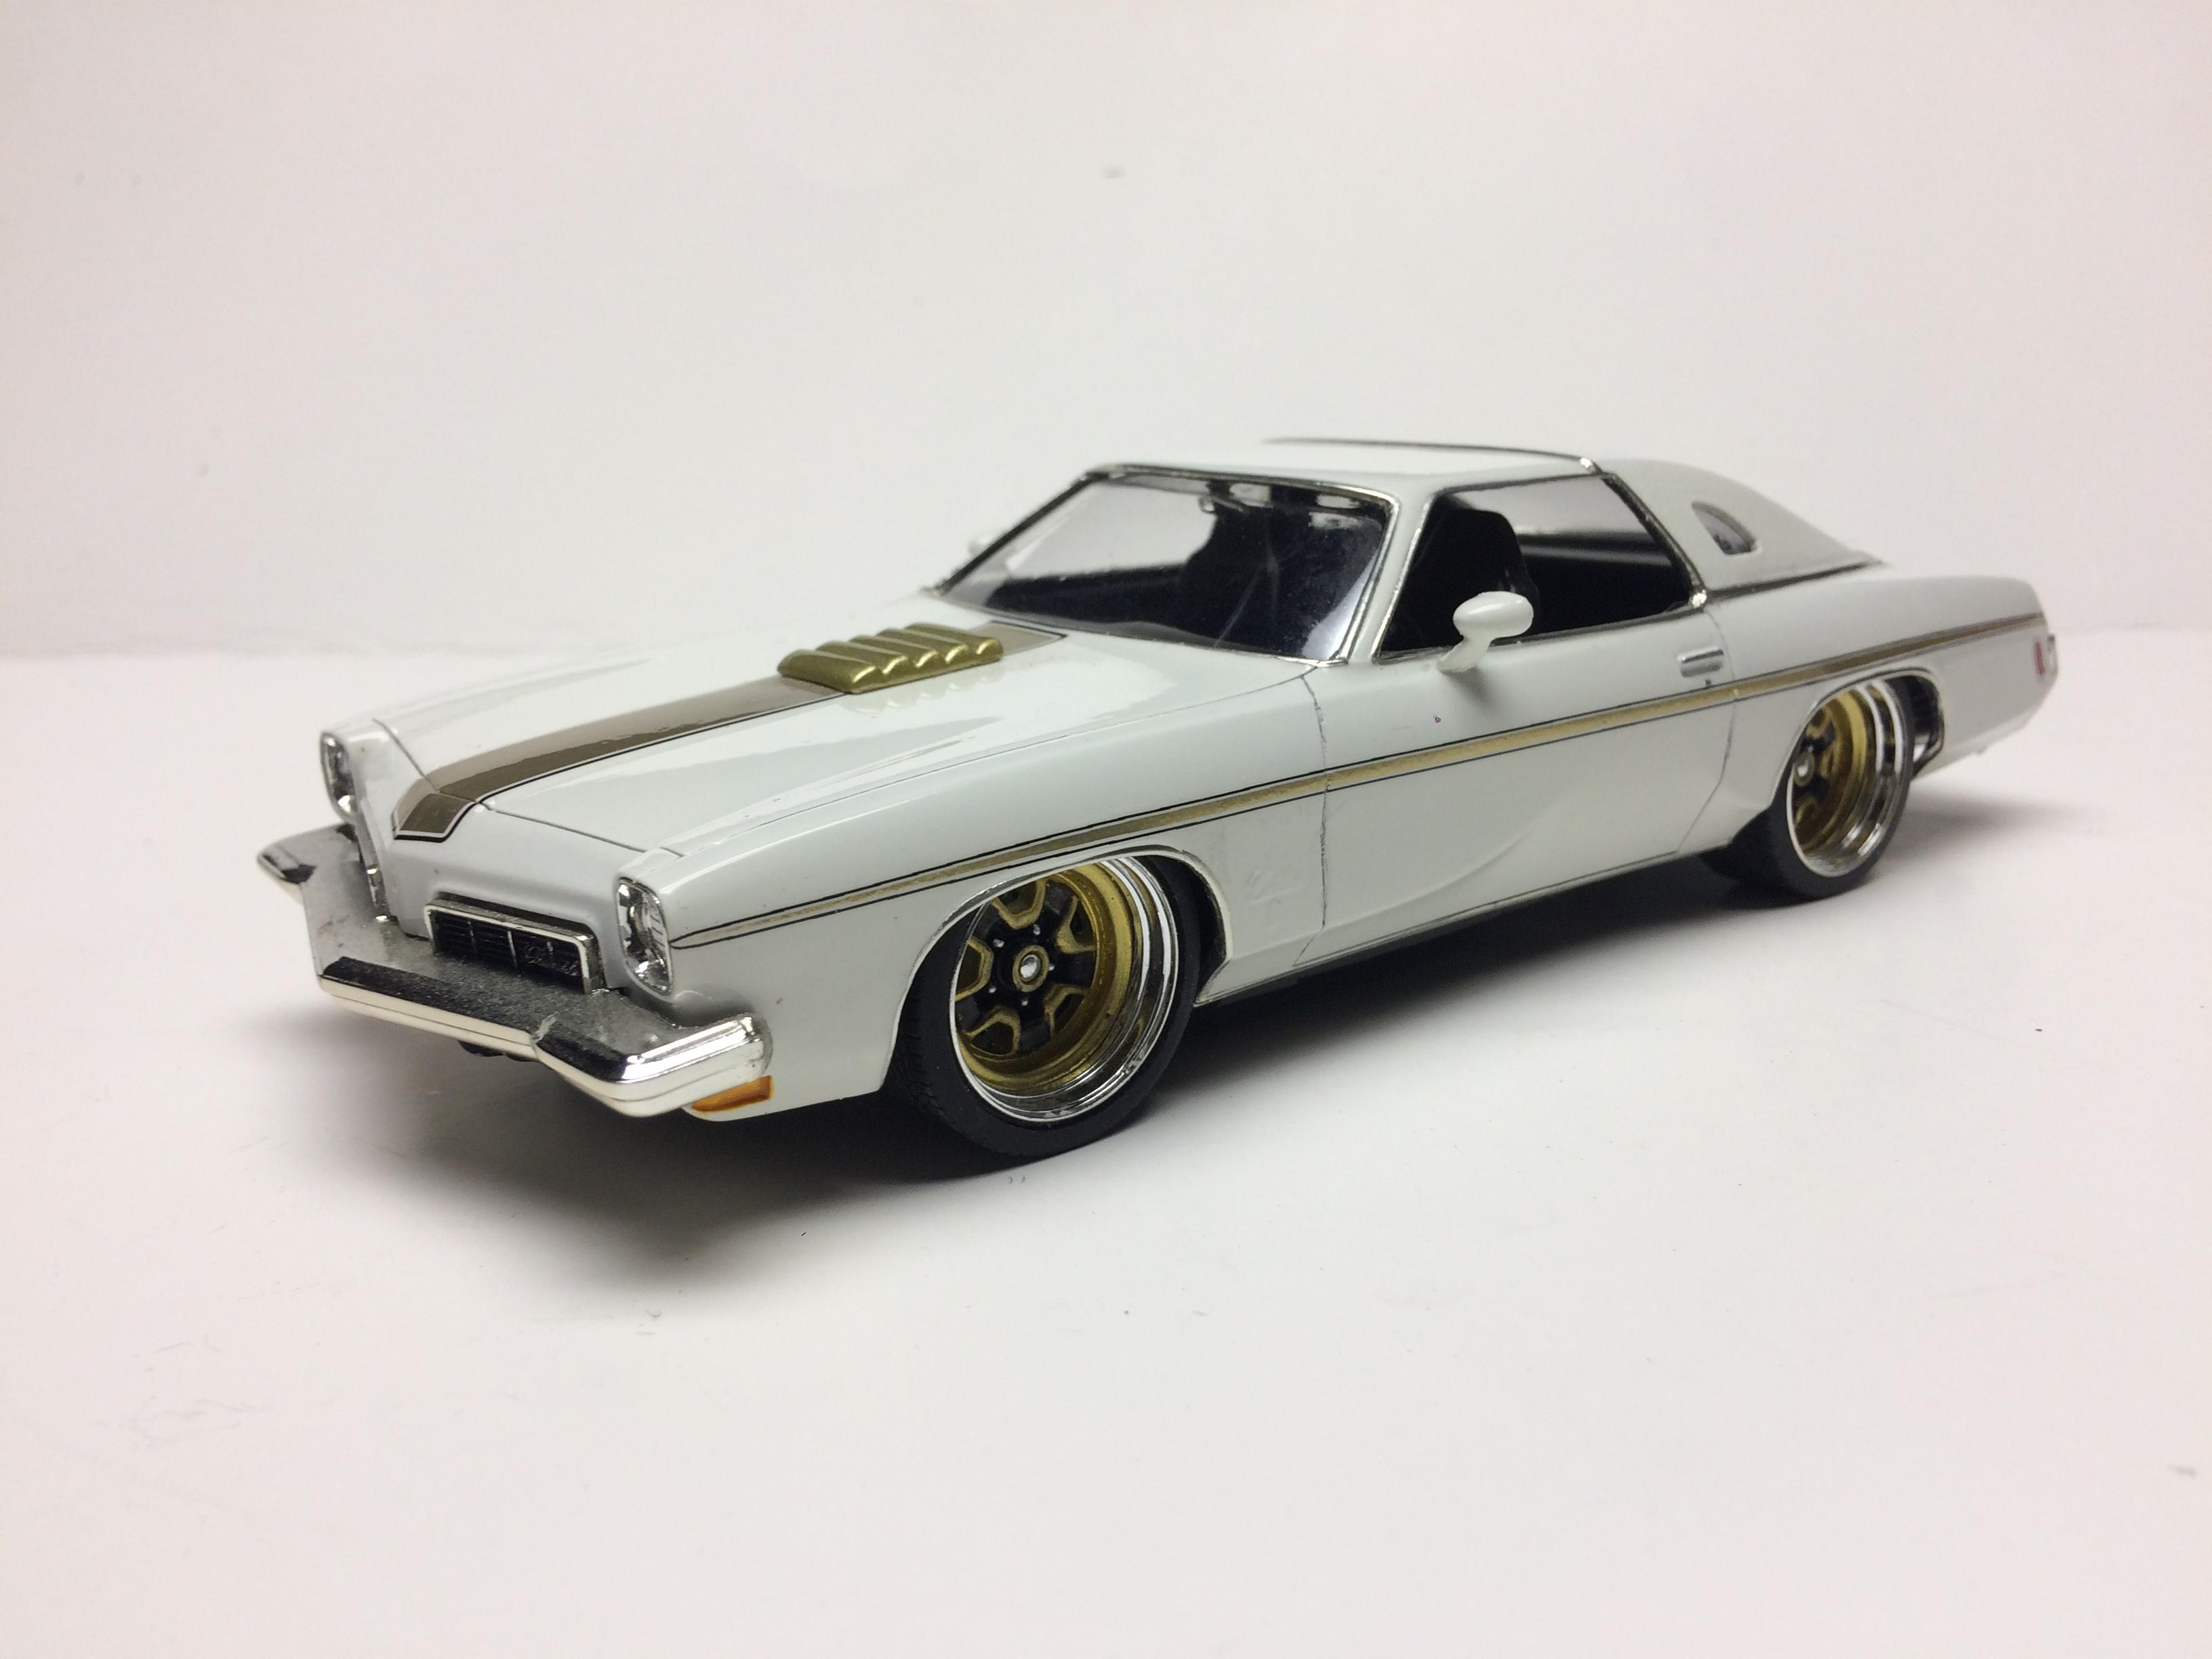
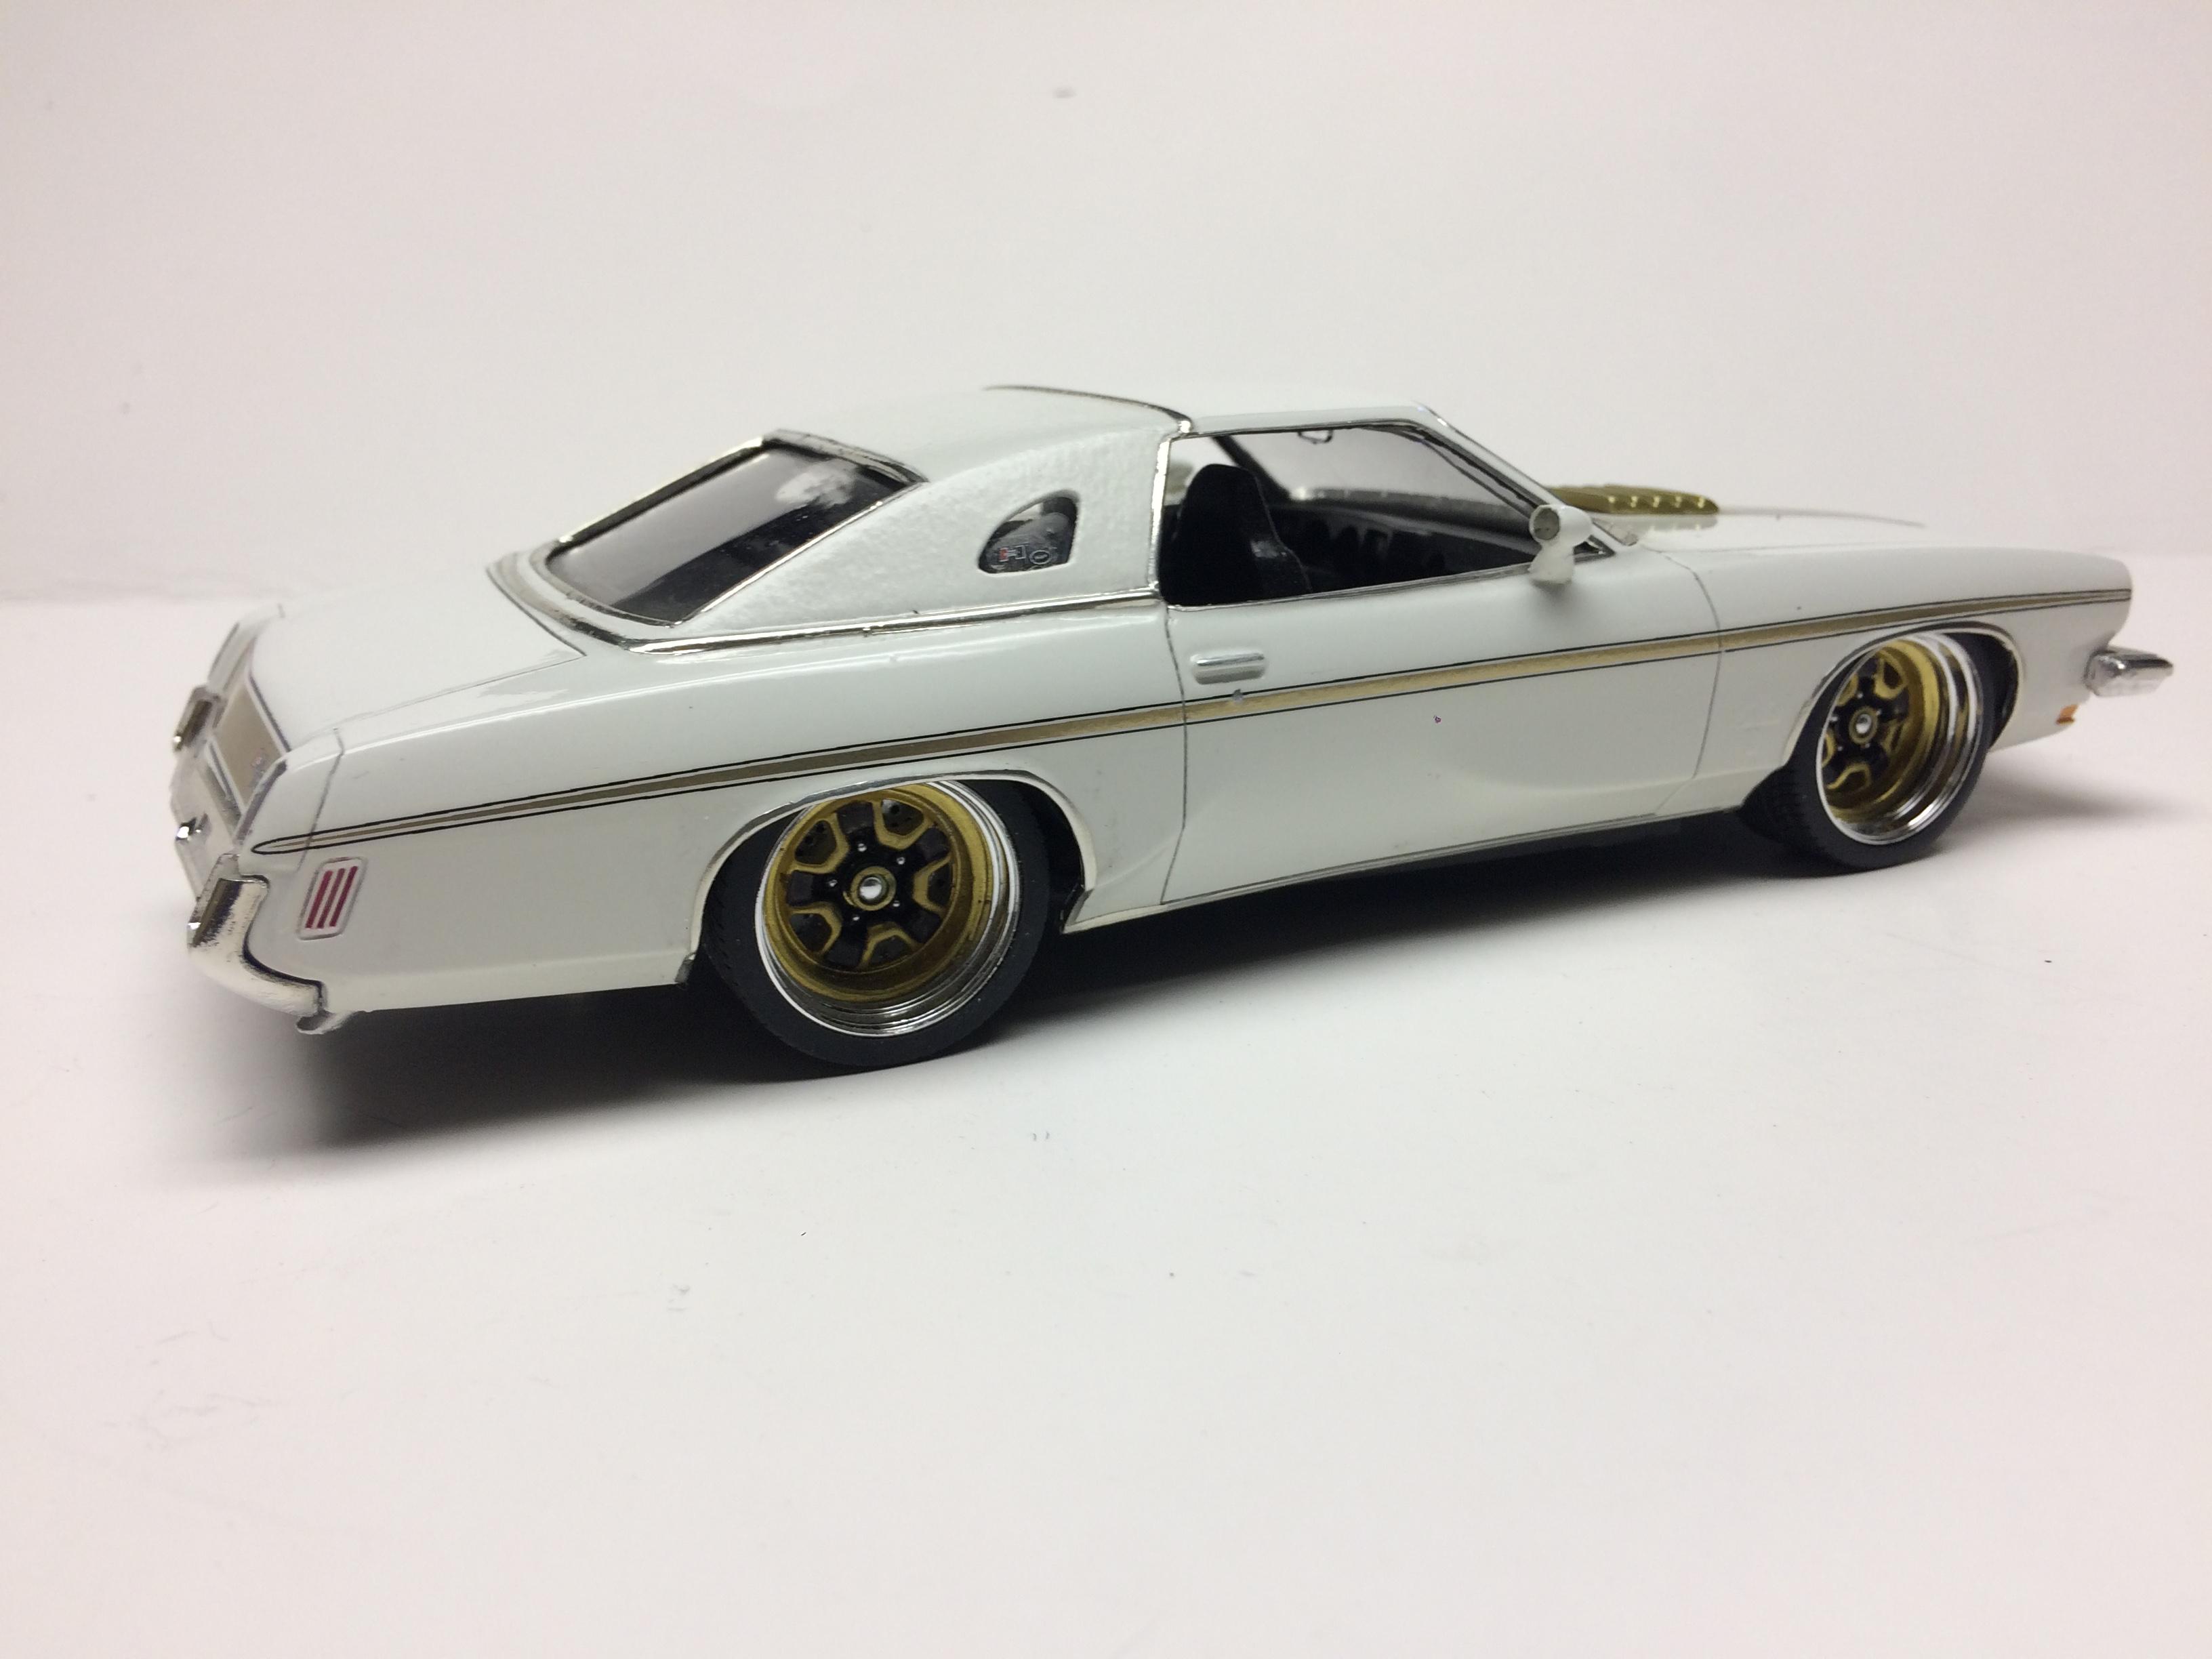
Yep and I paid way too much for it. But I needed it if you know what I mean. I had my own decals made for it too in a gold that looks almost reflective.
-
The casting was really pretty nice. A couple pinholes and the roof was slightly warped. A little hot water and some putty thrown at it was all I did. The mold release was real tough to get off of this one.
-
Thanks I thought the colors worked nice together. Gives a nice 70s vibe.
-
Real nice build!!
-
I used to agree with you but my tastes have change since I realized how much better my1:1 Montego GT looks with 17 and 18 inch rims as compared to the 14s it came with.
-
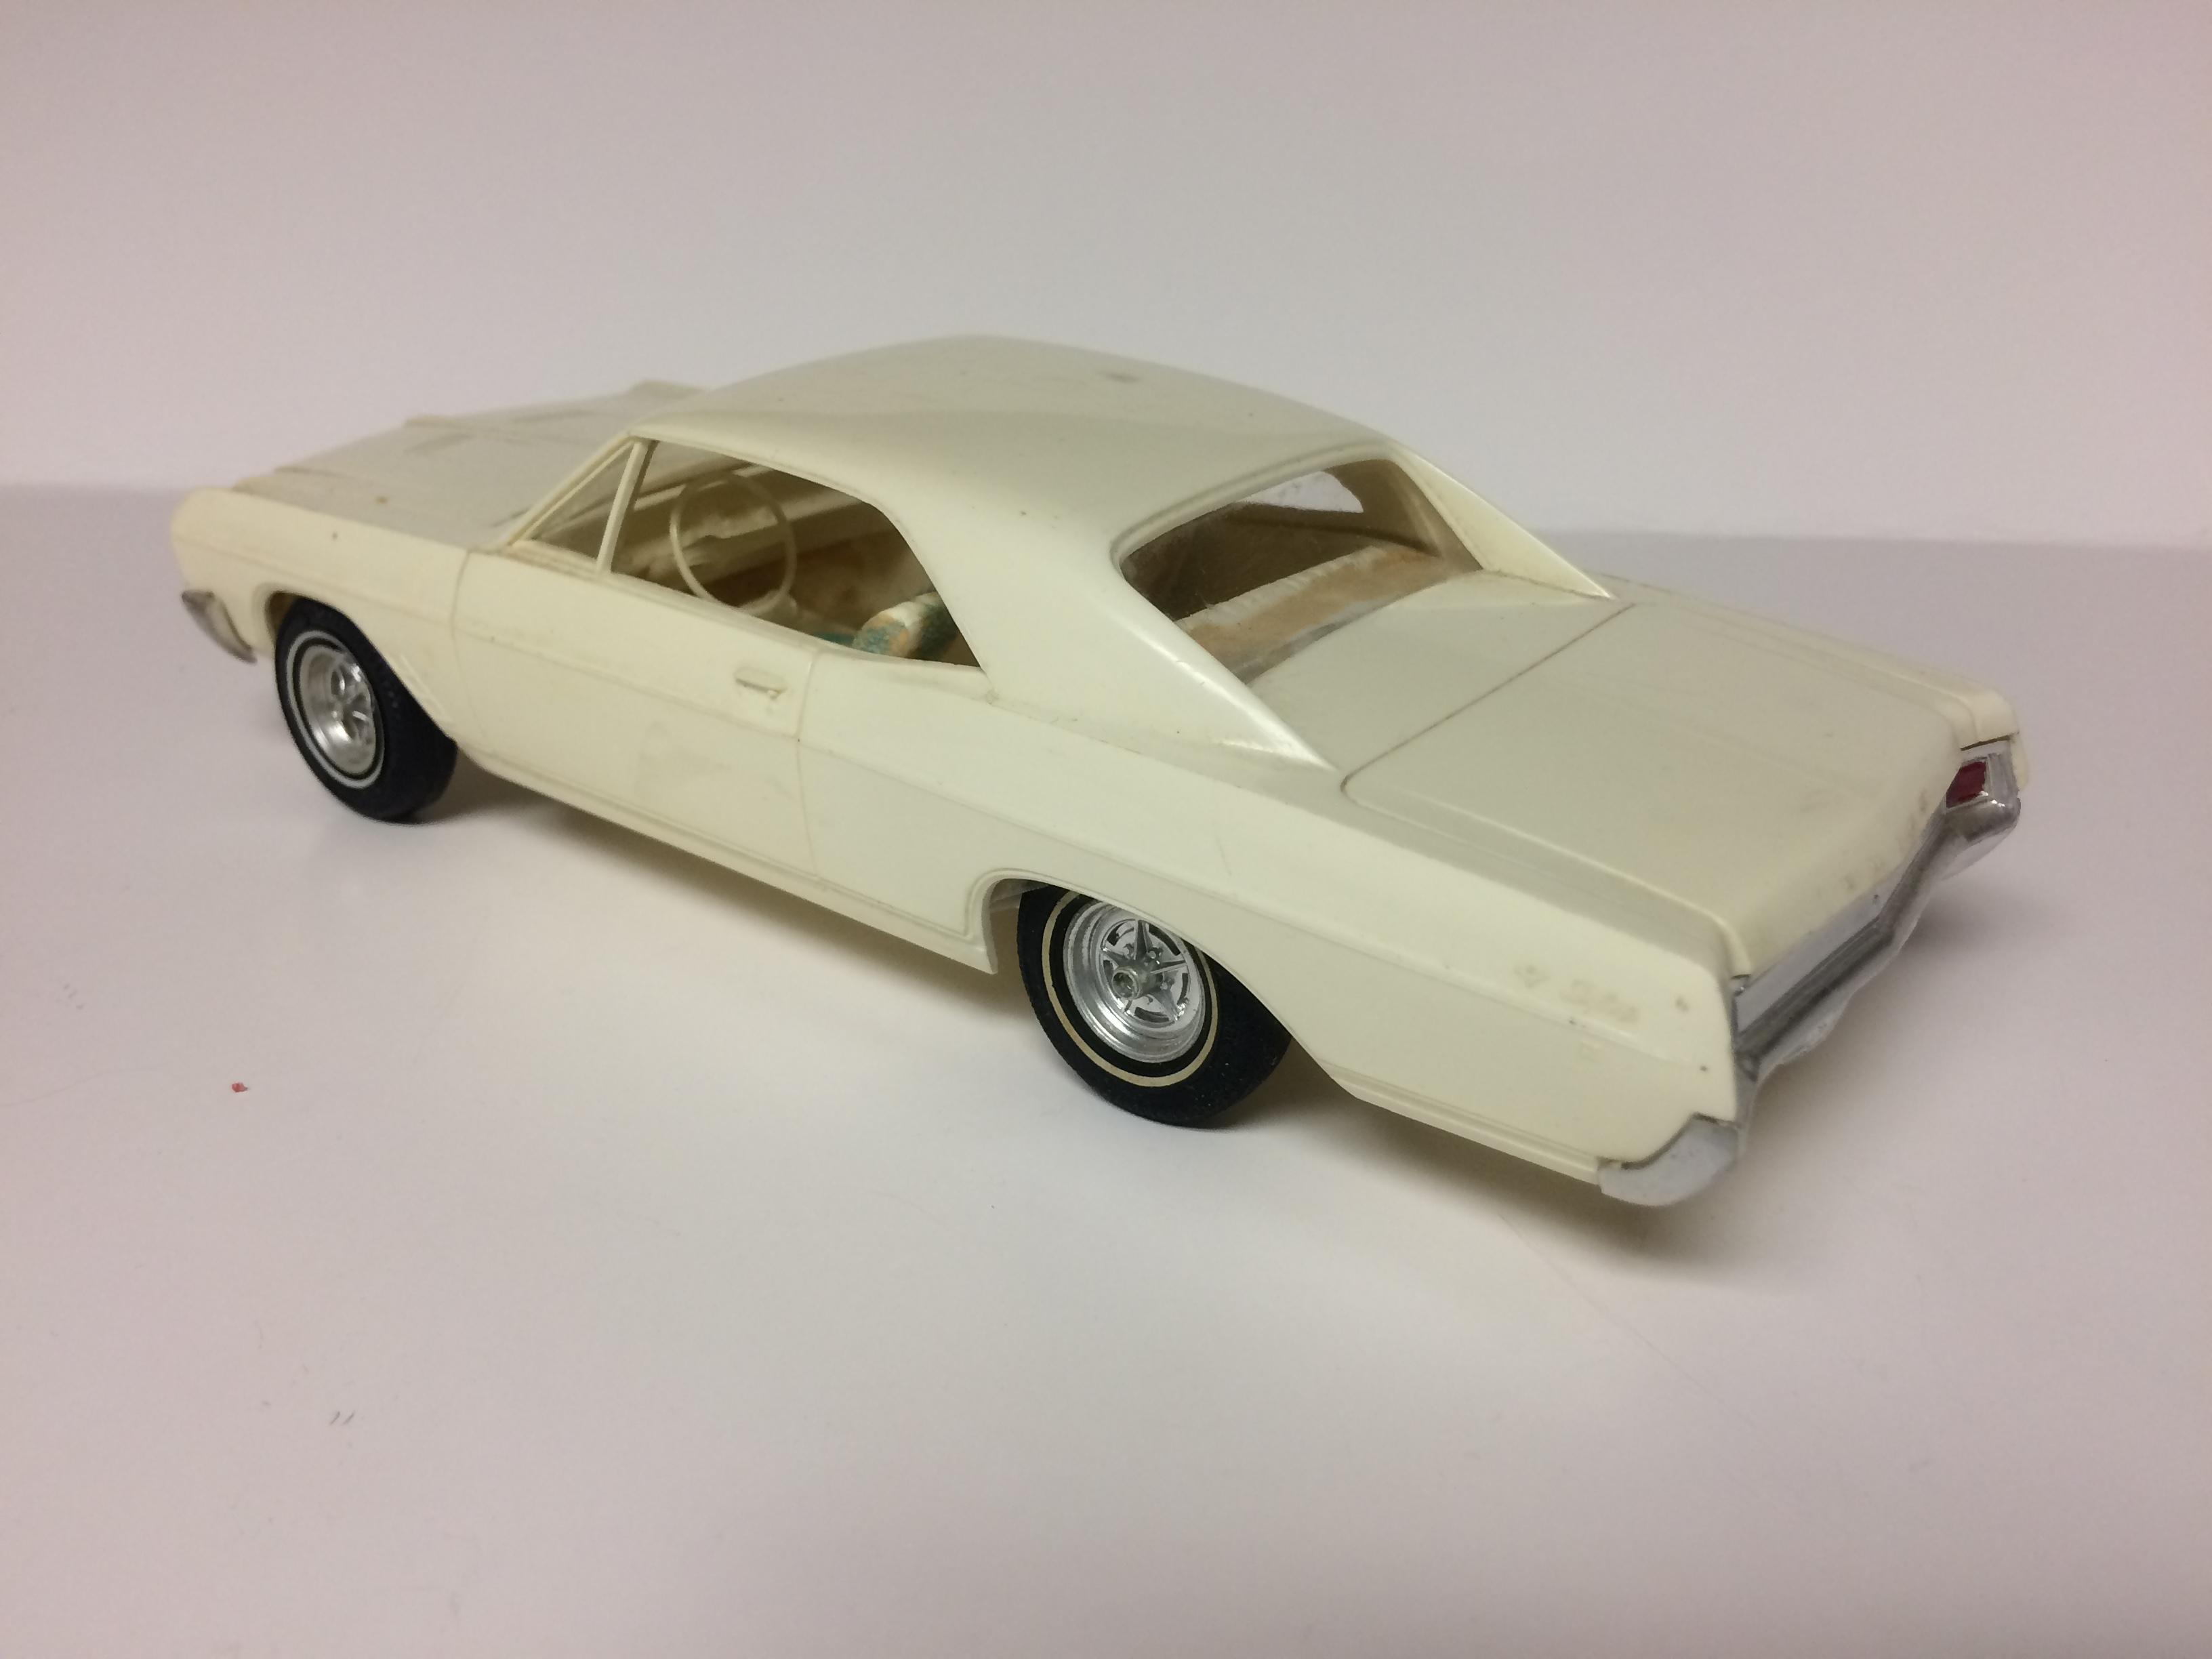
Page resin made it. Casting was nice. No glass or chrome.
-
Another bad actor that’s been sitting a few years. Today is get this old BLAH_BLAH_BLAH_BLAH done day. Resin kit I paid too much for. With Zimmerman wheels slammed low
-
Resin body on a 70 Impala chassis. Pegasus wheels. This thing has languished about 6 years. I’m calling it done.
-
That looks like the right dry sump pan to me!
-
I just realized my pic didn’t load. I’m an idiot!? This car has a wet so nascar pan on it.
-
No problem if something can be screwed up I’ve done it guaranteed!!
-
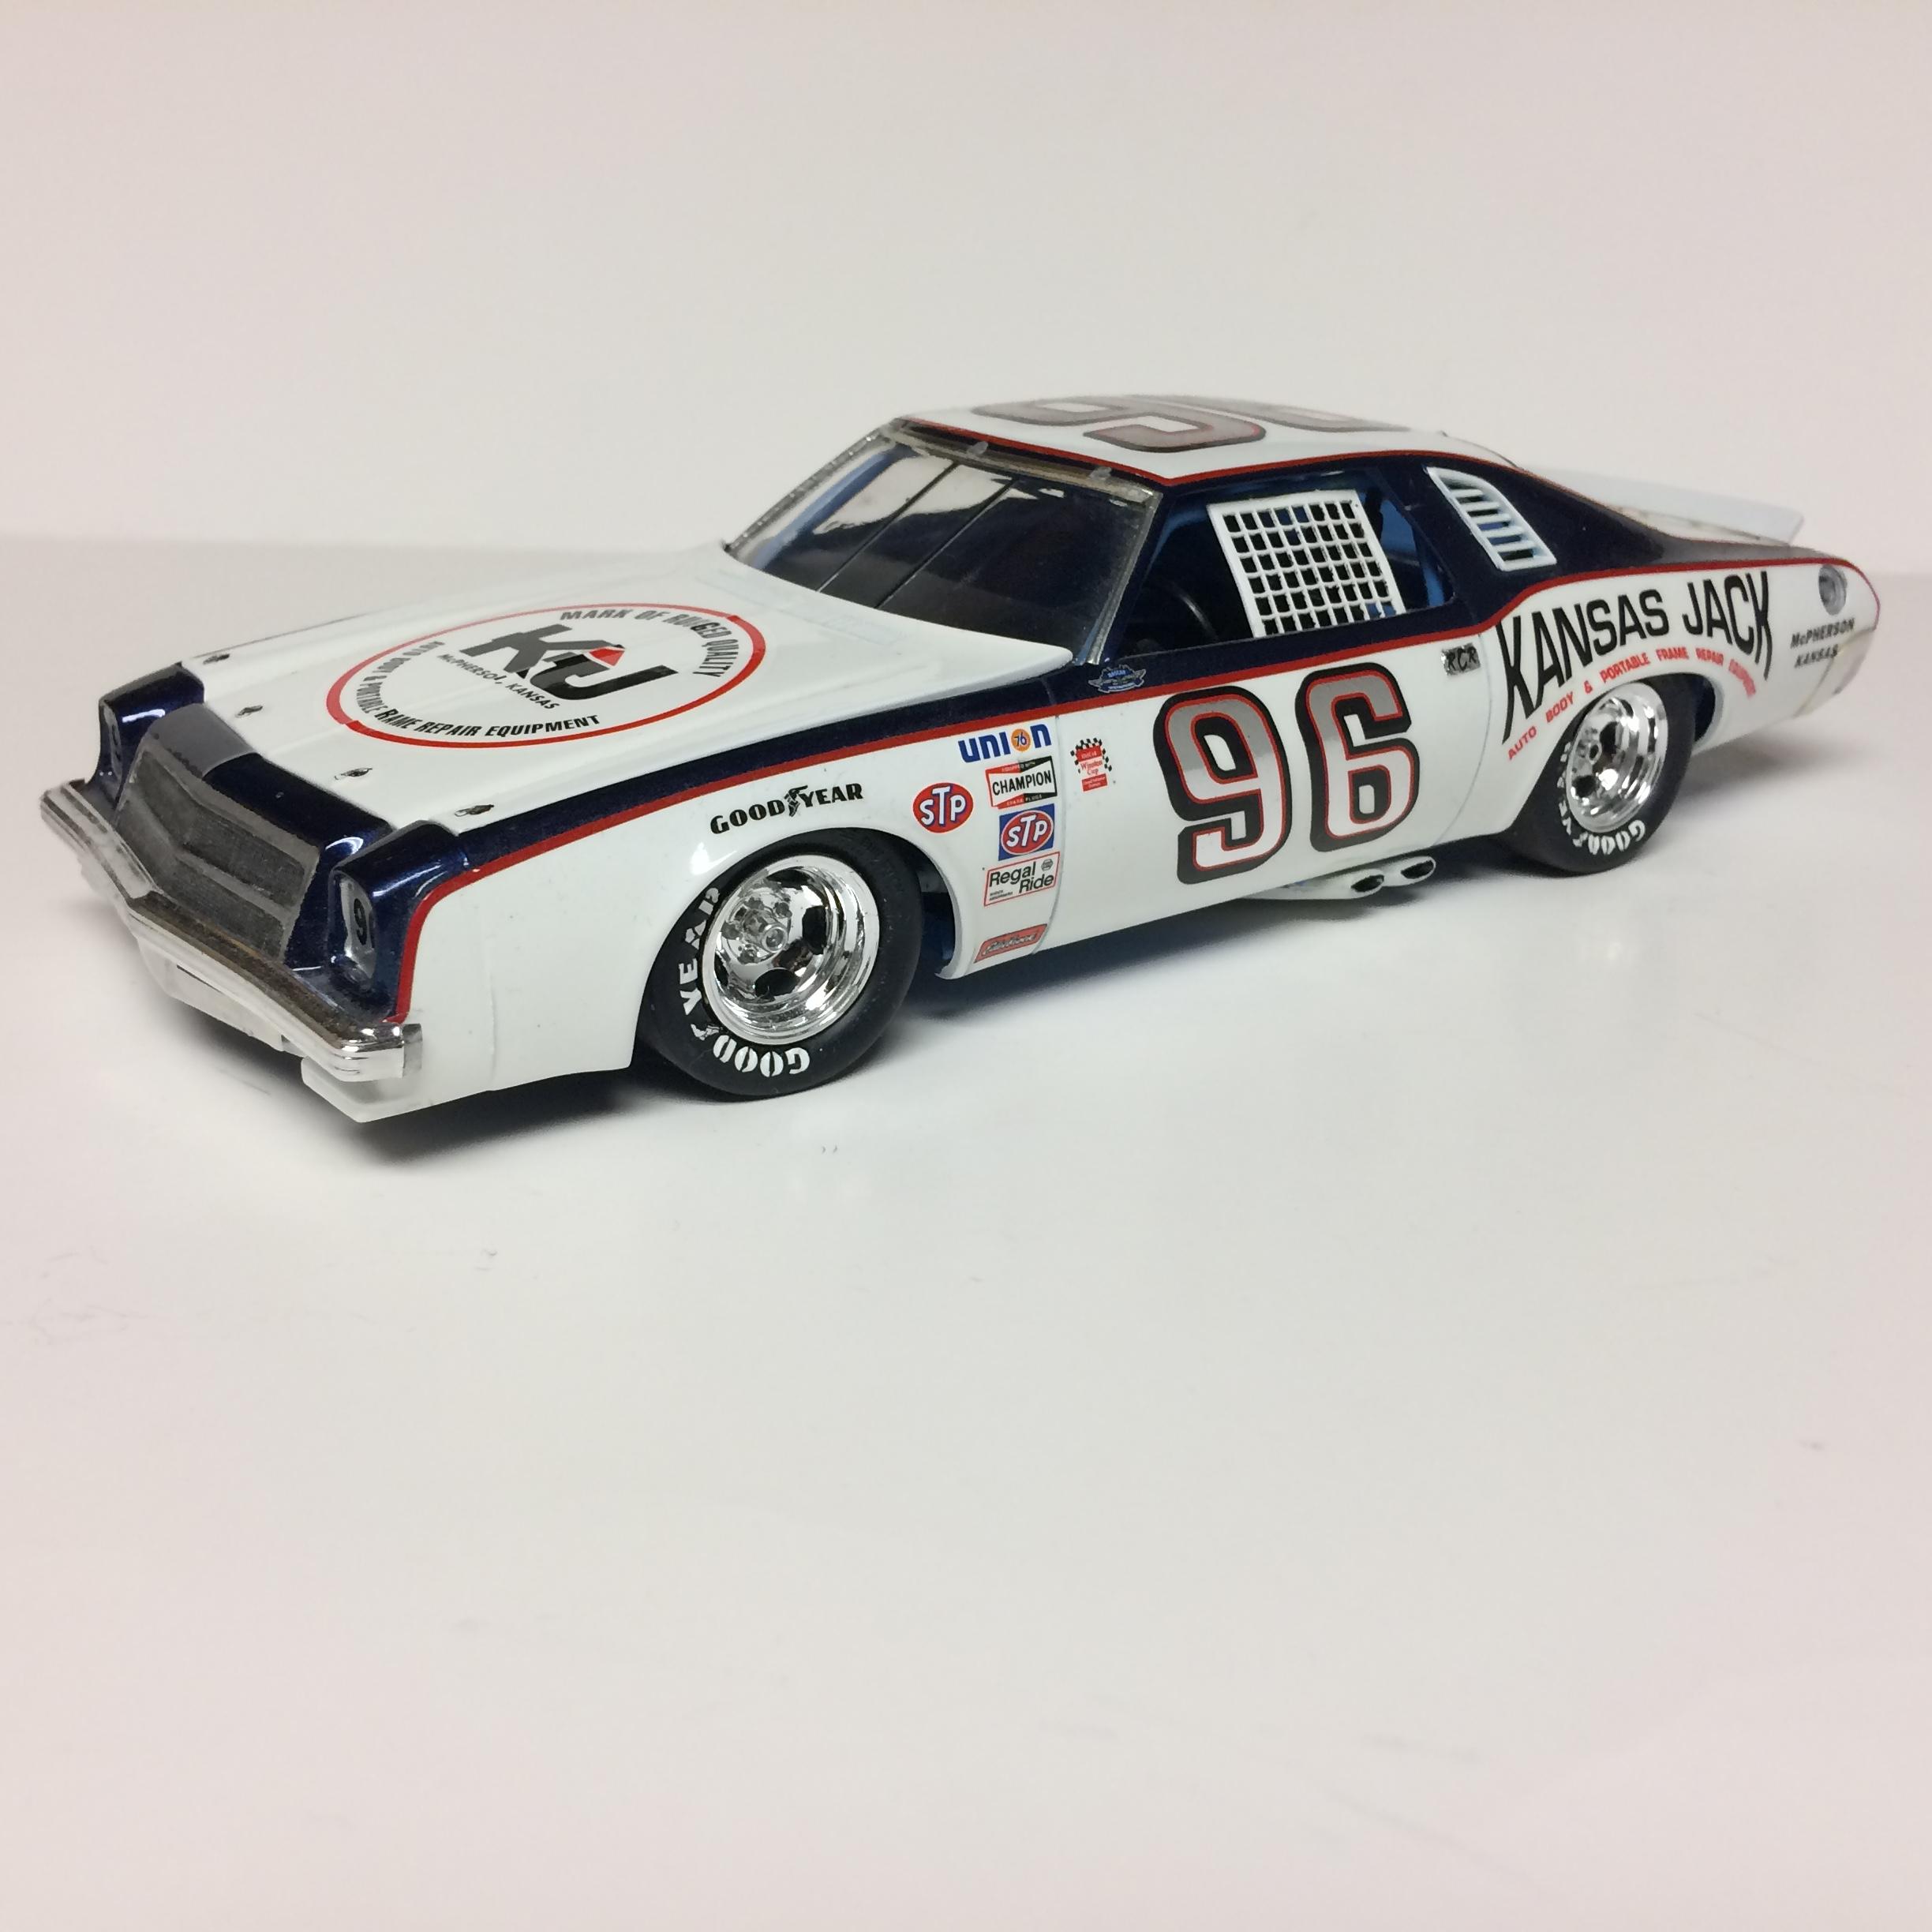
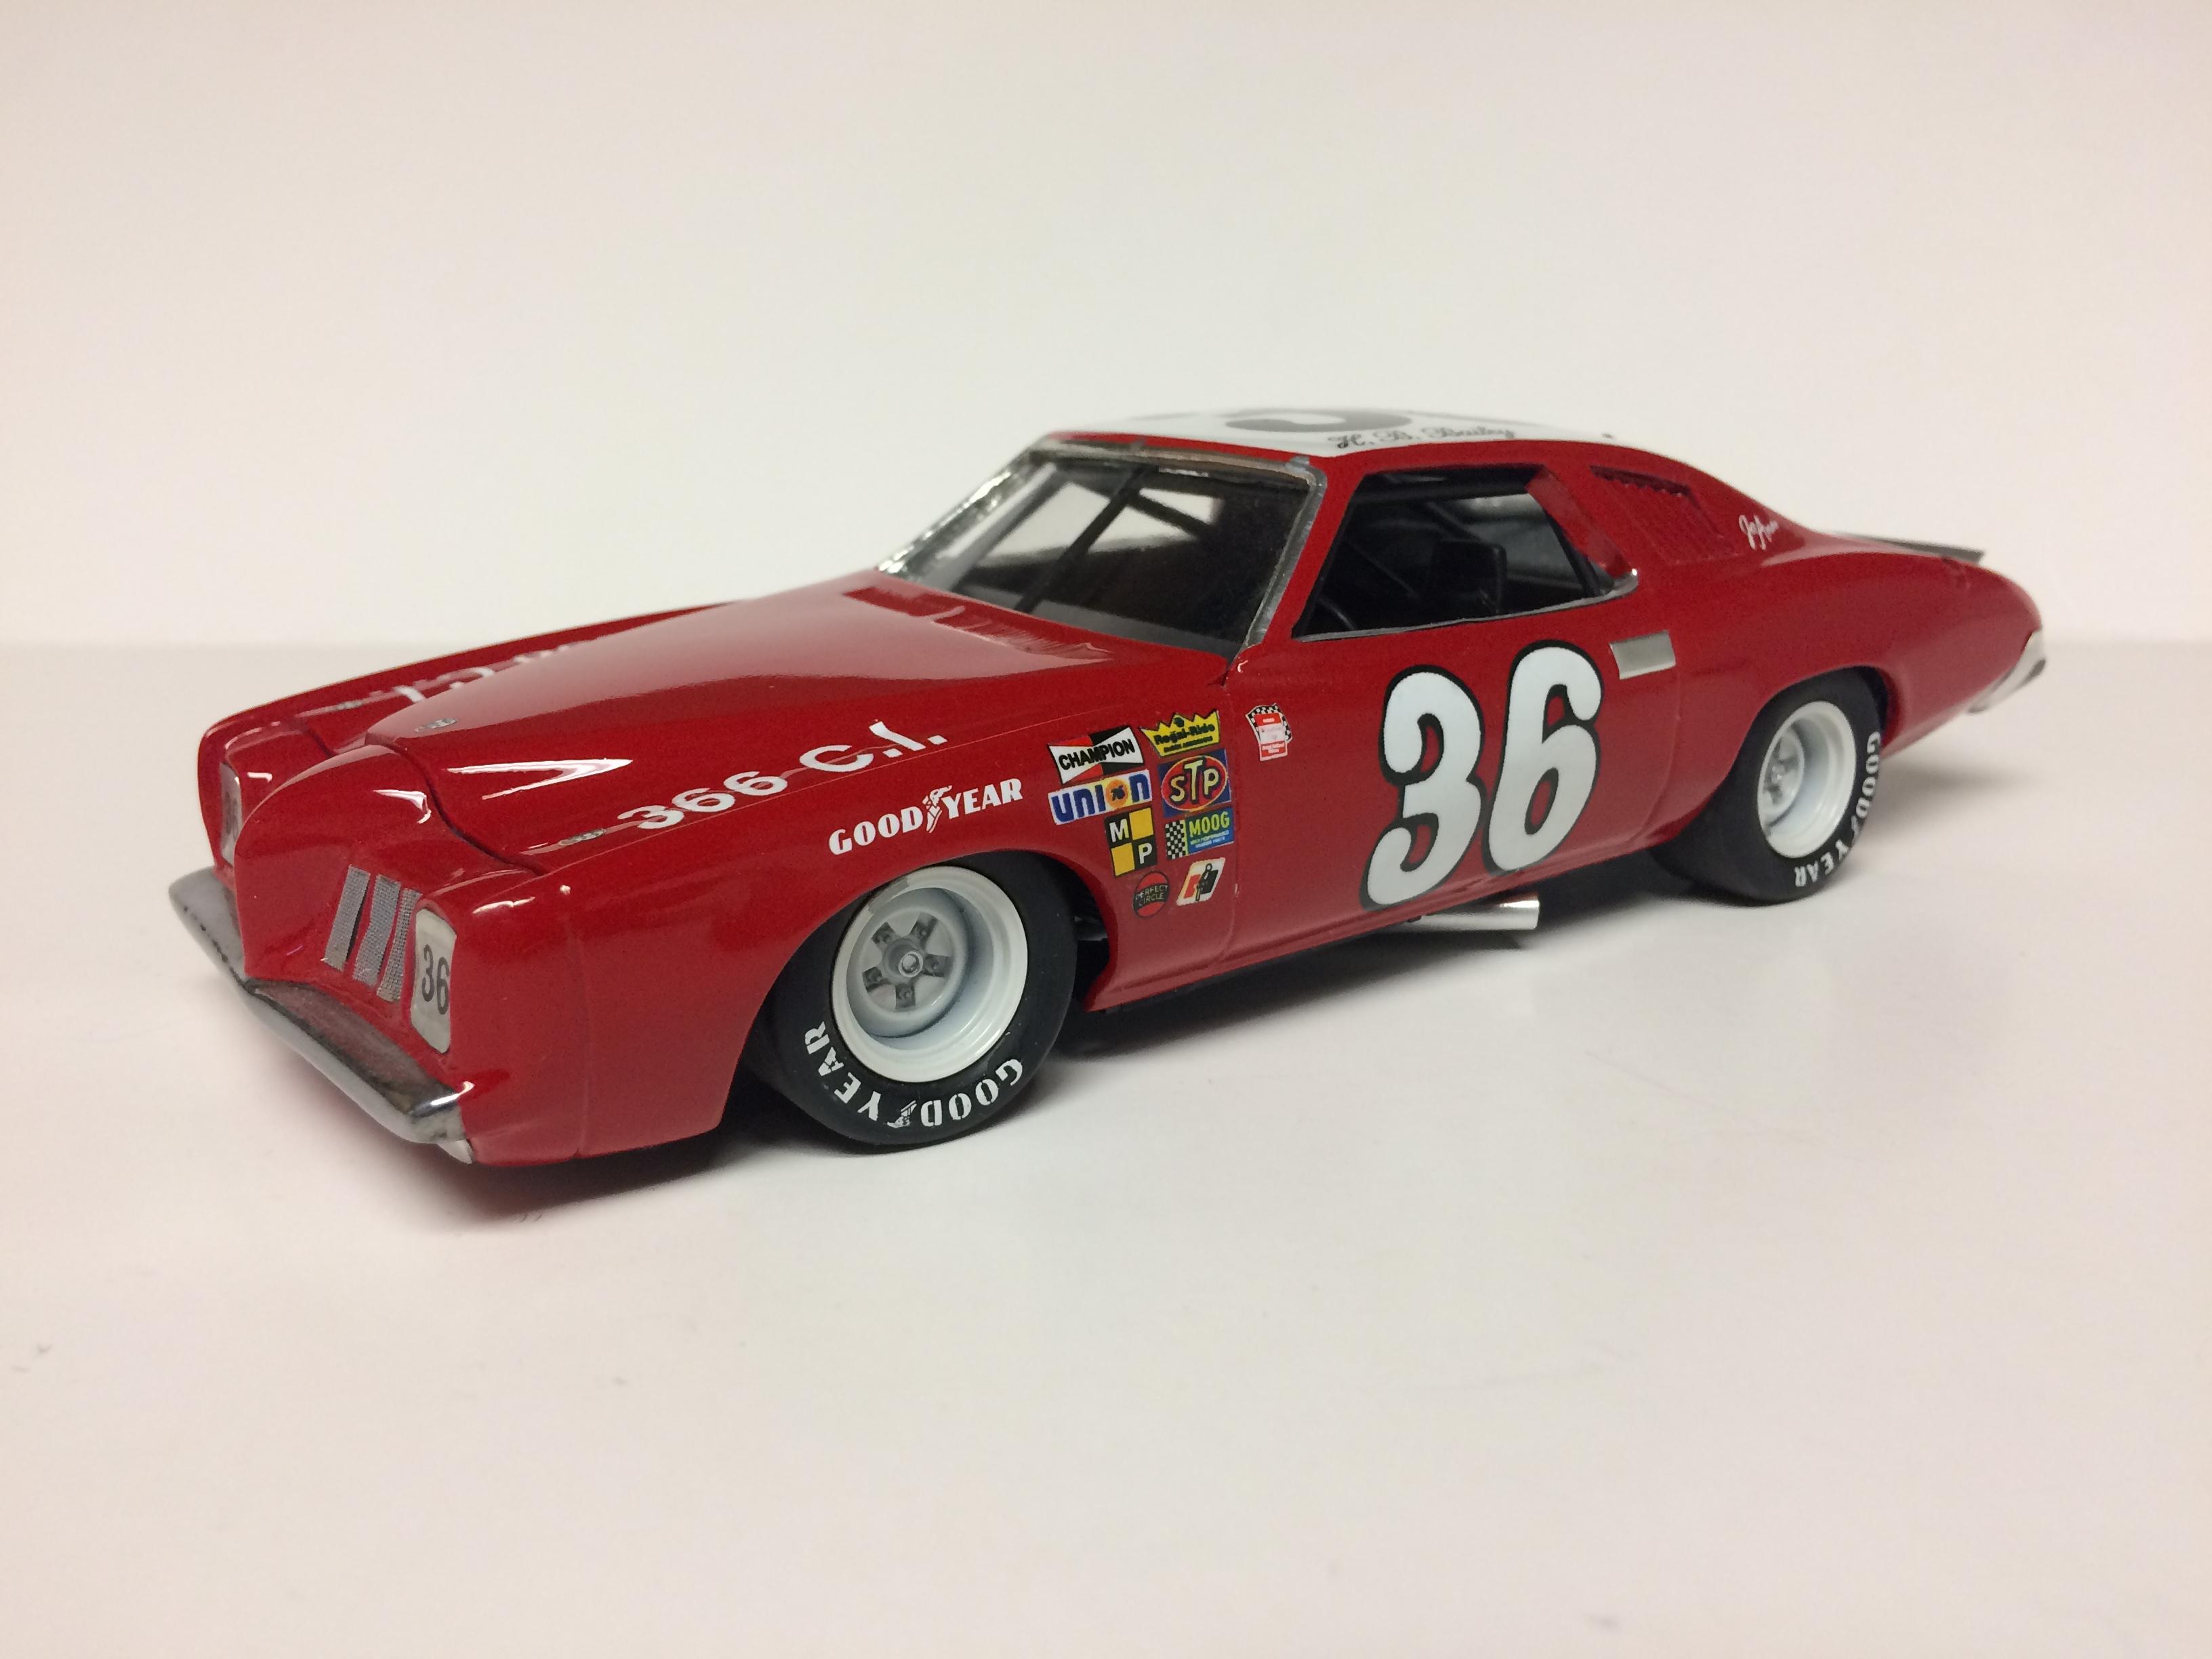
Gerald it is quite a bit of work to get the chassis under the Roadrunner. You have to shorten the back by almost 1/8 inch. Move the cell forward till it almost touches the rear axle.you also need to move the hoops that surround the coolers up frt. I drill new holes and mount them higher and grind the bottom of the hoops to clear the fender. The radiator shrouding needs shortened too. Then you need to pull the tires in to clear the body. Fit everything with the frt bumper held in place. The worst of the whole thing is getting the hood to close all the way. I take the incorrect bulge out of the hood and replace it with a flat sheet. The carburetor needs to be sanded almost to nothing to get air cleaner under the hood. It’s a project but comes out good. I’ve done about 4-5 of them.The nice thing is the rollbar and firewalls fit like they were made for this body.
-
Fast back Cadillac is painted!! Silverpine Green Firemist. Silverpine was not a Firemist color but I switched the metallic in it so now it is.