yellowsportwagon
-
Posts
1,881 -
Joined
-
Last visited
Content Type
Profiles
Forums
Events
Gallery
Everything posted by yellowsportwagon
-
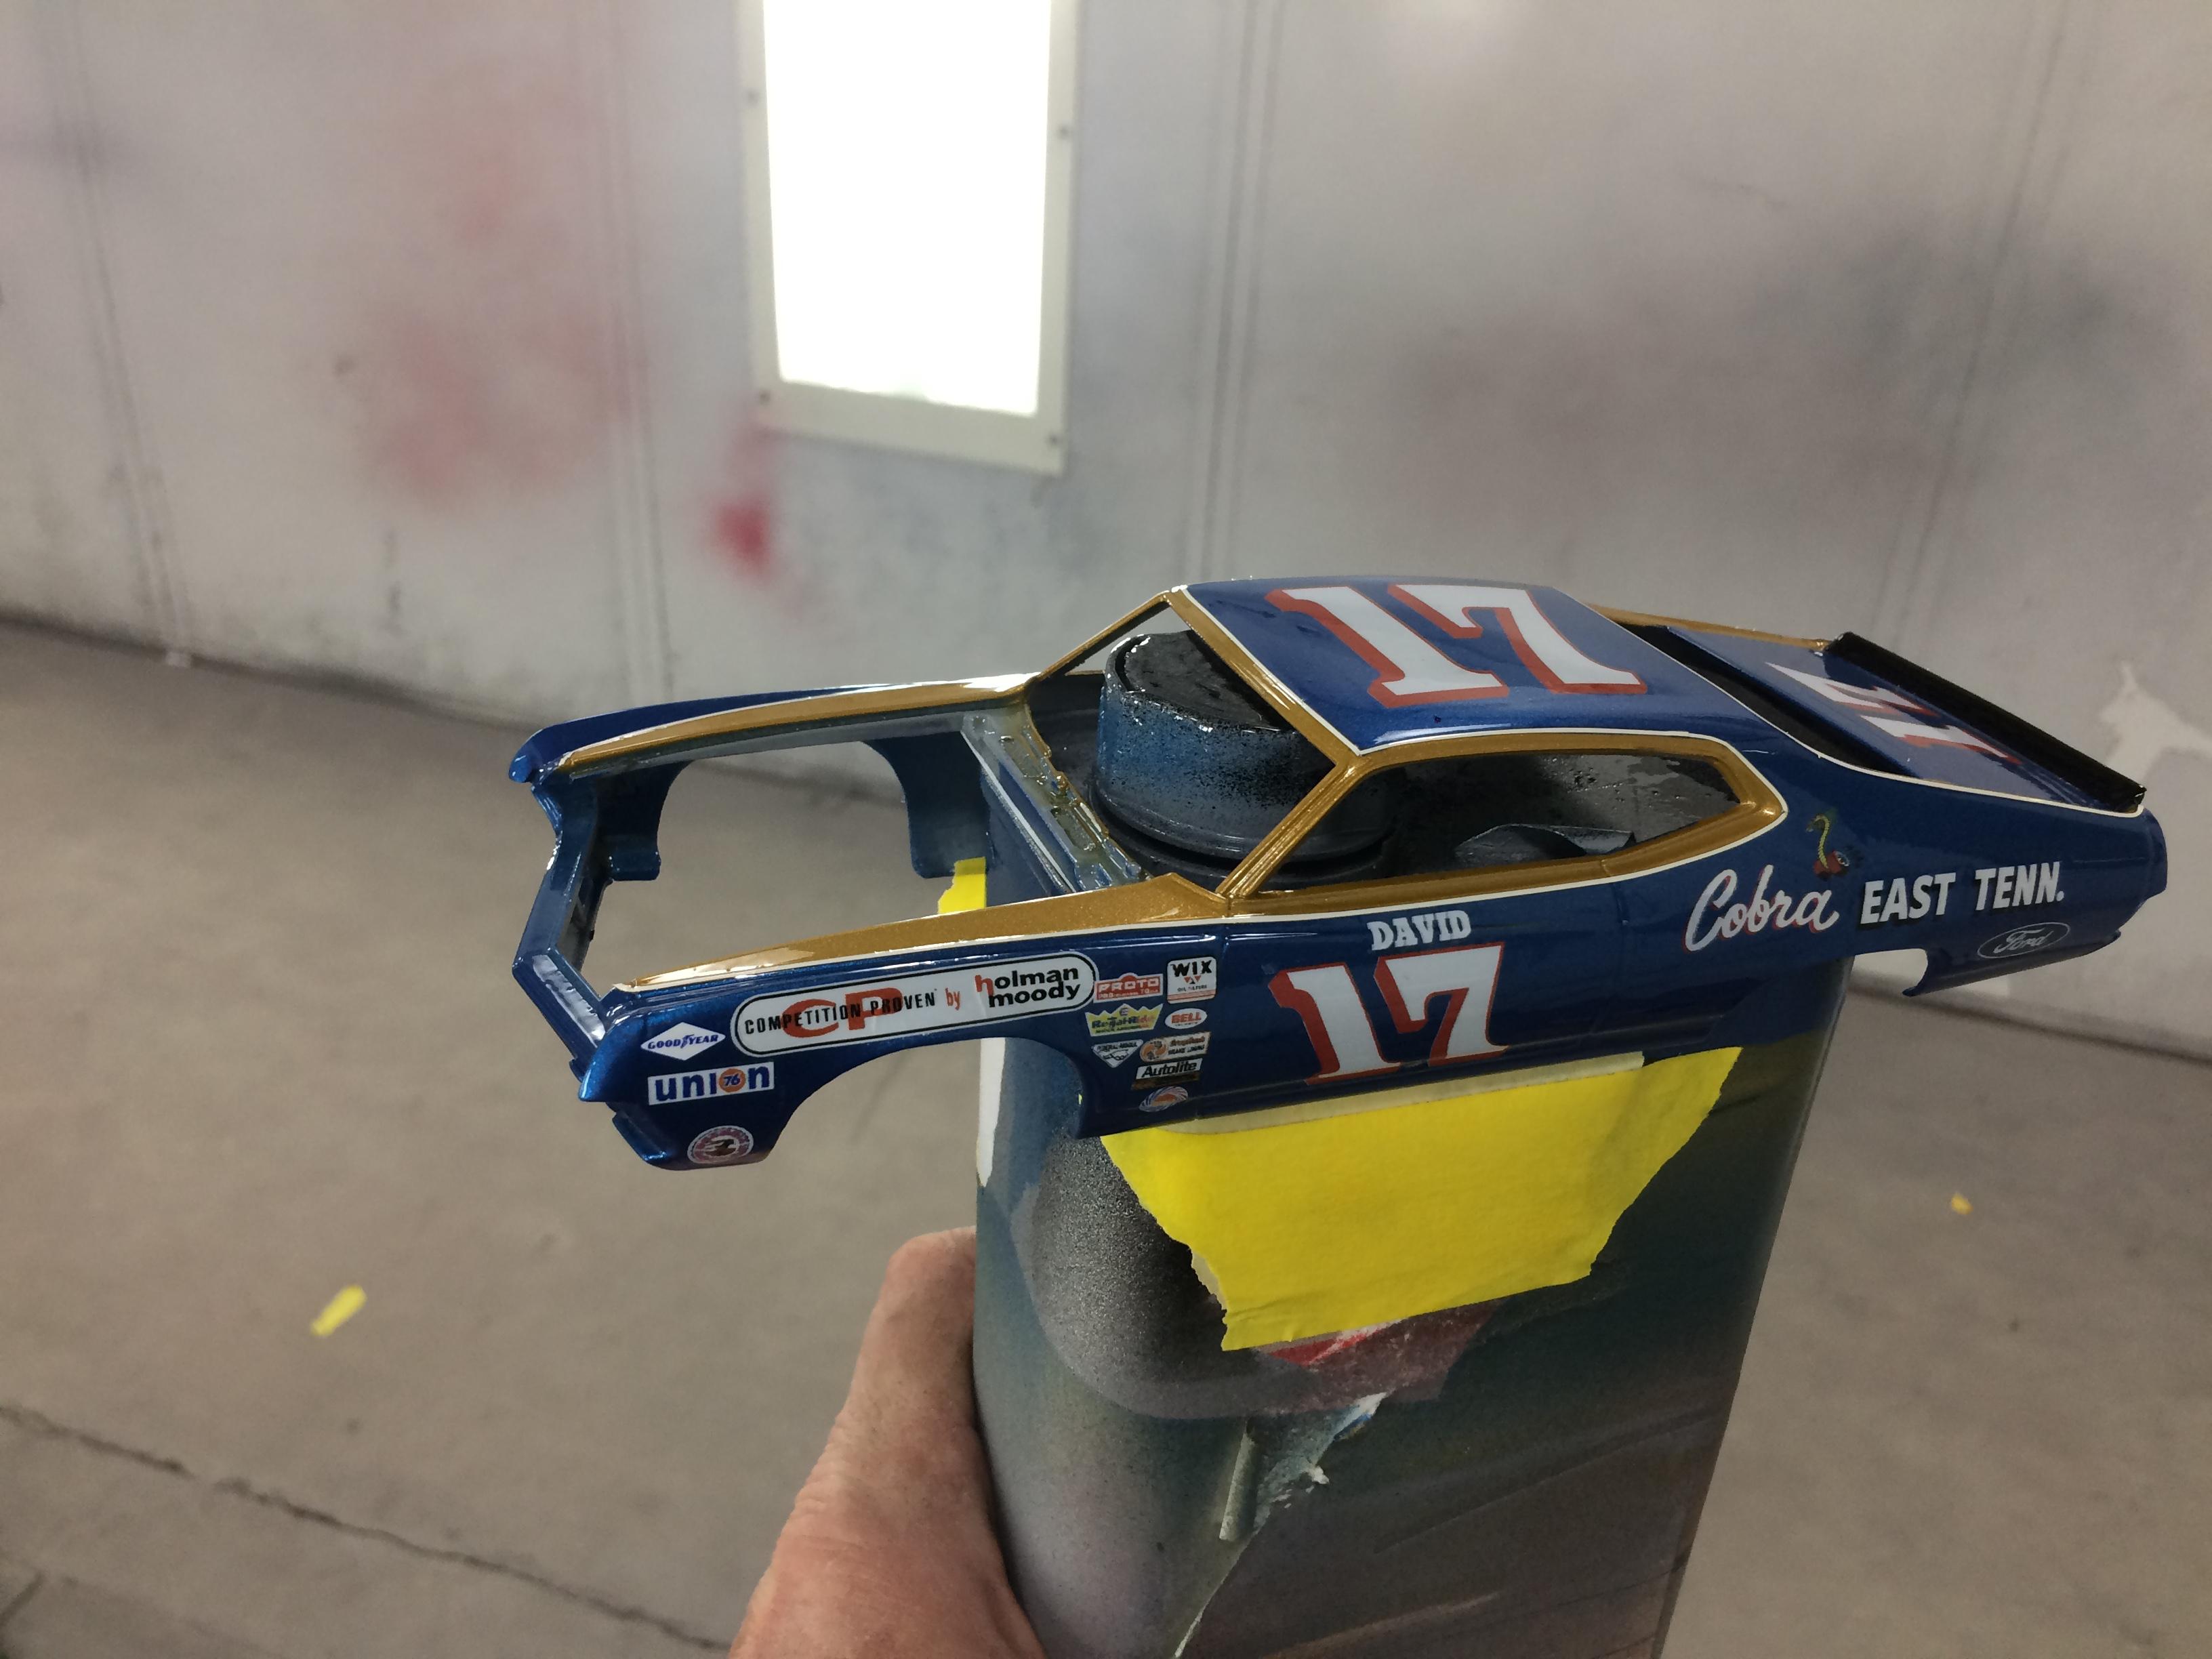
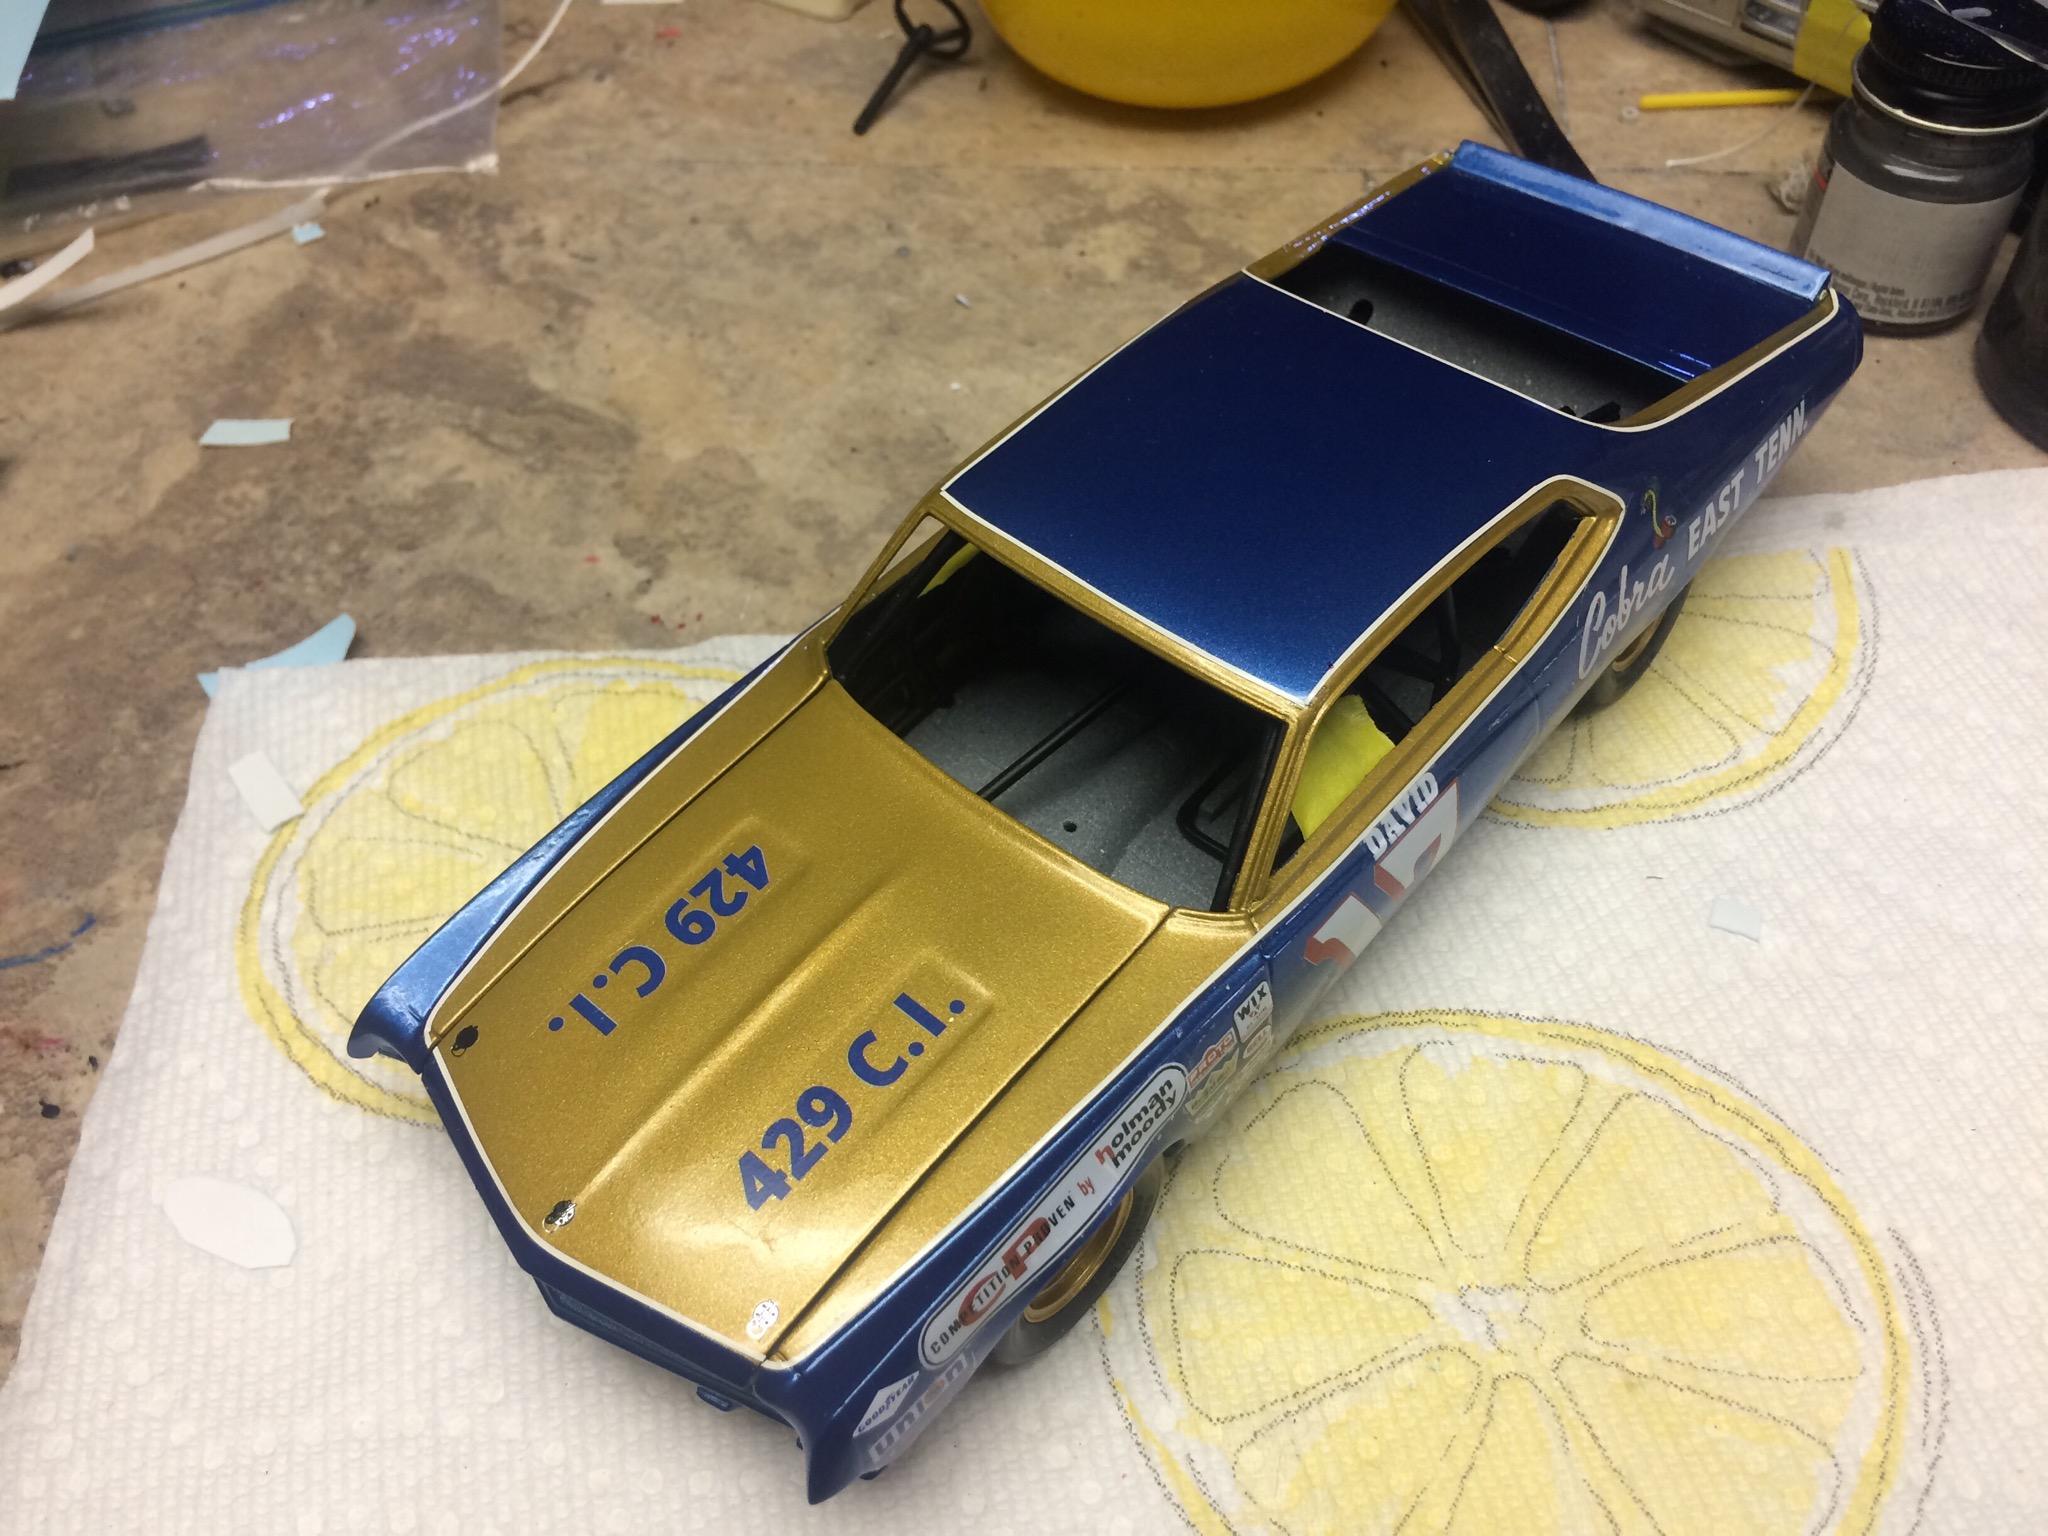
Decals done and cleared. Polish is next.

-
That was my original plan. Then I saw the Buddy Baker car and said That’s a better looking car. I’m not a fan of the yellow and blue.
-
It is an automotive pinstripe I cut down to under 1/32 inch. I have a slitter made to do this.
-
Getting there.
-
I use Sikkens brand paint. Waterborne base 2k clear
-
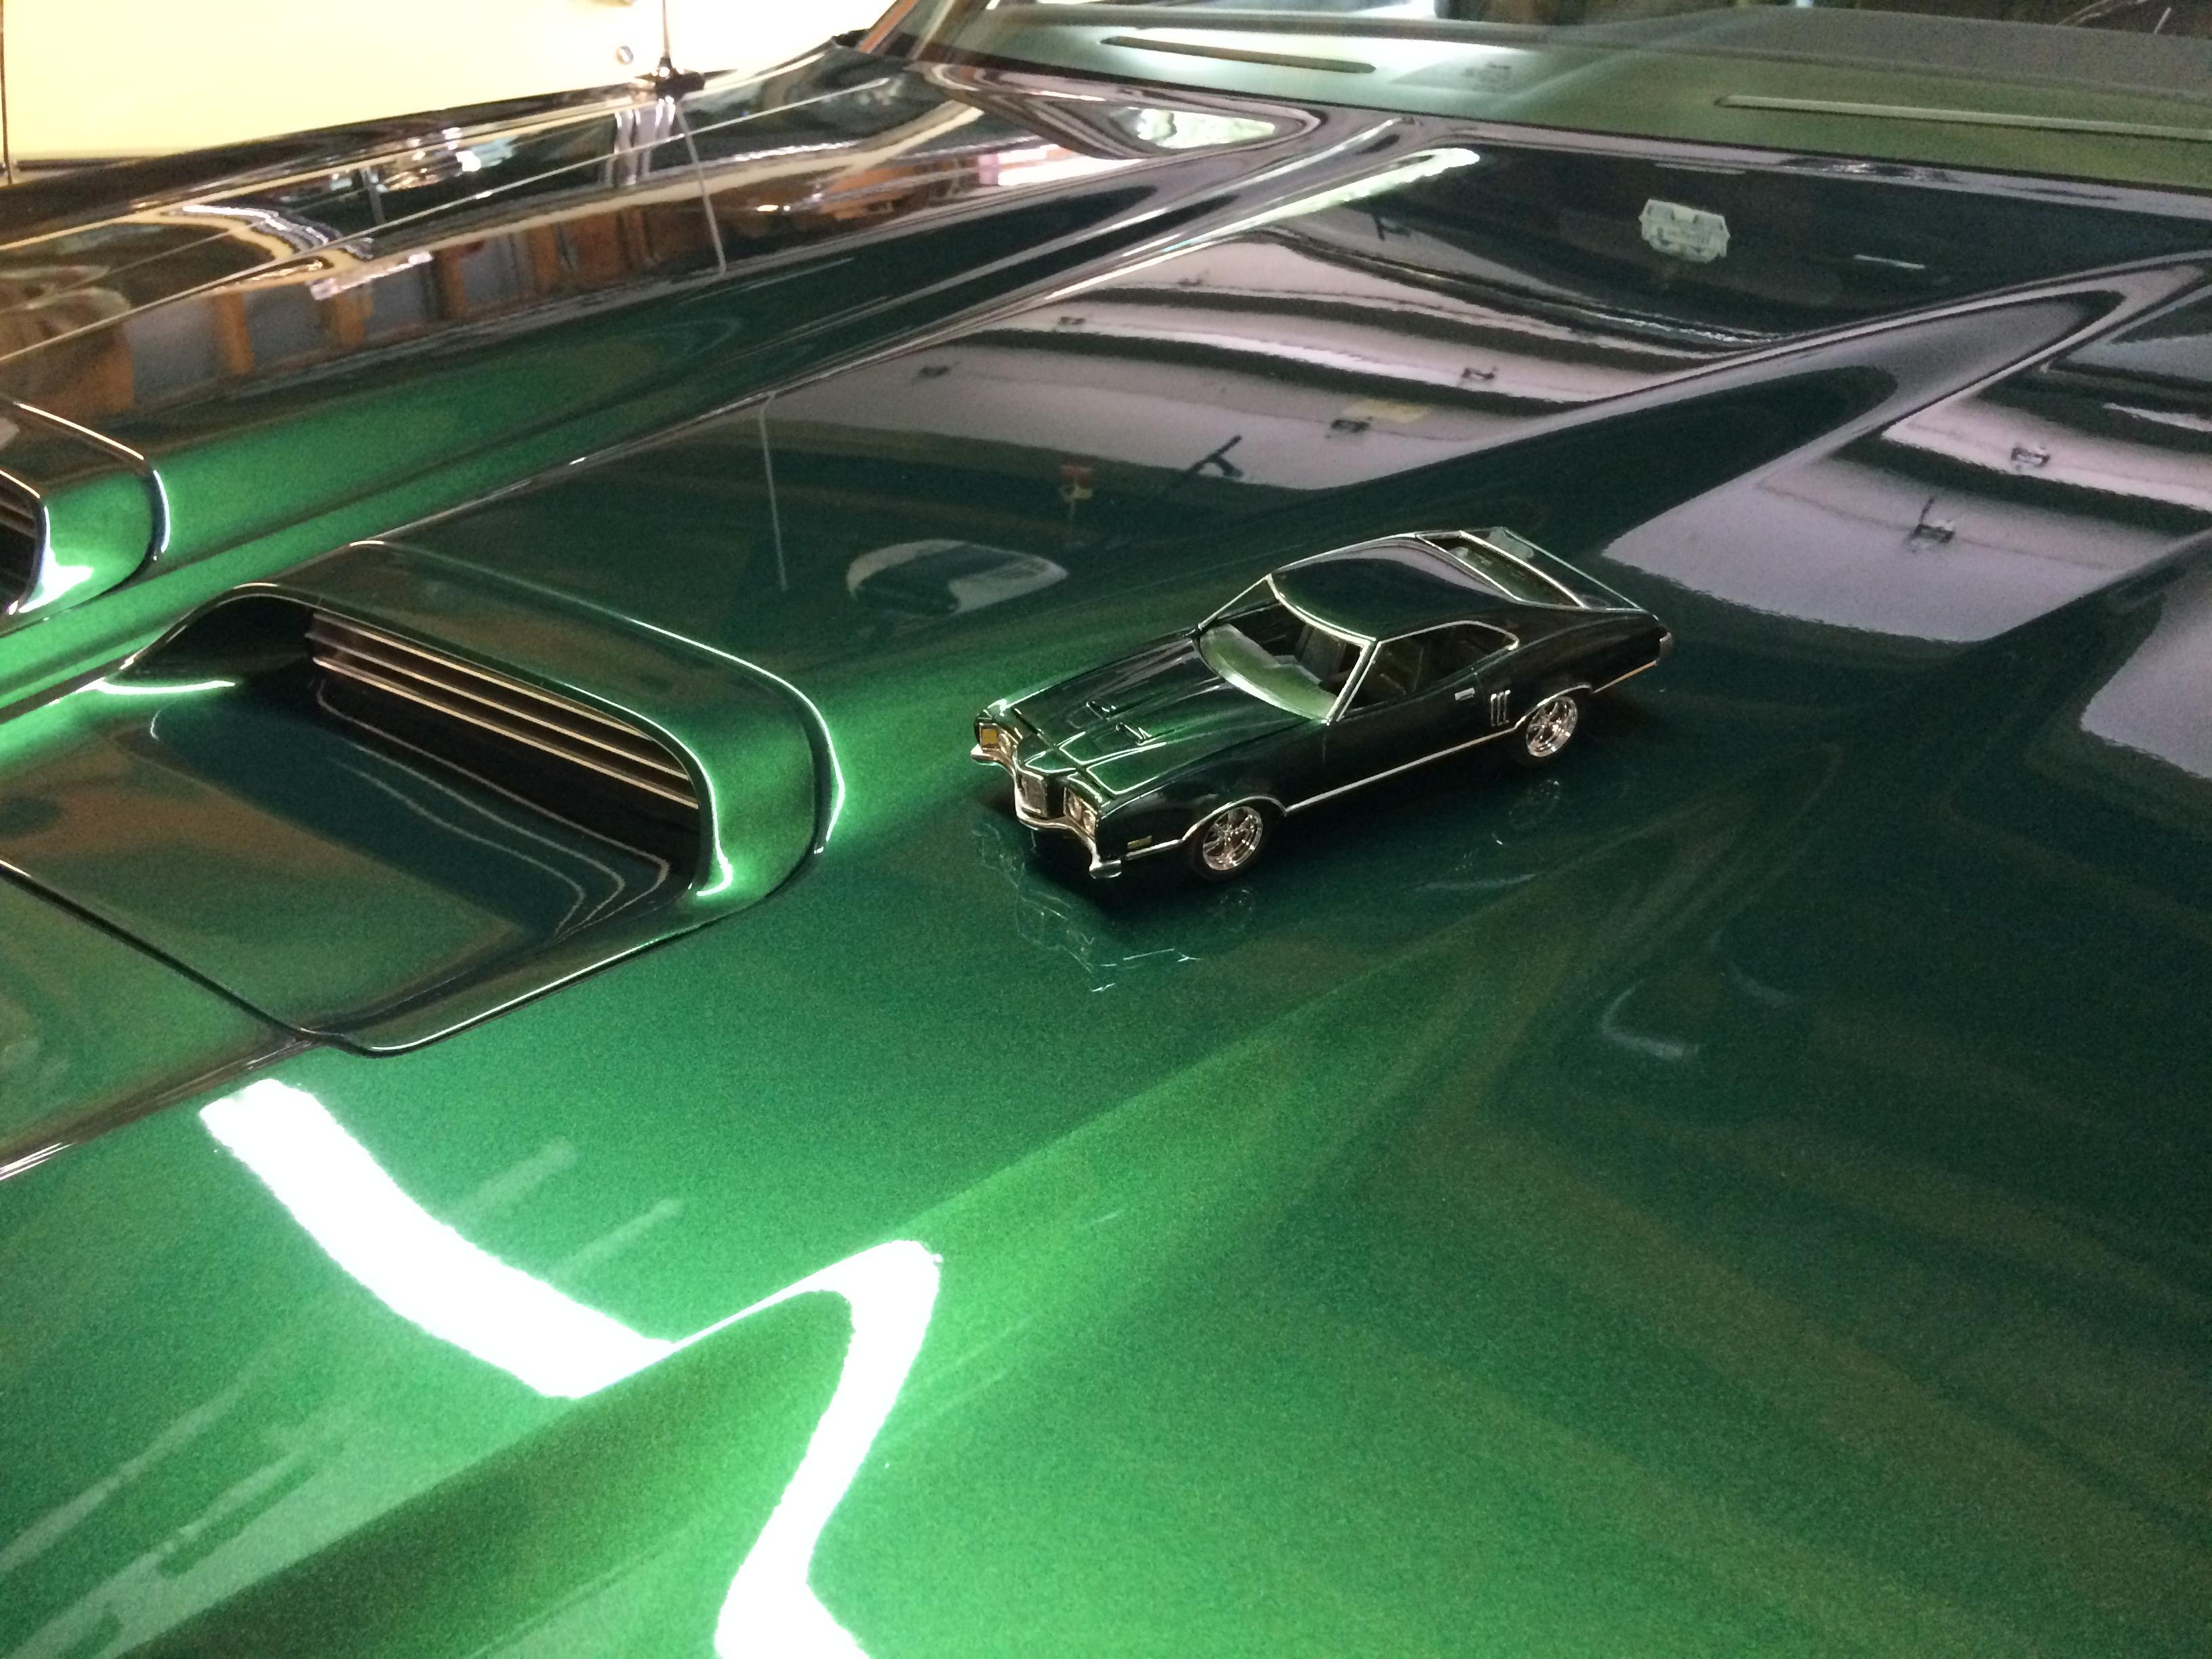
Ok I’ve seen those two together before. Are you on any of the Facebook Mercury pages?
-
Thanks man. I’m not into the newer stuff so the wraps aren’t a concern for me. As long as the quality is good. That’s what is important to me.
-
Sharp man! I have a question. How are those Pattos decals to work with. They look nice.
-
That is absolutely perfect Paul.
-
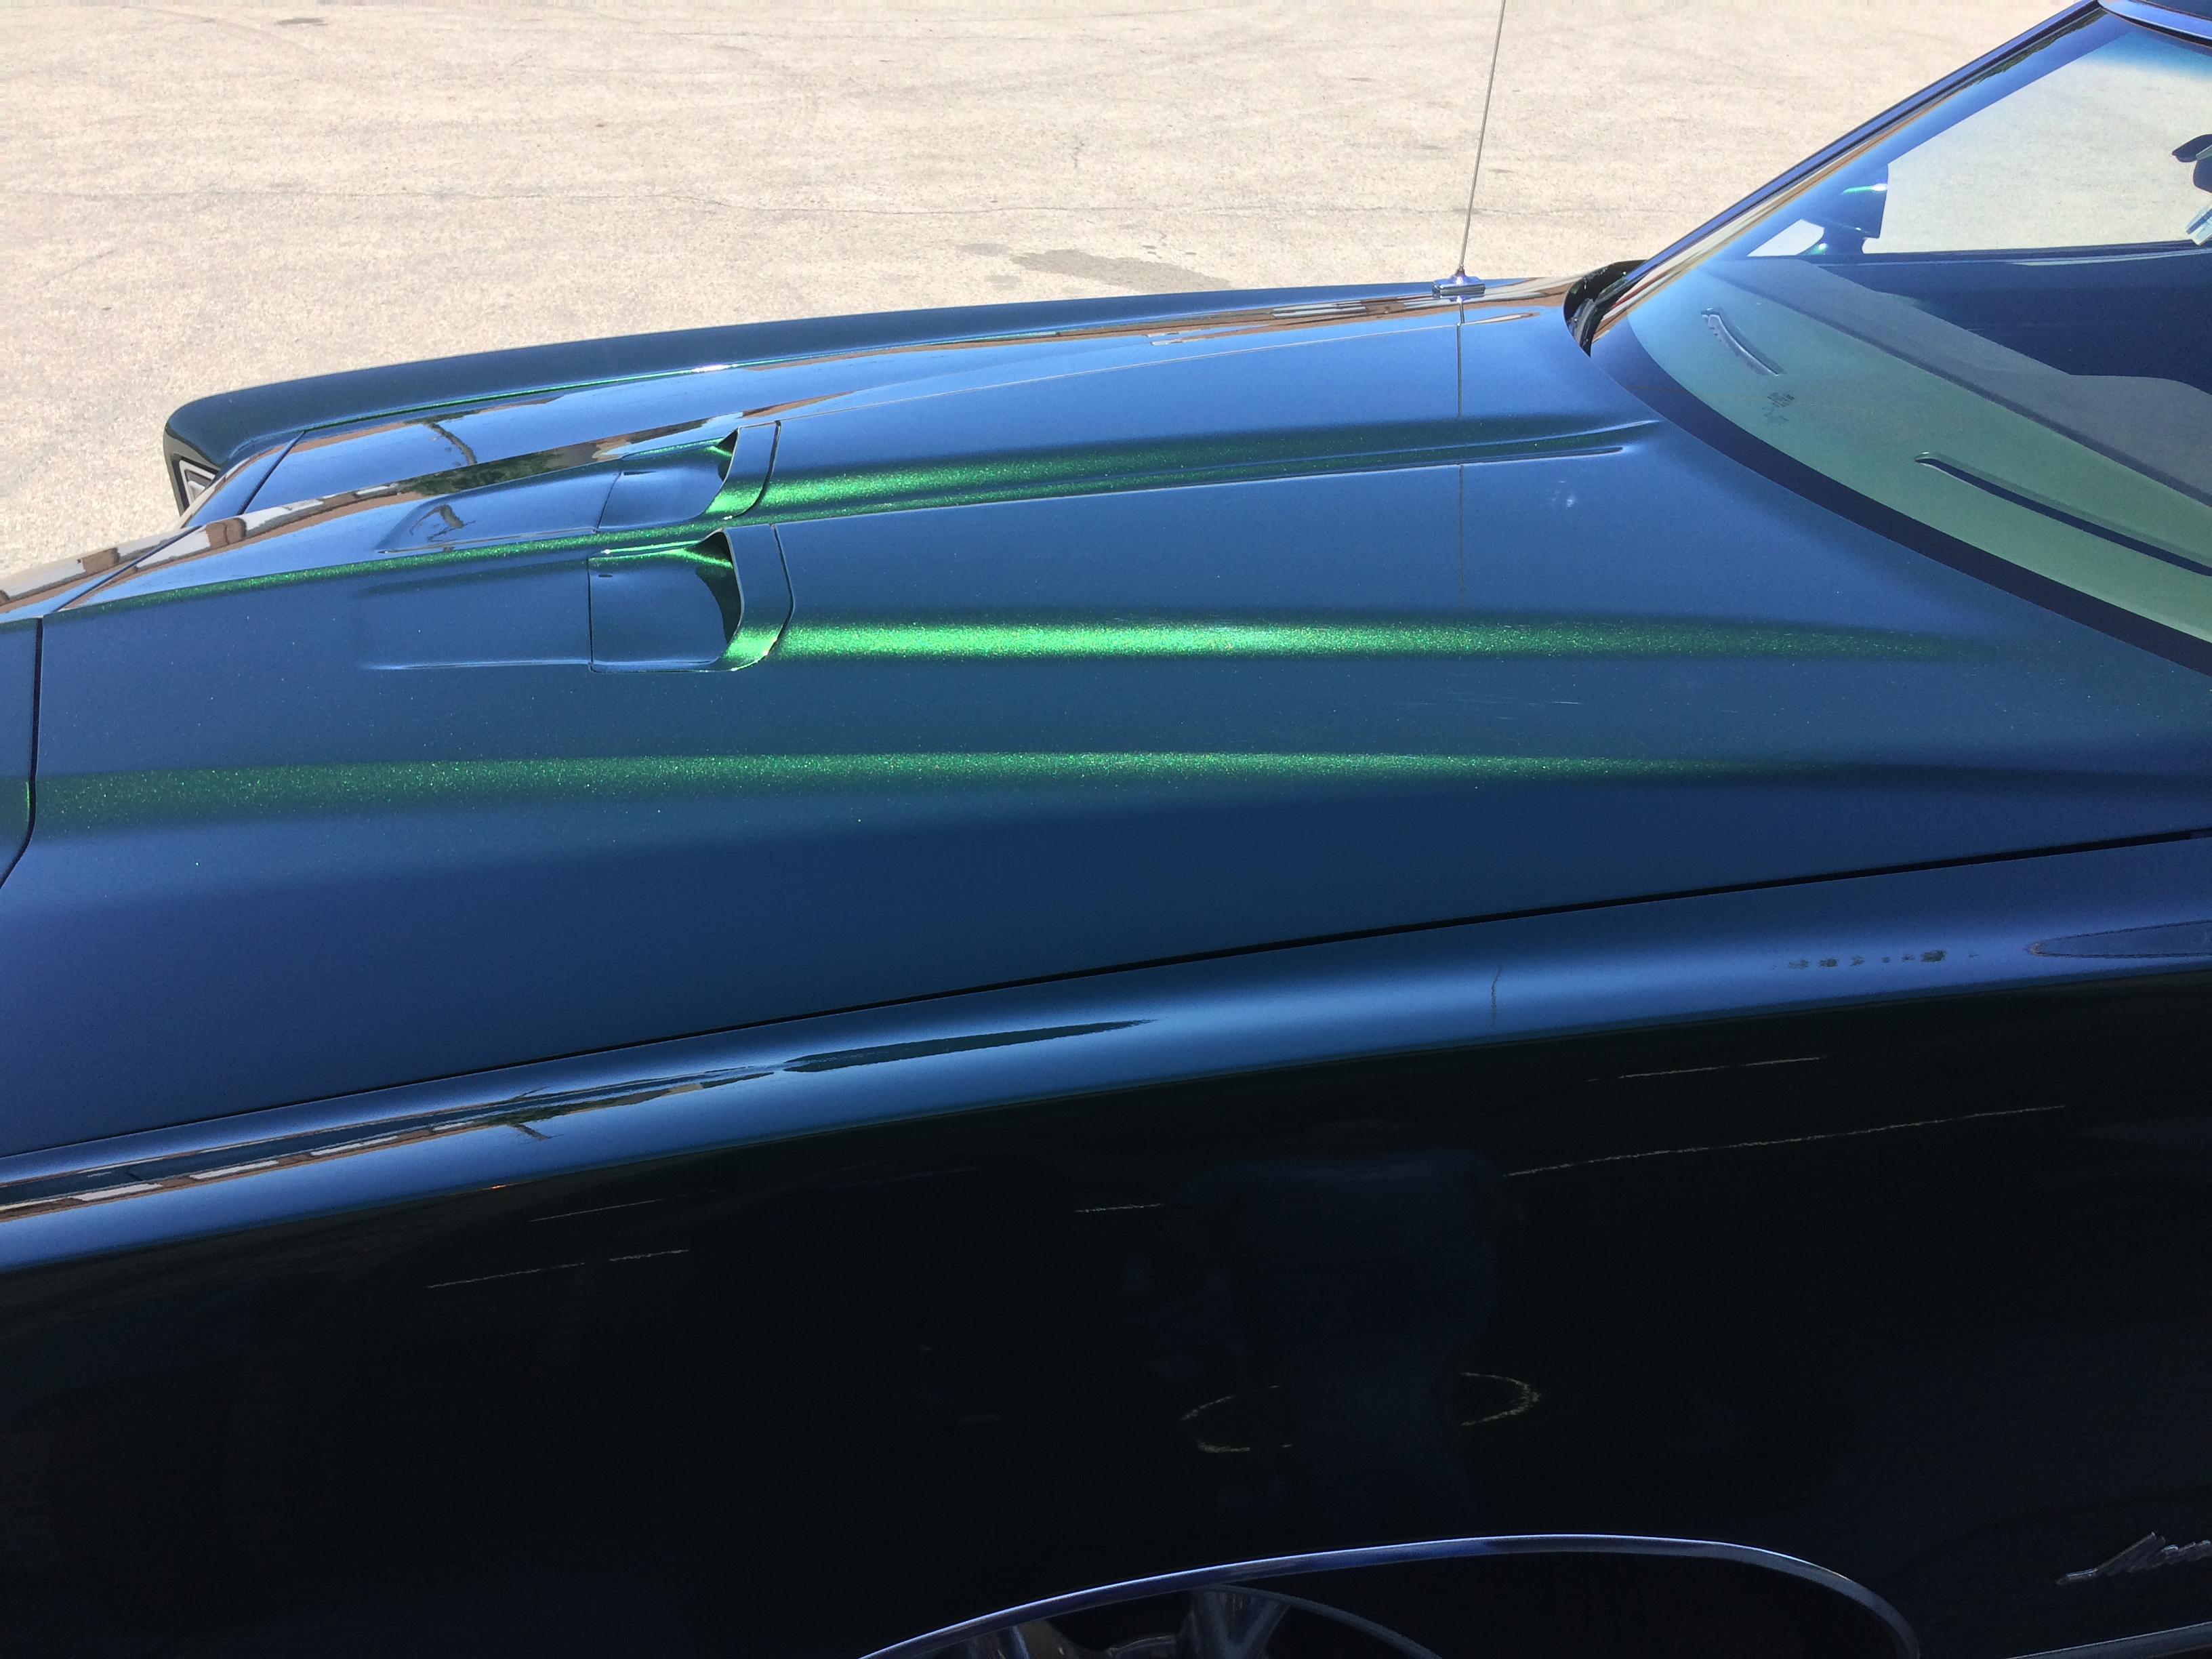
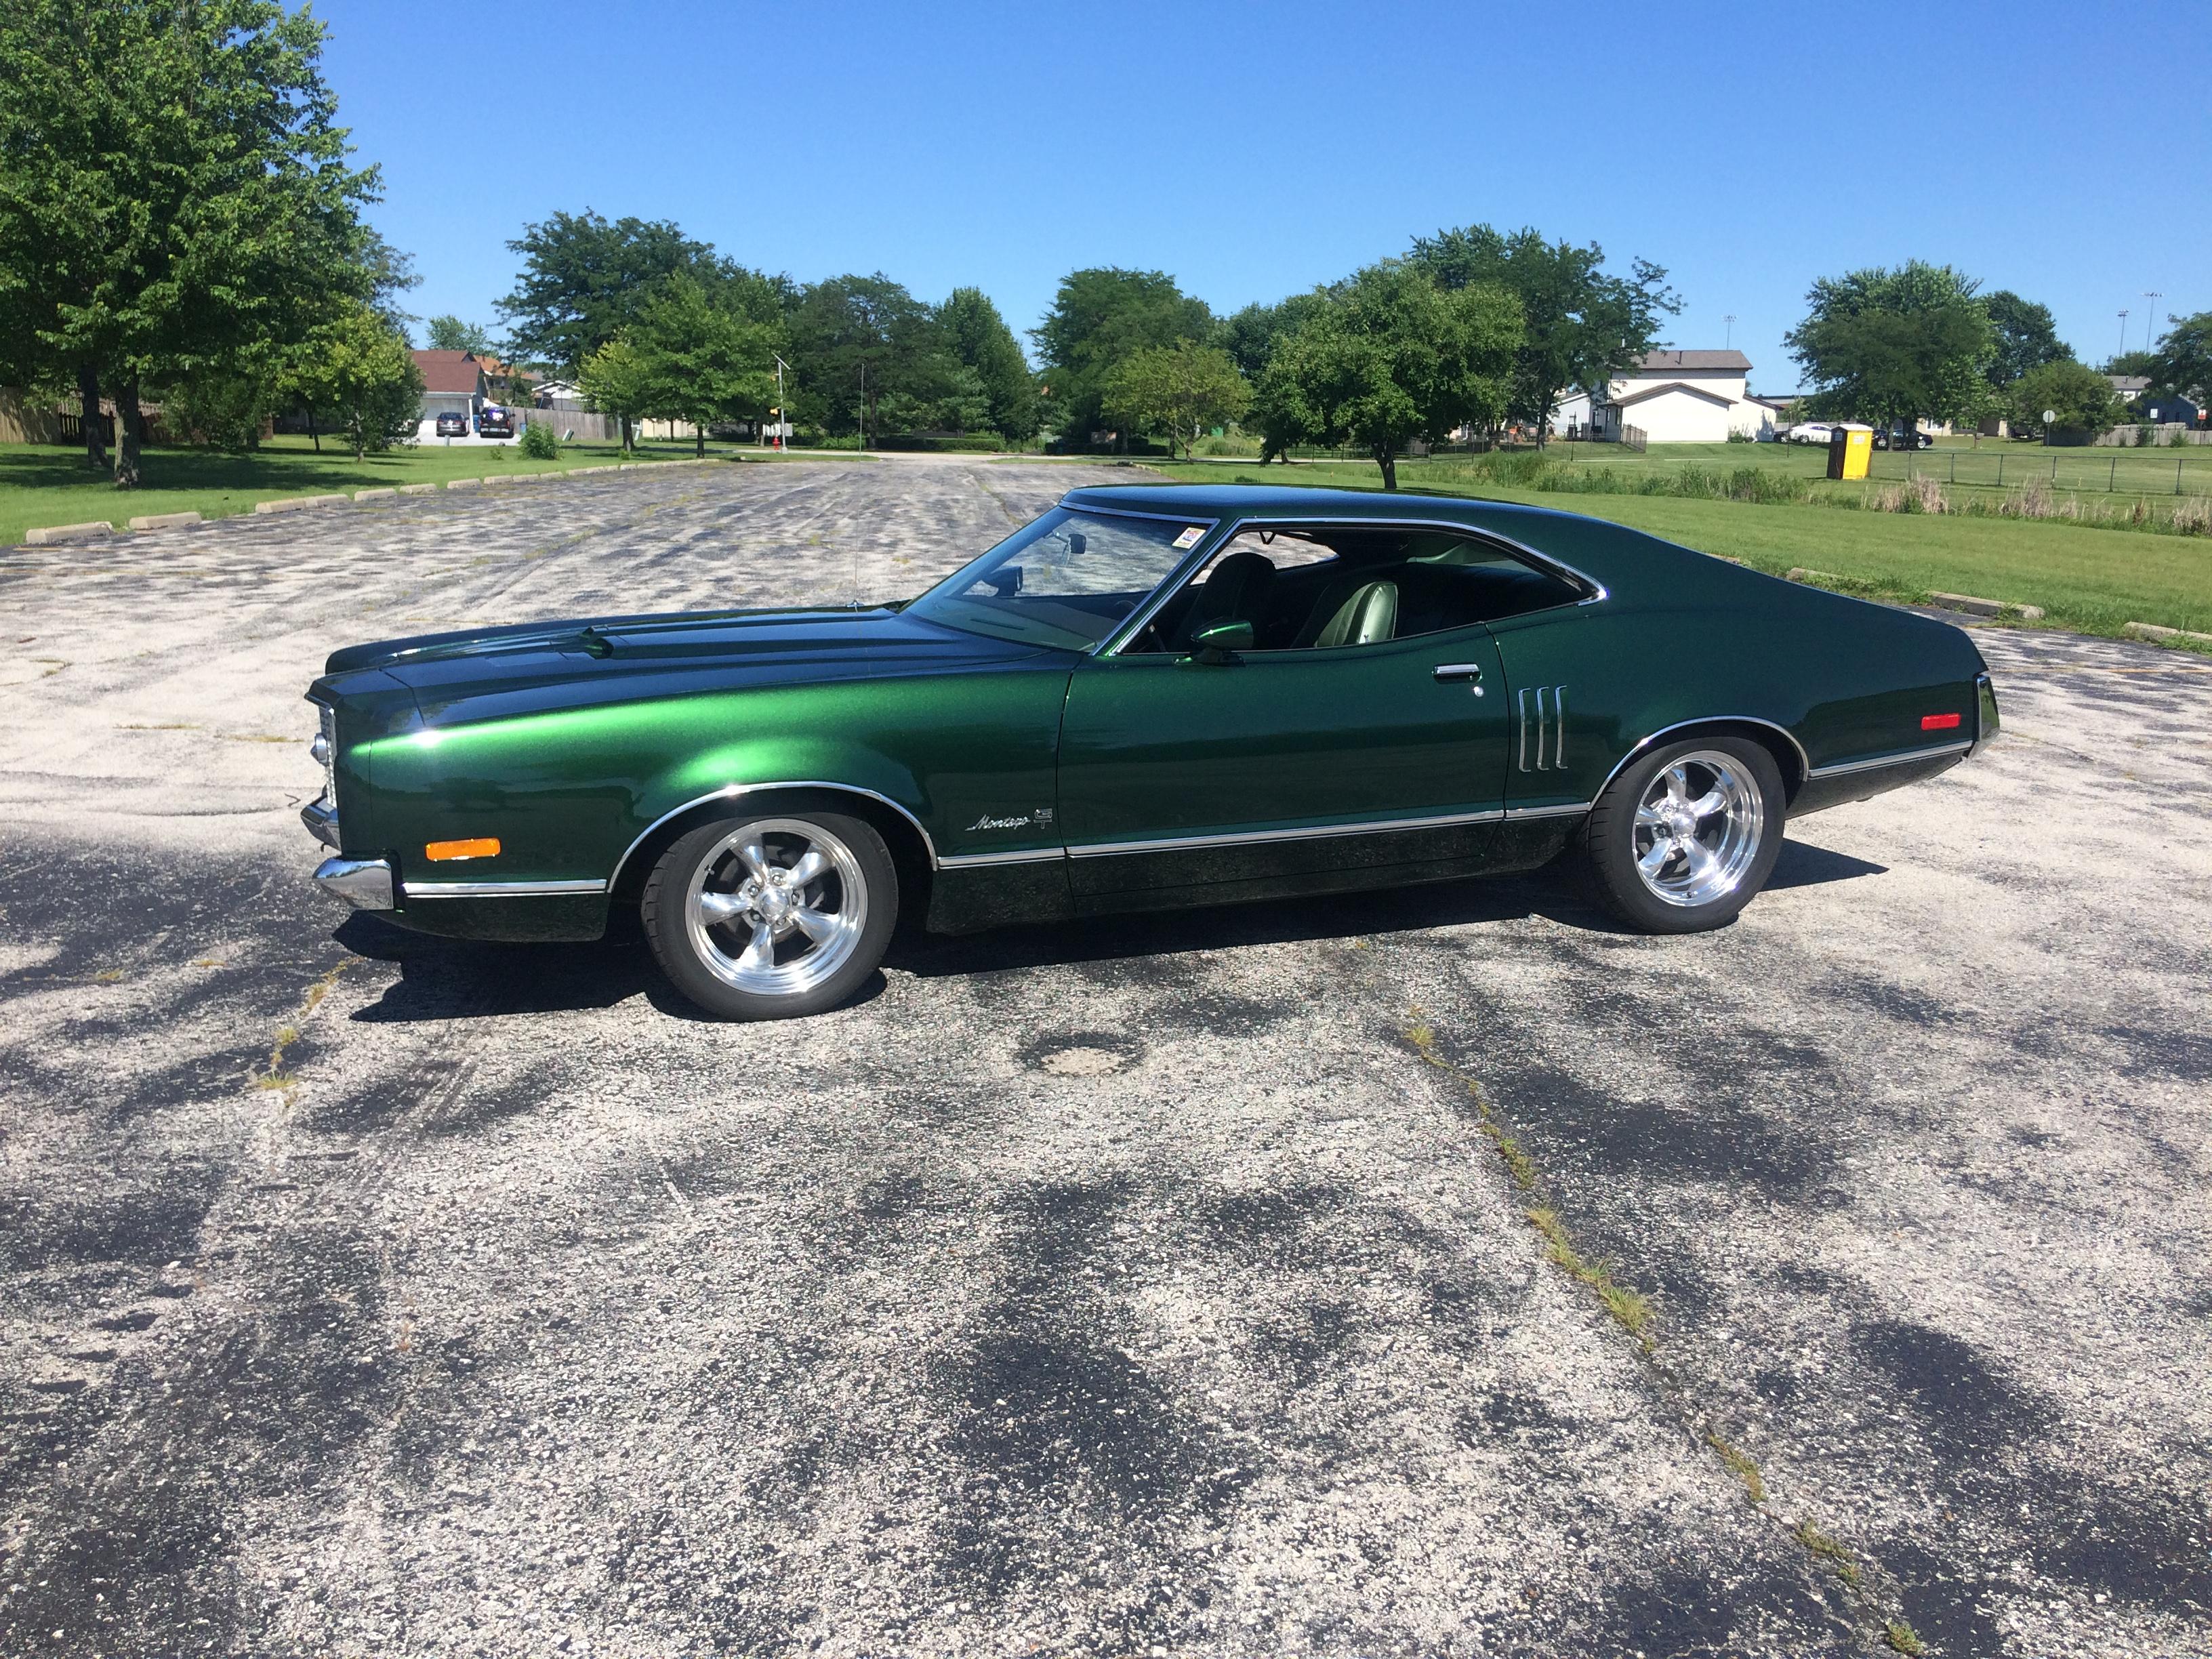
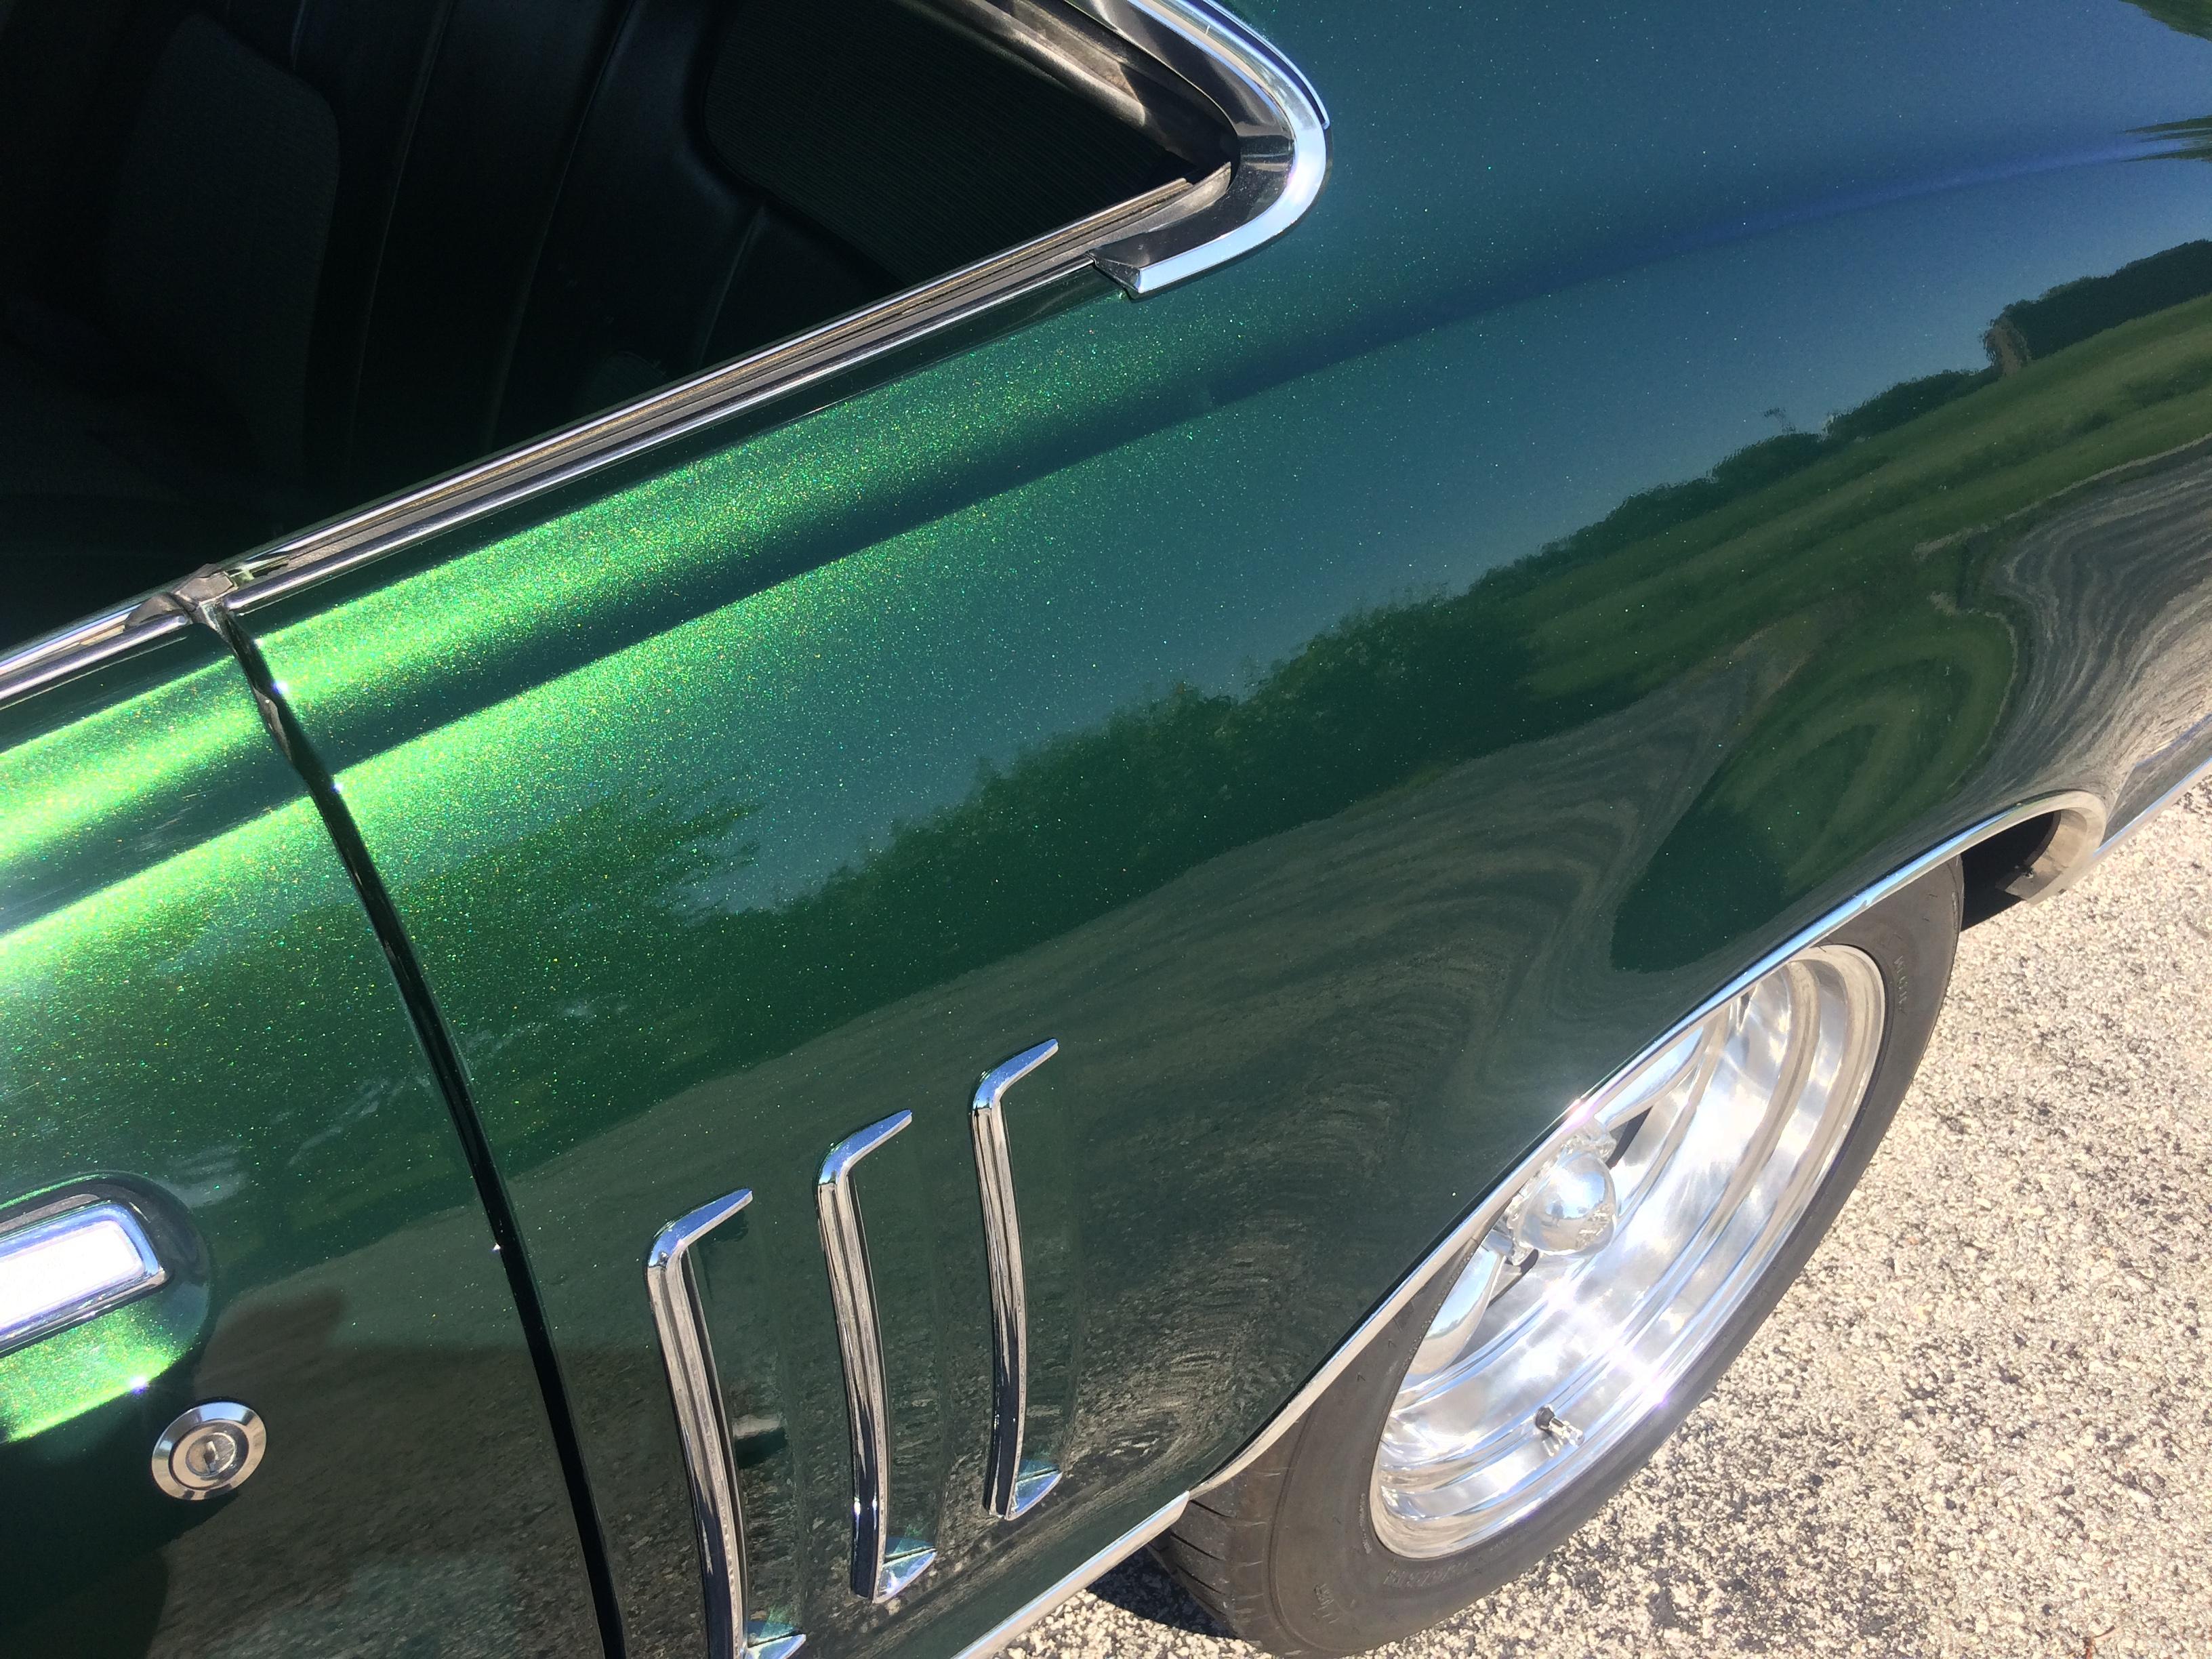
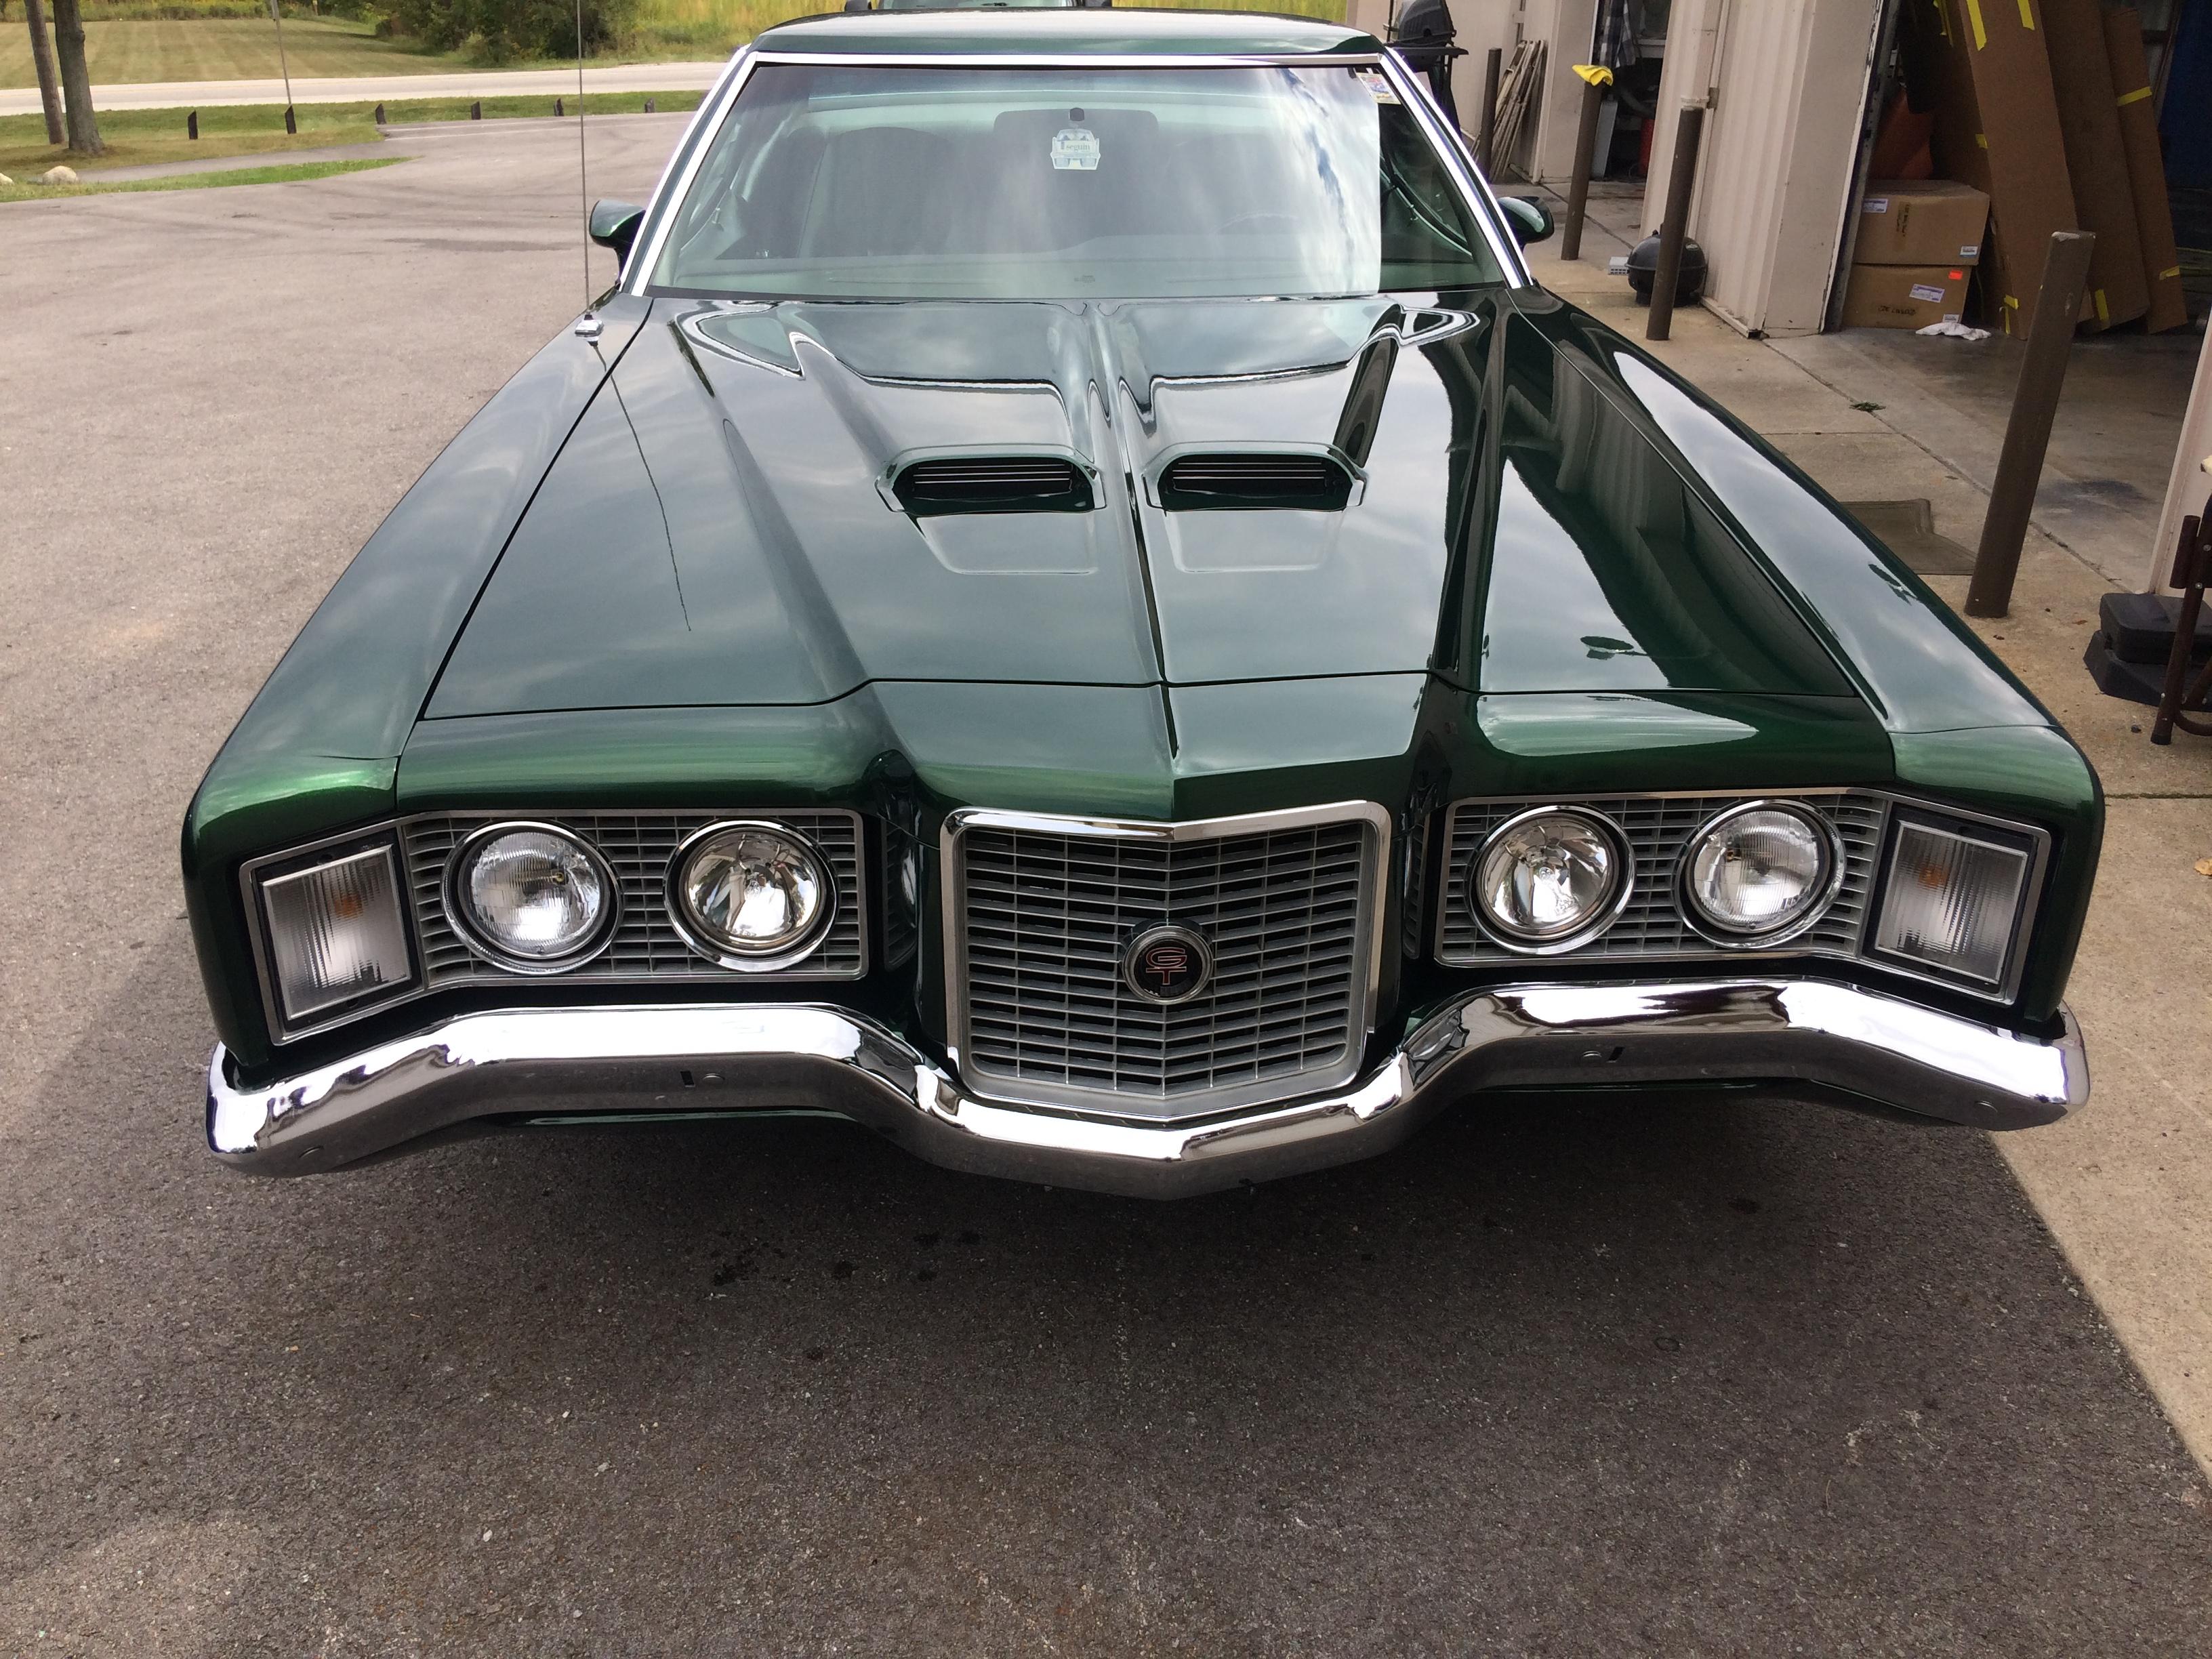
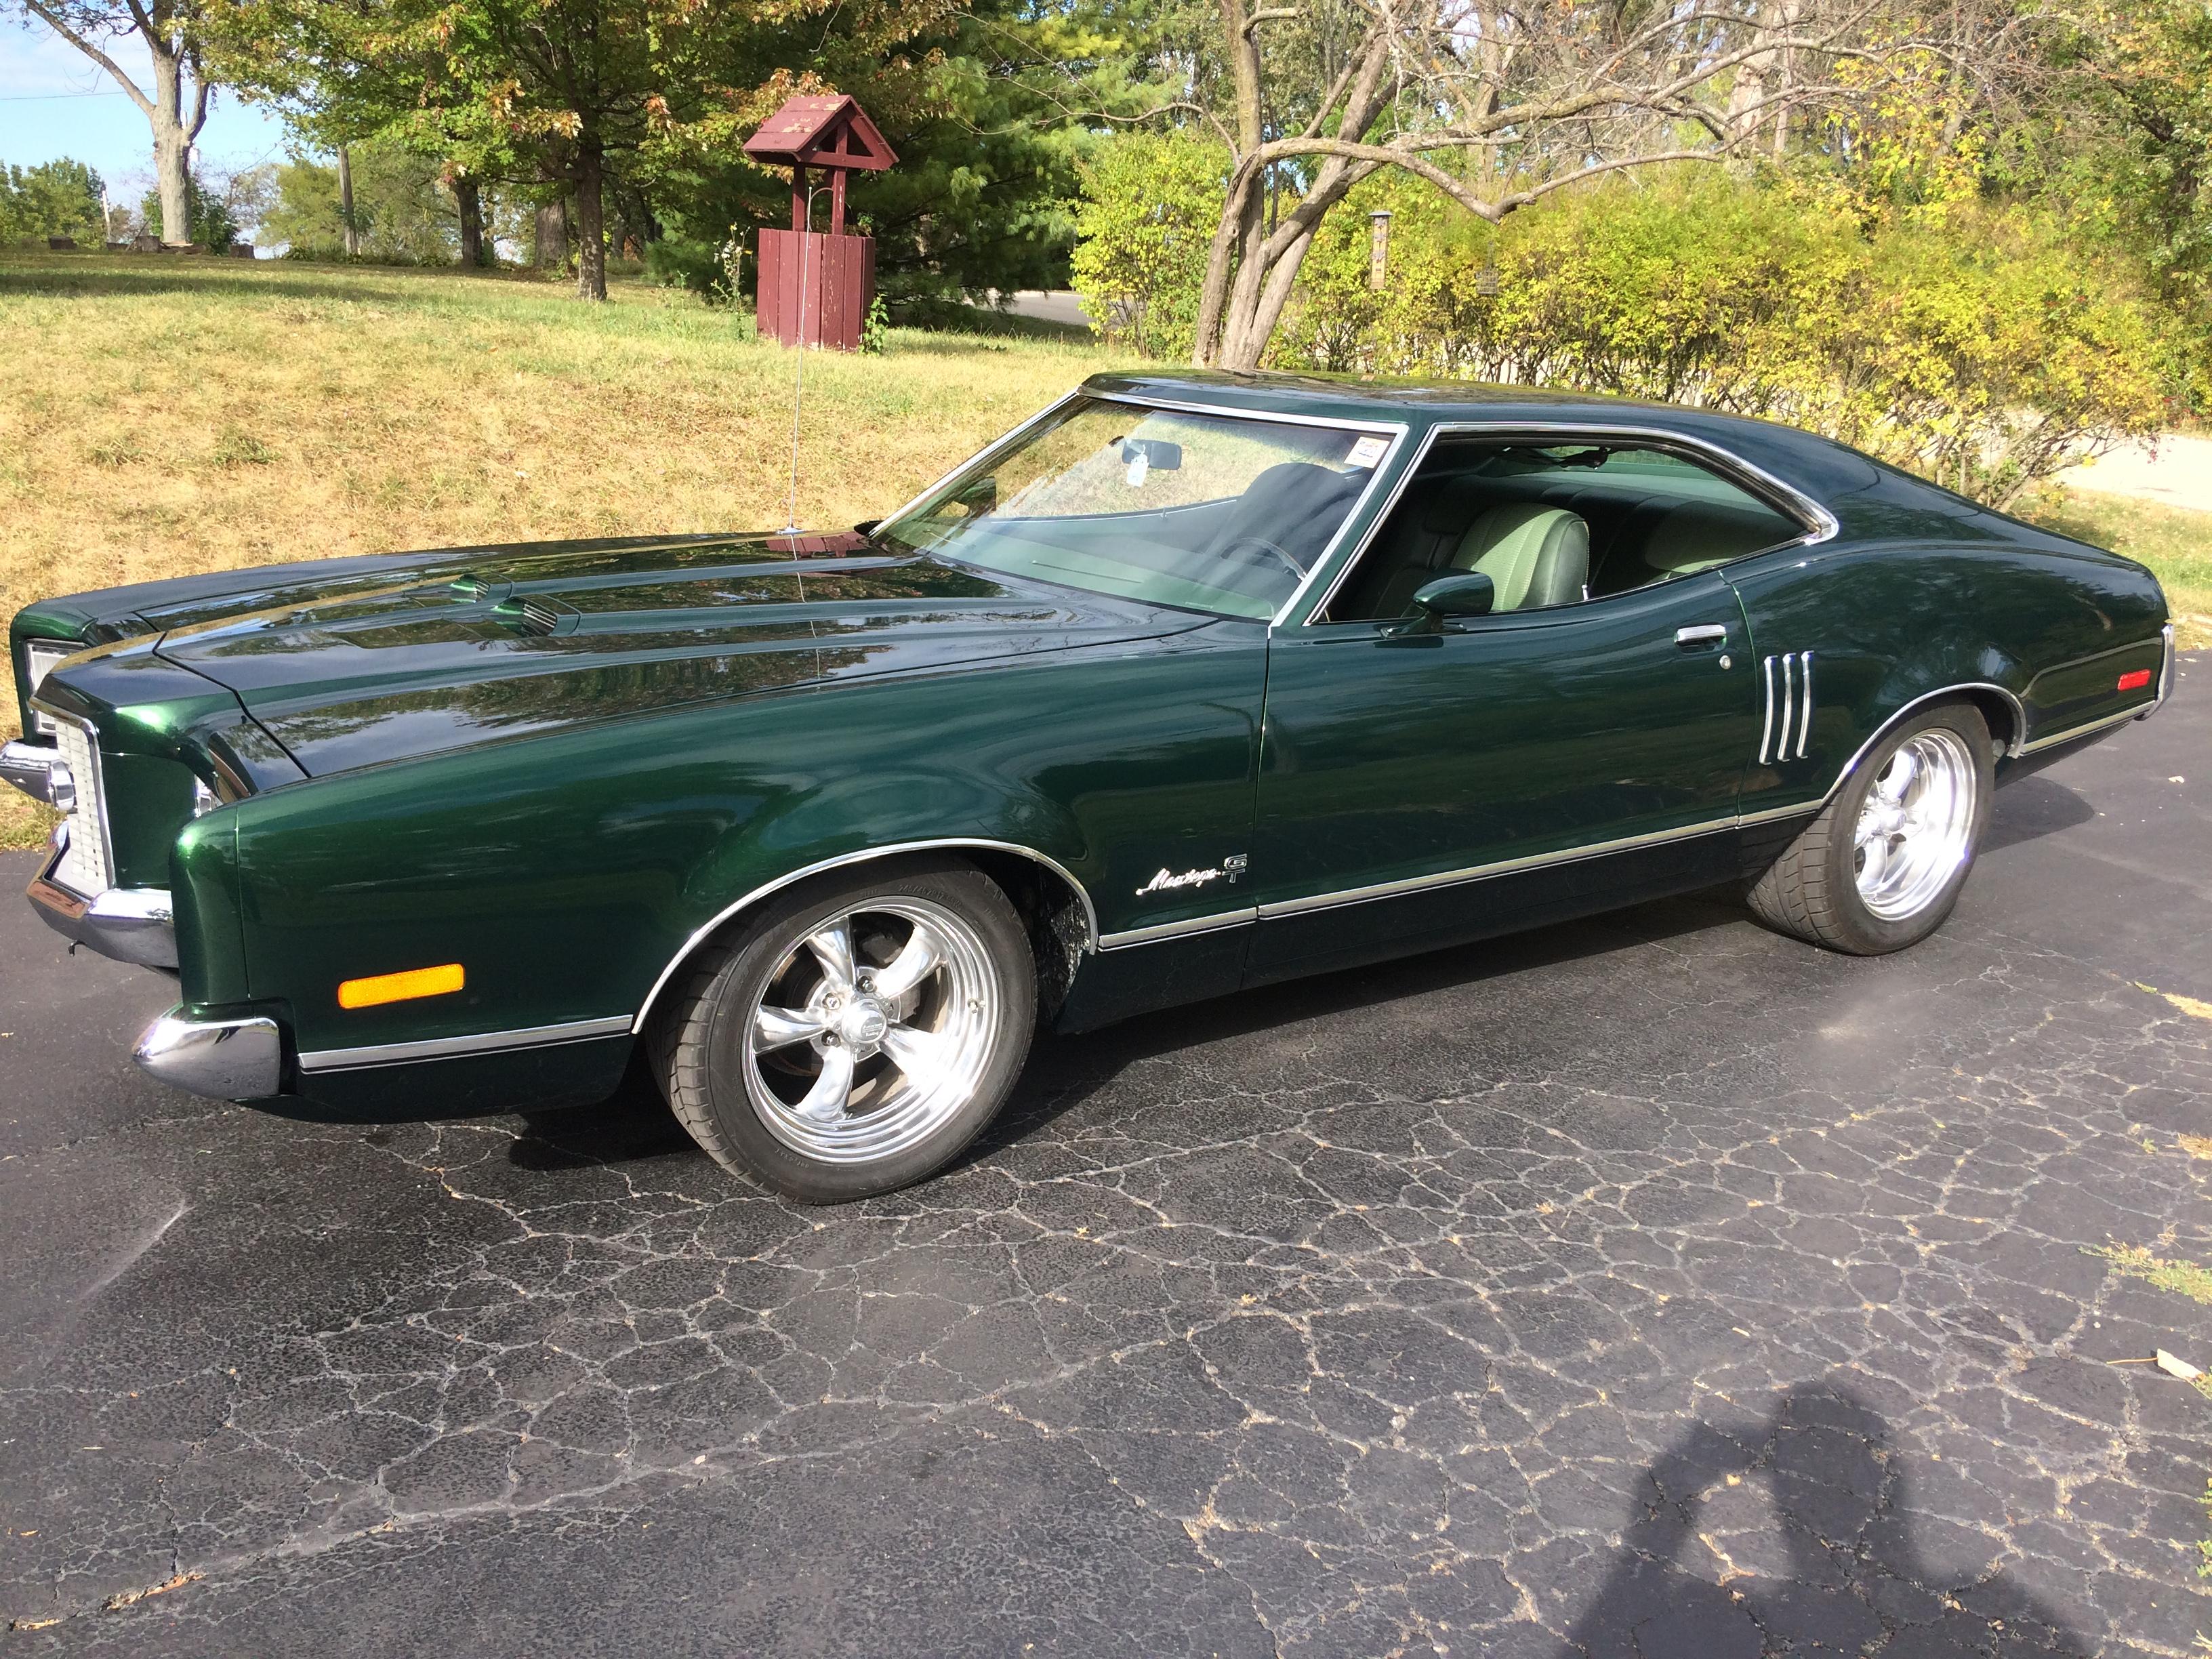
Mine 1:1 car is a custom mix green I made for it. It’s supposed to be a modern version of the original color. I got a little carried away with the zirrillic flake in it? goes crazy in the sun. Do you have any pictures of yours?
-
To be honest I forgot. I painted this stupid thing like 5-6 years ago. It’s probably something I made up. I’m an automotive painter so I make my own colors sometimes.
-
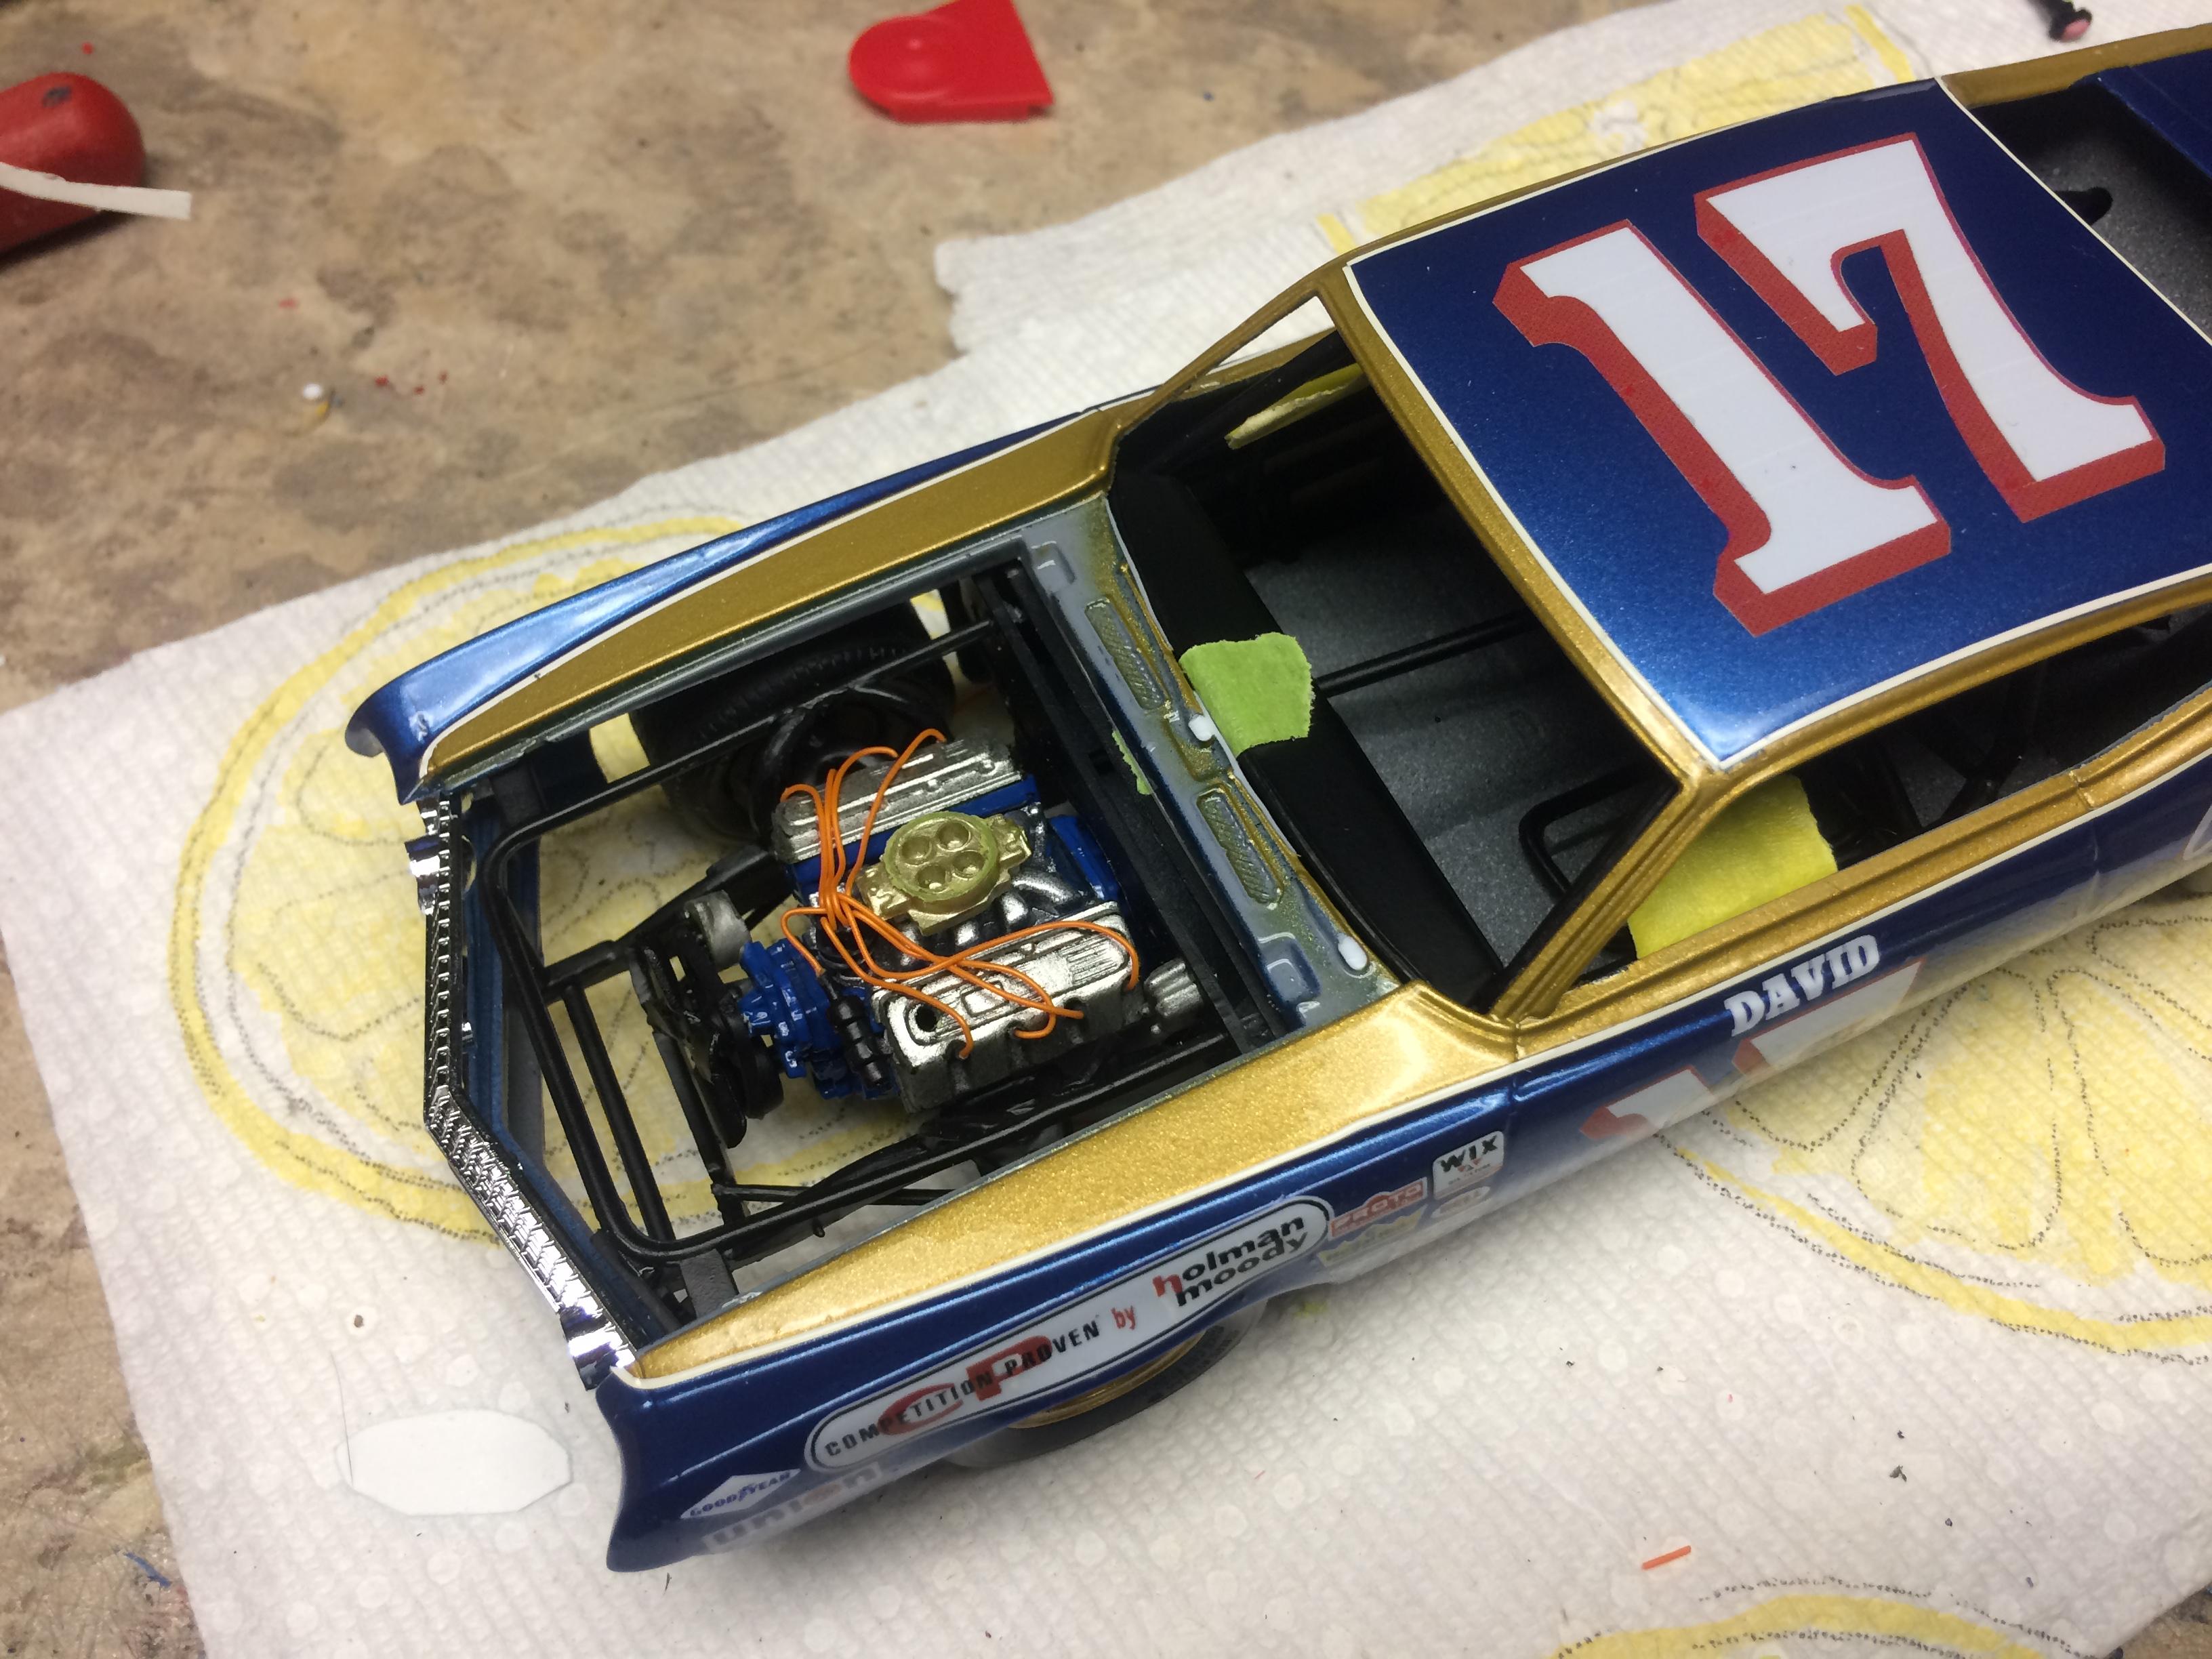
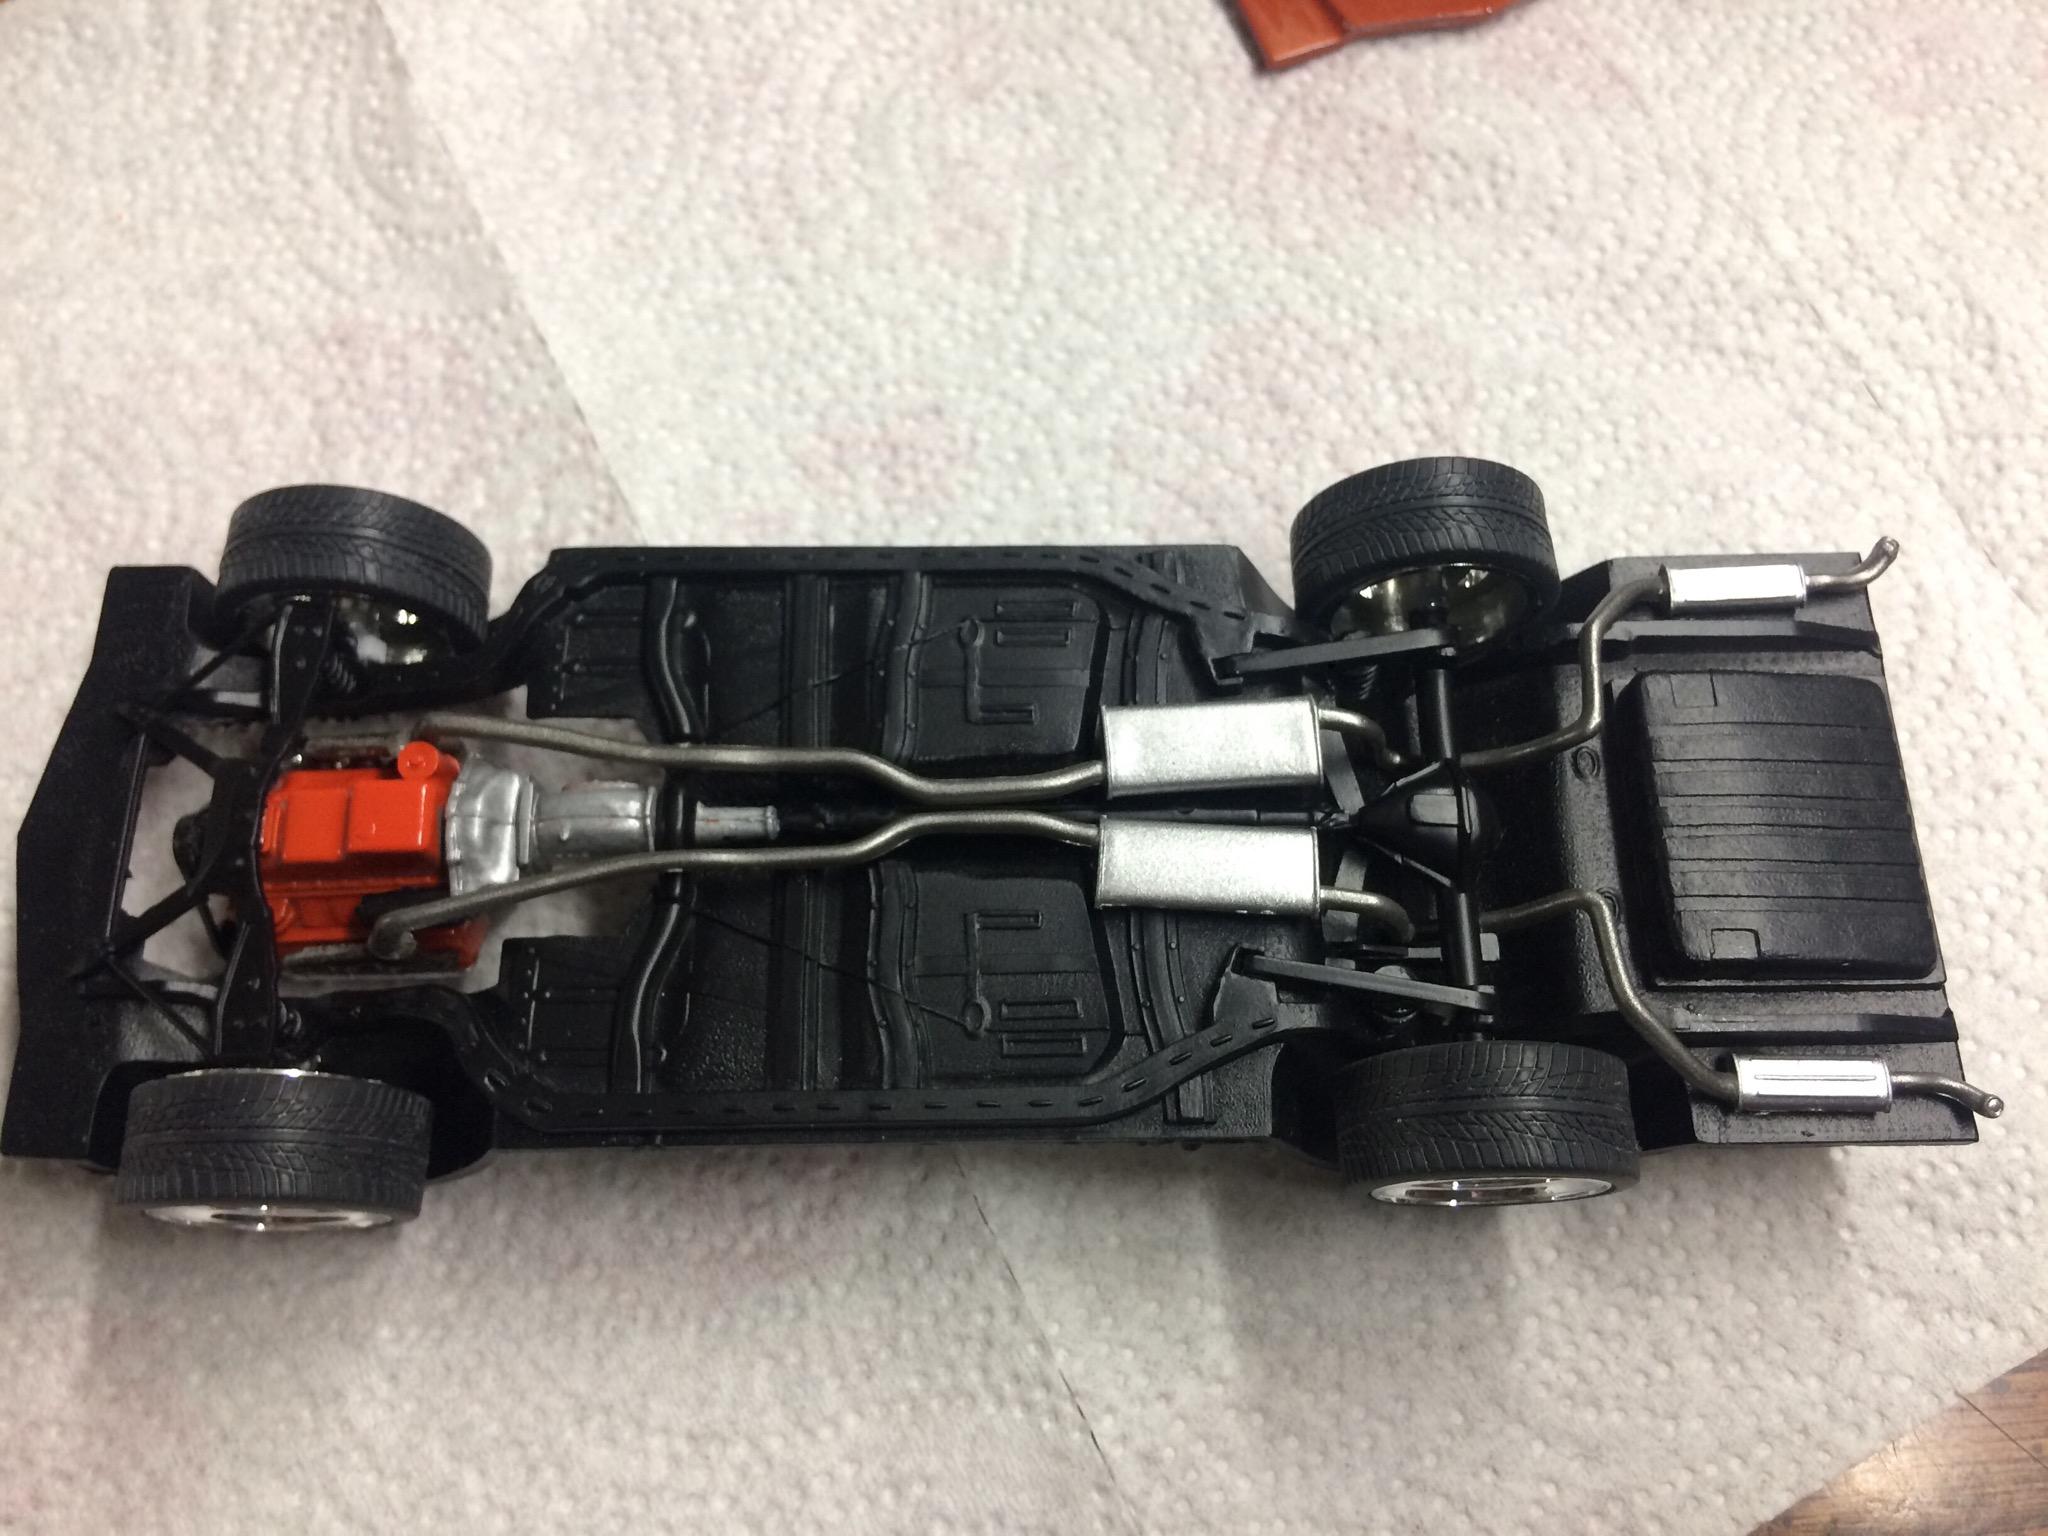
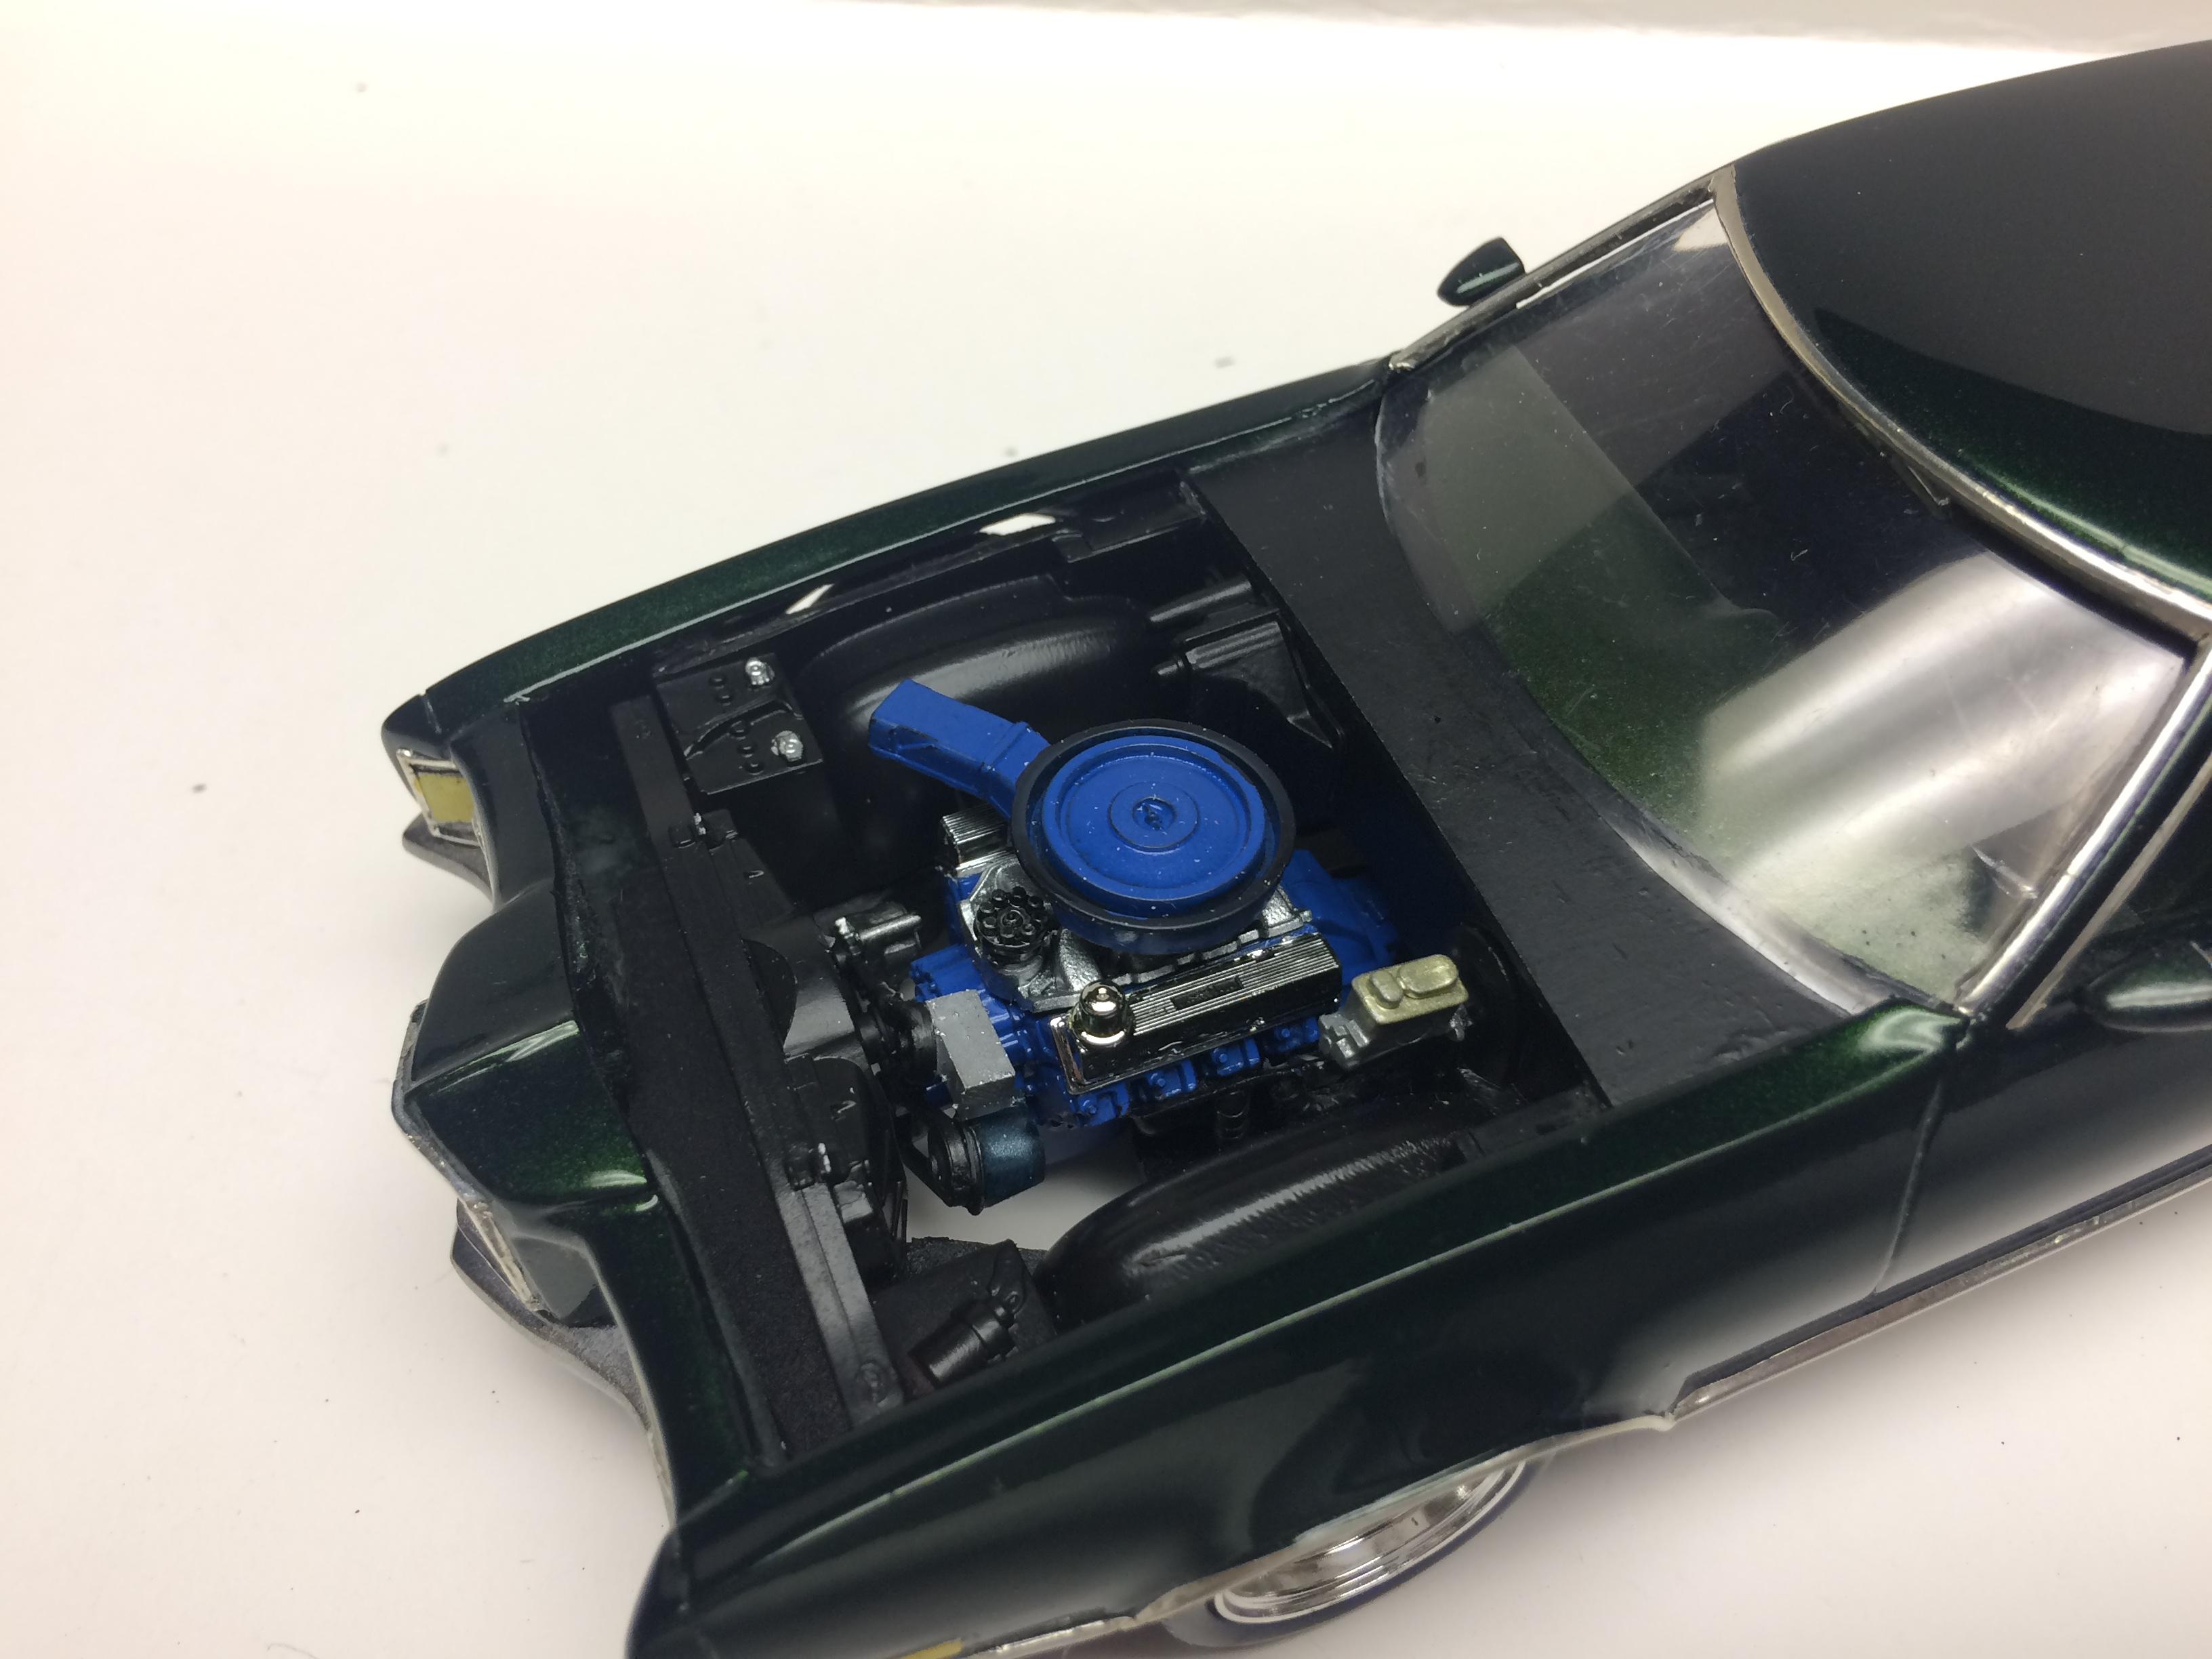
Chassis is getting close. Engine mock up is done
-
I need a set of glass for this.
-
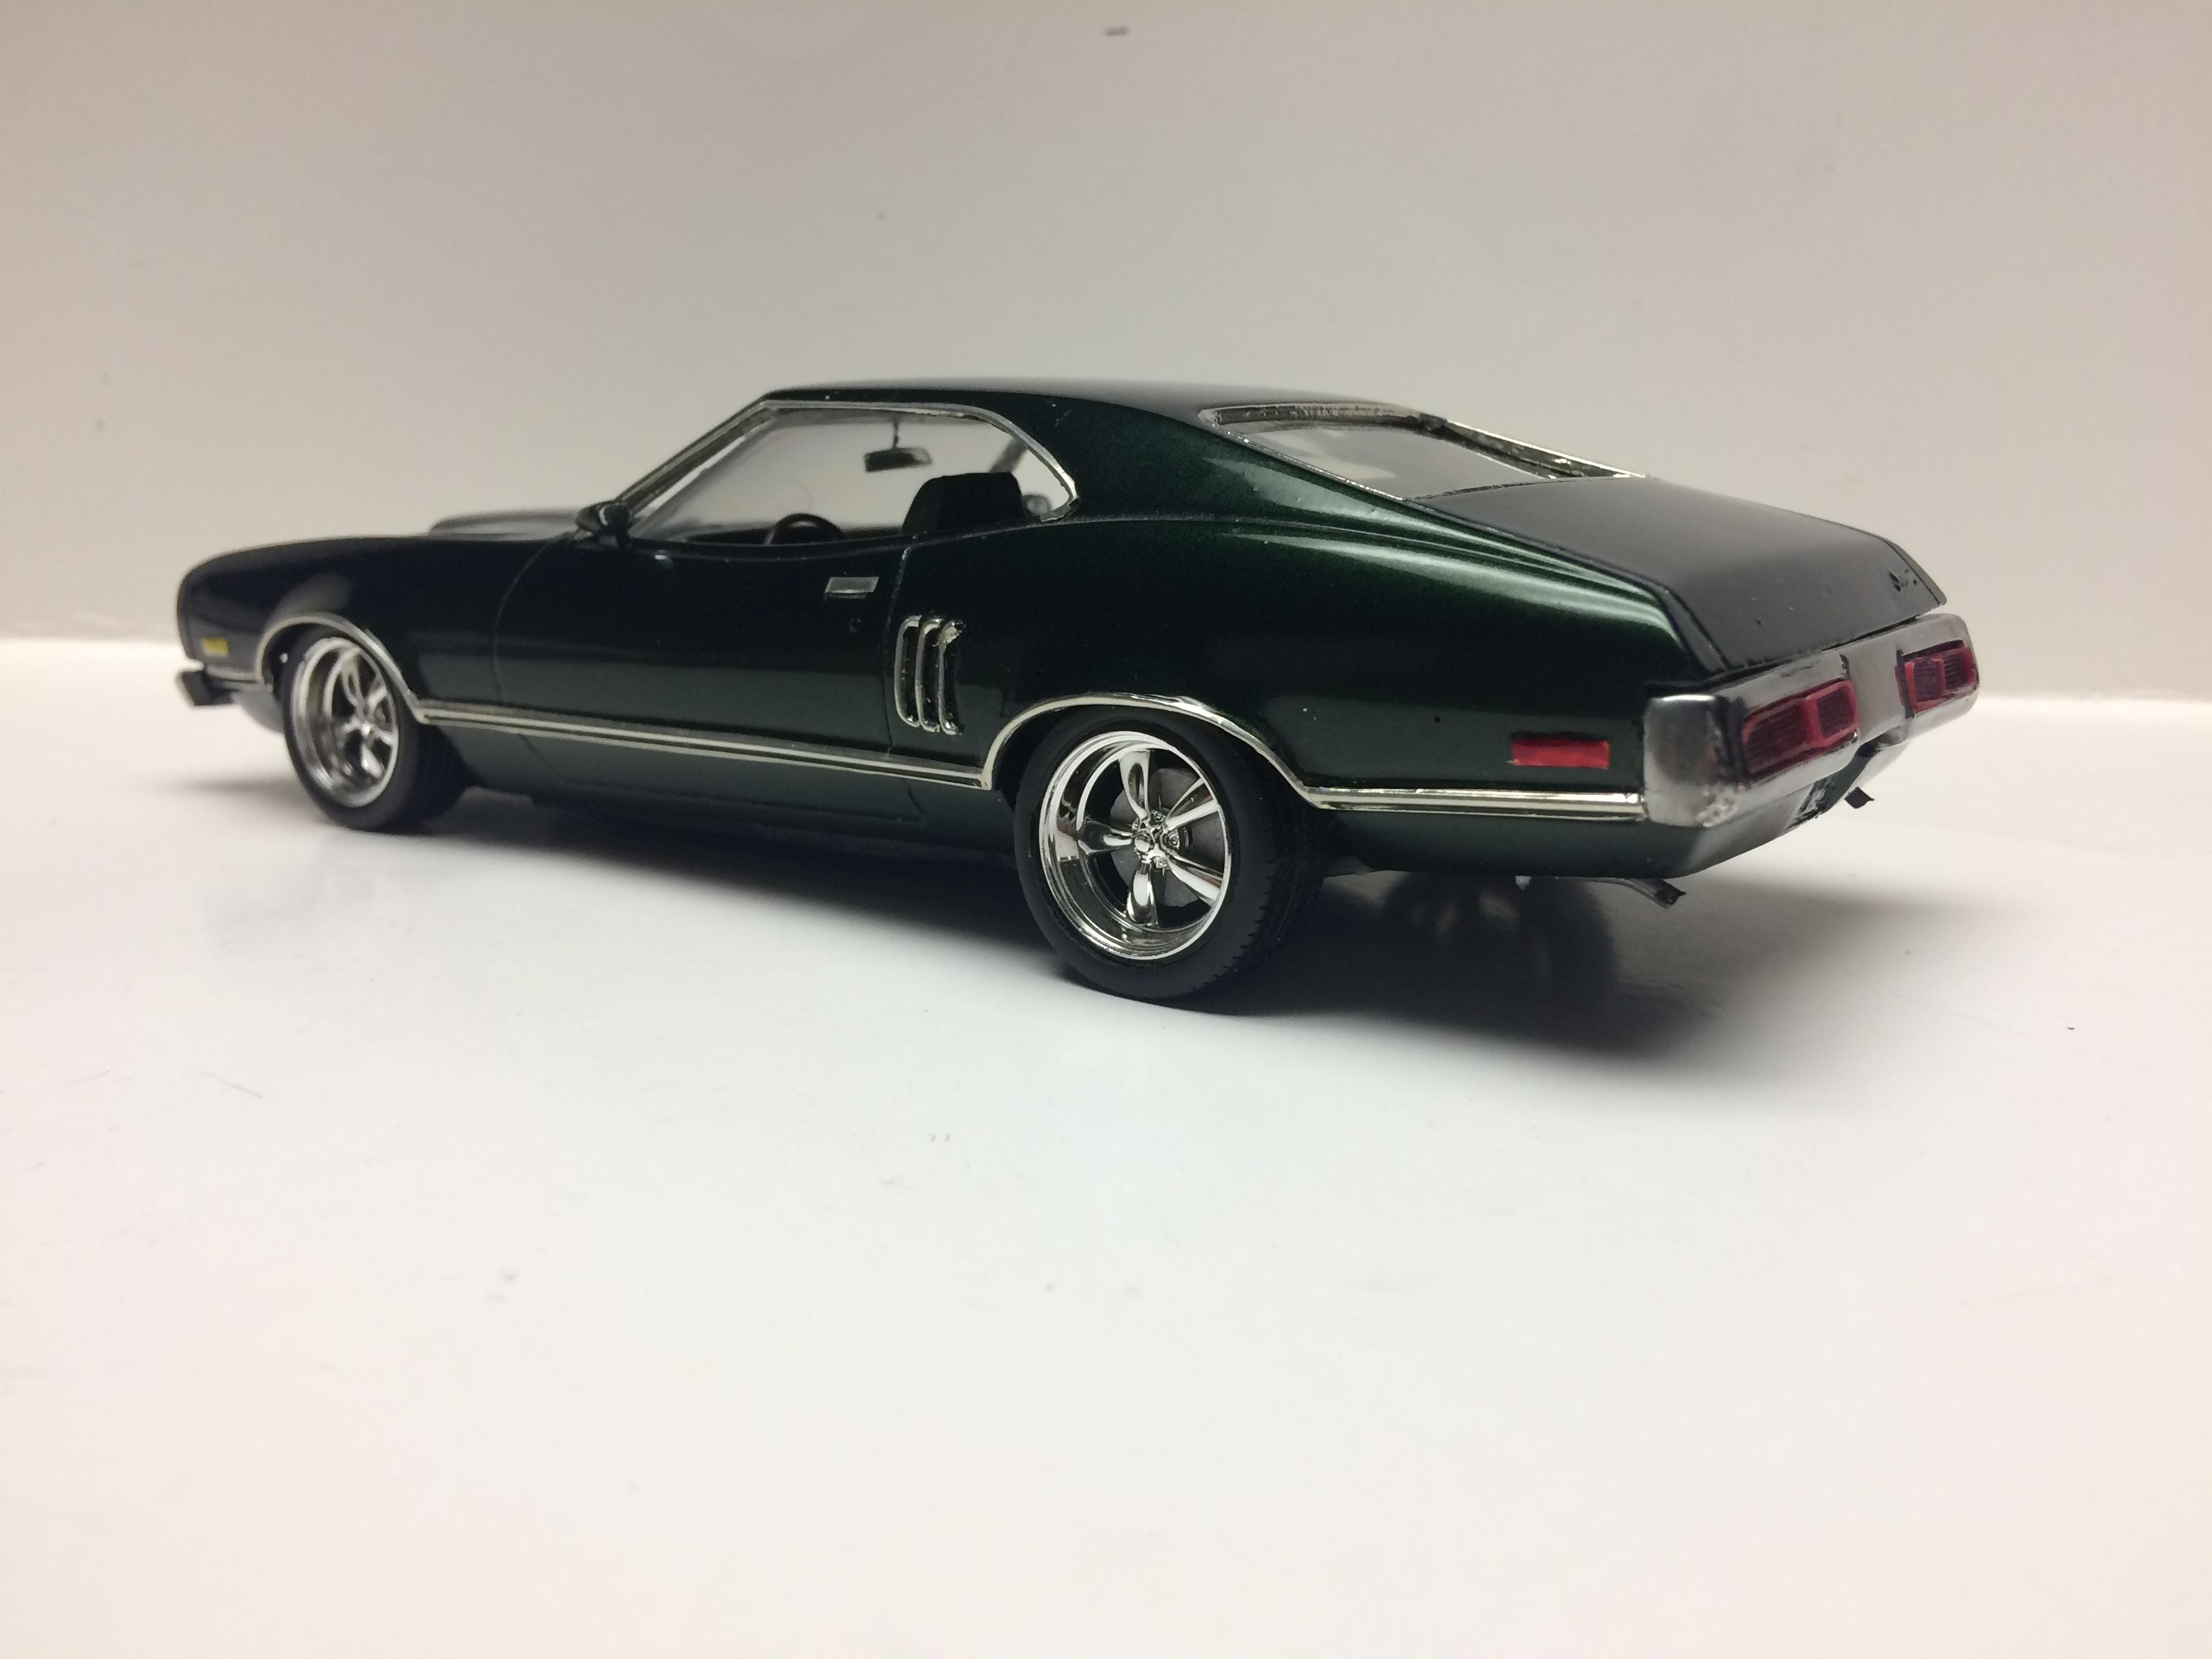
Pulled another one from the deadbeat shelf. Been sitting easy five years. Lost motivation on it. So I threw a set of big rims under it for giggles. I really like it now. So here we go time to finish it.
-
Mines just a 2 bbl Cleveland. But it’s super original. Only had 62000 miles on it. Never been tampered with before me.
-
72 Montego and Torino are the two best looking cars Ford ever built.
-
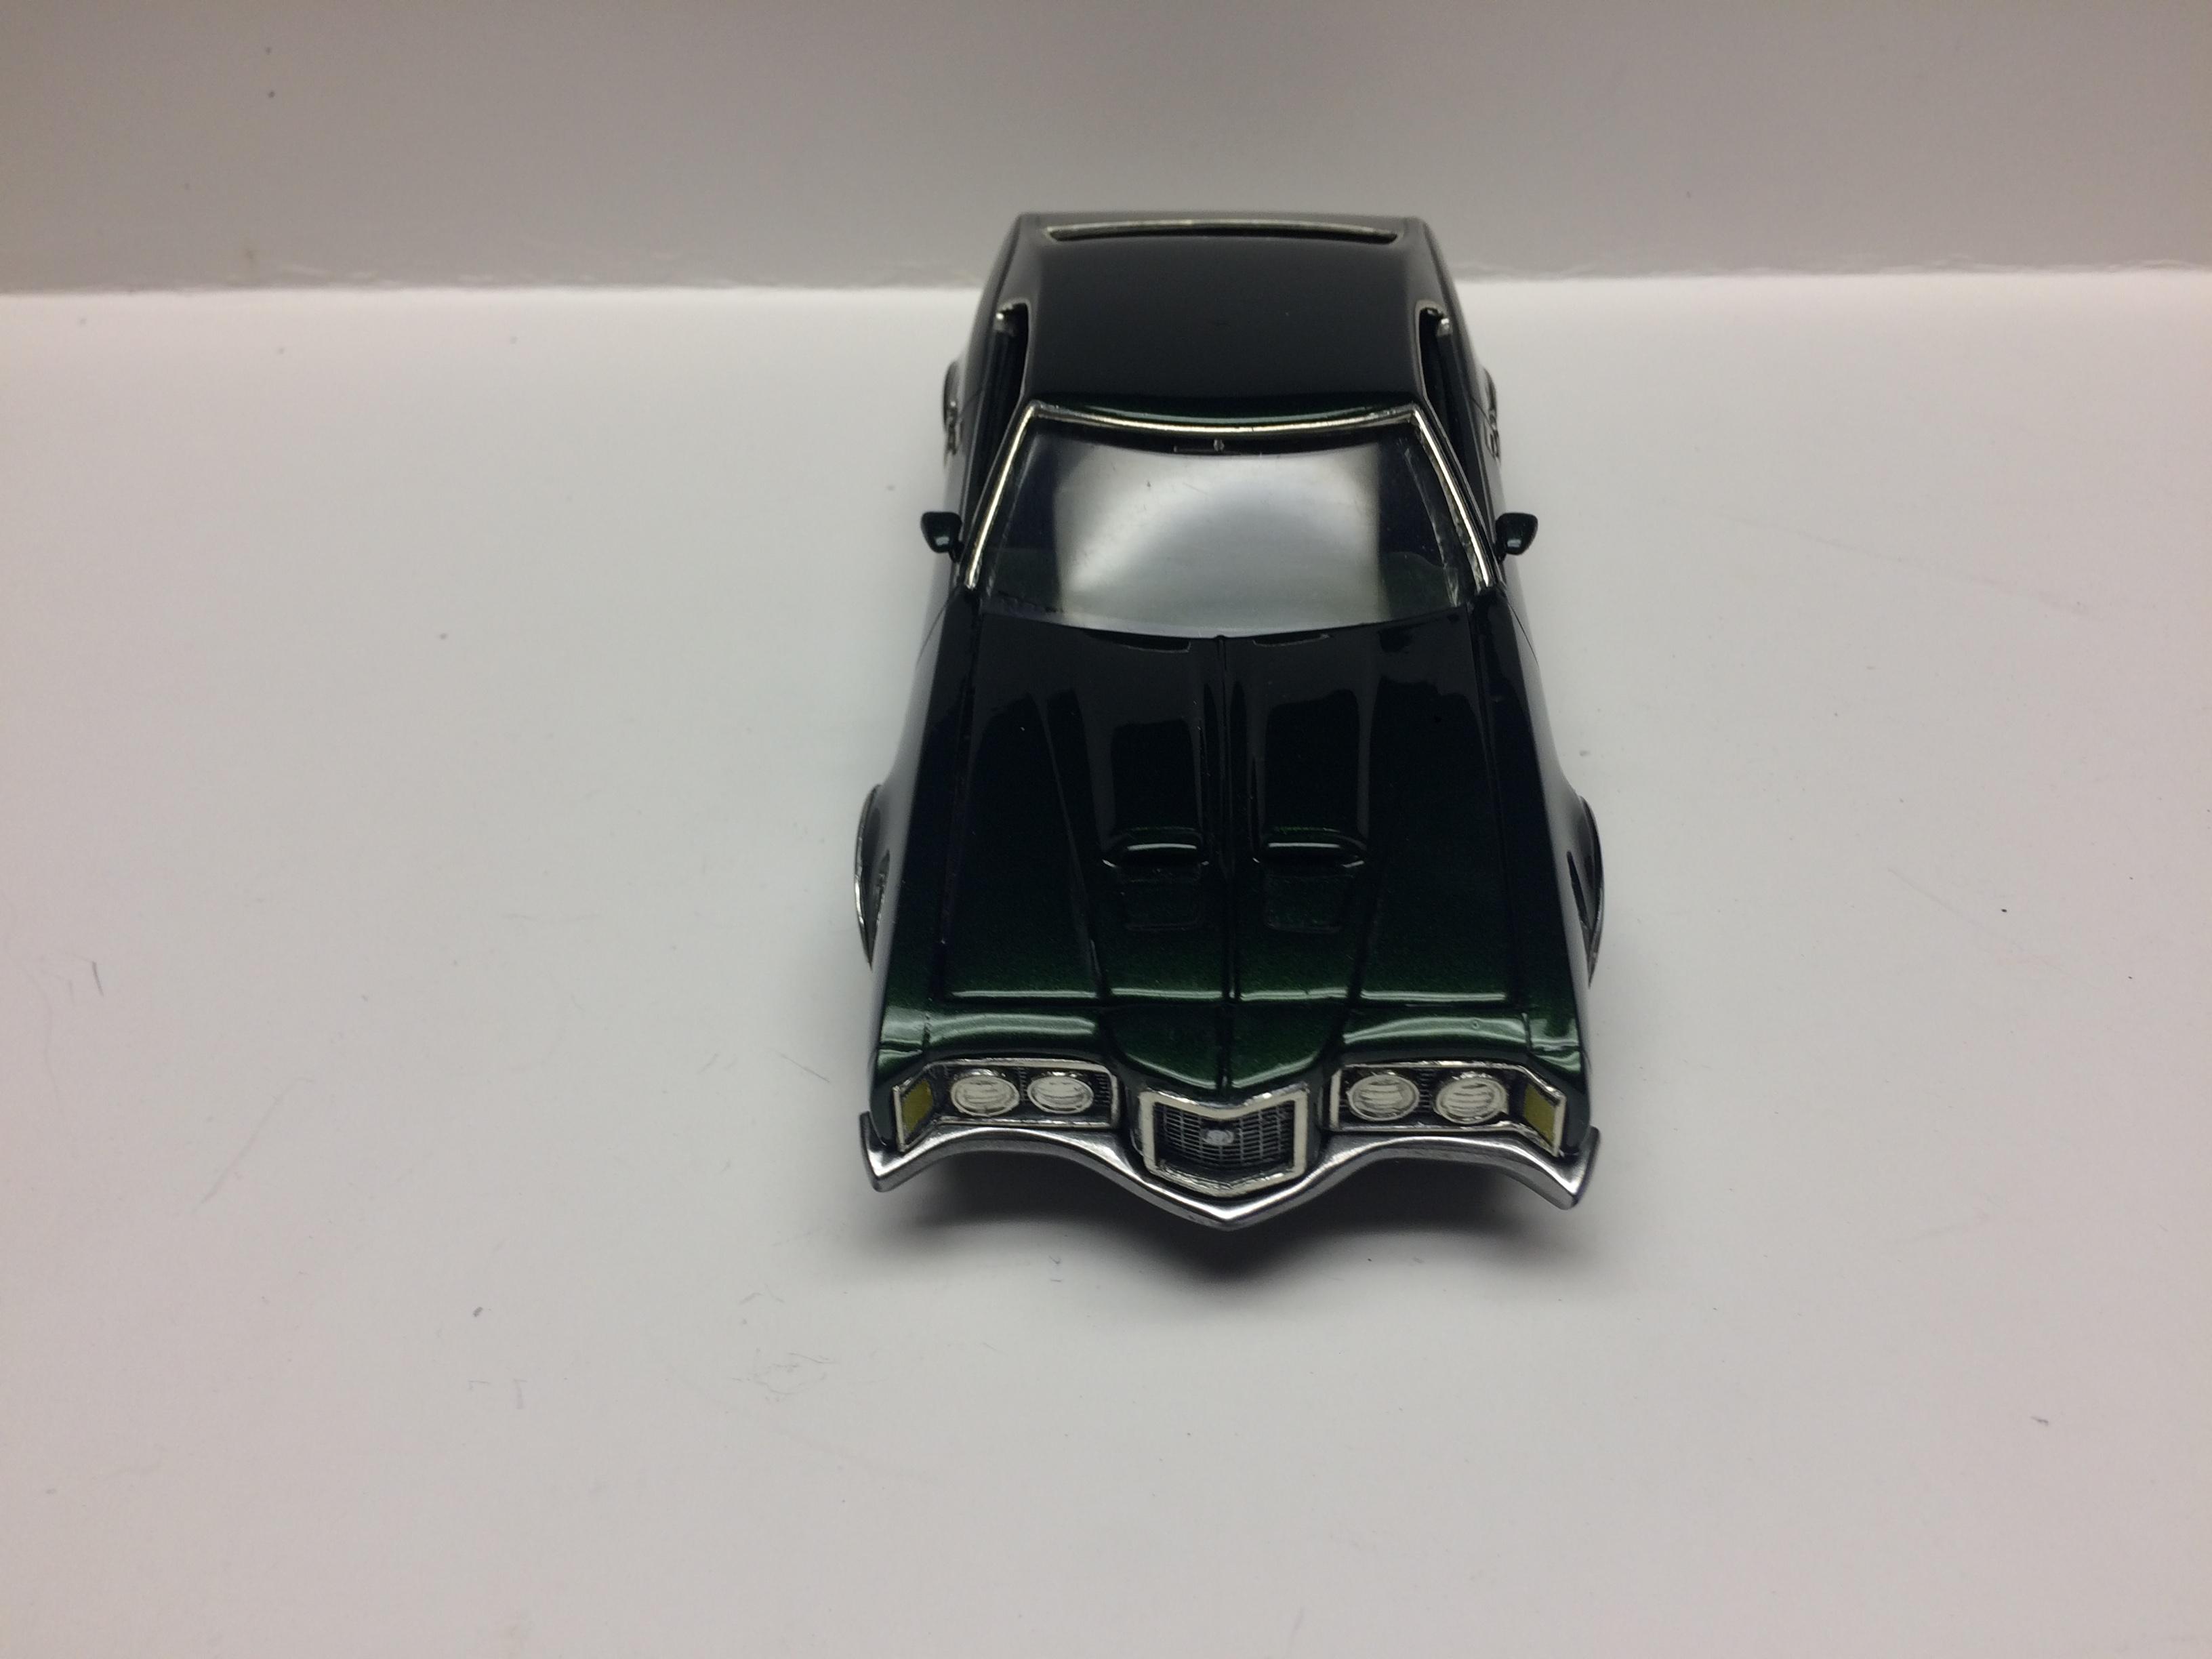
If I could find another one I would do a better one. There is slot more I could have improved now that I look back at it. It’s been painted for about five years and got shoved to the side repeatedly. The front of the fenders and hood scoops are waaaay wrong. I would fix those on the next one.Heres what it should look like.
-
We can only hope Dave.
-
That doesn’t happen all that often from me.?
-
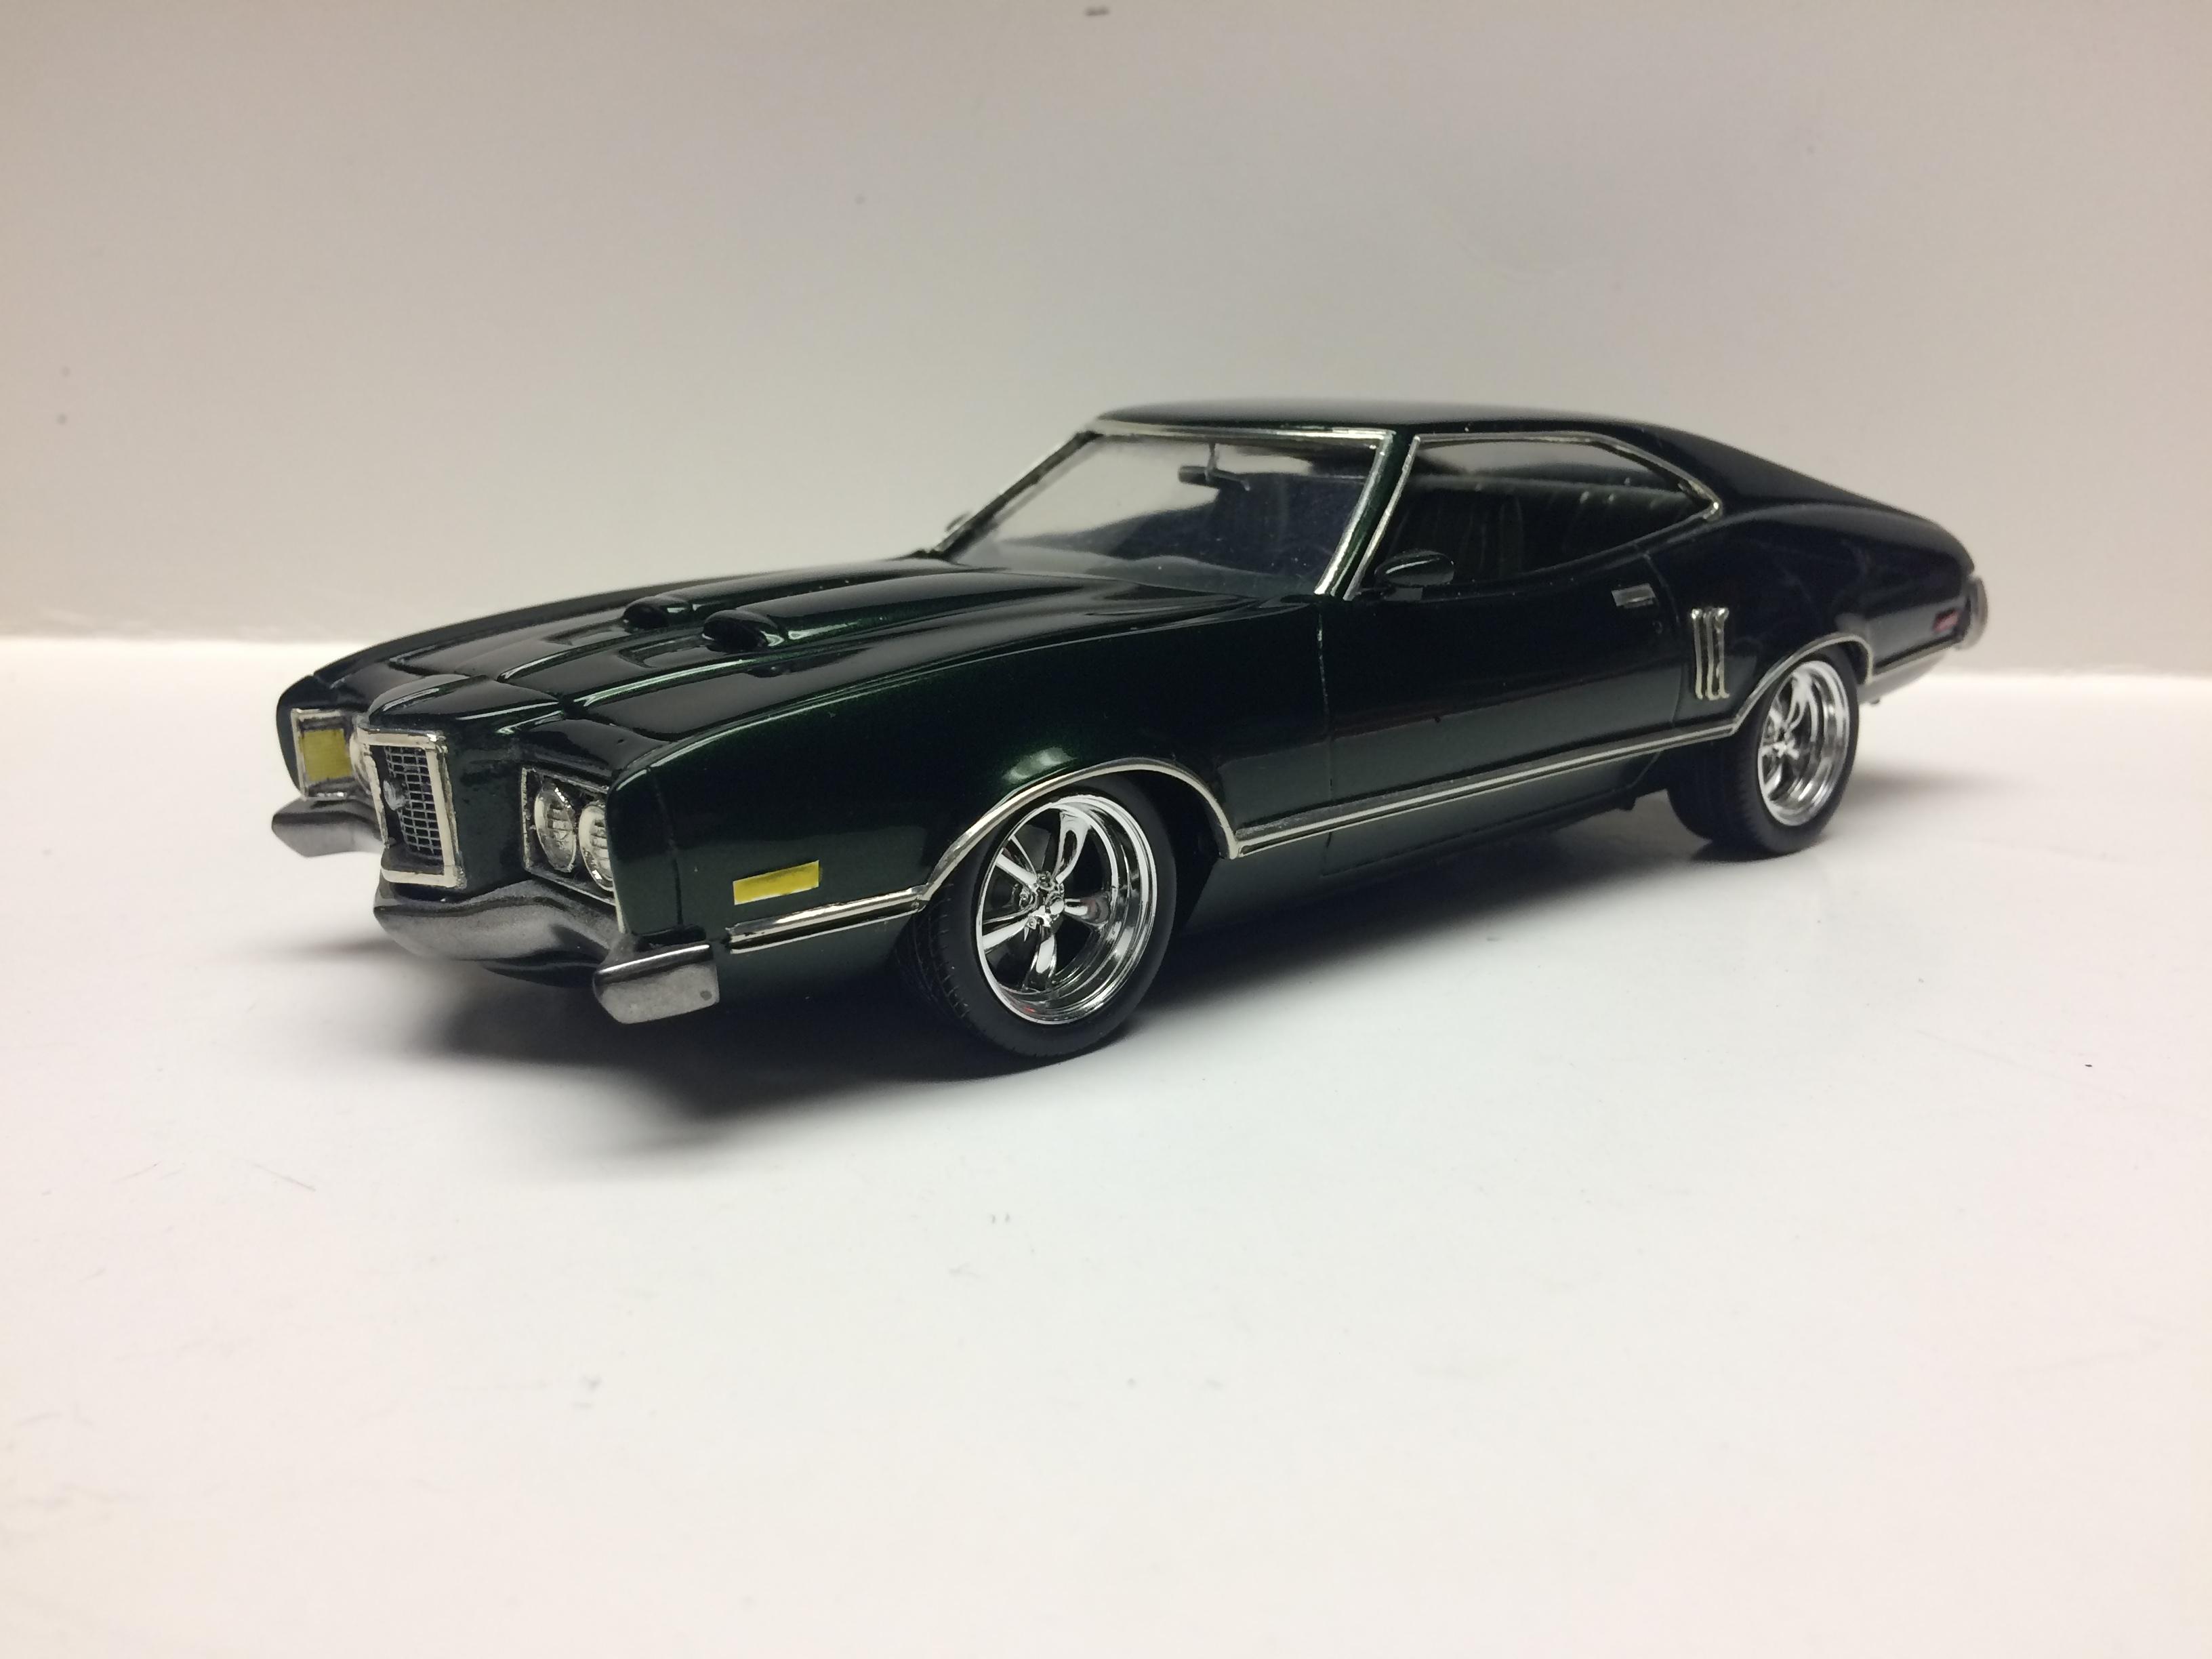
This has been kicking around about 5-6 years now Decided a couple days ago to finally finish it. Resin body on a Johan Torino chassis. Engine compartment from a Revell 76 Torino. Engine and trans from an AMT NASCAR TBird Pegasus wheels. Air cleaner from a Revell 69 Mustang . Just need to paint lock cylinders and put emblems on.
-
It’s not done just setting together. It should be done tonight I hope. I bought it second hand from some guy on the bay. He had started it then gave up. Luckily he gave up real early. But I can see why he gave up. It was bad. Real bad.
-
I’m in the South west Suburbs and yes the big one is mine.
-
But it had to be that color.