vincen47
-
Posts
1,654 -
Joined
-
Last visited
Content Type
Profiles
Forums
Events
Gallery
Everything posted by vincen47
-
3D place for some cool Truck parts
vincen47 replied to Mr mopar's topic in Truck Aftermarket / Resin / 3D Printed
Thanks for posting it. Interesting items I may have to try. -
A&N KW W990
vincen47 replied to RoninUtah's topic in WIP: Model Trucks: Big Rigs and Heavy Equipment
I’ll be watching this one! -
How did I miss this one a few weeks back? Great build, nice finish and use of aftermarket parts and tires.
-
New Freightliner Cascadia!
vincen47 replied to RoninUtah's topic in Model Trucks: Big Rigs and Heavy Equipment
Absolutely agree, gotta love the classics and also represent the truck stops of today. Great shot. -
New Freightliner Cascadia!
vincen47 replied to RoninUtah's topic in Model Trucks: Big Rigs and Heavy Equipment
Yeah, I think it was just recently that Global started offering the Cascadia in a daycab, 60”, and 72” sleeper configurations. For the chassis, the rear suspension is a consideration, true. Last night I ordered a 3d printed FASII Airliner suspension from EBay. Looks pretty detailed and accurate. It’s 1/25, so that’s what I’ll go with for the rest of the build, where possible. I’m not sure yet where I’ll source the rest of the parts, but I recently found a lead on a DD15 - some guys on FB said the recent Italeri Actros MP4 kits have a Mercedes OM472, which apparently is nearly identical to the DD15 (MB/Detroit collaborated in the design), So… I’m off to find that and do the mods needed to visually convert it over. Just looking briefly at some photos to compare, it is very close to a current Detroit engine. So, this build is starting to move beyond the dream stage, and into the gathering parts phase…thanks for the info and inspiration. -
New Freightliner Cascadia!
vincen47 replied to RoninUtah's topic in Model Trucks: Big Rigs and Heavy Equipment
Nice work. Excellent addition to your fleet. I totally agree, the Cascadia should be a part of everyone’s collection who wants to represent the current era of trucking. It may not be anyone’s favorite truck, and you won’t see it at the local truck show, but it’s an important part of the current freight transportation industry. I plan to build one, myself. Planning to go with Global Scale Models. It lacks the hood mirrors, but it comes with a windshield and headlight glass. Not sure if I want 1/24 or 1/25, but that will depend on what chassis I decide to put it on. Maybe the FLD 120? What do you think? -
If I had a real Pete
vincen47 replied to Biggu's topic in WIP: Model Trucks: Big Rigs and Heavy Equipment
Excellent progress. I’m enjoying this build. -
KW W900L 007 Edition
vincen47 replied to BigBad's topic in Model Trucks: Big Rigs and Heavy Equipment
Wow that is the best truck I’ve seen in a while. She’s gorgeous. All the effort really paid off in producing a masterpiece. Love the aftermarket details and parts, they really make a difference. Are those wheels from MCA? -
Peterbilt 352 double bunk
vincen47 replied to Bronzekeg's topic in Model Trucks: Big Rigs and Heavy Equipment
What a beauty! I love the paint scheme. So very classy. -
1980 Chevy Titan "SS"
vincen47 replied to BigBad's topic in Model Trucks: Big Rigs and Heavy Equipment
One of the best, if not the best Titan I’ve seen. Your corrections and modifications, along with the aftermarket details and parts, including great wheels and tires, all take it to the next level. Simply beautiful! -
I haven’t ordered anything, yet. I’ve got my eyes on a Cascadia. I’m also wondering if anyone on the forum has any experience with them.
-
Great build and great photography, as usual. The black and white photo is particularly stunning.
-
Carlile Kenworth T-800 Push Truck
vincen47 replied to AussieTrekkie's topic in Model Trucks: Big Rigs and Heavy Equipment
Wow that’s impressive. Something you don’t see built very often! -
I always like these Reo’s. Great work.
-
1973 Ford F250 4x4
vincen47 replied to bill lanfear's topic in Model Trucks: Pickups, Vans, SUVs, Light Commercial
Wow, what a knock-out! She’s a beauty! Incredible work, paint, finish, added details…the list goes on. I love it! -
Farm Floater Truck 1/24th scale
vincen47 replied to Randy D's topic in WIP: Model Trucks: Big Rigs and Heavy Equipment
Watching this one intently for many reasons, including one, the unique subject matter - I see these rigs fairly often in my area, and two - the gp modeling series 60 - this will be the first one built up on the forum. It looks great! I bought two for myself. Also, very impressed with the water bottle idea! -
Me too! It would be so awesome to have something like this someday. A dream of mine.
-
Wow that’s an impressive build, and one you don’t see often at all. Cool!
-
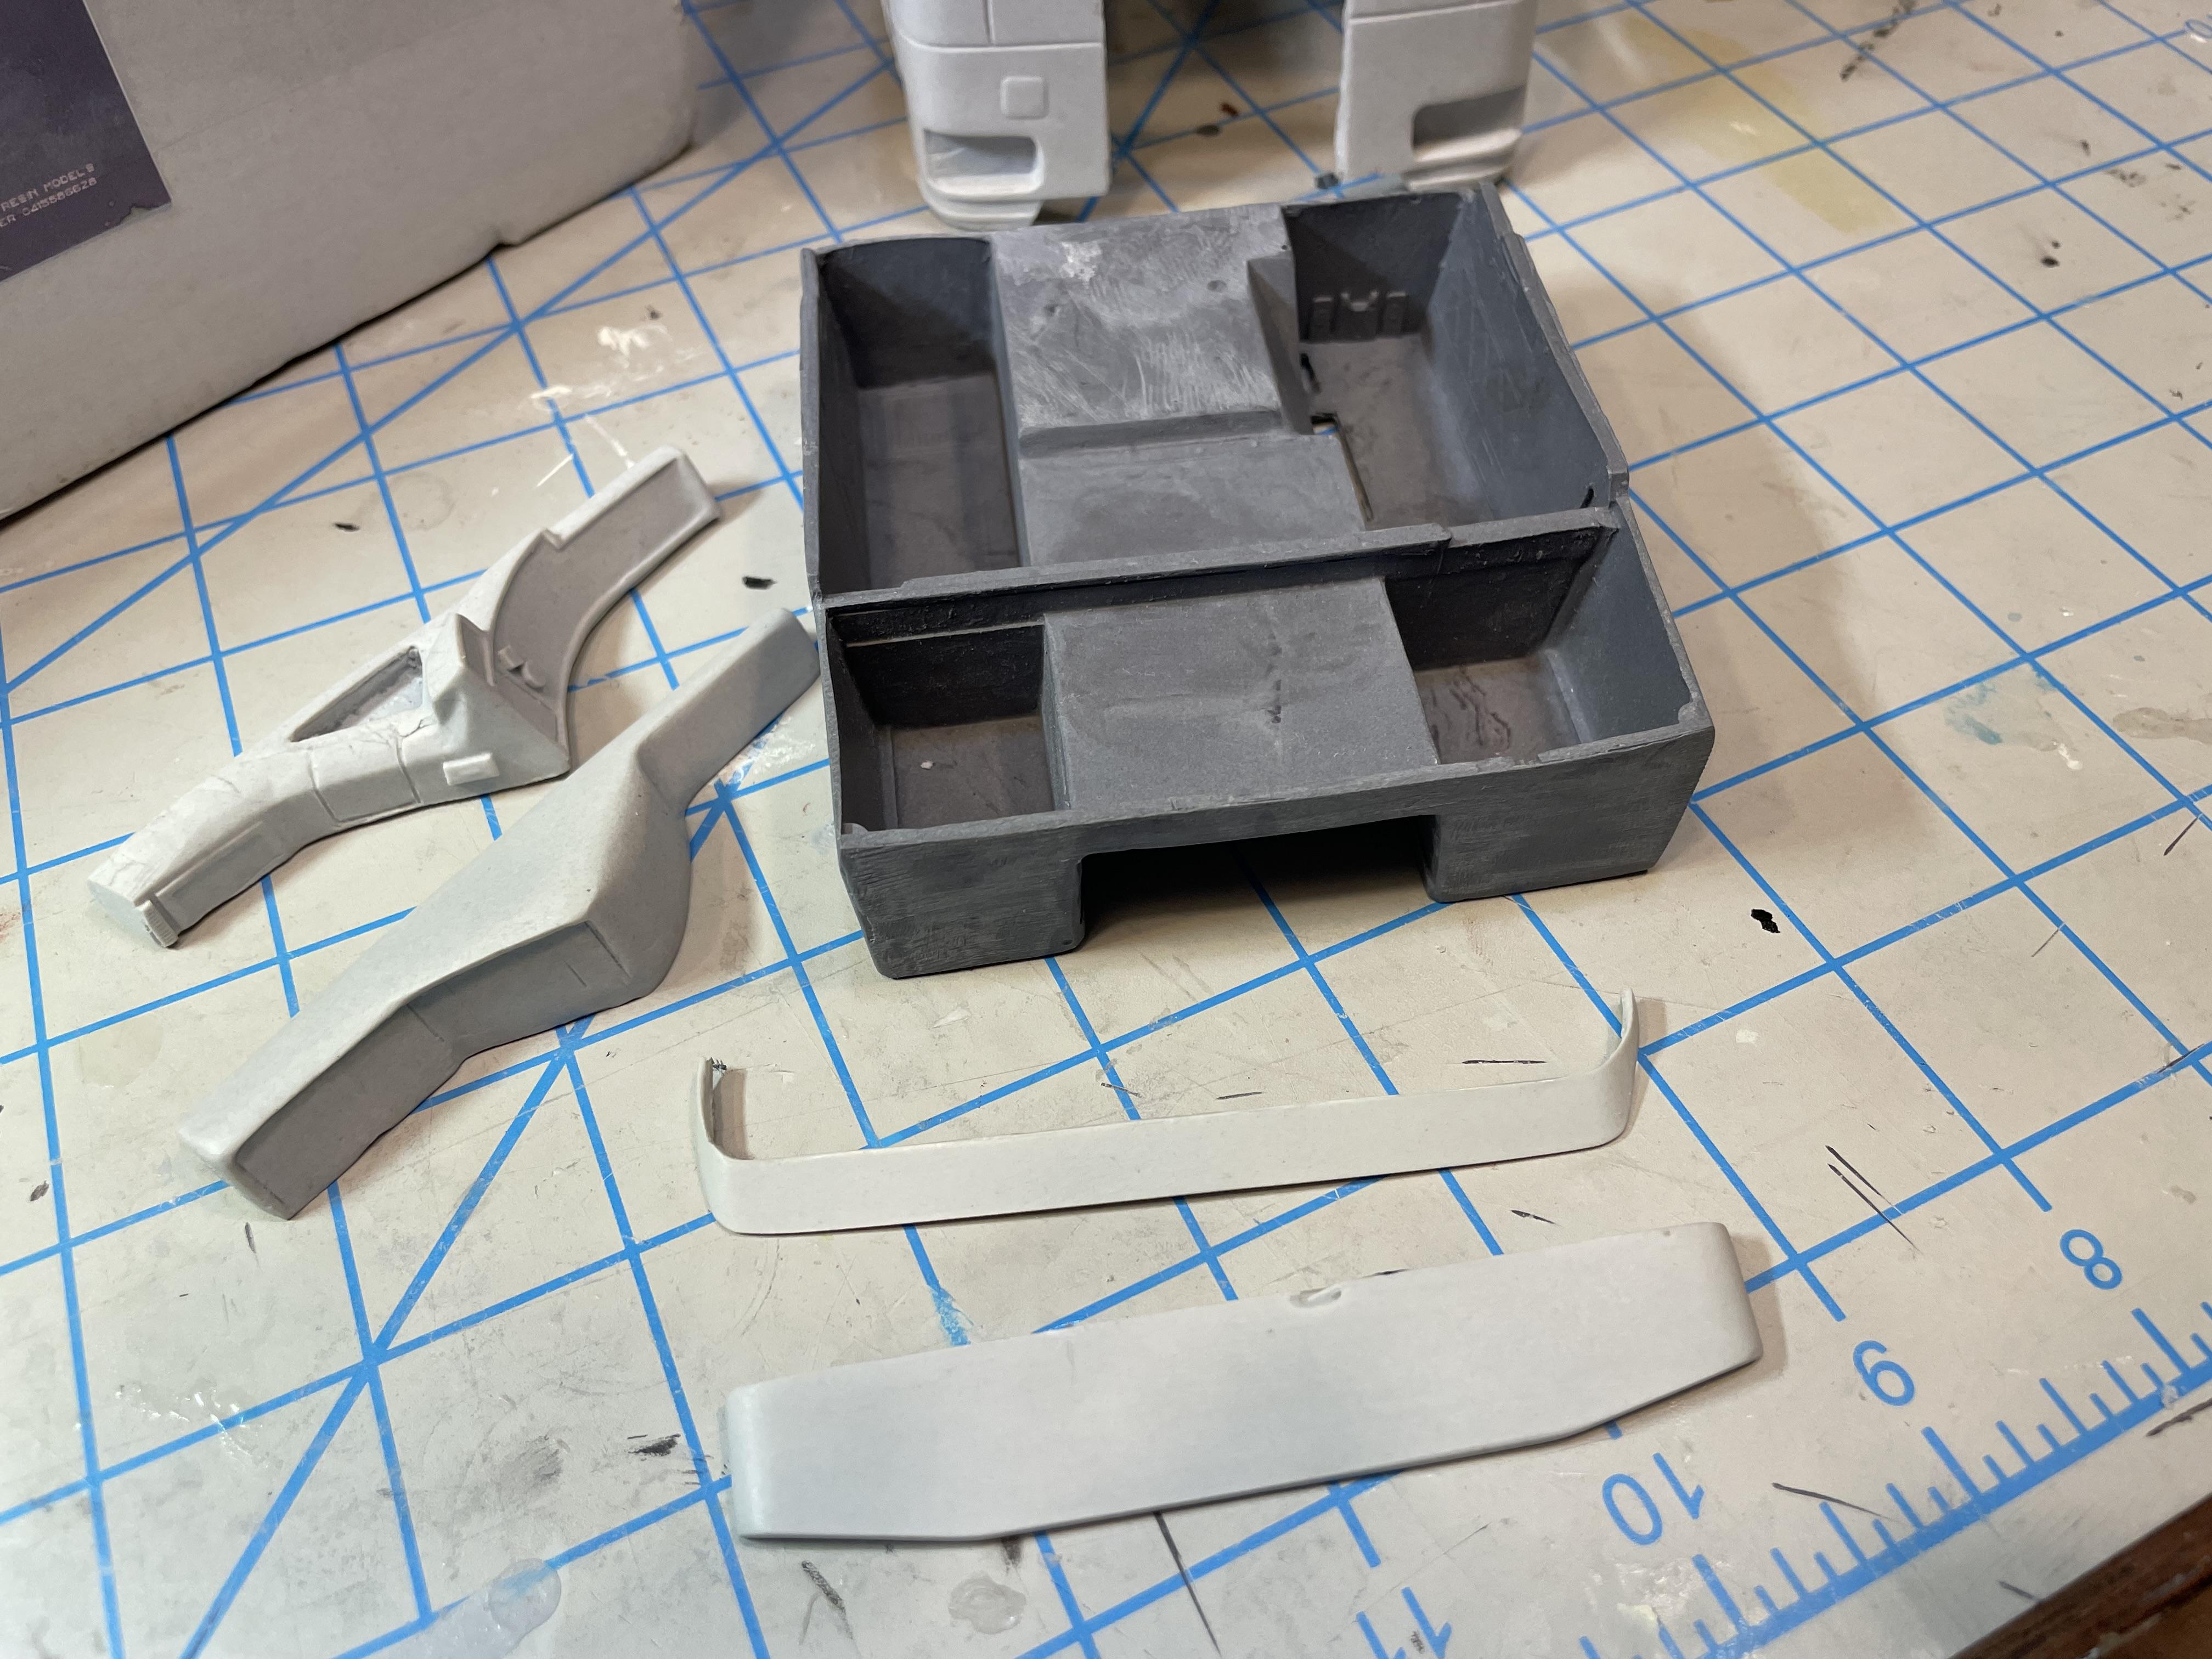
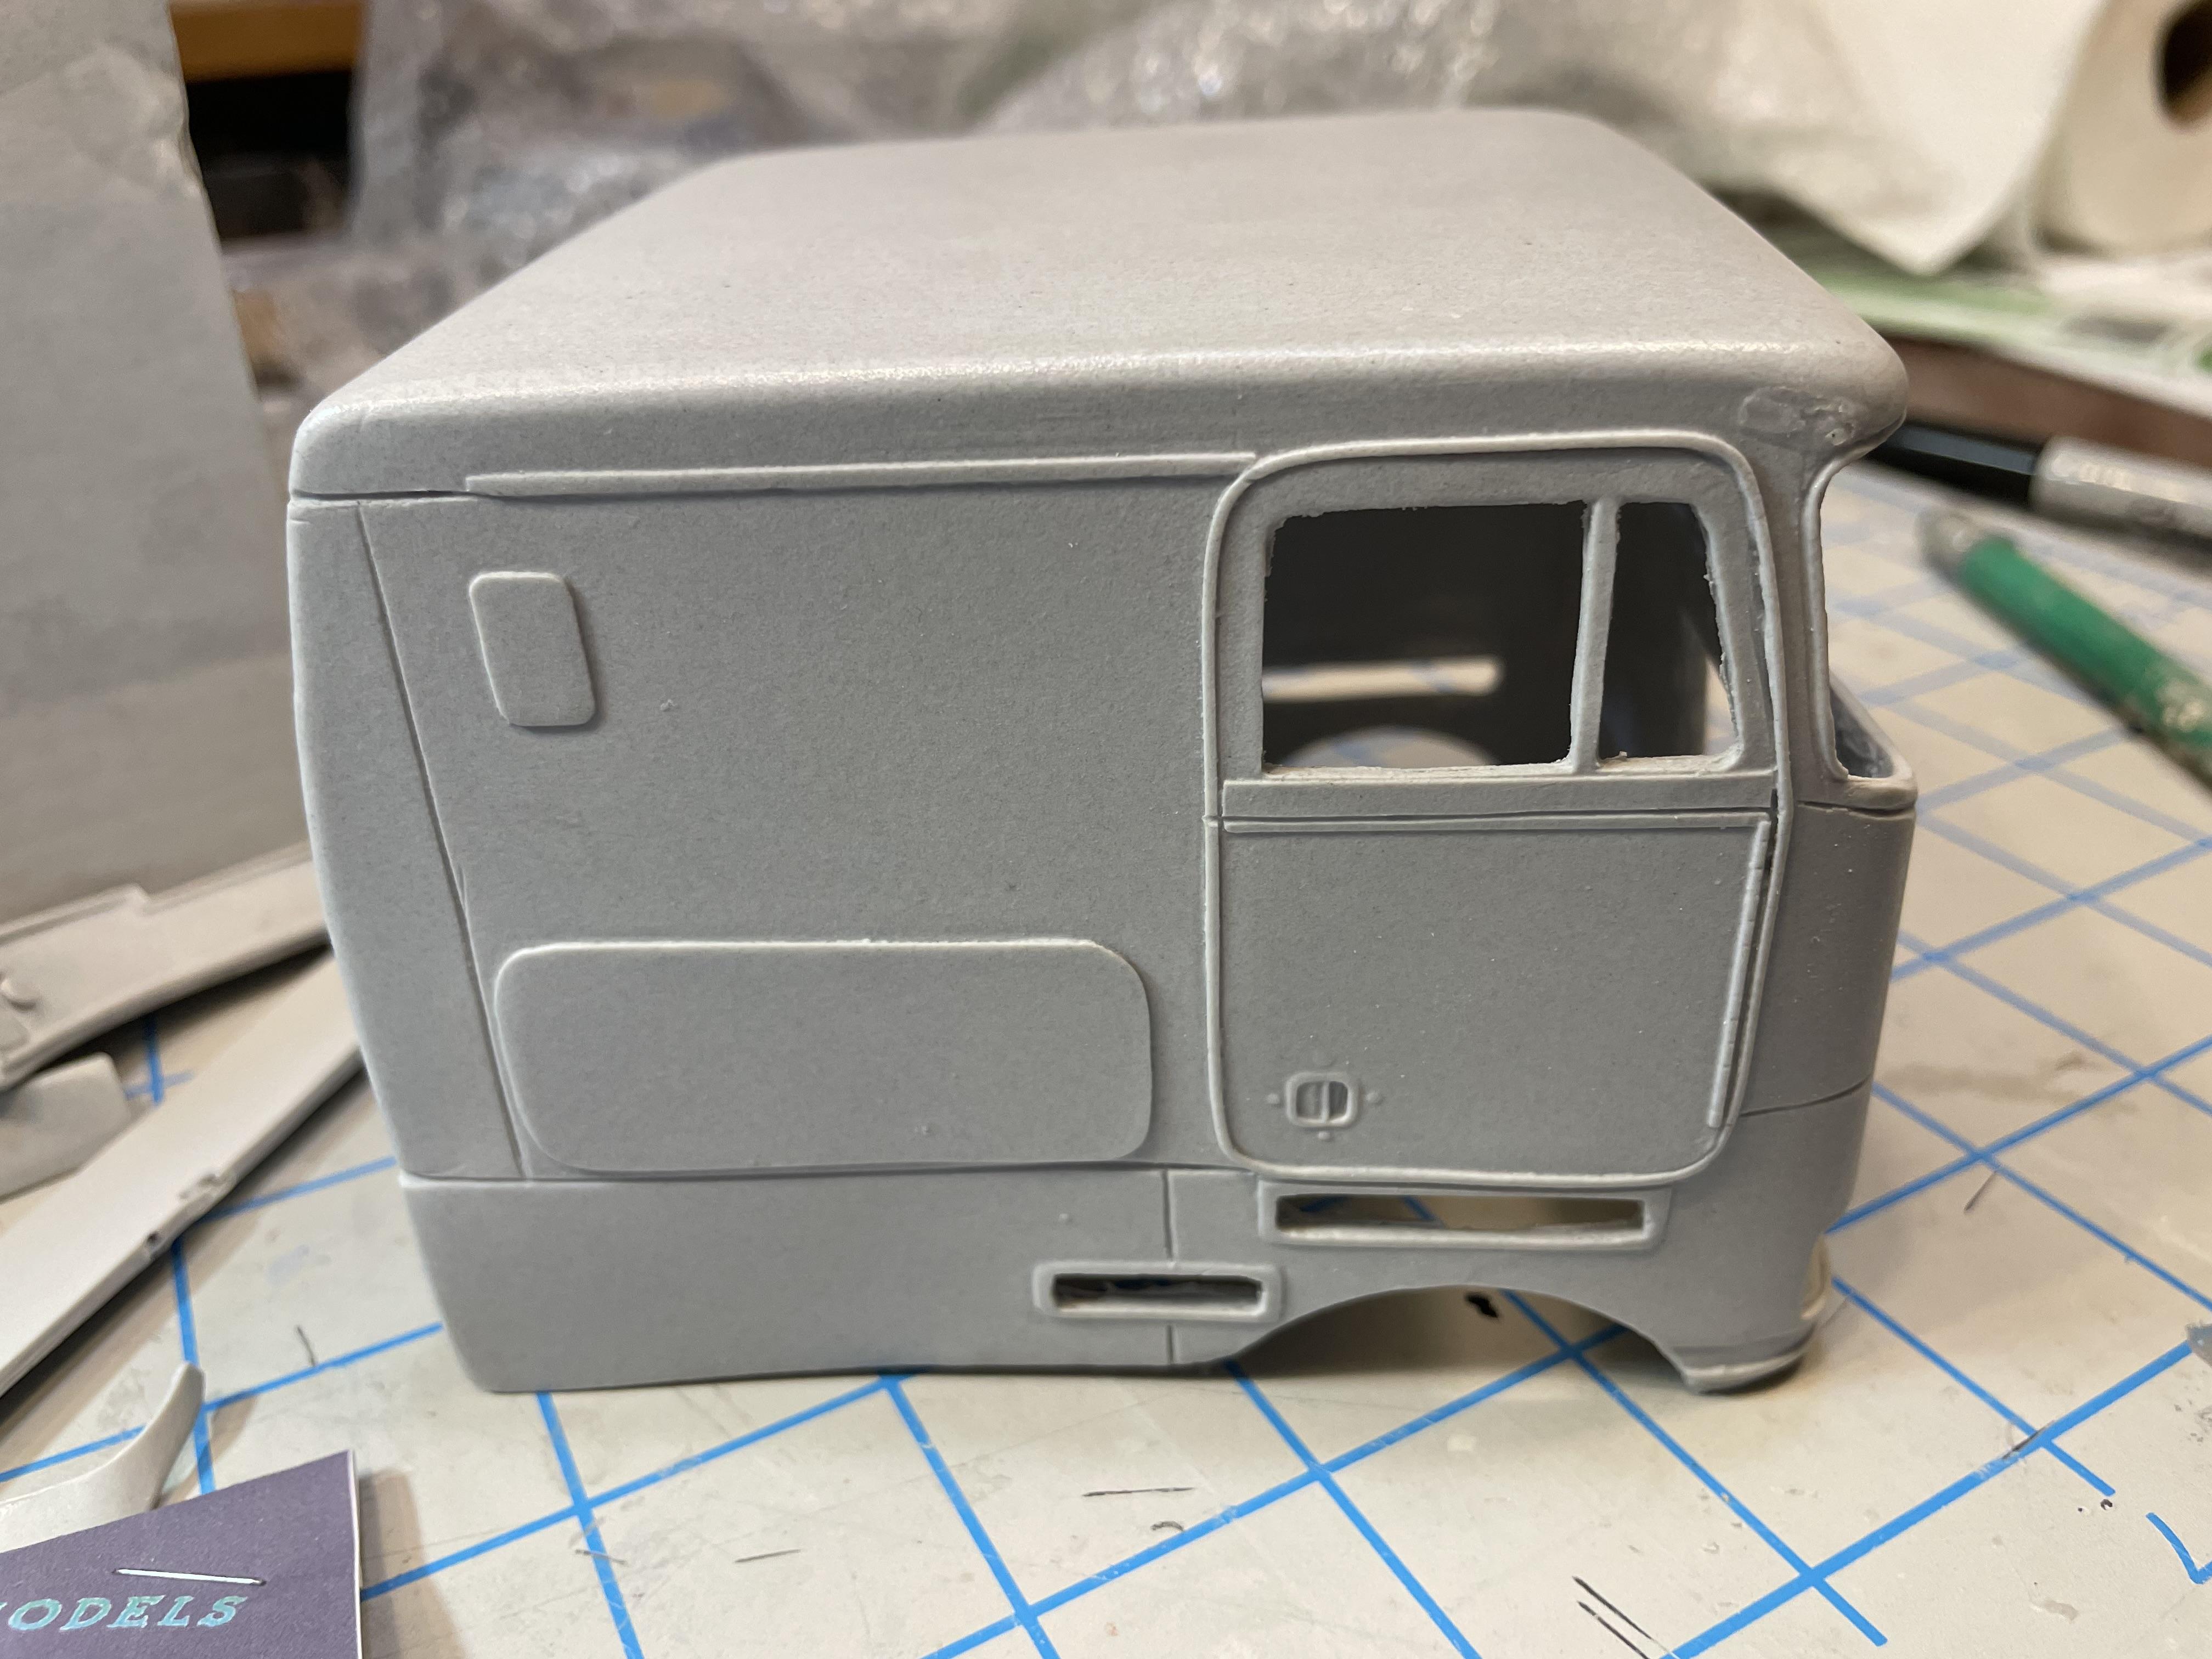
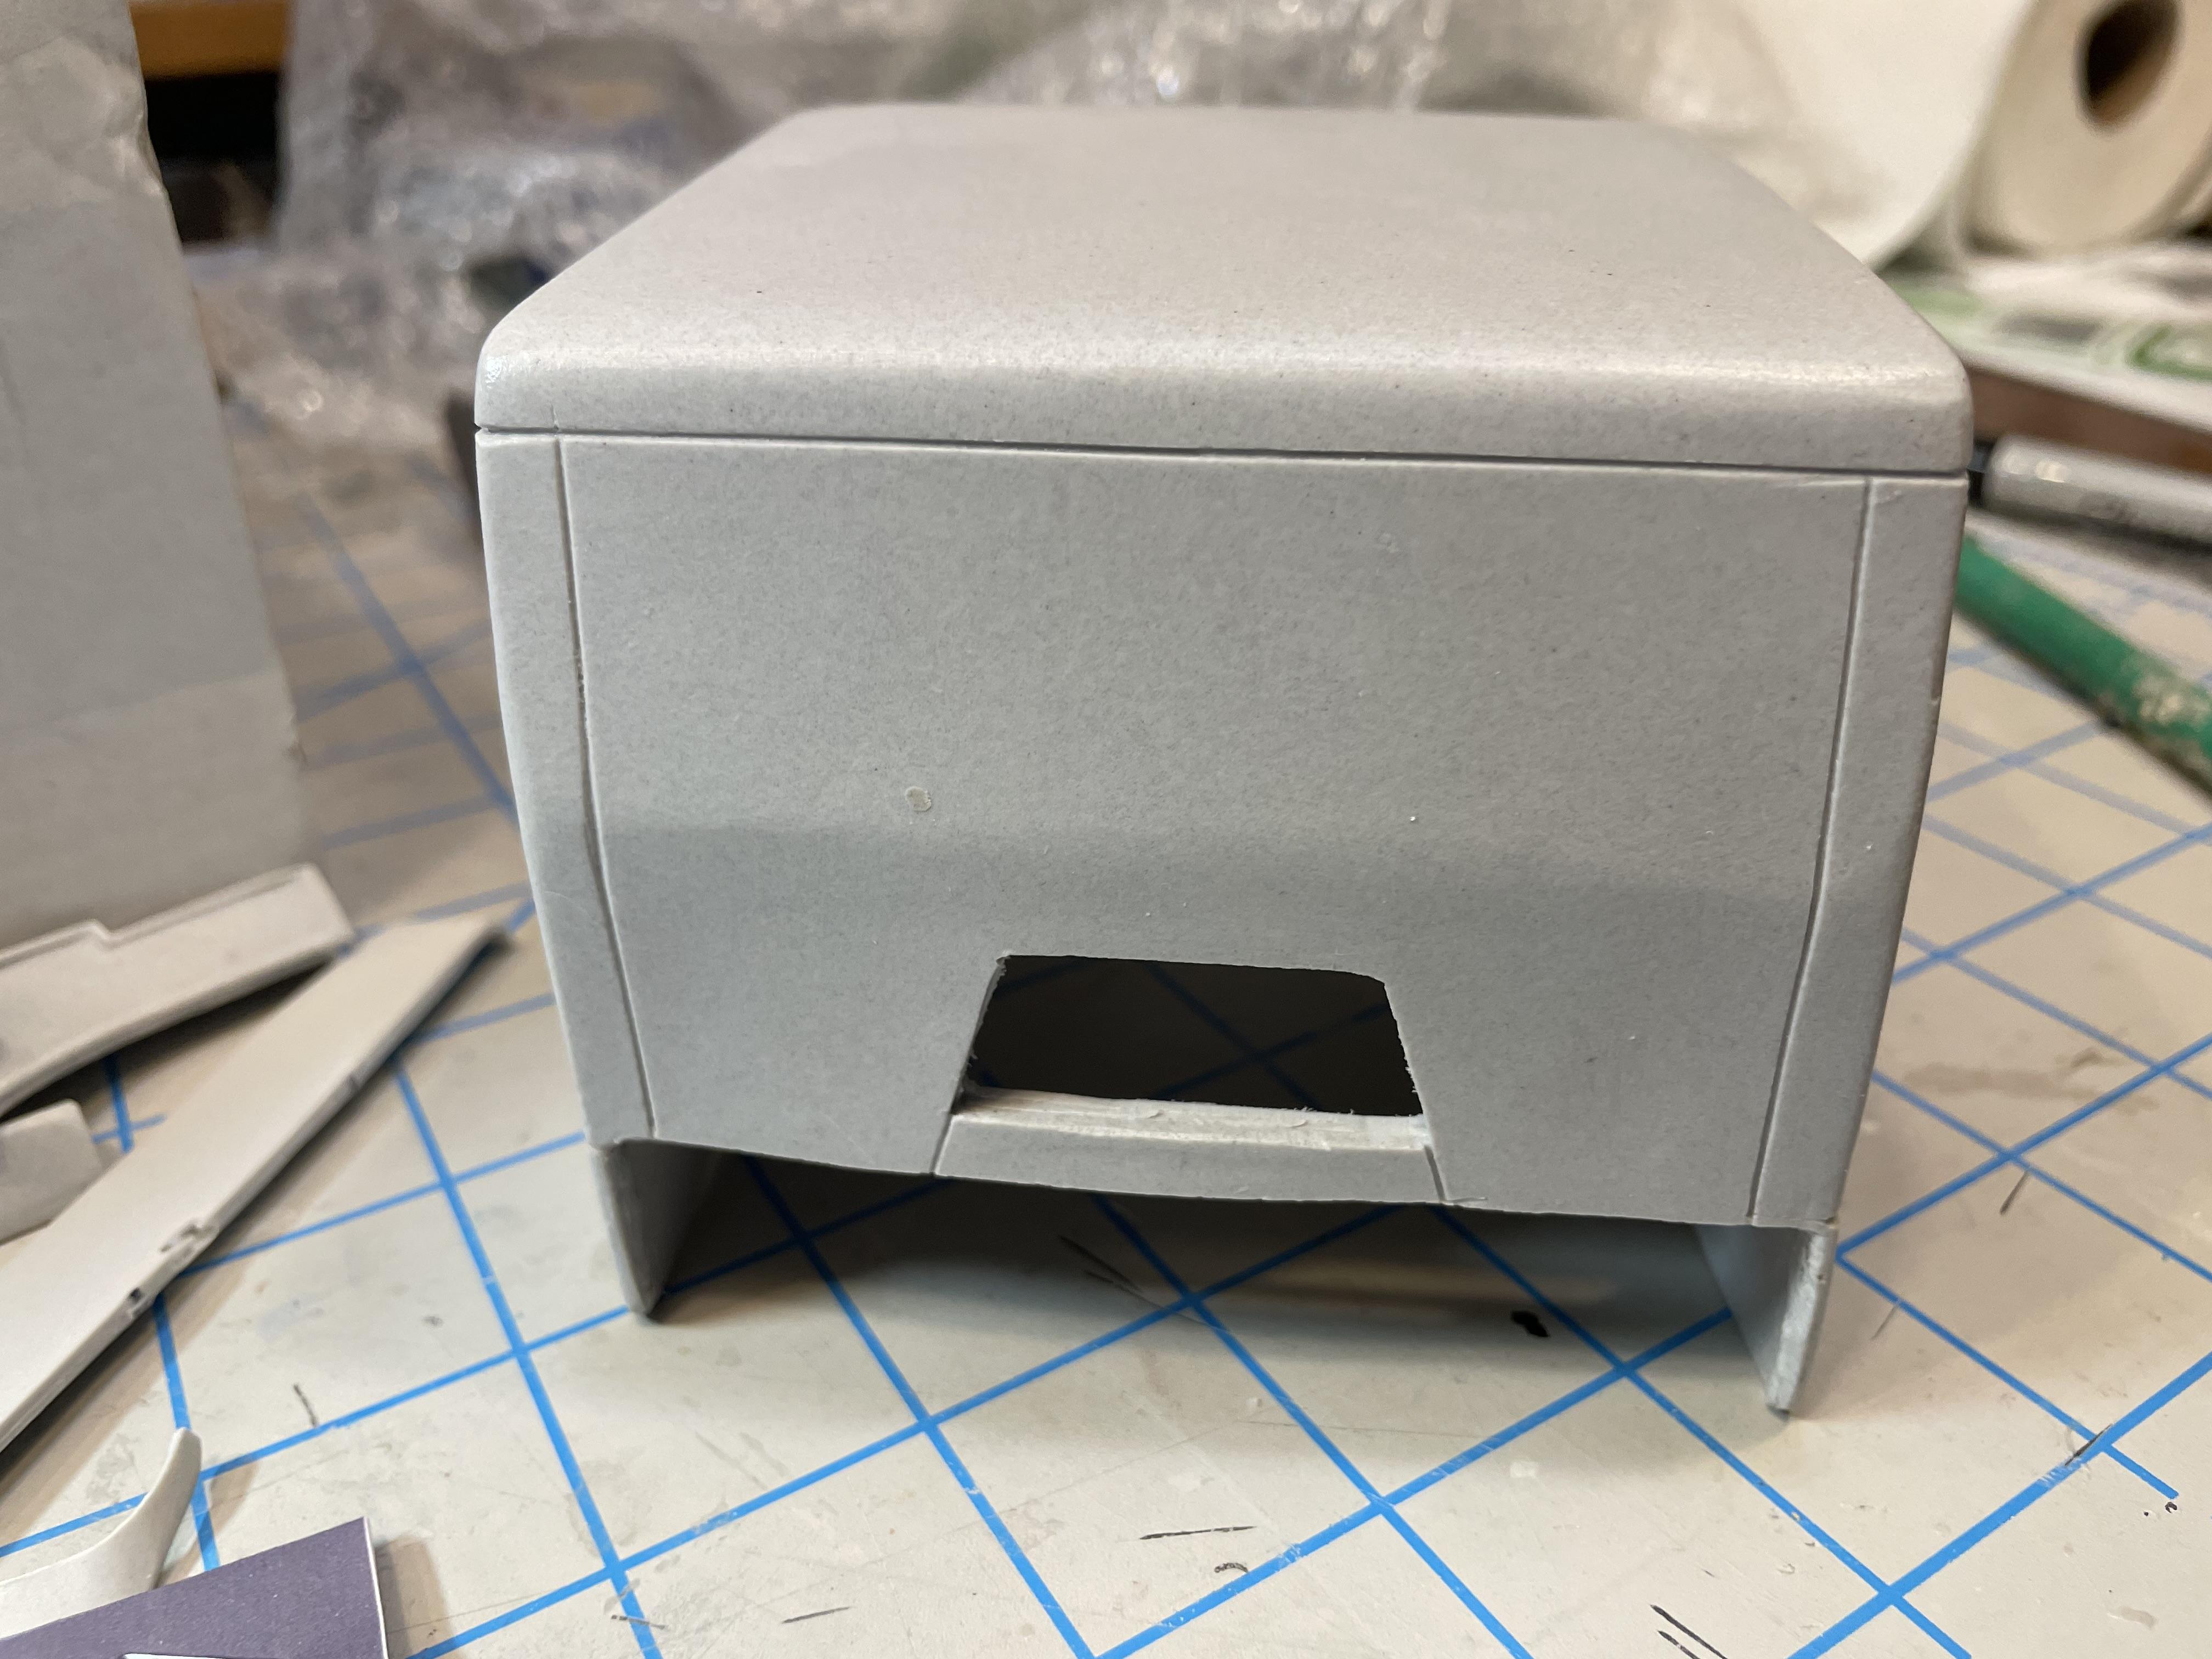
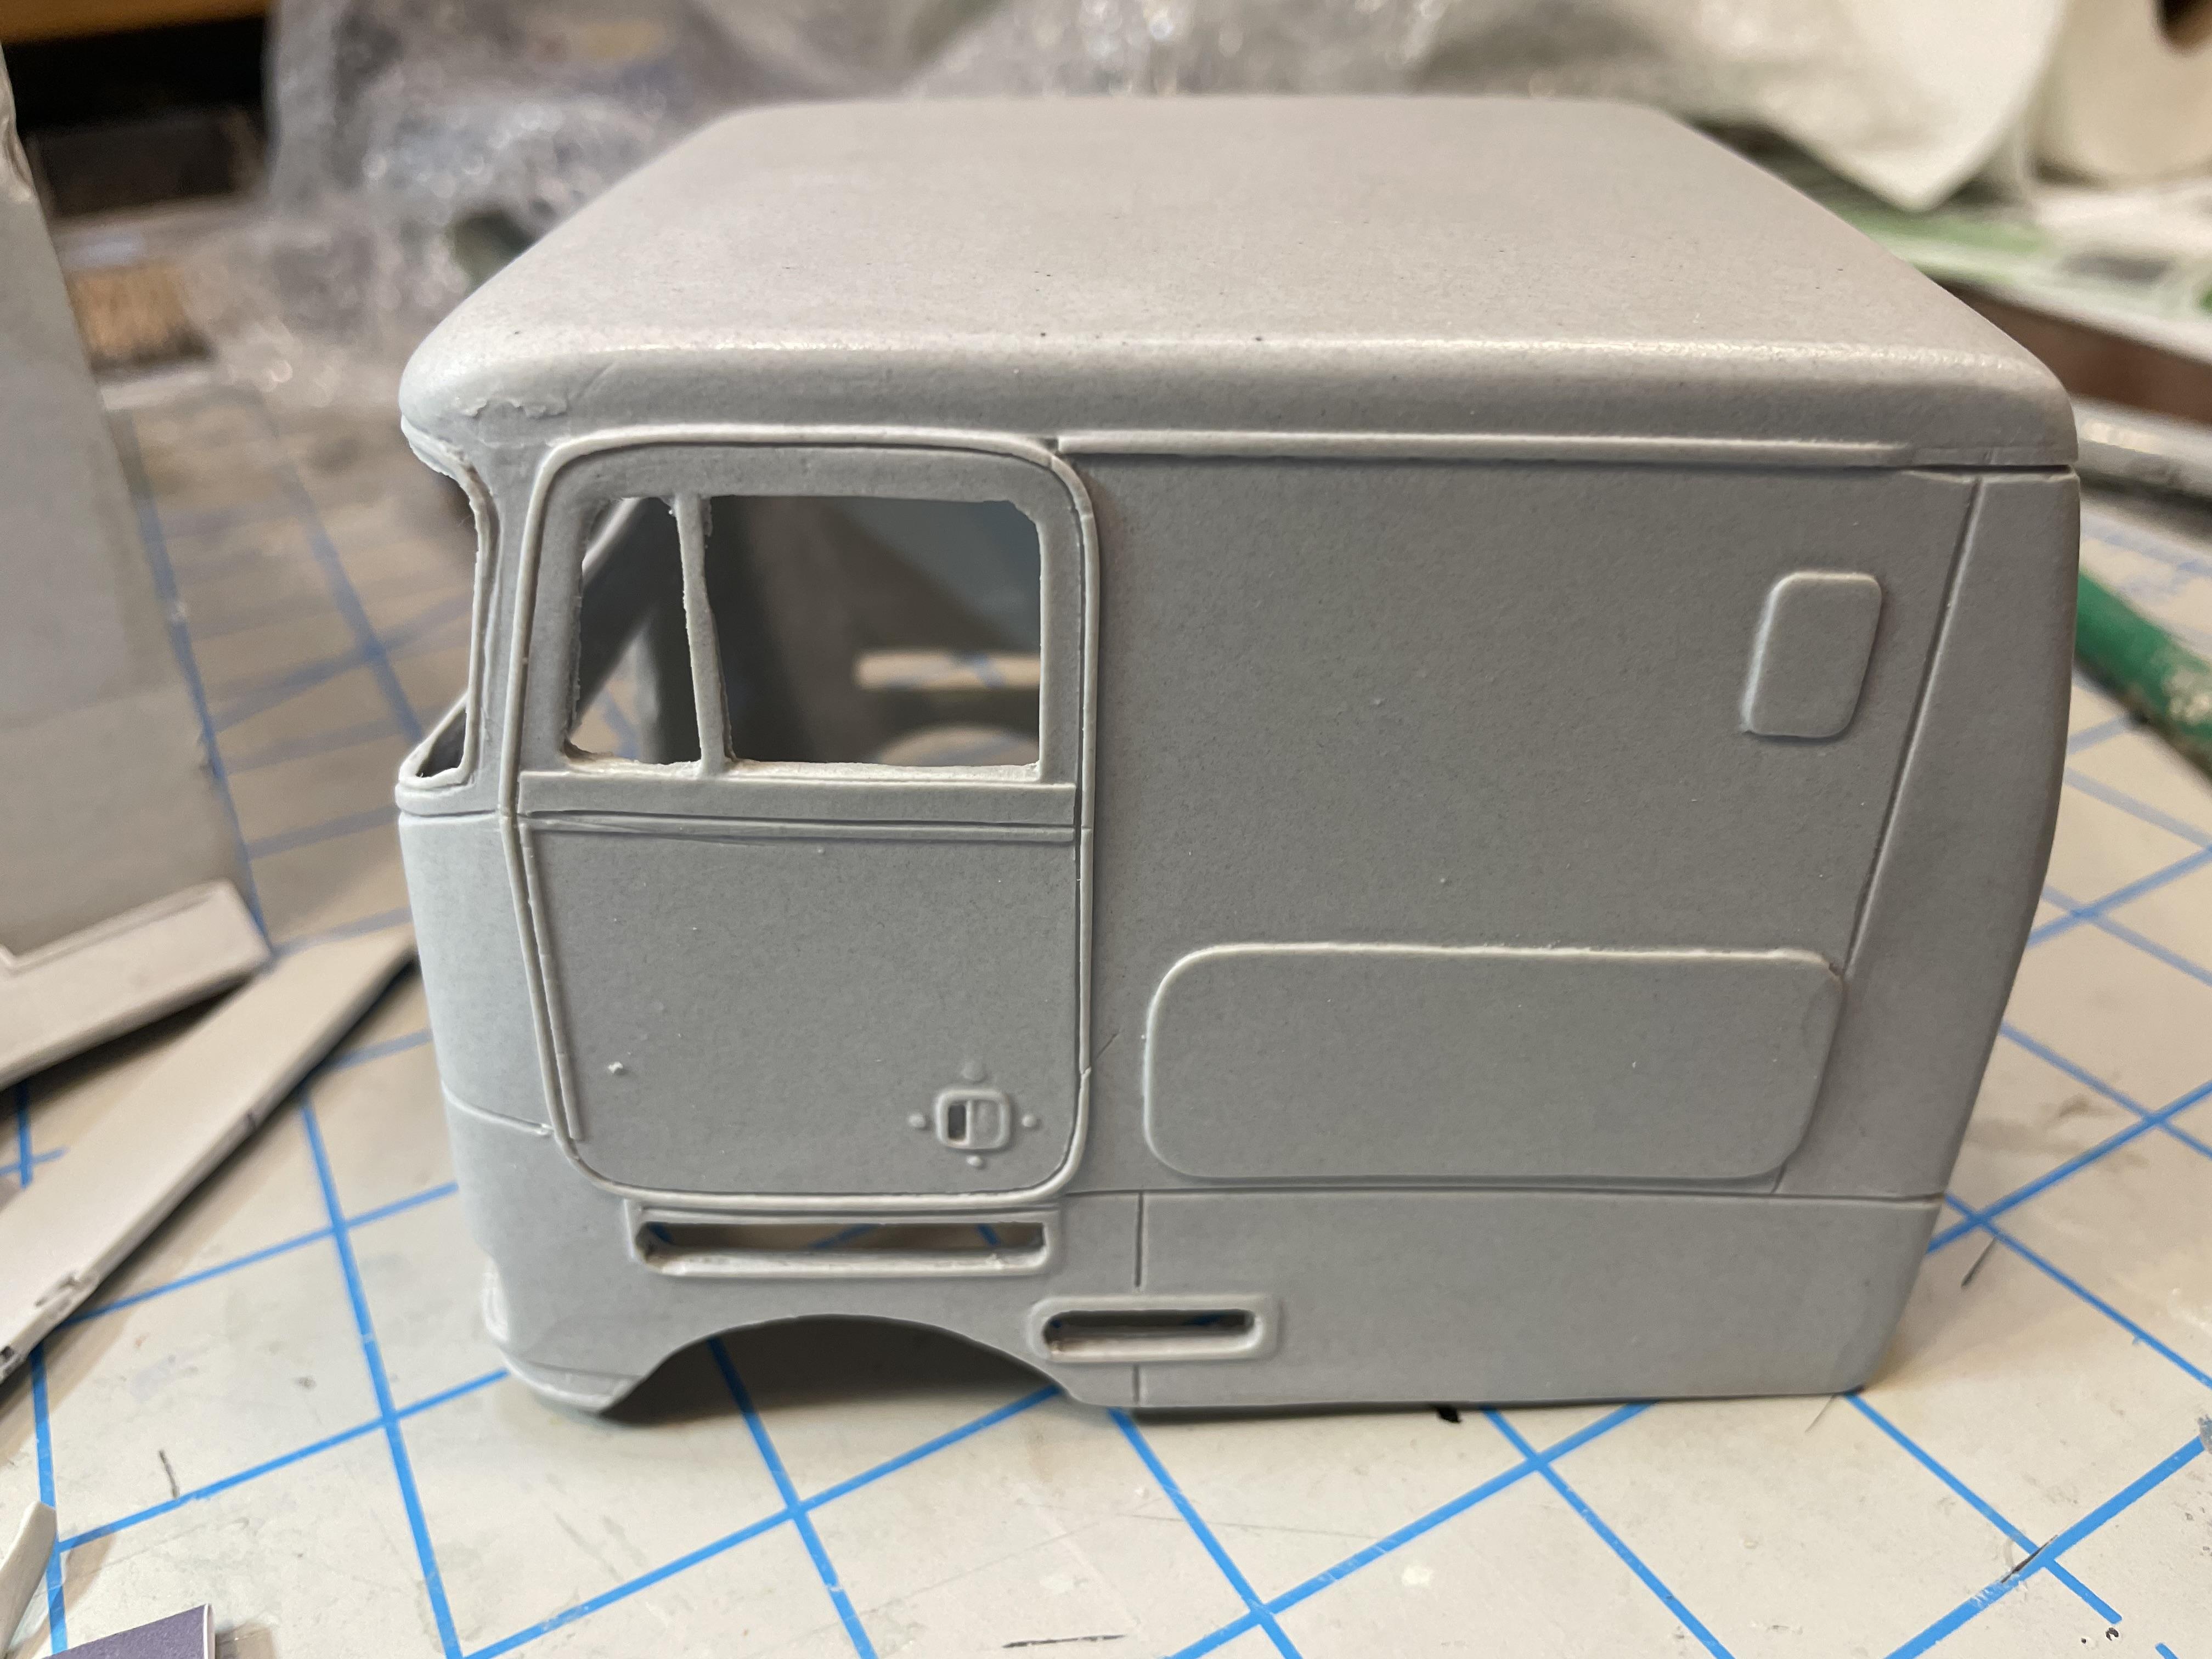
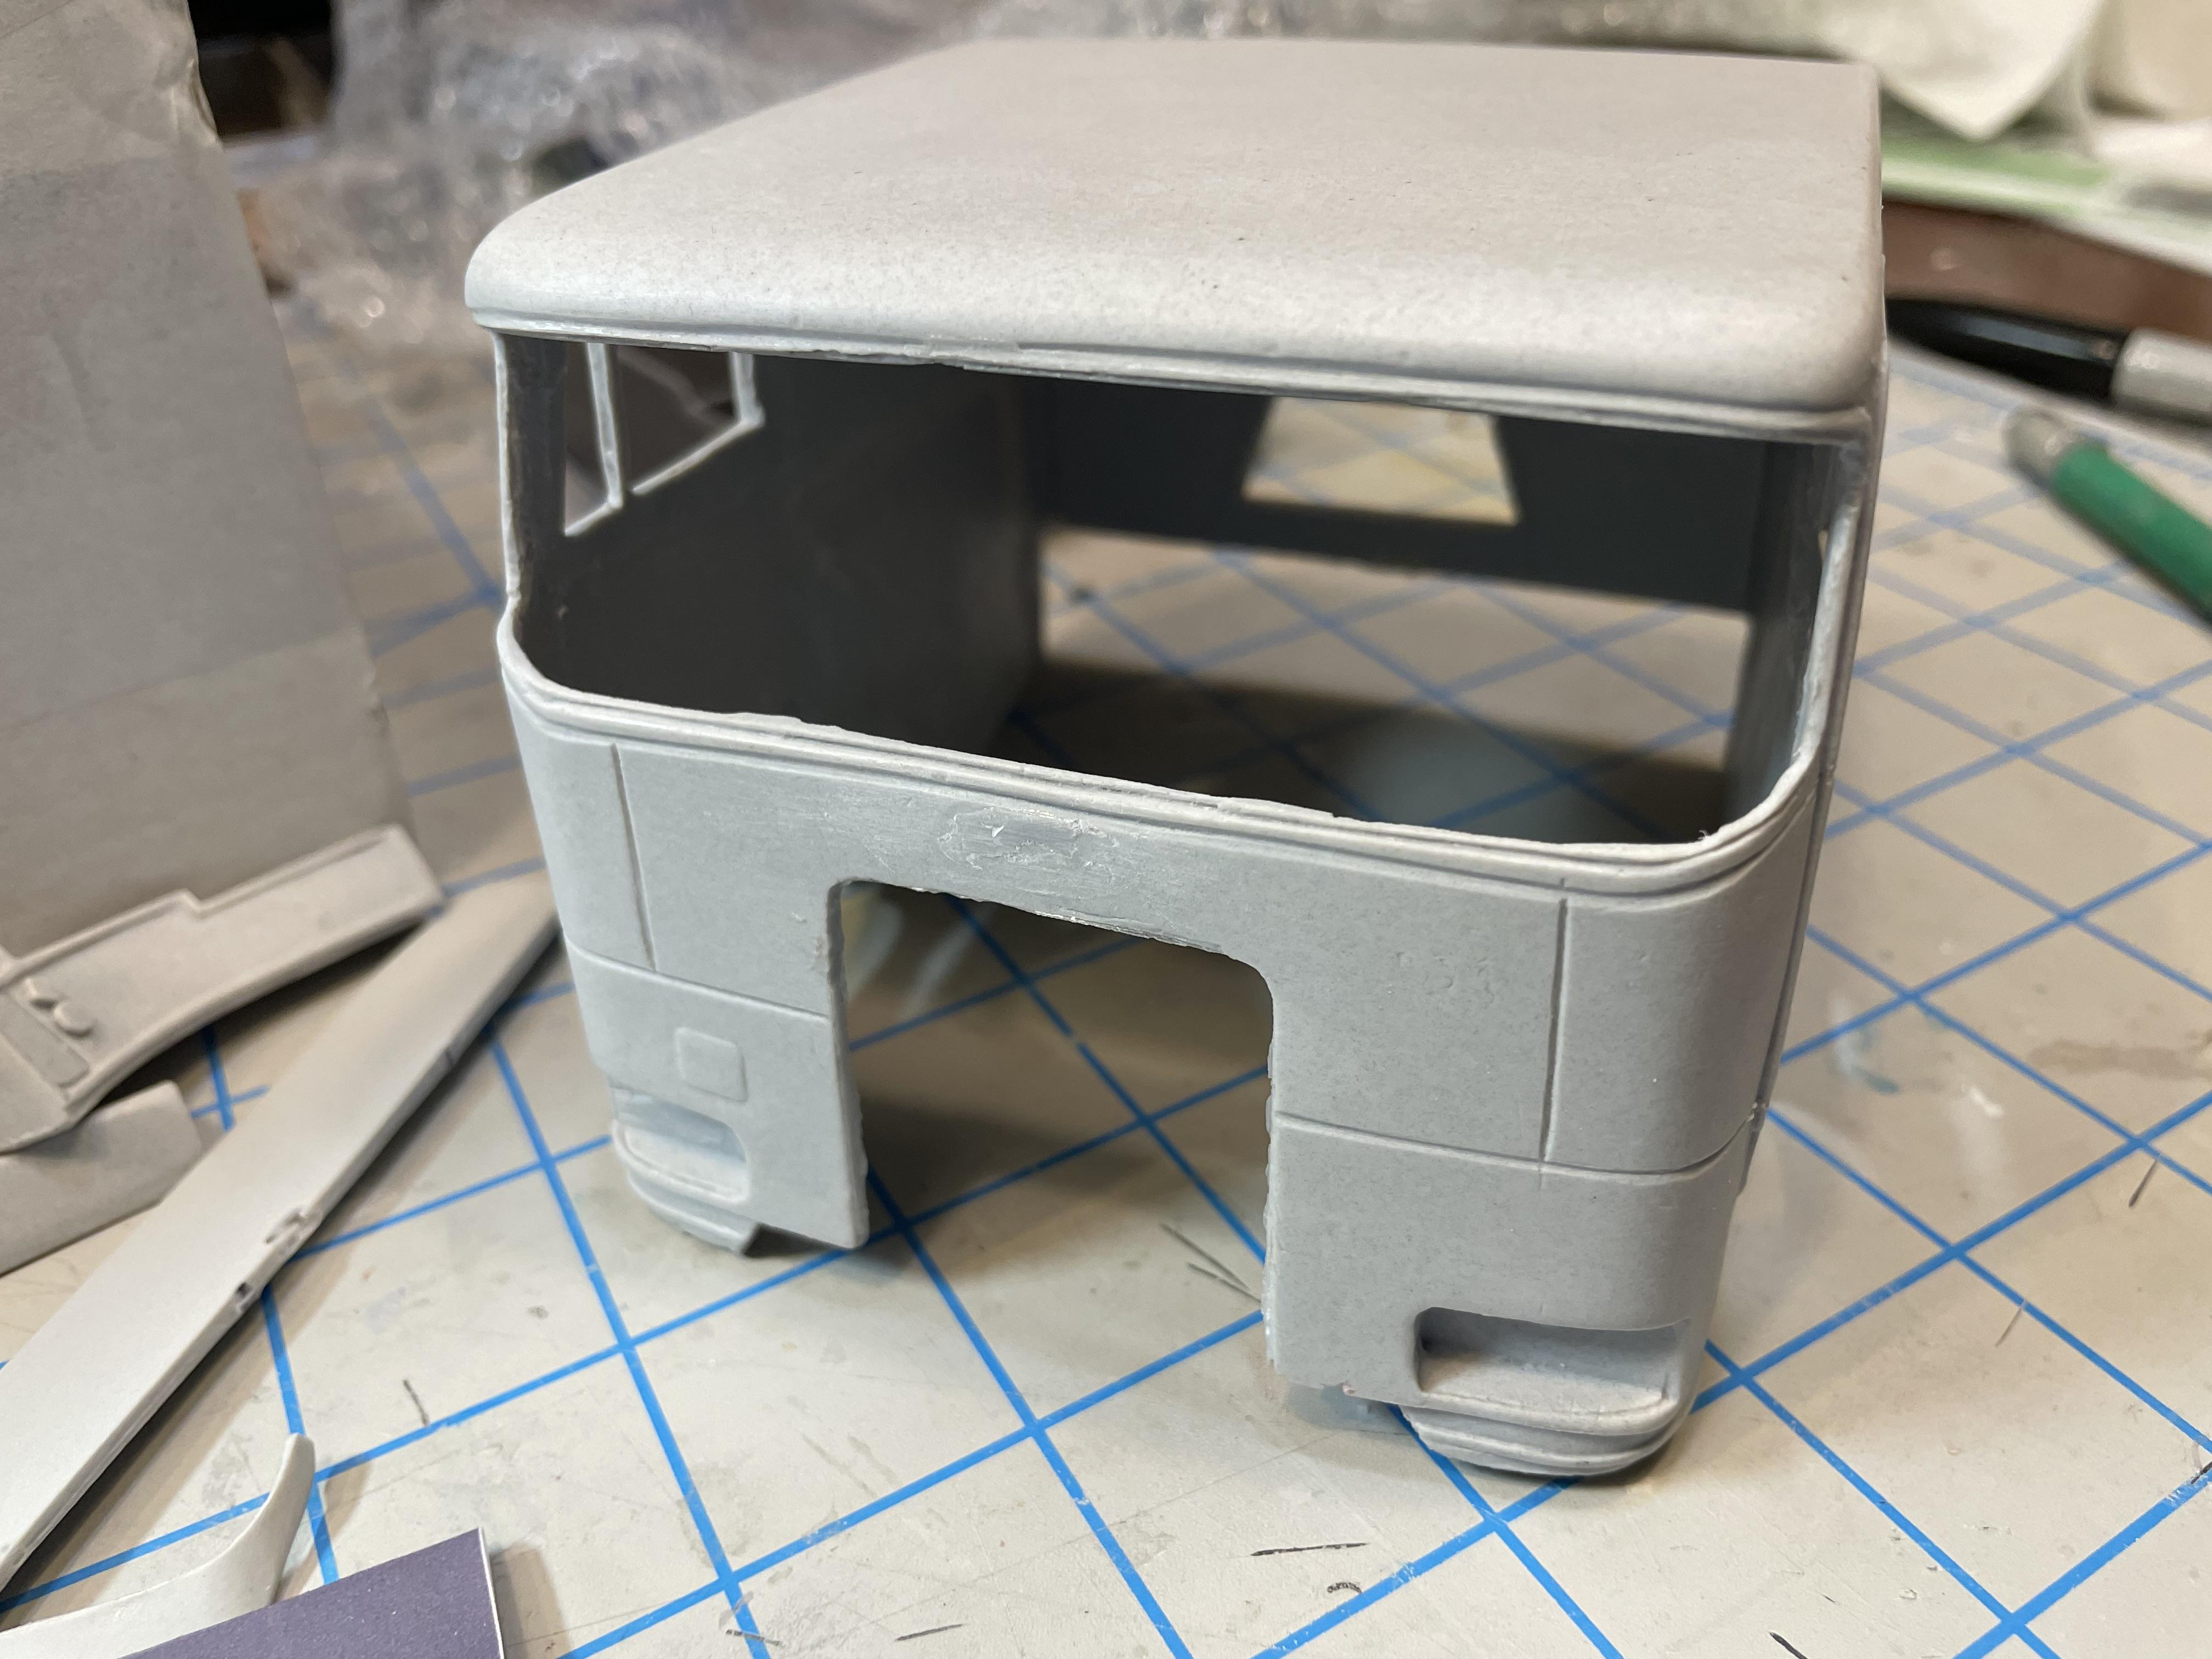
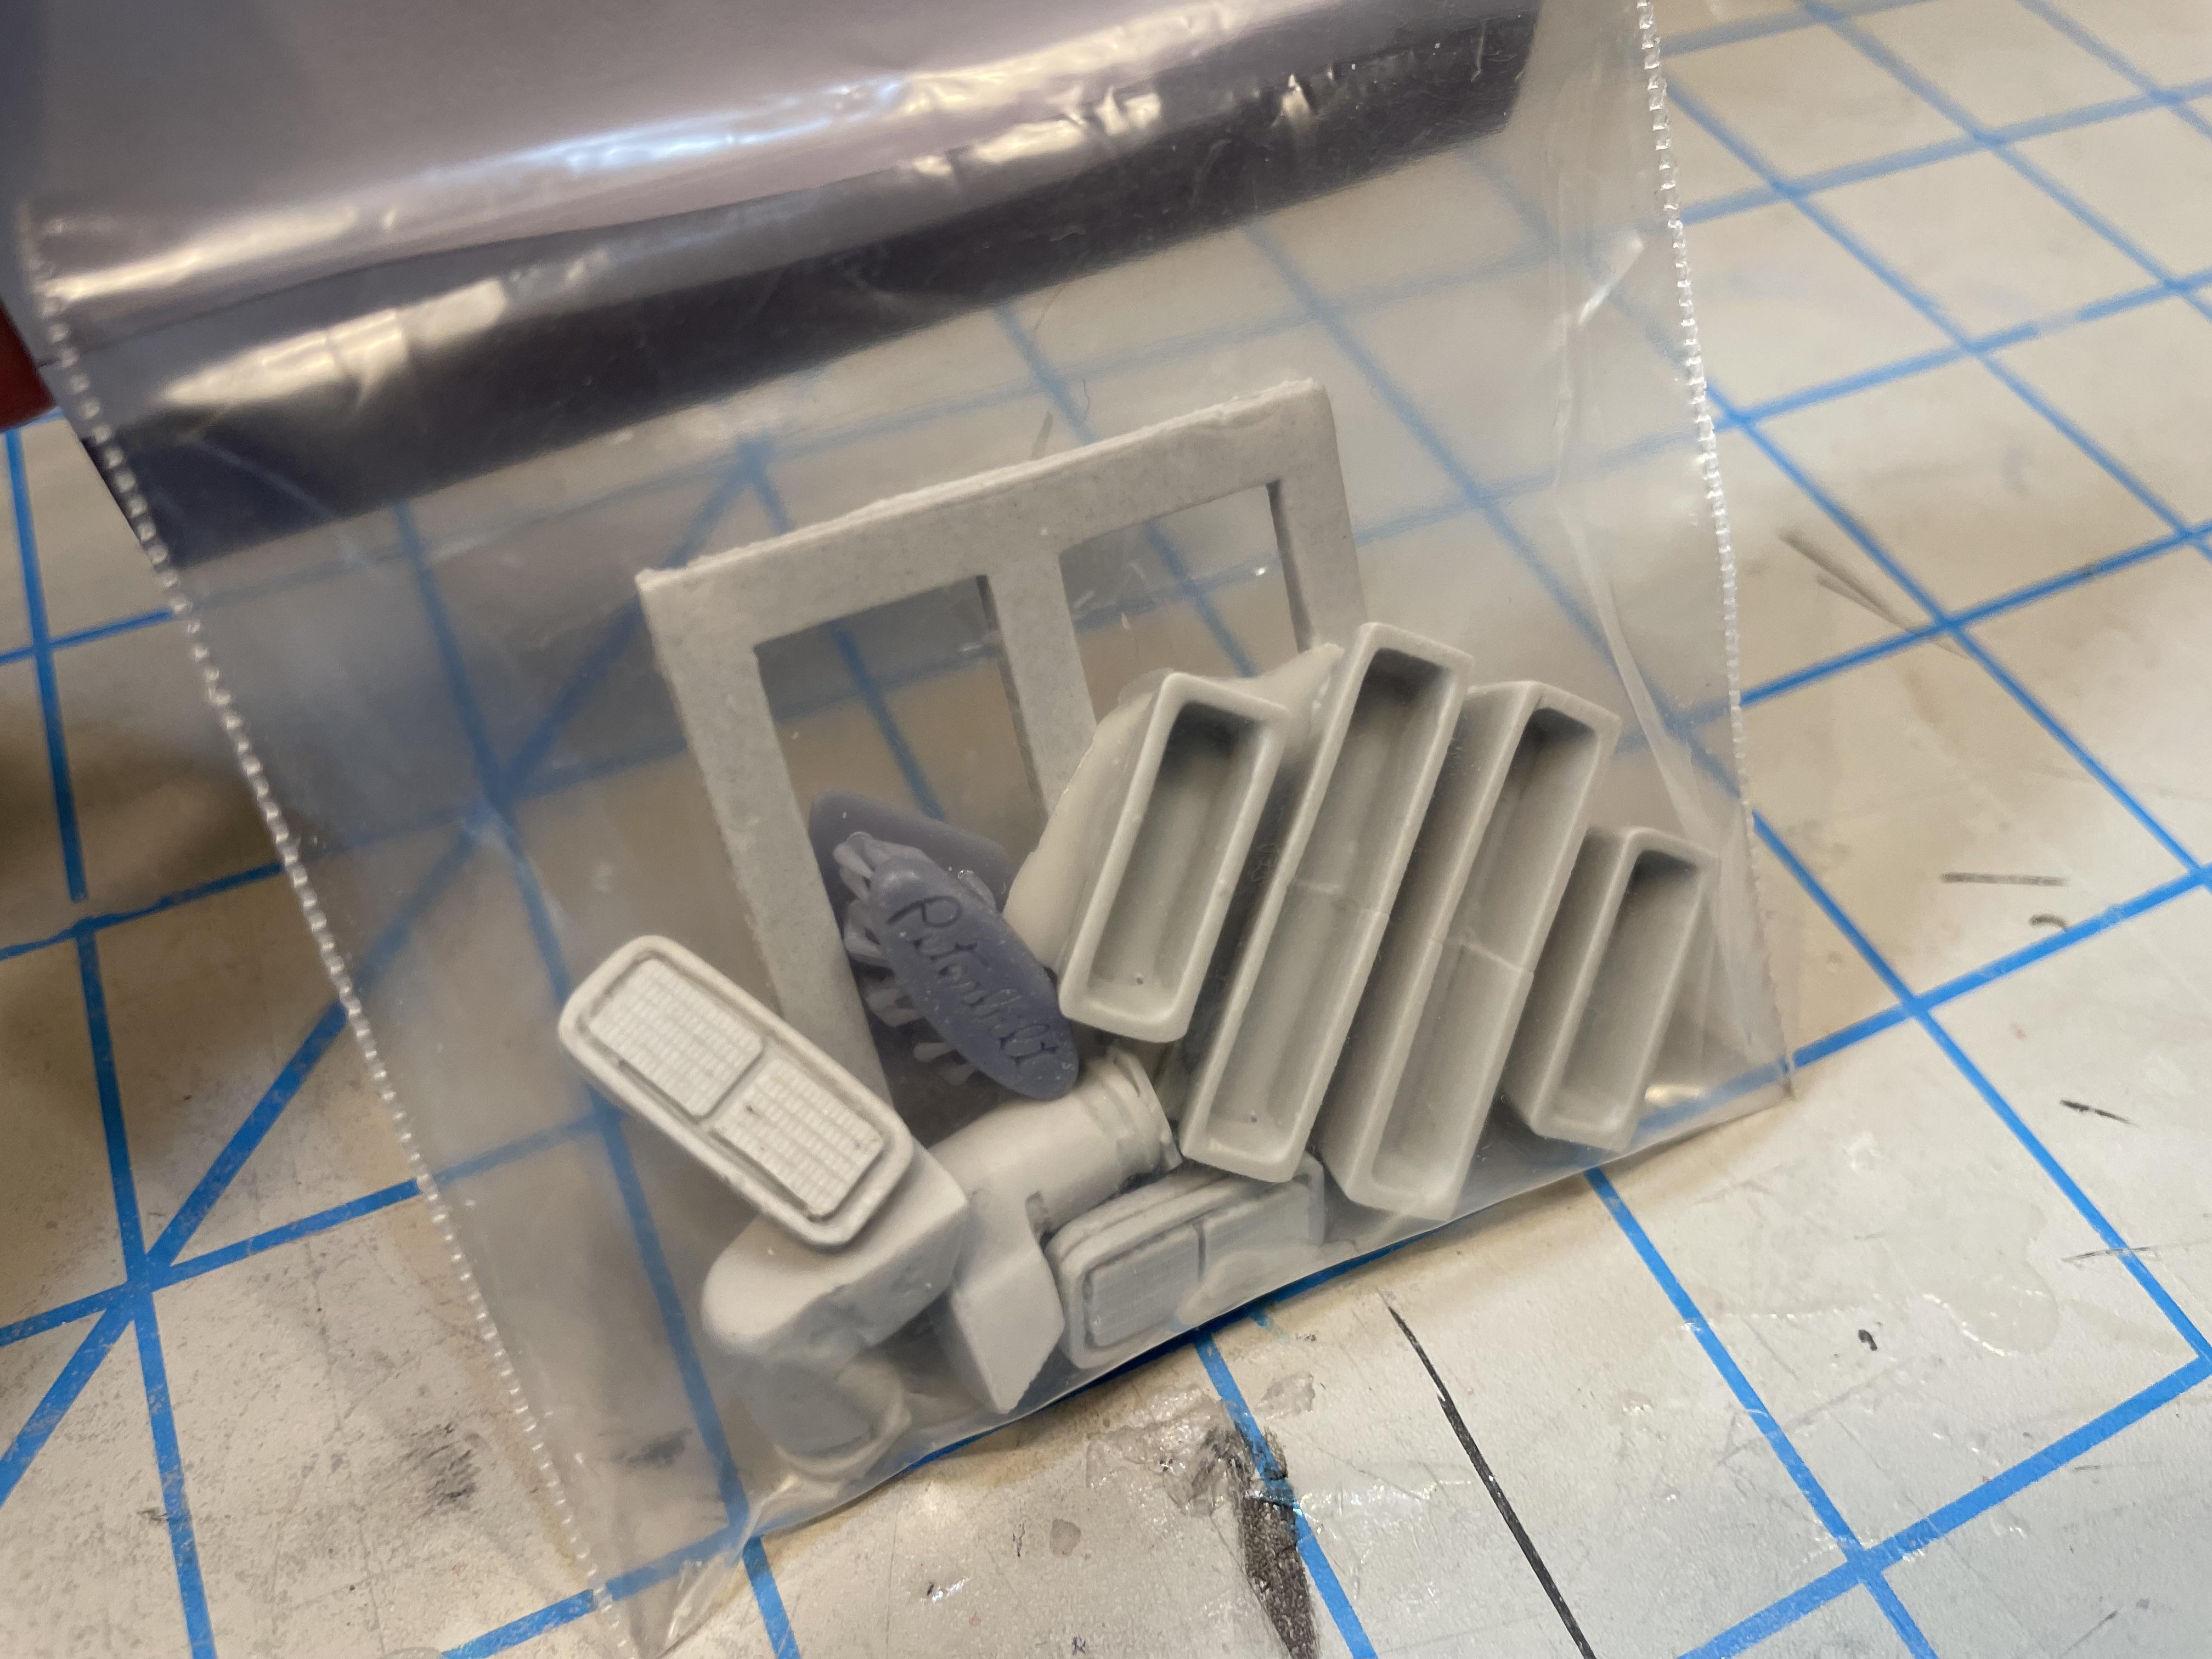
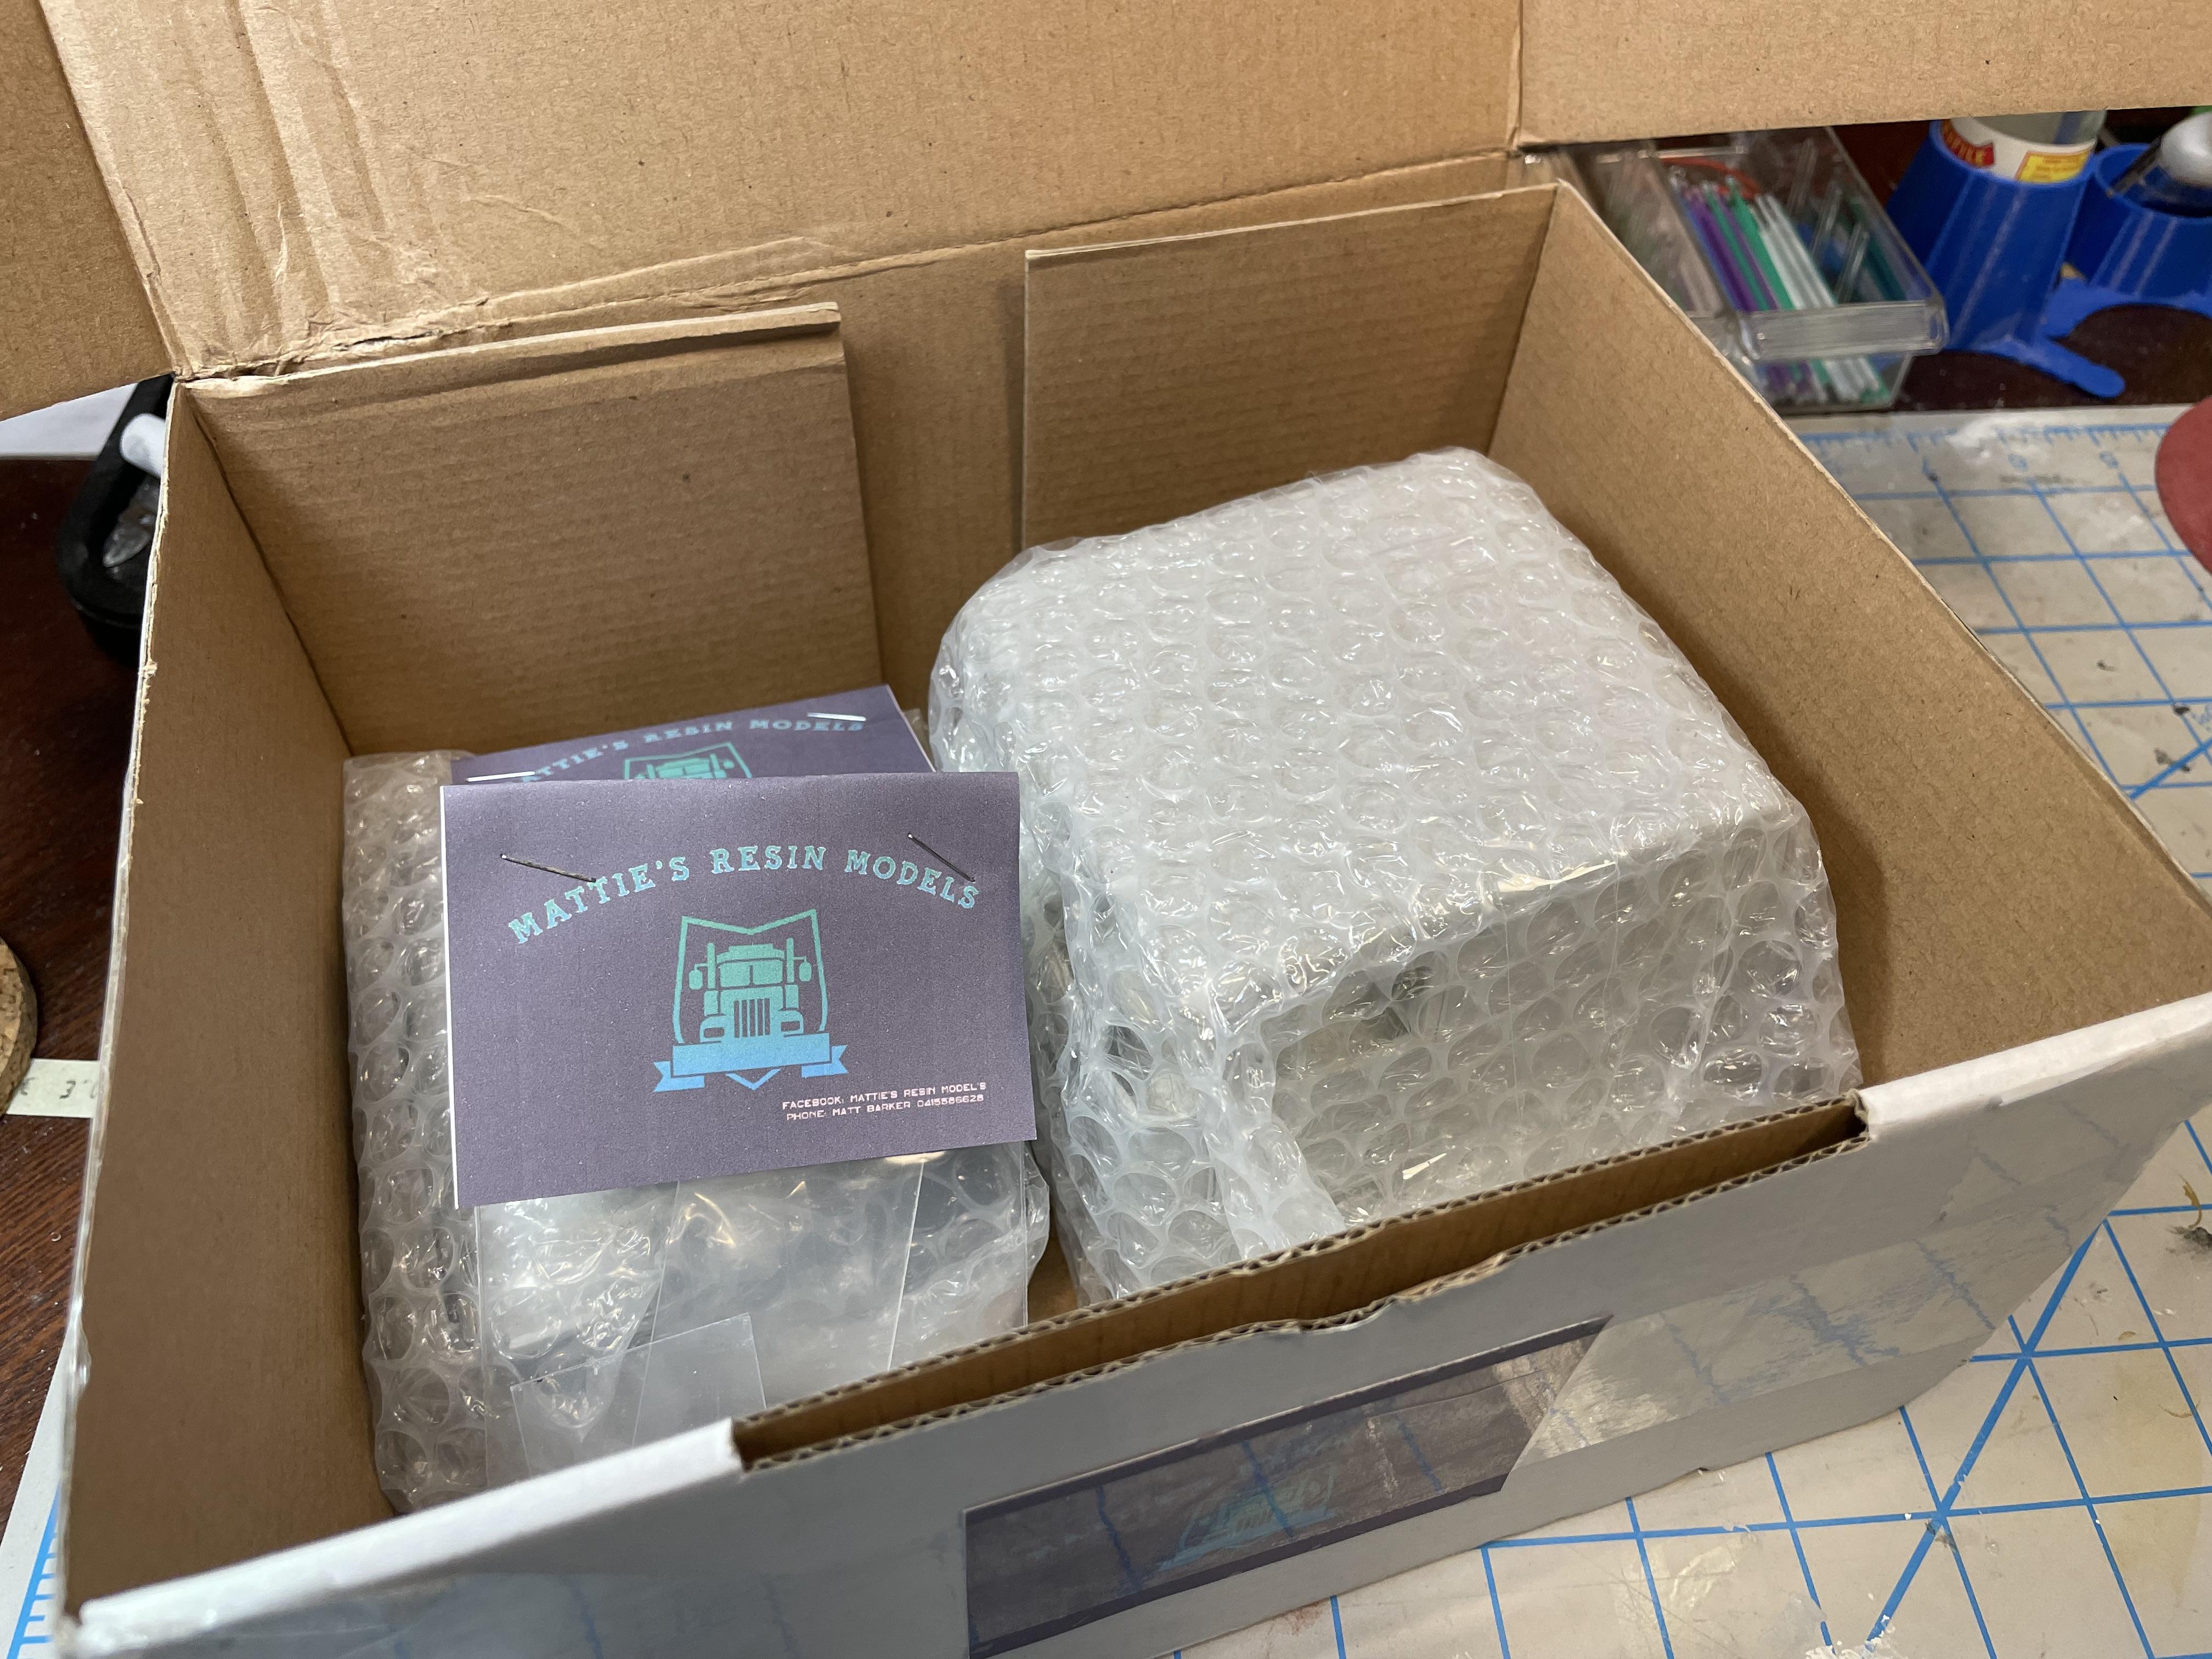
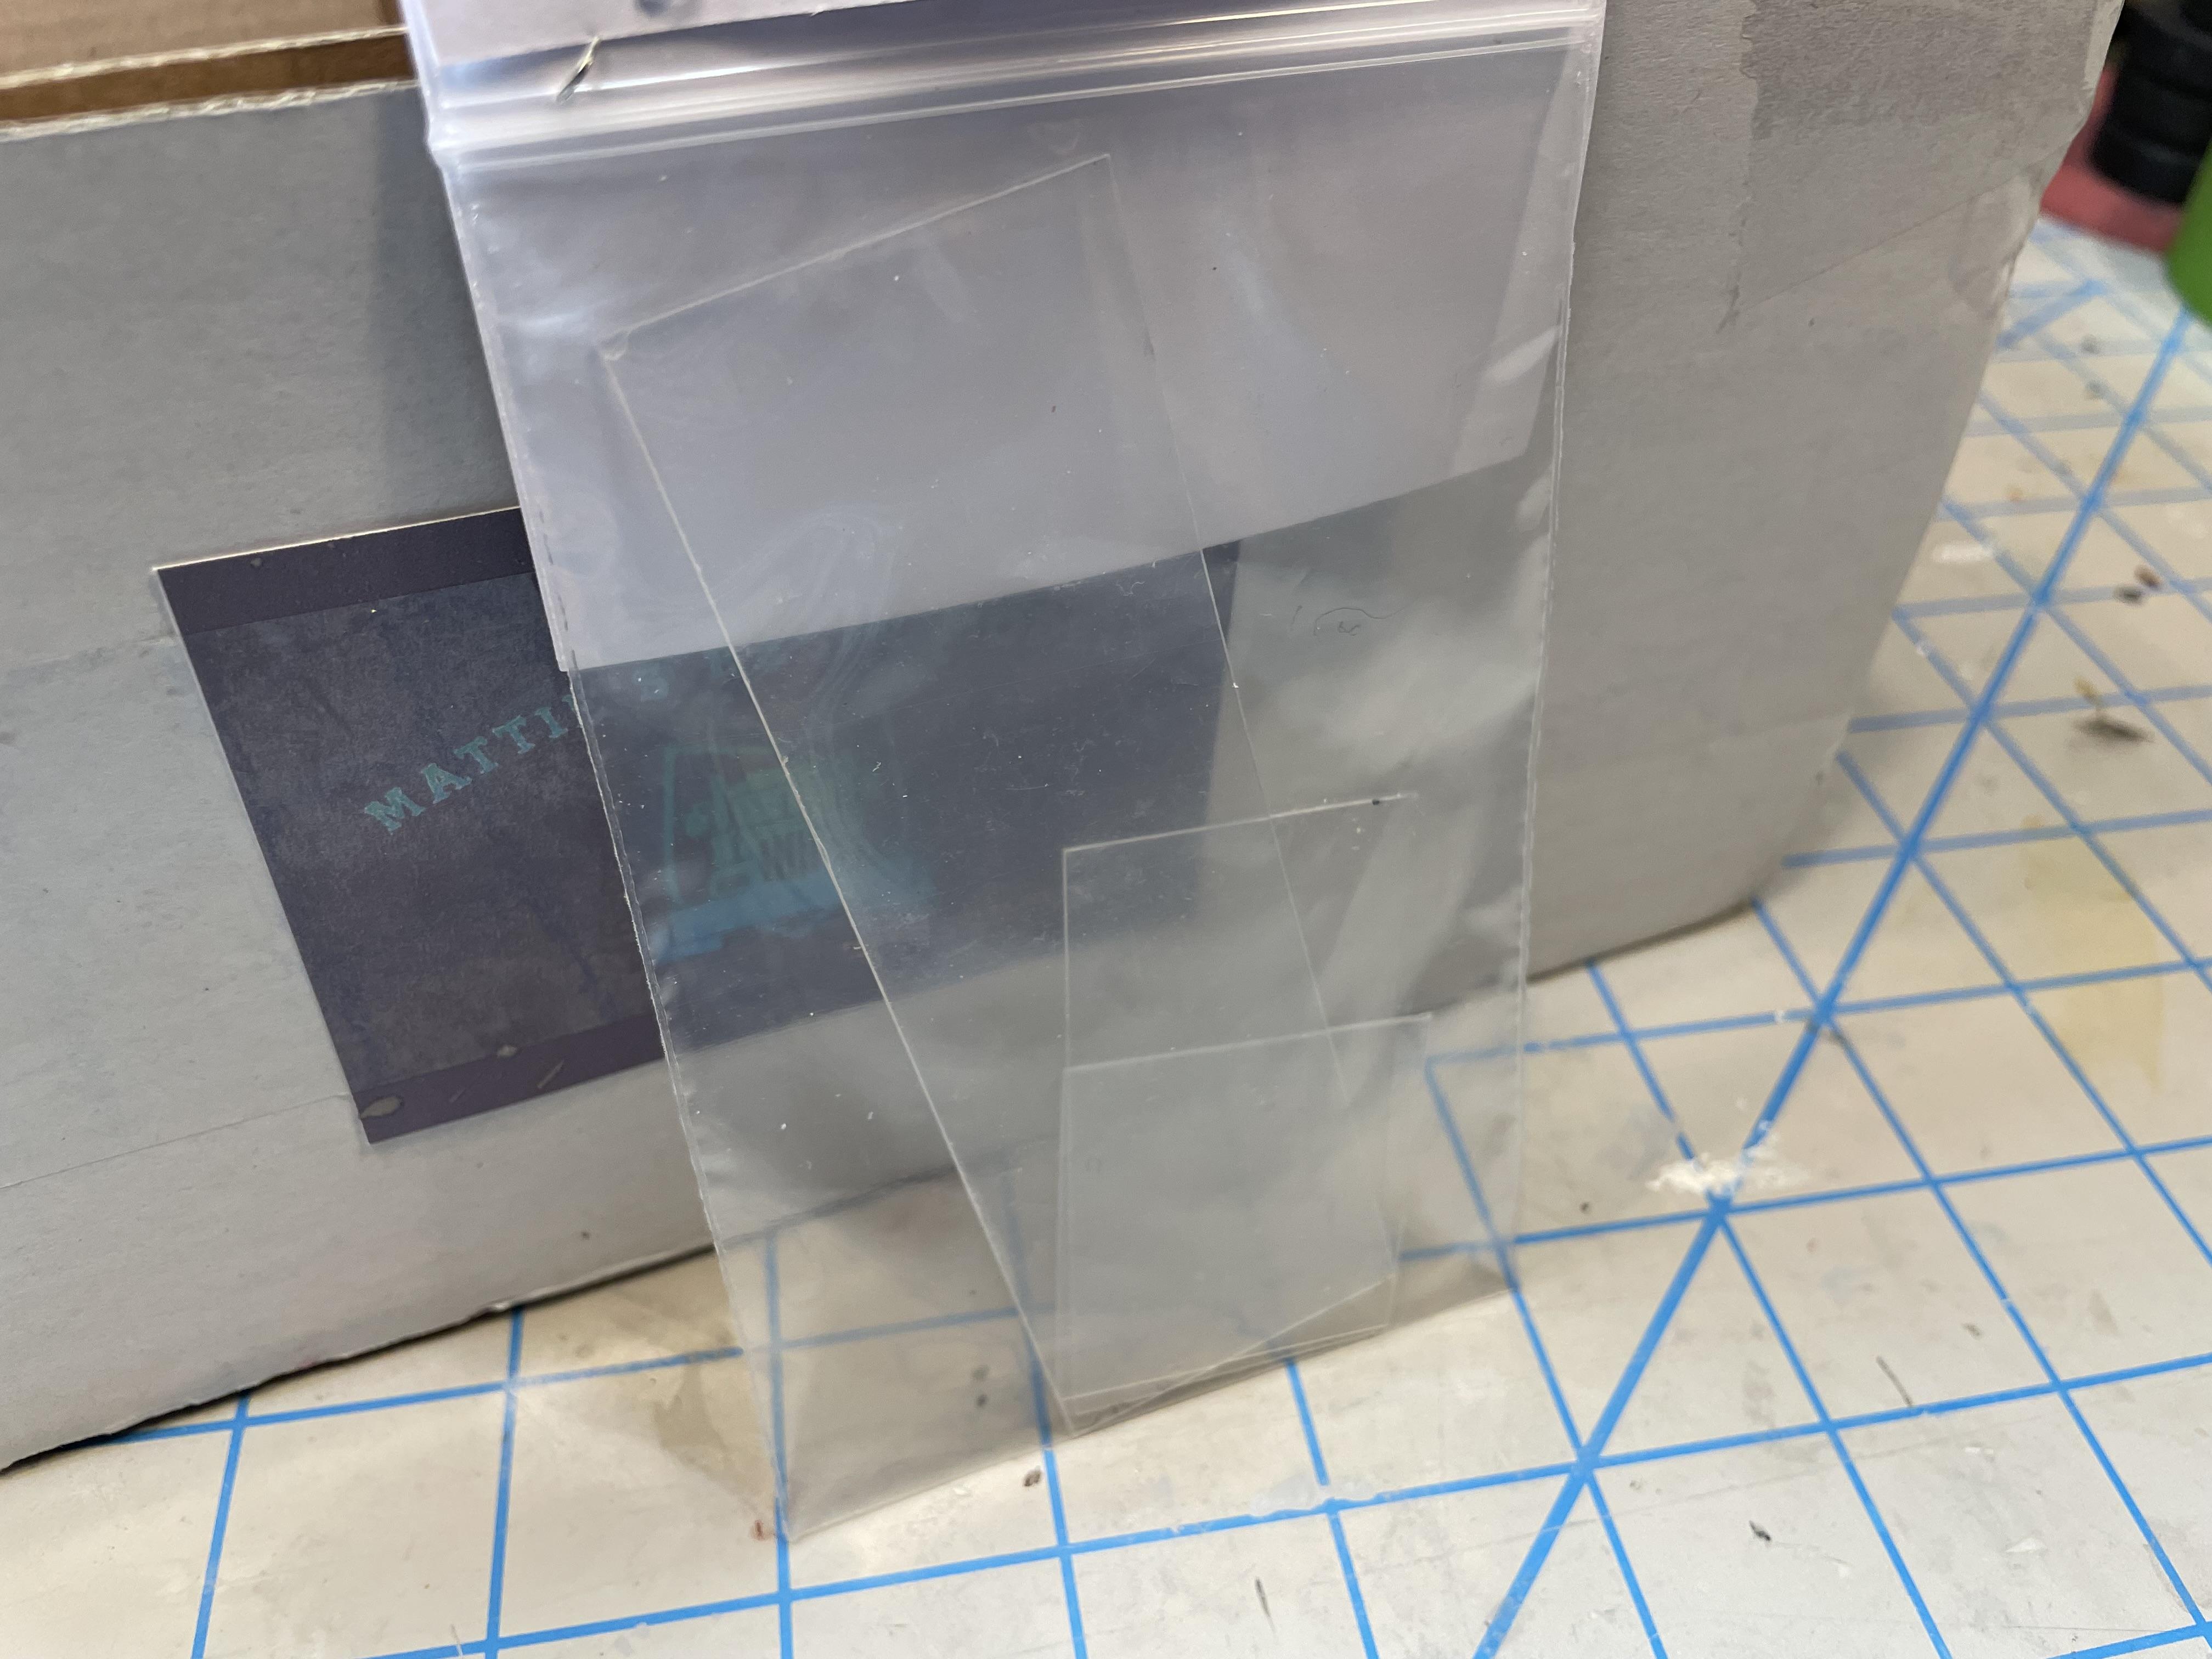
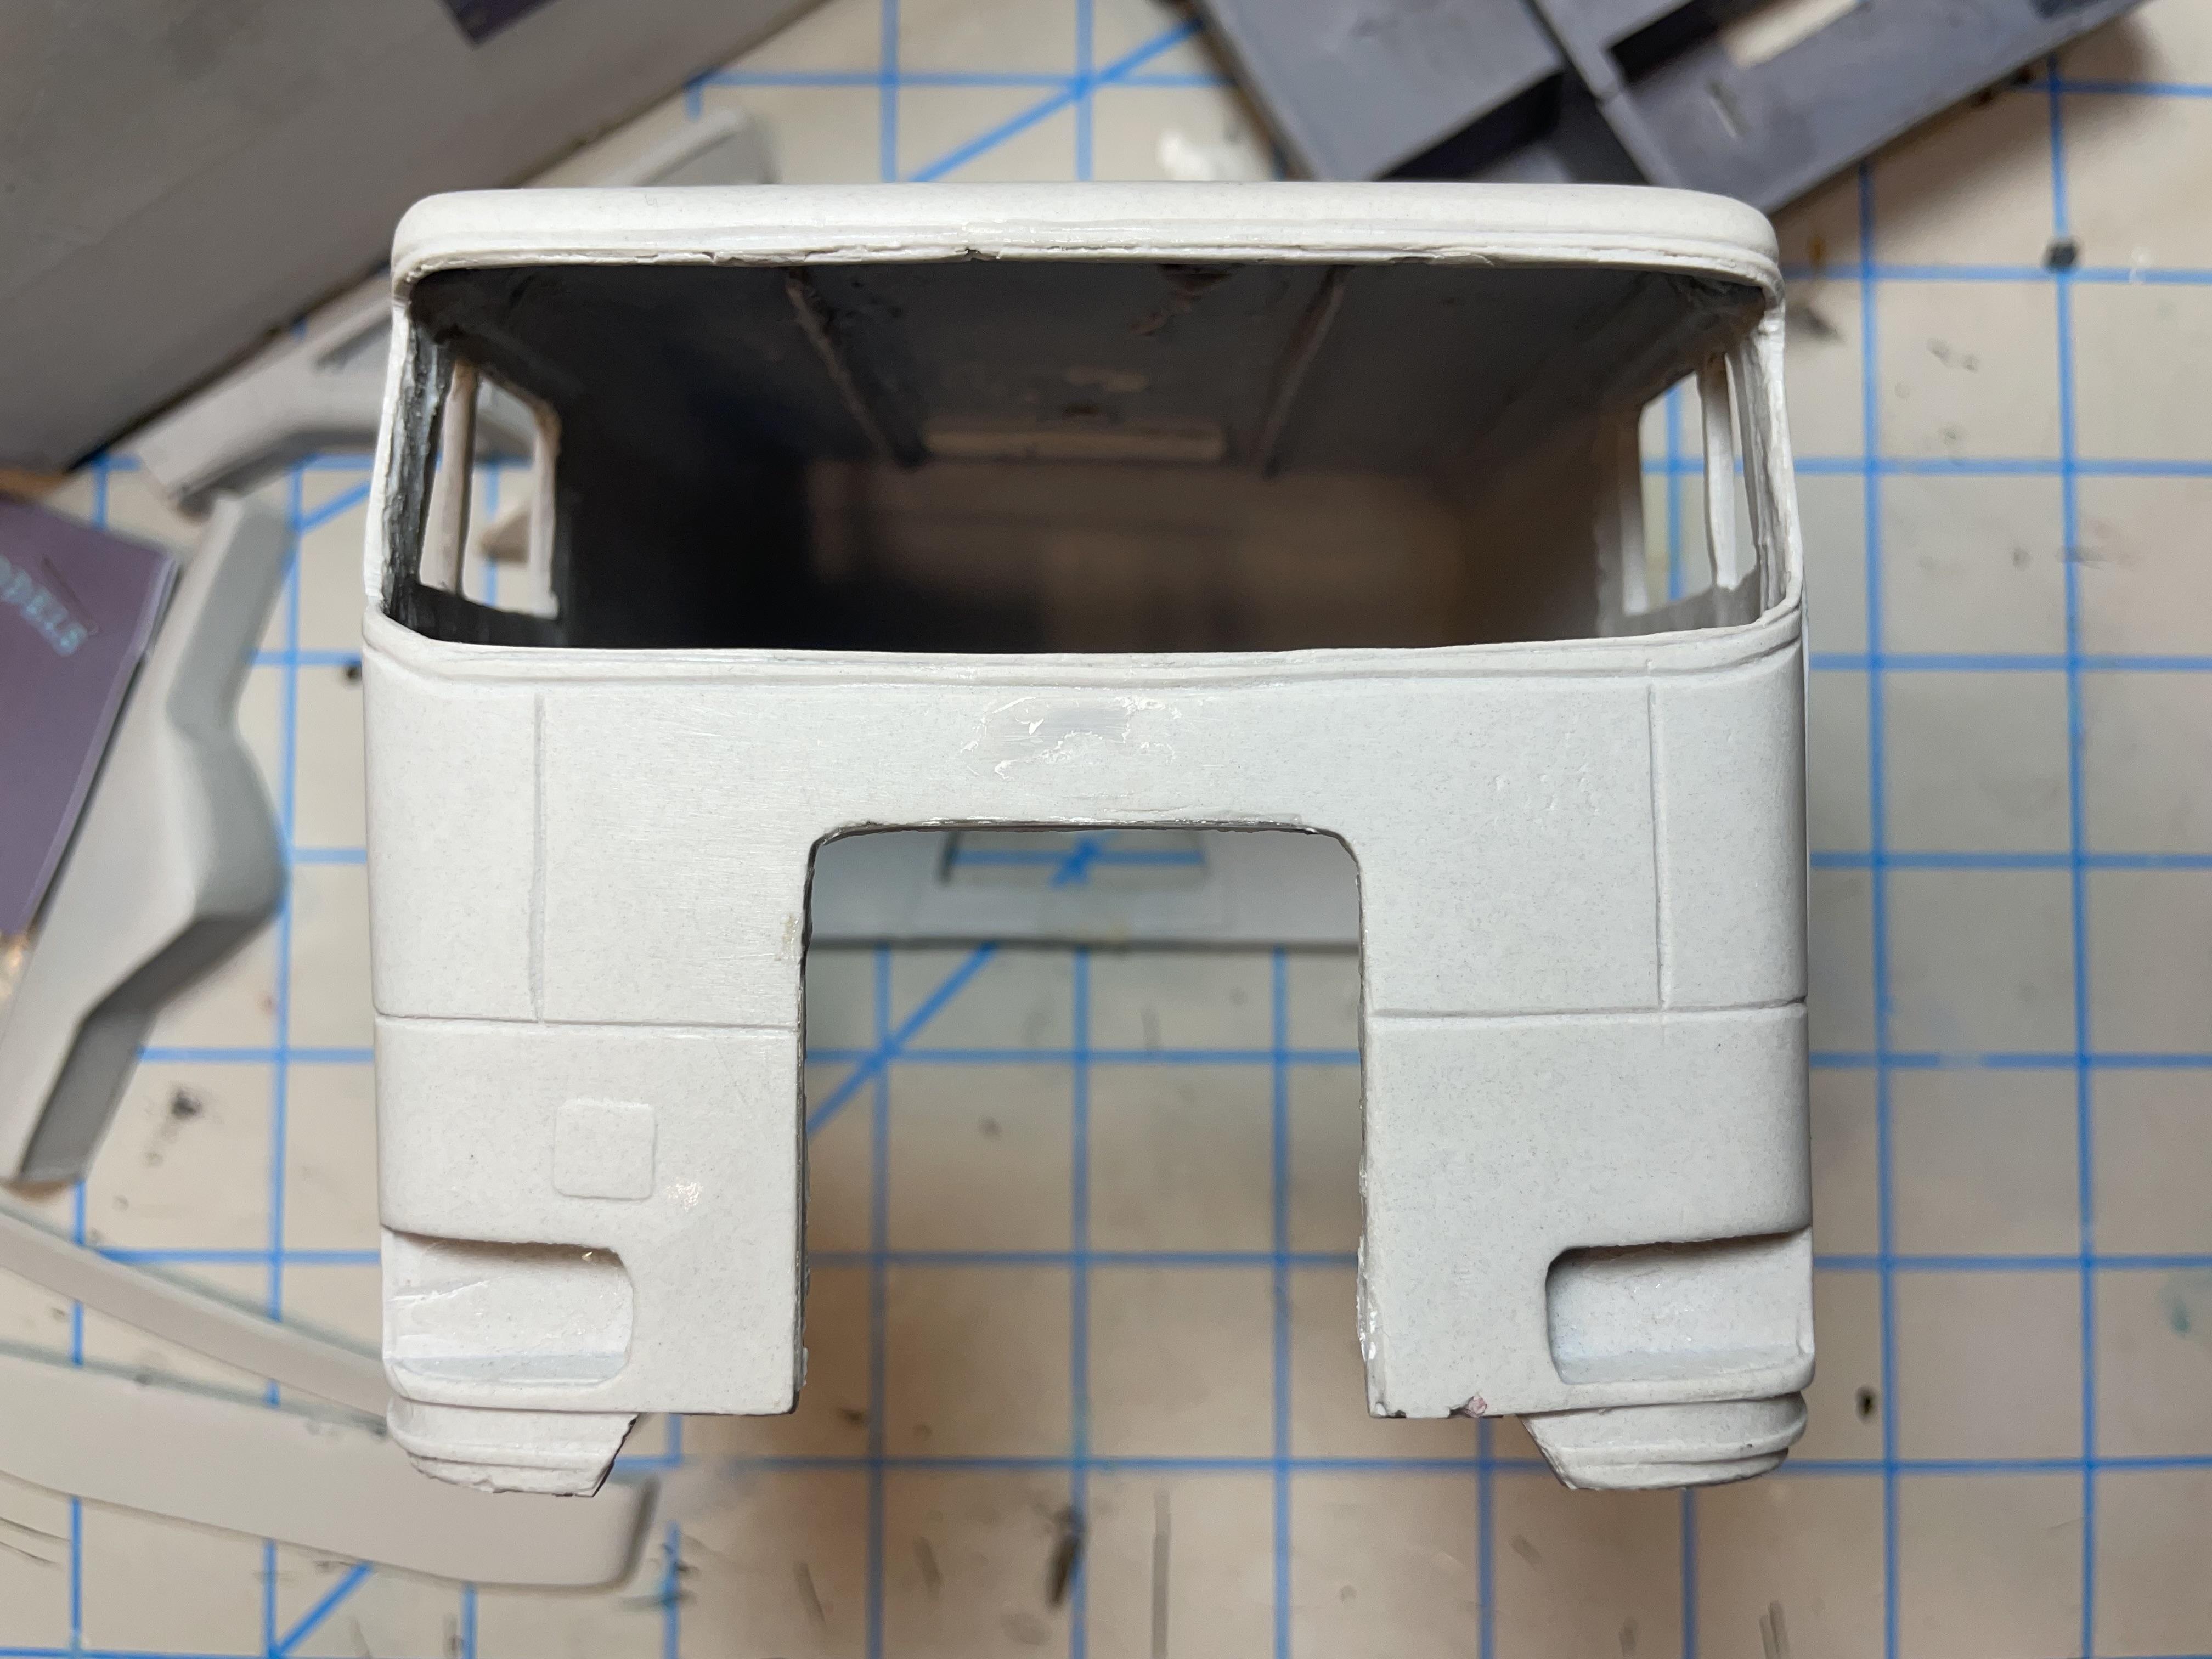
Received mine in the mail a couple days ago. Packed well, I removed the packing peanuts. I’m pleased overall. Not the finest resin casting/kit, but a good value. It surprisingly came with clear plastic for making the side windows and windshield. Trimming required. It comes with two dashes, right or left hand drive. I didn’t realize the right hand drive dash is so different than the left (aside from the obvious) it’s a totally different design. The cab floor is set up as right hand drive, but I can modify that. It comes with more separate parts than expected, with step pockets, headlights (won’t be using those) air intakes, Peterbilt emblem, and grille surround (too wide, but I’ll use it as a template for making a correct one). Also included is the visor and bumper. The cab has a little warpage, but nothing too bad. The recessed headlight areas are not symmetrical, however. That’s probably the most glaring error to me so far. Everything is correctable if you’re willing and able, so again, for the price, I’m satisfied.

-
New Detroit Diesel Series 60 Engine
vincen47 replied to Randy D's topic in Truck Aftermarket / Resin / 3D Printed
I got mine in the mail, too. I’m very impressed. Exceptional detail. -
the old chevy farm truck
vincen47 replied to eran_k's topic in Model Trucks: Pickups, Vans, SUVs, Light Commercial
I’m really enjoying this one. Great build! -
I just ordered one for myself. The exchange rate works well in our favor. Though the shipping rate from Australia to the US, isn’t cheap, it ran me $70.17 total with shipping. I figured at that price, I can fix a few issues and make a windshield. I haven’t been able to find a 362 for even close to that price, let alone find one at all, much of the time.
-
Nice work. Good idea swapping the tires with a set from Moebius. I like the paint scheme too.
-
Tim got right back to me. Great guy. He said, “That’s a copy of the 362 I made and Bobby Griffen cast 20 years ago. The grille isn’t mine and it’s too thick. The emblem is wrong and the windshield mask has some bulk added but I recognize my shape errors on the rest of it. Revell of Germany 359 lamps were originally included as separate pieces for it.“ So, he agreed with the errors we noticed. If it’s based on the Bobby Griffen casting, it should be fixable otherwise.