Funkychiken
-
Posts
2,662 -
Joined
-
Last visited
Content Type
Profiles
Forums
Events
Gallery
Everything posted by Funkychiken
-
Super sharp build, perfect paint job too!
-
It looks great! One of my favourite colours too!
-
Looks amazing!
-
You have a production line going! They look fantastic, the one in red really pops...
-
It came out OK, but a small bit of paint has come off with the tamiya asking tape - which has really hacked me off, i'm going to have to try to touch up with a paint brush?

-
Masked for spraying the trim - the cowl, front fogs and window edges done
-
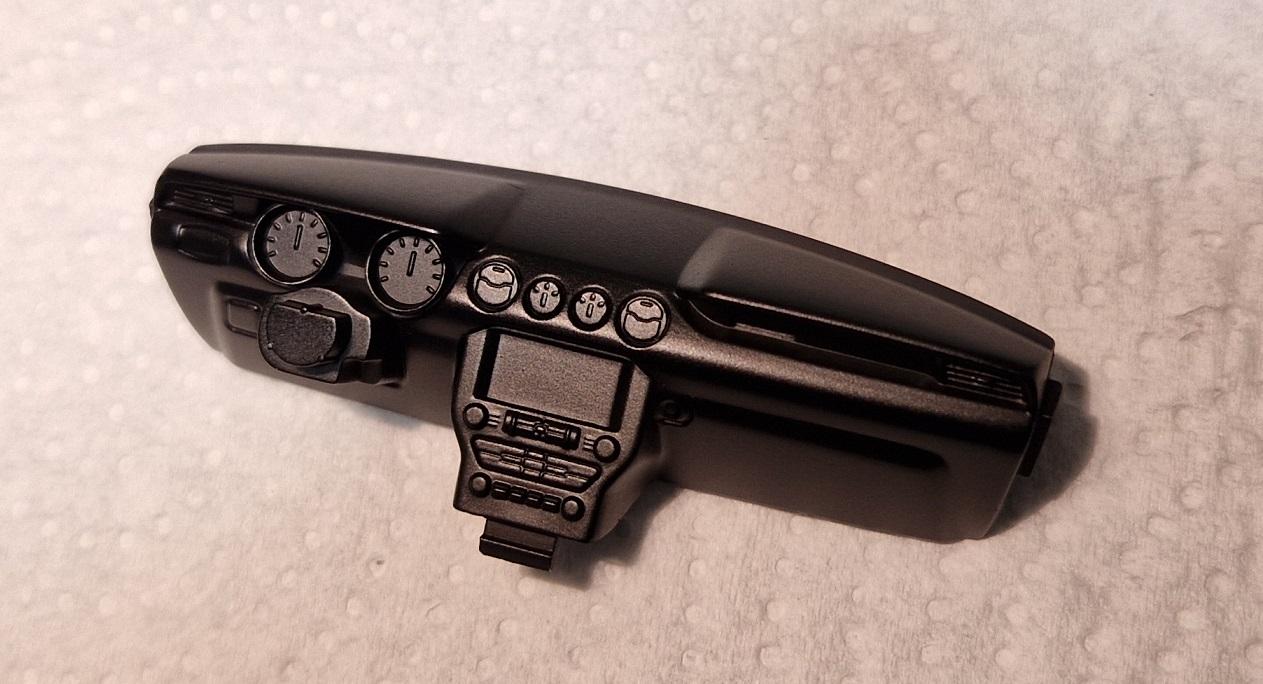
The dials in the dash are certainly not accurate, but they look good from a distance. Any ideas what I could do to make the screen bit look like a screen?
-
That's a great Idea Joe, I will try that in the future, but not on this kit!
-
I thinnk the top is more like the carbio closed than an actual hard top. I thought that Fujimi did do a hard top version, but I may be wrong.
-
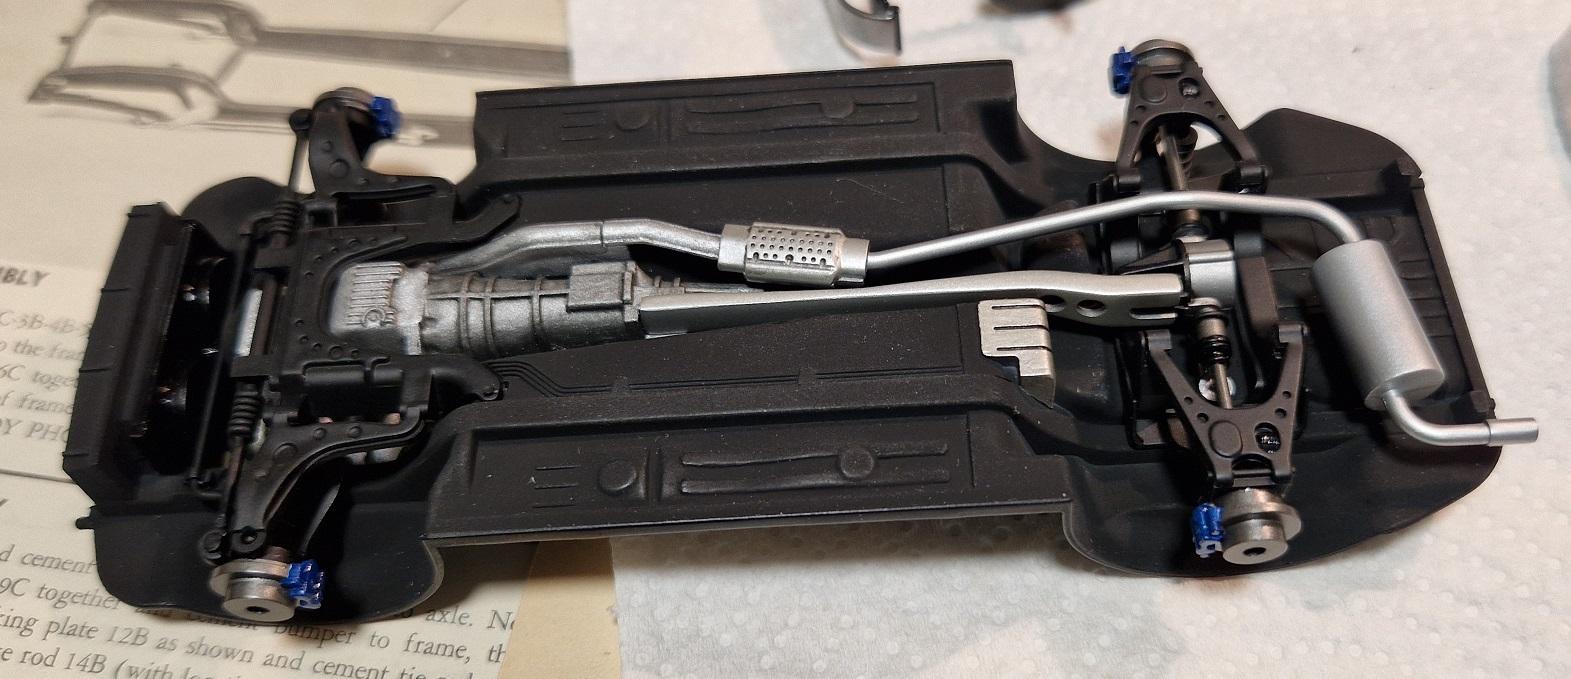
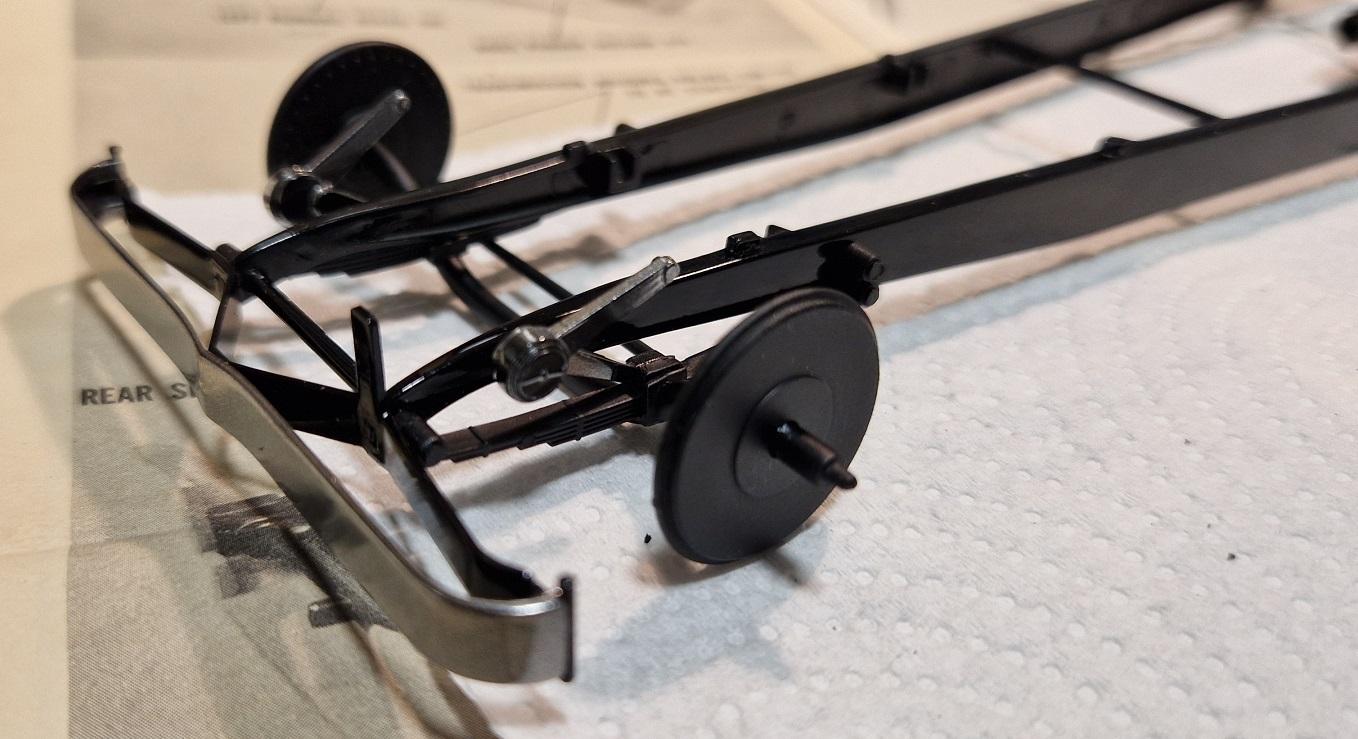
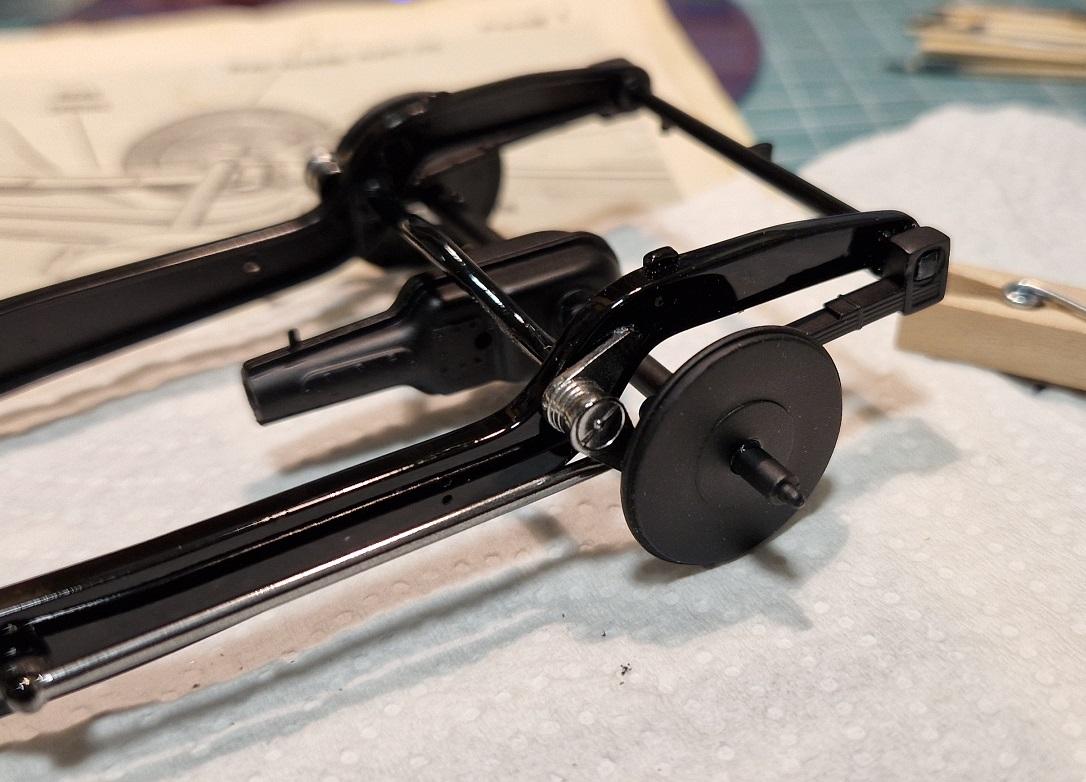
Thanks for the interest, it's going to be blue Airbrushed Tamiya X-7 (if I remember correctly). The Chassis is now done! mostly hand painted, and "oiled" with mig panel line.
-
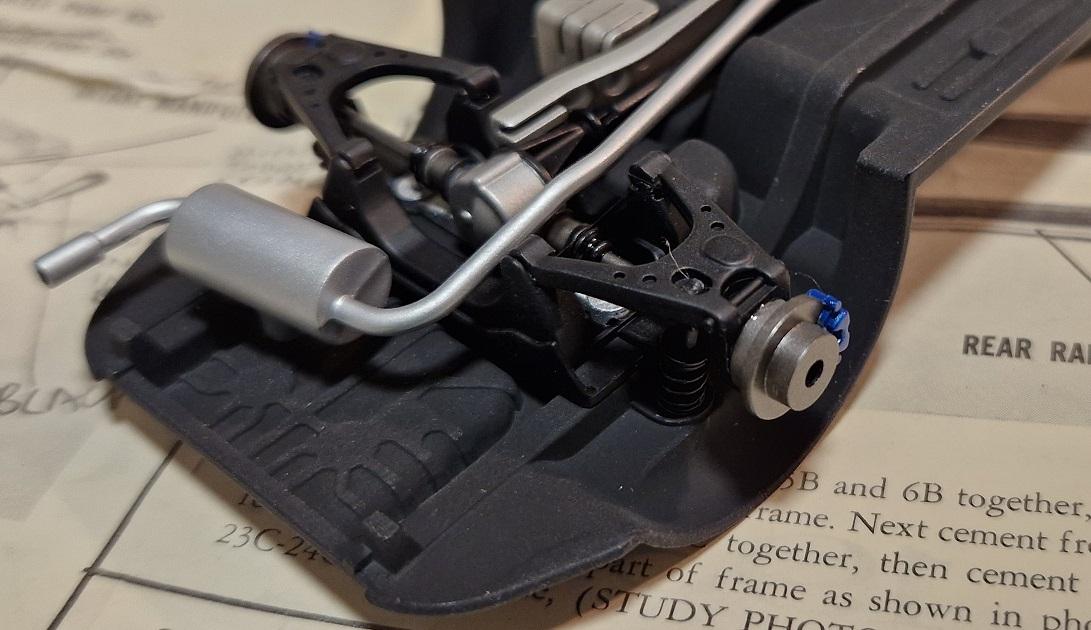
Chassis is basic with sump built in. but multiple masking events and some hand painting leaves it looking at least slightly interesting Dash is coated in Tamiya dar grey, then masked for a black centre stack interior is almost finished, more masking & black bits to do
-
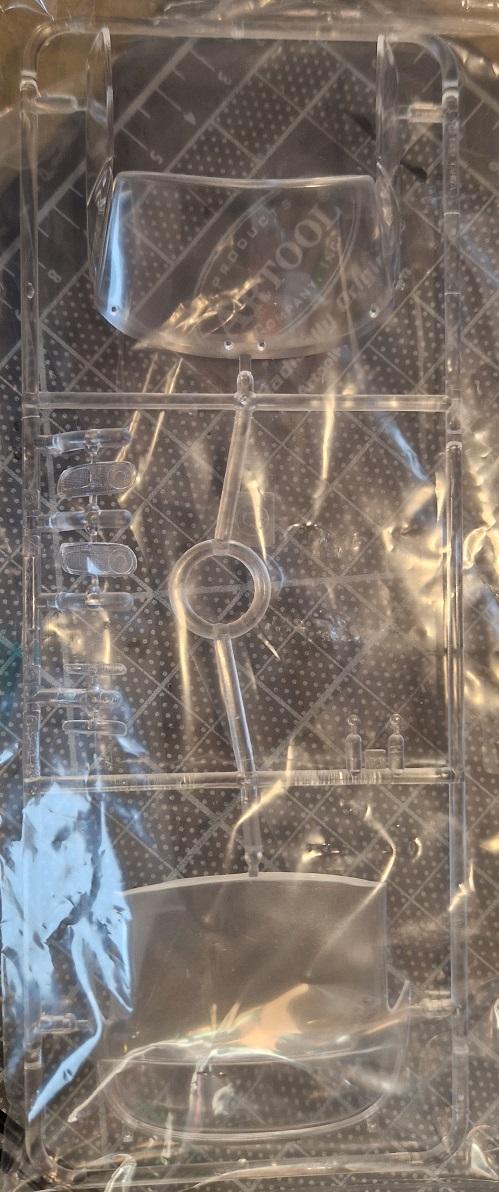
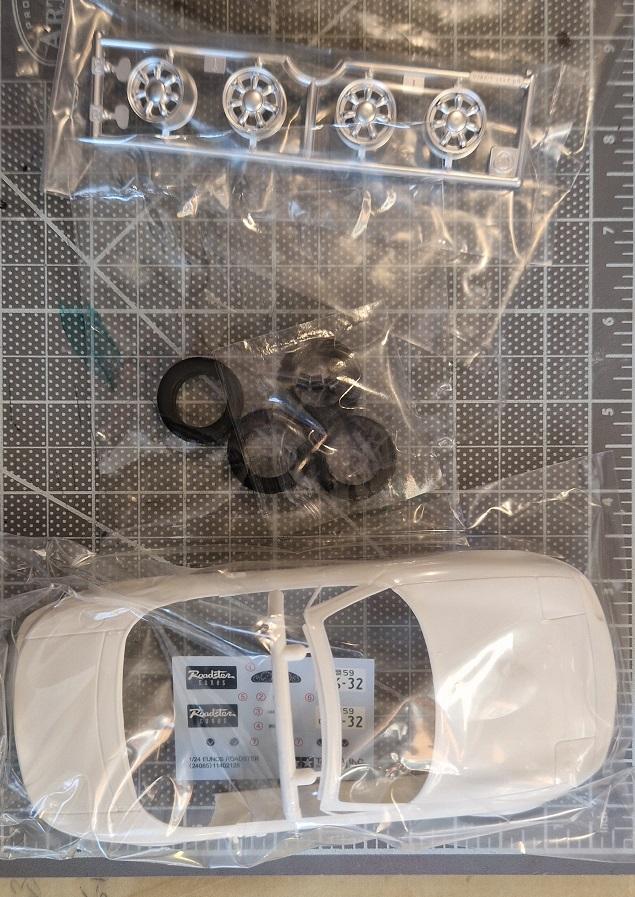
Started a new kit, whilst I'm working on some tedious body work, I thought I'd start another kit, the chassis will get done quickly as its quite basic & I'm not going for lots of detail, likely it'll be OOB. Box cover and sprue shots
-
You like Fords! We have something in common! welcome to the forum
-
Lots of work here, its fiddly and takes a lot of time, but not much to show for it. Engine is 90% complete, but unfortunately, the Alclad II chrome is rubbing off on my fingers thtough handling ? The Chassis is also fiddly, some of the bits don't fit, so i've had to cut off some pins of connecting pieces. No large contact surfaces, so it's going to be one of those delicate models...
-
Body is based coated, I've also added some of the decals, next step is to clear coat
-
I agree with Zero Sonny, it's hit and miss. I also find that sometimes I have to add thinner to zero paints, especially their primer
-
Started with the engine, not a very well engineered kit, and I could have added HT leads, but decided against it. I'm also starting on the chassis with pre asset, I might have to start sanding and polishing the body parts now, as its required for the chassis build up...
-
What did you see on the road today?
Funkychiken replied to Harry P.'s topic in General Automotive Talk (Trucks and Cars)
A funny looking Lexus at the top of my road today, the M5 competition is always there...
-
This kit didn't come with any decals, its quite basic, so I'm going to use some from this decal sheet and use some of the metalic stickers too. I have enough Mustang kits to make use of these!
-
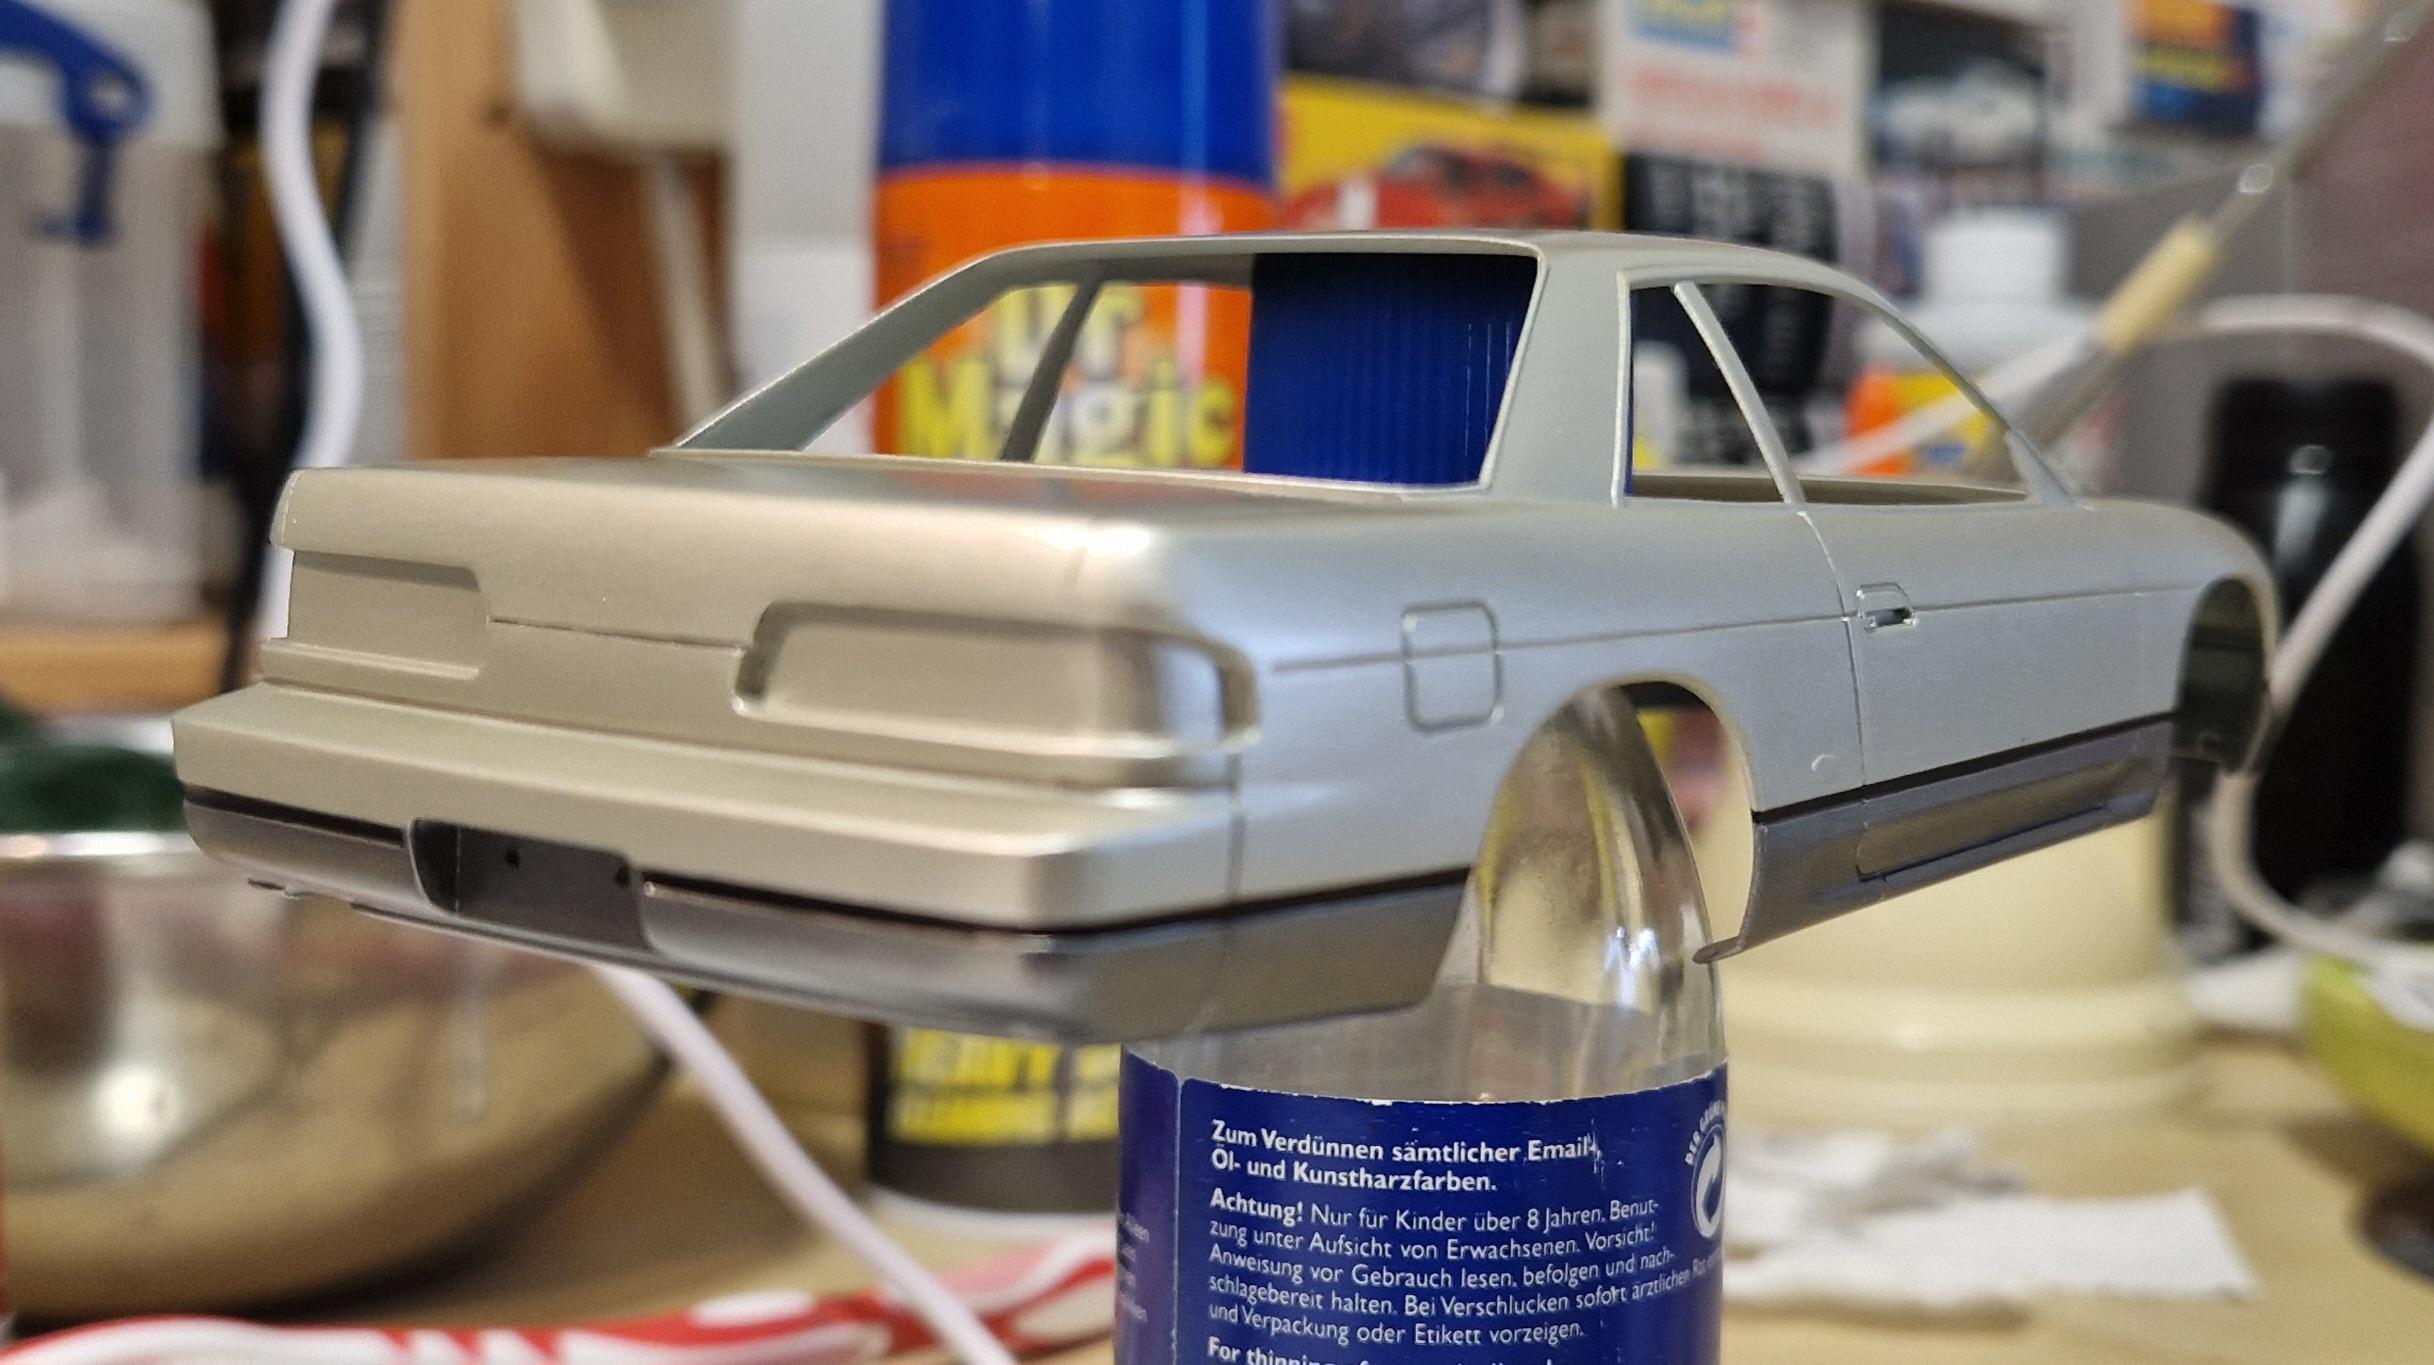
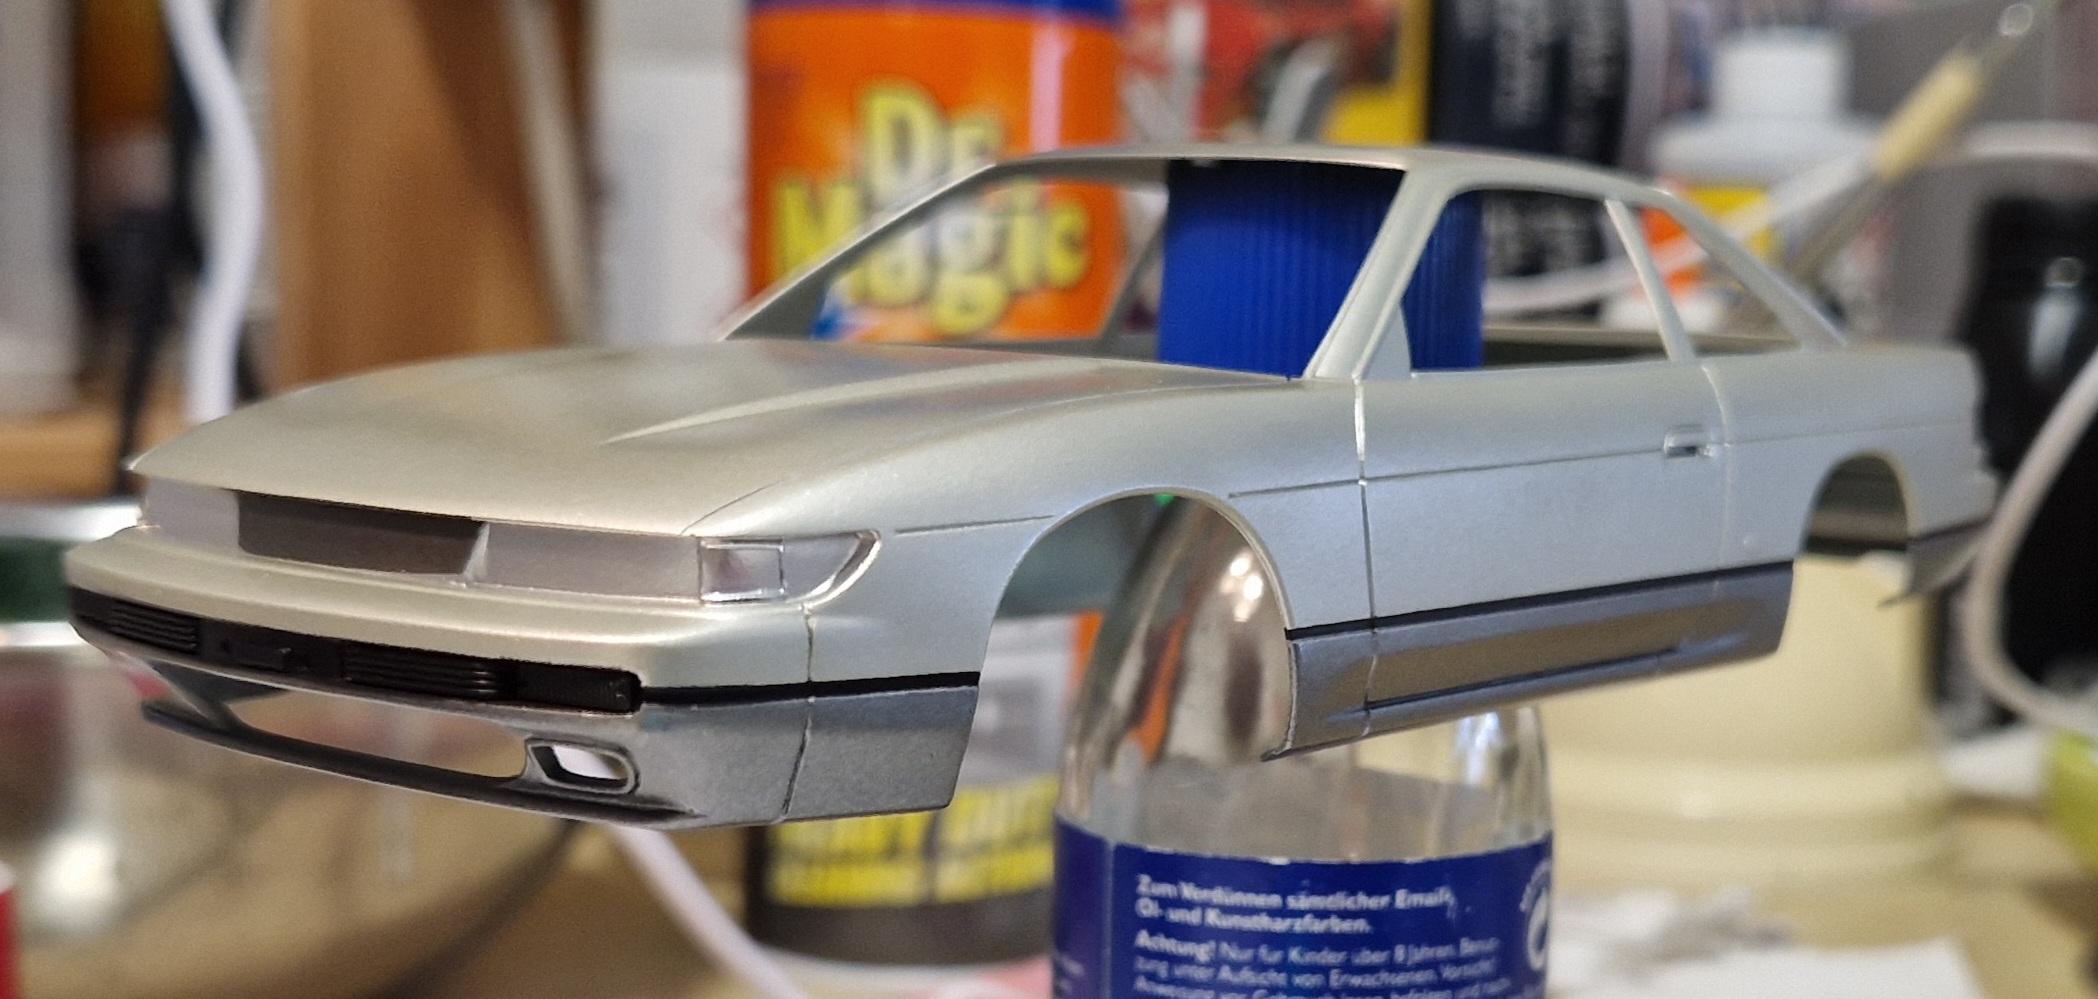
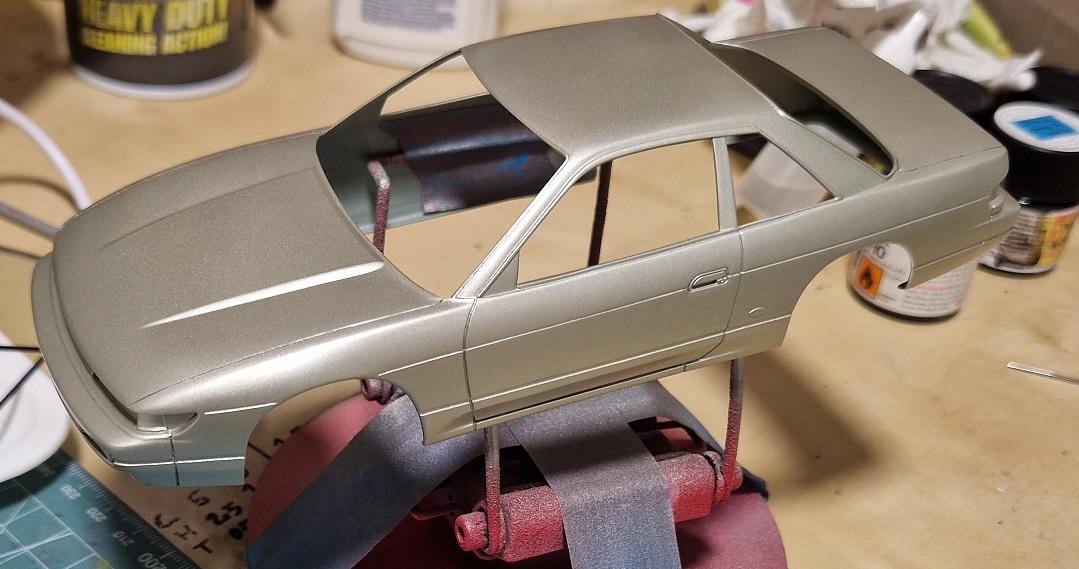
My first use of thinned Tamiya LP-71, and it sprays OK, maybe not as nice as Zero Paints, but the finish is very nice - an in-scale sparkle. its Champagne gold need to mask and do the bottom half in Tamiya X-10 gun metal grey, then clear coat.
-
So this is going to be the colour of my Silvia
-
Thanks for the interest guys, and it is 24th scale!
-
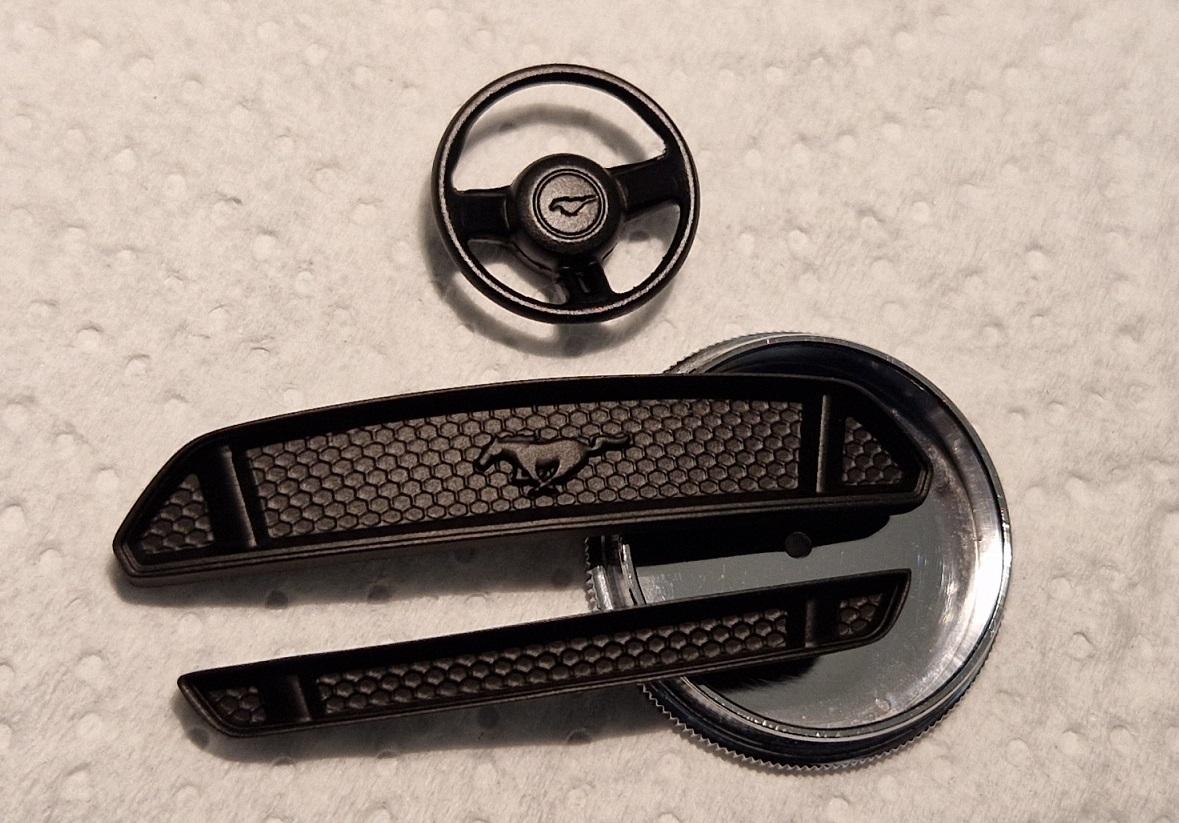
Thank you a for the comments and interest...! I started to prep the body shell for trim, but ended up scraching the body - had to do another round of sanding and polising on a body panel. I've primered the dash, steering wheel, grills and tail lamp body panel, then given them a few coats of tamiya X-18. i'me going to add a little detail to the dash. What I'm worried about at the moment is how to do the tail lights. I'm probably going to mask & spray silver base then clear red... its going to take time. in the meantime, i need to try to dave the interior.
-
Love the colour! Fantastic build so far!
-
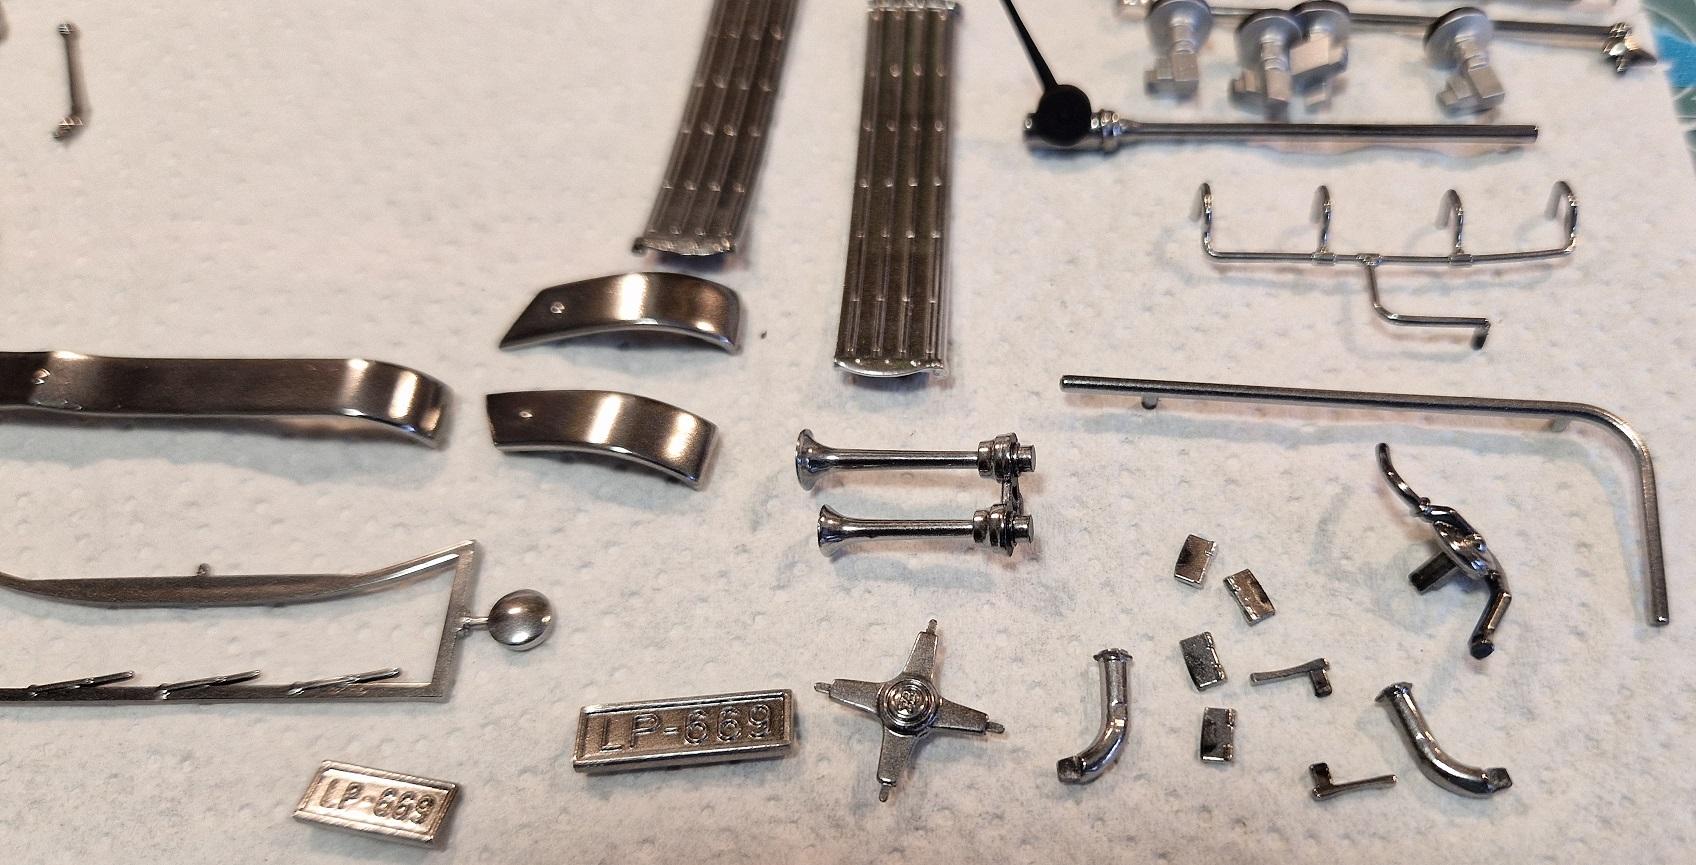
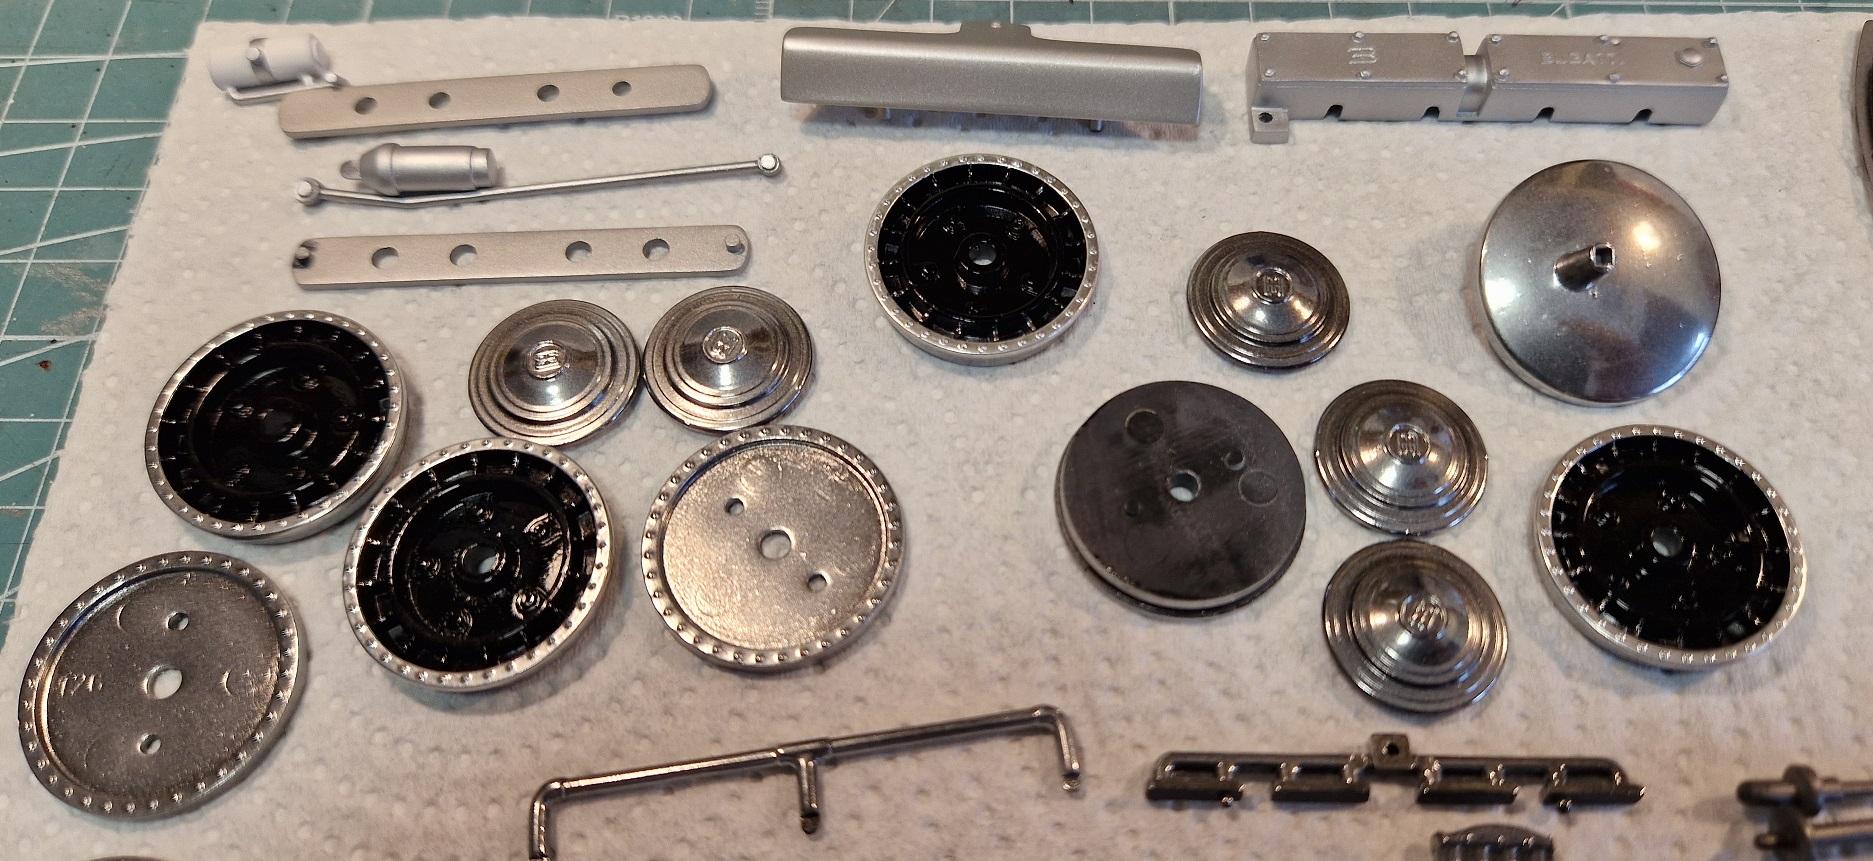
Nearly everything is painted now, only really started to build little bits - like the dash. This week i'll focus on the engine and chassis, then probably have to go to sanding and polishing the coachwork. As said before, everything that was chromed was stripped using Dot3, then the black stuff was finished with Tamiya Semi-gloss. the chrome is with Tamiya semi gloss as a base, then Zero 1K Clear & alclad II chrome light misting. I have noticed that the Alclad II does not grab very well onto Zero 2K clear, so some bits have to be re-done. Other metalic colours are Alclad II Aluminium and Tamiya Titanium, a bit of white in there too...