Funkychiken
-
Posts
2,662 -
Joined
-
Last visited
Content Type
Profiles
Forums
Events
Gallery
Everything posted by Funkychiken
-
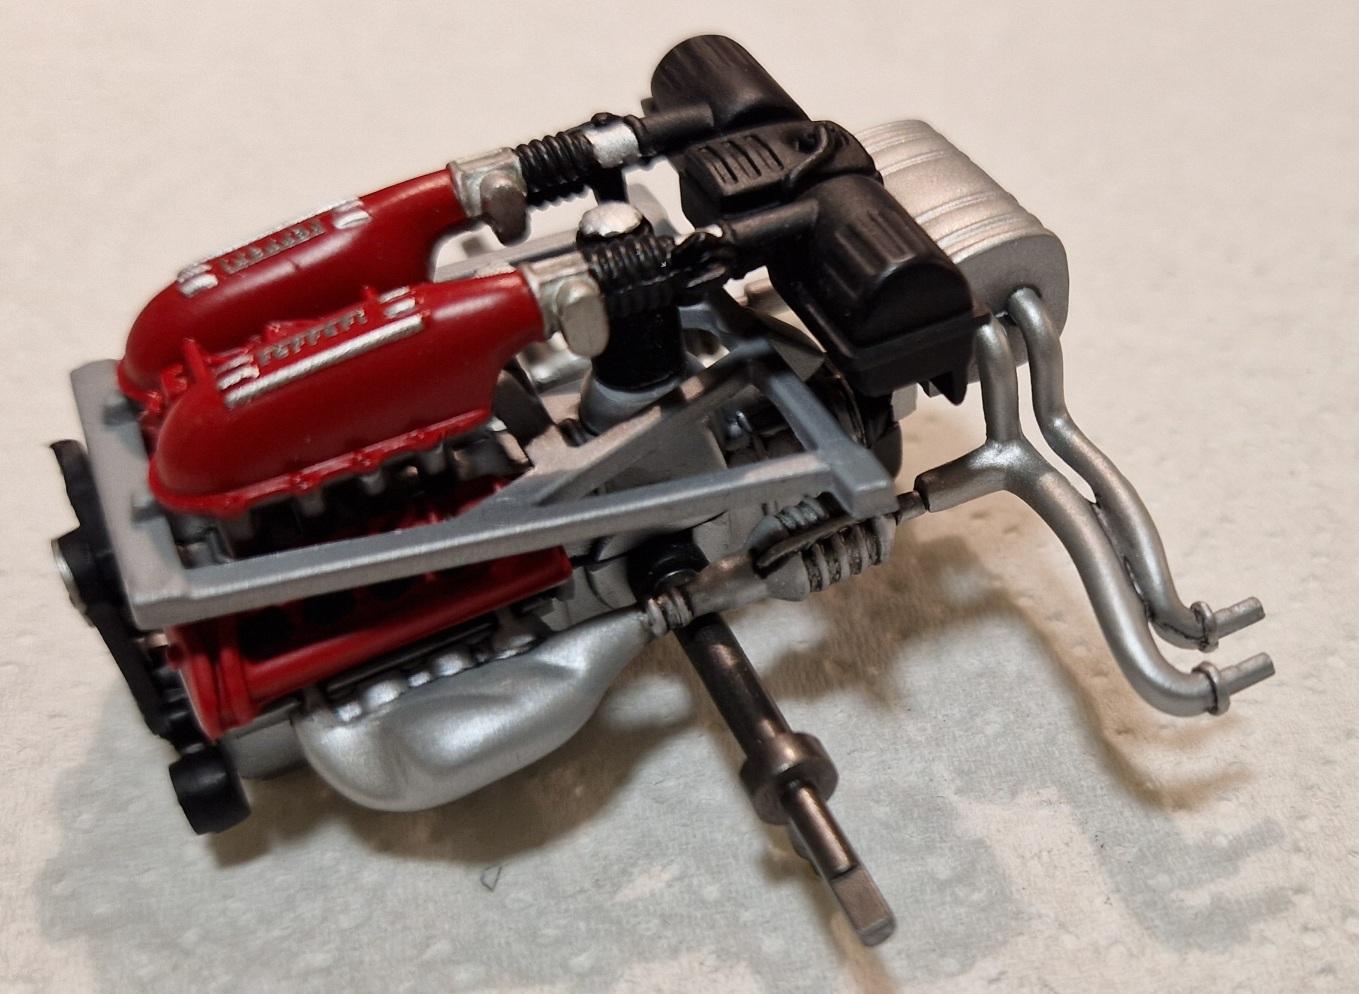
Engine complete!

-
Agree, it's a beautiful car!
-
Wow, beautiful build and fantastic photos!
-
I do like this kit, great build too!
-
Looks fantastic so far, the quality of the mouldings looks good!
-
It's a good save, a a beautiful finish with that paint job!
- 40 replies
-
- 1
-

-
- ferrari
- 360 modena
- (and 1 more)
-
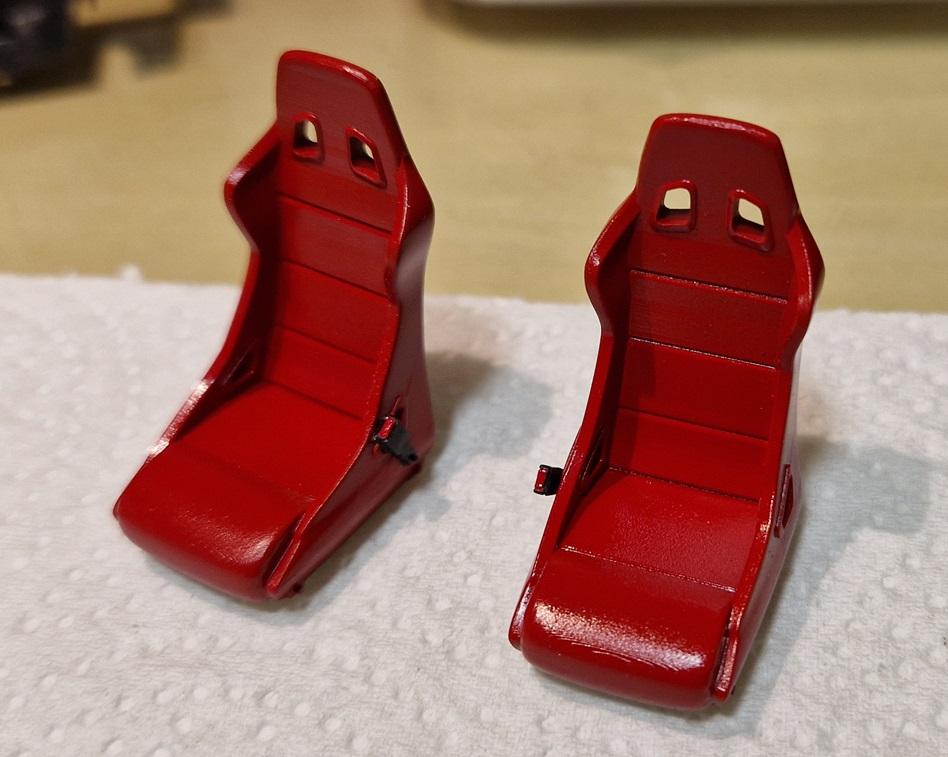
The seats were going to be taken from a corvette. but it was too much work. I found seats I wanted in Hiroboy, but I couldn't hack the postage cost. So I ended us getting some 3D printed seats from France for basically the cost of shipping off of Etsy. they are not perfect, but you cannot see the bottom of them when installed, so you don't really notice that they are racing seats. they did require a fair bit of sanding on the backs, but they sprayed up fine - my first 3D printed purchase...
-
I've added rear belts, the gear knob was taken from my parts bin. The speaker is photoetch from an R35 GTR that I'm also currently building and the and brake is scratched plasticcard. the seats were painted red - but not my best effor of masking...
-
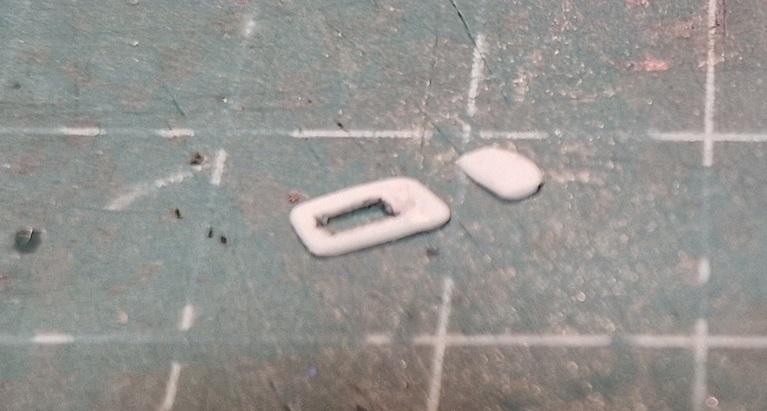
Scratch built interior bits for the doors - as they looked bland. this is the interior door handle, window switches, and the door arm rest. the Arm rest was made from a tube that was cut down the middle to create2 halfs, the rest of it is 0.2mm thick plasticard.
-
My first time using Proscale Paints. The grey was thick and had to be diluted and goes on a little darker than Zero grey microfiller. the white is silky smooth though!
-
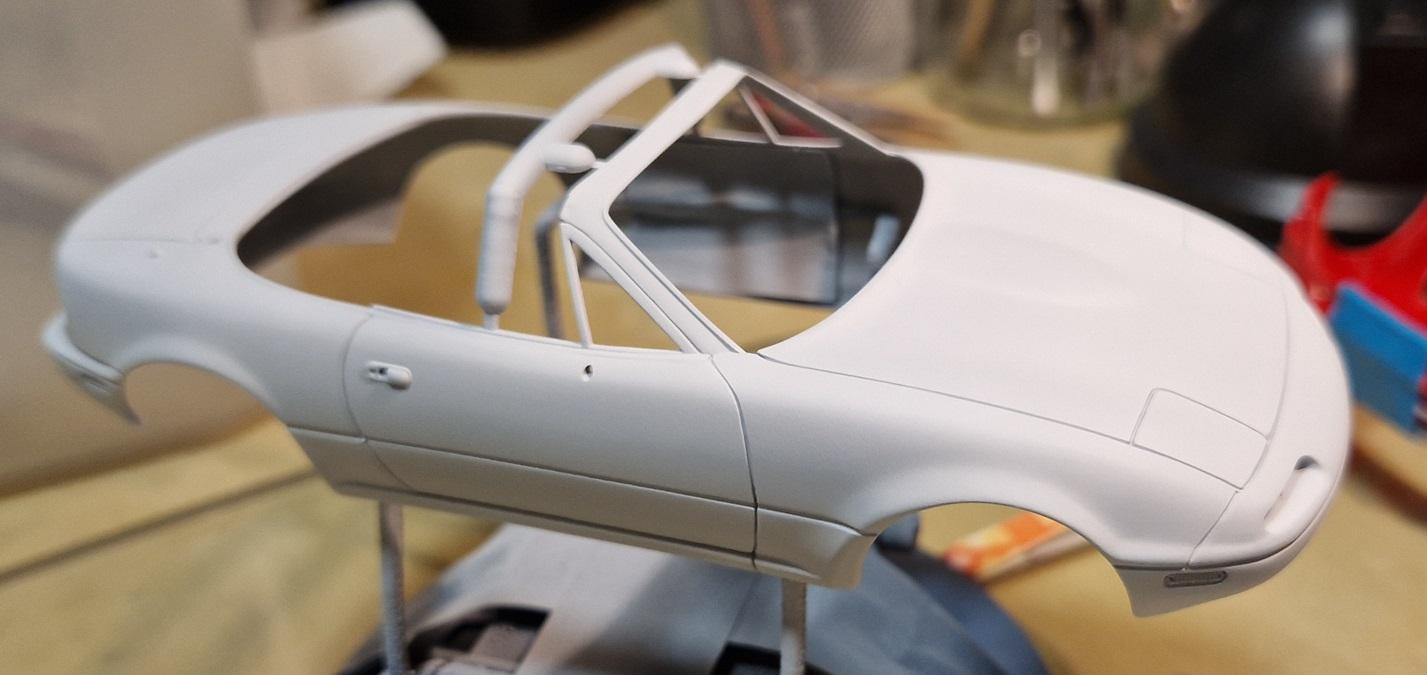
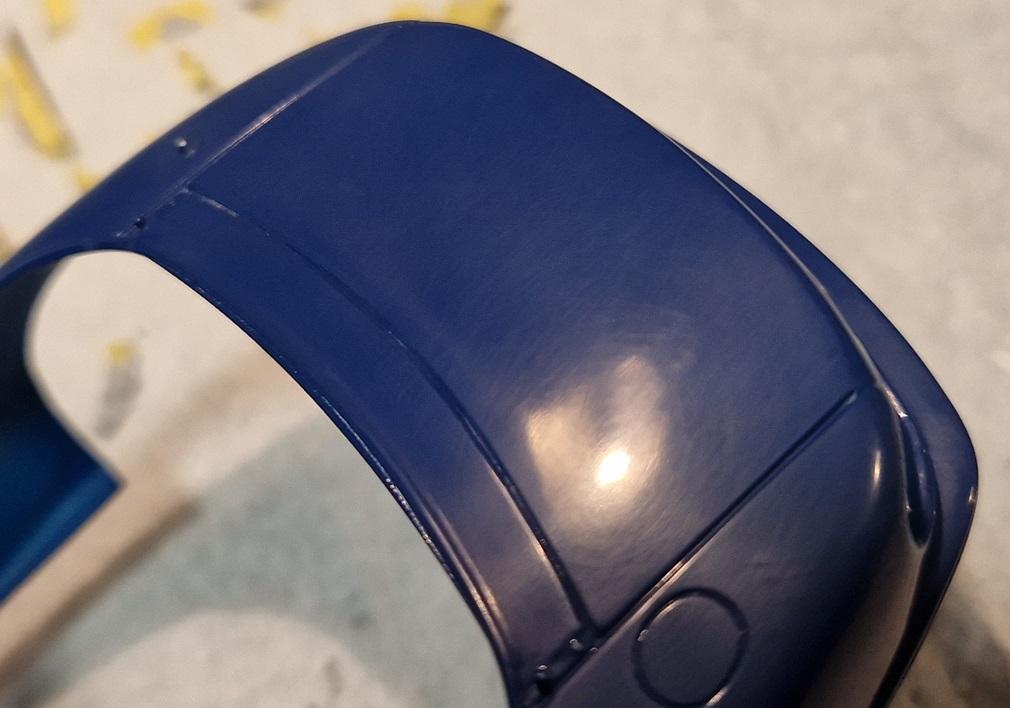
It doesn't look like much, but this body shell and the wing mirrors have spent a week and a half in DOT3 Brake fluid, then cleaned, washed, sanded, primered with Proscale grey and them with Proscale white. so a lots of effort to get to this stage!
-
And this is the finished article - added seat belts and a decal for the steering wheel
-
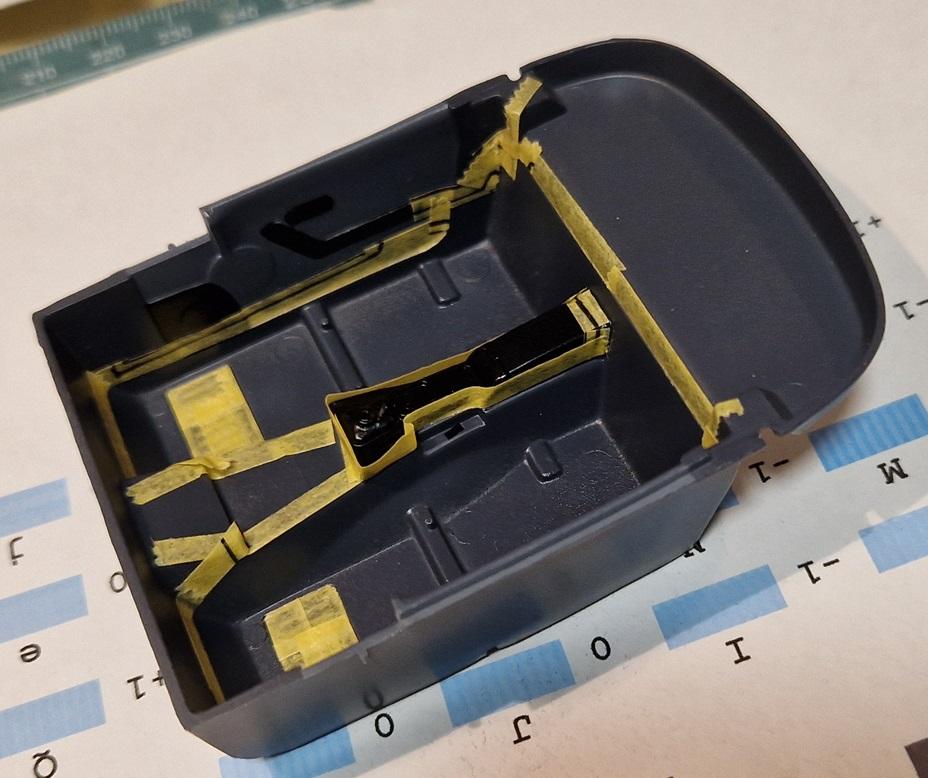
Whilst it soaks in Dot3 Brake fluid, I've finished the interior Firstly I masked the edges - then applied in 4 different orientations the Clear Matt enamel, and sprinkled the flocking - in this case a mixture of grey & black - for dark grey flocking
-
The die cast done kit bits are soon much better than the original kit. You're doing an amazing job at stitching them together!
-
Beautiful kit and build!
-
2017 Ford GT GTE
Funkychiken replied to Chris Smith's topic in Other Racing: Road Racing, Salt Flat Racers
Stunning finish, she's a beaut! -
That's a sharp build!
-
Beautiful start to a stunning car!
-
Tamiya make fantastic kits, and yours is looking great! you could have over-coated the interor with satin clear if you didn't like the full-on matt finish.
- 40 replies
-
- 2
-
-
- ferrari
- 360 modena
- (and 1 more)
-
Interior completed. I didn't like how the mig panel line stained the door cards, so I didn't do the seats. Still not up to the precision of a Tamiya kit, its a bit toy like, but its still an enjoyable build (so far)
-
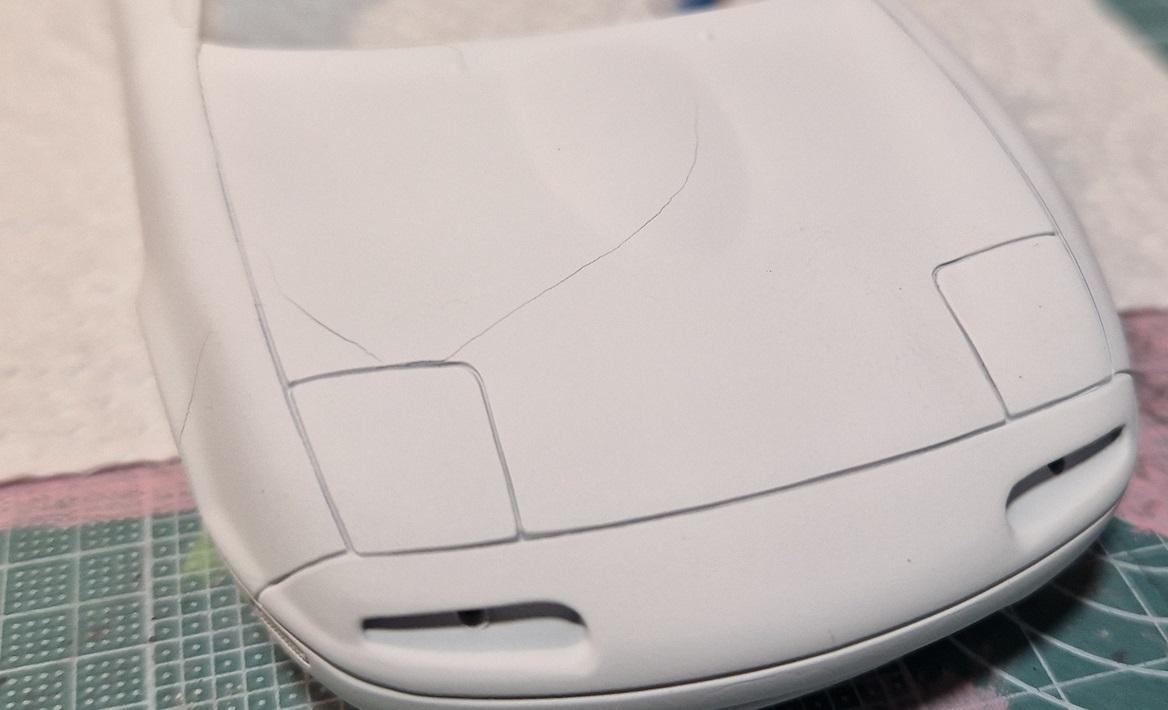
About to chuck it, then I decide to carefully sand it down & re-spray. with Zero grey primer. a few small cracks appear. So I sand down & spray again with white primer. looks of deep cracks appear! So i've bought some Dot 3 & i'm going to soak it for a while and see if it removes the Zero 2K clear thats underneath. I'm guessing its the Tamiya Acrylic thats causing the cracking...
-
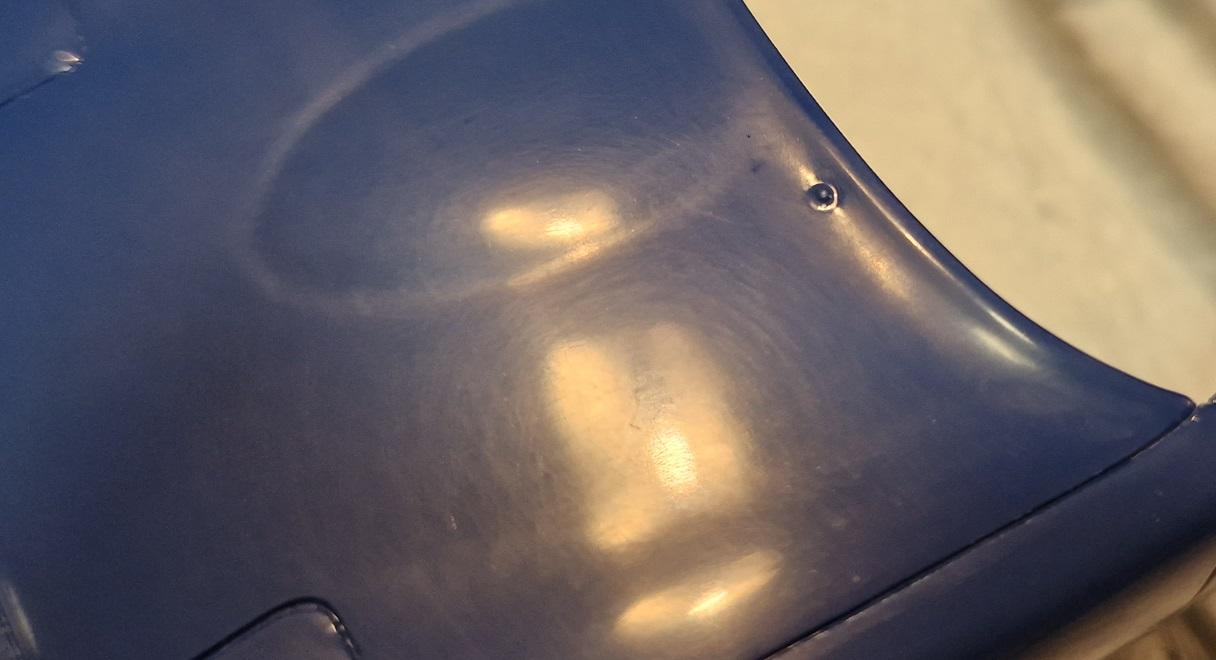
I meticulously went through the Tamiya sanding grits, then the same with micromesh & finally polish compounds. At each stage, I washed the body shell & changed the water. It all looked fine until polishing. The paint looks mottled, dull, hazy. So I repolish. no difference. I try wax, doesn't help.
-
Lamborghini Countach double-build: LP400 & LP400S (Tamiya, 1/24 scale)
Funkychiken replied to Tommy124's topic in Model Cars
A beautiful set of lamborghinis! Perfect builds too! -
This is an excellent Tamiya kit, beautiful colour!
-
Fantastic build so far, it out a beaut of a kit, following with interest! That inherit looks amazing with the orange accents