JTalmage
-
Posts
2,695 -
Joined
-
Last visited
Content Type
Profiles
Forums
Events
Gallery
Everything posted by JTalmage
-
Any more part additions coming soon? My Revell 32 Fords are patiently waiting for their Olds engines haha
-
Man, I replaced my LCM with the most recently revised ford part, and it STILL didn't fix the problems my P71 had. 🙄
-

87 Ford Aerostar
JTalmage replied to Grzegorz's topic in Model Trucks: Pickups, Vans, SUVs, Light Commercial
What is a lucid gravity? And where'd you get the van bodies and interiors? I would love to find a 95 short wheelbase! -
How did you get past the order issues?? I still haven't been able to order anything. Keeps saying my address is wrong, or I have no subscription (??) And Thangs Support hasn't gotten back to me yet.
-
I just tried to order from thangs, and kept getting errors and issues no matter what I did. I emailed them for support and only got one response asking what I was trying to buy, and nothing afterwards. Their website says my address is incorrect, etc. So looks like my hopes are dashed again! Edit #1 - If I can get it resolved soon, could you also add the adapter kits to put the Revell Olds Rocket engines in the Revell 32 Fords?? Pleeeeeaaasseee?? Edit #2 - didn't you also have headers for the Olds Rocket for the 32 Ford conversion too?
-
All of em! Fuel blocks, carbs, oil filters... loved the accessories and hop up parts. If you havent, Especially bring back the conversions to run banjo/quickchange axles, and Nailheads and nailhead hop up parts in the Revell 32 Fords..... or maybe it was the Olds Rocket... it's been a while!
-
I'll do my best but I'm sure someone will take lots of photos and probably videos
-
Issue 226 is On Its Way
JTalmage replied to Dave Ambrose's topic in Model Cars Magazine News and Discussions
People I know in Columbus, OH have got theirs, yet people I know in Dayton, OH, and myself further south close to the Ohio river, have not gotten theirs. Weird. -
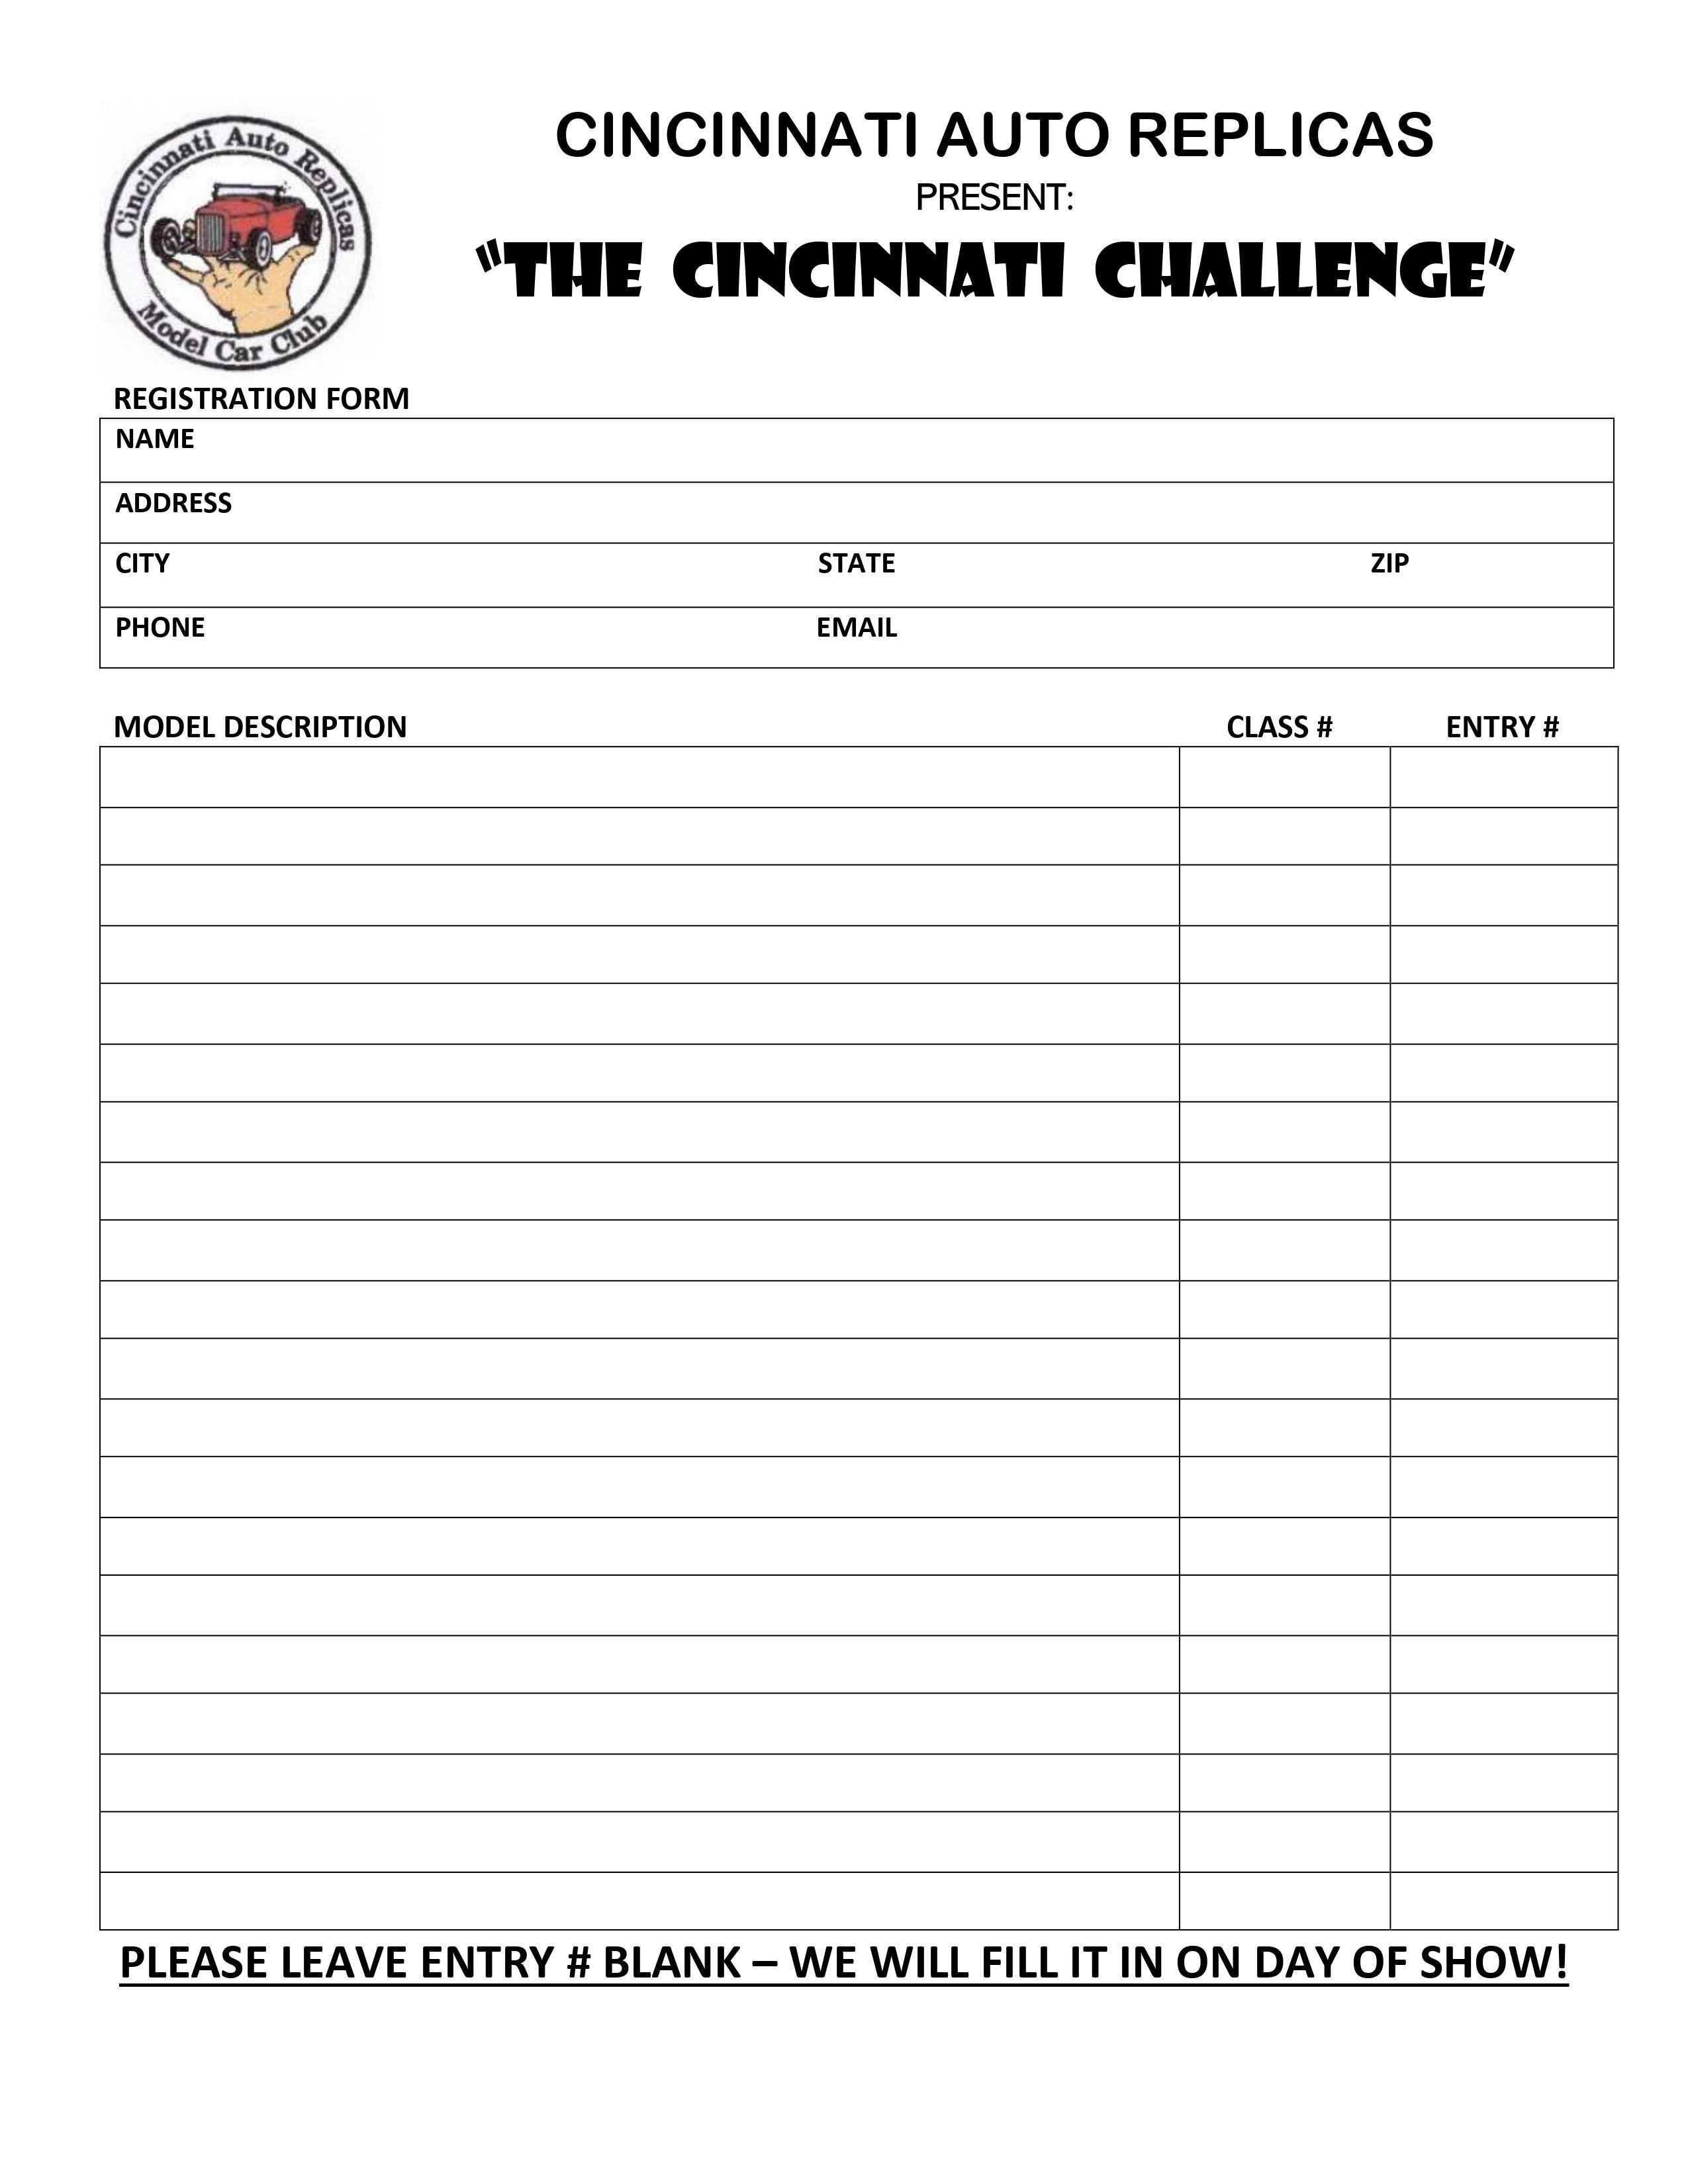
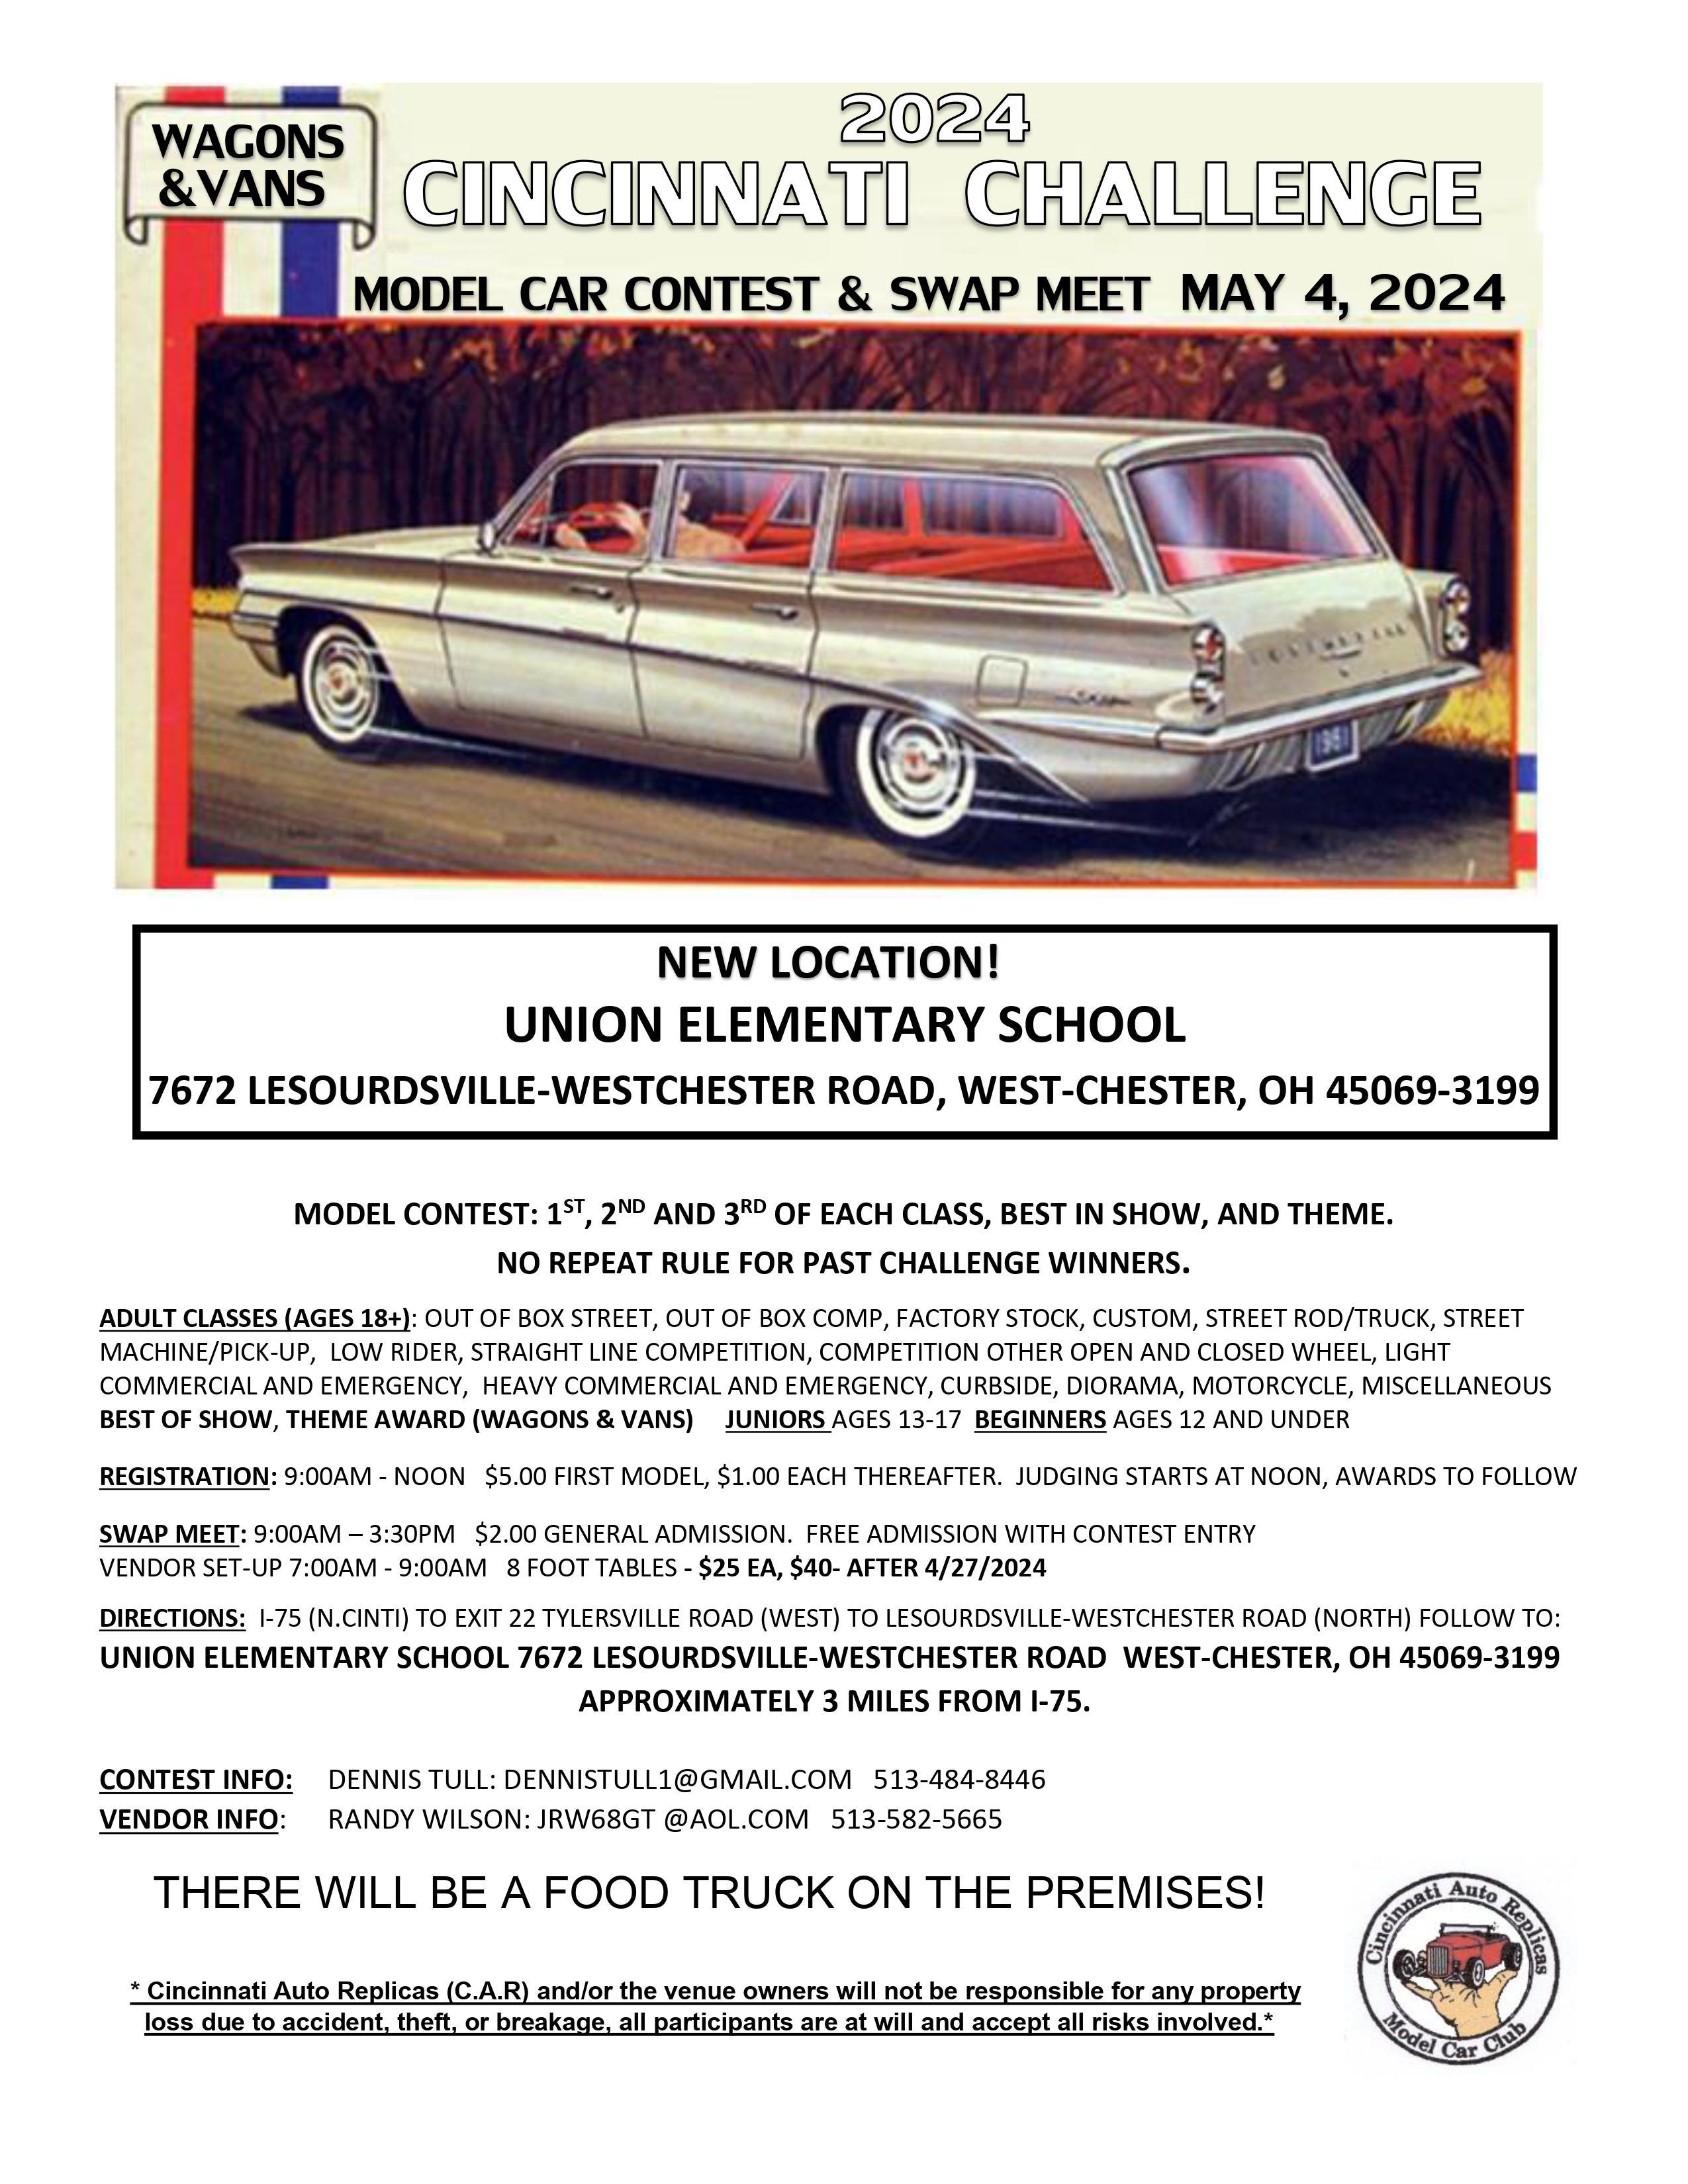
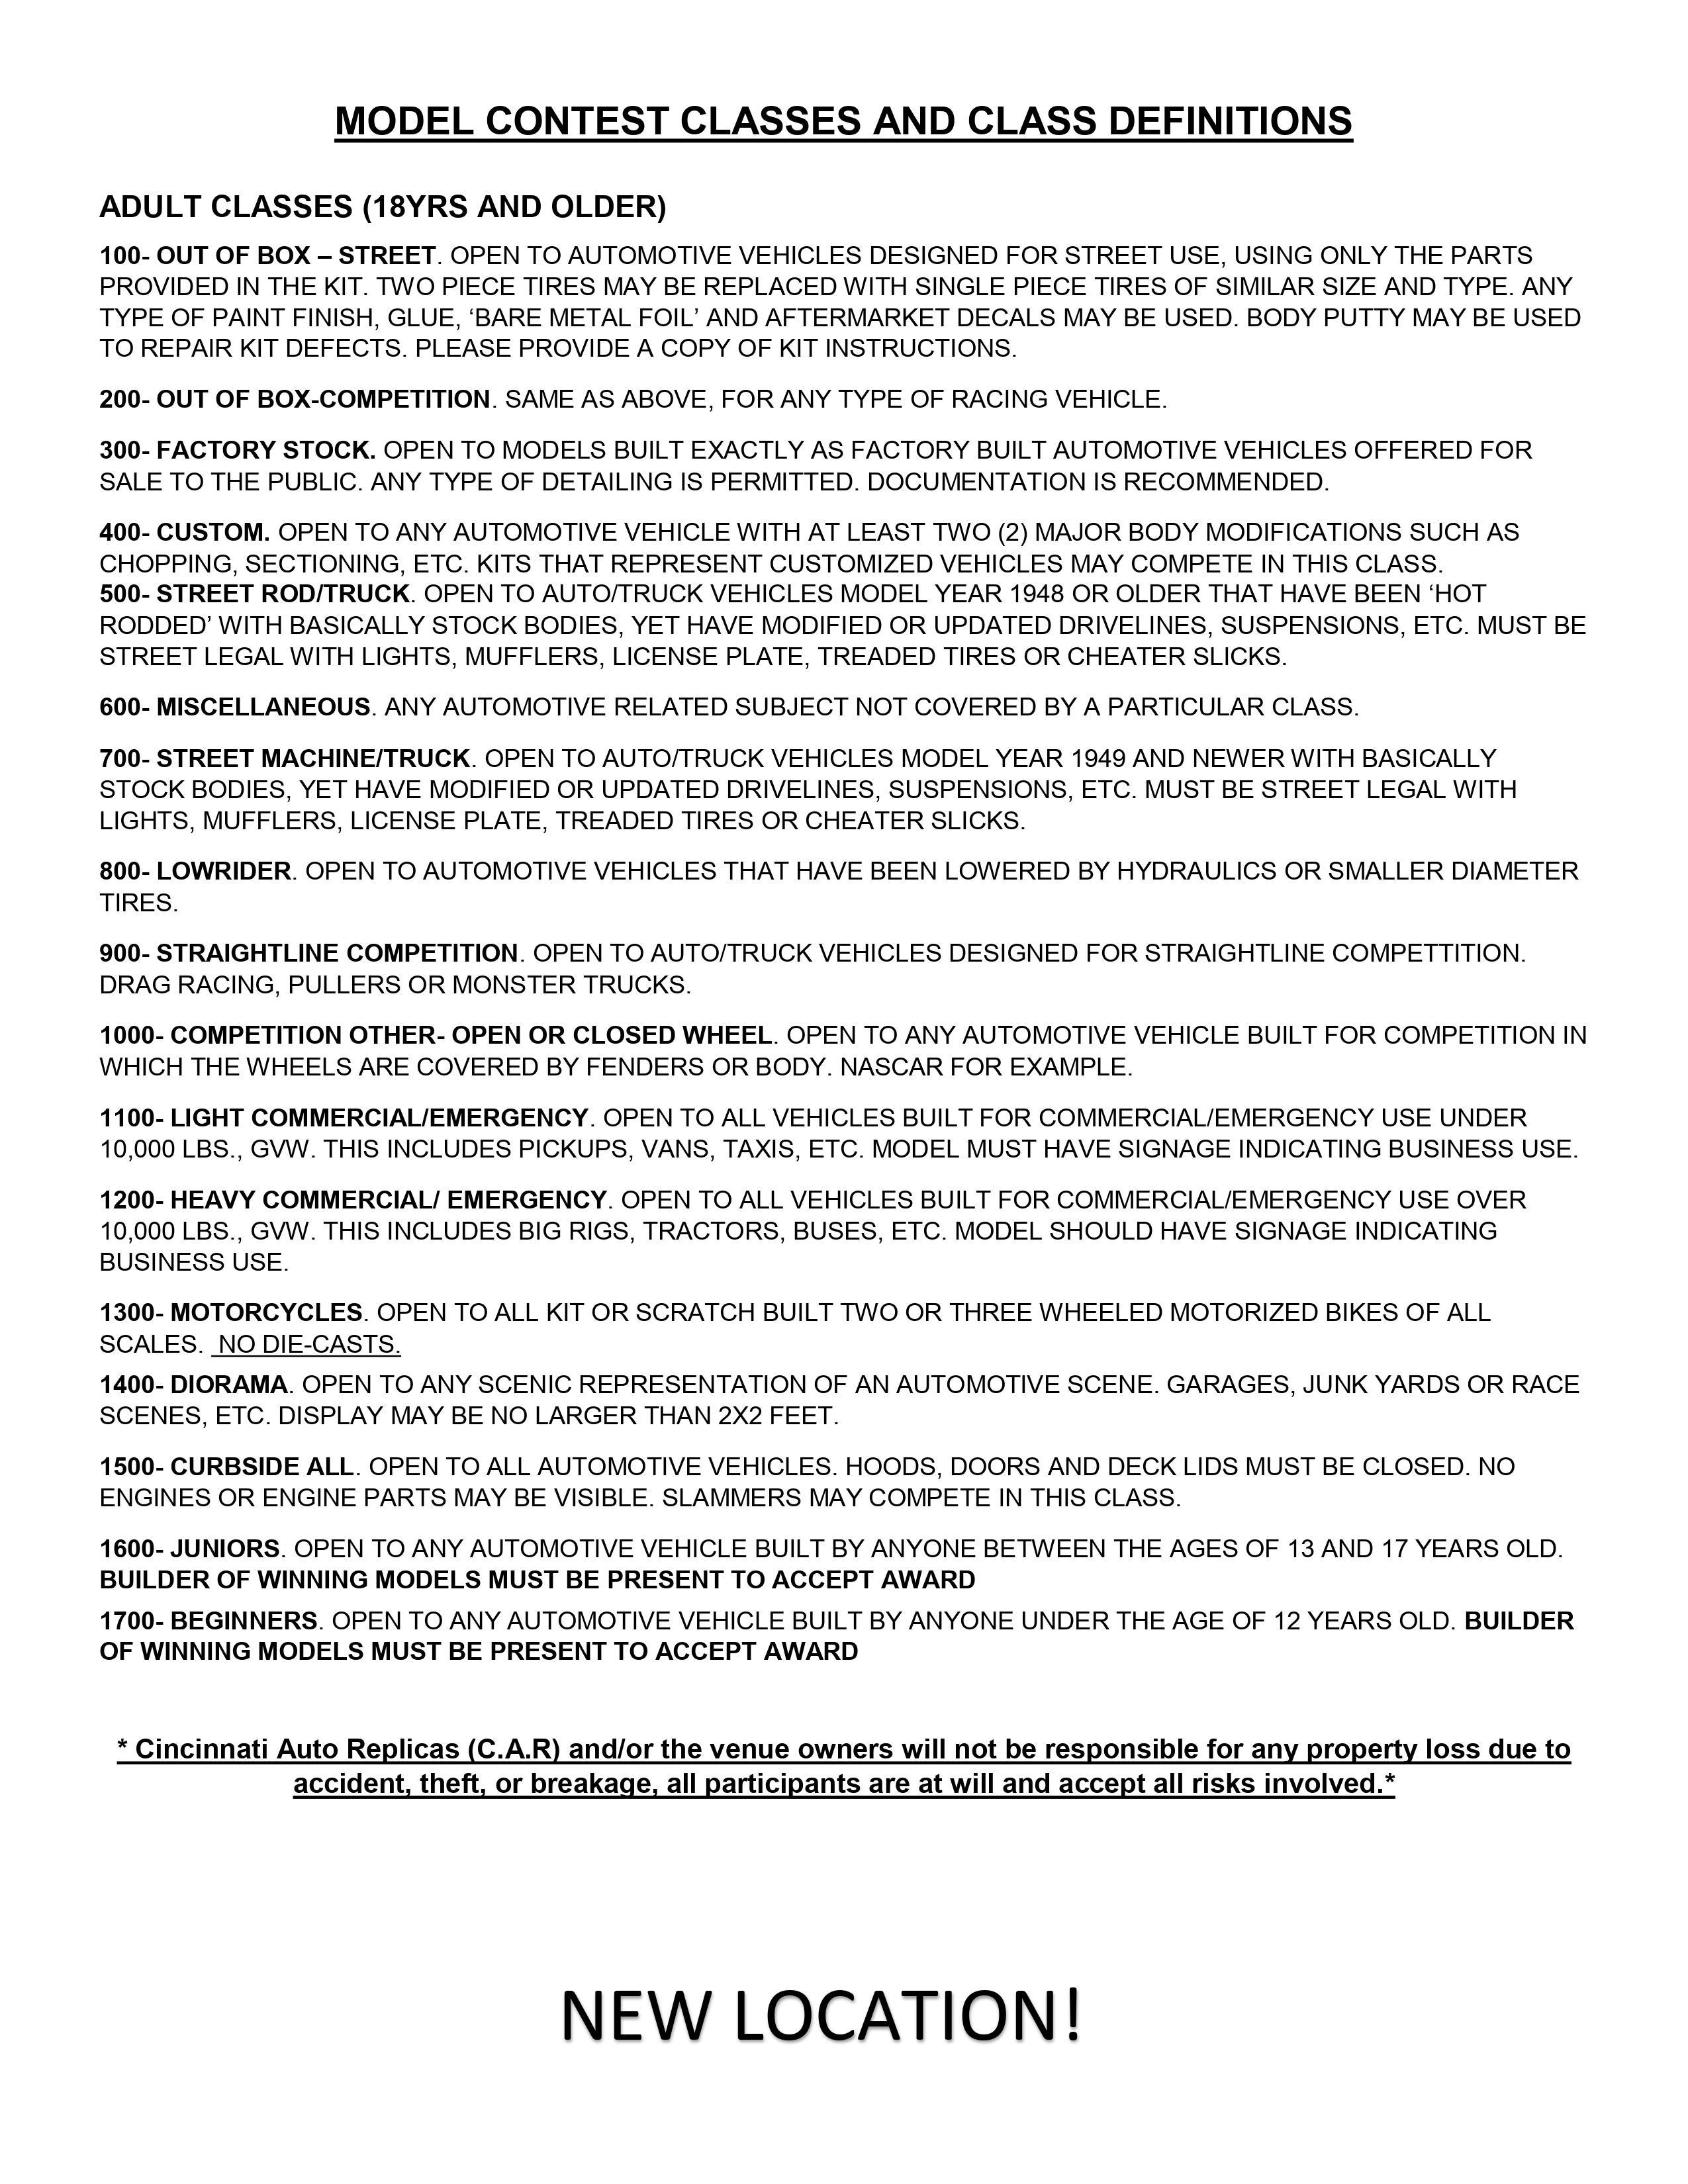
See flyer for details!
-
See Flyer for details

-
I wanted to buy a set of tires, their # "200" listing, as I'm told they are copies of the sweathogs/superfly tires which I need... however I can't contact them as the webpage for the contact link is broken. Just curious if he's still in business doing tires.... and maybe how to actually contact them?
-
Found everything except the plain windshield! Anyone?
-
Hey all. Picked up a mostly complete rebuilder after searching forever. But missing a few parts. Hopefully somebody can help. Looking for: Rear wheel Rear tire/ww insert Rear drum back (different from later issues) Front axle (different from later issues) Convertible top and top struts Front windshield with the wing windows without the scroll work Thank you
-
I posted it on our Facebook event. But, if you're not on there, here's a file you can print and use.
-
Just a few days away!
-
Does this help any?
-
We're just under one month away!
-
Johan 1962-1969 Dodge Pick up from Jo-han OLDIES USA LLC
JTalmage replied to thatz4u's topic in Truck Kit News & Reviews
You'd be surprised. Several of those factory dioramas have been sold. I know the guy who builds them. -
Less than 2 months away. 16 vendor tables left!
-
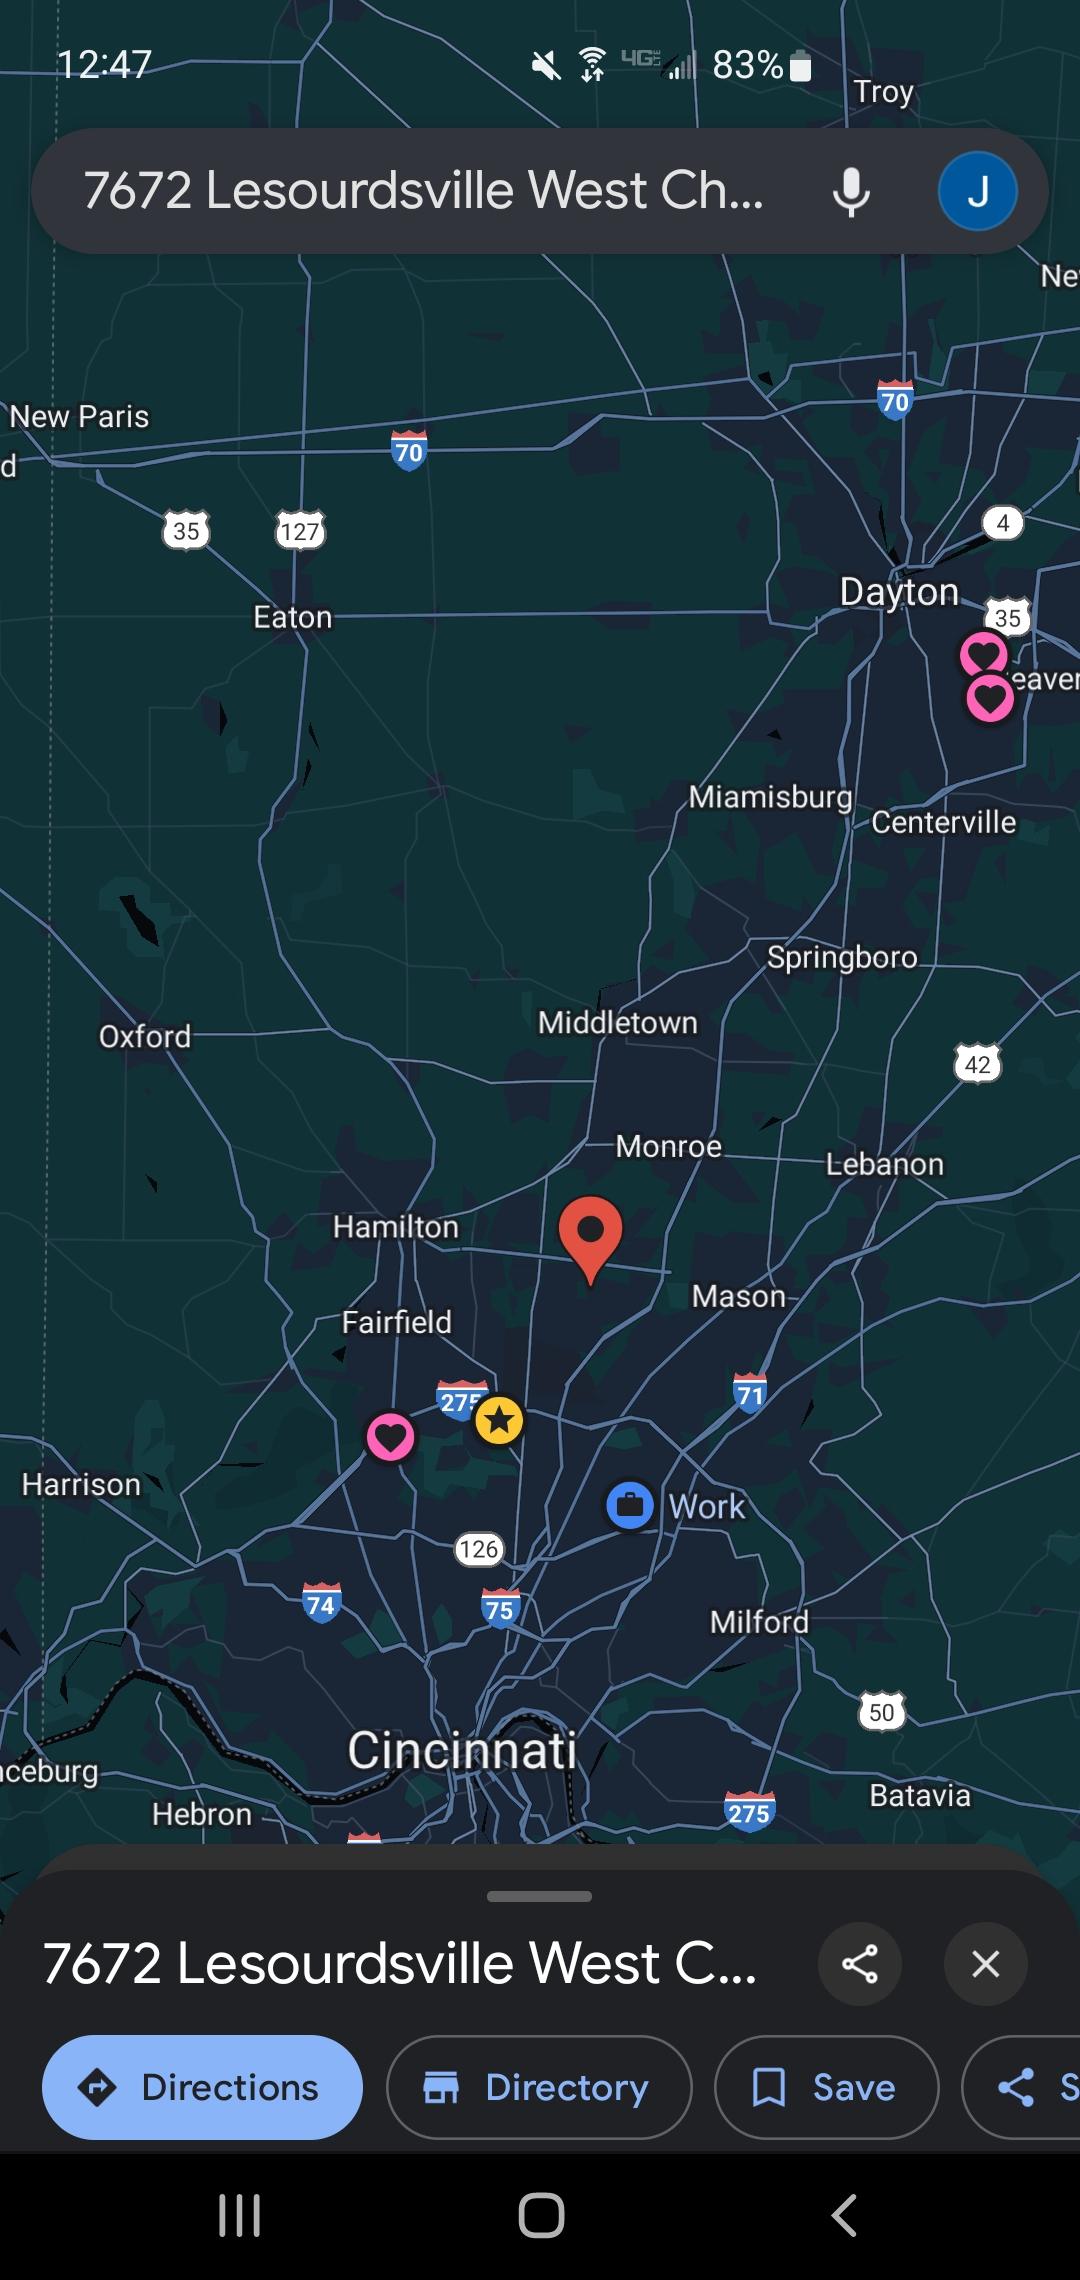
New, larger location! More centrally located near Cincinnati! Popular local food truck onsite!
-
May 4th 2024! See flyer for details!
-
Ahhhhh. I see. I was not aware of that. Neato
-
Albert? You've lost me on that one.
-
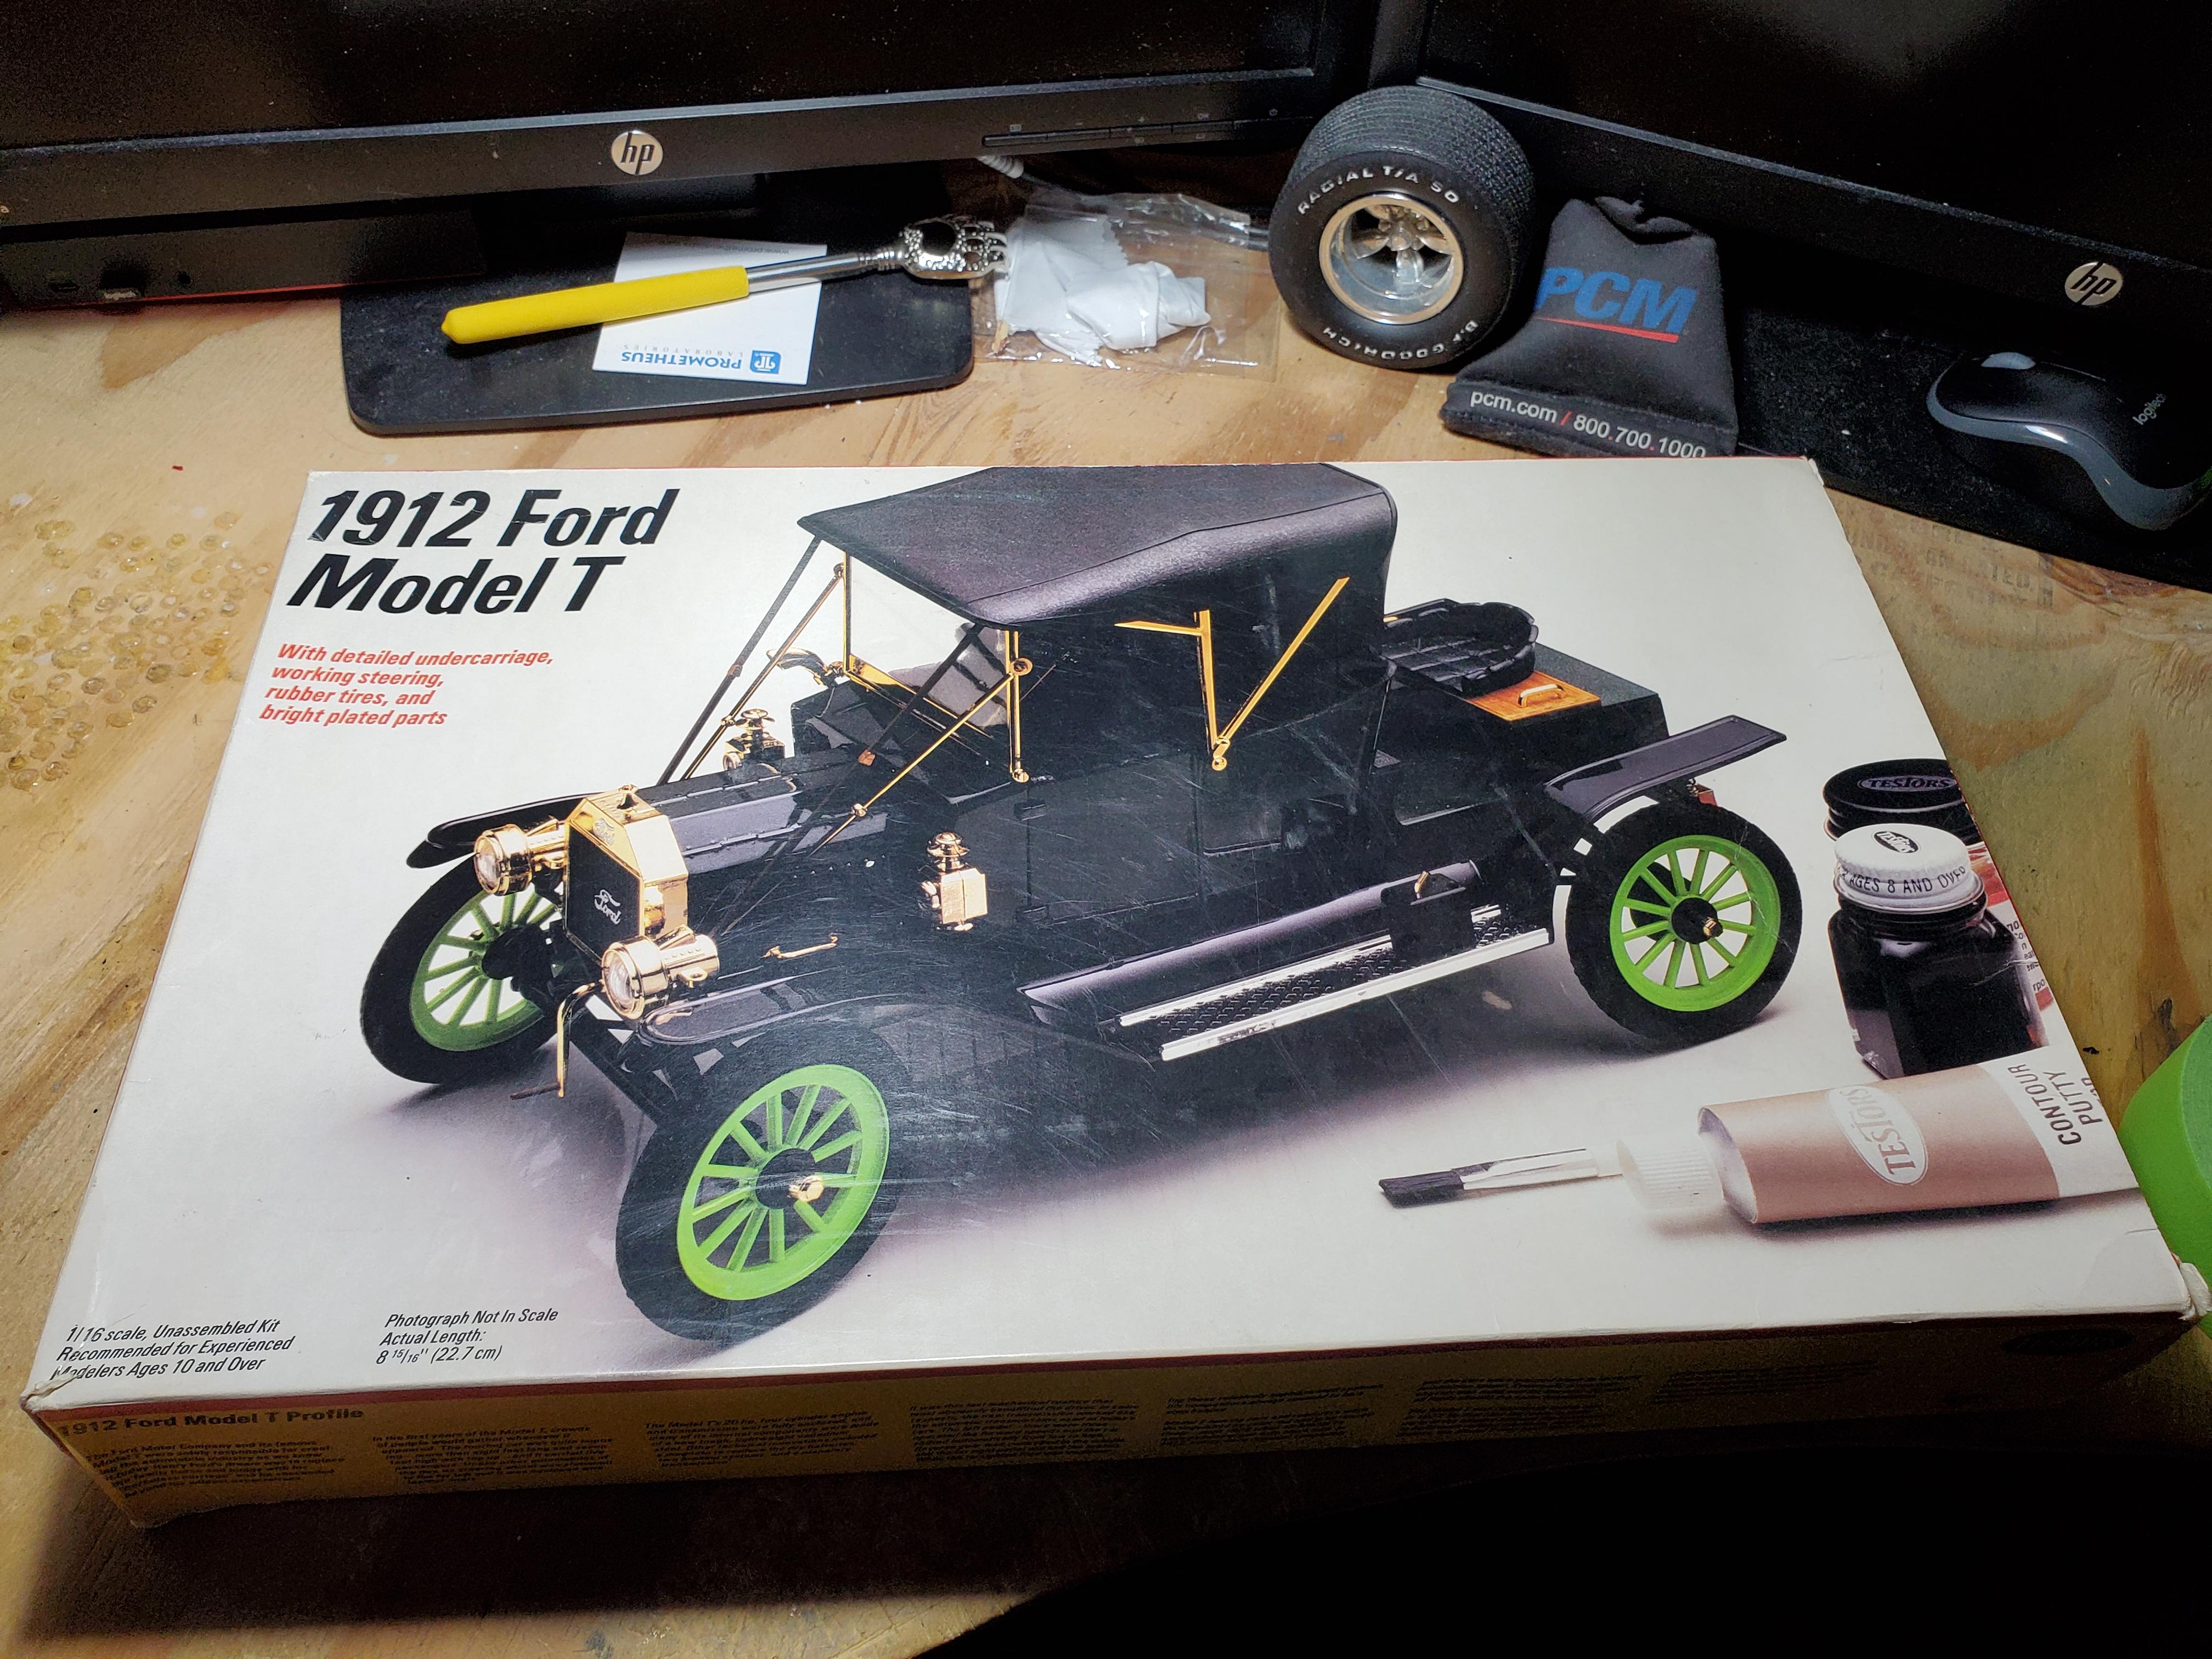
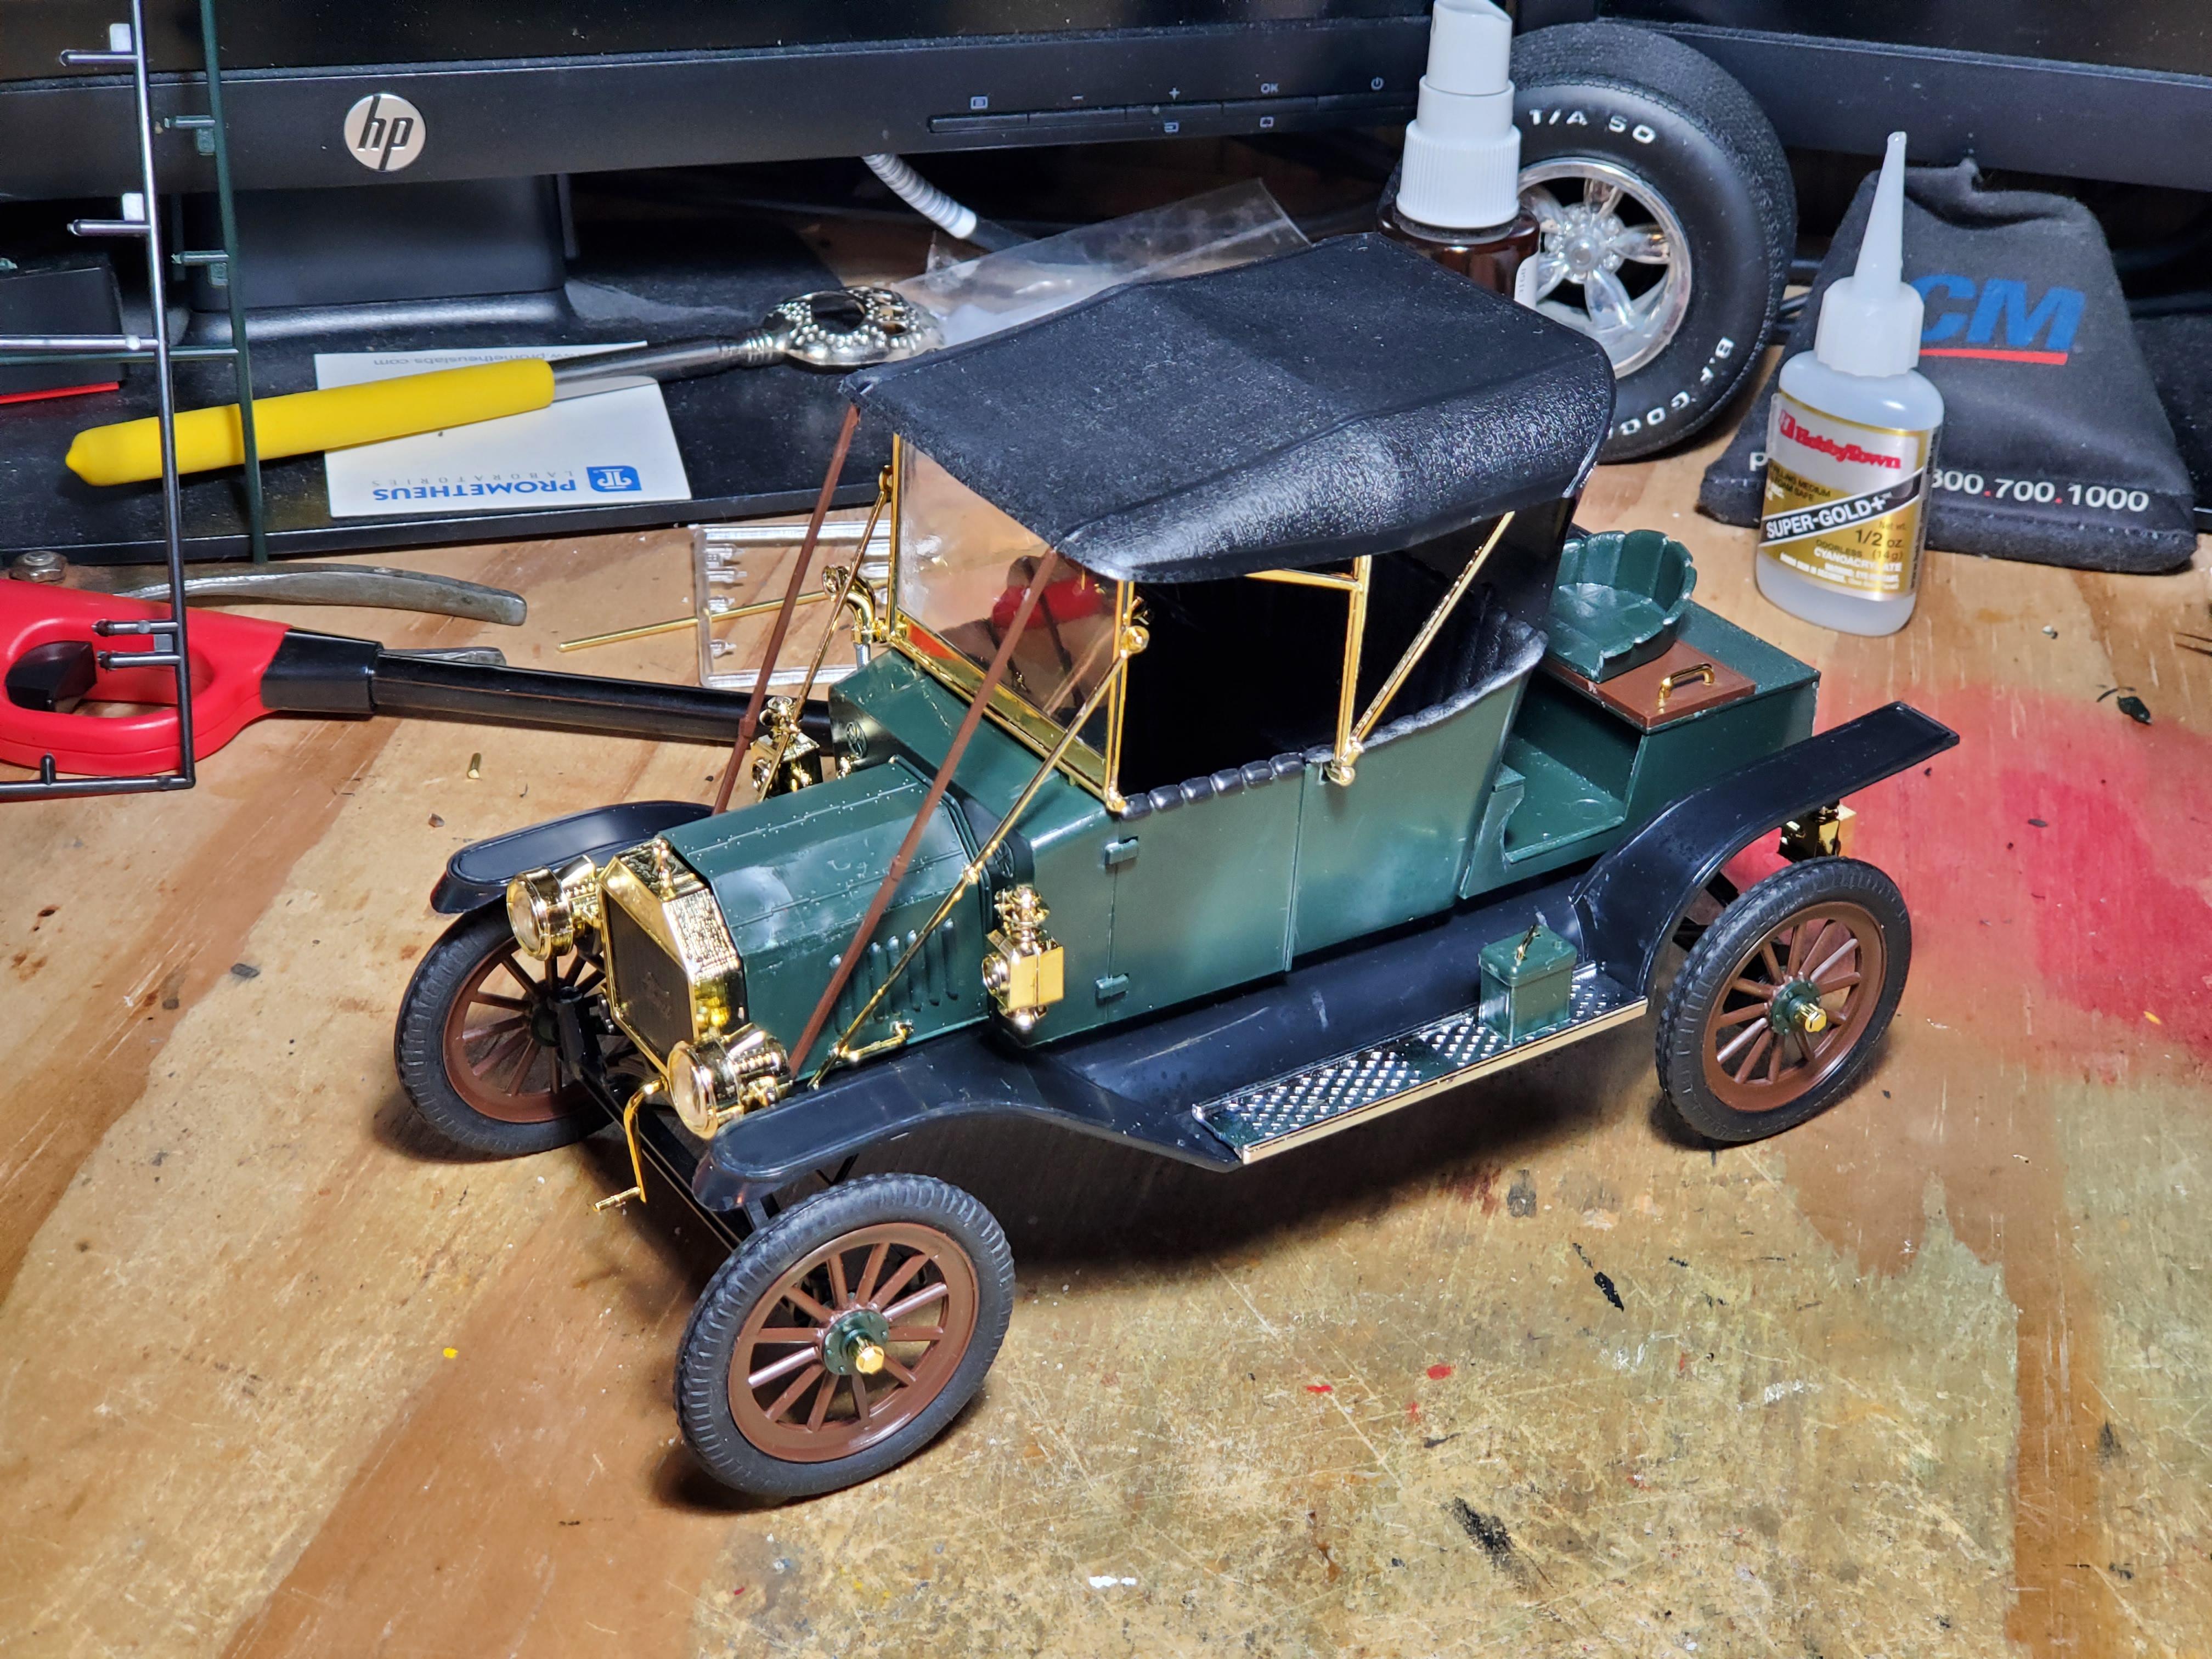
Ever have a project that looms over your mind like a dark cloud, and it won't go away? This is that project. I bought it for 5 bucks at a swap meet because I wanted to build it and donate it to the Model T Museum in Richmond, IN. But it isn't my scale, and, let's be honest it's a less than great kit.... but... finally this evening I forced myself to start on it. I had intended on painting it and doing a slight amount of details on it.... but while I was trying to build it I was dealing with another issue for an event my club is participating in this weekend and it was aggravating me.... so I decided to instead slam this thing out as fast as I could completely bare bones box build not even paint. Total time about 4hr and 20min give or take some time to eat dinner and spray paint another project. Anyway, I hated it and I'll never do another one... but, it doesn't look all that bad finished. Also, this thing is right hand drive... weird!
-
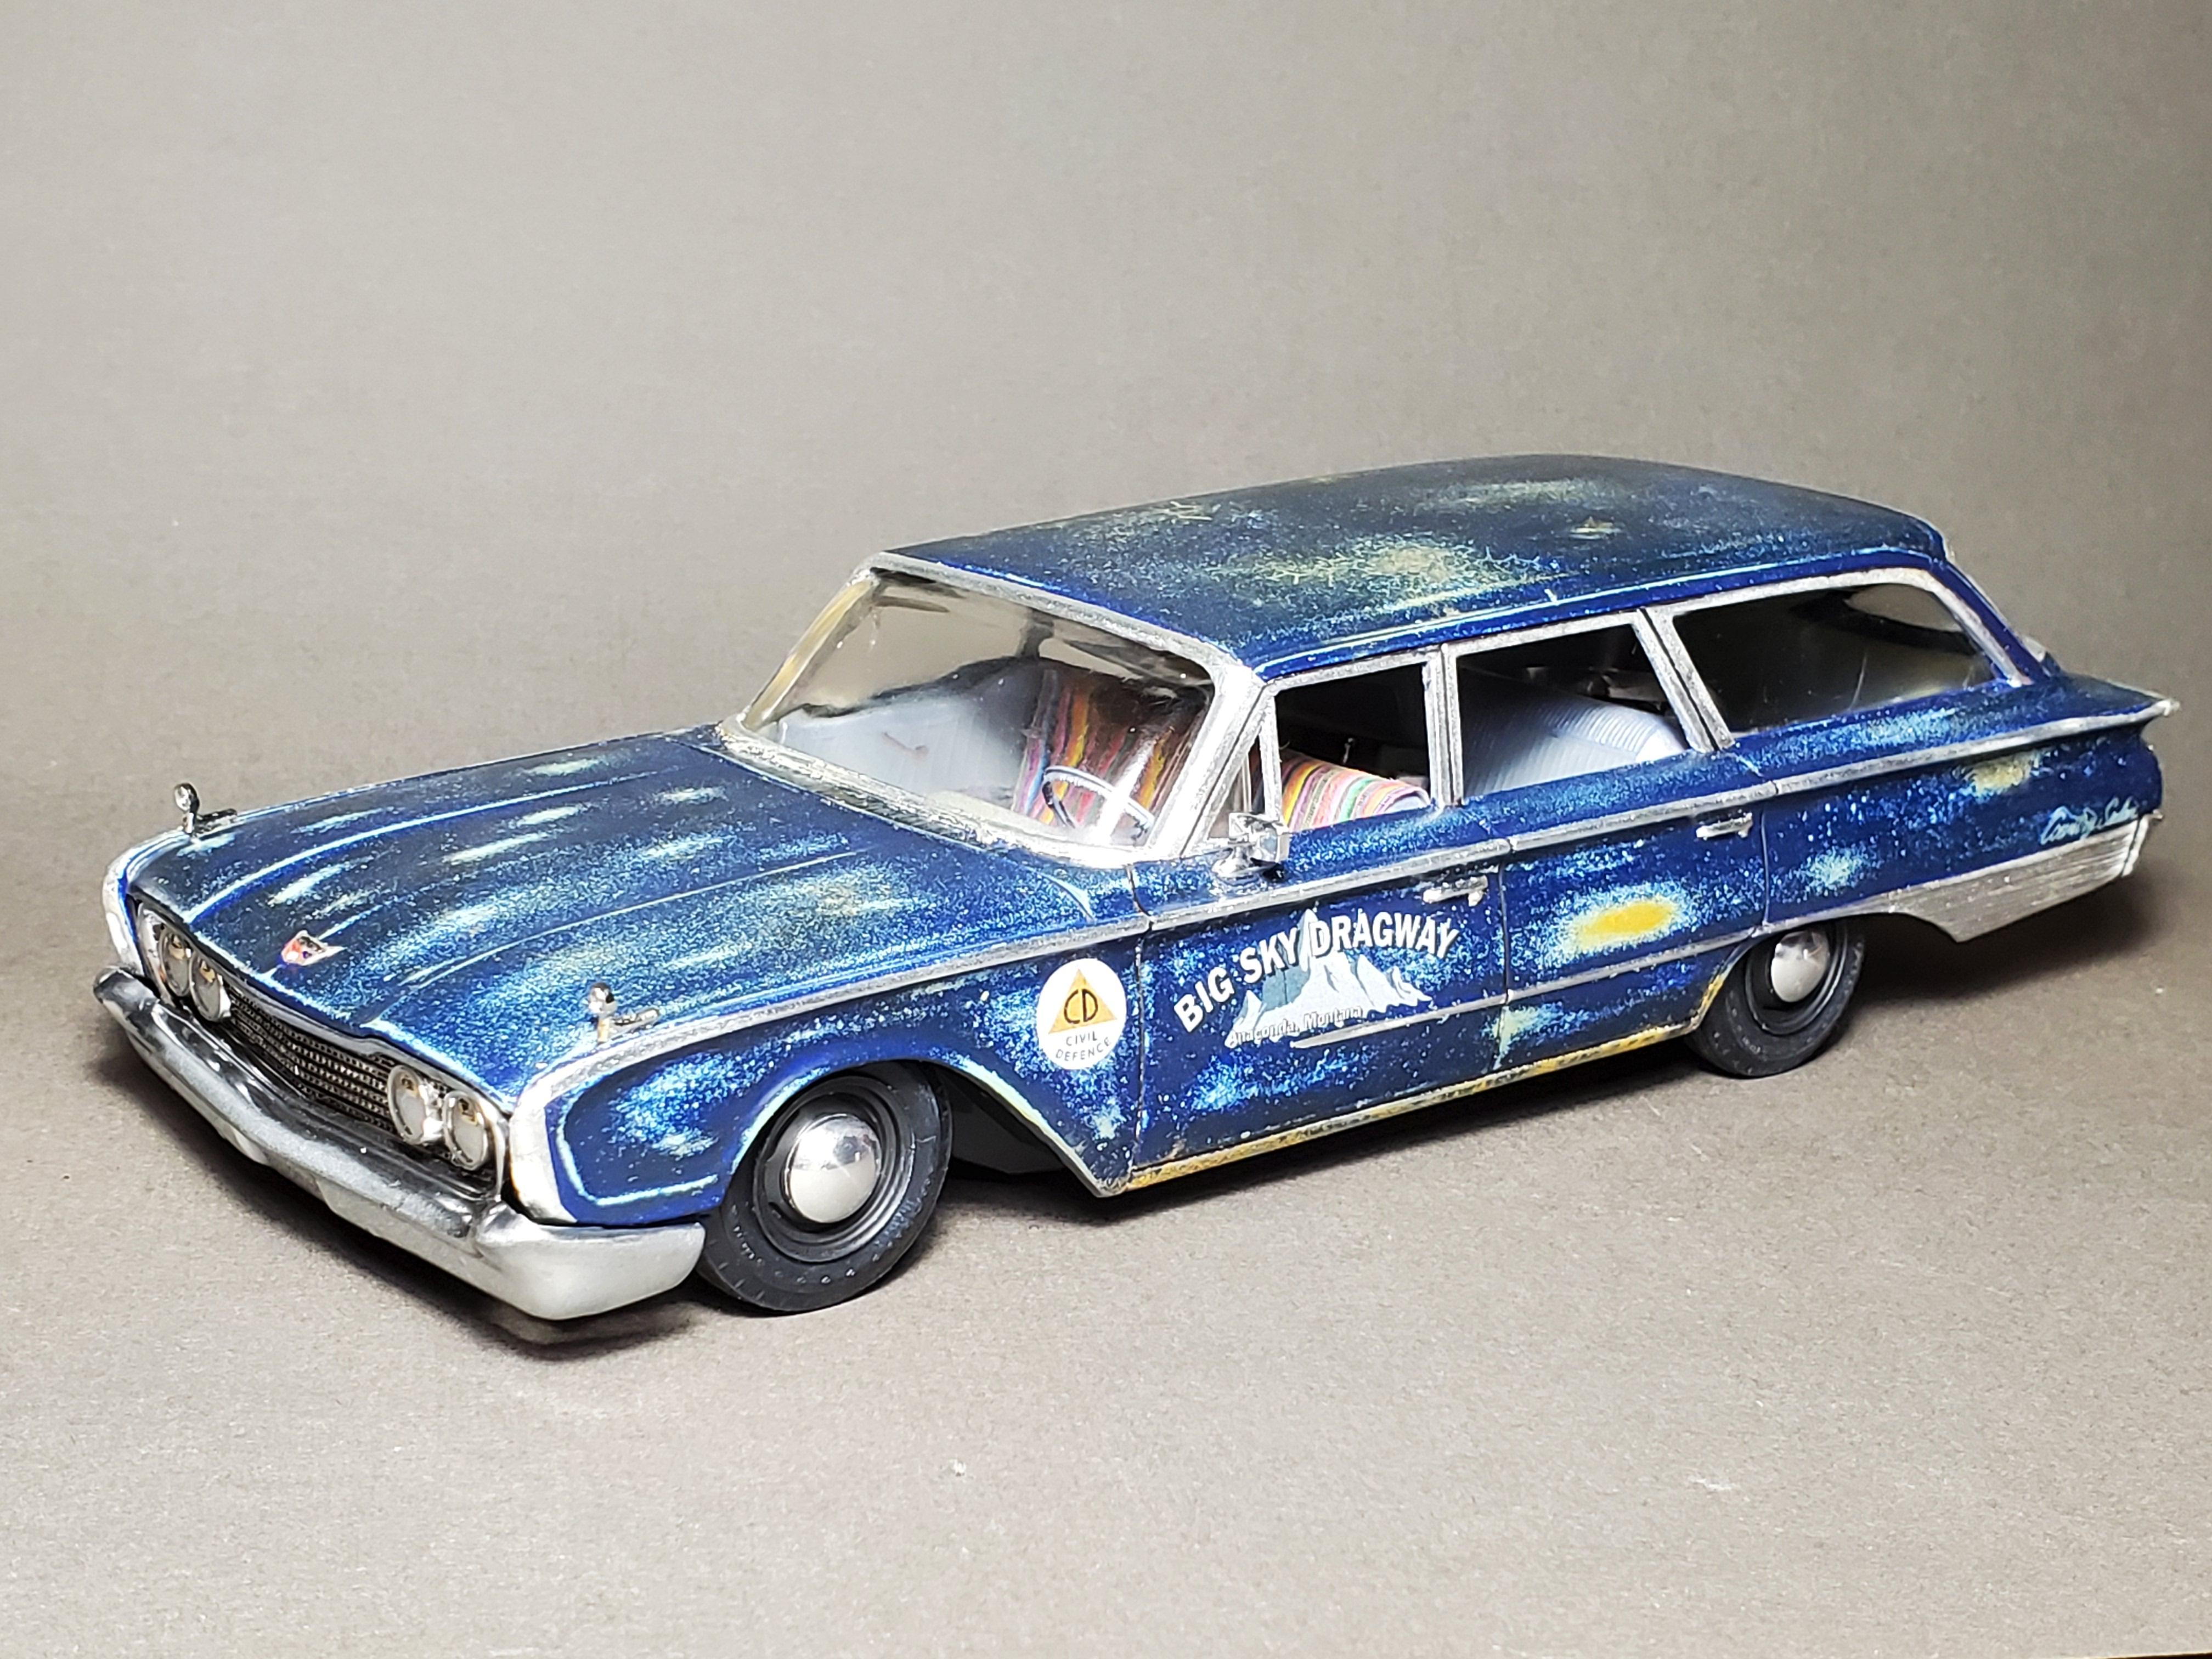
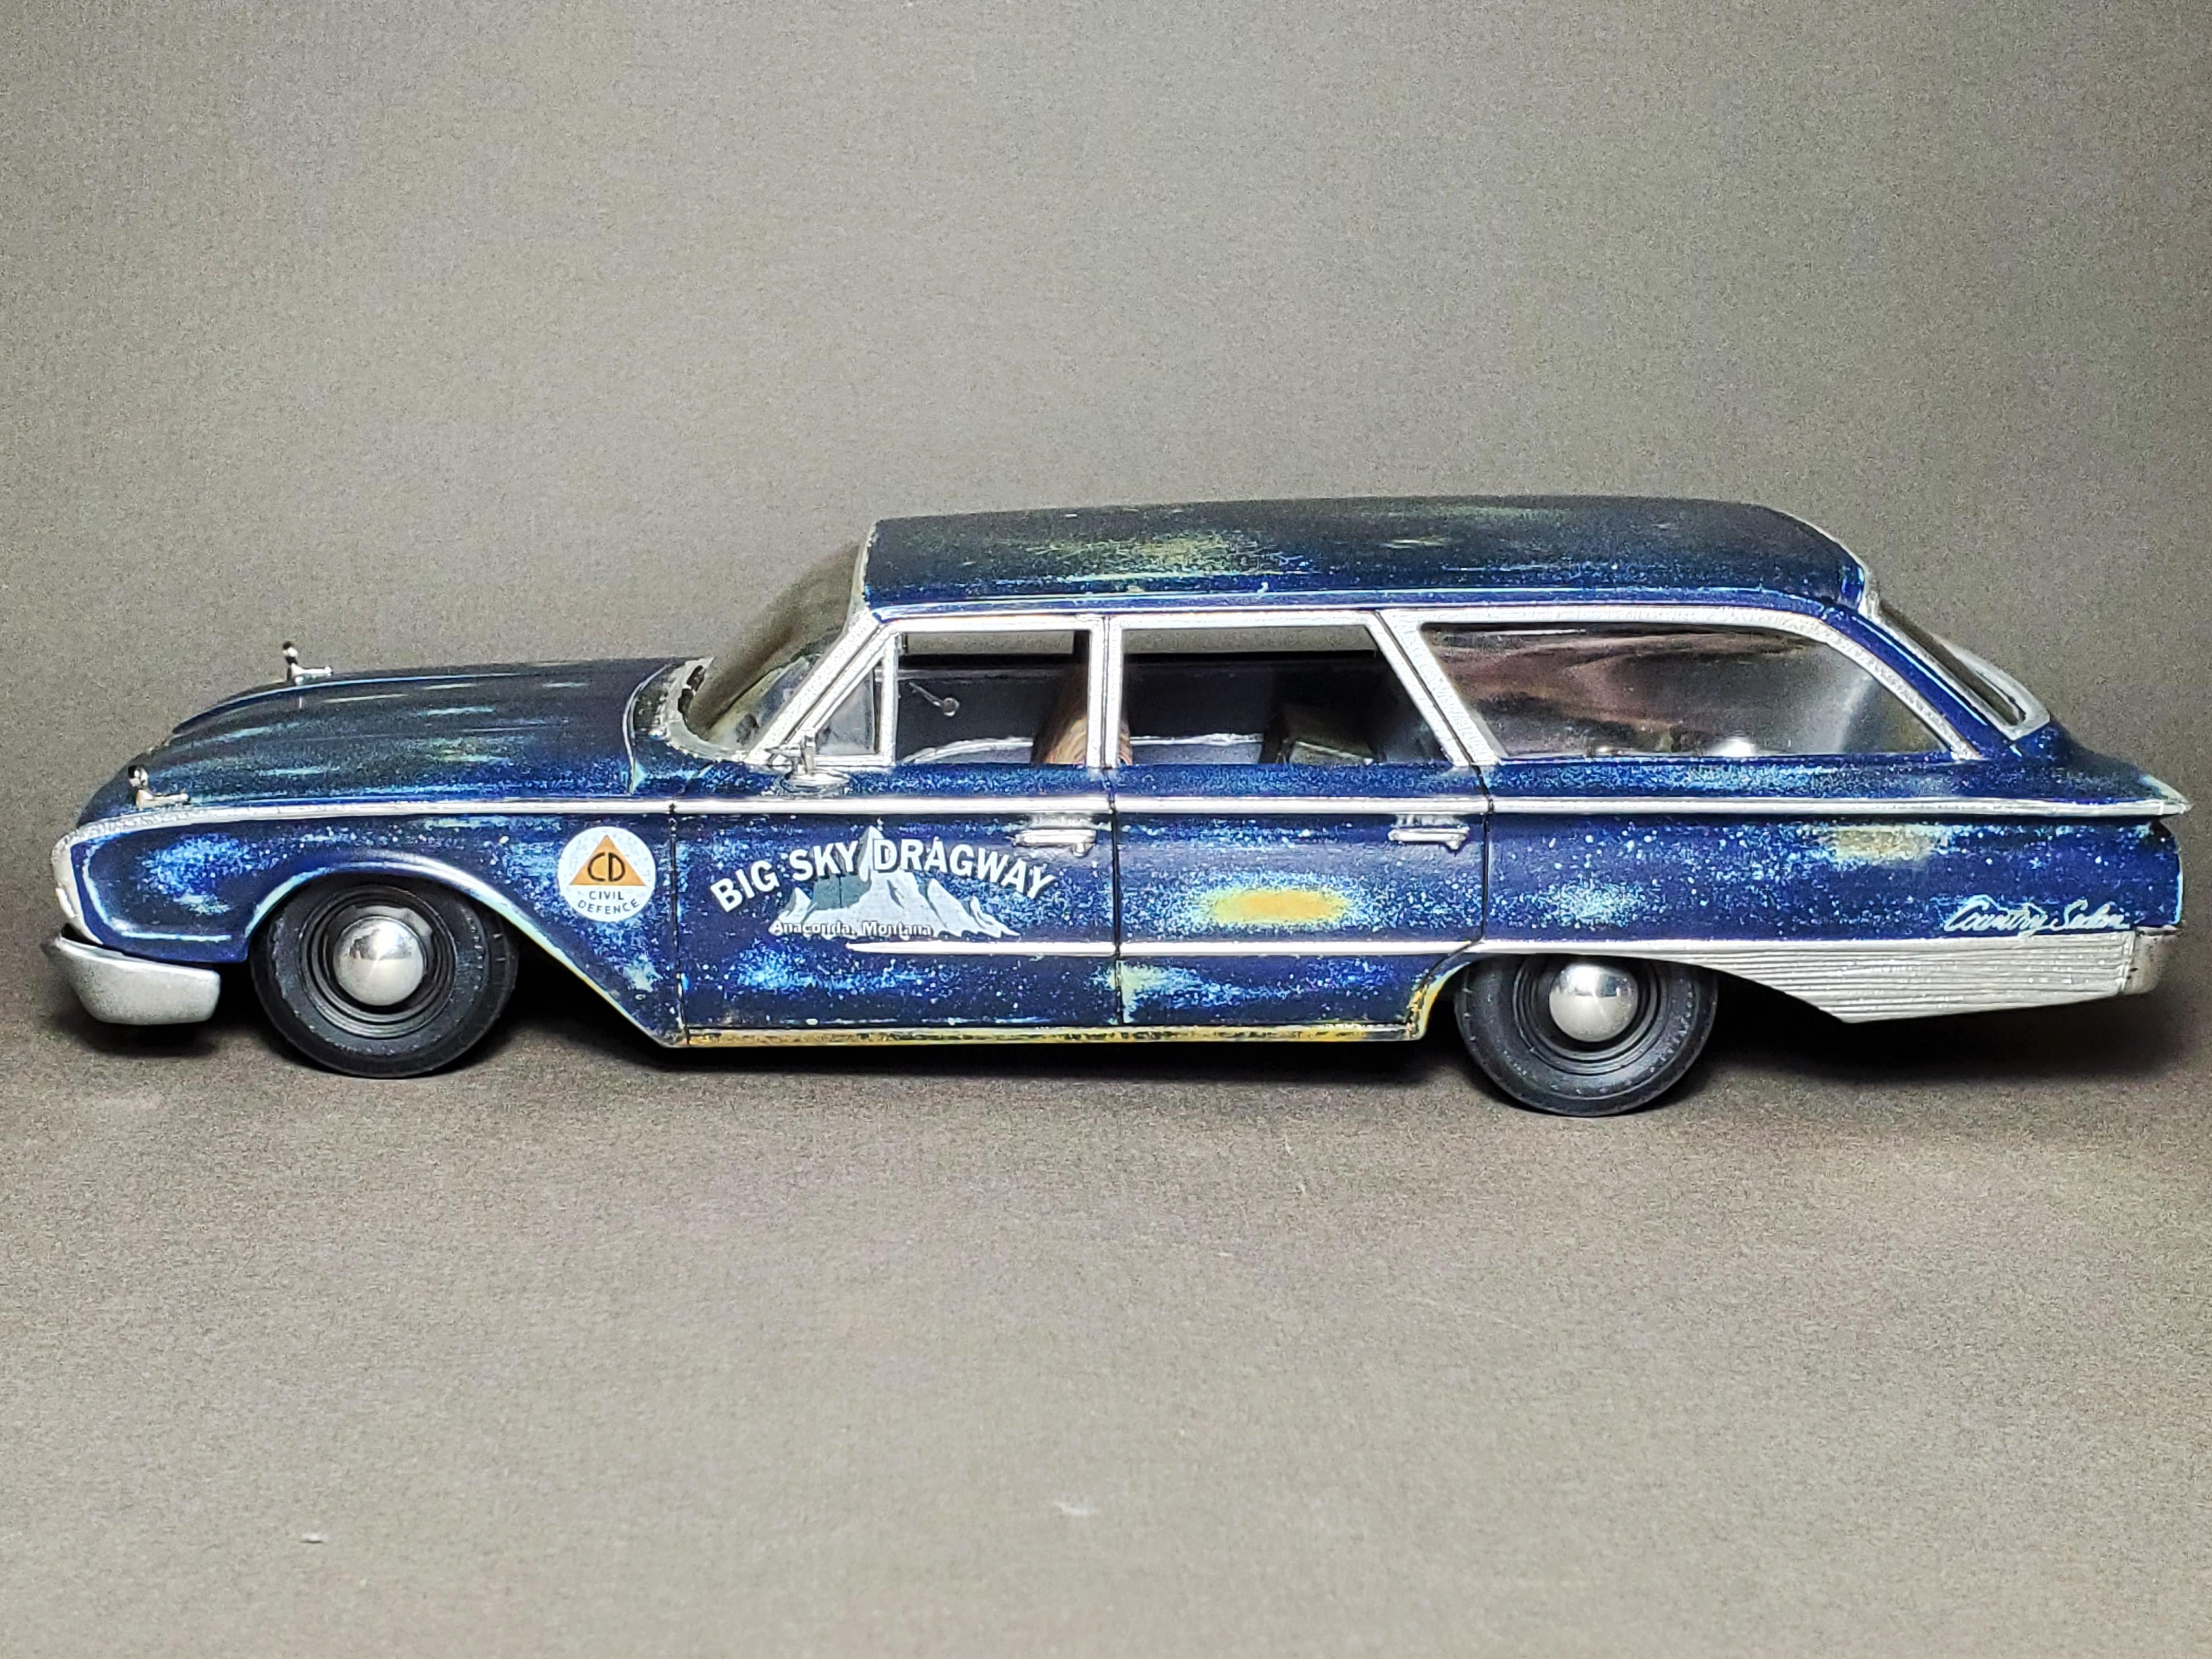
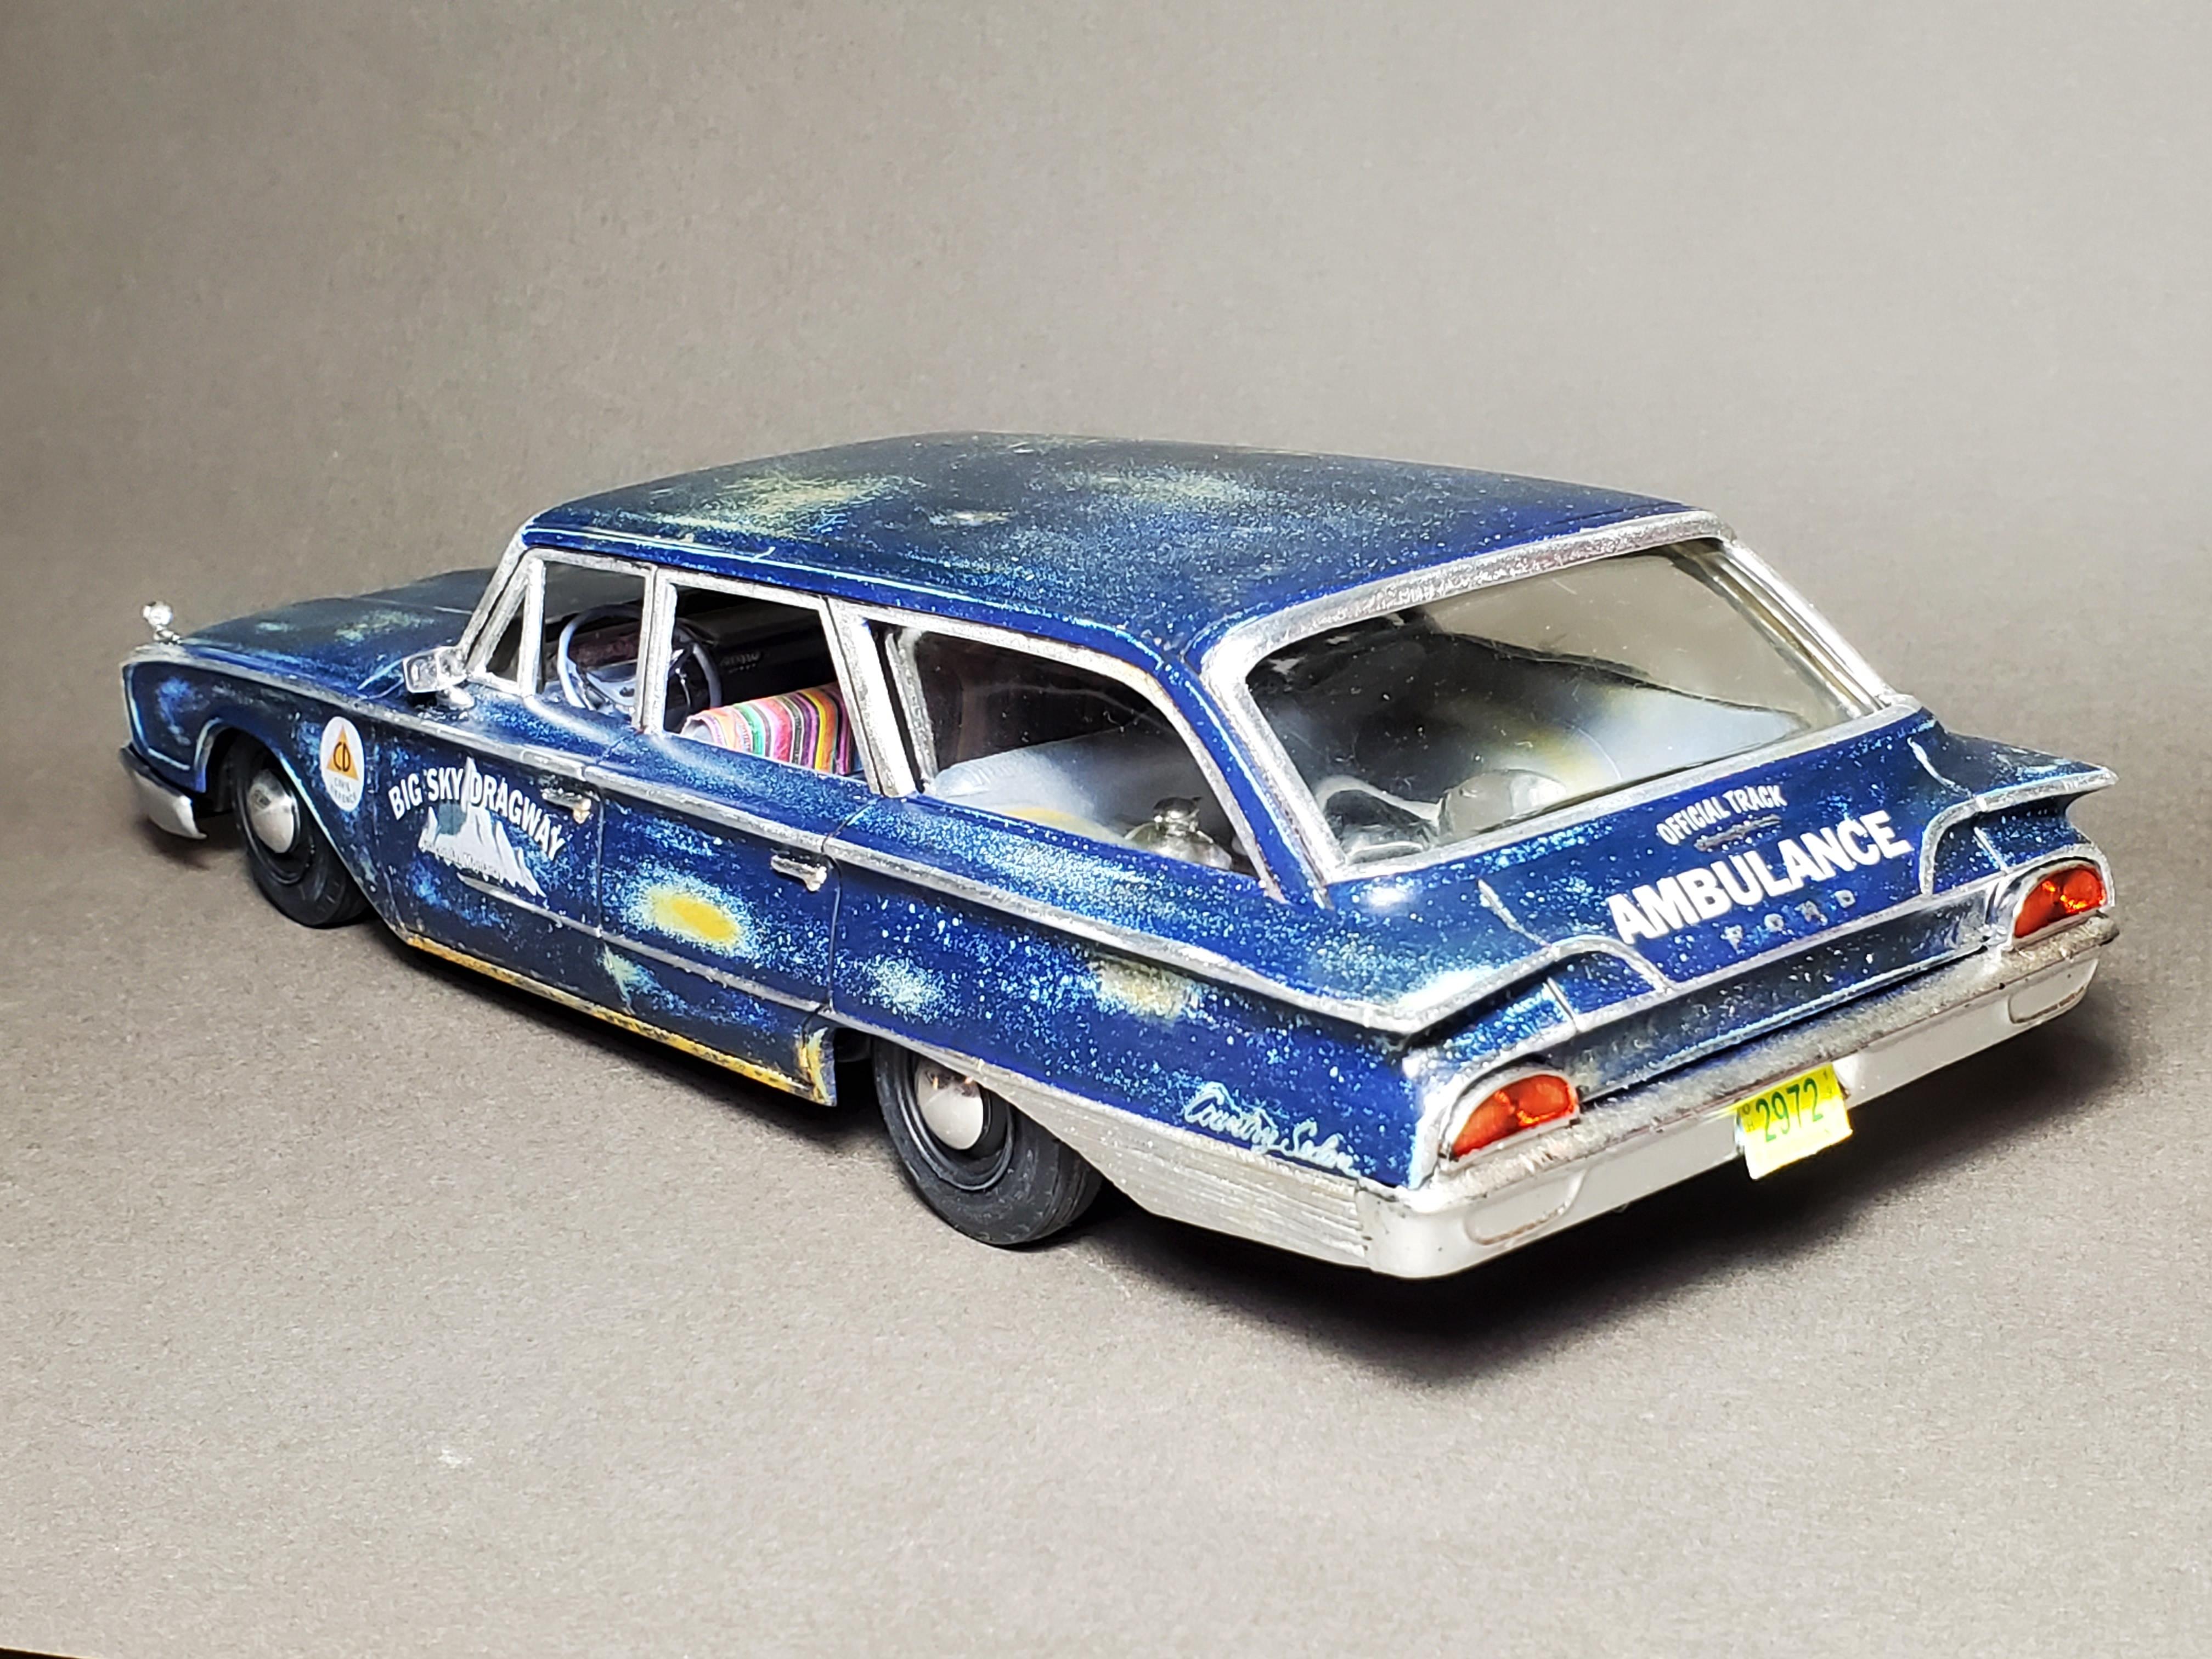
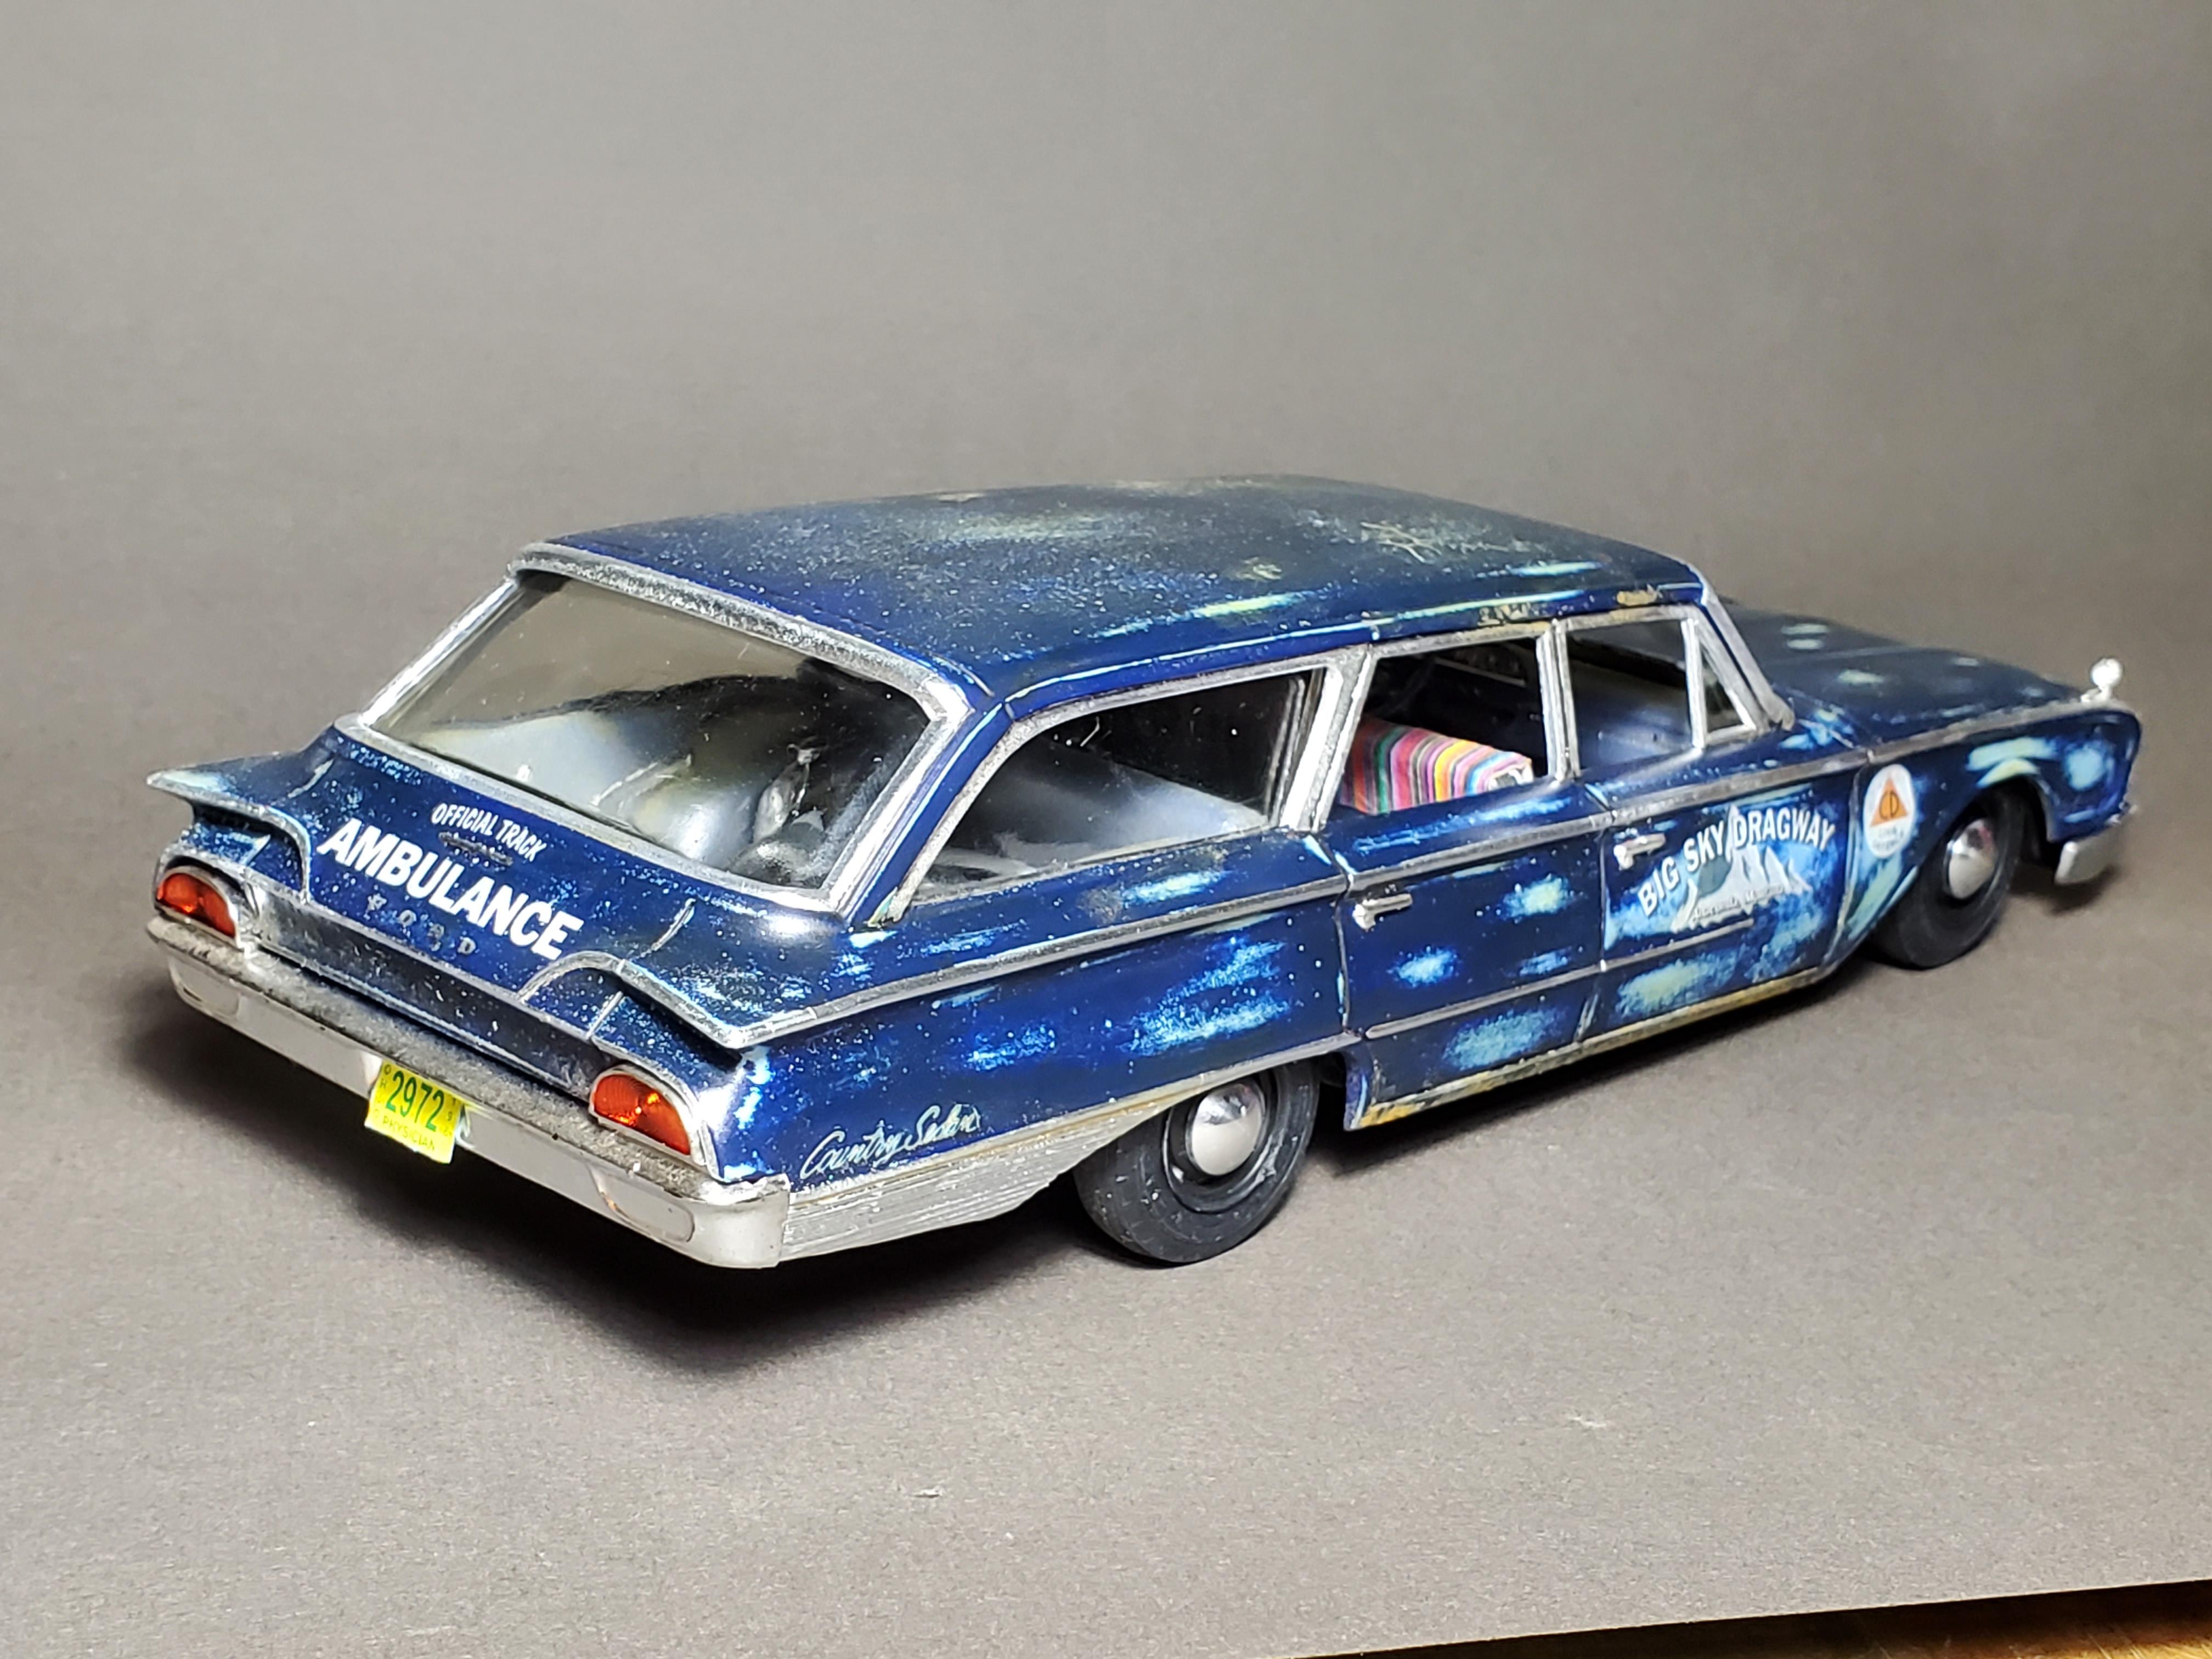
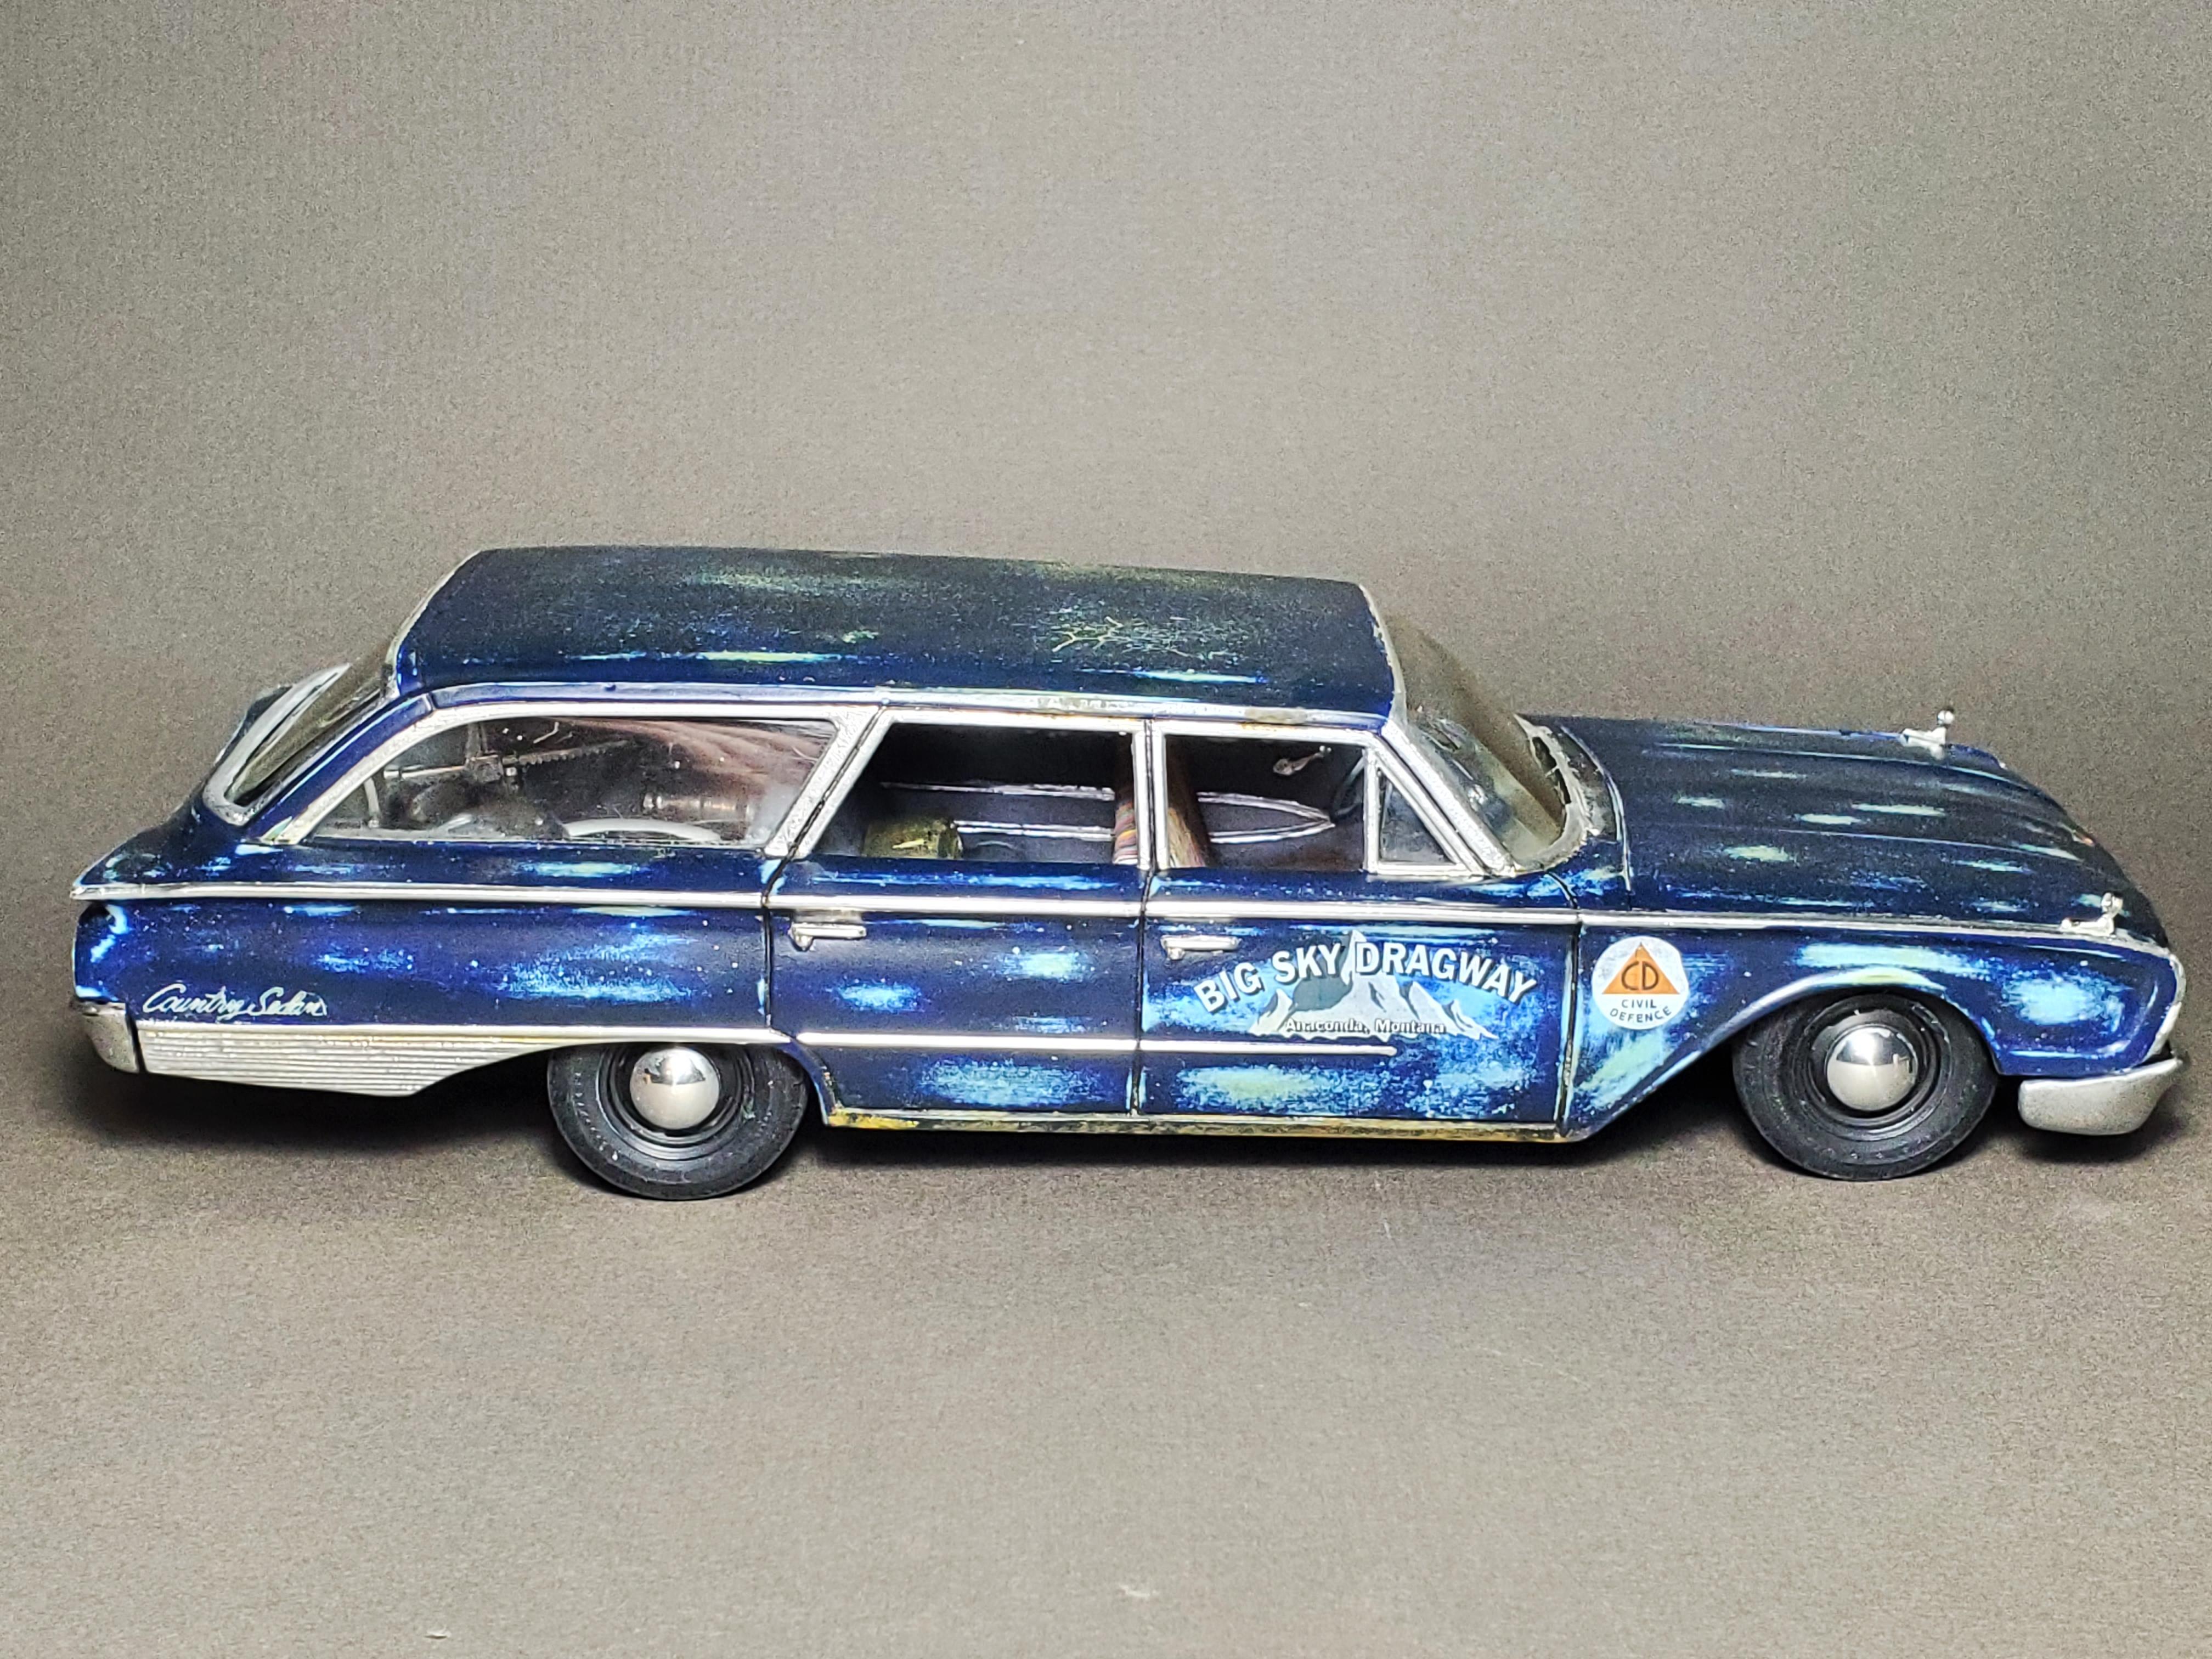
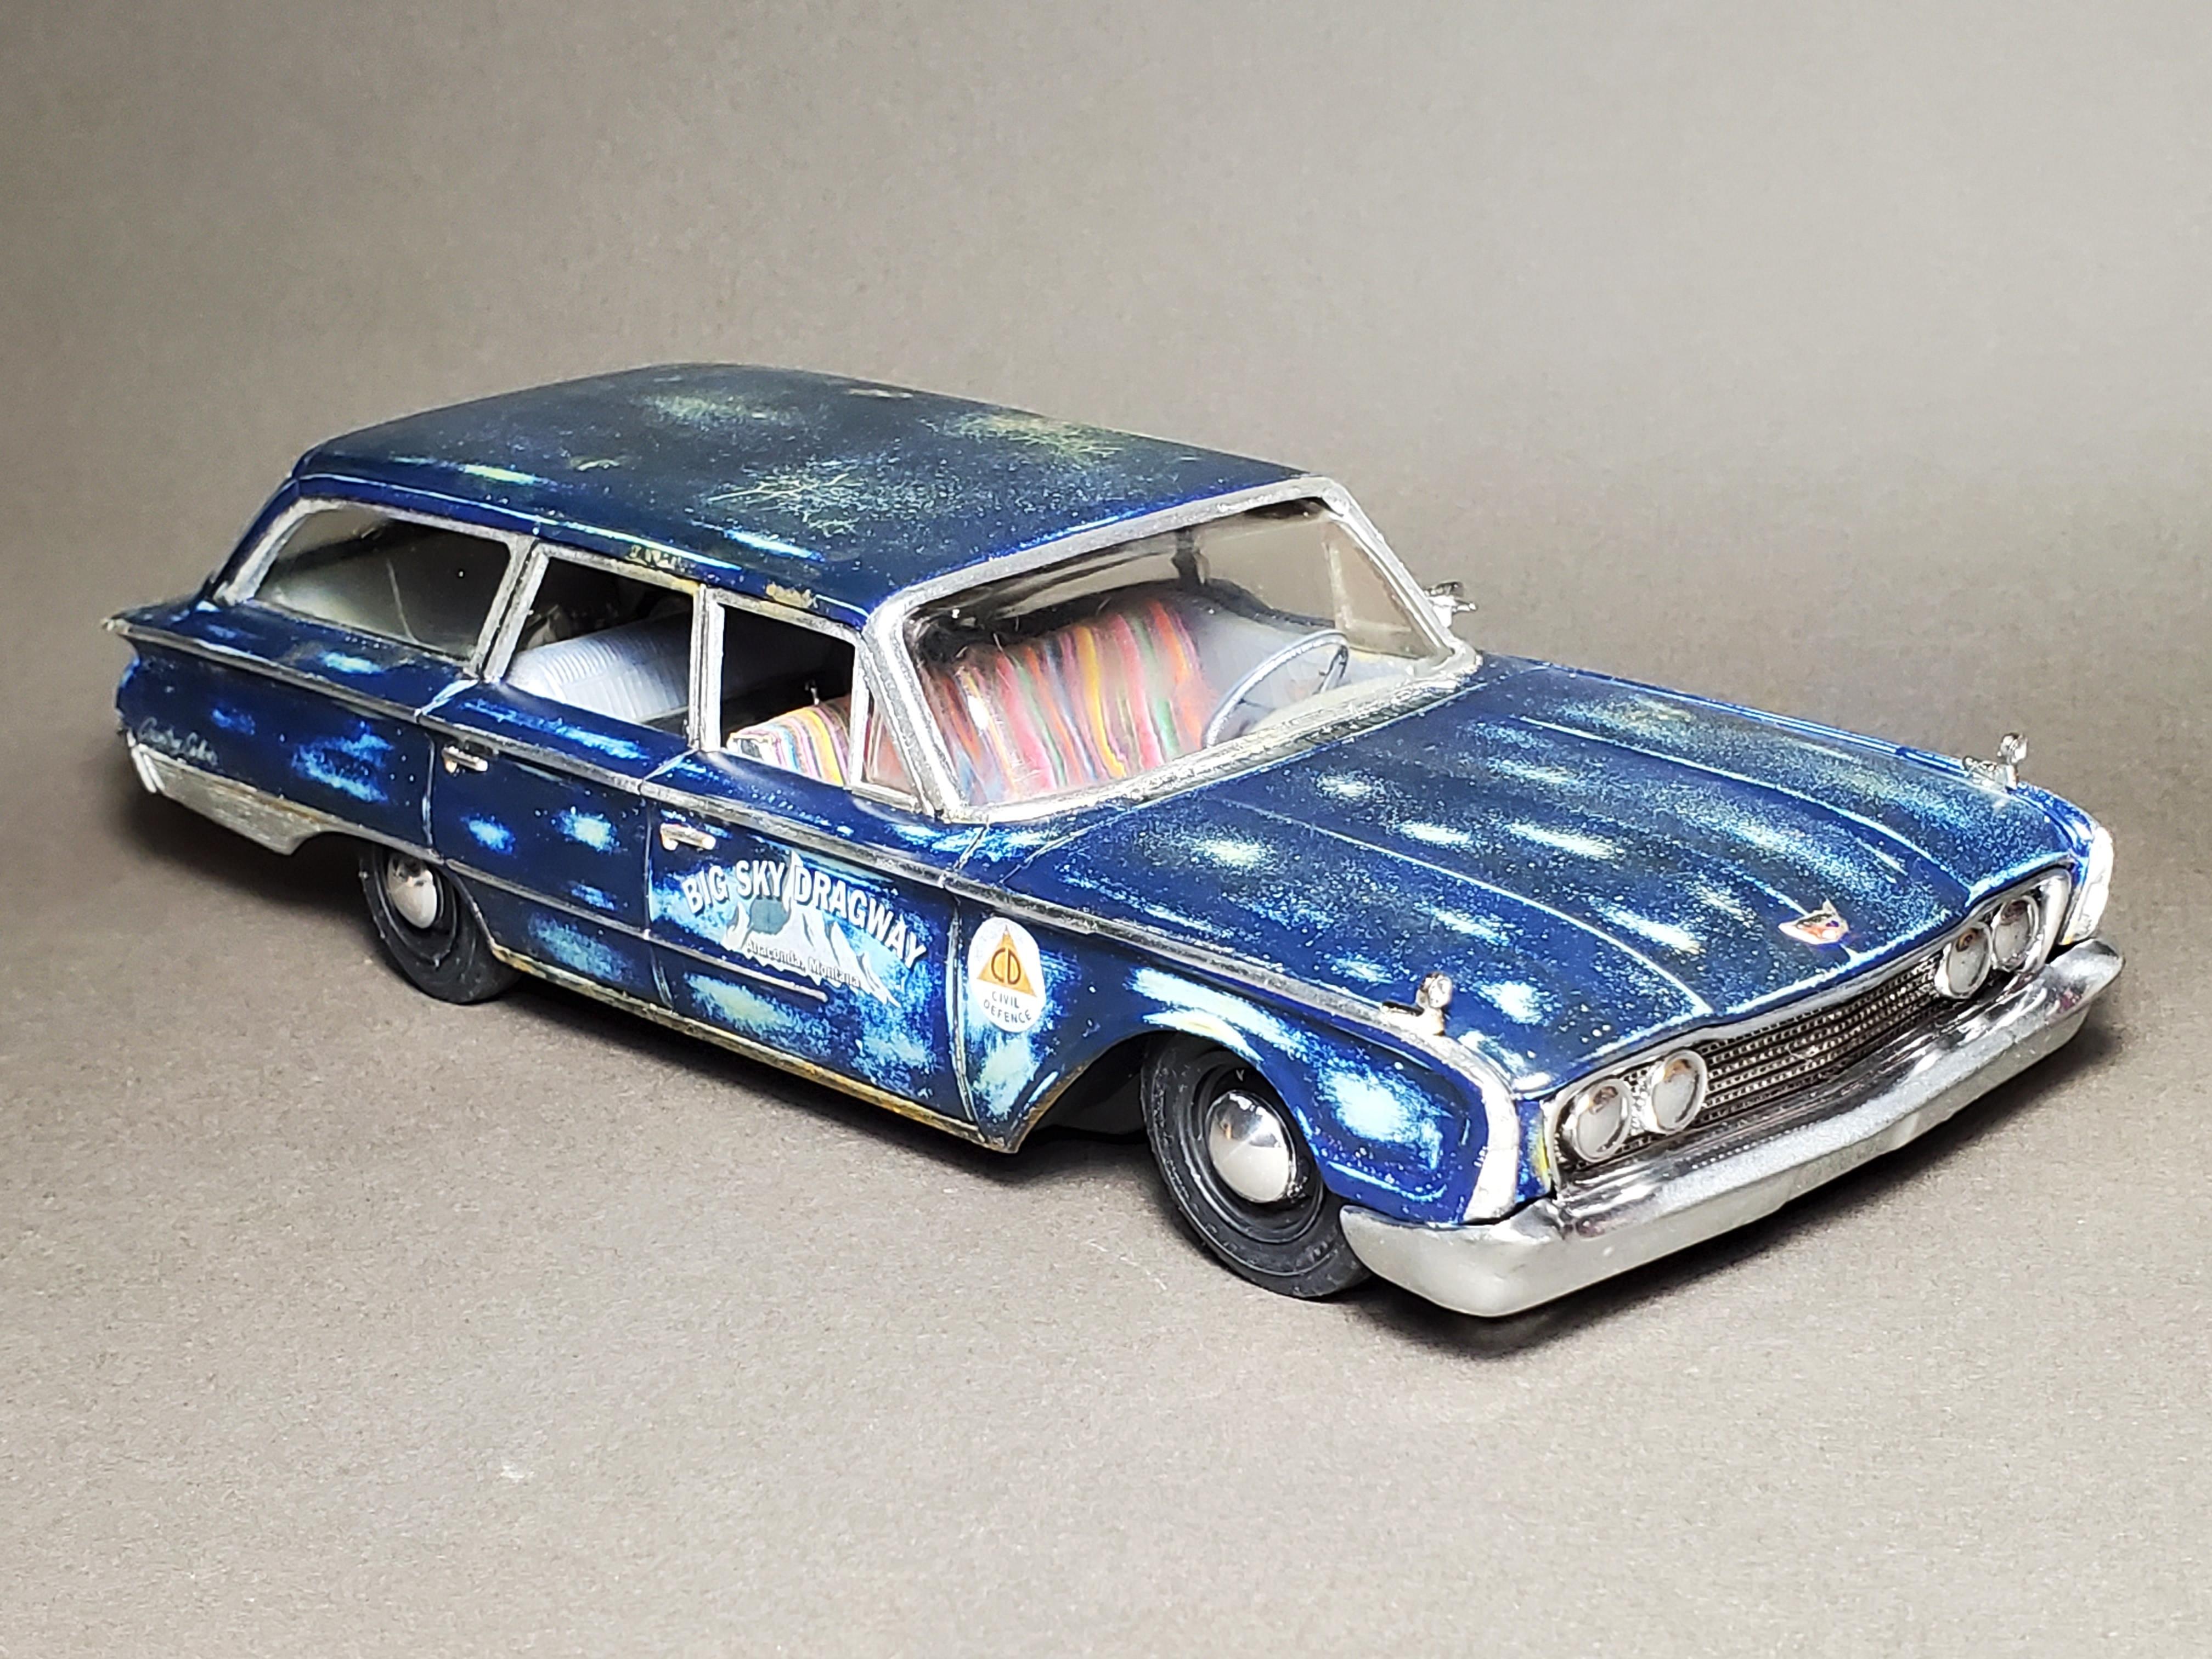
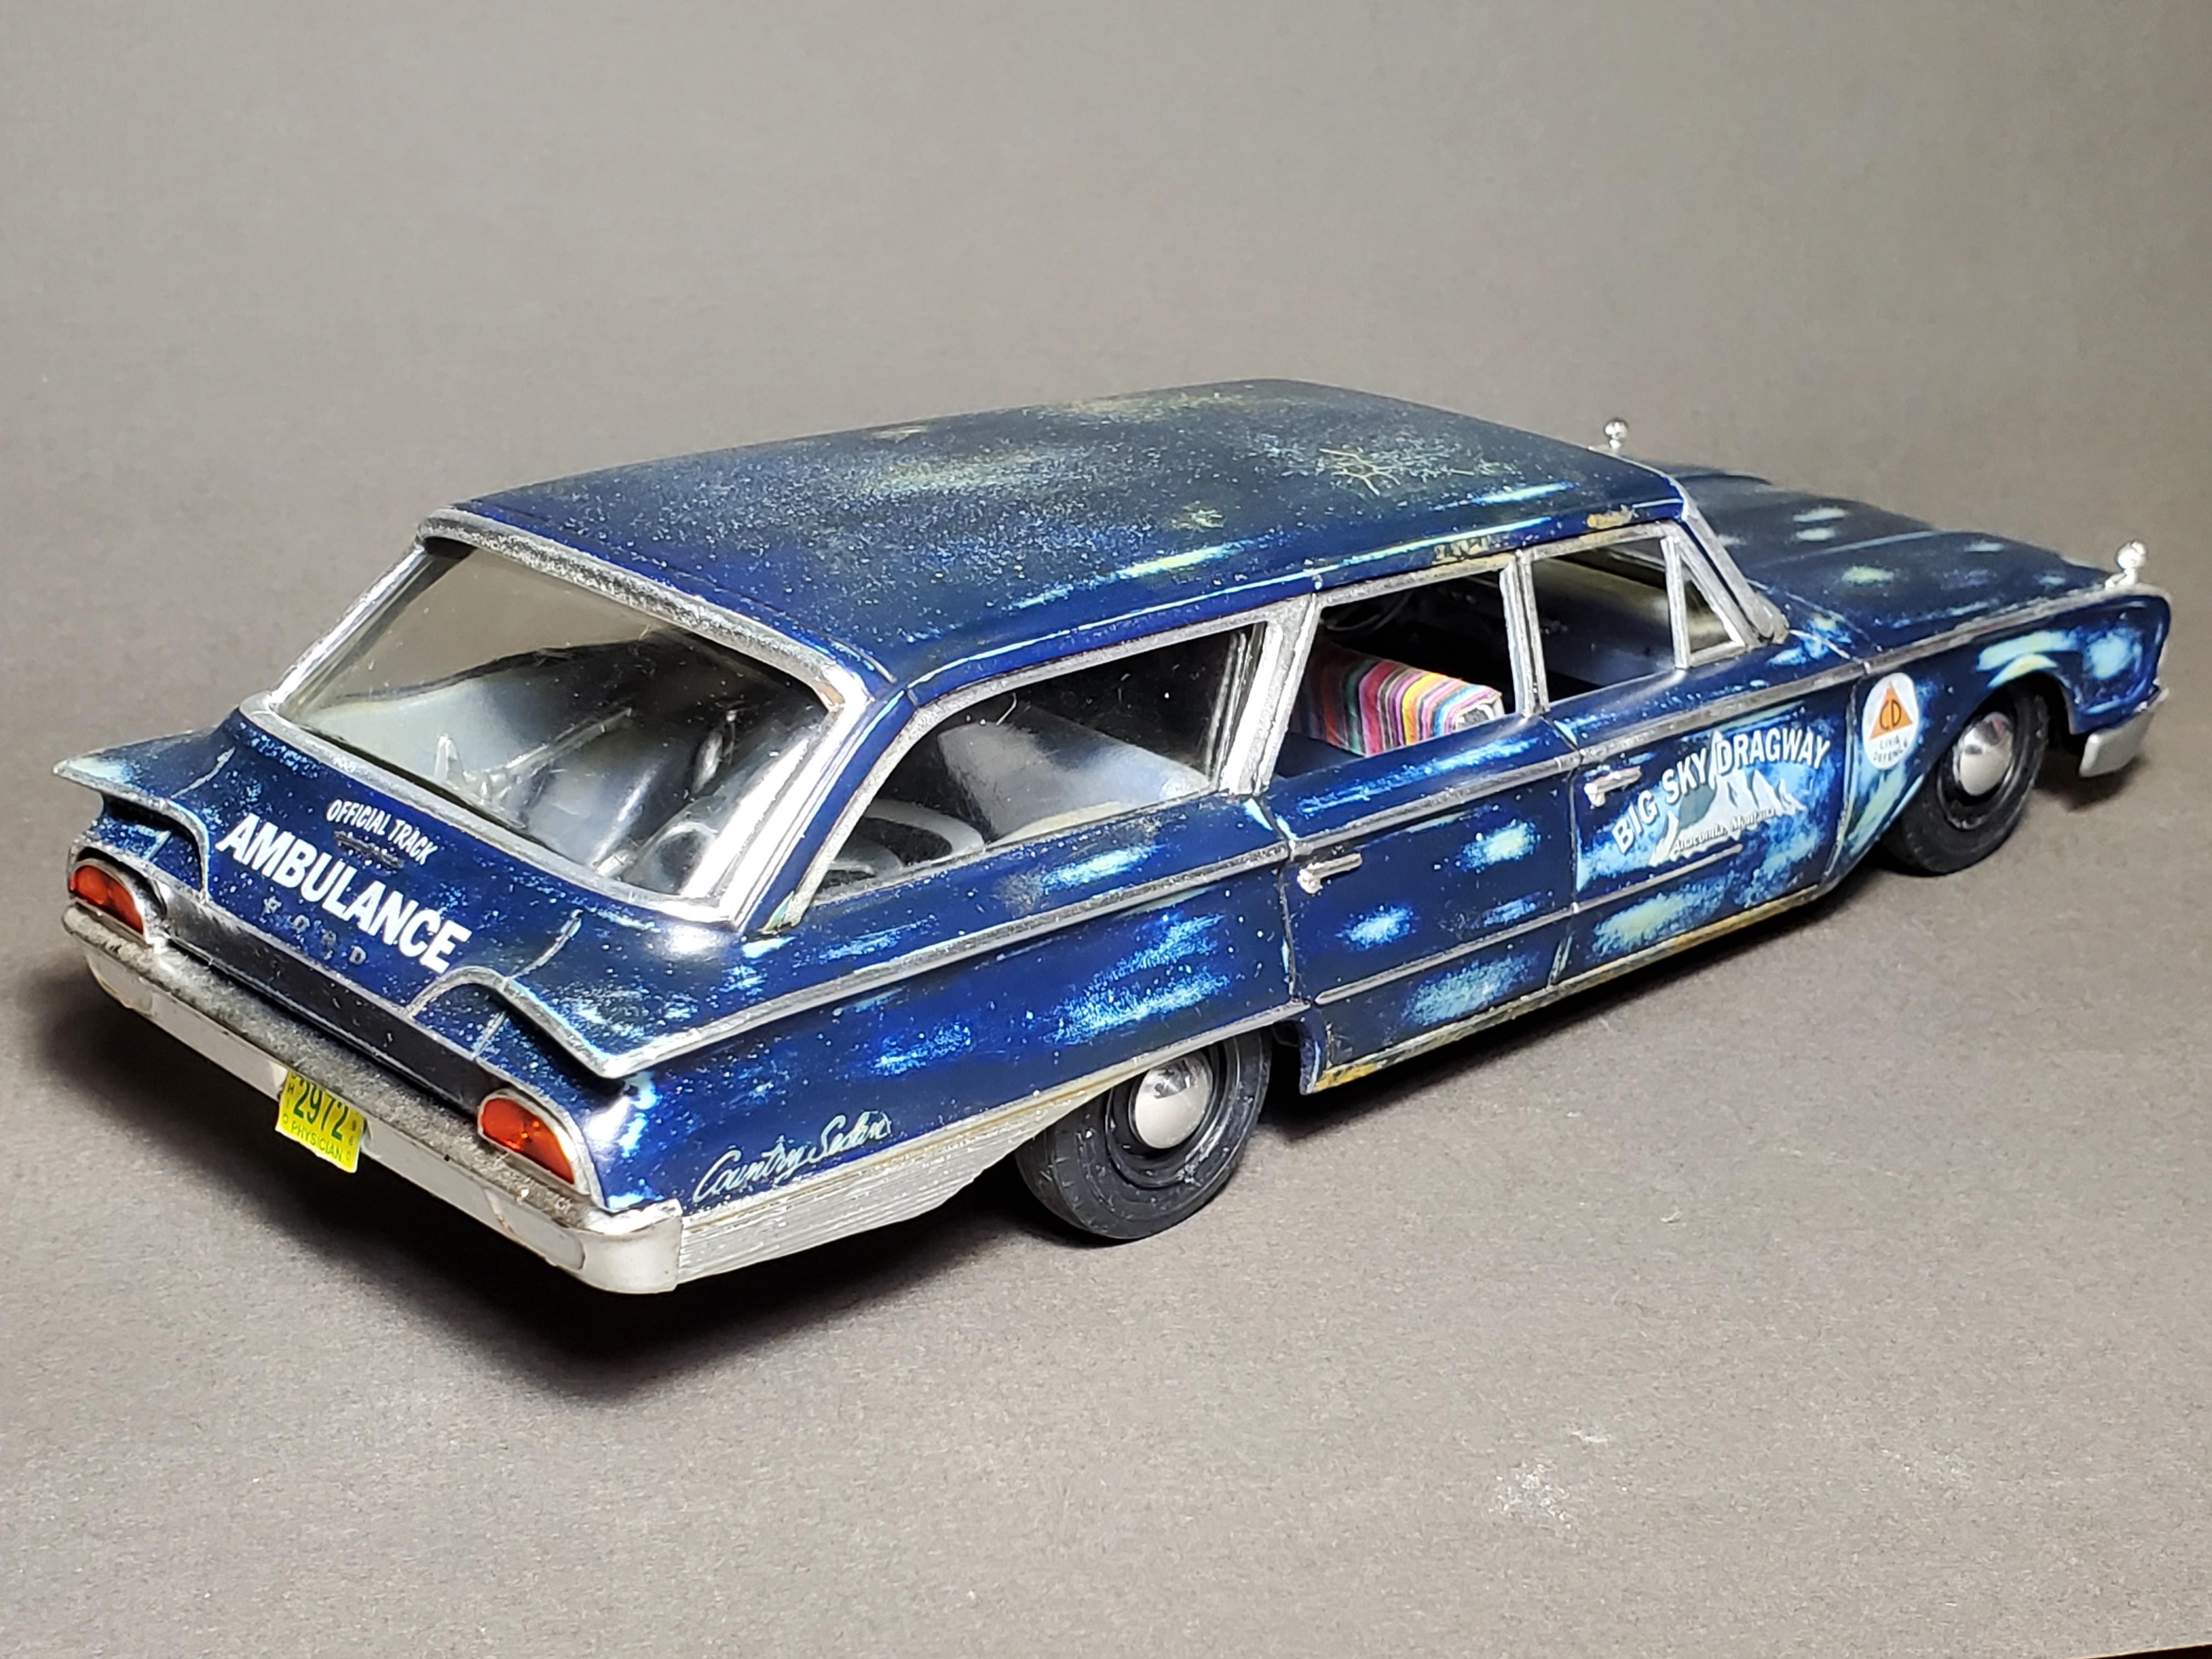
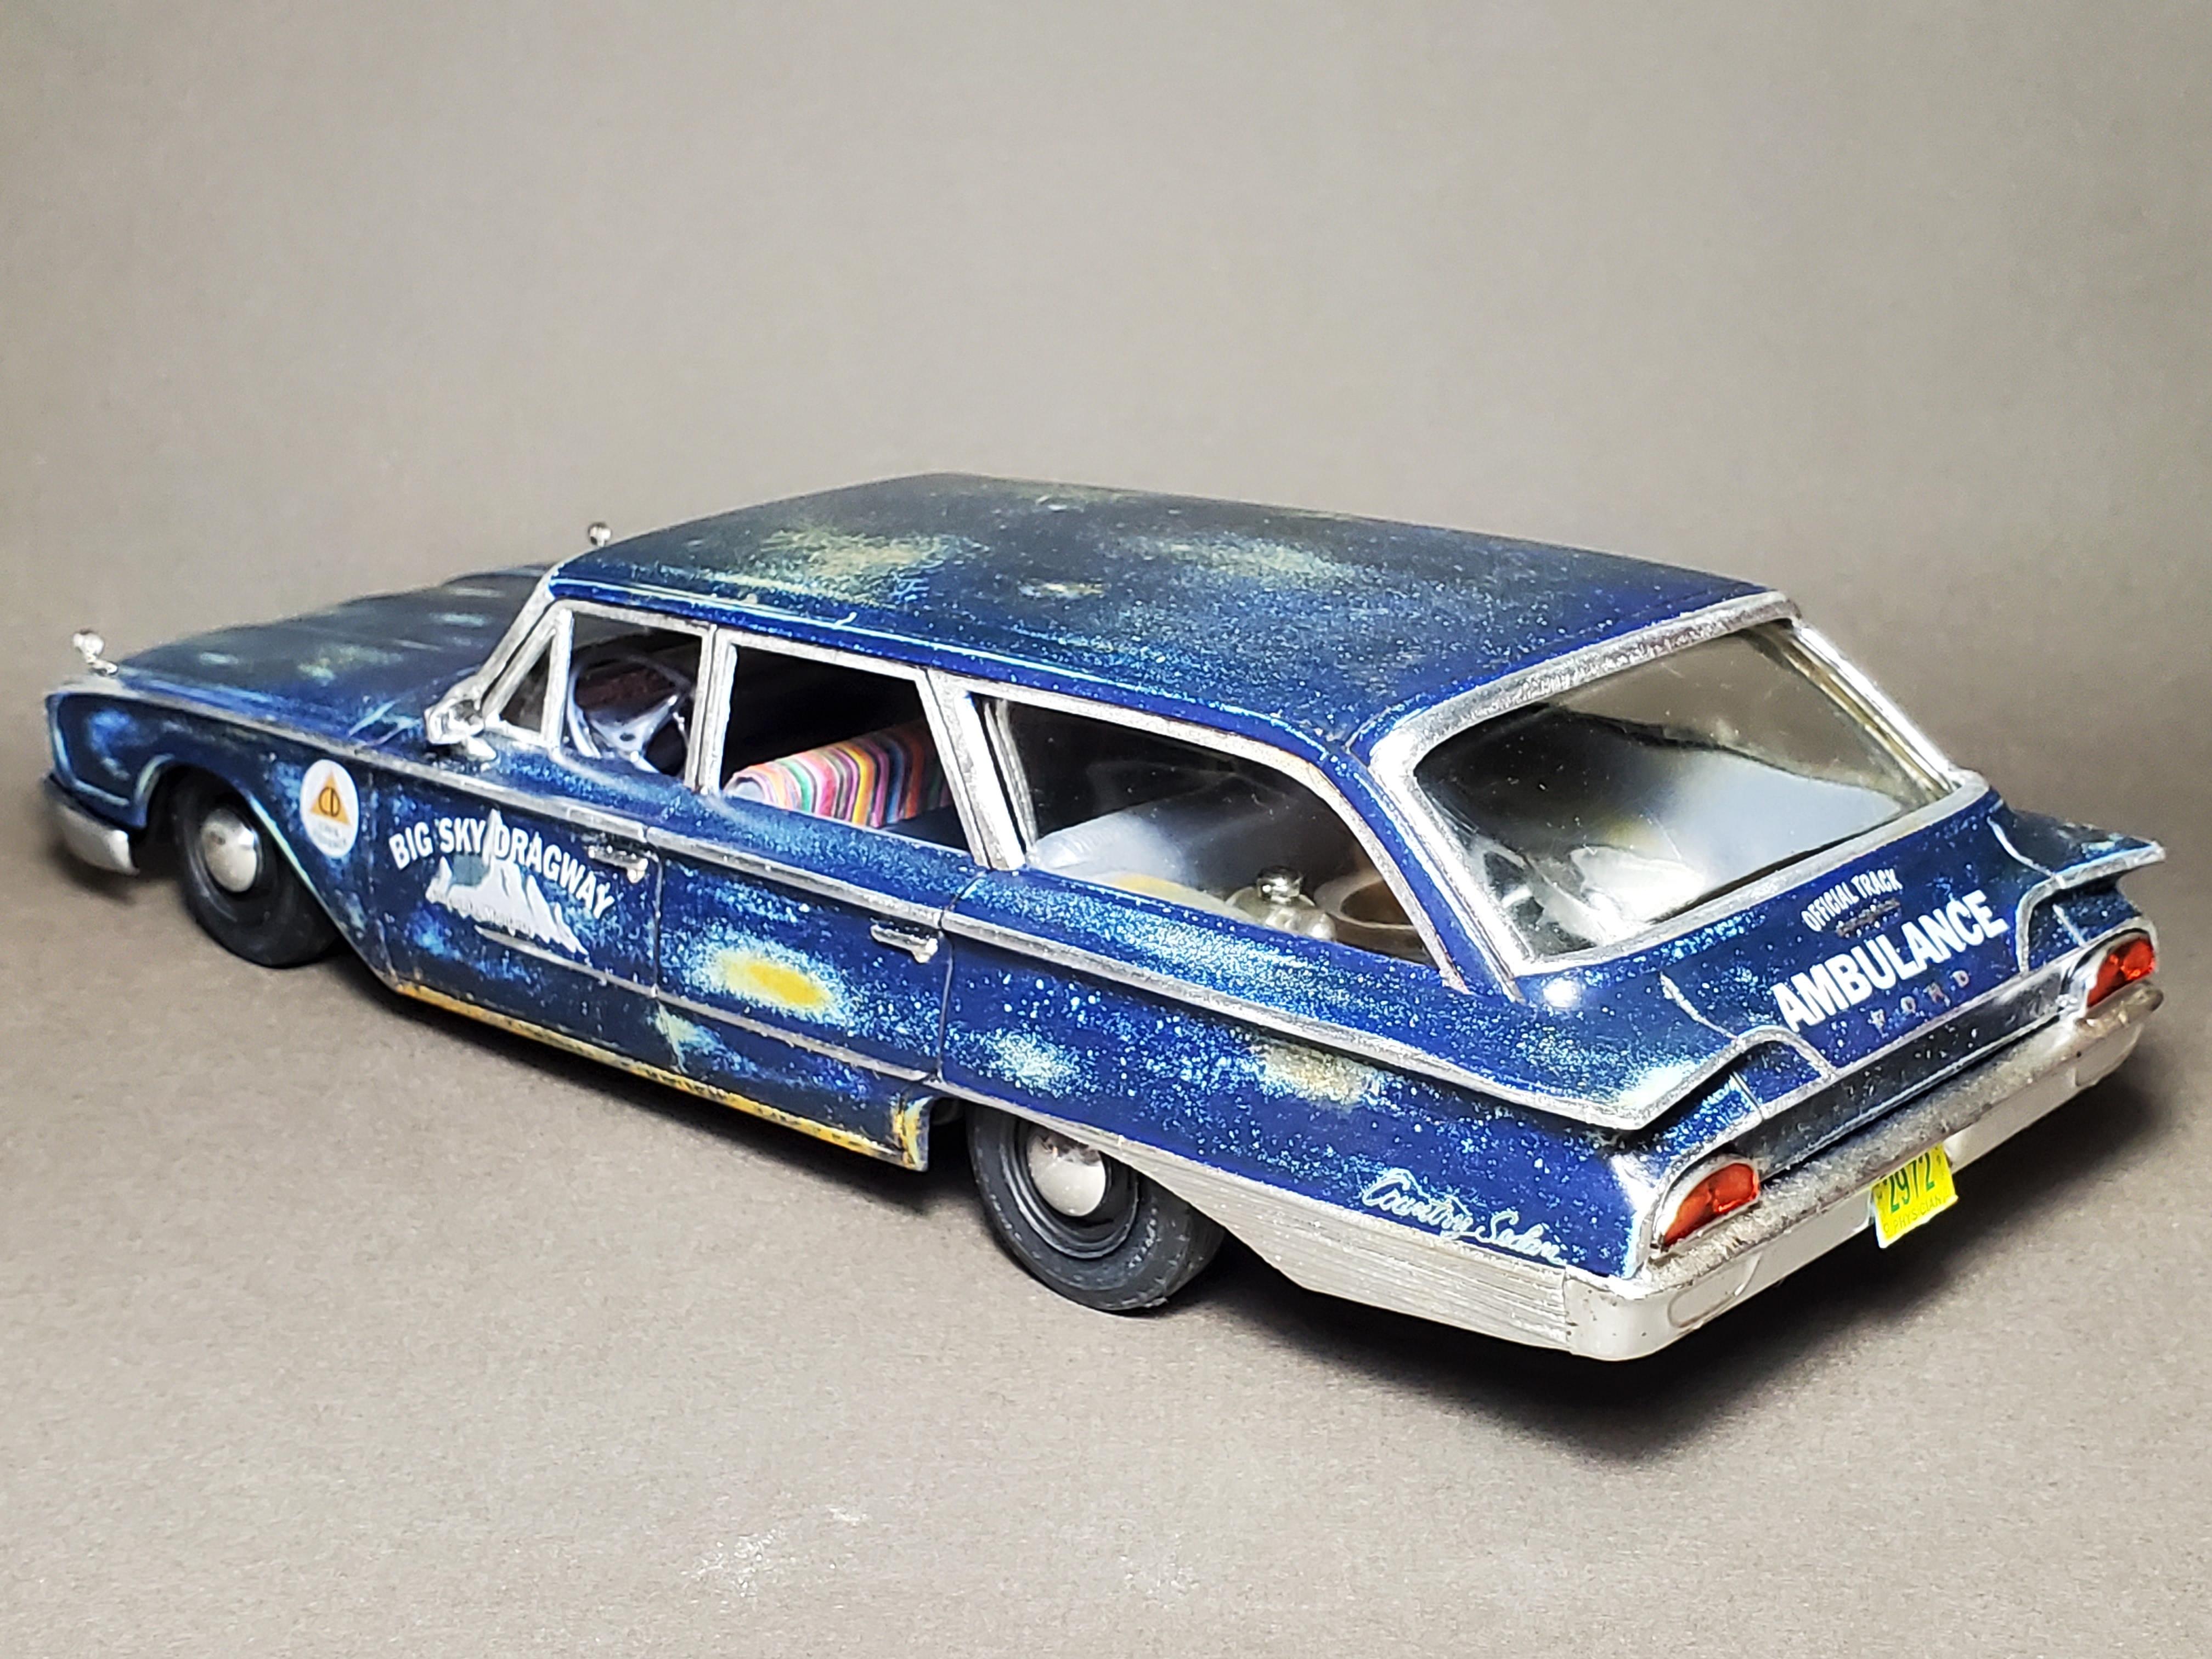
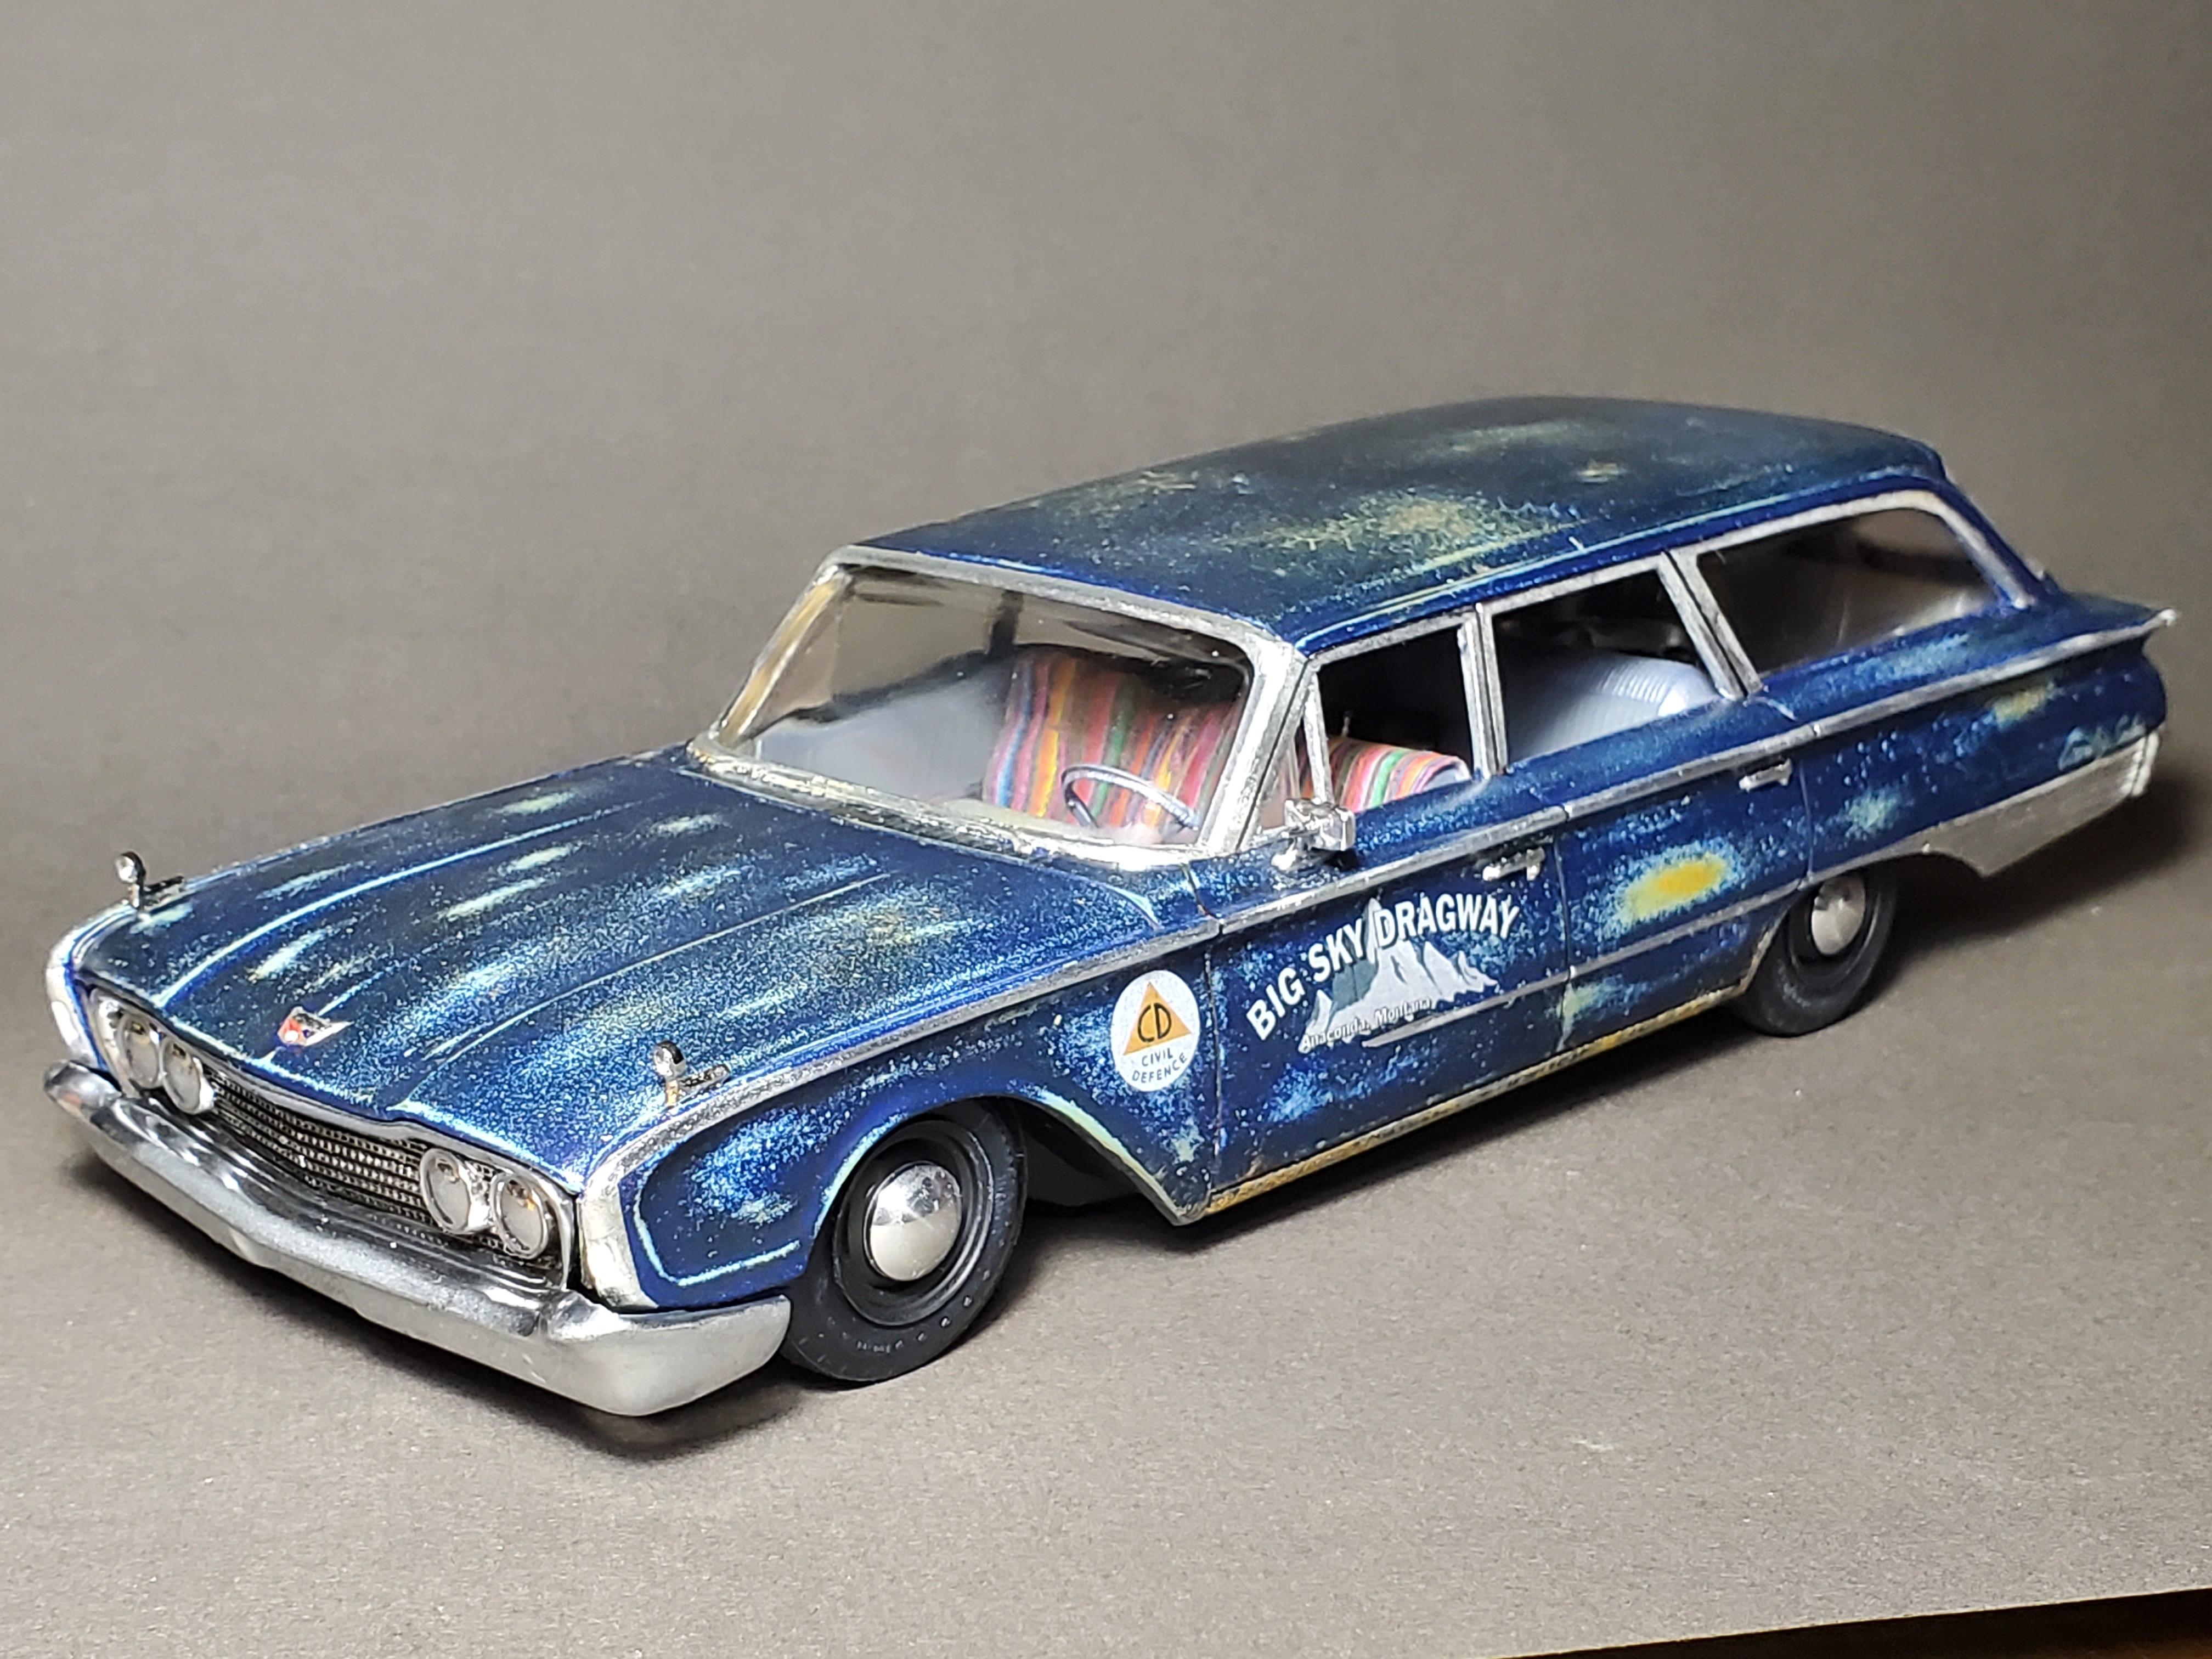
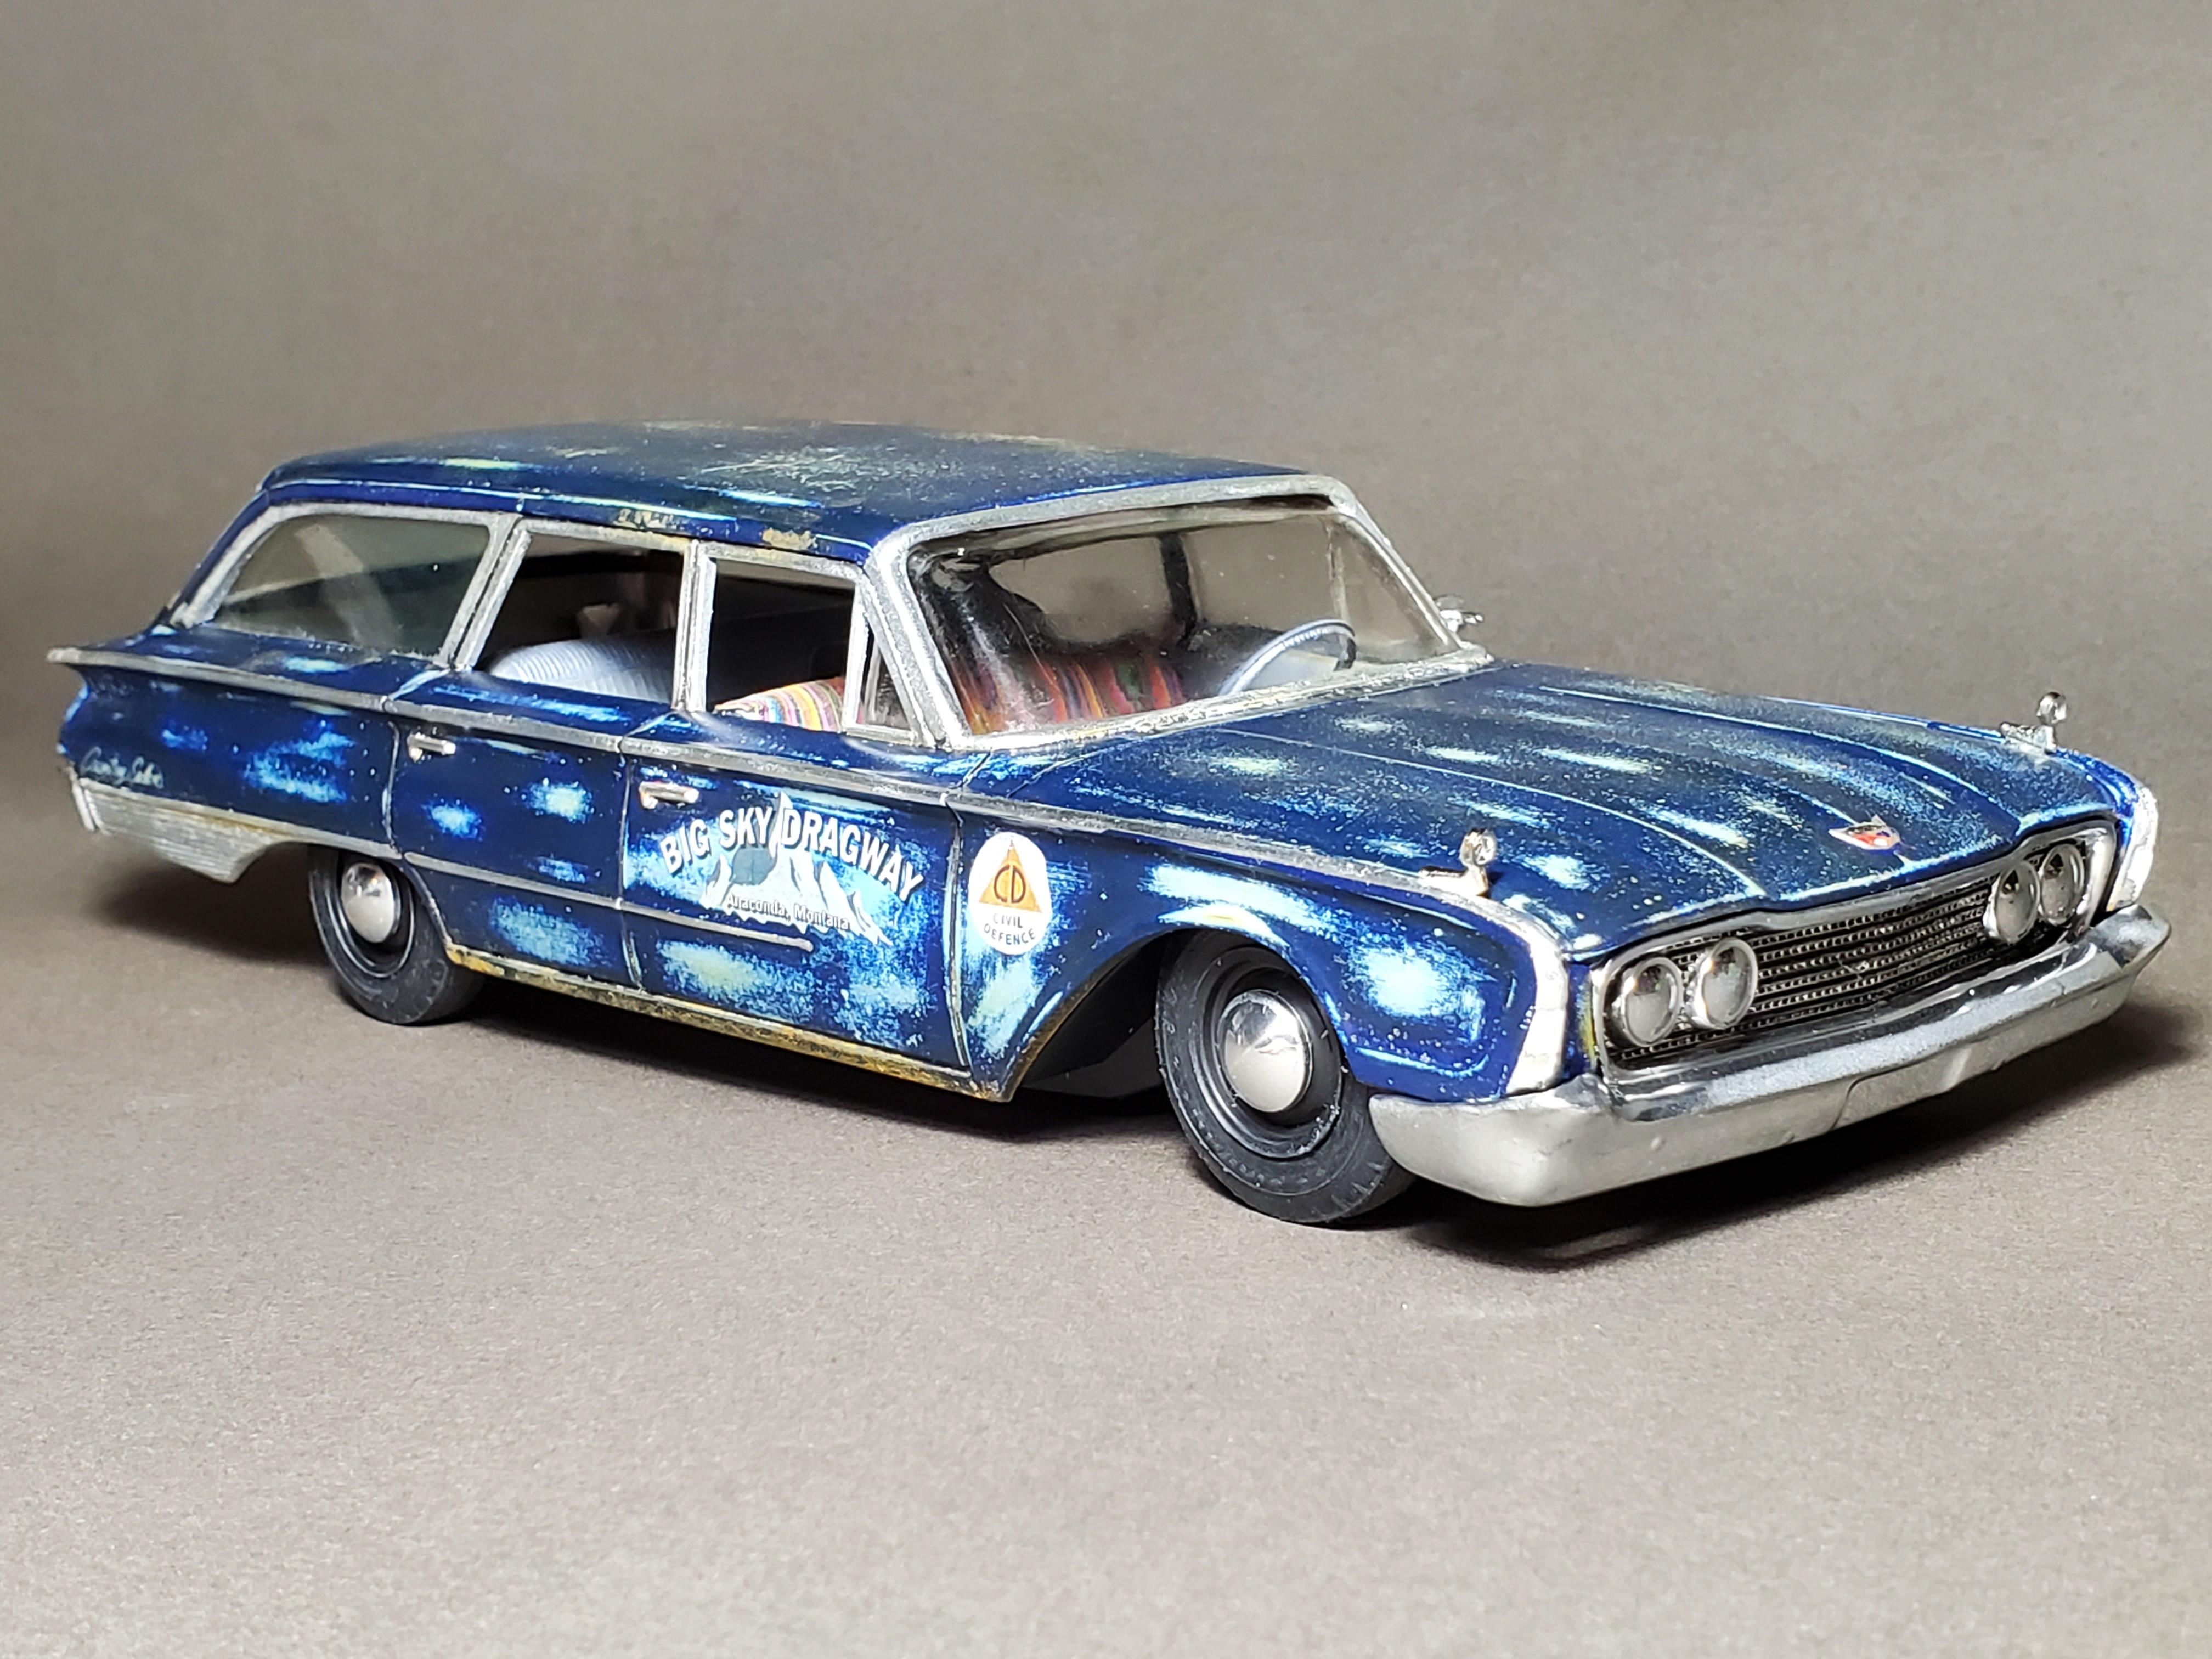
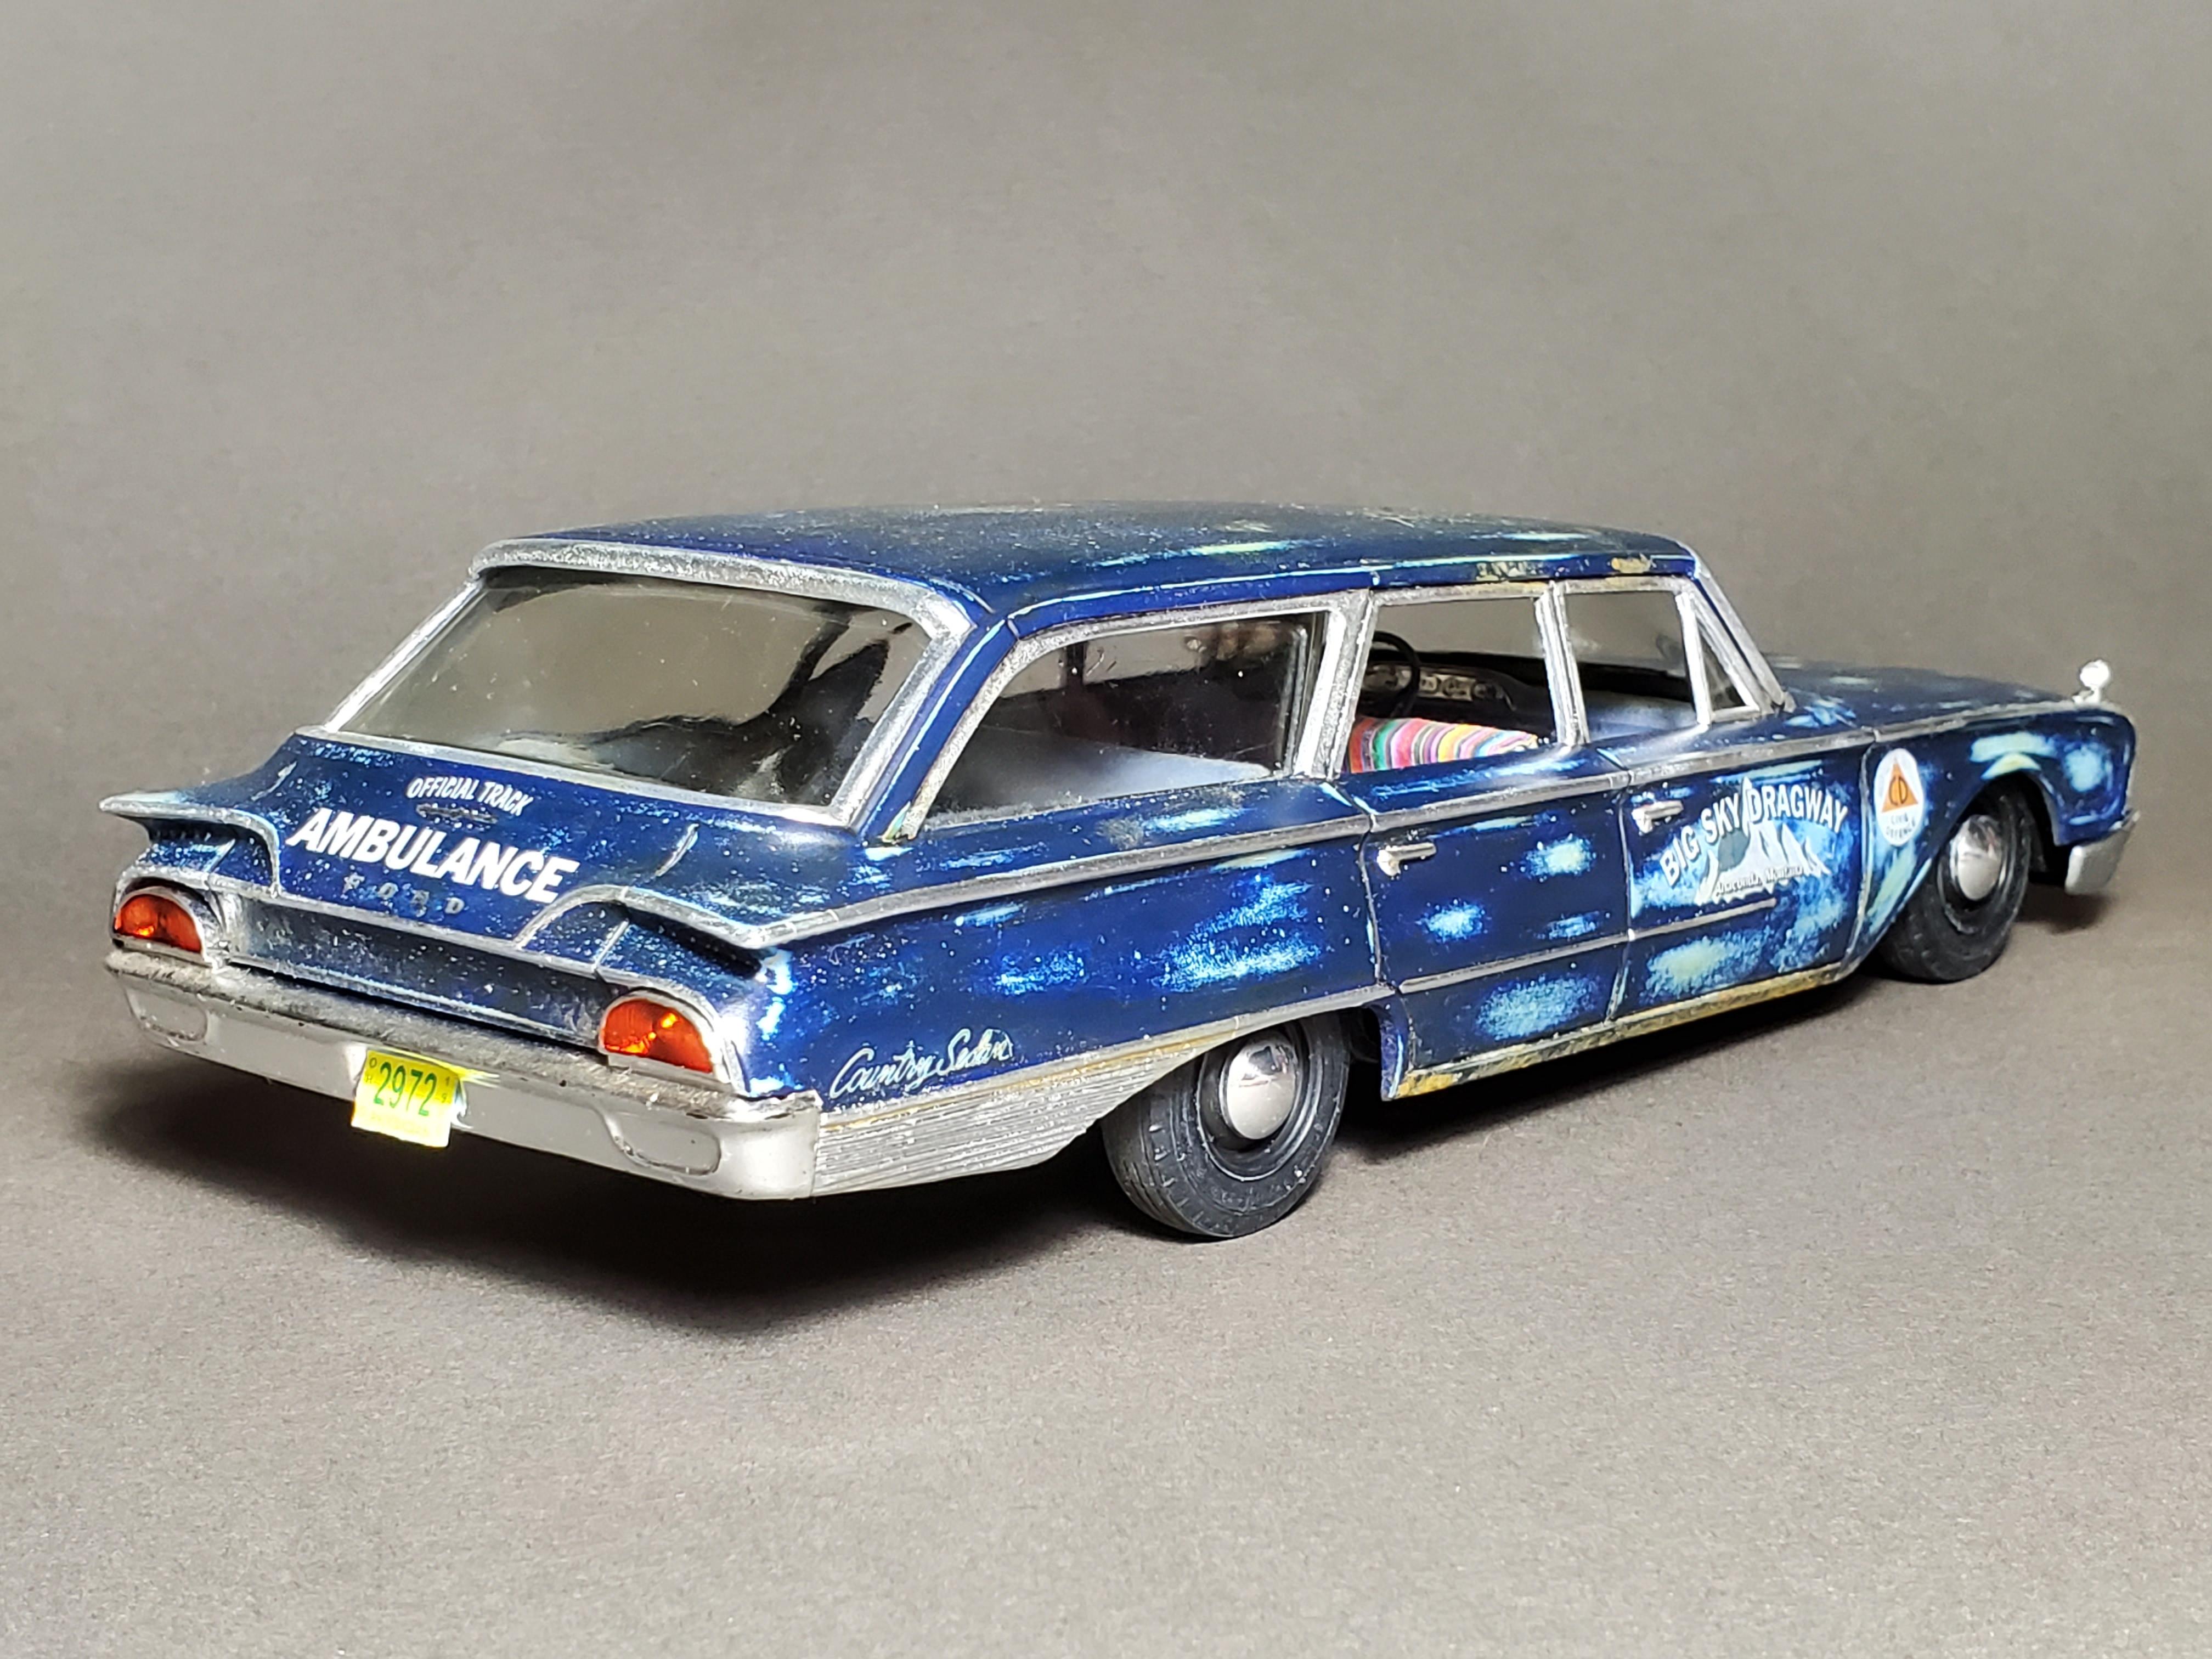
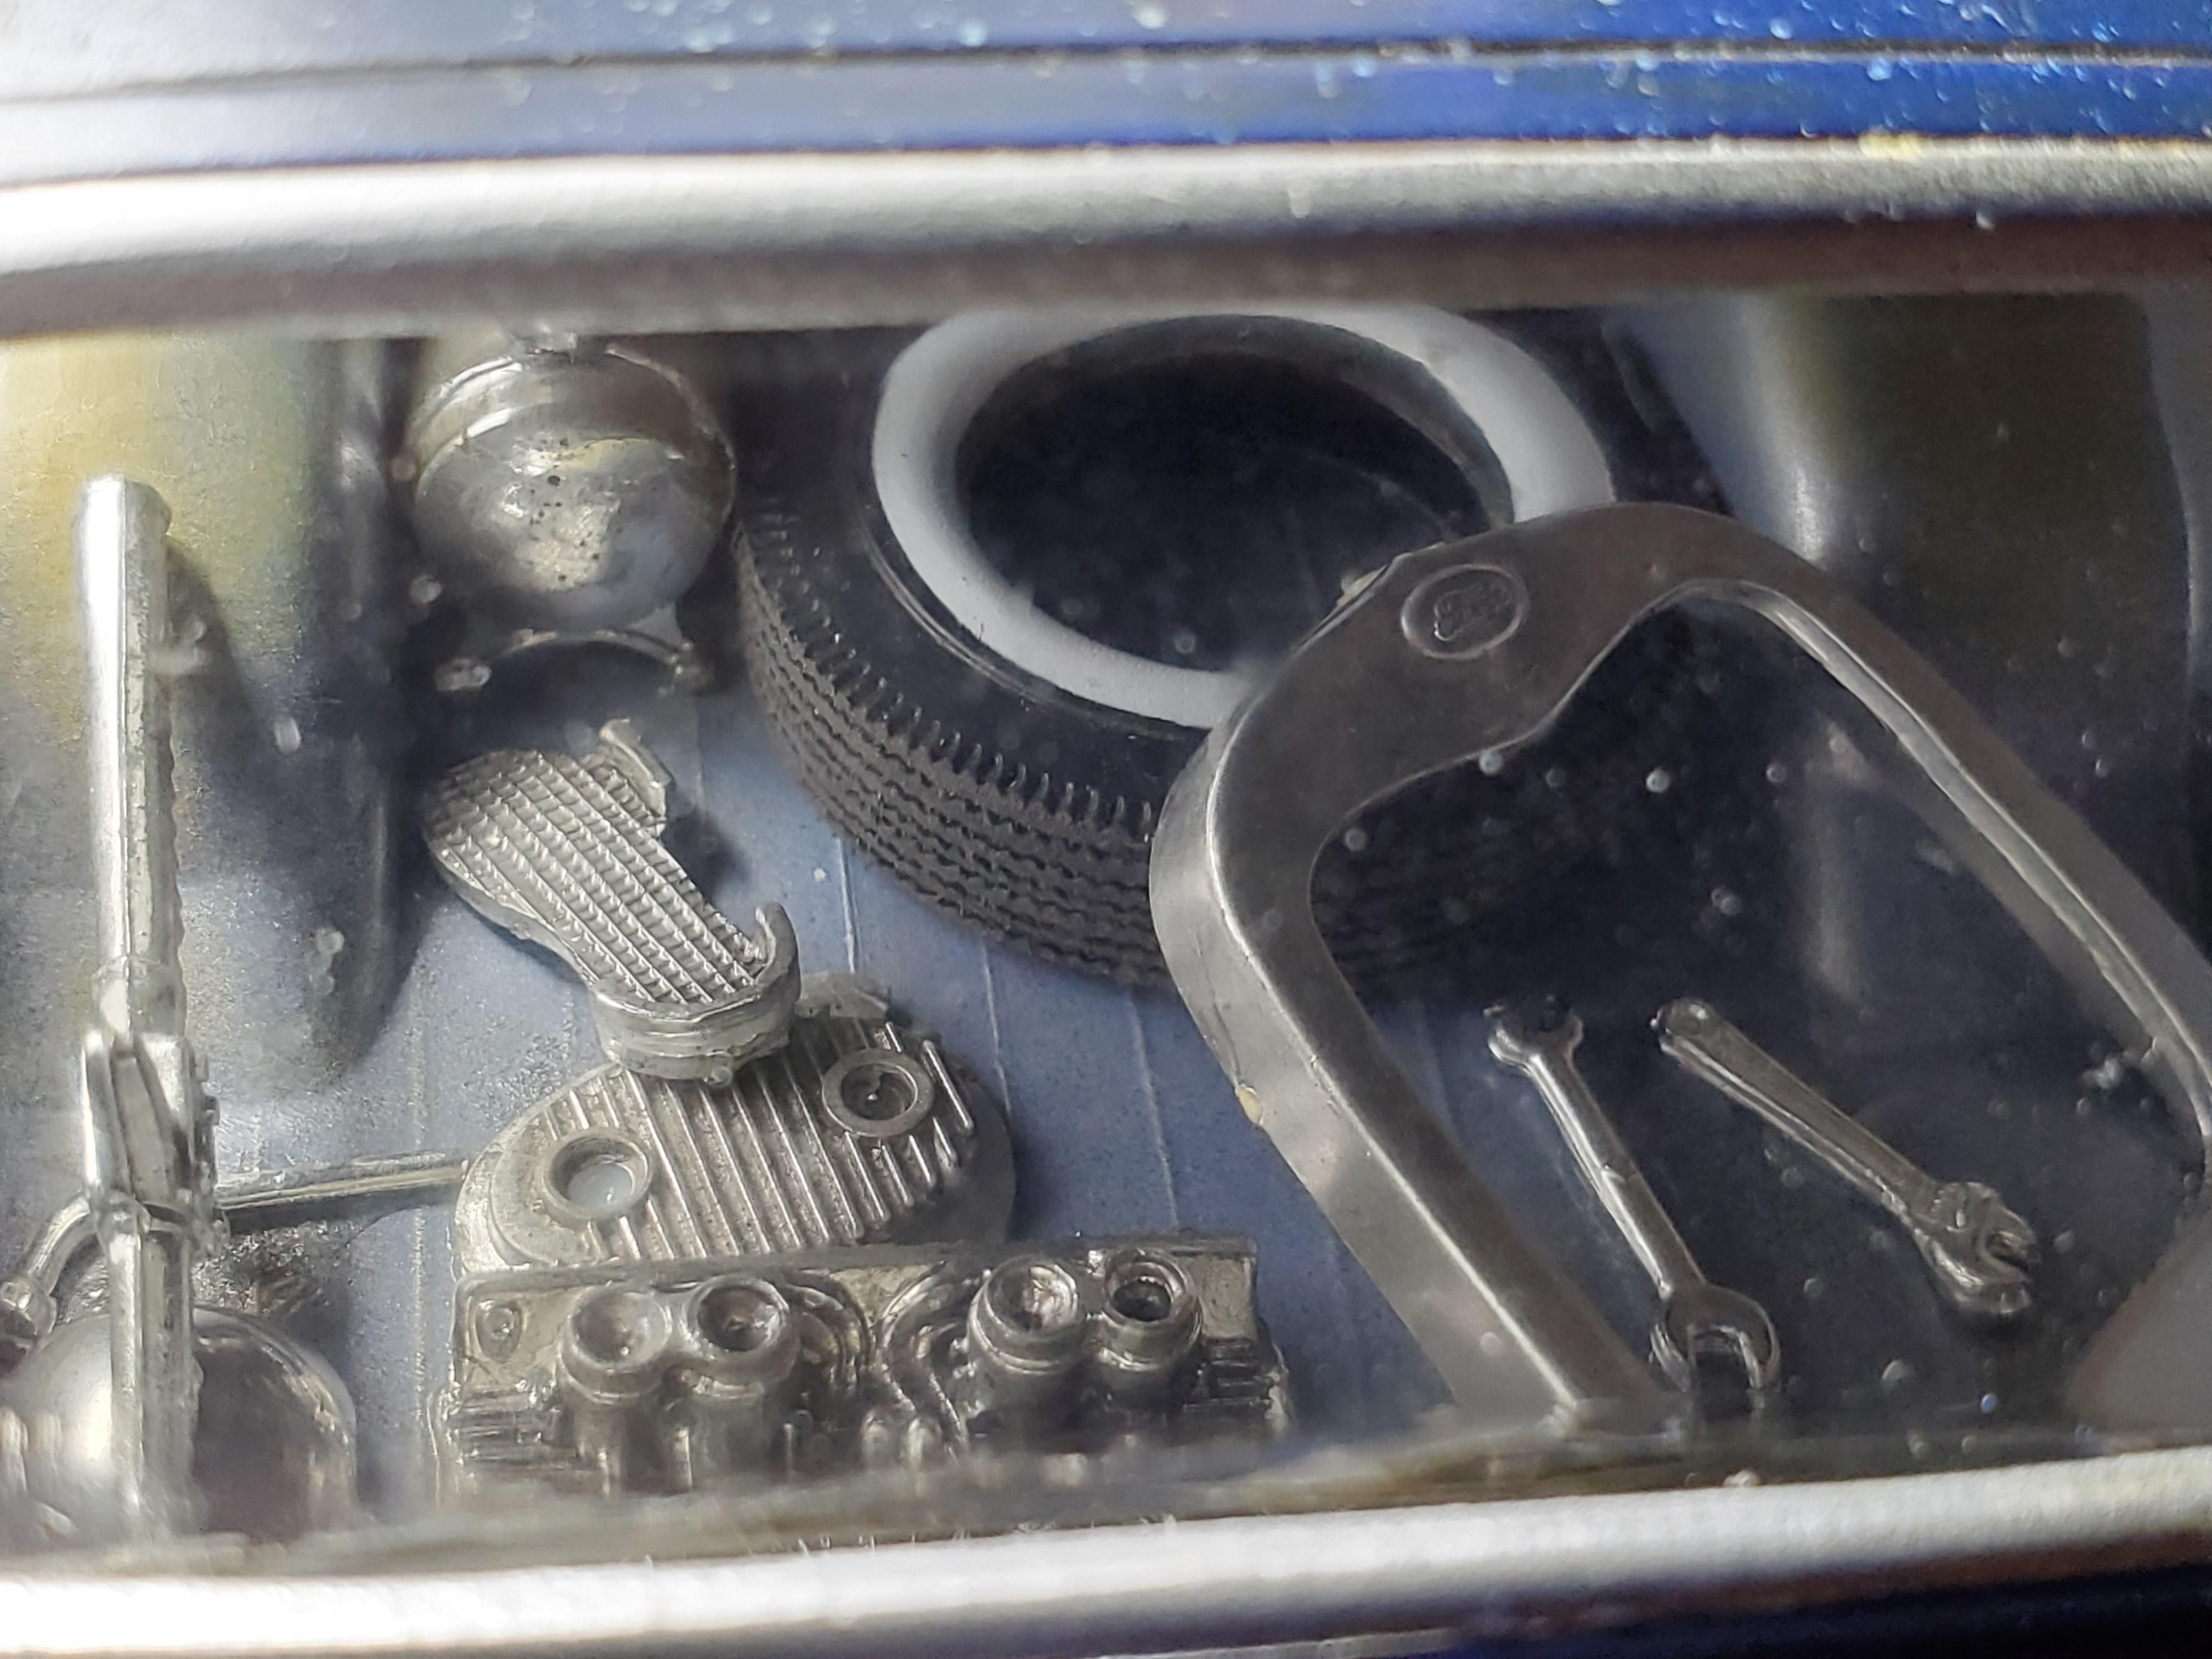
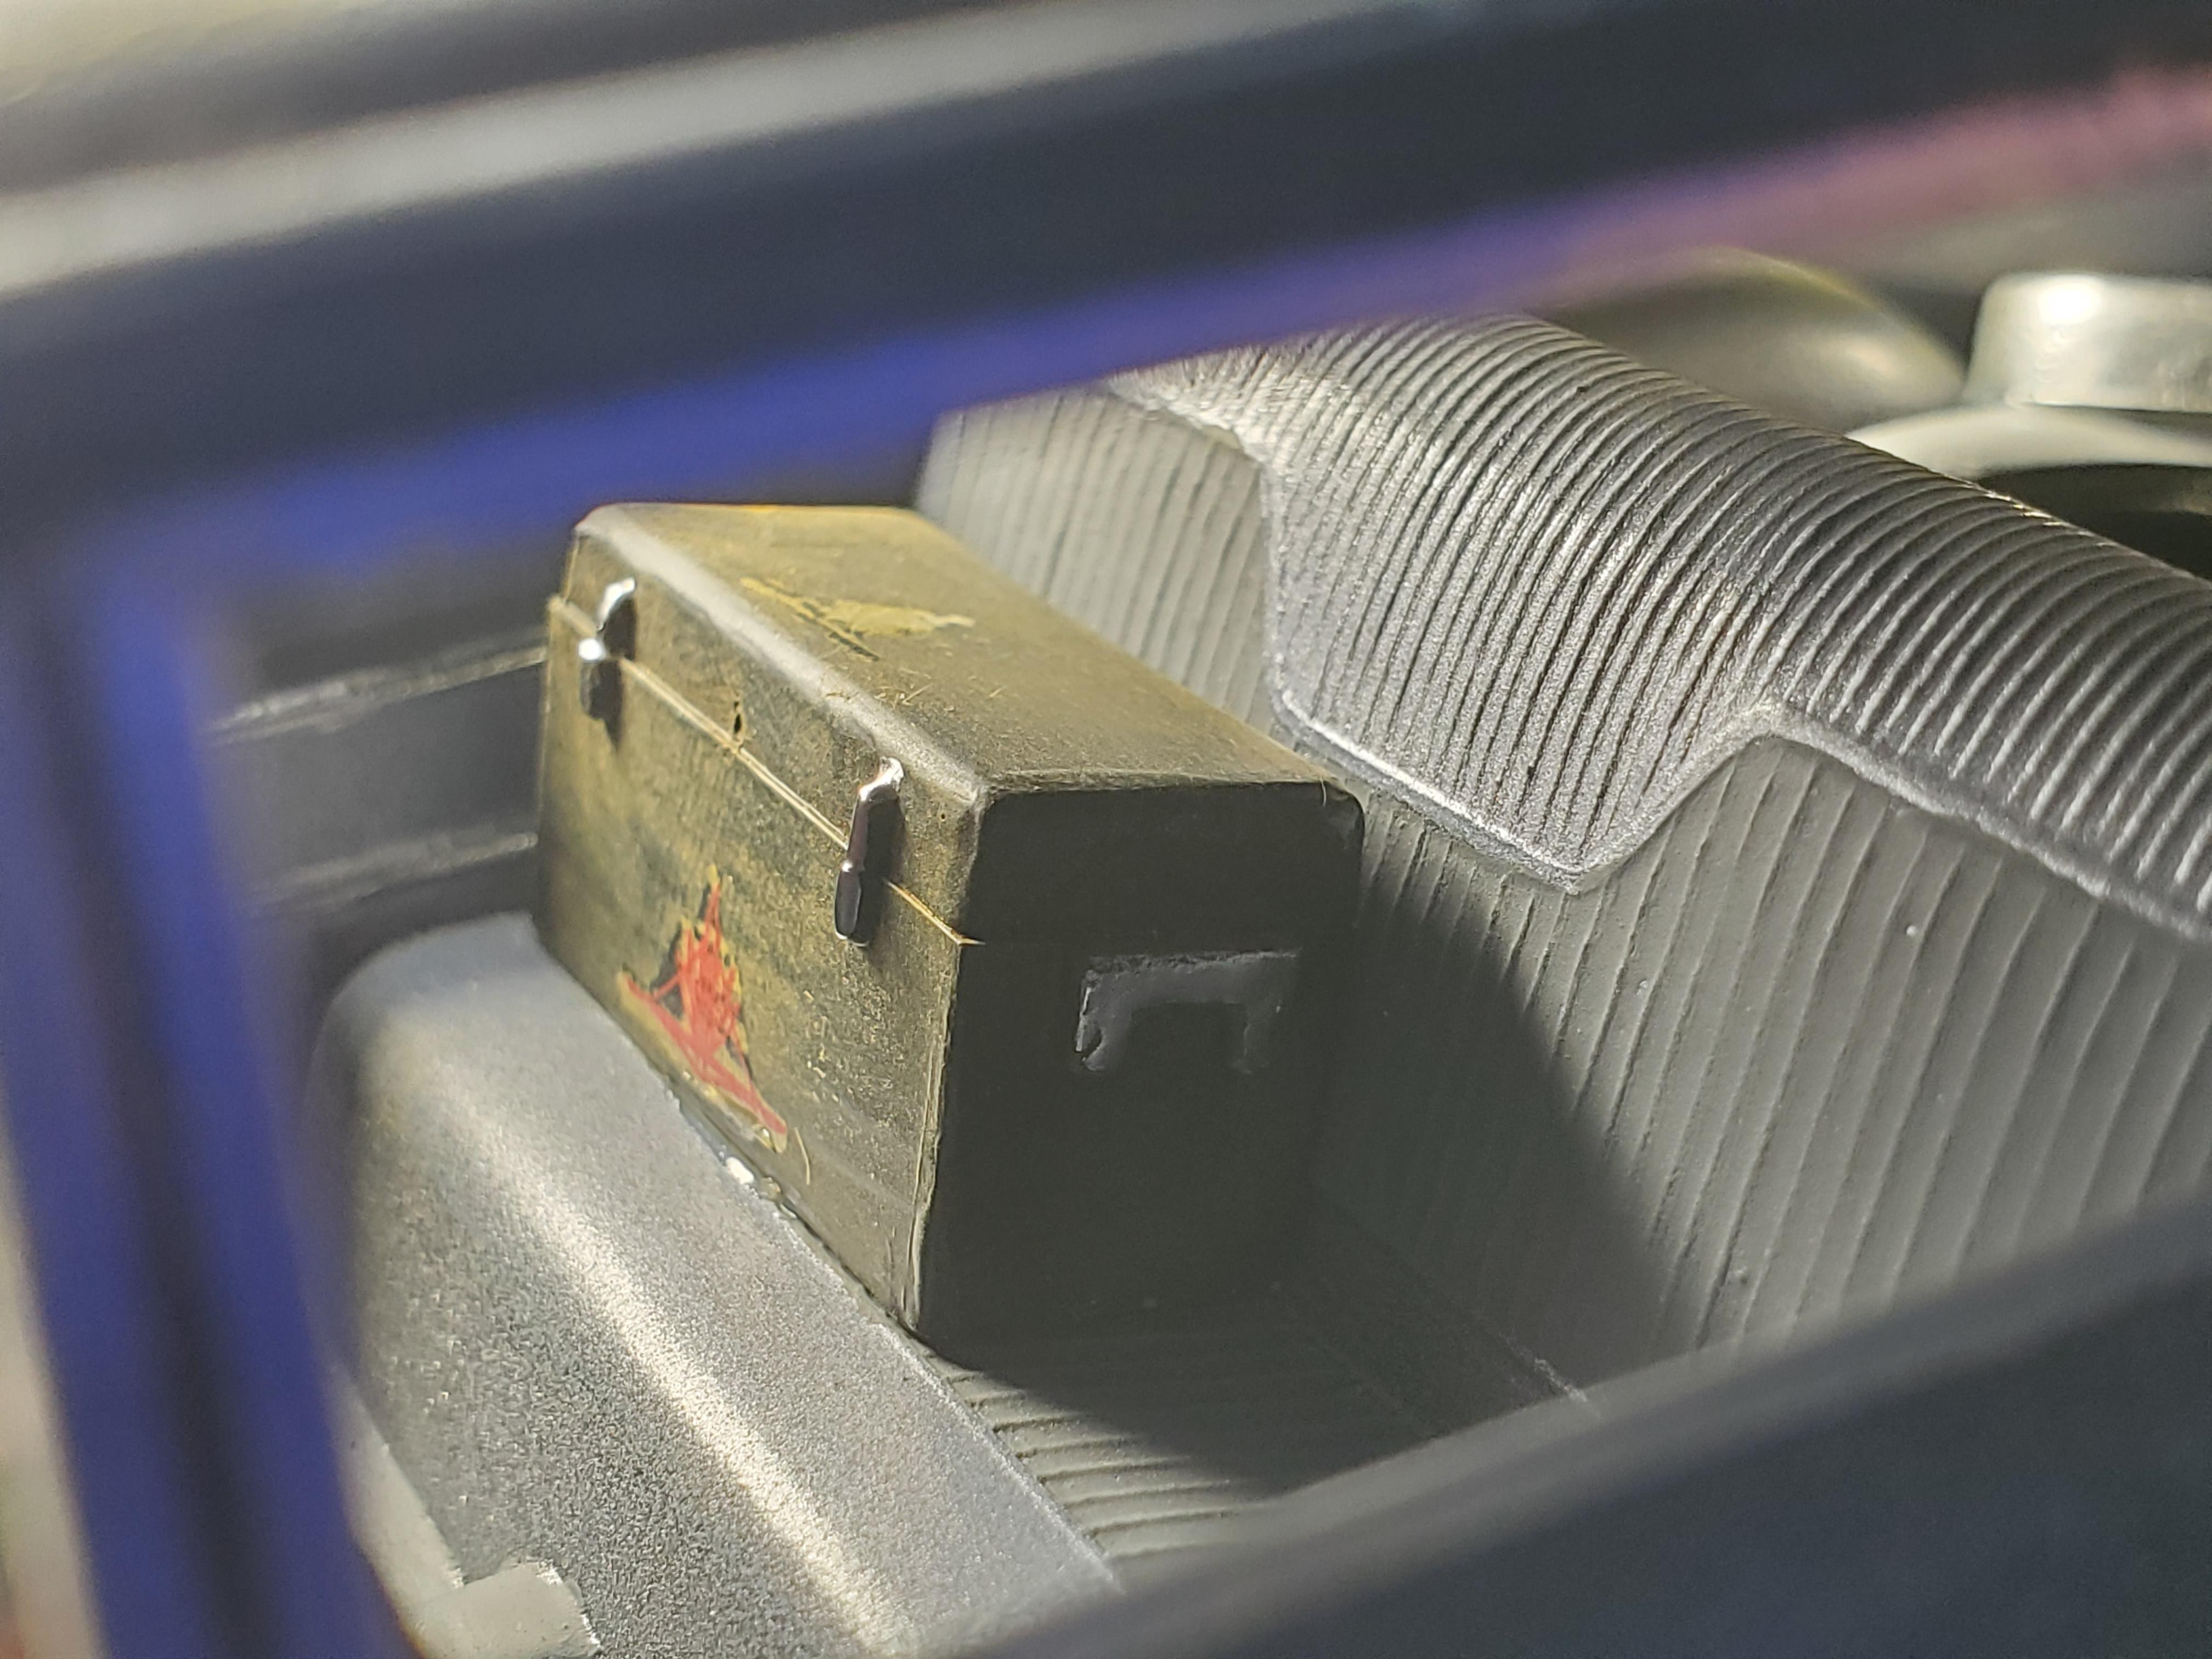
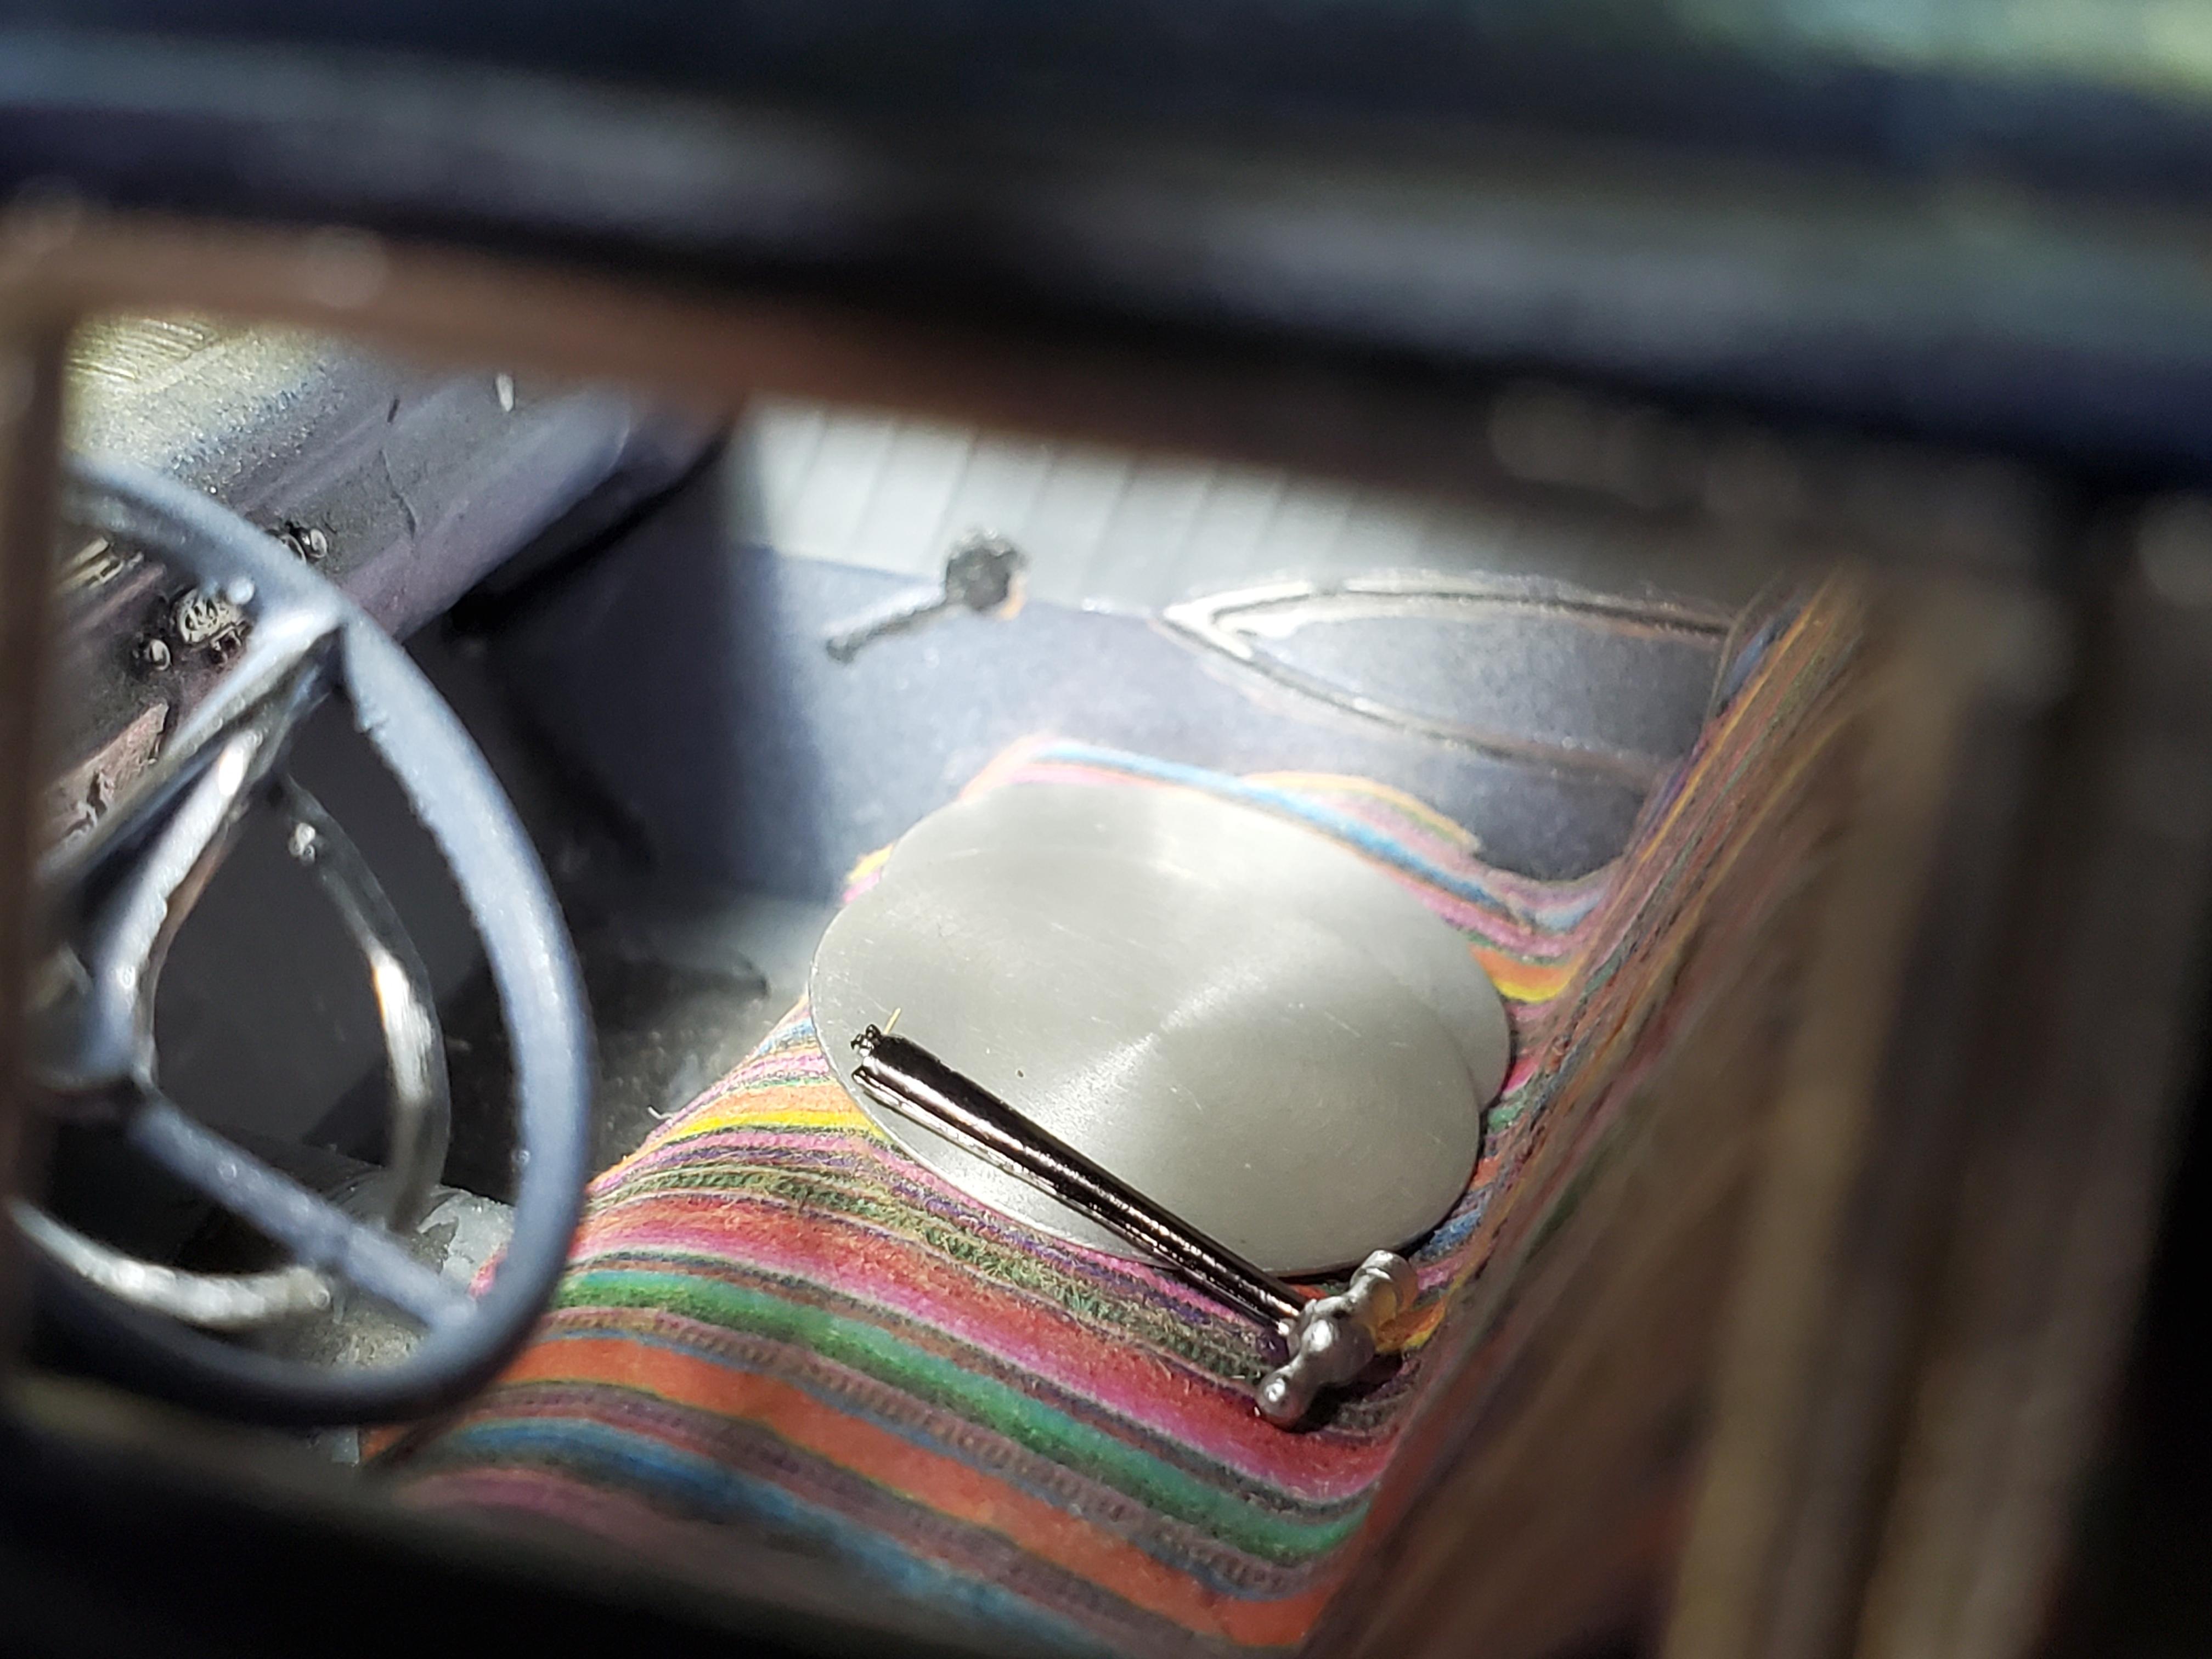
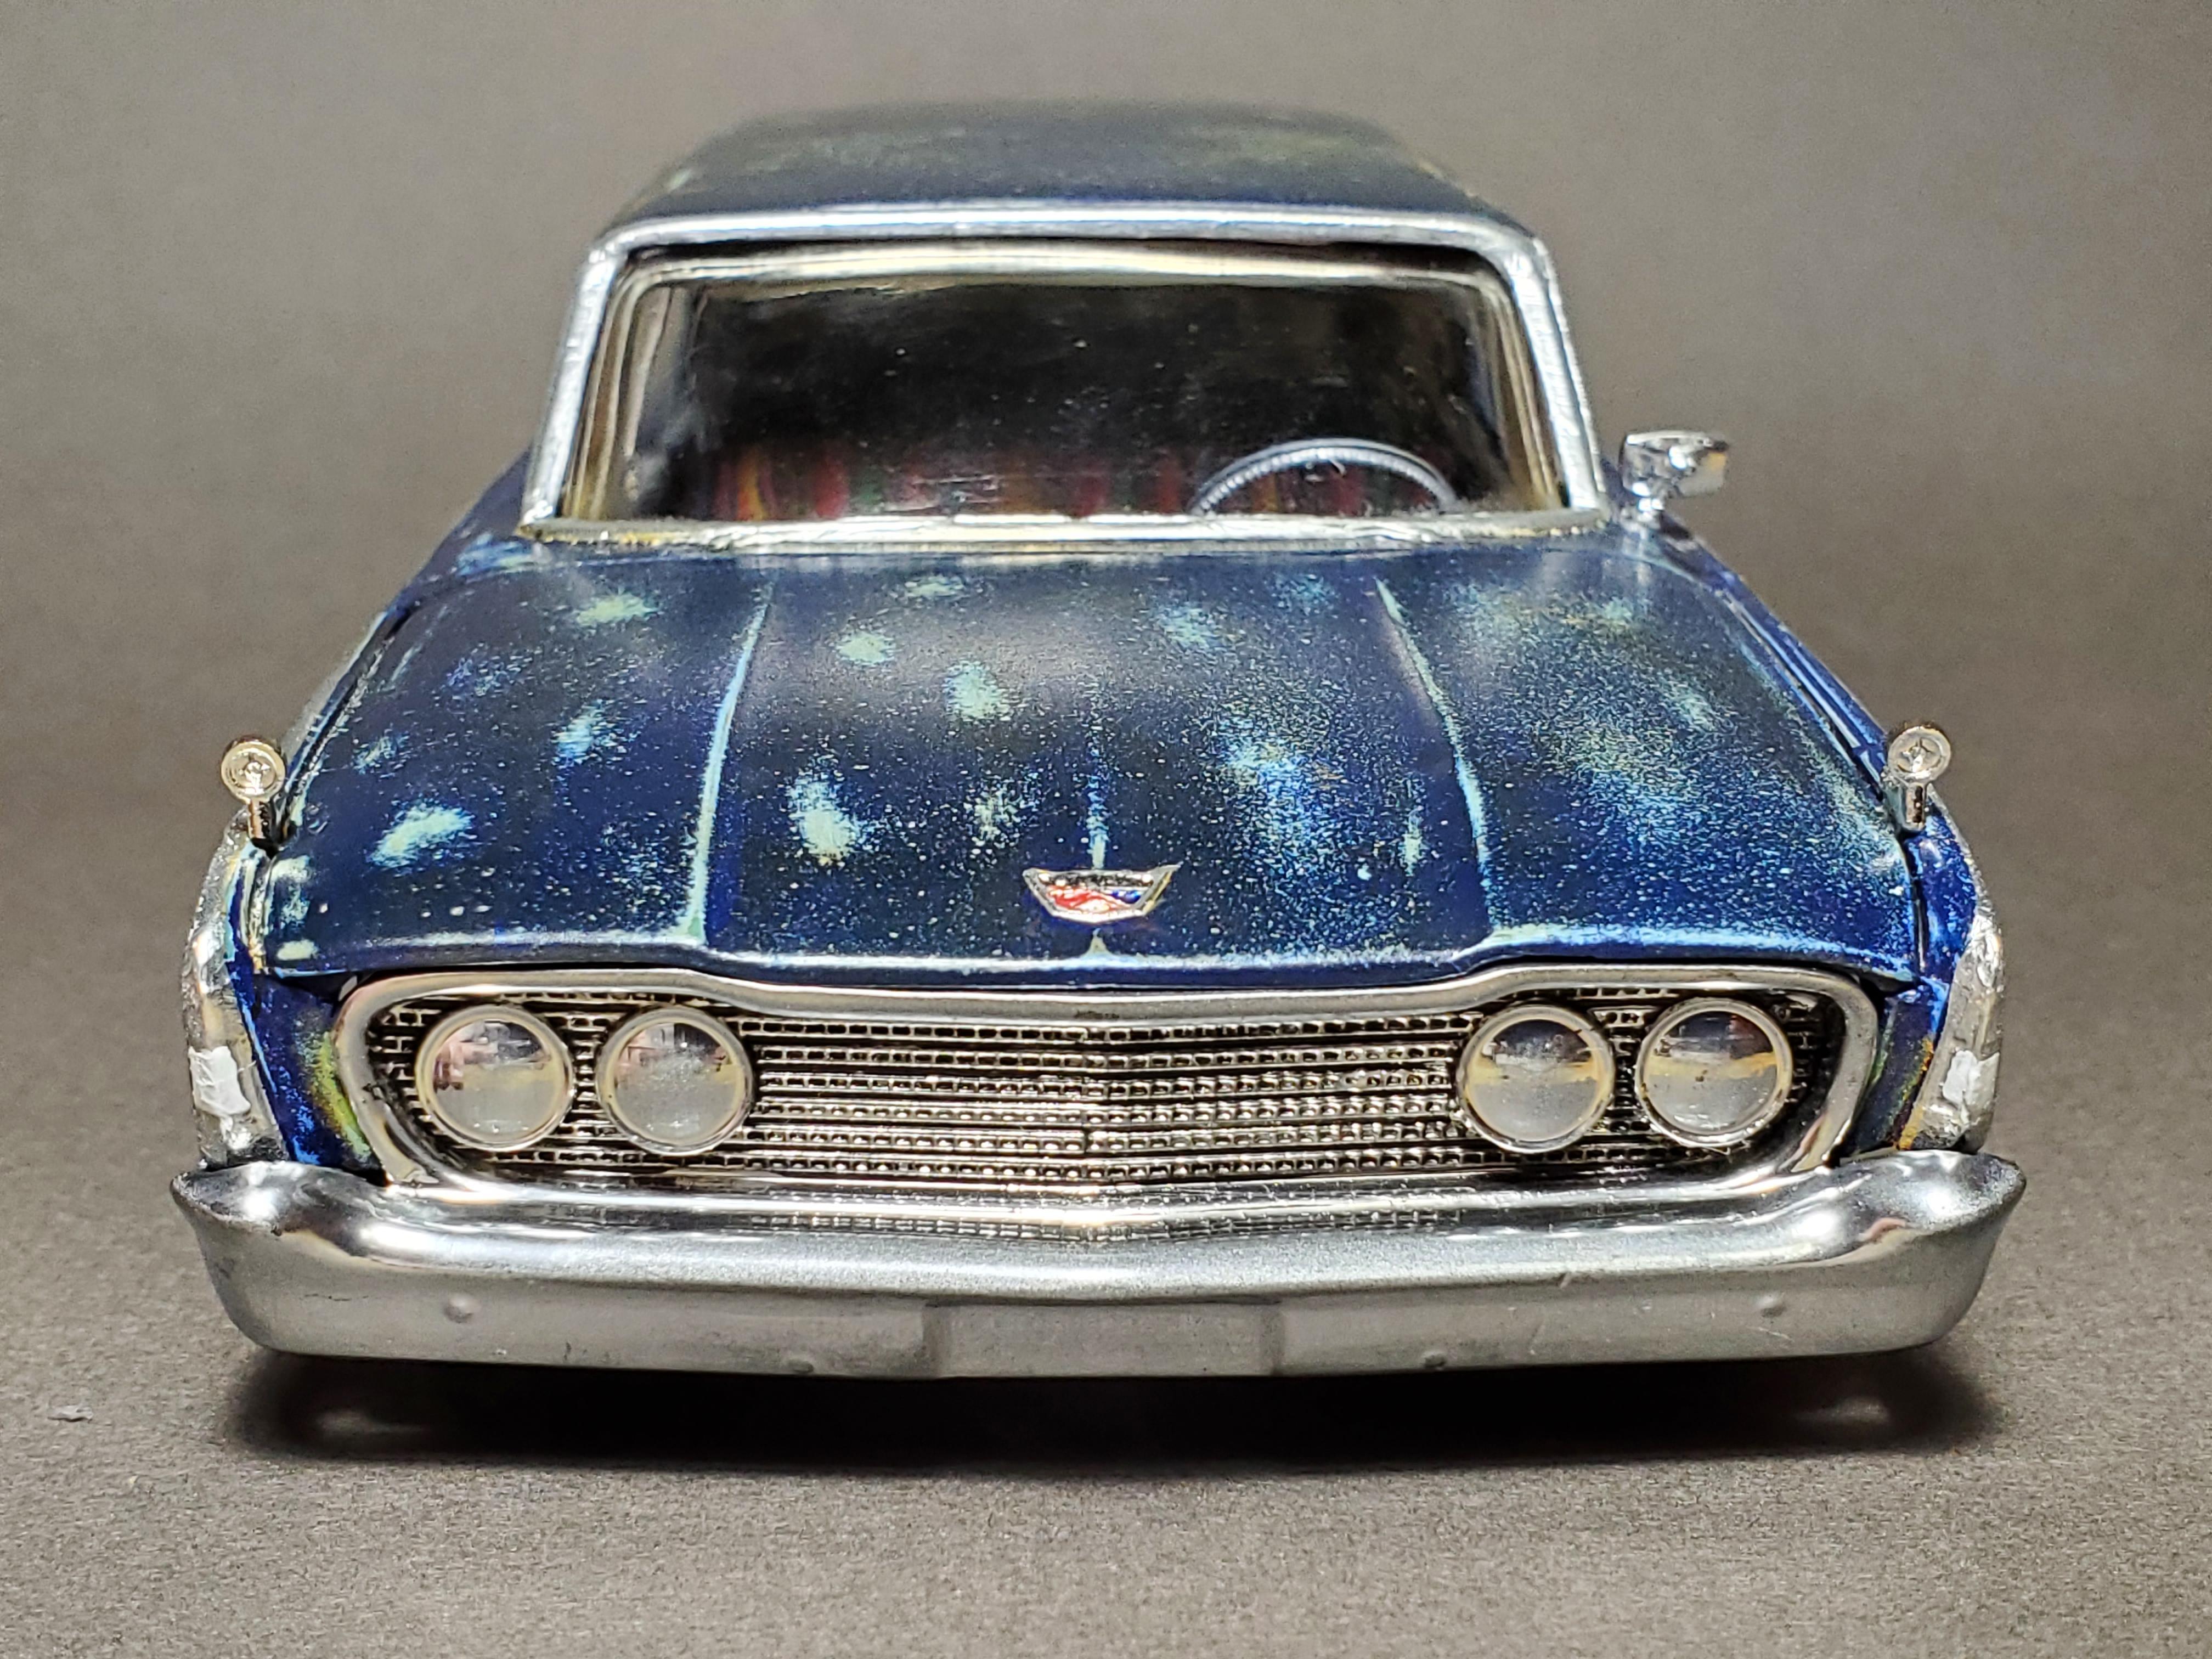
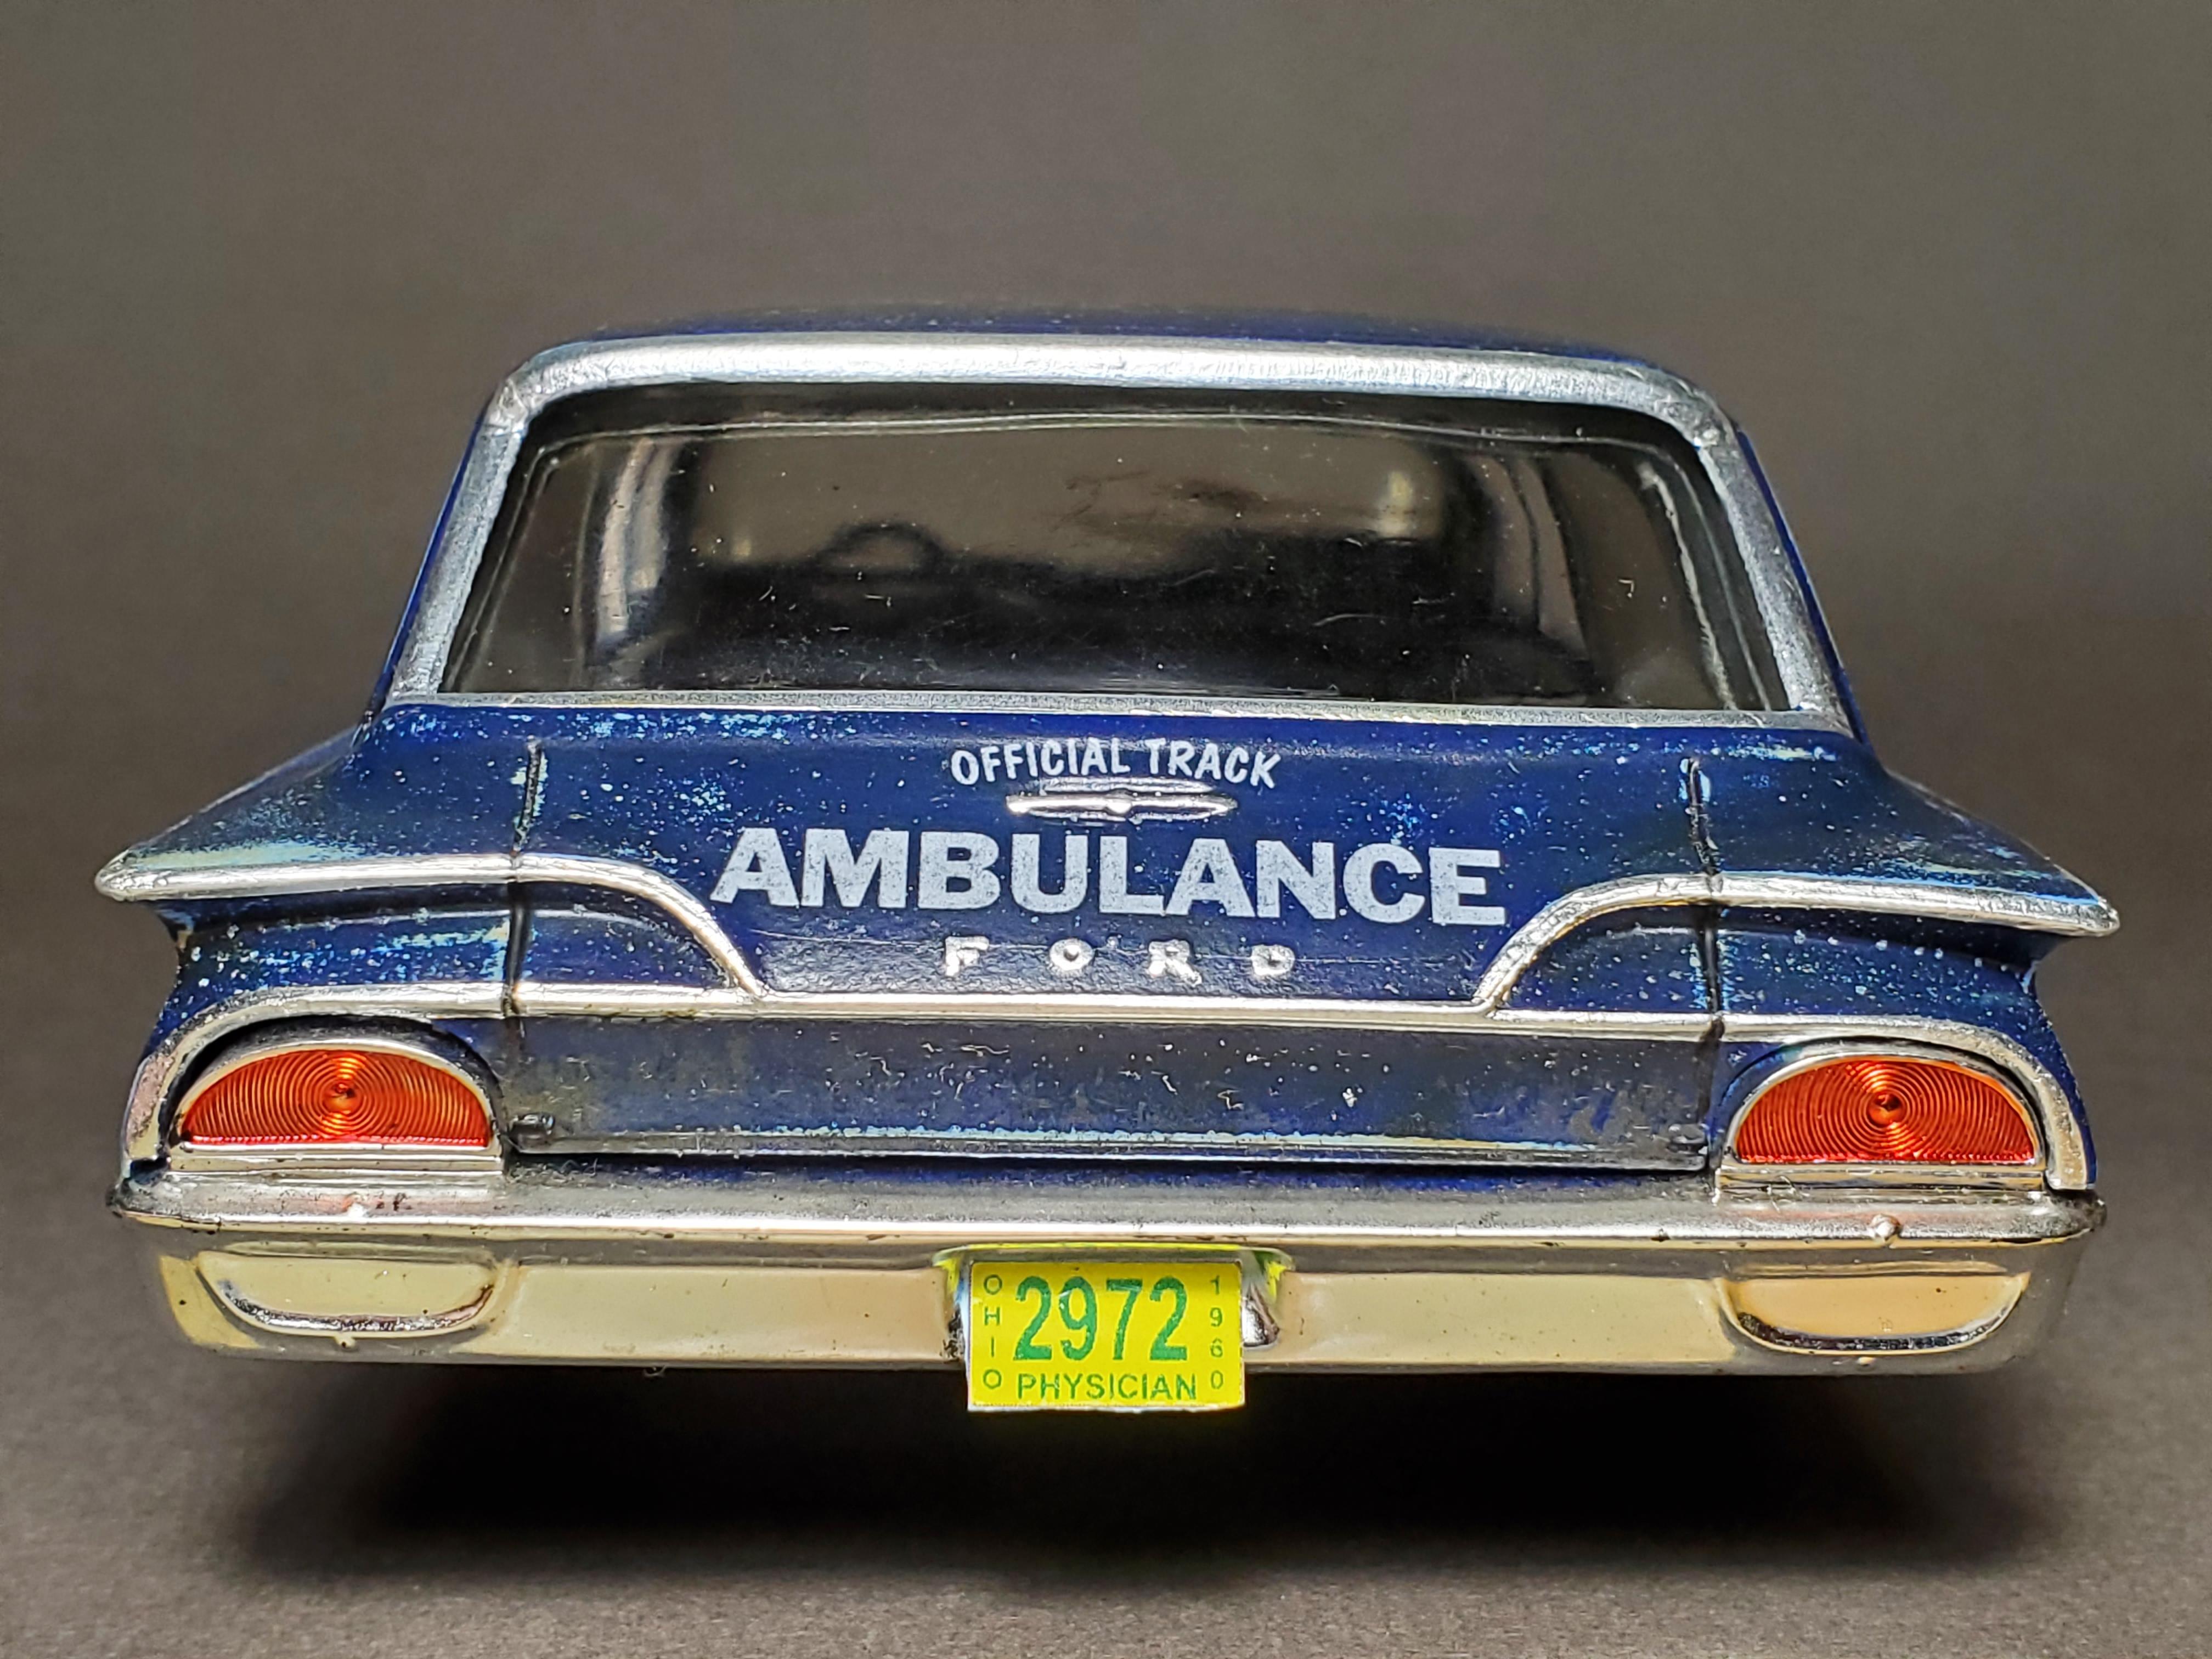
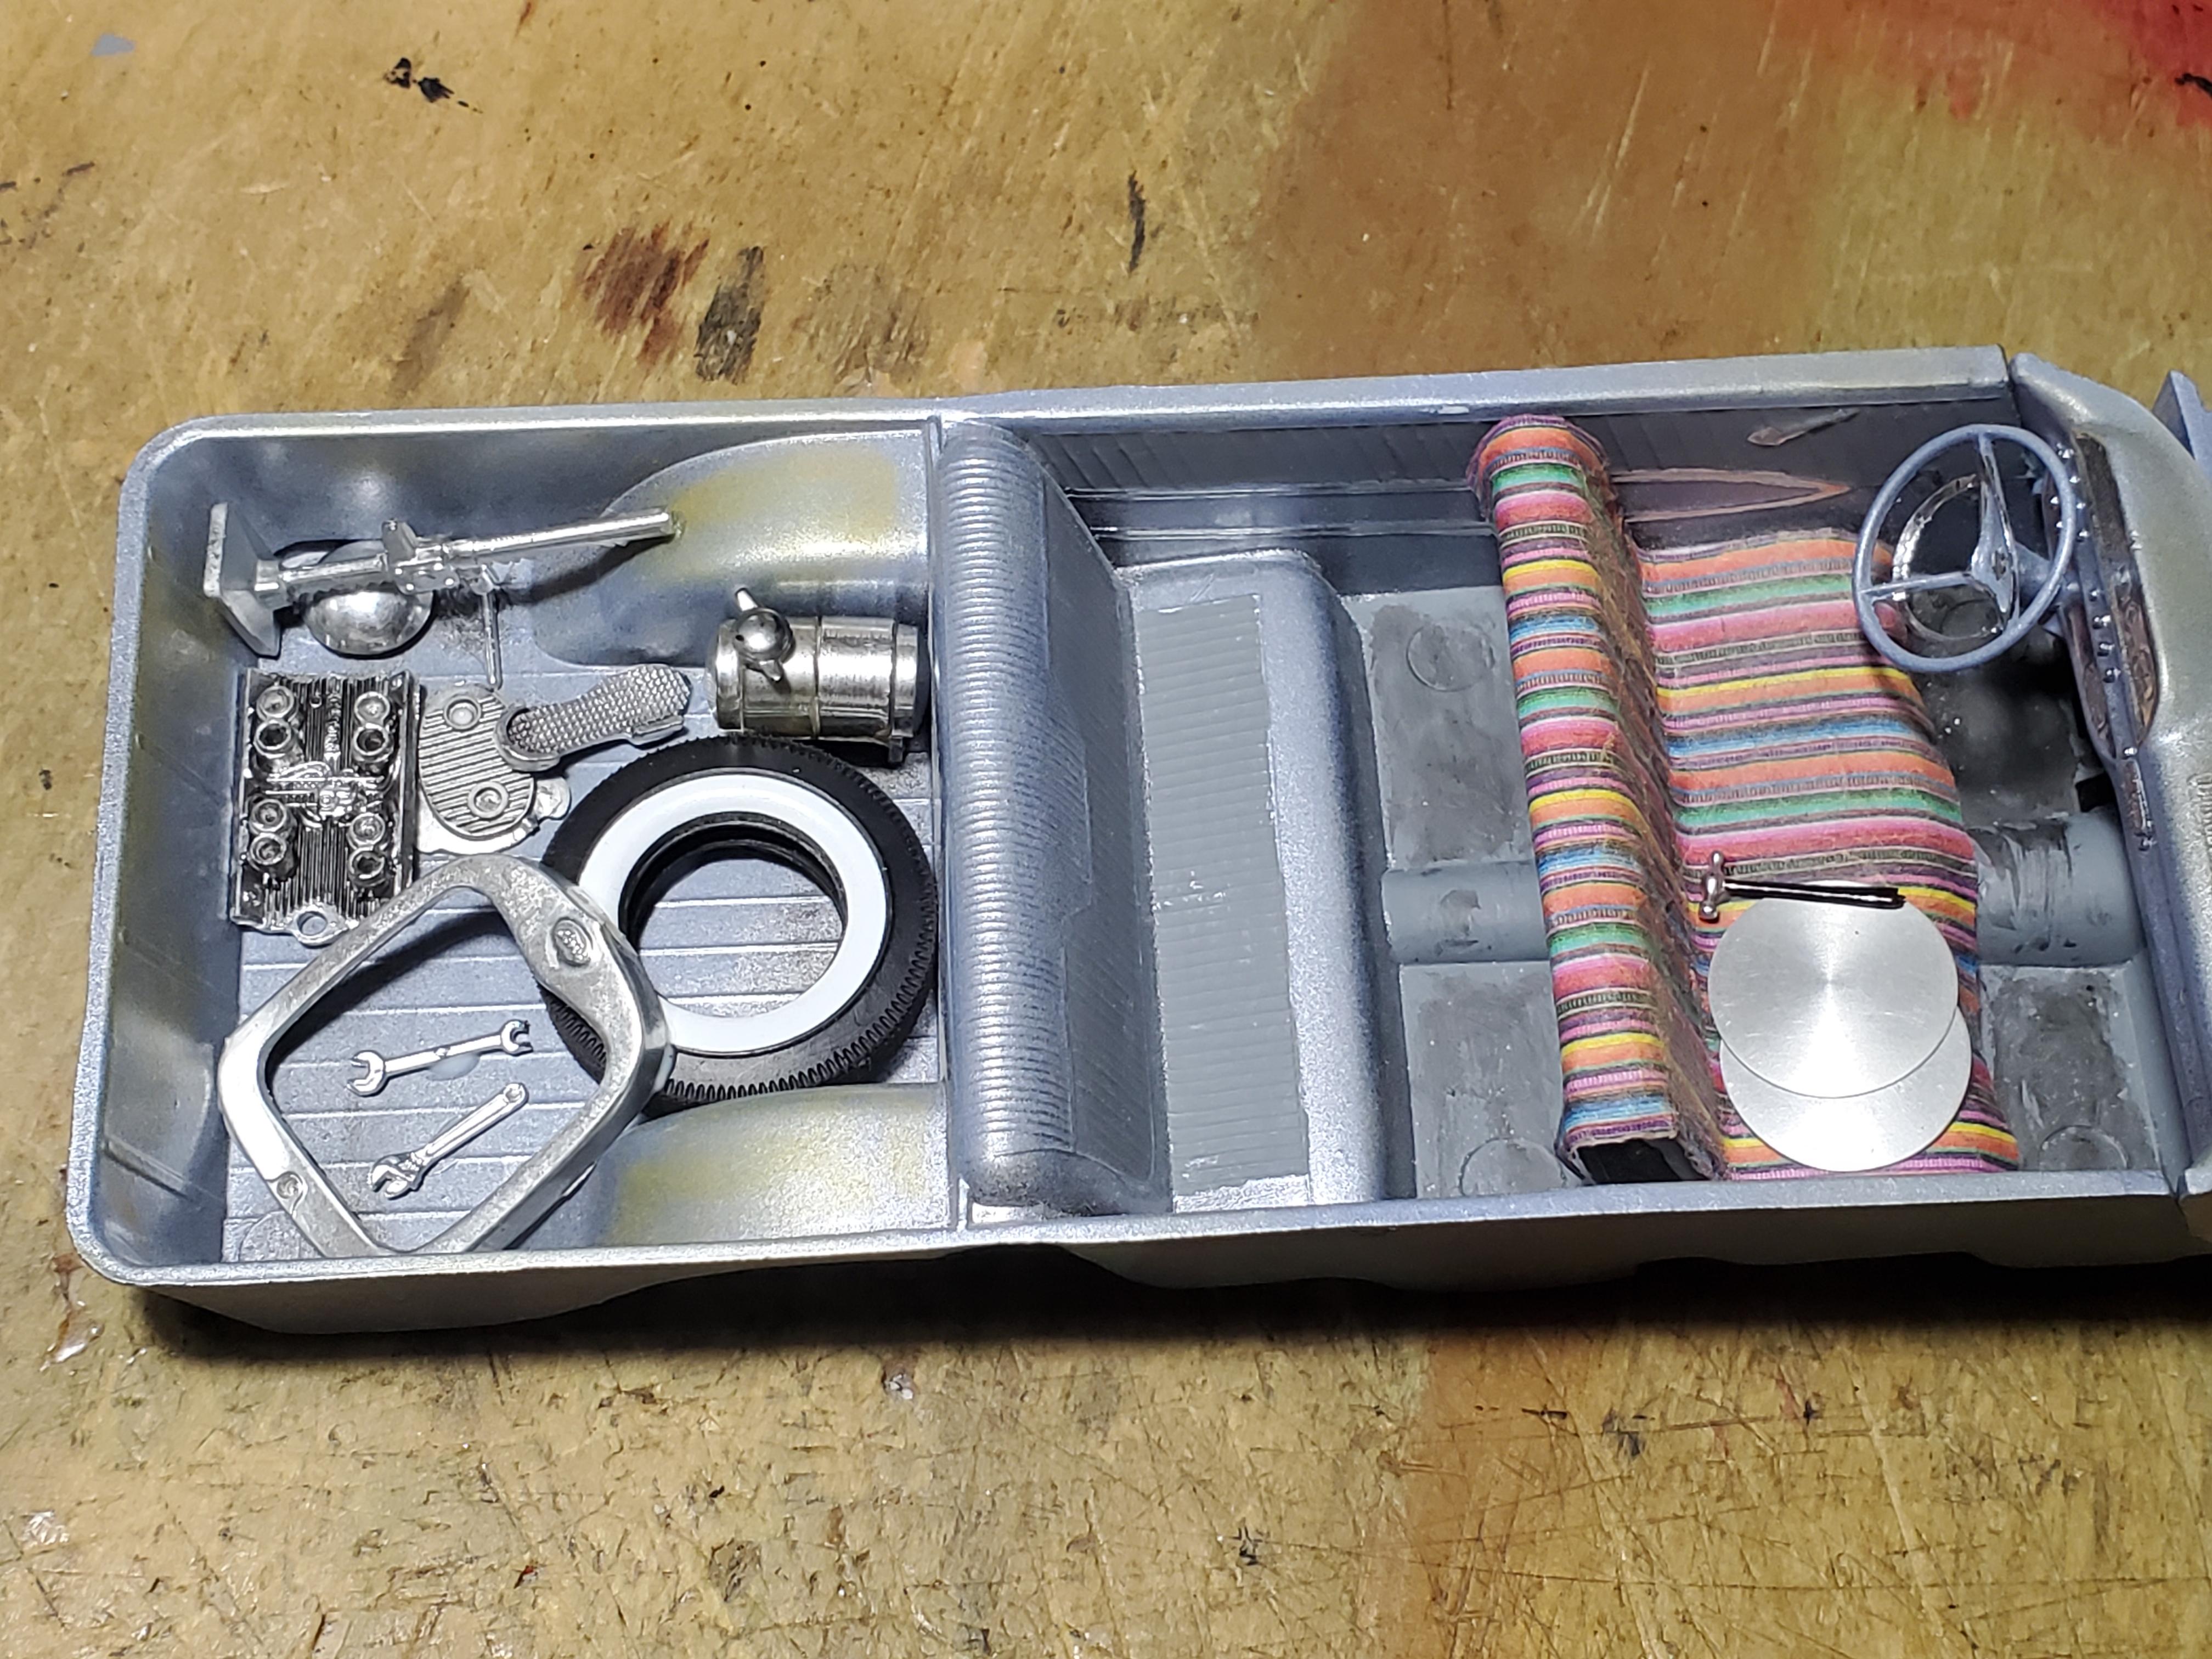
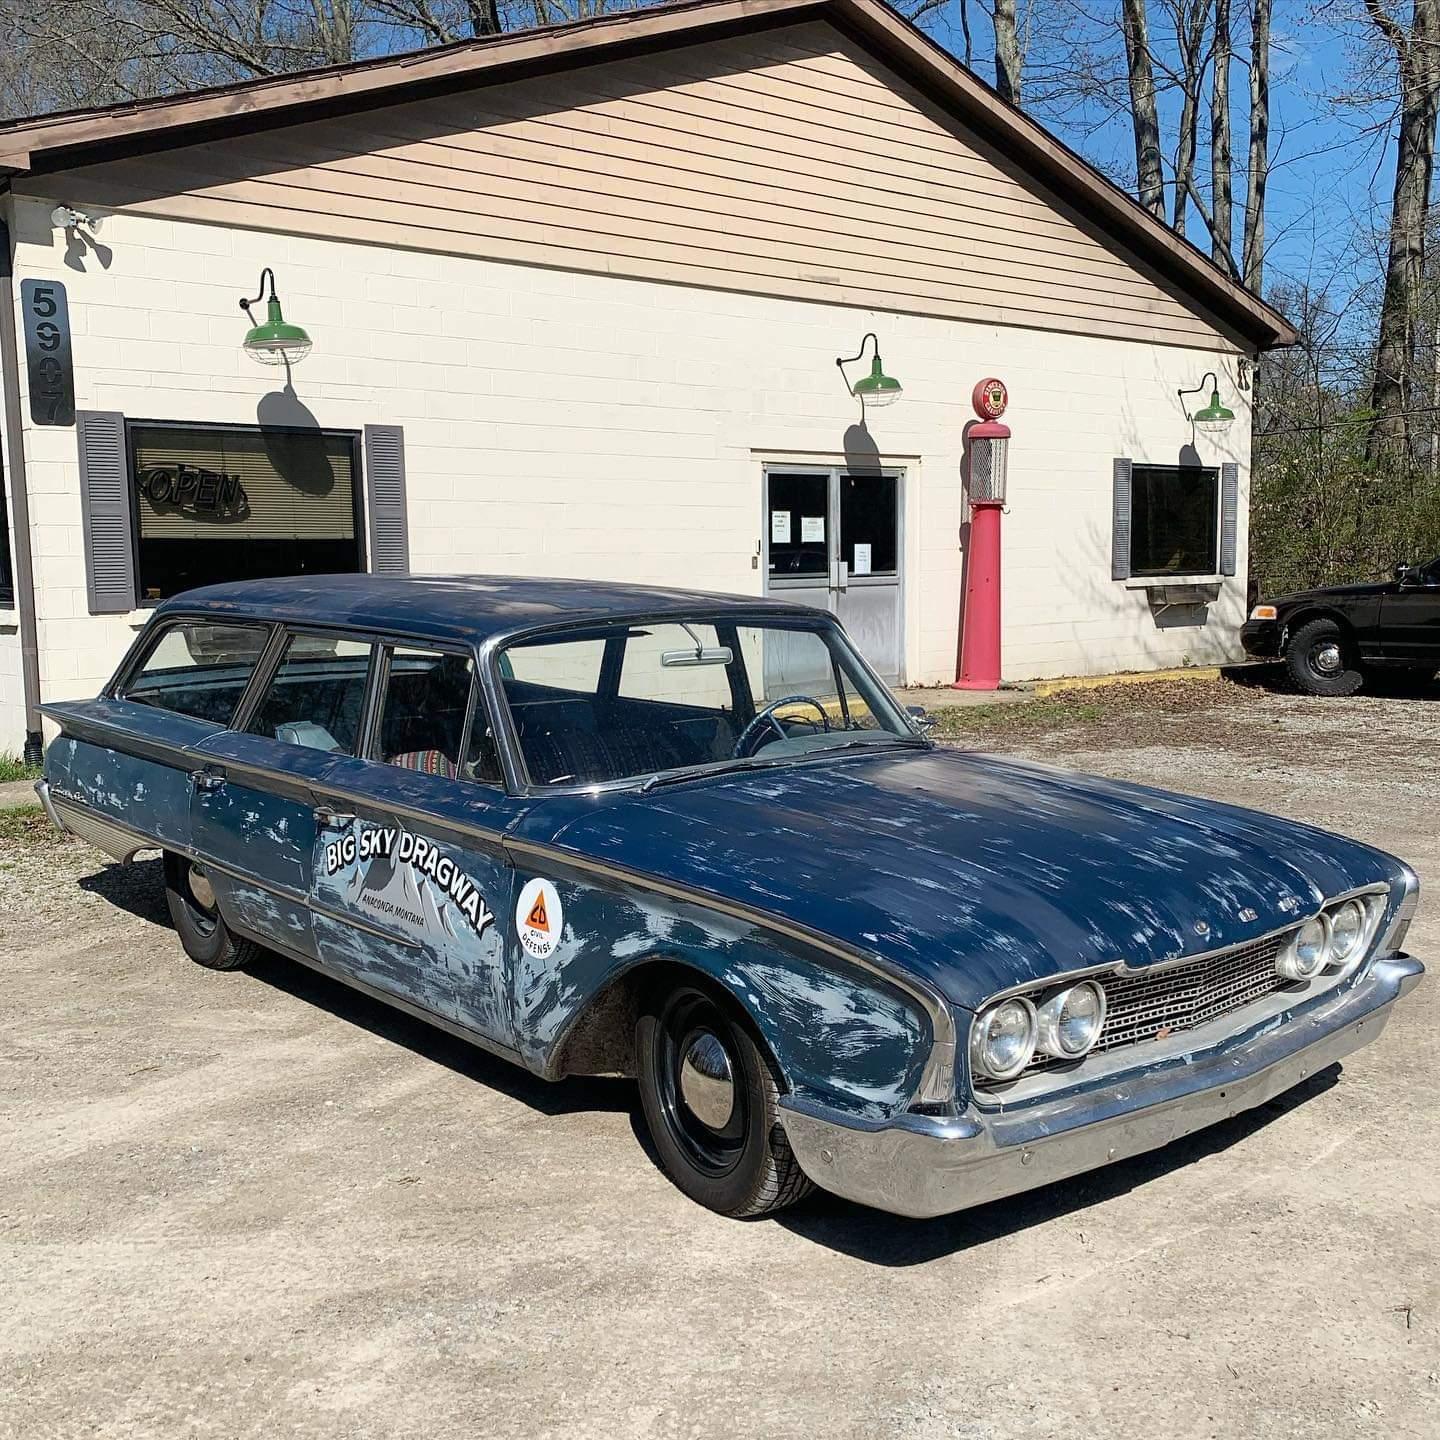
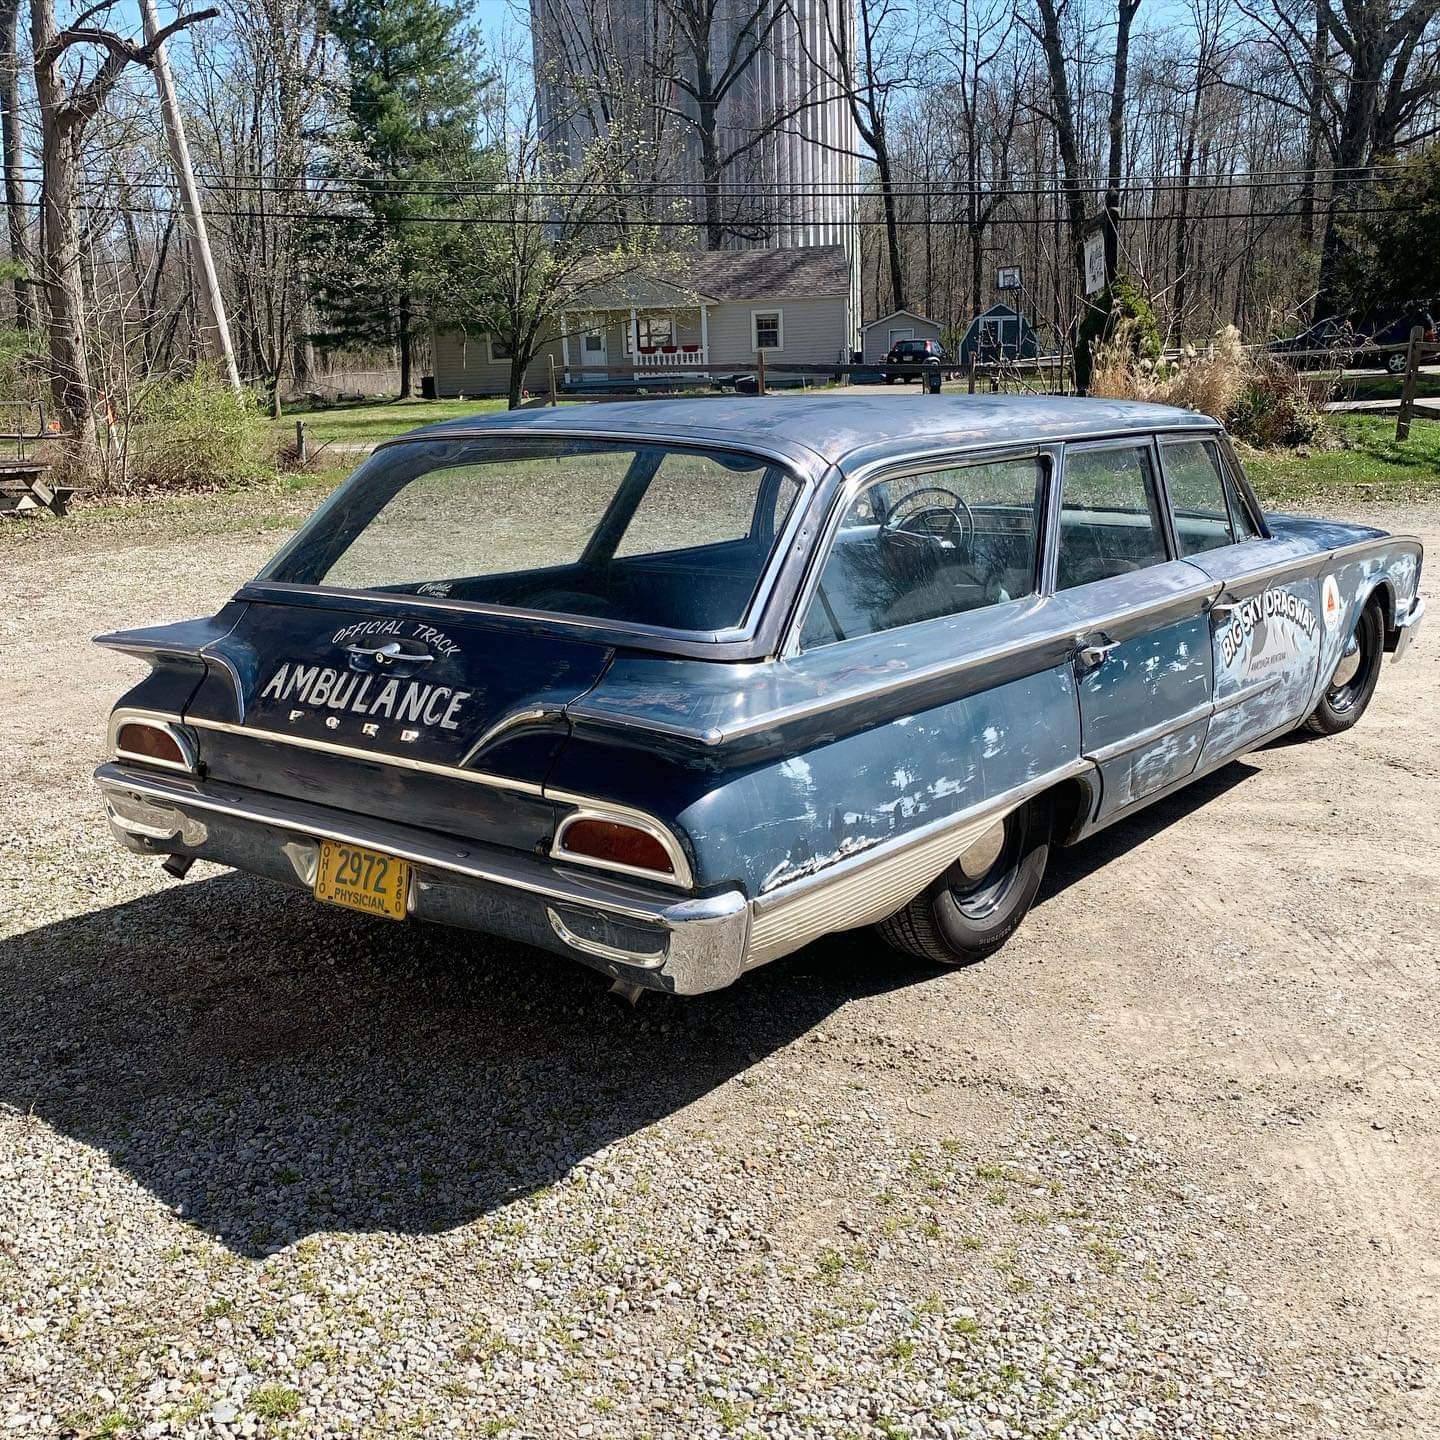
Just finished this one. I wanted to build a near-replica of the shop car a friend of mine used to have at his hot rod metal fab business. I had good photos of the car and it's lettering so I had the decals created by STS Decals. The car is an original 1960 styrene kit, not a promo. Though the glass was from a promo that I had to heat and stretch to make fit! The body was really rough and I had to fix, fill, sand, and file a lot of heavy glue marks and damage on the car. The lower quarter trim was almost non-existent. I had to file the lines back into them. Not perfect but better than the mess they were. I got the fender ornaments from Norm Nolder. The actual car doesn't have them, nor the logo on the hood but I didn't want to change that. It took several promos and styrene annuals to be able to build this car, all from sourcing different chassis and interior parts, glass and bumpers... I didn't think I'd ever get one of these put together. The paint is Rustoleum 2x sea blue and navy blue. I wish I had chosen a slightly different color for the top coat but I made it work with rust washes once I sanded thru the dark blue in spots to get "the look" I was after. I cleared it with a satin acrylic I found in the craft aisle at hobby lobby. It cracked the roof and no othet spots so I sanded it smooth and re-cleared. Then added some rust and weathering powders and washes. Did all the panel lines as well. The wheels and tires are from my parts stash. The baby moons are parts by parks. The wheelbacks I designed and 3d printed. I made the front seat Mexican blanket by finding a pattern swatch online. Shrinking it and copying and pasting it like 20 times to make it the right scale and size. Cut it out, wadded it up like 6 different ways, and glued it to the seat with white acrylic paint. I used dullcote on it to bring out the colors. I added some rust powder to the metal parts of the interior, blackwashed some spots on the floor to make it look dirty. I brushed on molotow on the dash and steering wheel. Added some speed parts and old hot rod parts in the interior along with some tools and a toolbox with pinstripes. Enjoy
- 13 replies
-
- 11
-

-images-0.jpg.304232e8aa995999f4bc42706a8ee85d.jpg)
-images-1.jpg.ccf50e0db4bb5dcc6a3c4a45b7eb99cf.jpg)