JTalmage
-
Posts
2,691 -
Joined
-
Last visited
Content Type
Profiles
Forums
Events
Gallery
Everything posted by JTalmage
-
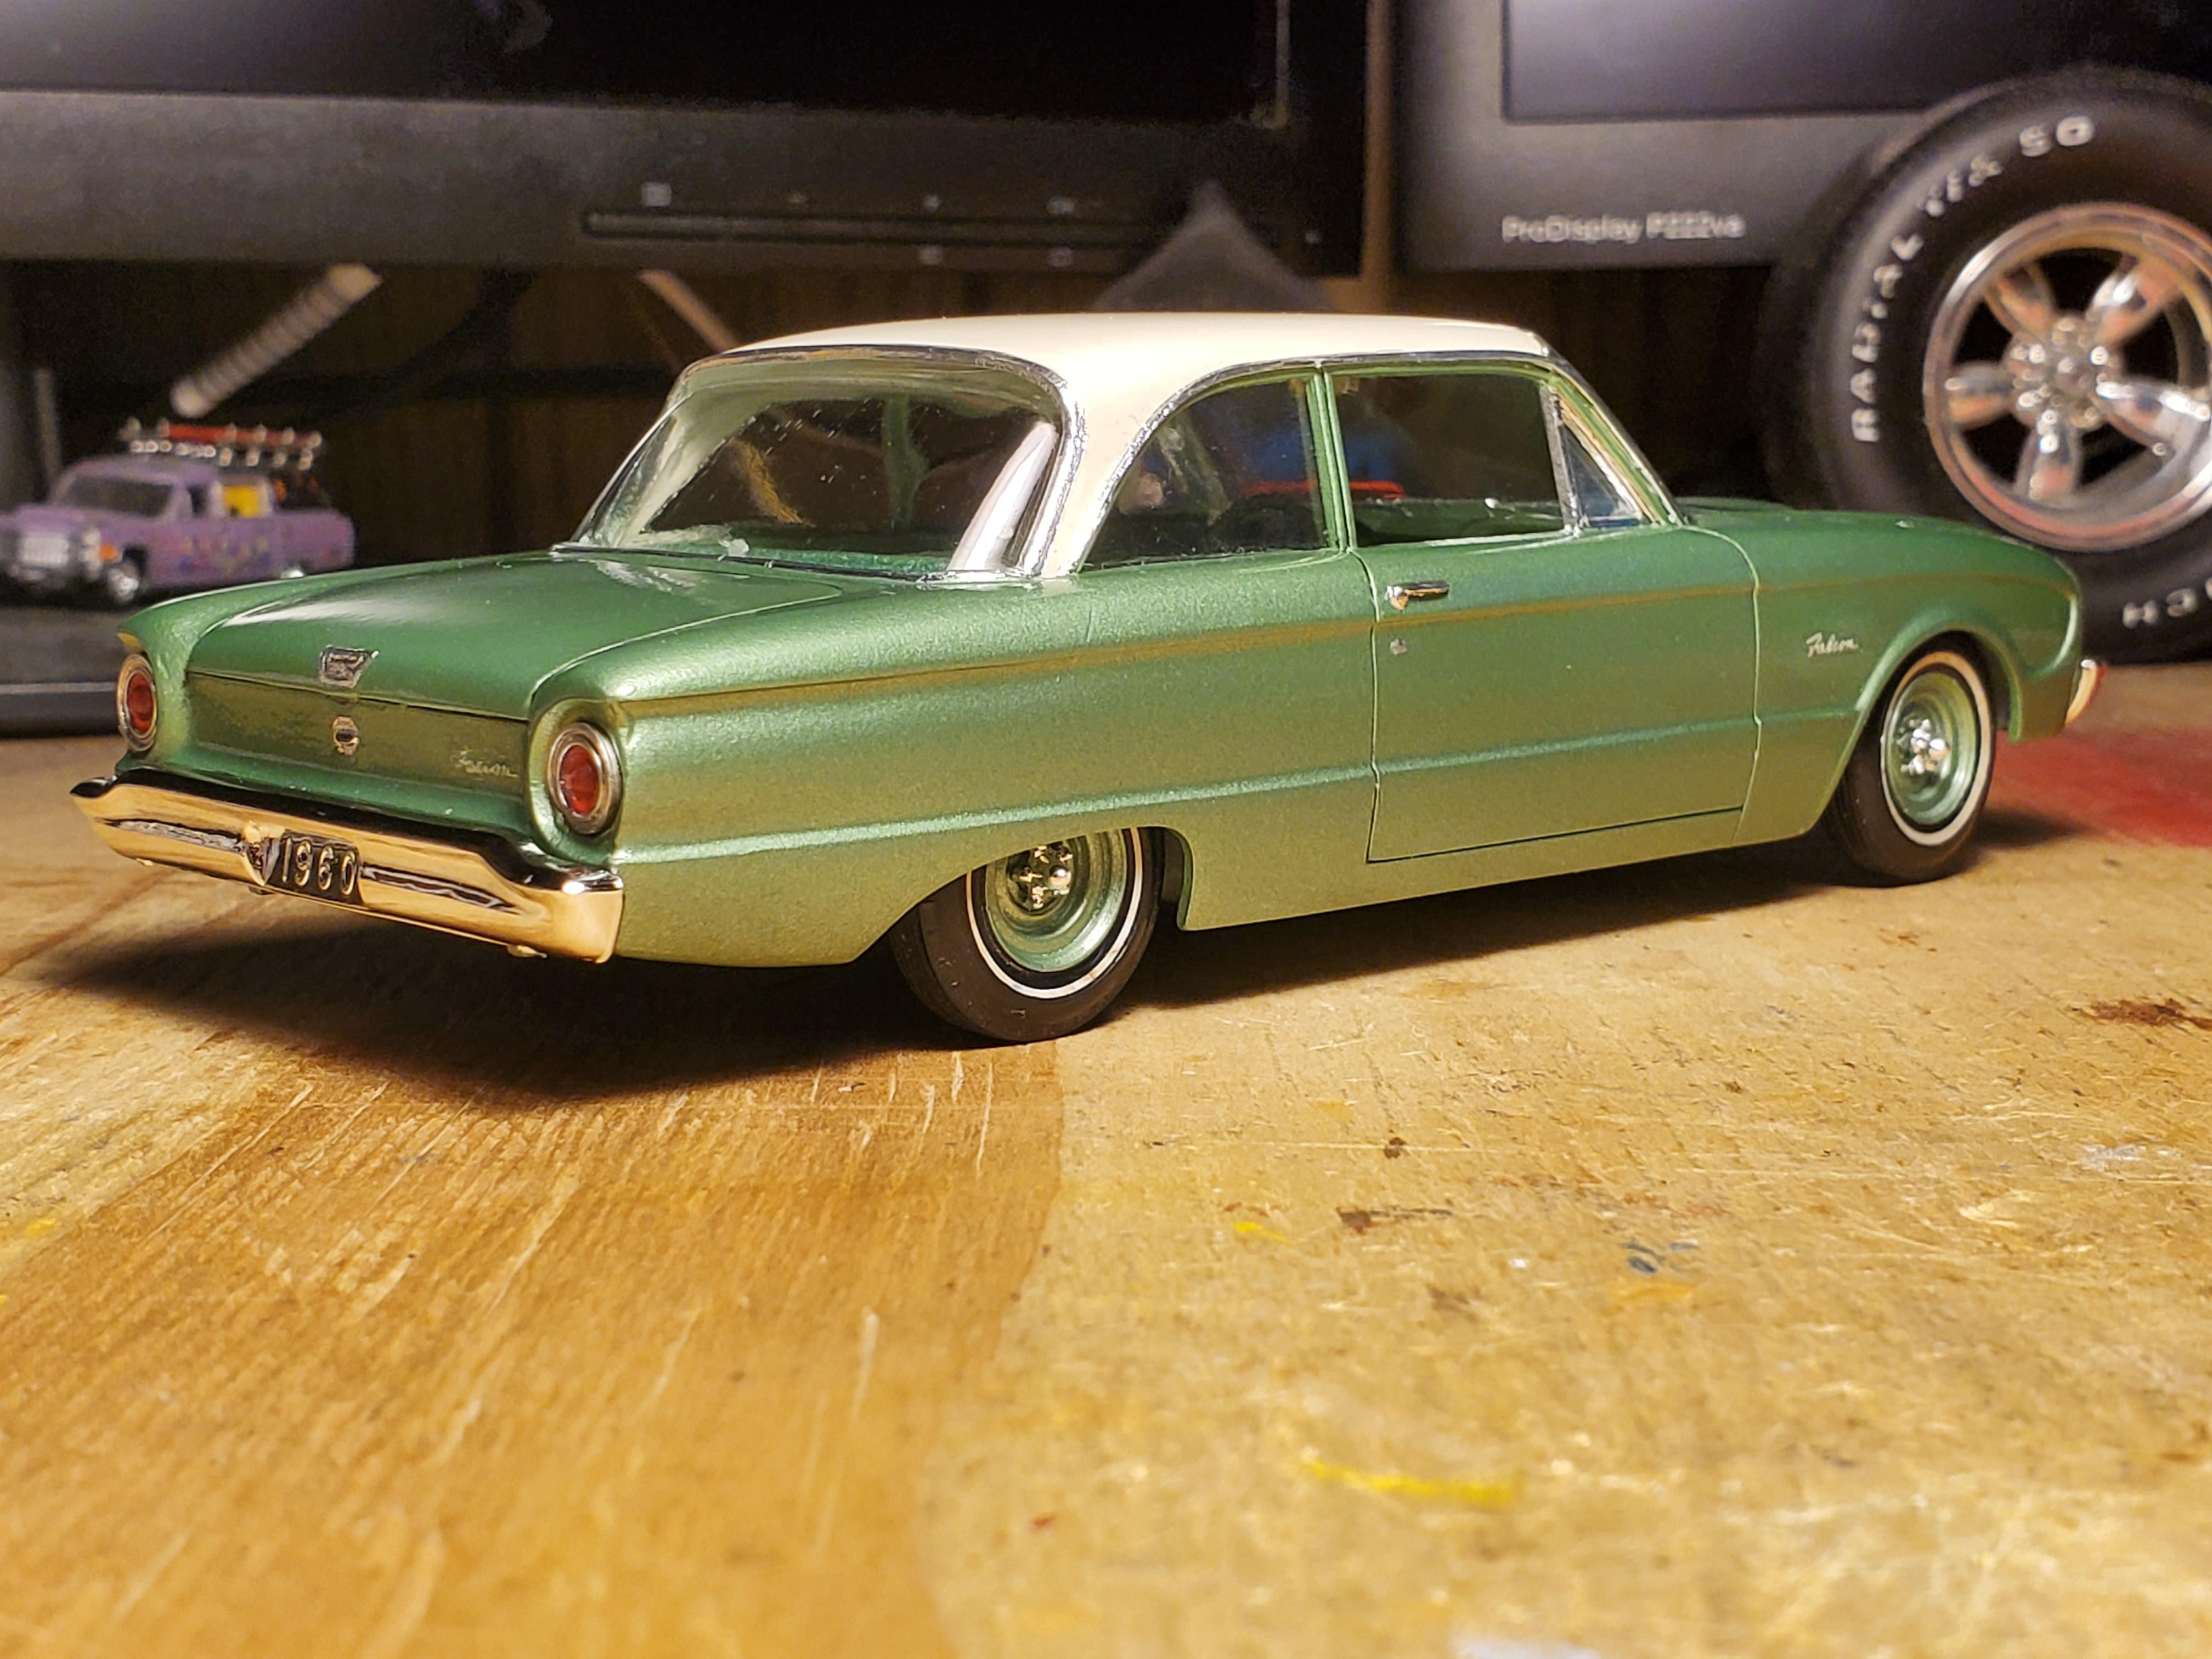
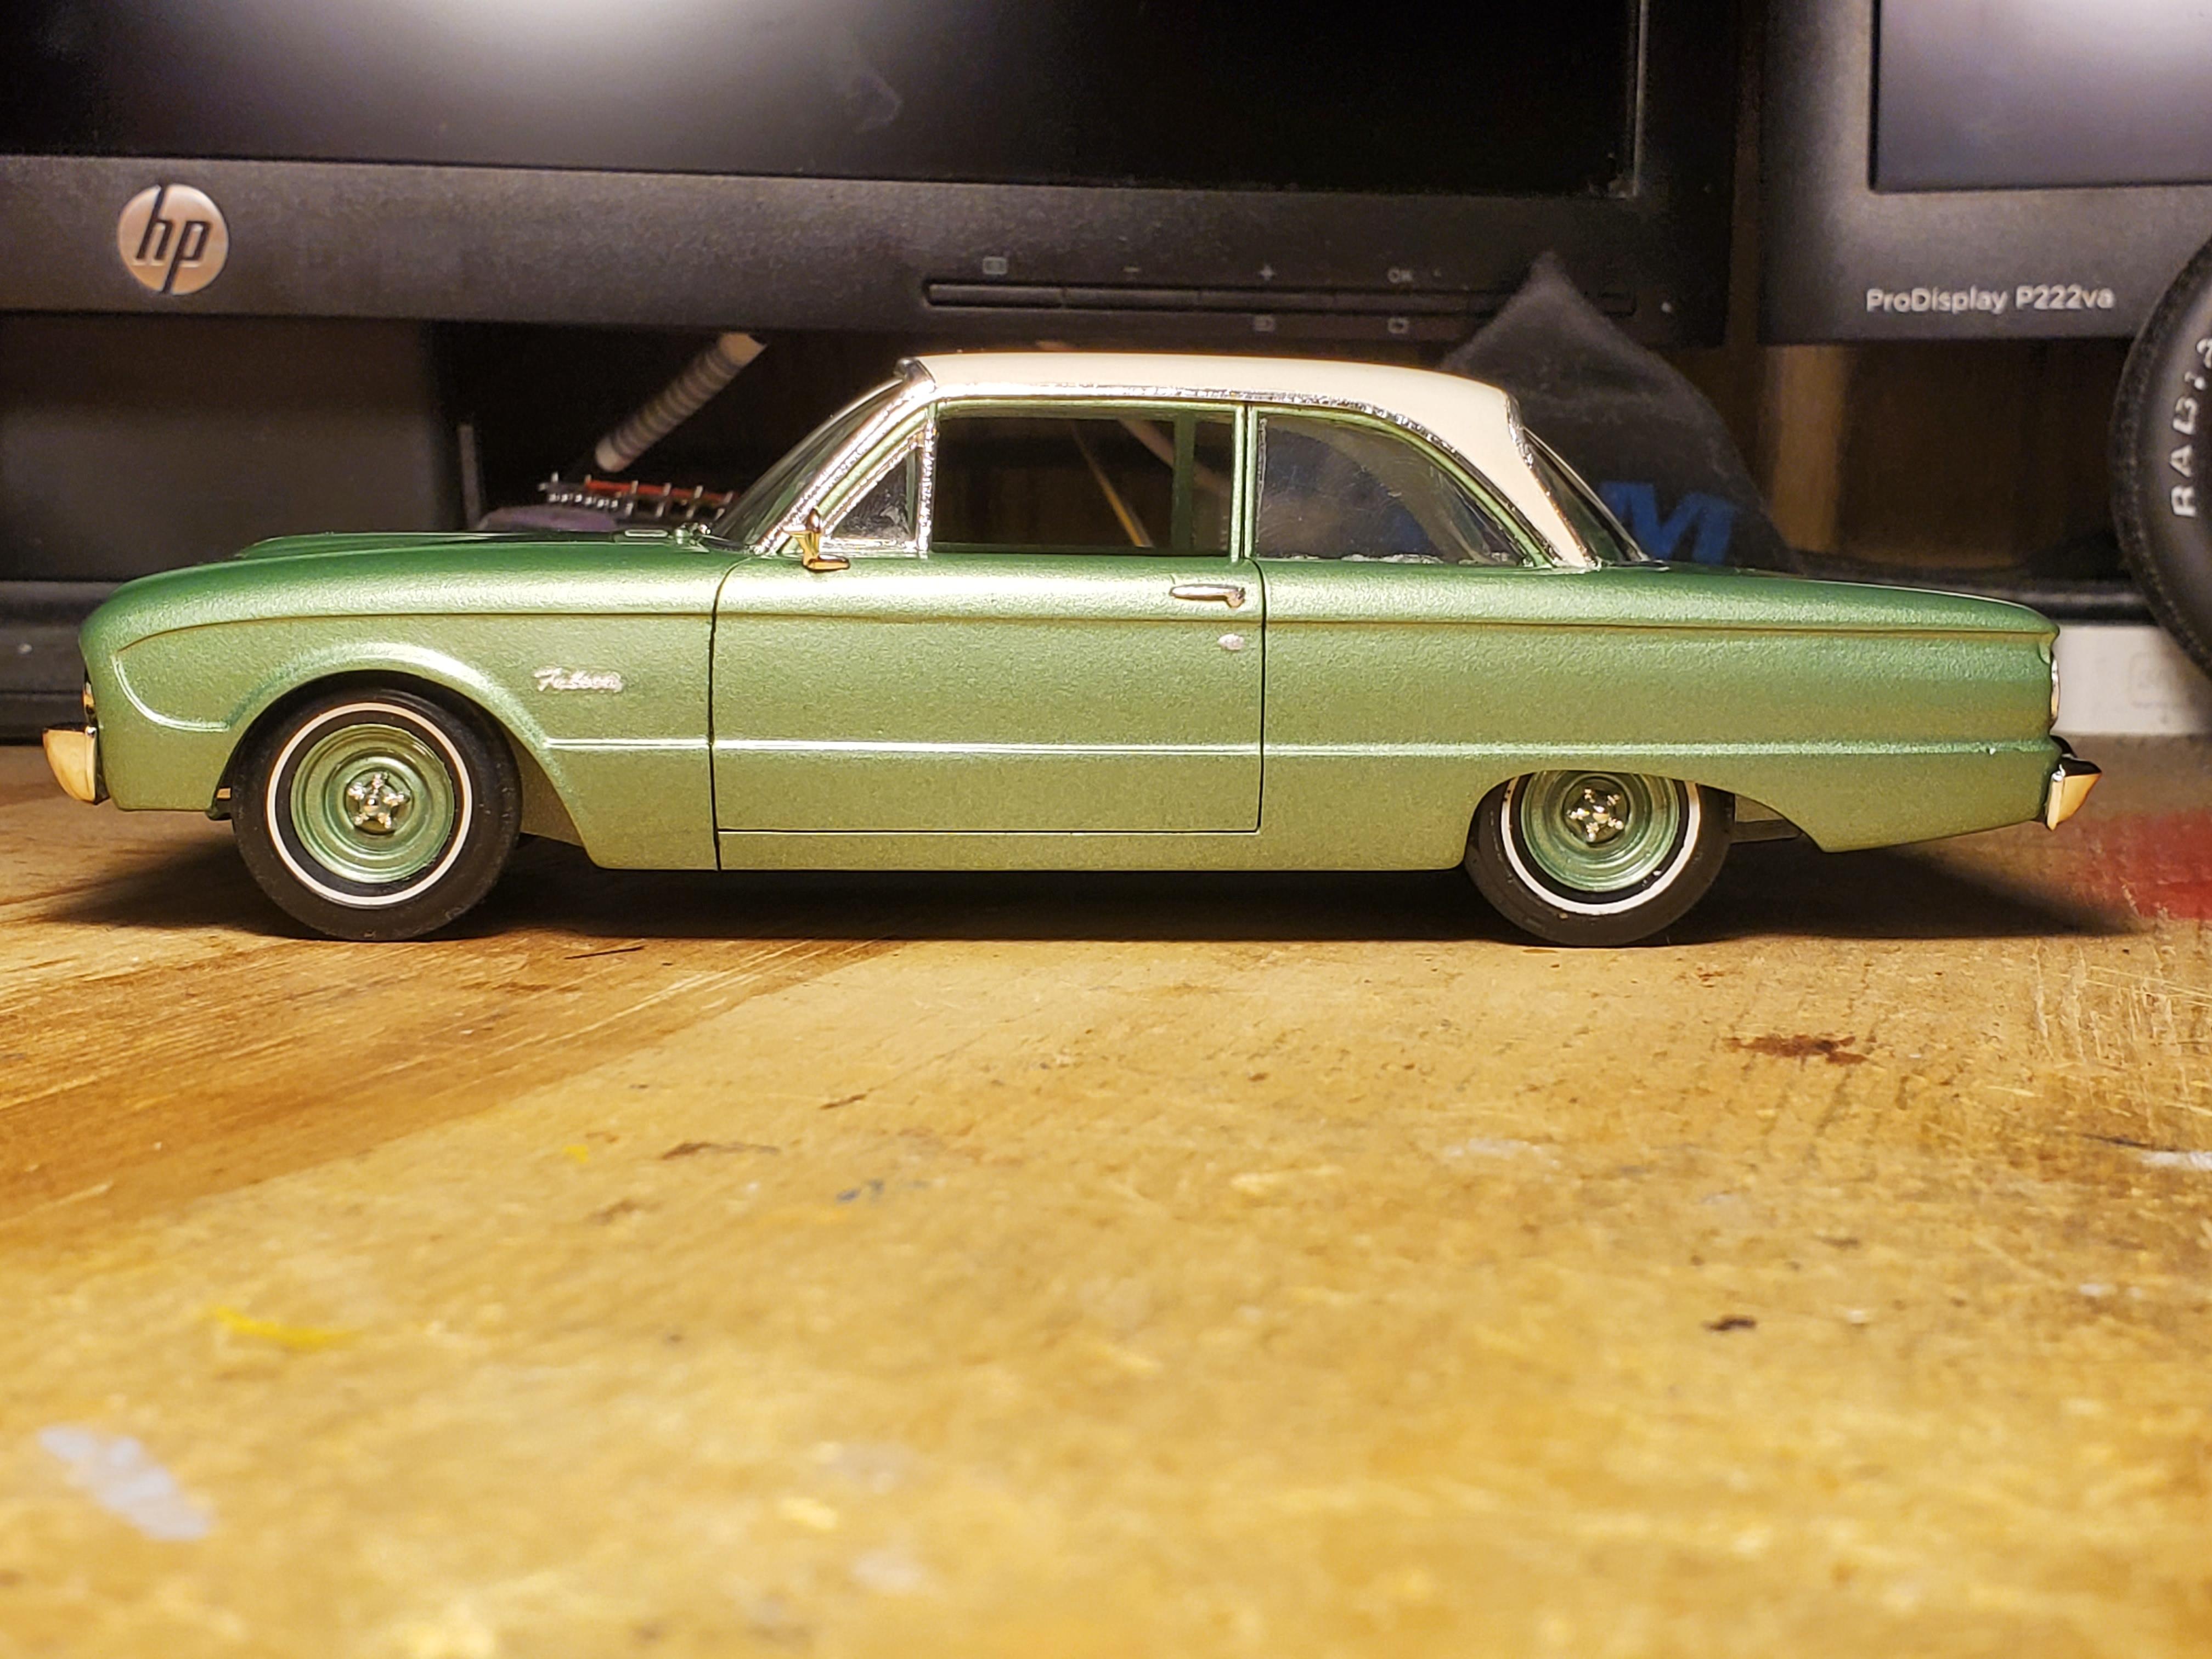
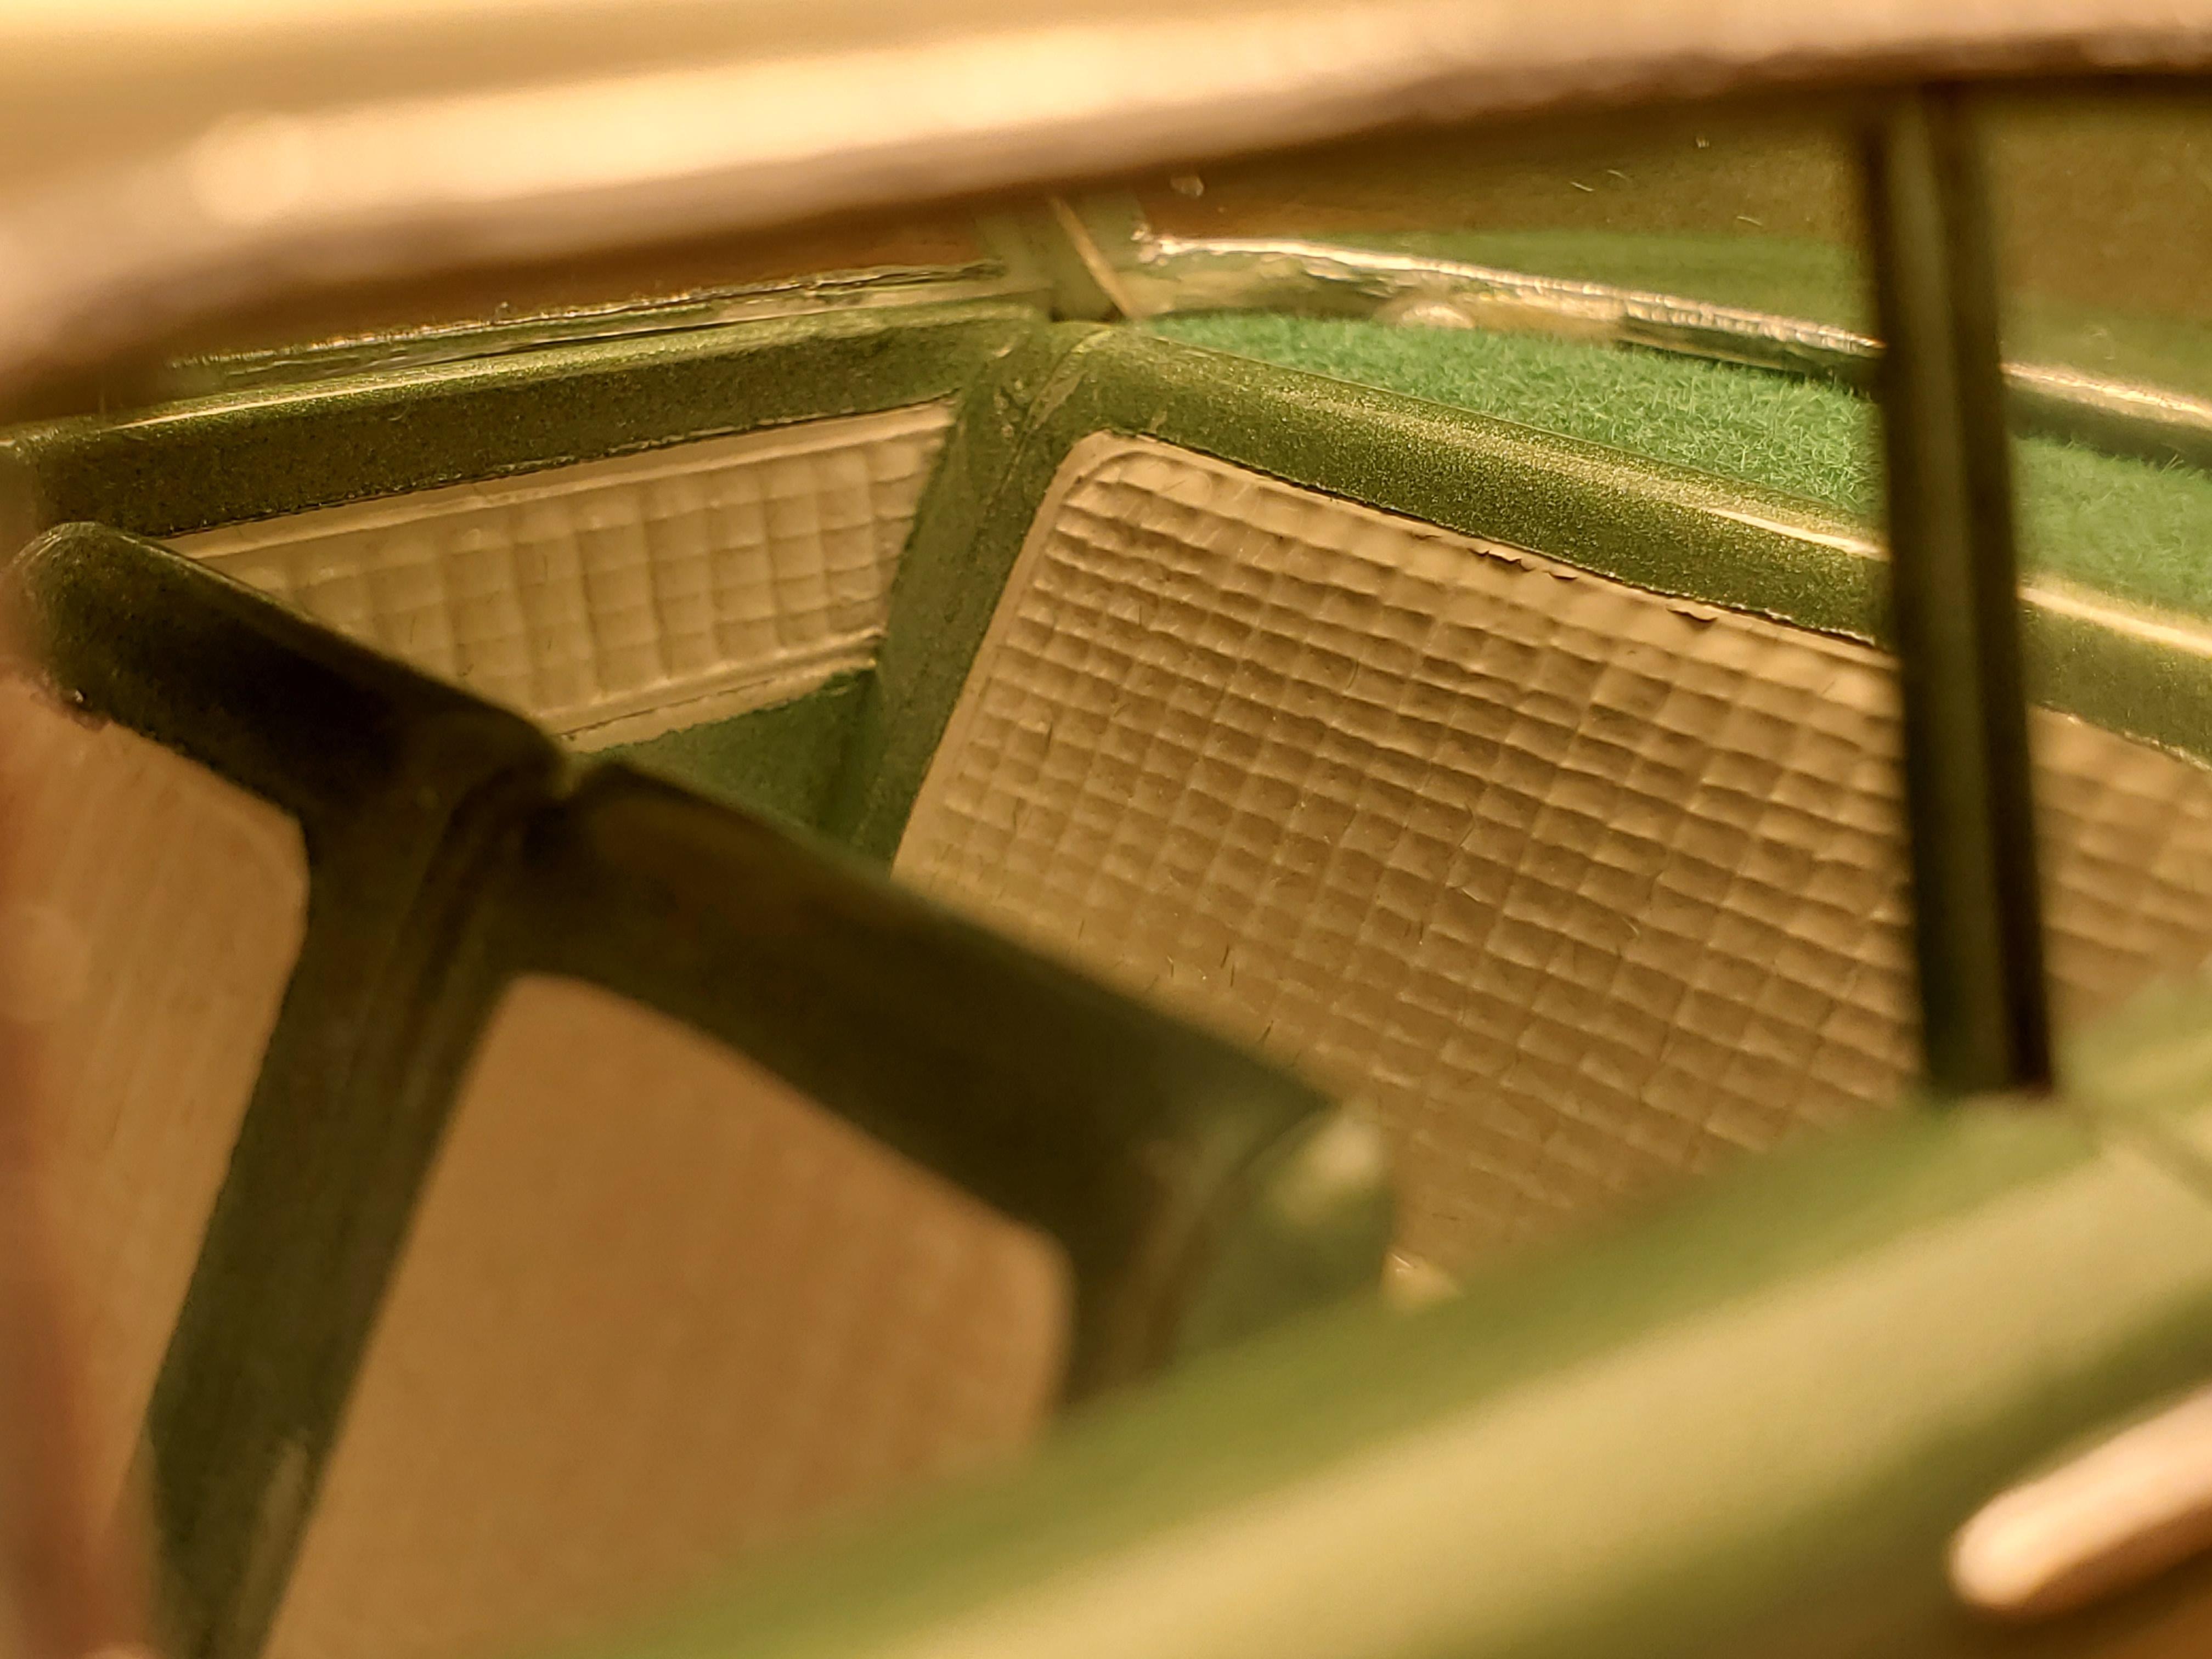
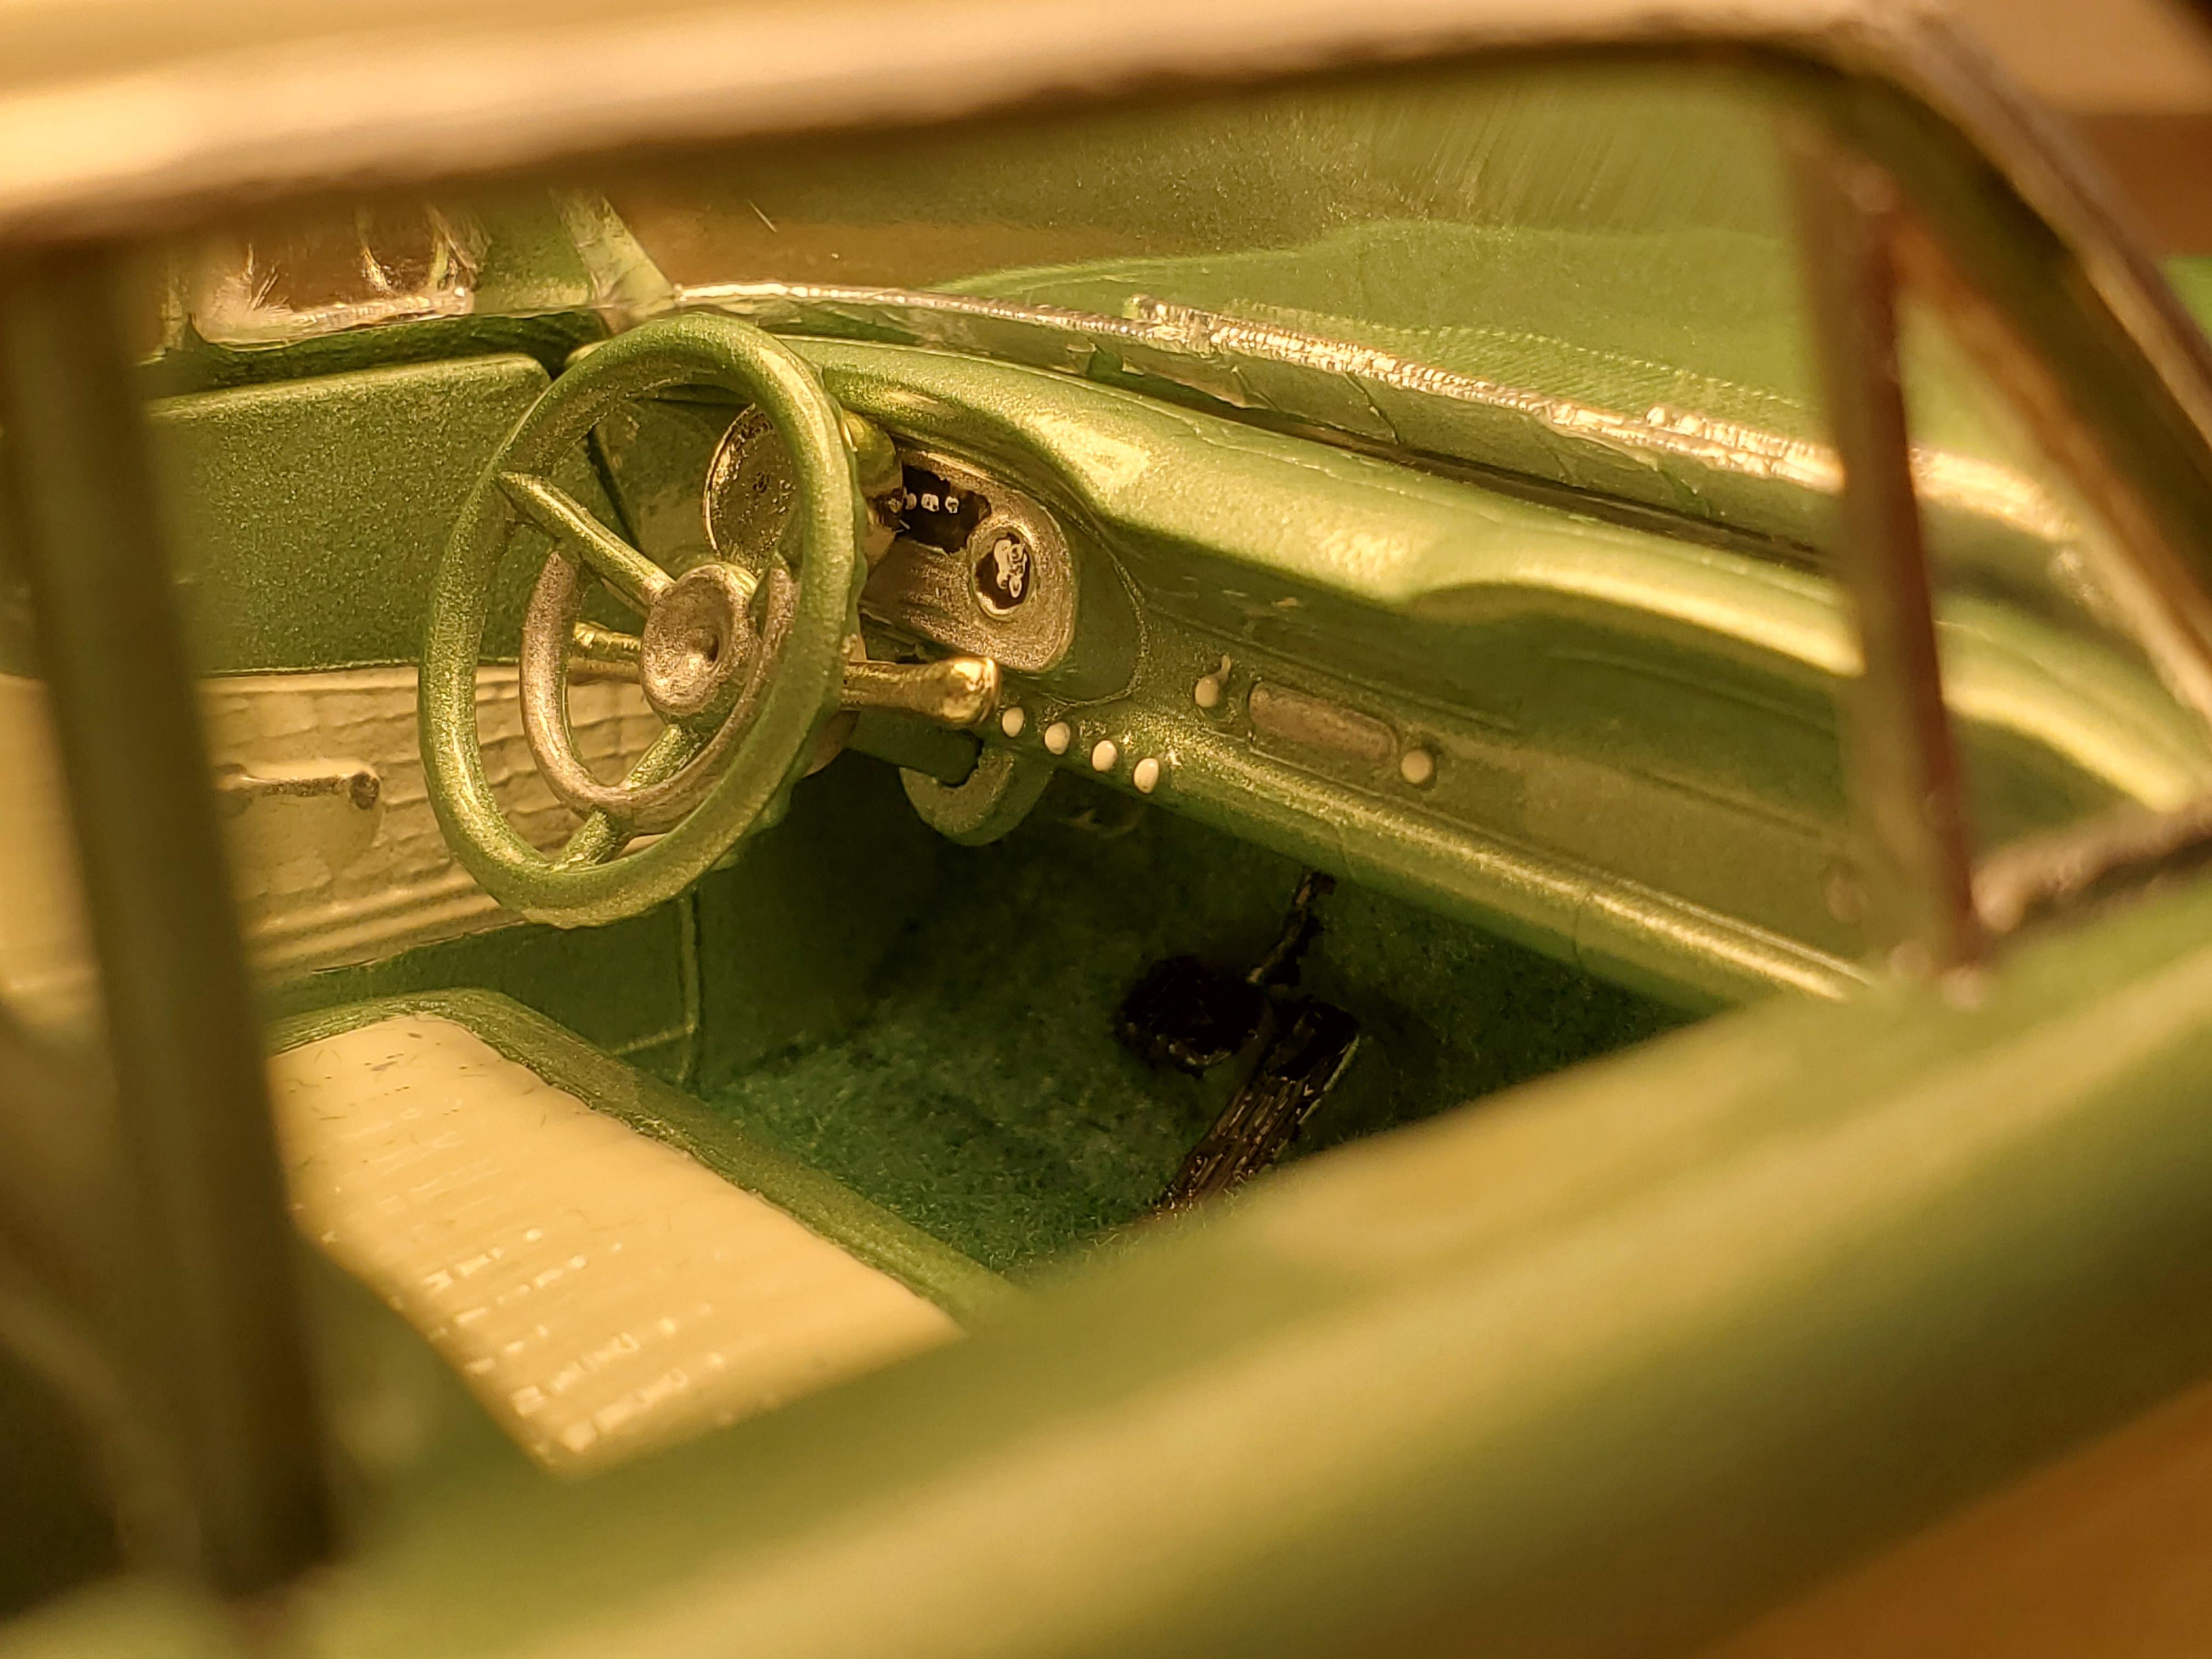
I bought this one as a bit of a glue bomb/rebuilder. Being a Ford guy I always like getting my hands on some vintage Ford plastic. I had this thing for a color I used on my '60 Lincoln. Turns out you could get it on EVERY 1960 Ford except a truck. So, eventually I'm going to have a green 1960 for the entire lineup. But here's the Falcon. It took a lot of body work to get all the glue marks to go away and finish all the seams correctly. Some detail was lost but overall it turned out nice I think. I foiled before priming and painting the emblems and sanded the paint away before clear. I saw a pic on the internet of a '60 Falcon the same color with a peep mirror and green wheels and fell in love so this is my interpretation. Lowered, custom wheels/spyder caps, aftermarket mirror. Sort of a... cruiser if you will. Maybe v8 powered if you use you imagination? Paint is the same Terre Verde/Willowvale Green basecoat from a rattle can custom mixed by the auto body supply store, and 2k rattle can clear. Foiled, blackwashed, flocked, wetsanded and buffed a little. Rechromed bumpers. Here's the before pics after I pryed off the glued on parts! And here it is after! Yes I realize Falcons are 4 lug since they weren't V8 but, you know, it's mild custom, so who's to say it doesn't have one now? ? I also realize most likely the face of the dash across would have probably been white. I didn't think about that when painting it.

-
"Trailer Park Limo-inspired" Lincoln Continental "Ranchero"
JTalmage replied to JTalmage's topic in WIP: Model Cars
Thank ya sir, glad I could be of service. Looking forward to what you do. You are always doing something cool and do great work, so I know it will be good. -
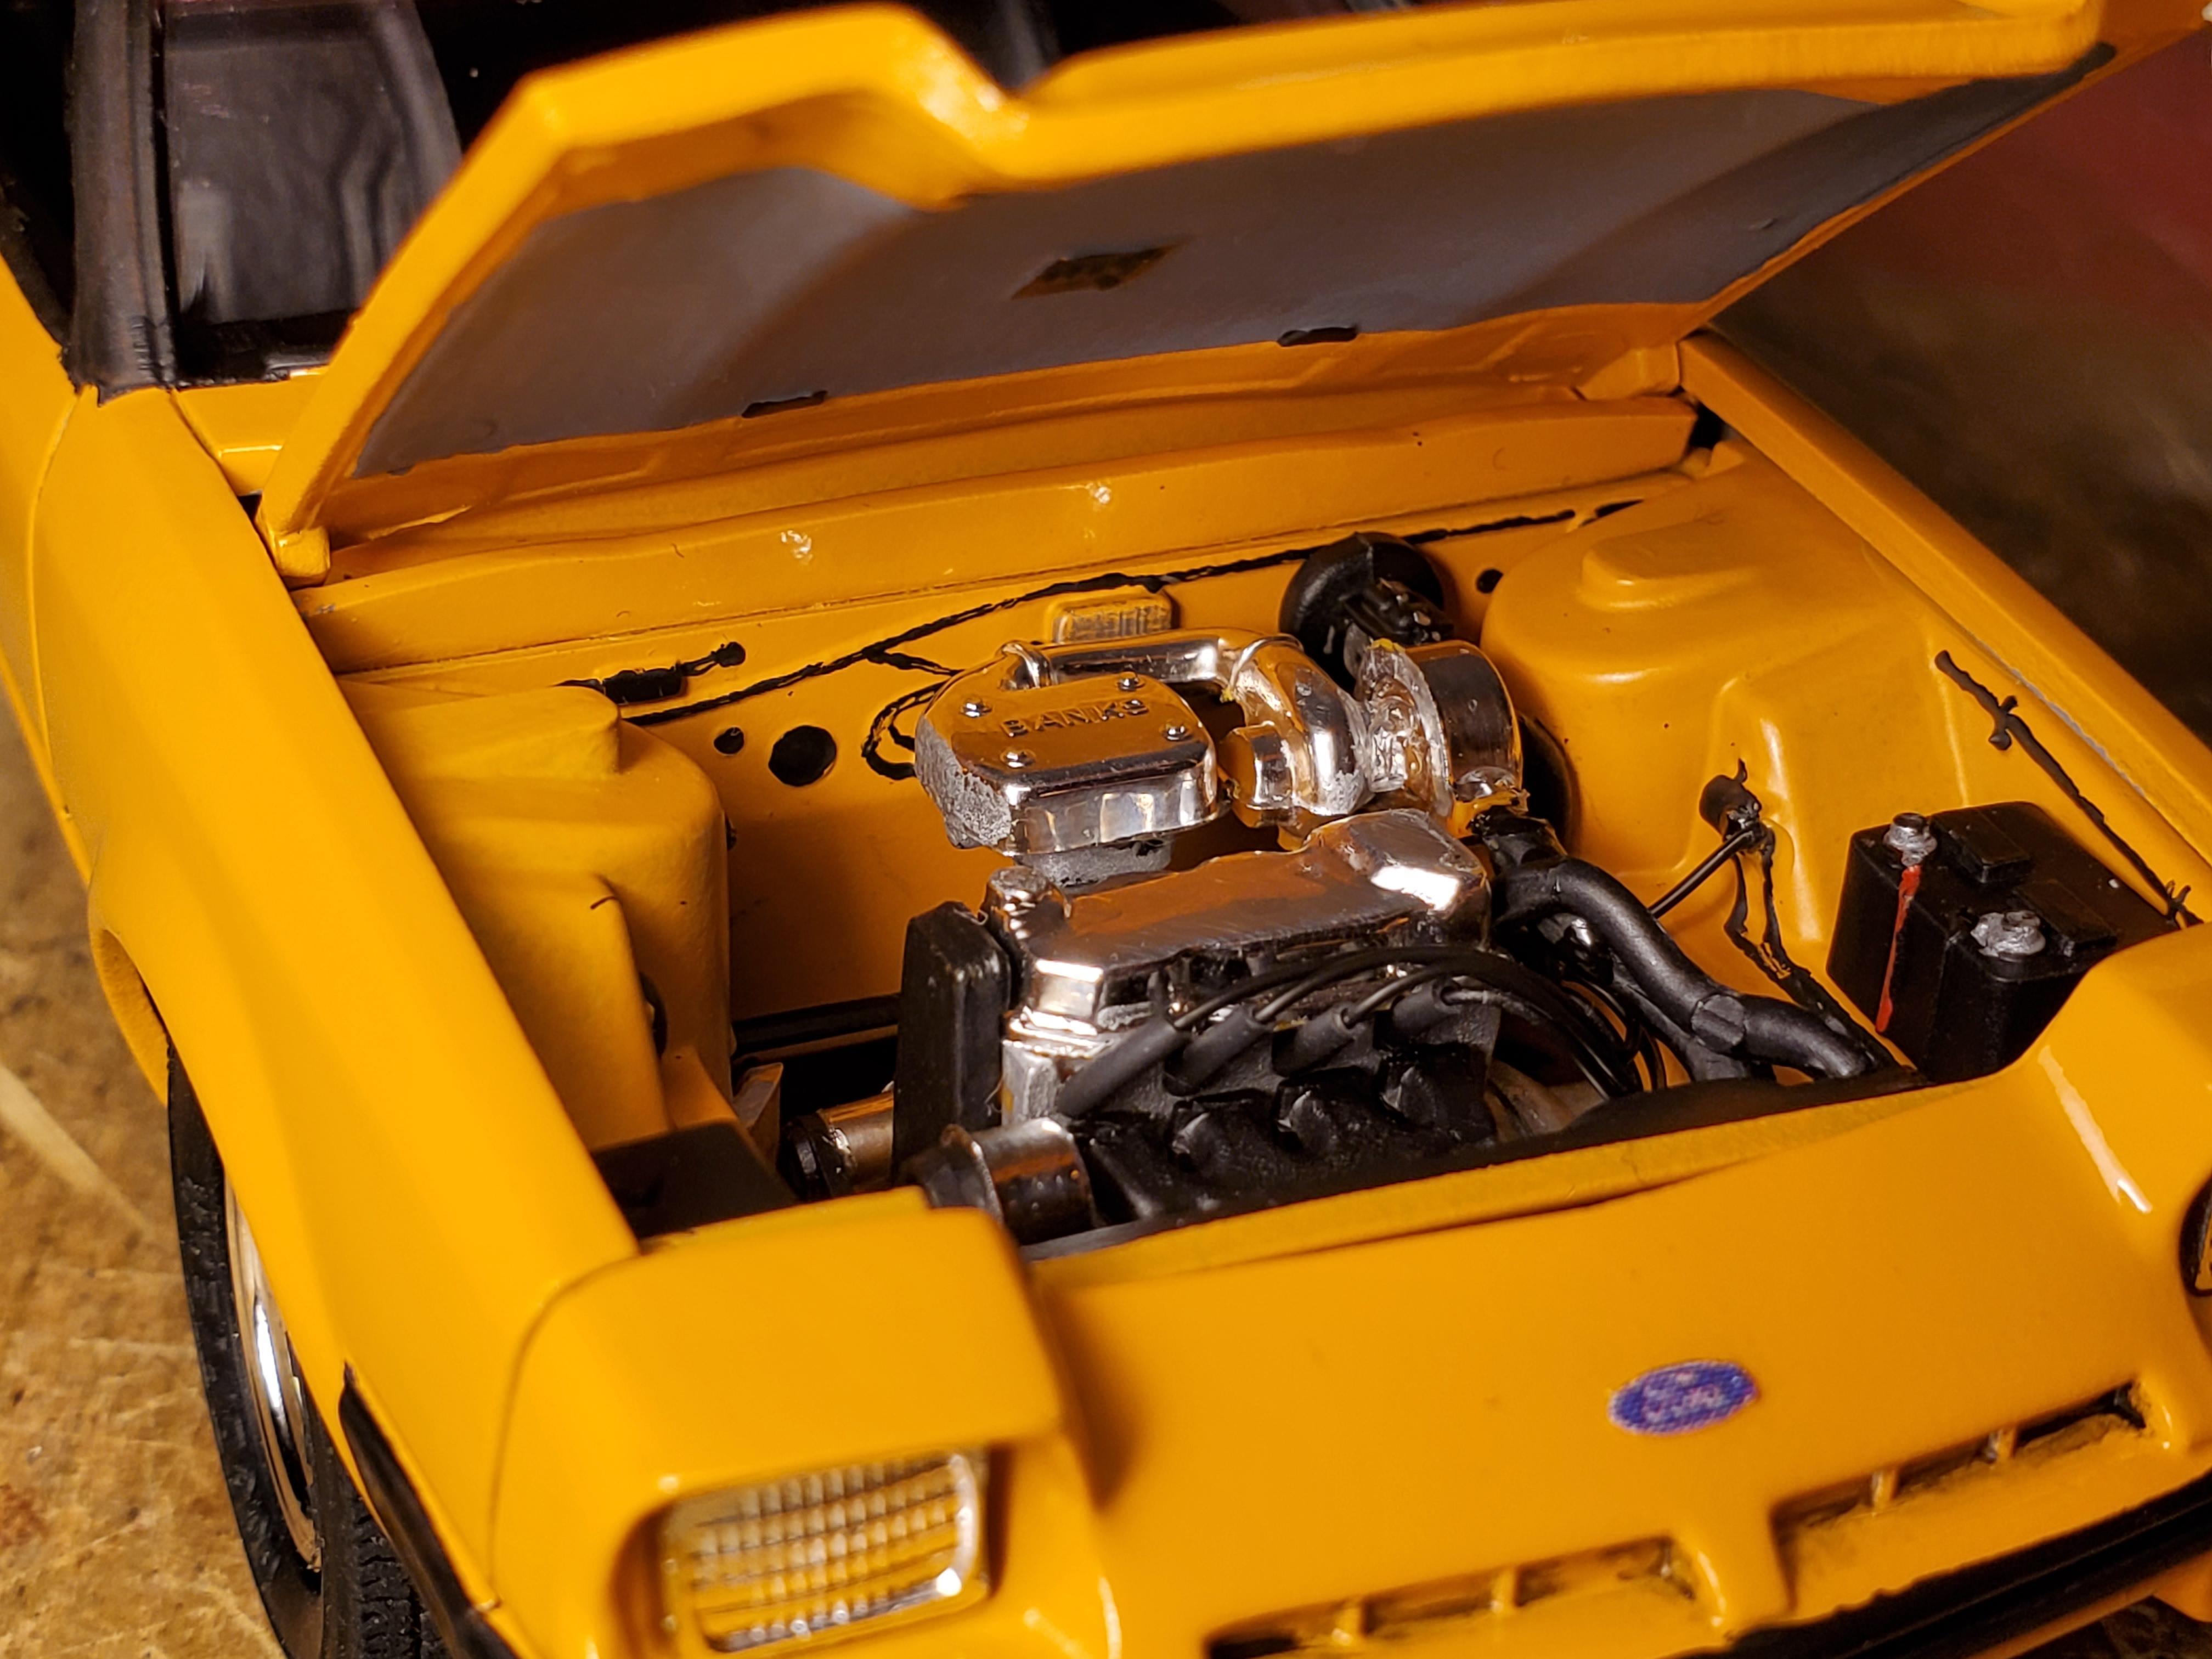
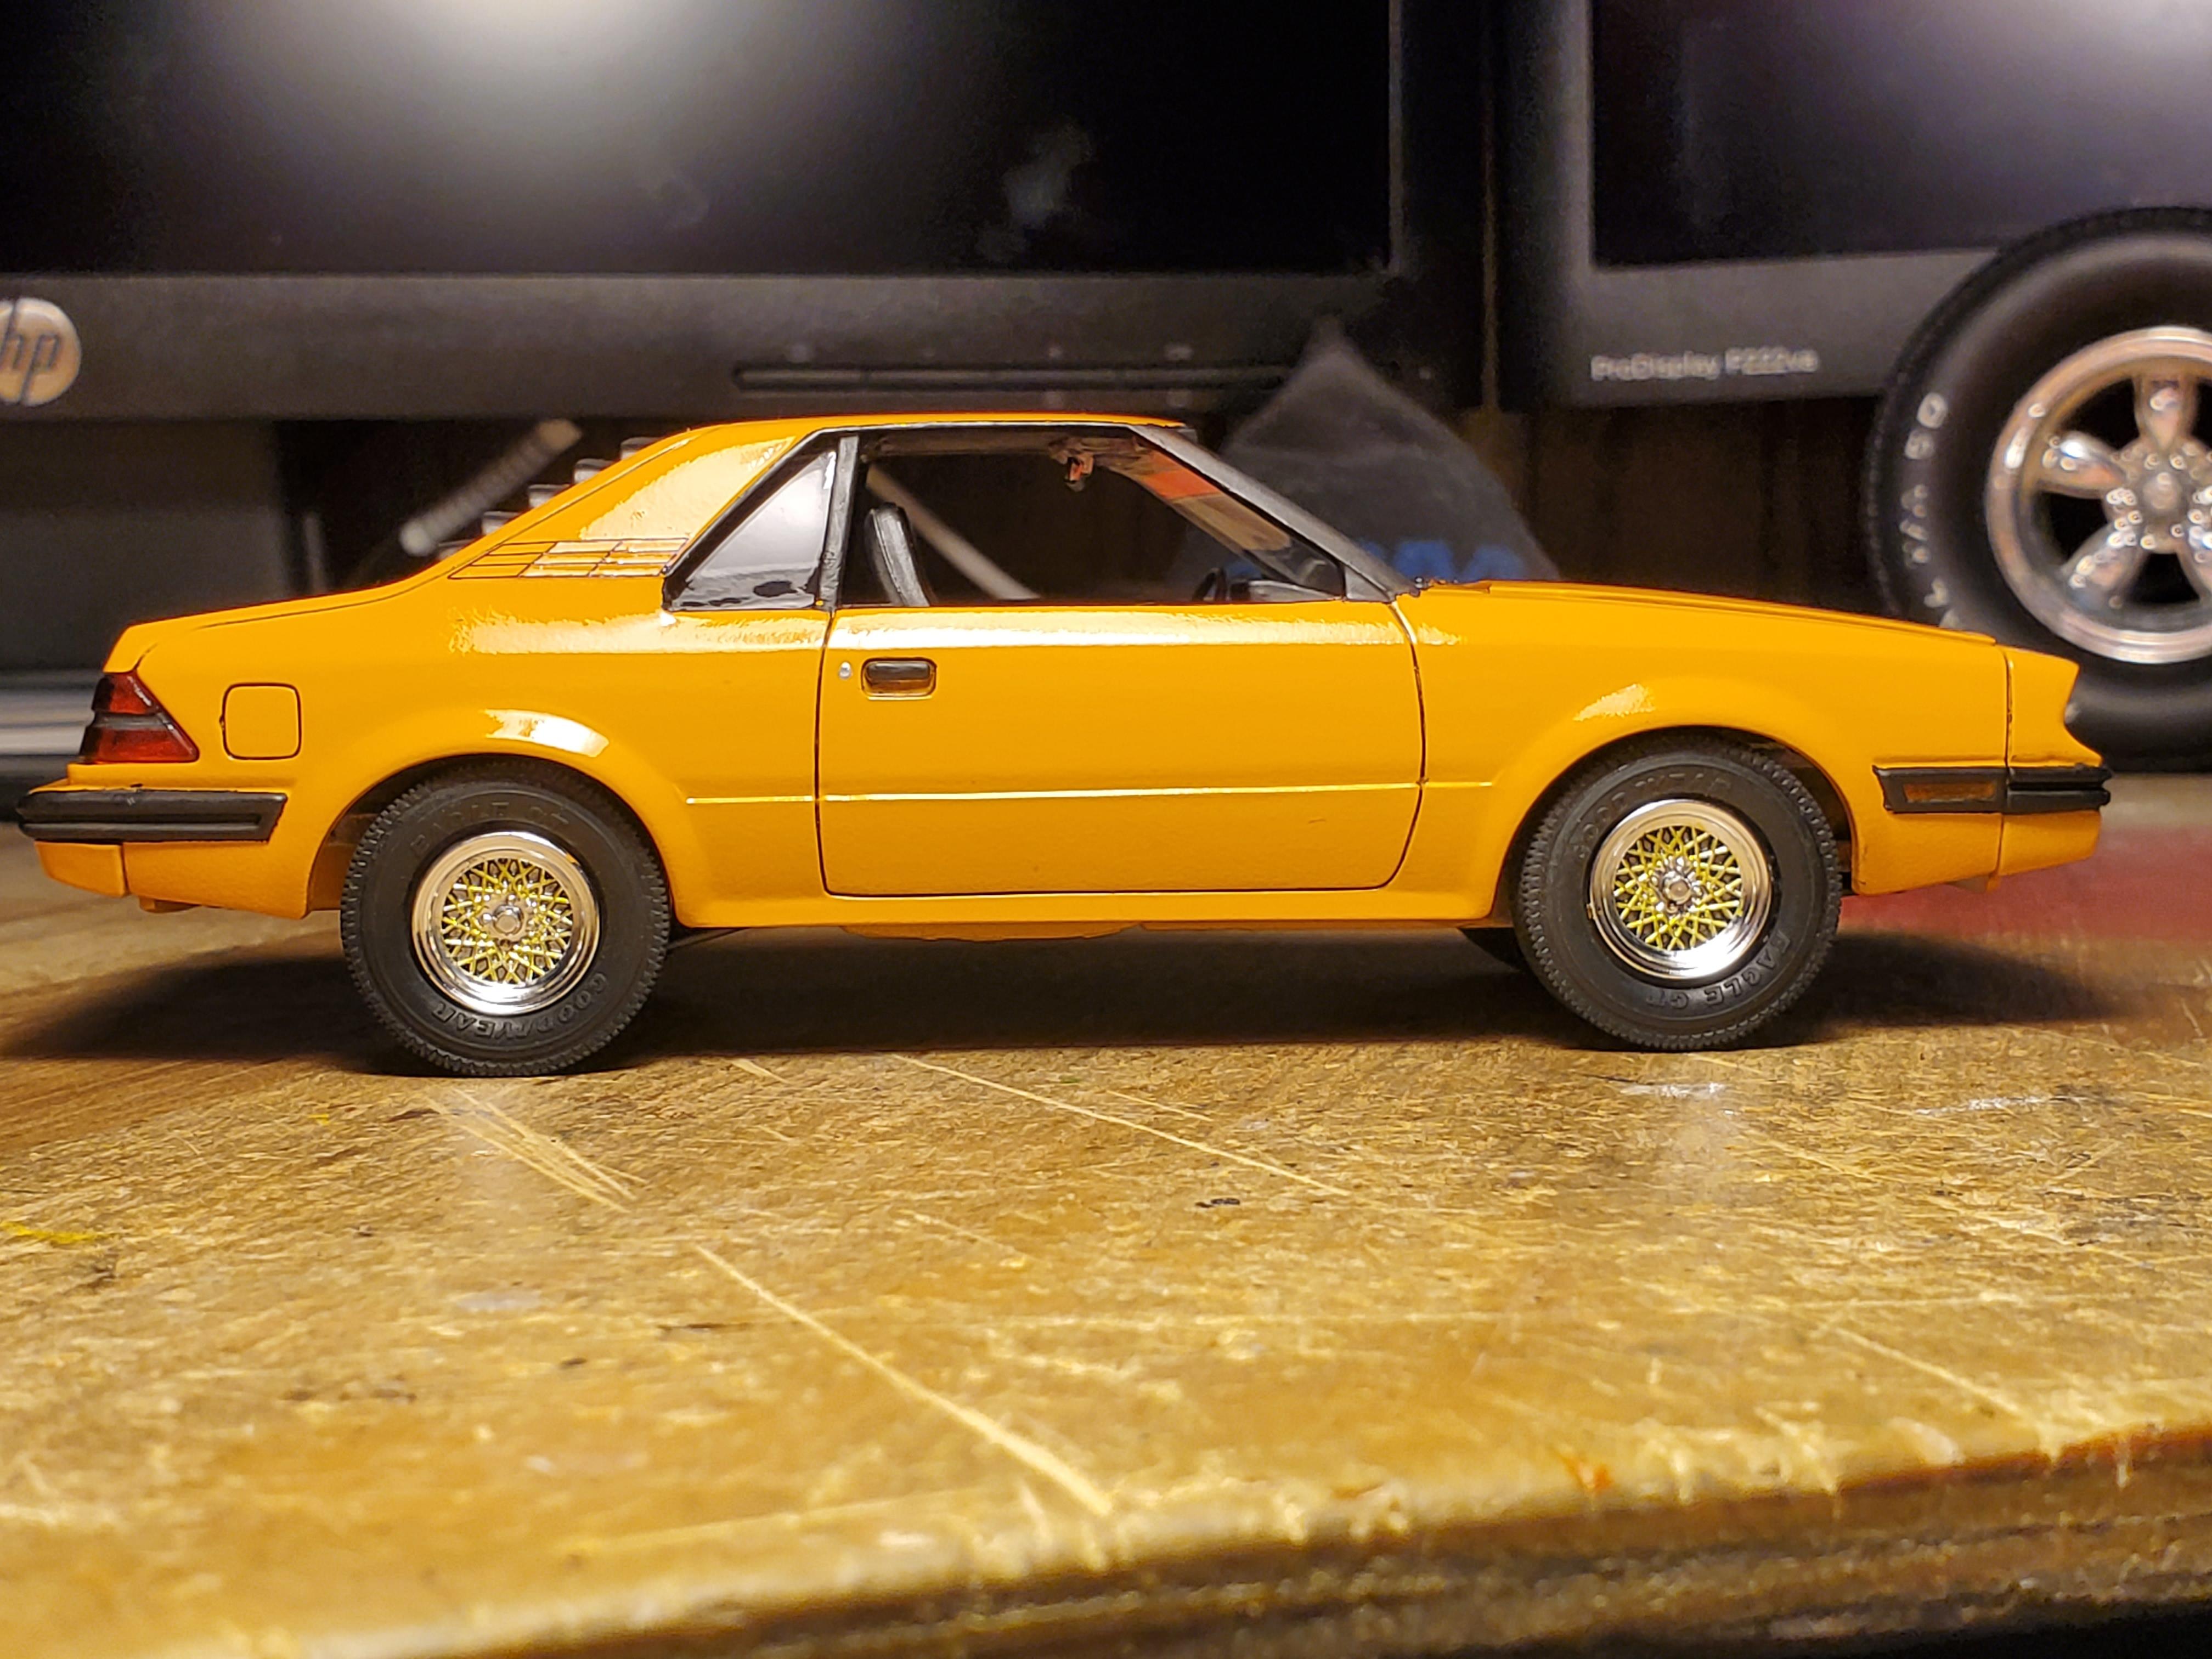
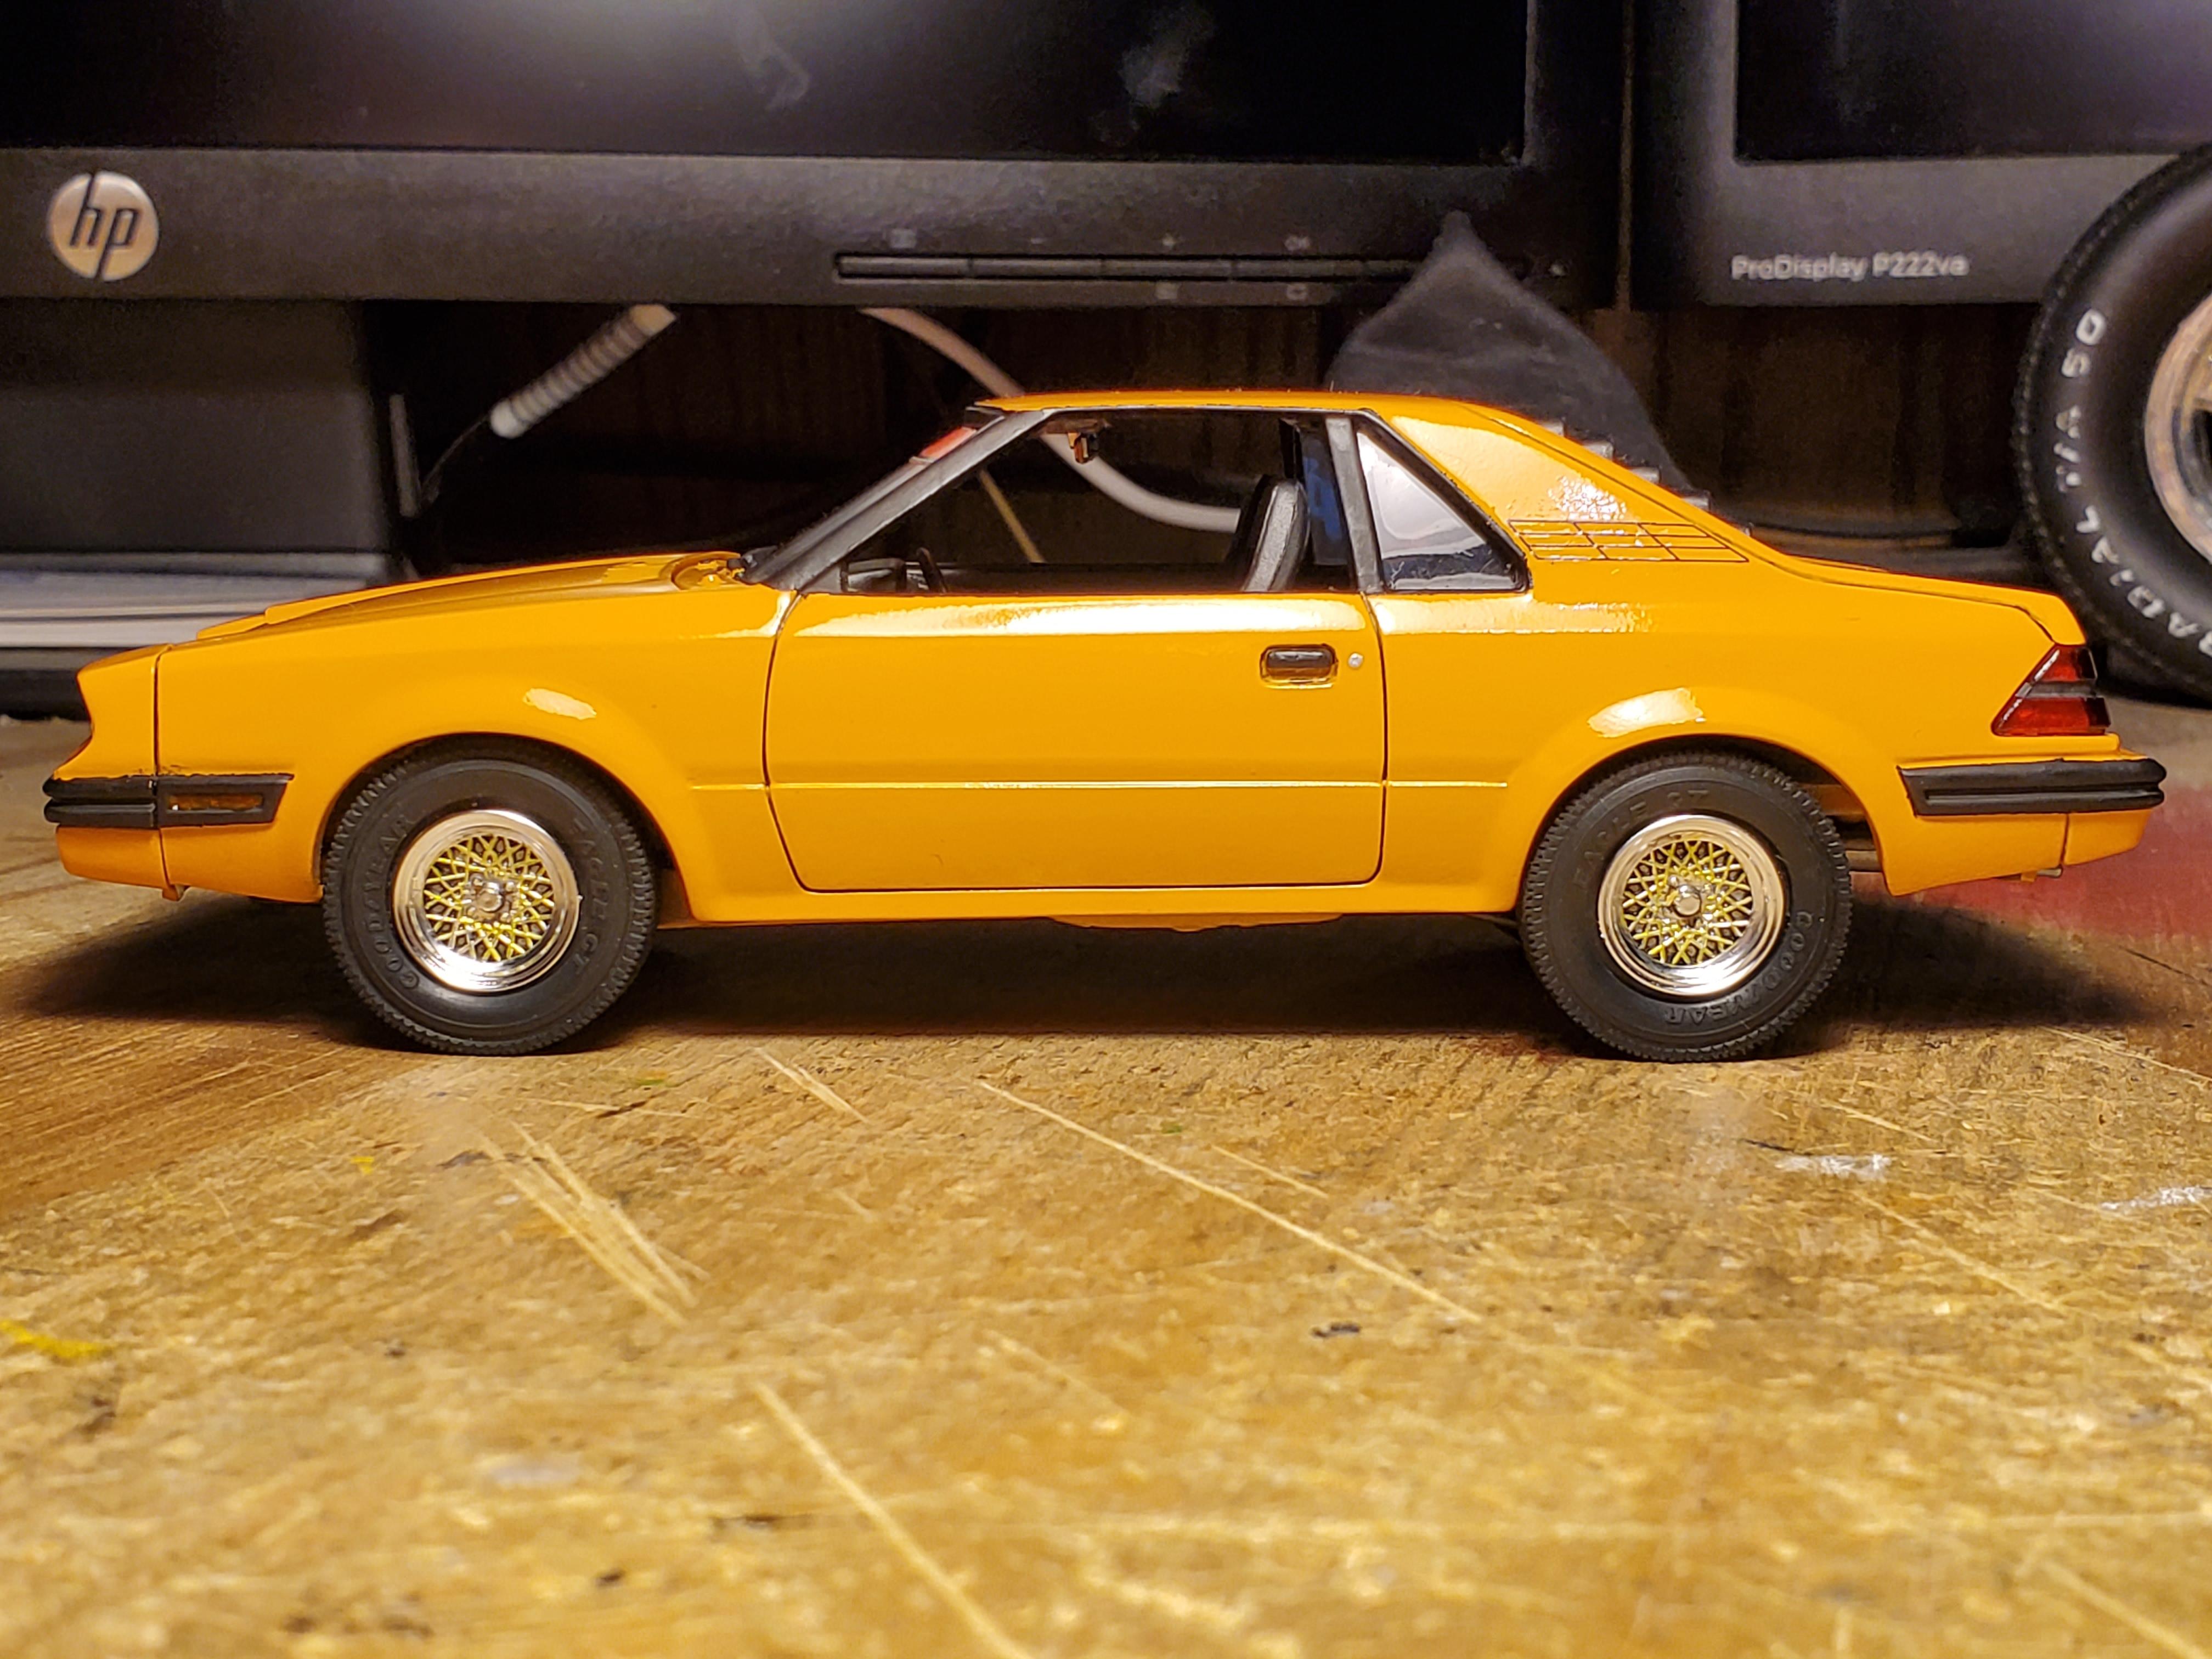
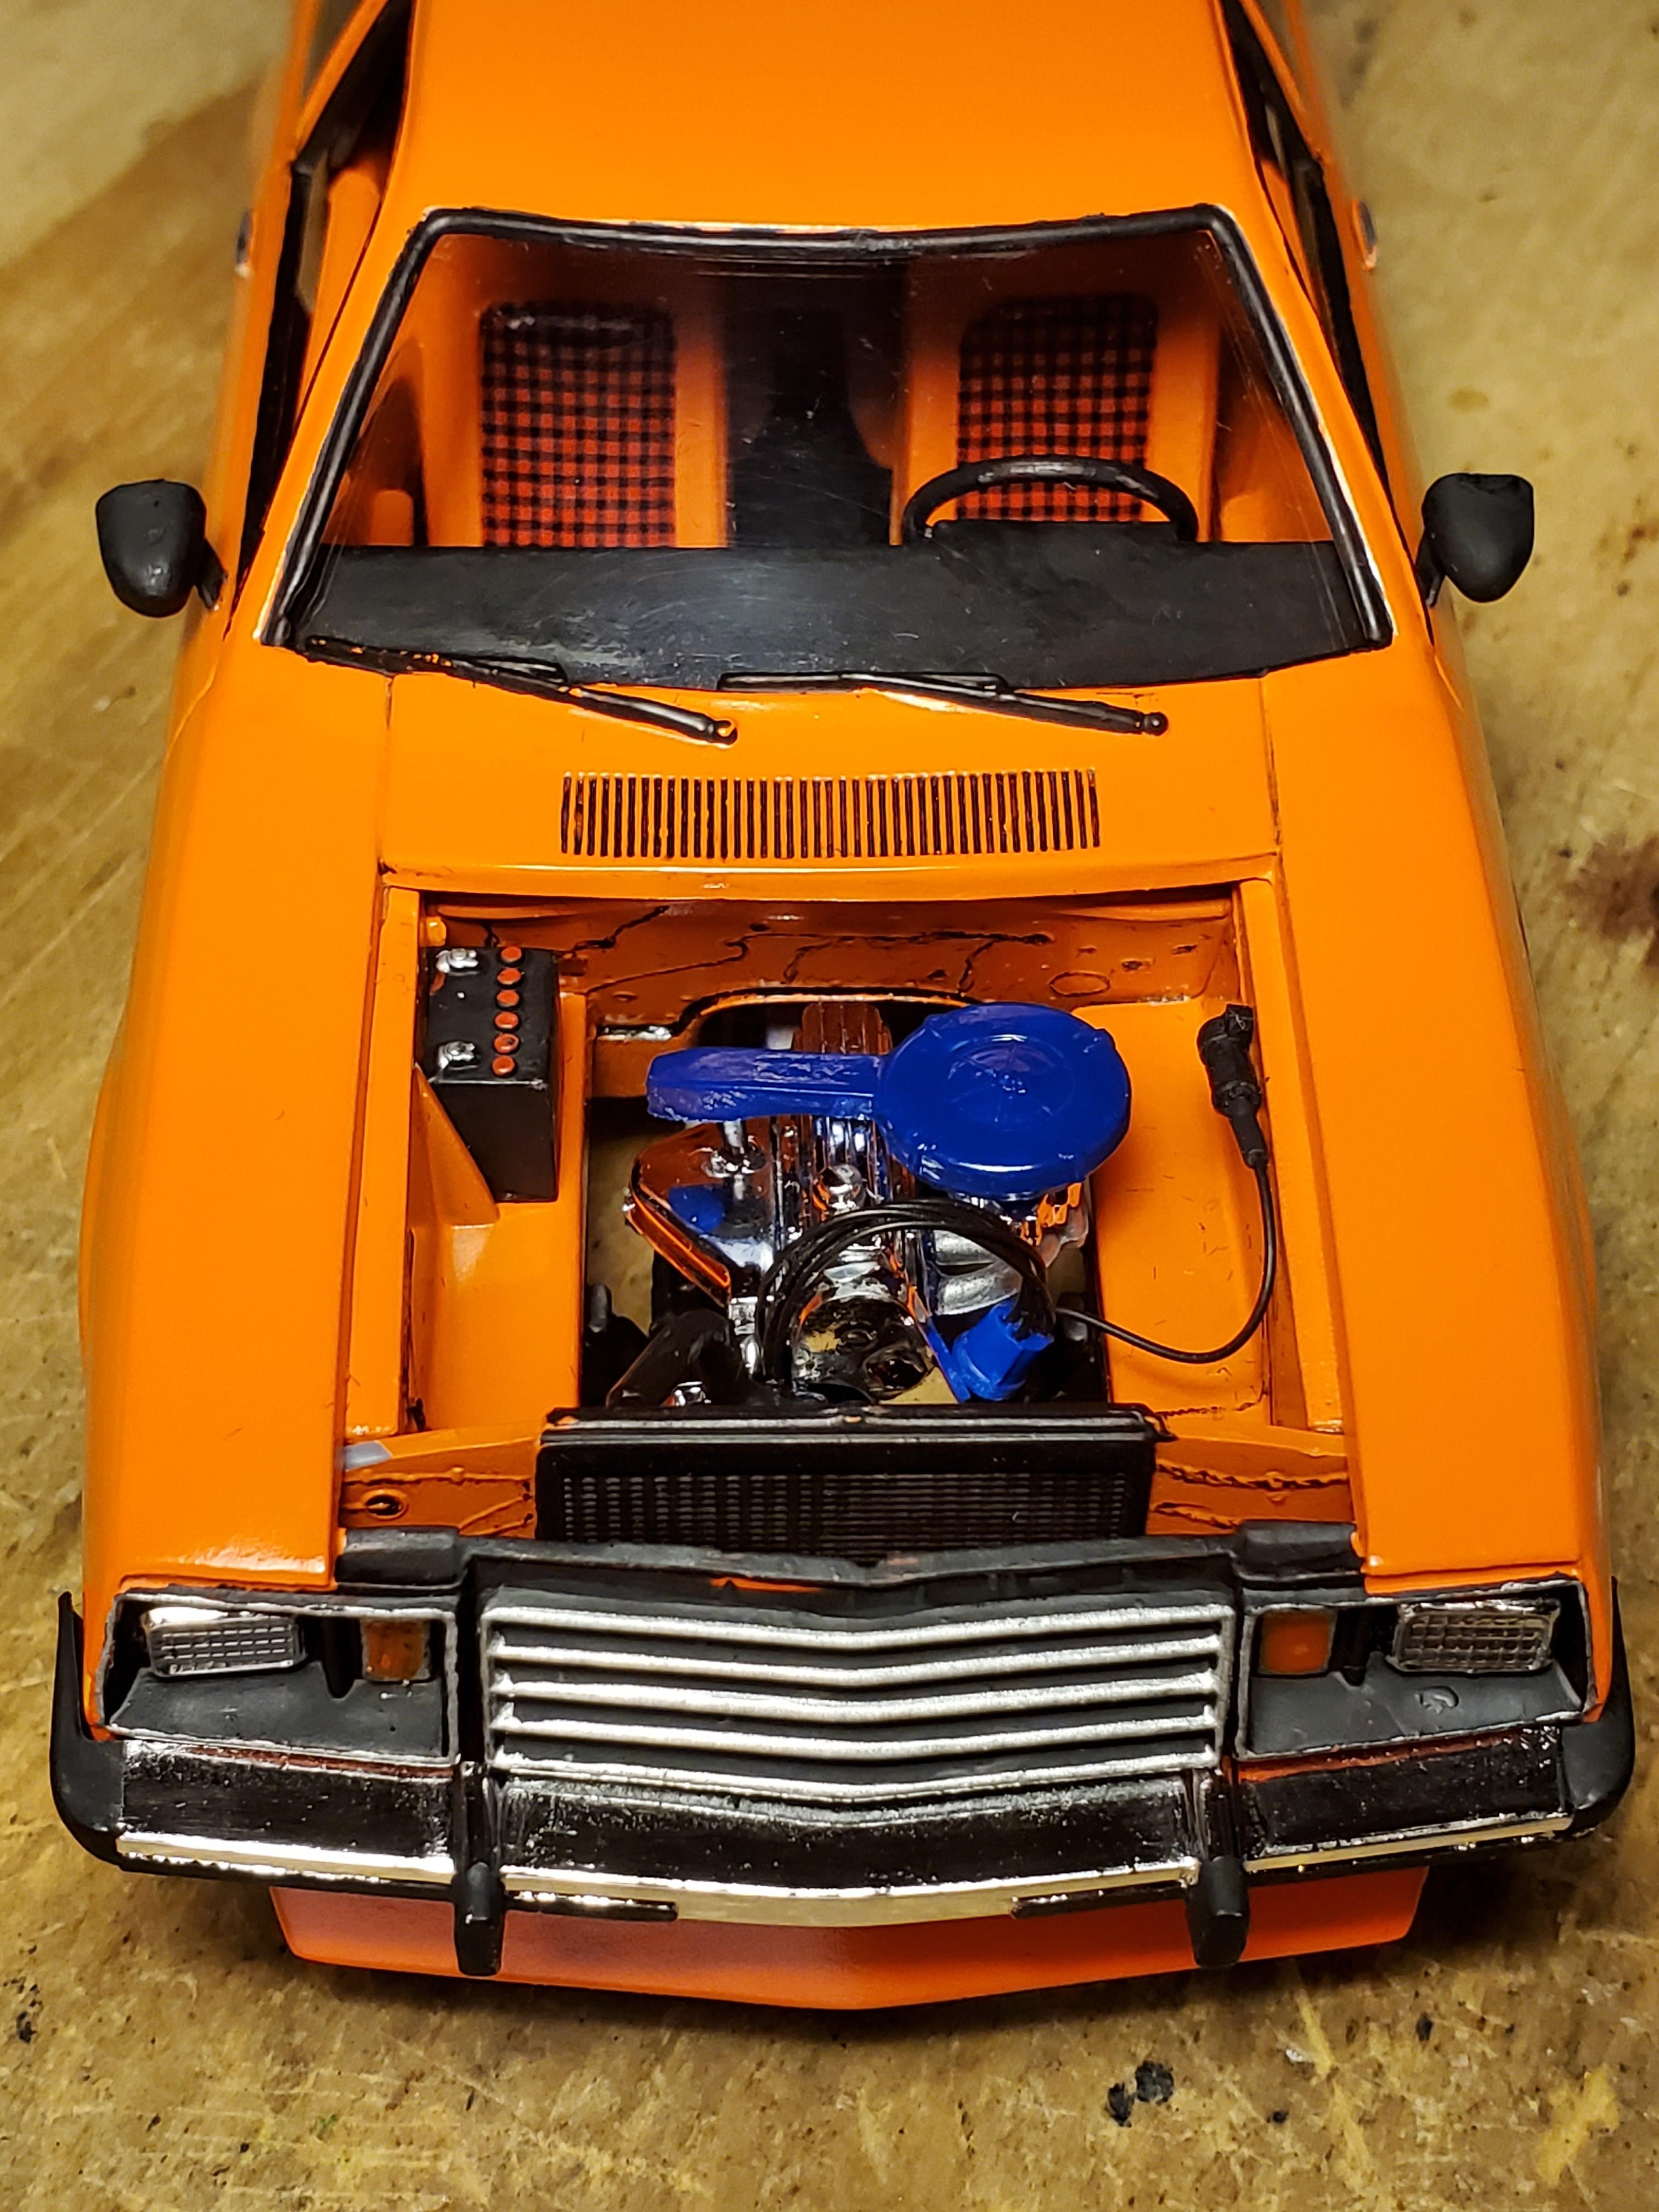
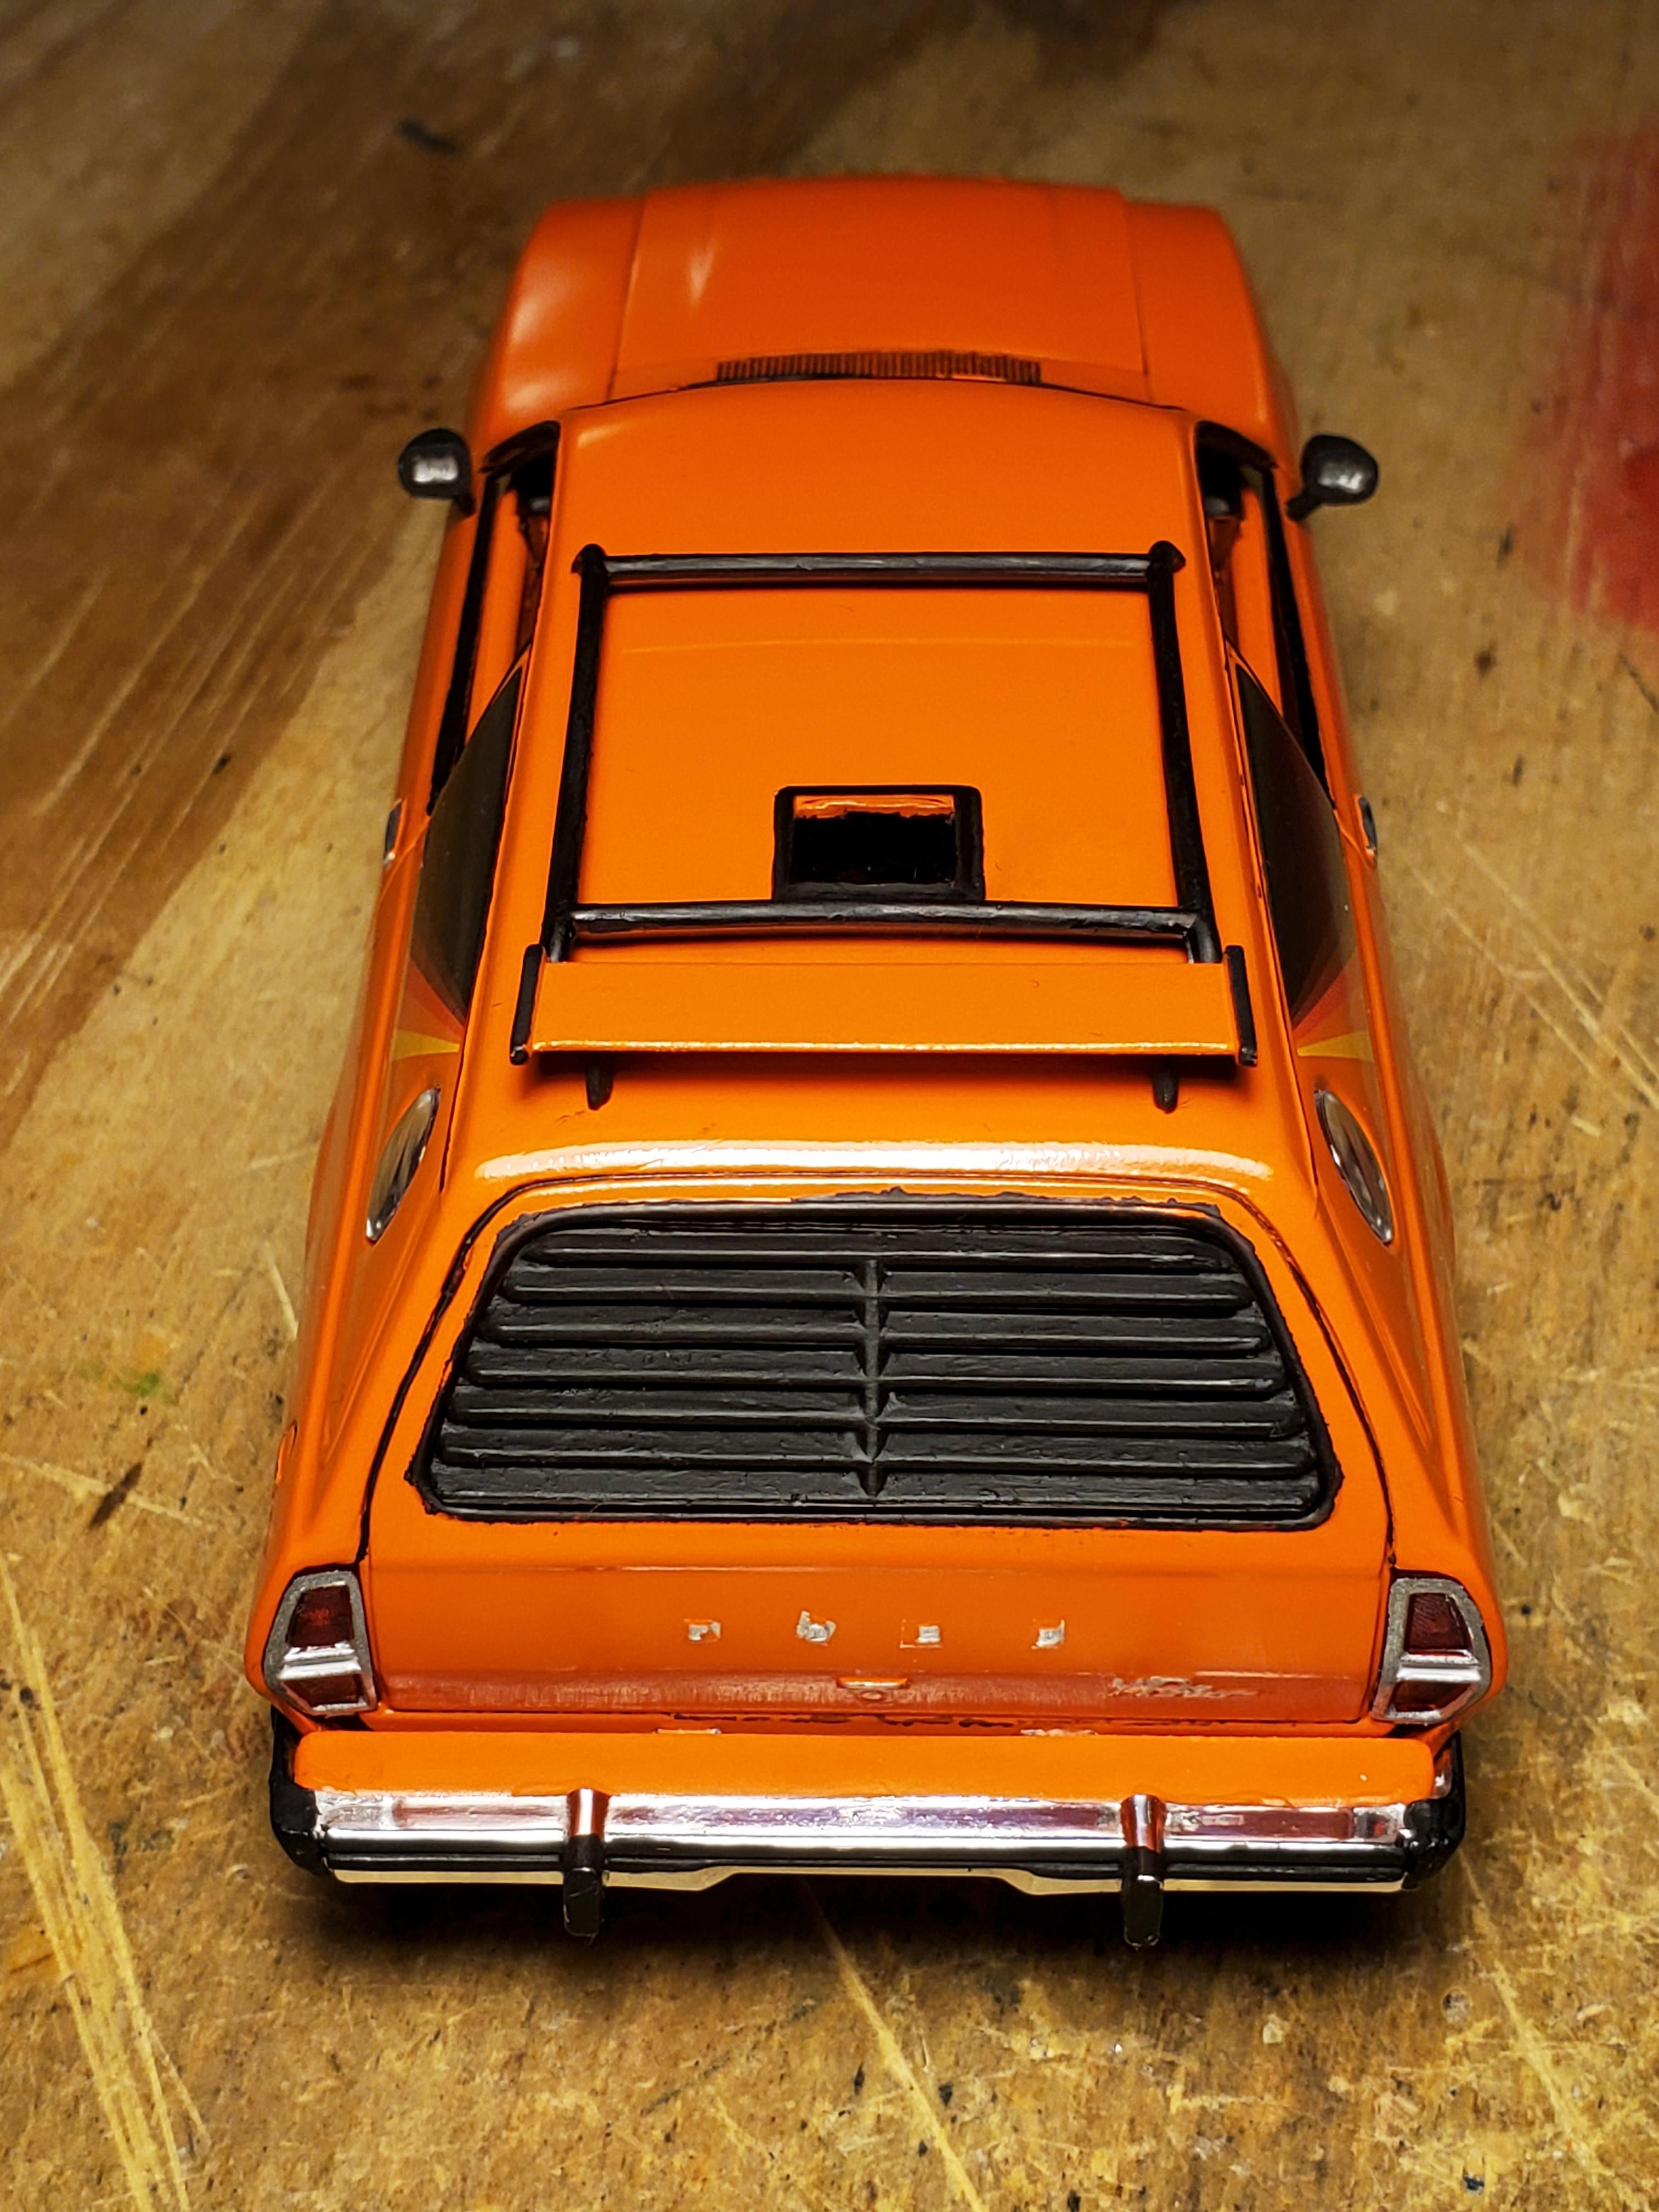
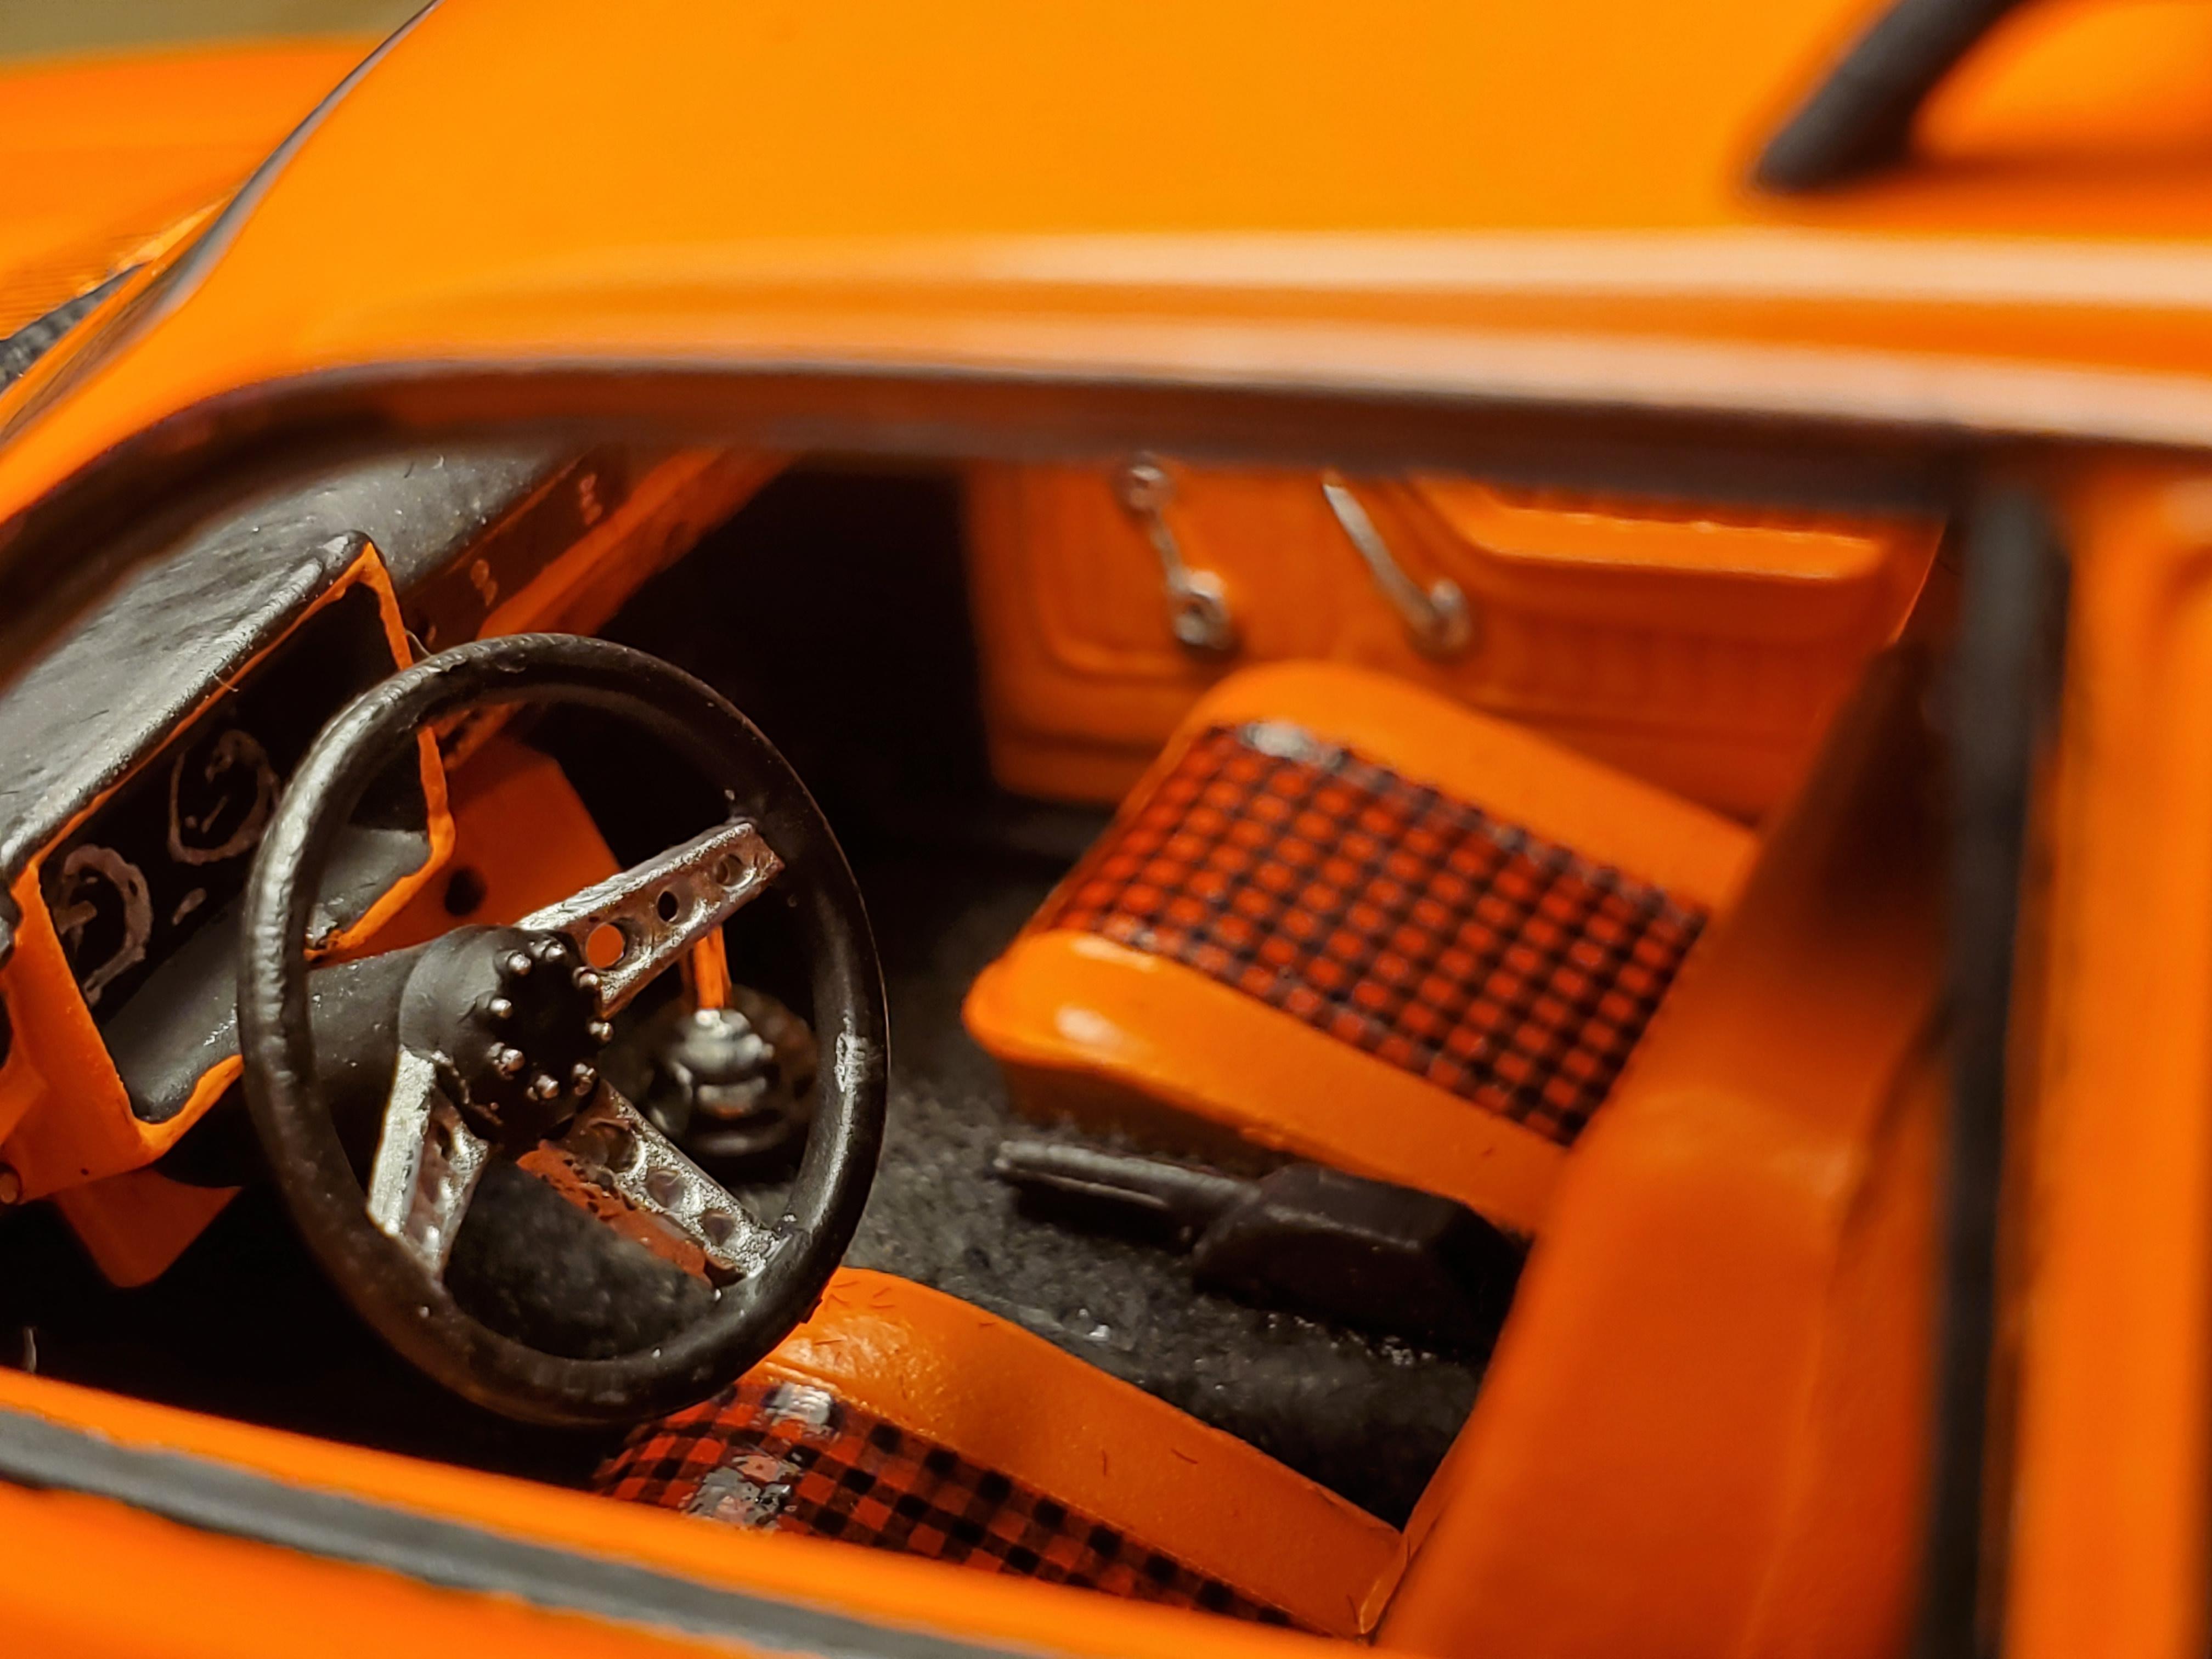
I must have been in an "Orange Mood" in 2016 because I painted several vehicles in varying shades of orange or yellow. This being one of them. MPC '83 Ford EXP. I used some spares from a RaysKits Decal sheet for some detail on this one. Used the Banks turbo kit that came with it and the optional wheels. The tires in the kit were much like some Taco Bell I've had before.... that being, Melty. They were sticking to everything that touched them. Thankfully none of the kit was damaged but I had to toss the tires. Which I didn't like because I really wanted to use them. So I had to settle for some Revell tires that somewhat fit the wheels but look the part. Color is Ford Bright Caramel basecoat with 2k clear. All from a rattle can. I taped off the trim and used a brush to make the trim all black. It was a little messy but the best way I could do it. I used a M.A.D. Distributor for a 4cyl as well. The rest of it is pretty much as the kit comes. OH, and I forgot to clear the mirrors when I finished the car, and so they got cleared much, much later, but they ARE on the car NOW just not in the pics here.
-
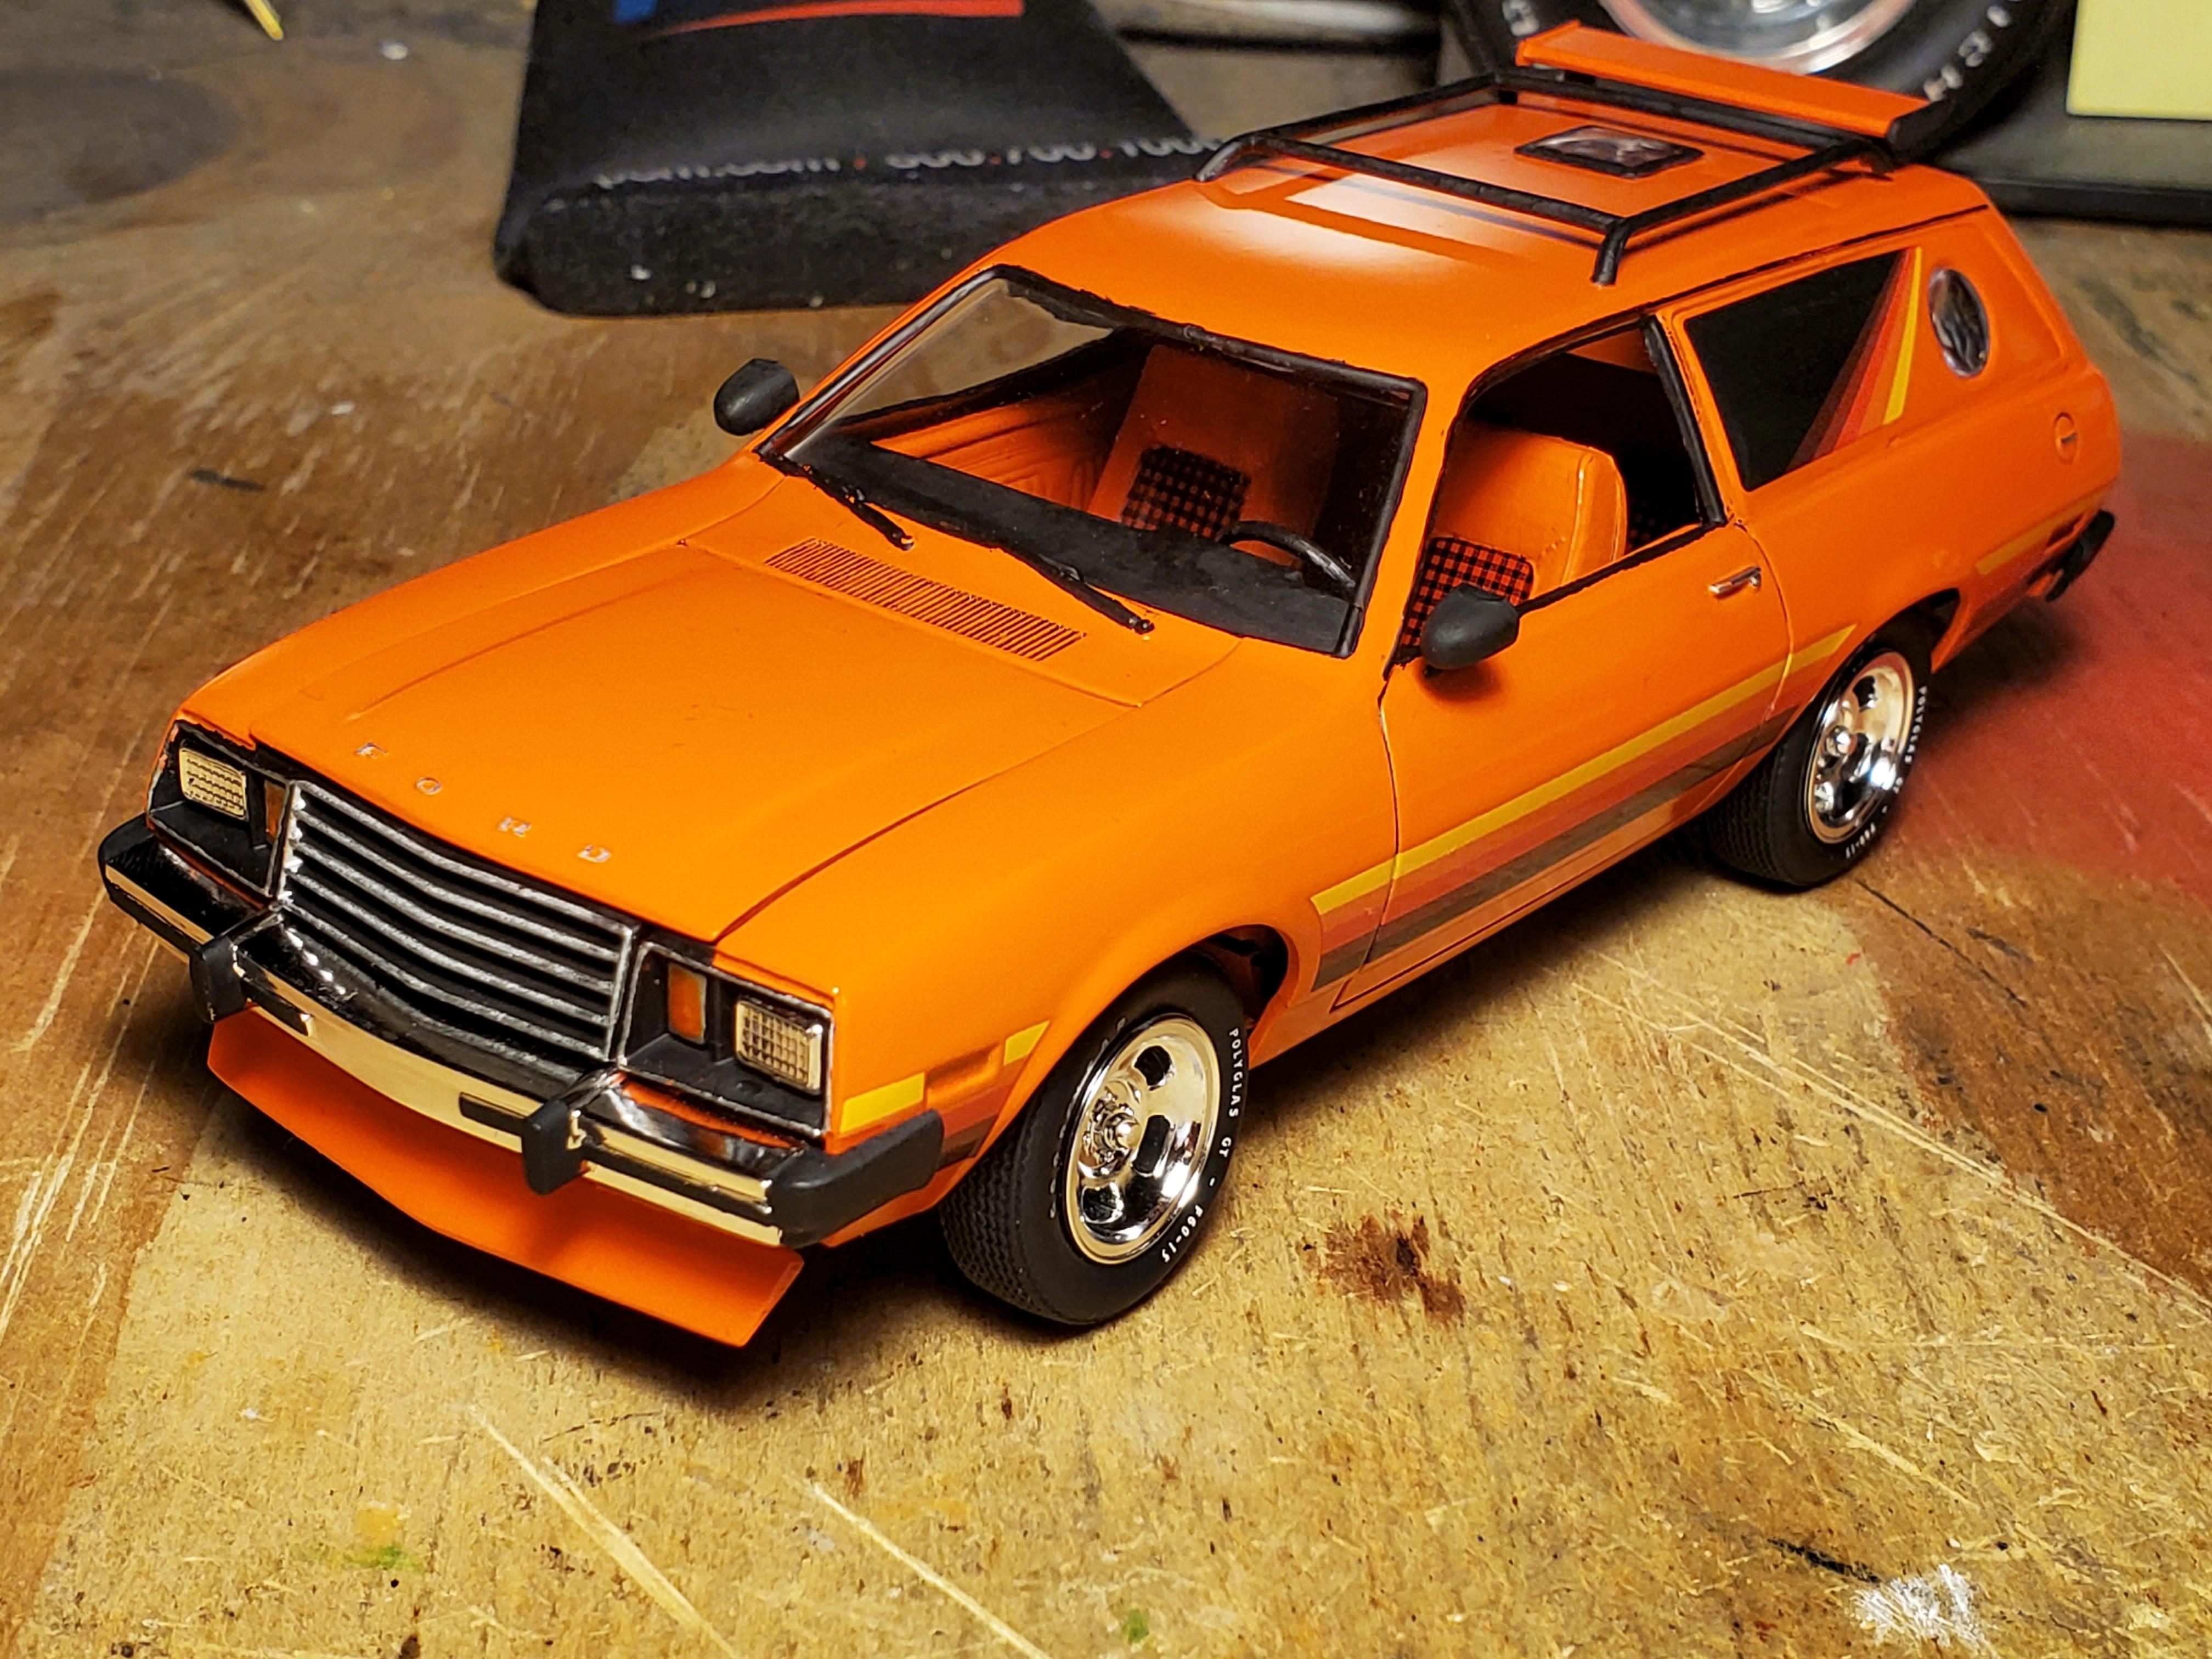
I started a build thread on this car way back in 2016. Well, I painted it and put it back in the box. Got out of models for a short period of time while my job got busy. Last year I finished it. I made my own seat decals, used a M.A.D. distributor for a 4cyl and that's really about it. Paint is rattle can lacquer mixed at the auto body supply store right before they stopped doing lacquer forever. Cleared with Tamiya clear and polished out. I later added a license plate but I don't have a pic of it with it. Here's a pic of my seat decals. I went on the internet and googled orange plaid and found this. Copy and pasted a bunch of them together in the size I liked, and cut them out/trimmed them to fit.
-
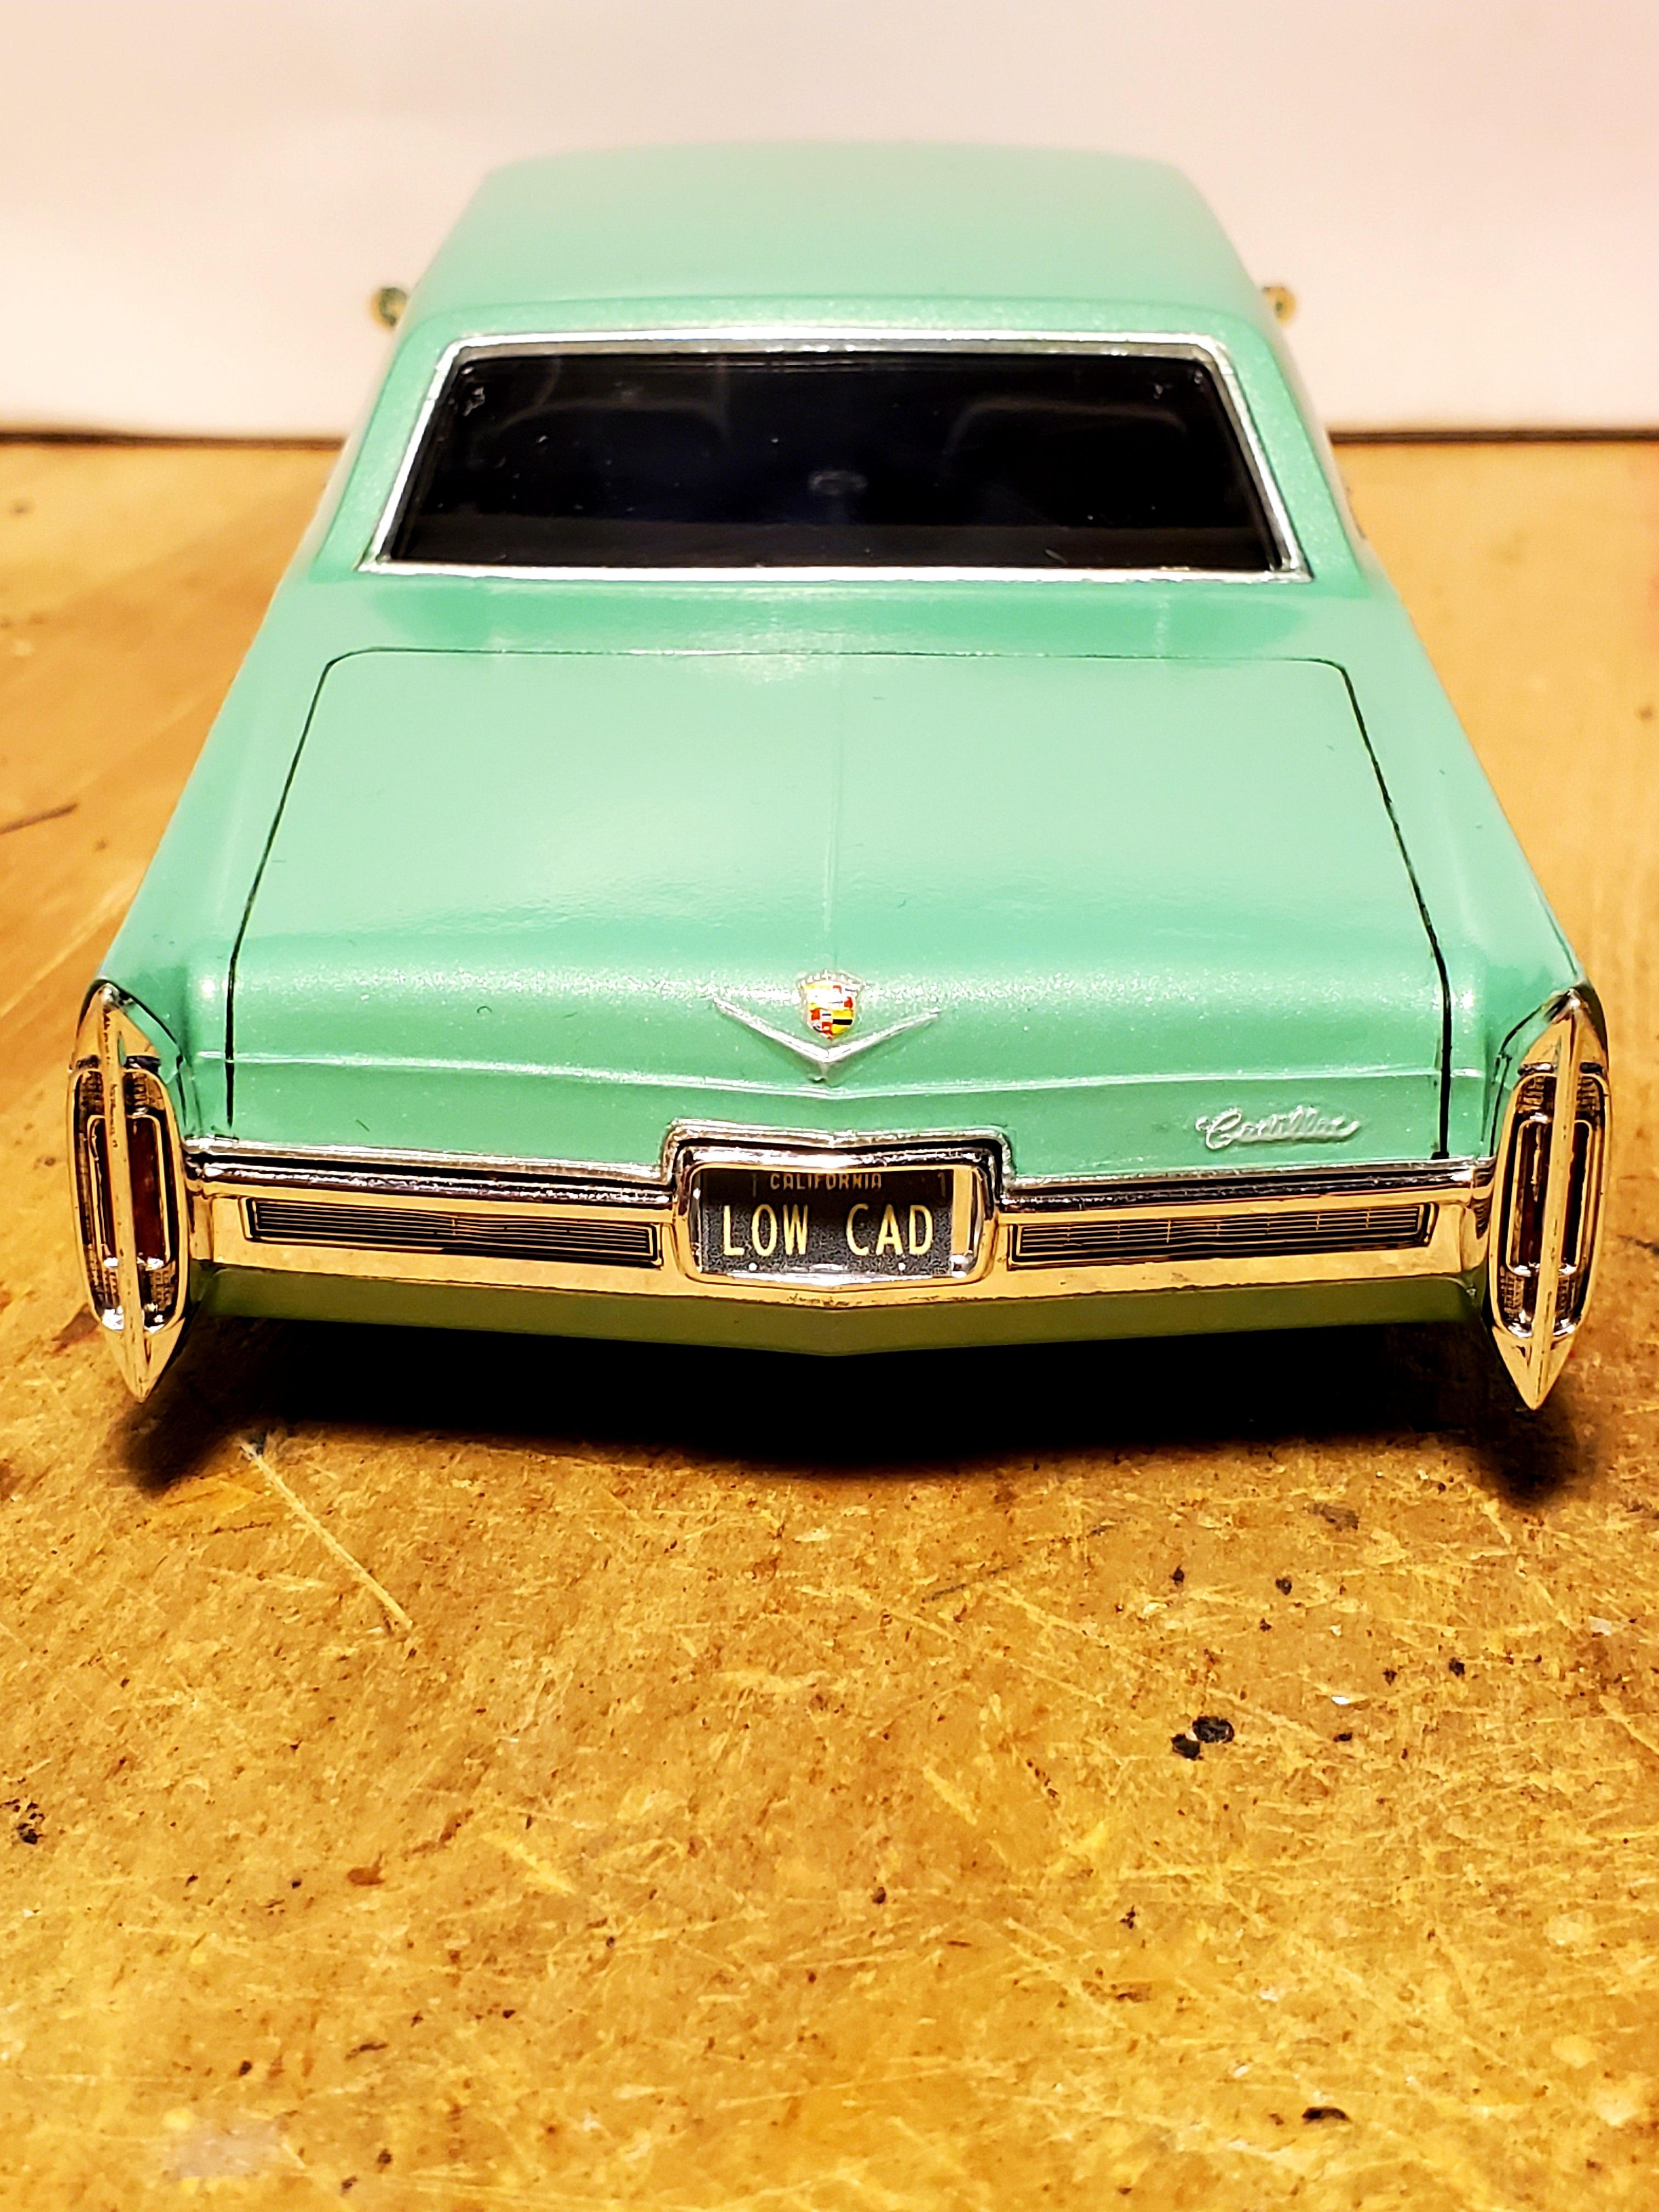
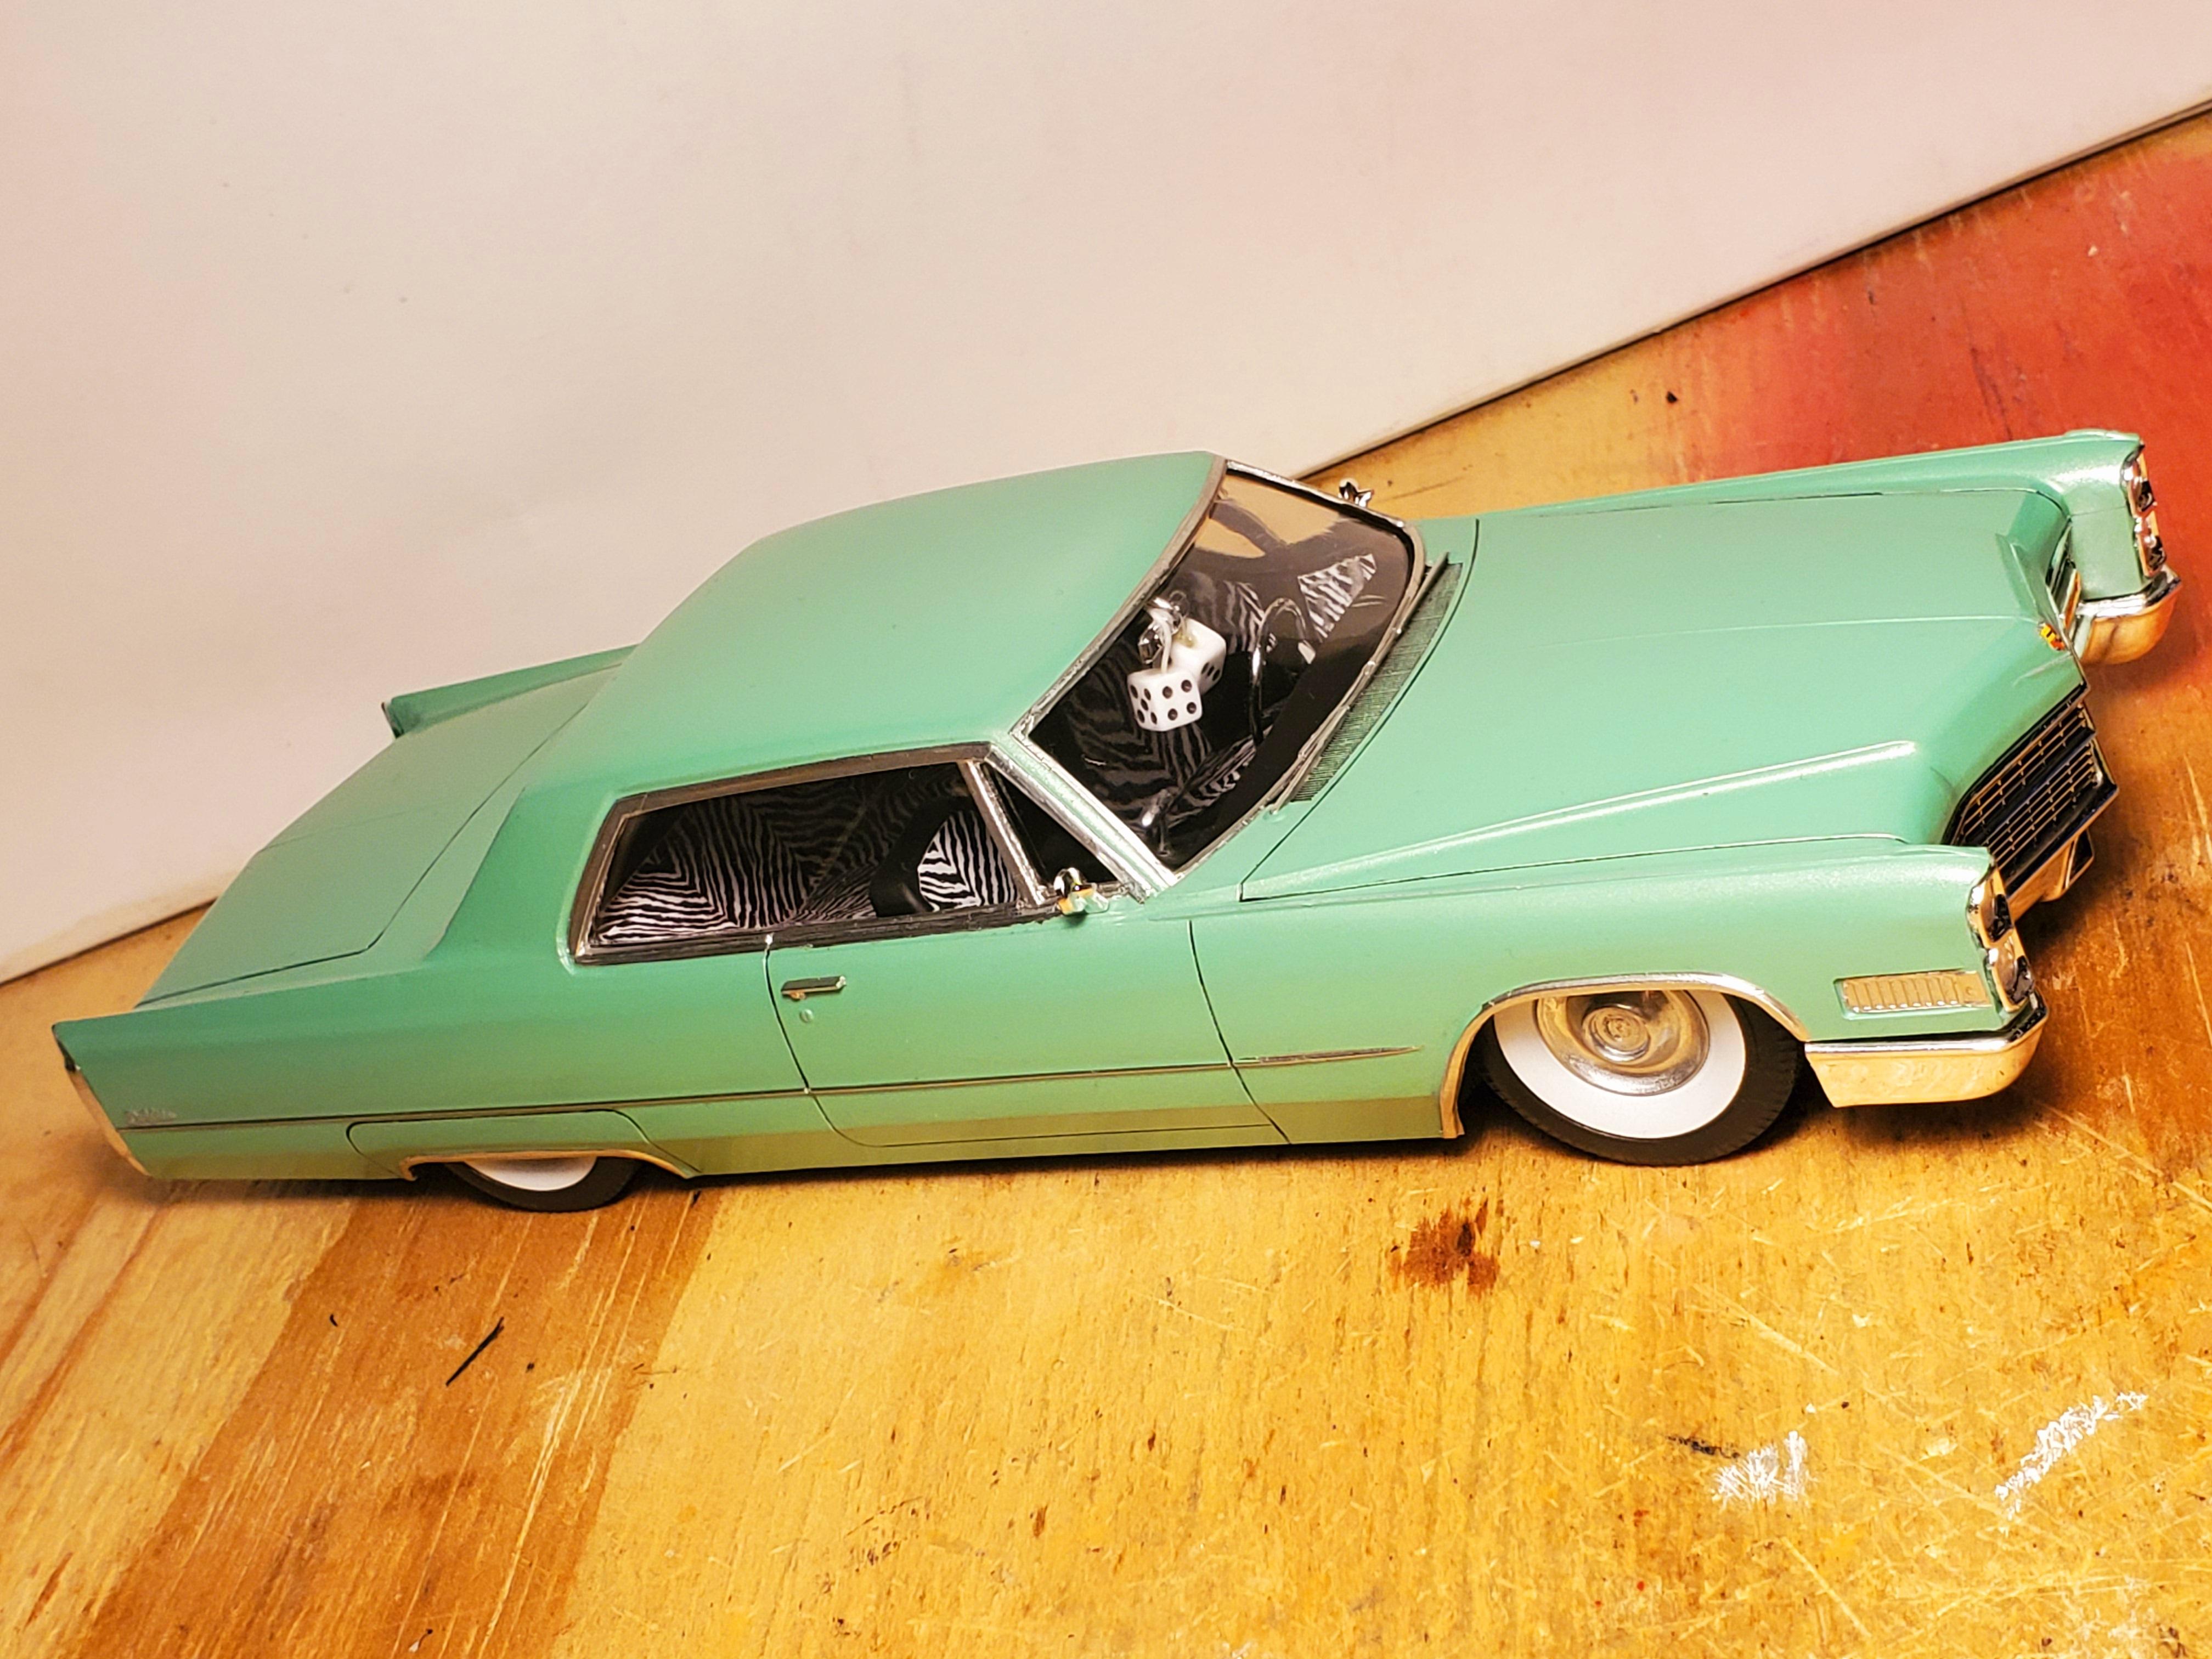
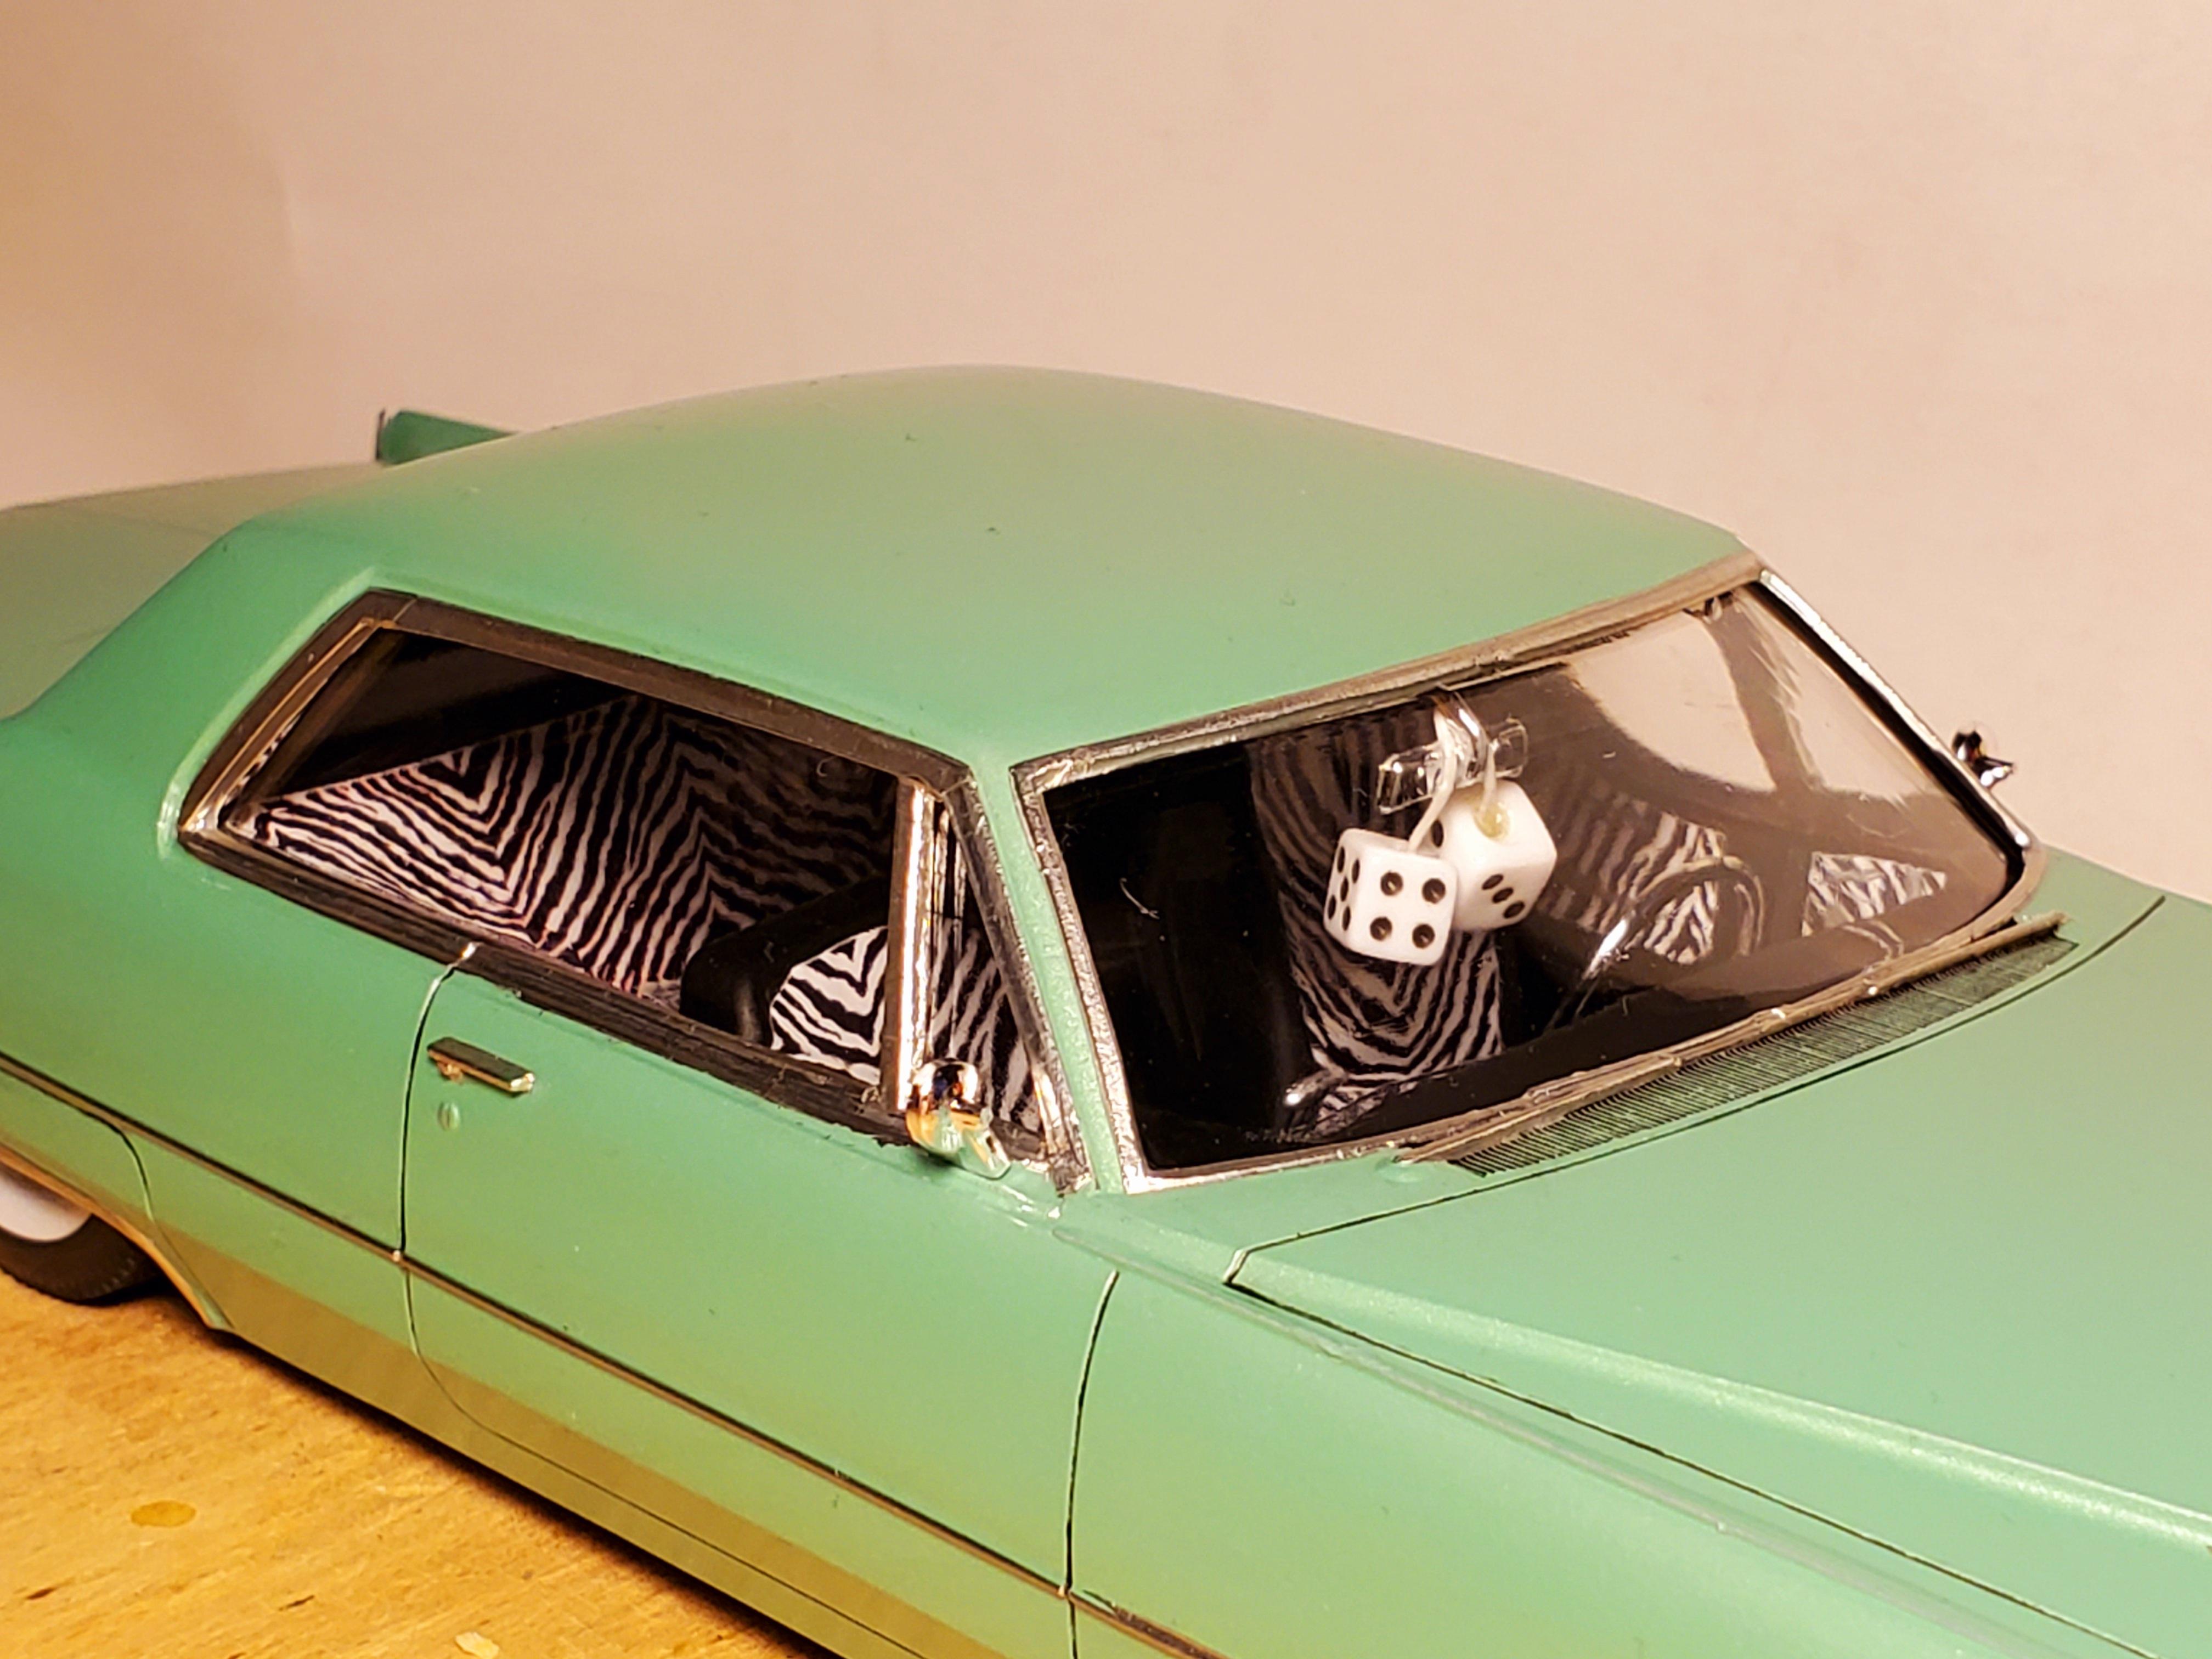
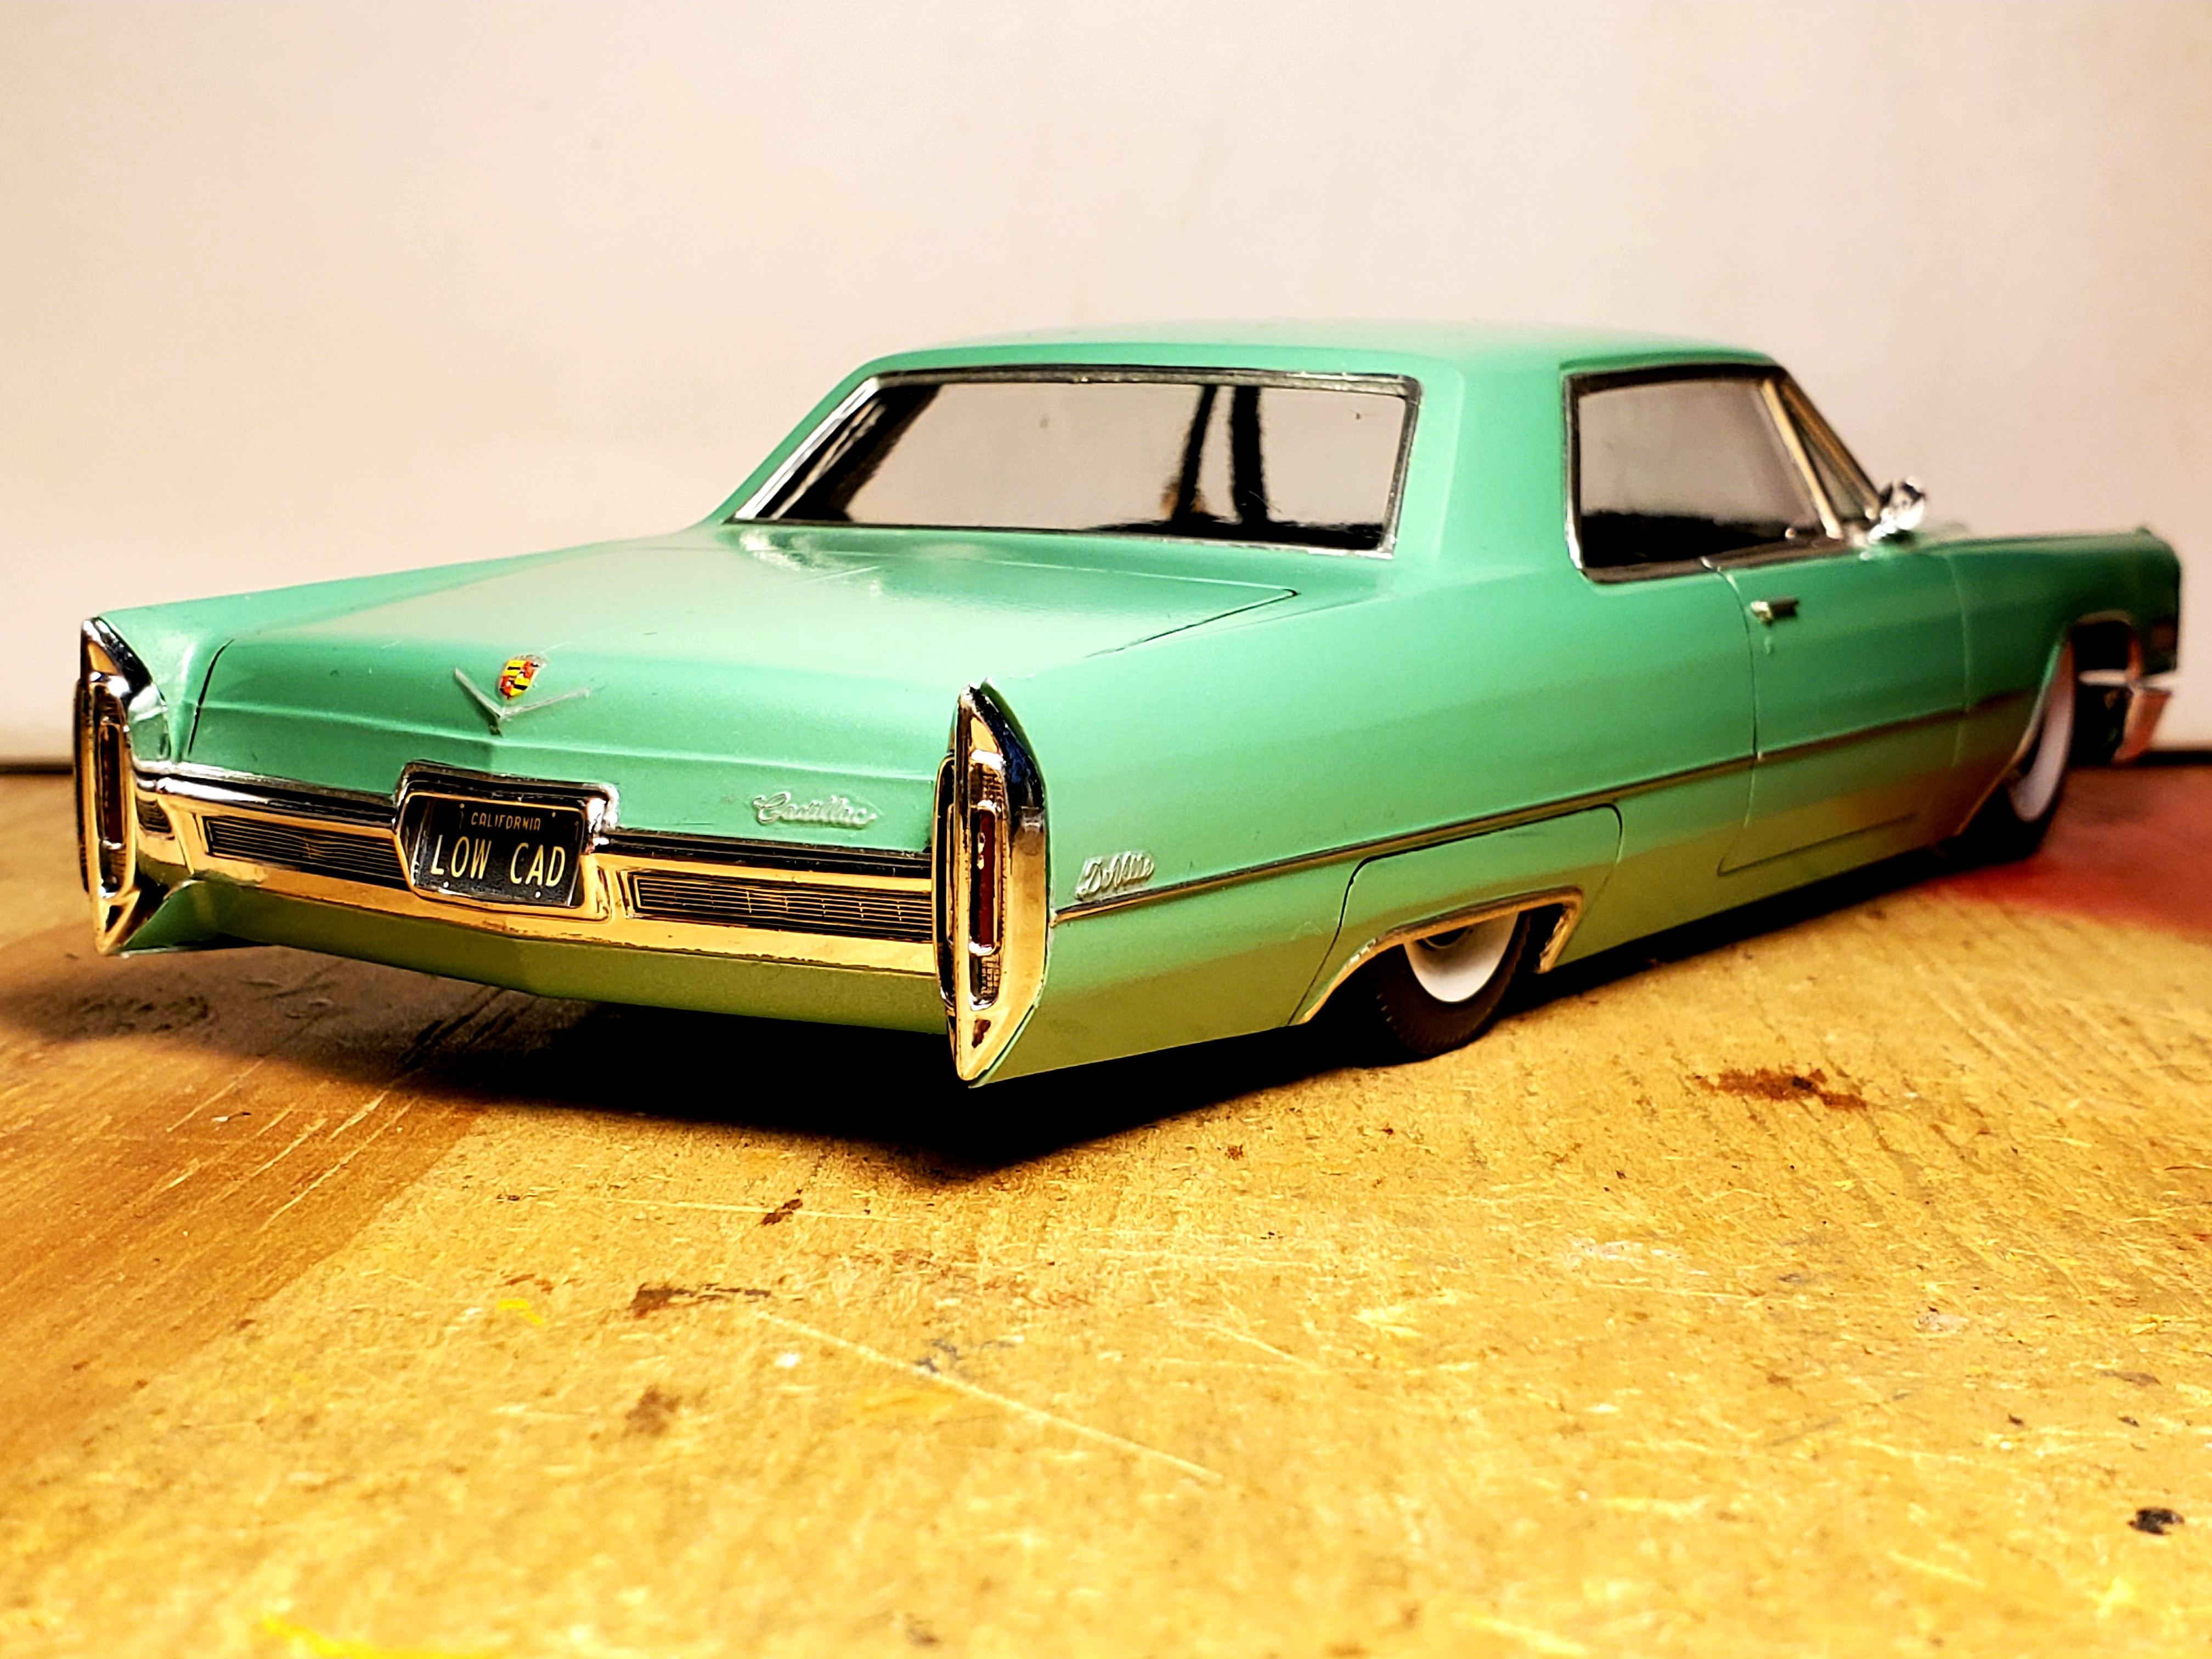
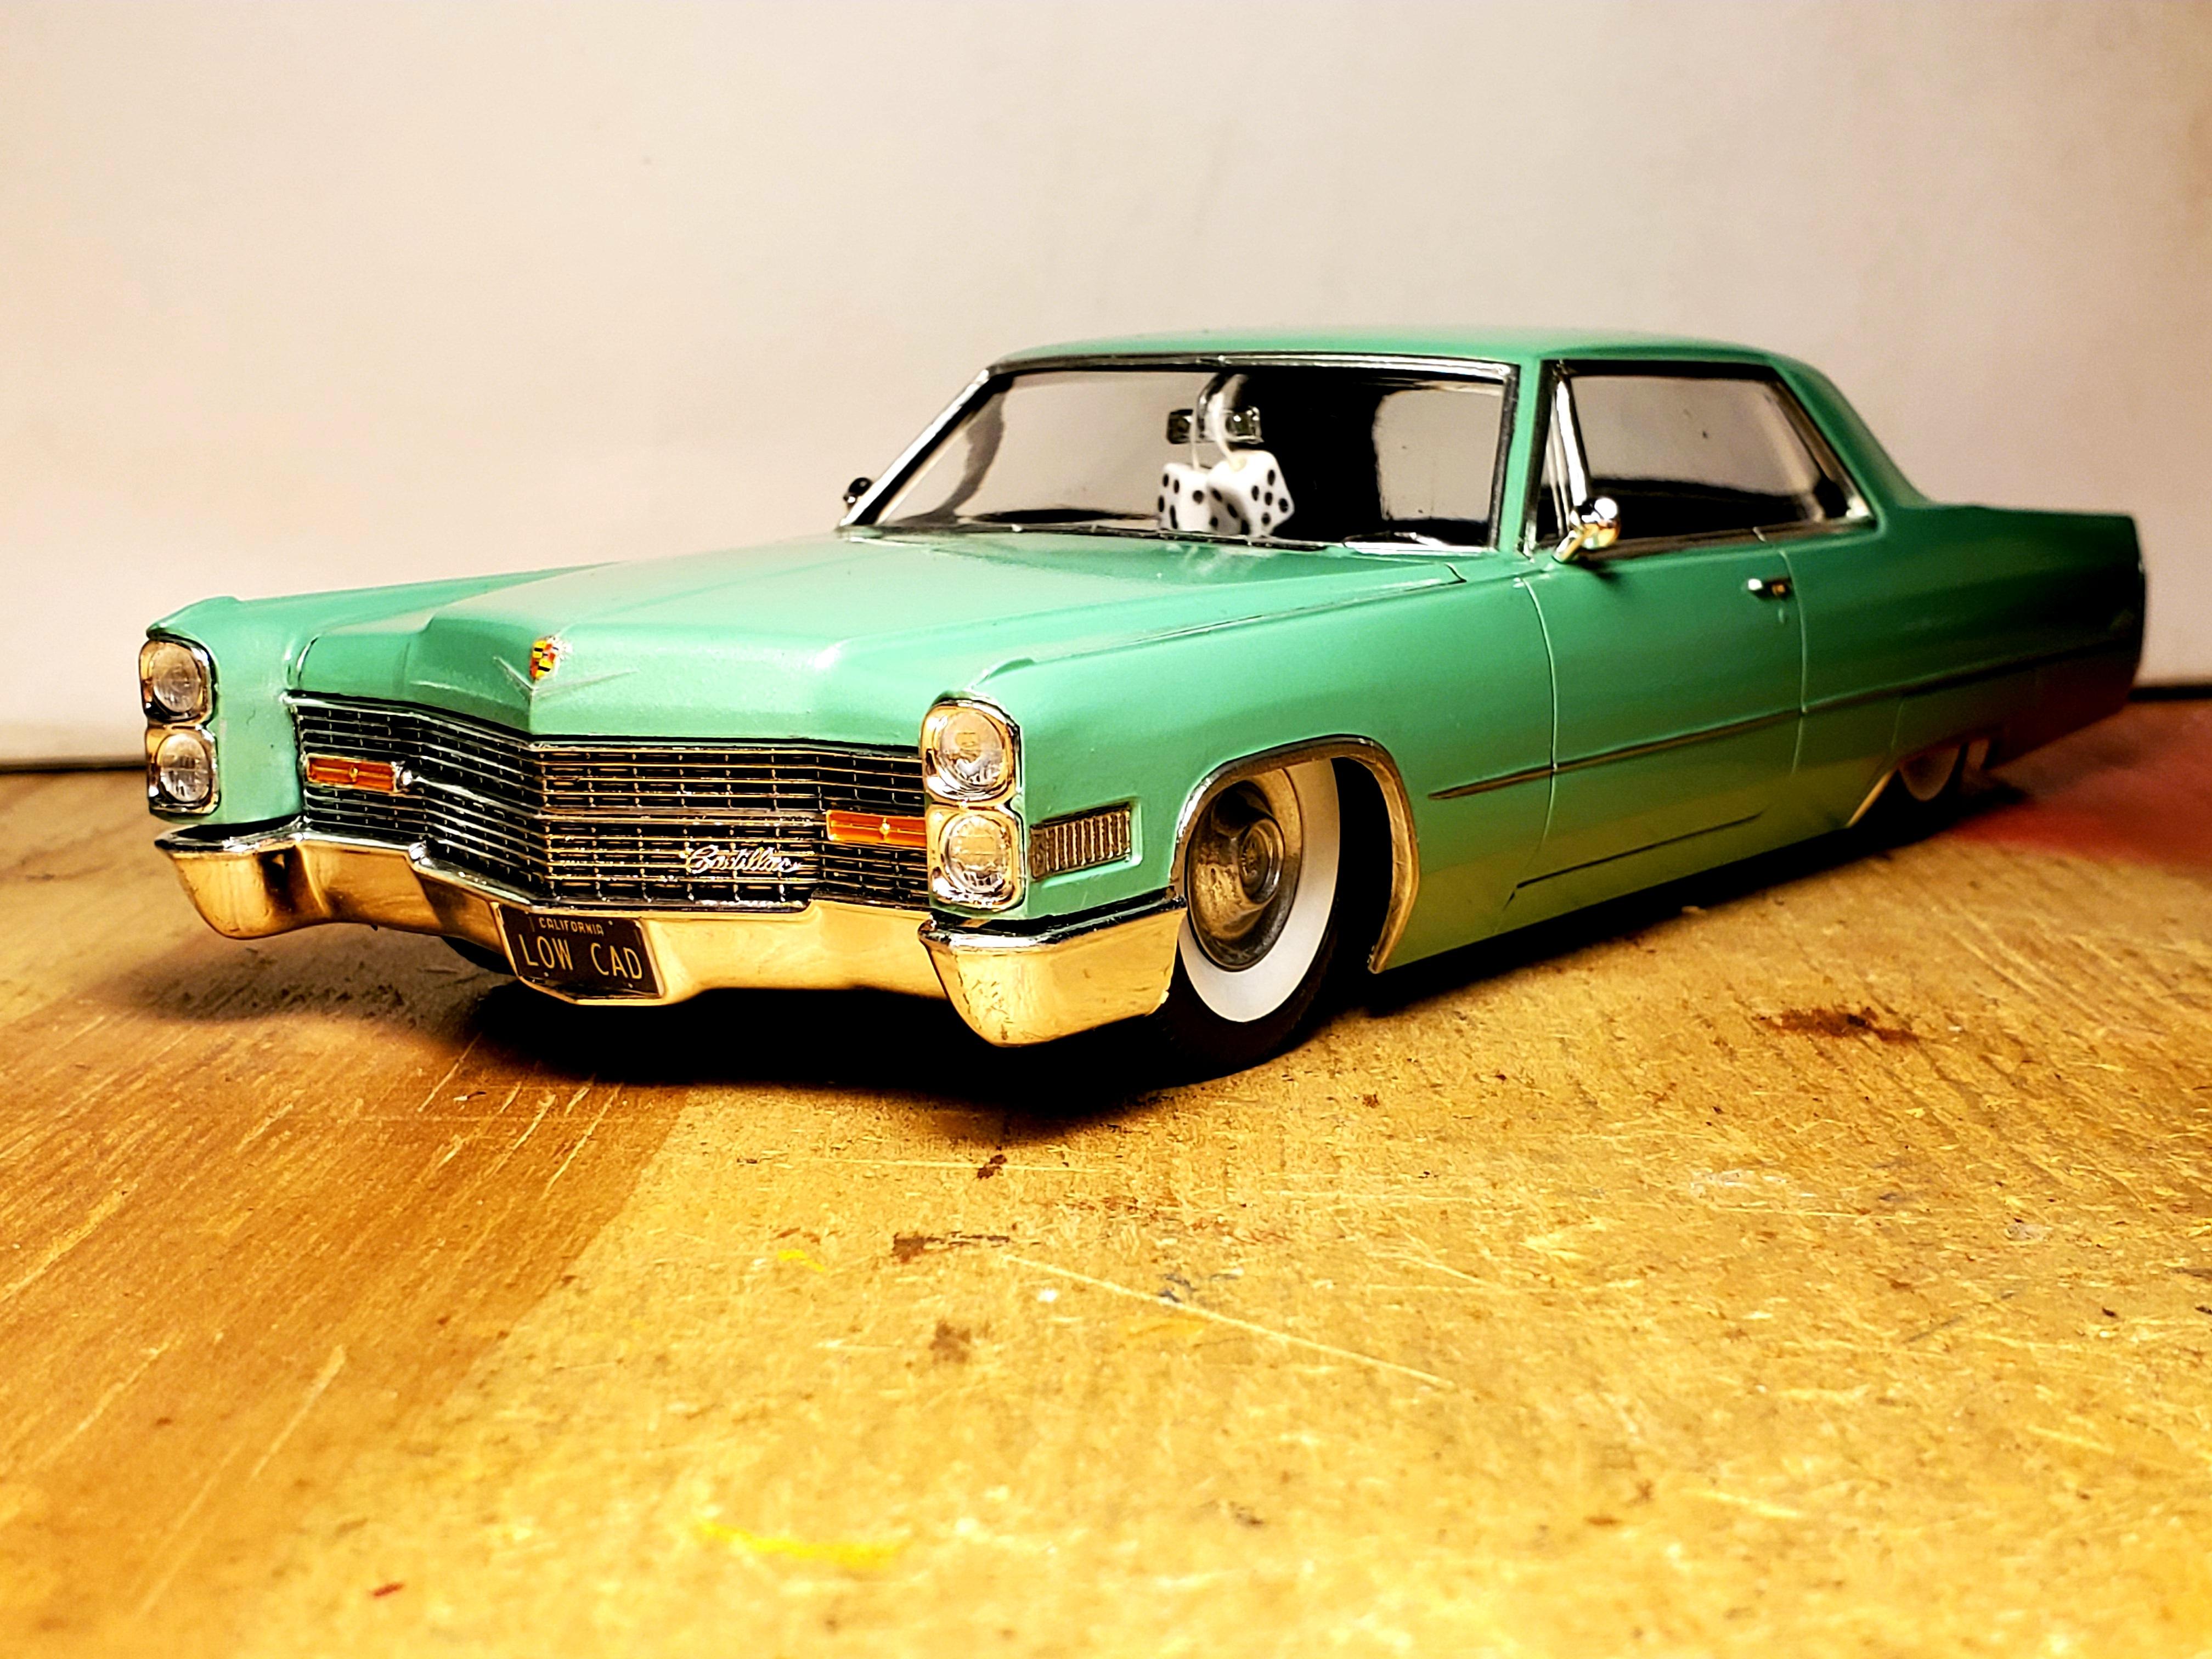
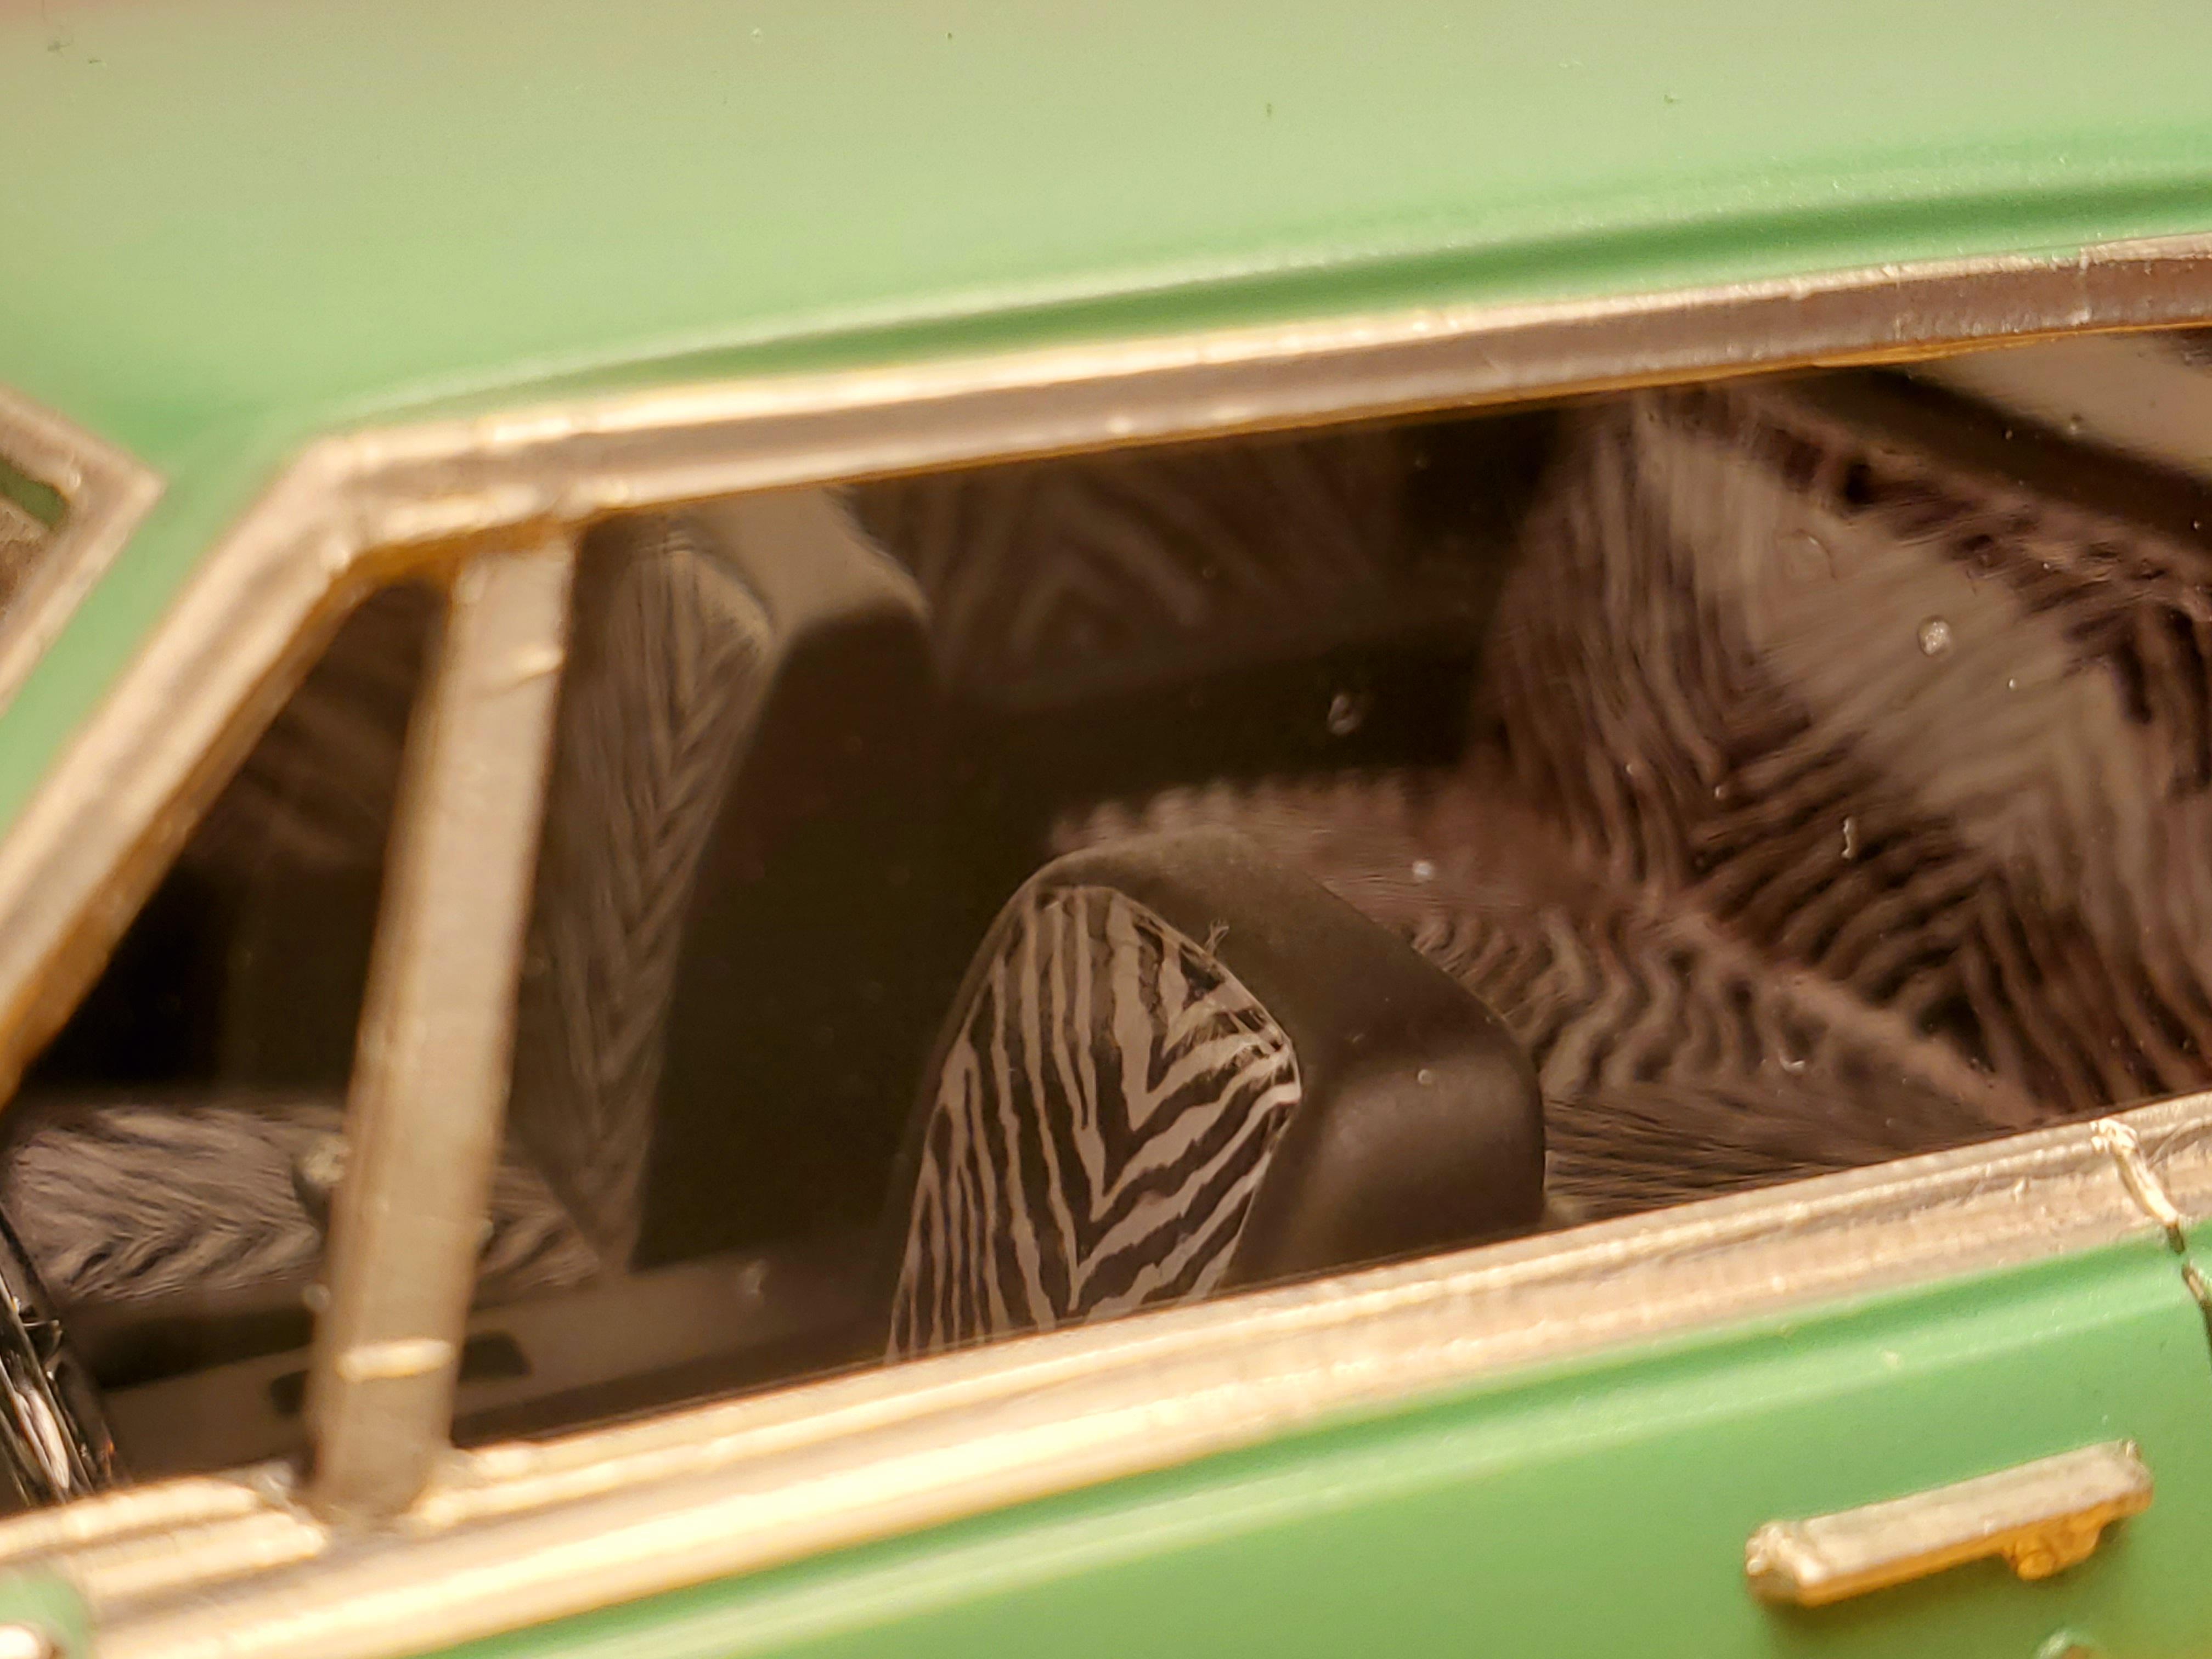
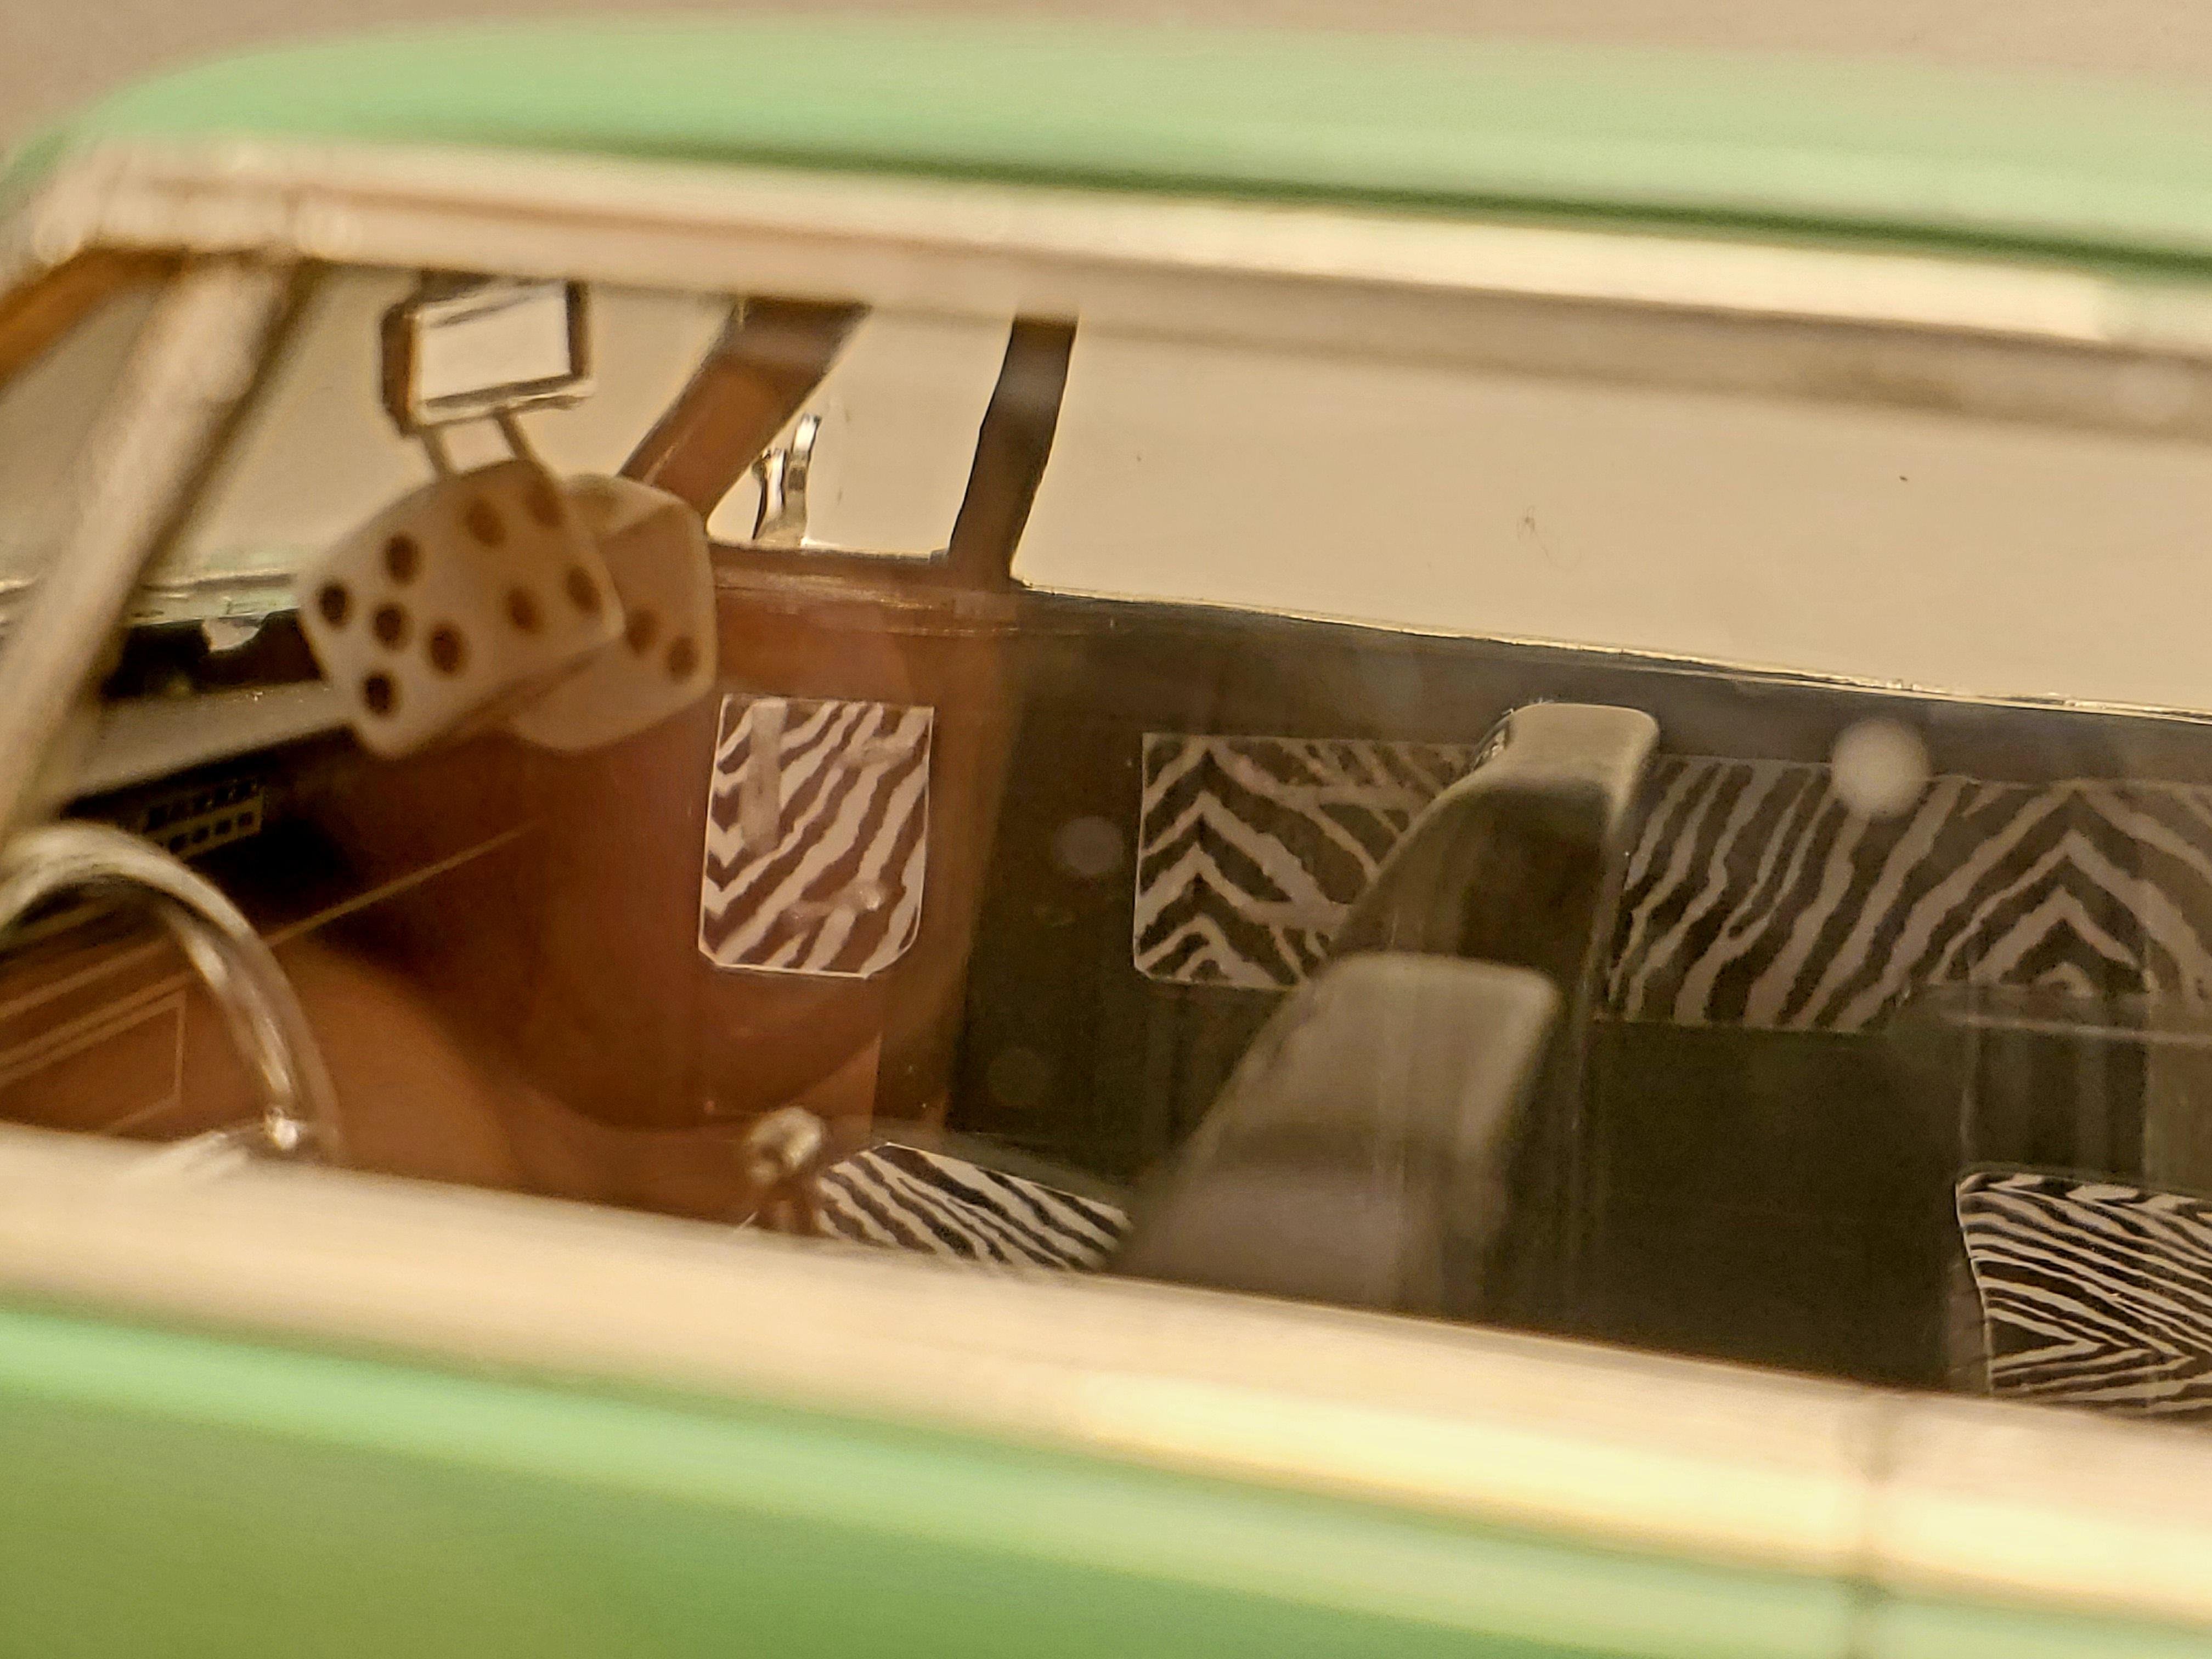
I was invited back in 2020 to go and pick thru the estate of a fellow model builder who had passed away shortly before. First off, I had seen more models in this house than at ANY show I've EVER been to. That will be something I never forget. Anyway one of my picks was this Hasegawa Cadillac kit that was under a shelf that had collapsed and smashed the box considerably. It was sealed and I took a chance. Turns out it was just fine. So I built it! Tamiya Pearl Green, homemade Zebra stripe seat decals. Fuzzy dice, parts box wide whitewalls from Steven's International. Some resin cadillac sombrero caps and custom license plates that I made myself. I lowered this thing as far as I could go and I LOVE the look.
- 24 replies
-
- 10
-

-
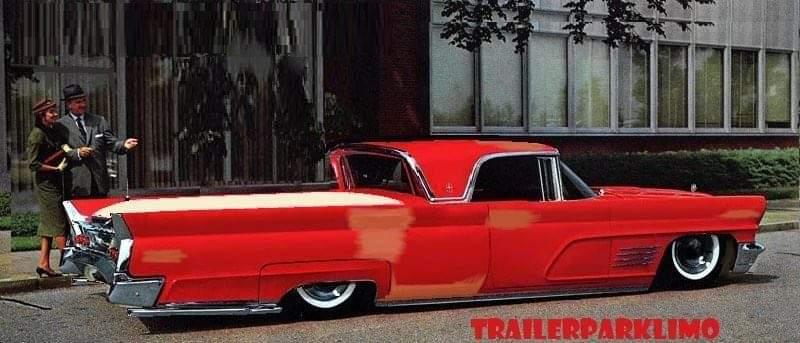
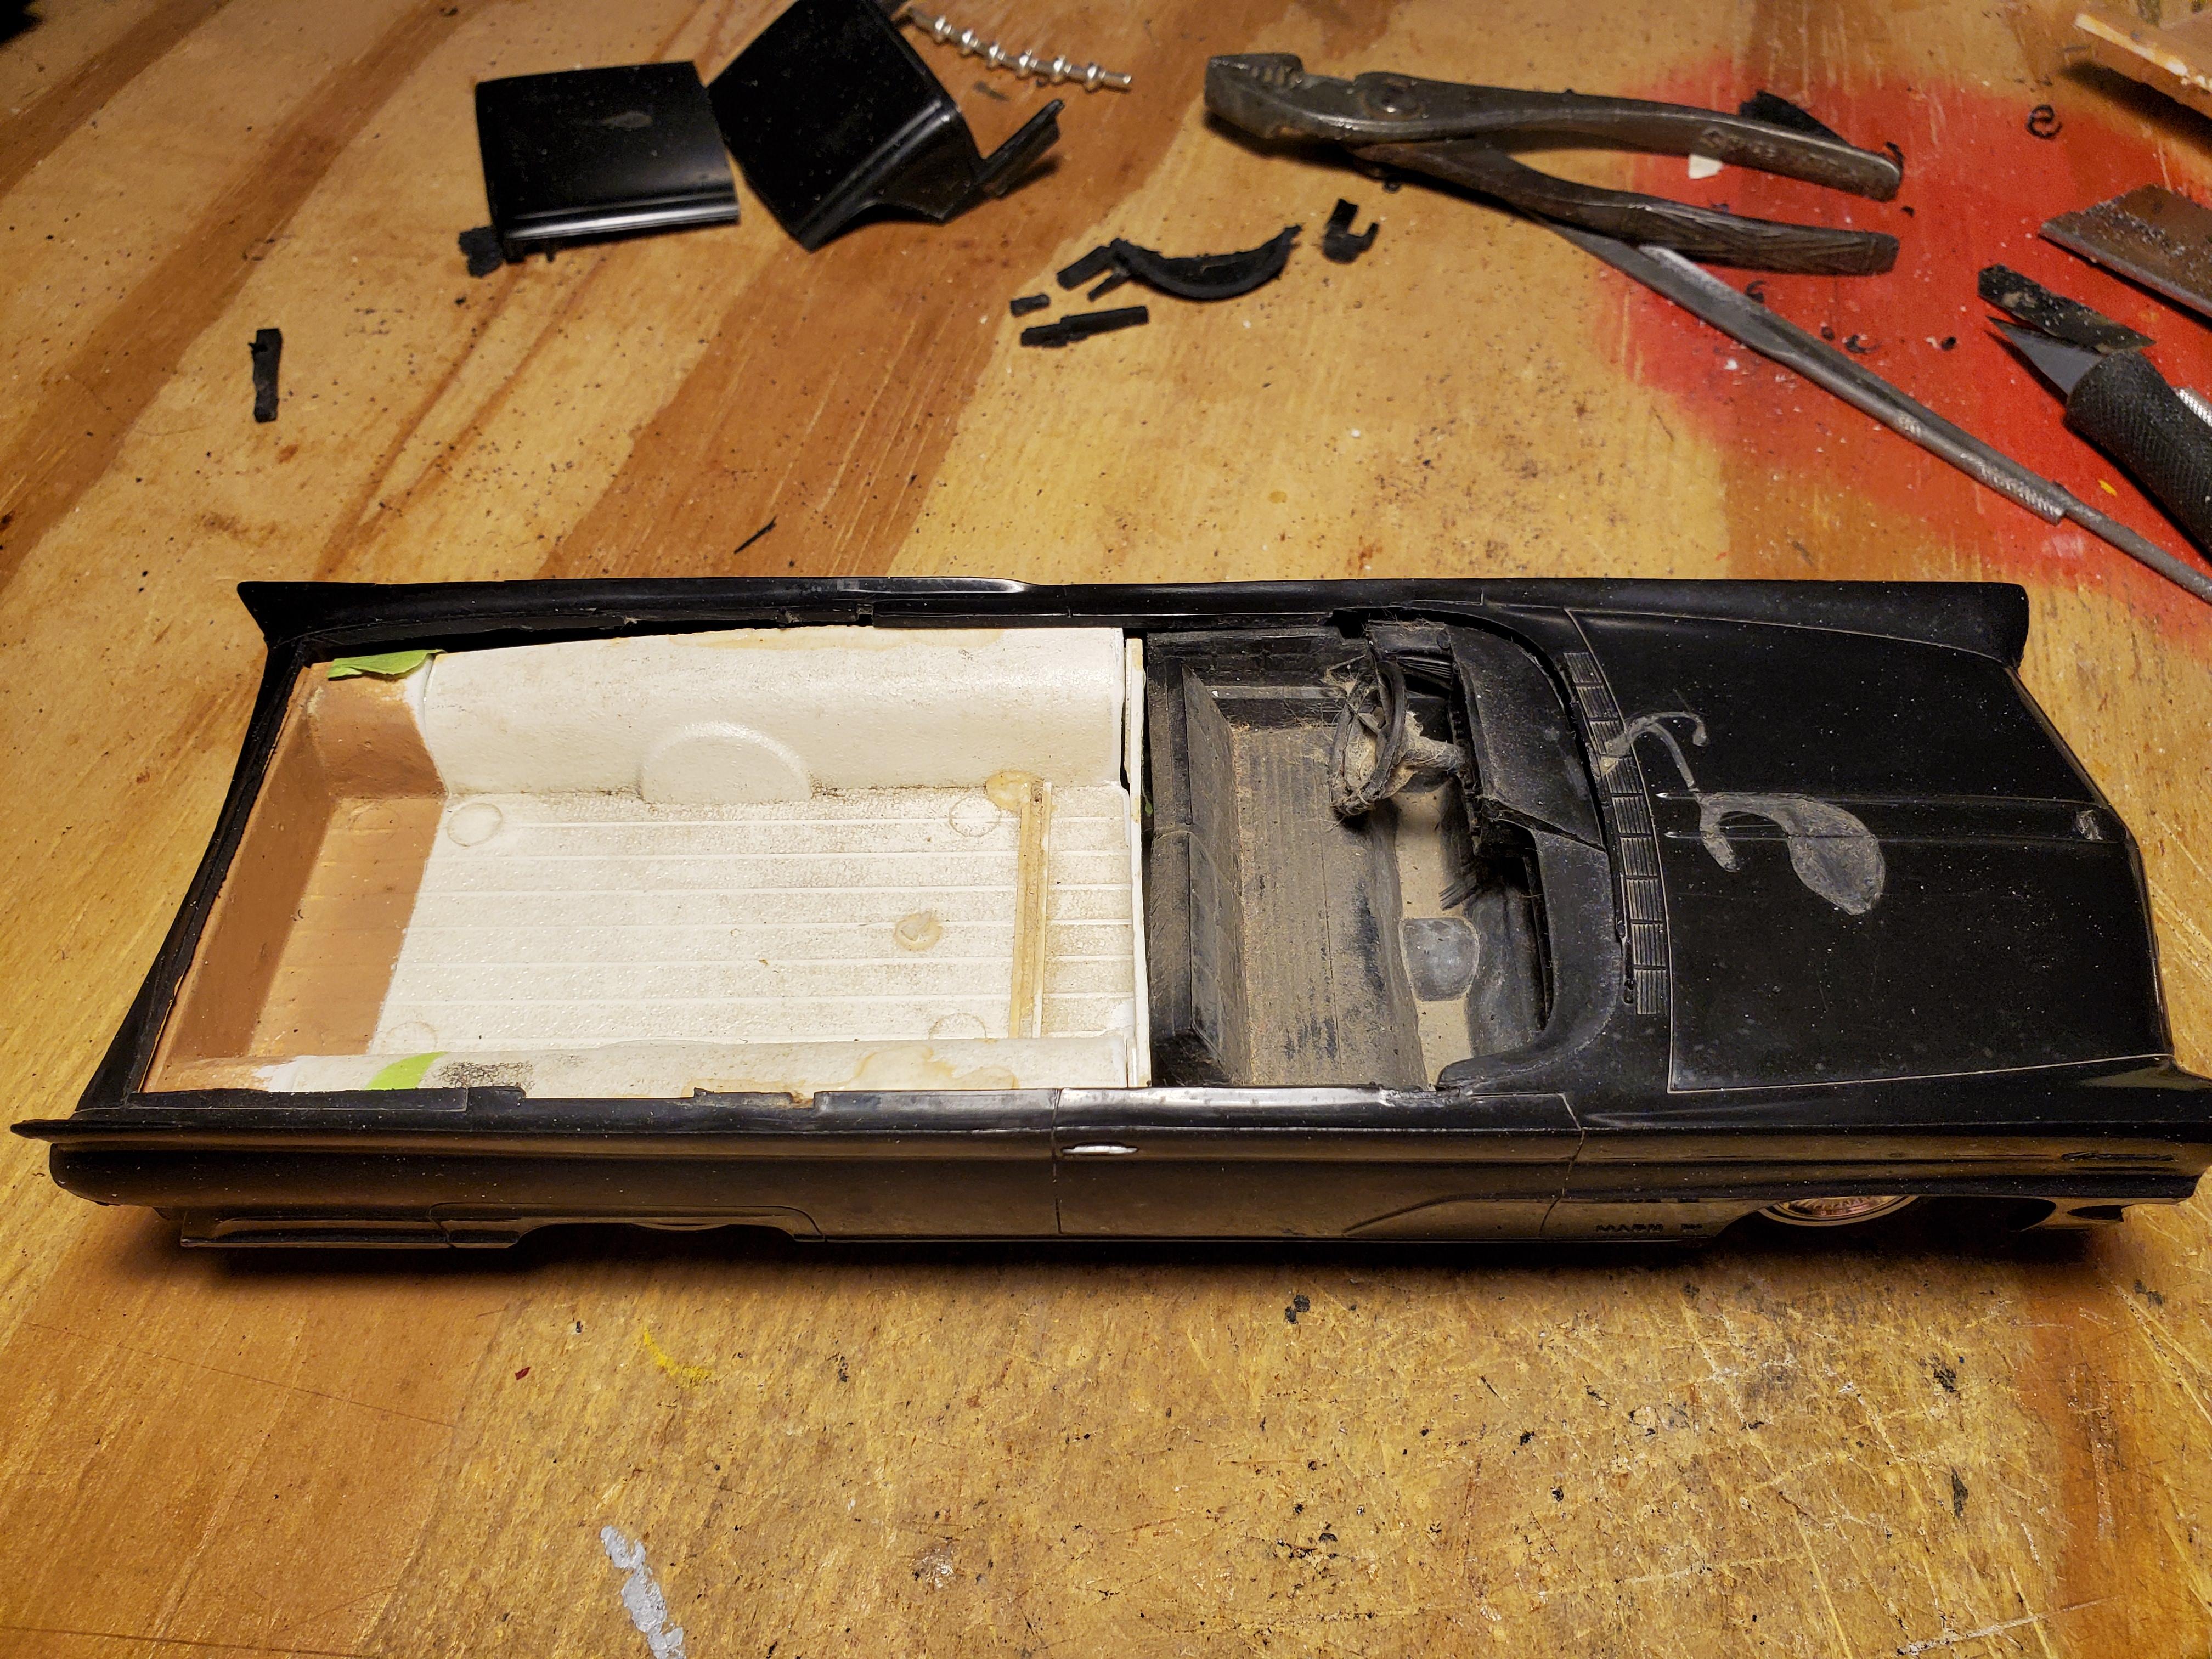
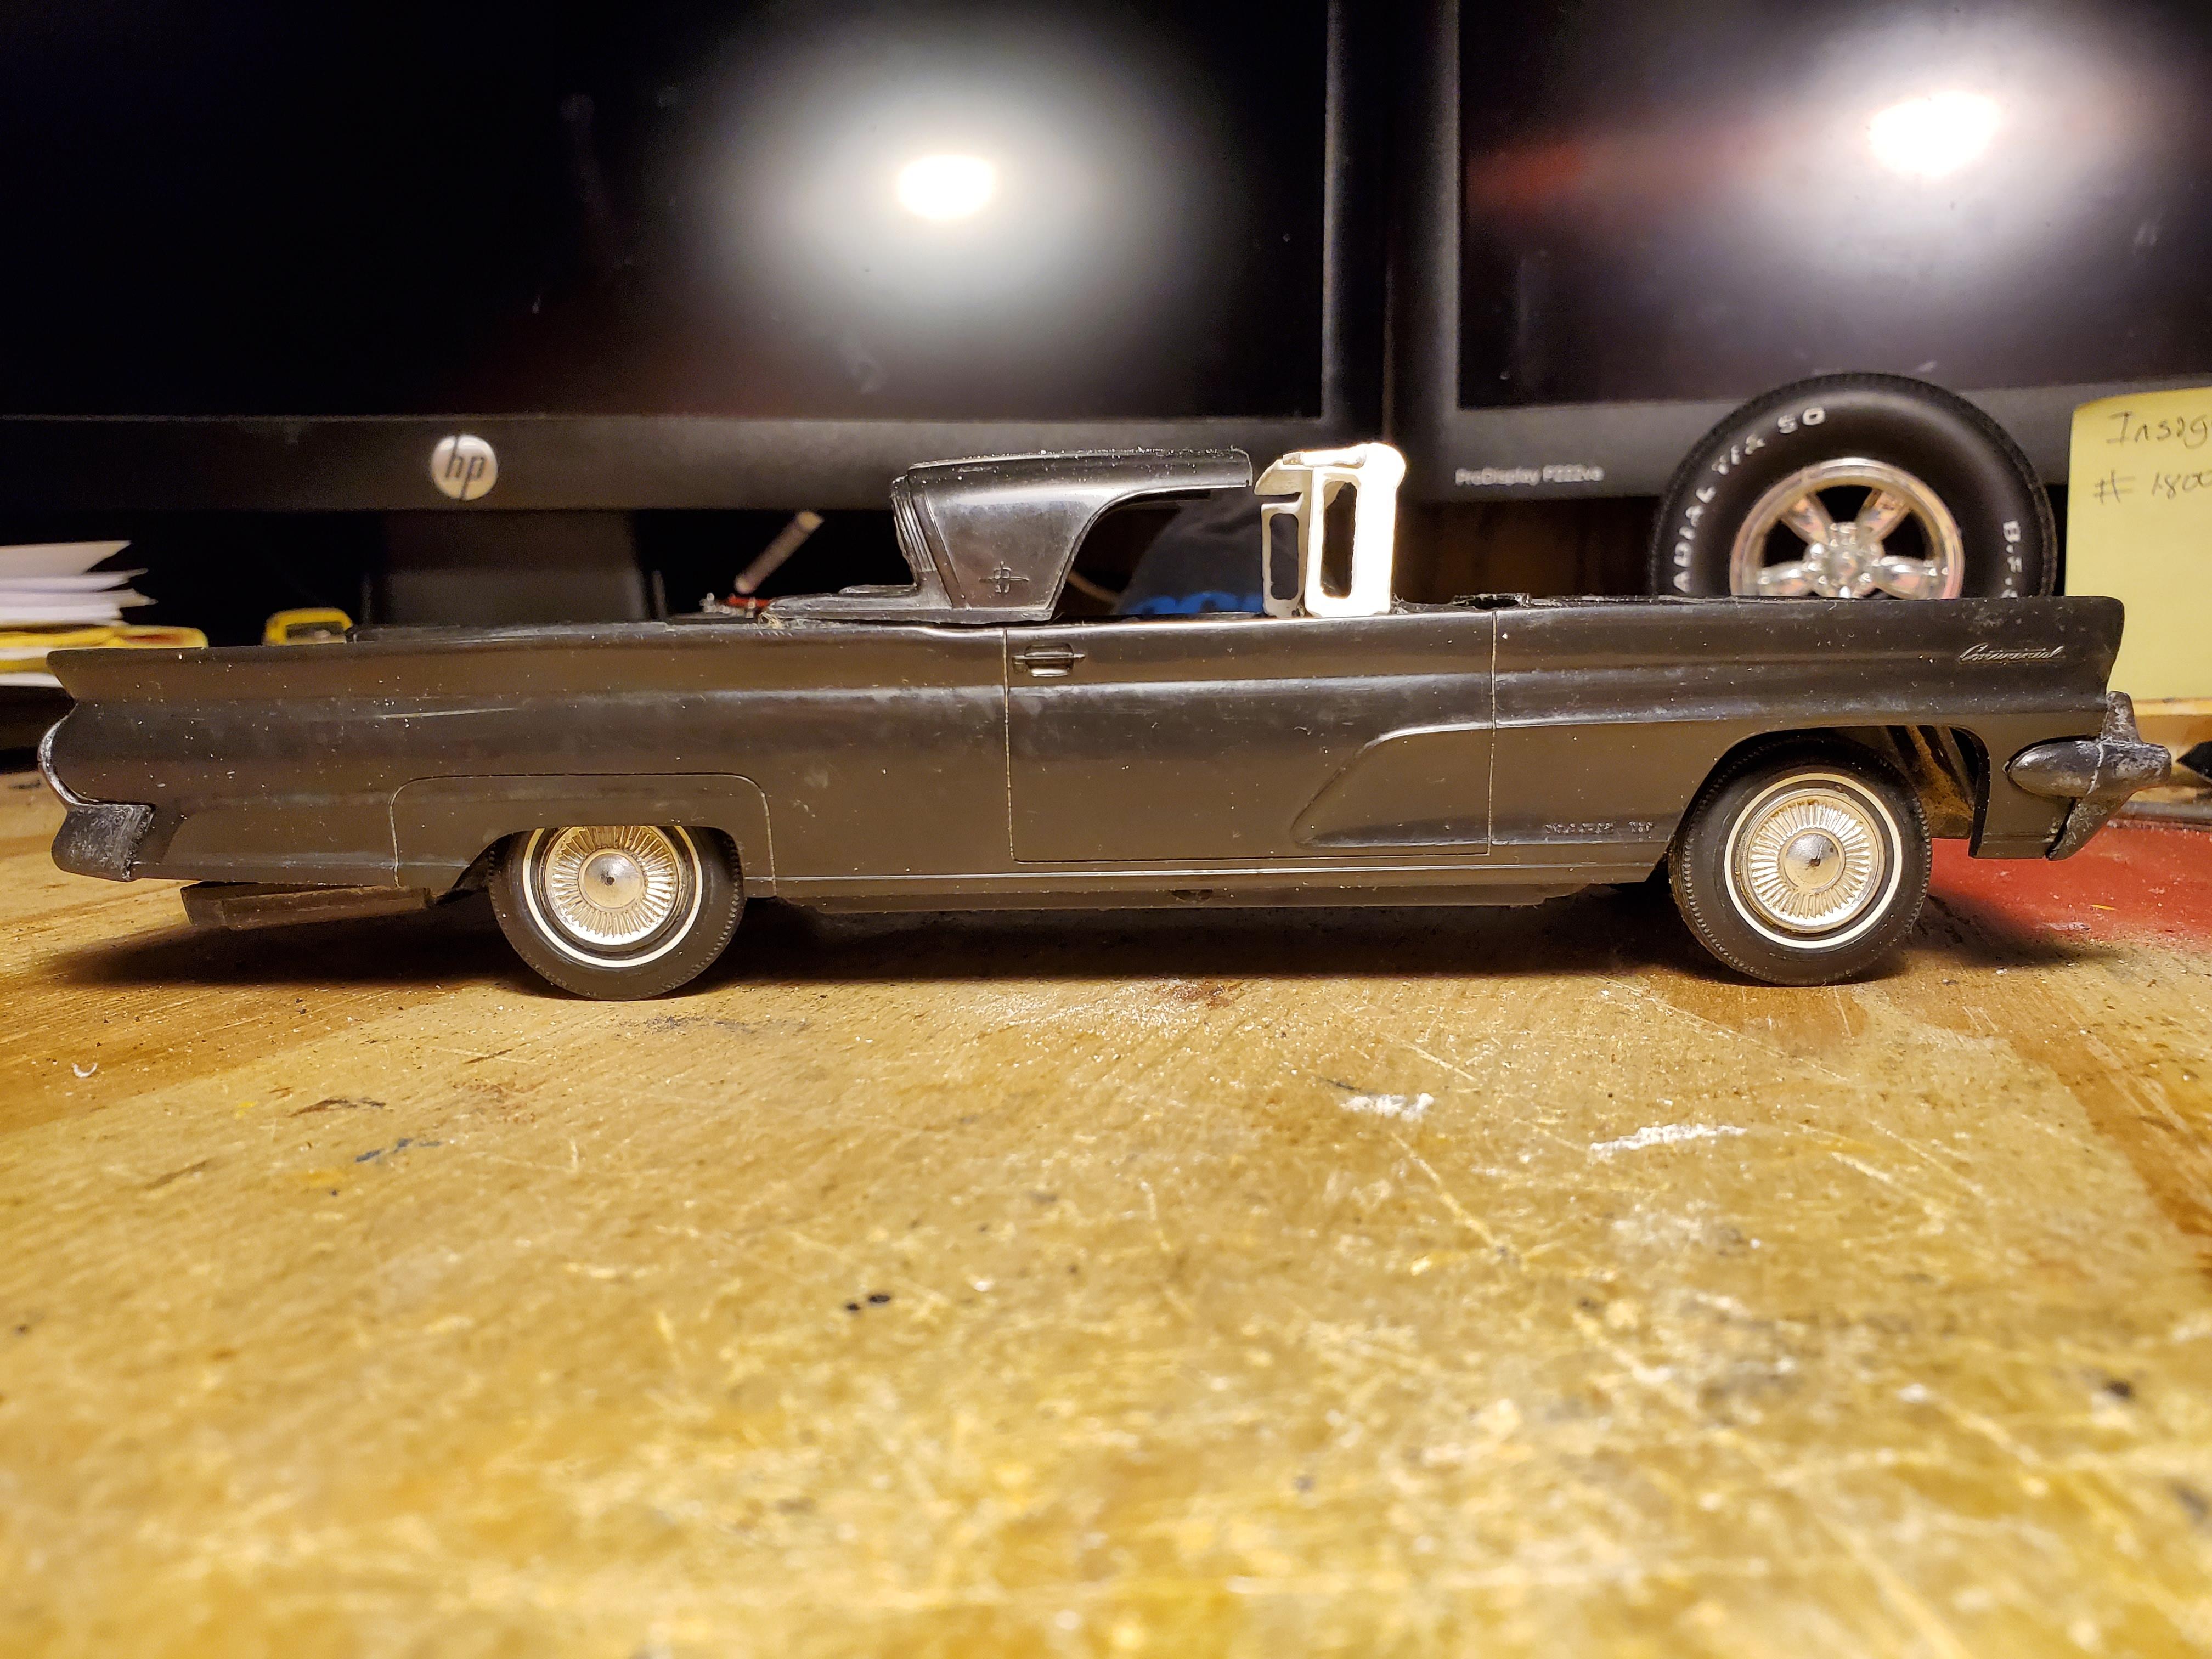
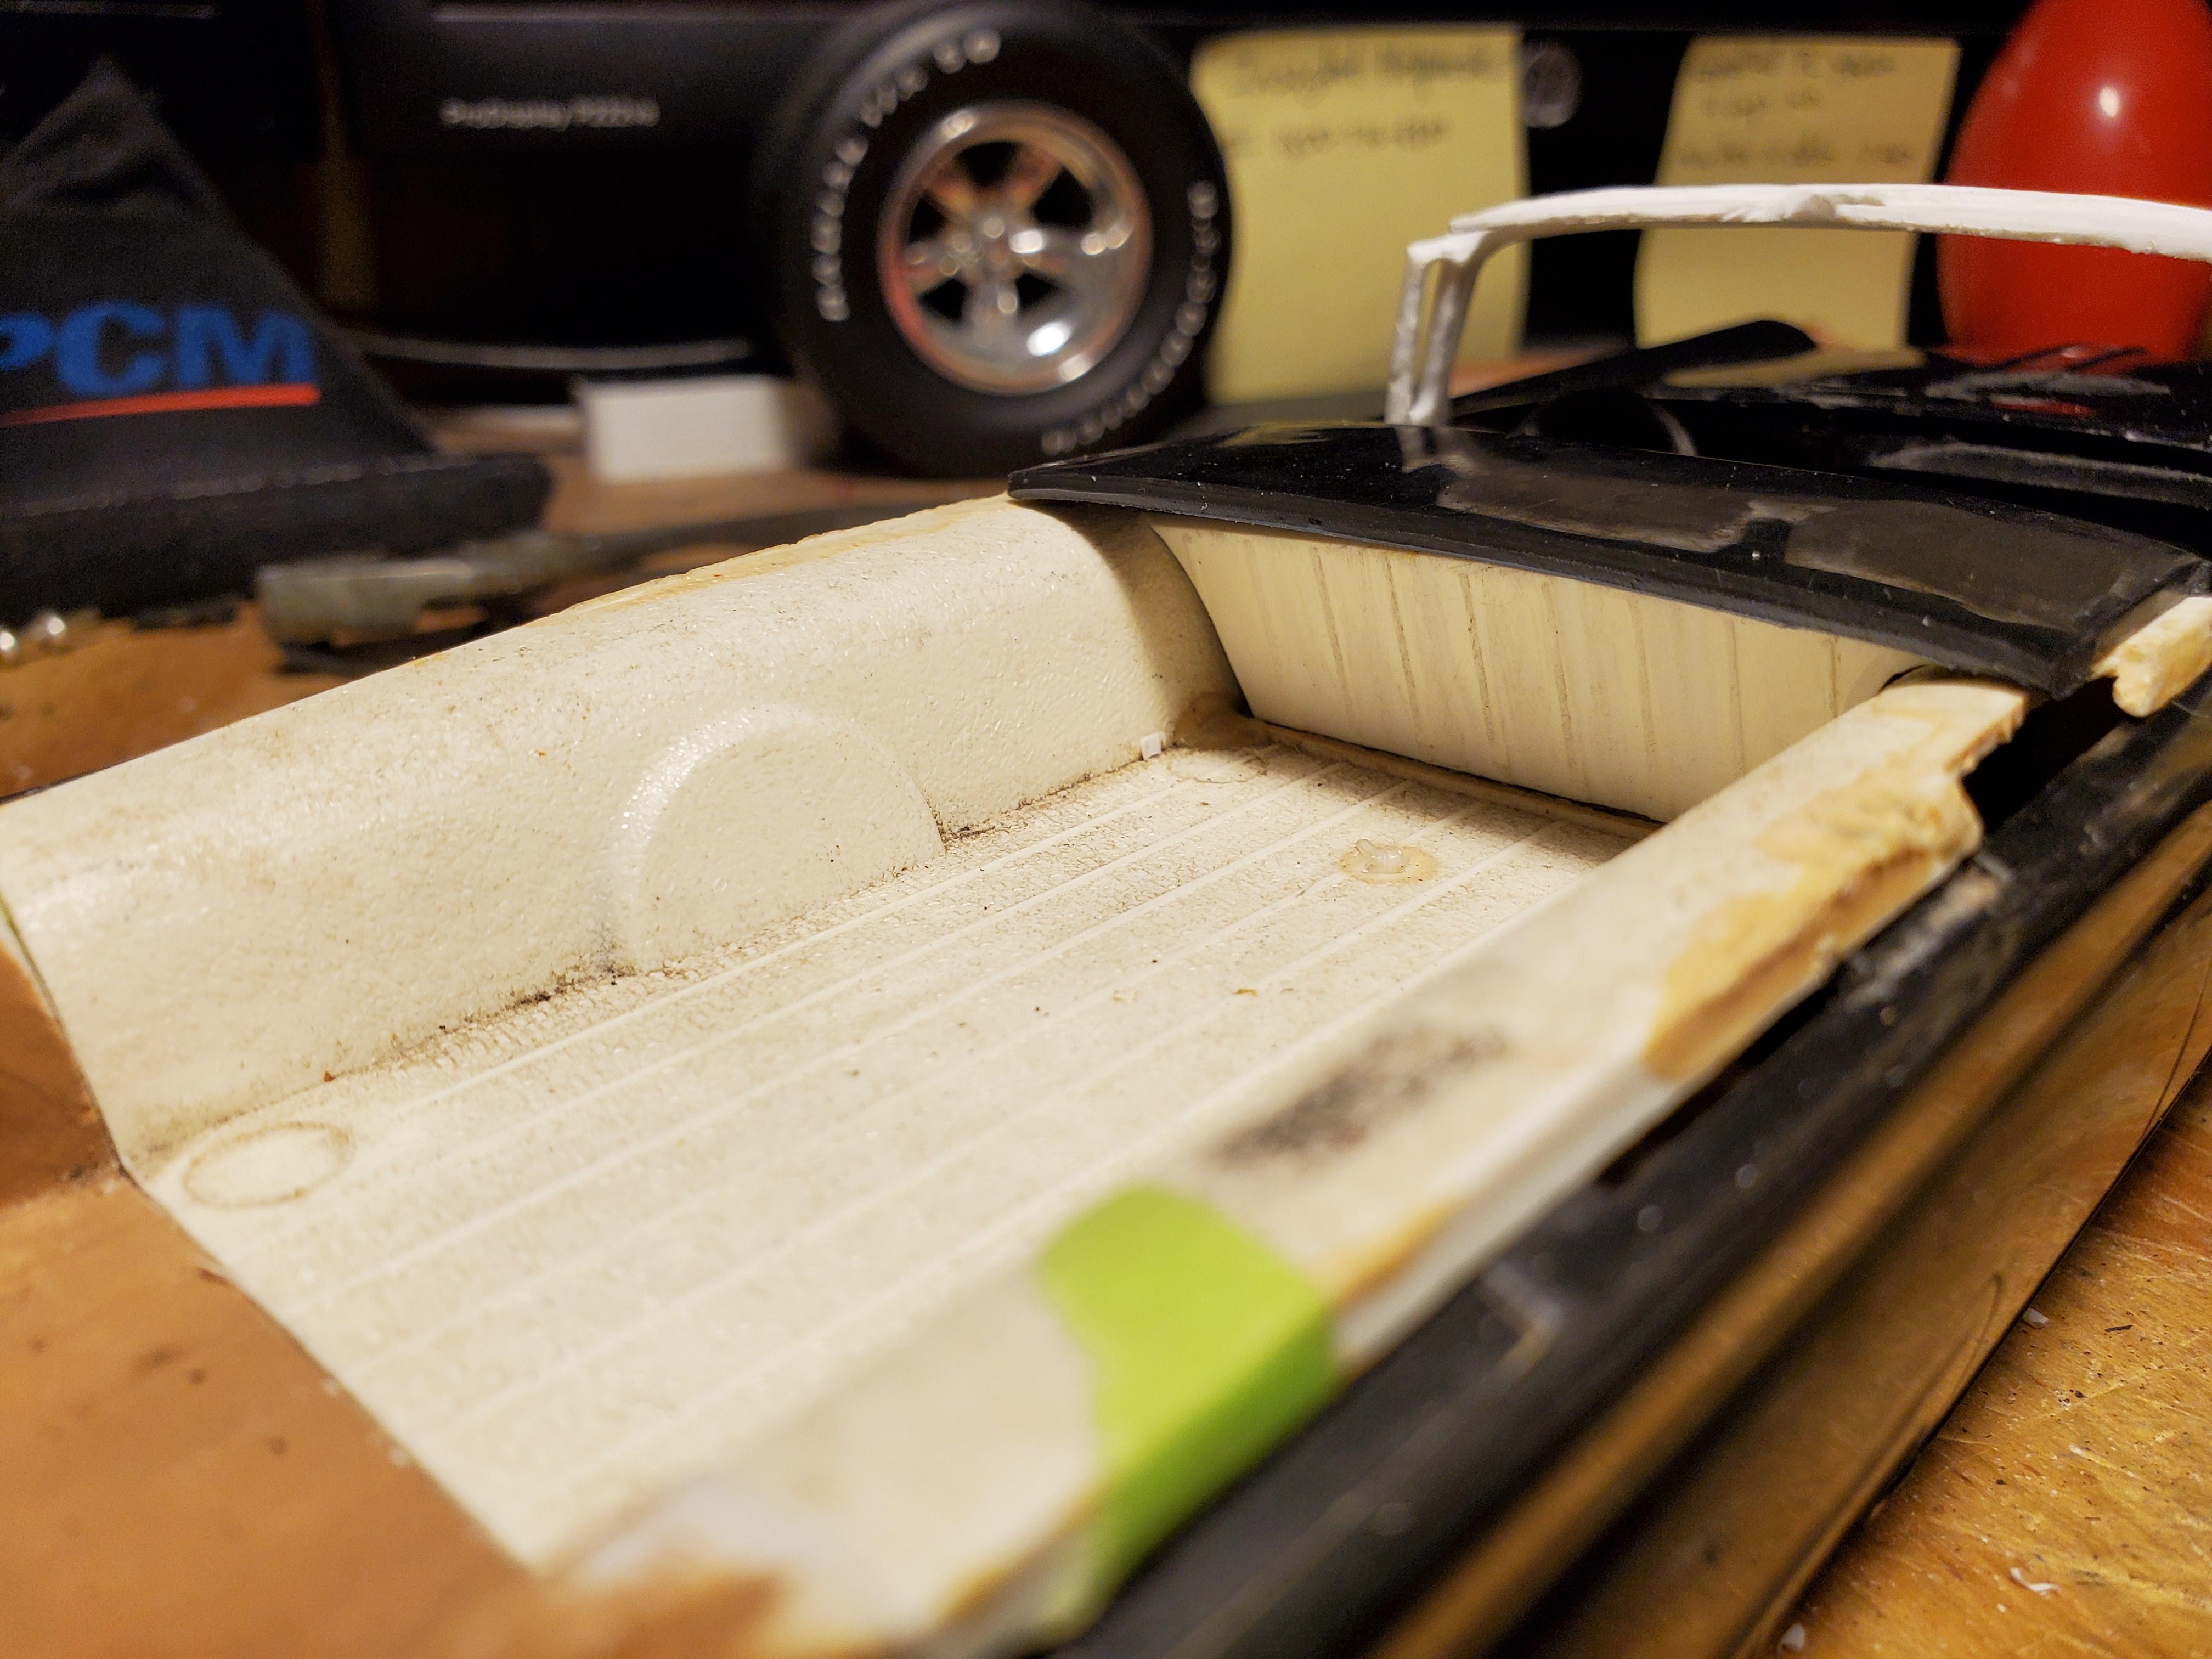
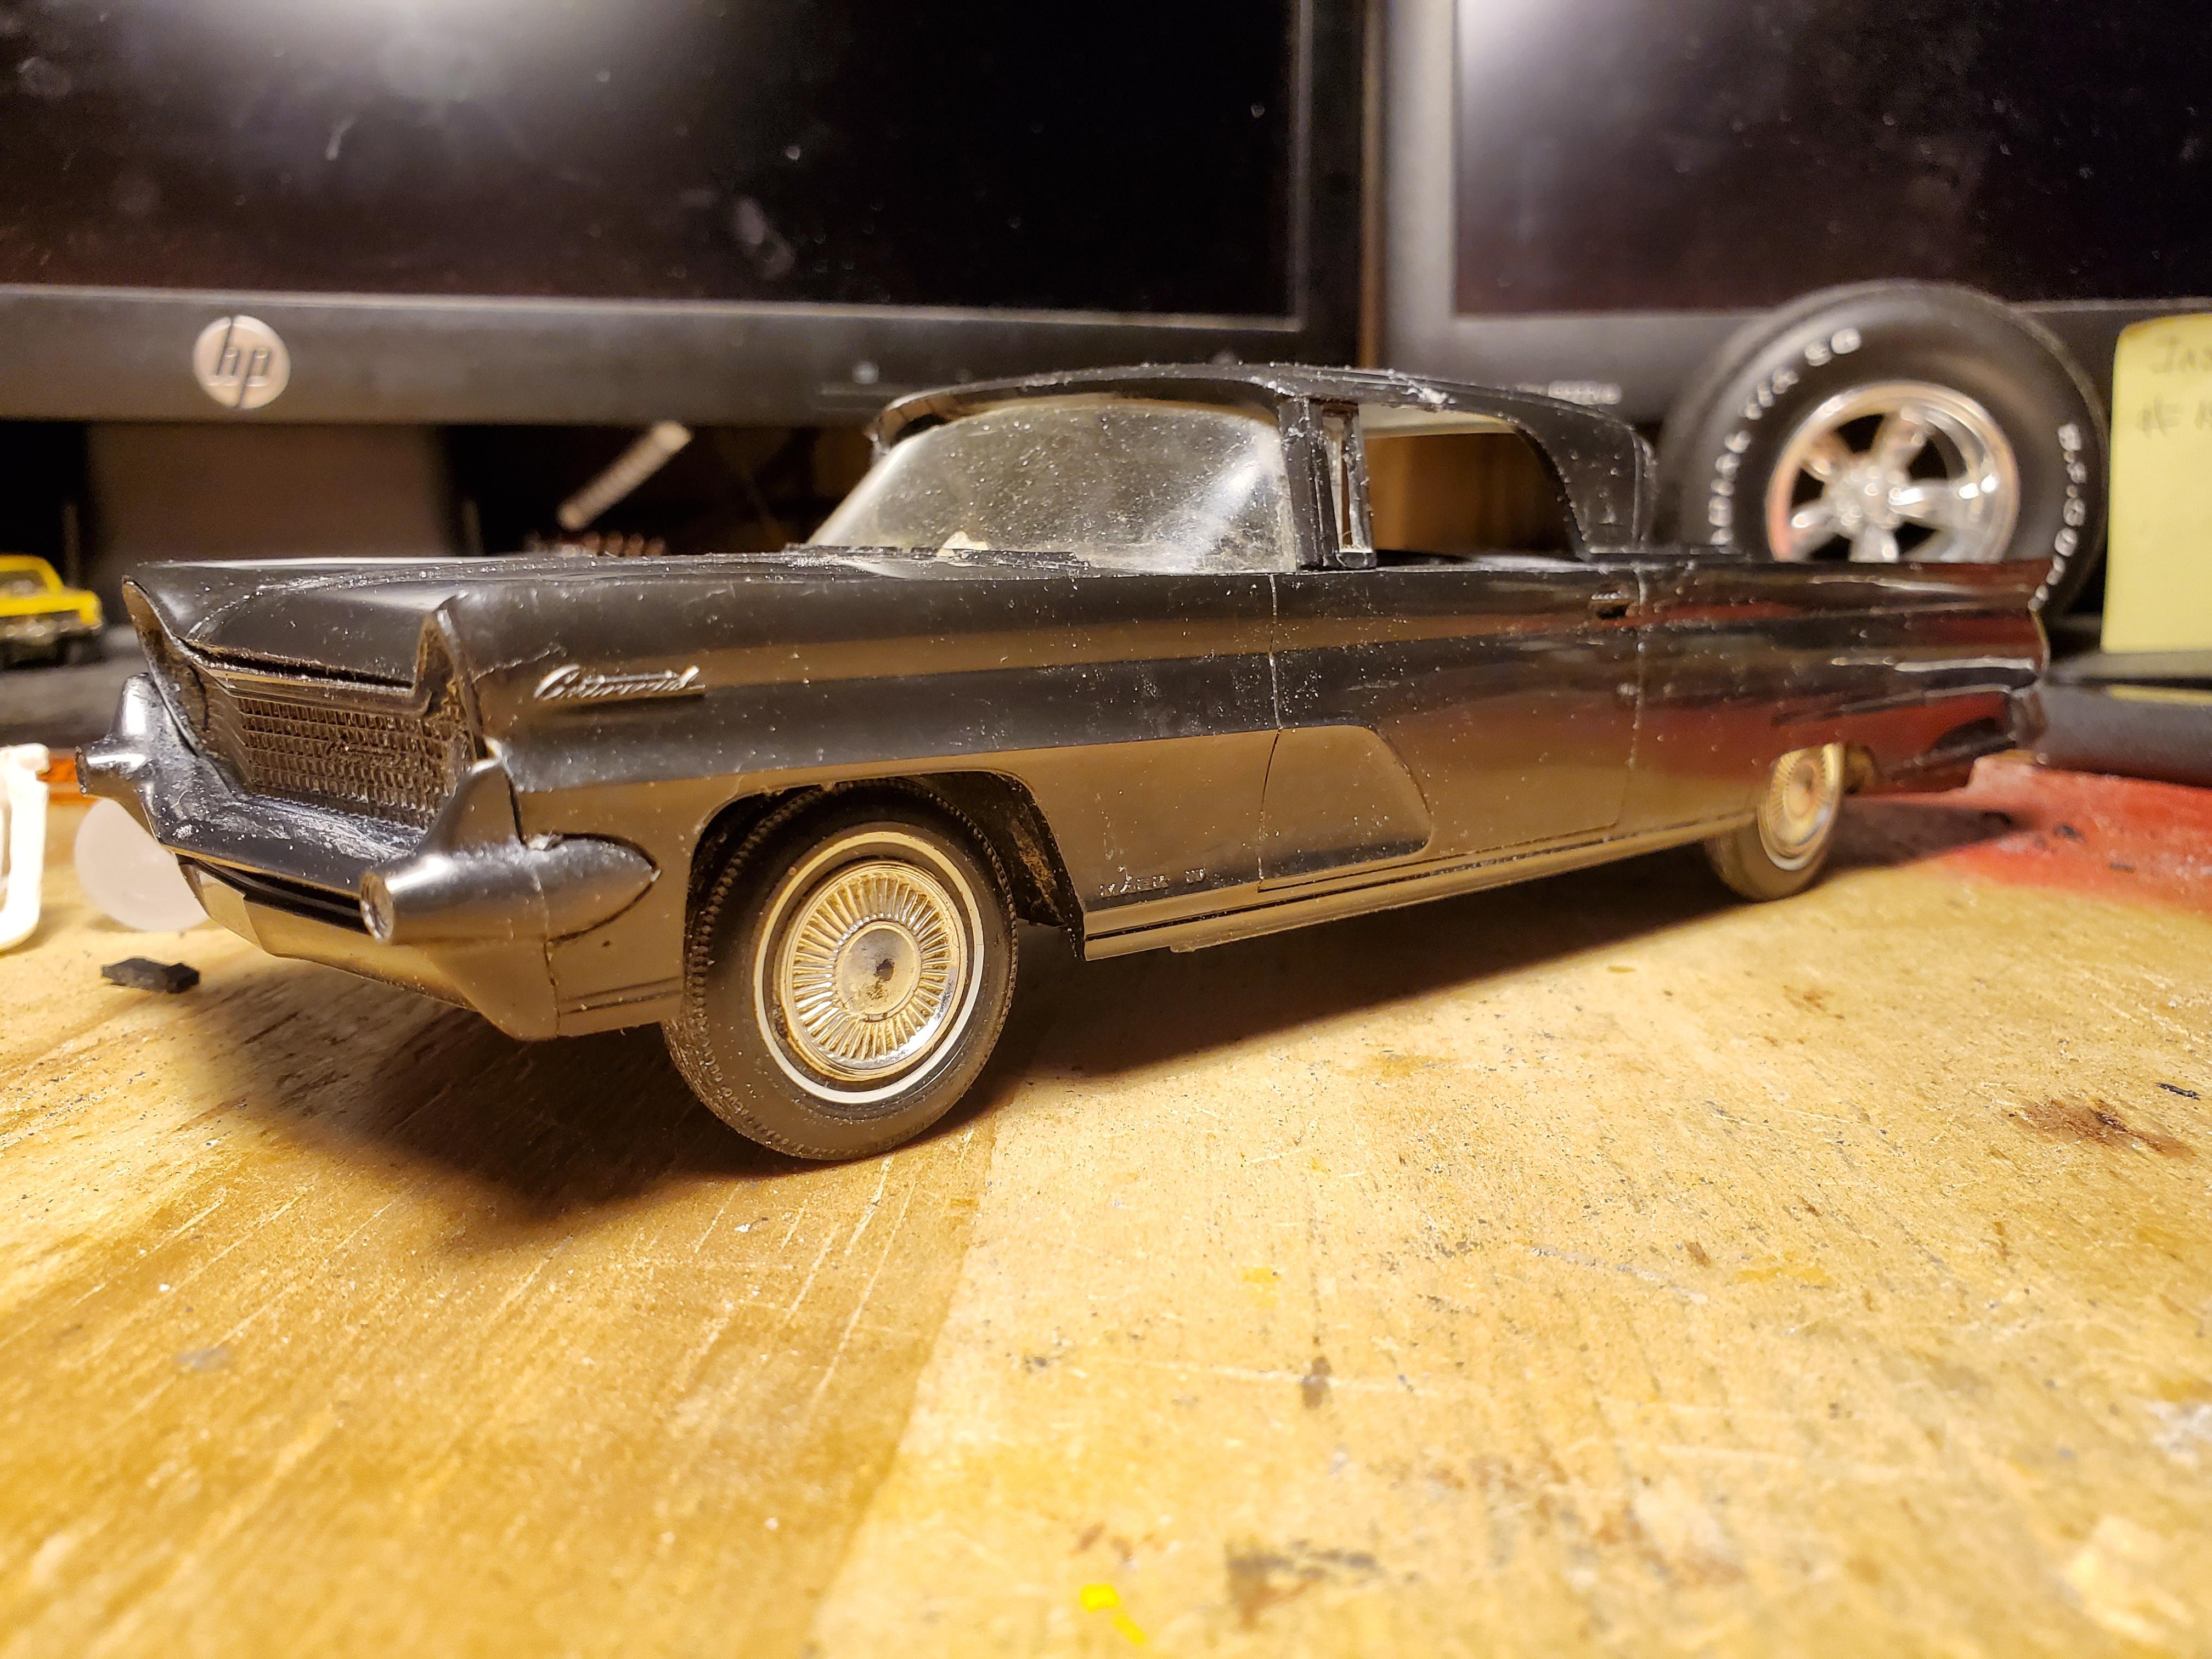
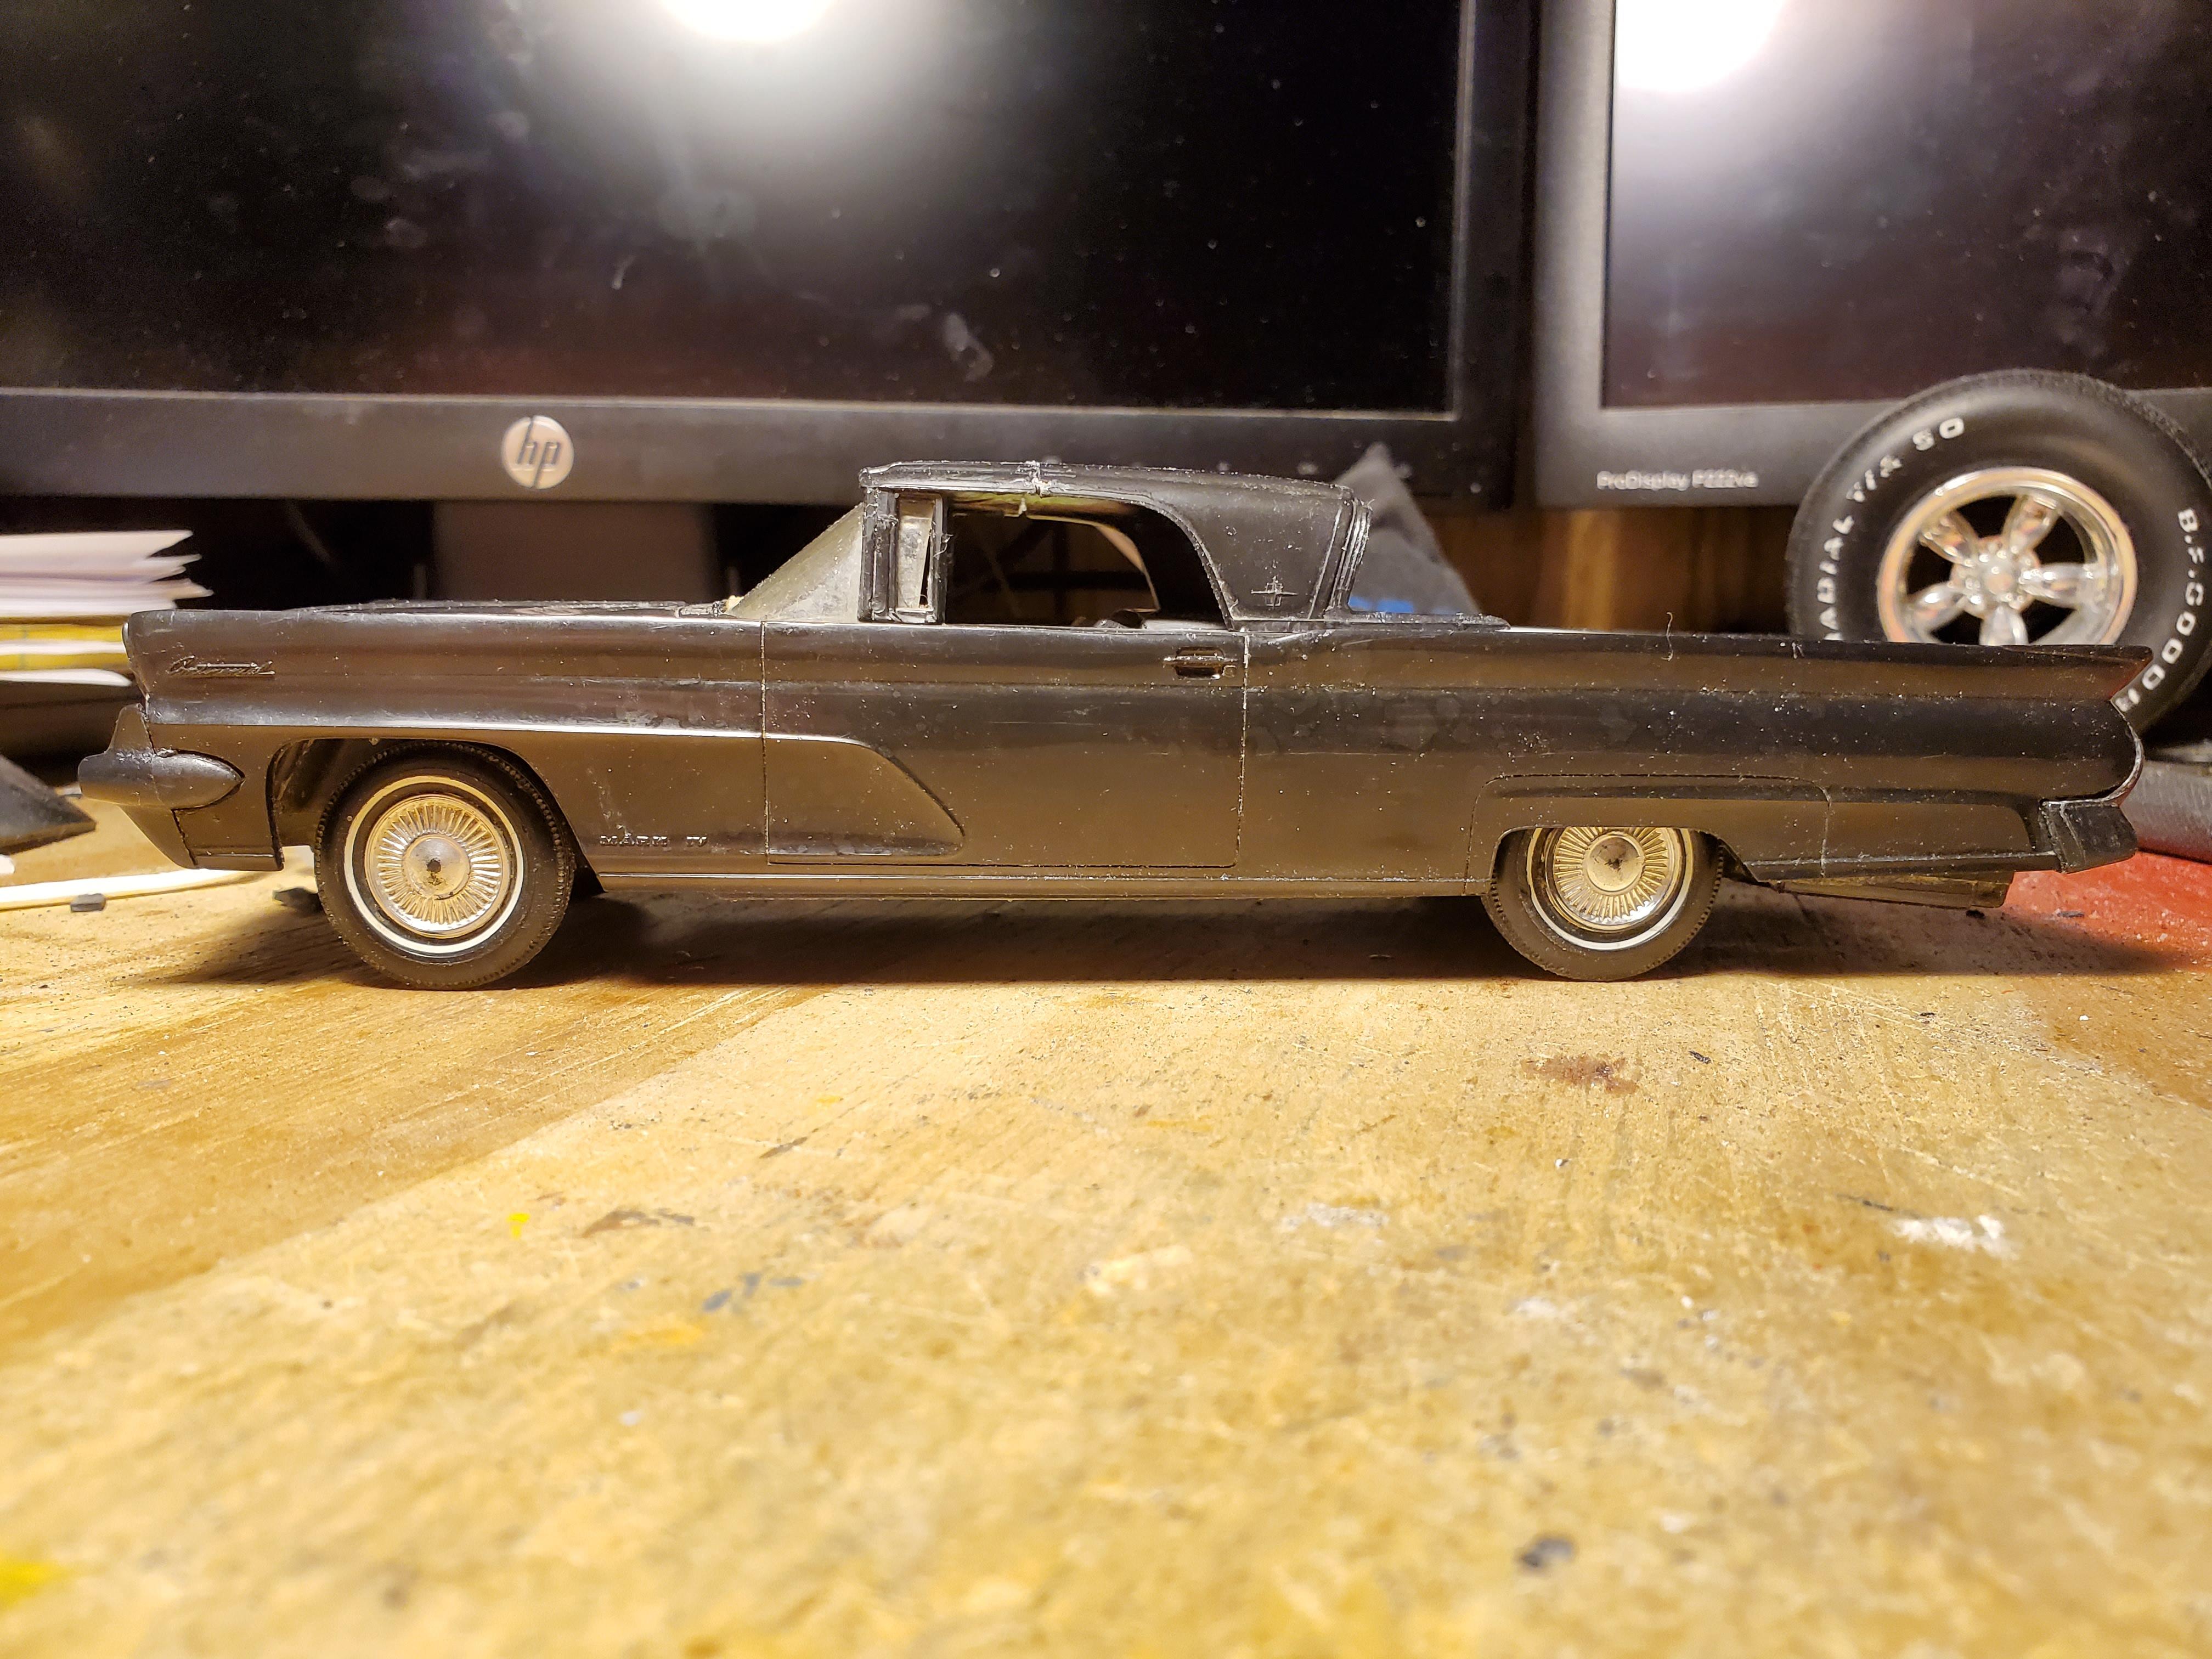
Those of you on facebook may have seen a page called "Trailer Park Limo" before. Whoever runs it is always coming up with some pretty radical chopped up cars via photoshop that are either SLAMMED or made to look in-progress, or just outright outlandish. One of them sunk it's teeth into me soo deep when I saw it, and I had to recreate it. This one for example is made to look like the rear doors and all handles and emblems were shaved and covered in red primer. Here's the original pic: So I had just happened to acquire a kinda rough '59 Lincoln Craftsman car and decided that it was rough enough I could justify chopping it up. I had a couple Chrysler Imperial pickup interiors given to me and I used those to start the bed. I had to extend one of them by using parts of the other to achieve the look I wanted. I also had to cut and shorten the top significantly, along with the interior of course. The pegasus wheels in the final pic aren't permanent. I do plan to try and get mine that low as well and even try to recreate the bellflower exhaust tips. I suppose this one is the 'hood counterpart of my really nicely done green '60 Continental. LOL I then used a section of the old trunk/deck to make a filler panel for the roof to sit on as a compartmental divider of sorts for the body. Then repurposed the divider from the Imperial for the head of the bed area. I followed that work up, with some new styrene strips to clean up the edges of what are now the bed edges. I may put some radiuses in the back of that filler panel for the front edge of the bed, I'm not sure yet. You can see in the last couple pics above I also shortened the roof and got it back together. I had to use a temporary resin convertible frame to help with my judgement on the roof. I Also had to fix the windshield frame of the car first before using it. Here's some of those mock up pics: Once I got the original roof all put back together I took some more pics of it And then the pic with pegasus wheels and lowered. I am thinking Pegasus Mini-T's would look right at home on this. Unfortunately this is where it sits today. I've had it put away for a couple years but I couldn't resist showing off what I had done to this thing so far. I hope I can find motivation to start working on models again full tilt like I was before I broke my leg and ended up w/ the rona.
-
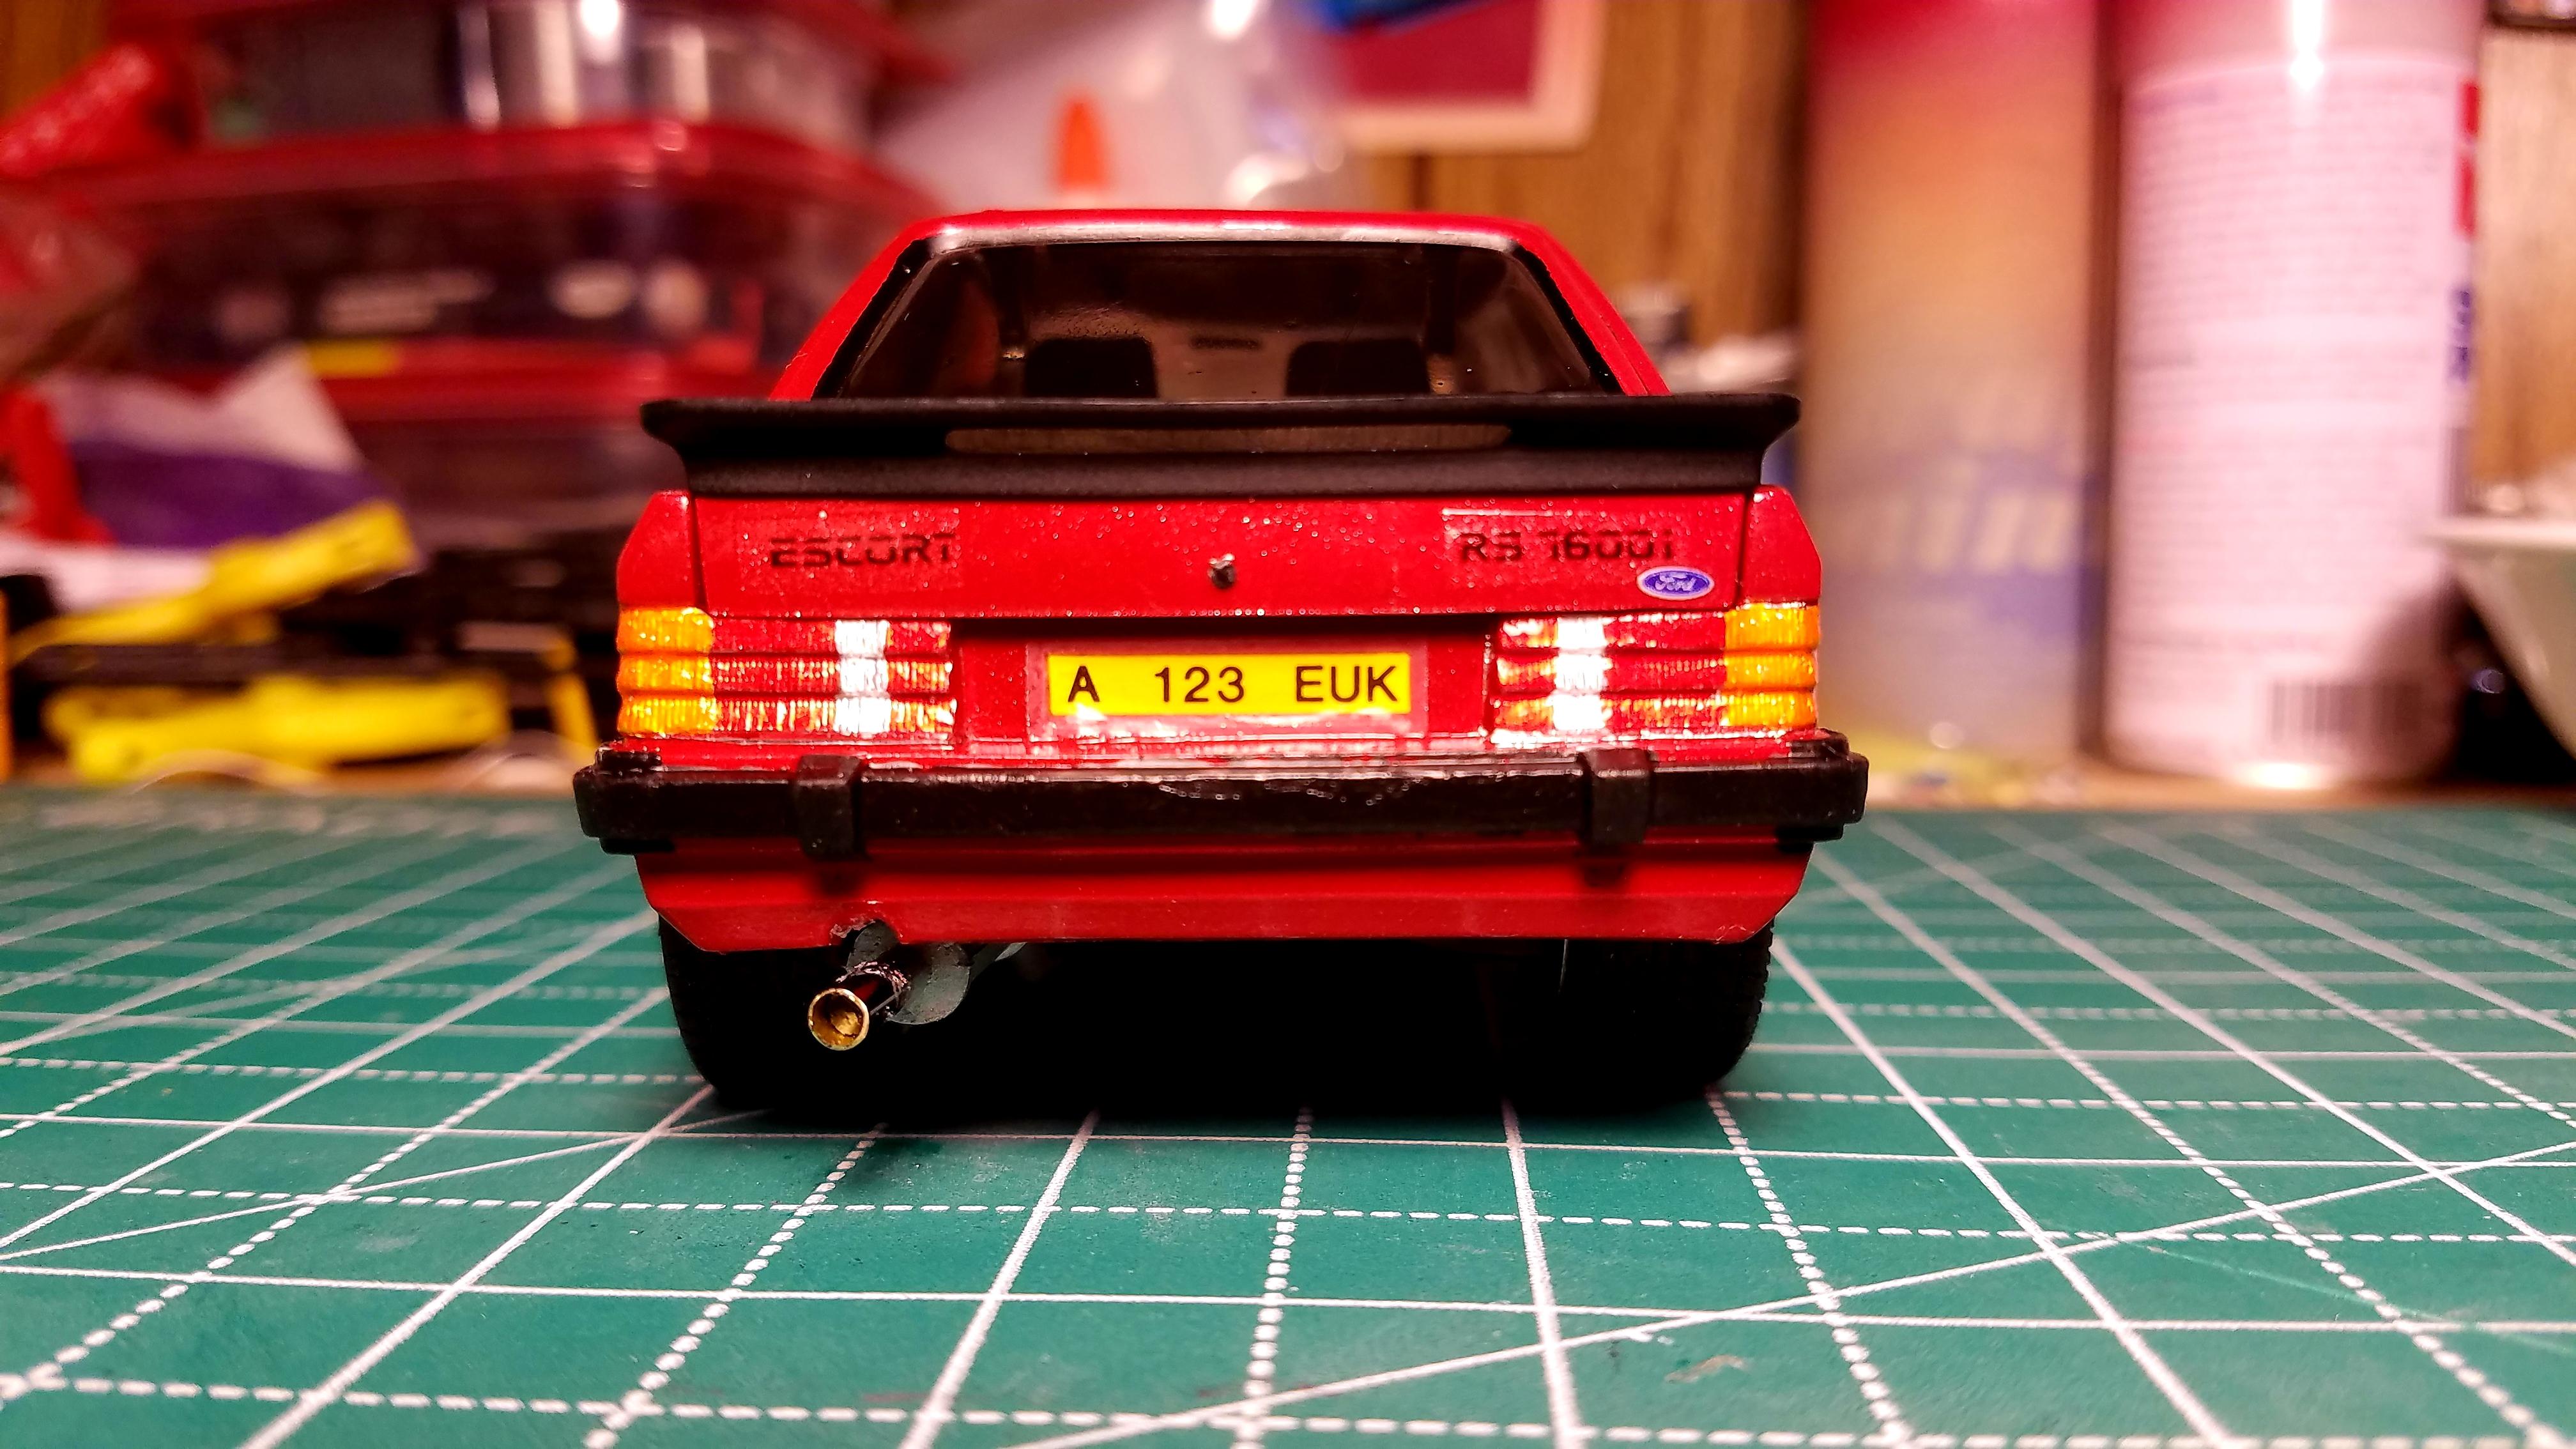
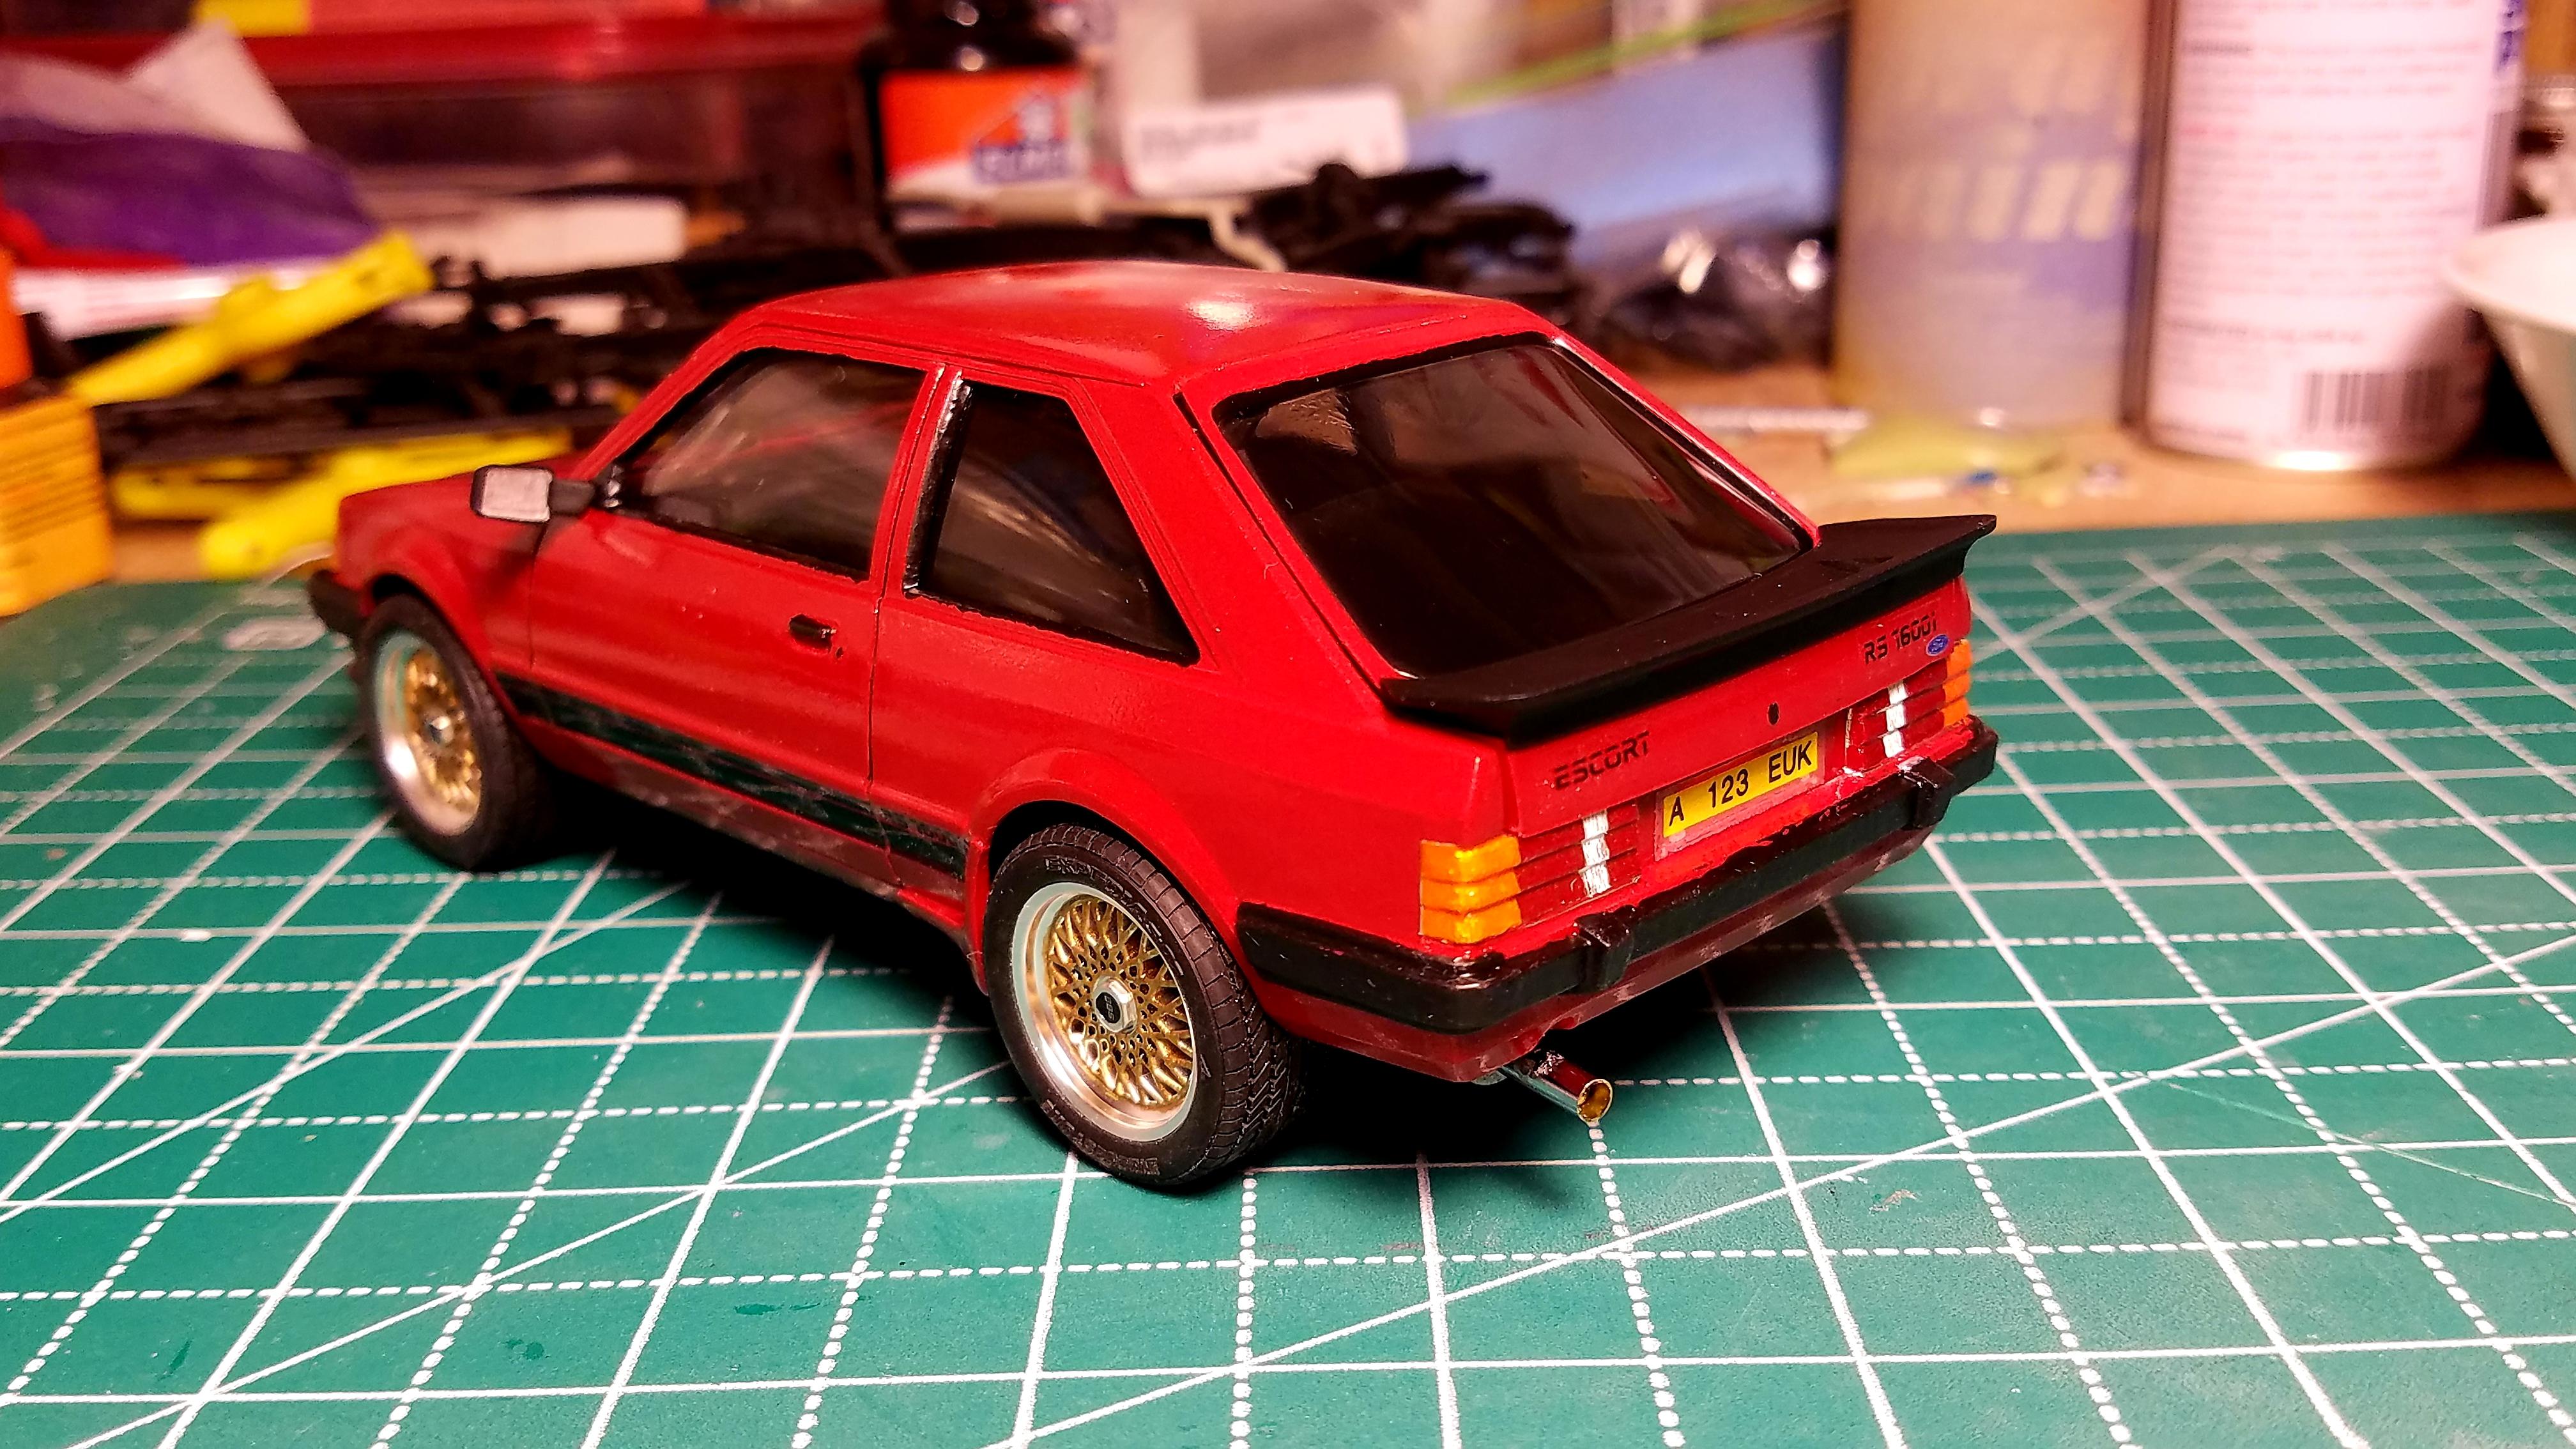
Here's another one from my built archives from several years ago. This kit is pretty overlooked now, and is pretty basic. But, can be made somewhat nice and I'm shocked that it never came with RS1600i decals before. I used Testors Revving Red, One coat lacquer clear, I had to make my own decals to replicate the Mk3 RS1600i. I saw one on the internet in red with some BBS style wheels and the black stripes and decided to replicate it. I bought an aftermarket Japanese BBS wheel/tire set off the internet, painted the spokes gold. I had to do a LOT of carving on the interior bucket and rear seats to get the wheels to fit. I had to shorten the axles too. But I eventually got them to fit. Used a piece of old rabbit ear antenna for the tailpipe tip. Not a show winner but I just wanted to do a quick build and replicate that car I saw on the internet a long time ago. I would like to add driving lights/fog lights to it once I ever find the right set to really give it that euro road car look.
-
If my screen name hasn't already given away who I am that ought to.
-
The gopher choker ?
-
Well, I would think they would have been by the 1950s at least. Thanks
-
How about a couple types of Casale V-Drives? I could use some for some weird projects lol
-
No, unfortunately I do not. Long story but I had to modify this mirror file from an existing file which took a lot of work, as I'm not that great with any CAD programs.
-
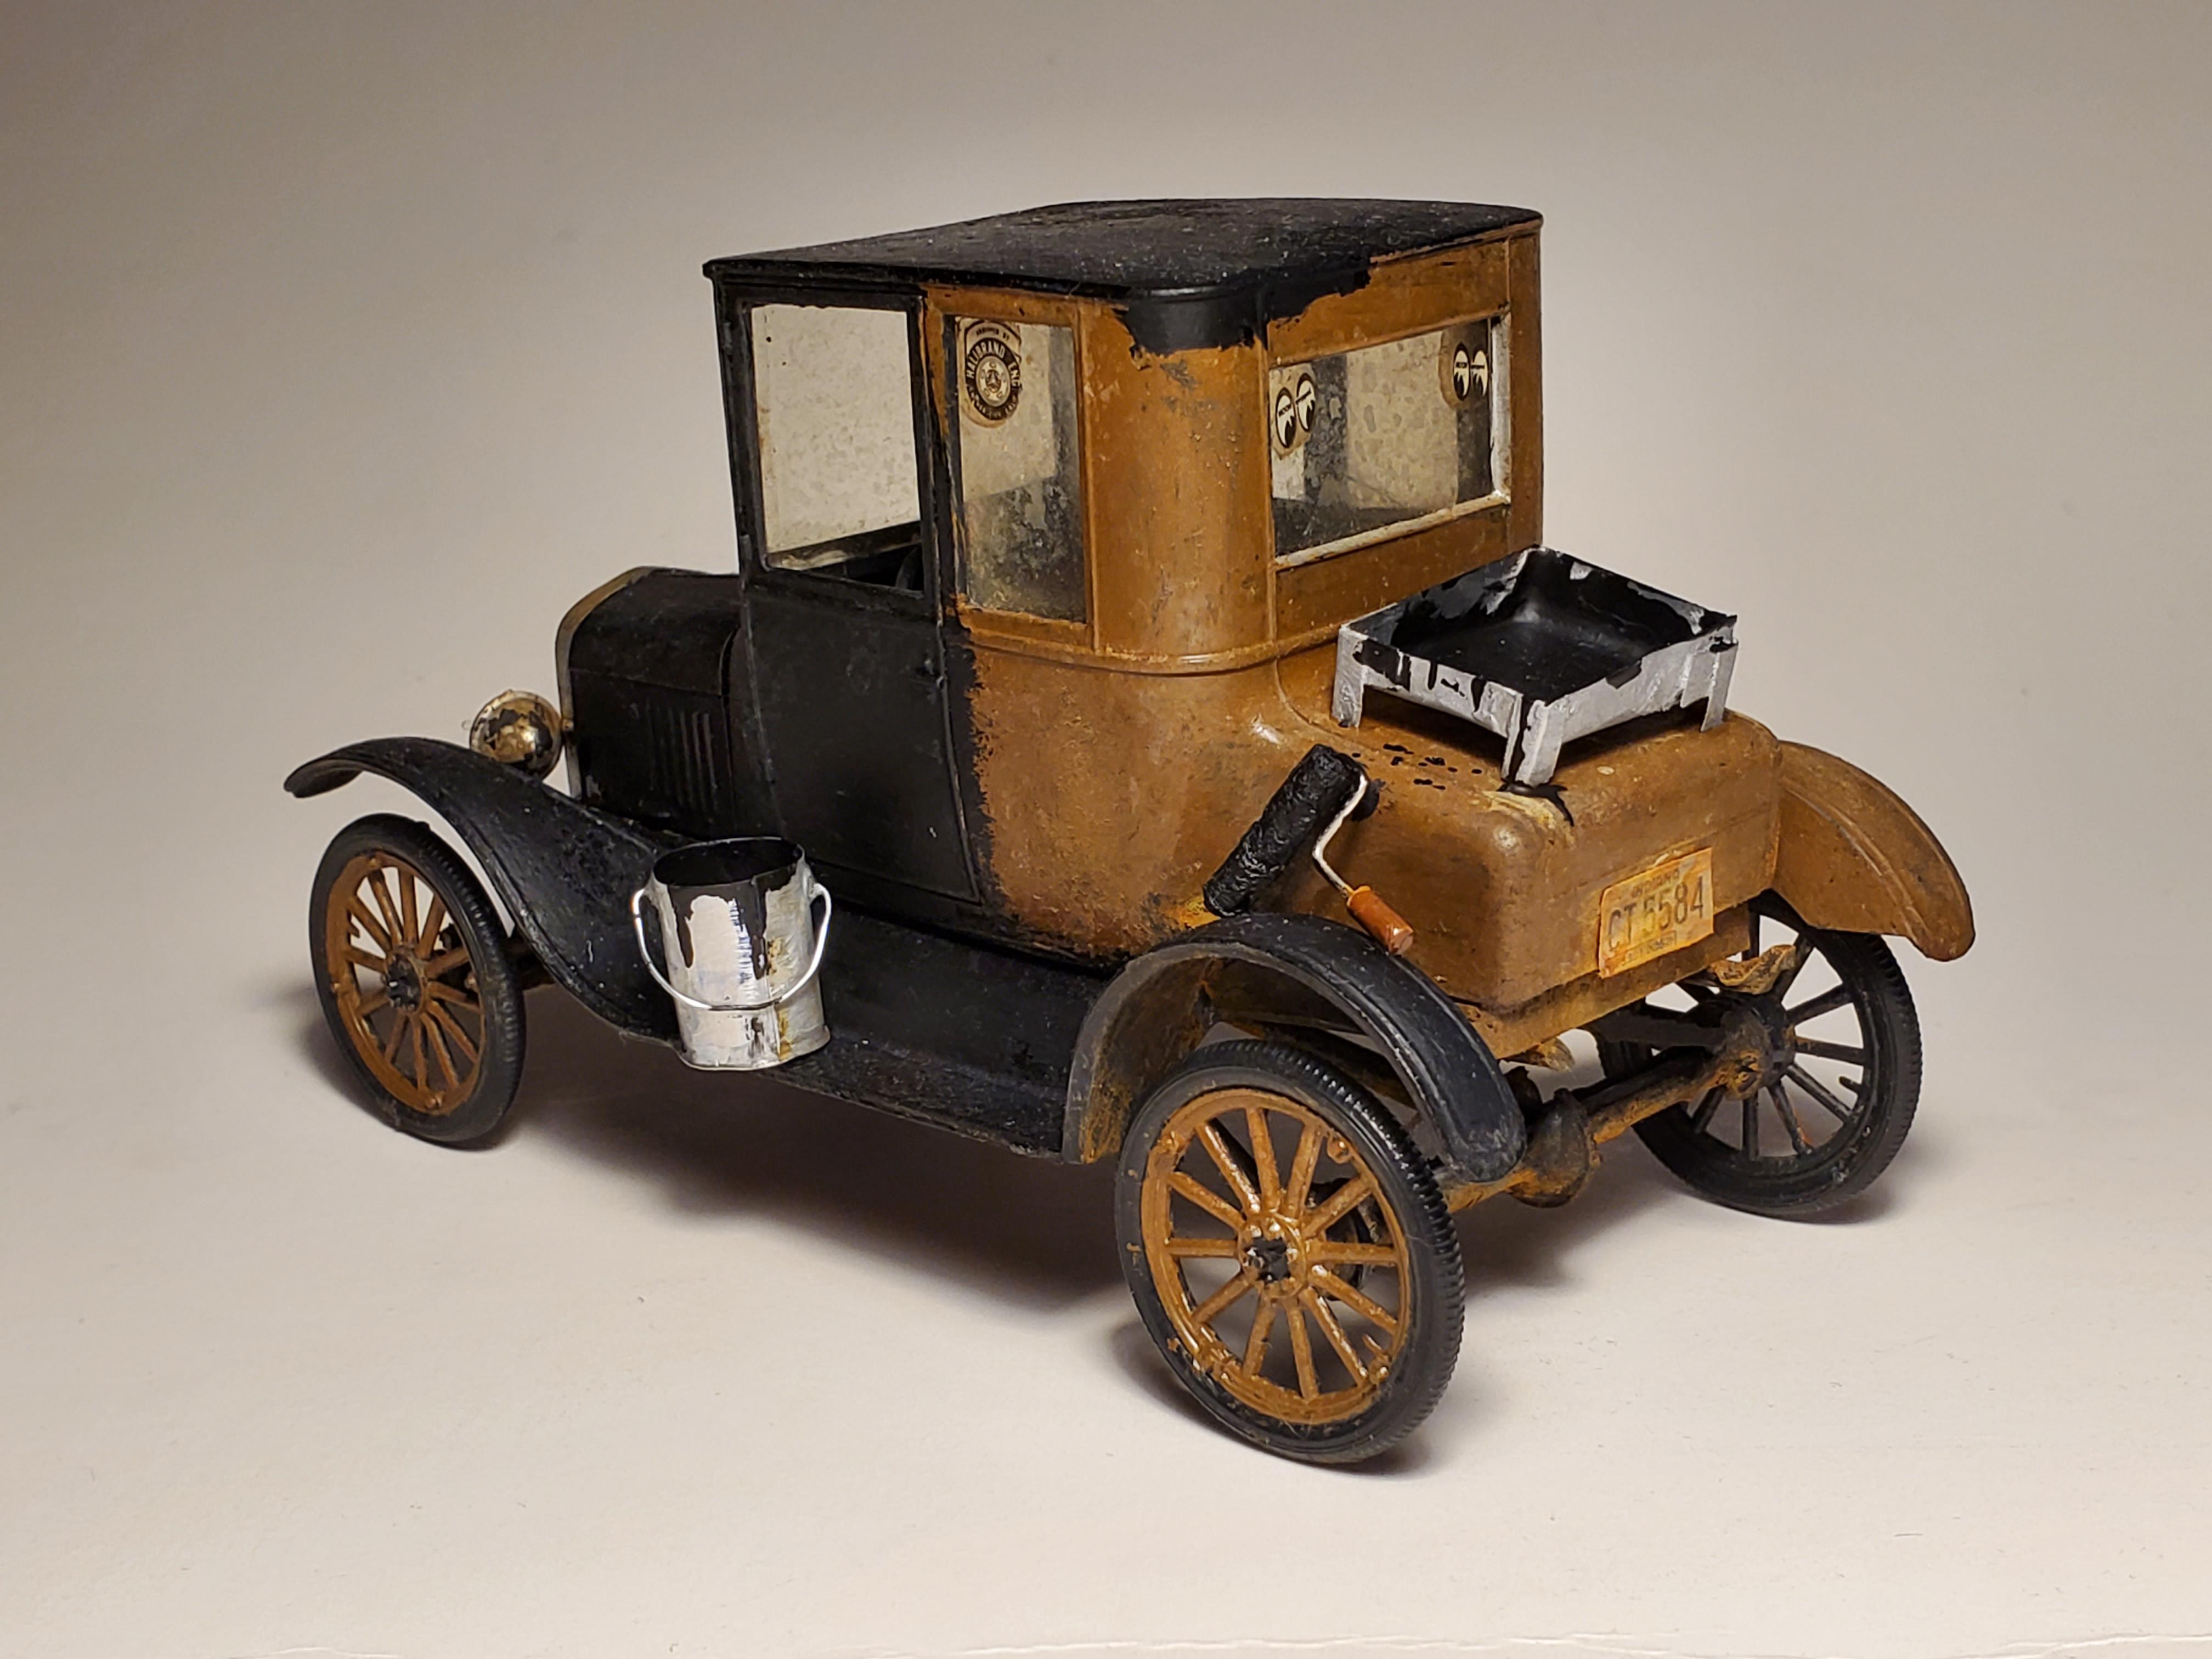
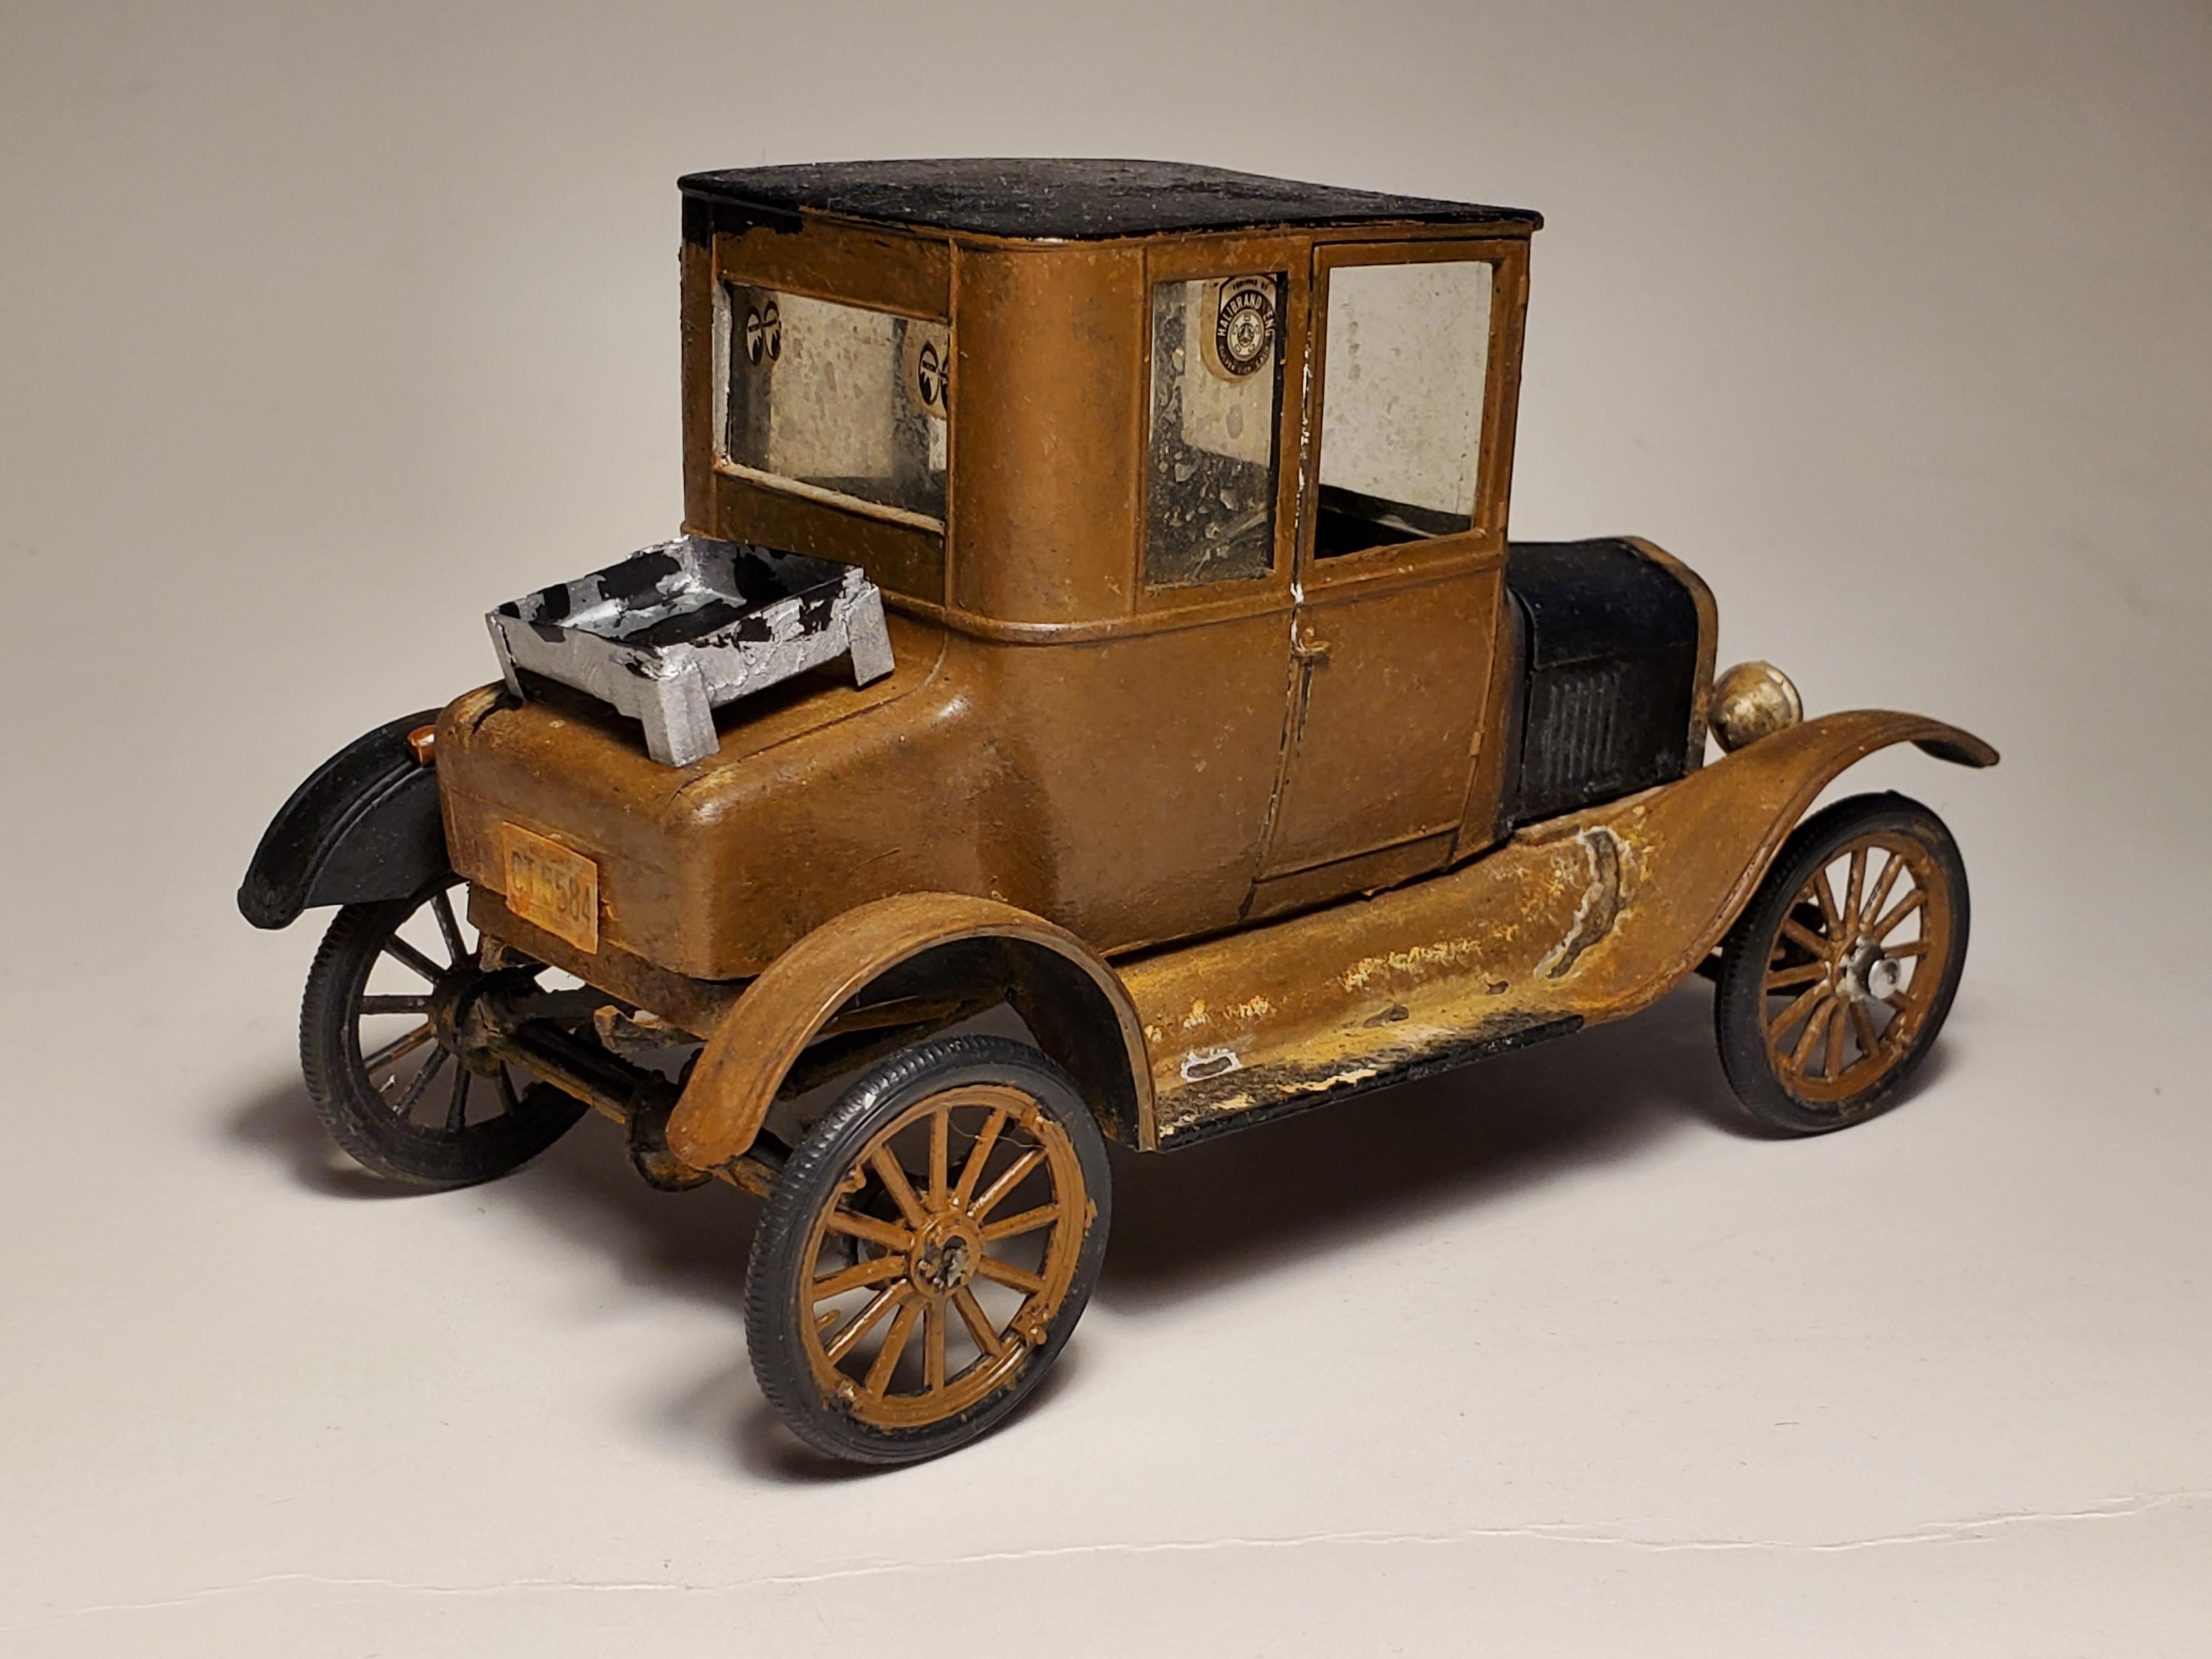
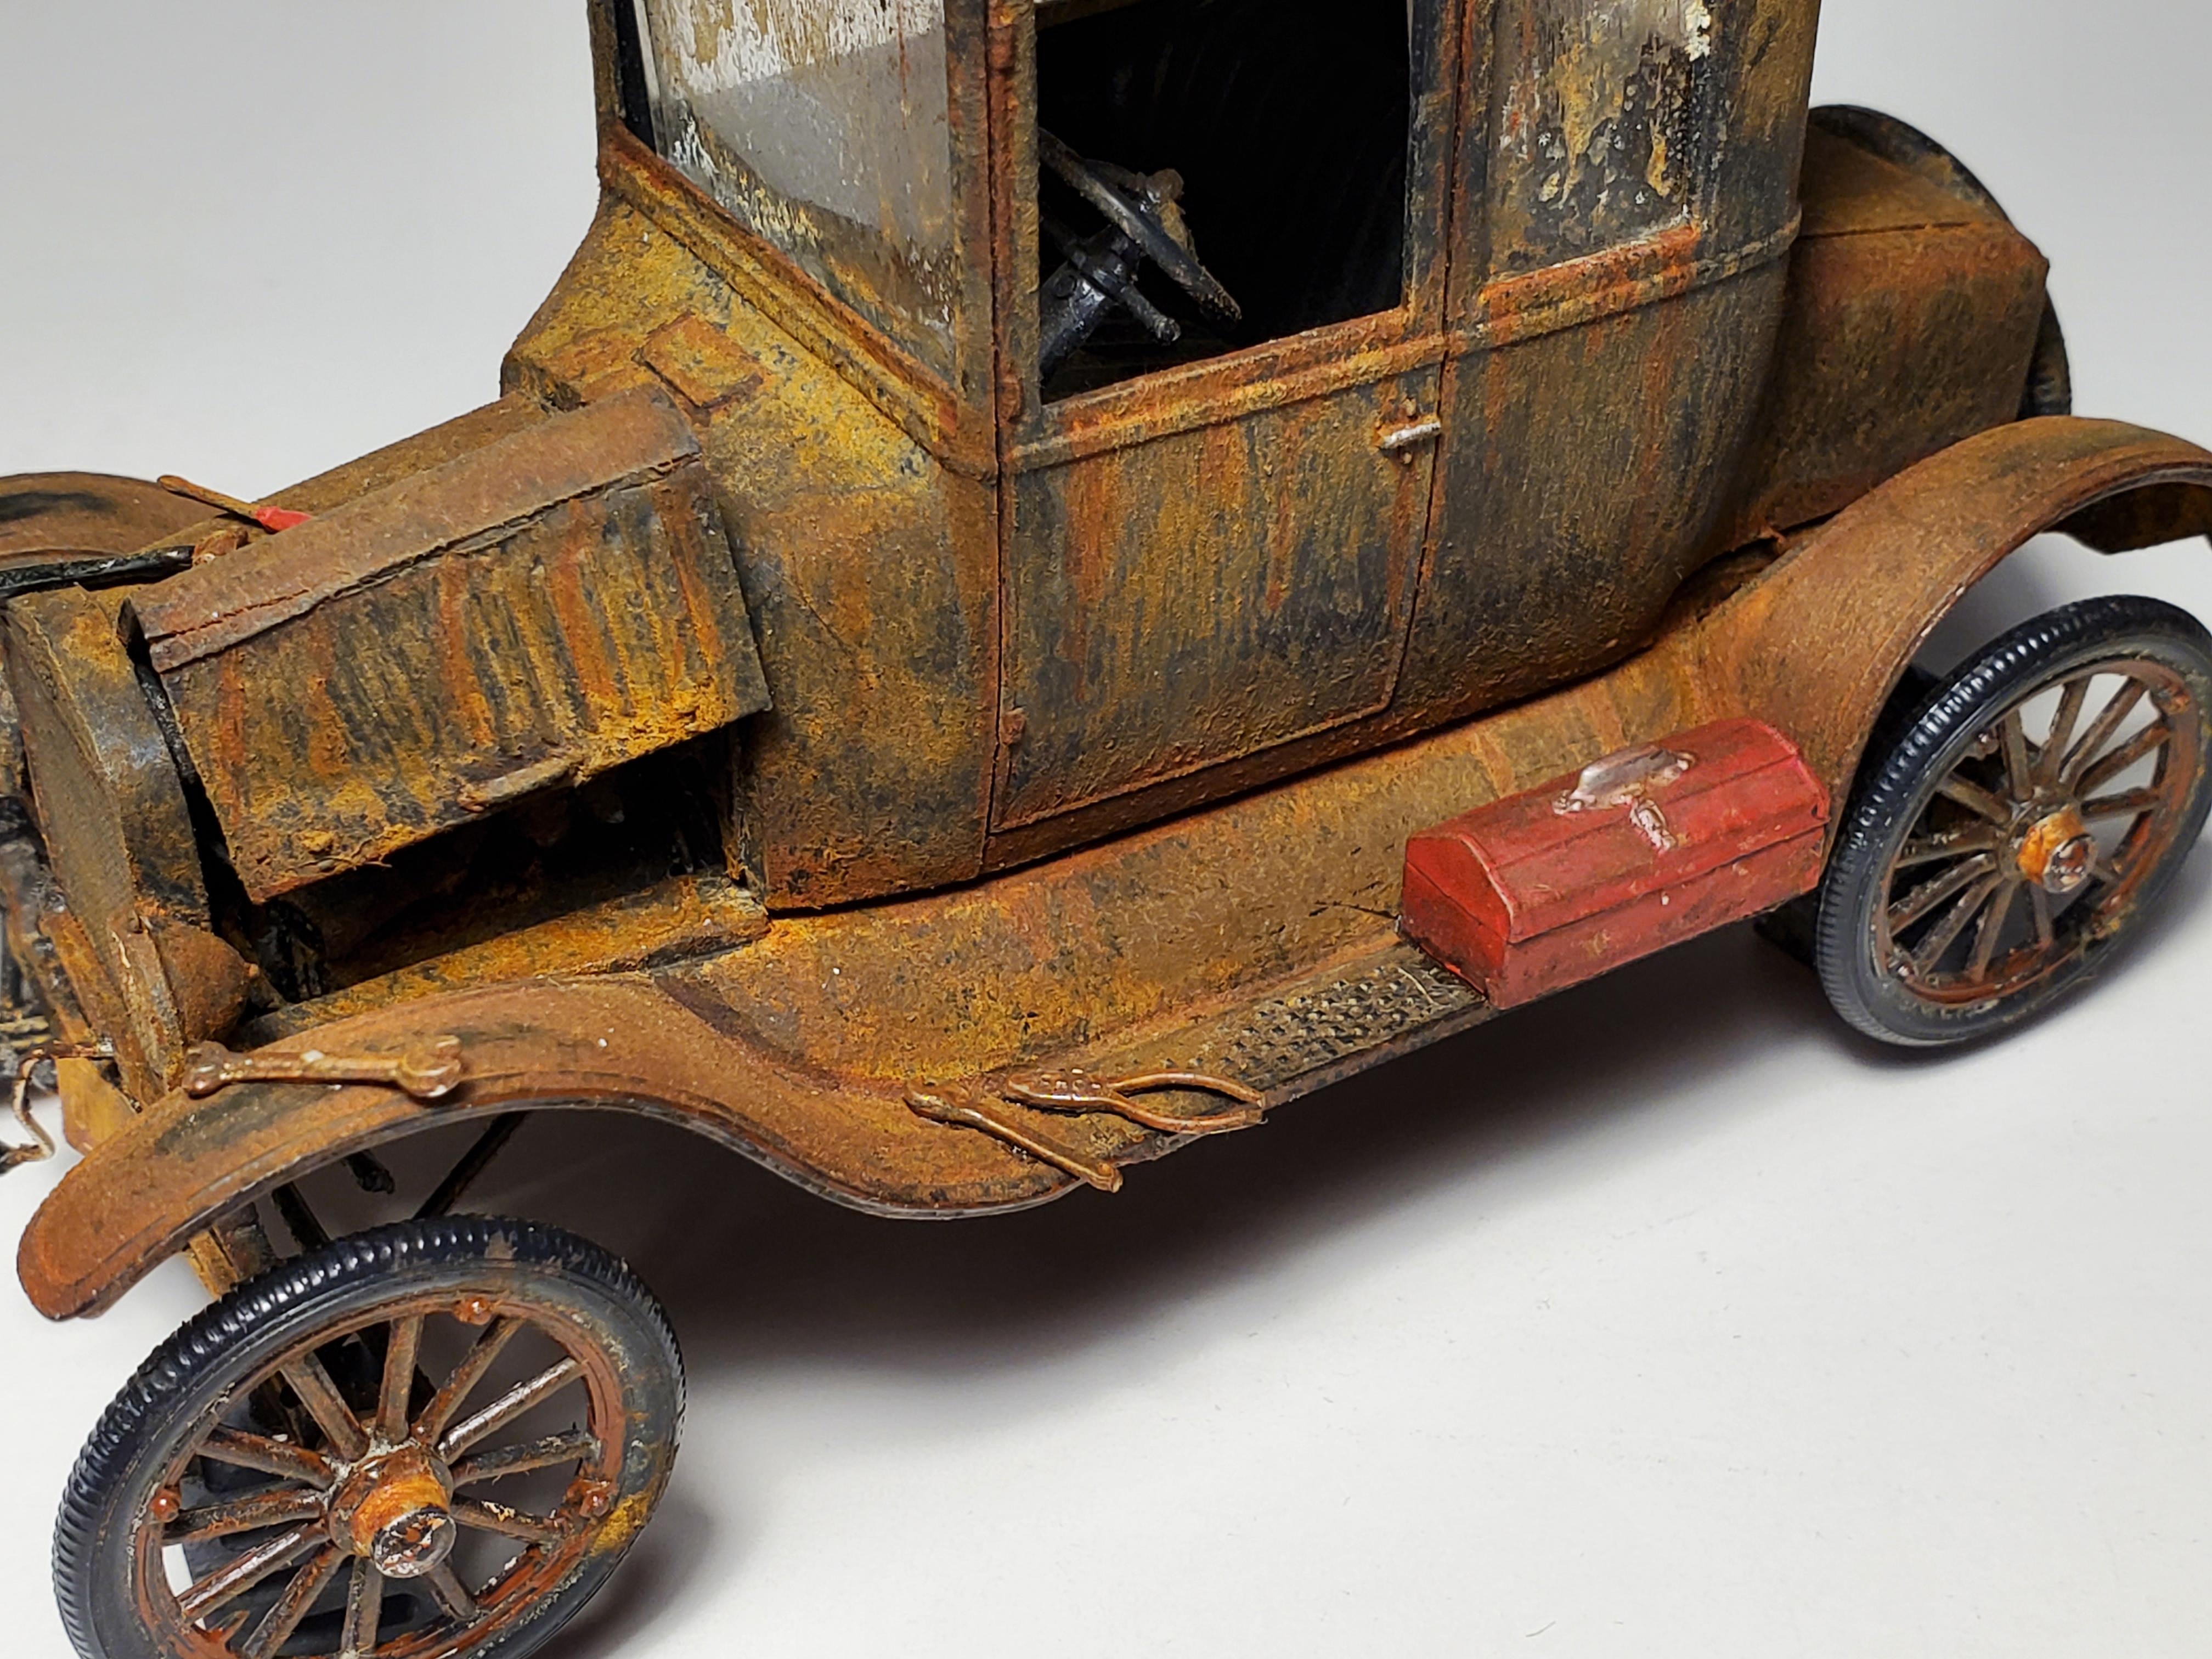
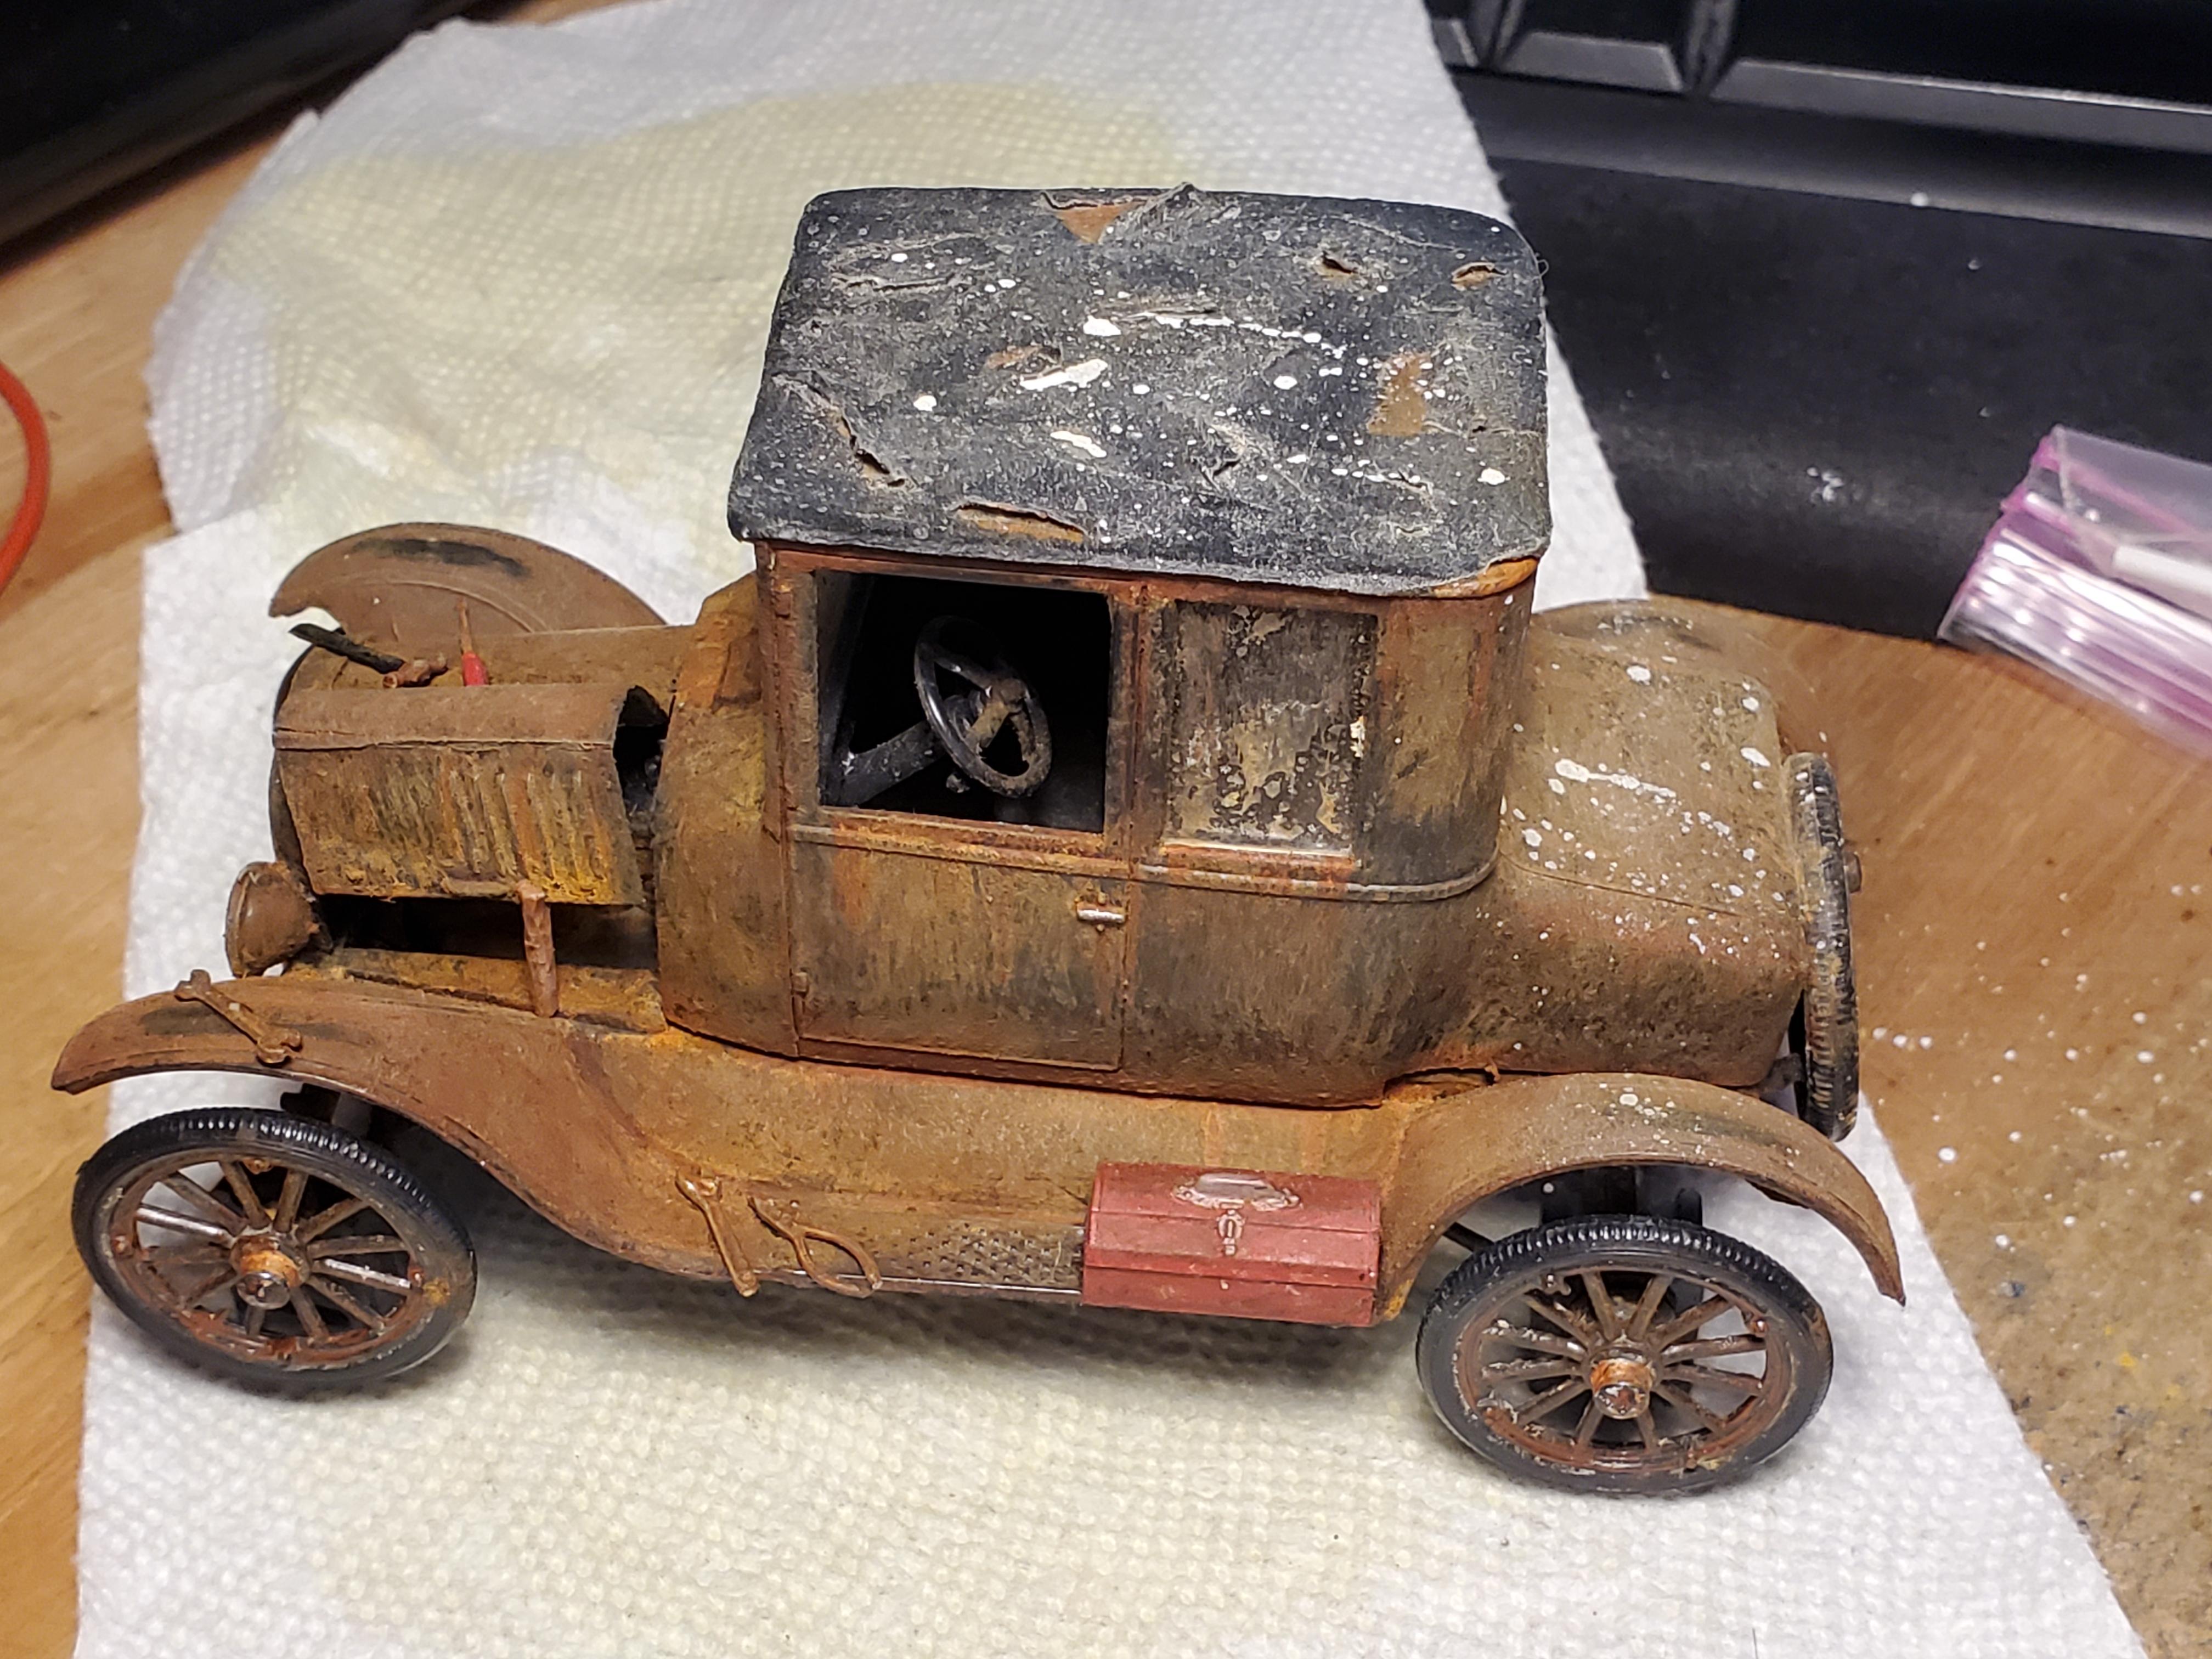
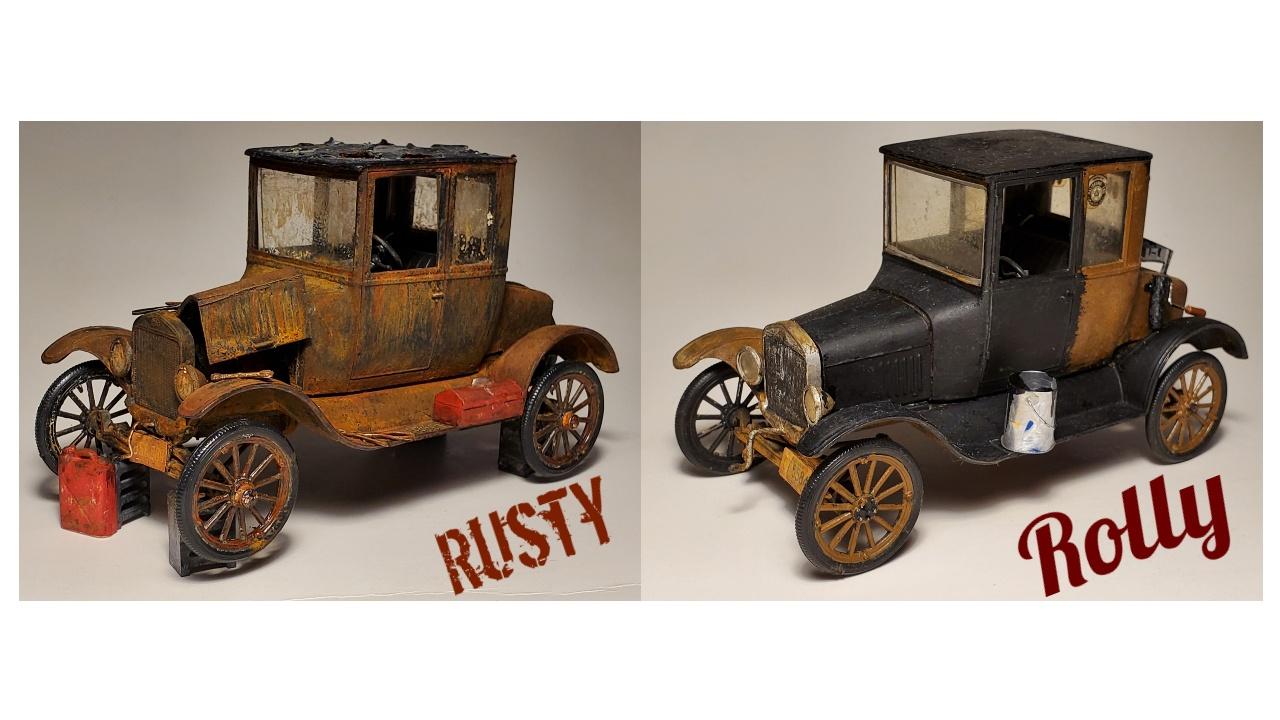
I rescued these two original issue AMT 1925 Model T built up's, separately from each other, from different people, years apart, because they were going to be thrown away. They sat on my shelf for a while collecting dust. Some model building friends and I occasionally get together and go somewhere for the day and get lunch. We chose a return trip to the Model T Museum in Richmond, Indiana. We'd been there before but we wanted to see if they had anything new going on. So one day a couple weeks before we went, I looked up at my shelf and saw those two Model T's stacked on top of each other collecting dust and said you know what I'm going to do something with those and so I took em down, dusted them off, and proceeded to figure out where to start. One of the T's was brown and black, like someone painted it brown and decided later to paint it black. I thought it was funny because that's legitimately what someone would do back in the day in real life. The other one was an old mostly complete unpainted build up. I wanted to give these T's somewhat of a backstory to explain their looks. By doing so they took on their own names. So the half repainted one became known as "Rolly" and the unpainted one would become "Rusty". So here's the tale of Rusty and Rolly: Rolly the T had been used regularly by a small town Indiana family since new, and at one time painted brown... all over... even the wheels. Rolly fulfilled it's uses and was sold to another family in town for their young son in the 50s, It was driven home, but abandoned sometime thereafter during a black repaint with a roller. You might say it's owner was taunted by the fins and chrome of the era, and was struggling to get the old T running right, so they abandoned the job mid-repaint. Left the roller on the rear fender, bucket of paint on the running board, and paint tray on the trunk. Deciding instead to go get a newer, more reliable car as a first car, instead of fixing up the ole T. So it was left in the shed out back and forgotten about. I used Modern Masters rust antiquing kit to add some details of rust on this car on the brown areas. The black areas I did have to repaint/retouch because they reacted with the rust solution once sprayed on. I suspect because it was old lead-based Testors. I scratch built the roller, bucket, and paint tray. The bucket and paint tray are made out of a pop can and the handle on the can was silver wire. The roller is silver wire with a paper towel wrapped around and super glued, then dipped in paint. The paint tray and bucket both have paint in them as well. I made an Indiana License plate for it and added it to front and rear. I think the year is 1954, but now it's too rusty to tell. Haha! Unfortunately I was missing two of the hubs for the wheels. Forgive that omission. Rusty the T was the family vehicle on the rural Indiana farm from new. It's seen it all and been through it all and was well used. By the time Rusty was 11 years old it had already fallen into disuse as cars were much more reliable and easy to drive, and those new 1936 Fords were just too nice for the now well-to-do farmer to turn down. The ole T was used around the farm for a short time before being put in the barn. The owner's son needed a vehicle to drive in the early 1940's and was given the T. The new owner put plates on the T, however while he was trying to get it fixed up, WWII broke out. The T's new owner had to ship off to war. Leaving the T to rust in the barn where it sat on blocks. Thankfully the T's owner returned at the end of the war, but a young war hero couldn't be seen in a rusty old Model T trying to impress the ladies. So a '46 Ford was bought. Rusty the T stayed in the same spot in the barn for many years, but was always kept in the family. Rusty is covered in Modern Masters rust antiquing 2 part system, (think sophisticated finishes) and several colors of Vallejo rust washes and black washes. Also several colors of Tamiya weathering powders. I used a piece of masking tape for the top, and shredded it up with an xacto knife. License plates were made by me, and I think this one is an Indiana 1943 plate. I couldn't seal any of my weathering, or take down the shine on the tires because it was January here in Ohio, and too cold to spray a flat clear down. When I get them back I will. The tools and tooboxes were parts box items I dug up and weathered. The hand crank on this one was scratch built with silver wire, with a superglue blob as the knob/handle. One thing I forgot to do, after taking these pictures, was actually prop the hood up. Because they wouldn't sit like that on their own. I also added some "barn bird poo" on the back of it by flicking white paint on with a paint brush. So here's that pic. I used a piece of styrene carved randomly to look like a stick that was a Y-shape, found somewhere on the ground and used to hold the hood up. And some white testors paint splattered on it w/ a paint brush to look like birds in the rafters were leaving some presents. Here's both of the cars at the Museum after I donated them temporarily for display, sitting with some other die-cast T's.
-
Ah, I see you're also a person of taste and class, watching Cold War Motors ? Nice Meteor. Wish I could find a 2nd fender ornament for mine.
-
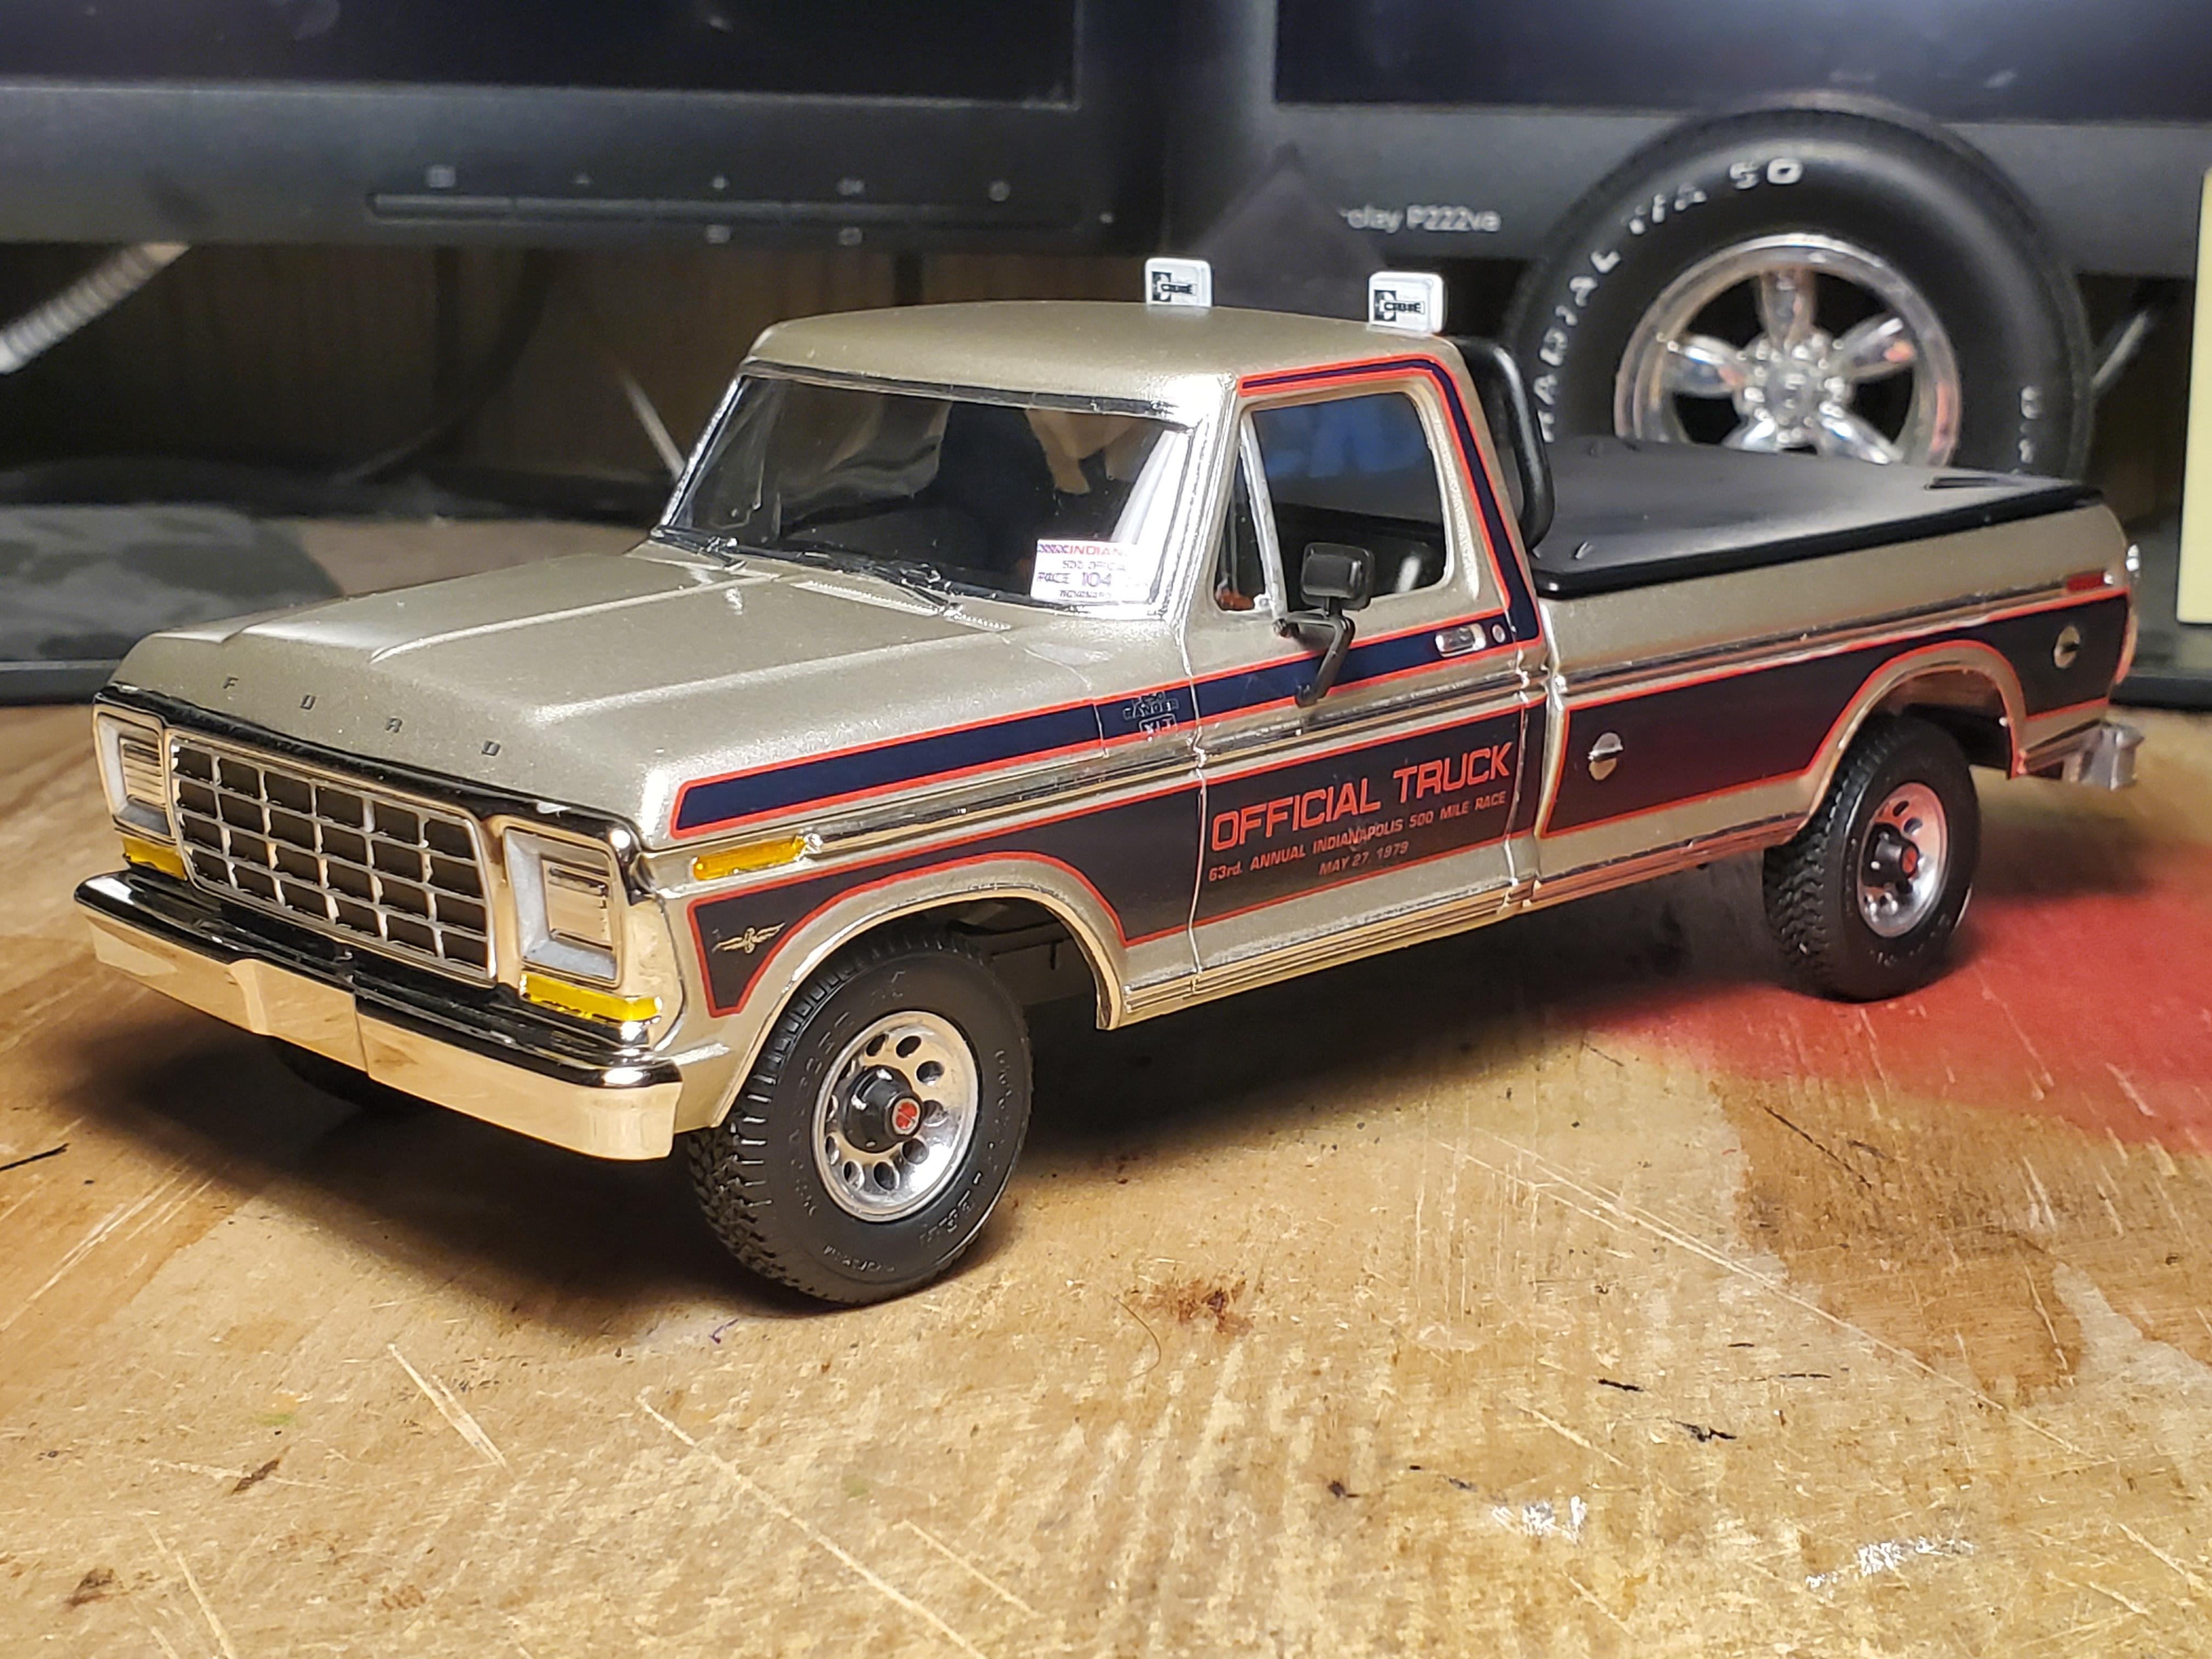
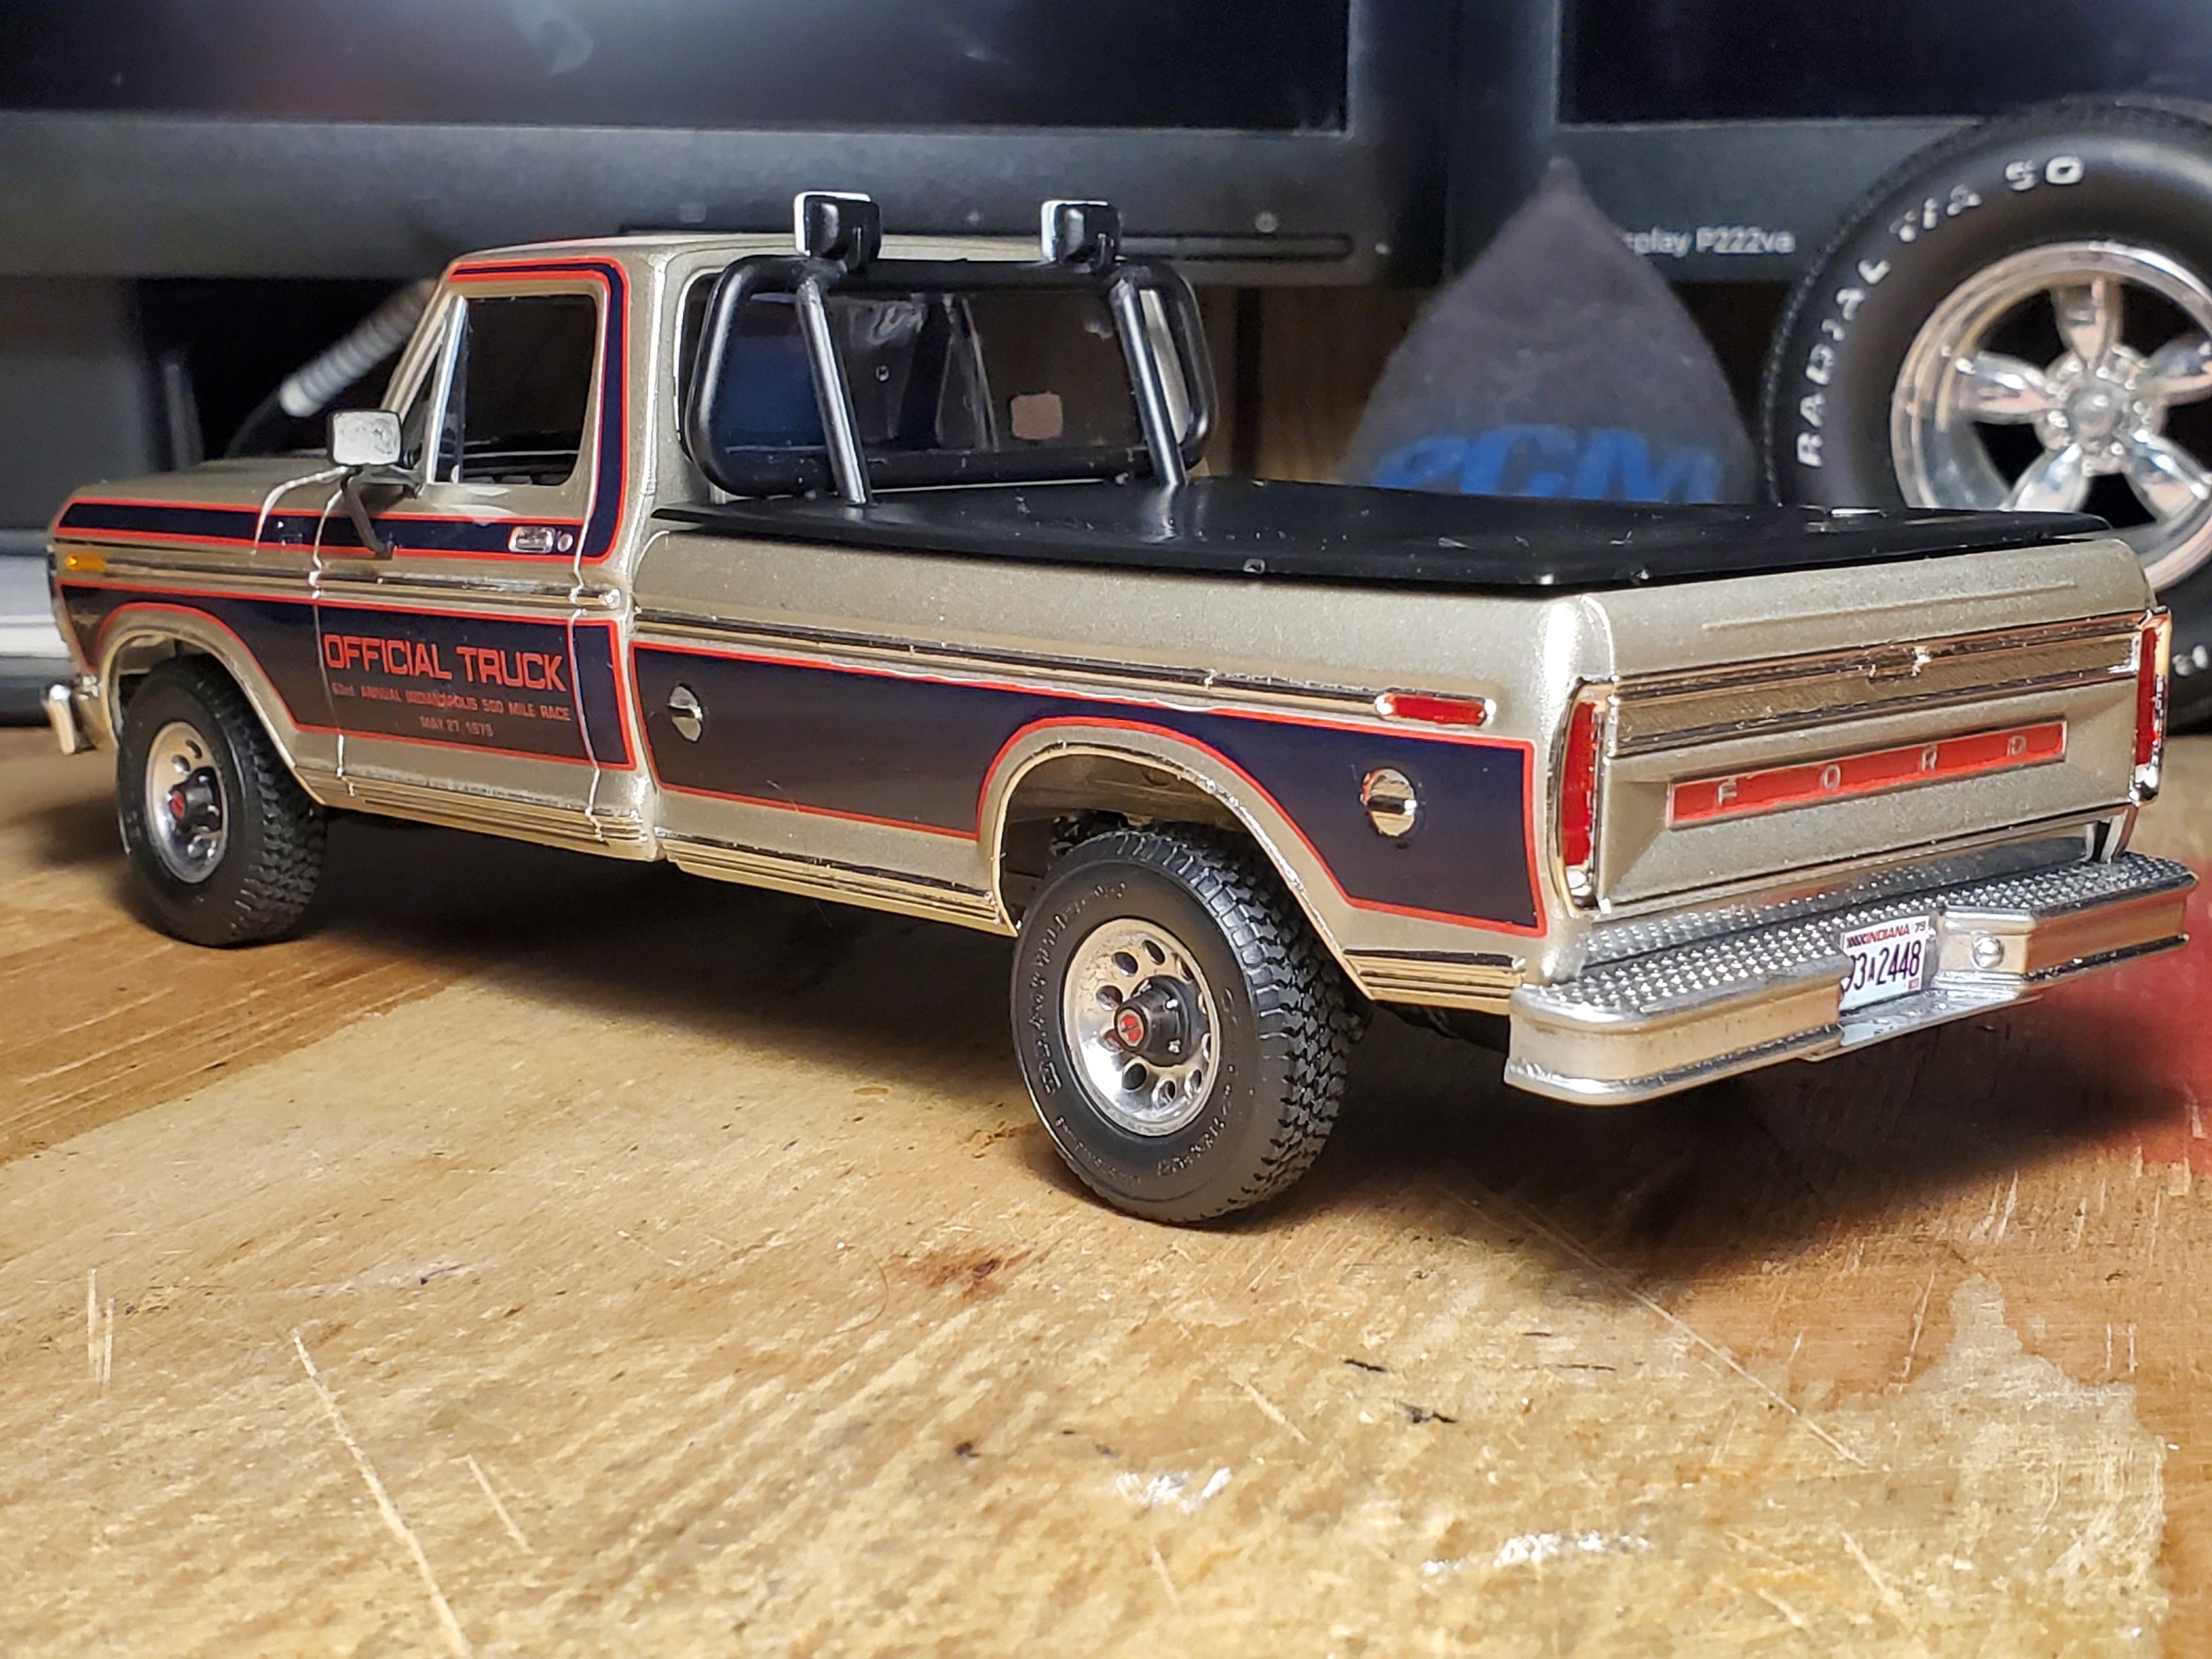
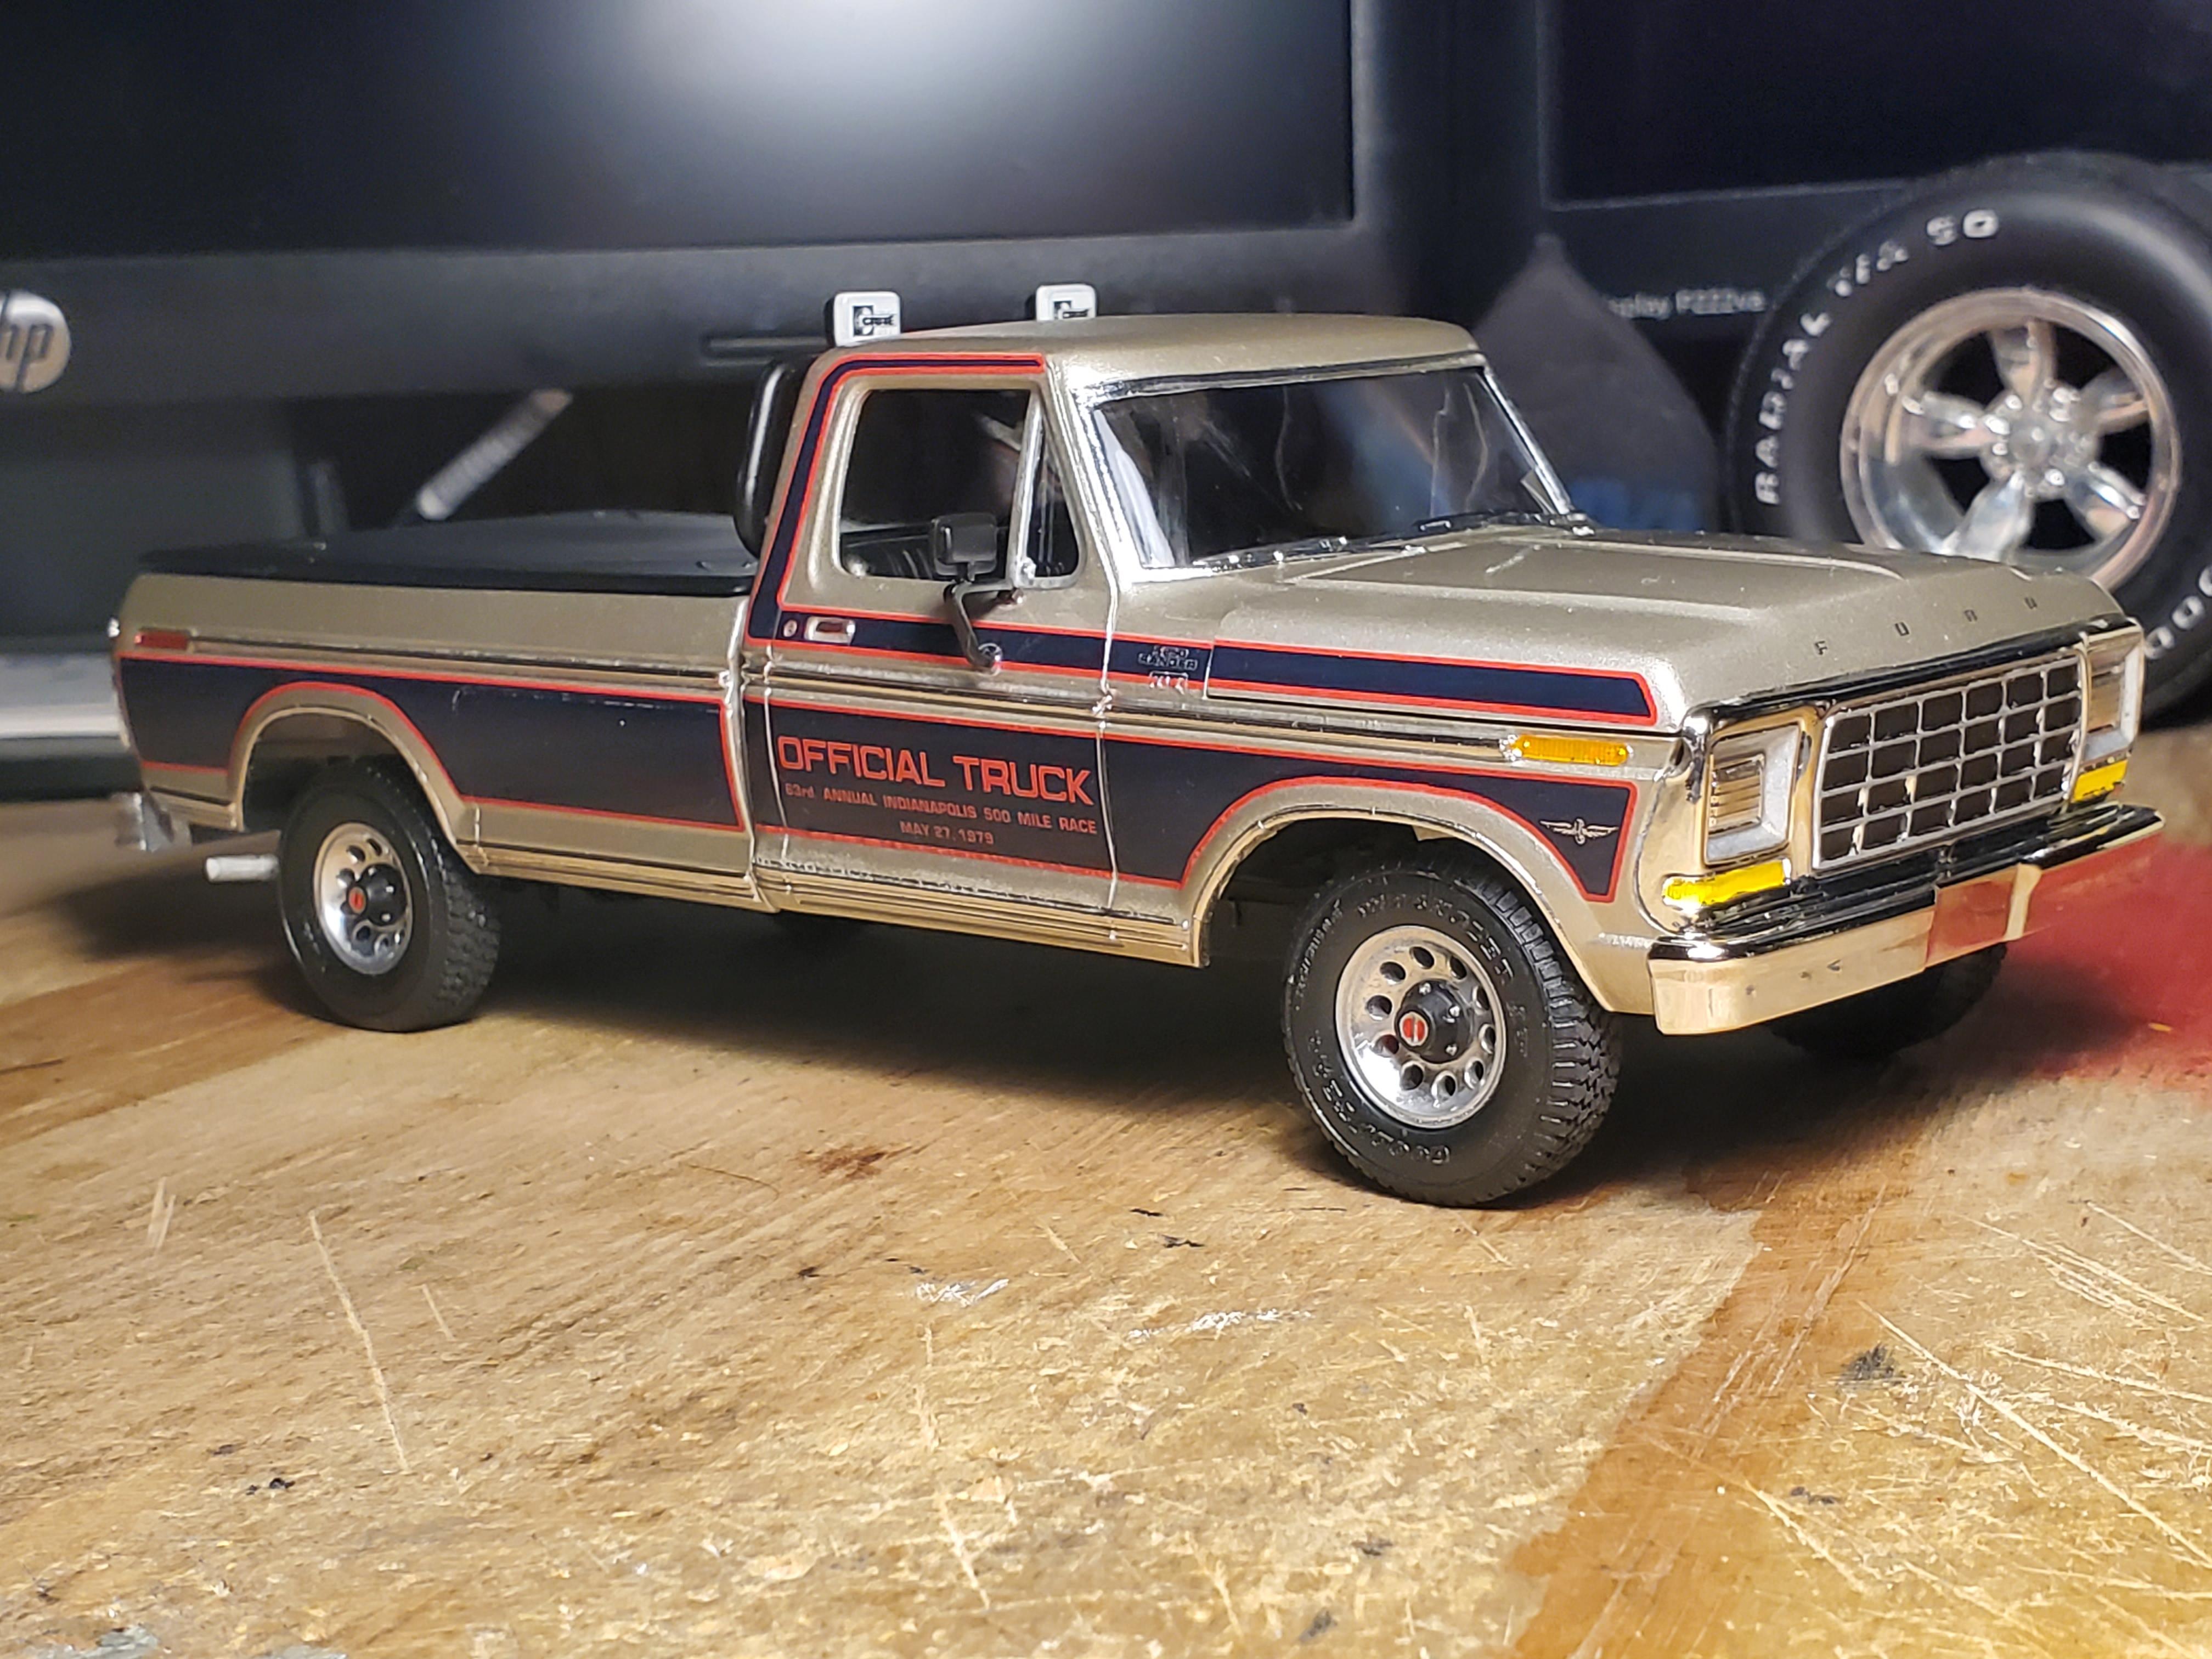
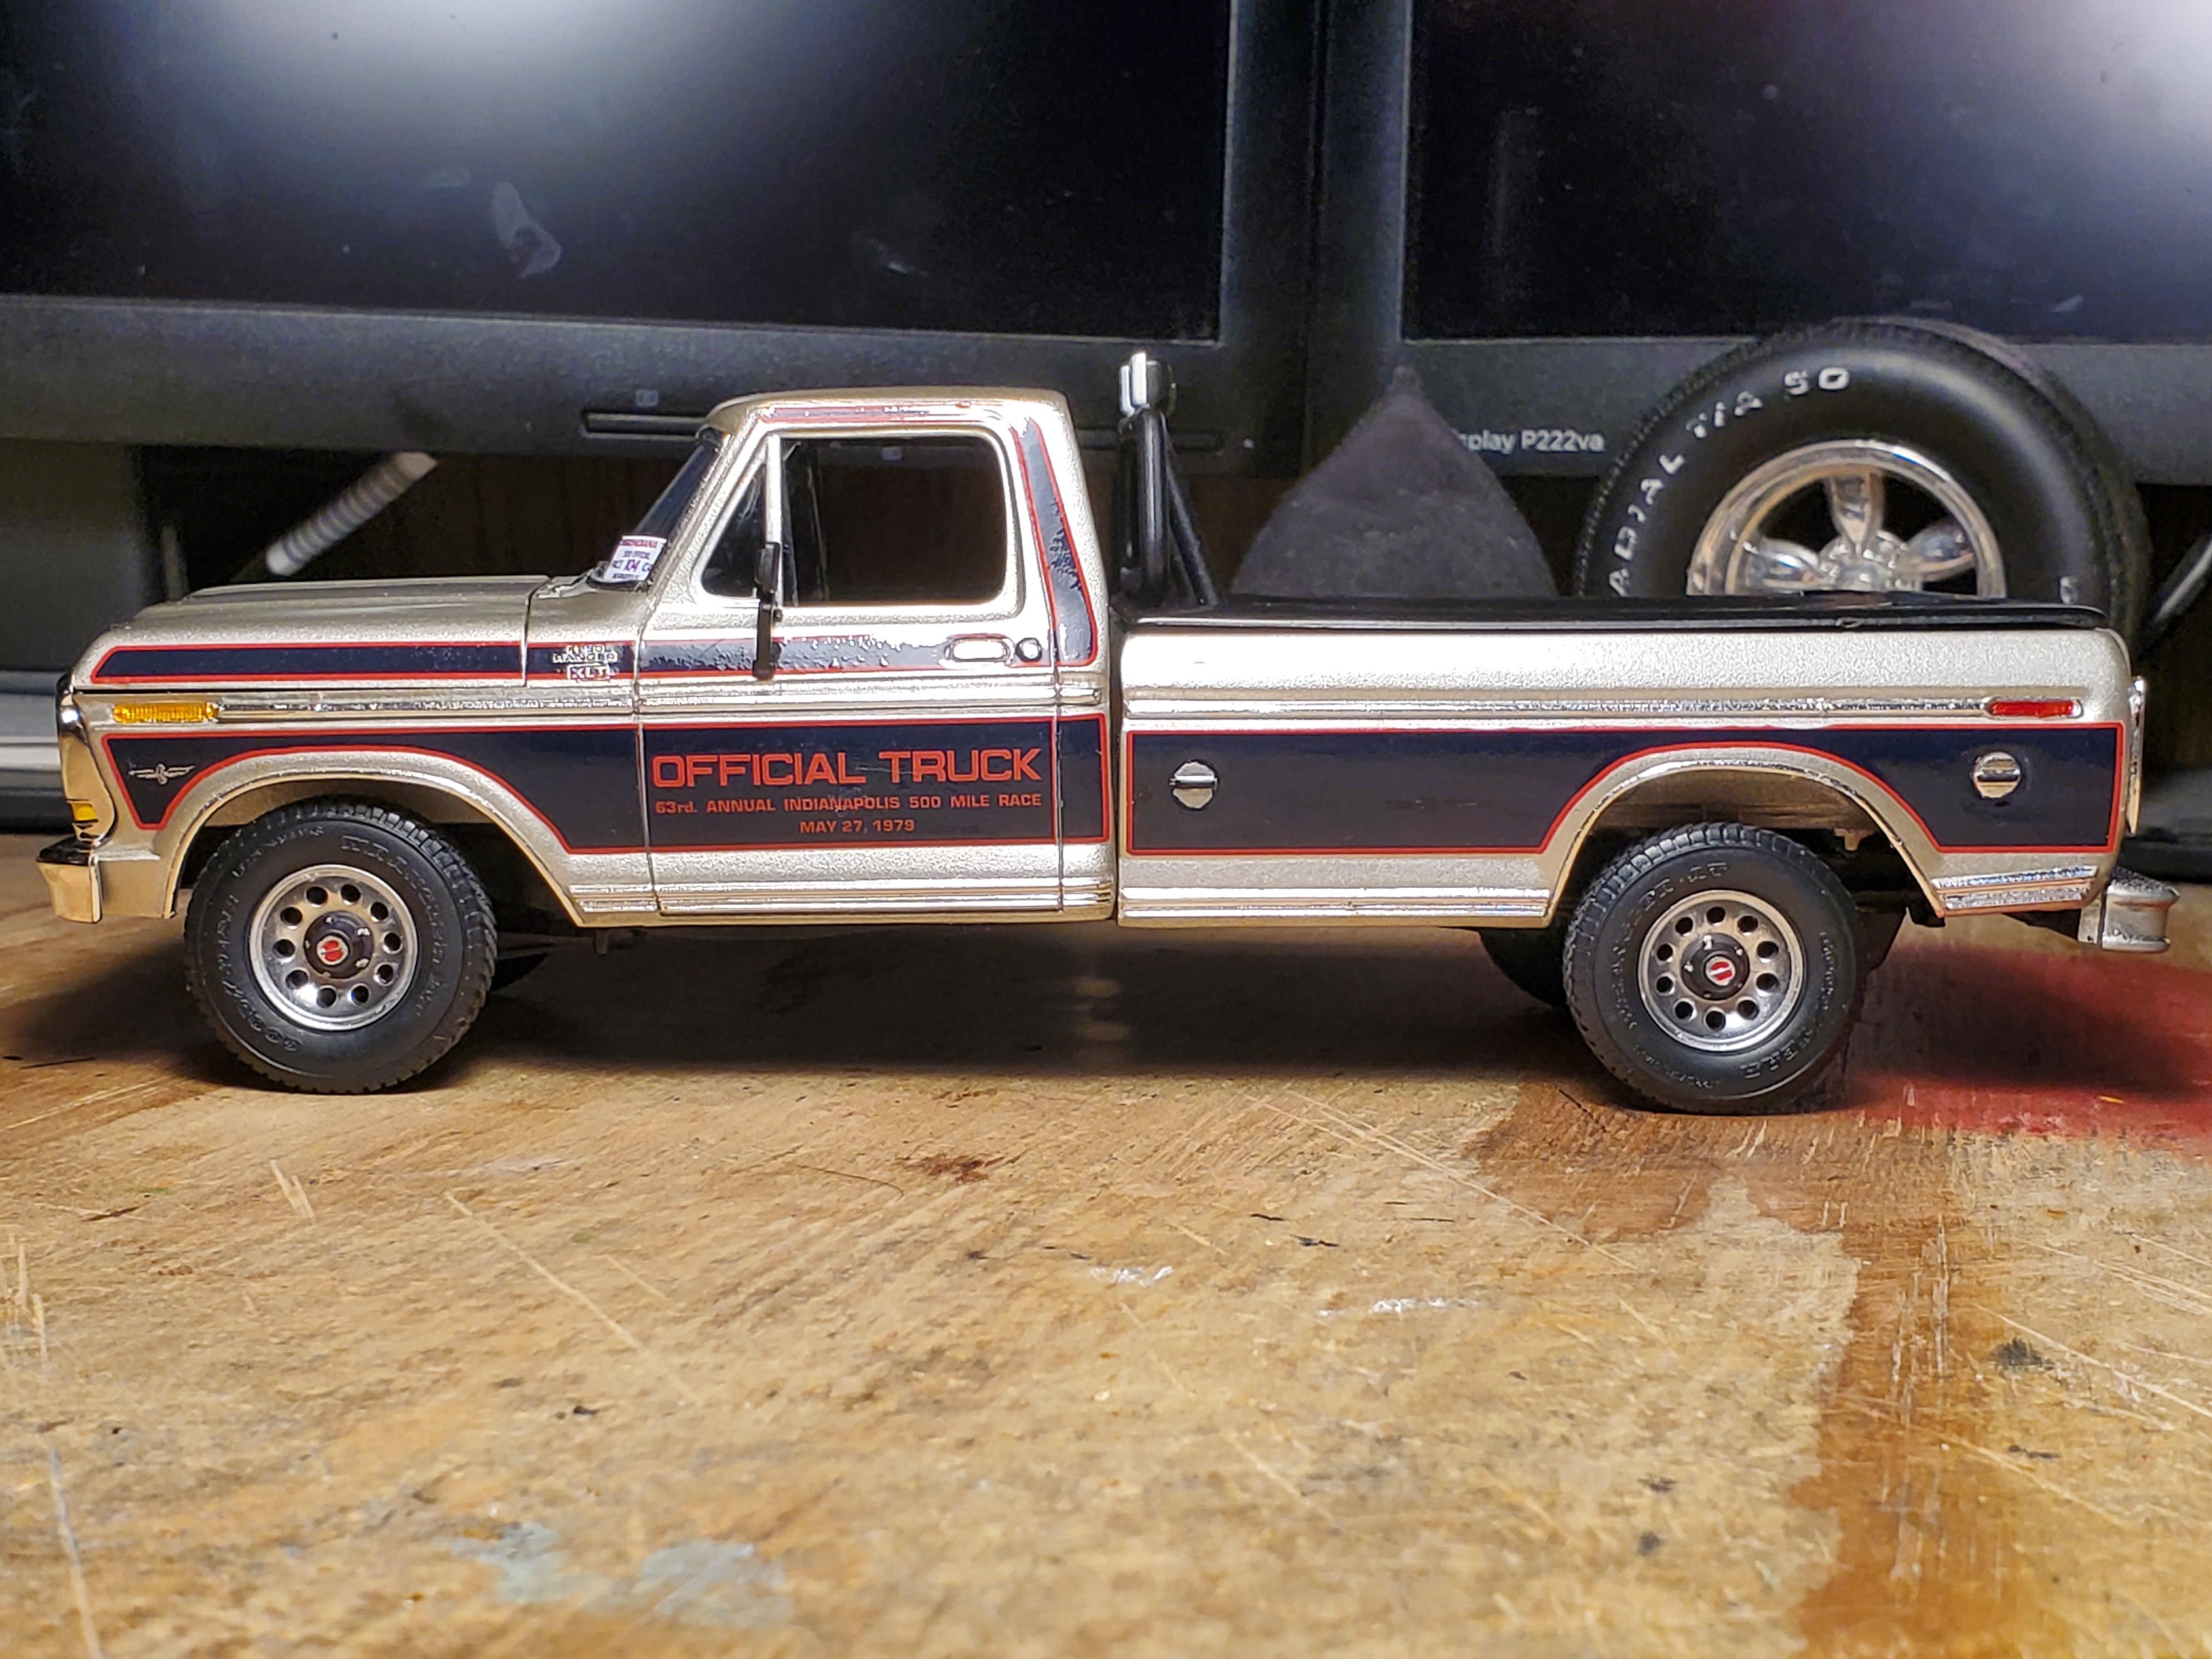
Here's another from my recent finish archives. This is the AMT Super Stones 1979 Ford truck kit. I really liked this truck and always wanted to make it. Then Ray from the Netherlands started making his decals, naturally I had to have some. Paint is auto body supply mixed basecoat of 1979 Ford Pewter color correct for this truck and the '79 Mustang Pace Car. Decals from RaysKits Decals, The wheels are designed by ZForceModelworx, and I bought the files and printed them myself. Tires are from my parts box. Distributor from M.A.D. Rear bumper by Olsen Brothers, Foiled and panel washed. AT the time I built this kit Ray didn't include door panel, dash, or seat decals to bring it up to the Official Truck package. So I had to use a toothpick and paint, don't mind the sloppiness. When I first painted this truck the decals badly reacted to the clear and it looked like it had a bad case of warts. I got sad and put it back in the box til I could face it again. About a year or so later I pulled the box out during a reorganization of my stash, and decided to check it out, and saw that the bubbles had settled for the most part. It still has several paint imperfections, the bed and body refuse to line up, and I didn't realize how LOW the steering wheel position was UNTIL I glued the interior in... but overall turned out just OK. I'll have a Mustang to put behind it on a trailer when he comes out with the decals for the car (original MPC kit decals are missing soo many stripes and details on the car) Enjoy
-
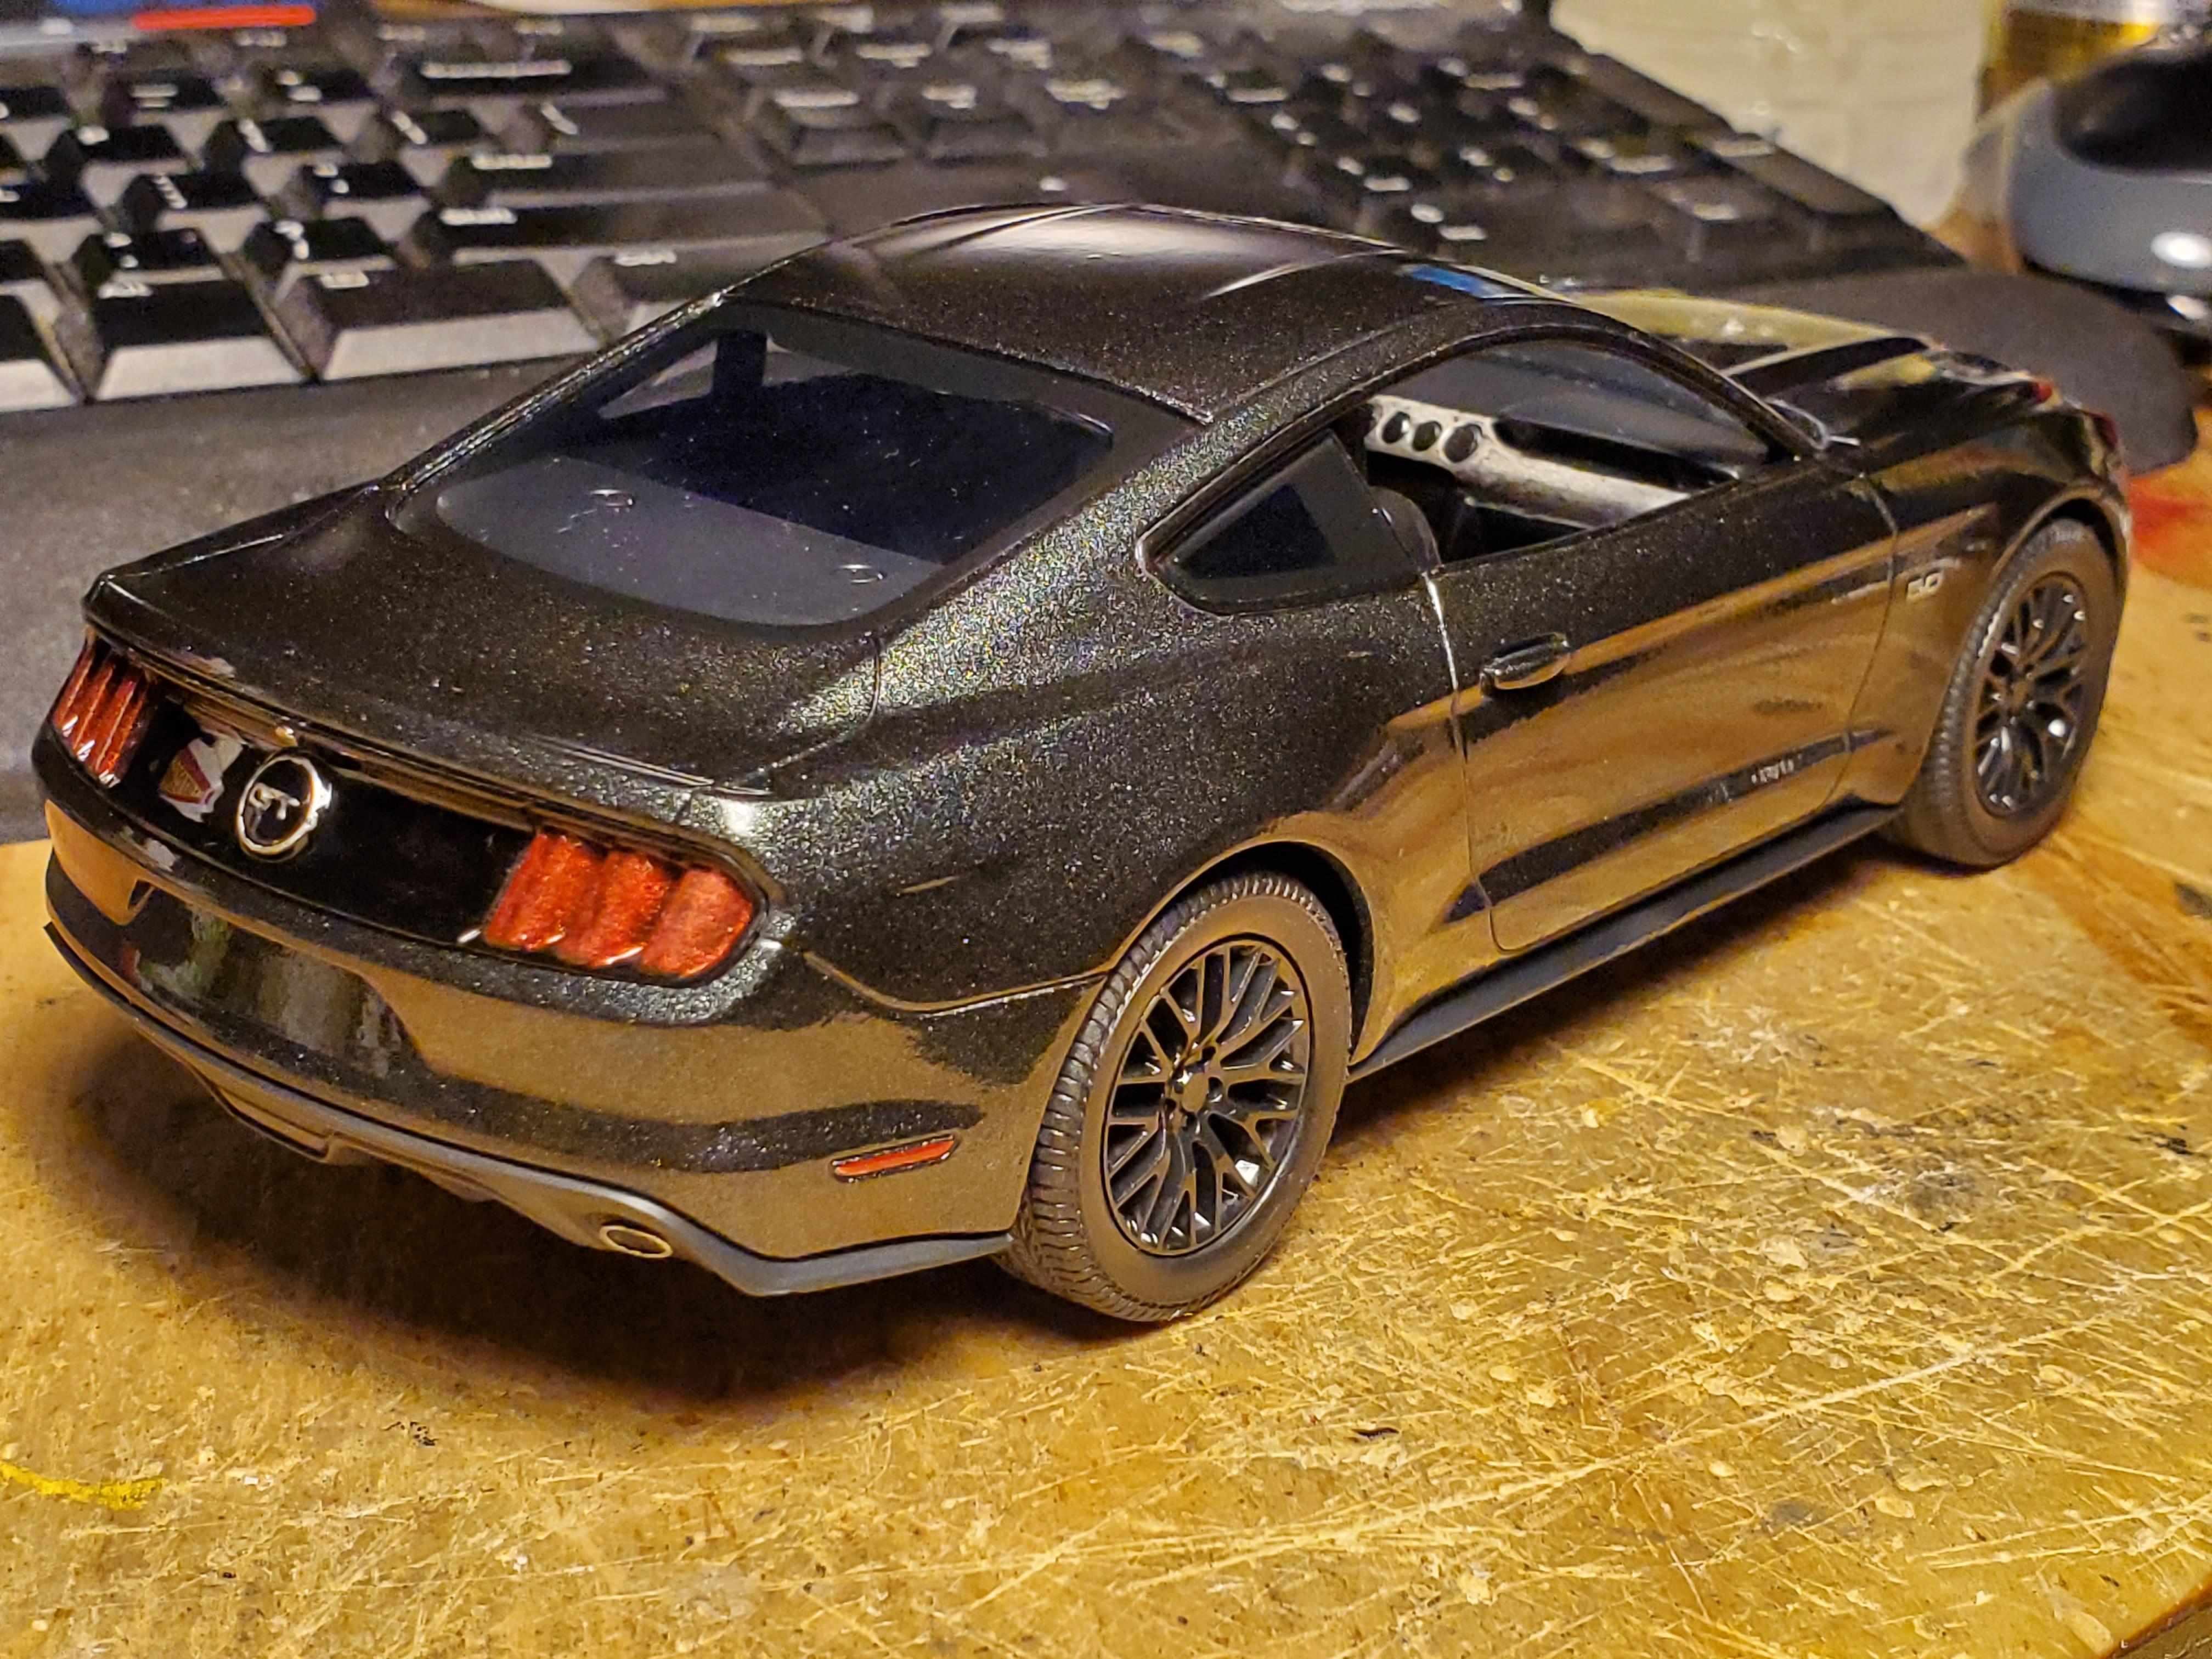
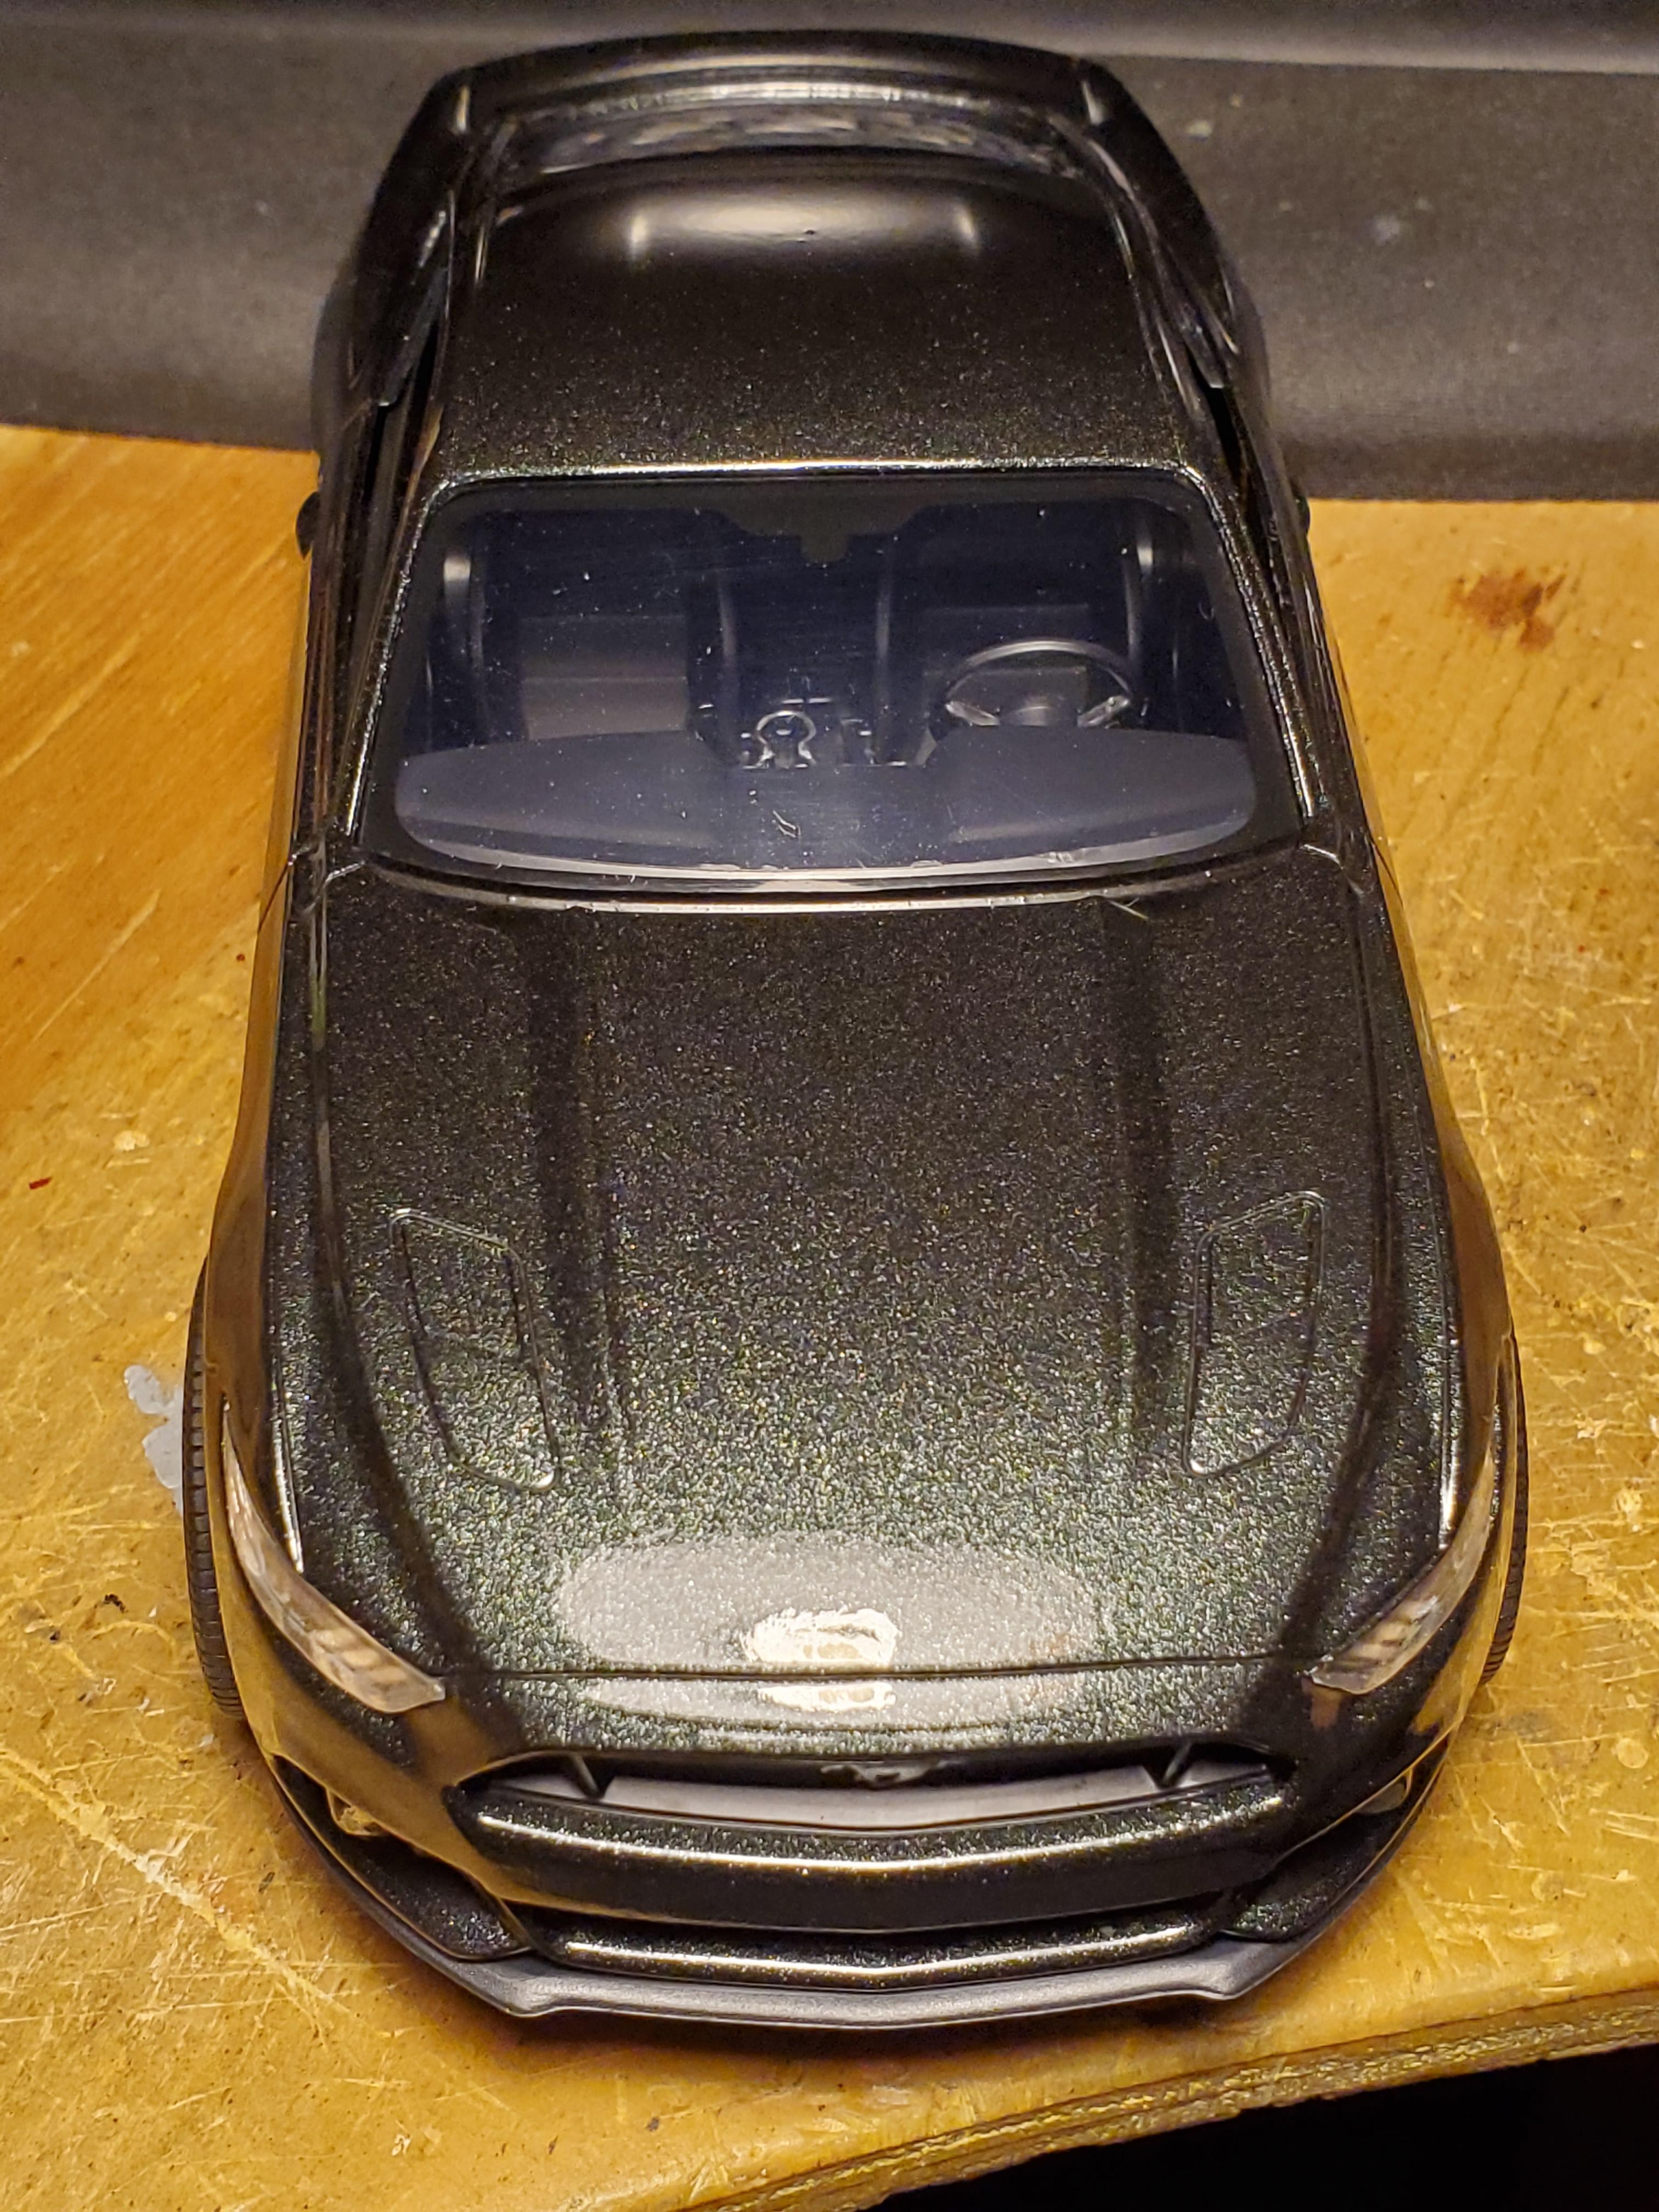
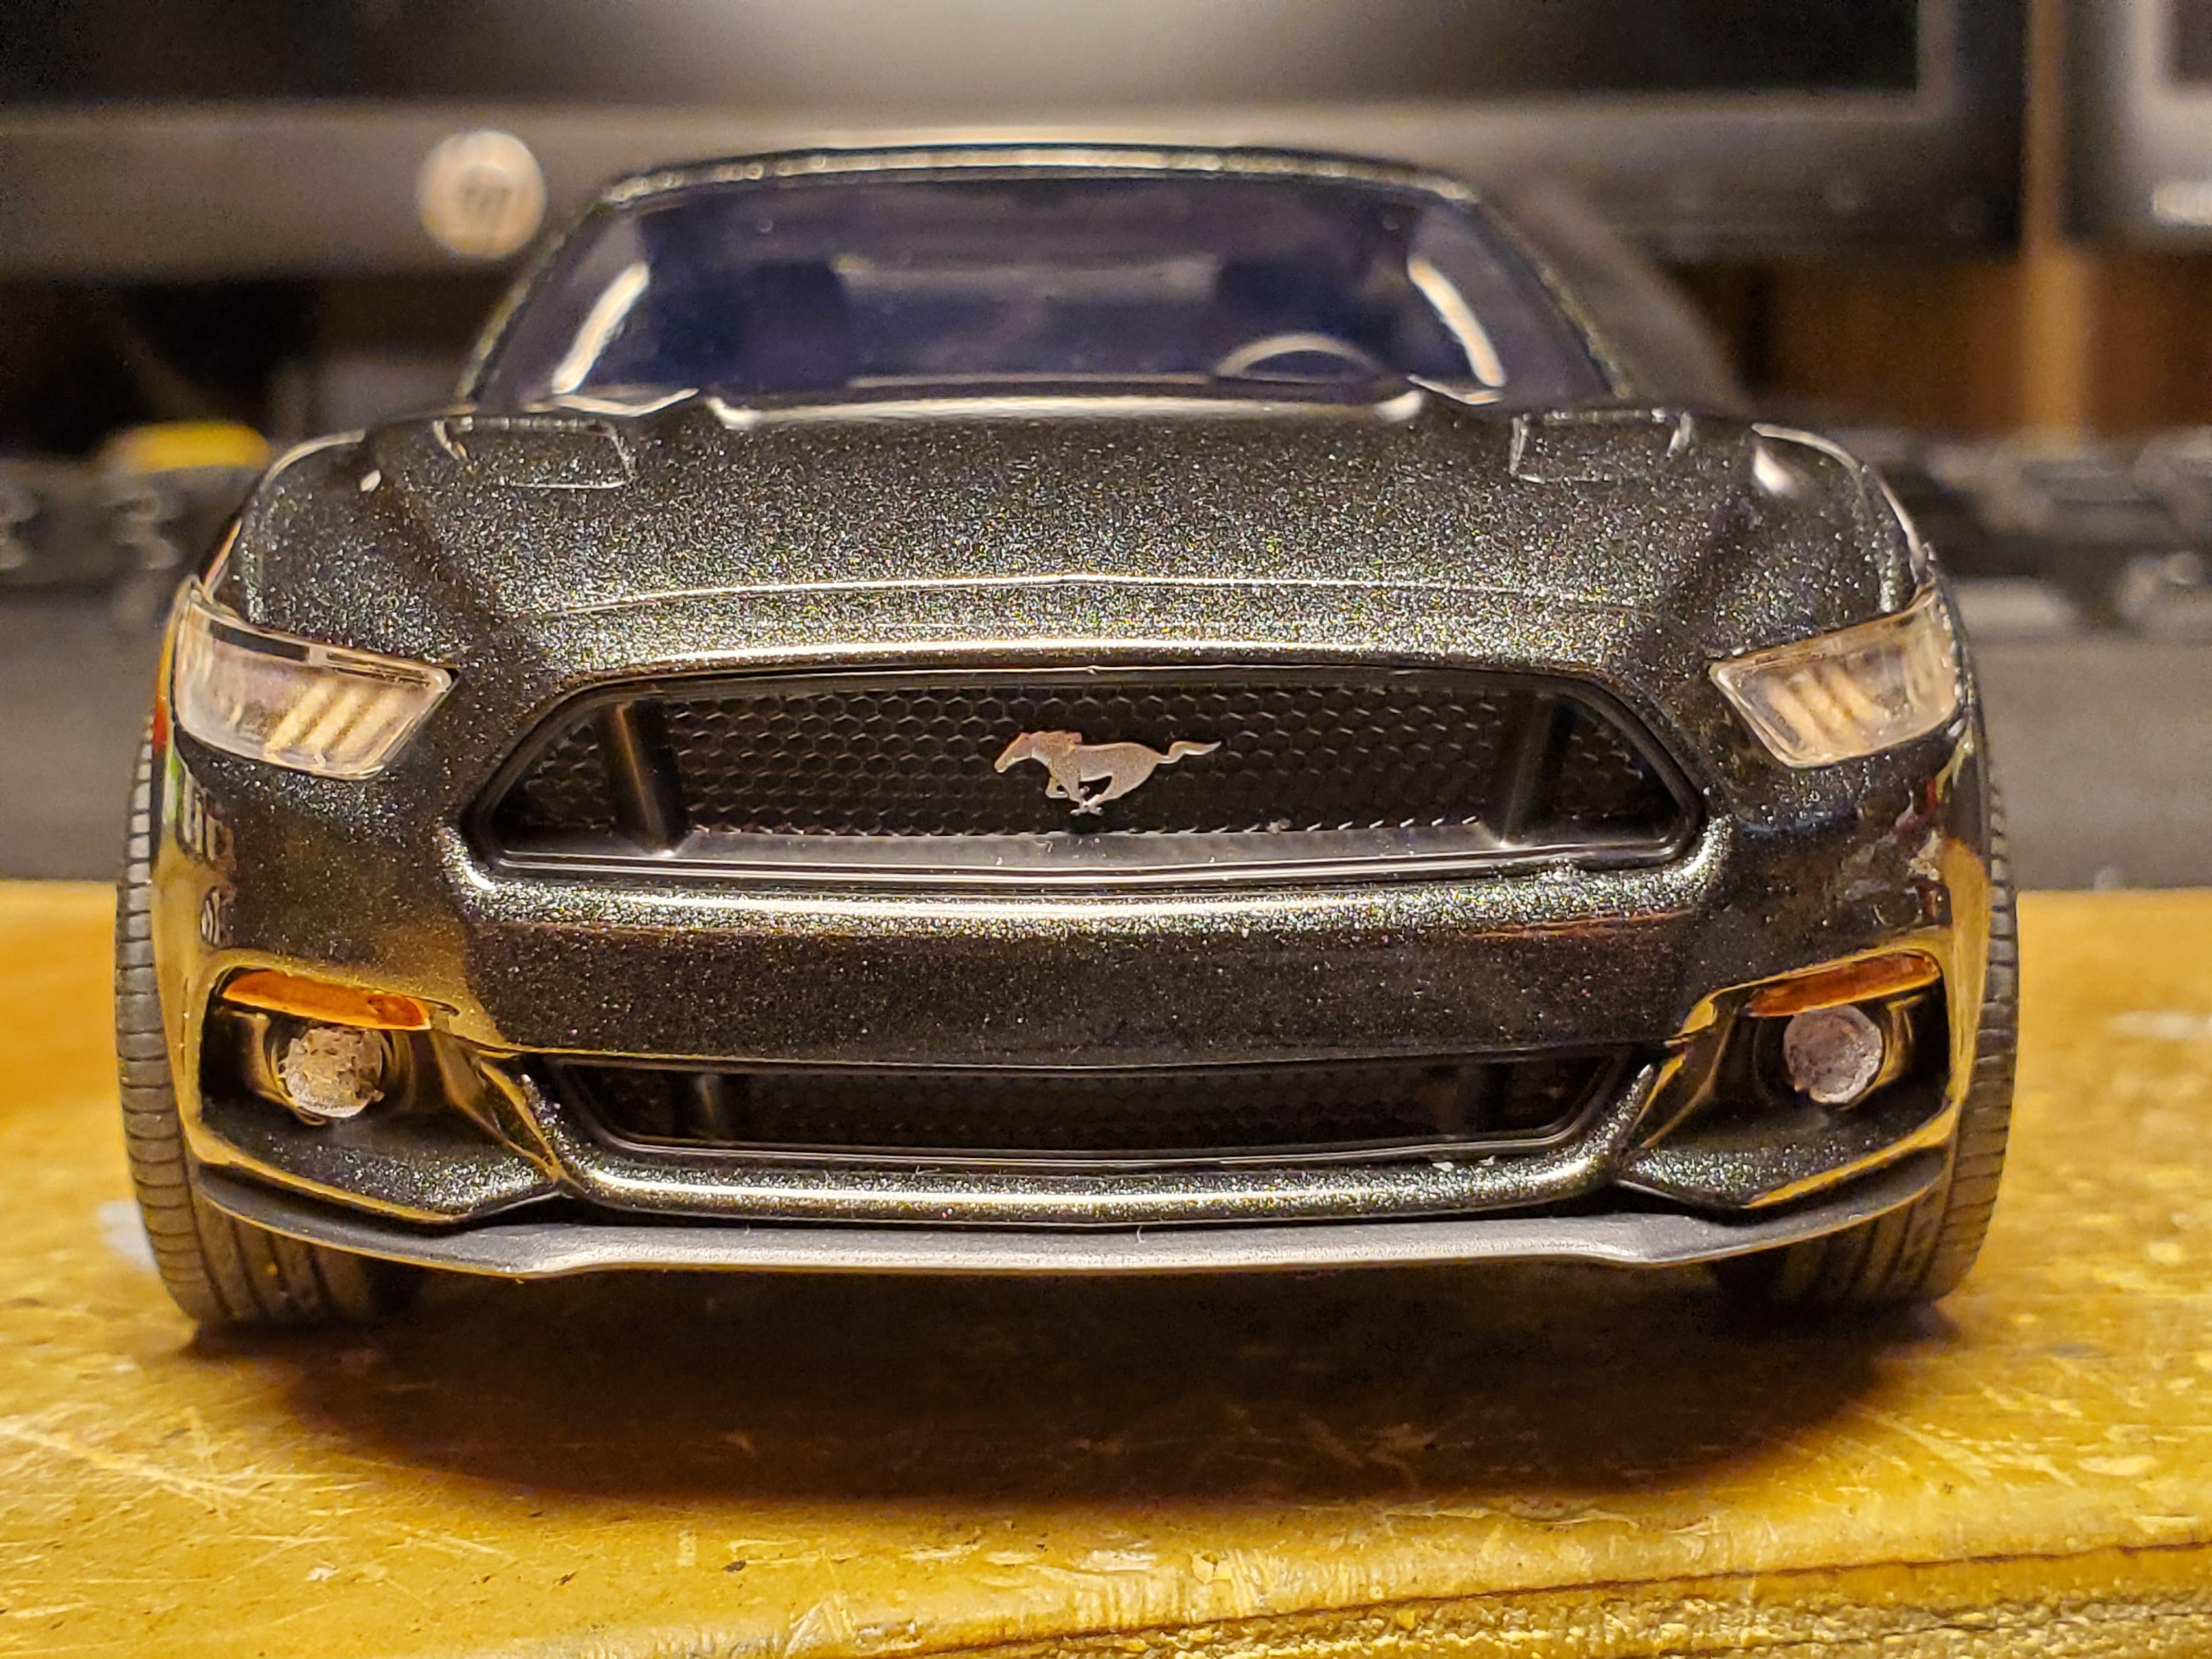
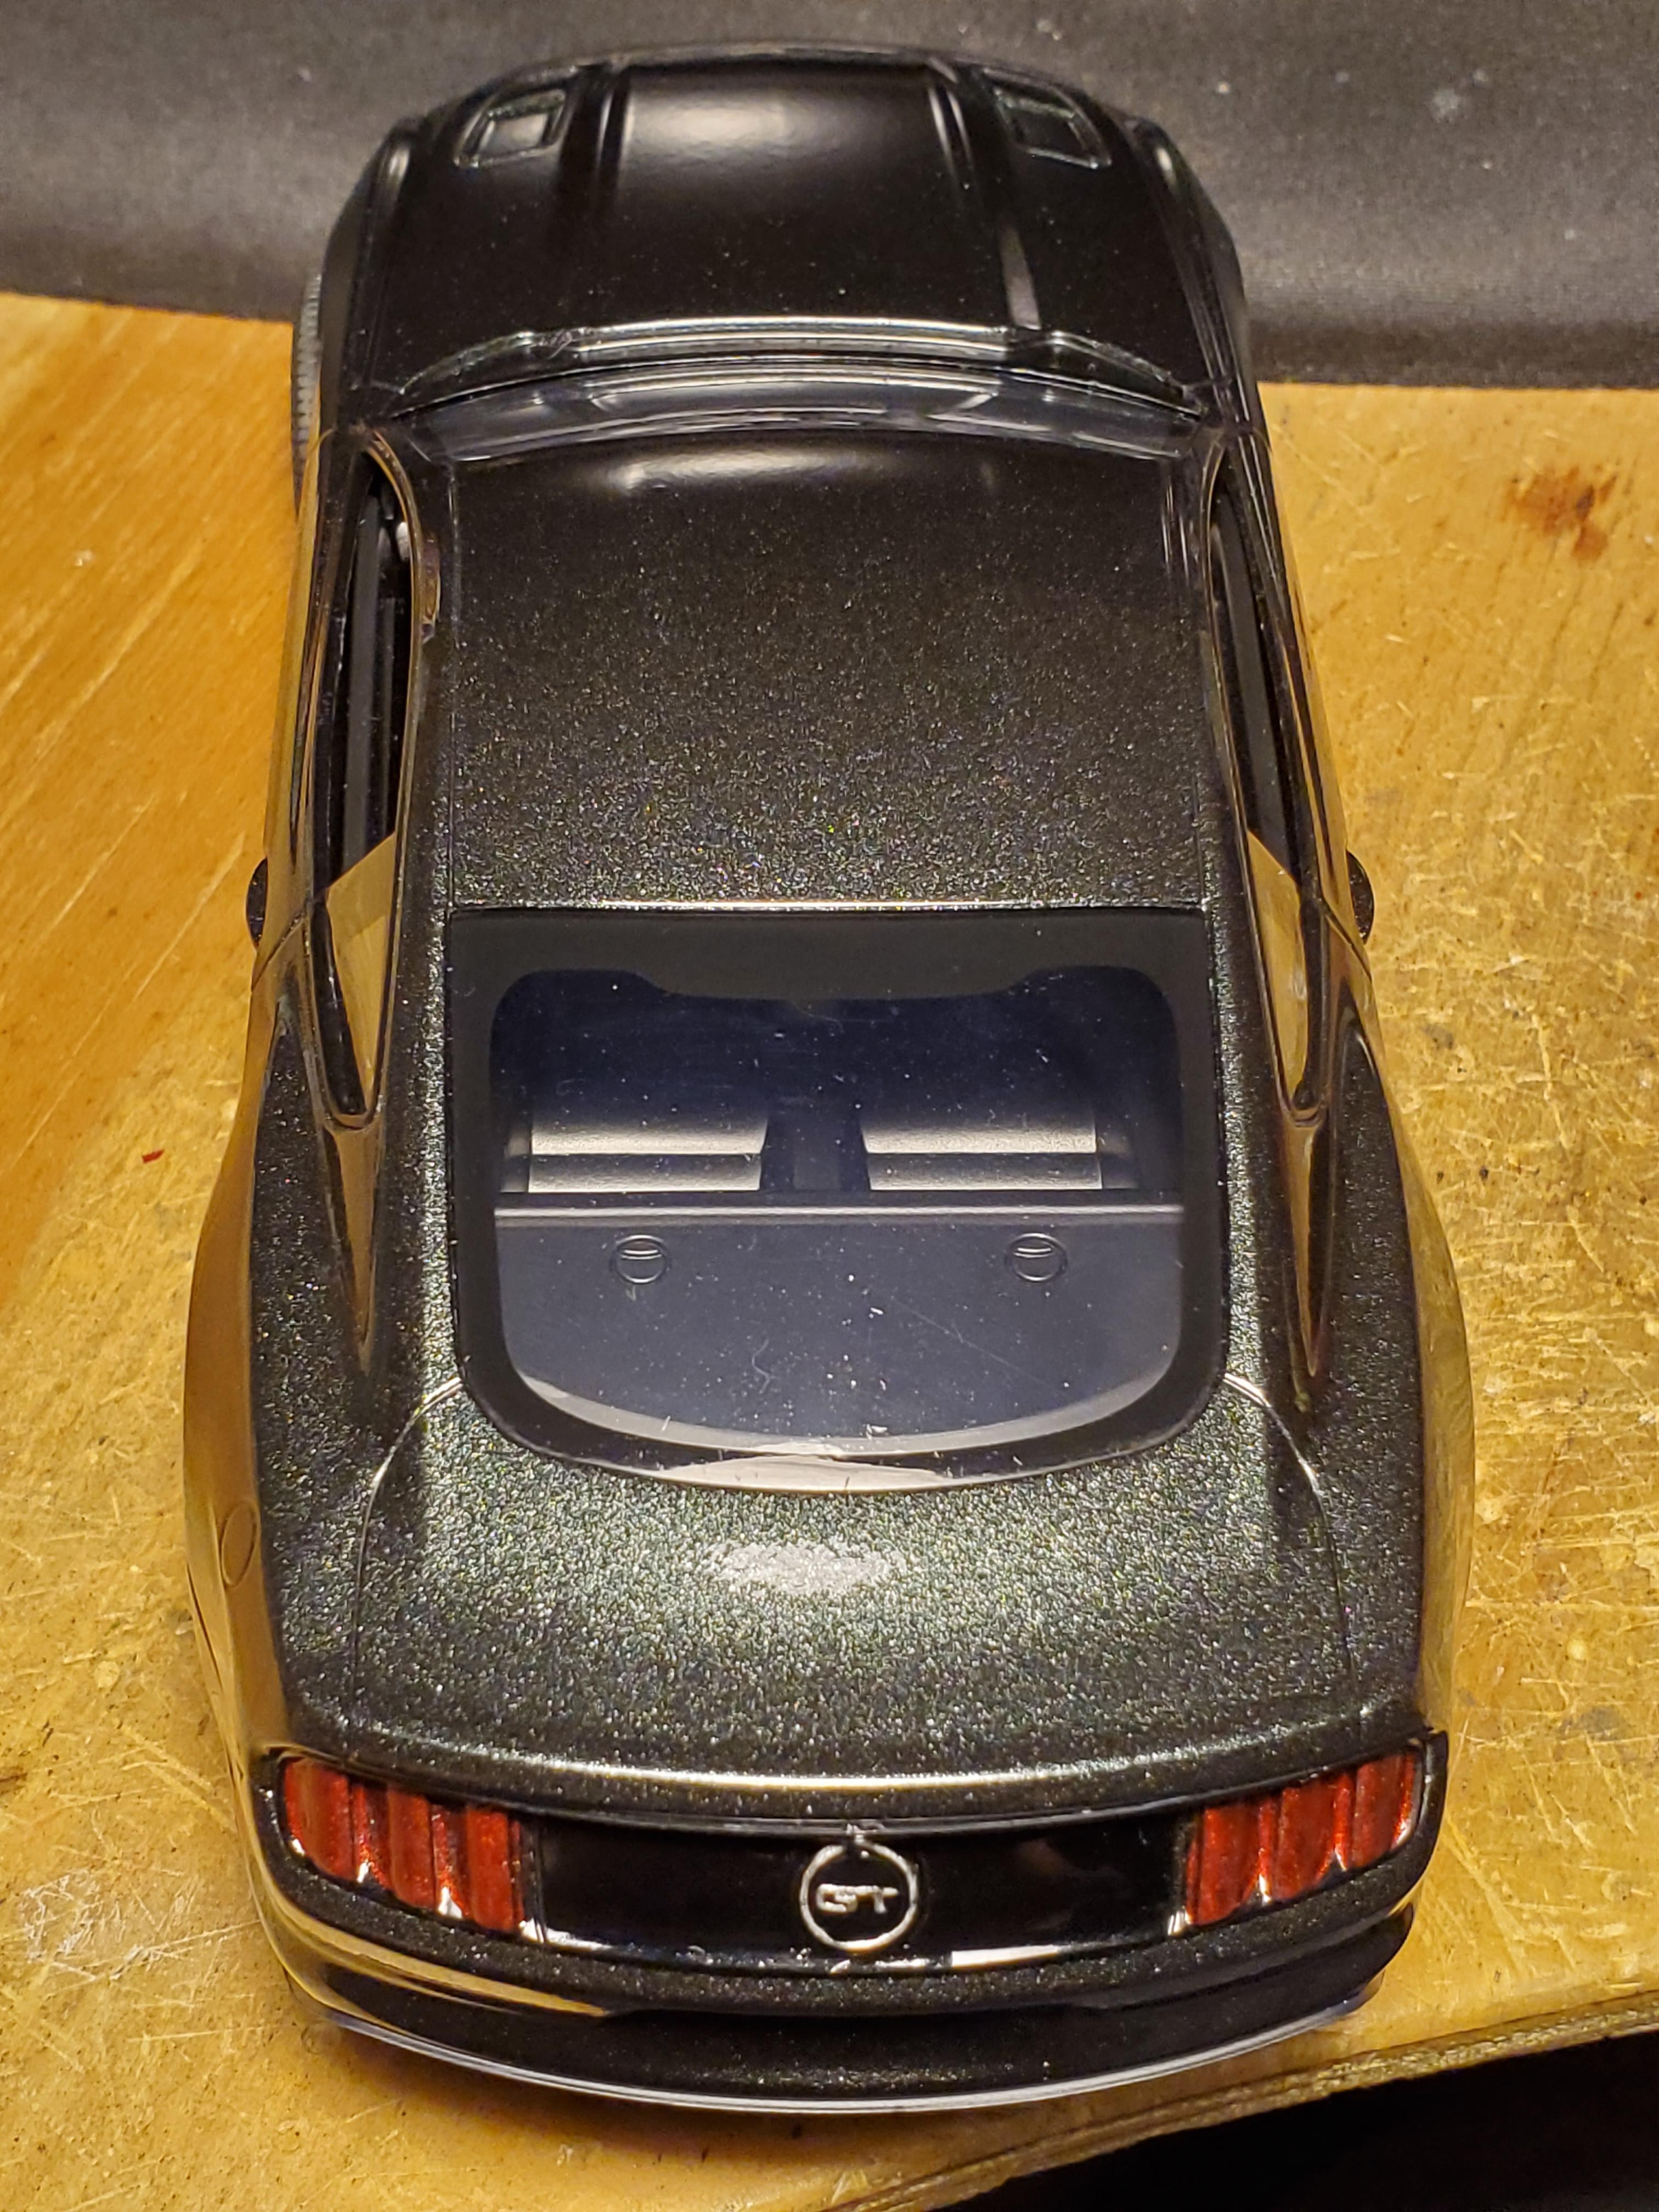
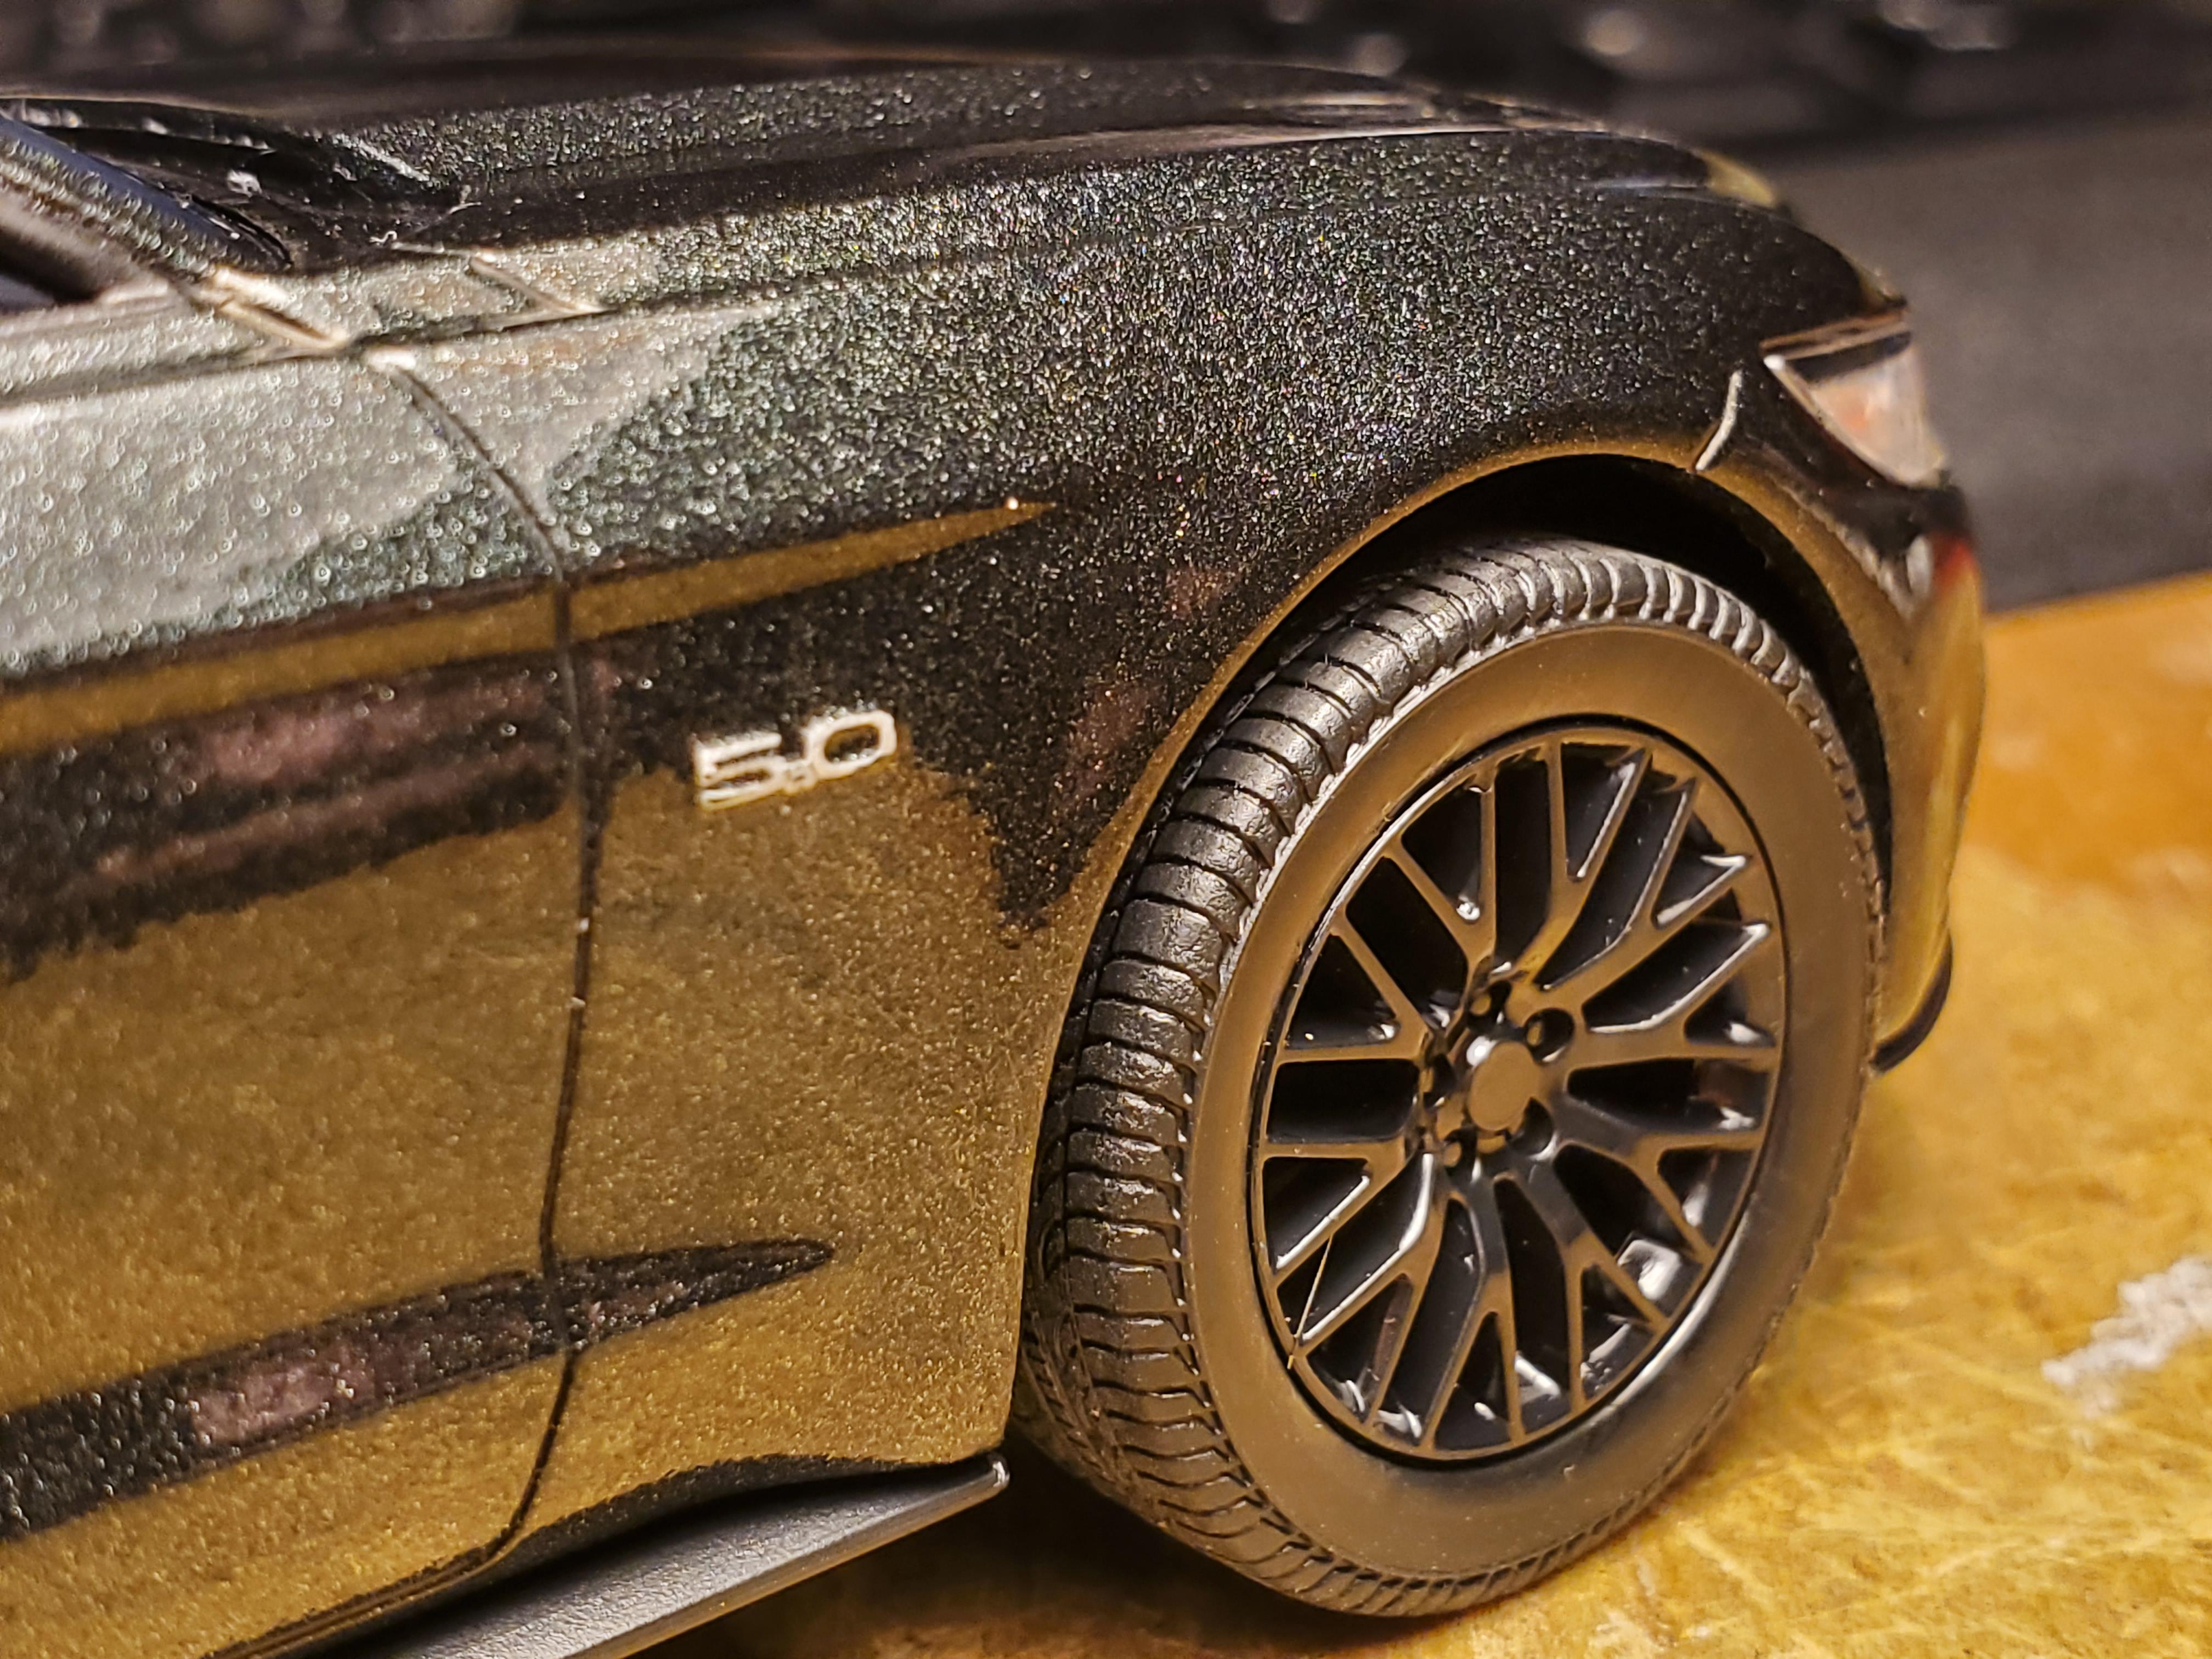
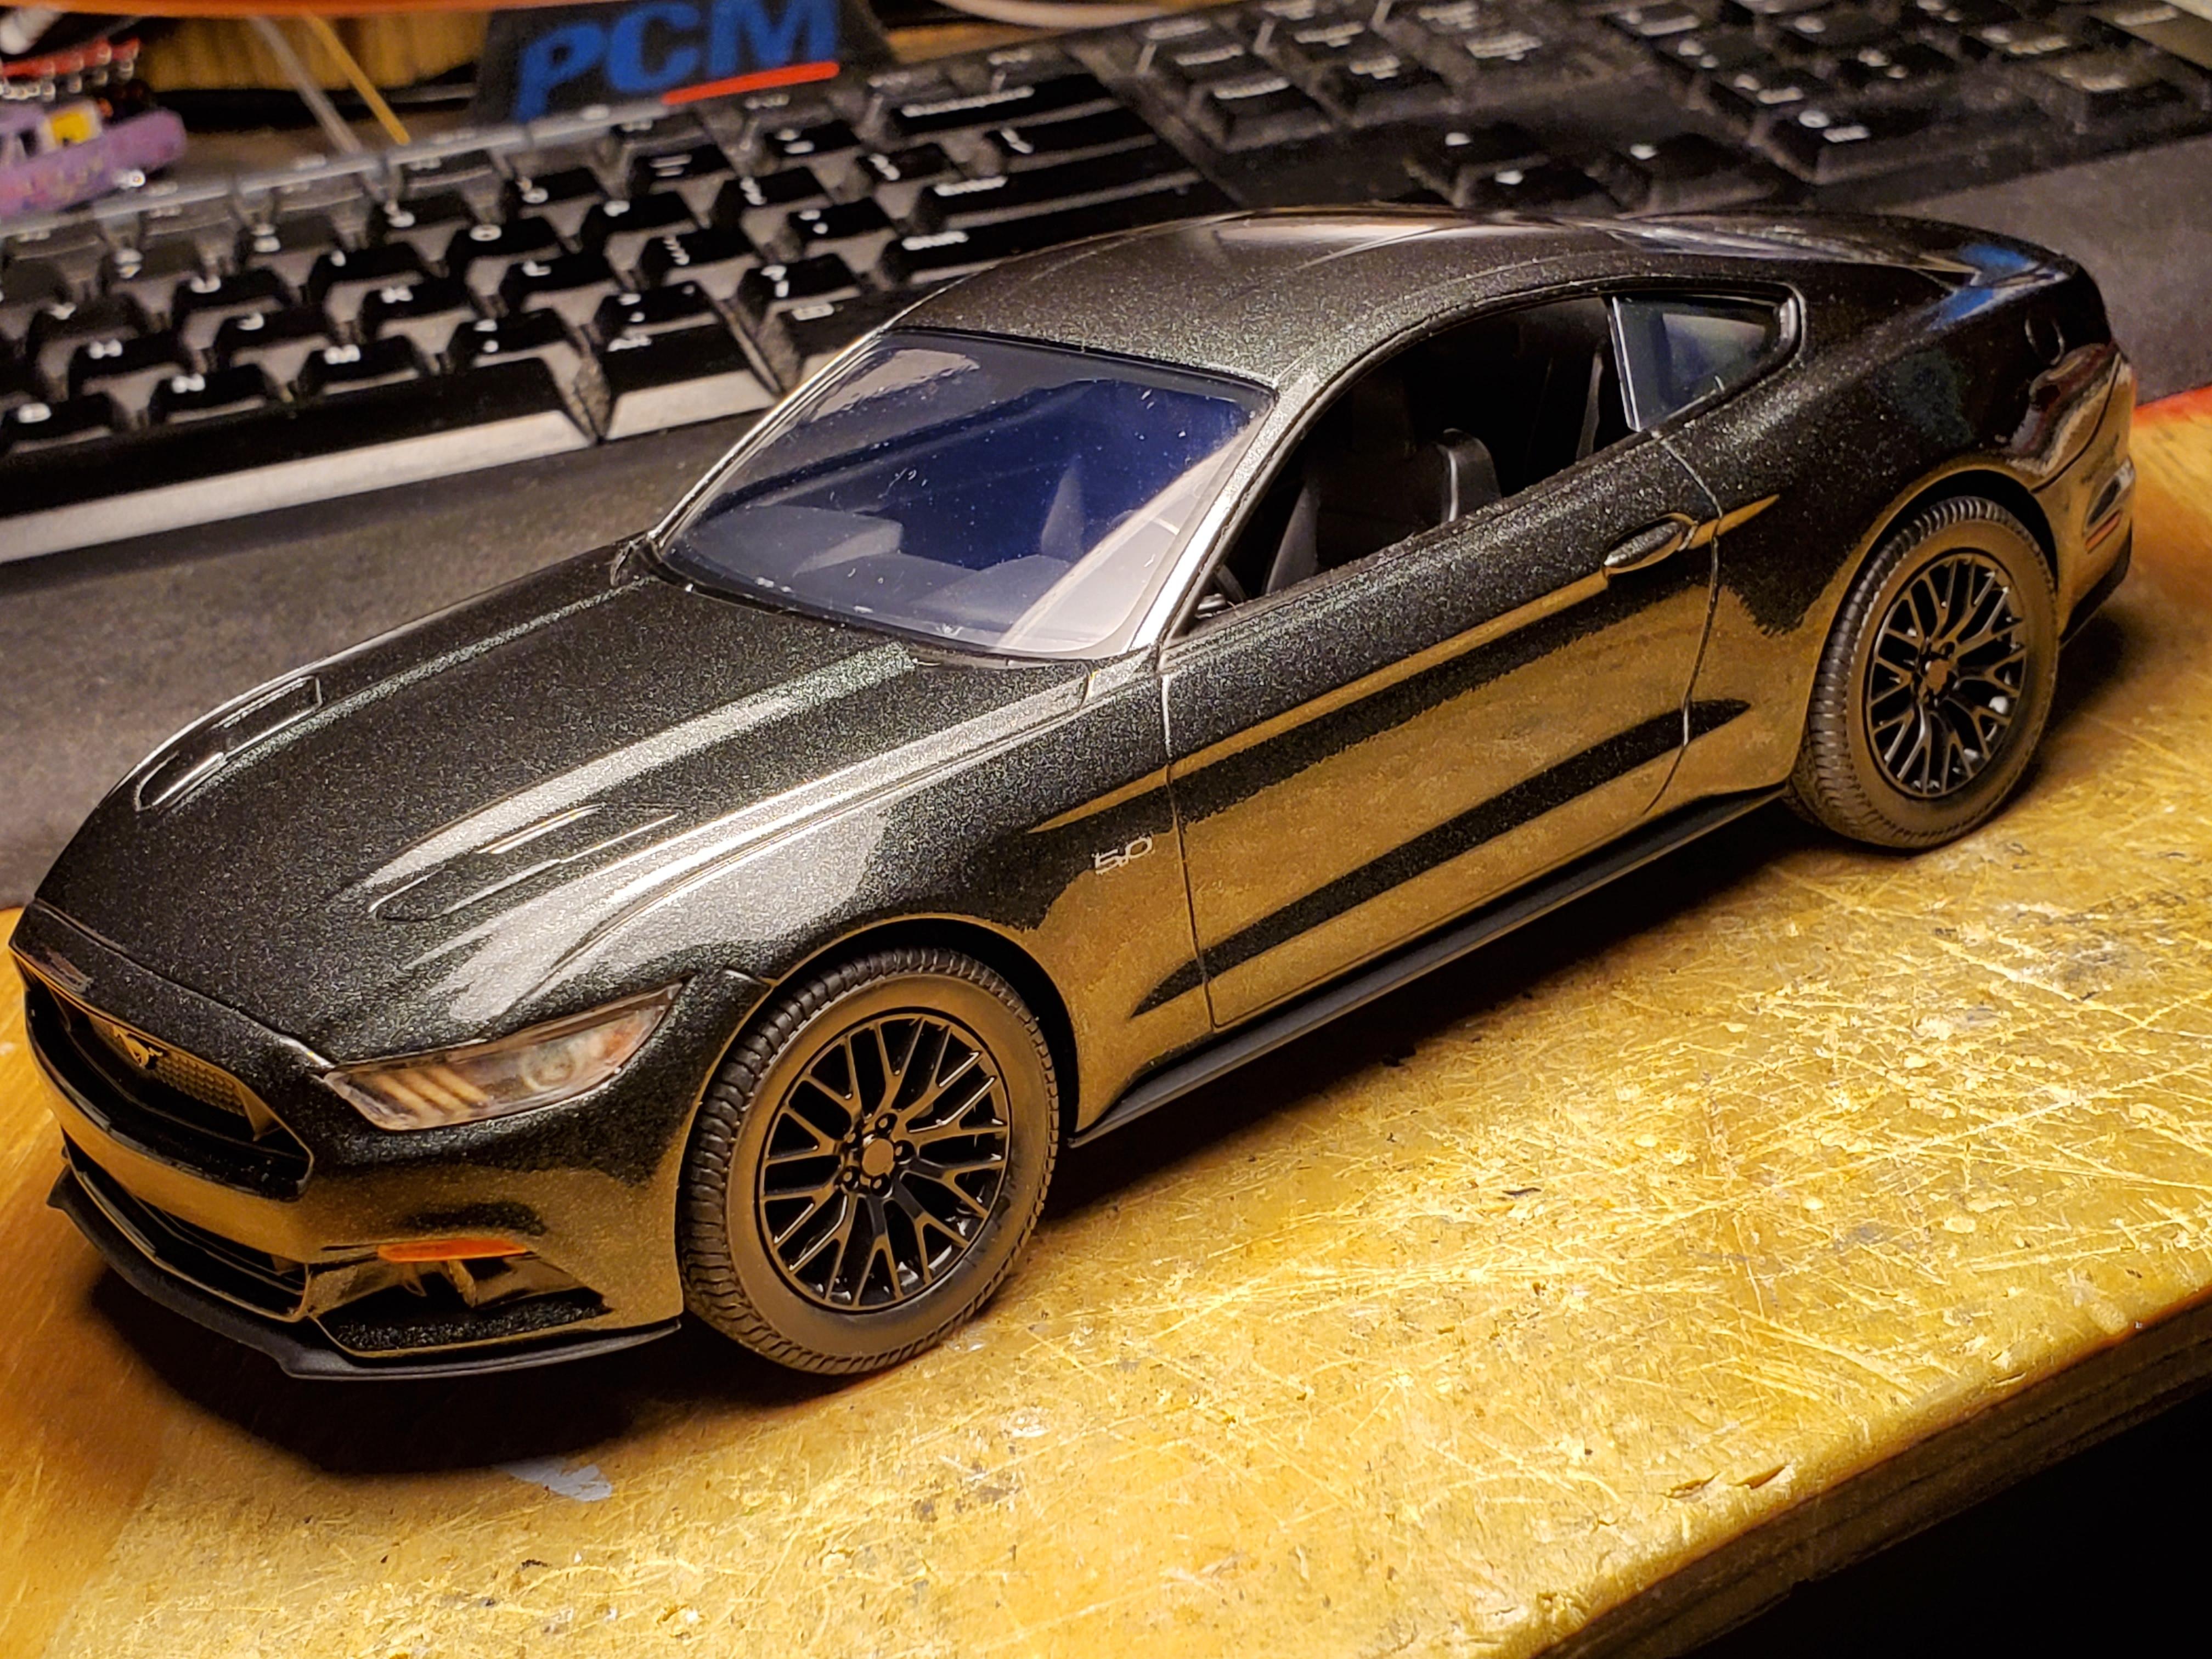
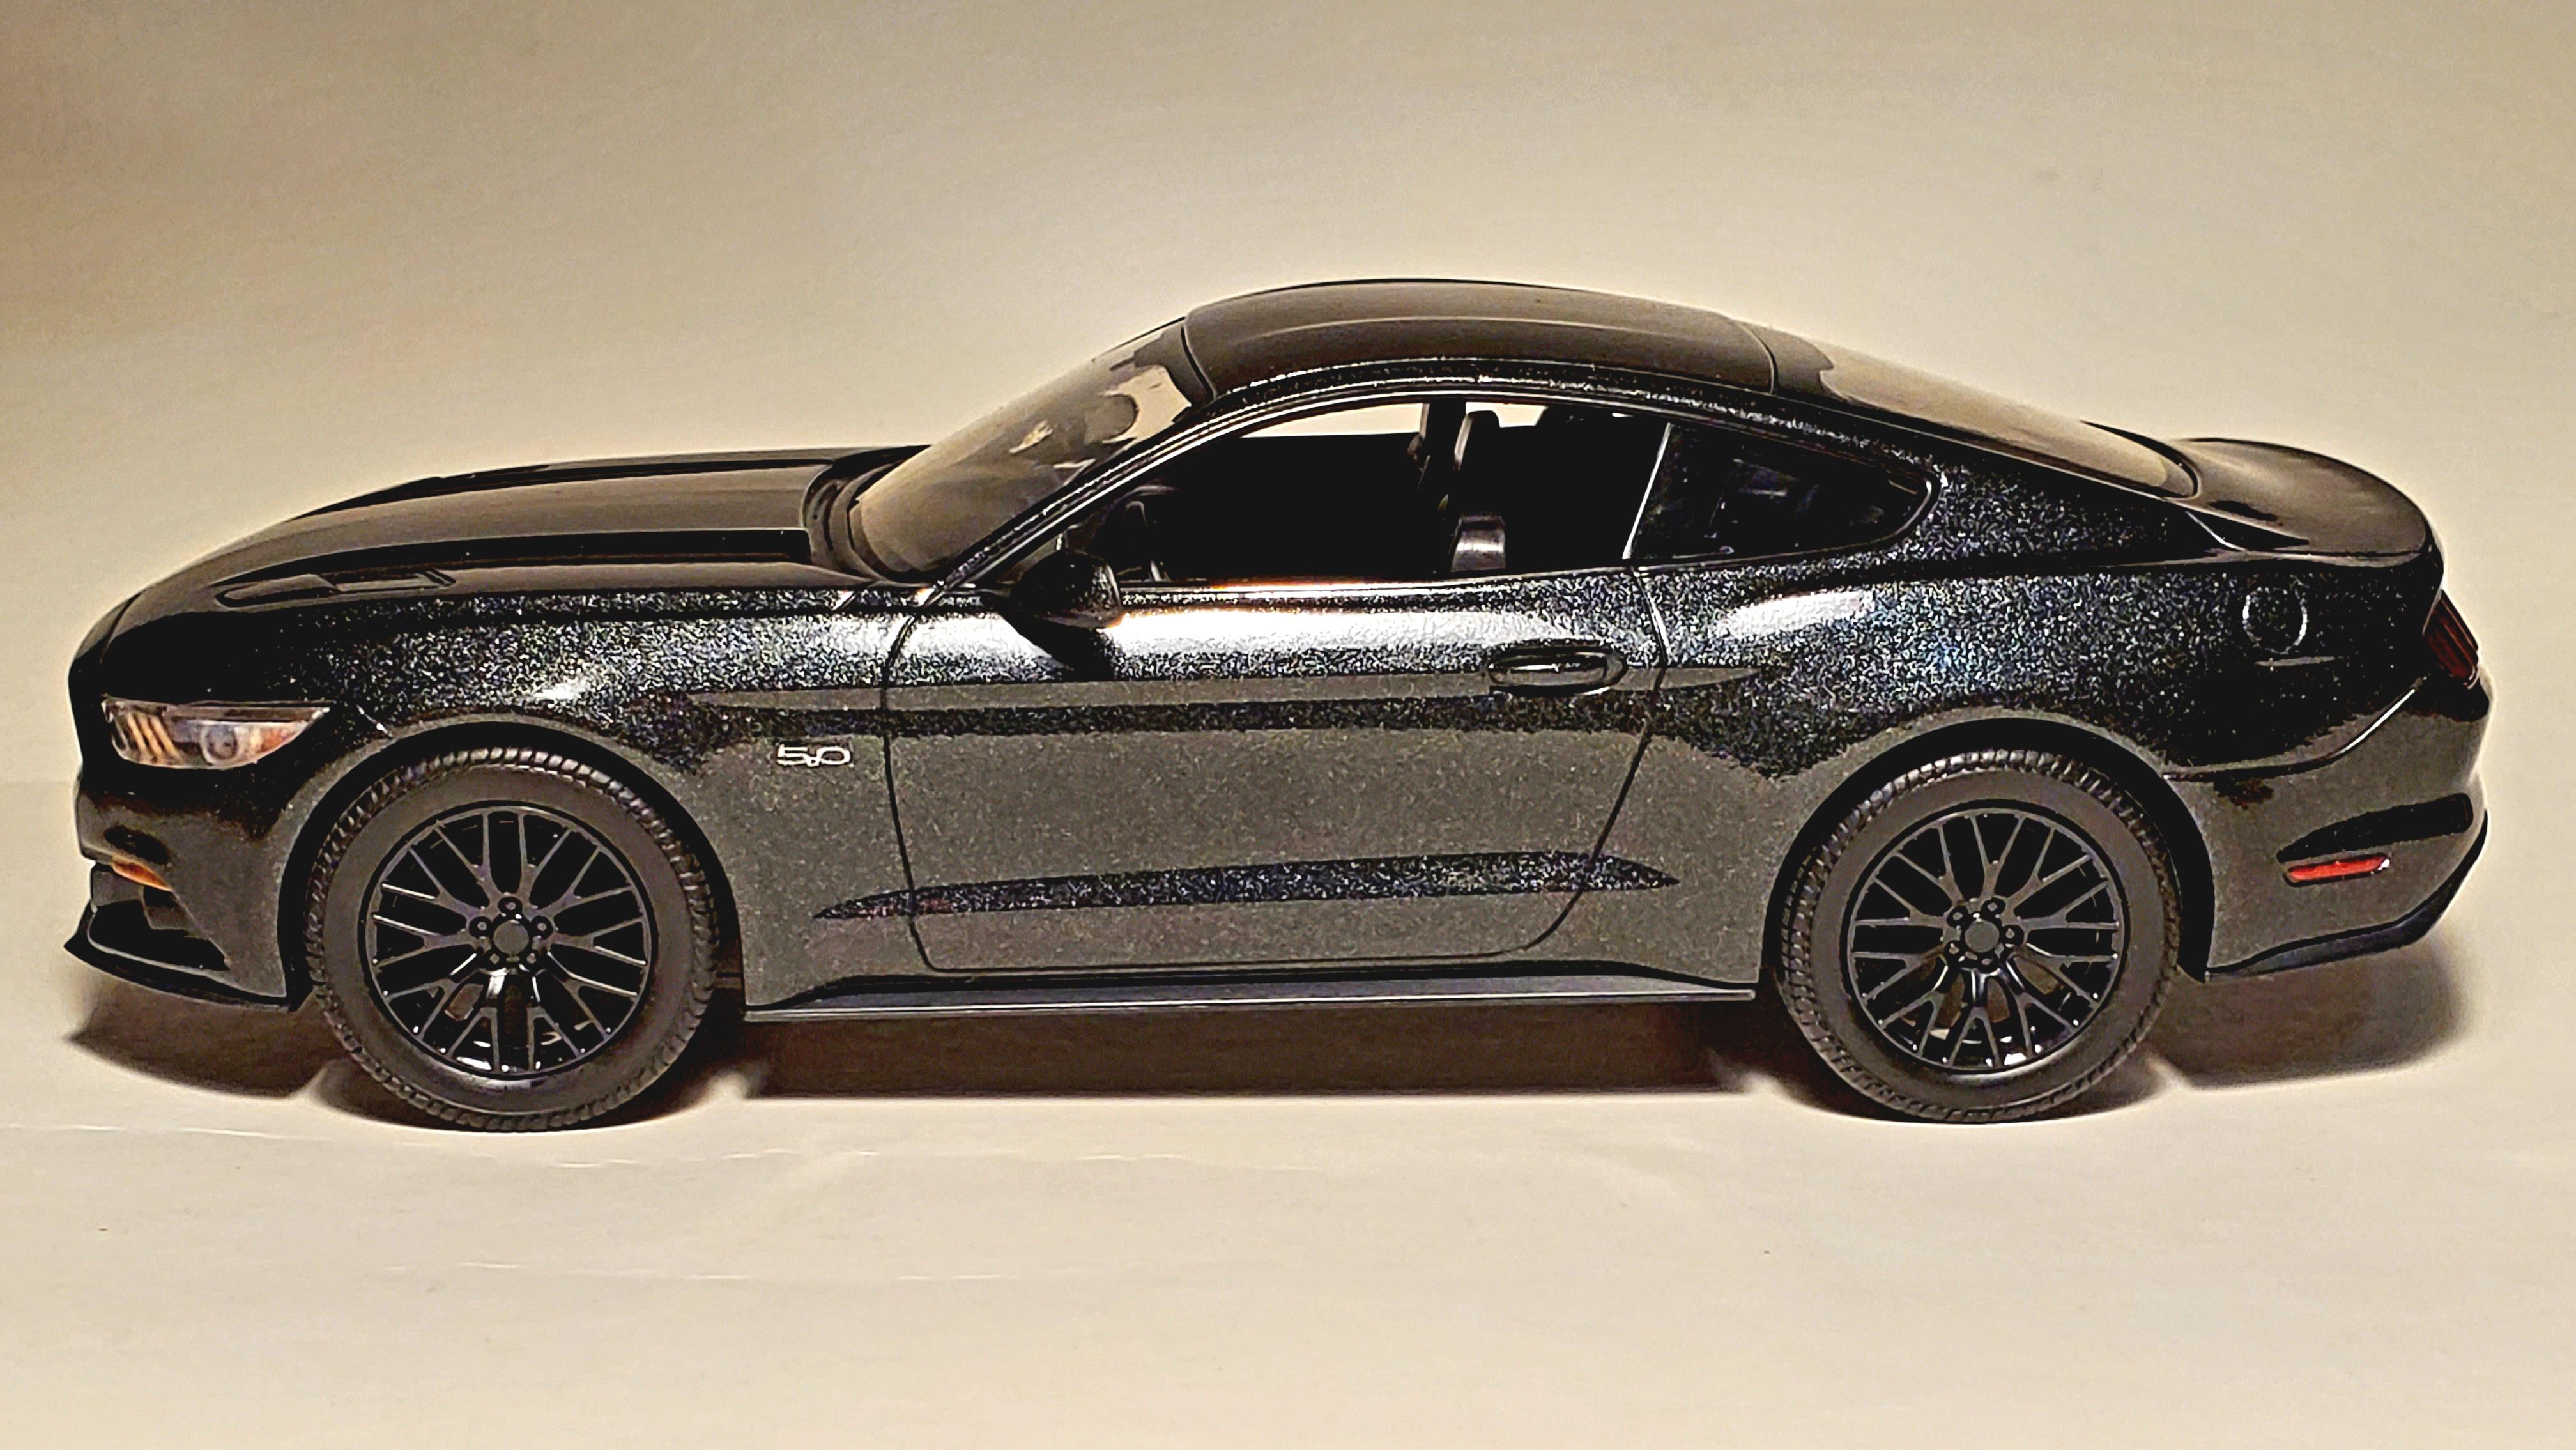
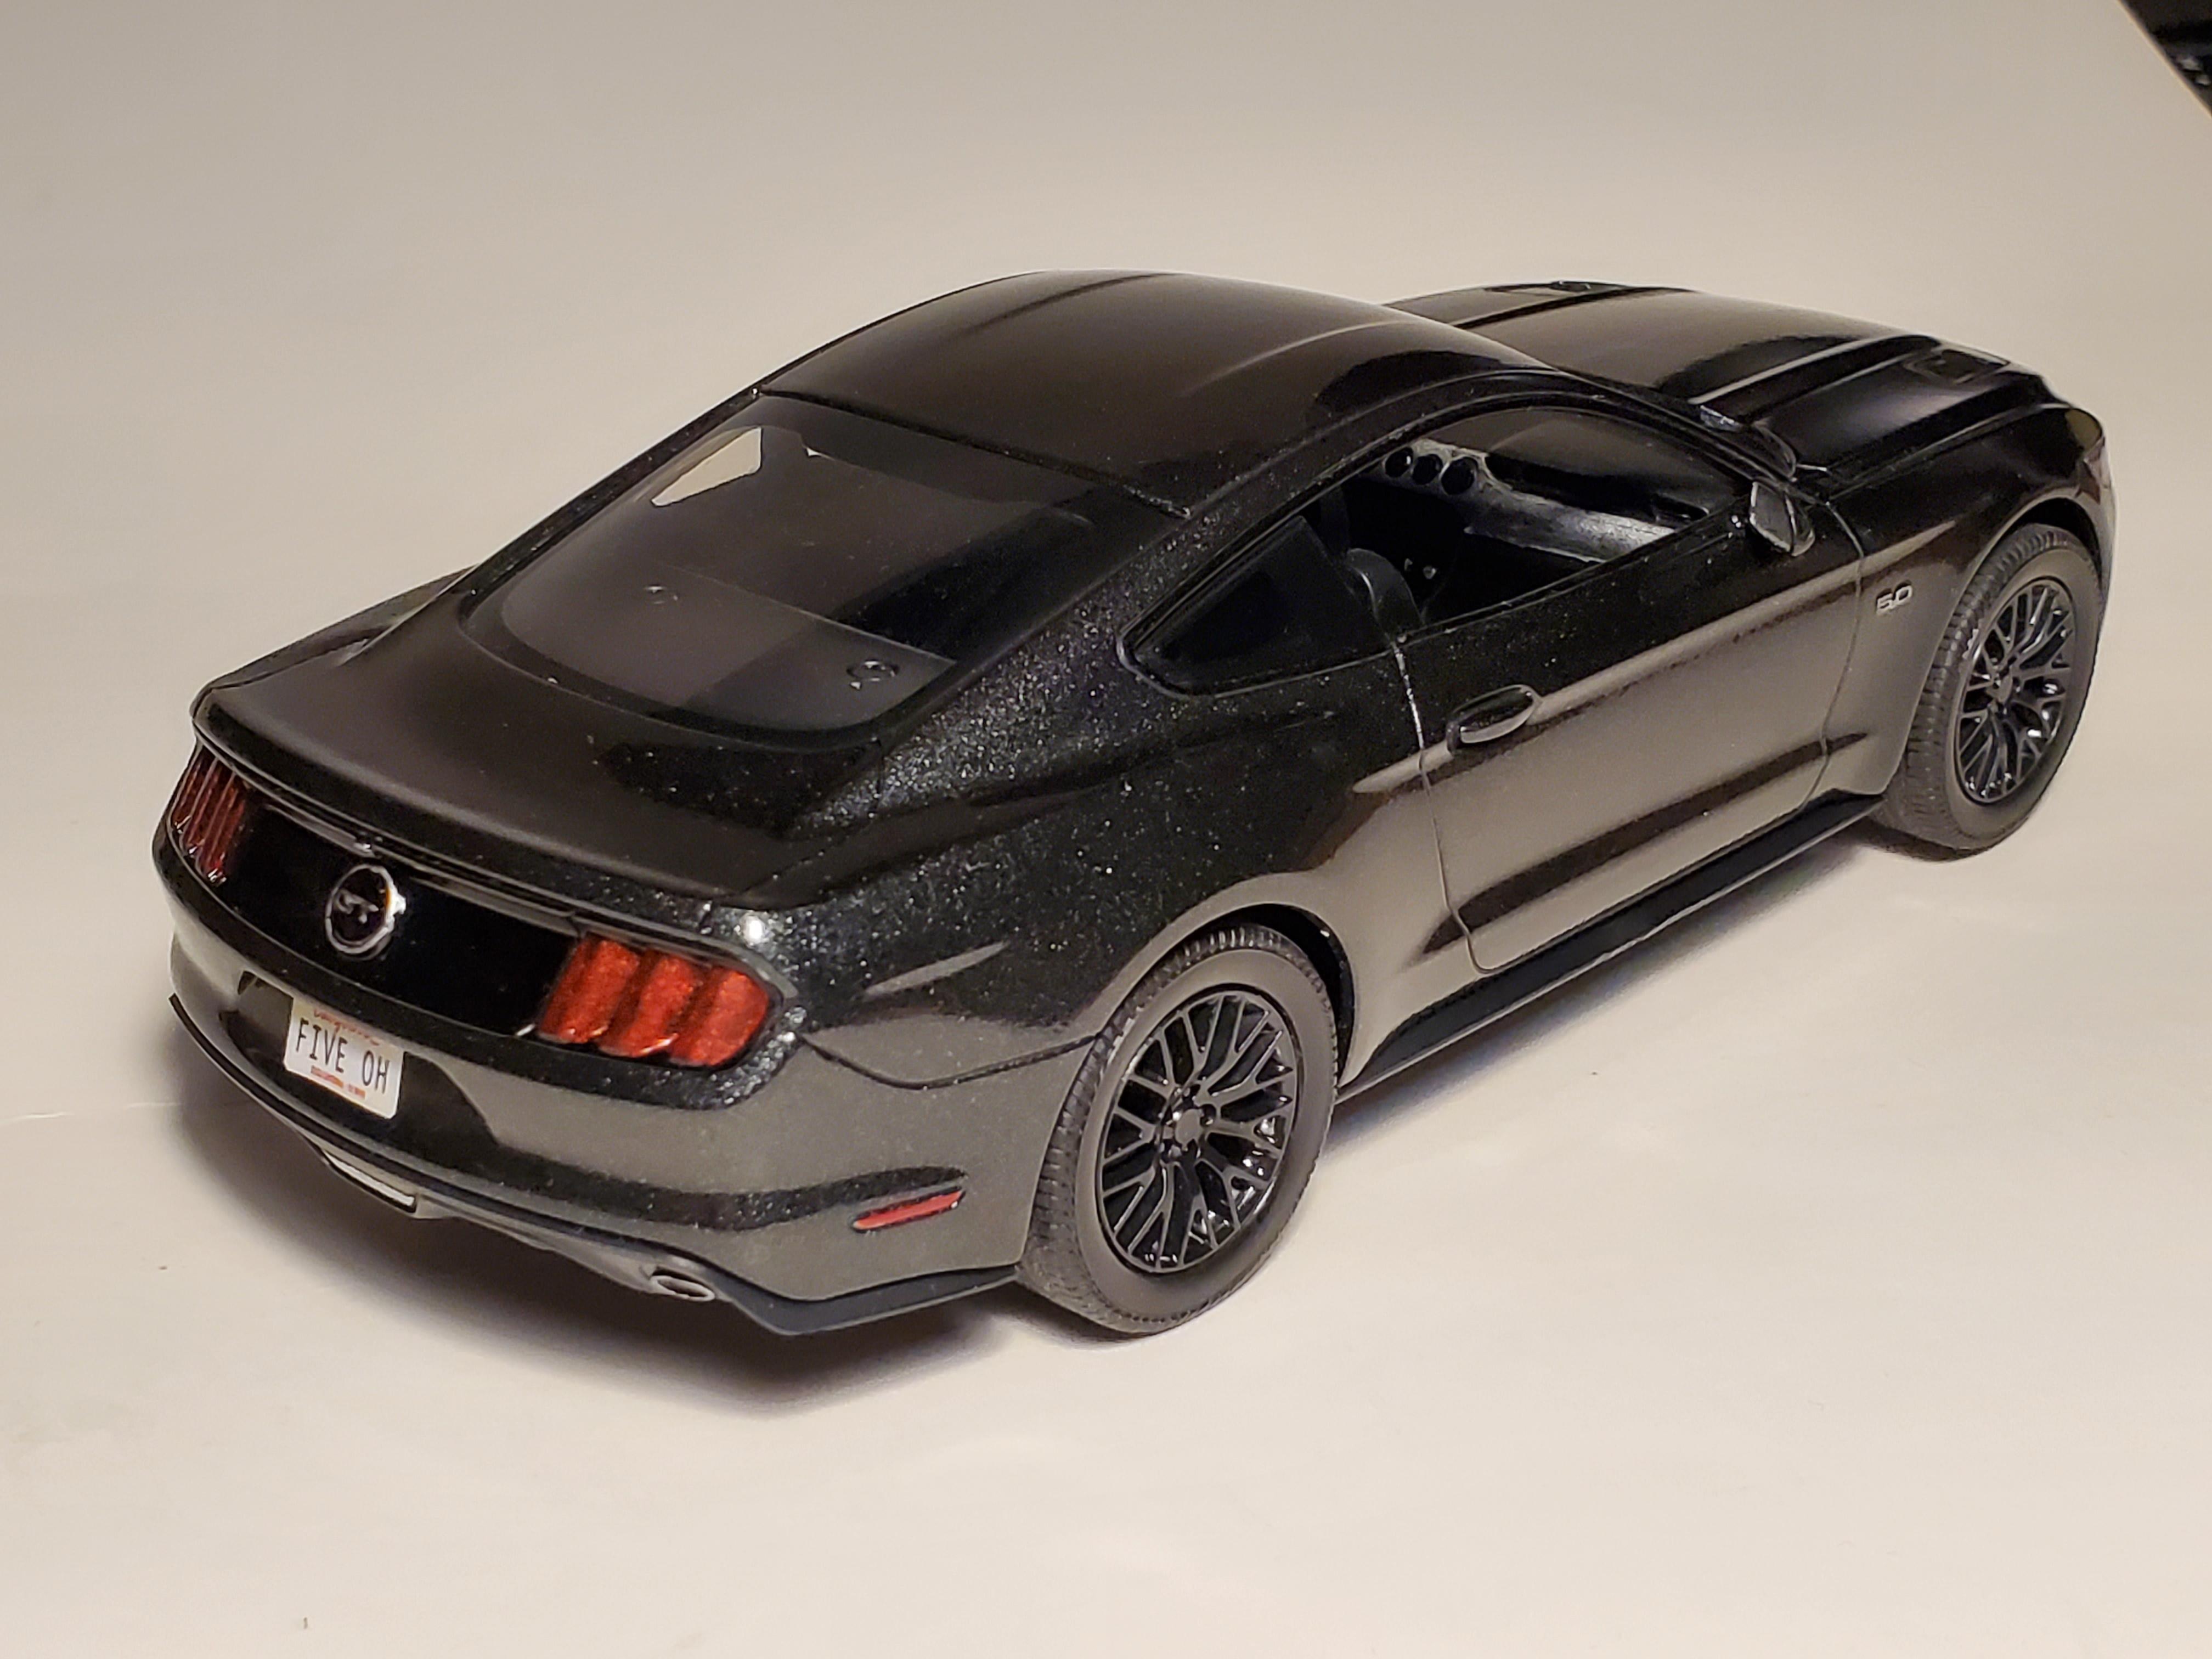
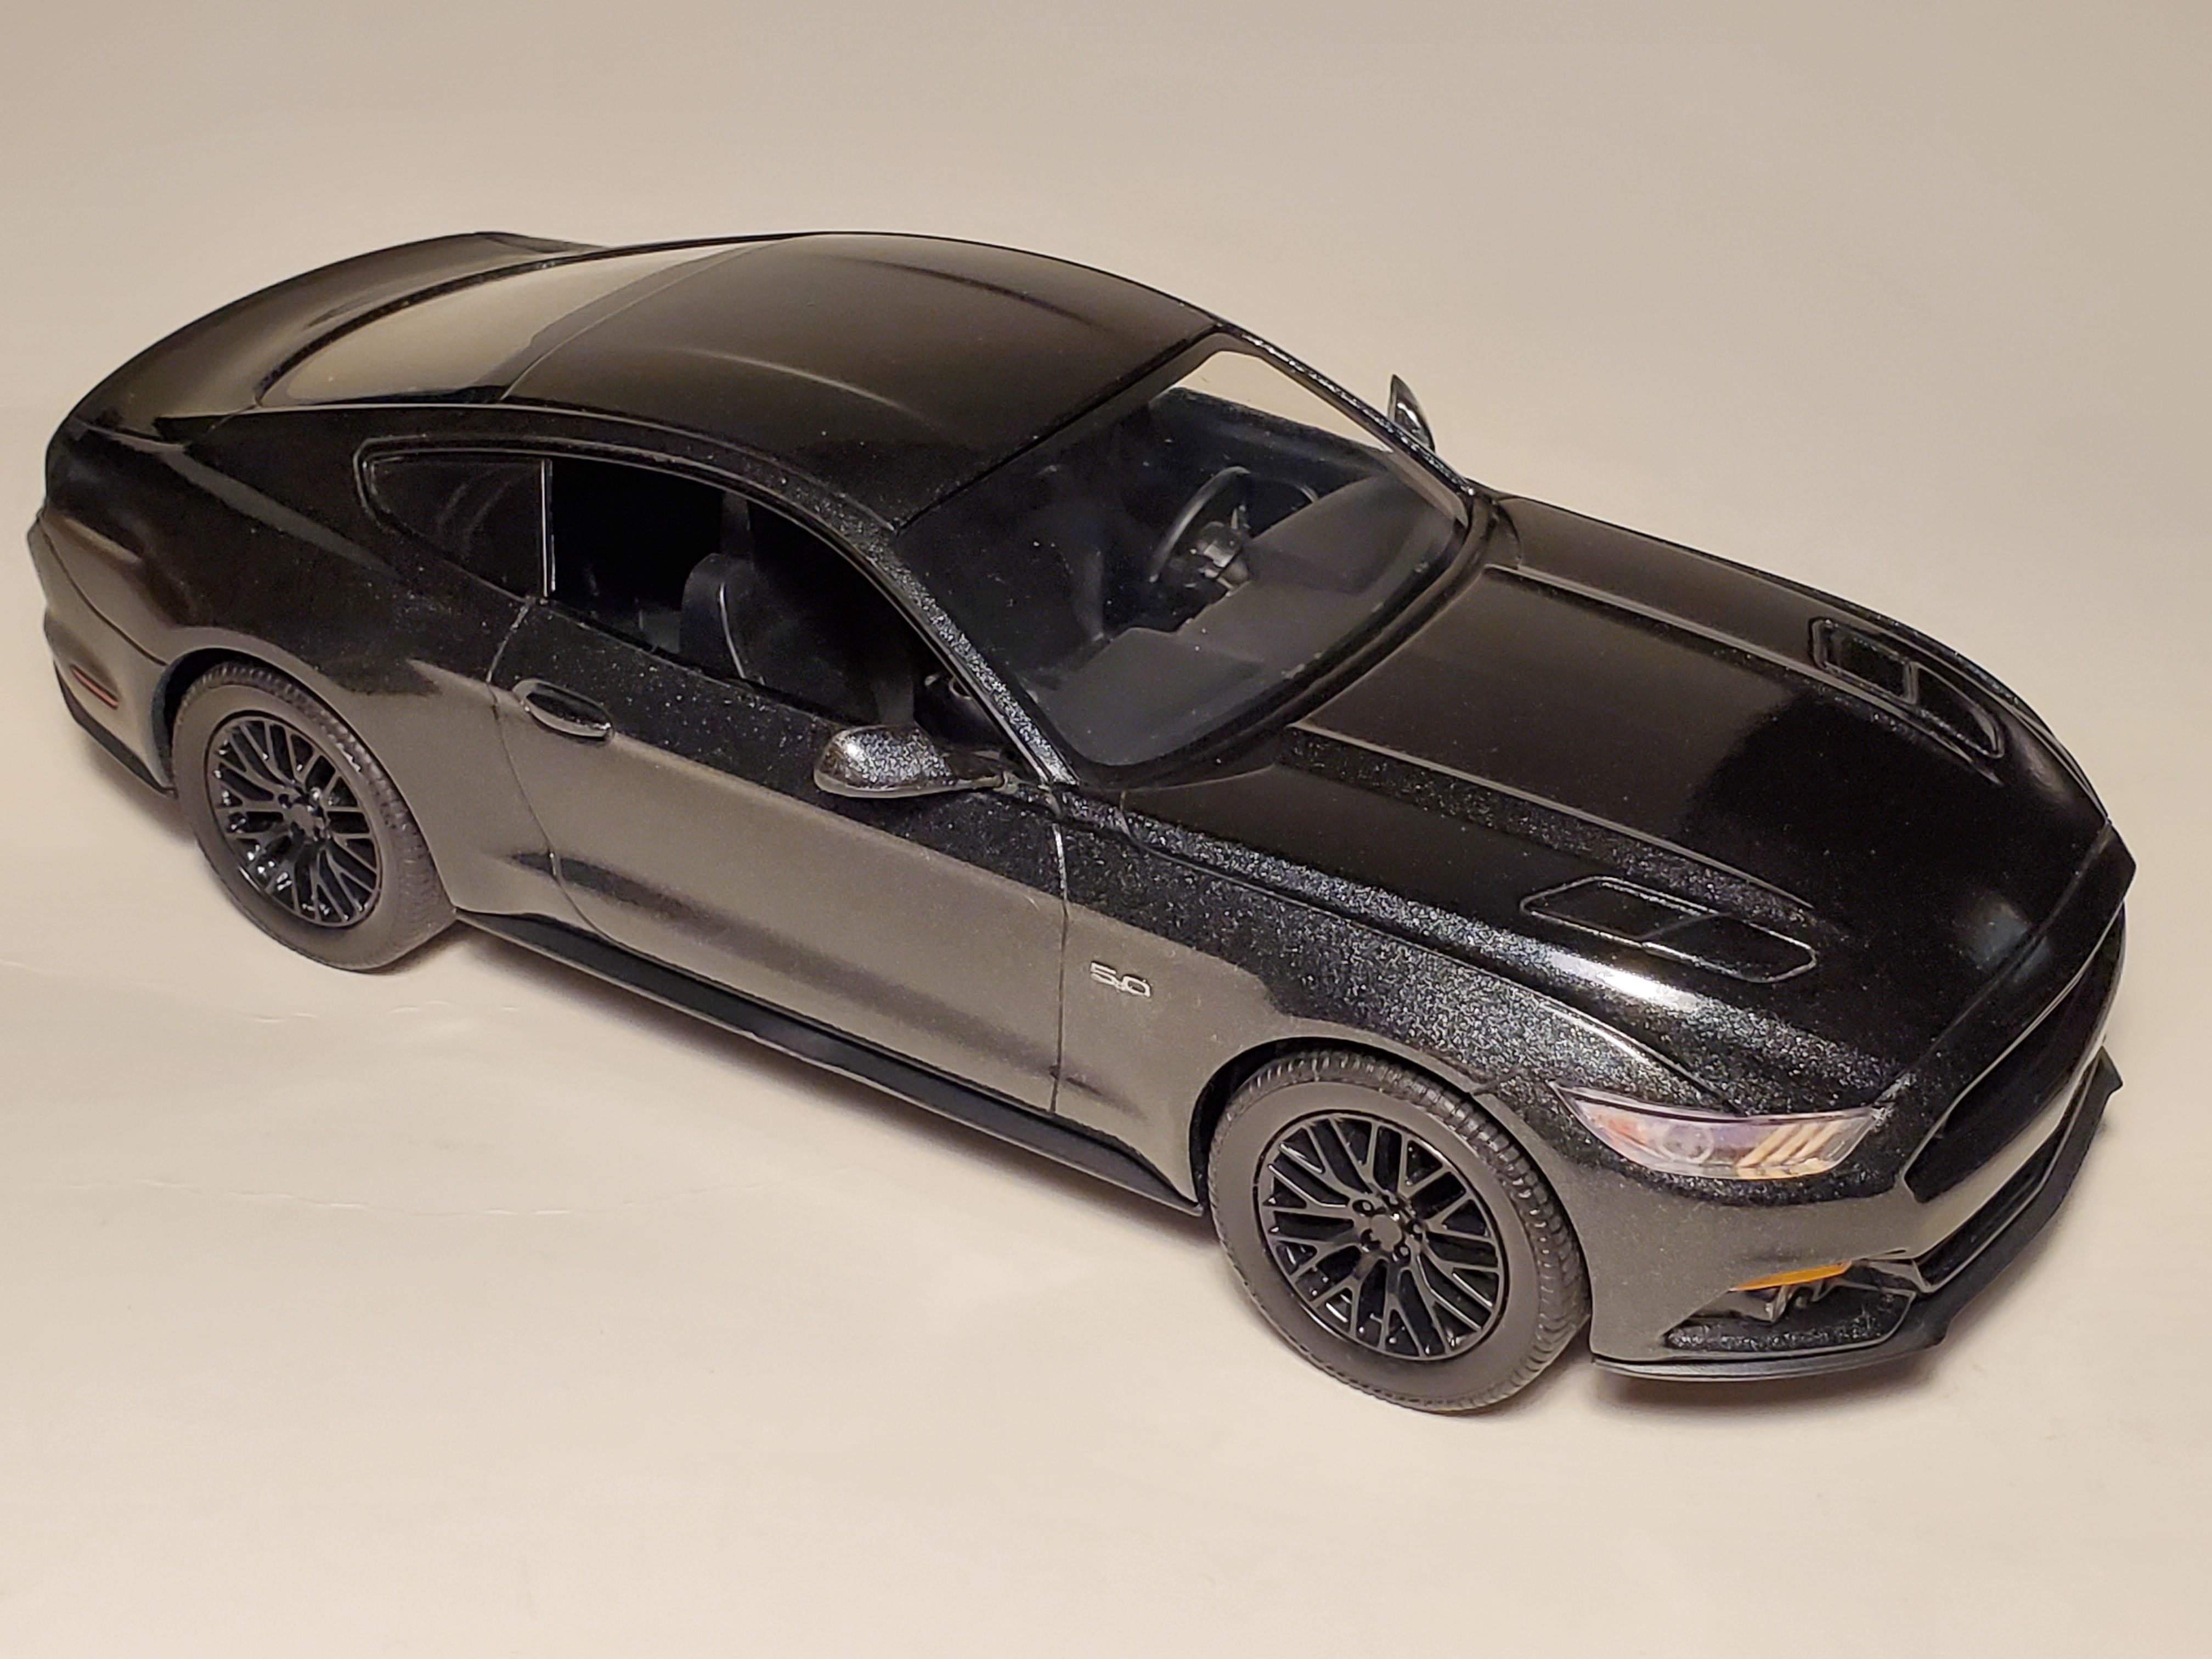
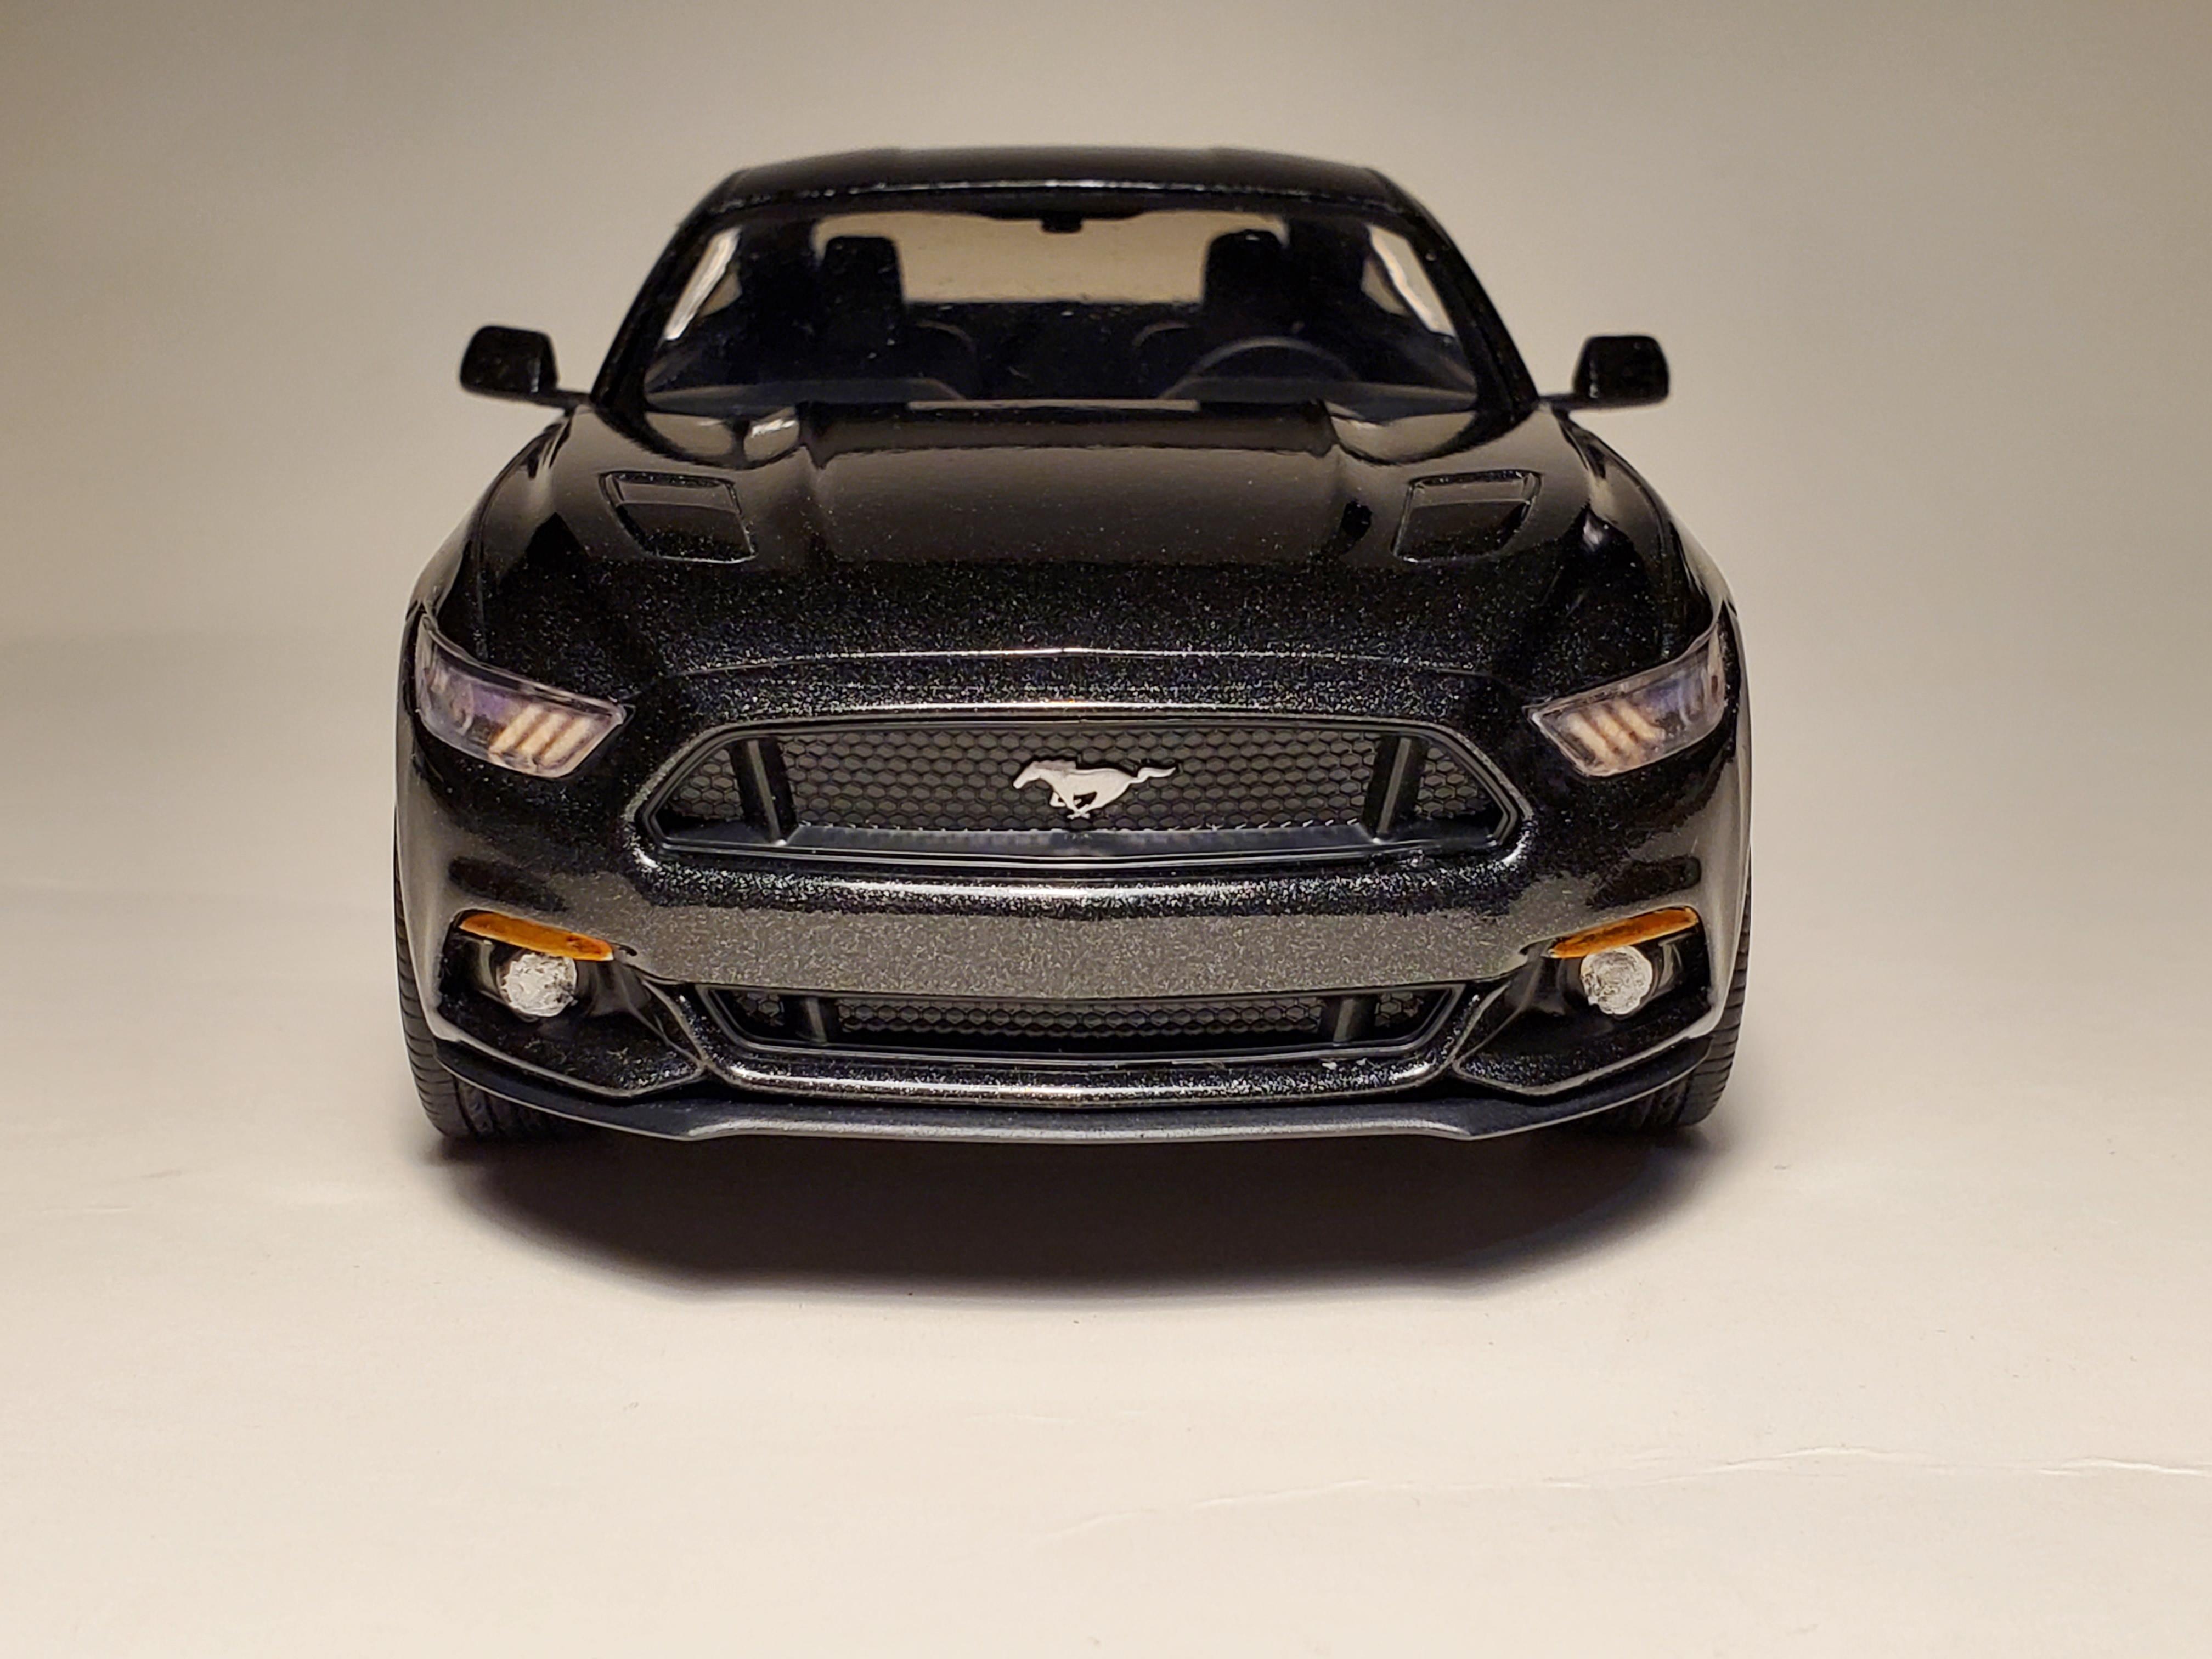
Another one from my archives of somewhat recent builds. This is the Revell basic builder/snap kit, molded in yellow. I love the color these came in called "Guard Metallic" which is sort of a green with a gray tint to it. Anyway, I loved that color so much I had some mixed in basecoat. I foiled the emblems before paint and sanded the paint off before clear. Detailed the window trim, all the lights, and even printed some headlights on paper to put behind the clear lenses to make it look a little better. Interior has basic details painted. I later 3d printed some mirrors for the 2015-up Mustangs and painted those and cleared them, and glued them on the car. So most of these pics, the car won't have door mirrors. The paint is auto body supply mixed basecoat/2k clear out of a rattle can. I painted the windows and wheels with Future to give them a more glossy look. The windows in these kits are really flat-clear looking. Enjoy
-
It's Jesse, lol, but thank you.
-
Yes, correct.
-
Ferrari 512 TR (Testarossa) in "blu sera / rosso" (Fujimi)
JTalmage replied to Tommy124's topic in Model Cars
Very nice. A childhood "poster on the wall" car. Love the unusual color. -
The last two photos are a little darker than I would have liked.
-
2017 Ford F150 Raptor
JTalmage replied to bogger44's topic in Model Trucks: Pickups, Vans, SUVs, Light Commercial
Excellent work. You are making me want to find that '17 kit now. -
Monogram Ferrari 308 GTB Racer
JTalmage replied to JTalmage's topic in Other Racing: Road Racing, Salt Flat Racers
Thank you. Apparently it's quite a hard kit to find. I've only ever saw two of them in person. And I own them both lol. After building this one, I had to have another one. And lucked out at a show earlier this year and saw one for sale. Idk how I'll build it... but that's a problem for later me. -
1978 Ford Courier.
JTalmage replied to martinfan5's topic in Model Trucks: Pickups, Vans, SUVs, Light Commercial
Well done. I hope we see more "malaise" era oddball kits come out in the coming years. That's a generation of vehicles that are quickly appreciating in popularity. -
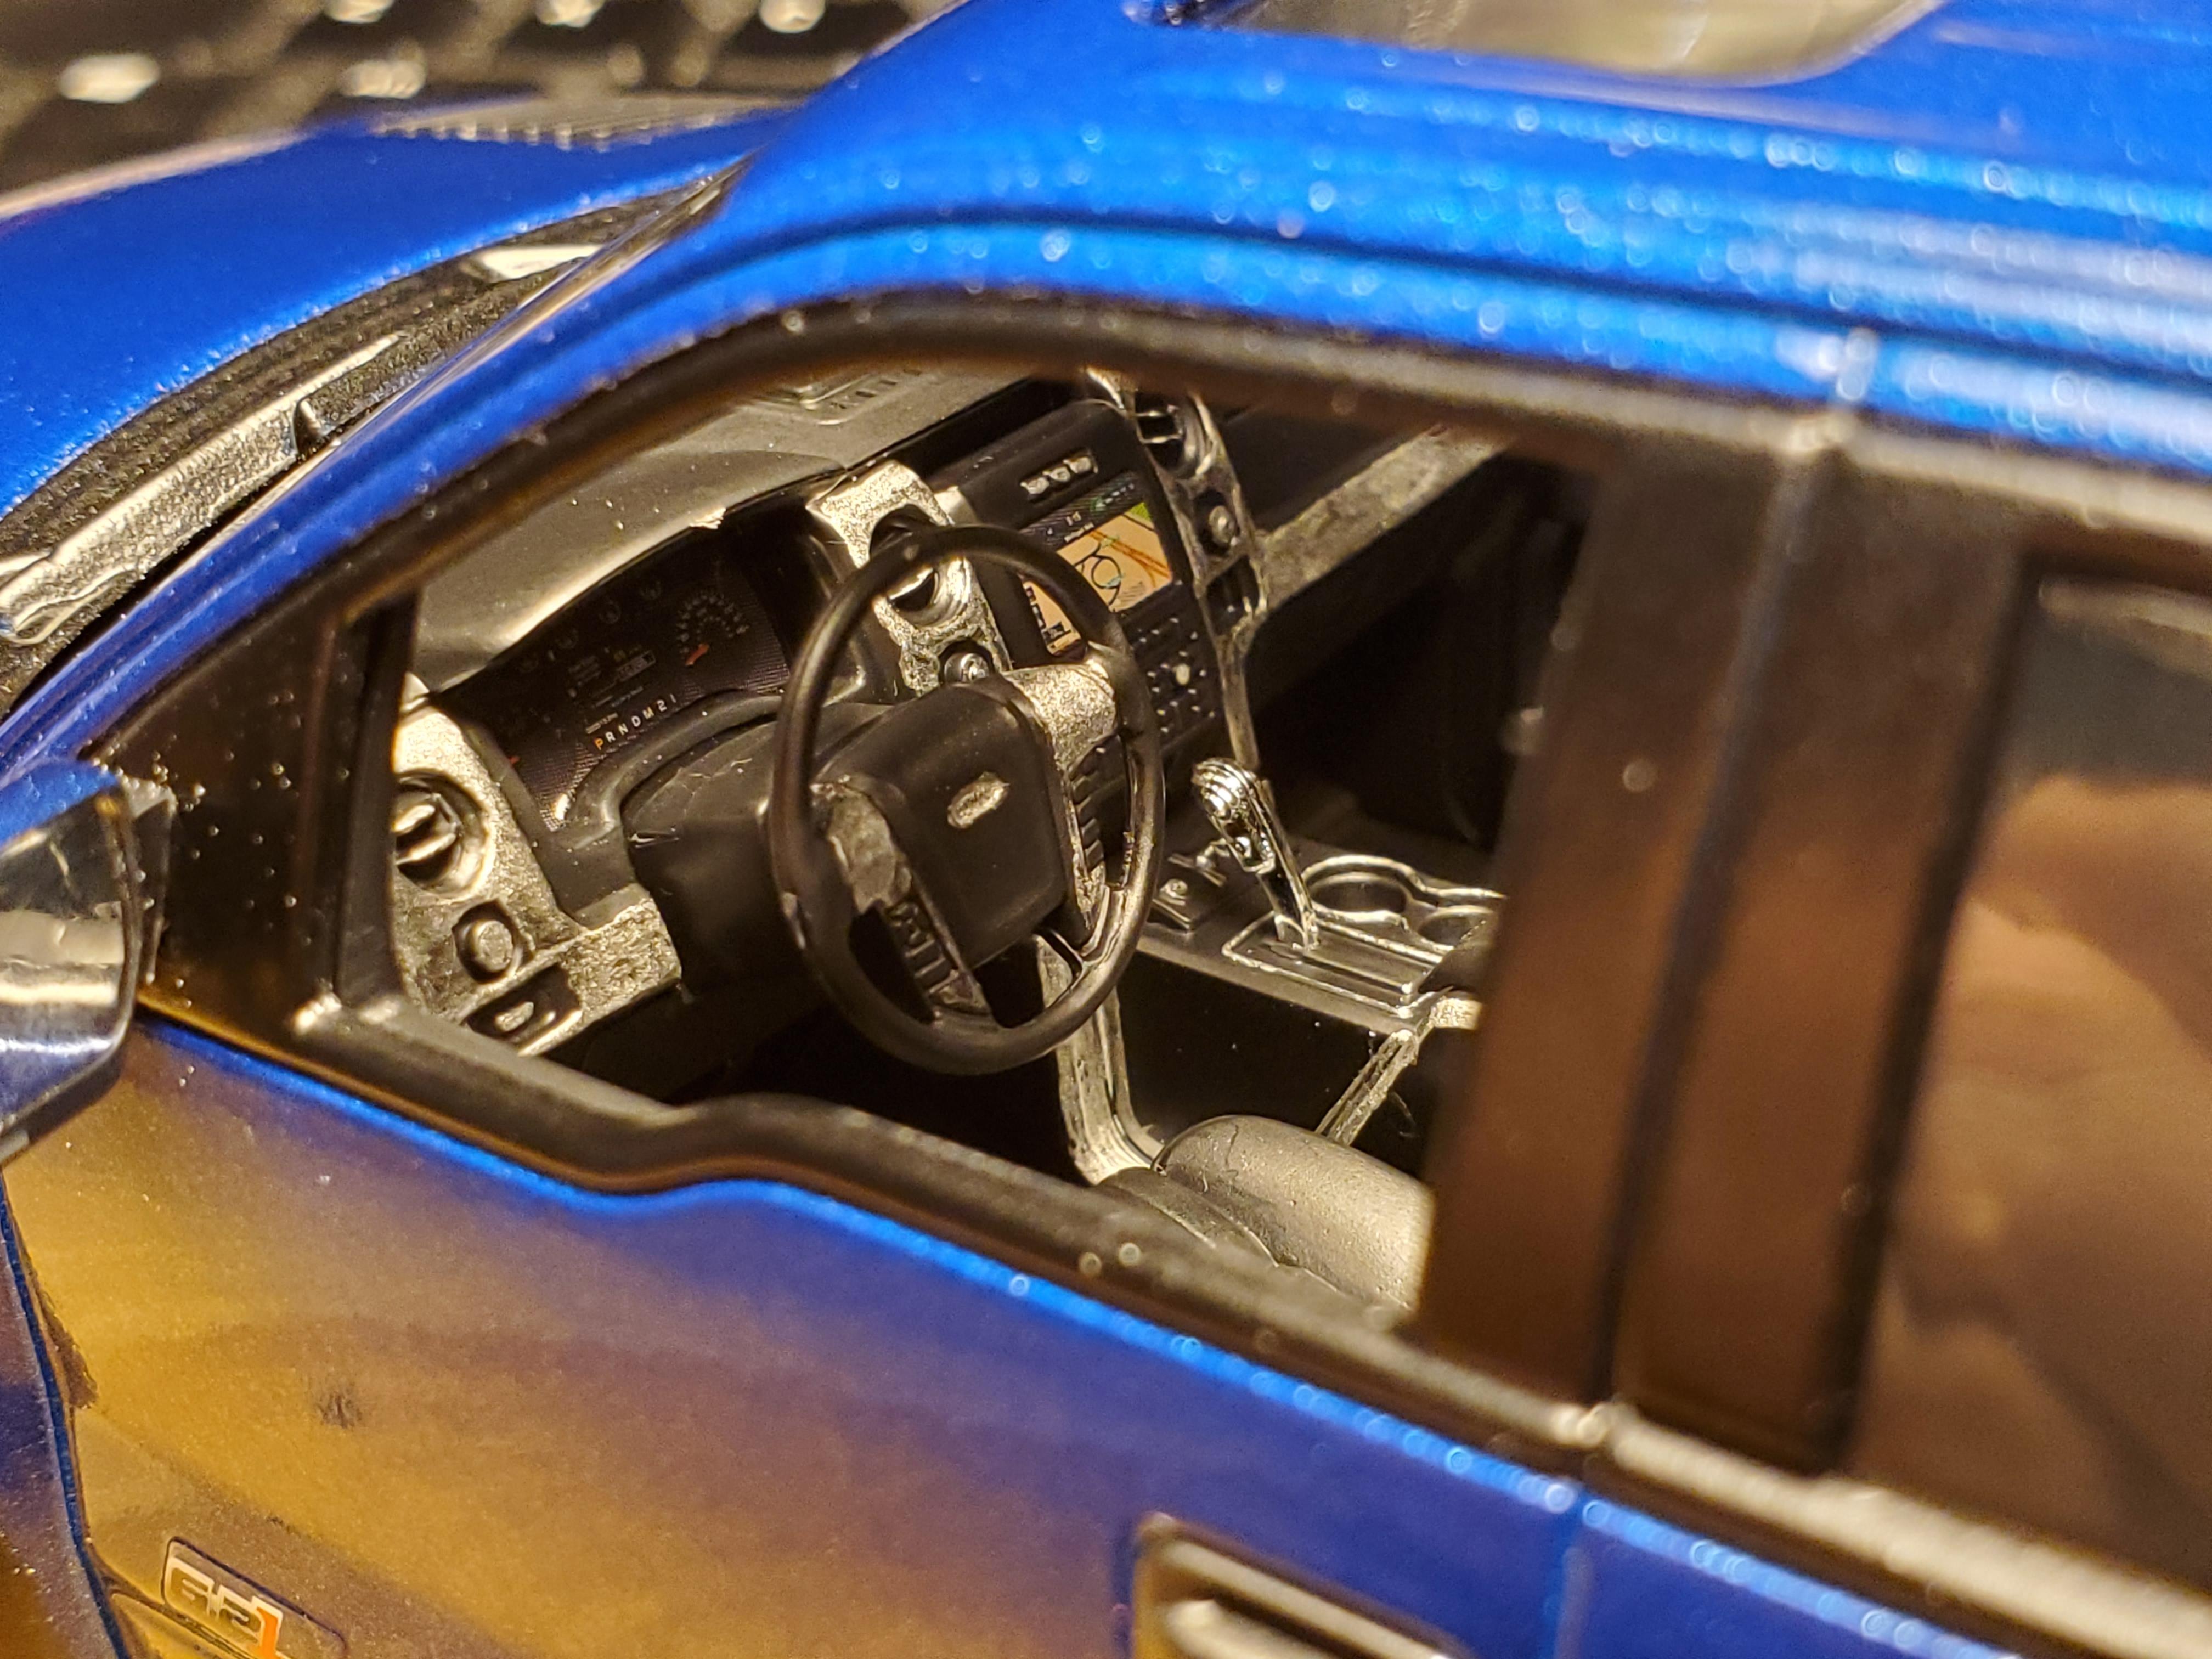
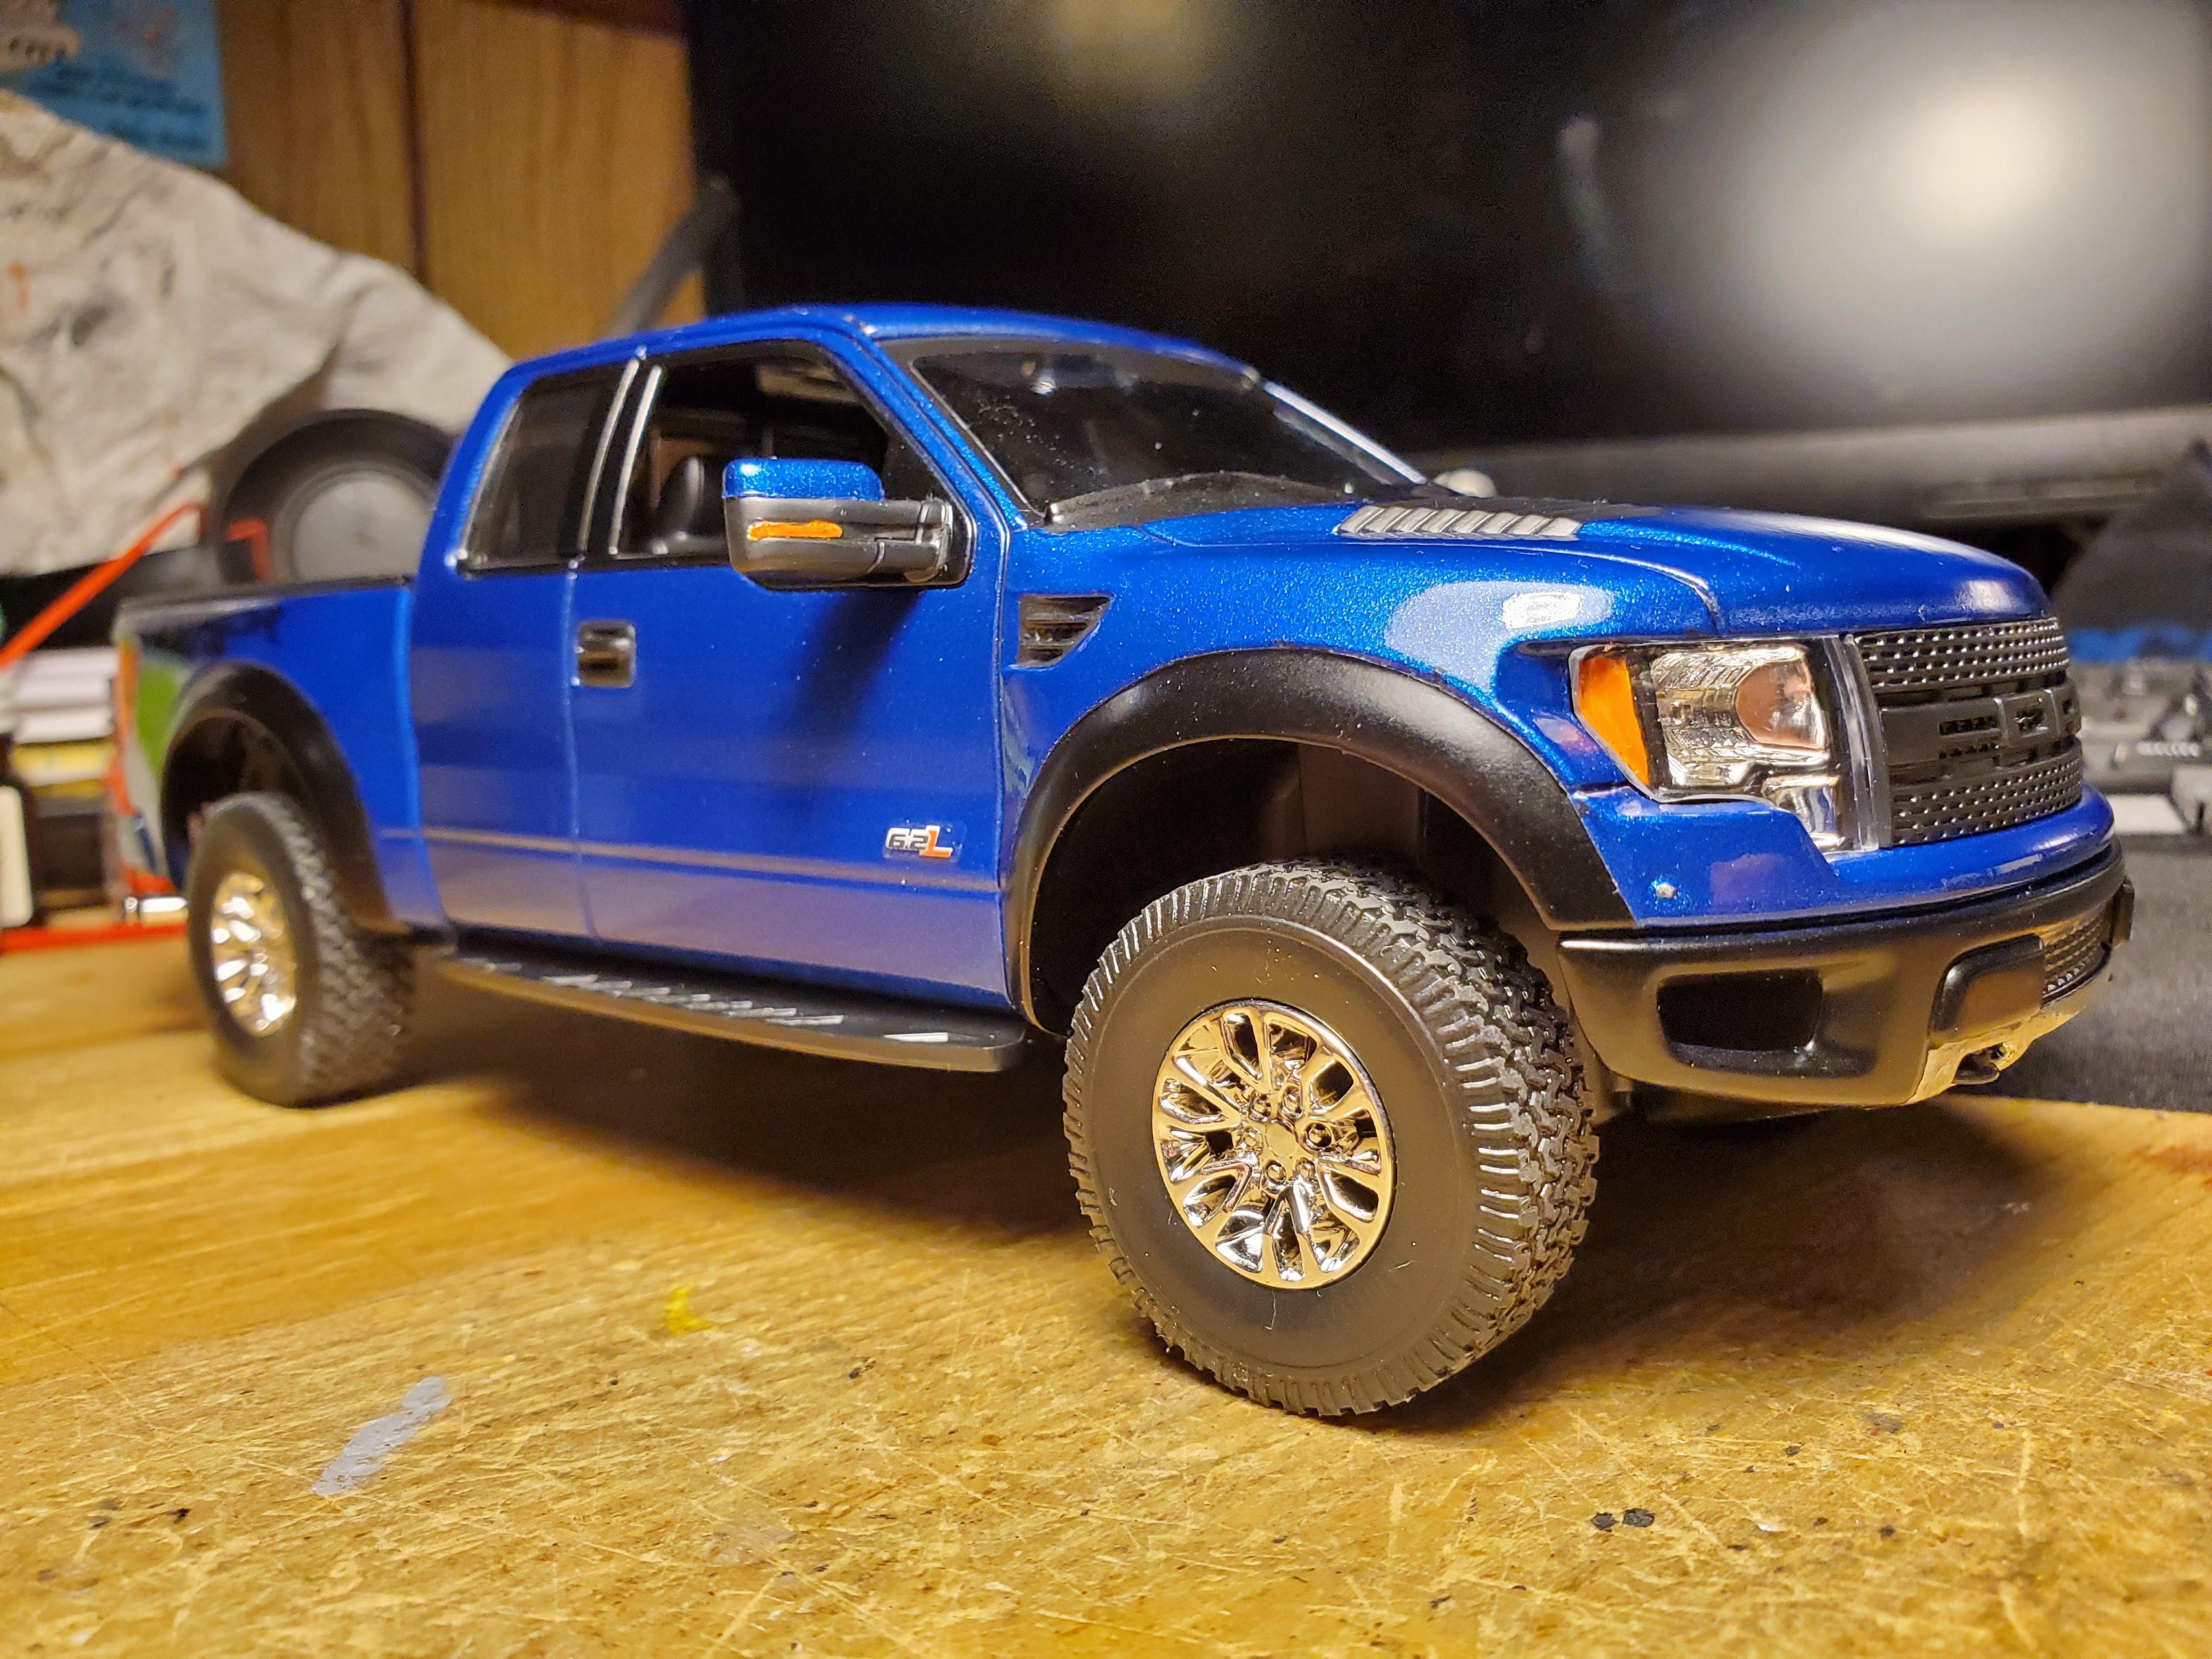
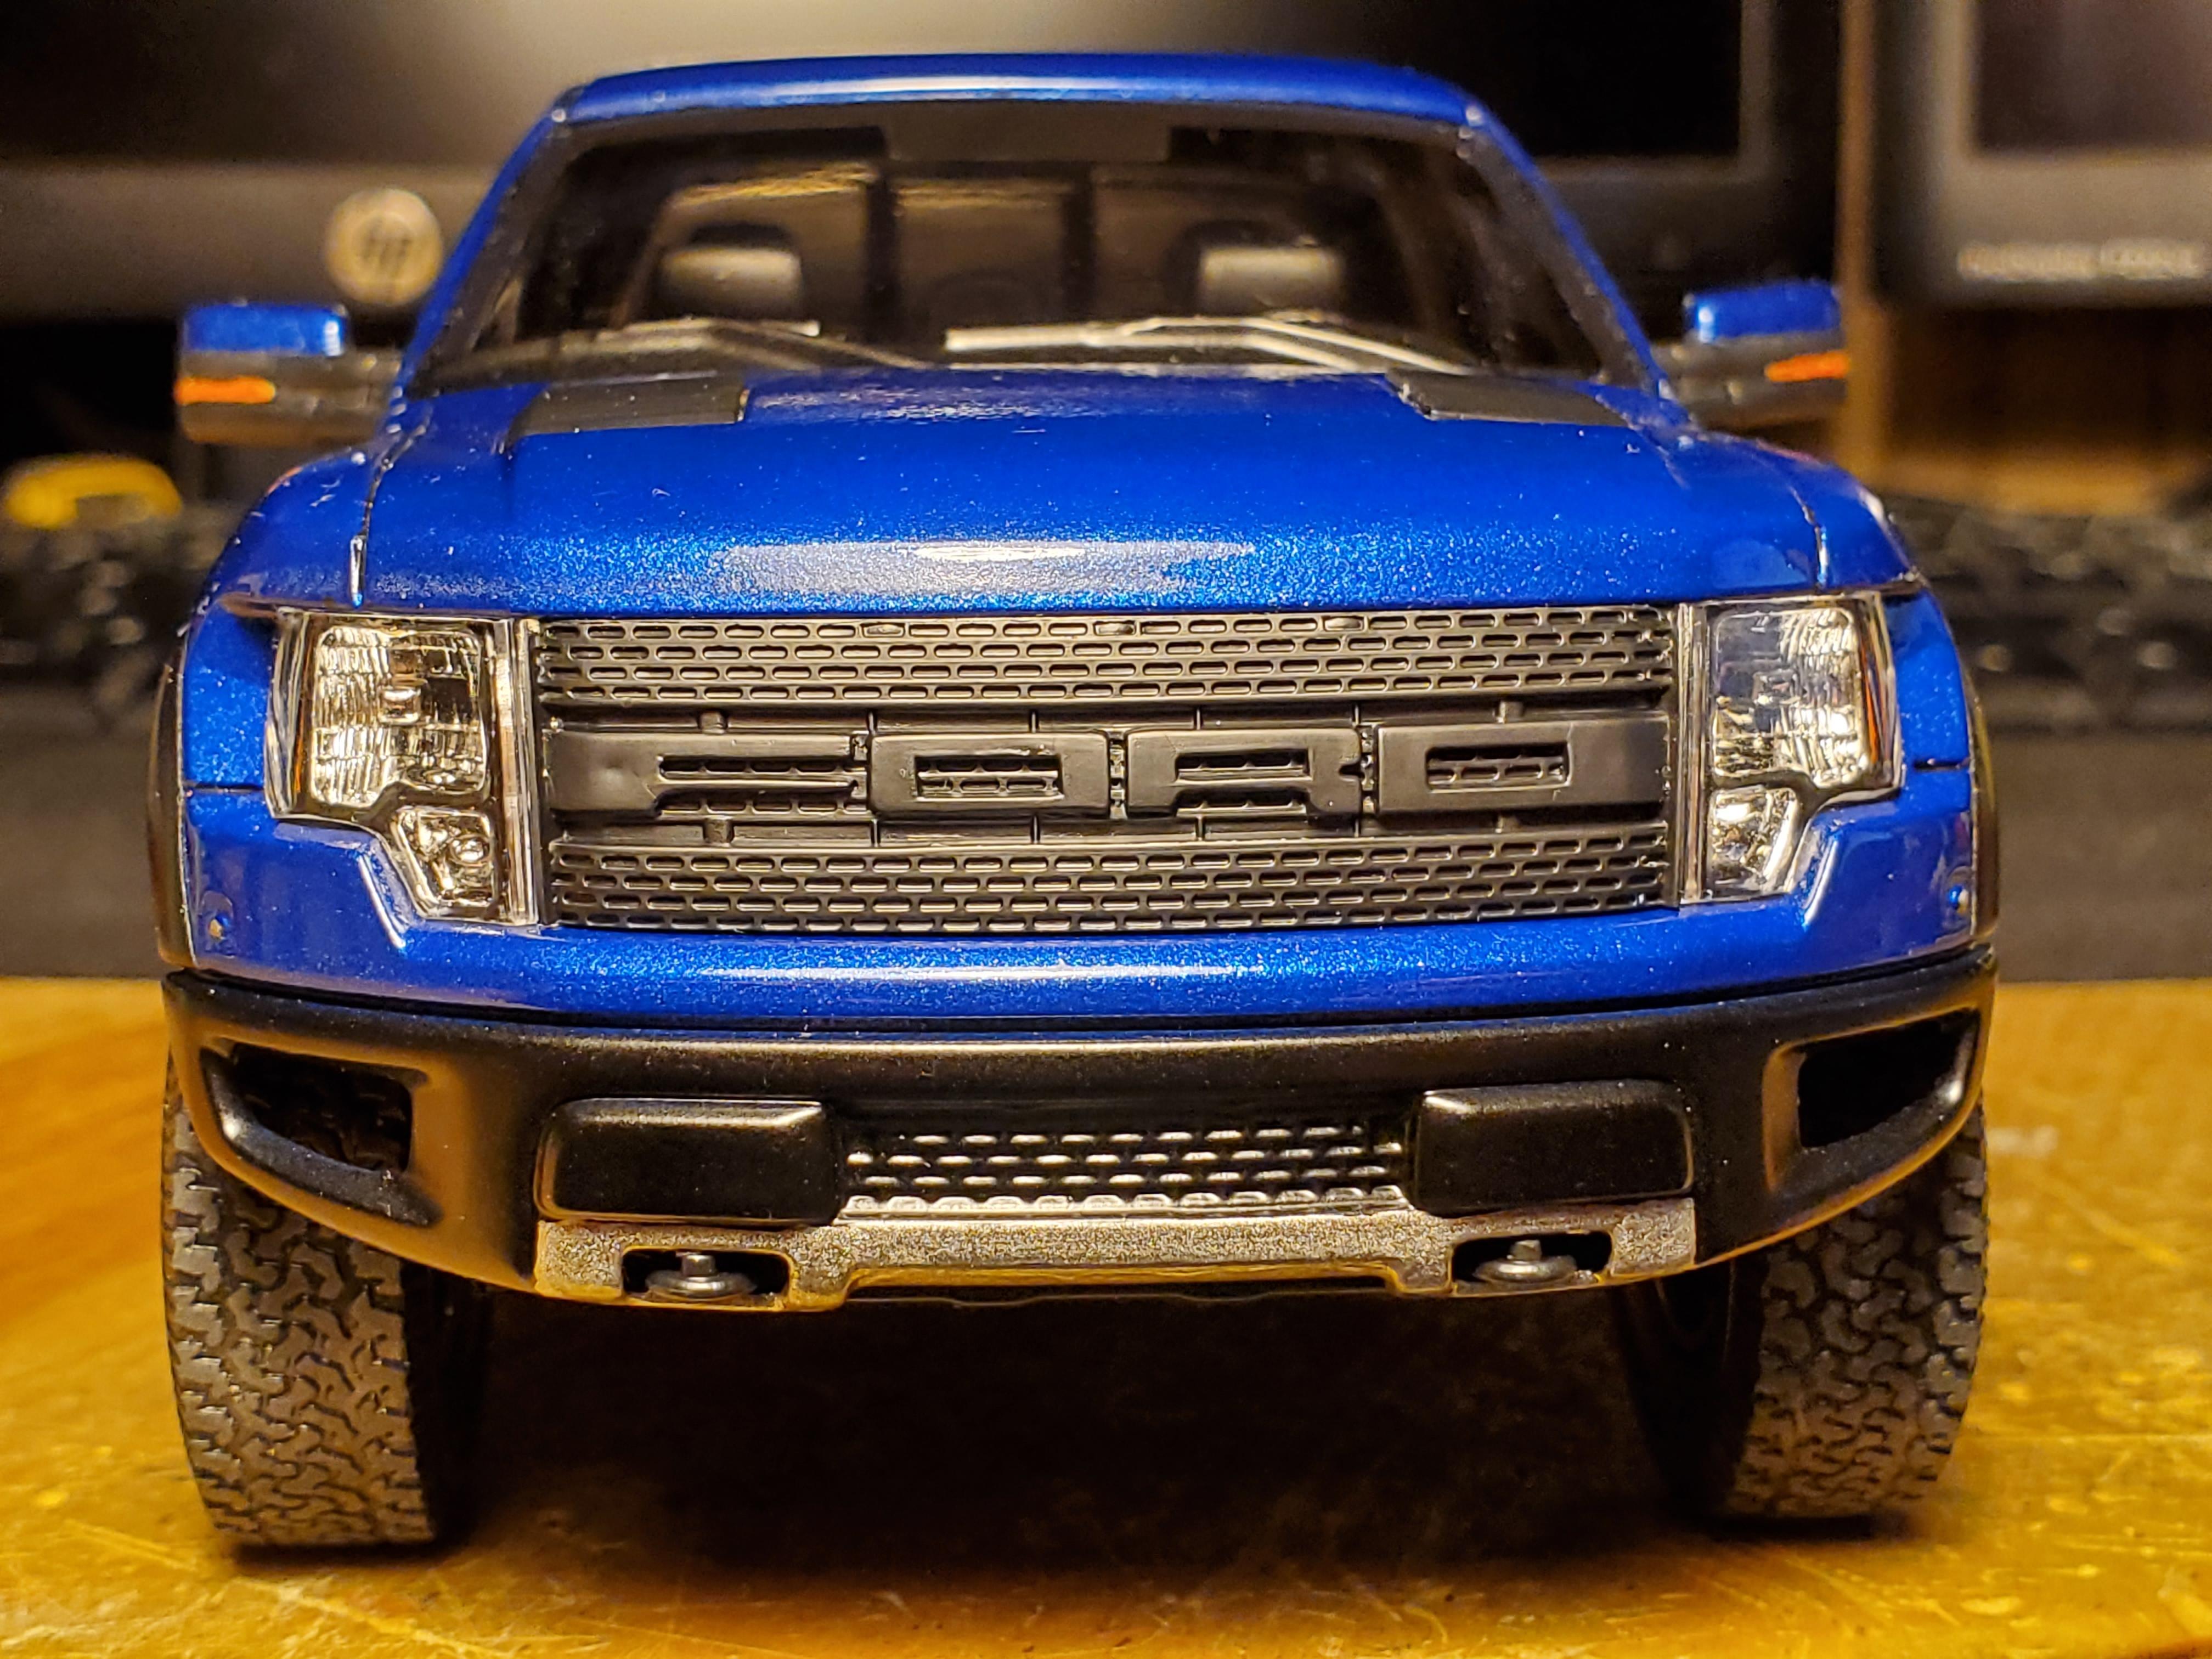
Finished this one a while back too. I always loved the Raptor trucks, and even though this one is a snap kit, it goes together nicely and can be built up to represent a really nice truck. I painted it with automotive basecoat/2k clearcoat. I made my own bedside decals because I didn't like the thickness of the stickers that come with it. Tire decals are from Fireball Modelworks. (pics were taken a couple weeks after it was originally finished and photographed)
-
Monogram Ferrari 308 GTB Racer
JTalmage replied to JTalmage's topic in Other Racing: Road Racing, Salt Flat Racers
Thank you. I've actually been trying to collect the entire line of those kits, that would be cool if that did ever happen.