-
Posts
269 -
Joined
-
Last visited
Content Type
Profiles
Forums
Events
Gallery
Everything posted by harti20
-
Hi all Finally I took the time to take some decent gallery pics. The Under Glass thread can be found here:
-
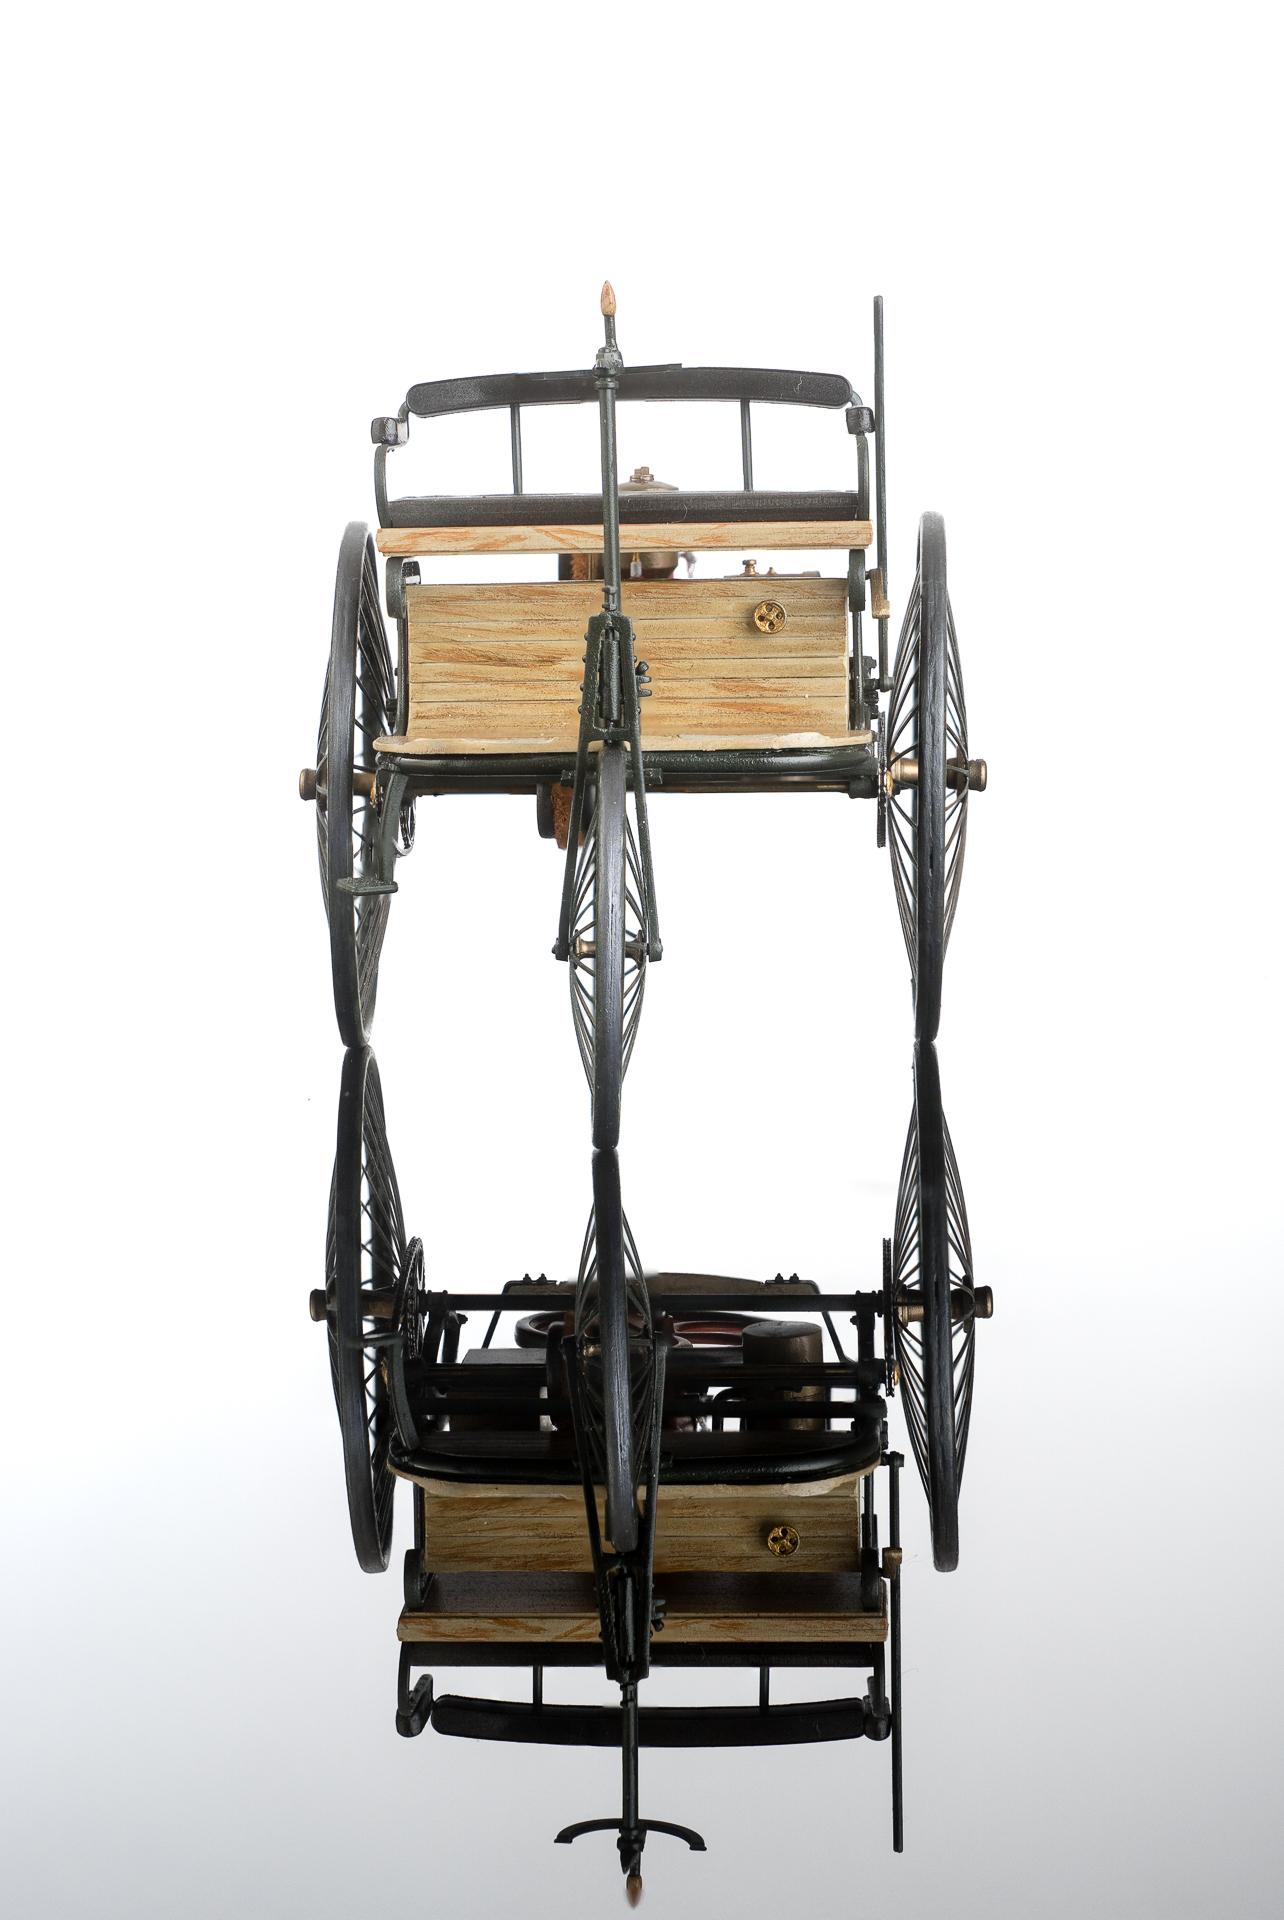
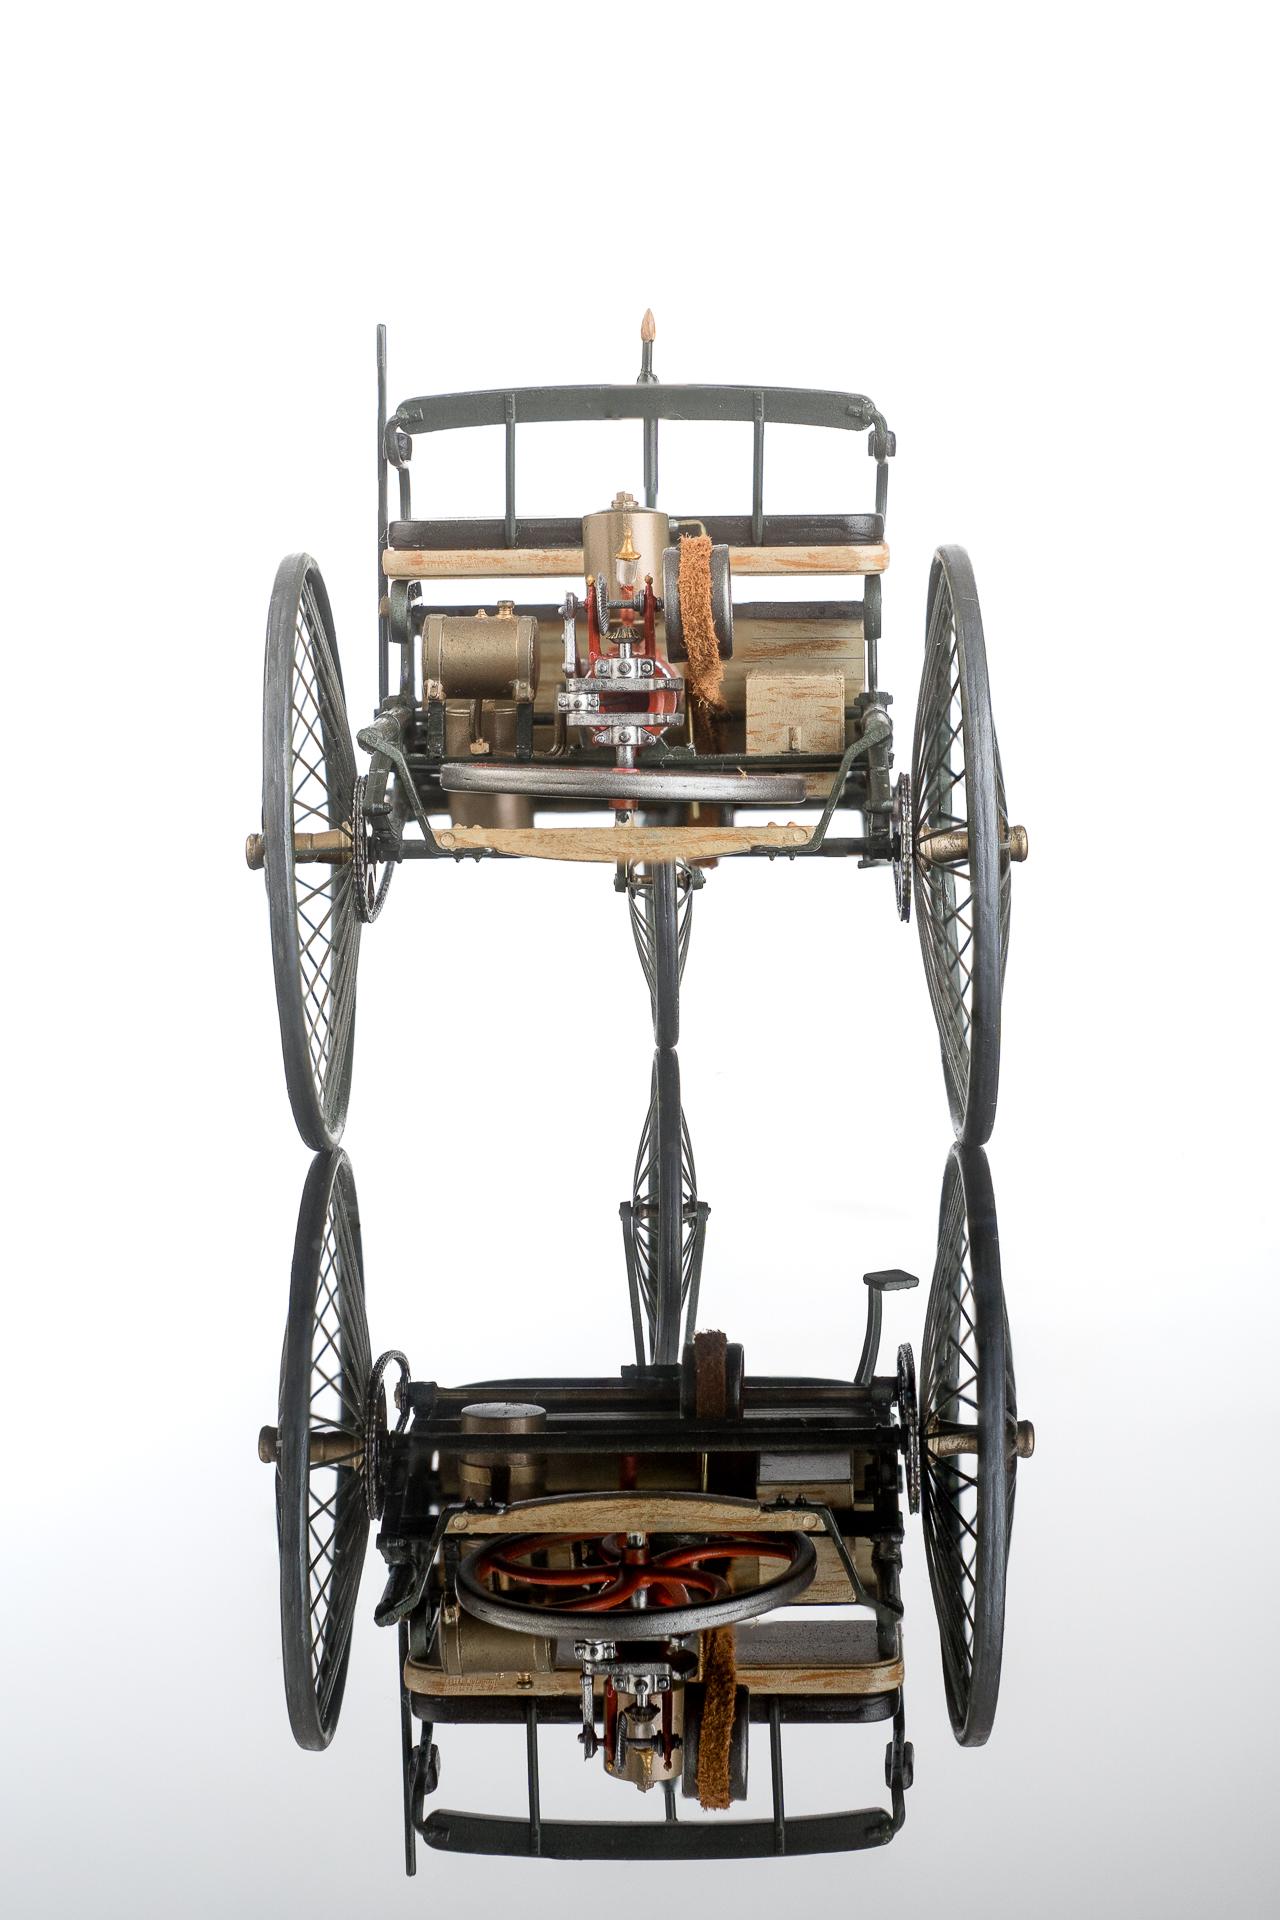
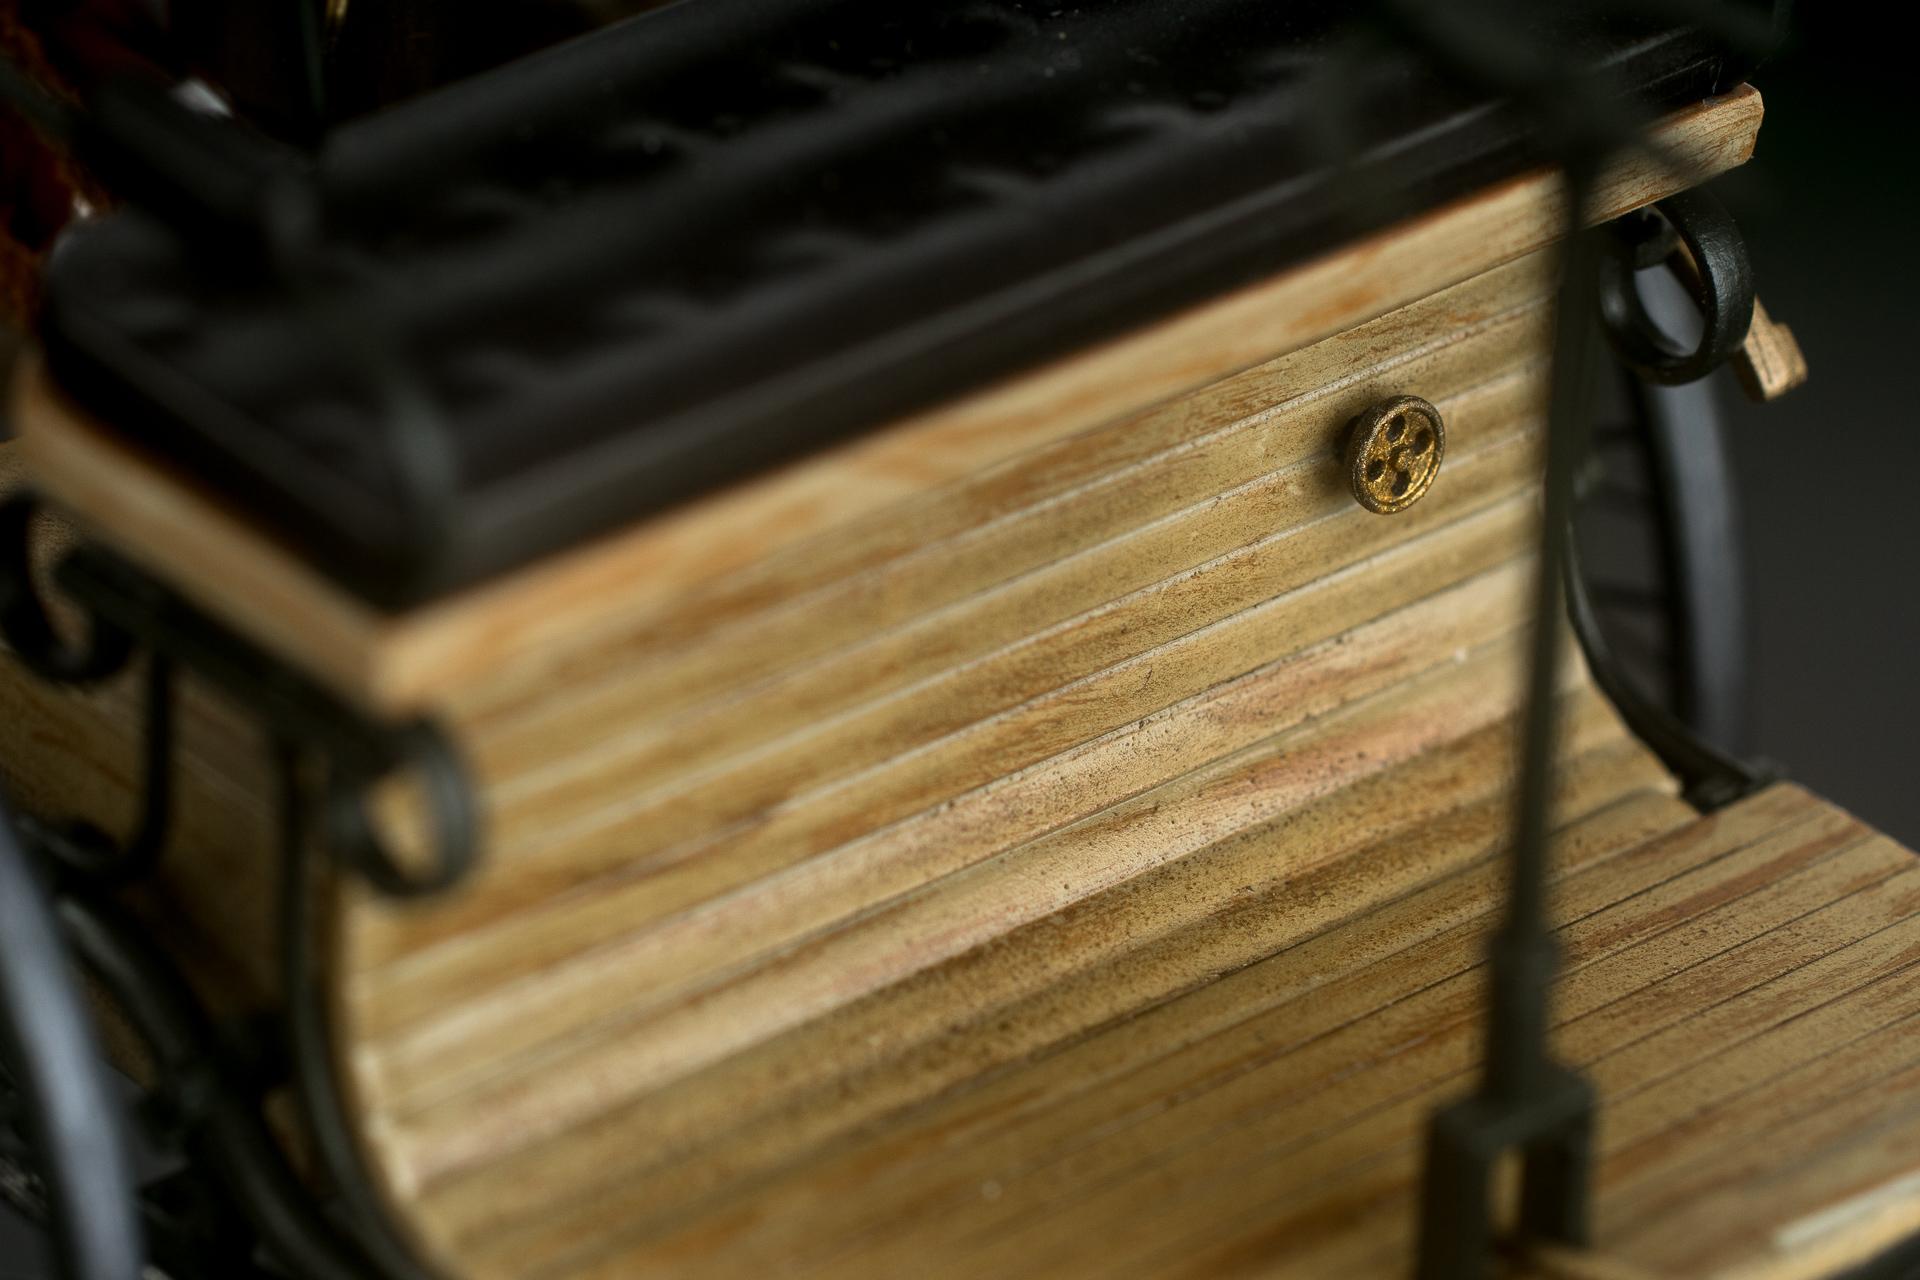
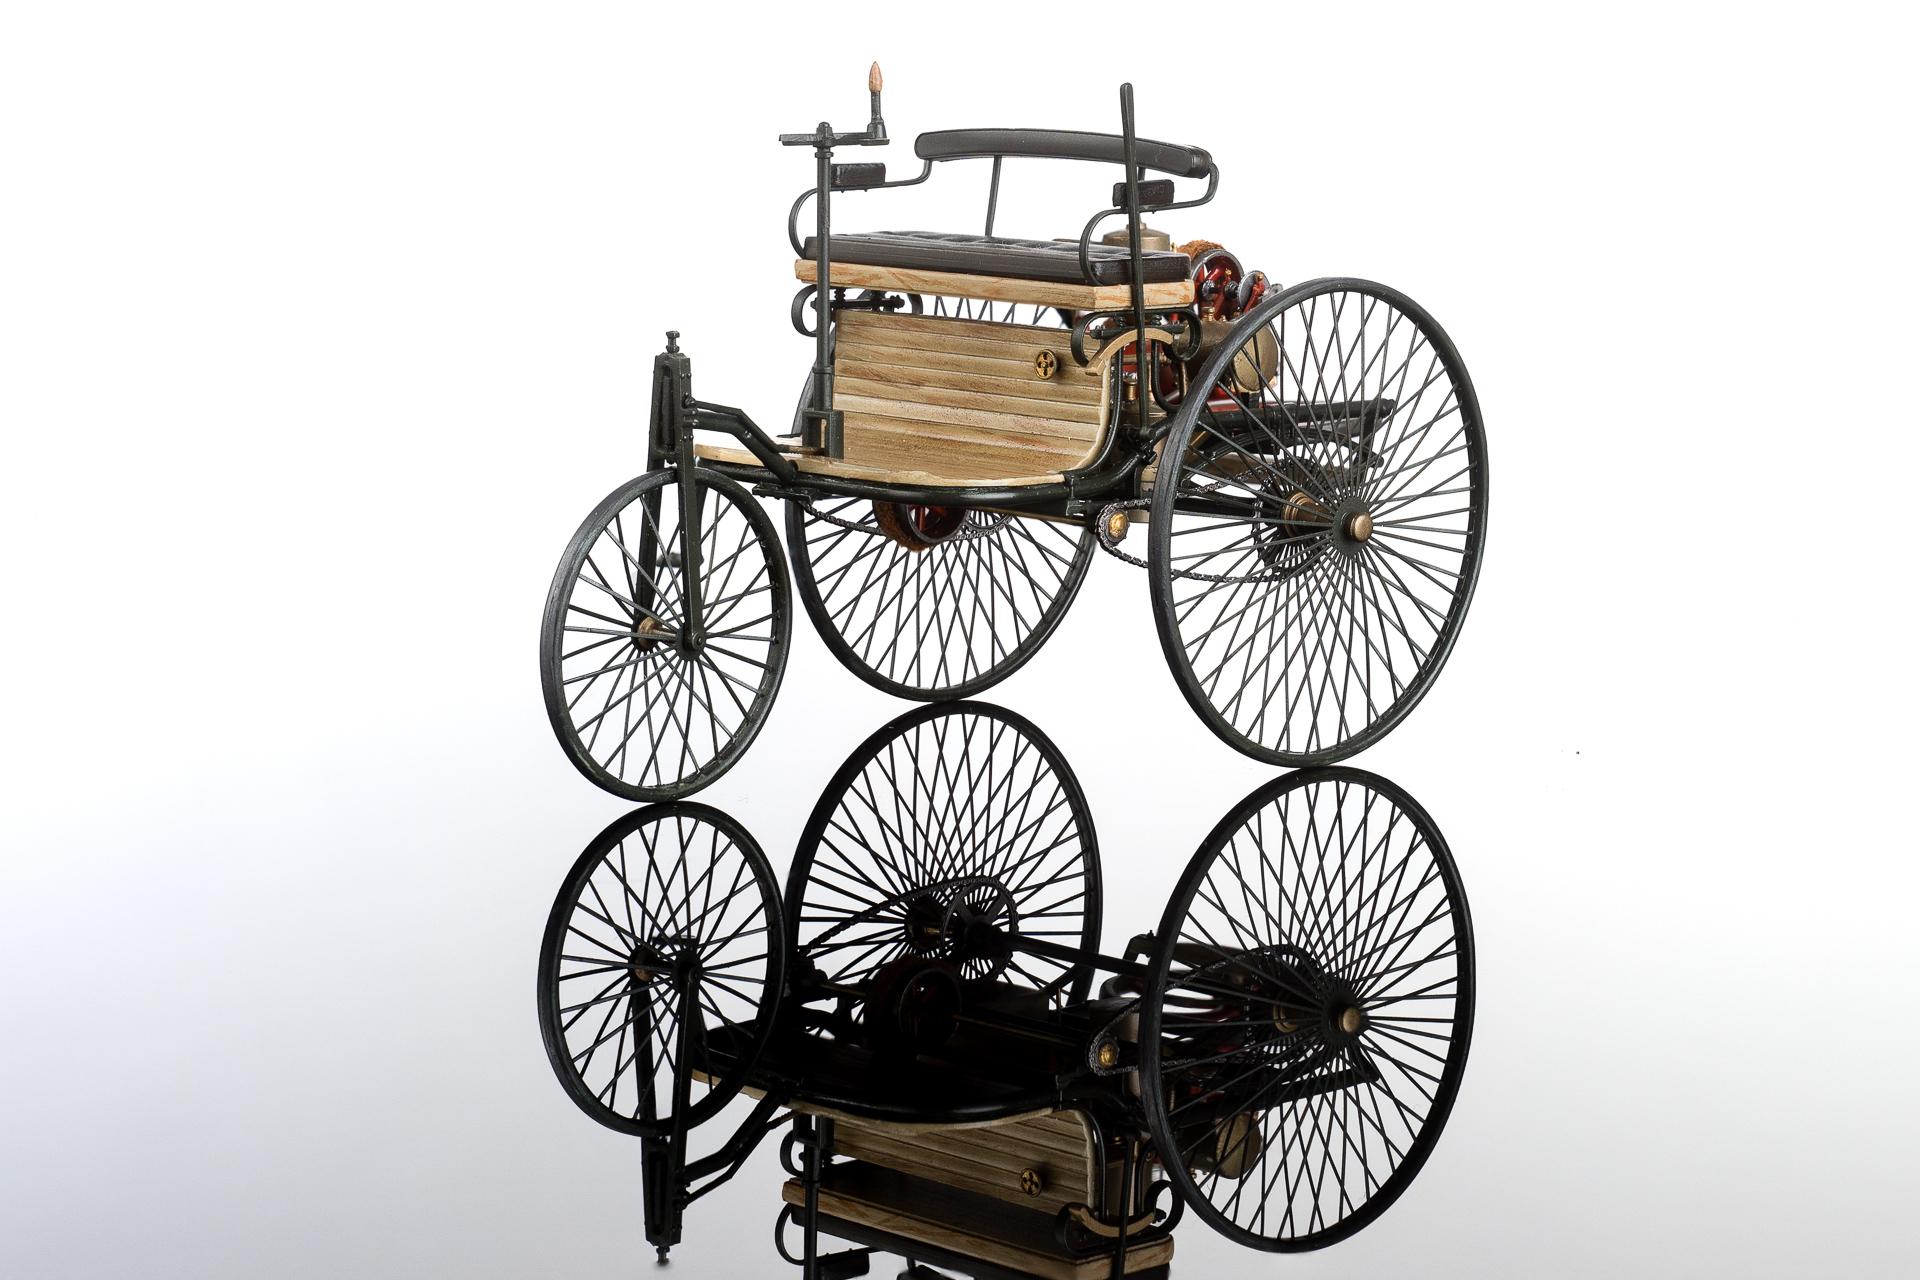
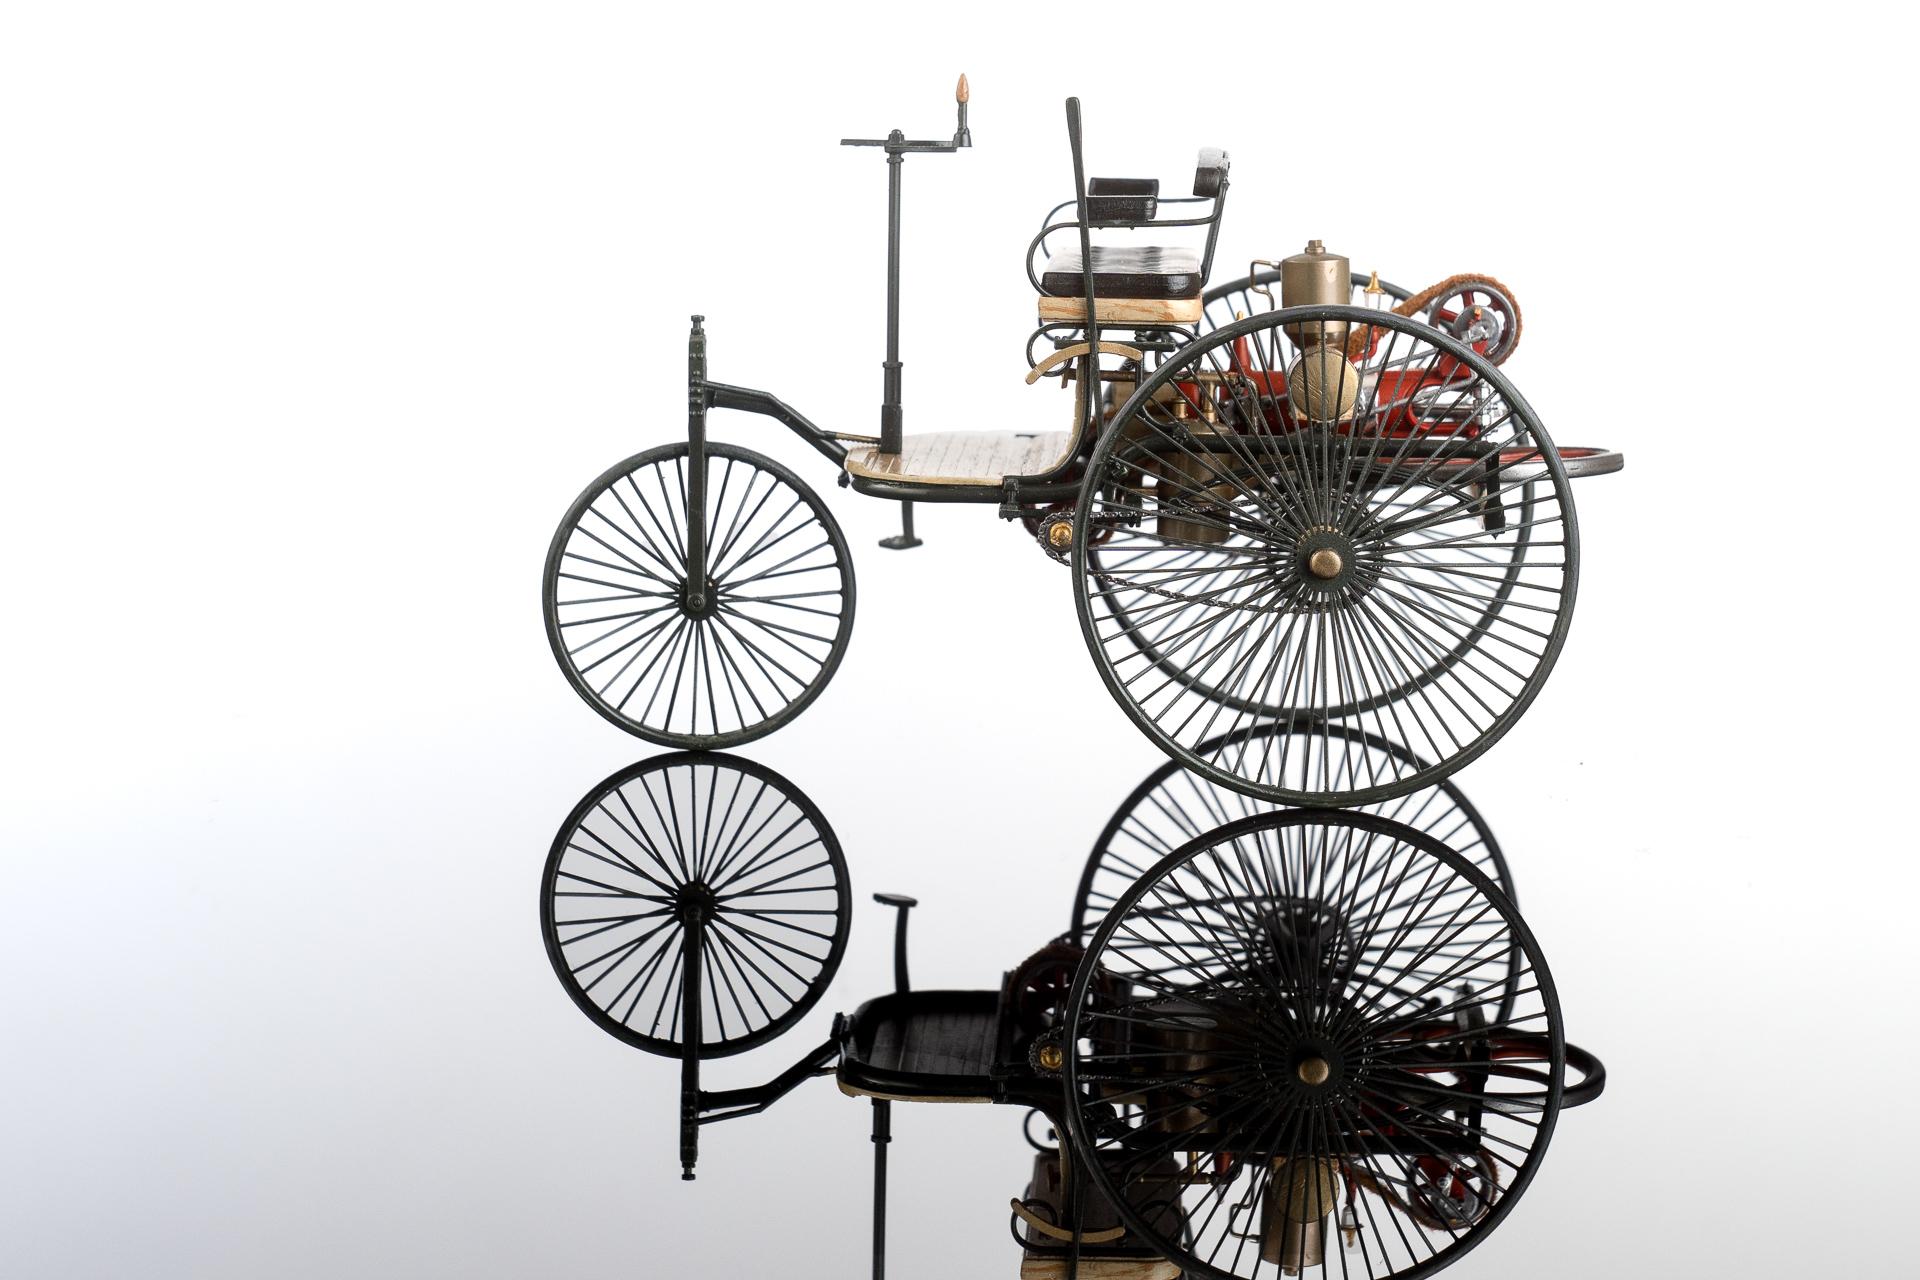
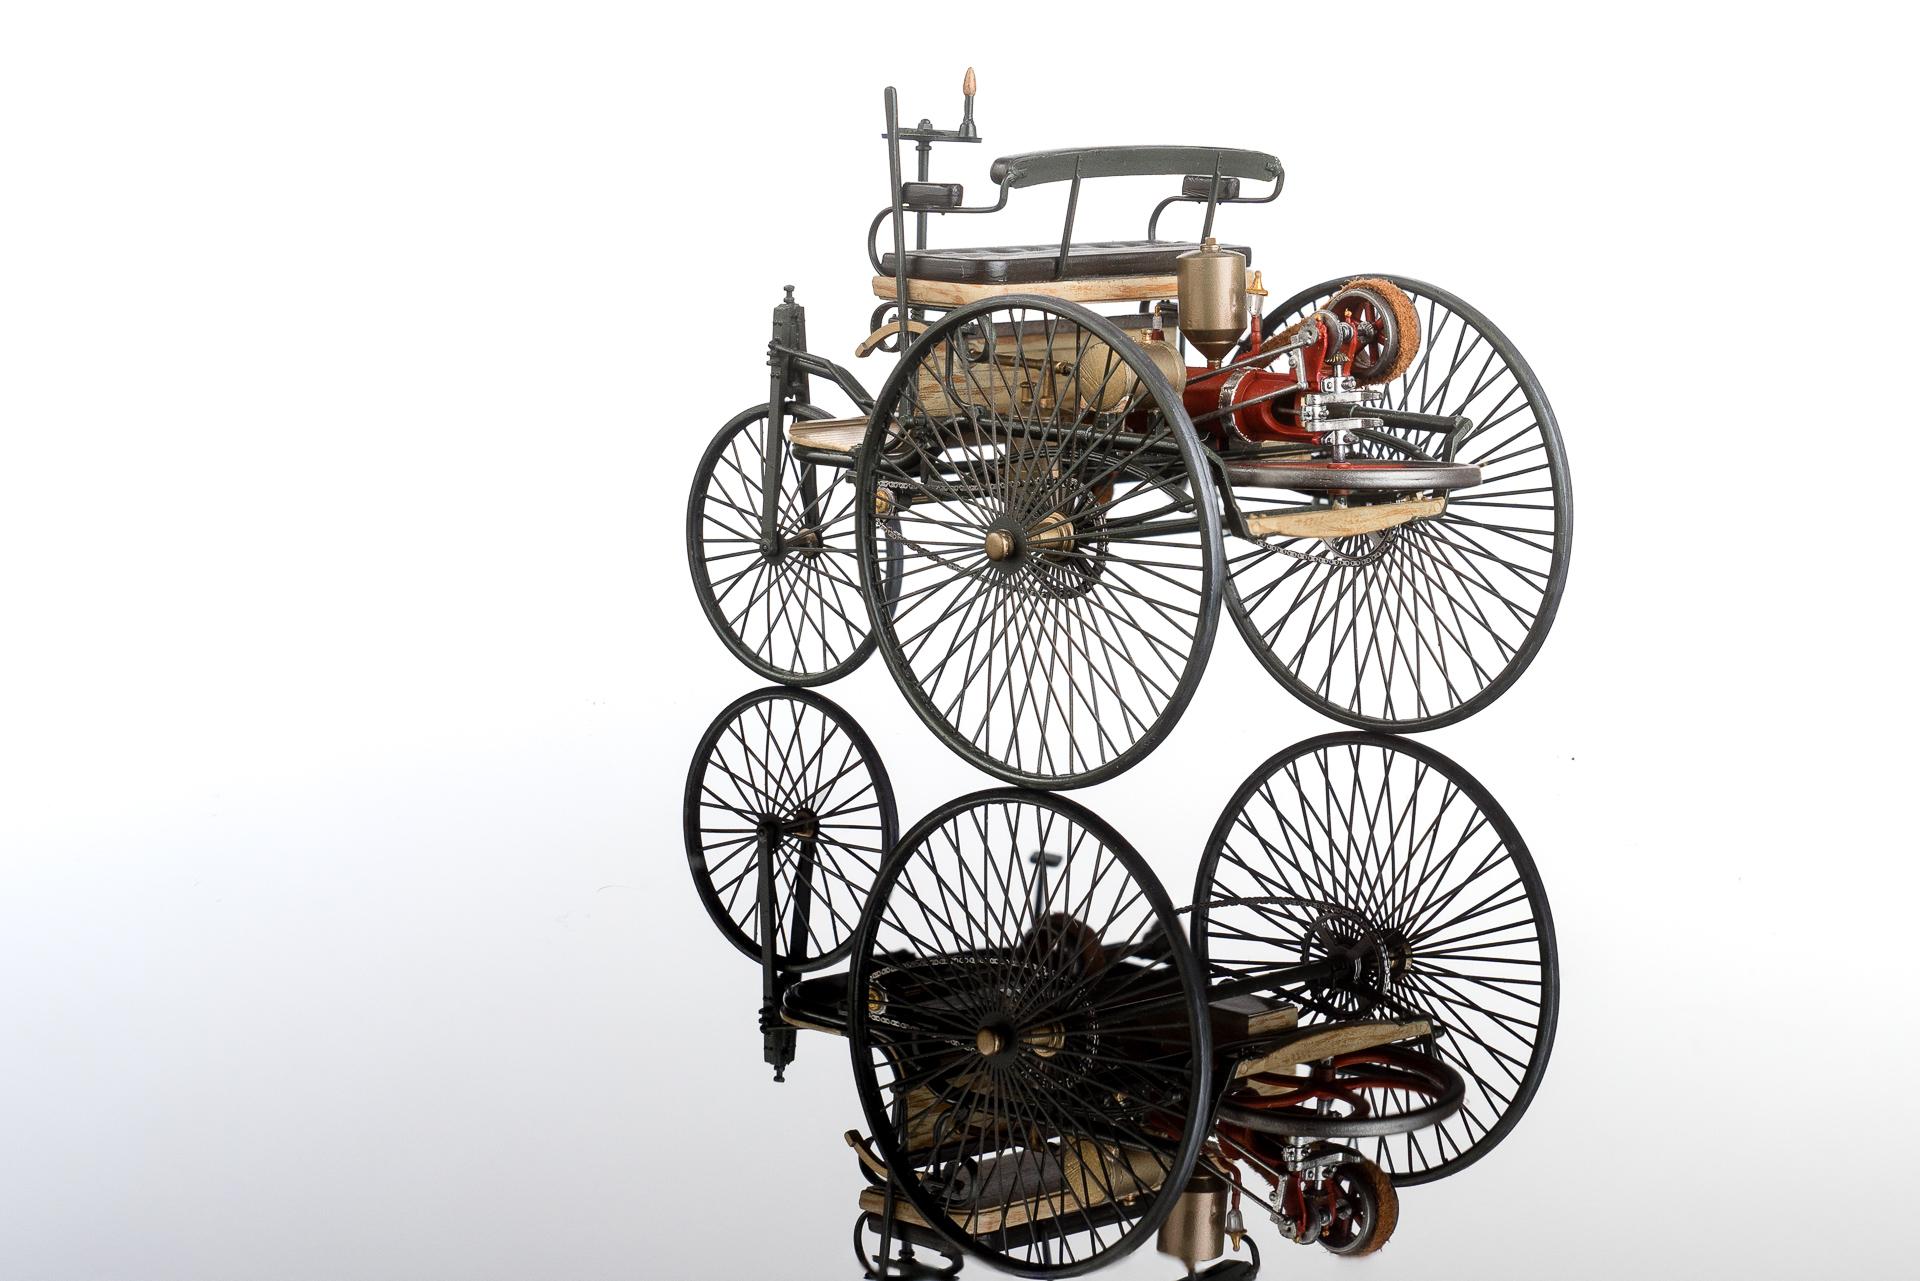
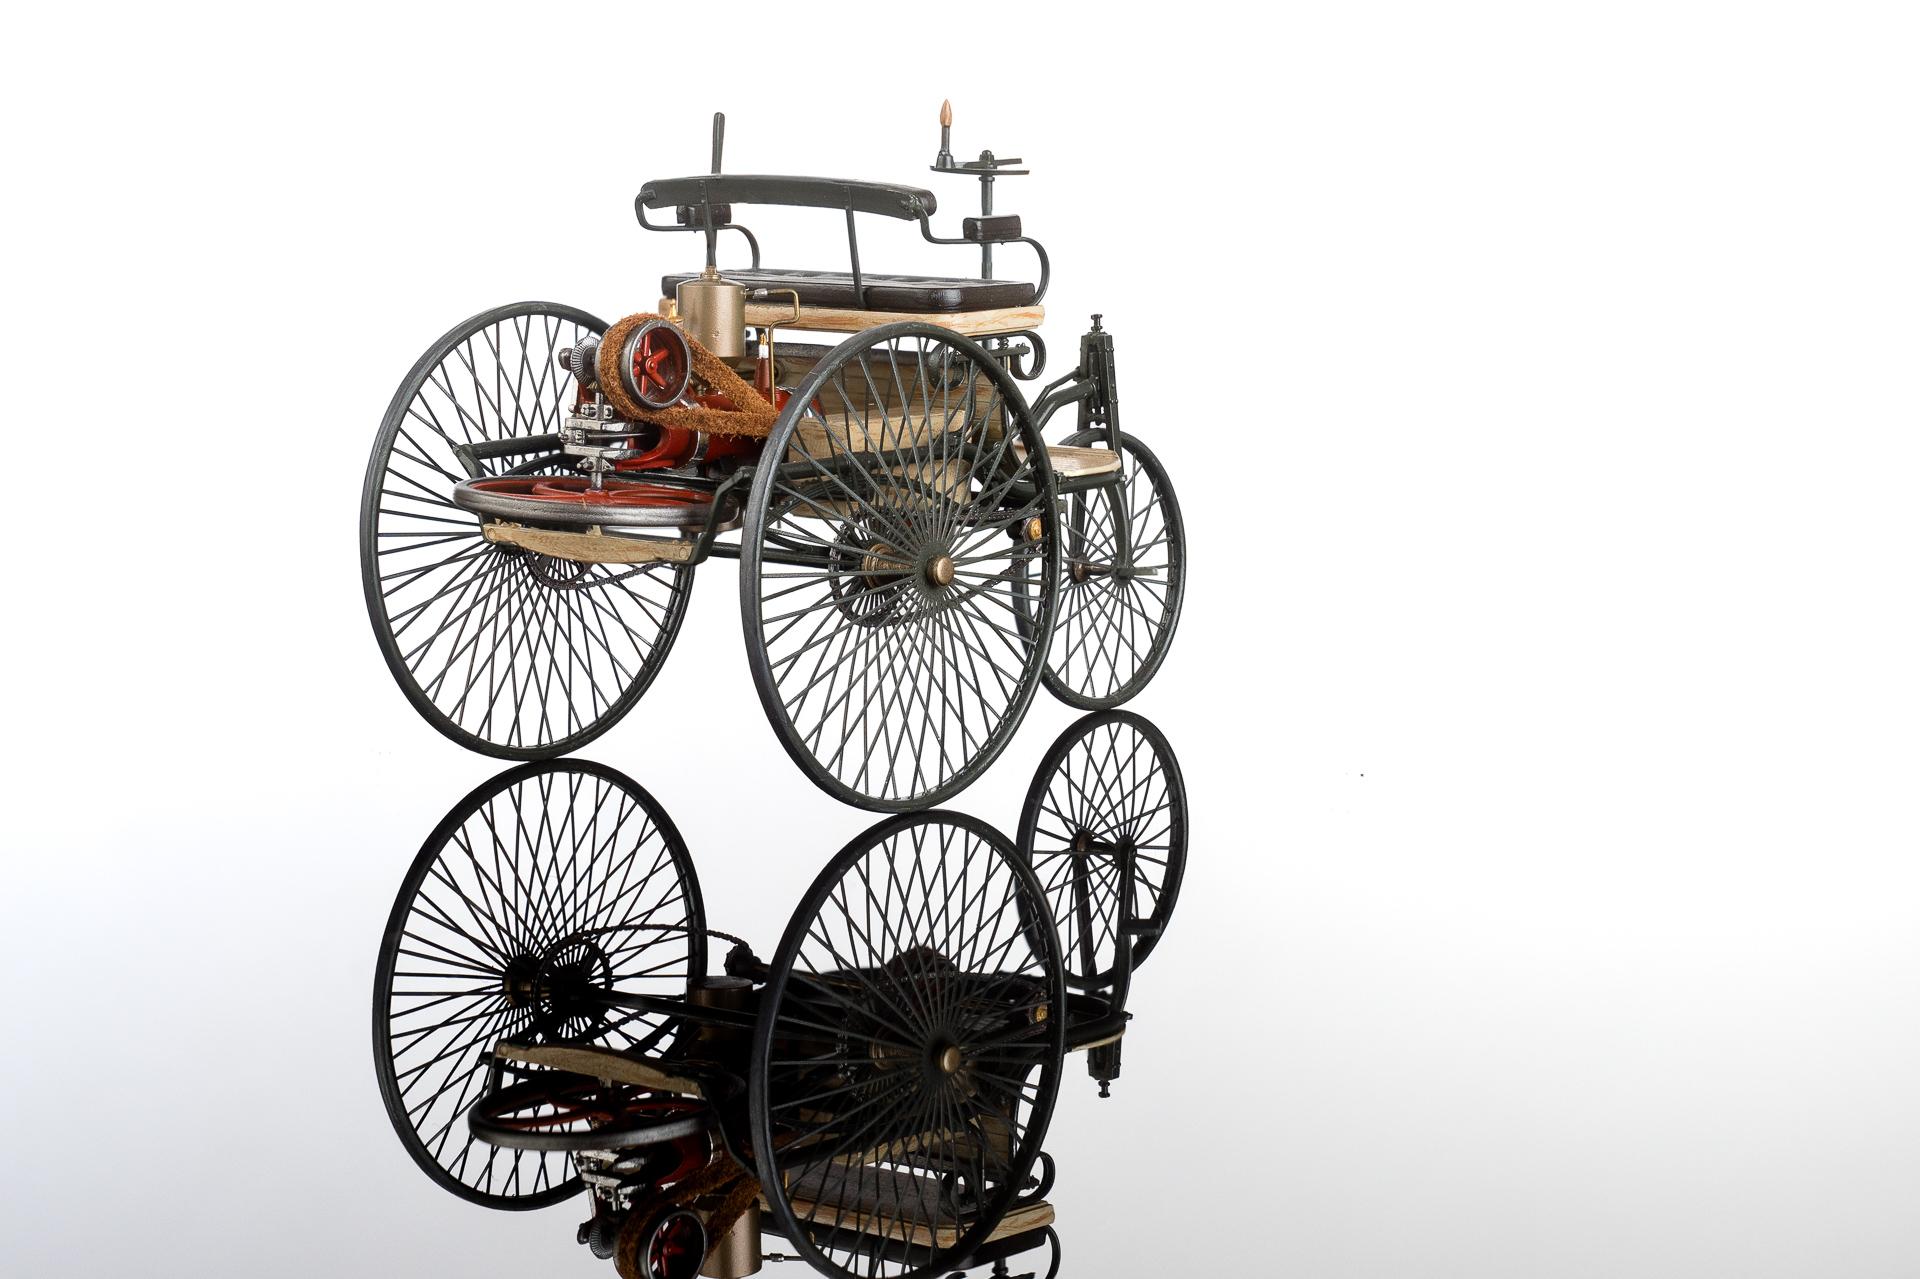
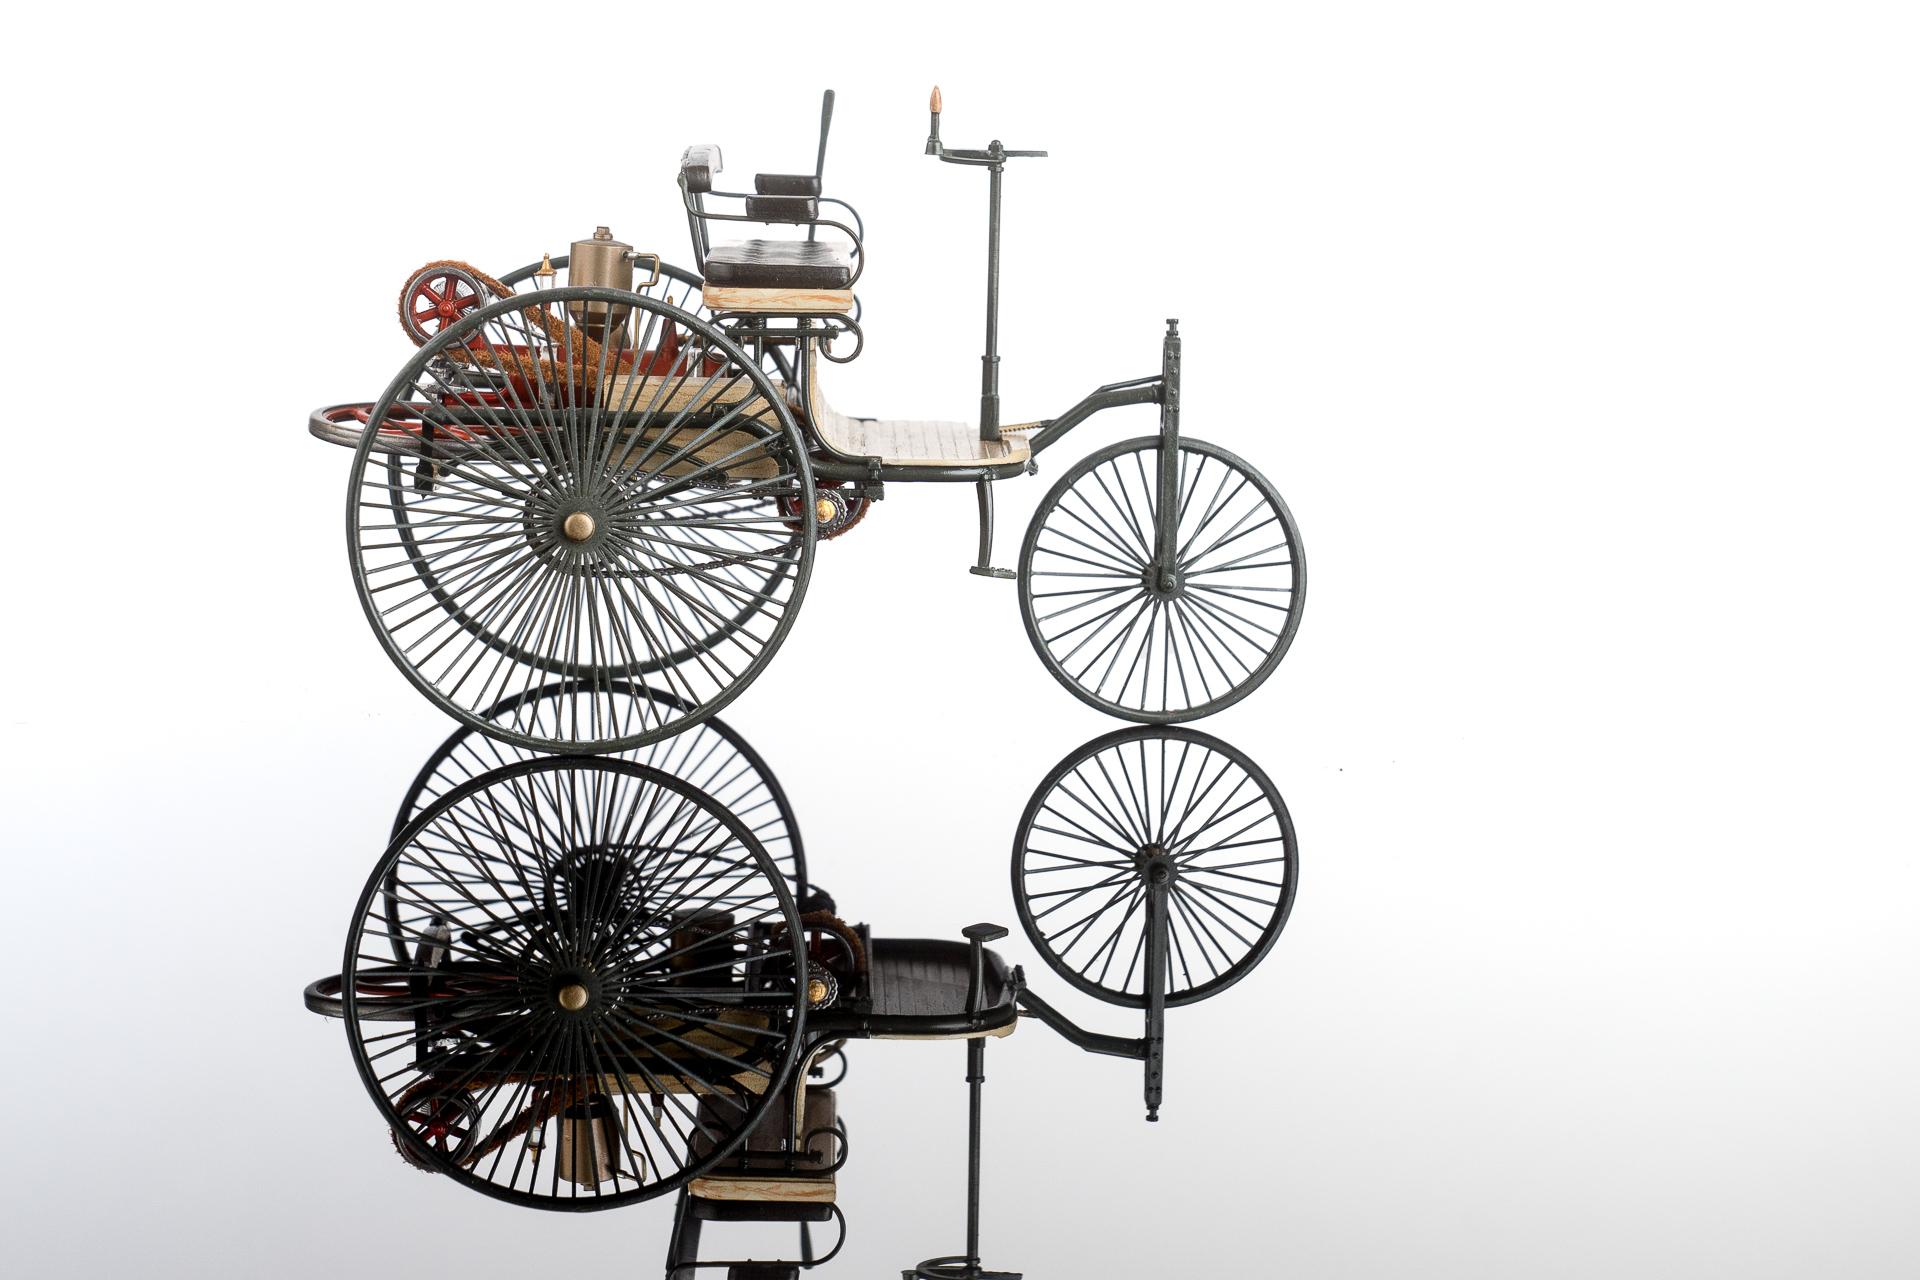
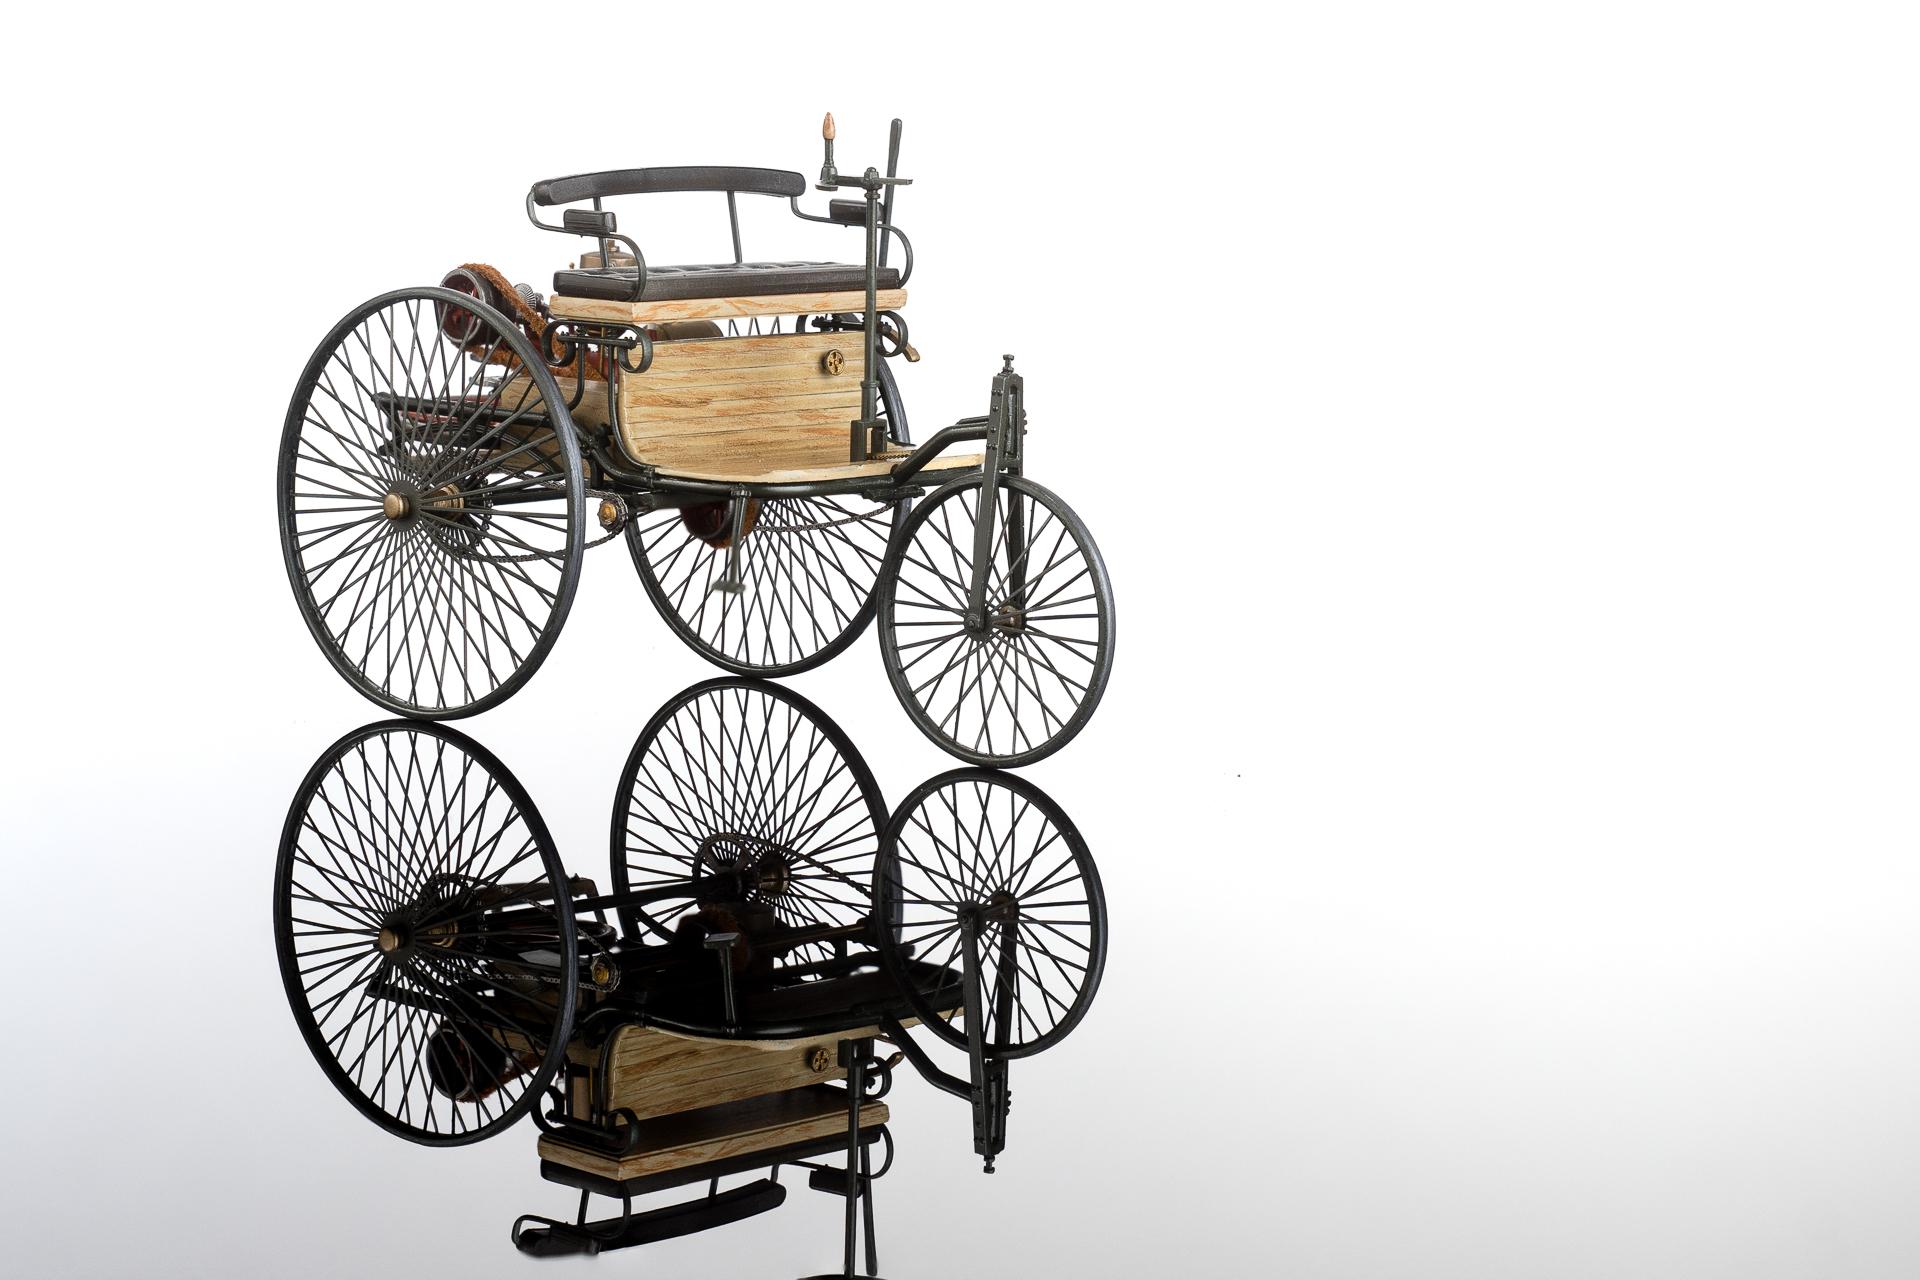
Hi all As I took some gallery pictures last week, I also had the Benz Patent Motorwagen with me, so I can finally present you the final images of this beautiful kit. The WIP can be found here: I hope you like the pictures even though they might be a little to temporary for this kind of car ? Urs
-
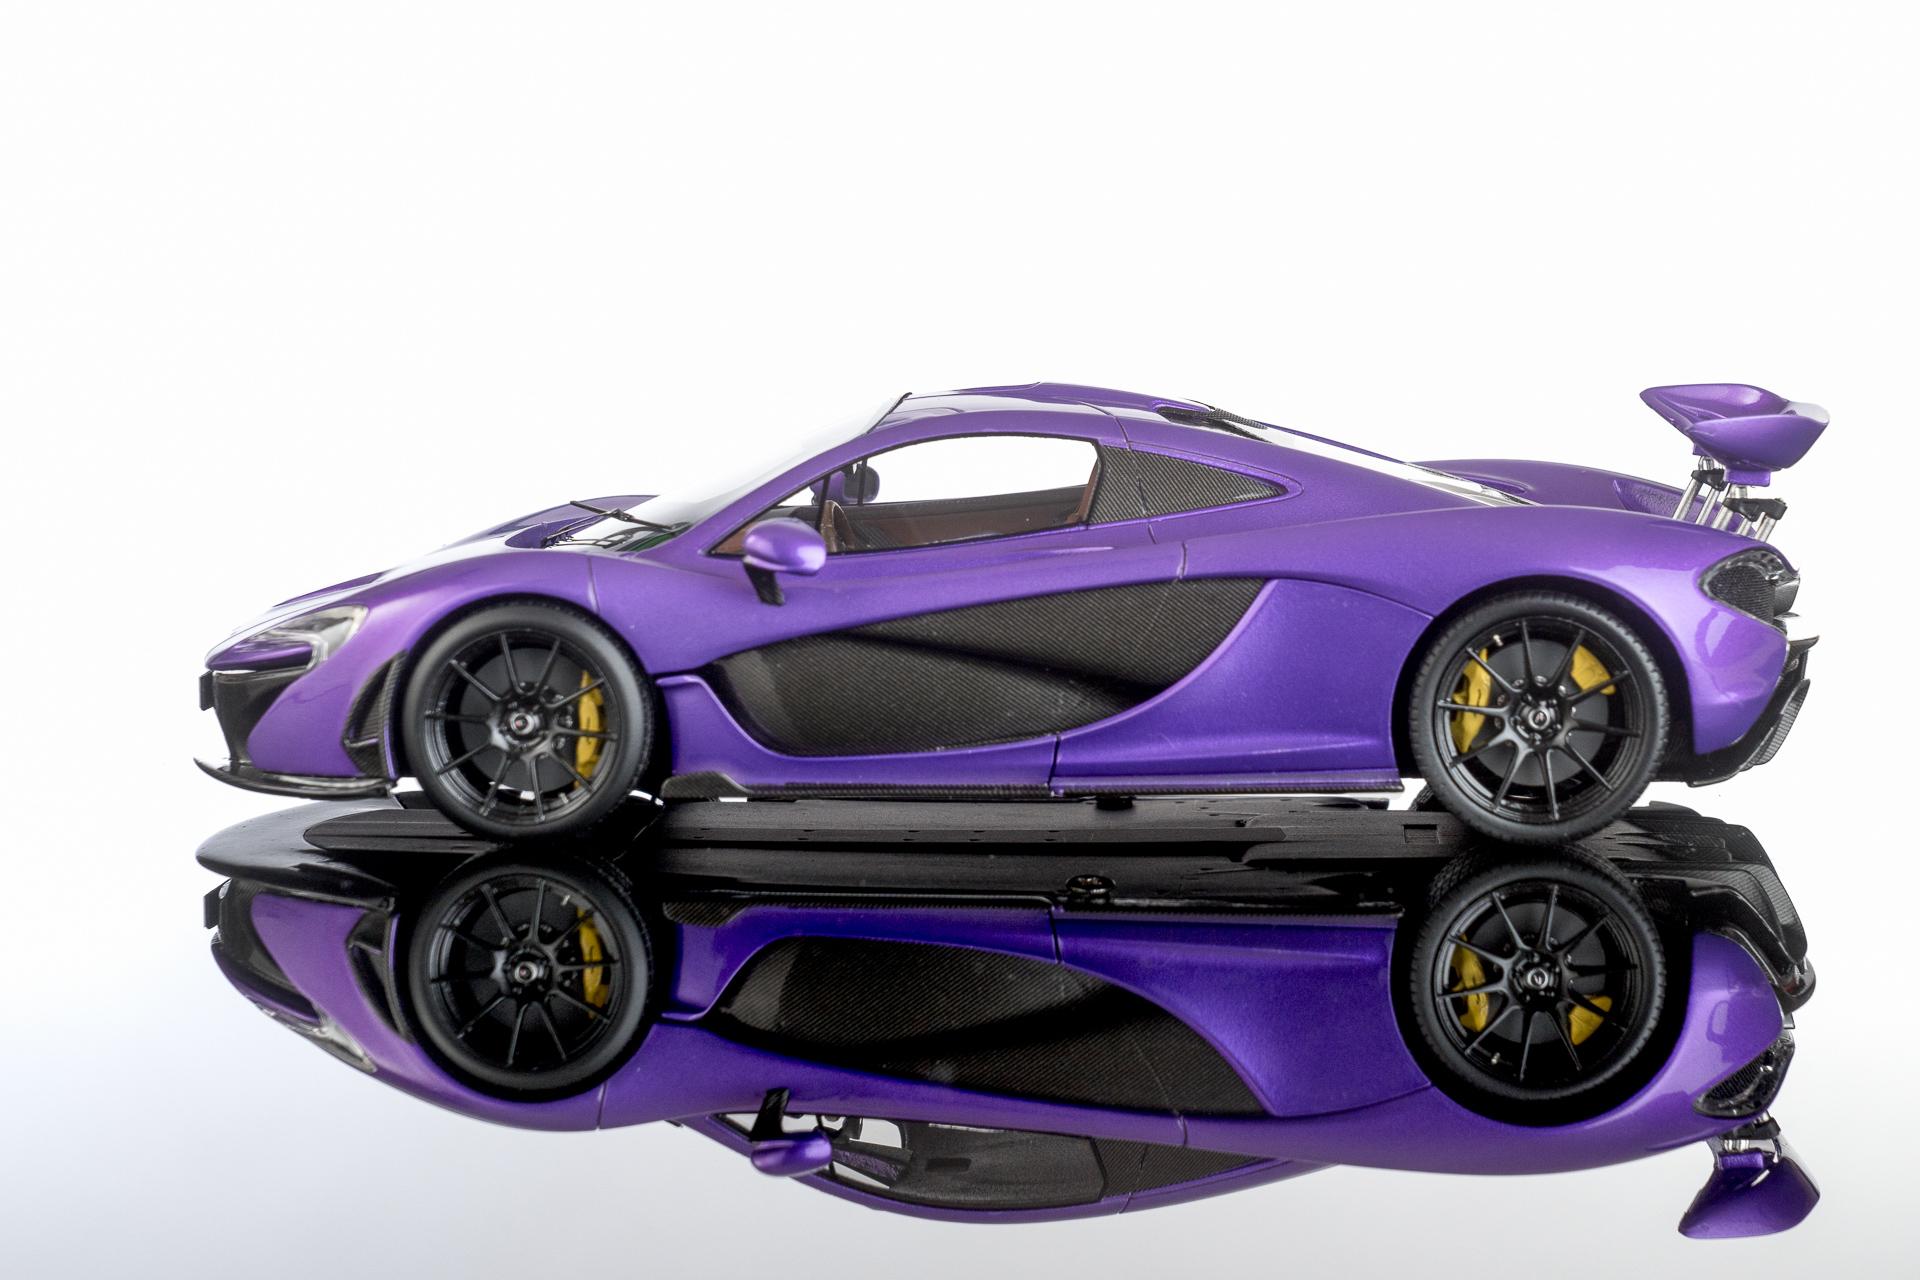
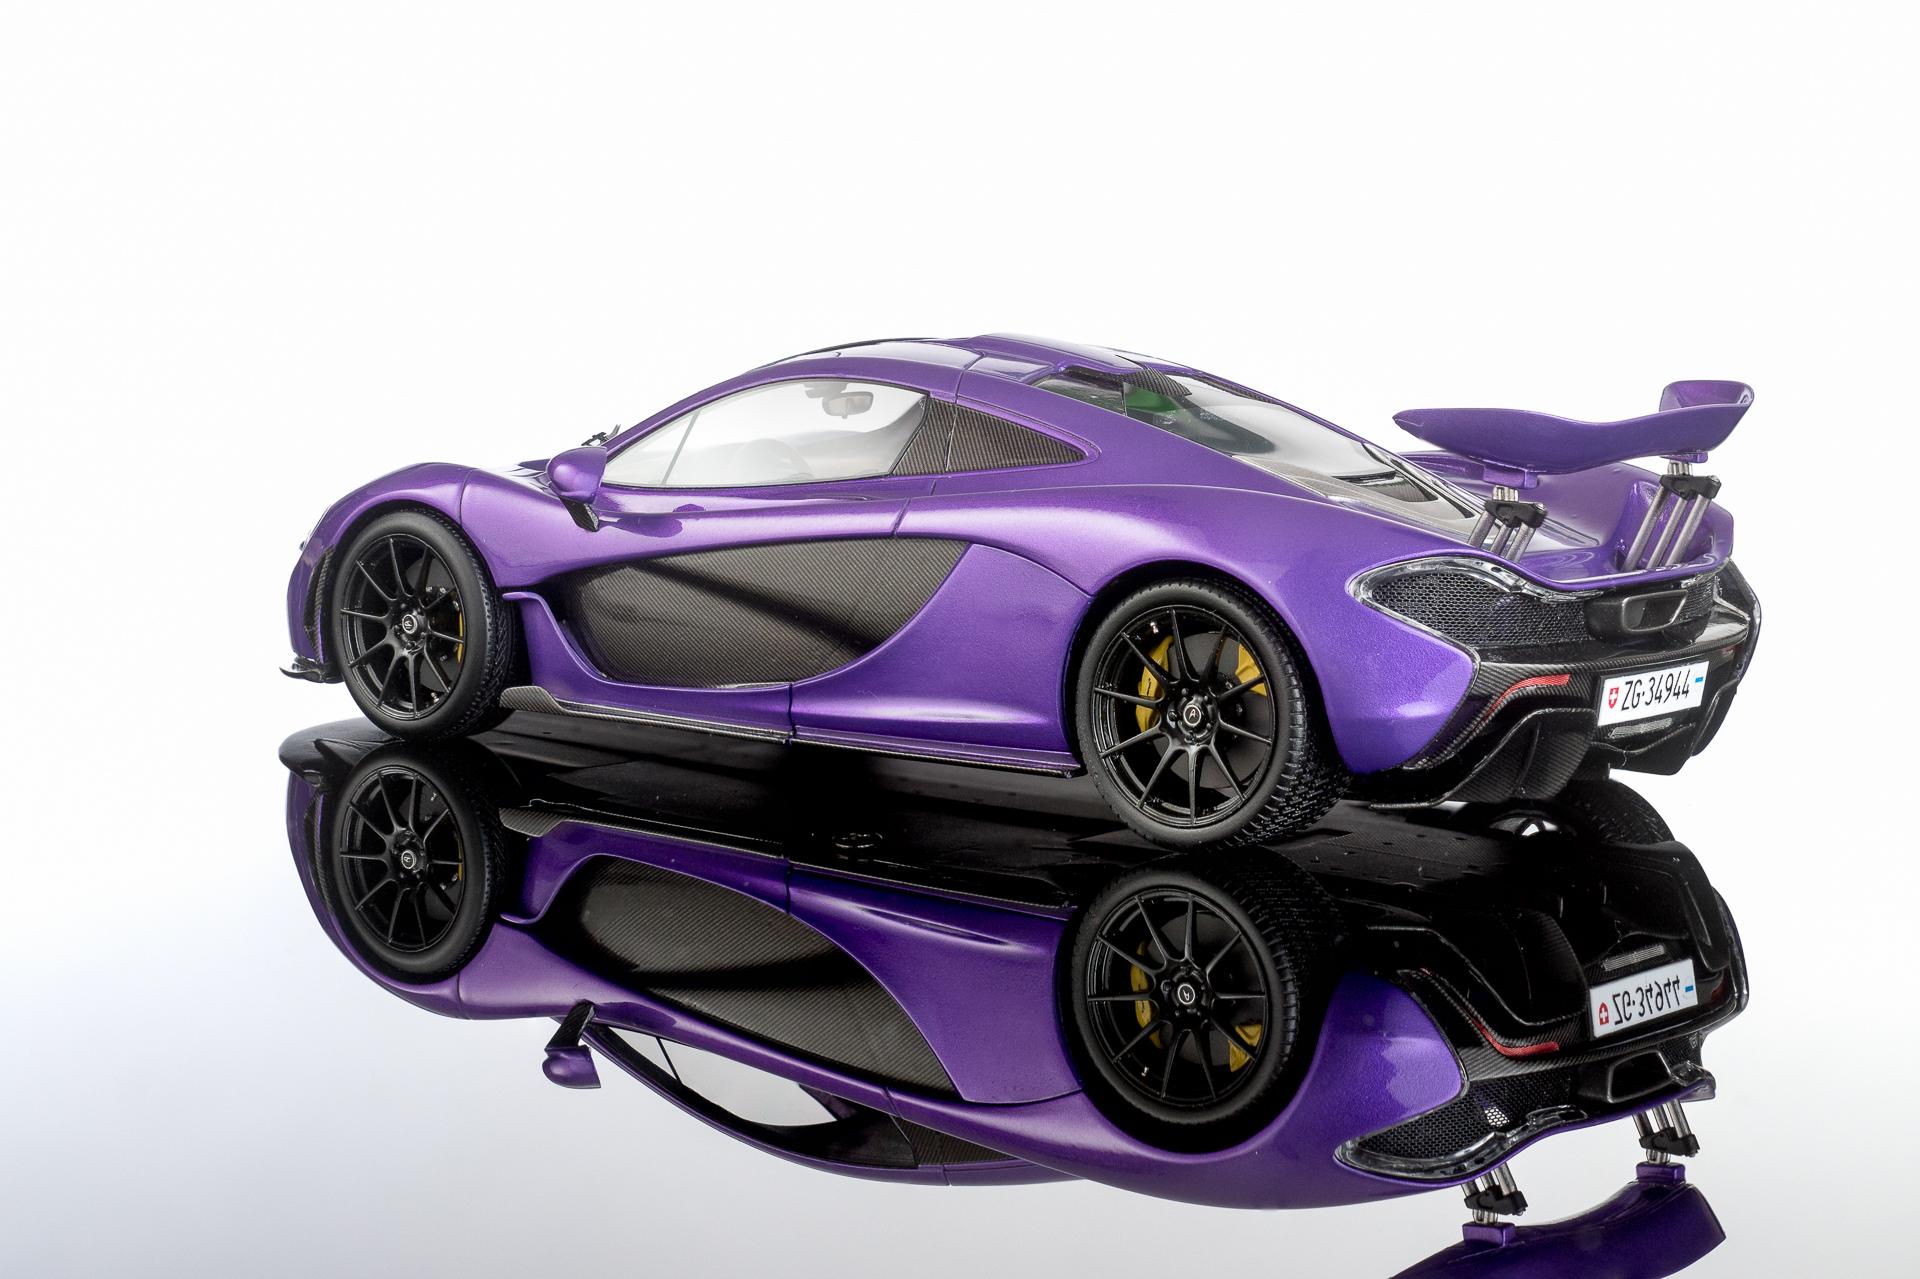
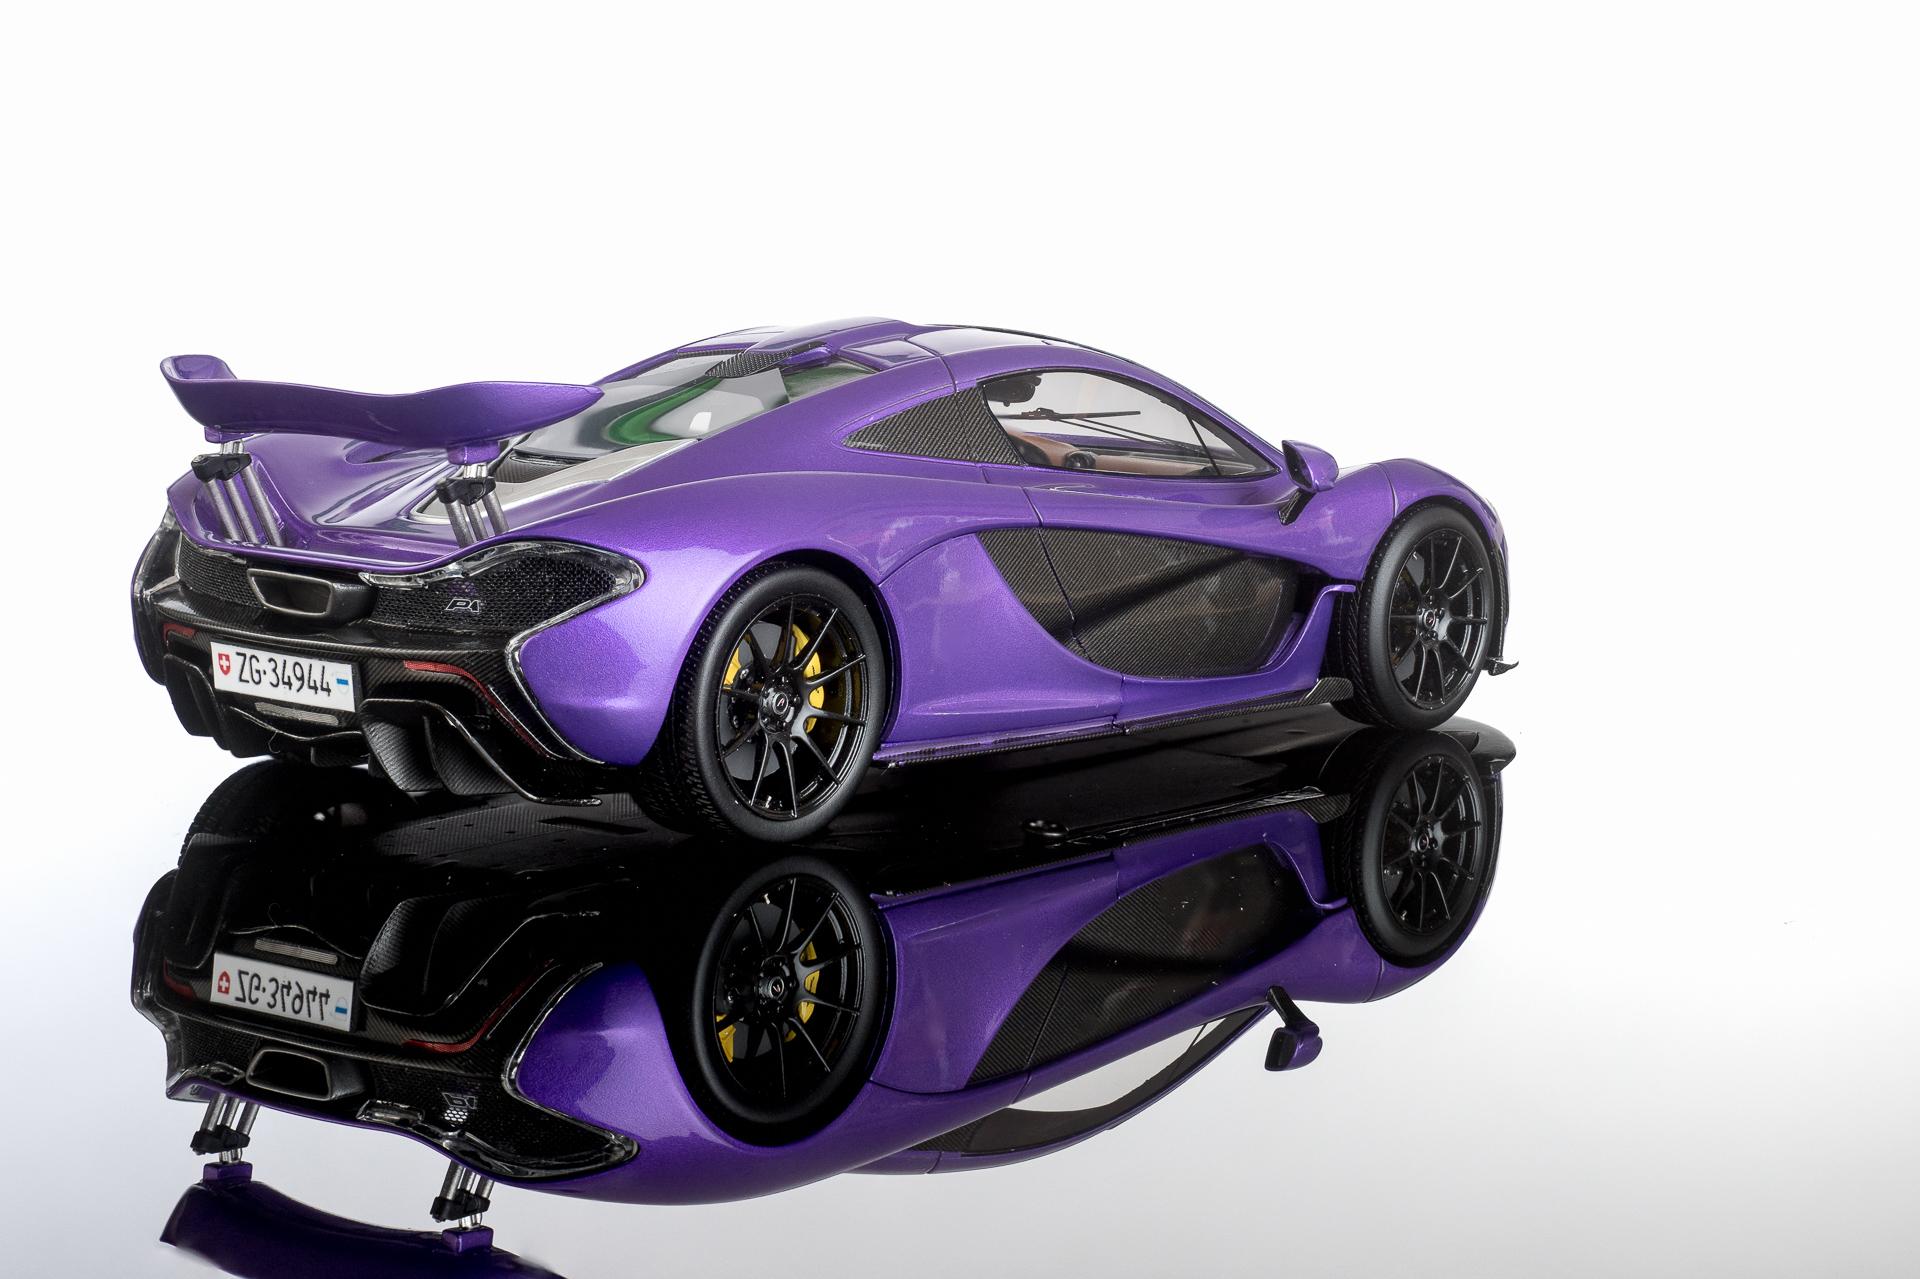
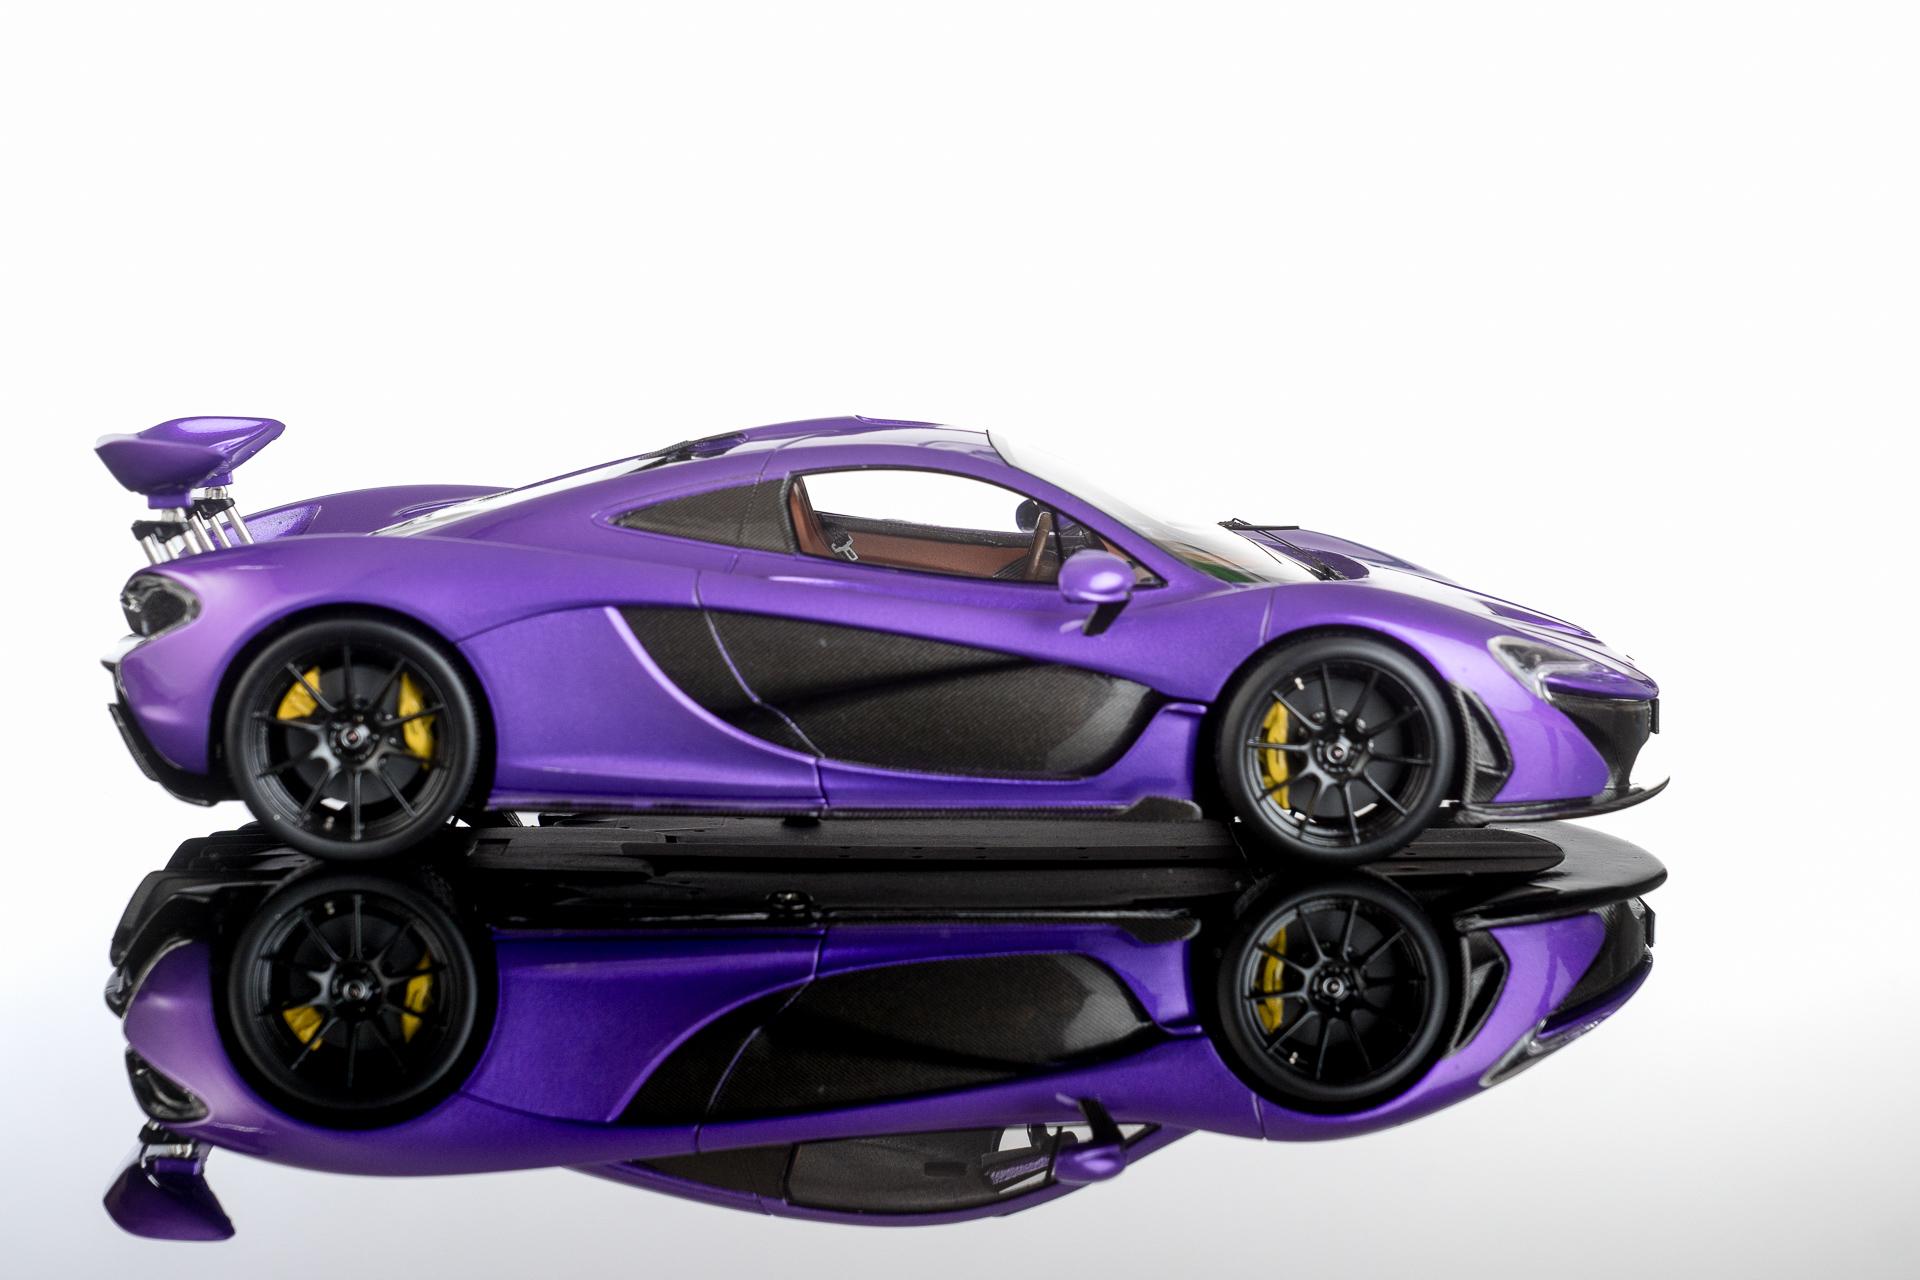
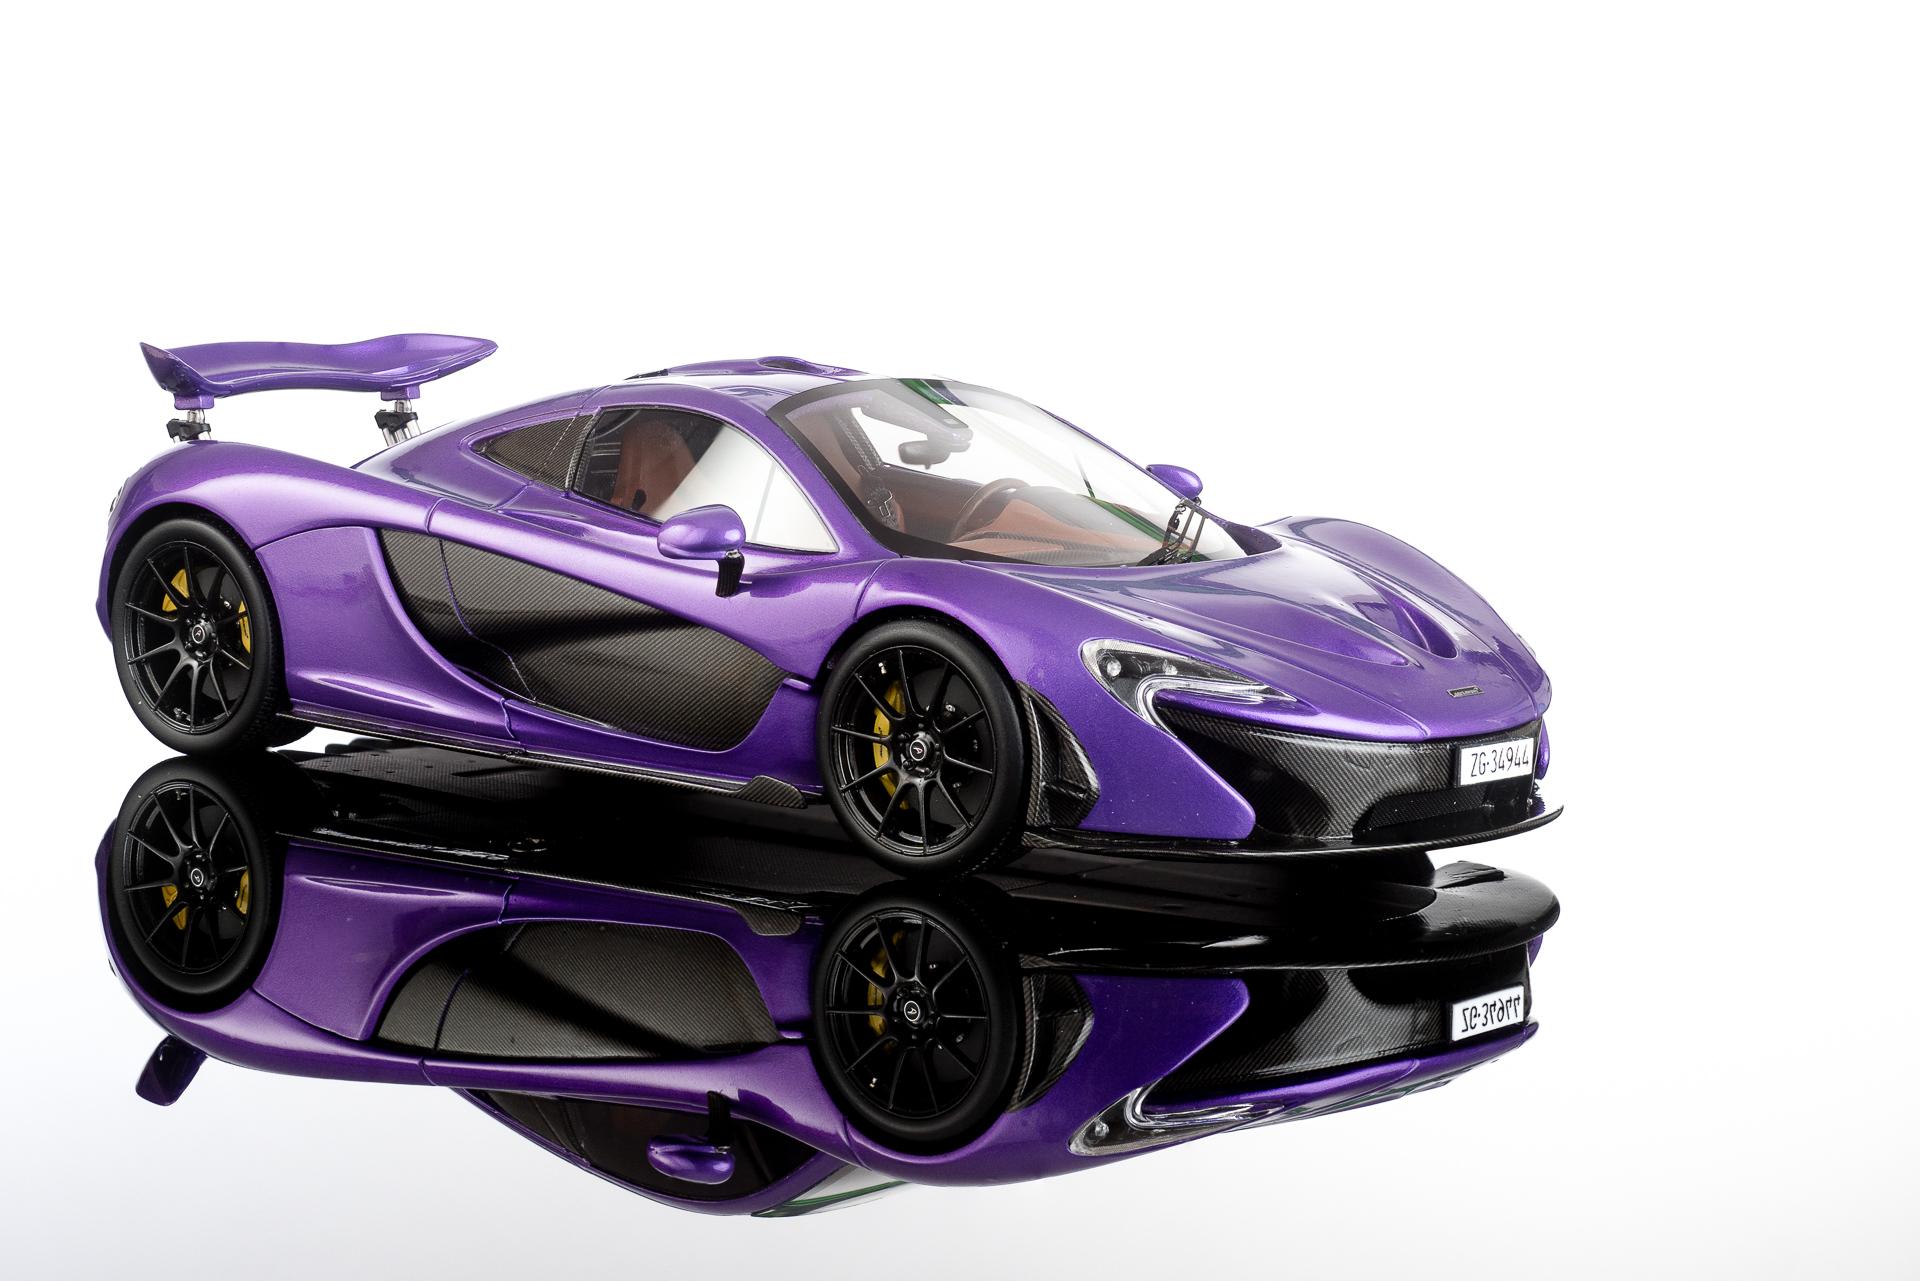
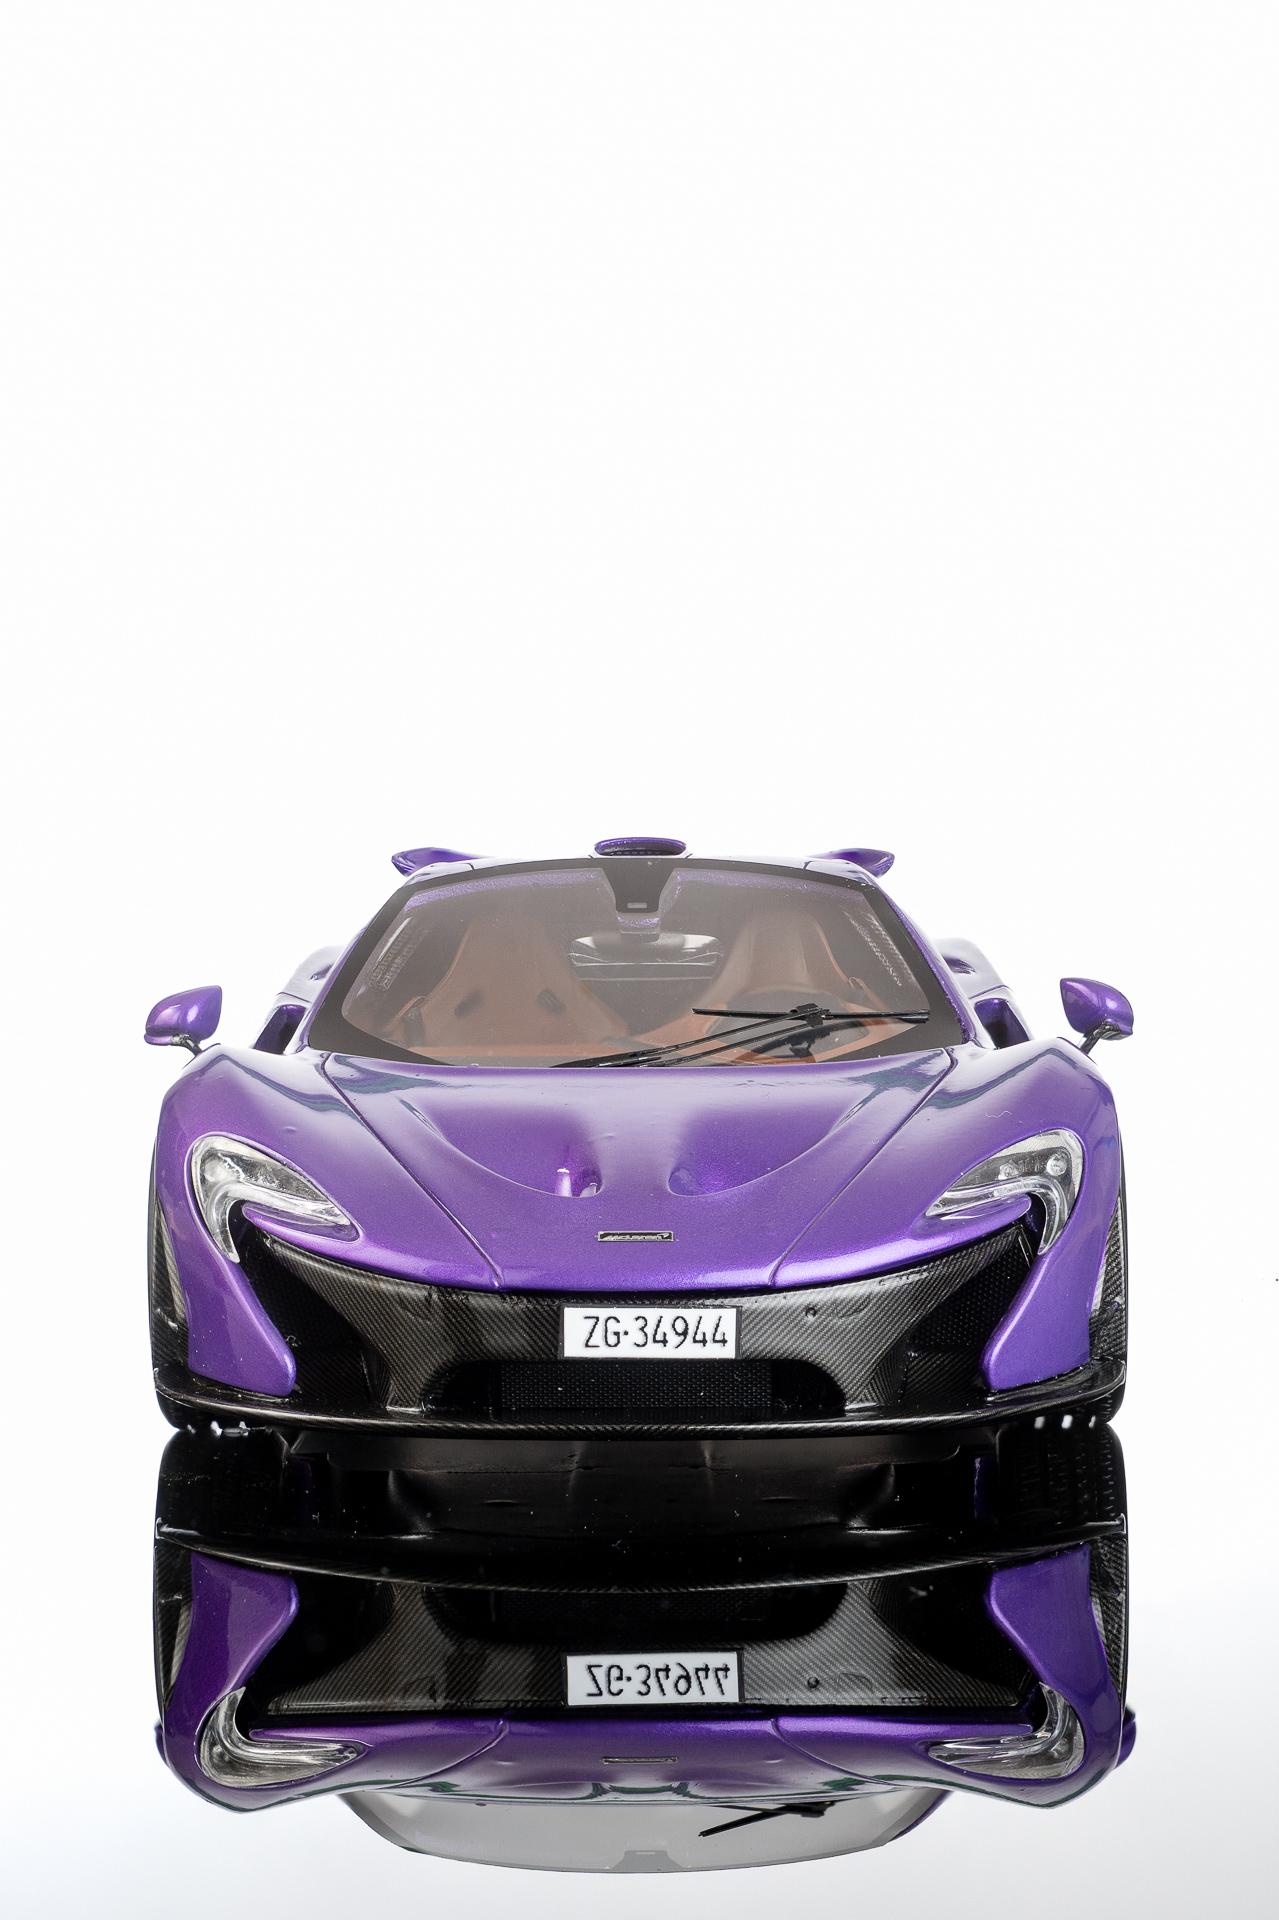
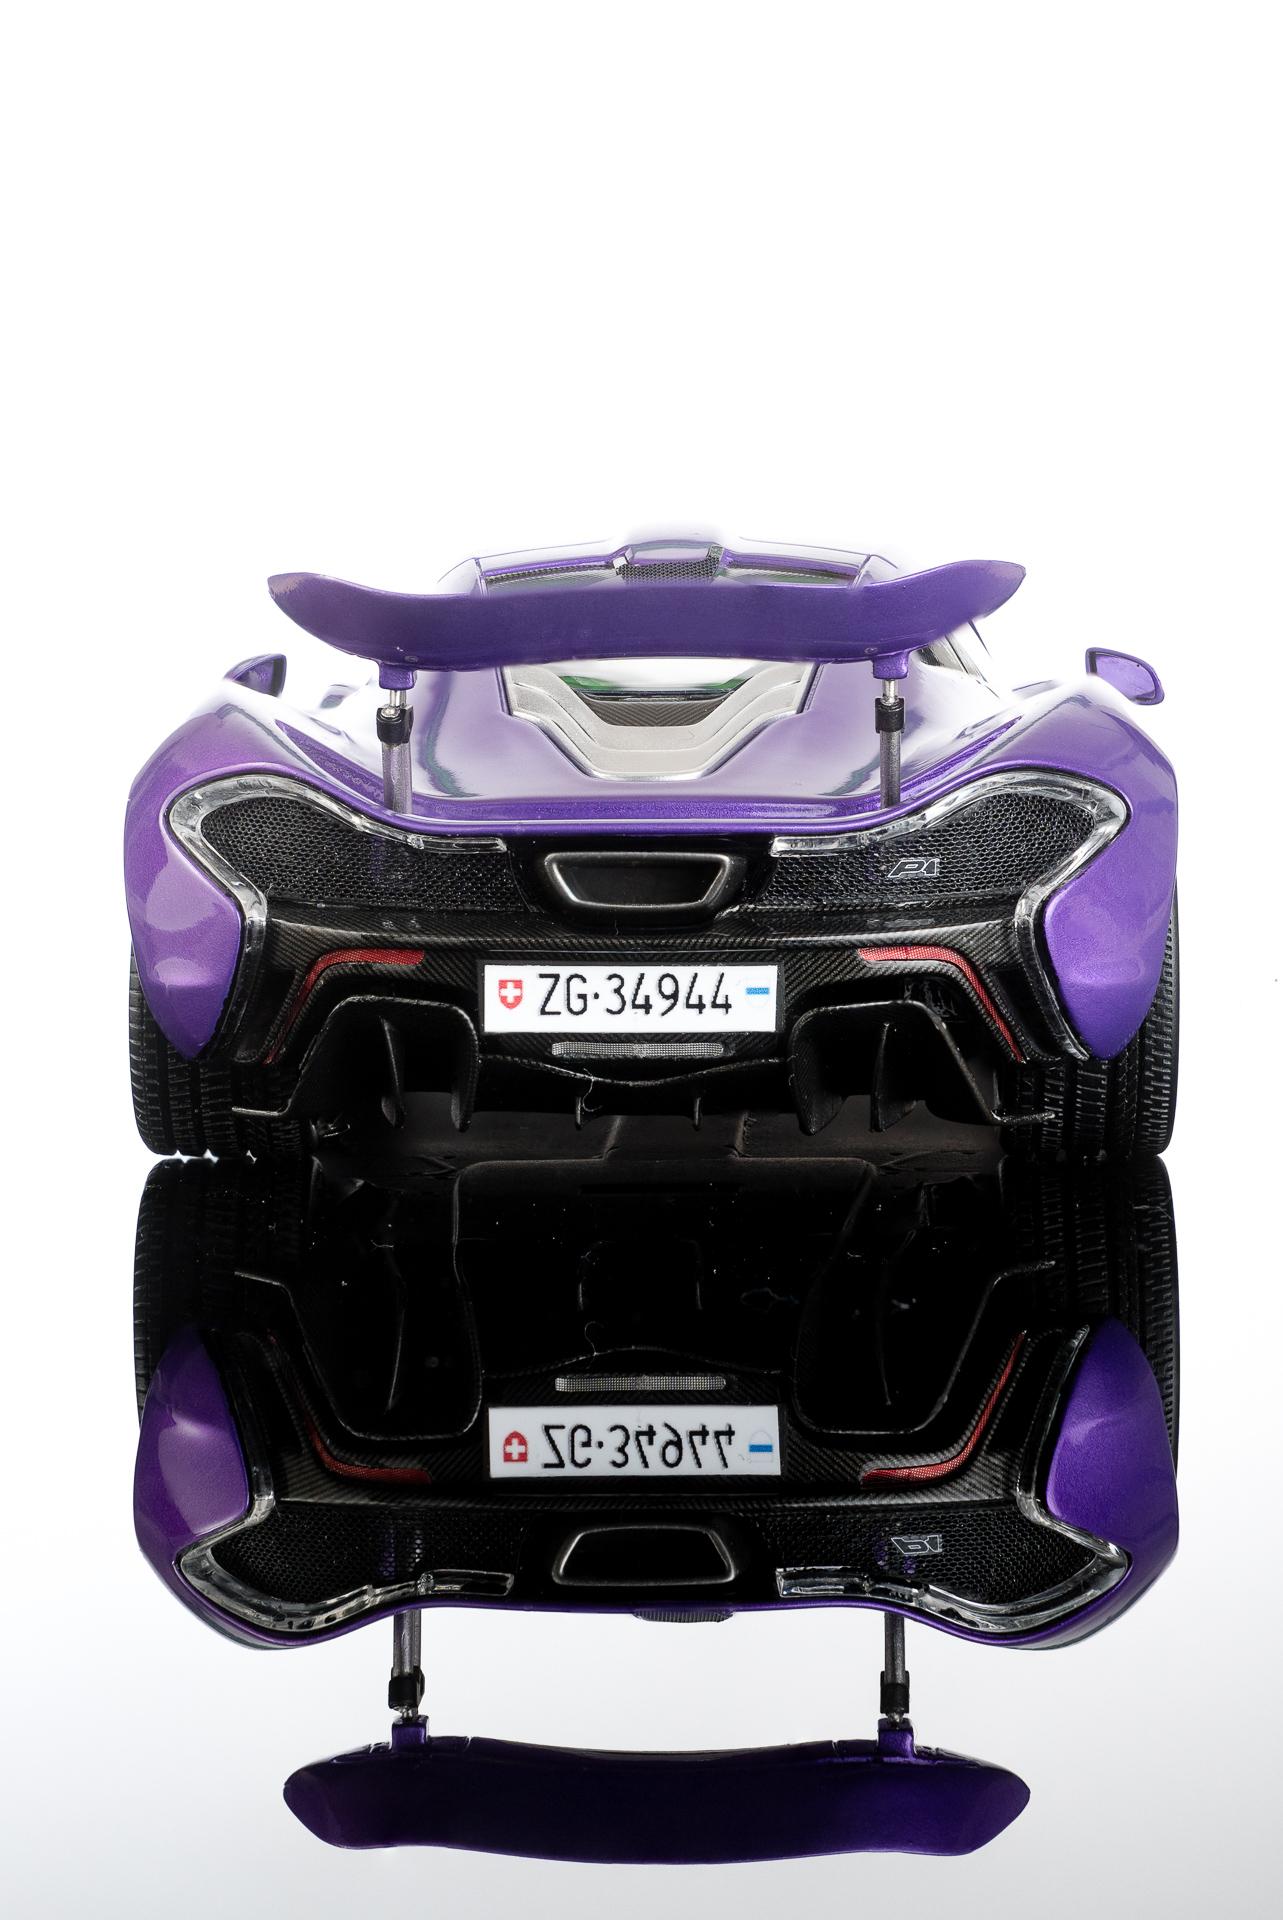
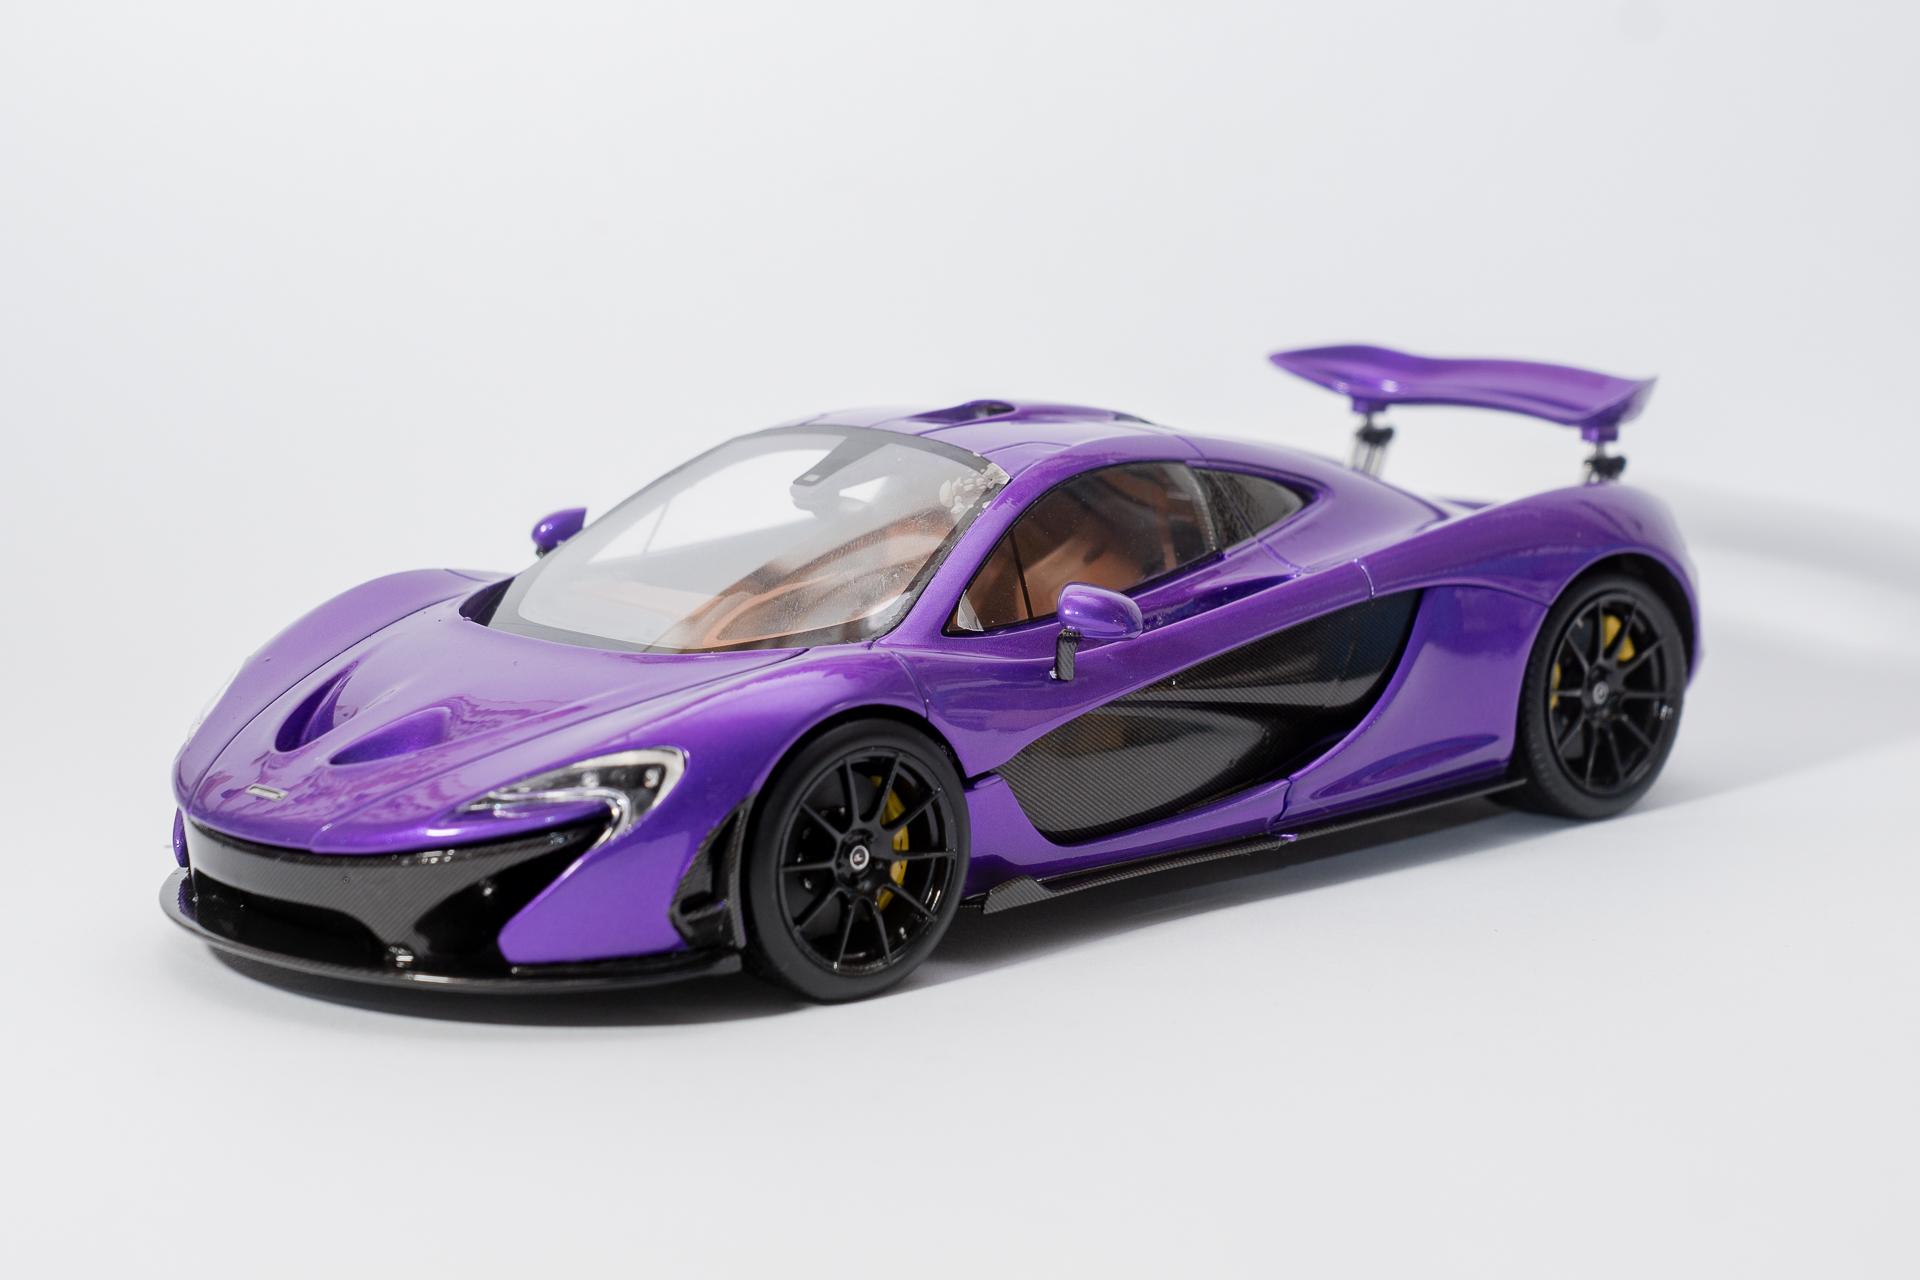
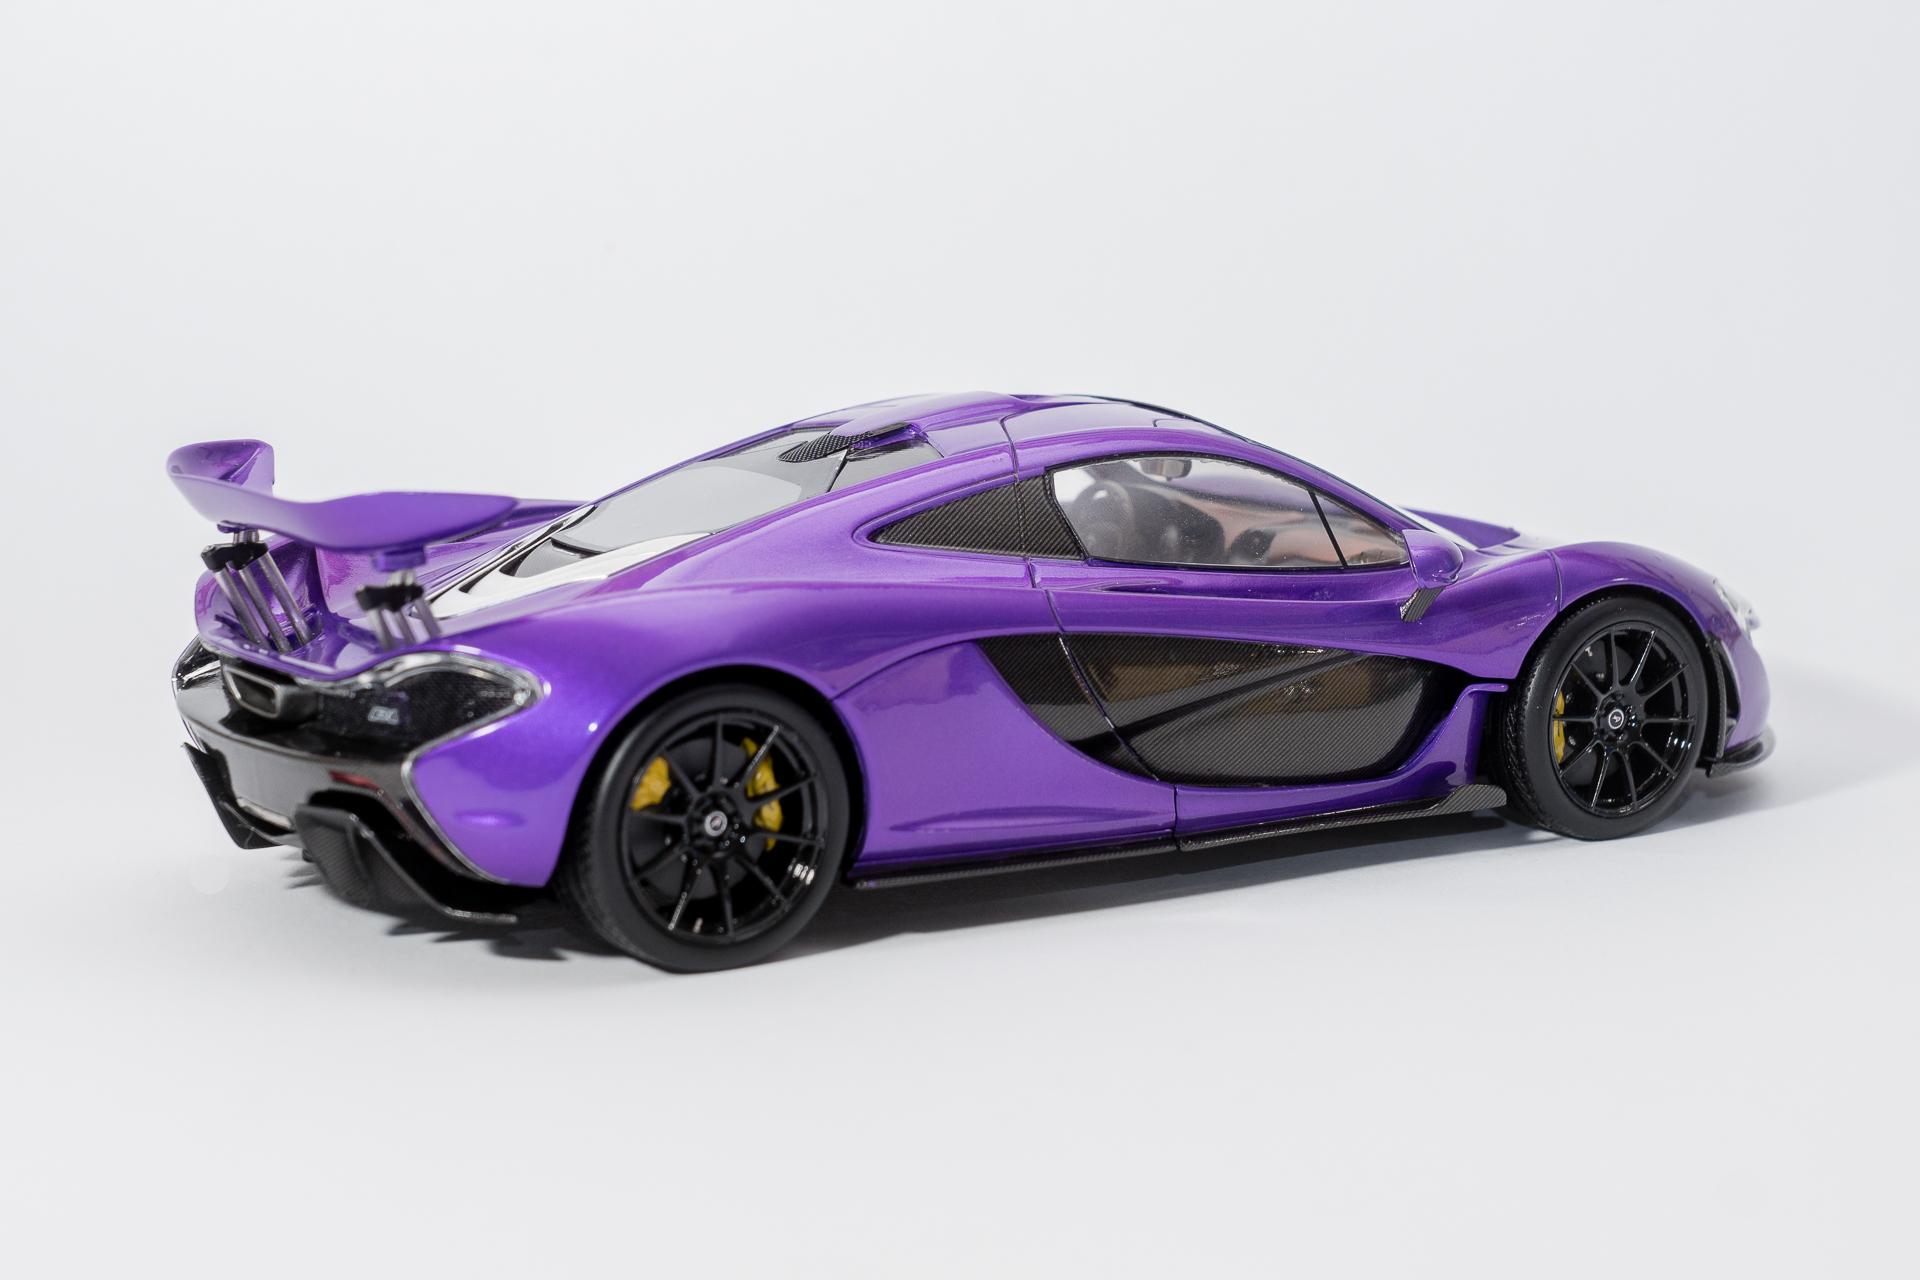
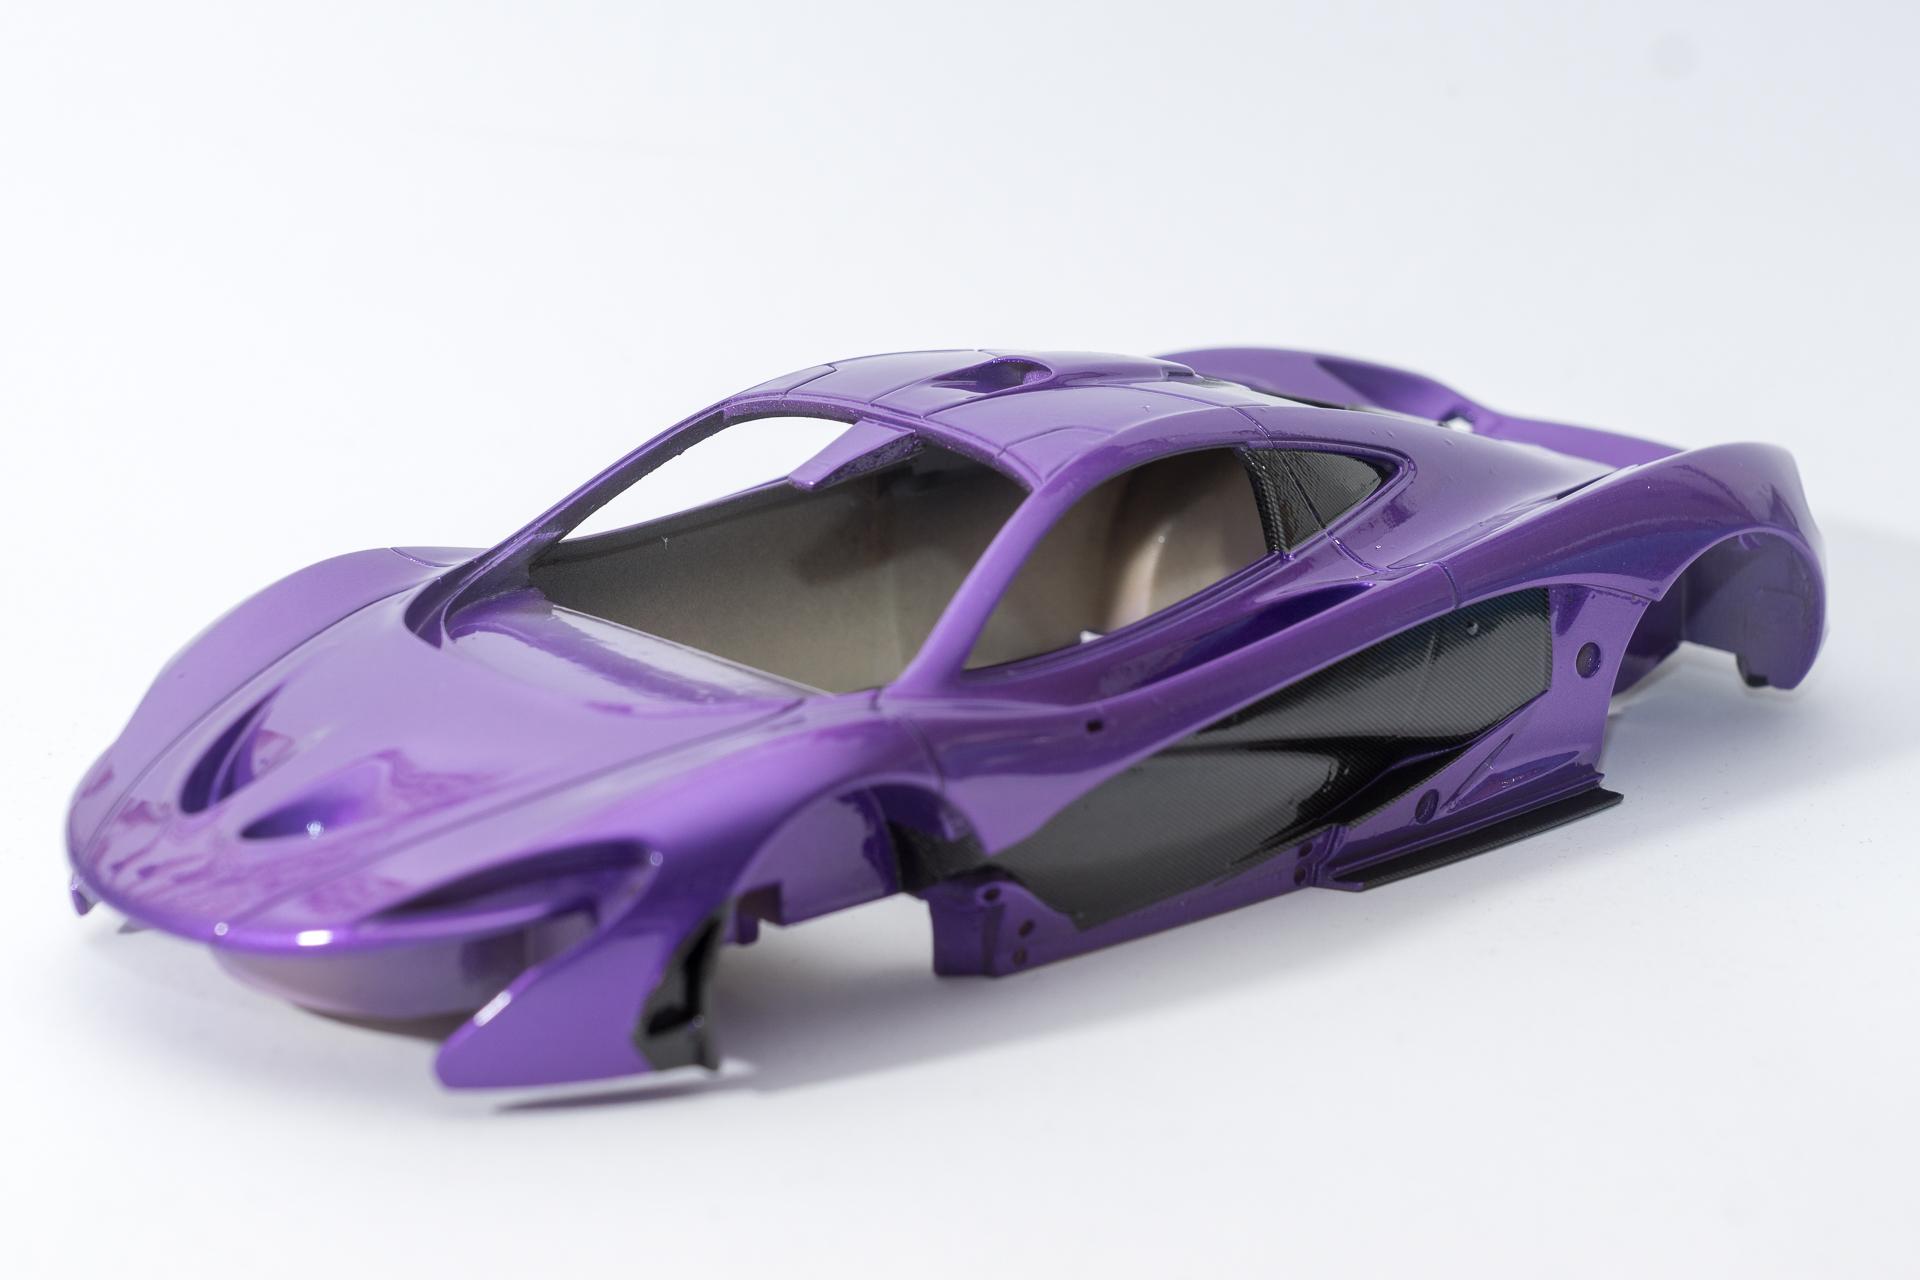
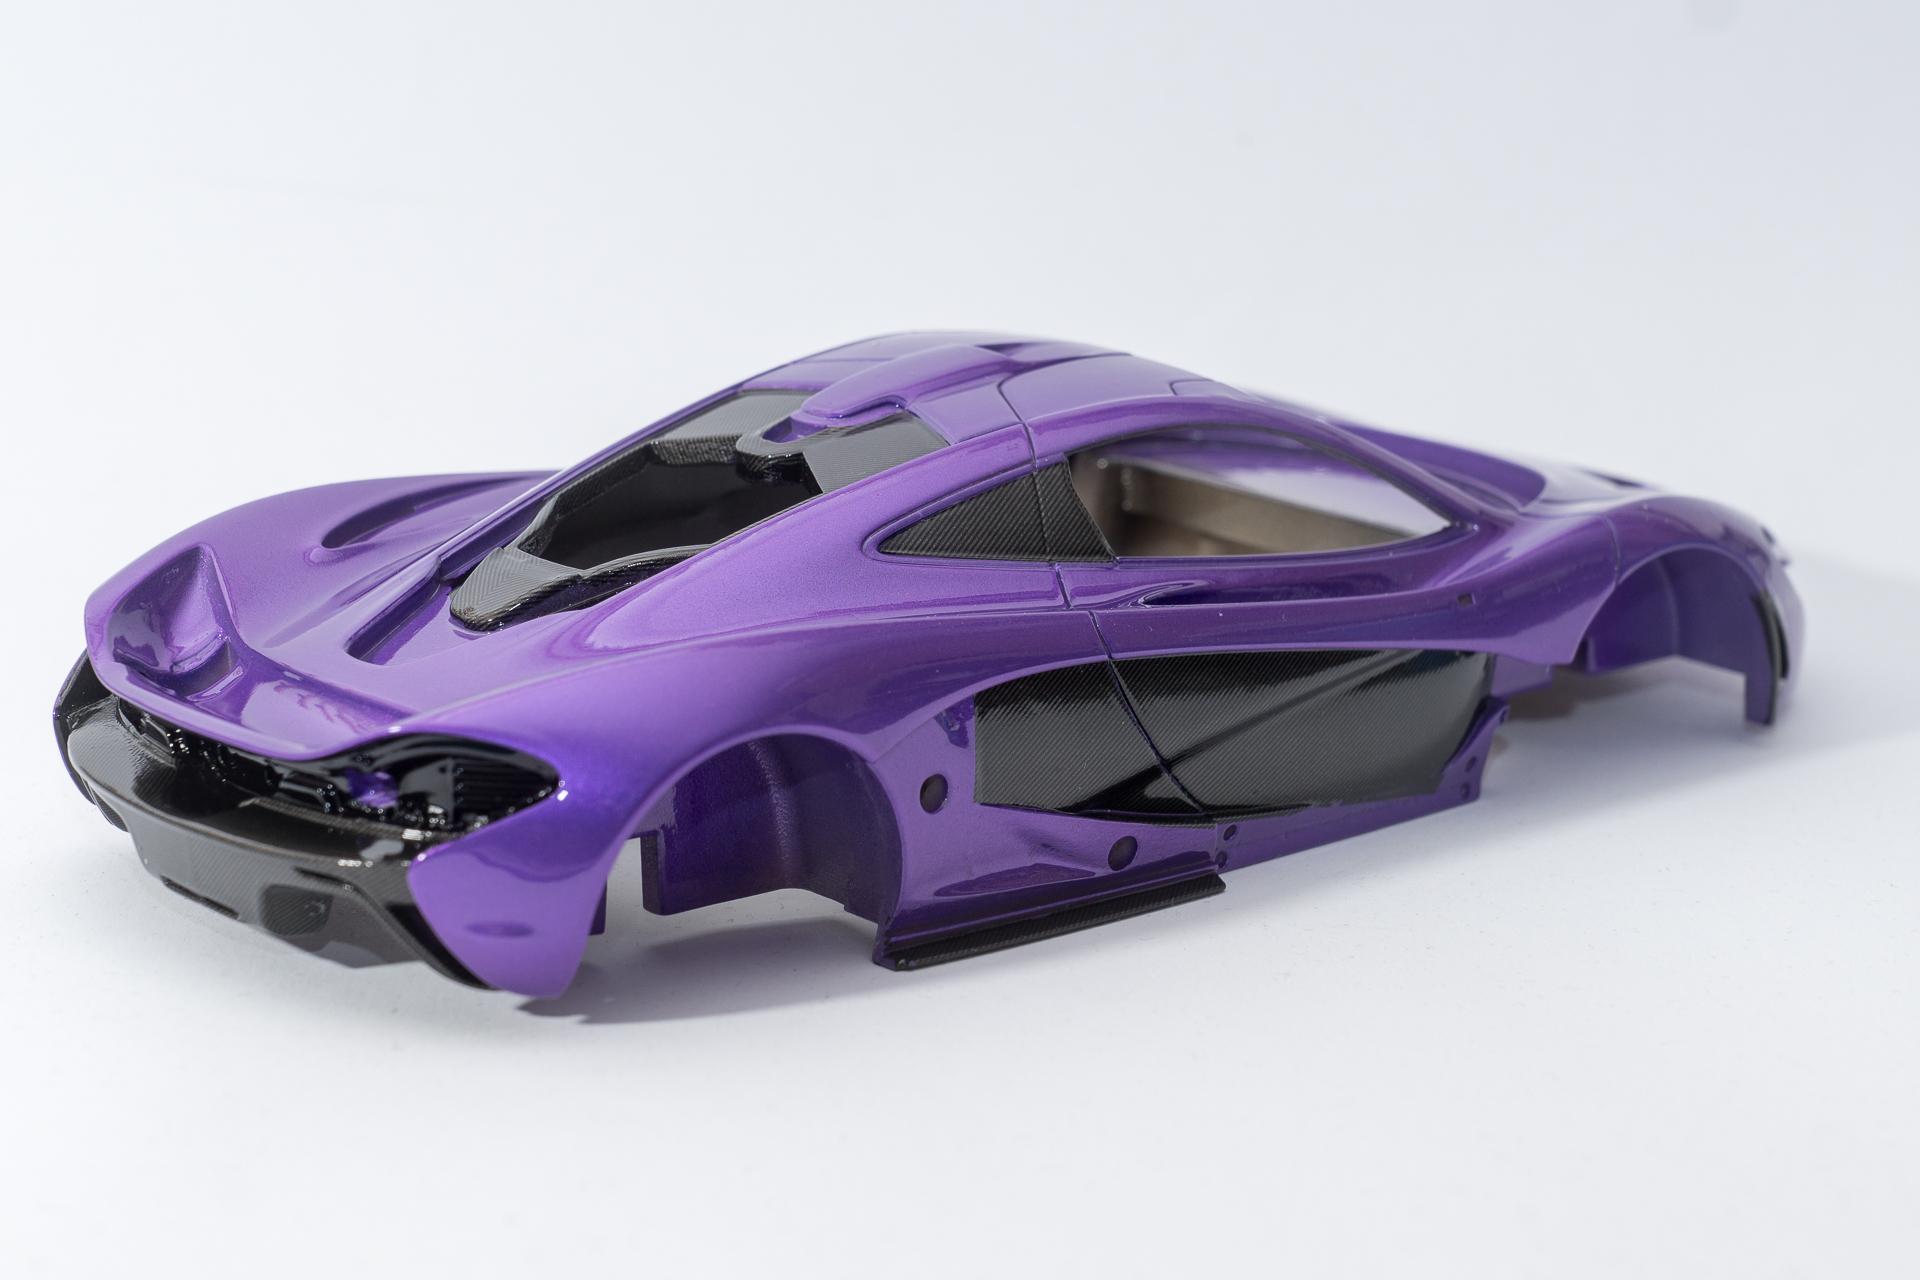
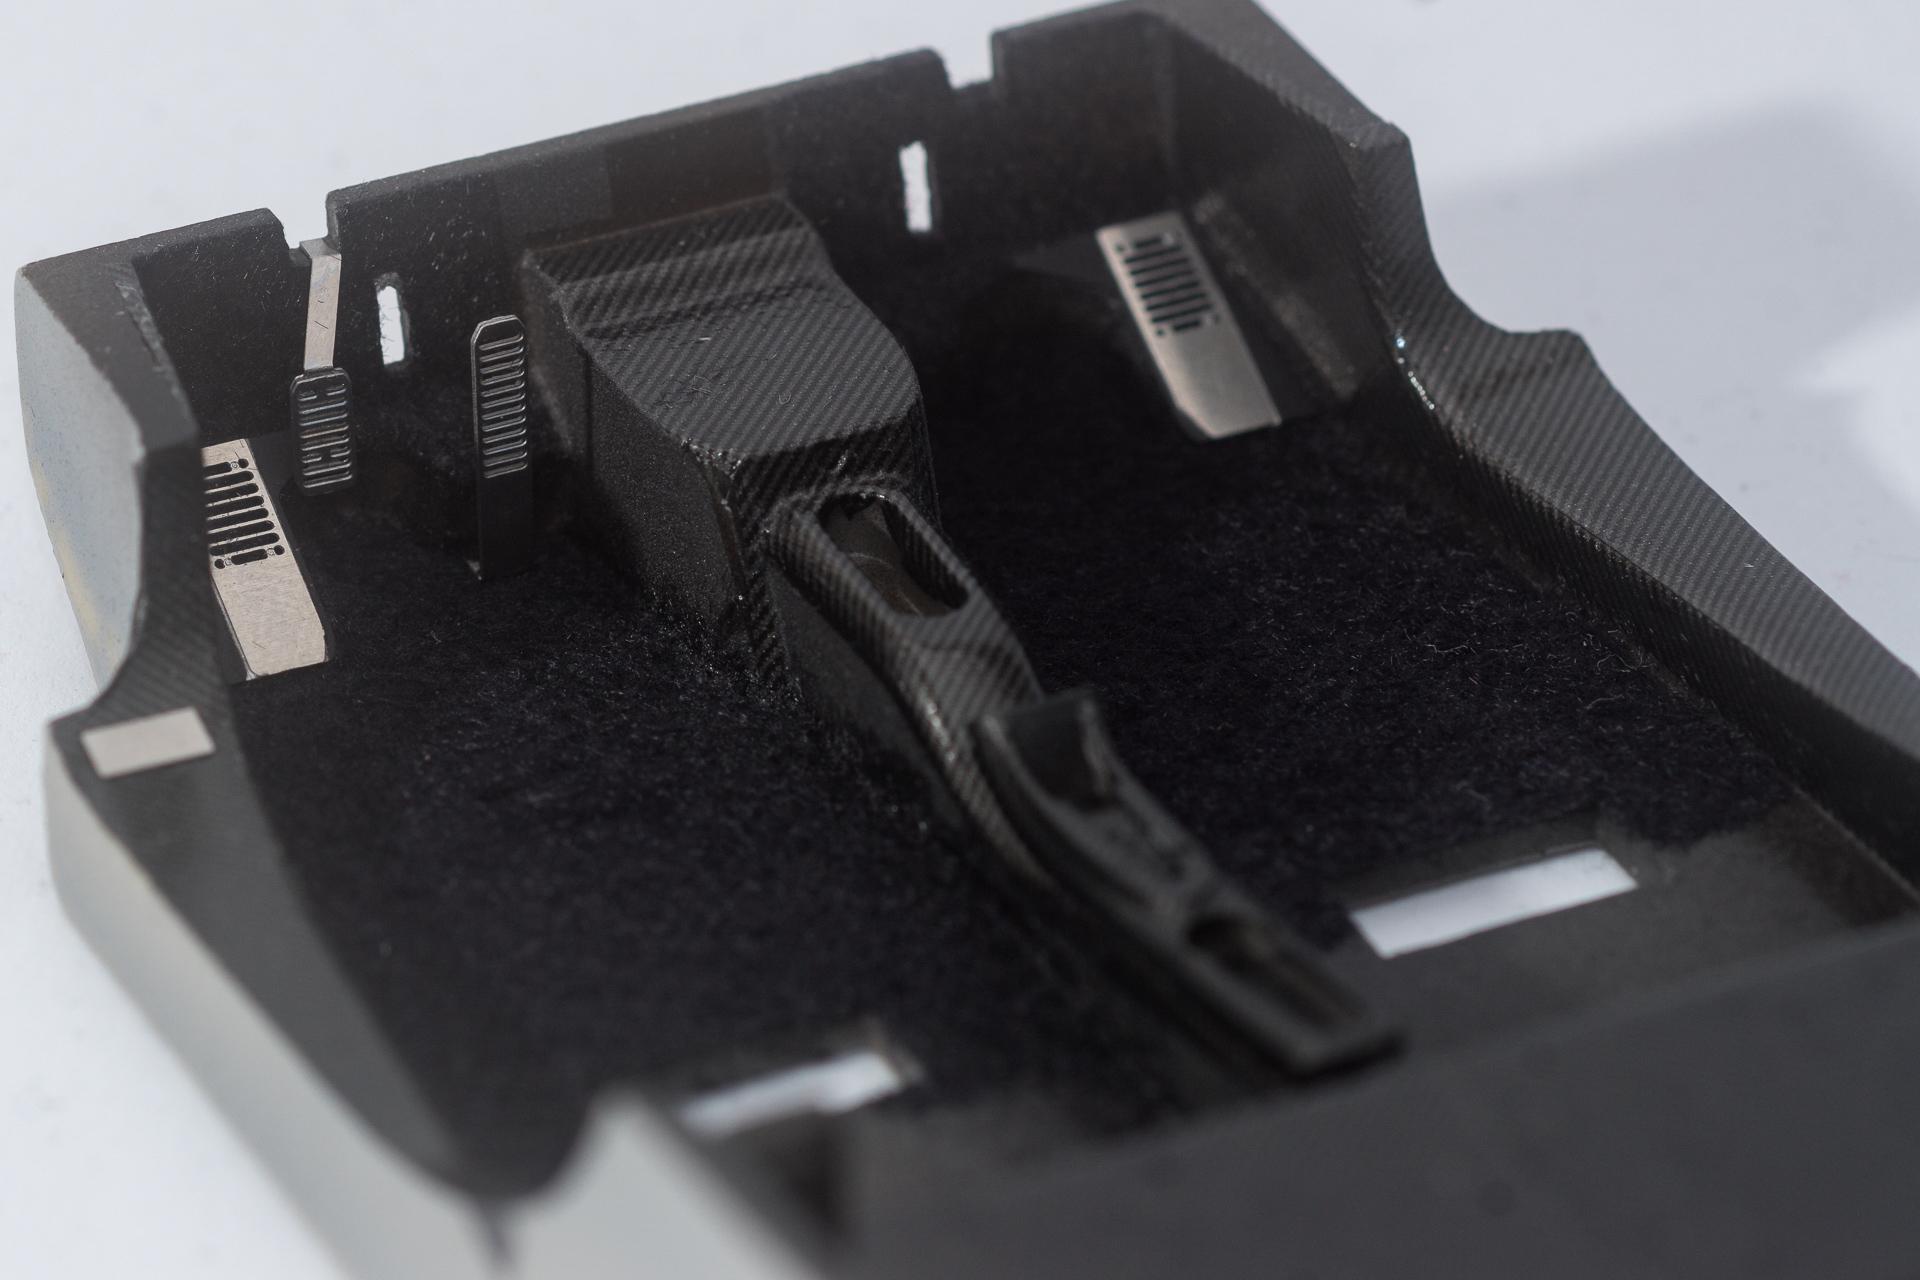
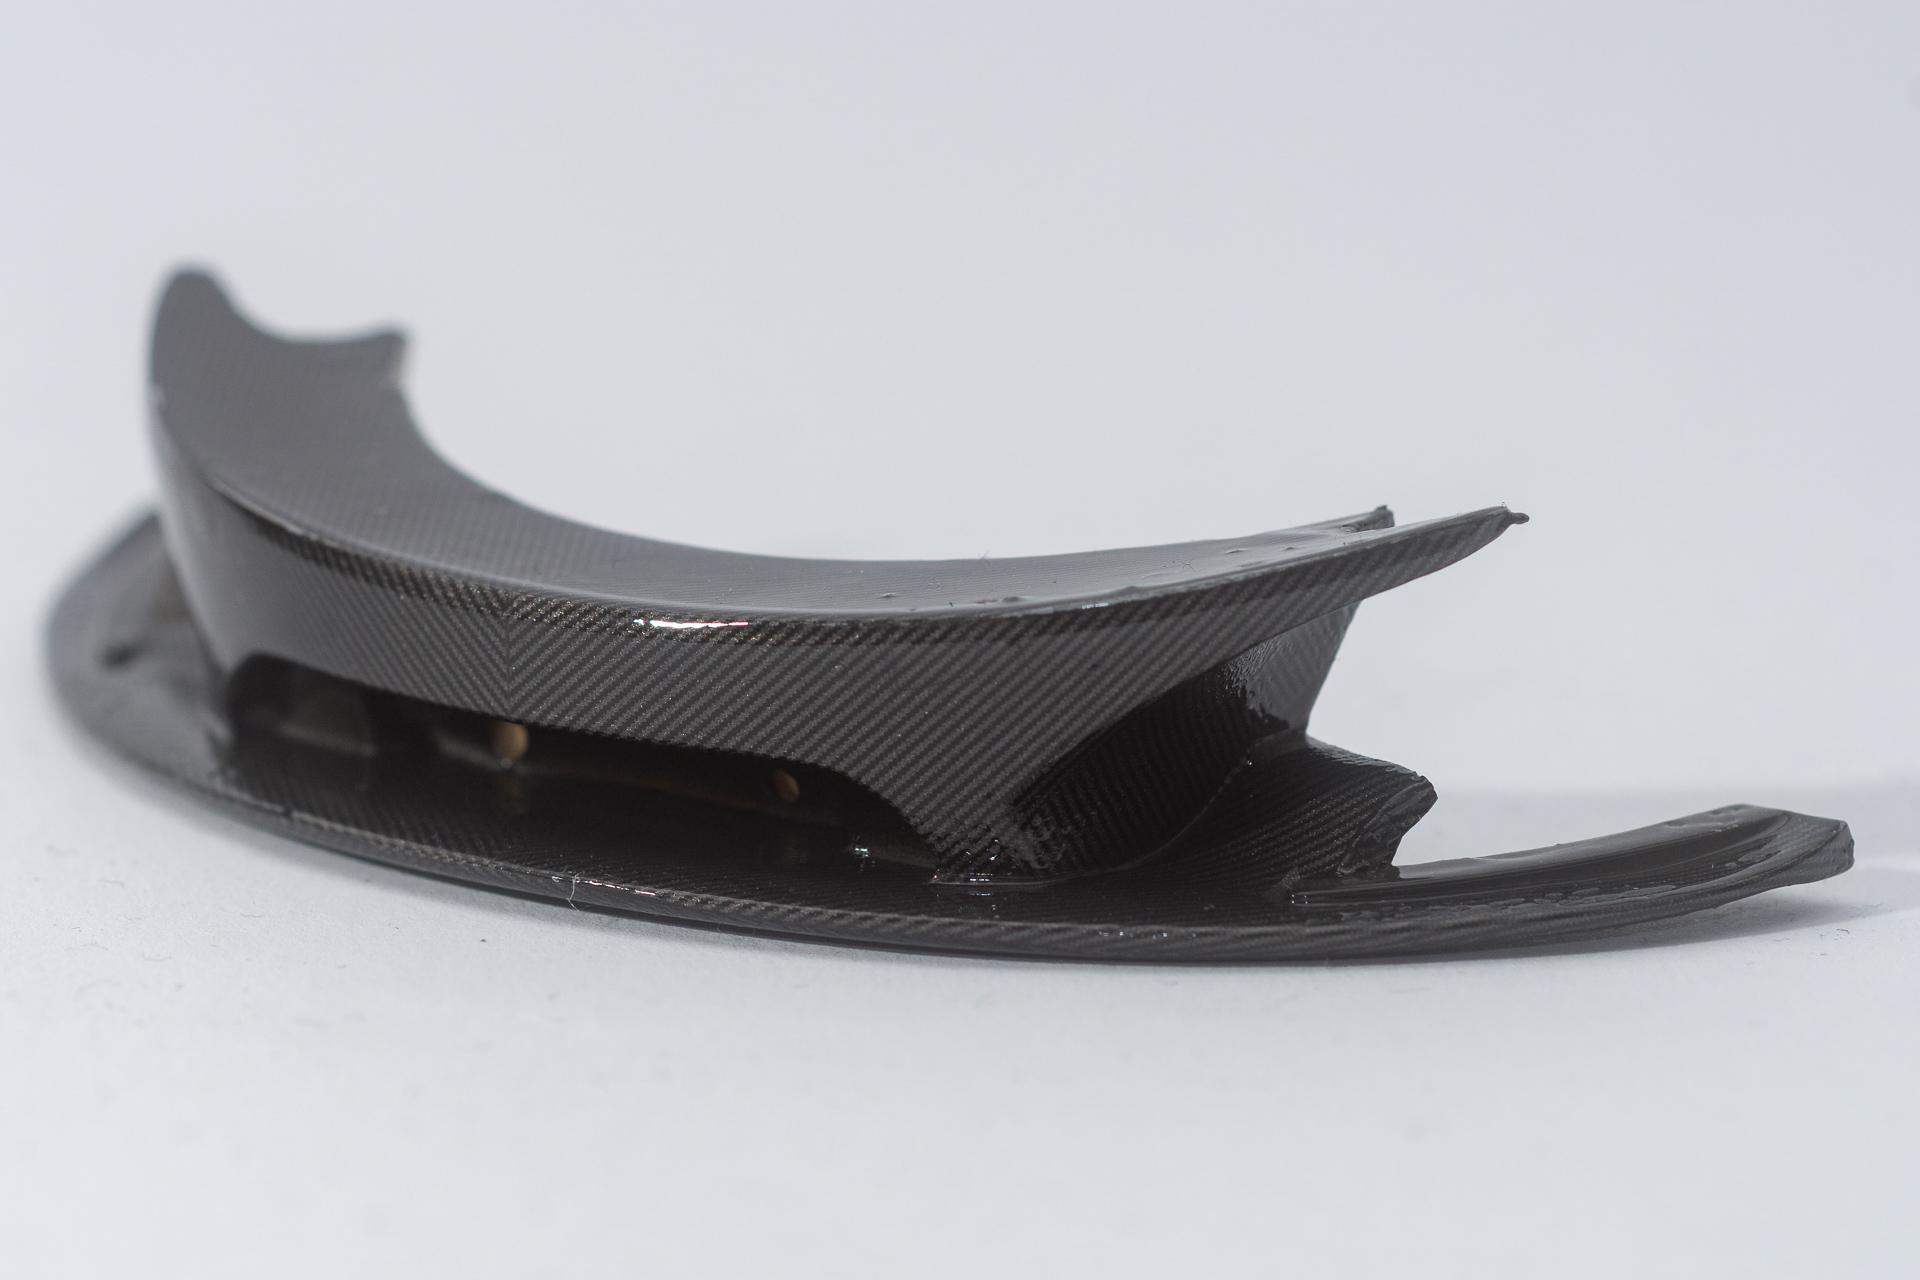
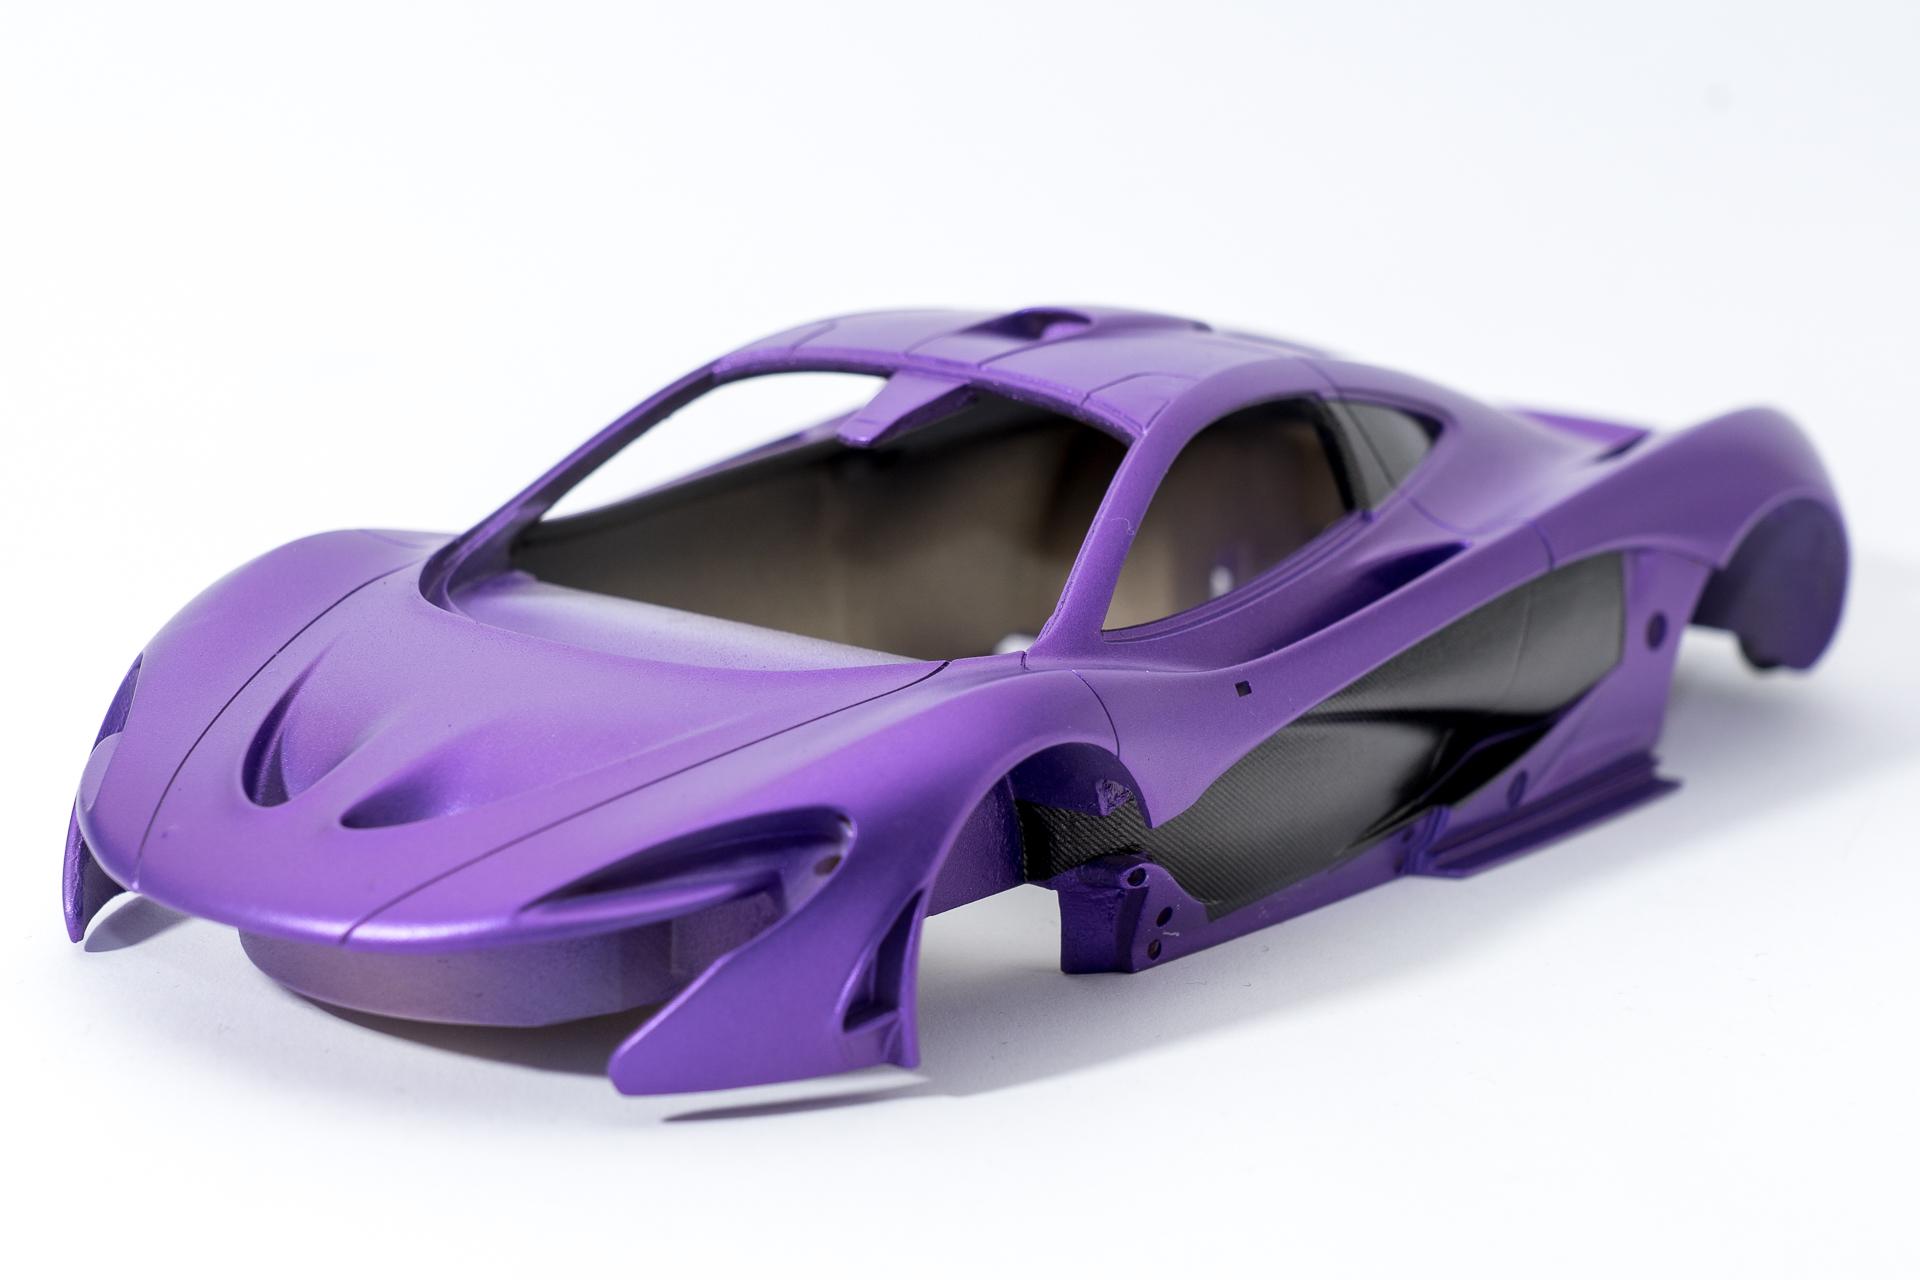
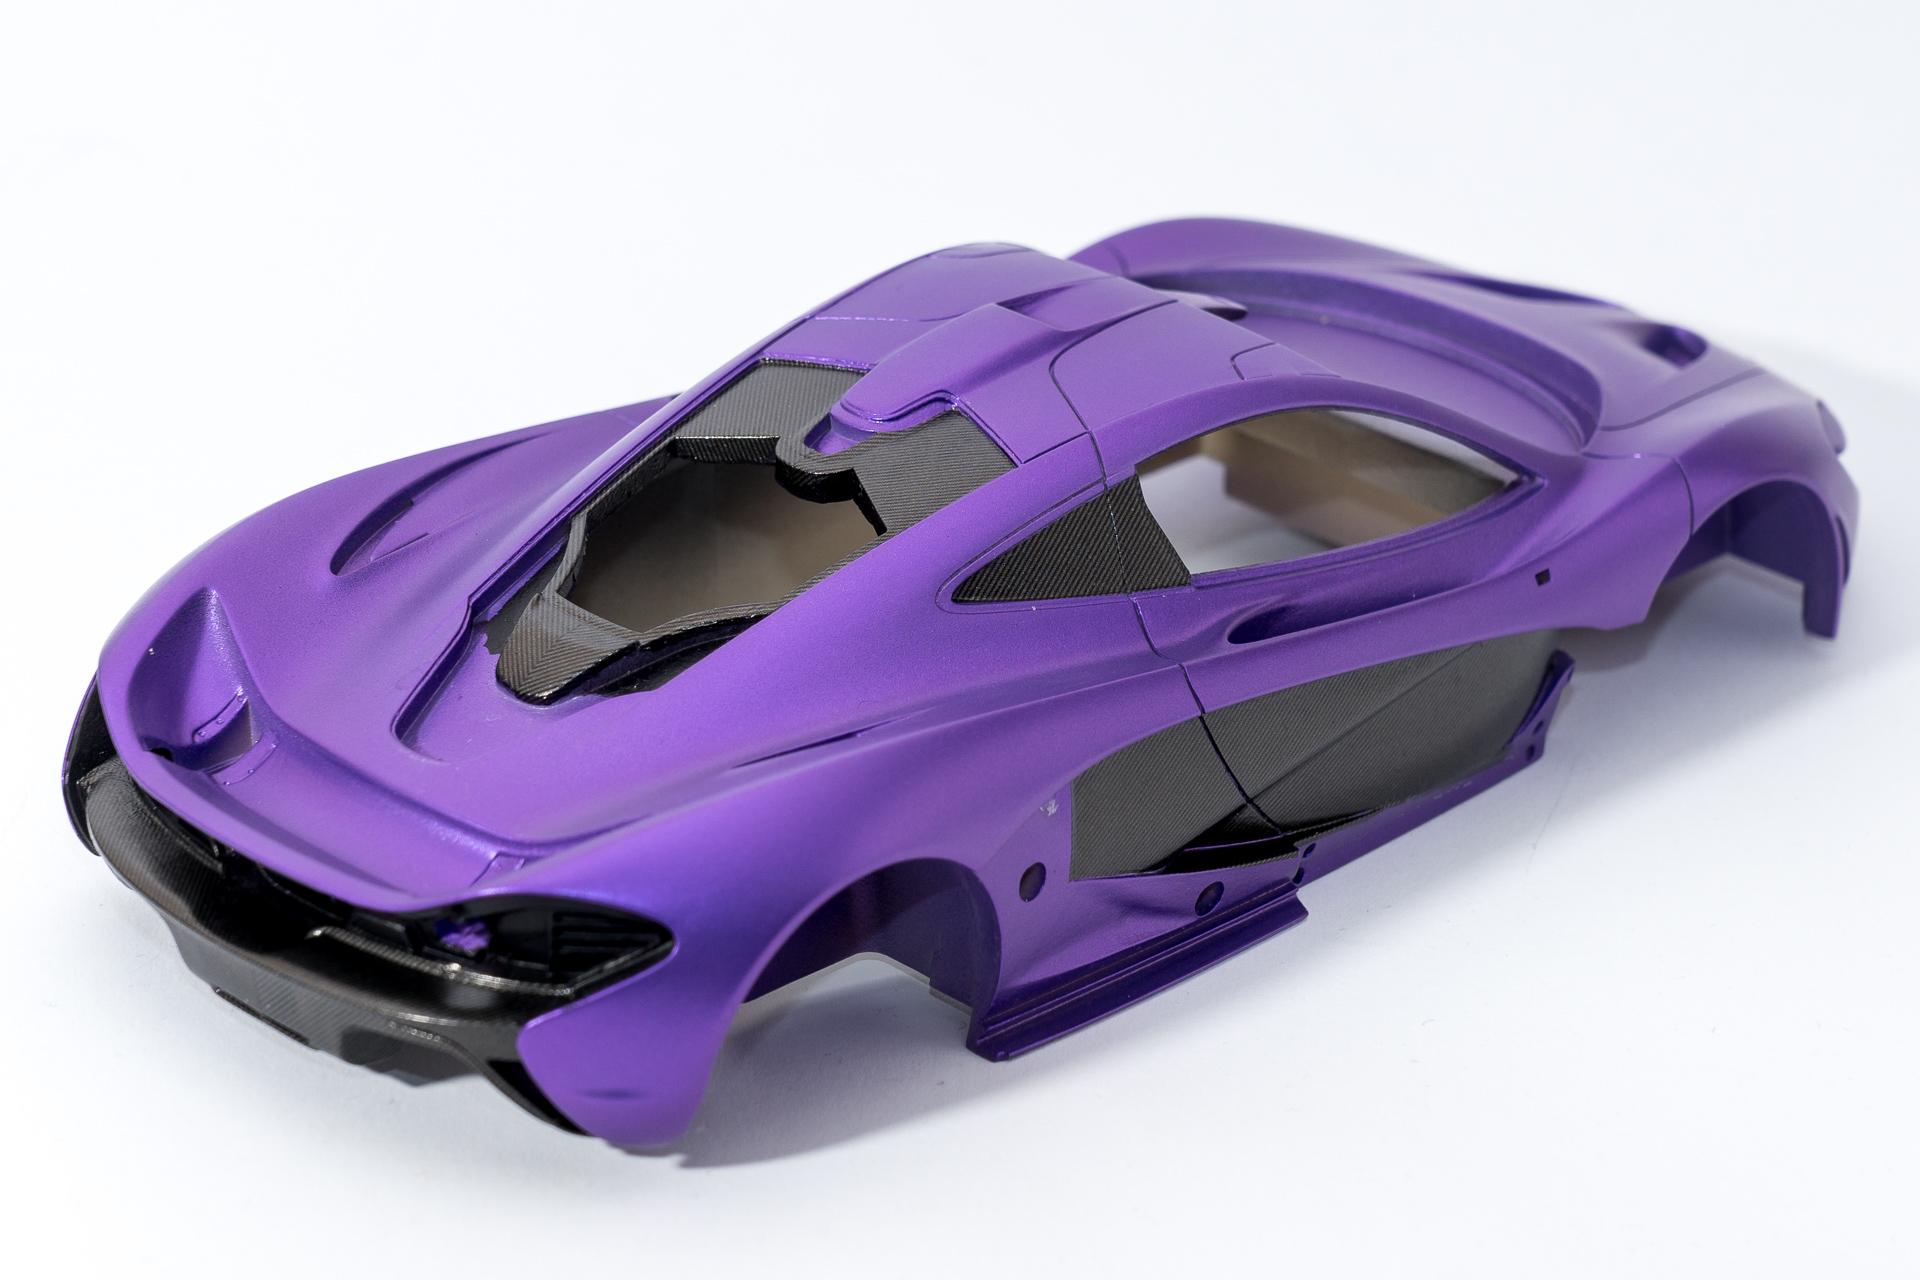
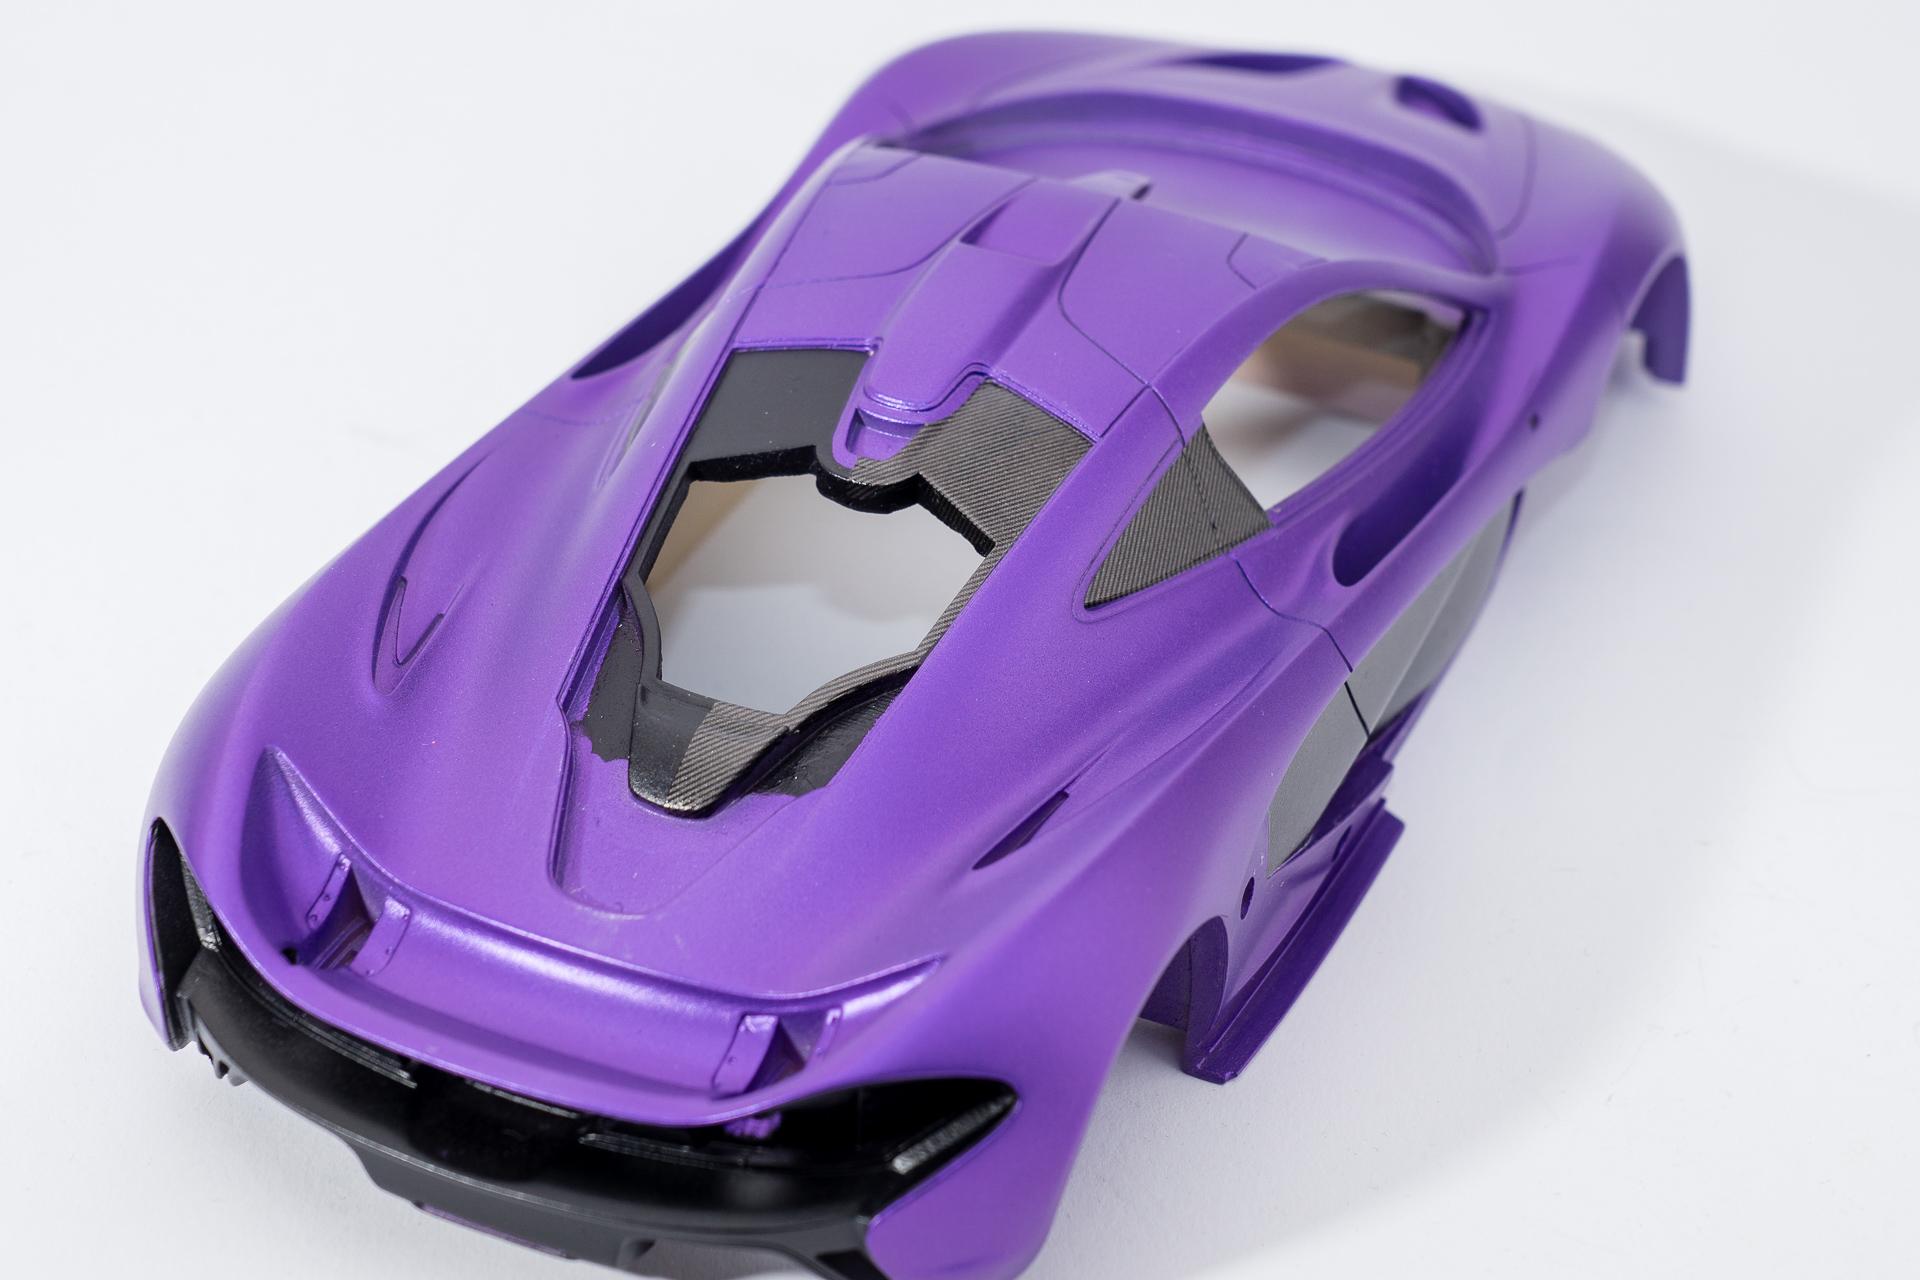
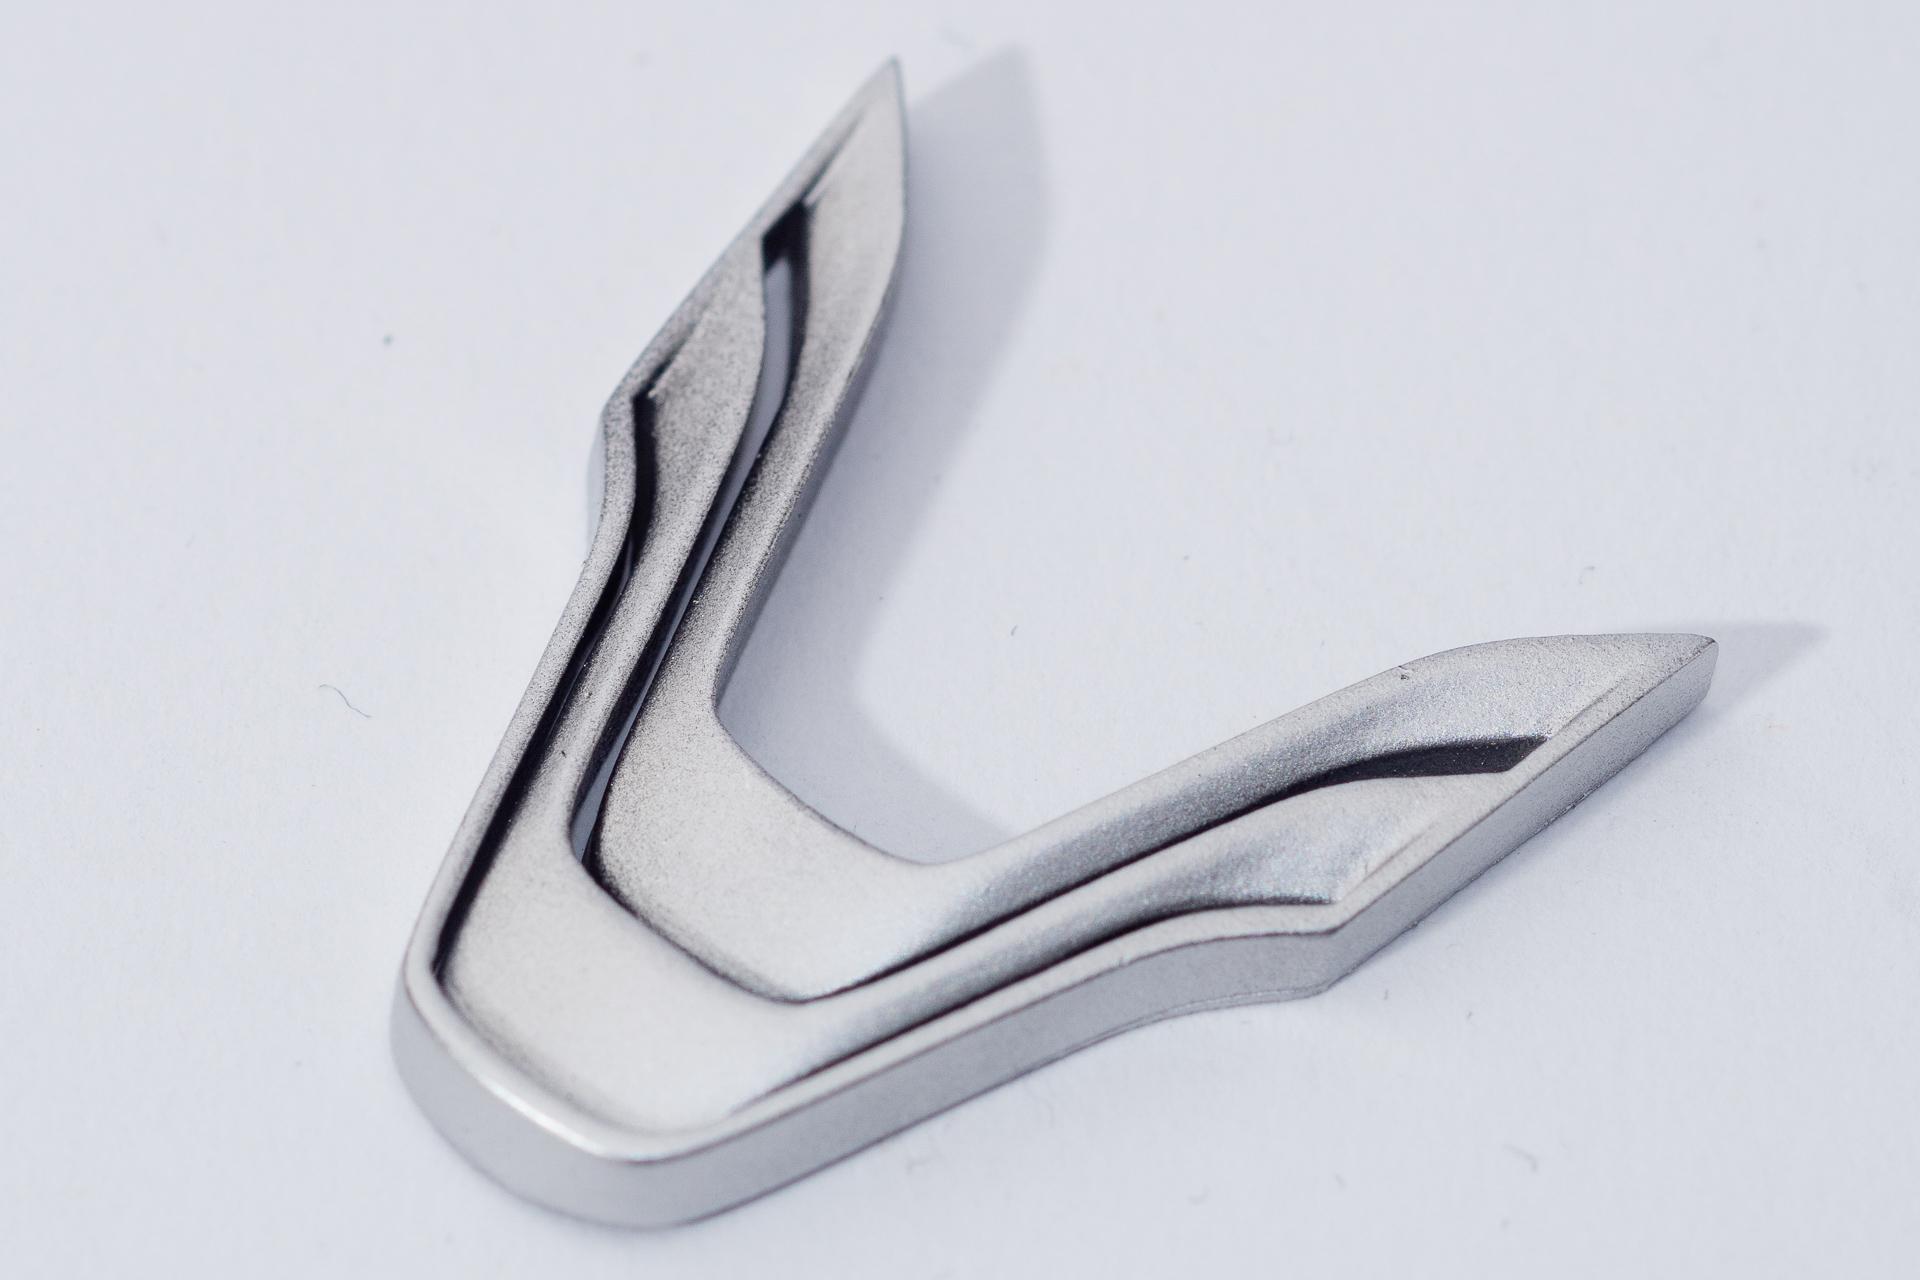
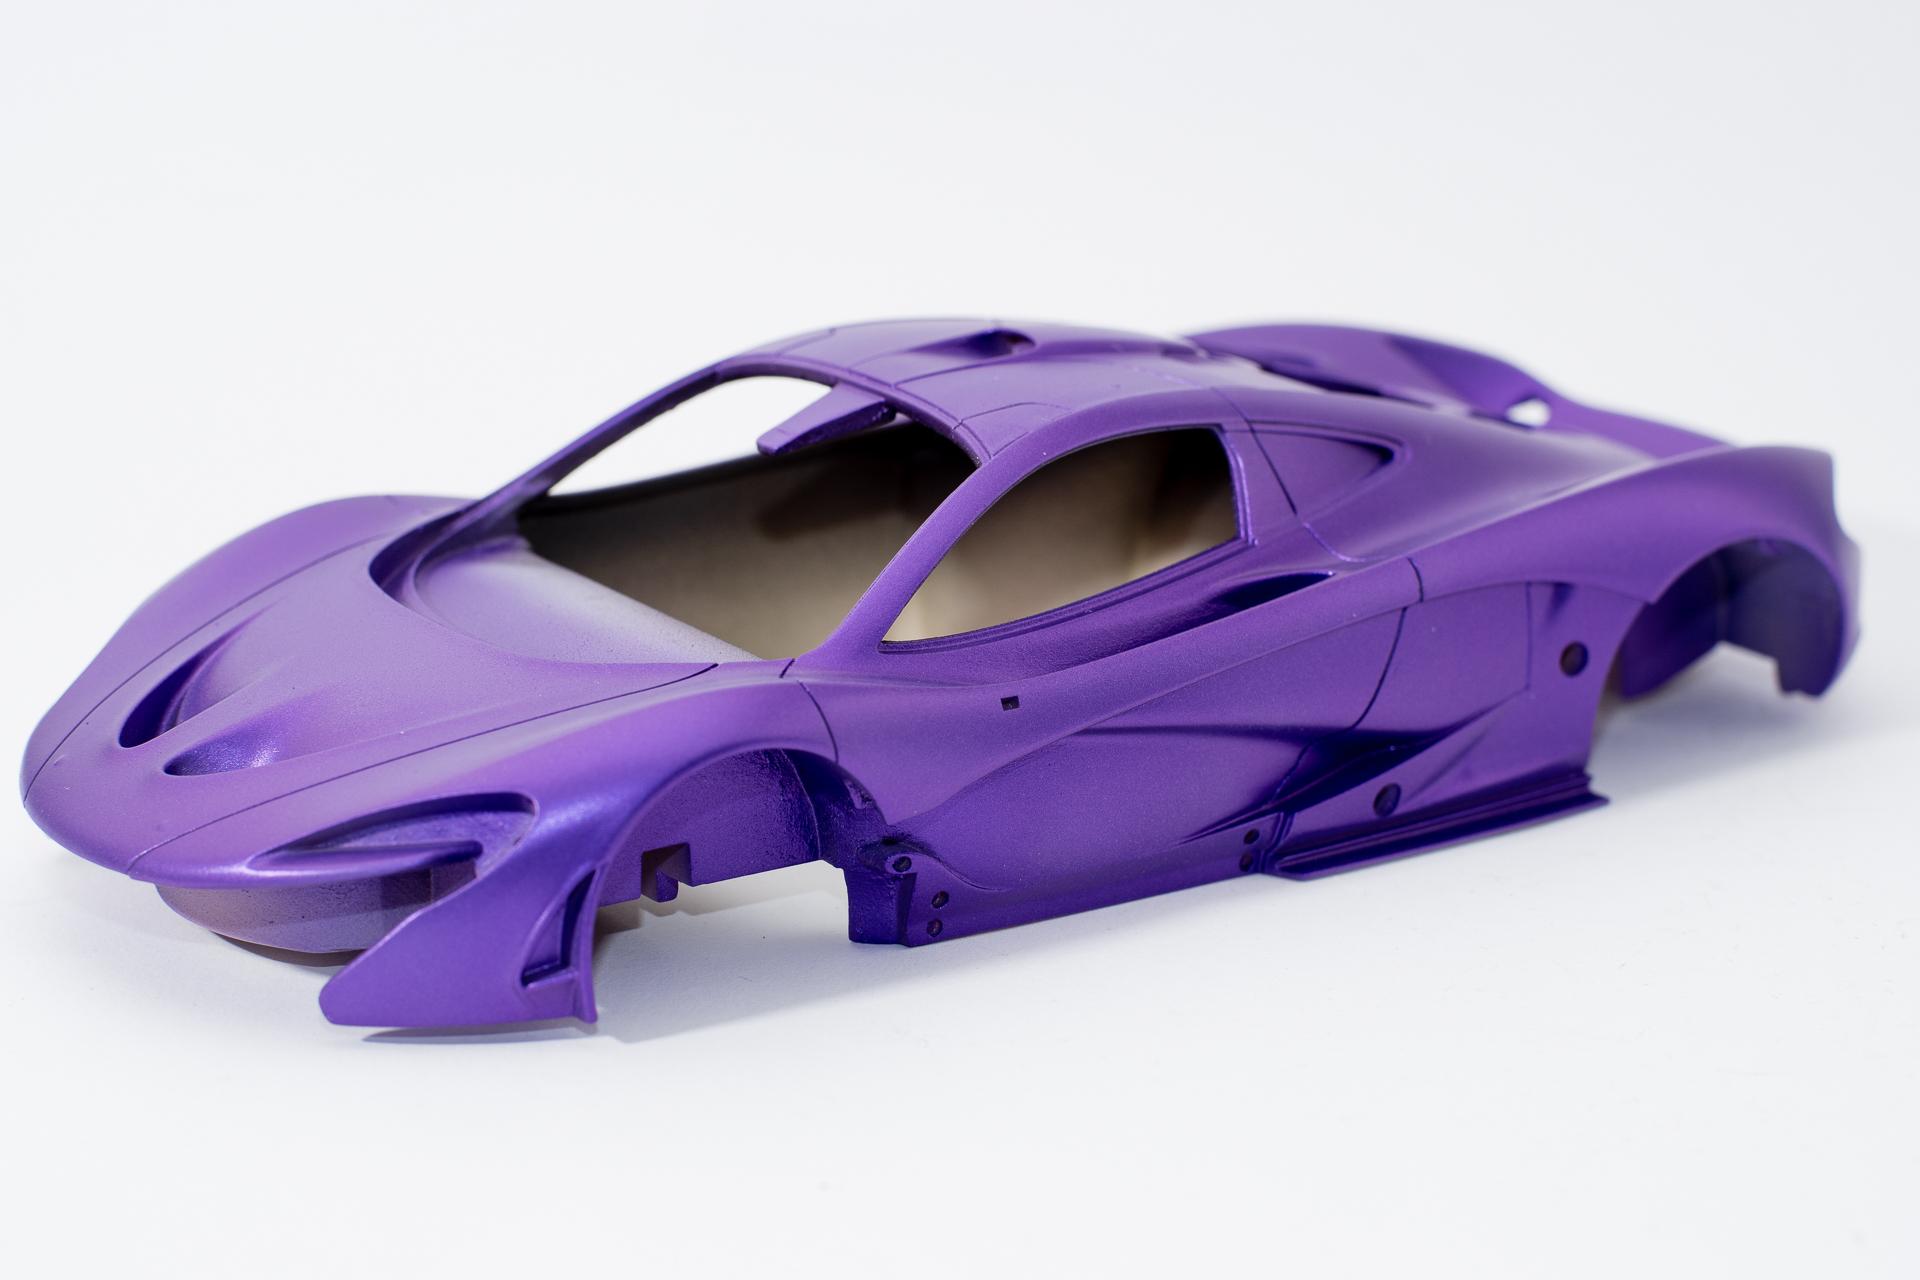
Hi all Yesterday I took a few of my built models to the studio to take some decent gallery pics. One of the models was alpha model's McLaren P1. The WIP-Thread can be found here: I hope you like the pics Urs
-
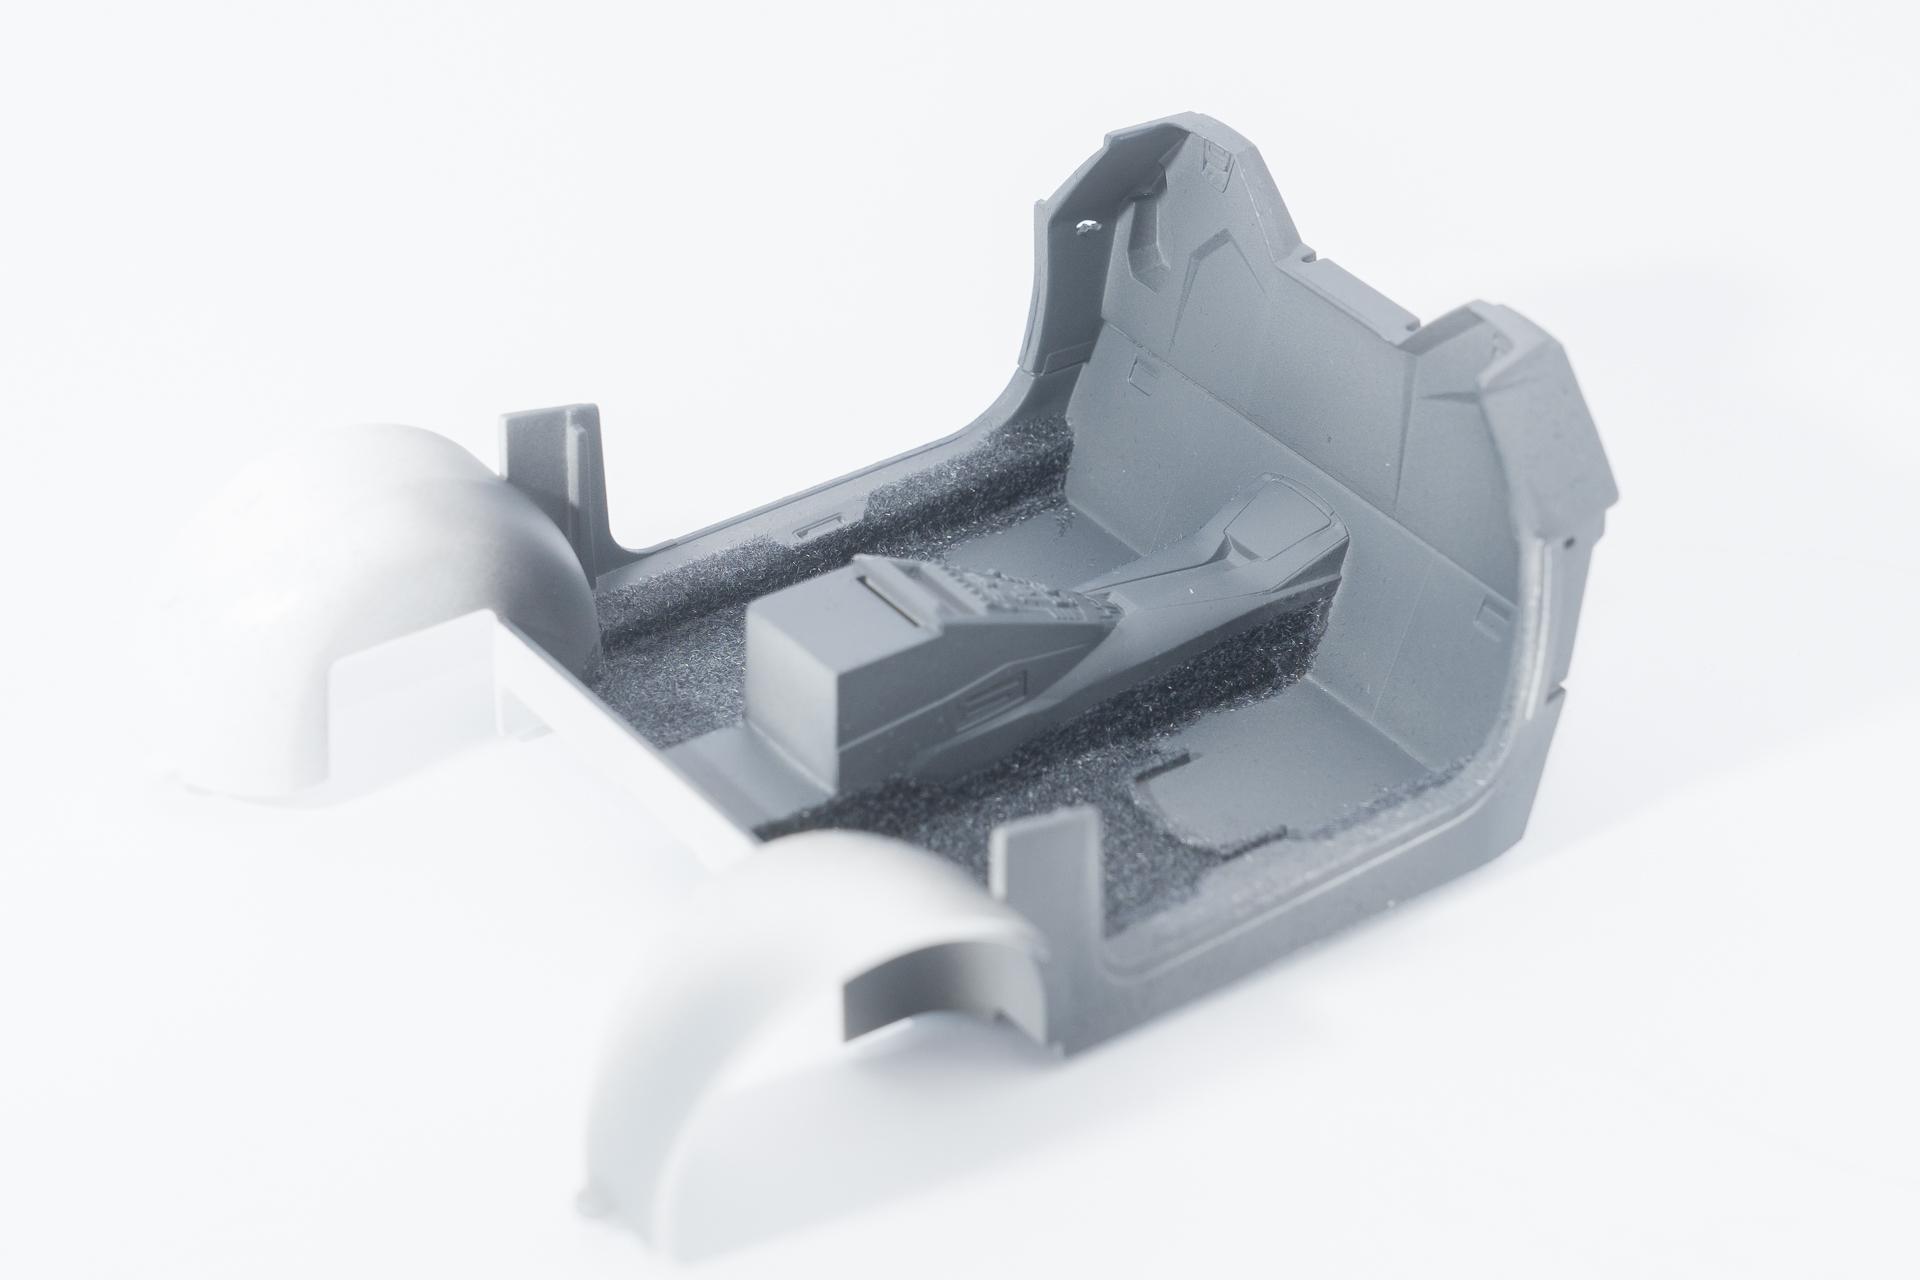
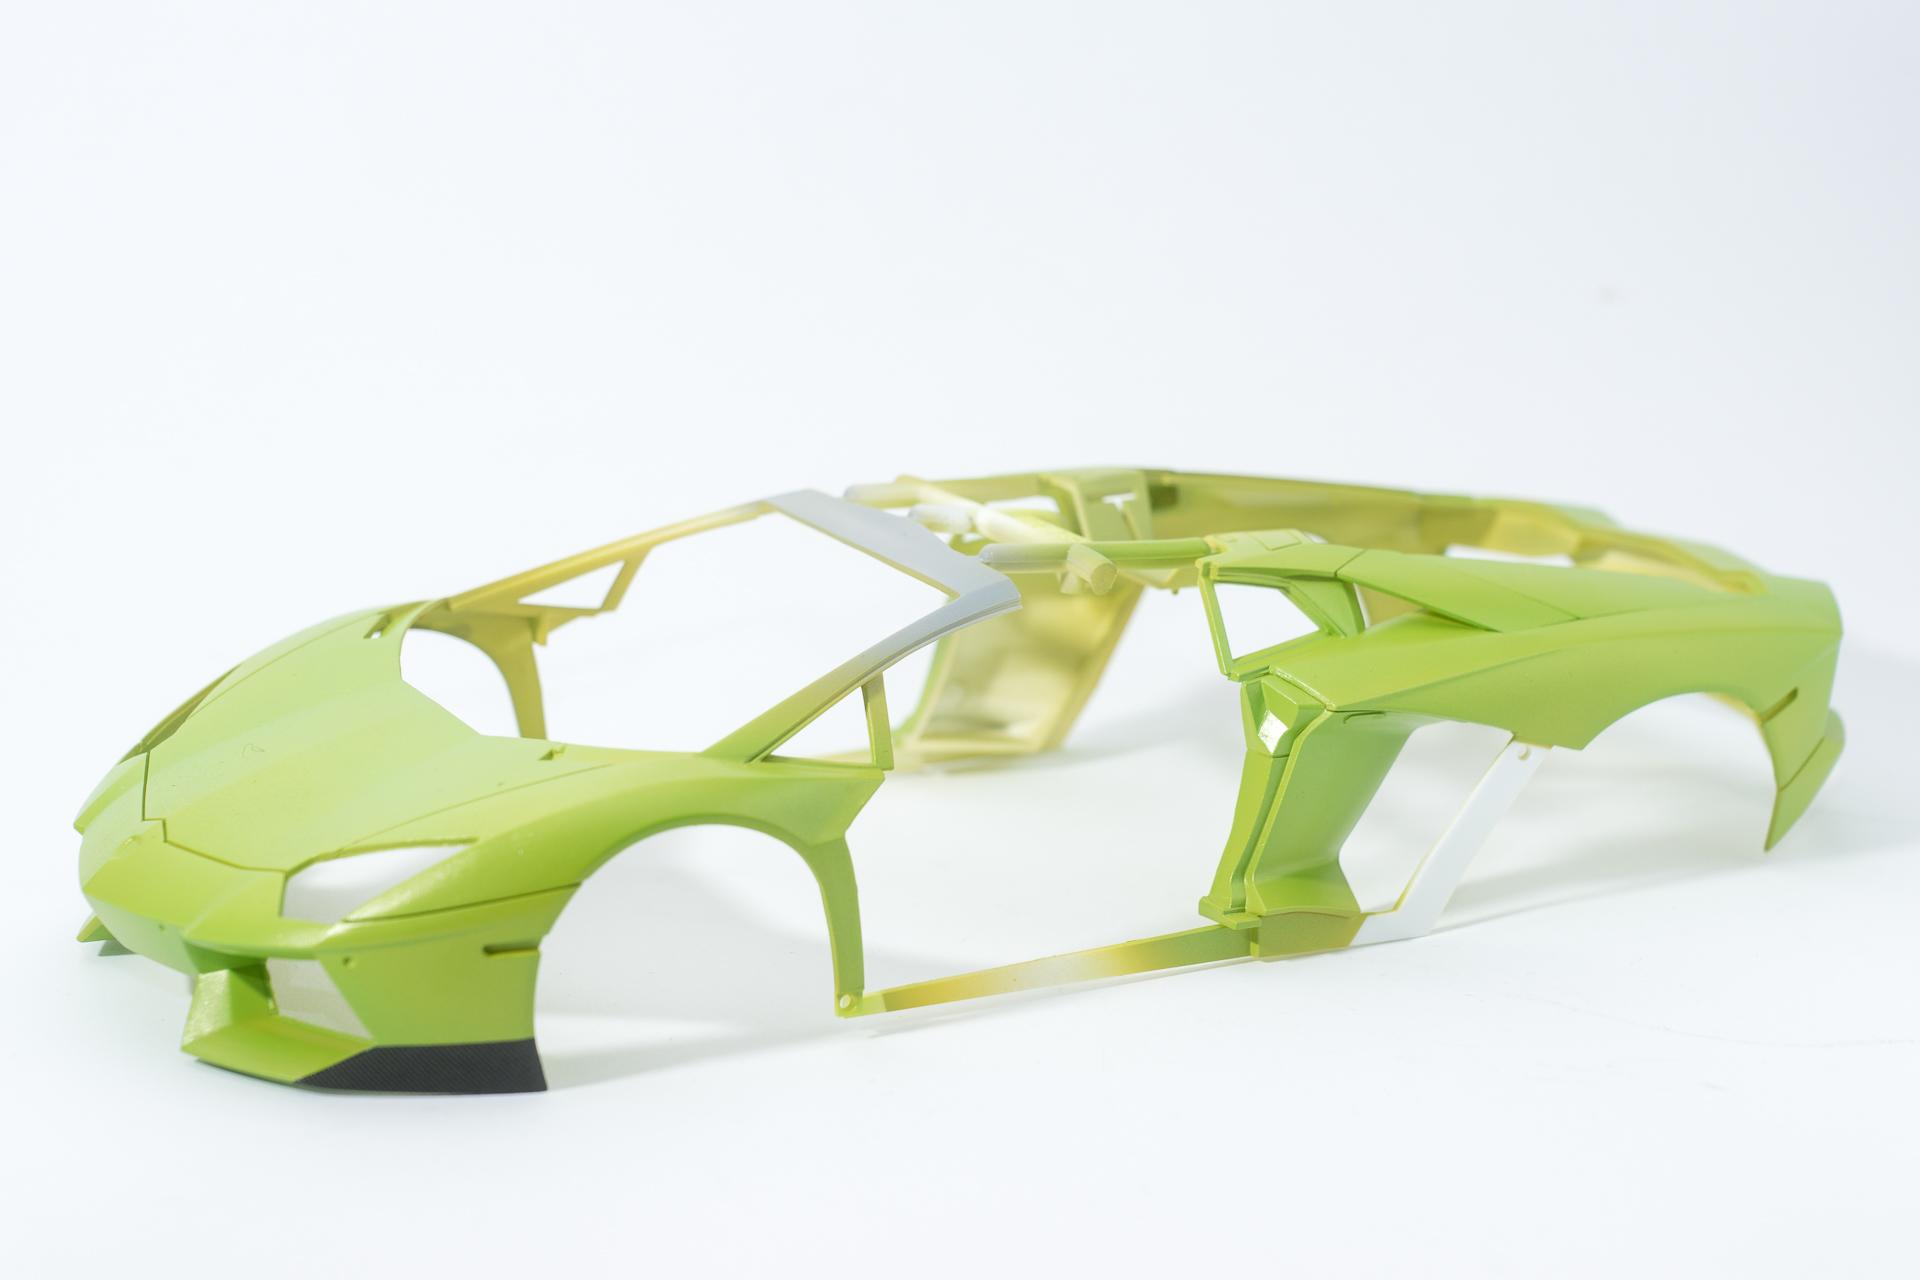
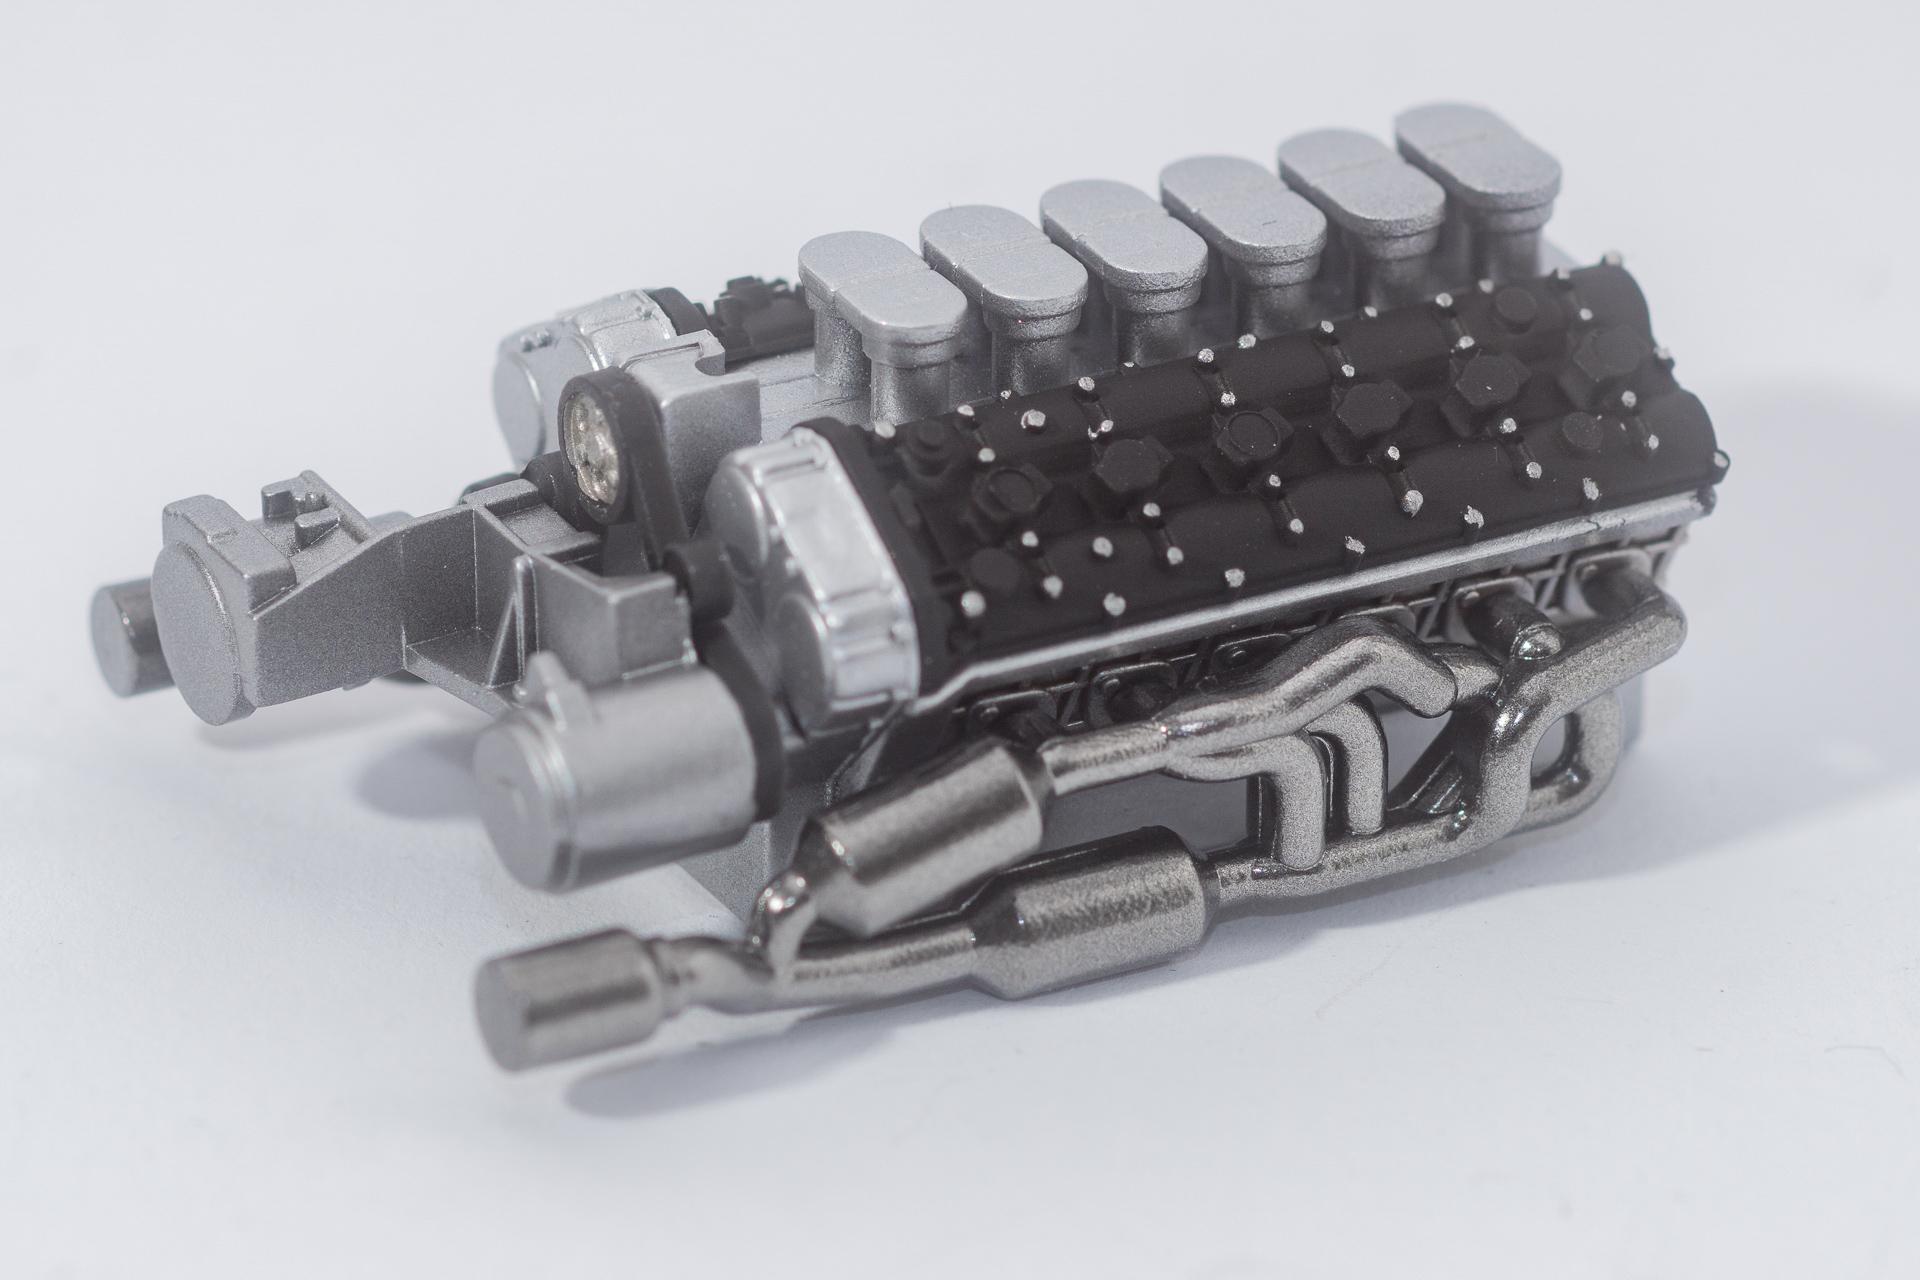
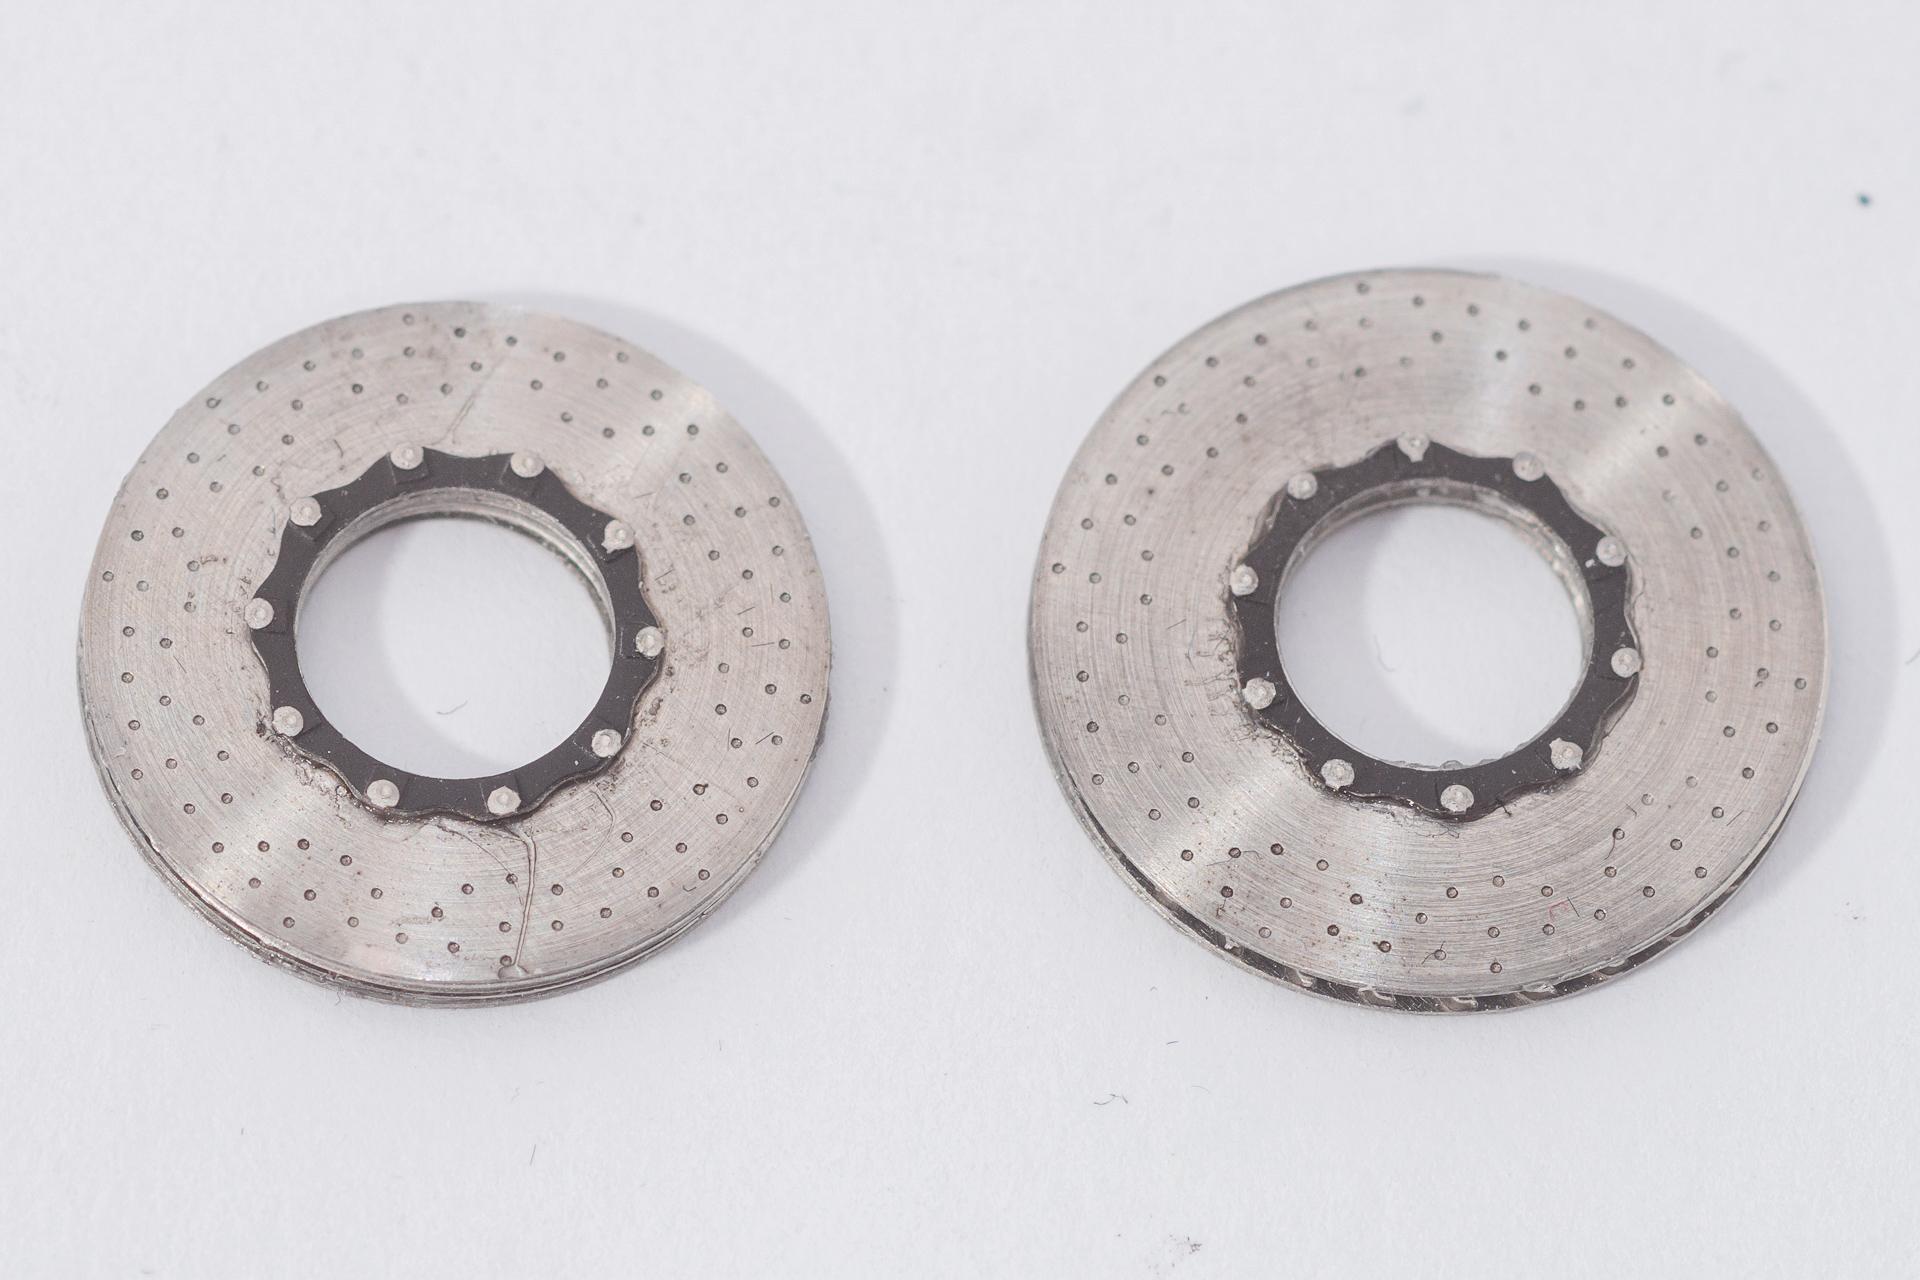
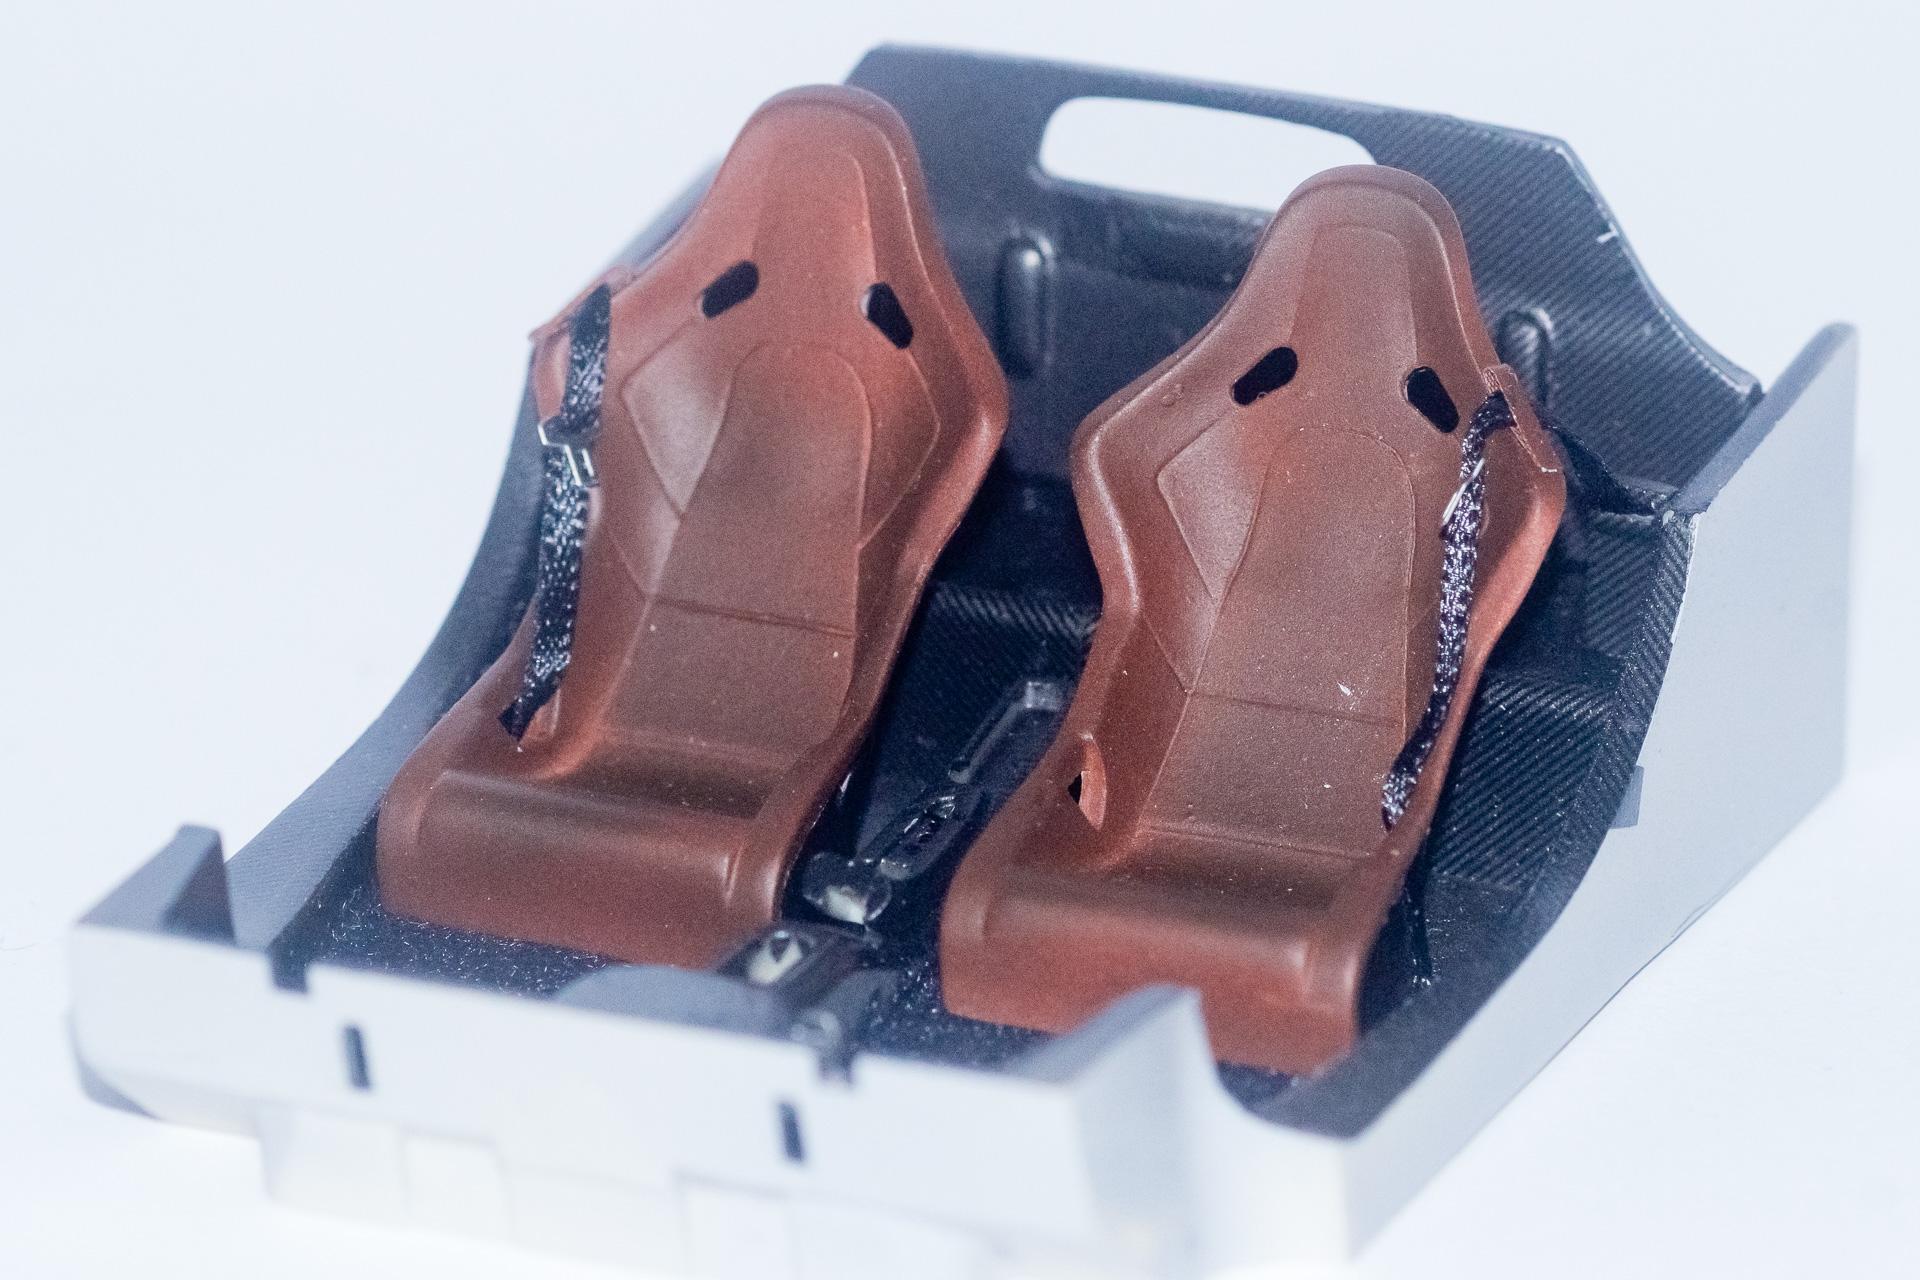
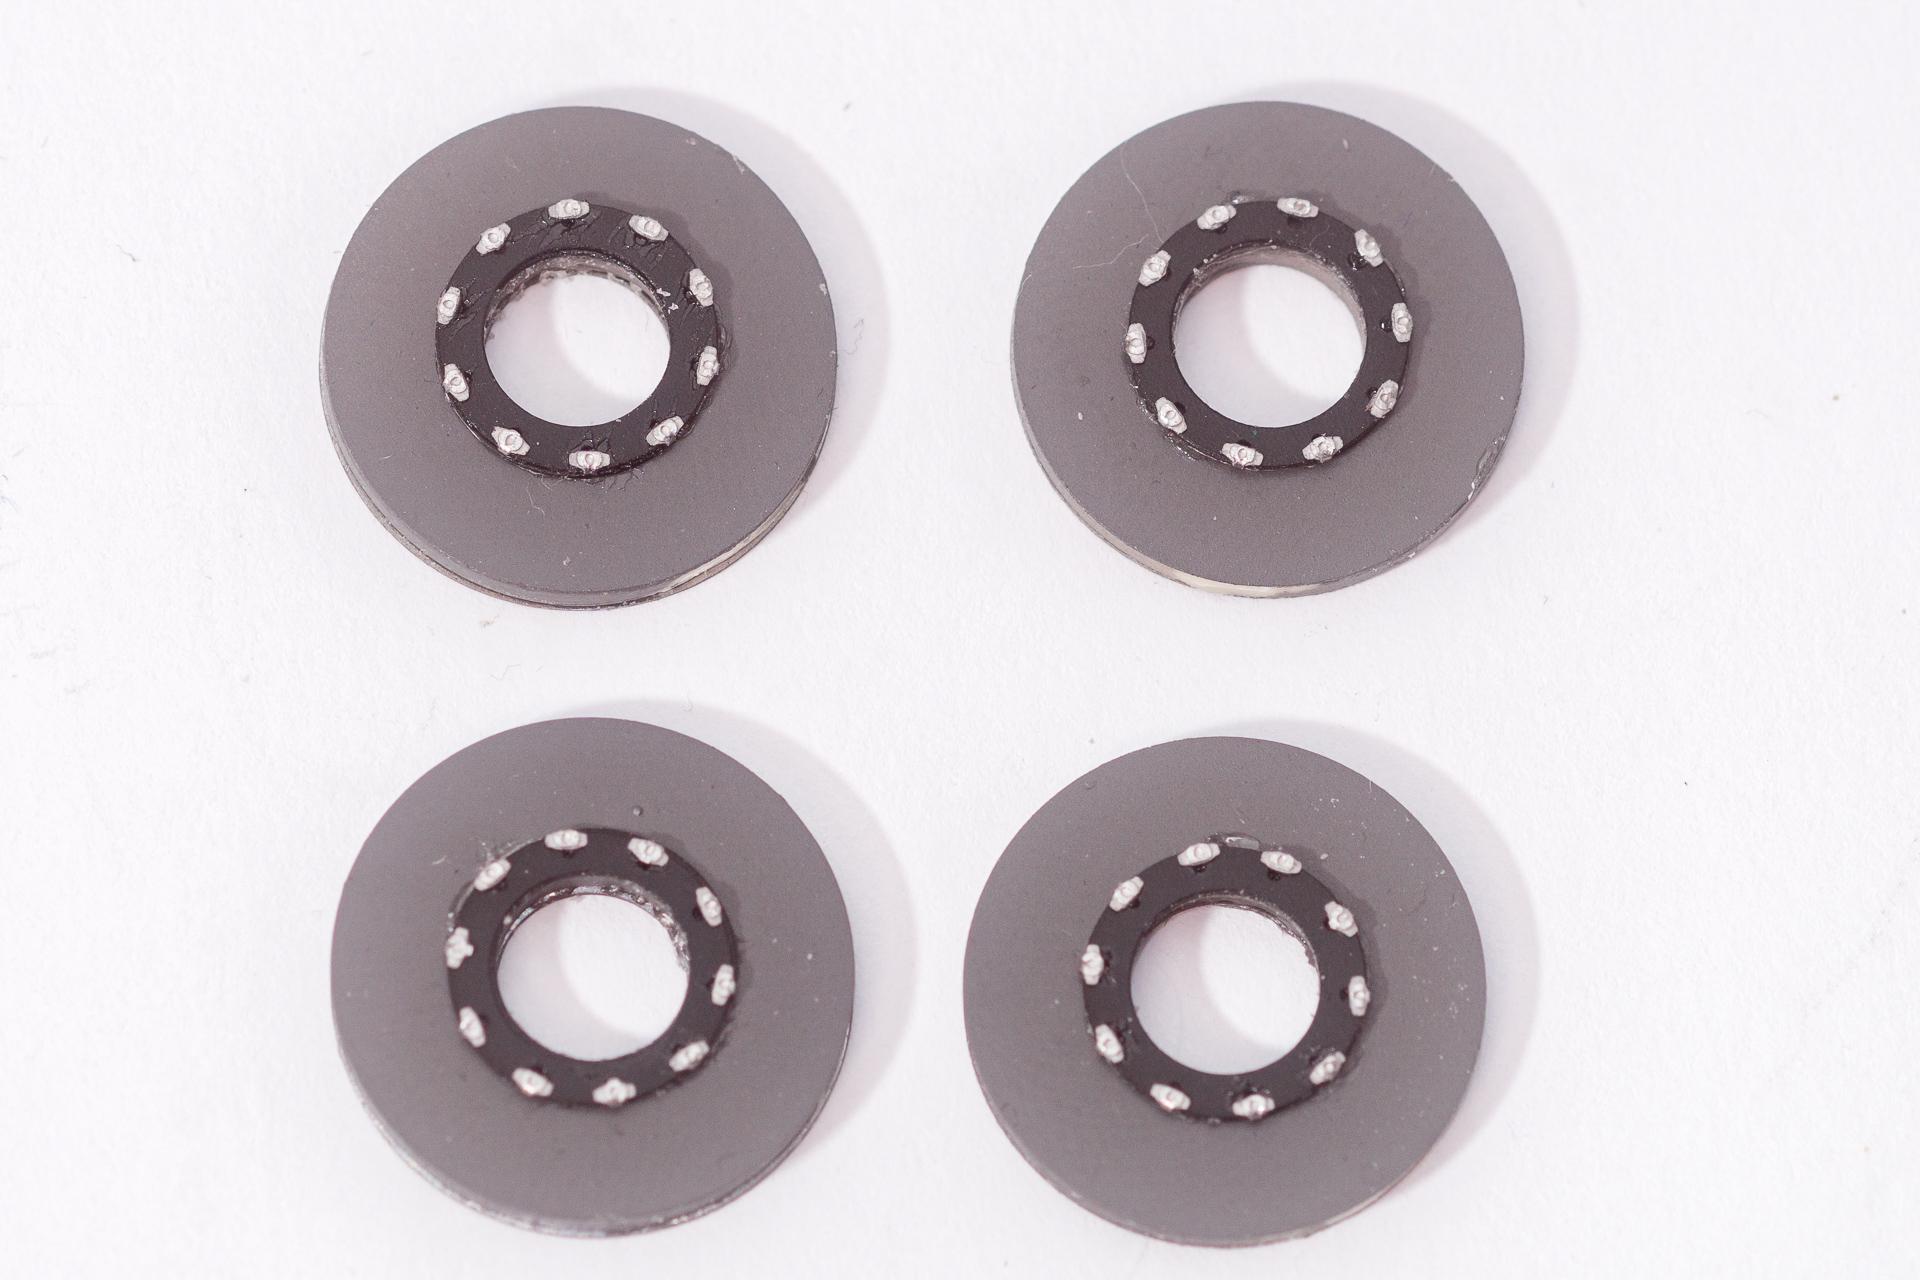
Hi all After a short break I'll start with a new build. As already mentioned in the title of this tread, I'll build Aoshima's Lamborghini Aventador Roadster in 1/24 with the addition of the HobbyDesign Detail set. The building instructions start with building the brakediscs and wheels, so I assembled the break disks from the detail set. I just saw on the picture that they will still need some clean-up... Then the engine was assembled and painted. As there won't be seen much more of it, as it is common in temporary sports cars, I'll leave it as it is and insert it in the engine bay as soon as this is painted. The interior tub was painted in Zero Paints' Dark Interior Gray and flocked with scaleproduction's anthracite flocking powder. And finally work on the body started. I primed it with AK Interactive's grey primer and added three coats of green over it. When looking at the color I thought that it might have benn a fault to start with grey as the green turned out quite dull. So I added three coats of a very well covering yellow (Triple Yellow by Zero Paints) and covered that up with another five coats of Lamborghini Verde Mantis to get the bright green I have now ? That's it for the start. I hope to have piqued your interest and am looking forward to your comments, critics and plaudits ? Urs
-
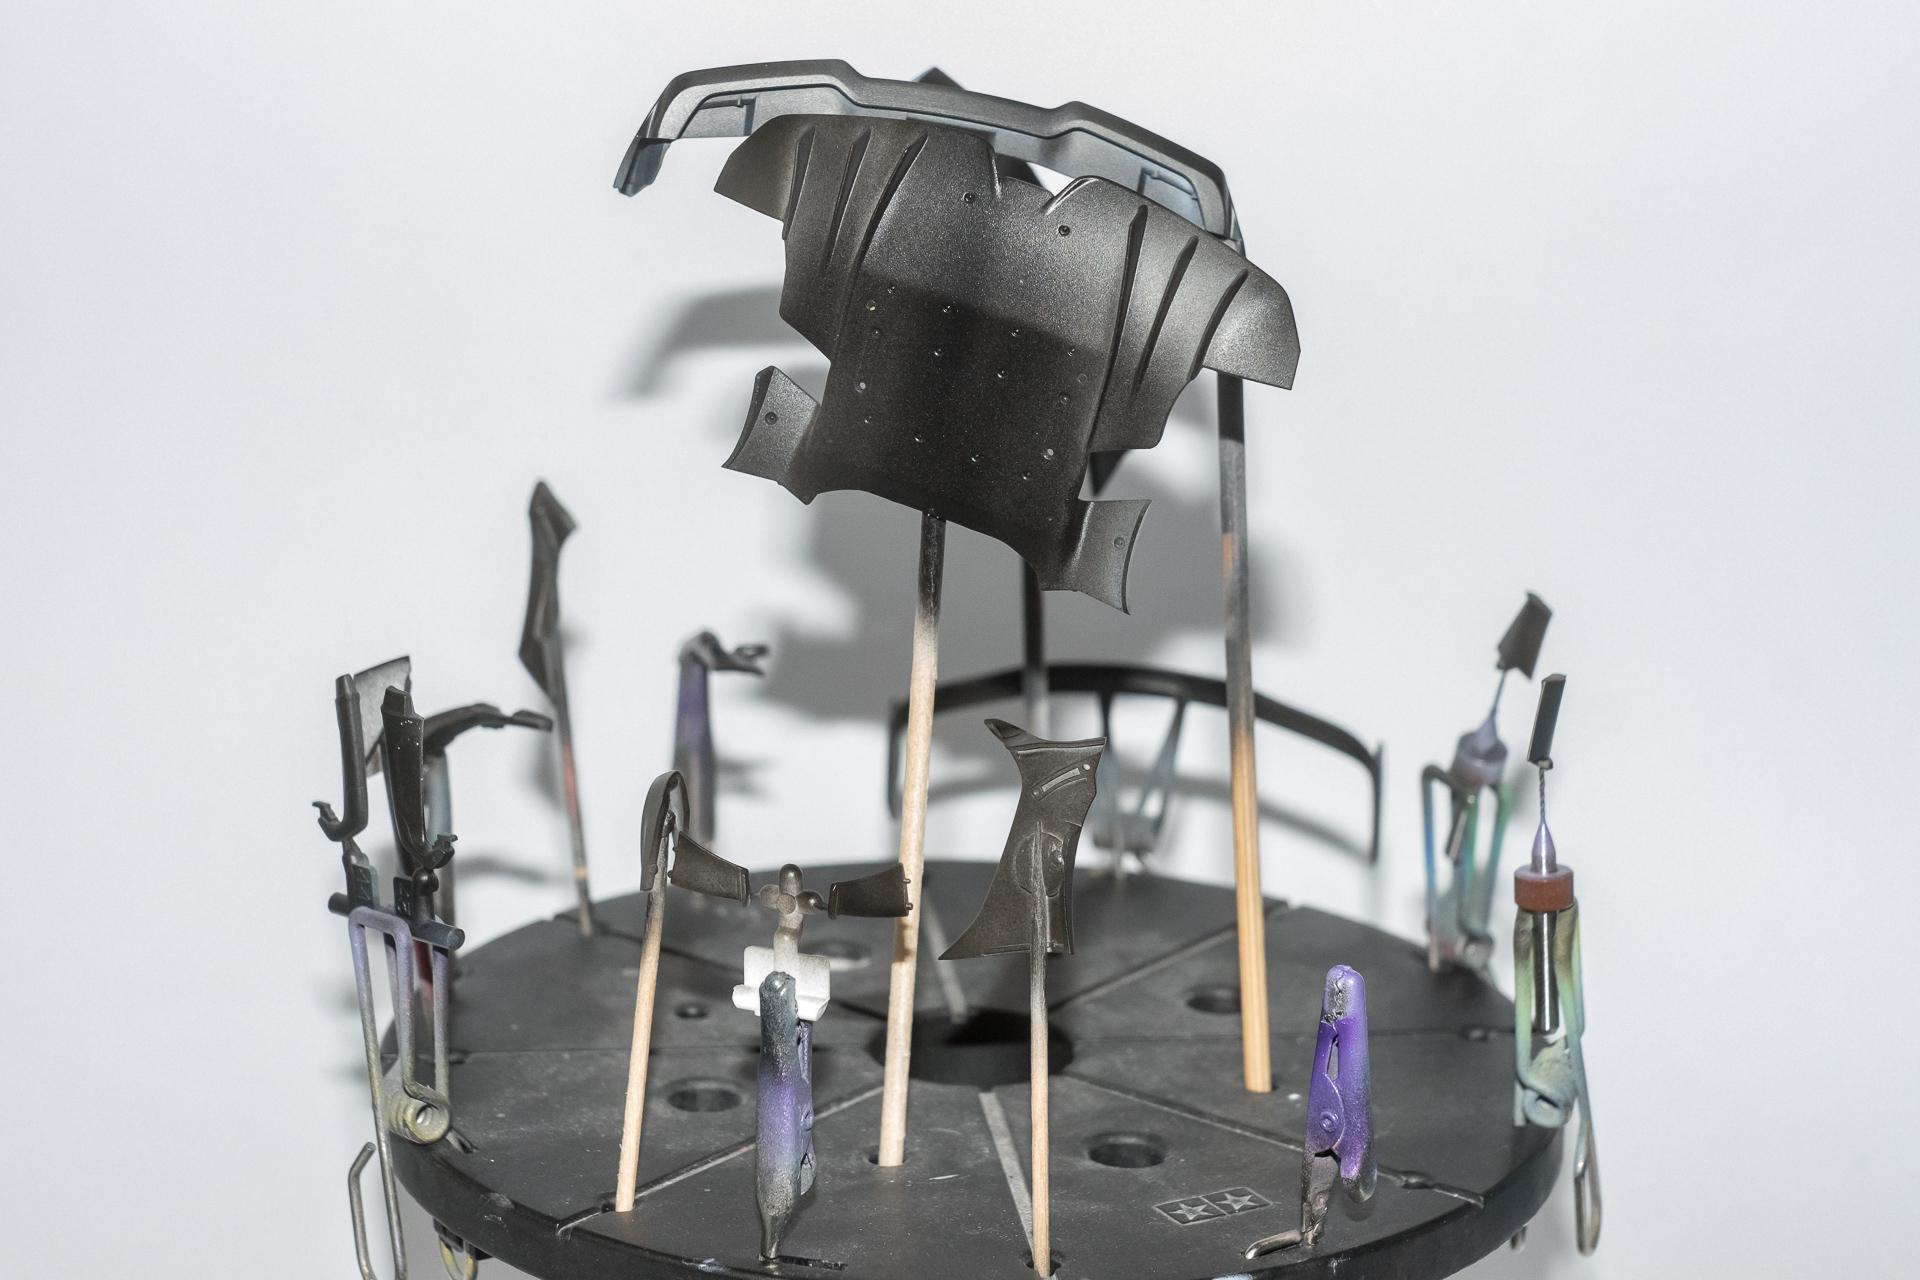
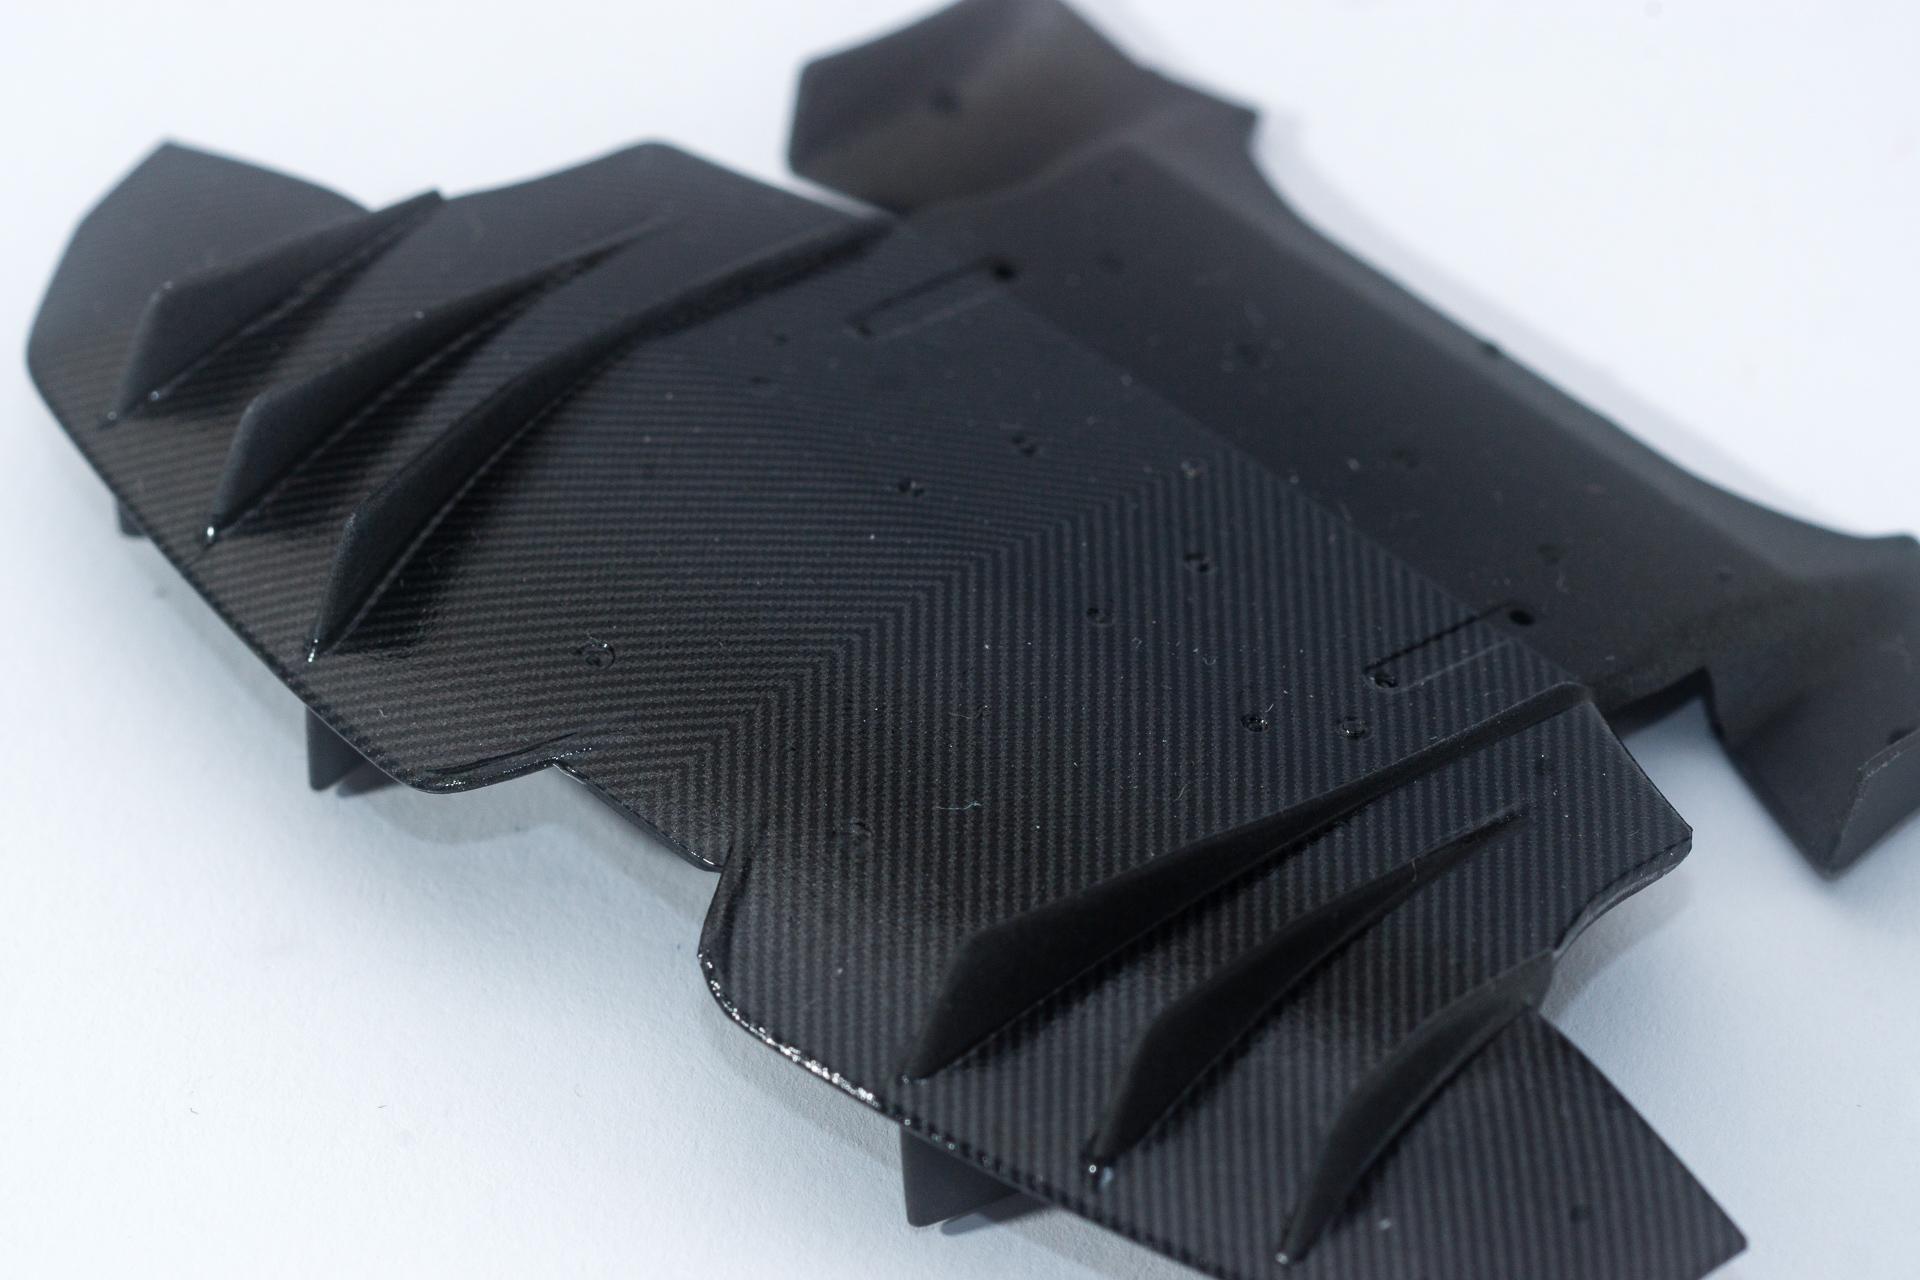
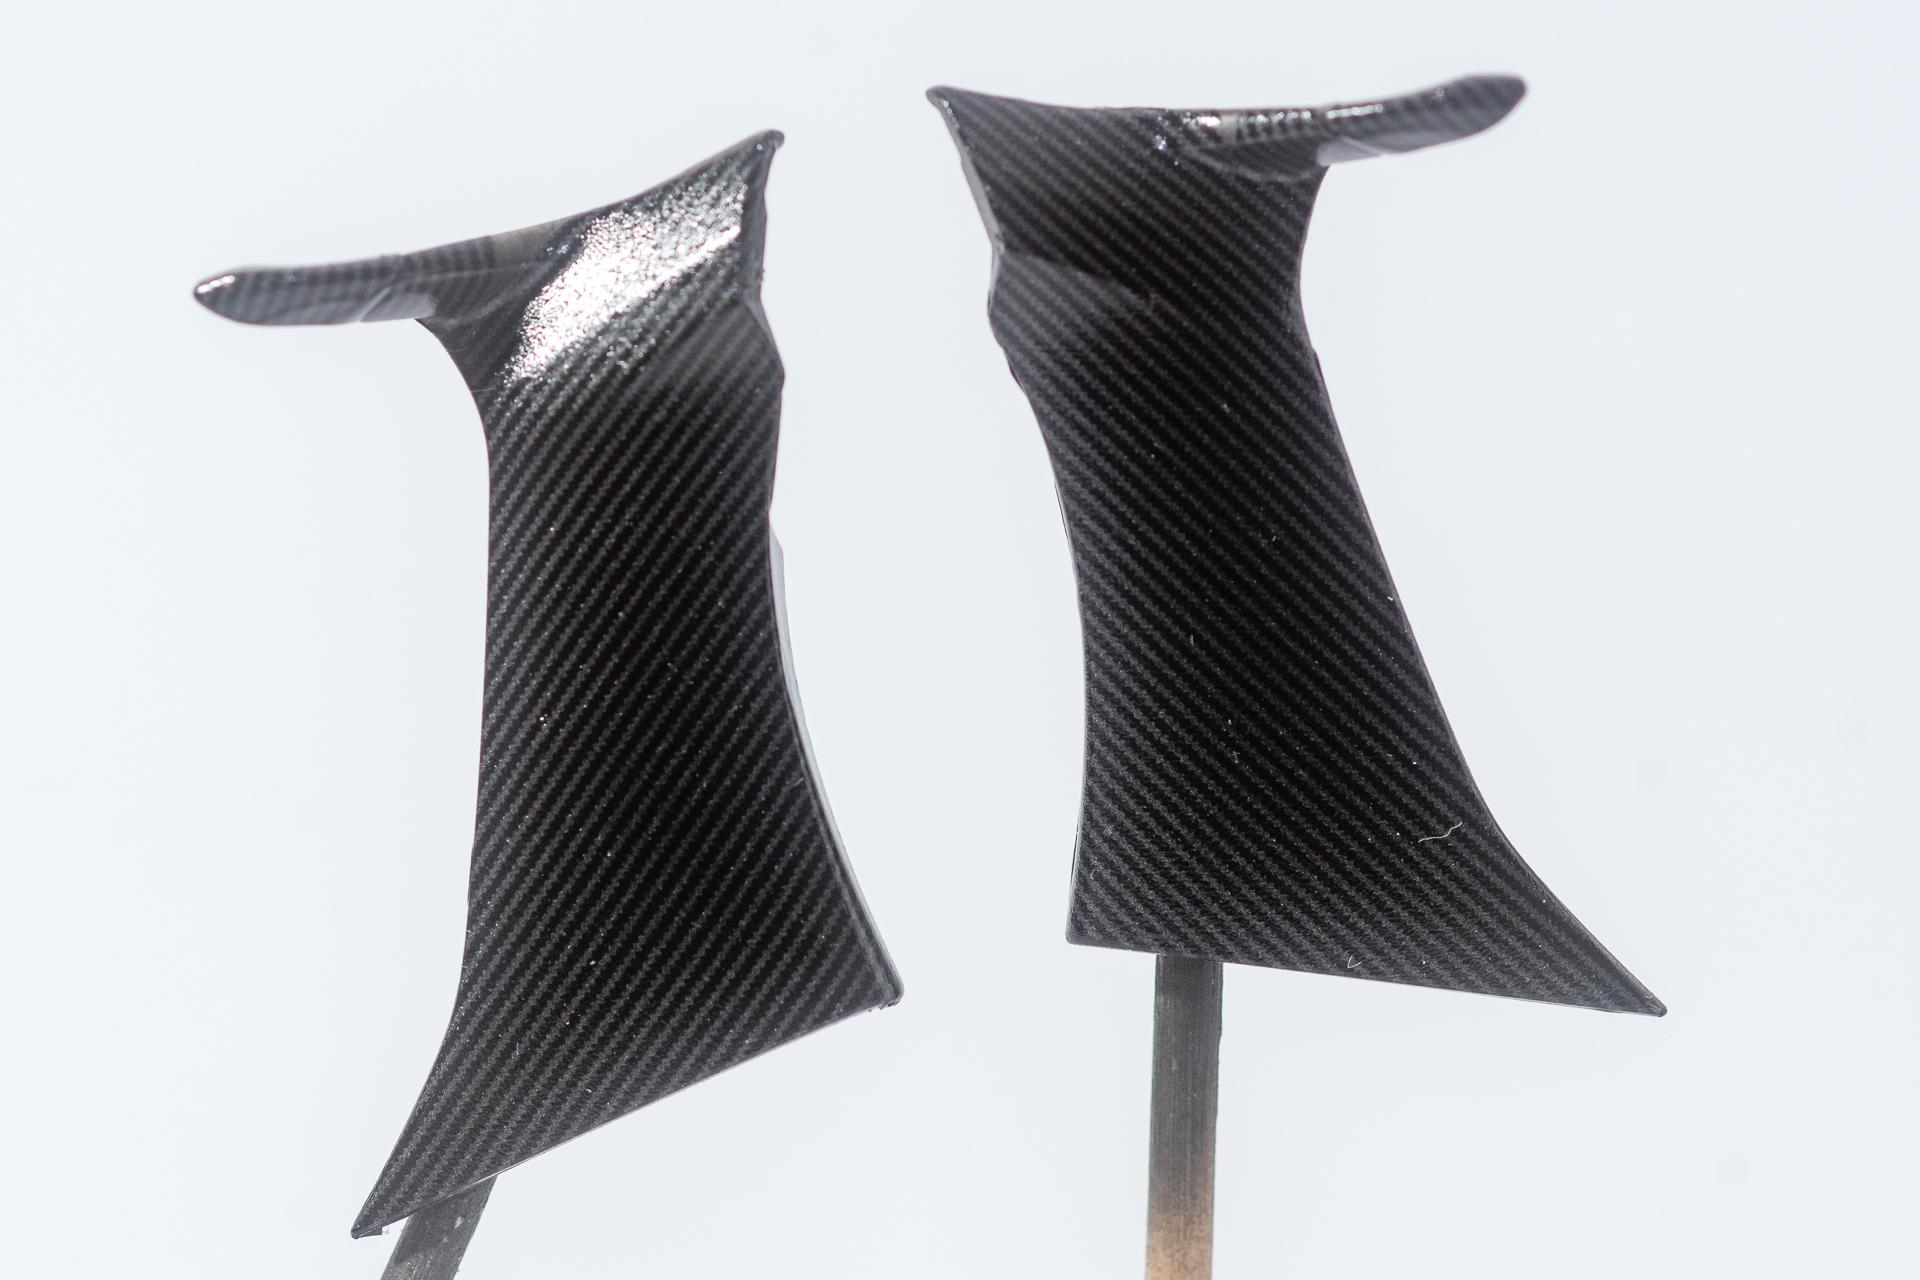
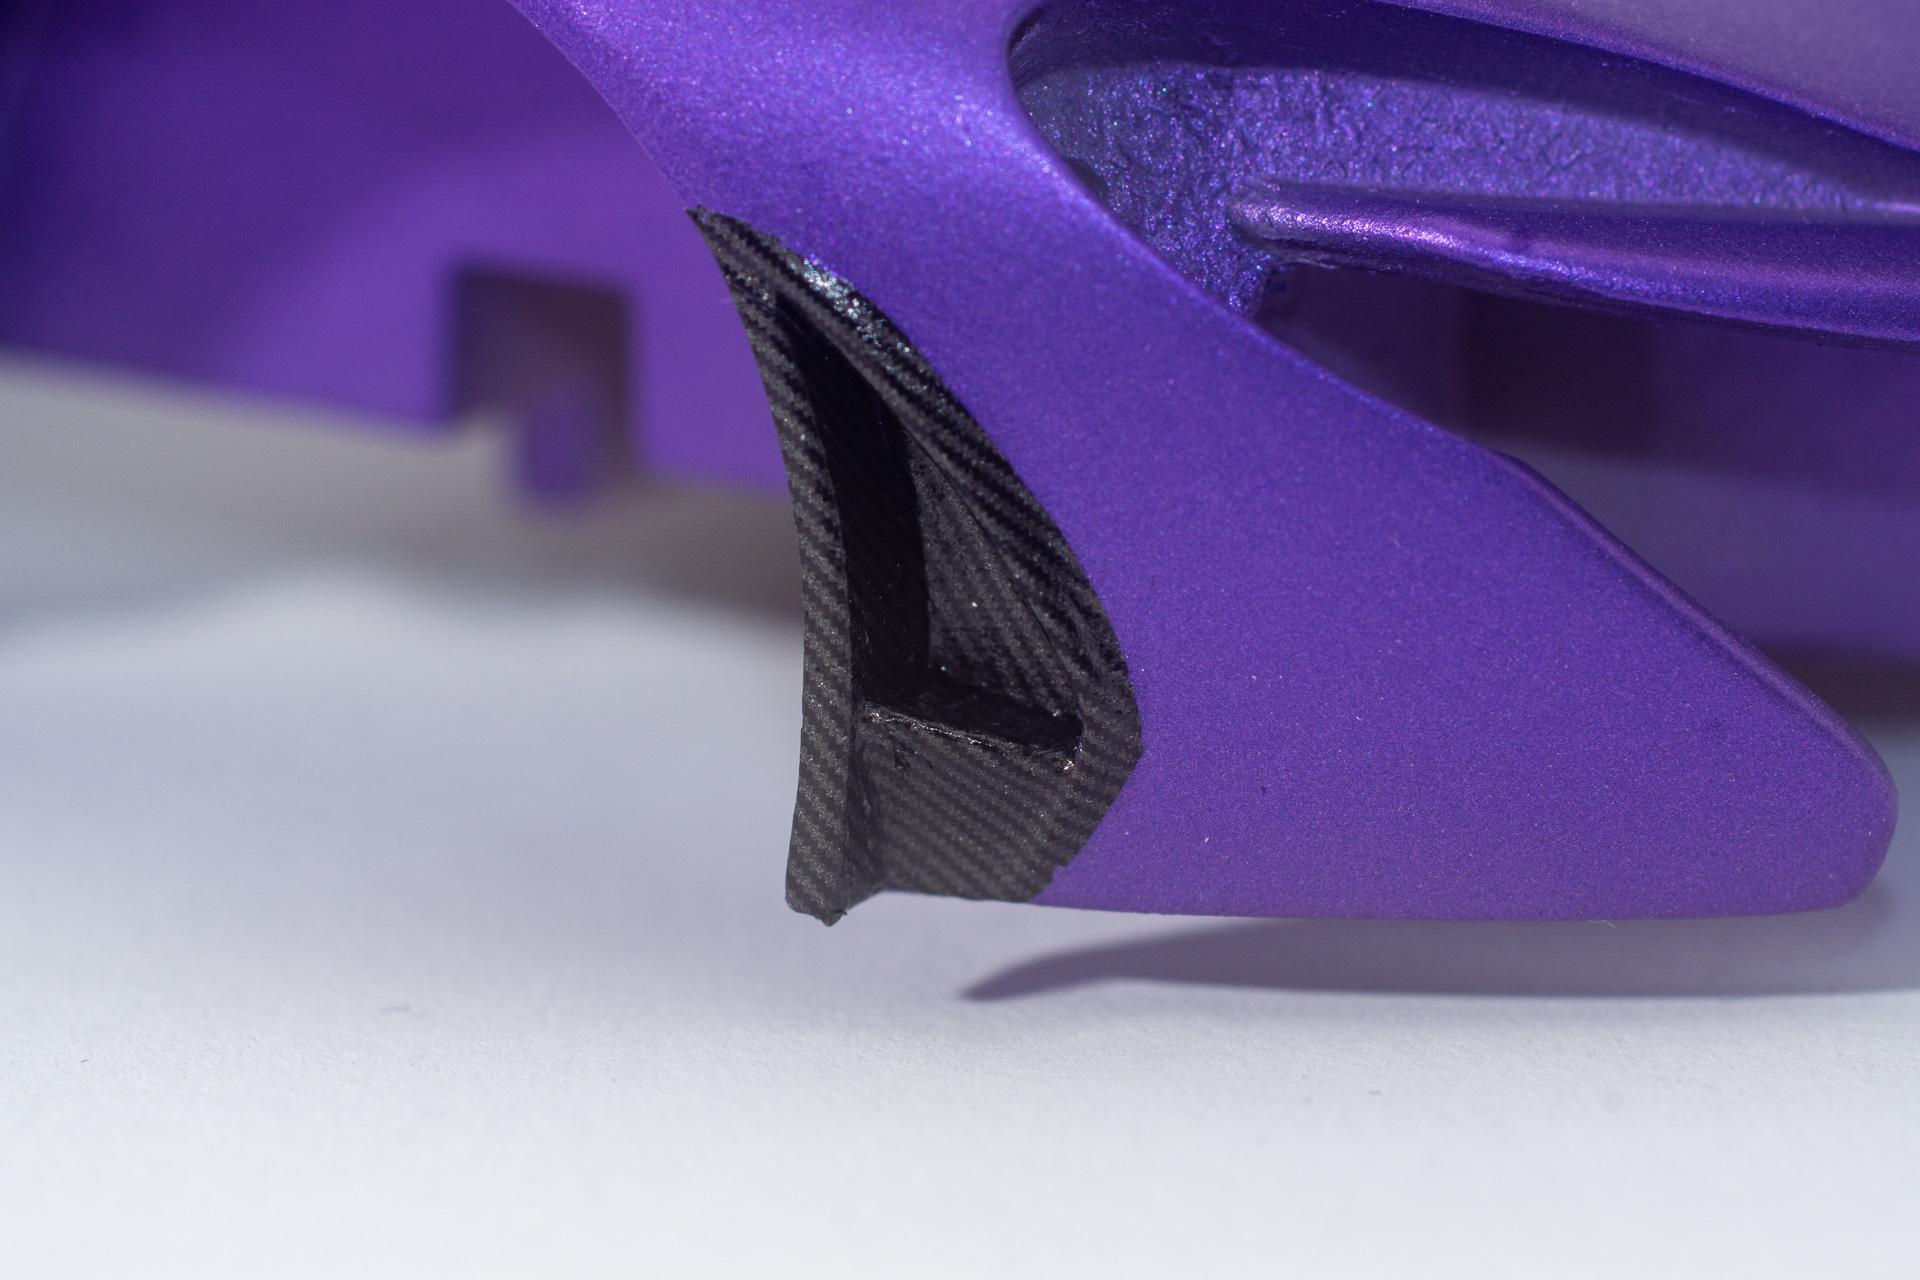
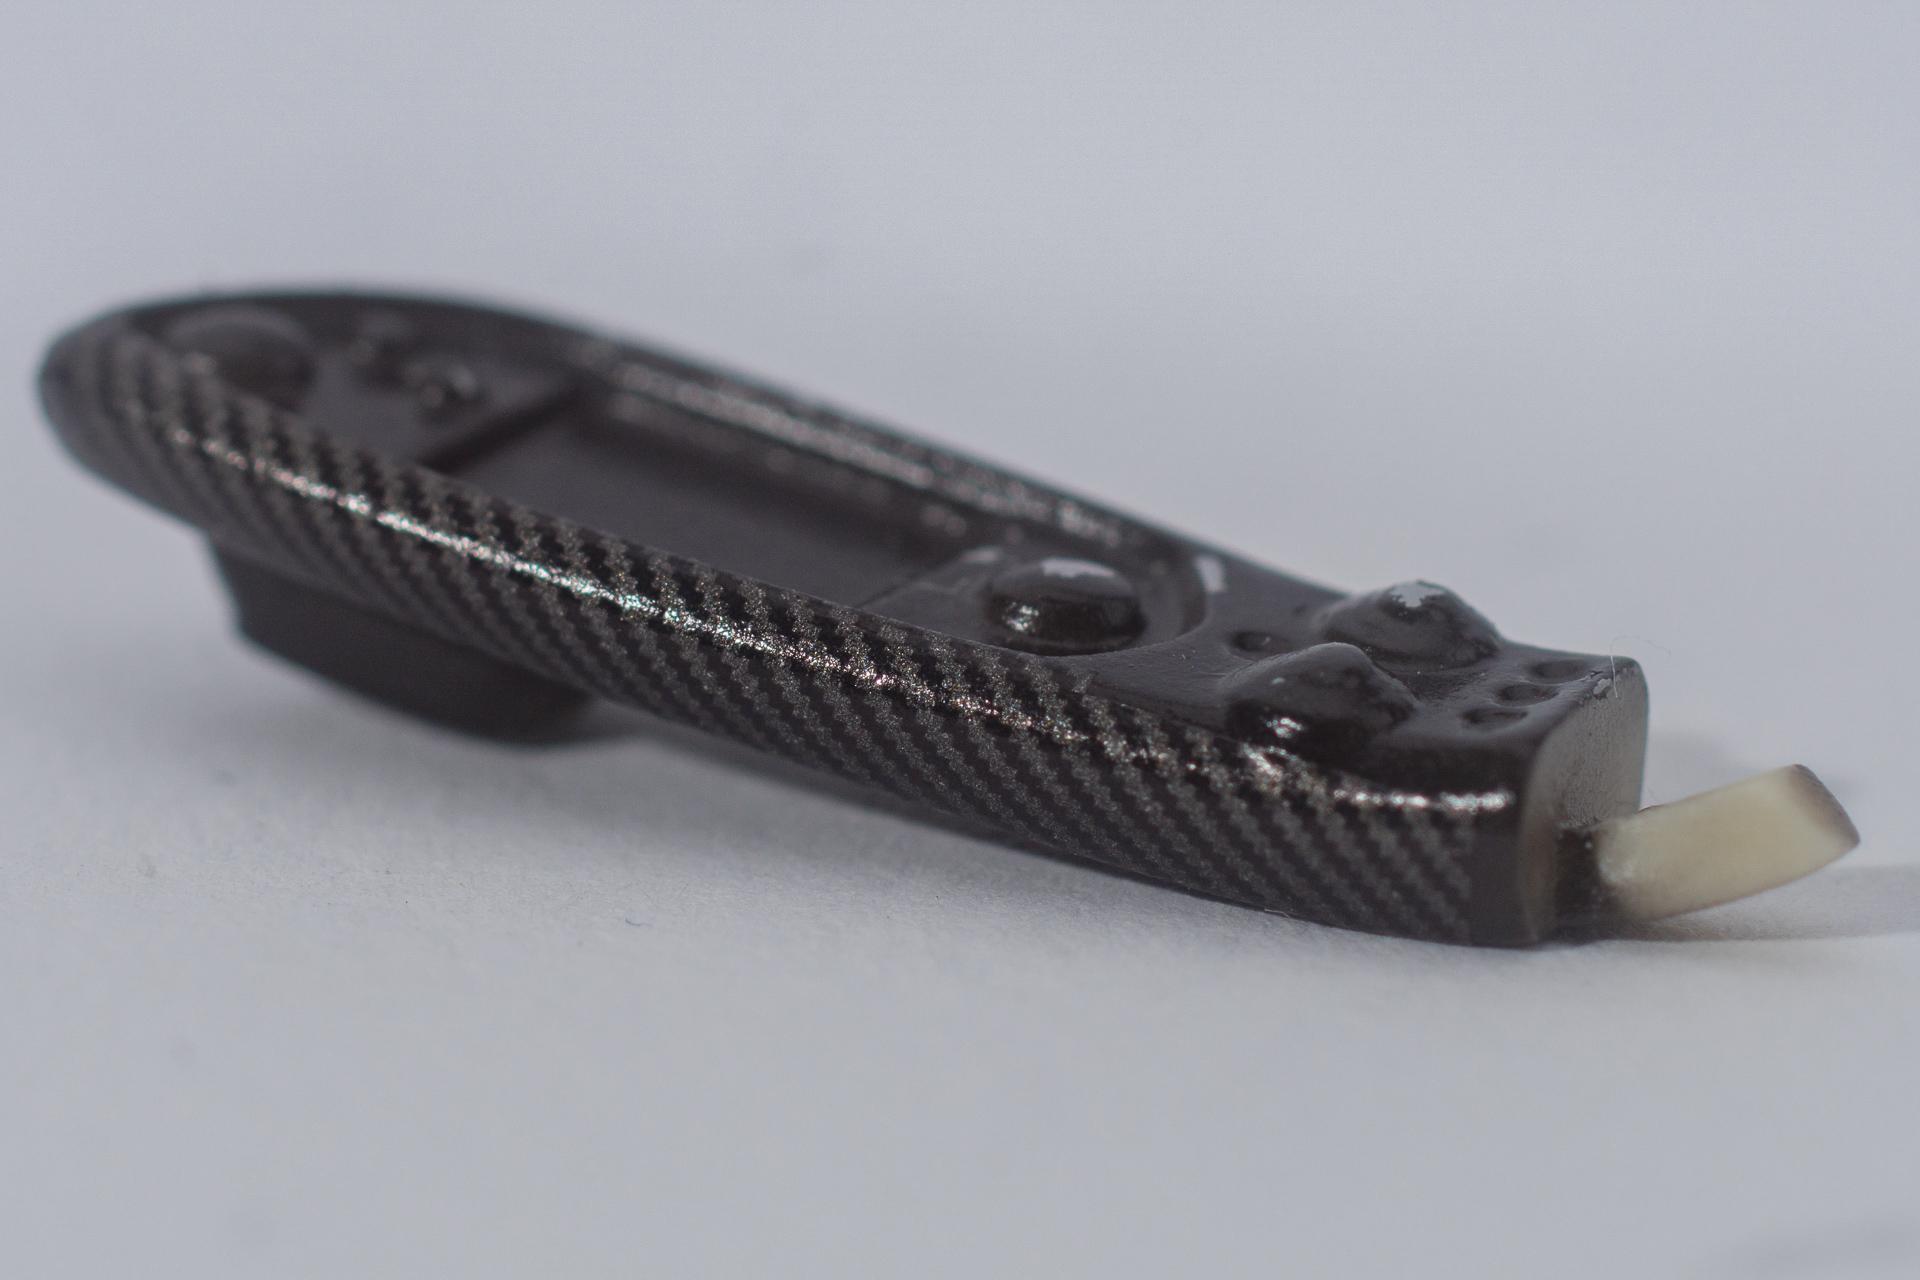
Hi all Thank you very much for your kind comment. In fact the decals by S.K. Decals fit very good and are quite easy to apply. The only downside is that you have to position them almost perfectly at first touch as they stick very fast to the surface. It's been a long time since my last update. On one hand I was kept busy by other builds and on the other hand I couldn't find motivation to continue decal work on this one. But now I finally managed to make some progress on this build. First of all a few parts that will receive carbon decals in the end have been primed in black After that the first ones of them got their carbon decals applied. I started with an easy one, the diffusor (not yet finished) and then some parts of the doors. That's it for today's update. I hope it won't take another 7 months for my next update on this build Urs
-
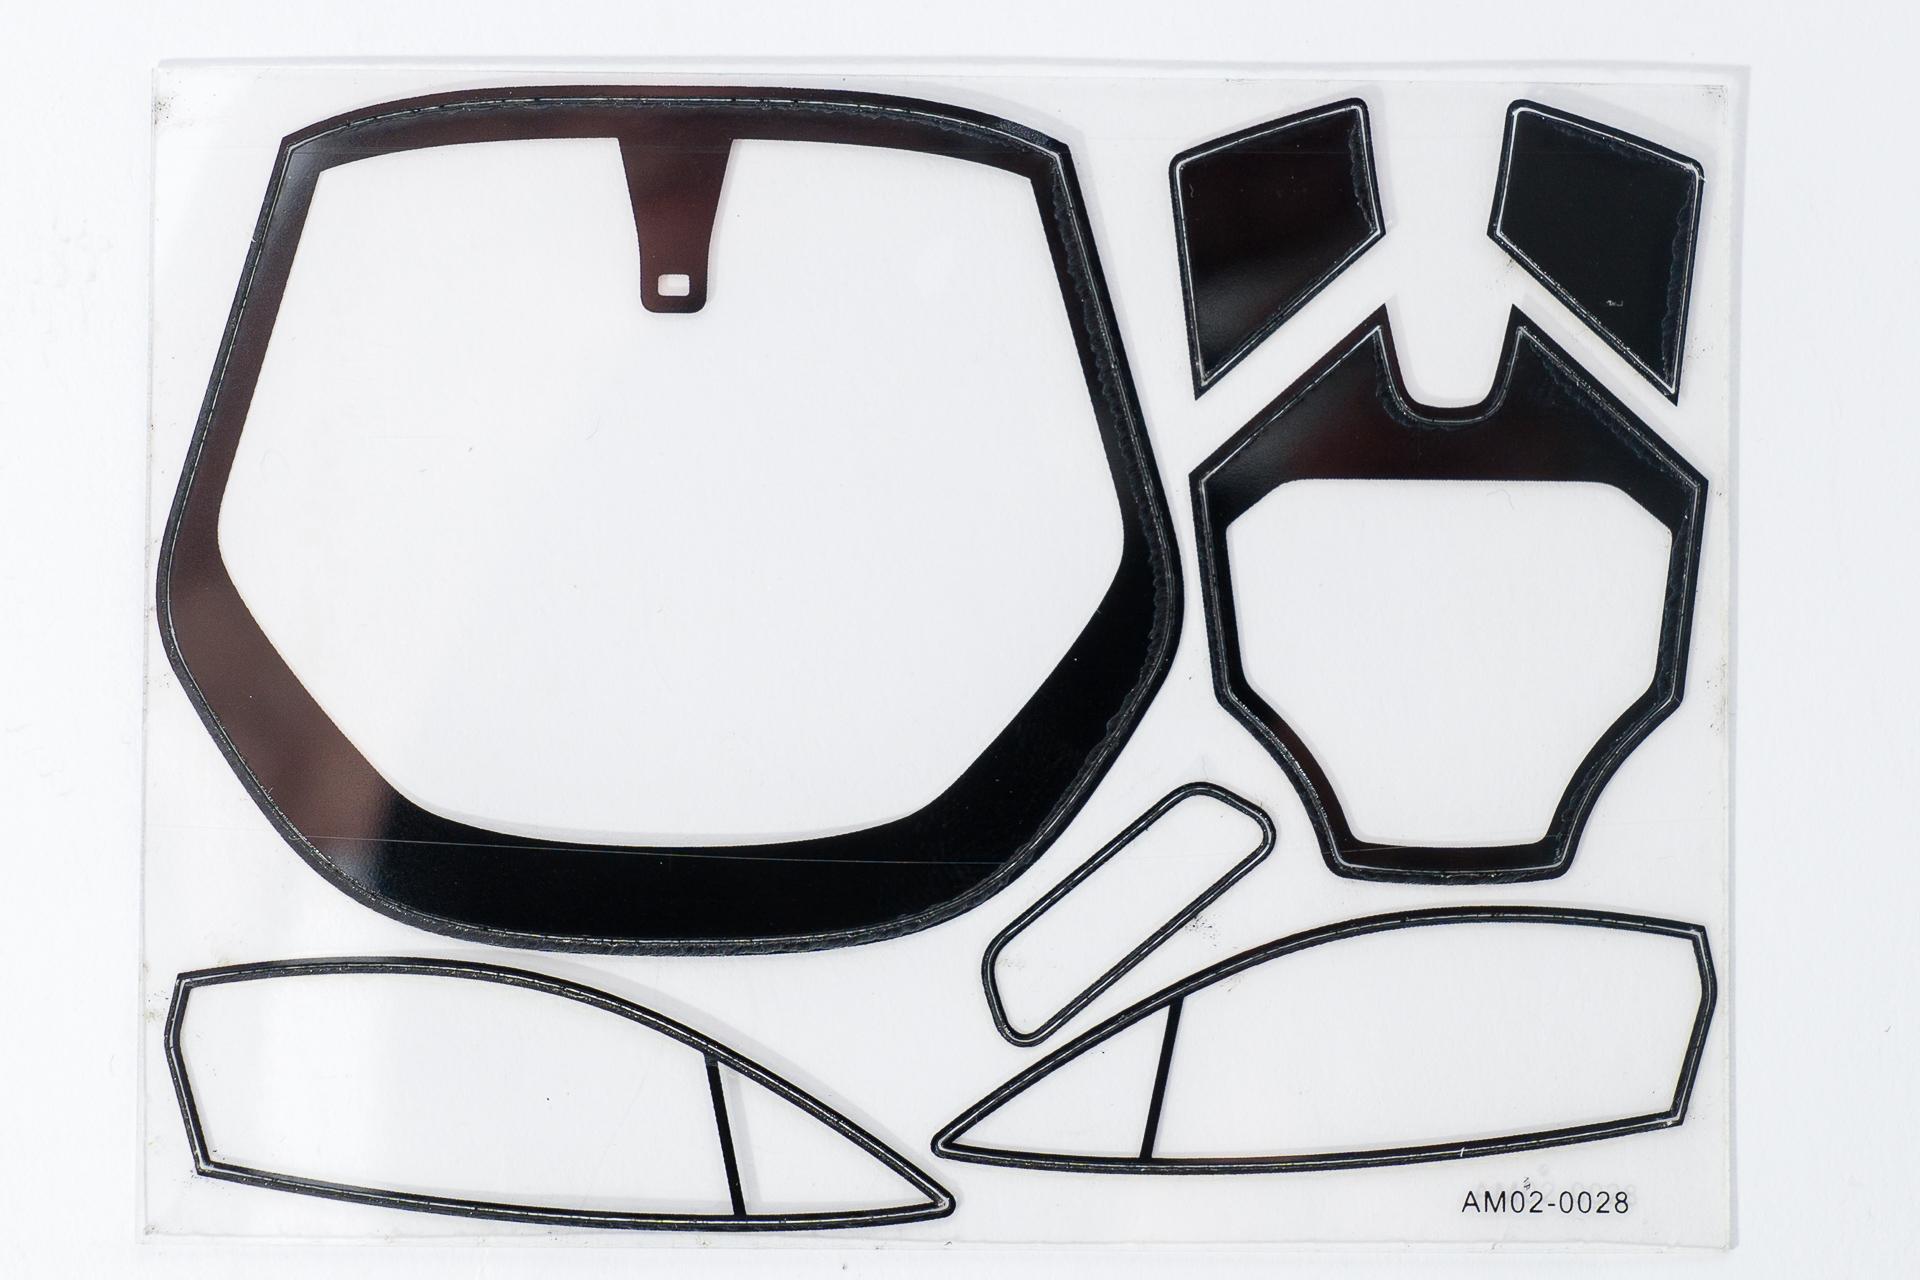
Hi all Thank you very much The main "glass" parts are always on a flat sheet. Sometimes also the covers for the headlights. In this kit you get the windows as flat sheets and the covers for the headlights, rear and brake lights as 3D parts: The McLaren isn't finished 100%, but the only things to do are removing the protecting sheets from the windows and assembling and installation of the wiper, so this will be my last update in the W.I.P section. First I finished the interior Then I tried to assemble everything and noticed that the undercarriage didn't really fit. Soon I discovered the culprit: On the back of the splitter I had to attach two parts which I never could figure out completely how they should be installed. Well at least I know now for sure how it was NOT meant to be... I managed to remove one of these parts but even with the help of the new knowledge that they interfere with the undercarriage I wasn't able to fit it properly. So I glued it in the way it was before and removed some material from the (not visible side of the) undercarriage. Of course I slipped a few times with my router, so the surface of the undercarriaage got slightly damaged. But considering the fact that the "visible" side won't be that visible because it's underneath the car, I only repainted it without filling the scratches. Once this was done I could go on and finalize the assembly More and better pictures will follow the next time I was at the photo studio. Therefore I call this done and hope you will join my next build as well Urs
-
Thank you Yes, I used ZeroPaints' 2K Diamond Gloss, as I always do for my cars.
-
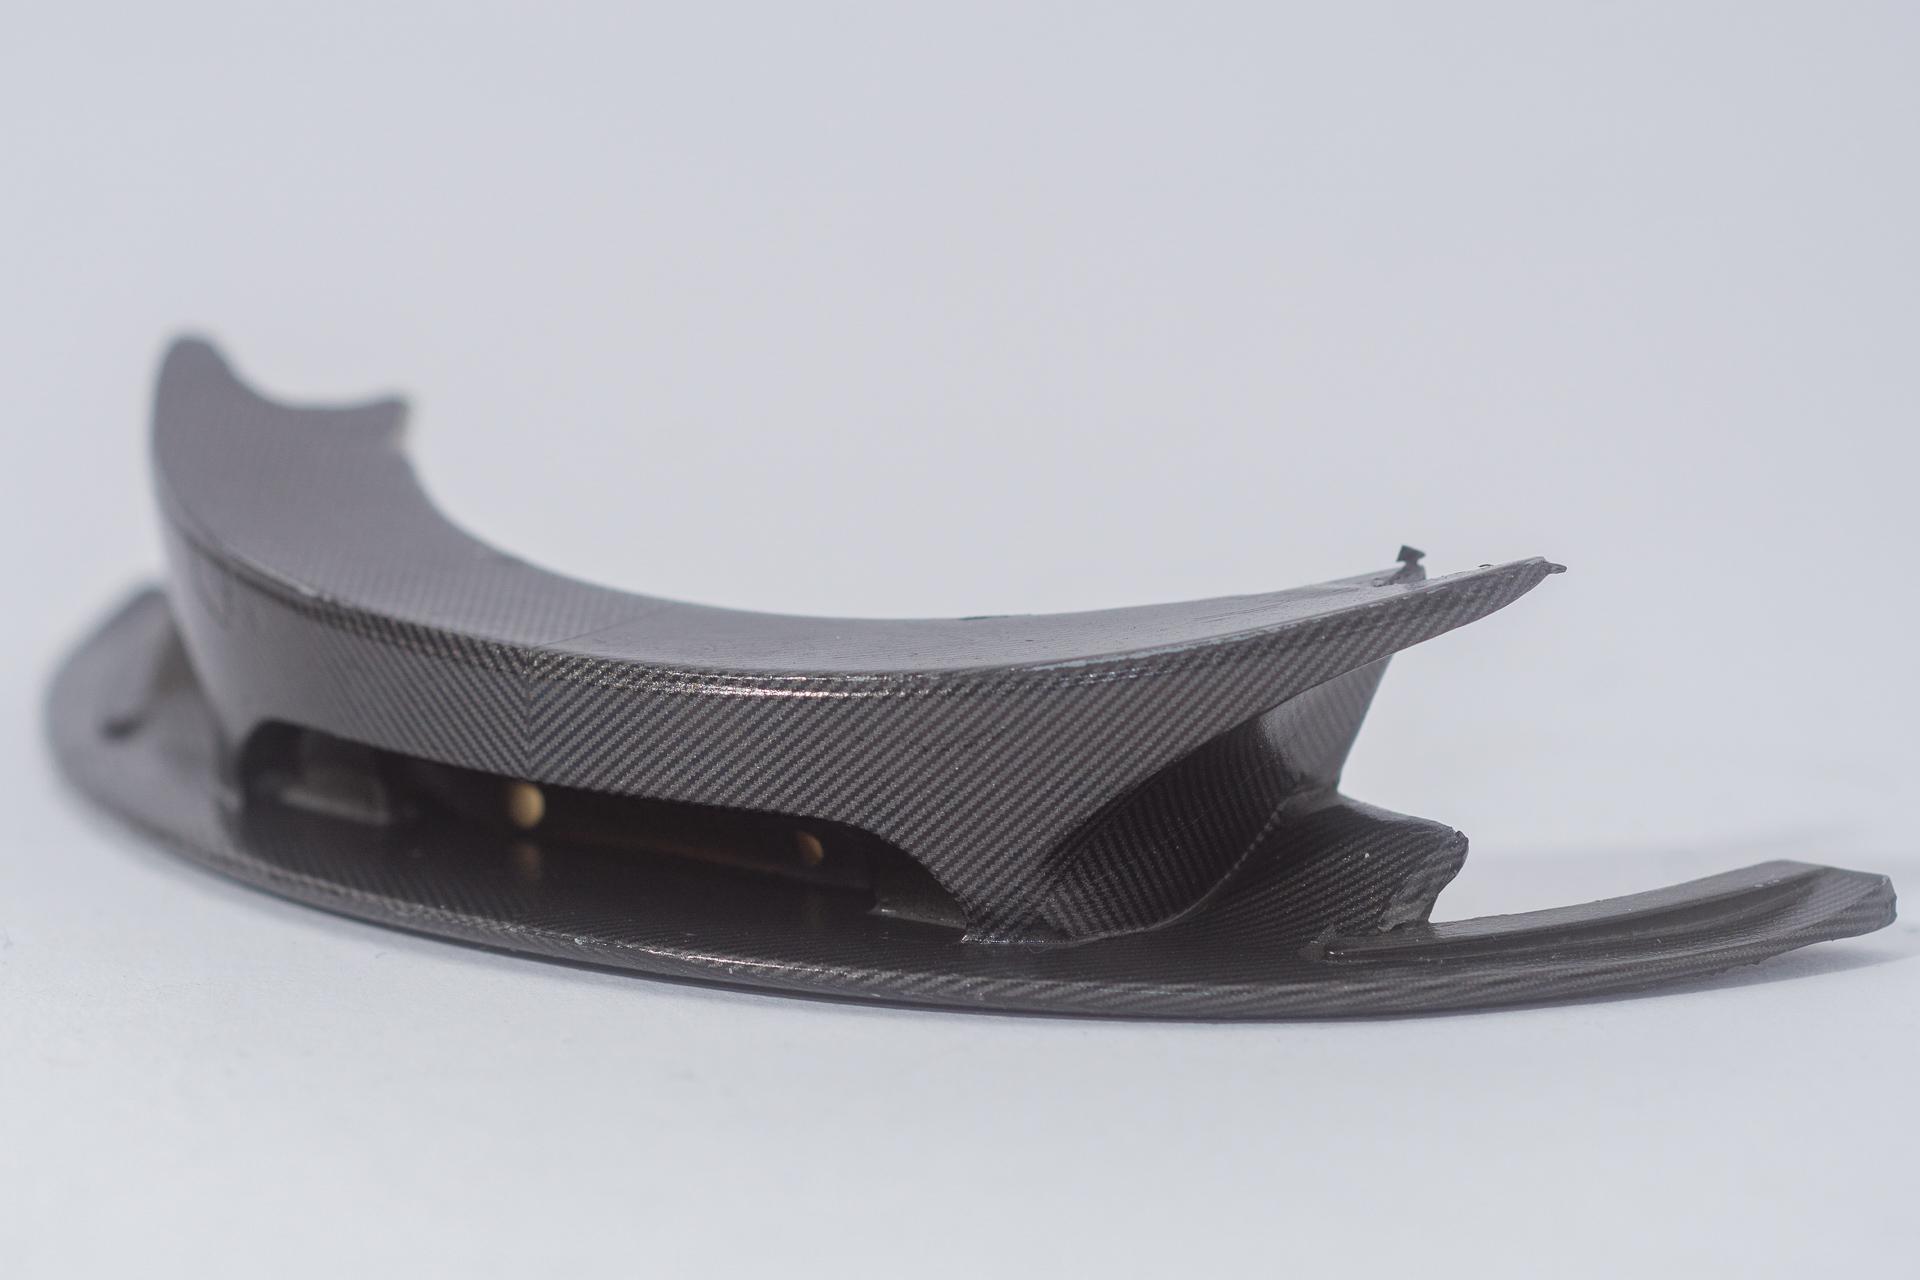
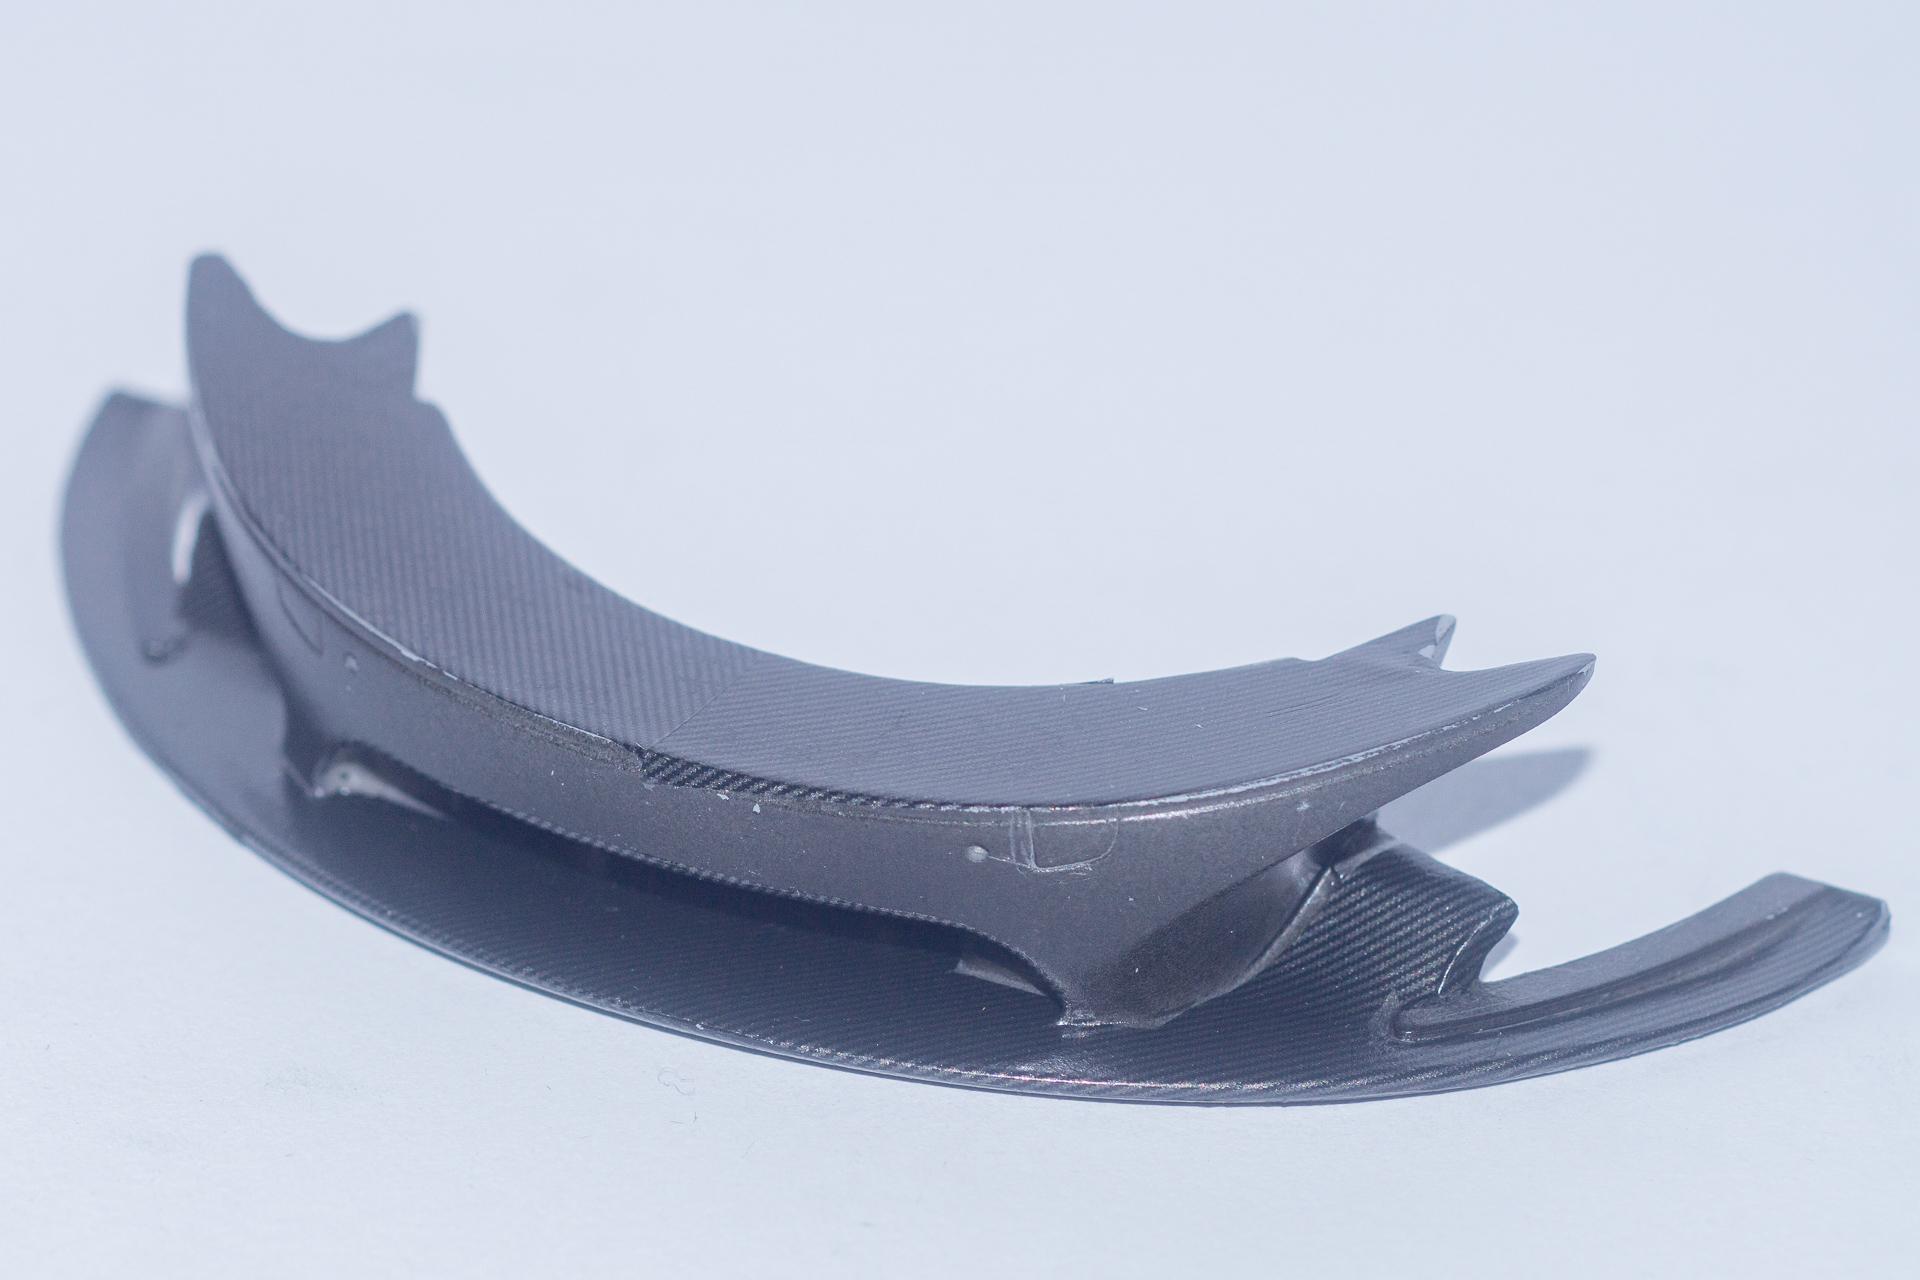
Hi all Long time since the last update. First of all I'd like to thank all of you for your kind comments. I really appreciate it, especially in the last few weeks, where my motivation was almost on an all-time low. But meanwhile motivation came back, so there will soon be an update also on my McLaren Senna, I suppose But first I'll show you the progress made on the P1. First of all the dashboard has been almost completed After that the first few PE parts could be placed in the interior tub And finally it was time for some clearcoat. As I thougt, I'd need more than usual, I used another mixing ration than usual. Once that was highly recommended by a guy on youtube I really like (and who is also the sponsor of this model kit ). That was the second time I tried his formula and the second time I had problems with laying down the clear coat (at least in some parts). Most of all it went on smooth with only the usual small dust inclusions here and there. But on two side panels and on the splitter it mas more a test ground for the next Mars robot: wavy and full of craters. So I decided to strip these parts and start all over. For the splitter this meant to also cut and re-apply all the carbon decals of course. Happily I always keep the stencils for the self-made decals, so I didn't have to do this as well. But now on to the pictures. First the body which came out quite ok And the all new splitter, clearcoated a second time (this time with my own mixing ration for the clear) That's it for today's update. I finally reached the home stretch with this build, so I think the next update in this W.I.P will be the last one Urs
-
Mercedes 170 Va "Lieferwagen"
harti20 replied to harti20's topic in WIP: Model Trucks: Pickups, Vans, SUVs, Light Commercial
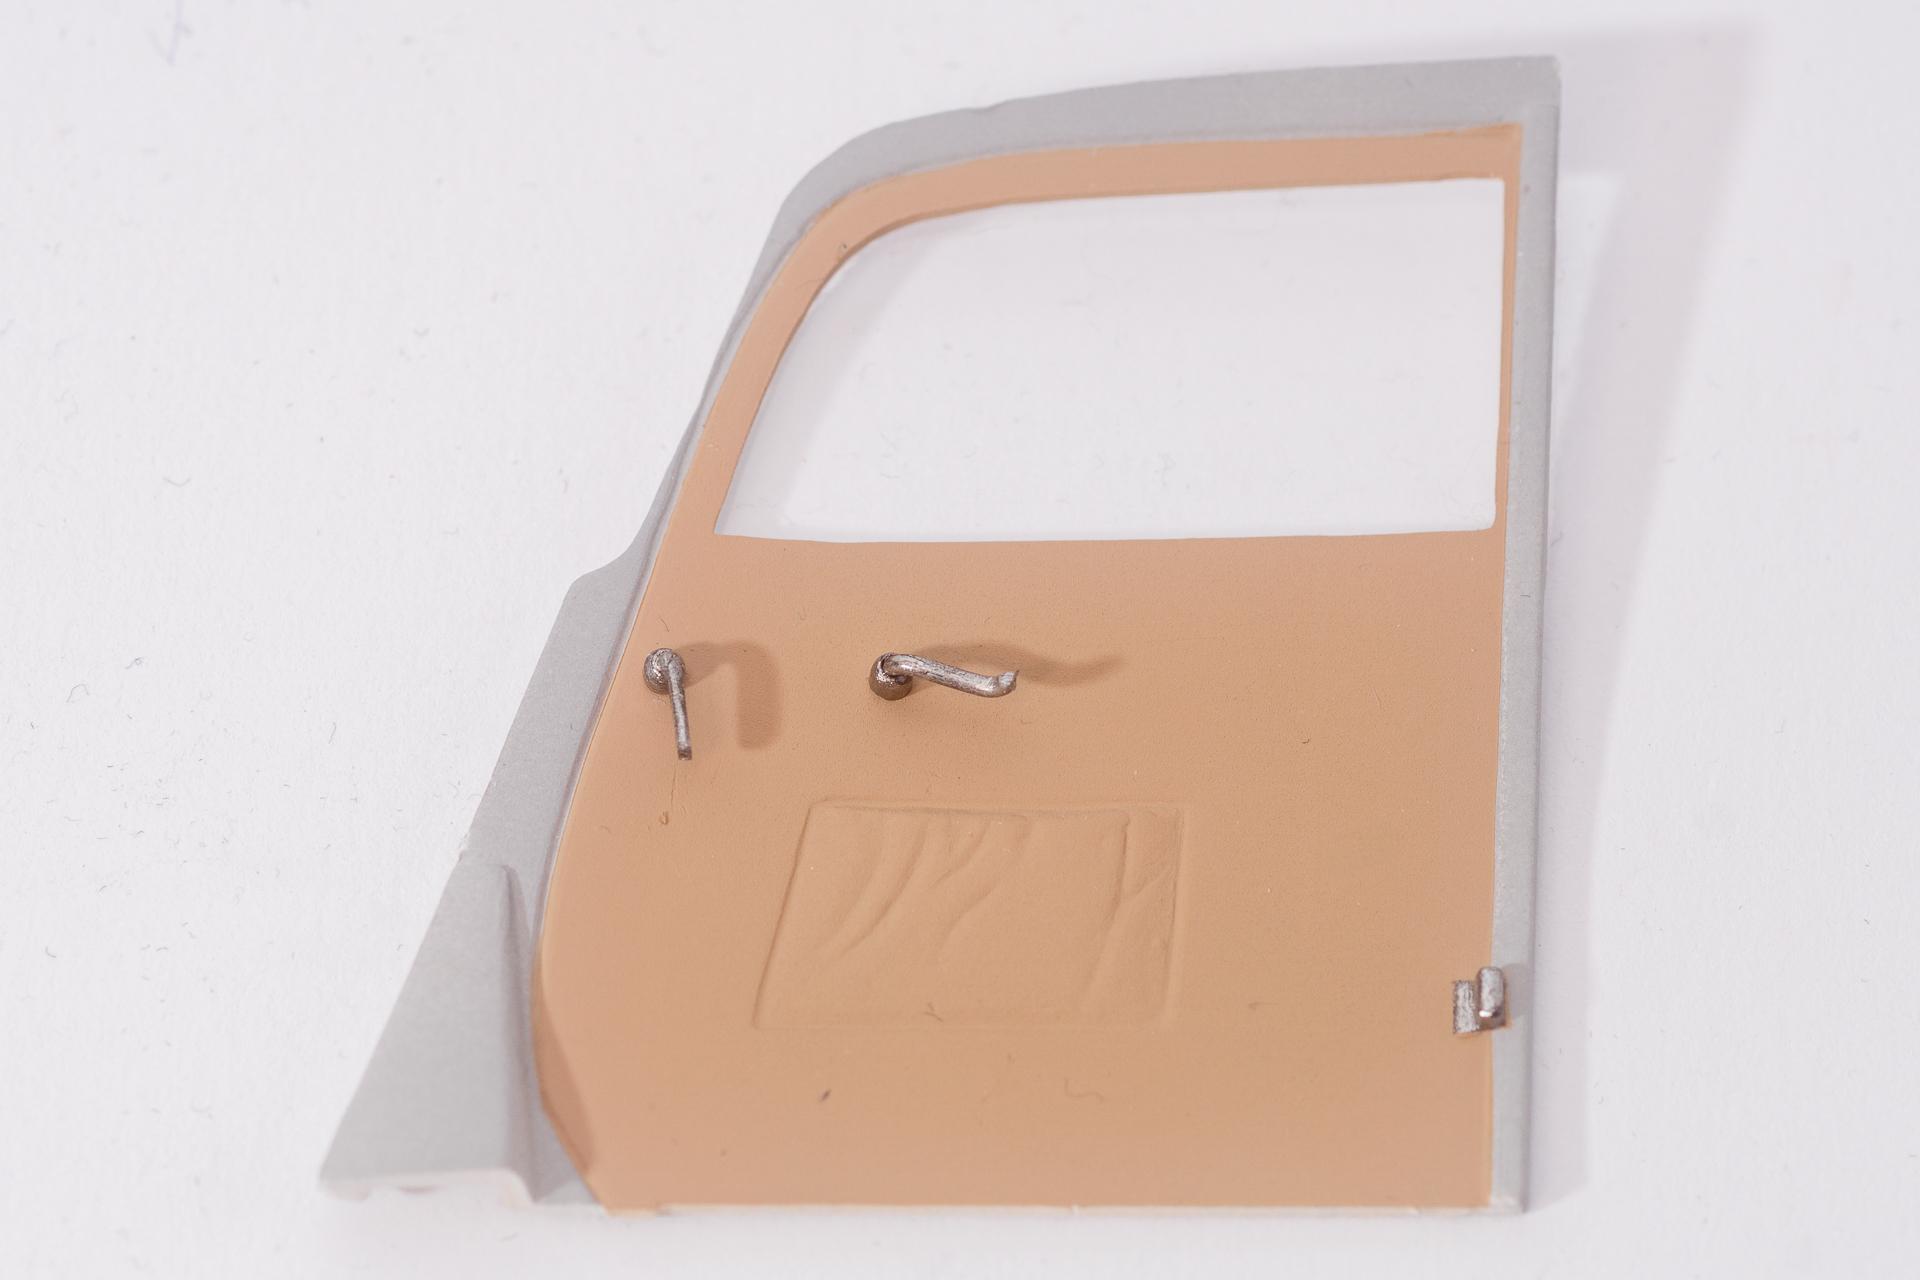
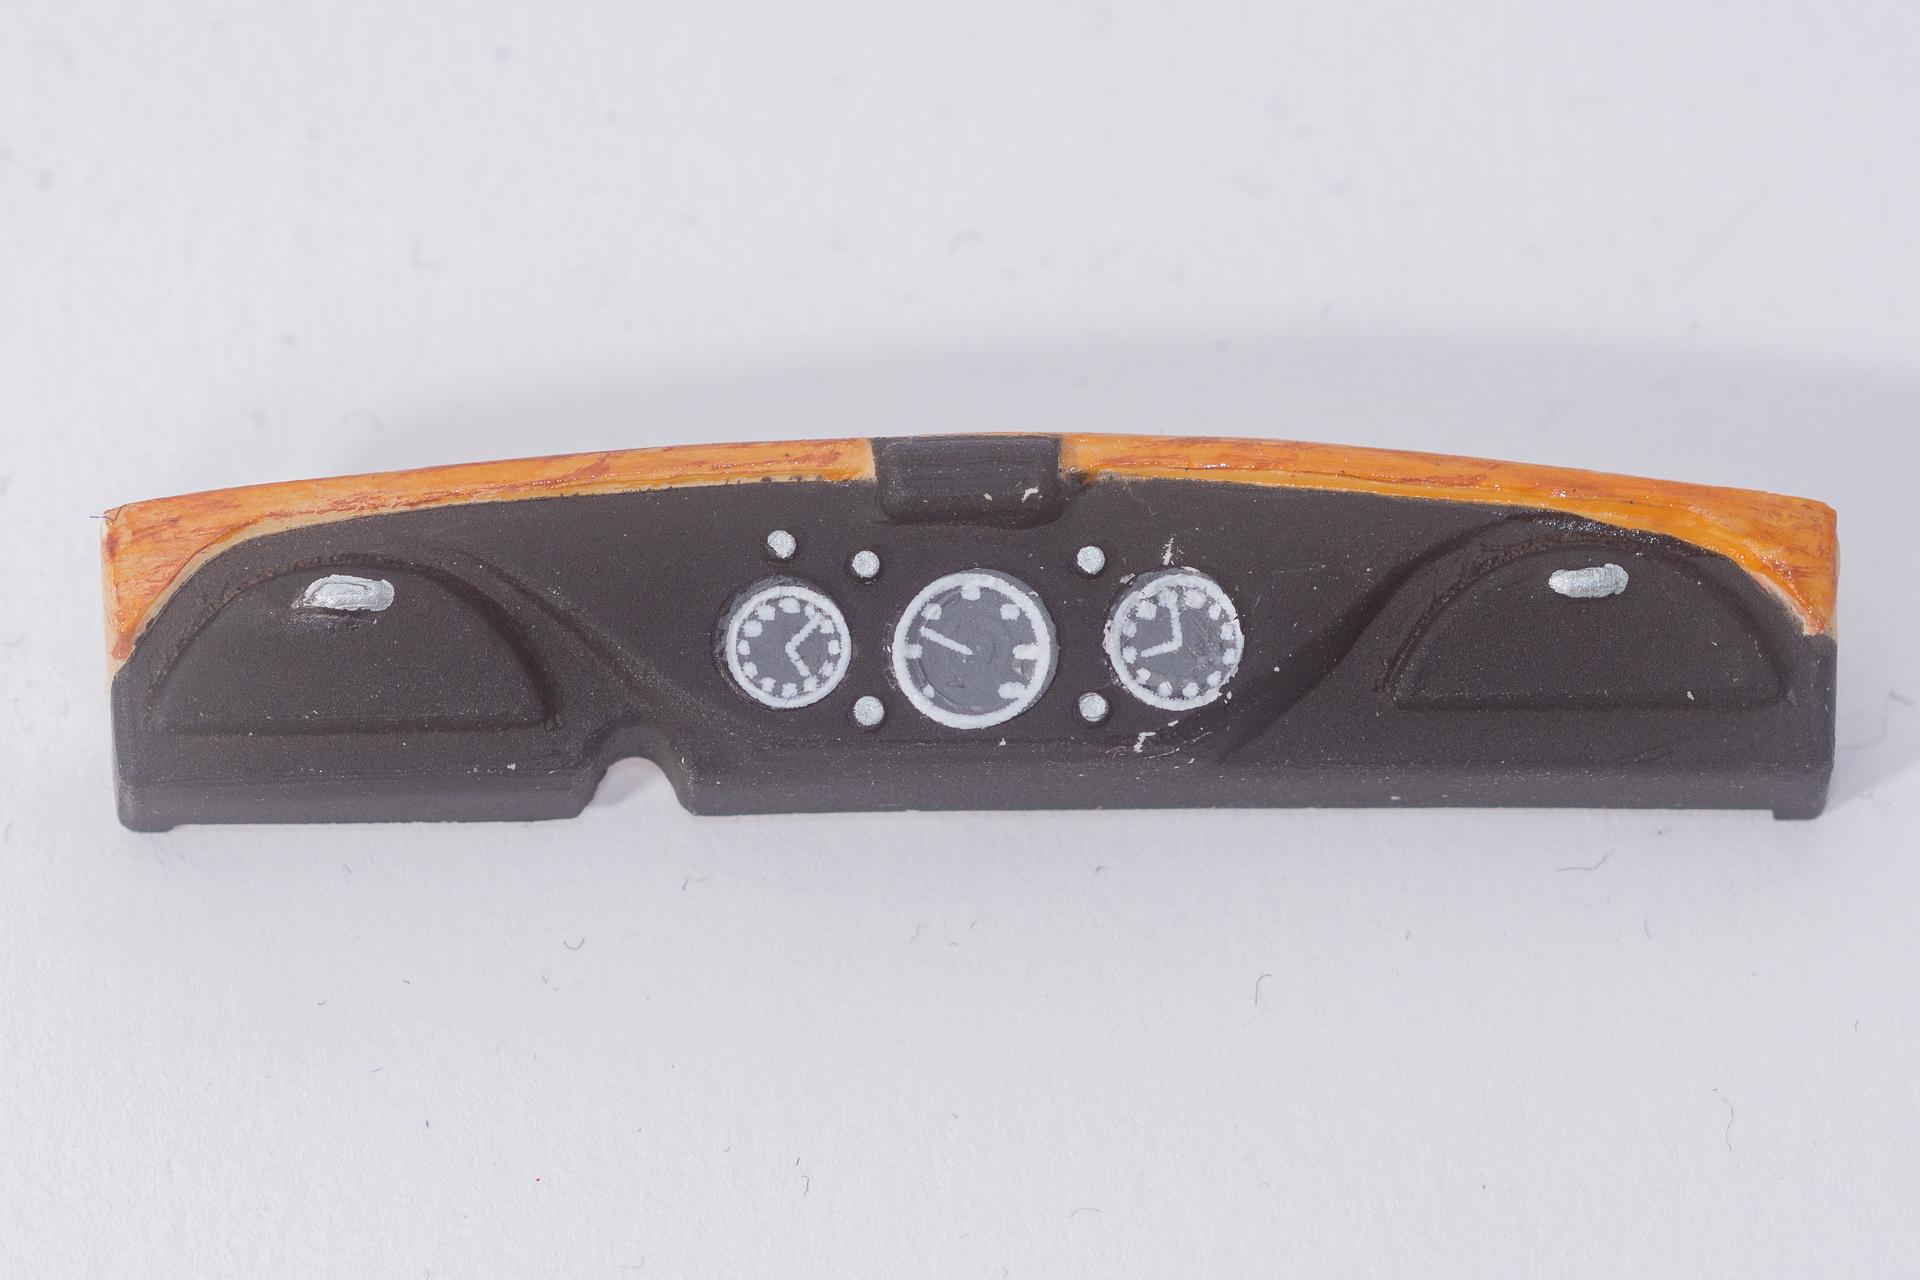
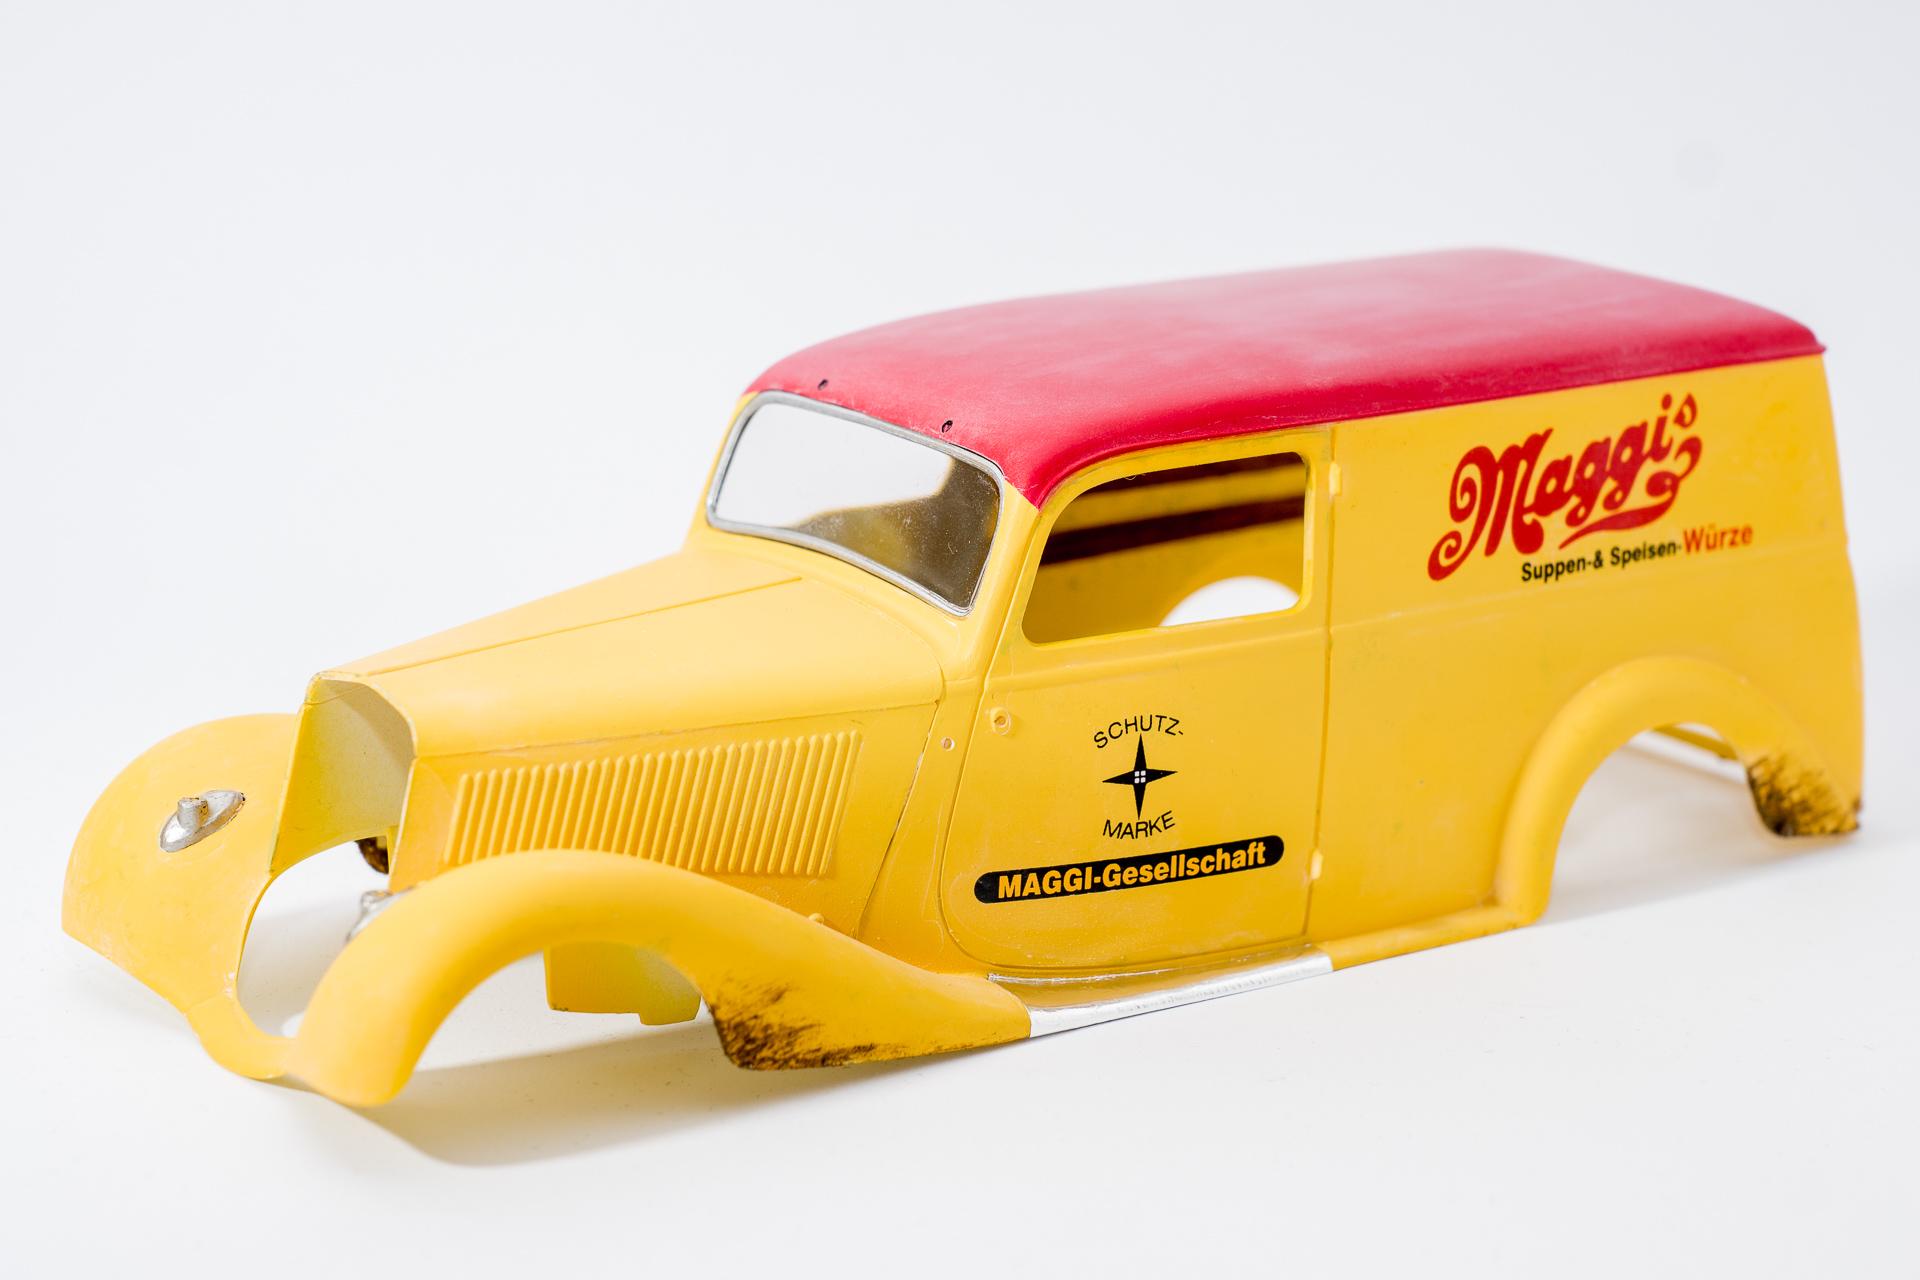
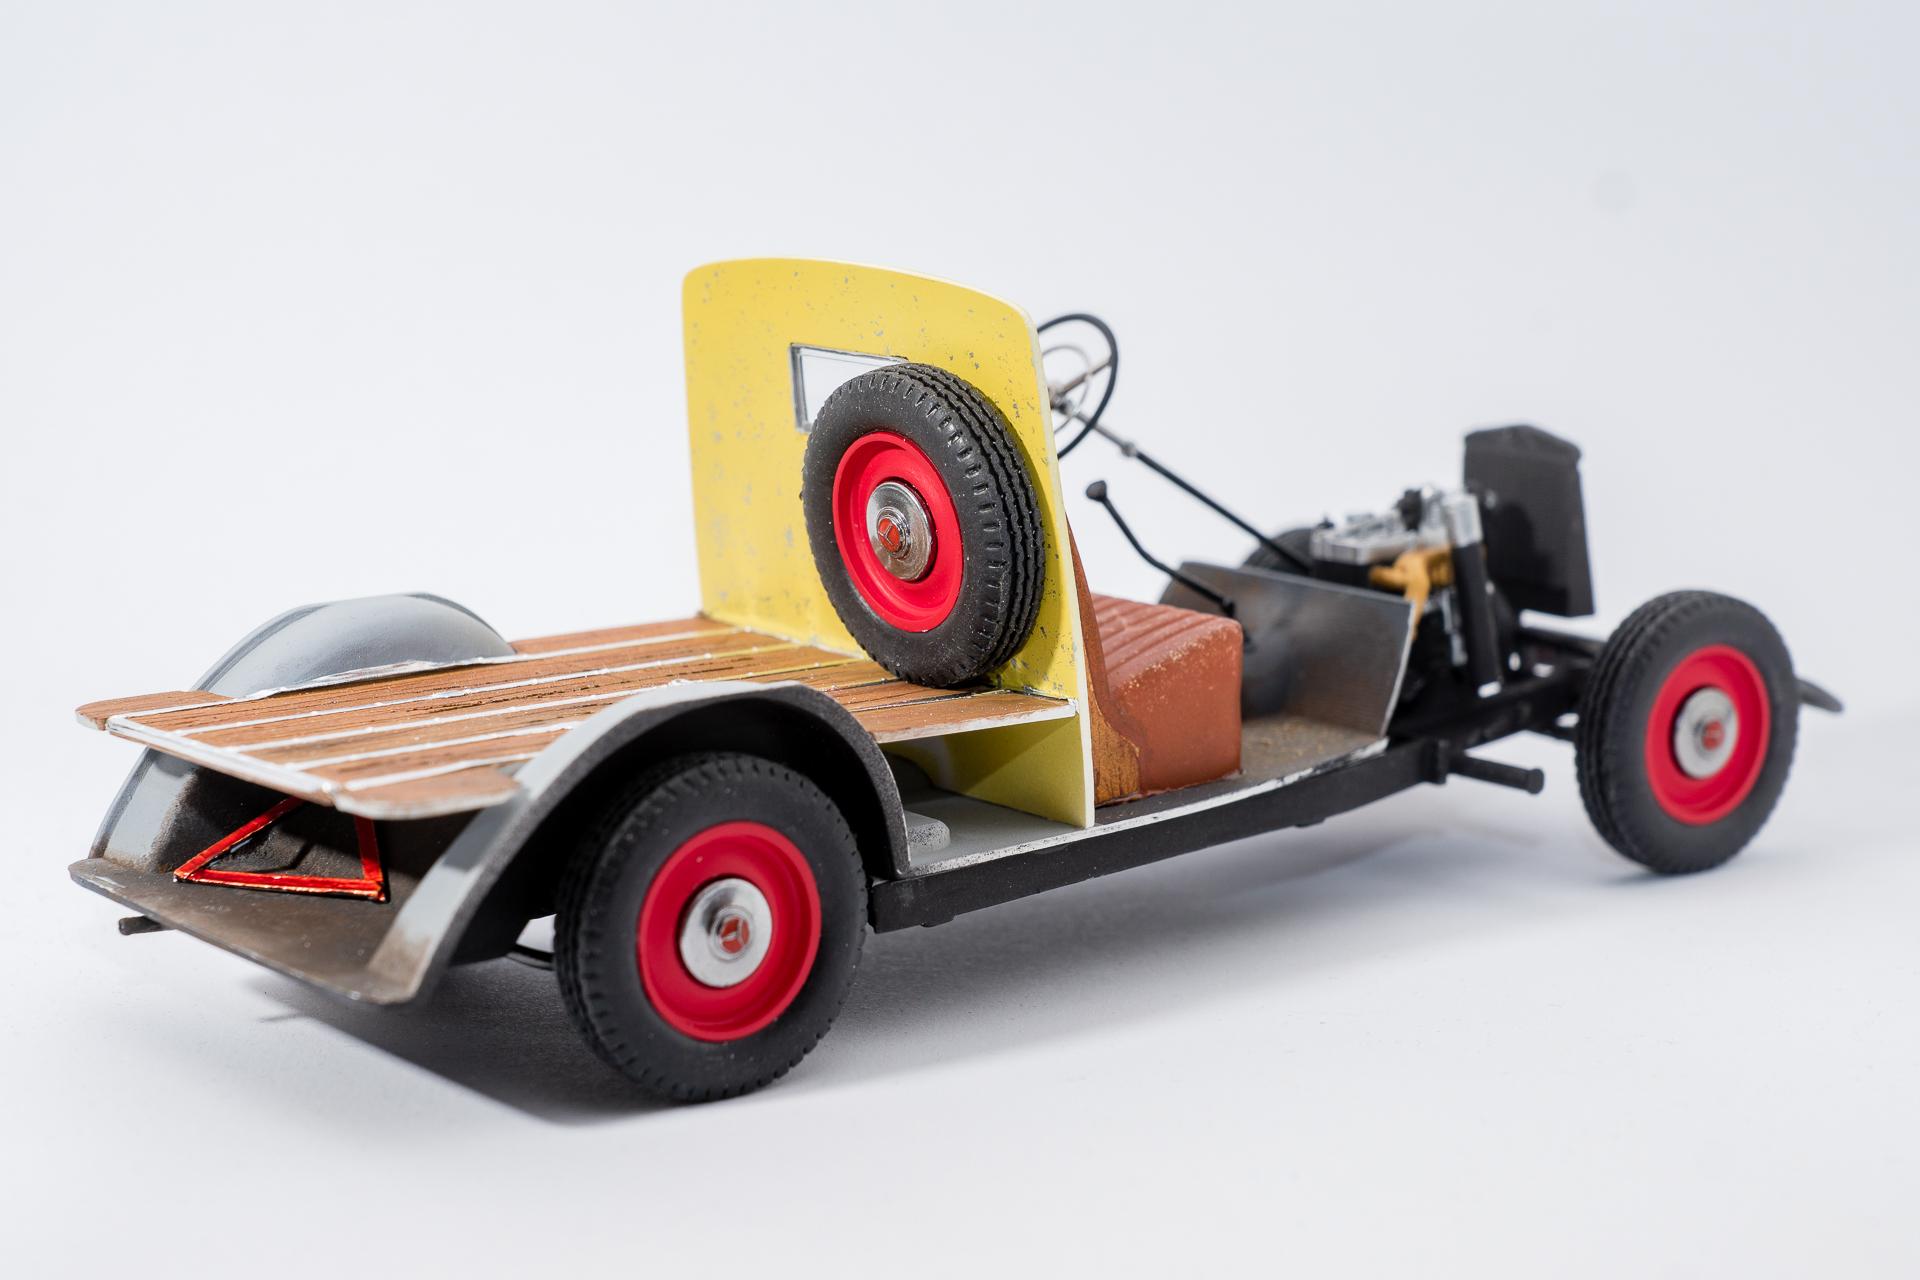
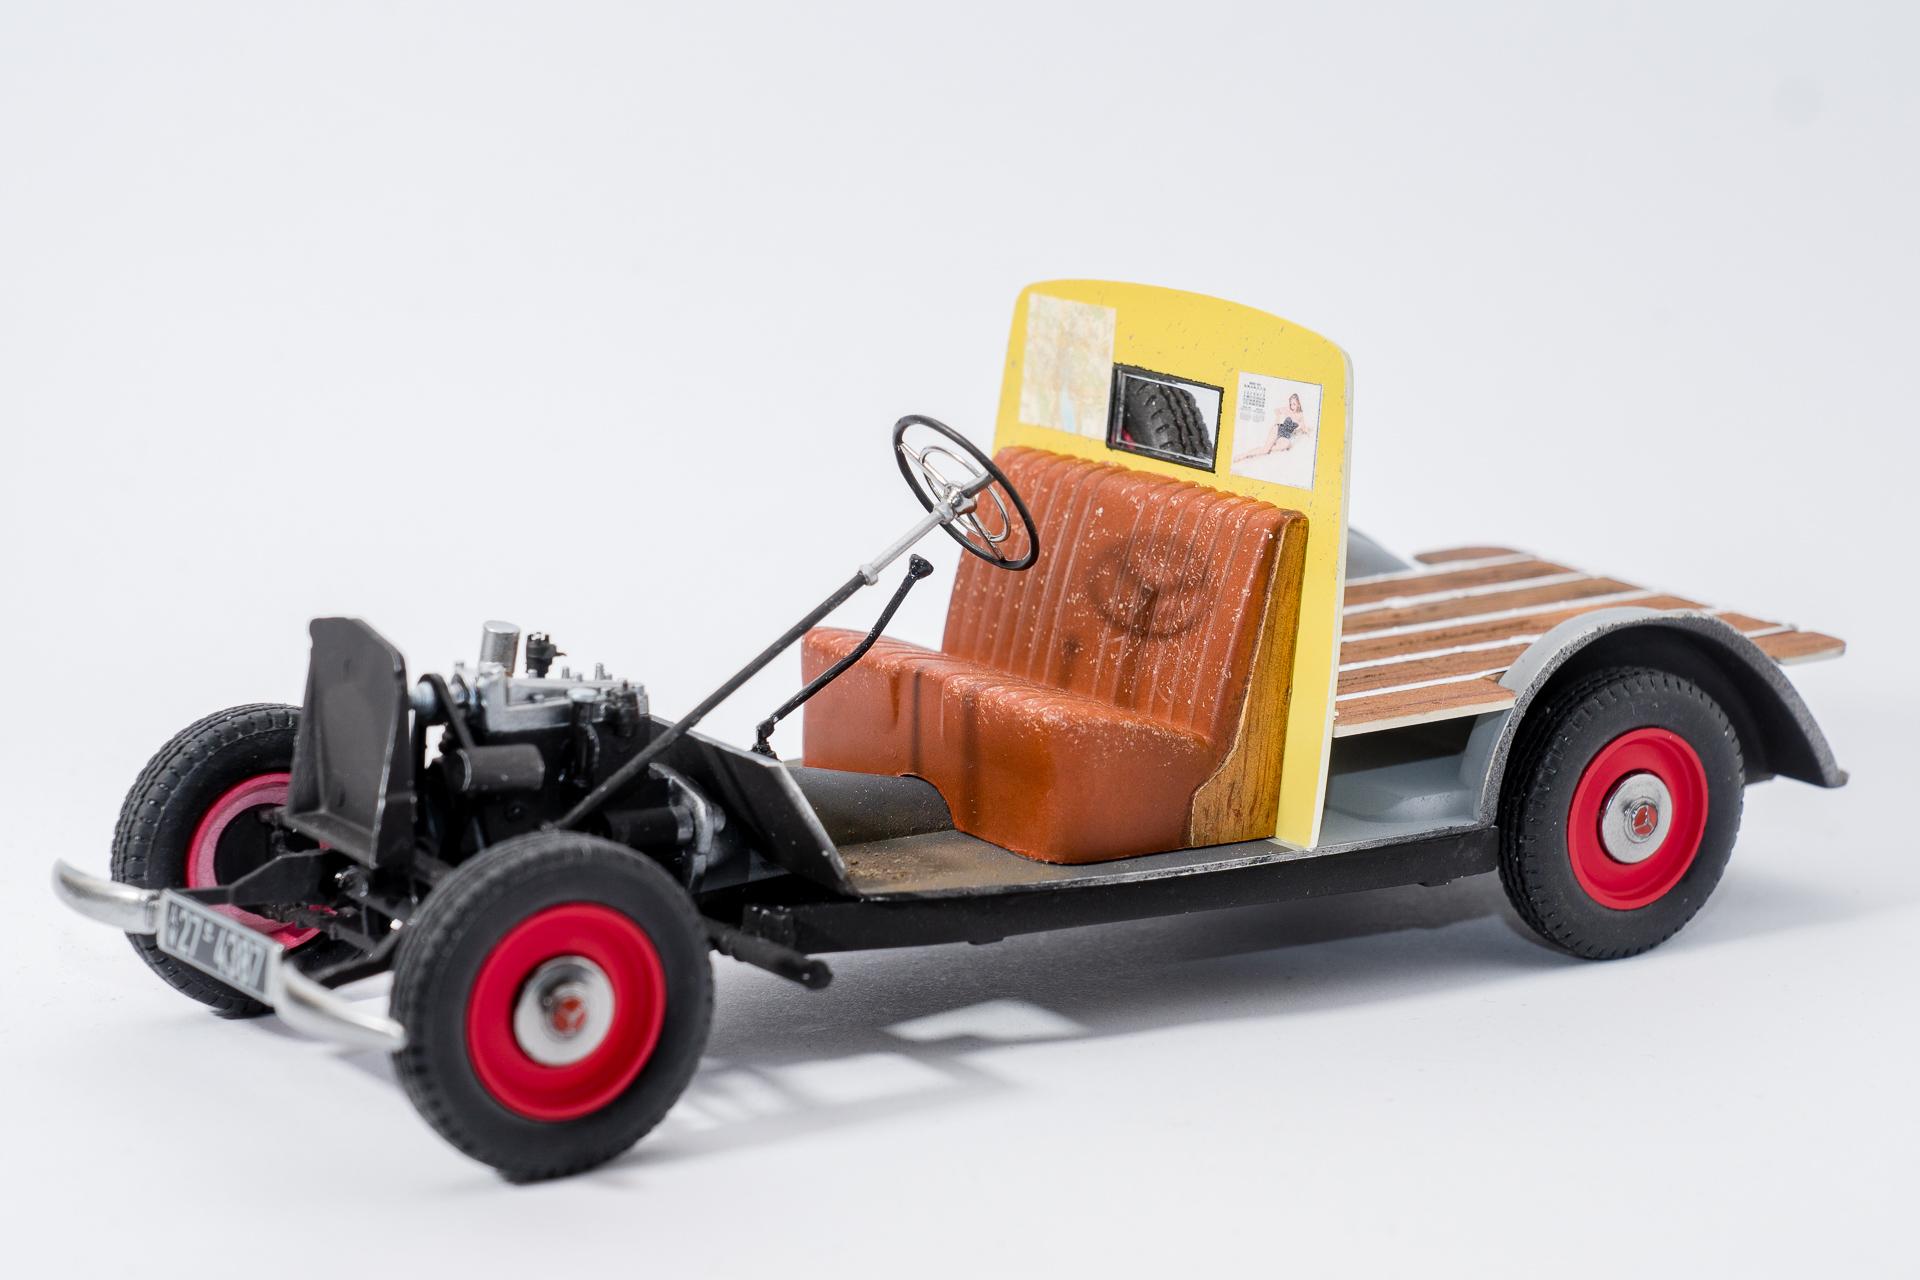
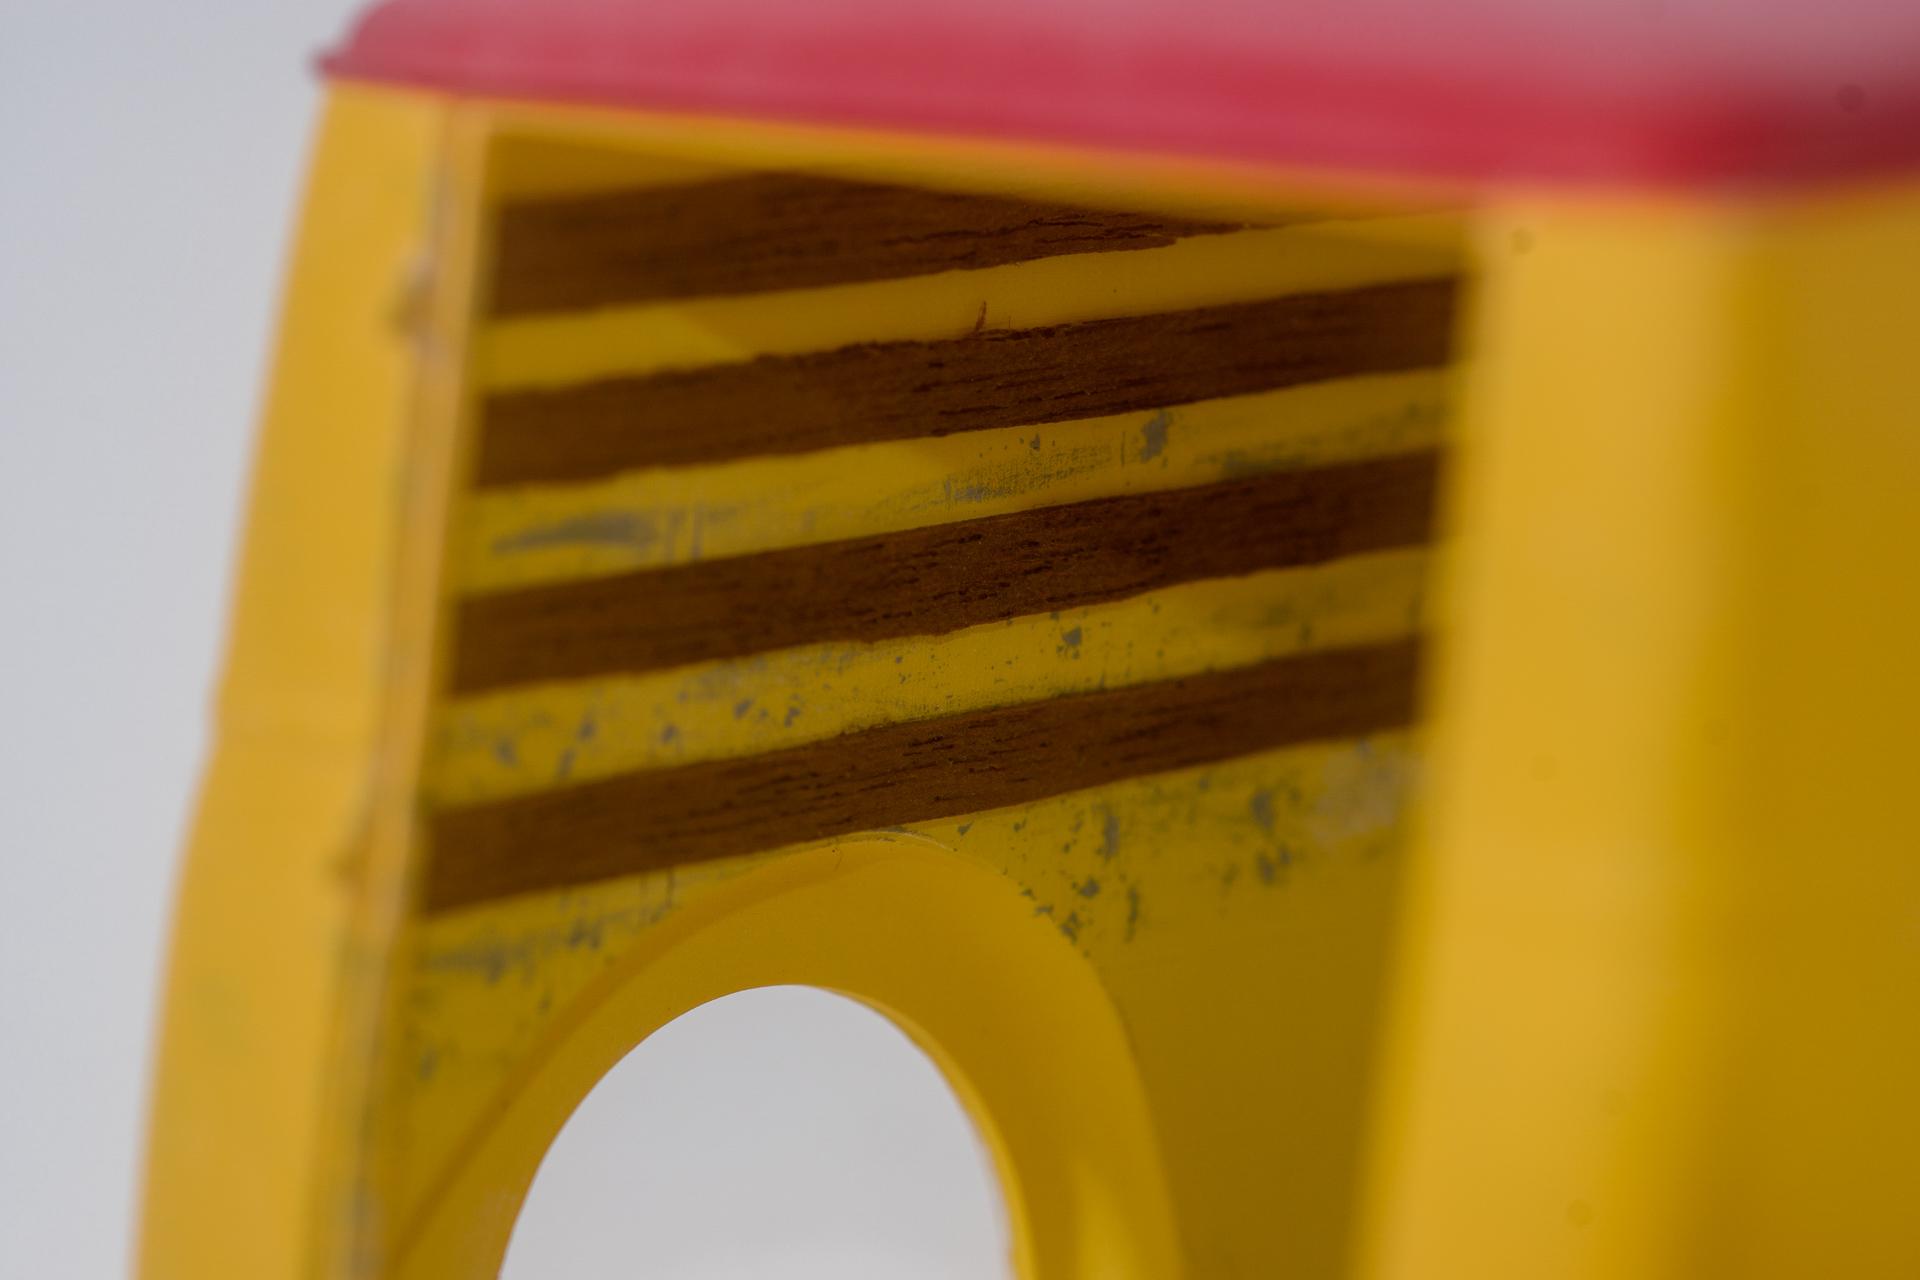
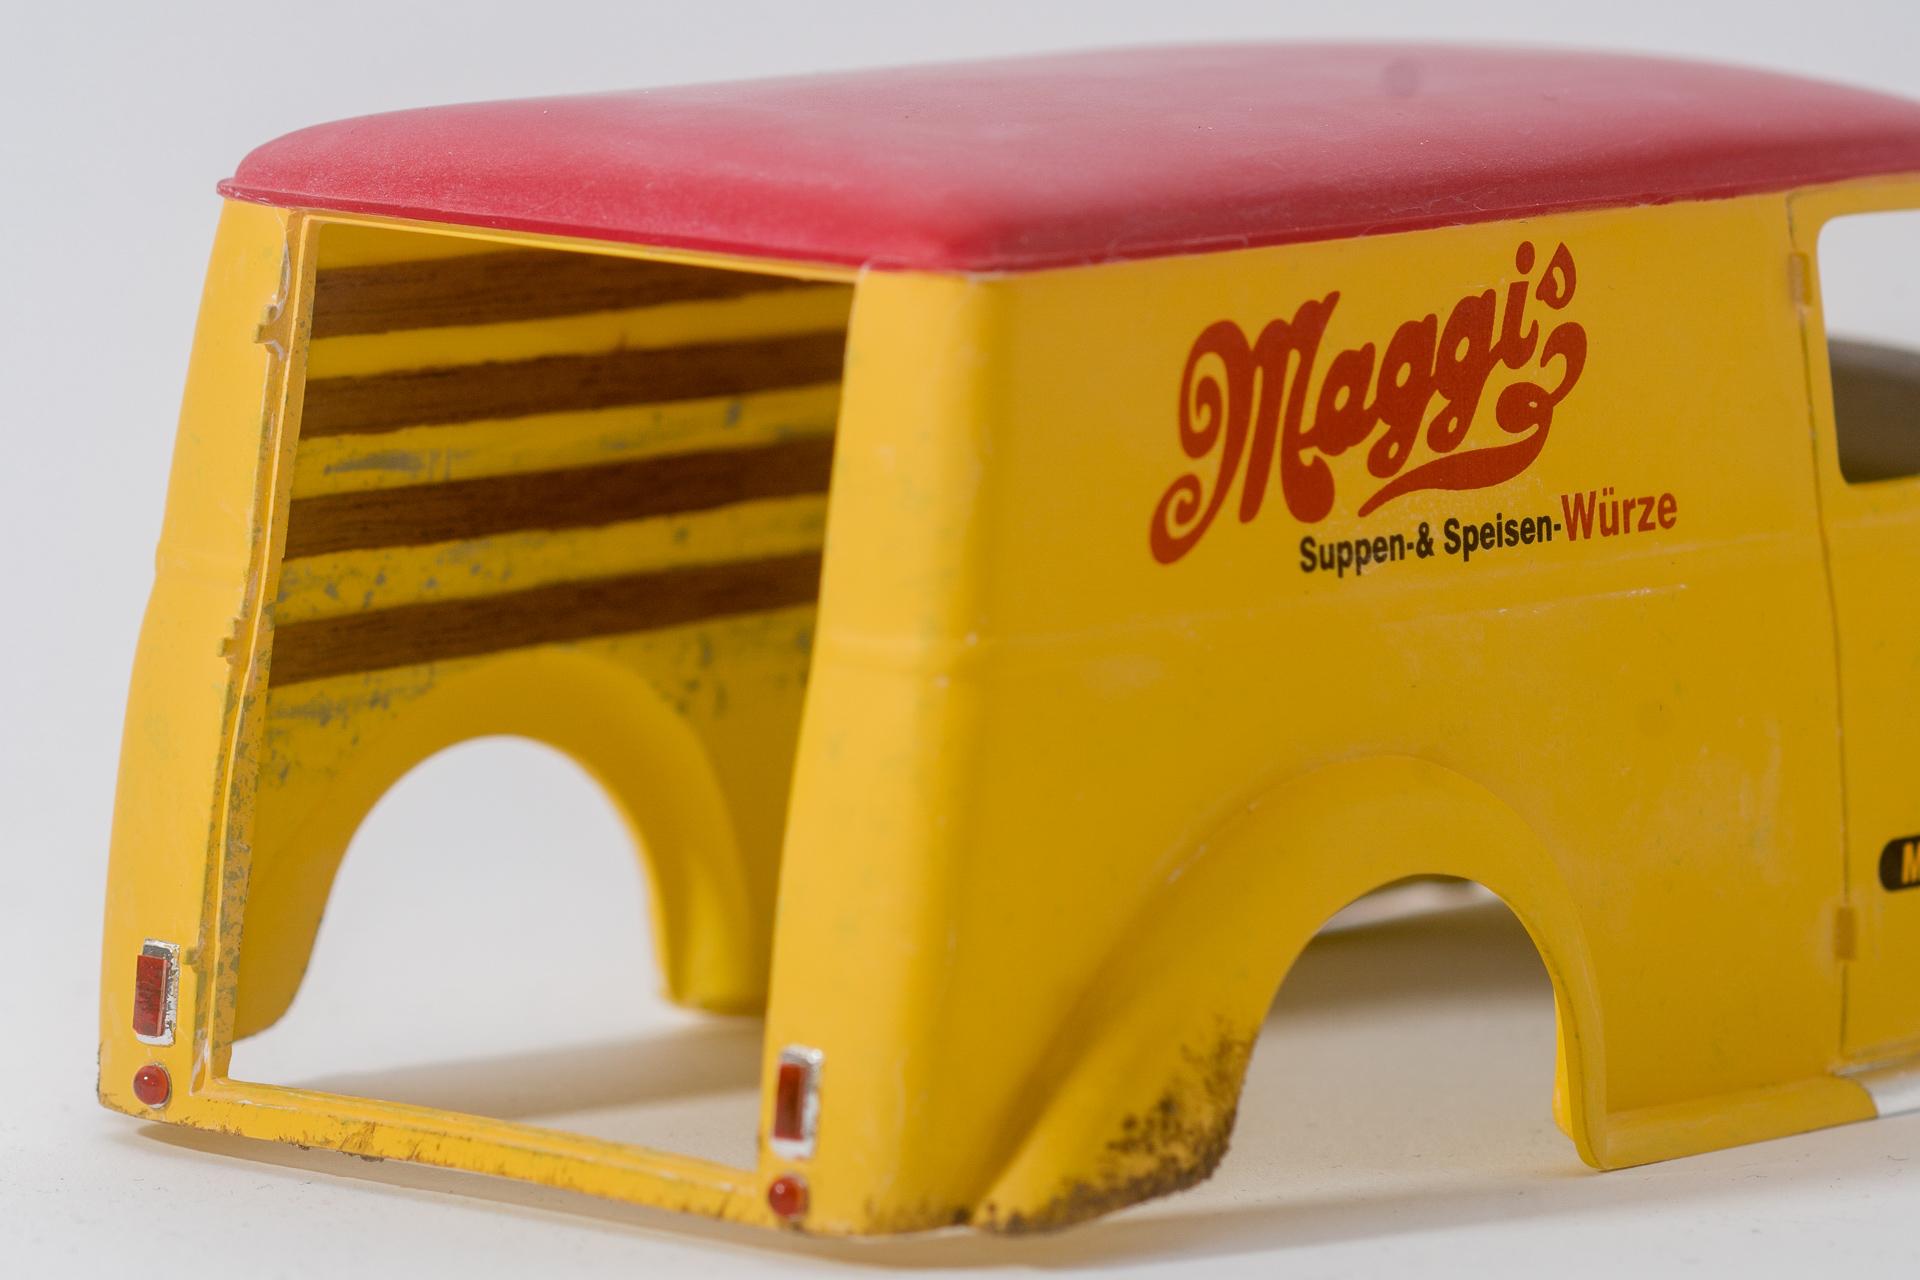
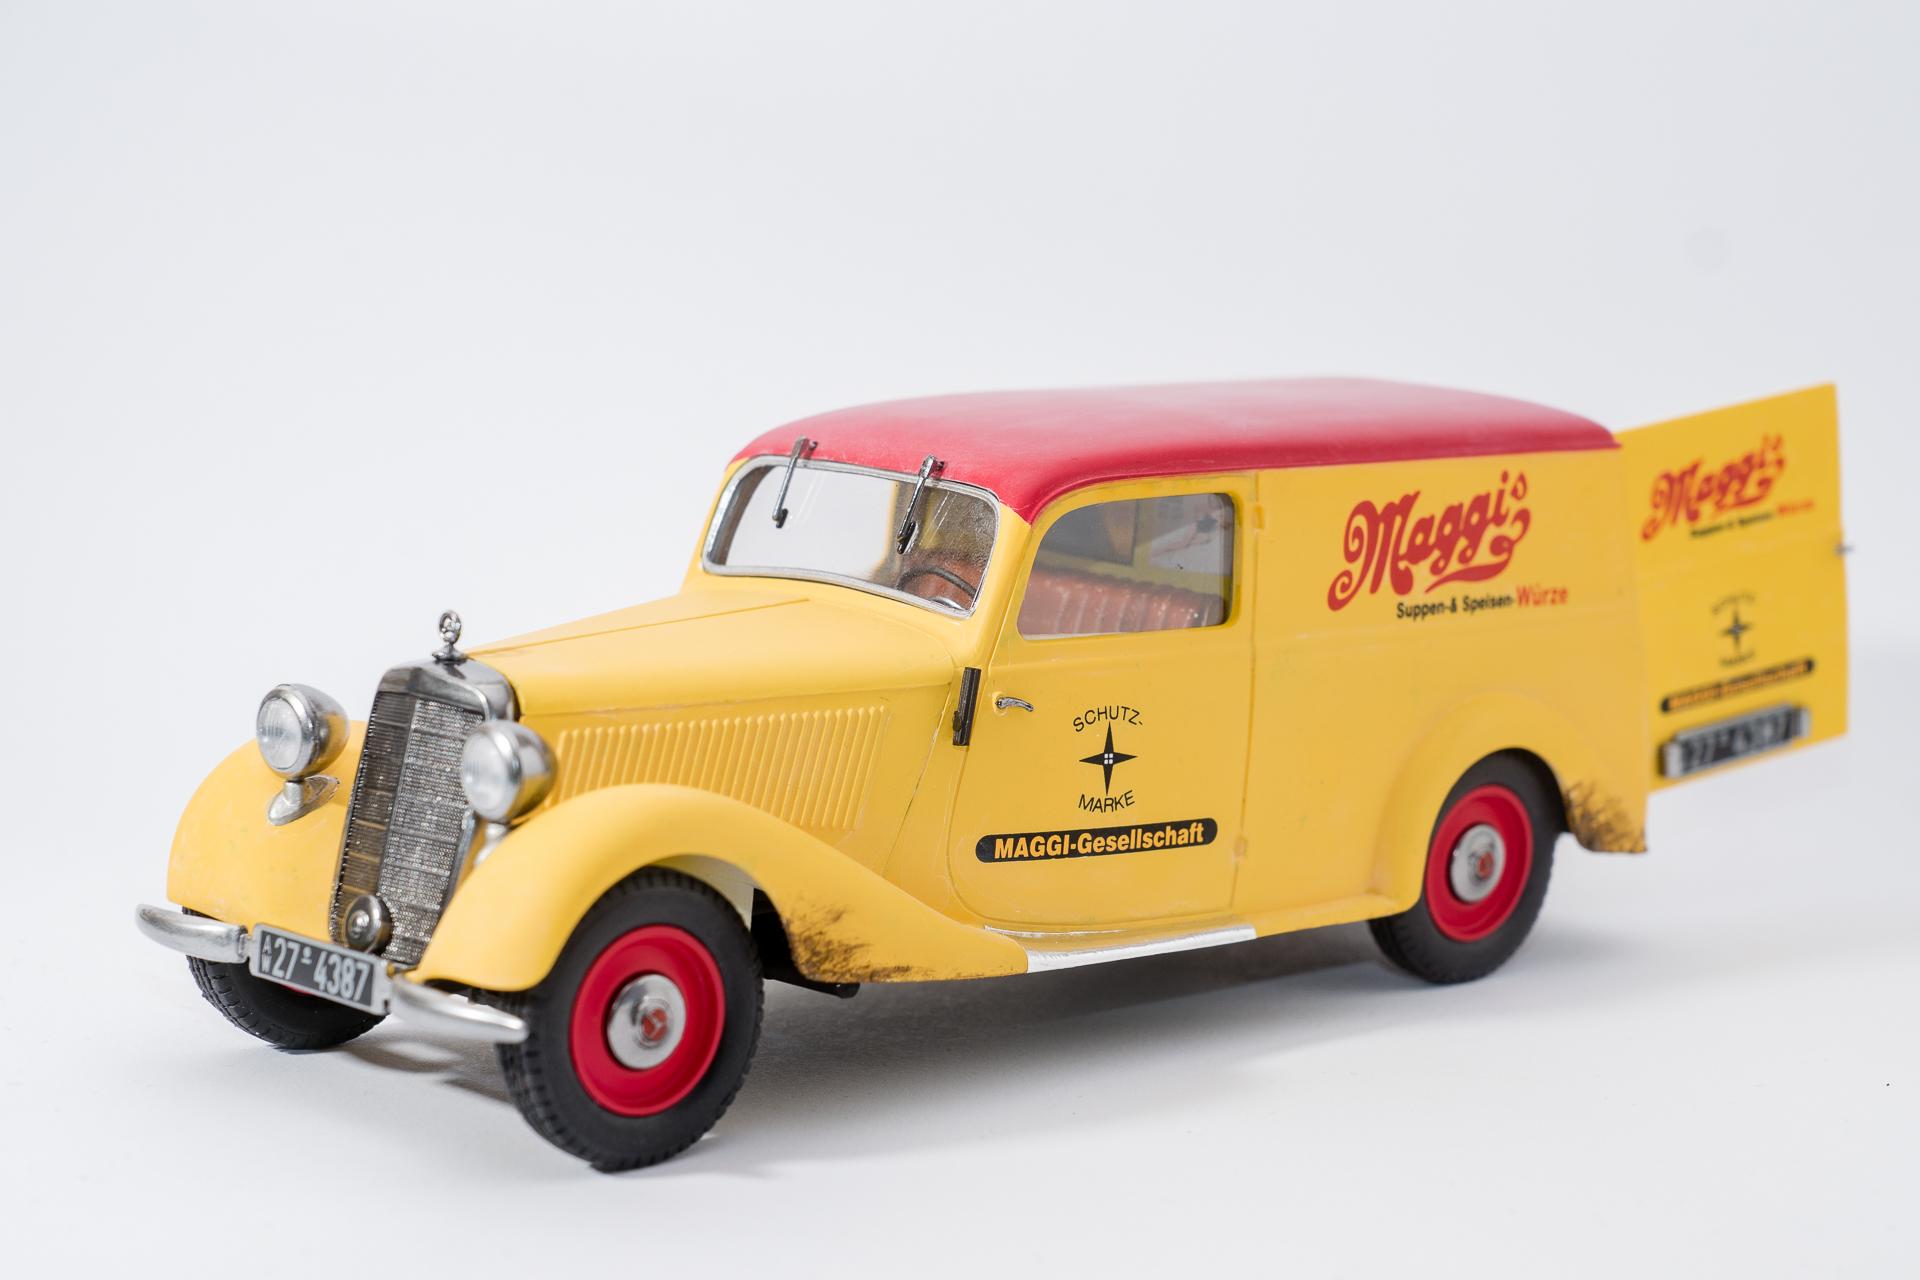
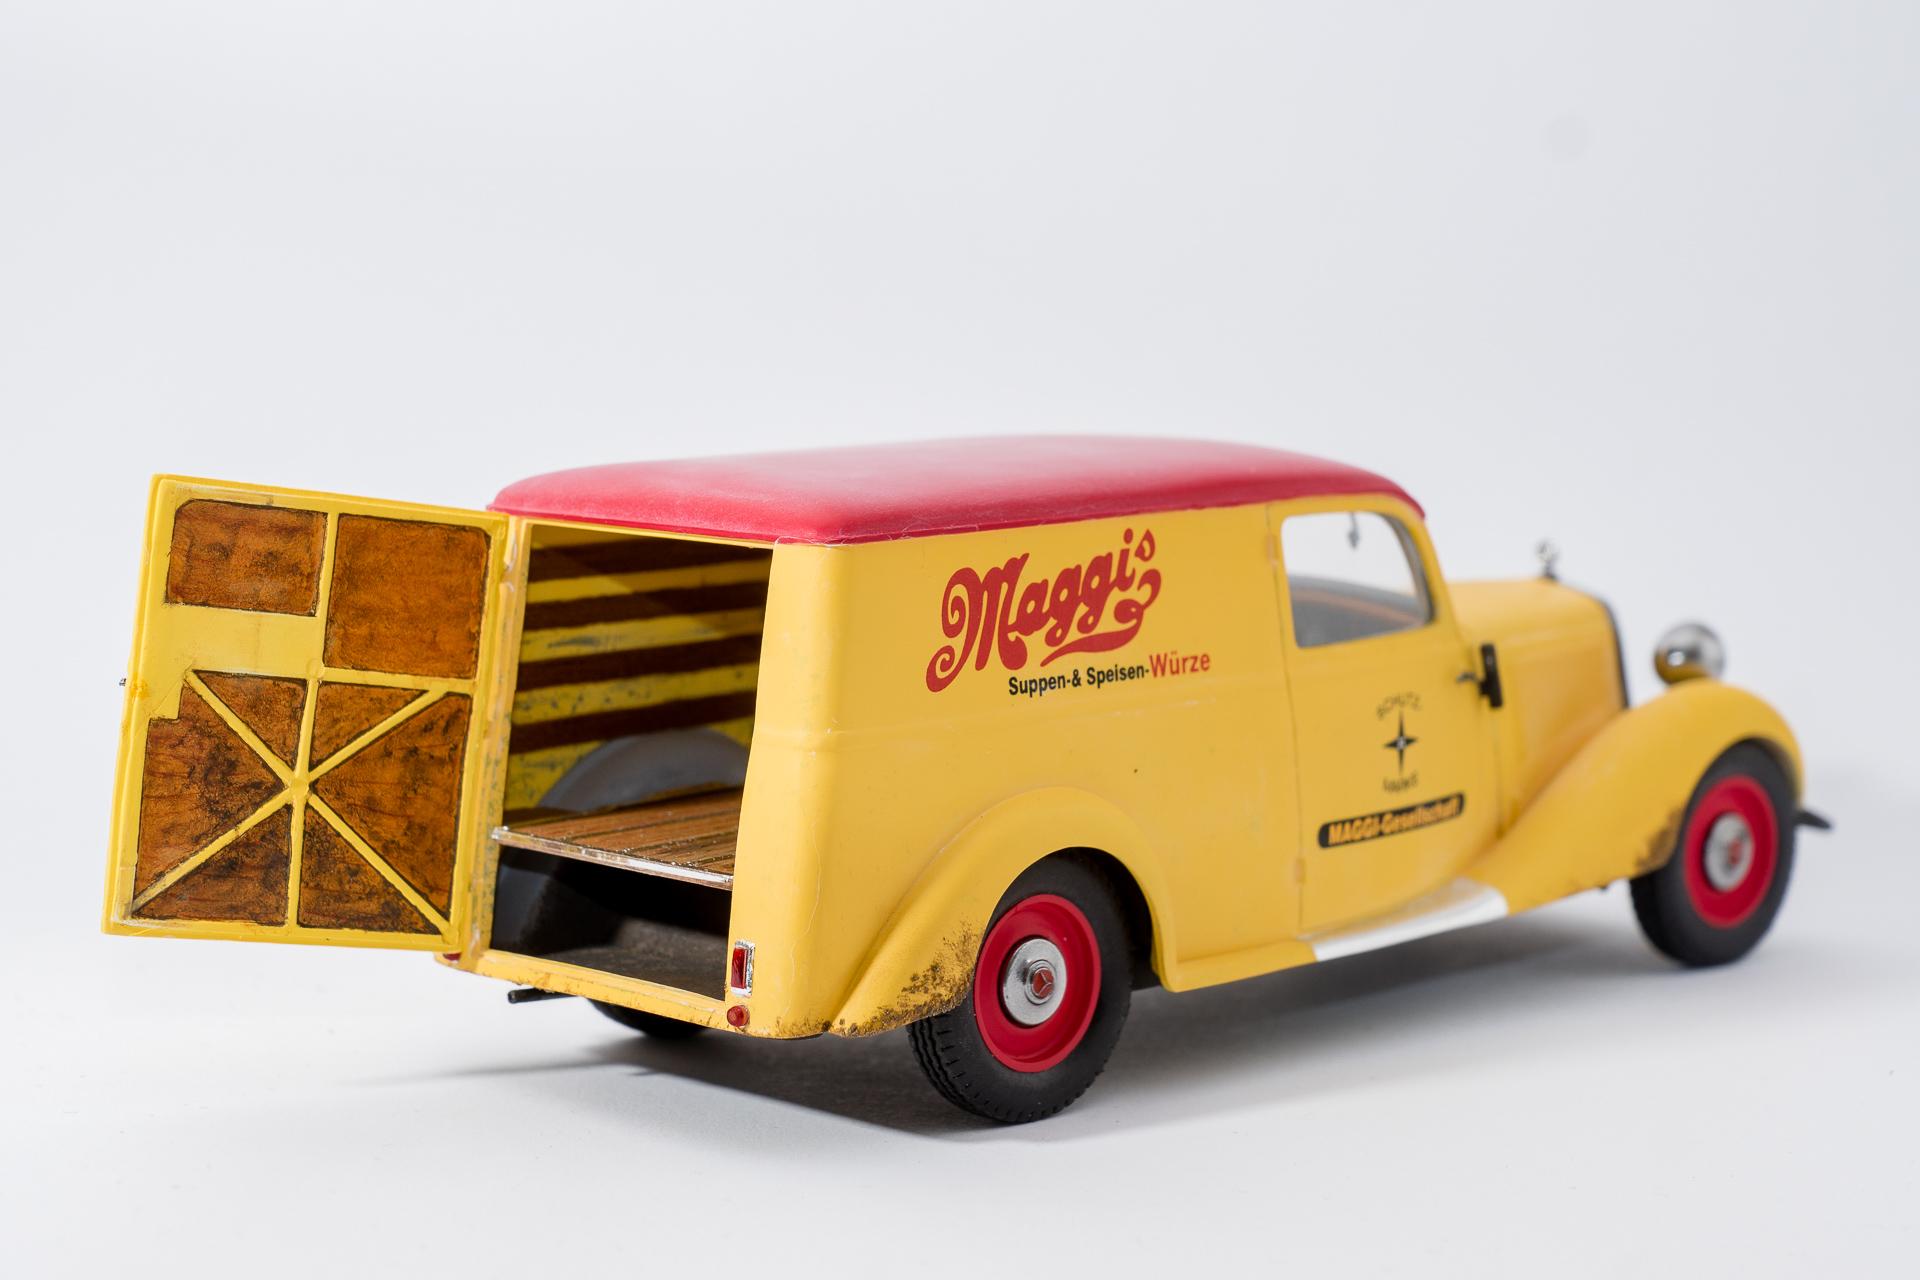
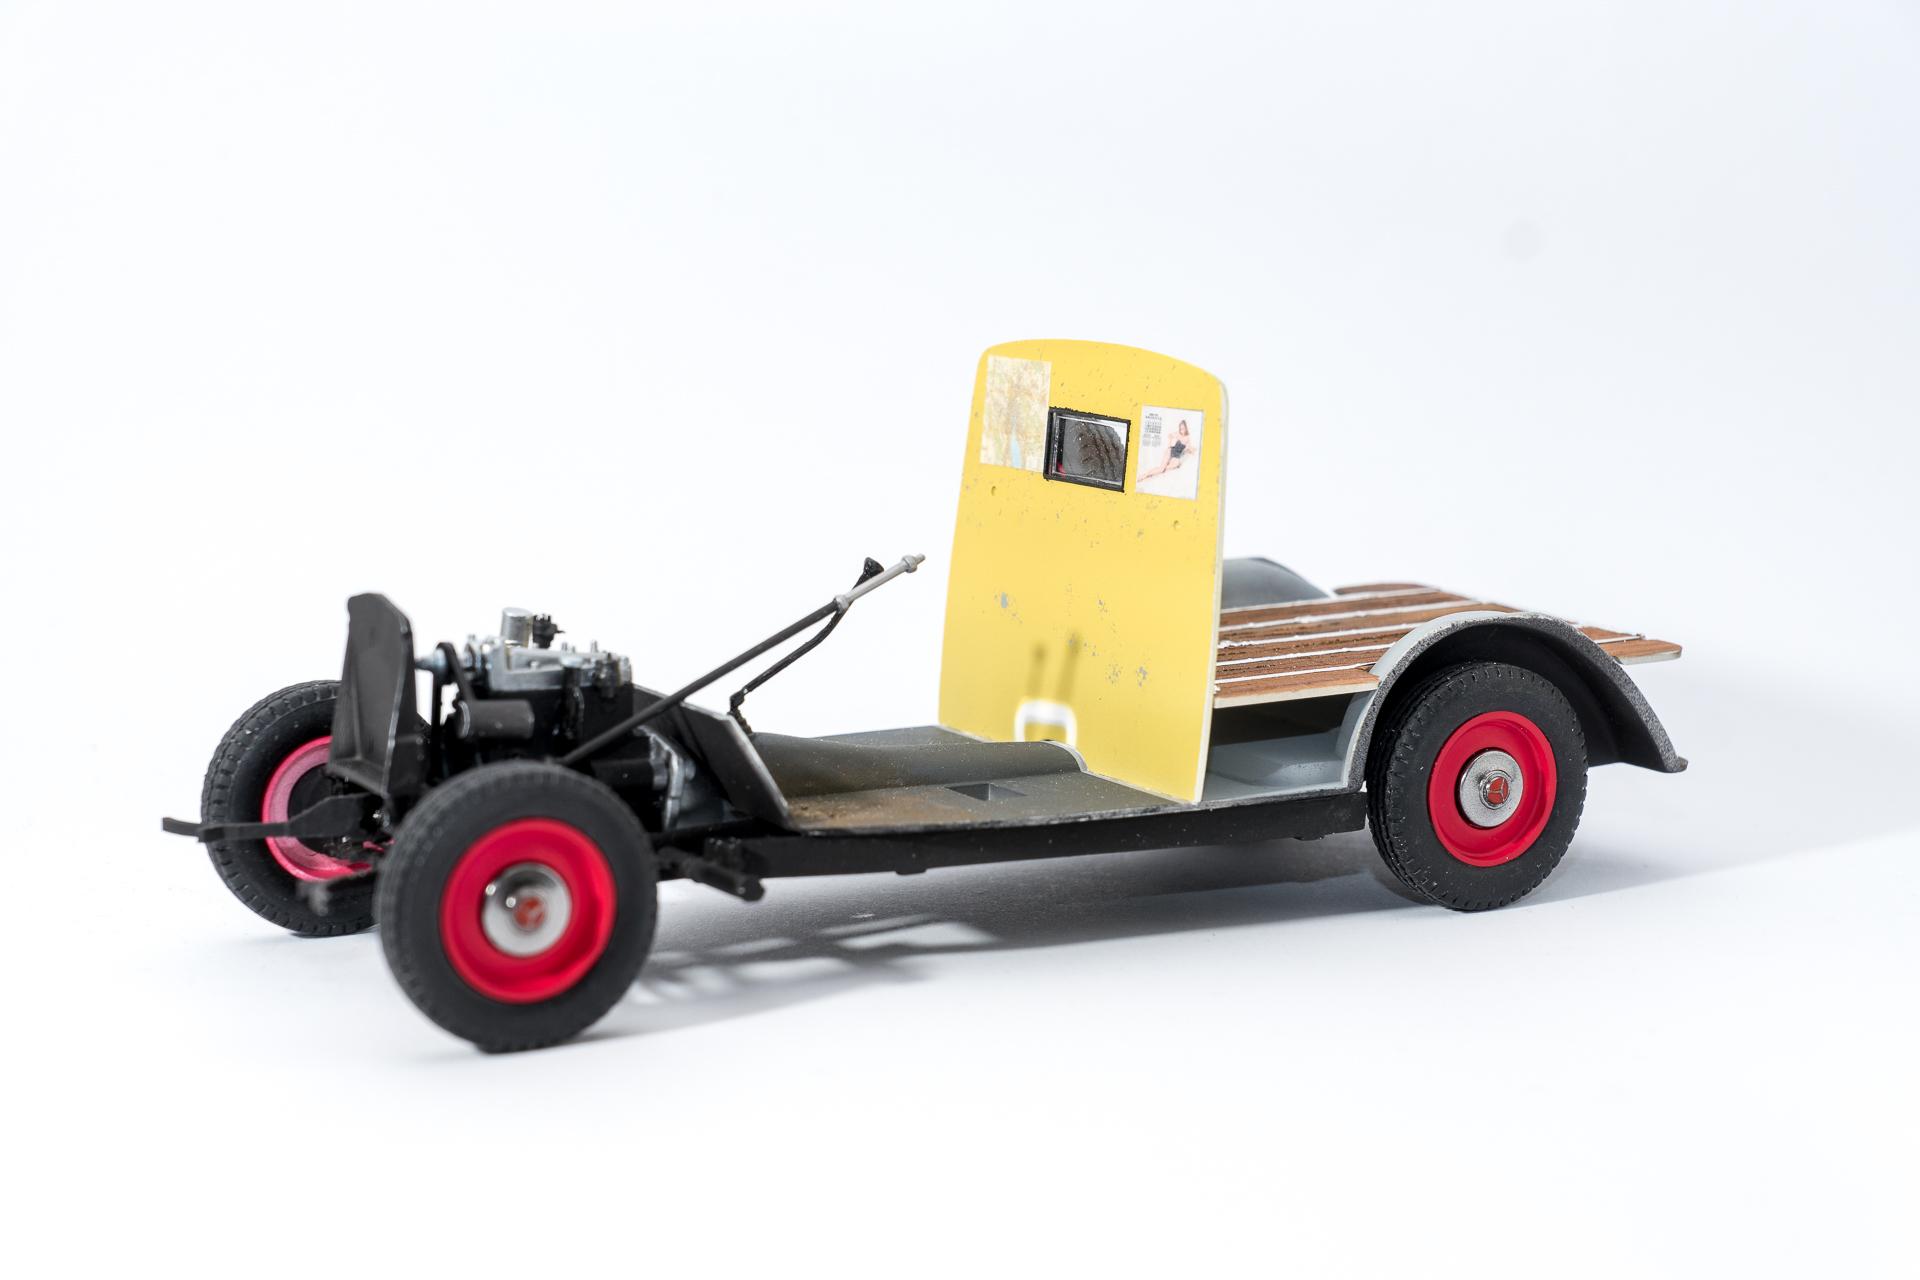
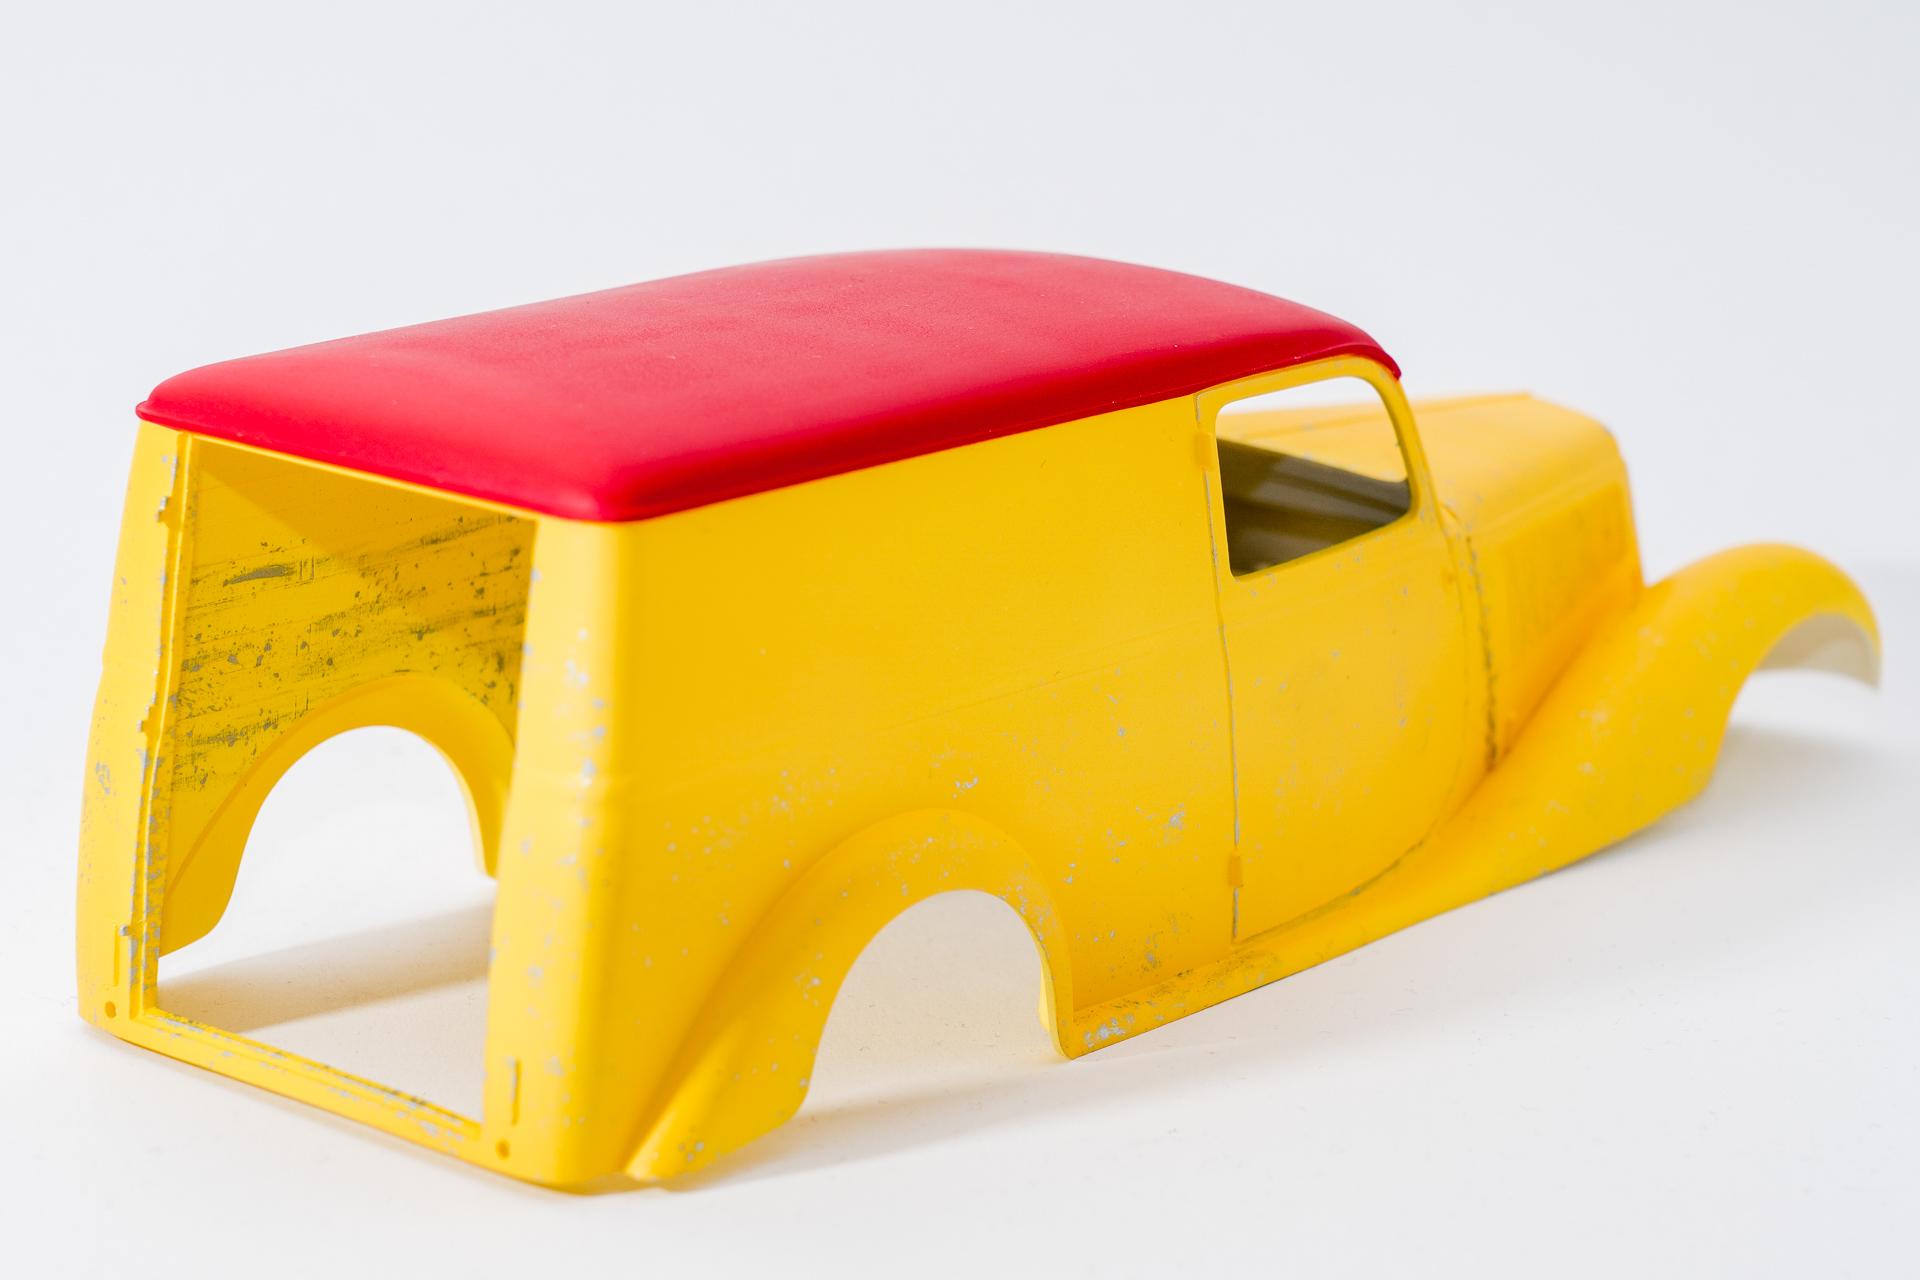
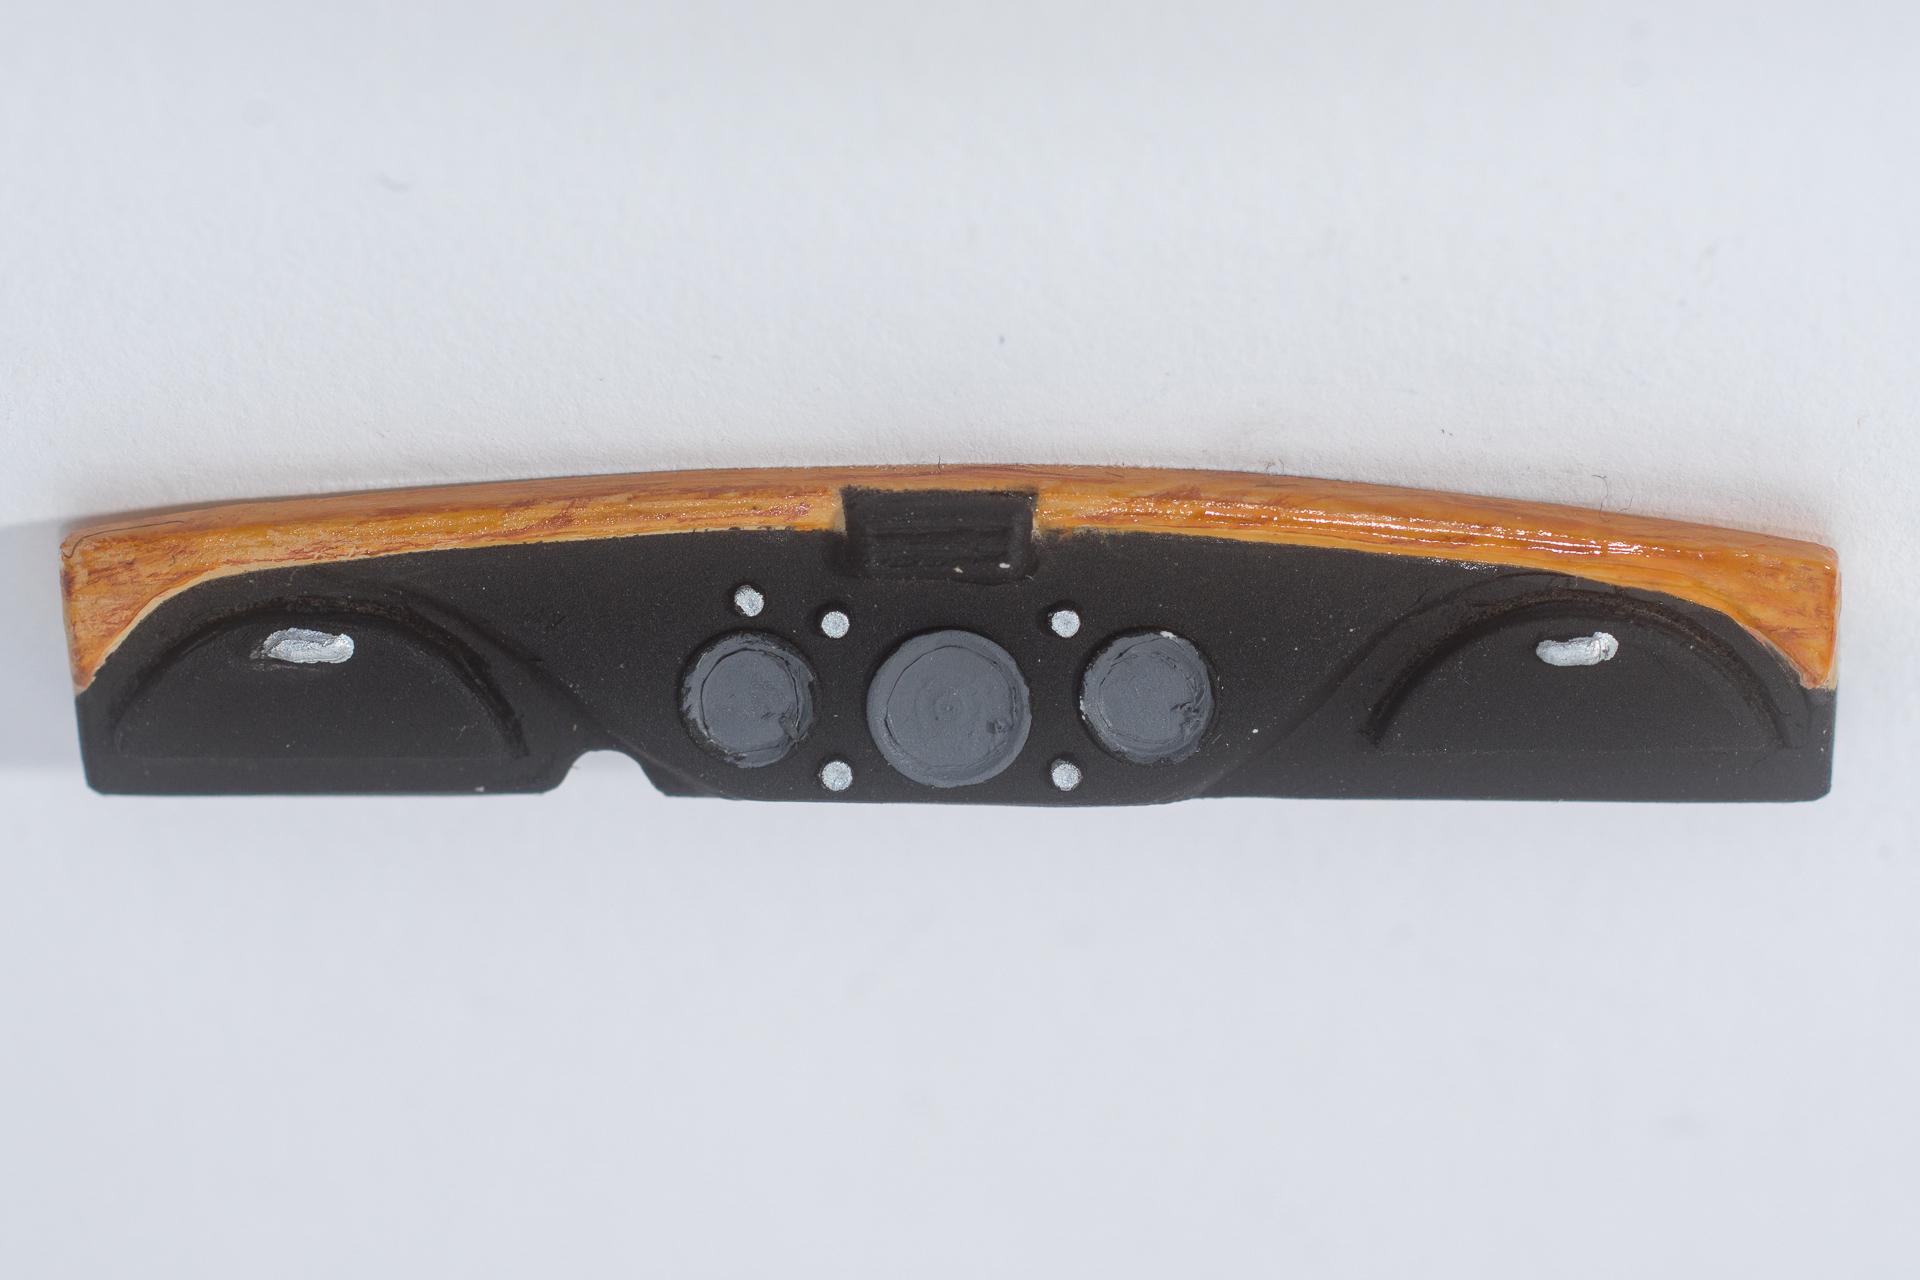
Hi all Thank you very much. As I'm no fan of HotRods or tuned cars, I prefer to build it box stock Unfortunately the faded effect wasn't really visible on the roof, where I wanted it the most. So I tried with applying some white pigments with a brush, what worked out fine. But I had to notice that the pigments come right off at the slightest touch, so I tried to seal them by applying a flat clear coat over them. That only made the effect disappear completely. I don't know whether I blew off all the pigments of whether they got dissolved in the clear... Finally I ended up applying some Tamiya Weathering Set H, "Peach" color. That really did the trick. It also comes off when touching it, but not too much and, more important, not visible on the model, only on the fingers So I left it as it is, as I usually don't touch my models on the roof, once they're finished. That brings me to the main topic of today's update: My Mercedes is finished. It was real fun building a kit somehow different to the way I usually build, trying new things. Not everything worked out the way I had imagined in the beginning, but over all I'm quite happy with the outcome First the moulded in door handles and window cranks got removed and replaced by scratch built ones Then I completed the dashboard. My initial plan was to drill holes for the round instruments, insert a metal tubing of a corresponding diameter, insert a fitting rod inside the tubing and apply the decals to the rod. But as I couldn't find any matching tubing for all of the instruments, I applied the decals to the kit part instead. But on another build I will definitely try it with tubing After that I applied some dirt right behind the wheels and completed the undercarriage In the storage compartment I installed some wooden stripes from thin veneers I had at hand The rear lights were installed. The rectangular ones had been made out of some old blister, painted with quite a lot of Tamiya Clear Red to give them some thickness. The round ones are transparent resin parts from Decalcas, also painted with Tamiya Clear Red. Then finally marriage could take place and the last few fiddly bits and parts could be installed. I'm calling this build done and thank all of you for your comments and plaudits during this build and hope that you will join my next project too Urs -
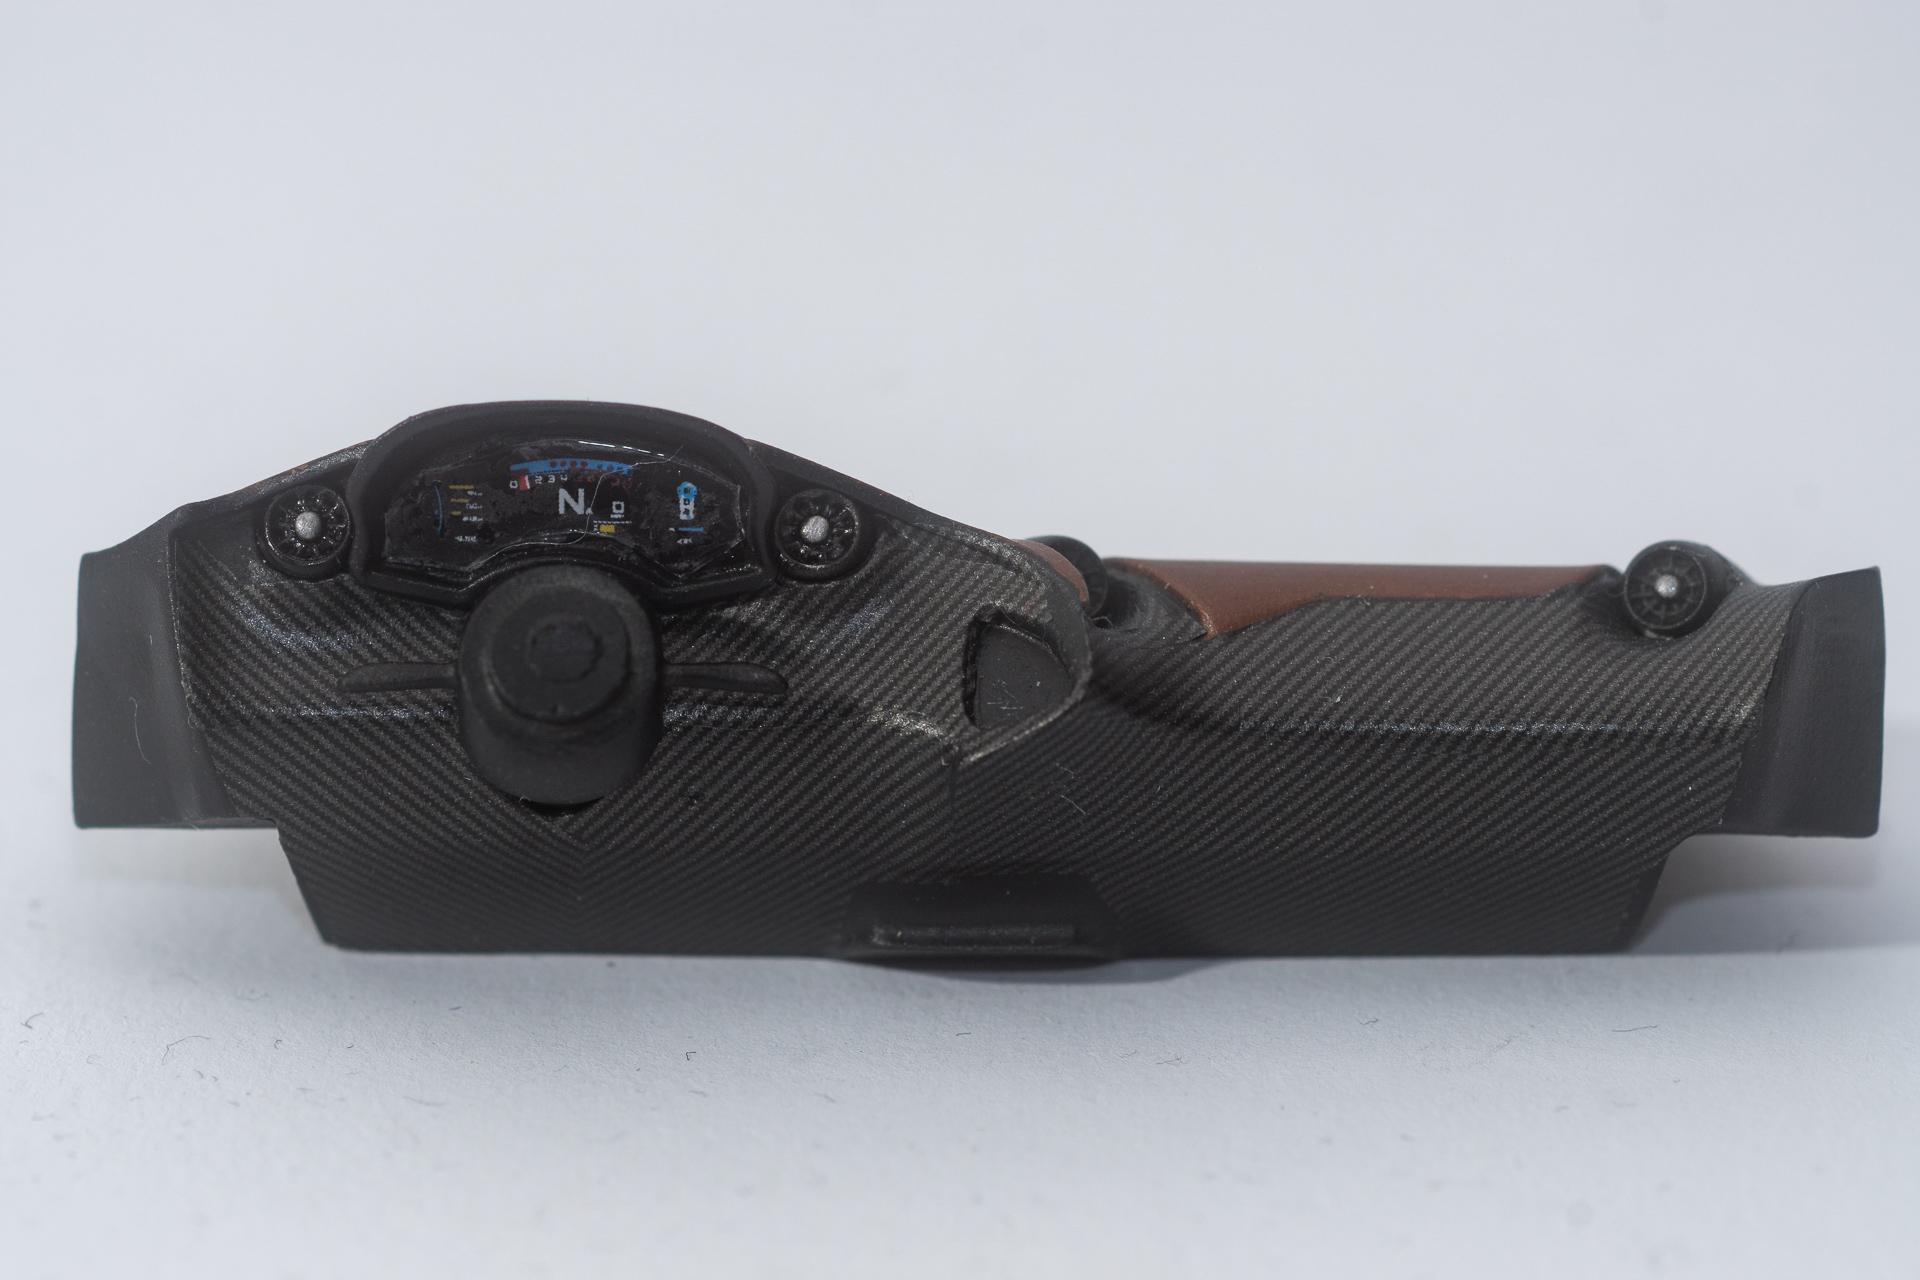
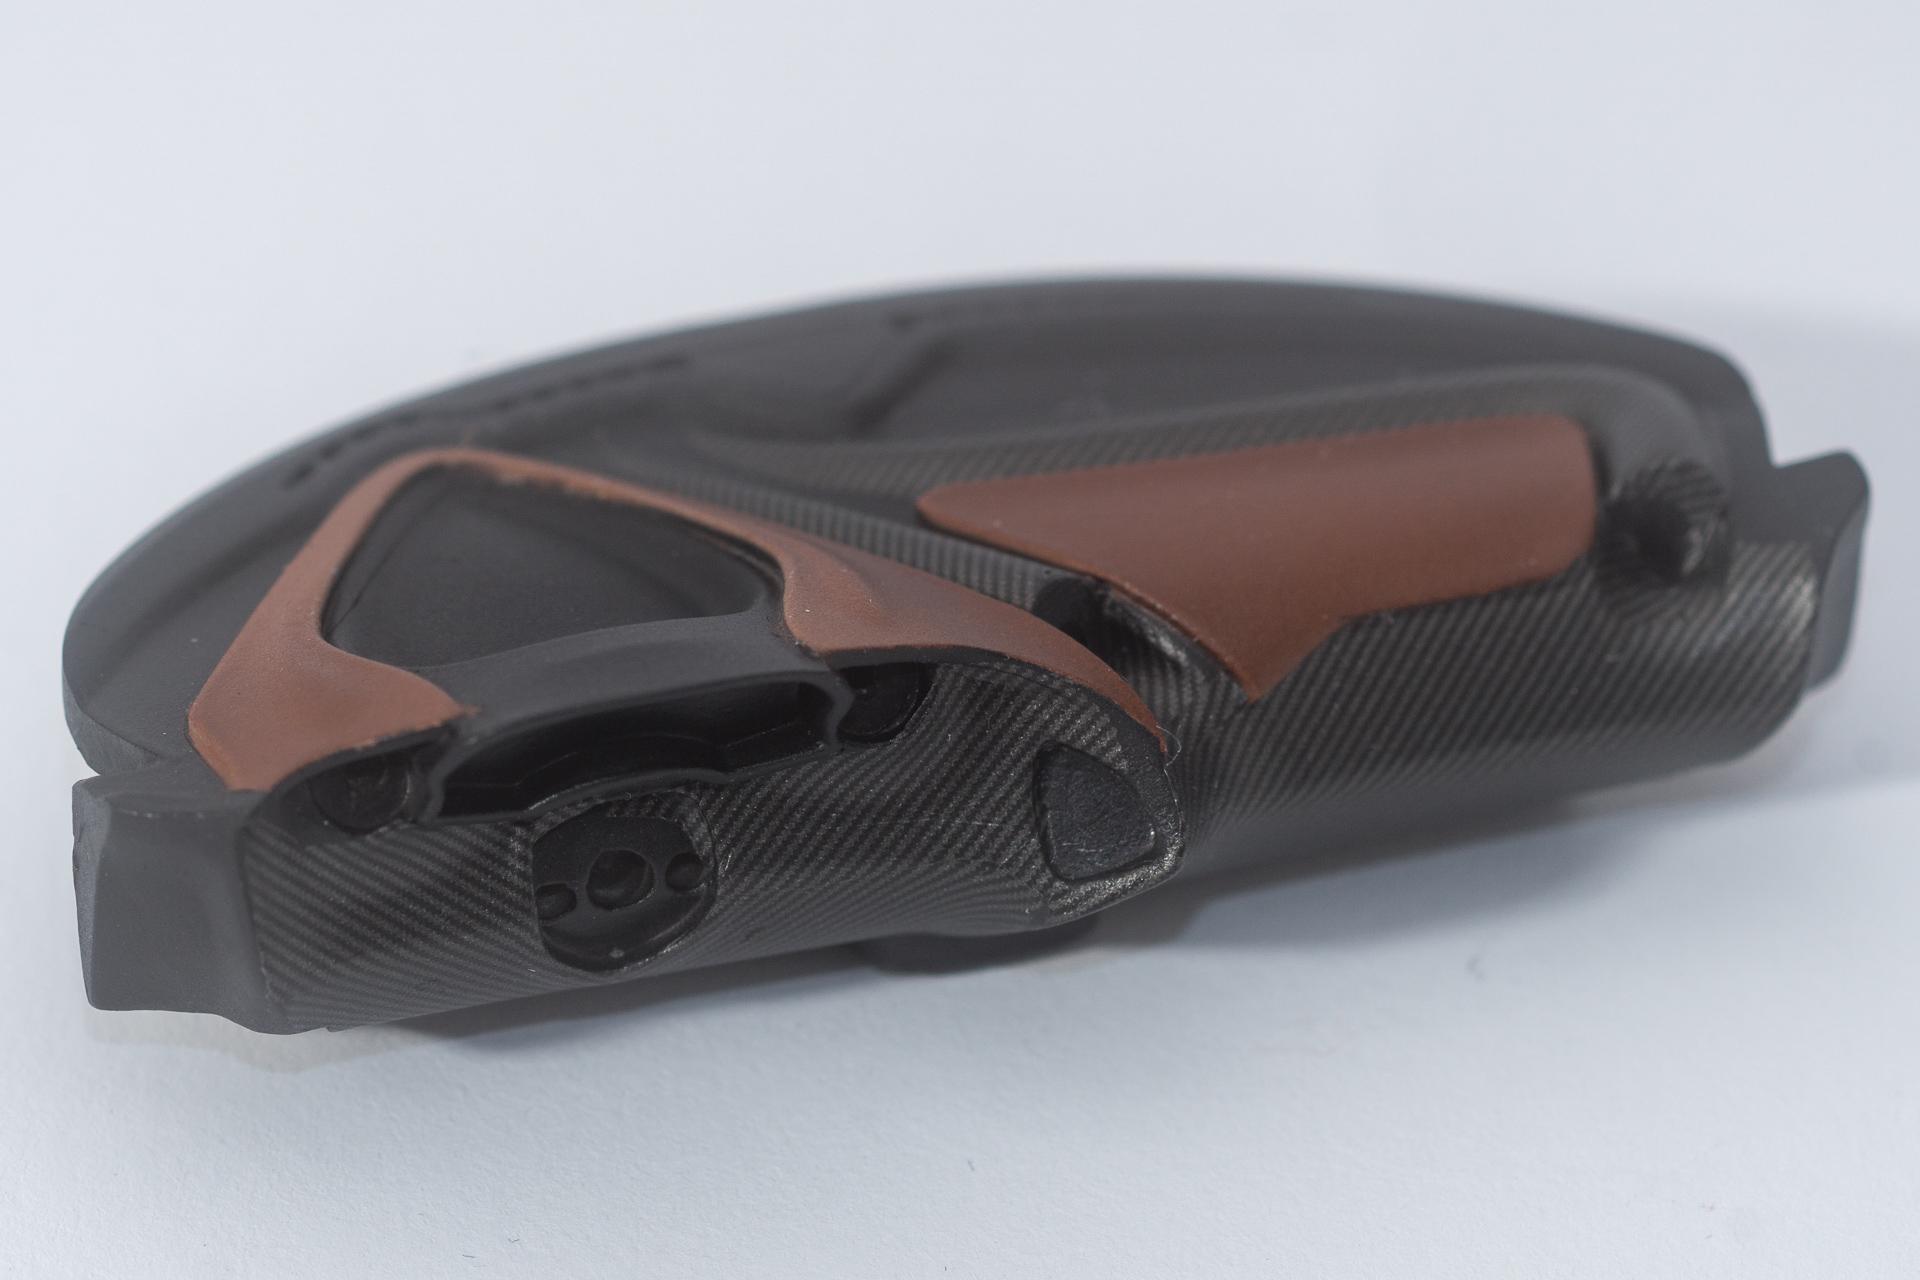
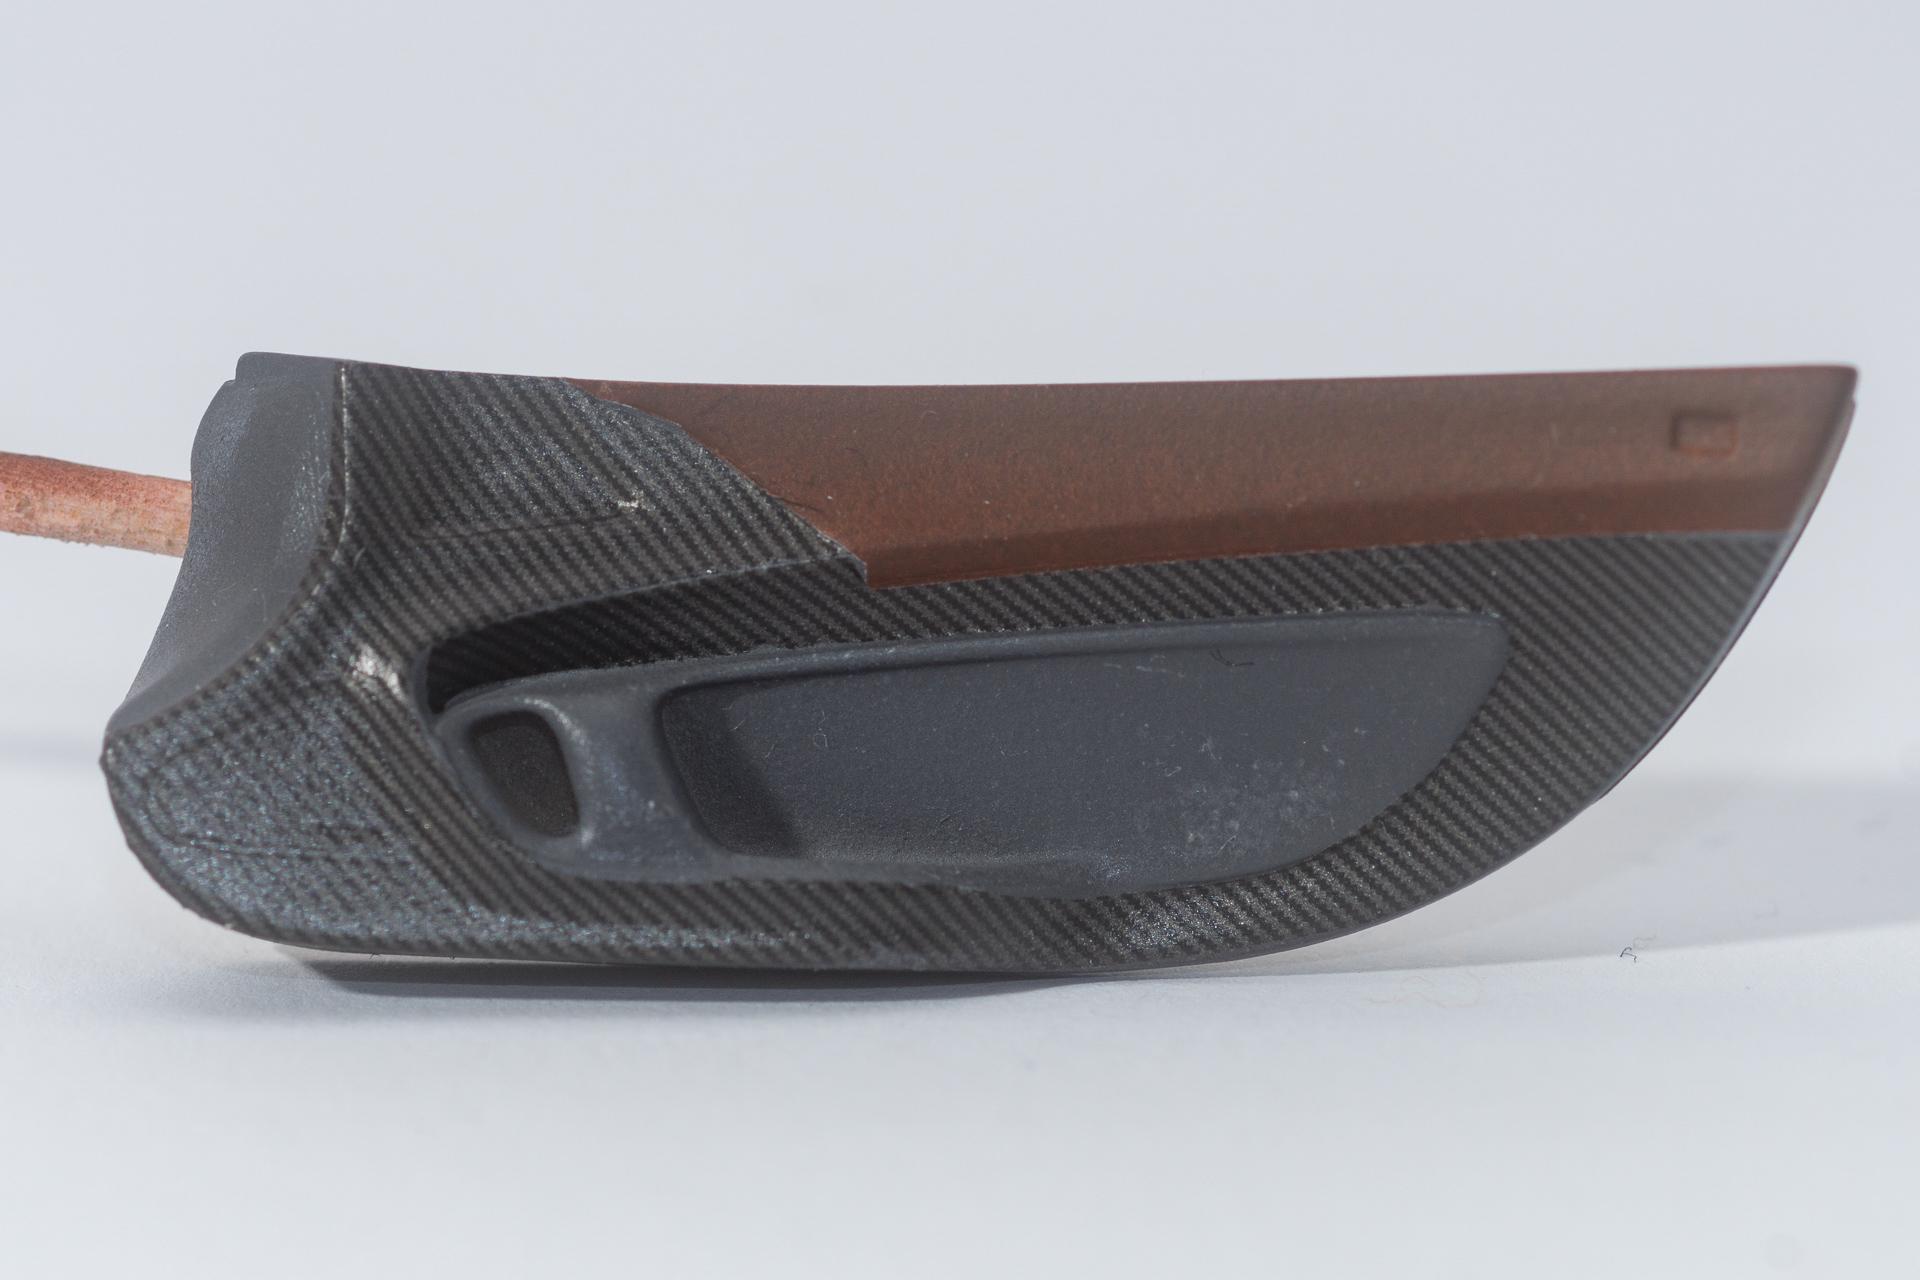
Hi all Long time I didn't continue on this build as I had to get some distance to the carbon job. But meanwhile I managed to, at least, complete the carbon work on the bodyshell Additionally I almost finished the dashboard. There are only the kit decals and the PE parts missing Also the door panels have been painted and carbonized. On the other door panel I'll have to redo the carbon work as it got partially ripped off when removing the masking tape after painting the brown area I'll also have to apply the PE parts on the door panels and brushpaint some a few spots in brown. That's it for today's update Urs
-

Mercedes 170 Va "Lieferwagen"
harti20 replied to harti20's topic in WIP: Model Trucks: Pickups, Vans, SUVs, Light Commercial
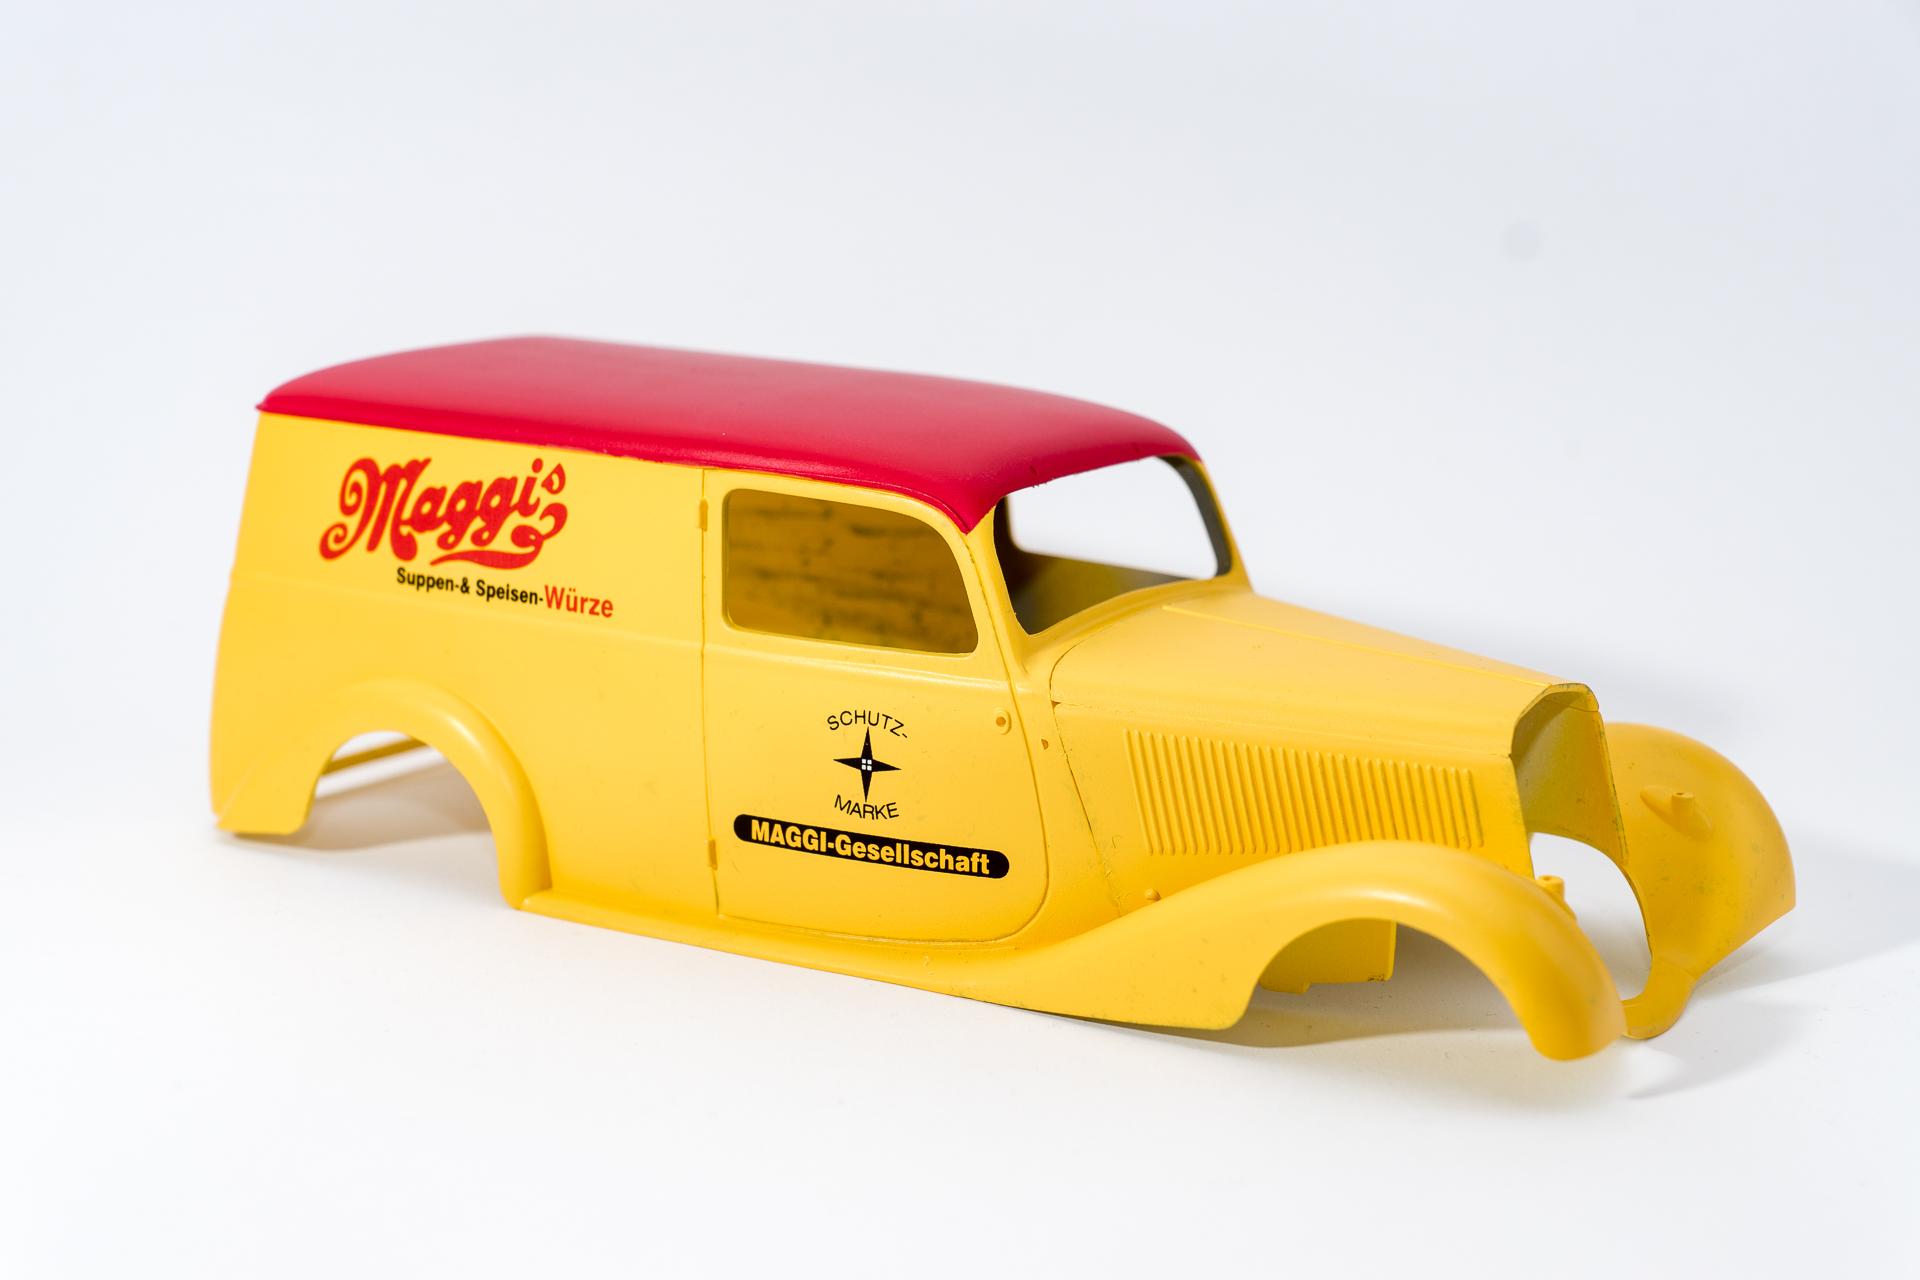
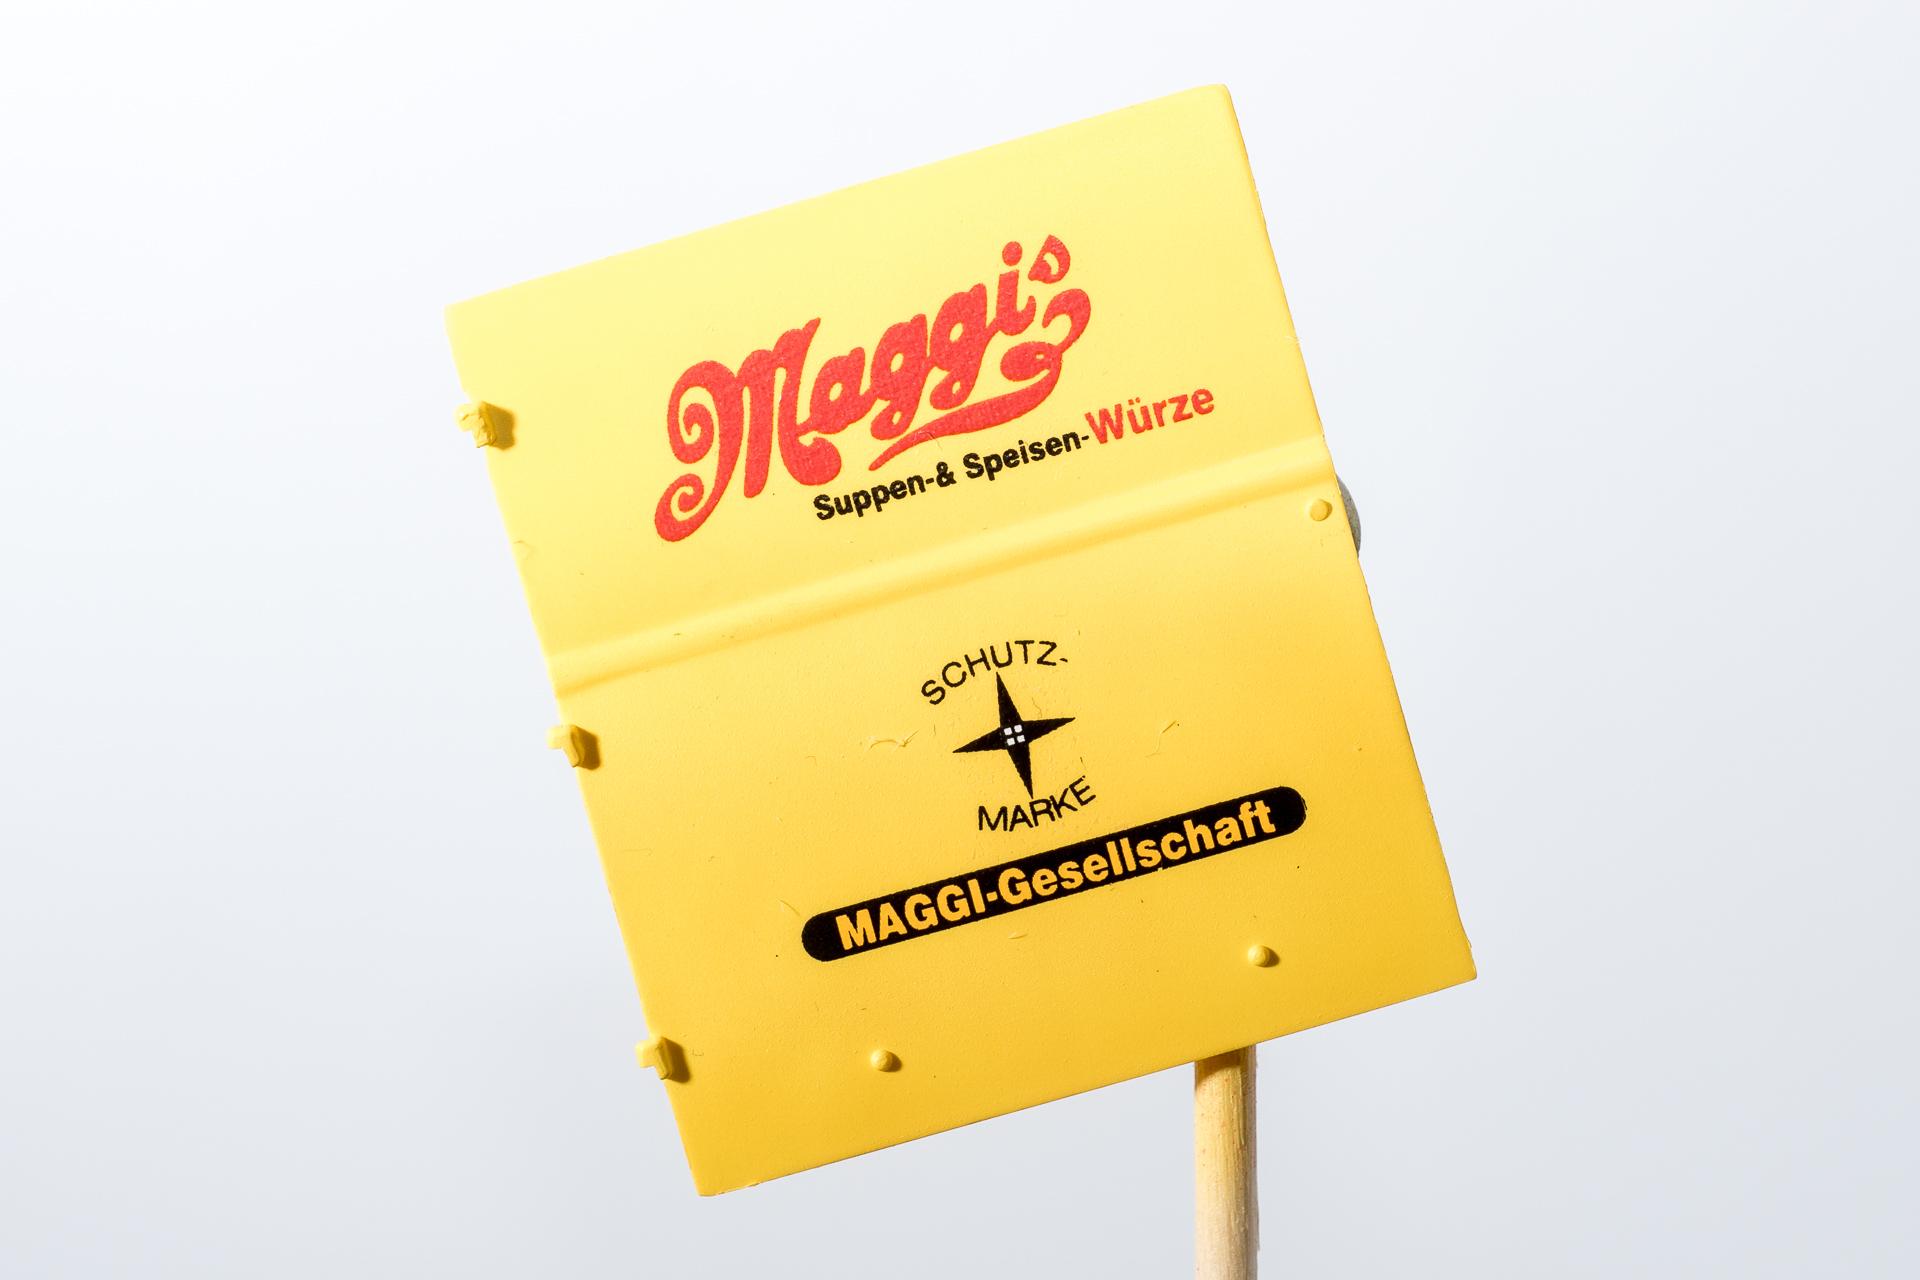
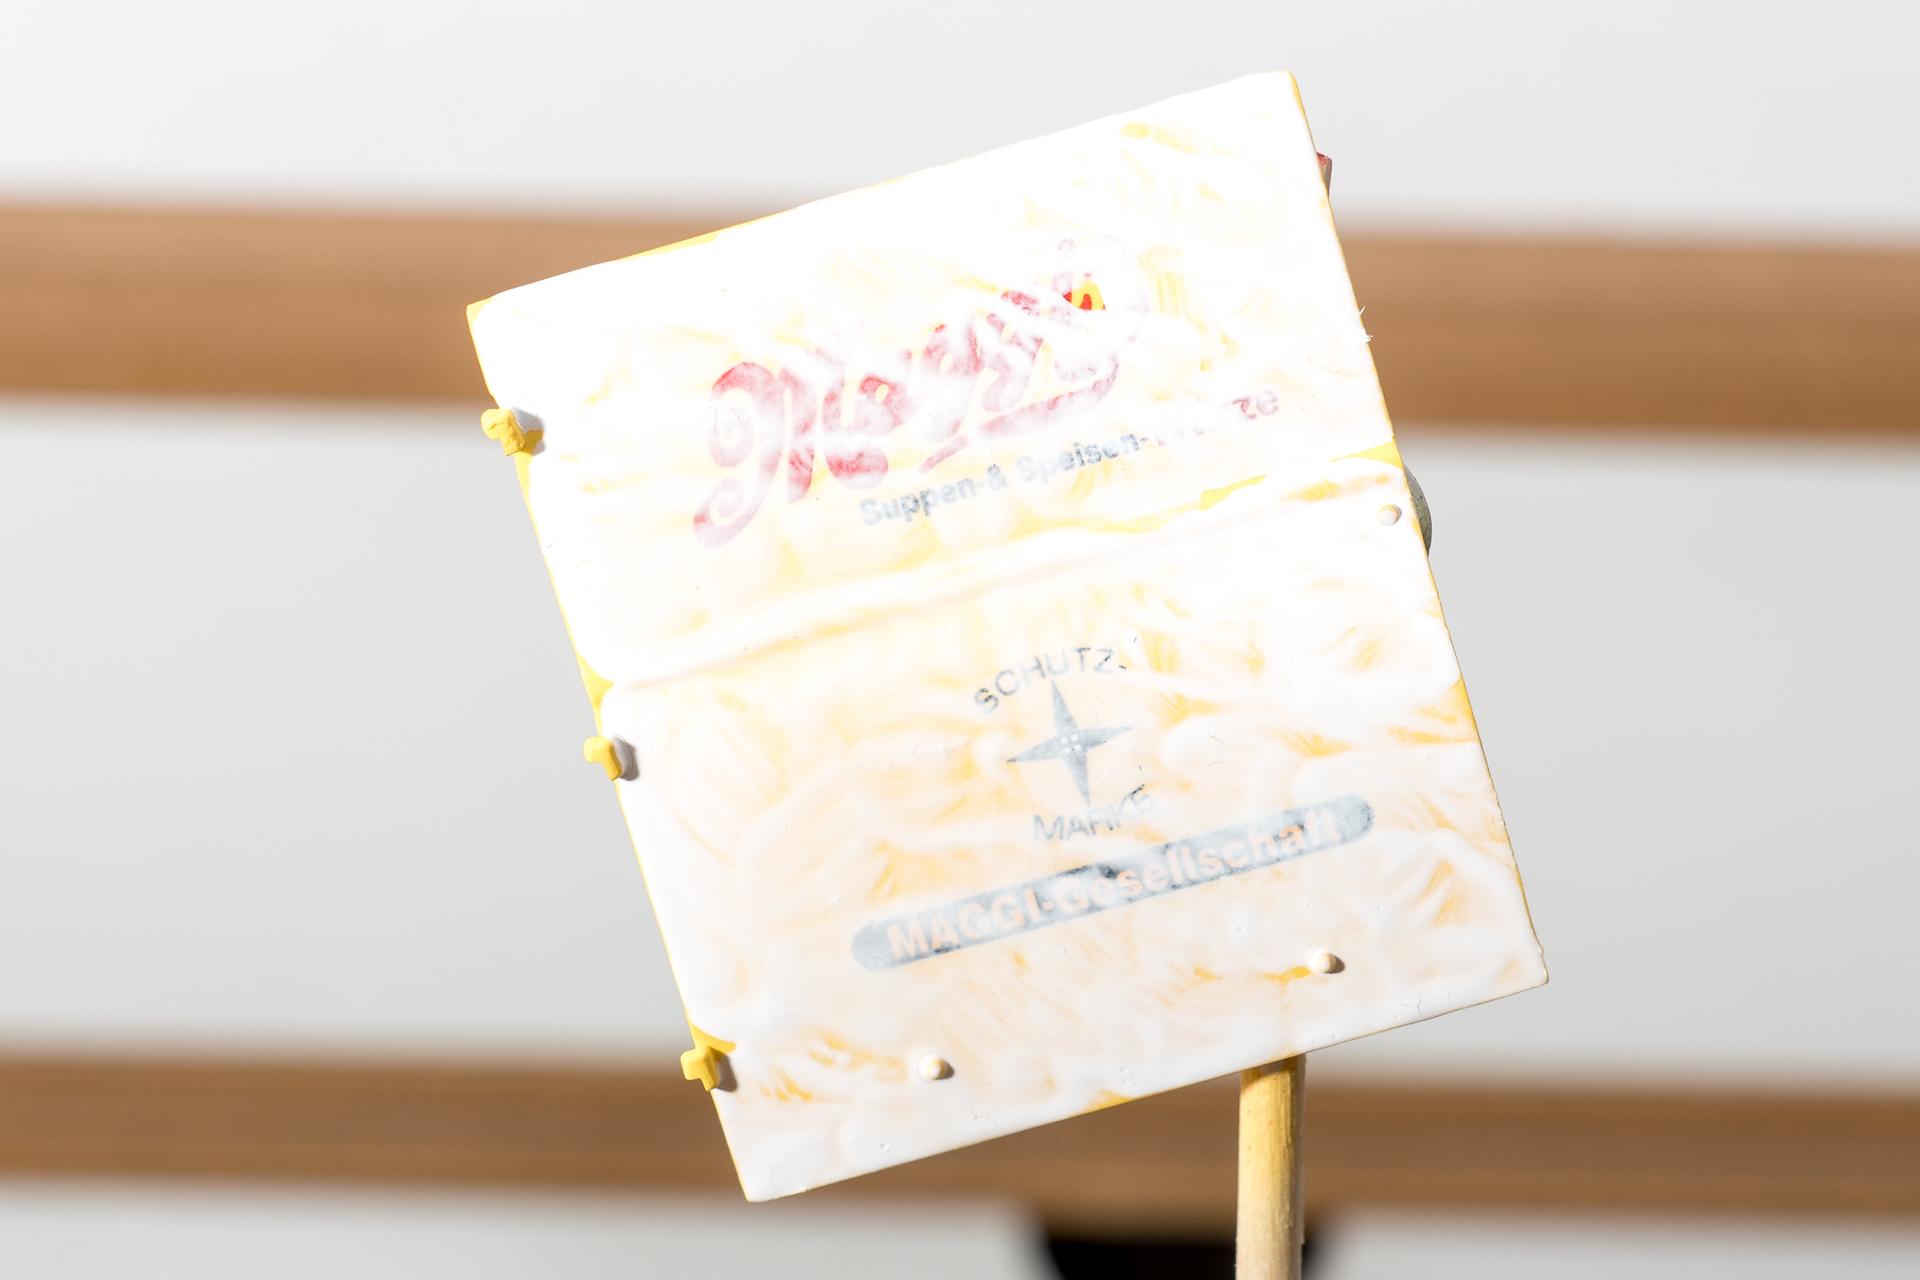
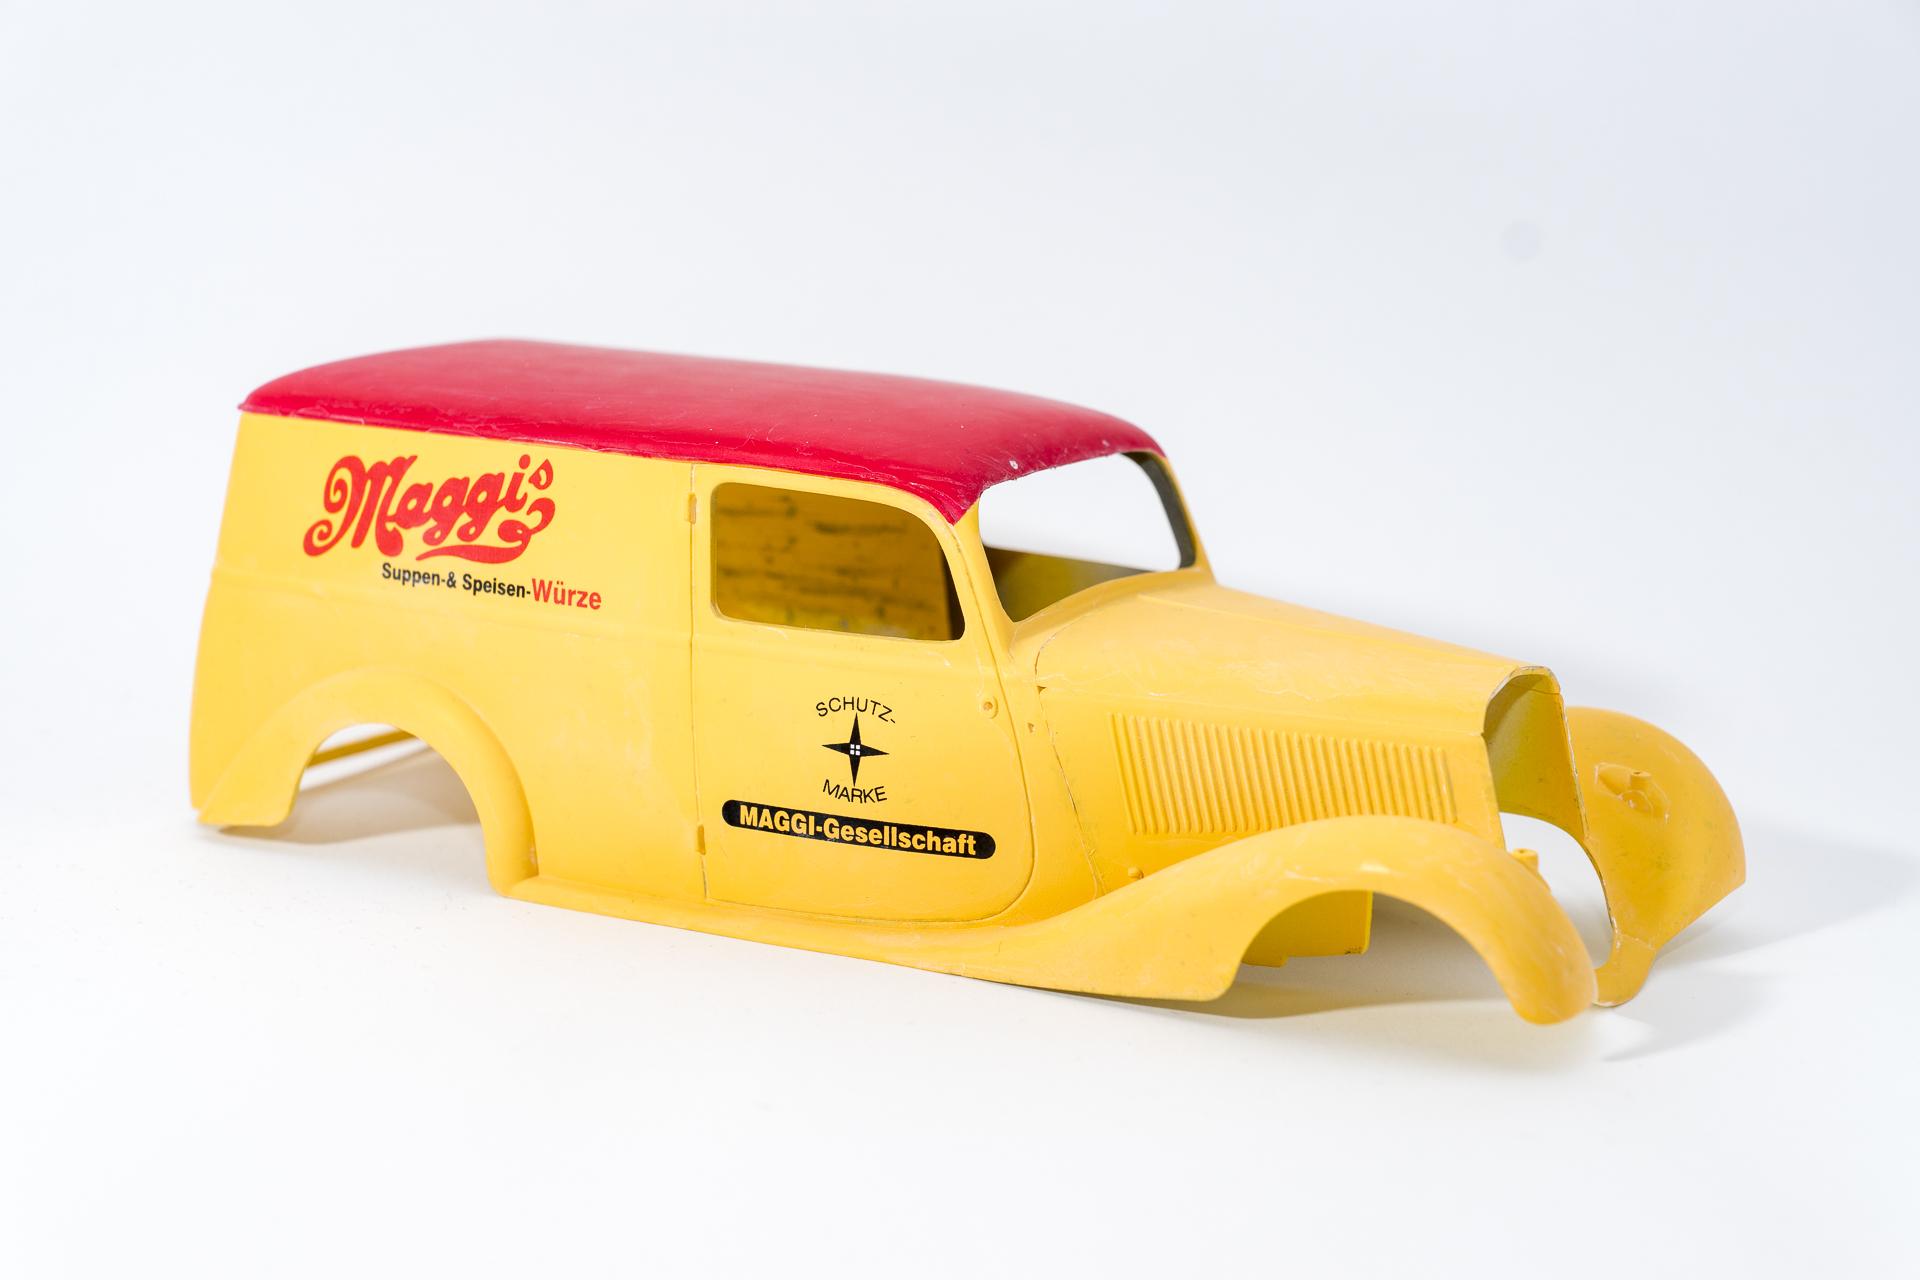
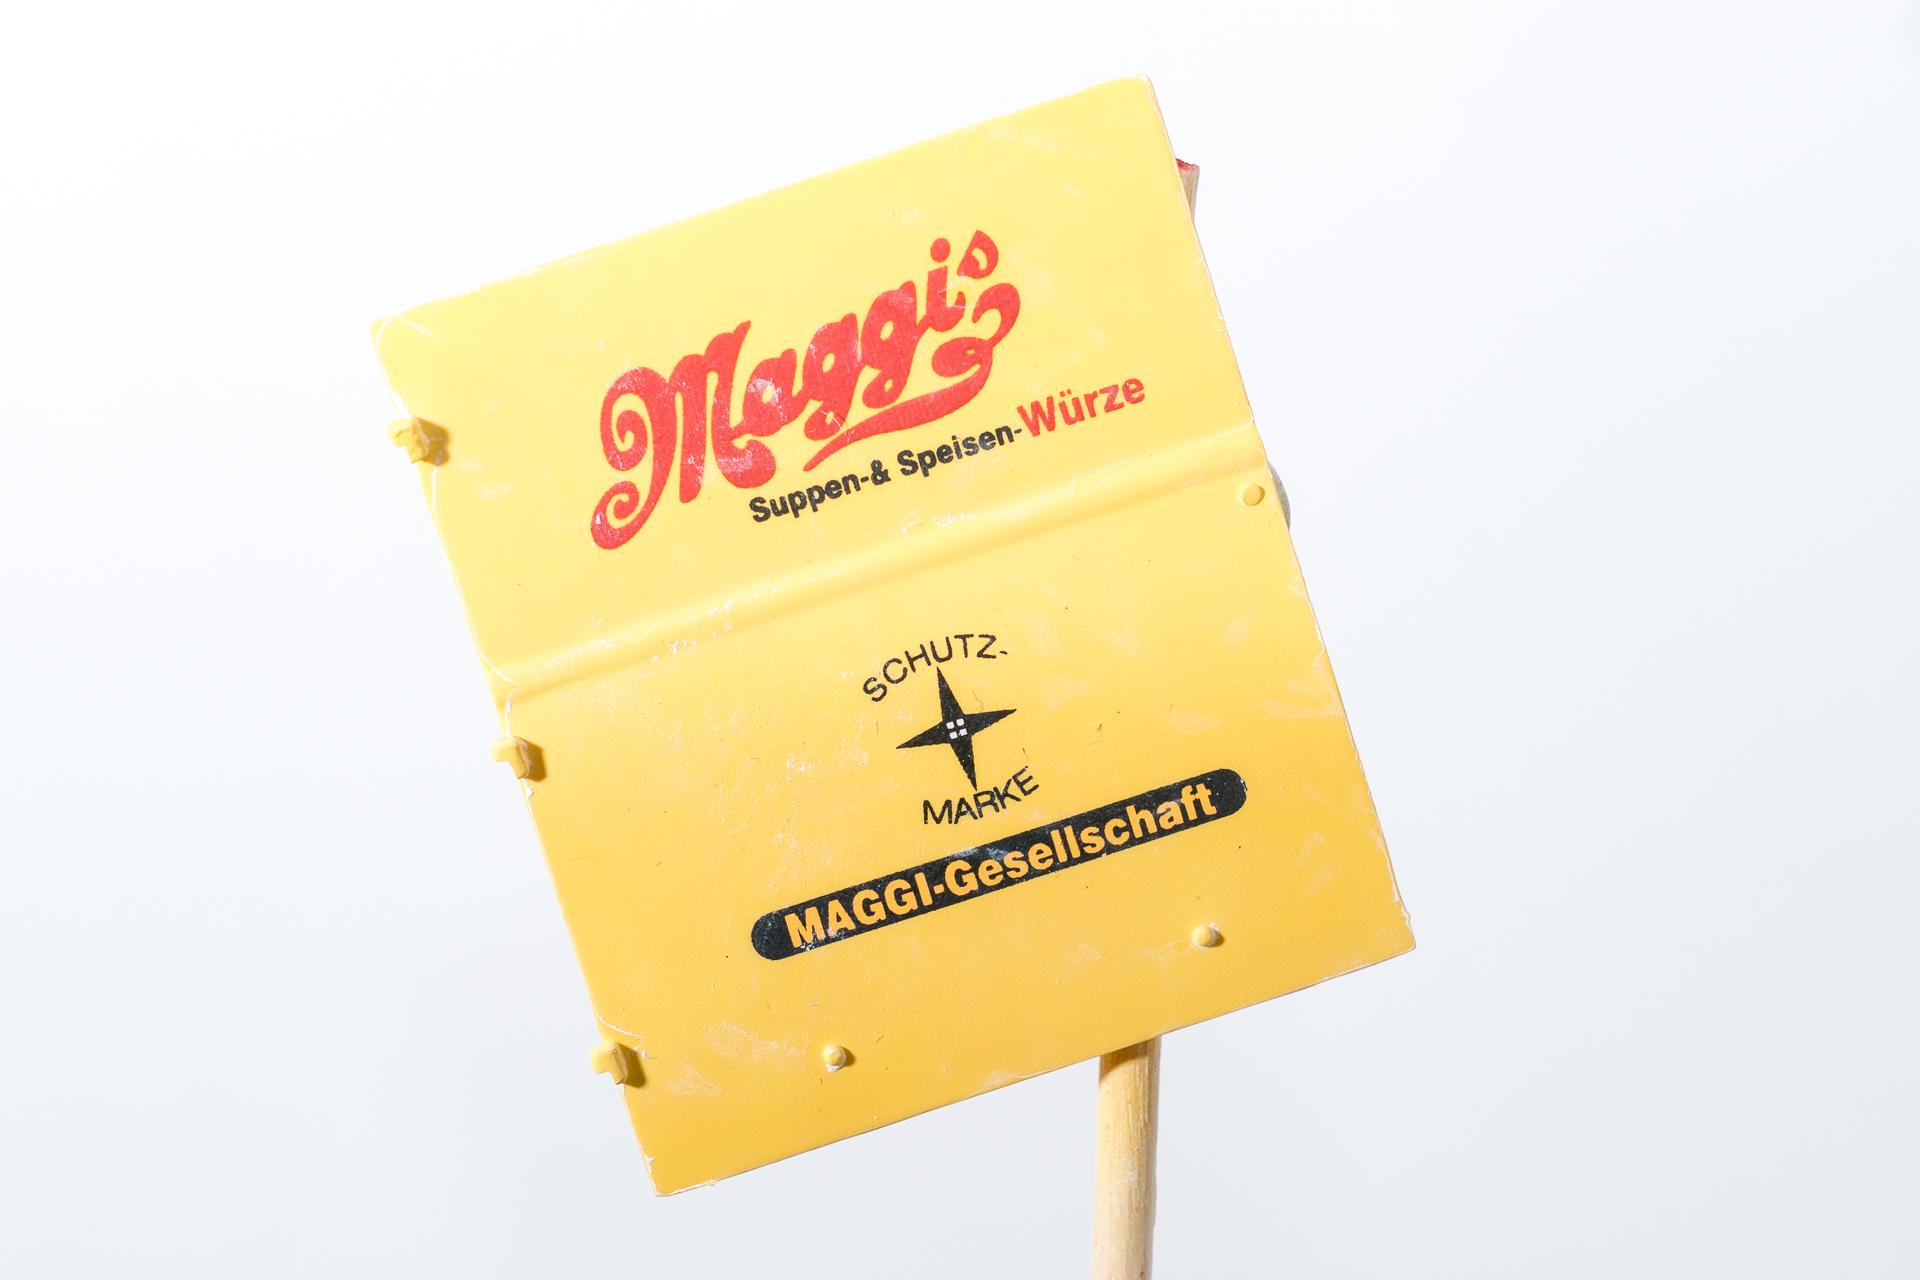
Hi all This week I applied the decals to the body. As the kit is quite old, I first tested with a decal I won't need for my version, whether I would run into any kind of problems and was surprised by the quality of the decals. Also when applying the "right" decals on the body there was absolutely no issue, quite the opposite was the case: they sticked very well to the body, the film was very thin and there was almost no transparent border around them, so the writing looked as it was painted on. After letting the decals dry overnight, I fixed them with some matte clear coat and waited a few hours before trying the technique shown in the video I linked in my last post. For this I thinned Tamiya X-21 with a few drops 99% isopropyle alcohol and painted it on with a brush. After a few minutes it looked like this Then the paint was rubbed off with a stiff brush and left a thin white residue which looks as if the paint had faded over time. I just saw on the photo, that I'll have to go over it with the brush on some spots, as there remained too much white. Over all I think I acheived a very subtle effect, maybe just a little too subtle in my opinion. But I think I'll leave it this way before making it worse. The residue also flattened the paint a little what I really like on this model as I didn't want it to be glossy at all. In addition to decaling and weathering the body I continued work on the undercarriage, so the body can be installed once it's finished. Now I'll add some street dust to the lower part of the body and maybe some small lumps of earth on the lower part of the fenders, re-chrome the chrome parts and paint / install some smaller parts and then this build will be over already It was a real fun build from start to end, without any hassle. The sink marks and flash are on the usual side for such an old kit and can be fixed easily. The only (minor) downside IMO are the chrome parts, as they have to be re-chromed because of the positioning of the gates. But as I re-chrome these parts on every build, I wouldn't count that as a real concern. That's it for today's update Urs -

Mercedes 170 Va "Lieferwagen"
harti20 replied to harti20's topic in WIP: Model Trucks: Pickups, Vans, SUVs, Light Commercial
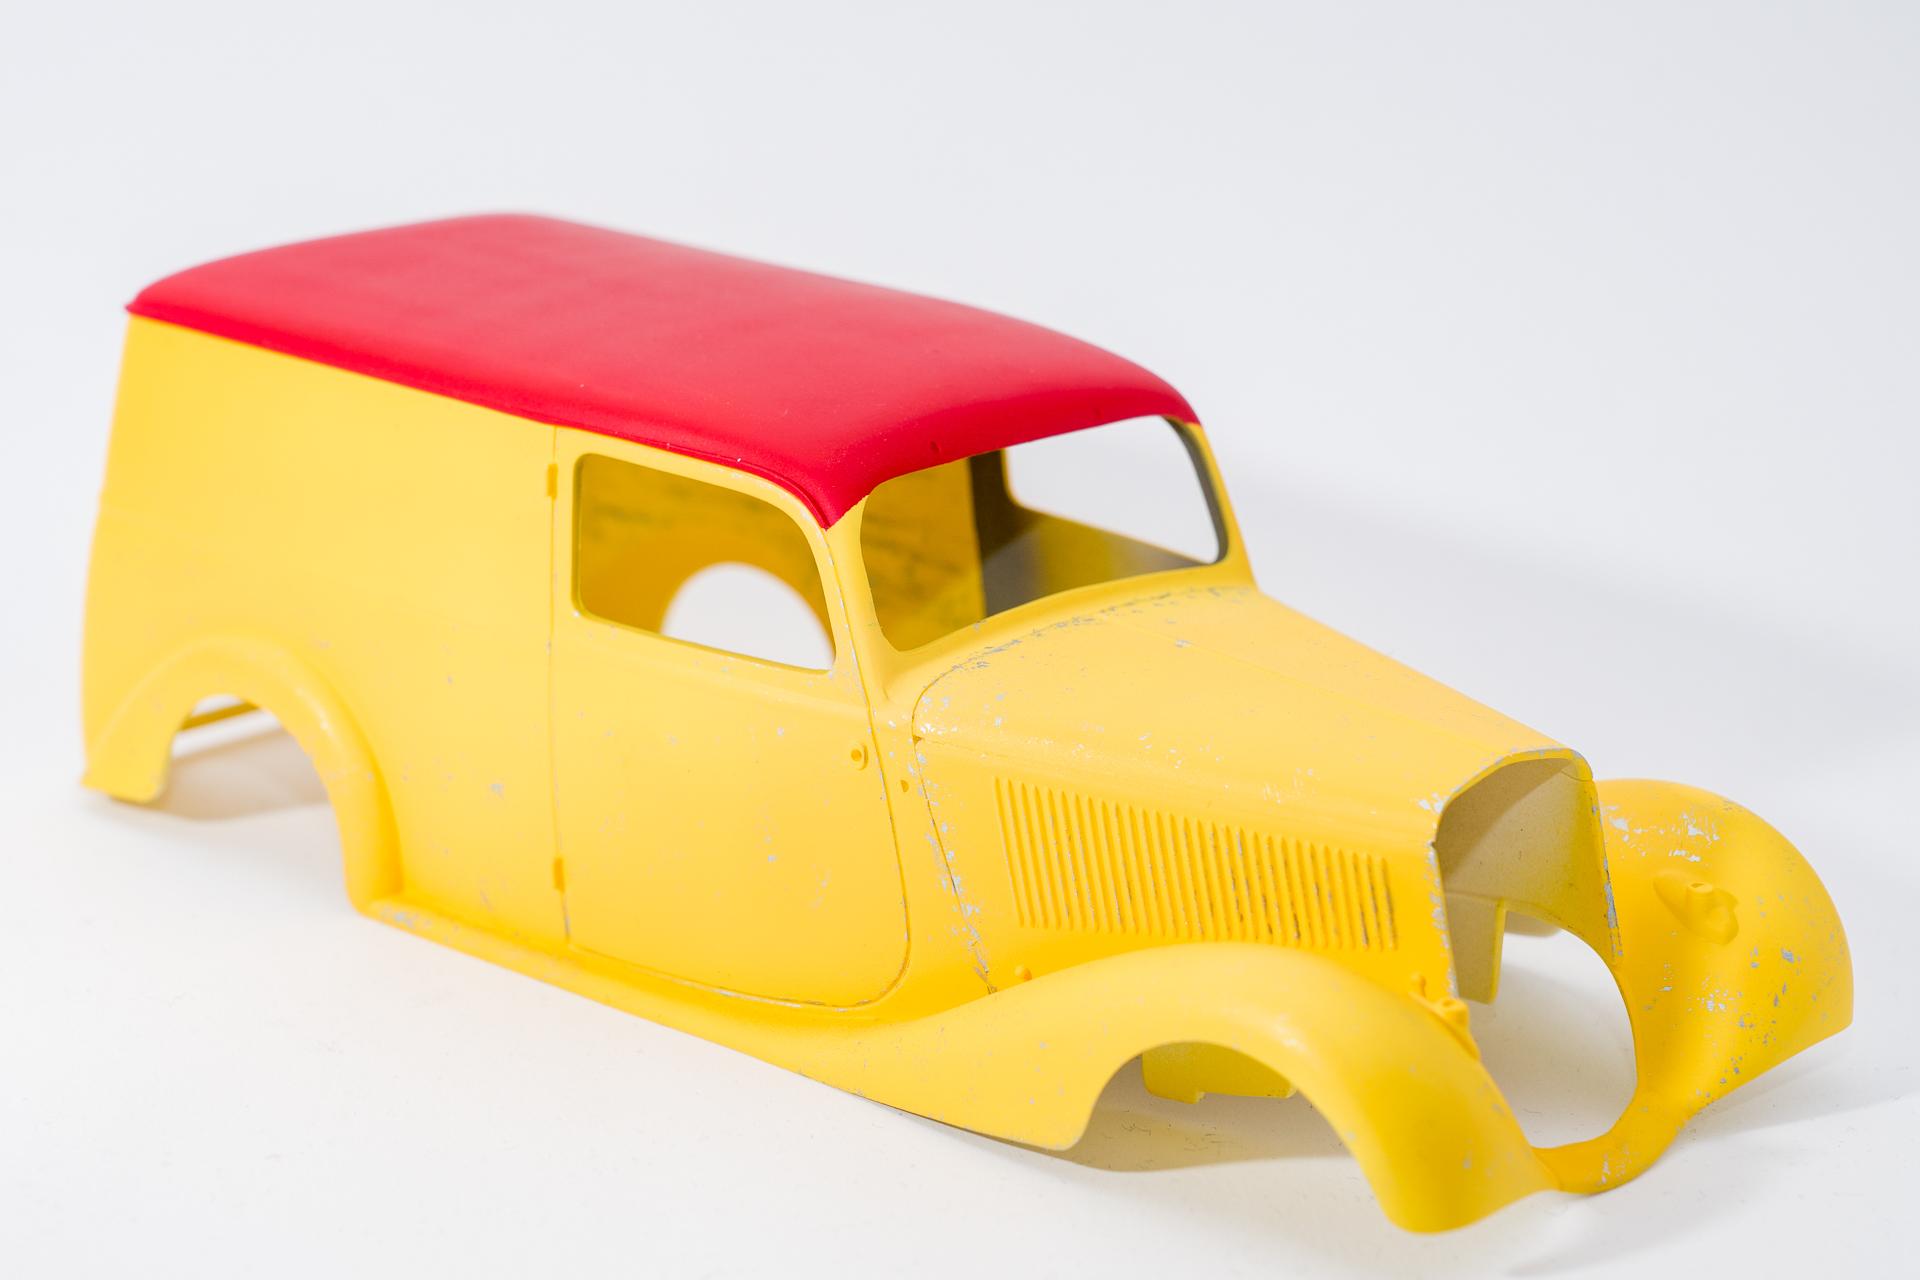
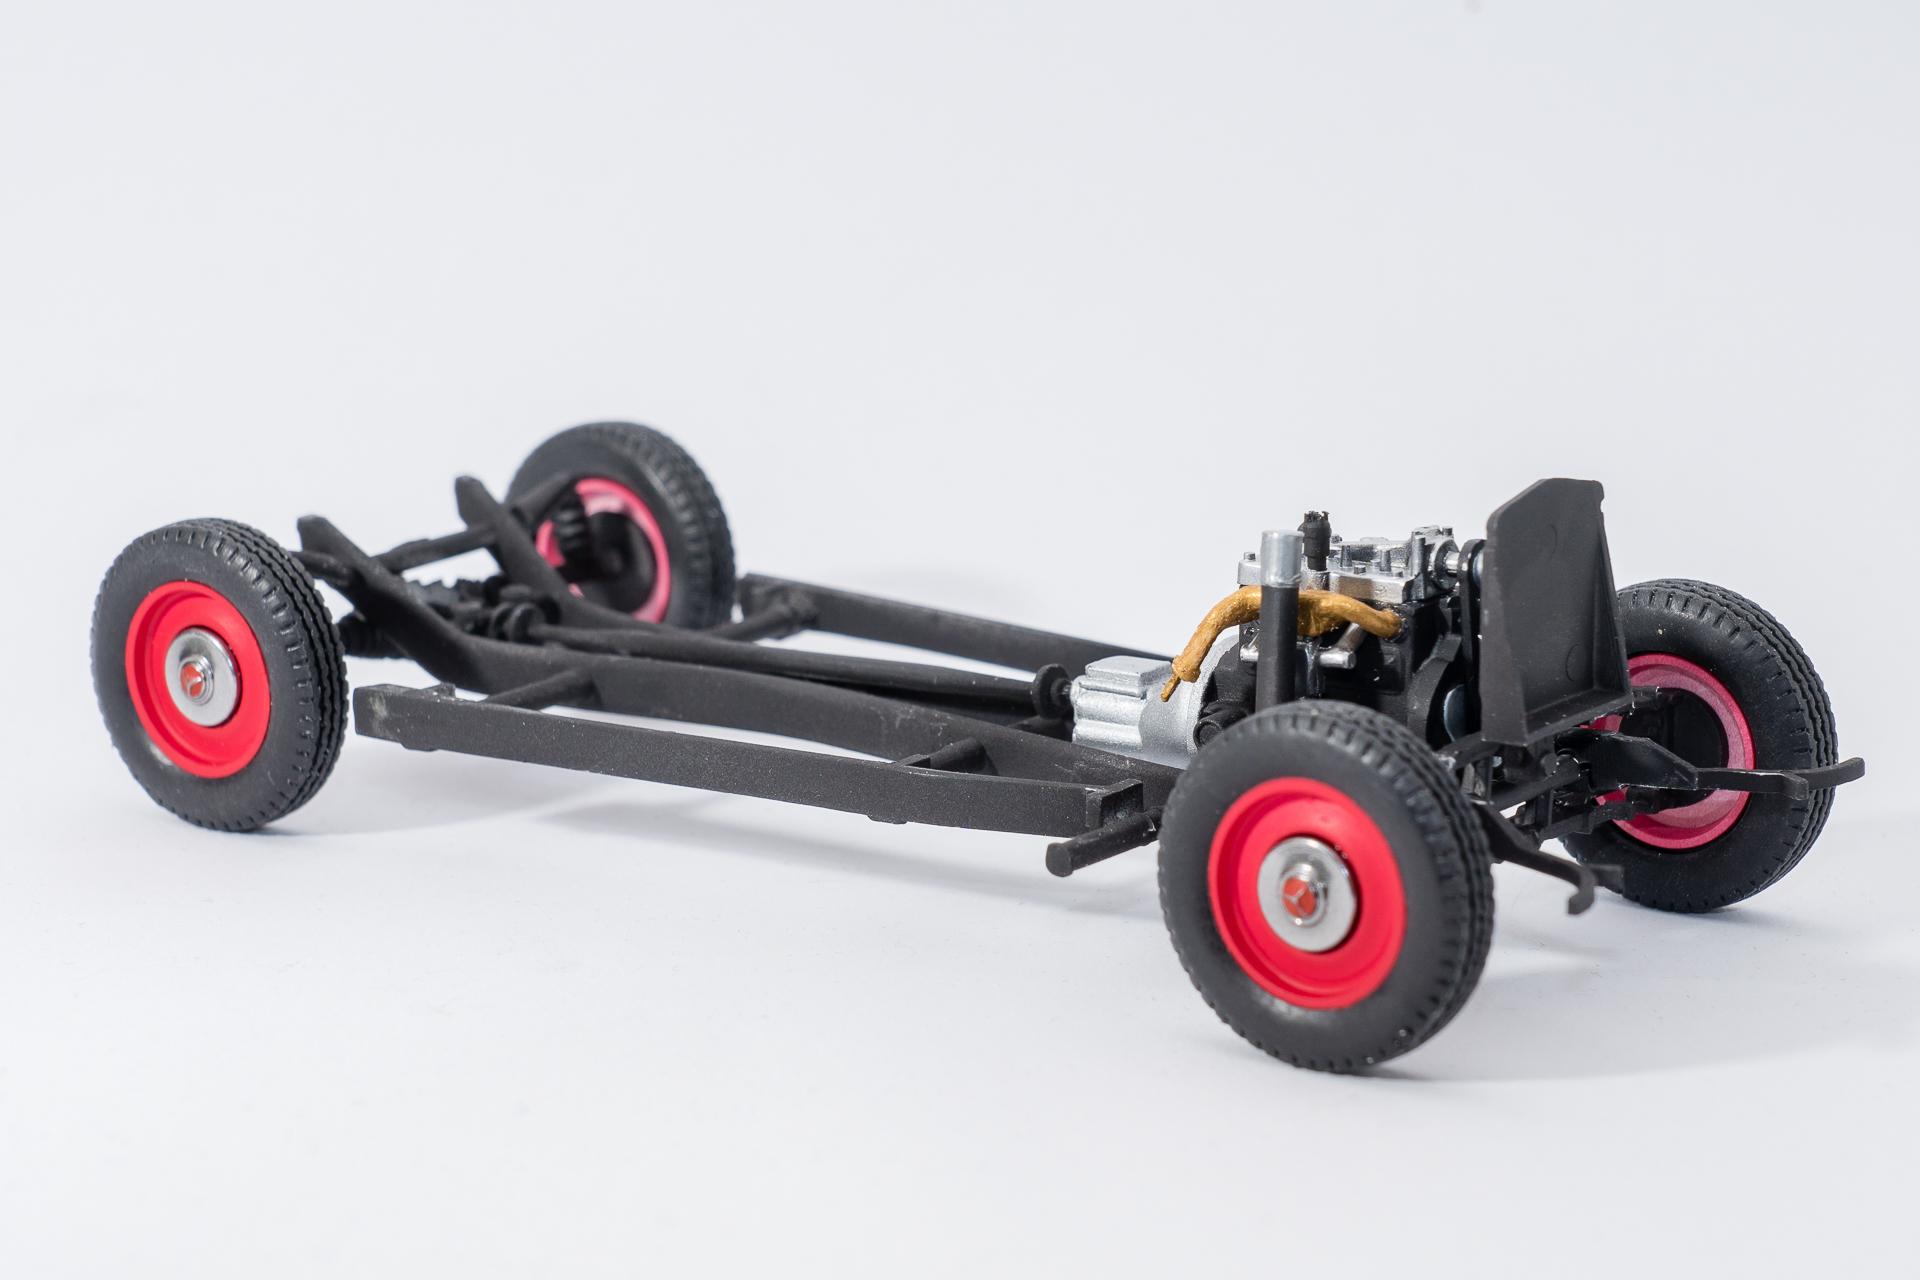
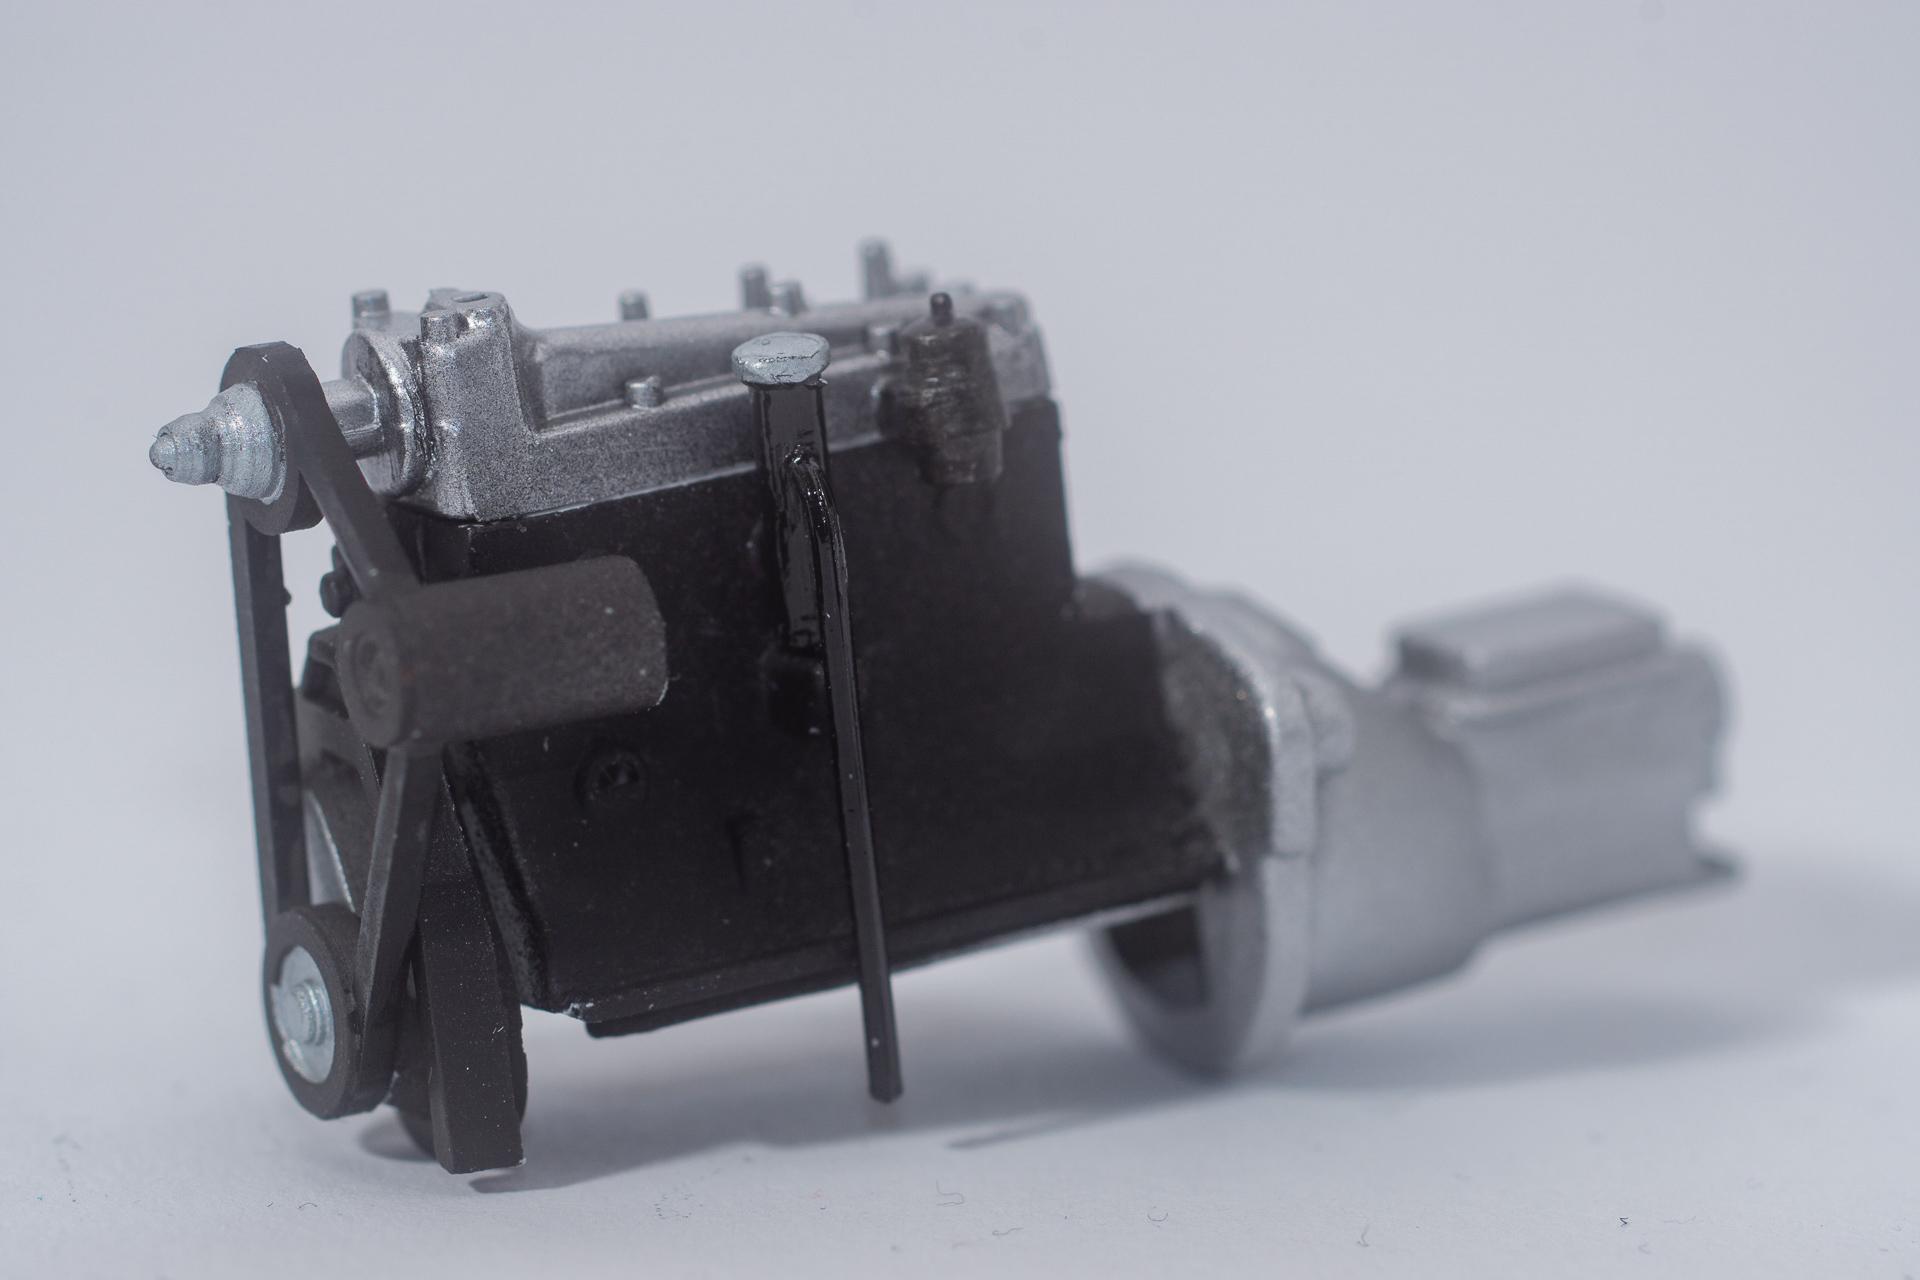
Hi all Long time no update on this build, but that doesn't mean that I didn't do anything First I finished the undercarriage and the engine. As I had to permanently glue the engine hood to the body, I won't invest too much time in this part, as nobody will see it ever again once the body sits on the frame (unless somebody turns the model upside down...?) Then I started weathering the body. After I was done with that and showed the pictures in another forum, somebody asked me whether the body was really made out of metal in these days? A short research later I knew, that he was right: the engine hood and the fenders had been the only parts made of metal, while (especially in 1946) the cabin, the doors and the floors had been made out of plywood... As I wasn't really too happy with the outcome I decided to overpaint the weathering with the base color. Now I will airbrush some slightly lighter yellow by using a stencil mask for weathered paint. After that I'll apply the decals and then add some more weathering by using Tamiya's X-21 as shown in this video: Meanwhile I also started work on the dashboard. There I'll have to add the decals and make the metal trims around the gauges. Unless I'll try something I've never done before, but that will be dependent on the progress I make on the body. As mentioned in the opening post, this build is part of a groupbuild on facebook, closing by the end of may, so I think I might be running out of time when looking into my agendo for the next few weeks. That's all for this update Urs -

Mercedes 170 Va "Lieferwagen"
harti20 replied to harti20's topic in WIP: Model Trucks: Pickups, Vans, SUVs, Light Commercial
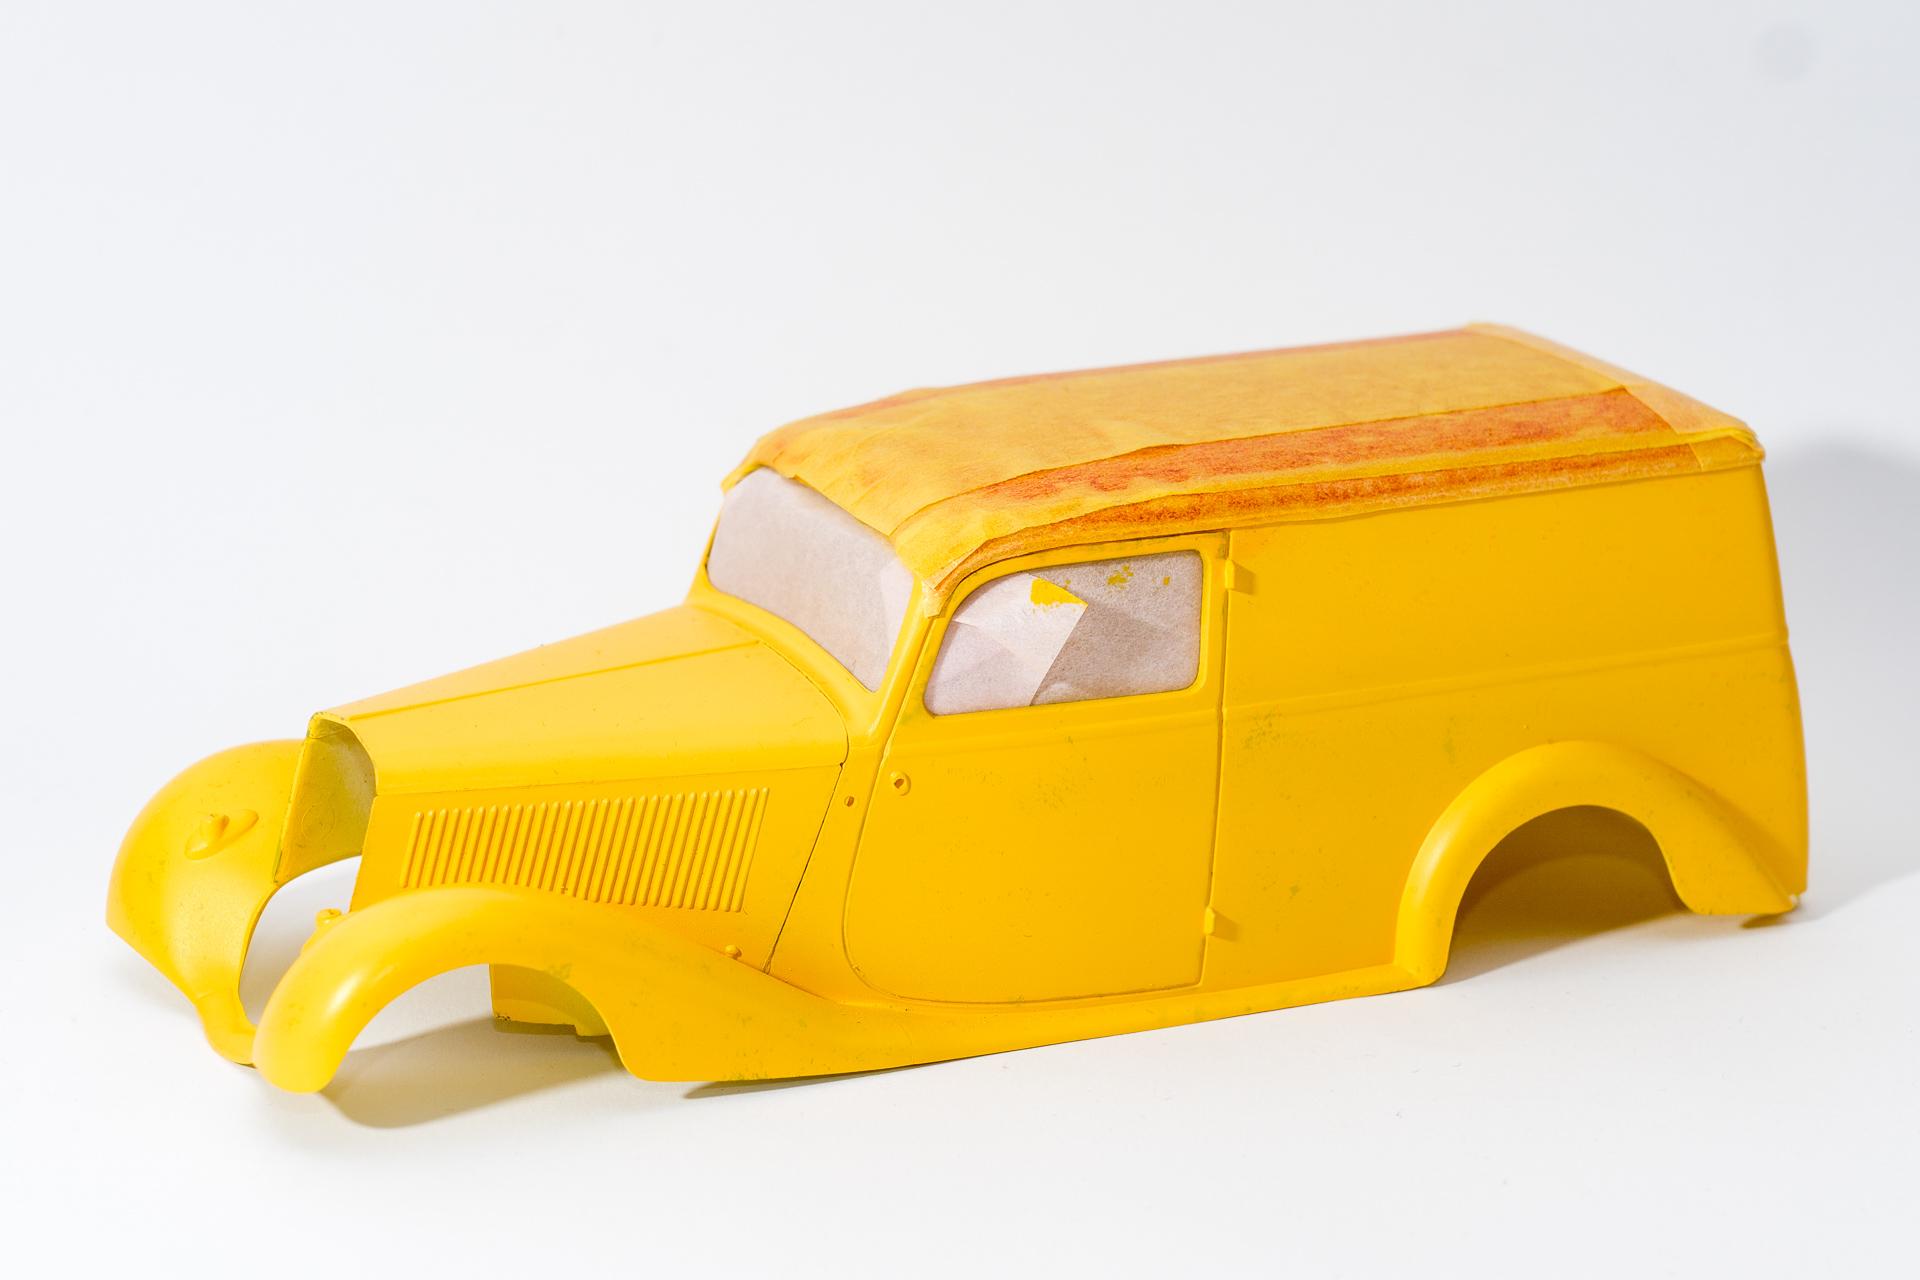
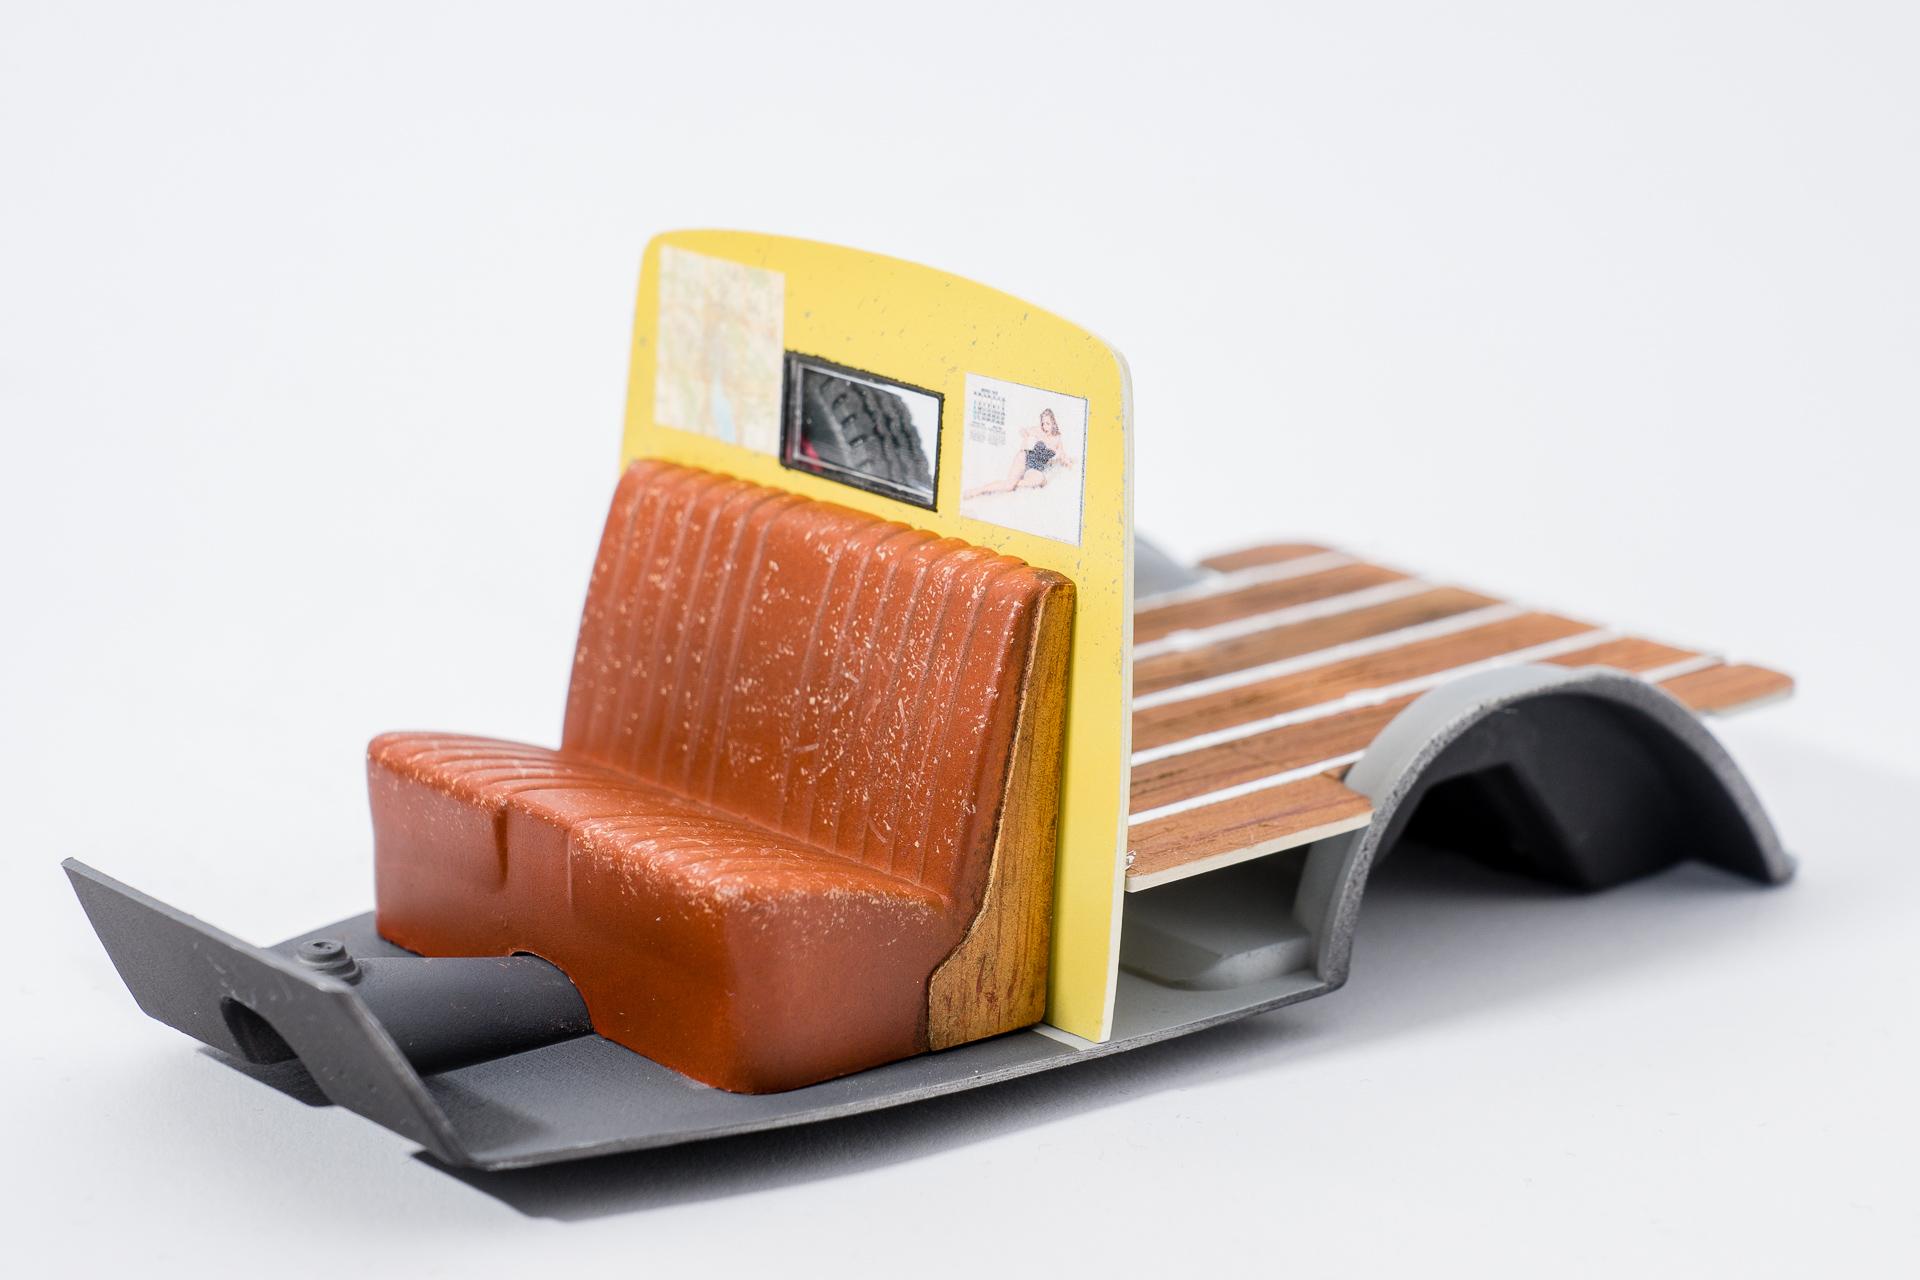
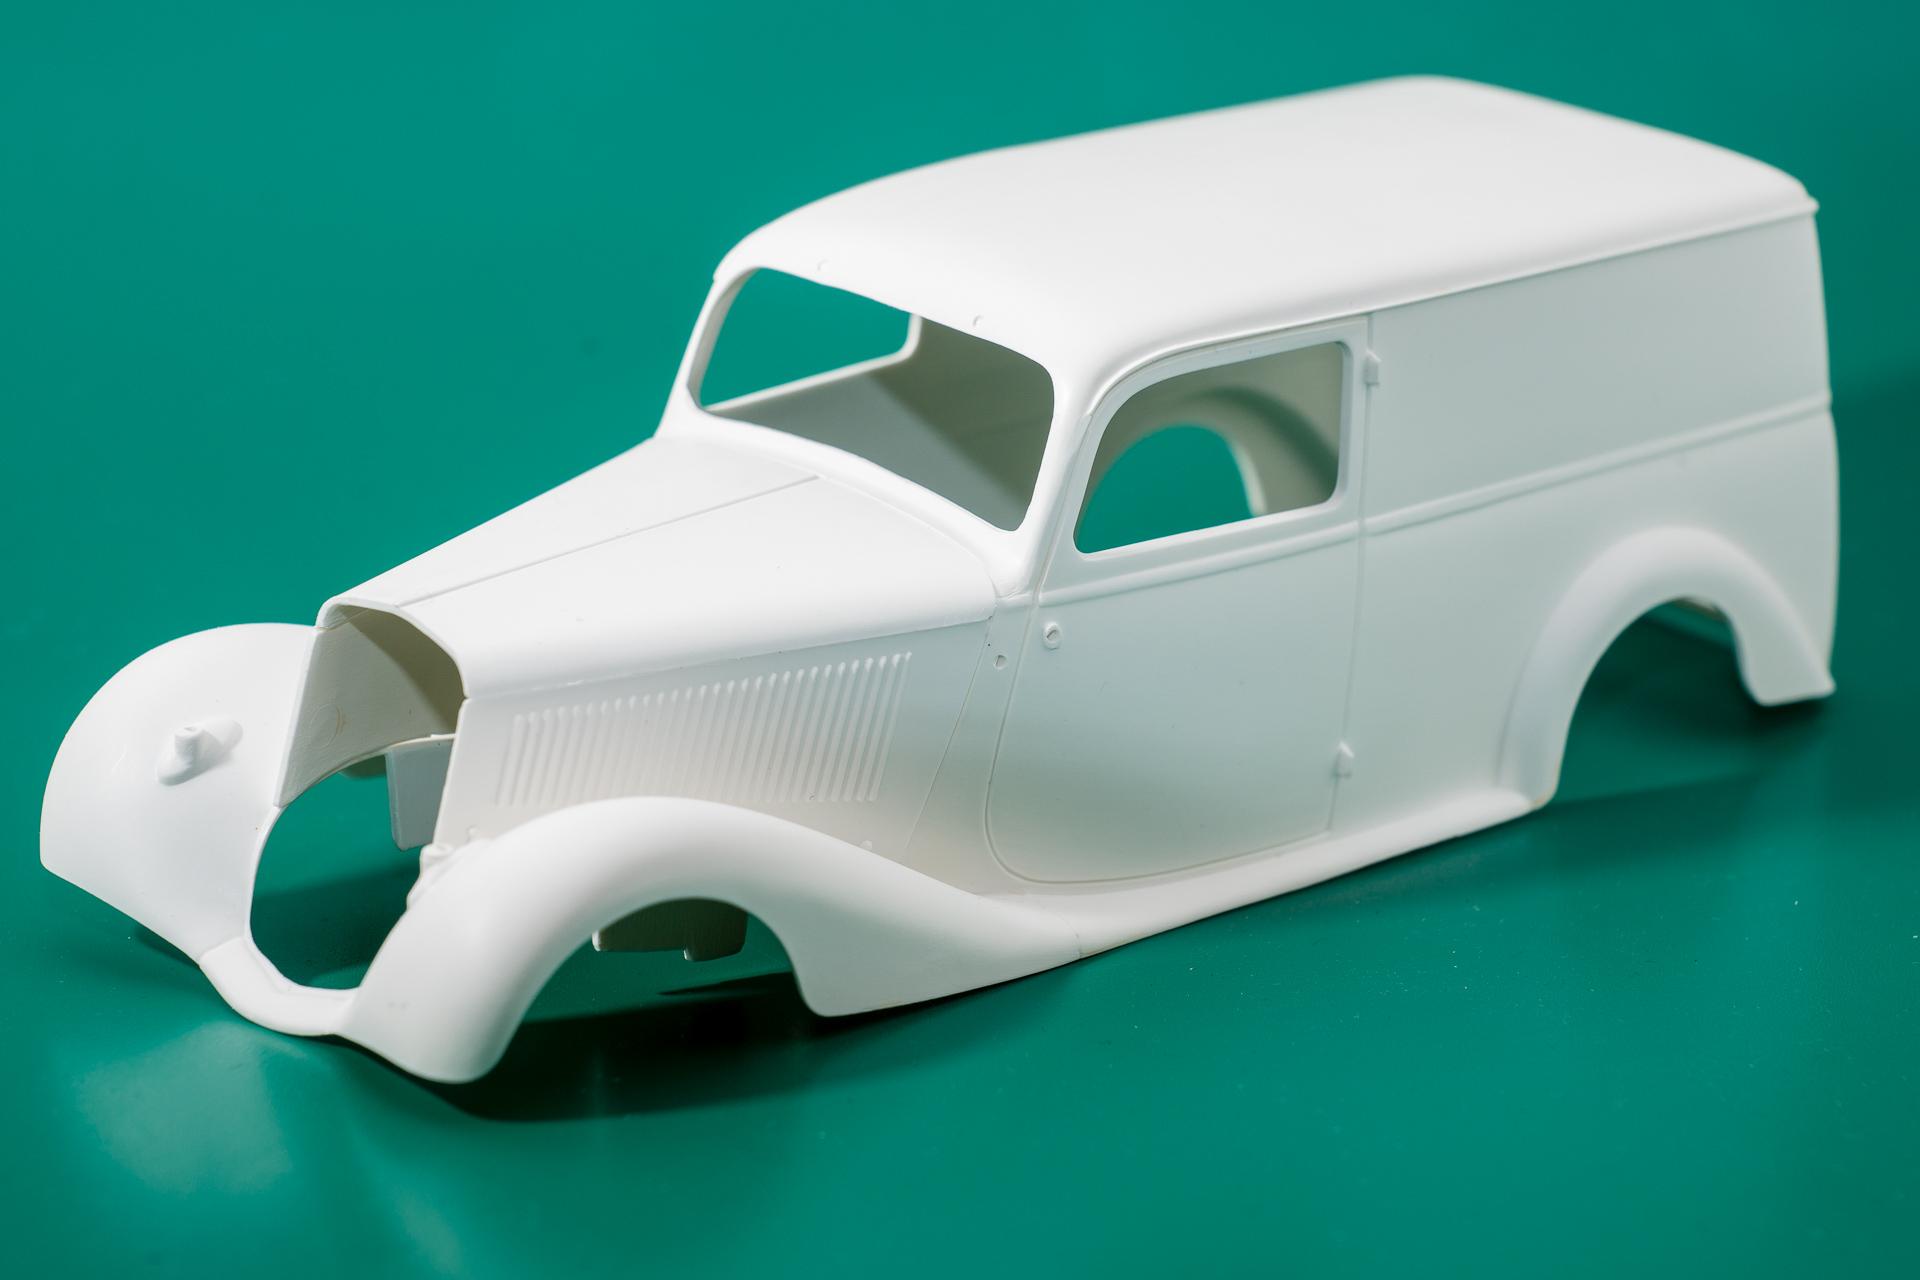
Hi all This week I continued my attempt to mimic leather. I think it's much better than in the first attempt, but I'm still not really convinced. But I think I'll leave it now as I don't know what it is exactly that is disturbing me. First I painted the seat in Vallejo ModelAir Burnt Umber. After that I used a small piece of sponge to dab on some Vallejo ModelAir Radome Tan. When I had finished dabbing, I applied some diluted oil paint (burnt sienna, IIRC) and let that dry for about 15 minutes, then I gently brushed over it with a soft, dry brush to blend everything in. On the wall I dabbed on some Vallejo ModelAir Steel to achieve some chipping effect. In order for the driver to find the address he attached a map of the city on one side and to know what day it is, a calendar on the other side The body of the driver's compartment hasn't been weathered so far, that's next on my todo-list for this build. Also the small compartment underneath the cargo area will get some weathering. I'm still looking for an idea what I could put inside this compartment. On the original car they stored the spare tire there, but with this model this won't be possible because the compartment is too small for that. Maybe I'll add some tools down there. For the cargo area I plan to add some barrels and boxes and bags with vegetables inside. But this will only follow once the car has been finished as this has priority because of the groupbuild on facebook where I have to finish the model by end of may. When unpacking the kit, I was wondering how it would work out with the engine hood, as it was moulded as one single piece, completely flat. The building instructions wanted you to bend the side walls down. The bending was surprisingly easy as the moulding seems to be very thin along the bending line. But the side walls feathered back a little, so the hood wouldn't really close. So I decided to glue it on permanently. Therefore nothing underneath the hood will ever be seen again once the model is assembled. For this reason I won't put too much effort in completing the engine. One challenge will be the radiator grill as it lacks about half a millimeter on each side which leaves quite noticeably gaps. My plan now is to add thin sheet to the sides of the grill, fill and sand it smooth and re-chrome it afterwards. That's all for this week's update. I wish you a good week and happy easter. Urs -

Mercedes 170 Va "Lieferwagen"
harti20 replied to harti20's topic in WIP: Model Trucks: Pickups, Vans, SUVs, Light Commercial
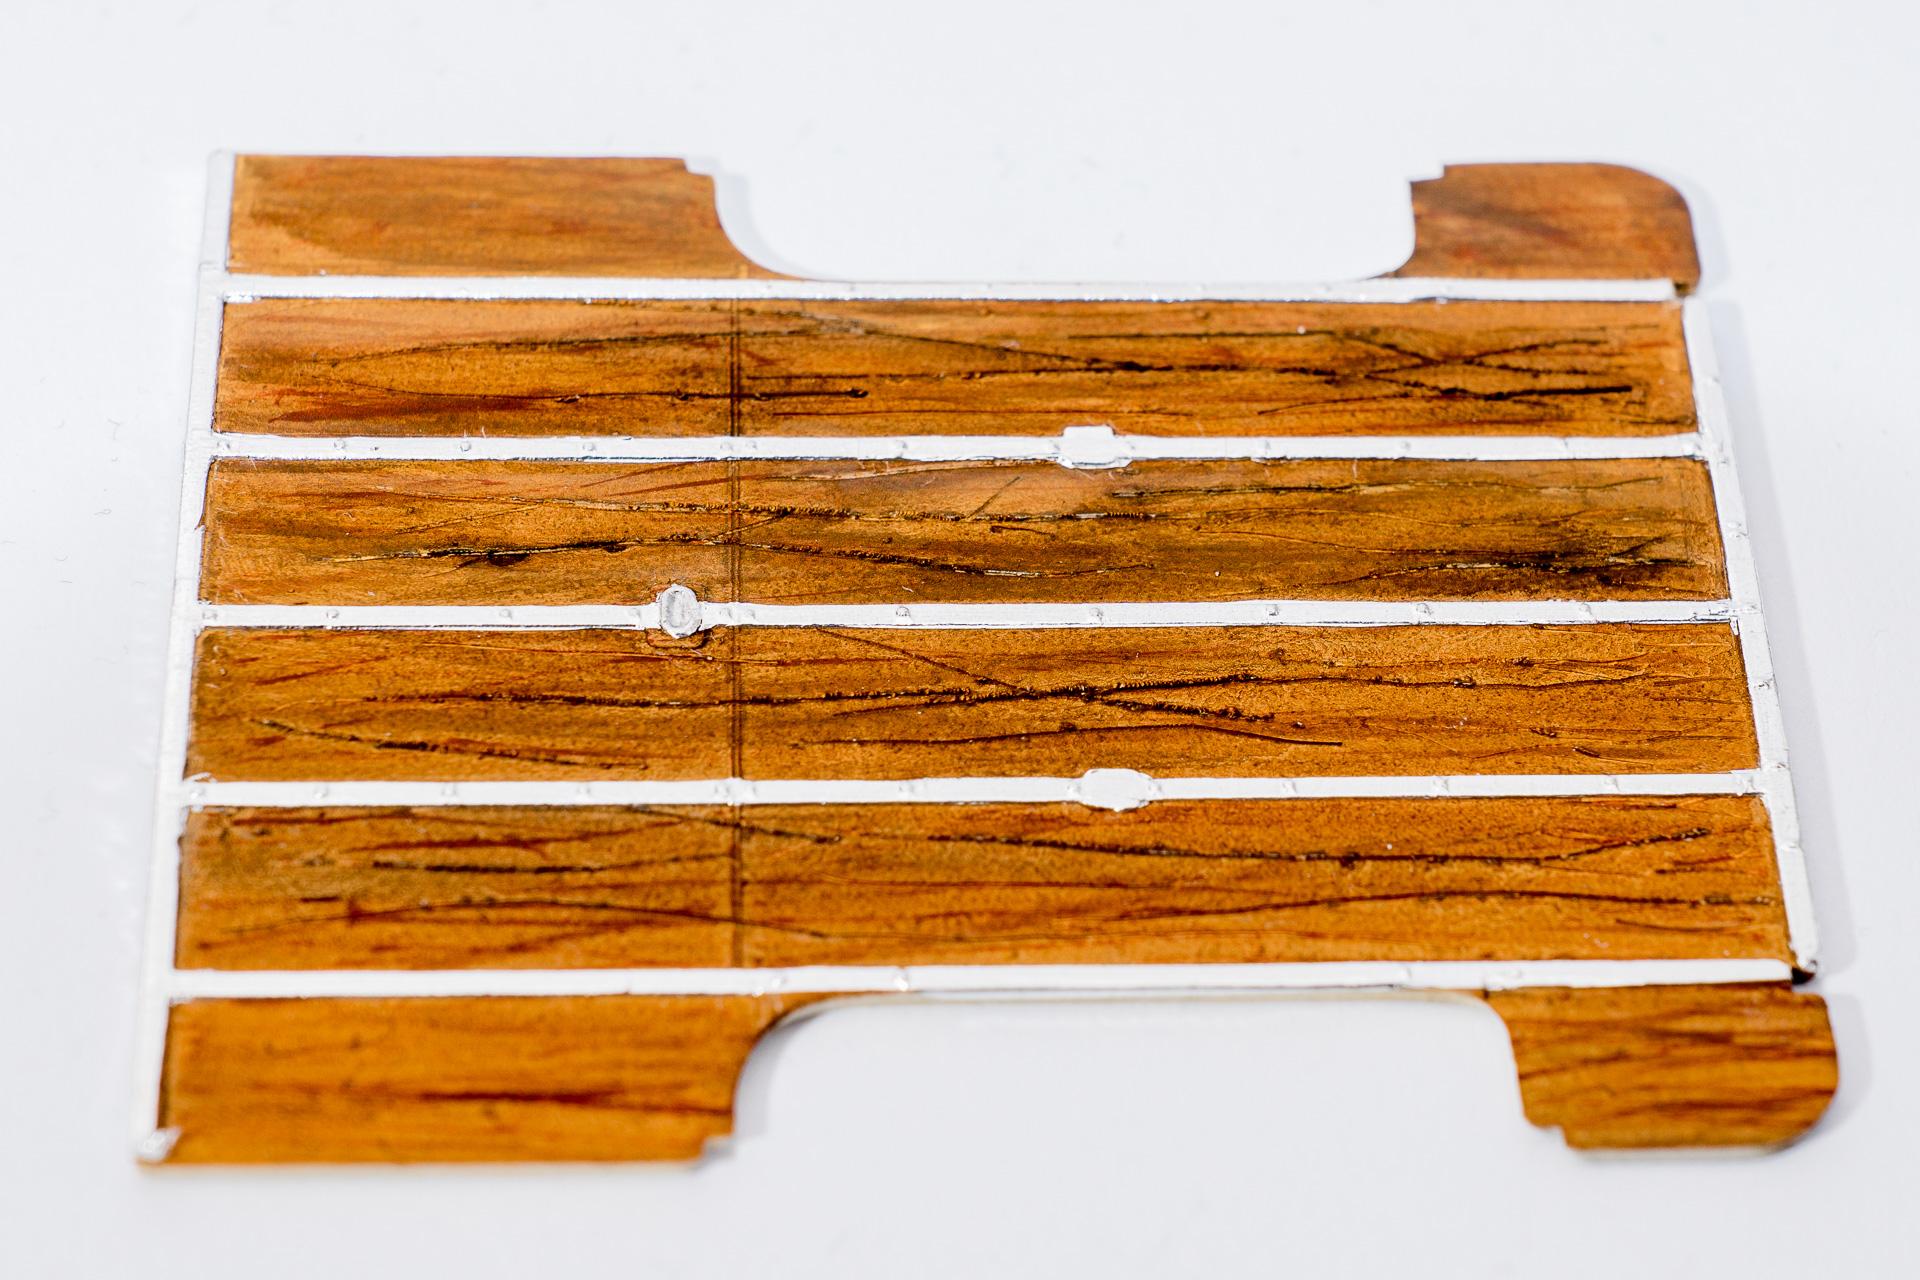
Hi all There was a minor drawback on the seat, currently it's soaking in Dowanol to strip the paint. My experiment to mimic leather didn't work that well, so I decided to start over. The main problem was not the technique itself, but more lack of experience on my side. Therefore I'll give it another try, but the color will change from black to brown On the body I attached the front fenders and sanded the whole body to prepare it for primer, but forgot to clean the sanding dust before the photo shooting... ? The engine got some more paint and parts installed. But right after taking the photo, it fell to pieces, so this picture depicts some point in future My highlight of this week's work is definitely the floor of the cargo area. Therefore I first made some longitudinal scratches with a fine scriber, then painted the whole area beige, but made sure it didn't get a smooth coverage. After that I painted some (more or less) fine lines with a long, thin paintbrush using Mahogany and US Brown from Vallejo ModelAir. Right after that I applied a coat of Tamiya's Clear Orange by airbrush. After letting it cure for a few minutes I applied pigments in the colors Burnt Umber and Dark Grey and fixed them with a dark brown wash. To finish it off, I accentuated the scratches by applying some Tamiya Panel Line Brown and Black. The metal railings have been made by using BMF. Once again I was very disappointed by the quality of this foil. I think, the next time I would use leaf primer and usual aluminium foil. That's all for this week's update Urs -

Mercedes 170 Va "Lieferwagen"
harti20 replied to harti20's topic in WIP: Model Trucks: Pickups, Vans, SUVs, Light Commercial
Thank you Yes, that's exactly this kit and I plan doing it in this Version. -
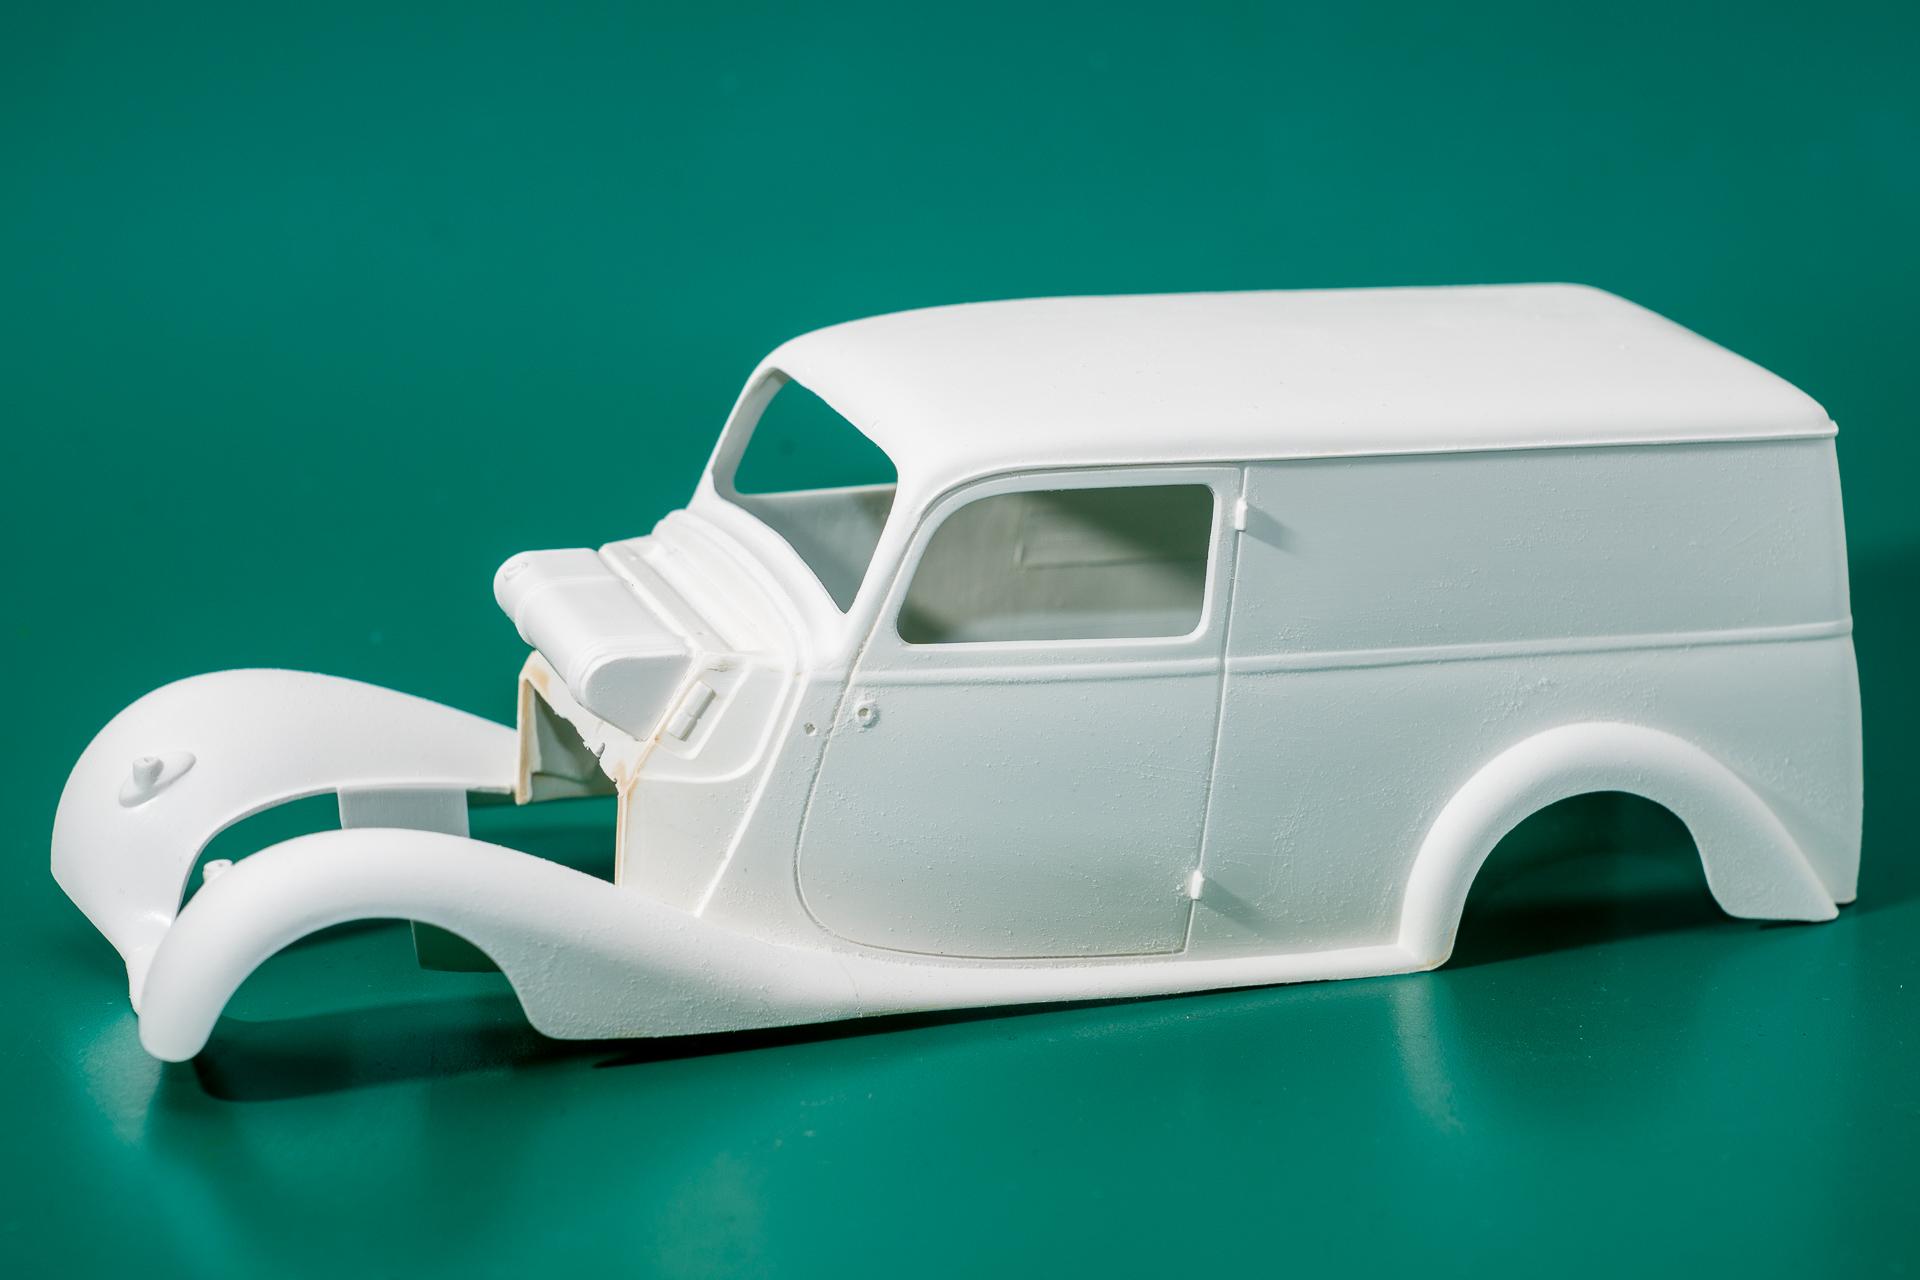
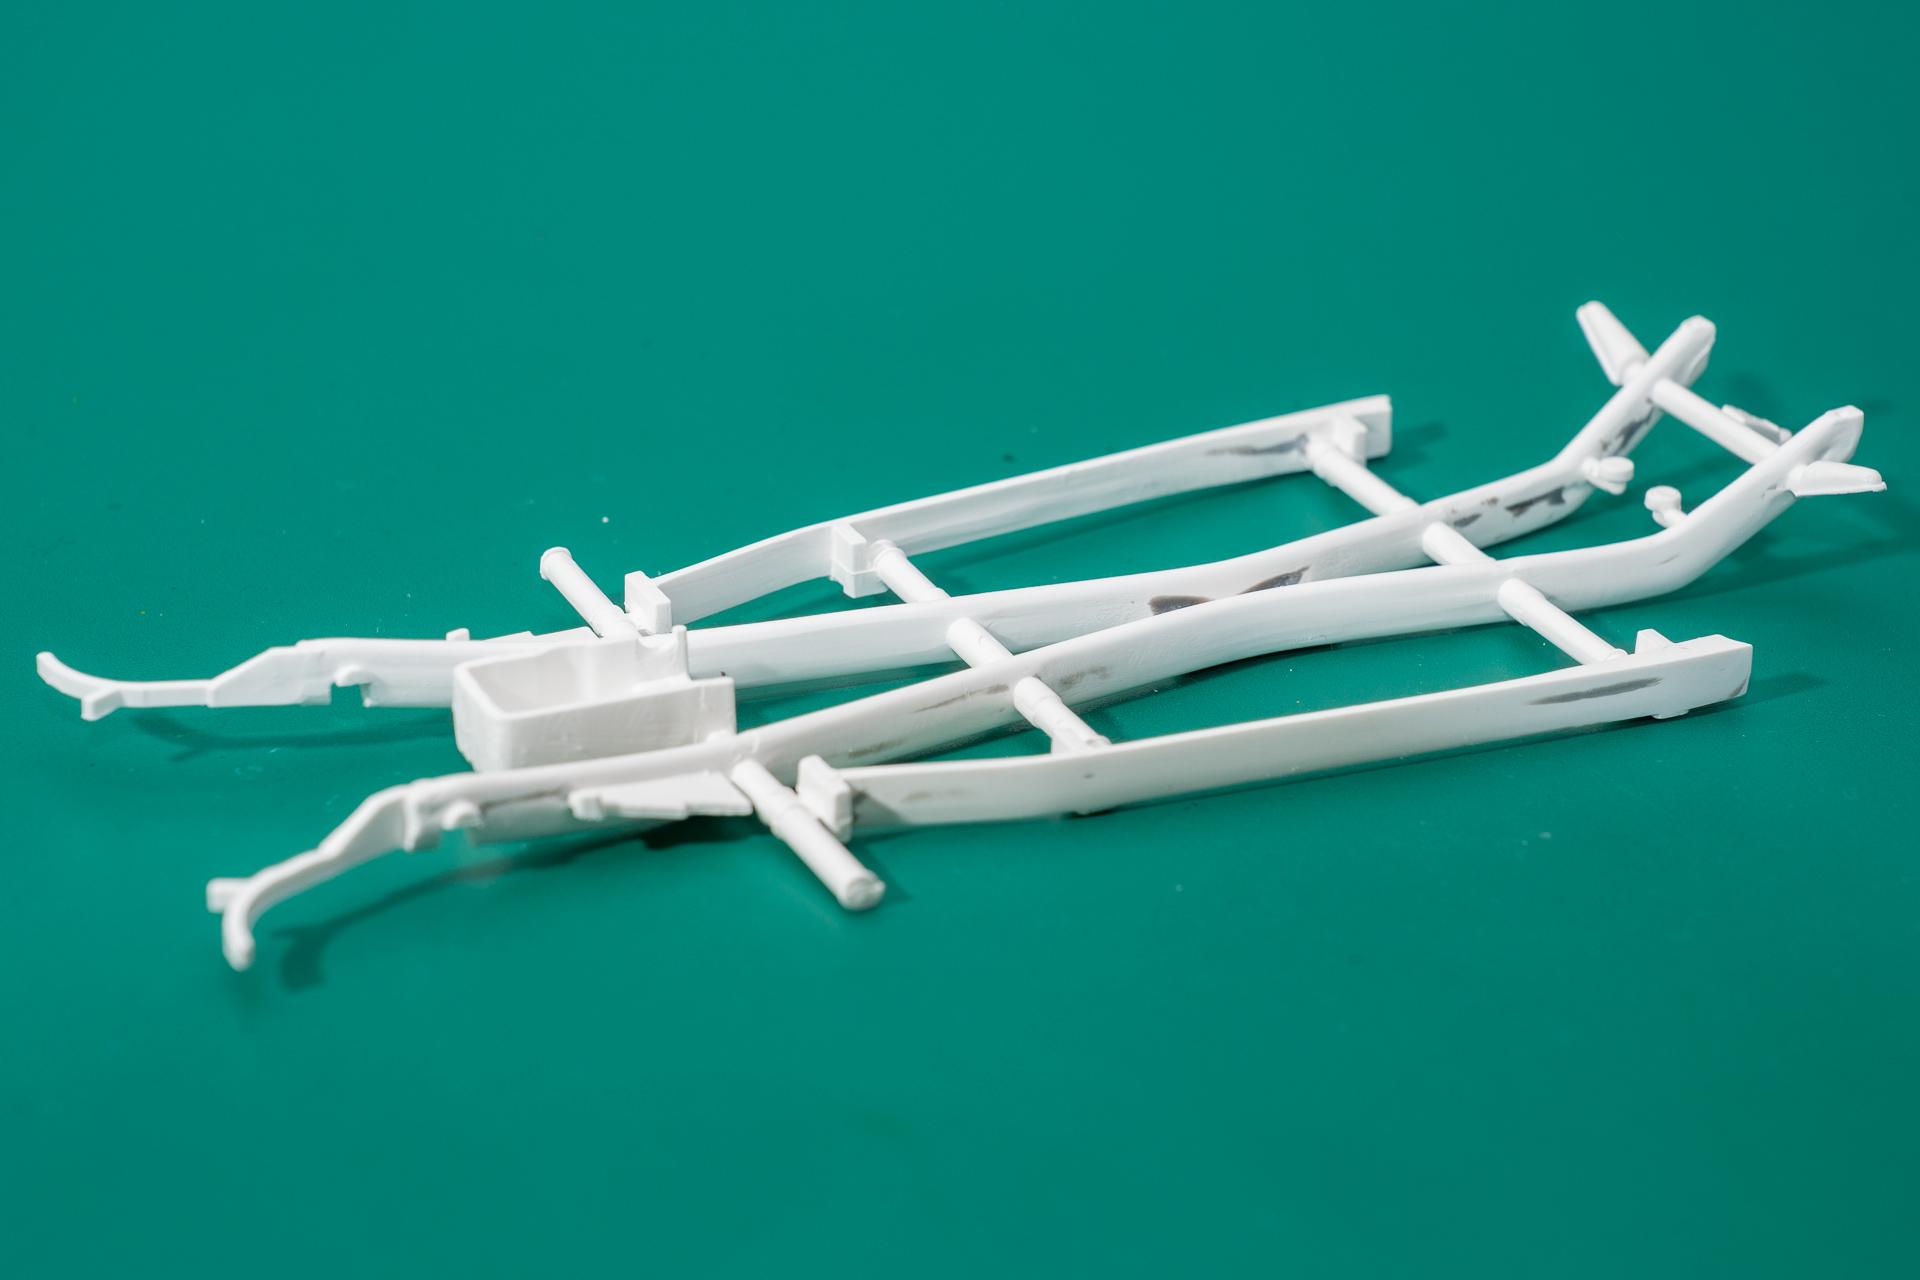
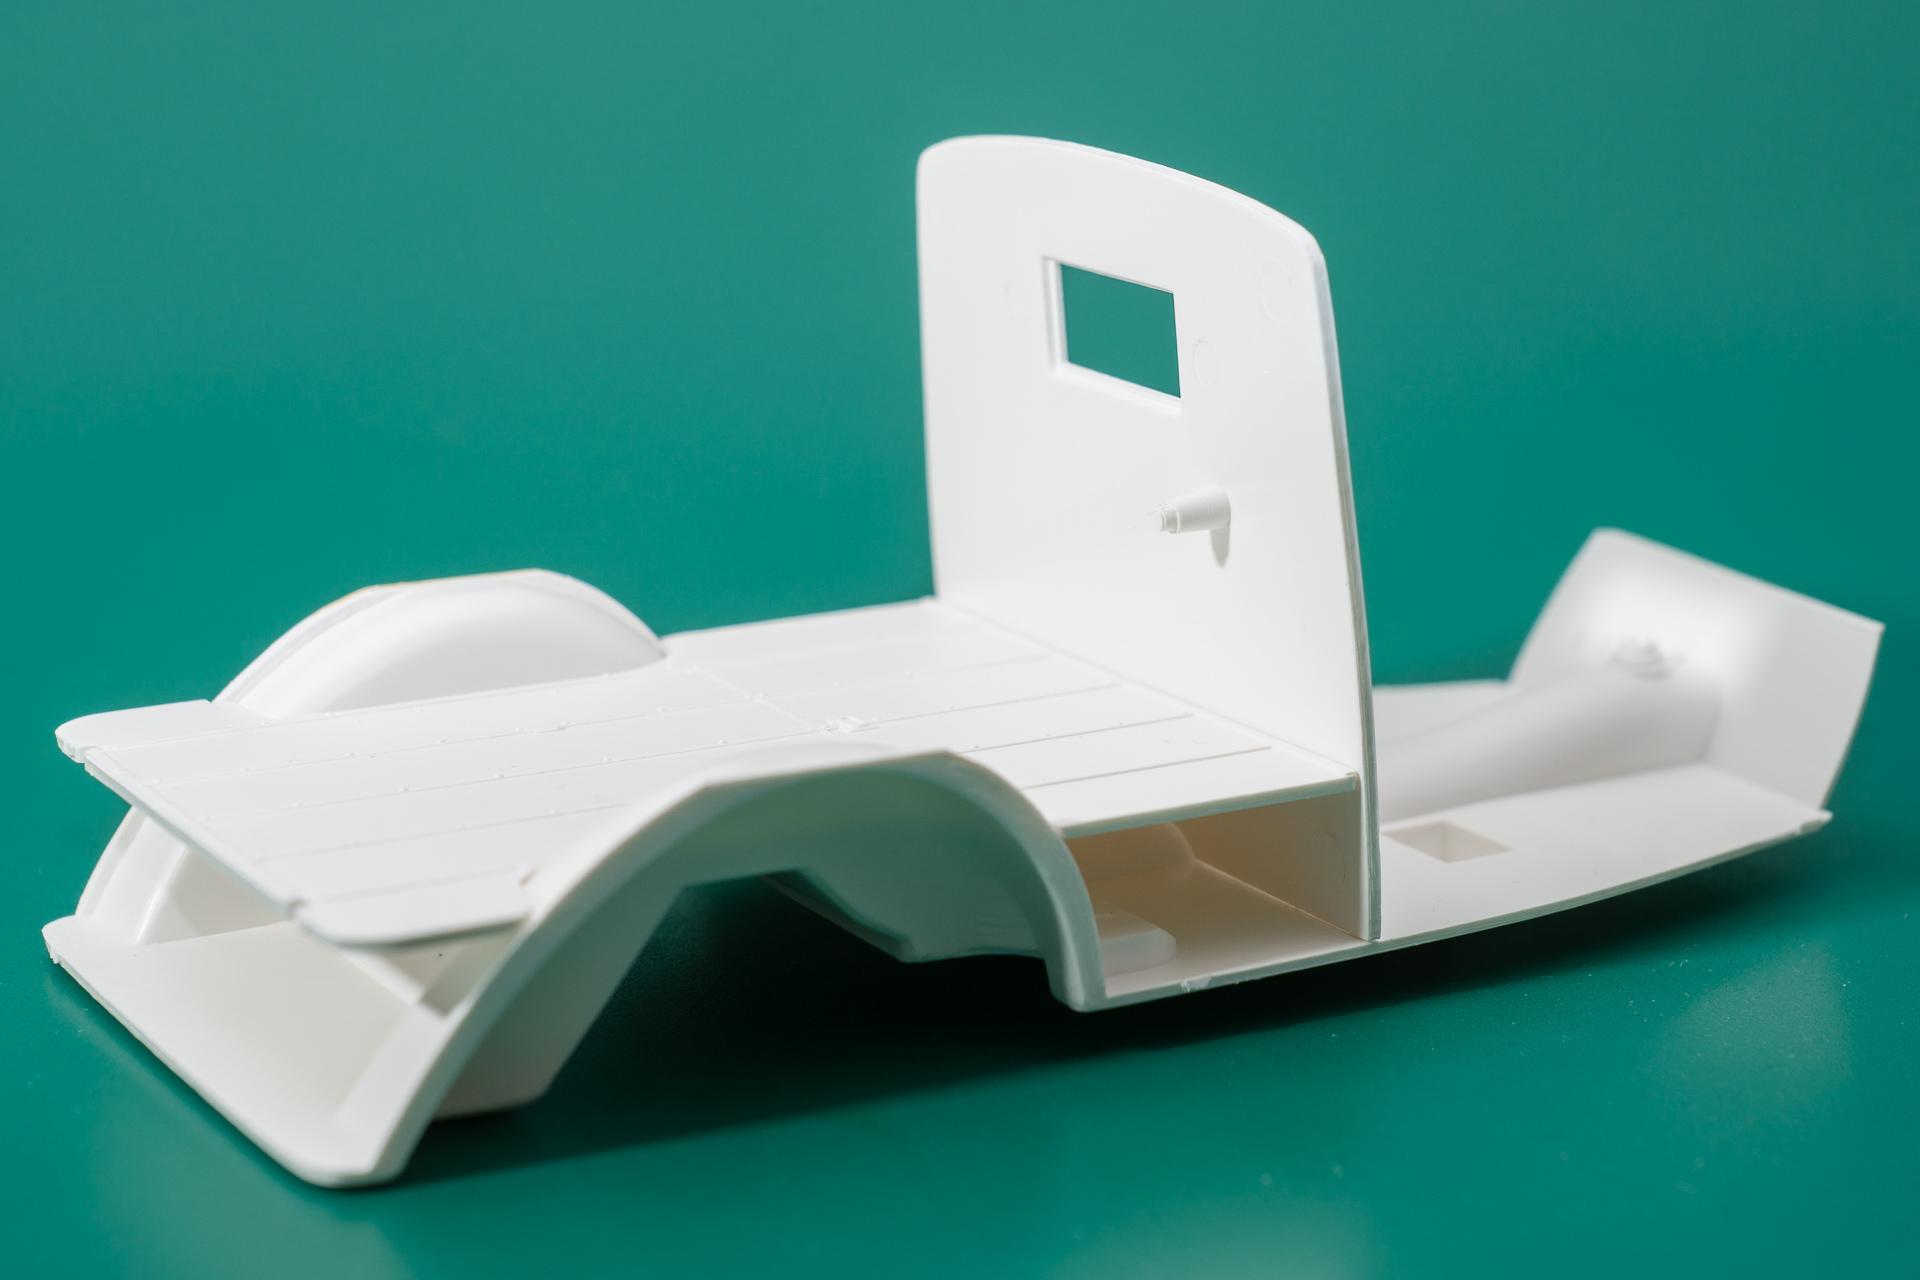
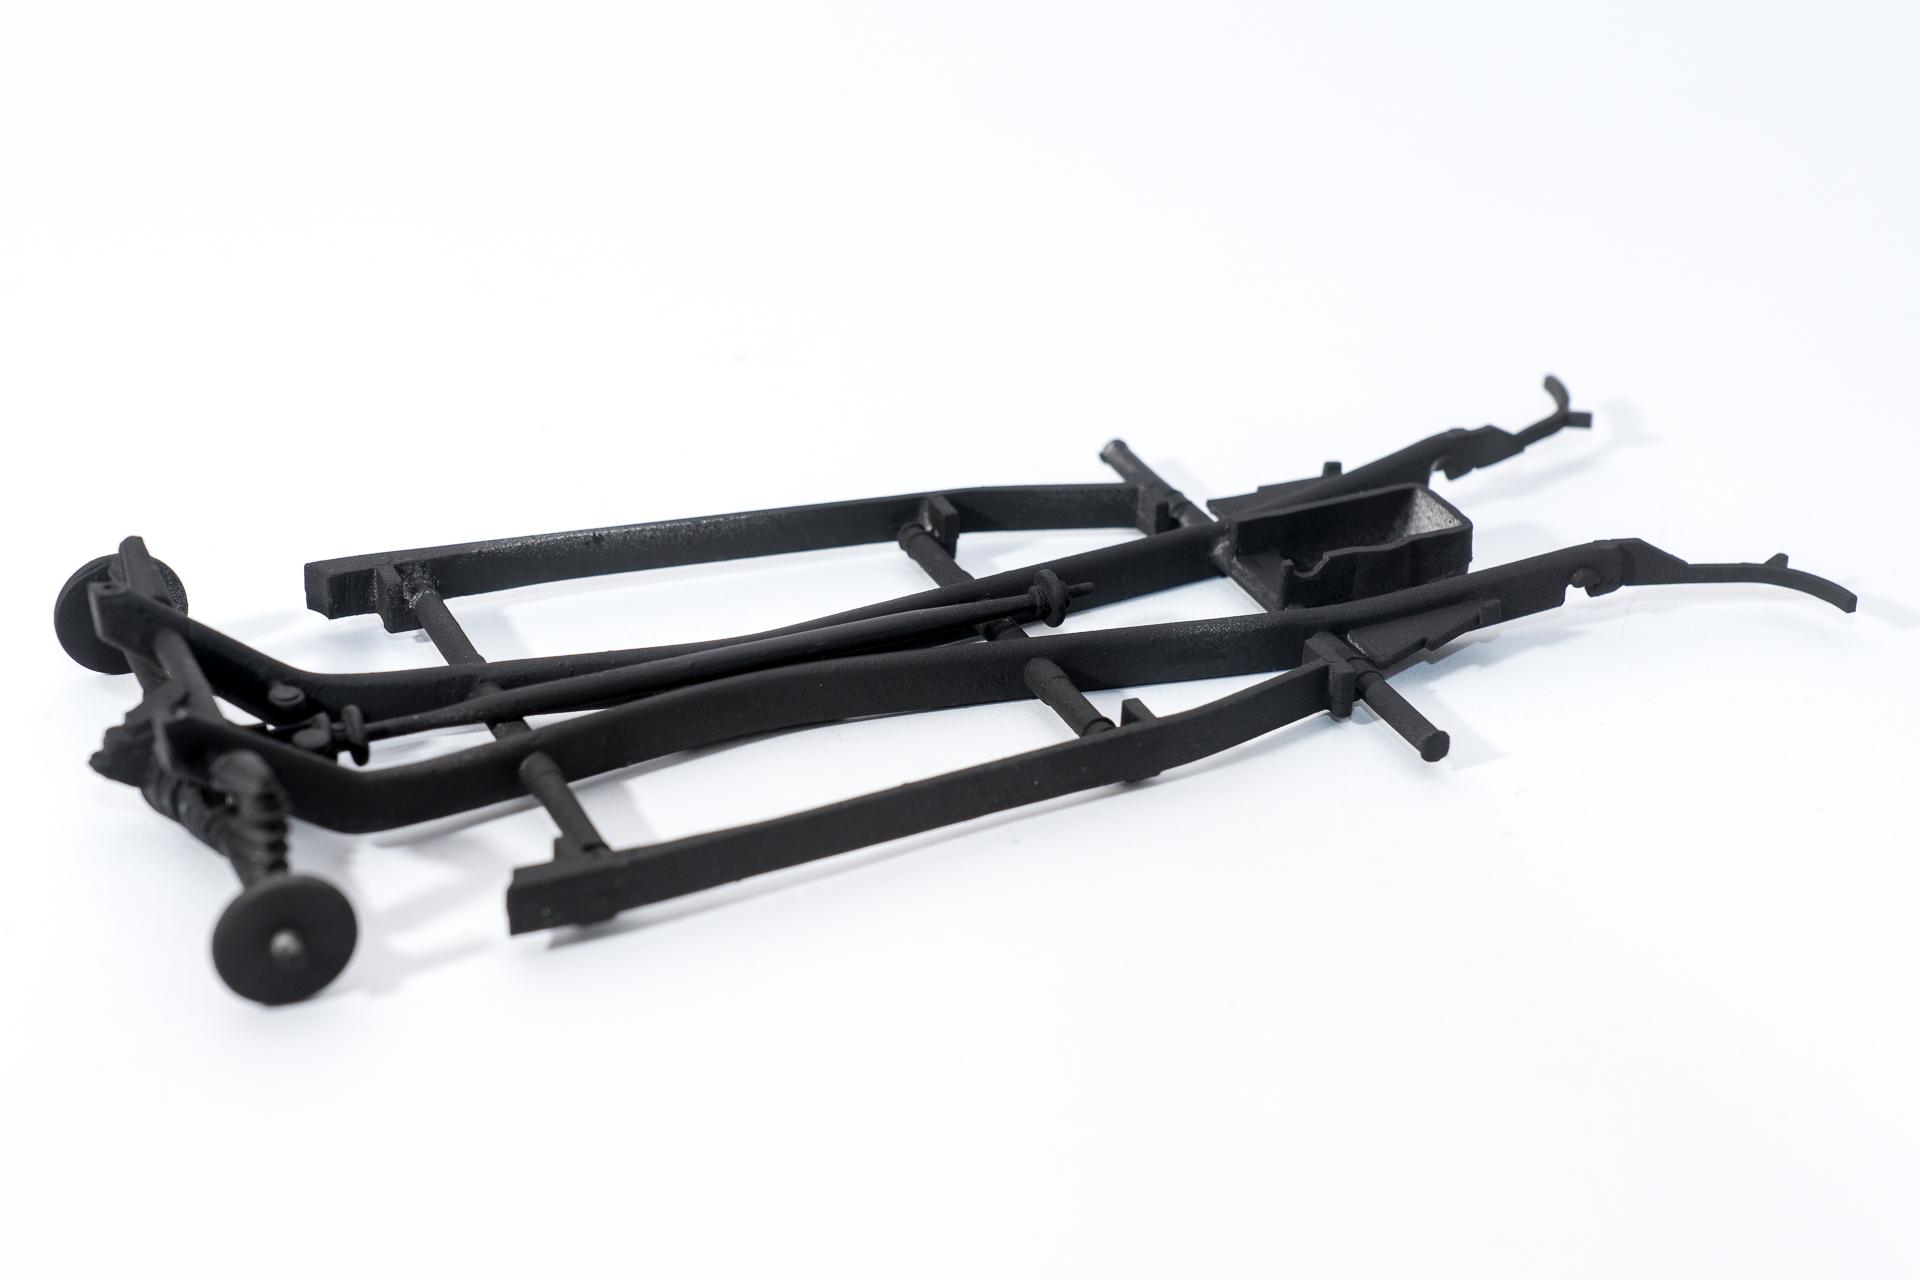
Hi all As written in the W.I.P. on the McLaren P1, I needed something different from the carbon decals. So what could be more obvious than to get a model from the first half of the last century out of storage, which is guaranteed not to need any carbon ? Since a GroupBuild was started on March 1st in a facebook group about "German cars", I decided to build the Mercedes 170 Va, which has been hanging around in my stash for a few years now, waiting to be built I will build it mostly ooB, even if one or the other small refinement can't be completely excluded The first step was to clean the frame and to fill the crevices (or should I rater say canyons?). Three different fillers were used: my standard putty from ZeroPaints, which I actually like very much, because it can usually be sanded over quite soon (light gray) GreenStuff, since I wanted to try out a 2-component compound, which, as you know, should not shrink (green) a 2K plastic filler from the hardware store (dark gray) So far I have not really got along with GreenStuff. On the one hand, the compound is quite hard and sticky after mixing, so that it sticks almost more to the fingers than to the model (in the meantime, I've read in various forums that water on the fingers should help). On the other hand, it also happened to me with more than one filled crevice that the entire GreenStuff lump fell out of the hole again during the sanding process and I had to start all over again. The ZeroPaints putty could be sanded again after about half an hour (if it was only applied thinly), but as usual it shrunk a bit, so again, with larger crevices, it had to be applied several times. The 2K filler from the hardware store last but not least was quite creamy and therefore easy to get into the depressions. It also hardened relatively quickly and could be sanded quite soon. However, it hardened so quickly that after a little more than 5 minutes, the mixed compound had more or less the firmness of butter straight from the cold-set refrigerator and could therefore no longer be used... In addition, the odor nuisance was also quite intense here... Then I made a mock up of the cargo compartment. The fitting accuracy so far is good to excellent, especially for such an old kit. But what is quite normal for a kit that has its origins in the 70s, are sometimes quite heavy casting burrs, which have to be removed on practically every part. Meanwhile I have assembled the frame as far as possible and painted it. Together with the frame I also painted the seat black. The white dots are probably sanding residues from cleaning other parts. On the seat I will try something I recently saw in a youtube video to give a slightly worn leather look. However, it was a 1/12 scale model, so I'm not quite sure if it's transferable to 1/24. What I will not do with this model is to cover the seat with genuine leather. So much for the beginning I hope to have piquied your interest in this W.I.P. and am looking forward to your comments, critics and plaudits Urs
-
Hi all Thanks a lot Adam. I'm glad you like it Lately I didn't have so much time to continue here because of a flu (although.... that's not quite true: I would have had time, just not enough energy... ? ) Nevertheless, I made some progress with the carbon decals on the body. Now only the carbon decals at the side of the front (these more or less triangular deepenings) are missing. So far I've always put them off, because I'm afraid that applying them might not be that easy... Additionally, I made a little progress in creating the templates for further carbon decals. But so far there's not much to see, except some scribbled masking tape pieces, so there are no photos To get a little distance to the carbon decals (also with the McLaren Senna, which I also have in work, there is nothing else to do at the moment...), I got another kit out of storage and started it. This was triggered by a GroupBuild in a facebook group about German cars. I will do another W.I.P. on this in a moment. And there I can 100% guarantee that certainly no carbon decals will be used ? That's it again for today. I hope that next time I will be able to show something else than just carbon work ? Urs
-
HI all Thank you I saw pics of the real car when I was looking for reference material and I knew that it had to be this color ? Unfortunately I couldn't spend that much time on the bench as intended, but some small progress could be made. First of all the carbon decal work on the body continued Then I could finish carbon work on the large front piece and finally I started decaling one small part of the middle console. As I almost can't see any carbon decals by now, I started another build to get some distraction when I need it (the other build I had started already before the P1 was the McLaren Senna and everything I have to do on this one to be able to progess is... carbon decal work... ?). But the newly started one definitely won't have any carbon decals to apply as it an oldtimer from the 1930's: Heller's Mercedes 170 Va. Maybe I'll start another W.I.P for this one as well Urs
-
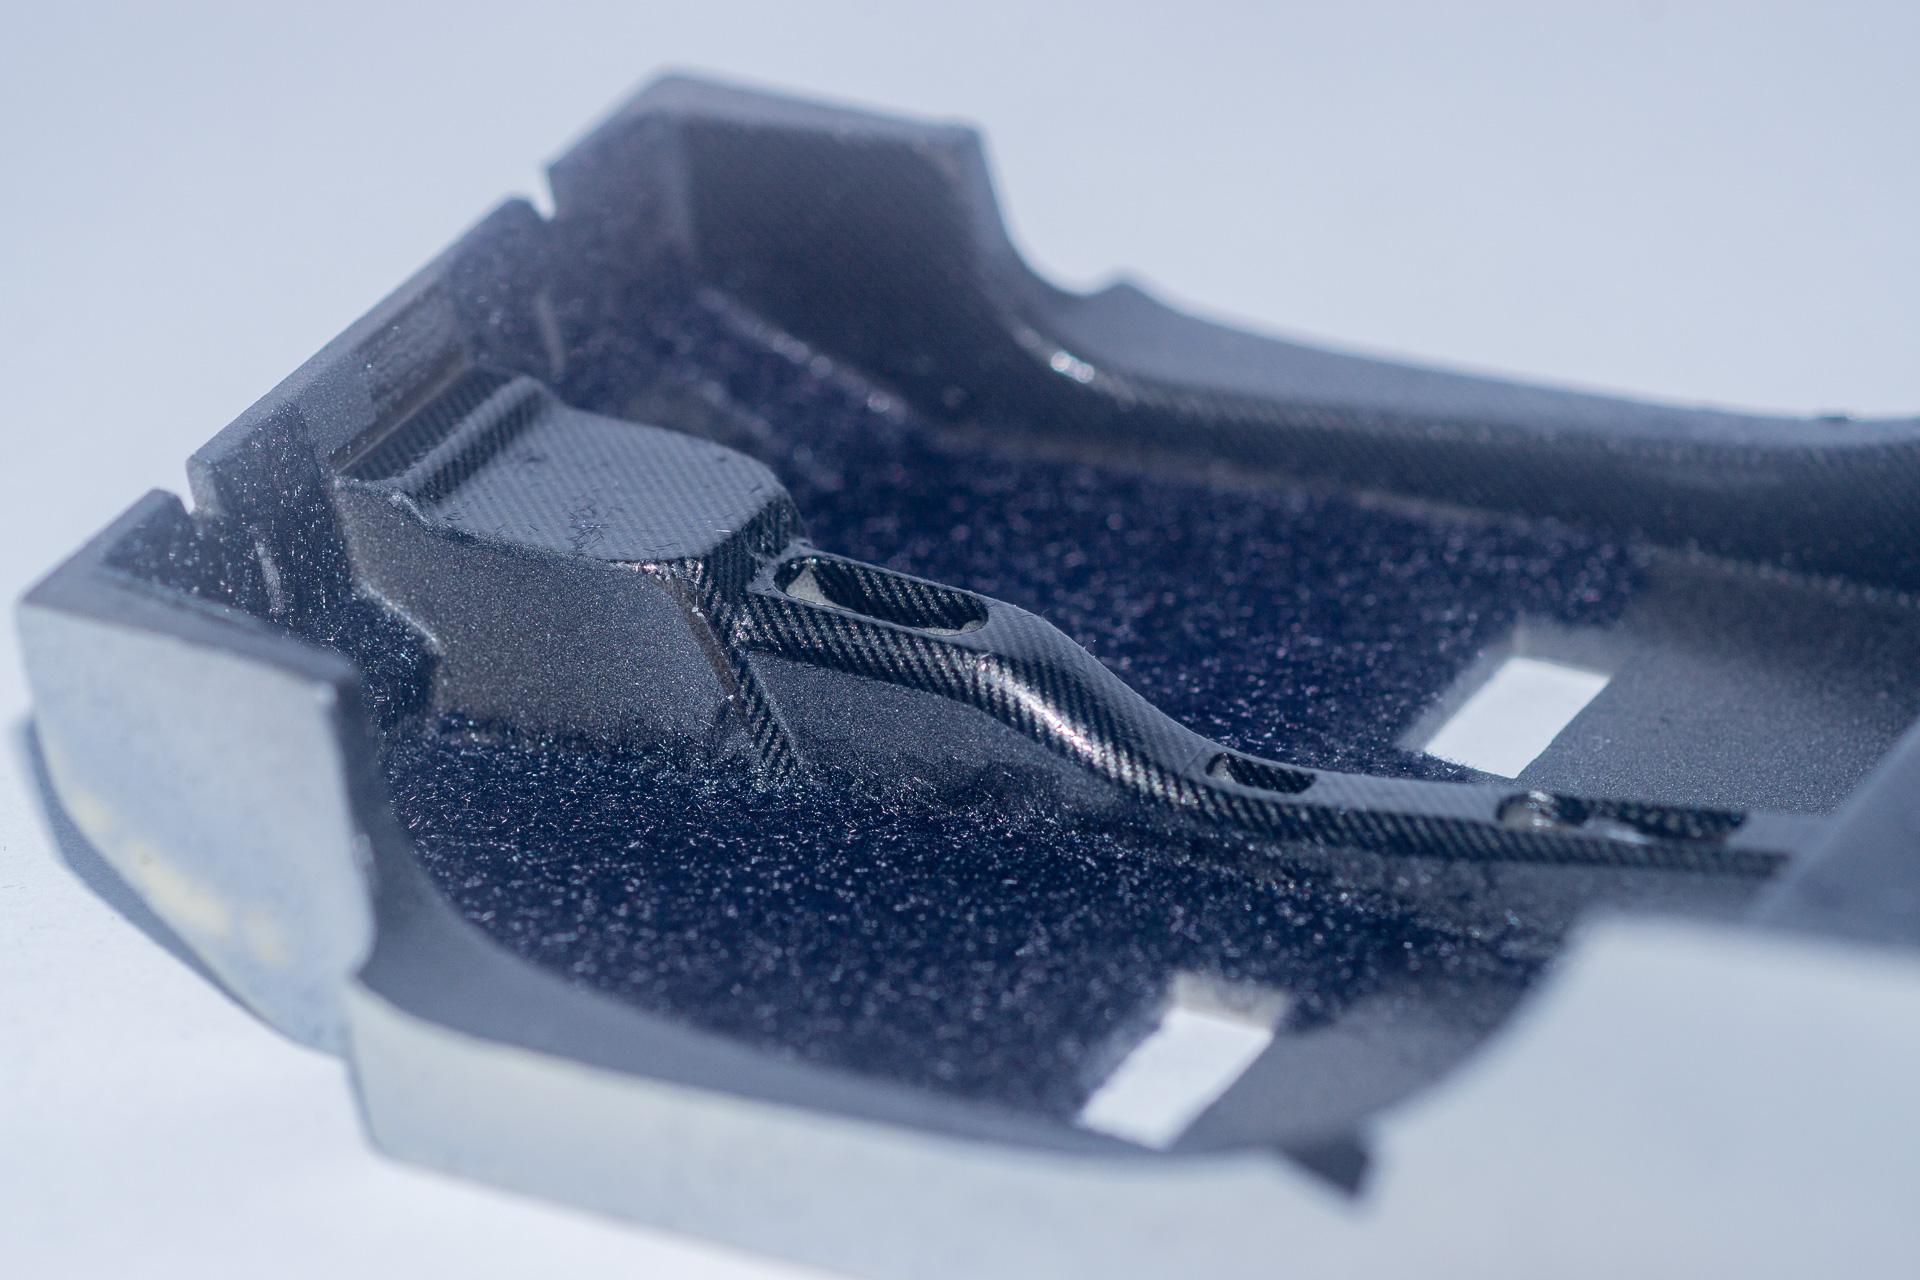
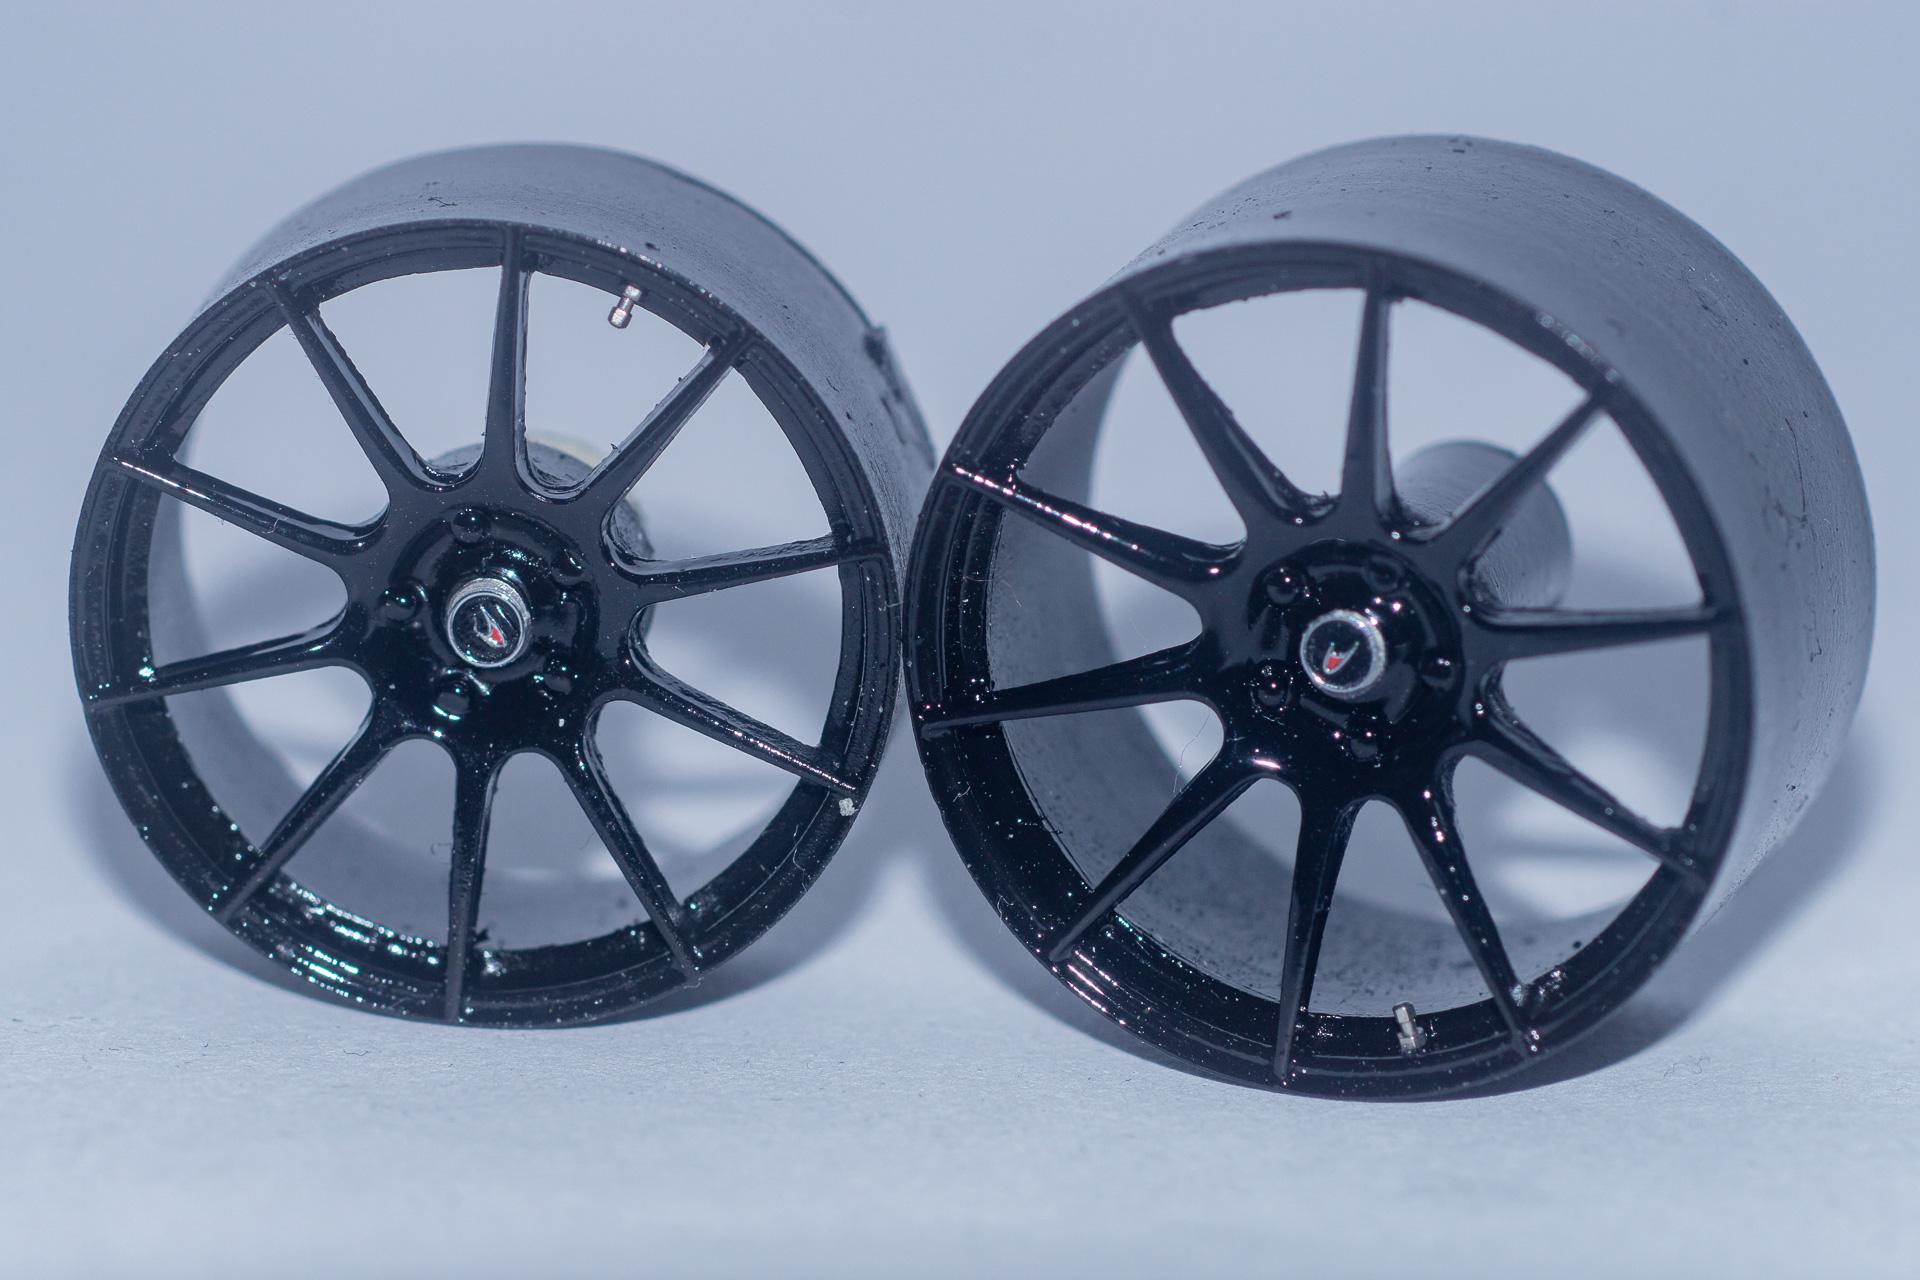
Hi all Some more progress could be acheived this week on my P1. First of all the interior tub has been completed. After applying the carbon decals I sealed everything with a coat of clear. After letting the clear completely dry for a few days, I tried to mask the carbon parts as precisely as possible and airbrushed a coat of charcoal textured paint by Zero Paints. After this coat had cured I used some black flocking for the floor. Then I attached the tire valves to the rims and wanted to finish the wheels. Just before glueing everything together, I realized that there is one PE part and one decal to be applied on each of the rims. Now I'm struggling whether I should seal that in with another coat of clear or whether I should leave it the way it is now. But as I will install the wheels as one of the last parts, I'll still have some time to decide Additionally I started applying carbon decals to the large front part. Doing so I made a mistake by cutting one of the first the carbon decals, which I only recognized when I tried to attach the opposite decal. First I thought, the opposite decal was wrong, so I cut it a second time, only to notice that something was still looking wrong... That was the moment I realized that I had made the error when cutting the first decal which was already applied... ? Now I cut the first decal a second time and will apply it over the one I already applied... And to finish this update, I also started applying carbon decals on the body. That's all for today Urs
-
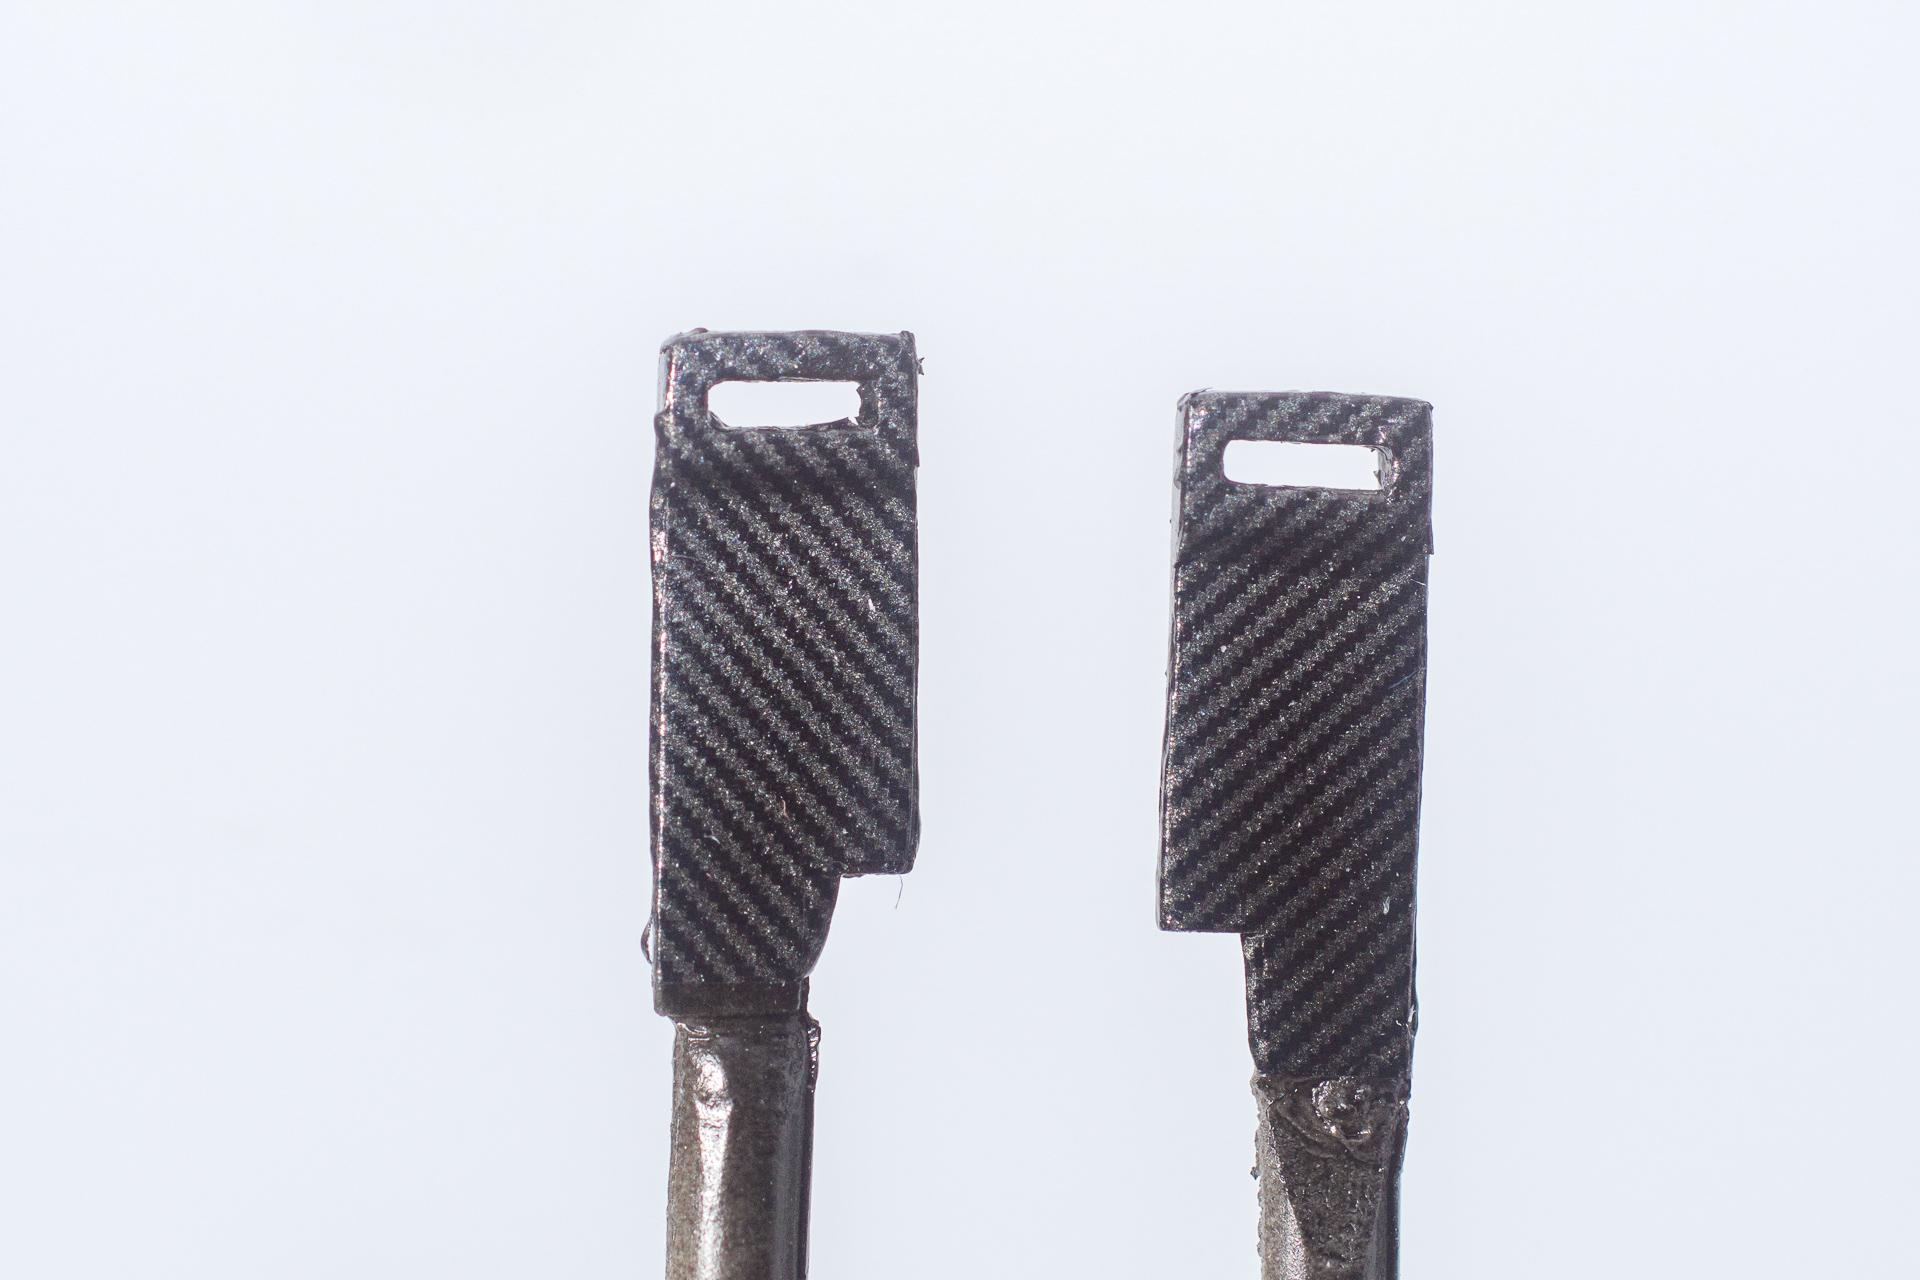
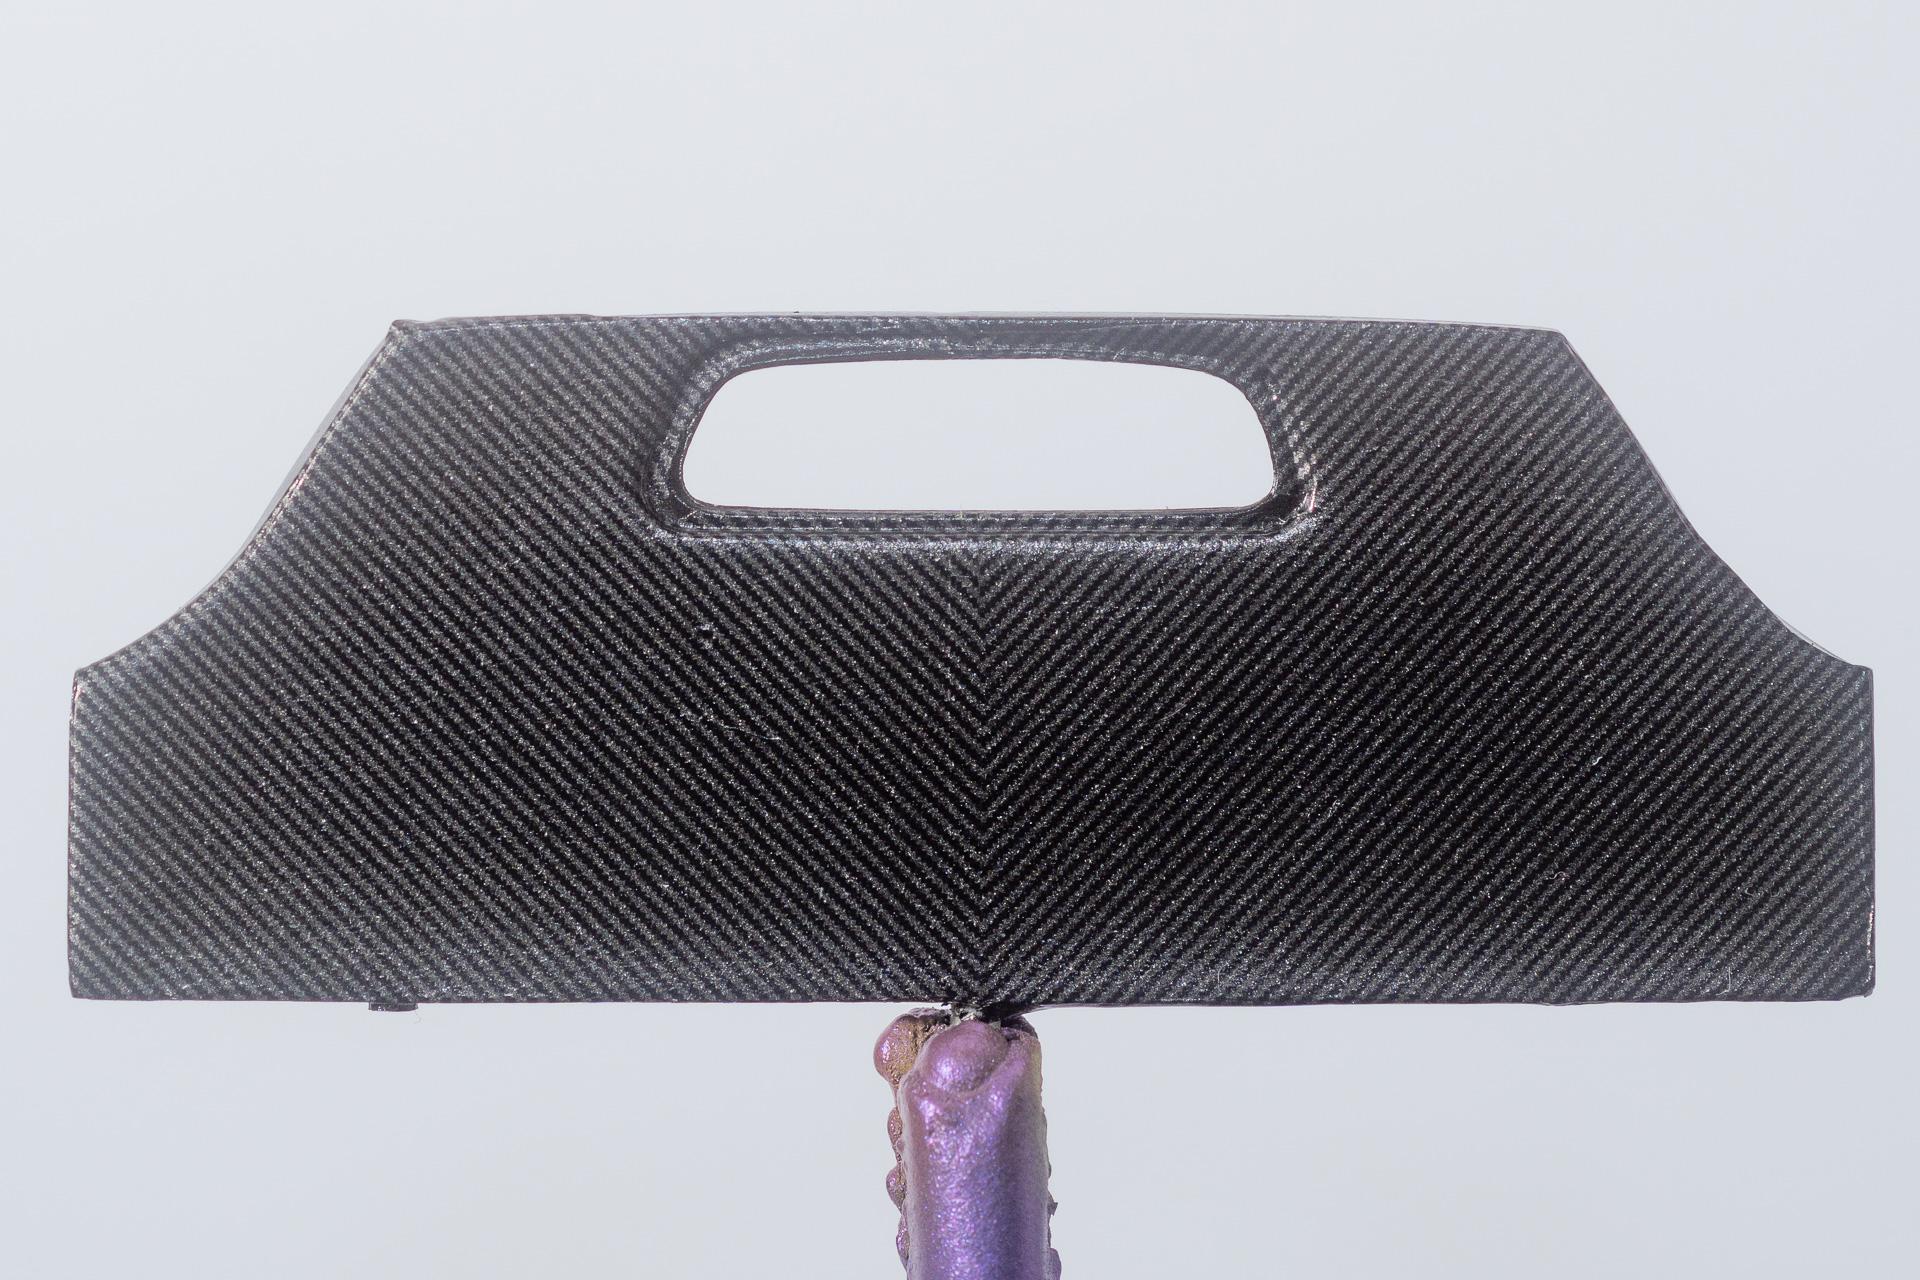
Hi all Thank you very much for your comments Unfortunately I haven't had that much time on the workbench over the last two weeks, so there will only be a minor update today. Most of the time spent was taken by creating stencils for the carbon decals and cutting them. Two small pieces already finished decalling are these two pieces located on the rear passenger compartment wall. Once installed, the safety belts will come out through these openings. Then the brake discs have been painted and assembled. And finally the body has been masked and painted black. There is still one part that has to be masked and painted black as well (around the opening of the engine hood), but so far I haven't had the time to do so. That's all for today Urs
-
Thank you all very much for your kind comments. I really appreciate it Most of the problems have been self made, but one thing that I can remember is that I had quite some trouble assembling the dashboard as it fell apart several times. You can find my complete W.I.P here:
-
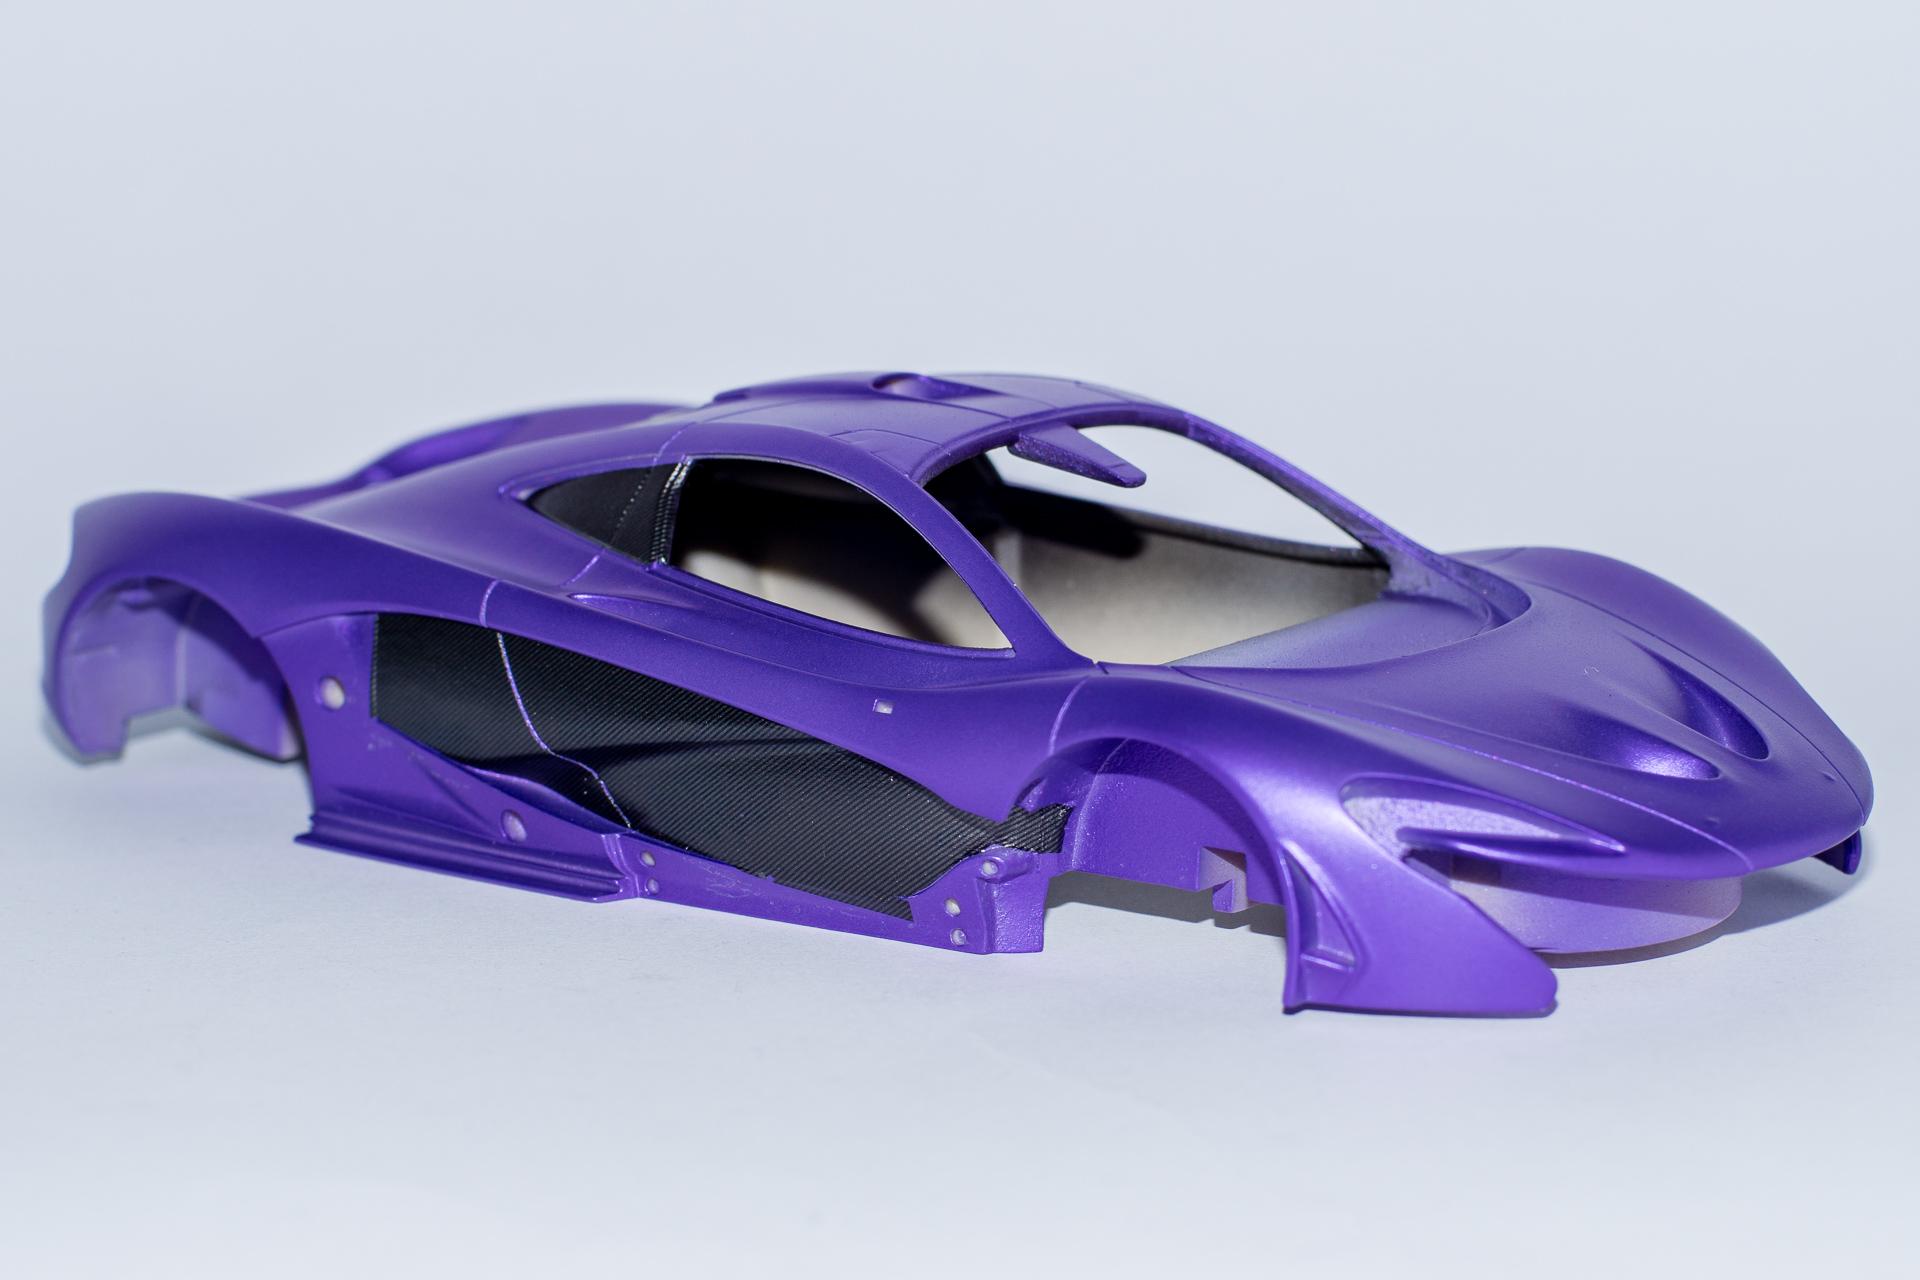
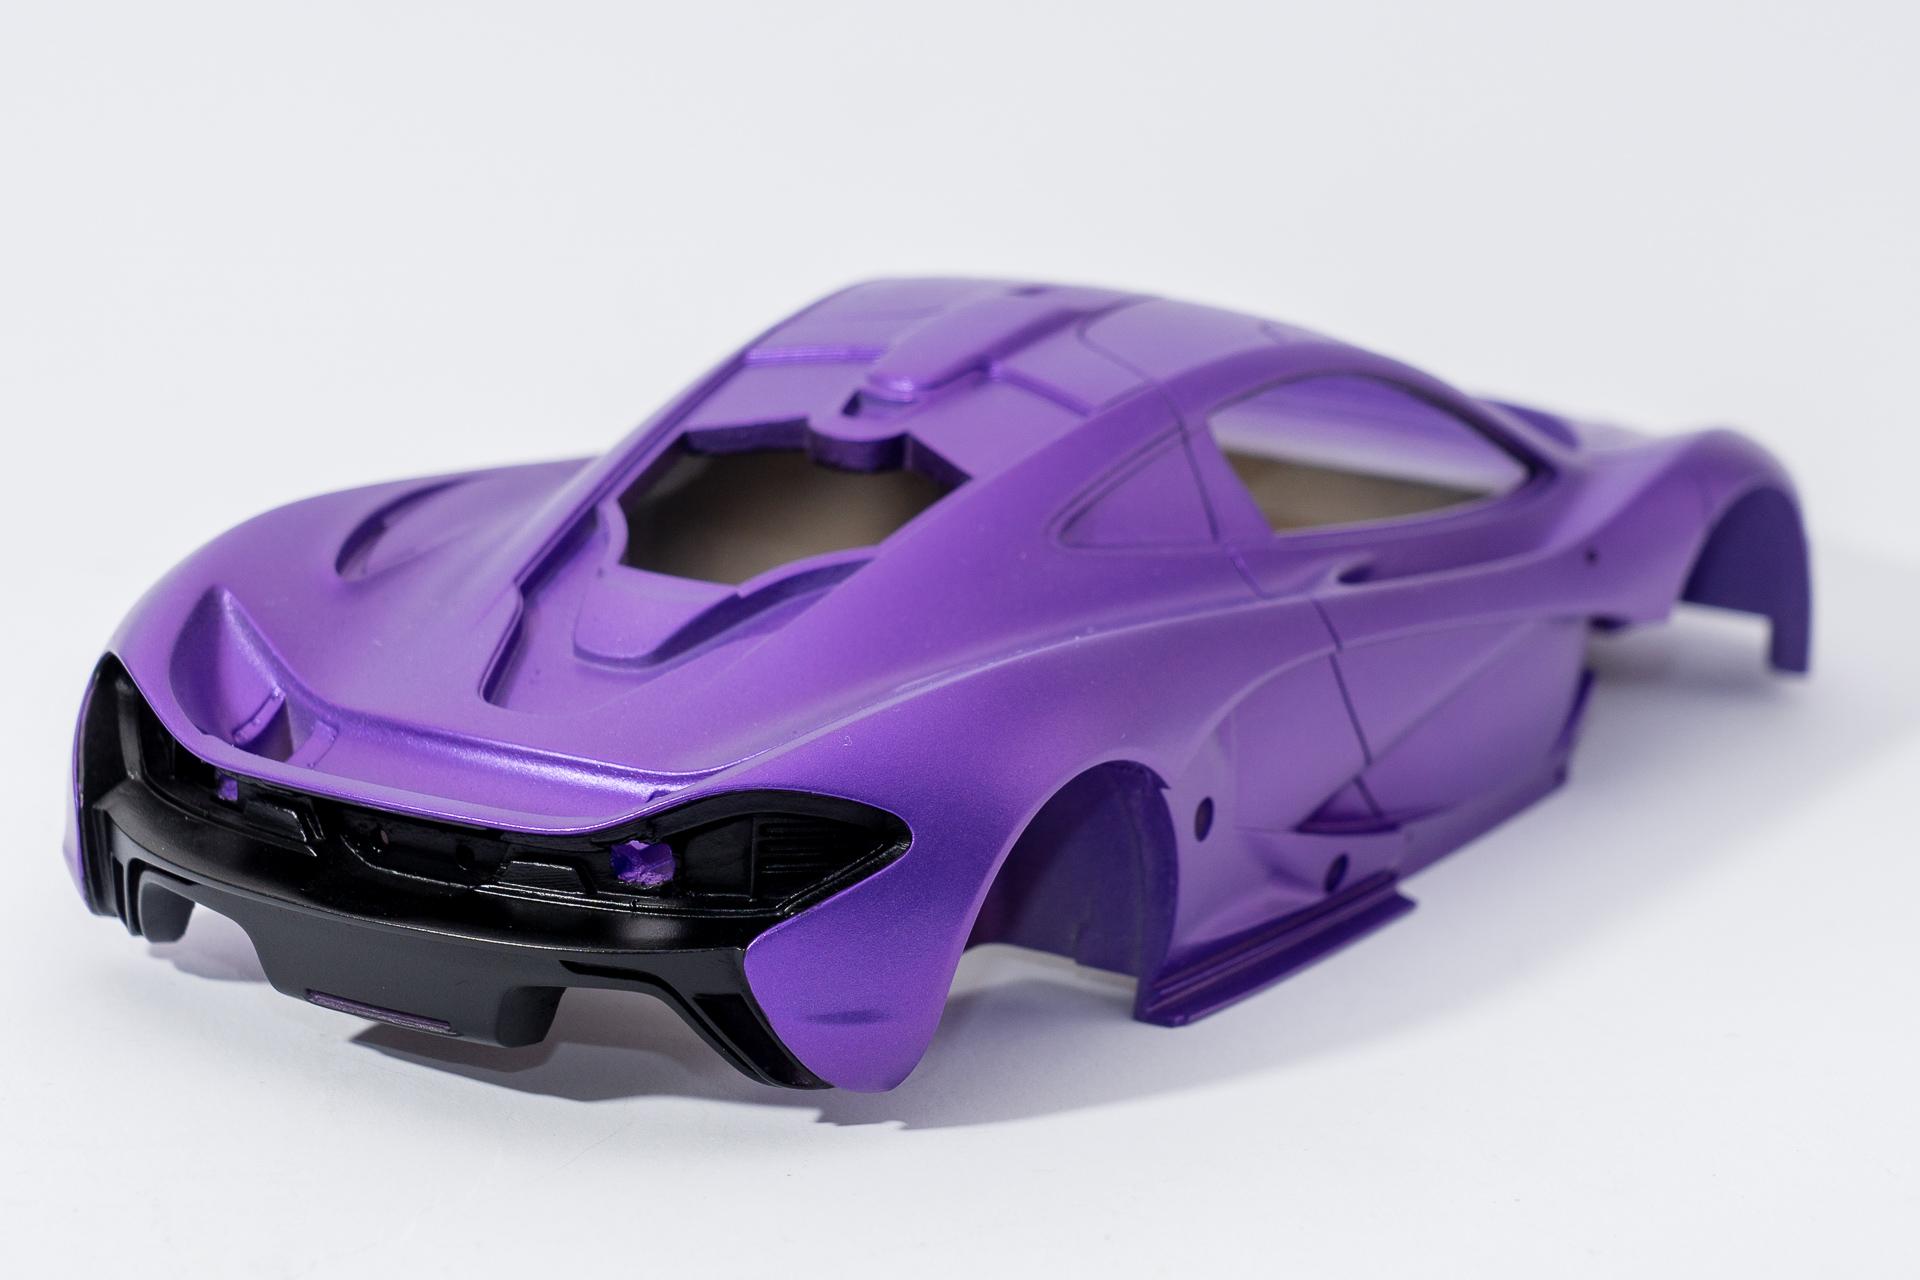
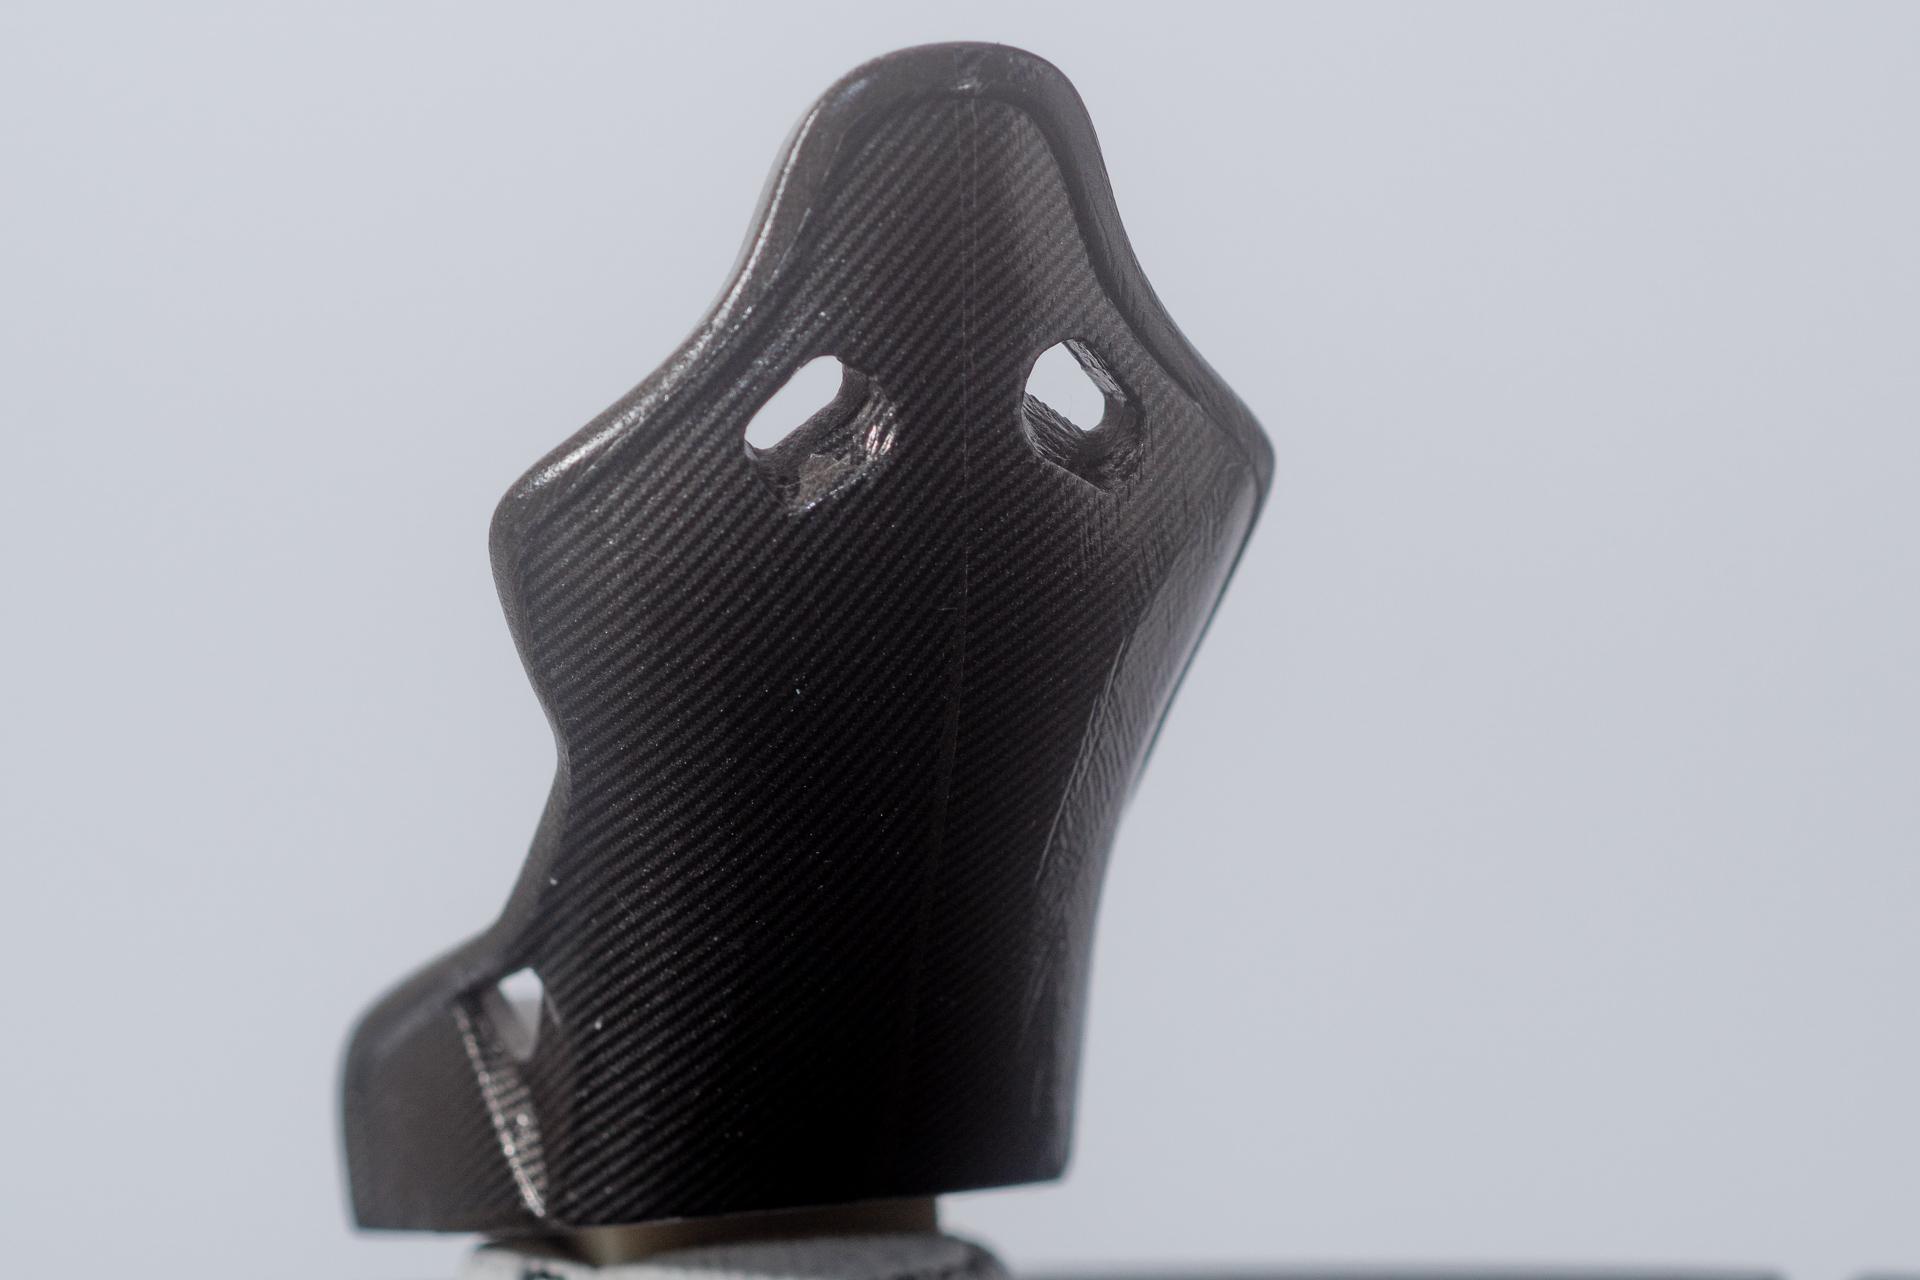
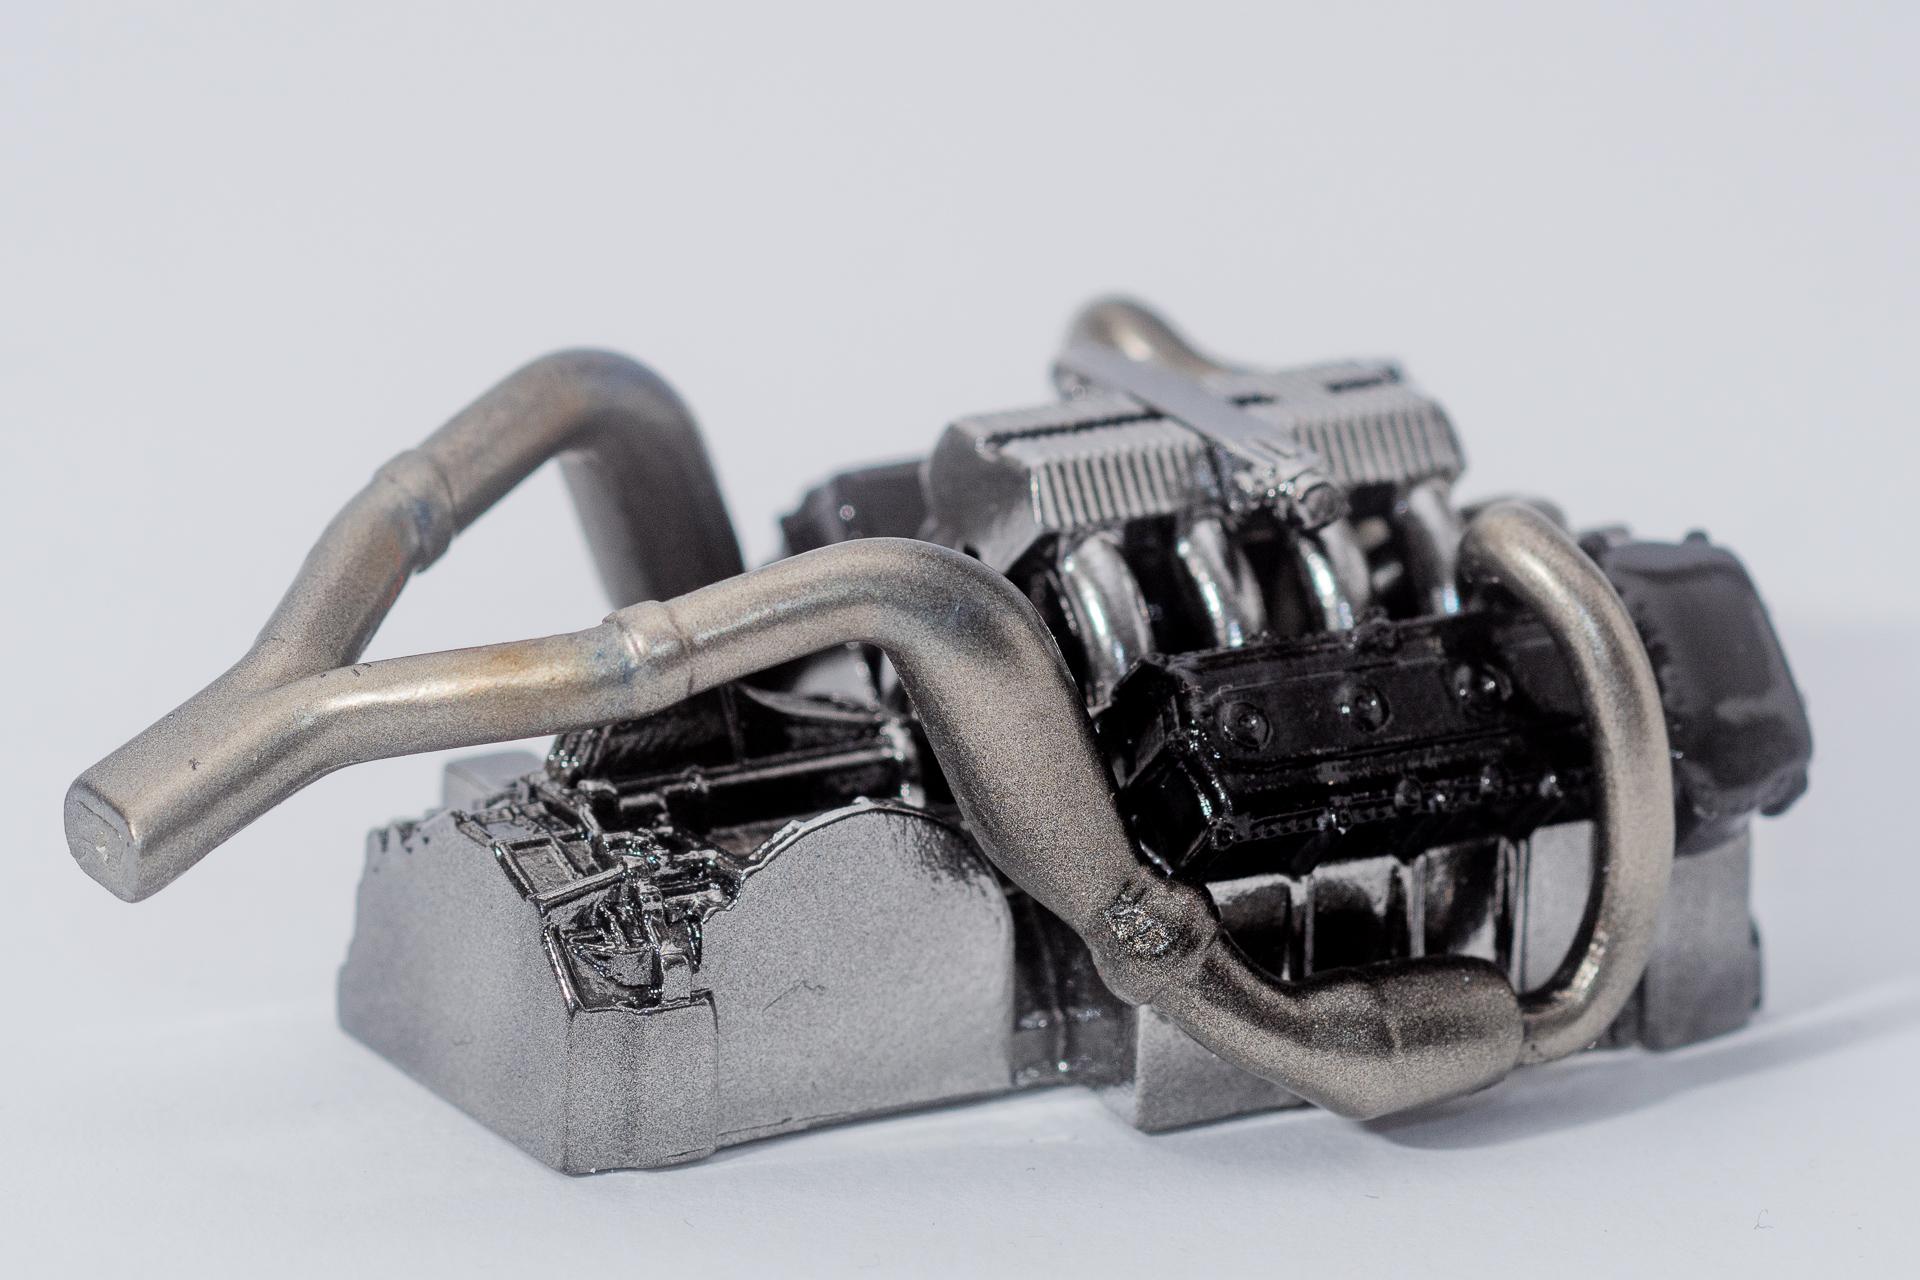
Hi all Thank you. Their casting is really great. The fit is almost par with Tamiya and so far I never had any imperfections in the parts. First of all I completed the engine. I tried to add some heat stains on the exhaust by using Tamiya's Weathering set, but it's not that visible in this picture. This week I started to apply some carbon decals. First on the engine-side of the firewall and then one seat received its carbon decals. Both of them won't be seen (or at least will hardly be seen) once the model is finished, but I know it's there and it gives me some practice in applying carbon decals One part that is located on top of the engine compartment has been painted in aluminum And to finish this week's work, I painted the body in McLaren Mauvine Blue. I'll still have to add some carbon to the body, but it will be only in an few spots (on the doors, the triangular area right behind the side windows, on the door sills and on the back) That's all for this update Urs
-
Yes, I've seen it, but I think that's one modern supercar kit I won't buy.
-
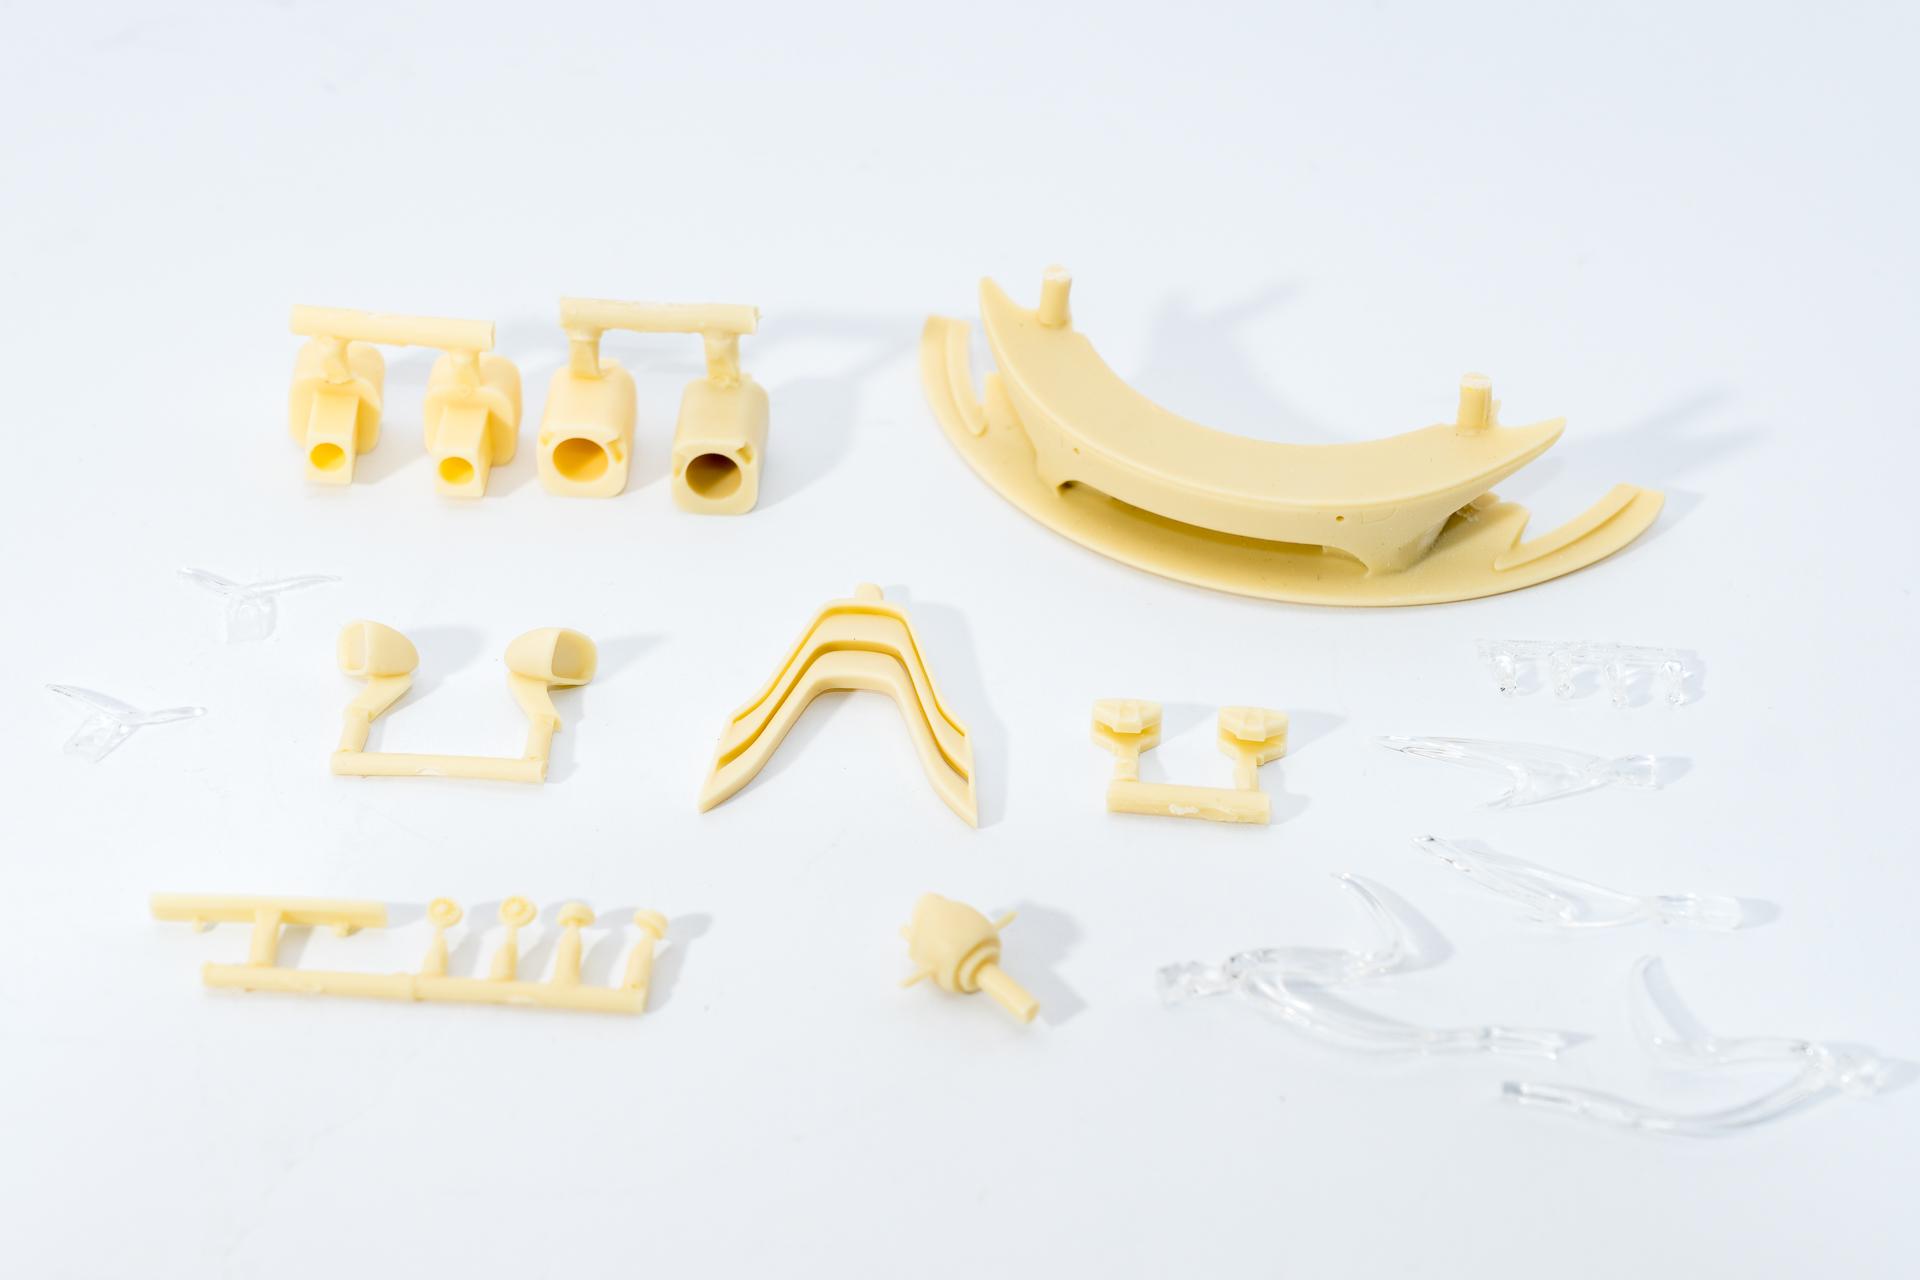
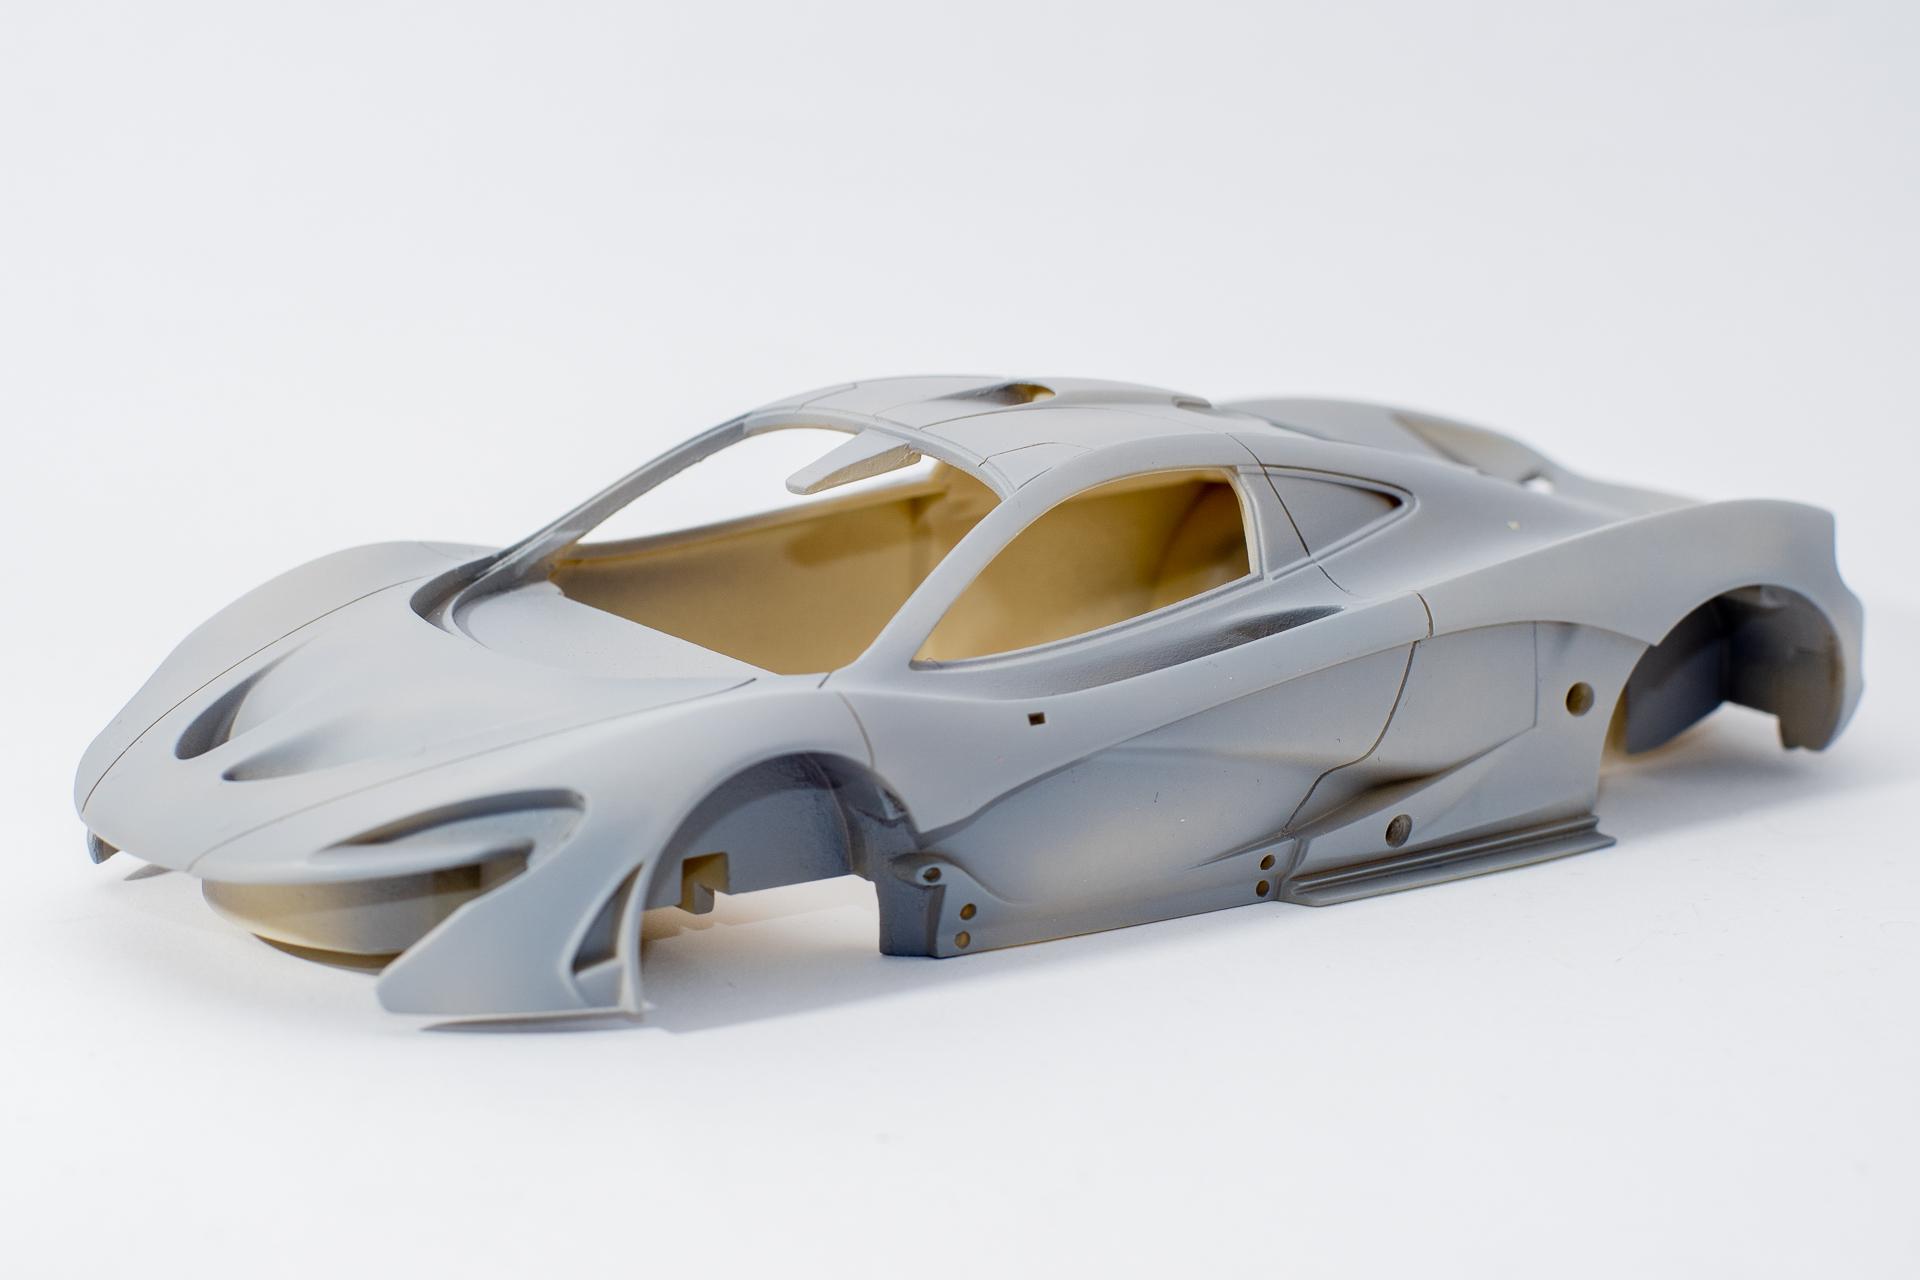
Hi all After finishing the Audi R8 it was time for a new build. I've chosen alpha model's McLaren P1, hoping it would be less nerve-wracking than the Audi First of all I cleaned all the resin parts and applied some primer to be able to handle them without gloves. Somehow I always get itchy hands after handling resin parts for some time ? At the moment there's not that much to show (unless you would like to see a bunch of parts covered with grey primer ? ). First of all the primered body the painted rims and finally the partially built engine. This is my first alpha model kit which includes an engine, even if it is held very rudimentary. But considering the fact that absolutely nothing of it will be seen once the model is completed that's no big problem. So I didn't do much research in how the engine should look like and just painted it the way I thought could be possible. That's all for today. I hope to have piqued your interest with my new build Urs
-

Finished: Audi R8 LMS GT3
harti20 replied to harti20's topic in WIP: Other Racing: Road Racing, Land Speed Racers
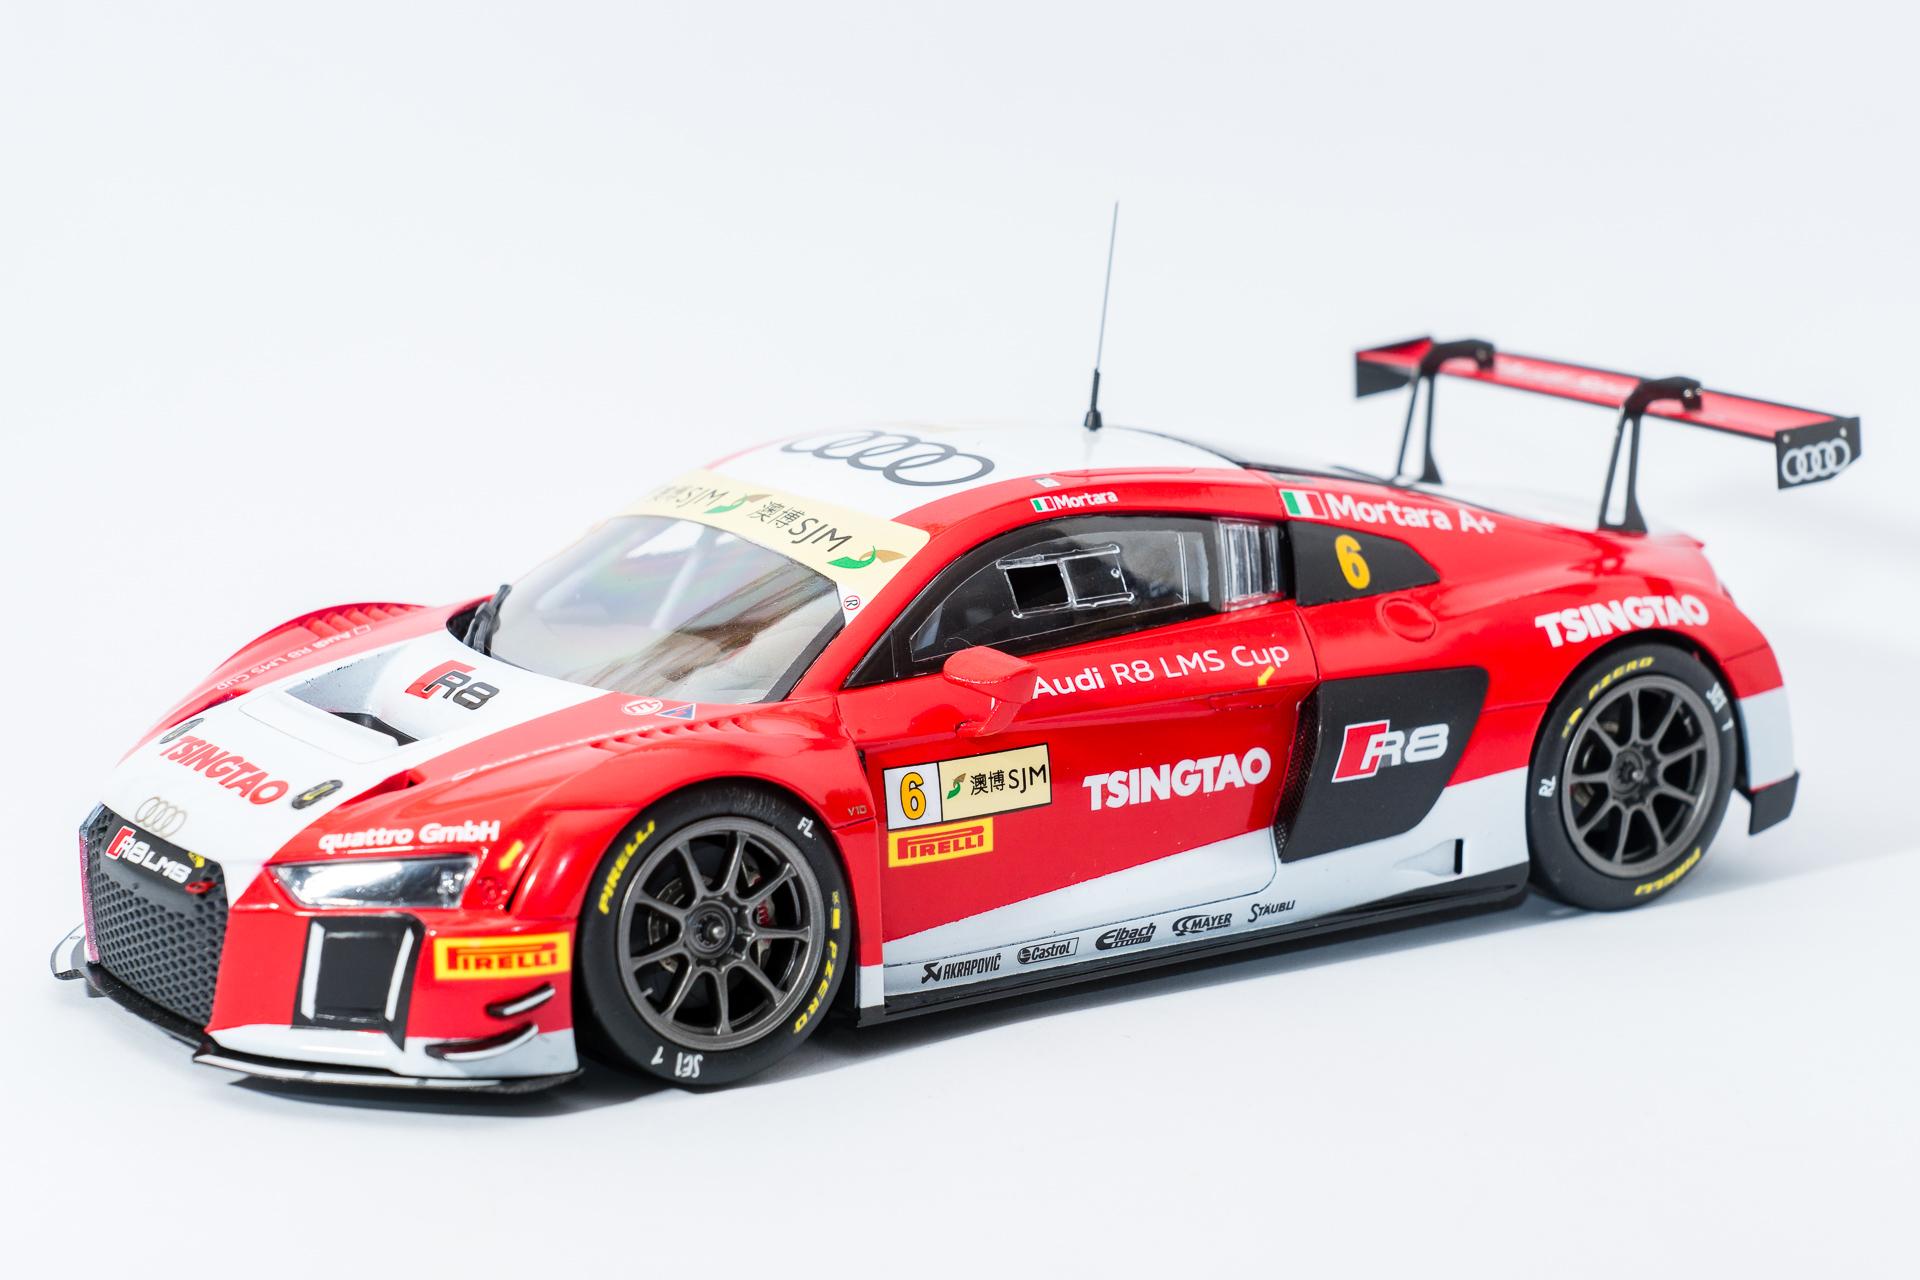
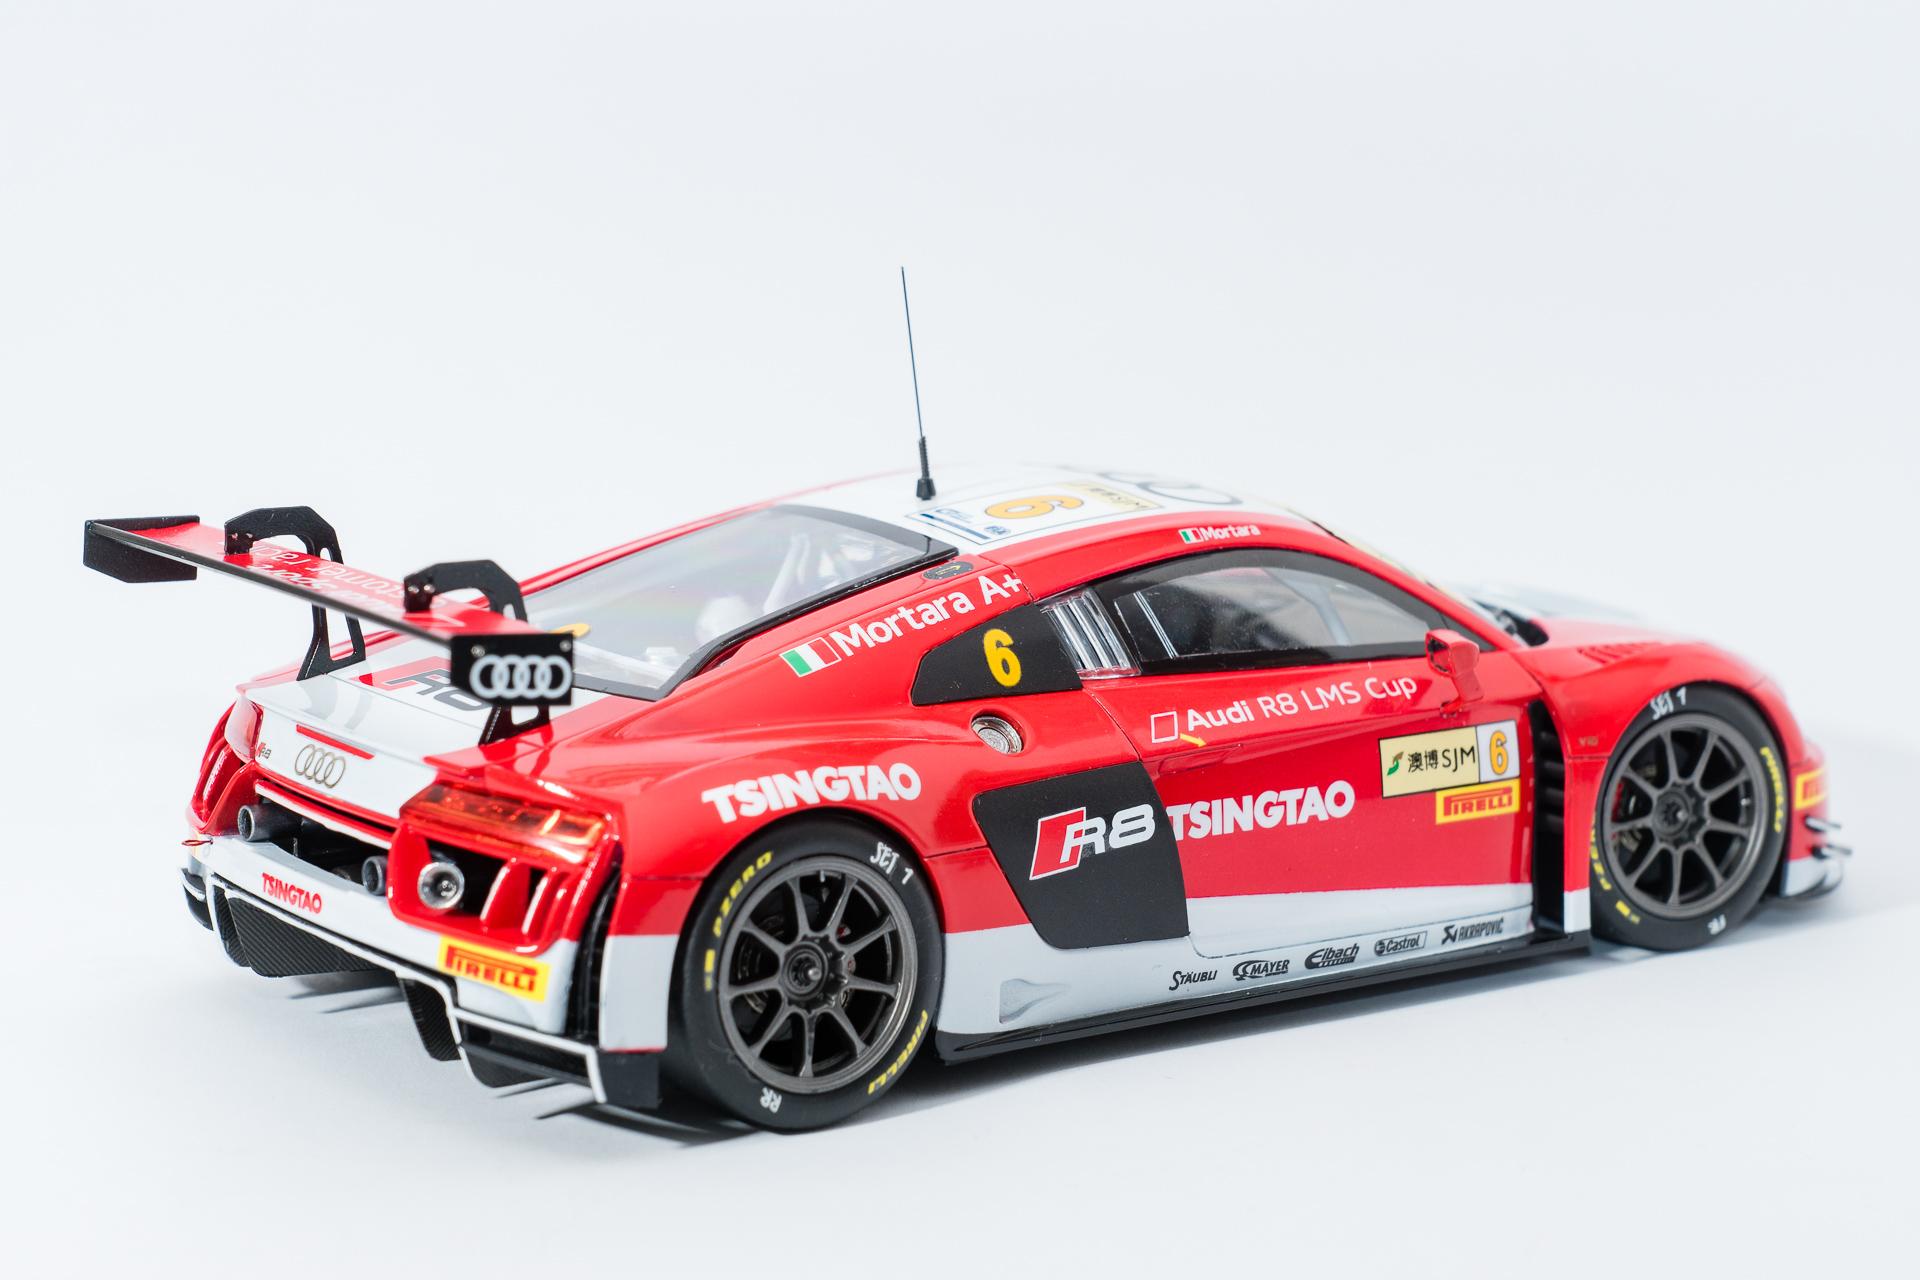
Hi all Finally this build has come to an end. I know, the experts will spot some mistakes made. On one hand they were caused by not doing any research on the internet how the real car looked like and just trusting the building instructions and on the other hand I didn't study the instructions careful enough. ? This was my first nunu kit and as already mentioned during this build I didn't really like building it. I almost binned it more than once. The only thing that has been really good, are the decals. I really loved putting them on. They are quite thin, without the tendency to tear apart and are covering 100%. Furthermore they conform to any surface without any problem. I'd say they have been by far the best decals I ever dealt with. ? But enough said now, let me show you the final pictures for this build. More and better pics in the R.F.I. section will follow after I went to the studio the next time That's all for this build. I thank all of your for your kind comments and likes during this journey and hope you will join my next build as well Urs

