-
Posts
269 -
Joined
-
Last visited
Content Type
Profiles
Forums
Events
Gallery
Everything posted by harti20
-
Finished: Audi R8 LMS GT3
harti20 replied to harti20's topic in WIP: Other Racing: Road Racing, Land Speed Racers
Hi Tim Thank you The seat fabric was made by airbrushing Zero Paints Textured Paint Charcoal over a coat of black primer. Urs -

Finished: Audi R8 LMS GT3
harti20 replied to harti20's topic in WIP: Other Racing: Road Racing, Land Speed Racers
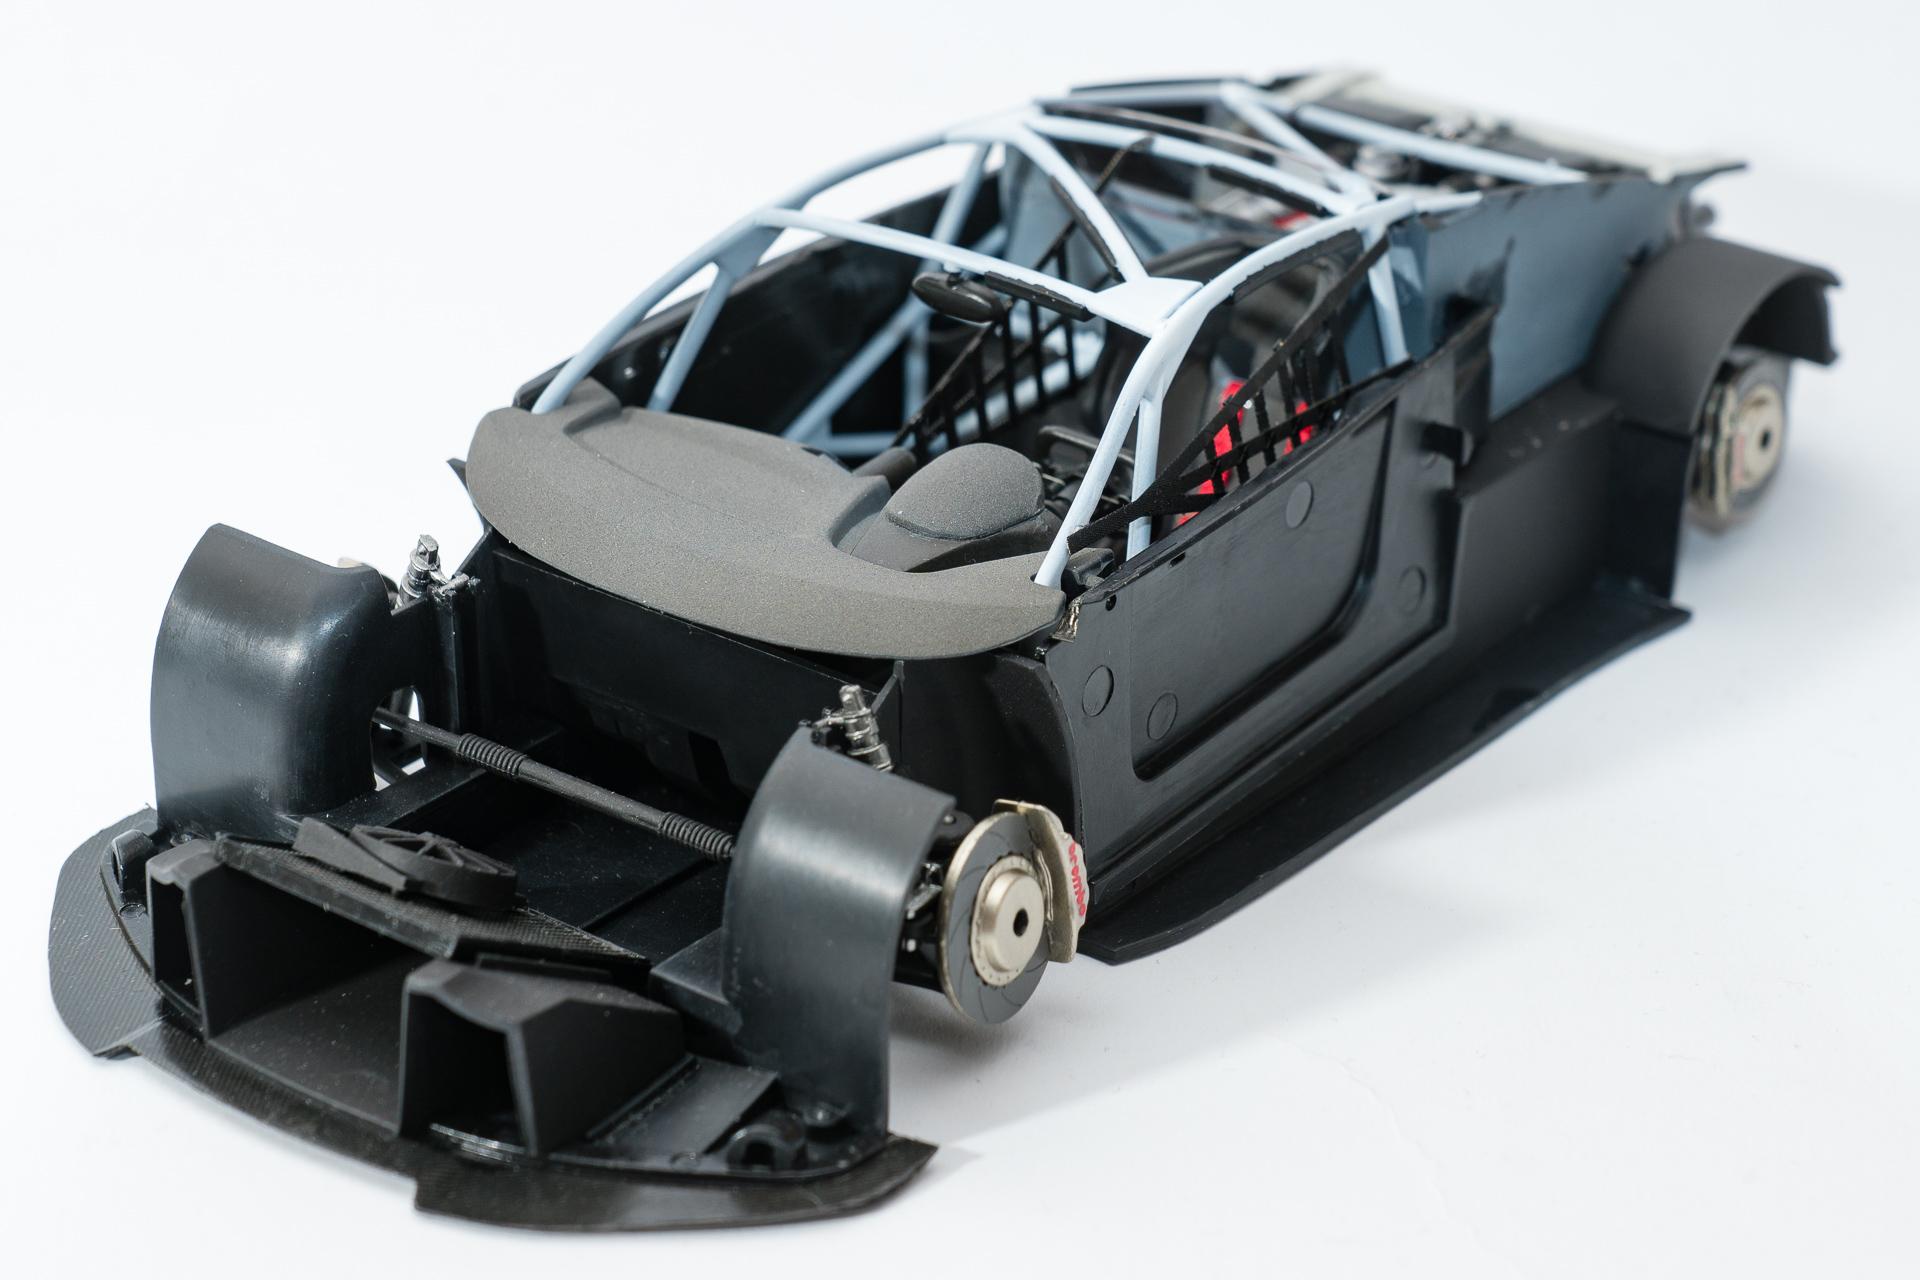
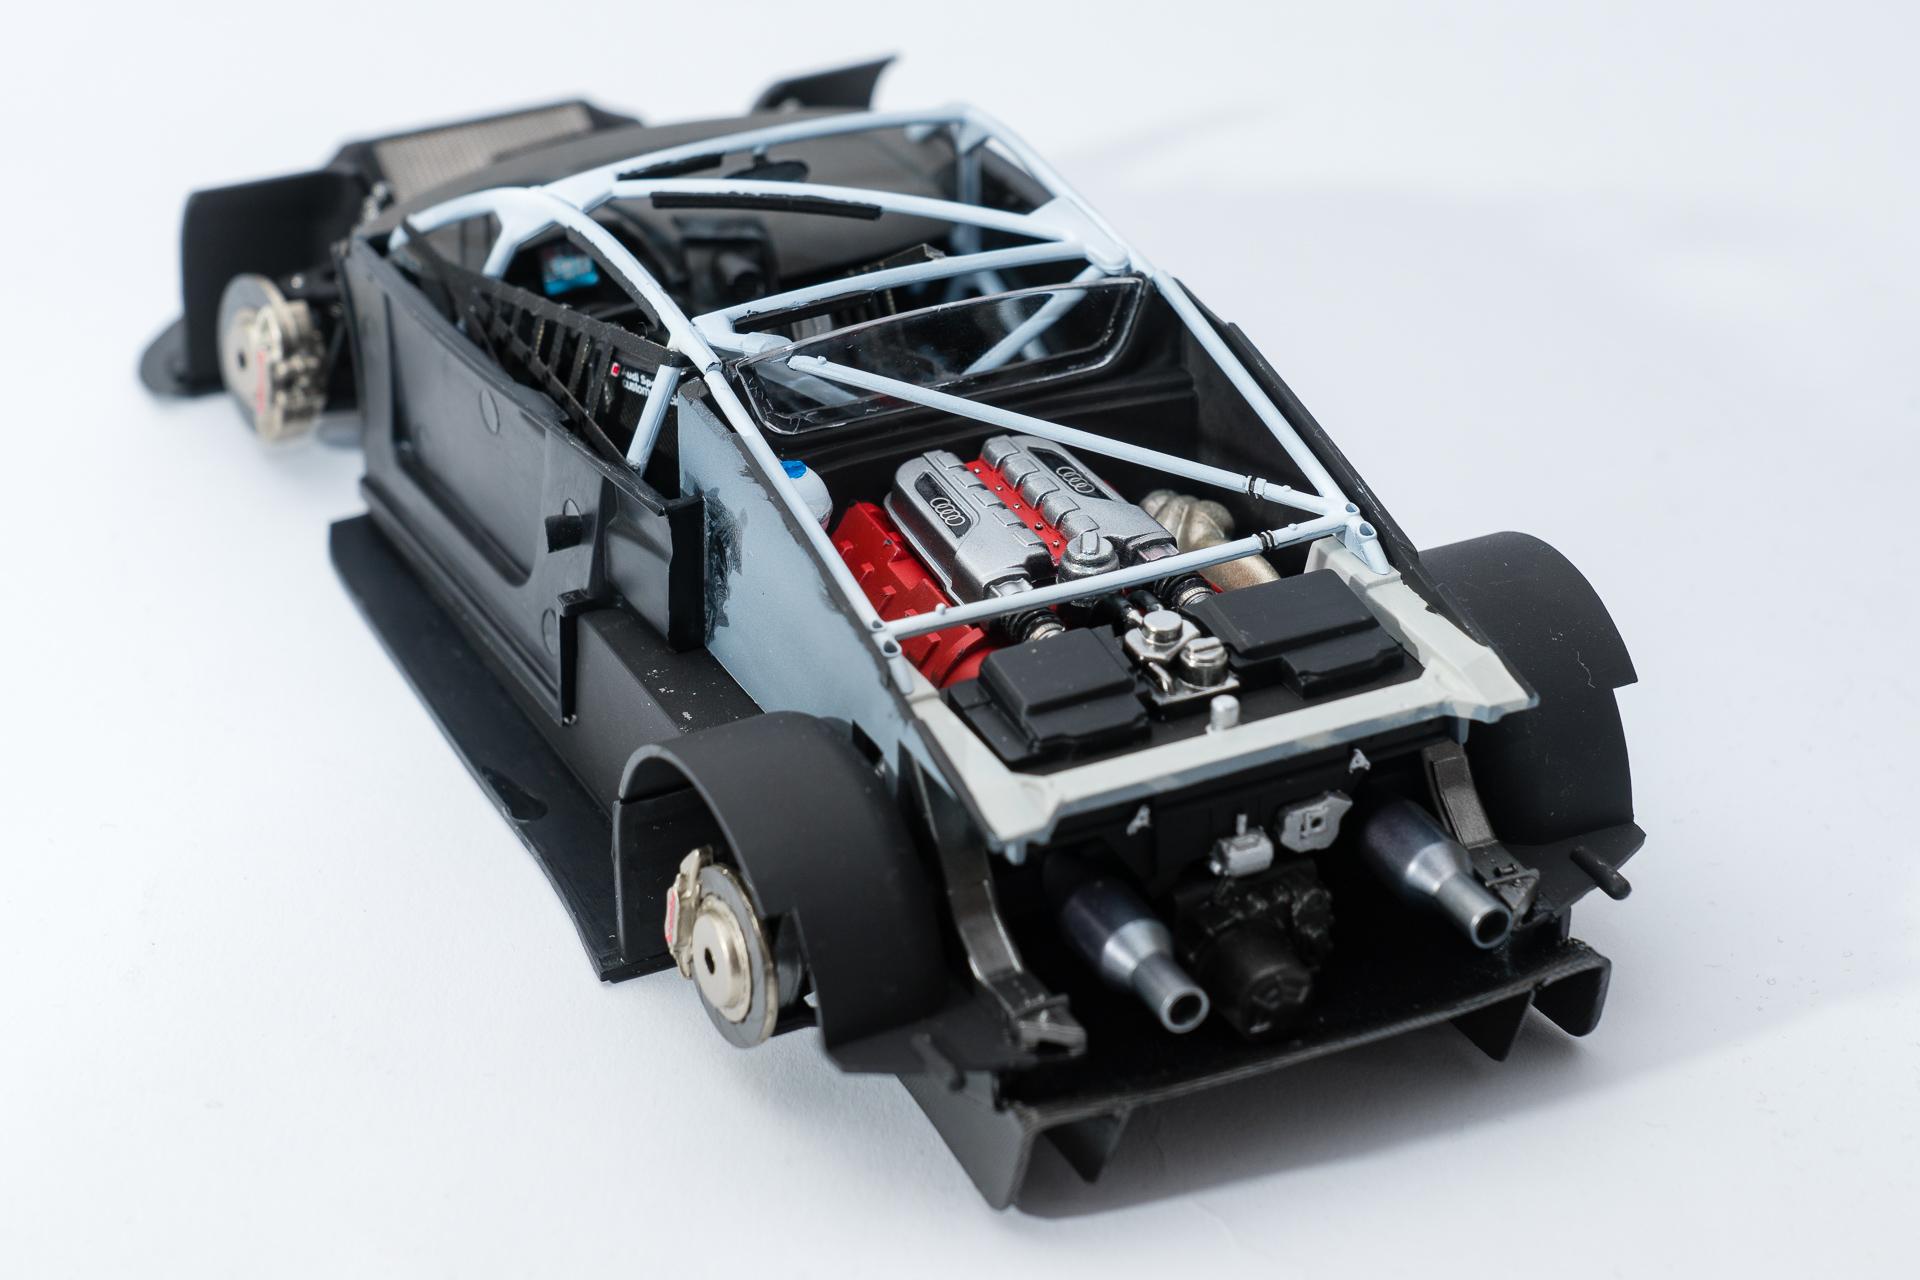
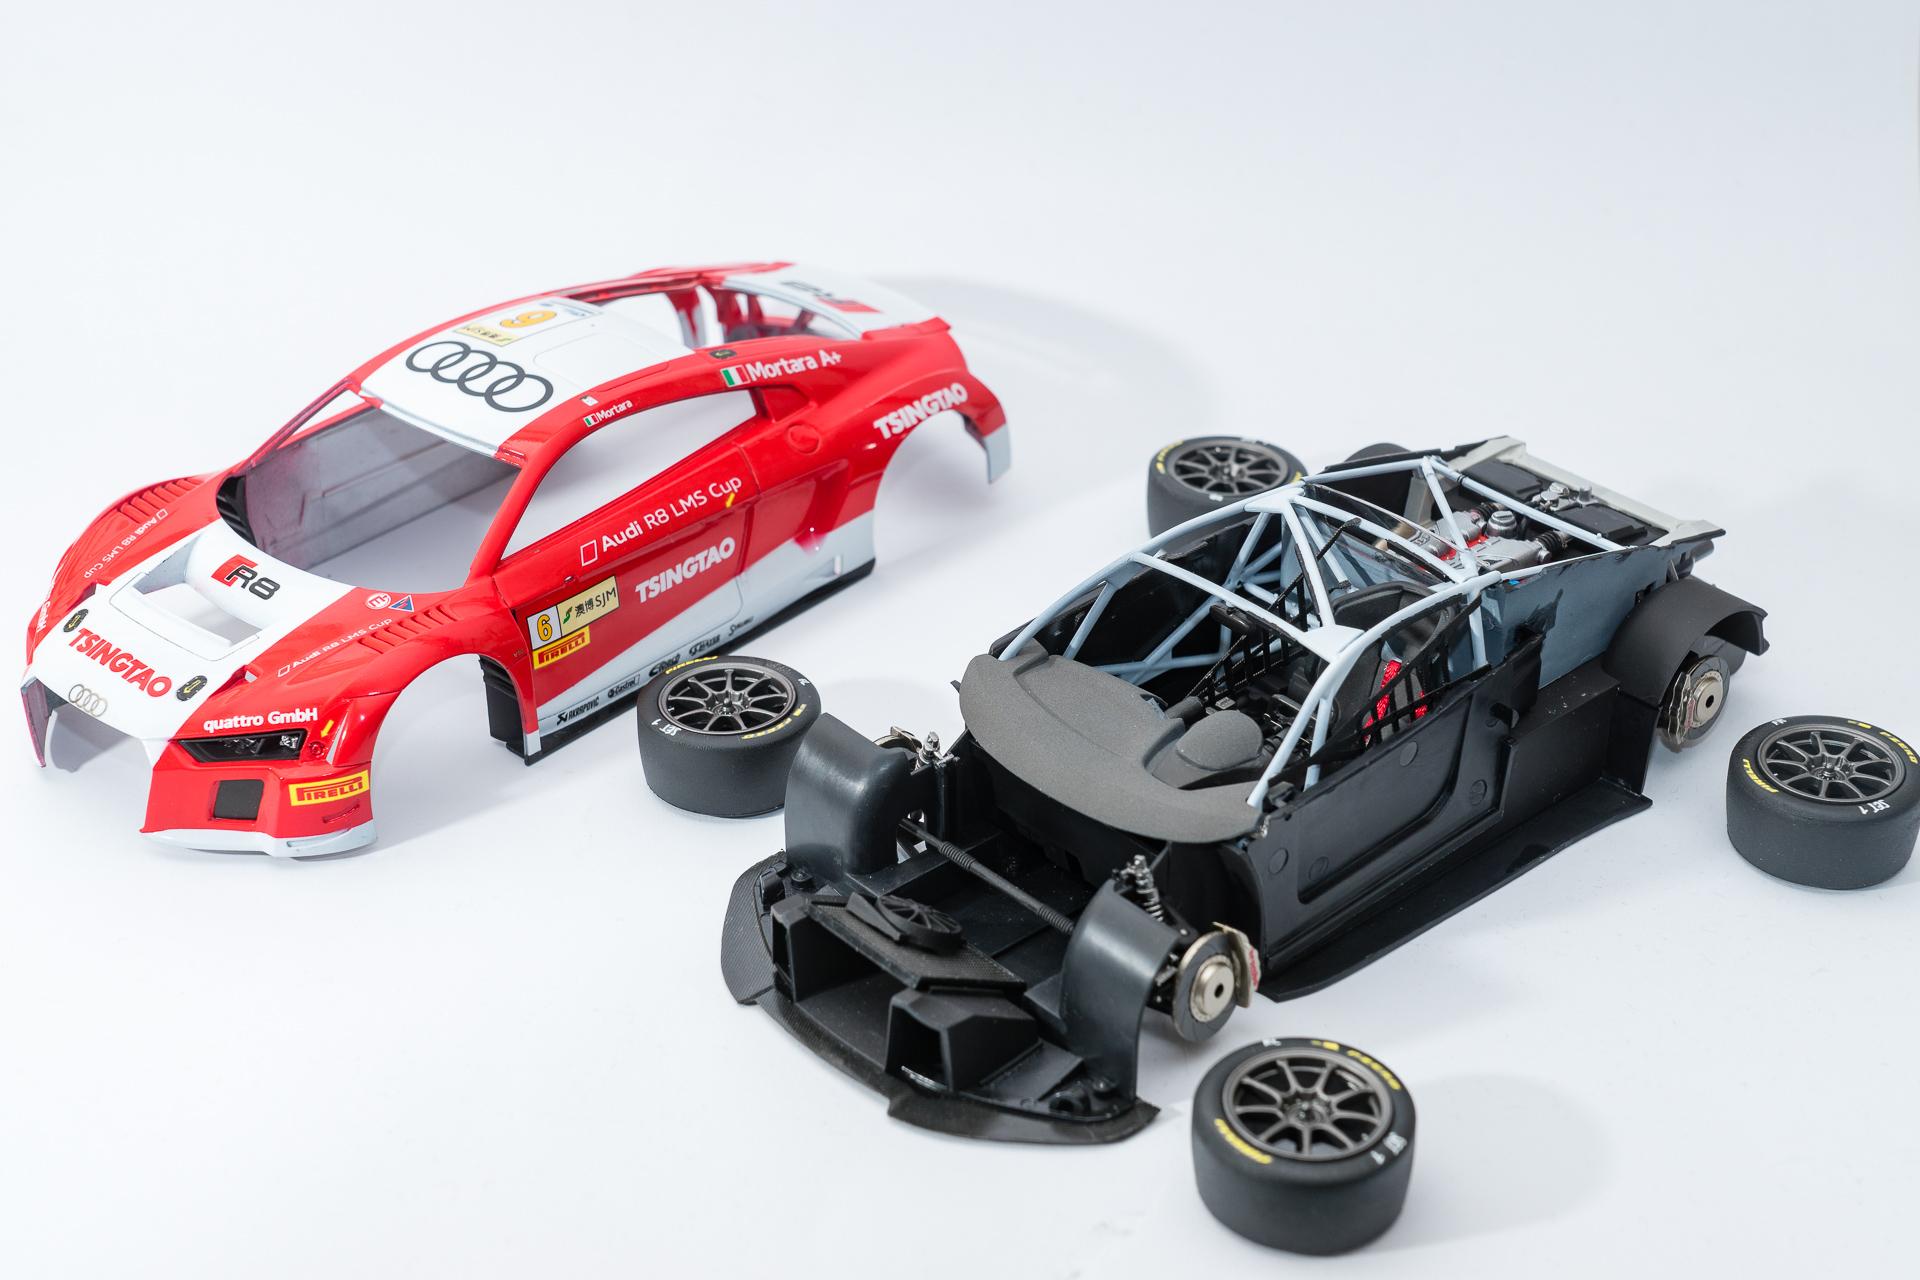
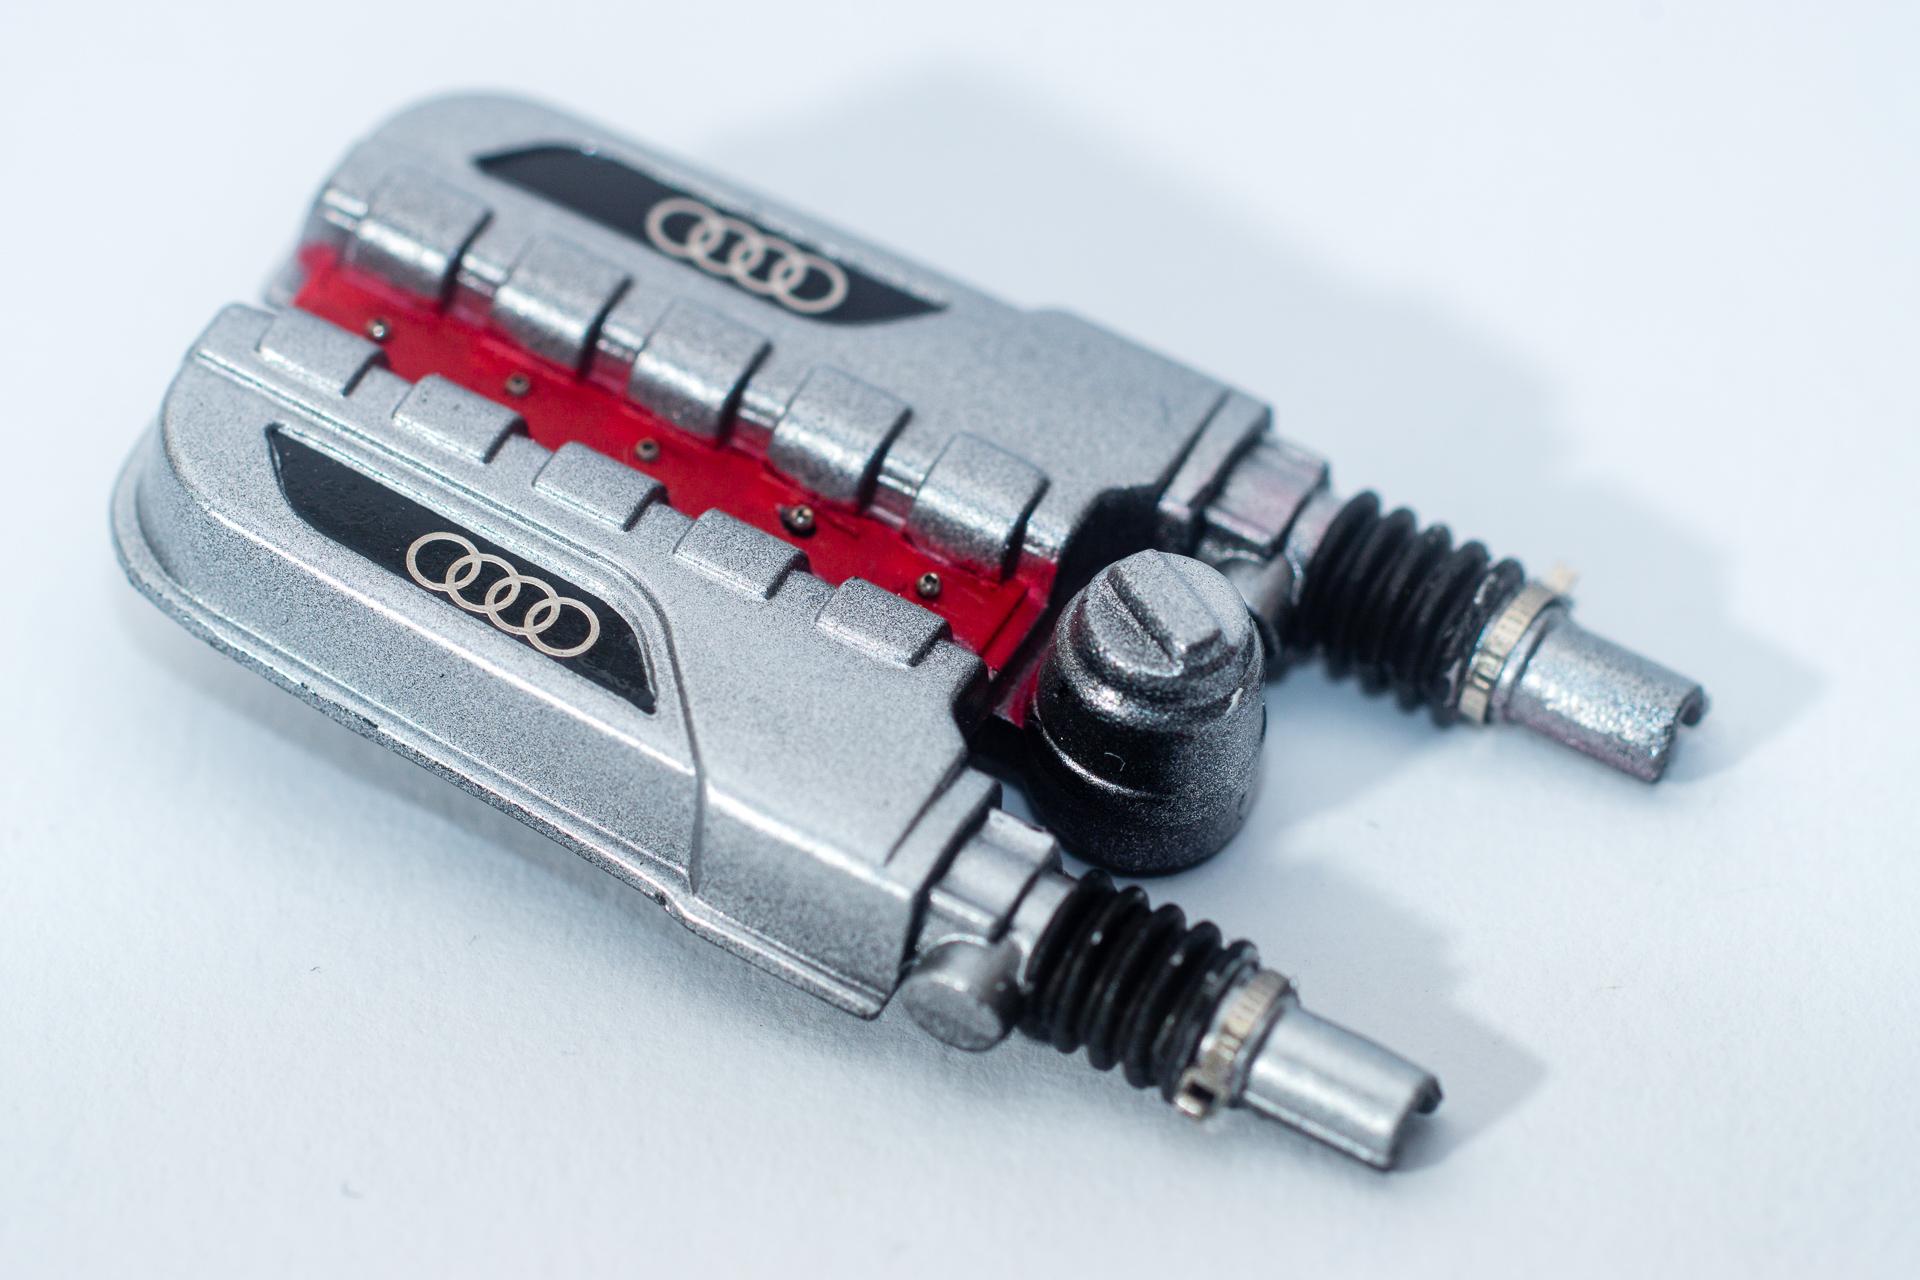
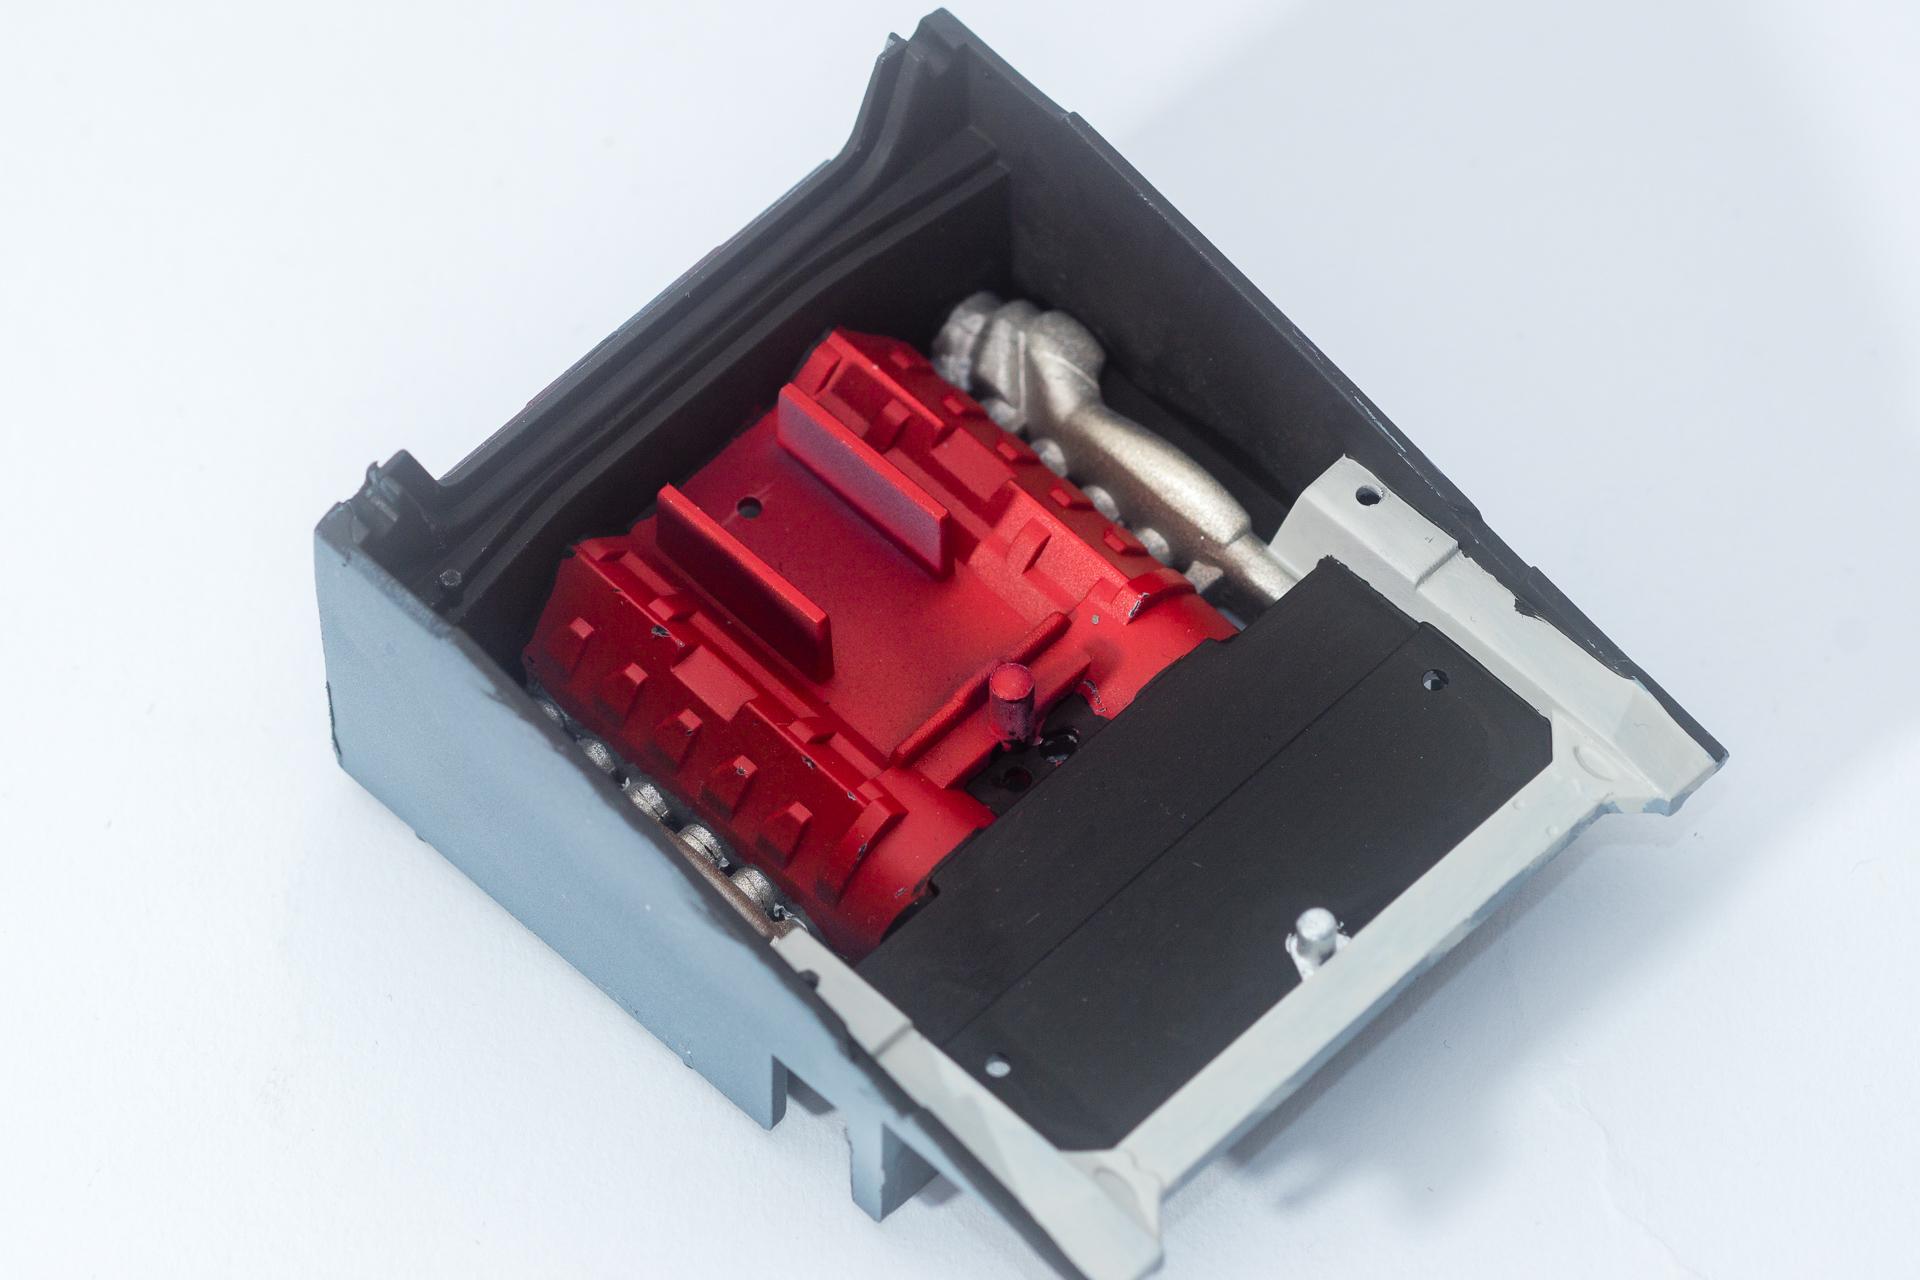
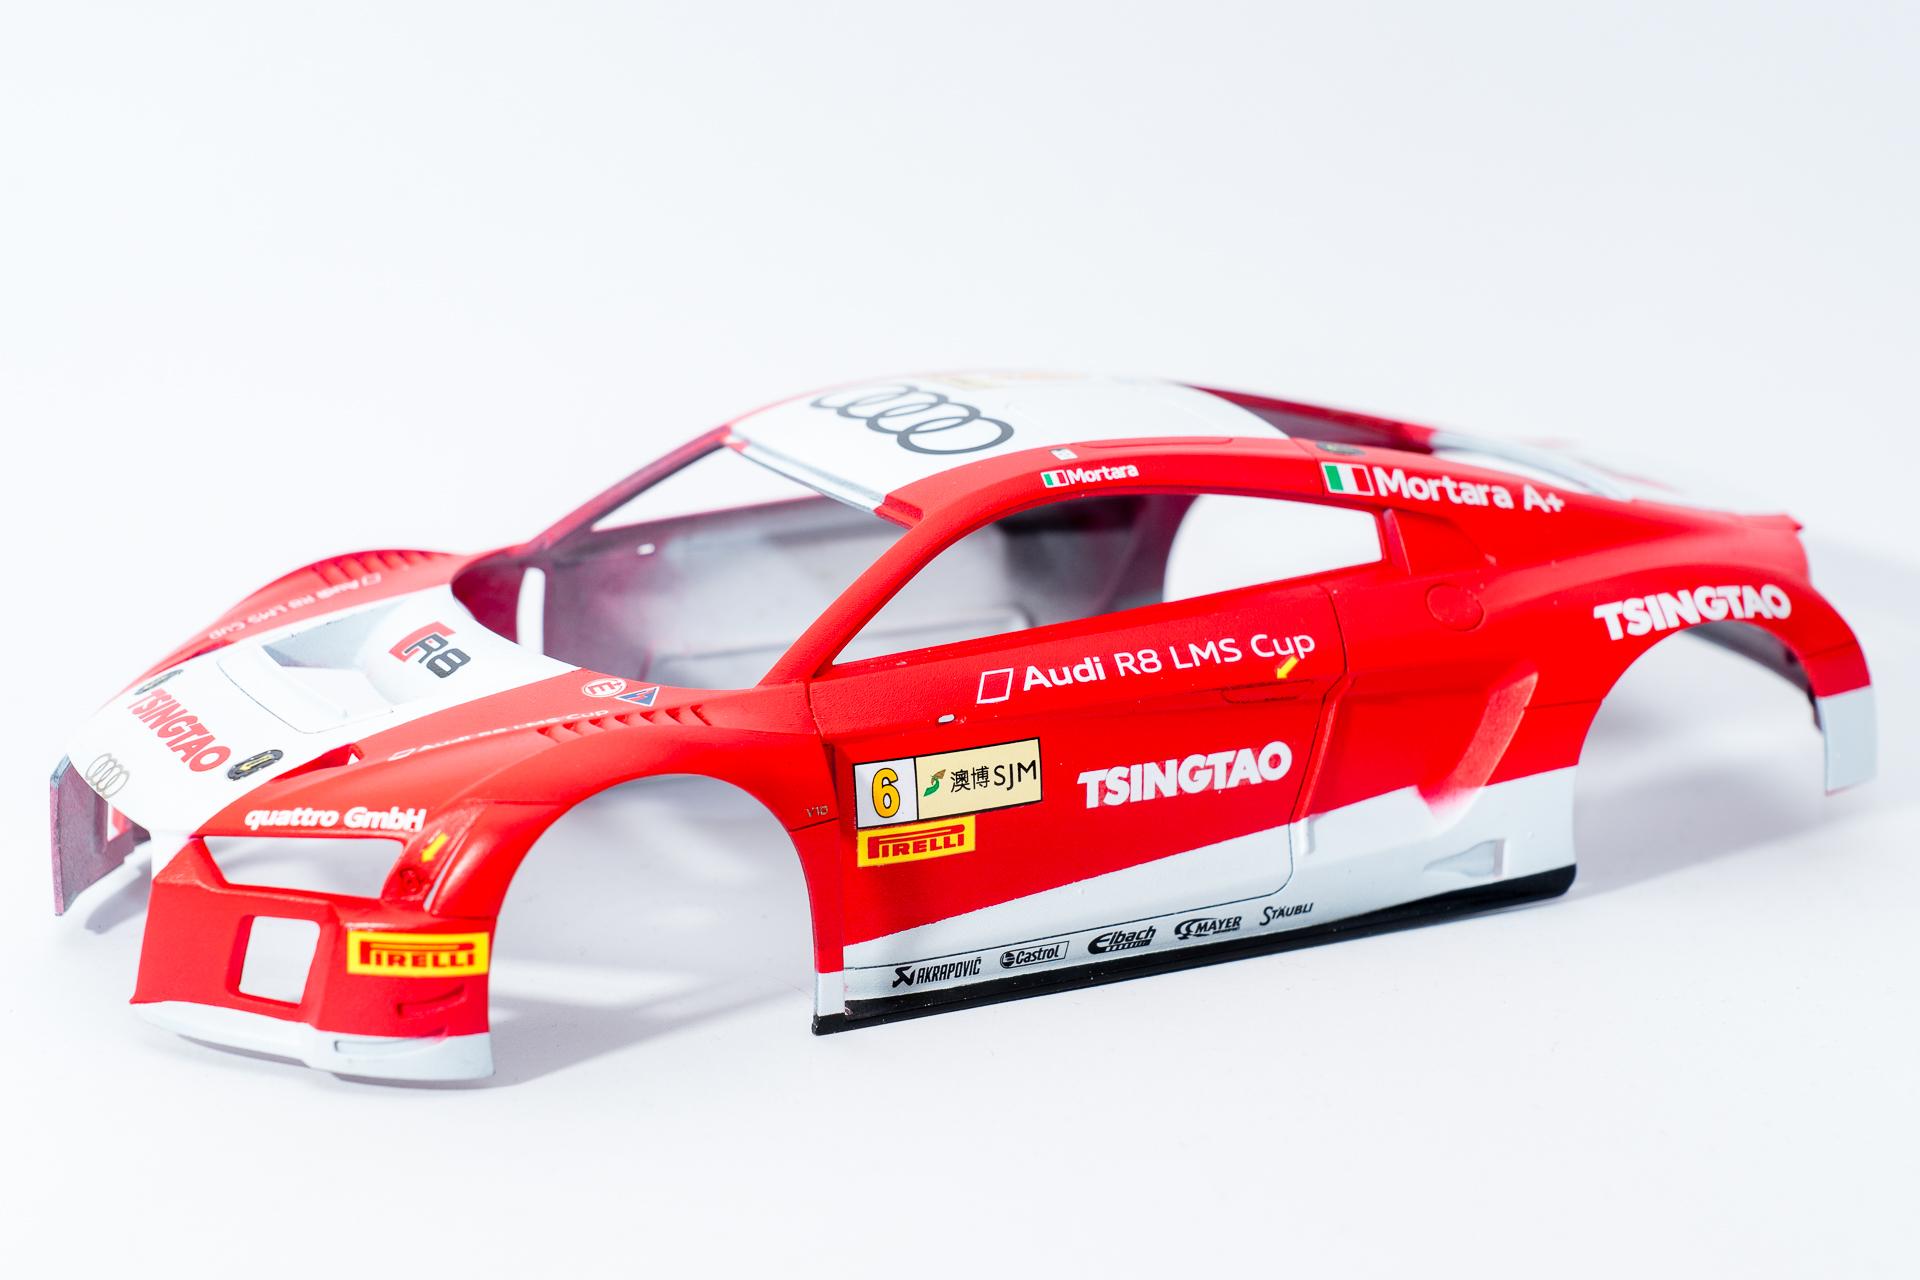
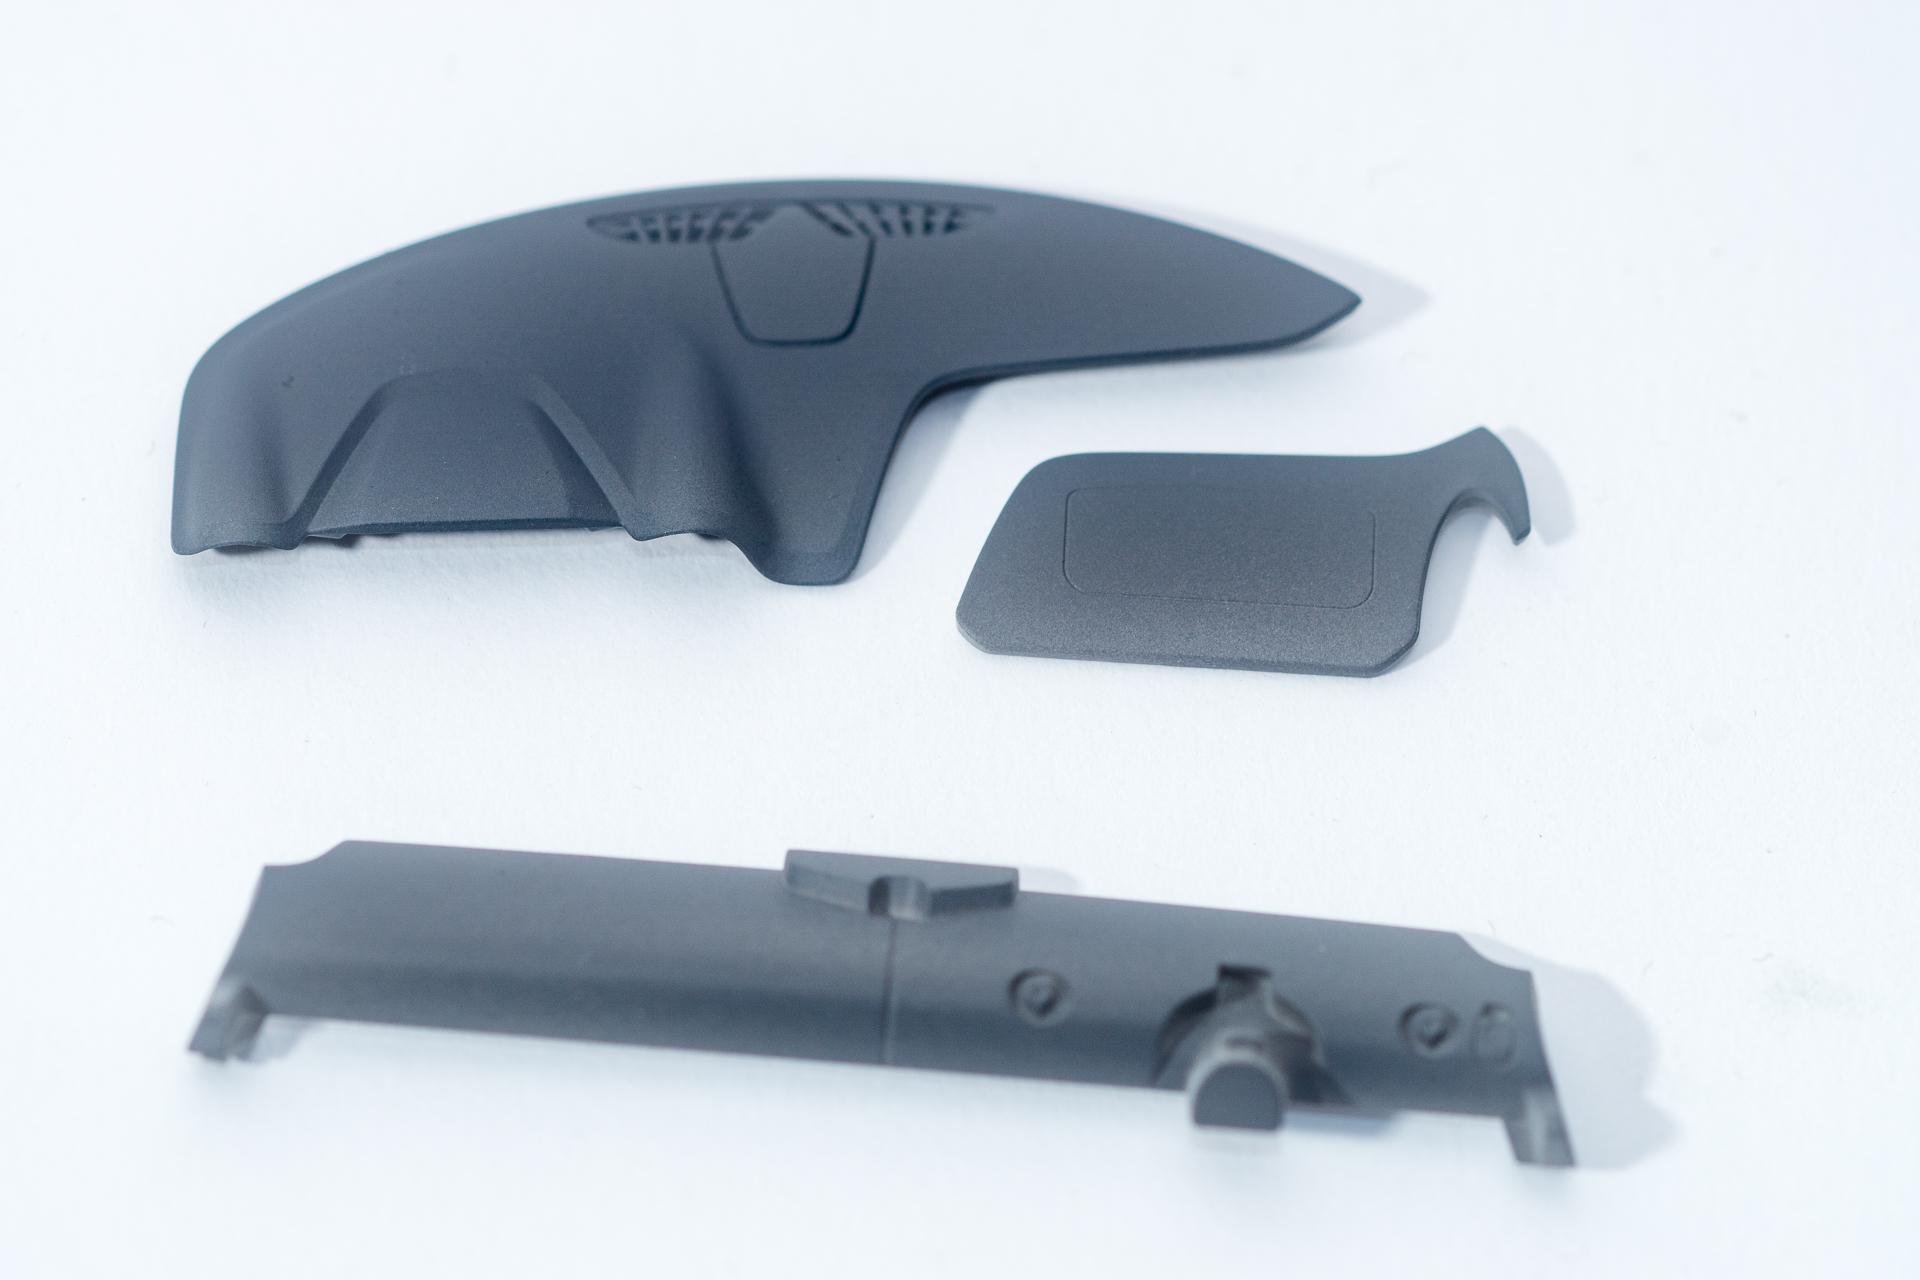
Hi all Finally this build is about to enter the home stretch soon ? Now I'll only have to add a few detail parts to the body to finish this build. First of all the interior and the engine compartment have been completed and mounted to the undercarriage After that some detail parts have been added to the body (a few more will follow) And to finish this update an overview of the parts which will be married soon That's all for today. I think the next update will be the last one in this W.I.P. Urs -

Finished: Audi R8 LMS GT3
harti20 replied to harti20's topic in WIP: Other Racing: Road Racing, Land Speed Racers
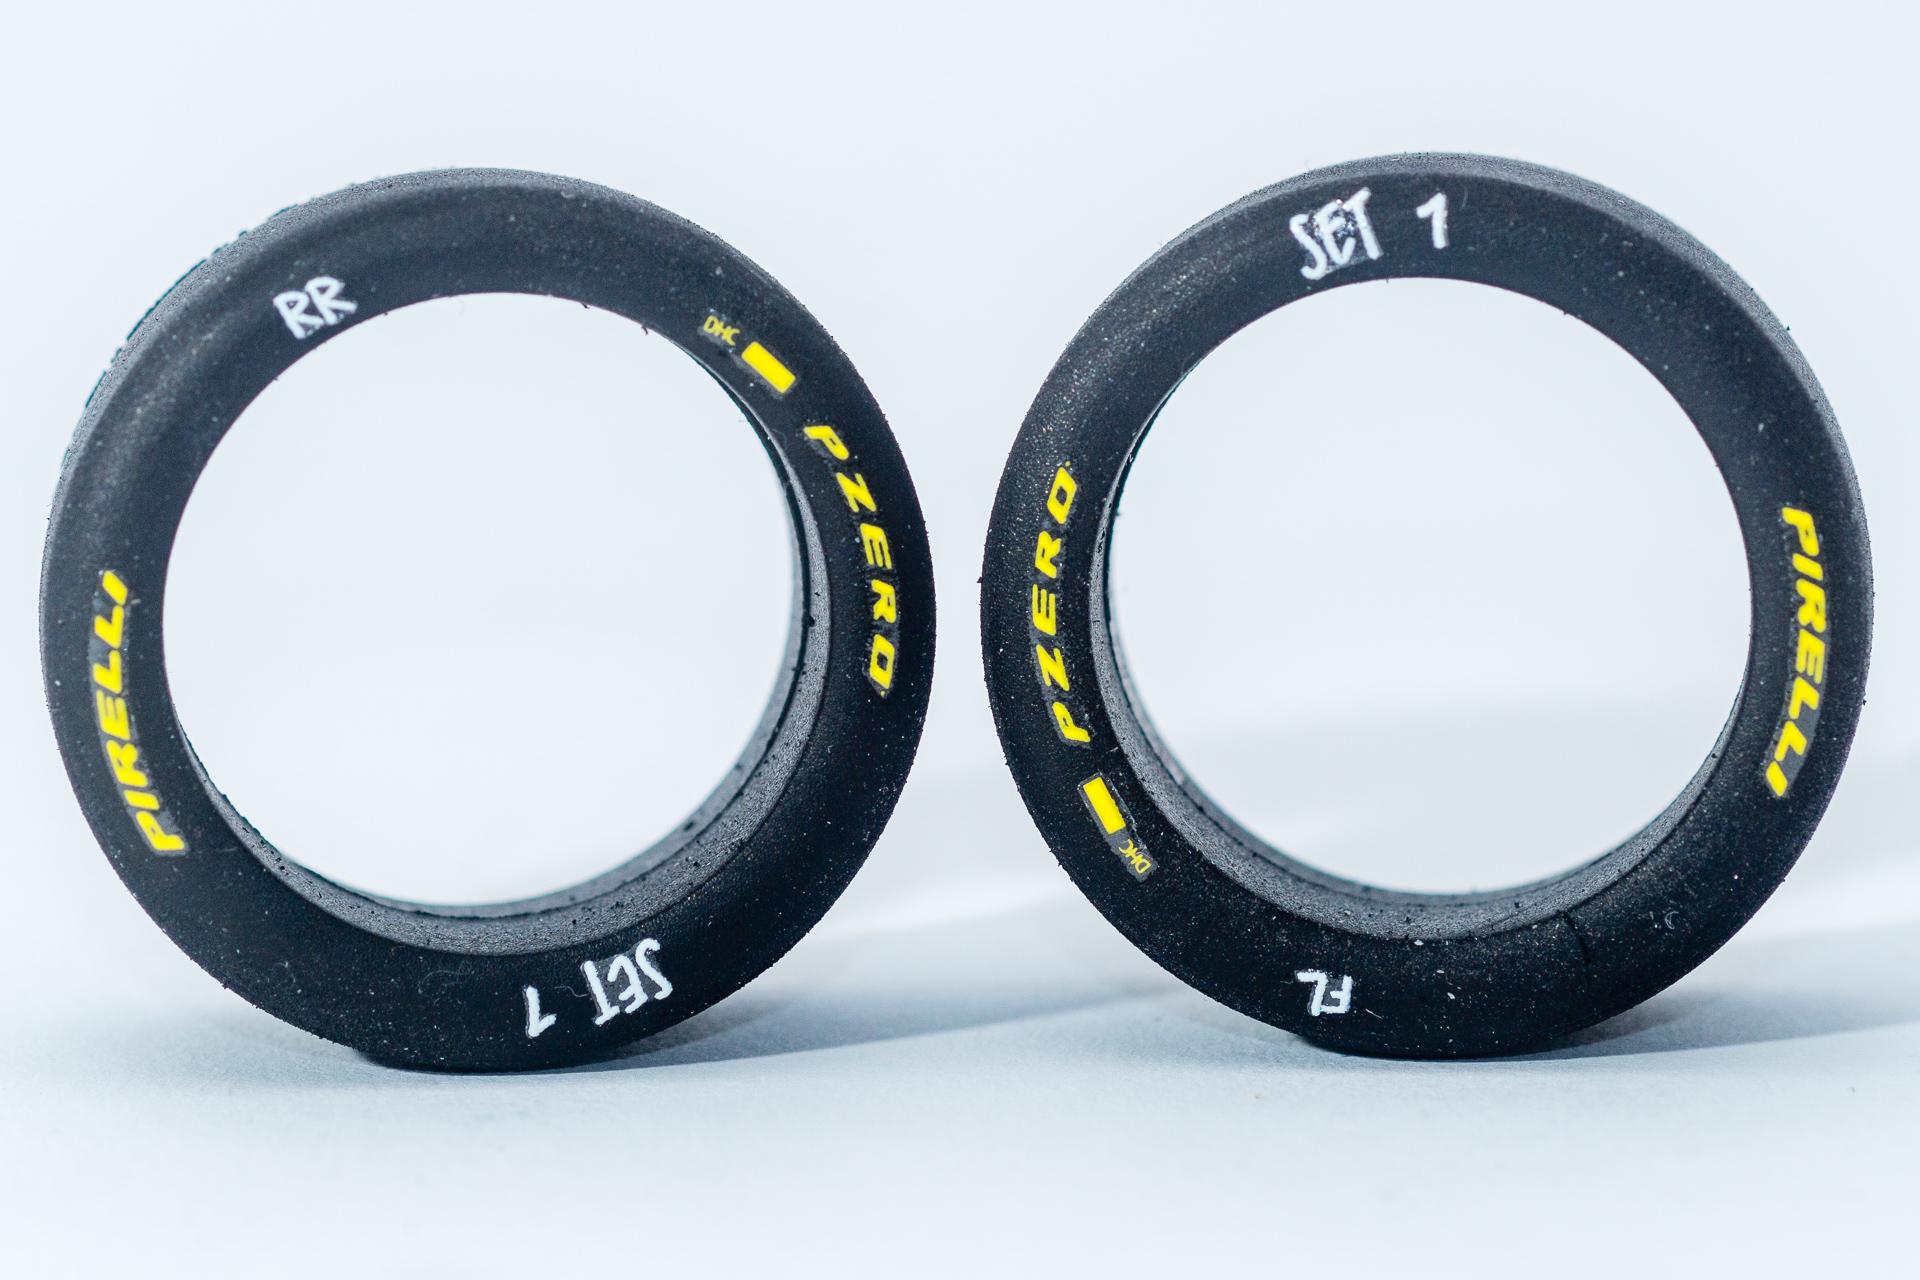
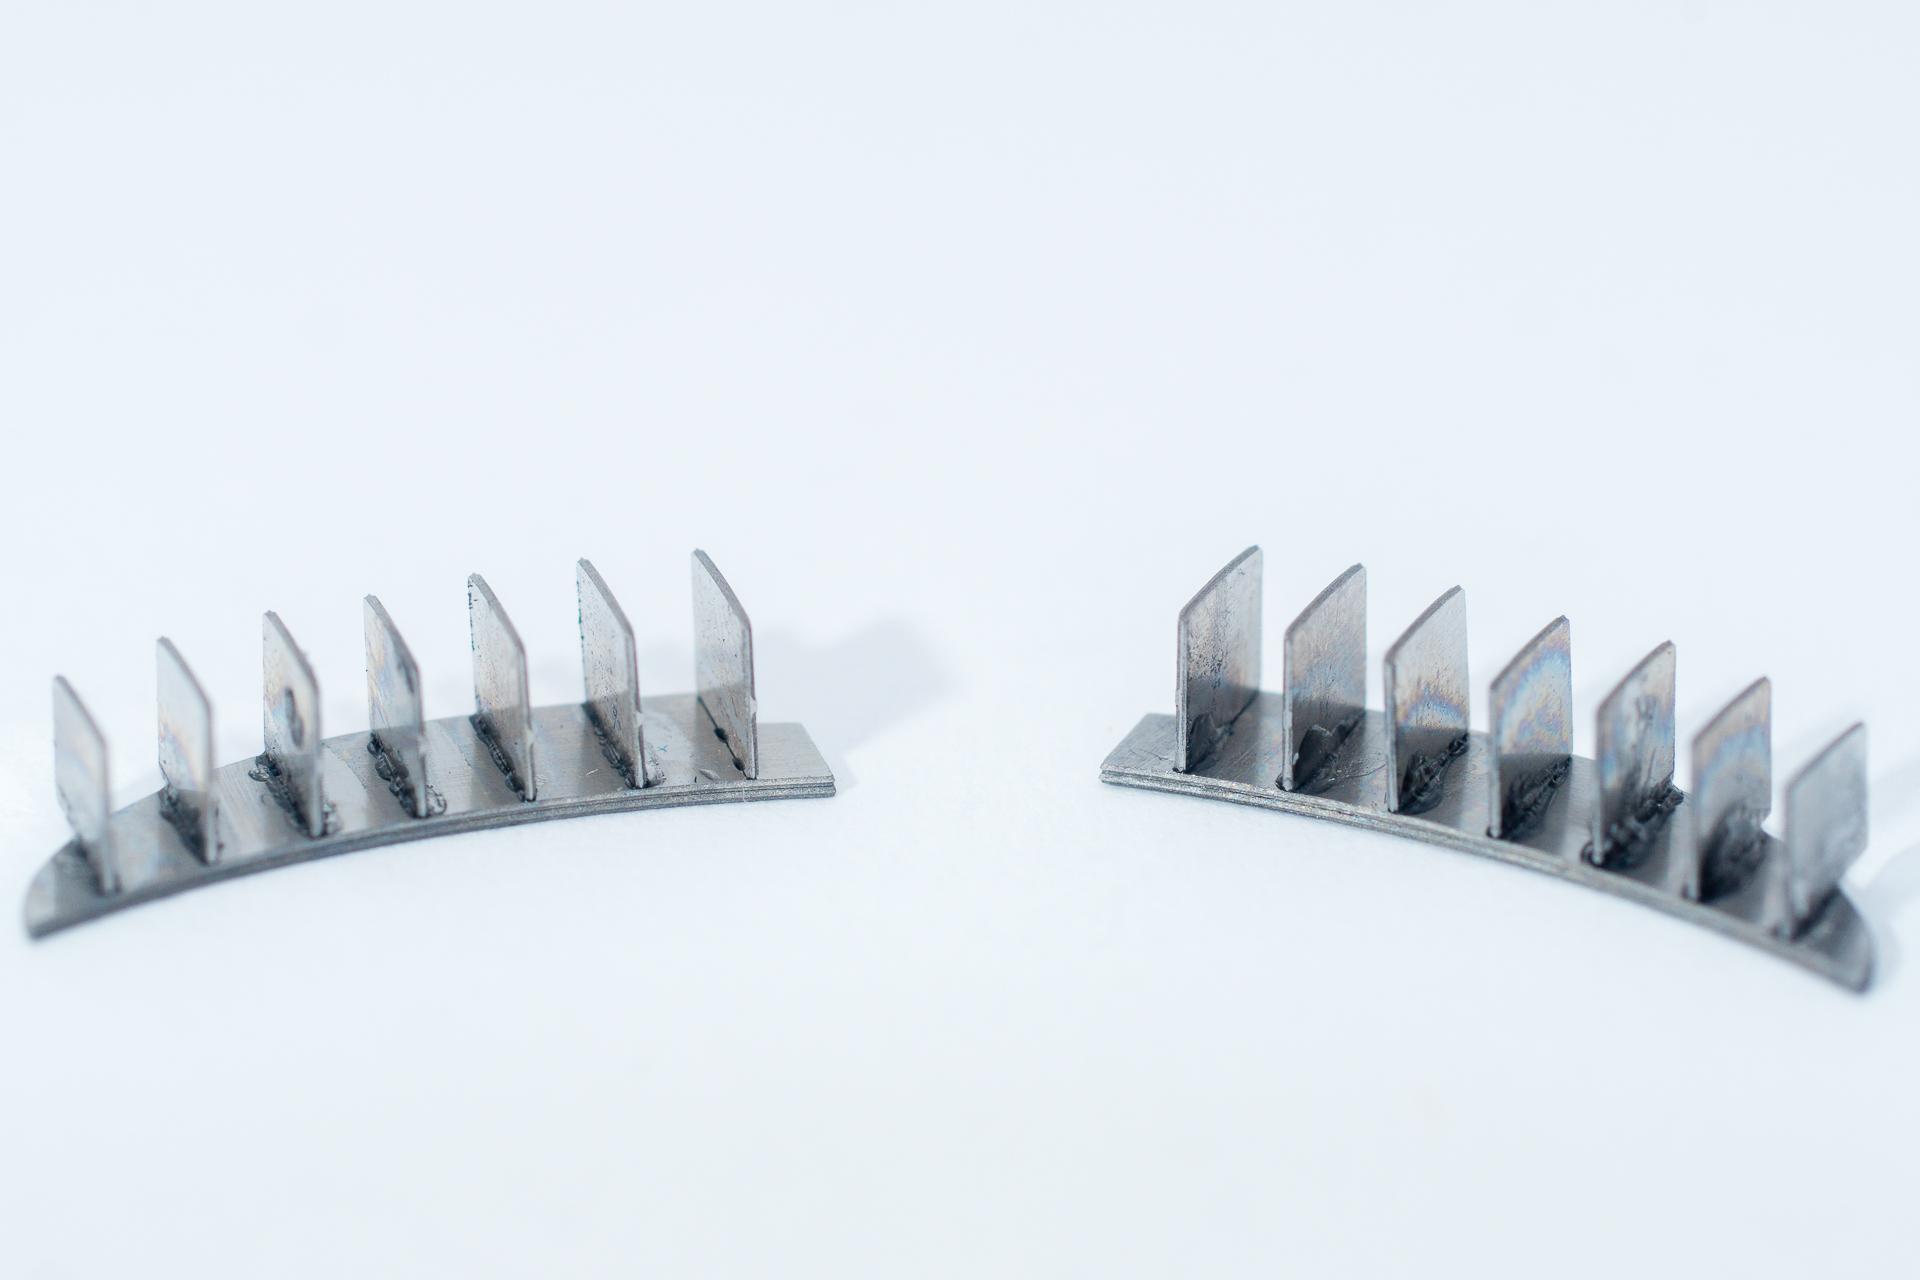
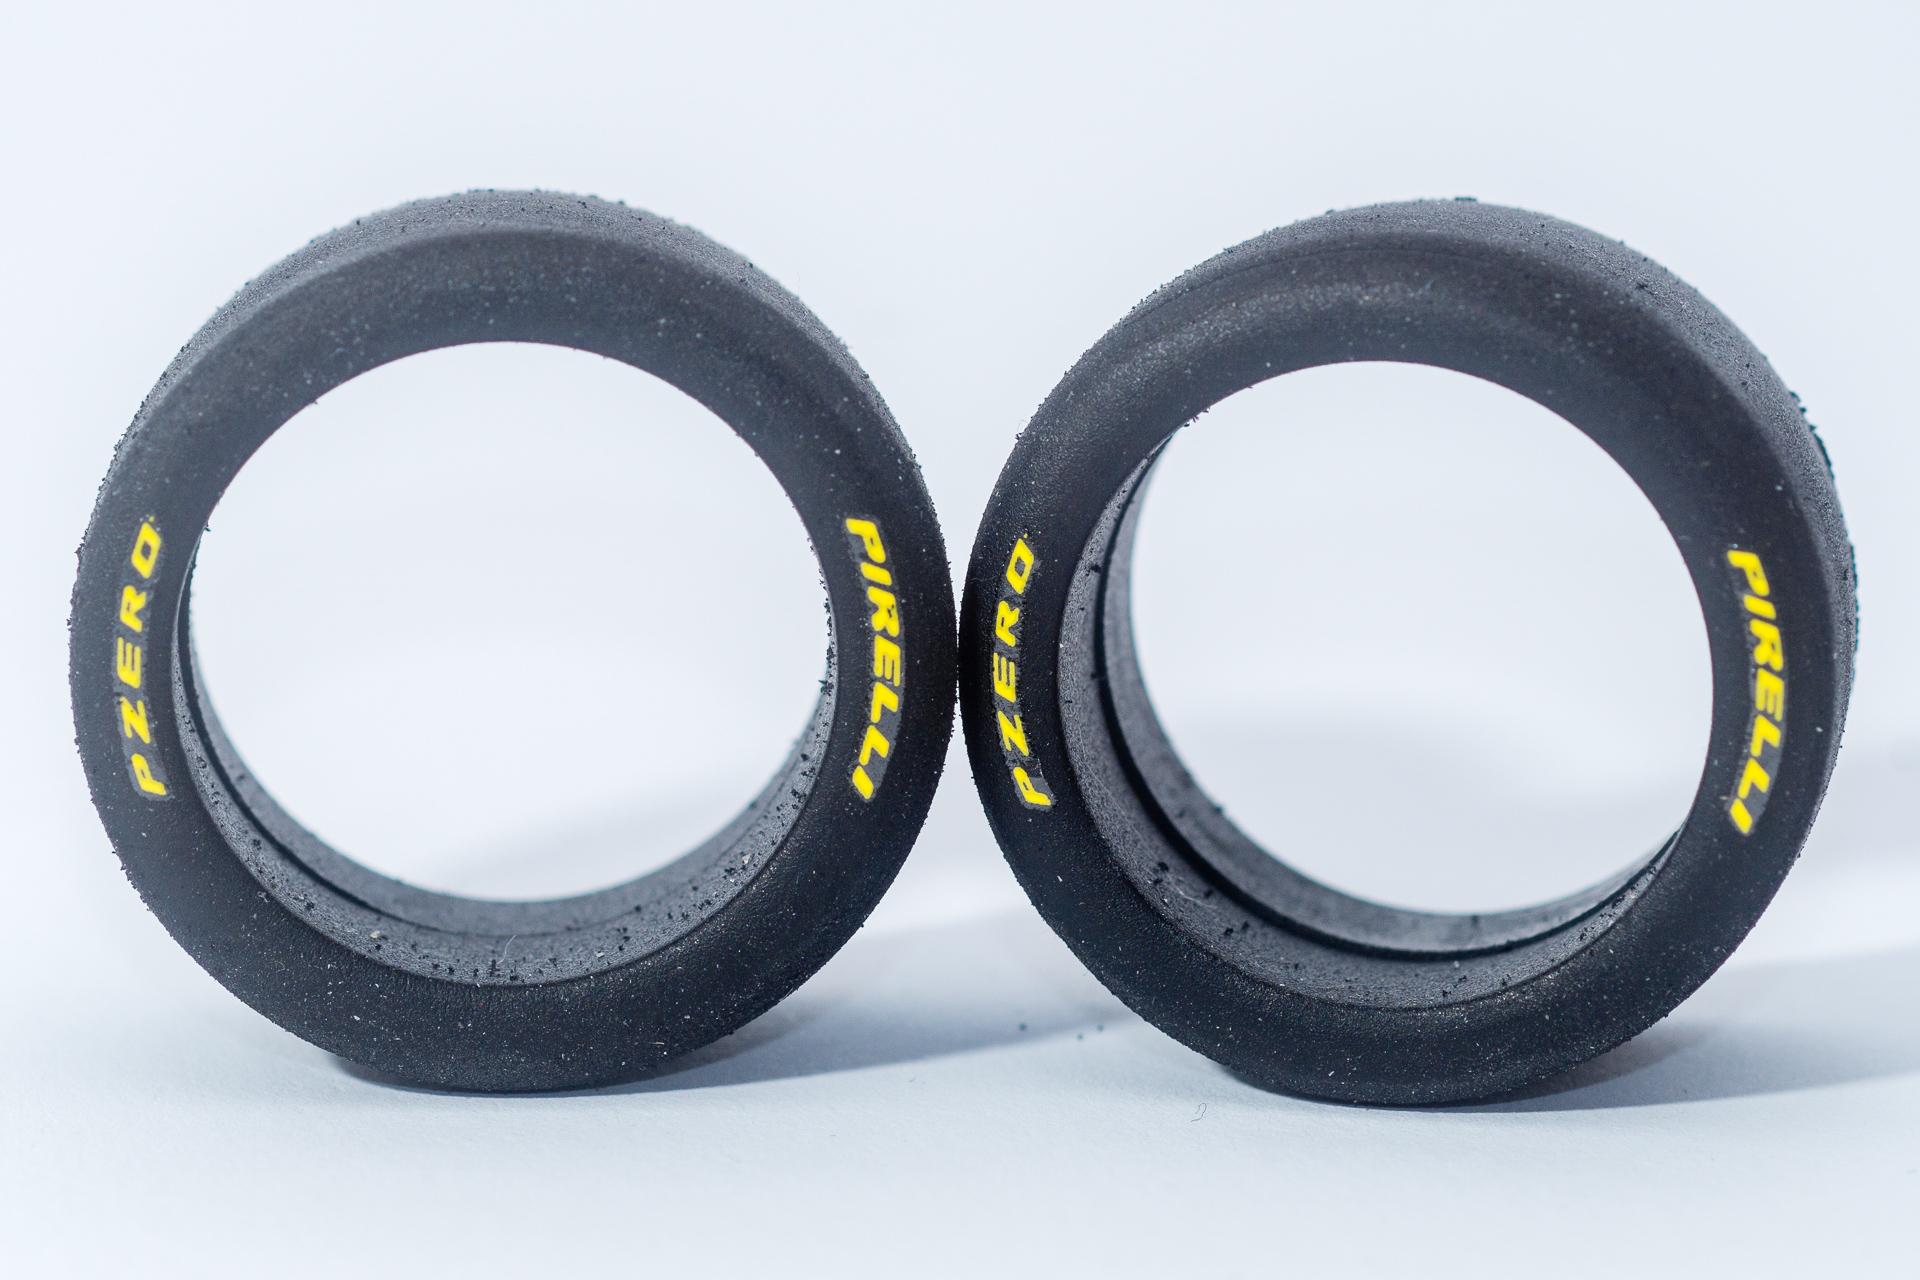
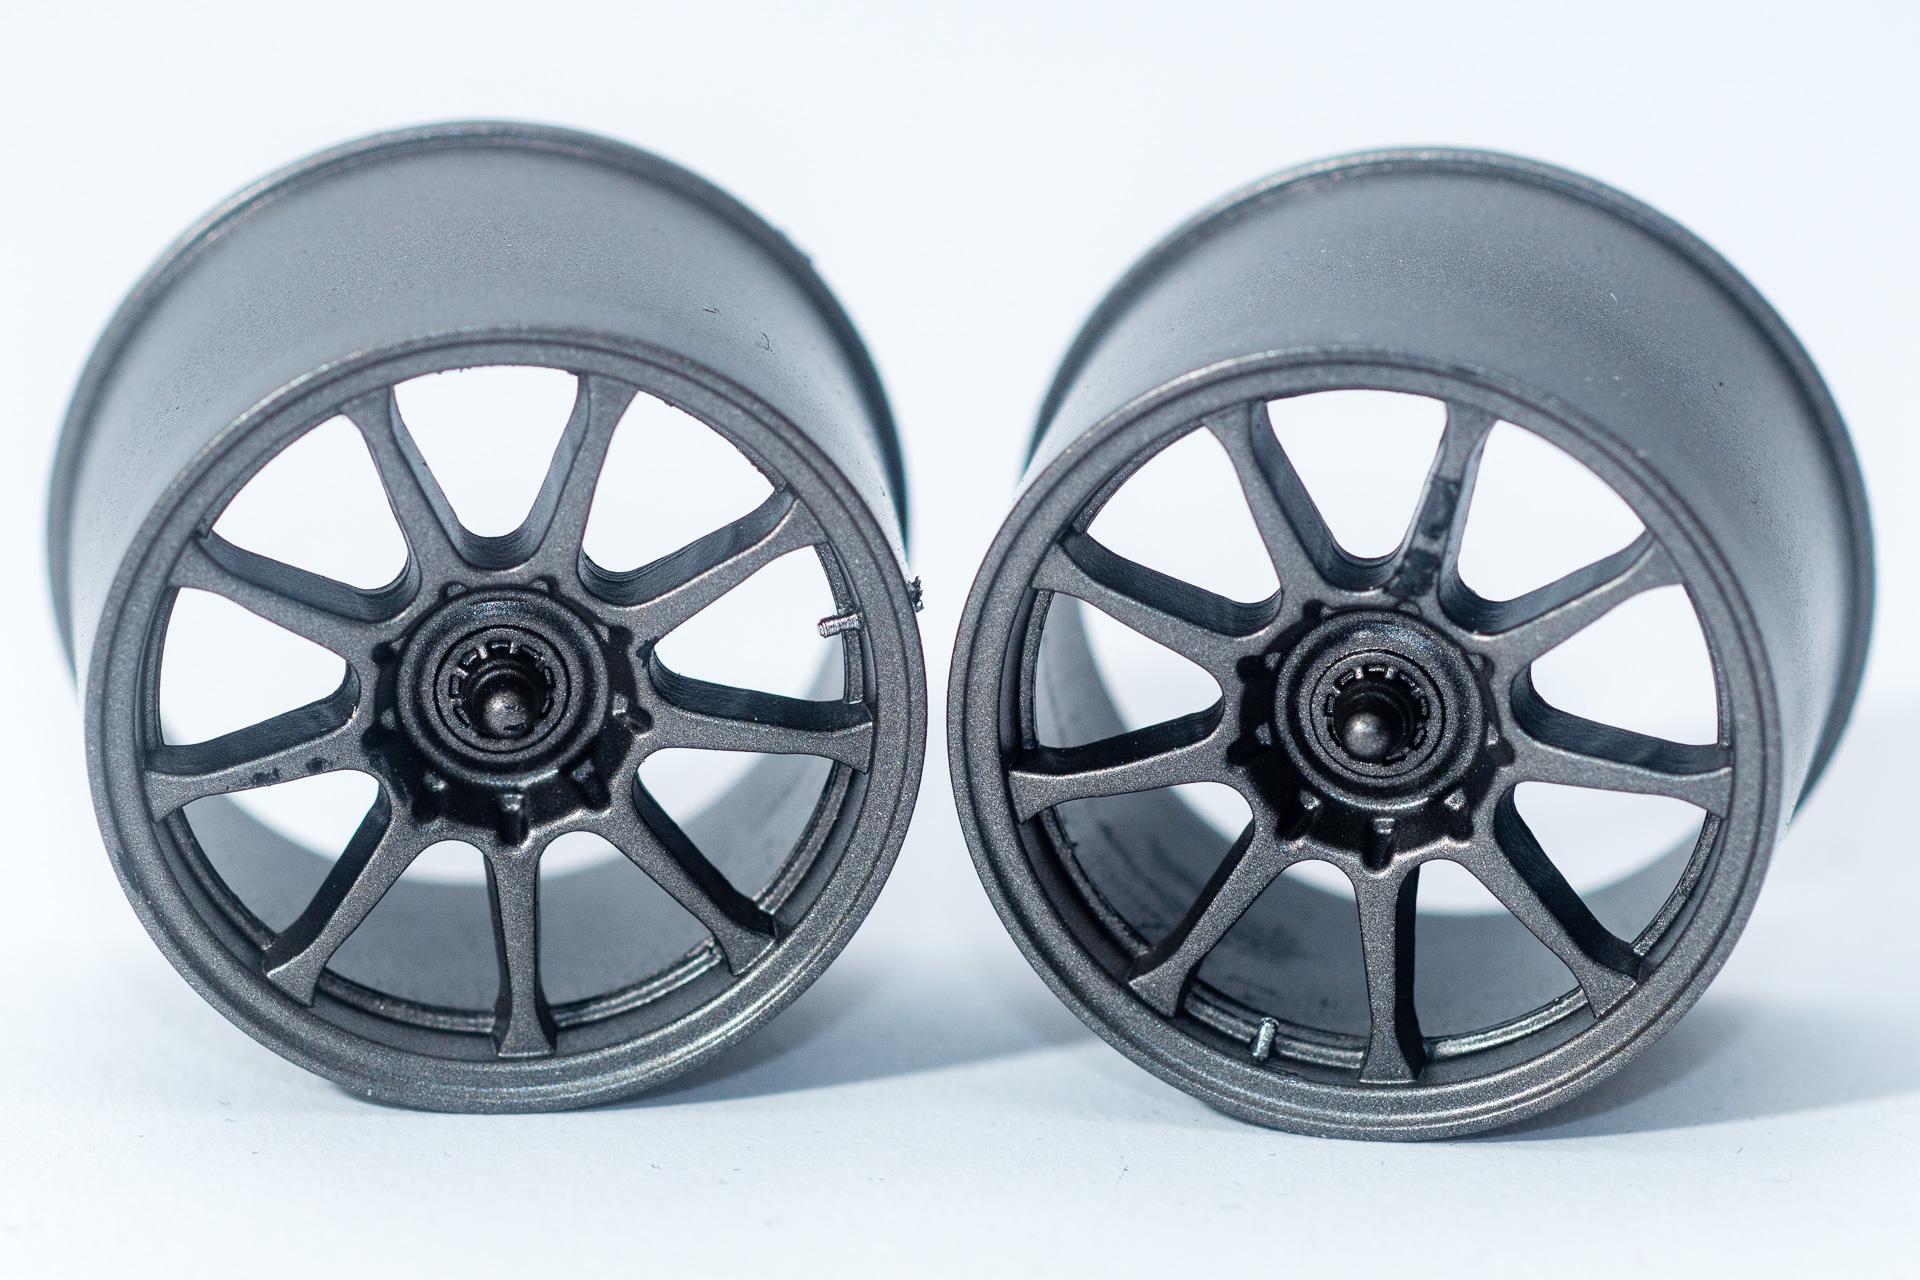
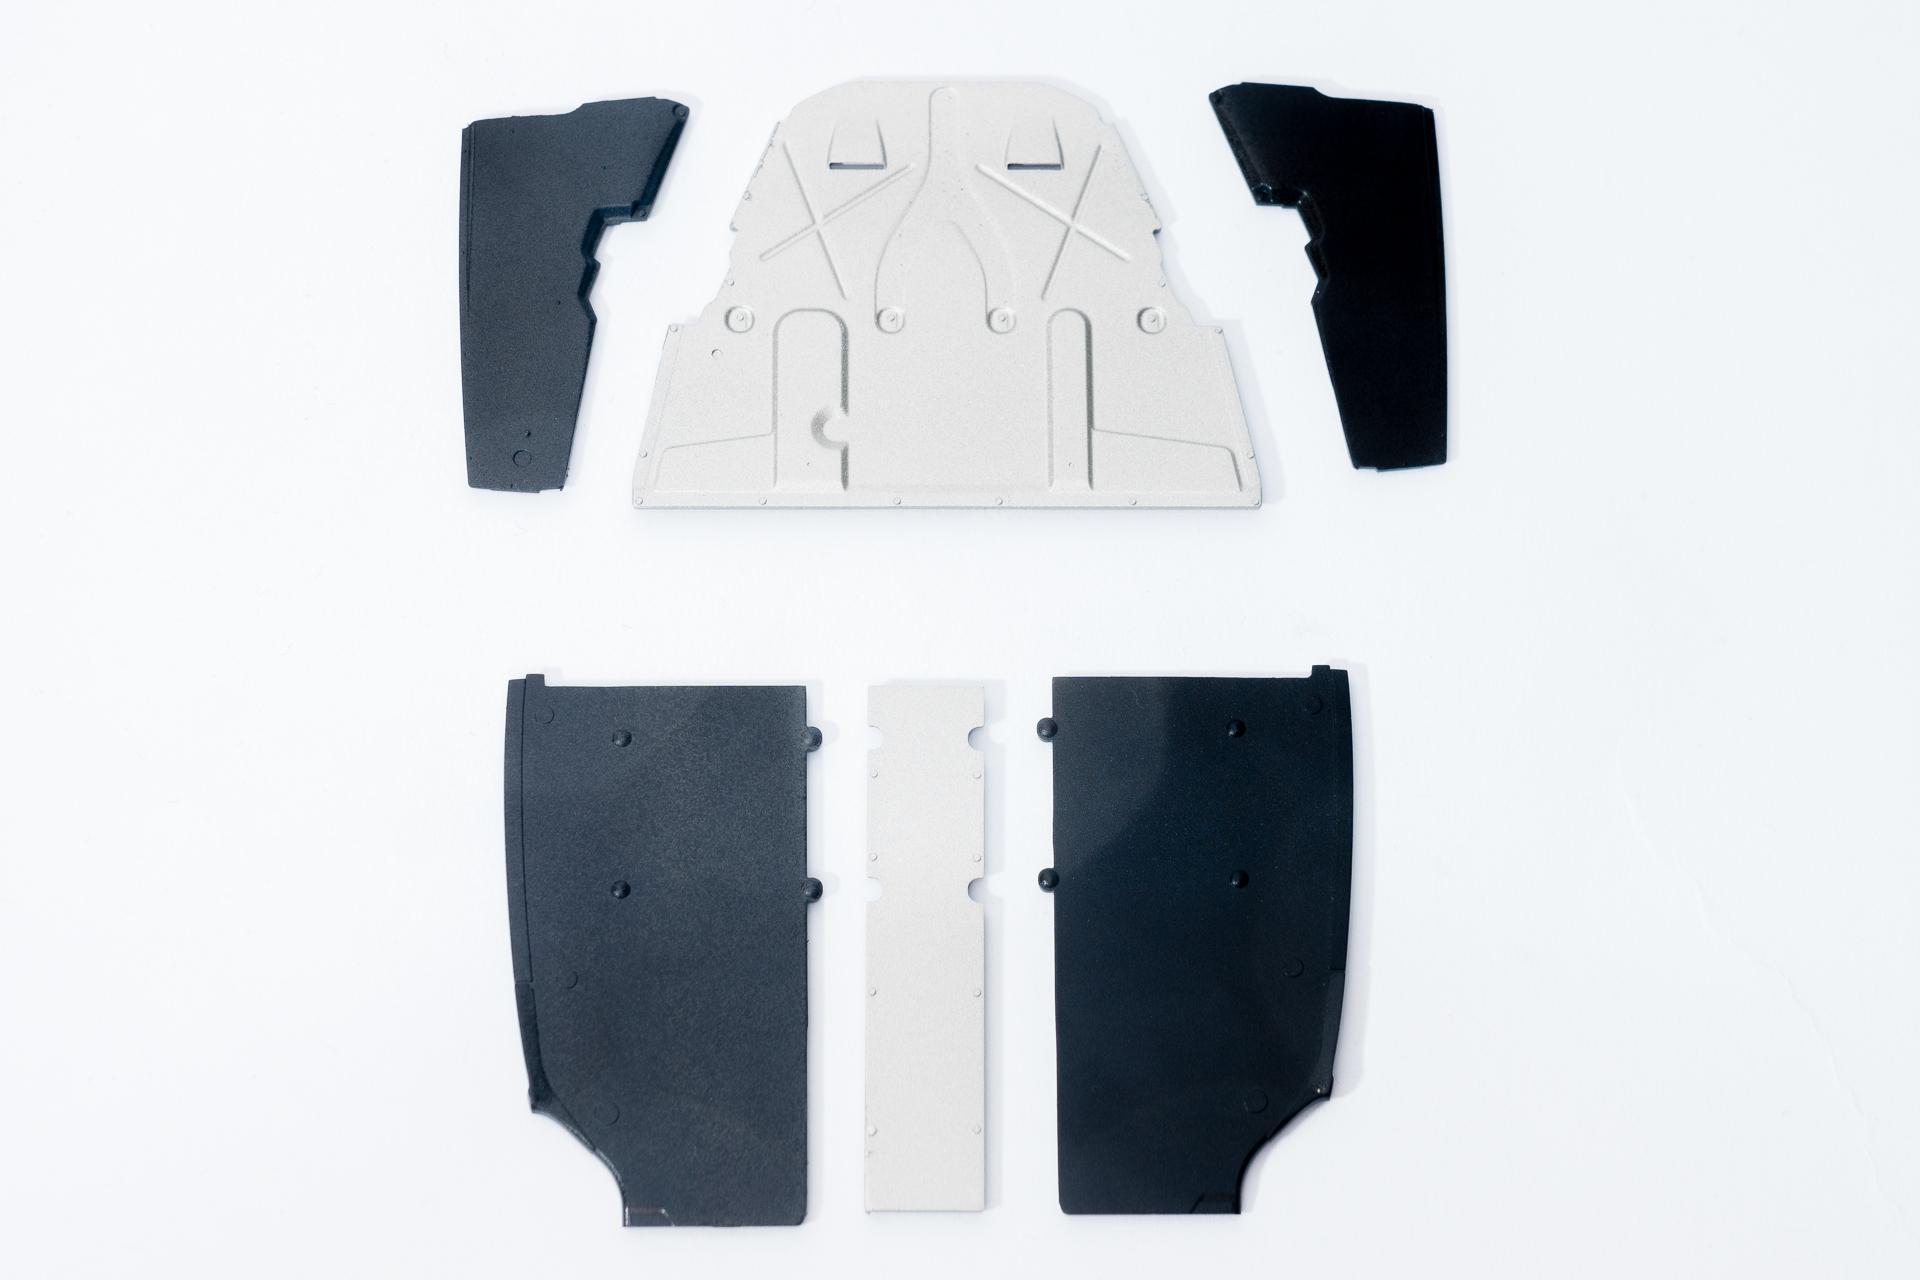
Hi all Because of work, Christmas and a flu there was no update last week and only some small progress to show today. But nevertheless, I continued work on my Audi The tires have been completed with their last few decals. On this occasion I tried the tire marking decals by decalcas for the first time. When applying them I noticed that not all fit together that well in reference to their size. So is the "1" chosen remarkably smaller than the "SET" lettering. When I assume that the same mechanic would write both of them, I'd suppose the letters and numerics to be about the same size, so you'll have to pay attention from which block you are choosing what (there are two blocks with numerics on the sheet and two blocks with different letterings). Meanwhile the decals are sealed with some flat clear and have been mounted to the rims. Now I'll have to closely watch the mechanics mounting them to the car to make sure the tires are positioned in the right spot ? After that I continued work on the engine bay. As most of it won't be seen after finishing I refused to extensivley mask off everything and brush painted most of the areas. The intake manifold received its decals and pe parts and will cover a large part of the engine bay once installed Finally I started assembling some pe parts for the rear part of the body. Now I'll only have to remove the corresponding part from the kit's part and replace it by the pe parts shown here That's everything for the moment. I wish all of you a very happy first week of the year and that you'll find a lot of time for you and your hobbies Urs -

Finished: Audi R8 LMS GT3
harti20 replied to harti20's topic in WIP: Other Racing: Road Racing, Land Speed Racers
Thank you very much -

Finished: Audi R8 LMS GT3
harti20 replied to harti20's topic in WIP: Other Racing: Road Racing, Land Speed Racers
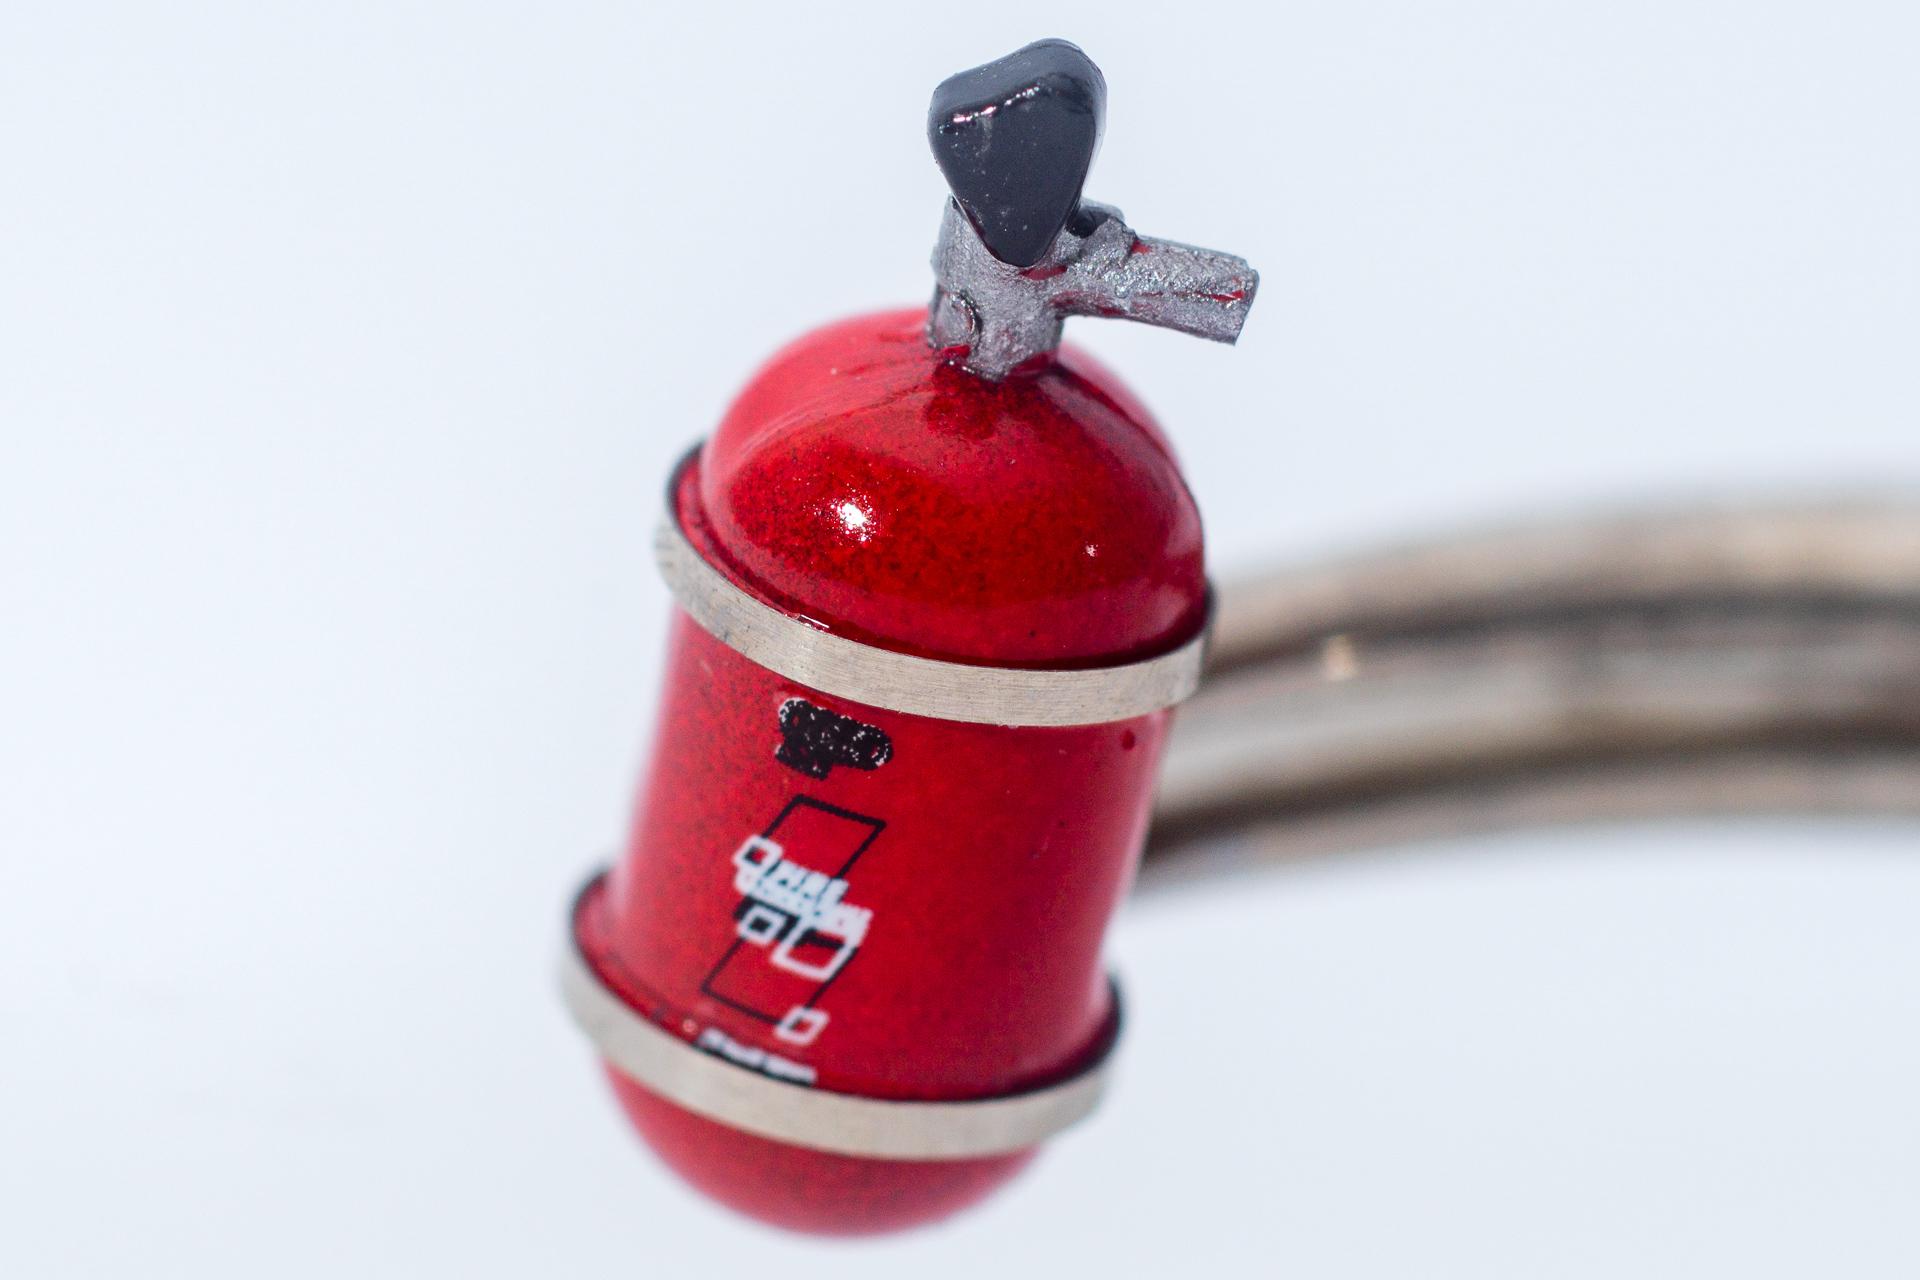
Hi all Thank you. Don't take my build as example as I have absolutely no clue when it comes to racing cars. I'm just trying to follow the instructions on this build (...more or less ? ) Thank you very much. I think, AK is an acrylic primer, but I don't think that was the issue, as I had it happening again on other parts where I only used Zero Paints. It is as if something in the part itself showed through. I already heared of "ghost lines" that appear after painting, maybe that's the first time I have to deal with them... What helped so far was spraying a coat of Zero Paints Black Primer with microfiller. That covered all of those lines. Last week I got quite a lot of bench time, so I used it to apply the decals to the body on friday and saturday. As much as I dislike the kit so far, as much I love the decals that have been supplied with the kit. They are amongst the best decals I ever dealt with. They're very thin, without getting torn apart when handling them and their print is very accurate so that you almost have no transparent edge around them. But the best ist how they conform to the surface. Just damp a cotton swab with some MicroSet, go over the decal with the cotton swab very lightly and the decal crawls into the tiniest crevice and around every edge ? Sunday was clear coat day The fire extinguisher was clear coated as well with some leftover of the 2K clear Instead of watching the clear dry, I decided to continue work on the interior and applied a few PE parts When I applied the decals to the body, I also applied them to the tires. One decal per tire is still missing. I ran out of time on saturday and forgot them always afterwards Finally the seat has been almost completed. I only have to install the seat belts before I can install it That's it for this week's update. I wish you all a nice week without too much stress and a Merry Christmas. Urs -

Finished: Audi R8 LMS GT3
harti20 replied to harti20's topic in WIP: Other Racing: Road Racing, Land Speed Racers
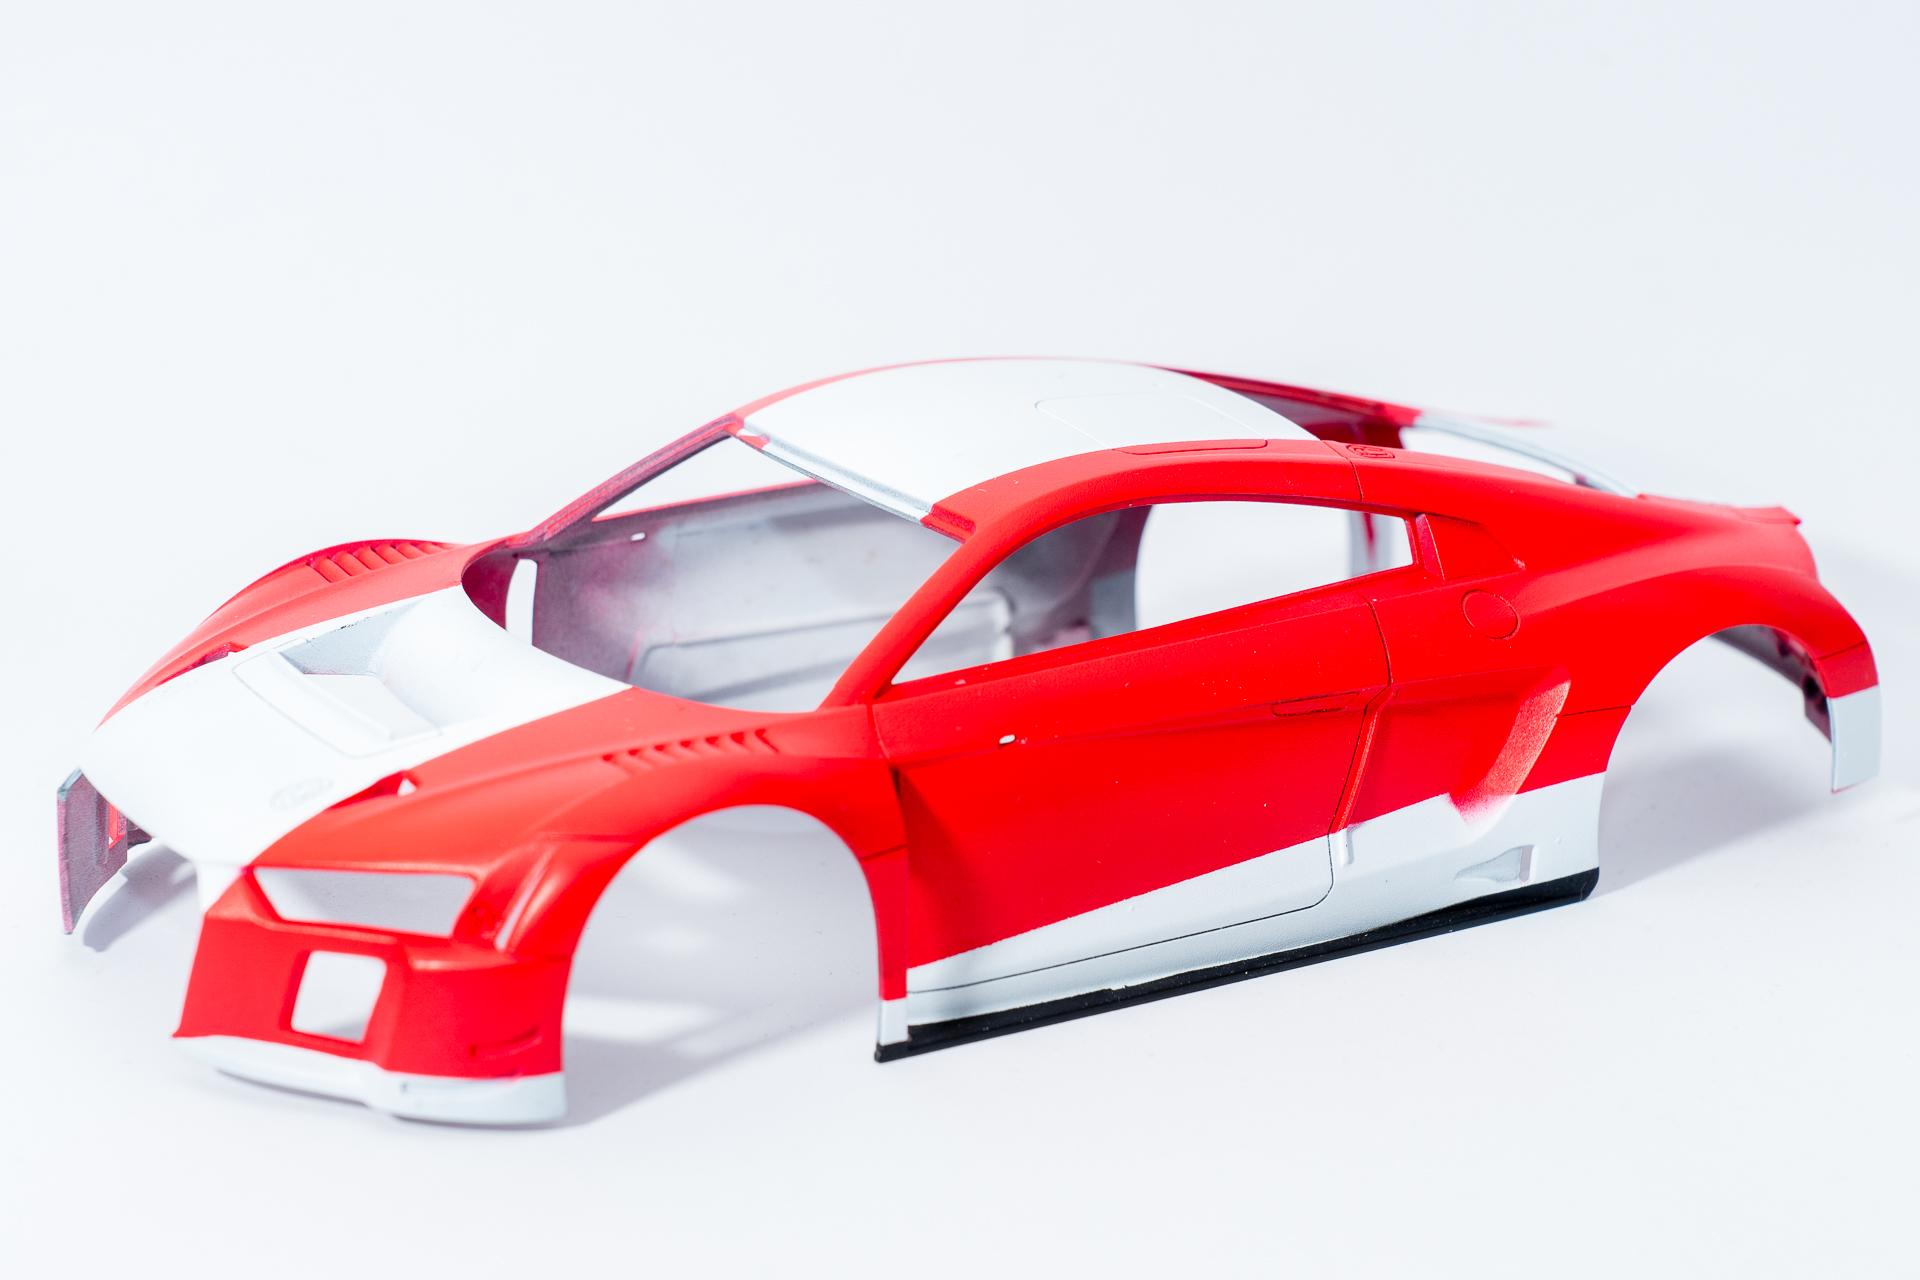
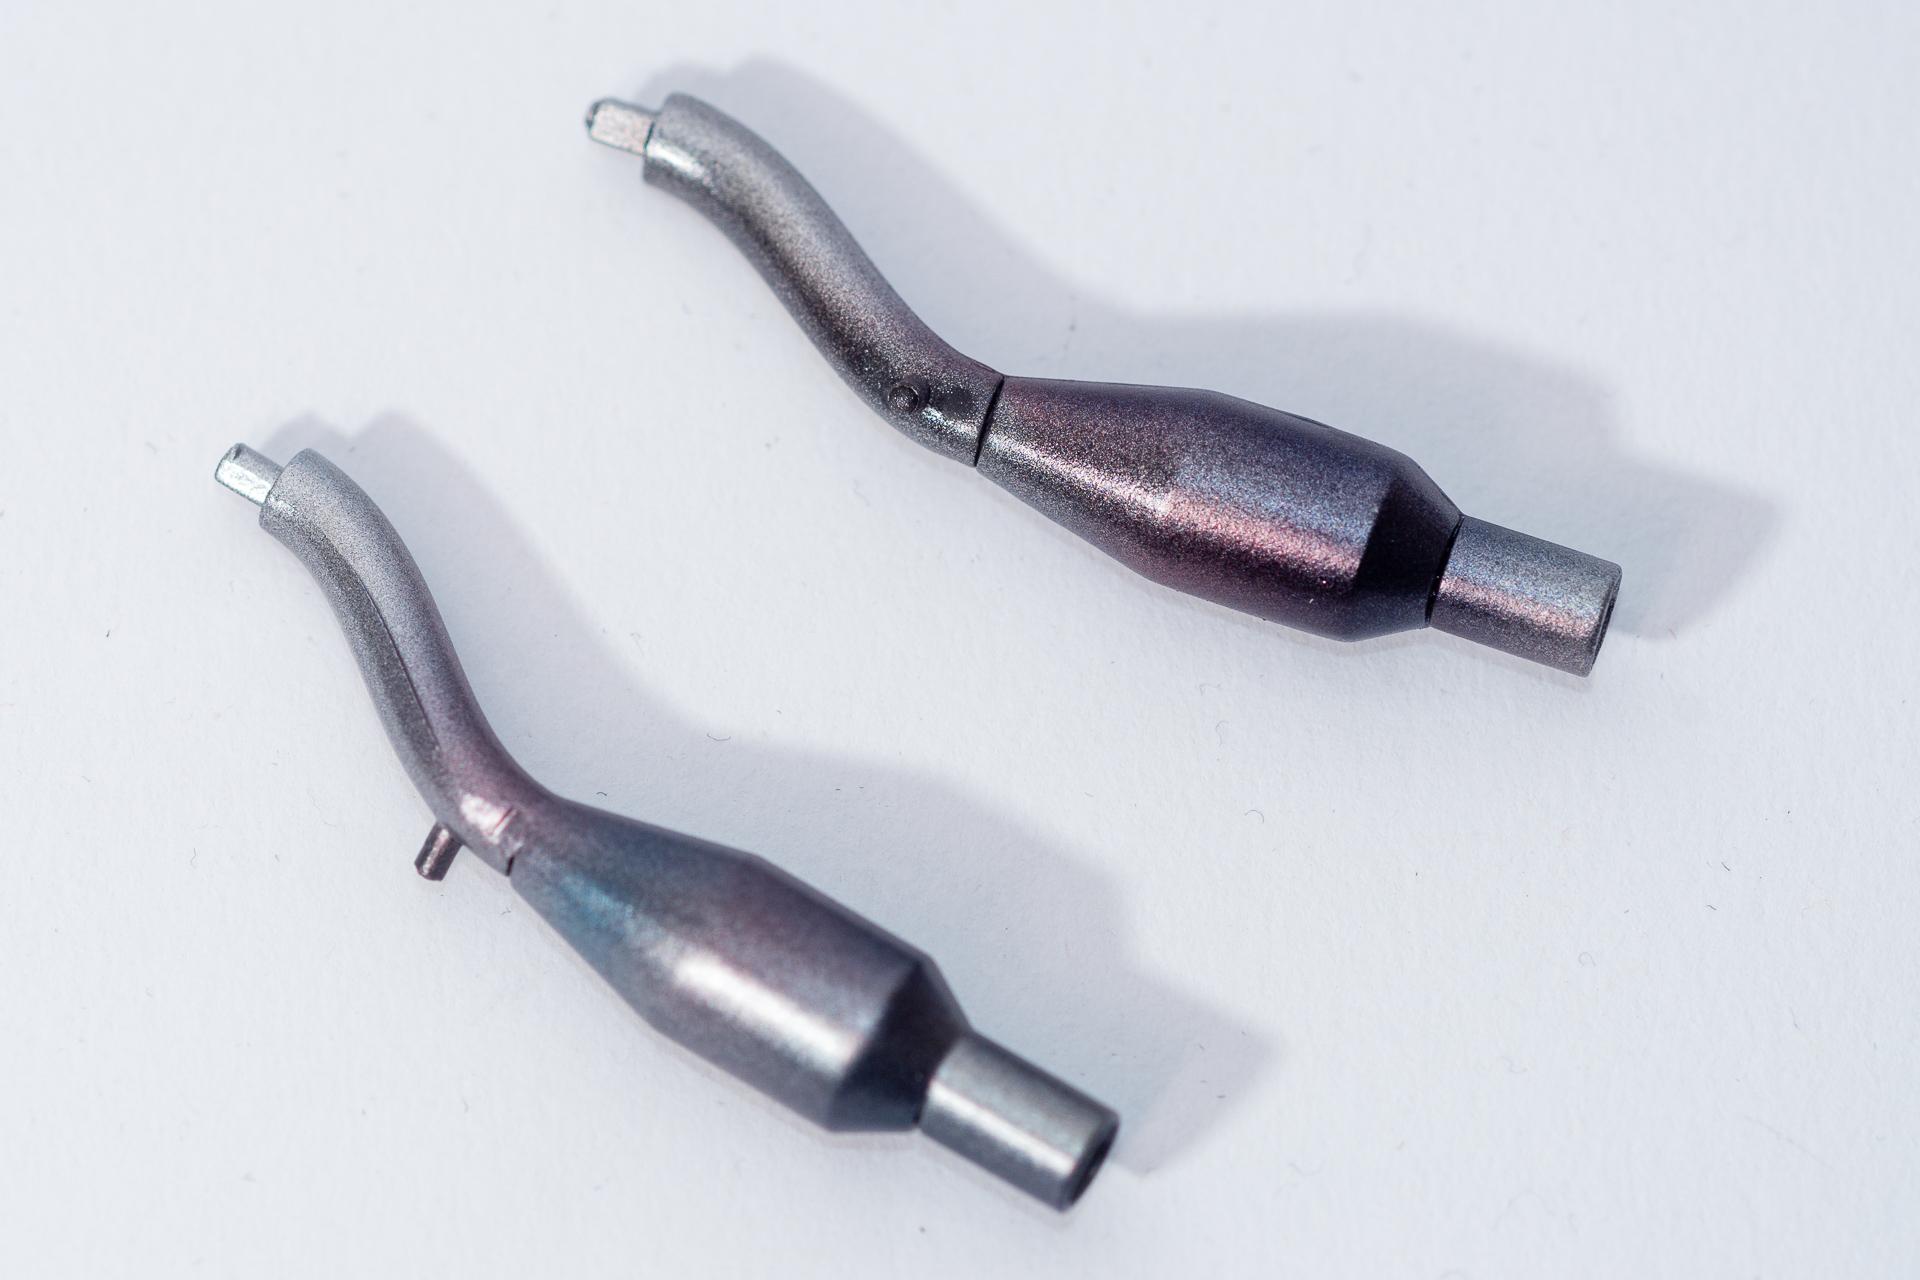
Hi all Thank you all for your kind comments and encouragement. About two weeks ago I decided to start painting the body and tried AK's grey primer. I never used it before, so I was quite curious how it would be and I was just overwhelmed by the ease of use and the resulting surface. I'll only have to find out what I did wrong afterwards. I made a quick cleanup of my airbrush, brushed some Zero Paints colors afterwards und noticed that I had forgotten to prime one piece. So I did a quick cleanup of my airbrush again with some nitro thinner, loaded the airbrush again with some primer and got a complete mess. The primer started to clump together and clog the airbrush. After I cleaned everything, I applied Pure Brilliant White and all of a sudden some stripes began to appear on the roof and the two doors. A friend told me that most likely the paint had been applied too thick, so I stripped it and started over with two thin layers of primer, followed by two thin layers of white paint. And again these stripes showed up. At this point I almost binned the kit and turned to another build. But I decided to give it one last chance and painted two thin layers of black over the white, followed by two layers of Vallejo ModelAir Steel. After that two thin layers of Vallejo White Primer and then two layers of Zero Paints Pure Brilliant White. At this point almost everything looked fine. On one door the stripes could be very slightly seen, but I wasn't sure whether they have really been there or it was just in my imagination. Anyway, as I already decided to end this build, no matter how it turns out, I continued by masking off the parts which should remain white and paint the body red (now the stripes definitely disappeared ). There would be decals in the kit but as I wasn't sure how good the coverage of these decals would be over red paint, I decided to use the deals as stencils to mask off. That's how the body looks like now After that I installed the break discs and shock absorbers Then I finished the rims. Now I only need to add the decals to the tires and the wheels can be mounted Finally I painted the exhausts and tried some heat staining, which is much more visible on these pictures than in real. That's all for today's update. I hope I will find some time this week to start decaling the body and working on the interior Urs -
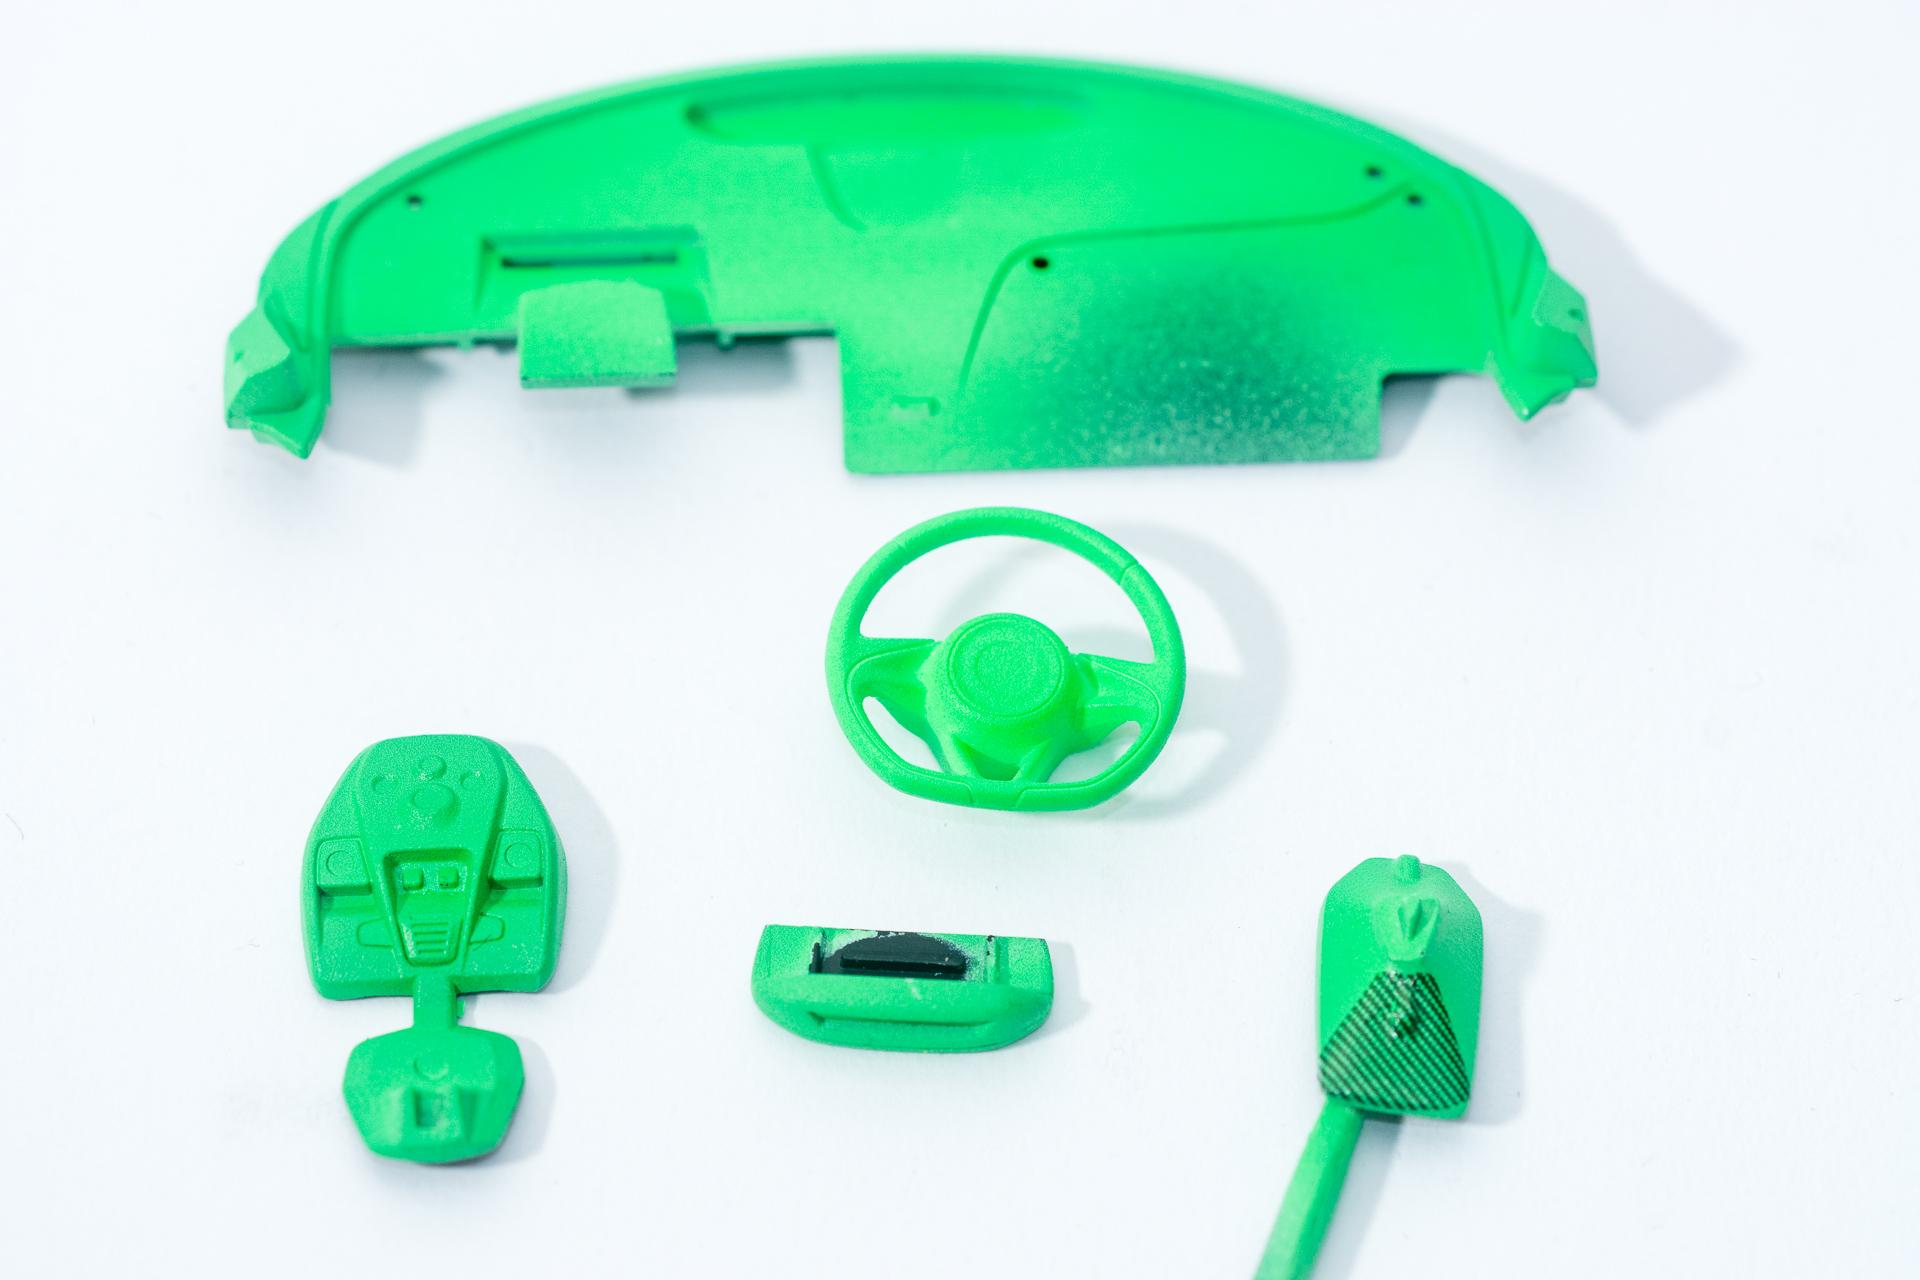
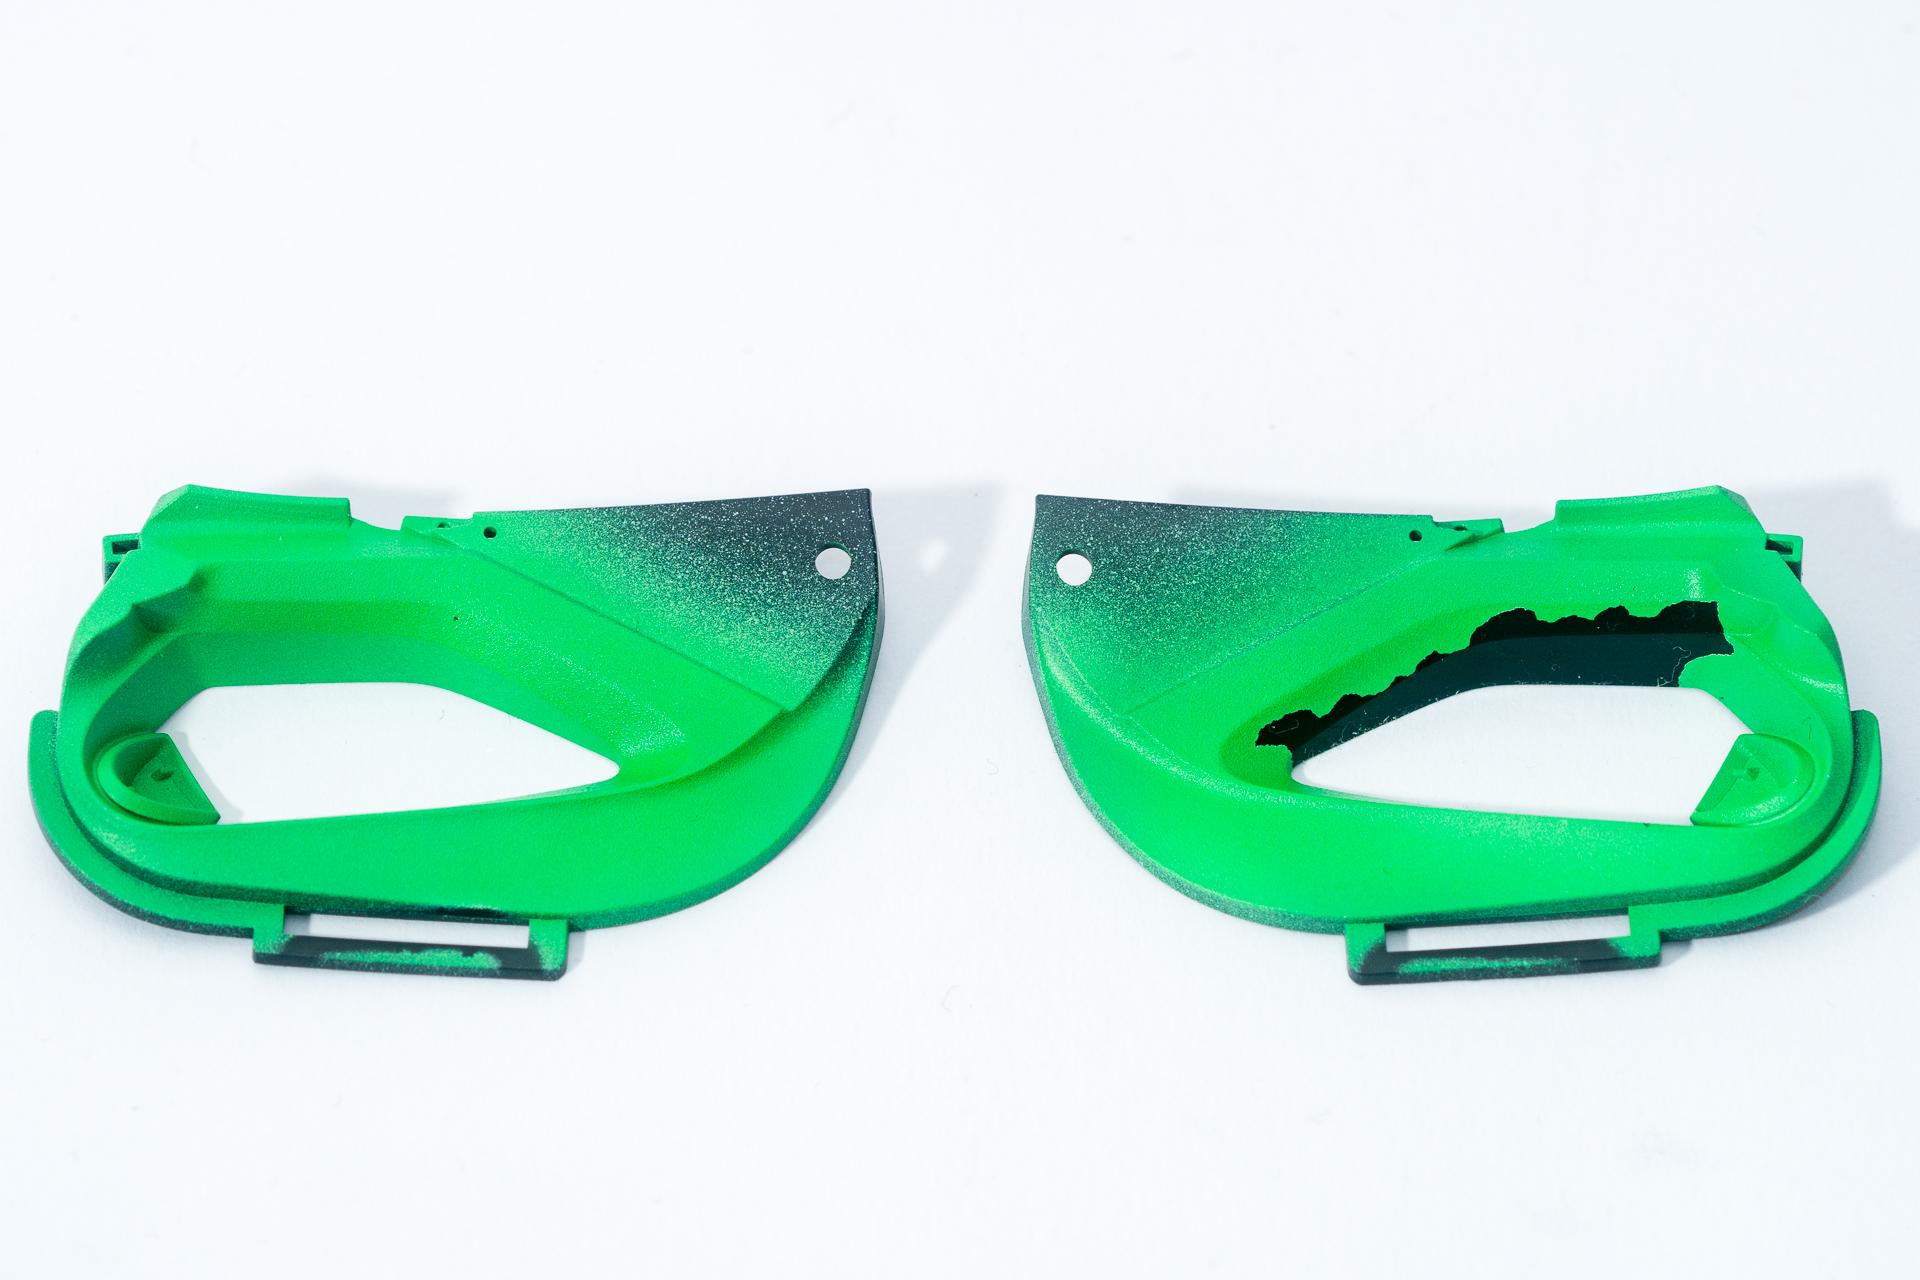
Hi all I already tried that, but with no success. Maybe I was just to closefisted with the soap, I'll try it again in future Somehow the McLaren turns into a never-ending story. On one hand it might be caused by the fact that I want it to turn out as perfect as I can do it, on the other hand I will have to do some carbon work no matter where I want to continue with it. And that's the kind of work I can't really find the right motivation right now. Nevertheless some minor progress has been made, although it was more of a "one step forwards, two steps back" kind... The interior parts have been painted in dark grey (here I will have to check again, as the paint looks quite uneven and grainy in this picture) and green. The green parts will mostly be covered with transparent carbon decals later on. The time I tried to make some stencils for the decals I ripped off the paint on almost every part. So I'll have to strip most of these parts, sand and repaint them. If I remember correcty I painted these parts without degreasing them first as I tried to get some motivation back and just do something to get it going...? Some parts of the underarriage have been painted and the second rear fender got its carbon decals. Furthermore I noticed that there is a small spot which had to be painted in green, something I completley forgot on the first part. So I had to mask over the decals (which luckily have already been sealed by two thin layers of clear) and repaint the air inlet. Happily nothing got ripped off when removing the masking tape afterwards Now there will only be some small spot repairs needed where you can see the white primer shine through. That's all for today Urs
-
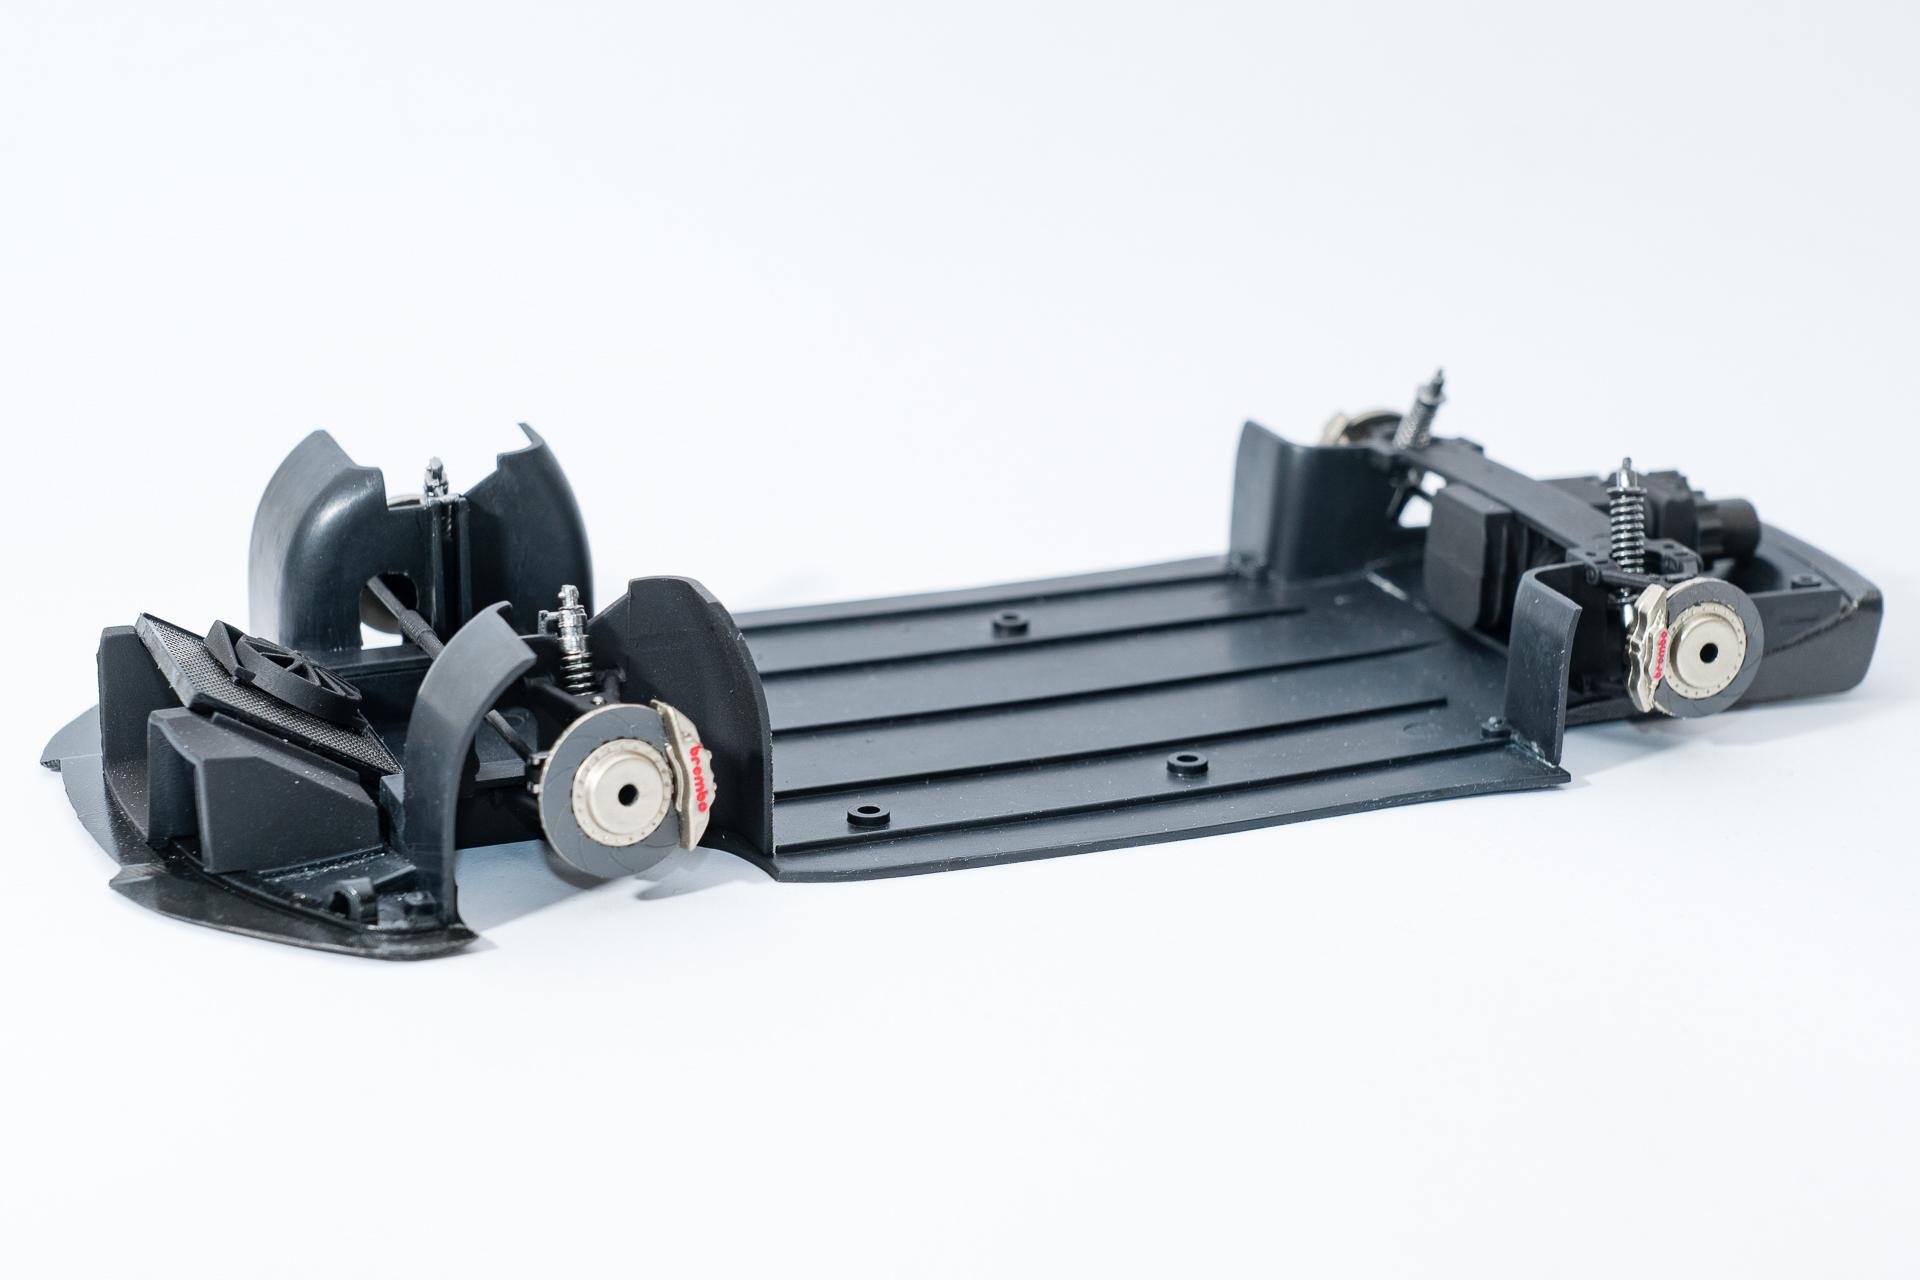
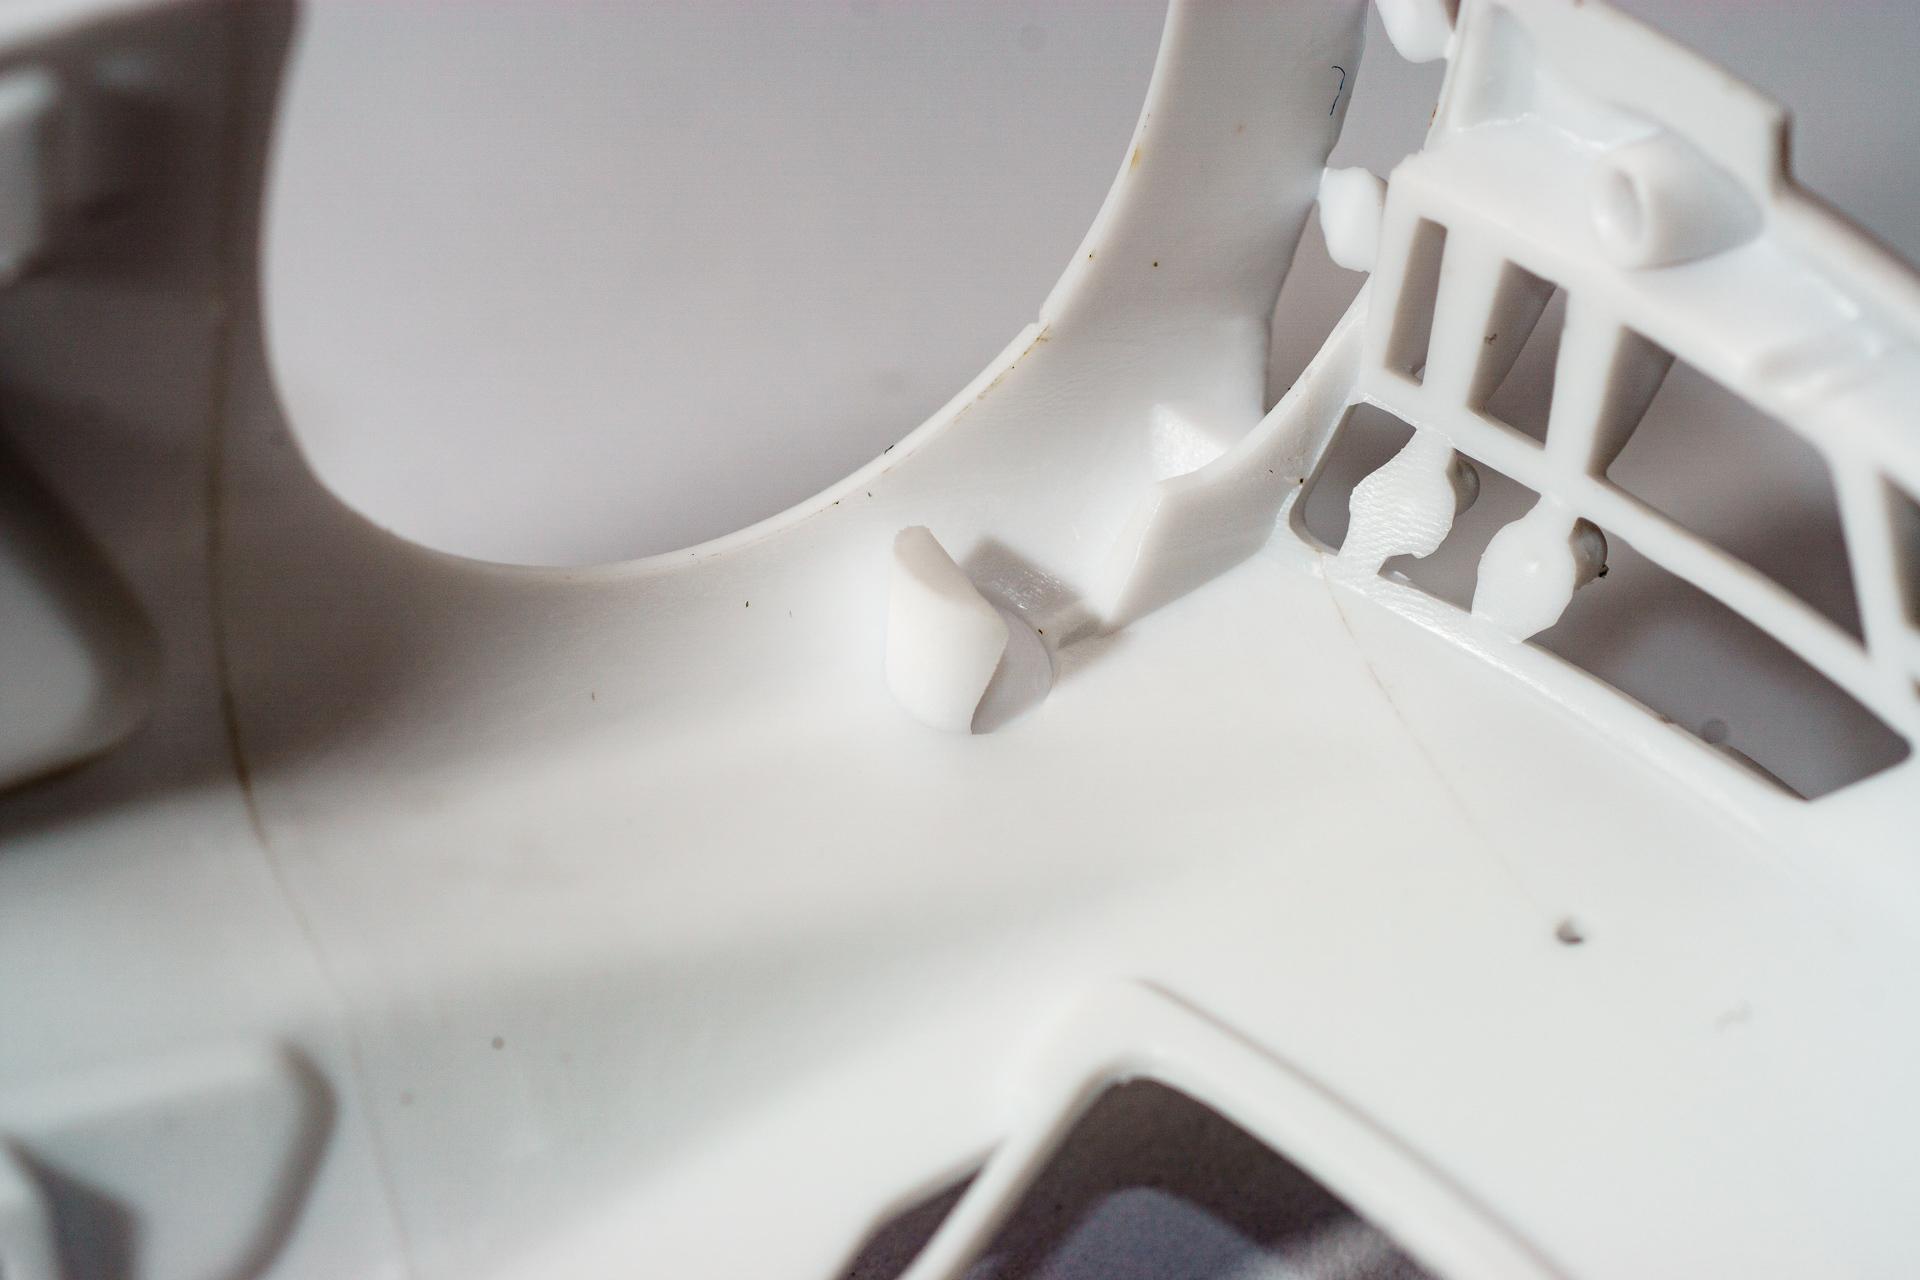
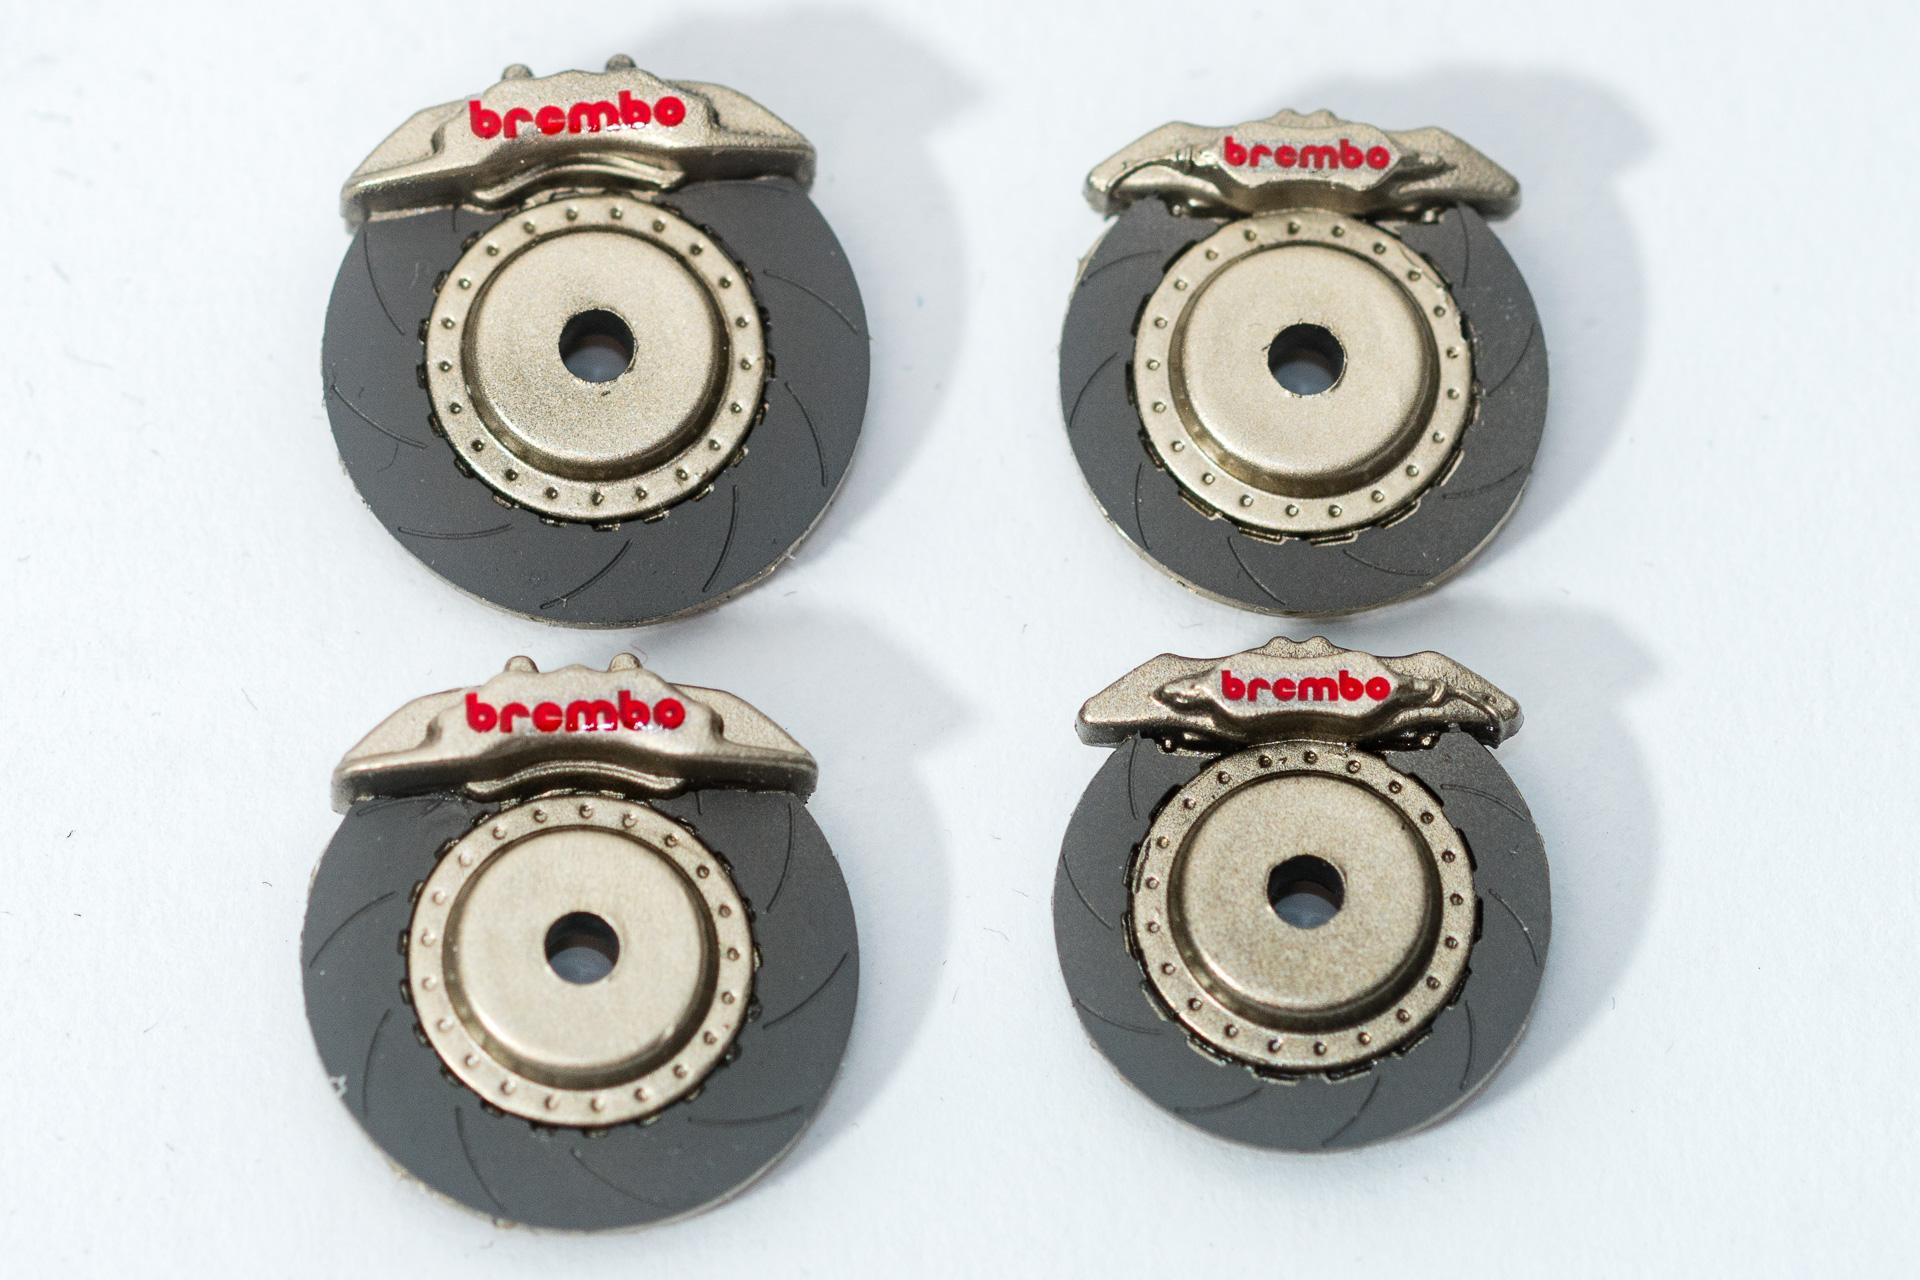
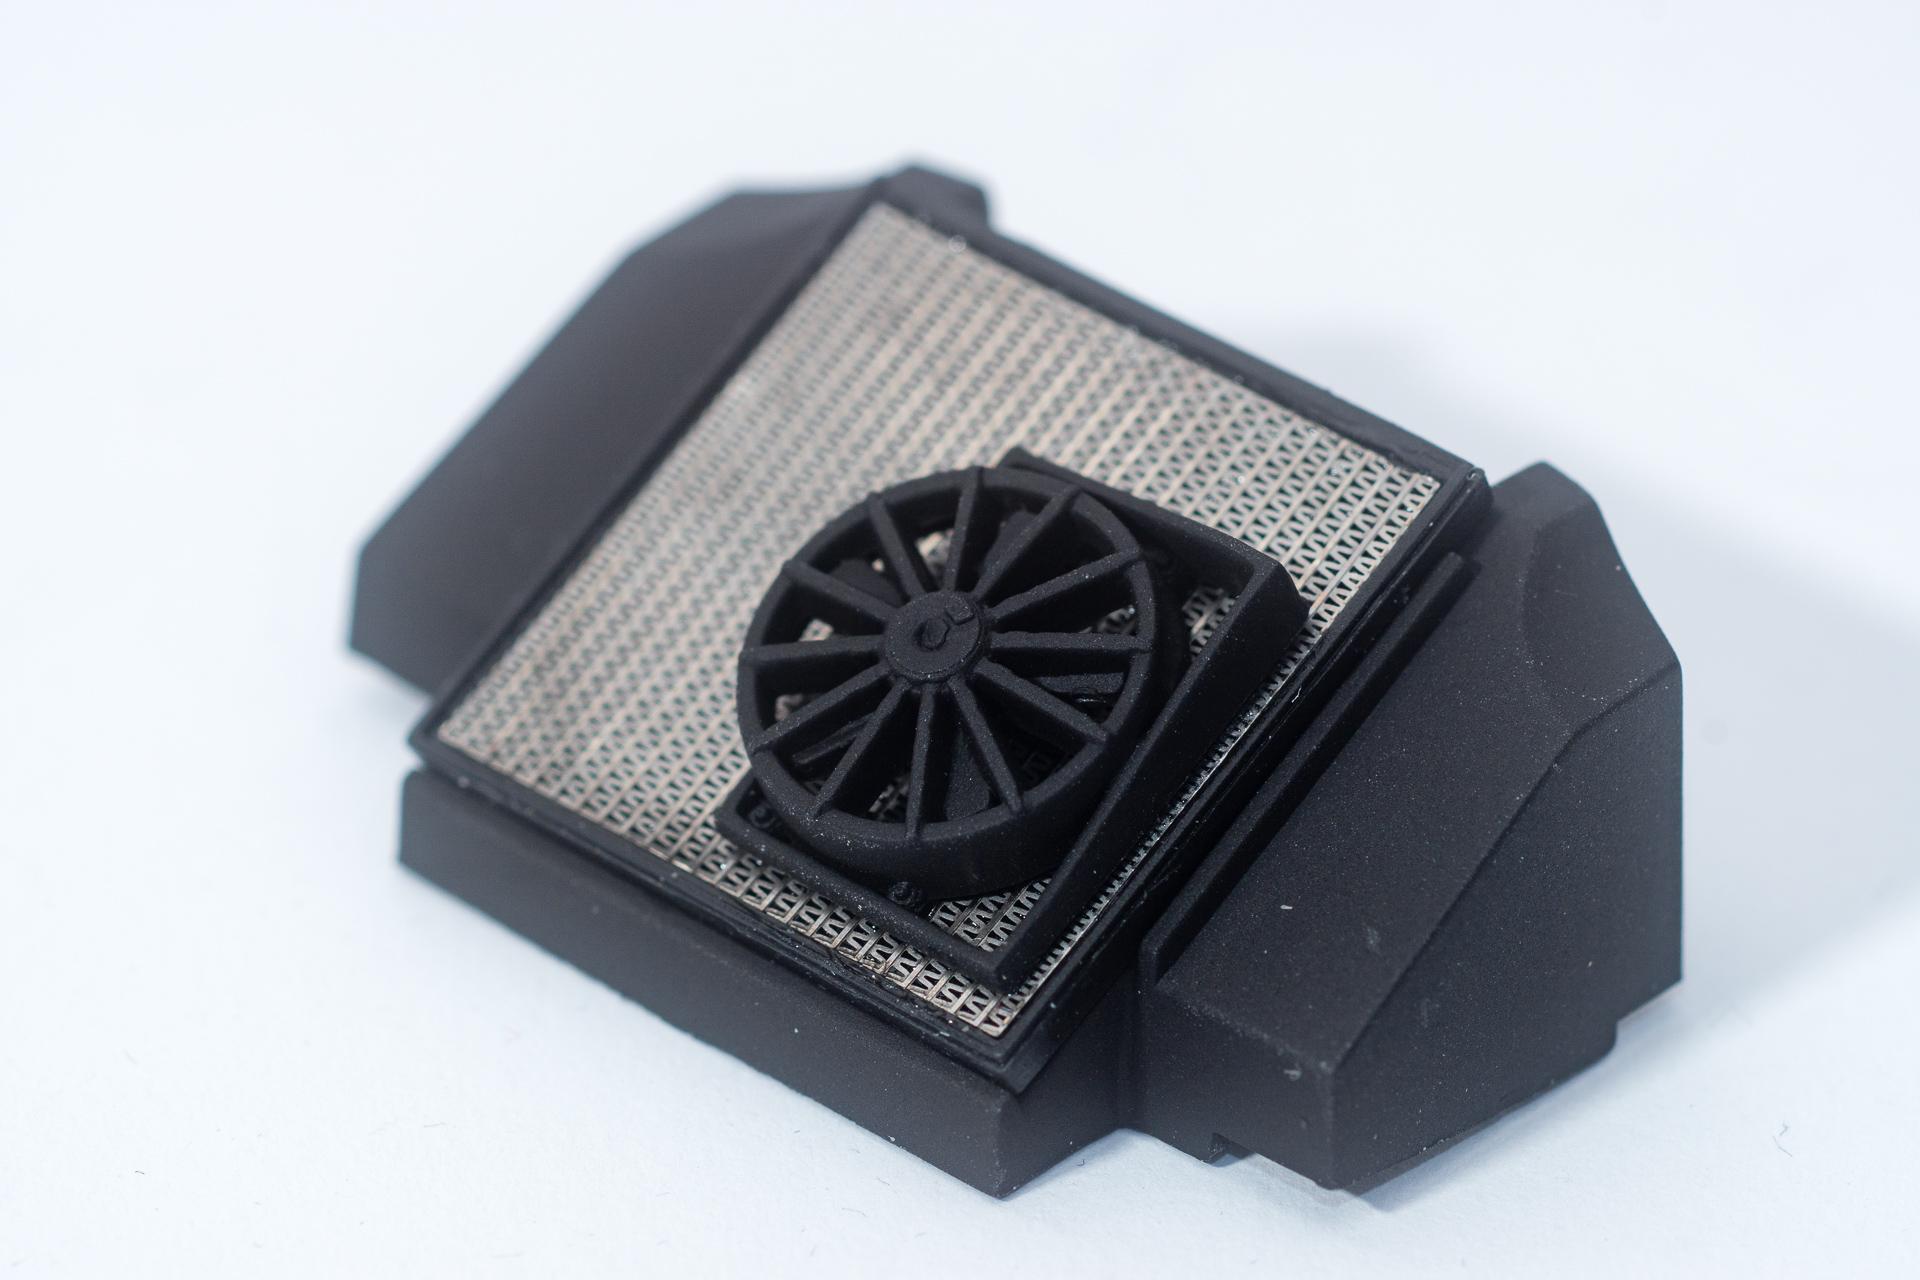
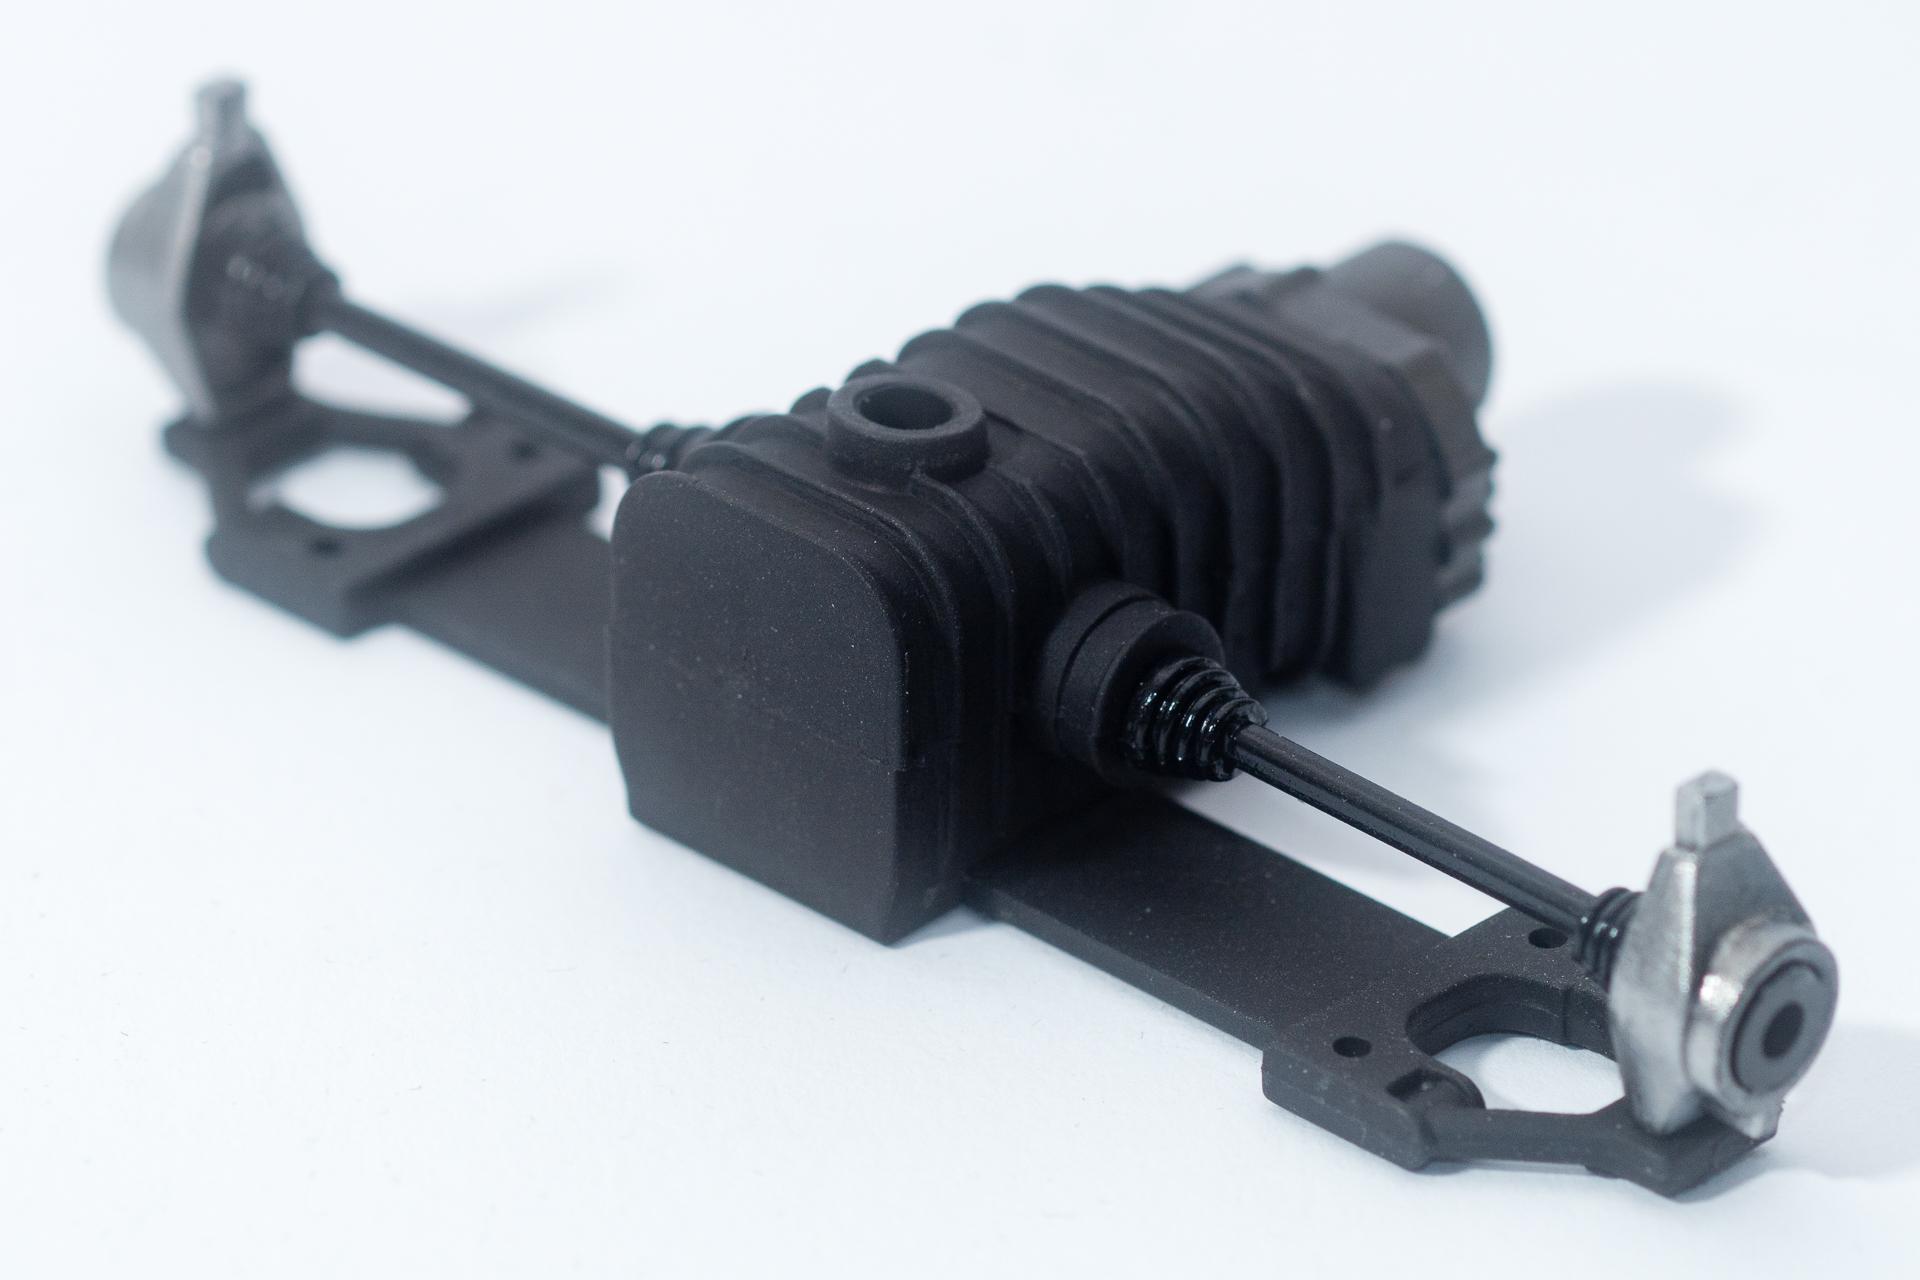
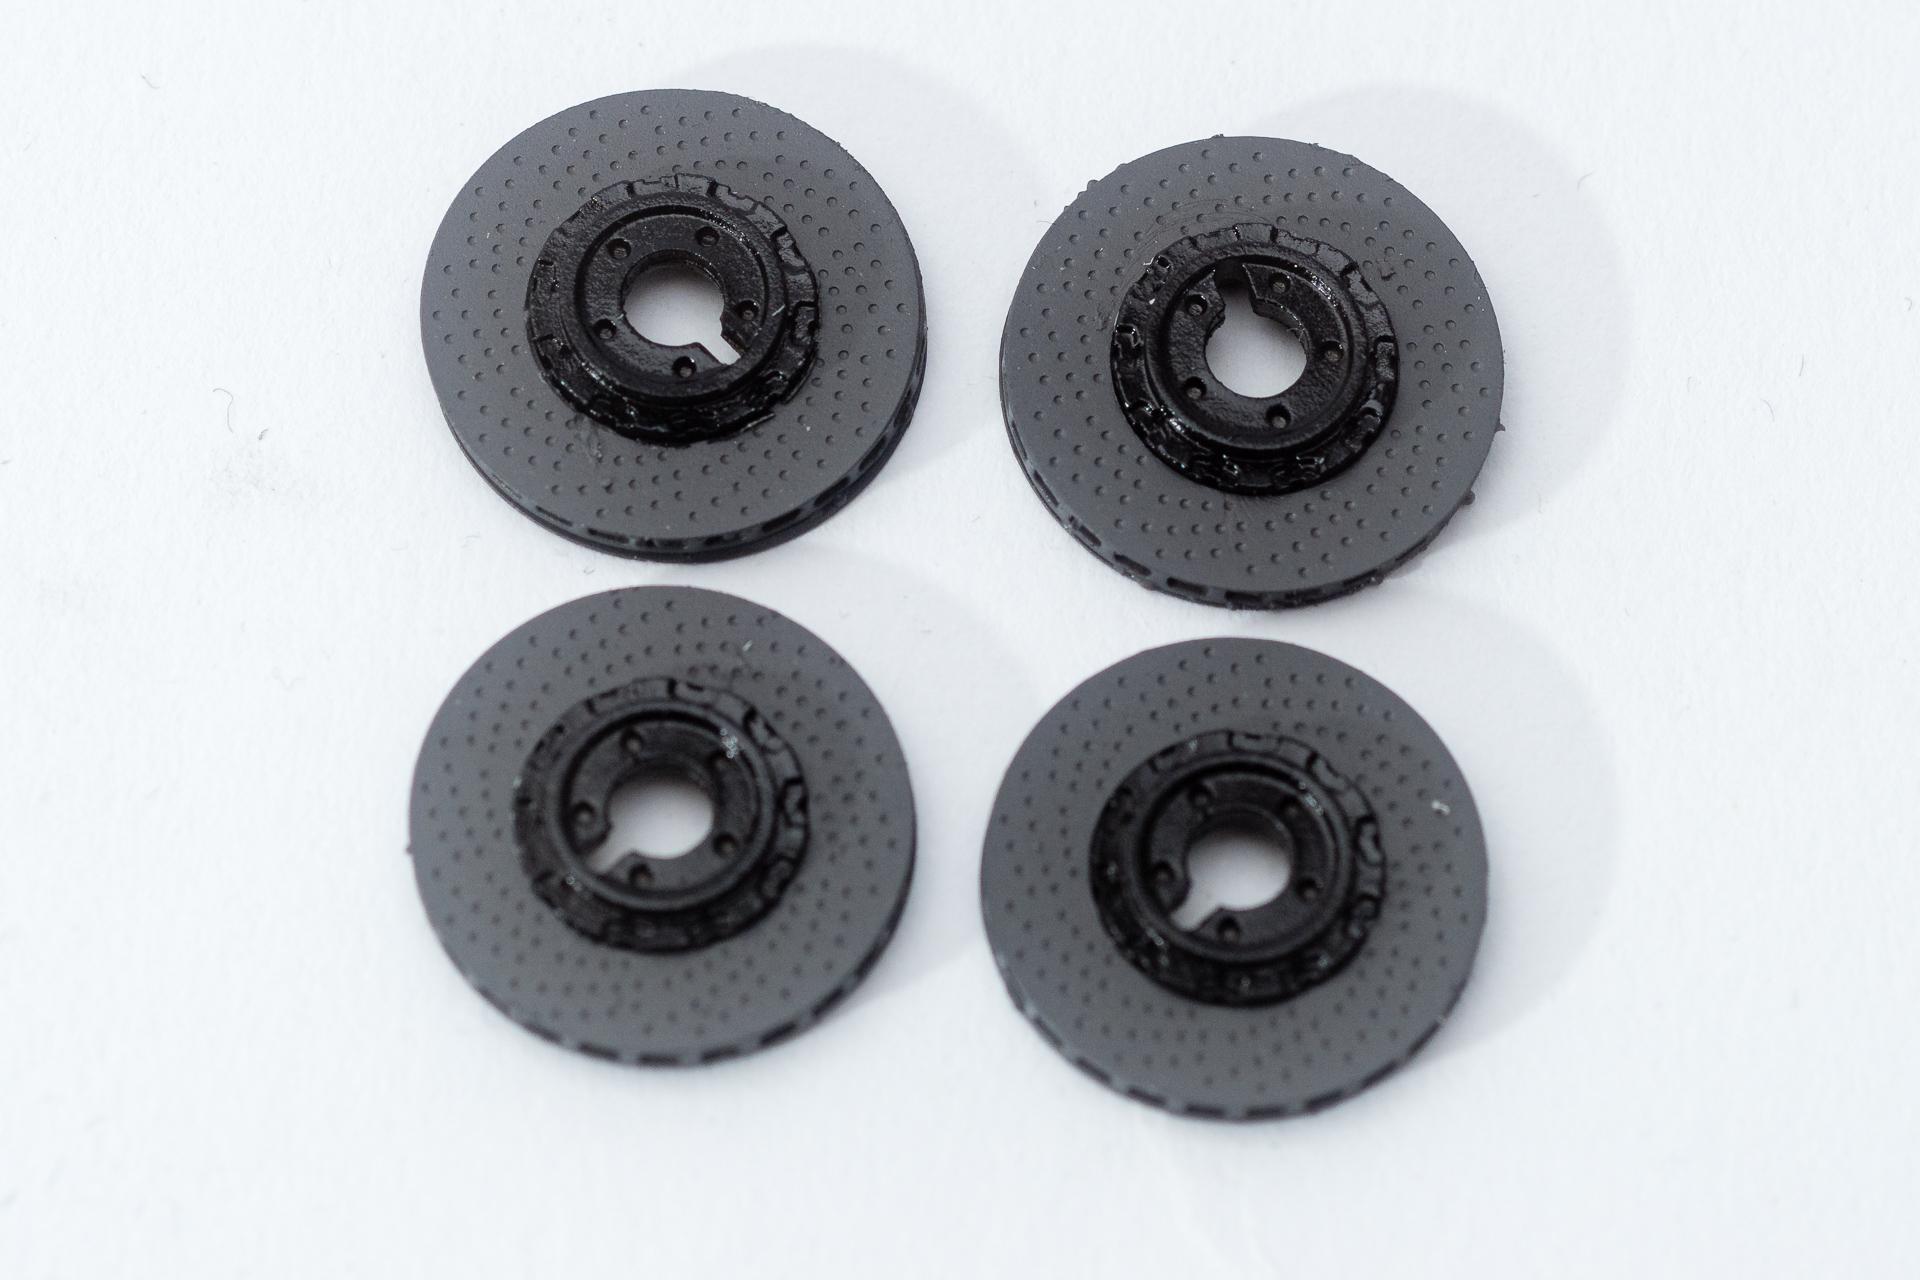
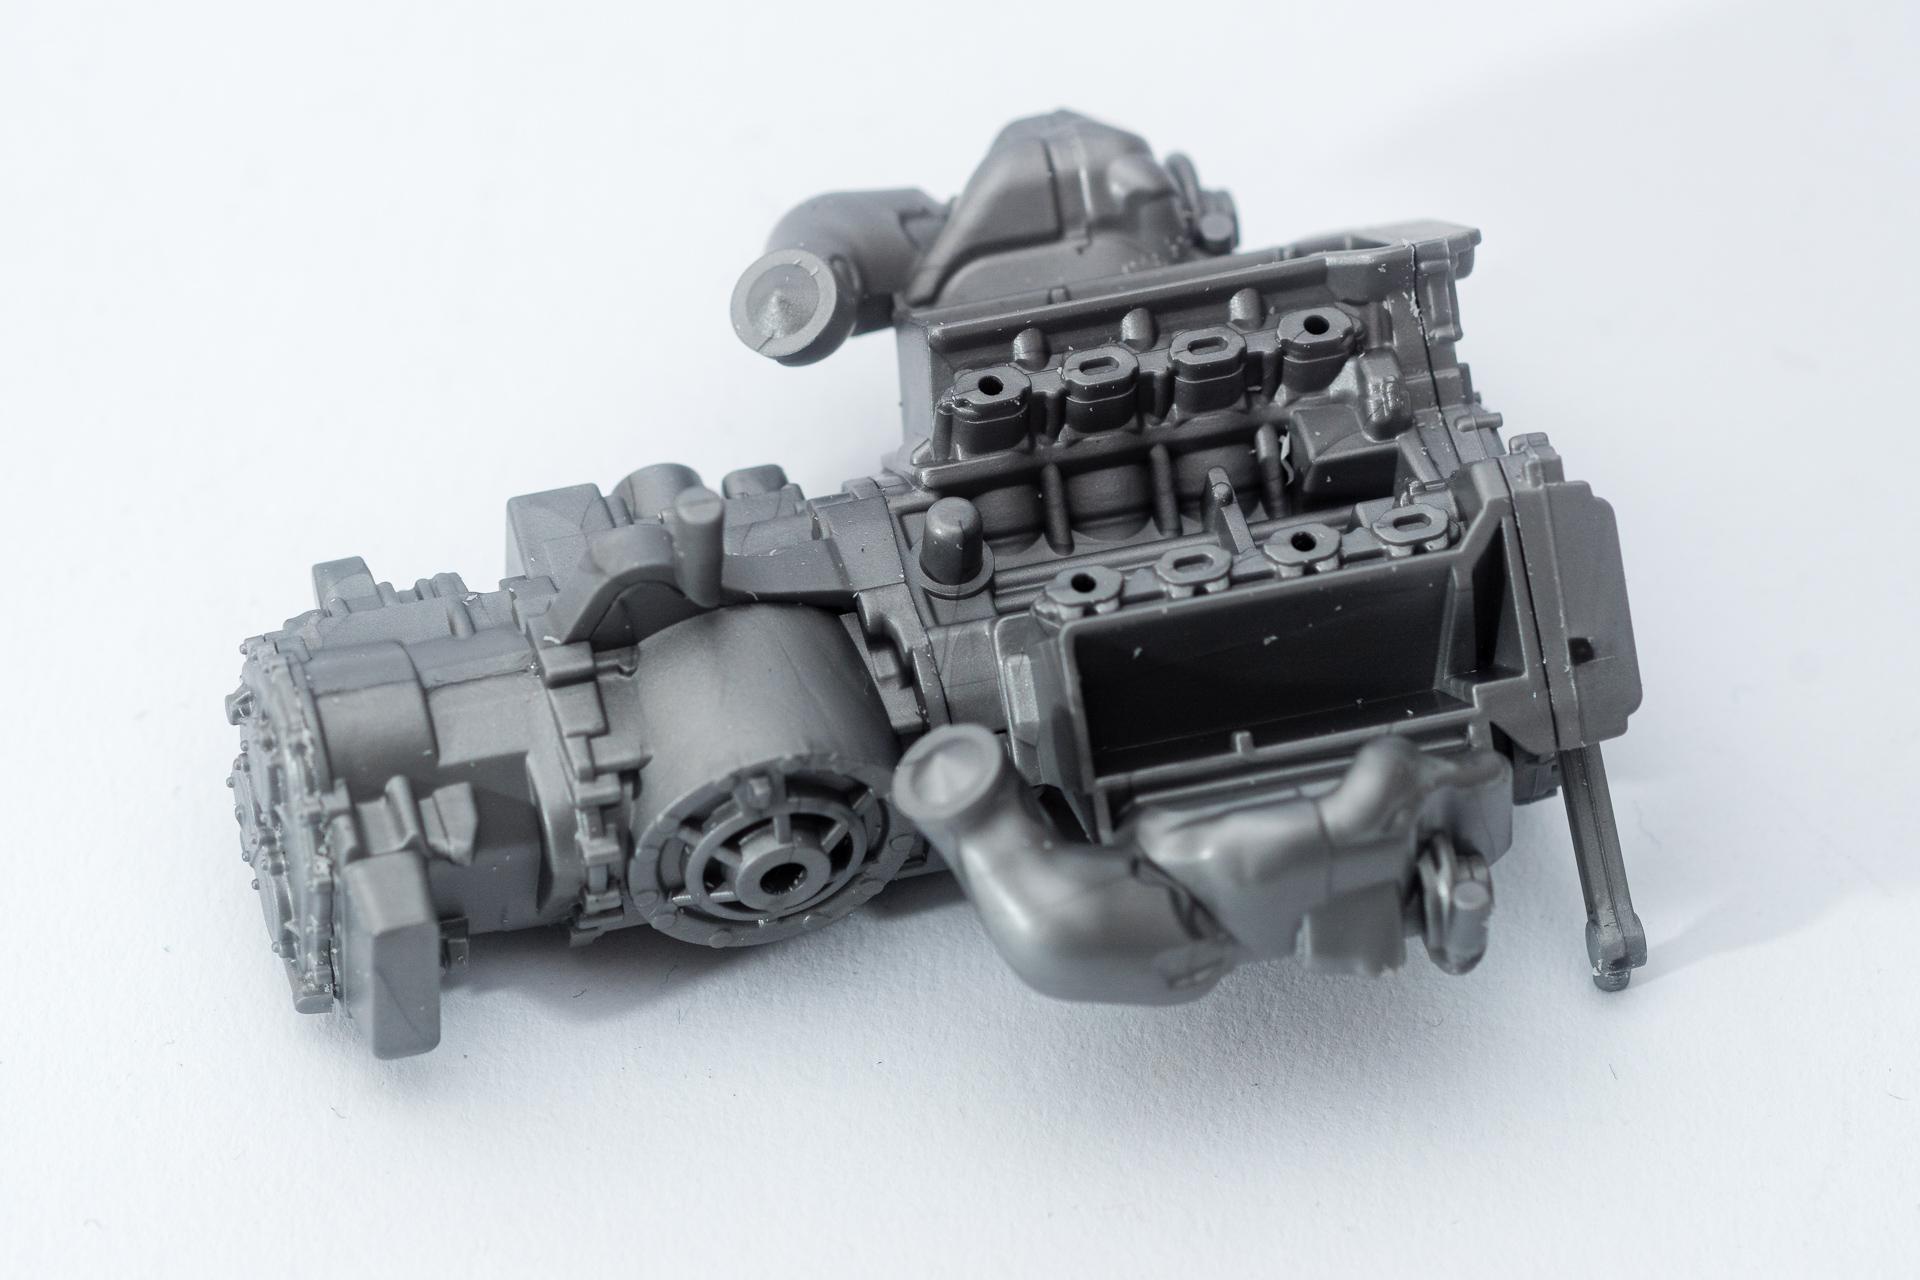
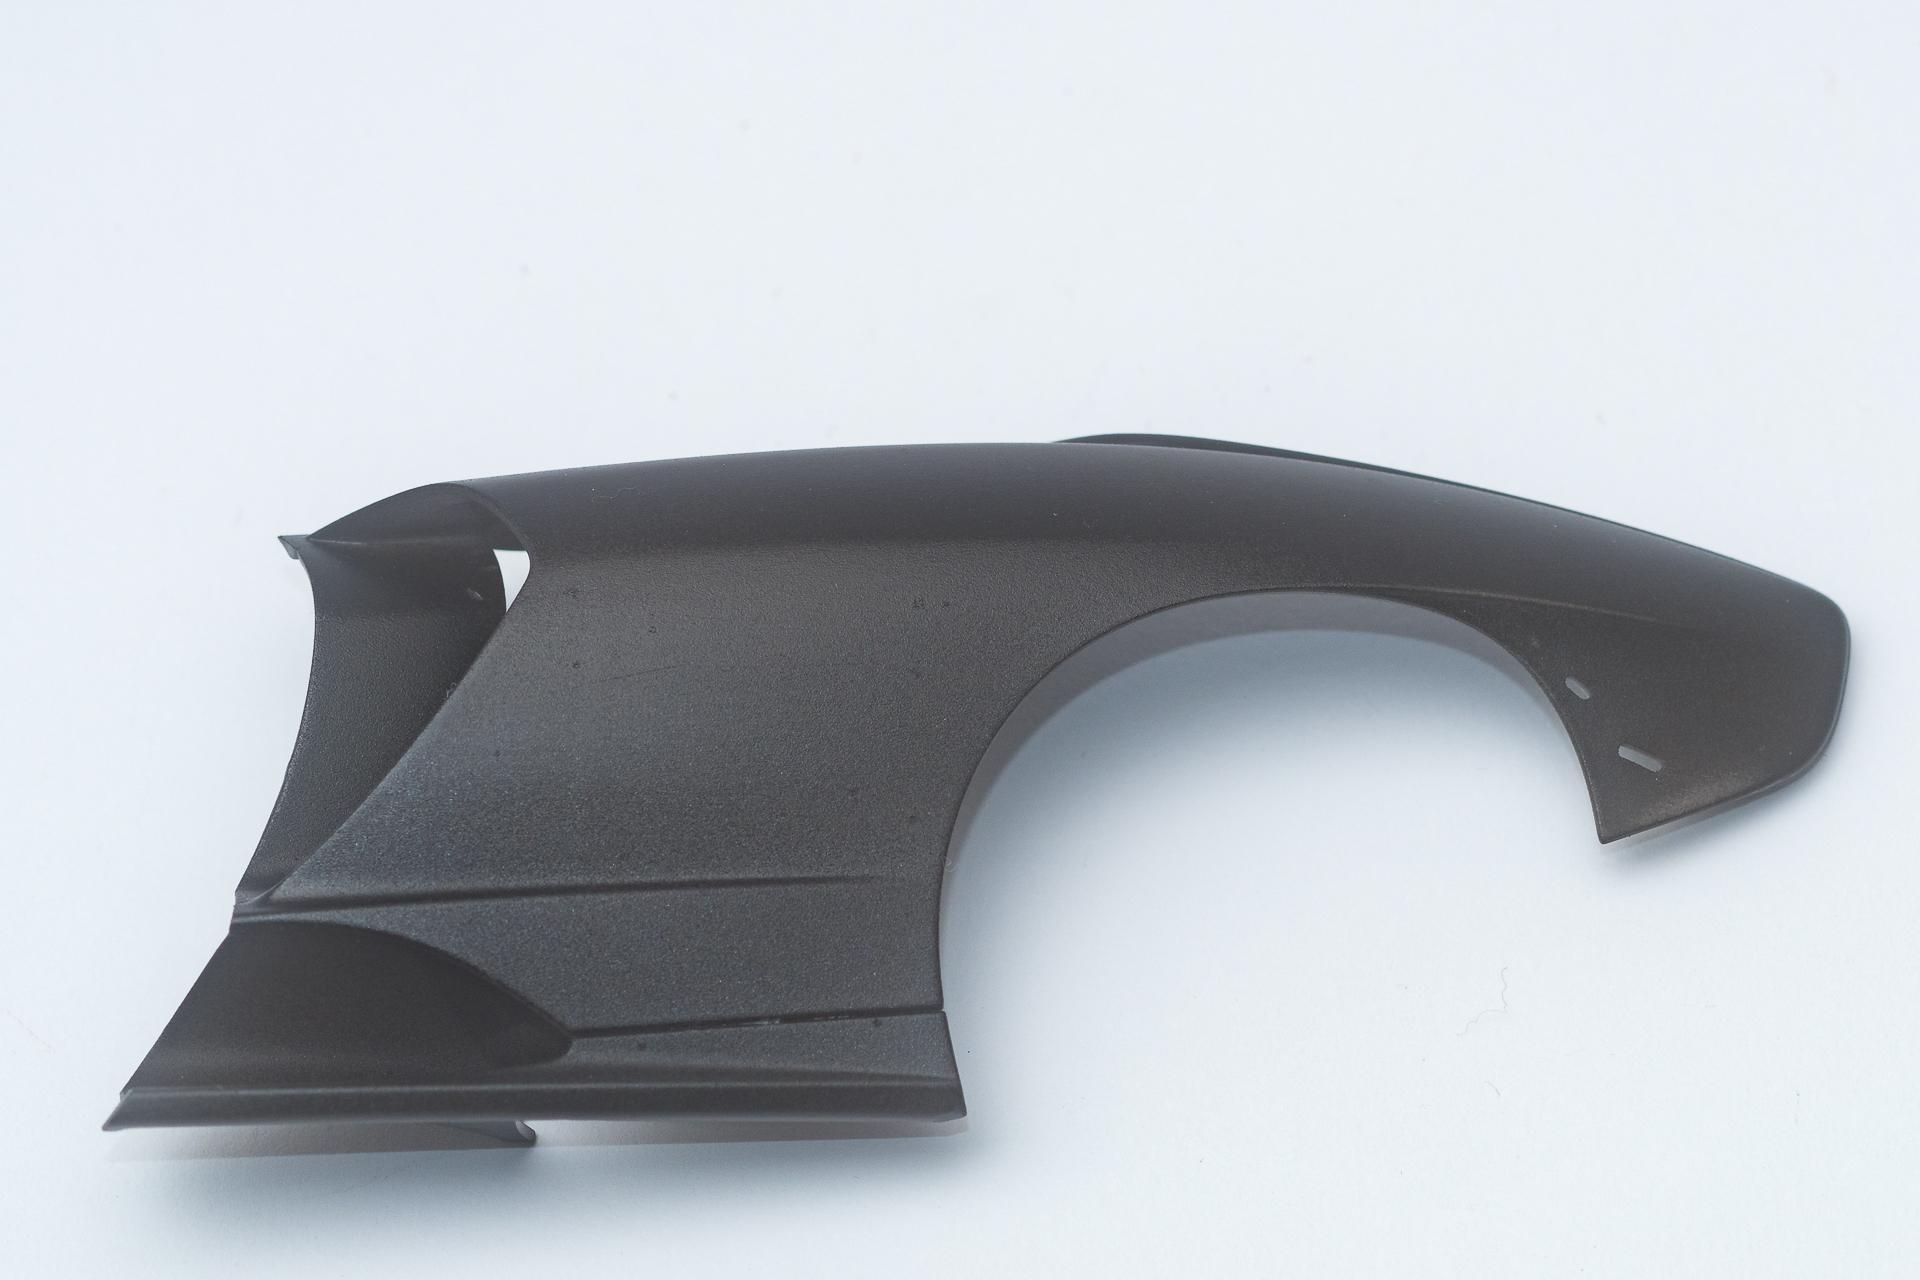
Hi all Today I'm starting with a new WIP of a nunu kit. So far I never had anything from nunu on my table, so I was quite excited to see how the quality would be. On first glance I had the impression that it's almost par with a Tamiya kit. But once I started assembling and made my first dry fits I noticed that it's far away from Tamiya. Now I'd rather rate it slightly above amt. The parts often have sink marks in places where I really wonder how this could have happended, the edges aren't really sharp and fitment isn't really outstanding neither. Something I have never seen before with other manufaturors are these weird more or less cylindrical thingies in spots that look more like ejection marks(? can't remember the right word for it right now). Most often in spots where they interfere with other parts when assembling and where they aren't easy to remove after all... The undercarriage has been assembled as far as I could before painting Also the gearbox including the rear axle has been assembled. The ring you can see on the upper side (actually it is the bottom part) fits to a hole in the undercarriage. But you have to check on your own that the axle is perpendicular to the centerline of the car. A square would have made much more sense in my opinion. On the upper side there is a rectangular notch to hold another part (the one you can see in the second picture). But therefore you have no hint where exactly this part has to be placed in cross direction. There is a third part that has clear markings for both of the first parts but this has to be assembled much later in the process. At least I could use it as some kind of jig when assembling gearbox and the rectangular part. After that the cooler has been assembled. I know the grid should have been painted in black as well, but I decided to leave it how it was and only do a black wash to get some more contrast. Finally the brake discs have been completed and are awaiting their installation That's all for today. I hope to have piqued your interest and am looking forward to your critics, plaudits and suggestions Urs
-
-
Thank you all for your kind comments, I really appreciate it ?
-
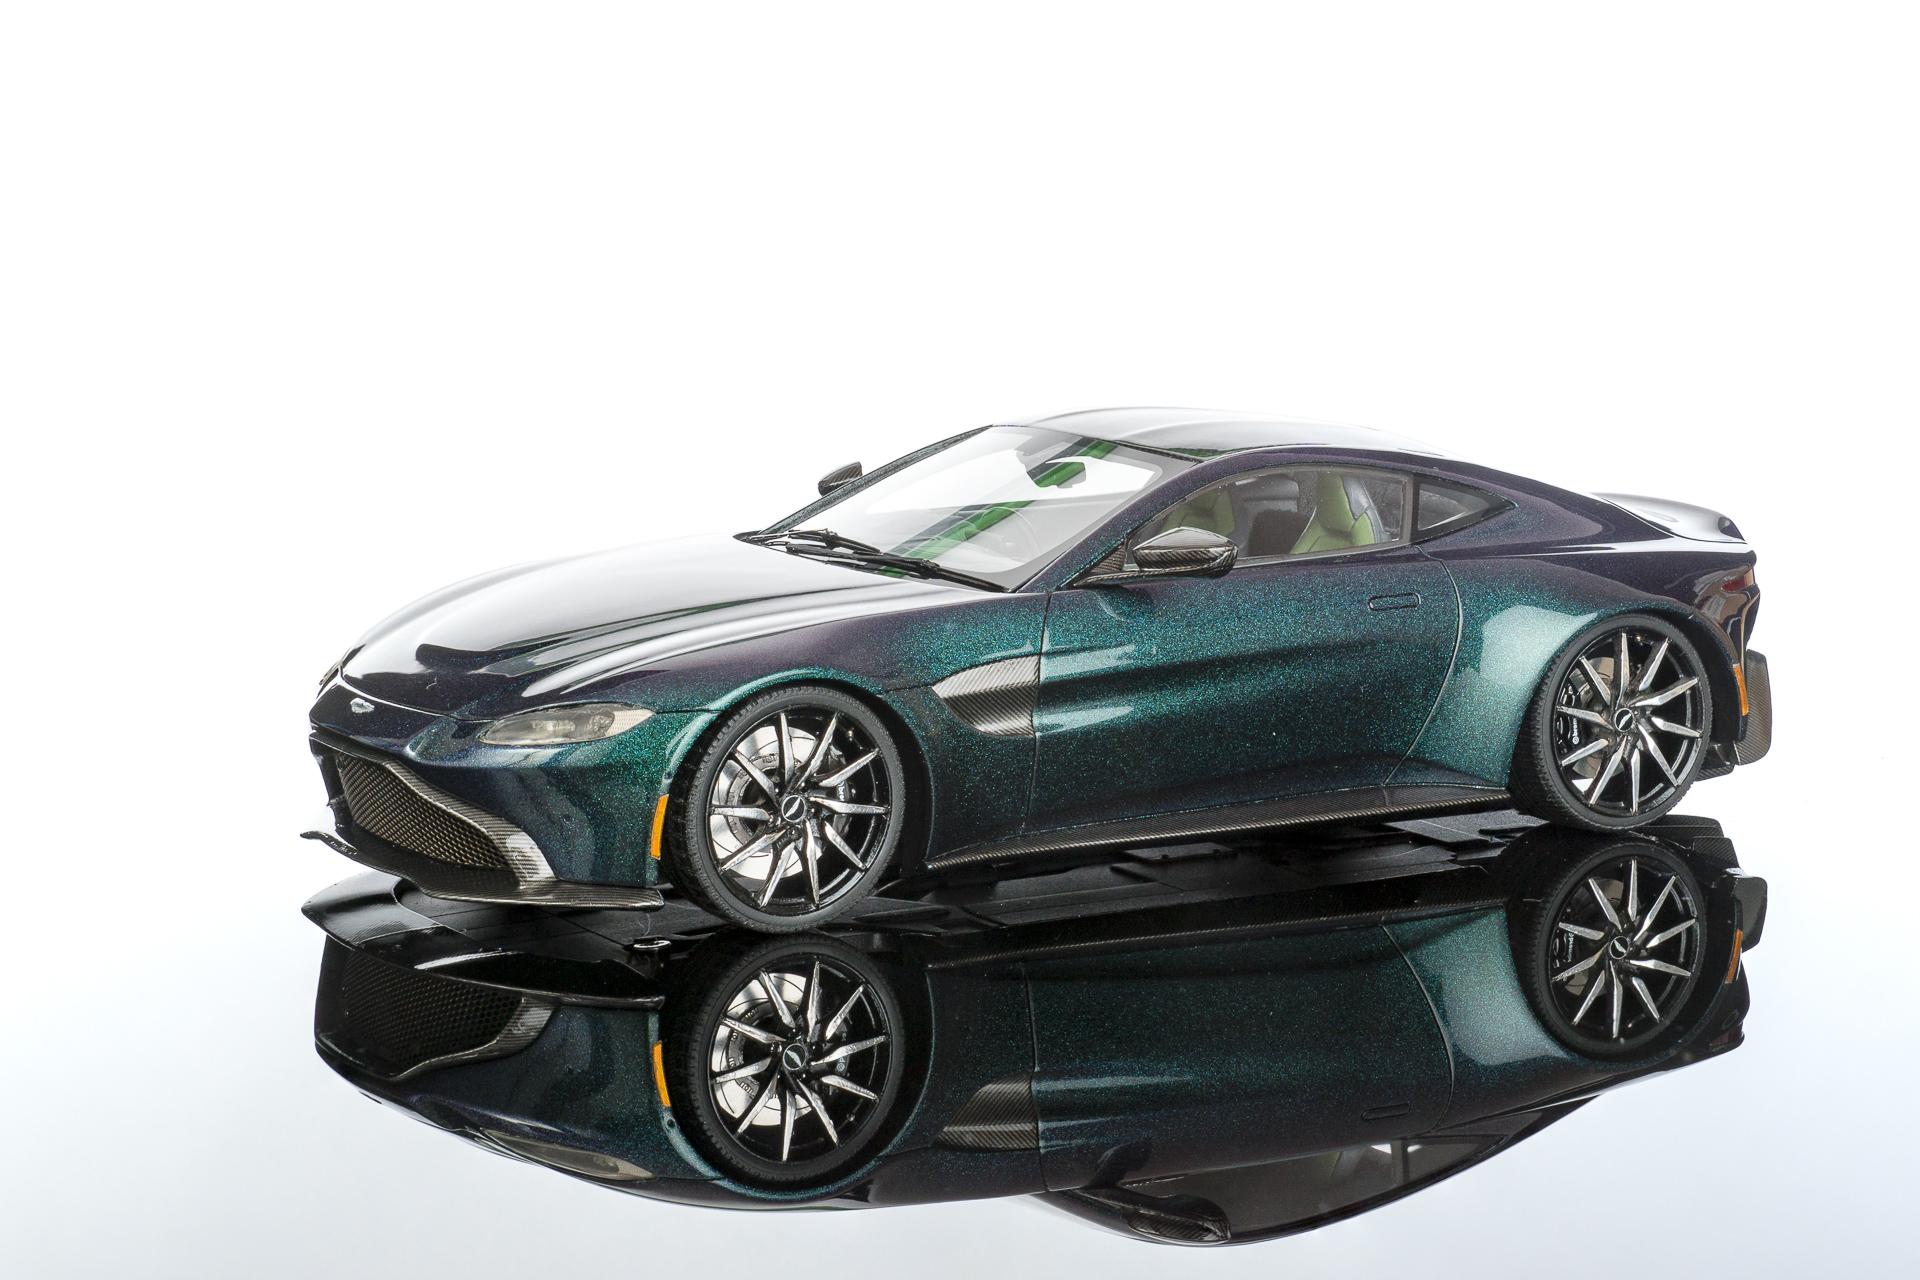
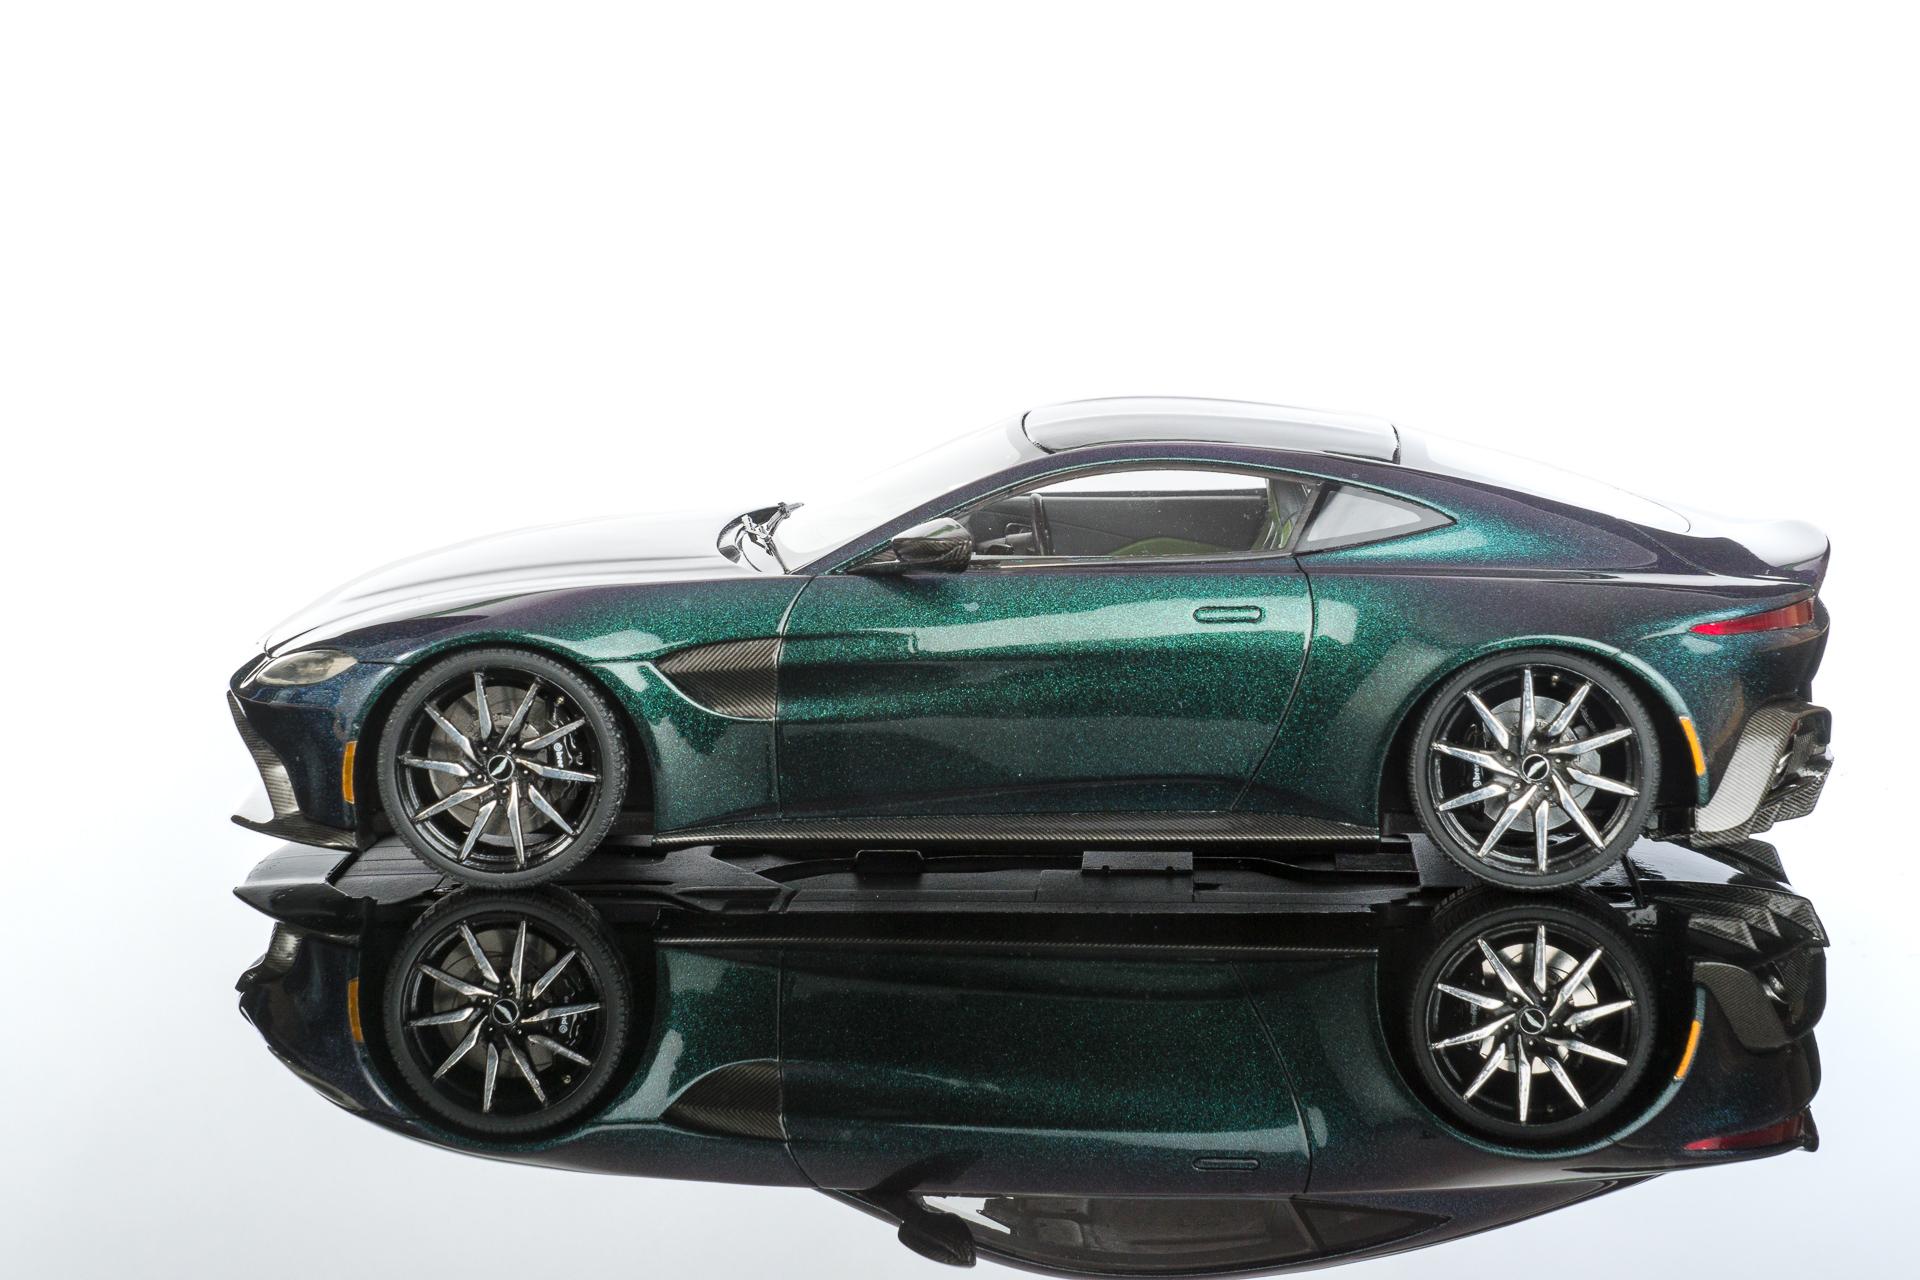
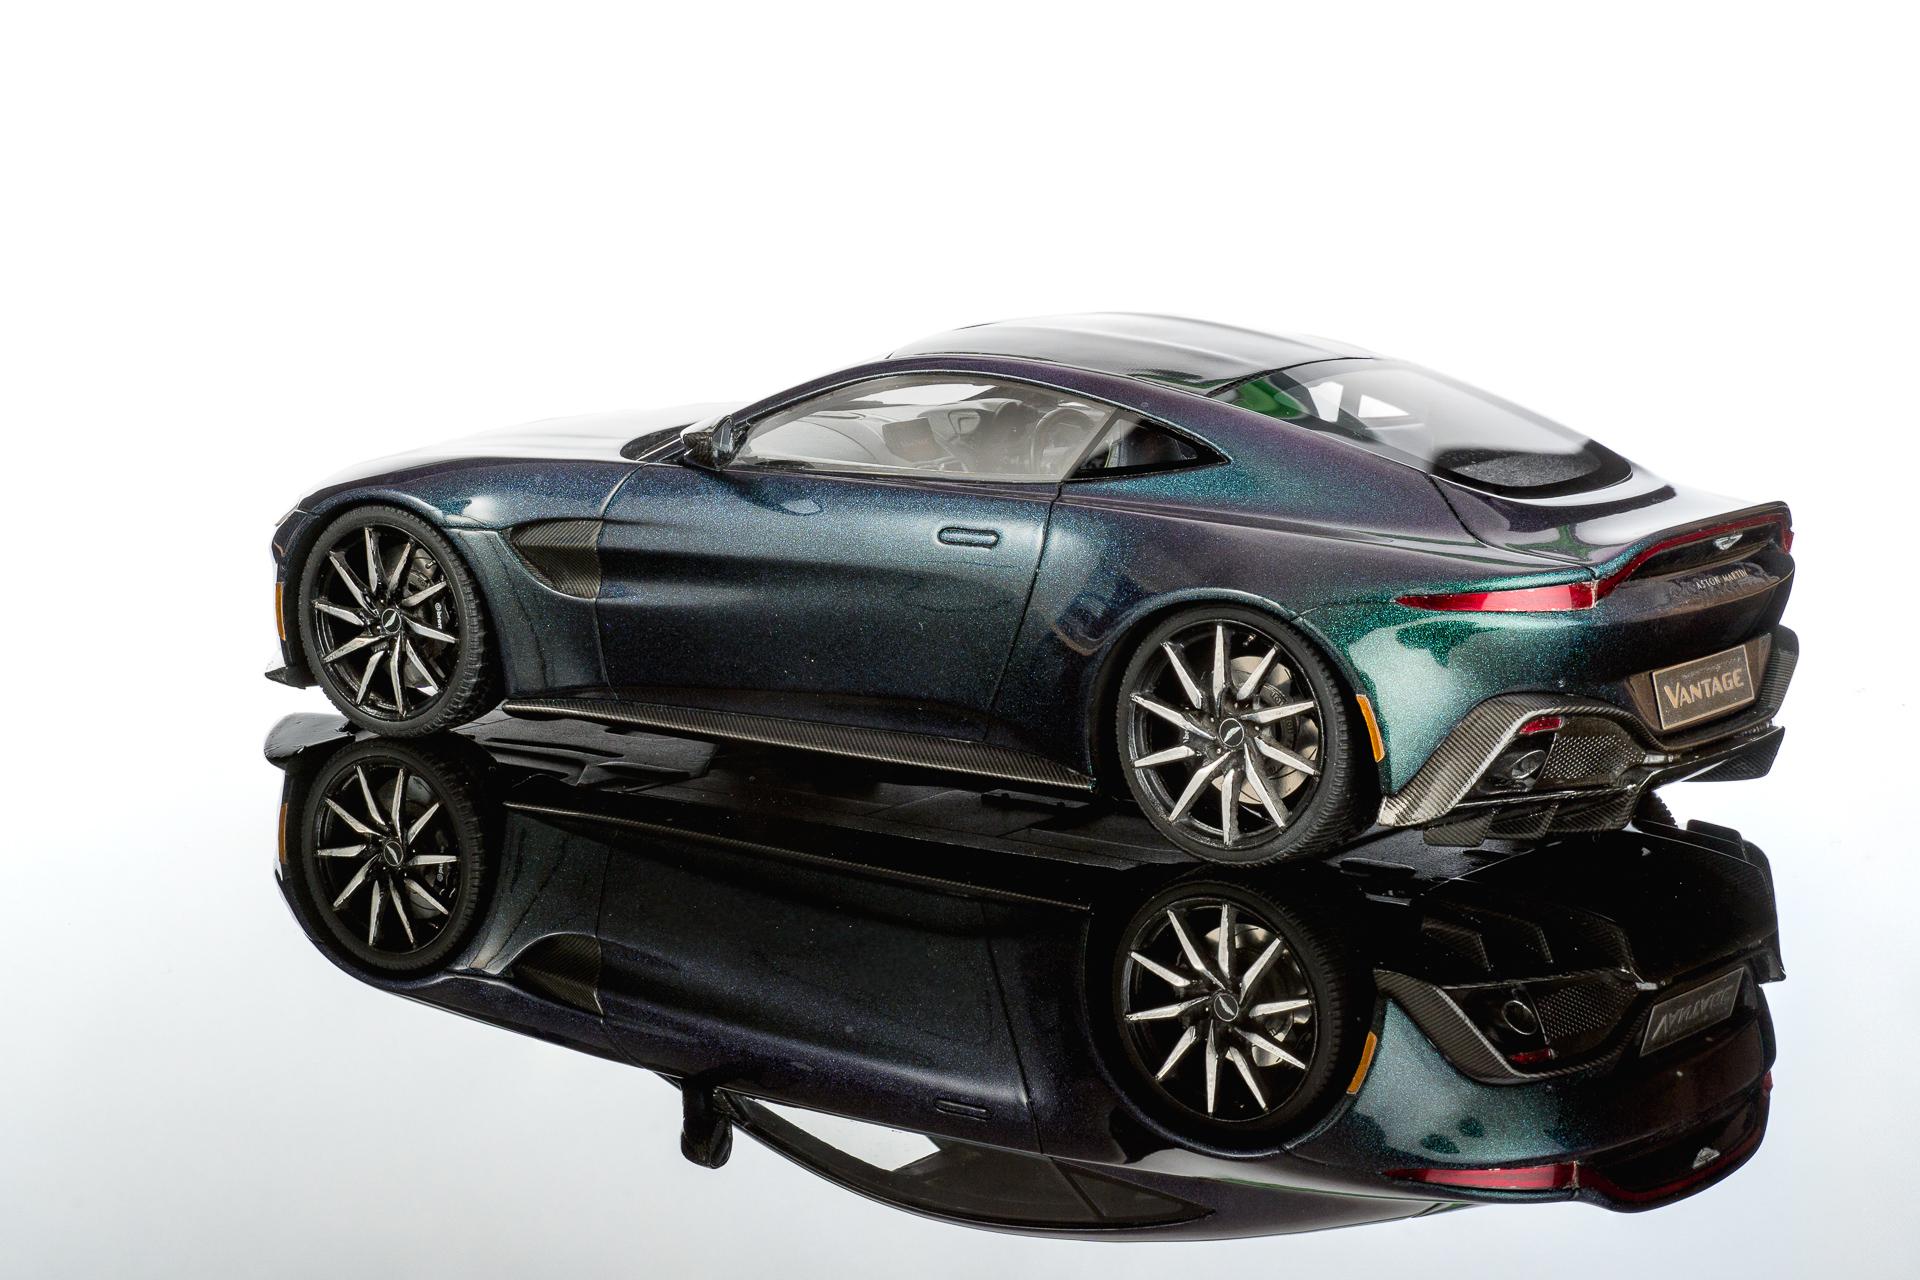
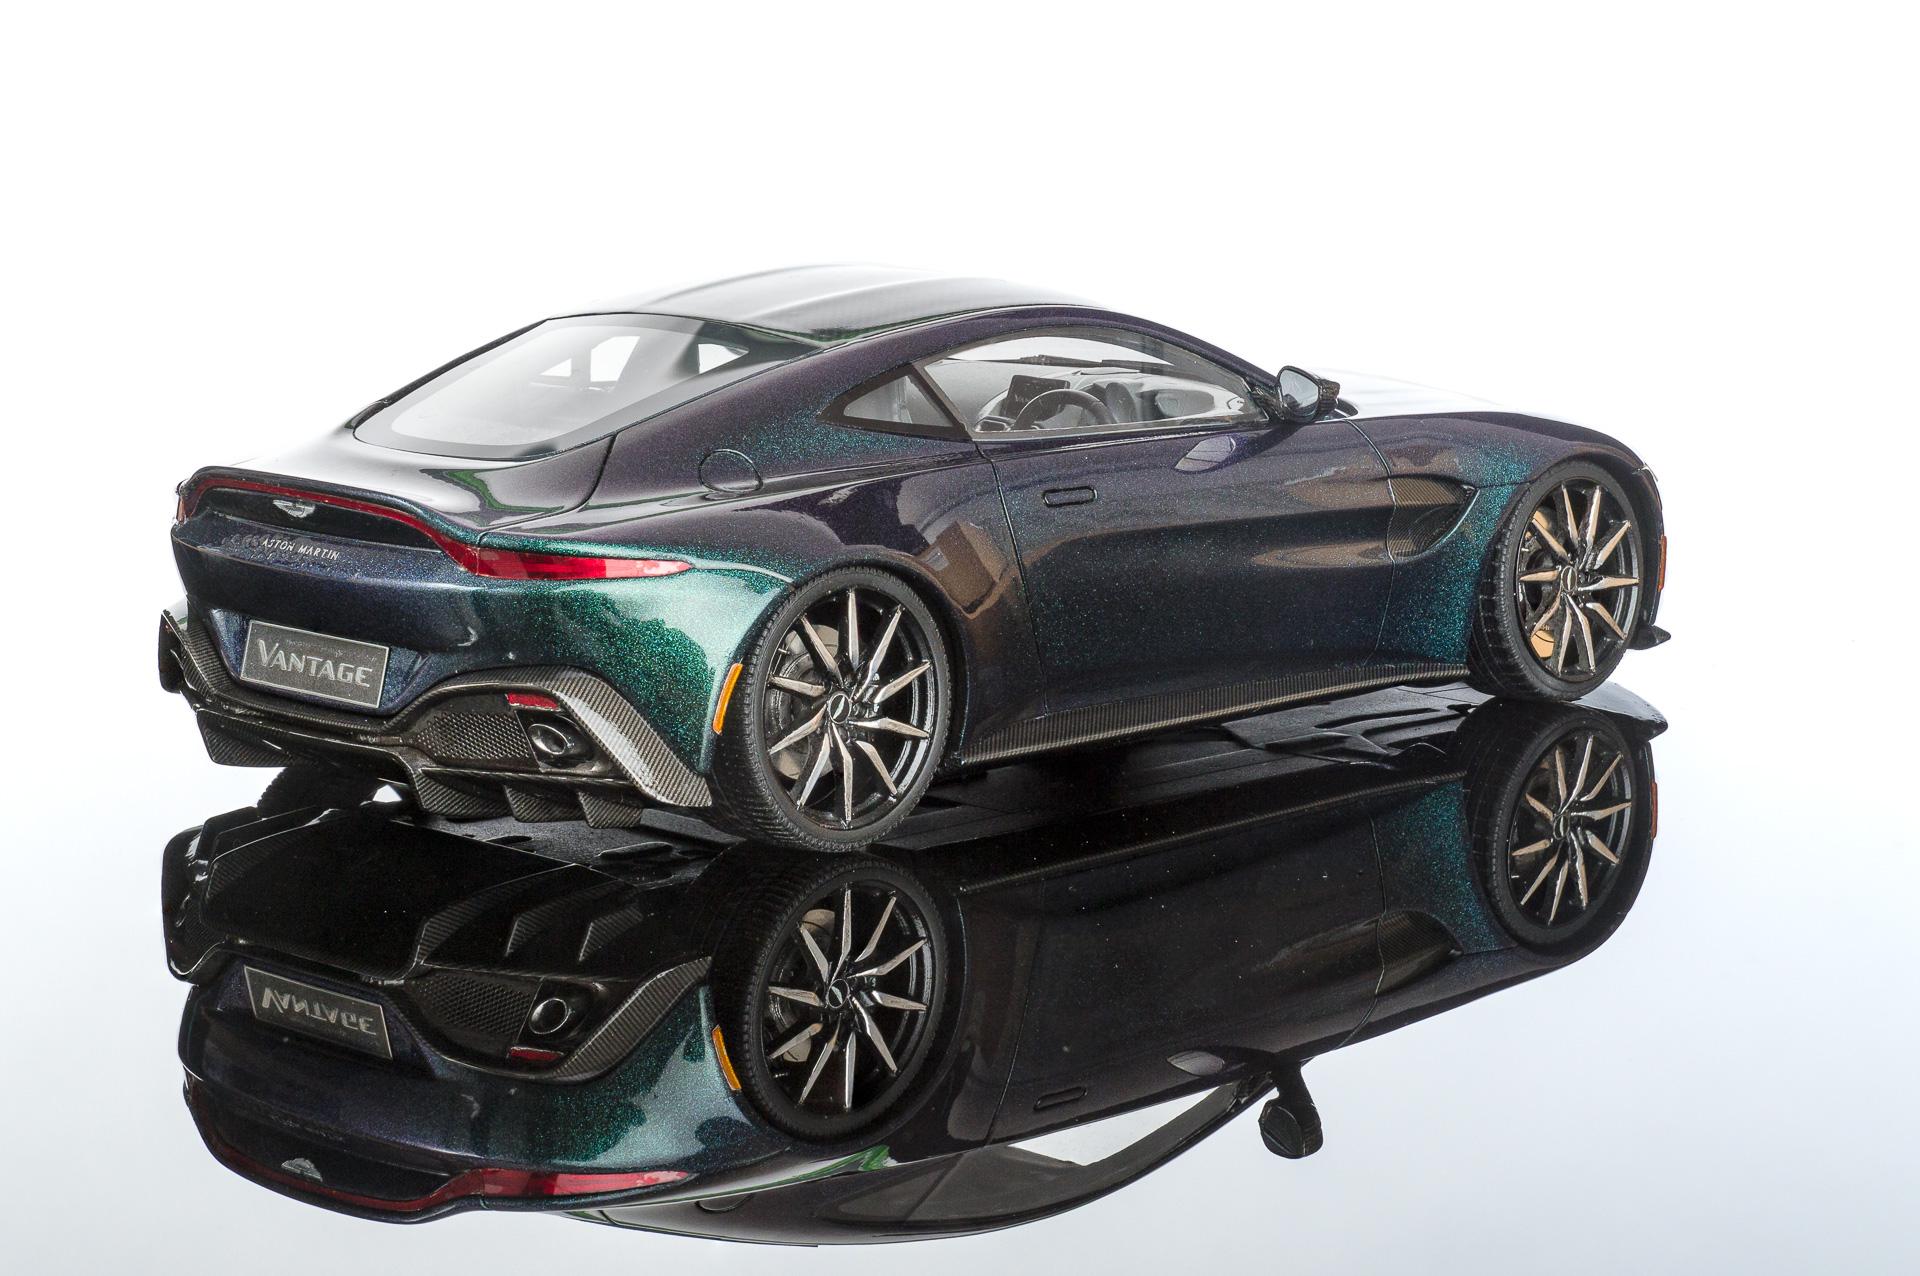
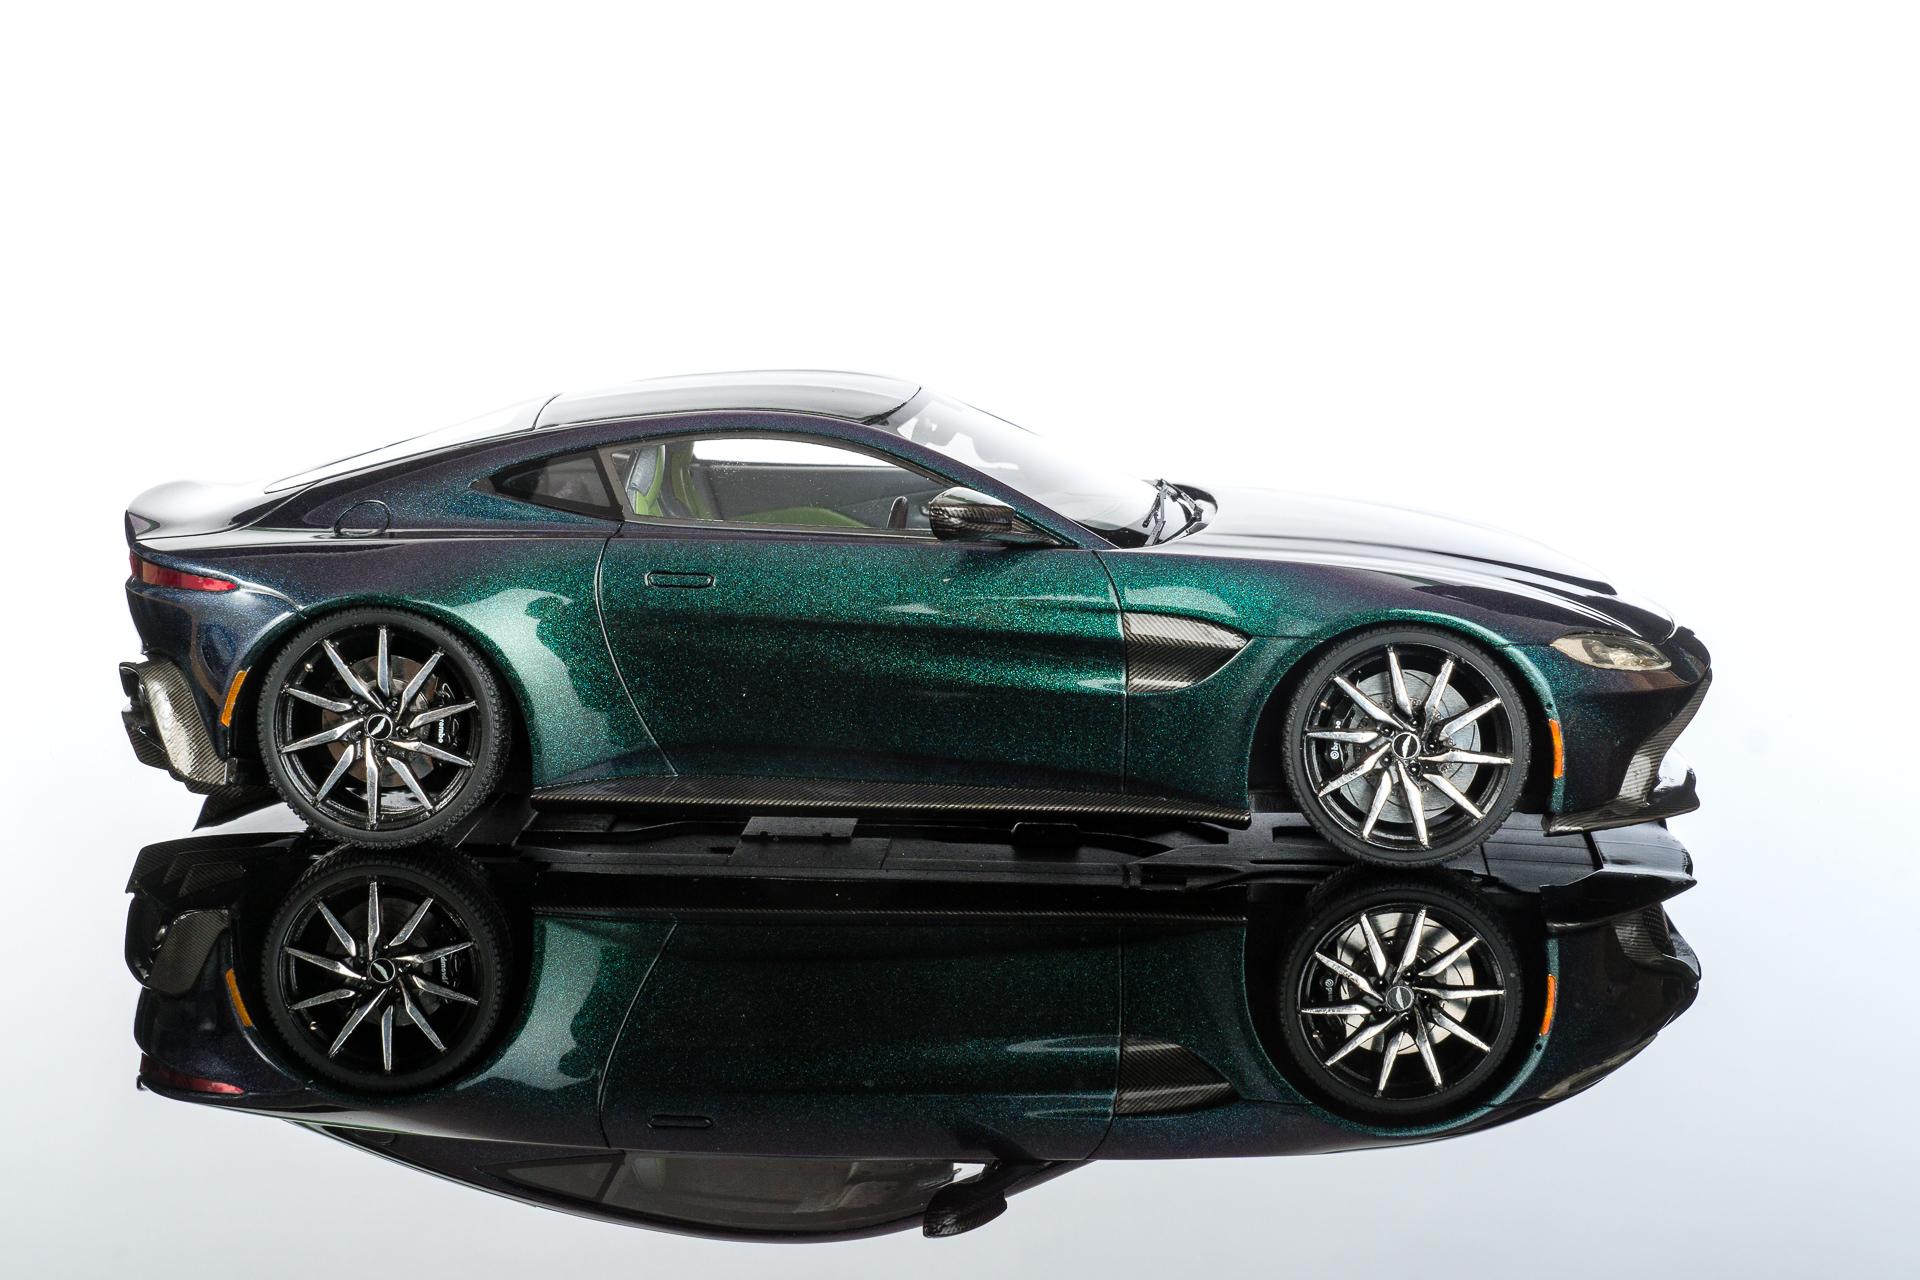
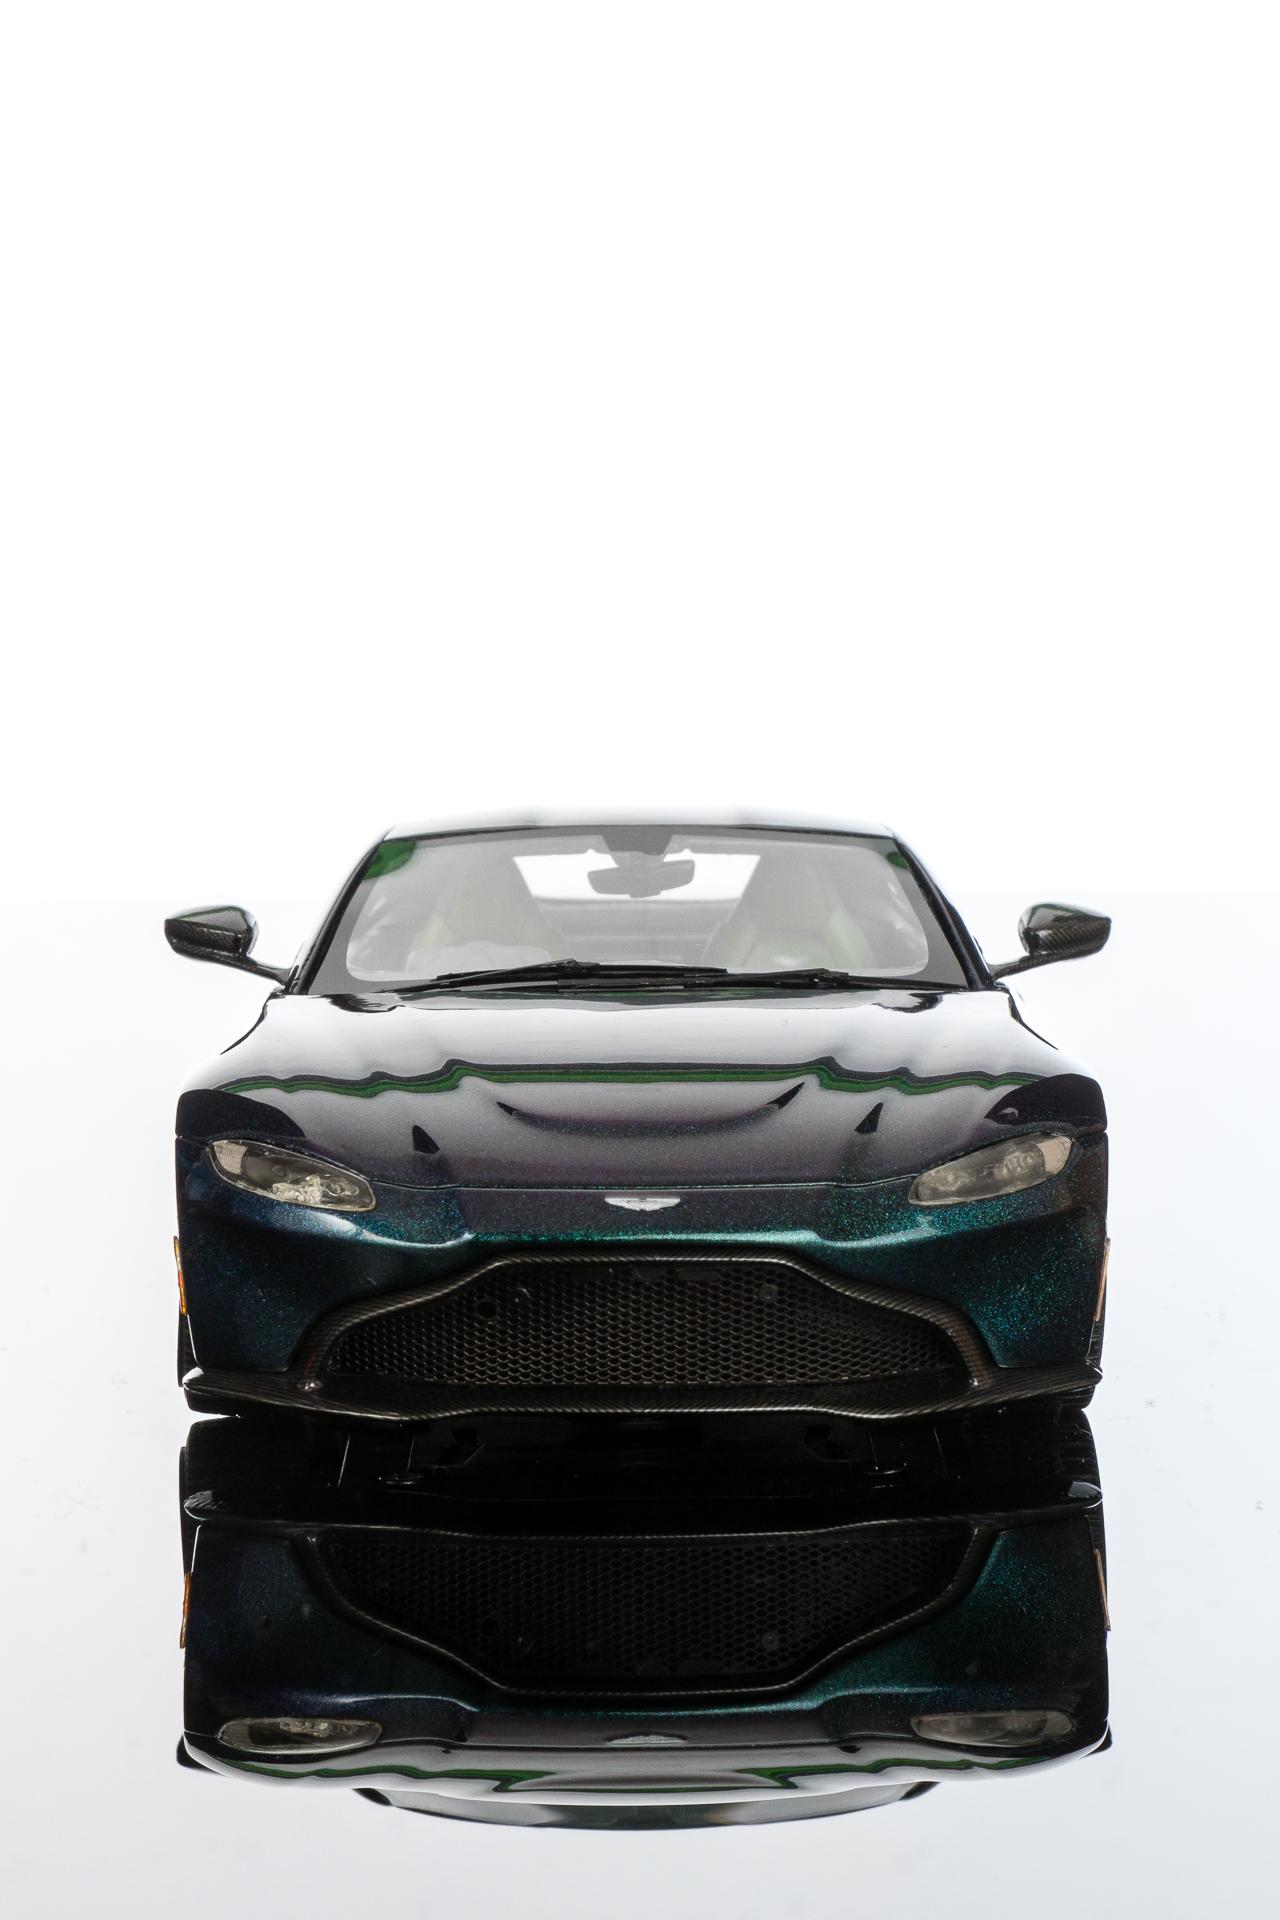
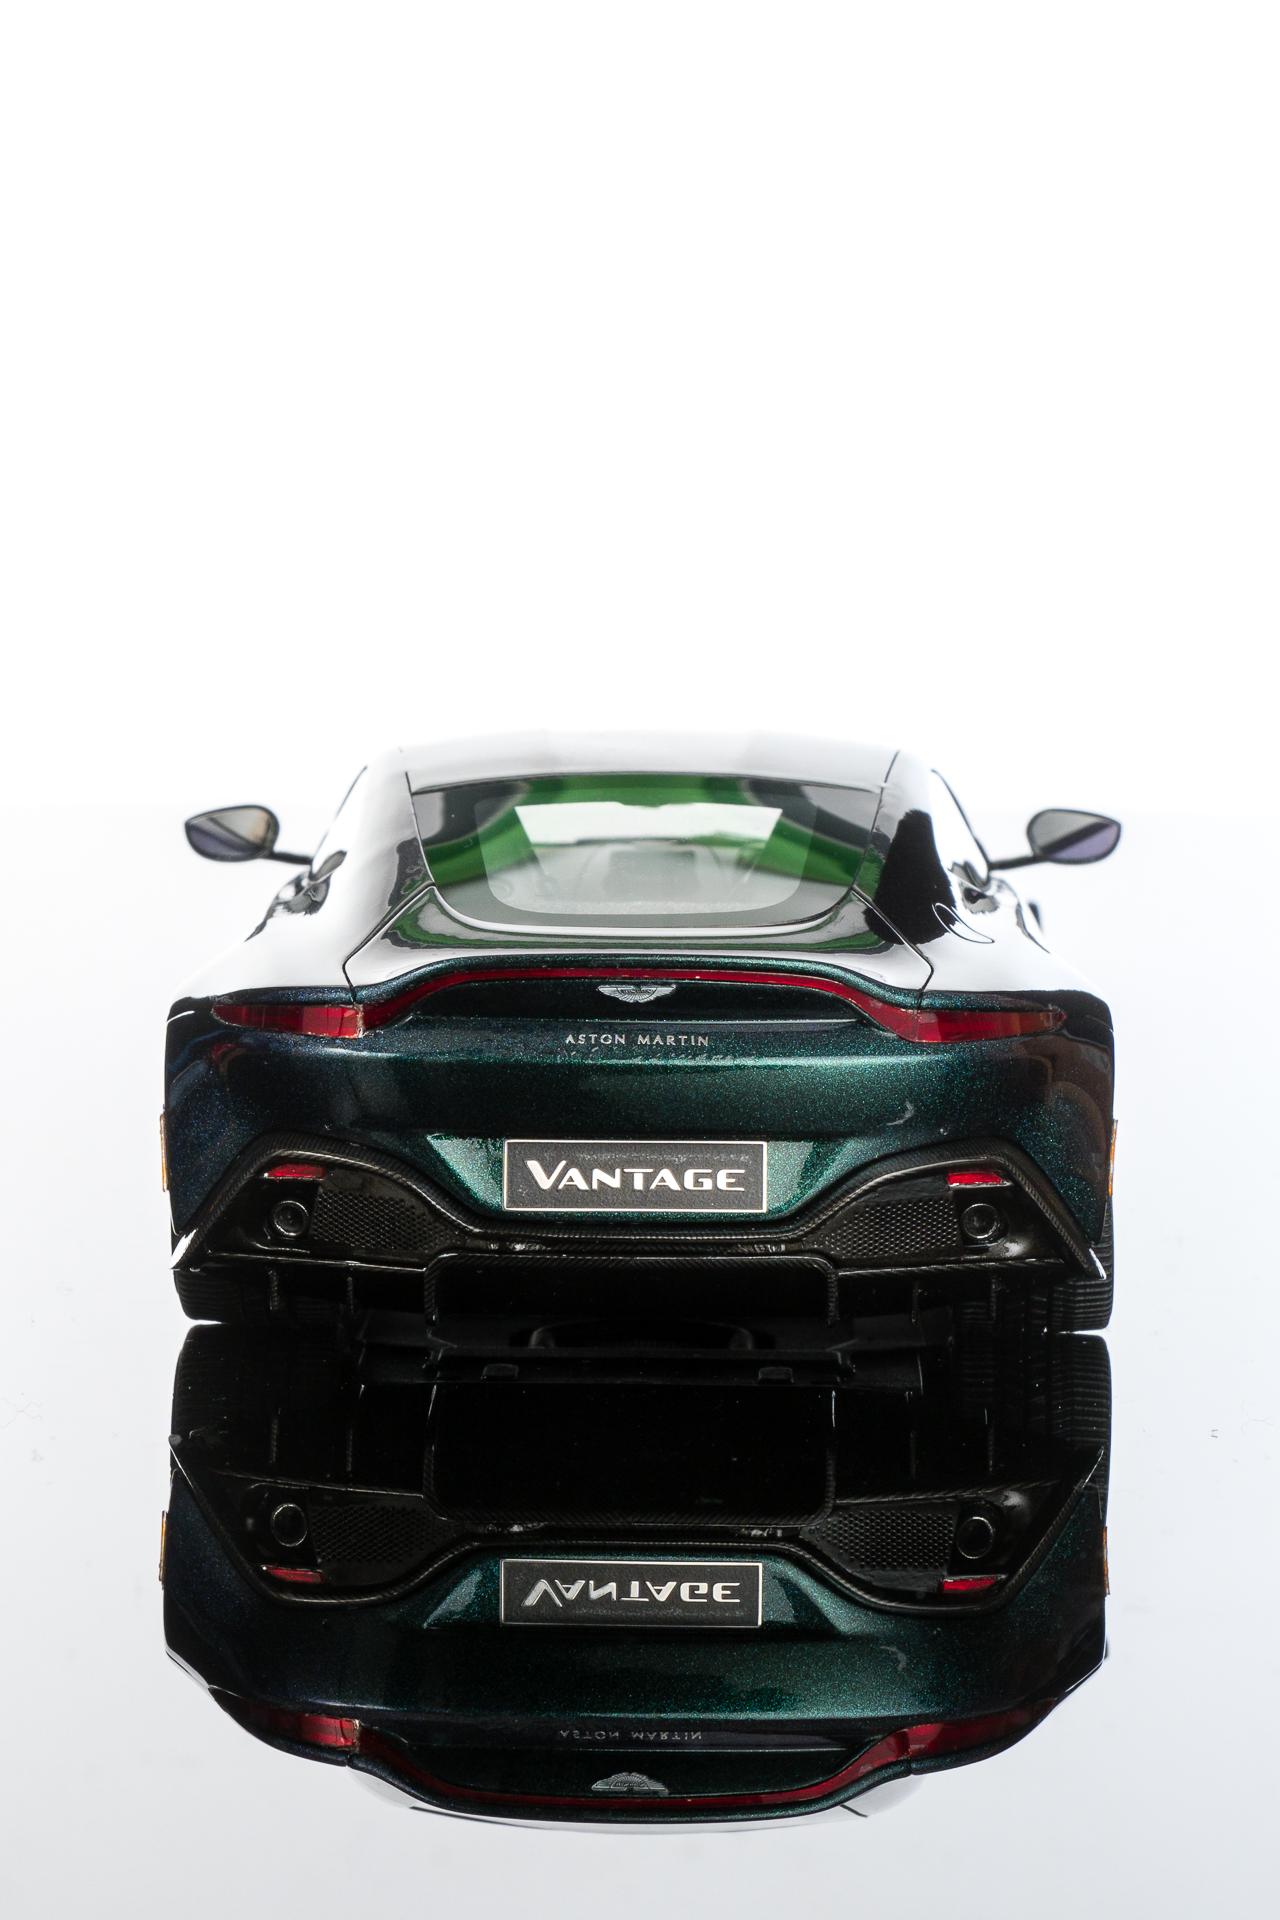
Hi all This spring I finished alpha model's Aston Martin Vantage for a contest in a german speaking forum. The kit was really fun to build and I really love how it turned out in the end. It was the first time I used a chromatic flip paint (green to purple) by Zero Paints. It looks really cool if the sun shines on the model, but it's not that easy to take some pictures which really show the effect. I hope you can see it on the pictures below. But enough said, let me show you the pics. Urs
-
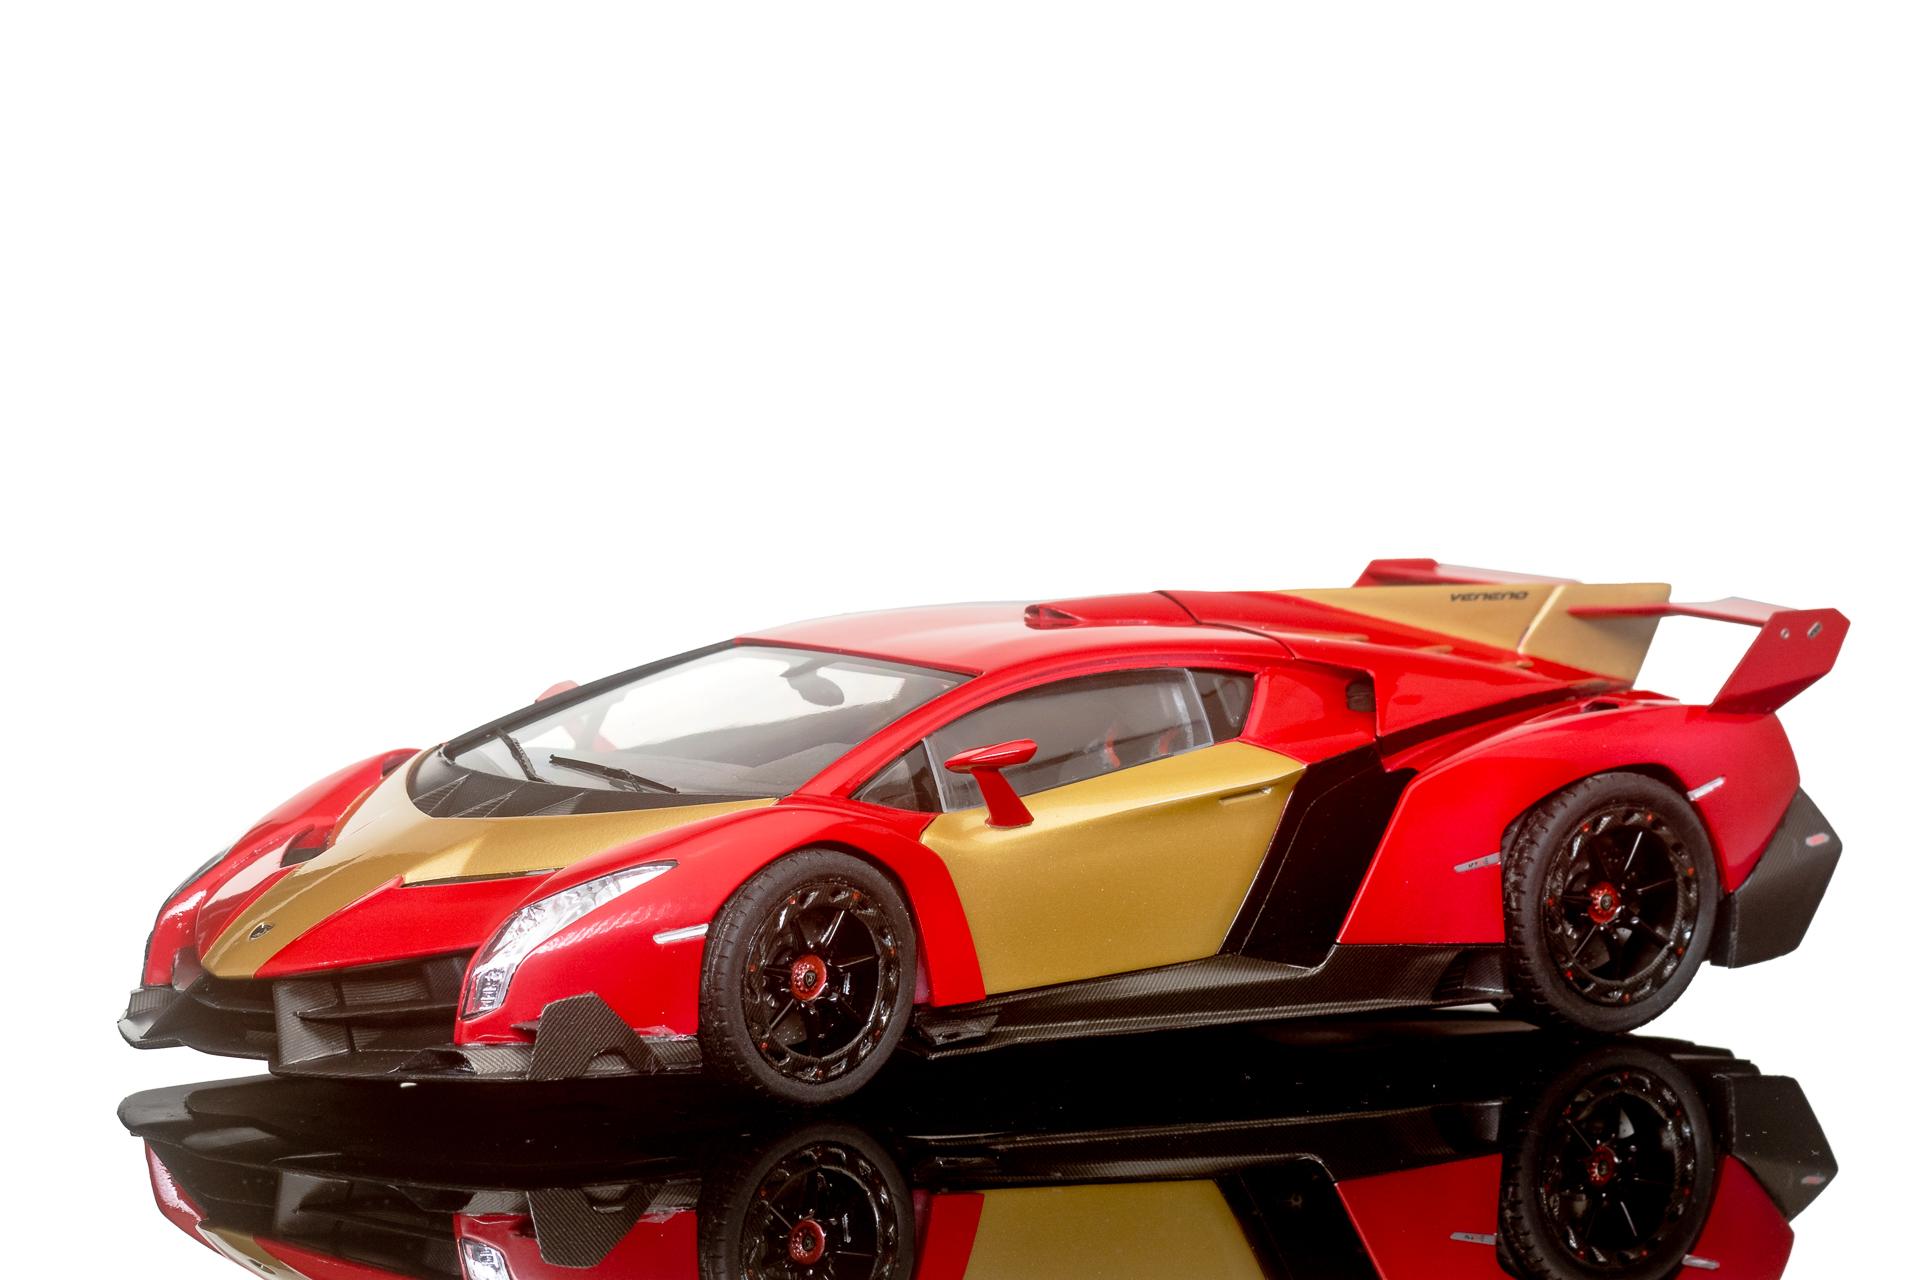
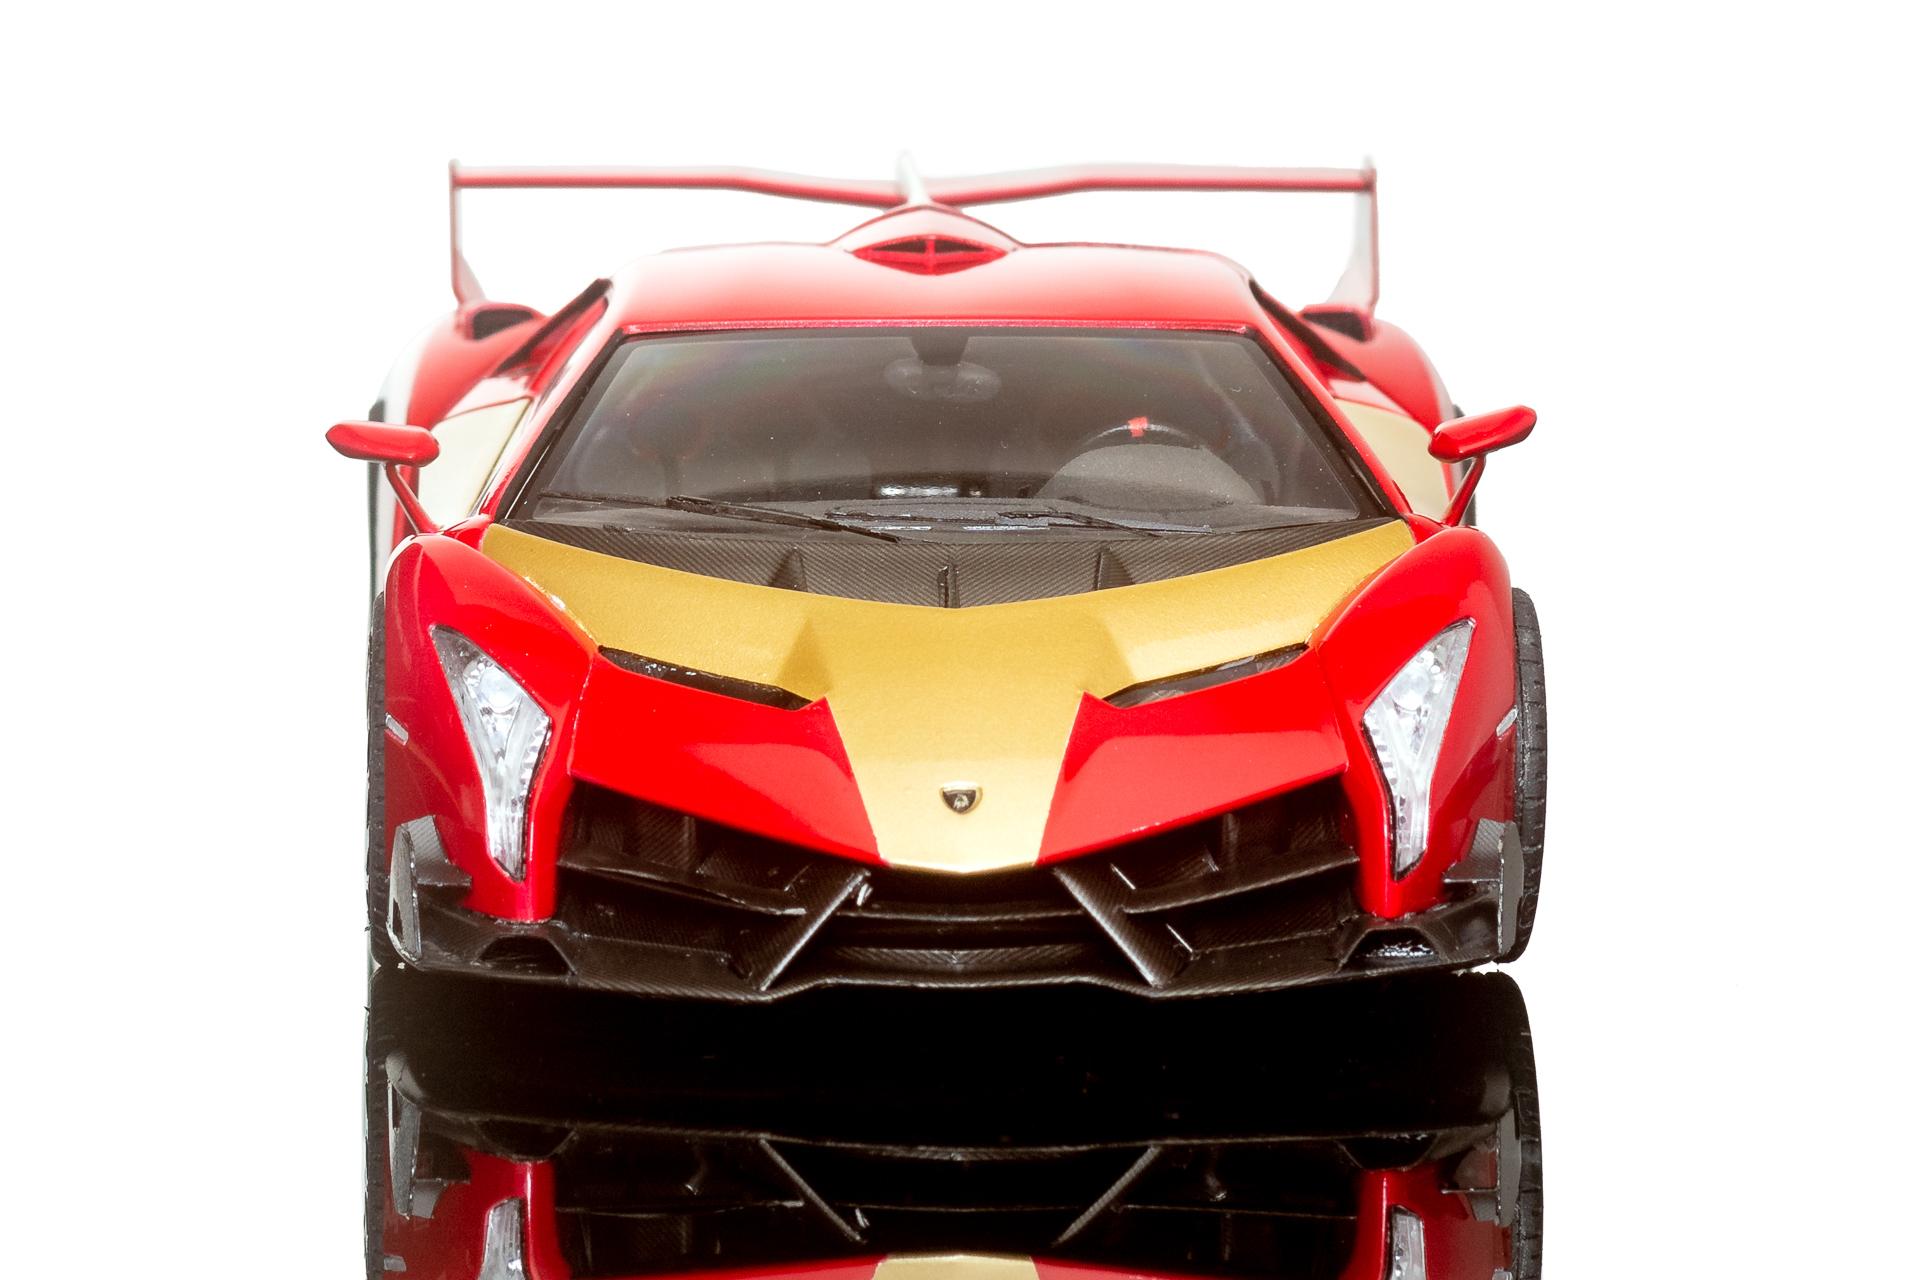
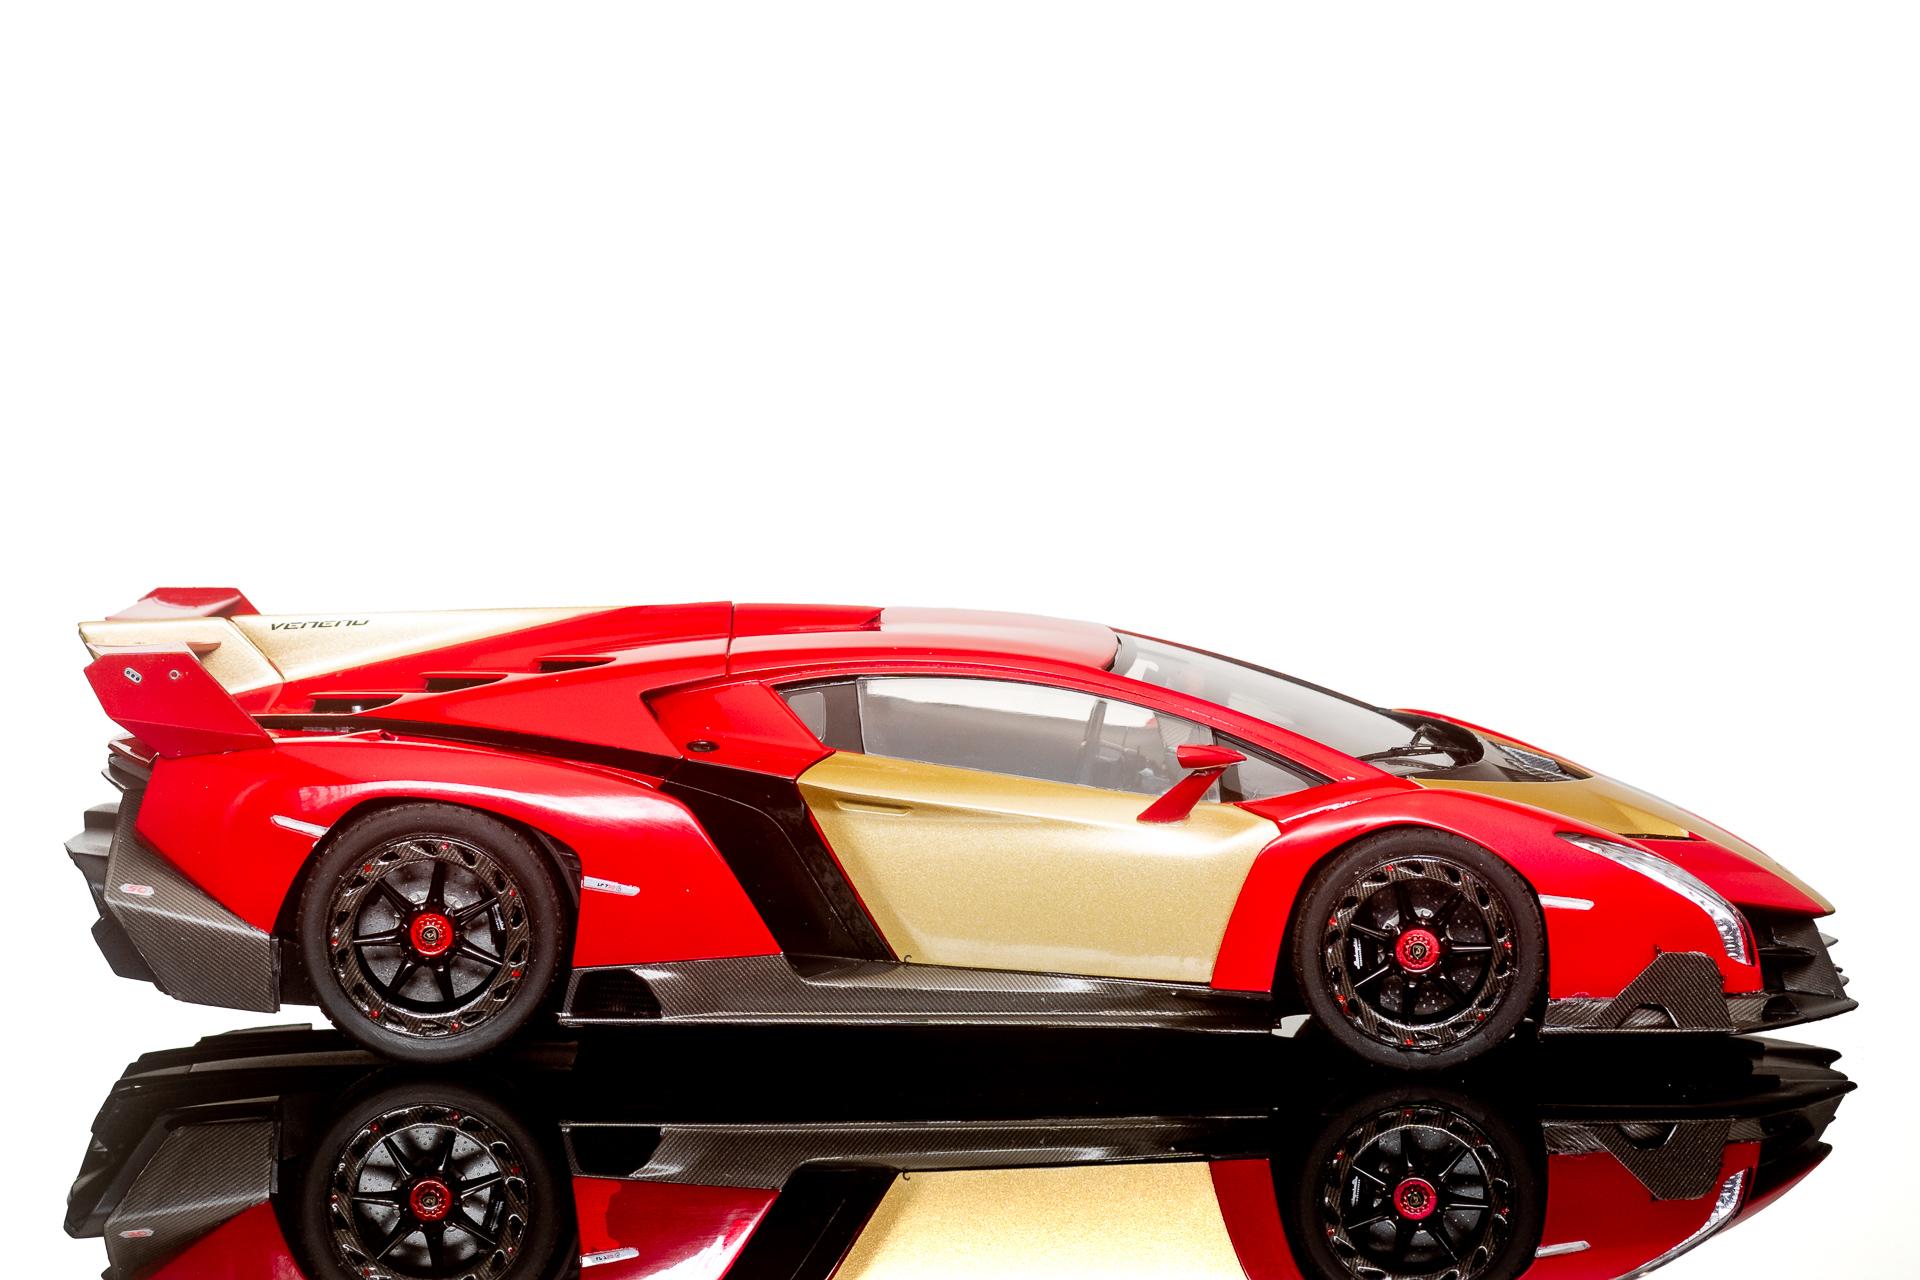
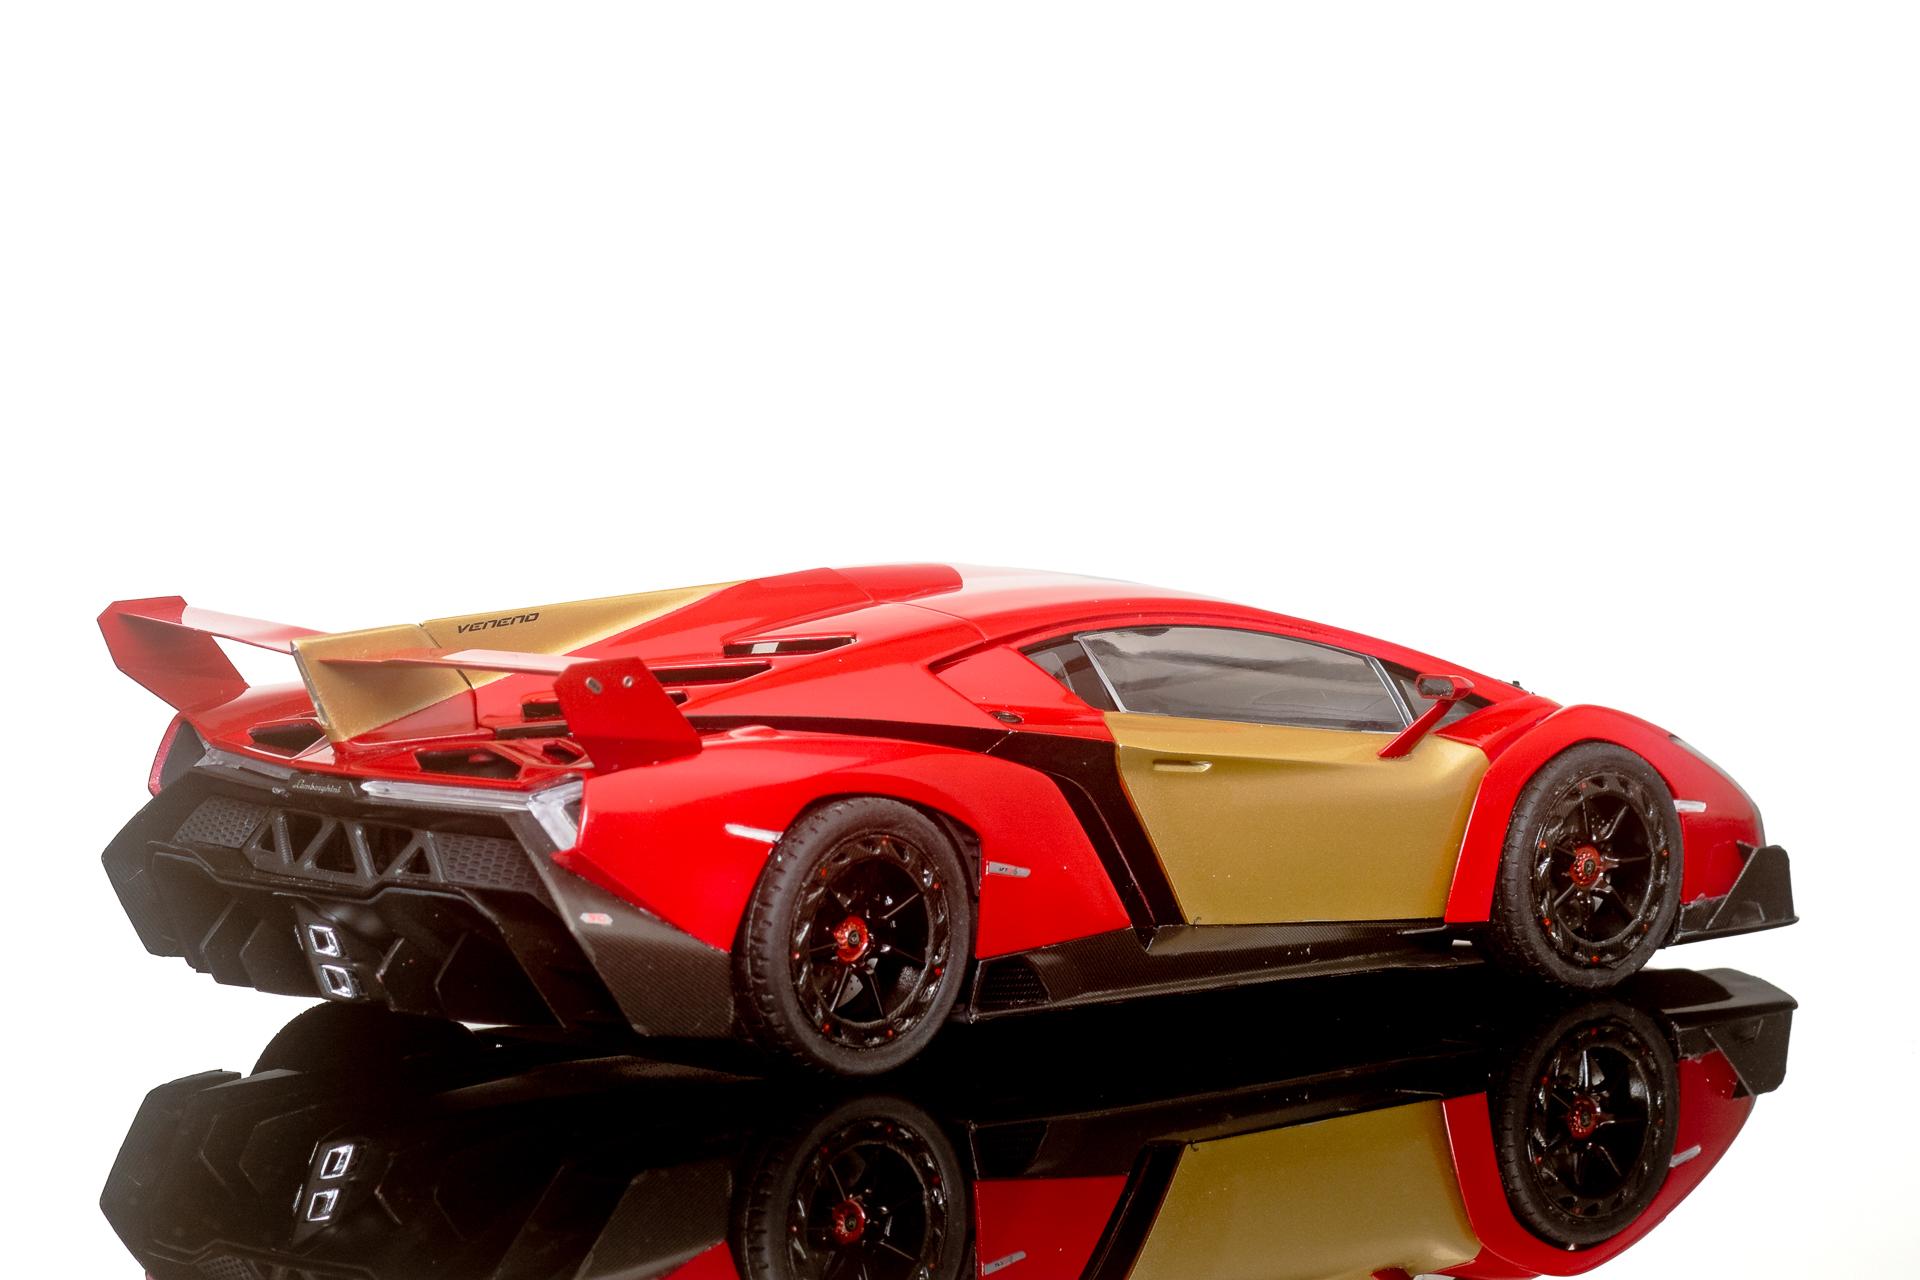
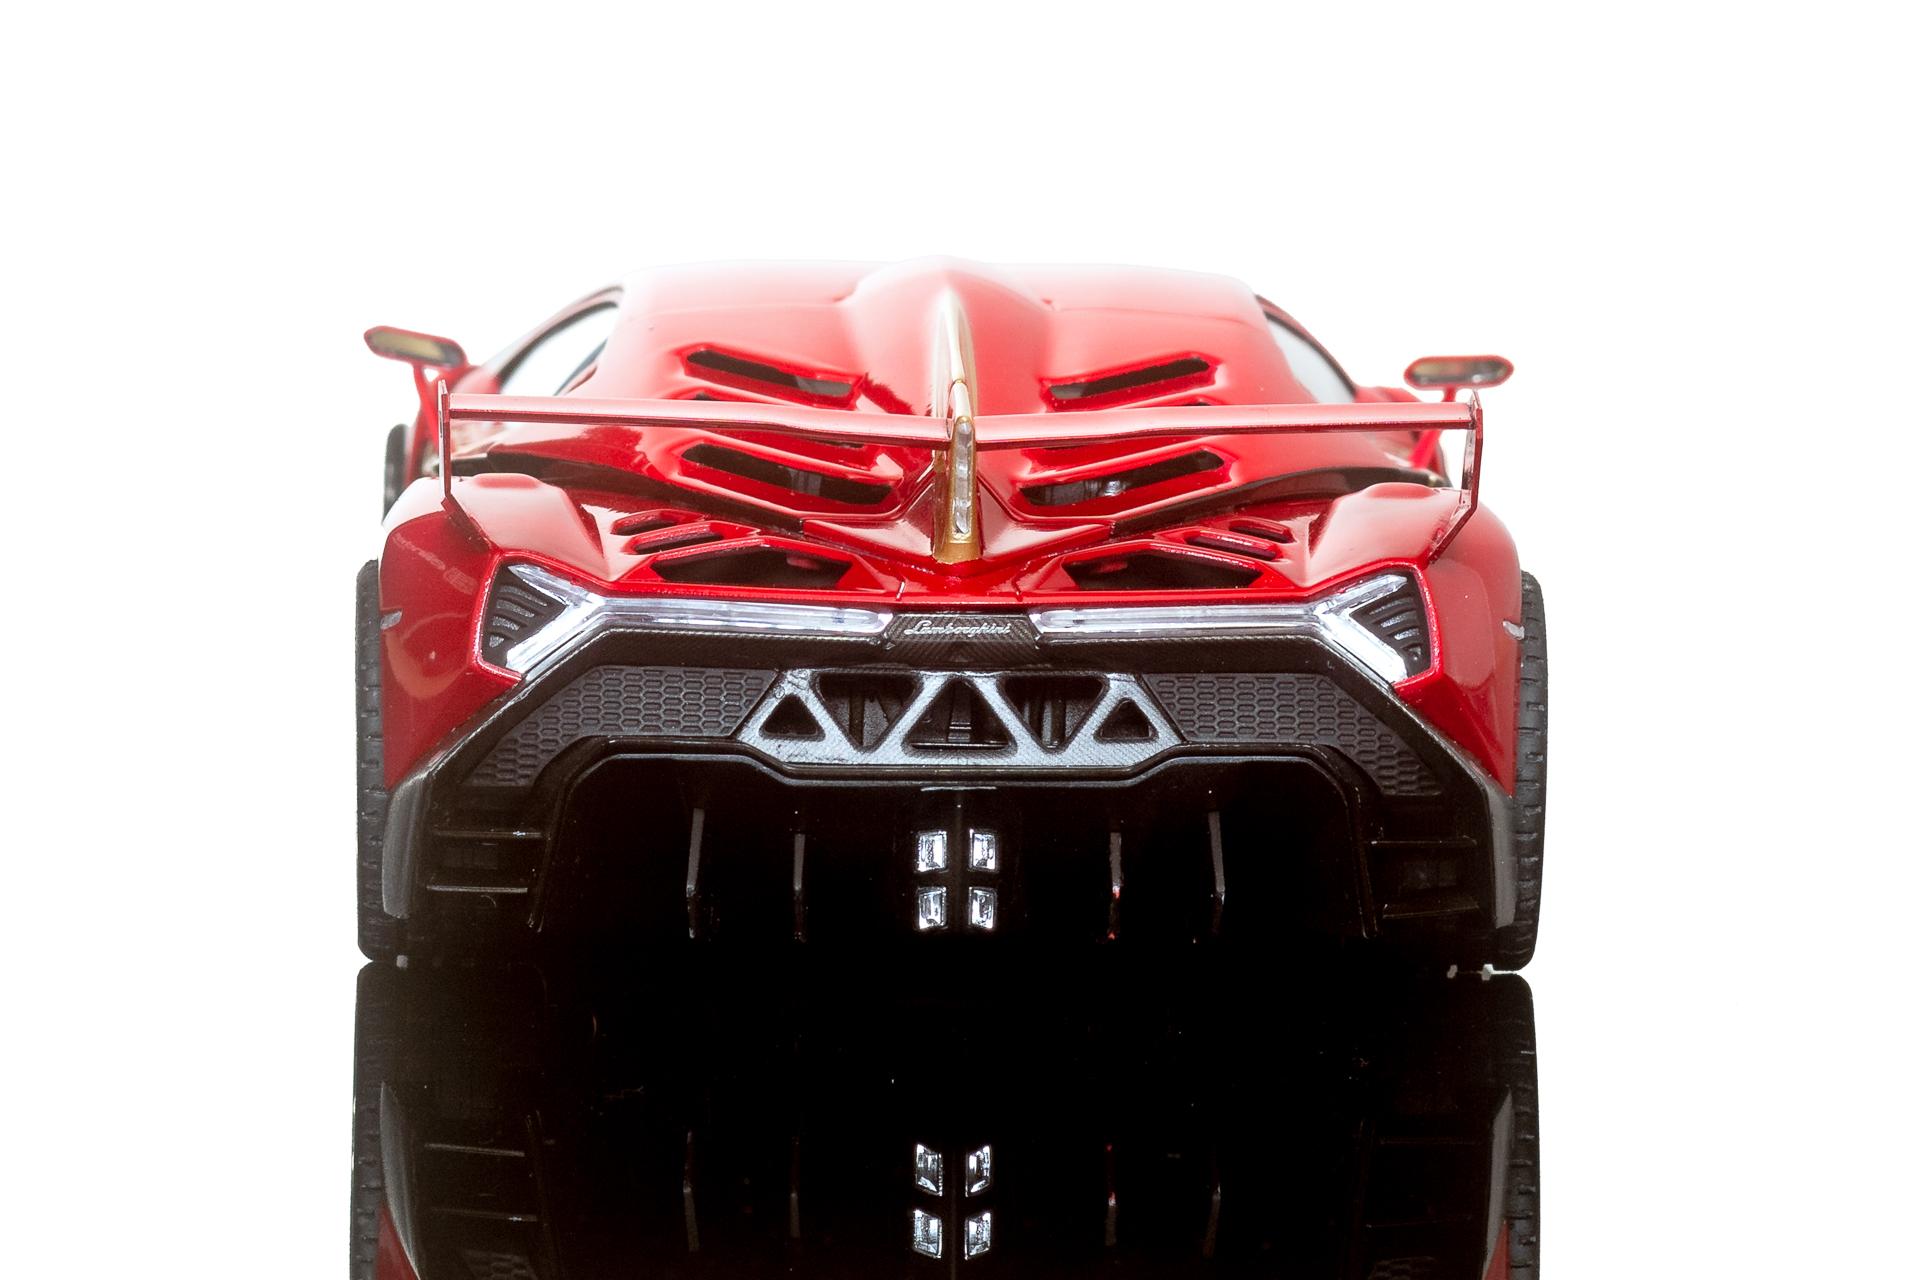
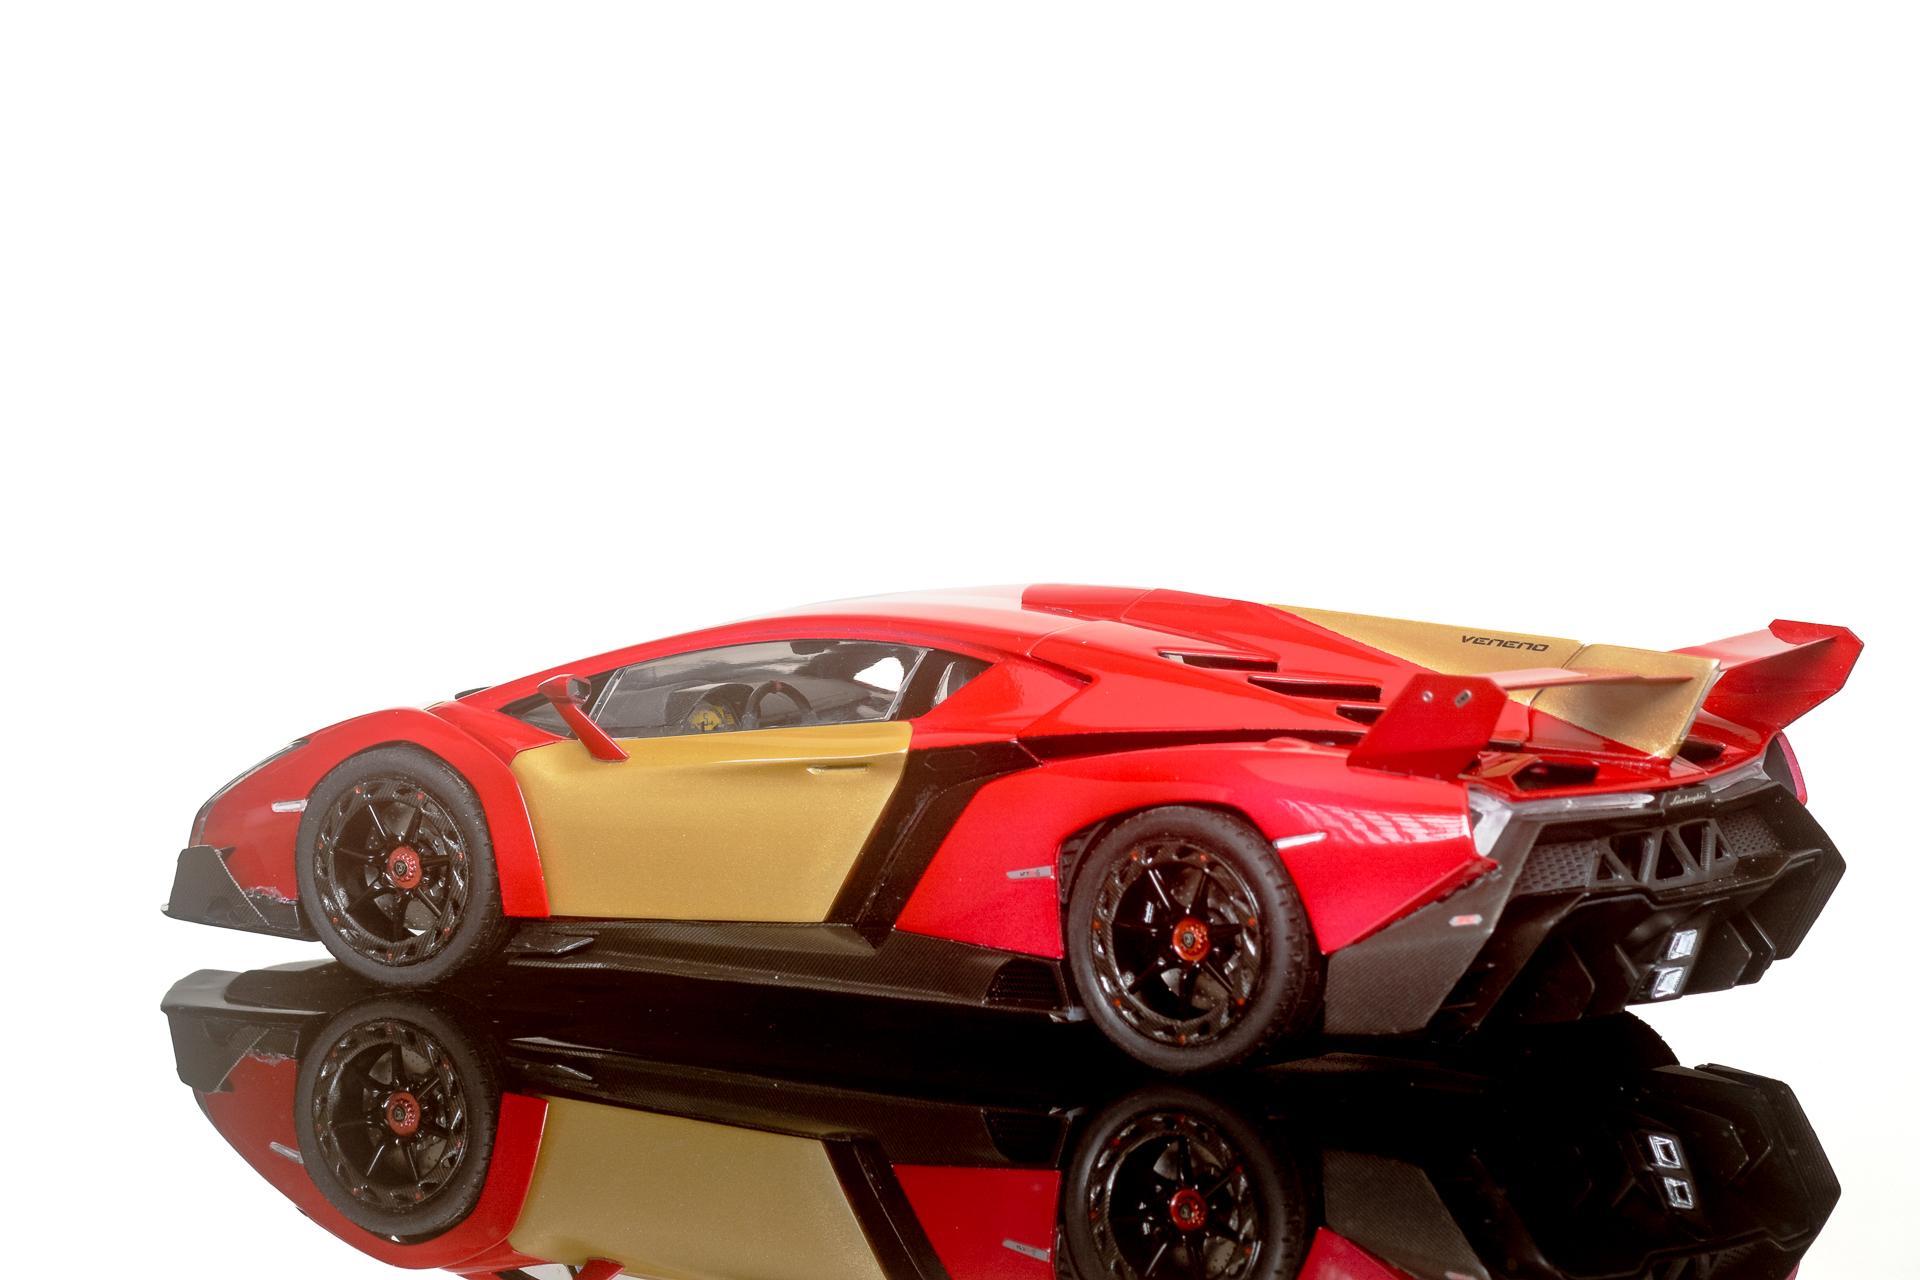
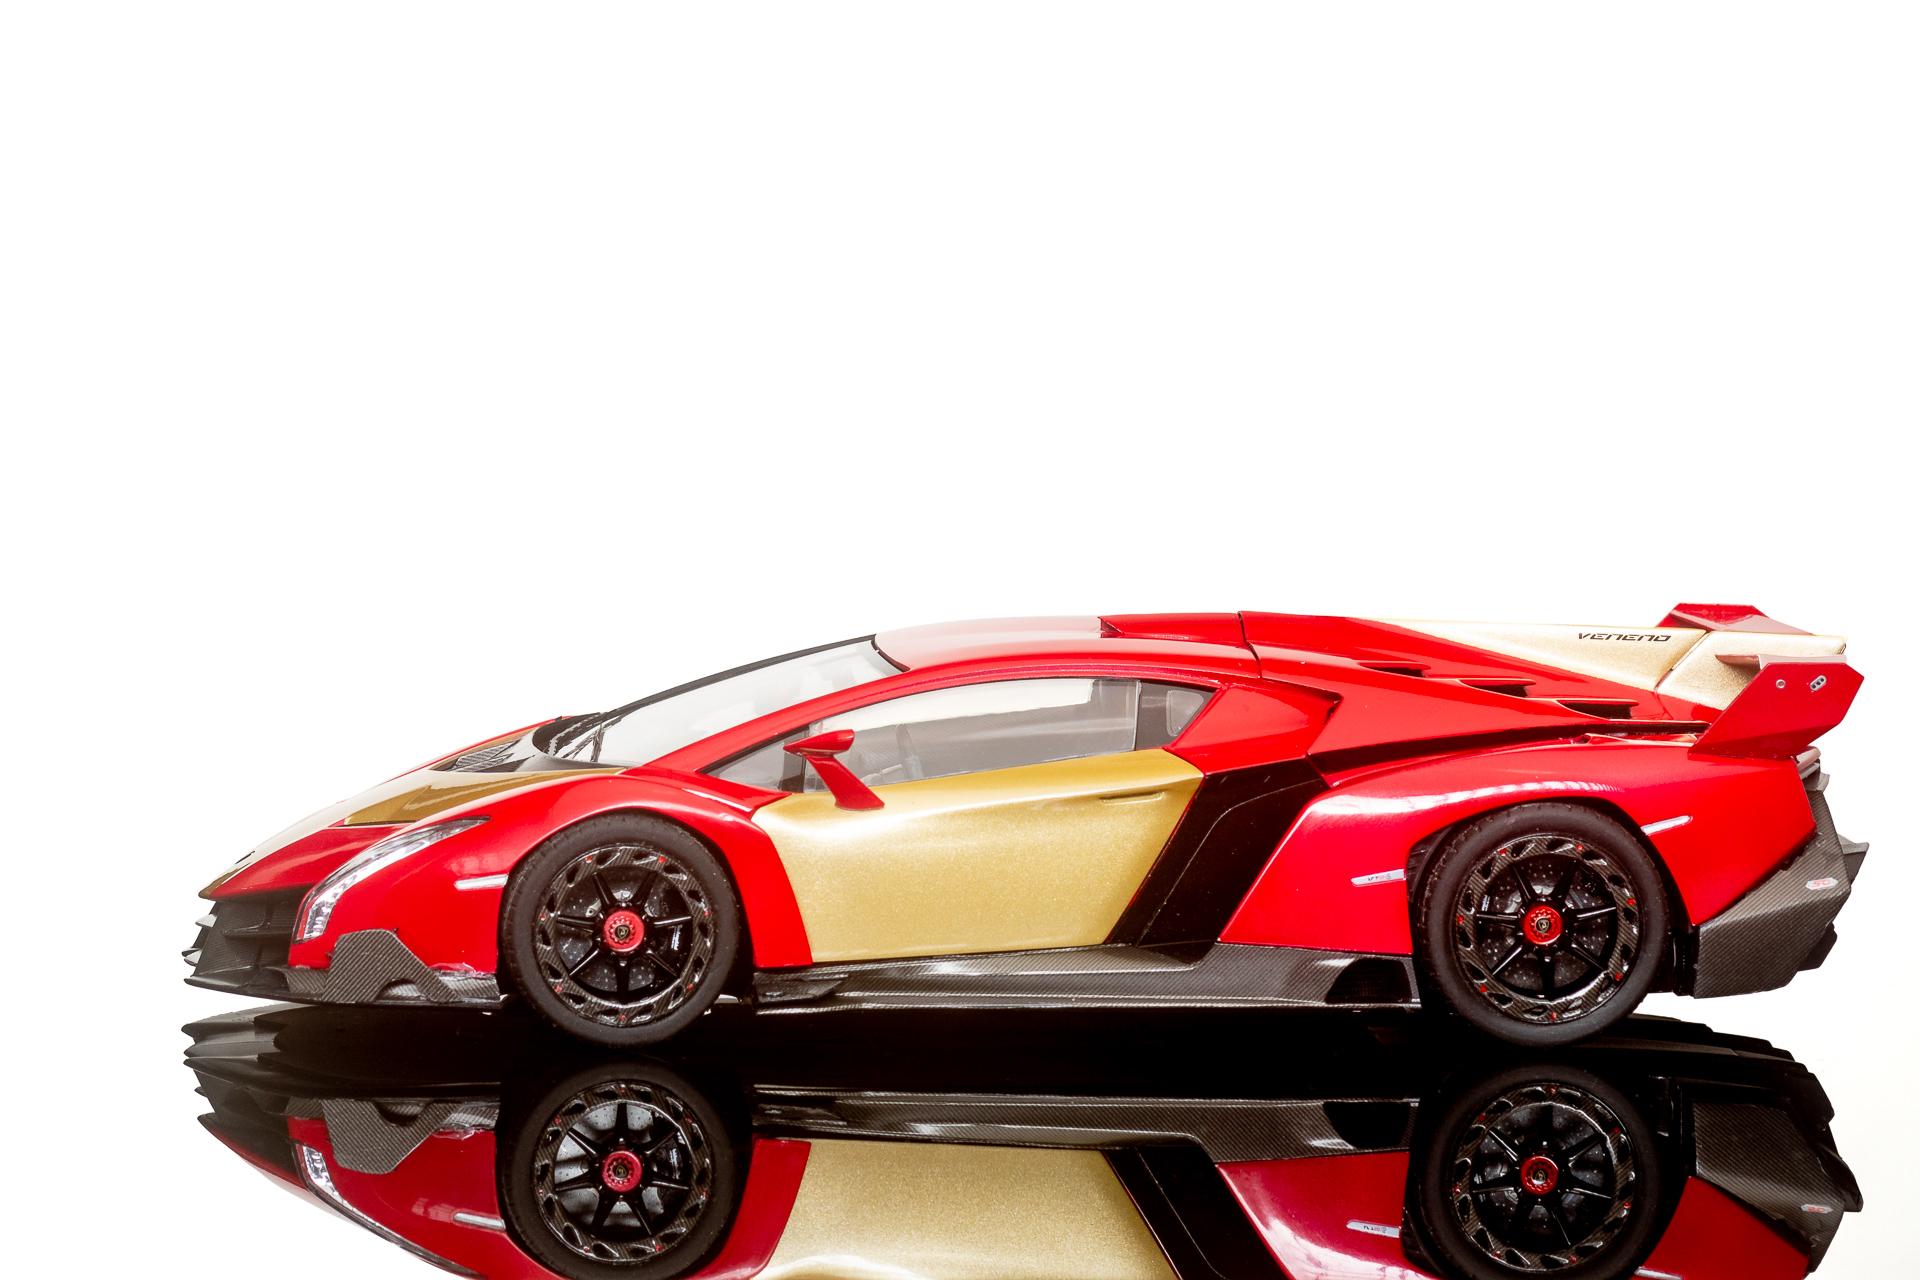
Just noticed that I had forgotten to upload the studio pics of my Lamborghini Veneno I took almost six months ago... So here they finally are ?
-
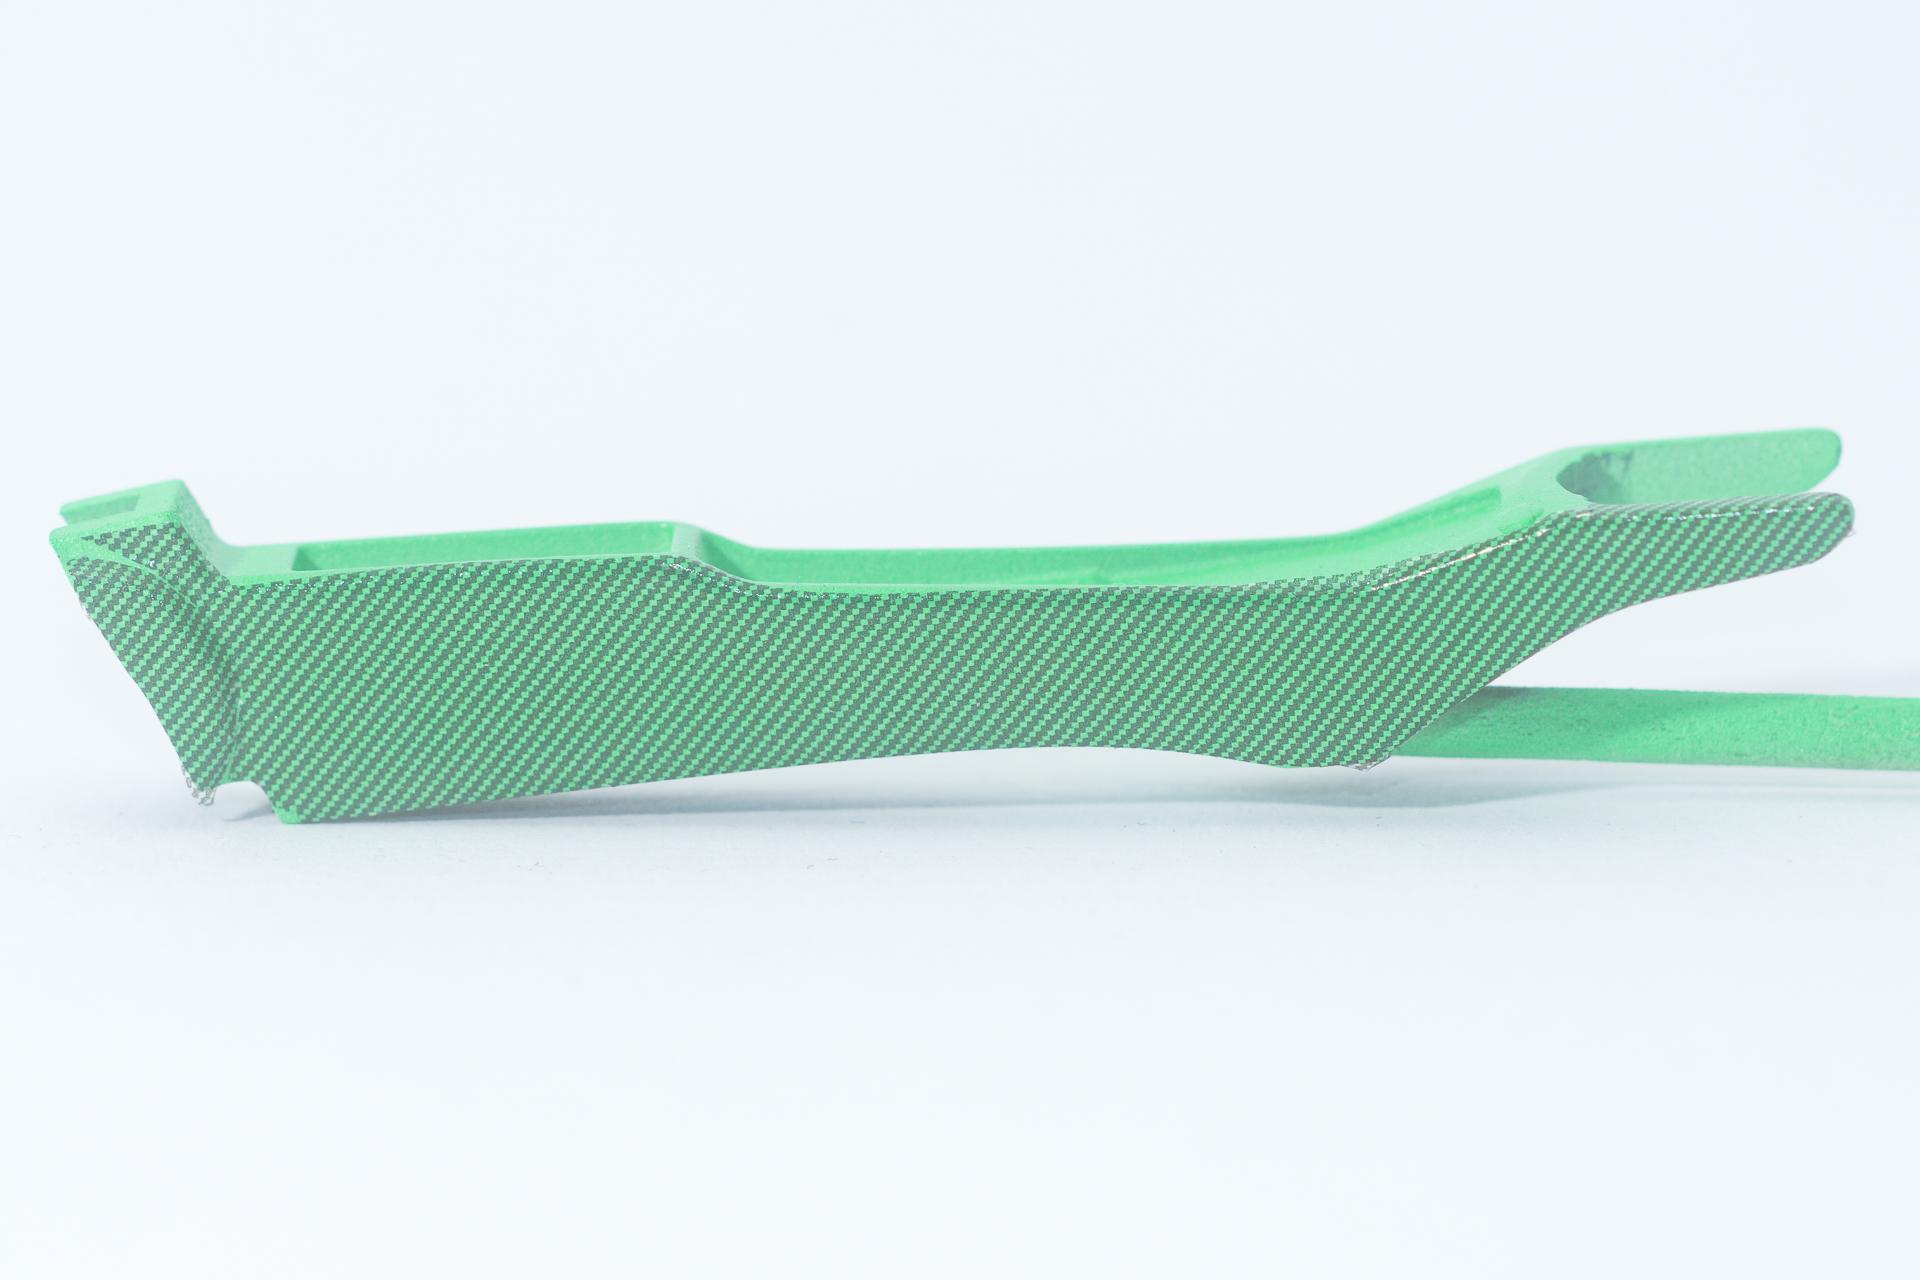
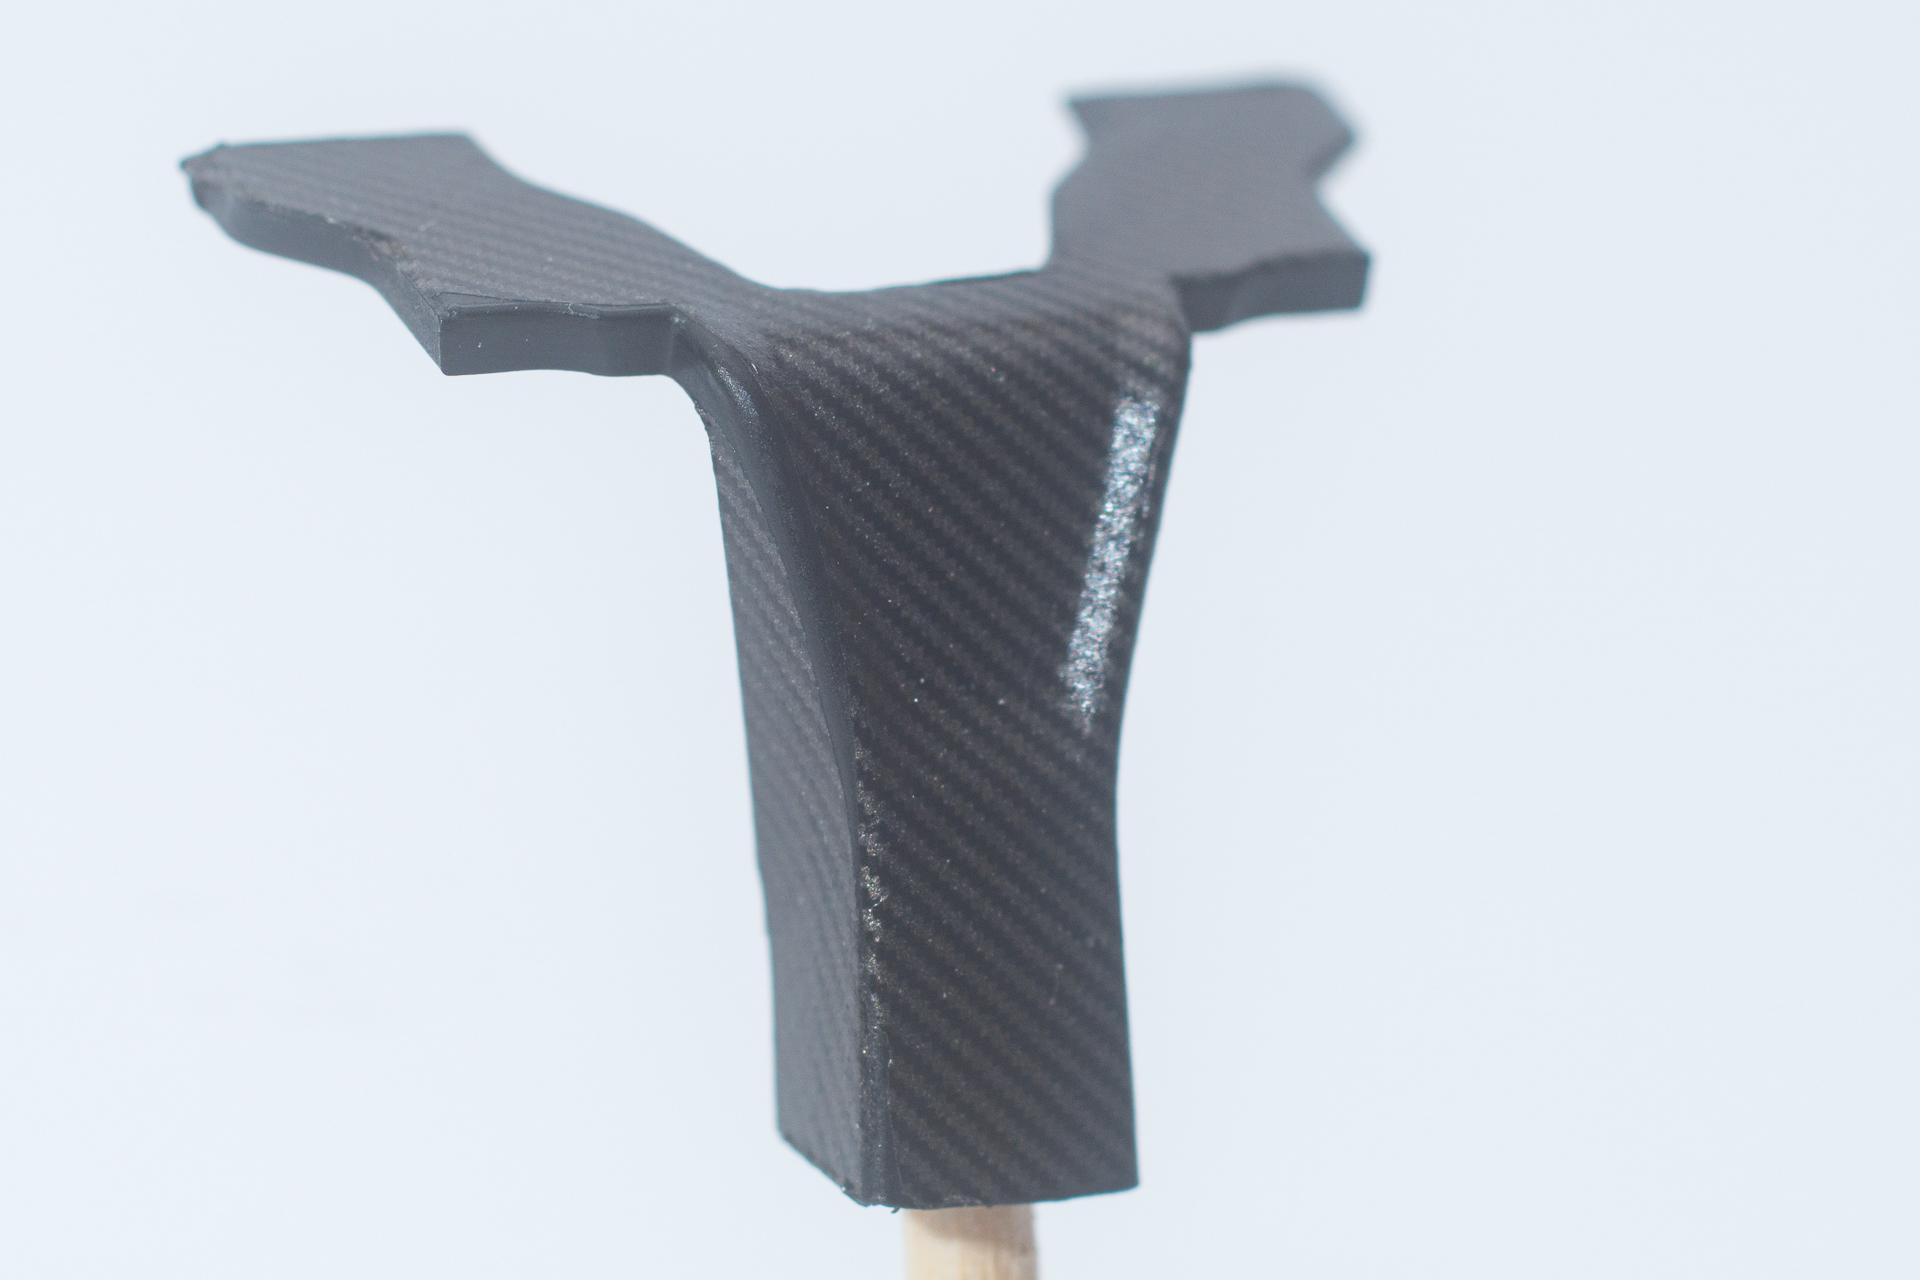
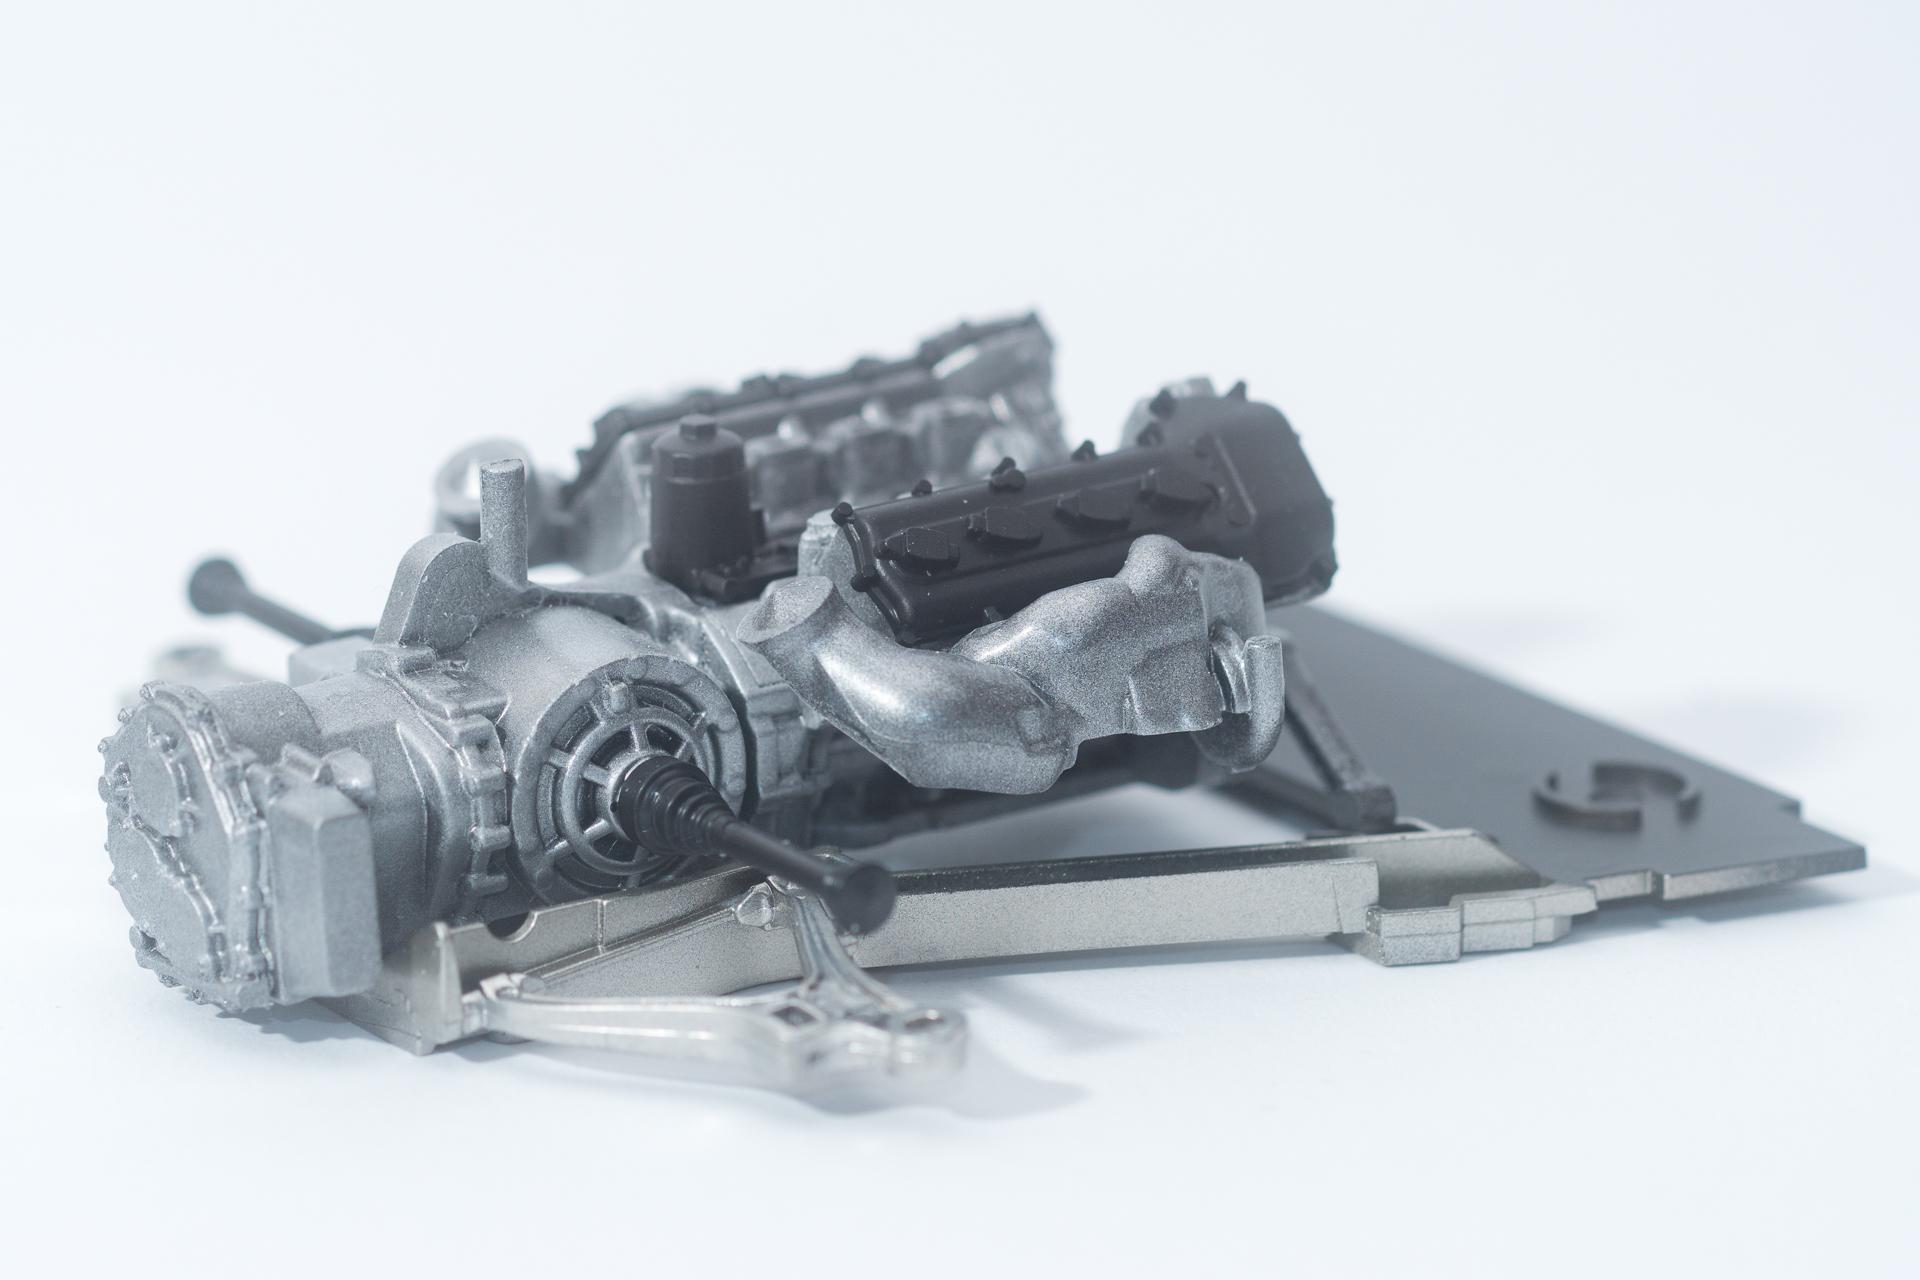
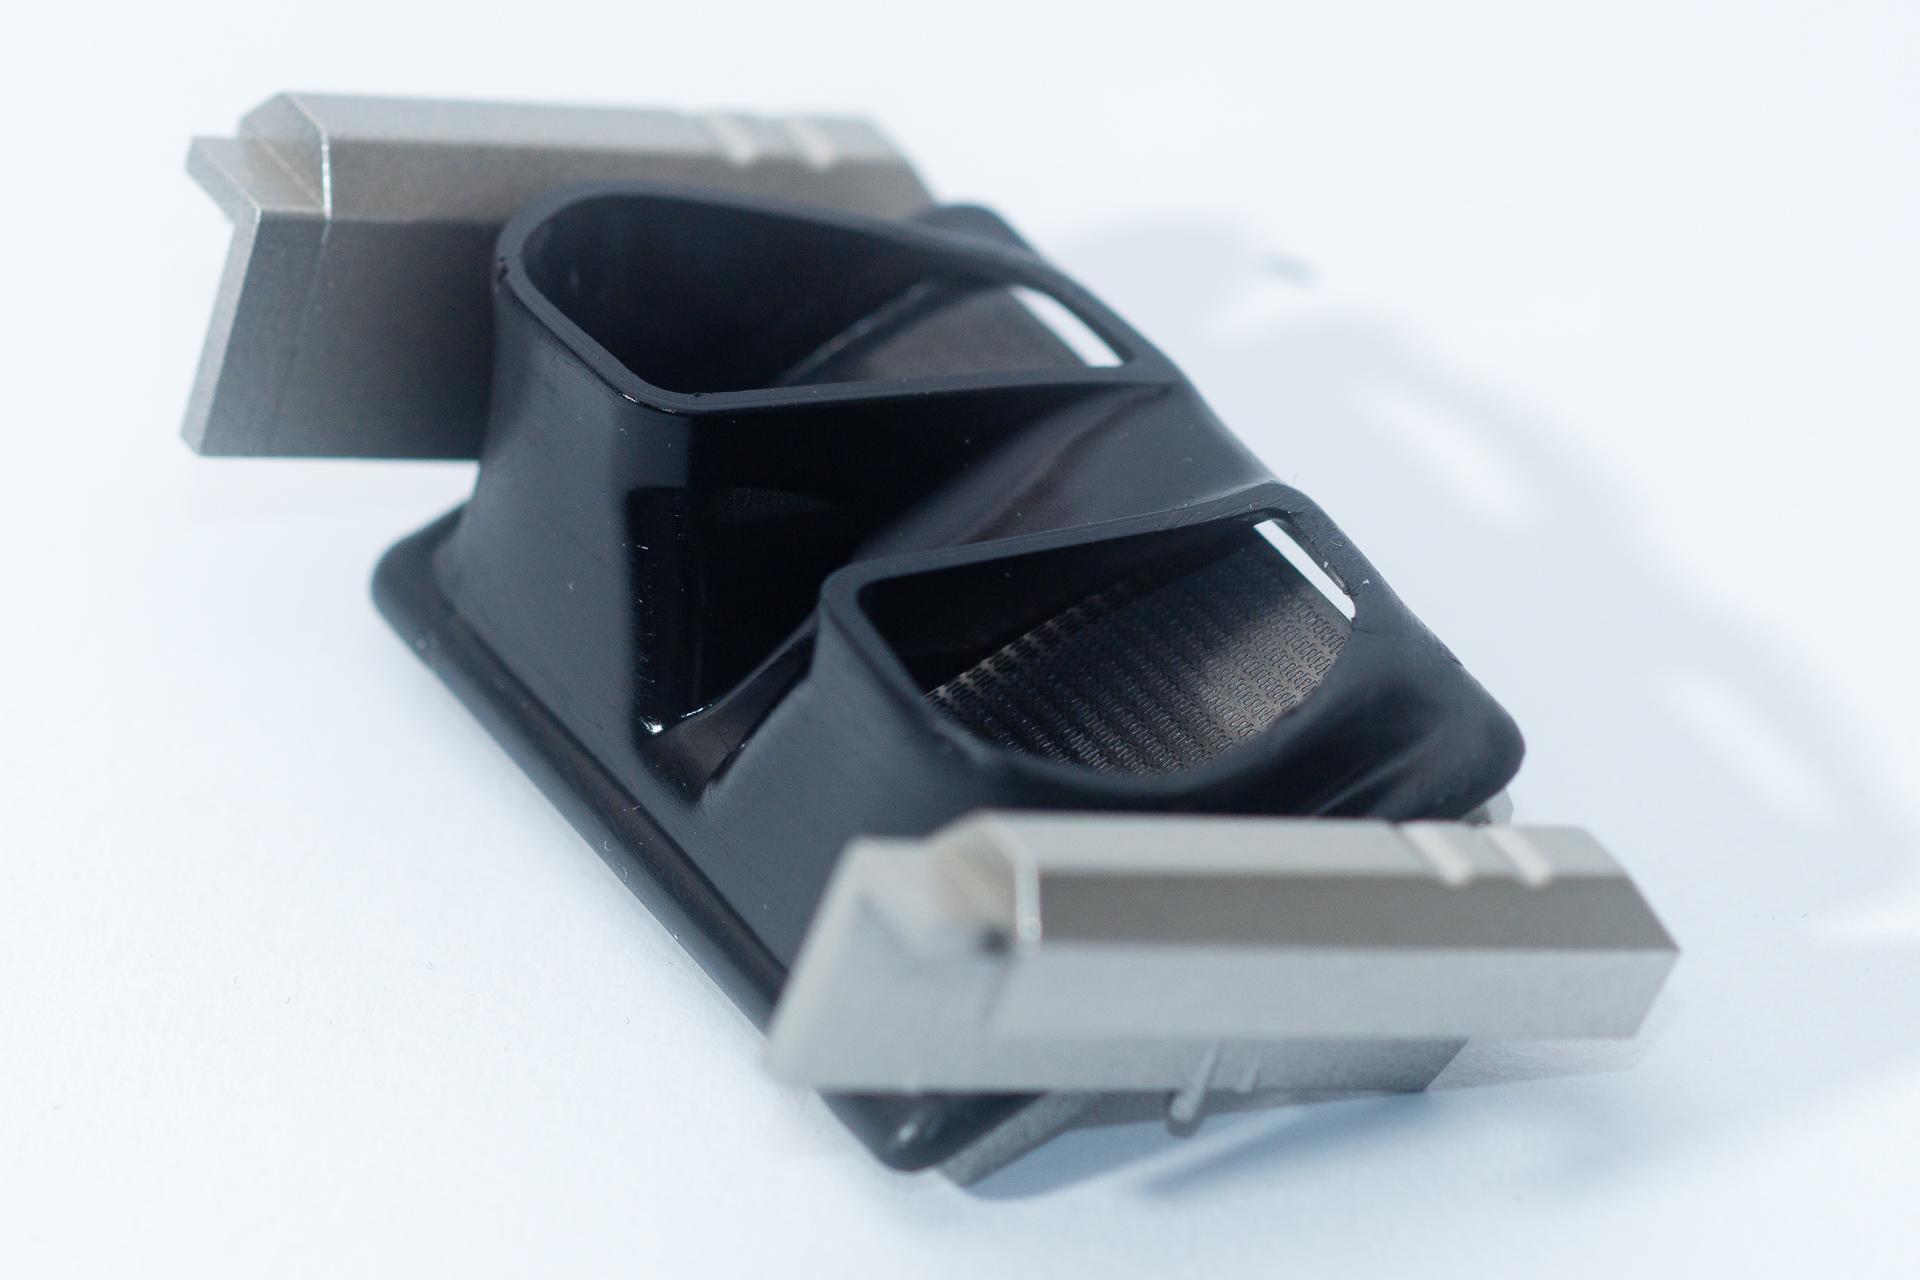
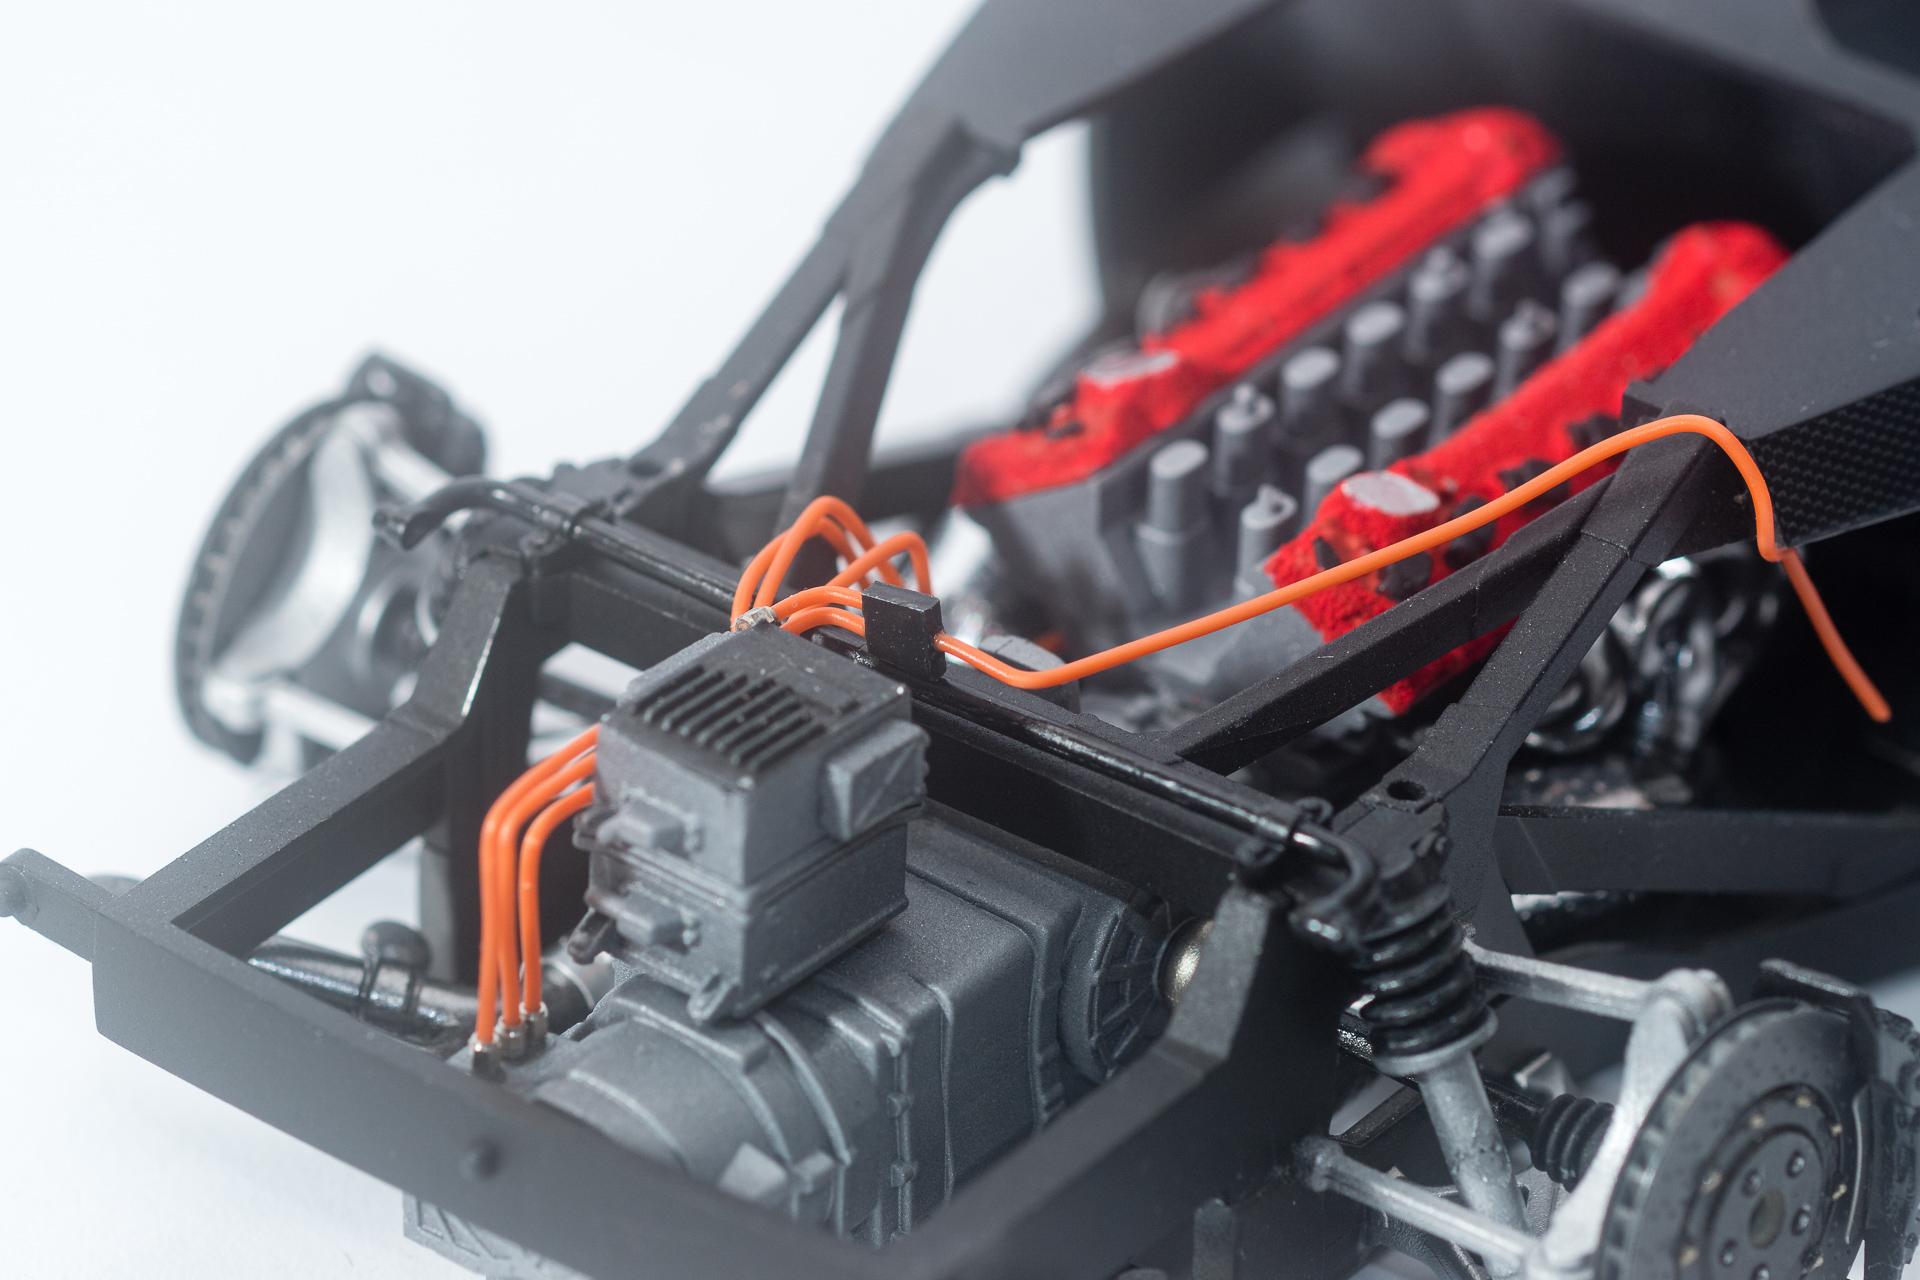
Hi all Long time I didn't post anything on this build, but my priority in the last few weeks was to finish the Ferrari FXX-K and after that I hardly had any motivation to build models. But now I have some small progress to share. I didn't stick to the instructions at all, I only did what I felt like doing, so don't wonder if the parts don't really go together Thank you for your kind words. I hope to do this kit justice as it is a really challenging one. By the time I bought the decals the SK have been the only option available. Meanwhile there is another full carbon set by Scale Motorsports but that costs about three times as much as the one made by SK decals. First I assembled and installed the engine as far as I could. There will be more parts to be added later. Then assembly of the front cooler has been done And finally I needed some distraction from applying all the carbon decals on the body parts, so I decided to start applying carbon decals on the interior parts ? First a pic of the middle console which got some clear carbon decals on one side. I'm quite curious about that as this is the first time I'll use transparent carbon decals. For the rear upper part of the middle console I used conventional carbon decals. That's all for this update. I hope you won't have to wait another two months for the nex one on this build ? Urs
-
Thank you all for your very kind comments ?
-
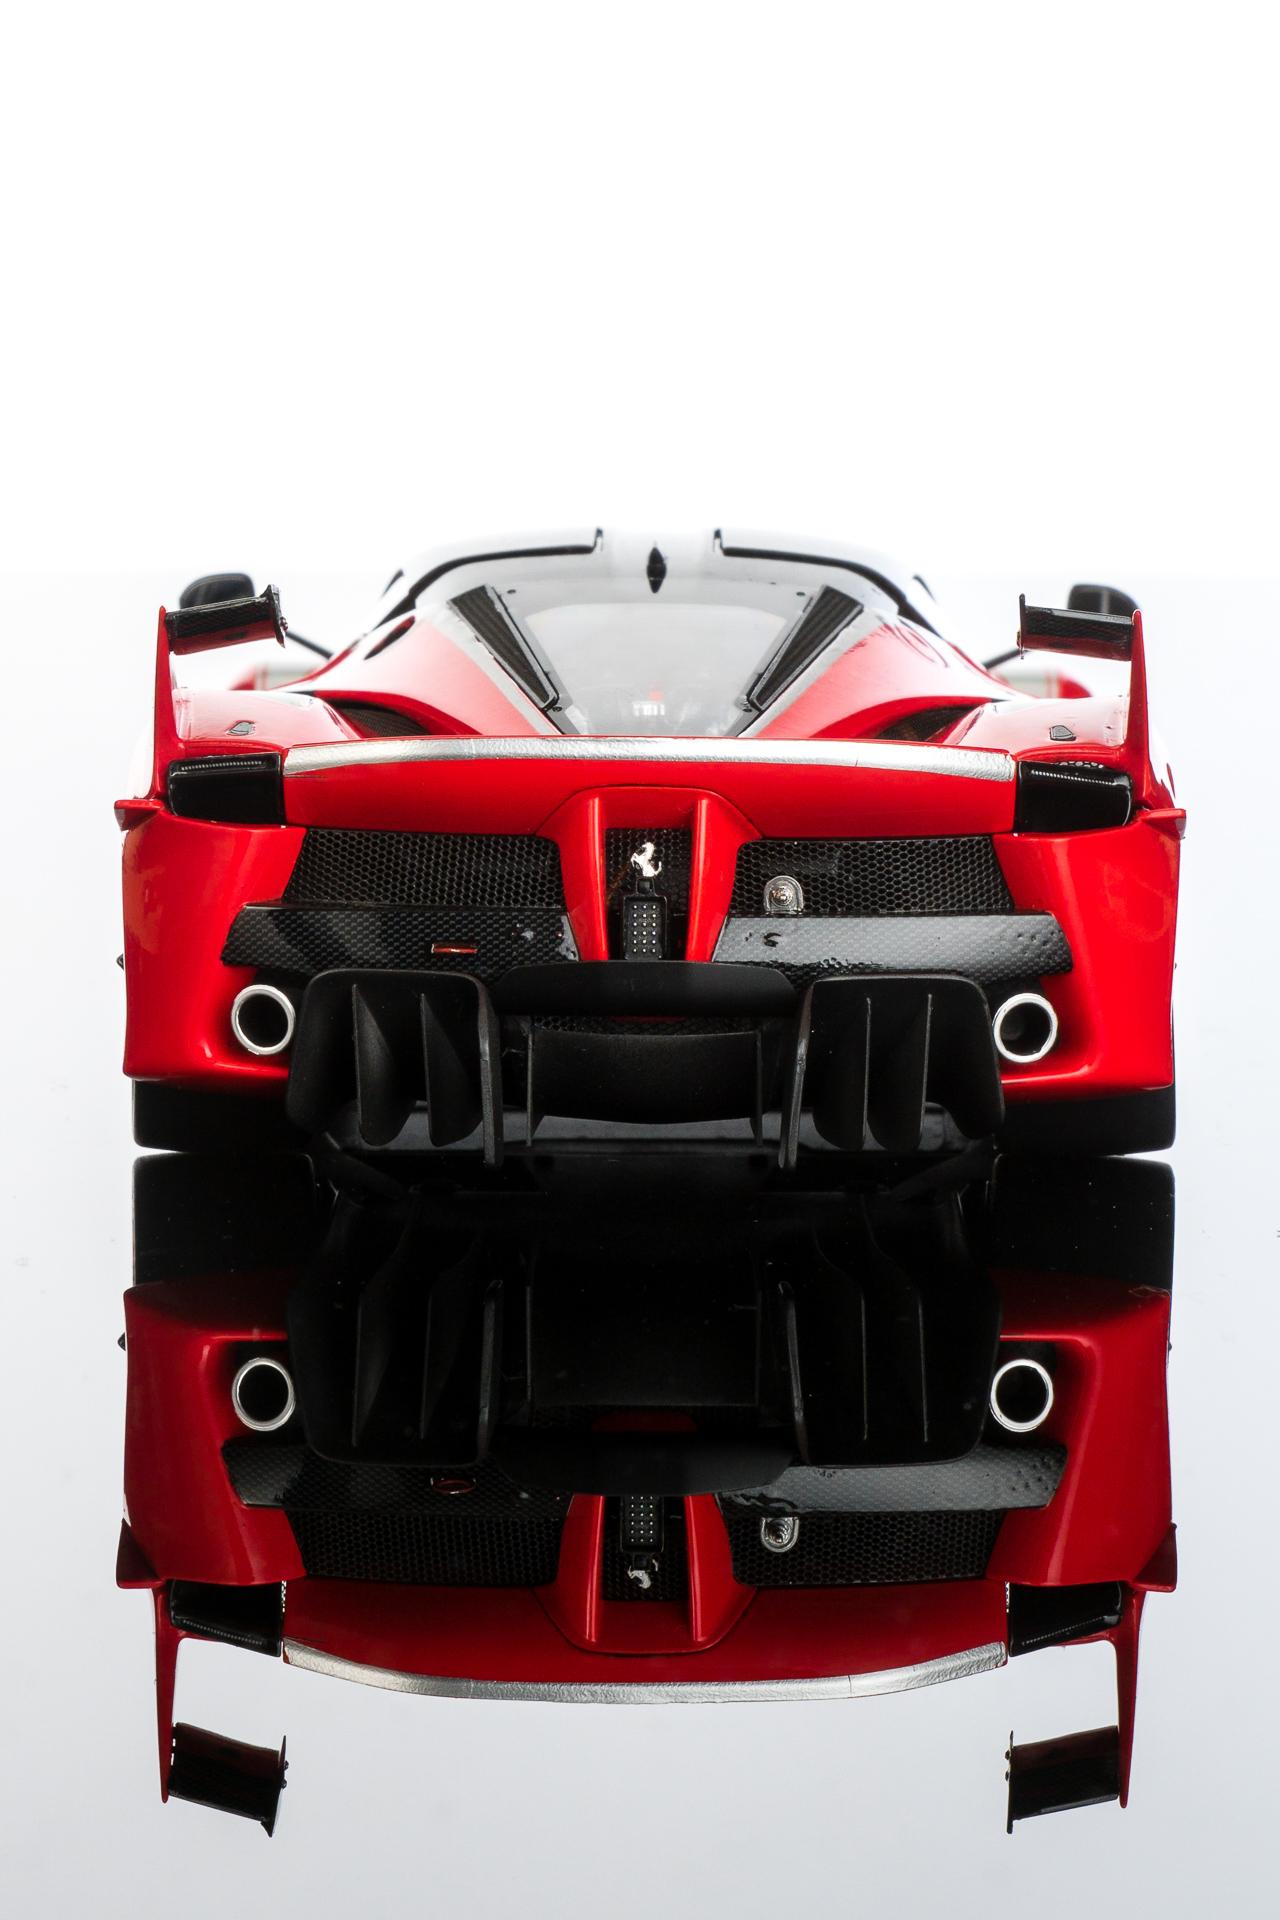
Last week the FXX-K could be completed. You'll find the Under Glass pics here:
-
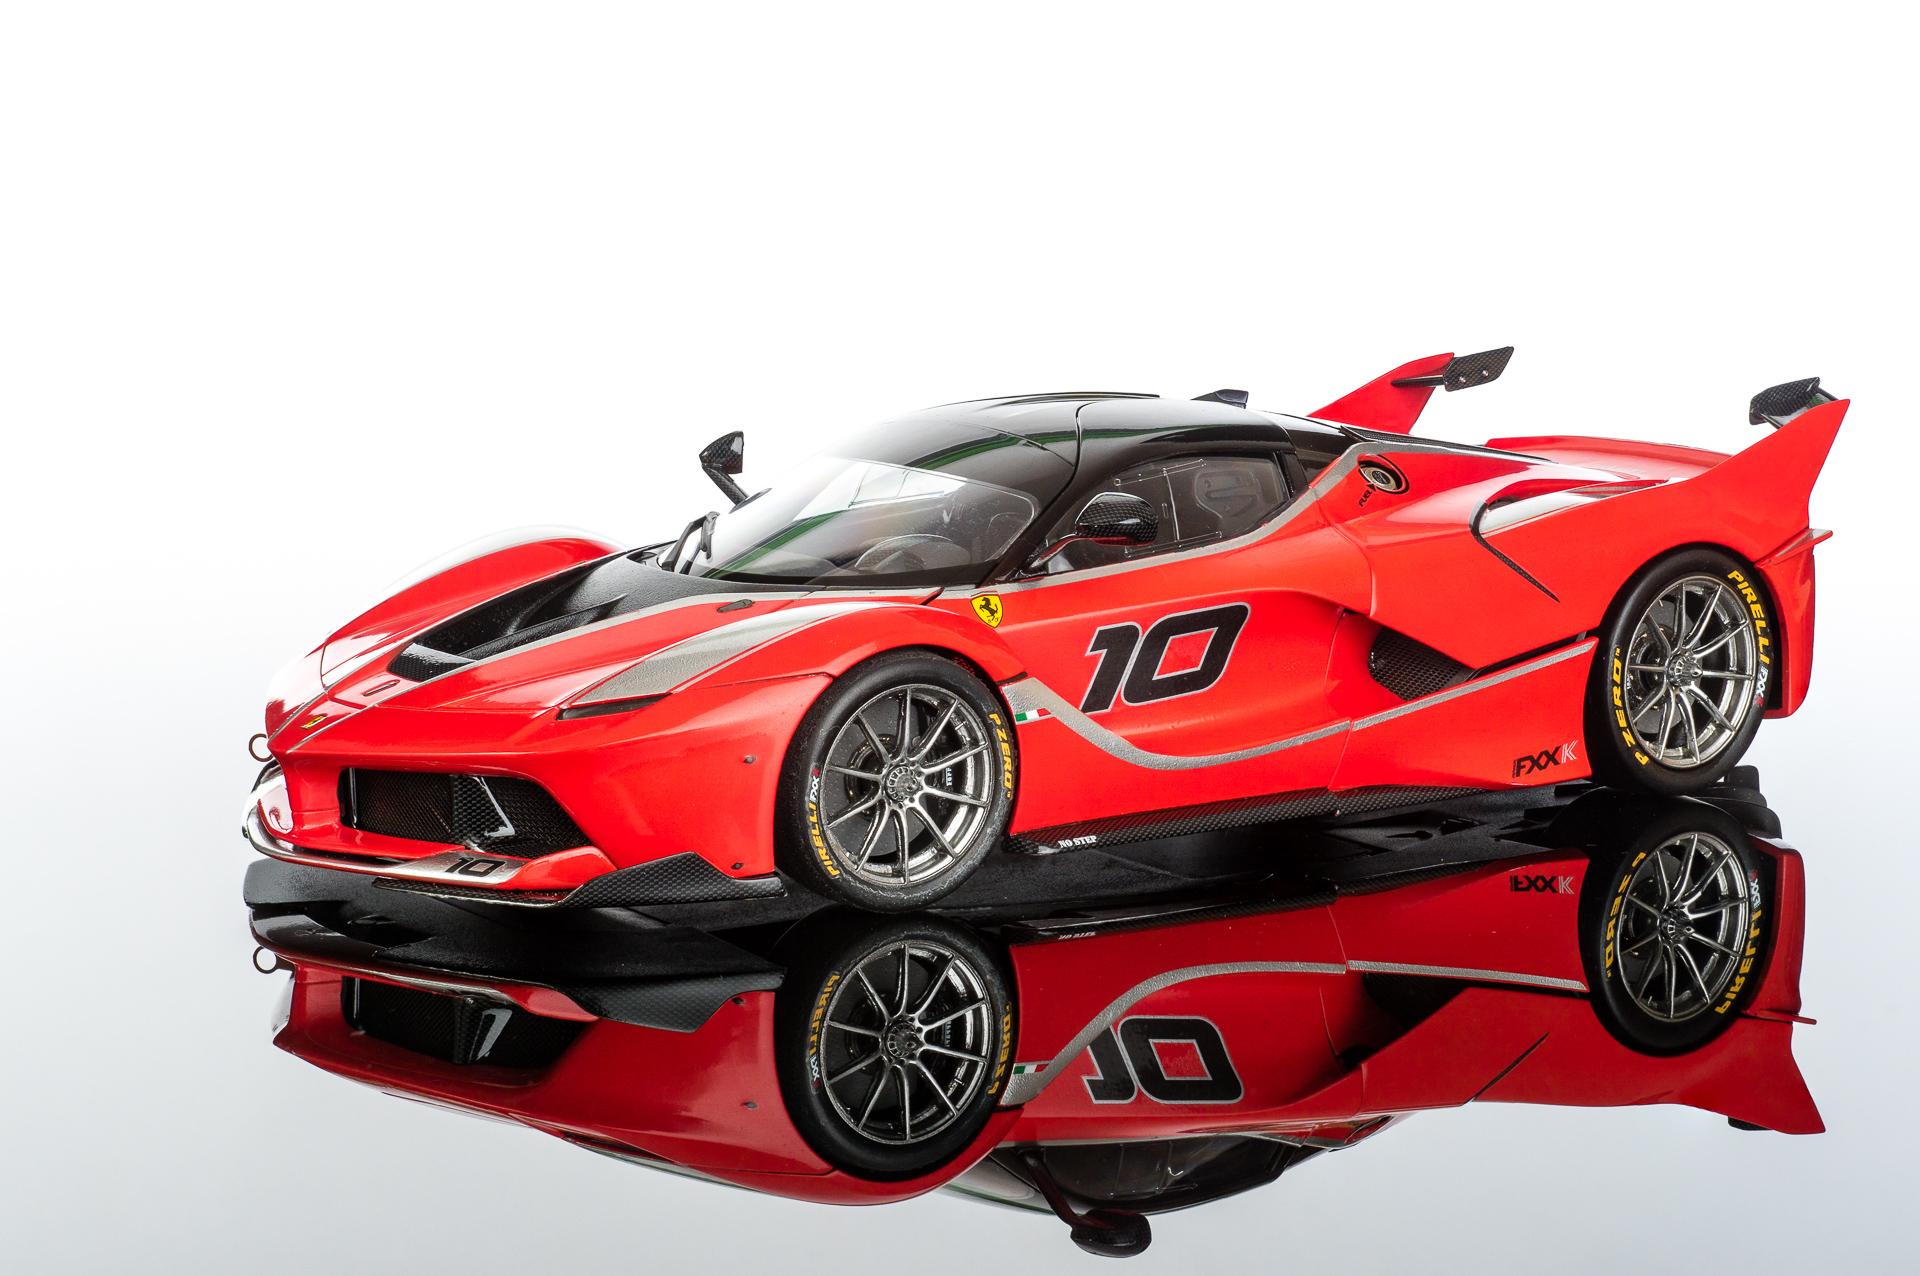
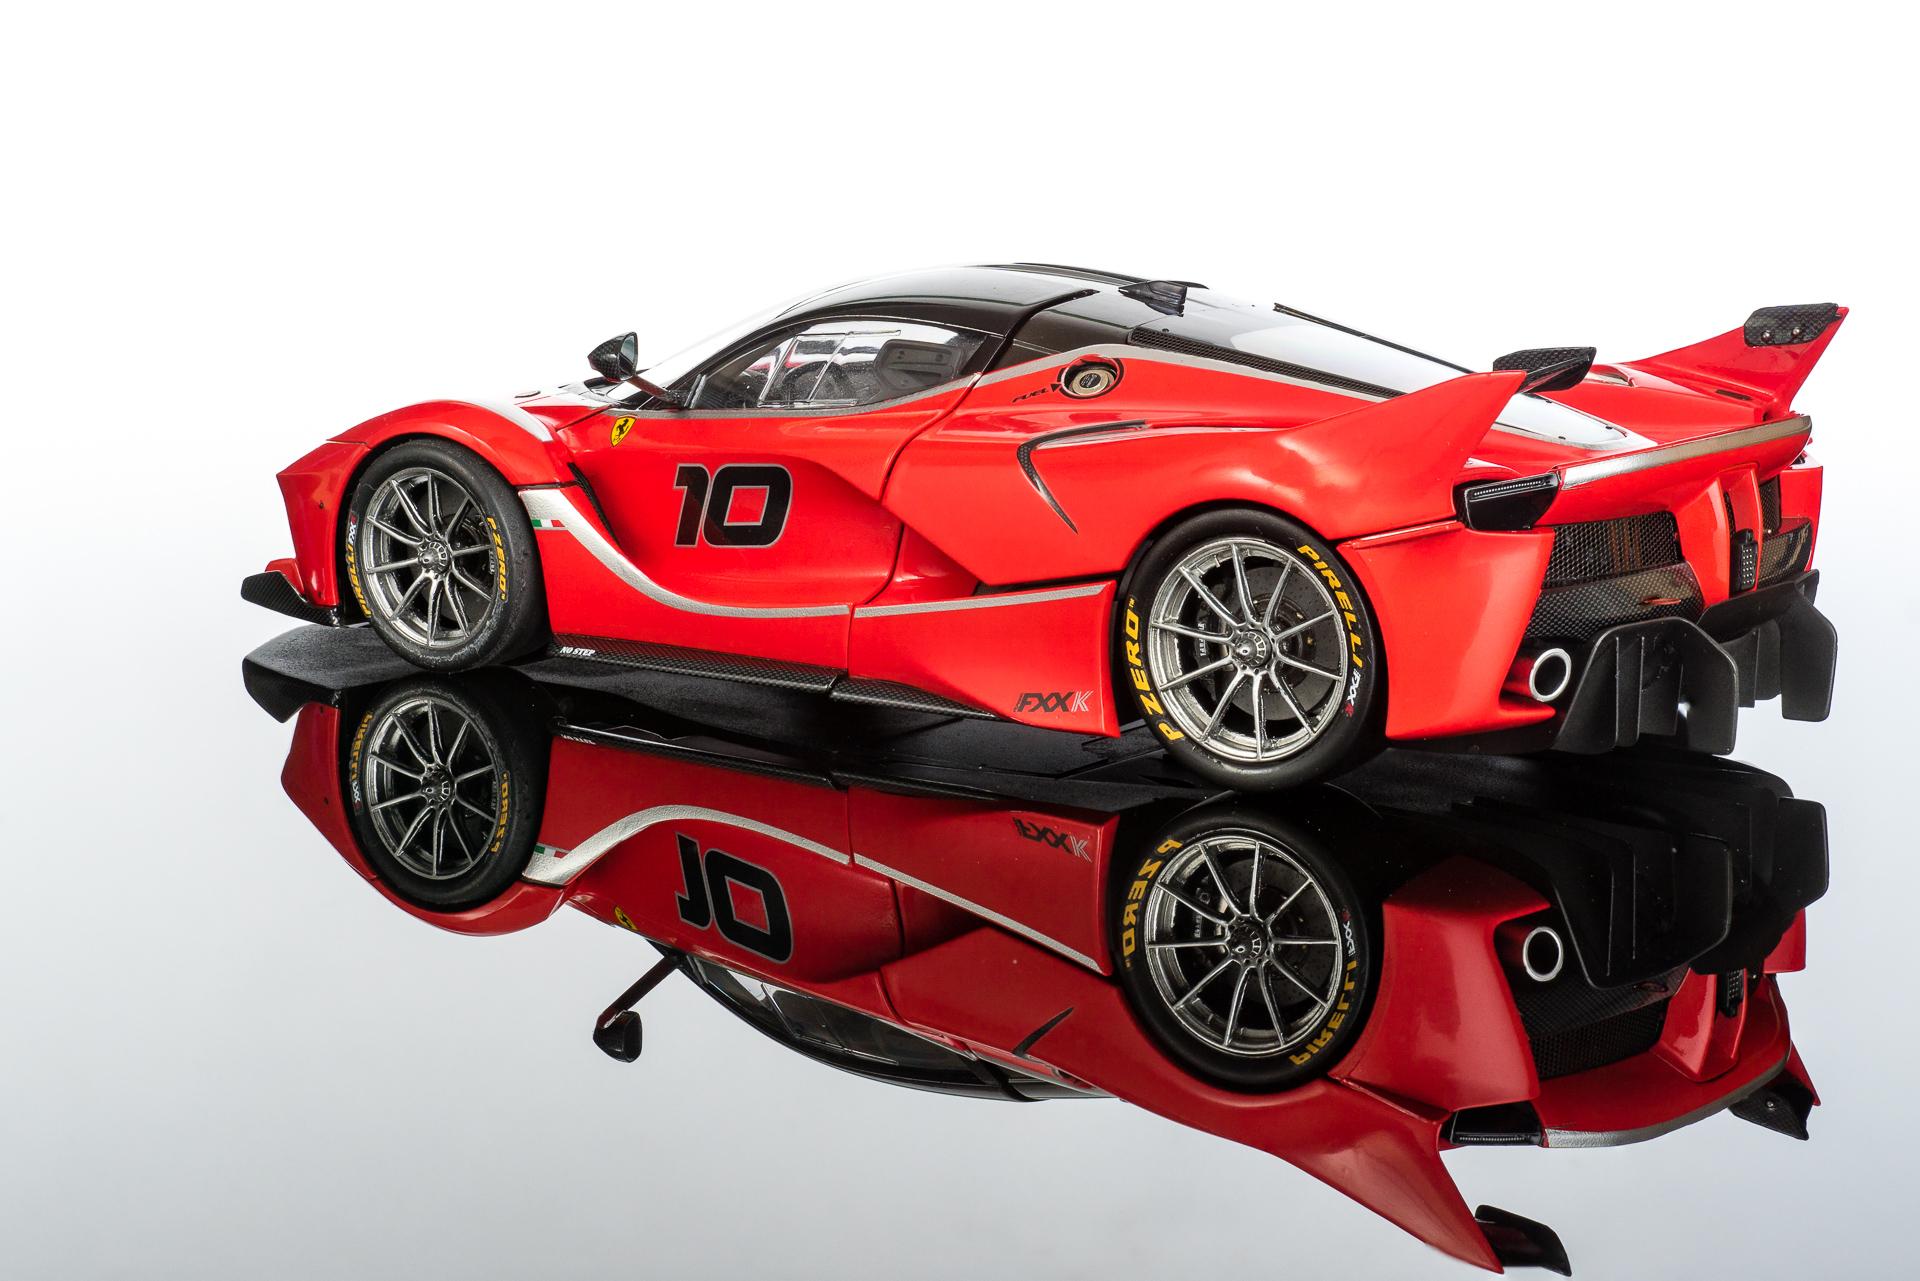
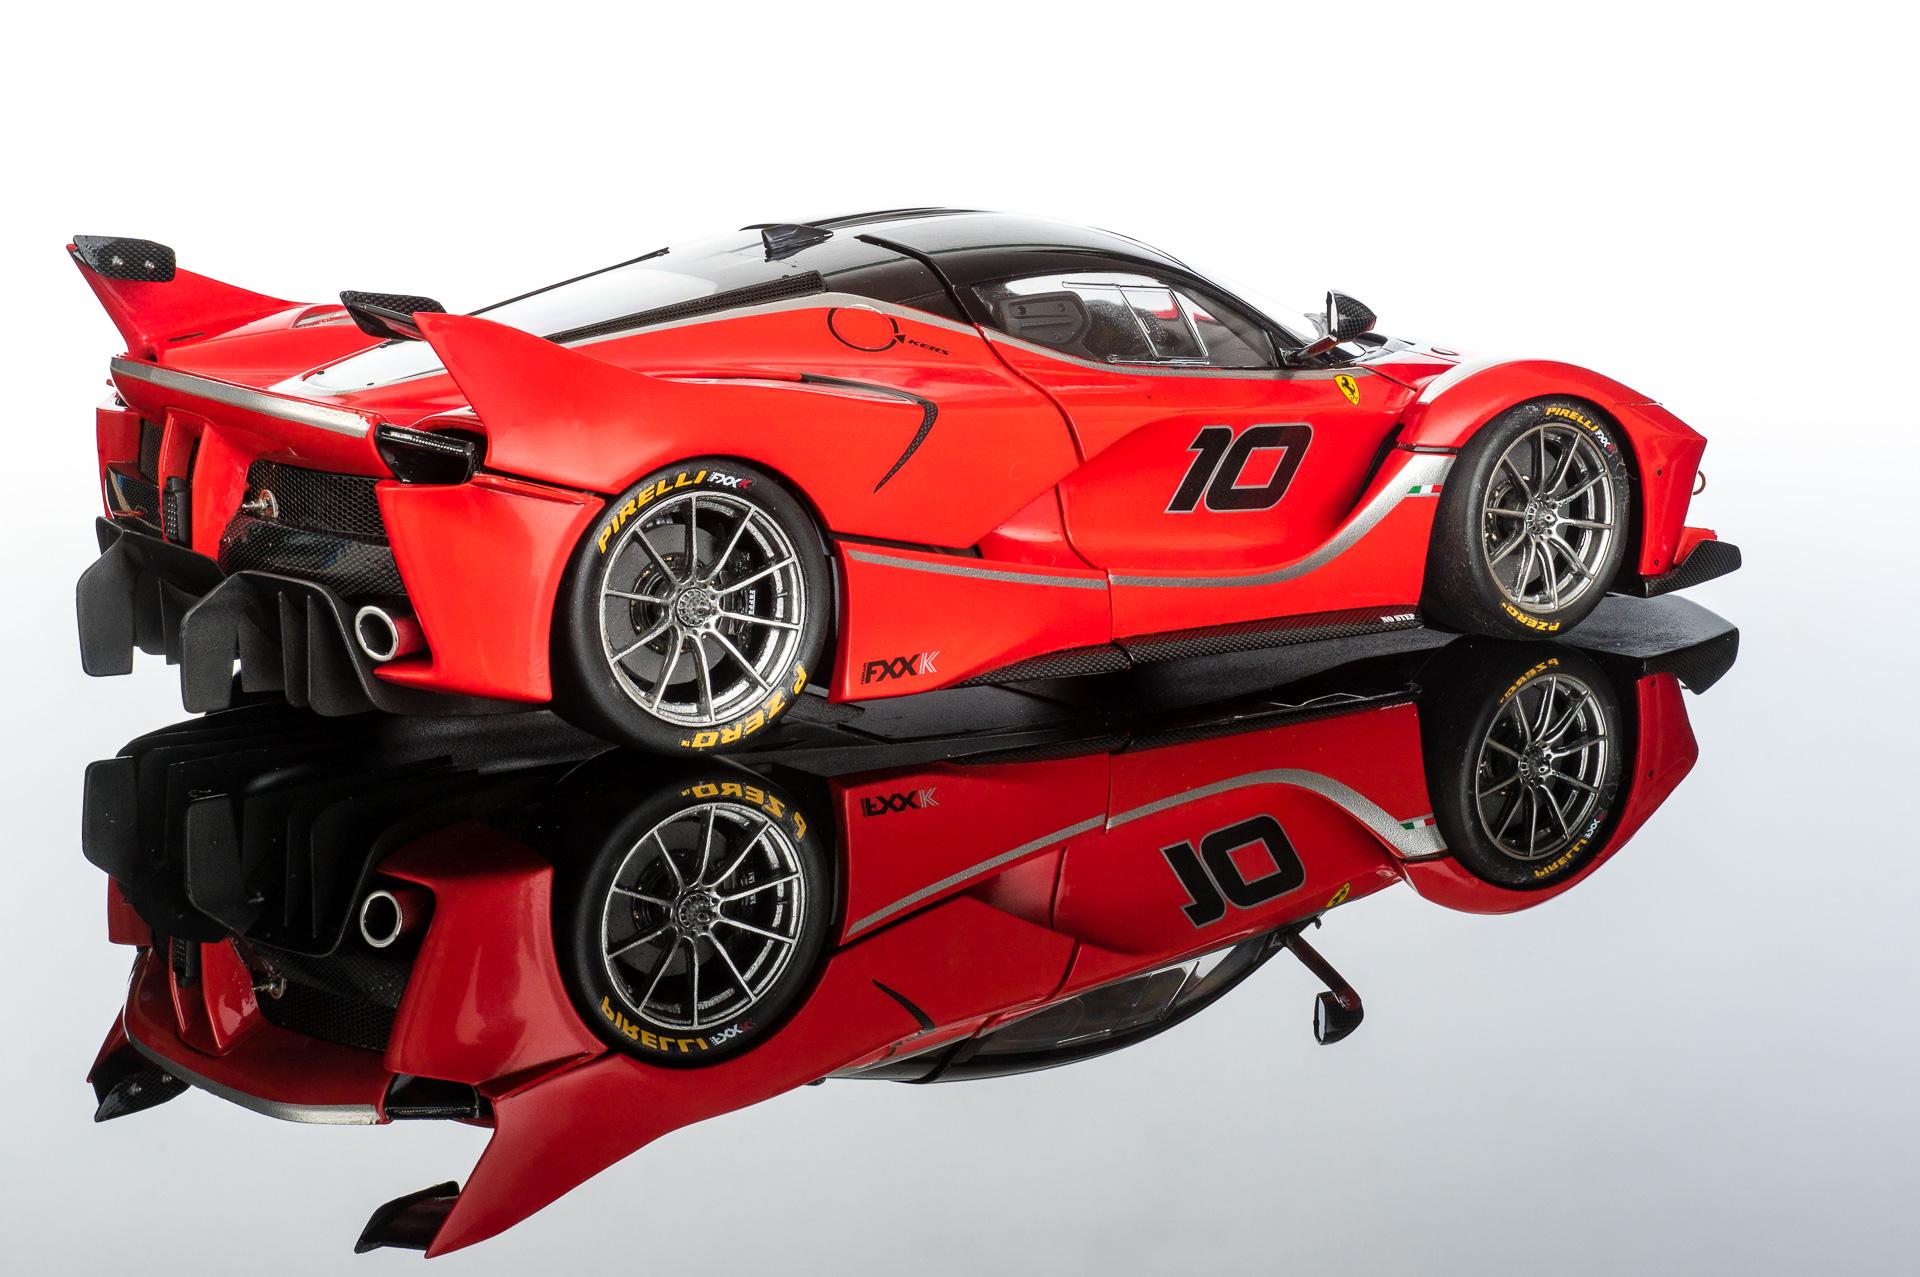
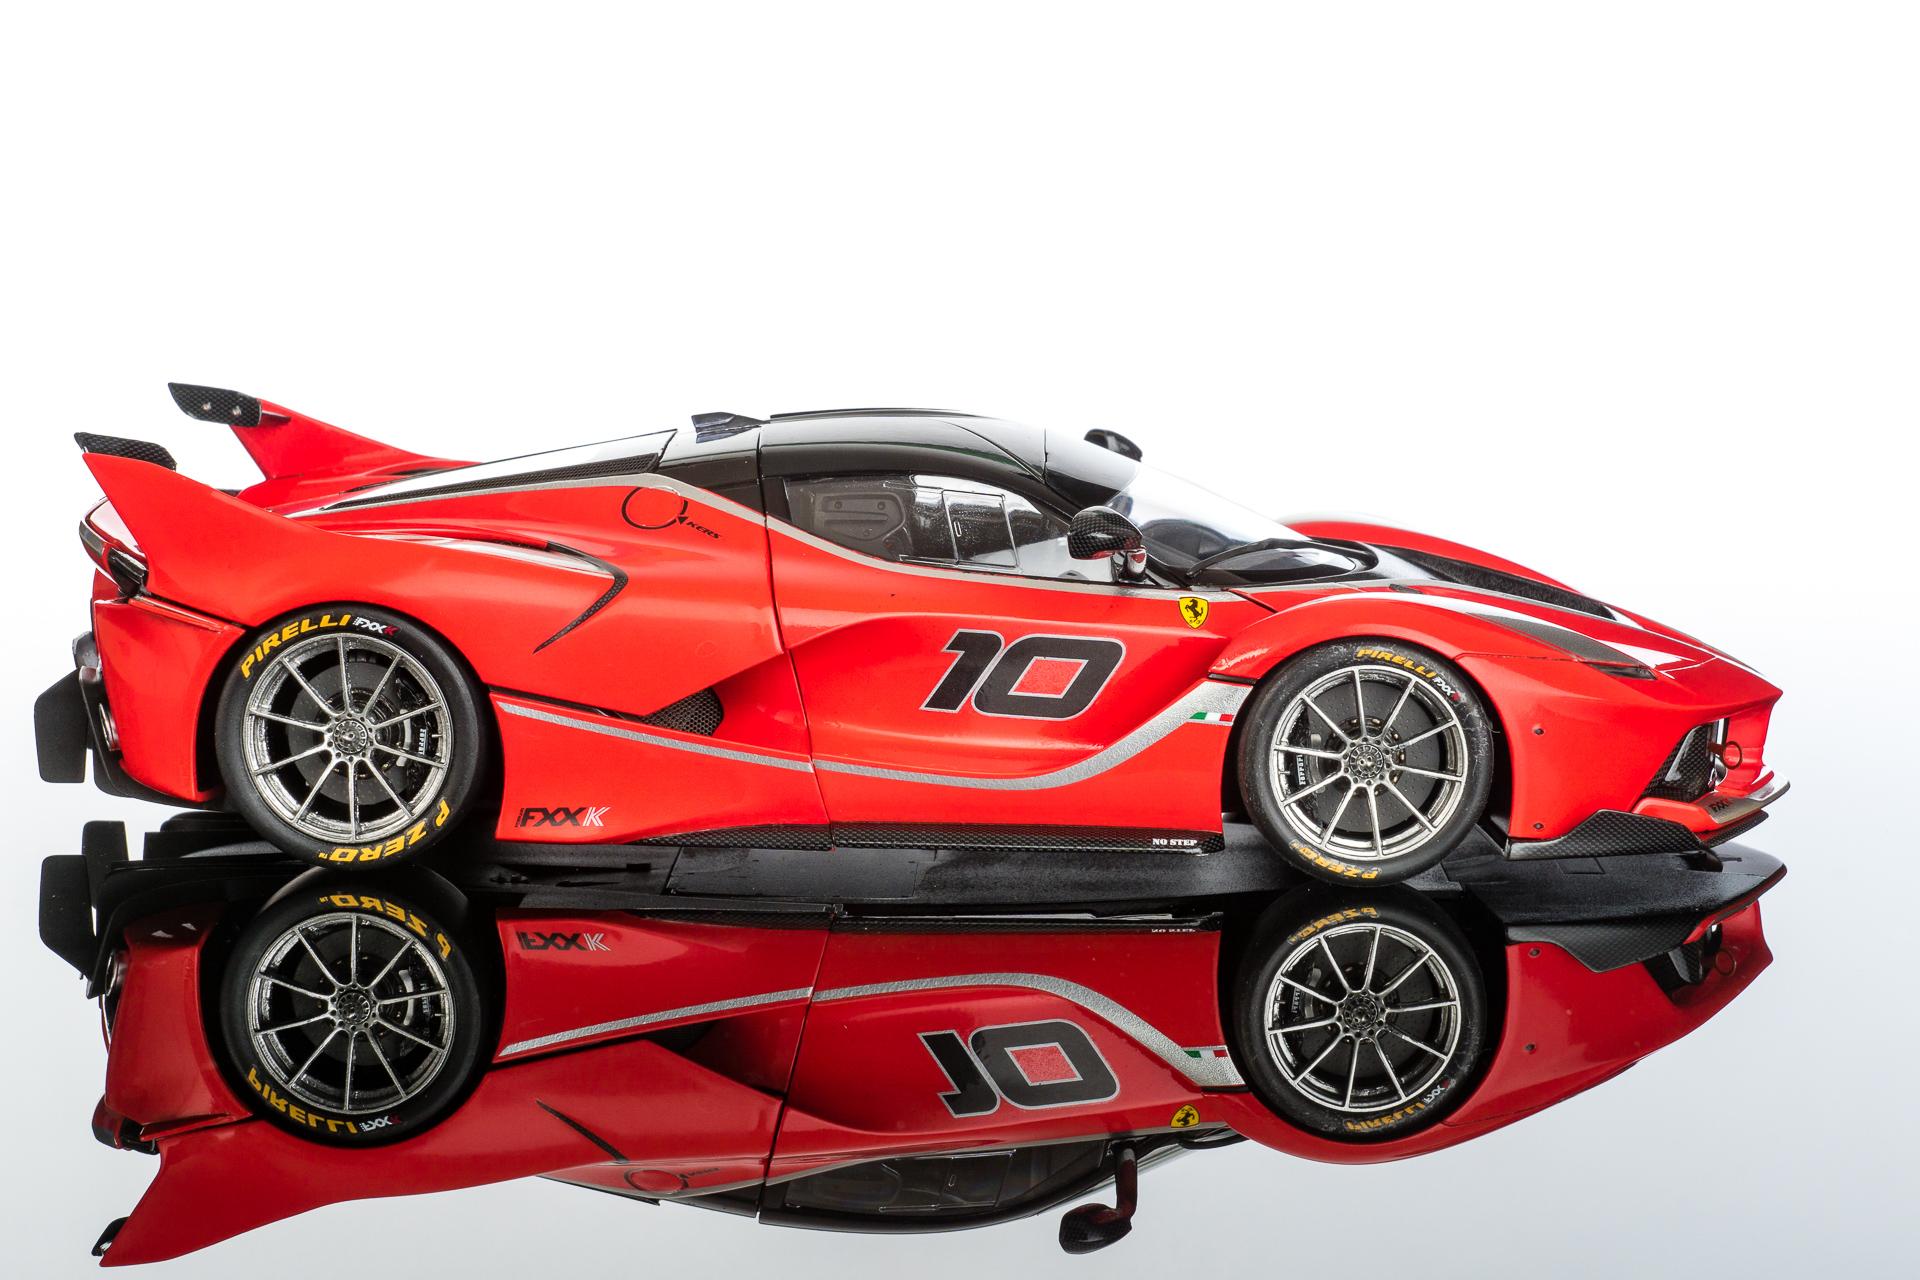
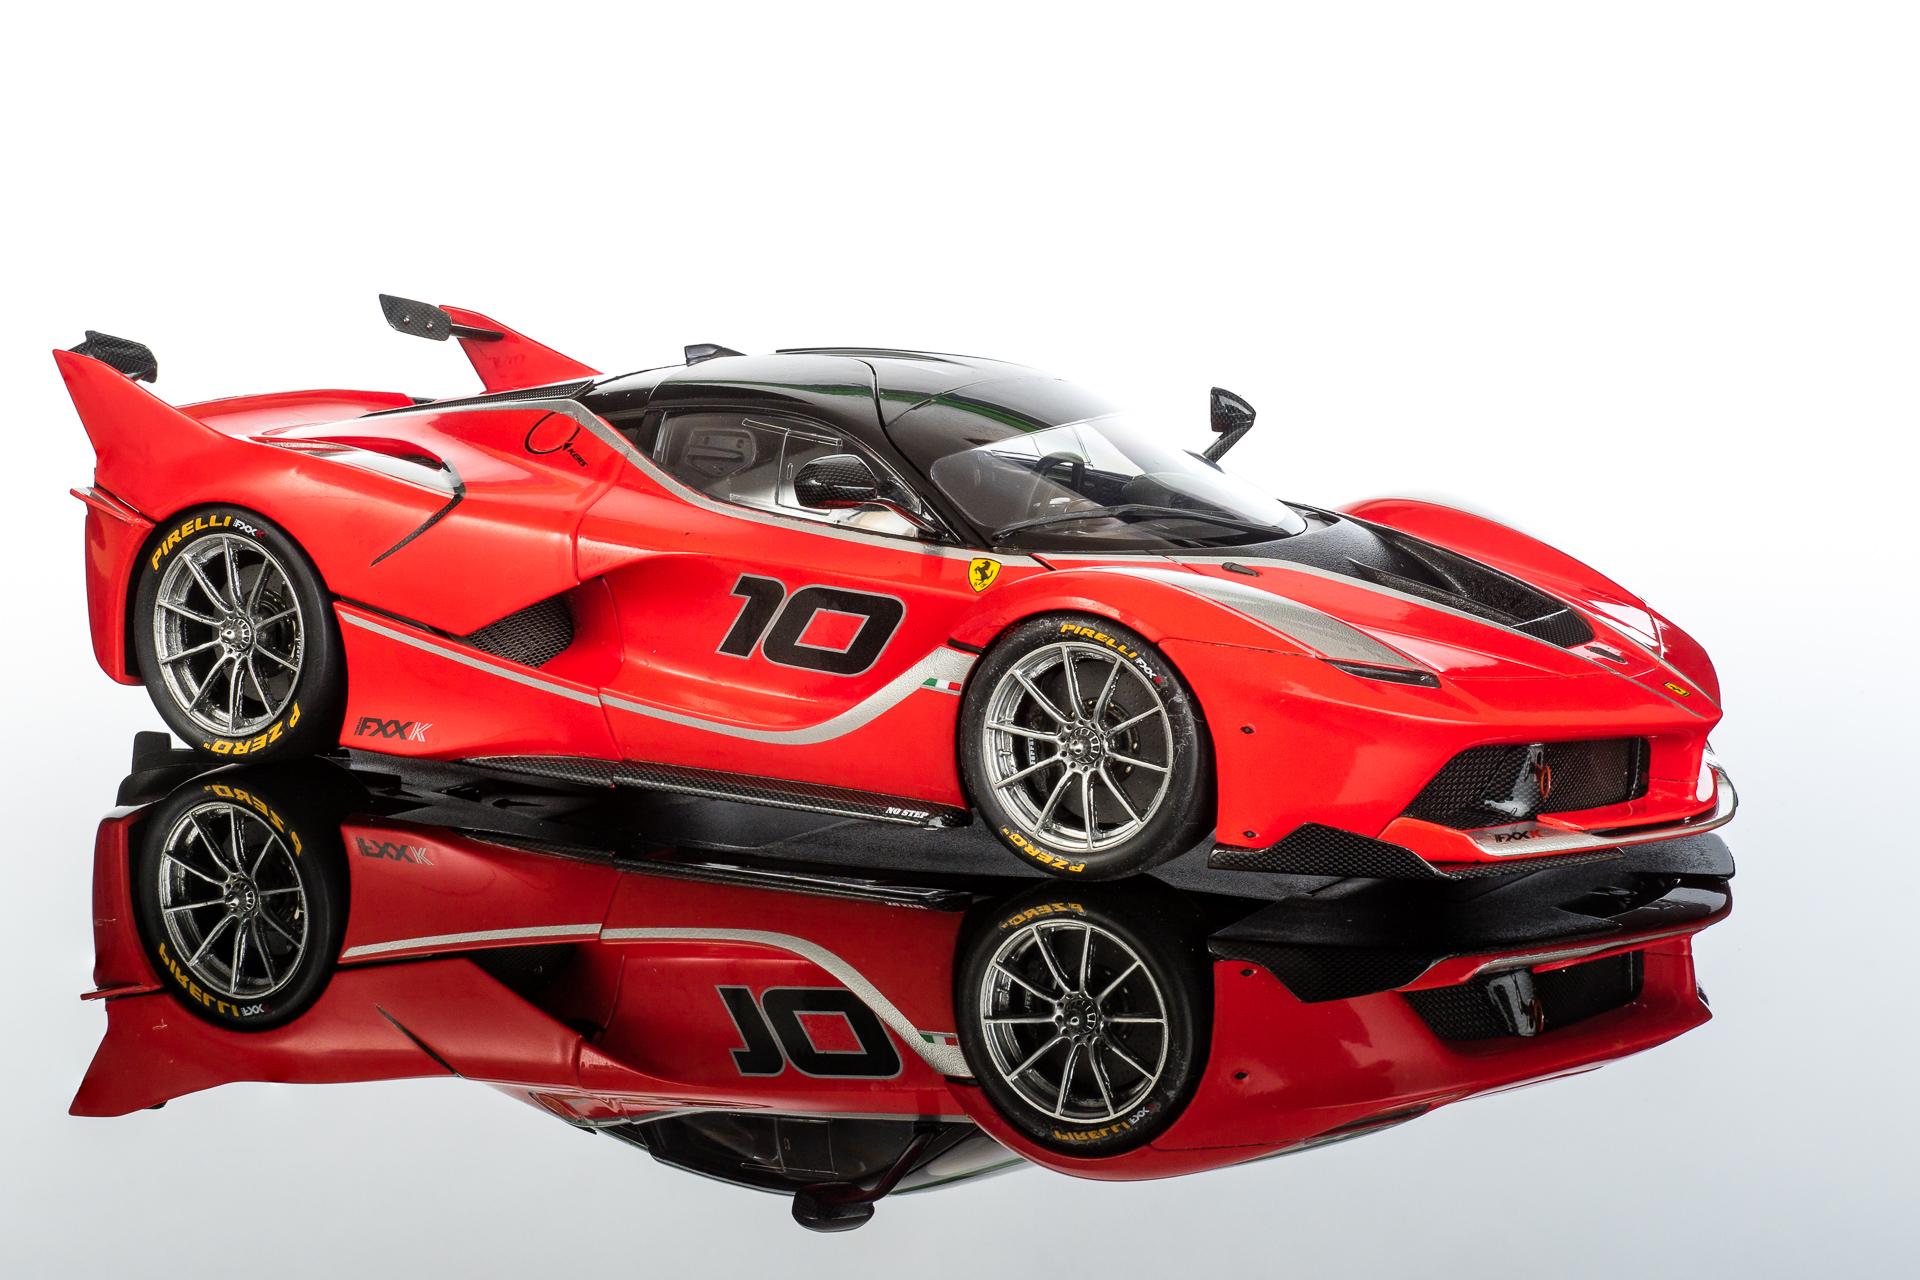
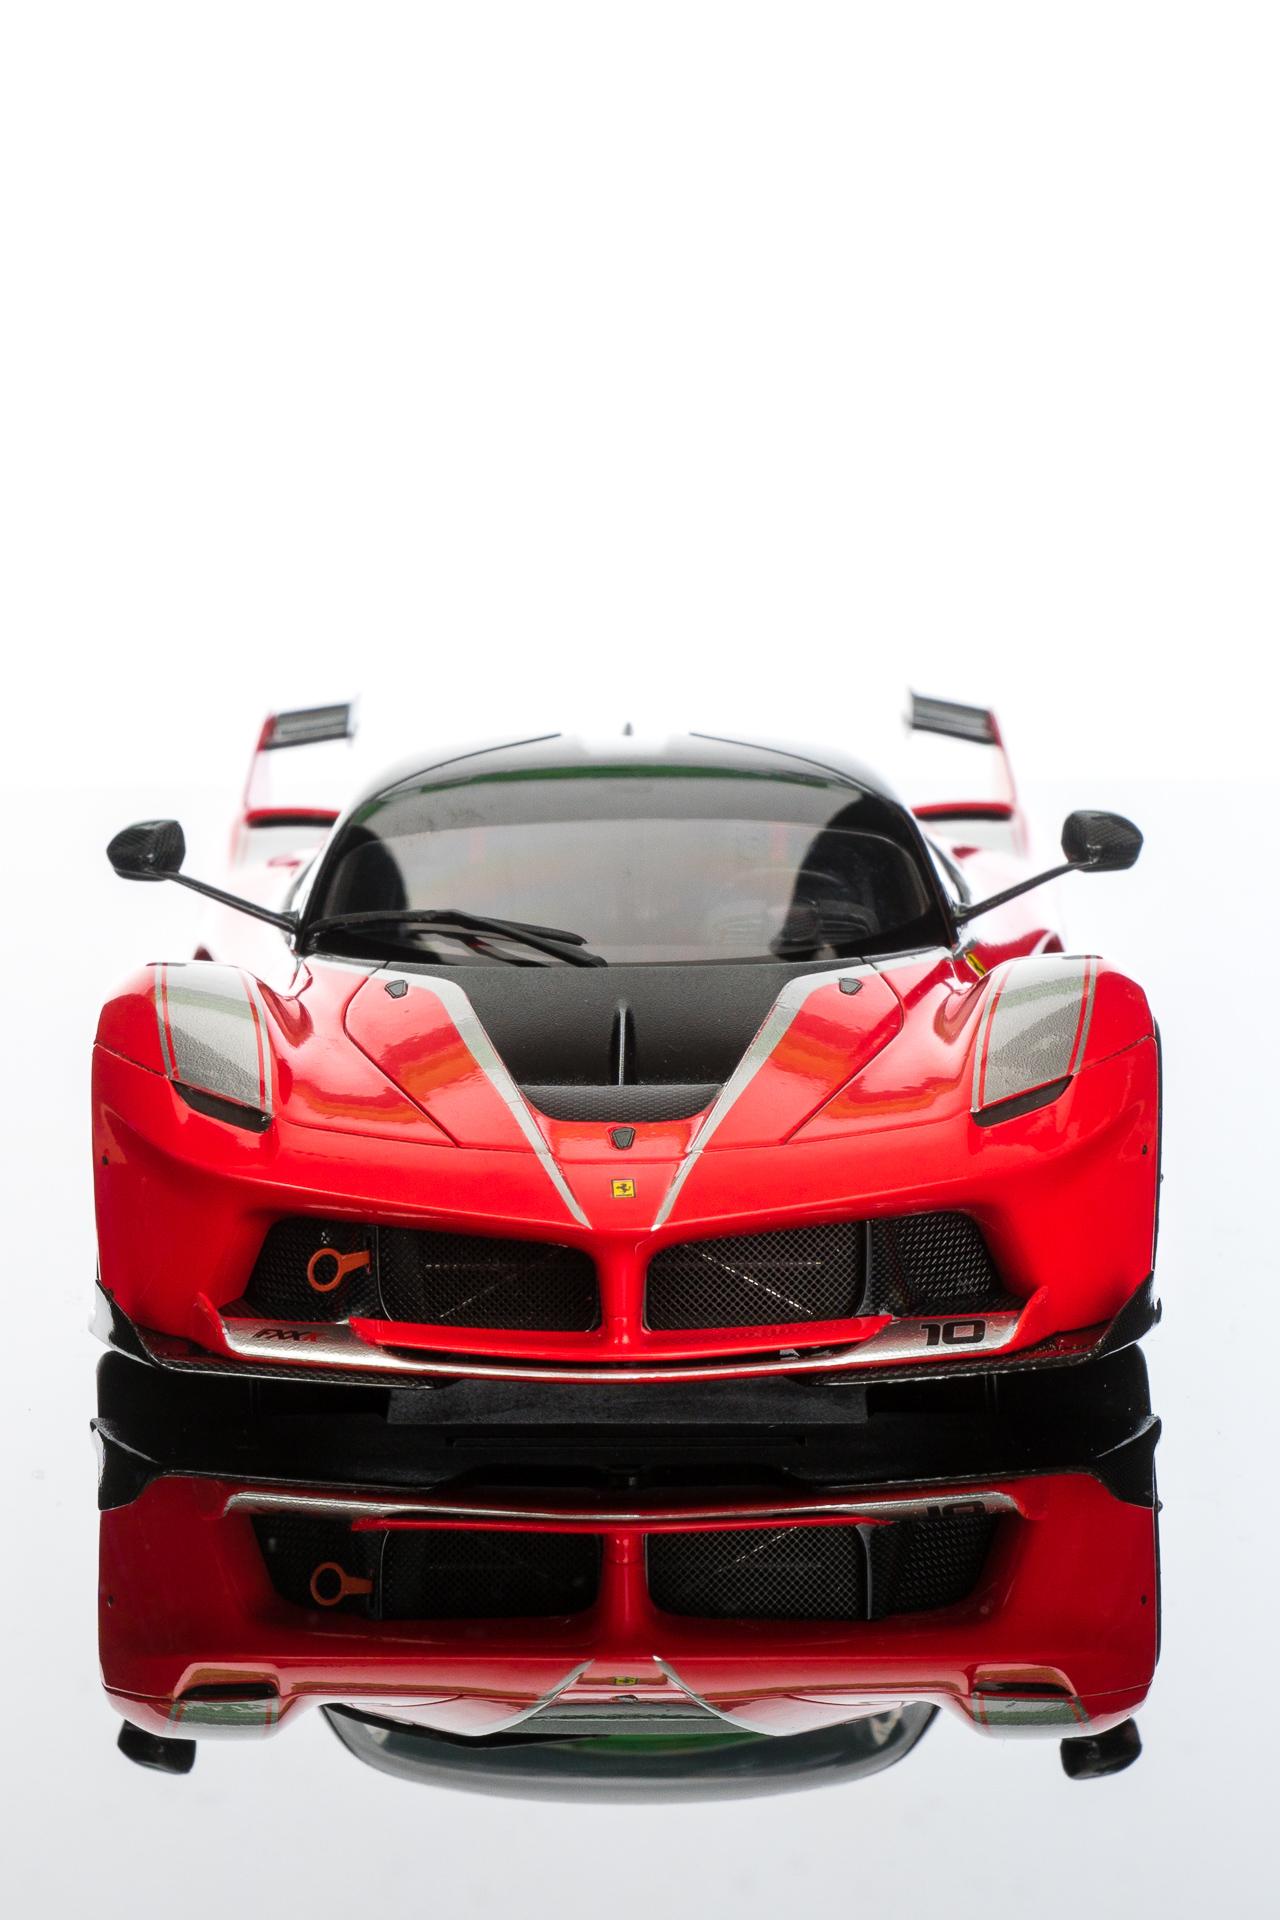
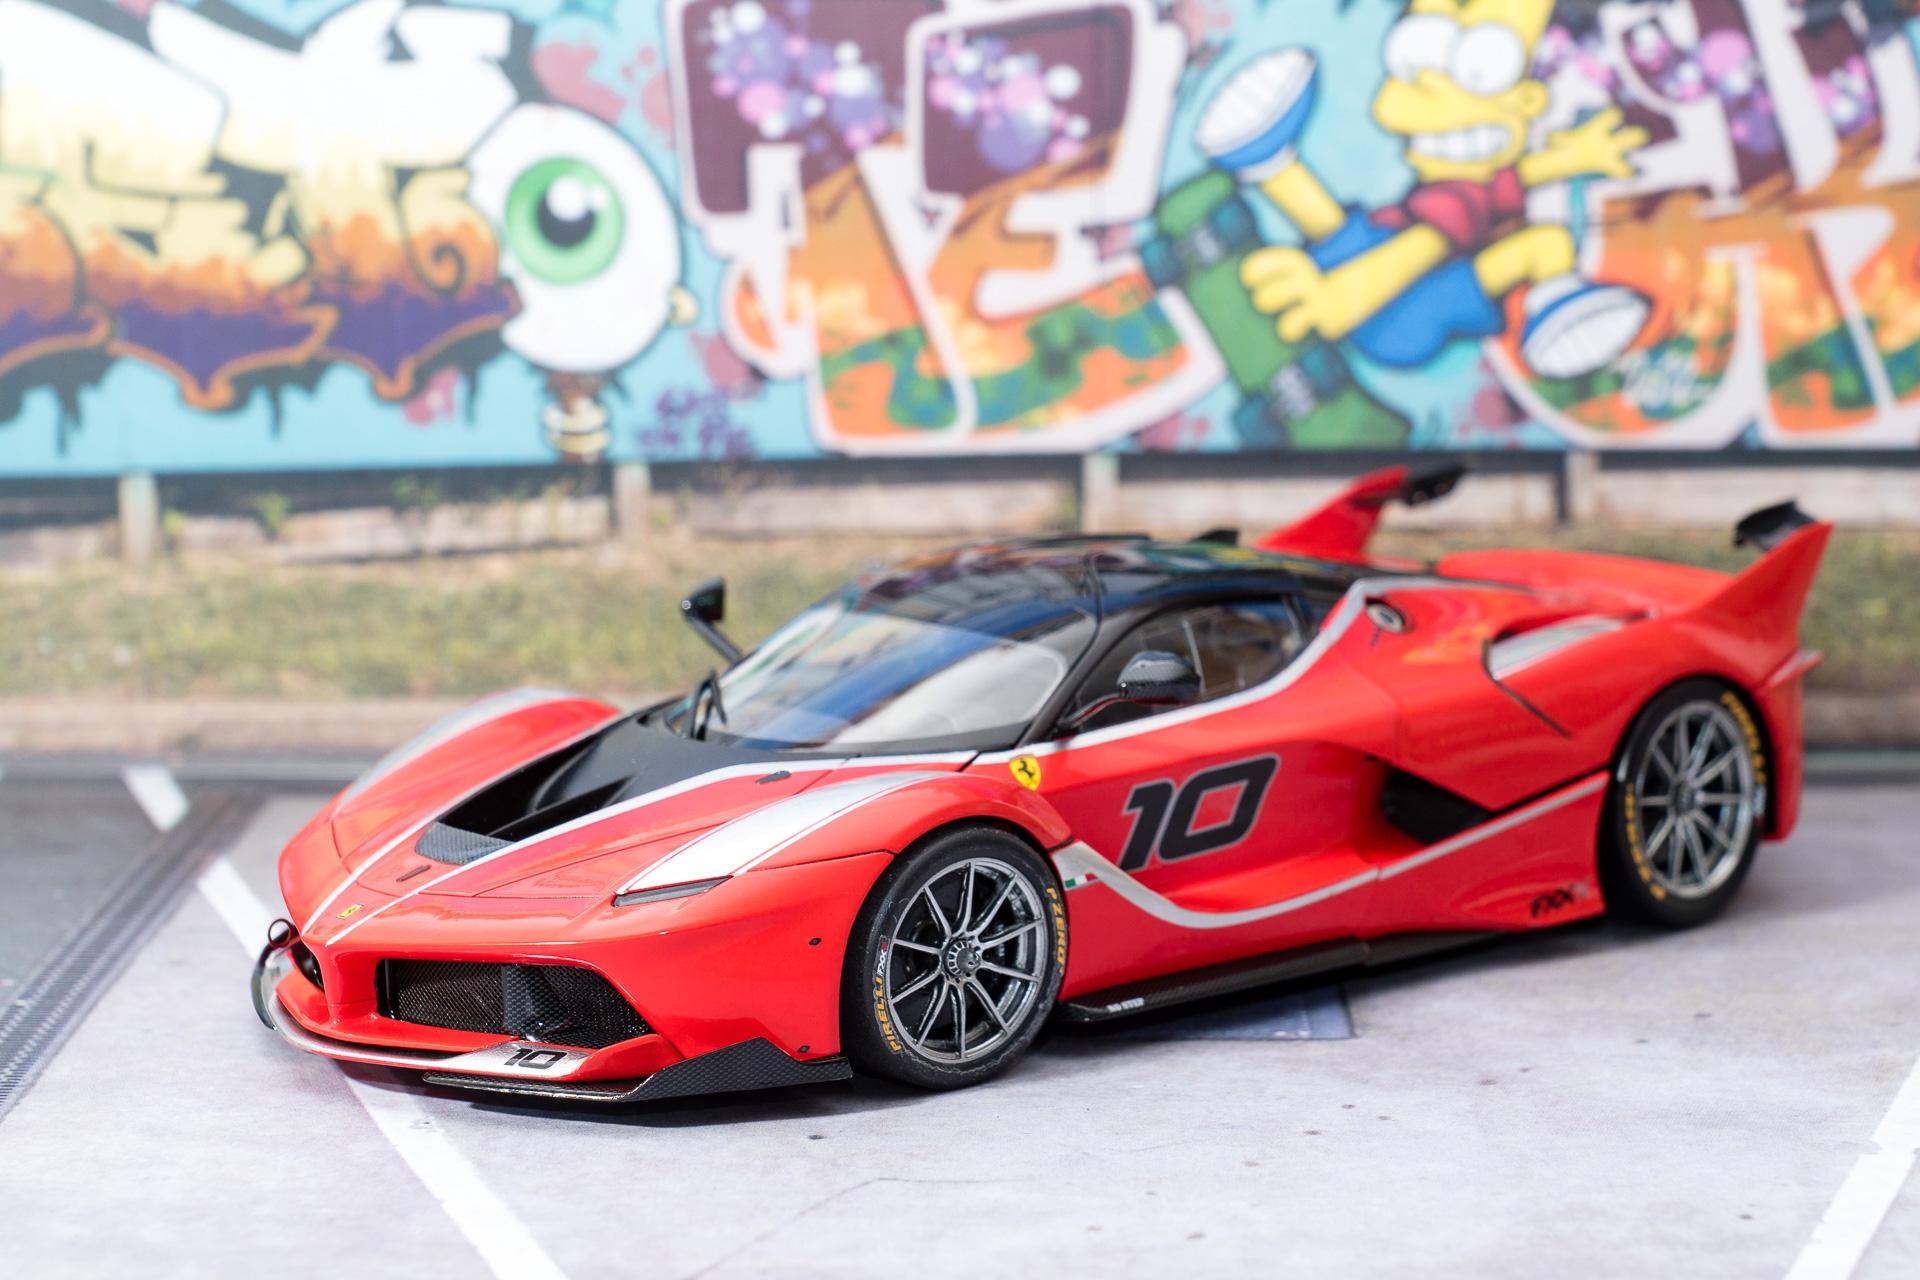
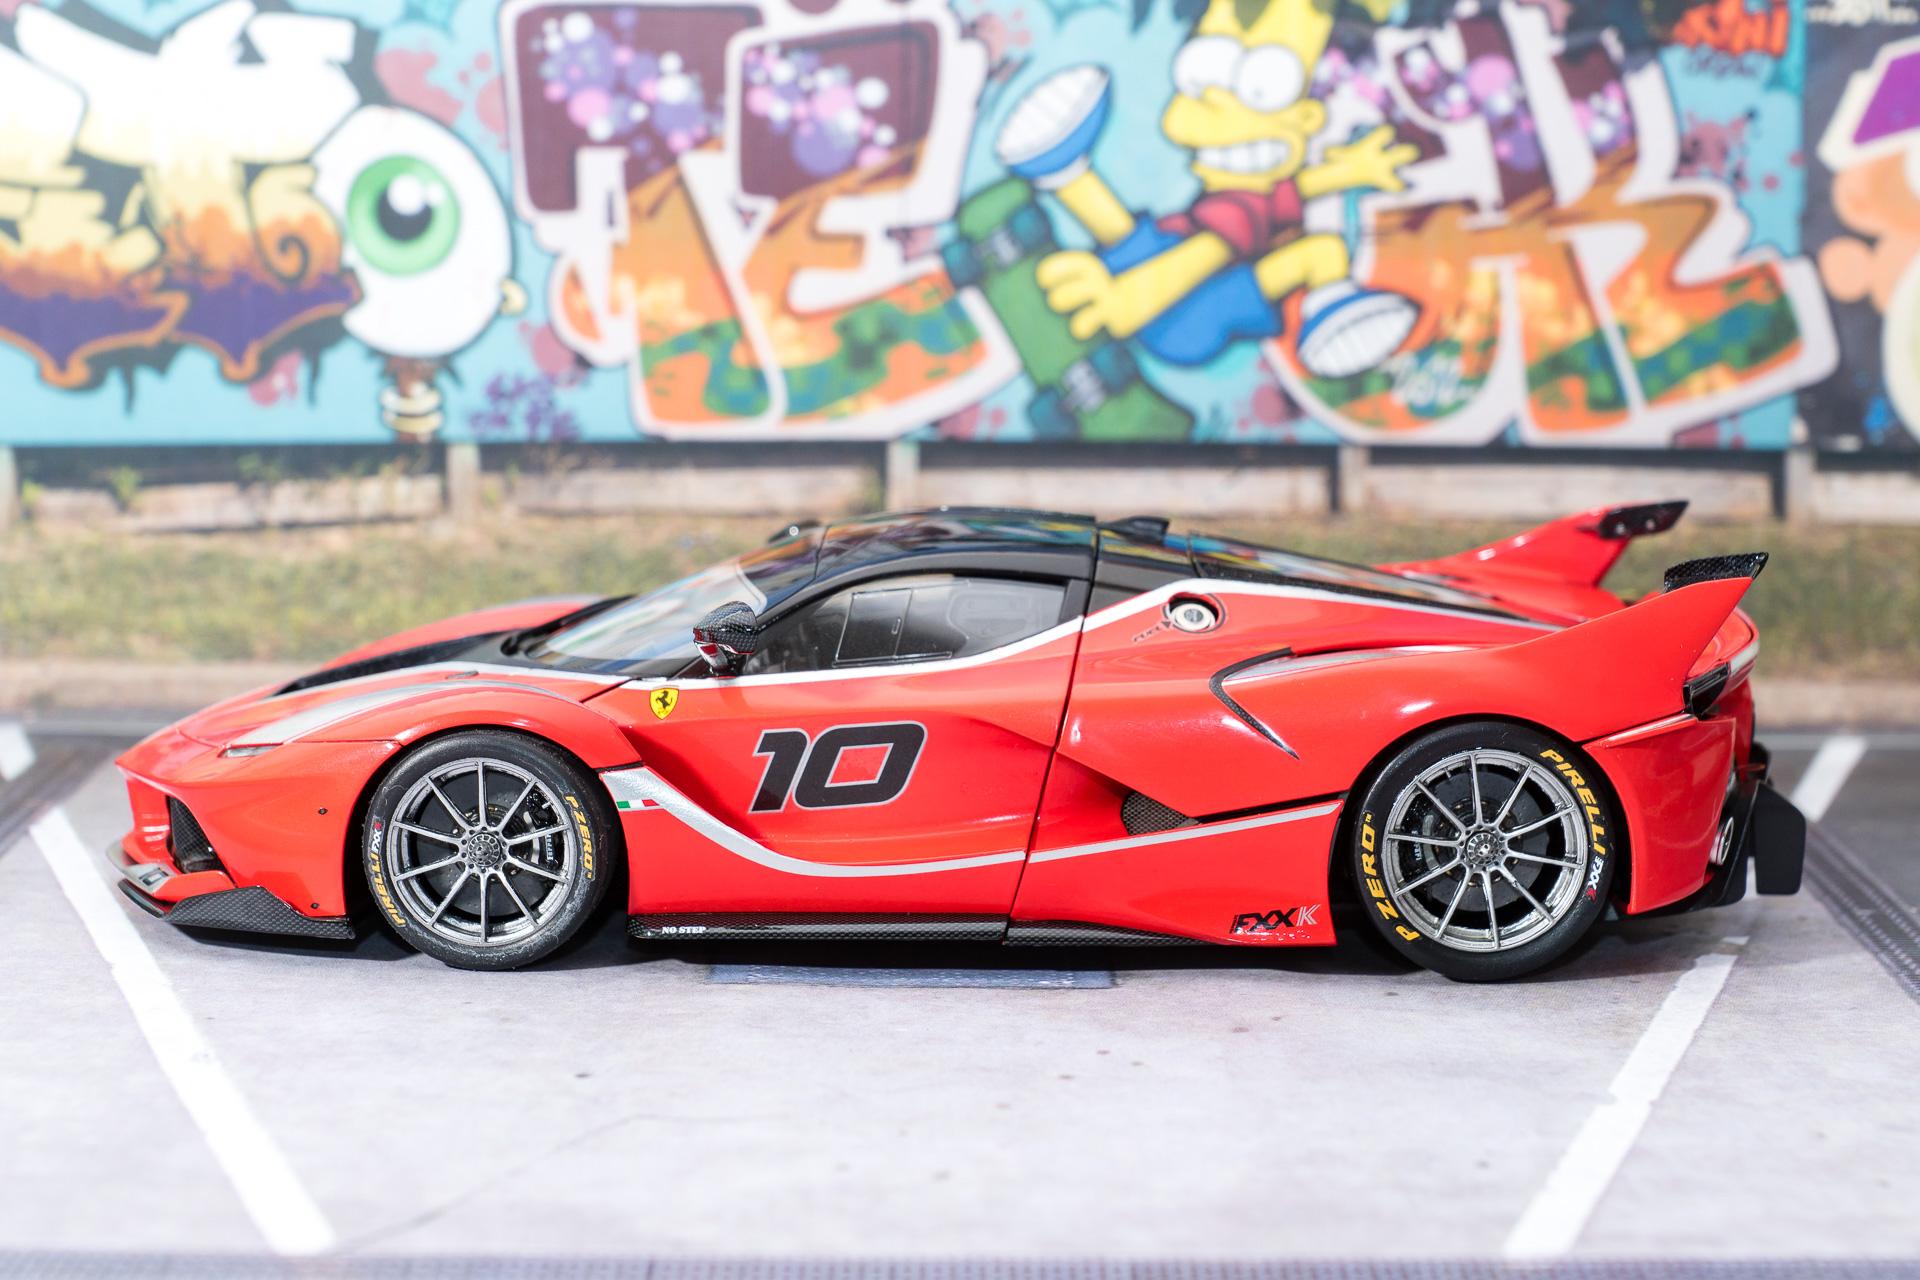
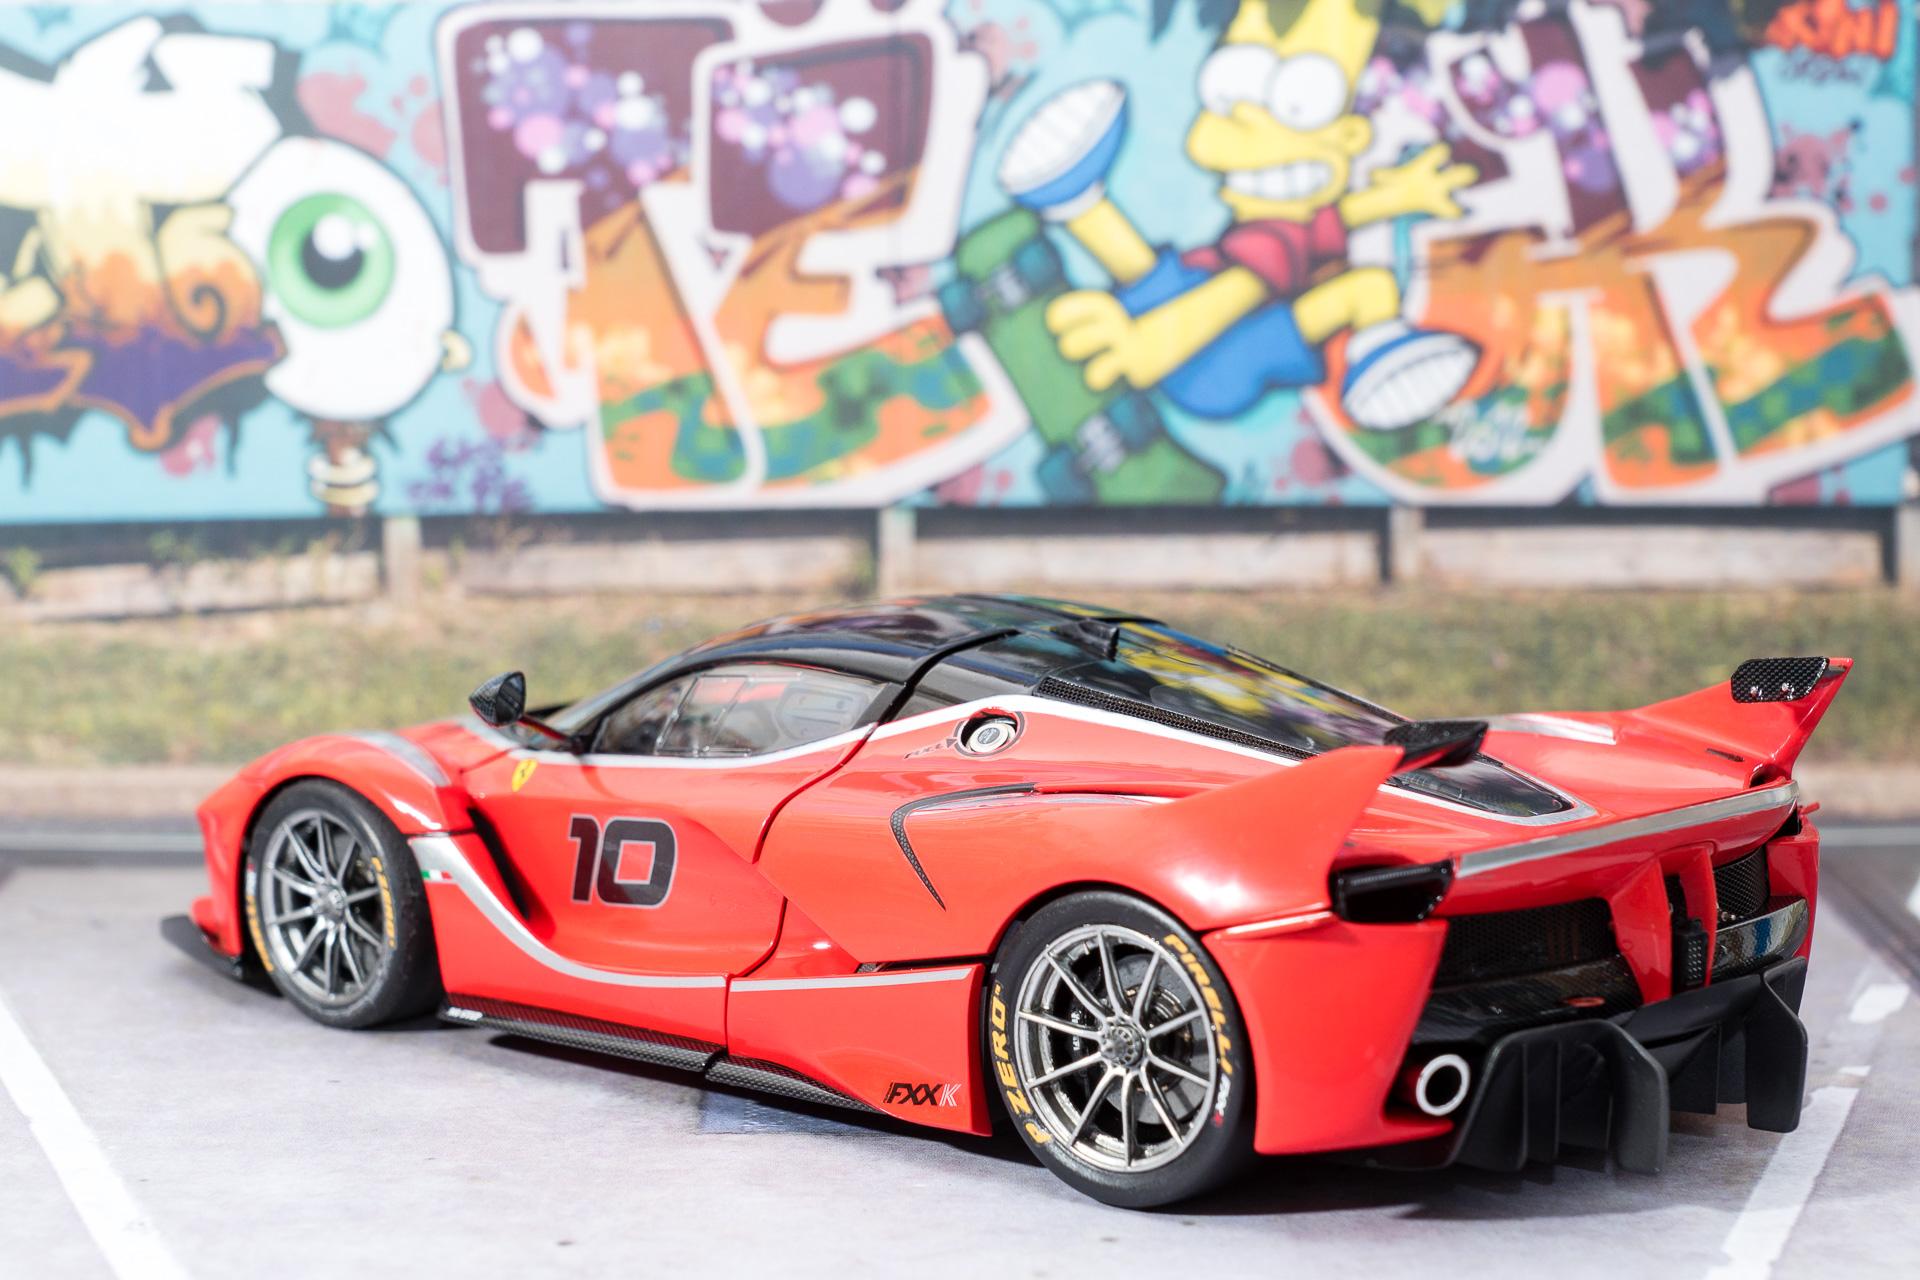
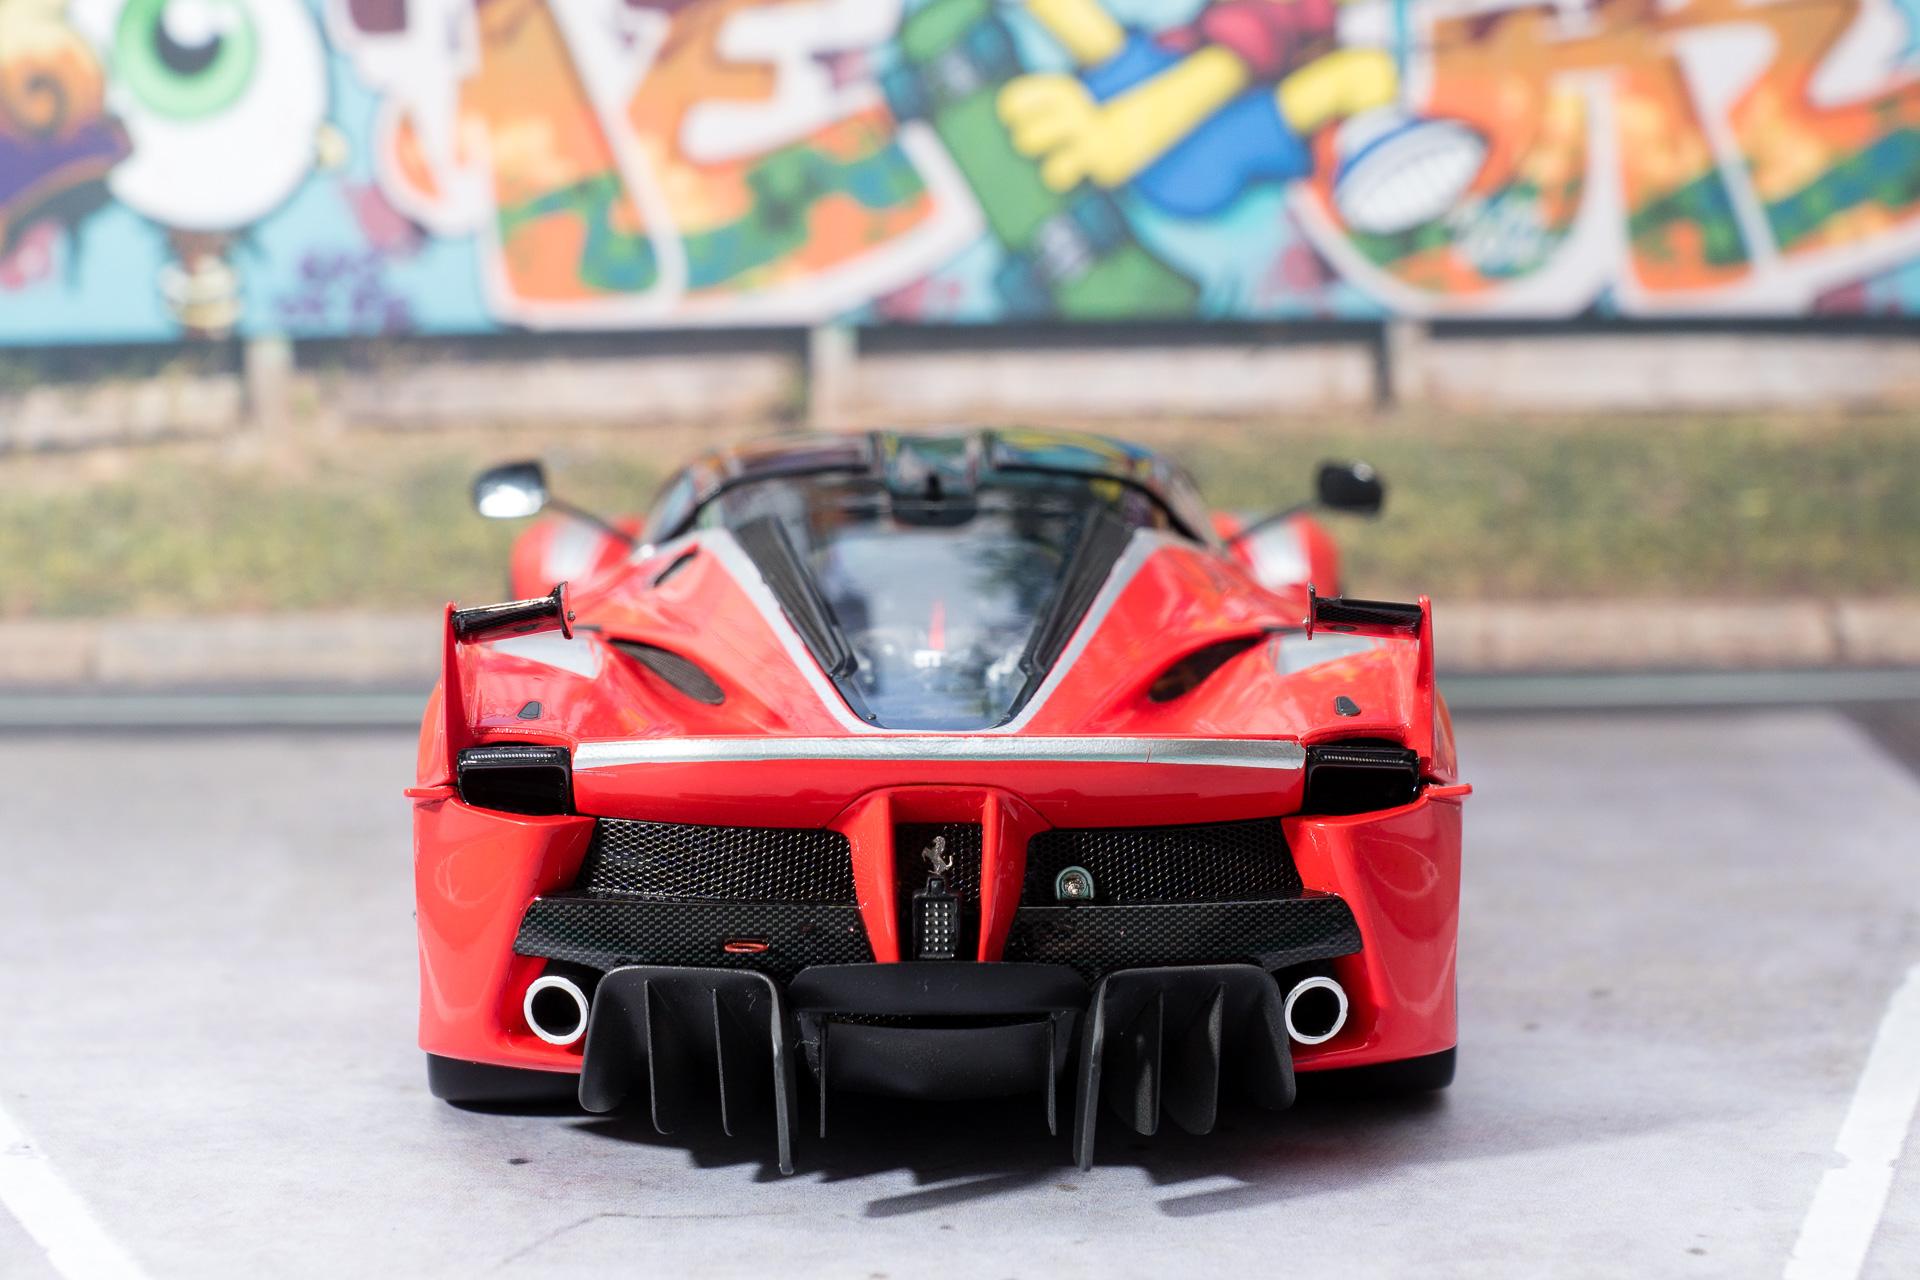
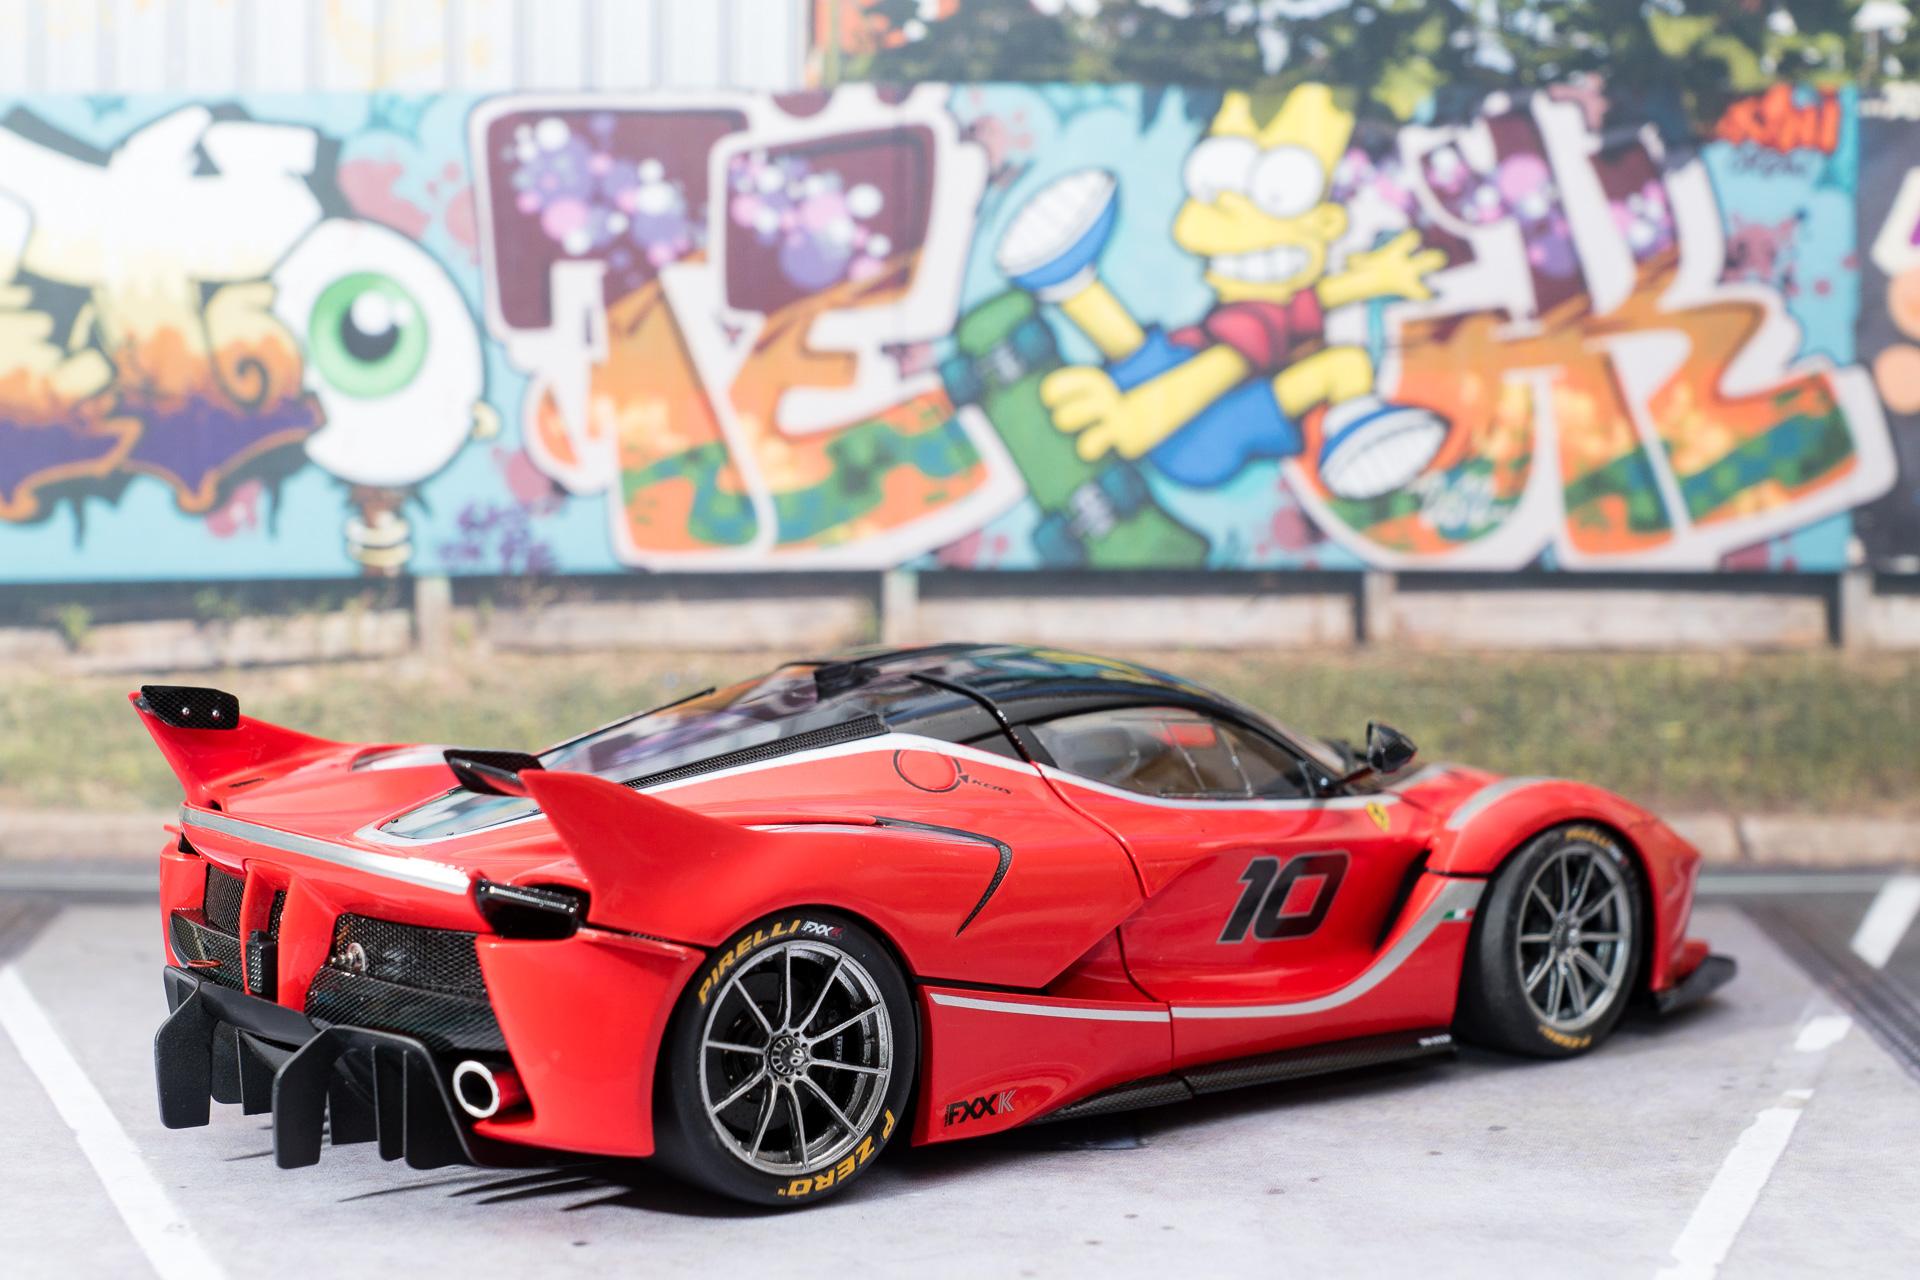
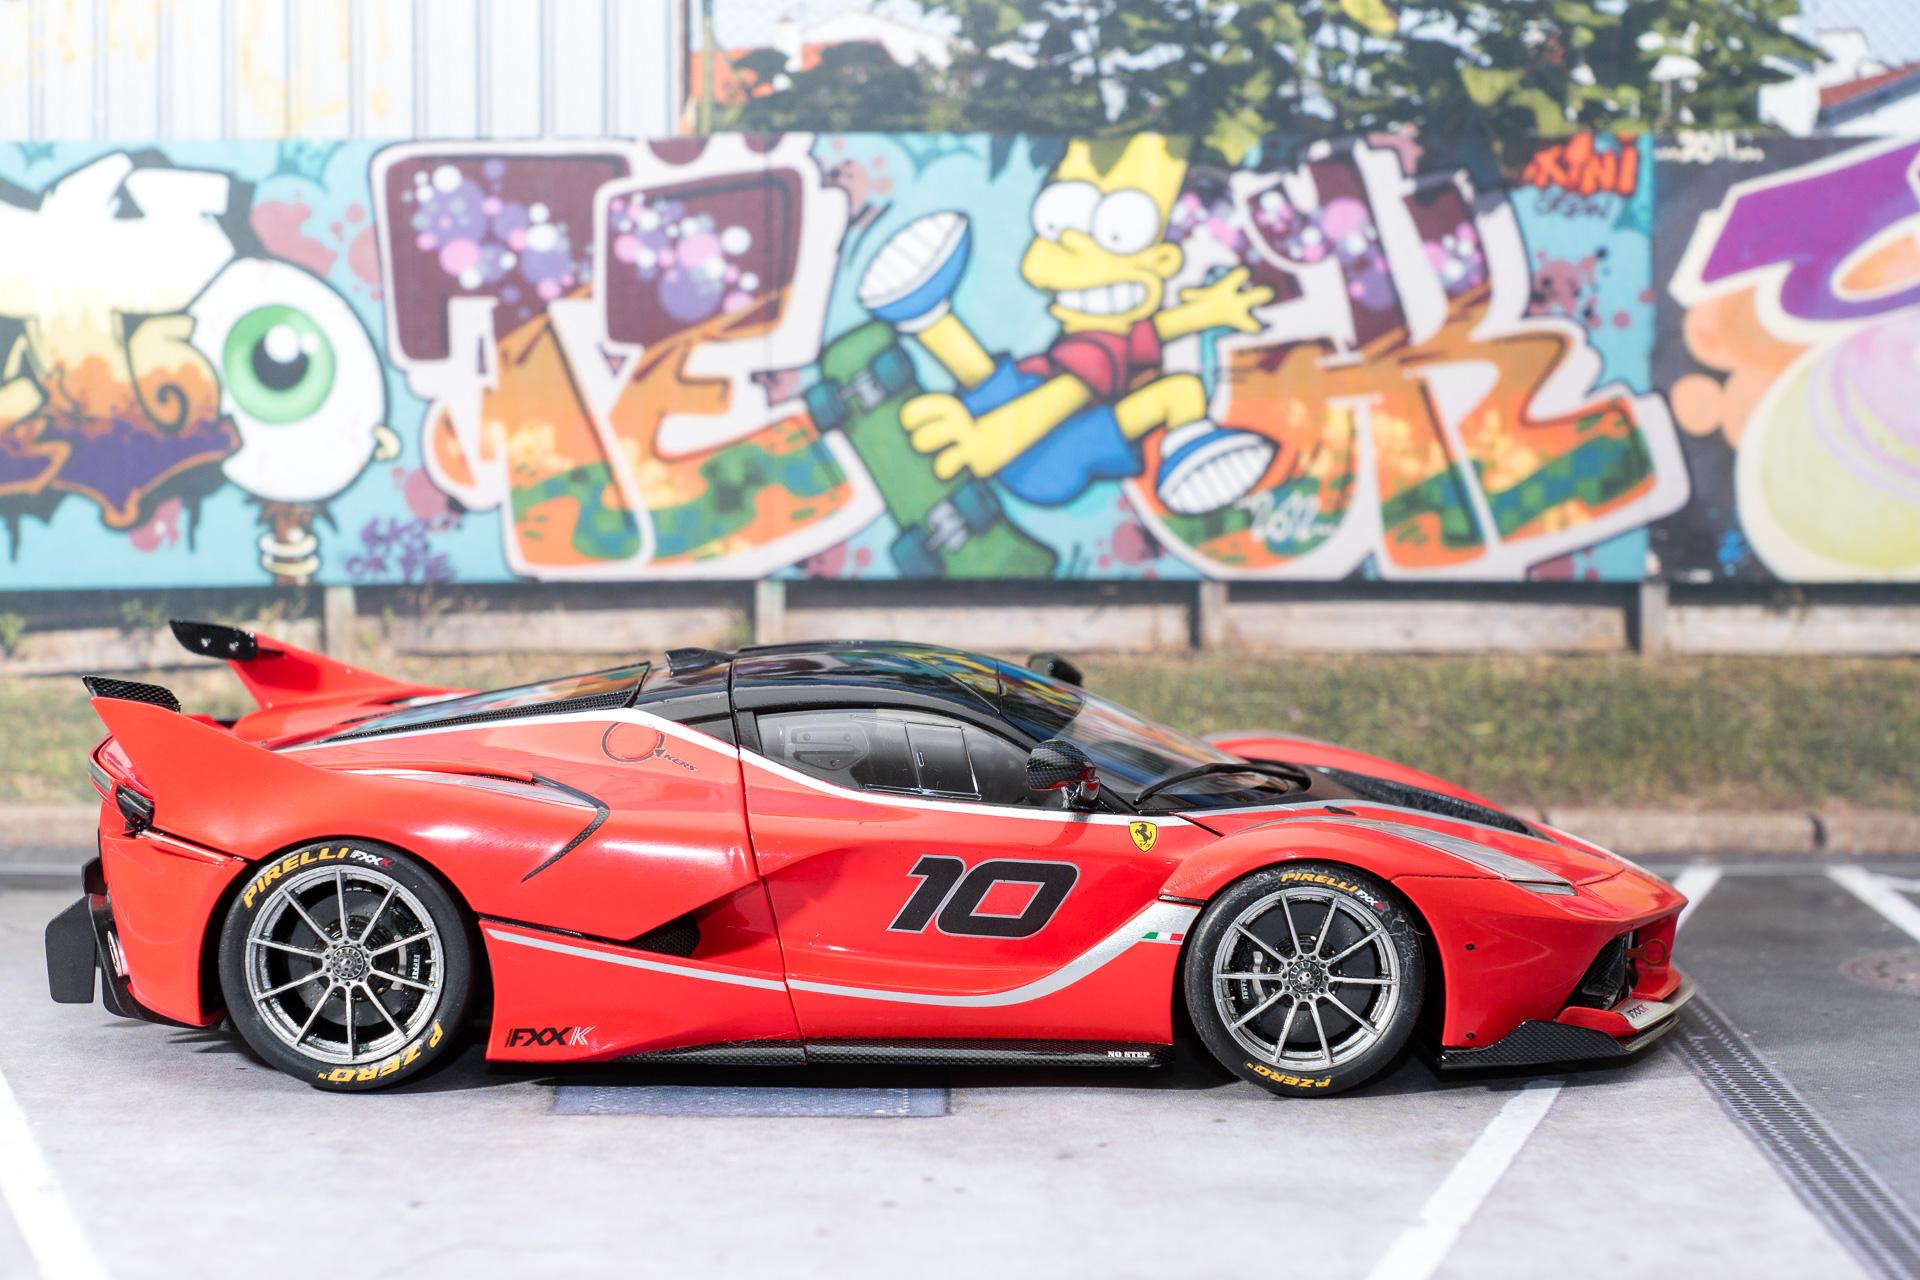
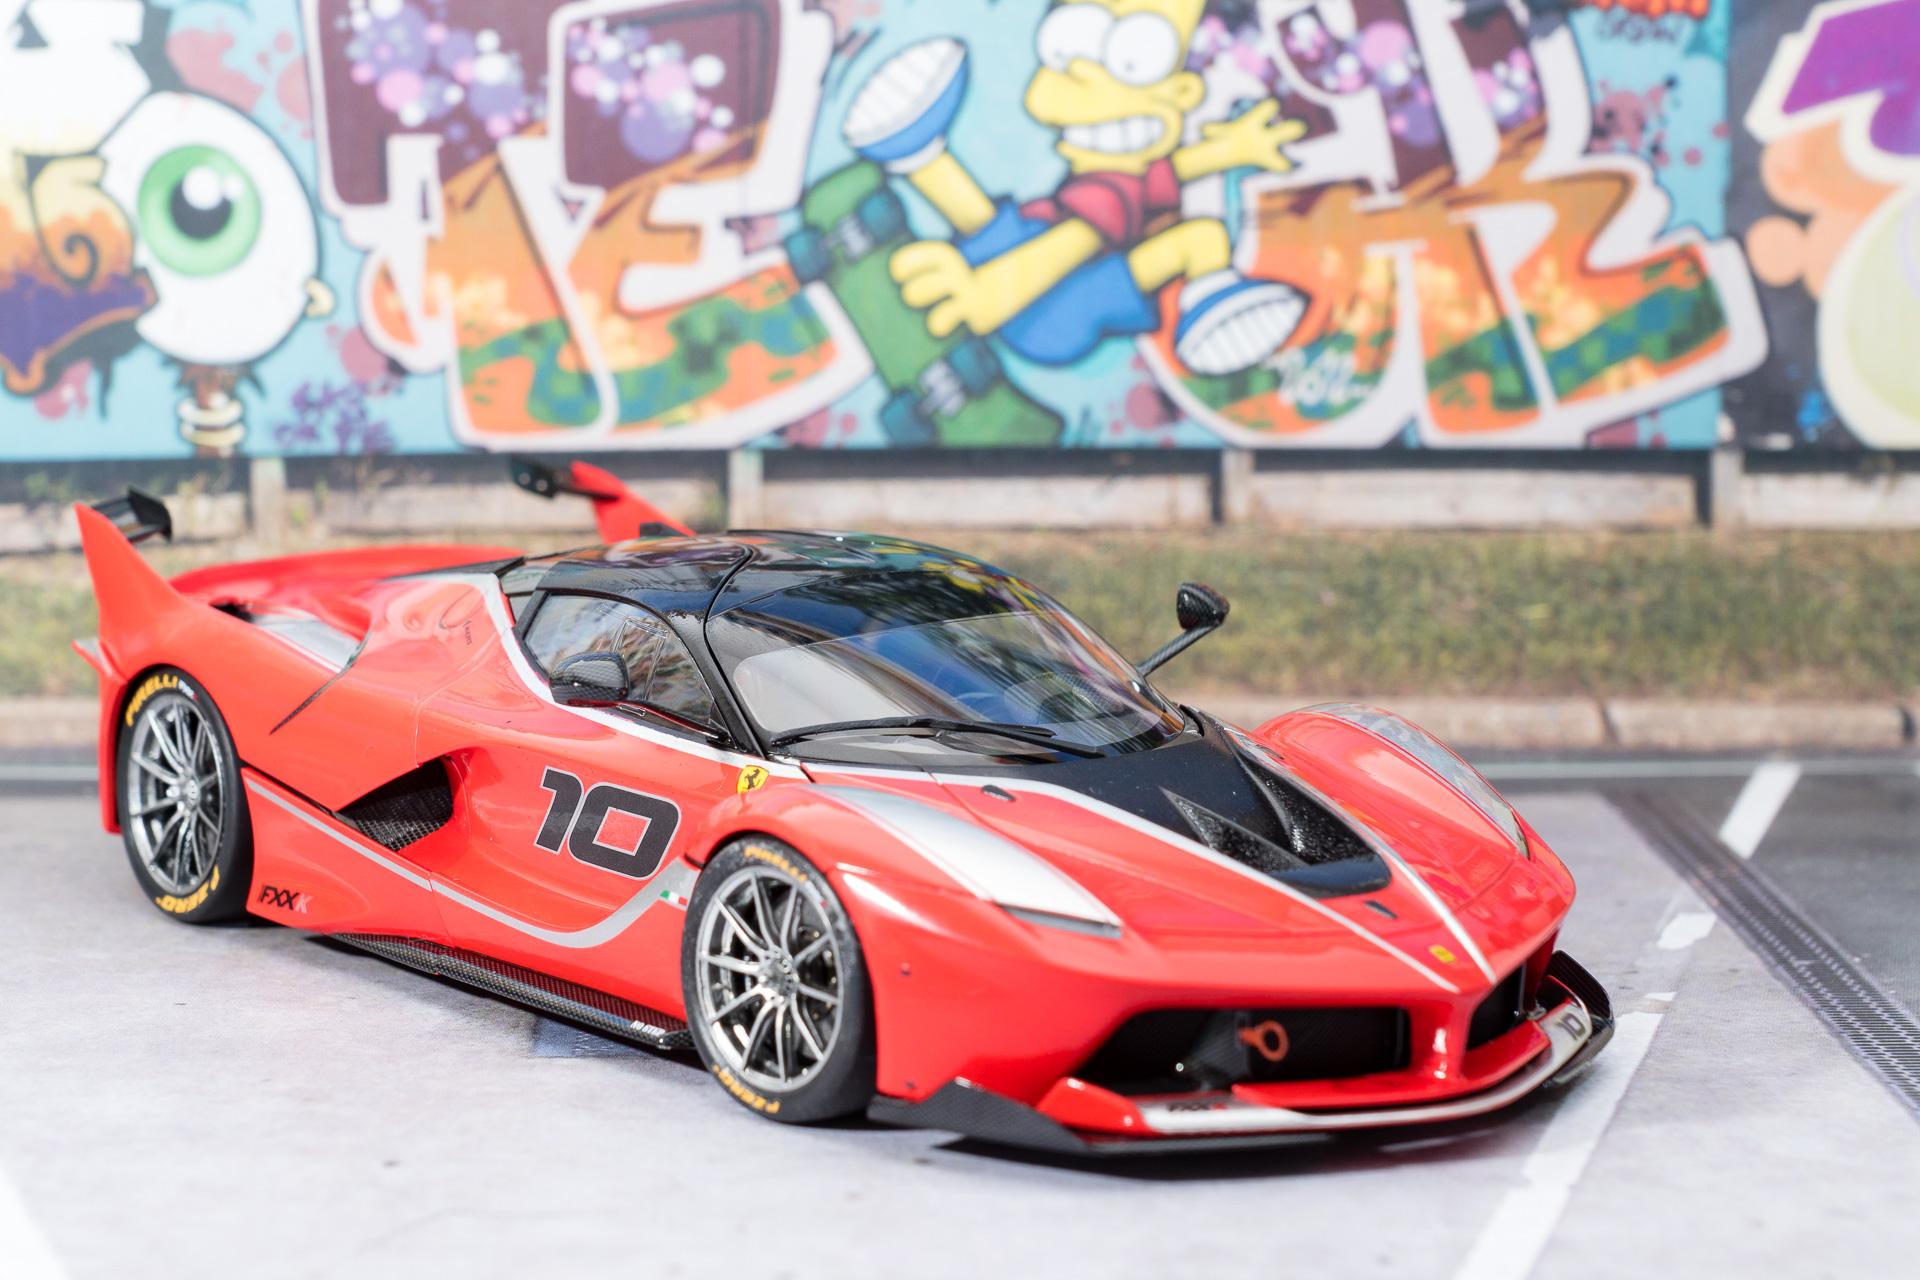
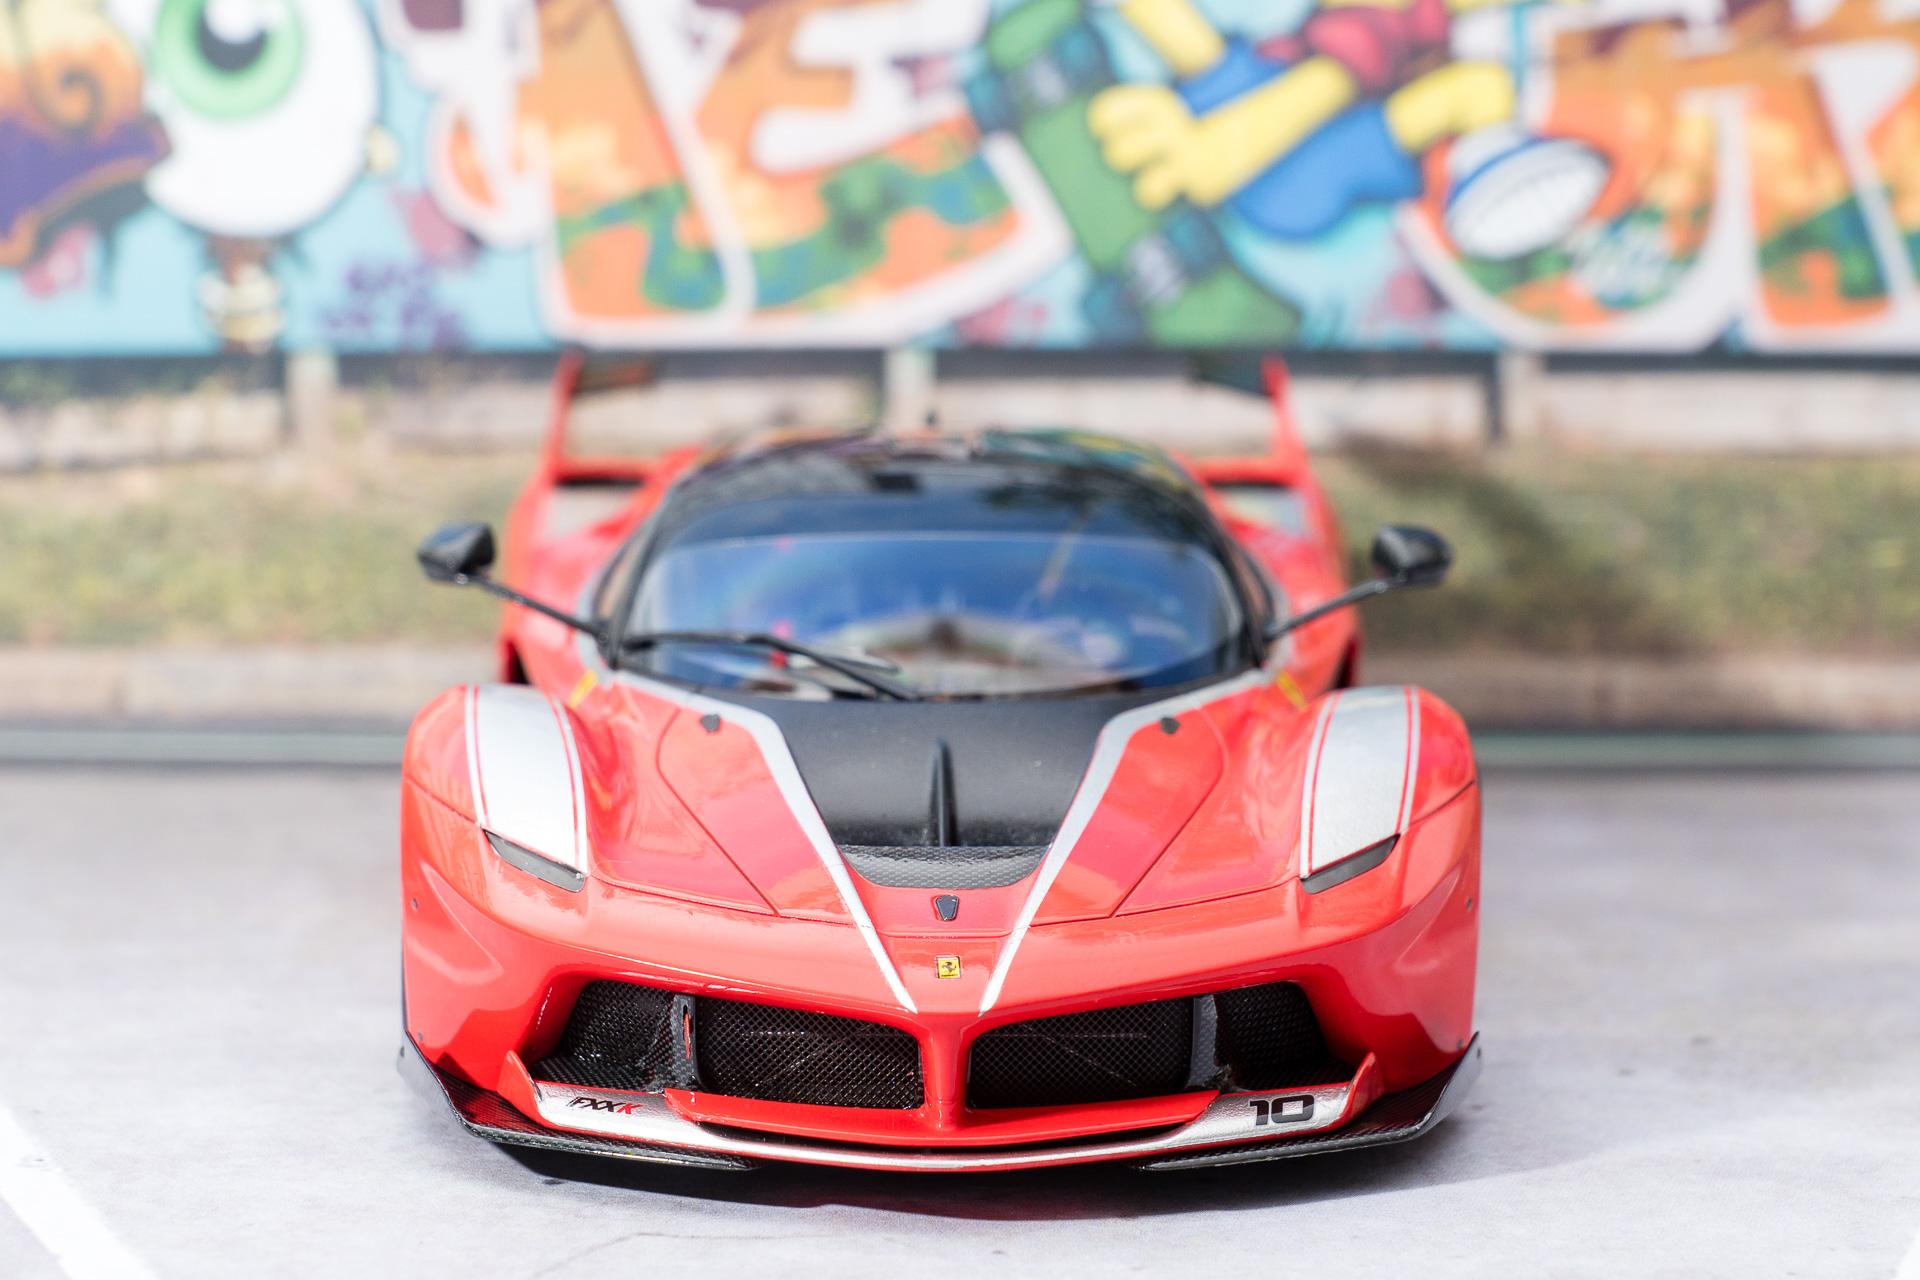
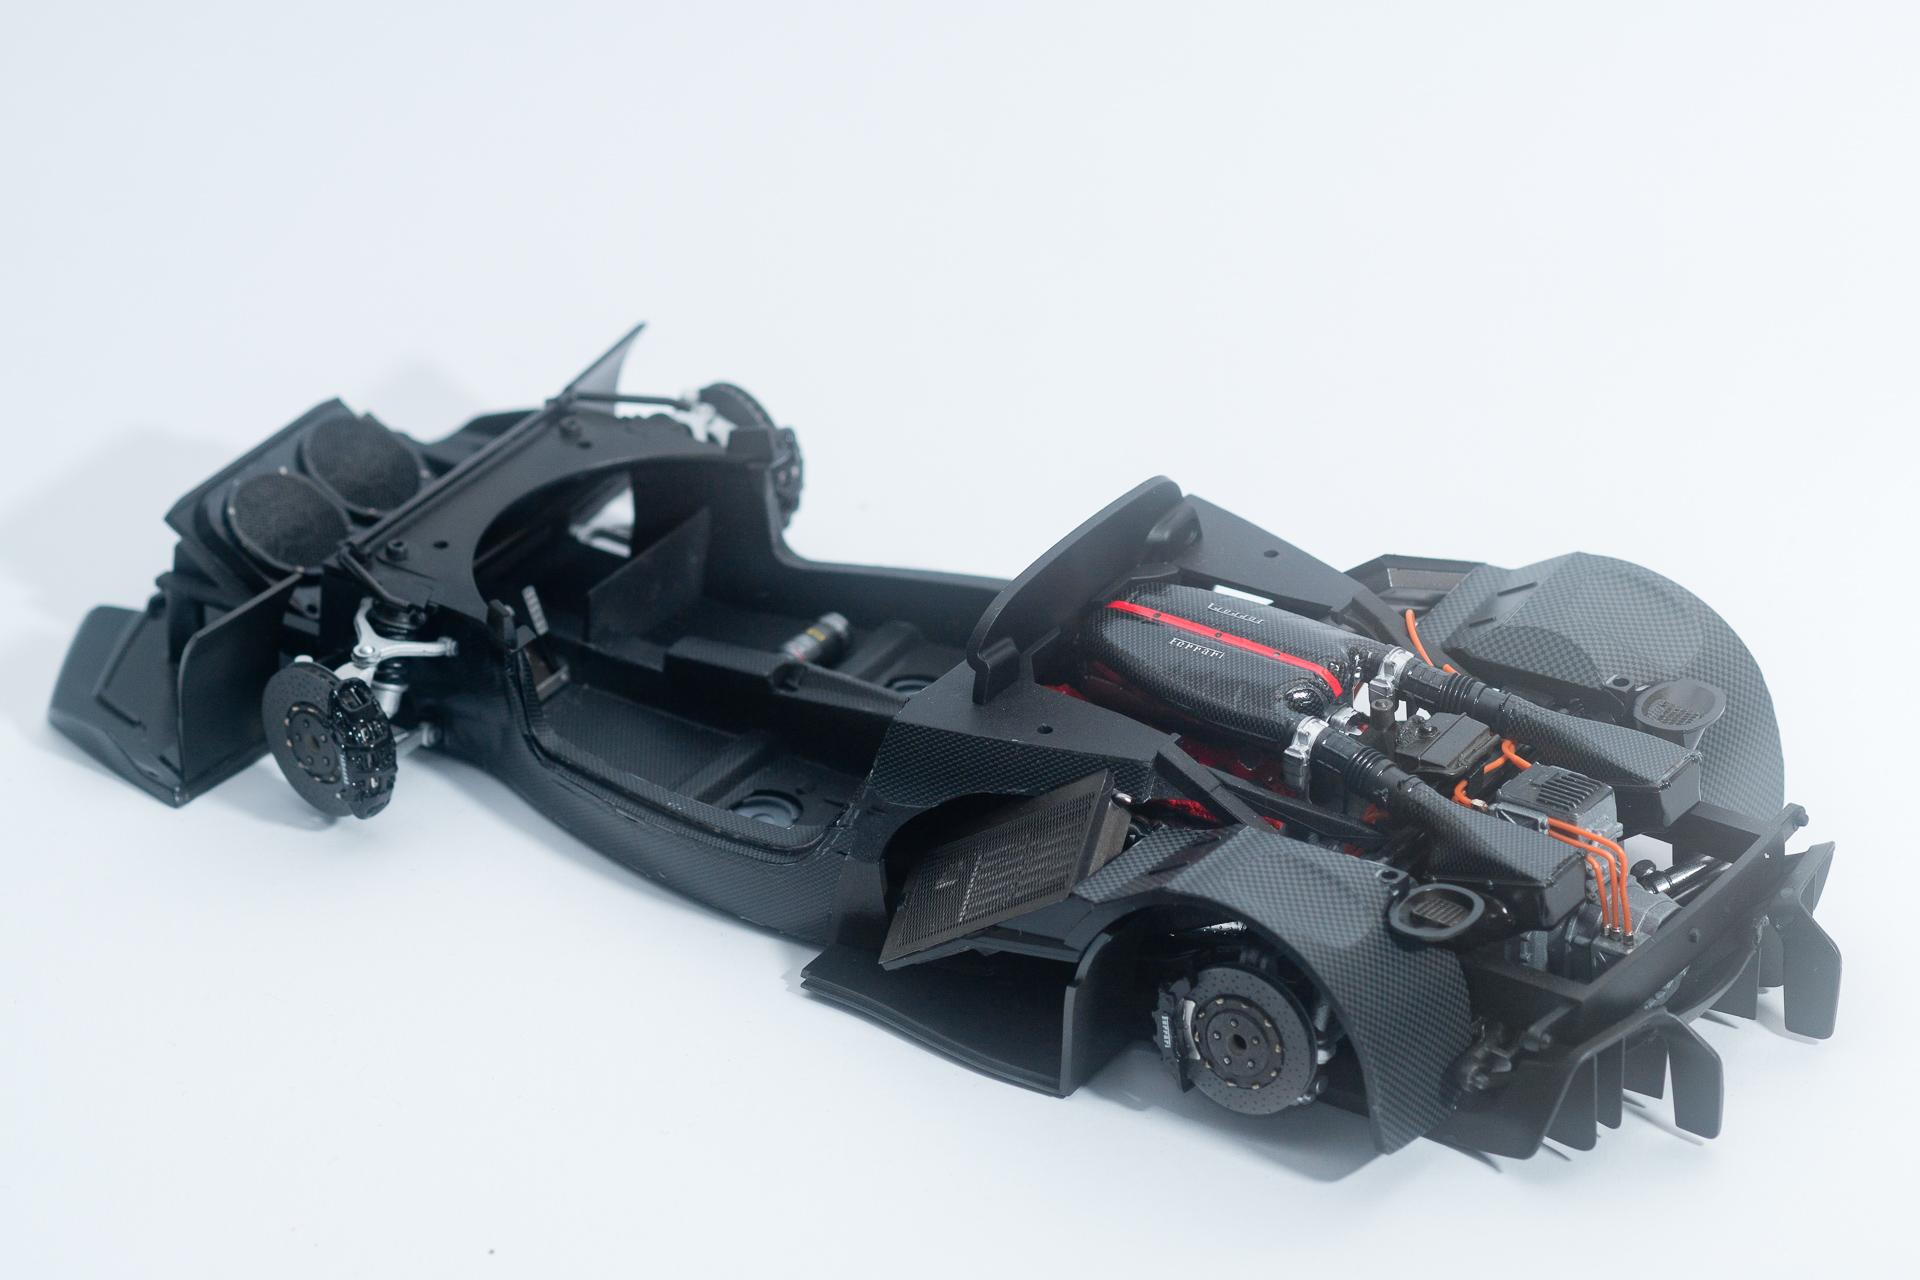
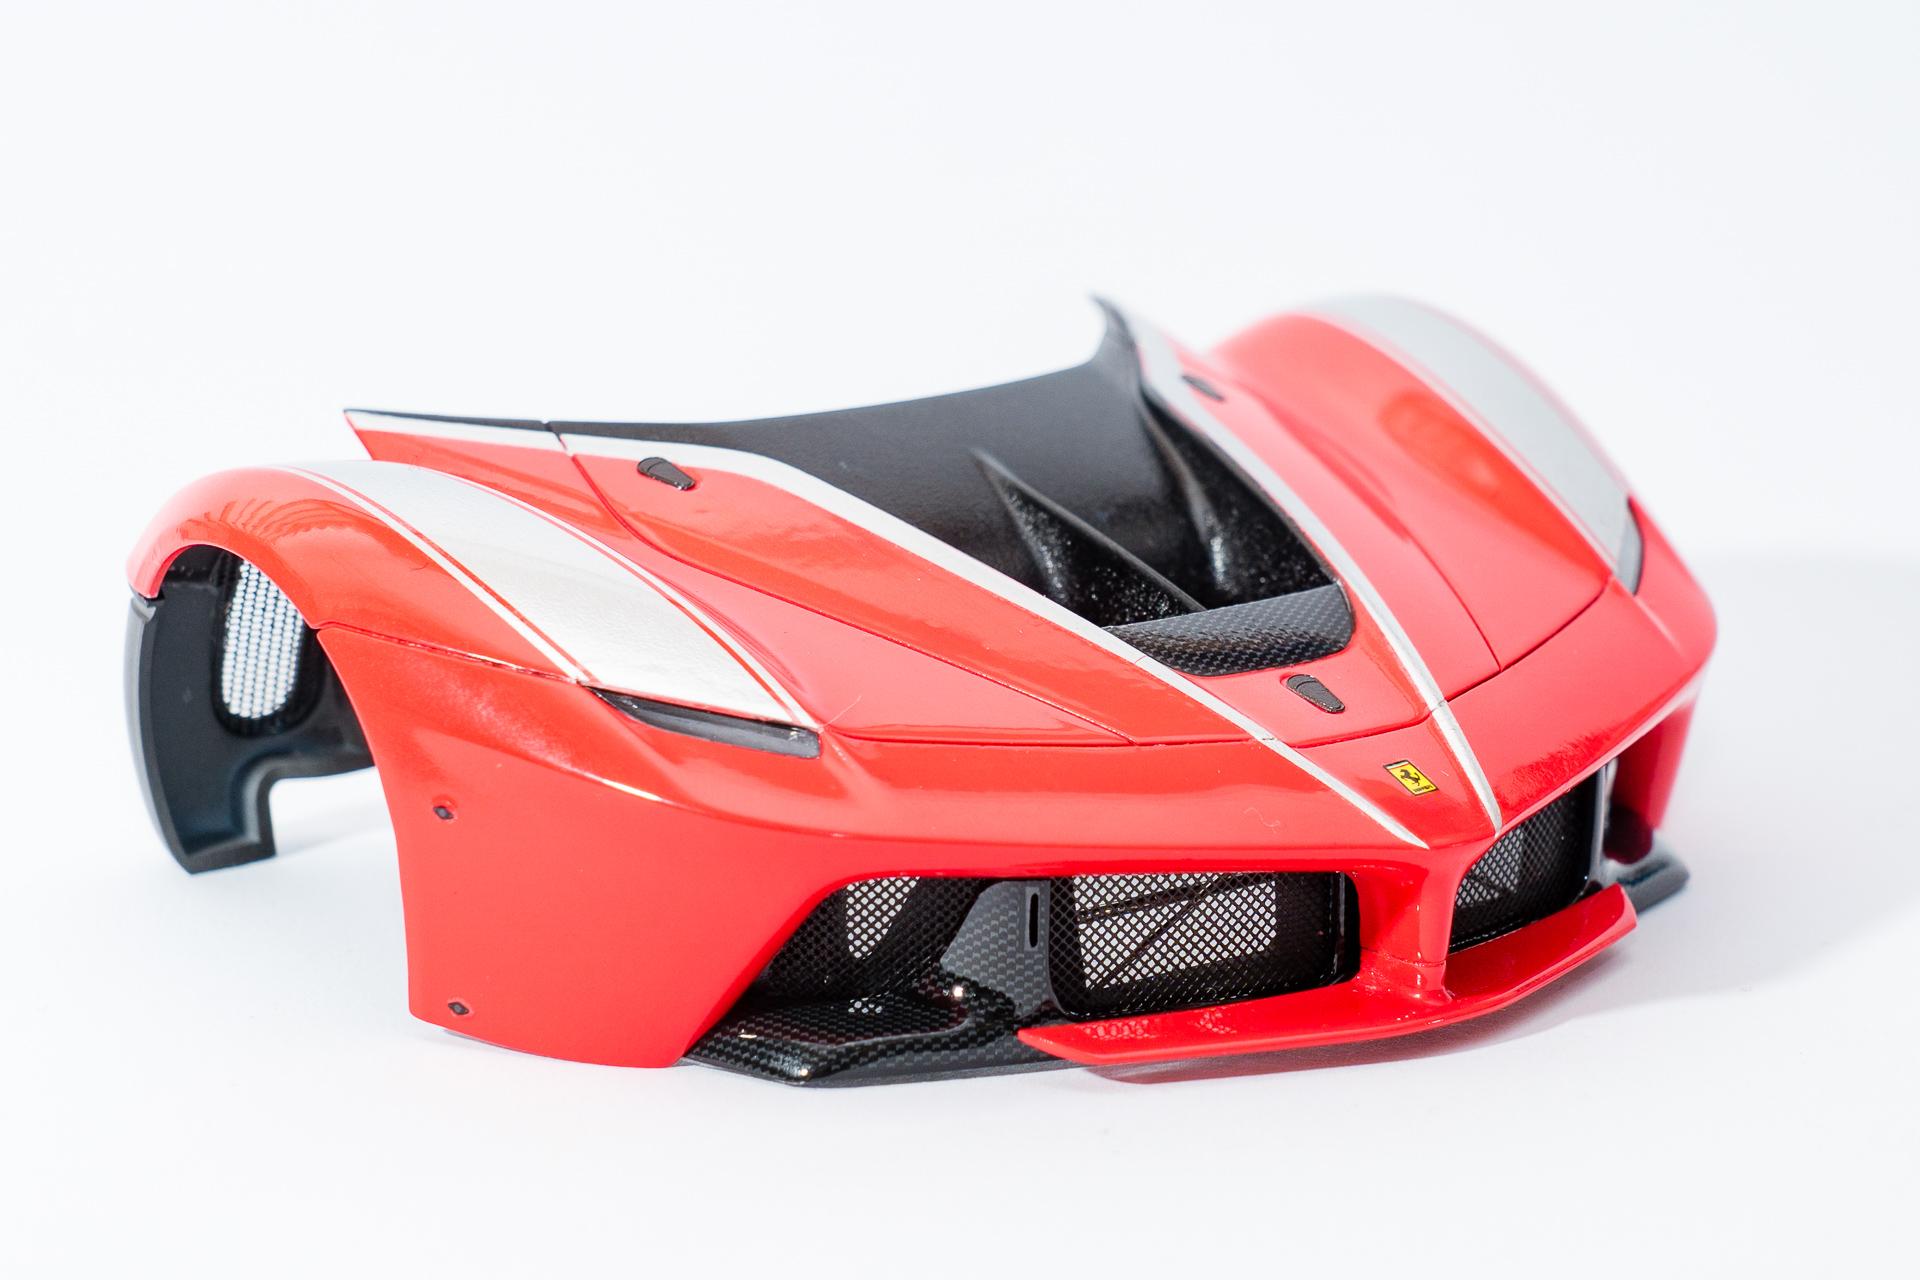
Hi all Finally my Ferrari FXX-K could be completed. If you're interested in the WIP, you can find it here: I couldn't take it to the studio yet to take the final gallery pics, but to get a first impression I took some pics in my photobox. I hope you like the pictures and that you will join my next build as well Urs
- 15 replies
-
- 10
-

-
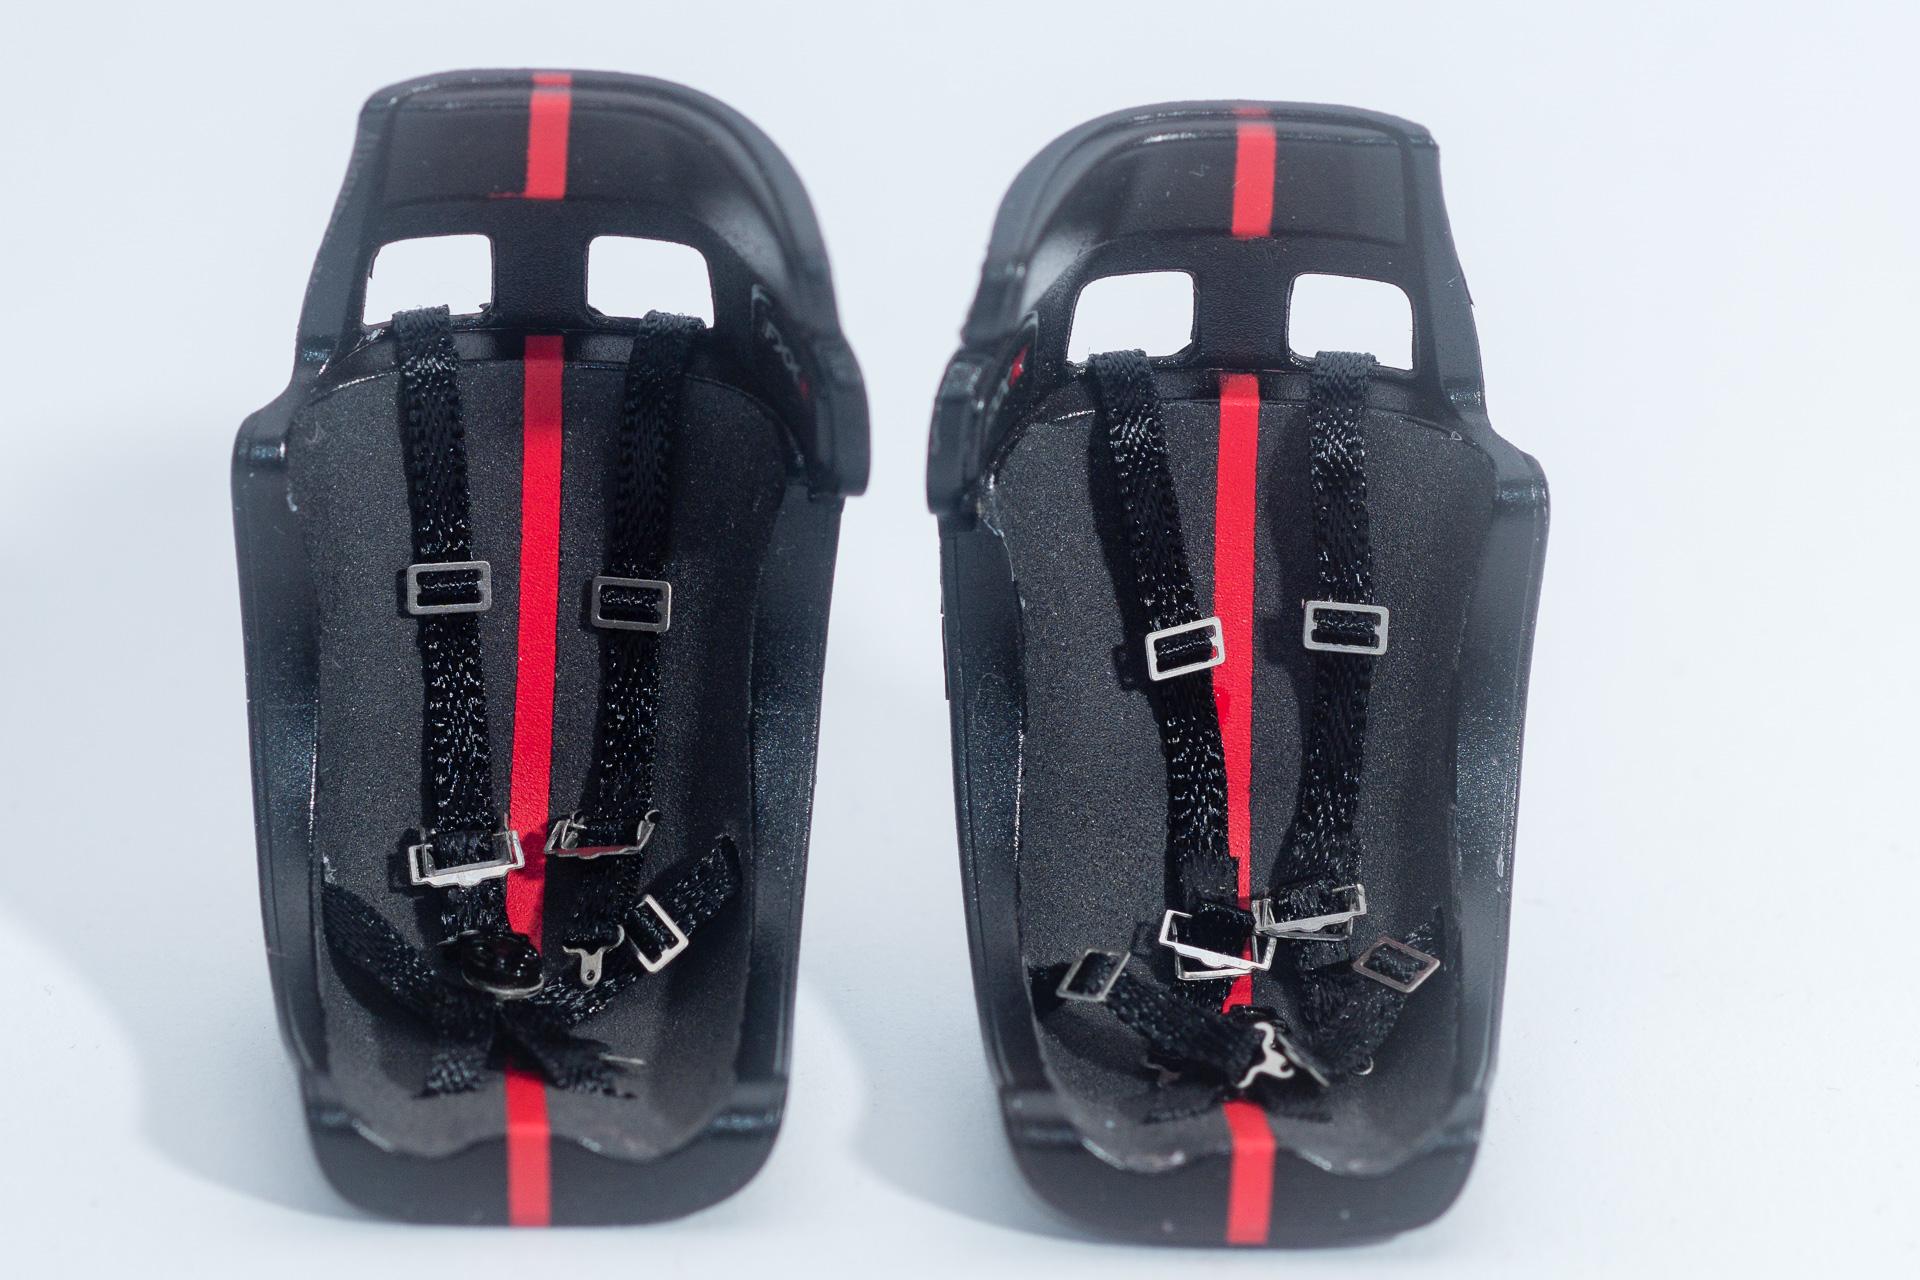
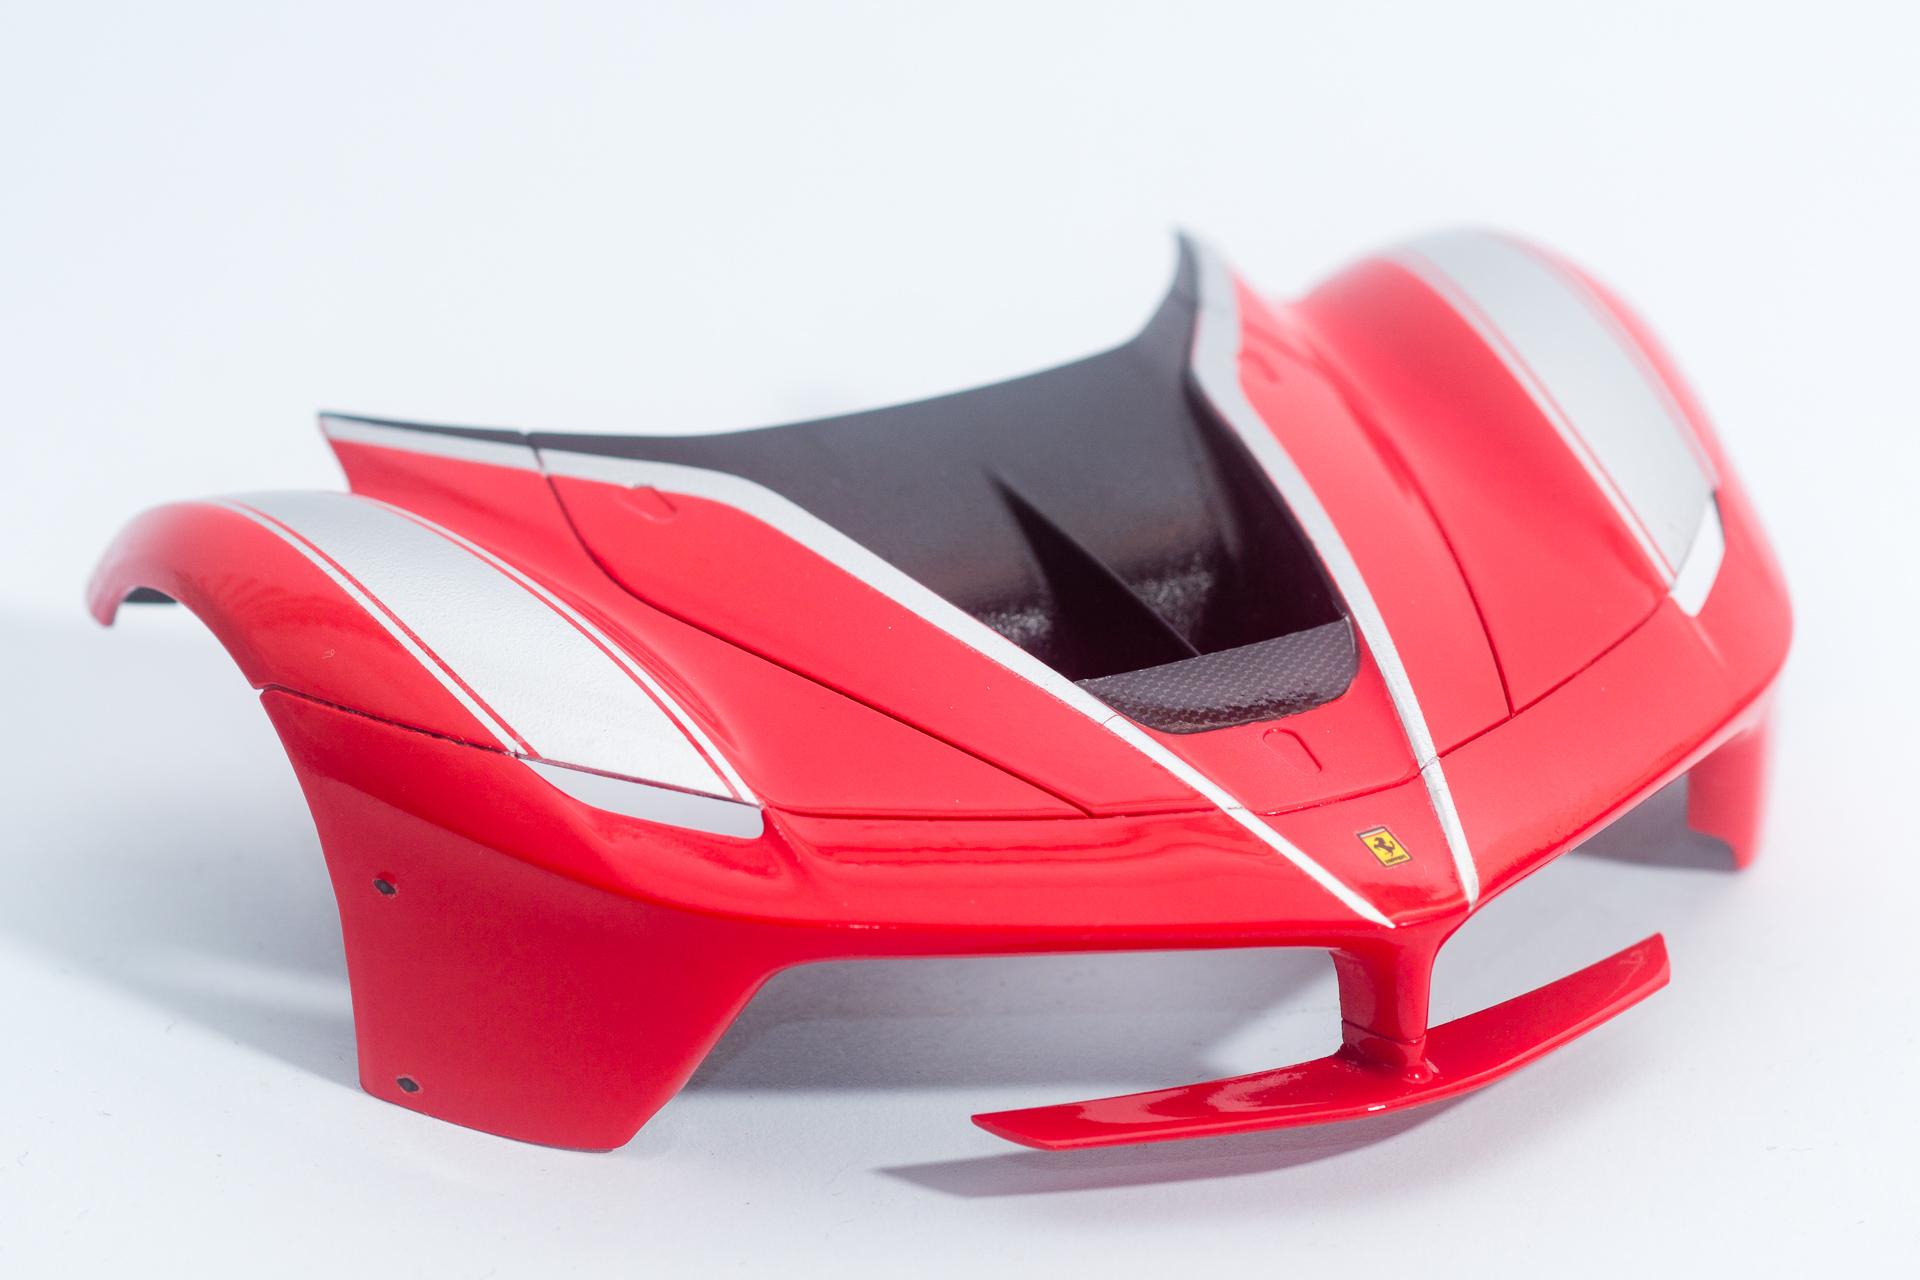
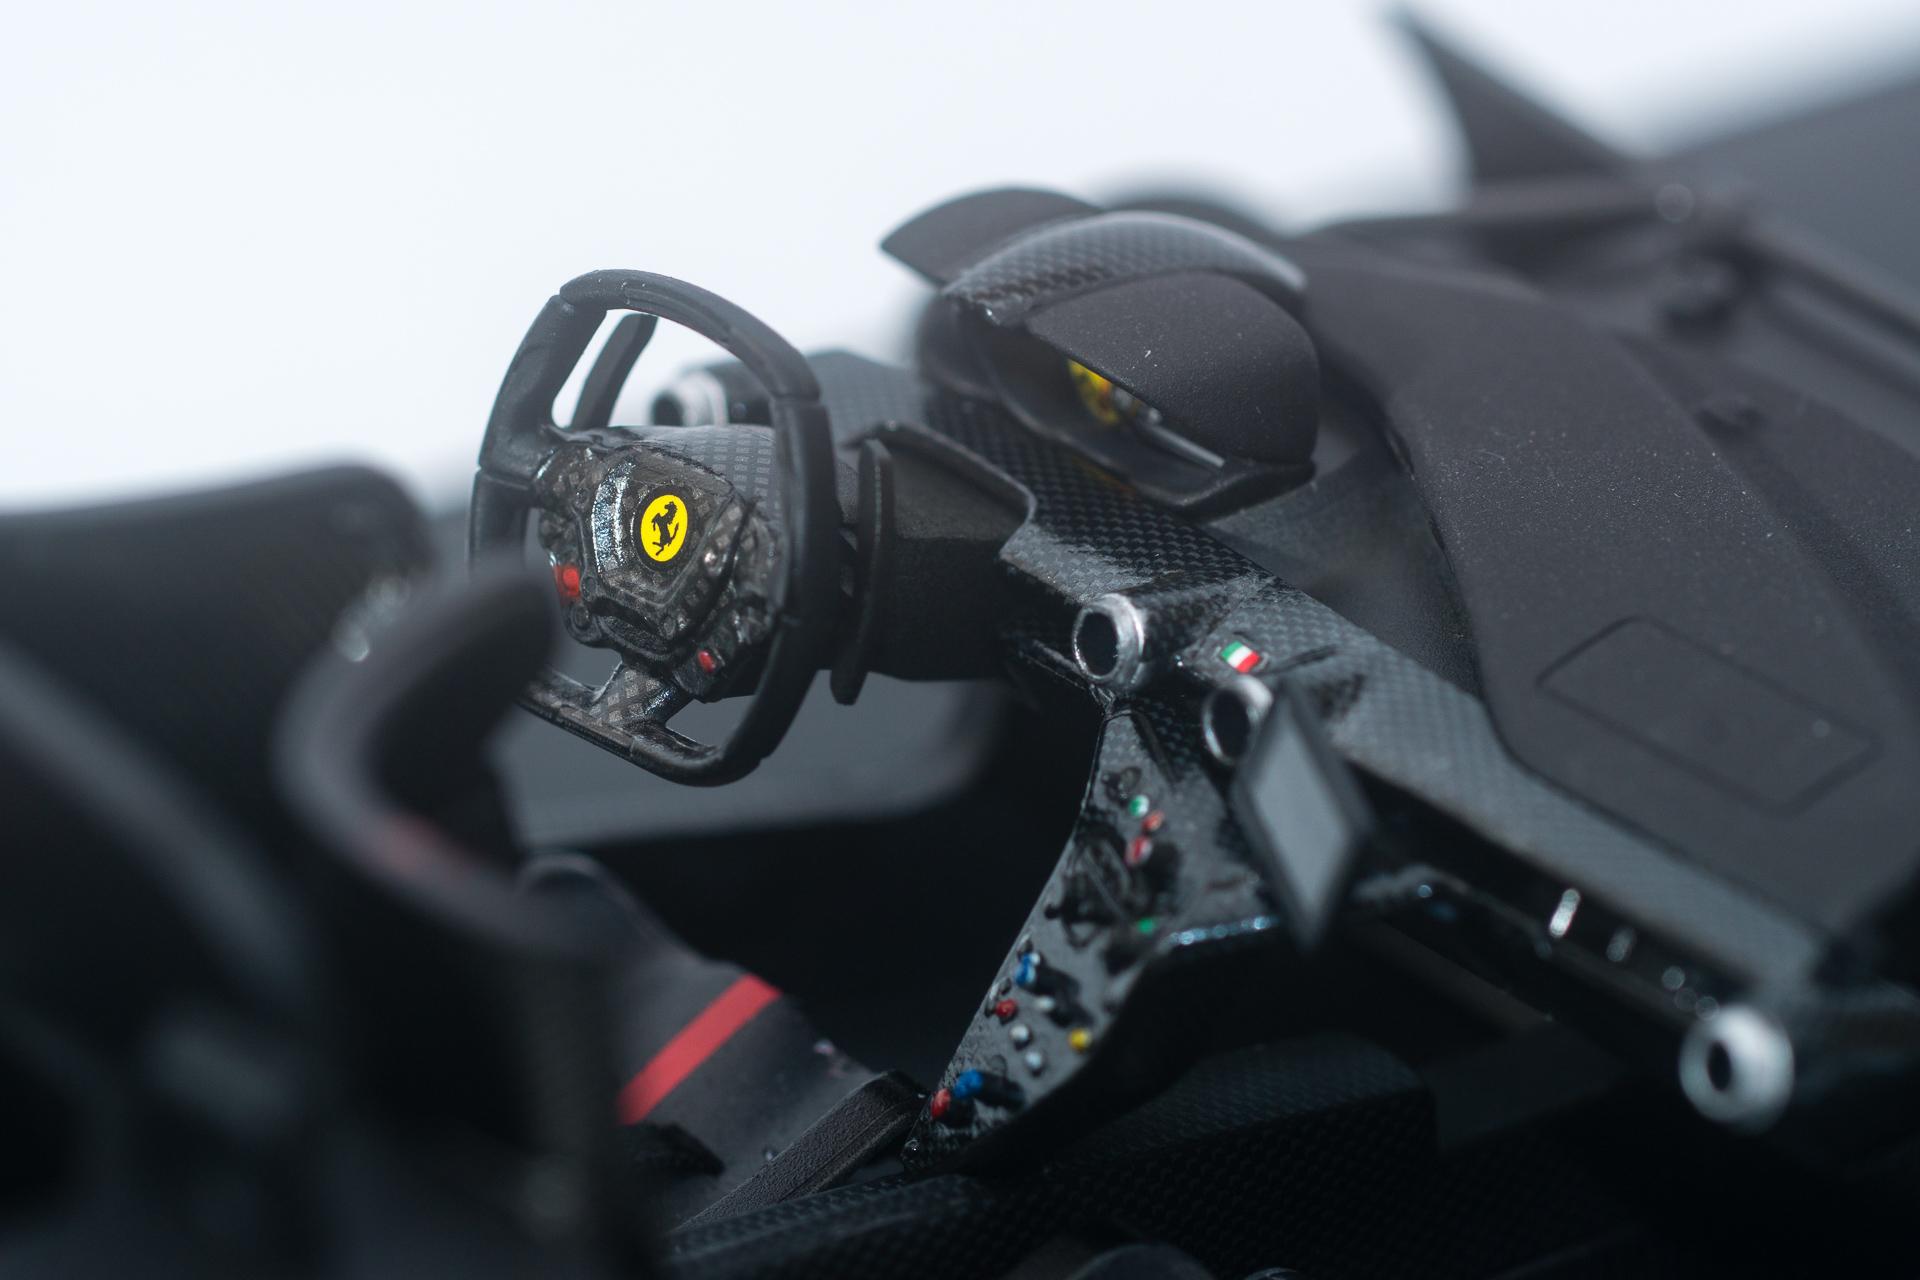
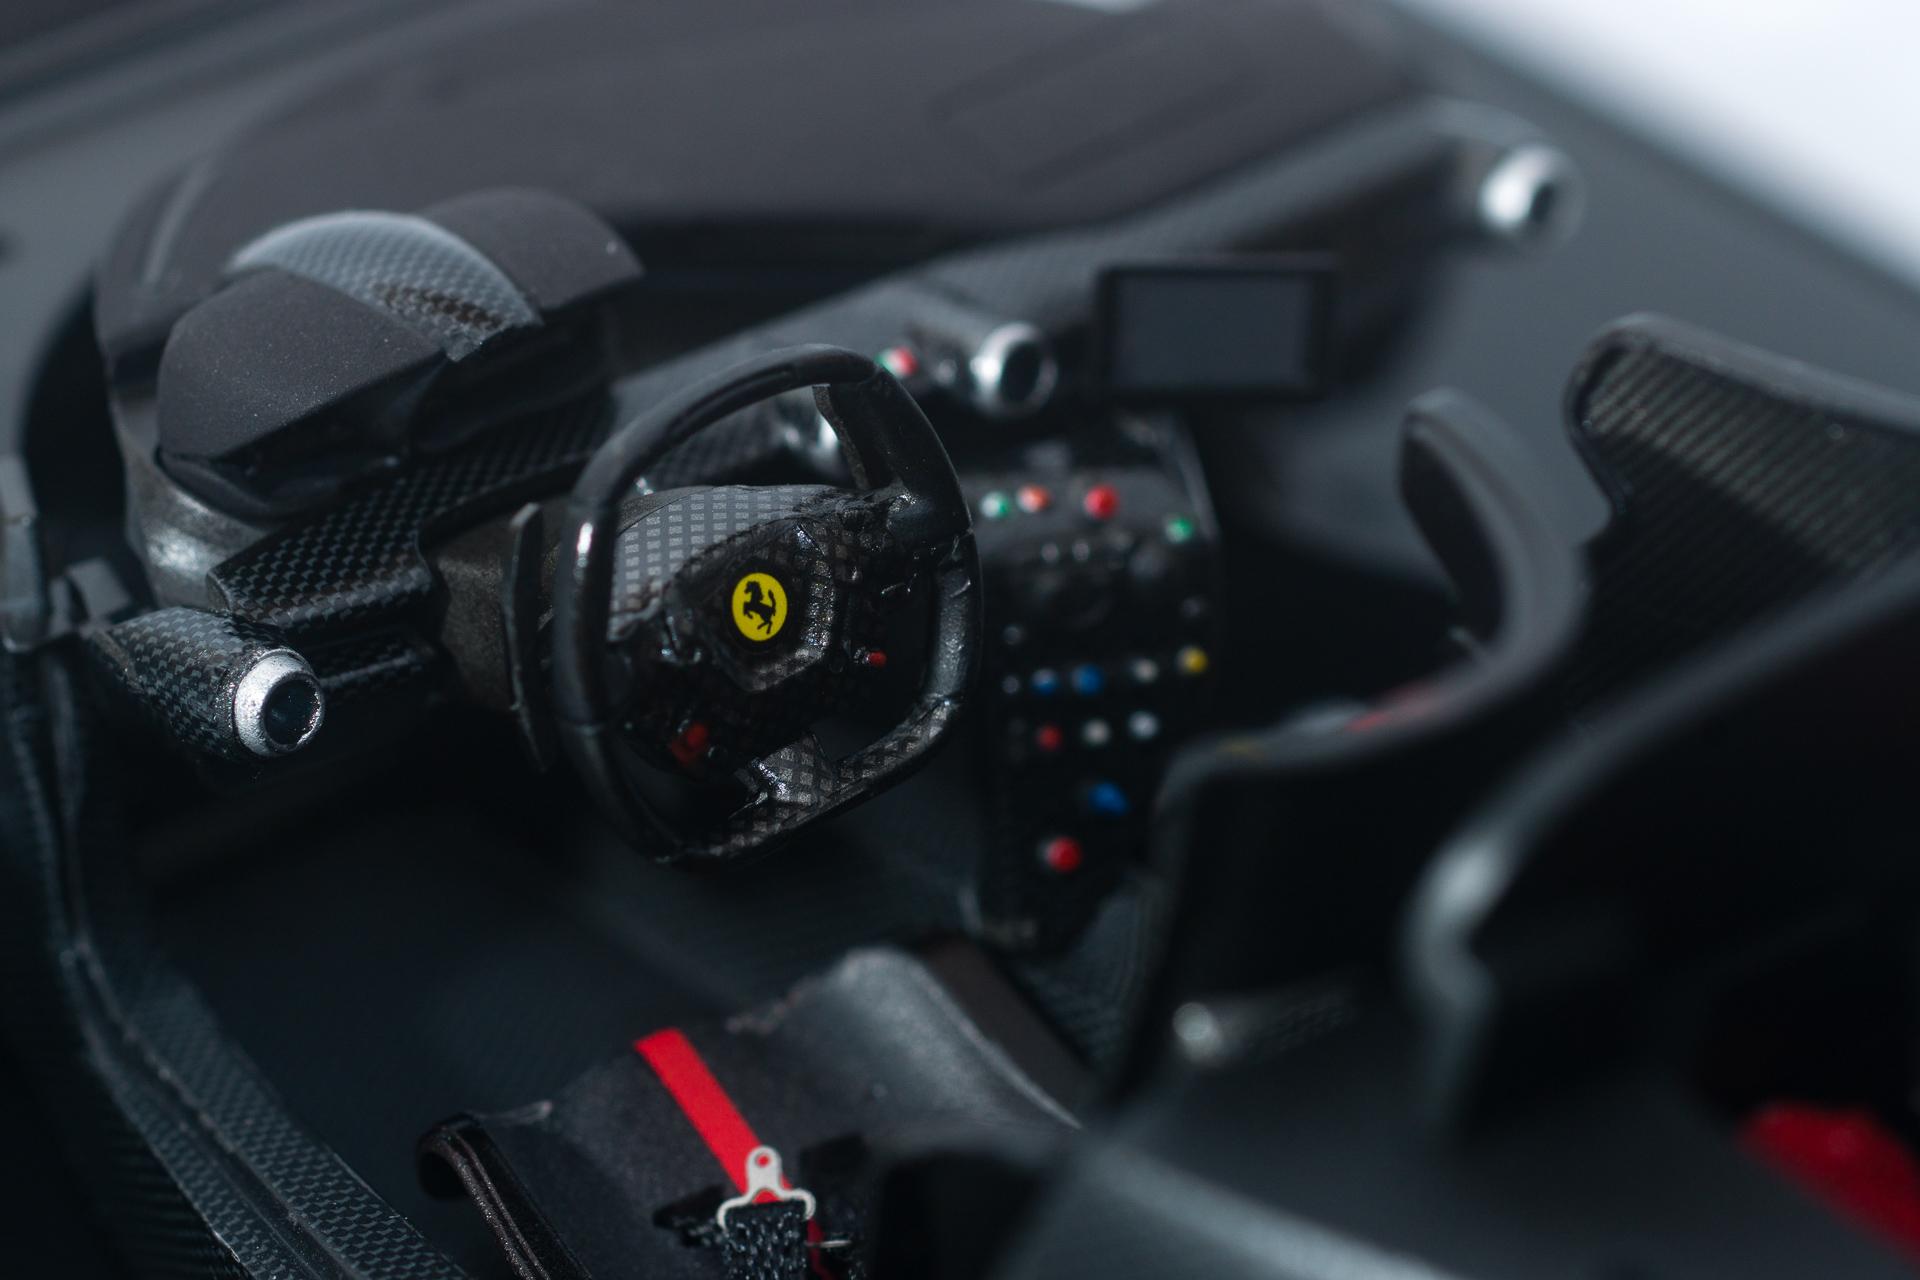
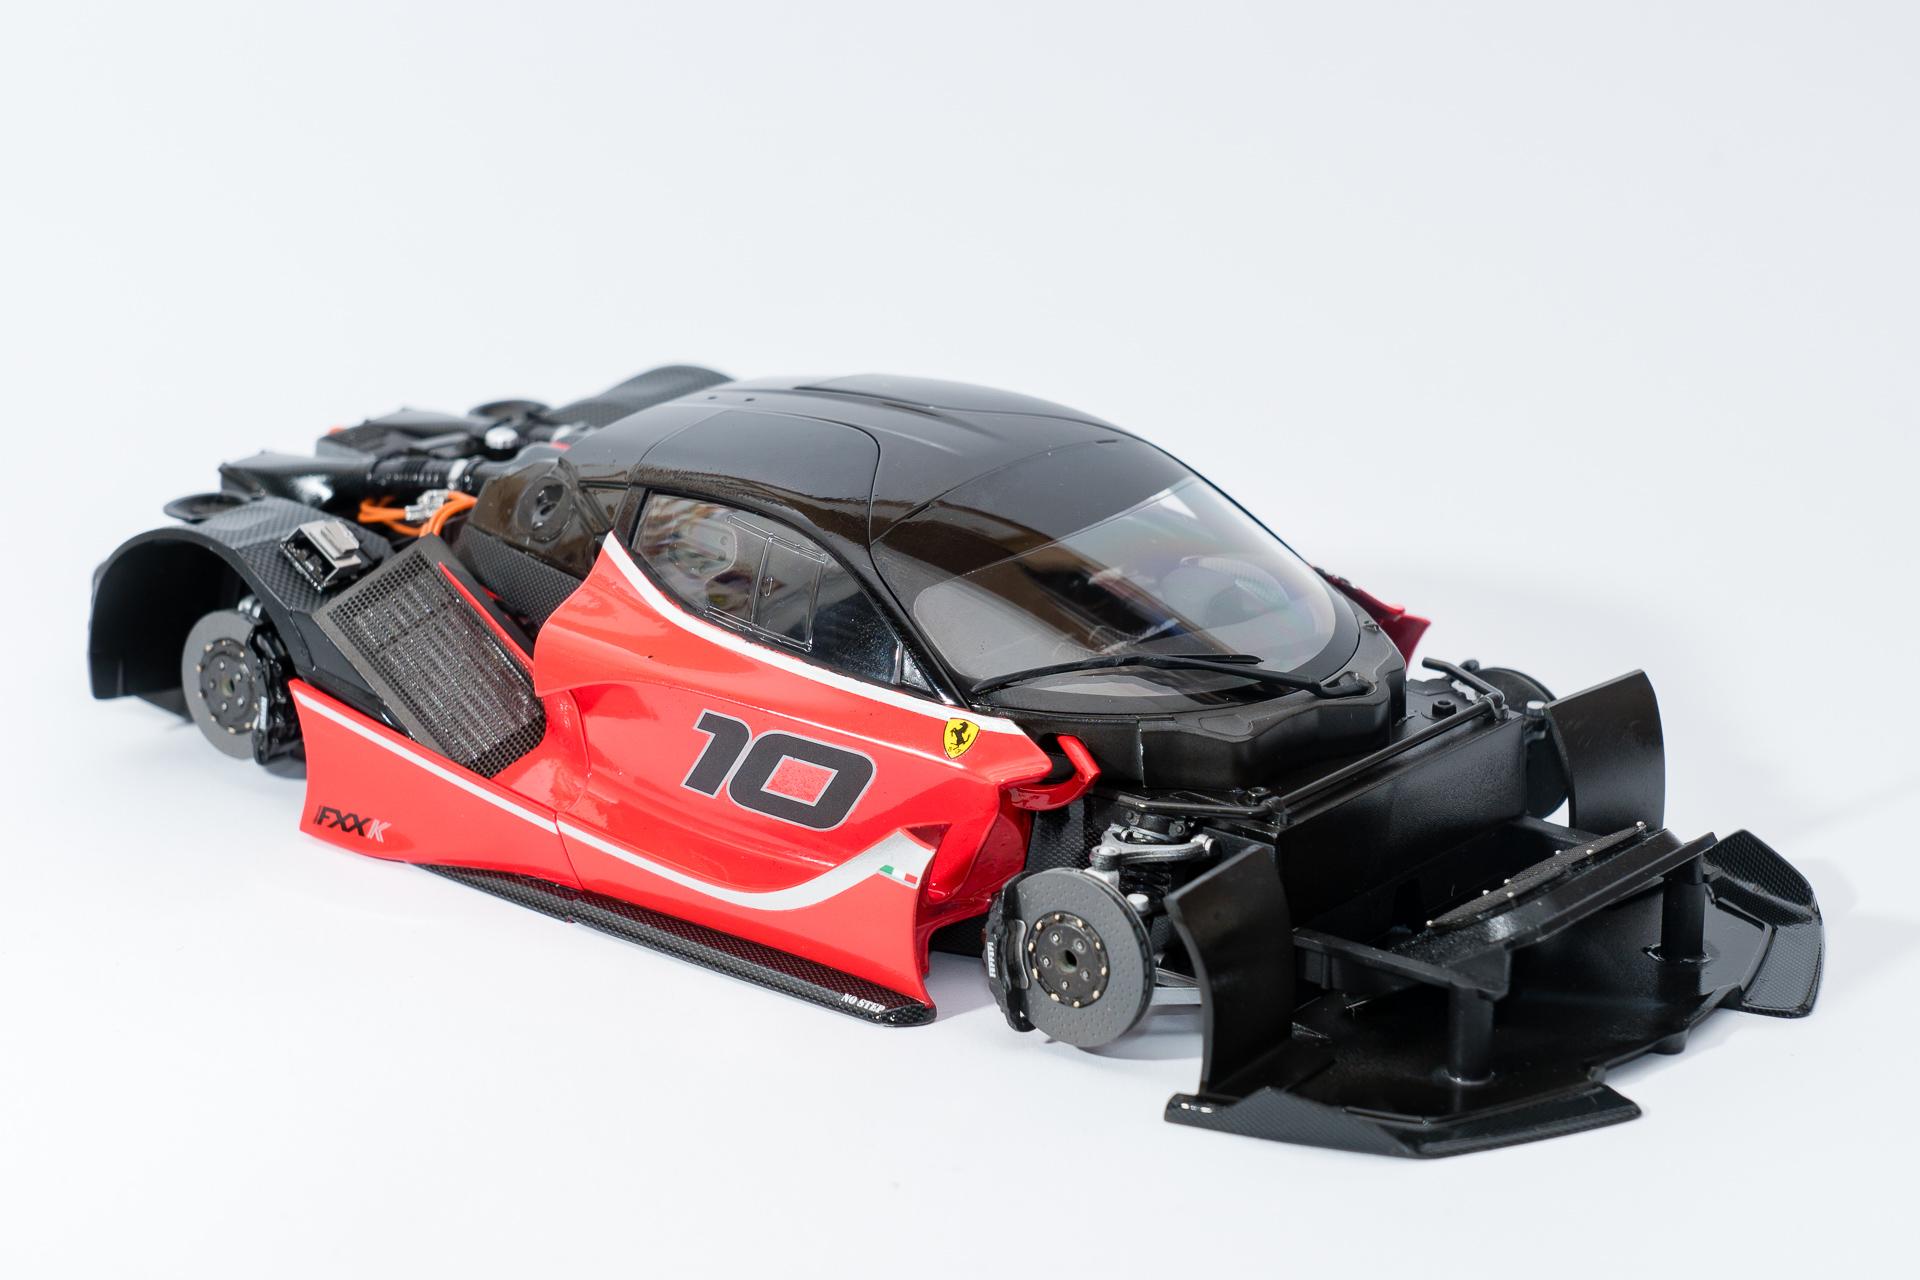
Hi all Thank you very much No unfortunately I wasn't able to finish it before the exhibition, because I was mostly knocked off by a flu for more than a week right before the exhibition started Nevertheless I continued building and could almost finish it by now. So let's start with the progress I made since my last update. First of all the seats have been completed Then the body parts have been polished and waxed. Here shown on the front hood After that it was time to complete the interior. Unfortunately I only realised on these pictures that the carbon pattern on the steering wheel is way out of scale. But now I'll have to live with that... The front hood got some more parts attached And finally the first few of the body shell parts have been attached to the chassis / monocoque. That's how far I am right now. I think that I should be able to finish it by the end of this week Urs
-
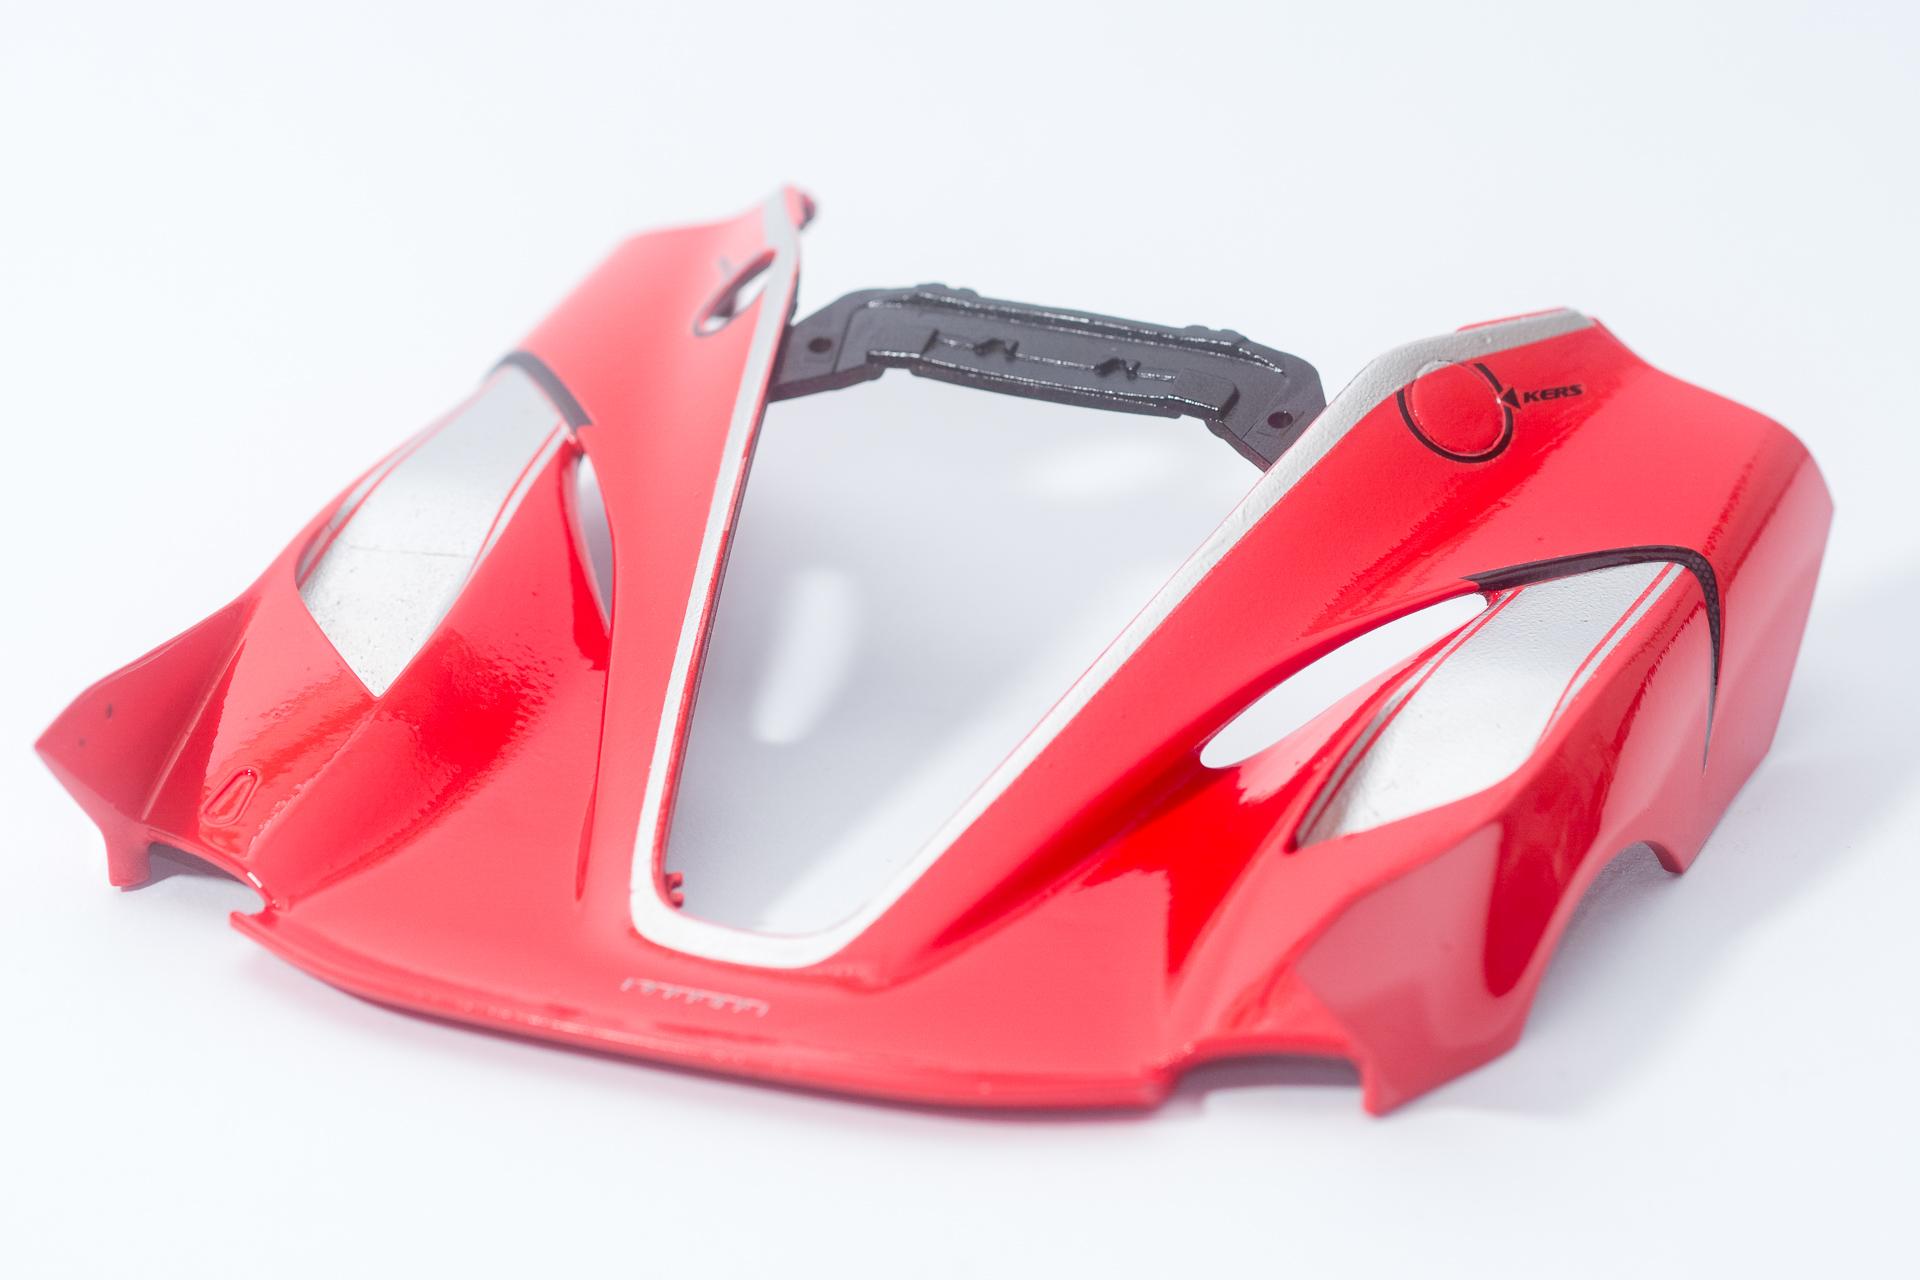
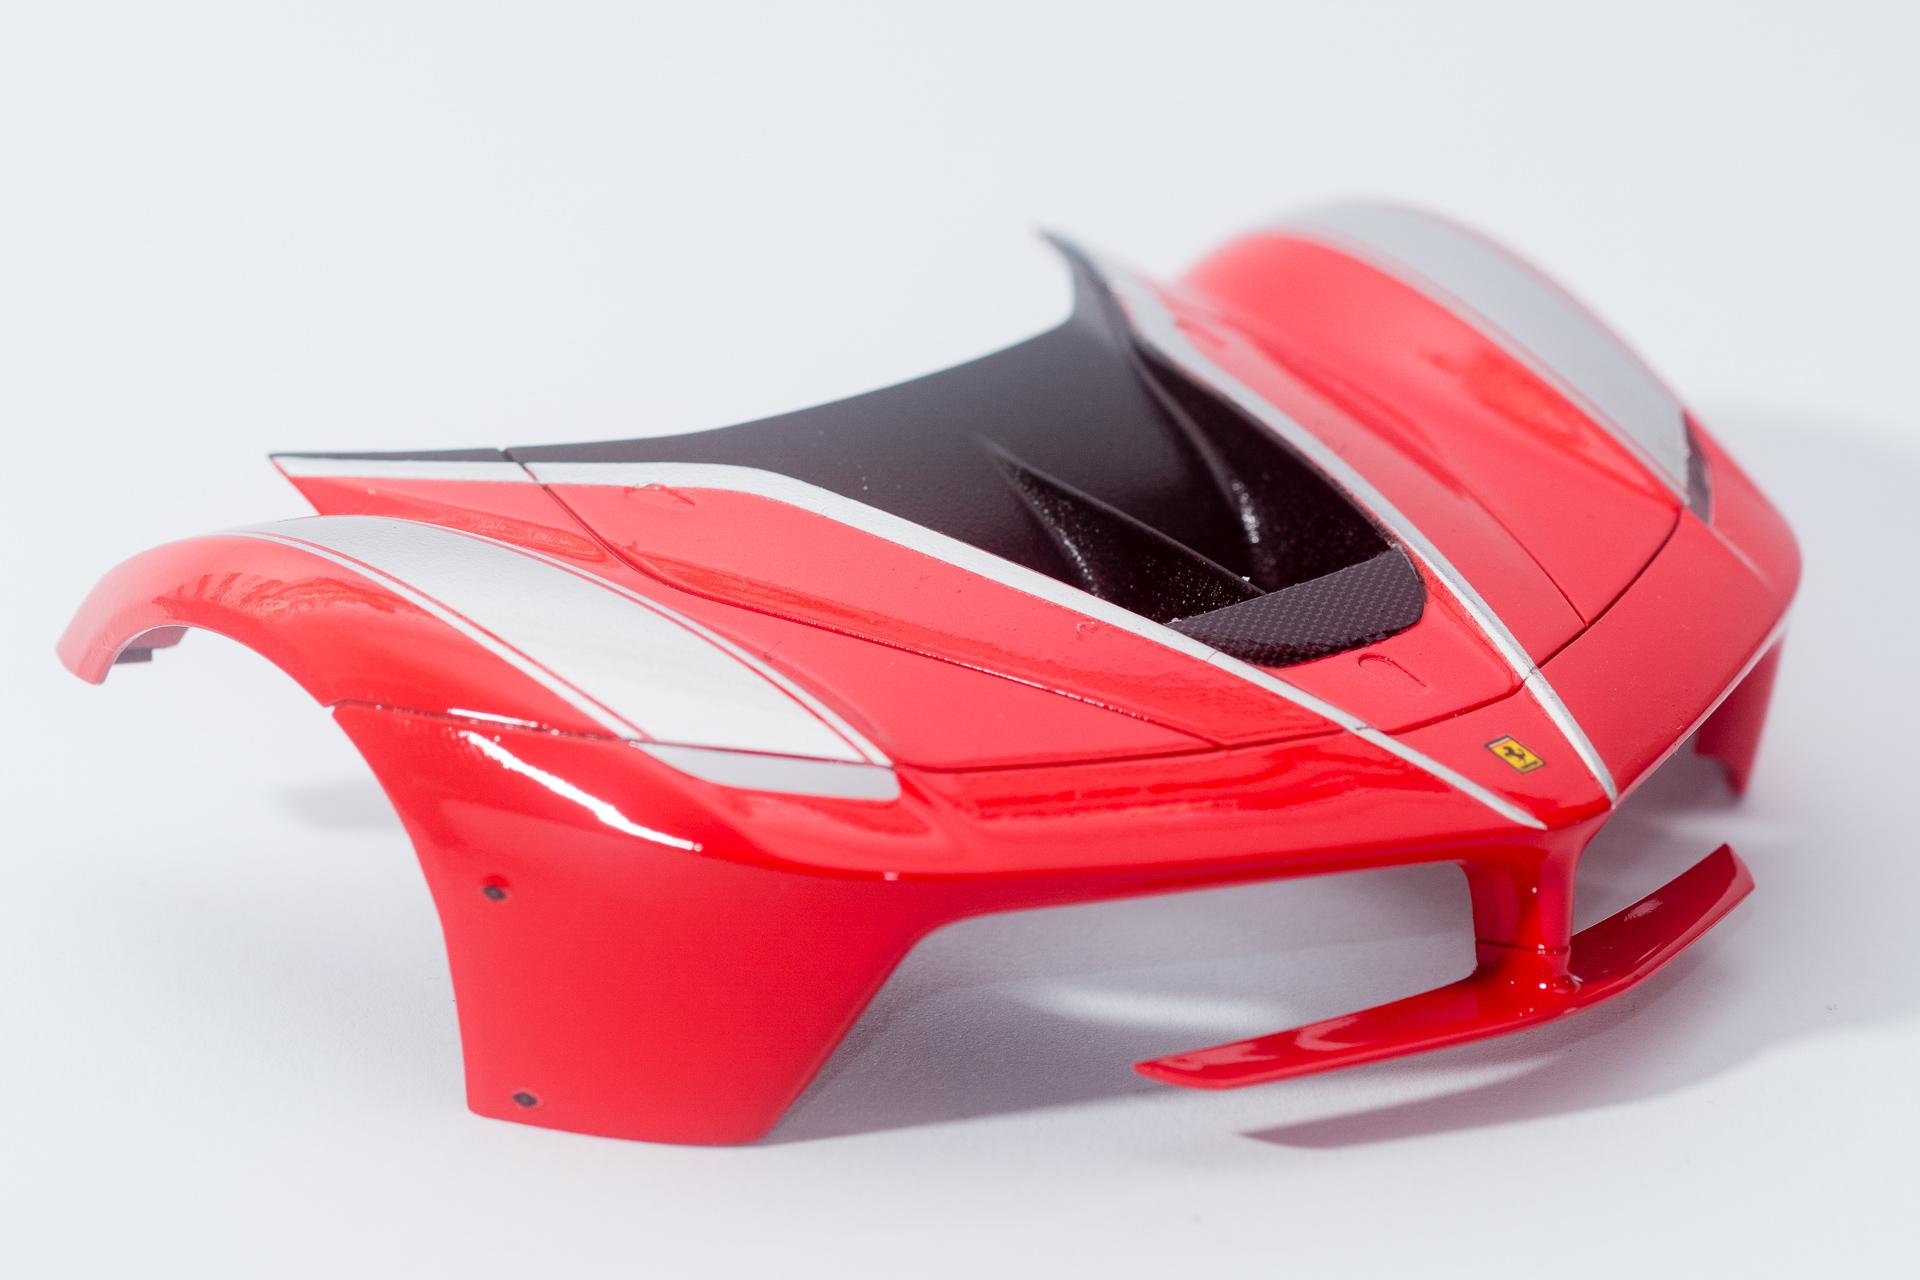
Hi all Thank you very much for your kind comments After having applied the last few decals to the bodyparts on saturday, sunday was clear coat day. First of all the worst part: the engine hood. Applying the silver decals inside the recesses was a real nightmare. They wrinkled and were very brittle, so they also tore apart when I tried to move them around. Later when applying the clear over it, the surface got very rough. The engine cover was the only part the clear went on like this, all other parts were mostly fine. Some minor dust got in on some spots but nothing too serious. On the front hood the silver decals have been much easier to apply. The only thing they didn't really like was MicroSet and MicroSol, with these liquids I had to be very careful, so I used mostly pure water to apply and flatten the decals The remaining parts have been quite easy to apply the decals and also clear coating was no problem at all. Why I'm only showing one side parts? Well... silly me applied the first, mist coat of clear to all parts, but forgot the second side part when applying the second and third coat. Of course I only noticed that after having disposed all of the remaining clear coat and cleaning the airbrush... There are still some smaller parts (mainly the rear view mirrors and the winglets for the spoiler) where I'll still have to apply some carbon decals and which I had planned to clear with Mr. Hobby Super Clear as I thought, that would be enough shine for such small parts. Now I think I'll mix up some more 2K clear once these parts are ready and hopefully apply clear also to the second side part. That's it for this week's update Urs
-
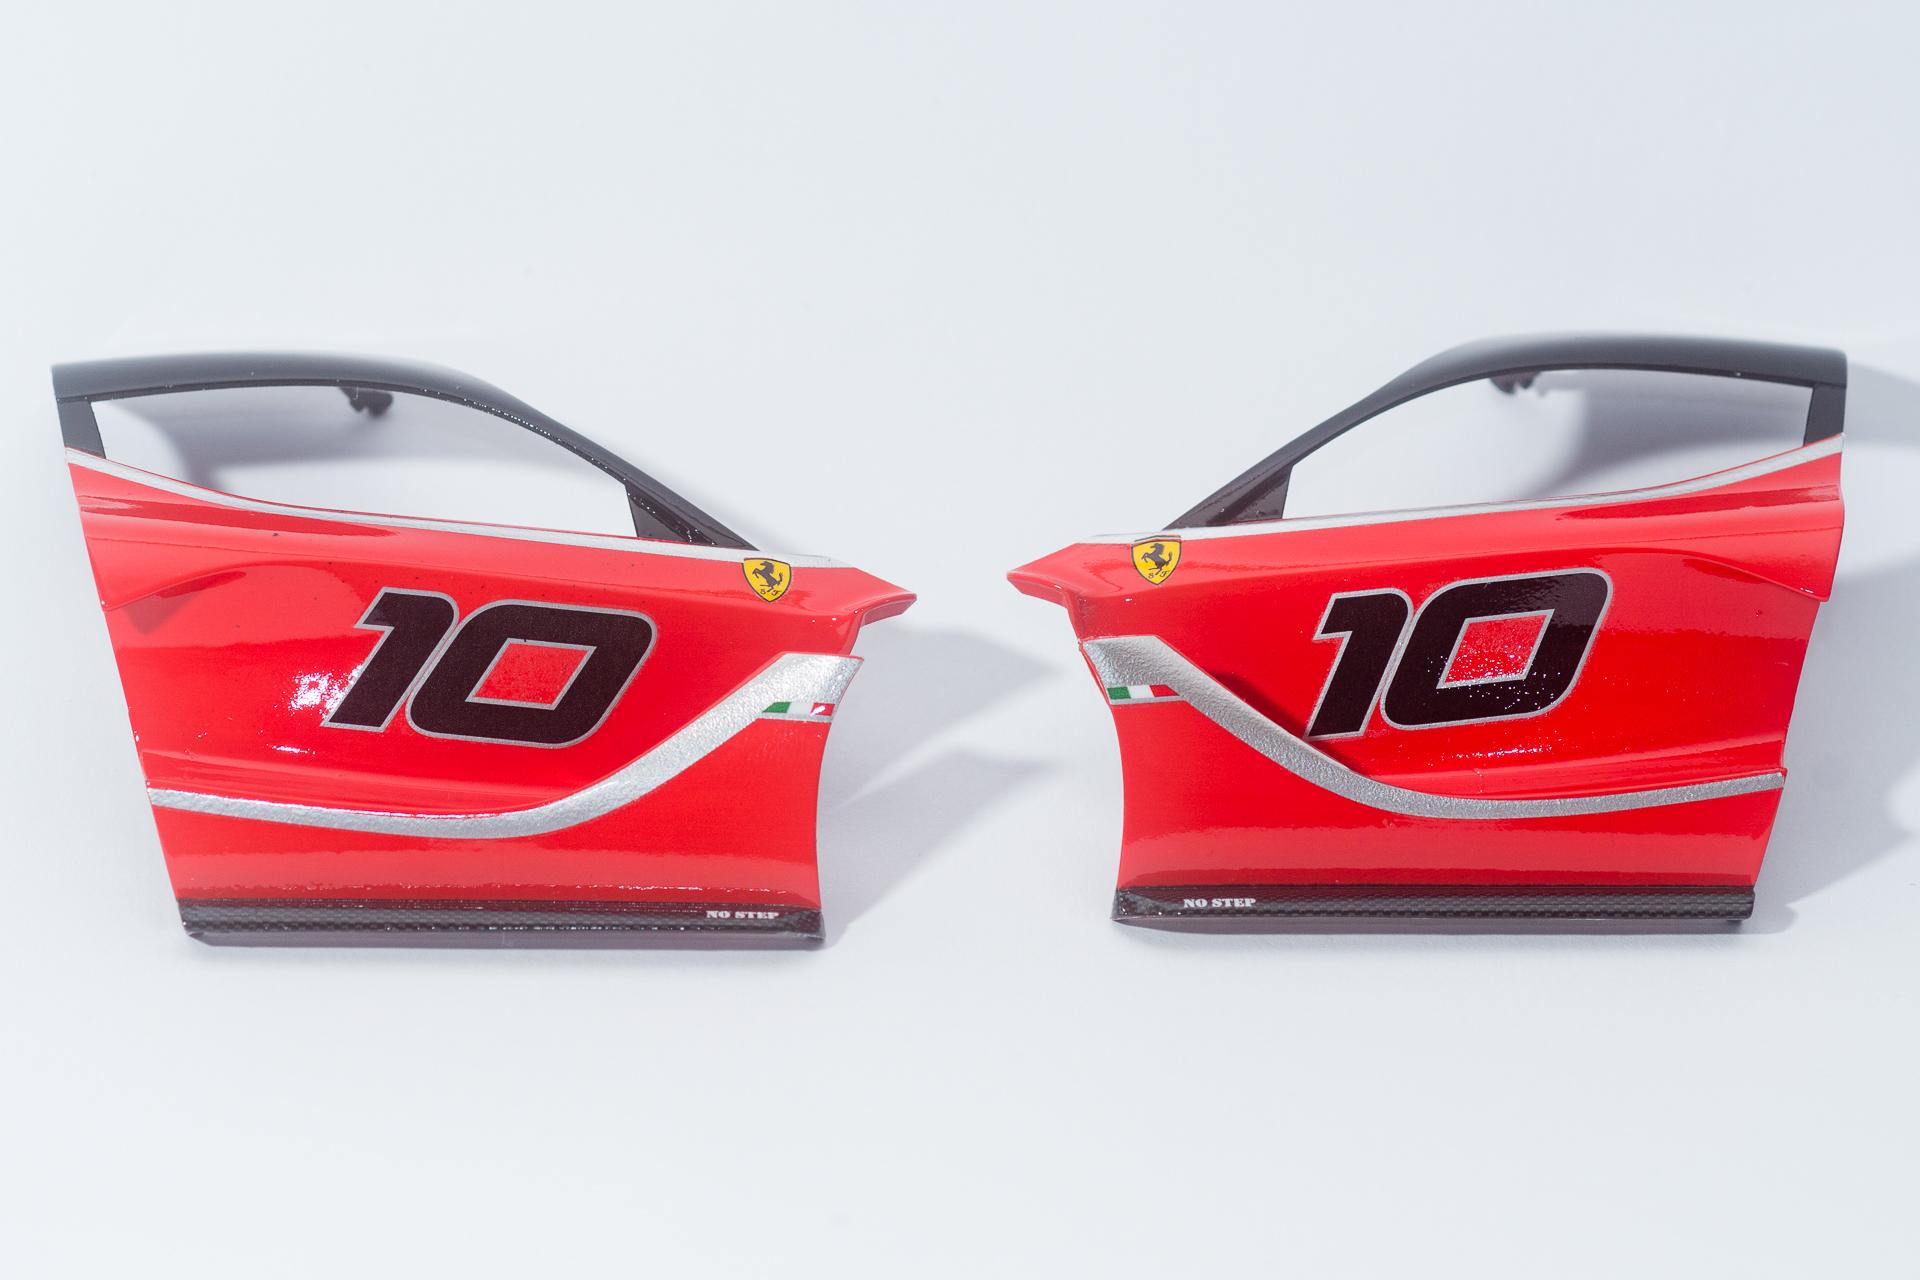
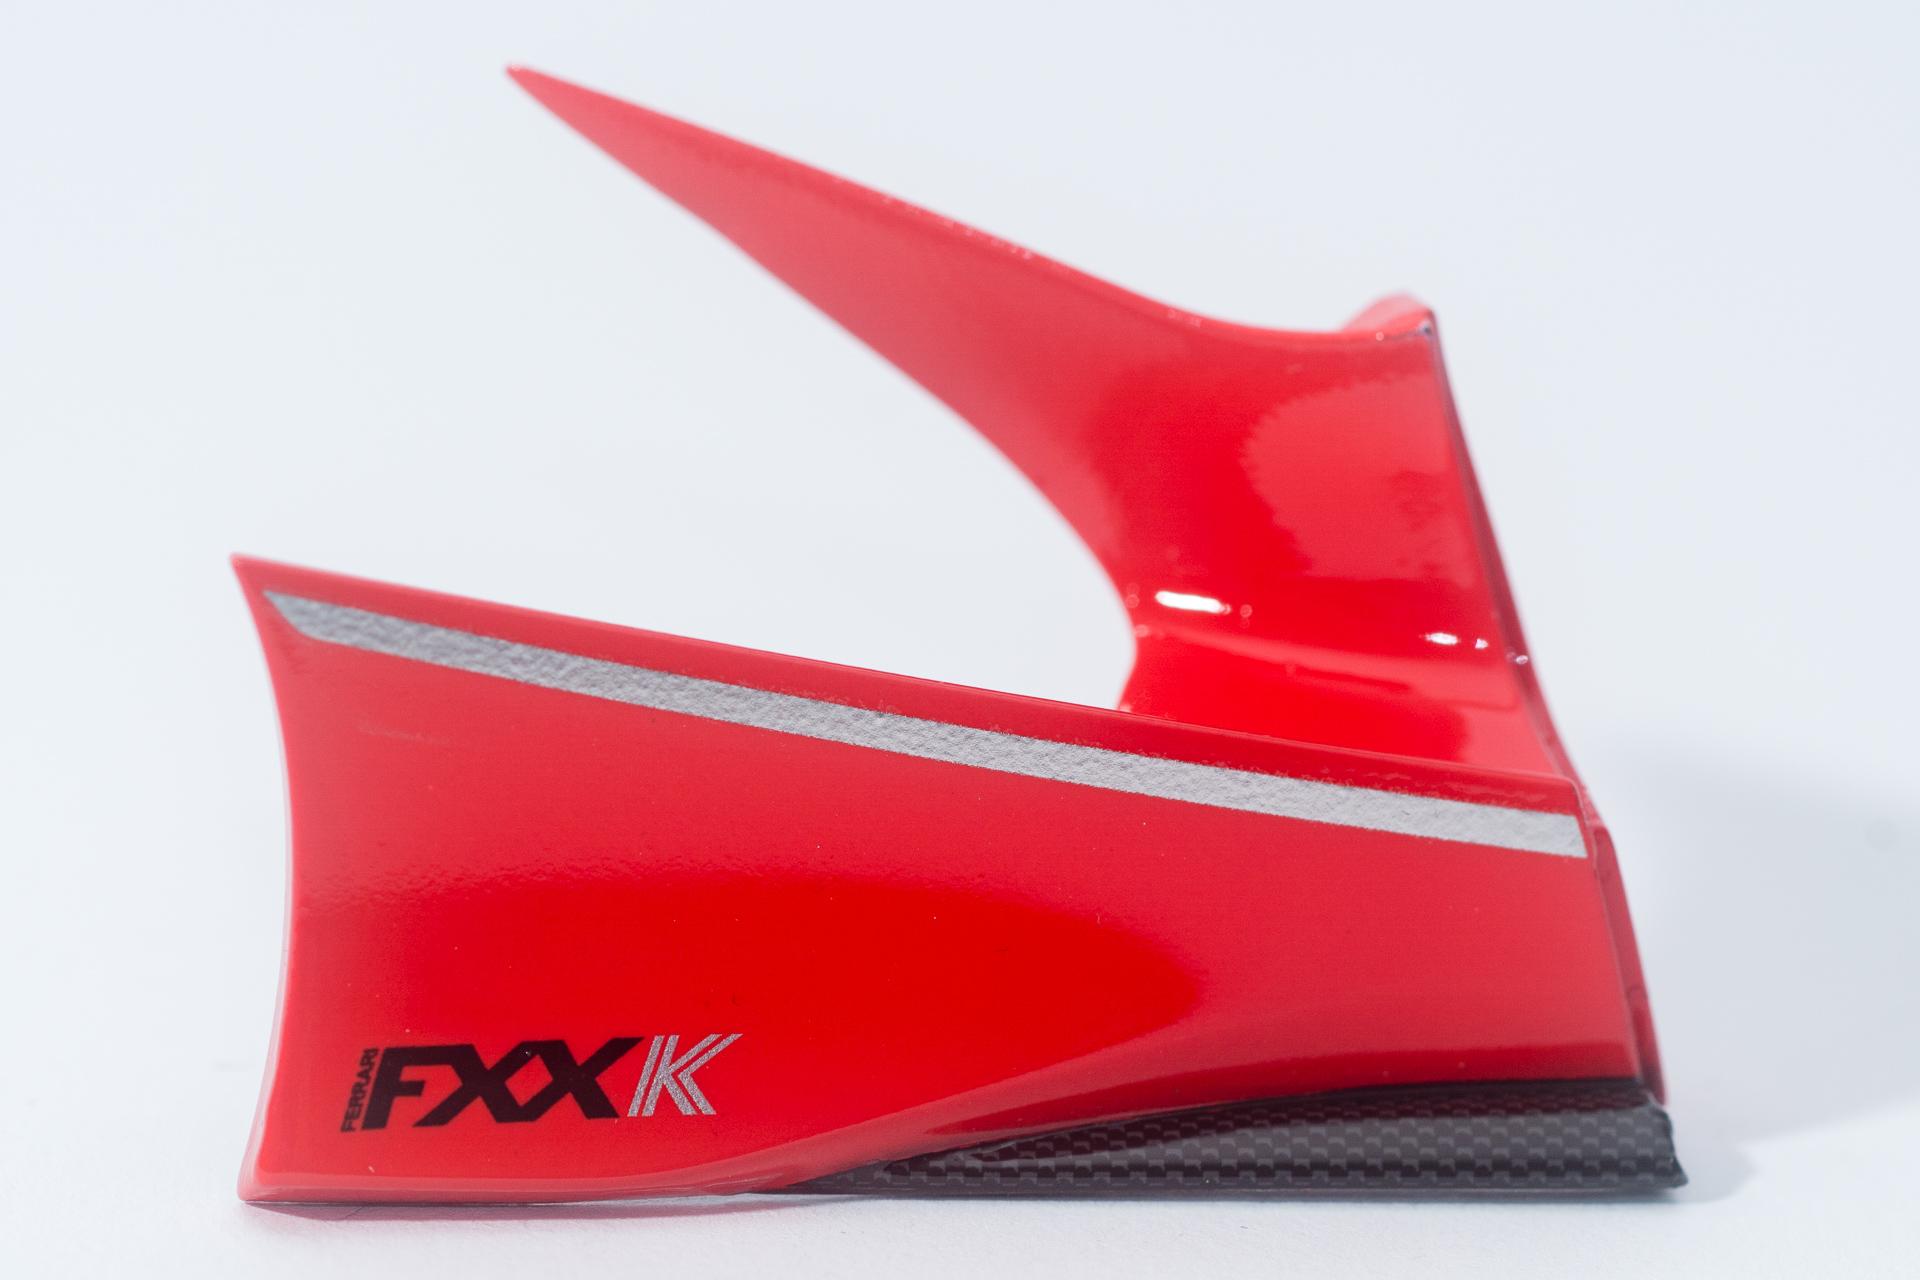
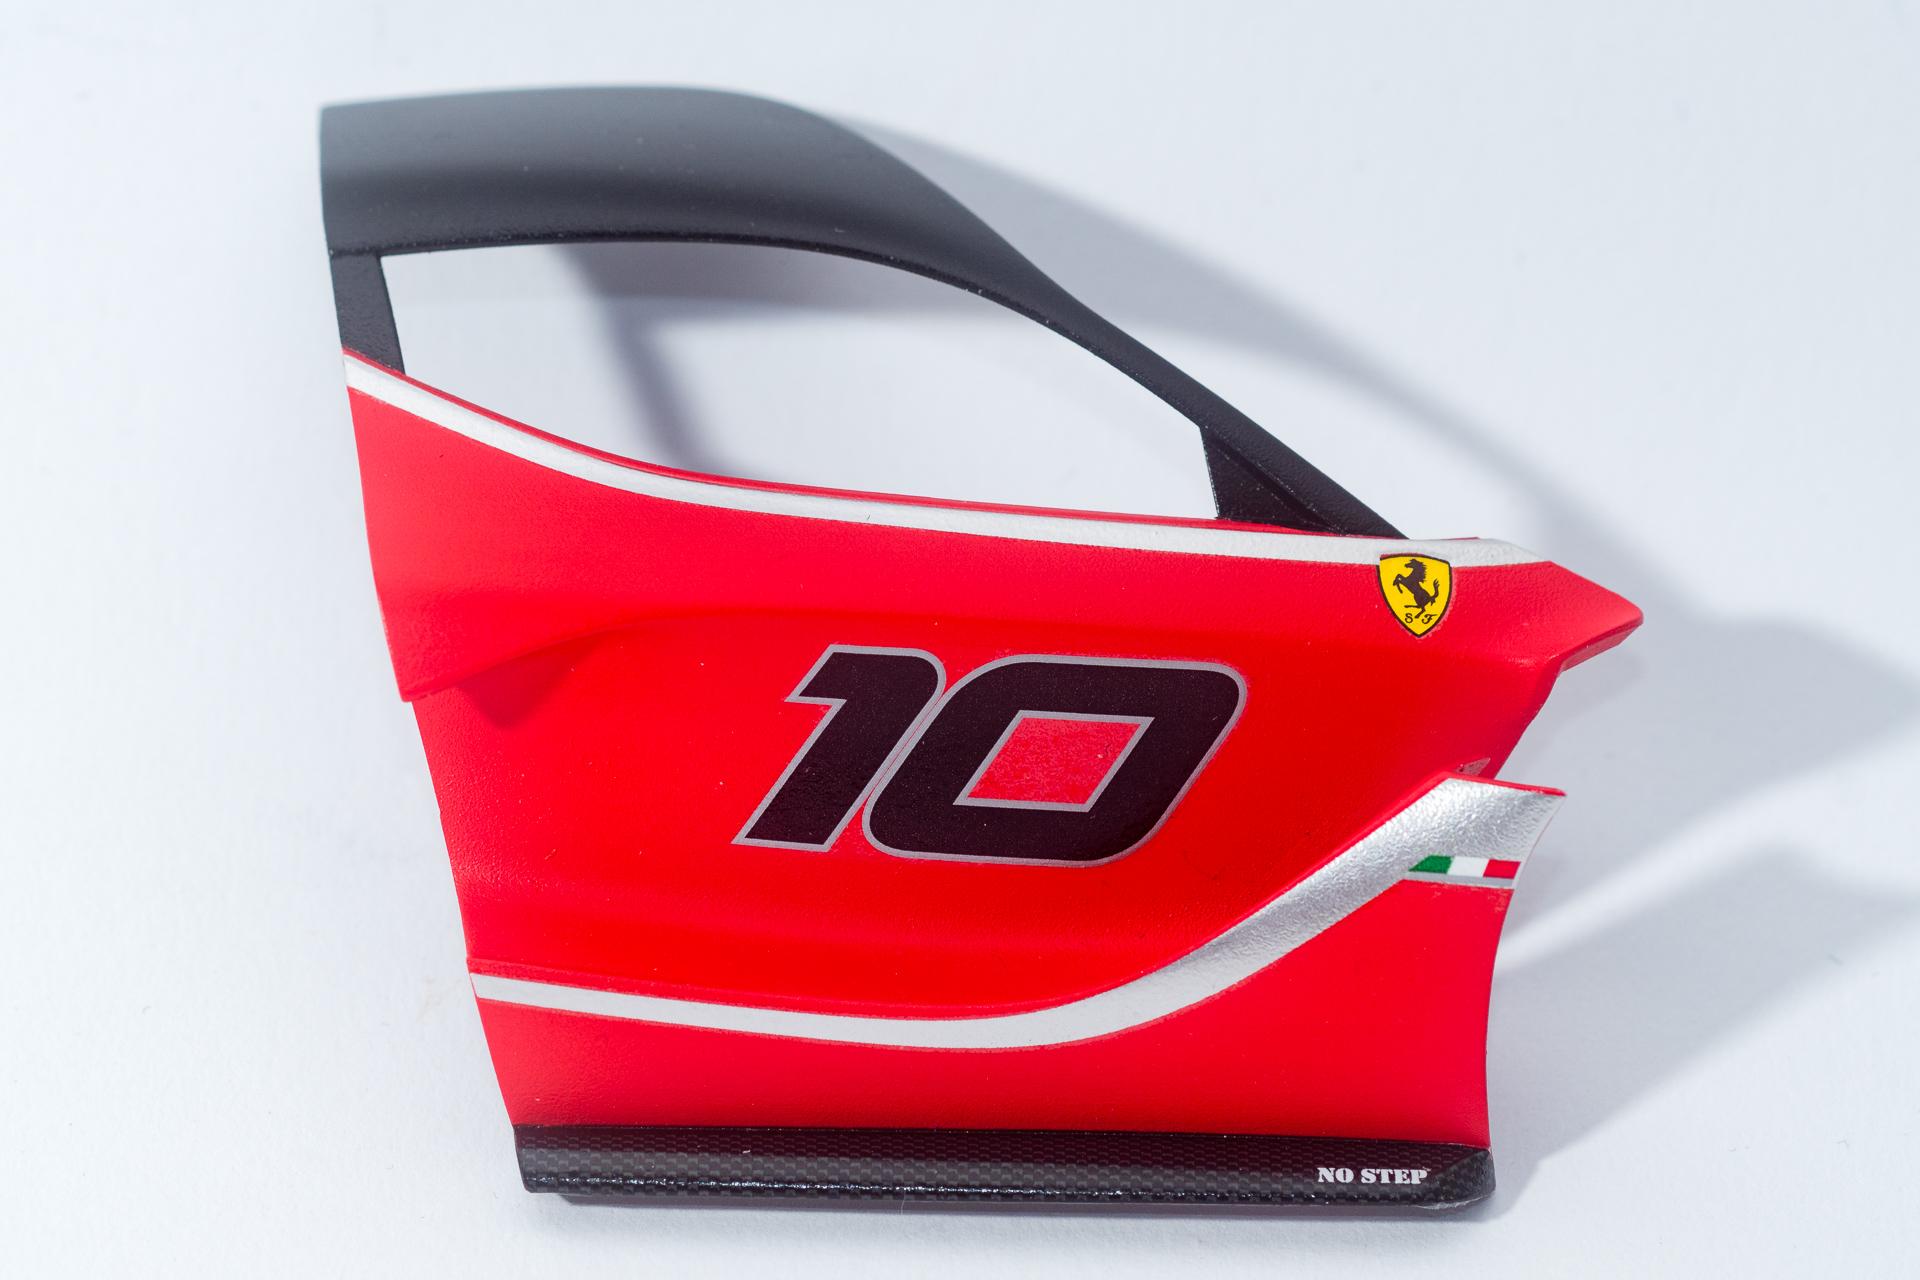
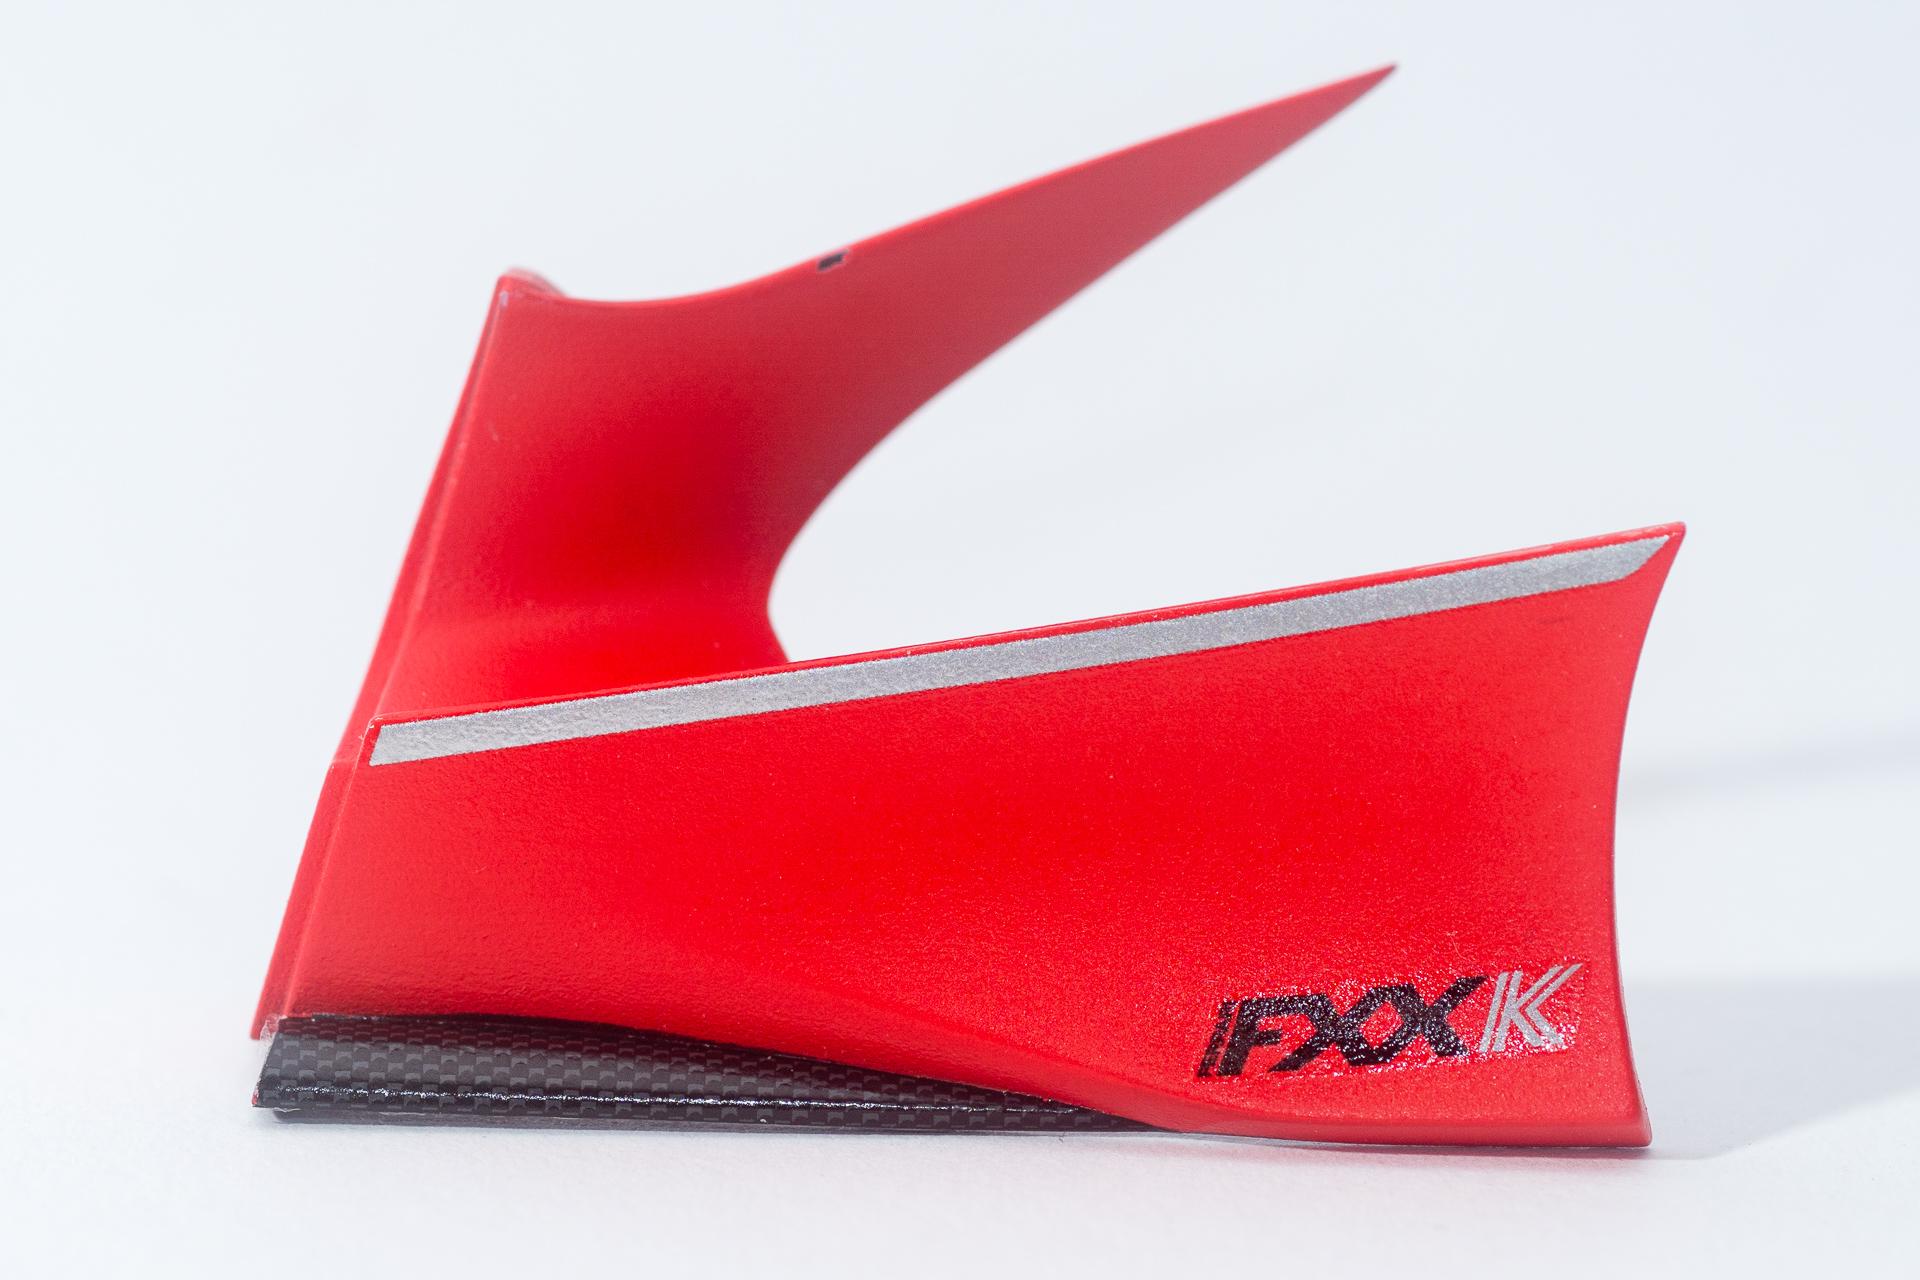
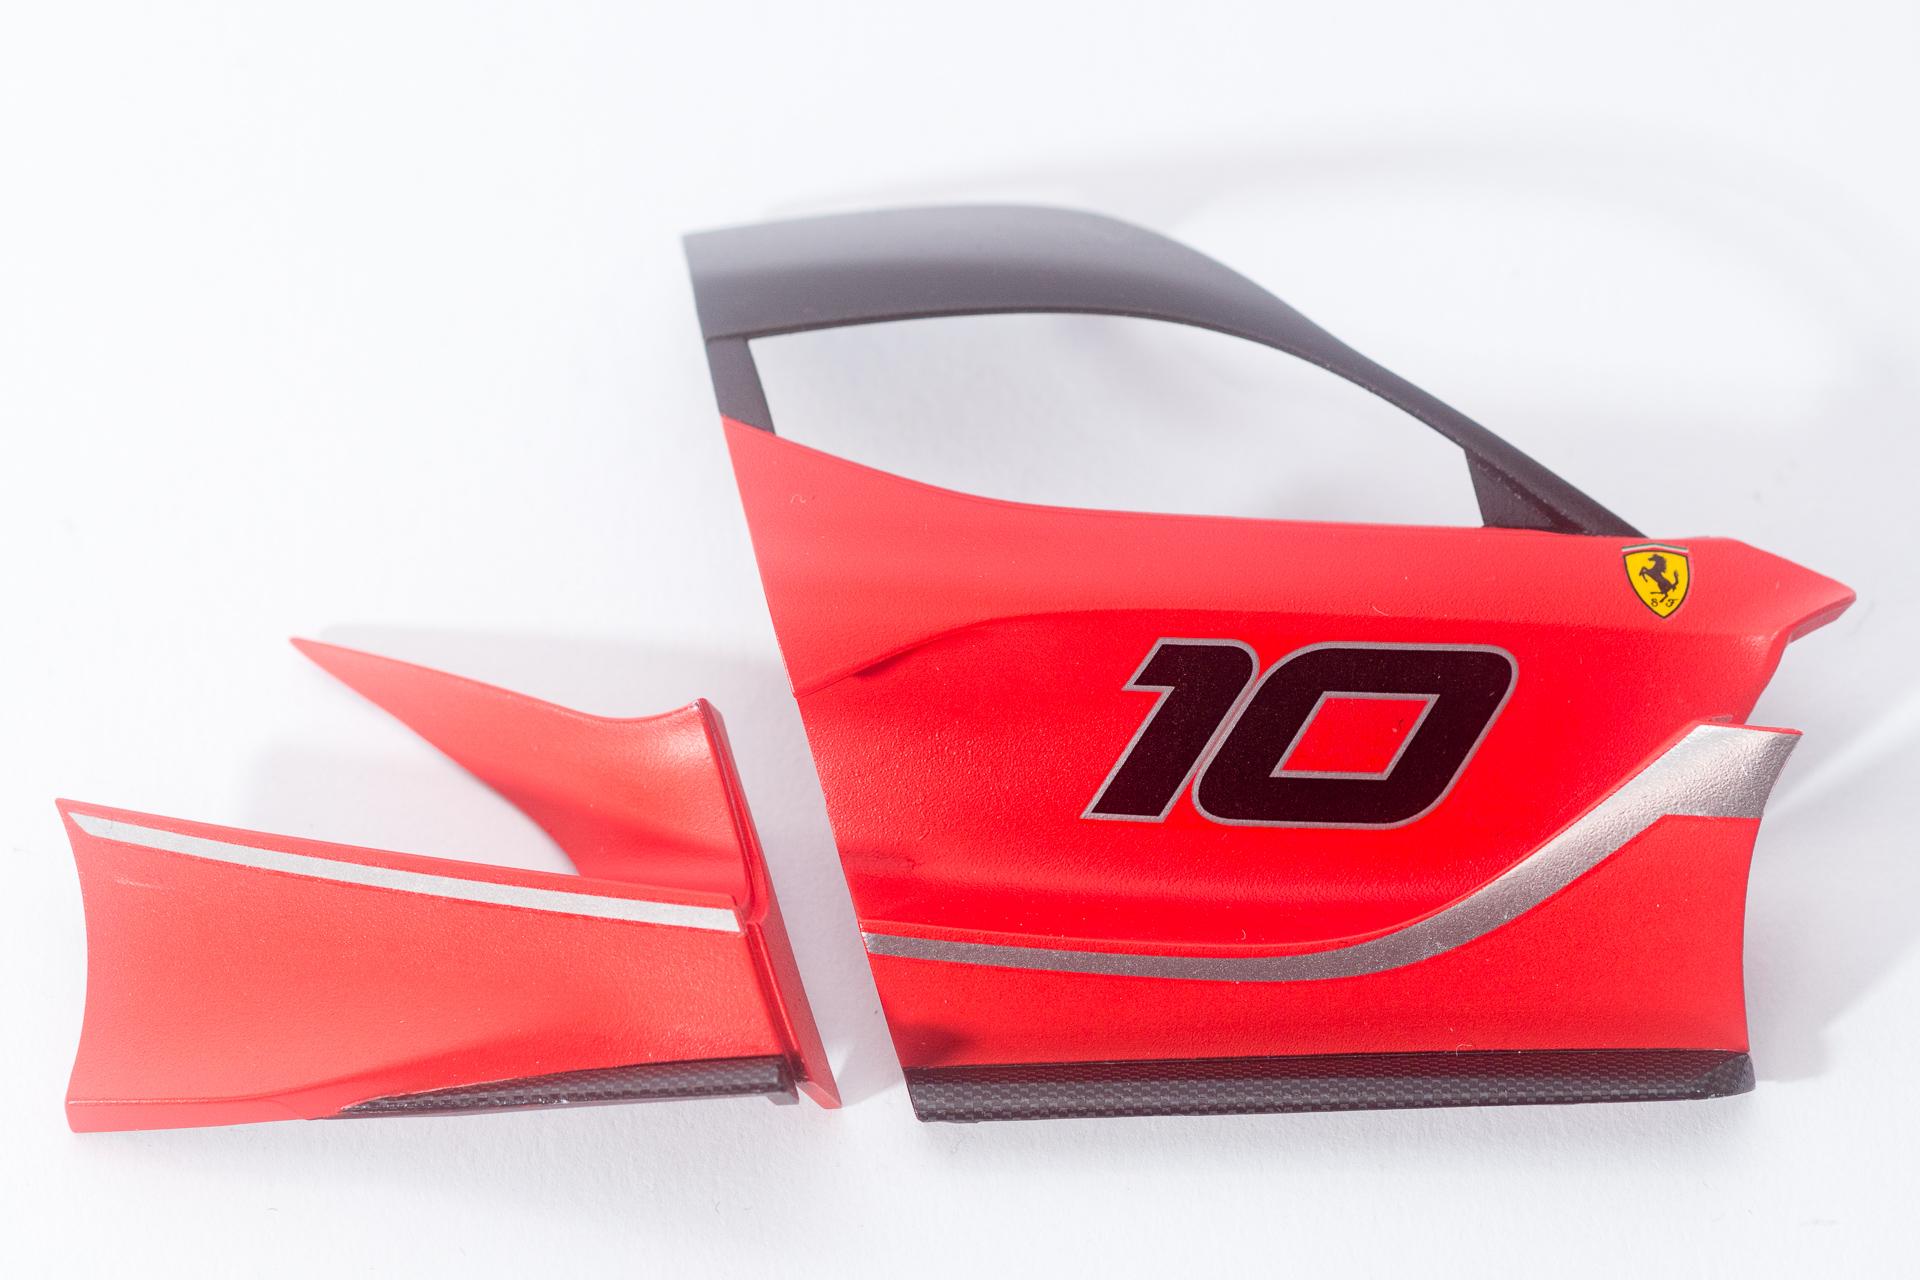
Hi all This week a lot of decal work on the body parts has been done, hoping to soon be able to clear coat the body. Last week I showed you the doors with all the decals on. When I studied the building instructions again, I found out, that I missed two decals per door: the small Italian flag in the silver stripe and the "NO STEP" on the carbon part of the door. So I took the doors out of the box containing the finished parts, added these two decals and put the doors back in the "finished parts box". When checking the instructions again to get an impression what will have to be done before starting to clear coat, I noticed that you not only have to look at the side view, but also on the top view... ? There was still the thin silver stripe underneath the windows missing... so I took then out once again, added the stripe and put it back in the box. I think, if I don't discover a previously hidden view from underneath, the decalling of the doors might now be finished... ? On the two body parts right behind the doors there was one decal missing as well, so I added this too (the FXX-K lettering). As you can see, I will have to do some touch up in the red paint. Finally I also added some more carbon fibre decals to two parts in the back of the car. On the one in the second picture one decal was a little too small (or I cut a little bit away by accident, can't really remember), so I'll have to do some touch up with black paint before clear coating. That's it for today. Last week I was a little skeptical whether I could finish it by end of the month to take it with me to a exhibition held near Basel in Switzerland, but now I think it might work out. Especially because I unexpectedly will have some extra building time the upcoming weekend ? Urs
-
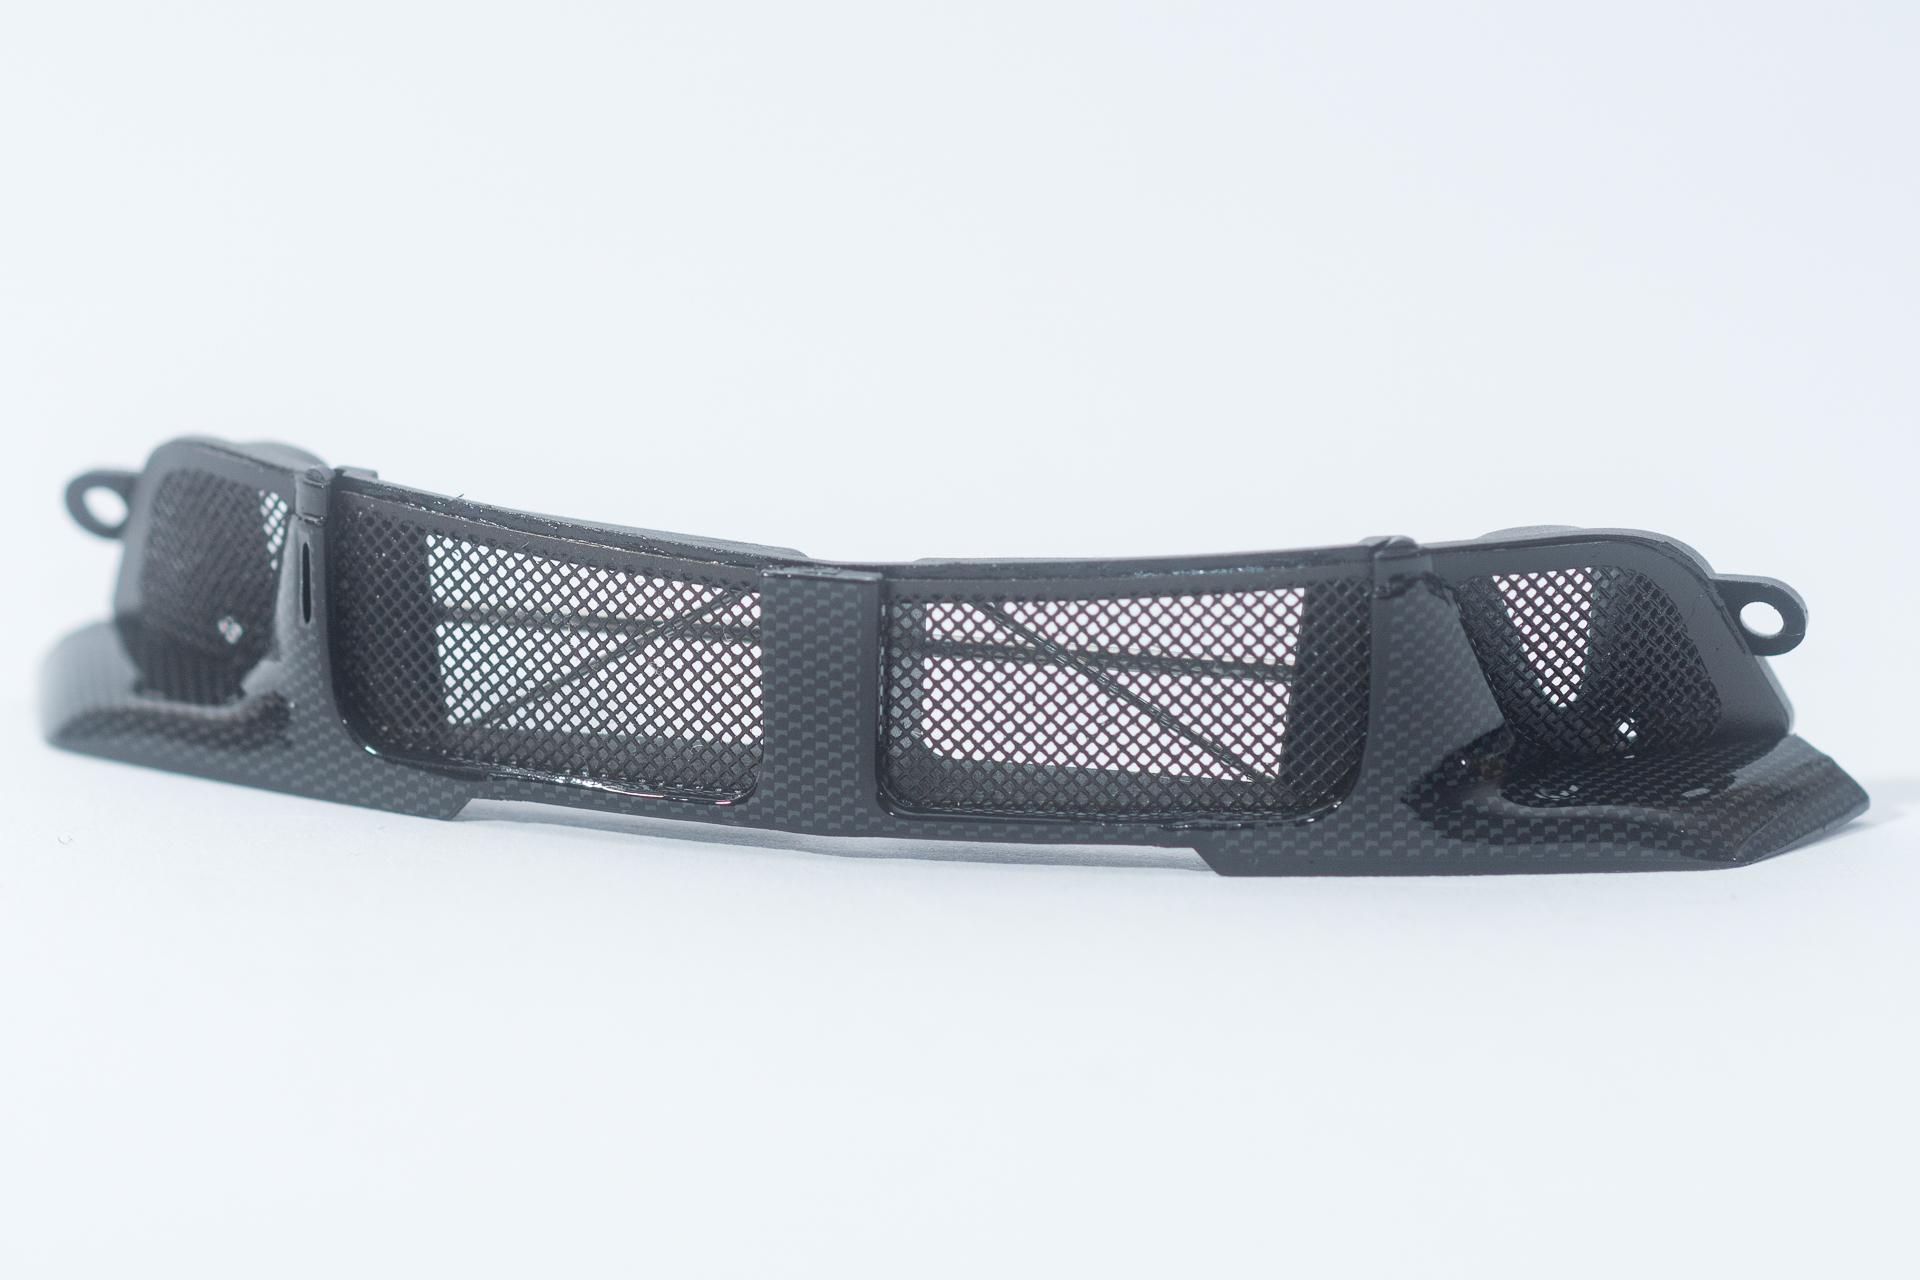
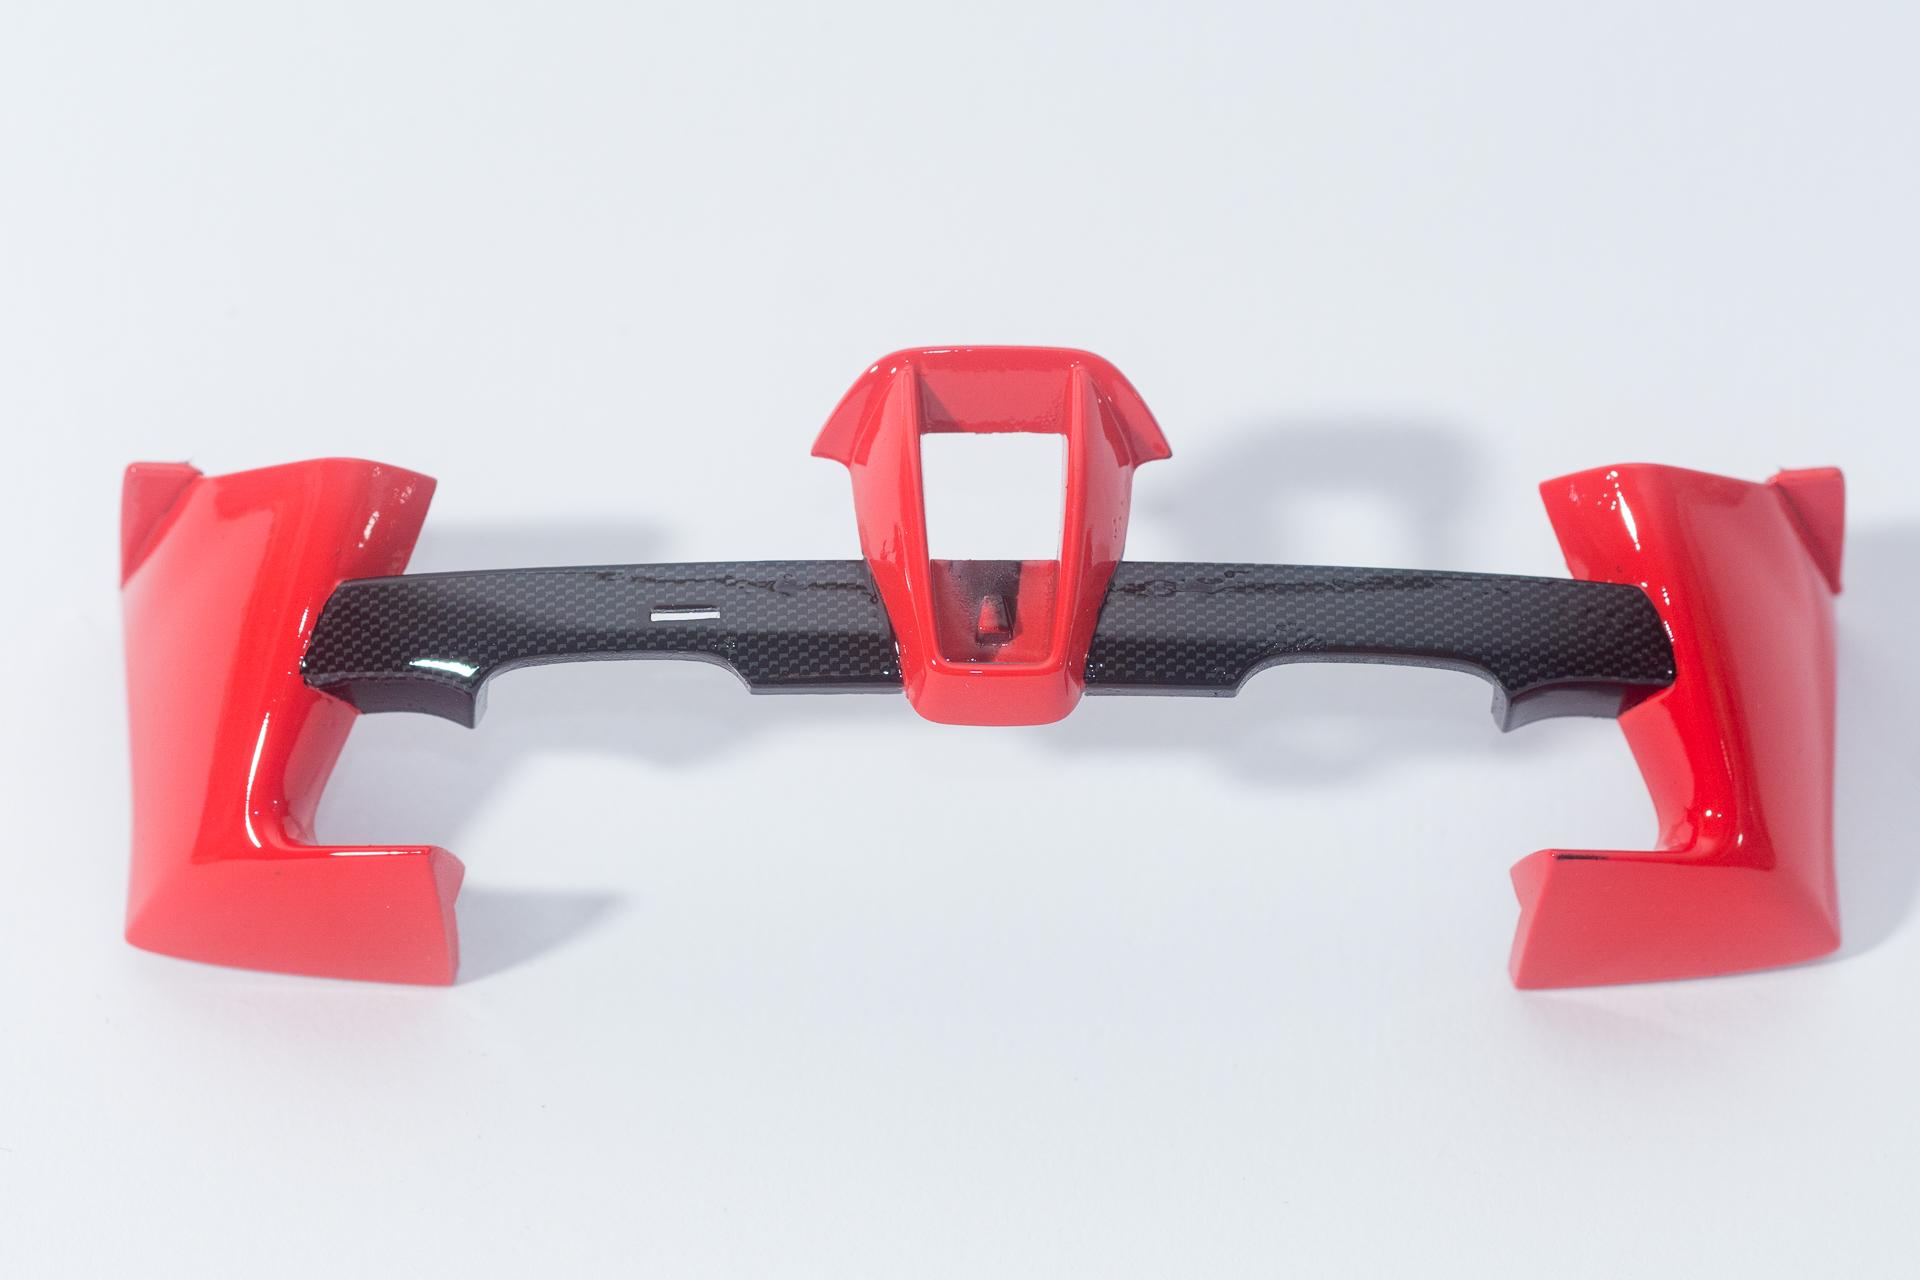
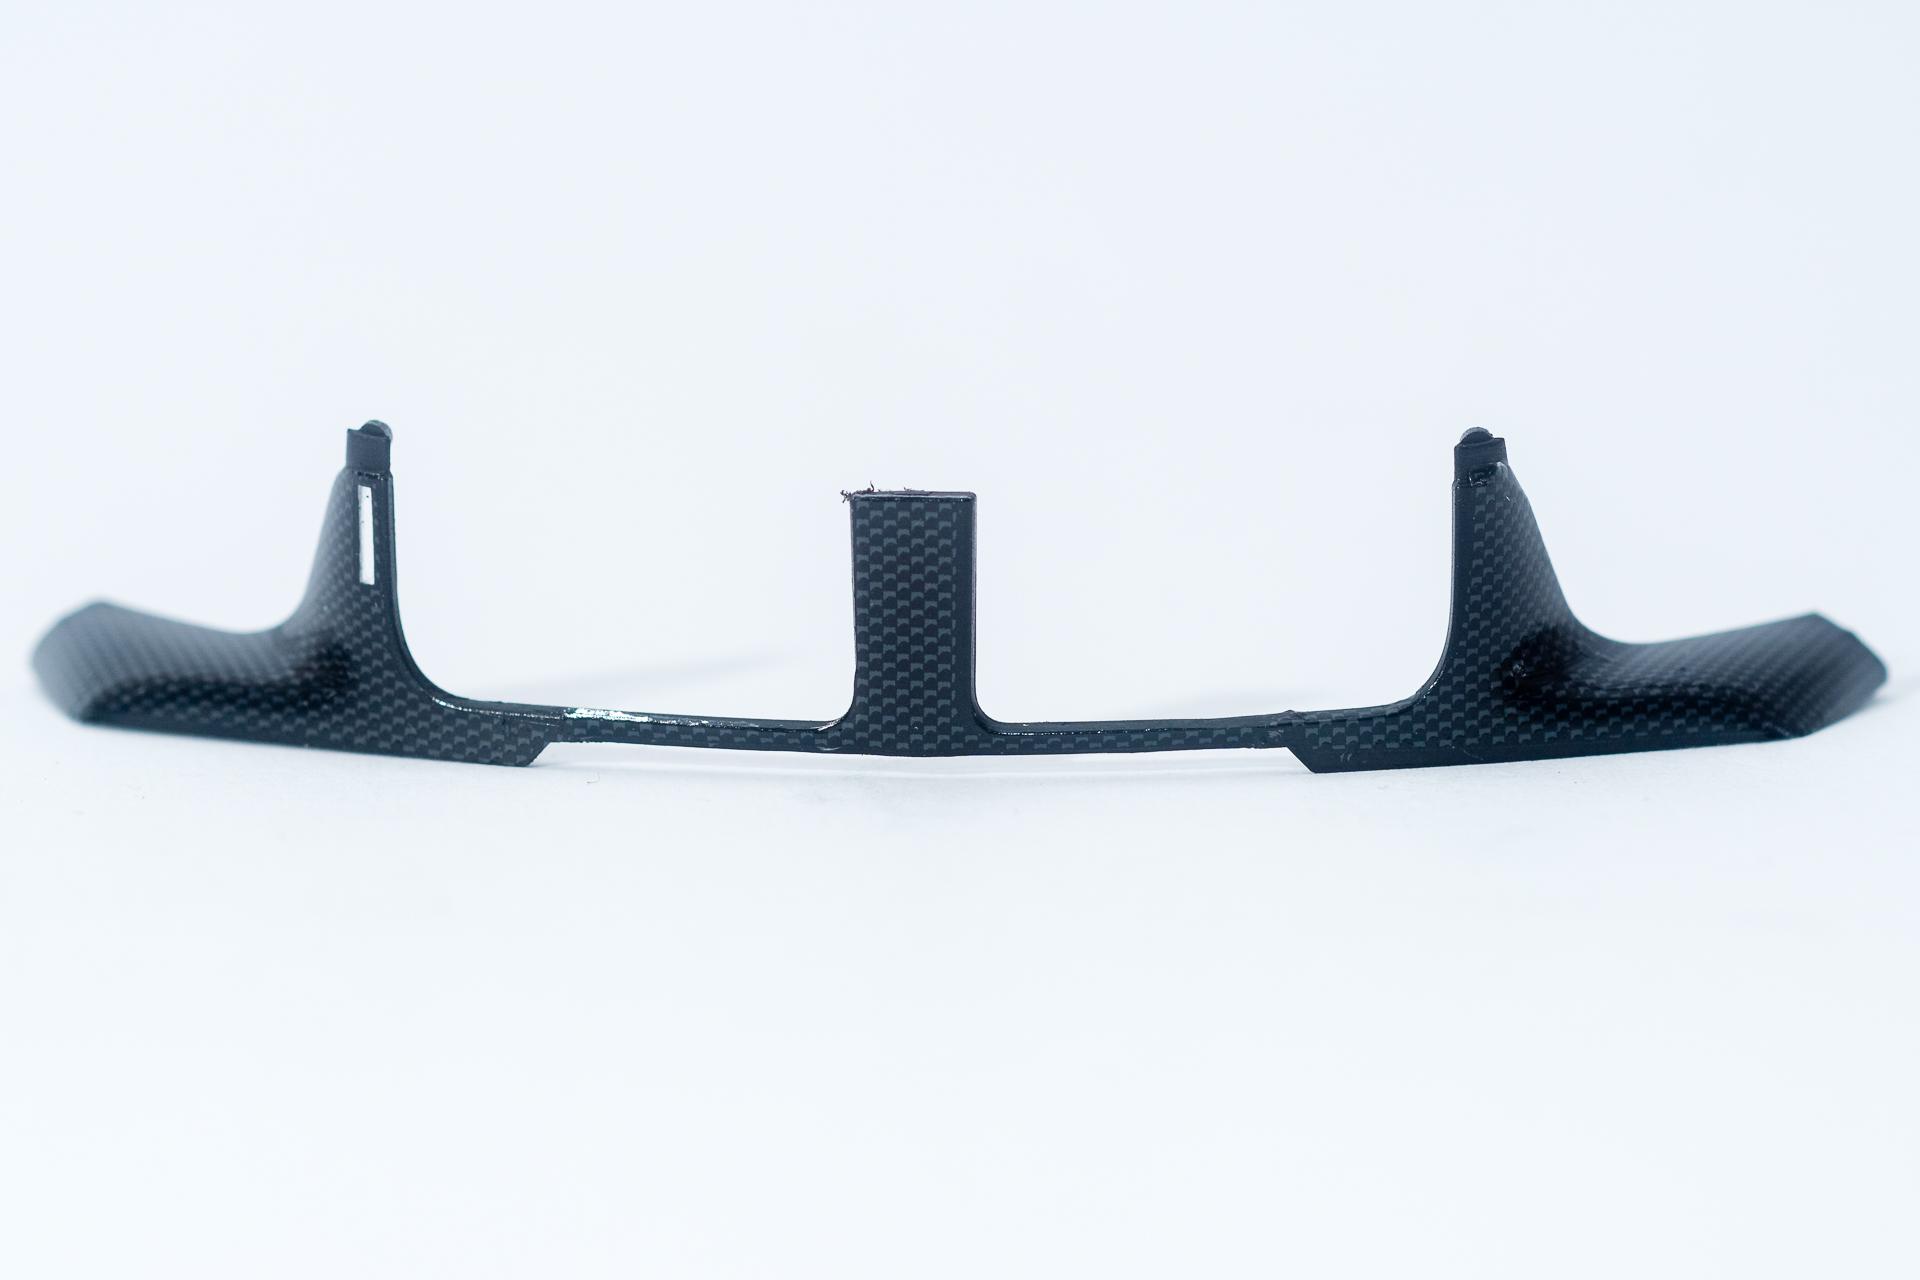
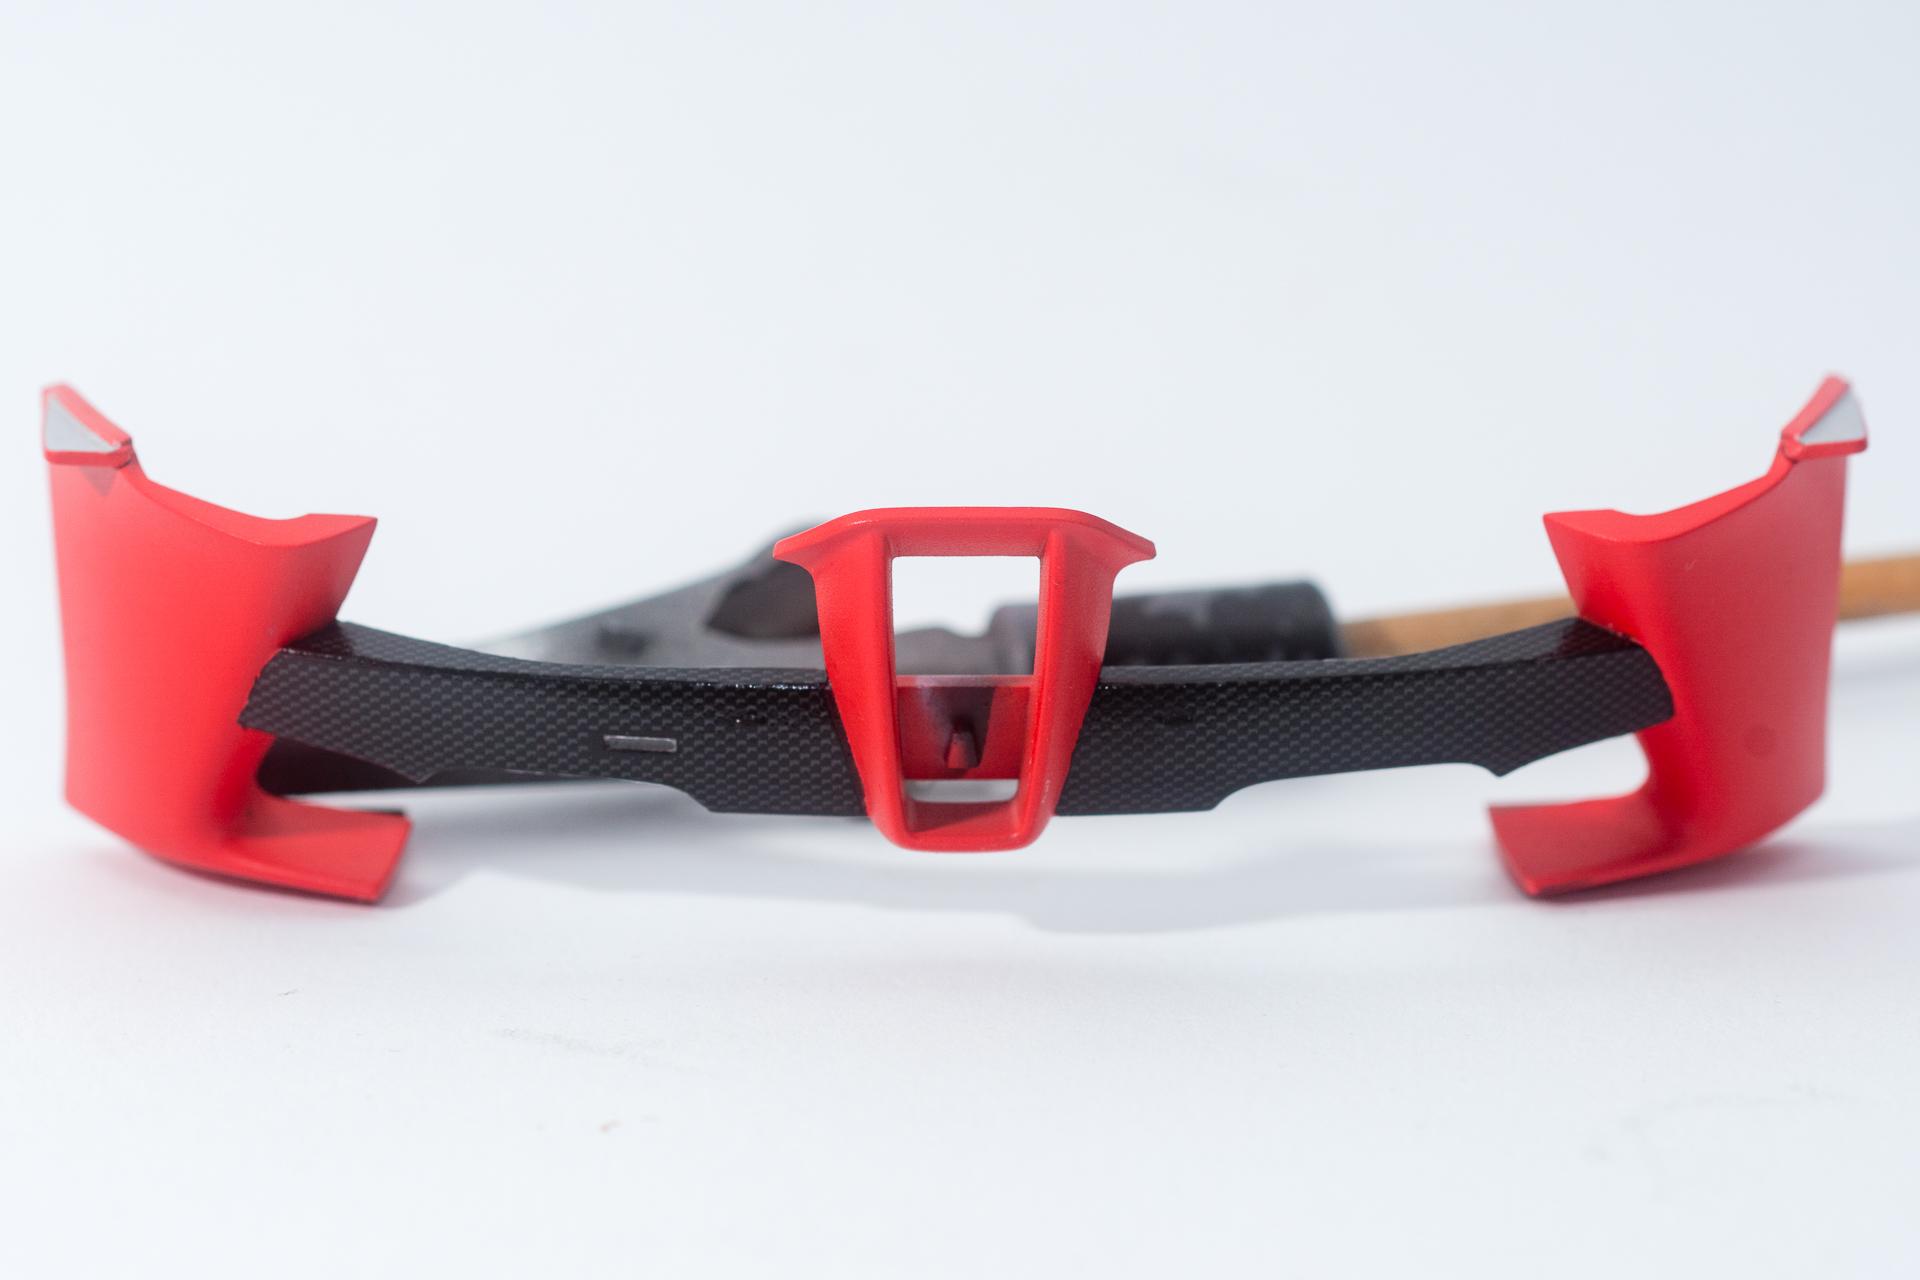
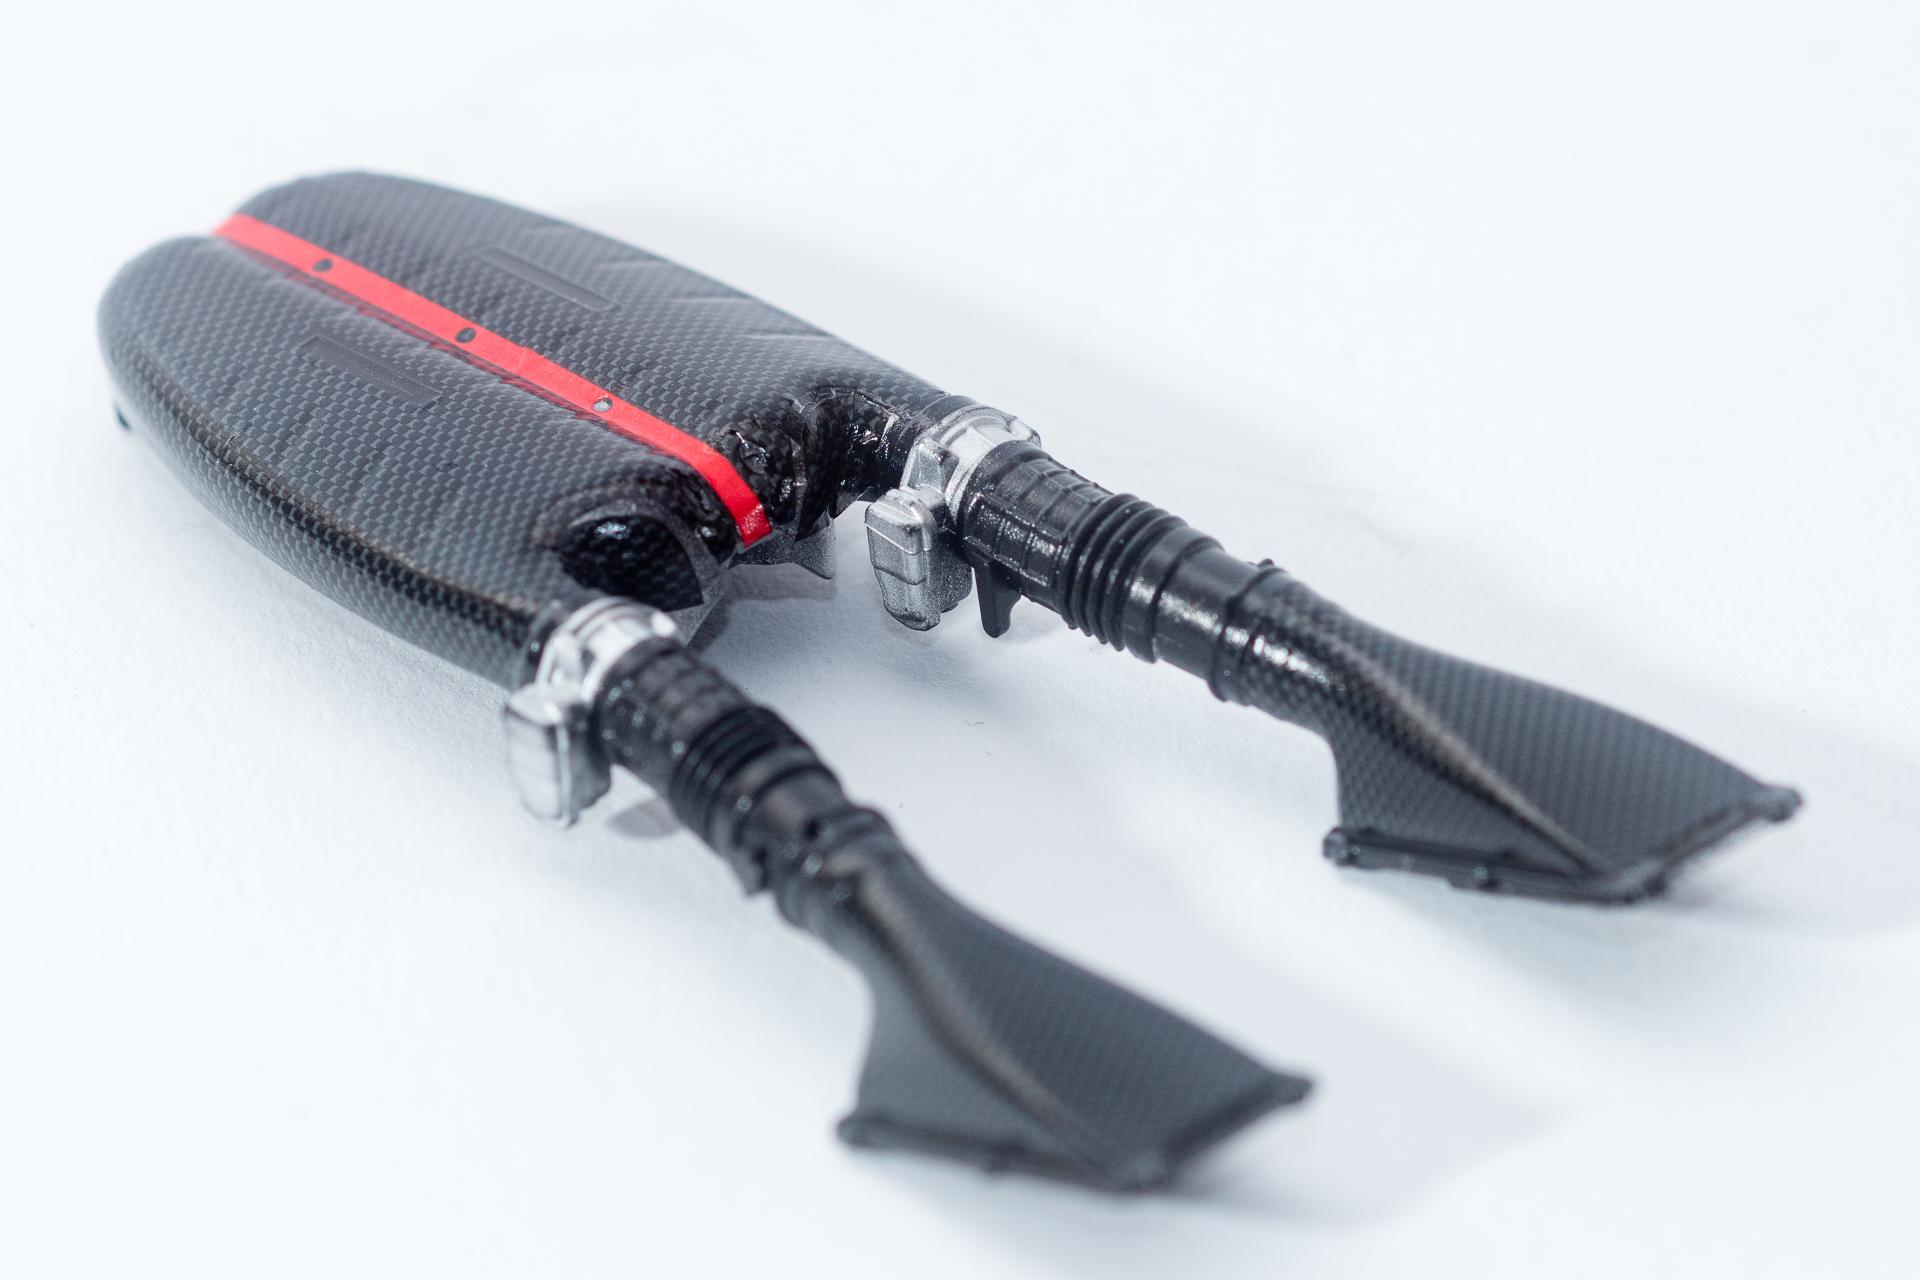
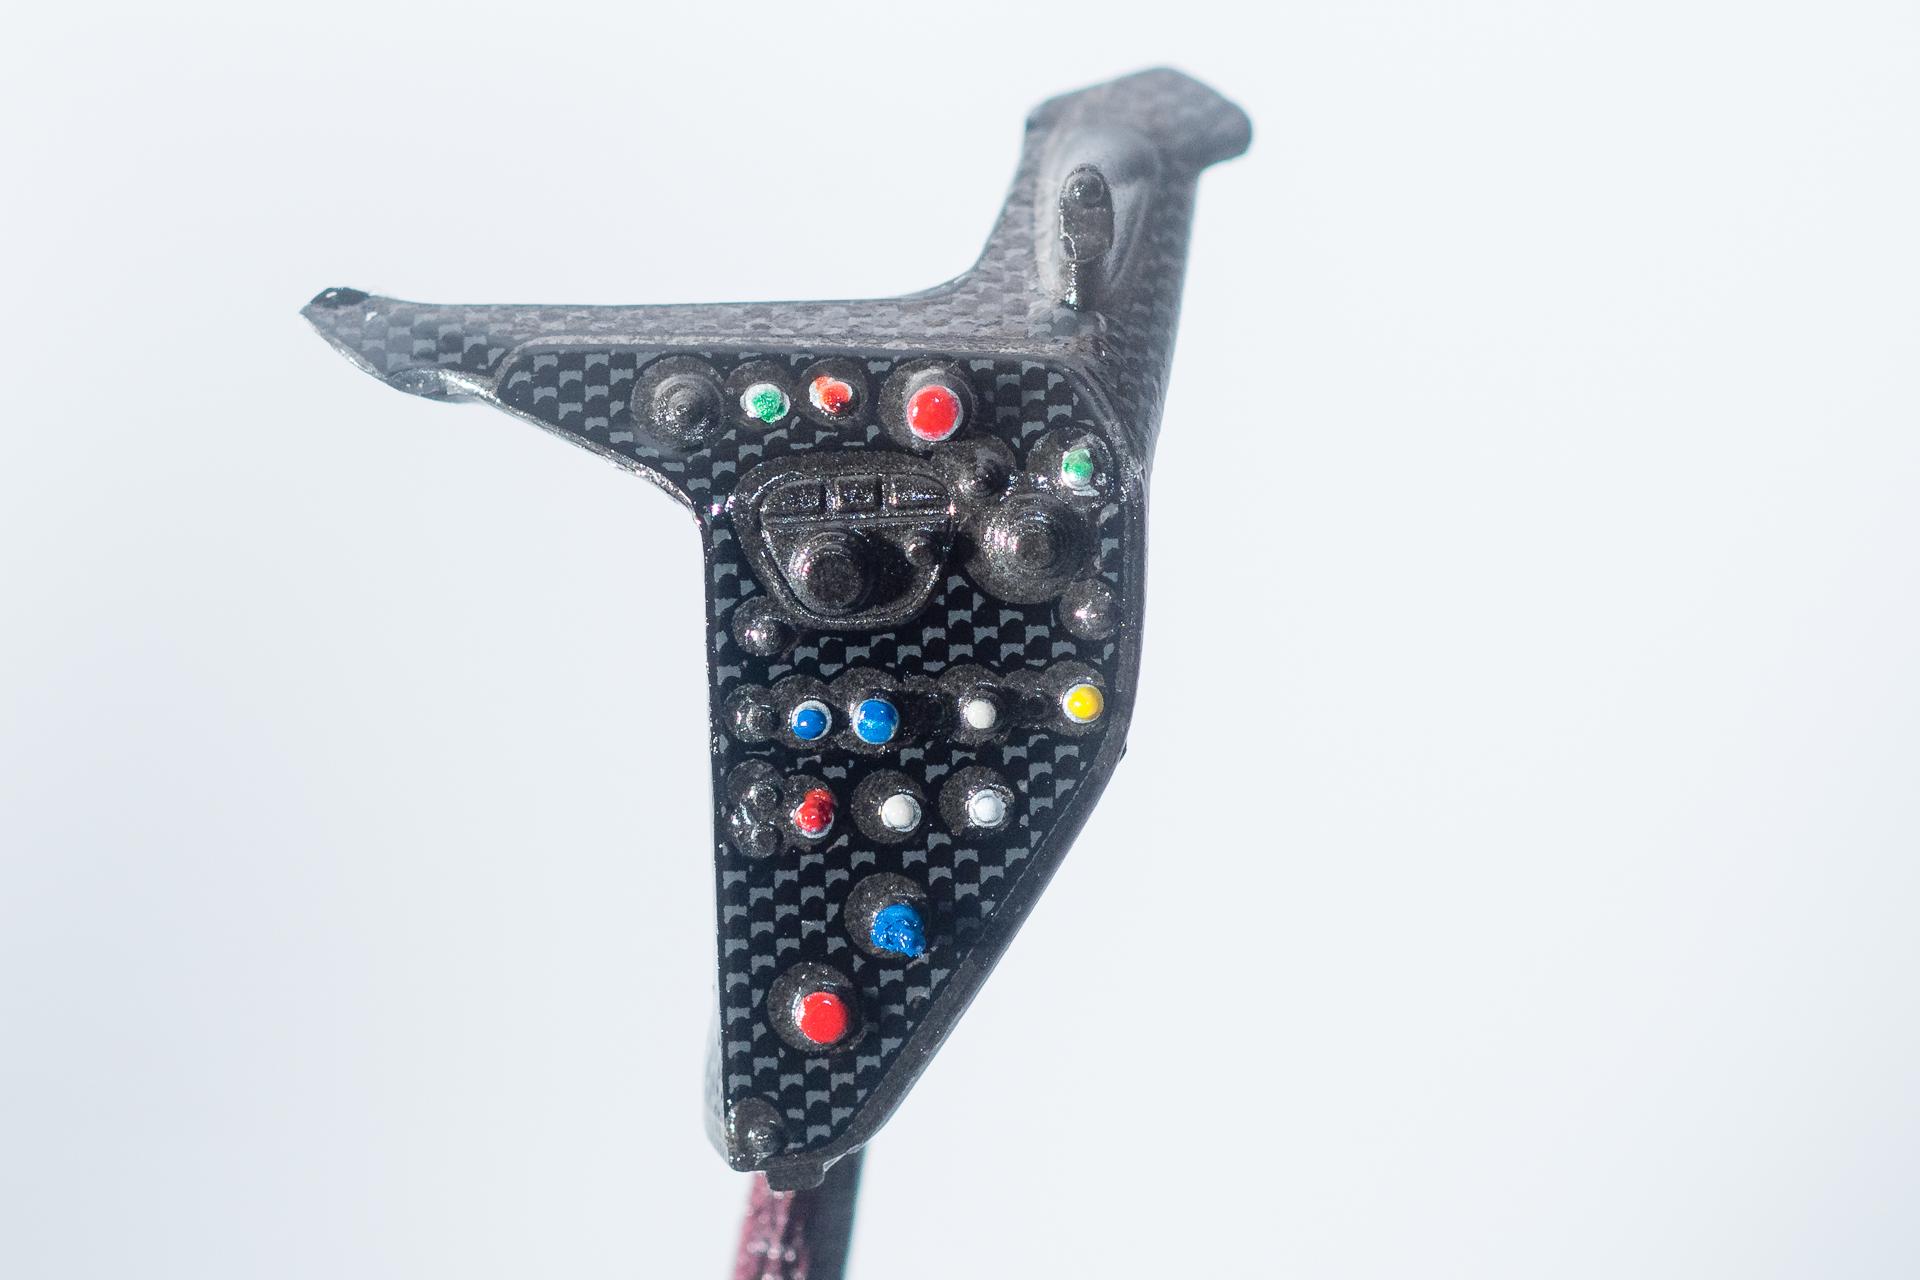
Hi all This week I made some real progress on my Ferrari. Especially over the weekend I was able to spend some time on my workbench and therefore started applying the carbon decals. First the splitter was done. Somehow I always have some trouble applying decals inside a curve. Usually I don't get the decal lying down without leaving a more or less big bubble underneath. This time I managed to get rid of the bubbles, but instead I got some wrinkles... Then the air box has been finished. I know, the red stripe isn't as straight as it should be, but as it tore apart when I tried to position it, I was happy to not destroy it more, so I left it as is. The two Ferrari scripts are still missing, I will apply them once the clear coat had time to cure. I applied it only about half an hour before doing the pictures. Then it was time for one of the decals that frightened me most, the thing on the switch panel on the middle console. That decal consisted of more holes than actual decal material. So I was super afraid tearing it apart while applying, but in the end it was no problem at all. After that the rear wheel housings got their carbon decals and some matte clear coat. To finish the carbon decal work for the moment I applied the thin stripes on the bottom side of the passenger door and the body part right behind the door. After having done that I couldn't resist applying the rest of the door decals as well to get a first impression how it will look like in the end And finally I continued wiring the engine. Somehow it seems that one plug got loose again. So if the engine won't start, I know where the mechanic will have to investigate first That's it for today's update. Urs
-
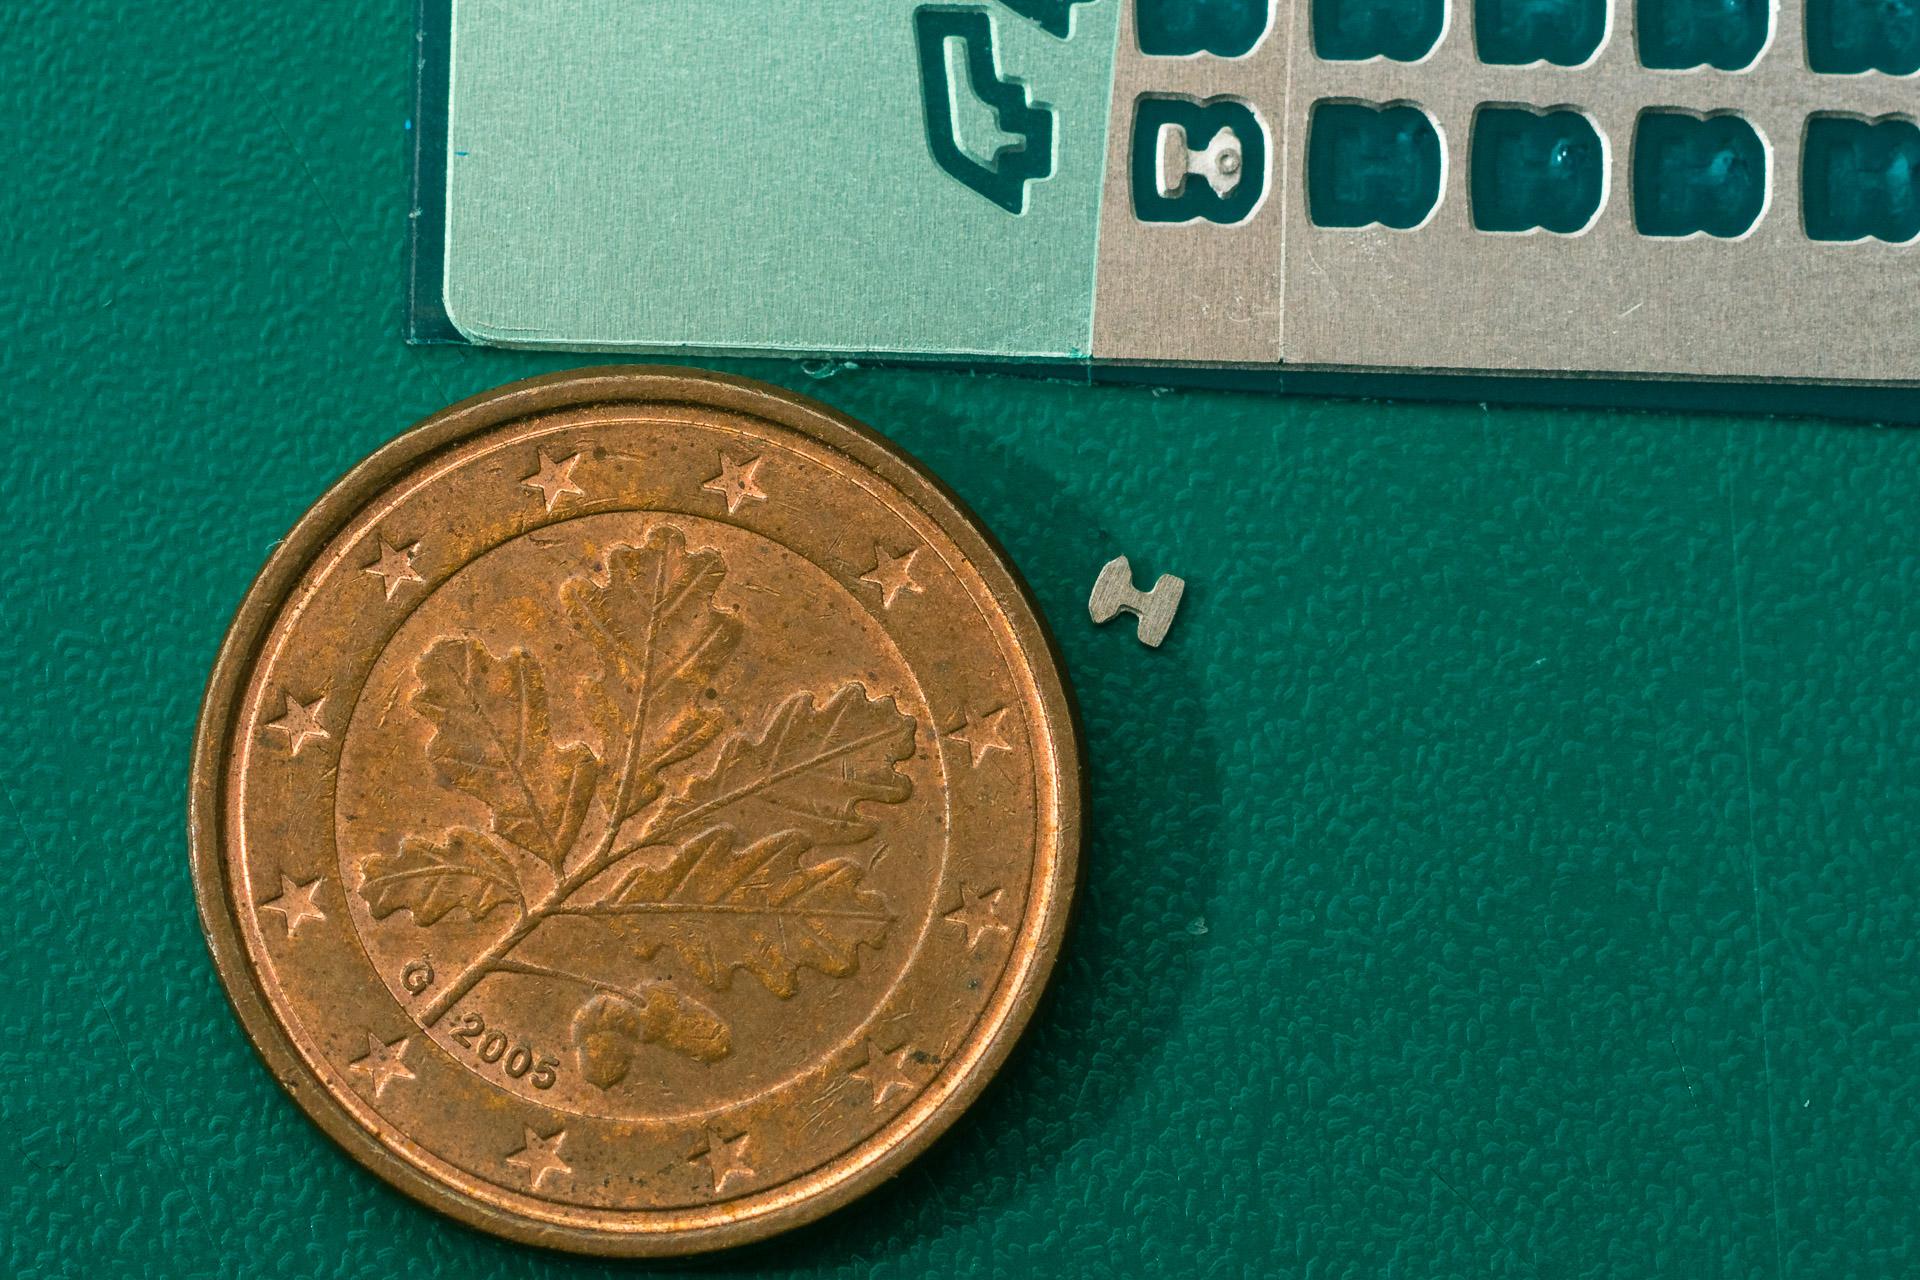
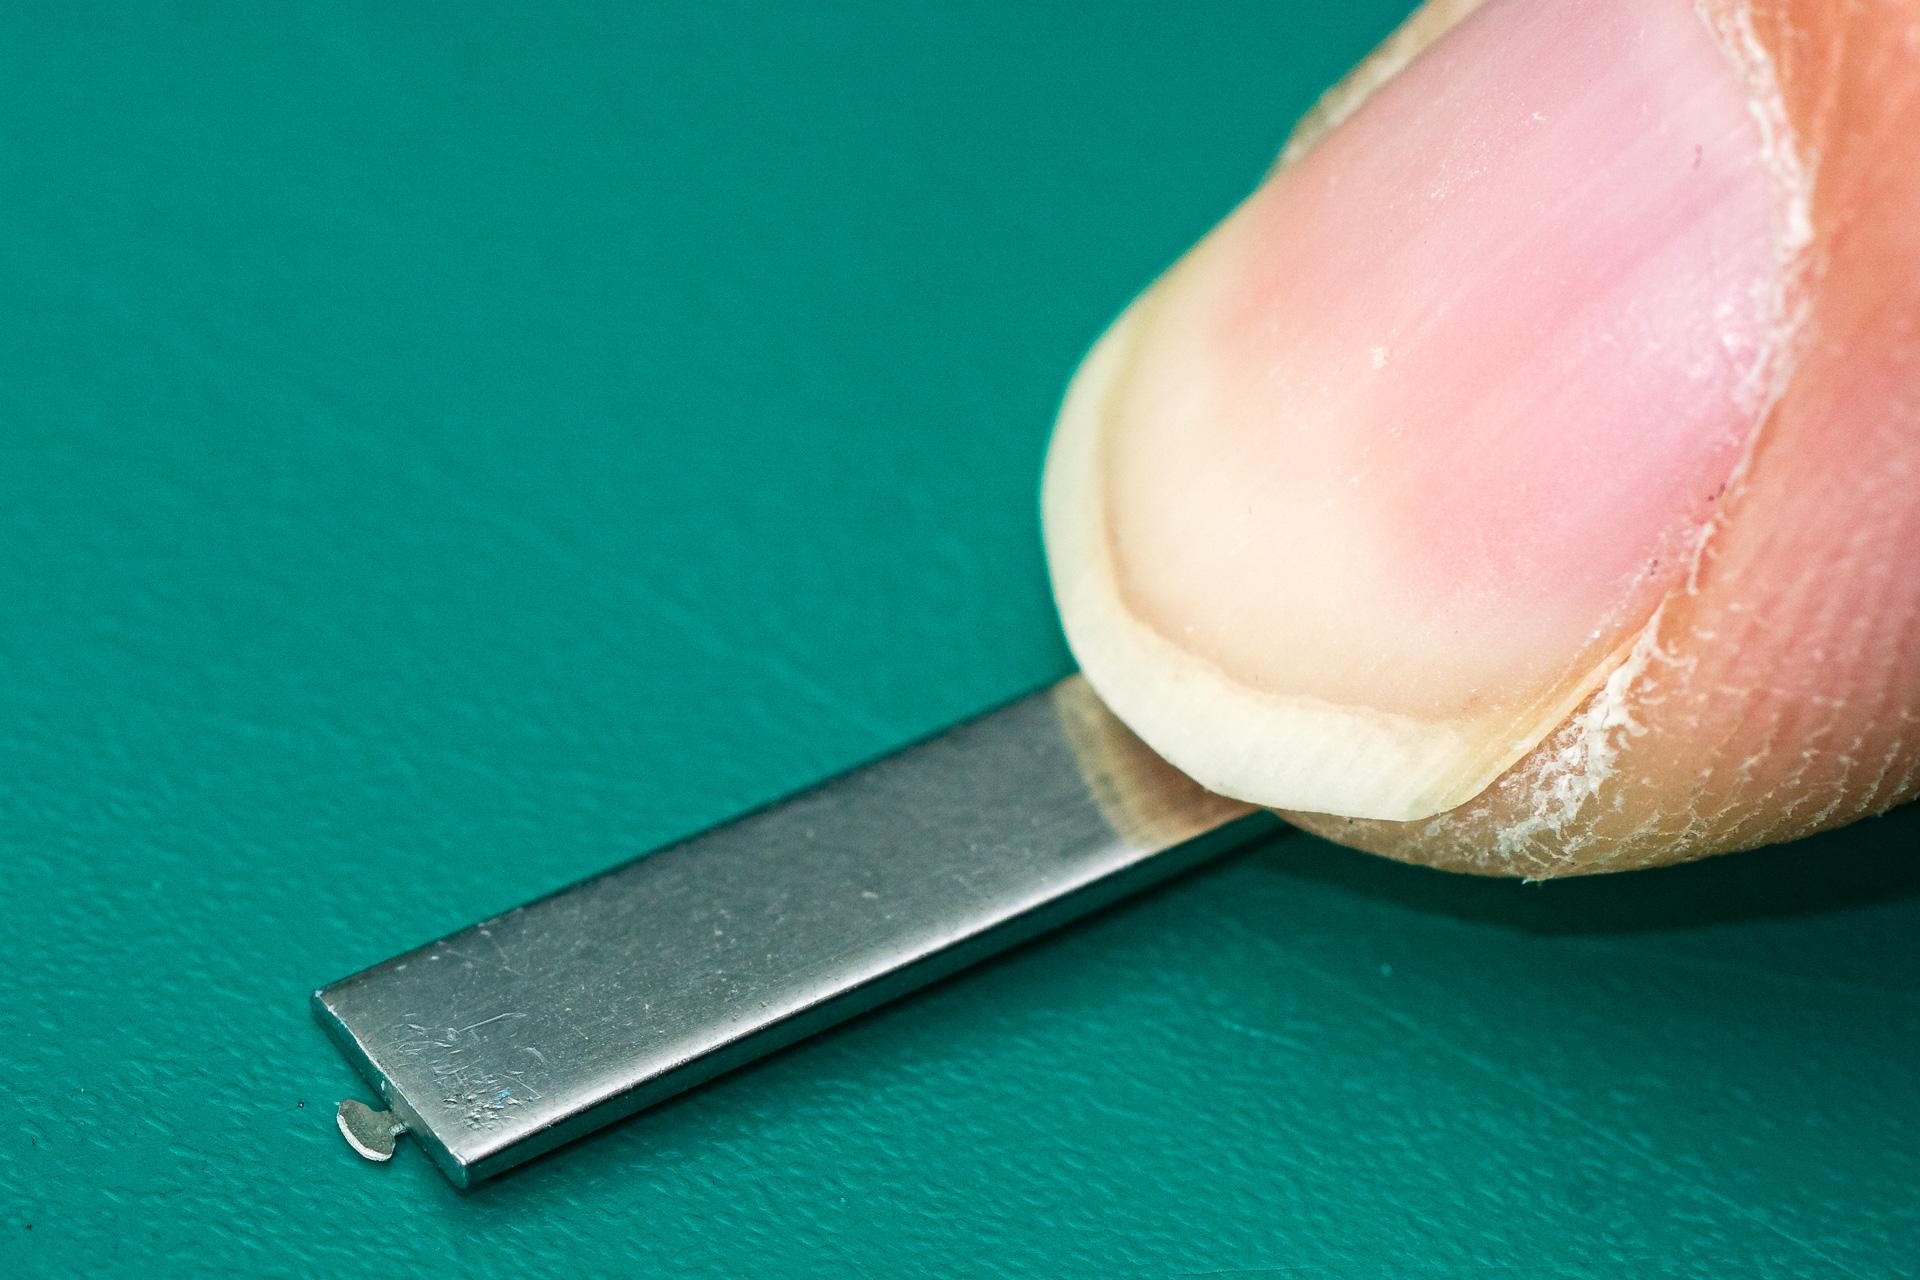
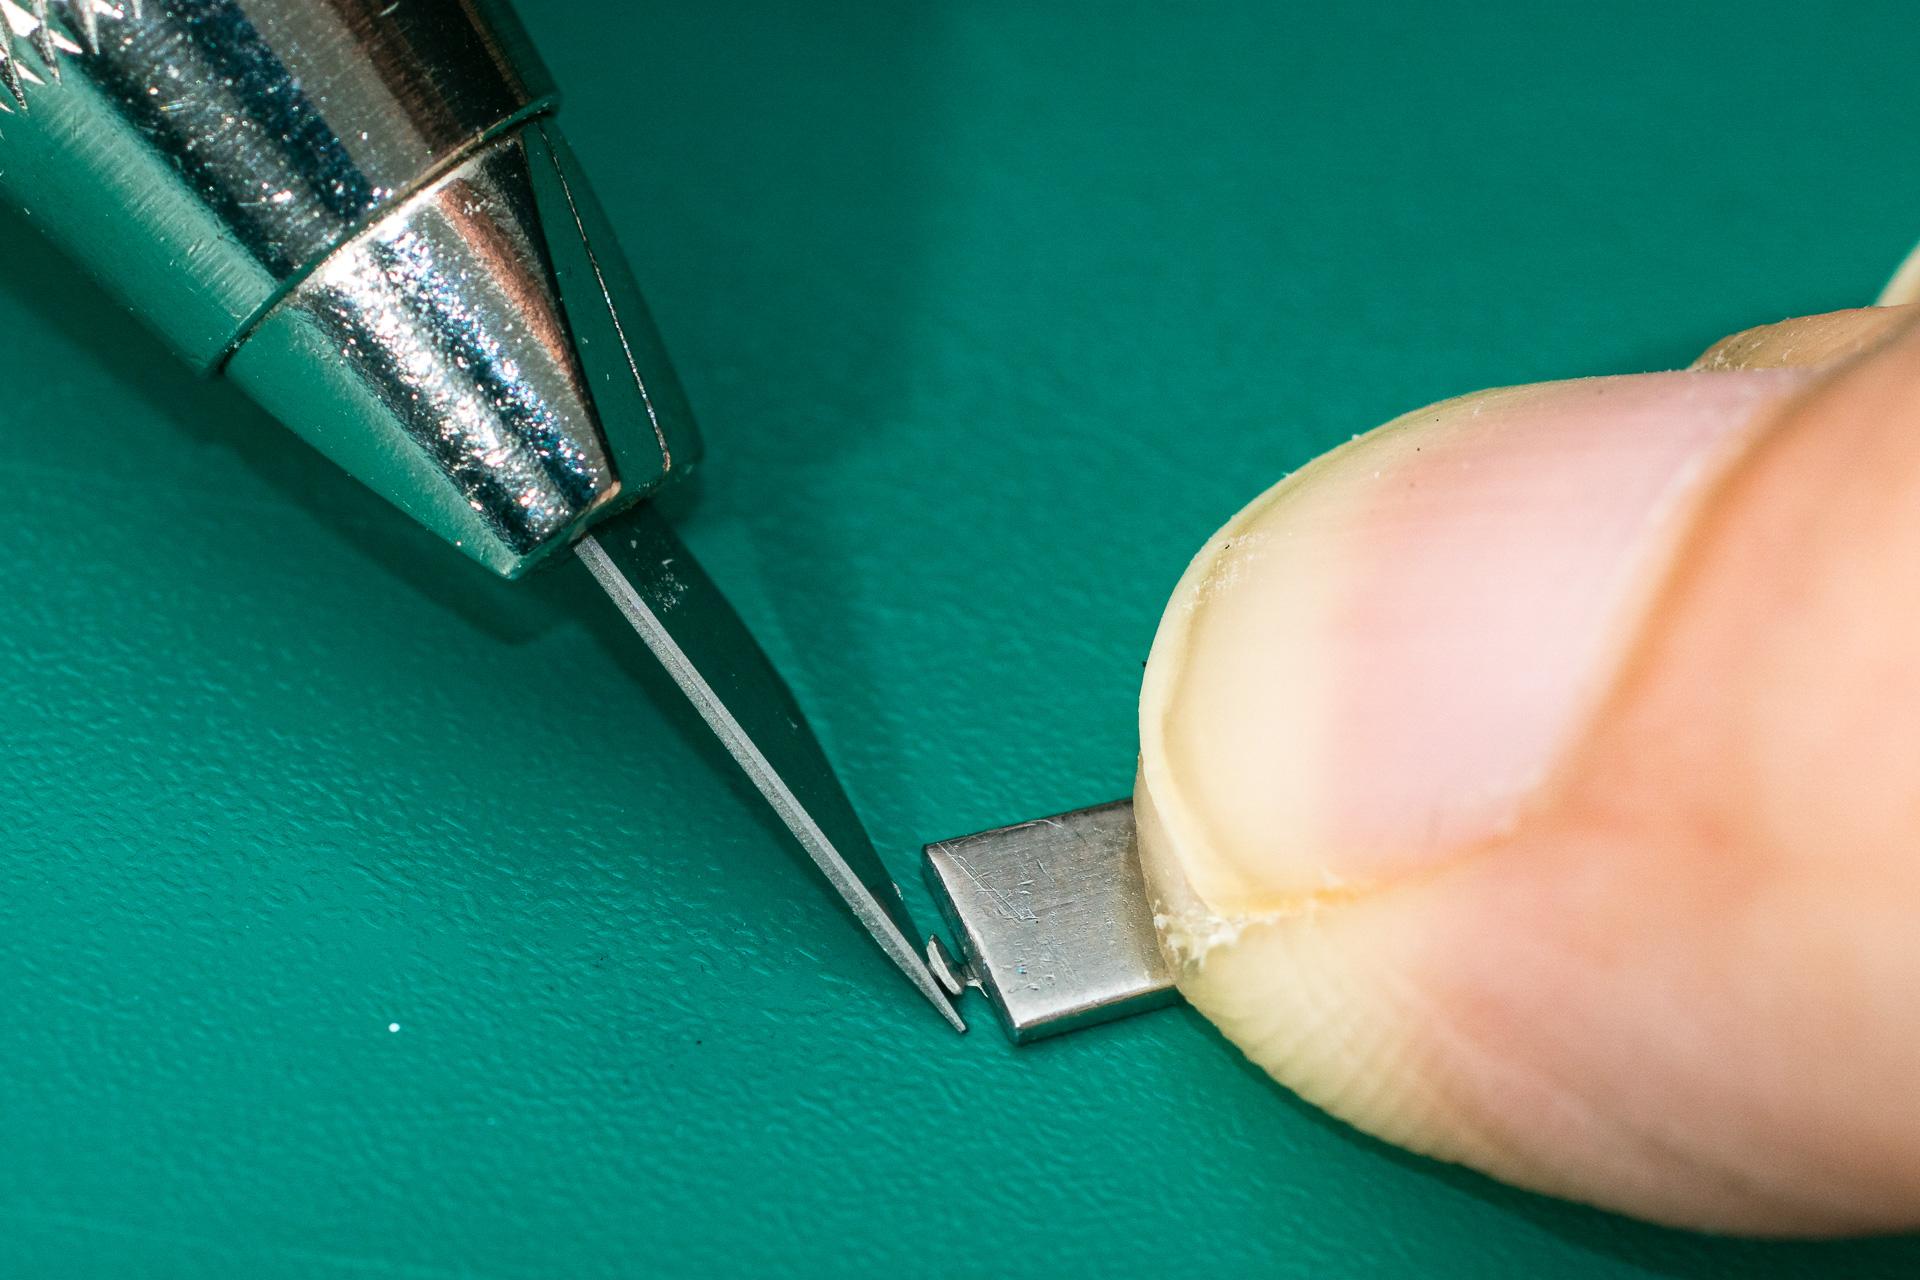
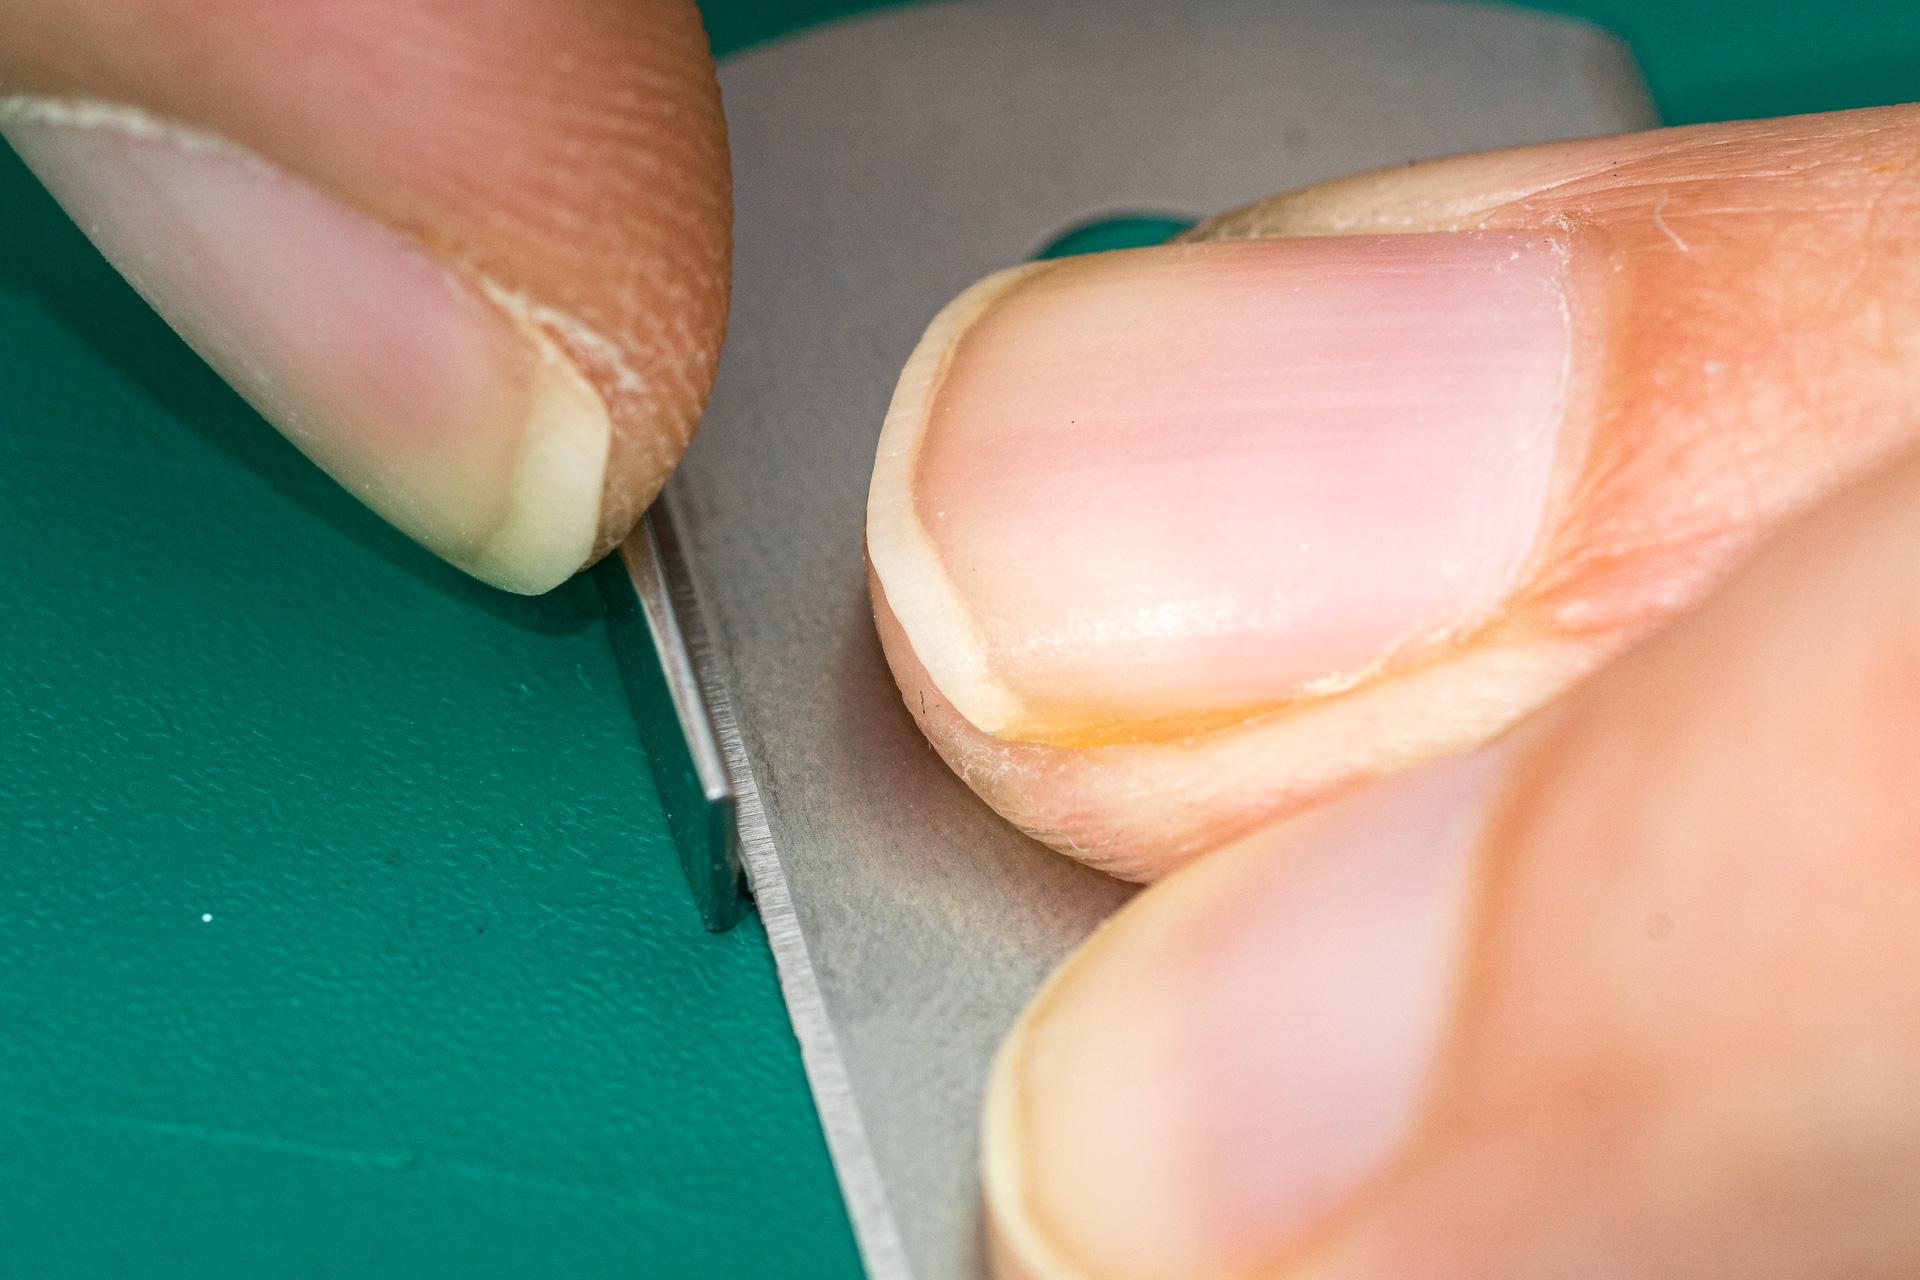
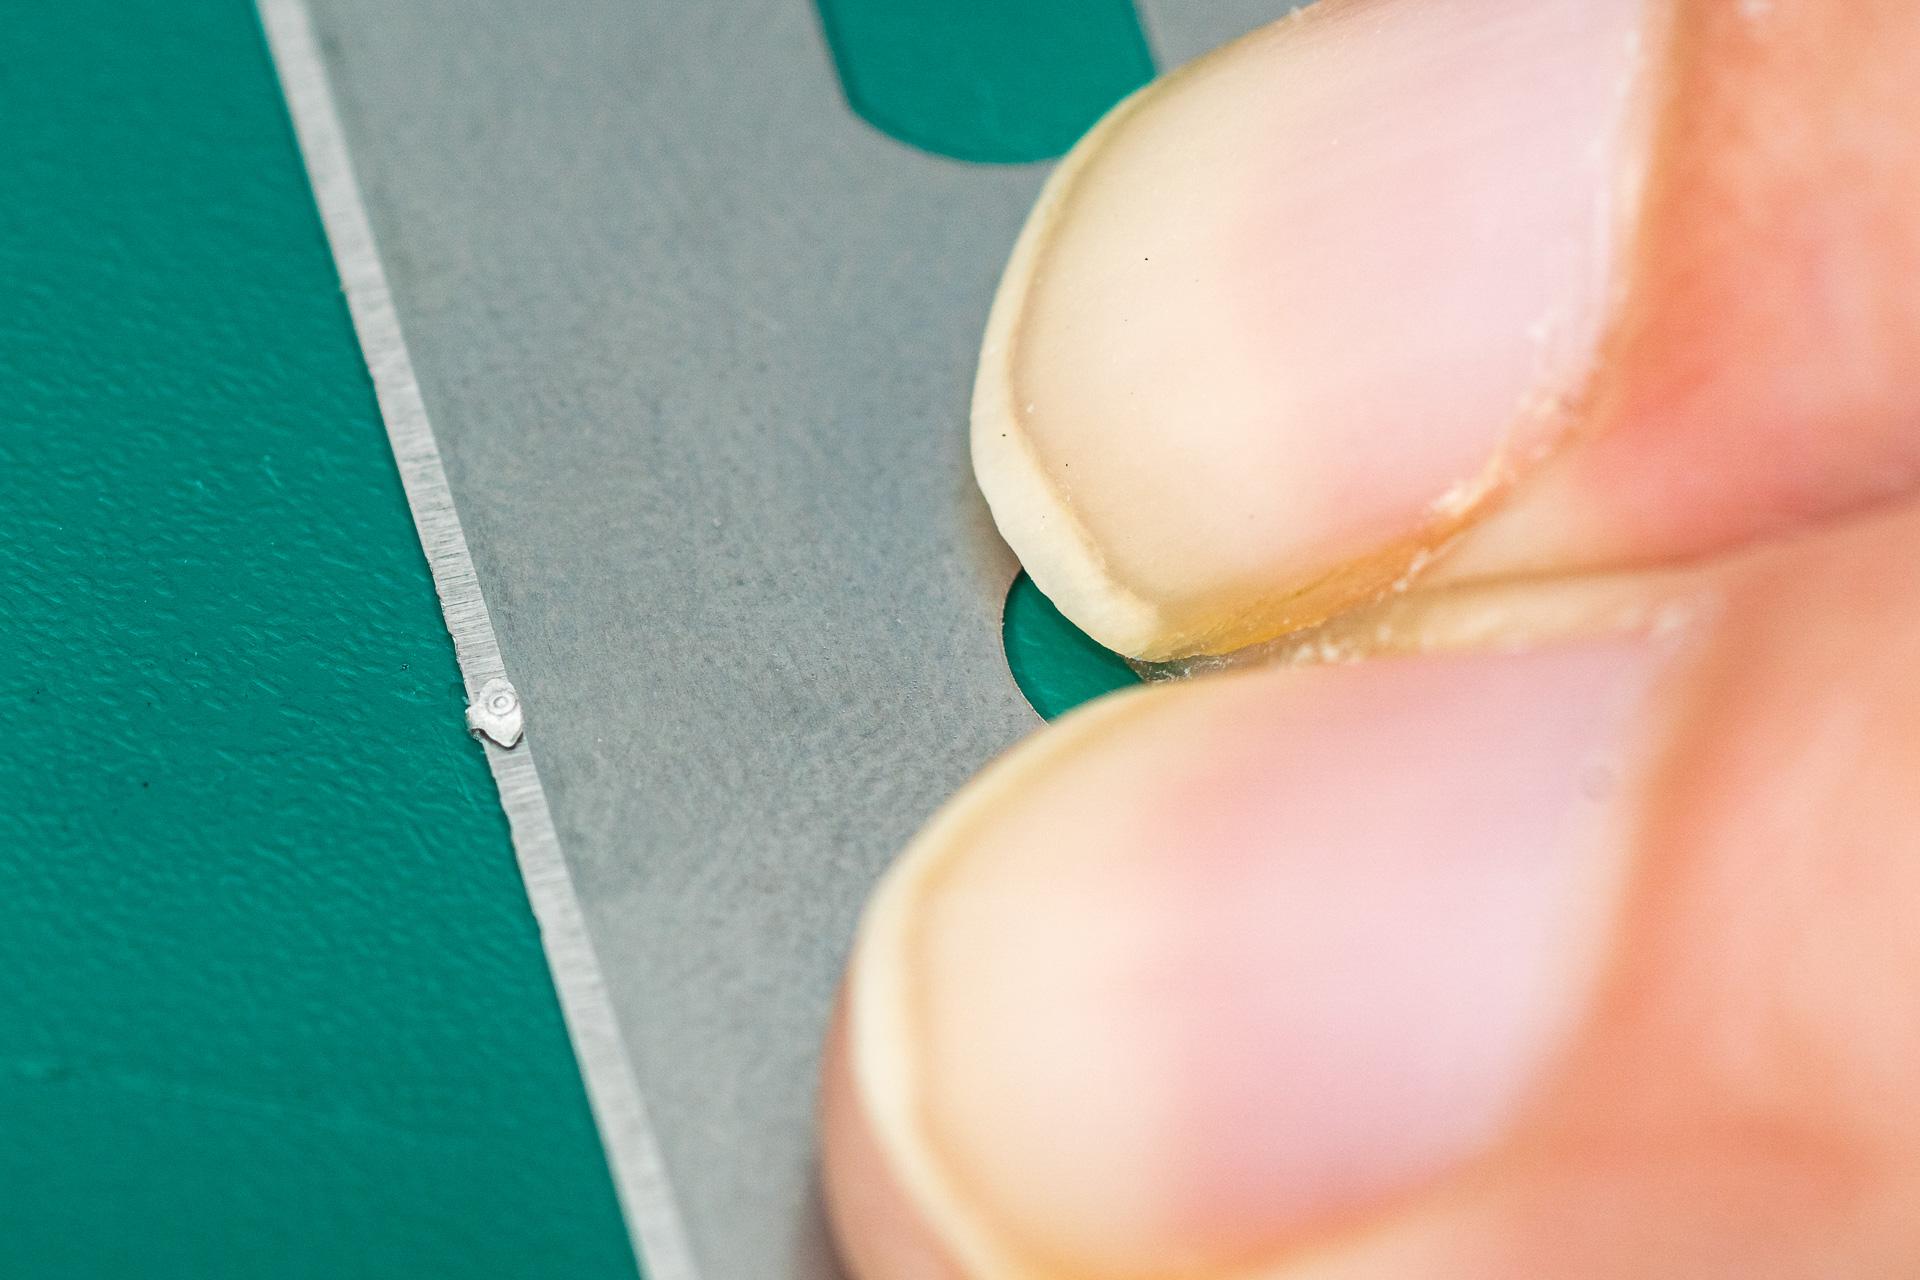
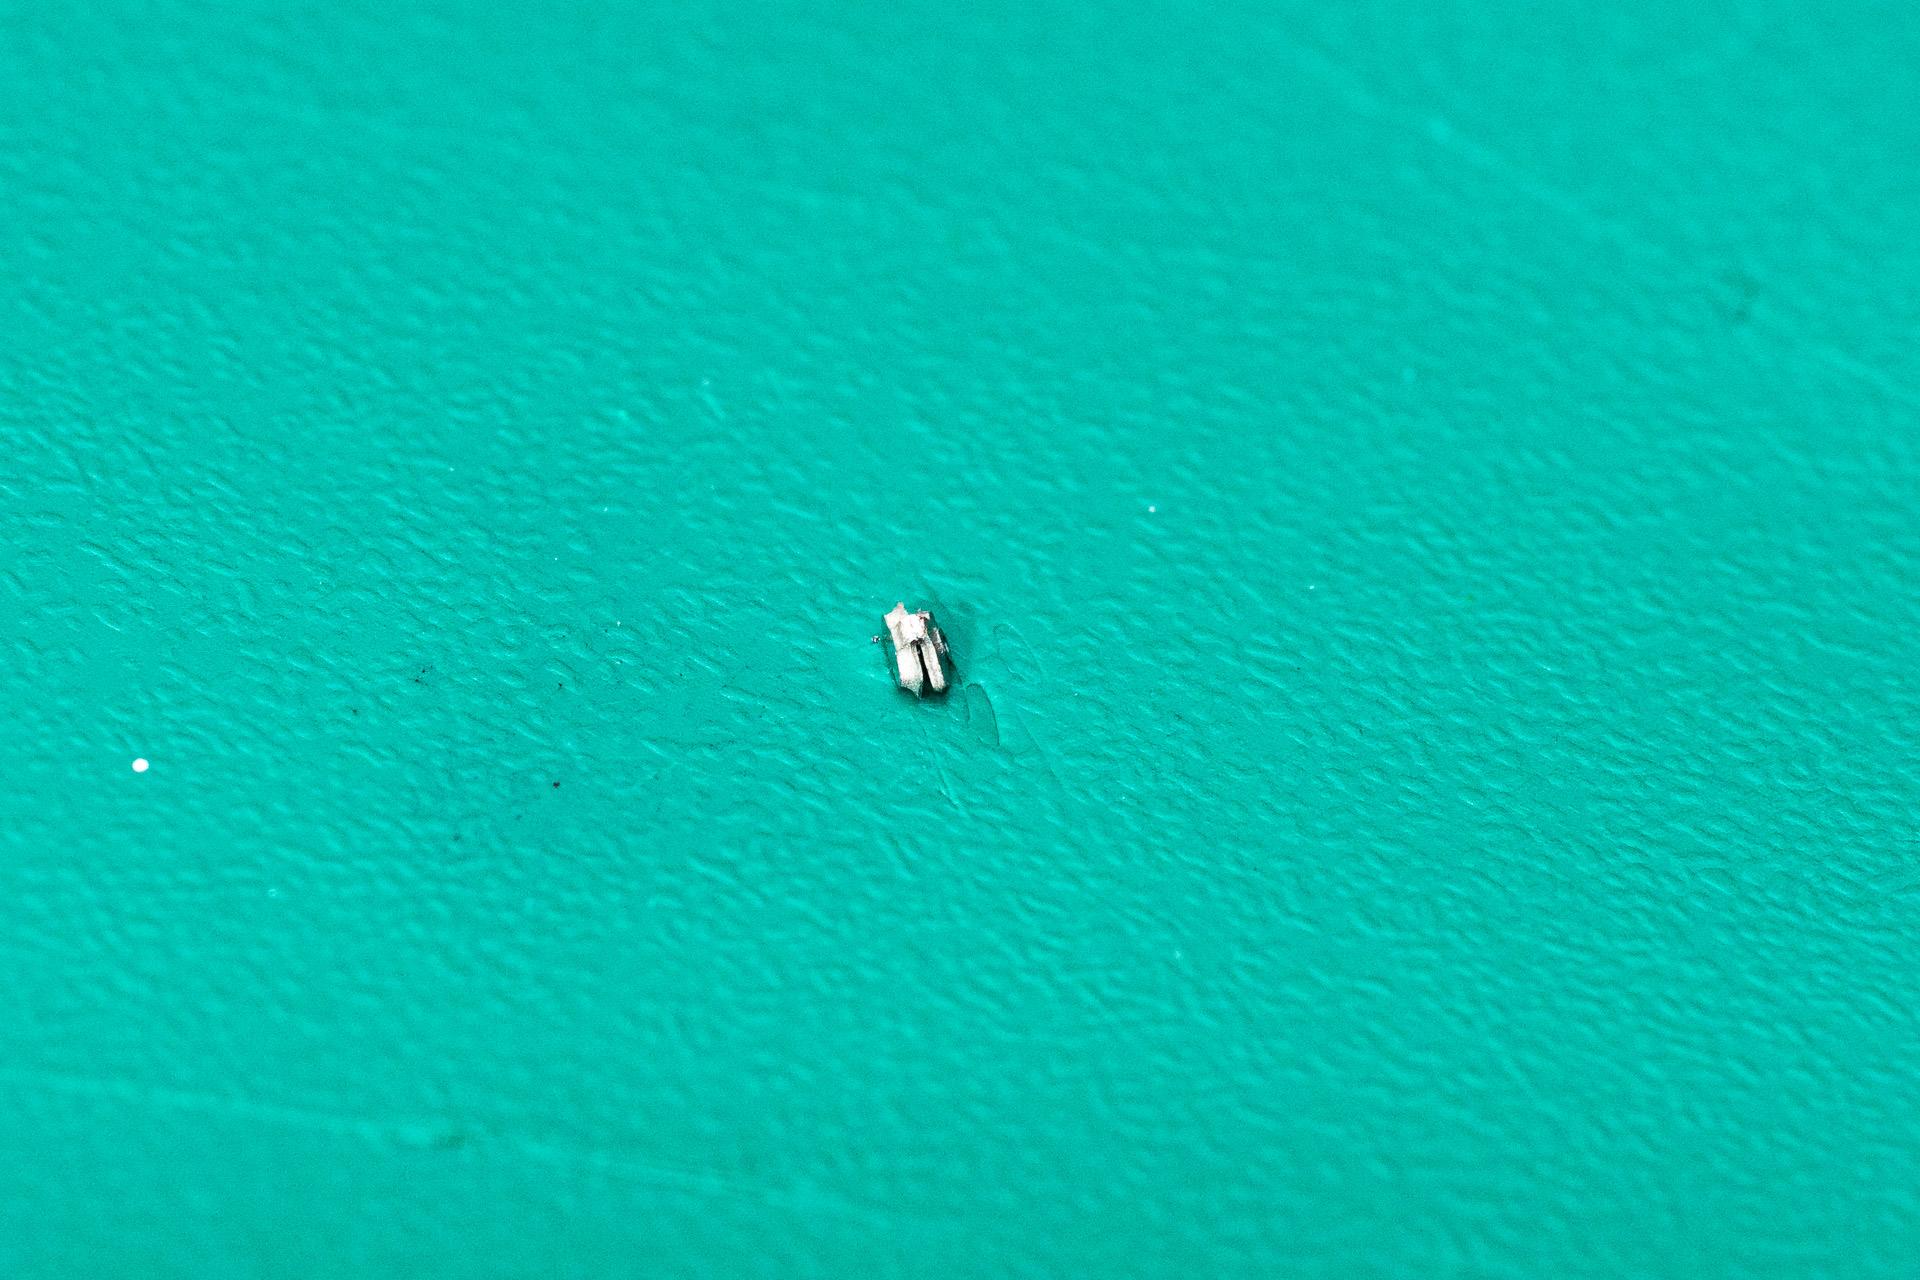
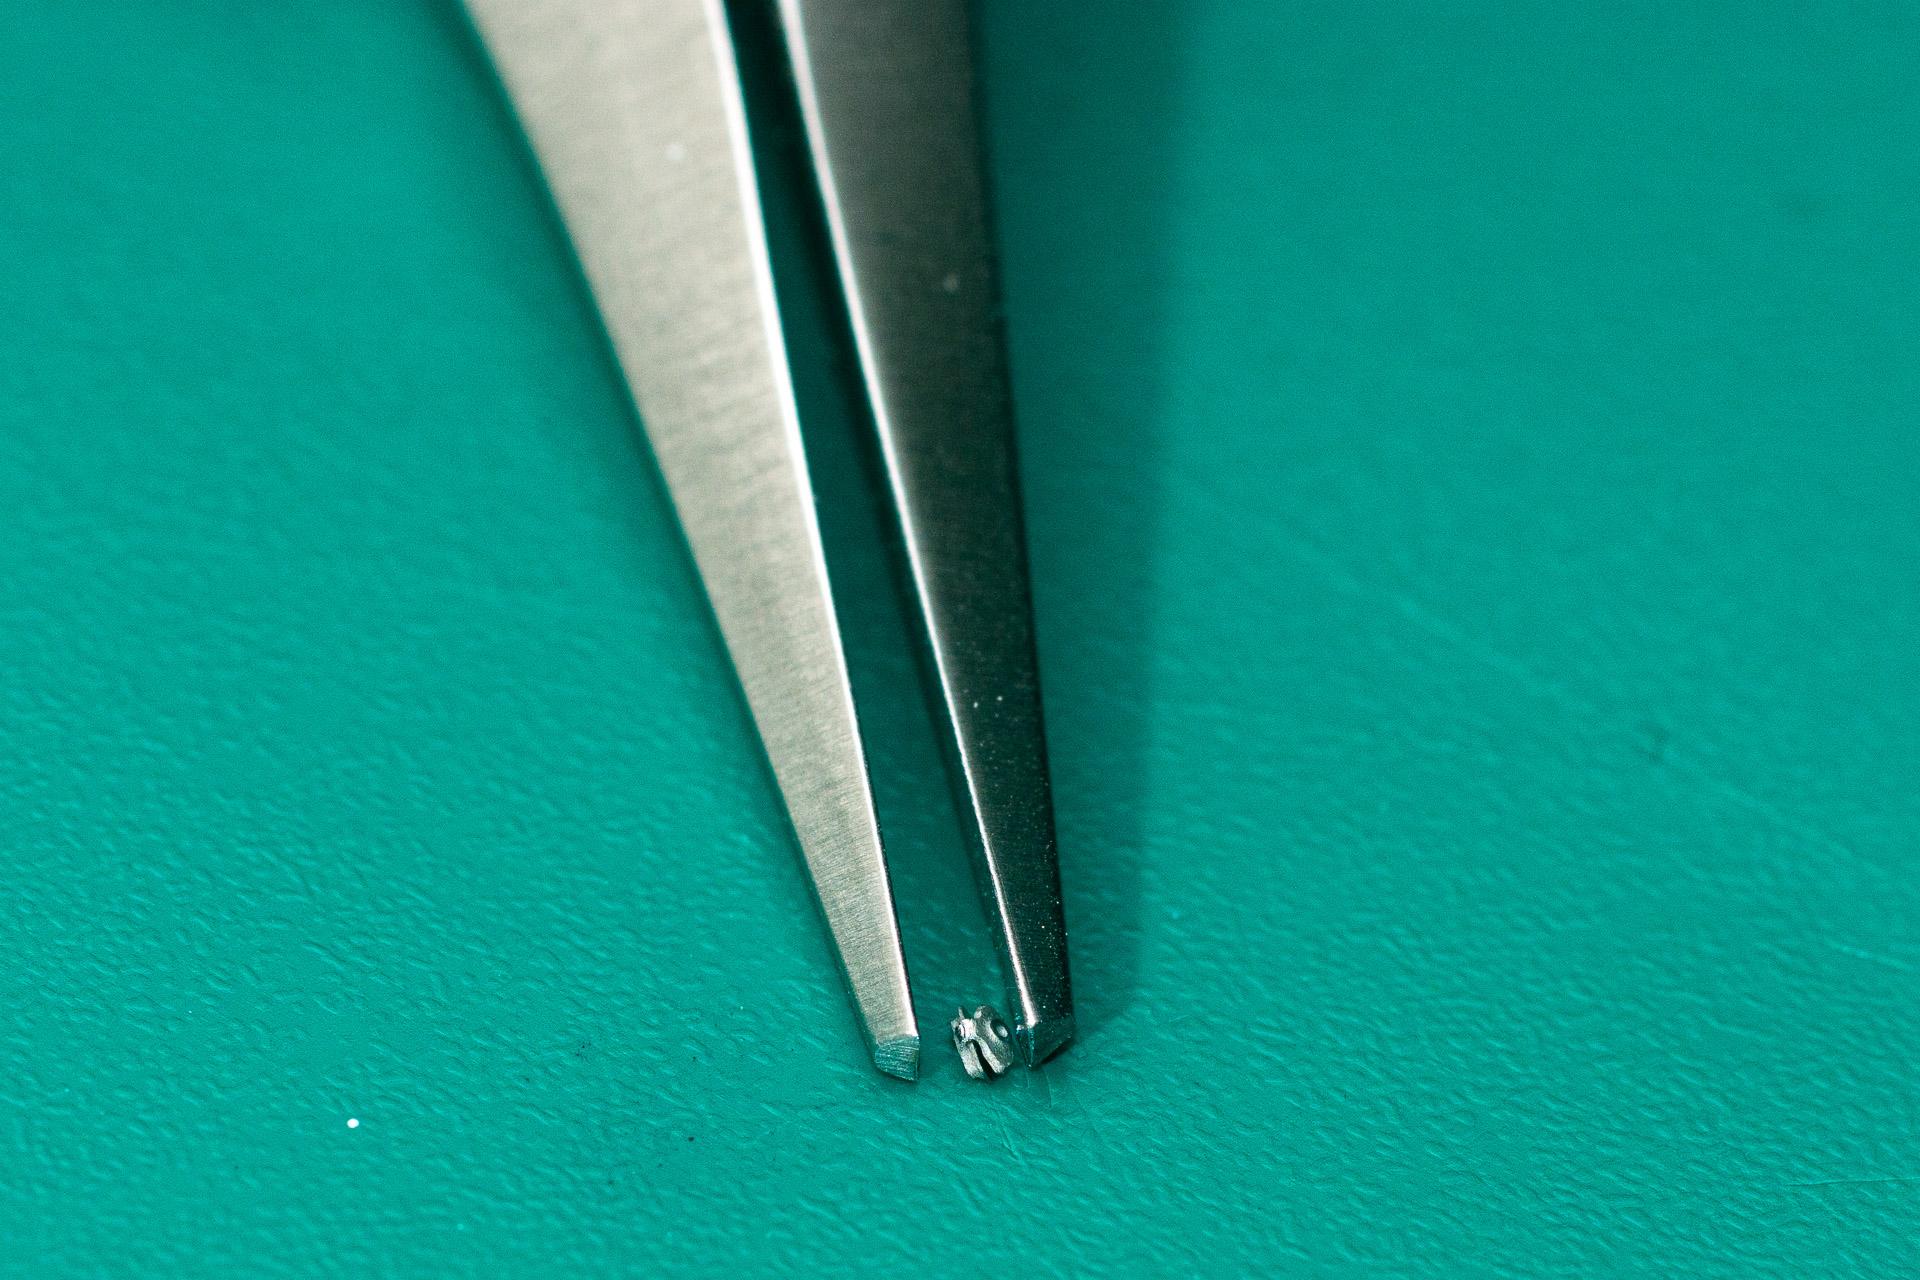
Hi all Thank you for your comment I'm following your Pagani with great interest. I always wanted to build a Huayra myself but was always discouraged when I read about the issues others had with the back of the car. Your build made me look closer at the original and what should I say... I removed it completely from my wish list, because I got the impression of a really ugly car (before I always only saw the box art or finished model kits of it). But I'll sure keep following your build as it's interesting nonetheless. Everyone has his own taste, I like the McLaren Senna and can't understand why others don't find it attractive ? But now the the progress of last week. Mainly I cut the parts for the interior off their sprues, made a mock up and had a look at which parts will need carbon fibre decals in the end. It will be quite a lot, but I think most of it shouldn't be that complicated. As I didn't start making stencils for the decals I refrained from taking pictures of these parts as I thought that wouldn't be of much interest. Beside of this I painted and assembled the brake discs from the detail up set. Each of these brake discs will still get 10 PE parts in the center (there where you can see the recesses in the black parts). But of course you can't just glue in these parts, they have to be folded by 180°. As I had some trouble finding a way to do this, I decided to show my way that worked out best for me. If somebody knows of a more efficient / easy way, I'd be happy to hear that. That's how they looked like before bending them To start, I pressed them down in my cutting mat with a Tamiya paint stirrer to get a bend Then I held the part down with the stirrer and bent it to a 90° angle with the blade of a knife After that the stirrer was replaced by a razor blade and the knife by the stirrer to bend it even more Once that was done it looked like this To continue I could slip it off the blade and position it like a advertising stand To finish and close the gap, I slowly approached it with the chops(?) of a bending plier, trying to touch it on both sides at the same time, to avoid overbalancing it and then press it flat. I only remarked now that I forgot to take a picture of a completed part. I will do it when I'll mount them to the brake discs. Last weekend I had to wait on somebody to finish work, so I decided to start assembling the engine. So far all the parts that have to be painted aluminum have been assembled. Before primering and painting I'll sand the glue joints flush so there will be no visible mark where the parts meet. That's all for today's update Urs
-
Hi all As I still wasn't in the mood to continue work on my FXX-K, I'll start a new WIP. As stated in the title, I'll build the McLaren Senna. Additionally I will use the PE detail up set by Hobby Design and the carbon decal set by S.K. Decals. I already know S.K.Decals from my Haribo-Mercedes, so I knew that the decals will stick to the part as soon as they touch and won't easily move afterwards. In fact I ruined the first decal I tried to apply Happily the decal set offers to quite large areas of carbon fibre where one can cut out decals if something went wrong. Nevertheless I'm thinking about re-ordering the set to have some spare decals (just in case...). The part where I tried to apply the decal is the rear body panel which won't be easy to cover with decals anyway as it has a very narrow curve on each side. I didn't even manage to lay down a self made decal with some ScaleProduction stuff (which I usually like very much). Then I assembled and painted one of the rear fenders. After the experience with the rear body panel I clear coated it (after that picture was taken), hoping the decals would be easier to move around. Meanwhile the fender got some paint (which I will have to touch up later) and the first carbon decal. Additionally to the clear coating I added some drops of dish liquid to the water I soaked the decal in and have applied to the fender before hitting it with the decal. Neither clear coating nor adding soap to the water really did help, but as the shape of the fender made it easier to lay the decal down without too much wrinkles it turned out ok I think Finally the seat shells have been painted and the first transparent carbon decal has been applied. Meanwhile this seat had its paint stripped as I noticed that I made a mistake when doing the stencils for the decals. Because the decal is transparent, it's not that easy to fix it, because I have to make sure that the decals don't overlap, because in the overlapping areas the pattern would be darker. Luckily a lot of the inner part of the shell will be hidden by the upholstery, so that shouldn't be too much of a problem. I'm sure there will be other challenges doing the rest of the interior.? That's everything for today. I hope to have piqued your interest and am looking forward to your tips, critiques, suggestions and plaudits Urs

