-
Posts
270 -
Joined
-
Last visited
Content Type
Profiles
Forums
Events
Gallery
Everything posted by harti20
-
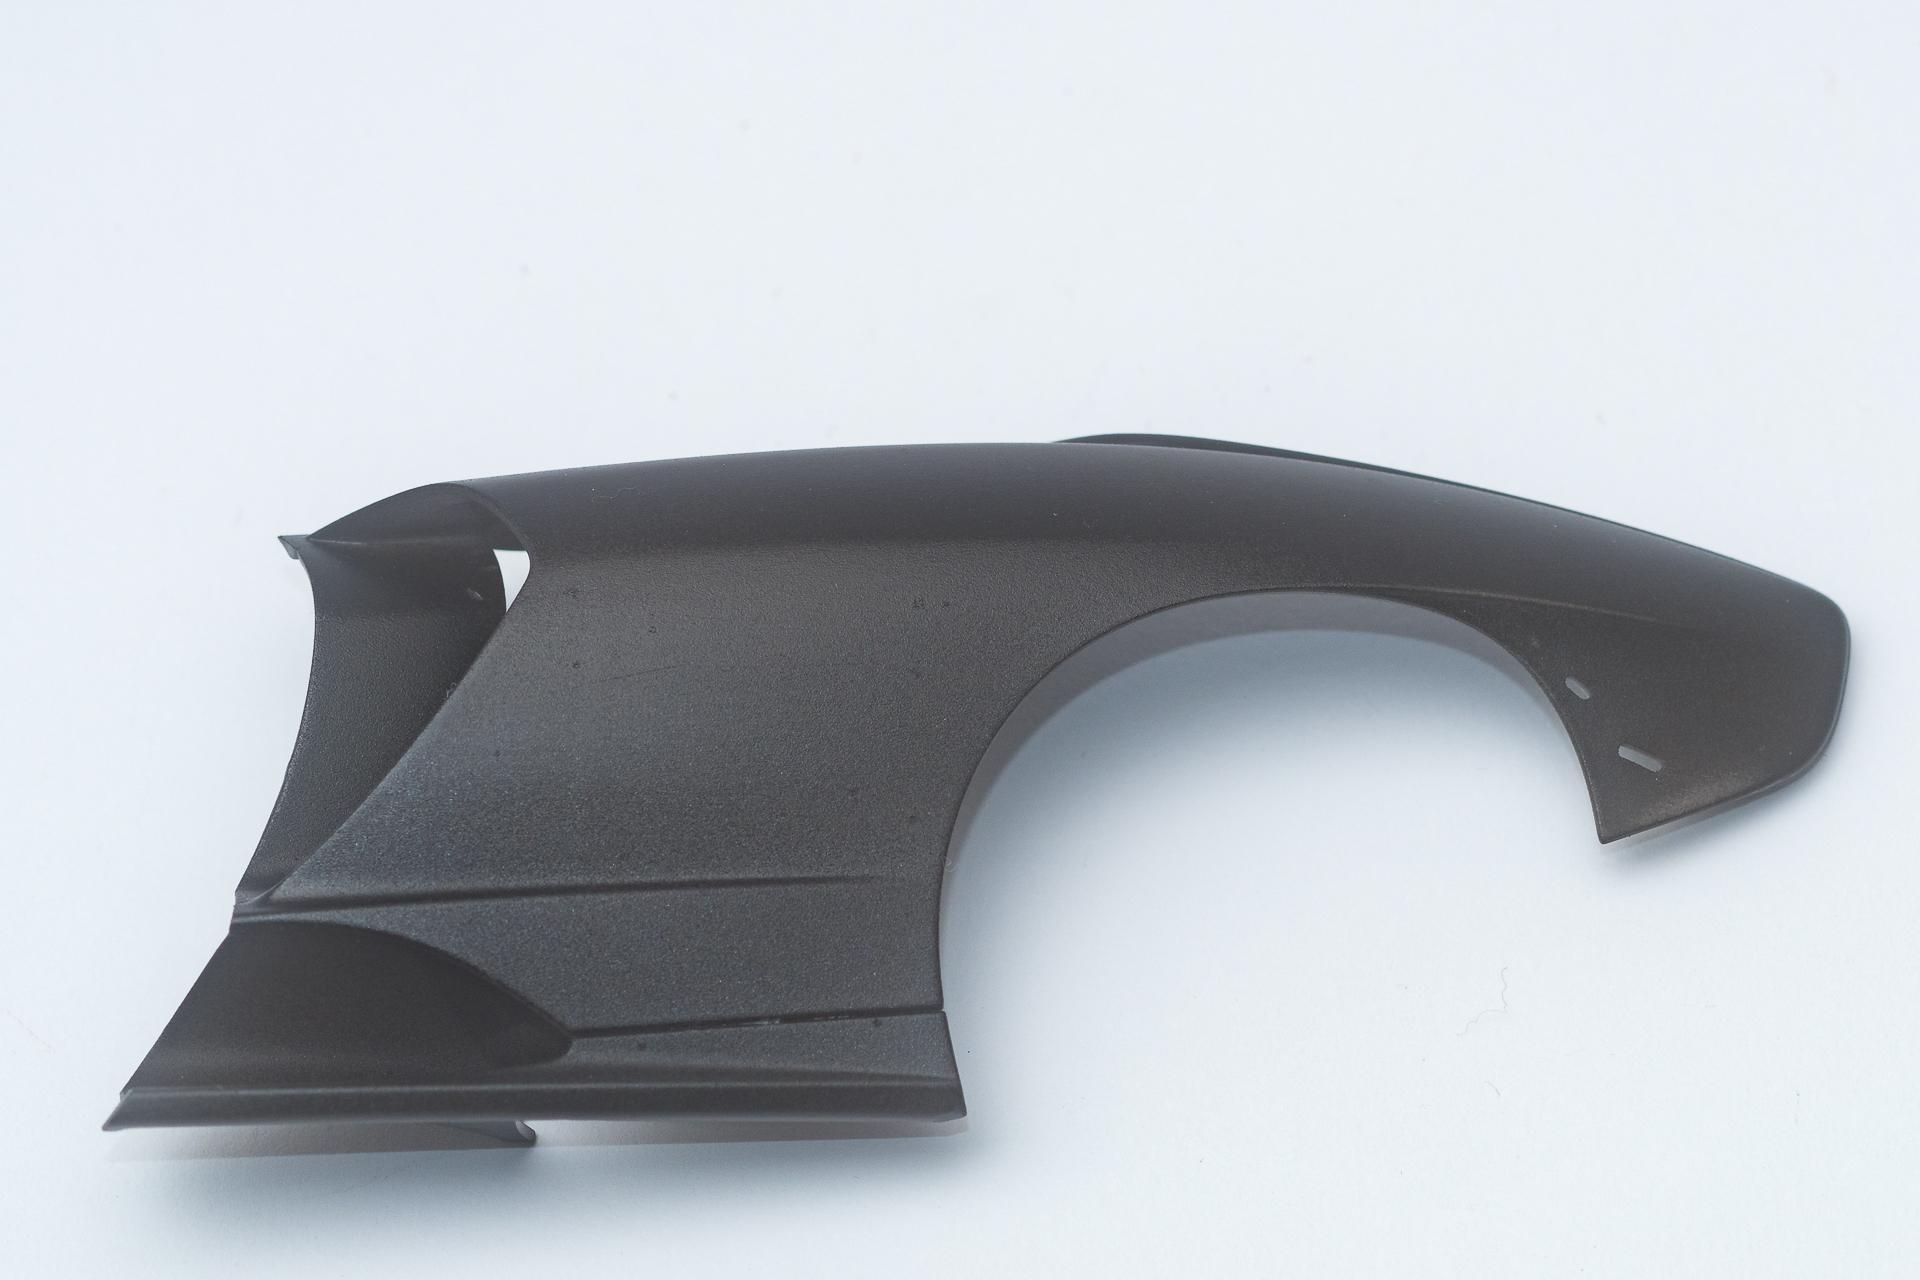
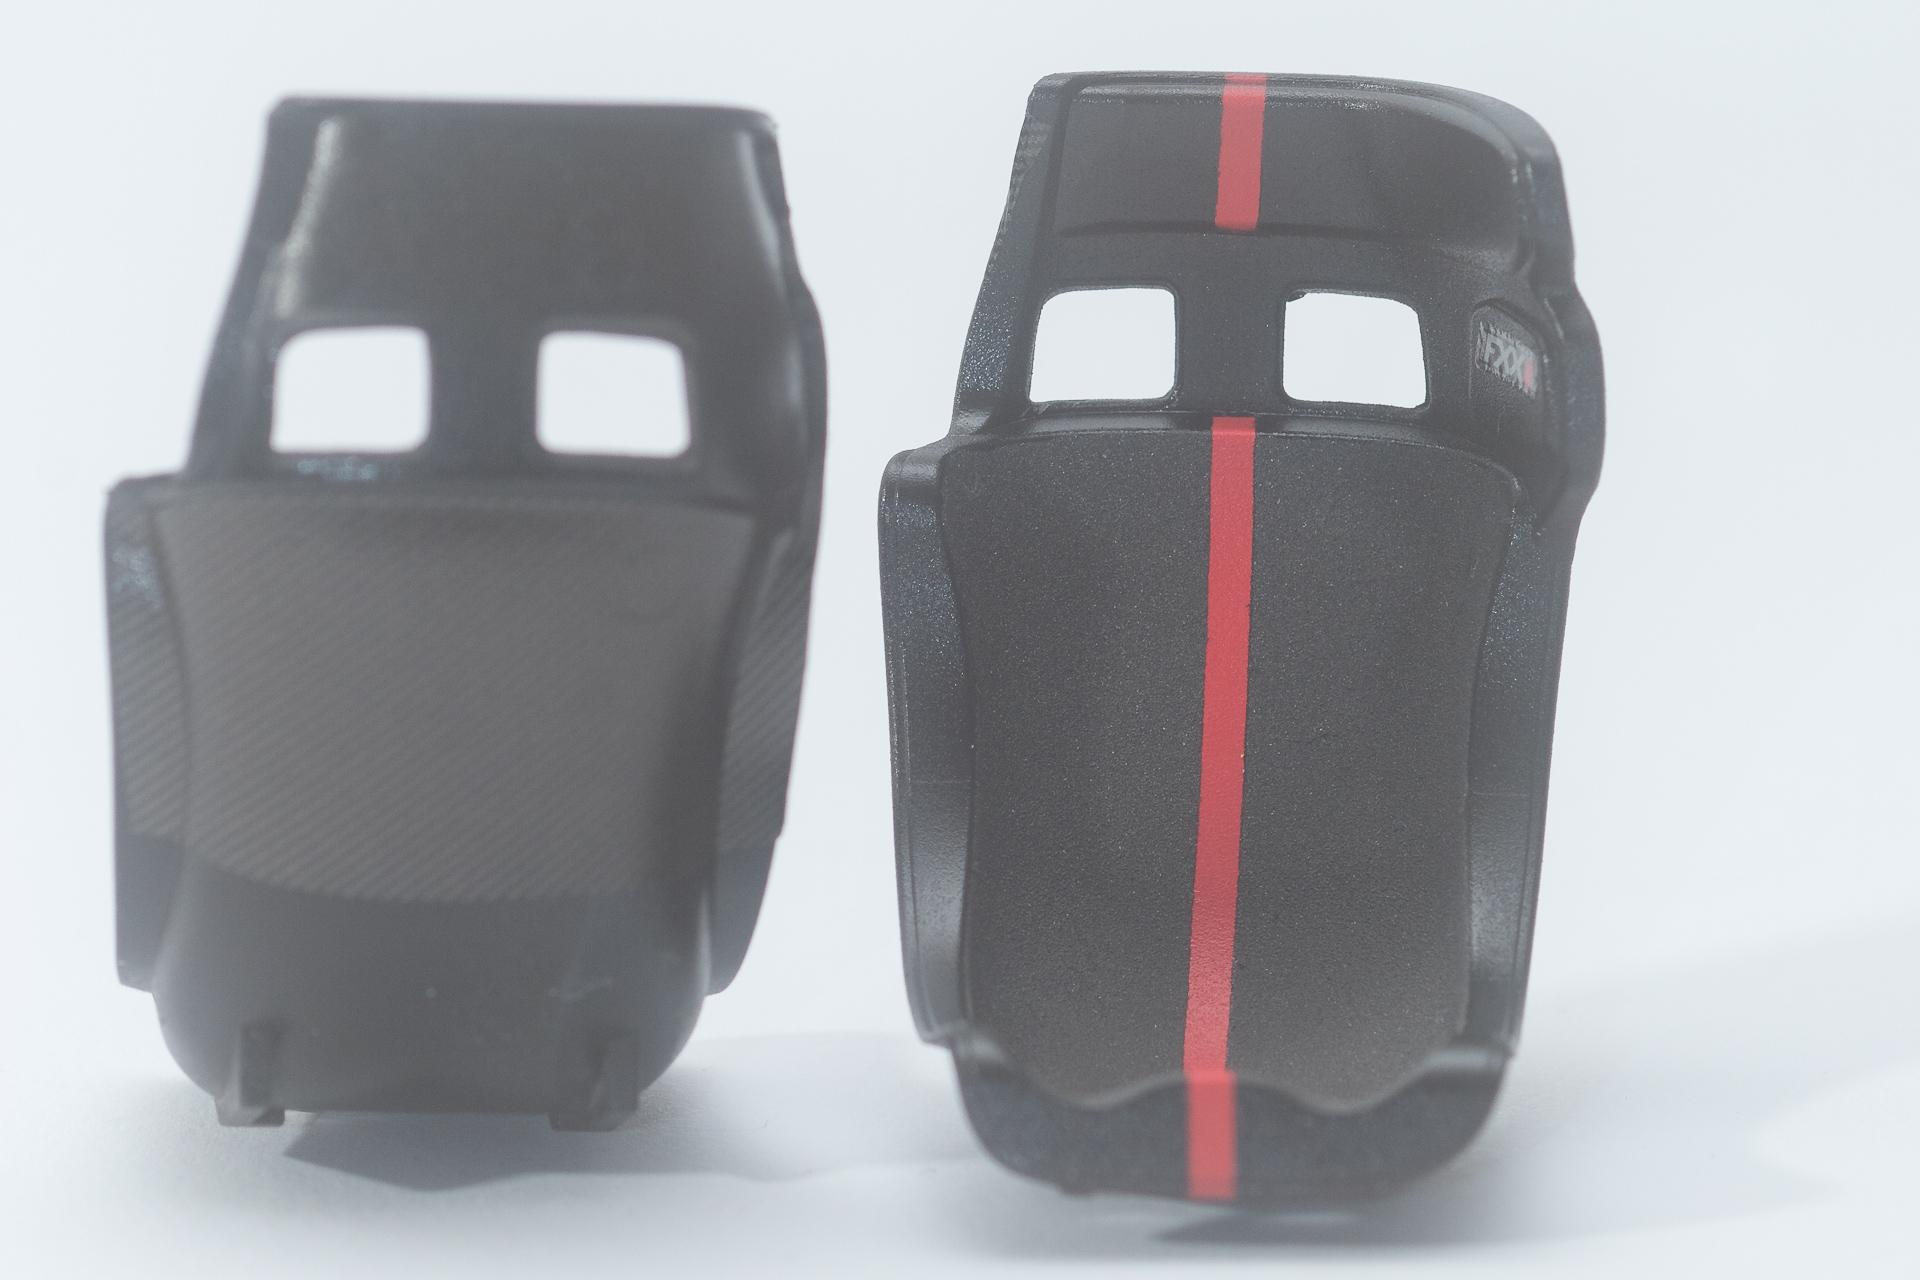
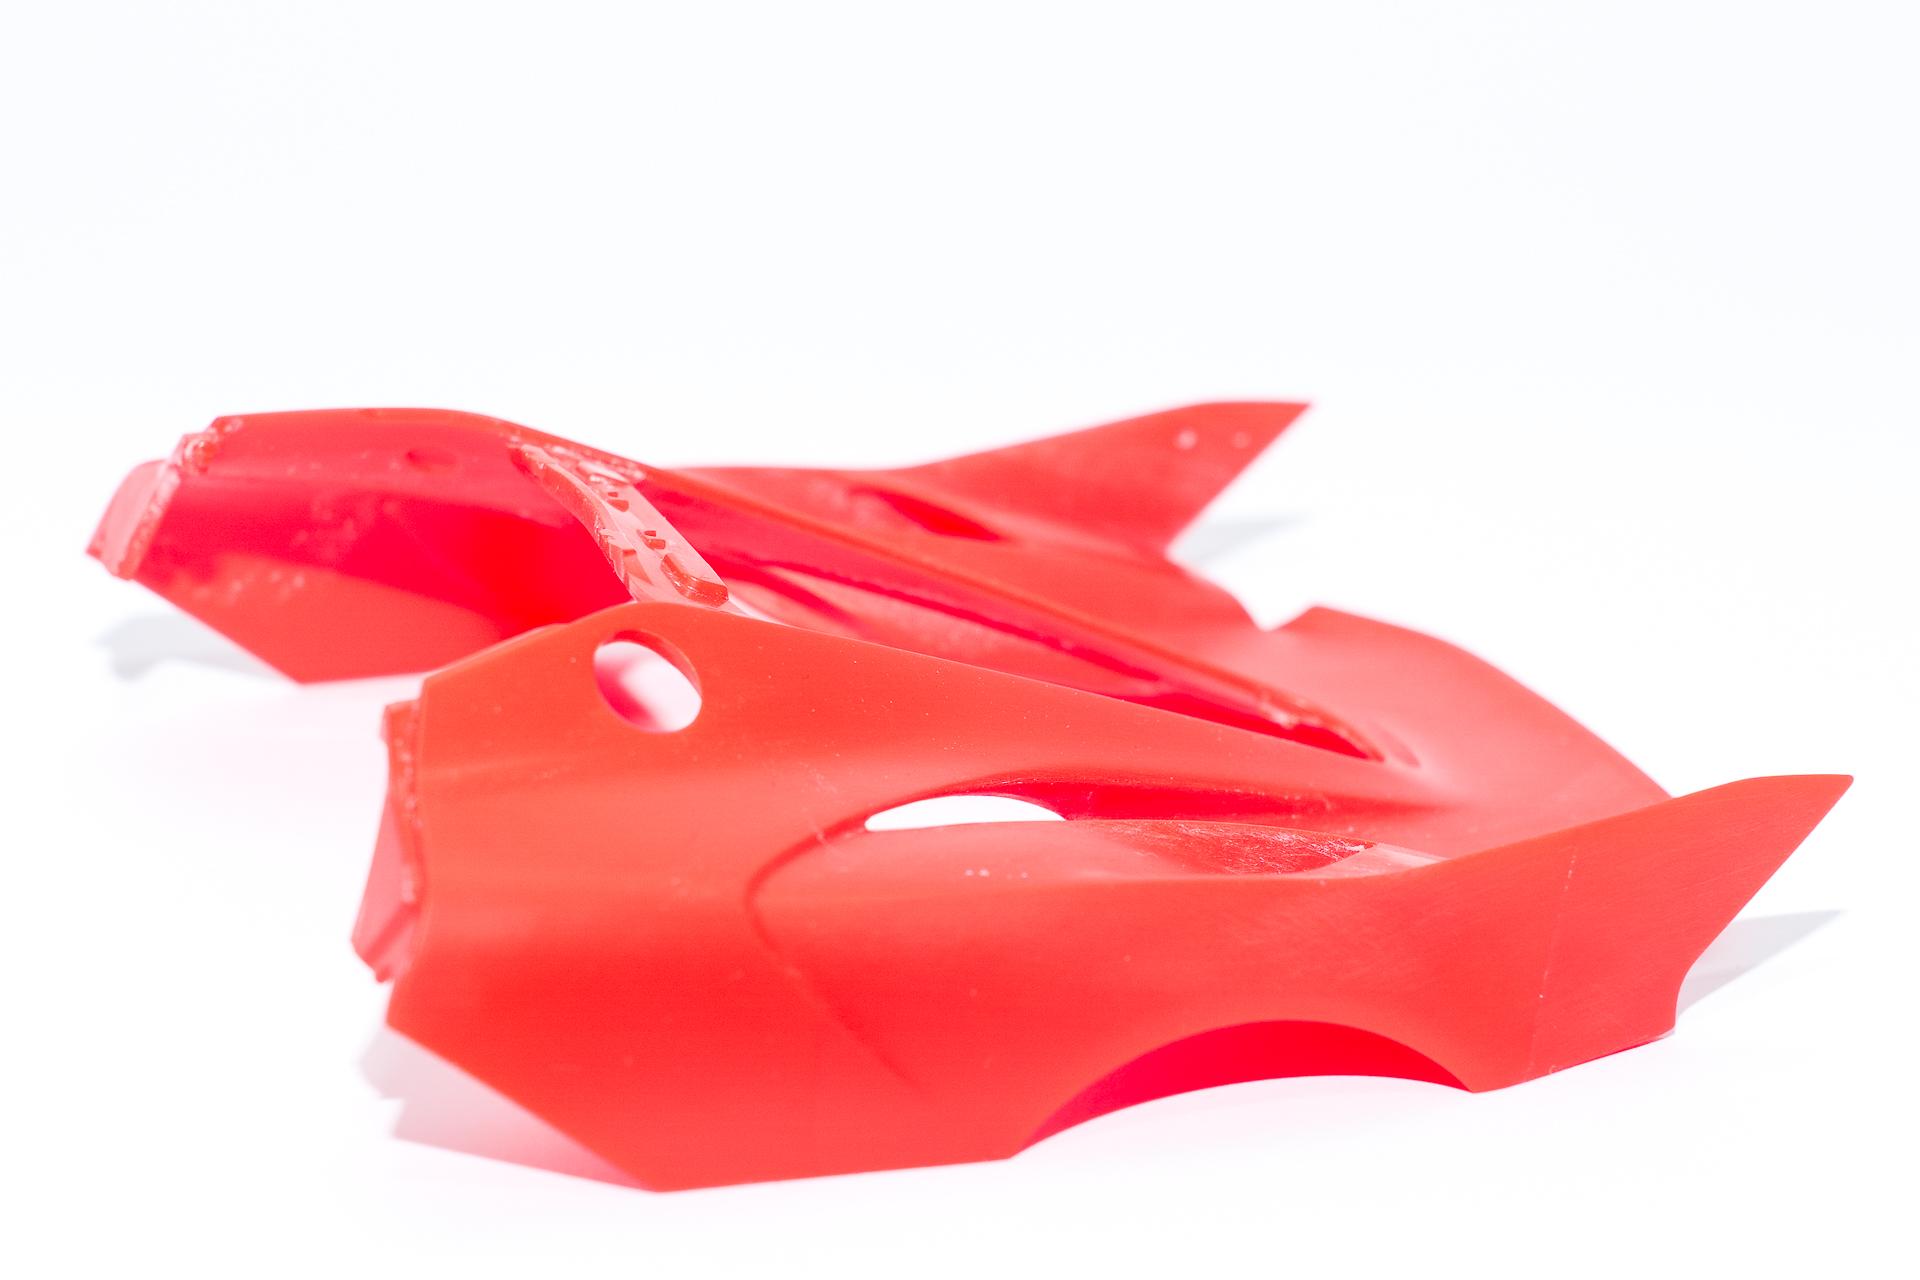
Hi all As I still wasn't in the mood to continue work on my FXX-K, I'll start a new WIP. As stated in the title, I'll build the McLaren Senna. Additionally I will use the PE detail up set by Hobby Design and the carbon decal set by S.K. Decals. I already know S.K.Decals from my Haribo-Mercedes, so I knew that the decals will stick to the part as soon as they touch and won't easily move afterwards. In fact I ruined the first decal I tried to apply Happily the decal set offers to quite large areas of carbon fibre where one can cut out decals if something went wrong. Nevertheless I'm thinking about re-ordering the set to have some spare decals (just in case...). The part where I tried to apply the decal is the rear body panel which won't be easy to cover with decals anyway as it has a very narrow curve on each side. I didn't even manage to lay down a self made decal with some ScaleProduction stuff (which I usually like very much). Then I assembled and painted one of the rear fenders. After the experience with the rear body panel I clear coated it (after that picture was taken), hoping the decals would be easier to move around. Meanwhile the fender got some paint (which I will have to touch up later) and the first carbon decal. Additionally to the clear coating I added some drops of dish liquid to the water I soaked the decal in and have applied to the fender before hitting it with the decal. Neither clear coating nor adding soap to the water really did help, but as the shape of the fender made it easier to lay the decal down without too much wrinkles it turned out ok I think Finally the seat shells have been painted and the first transparent carbon decal has been applied. Meanwhile this seat had its paint stripped as I noticed that I made a mistake when doing the stencils for the decals. Because the decal is transparent, it's not that easy to fix it, because I have to make sure that the decals don't overlap, because in the overlapping areas the pattern would be darker. Luckily a lot of the inner part of the shell will be hidden by the upholstery, so that shouldn't be too much of a problem. I'm sure there will be other challenges doing the rest of the interior.? That's everything for today. I hope to have piqued your interest and am looking forward to your tips, critiques, suggestions and plaudits Urs
-
Hi all Intrinsically I would have had a lot of time for modelling last week as I still had one week vacation, but in fact either I was not at home, or I just didn't feel like working on my kits. But a small progress has been acheived nevertheless. First of all the first of the two seats could be finished. I won't cover it with carbon all the way down as it can't be seen anyway (I don't think that much of it can be seen once the model is finished anyway). And the second thing are the brakes which could be assembled and are now waiting for their installation But before that I'll have to continue with the wiring of the engine because some spots won't be reachable later. That's all for this week. Tomorrow I will have to go back to work, I'm sure I would love to build the whole next week... ? Urs
-
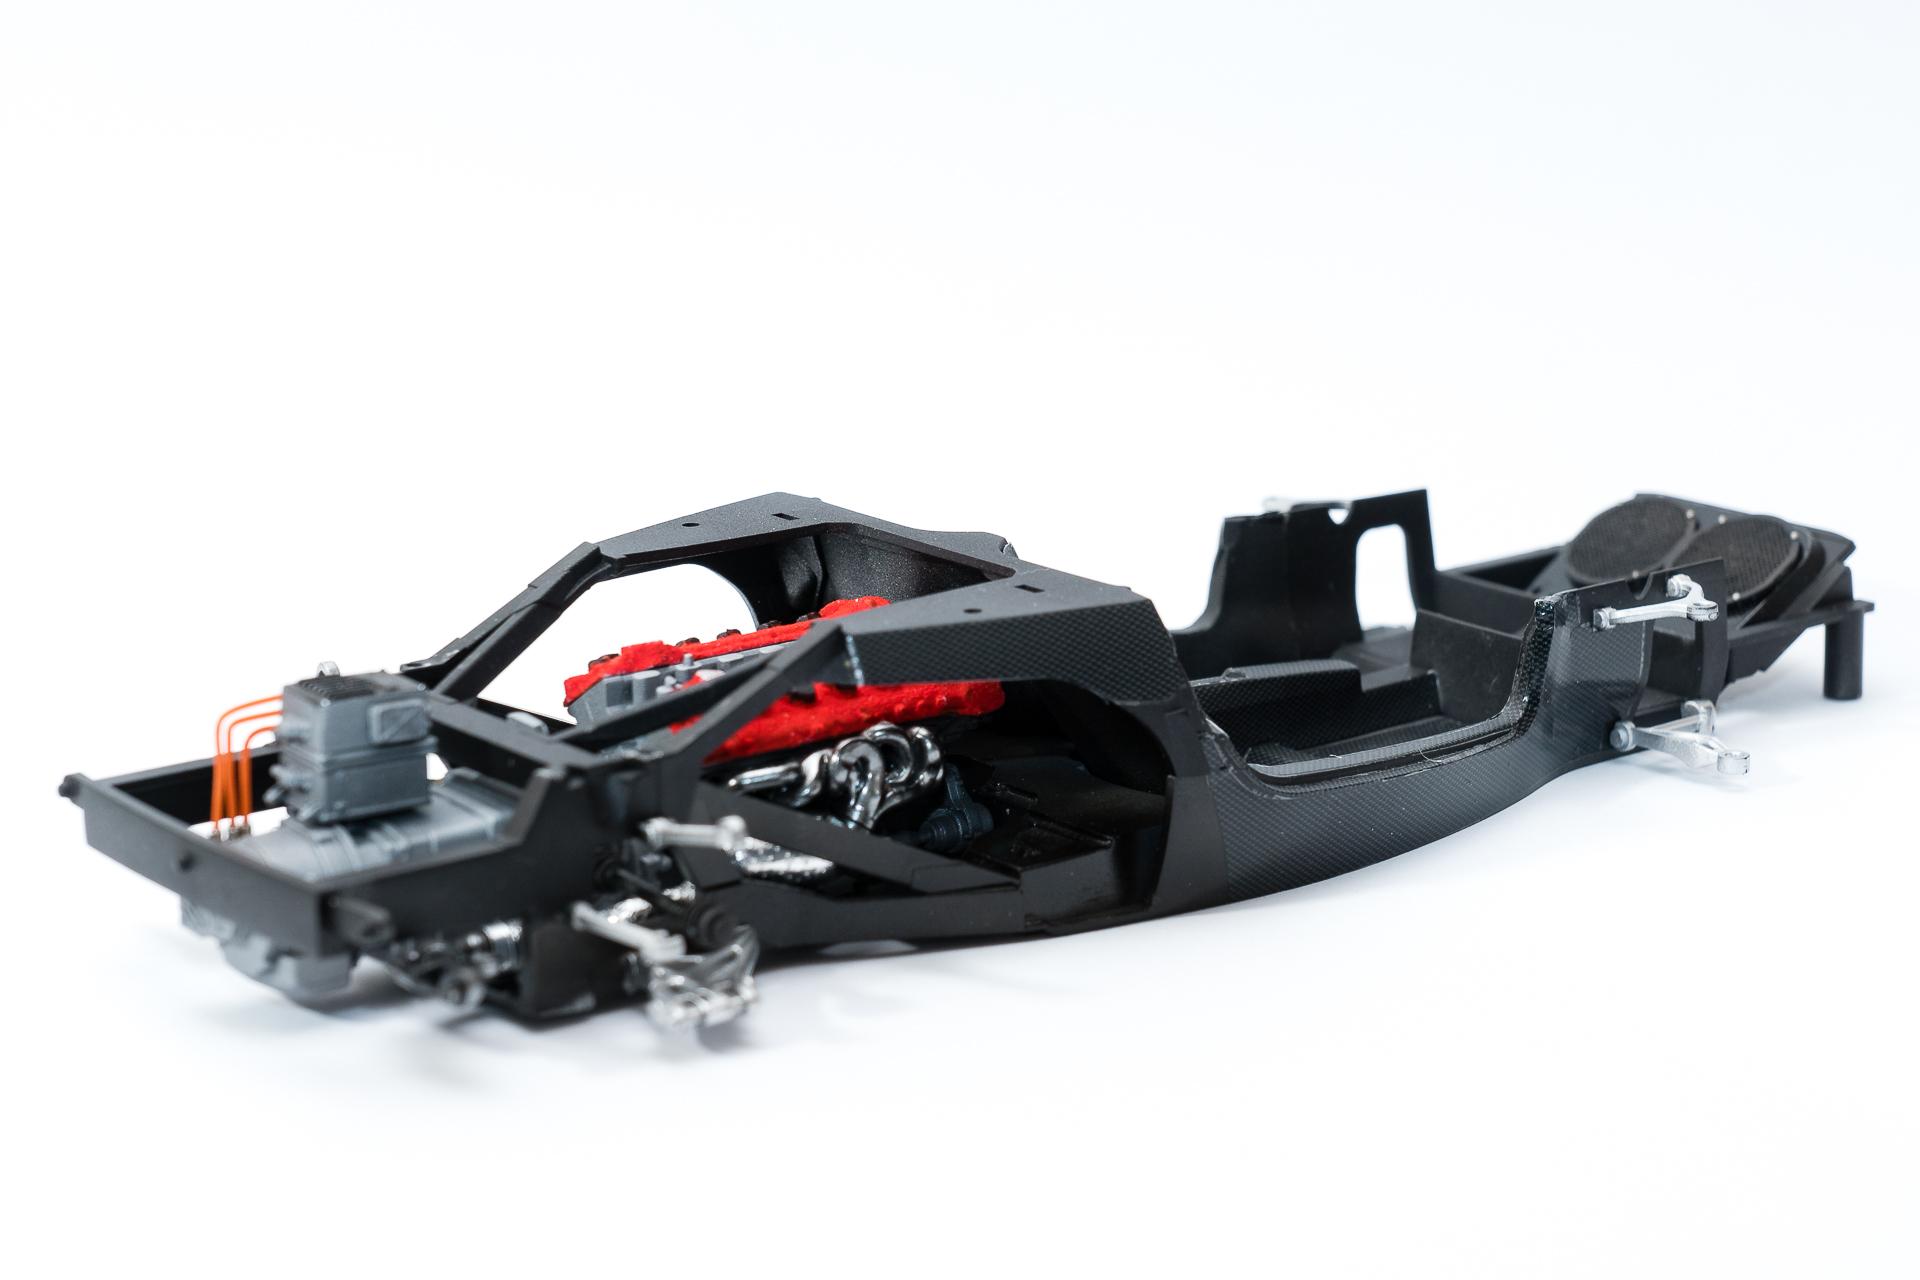
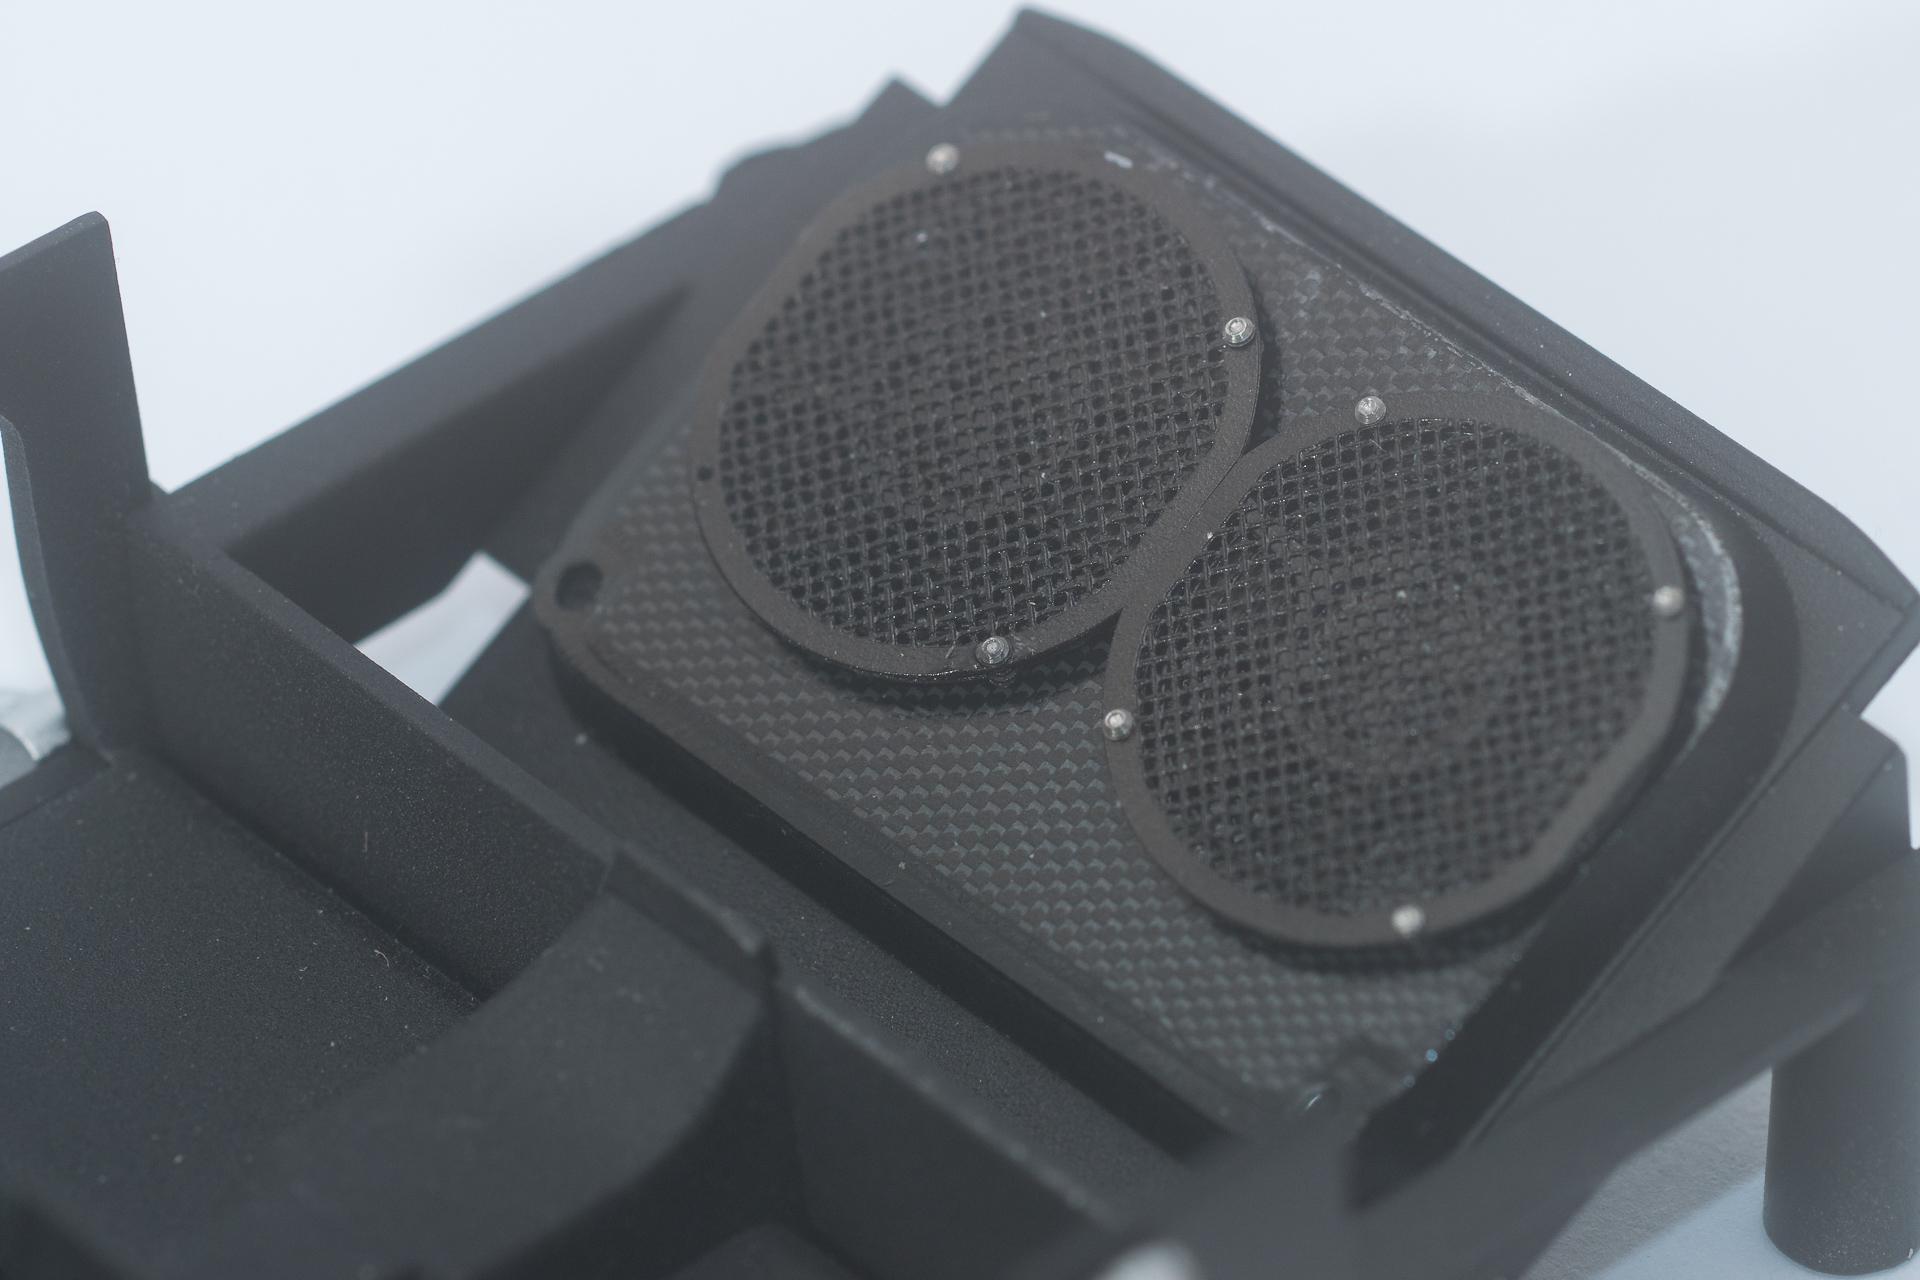
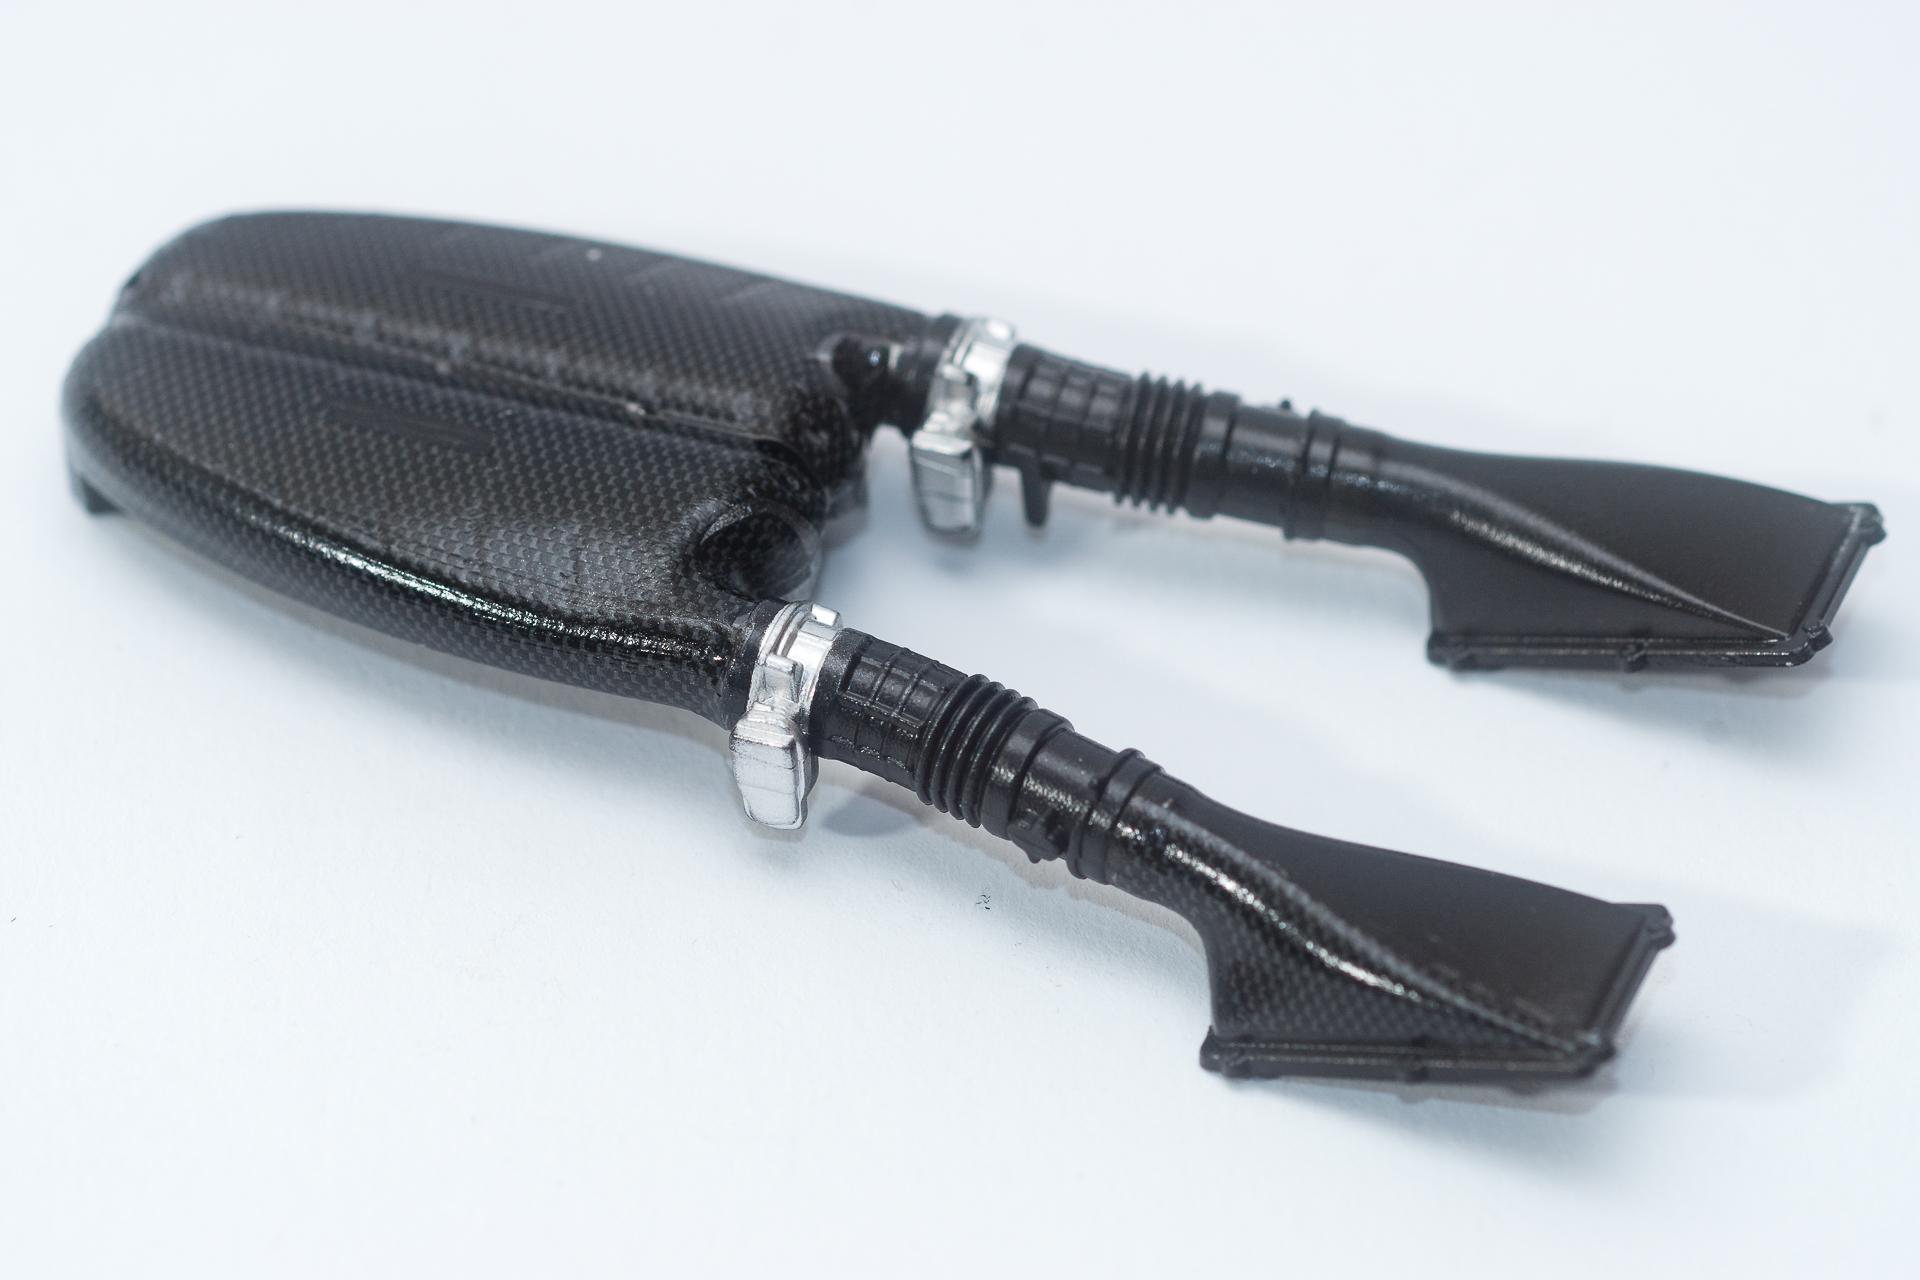
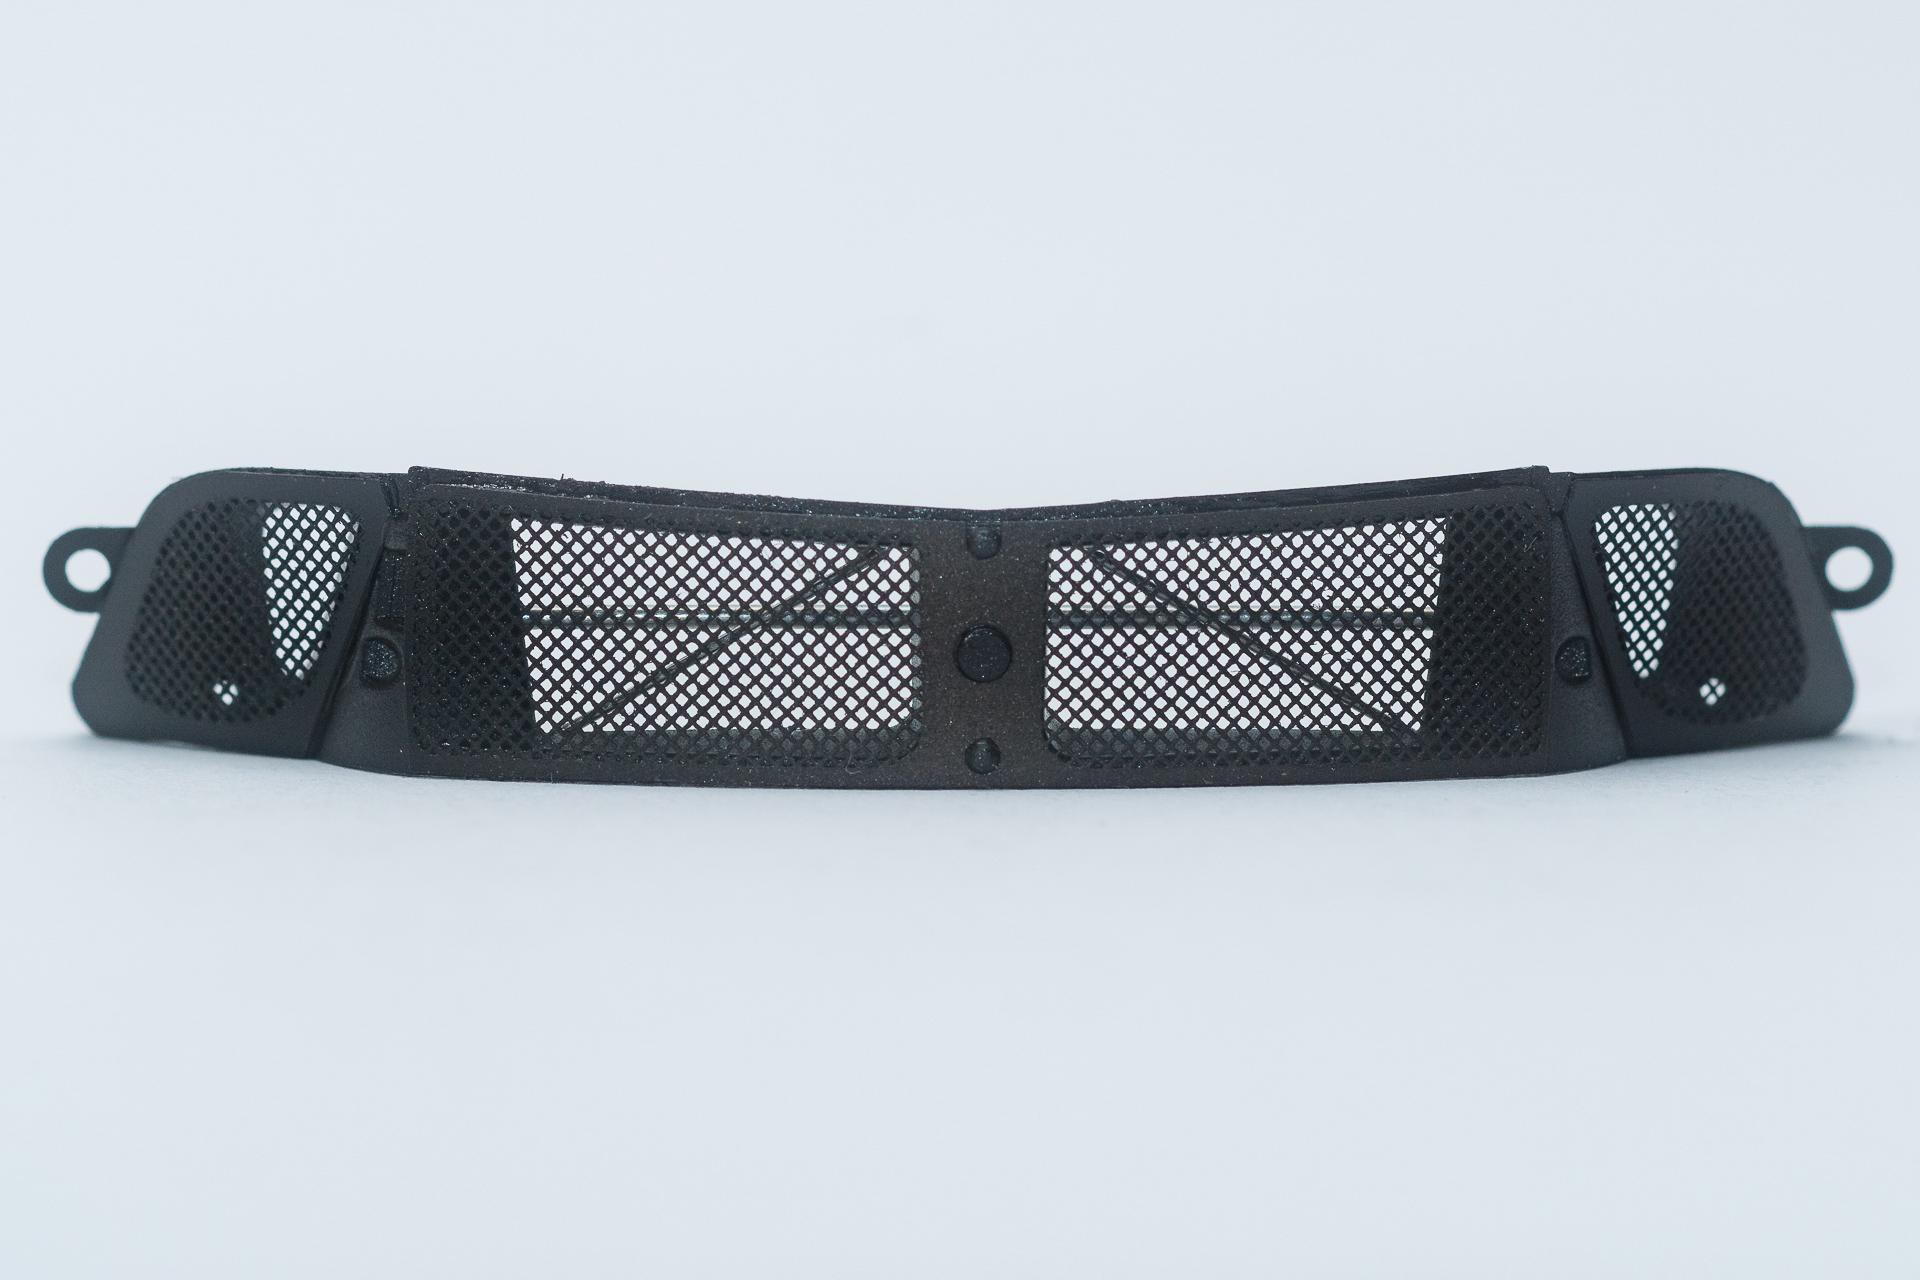
Hi all Thank you very much The monocoque and the engine have been brought together and the last two carbon decals have been applied to the monocoque. Additionaly the cooler has been assembled from the PE set and brought in position. I just saw on the picture that one of the rivets got lost, so I'll have to hope that Hobby Design didn't count too exactly when bagging the rivets The seats have been painted and on the backside I started applying the carbon decals. On the upper part I was a little too confident on the first attempt and tried to cover everything with one single decal (from the top edge to right underneath the openings for the seatbelts). Now I'll try to cover it with at least two horizontal parts. The painting of the outside of the doors has been finished. Now they only need some carbon decals (on the lower black part) and some clear coat. But as I won't be able to clearcoat in the next few days or even weeks because of the temperature it may take some time until I'll present some more progress on the body parts. And that brings me to the last picture of this update. I started applying the carbon decals on the air box. Yes, the decals are fully opaque, so that's no problem. But, what I didn't take in consideration was the fact that the decals might not fit properly (or I couldn't attach them to fit properly)...? So, I'll have to do some spot repair with black paint... That's everything for this week Urs
-
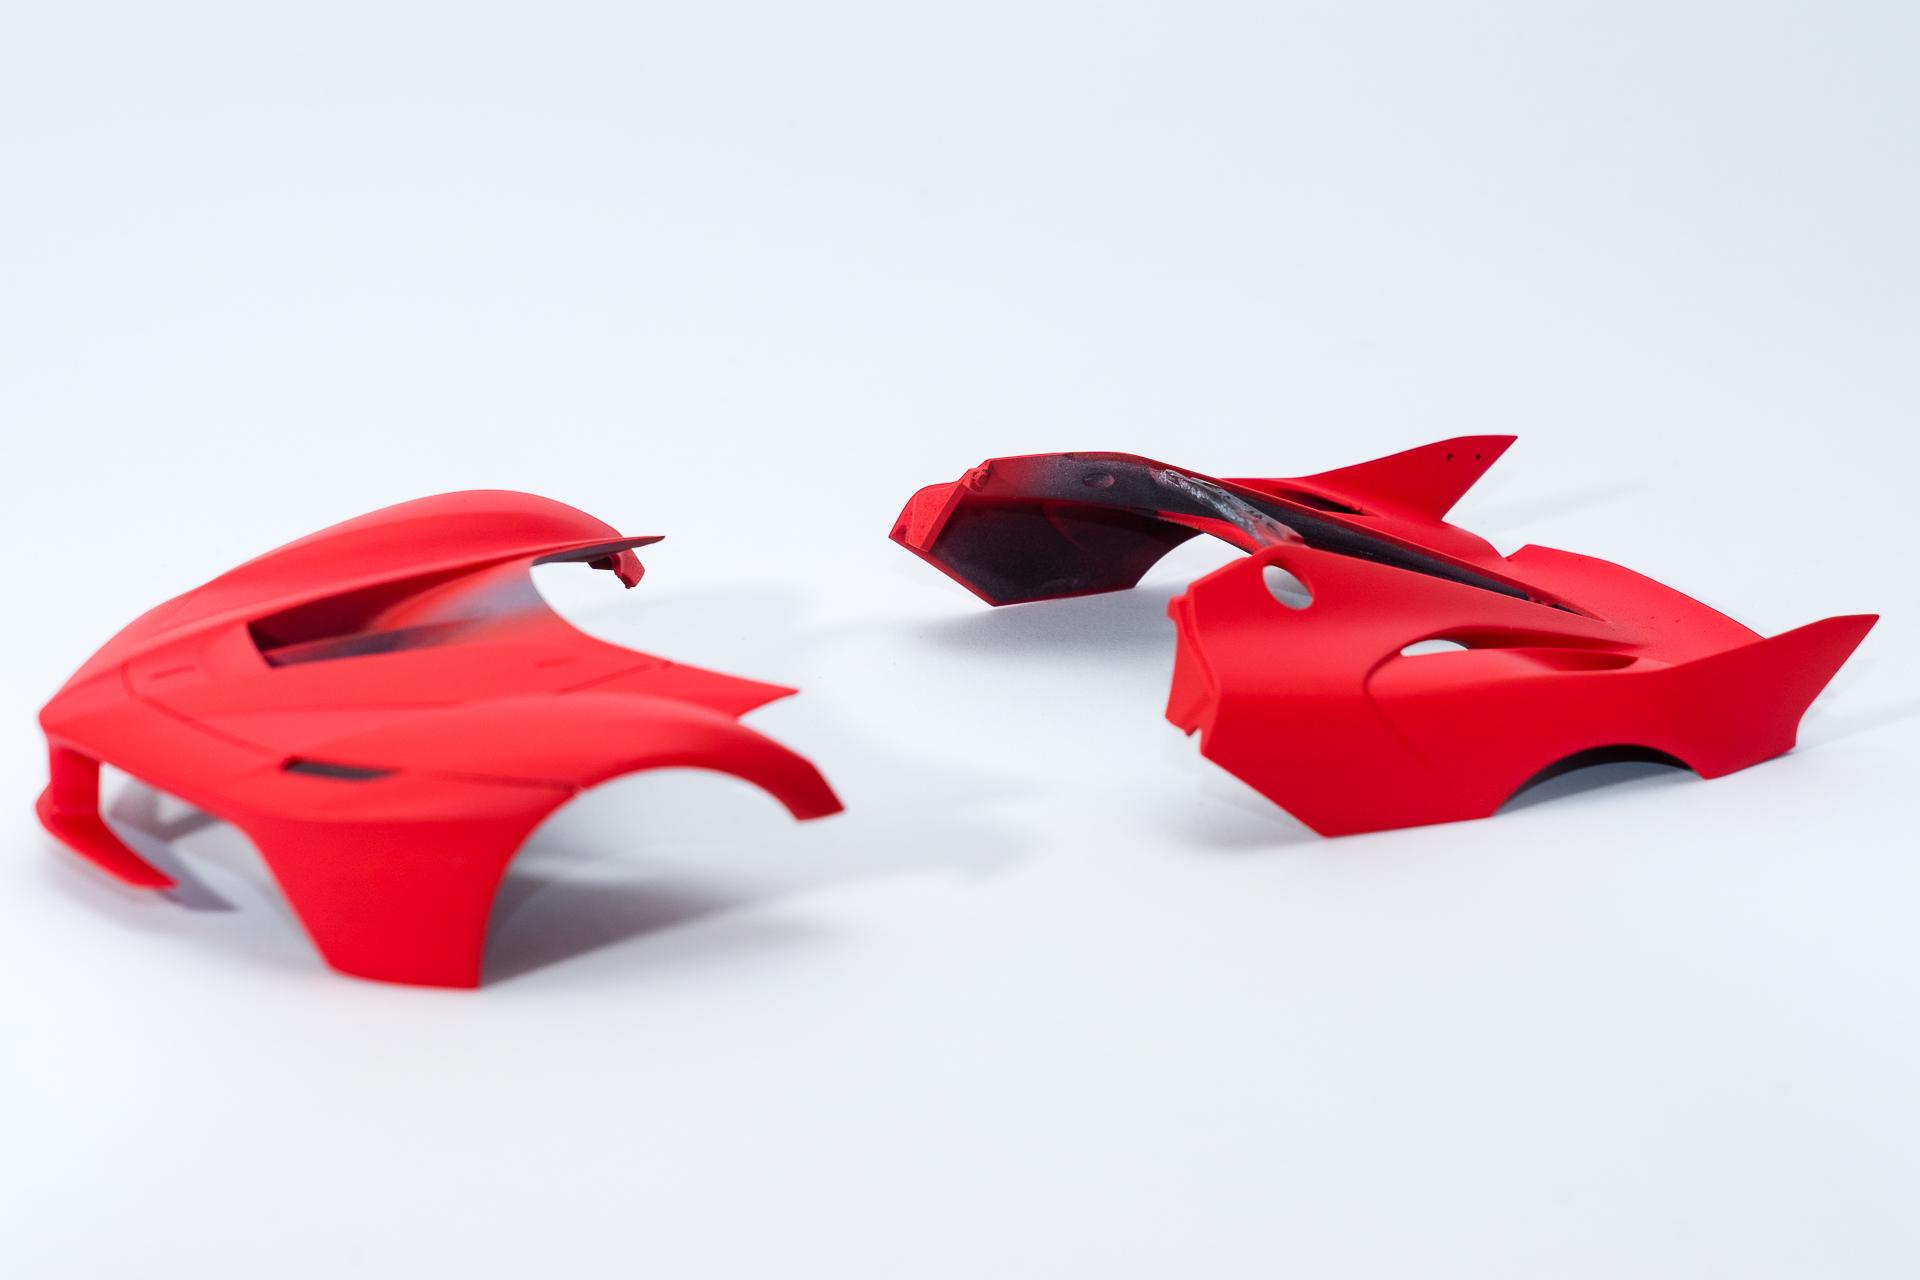
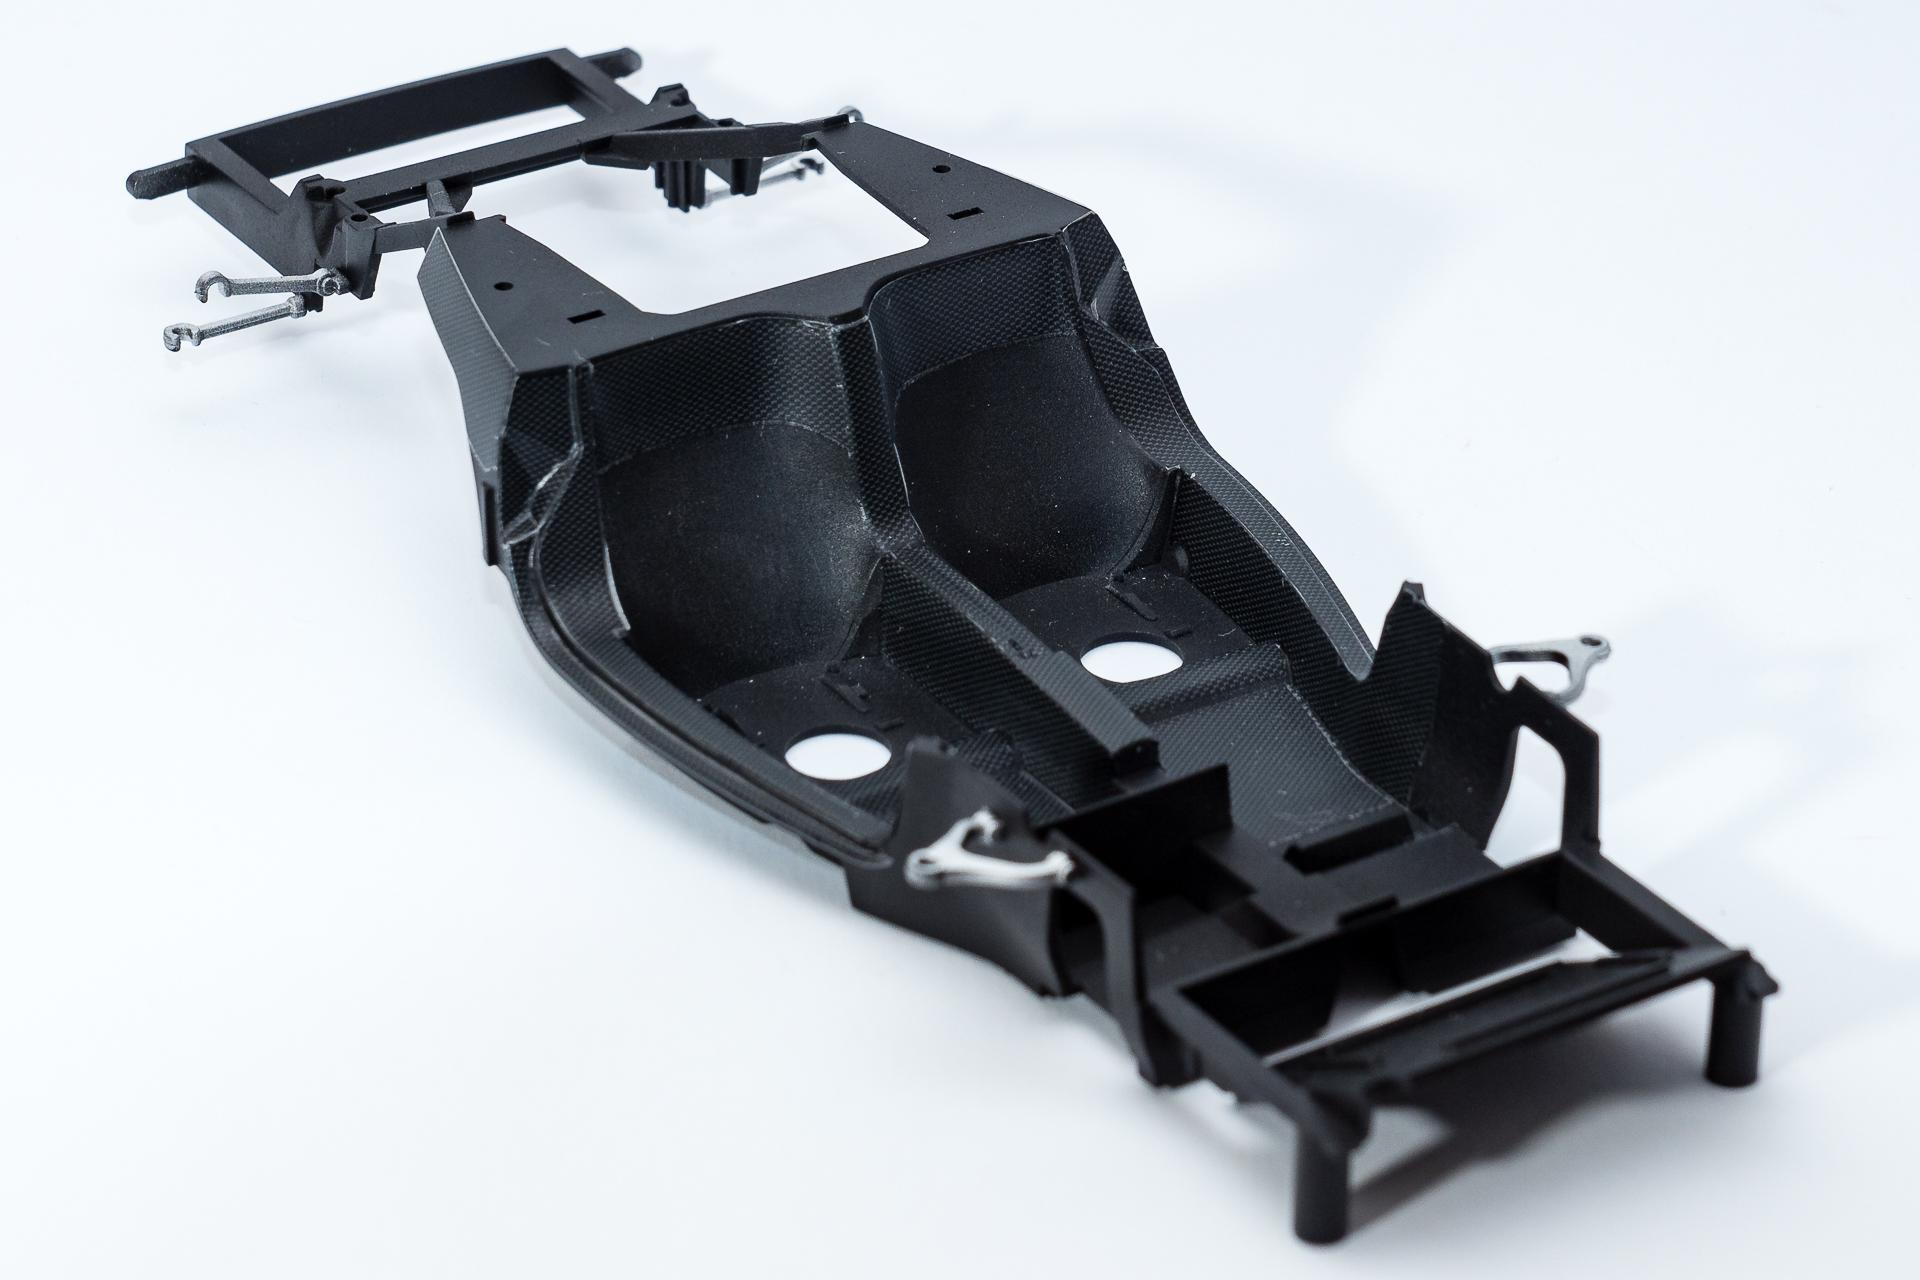
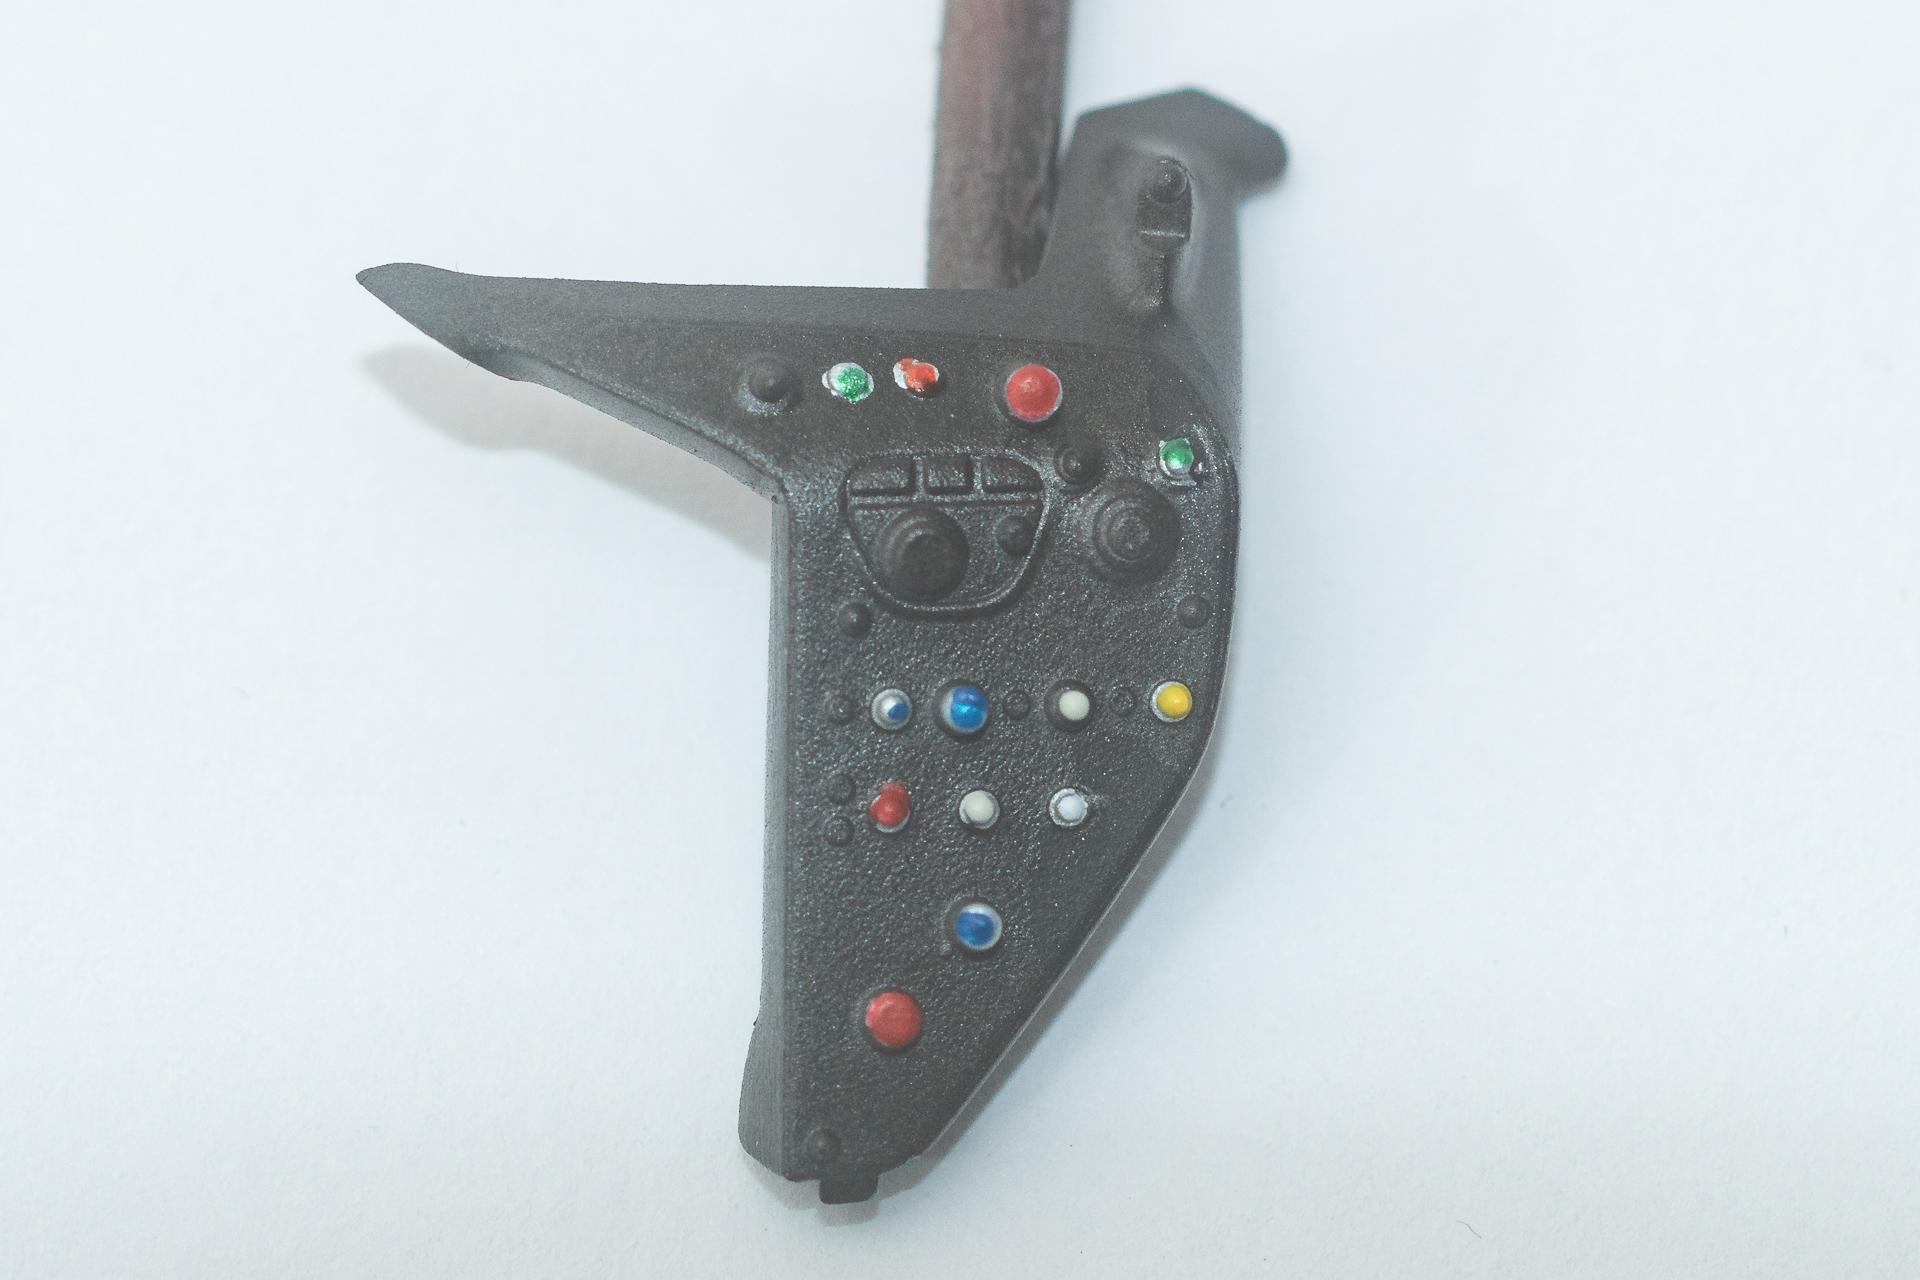
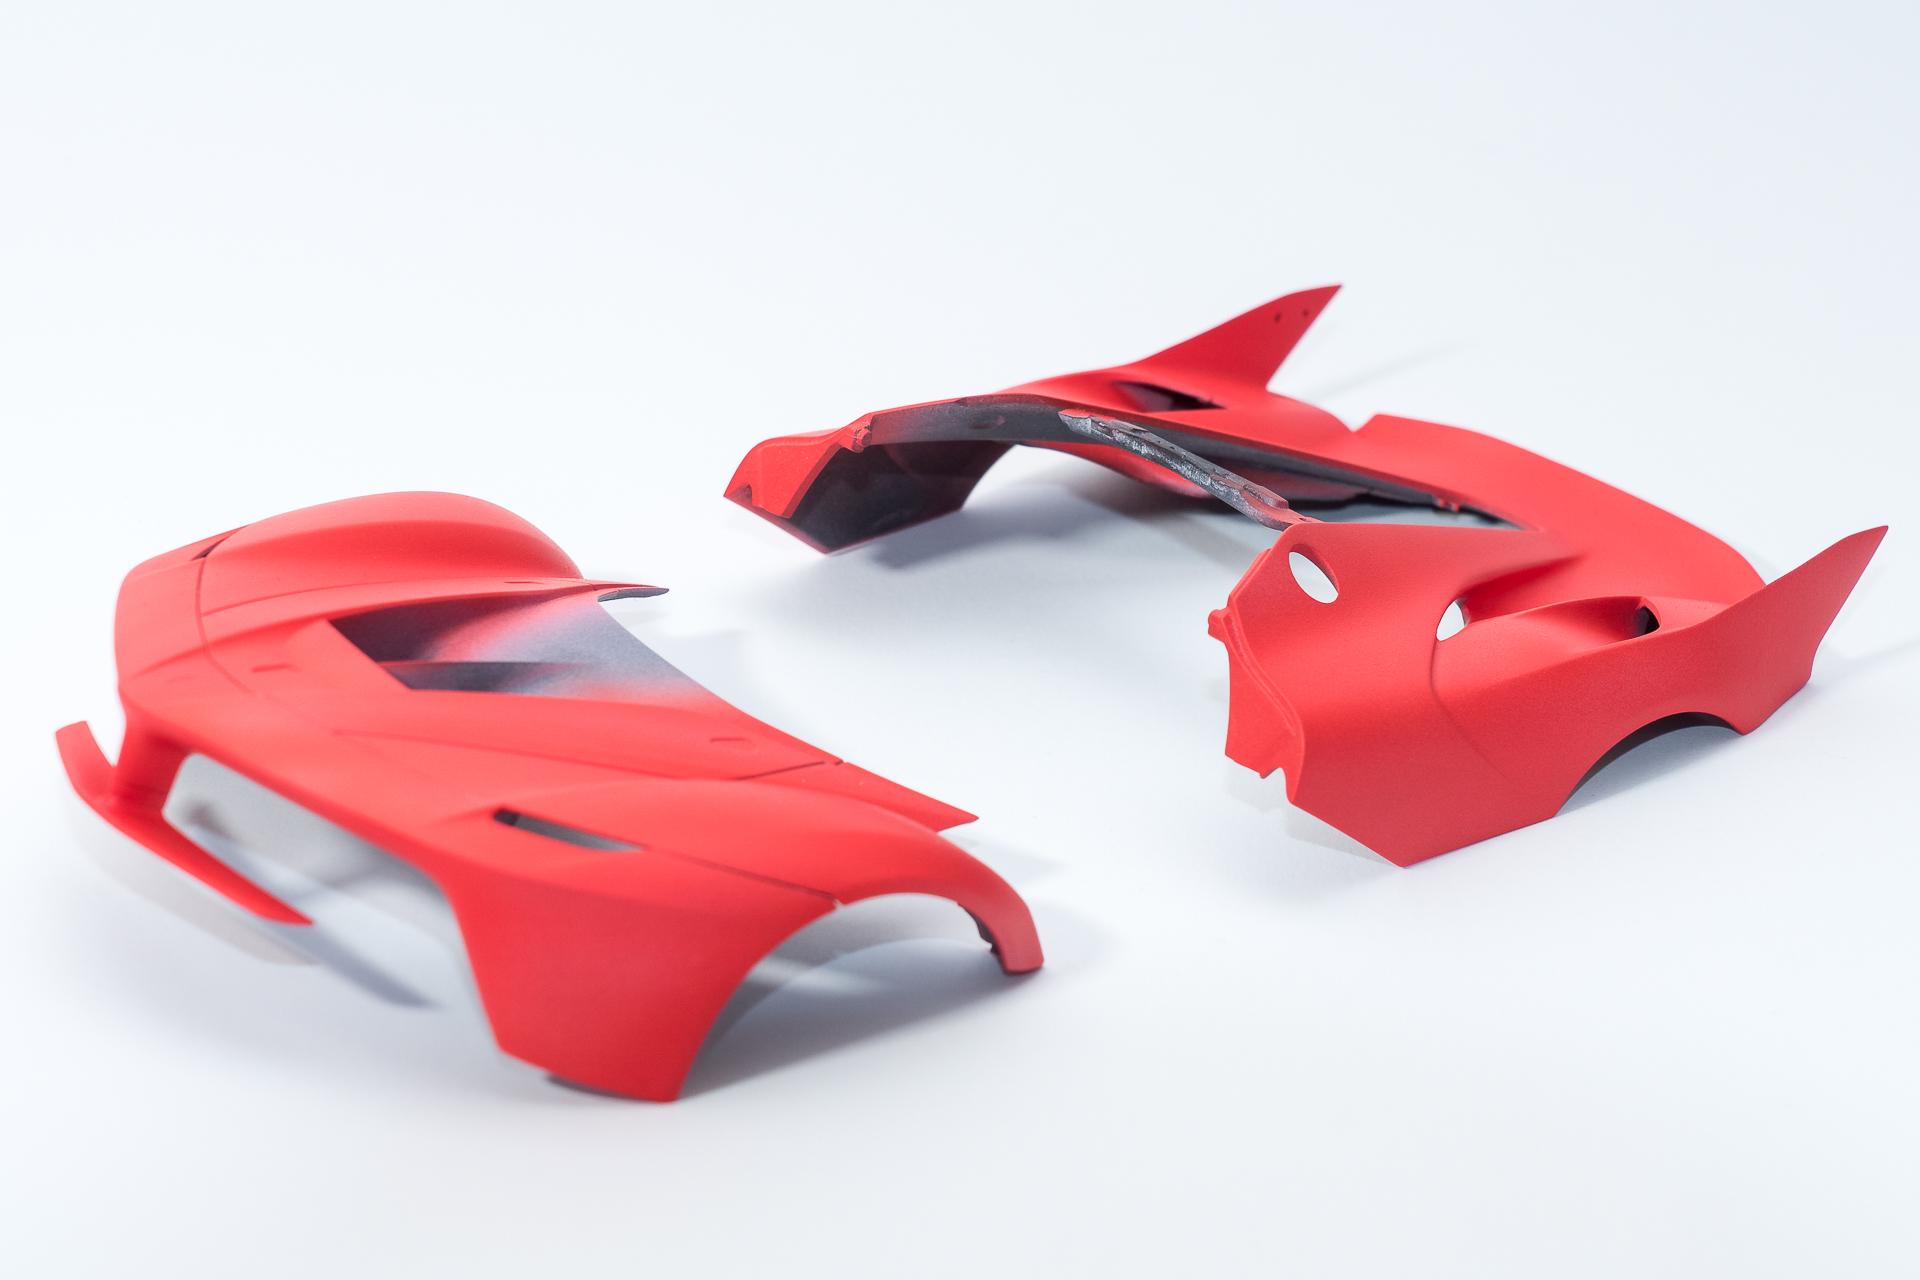
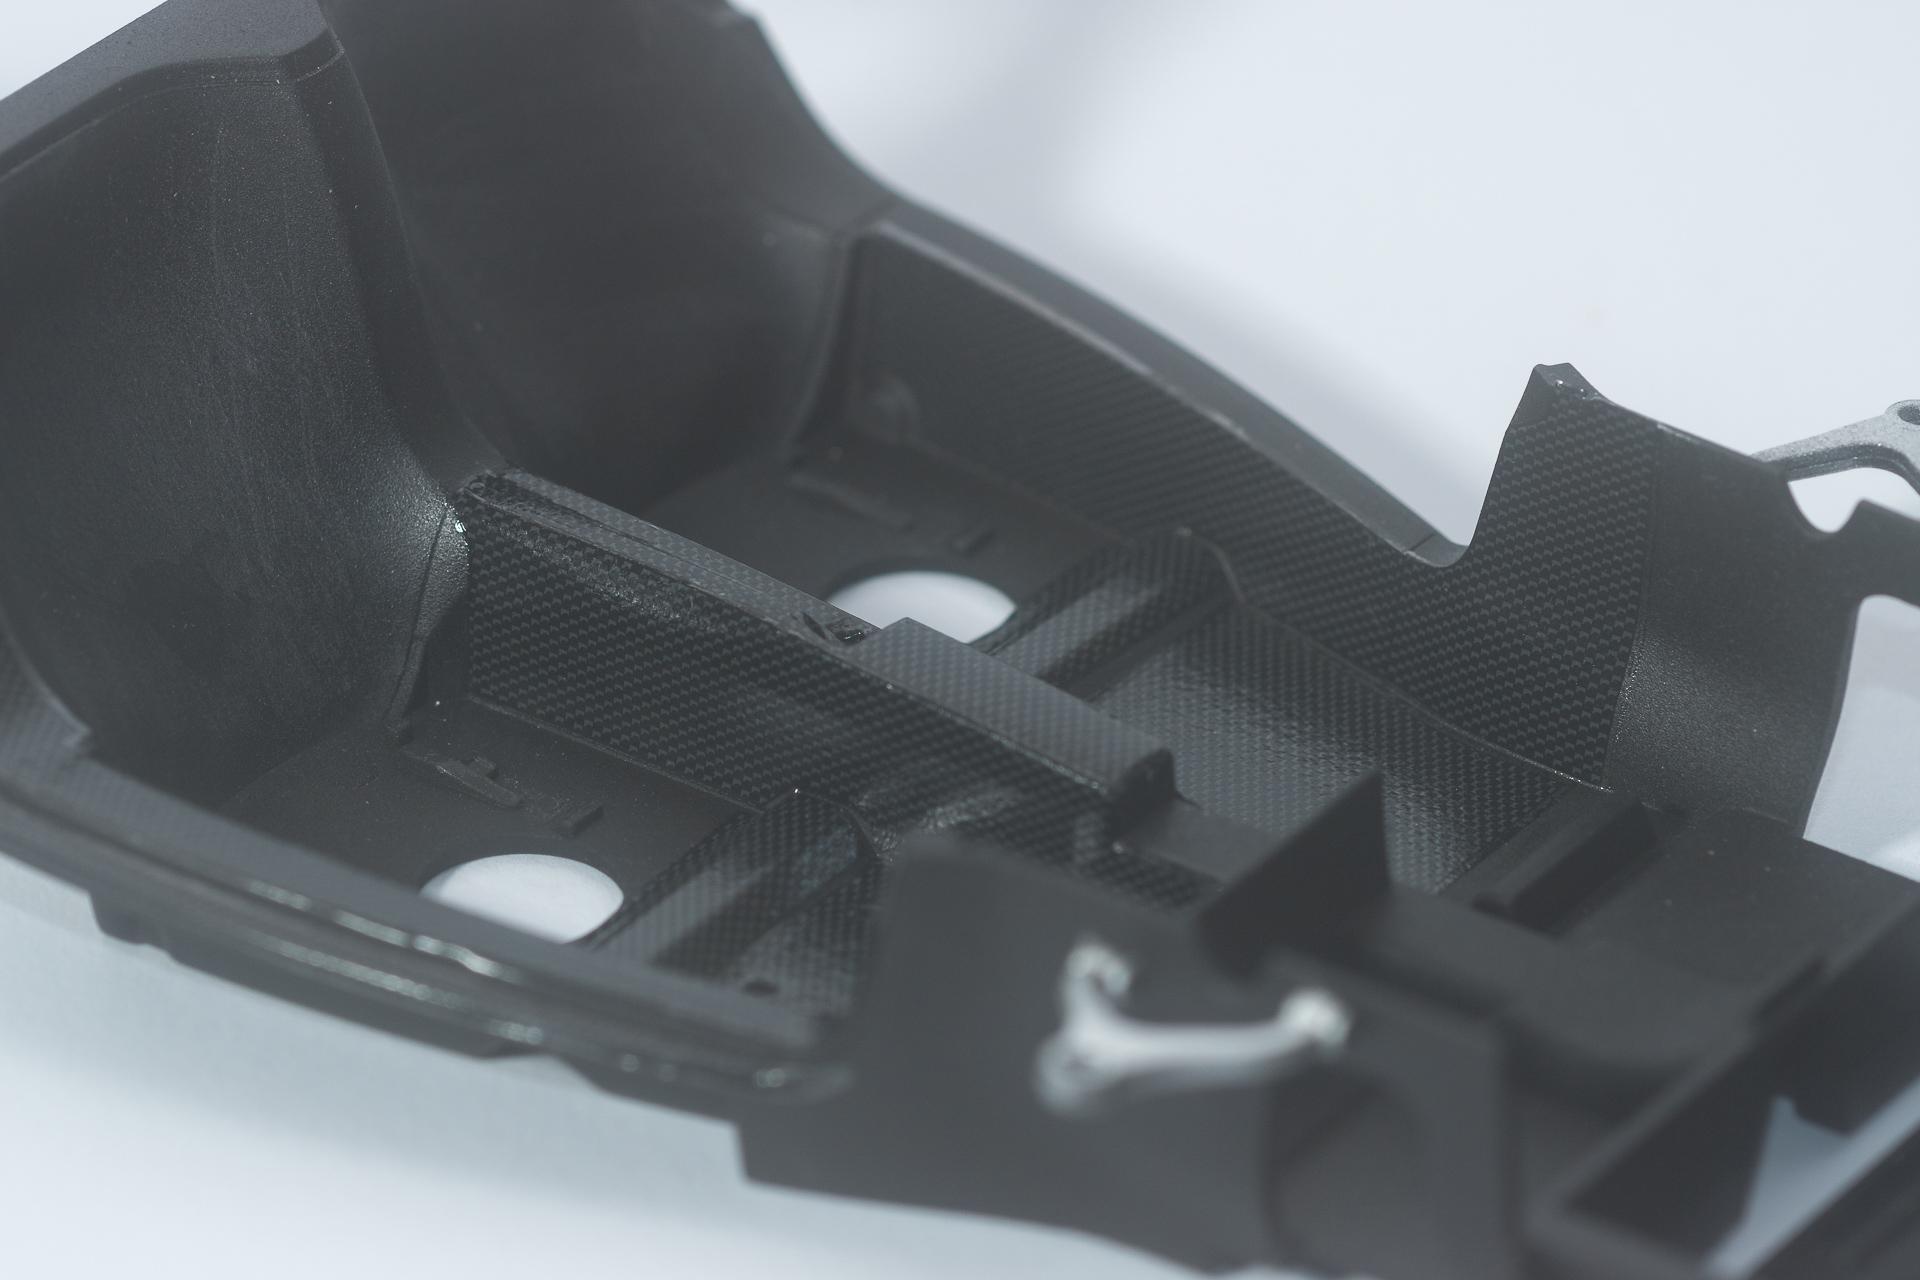
Hi all Thank you. Yes, the decals are fully opaque. But what I didn't think of was the fact that in some areas the decals won't fit properly (or I won't be able to lay them down in a way that everything is covered ?). But that wil be no problem to repair it once everything is done. I didn't take any pictures of this part as it's not yet ready. The body parts received some more thin coats of red. Now I'll scrub everything with some scouring milk to smoothen it out even more. Afterwards it will be time to apply the decals and clear coat. After that the parts which need to be painted in semi gloss black will be painted accordingly. Another way to go would be to paint the black parts now already, then put decals and (gloss) clear coat and once everything is cured, mask the black parts off and apply some semi gloss clear coat over it. But as the black paint already dries with a very nice satin finish I think it's easier to choose option one. In any case I will mask off everything that has to be black before I continue, leave the masking tape on the model for a few days and then remove it (without actually painting anything), just to make sure that paint and primer stick good enough. If I rip paint off in this stage it will be annoying, but easy fixable. Then I applied (almost) all of the remaining carbon decals on the monocoque and sealed them in with some matte clear coat this afternoon. Initially I wanted to apply a glossy clear coat over them, but when I looked again at my reference pics, I noticed that on the 1:1 car the carbon on the interior looked semi gloss at most, if not dull. From the last time I used this matte clear coat, I had in mind, that it dries with some sheen, almost like semi gloss, so I decided to use this one. Well, today it turned out really flat... But somehow I like the look as it is, so I'll leave it this way. In the beginning of this paragraph I wrote that I applied almost all carbon decals. One on each side is still missing. I already put one of them in the water yesterday to apply it, but then noticed that something was weird. After consulting the building instructions I saw my mistake: these two decals can only be applied after the undercarriage, including the engine, and the monocoque have been united. As the masking of the fully assembled unit would have been to complex, I decided to go this way. Once this unit is finished it will be much easier to apply the decals and only mask off the areas needed for them to apply the clear coat. After that the first PE parts on the rear have been glued on. The pipes aren't painted to make them a little more visible in the end. Finally some switches and knobs on the middle console have been painted. The carbon decals enclosing this part are still missing. Thankfully the large front decal has wholes where the switches are, so that de detail painting won't be lost. To be honest, I knew that before and thought, that way I wouldn't have to pay that much attention to the detail painting ? That's all for this week's update. I hope you enjoy it and wish you all a good week ? Urs
-
Hi all ? Thank you for your kind comments, I really appreciate it. This week the body parts got two or three coats of pink primer (unfortunately forgot to take pictures after that stage). After letting the primer cure I applied one thin coat of Rosso Scuderia. In the next few days I'll apply another one or two coats before starting the decal work and clear coating While letting the primer and paint cure I started applying the CF decals on the monocoque. So far they went down without any major problems. But looking at the sheer number of them they will be keeping me busy for a while. Parallel to painting the body parts and decaling the monocoque I also painted the air box. In the areas where I'll have to apply CF decals I didn't take that much care masking it because the overspray will be hidden by the decals later. The black paint on the large part on the right went down quite rough, so I had to sand it down, that's why it looks so blotchy. But again this part will be covered completley by CF decals, so I don't really care about that. Finally there is the heat shield I showed in one of my previous posts and mentioned that I'll start over with it. Given the fact that nothing at all will be seen in the final model I can live with the outcome. If it was visible, I'd fix the corner on the very left side, but especially this part won't ever see any daylight, so it's absolutely ok for me. That's all for this week. During the next week I'll continue painting the body and applying CF decals on the monocoque. If I'll need some change I'll start work on the dashboard. Urs
-
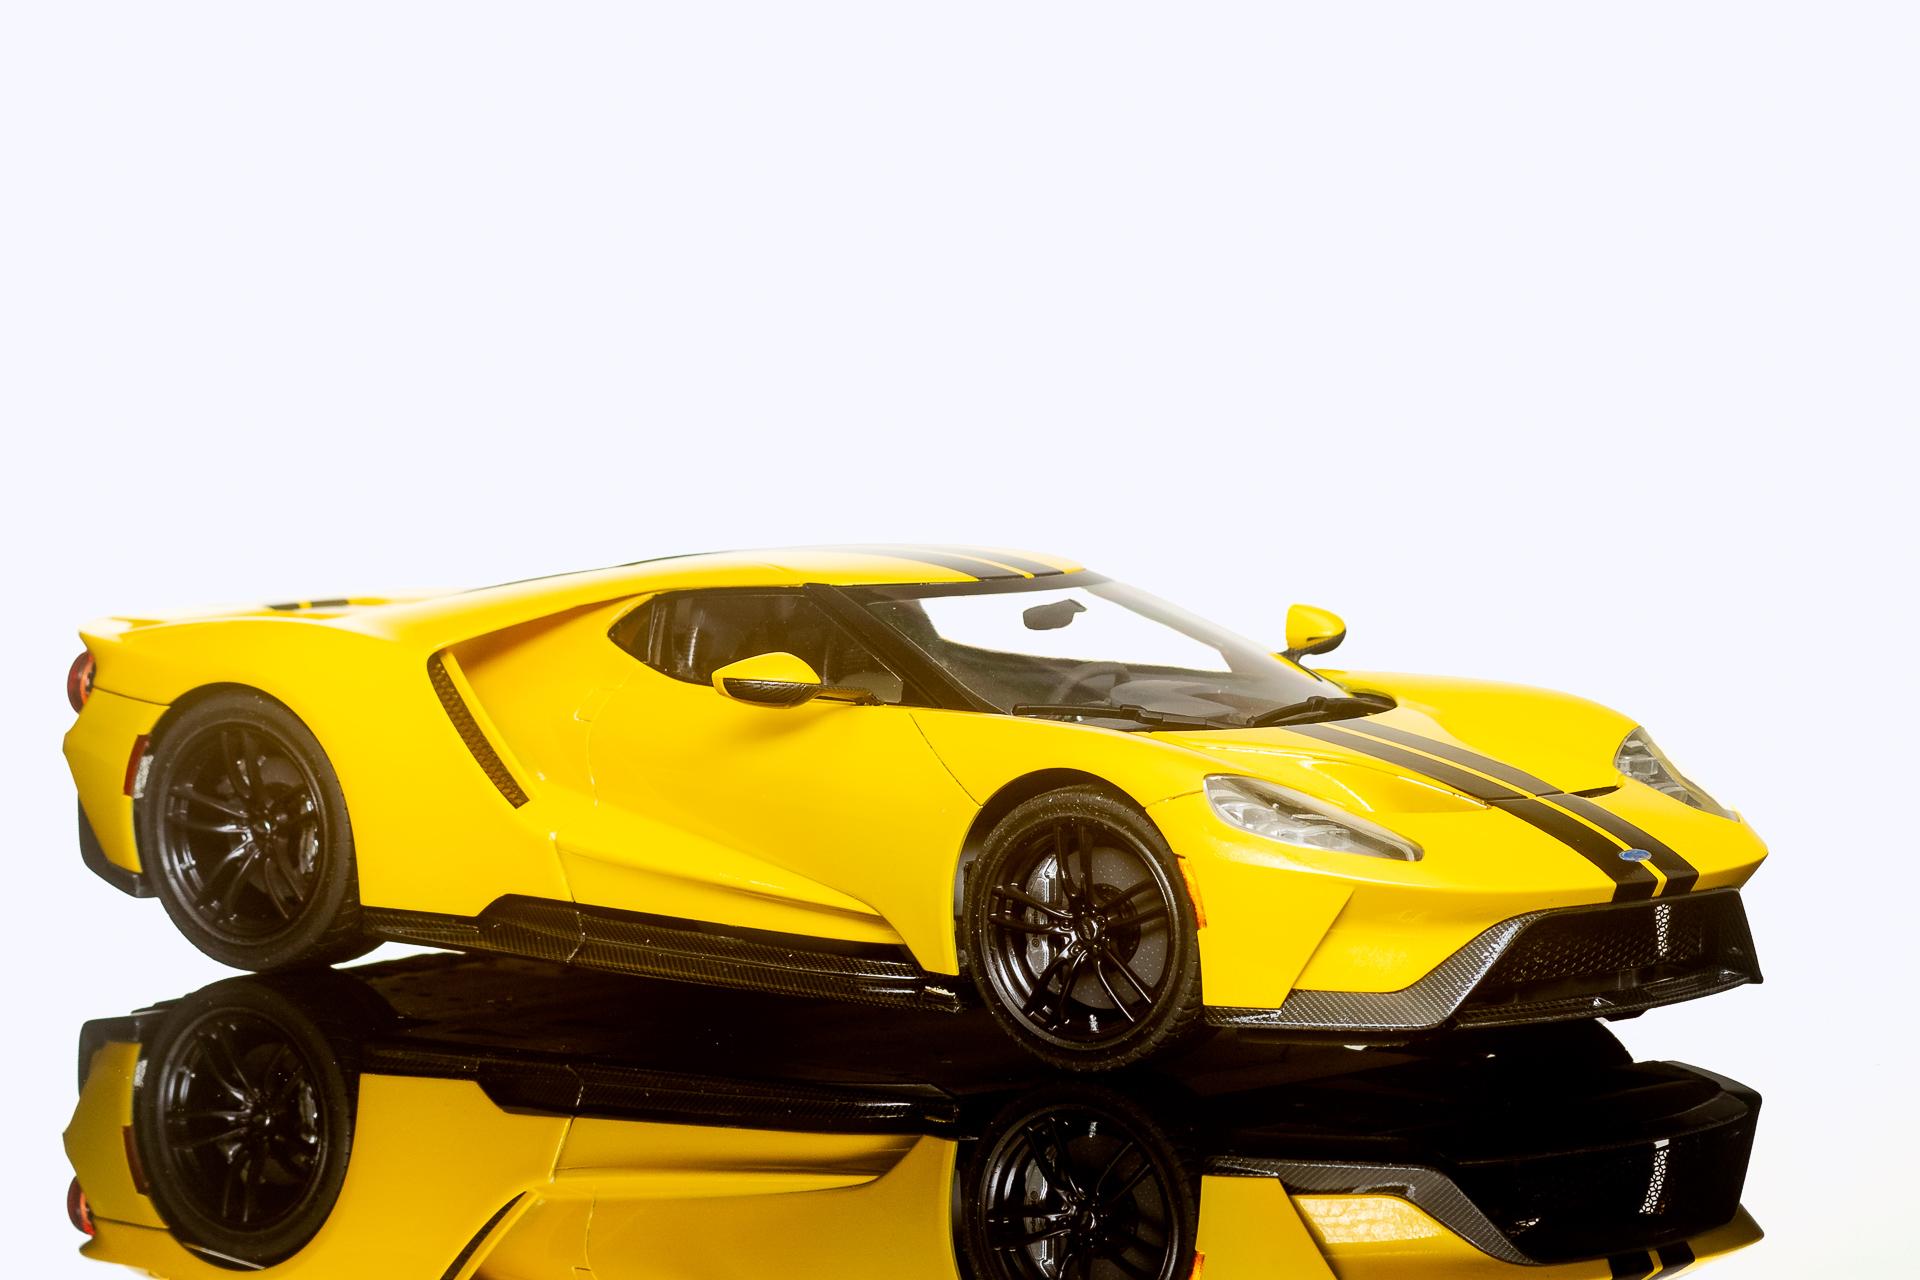
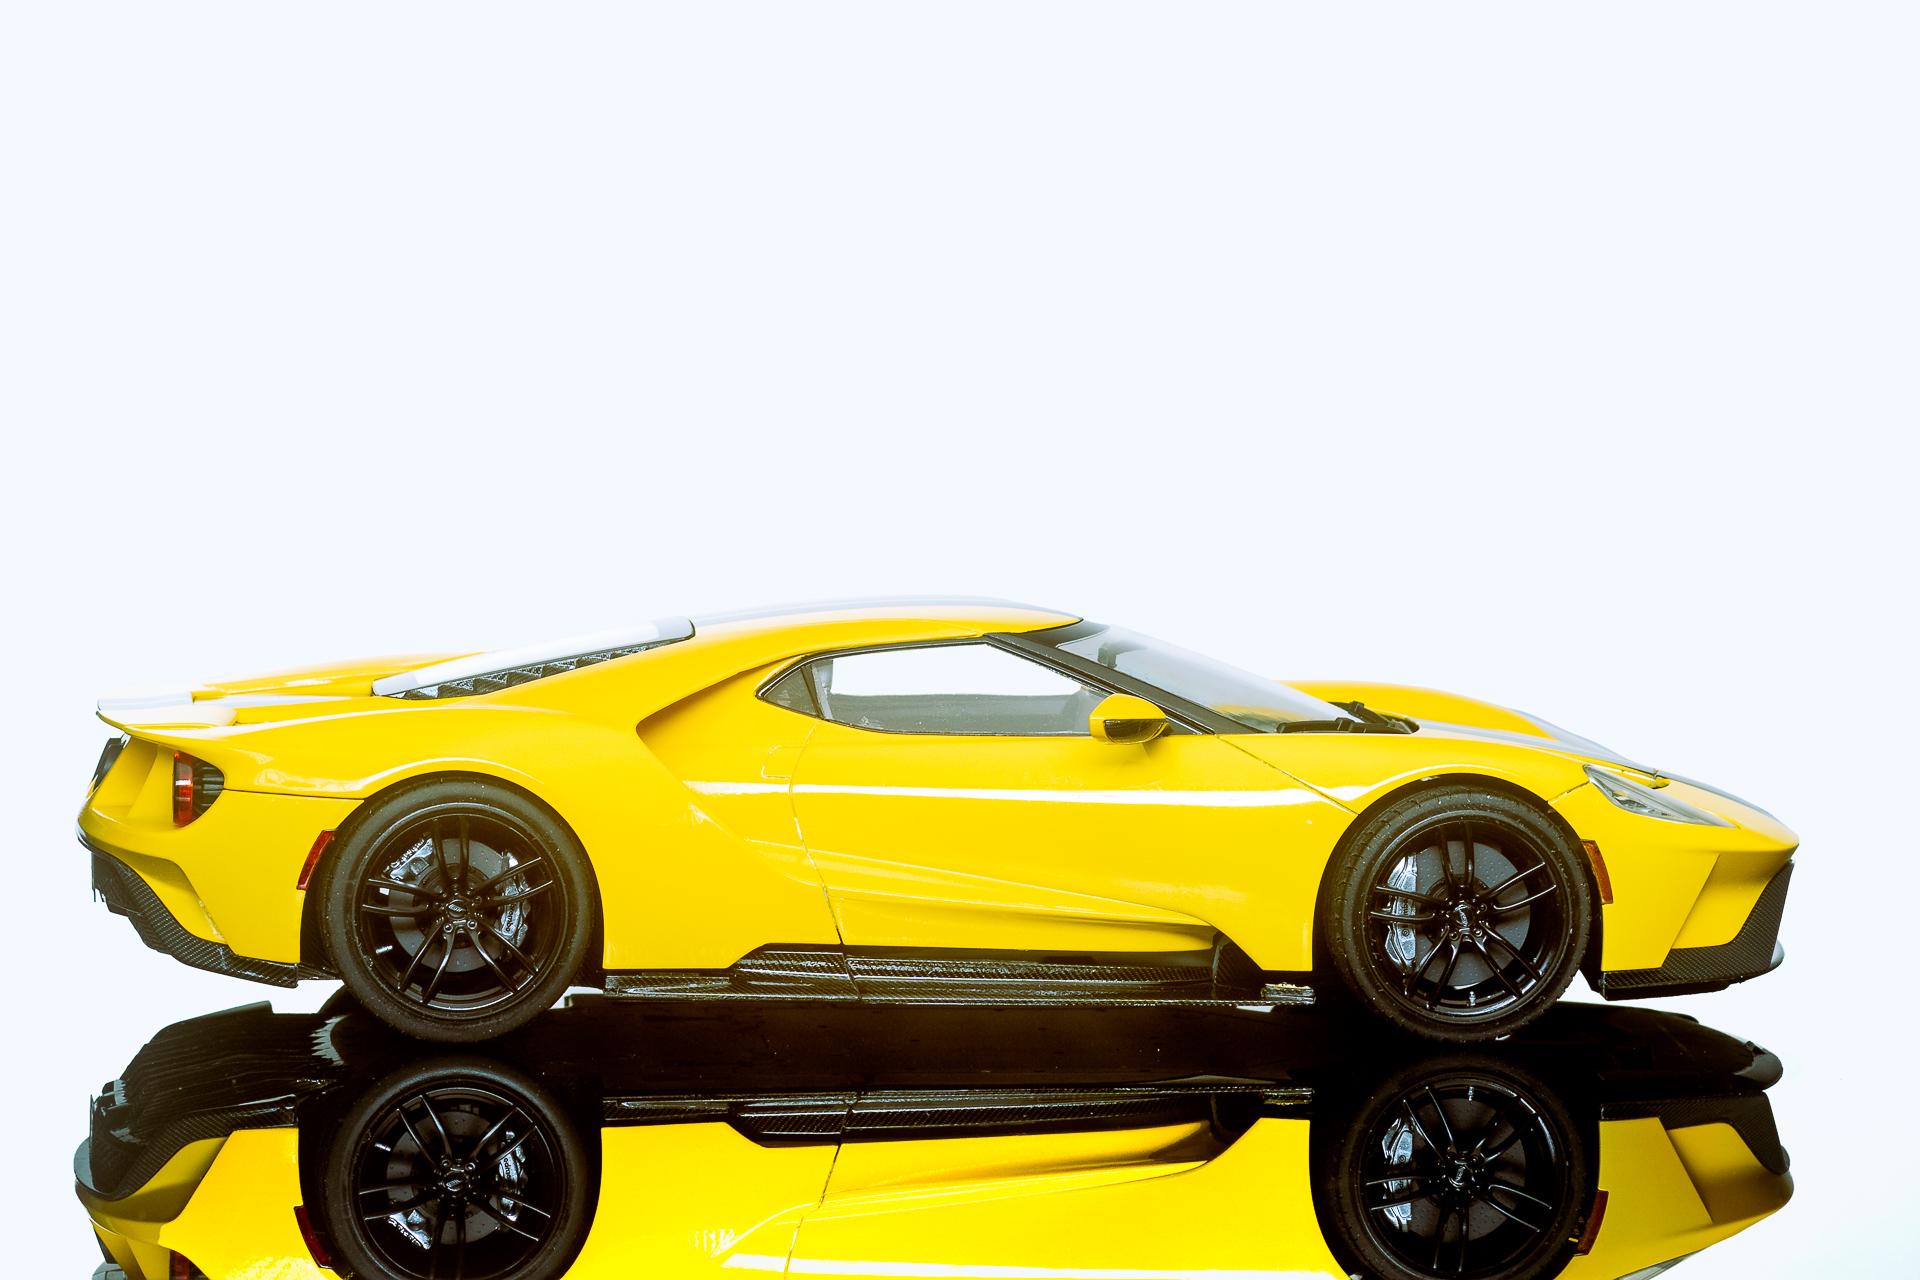
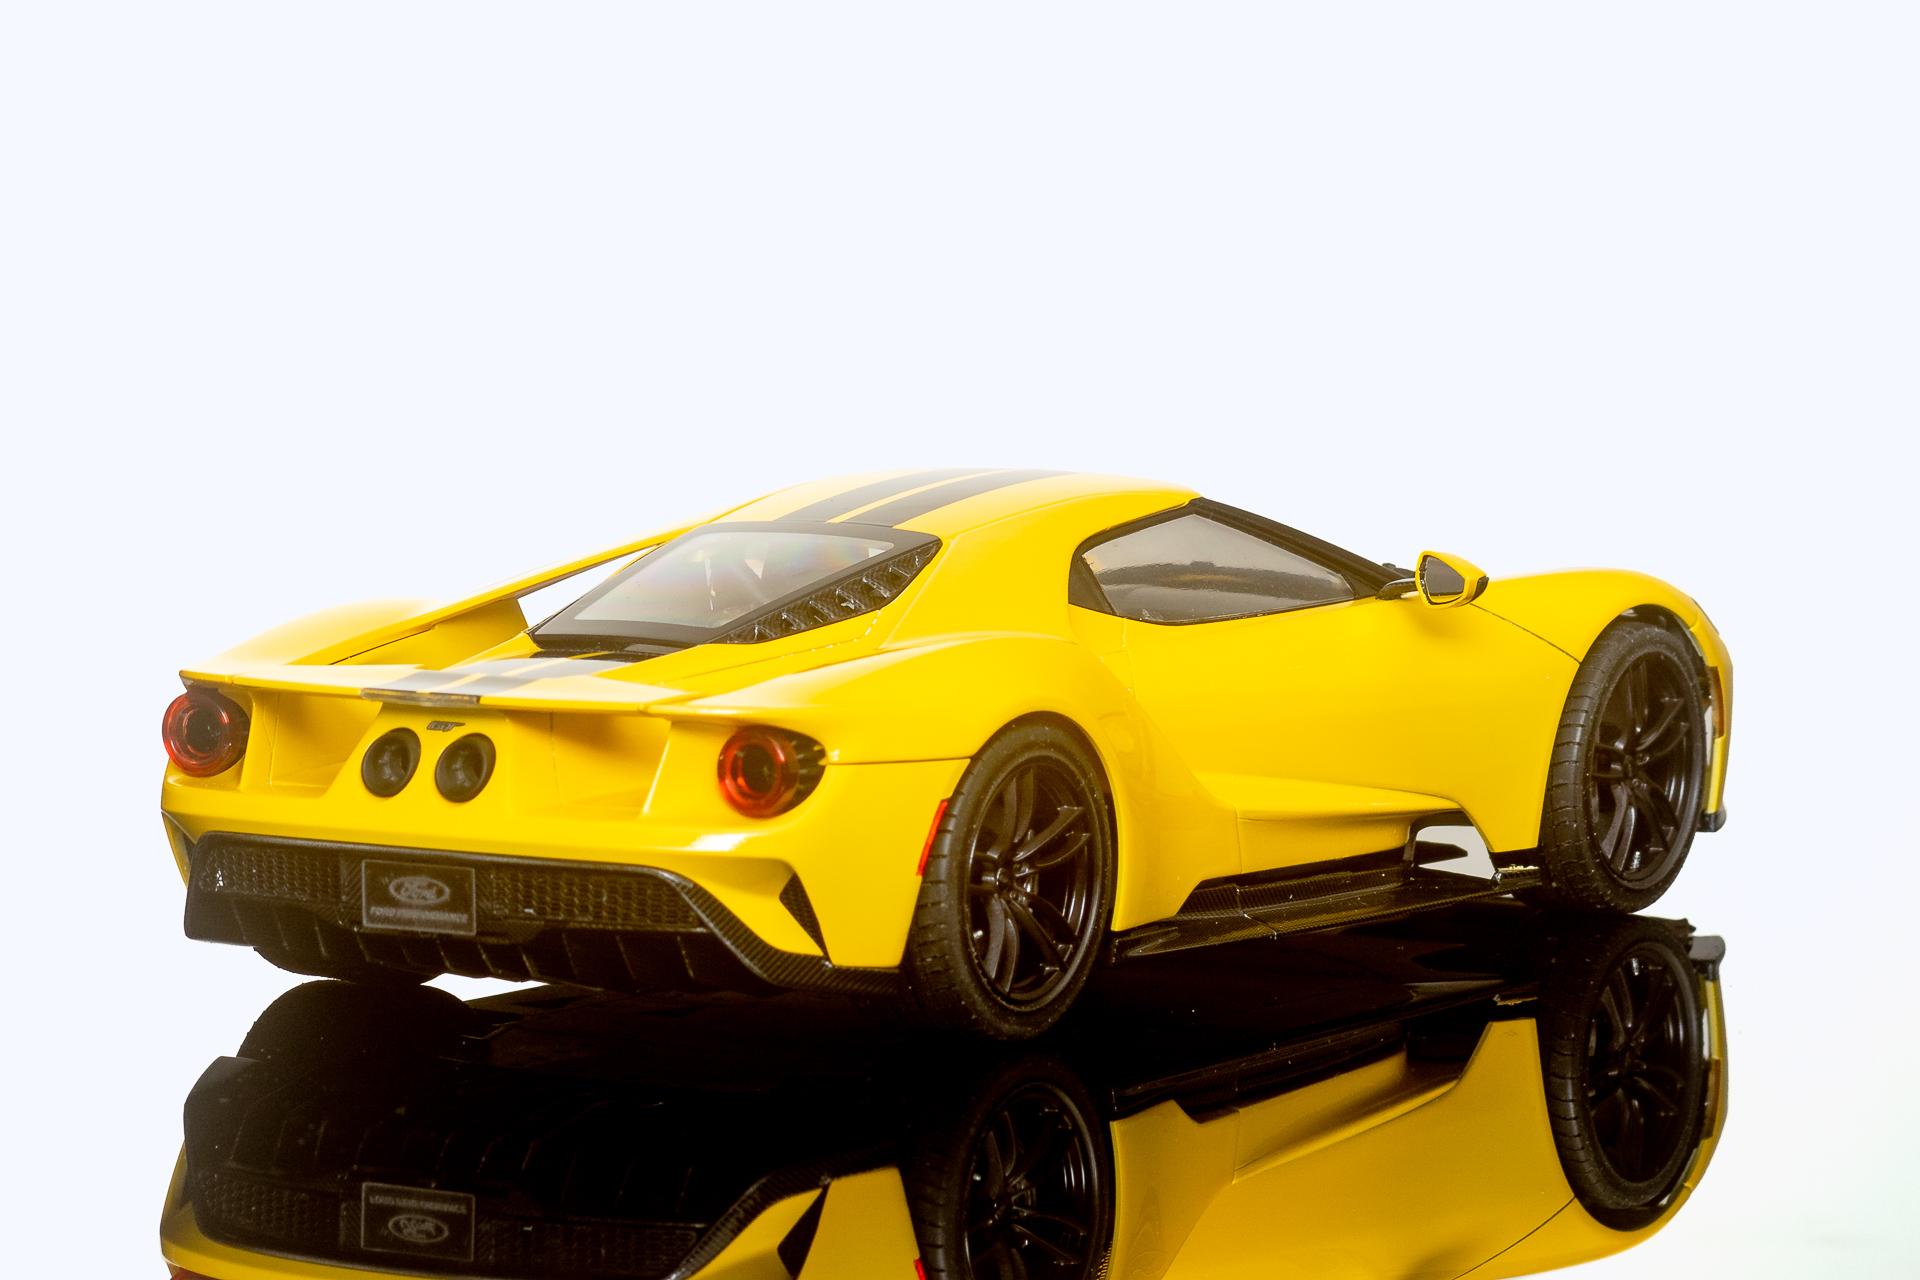
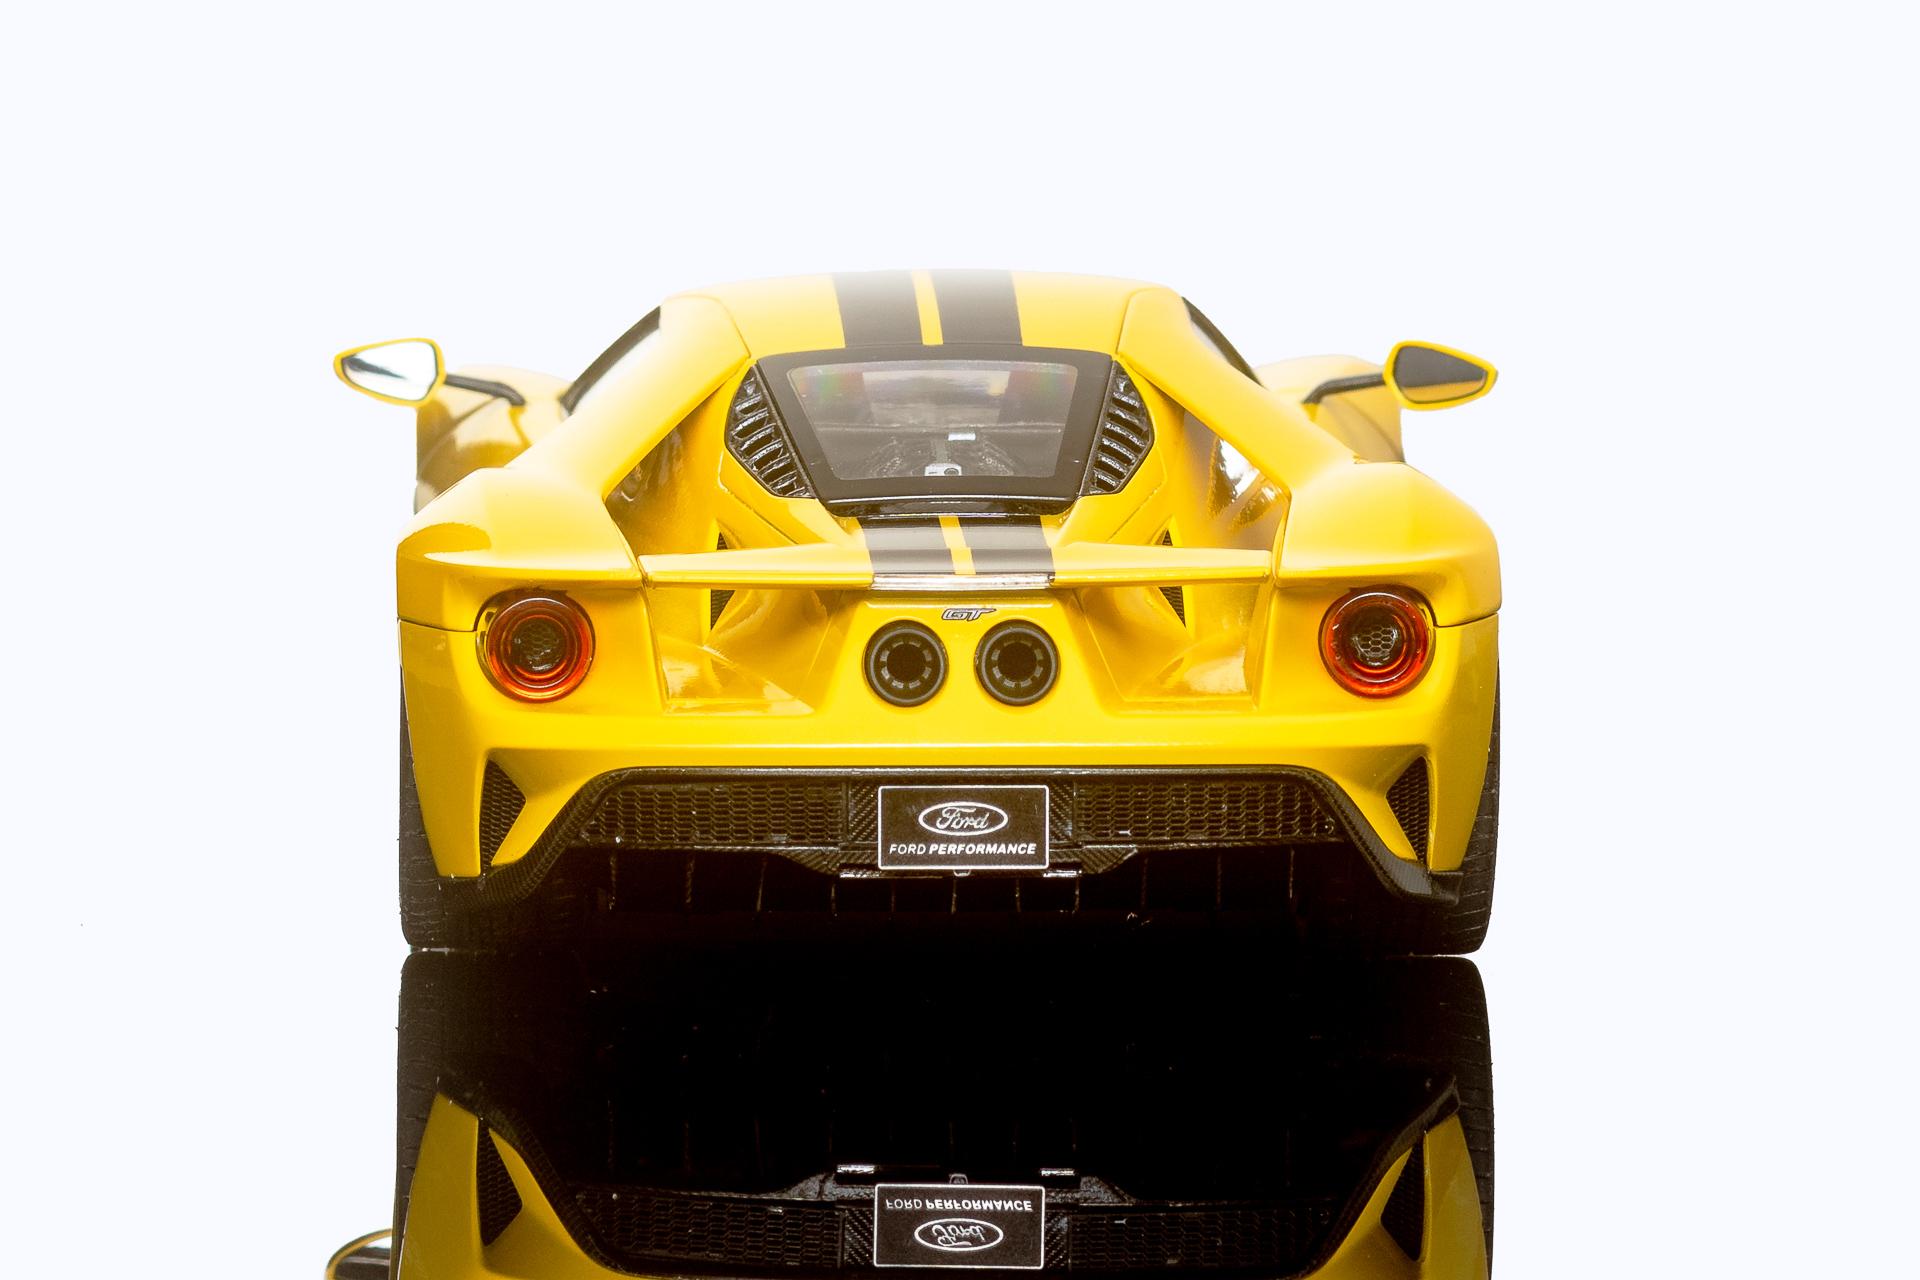
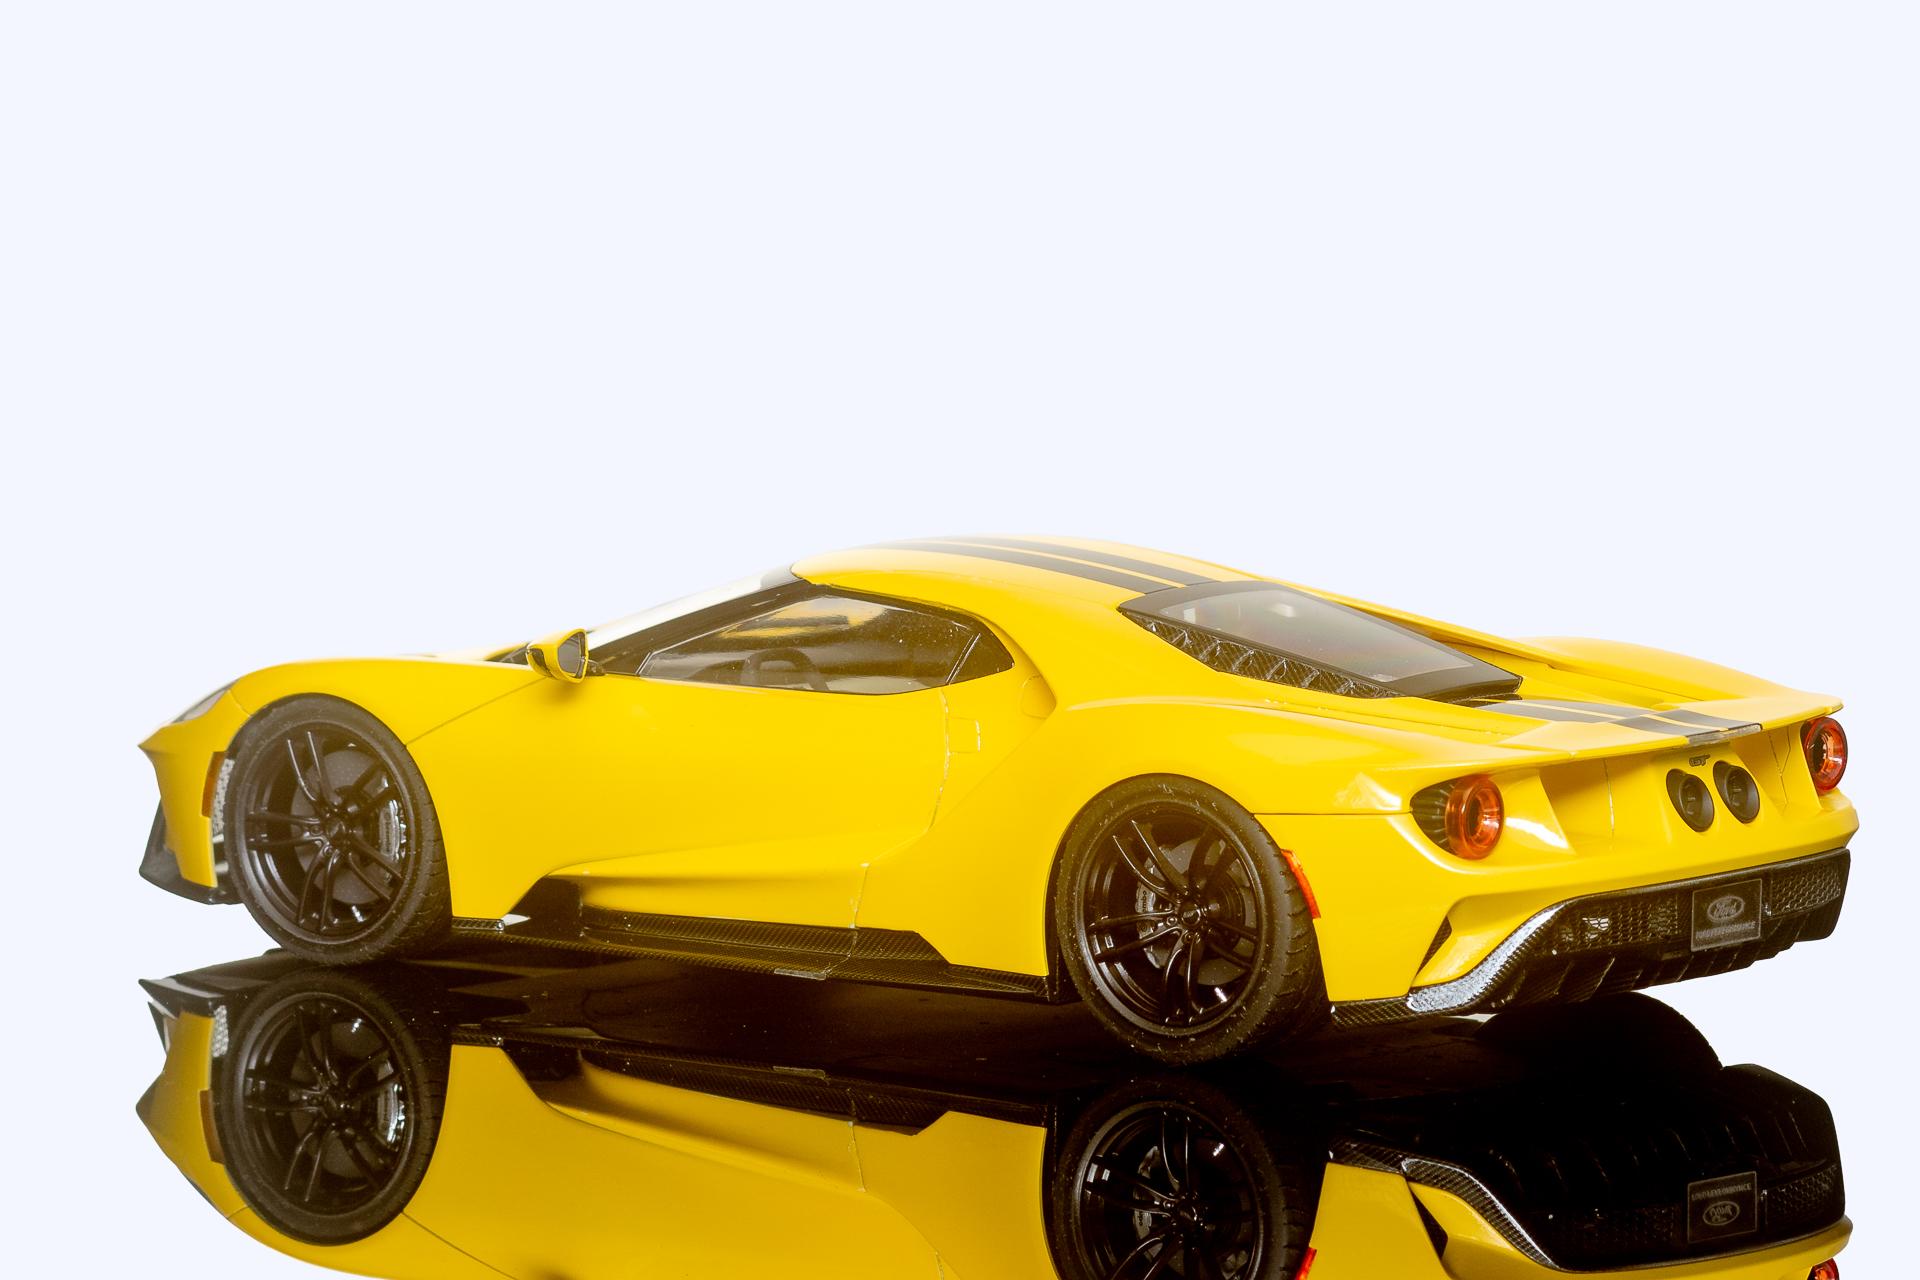
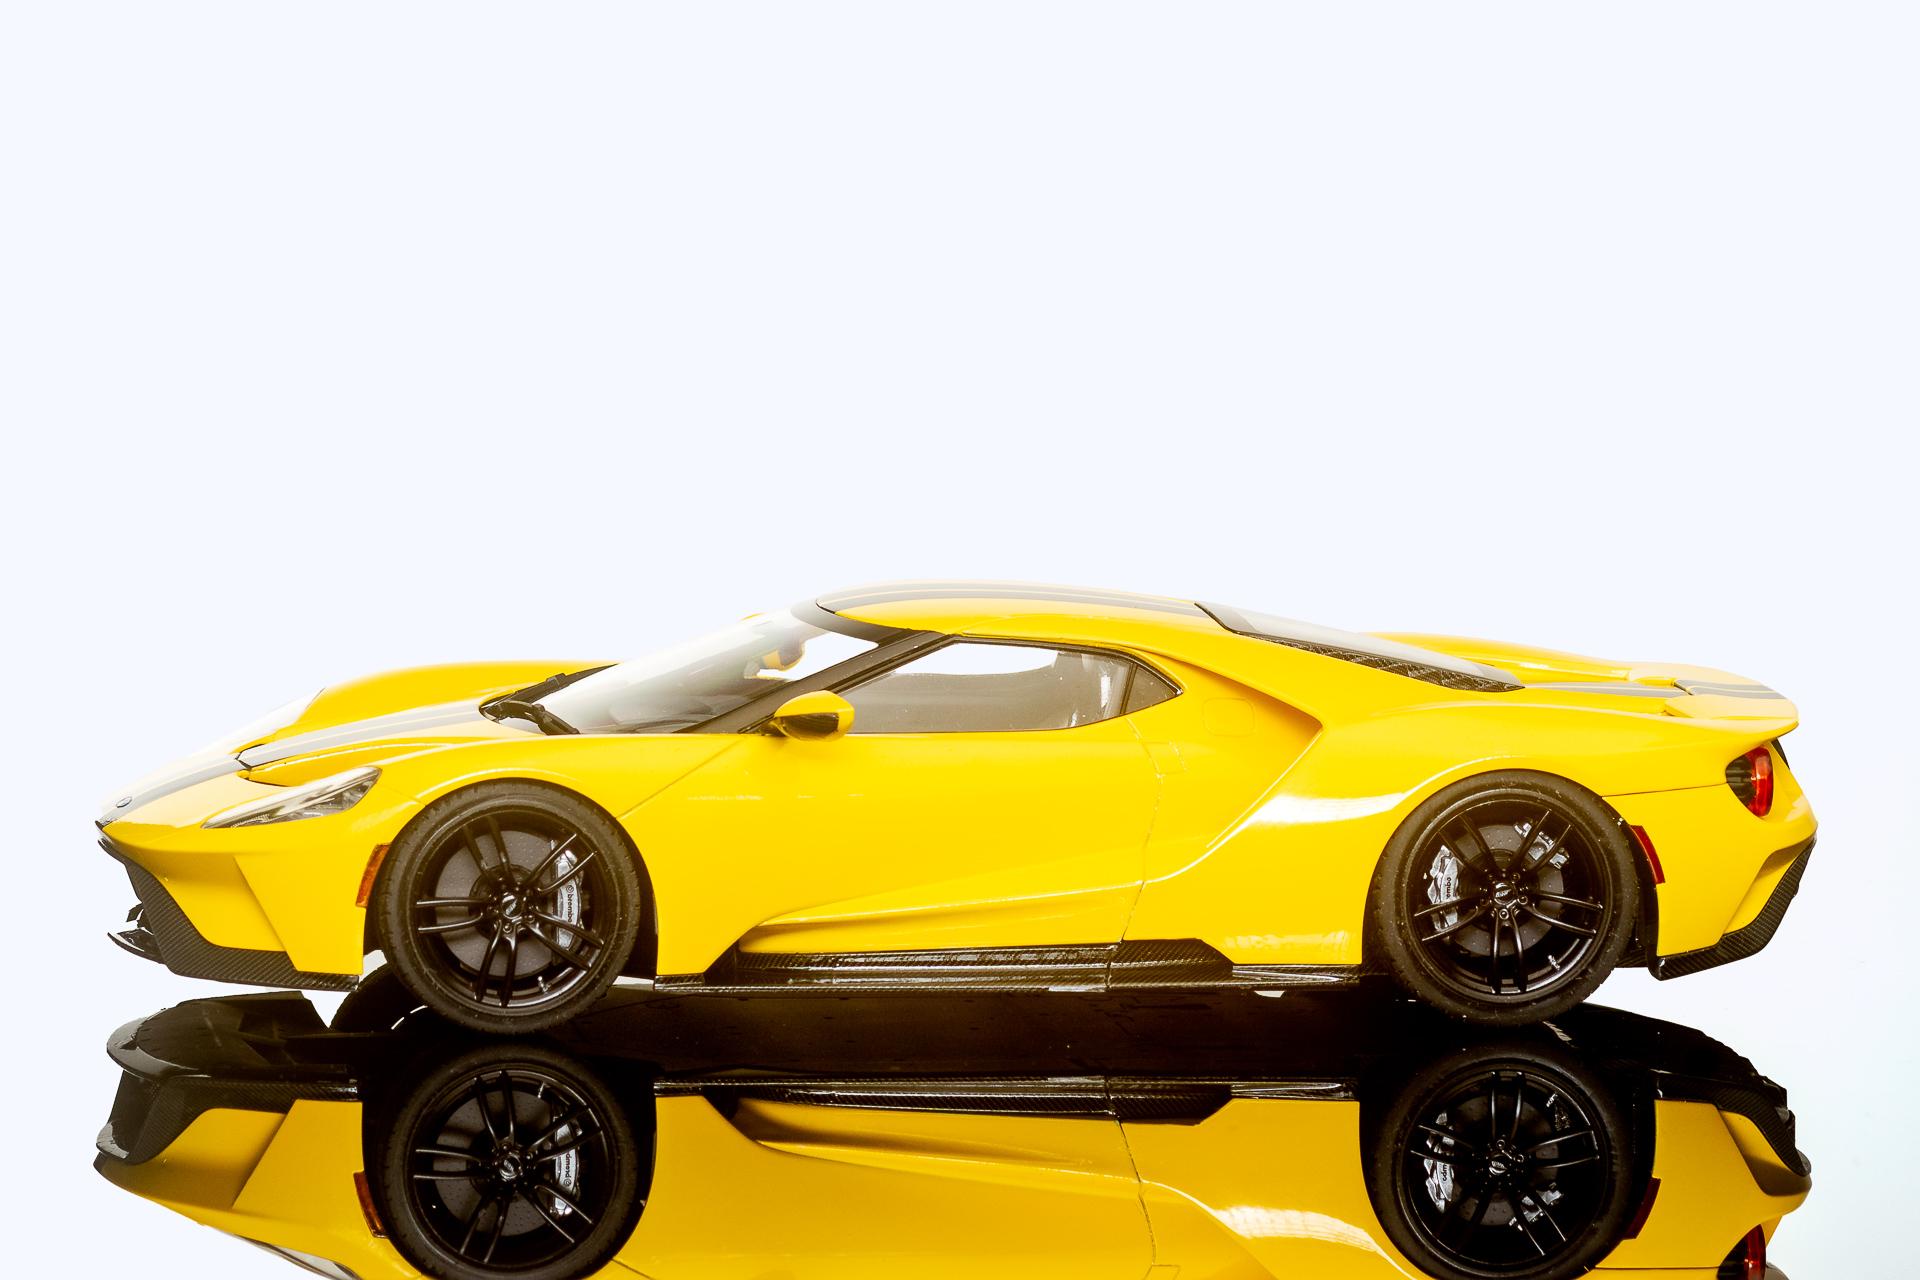
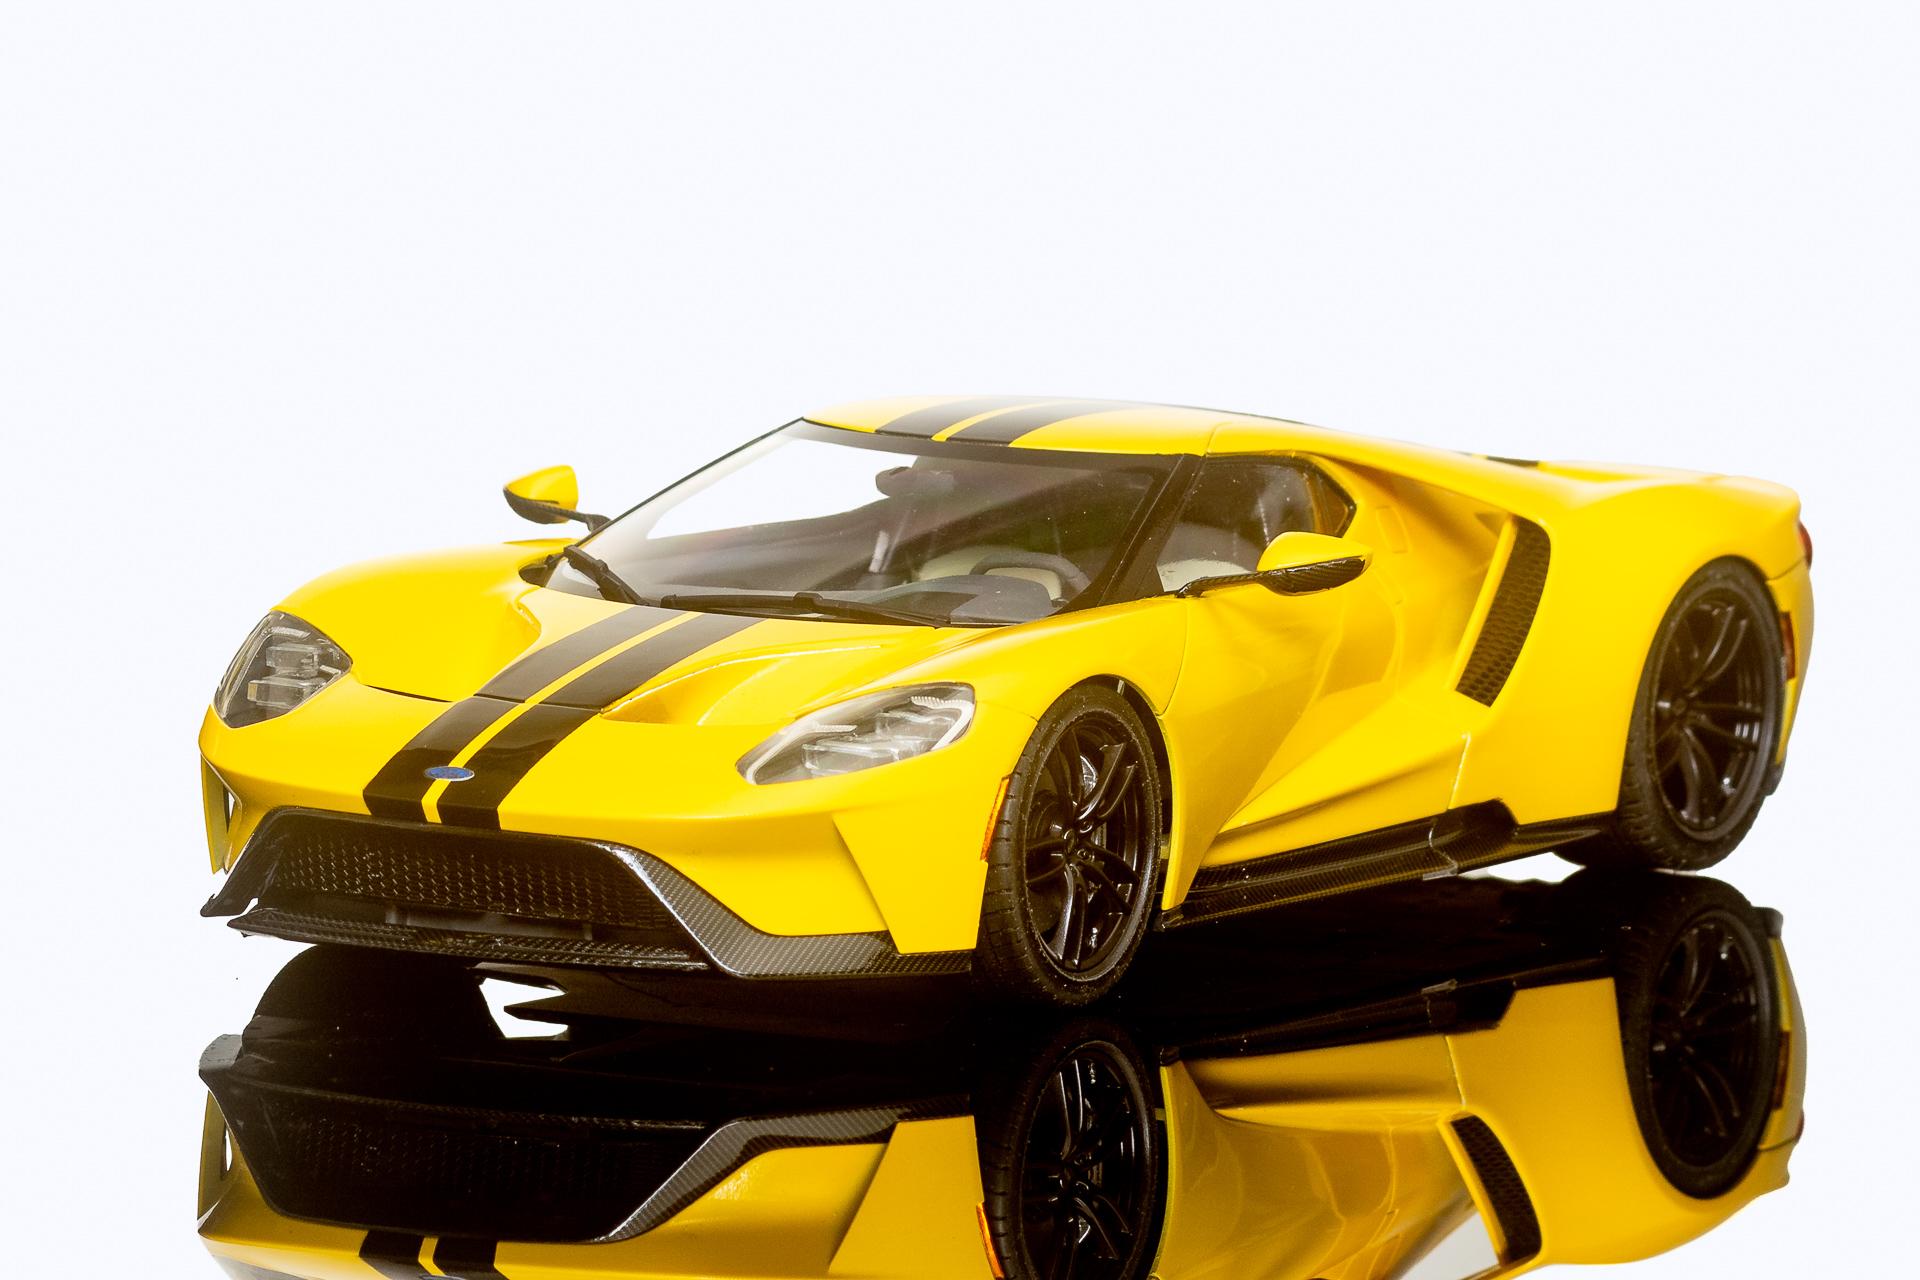
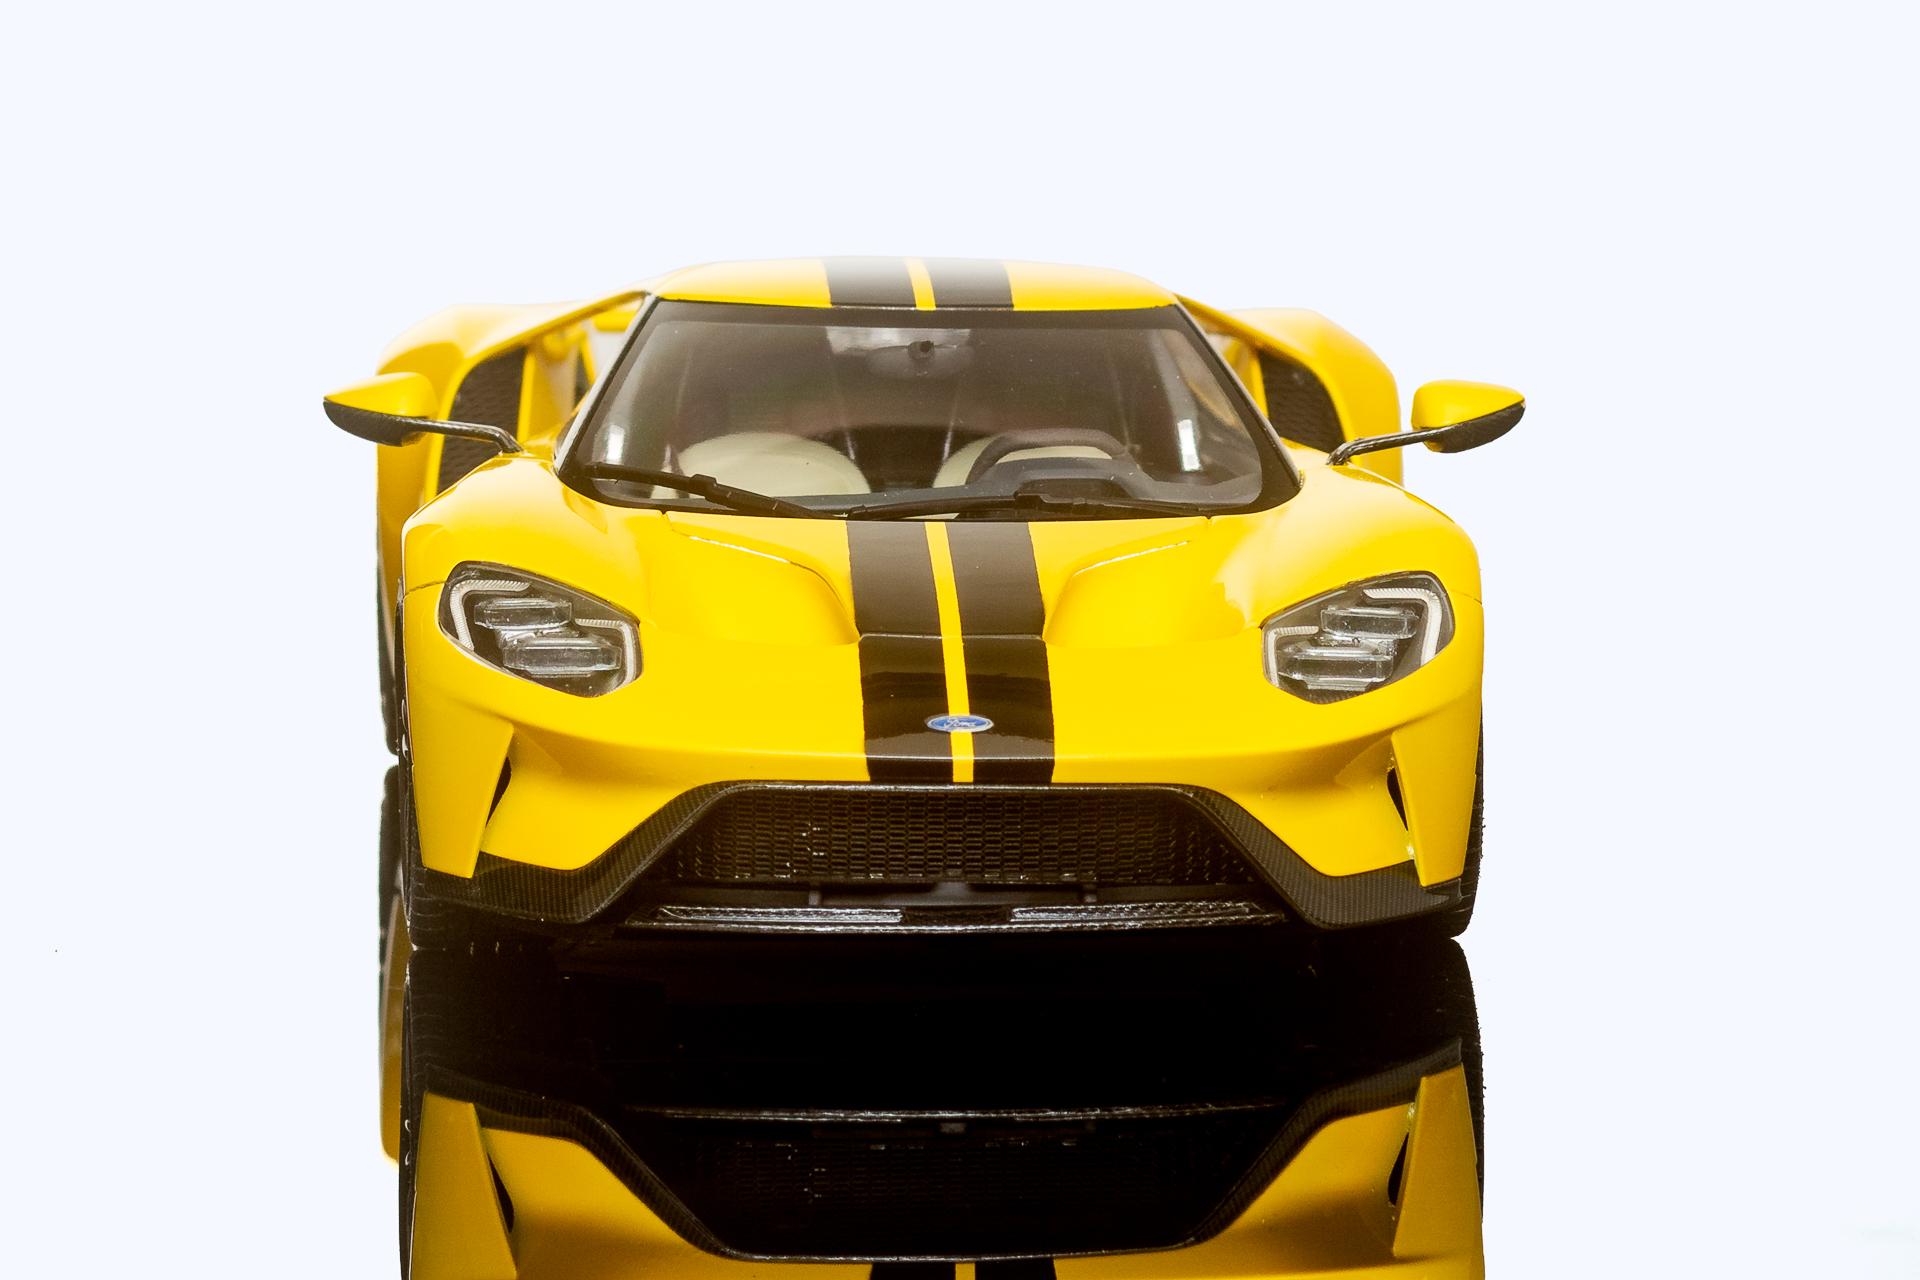
Hi all ? A few weeks ago I took the Ford to the studio to capture some better gallery pics, but afterwards I wasn't really happy with the look after editing them. Today I re-edited these pics and now I think they look reasonably well, therefore I can finally present them to you ?
-
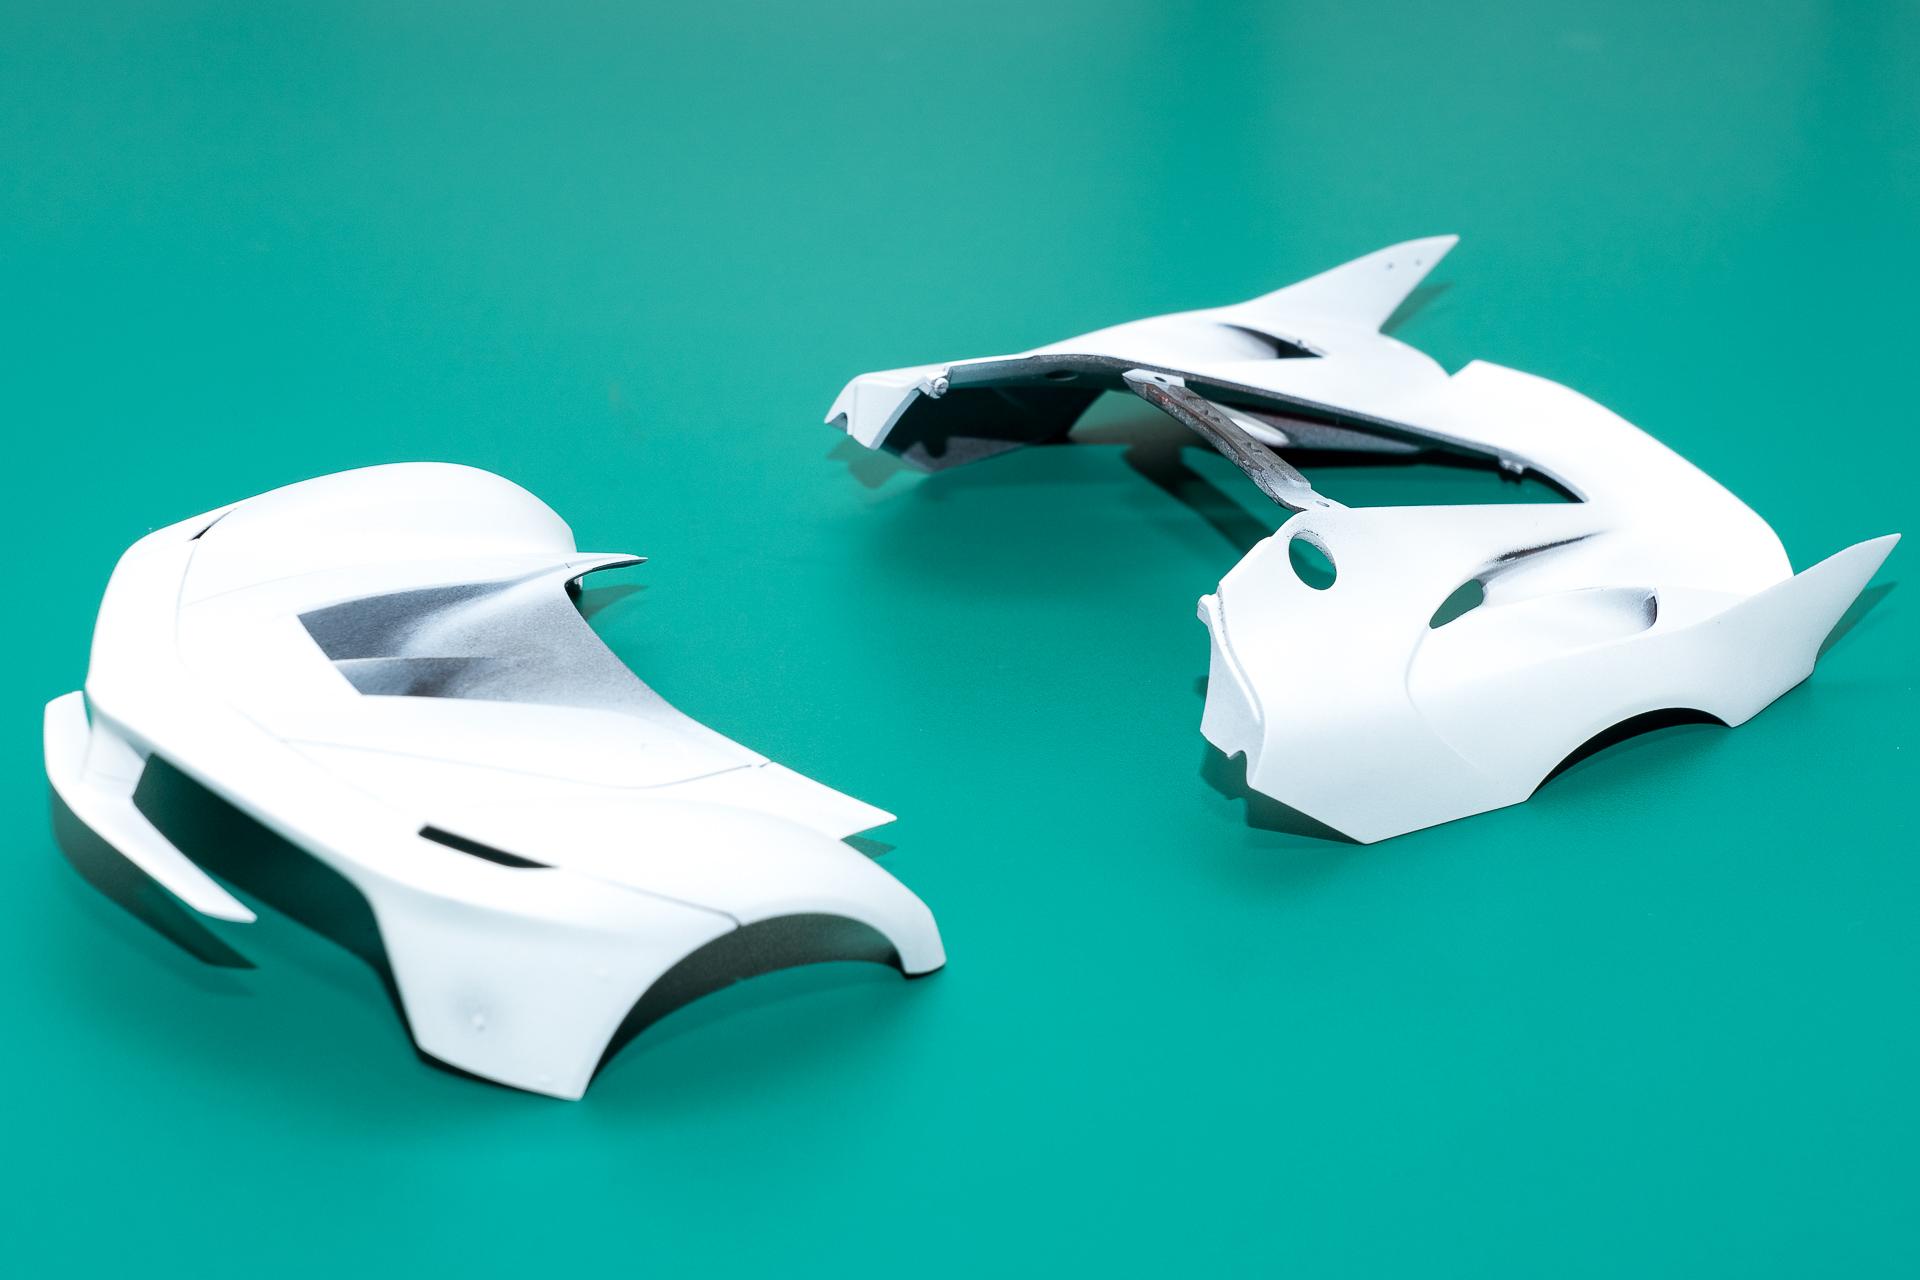
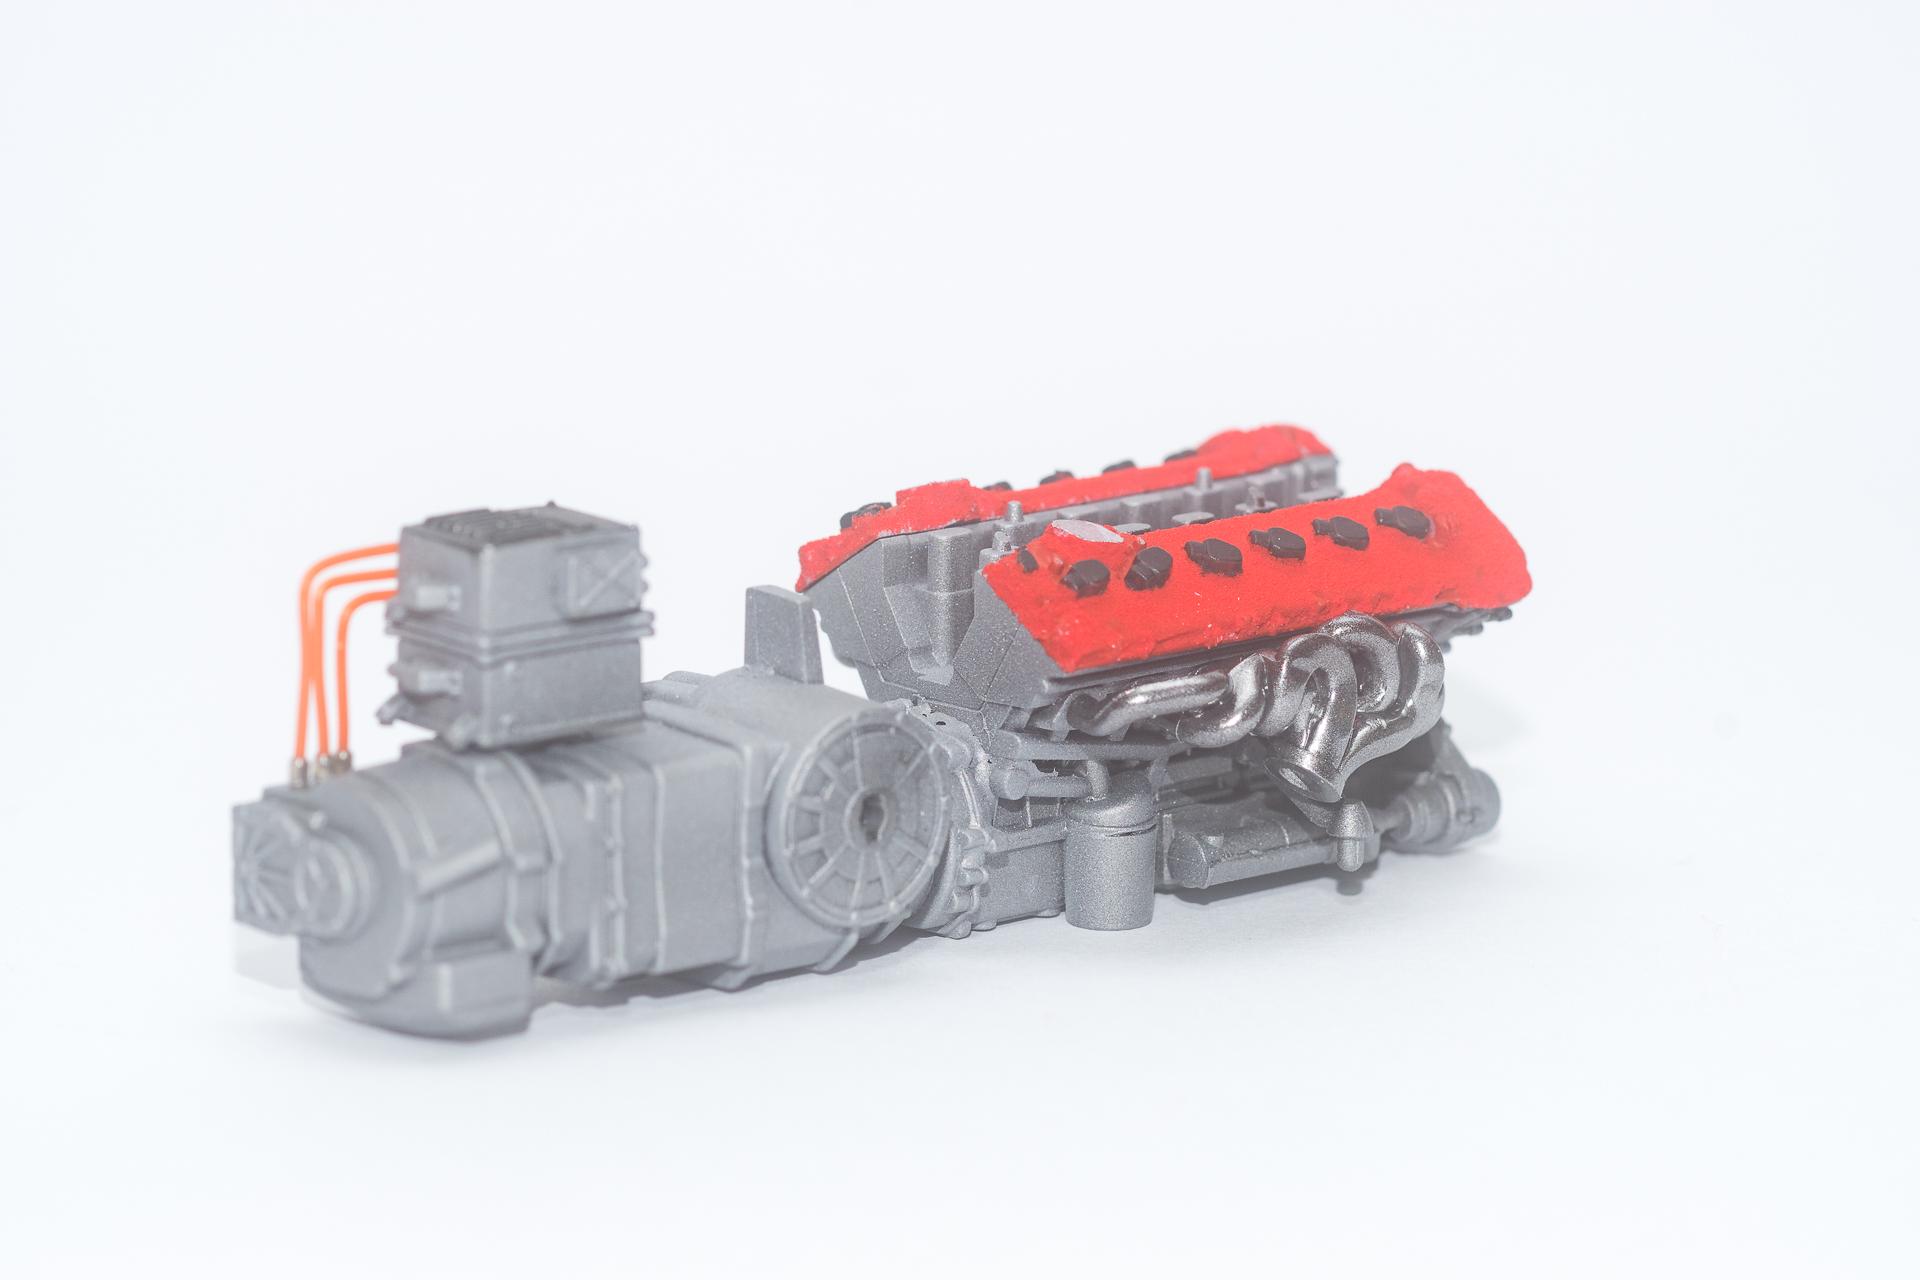
Hi all After finishing the filling and sanding on the bonnet, I was ready to start the painting process. As two of the parts that are supposed to be painted red are moulded in black, I decided to first prime everything black to get a uniform base color. When I saw all the parts in black I was considering leaving the body in black, but changed back to red shortly after. But a black Ferrari stays in the back of my head maybe for the FXX (without -K, the race version of the Ferrari Enzo). After that two coats of Pure Brilliant White have been applied. As the paint had some coarse spots I had to sand it back in some locations. Now I will add one or two additional coats of white before continuing with pink and finally painting it in red. This time it will be a slightly different red than I used to use for the Ferraris I built so far, namely Rosso Scuderia. Finally I finished the engine up to the point where I can install it on the undercarriage. As nothing of it will be seen once the car is finished, I'll leave it the way it is now. That's all for this week's update. Urs
-
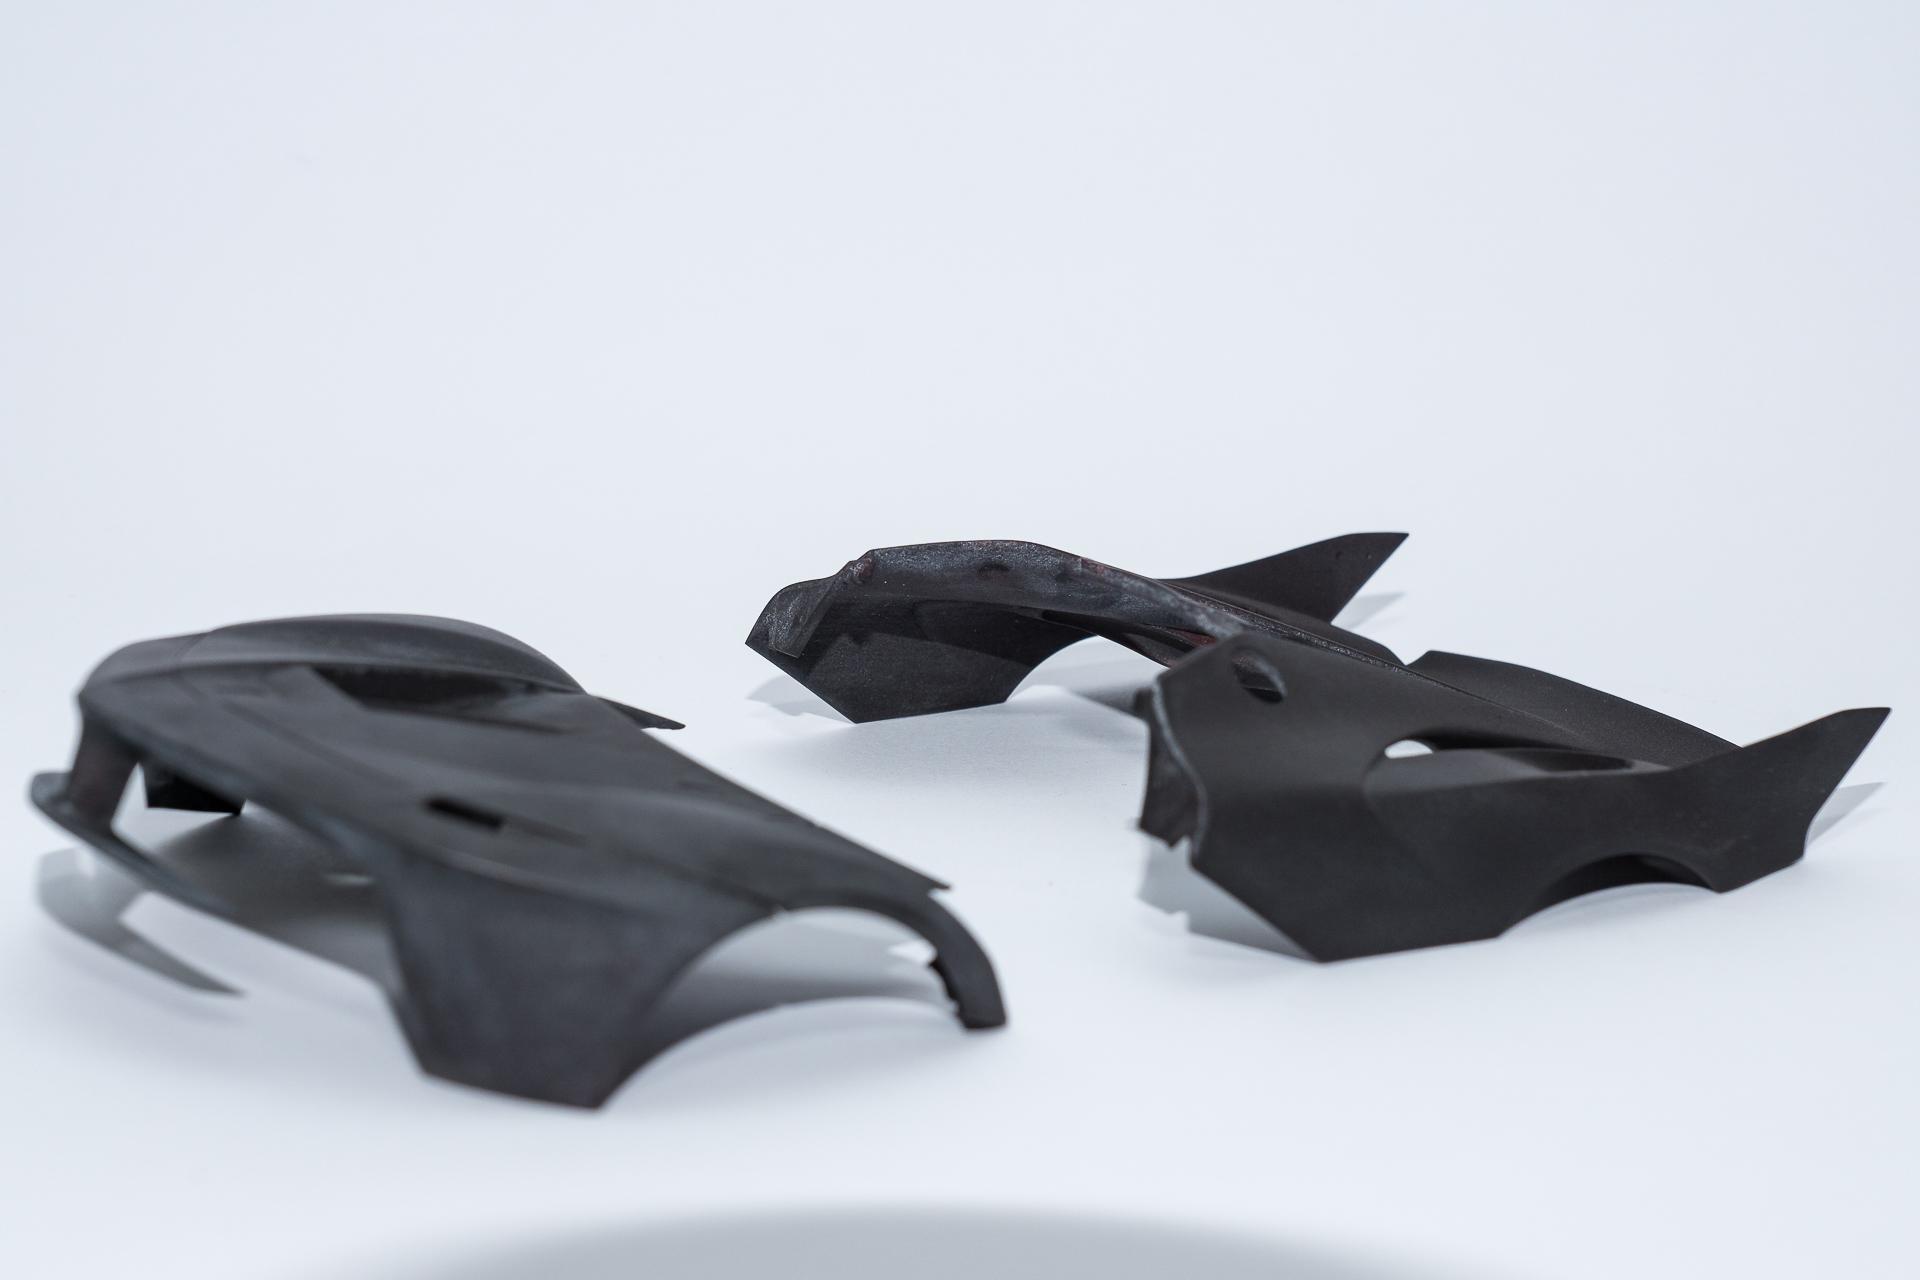
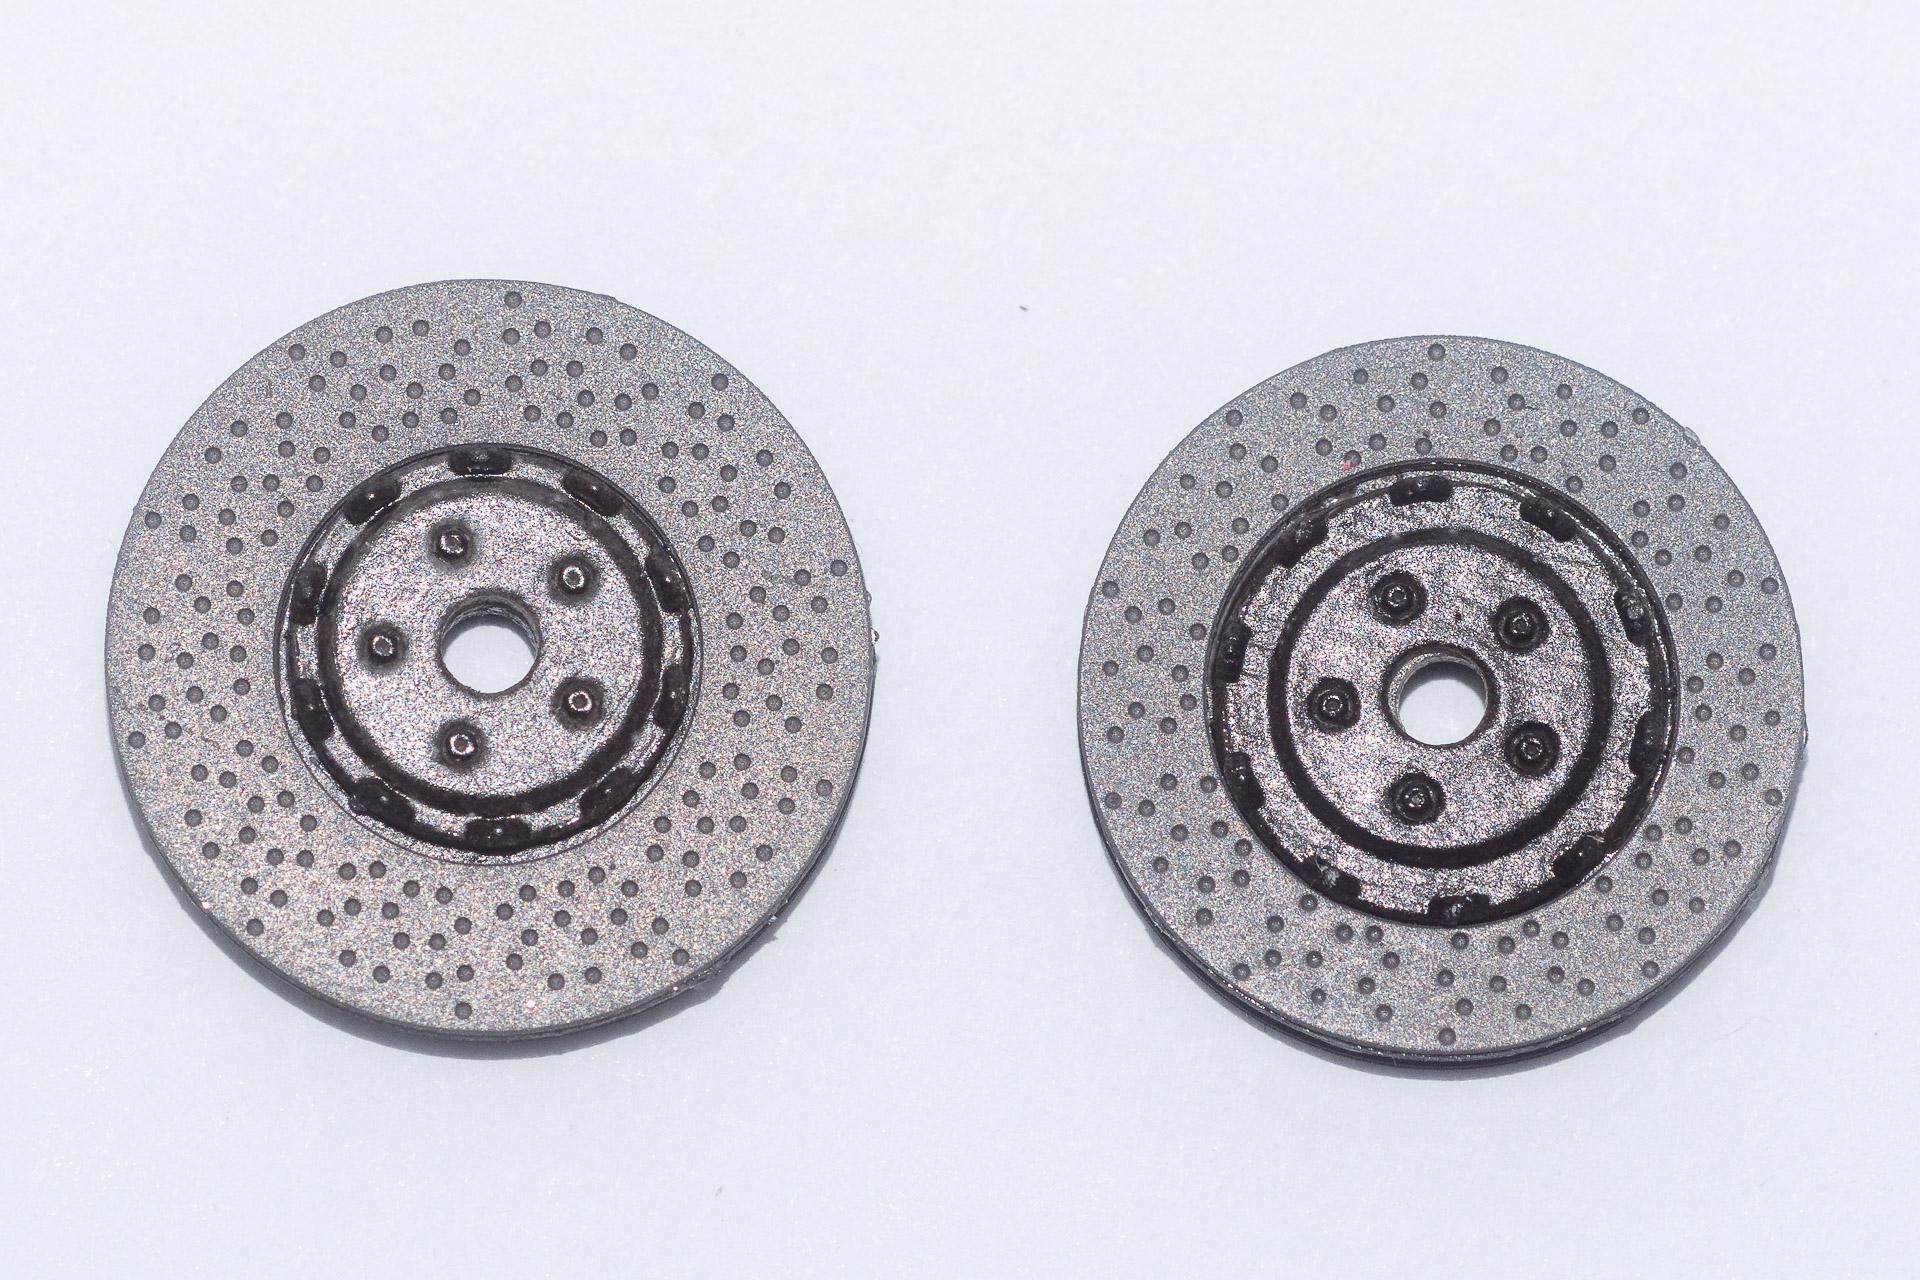
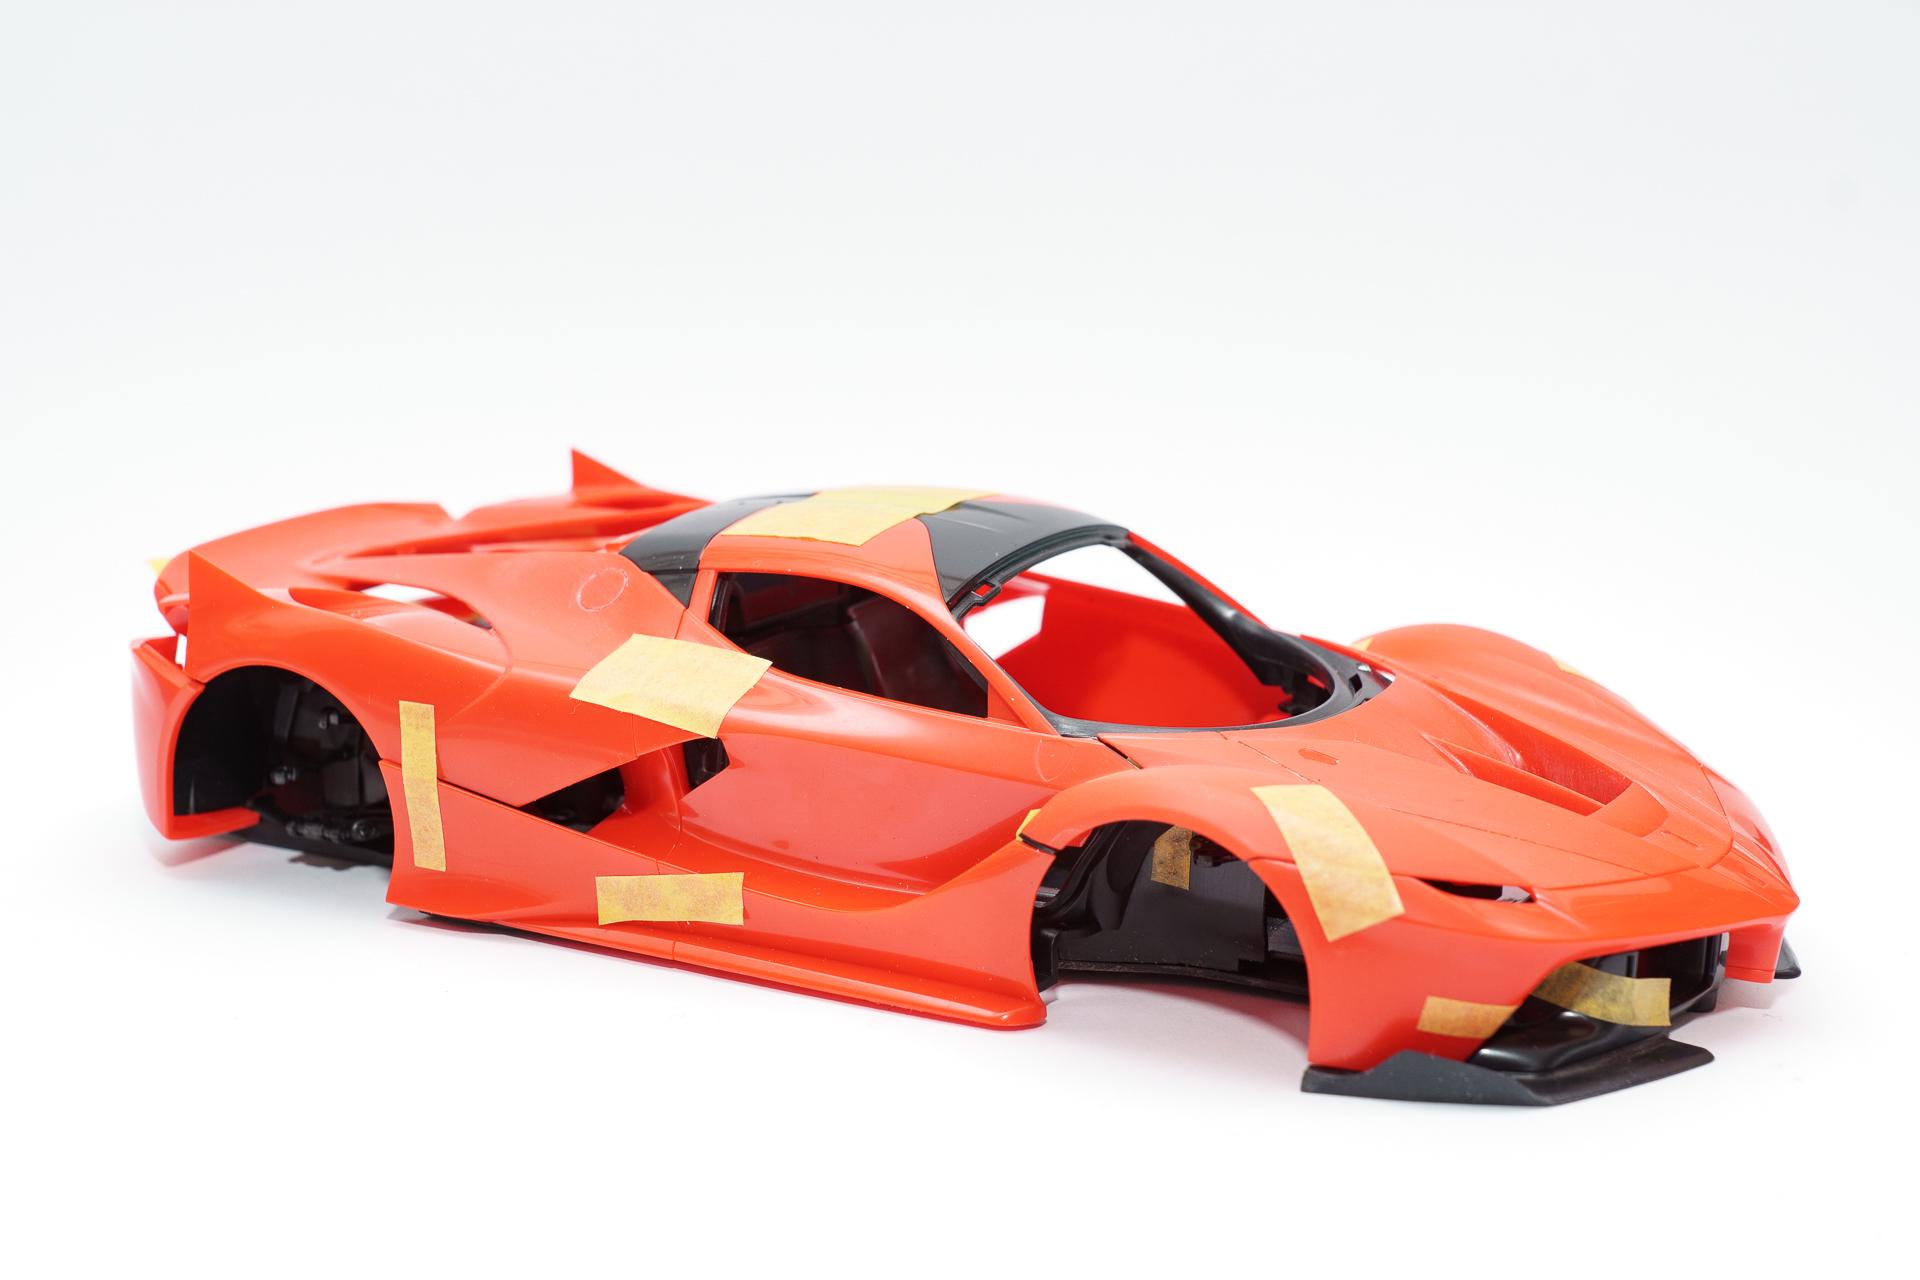
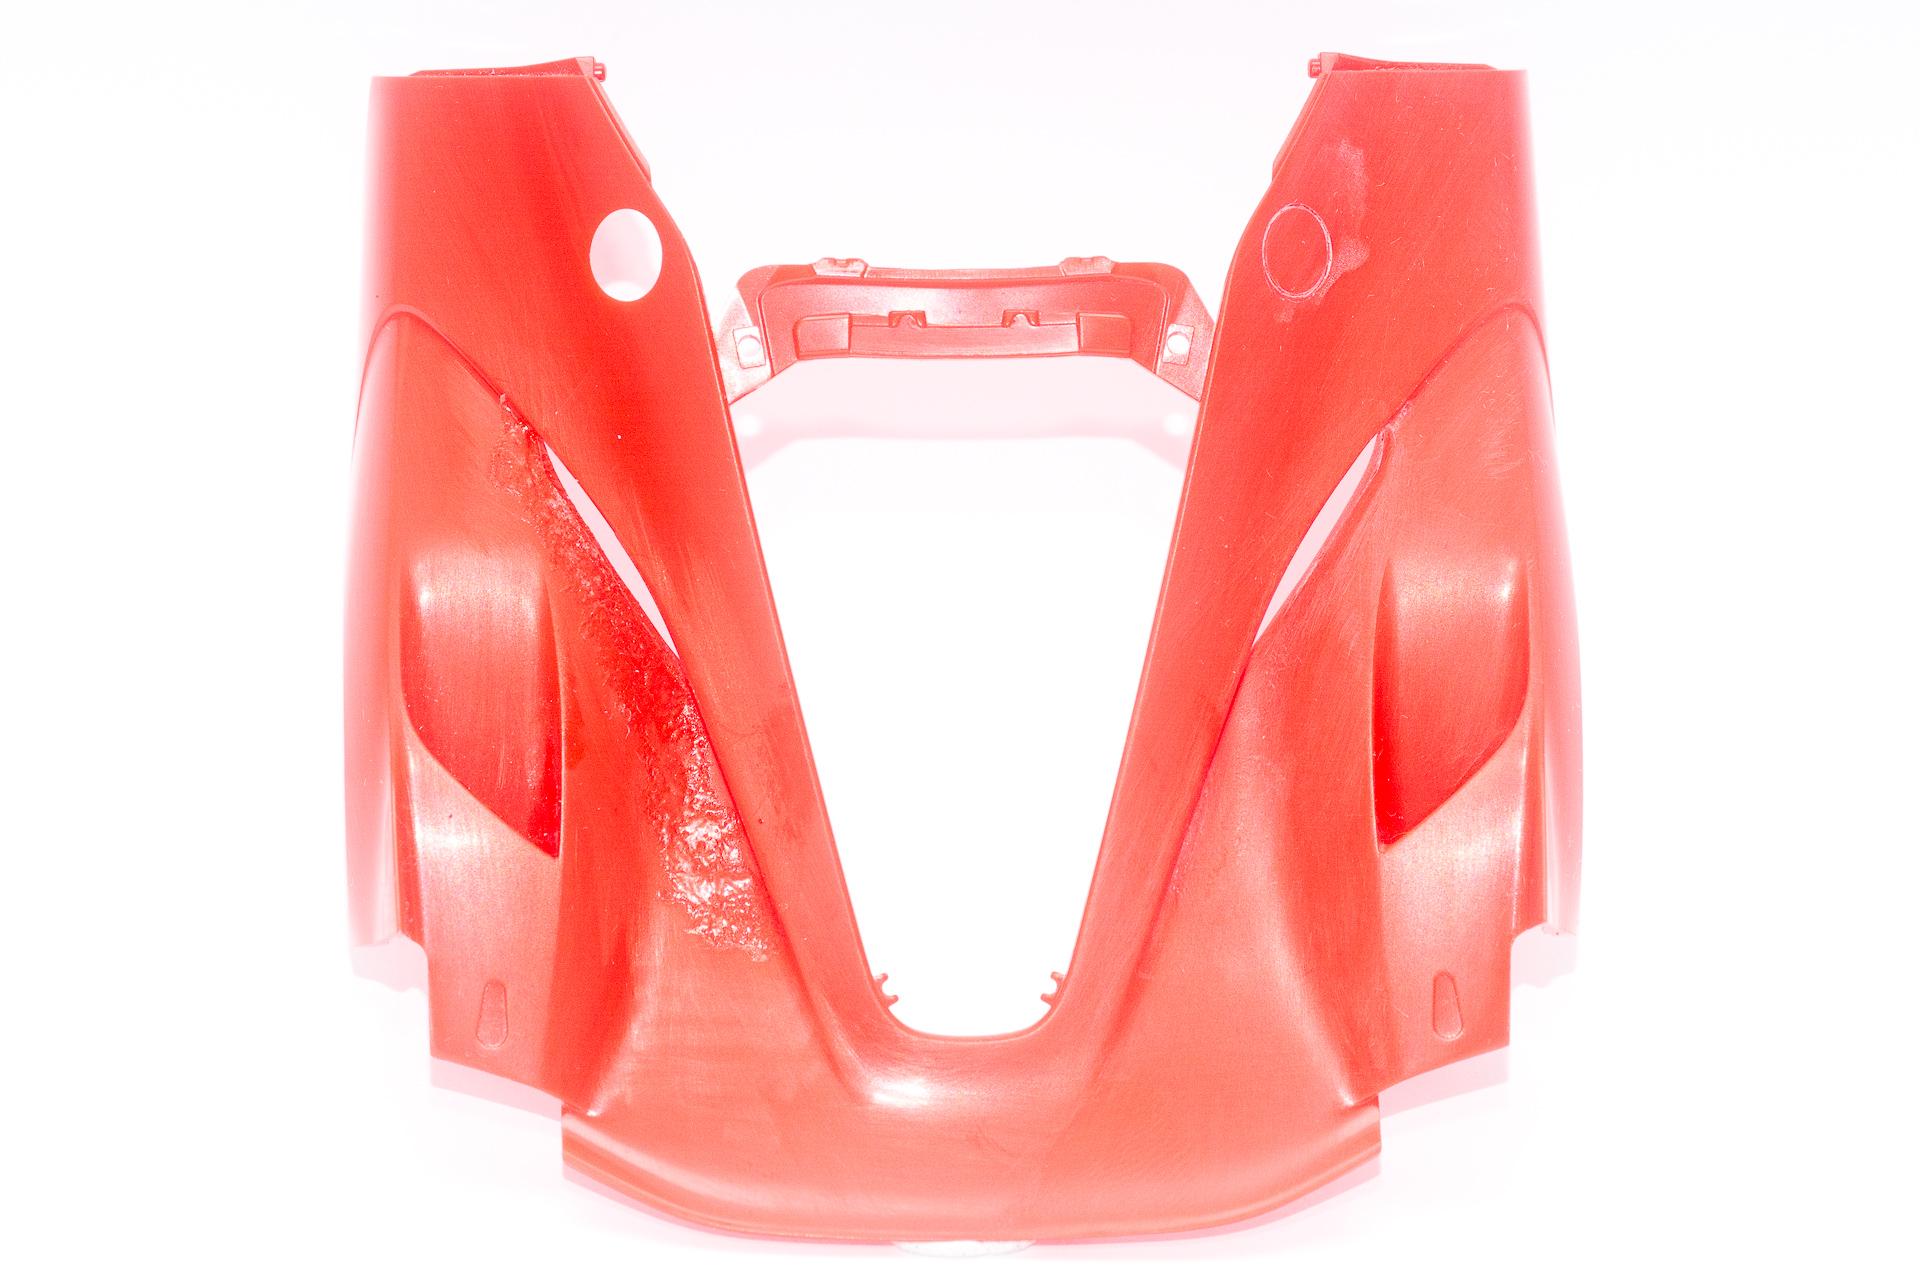
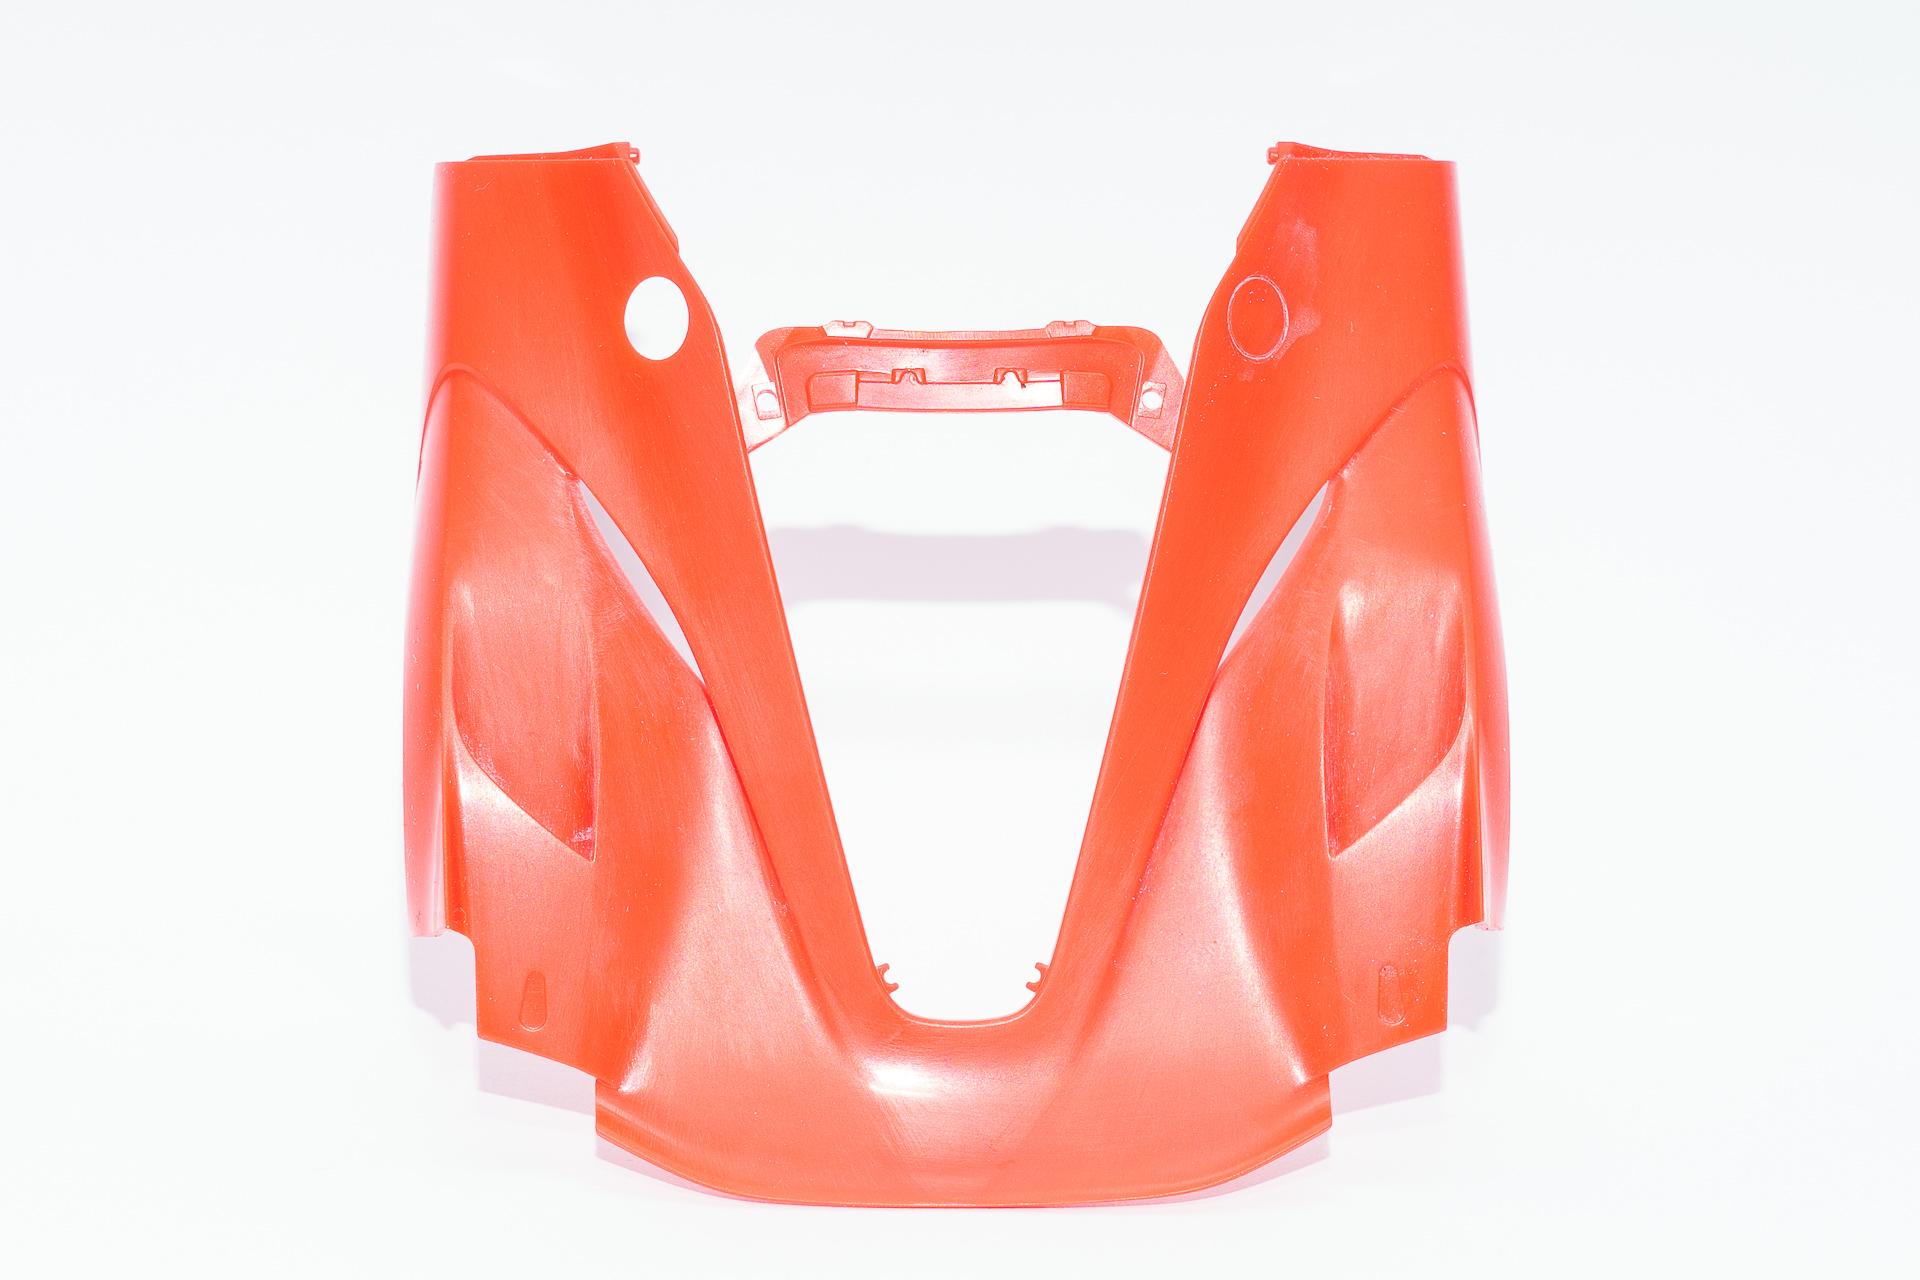
Hi all ? Thank you very much ? I'll keep that in mind with the decals. Happily there are some third party decals available if the ones from Tamiya aren't usable. This week I wanted to start primering and painting the body parts. Therefore I double checked whether everything was ready and went through the instructions. Doing this I noticed that I forgot to add two parts to the bonnet, so I had to add them first. And because you can't see any seam on the real car I first had to let the joint disappear by using the method shown in one of my previous updates. So I lost quite the whole weekend with letting the sprue goo dry and sand it back. I hope now that I'll be able to at least prime the body parts by the end of this week. In the picture I just spotted a very tiny seam where the two parts come together, so I'll check that again and maybe fill / sand once again to make it really smooth. While the sprue goo was drying I primered the rims from the detail up set with Alclad Gloss Black Base and painted it afterwards with Airframe Aluminium, also from Alclad. Finally I assembled and painted the brake discs from the detail up set. The center has been painted in Zero Paints Jet Black, while the outer part received some Zero Paints Carbon Grey. The recesses in the outer parts will be darkened with some Tamiya Accen Panel Line Black later. That's all for this week ? Urs
-
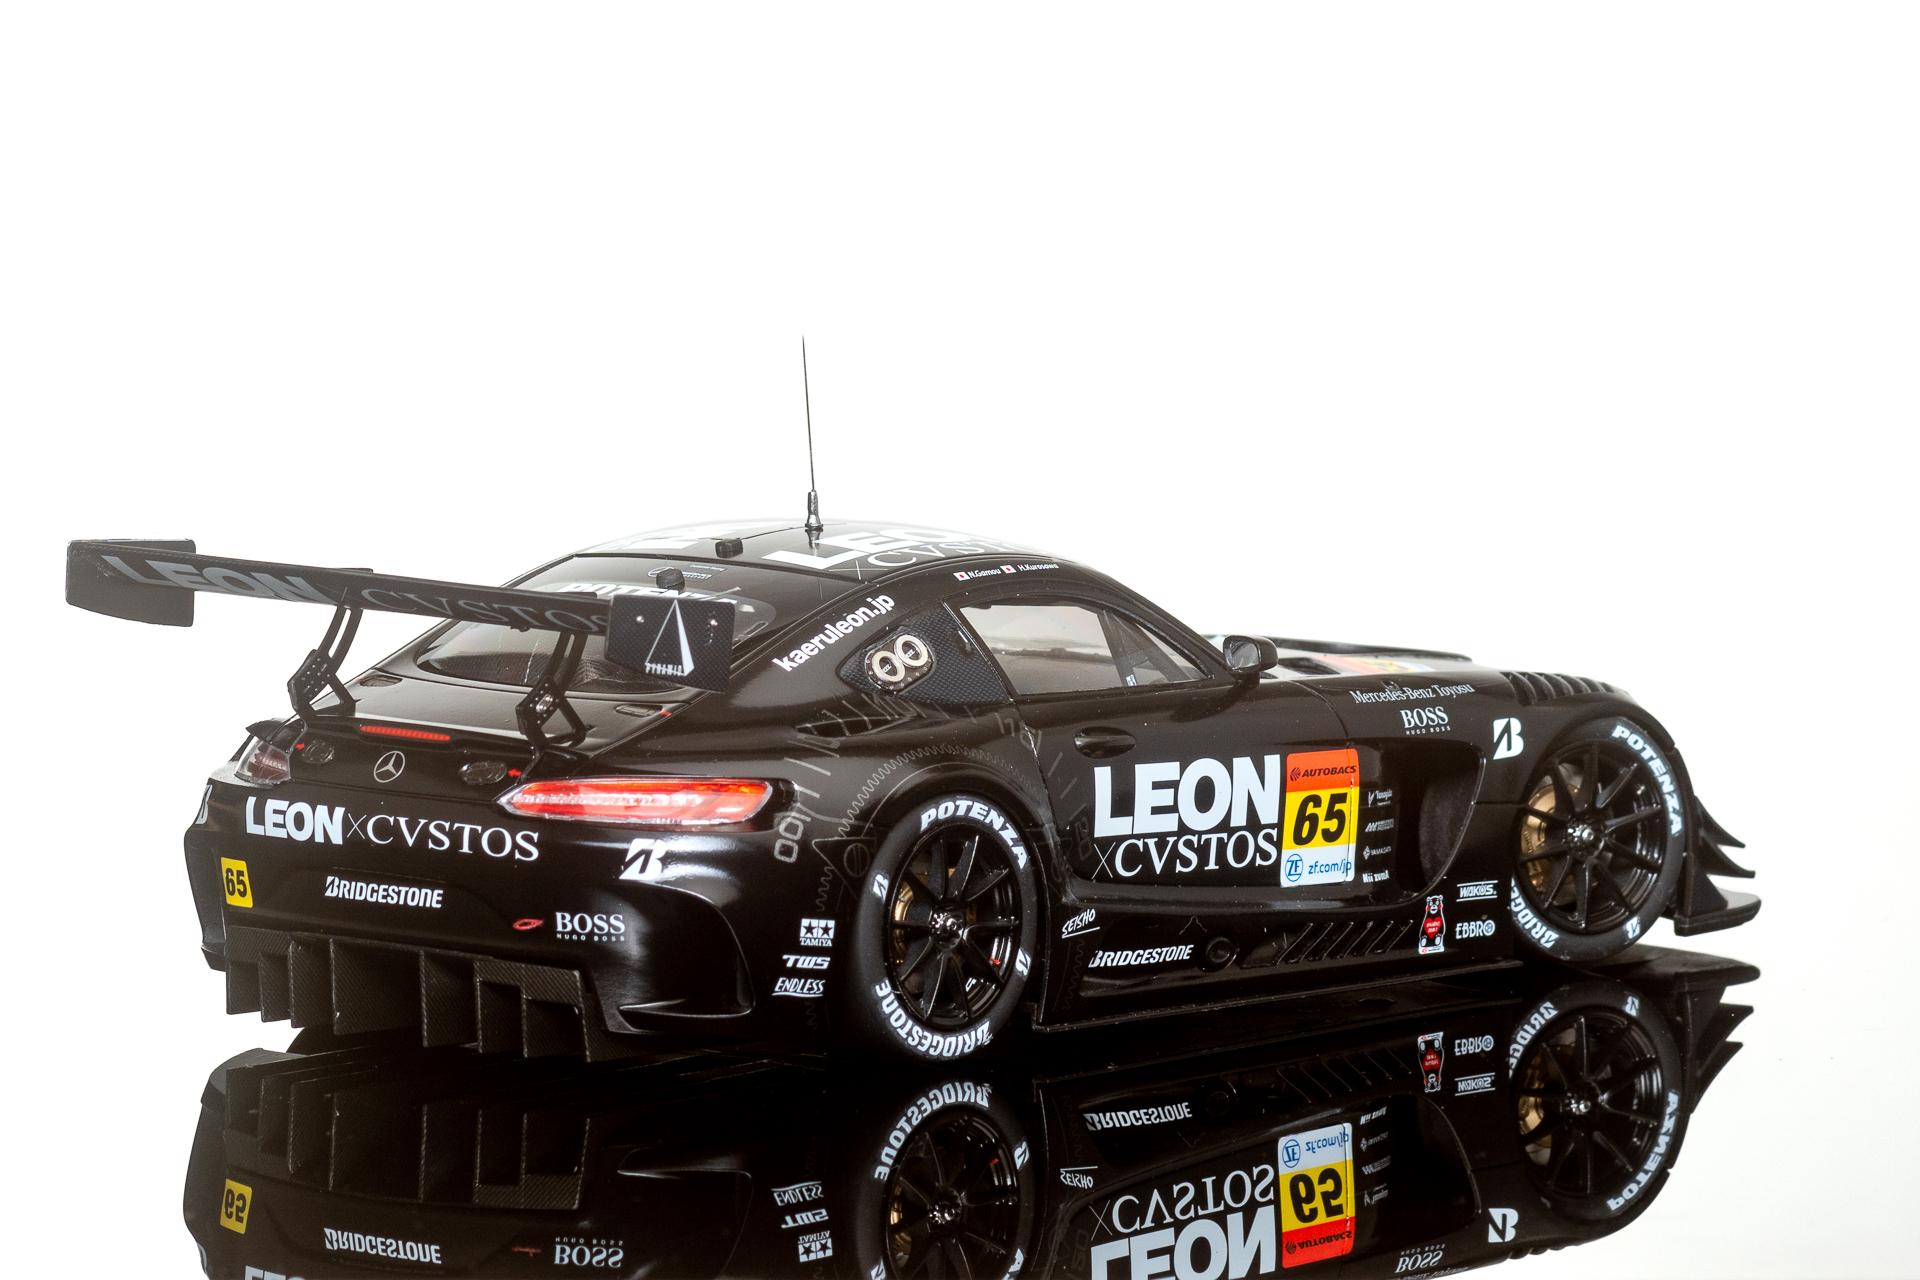
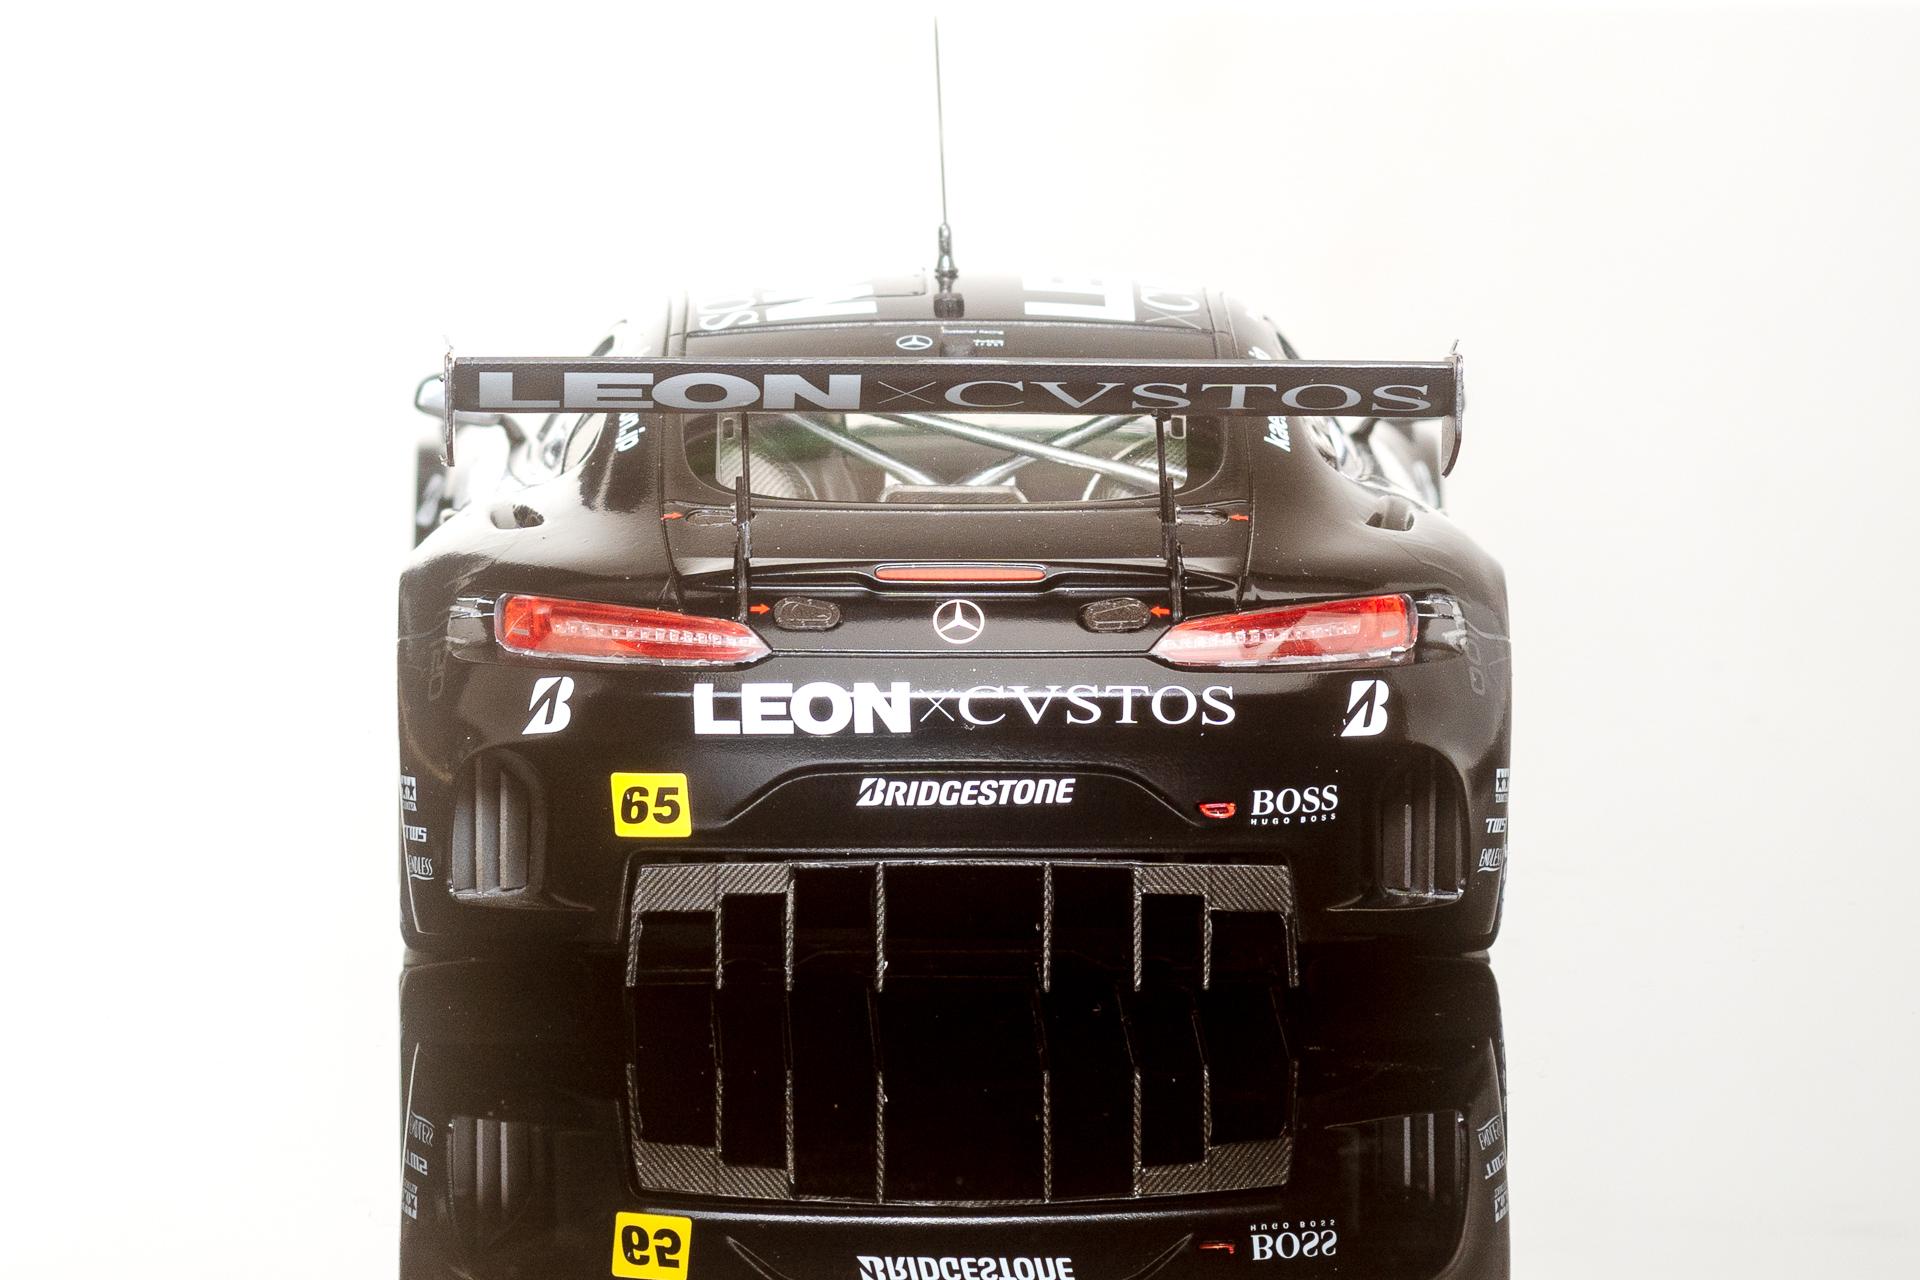
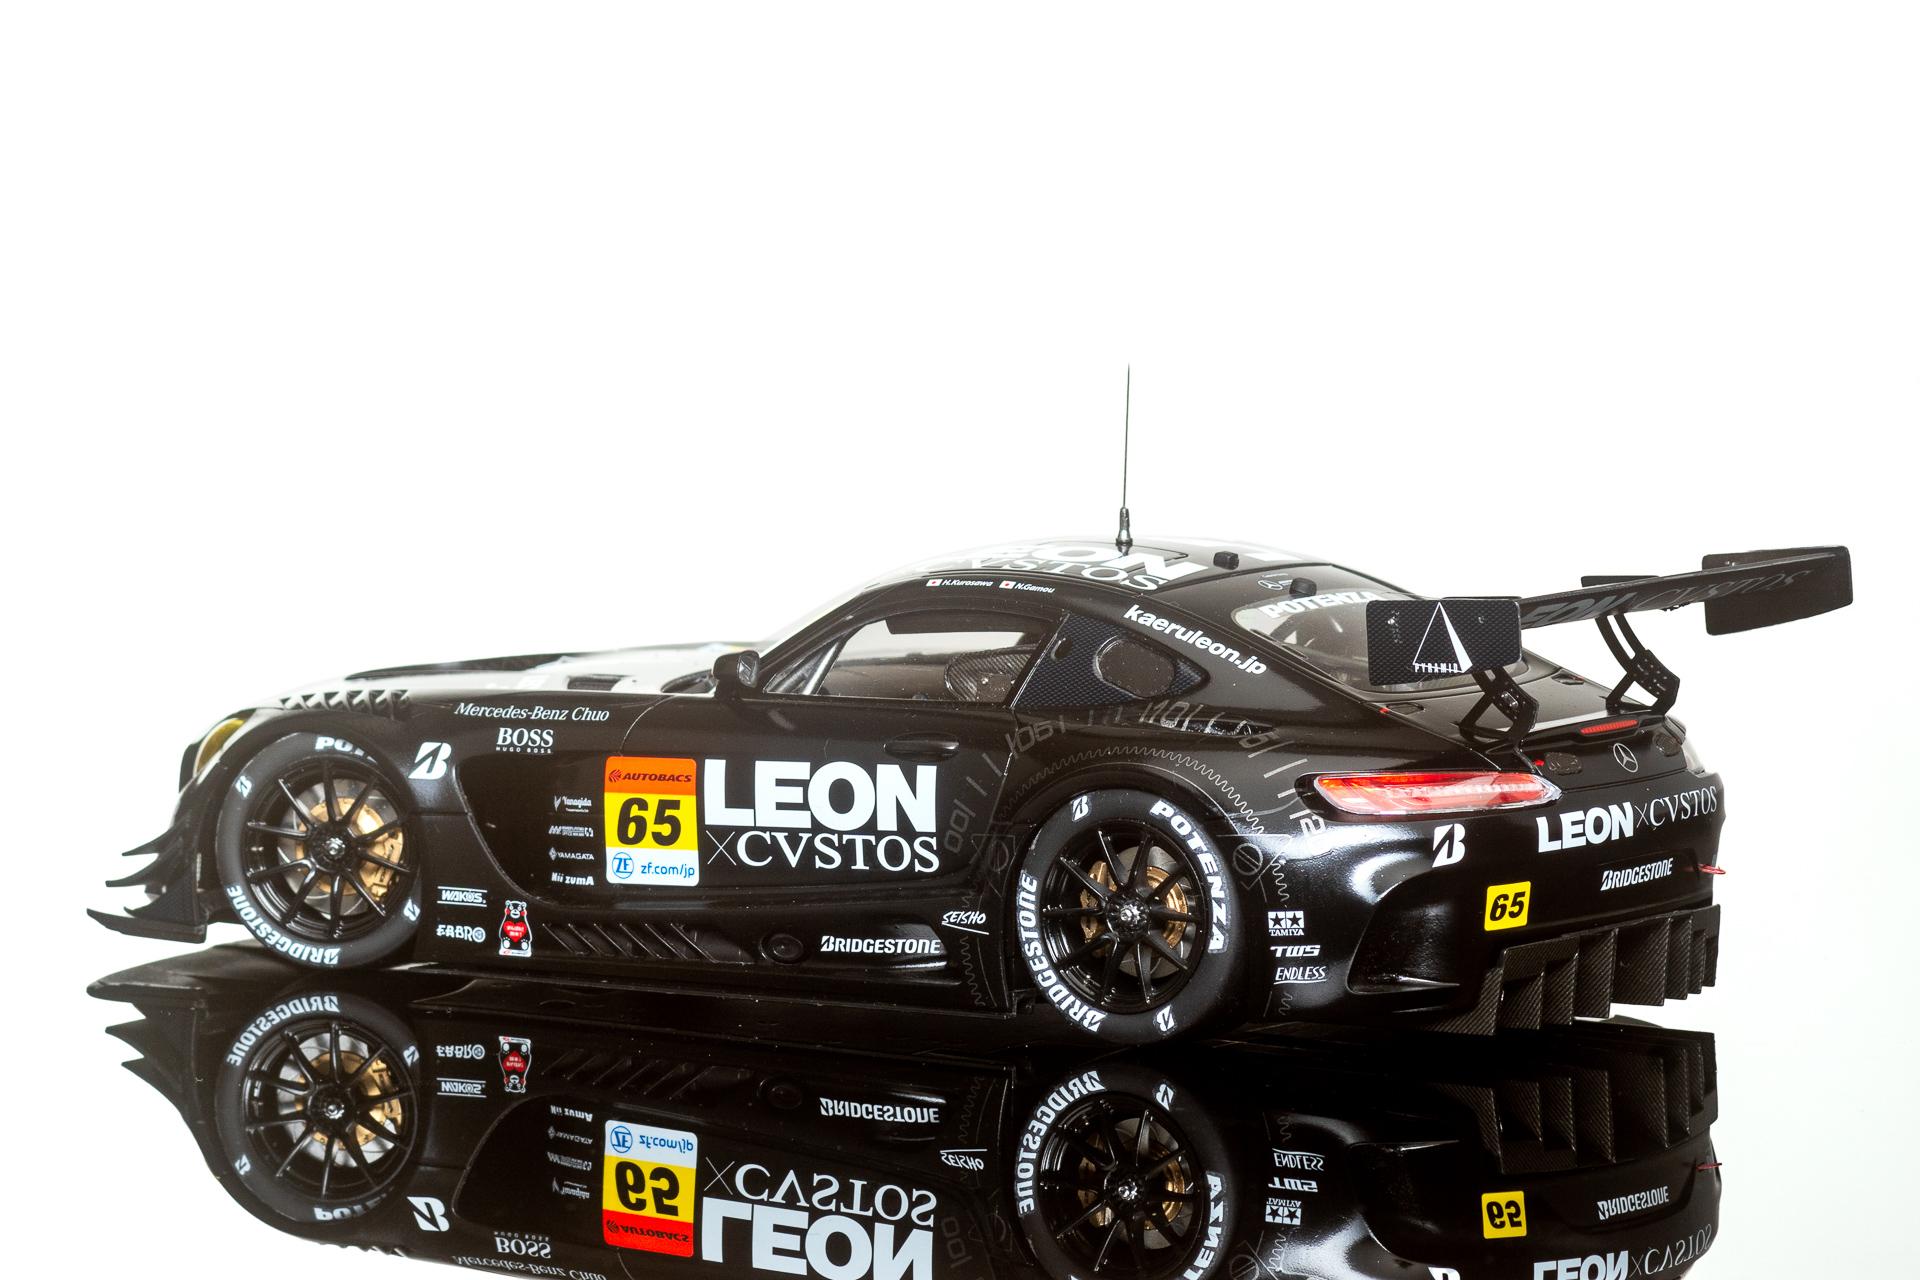
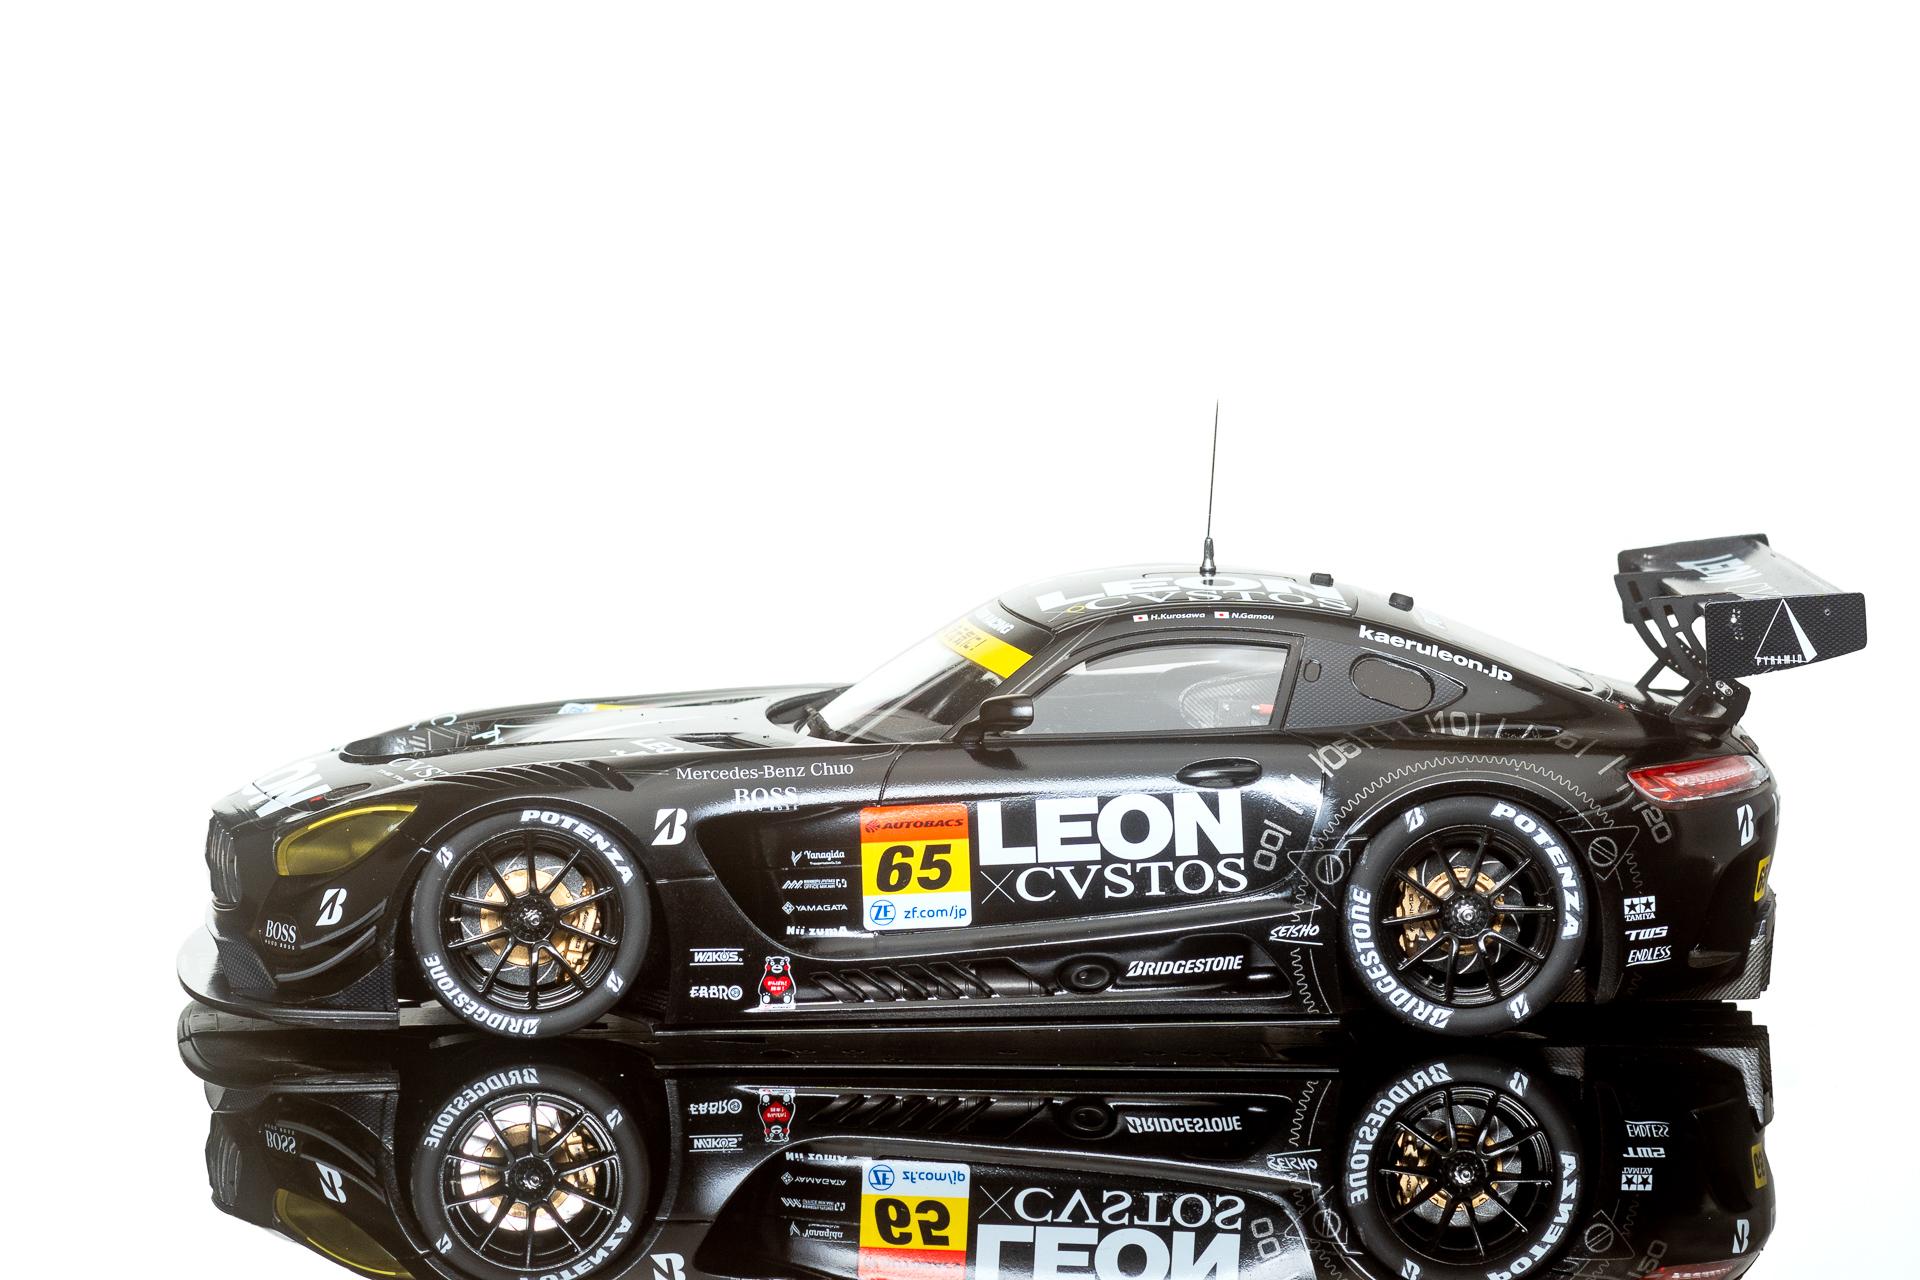
Leon CVSTOS AMG GT3
harti20 replied to harti20's topic in Other Racing: Road Racing, Salt Flat Racers
Thank you all for your kind comments. I really appreciate it -
That's what I was thinking about too... Maybe I'll make another attempt trying to improve the look of the heat shield and if it doesn't turn out the way I like I know that nobody will ever see it again once the FXX-K is finished. But it will definitely be a good practice for occasions it will be visible in another project ?
-
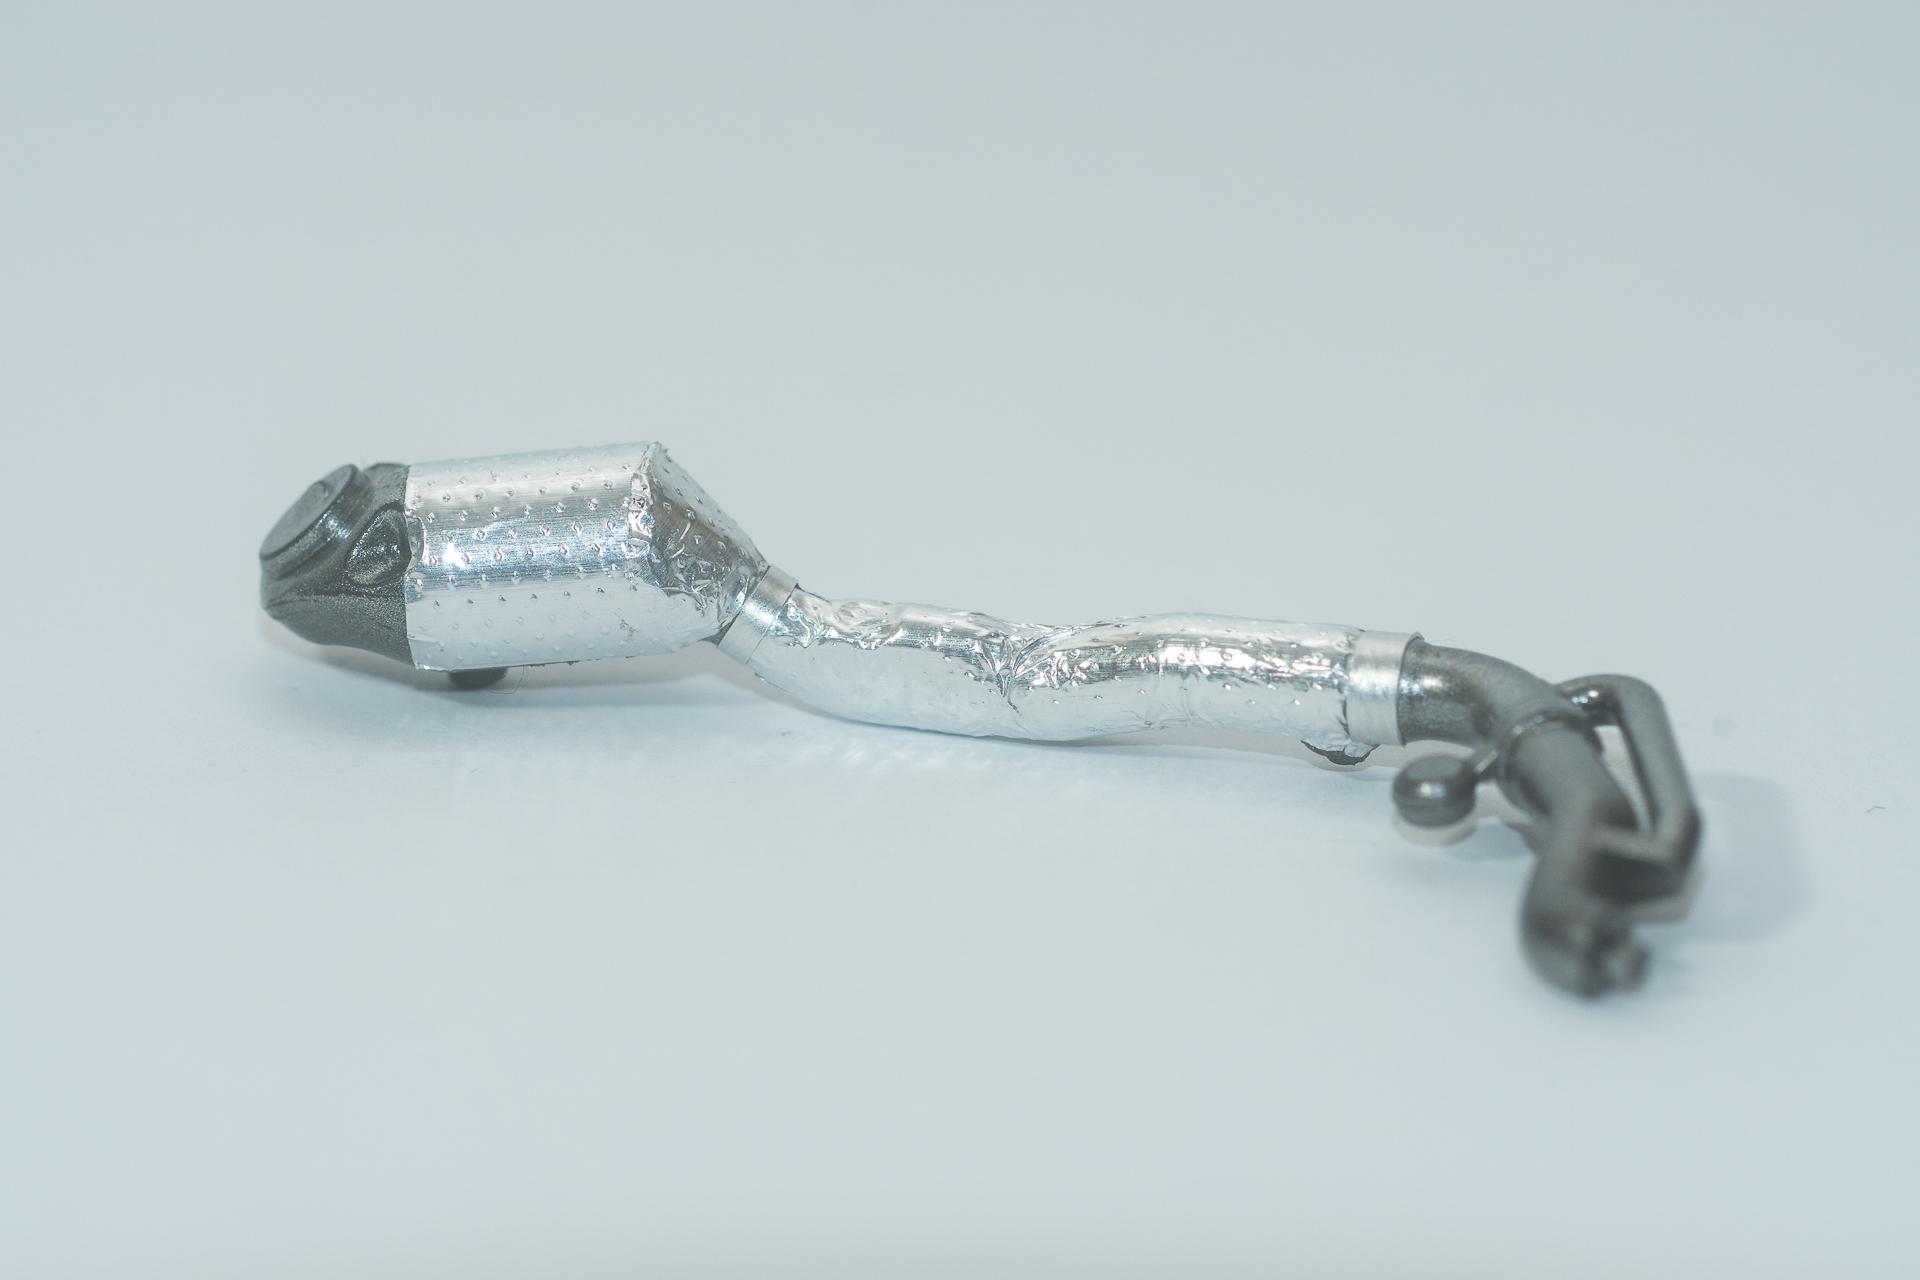
Hi all Only a small update this week, as I was mainly working on another project which could be completed yesterday. The wiring of the engine has started Then I tried to simulate the heat shield. Therefore I used some usual aluminium foil and pressed the handle of a tool against it to impress the structure. Afterwards I wrapped it around the manifold. I'm not really happy with it yet because of the wrinkles in the foil. Up to now I didn't decide yet whether I will follow this path or just leave it painted like the one in the background. That's all for this update. I hope the next one will be more extensive ? Urs
-
Thank you very much. I almost thought it had something to be that way, as I couldn't imagine Ferrari building a car for race tracks only without using carbon on the diffusor. But if it's almost invisible without getting very close, I'll leave it that way ? Urs
-
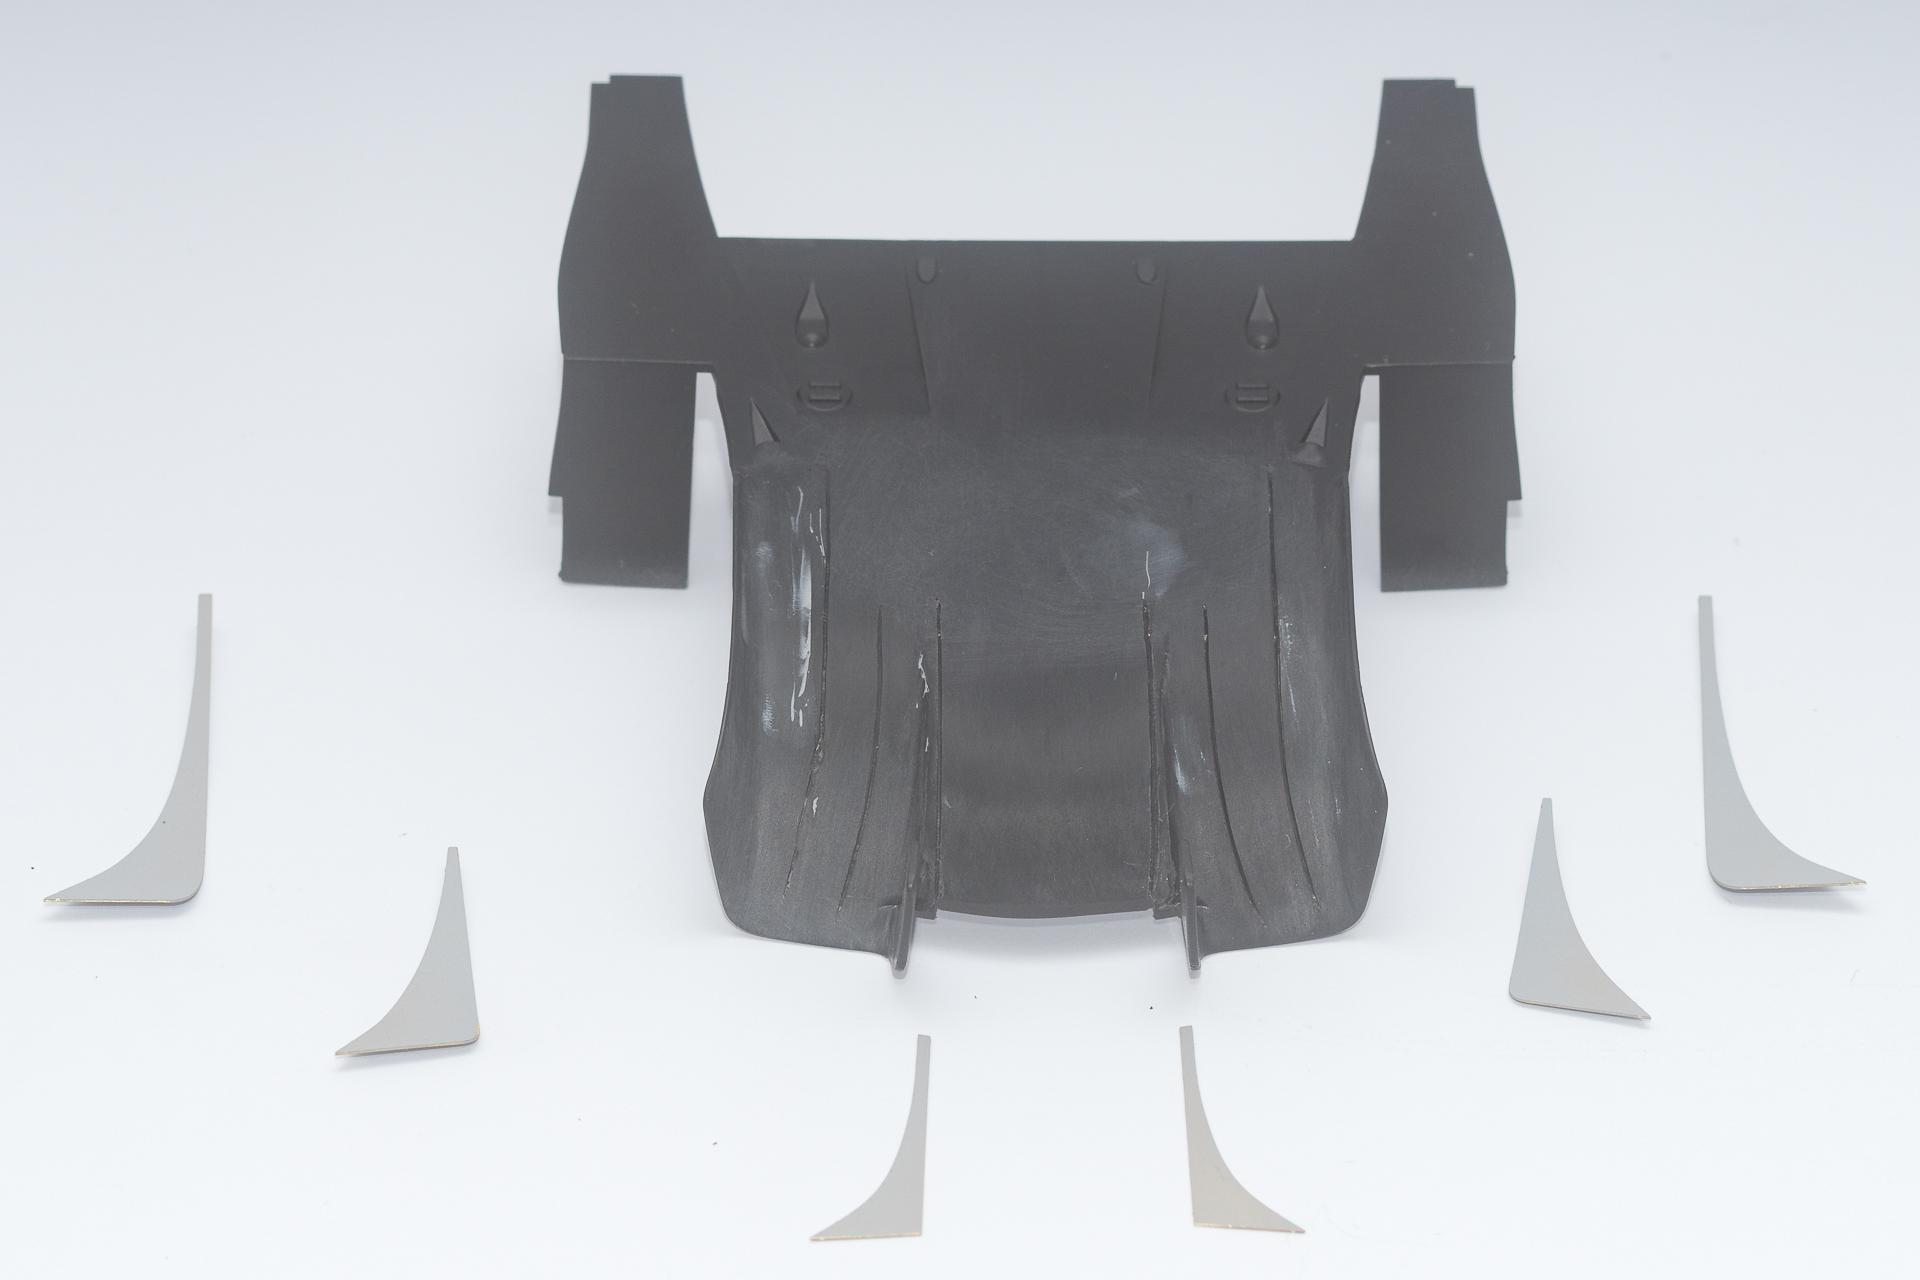
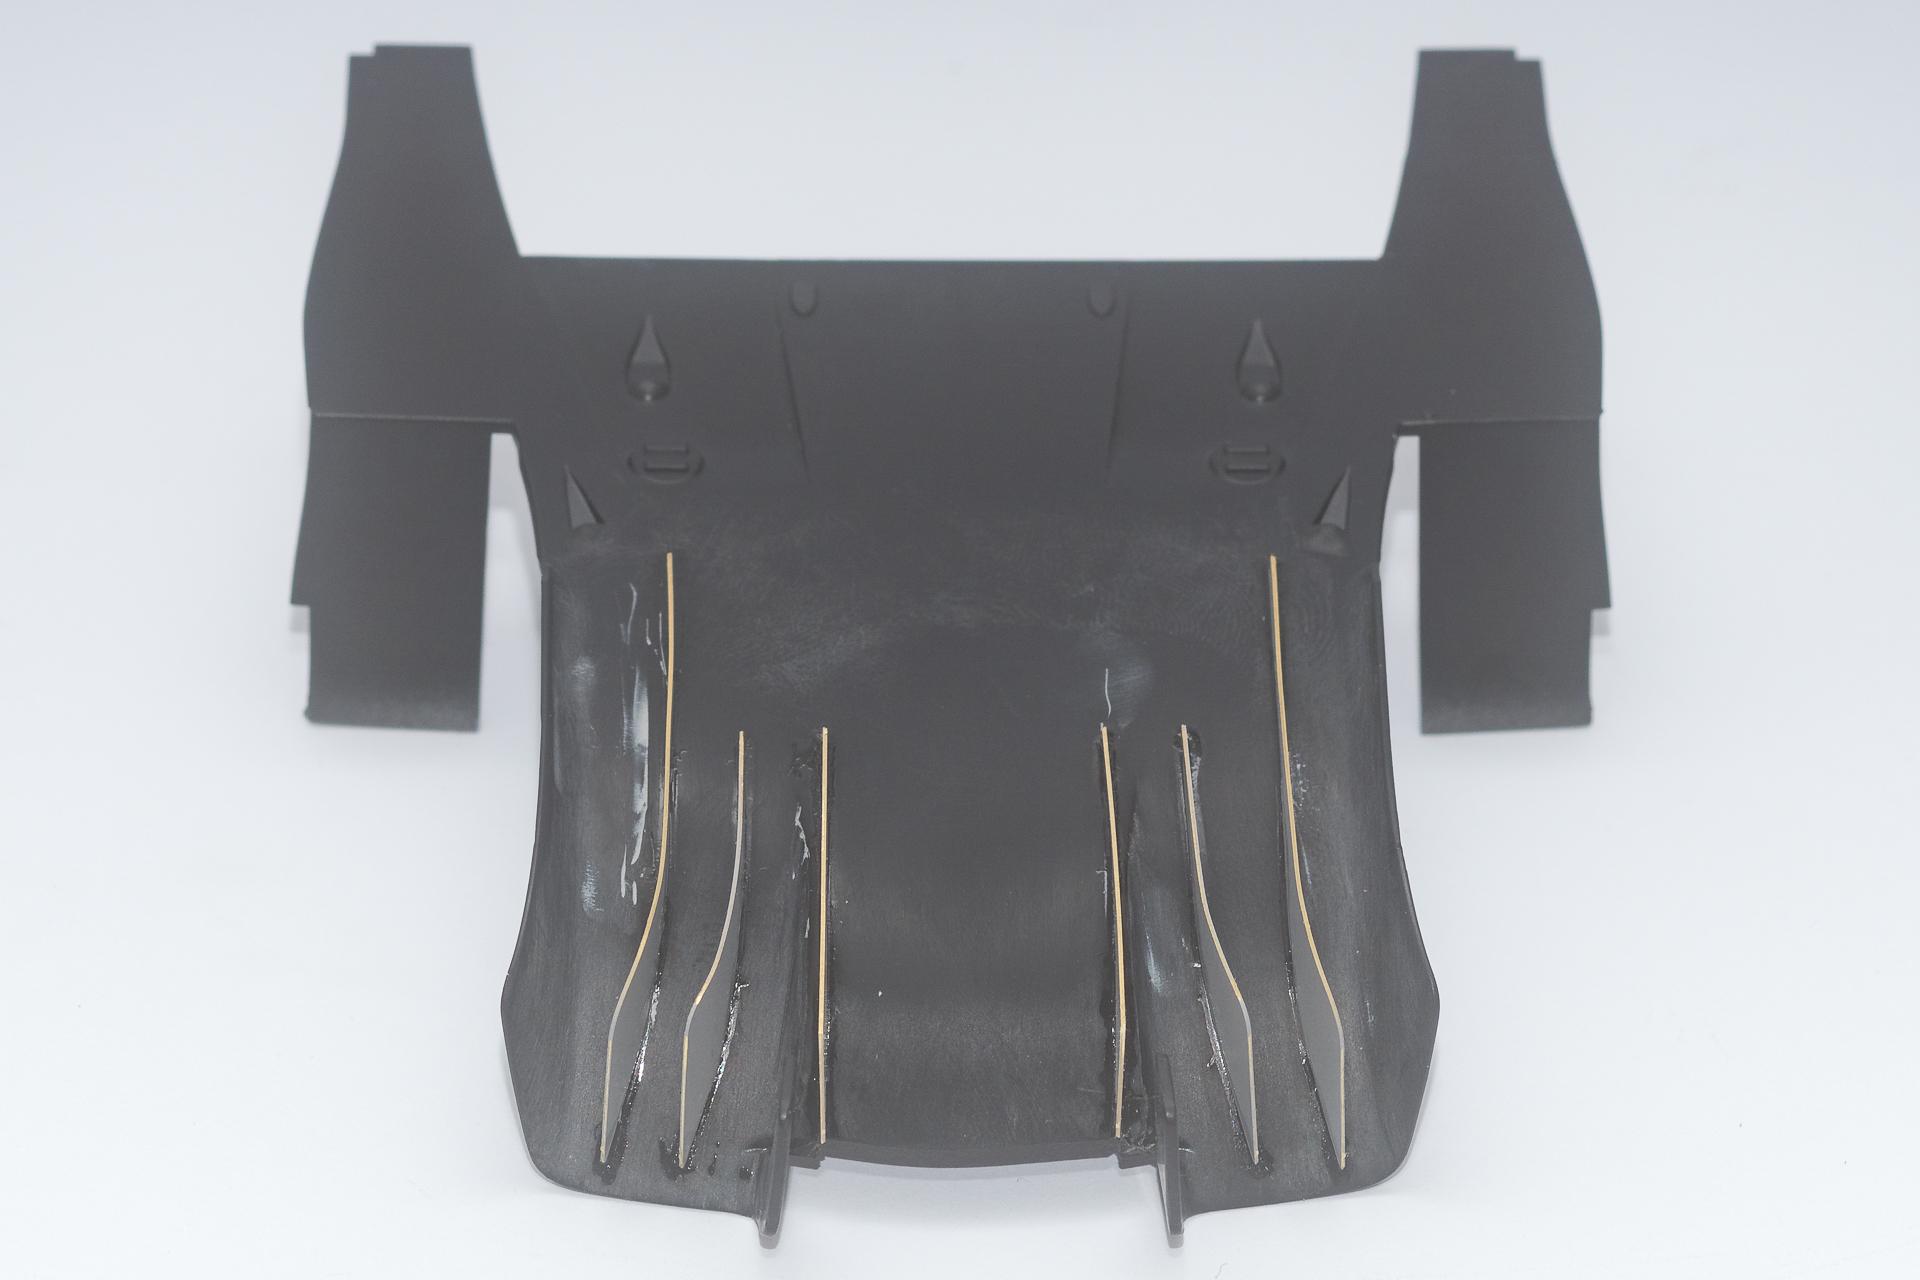
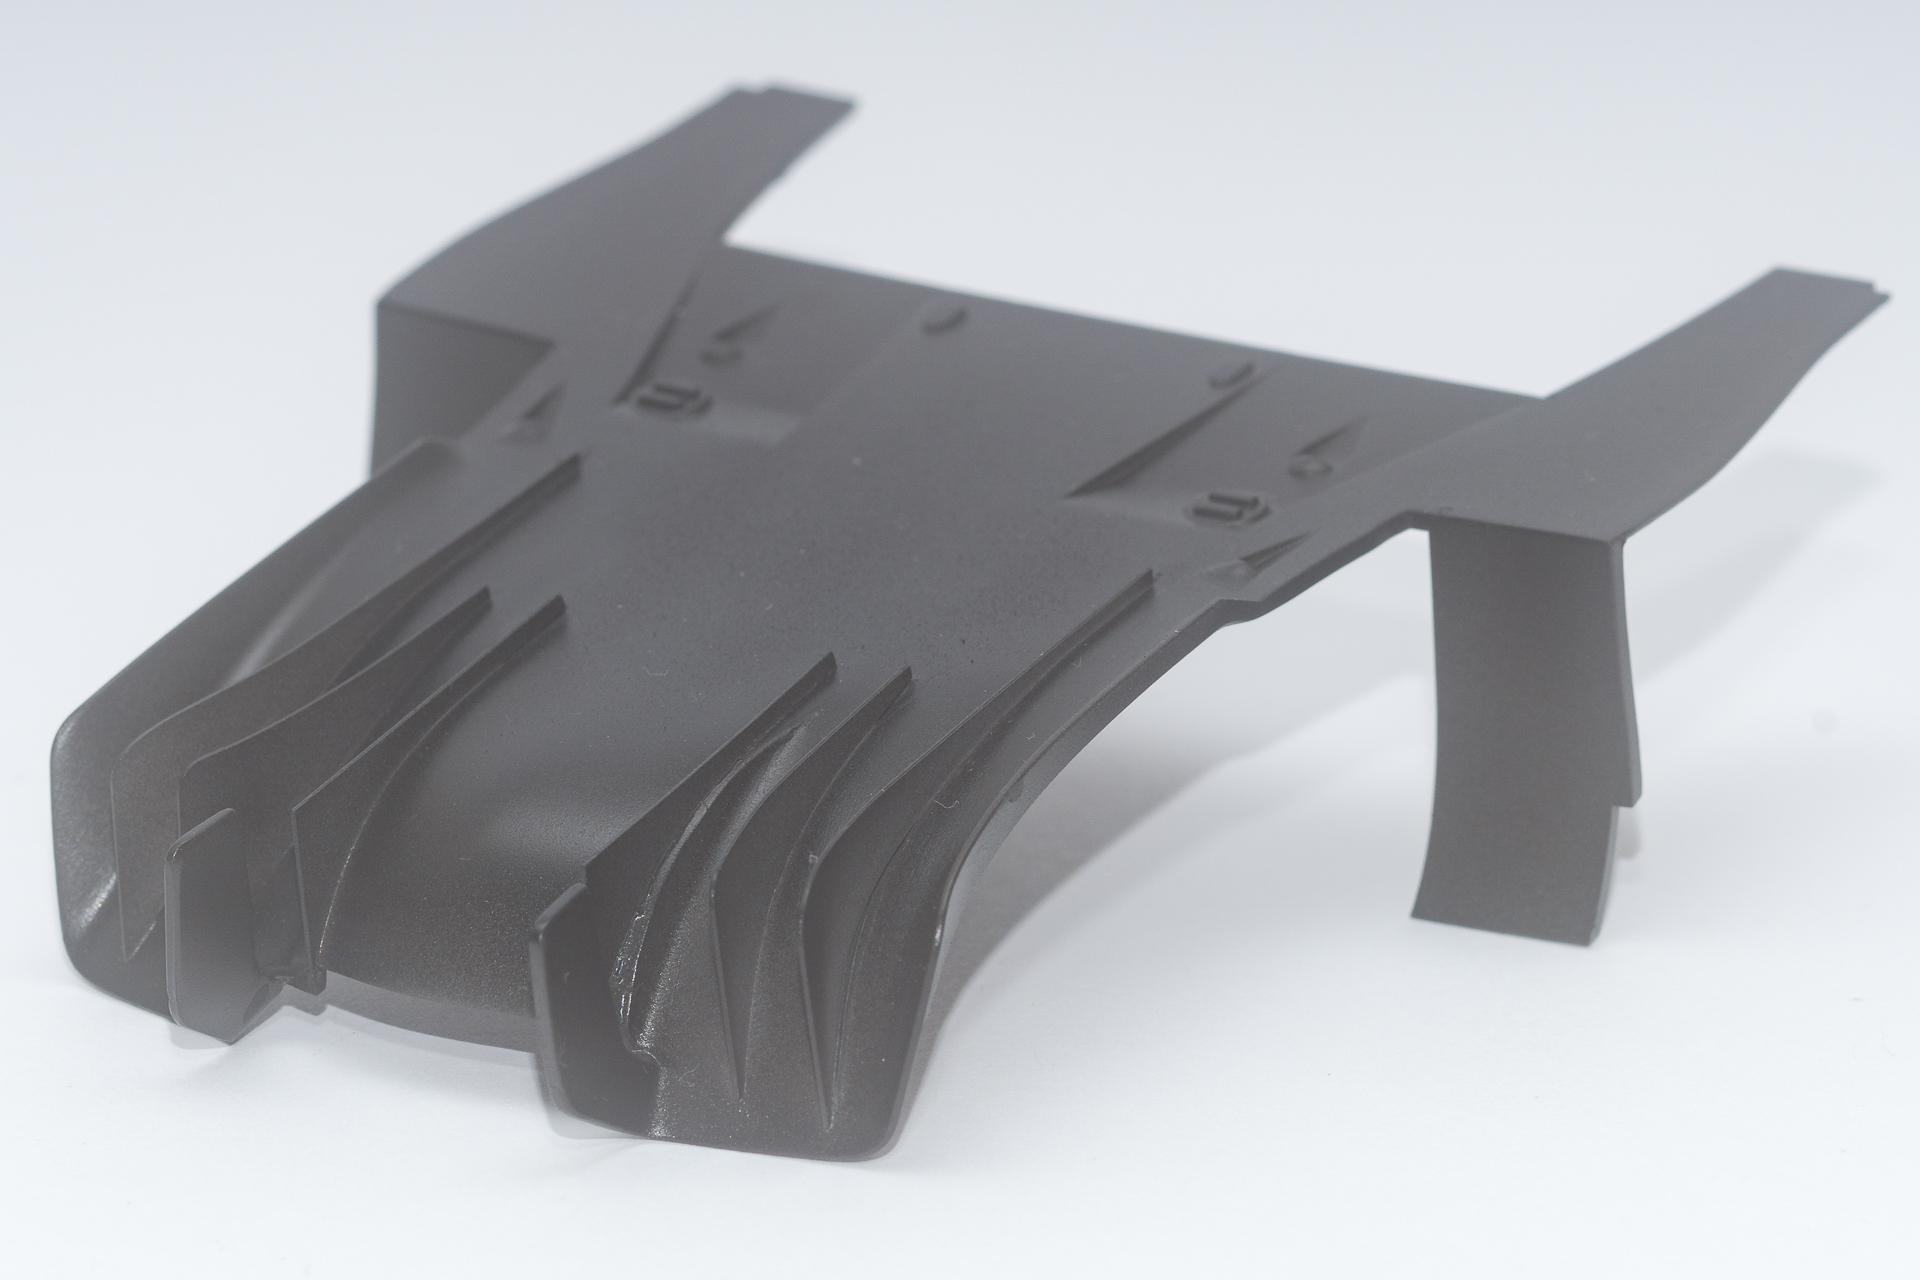
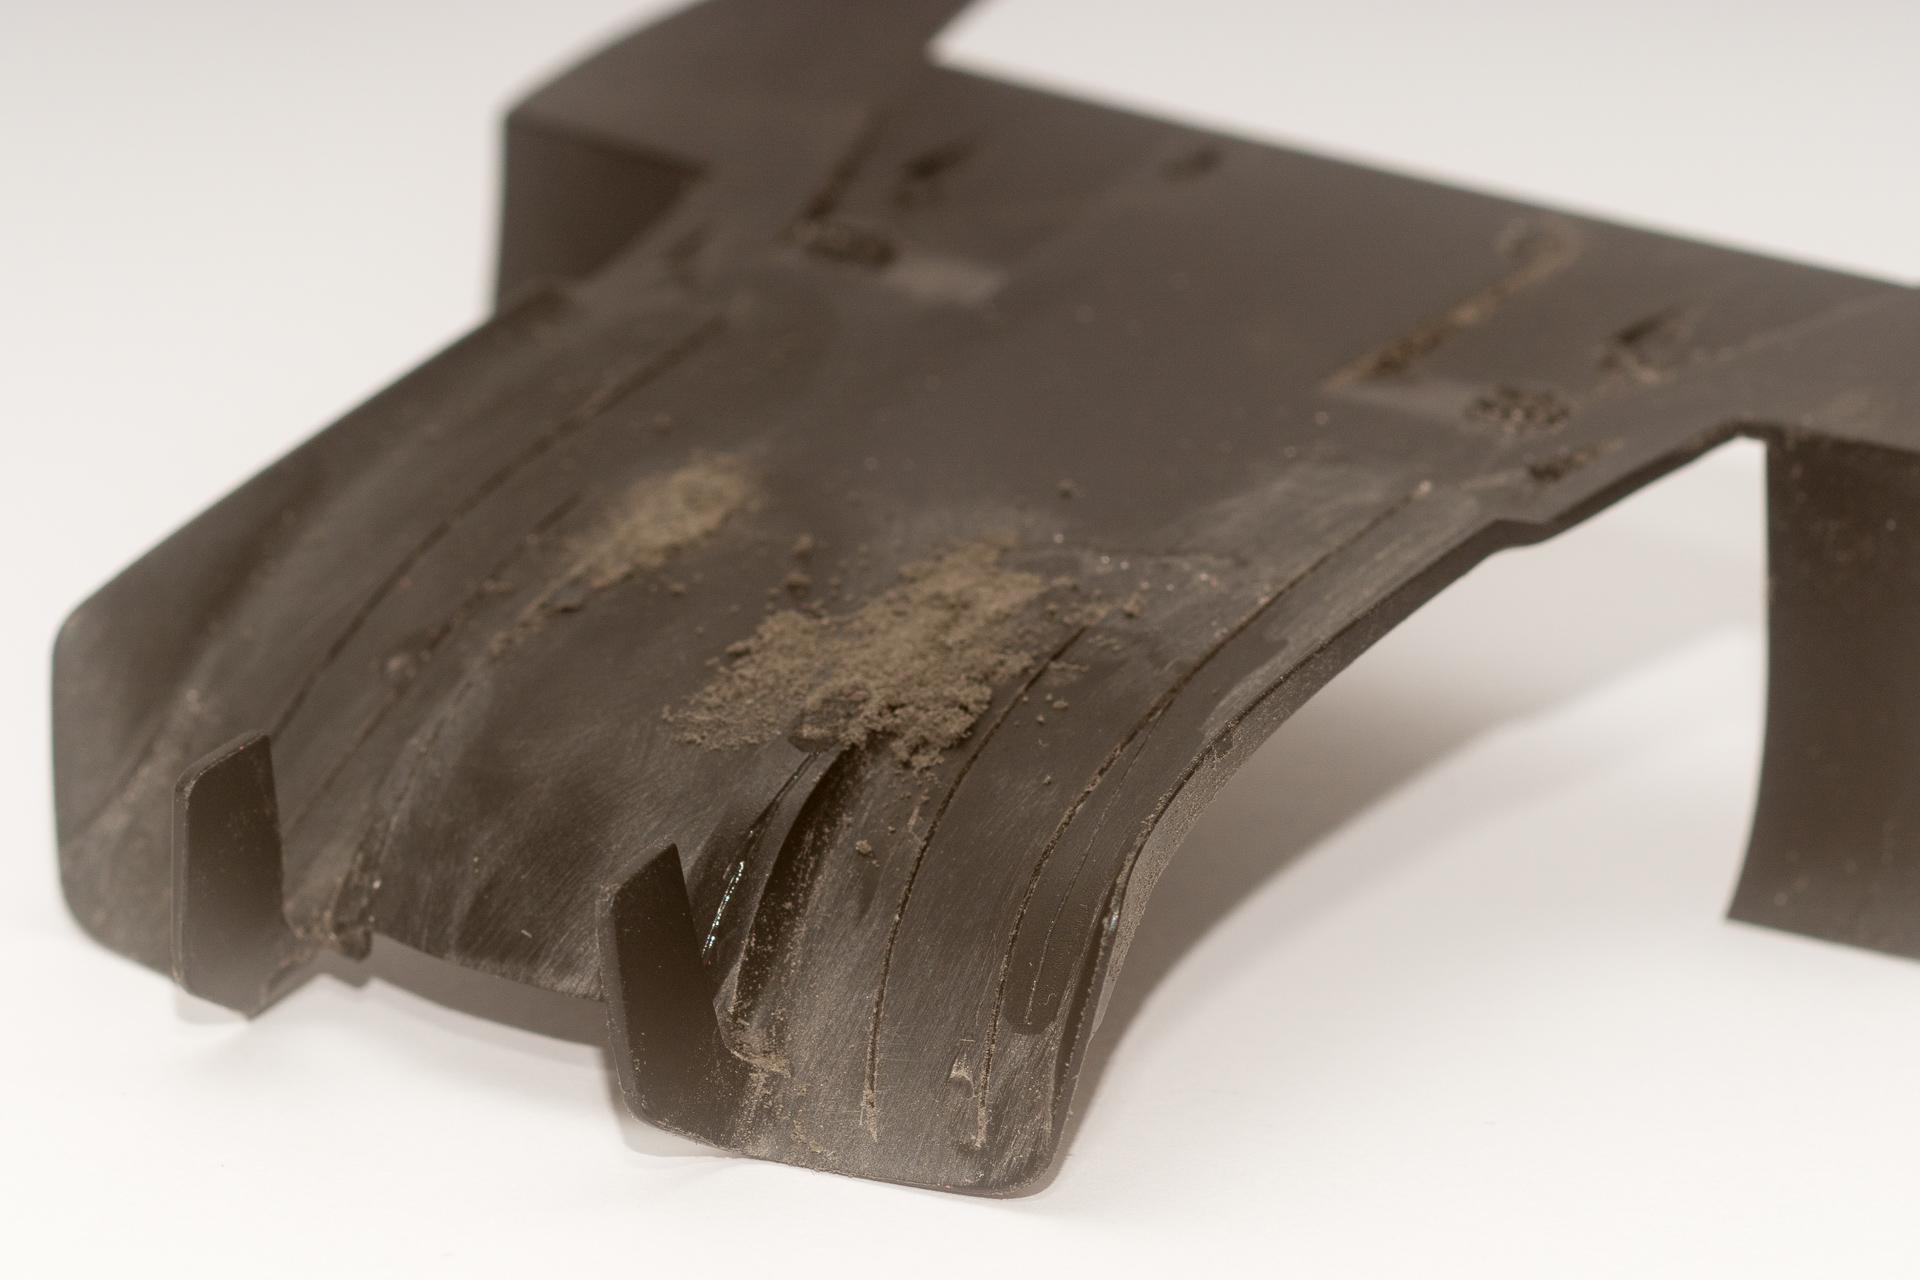
Hi all Thank you very much. I hope I will do this kit justice The diffusor is sanded, primered and painted now. As I couldn't find any picture showing the FXX-K's diffusor in carbon, I decided to make life easy and paint everything in a light black. But let's start at the beginning First I had to re-engrave the grooves for the two most inner fins. Initially I thought I wouldn't need them to install the fins and filled and sanded them. But when doing a mock-up I noticed that I'll need them anyway. In this picture all the grooves are engraved and widened enough to make the fins fit perfectly. That gives some more stability to the construction. Then the fins could be attached And to finish it off, everything was painted in Zero Paints Jet Black, mixed with a tiny amount of Brilliant White. That's everything for this week. For the upcoming week I plan to blacken the panel lines and maybe apply some primer to the body parts. Urs
-
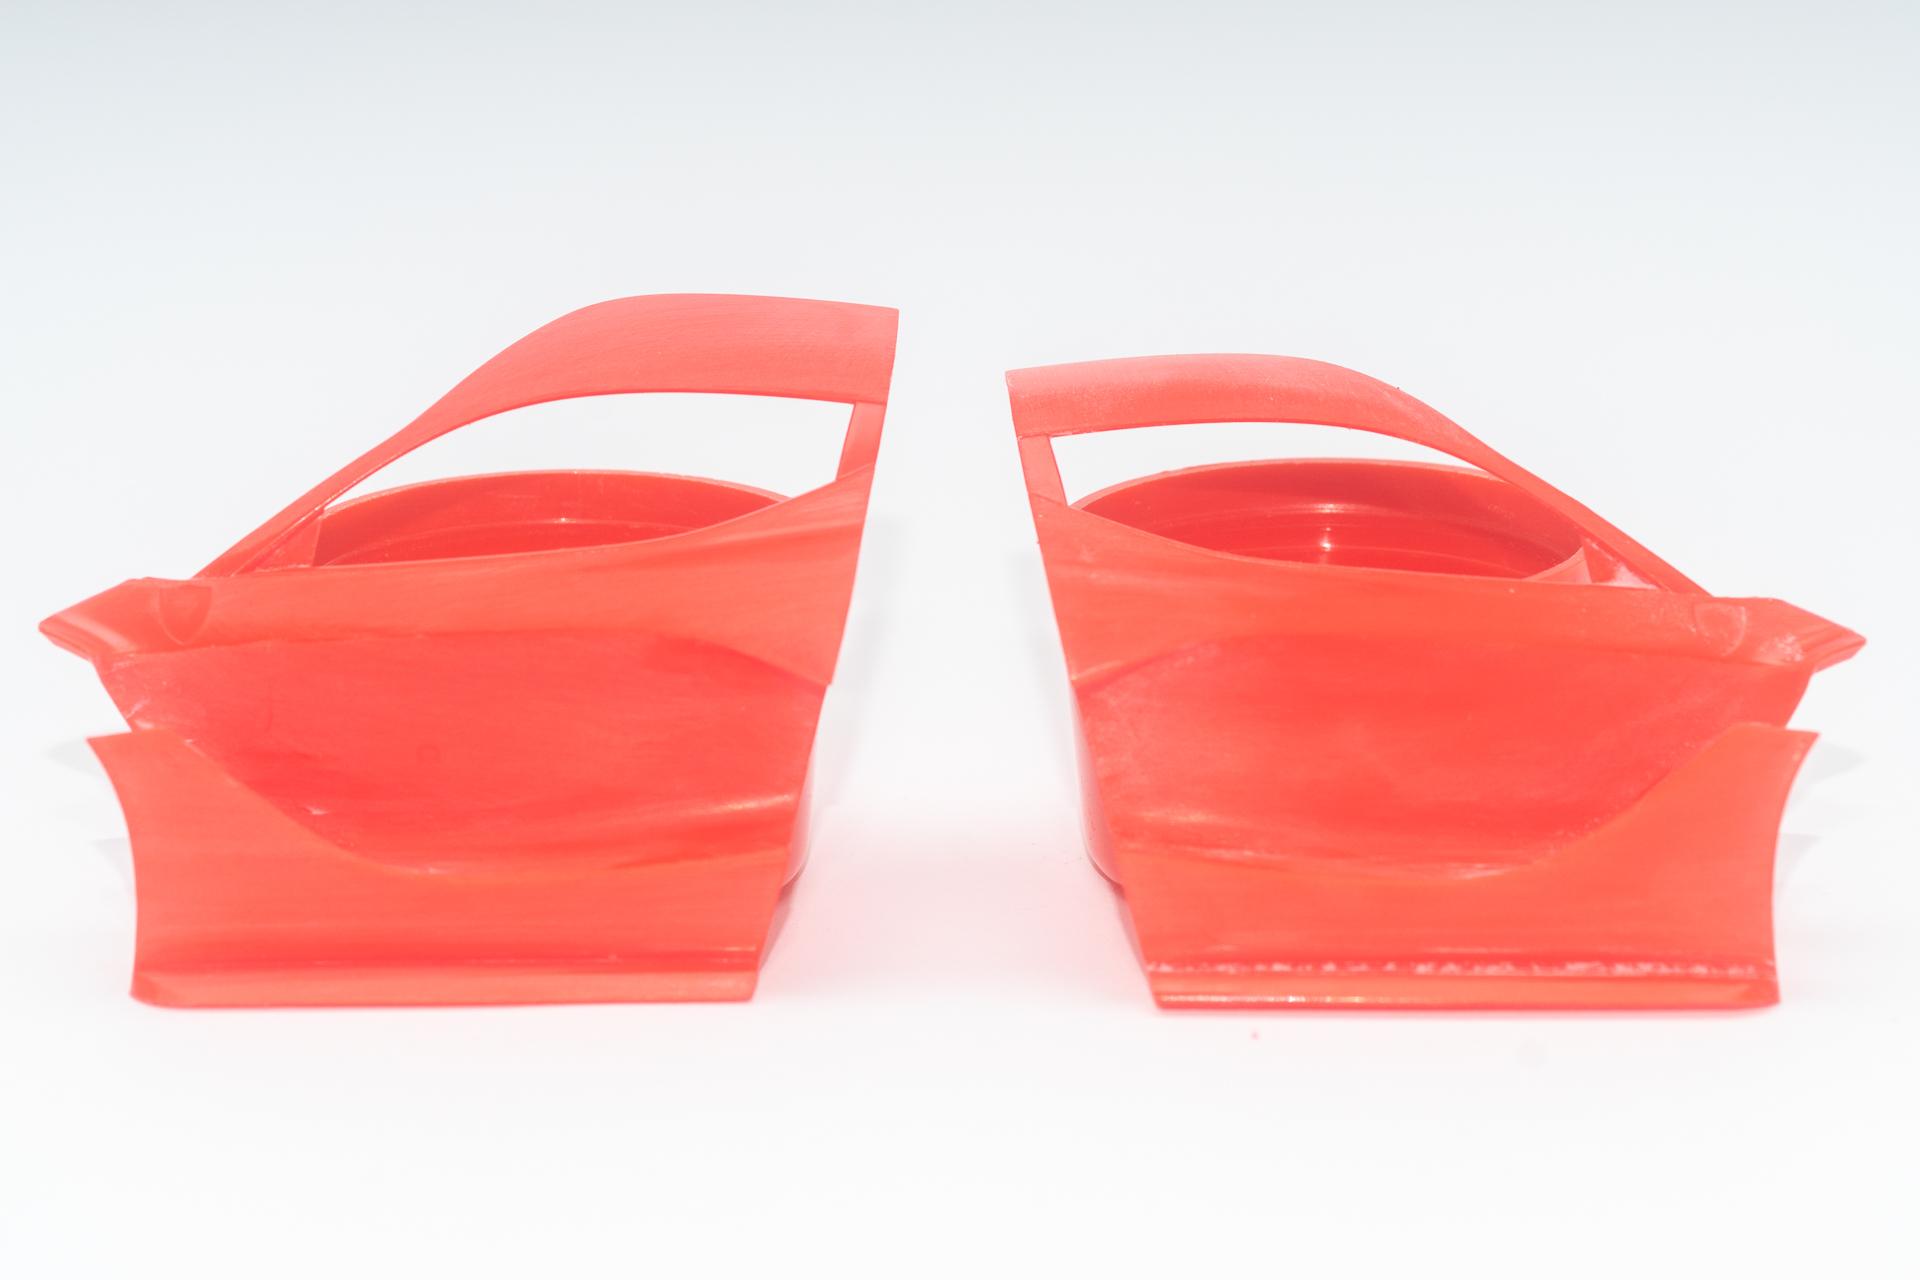
Hi all Time for another update on this build. Work continued, although in small steps only. First of all a mock up to see if everything fits. As this is a Tamiya kit I wasn't really surprised that everything seems to be fine so far ? Then the fins from the kit part have been removed to add the fins from the PE set afterwards. Some scratches have been filled with some sanding dust and Tamiya Cement. The outsides of the doors have been assembled and sanded smooth The join lines on the bonnet have been filled the same way I used on the diffusor. On the left side you can see the final result after sanding and polishing, on the right side you see how it looked after letting it sit and cure for a few days. And that's how the bonnet looks now. I'm quite happy with the way it turned out. Especially as this was the first time I tried this technique to fill the seams. When doing a mock up with the PE fins I noticed that I made a mistake at the leftmost groove. On the rear end it was about 1 mm too much on the right side. So I had to close the end of the groove and rescribe it. That's why I'm still sanding and filling, but it seems to come to an end as well. Once this is finished, all the sanding of the body parts should be completed and I should be able to start priming and painting them. That's all for today. I hope that next time I have finished sanding the diffusor and that I found out whether the diffusor is made out of carbon or not. I already cut the stencils for the carbon decals, but when I looked at pictures of the original car, I only saw a satin black diffusor. Now I'm not sure anymore whether I should use carbon decals or only paint it black... Urs
-

Leon CVSTOS AMG GT3
harti20 replied to harti20's topic in Other Racing: Road Racing, Salt Flat Racers
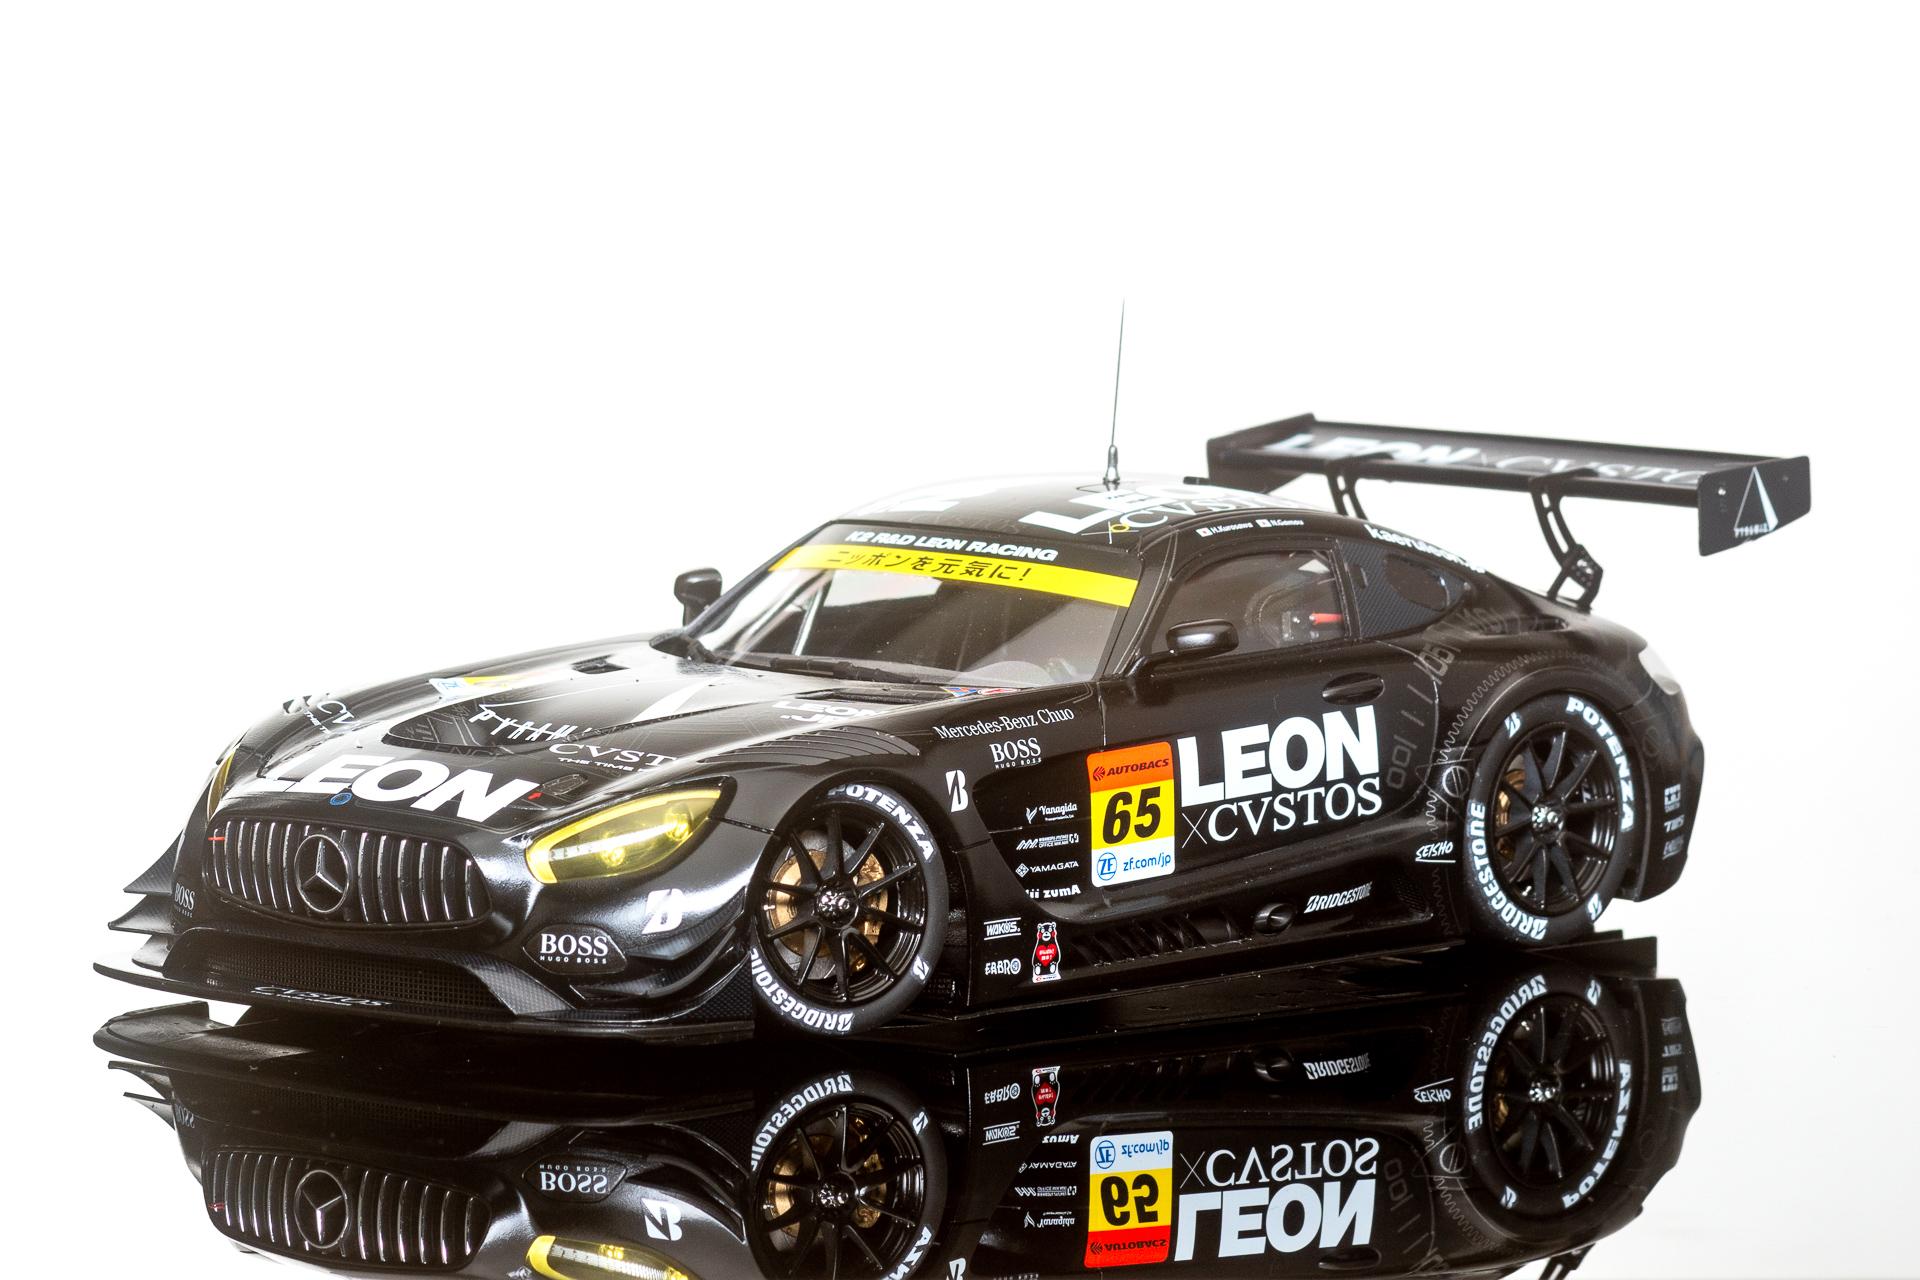
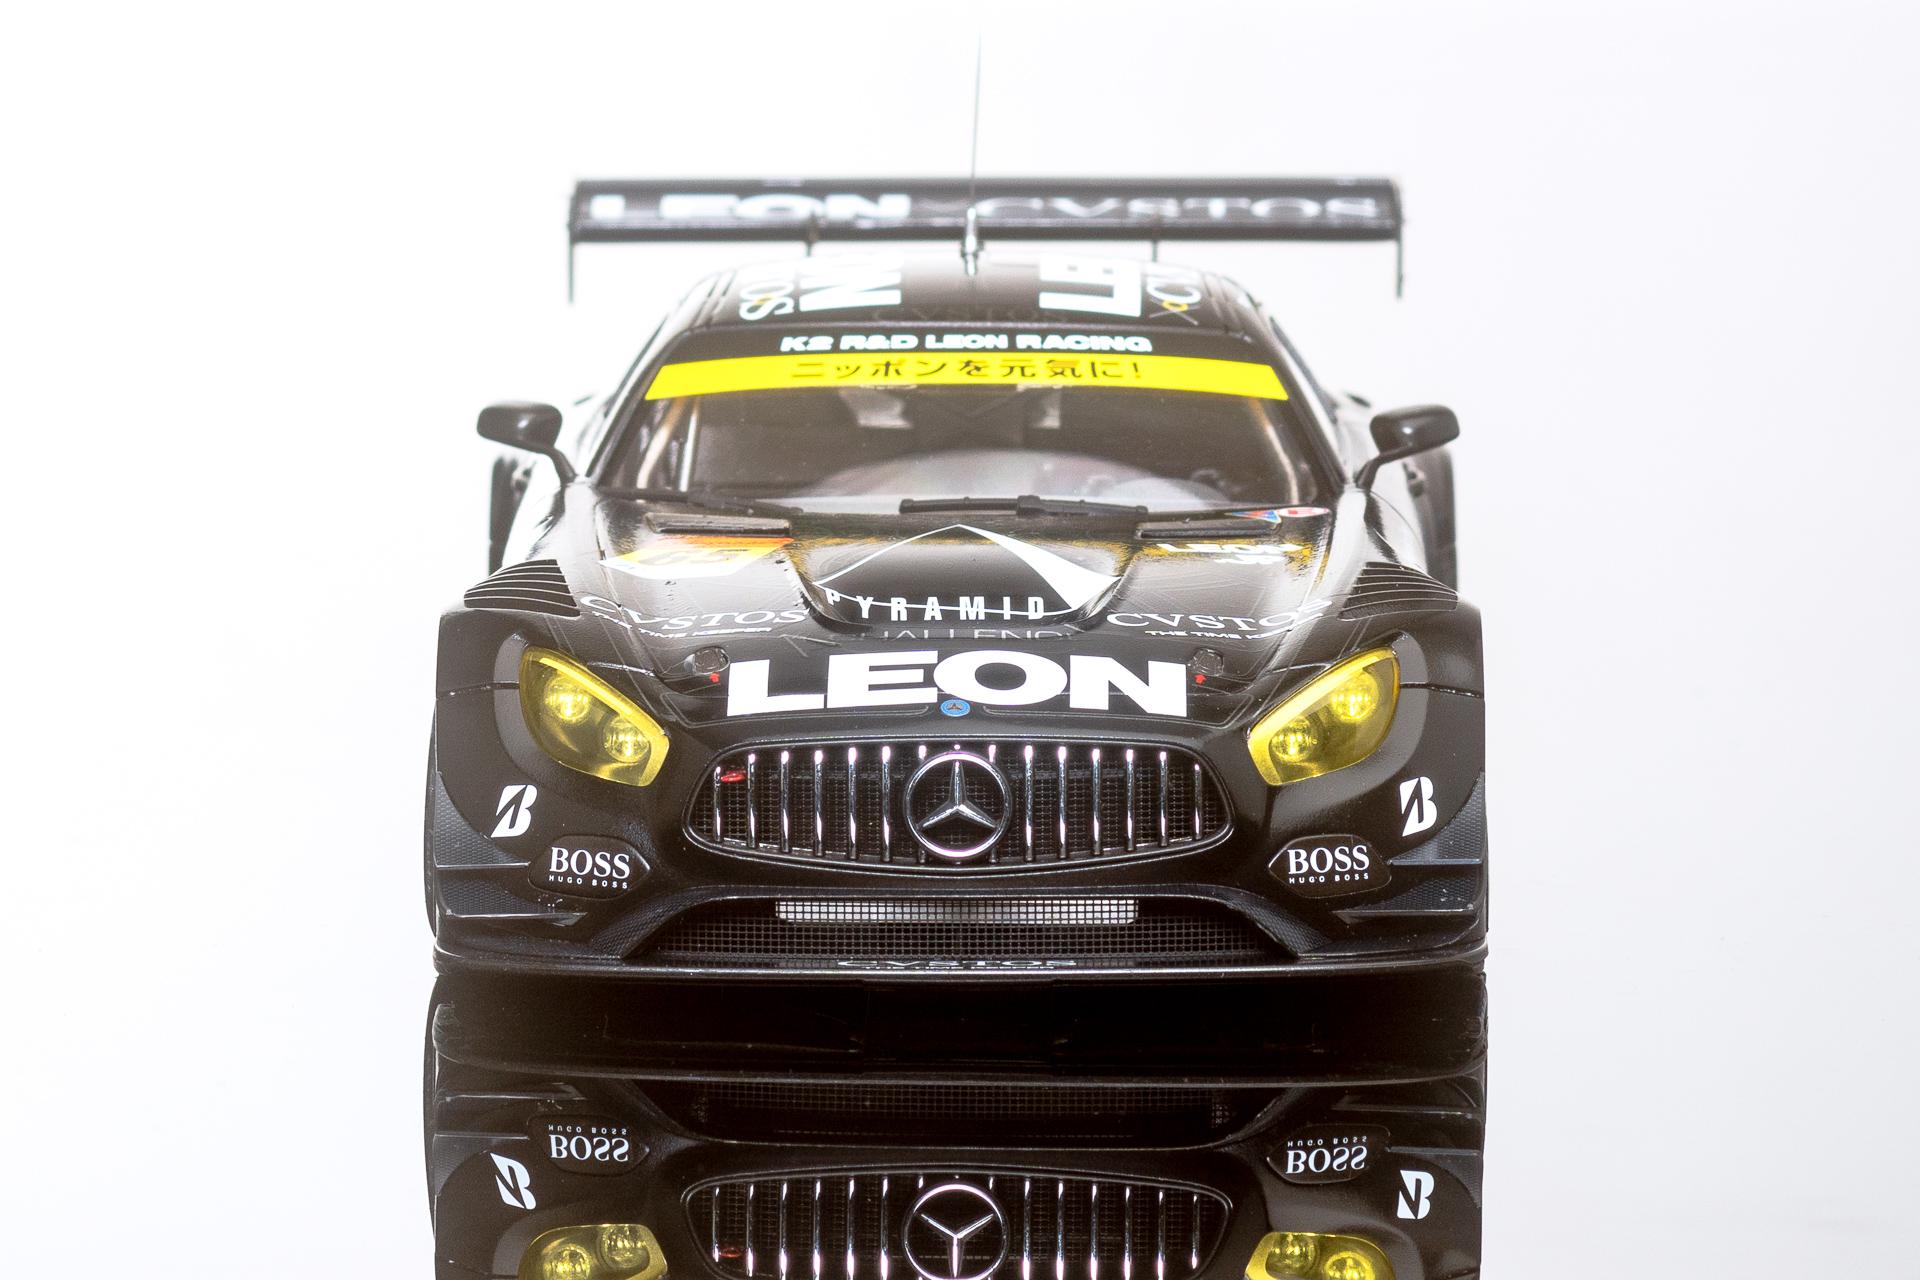
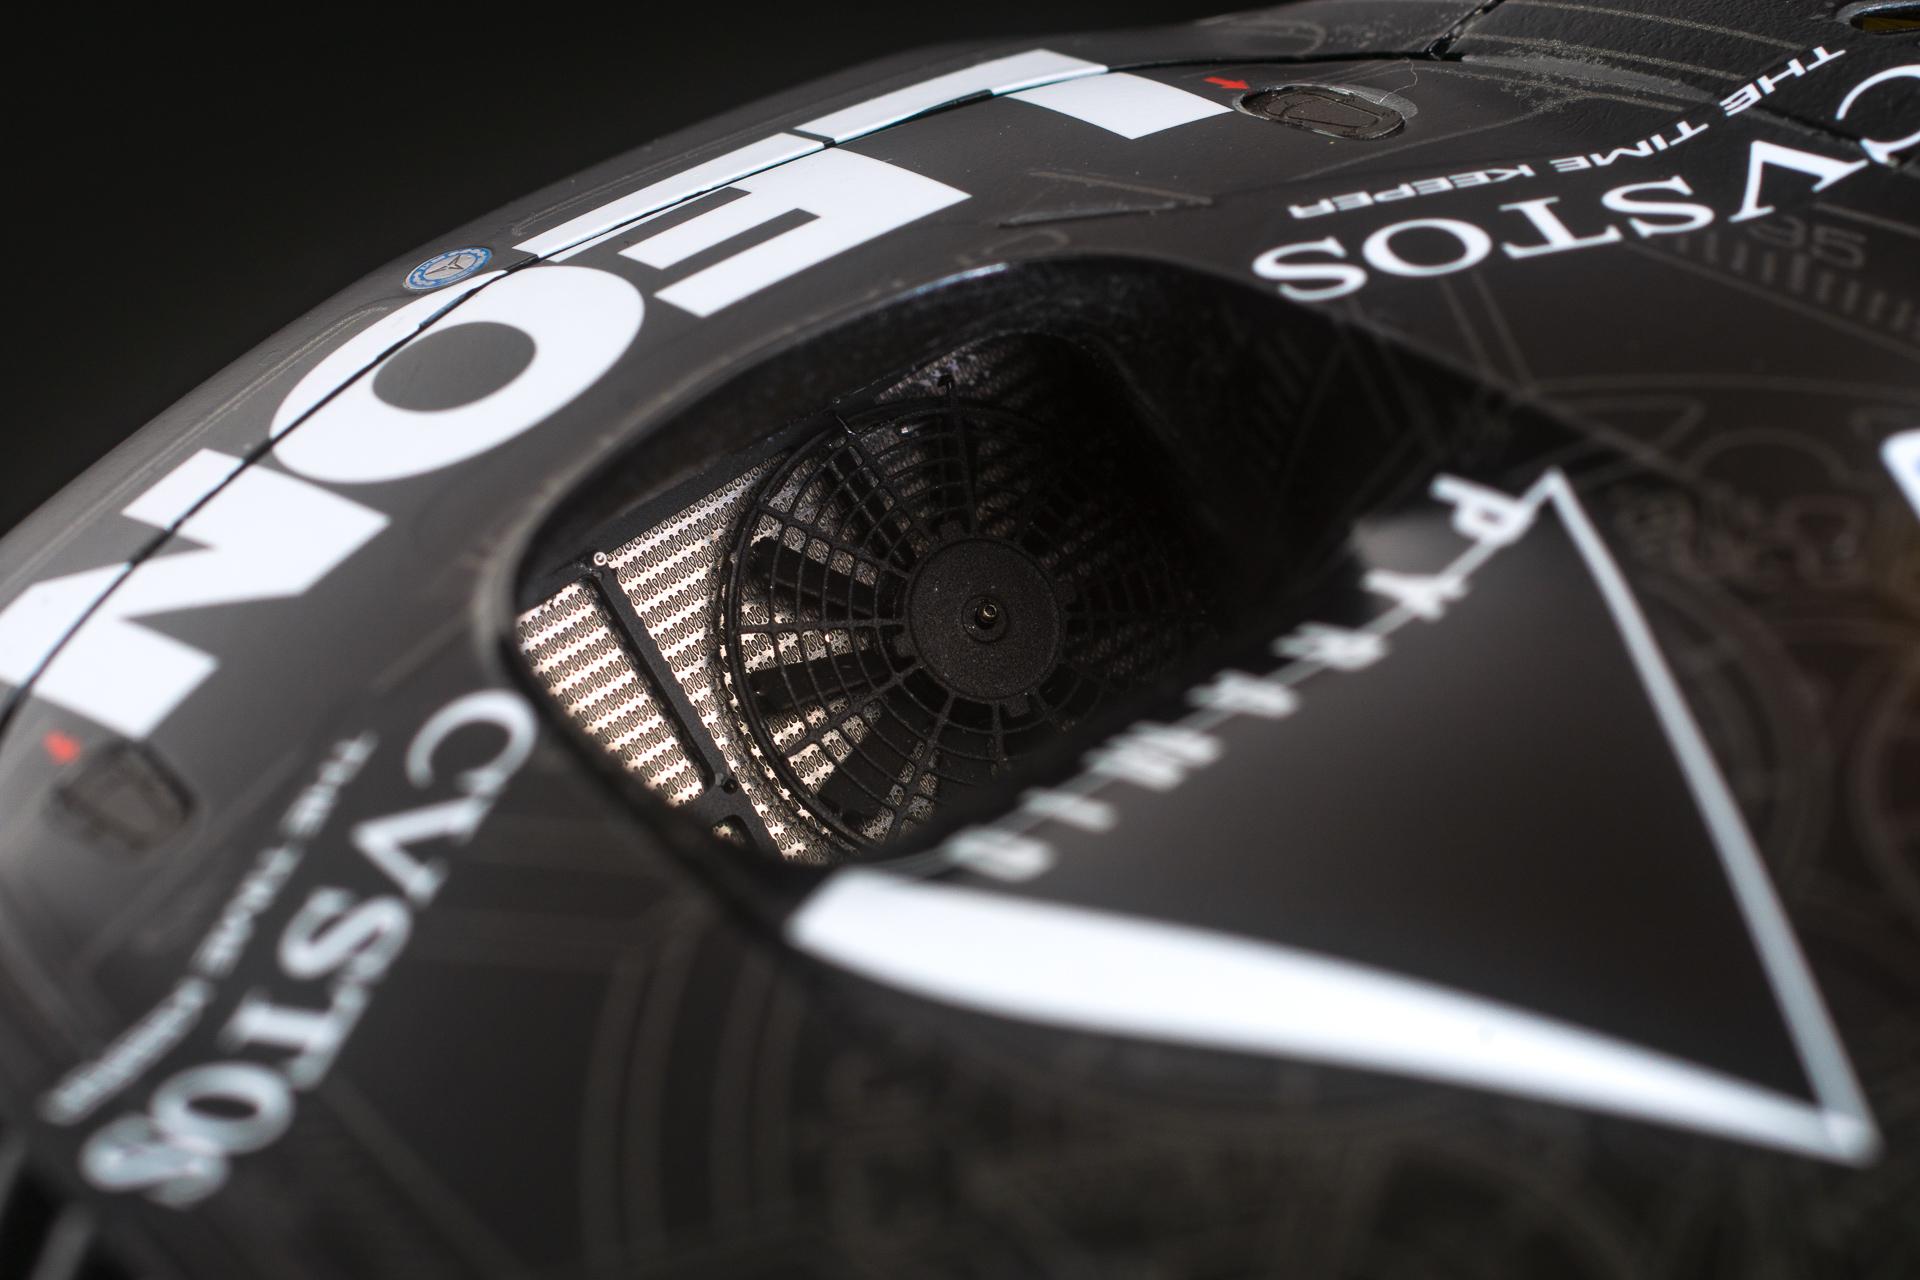
Hi all Thank you all for your very kind comments The kit itself is quite trouble-free to assemble. The only (not self-made) problem I had was with the large decal with the pyramid, to lay that down without any wrinkles. In the end I had to cut it in one or two spots to make it lay down nicely. Urs -

Leon CVSTOS AMG GT3
harti20 replied to harti20's topic in Other Racing: Road Racing, Salt Flat Racers
Thank you all for your kind comments -

Leon CVSTOS AMG GT3
harti20 replied to harti20's topic in WIP: Other Racing: Road Racing, Land Speed Racers
Finally I managed to take this car to the photo studio to shoot some final gallery pics. You can find them over here http://www.modelcarsmag.com/forums/topic/171491-leon-cvstos-amg-gt3/ -
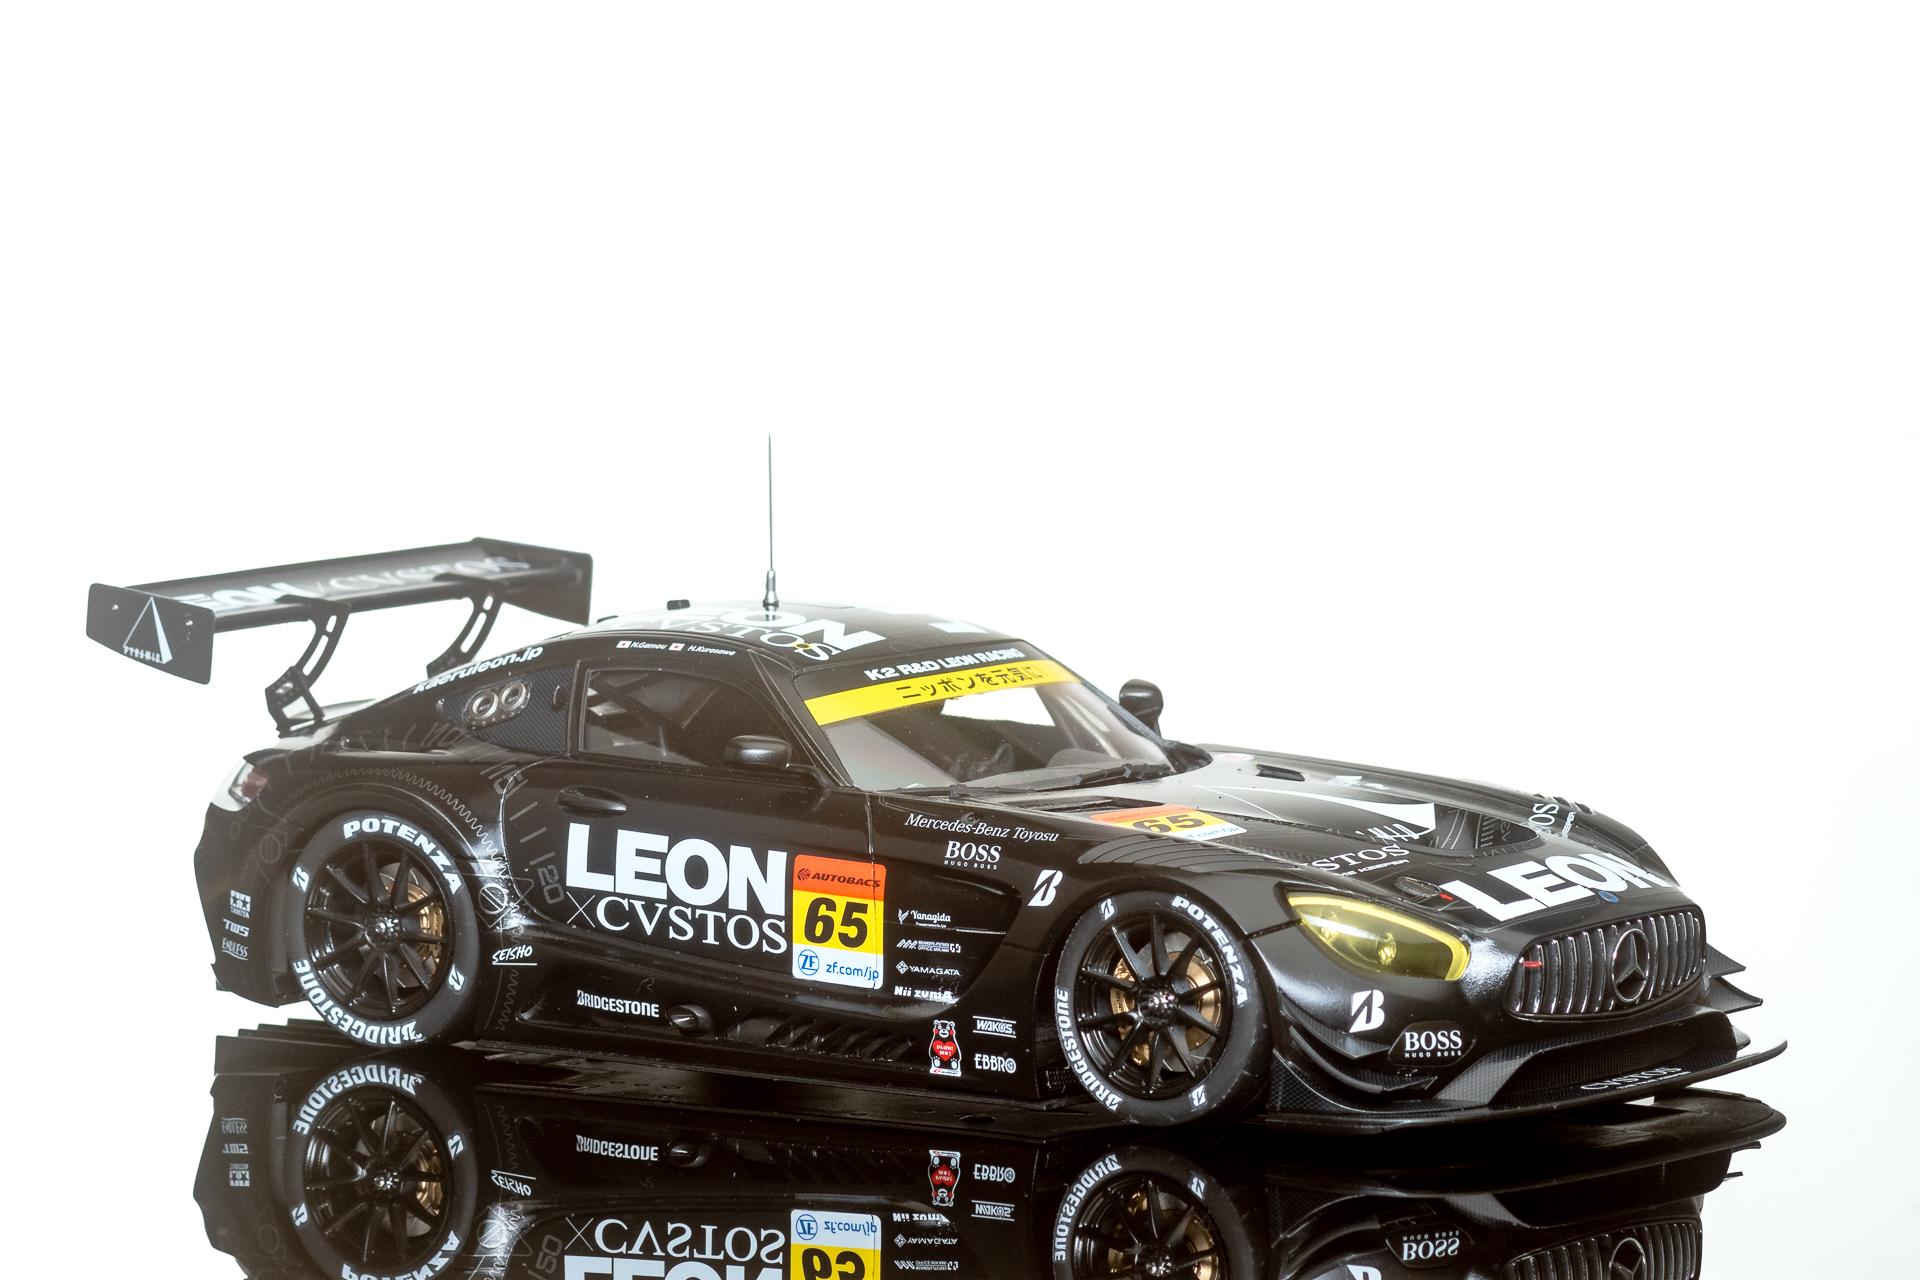
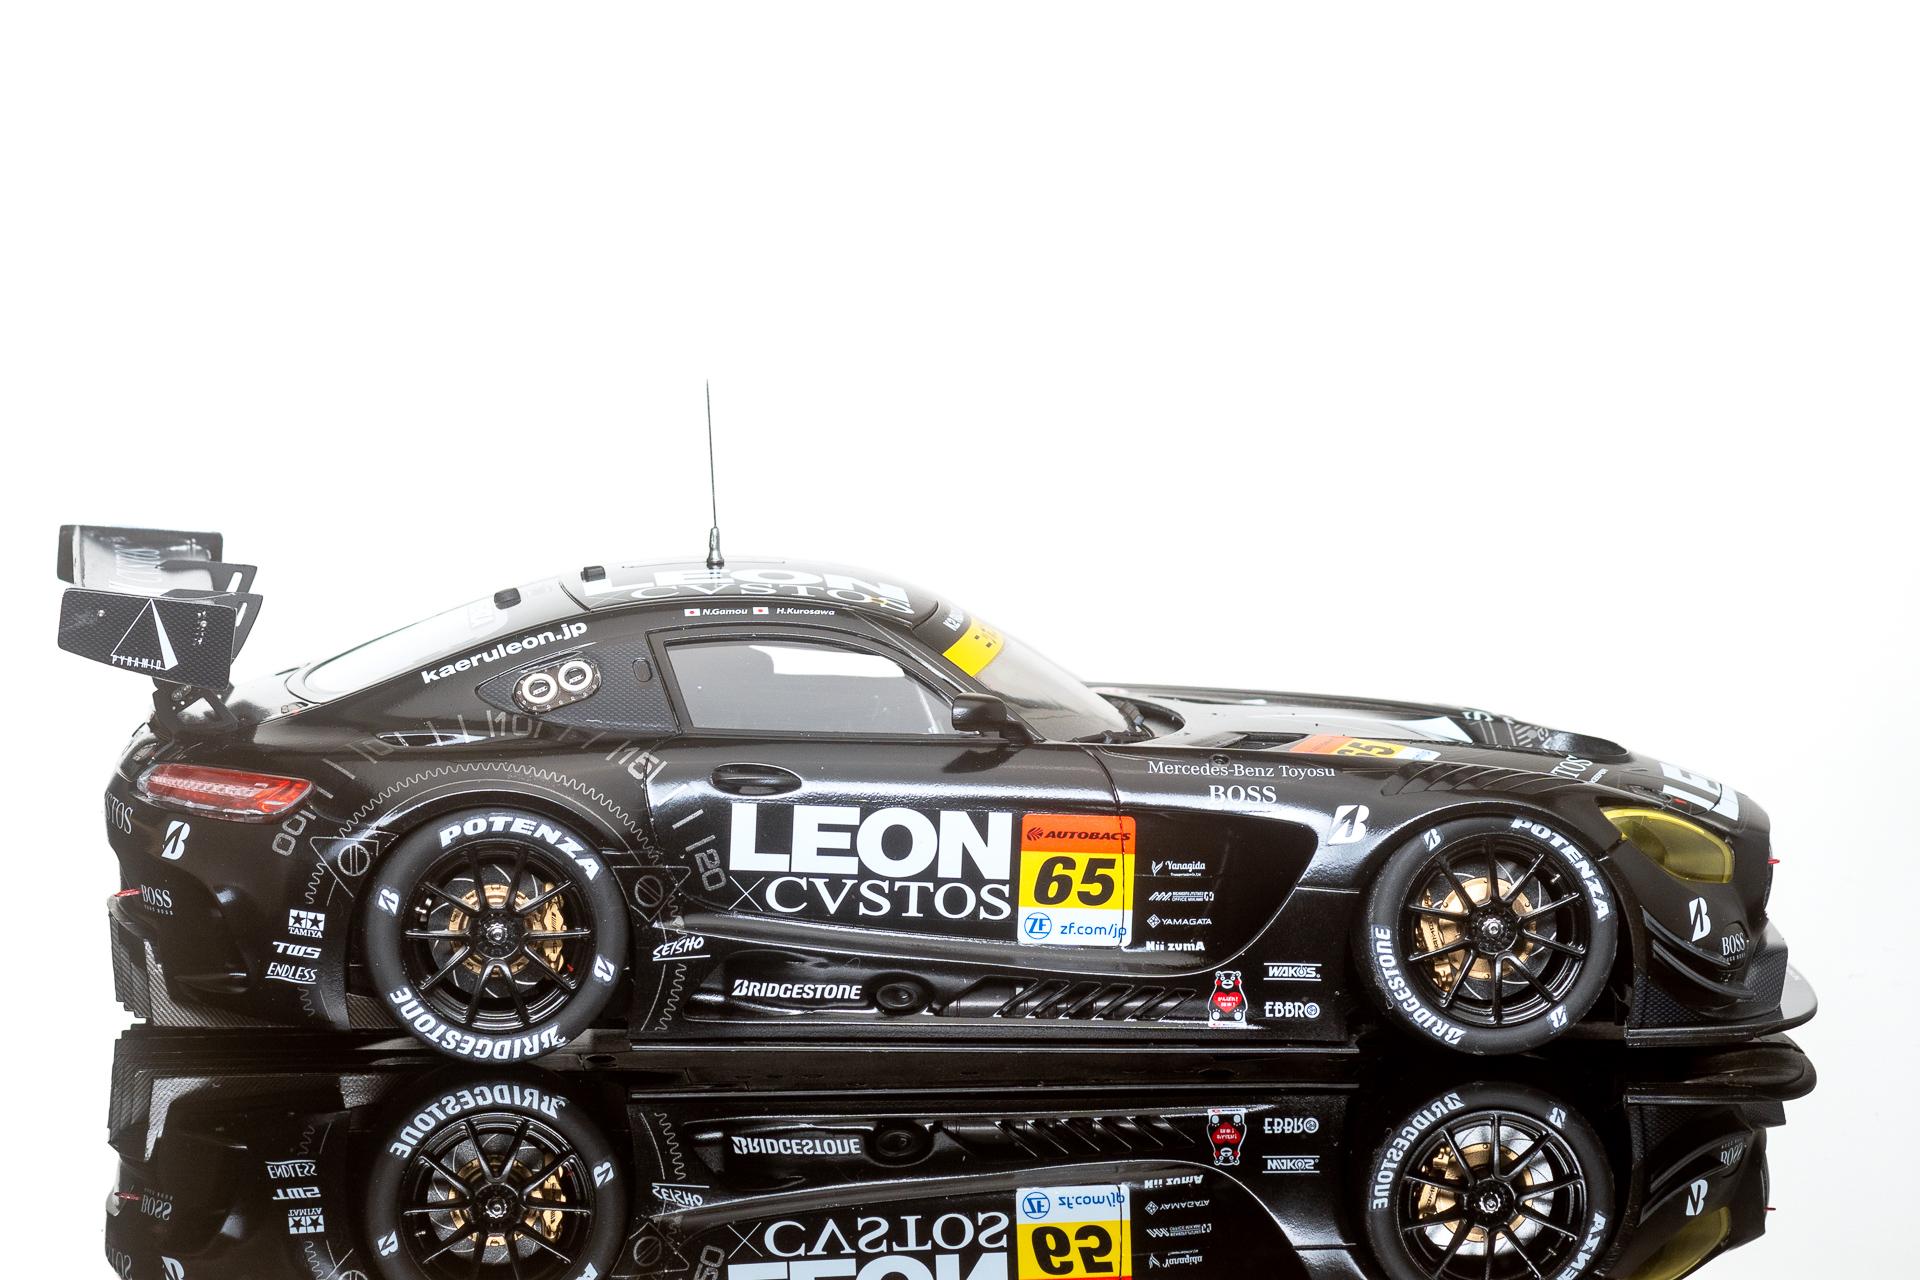
Hi all Yesterday I took the Leon CVSTOS to the photo studio to take some gallery pics. Here you can see the result ? The W.I.P. thread to this build can be found over here: http://www.modelcarsmag.com/forums/topic/163500-leon-cvstos-amg-gt3/
-
Thank you Trevor. The CF decals were a pain indeed. But once I started to use the bought ones only as a stencil to cut my own ones from better decal sheets it went quite well ?
-
Thank you for your kind comment David ?
-
Thank you all for your kind comments ?
-
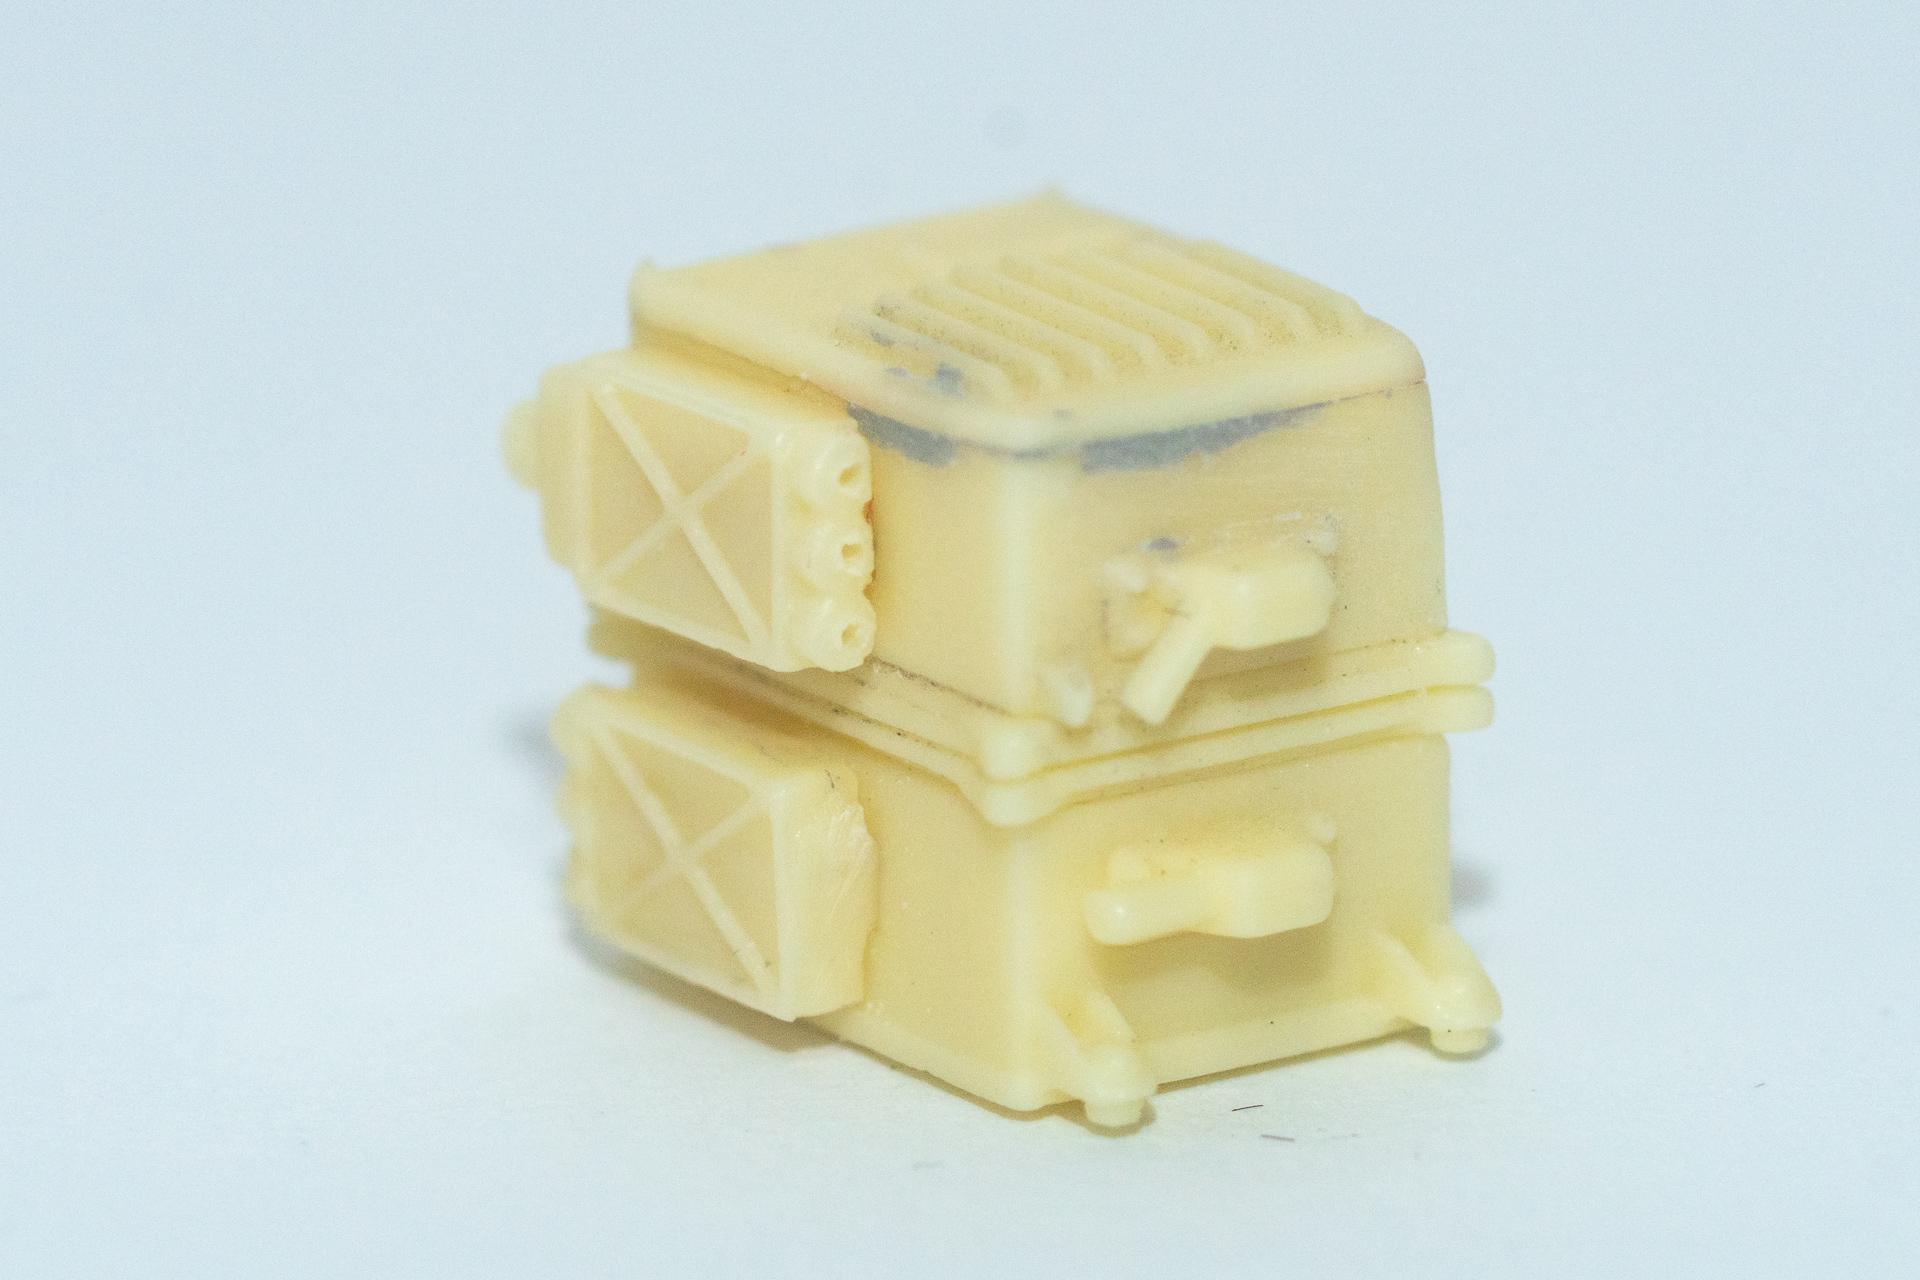
Hi all Not much progress to show here, as I'm currently mainly working on another project which I won't be able to show before mid may. Nevertheless some small steps are done. First the resin part for the engine you can see on the first picture in the starting post has received all its attachement parts and is now ready for the primer stage. Then some of the body parts have been cut from the sprue. Now they need some sanding and removing of the injection marks. That's all for this update. I wish all of you a good week Urs
-
Thank you very much for your kind comments. I hope, I will do this kit justice. I already started it about 18 months ago, but after cutting the engine parts from the sprue I had the impression that I'd be overextnded by this kit and put it back to my stash.
-
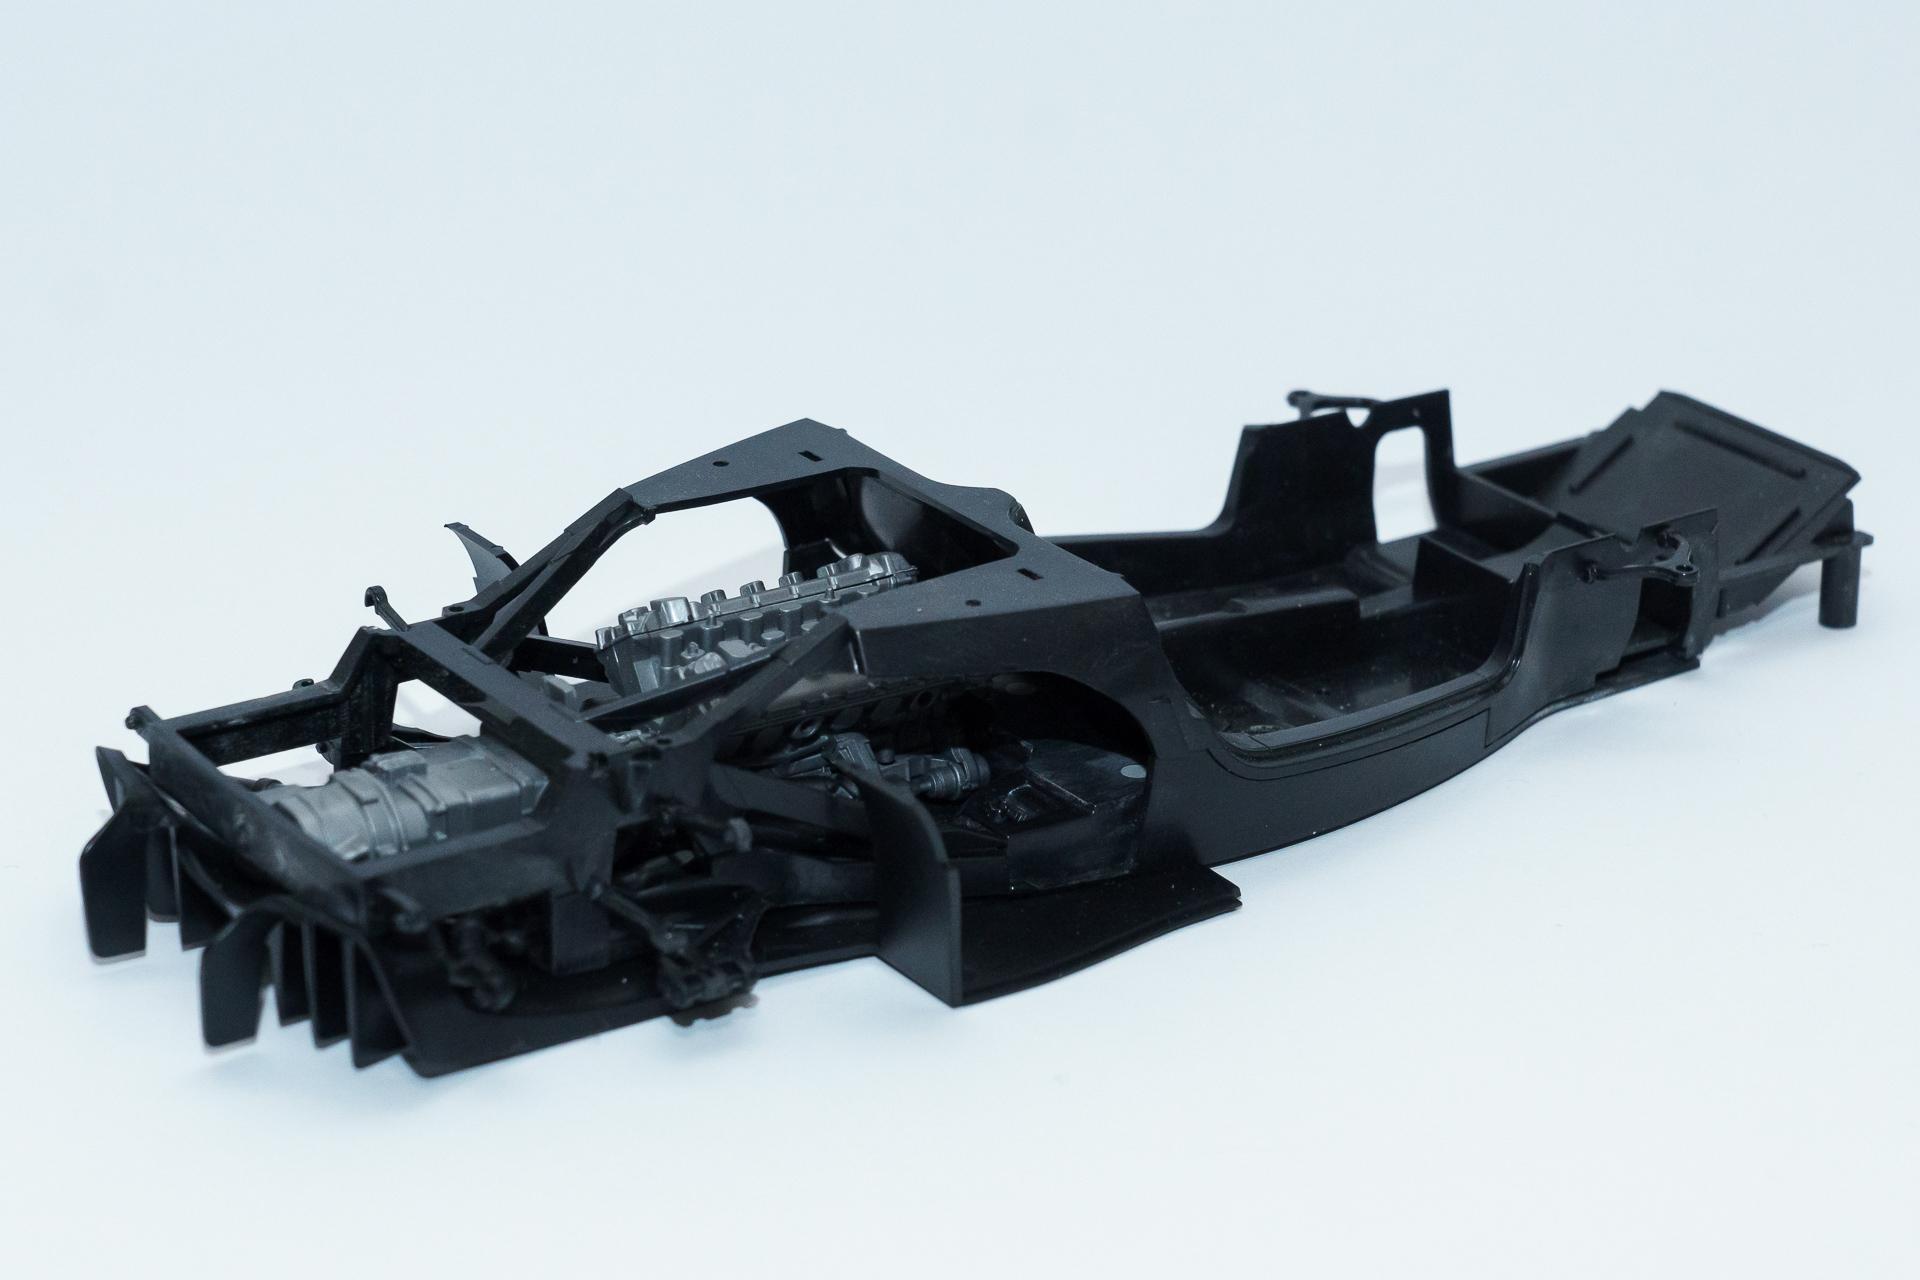
Hi all ? After finishing the Ford GT it's time for a new project. Once again I chose something from Maranello, the Ferrari FXX-K. The kit is by Tamiya in 1/24 scale. I will also use the Detail Up-Set by HobbyDesign and the Carbon Decal-Set by Tamiya. First I started with the engine. The resin part on top is not glued on yet. Then I mocked up the engine and the monocoque to see how everything fits together. That's where I'm at now. As always I'm looking forward to your comments, critics and plaudits ? Urs
-
Thank you all for your very kind comments ? The background is from scaleproduction.de . They also have some other interesting photo backgrounds in 1/24 scale.

