youpey
-
Posts
1,037 -
Joined
-
Last visited
Content Type
Profiles
Forums
Events
Gallery
Everything posted by youpey
-
 thank you for the tips. i got the razor saw in today. i was working on my diorama water tonight, so tomorrow i will do the cutting. i will post a picture after im done...whether it is good or not.
 -
Got a pretty huge flaw in my logic. Huge flaw. There was not enough legos so i used my plexiglass sheets taped together. Well, i didn't put any on the bottom and when i poured the resin its slowly leaking out from gaps. Im hoping it will dry enough to clog whatever gaps its leaking from, but im pretty sure it wont. Im going to have to move this outside because i dont want it running out onto the carpet It looks awesome. i really hope it can be salvaged
-
doordash support is either over generous or terrible. there was a coupon code that said 5 dollars off for members until 6/30. i put all the stuff in my cart, and now i cant find that order code on the site. the whole image with the codes disappeared from the page i contacted support and he told me that they cant help me and i need to get the code from the image...that is no longer showing up on the page. i cancelled my membership on the spot. im so tired of bad customer service. besides, without the coupon, doordash is too expensive with the fees and higher prices on every menu item. i found that the place by my house, my order is 12 dollars and change if i call them and place the order and pick it up. if i do it through doordash, the same order is 18 dollars, before the tip
-
the legos are supposed to arrive today, so i can build a temporary wall to pour the clear resin. i hope it works ok. i probably should have done that before everything else, since i have never done it before i watched a couple of videos on doing it, so i should be ok i think
-
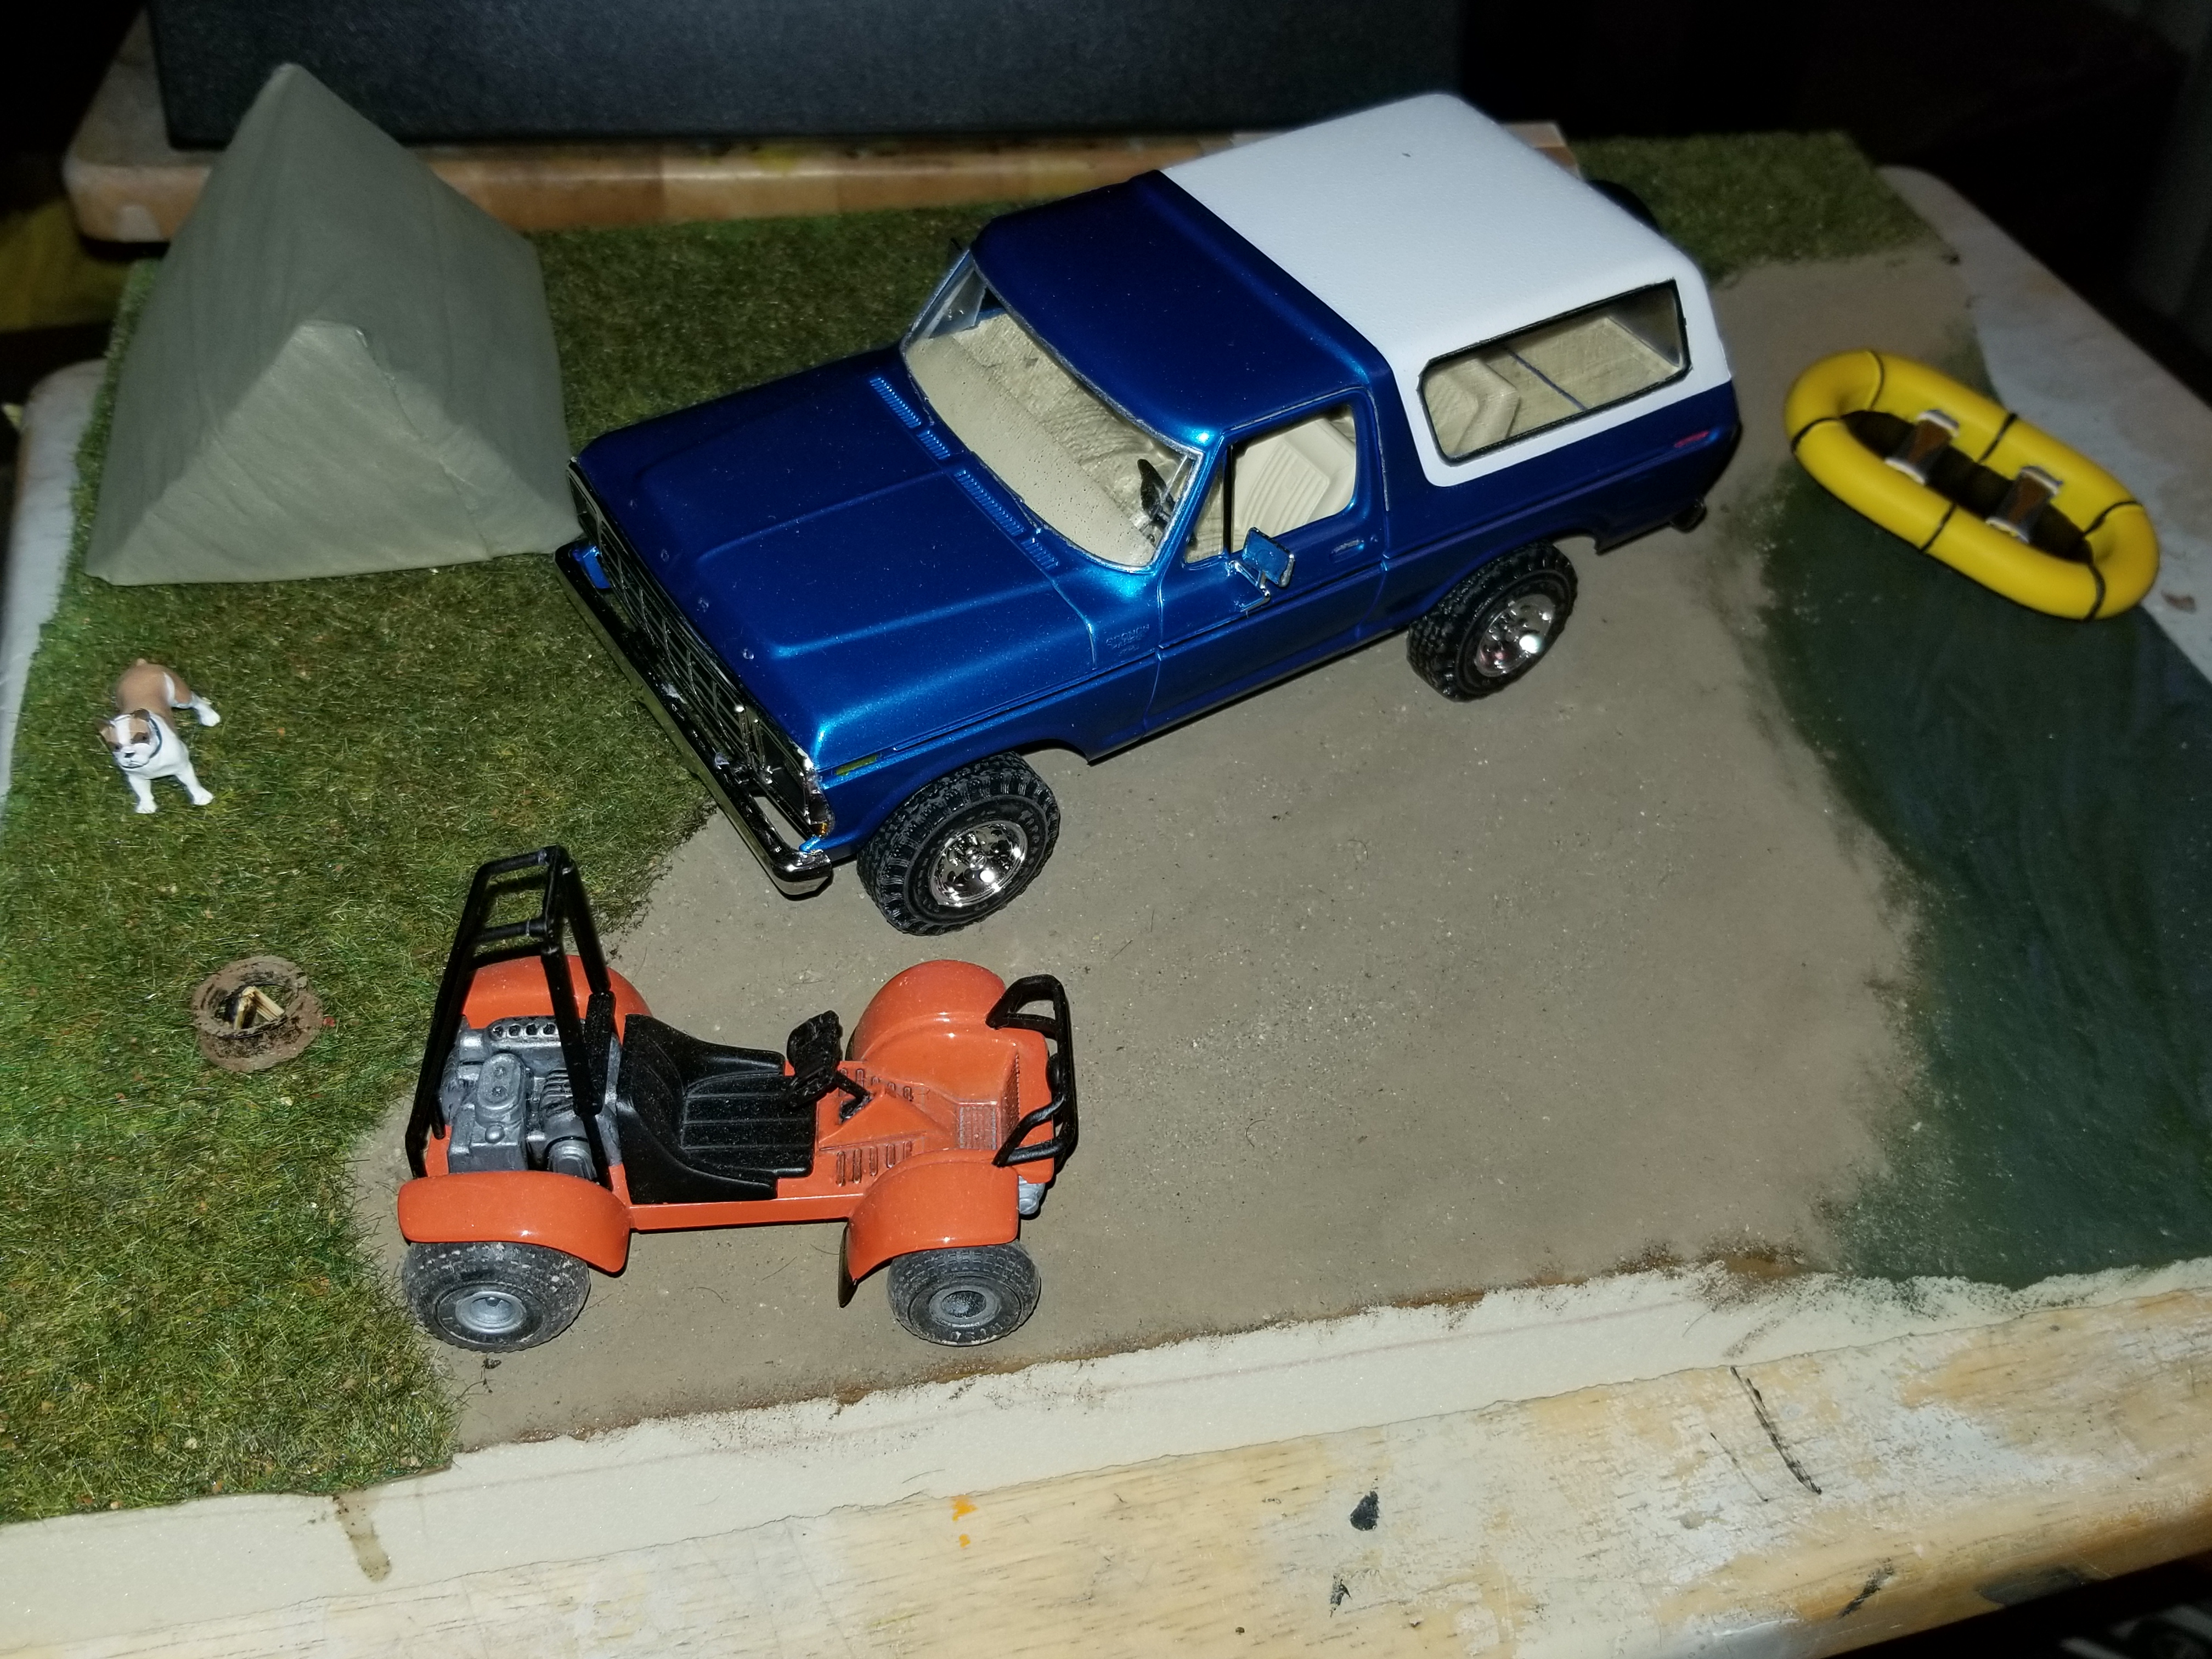
Thank you very much for this great advice. i will definitely dirty up the tires on the bronco. it is meant to be permanent there. i will try to add tire tracks to the dirt as well. i have grooves in the dirt area, which is meant to look like its been driven on, but it is not really showing up on the pictures. they were quite defined before i put the dirt on, so probably i needed to make them deeper because they are not quite as visible once i put the dirt on. the dirt was glued down with white glue/water and just a little on top of that so it doesnt make a mess. the grass mat came as all one big sheet. i tried to push the grass down, but it seems to pop right back up. i am going to take a spare piece and see what happens if i push down on it with a little white glue. if it will help, or make it worse/better. i am most likely going to move the bronco to the dirt and move the 4 wheeler to the back on the grass, or maybe in the dirt by where the boat is, and i will move the boat elsewhere. i dont really like how the boat looks, so i honestly, might not include it at all. the ores are molded in place and dont look realistic at all. it looks like a baby toy for the bath tub. i do plan on getting rocks. i was going to go yesterday but i was too tired after work, and today i feel lazy. maybe tomorrow. i will be putting them all over in random places, and i have an idea of cutting out some small sections of grass to wedge in a rock.
-
Thank you very much for this feedback. i really appreciate it. i haven't really ever built a dio before. I have removed the trailer because I completely agree its too crowded. the small picnic table replaced it. I do have some empty space now, but i will put a bush or flowers there. I might put the buggy in the back corner on the grass. This was the bronco can be alone in the foreground. do you think that would help? I really wanted to do the lake, but i think i made it too big
-
I was going to order 2 figures but it said 1 month for delivery
-
I ordered the tamiya campus friends set for the figures. I think I can get something good with it. Plus i have had my eye om that kit since it was released again. I looked at shapeways but they were very expensive and the turnaround time was very long. Most tgings are coming by this weekend so i hope to finish it by then. . I also want to figure out getting a cover for this. Like acrylic or something. its very big so i might cut it down a bit to fit I got a completely new kind of kit coming like i have never dome before
-
I removed the trailer and added a picnic table i built from popsicle sticks

-
I want to do the amt 1978 ford f150. i really love this truck, but would prefer the SWB
-
i am thinking i might take the trailer away, and put up a picnic table or something instead in the back. Maybe move the bronco to where the trailer is. of course i would need to build a picnic table also. the bronco is meant to be the focus, so i think it should be in the middle
-
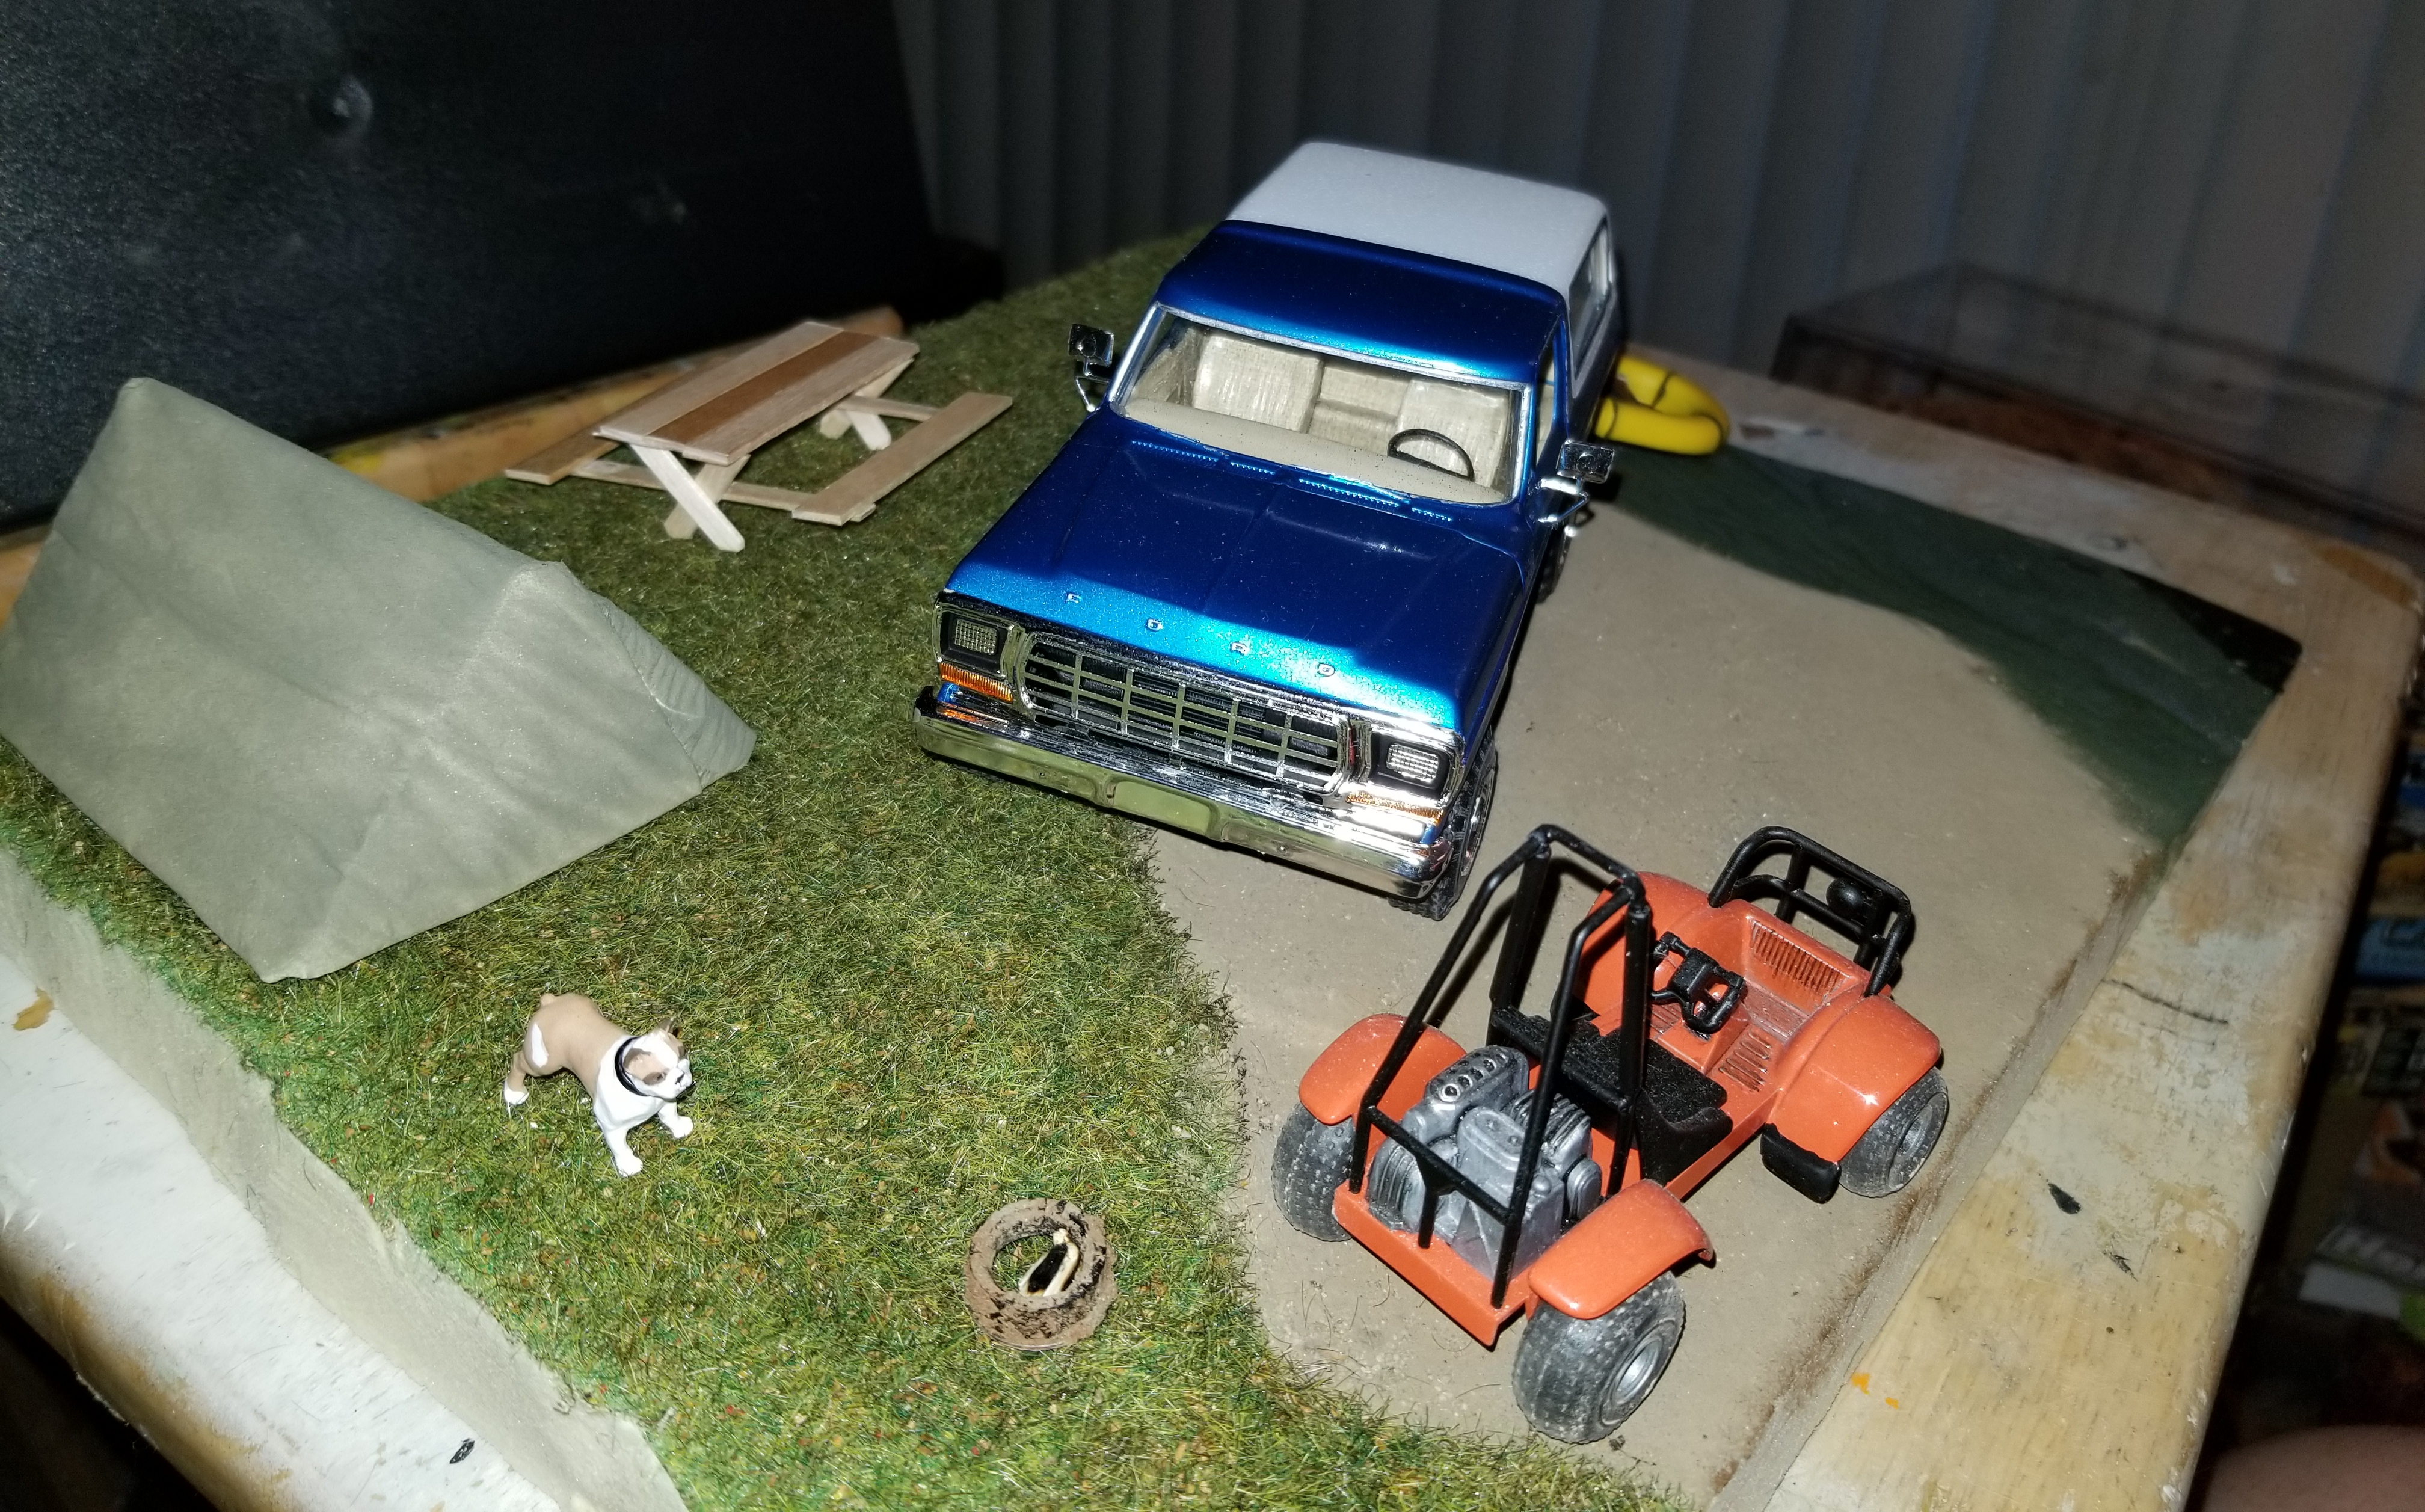
This is still very, very early stages. This is my first diorama. The truck is the 1978 amt/model king Ford Bronco The 4 wheeler is the Honda Odyssey from the revell ridge runner set. The trailer is also from this set The fire pit is an extra rim from the Bronco kit, that i cut out and then rusted. It has a toothpick inside that is cut up and set on fire. The tent is hand made from a tissue and painted olive drab The boat is from the amt Toyota pickup snap kit The grass is just a grass mat and the dirt is just dirt glued to the base. I still need to add the clear resin for the water, but im waiting for the legos to arrive so i can make a temporary wall. I also will go to the park today to get some pebble and rocks for the base. Im also going to add some small flowers and a couple of bushes. I am also going to put a little sign or something by the water. Like no fishing or dont feed the gators or something. Although it wouldn't be smart to camp that close to a lake with gators I need to find a couple of 70s/80s figures that will be my campers. I haven't looked for those yet. I have a little dog that i forgot to add to the scene but i will add that for the next update. I am not sure if I am going to keep the trailer. Its very big and takes up too much space. Alternatively I might put it on the grass and move the Bronco to the dirt. I am still messing with the layout. Btw, the dirt is quite dark. It looks very light in the picture because of the flash Opinions are greatly appreciated
-
thank you. i ordered a razor saw from exacto. I dont know much about tools.i appreciate the help
-
is this a good tool to cut a long wheel base pickup into a short wheel base? is there something that is inexpensive that is better? https://www.amazon.com/CRAFTSMAN-Hand-12-Inch-Hacksaw-CMHT20138/dp/B07R92S9YZ/ref=sxin_9_ac_d_mf_rm?ac_md=0-0-aGFja3Nhdw%3D%3D-ac_d_rm&cv_ct_cx=hacksaw&dchild=1&keywords=hacksaw&pd_rd_i=B07R92S9YZ&pd_rd_r=555bc344-2d27-4cc4-9ce4-a5f2dcce1ac2&pd_rd_w=uLTjJ&pd_rd_wg=Of7Um&pf_rd_p=d00be302-86a9-4ea9-9240-f5ec923e66bc&pf_rd_r=PNS8P3CAZN4EE5E43CRB&psc=1&qid=1624328161&sr=1-1-849f3c3a-785c-4812-aab6-3d7cb06022f2
-
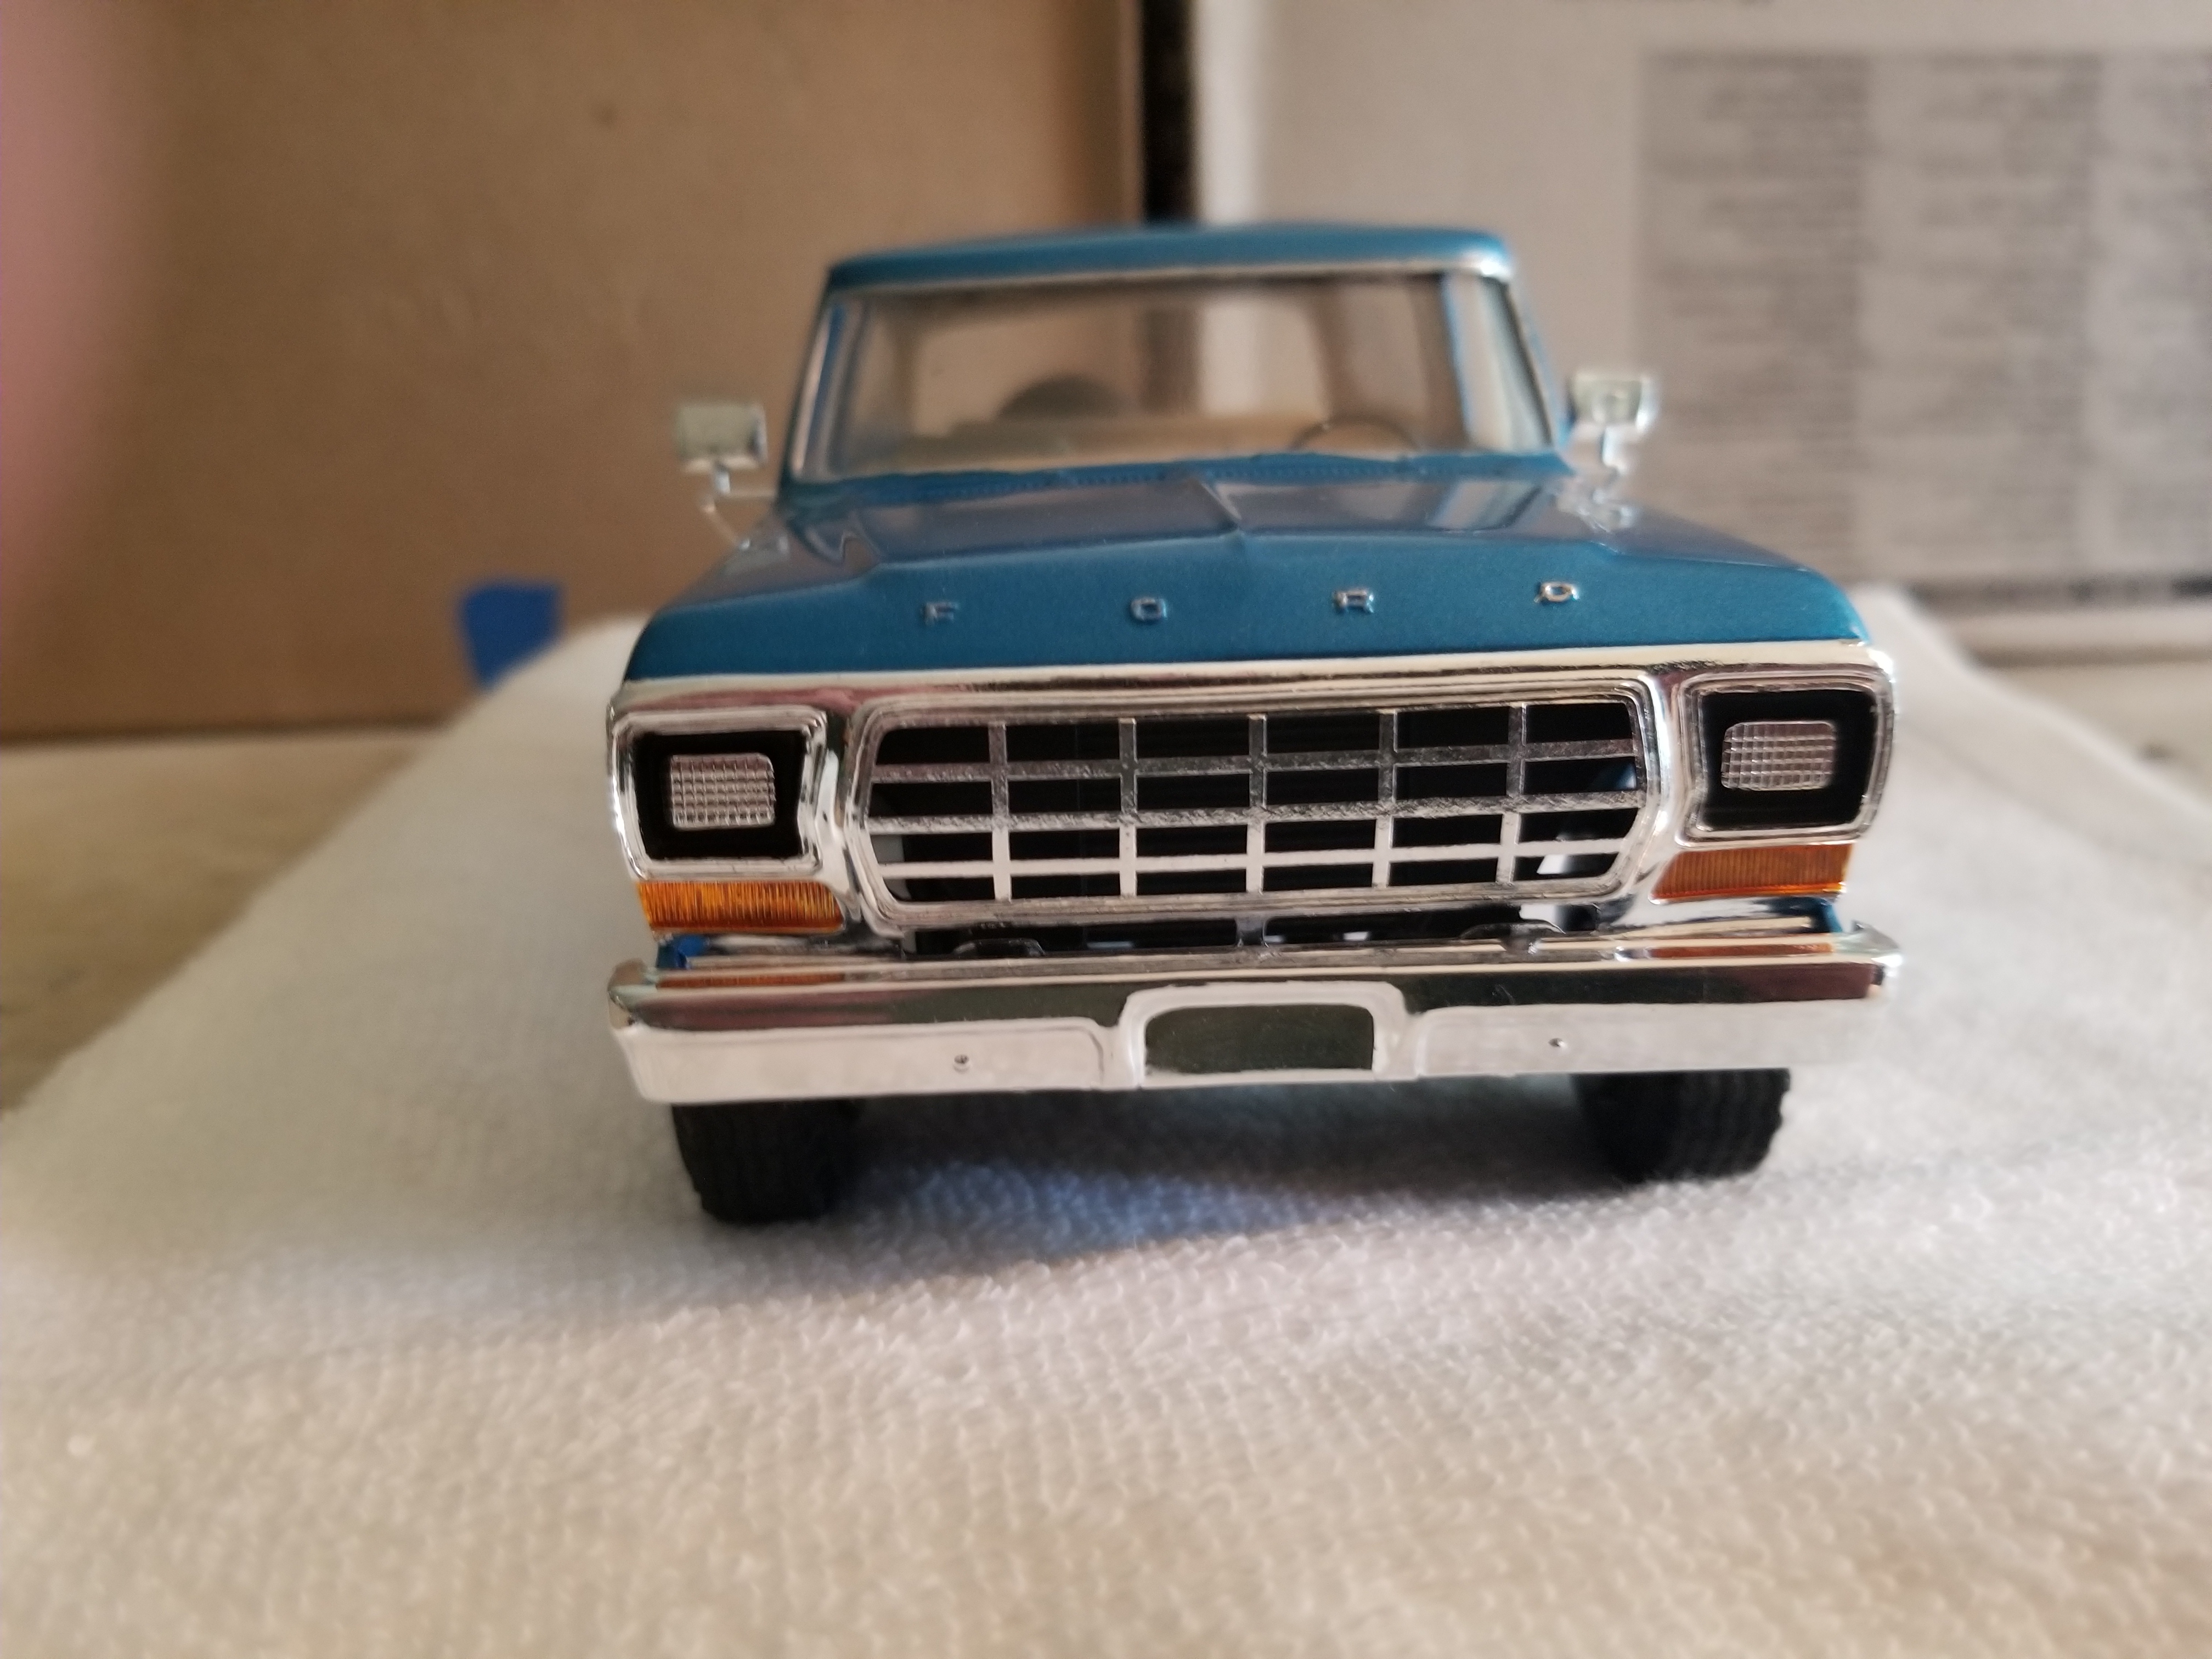
I painted the logos. Looks ok. Im glad i did it. Looks better
-
Thank you. its Tamiya light metallic blue - ts54
-
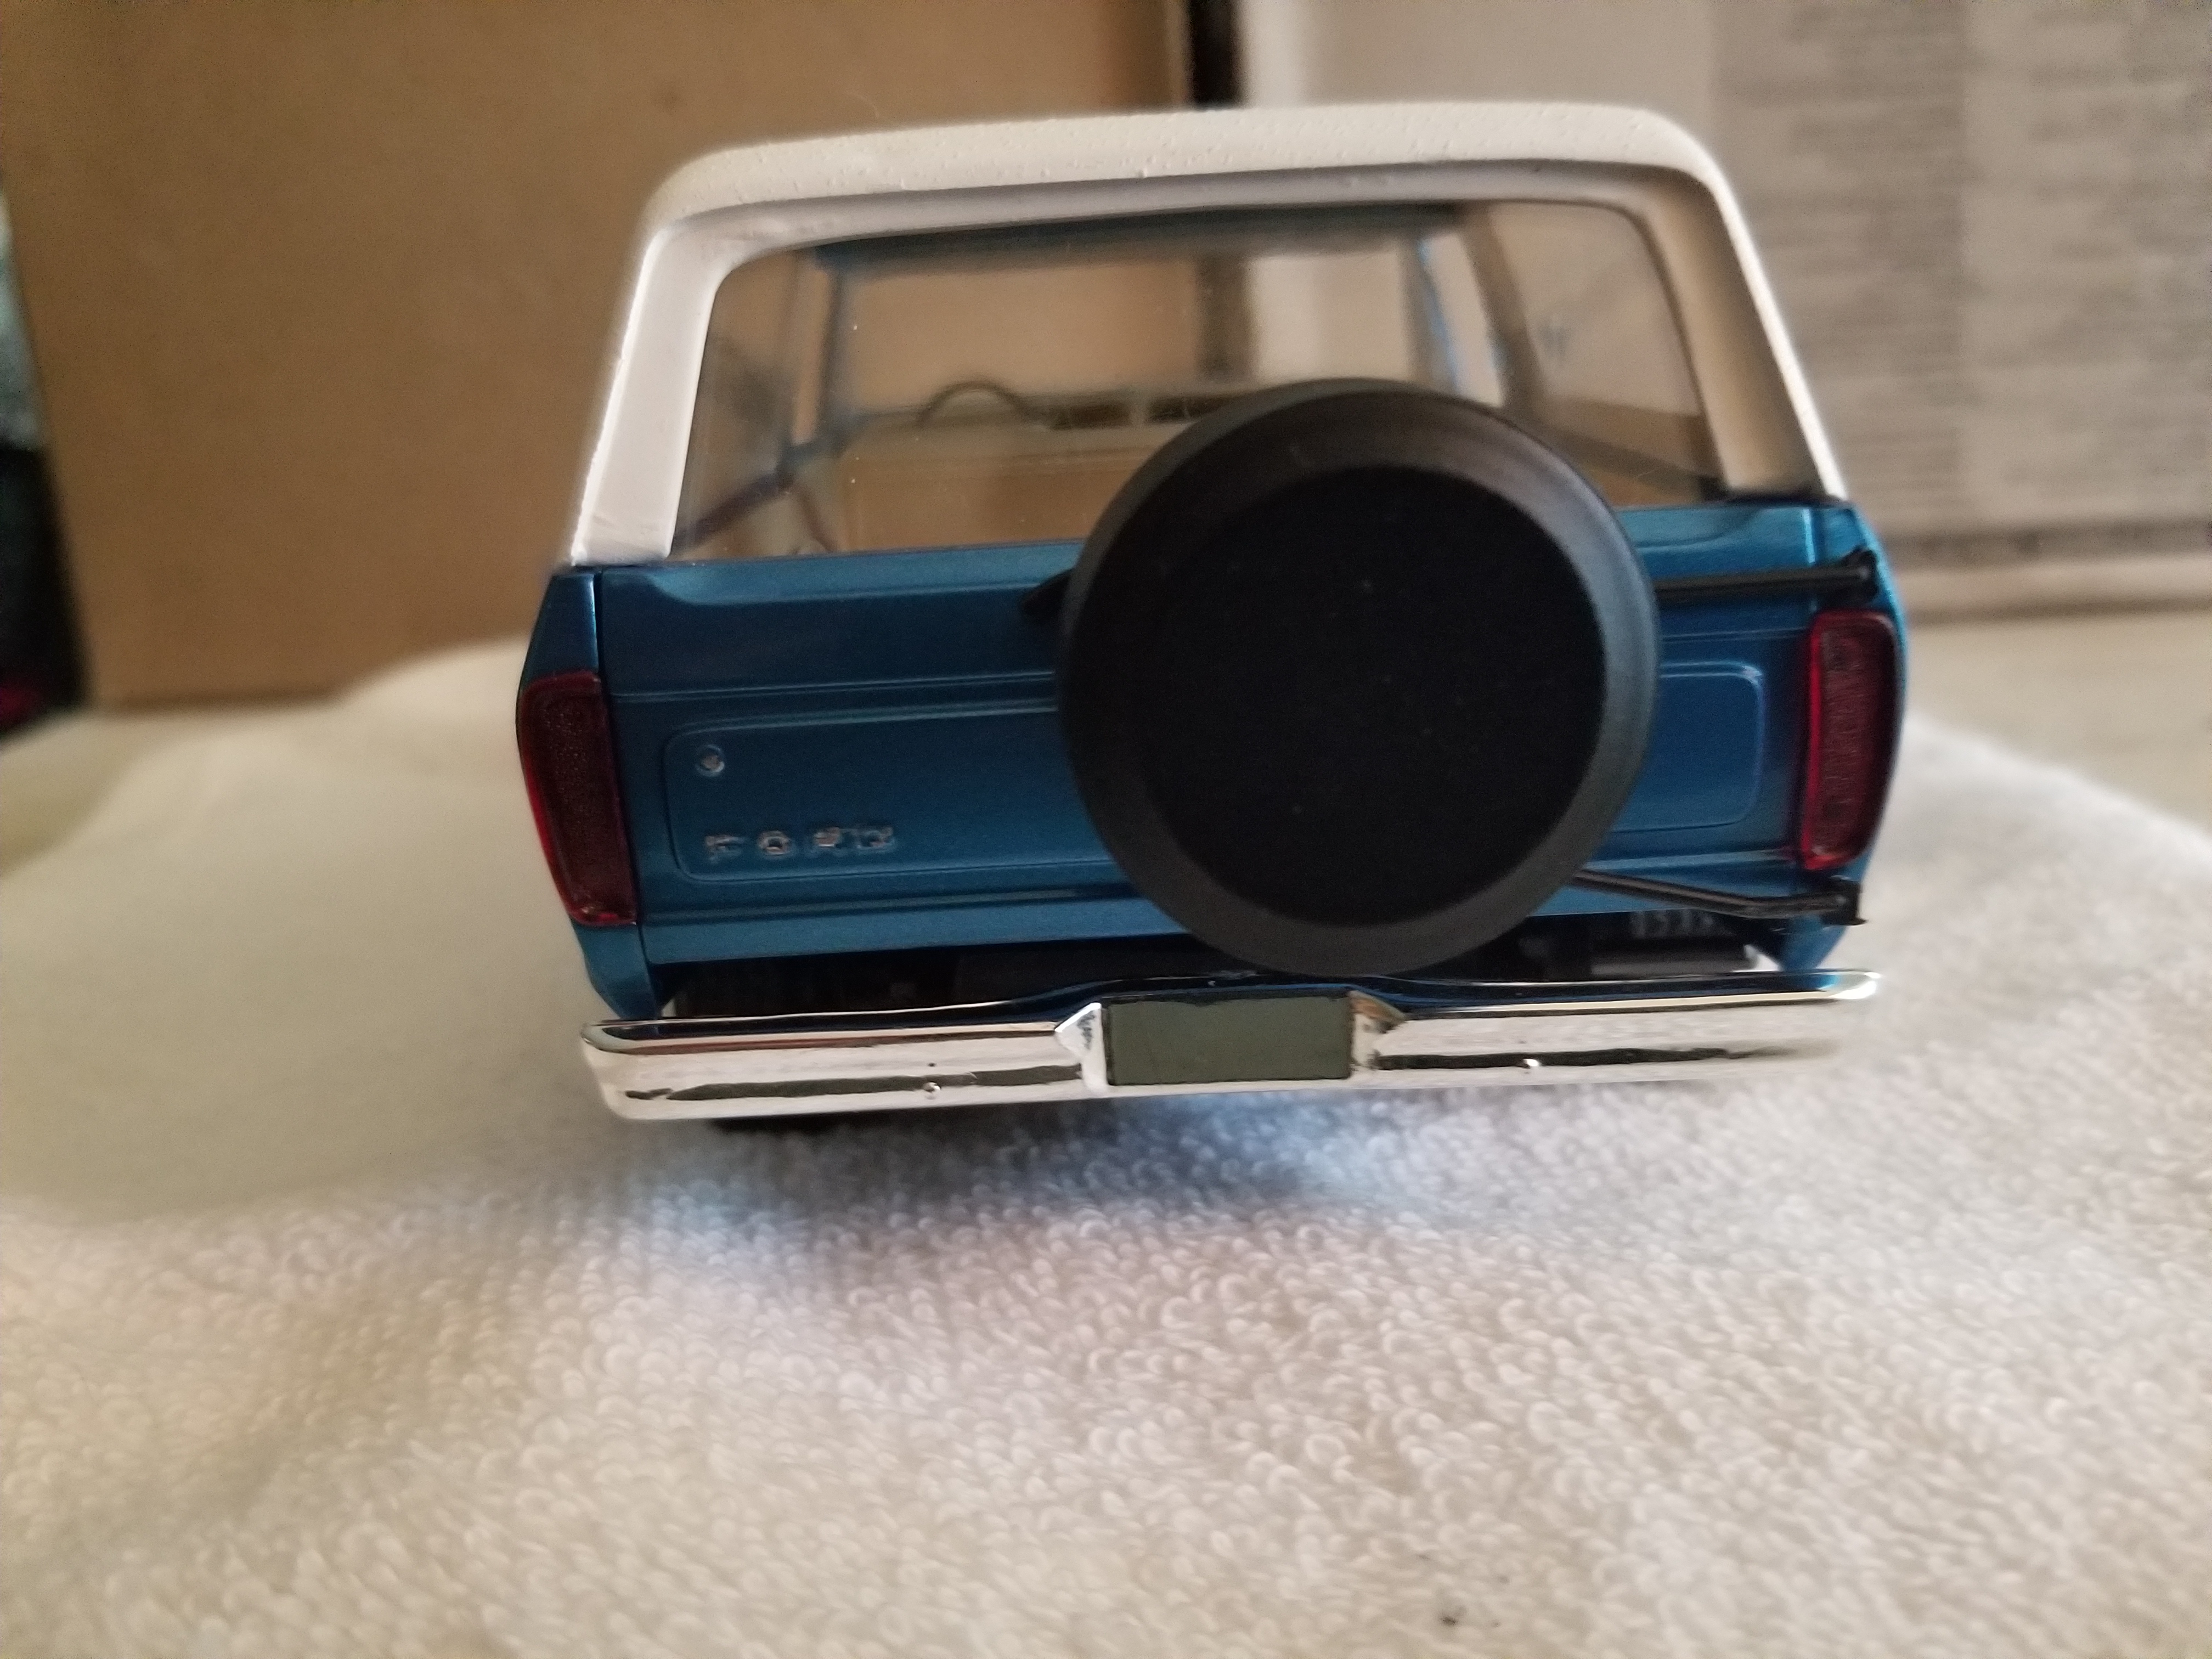
I cant find ant matching bronco decals. I have one from the 80 revell or the revell bronco sandman 2 kit, but neither match it. I also changee the back a bit. I noticed there was movement in the back that will raise the rear bumper. I glued it in place. Looks better. I also sanded the tires so they aren't shiny Going to try to find better tires. These are terrible. i might remove the back spare and use a real tire
-
this looks really terrific. i love the barrel the most
-
i had something shipped usps from ebay that is 45 minutes (33 miles) from my house. its now on day 4 and its still not here. i could probably walked there and back by now. usps should be ashamed
-
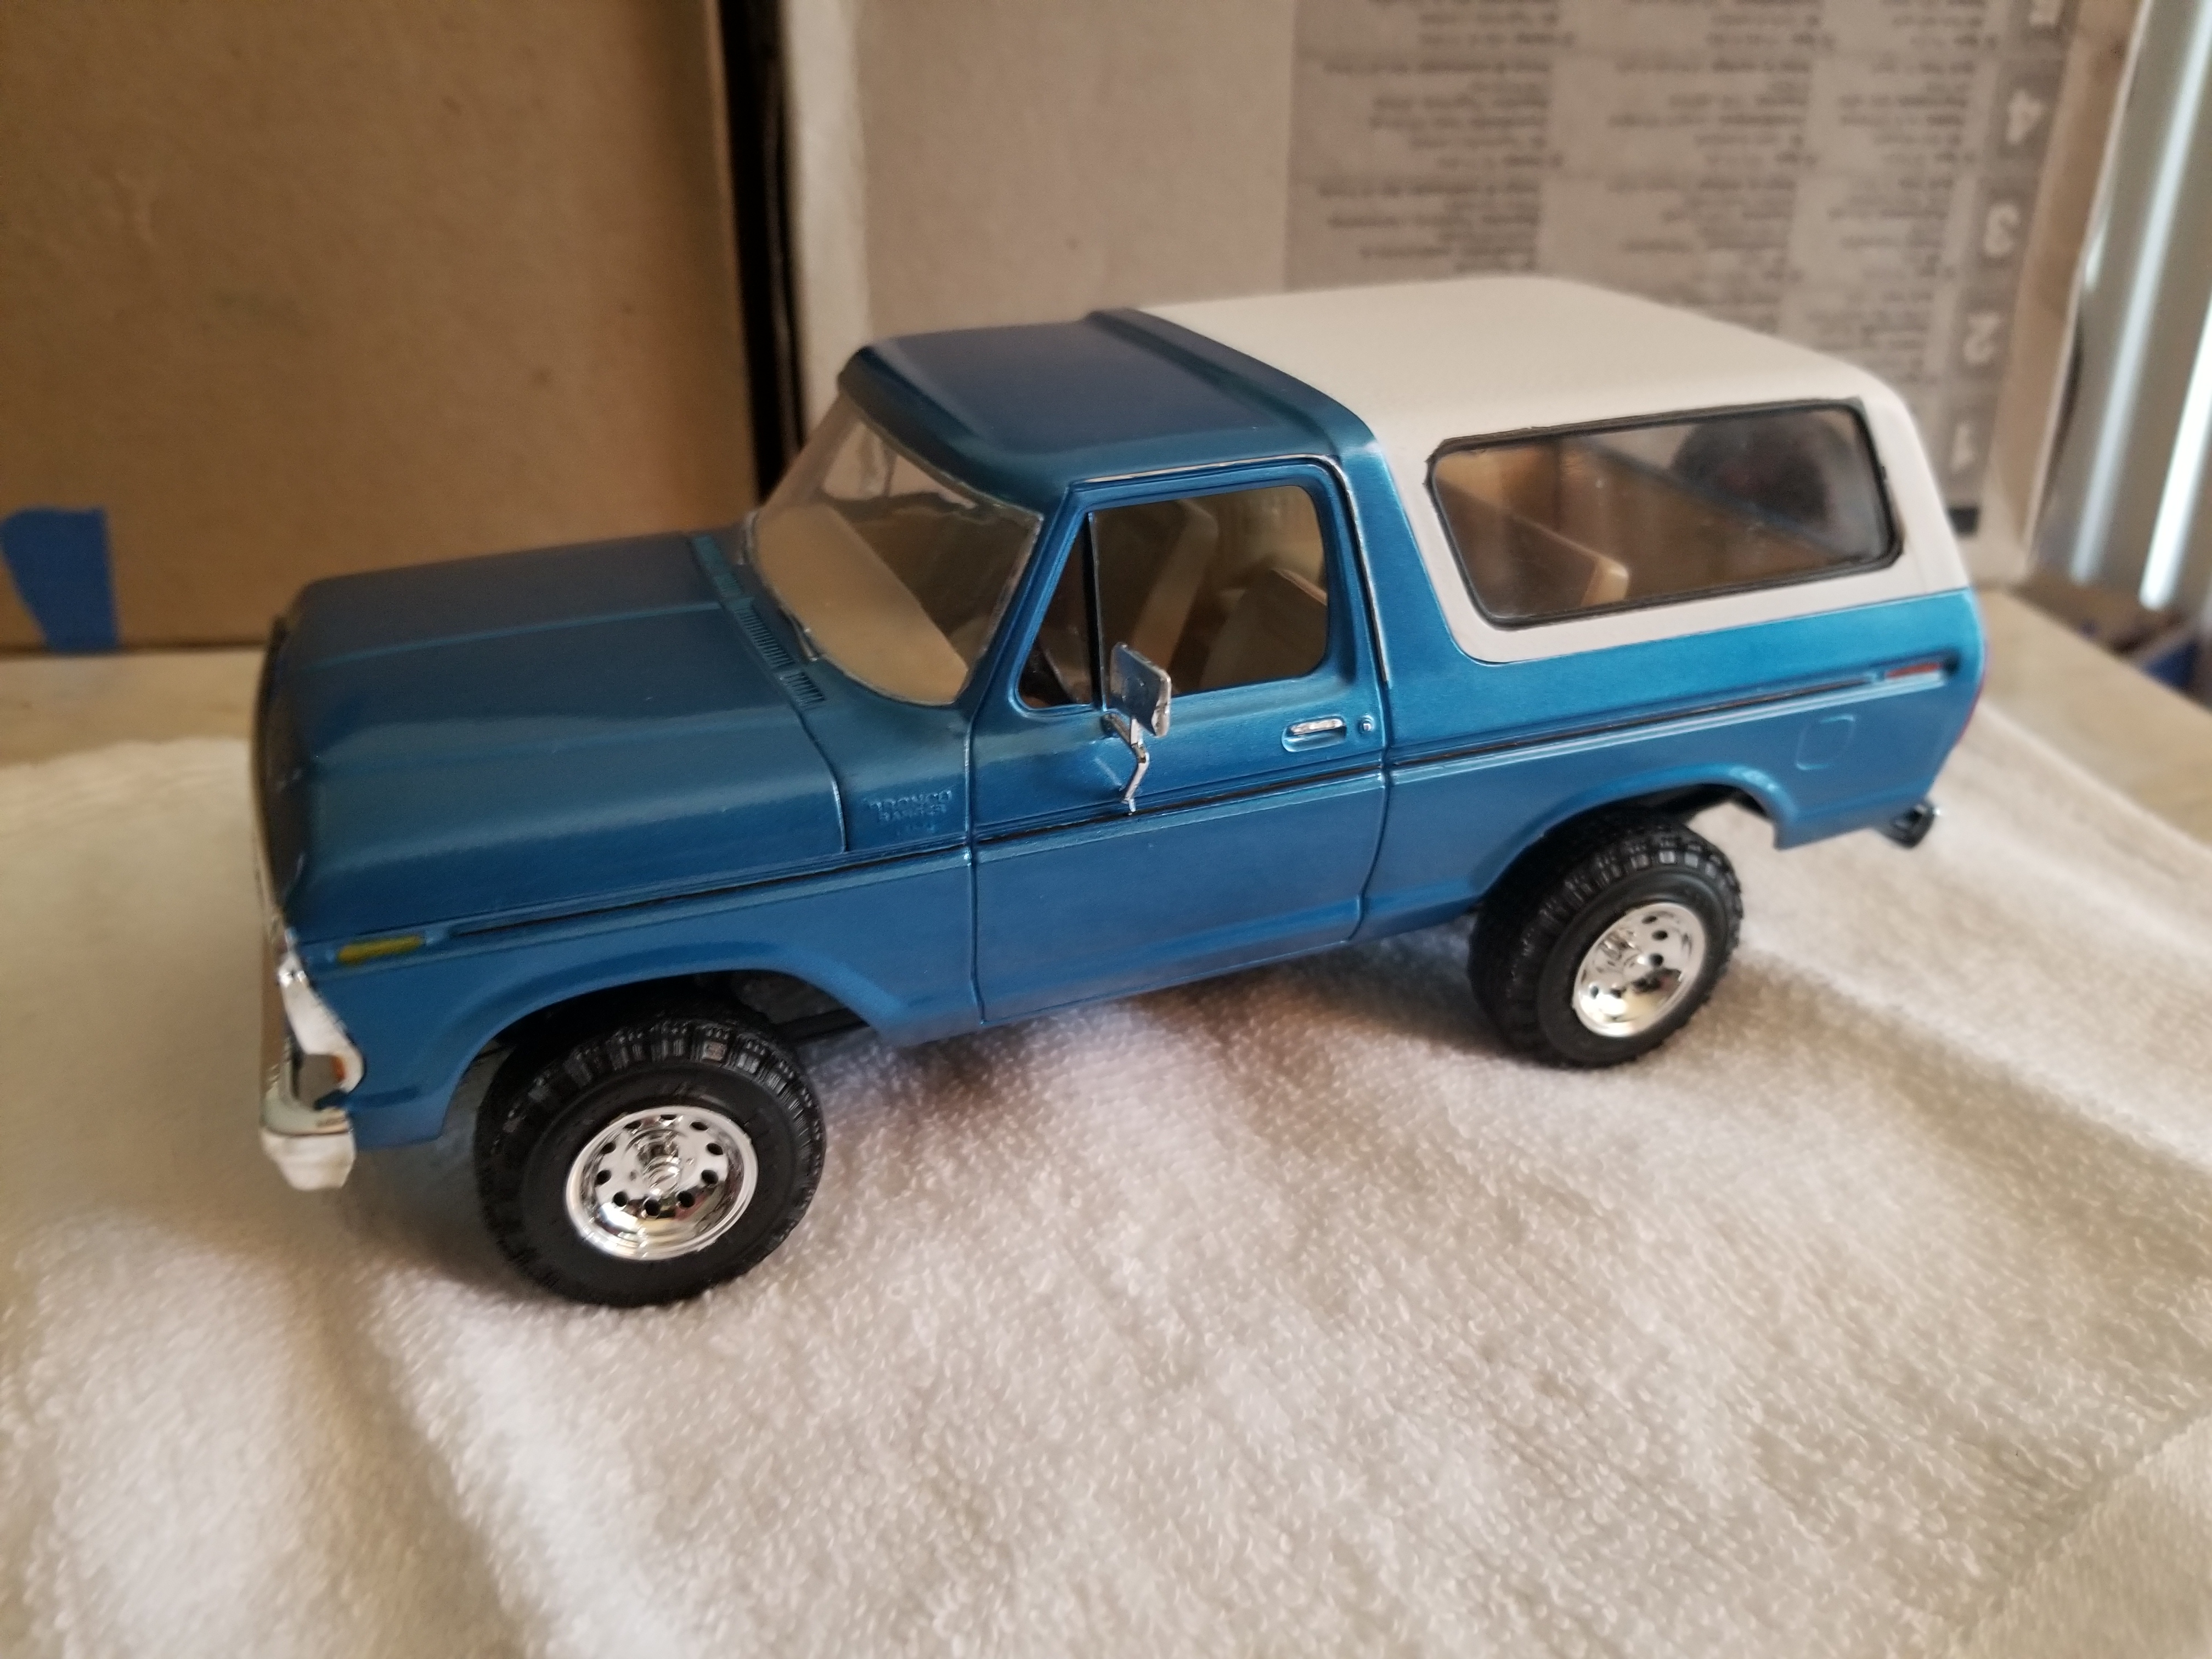
Done....again. I loke it much more without the chrome stripe. Im not sure if im going to paint the bronco logo. On the last attempt it didn't look good. Might try to find some decals. There are definitely a lot less mistakes vs last time.
-
wow. this is something else. its amazing.
-
It will buff out
-
Use very, very thin coats
-
I have the new body painted. There is 3 spots on the hood of spec of dust. It should polish out. There is also a small wave in the paint in one spot. Its not a run but you can only see it on specific angles. Im doing the top different this time. I painted it white and then i taped off the edges for the black molding. Last time used a molotow pen, but i didn't like how it looked. i used spray paint this time. I have glued down the top to the body and im going to put the glass in after. These tops are not square and i think that was part of my problem last time. Once the glue fully dries, i will put the glass in. Its looking much better. also, the color is a bit different this time. Its darker and more metallic. its supposed to be the same paint, both tamiya light metallic blue, but the last one didn't seem to look metallic. i like them both but they are very different. The Hood is more square on this one, so i dont think i will need to glue it down. i will see though once its on the chassis. Im happier with this one at this point vs the last one at the same point. i just hope the glue holds the top without trouble. Ignore the tape holding it in place. the top is warped the glue says 24 hours to fully cure. I tried removing the tape and it was lifting up again because the glue wasn't dry.
-
thanks guys. i am going to try to repaint the body. i have a second kit. there is no way im going to bulid it again, so i think i will try to get the body perfect. im not going to paint the thick stripe chrome, just the little strip inside the thick strip. seems that chrome was an option? i hate the way it looks. i had to glue bomb a couple of pieces to get them to stay. im going to try to do better on the second body. the top needed a glue bomb too, and unfortunately, i had a little glue go over and looks bad. to me, thats too many little issues. worst case, if i cant get it right, i leave this one alone. if i can get it better, i will carefully remove this body and put the new body on the frame. this body is only glued on in the very back area and should be pretty easy to pop off. i am going to try to do the top before putting it on the chassis, it was too hard to glue the way i did it. especially with it being so warped. I am going to keep the same colors, blue with white