StevenGuthmiller
-
Posts
15,071 -
Joined
-
Last visited
Content Type
Profiles
Forums
Events
Gallery
Everything posted by StevenGuthmiller
-
 I also sand the body prior. I don’t generally worry about too much primer sanding, unless I feel it’s necessary. I figure that the lacquer paints that I’m using have enough natural “etching” ability of their own that adhesion won’t be an issue. At least I’ve never had any paint adhesion problems with the lacquers that I currently use. But I can absolutely see the benefit depending upon the processes and materials being used. Steve
 -
I understand Mike. We all need to experiment and discover a process that works for us, is consistent, and as close to fool proof as possible, and that can often take years to perfect. Everybody has different limits and expectations, and sometimes, no matter how much advice we receive, we just have to figure it out ourselves. Steve
-
So sad. When this sort of definitive information arises, it becomes obvious that models like the ‘60 Mercury are gone forever. Nobody is ever going to spend the time, effort or money to create an all new tooling of such a car. ? Steve
-
If I do any sanding at all to remove debris on a metallic color coat, I will give the entire body another light coat to ensure even coverage. Sanding metallic paint can cause strange blotches that might not be entirely evident, but can be greatly magnified under clear coat. Steve
-
Of course. But as I always polish my models anyway, I just do them all the same way. The more consistent your painting regimen, the less chance you will have for issues. Luckily for me, my regimen includes nothing but lacquer paints, and an average of 5 coats of Duplicolor clear, which even if applied wet with all coats, goes on thin enough that it won’t hide detail, or exhibit any excess buildup, and provides plenty of depth and toughness to guard against burning through the clear during the cutting and polishing process. Steve
-
I never sand color coats. (especially if the paint is metallic) As a matter of fact, I don’t do a lot of sanding on the primer coats either. I save it all until the end, after the clear coats are finished. Steve
-
You definitely have to be sure that you have adequate clear coat depth to cut and polish. That should go without saying. Steve
-
I can’t remember, but I thought I saw something somewhere. It’s not really that high on my want list, so that’s probably why I didn’t pay a lot of attention. Steve
-
Am I nuts, or did I see somewhere that Round-2 is re-releasing the old SMP 1960 Chevy Nomad station wagon? Steve
-
Hmmm, that surprises me as apparently these molds weren't destroyed after their initial runs. I believe that the Flower Power kits were re-released in the early to mid 60s, so I assumed that possibly these molds might still be around and intact. But I suppose that there are many other factors that determine whether or not a mold has survived. Steve
-
Agreed. It’s always been my opinion as well that even a model that doesn’t require any sanding or polishing can benefit from it. Something about the polishing process that creates a more realistic looking finish, especially if you’re building something close to stock. I like to use the analogy that an unpolished paint job can often have a toy like appearance, not unlike a piece of hard candy. Polishing will not only eliminate that overly shiny appearance, but it will remove any imperfections or orange peel in the paint, while still giving you a very nice reflective finish. Think of it this way. The best high end 1:1 paint shops will still “cut and polish” no matter how nice the finish is right out of the booth. Steve
-
Just be sure that you know what you're dealing with going in. It's apparently very nasty stuff! And in all honesty, it's not necessary to do well in a contest. There are many different ways to skin a cat. Steve
-
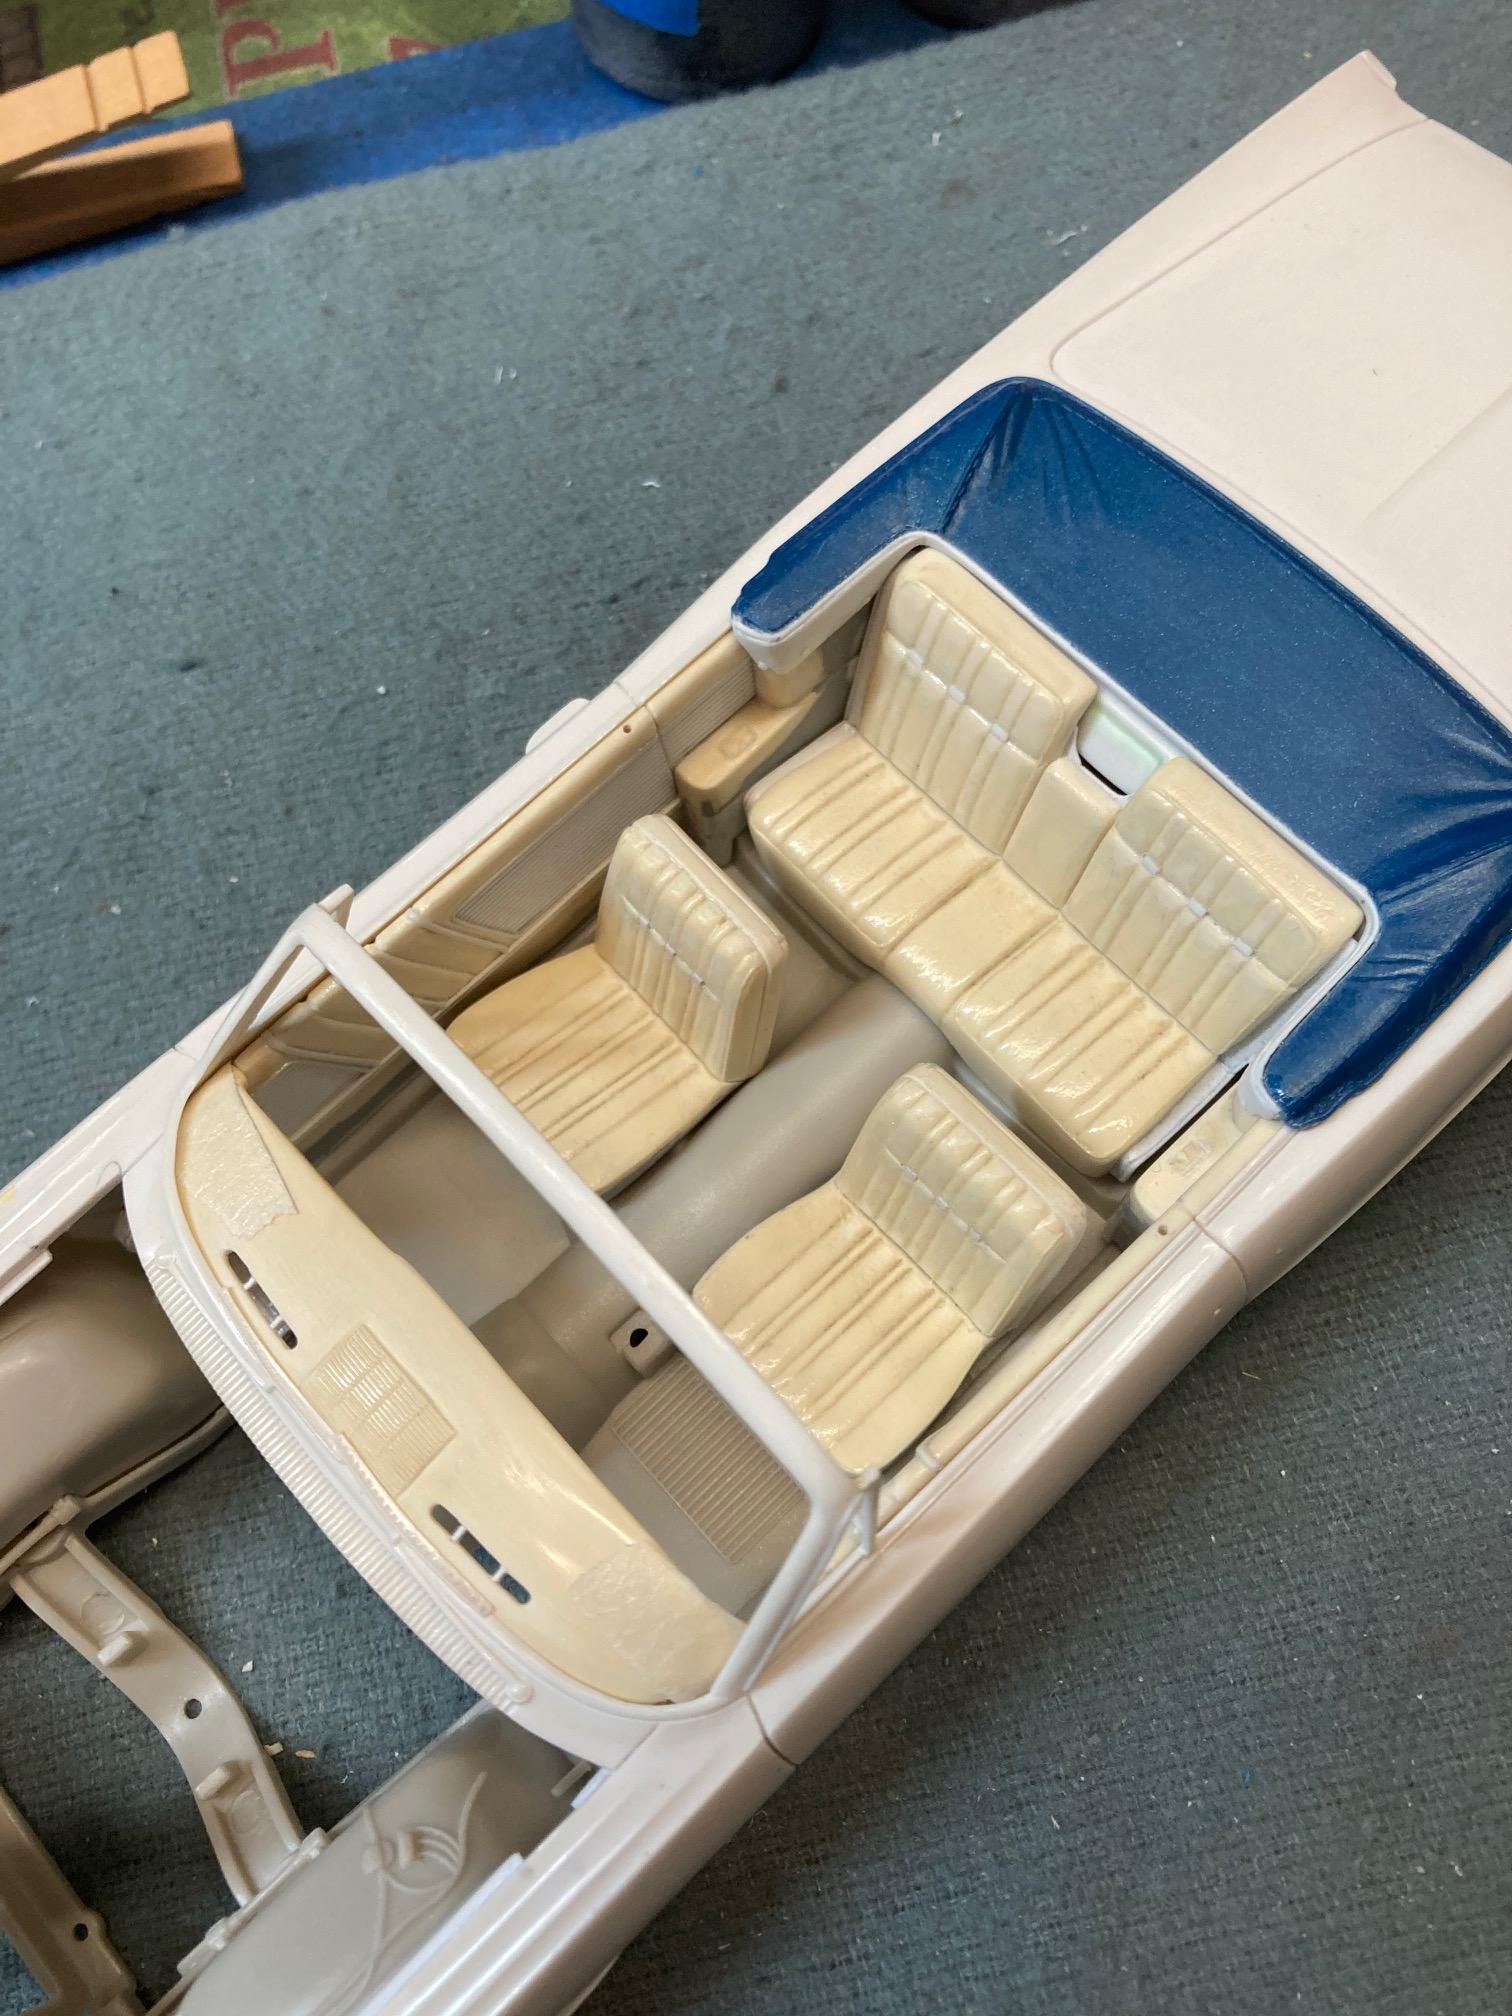
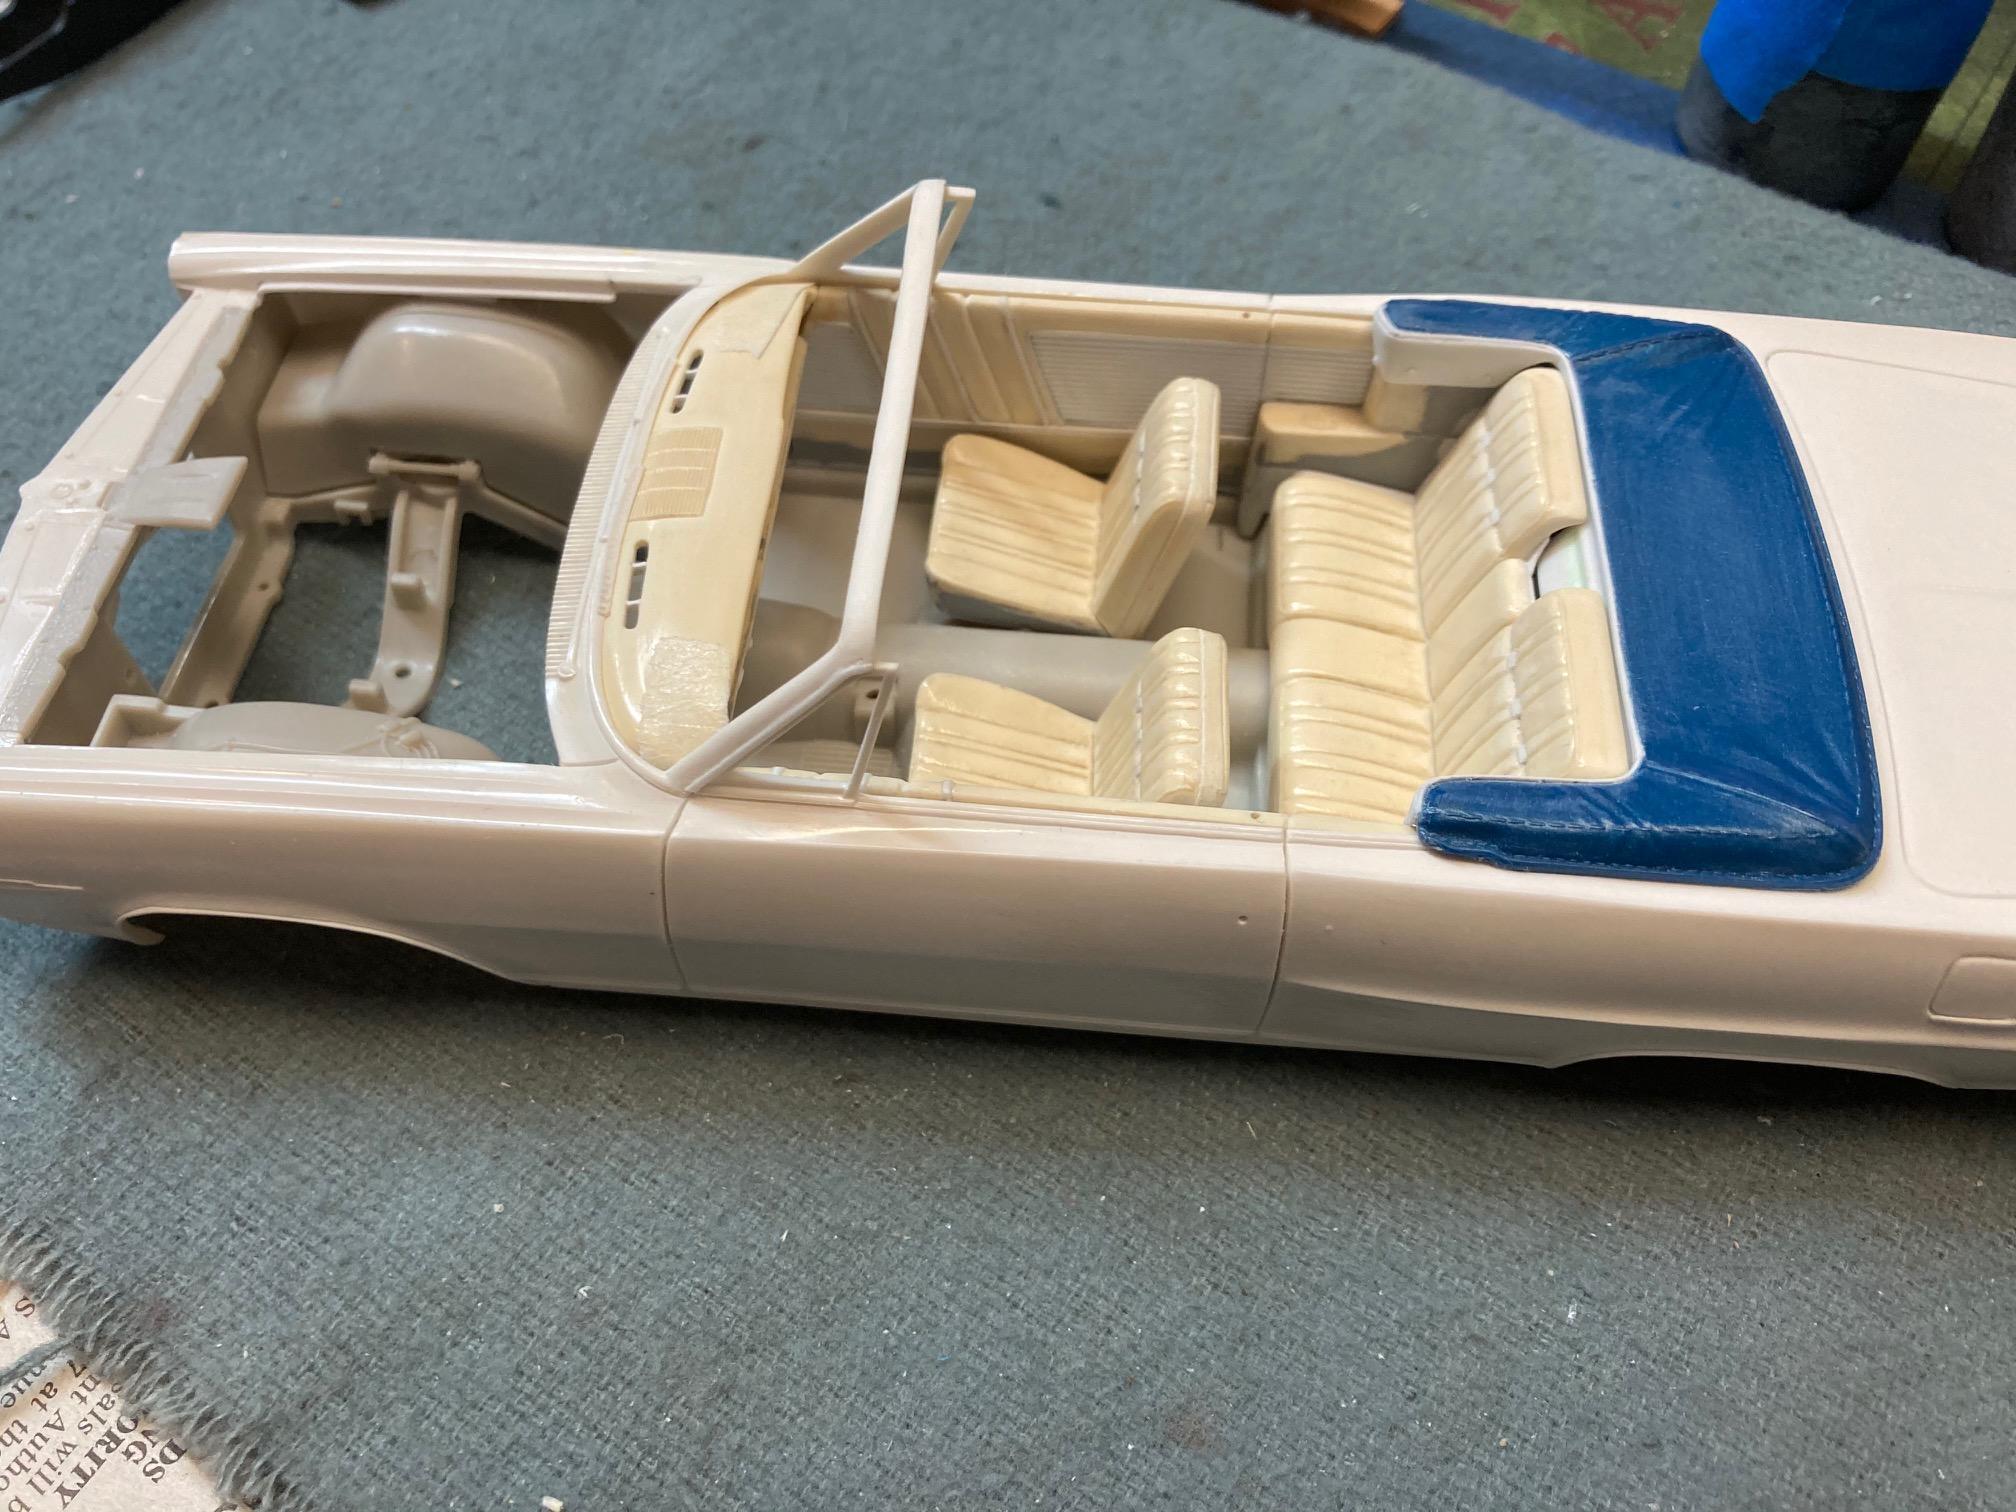
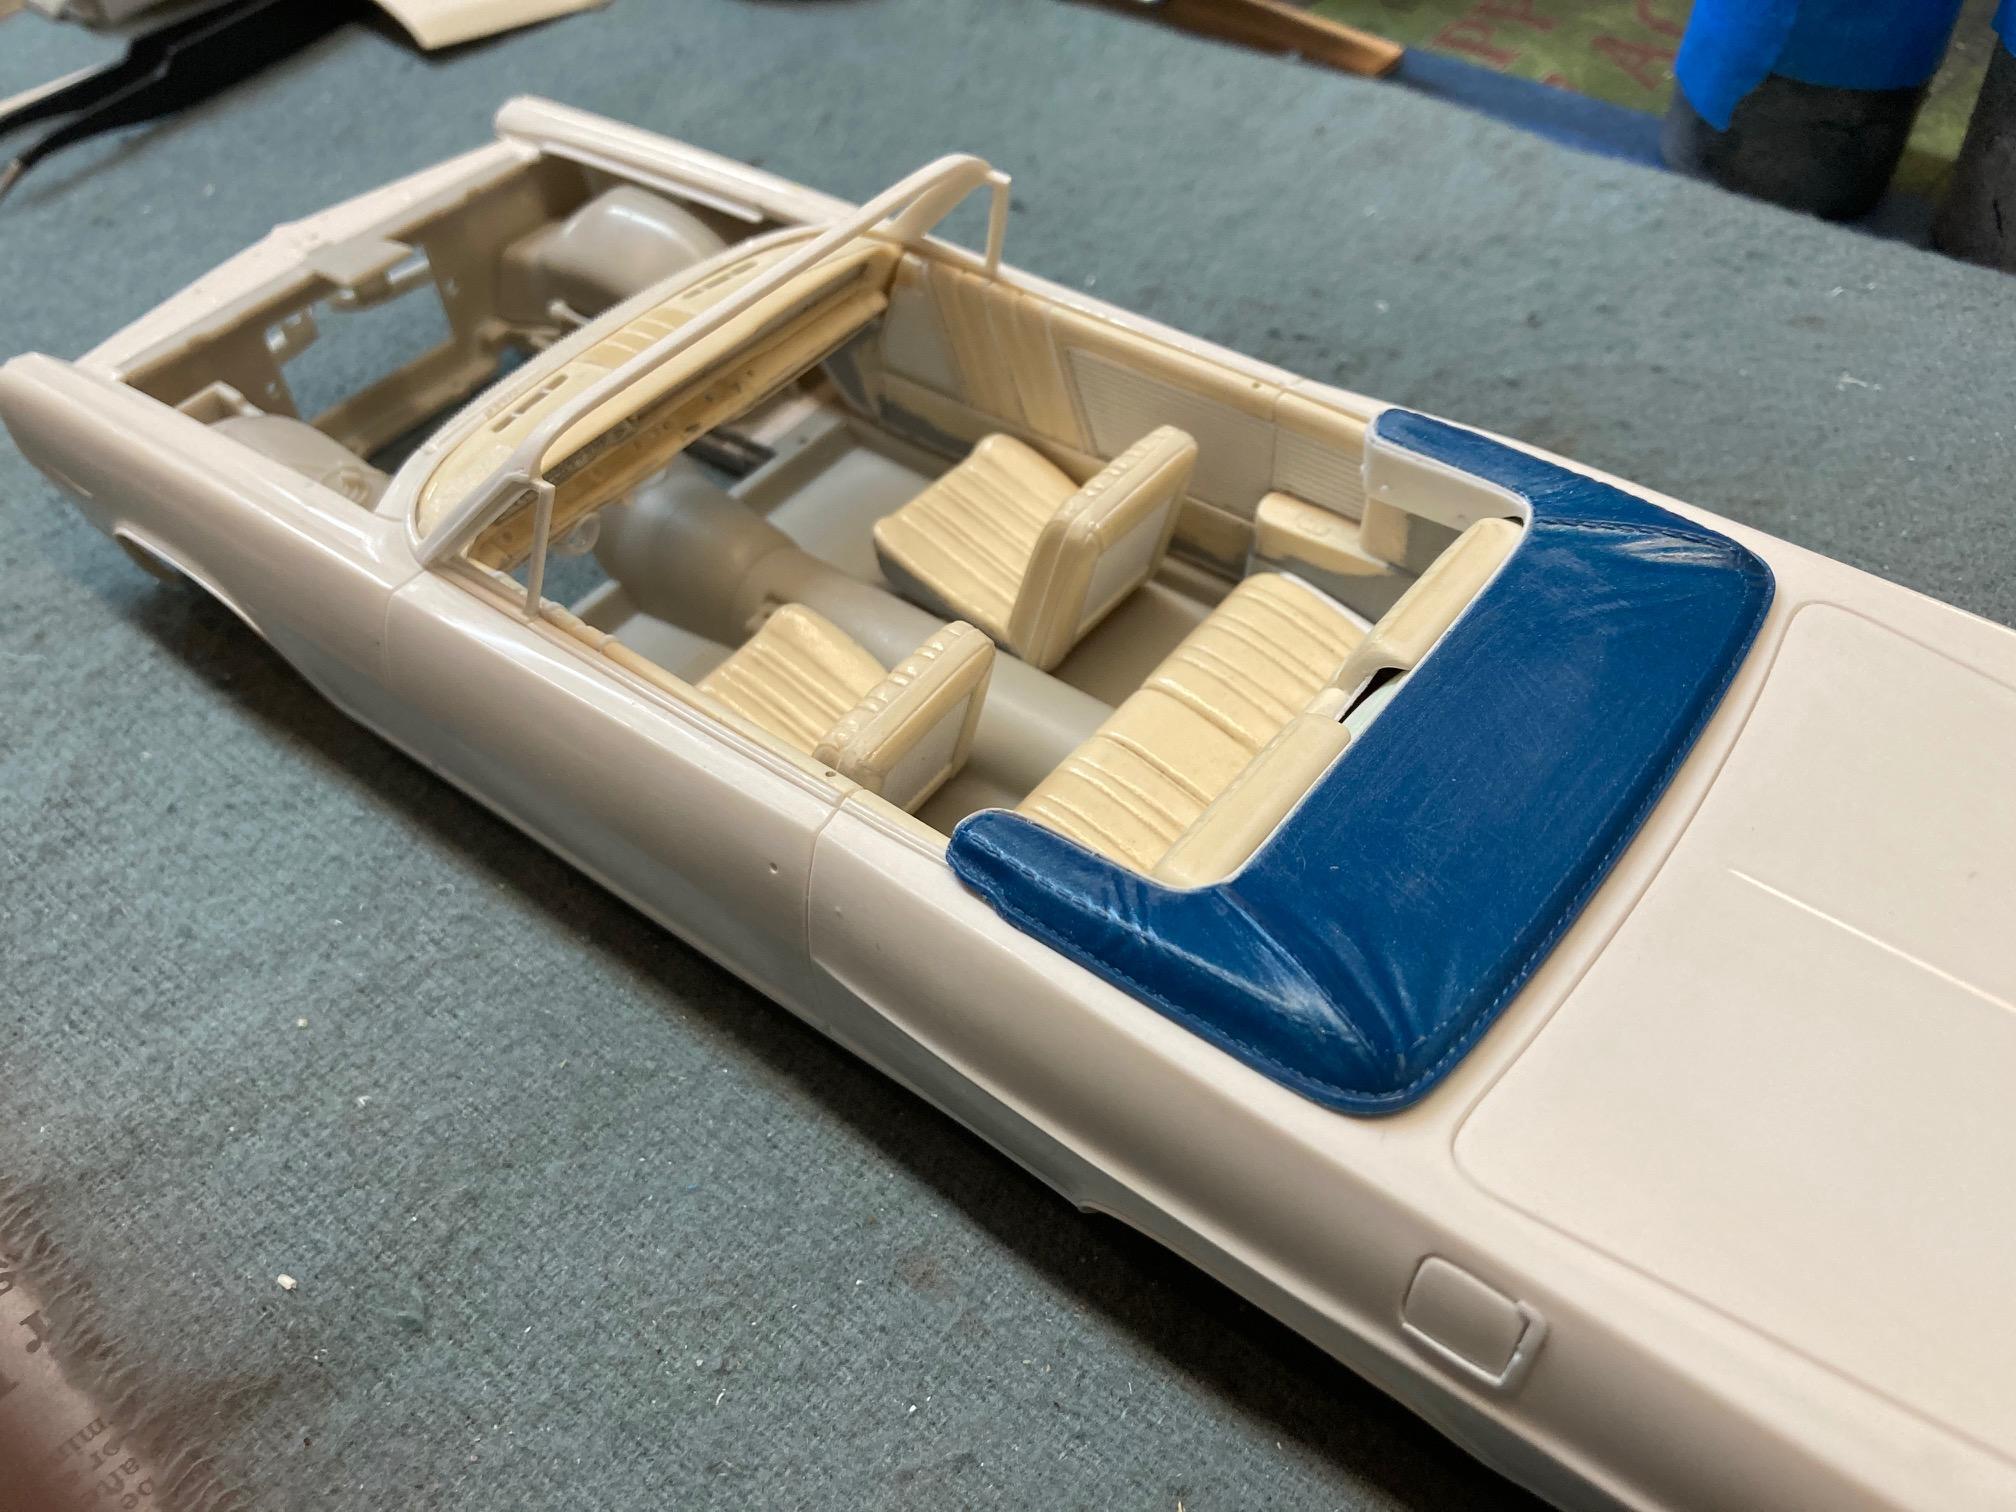
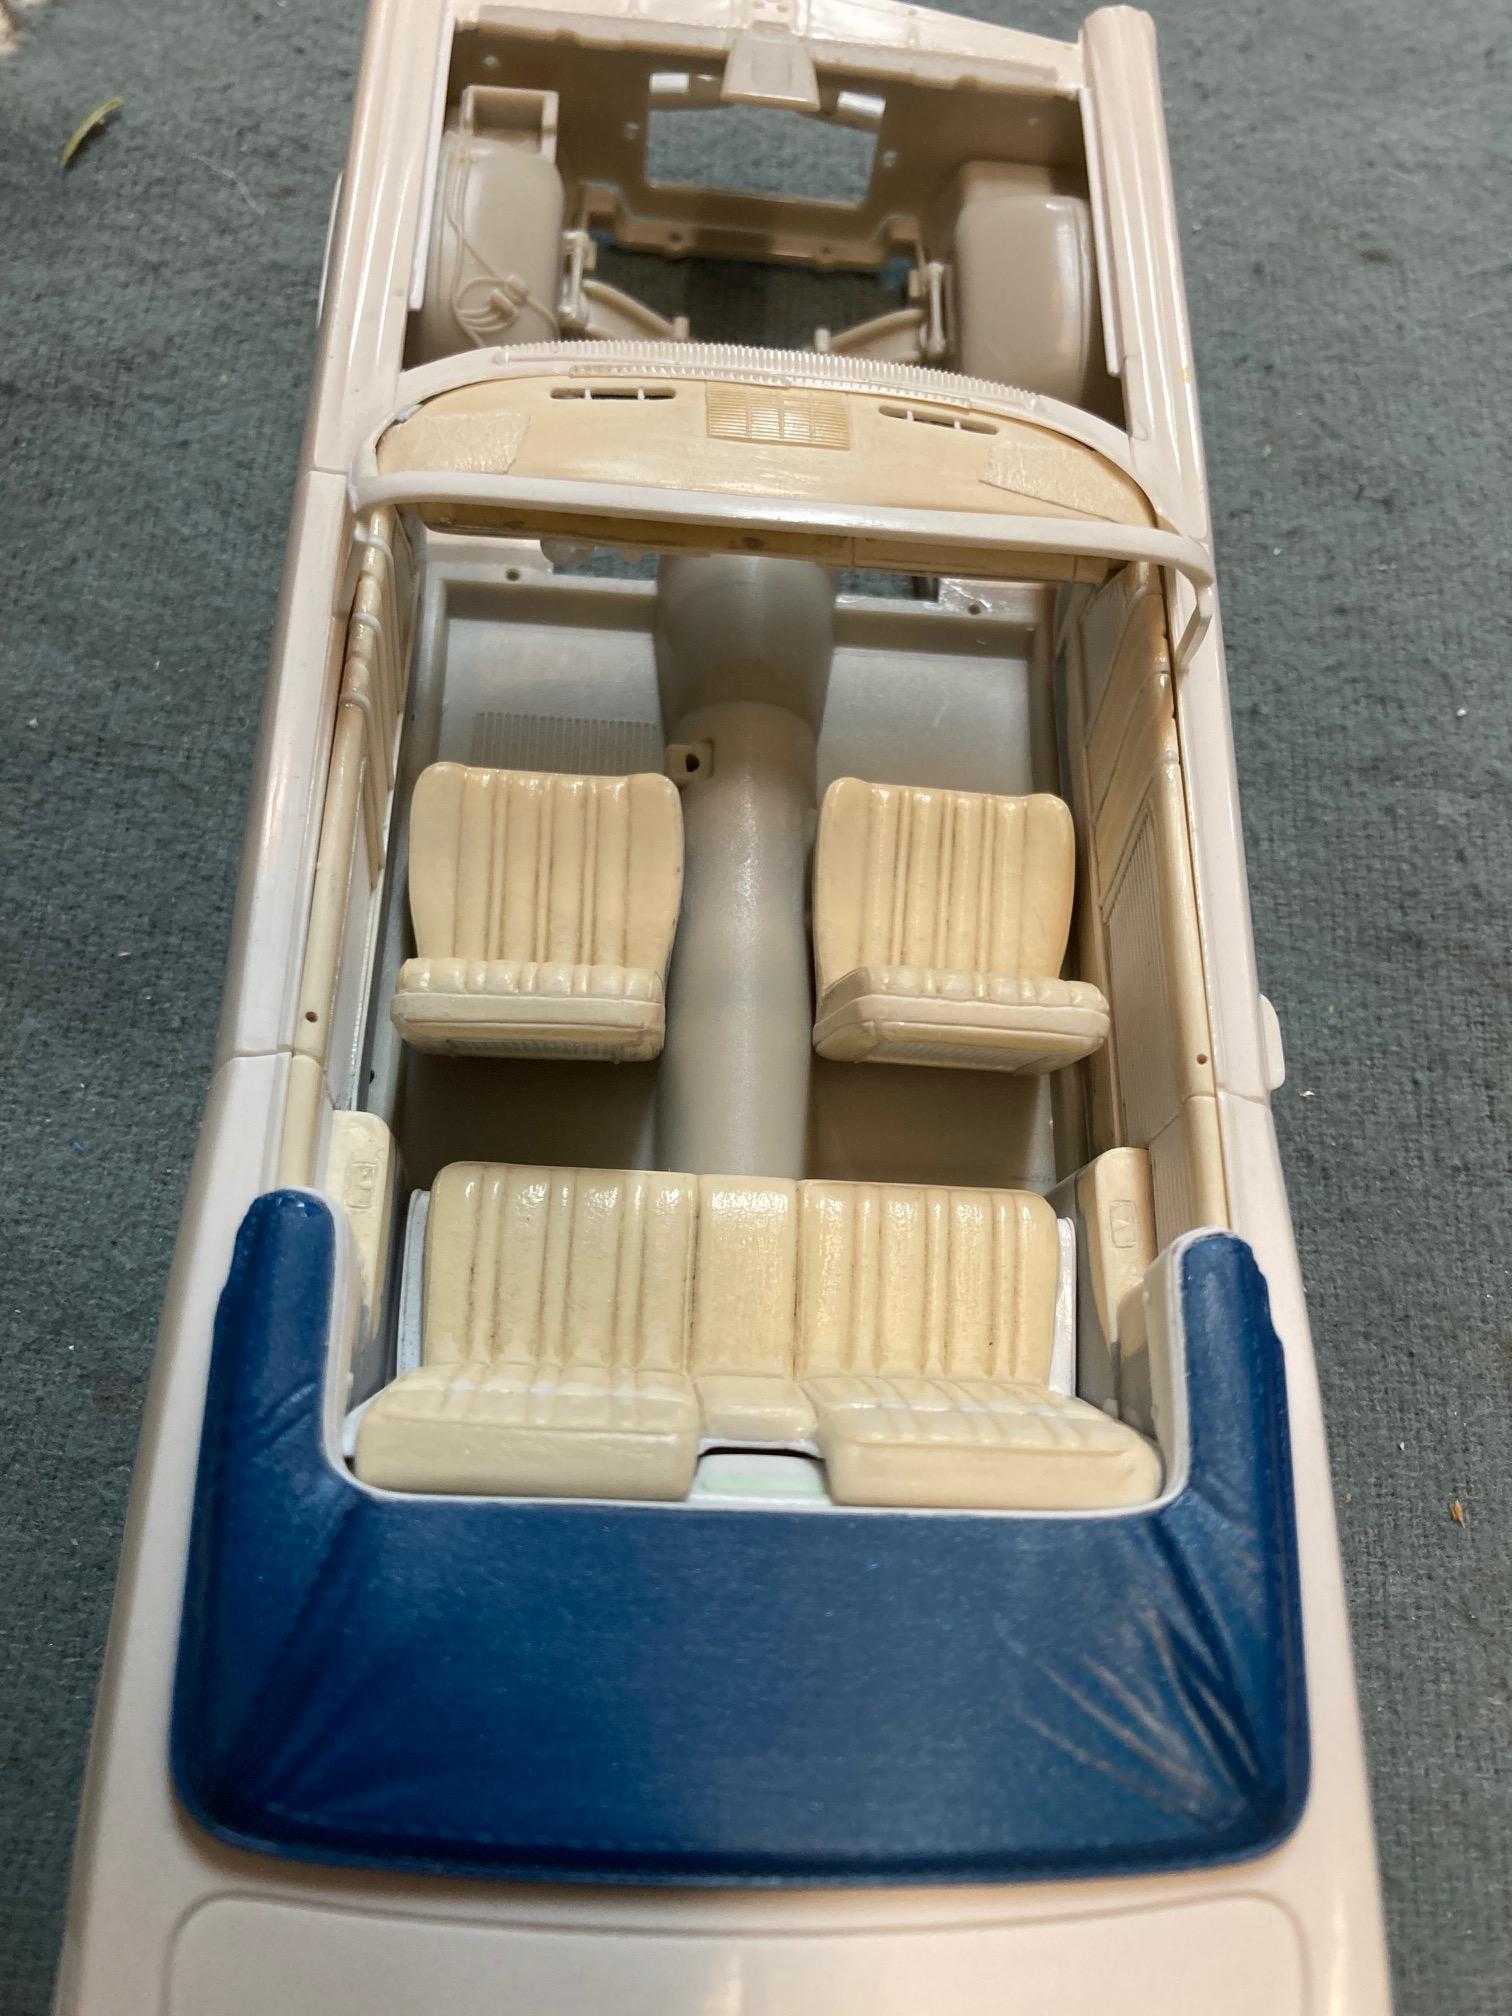
1964 Pontiac Bonneville Convertible.
StevenGuthmiller replied to StevenGuthmiller's topic in WIP: Model Cars
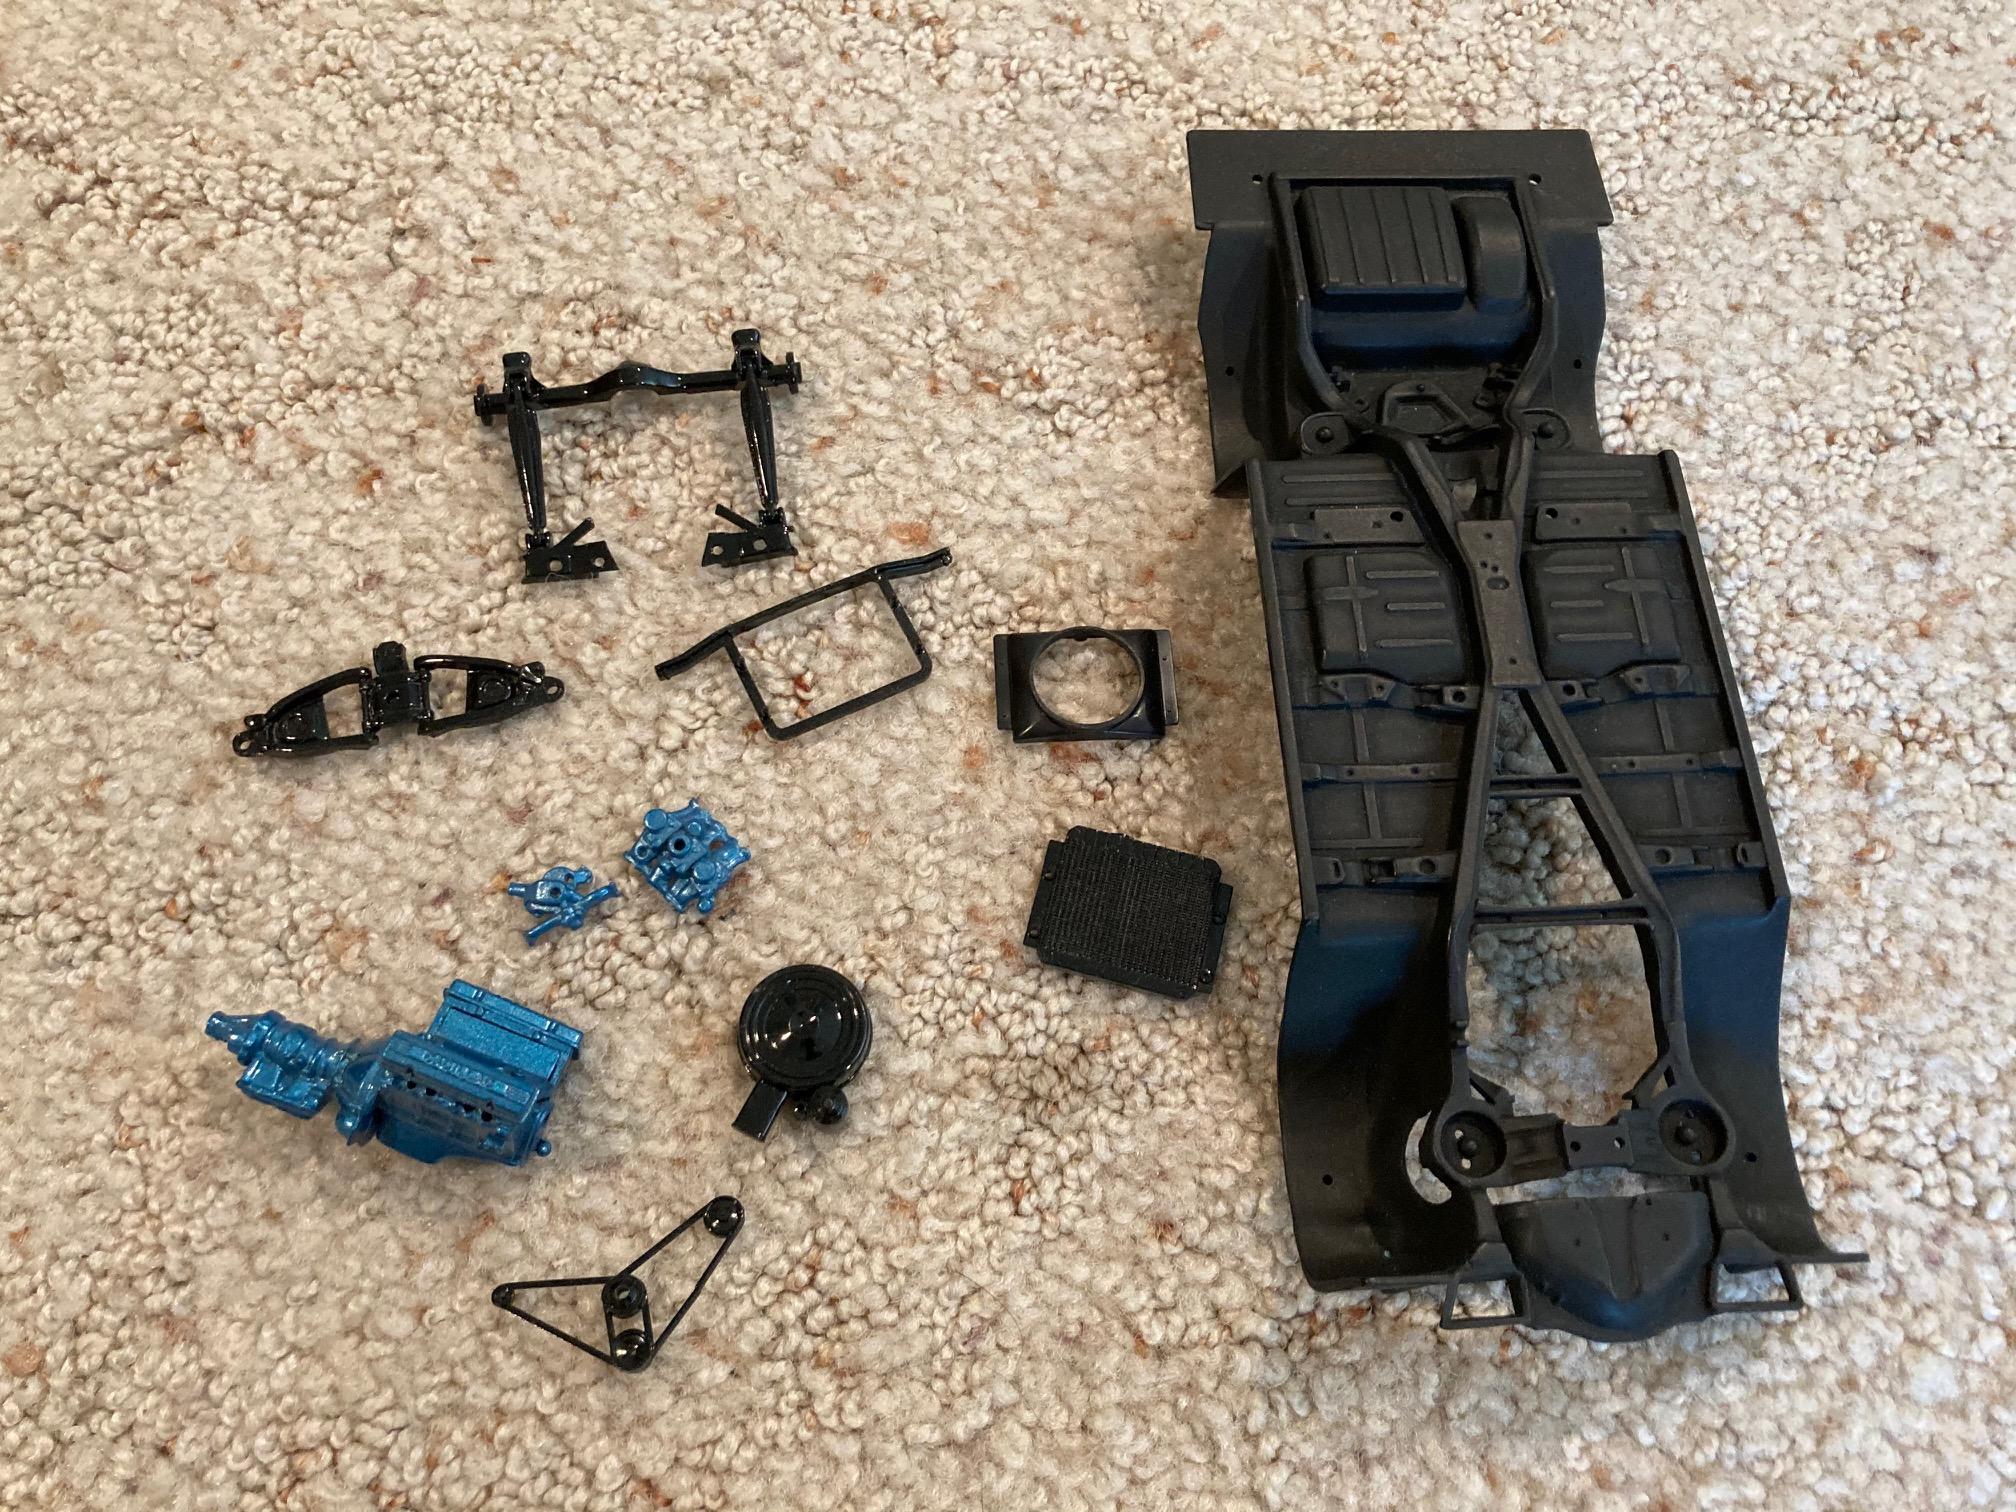
I couldn't tell you how many times that I've had to fit and re-fit, mock-up and mock-up again, but I think I've about got the interior, body and chassis symbiosis figured out. It's actually kind of a fun challenge getting all of these mixed, matched and modified parts to come together and look like they belong together. The easier everything falls into place, the closer you know that you are. Steve
-
Well, I suppose that's subjective. Personally, I prefer the rear styling on the '69/'70. Cleaner.....less busy. In my eye, the '71/'72 rear looks too "Cadillac-ish". I prefer the more subdued '69 look, but then I have an obvious bias. I think the cleaner rear end gives the car a little more of a muscle car bent. The '71/'72's lend to more of a luxury car look. Steve
-
The only difference in the front end between the '69 and '70 was that the '69 had horizontal grille bars, and the '70 had vertical. The front parking lights on the '69 also had white reflectors on the sides, versus the '70 which had amber. The white reflector lenses are very difficult to find, which is why you will often see '69 restorations with amber reflectors. Other trim differences include the chrome hash marks on the C-pillar on the '69, versus the "Grand Prix" script on the '70. Like wise, the hash marks were moved to the lower front quarter panel in '70, replacing the "Grand Prix" and "Model-J" or "Model-SJ" scripts from '69. The model call out script was moved to the passenger side trunk lid in '70. I'm not 100% sure, but I believe that the back ground color on the Rally II wheel's "PMD" center caps was changed from black in '69, to red in '70 as well. Steve
-
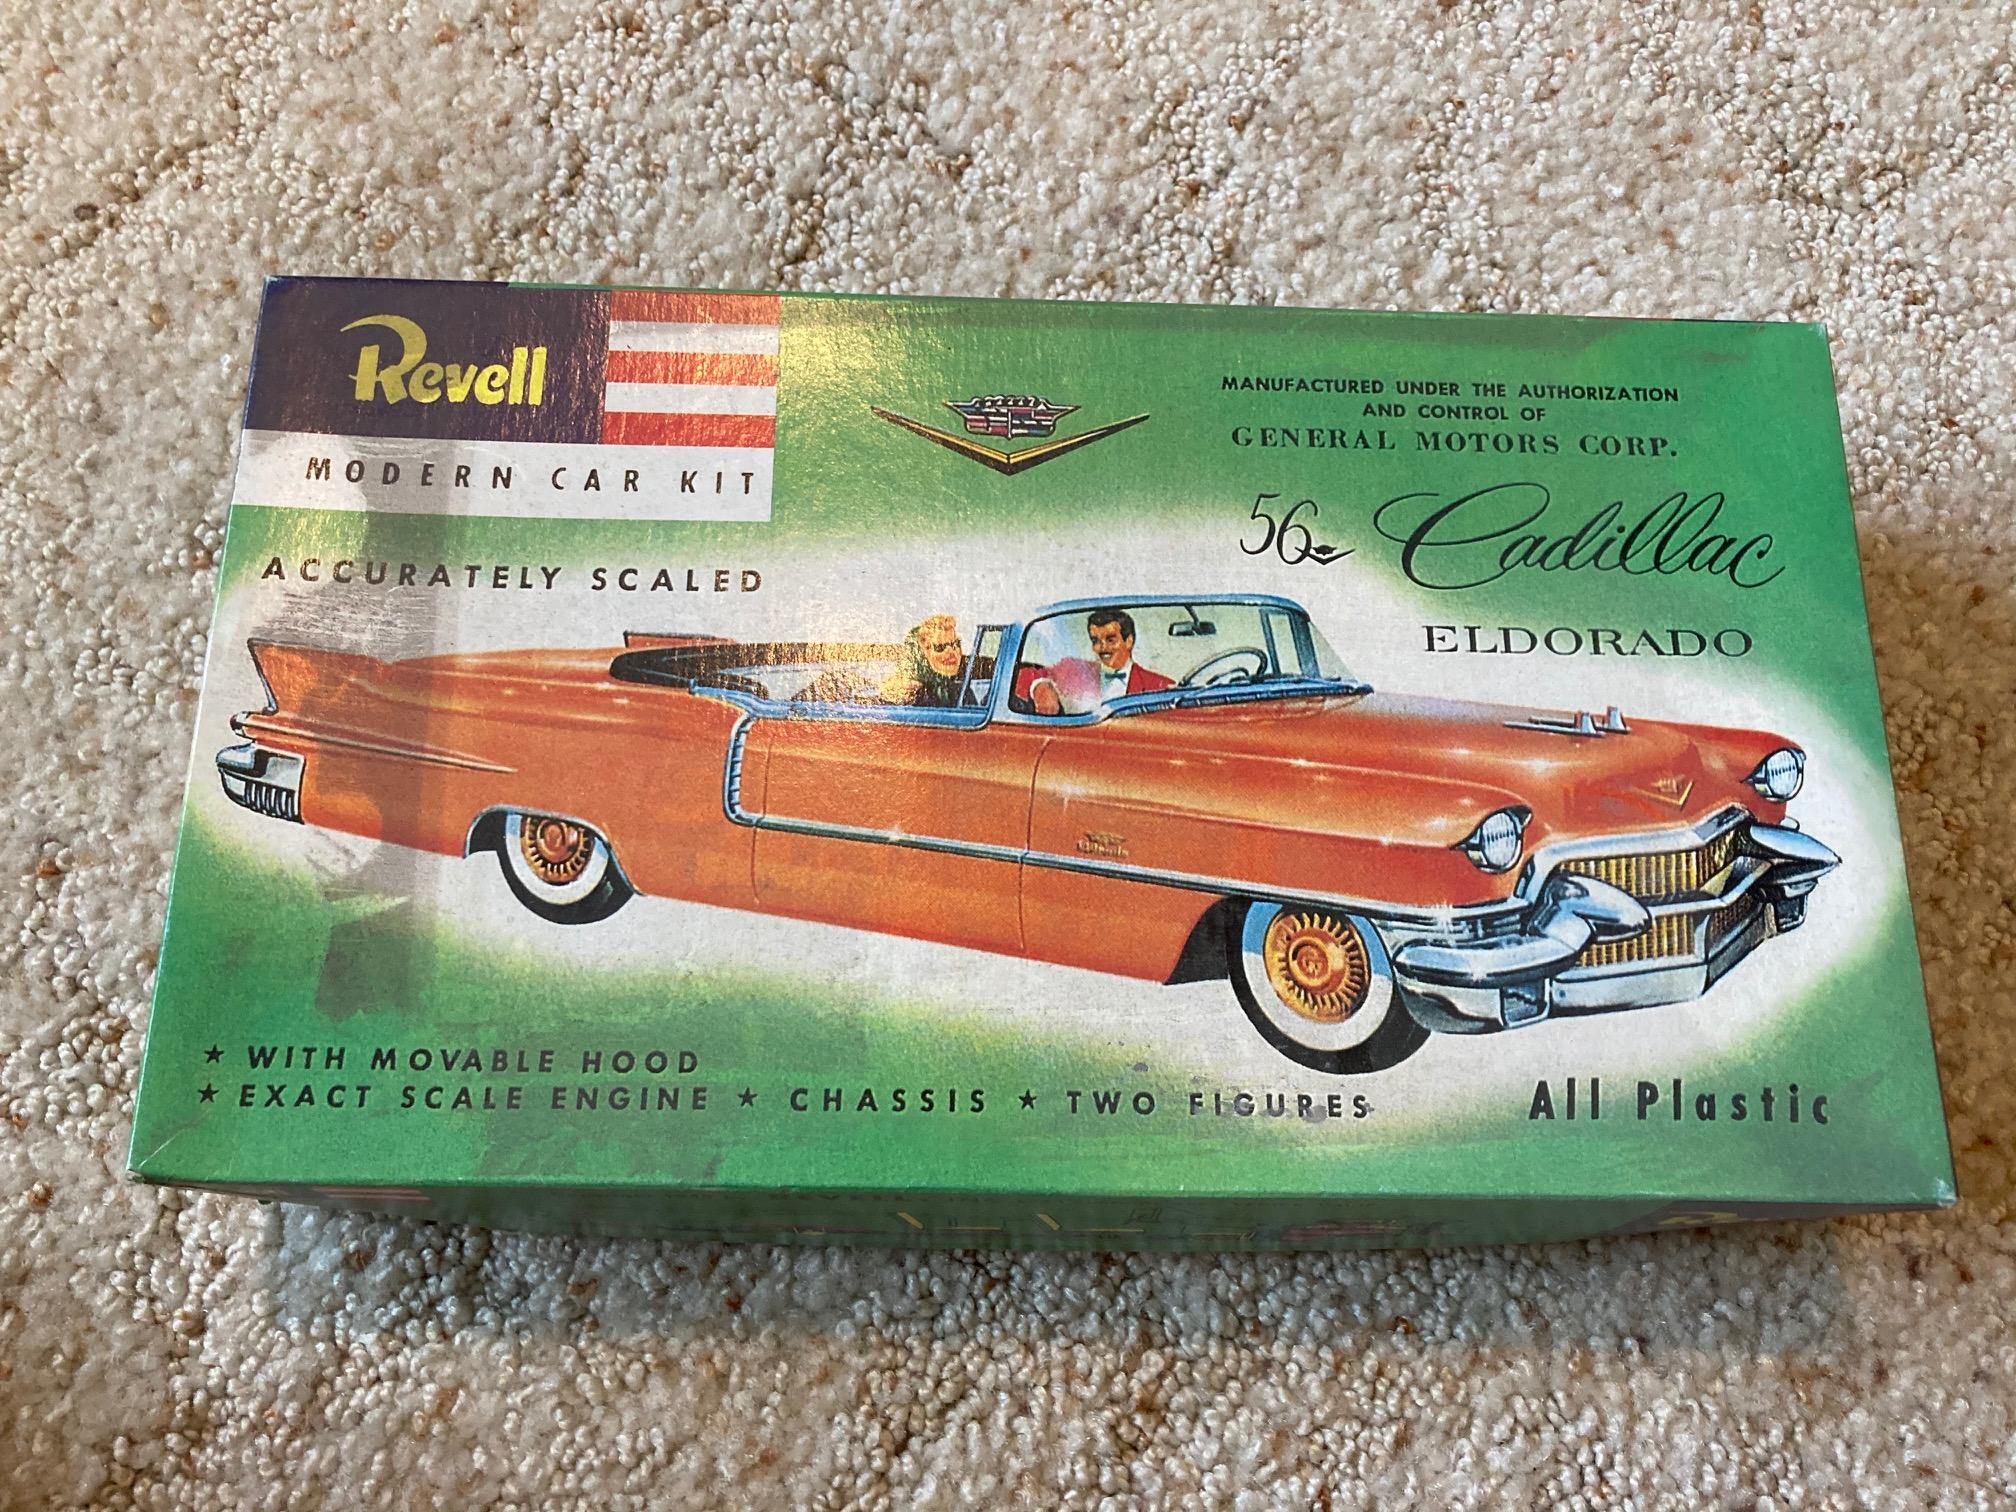
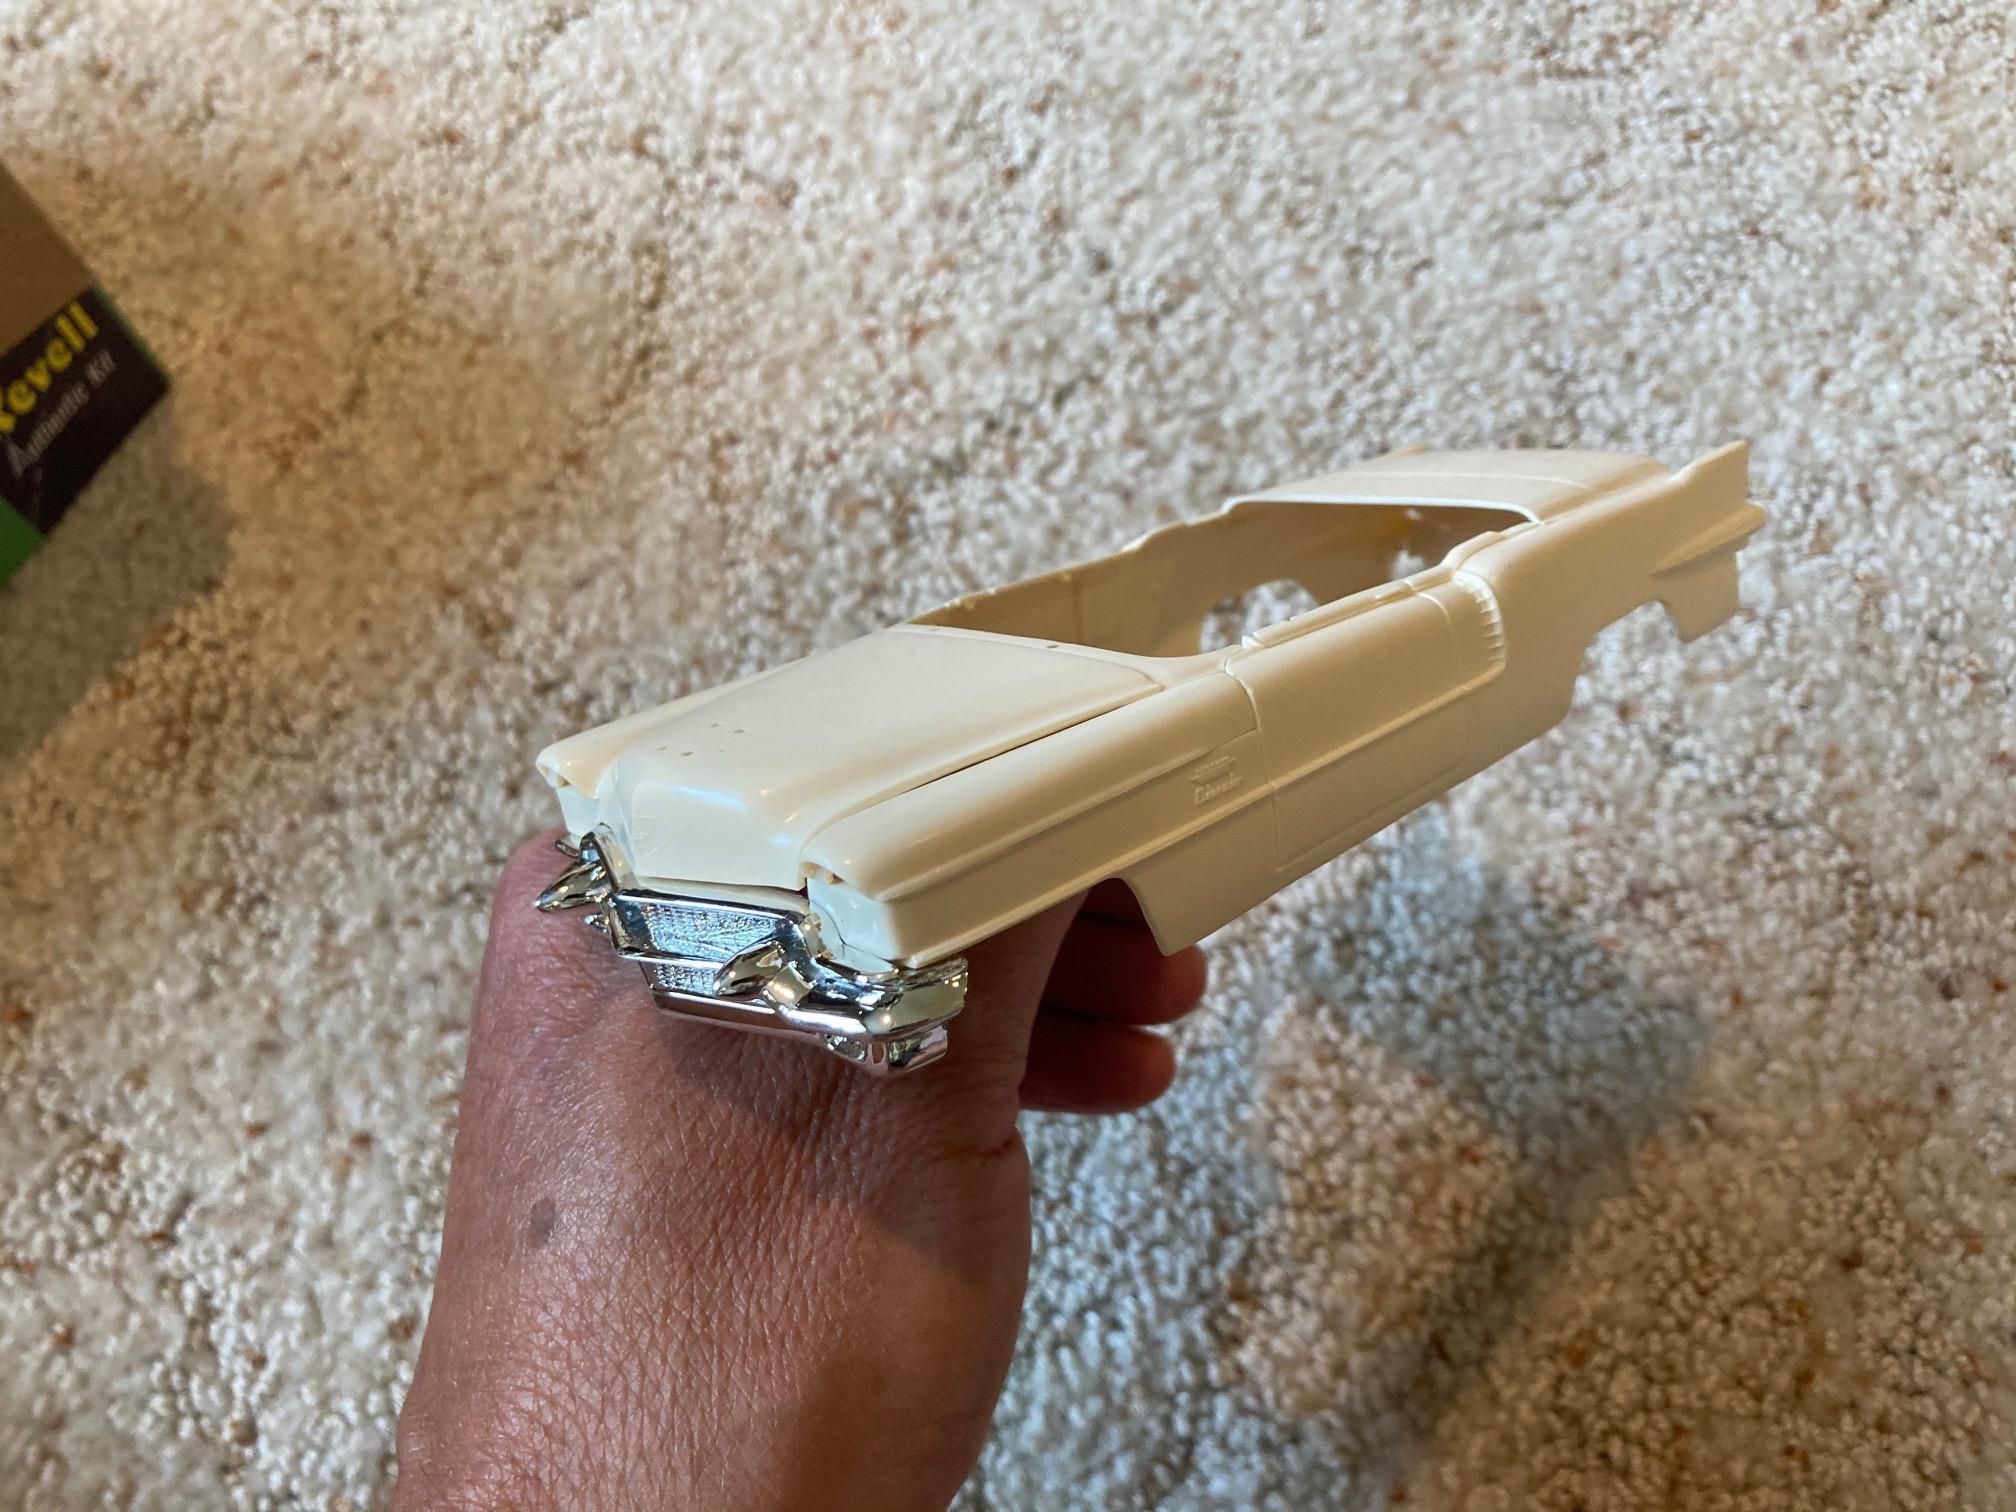
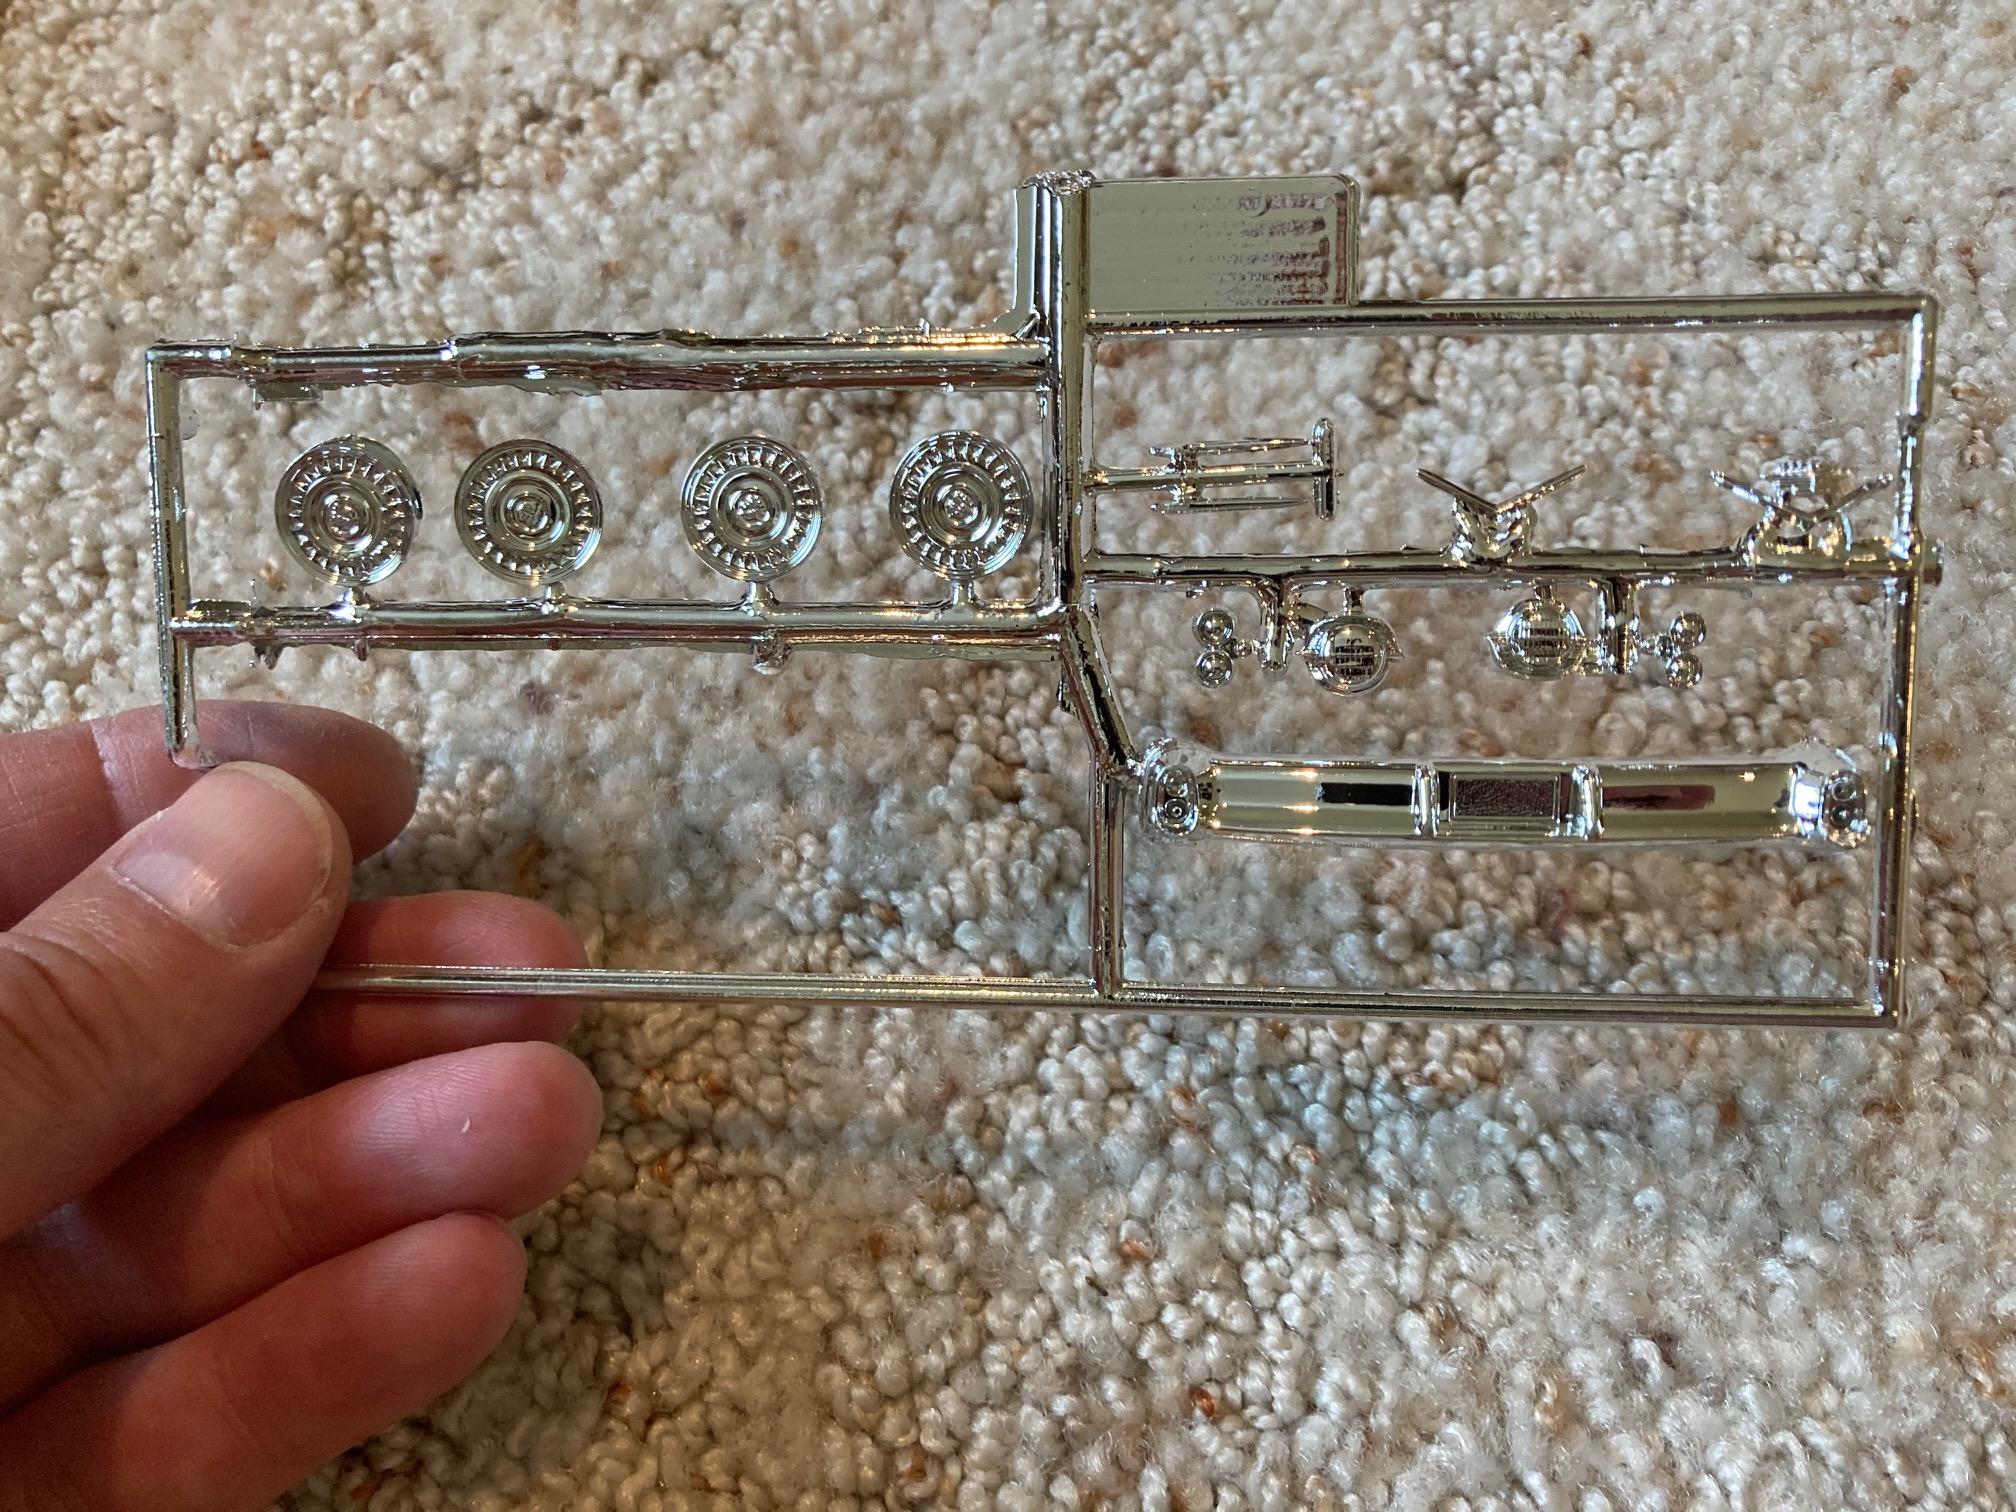
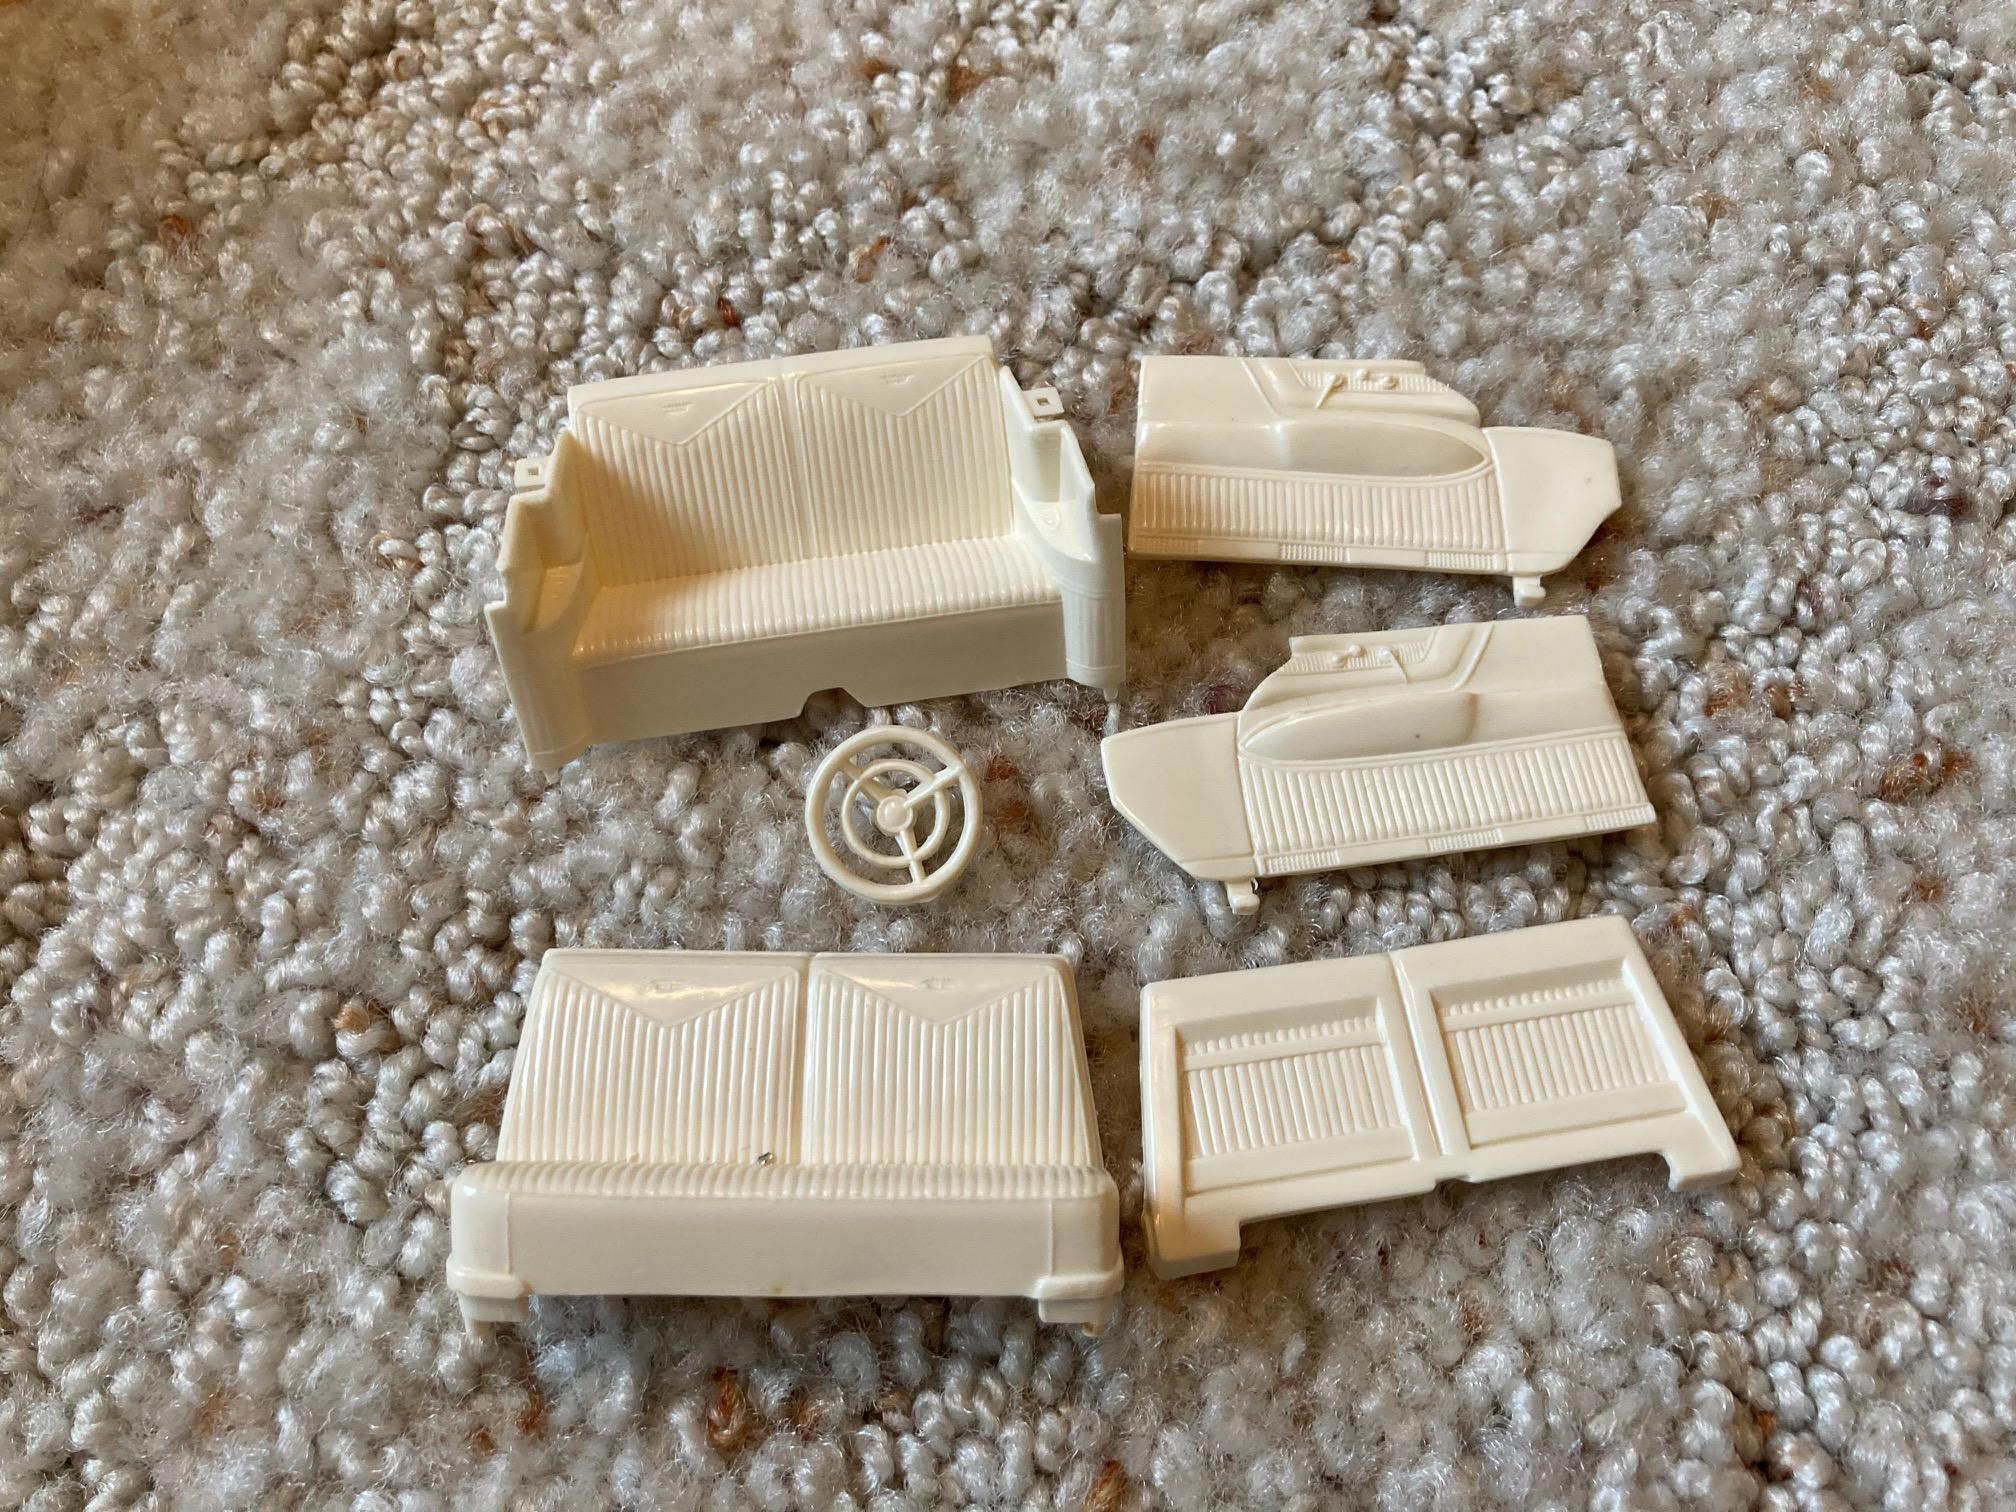
I have always been pretty impressed with the detail on these old small scale Revell kits from the 50s, although I've never built one. Although they are multi piece bodies, they look as if they would fit together quite well, and if you assembled the body and then did some filling and sanding, they really shouldn't be any different than a one piece body. The chassis and engines are rudimentary, but still just as good, if not better than most of the early AMT and Johan kits, and the interiors are much better. I have the '56 Caddy, the '56 Chrysler New Yorker, and the '56 Lincoln Continental, and I really think they would all be great fun to build some day. No glass in most of these kits, but some do include a sheet of thin clear plastic with which to make some glass. Steve
-
I'm a little surprised that I haven't yet seen the suggestion to bury it in a few coats of 2-K clear! Steve
-
This again! Steve
-
What great looking cars!!! ? Steve
-
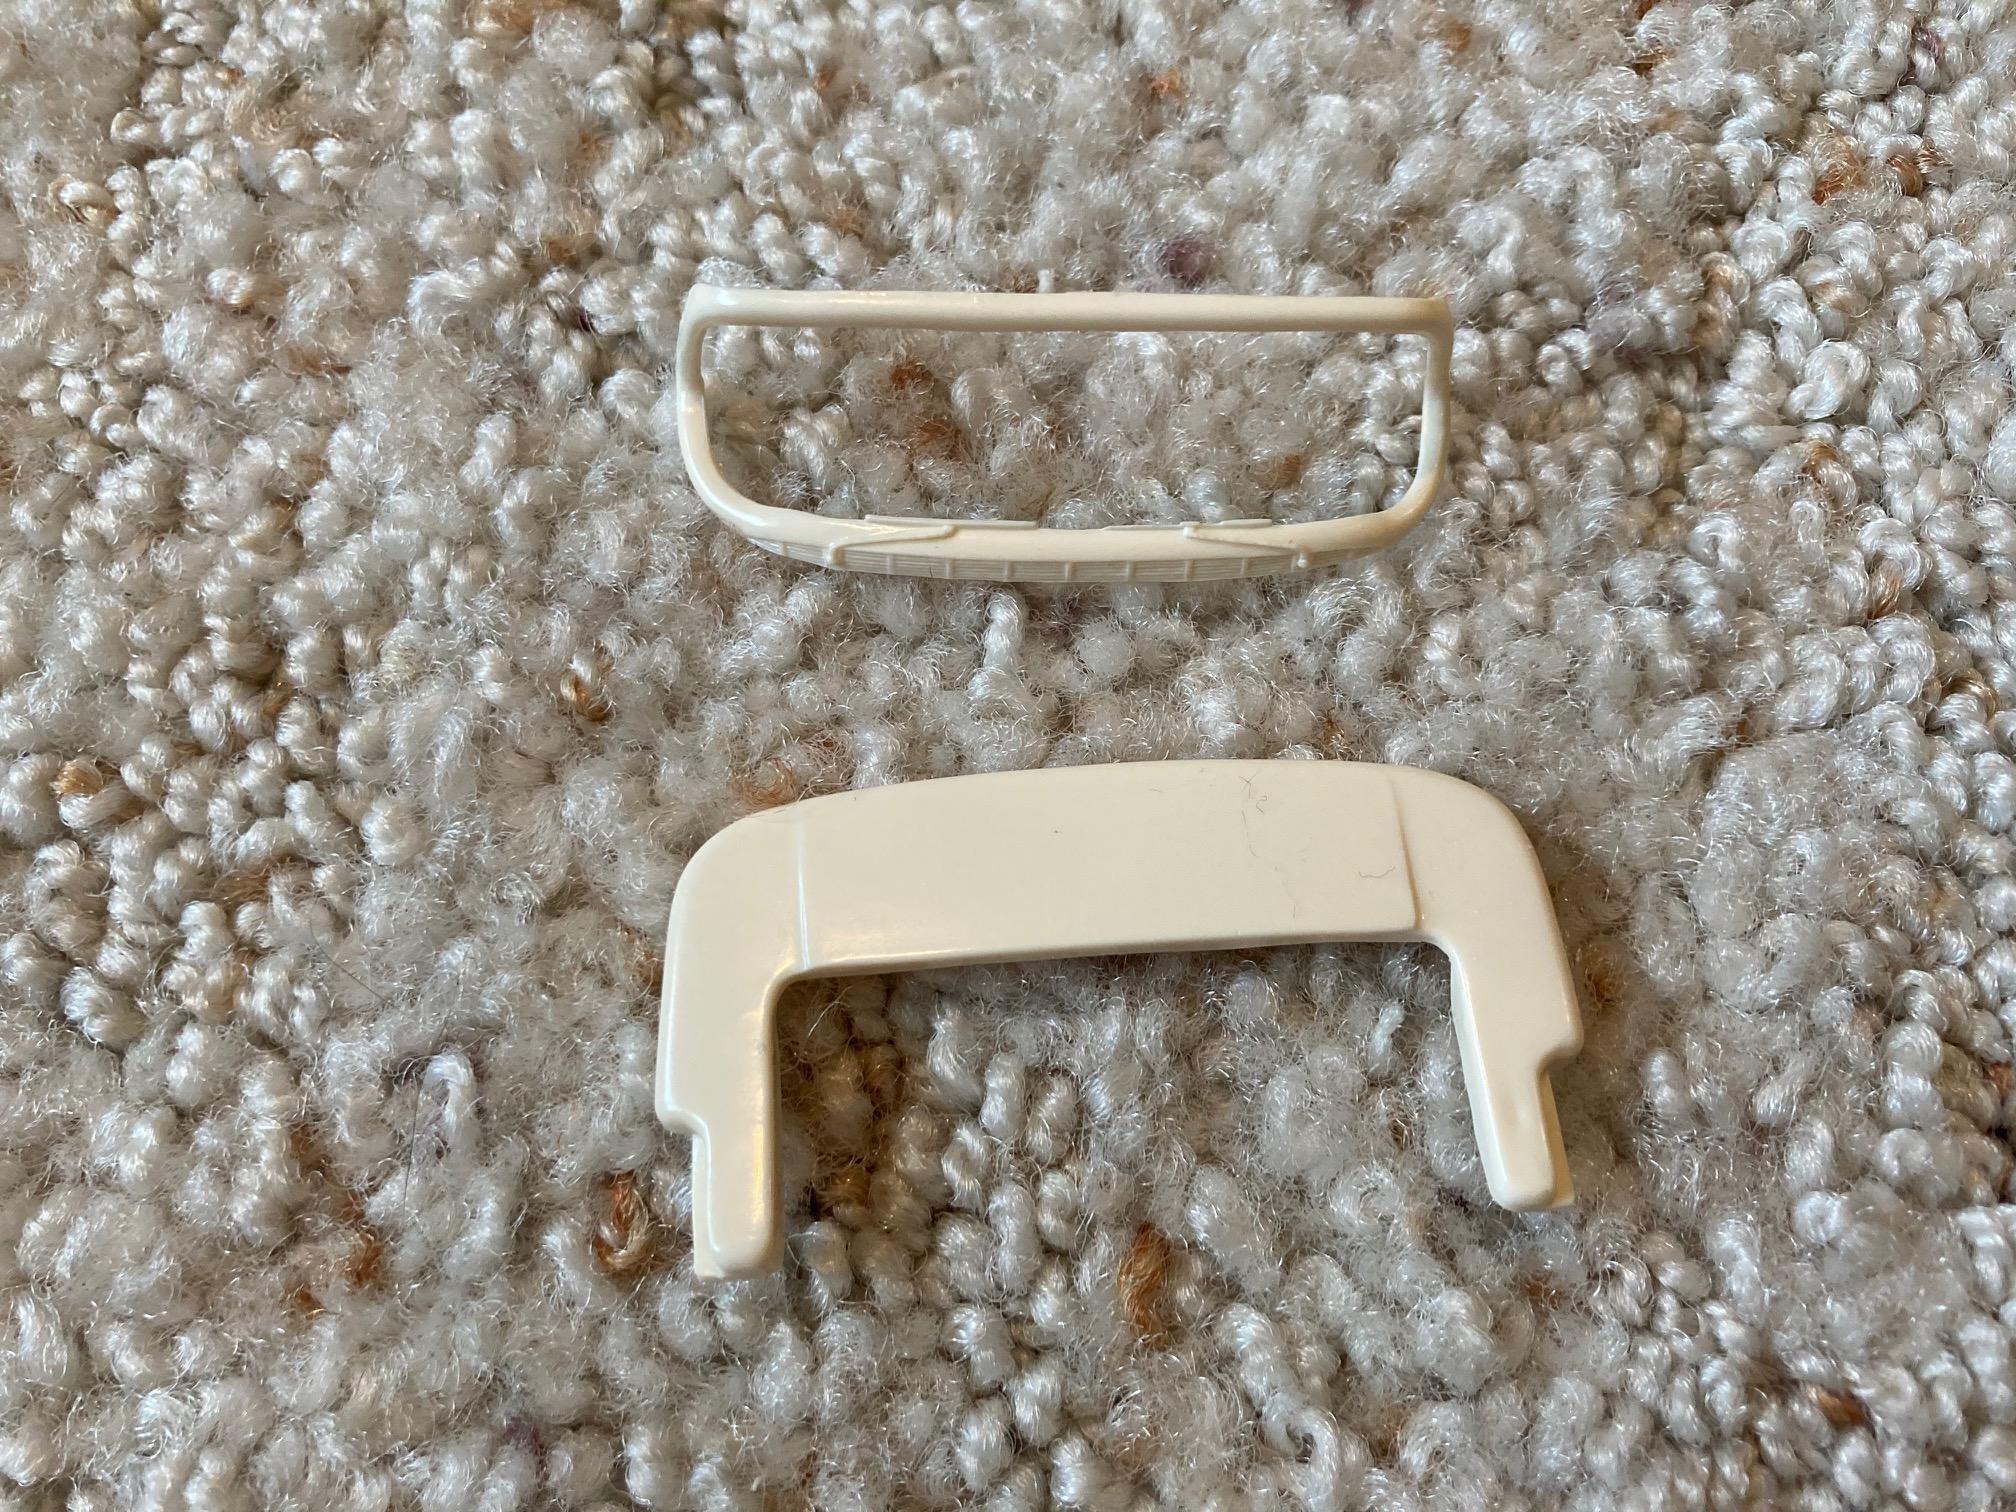
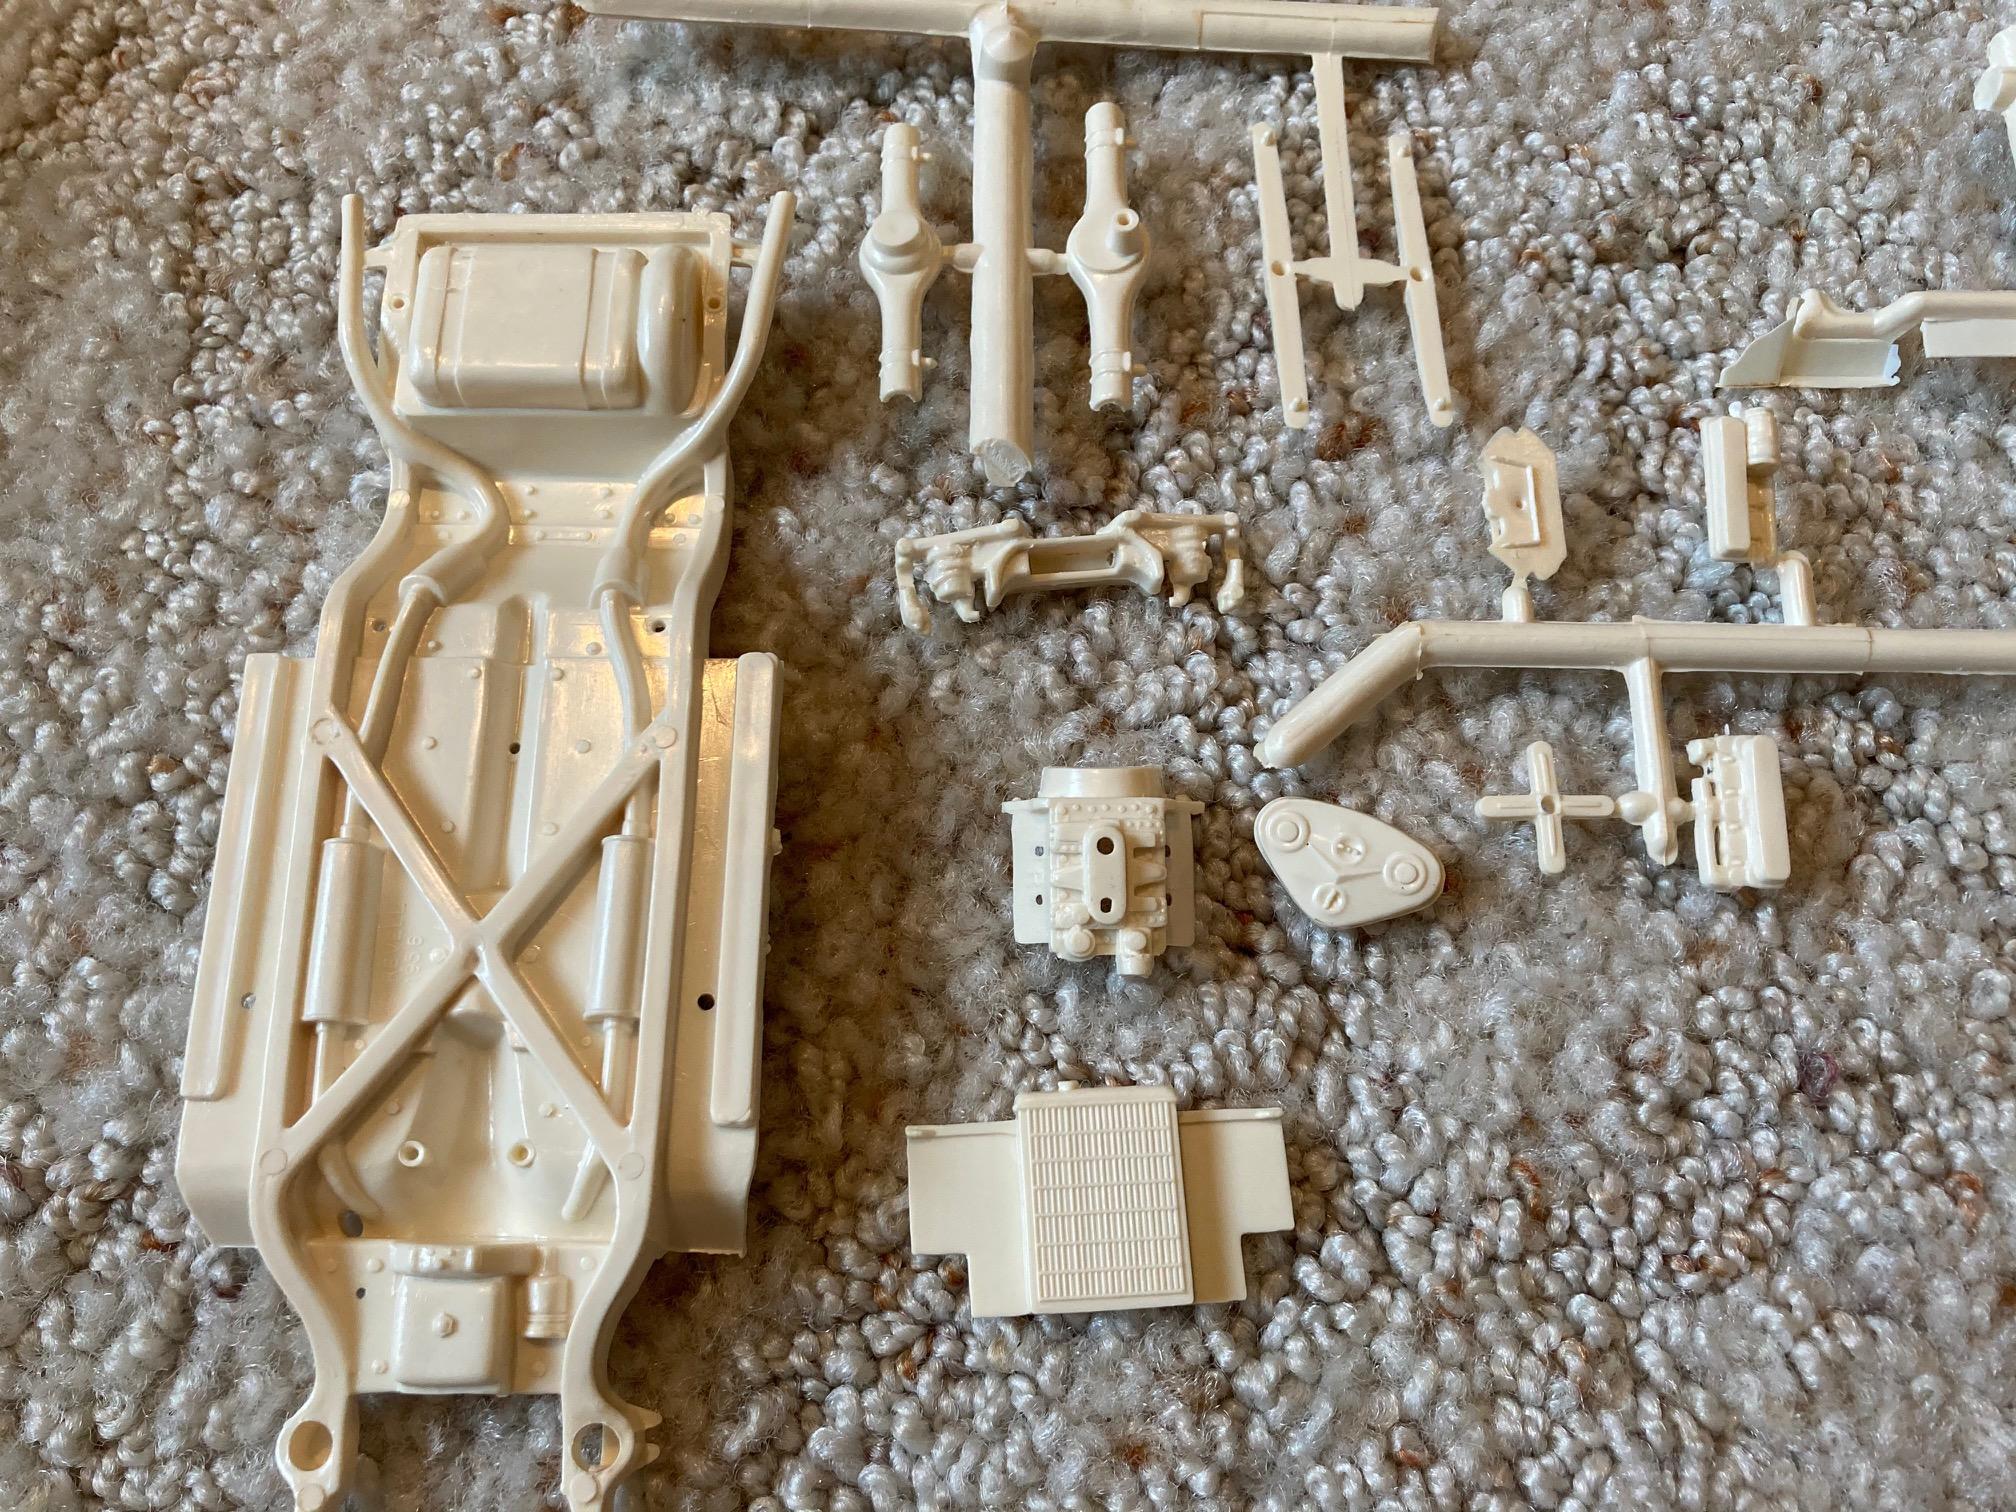
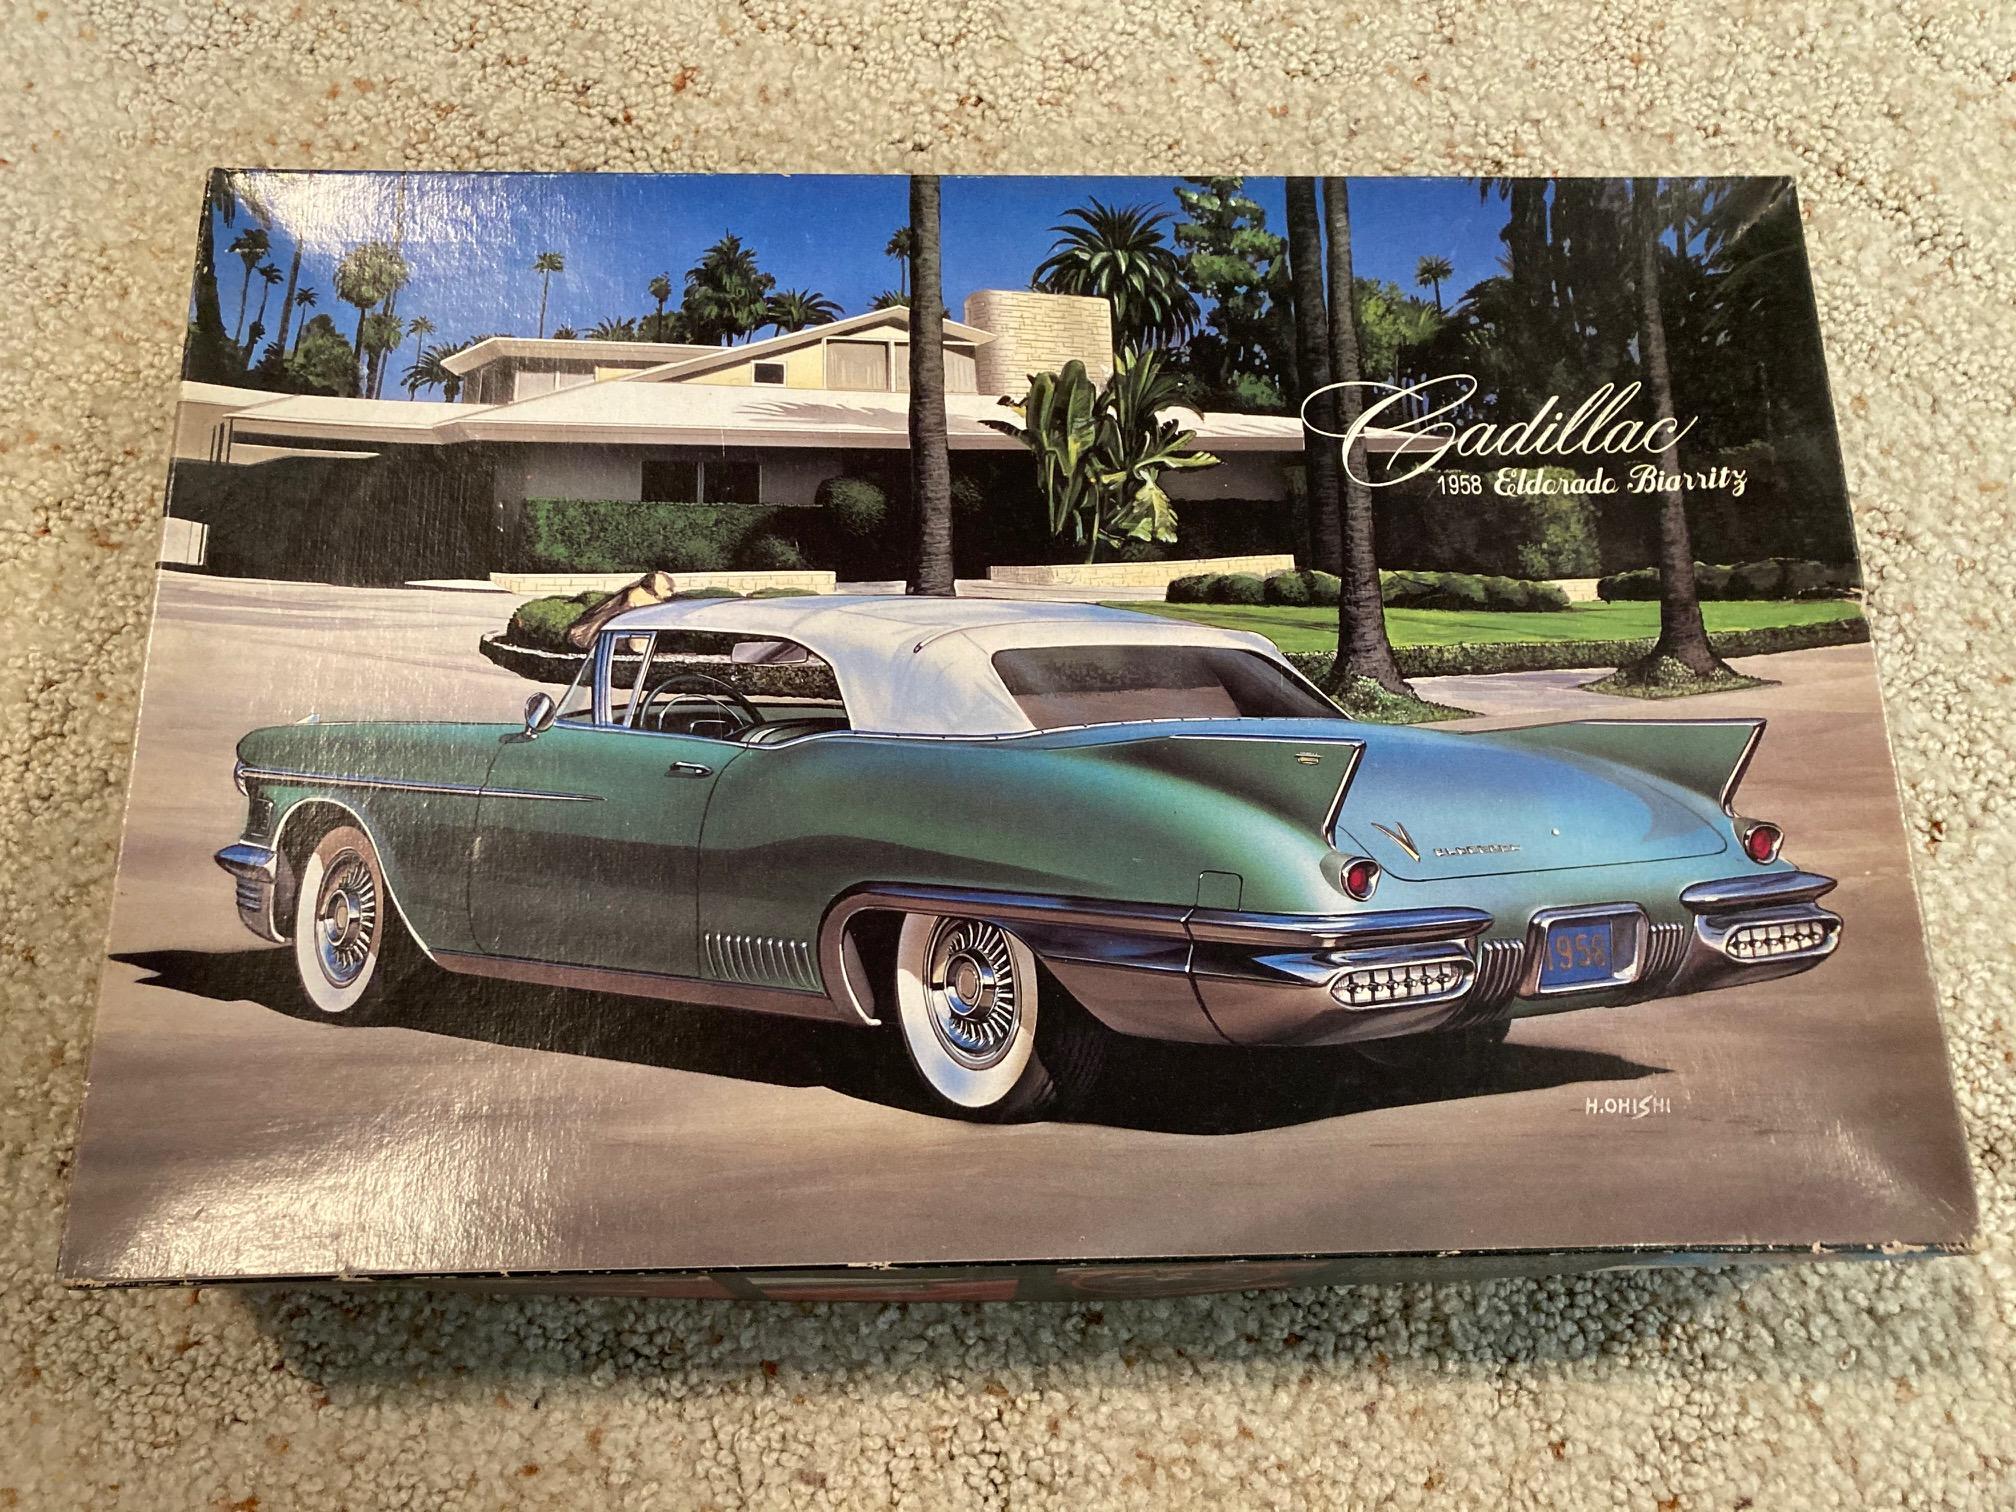
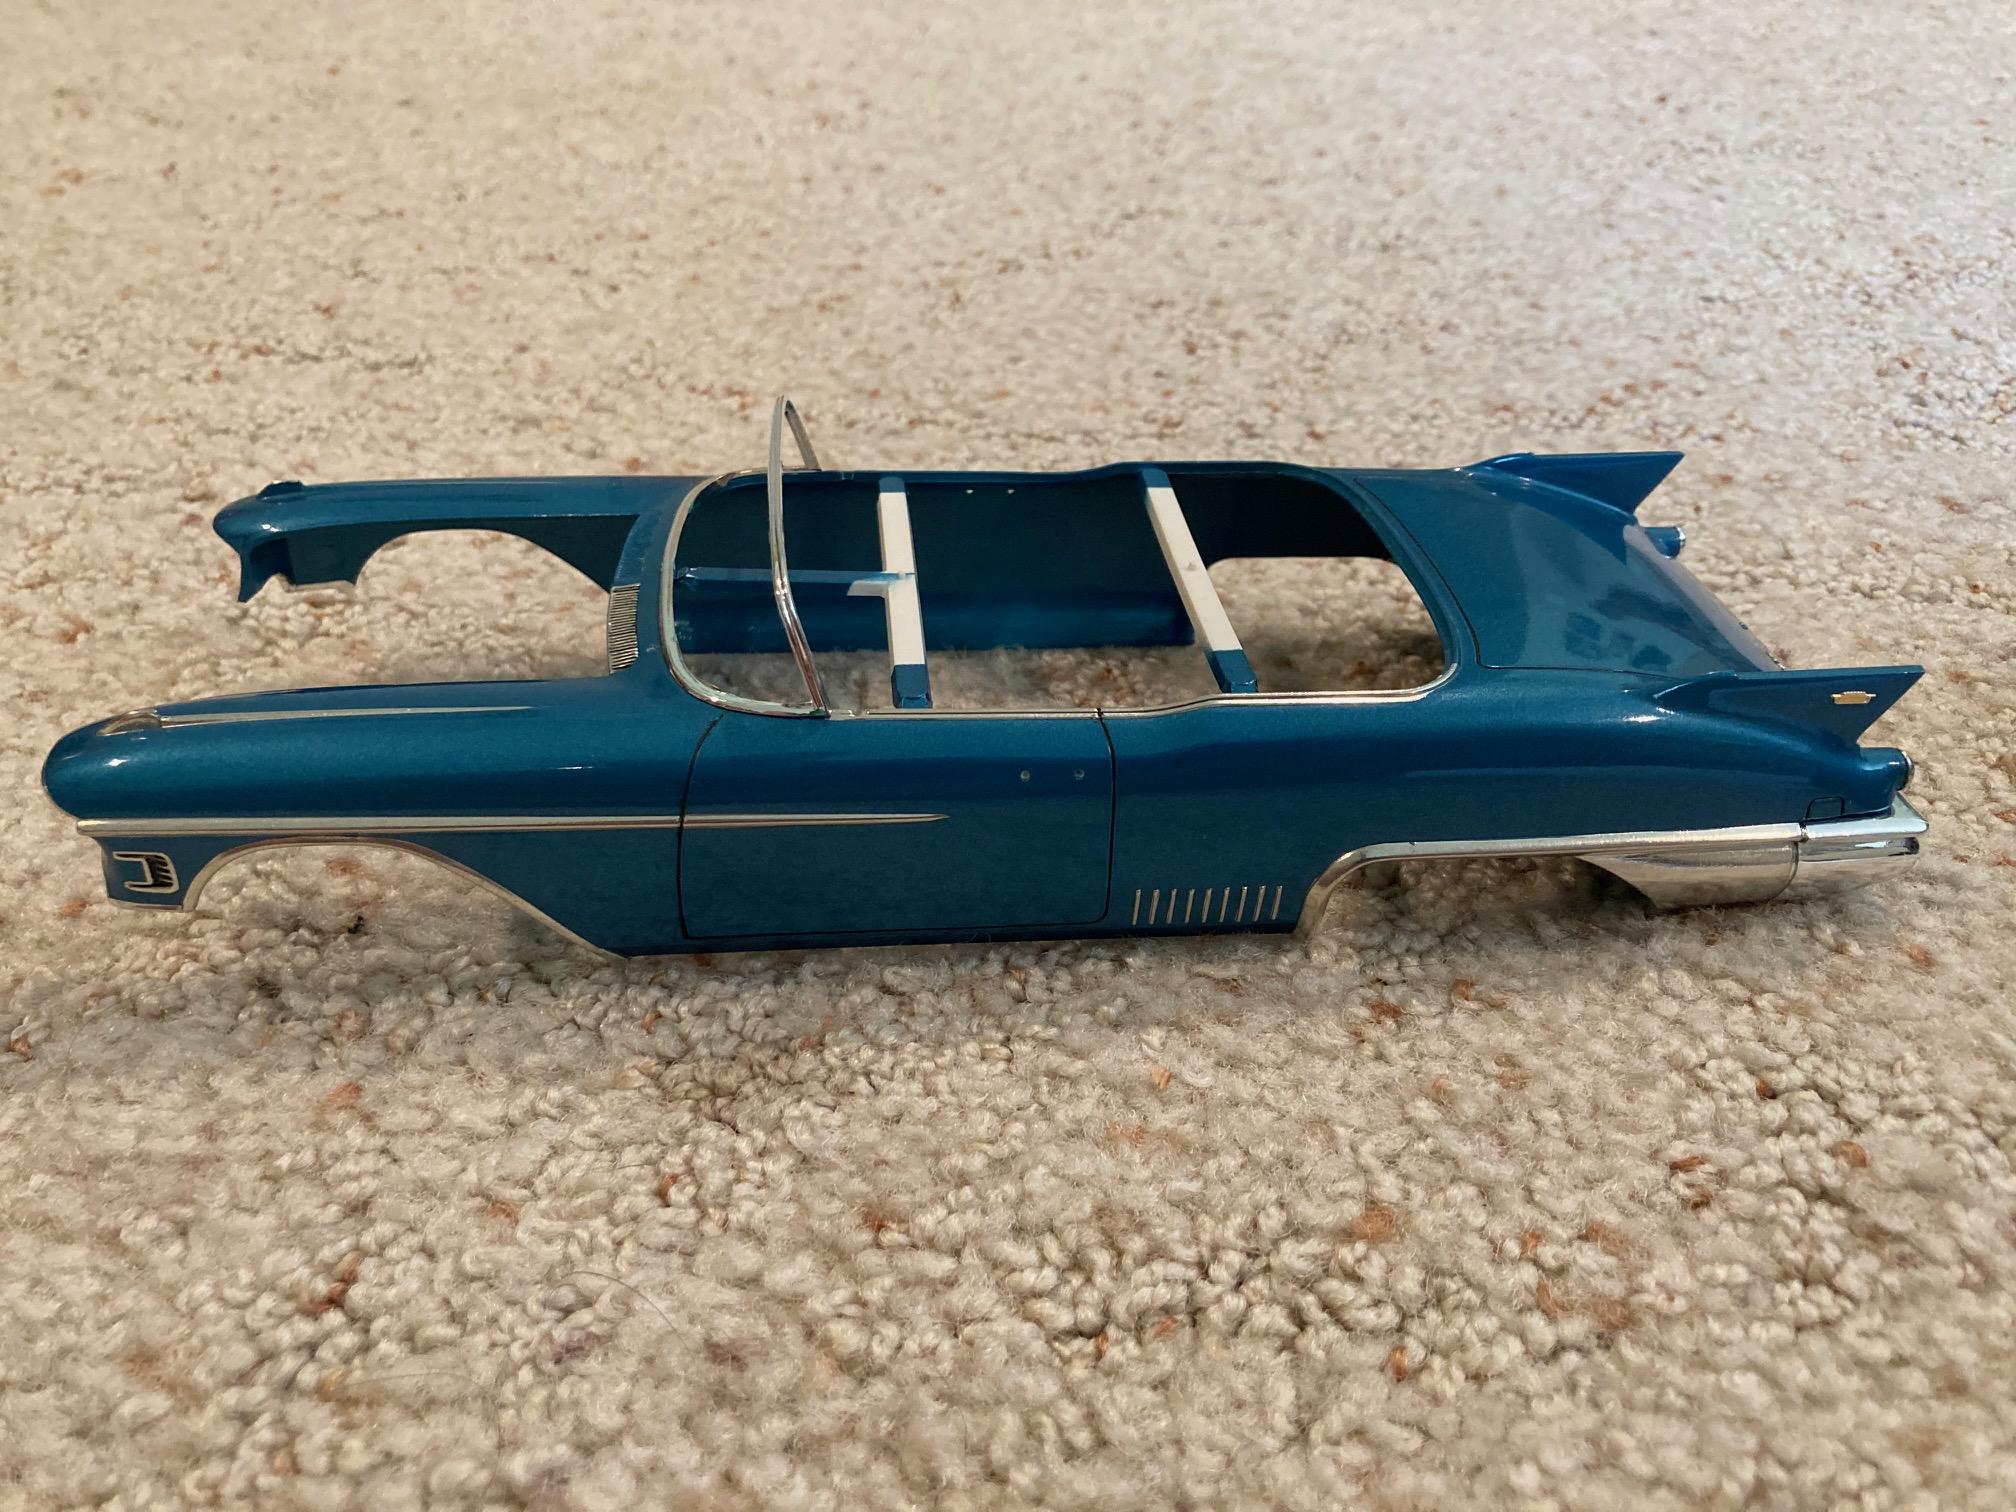
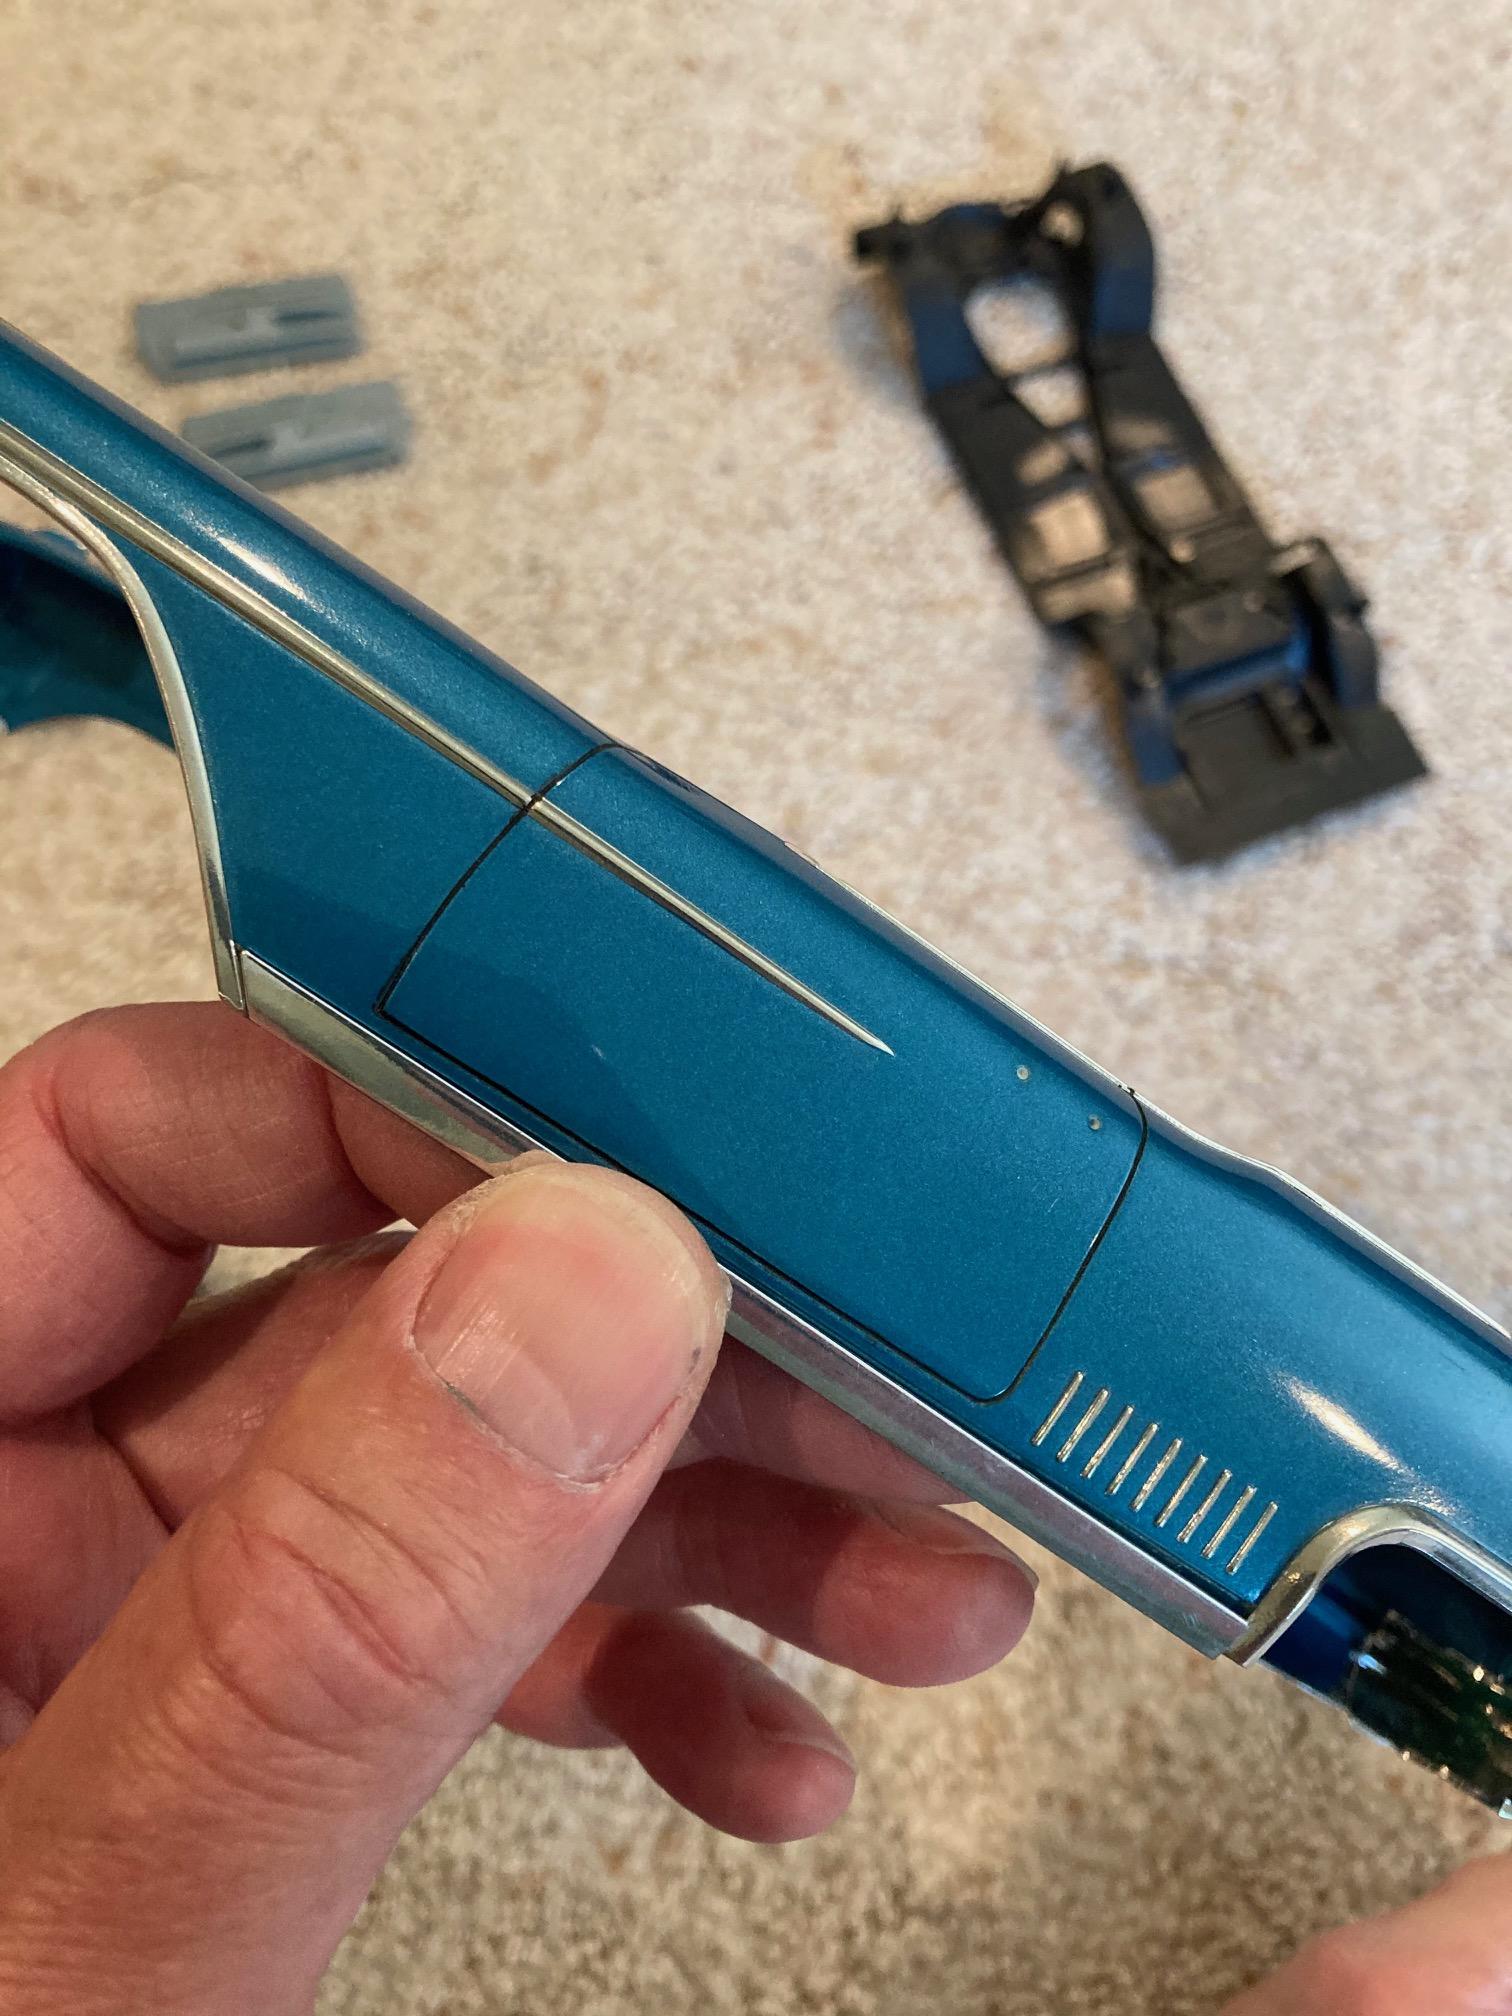
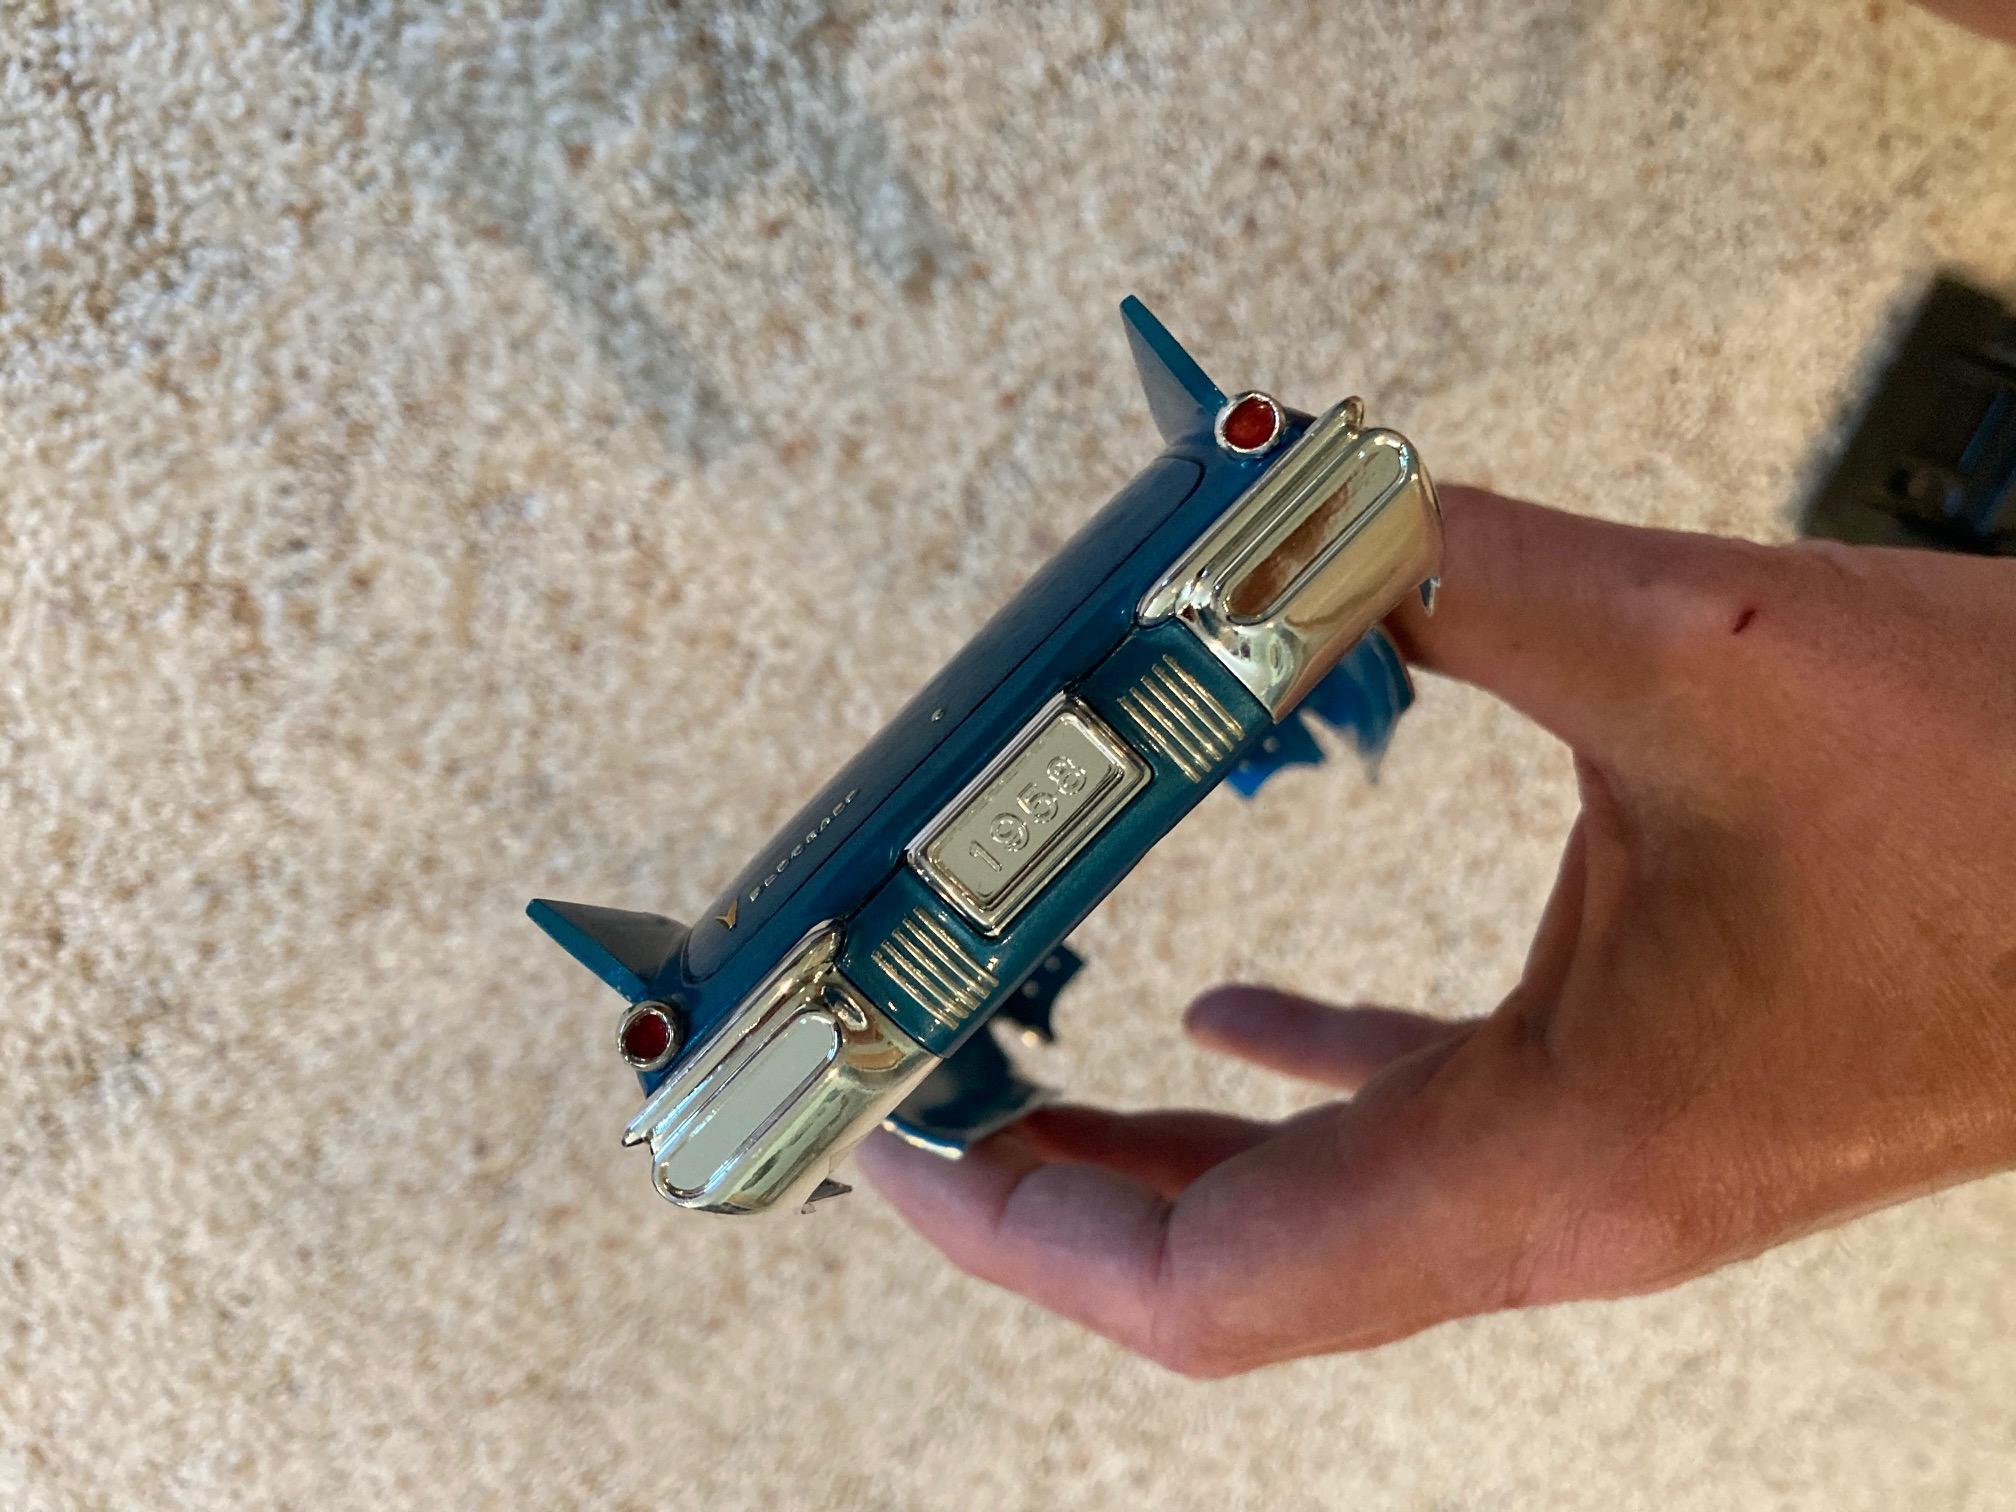
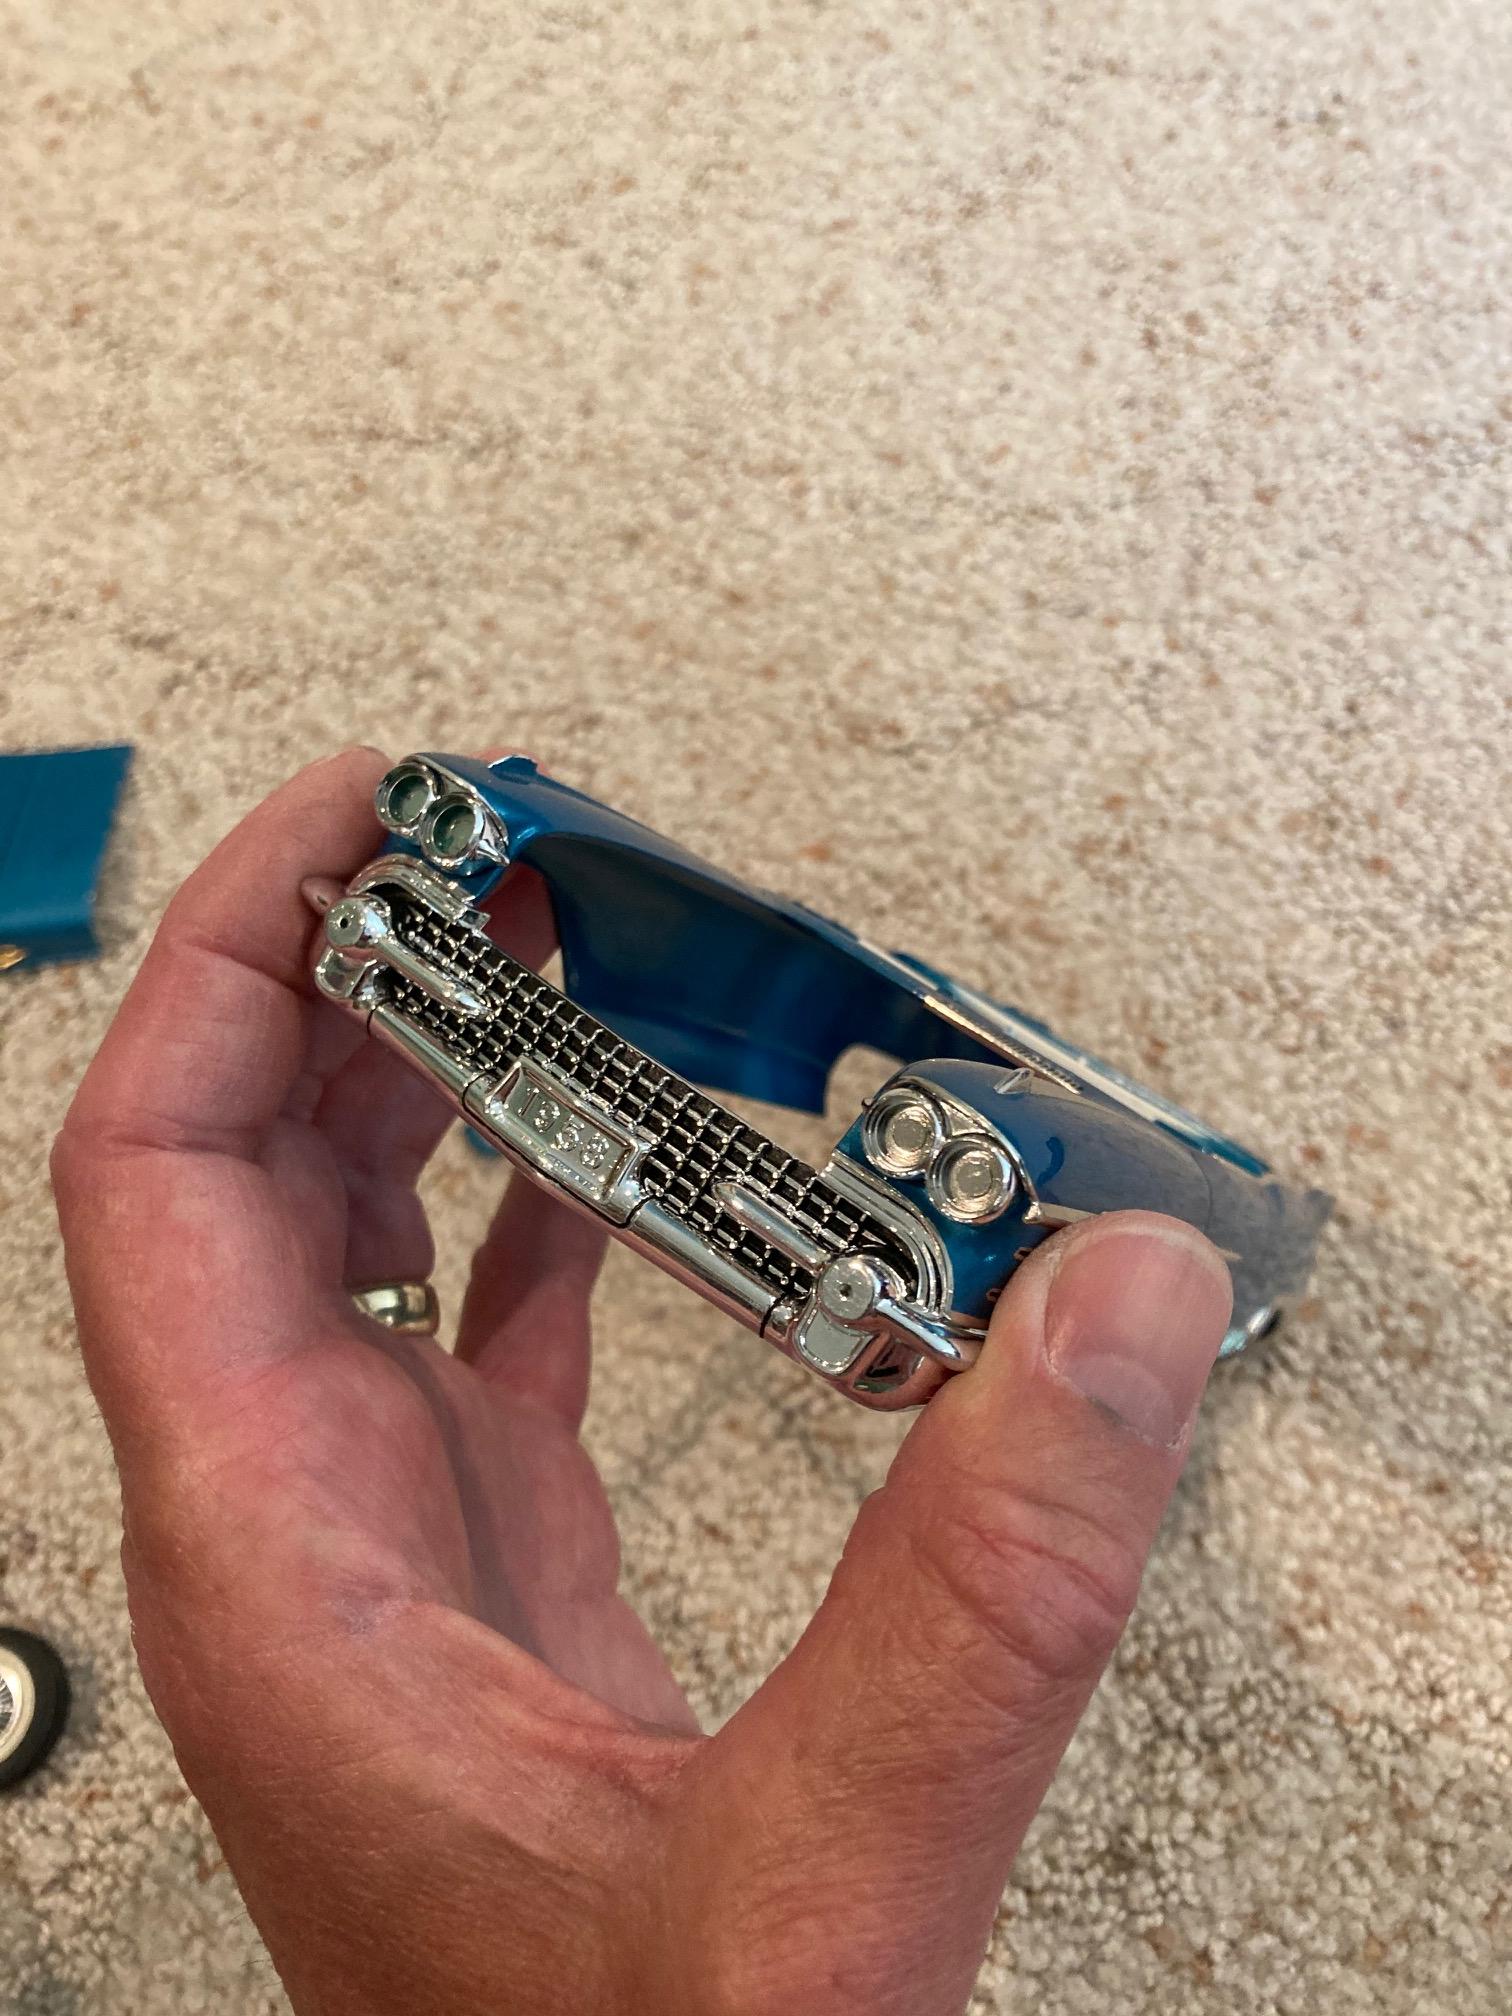
The more I look at this kit, the more I wonder why I never finished mine. Very nicely detailed kit with such features as a quite nicely detailed engine with separate parts such as valley pan and air conditioning compressor. A very nicely detailed chassis with a multi piece steerable front suspension with real springs, well detailed rear suspension, (also with real springs) separate exhaust, and 3 piece radiator assembly with shroud and air conditioning parts. The interior has a bench seat with separate rear seat back with chrome speaker grille, separate door panels, separate power window panels and door handles, and a 3 piece steering wheel/column assembly. The body has clear lenses for the head lights and back up lights, hood front molding and hinges, separate fin and rocker panel moldings, sun visors, chrome windshield and vent window frames, as well as separate wipers, door handles, bumper bullet cones, clear parking light lenses, and a 2 piece mirror. All in all, a very nicely detailed model! Steve
-
We can hope. Steve
-
By the way, after watching the OP's video again, it appears to me that copies of this model is are in fact available for public consumption. Why else would there be an included manual and a "free pen" included? Steve
-
I wouldn't say that not making all of the individual parts himself should disqualify him. After all, as Roger said in a previous post, I didn't cast the parts for the base model that I built either, and there are plenty of after market parts present at every show that the modelers didn't make themselves. What should disqualify him would be if he farmed out any of the finish or assembly work. He can buy the engine in pieces from someone and assemble it himself, but if he bought the engine as a whole, had a professional body man prep or paint the body, had someone else wire the car, etc, etc, it should disqualify him. Steve
-
I was thinking the same thing earlier in this discussion, but forgot to bring it up. My initial thought was, I suppose if an individual doesn't mind spending several years and tens of thousands of dollars to win a $10.00 trophy........well hey, knock yourself out. Steve
-
Don't get hung up on the hardtop vs. convertible thing on this kit. They are the exact same kit with either a separate up soft top, or a separate hard top, neither of which look good proportionally. Your best bet with this kit is to build the convertible with the top down. That said, this would be an excellent starter kit! It's fairly well detailed without being fiddly, it's a little larger at closer to 1/24th scale, and the engineering seems to be pretty good as far as parts fit. It has a few nice details, such as separate chrome windshield and vent window frames, separate chrome fin moldings, and real springs for the suspension. It's actually a pretty nice kit. Steve