StevenGuthmiller
-
Posts
15,088 -
Joined
-
Last visited
Content Type
Profiles
Forums
Events
Gallery
Everything posted by StevenGuthmiller
-
Thank you David! I have to confess that I am no car expert by any stretch of the imagination, and I really don't know any more about a particular car, such as this 442, than you do. As a matter of fact, I don't recall ever seeing a '68 W-30 Olds in person in my entire life! When I begin a project, I start by looking at photographs on line. I'm not an information "wonk" so I'm not the type of guy who collects massive amounts of literature and photos to be certain that everything is exact. A few good pics and a little info is good enough for me. When I get to a certain aspect of the project that I'm not sure about, and it's something that I feel garners extra attention, and is unique to the particular car that I am working on, I will do a quick Google search for photos of that particular item and use them as my reference. A forum such as this one is instrumental as well to gathering information for a project. If you post your project in a build thread such as this, people will inevitably offer facts and tips to help you reach your goal. In general, I try to find some good photos and look them over. Things that are obvious and jump out at me are things that I will try to incorporate into the build if possible and practical. I never strive to get every detail exactly correct and it's not always practical to try to include every detail. The overall picture is my goal. If it looks relatively close to the photos that I am working from, I'm happy. Steve
-
I appreciate that Greg! Everything that I know about the '68 Olds 442 I learned from google! I don't get everything when researching, but I do my best. Steve
-

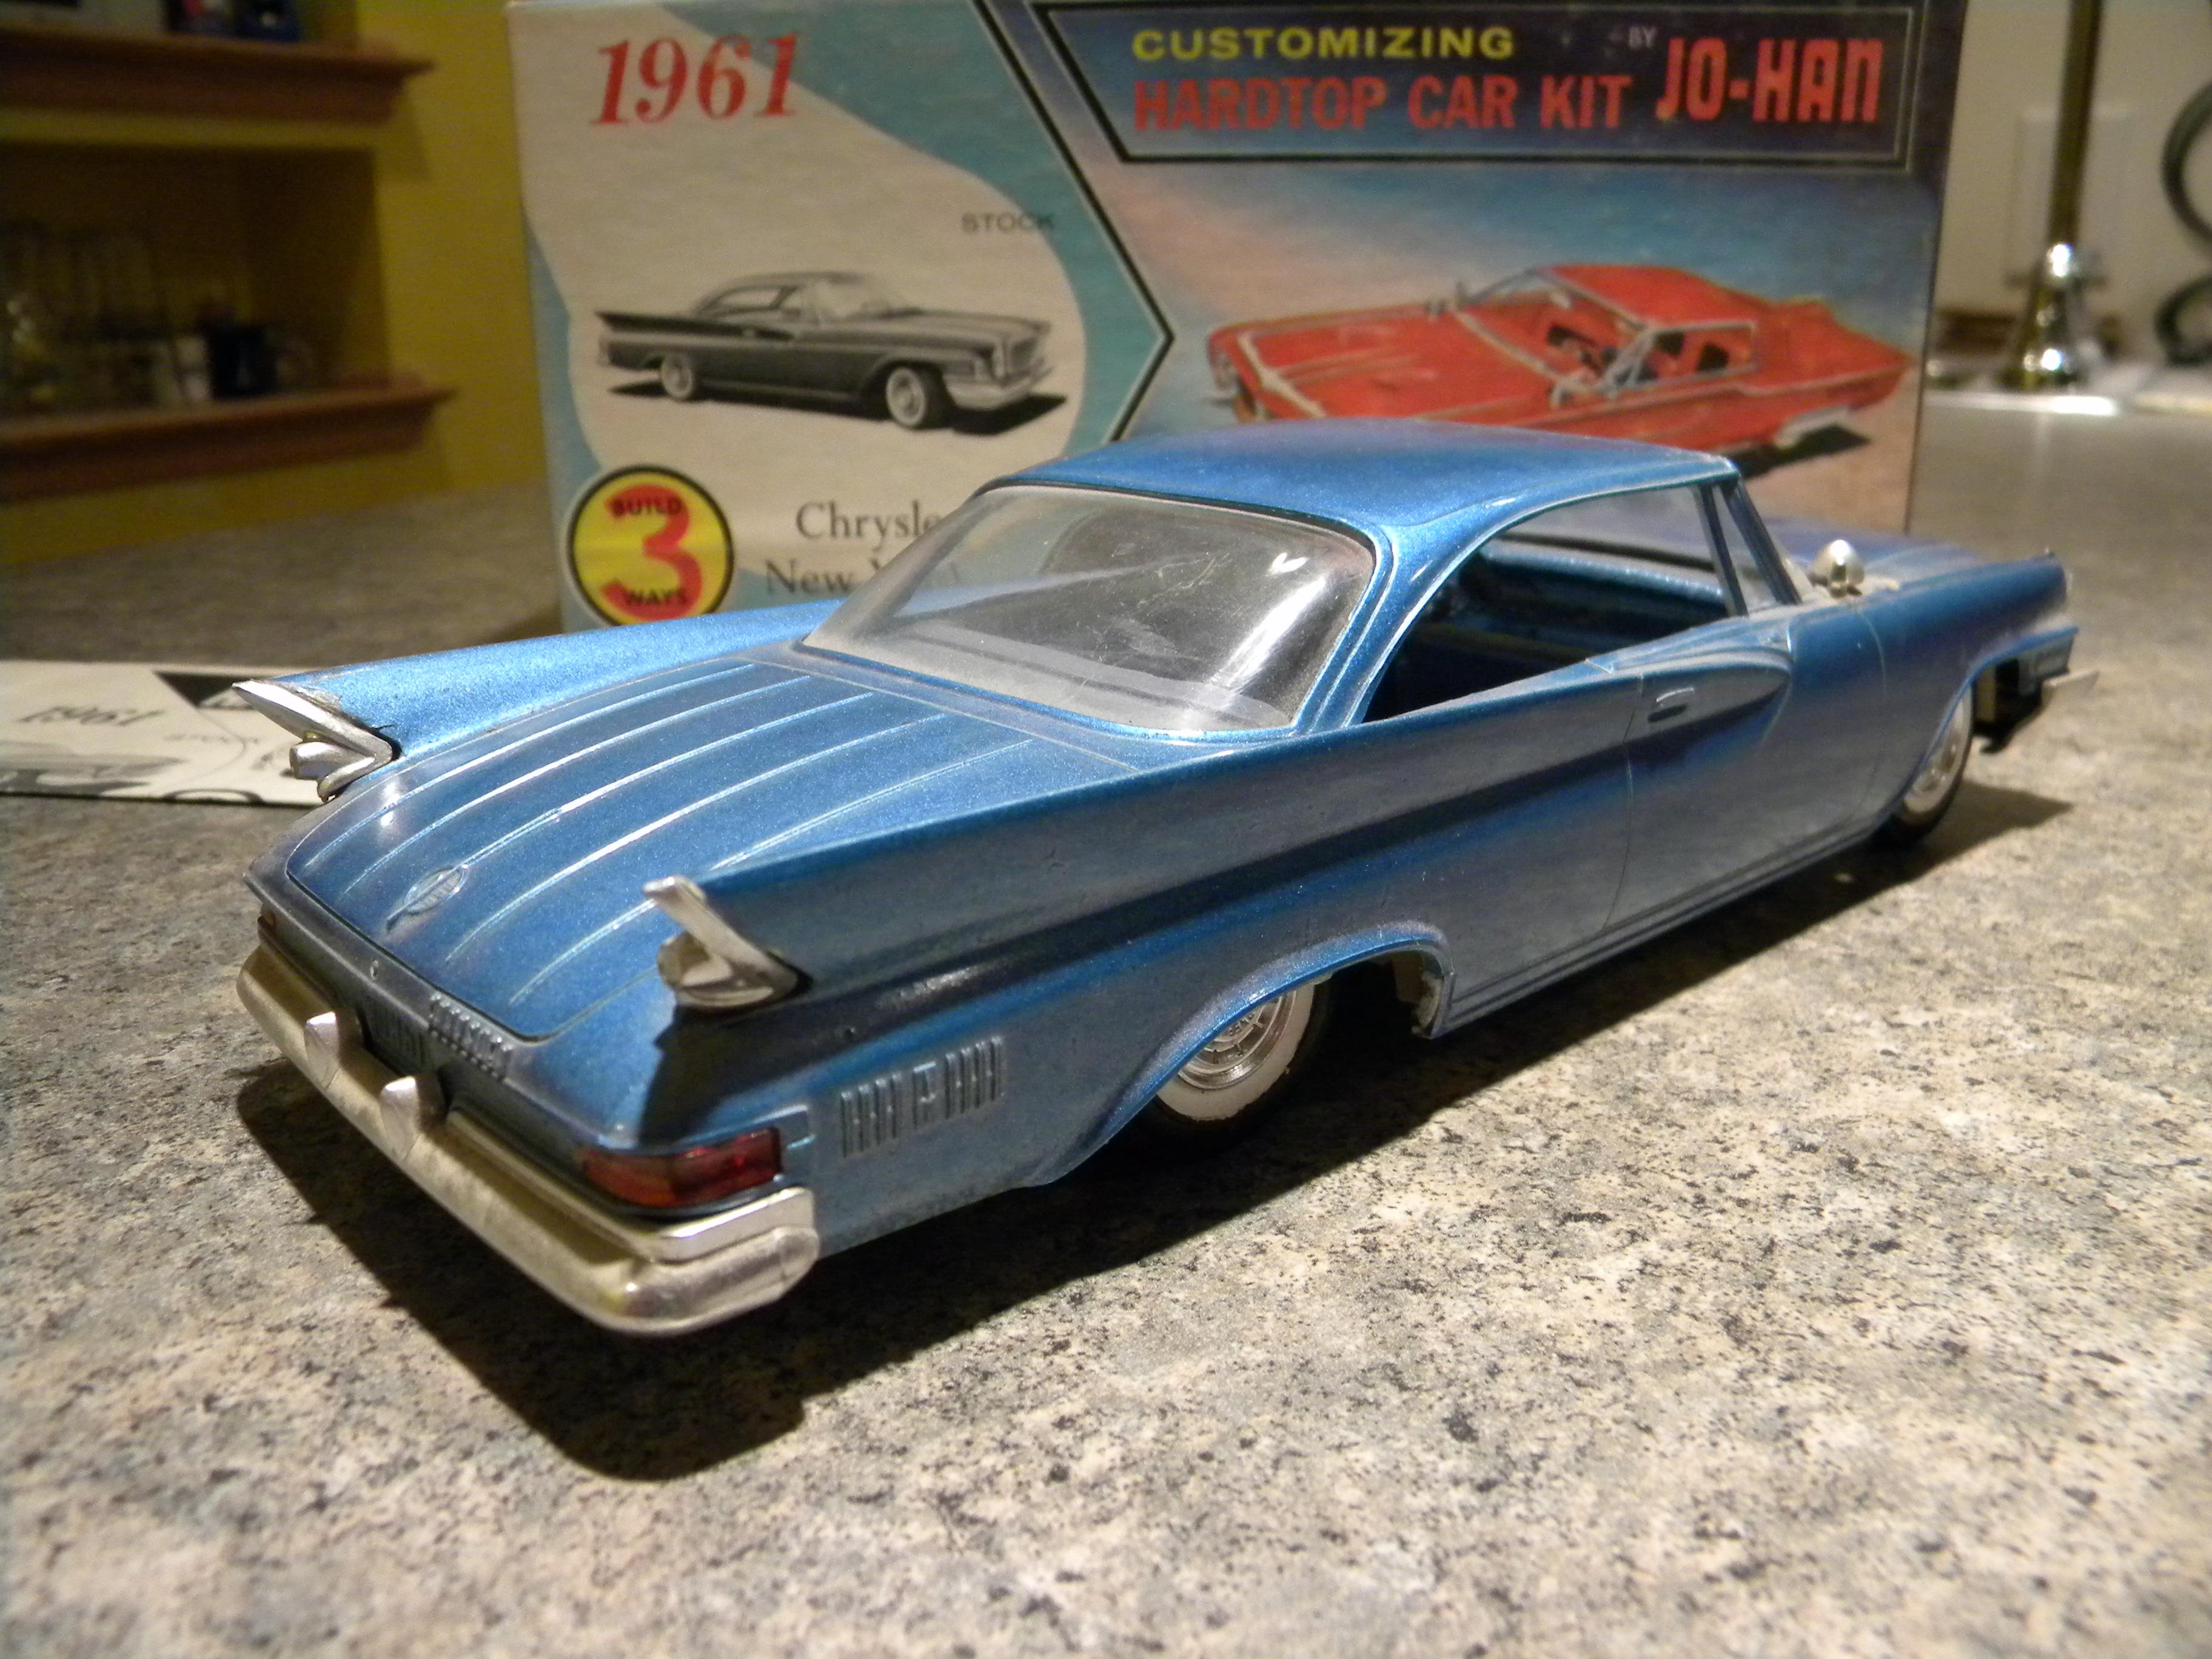
Resin 1962 Buick Skylark??
StevenGuthmiller replied to 2zwudz's topic in Model Building Questions and Answers
Well, the most obvious choice would be the Johan 1962 Olds F-85 Cutlass roof. They would share the same design, but I doubt very much that you would want to sacrifice a Johan '62 Olds for it. Steve -
Coronavirus (Tom Hanks and Rita Wilson tested positive)
StevenGuthmiller replied to NYLIBUD's topic in The Off-Topic Lounge
Too late! The panic has already begun. I don't remember there being any schools or sporting events shut down over any of the recent past "pandemics". It is serious, but people have utterly lost their minds! Steve -
Please Re-Chrome this part!!!
StevenGuthmiller replied to Lorne's topic in General Automotive Talk (Trucks and Cars)
George at Kustom Krome operates the same way. Steve -
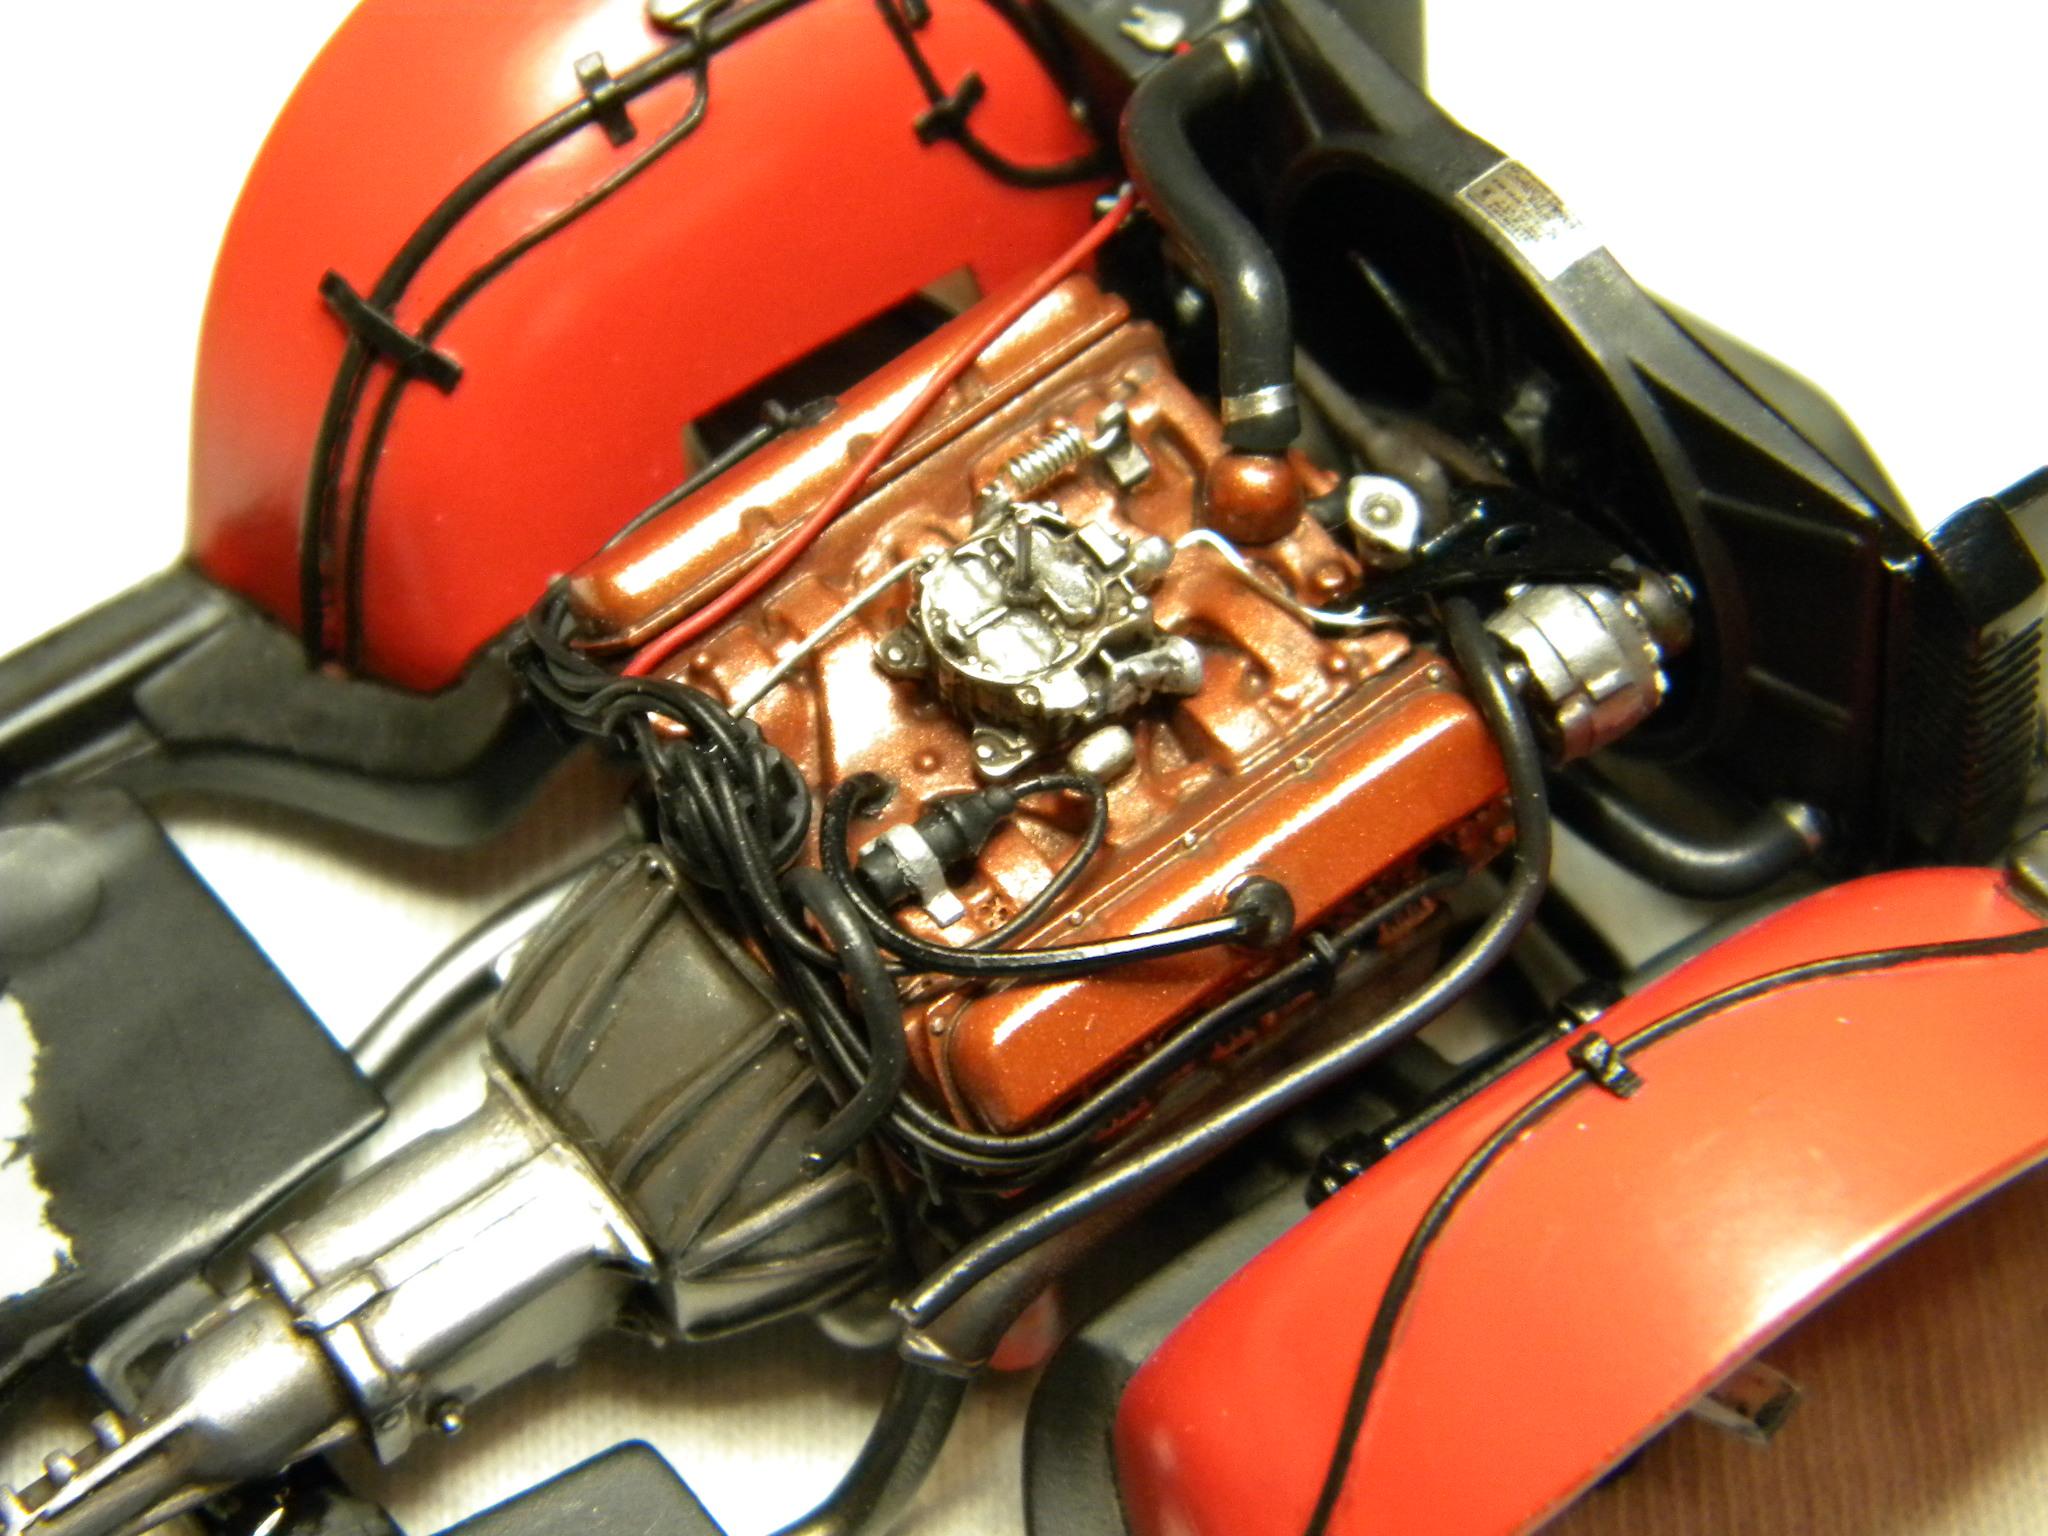
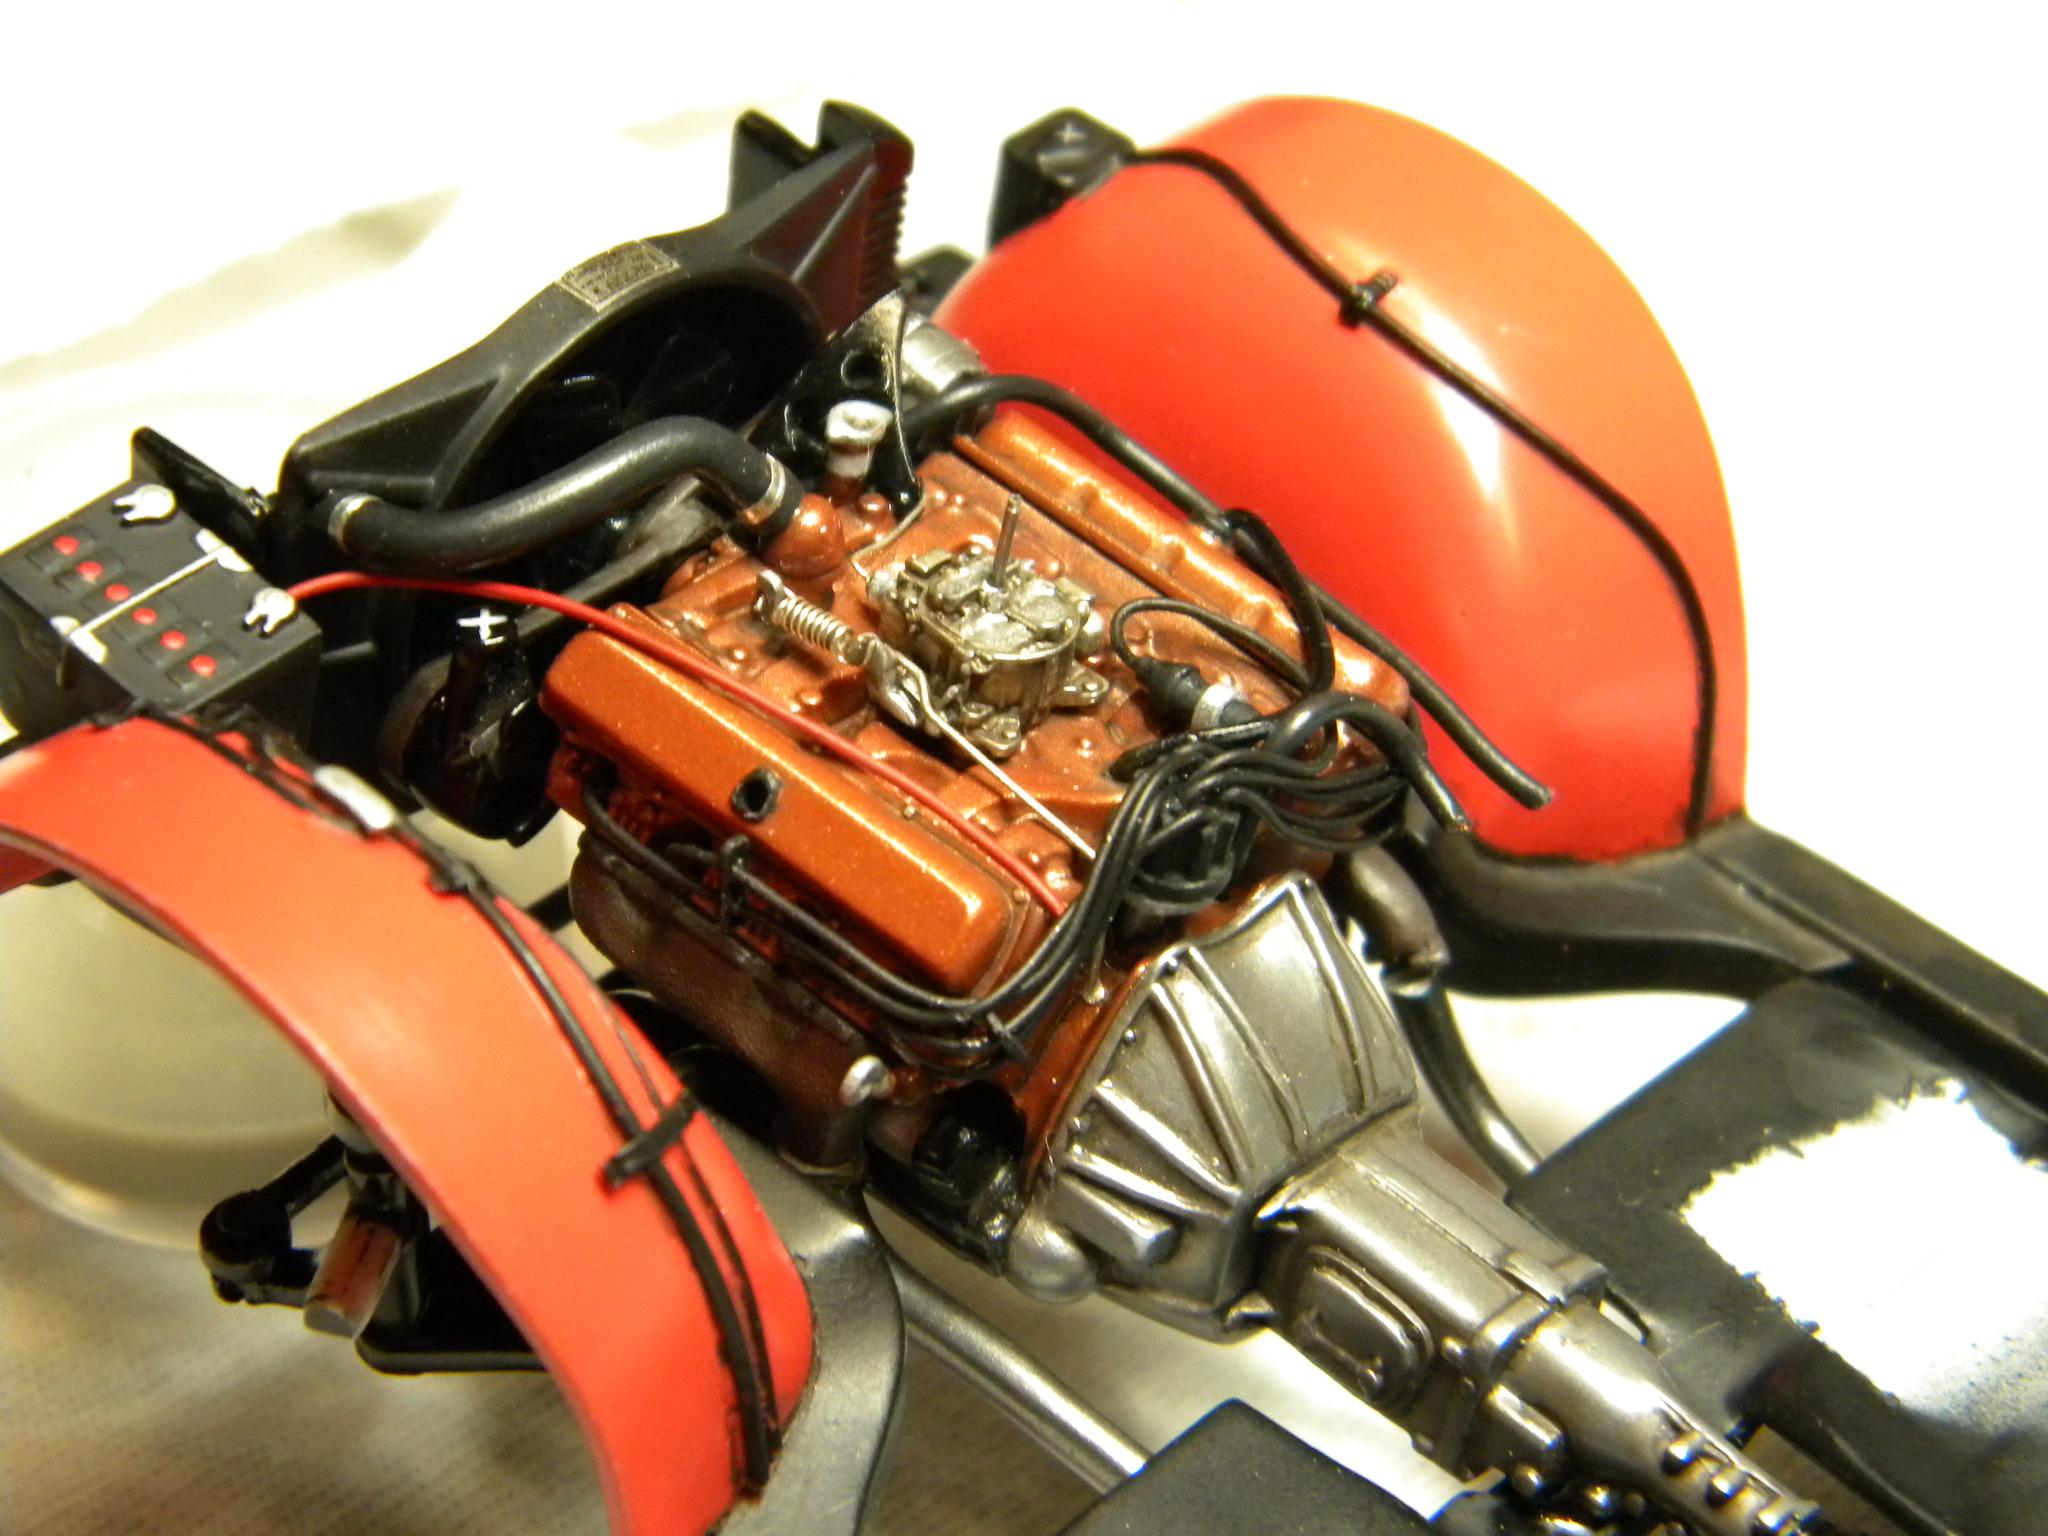
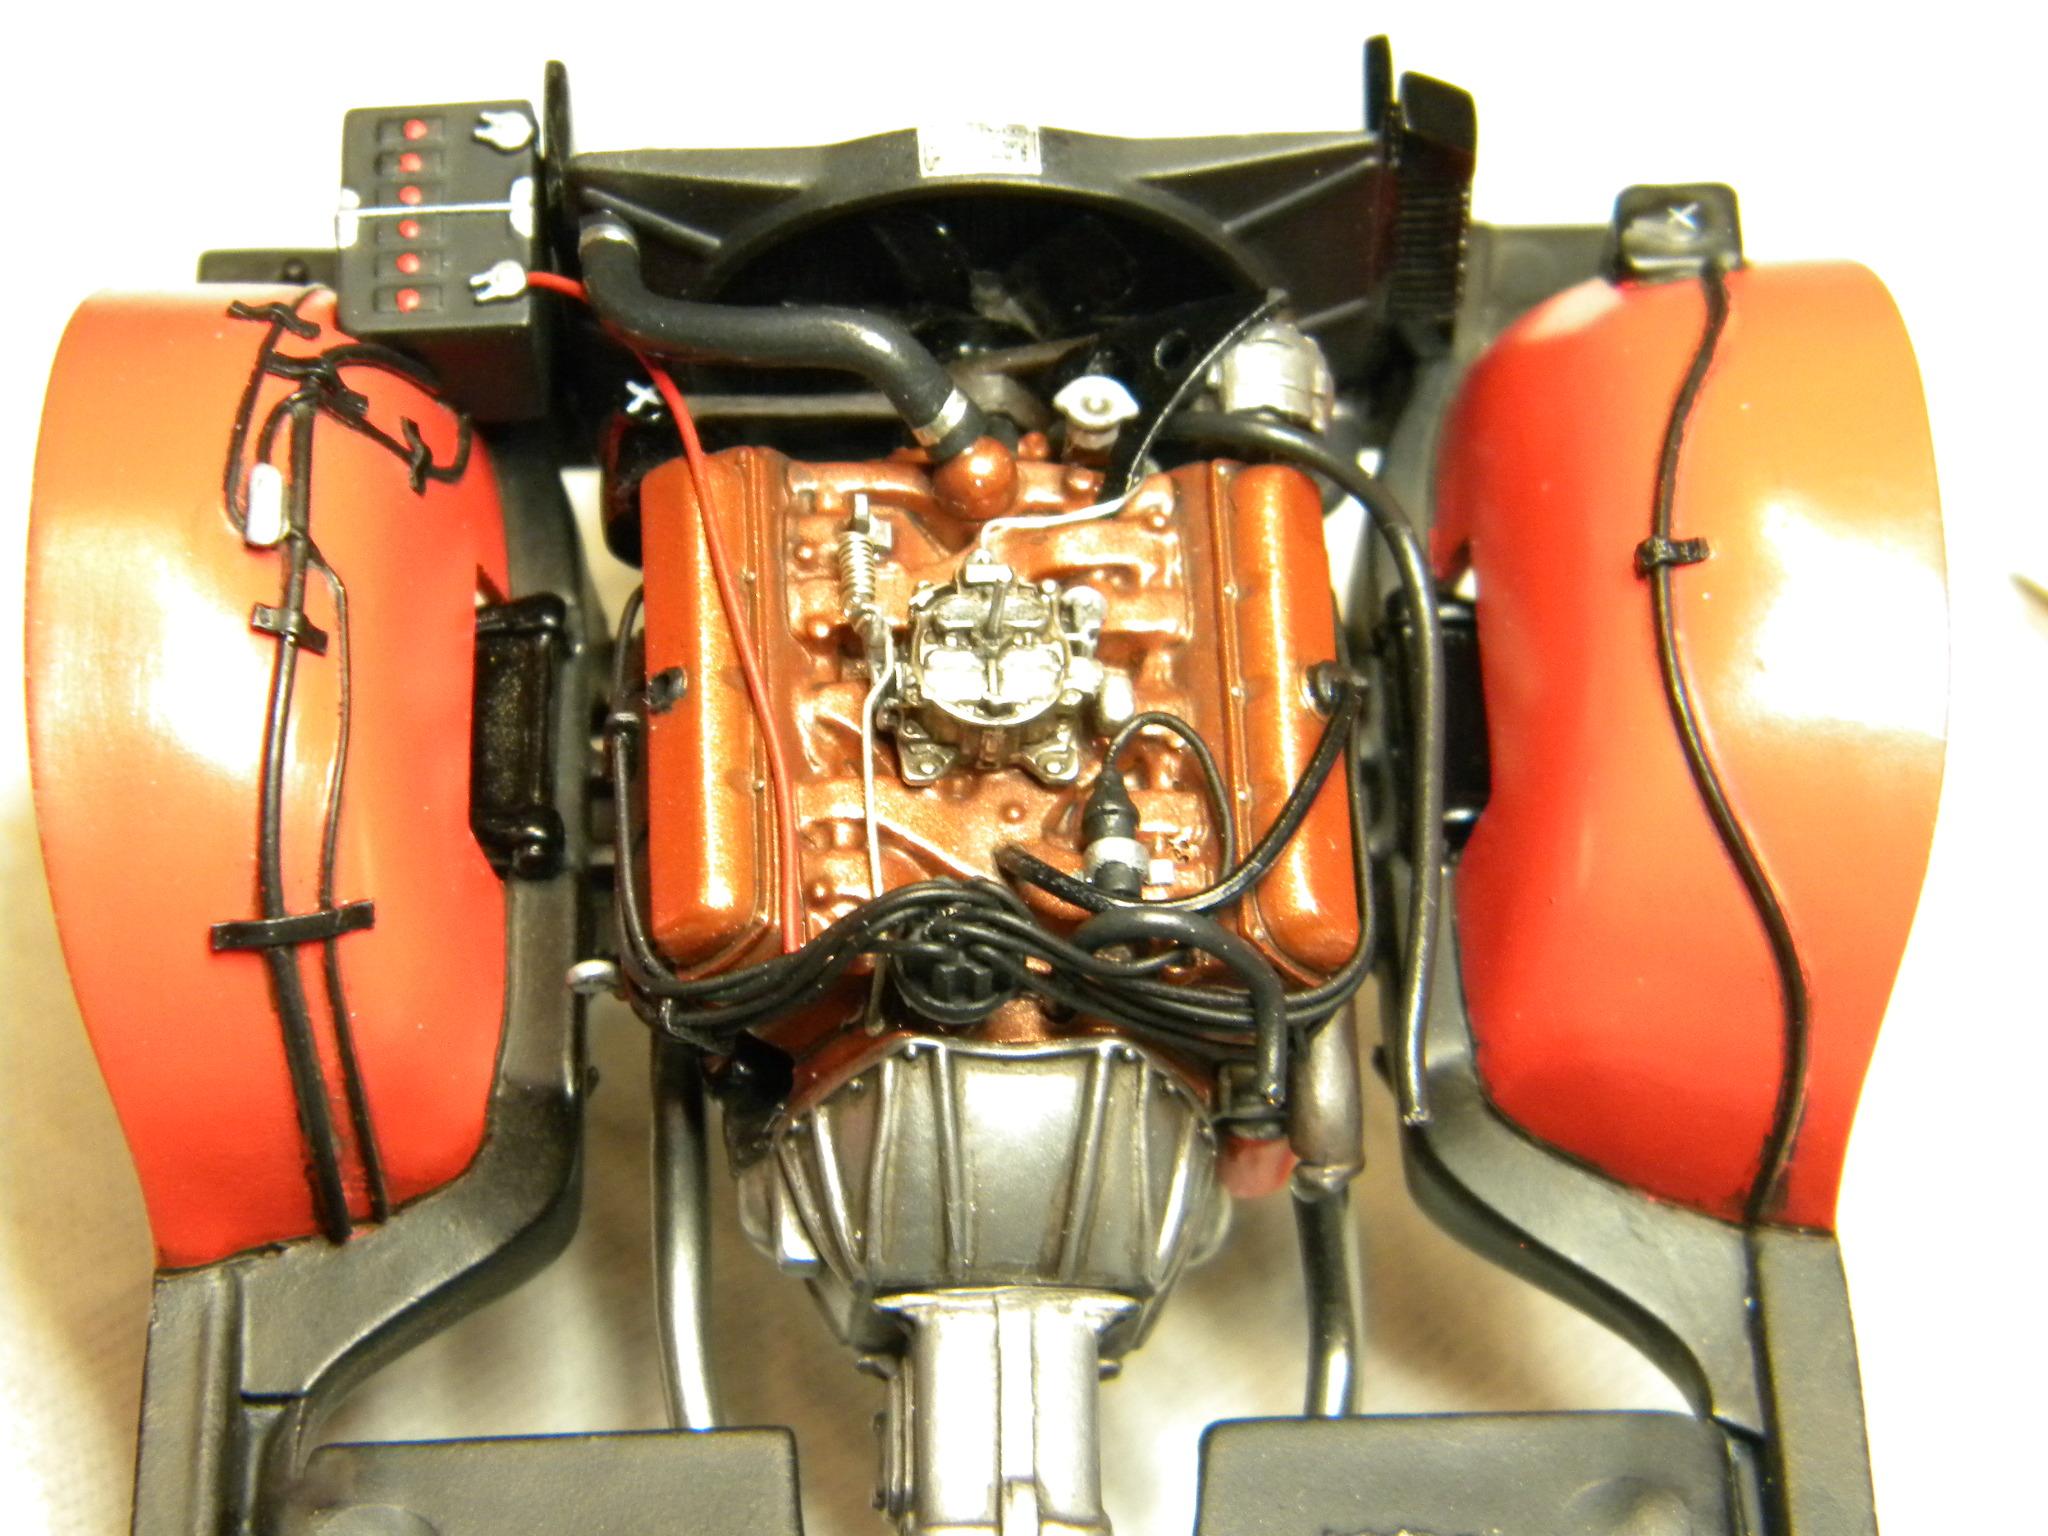
With the engine in place on the '68 Olds, I managed to finish the majority of the plumbing and wiring today. Steve

-
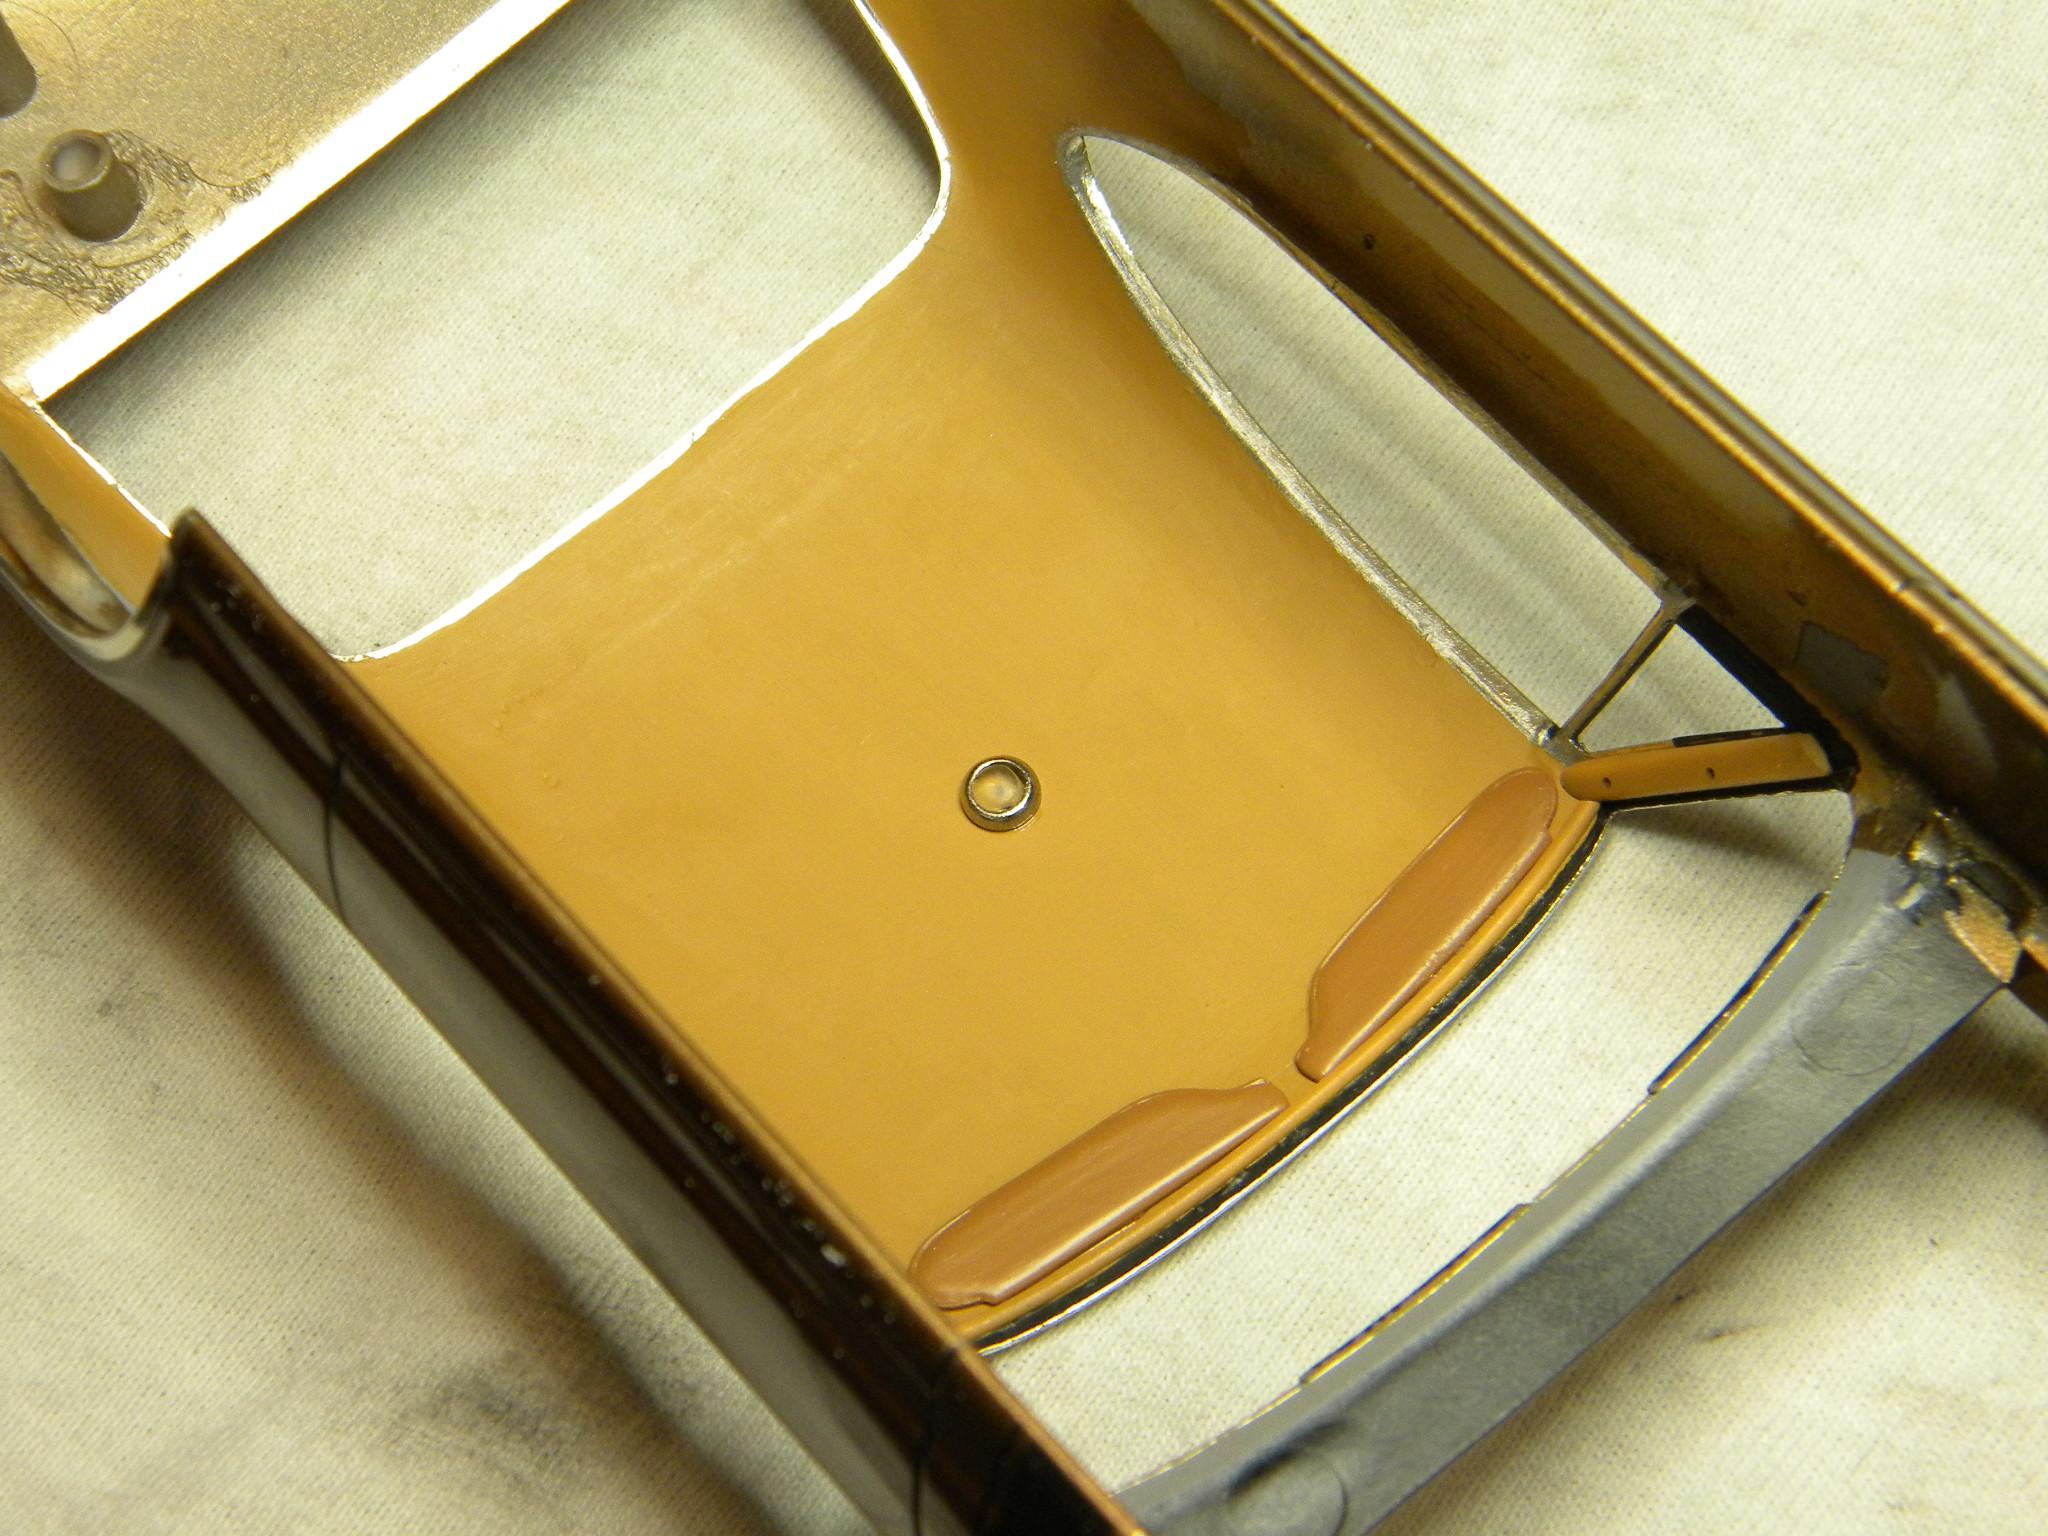
I got the engine in place a couple of days ago, so today I believe I got the engine bay nearly finished up by installing the radiator, upper and lower radiator hoses, heater hoses and battery cables. I also finished up some small detail painting on the body and got the sun visors and dome light installed. I believe the glass will go into the body next. Steve
-
I'll add a few details here and there, but the last thing that I want to happen is for the chassis to become a "rabbit hole" that I can't get out of. I have that tendency on occasion. Steve
-
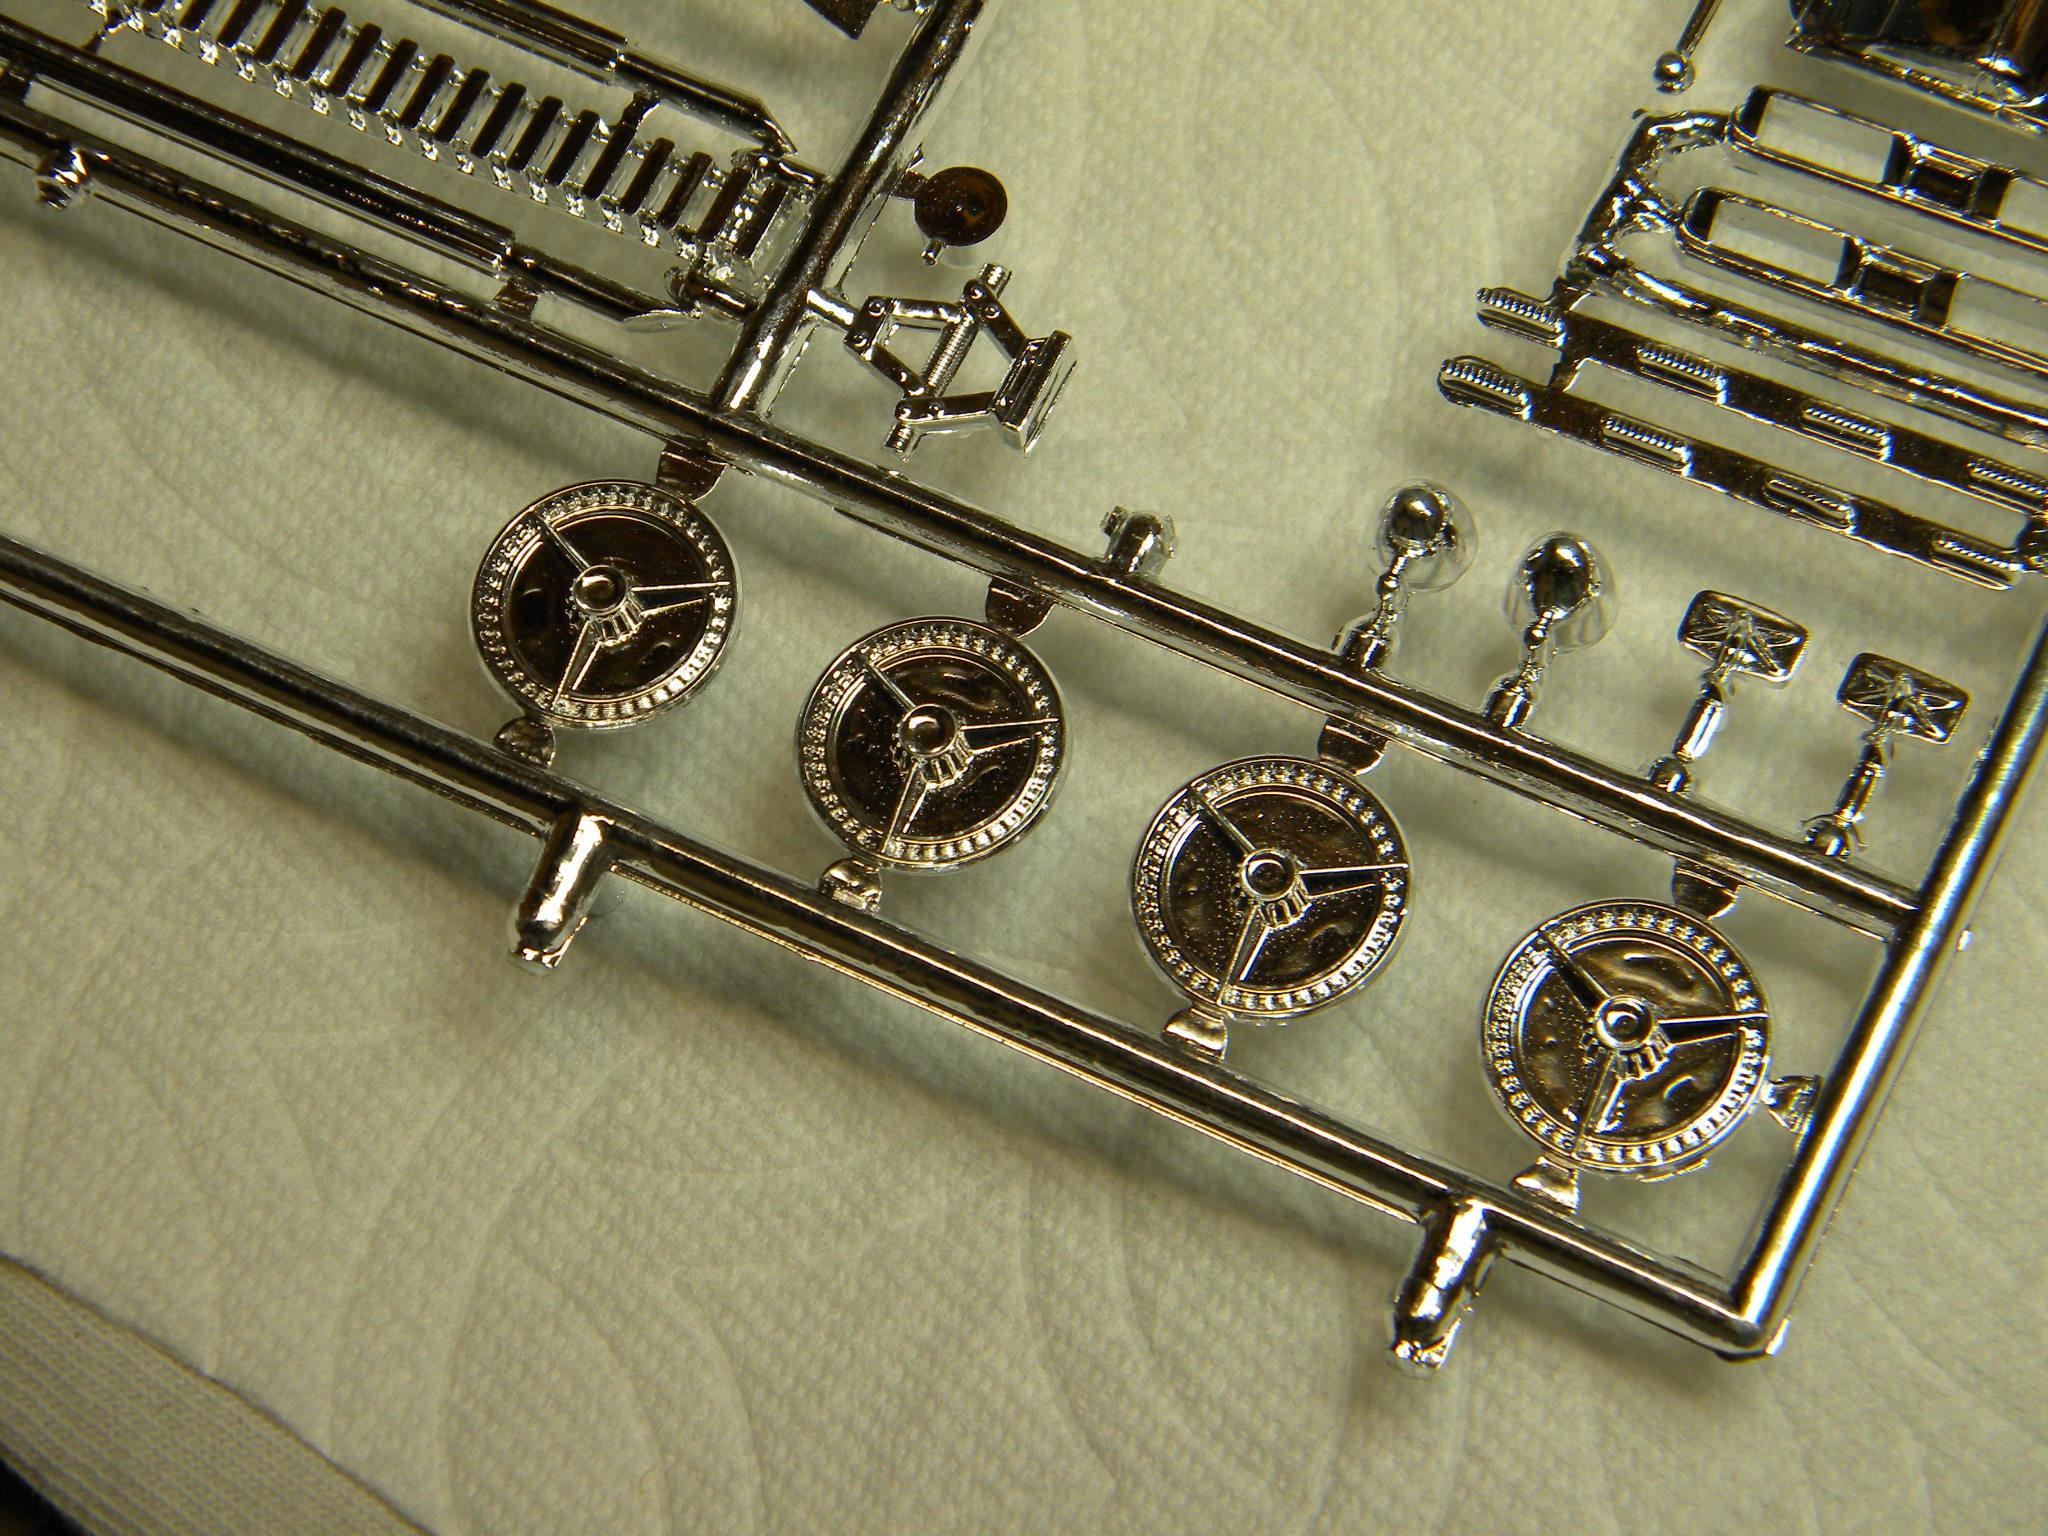
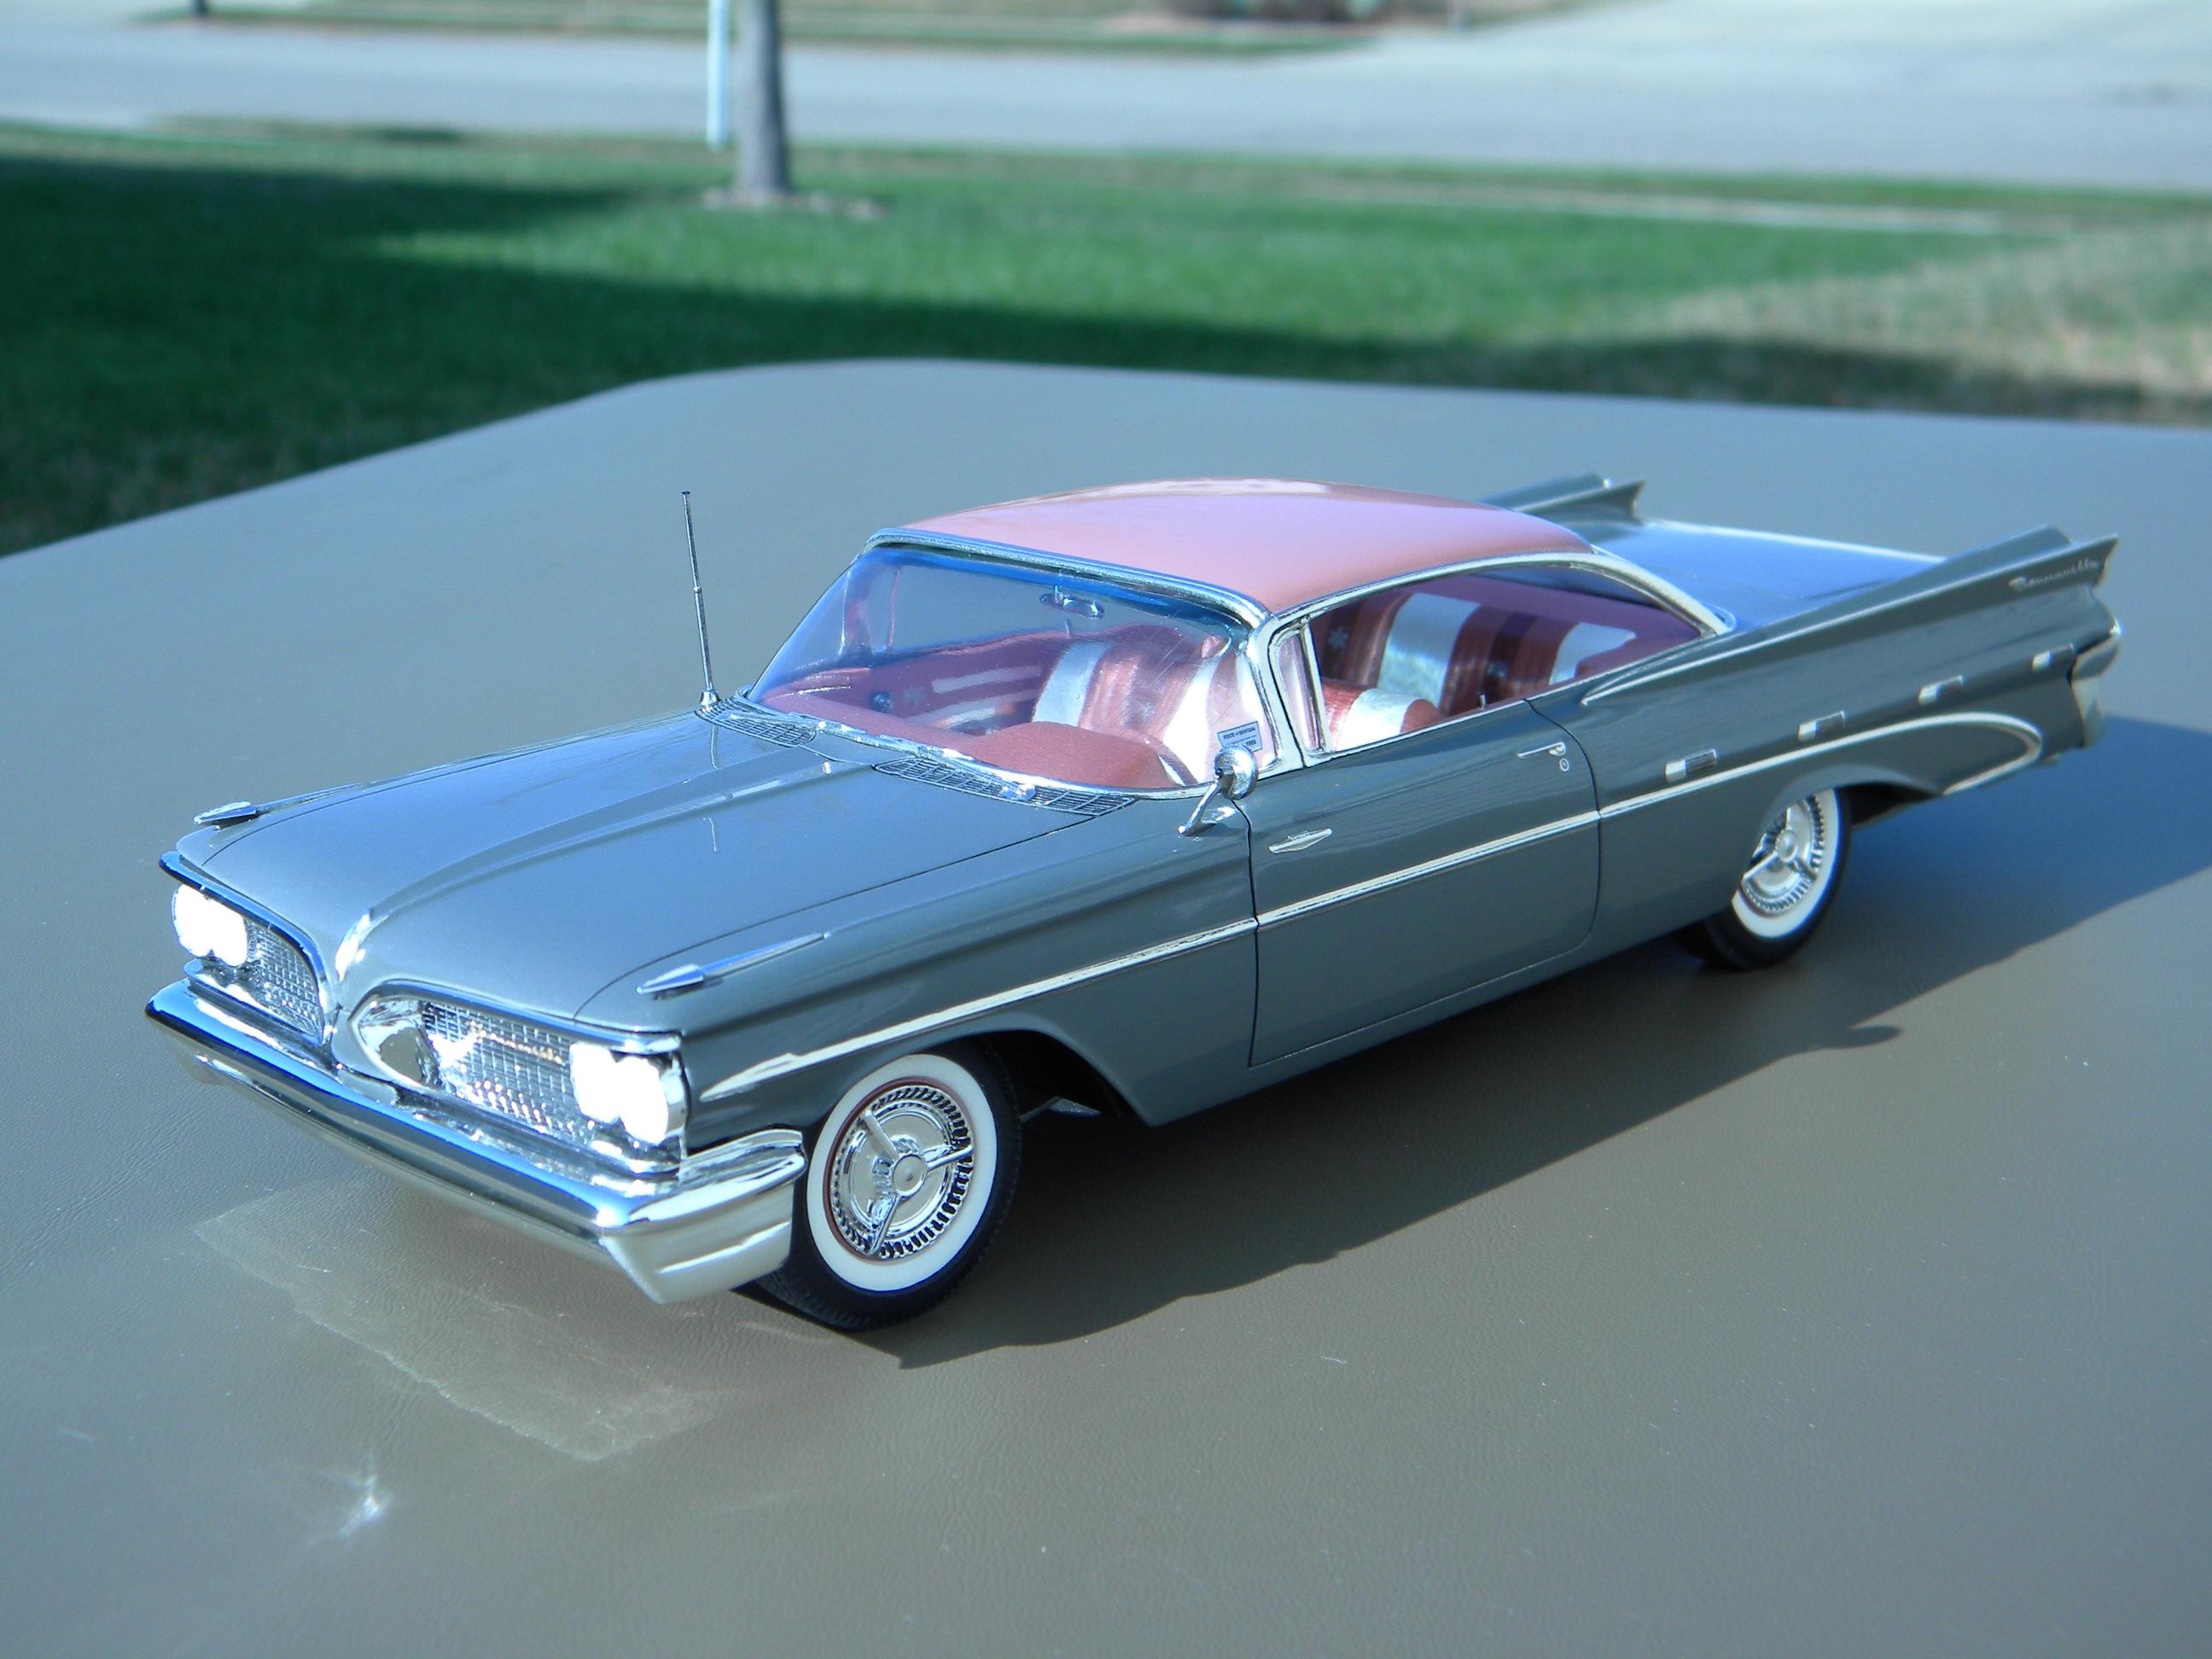
I thought that you might like to know Rich, in case you might like to make a change, the current re-pop of the AMT 1962 Buick Electra kit has correct 1959 Pontiac wheel covers as it's custom option. Steve
-
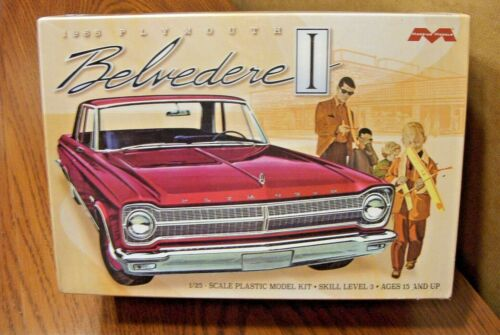
65 Plymouth ?
StevenGuthmiller replied to 57peppershaker's topic in Model Building Questions and Answers
Yes. Very recently by Moebius. You can pick them up almost anywhere. $26.00 on Model Roundup. Steve
-
Nicely done! Steve
-
How to be competitive at contests.
StevenGuthmiller replied to Jantrix's topic in Tips, Tricks, and Tutorials
Just another thought on this subject. An unusual subject, can at the very least, grab a lot of initial attention at a show. By "unusual" I don't mean a gasser version of the 26 other Revell '57 Ford Del Rio wagons present. I mean something that is really not seen every day, like an unusual or rare vintage or resin kit. I've been bringing a lot of vintage stuff to the shows that I have been attending for the past several years, not because it's some nefarious scheme to win awards, but just because that's what I like to build, and regardless of whether they win anything or not, they always seem to get a lot of attention. People like to see something that they either have never seen before, or haven't seen in many years. Steve -
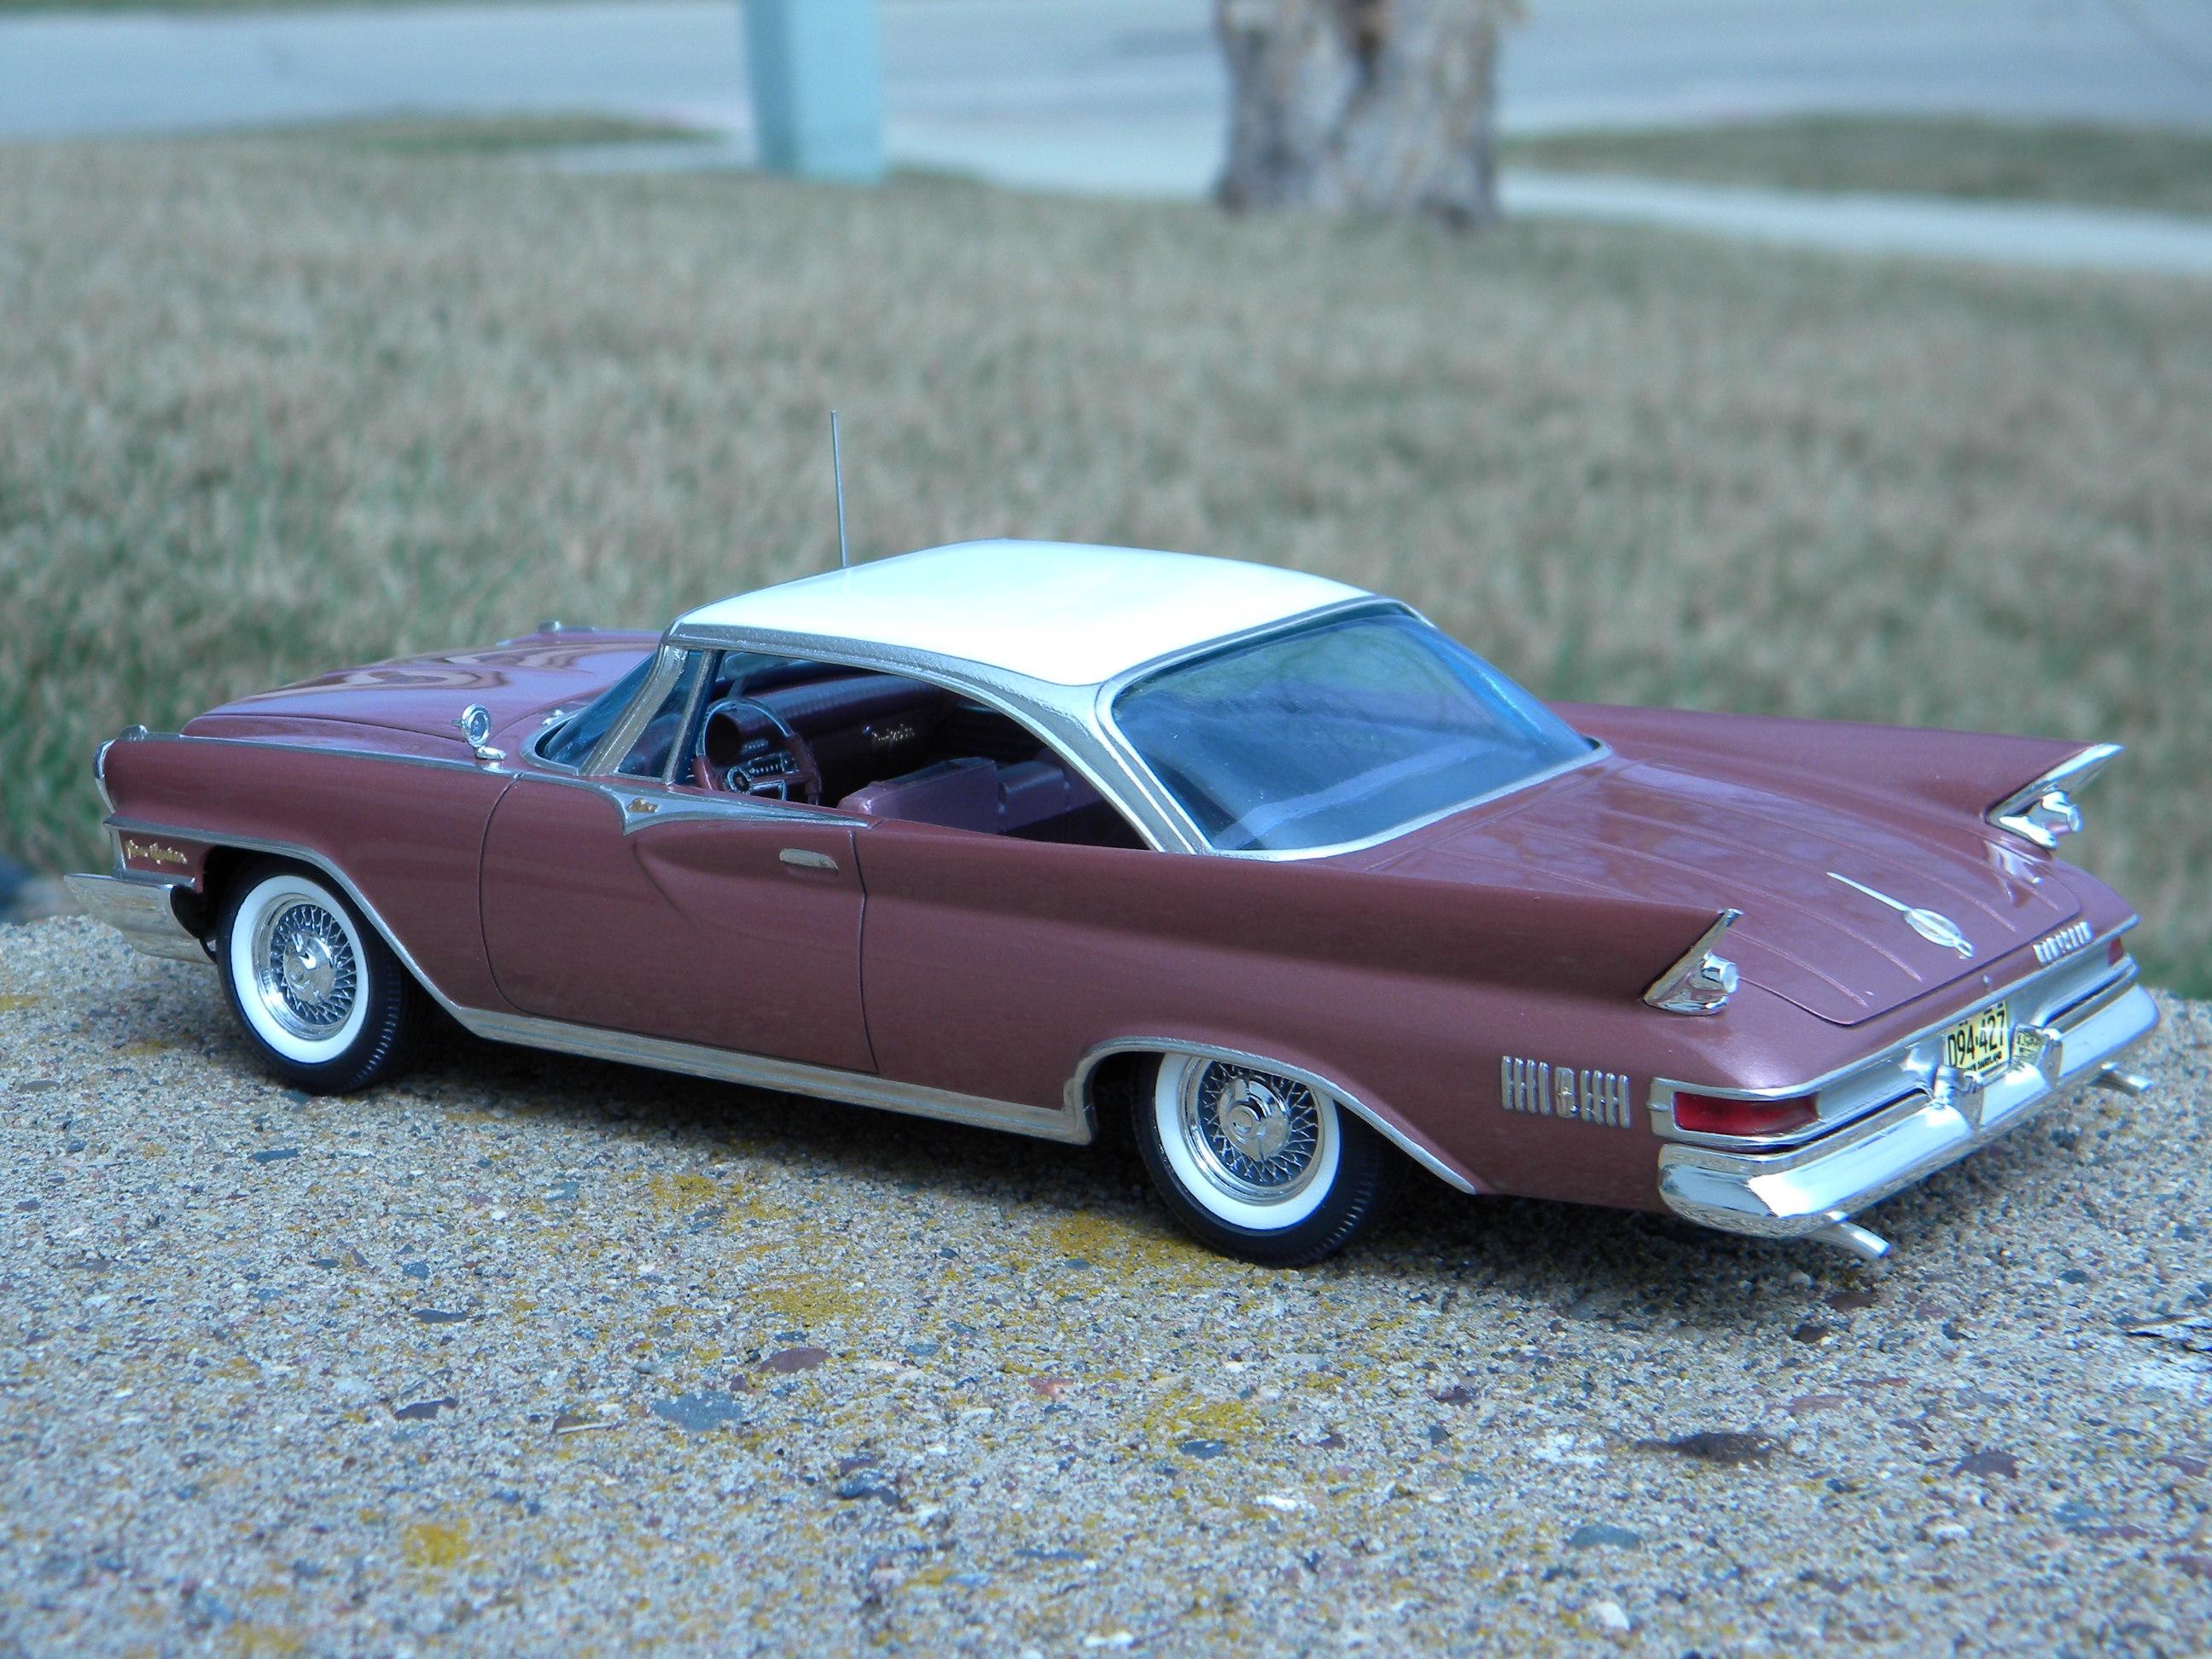
1962 Olds F85 colors?
StevenGuthmiller replied to 2zwudz's topic in Model Building Questions and Answers
Those would be "Sunset Mist", "Willow Green" and "Wedgewood Mist". I think the blue car on the bottom is the better looking car, but it could have more to do with the fact that it doesn't have the ugly wheels and stripped off trim like choice #1, and the whitewall tires and body colored top add a touch of class over #2. Just my opinion. Steve -
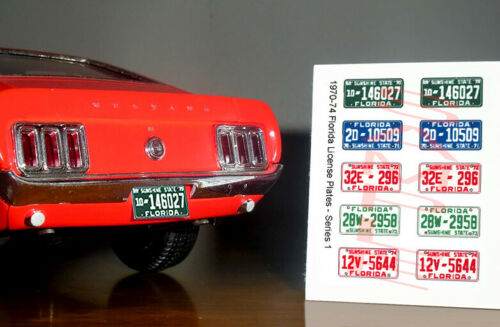
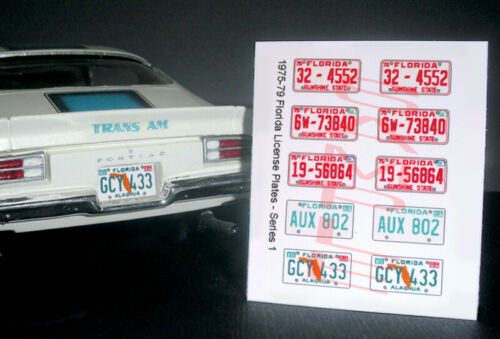
It might be just as easy to contact Mike at "Best Model Car Parts". He currently has 2 sets of vintage plates on his ebay site, (1970-'74 and 1975-'79) maybe more if you contact him. He does some beautiful stuff! $2.59 per sheet. Steve
-
Nope. I like to focus most of my attention on the body, engine and interior. I can't get myself to spend too much time on the chassis. Been there, done that. Steve
-
It's "Rustoleum High Performance Enamel" in flat black. Something I normally wouldn't buy for modeling, but I had it leftover from a fireplace repair, and it worked fairly well for both. Steve
-
Restoring old built kits??
StevenGuthmiller replied to 2zwudz's topic in Model Building Questions and Answers
That's generally my approach as well, but often old kit glass can turn yellow and contain stress cracks that cannot be repaired. Then there is always the irreversible effects of heavy glue damage. But absolutely, glass that is not heavily damaged can be renewed with polishing. Steve -
My Dad, Chocolate Ice Cream, and New Kits
StevenGuthmiller replied to Snake45's topic in The Off-Topic Lounge
Here's one that I remember from my dad. "Pizza is like sex. When it's good, it's really good. When it's bad......It's still pretty good!" Steve -
Restoring old built kits??
StevenGuthmiller replied to 2zwudz's topic in Model Building Questions and Answers
In the majority of cases, if the original glass cannot be restored, often times it may be able to be replaced with the glass from a modern kit that has the same basic shape. Occasionally, some re-shaping might be required. If that is not a possibility, the glass can often be replaced with thin clear sheet plastic, so long as there are no compound curves involved. I find myself using clear sheet plastic increasingly lately, because of the fact that it's thinner and therefore more realistic in appearance. Then there is vacuforming, which I have no experience with, and if all else fails, you may have to search for a repairable original part. Steve -
Restoring old built kits??
StevenGuthmiller replied to 2zwudz's topic in Model Building Questions and Answers
In my opinion, it depends on the availability of the kit in question. Personally, I see no reason whatsoever in wasting the time on rebuilding a readily available kit, when you can get a new one relatively cheaply and start from scratch. Rare or difficult to find kits, on the other hand, can be well worth the effort. In those cases, you may have a difference in value in the hundreds of dollars between an un-built kit and a built-up or glue bomb. It can be quite satisfying to take a derelict built up, left for dead, and do a complete restoration on it. Some of my most prized vintage re-builds started out as a real booger! As far as the chrome question goes, it depends greatly on what you're trying to achieve. When I build it model, I want it to last for as long as I am around to enjoy it, and to have the absolute best appearance possible. I do my utmost to avoid cutting any corners and strive to have every aspect of the model show the best that it possibly can. This includes the chrome parts and is therefore the rational behind why all of my vintage kits get re-chromed bumpers, etc. I don't see the logic in applying the absolute best finish that I possibly can an every other aspect of the model, and skimping on the chrome. Steve
-
My Dad, Chocolate Ice Cream, and New Kits
StevenGuthmiller replied to Snake45's topic in The Off-Topic Lounge
A co-worker of mine once owned a grocery store. When he had to fire an employee, he would use this line. "I don't know how we could ever get by without you, but starting tomorrow, we're going to try". Steve -
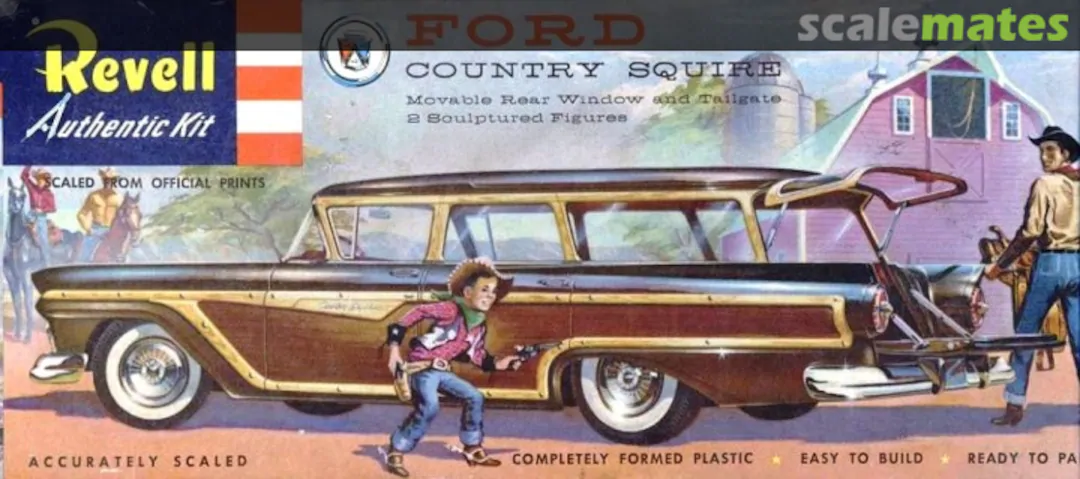
60 starliner station wagon???
StevenGuthmiller replied to 2zwudz's topic in Model Building Questions and Answers
You're likely thinking of the old Revell 1957 Ford Country Squire wagon kit. The Hubley kits were one piece bodies. Steve
-
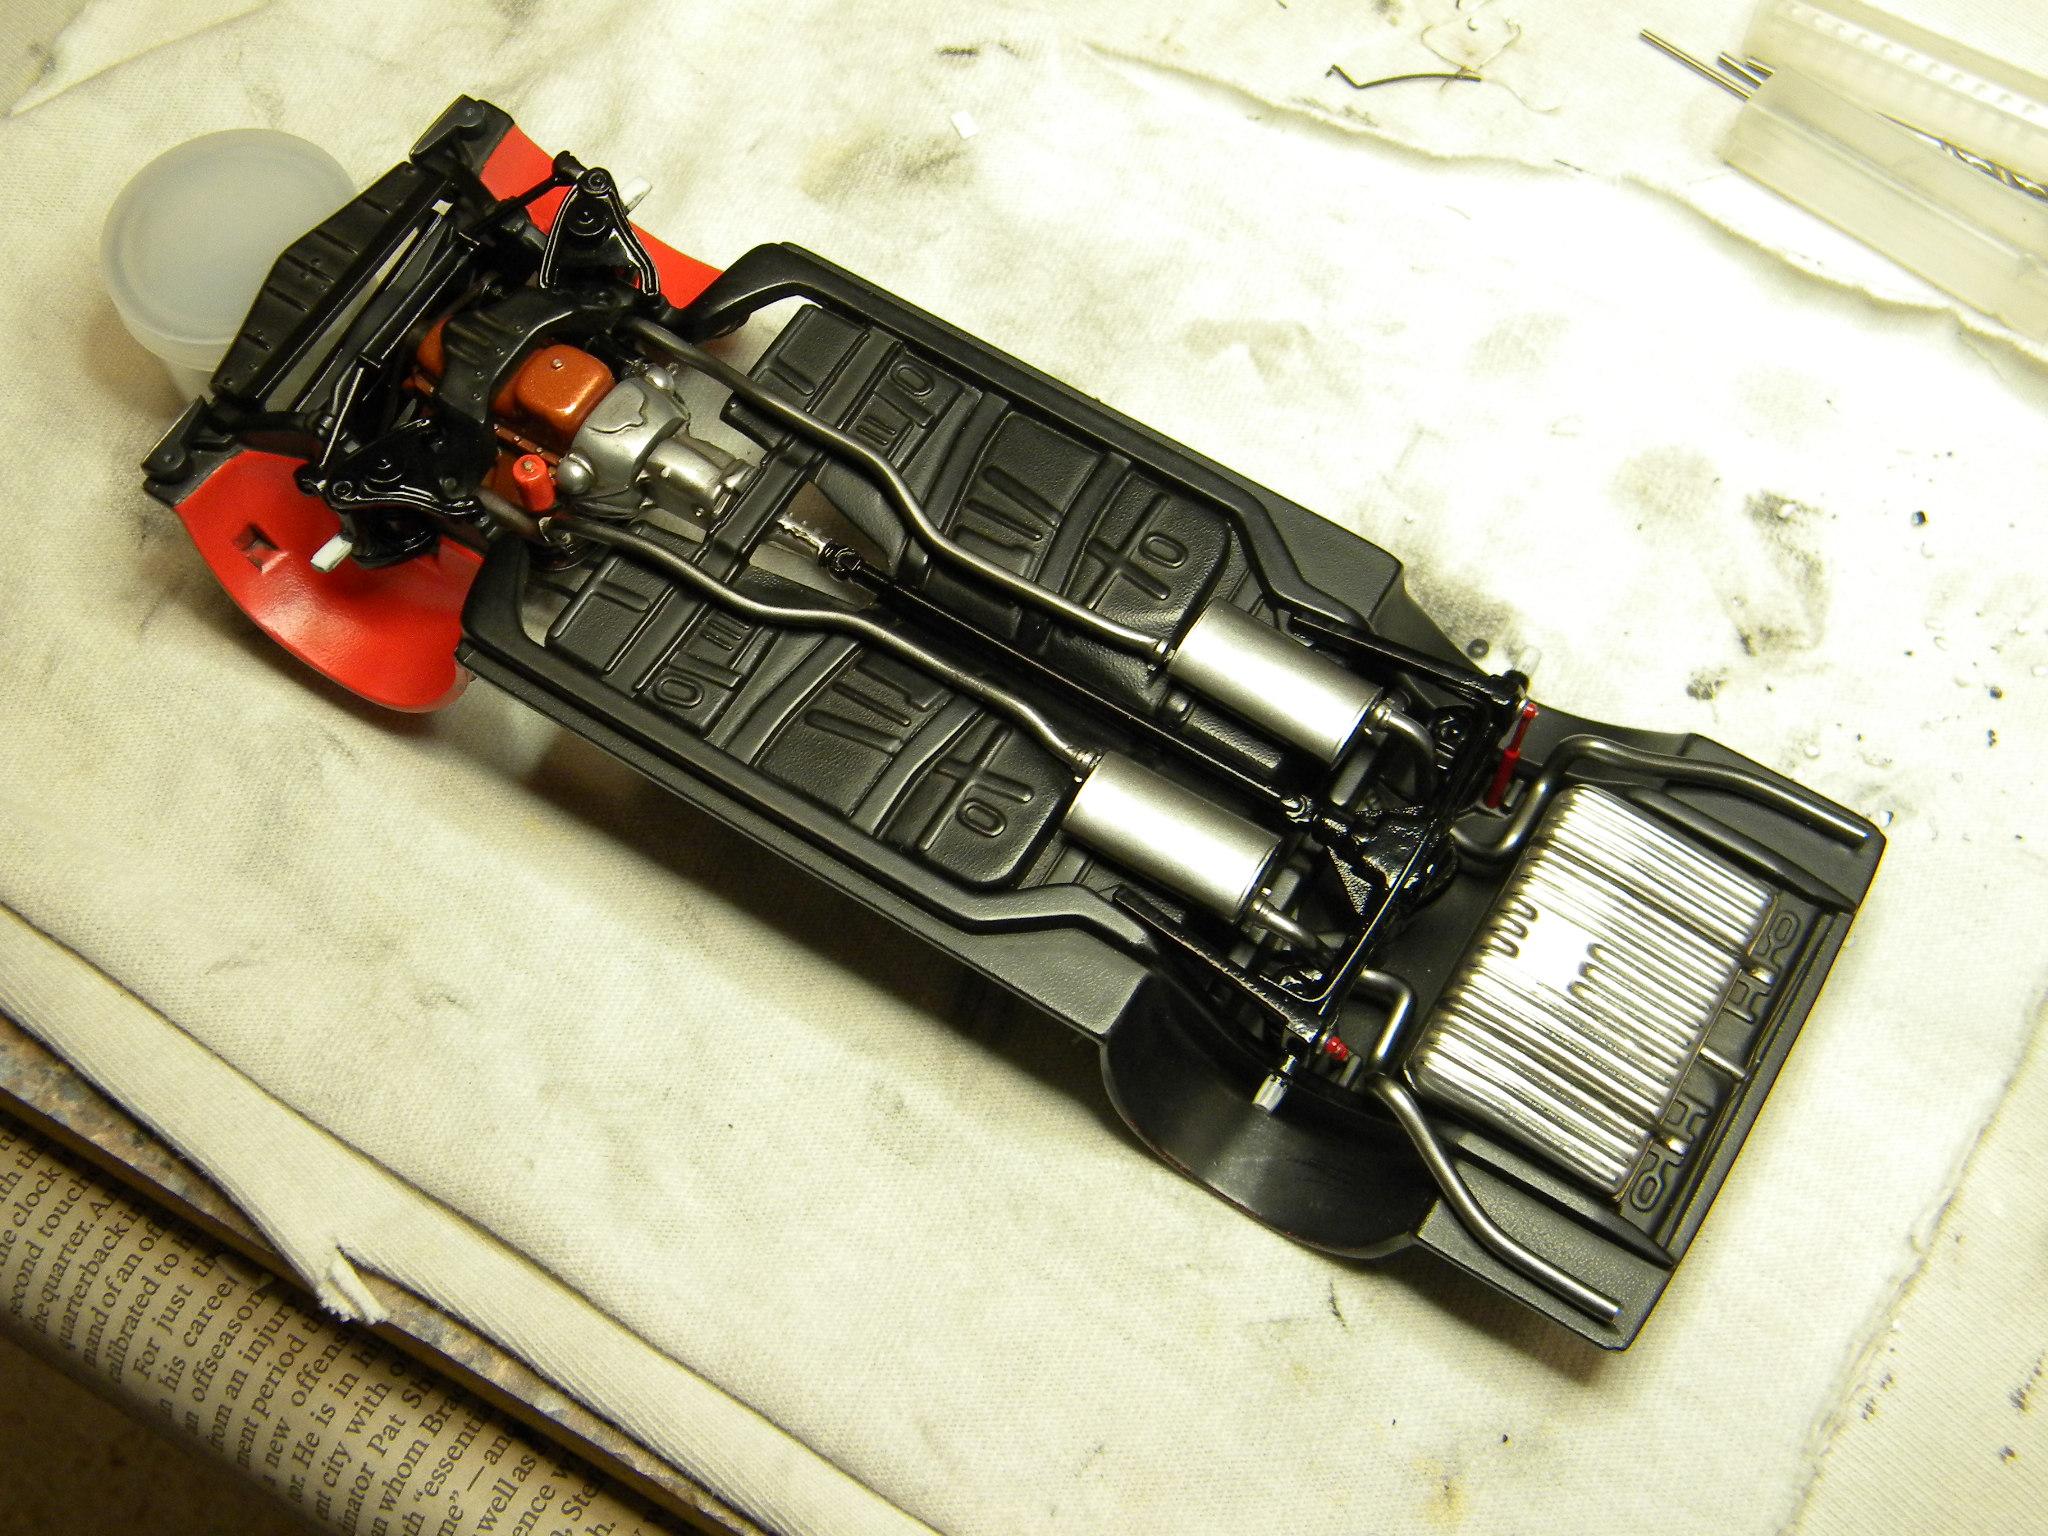
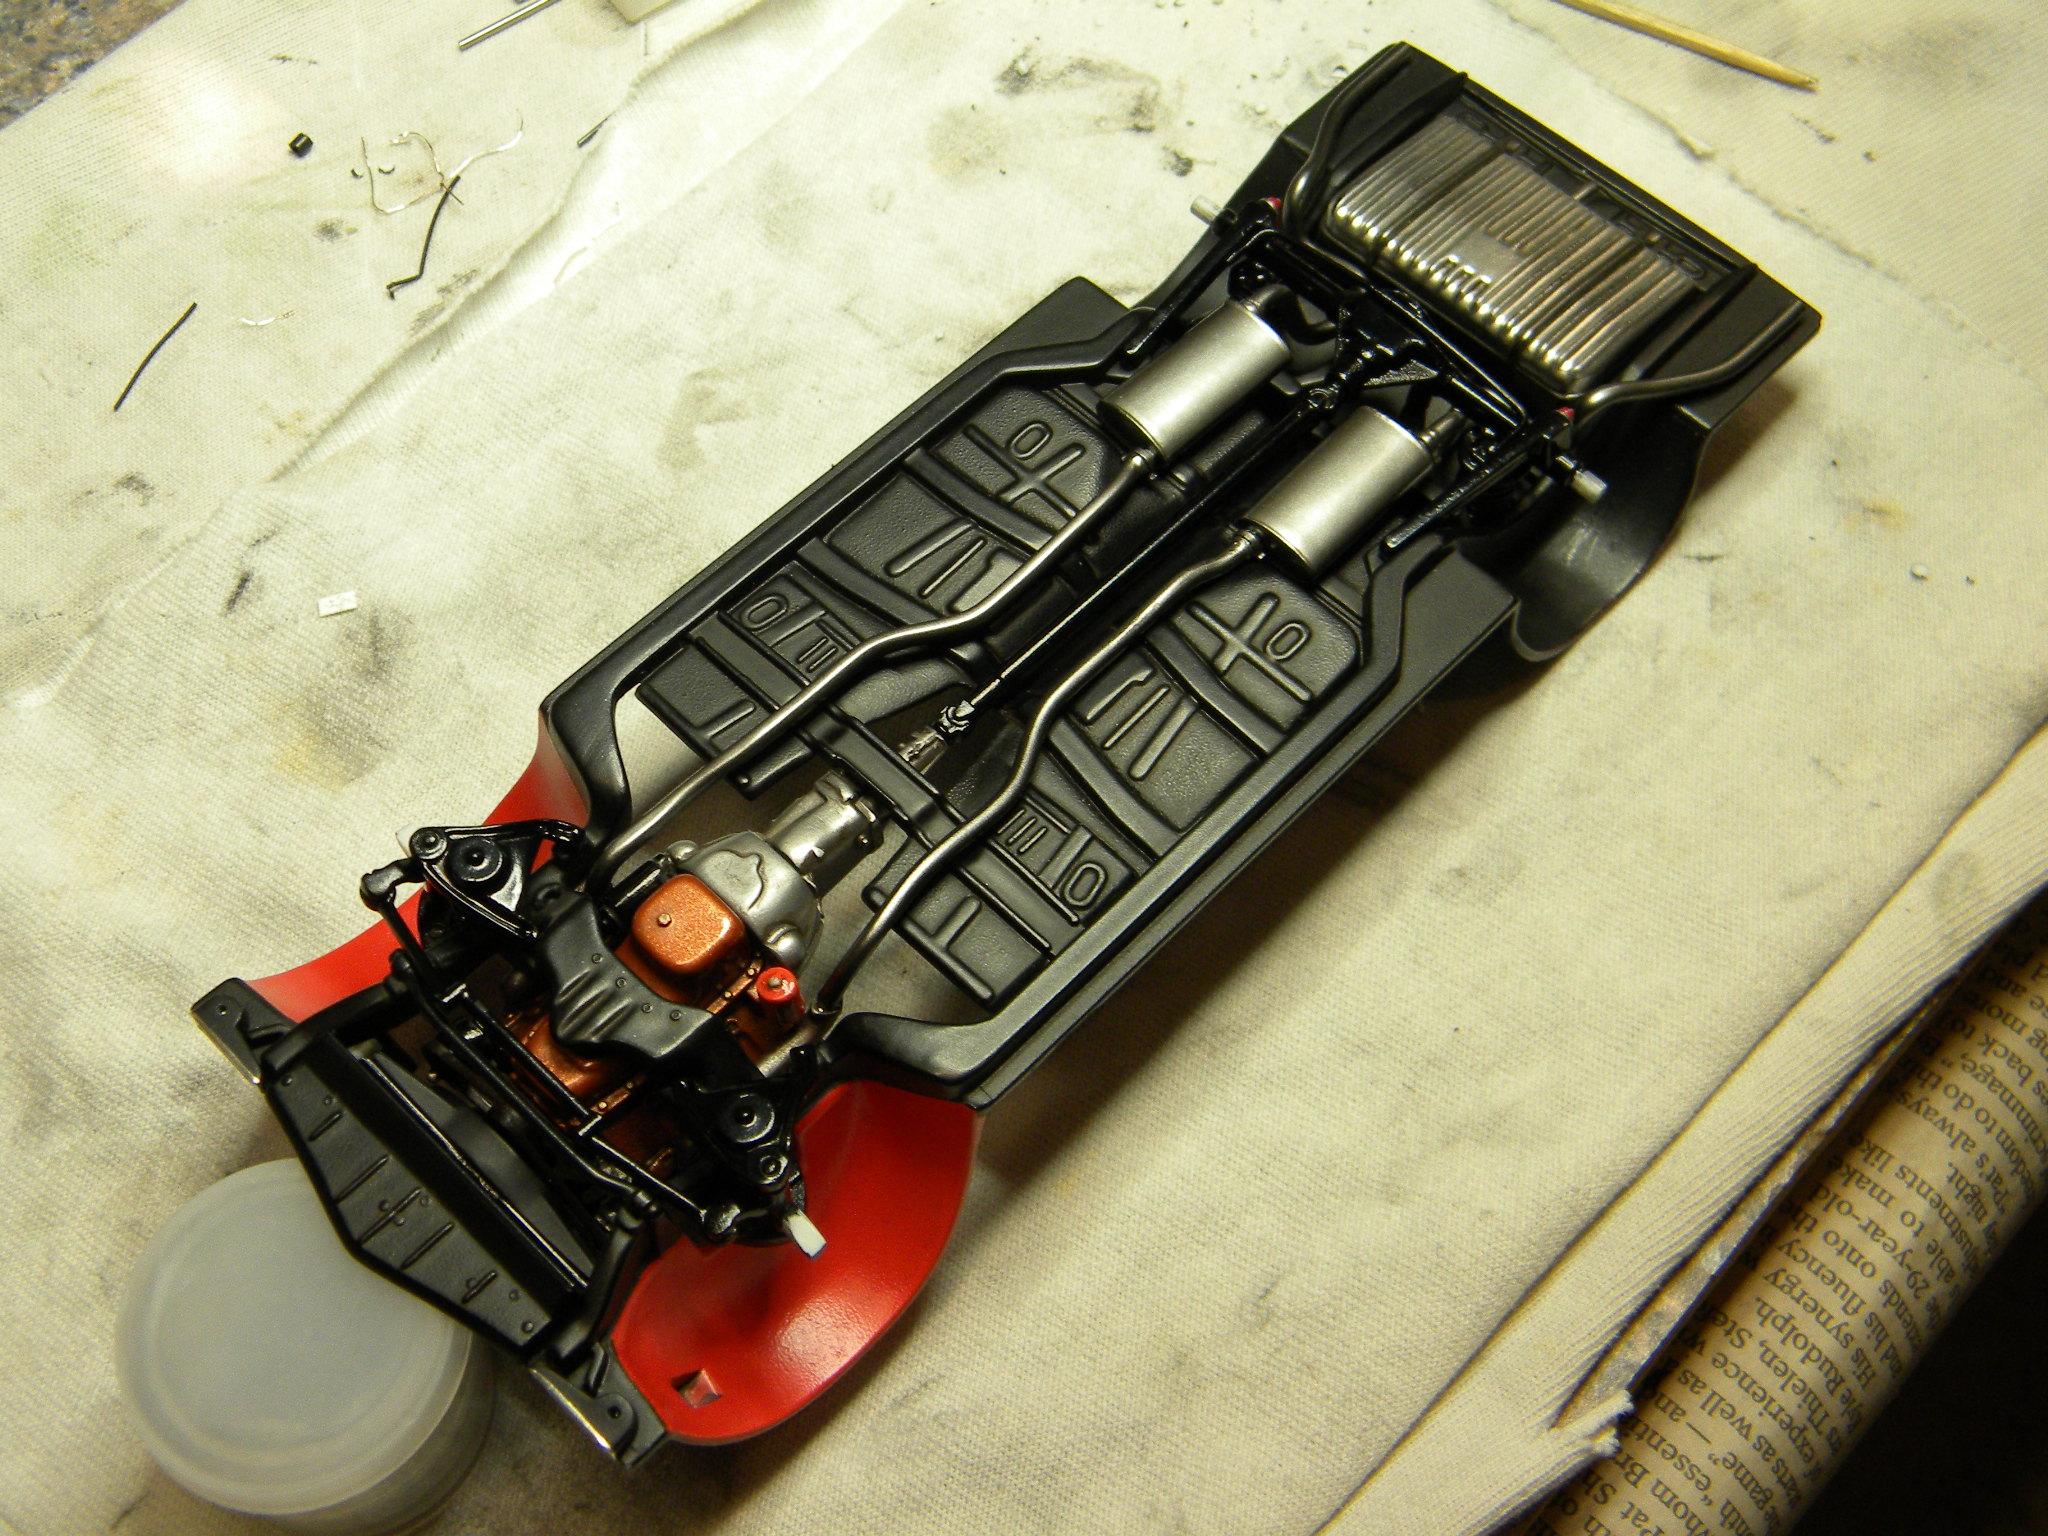
The bottom side of the chassis is finished. Steve
-
I believe the under side of the chassis is finished on my '68 Olds 442. Steve
-
60 starliner station wagon???
StevenGuthmiller replied to 2zwudz's topic in Model Building Questions and Answers
True of the promo, but not the kit. The kits are made from styrene like every other kit from the time, although most are molded in color. I believe that they were all molded in an aqua color as mine is. A lot of "ginger bread" glued to it but it's salvageable. I acquired mine in a trade so I'm not really up on what the current value is on these kits. Steve