StevenGuthmiller
-
Posts
15,088 -
Joined
-
Last visited
Content Type
Profiles
Forums
Events
Gallery
Everything posted by StevenGuthmiller
-

Now, THIS is a Car!!!!!
StevenGuthmiller replied to stavanzer's topic in General Automotive Talk (Trucks and Cars)
Looks like something that Cruella Deville or Gru from "Despicable Me" would drive. In other words, it's closer to a "cartoon" than a "car". Steve -
In my experience, Molotow is much more fragile than Alclad, but I would refrain from over handling either of them. Having your bumpers re-chromed is the ultimate and only answer in my opinion. Steve
-
Use the Alclad. Steve
-
Plaid Interiors Don't Wear Dead Men
StevenGuthmiller replied to 1972coronet's topic in Model Building Questions and Answers
Scale Motorsports used to make clear and black plaid decals that would show whatever color you put underneath. I'm not certain if they still make them or not. I used some for a '63 Ford custom pickup. Steve -
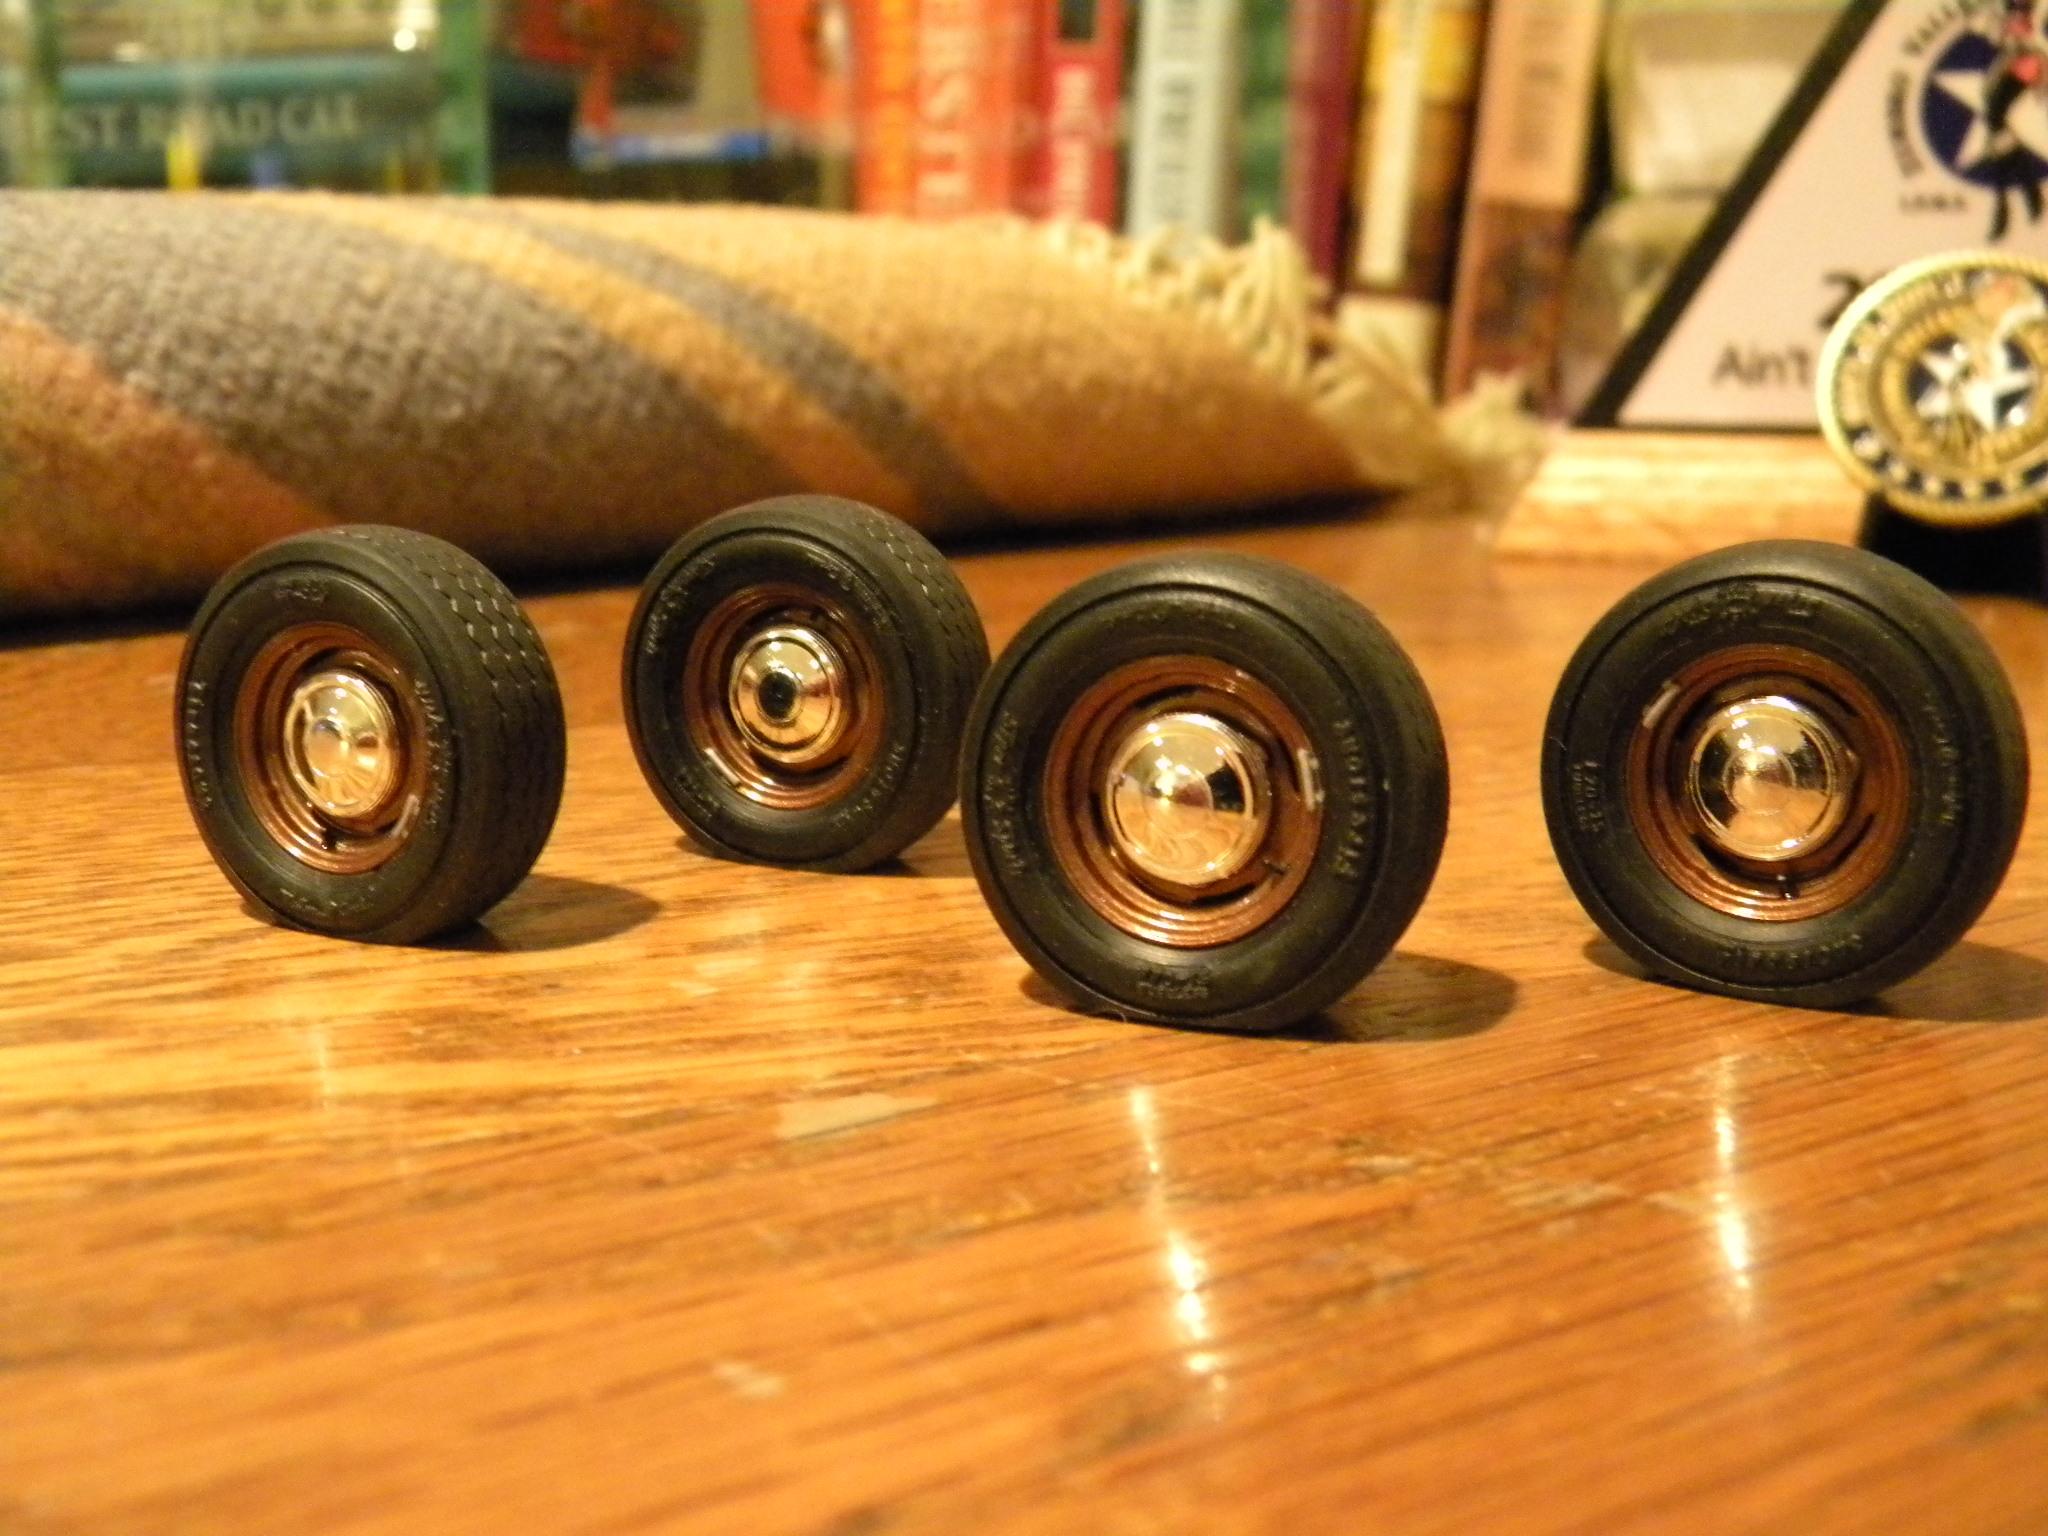
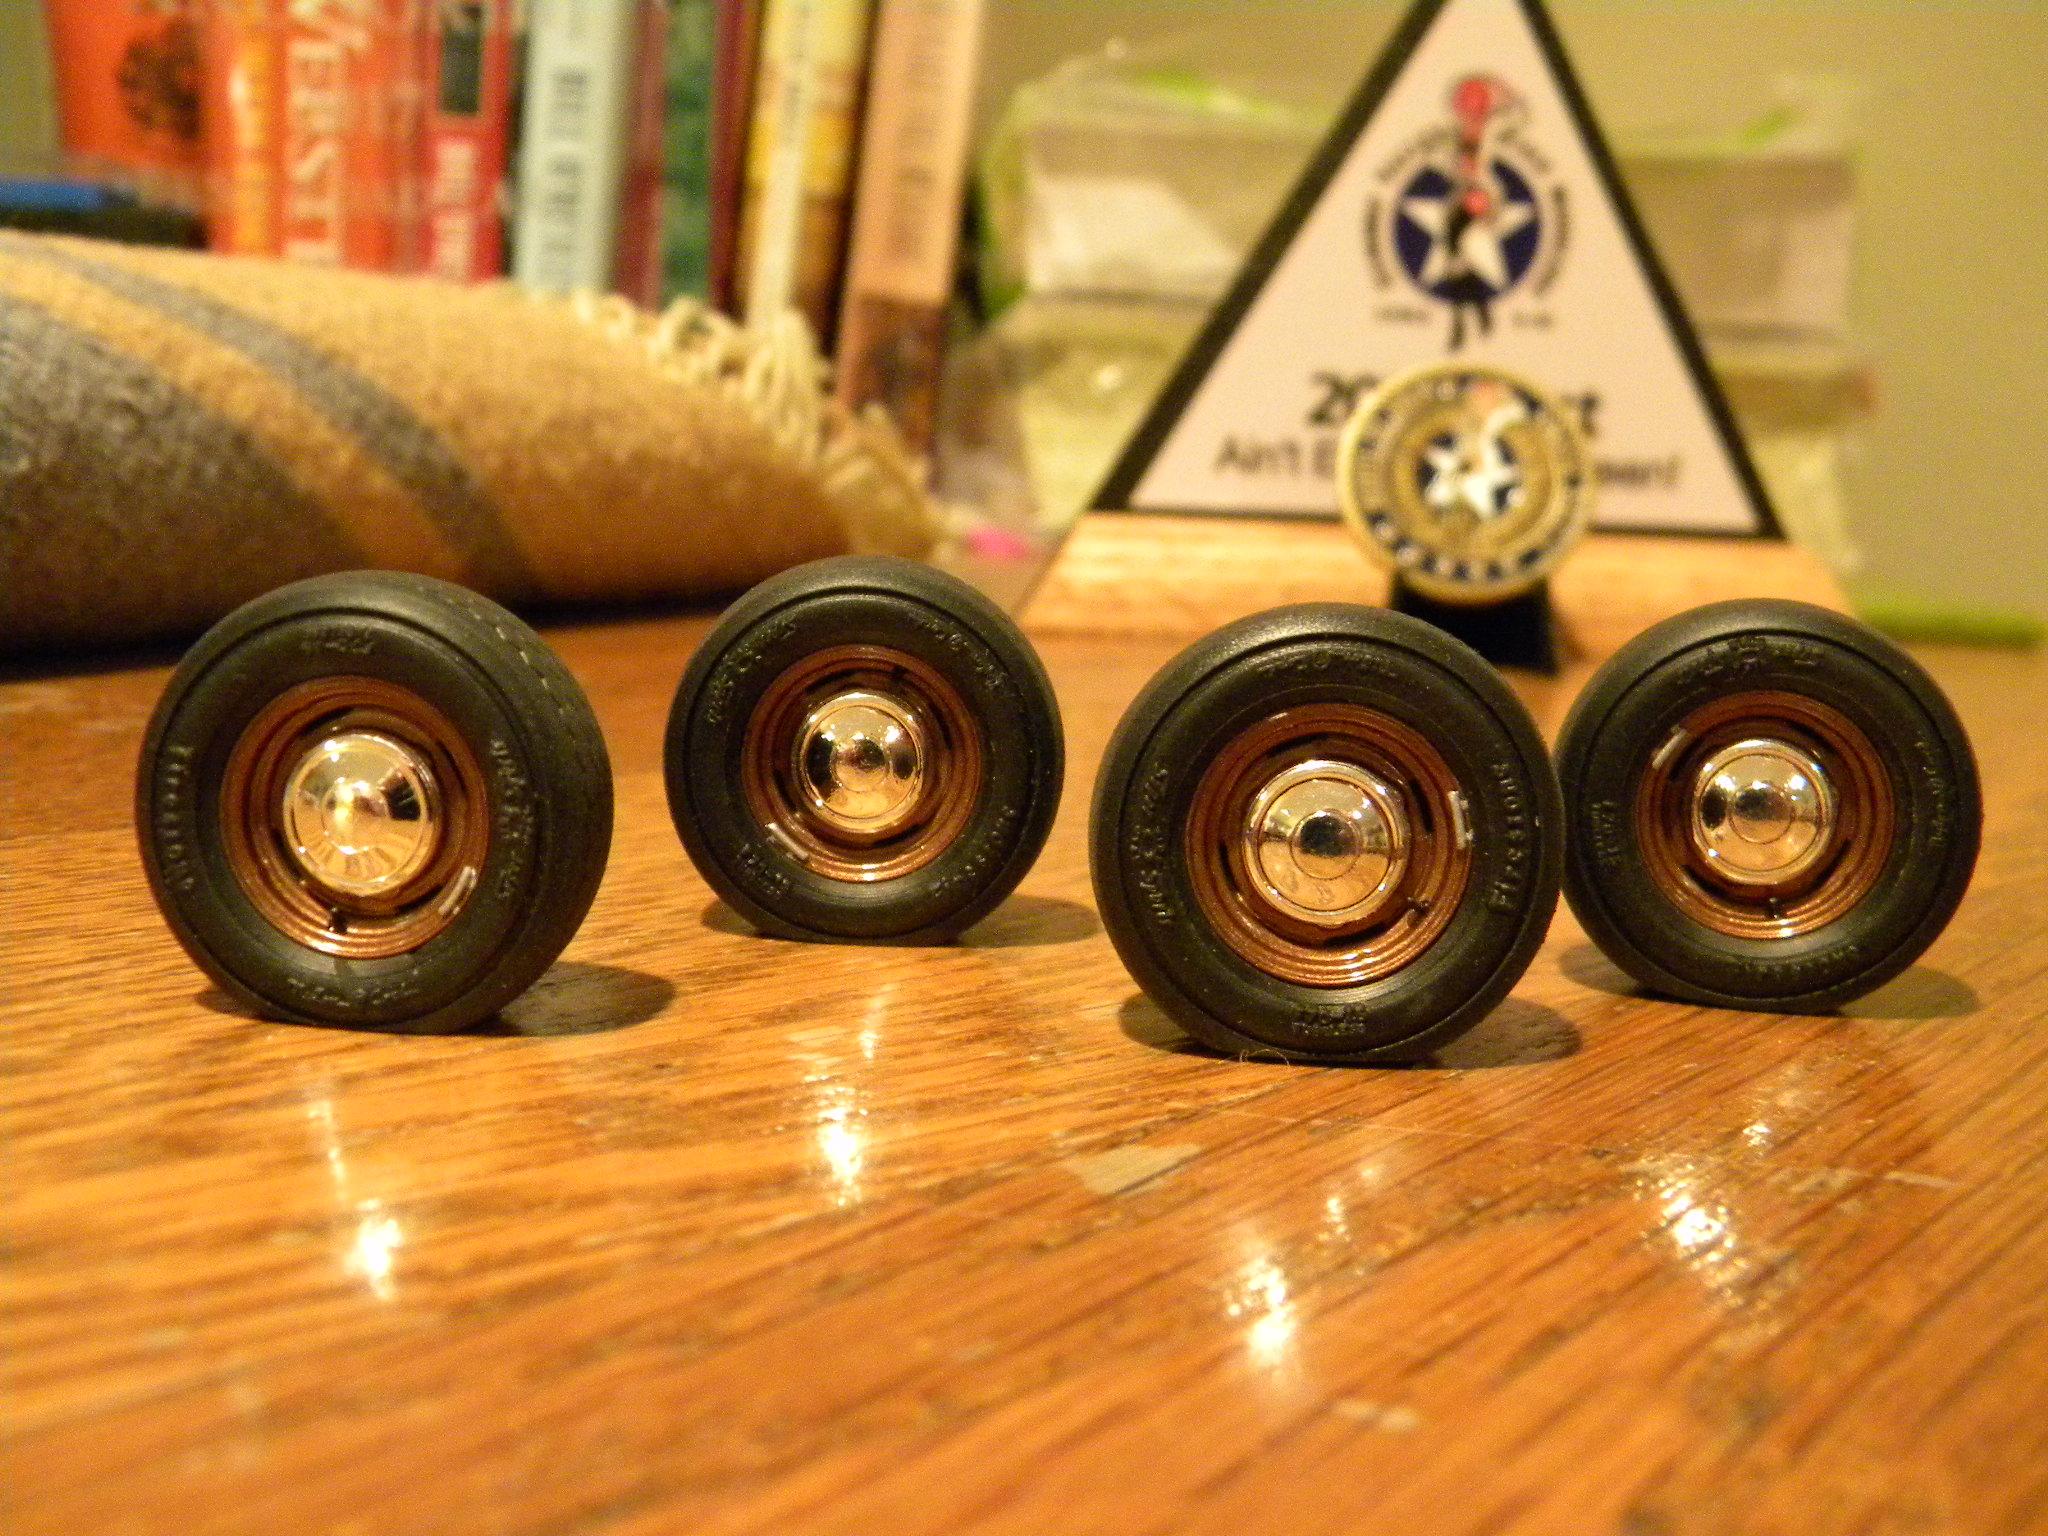
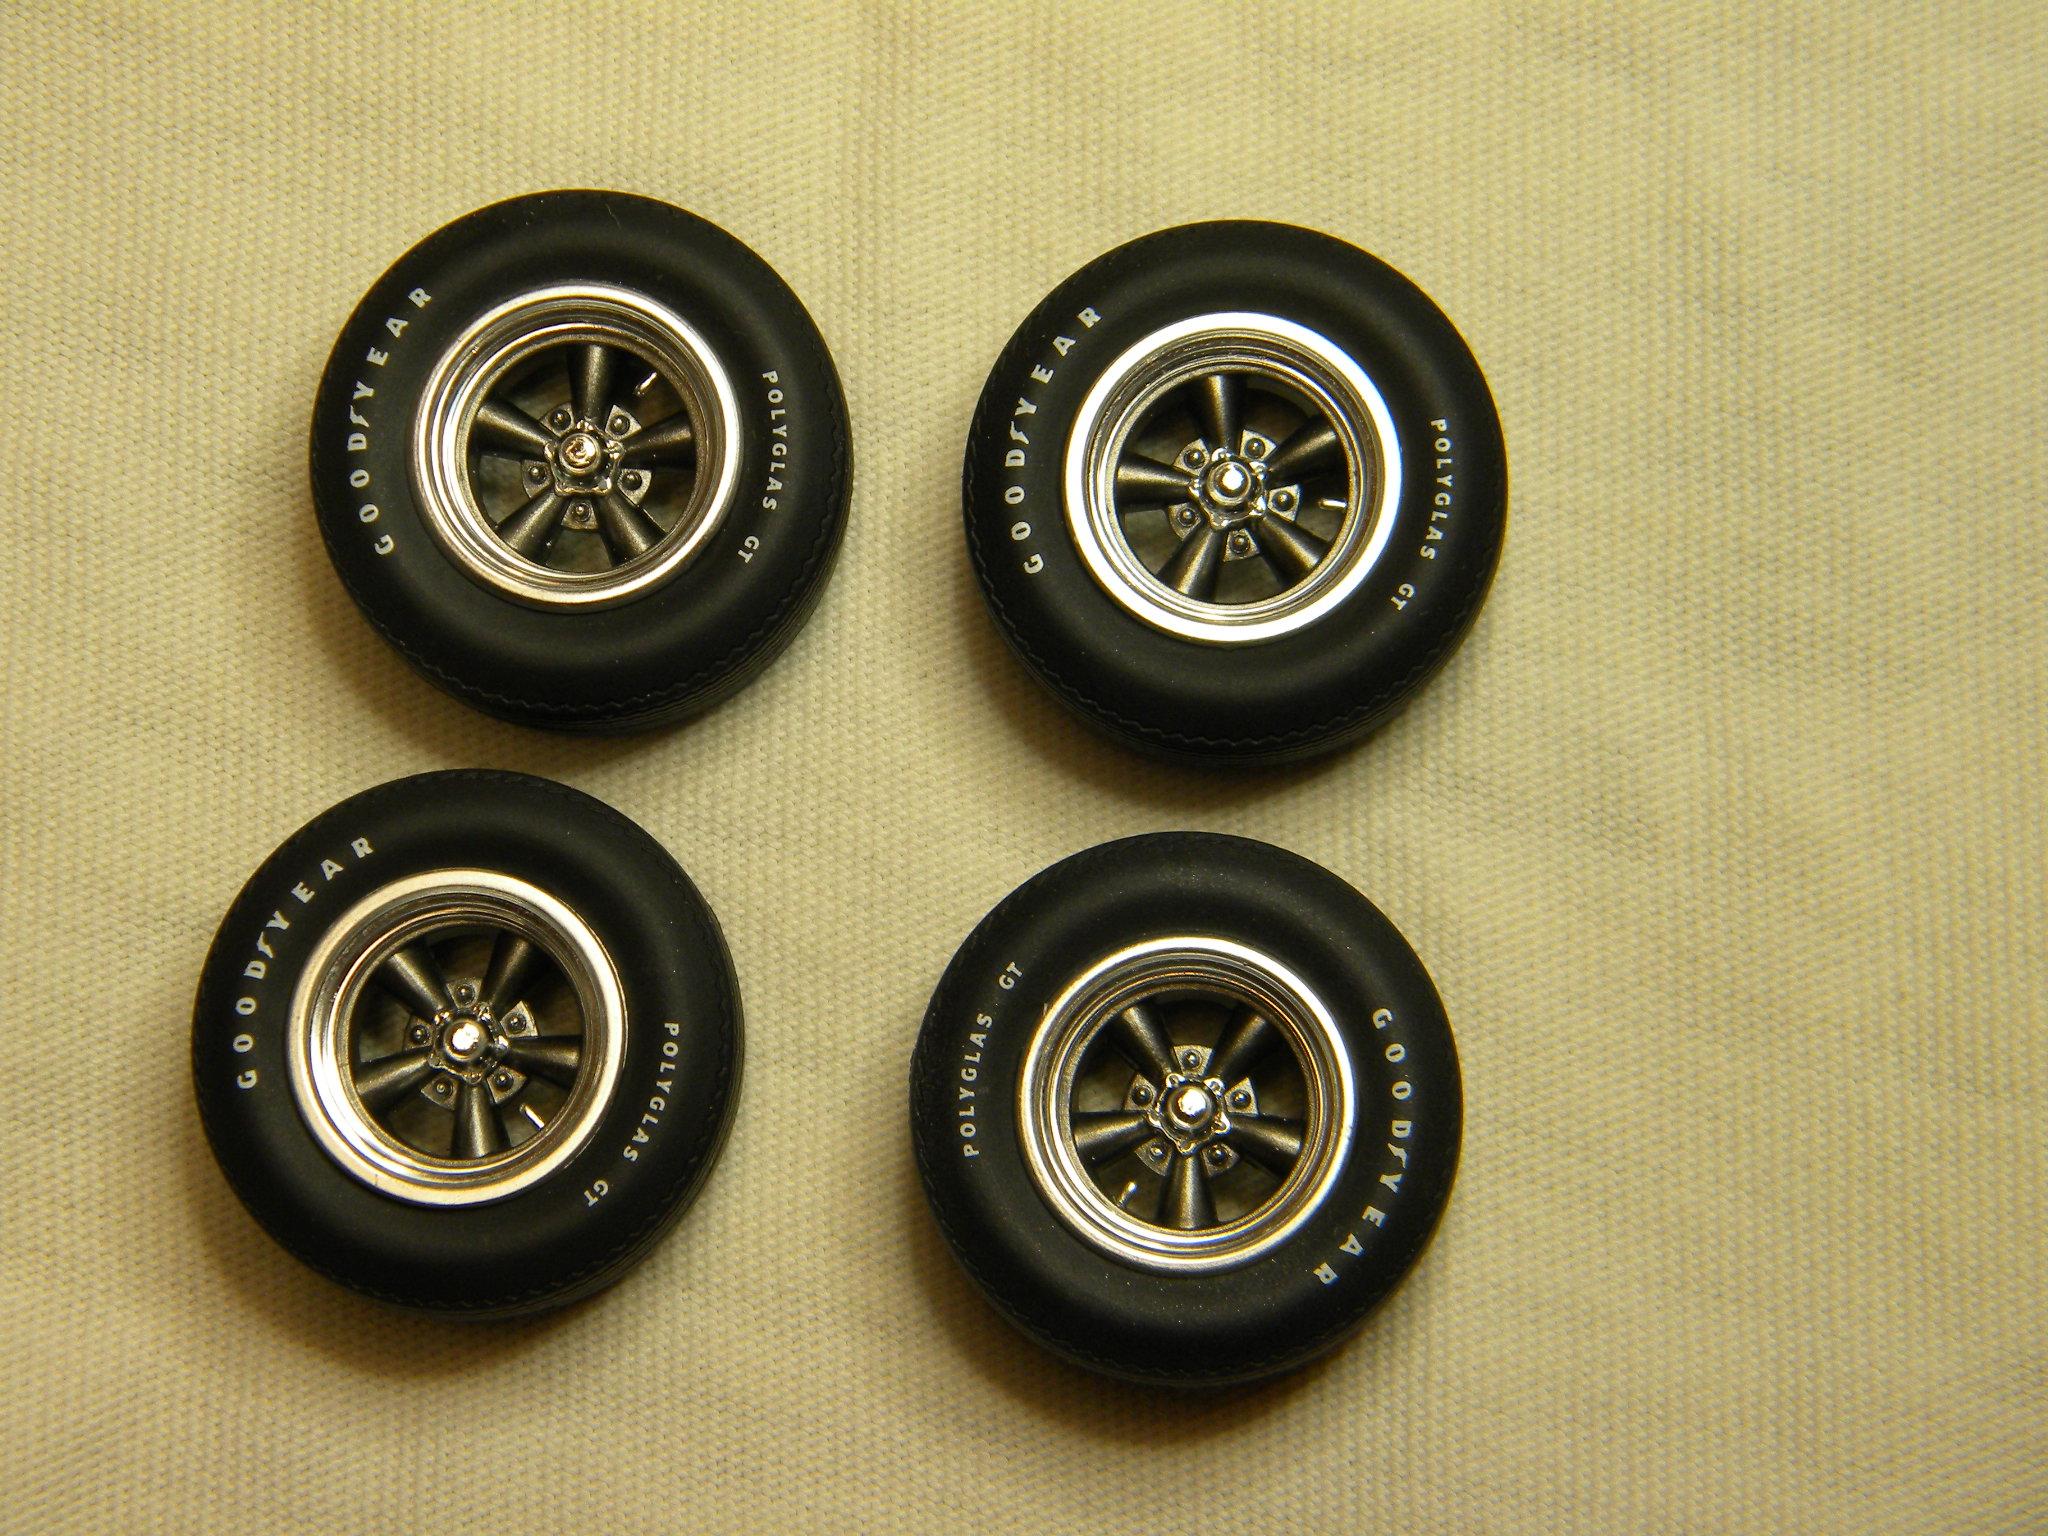
Thank you so much guys! I got the wheels ready to install this evening. Steve

-
Holy smokes Joe! You're on a roll ! Steve
-
I'm not certain whether I should take that as a compliment or not. I don't believe that I talk like him, and I certainly hope I don't look like him! Steve
-
I think you made the right decision. It gives it a much more muscular look. Maybe it's just me, but I always thought the daisy wheels looked a little too "feminine" for a muscle car. Steve
-
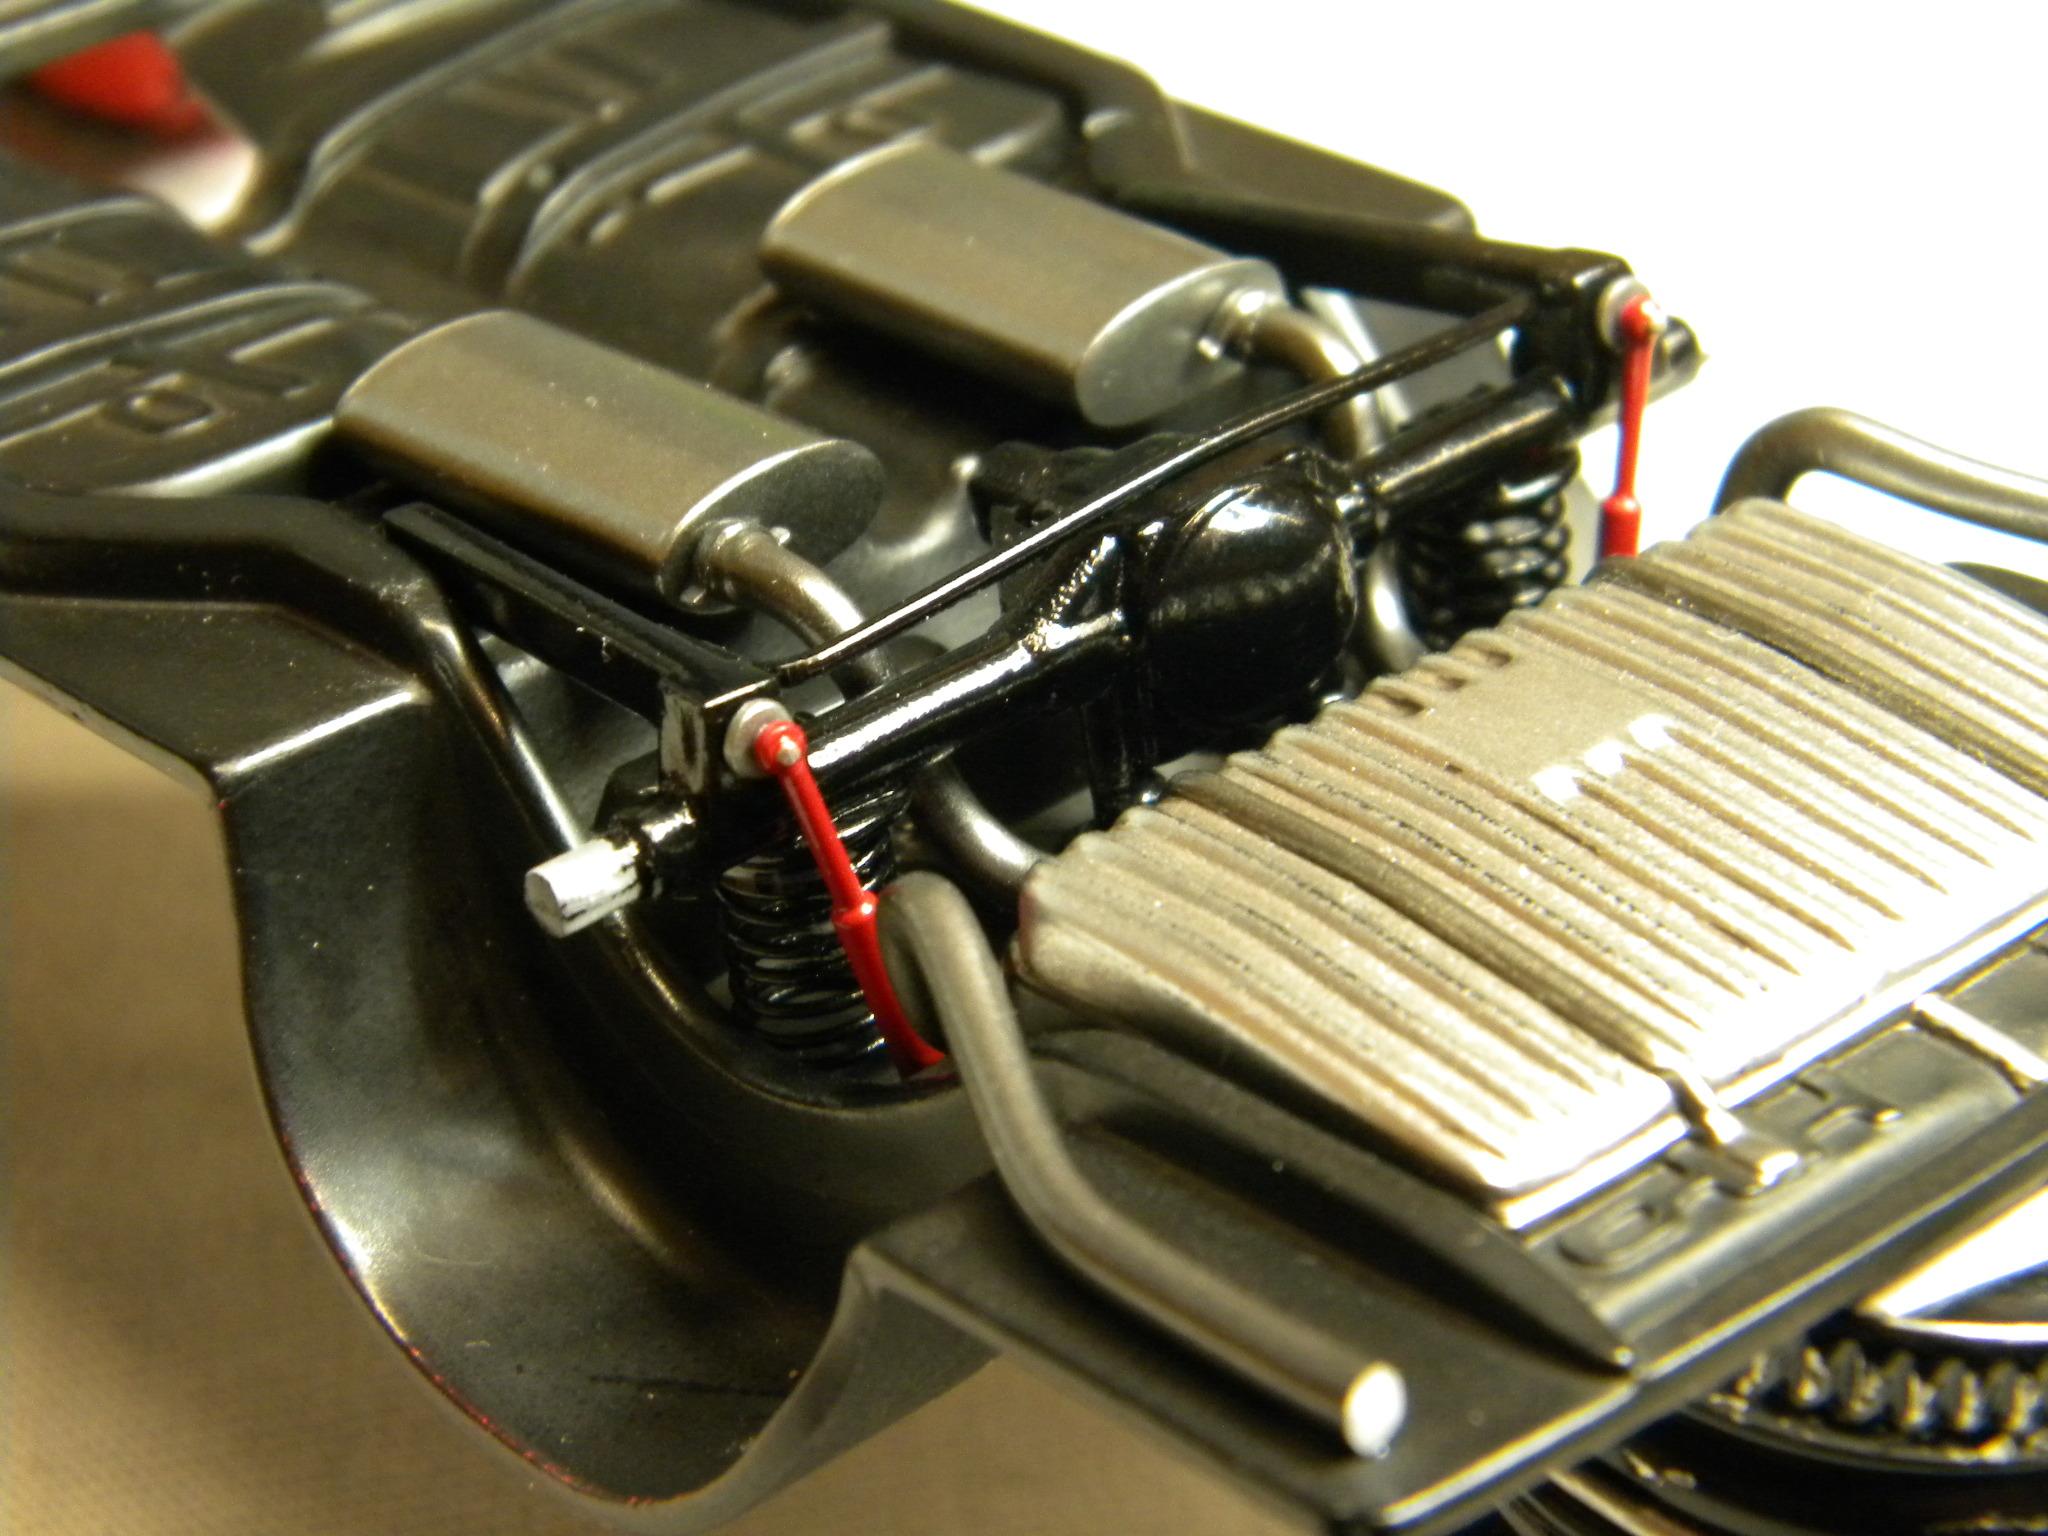
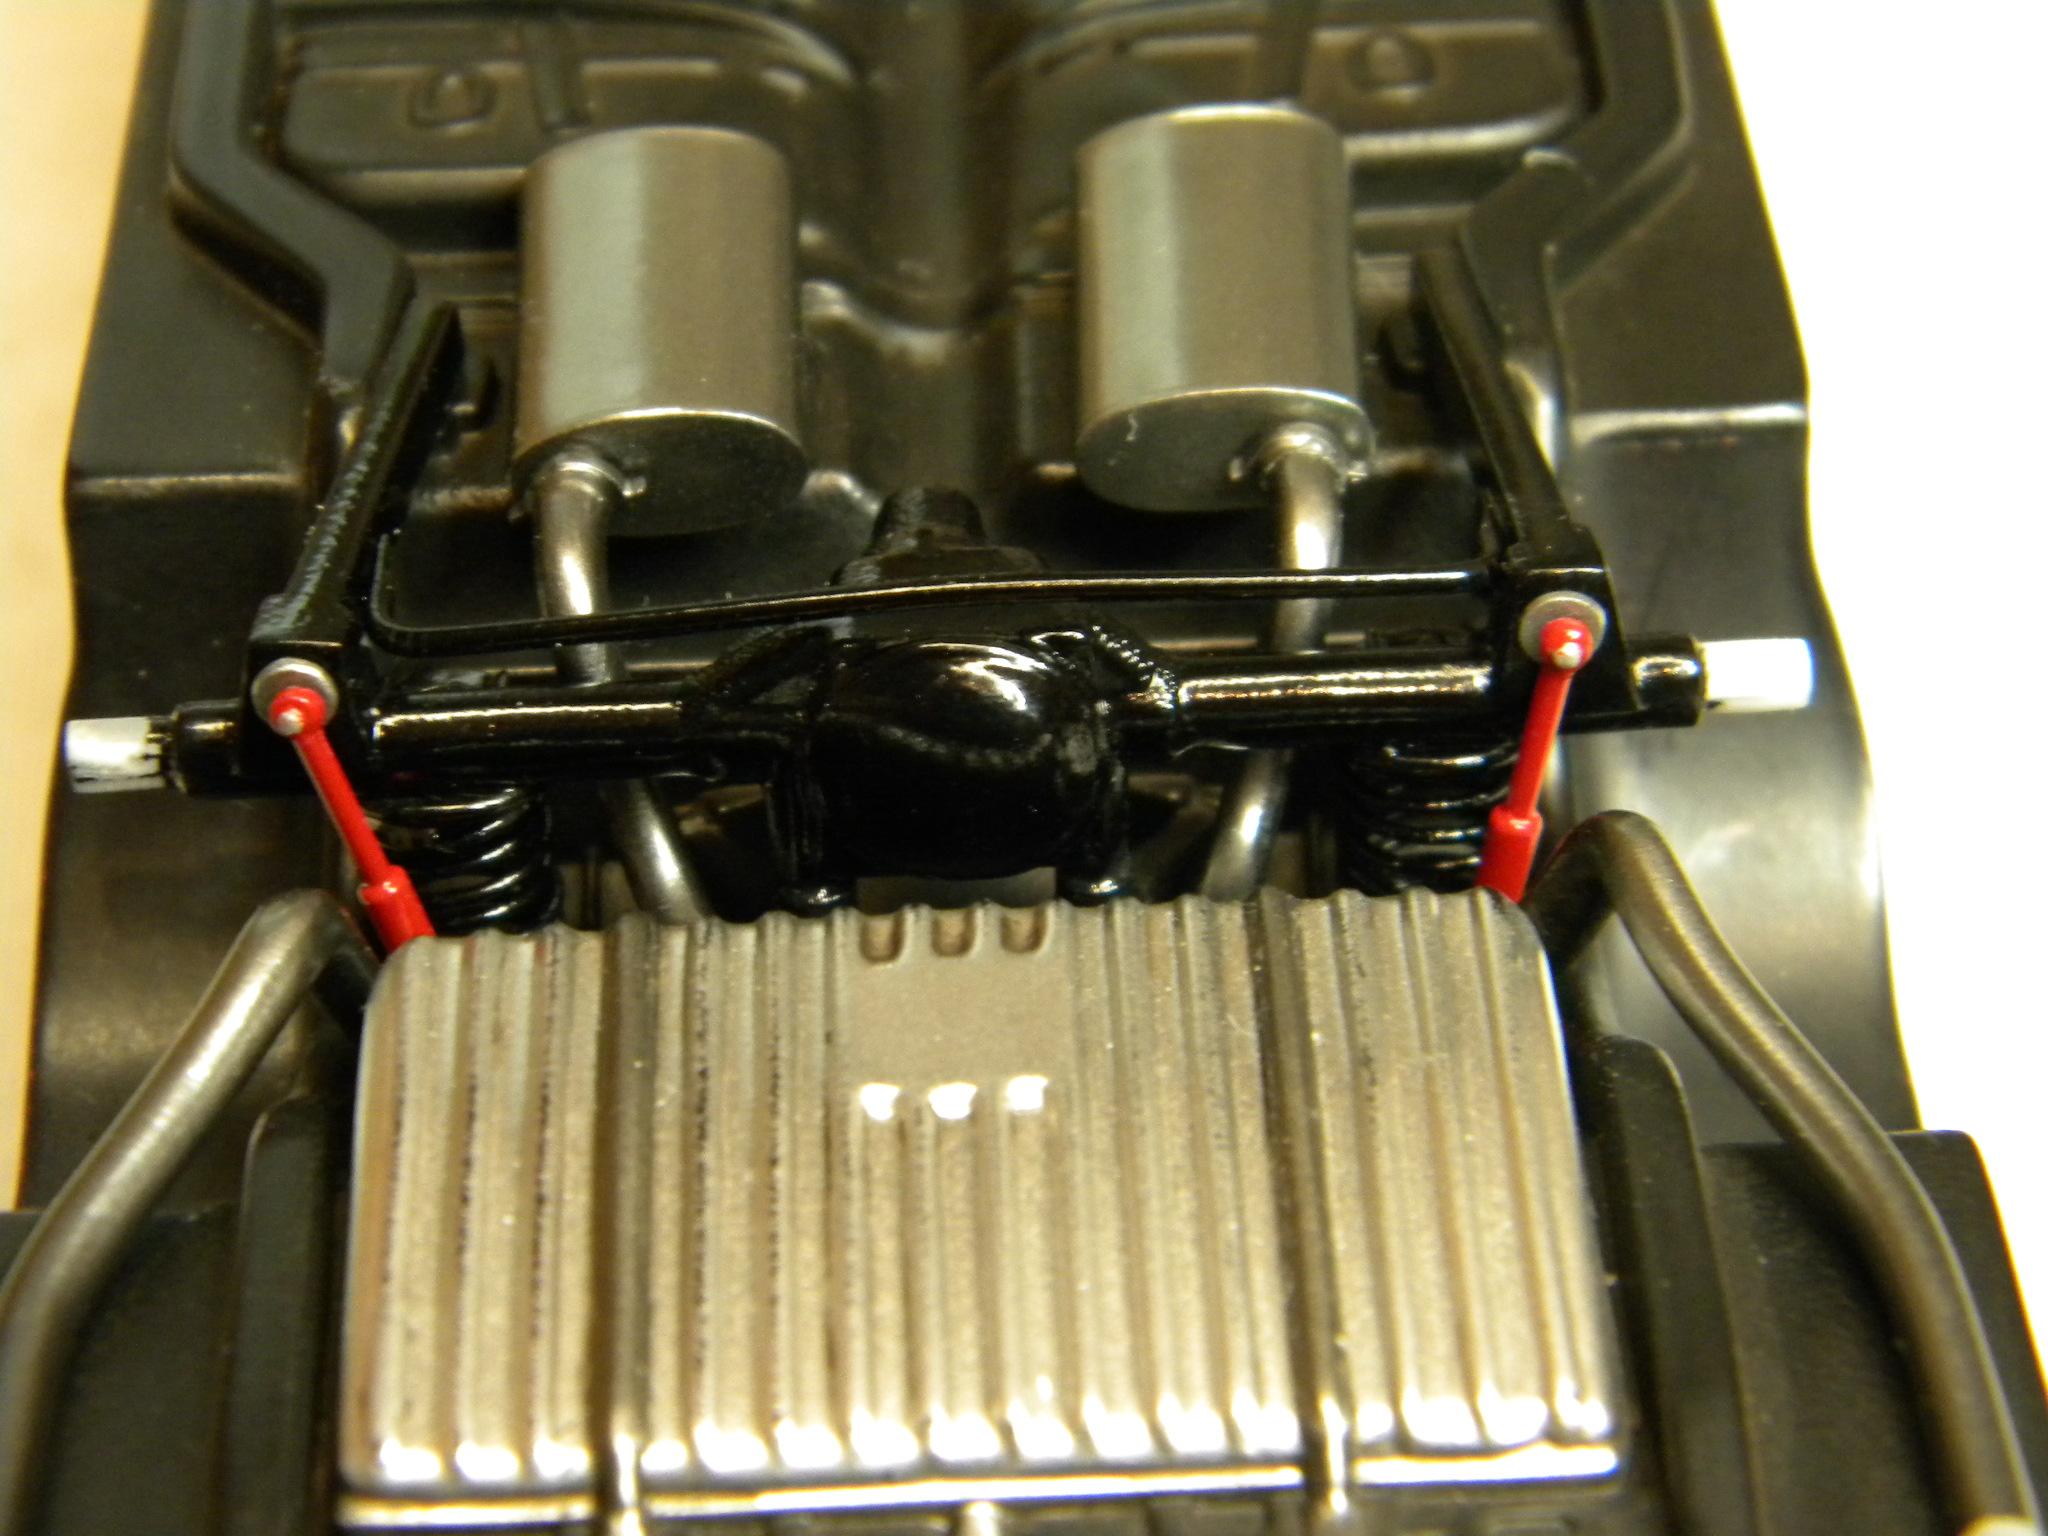
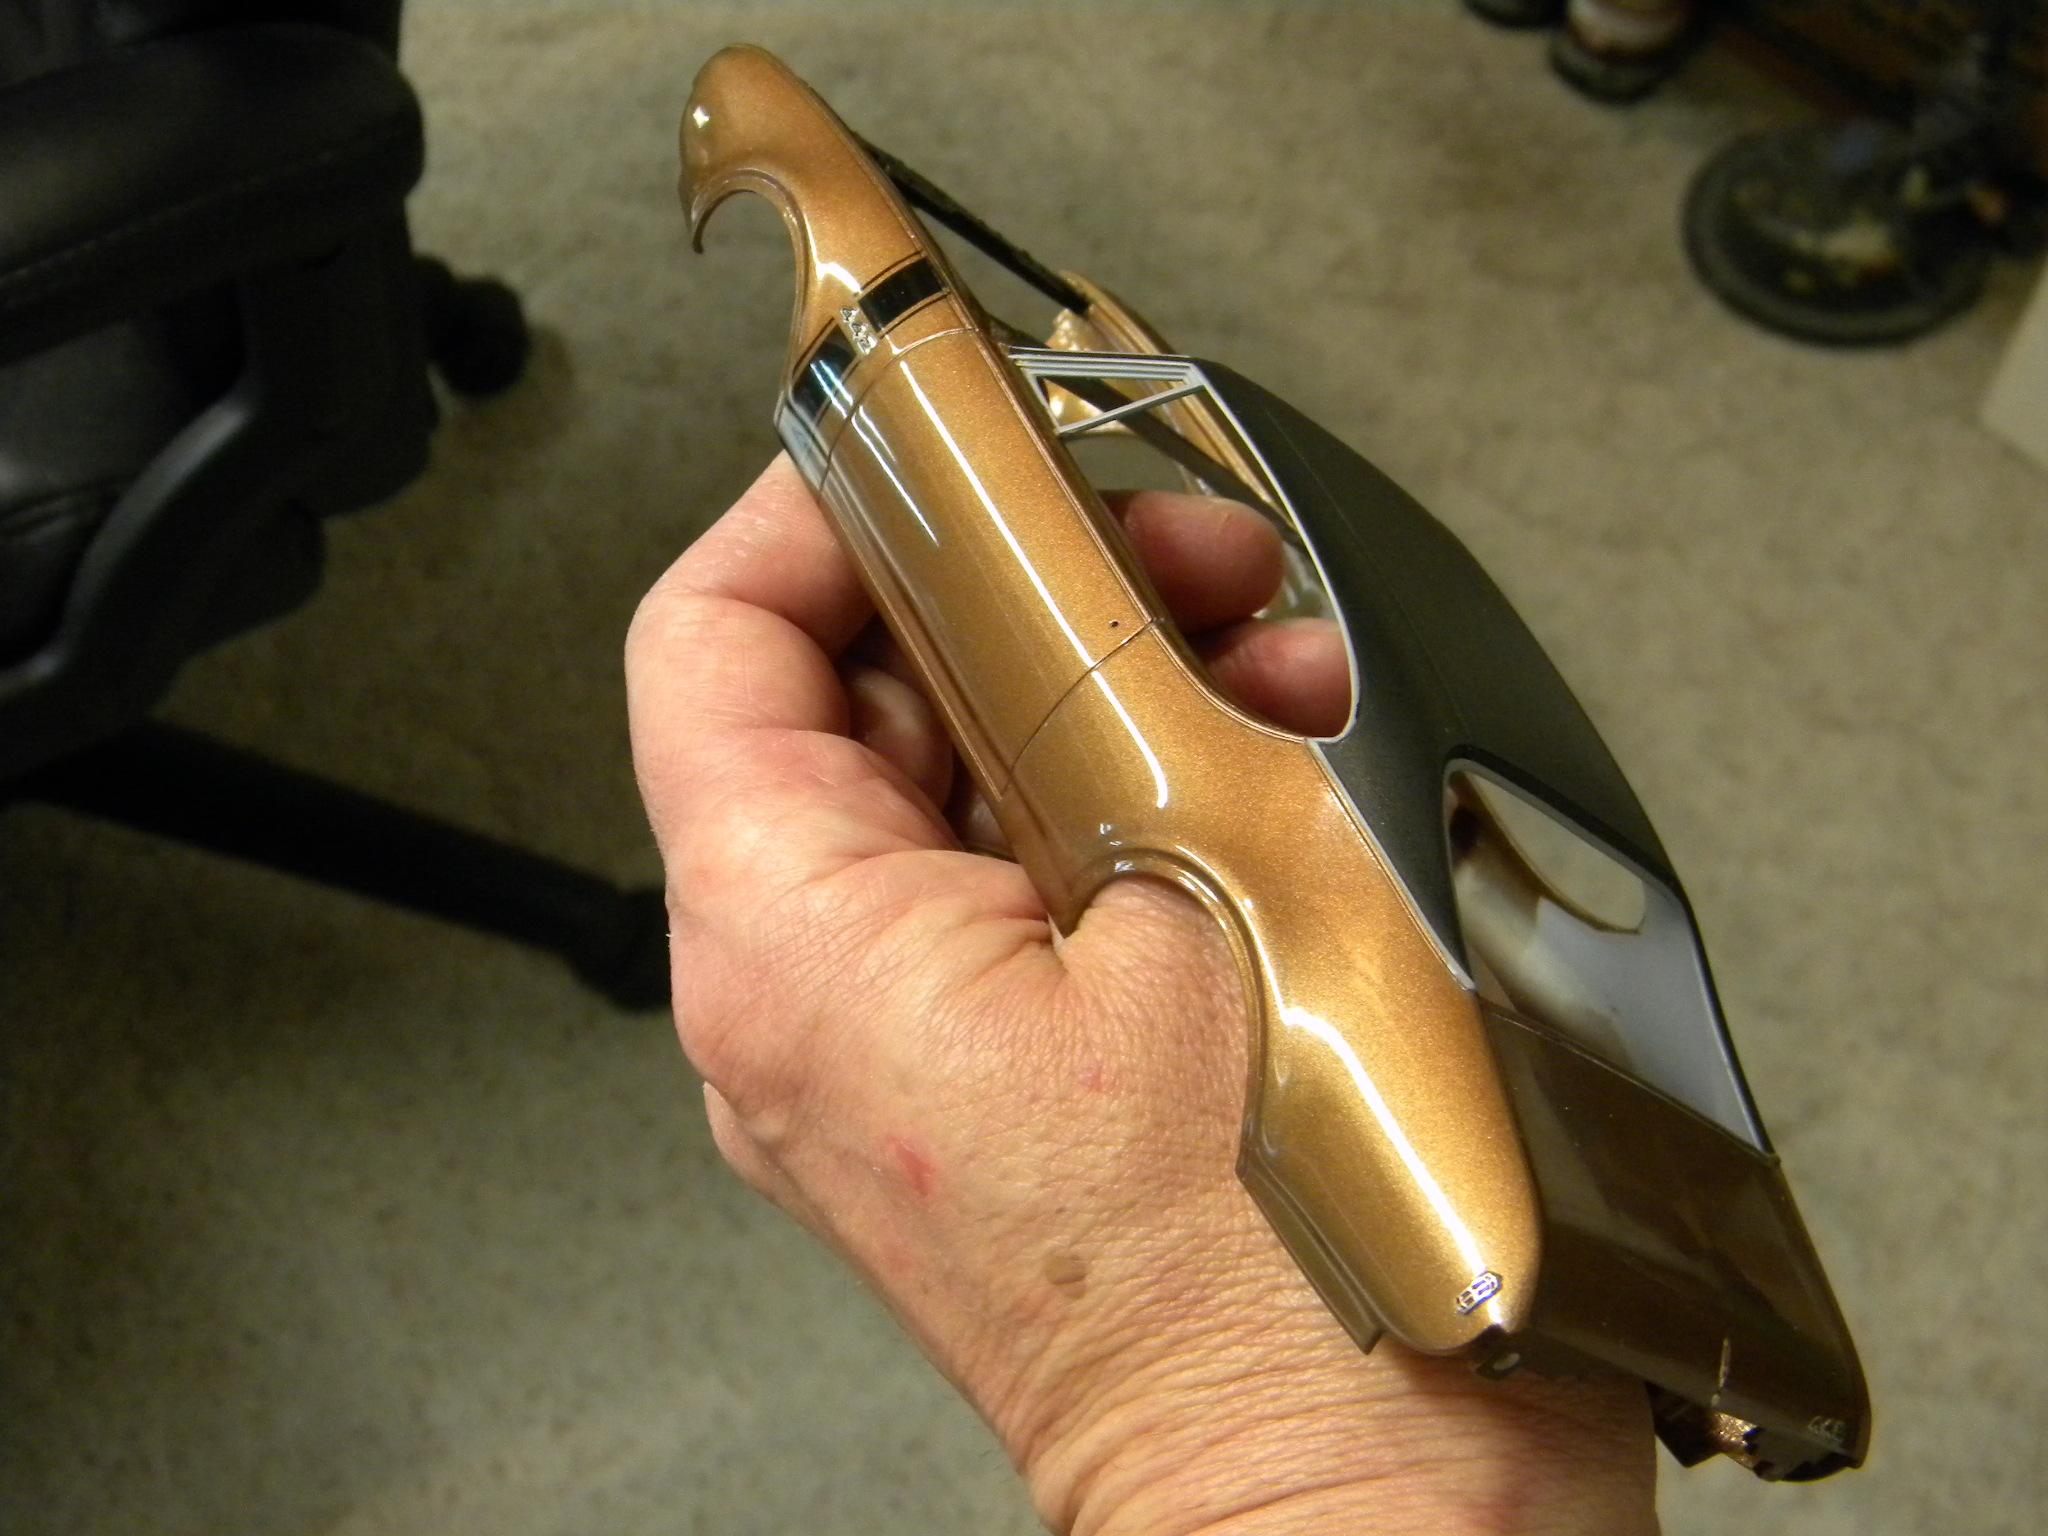
Finished up a few chassis items for the '68 442. Steve
-
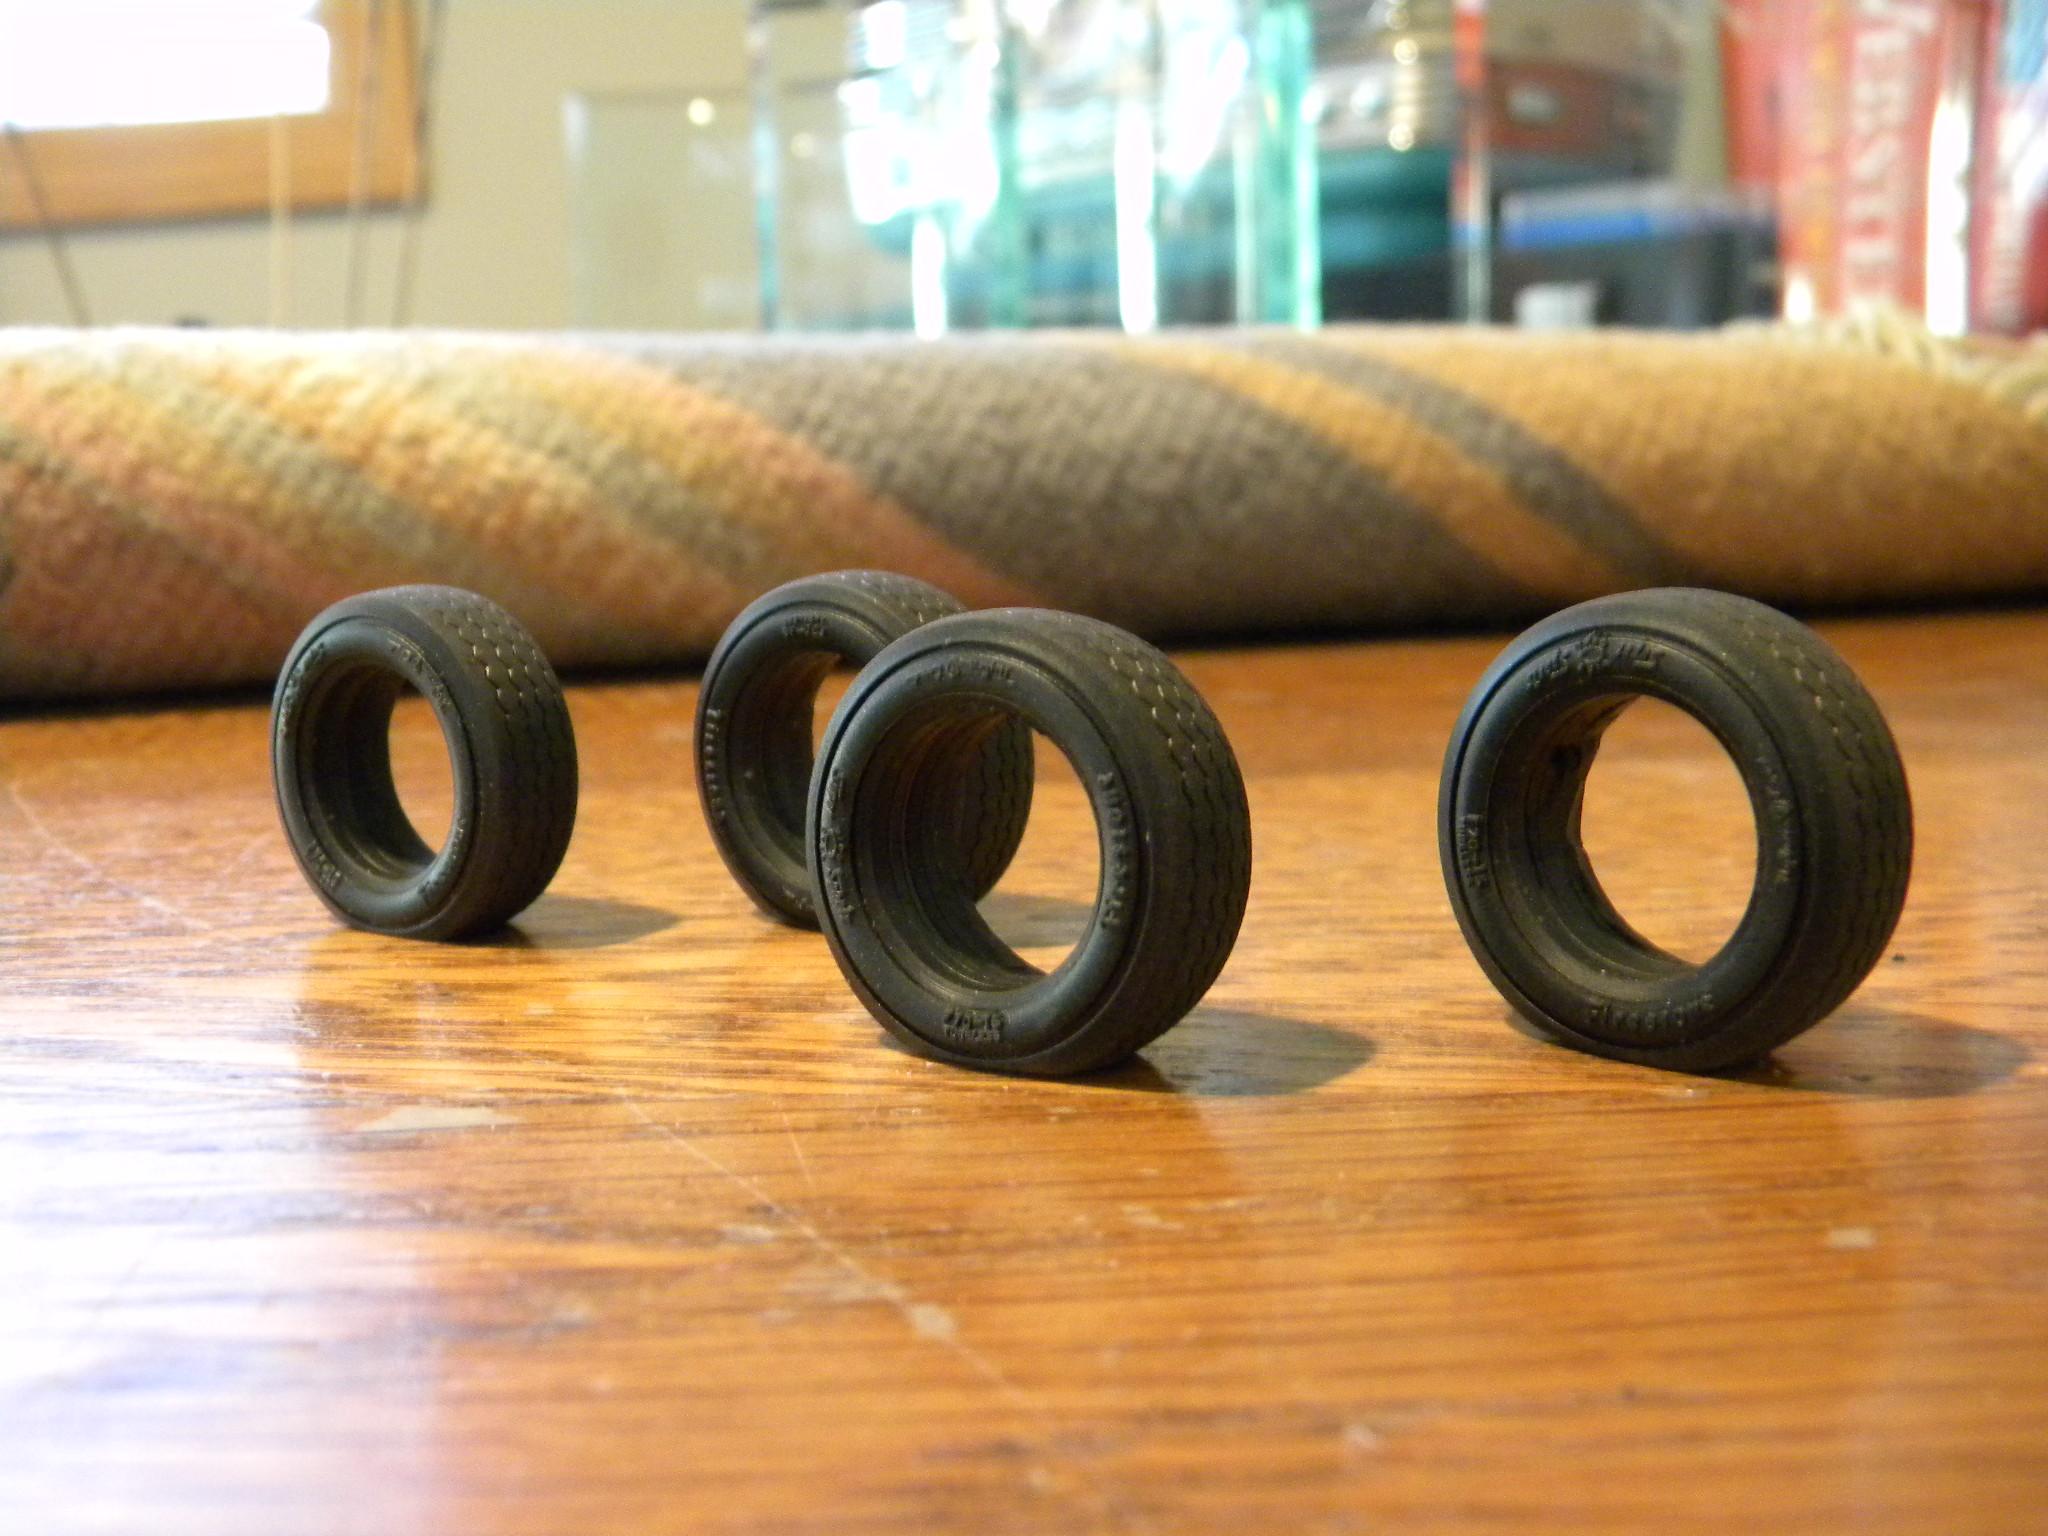
Thanks so much guys!! Working on more chassis stuff today. I finished up the scratch built rear shocks and installed them along with the remainder of the rear suspension and the rear portion of the exhaust system. I also finished detailing the firewall and "flat spotted" the tires. Steve
-
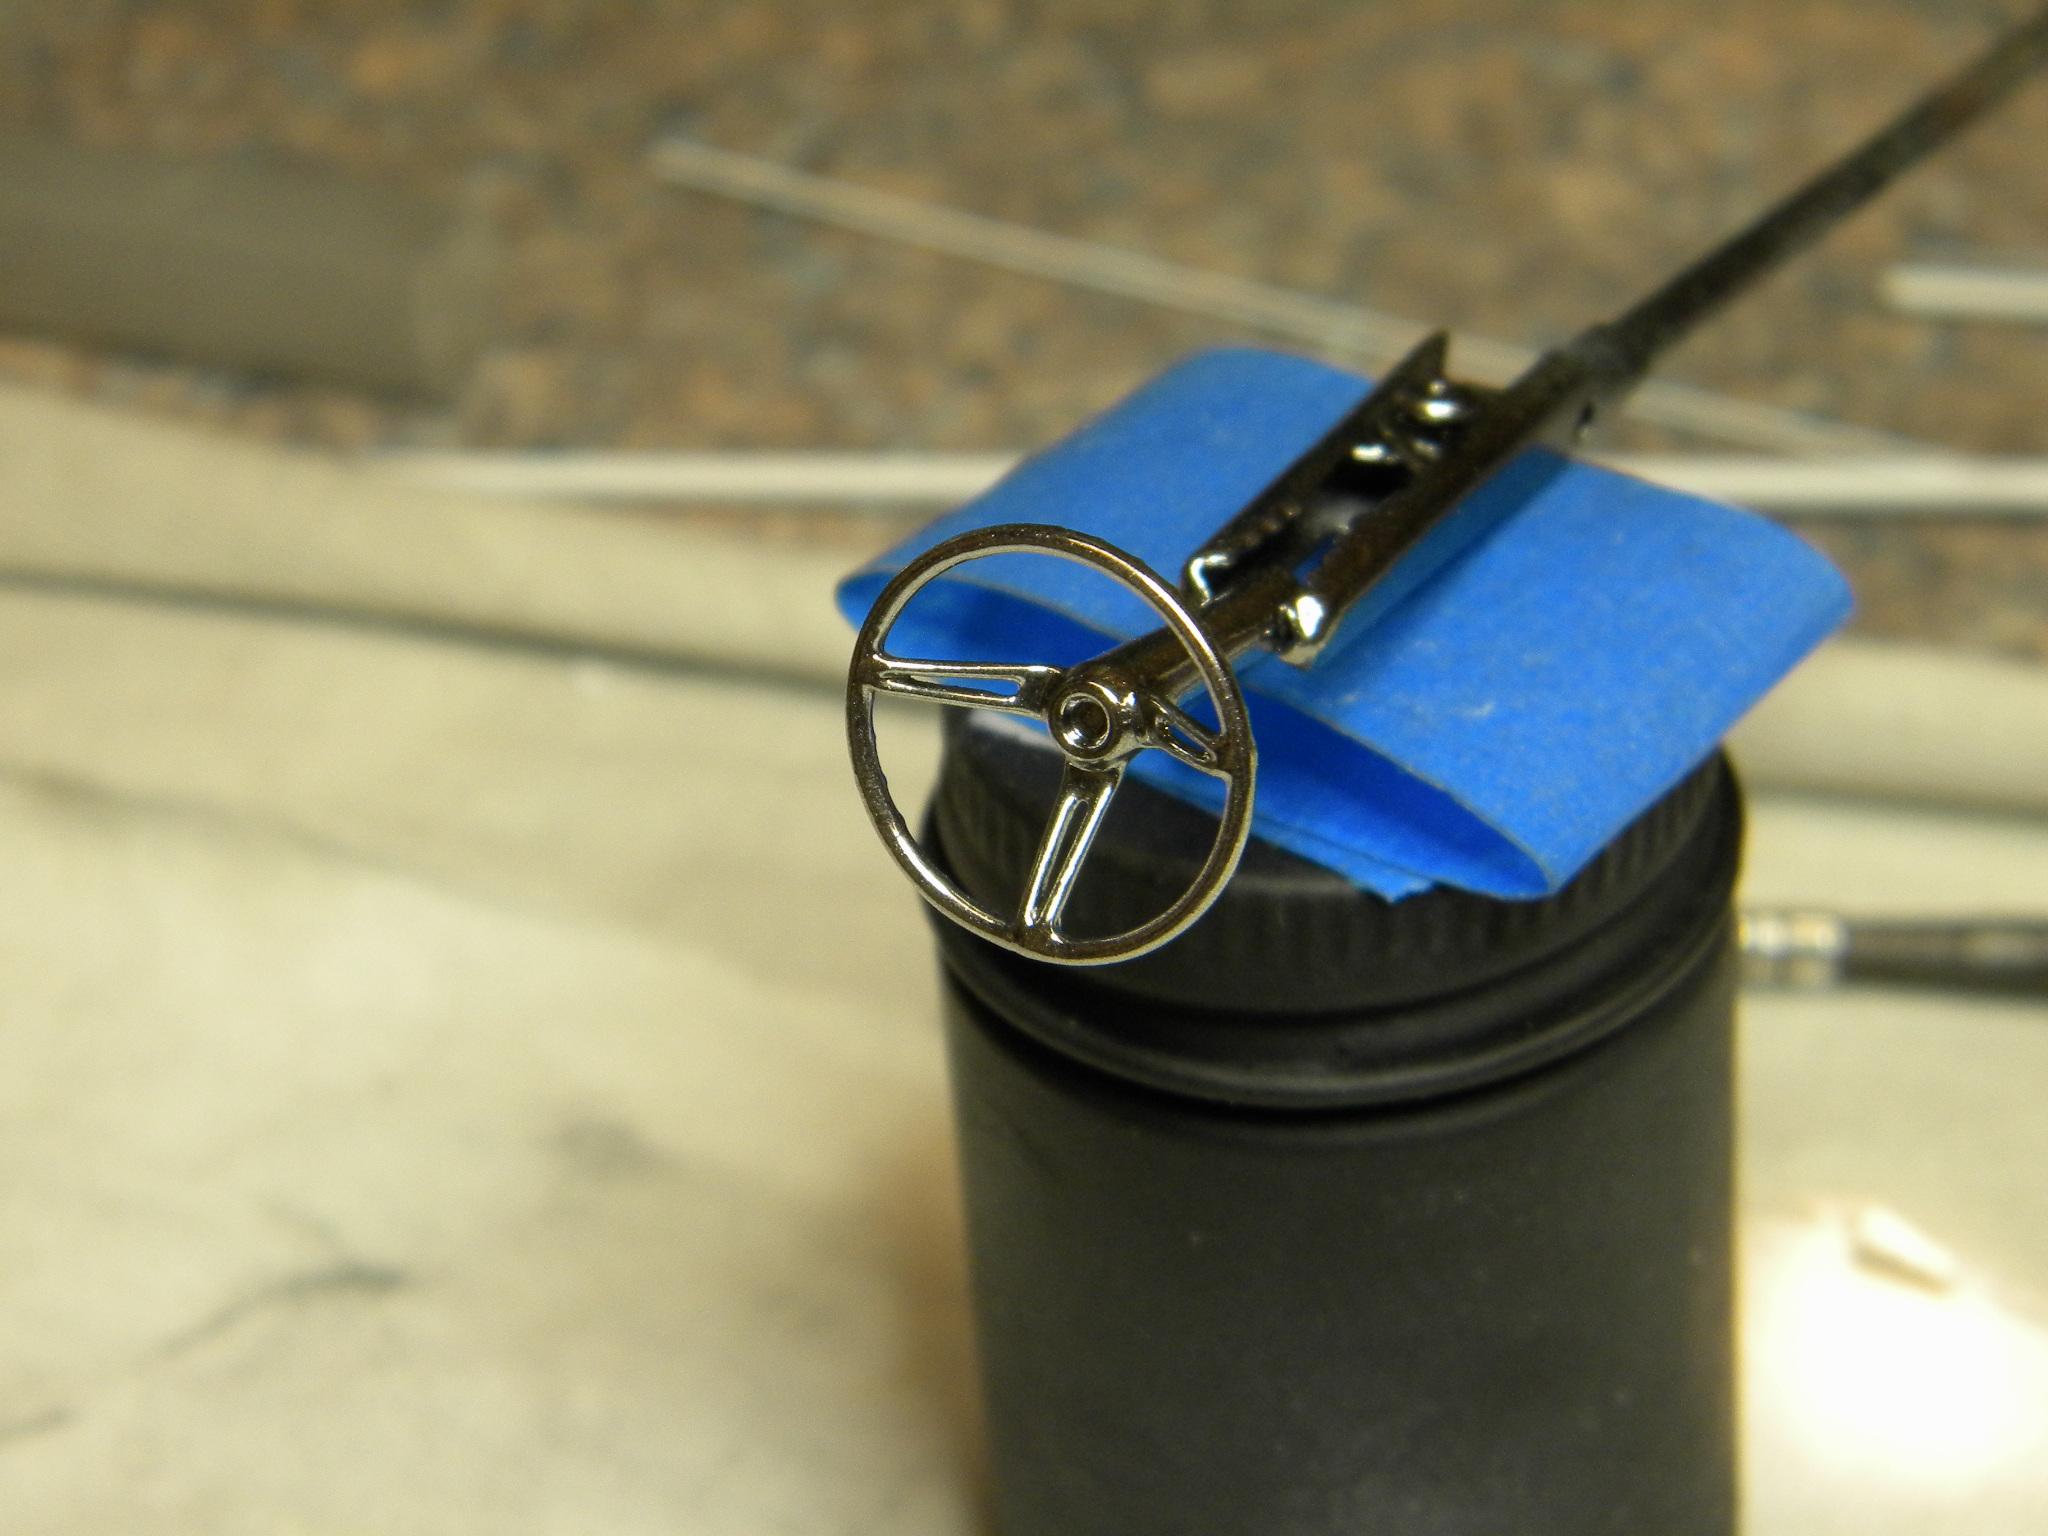
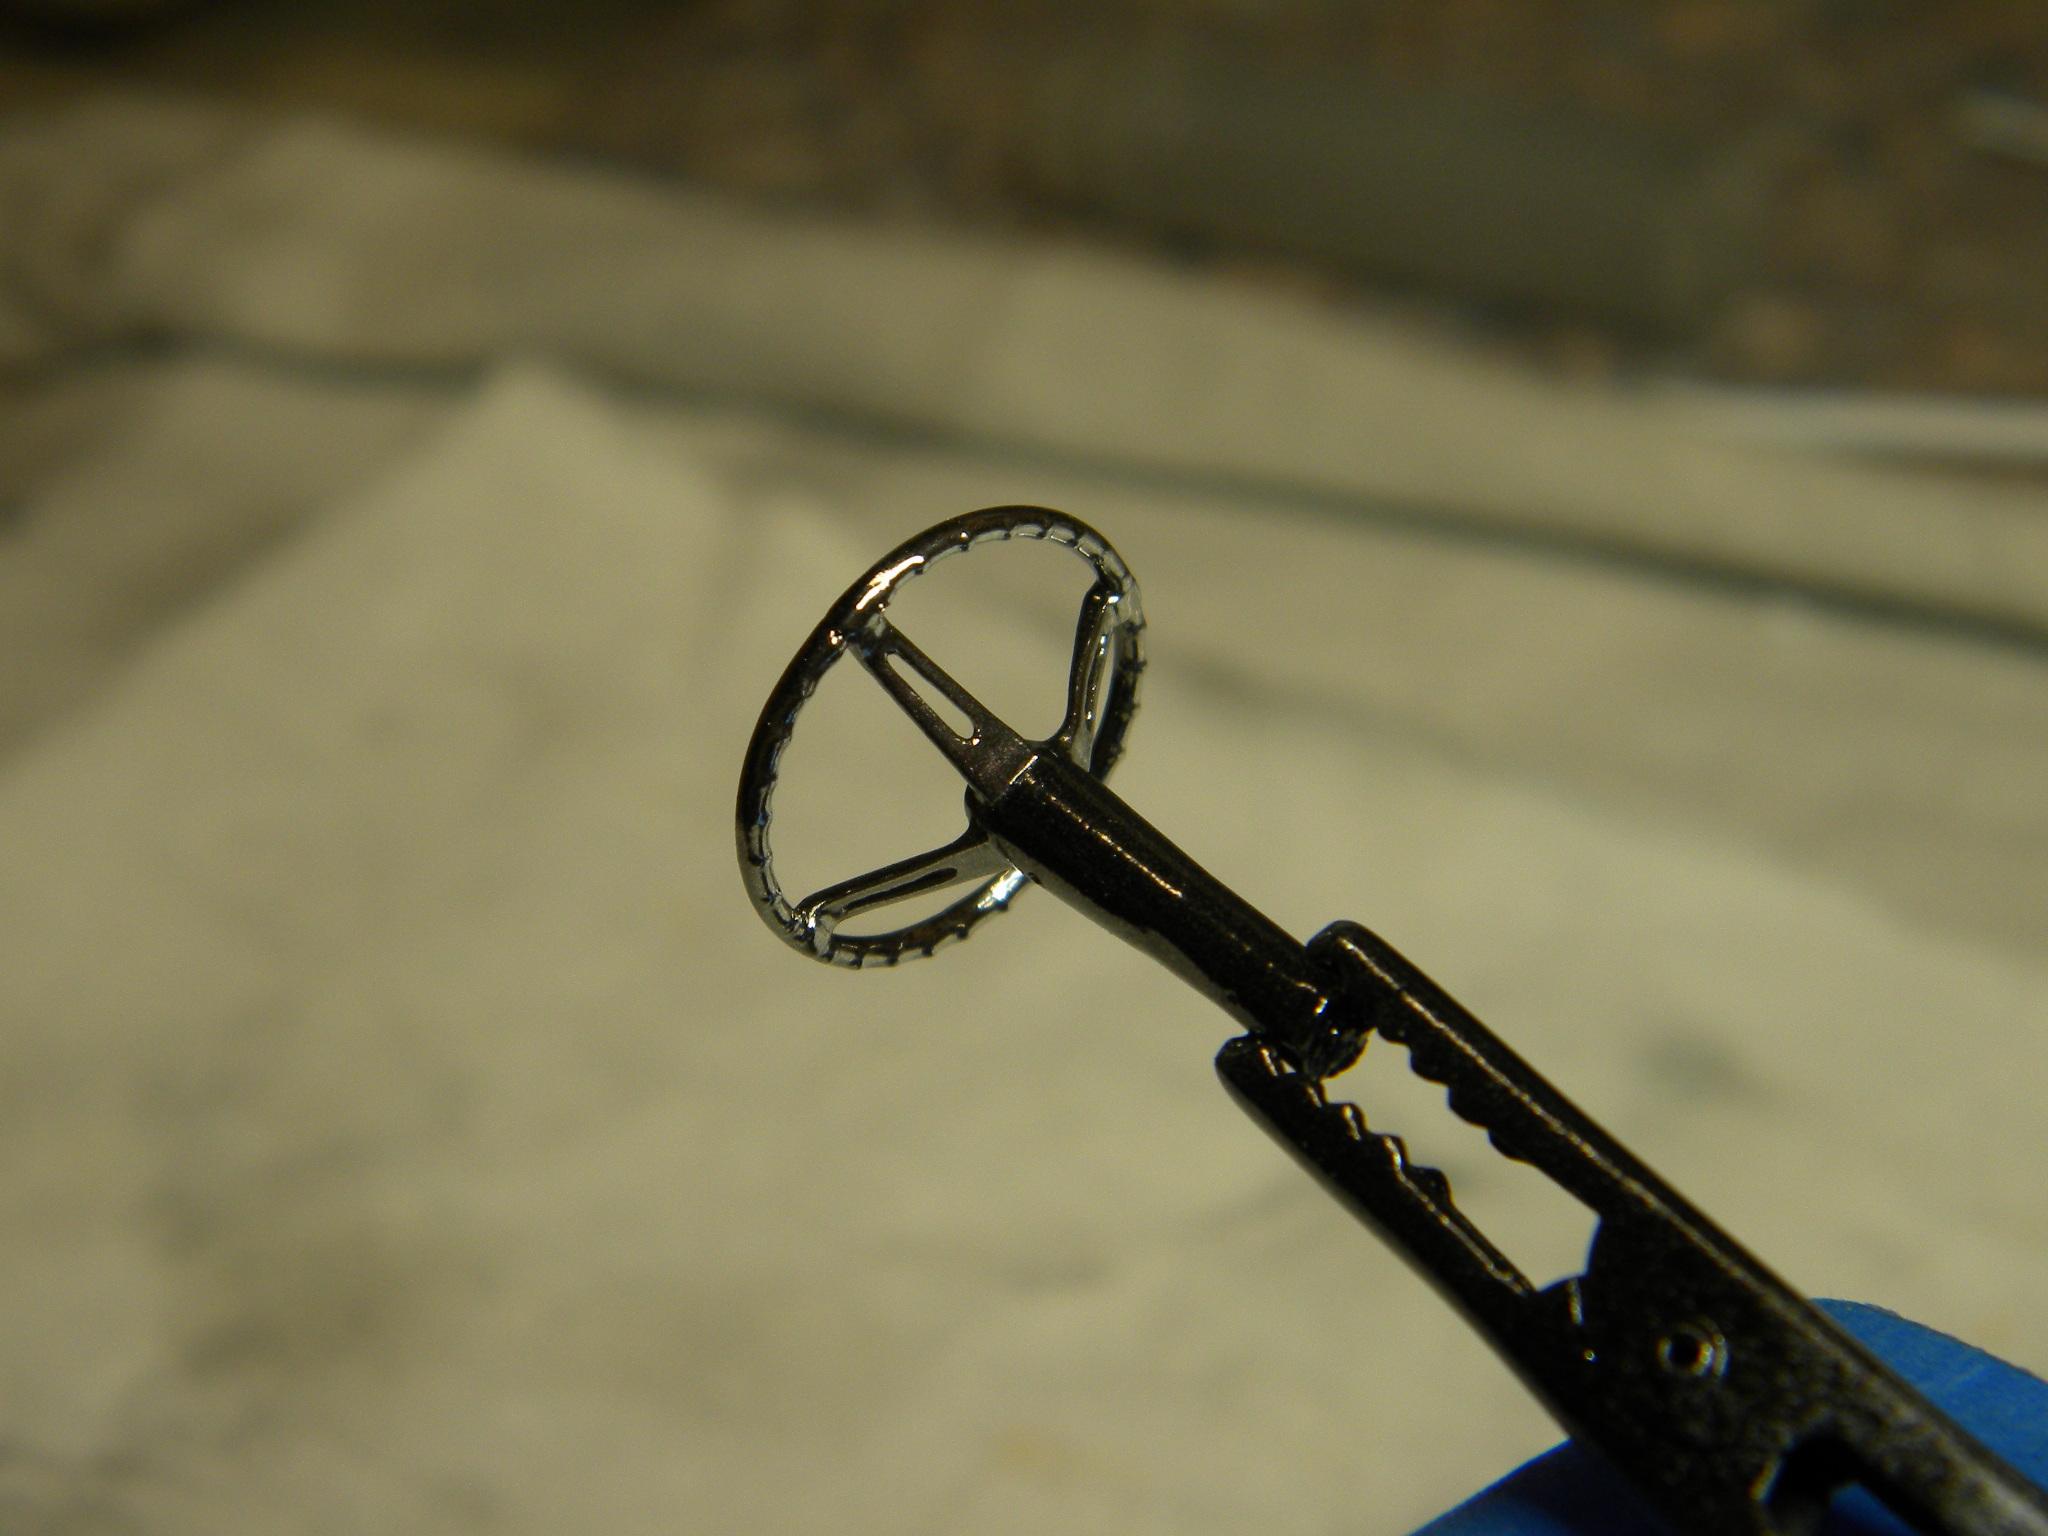
I've come to the conclusion that I will only use these pens when absolutely necessary. I'm not particularly enamored with their performance, and with proper preparation, Alclad chrome will give you every bit as good a chrome finish as Molotow. If I can airbrush the part, it gets Alclad. Only small details and touch-ups here and there get Molotow. I just sprayed Alclad chrome on this steering wheel. Nothing wrong with that. Steve
-
You're right. I didn't catch that. Steve
-
Biggest pet peeves on builds.
StevenGuthmiller replied to LL3 Model Worx's topic in General Automotive Talk (Trucks and Cars)
They're there. Steve
-
Biggest pet peeves on builds.
StevenGuthmiller replied to LL3 Model Worx's topic in General Automotive Talk (Trucks and Cars)
I used everything from felt to sweat socks at one point or another! Steve -
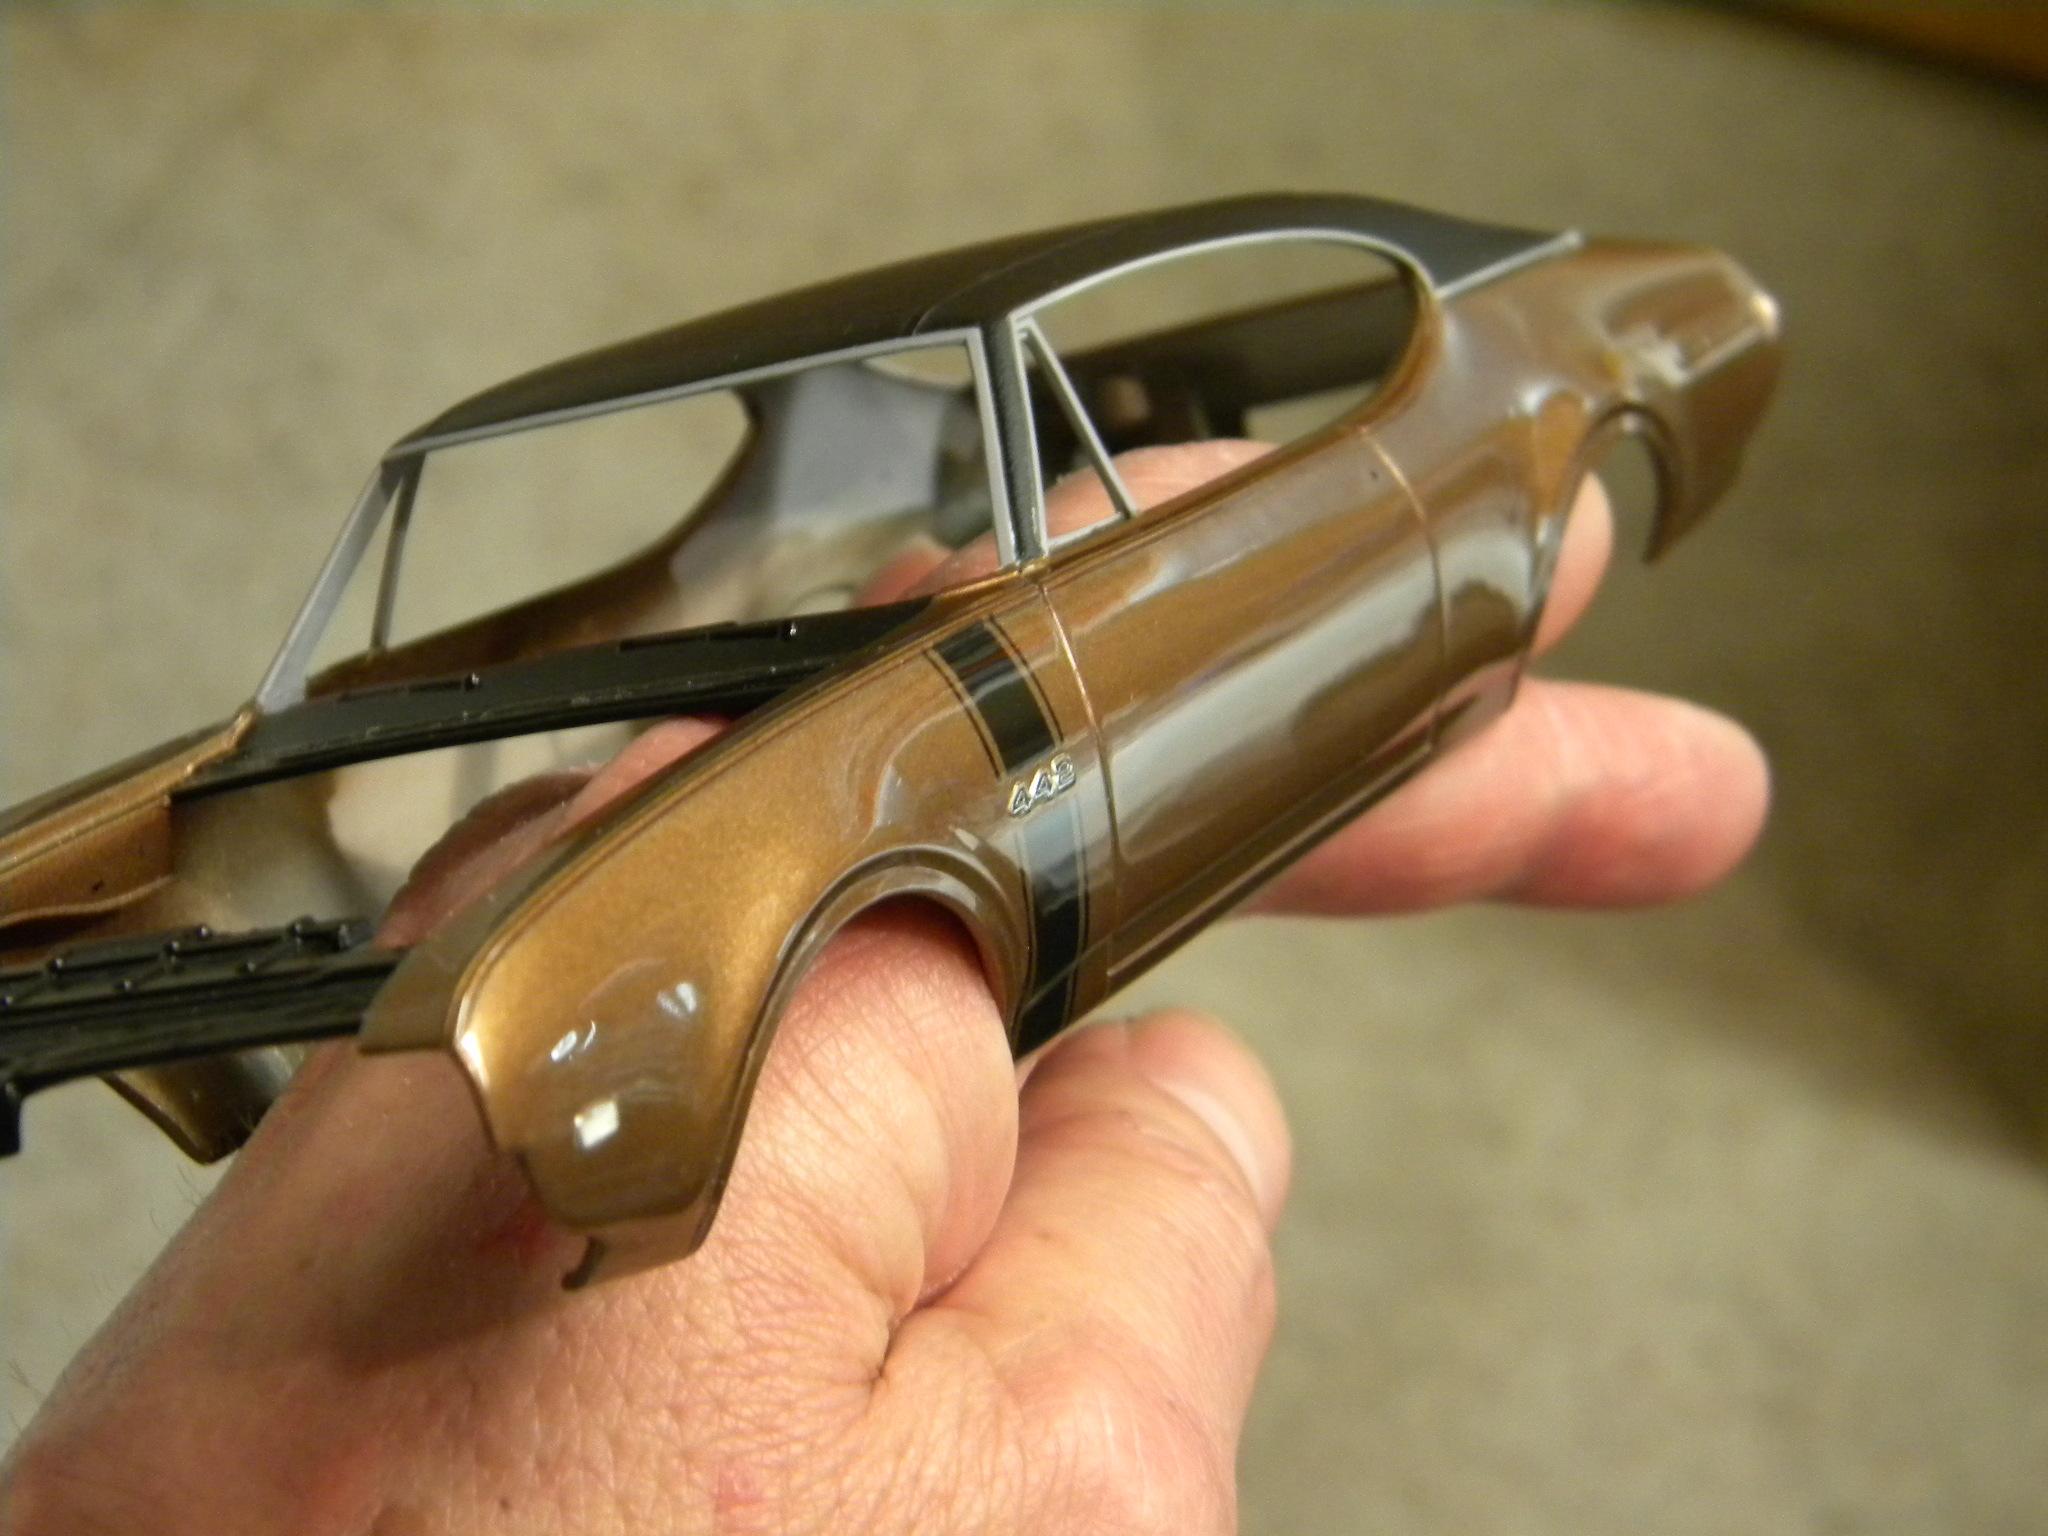
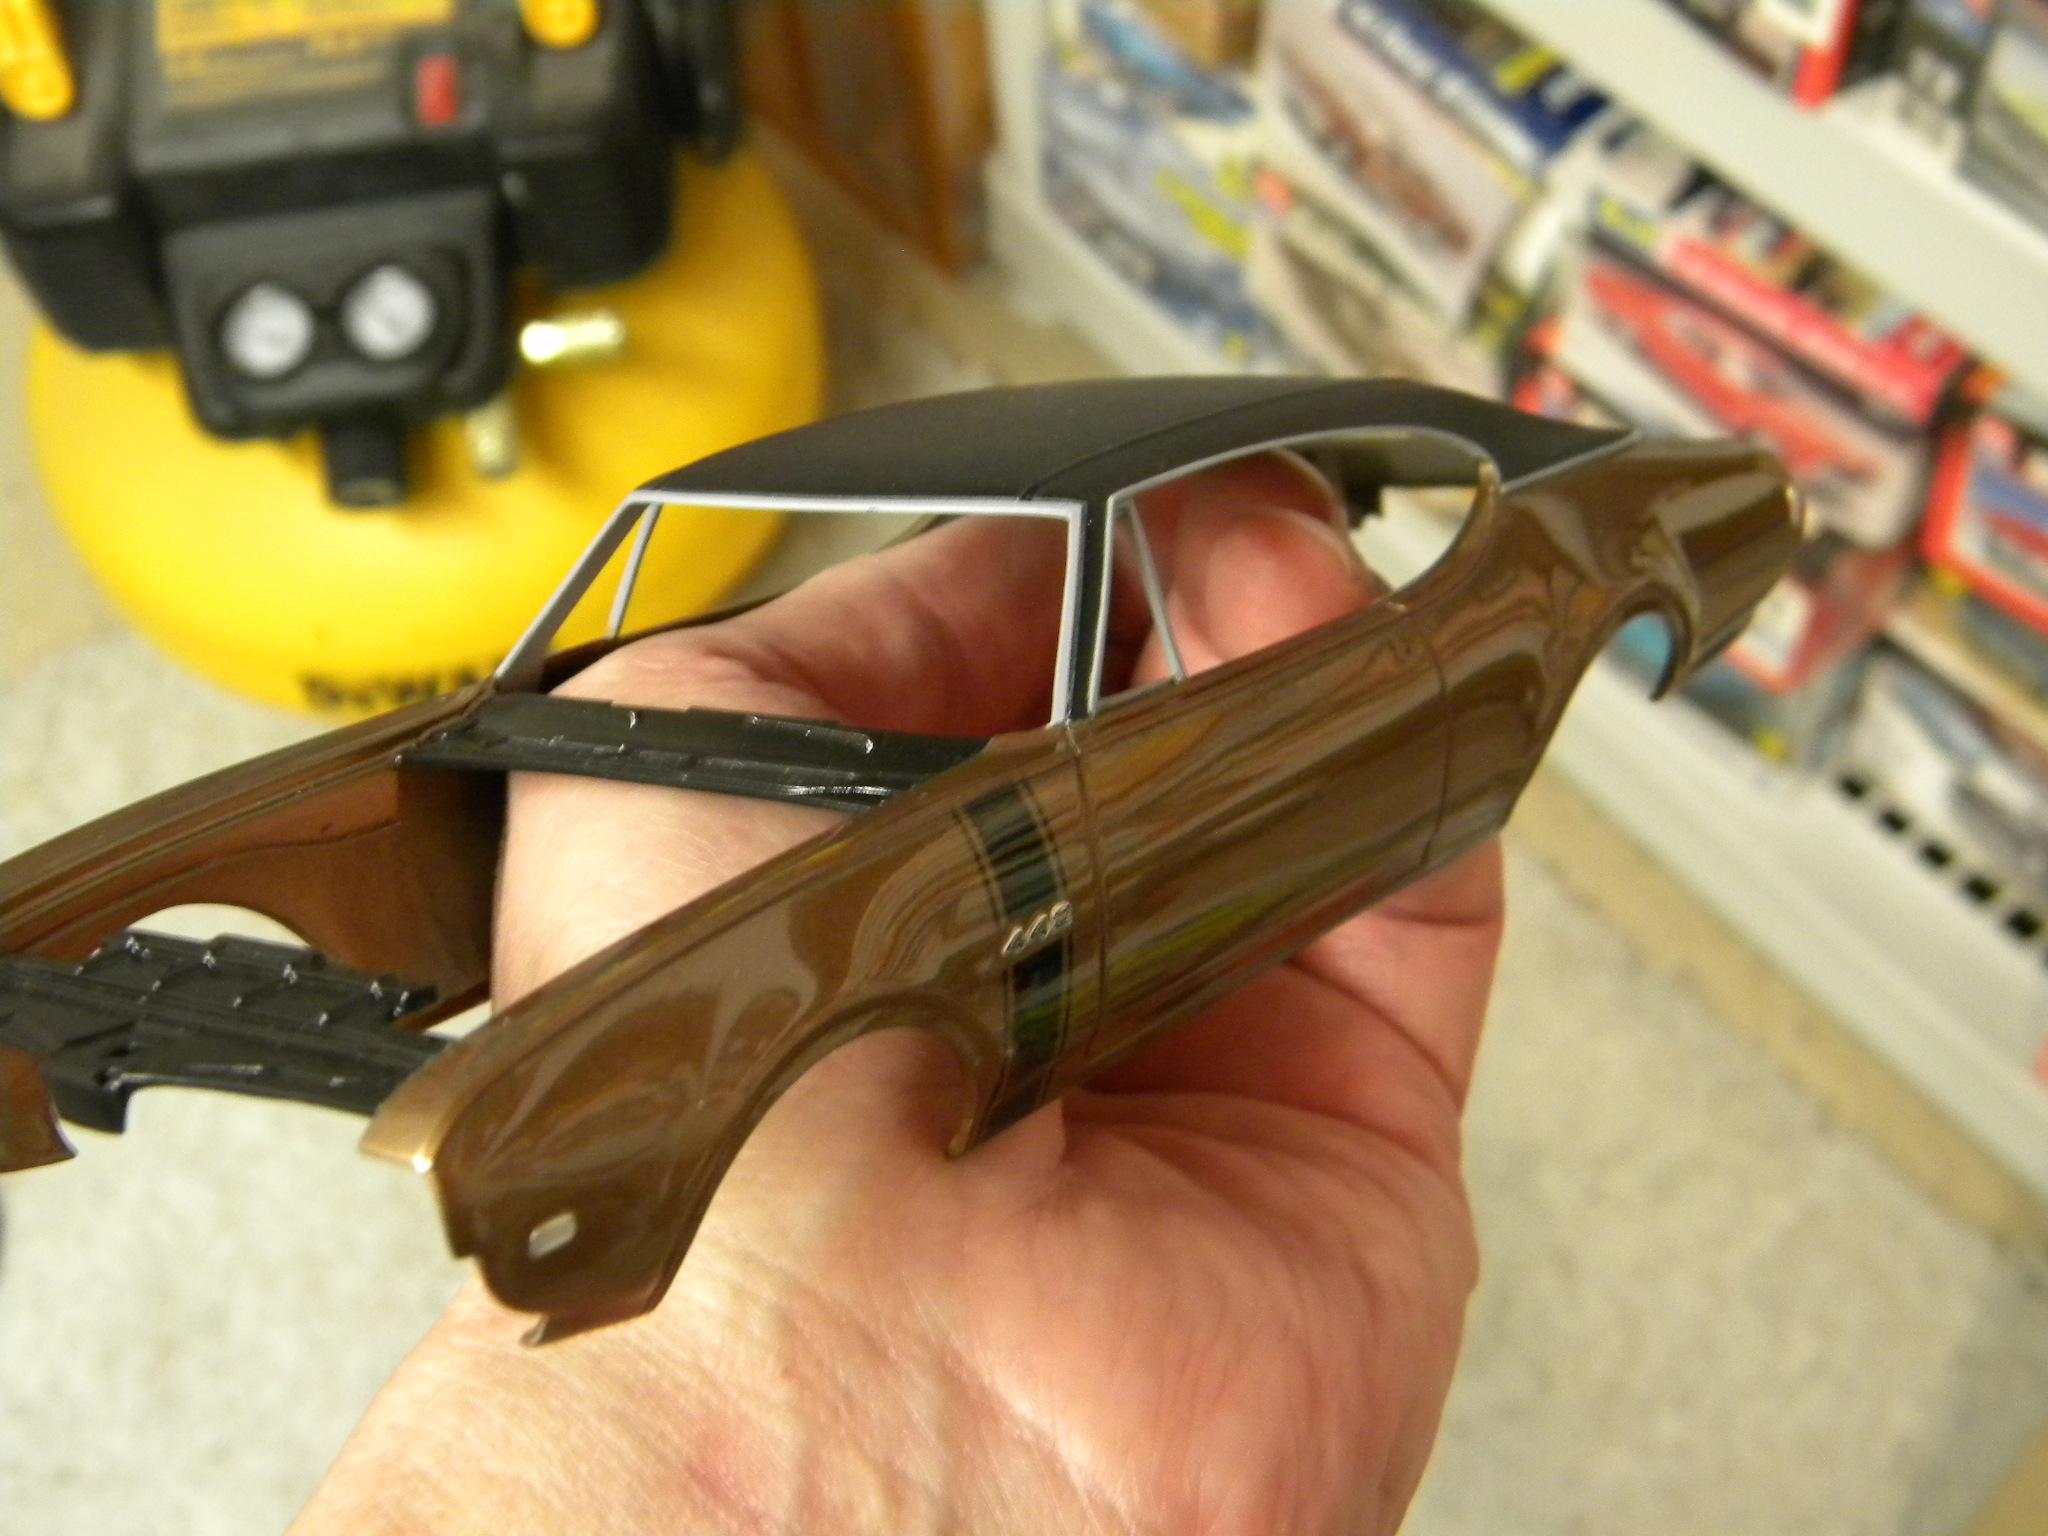
Thank you Bill! I began the polishing process on the body today. Steve
-
I appreciate all of that guys! I decided that it was time to stop procrastinating and start polishing the body. I completely hate the polishing process, but absolutely love the results! I'm looking forward to beginning the foiling soon. Steve
-
Biggest pet peeves on builds.
StevenGuthmiller replied to LL3 Model Worx's topic in General Automotive Talk (Trucks and Cars)
Do I see "fake fur" on the dash board? What modeler didn't do that as a kid? Steve -
Biggest pet peeves on builds.
StevenGuthmiller replied to LL3 Model Worx's topic in General Automotive Talk (Trucks and Cars)
It's funny because they're not all bad. You would think that Testors could be a little more consistent. After all, it's all going on scale models. Steve -
Busy day of shopping Joe? All very cool stuff!! The Lancer is just plain cool, and I believe pretty darn rare! The other 2 are just really nice built examples! I would have a real tough time forcing myself to change anything on that Imperial! Really nice haul!! Steve
-
That's a great color......and a smooth execution!! Steve
-
I have all of my photos on my hard drive, and some select ones on Fotki. Photobucket can eat my shorts!! Steve
-
Basically, that's it. If you didn't pay their "extortion" money, they held your photos hostage. There's really no nicer, or more accurate way to put it than that. Steve
-
Huge improvement over the previous wheels IMO! Steve
-
LOVE IT!!! Steve
-
Don't know which wheels those are, but you can't go wrong with any of these. Steve