-
Posts
15,086 -
Joined
-
Last visited
Content Type
Profiles
Forums
Events
Gallery
Everything posted by StevenGuthmiller
-

'65 Fury. Back on the Bench.
StevenGuthmiller replied to StevenGuthmiller's topic in WIP: Model Cars
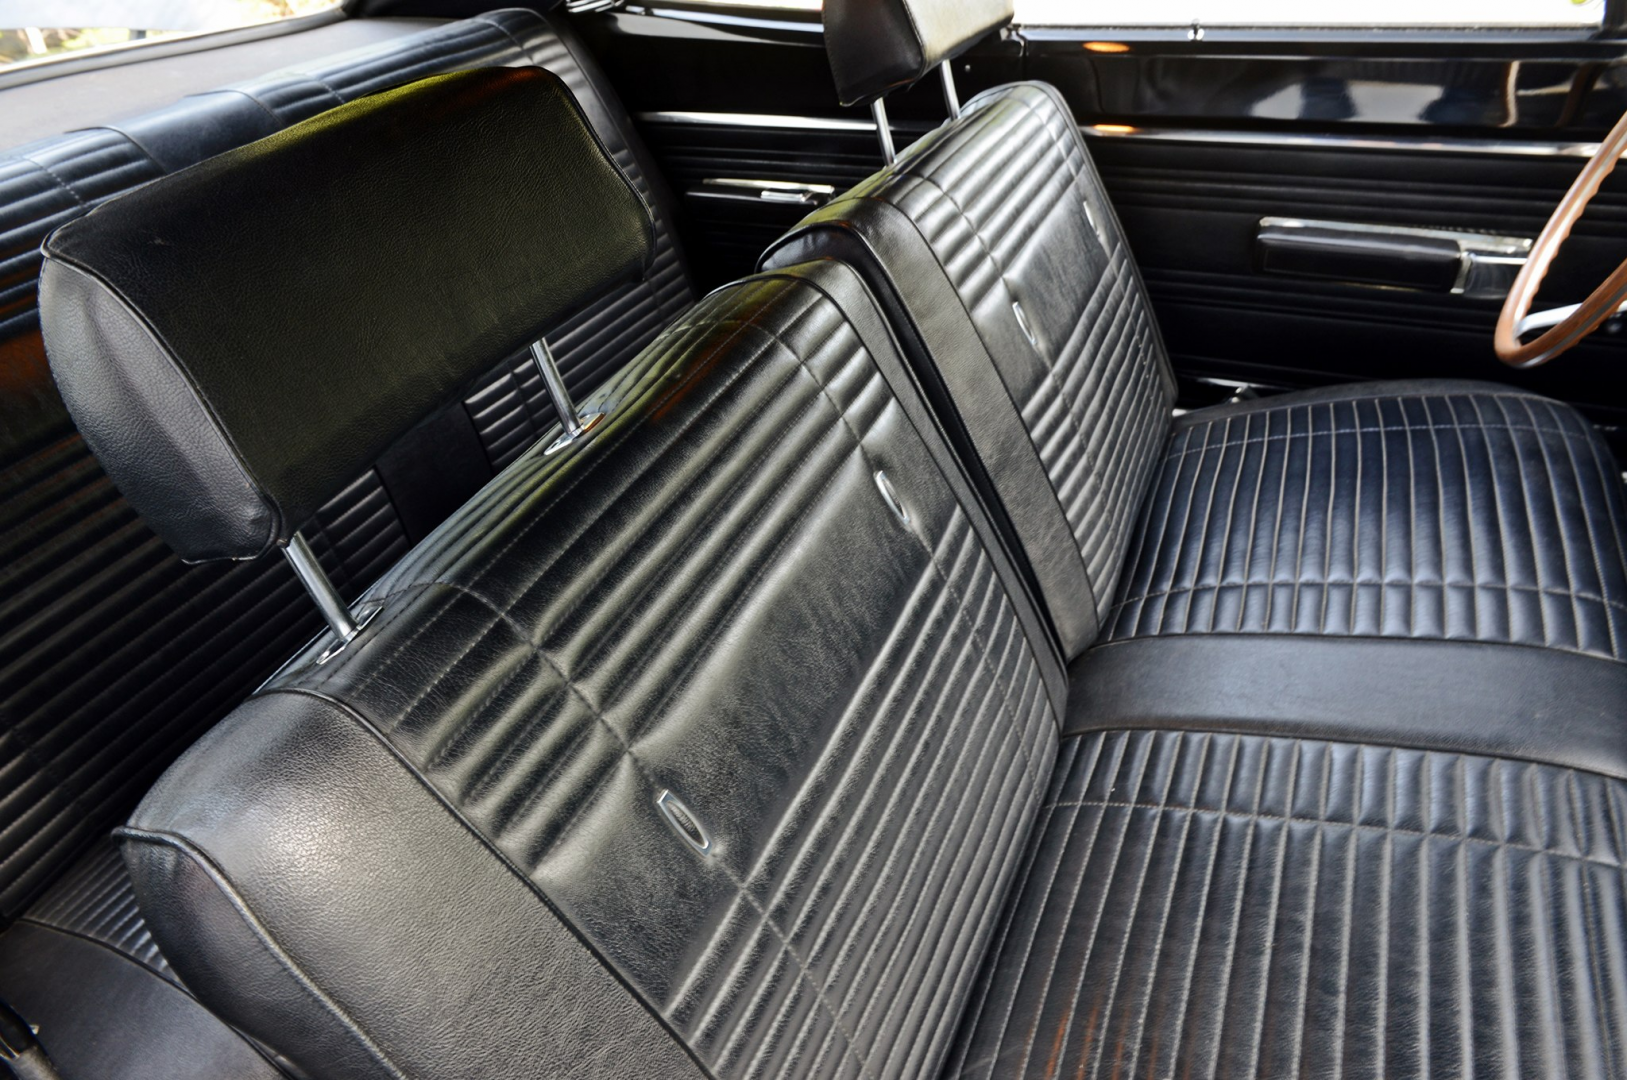
Well, now I done it! There's no turning back now! The convertible top wells are going bye-bye. I'll be replacing the rear panels and then basically trying to save the pleats on the top and the emblem on the door panels. All of the rest of the trim will be removed and replaced. I wish myself luck! Steve -

'65 Fury. Back on the Bench.
StevenGuthmiller replied to StevenGuthmiller's topic in WIP: Model Cars
Got a little more time at the bench today, finishing up the fender wells, getting them primed and then installed on the chassis along with the firewall. This will make it a simple "drop into the body" operation when that time comes. I will add some wiring and plumbing detail at a later time I am also experimenting with casting the center caps for the wheels and will see how they come out before I remove the originals. Then I whipped out a quick washer jar! My next step will likely be to begin contemplating the possibility of removing the convertible "top wells" from the interior and re-working the door panels. Steve -
You could surely send the tires my way if you aren't using them. Steve
- 39,258 replies
-
- johan
- glue bombs
-
(and 1 more)
Tagged with:
-

Sanding and polishing....
StevenGuthmiller replied to SCRWDRVR's topic in Model Building Questions and Answers
Undoubtedly! Steve -

Your preferred gloss white
StevenGuthmiller replied to Merkur XR4Ti's topic in Model Building Questions and Answers
Are you talking about the Testors gloss white enamel? I stopped using that when I was 12! I remember it as being the worst gloss white paint that I have ever used out of a spray can. It was so thick that it was impossible not to get severe orange peel with the stuff. Steve -

Your preferred gloss white
StevenGuthmiller replied to Merkur XR4Ti's topic in Model Building Questions and Answers
I use Duplicolor "Perfect Match" automotive touch up paints. The color matters very little except for metallic particle size. With solid colors like white, they all work well. Steve -

Sanding and polishing....
StevenGuthmiller replied to SCRWDRVR's topic in Model Building Questions and Answers
I use the exact same Dremel tool at the same speed that he uses for polishing, for most of my grinding jobs. Let's just say that anything is possible, but it takes one slip, or one slight contact with the metal piece on the top of the polishing wheel, and your paint job, and possibly even the body, is toast. Personally, I'm not taking that chance. I have had circumstances where a part was damaged, quite heavily while doing some grinding, merely by touching the part with the knurled chuck of the Dremel. Even at the lower 10 speed, the tool is still spinning at 10,000 RPM. Believe me, that's fast enough to do a lot of damage very quickly. Likewise, you'll notice in this video that he is still doing the bulk of the work by hand with paper and pads. It really doesn't require much more time or effort to do the final polish with a cloth and some compound by hand. Steve -

'65 Fury. Back on the Bench.
StevenGuthmiller replied to StevenGuthmiller's topic in WIP: Model Cars
Plus there's plenty of room for material removal on these old kits. The plastic is much thicker than a modern kit. Steve -

1969 A12 Roadrunner (I will need some advice)
StevenGuthmiller replied to Brutalform's topic in WIP: Model Cars
Great minds think alike! Steve -

More Board Maintenance
StevenGuthmiller replied to Dave Ambrose's topic in General Automotive Talk (Trucks and Cars)
Do you really want to make us all do math? Math is hard!! Steve -

'65 Fury. Back on the Bench.
StevenGuthmiller replied to StevenGuthmiller's topic in WIP: Model Cars
Already done. I just cut them most of the way through with a #11 blade and a scribing tool and then thinned the plastic from the backside with the Dremel tool until they basically fell off. So I still have some usable skirts if anyone needs them. Steve -

1969 A12 Roadrunner (I will need some advice)
StevenGuthmiller replied to Brutalform's topic in WIP: Model Cars
Well here's one that you might want to consider that would be a little easier. While the resin front seat looks very nice, if it were mine, I would seriously consider cutting off the headrests and replacing the posts. It would be a relatively easy fix for a detail that looks entirely too thick and out of proportion. Or even better yet, you could remount them in the down position. Steve -

Sanding and polishing....
StevenGuthmiller replied to SCRWDRVR's topic in Model Building Questions and Answers
Agreed! 100%. Sometimes you just have to put forth some effort. There's no substitute for good old fashioned elbow grease. Steve -
I lost my wife too. But her name wasn't Ide, and it wasn't in a flood. Toad? Is that you in that beautiful car? Geez, what a waste of machinery! hey, is this what they call "copping a feel?" Carol: Wow! he's really fast, isn't he? John: Yeah, but he's stupid!
-
Pulp Fiction. Steve
-

1969 A12 Roadrunner (I will need some advice)
StevenGuthmiller replied to Brutalform's topic in WIP: Model Cars
I don't know if you had considered correcting any of the body flaws on the AMT kits, but it's worth thinking about before you go to paint. Especially if you're going to add any expensive aftermarket parts or a lot of detailing. The biggest one, that I really can't get past anymore since it was pointed out to me, is the incorrect shape of the rear wheel opening. I don't know how hard it would be to fix, but it becomes fairly obvious when compared to the Johan body. The rear quarter windows are obviously too "sharp" at the C-pillar as well. AMT Johan Steve -

'65 Fury. Back on the Bench.
StevenGuthmiller replied to StevenGuthmiller's topic in WIP: Model Cars
I thought that there was little chance that it would be an exact match. I think that I might be leaning towards the "Medium Turquoise" anyway. I think that I might have other plans for the copper. Steve -

What Did You Have for Dinner?
StevenGuthmiller replied to StevenGuthmiller's topic in The Off-Topic Lounge
It was very delicious! Steve -

'65 Fury. Back on the Bench.
StevenGuthmiller replied to StevenGuthmiller's topic in WIP: Model Cars
That's my thought. I'm also toying with casting the center caps in epoxy so that I can remove the cast in ones and add separate pieces after they have been finished. I'll have to weigh the ease of finishing against the added work on that one. Steve -

What Did You Have for Dinner?
StevenGuthmiller replied to StevenGuthmiller's topic in The Off-Topic Lounge
Not for dinner yet, but I'm working on it. I ran across this beautiful Argentine Red Shrimp and the wife's favorite seafood dish is coconut shrimp.......so coconut shrimp it will be! Got them cleaned and butterflied and ready for dipping in cornstarch, egg whites and dried coconut before frying. Dipping sauce is a mixture of orange marmalade, Asian orange sauce, white wine vinegar and red pepper flakes We'll be having them with roasted Brussels sprouts with carrots and bacon. I'll post some pictures after it's all finished. Steve -

'65 Fury. Back on the Bench.
StevenGuthmiller replied to StevenGuthmiller's topic in WIP: Model Cars
Well, I took the leap and got one skirt removed! I figured that I should take a little break before attempting to remove the next one. With this old, brittle plastic, it's a little unnerving cutting out body panels! In the meantime, I started investigating the wheel situation. I was originally planning on using a set from the Lindberg "Color Me Gone" Dodge kits, but they really lacked detail, including the fact that they are missing any lug nut detail. I had another set that was much more detailed, but a little too shallow for my taste, so I thought, why not combine them and make painting a lot easier. Now my question is, should I leave the rim chrome, or strip it and shoot them with some Alclad "Polished Aluminum"? What do you all think? Steve -

'65 Mopar Carburetor
StevenGuthmiller replied to StevenGuthmiller's topic in General Automotive Talk (Trucks and Cars)
Yes, since I recently saw Tom Andrukaitis', (Brutalform) 1969 A12 Superbee build in the "On the Bench" section where he utilized some of Joseph's carbs, I decided that I needed to pick up a few. Steve -

1967 Ford Galaxie XL, 427 R Code.
StevenGuthmiller replied to StevenGuthmiller's topic in Model Cars
I could point them out to you......but I won't! Steve


