StevenGuthmiller
-
Posts
15,089 -
Joined
-
Last visited
Content Type
Profiles
Forums
Events
Gallery
Everything posted by StevenGuthmiller
-
 I occasionally will work out a deal for cash when a member wants something I have but doesn't have a suitable trade, but it is done between the members with no site involvement. The way I see it, it's still a trade. That being said, I don't see any need to screw things up with a "for sale" section. Things seem to work pretty well here as is. Steve
 -
'63 Oldsmobile 98 Tail Lights?
StevenGuthmiller replied to W-409's topic in Car Aftermarket / Resin / 3D Printed
You're right, no kit was made of the '63 Olds except the Johan Starfire. As a matter of fact, full sized Oldsmobiles in kit form had pretty much run their course by this time. After the '63 Starfire, the only other full sized kit produced was the AMT 1965 Dynamic 88. I doubt that there was enough interest in these cars for any resin casters to produce much for any parts for them. Steve -
Haven't given up yet! The firewall and inner fender wells on this kit had absolutely no detail of any sort except for a rudimentary master cylinder, which I removed to be replaced. So I decided that I needed to add some wiring of some sort. I didn't have any small coated detail wire to add later, so I decided to add some now. I'll paint it all along with the firewall and chassis now, and then I'll pick out a few details with some paint later. It just needed a little more going on under the hood. Steve
-
Moebius '61 Pontiac with doors, trunk, fuel door, etc. openable
StevenGuthmiller replied to traditional's topic in Model Cars
Very nicely done Clif! Steve -
Ha! I have boxes of these stupid things laying around! We bought them for my daughter when she was a kid and she wound up with probably 100 of them. But then again, so does half of the population! I'm pretty certain that I have one of the ones pictured above somewhere in the mix. At least I know that it's a purple bear. Steve
-
Right now I would trade places with most of you! Current air temp is -24 below zero, with a NW wind at around 25 mph, gusting into the 30s, making the wind chill at around -56 below. Air temp is headed down to around -36 below zero tonight. I live in the "warmer" part of the region. Steve
-
Wheel Arch Moldings
StevenGuthmiller replied to StevenGuthmiller's topic in Tips, Tricks, and Tutorials
I use regular 1 inch blue painters tape cut into whatever size strips I need with a straight edge. Wider strips work fine for straight trim, but the thinner the better for curved areas like wheel arches. Thinner strips are easier to get to conform to curved areas such as this. Steve -
Still worth asking. I'm sure that the glass from all of the AMT 1/16th tri-five Chevies is the same. Someone might have one. There are a ton of the '55 Nomads out there. Steve
-
Terrific work Paul! This is one of those kits that I've had at least one example of laying around since I started building models! I still have not built one! I'm not sure why.. It is a great looking car. Steve
-
What kit is the glass from? Finding a replacement might be your easiest avenue. Looks like possibly a tri-five Chevy? Might be worth just asking if anybody has a replacement. Steve
-
Yes, it can. This is the same kit that I had as a kid. I don't believe that I ever finished it but I was in the process of building it stock at the time. Couldn't tell you whatever happened to it. Steve

-
Looks familiar Al. I'm watching. Steve
-
Who Needs Decals?!
StevenGuthmiller replied to StevenGuthmiller's topic in Tips, Tricks, and Tutorials
I trim the foil as close to the script, letter or emblem as possible. The reasoning behind this is that if you leave too much foil around or between the letters it can sometimes be seen after finishing. Steve -
Who Needs Decals?!
StevenGuthmiller replied to StevenGuthmiller's topic in Tips, Tricks, and Tutorials
Personally, I prefer to apply it to the paint, usually just prior to the final coat or 2 of color. I figure, the less paint to clean off of the scripts, the better. Steve -
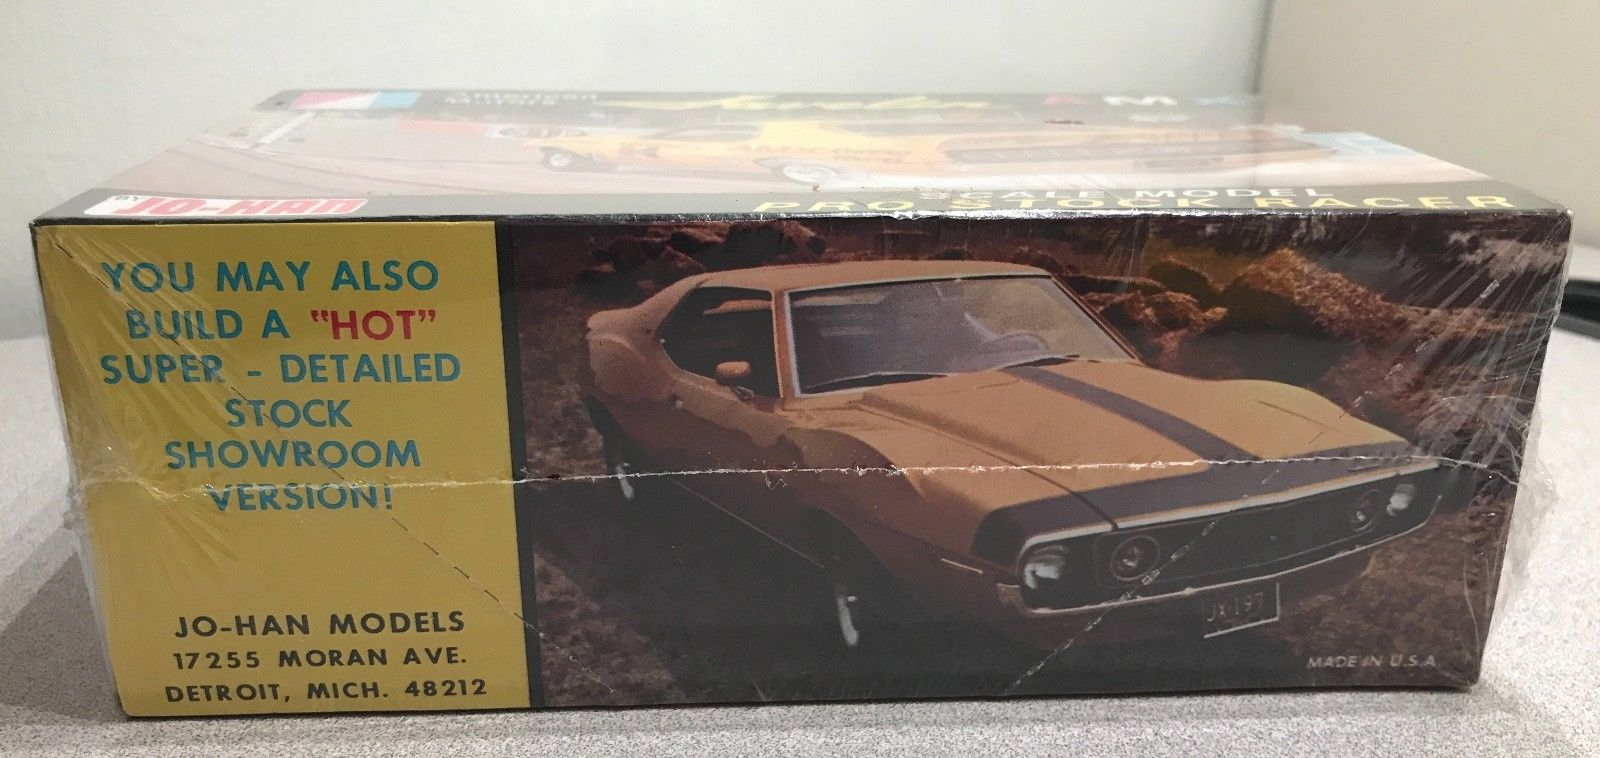
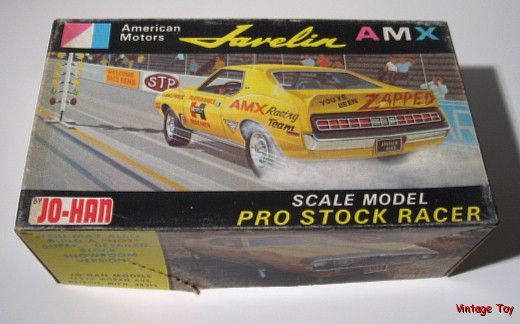
Nice Bill. This and the Johan Javelin kit are still in my "back of my mind" want list. I had them both years ago & I think it would be fun to build them again. Steve
-
Painting black areas in chrome rims
StevenGuthmiller replied to 64Comet404's topic in Model Building Questions and Answers
You can paint the black area with acrylic craft paint. Any mistakes ca be removed with a little water or some light scraping with a tooth pick. Steve -
Wheel Arch Moldings
StevenGuthmiller replied to StevenGuthmiller's topic in Tips, Tricks, and Tutorials
If by chance you have problems Doug, I would not object to you sending the '64 Cutlass to me! Steve -
New "material" for carpeting?
StevenGuthmiller replied to Straightliner59's topic in Tips, Tricks, and Tutorials
You can use nearly anything for adhesive to glue this stuff down. Some use paint, spray adhesive, white glue......... Personally, I use plain old Elmer's glue, slightly thinned with water. Steve -
No earth shattering updates today, but the paint is polished, the foil about half done, and a little test fitting. So far, everything seems to fit together perfectly. Let's hope that trend continues! Steve
-
Wheel Arch Moldings
StevenGuthmiller replied to StevenGuthmiller's topic in Tips, Tricks, and Tutorials
WD-40 takes it right off. I highly doubt that it will be an issue with any paints. I know for a fact that it will not harm Testors lacquer. Steve -
Wheel Arch Moldings
StevenGuthmiller replied to StevenGuthmiller's topic in Tips, Tricks, and Tutorials
This works well for all sorts of moldings. Steve -
Wheel Arch Moldings
StevenGuthmiller replied to StevenGuthmiller's topic in Tips, Tricks, and Tutorials
Part of the reason that I put the tape on the outside of the foil is, not only does the tape edge give something for the blade to ride against, but the blue color creates a contrast between the foil, the tape and the blade to make it easier to see what you're doing while you're cutting. Many times the unwanted piece of foil will come off when you pull the tape off anyway, and I usually clean off any foil adhesive residue later with a dab of WD-40 on a Q-tip. Steve -
Making wheels role
StevenGuthmiller replied to Mike12's topic in Model Building Questions and Answers
I kind of agree with this. I'm not planning on driving it anywhere or playing with it in the sand box when it's done, so what's the point. Steve -
I was just in the process of beginning the foil on my current project and thought that this tip might be helpful to some members. I have heard some people voice their contempt for foiling wheel well moldings, but this technique may help make it a little easier. It helps a lot for me. As a matter of fact, I use it for a large portion of the exterior trim on my builds. First cut a piece of foil large enough to cover the entire wheel opening. Then cut a very thin strip of blue painters tape and lay it along the edge of the trim where you want your cut to be. Let the edge of the tape be your guide for the tip of your knife blade to ride against. I have been using this technique for many years and it always provides consistent results for me. It's simple really, but it's much easier and more accurate than free handing. Steve
-
Any tips for metallics?
StevenGuthmiller replied to Don Wheeler's topic in Model Building Questions and Answers
I suppose that there are instances where it might work to polish metallic paint, but I'm with you on this one James. It's not really worth messing around with. Just clear coat and be done with it. Steve