1hobby1
-
Posts
714 -
Joined
-
Last visited
Content Type
Profiles
Forums
Events
Gallery
Everything posted by 1hobby1
-
Paint Strippers - What to Use?
1hobby1 replied to pbj59's topic in Model Building Questions and Answers
So I have had a hood sitting in purple power for about 2 days and the paint has not stripped yet. Usually by now I see some paint coming off but it almost looks untouched. I used dupli color primer and paint 2 coats each. Anyone else have this problem? Might have to give the brake fluid a try this round. -
Paint Questions and Experiments!
1hobby1 replied to 1hobby1's topic in Model Building Questions and Answers
Thank you very much! I'm still learning and trying to figure some things out but I was very happy with this paint job. -
Paint Questions and Experiments!
1hobby1 replied to 1hobby1's topic in Model Building Questions and Answers
Since they are already applied and the model fully complete chassis and motor wise should I play this model safe and leave it without clear? And practice on another model? Seems to be best idea I feel. Thanks for the advice -
Paint Questions and Experiments!
1hobby1 replied to 1hobby1's topic in Model Building Questions and Answers
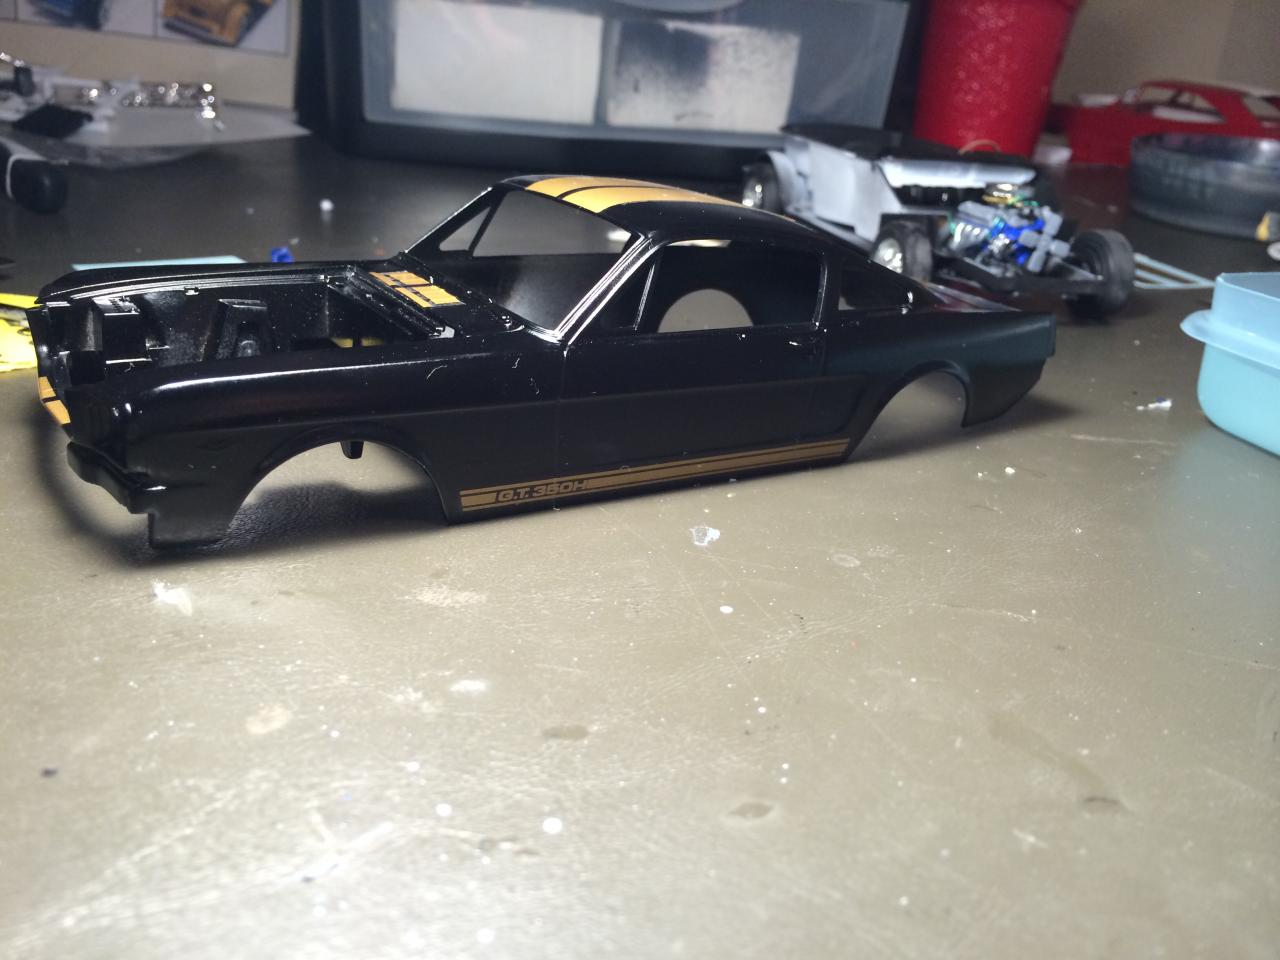
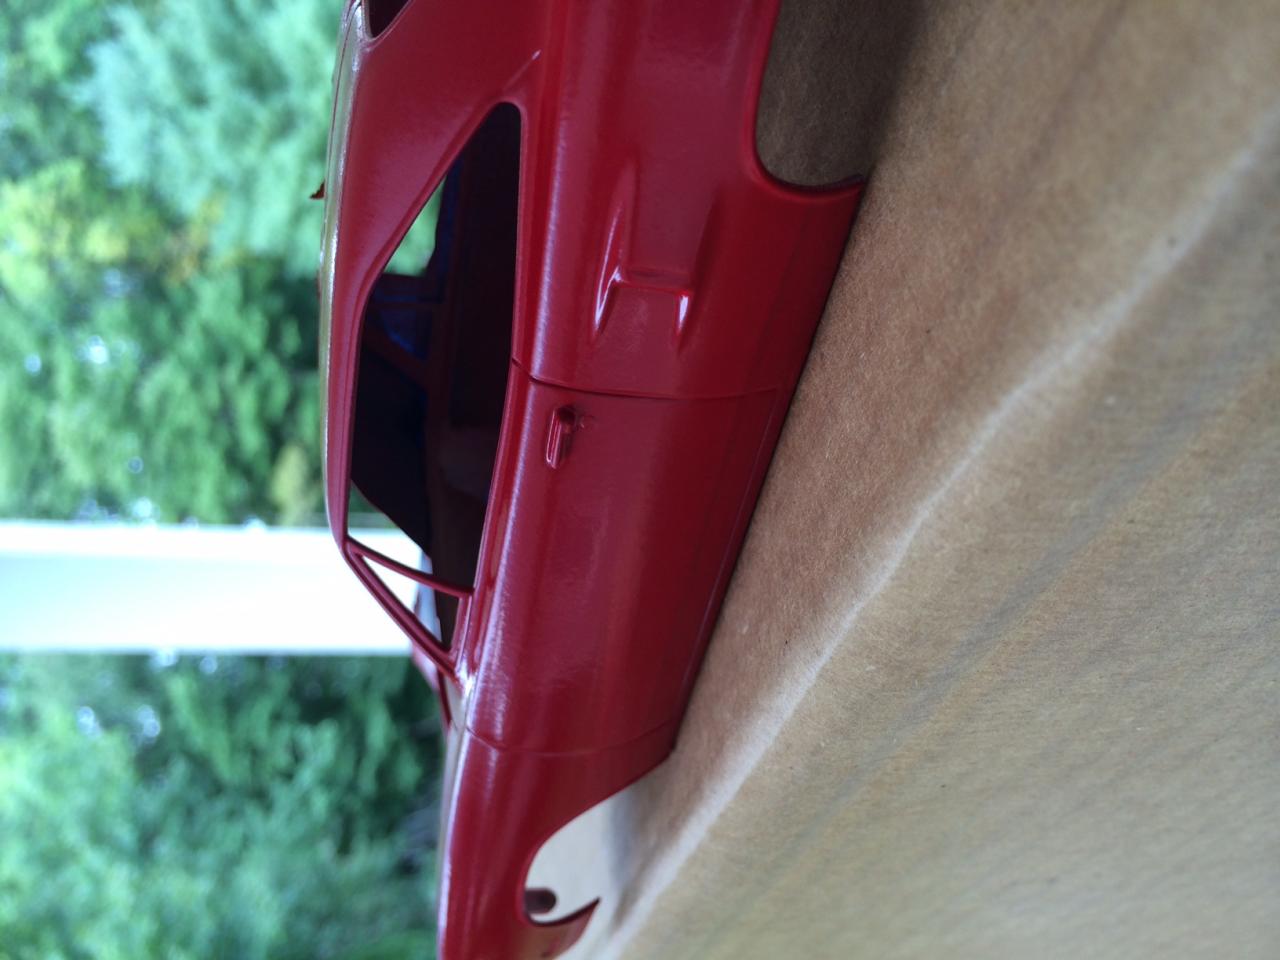
Been a while but I'm back with another question! So I've been working on this 66' shelby gt350 and I never applied decals on a body before. So today I went for it. Did it come out perfect? No, but much better than expected for my first time. Anyways, the decals are drying on the body and I was wondering if I NEED to clear coat the body with the decals OR can it stay as is with no clear coat? The clear would be Testors spray lacquer. Any words of advice would help greatly! Thanks!
-
Perfect, looks like I'm going to have buy a variety of sharpies! Do you have any pictures of how the trim came out? Thanks!
-
Has anyone tried using a chrome color sharpie or marker for window trim instead of BMF or aluminum foil? It would be great to have a fine point pen do this! seems to be much easier too!
-
Great build. Very nice work
-
Perfect
-
This is just awesome!
-
Paint Questions and Experiments!
1hobby1 replied to 1hobby1's topic in Model Building Questions and Answers
Here is duplicolor primer and duplicolor universal black with no clear coat.
-
Paint Questions and Experiments!
1hobby1 replied to 1hobby1's topic in Model Building Questions and Answers
The Rustoleum plastic primer is ok. its thick though. The Rustoleum sandable primer is too 'hot' for plastics. It begins to craze. From what I've been guided towards, as well as used is the Duplicolor Primer and Paint. I'm a very big fan, in fact, I just sprayed another model with it today and once again good results. For the clear, I used the Testors and it was pretty good. came out glossy and smooth. All depends how glossy you want the paint to be I guess. For me it was a good amount of shine without any wax. I was impressed. I let one of the body's I had with duplicolor paint (no clear) gas out for a week and used the Rustoleum clear on it today and it had a much glossier look. I did one pretty wet coat and it was enough. The Model I am on now is a 66 Shelby GT350 and I want to have the stripe decals. I'm probably going to use the testors clear because it doesn't spray out as thick as the rustoleum so it will be easier to control. But if I do a body with no decals on it I think the Rustoleum clear may be my first choice. If there is one thing I learned is trial and error. This is what has worked for me with practice models. I just painted the GT350 (which is not a practice car) and it came out way better than my first car. I'll post some pictures of it later or tomorrow. -
wow. absolutely awesome build.
-
Alright well here is my result. My very first wire job. It's not perfect at all, random firing order, just wanted to make it look better than out of box. I am very happy with how it came out and it adds that missing detail the kits never came with. Thank you everyone for all your advice it was very much appreciated!!!!
-
I'm going to try what Monty suggested. I just filed them down, I'll need to buy the bit and a pin vice, unless someone else has another way. Thanks!
-
Thanks guys. This wire is small enough in scale for plug wire. I just need to see if I can get it to stay on the distributer without a puddle of glue haha.
-
Alright so today I went and picked up two new model kits. One of the kits happens to be a 1966 Shelby Mustang. I would really love to have some spark plug wires to add some detail in the engine. My question is how do I get those tiny wires on to the distributer and still maintaining a clean look? This is where I am at so far. Made some plug boots, and bought some small gauge wire at radio shack. Sorry for all the questions lately! Thanks!
-
Paint Questions and Experiments!
1hobby1 replied to 1hobby1's topic in Model Building Questions and Answers
Great! thanks! -
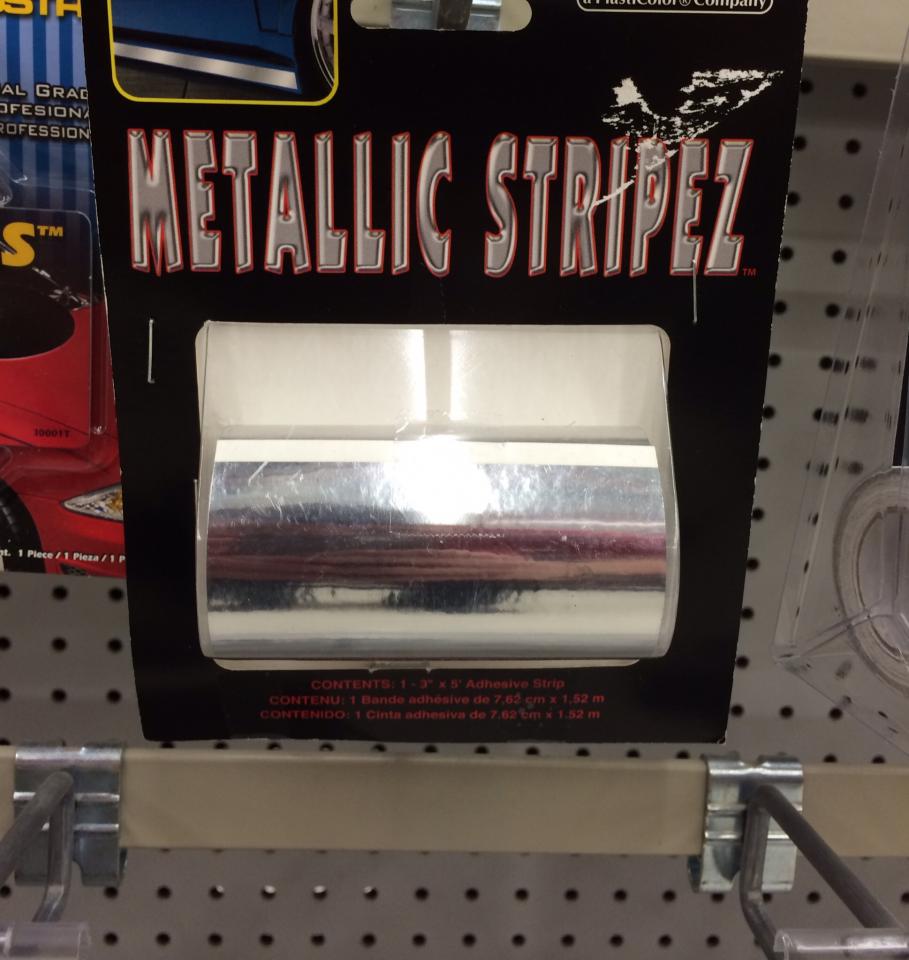
Anyone try this instead of BMF?
1hobby1 replied to 1hobby1's topic in Model Building Questions and Answers
Perfect! thanks guys! -
Anyone try this instead of BMF?
1hobby1 replied to 1hobby1's topic in Model Building Questions and Answers
Sounds good guys! -
Has anyone tried this instead of BMF? It's way cheaper and has a sticky back to stick to the body. I have never used BMF but saw this and thought it would do the same thing. Thanks guys!!!
-
Great work! cant wait to see how this build turns out!
-
Paint Questions and Experiments!
1hobby1 replied to 1hobby1's topic in Model Building Questions and Answers
Here is the duplicolor Primer after 2 coats: 3 coats of paint, no clear: Here is duplicolor paint with no primer under: 1st coat: 2nd: 3rd: 3 coats of clear:
-
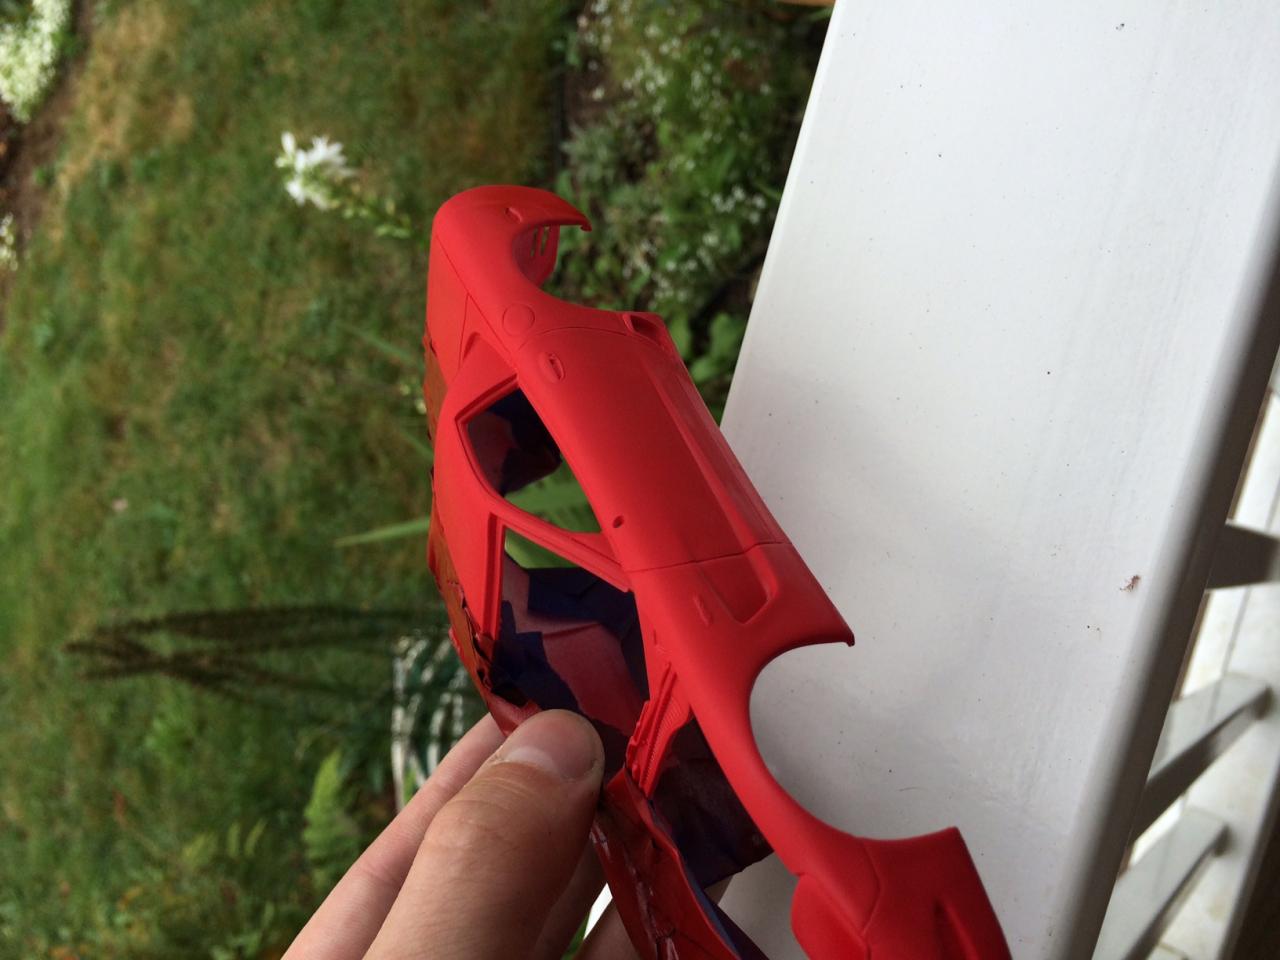
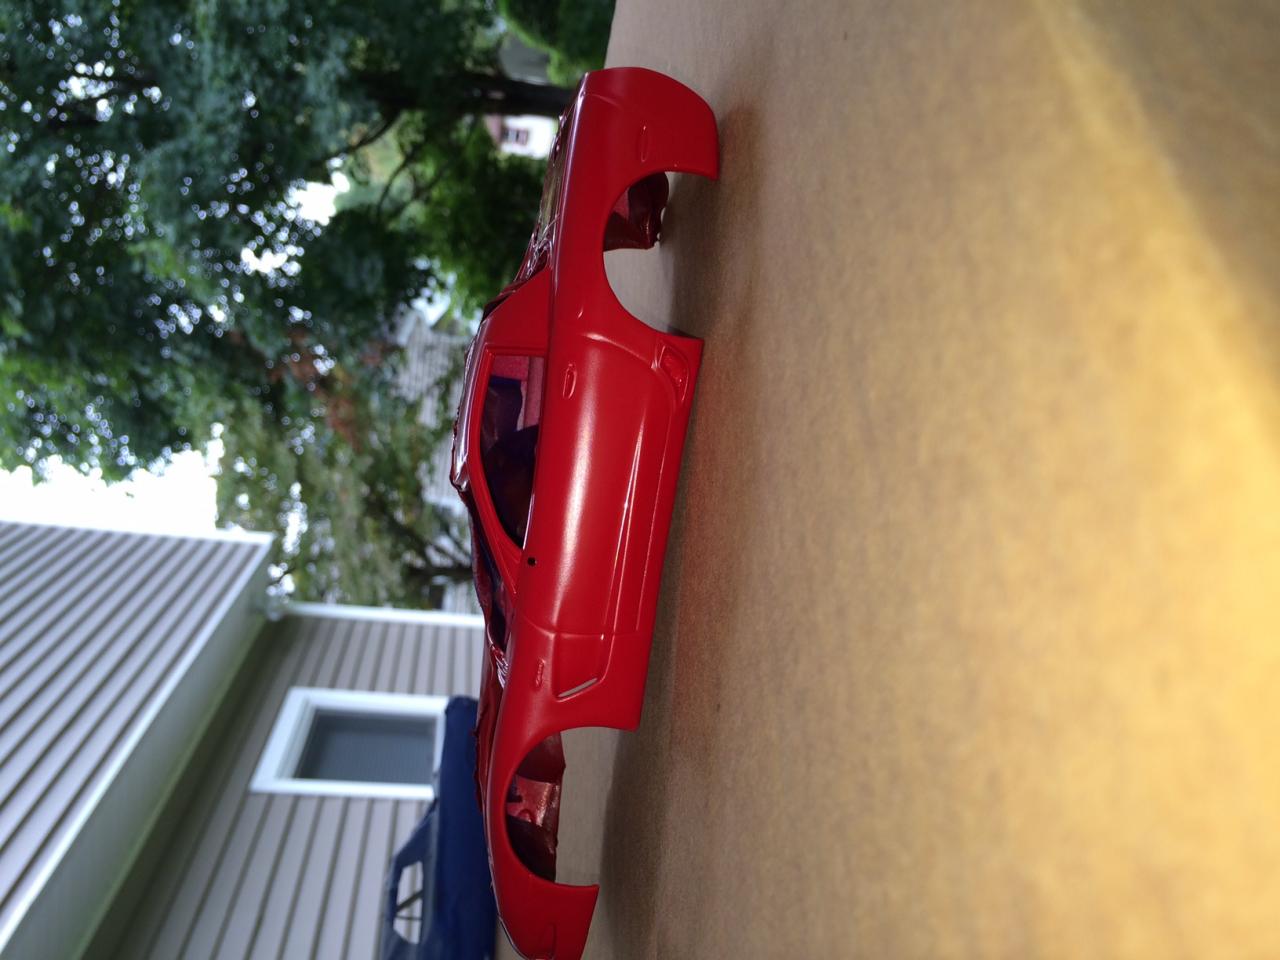
The engine blue is still a little dark compared to original. Also the body color didn't spray the exact color of my dads 78. I will be making a better version down the road, if he still has it by then haha.
-
Paint Questions and Experiments!
1hobby1 replied to 1hobby1's topic in Model Building Questions and Answers
Sprays very very nice. Easy to control, I am sold on it. I am going to post some pictures tomorrow of the outcome. I also used Tamiya clear over it. came out great! (well for me atleast hahaha). Im going to try the polishing process on it as well. -
Monty : thank you for your advice! I will keep that in mind! my dad actually owns a 78 vette that's why I made this model. Thank you everyone else! appreciate all the comments from all of you! I already love this forum. I come on here all the time and just admire the experienced builds as well as read up on loads of advice etc. Luckily I have been practicing painting on old body's I stripped and I can't wait to make another!