1hobby1
-
Posts
714 -
Joined
-
Last visited
Content Type
Profiles
Forums
Events
Gallery
Everything posted by 1hobby1
-
Hello everyone! So I have been debating on building a small paint booth for some time now and I do have some questions hopefully someone can help me out! I plan on using a plastic bin for the spray area, I found a great deal on a 50cfm bathroom exhaust fan on amazon, and will throw a filter in front of the fan. I usually spray my models with duplicolor products right from the can (I do not own an airbrush). I believe a 50cfm fan should be enough but what do you think? Would the 50cfm fan have enough power to suck the fumes and overspray? Has anyone on here made a similar style booth? Any help would be great! Thanks! Steve
-
Glue residue on taillight
1hobby1 replied to 1hobby1's topic in Model Building Questions and Answers
Well went to a few stores today an none of them had the future. Might just order some off amazon at this point. Thank you all for your input! -
old school ,East coast hot rod [ not a rat rod ]
1hobby1 replied to bpletcher55's topic in WIP: Model Cars
I agree with black also! -
Glue residue on taillight
1hobby1 replied to 1hobby1's topic in Model Building Questions and Answers
Tom, Thank you for the picture! I will be on the lookout for this tomorrow and hopefully with be able to post up the results. -
Glue residue on taillight
1hobby1 replied to 1hobby1's topic in Model Building Questions and Answers
Great, thanks -
Glue residue on taillight
1hobby1 replied to 1hobby1's topic in Model Building Questions and Answers
Maybe I'll give this a try, where can I get future? I've looked at Walmart before and could not find it. Do you have a recent picture of the bottle? Thanks! -
Glue residue on taillight
1hobby1 replied to 1hobby1's topic in Model Building Questions and Answers
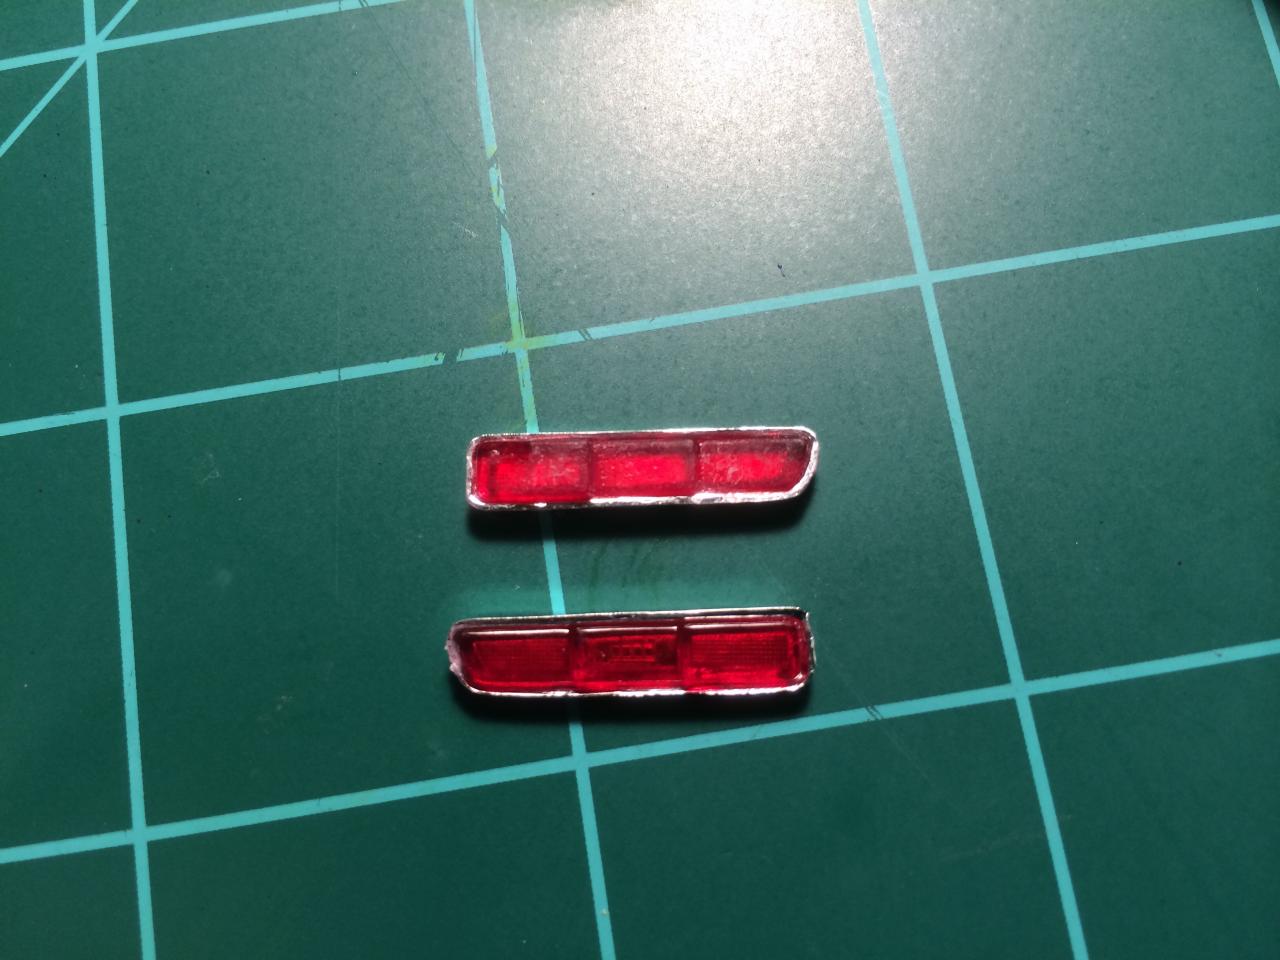
I usually use white glue but I tried experimenting and well as you all can see it didn't work to good! The kit has a second set of tail lights, so I might just take the red lens out of both the chrome holders and use those instead with the white glue. Thanks for your help! -
Glue residue on taillight
1hobby1 replied to 1hobby1's topic in Model Building Questions and Answers
I used Tamiya ultra thin. -
Hey everyone, have a quick question. I was putting the tail light lenses on my current project and managed to get glued on the outside of the lens. Does anyone have any advice on how to clean up the residue!? Thank you!

-
Thank you, and I will be painting it duplicolors royal blue with the white decal stripes from the kit.
-
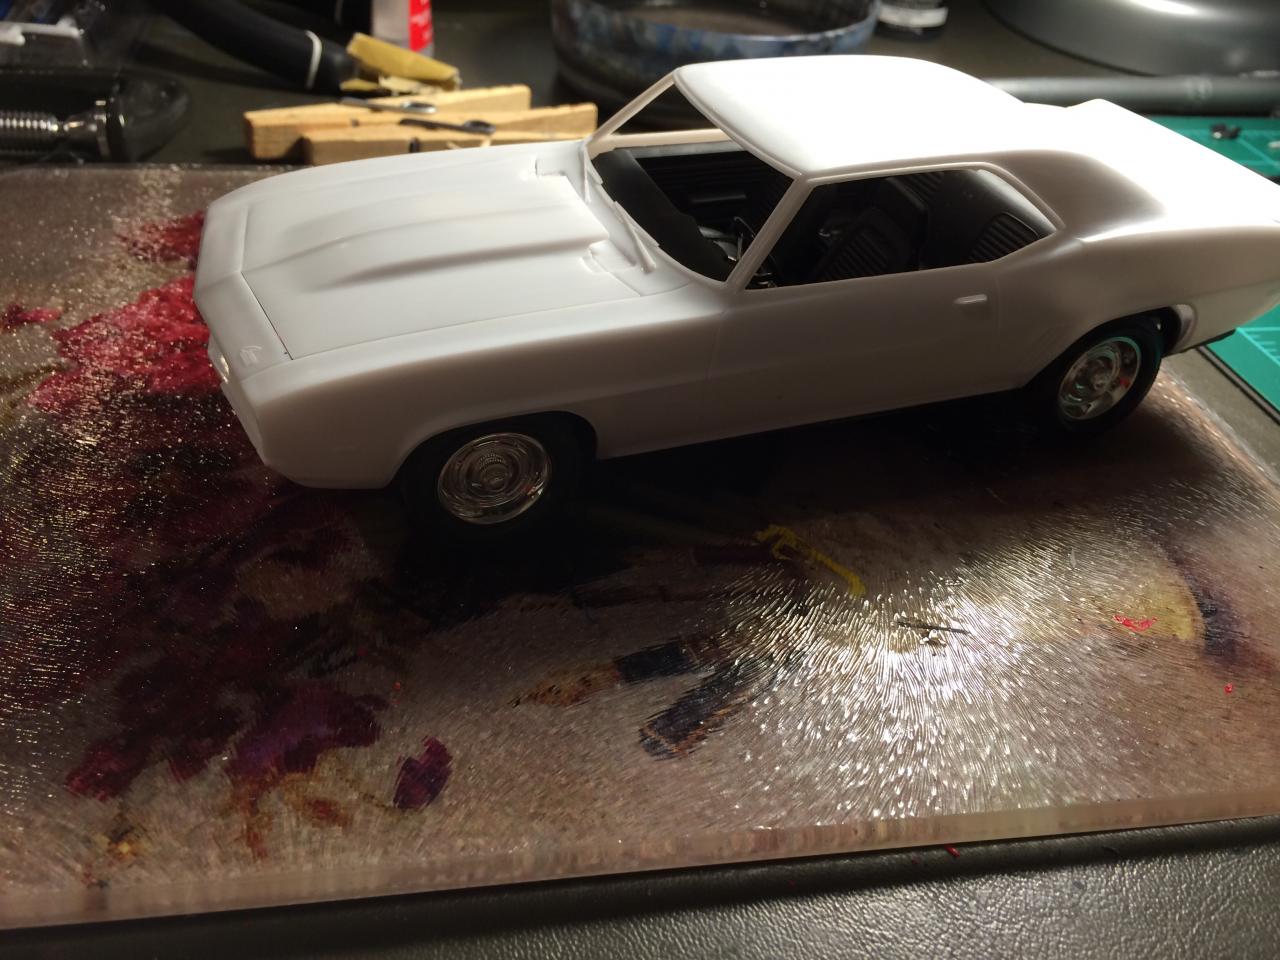
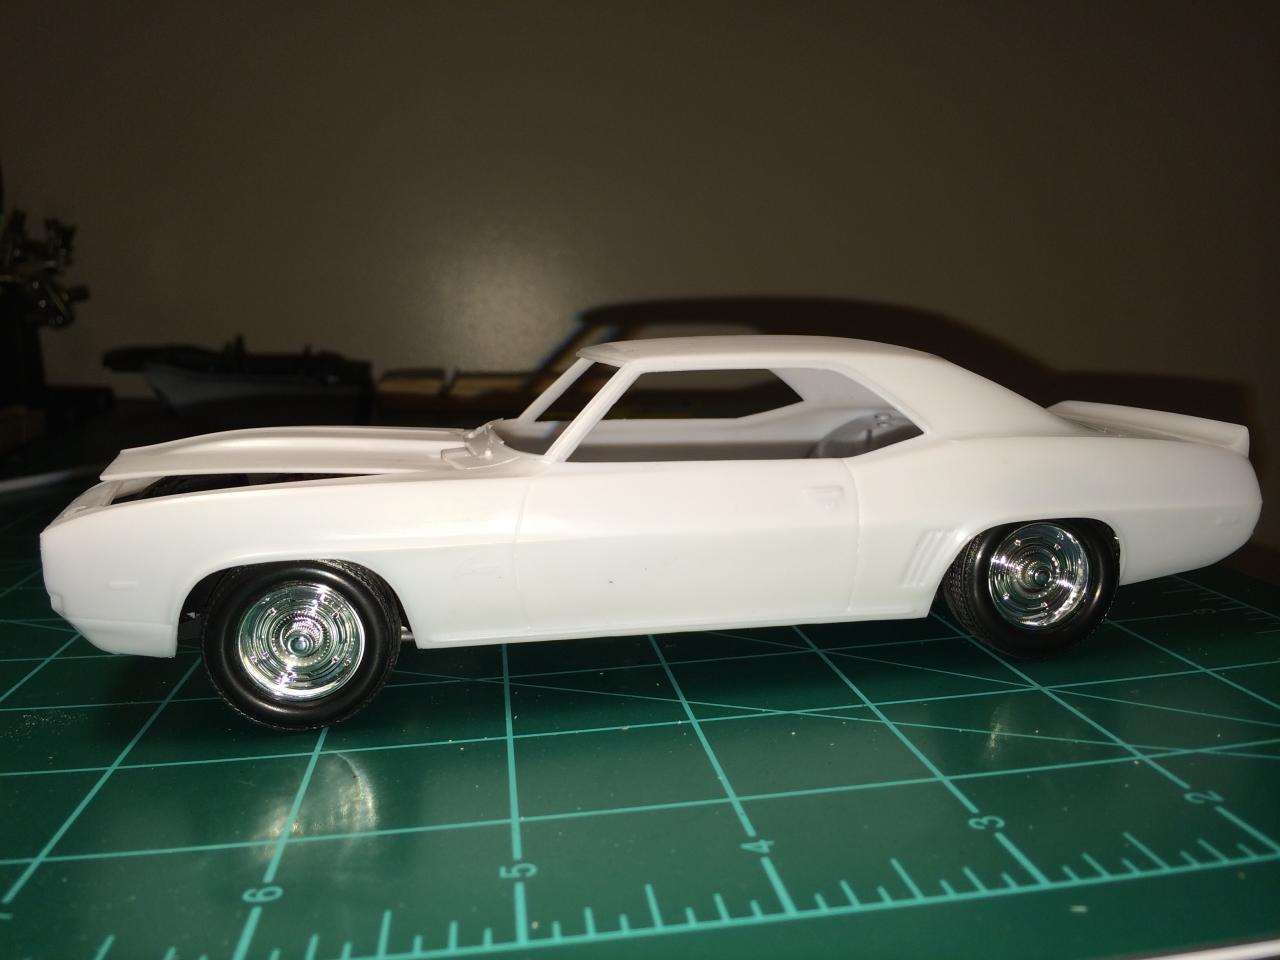
After some time I was able to work the body to sit on the chassis at the appropriate height (I believe) and the hood was able to close shut! Here is how it sits now, just have to build a paint booth and will able to finish up this model!
-
Looks great! Love the color combo on it and the paint job came out very good. Also your hood closes haha! Need to figure out why mine is hitting the air filter.
-
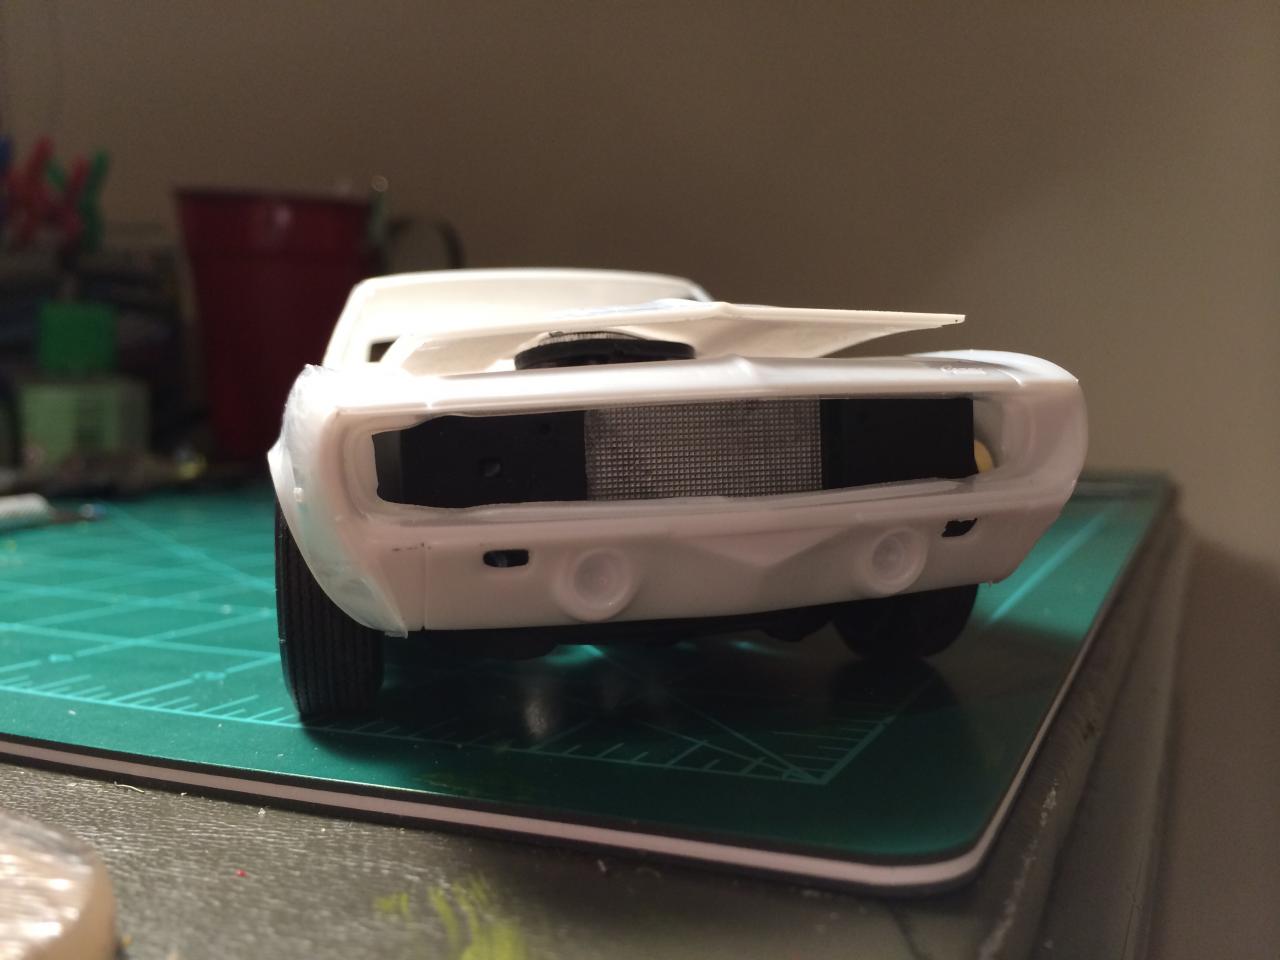
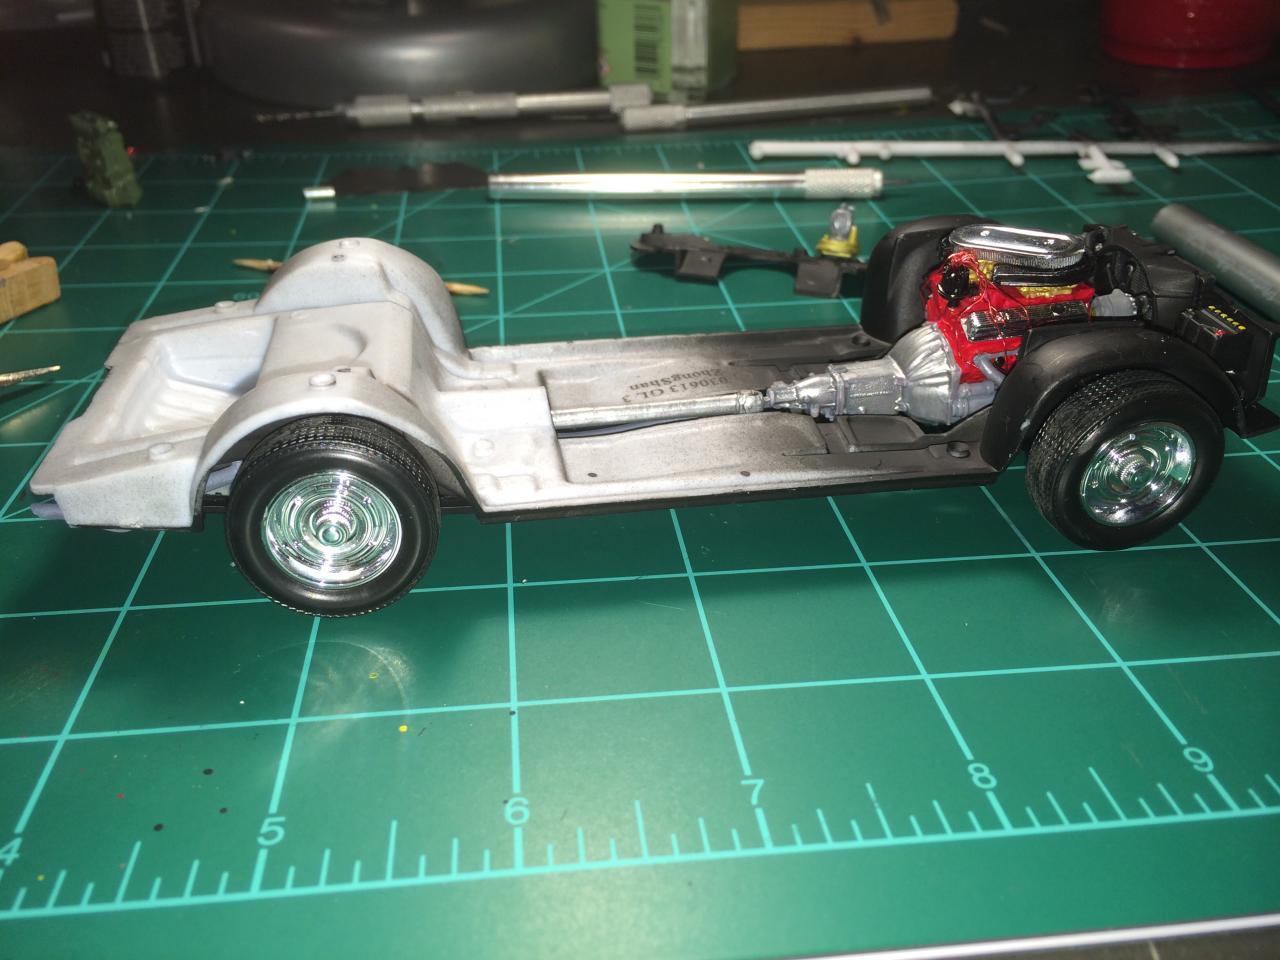
So here is where I stand. The hood will not close when the chassis is brought together, and then put on it's wheels. Also, I feel like the rear suspension is a little low for stock considering it's almost tucking rim. Anyone else have this kind of issue? Sorry for the questions in the WIP thread. Thanks!
-
Get that going again! I would love to see your progress and results as mine have hit a major roadblock. The air filter is what is preventing the hood from closing fully
-
Radiator was glued on too high. Problem fixed!
-
Yes, after I went back I noticed that the motor sits perfect on the mounts and I actually put a small dab of strong glue to make sure it doesn't lift. What I did notice is that the radiator support sits quite high and I believe that is what is making the hood not close completely. I will post pictures when I get the chance. Thank for the response!
-
This is jaw dropping.
-
Thank you! Very much appreciated!
-
Great paint jobs! Looking forward to seeing these finished.
-
Quick update, was able to get the wheels on and finish up the front and rear suspension. I have some aluminum piping I'm going to use for exhaust tips and plan to have that done soon! Also a possible paint booth is in the process as well so I might finish this sooner than expected! Thanks for looking
-
awesome work!
-
I Really Like Like This Hobby,,,,, But
1hobby1 replied to Fortheloveofgassers's topic in WIP: Drag Racing Models
There is definitely a love hate relationship with this hobby! -
Just ran into a little road block today, test fit the body over the chassis with the motor in and the hood was unable to sit flush. Going to see if I can make the motor sit a little lower in the engine bay to solve the problem. But I think the main issue is that the chassis is sitting a little to high inside the body. Maybe once the interior is mounted it will help level it out and help the chassis sit lower. Any advice? Thanks!
-
Thank you! And yes for me as well it is such a deciding factor that I have not perfected yet. But I have a couple old bodies I'm going to try the color on first. Hope that helps!!
-
sweet build, love the idea!