1hobby1
-
Posts
716 -
Joined
-
Last visited
Content Type
Profiles
Forums
Events
Gallery
Everything posted by 1hobby1
-
Thank you! And yes for me as well it is such a deciding factor that I have not perfected yet. But I have a couple old bodies I'm going to try the color on first. Hope that helps!!
-
sweet build, love the idea!
-
Thank you! It's still a very basic build compared to all of the other great build threads on here. It's my 4th model and am really enjoying trying new things out. I'm concerned my paint job will ruin the build. If only I had a paint booth to practice!
-
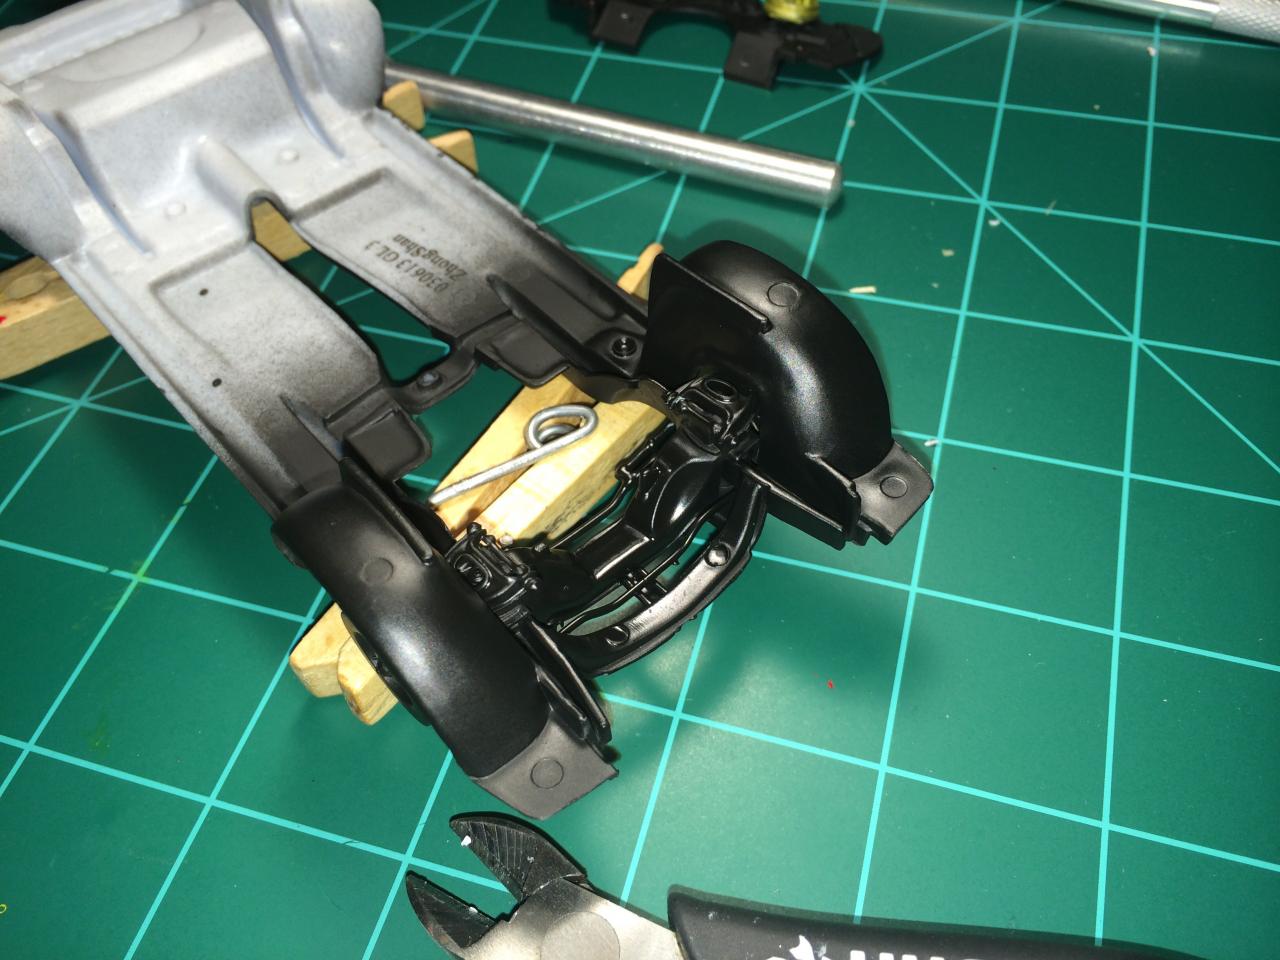
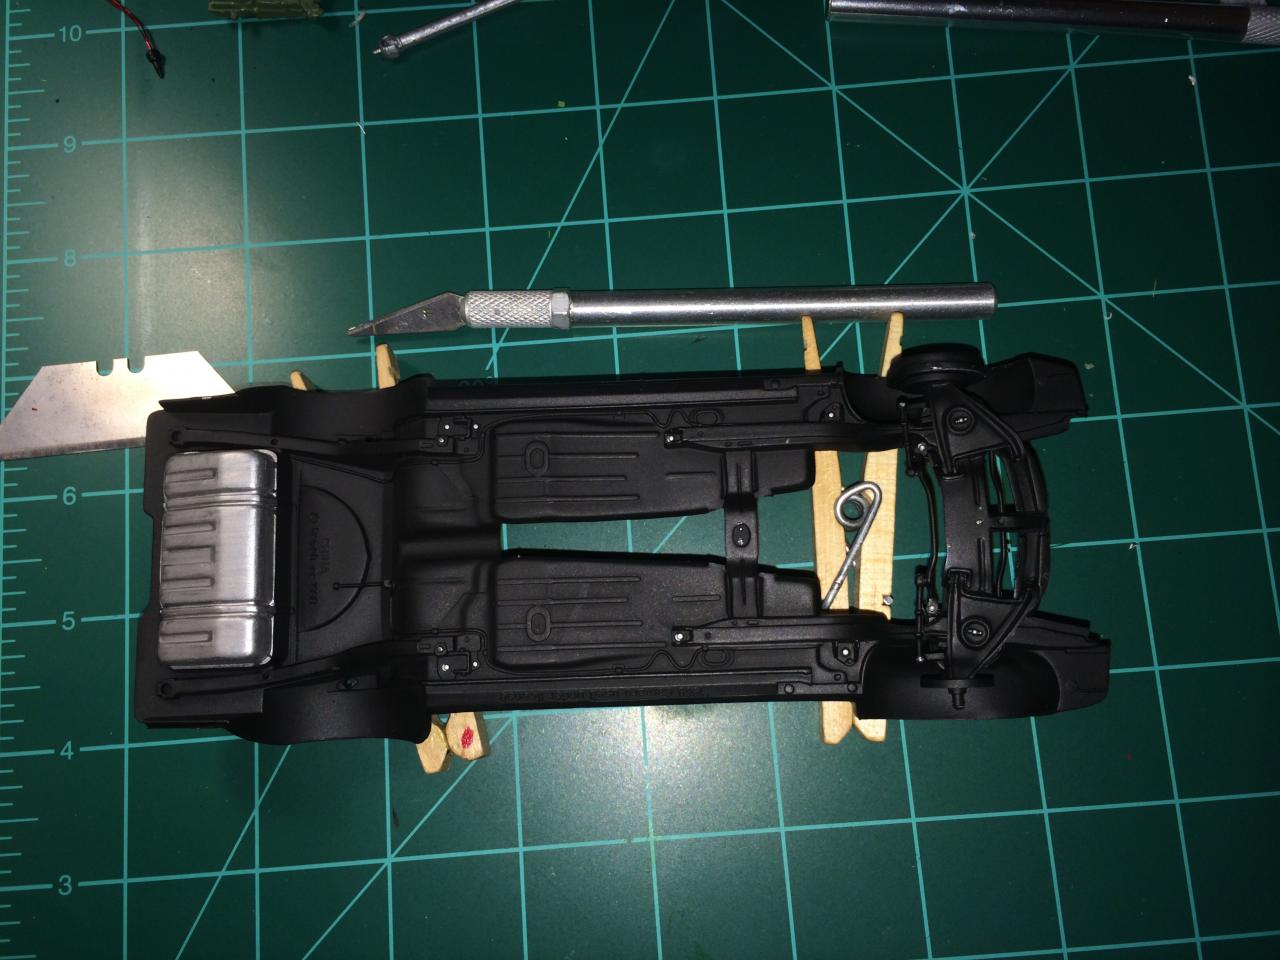
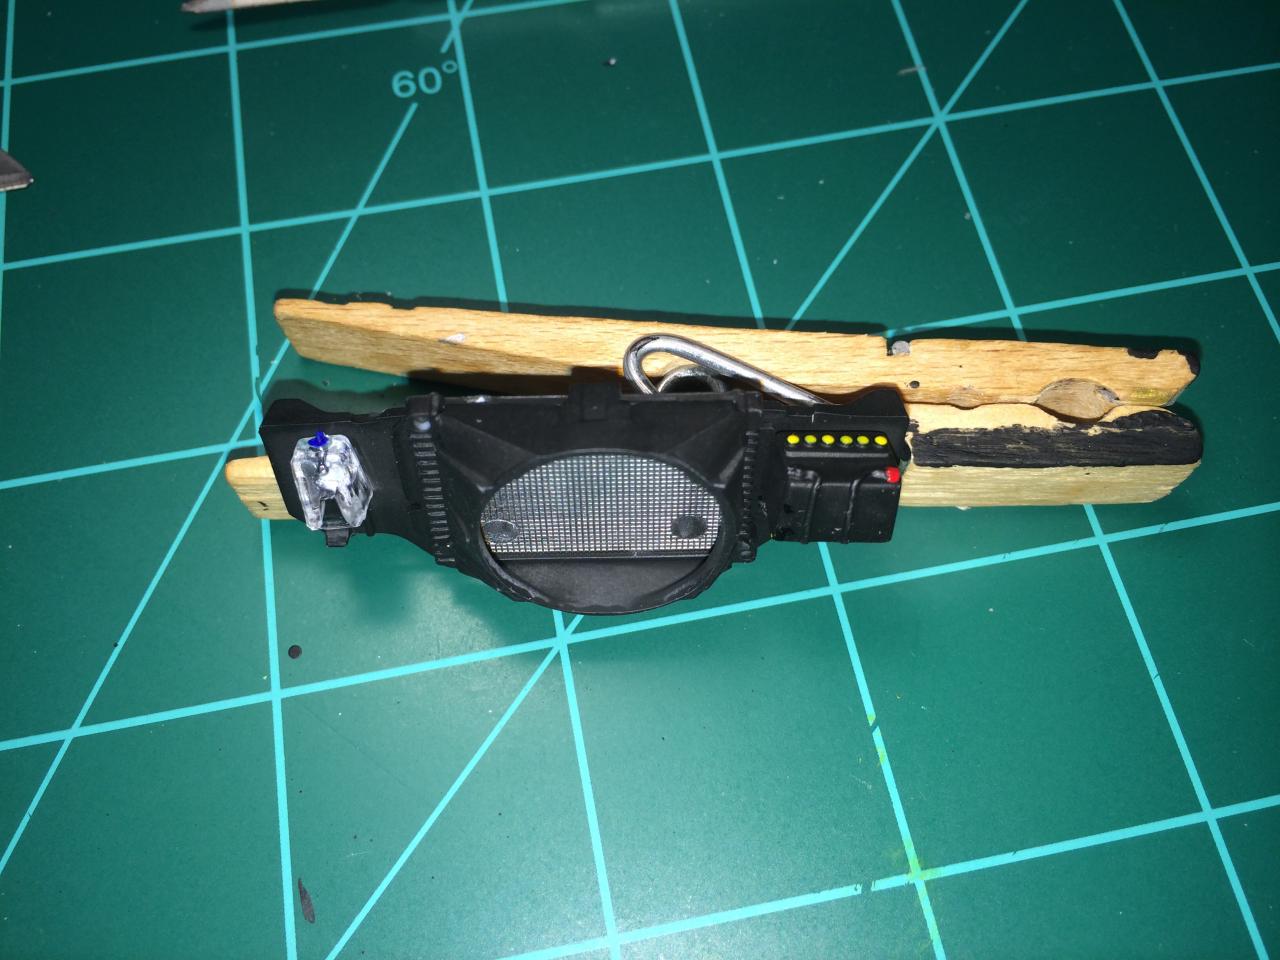
Finally got the engine bay painted and front suspension set up. Ready to drop the motor in! Undercarriage was painted Assembled the radiator support Firewall was painted and assembled Planning to drop the motor in soon and finish up the rear end and exhaust. I really want warm weather to arrive so I can paint the body (hopefully I don't ruin the build with a bad paint job) but it might be awhile until that happens. Anyways, thanks for looking!

-
That paint is flawless! Great job.
-
A short video of my lab by my talented granddaughter
1hobby1 replied to Miatatom's topic in WIP: Model Cars
Awesome work bench set up! -
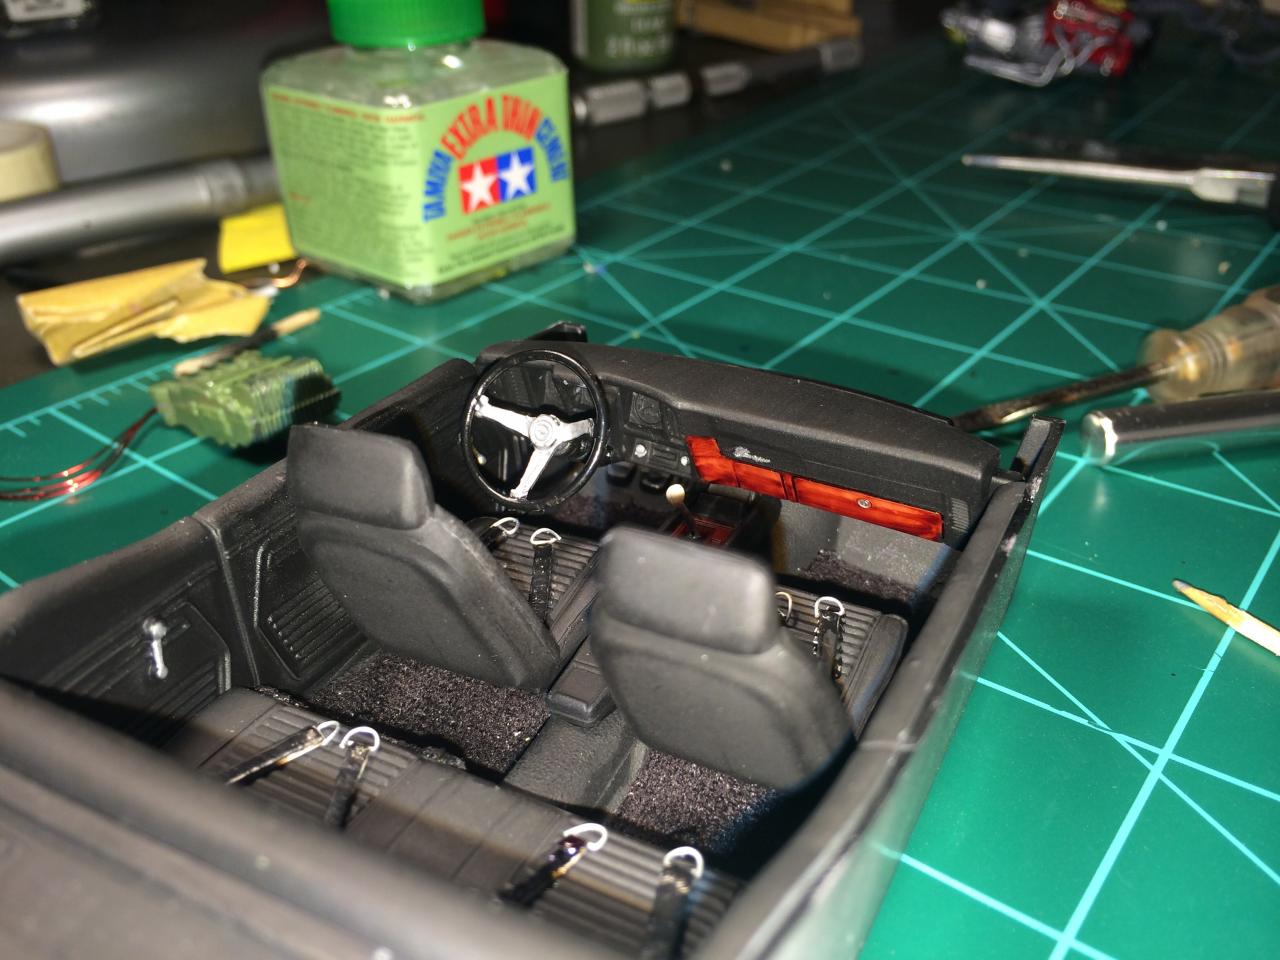
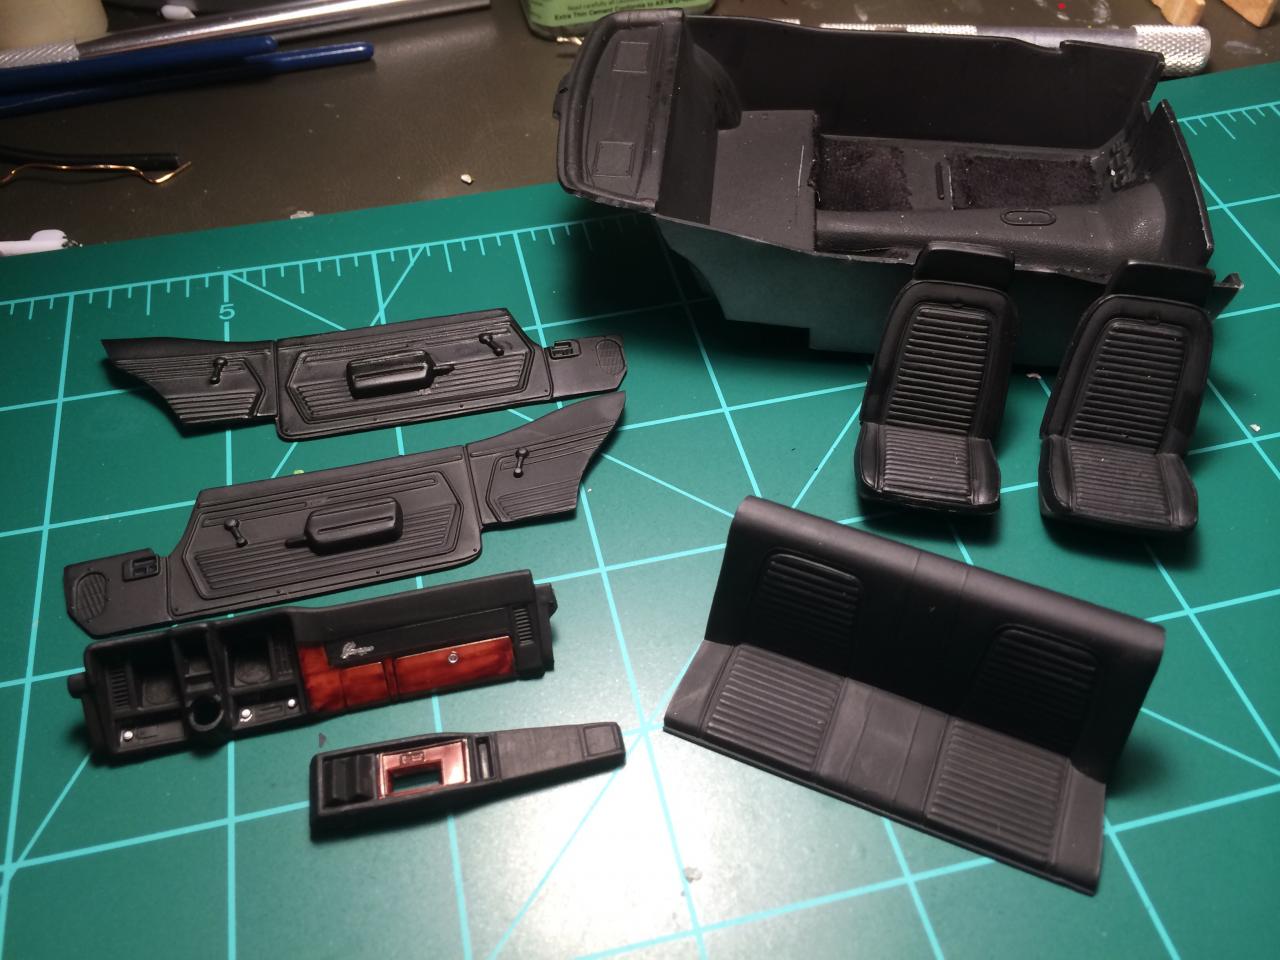
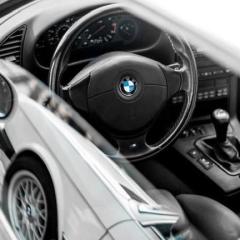
Hey guys, had some time to do some work on the car and was able to finish up the interior. I made some lap belts out of cardboard cut outs and some bread tie twists. Got the door panels in and had some suede with a sticky back side that I cut to make carpeting. Then I installed the rest of the interior and am decently happy with the outcome. Up next I will be doing the undercarriage. Should have a small update of that soon! Thanks for looking!
-
half a dozen 69 camaro's *new pic's 3-8* all 6 complete!
1hobby1 replied to tbill's topic in WIP: Model Cars
Amazing build. Can't wait to see them all done. I'm actually working on a 69 camaro now and had a question on how you went about the door panel trim detail. The 'chrome' trim looks great the way you did it. Thanks! -
jaw dropping work.
-
Great advice! I never noticed that until now, I'm going to have to choose which option I want to go with but I am leaning towards taking the vent trim off now that you mentioned it.
-
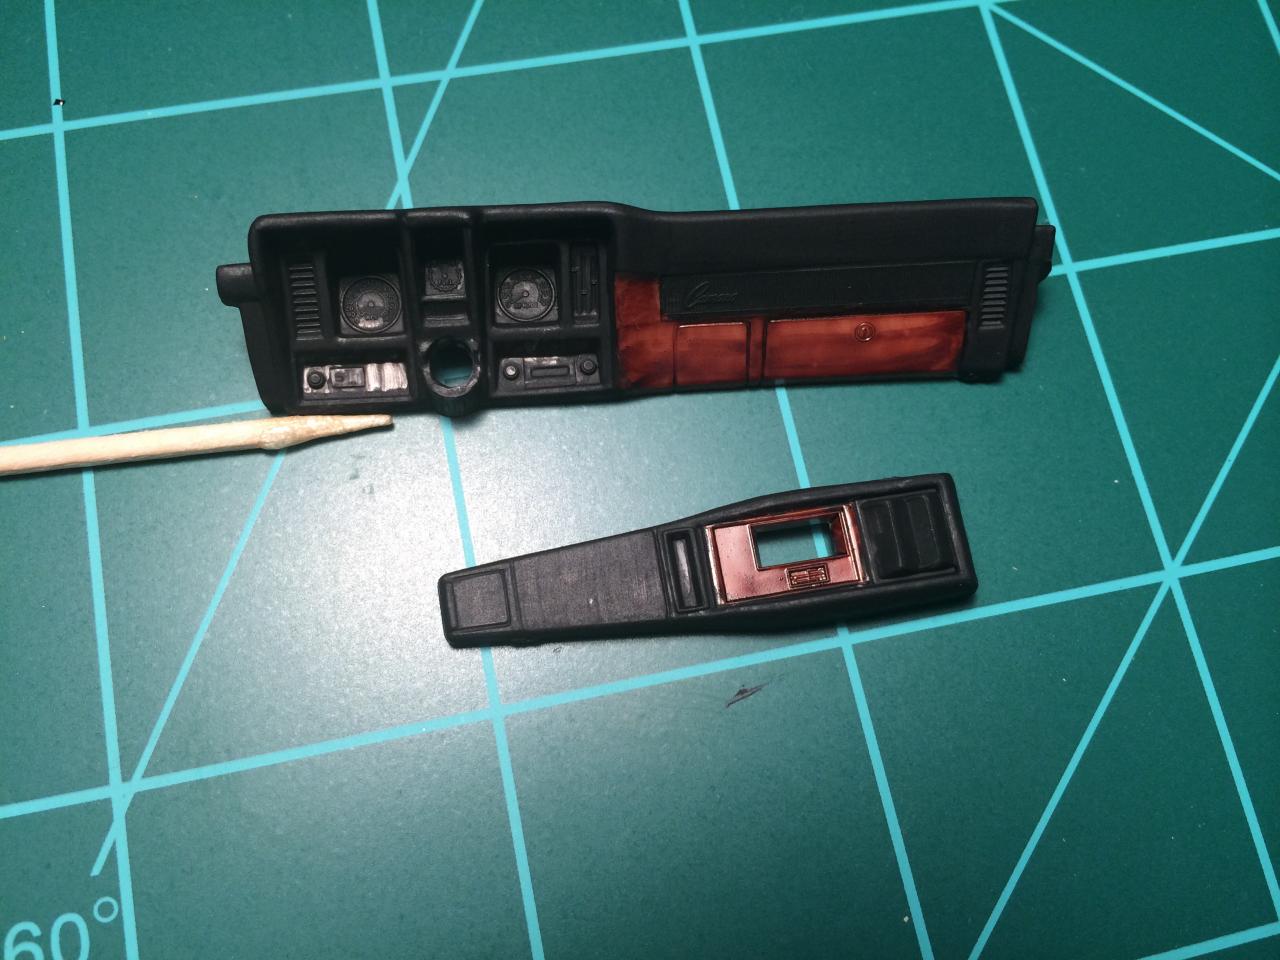
I actually used a brown sharpie over the white plastic. Just keep on applying pressure and overlapping what you've already covered and eventually it will get darker and make a pretty good representation of what wood would look like. Give it a try, you won't be dissapointed!
-
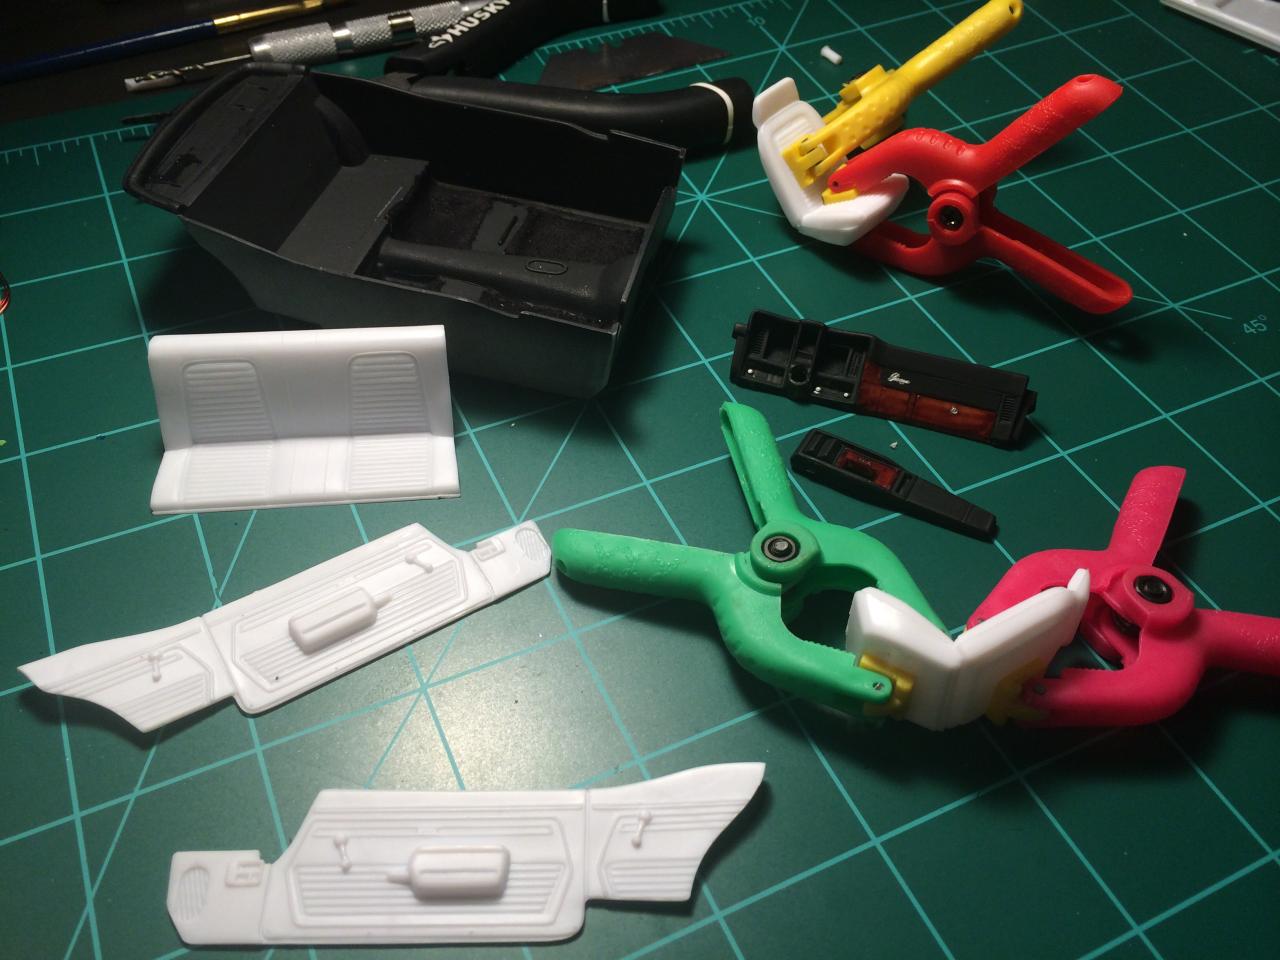
Well here's my update, nothing crazy but this morning I was able to test fit the interior and then go ahead and start prepping it for some paint. Also I found those small clamps at Harbor Freight tools for only $1 for a pack of 6! After everything was prepped I went ahead and decided to shoot the main coat of paint on everything Thanks for looking!
-
Looks great can't wait to see it finished!
-
Thank you, I am planning on doing a darker shade of blue with the white decals from the kit
-
I started the interior and did the baseline coats for the dash and center console. I will add more detail for my next update. Thanks for all the advice so far!
-
They're upside down? on my computer they are all showing as being right side up.... that's weird. is anyone else viewing them upside down?
-
Thanks guys, I've tried my best to do research online and this forum helps me a lot. I also don't own an airbrush setup so I do all my painting by hand. I used folk art acrylic paint for this build. I prefer it much over the small testors paint bottles. It goes on much easier, is easier to control, and there is a huge variety of colors as well as getting way more for the money which helps a lot for me .
-
Thanks! The carbs do not look as gold in person as they do under the light in the picture, but you're right I do wish they were a bit grayer. Thank you! I'll make sure to keep the fuel line trick in mind for my next build
-
Hey everyone, I recently picked up a 1969 Revell Camaro and figured I would make my first build thread out of it. For starters, this is model #4 for me so I am still new the model building community and would love to hear any advice so feel free to chime in! I normally would paint the body of the car first but where I live it is to cold outside and I do not have the option of making a spray booth in the house (living under my parents roof). I started by giving the body a wash and sanded it down so when it gets warmer out I get to priming and painting. I then test fitted the rear wing and mounted in on the body. Then I began with the motor. Painted and assembled the block, transmission and starter. I also drilled out the distributer, and added some spark plug wires. I painted and added the exhaust headers as well. Then I stripped the chrome off the carbs, painted them, and added them to the manifold. I added a line to run into the carbs as well as starting to put the spark plug wires into the block. I also made an oil dipstick and thought that would add a little detail to the motor as well. The water pump, fan, alternator, air filter and oil filter were all added to finish off the motor. Hopefully starting the interior soon!
-
1930fordpickup - Thanks, I'll take some time a see if I find anything snake45 - That's great advice, thanks! The headers just don't have the best fit against the block on this particular kit (not flush at all) for some reason but hopefully I'll be able to figure it out. Thanks!
-
Hey everyone, Still new to the modeling world but I am currently working on a Revell 69 Camaro and was wondering if anyone has any advice or tricks for gluing on exhaust headers. I really want to make sure when the exhaust headers are glued on to the block, they are not crooked in anyway and will line up with the rest of the exhaust system. Any advice or tricks? Thanks!
-
70.5 Baldwin Motion Camaro Finally Finished!
1hobby1 replied to microwheel's topic in WIP: Model Cars
very impressive. Such an epic build -
Seasonal Painting Problem!
1hobby1 replied to 1hobby1's topic in Model Building Questions and Answers
Thanks for all the advice guys, I'm going give some suggestions a try! -
hey all, So where I live it's getting too cold outside to paint and winter is coming. Unfortunately living with my parents doesn't exactly help the situation haha or allow me to just build a paint booth in the house or garage. Is there any solution to my problem here? any advice would be great! thanks, Steve
-
so sweet.