Yenkocamaro
-
Posts
352 -
Joined
-
Last visited
Content Type
Profiles
Forums
Events
Gallery
Everything posted by Yenkocamaro
-

37 Chevy Gasser - Hand Painted Artwork
Yenkocamaro replied to 62 Parts's topic in WIP: Drag Racing Models
Nice work, Bob. You captured the Look of a period piece Reminds me of a backyard garage built, low budget, in your face, Drag car! Cheers, Lance -
Thanks Tom, I appreciate your confidence in me Yes, it can be done, but as I told Marlowe, this started out to be a slammed style model, but I have a bad habit of adding things to the build as I go along, instead of sticking to the plan! The interior was supposed to stay stock.....at least that was the plan Cheers, Lance
-
Thanks Harry, I already knew that. I guess you didn't read my post My source said it was made by Acme using a HWY61 mold for Danbury Mint. Cheers, Lance
-
Hey Nick, its on the Danbury mint site. http://www.danburymint.com/Collectibles/SearchResult?Keywords=diecast+cars&All=1&cm_st=1&cm_s=diecast+cars Cheers, Lance
-
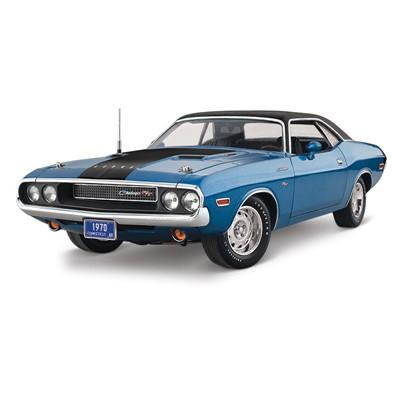
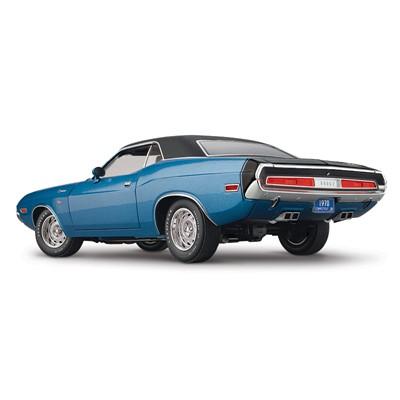
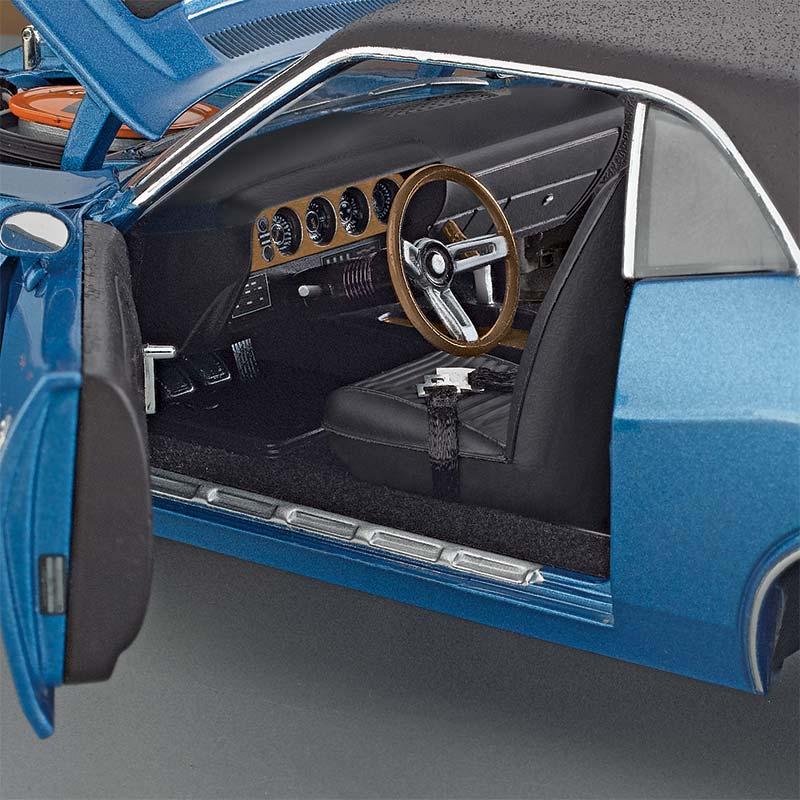
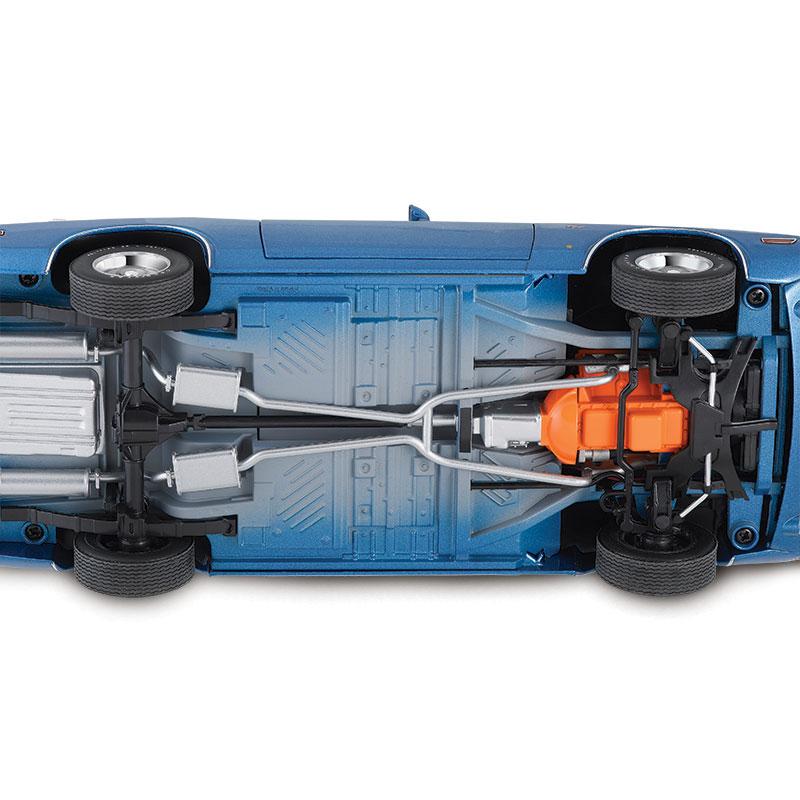
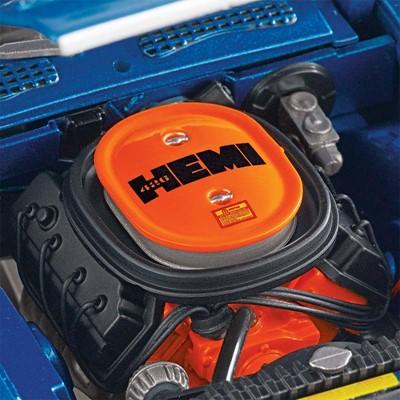
Hey Guys, just thought I would let you know of a new release from Danbury Mint. They commissioned Acme to use the HWY61 1/24th mold of a 1970 Dodge Challenger R/T Hemi. $149.00 + $9.00 Shipping. Check it out on their site if you are interested. Cheers, Lance

-
Sent you a PM Marlowe Cheers, Lance
-
Looks good, Thomas. Holy cow, one bottle of nail polish wasn't enough? Although its best to paint everything at once, it looks like there was no problem with the paint and flake matching? I wonder how it would look, with a coat of candy over the flake....Hmmmm Cheers, Lance
-
Thanks, Andy. Thanks Tom. Me too, especially since the interior color is not the common black Cheers, Lance
-
Nice restoration, I like your version better. Hey Snake, its 1/64th. Cheers, Lance
-
I thought about it, Tom. But the back seat in the fastback, has that hinged panel, which kind of messes with the full use of the back of the seat, plus its not wide enough. I was going to go with the same buckets in the back, and extend the console, and thanks to Marlowe who sent me the parts I needed, that was the plan. But after looking at the rear side panels, I think I'm going to go with the bench rear seat, and redo the seat pattern in the bench. I also had removed the door handles, and door locks, and was trying my hand at those recessed type handles, but honestly don't want to drill open the door so they fit flush. The one I made is 15 thousands thick plastic, and that was a real pain to form, with my big fingers Cheers, Lance
-
Thanks Guys Cheers, Lance
-
An apology
Yenkocamaro replied to The Modeling Hermit's topic in General Automotive Talk (Trucks and Cars)
Hey Doug, I agree with the Guys. I also like to present my pics of cars with a background setting. Every model, representing a real car, would not always be photographed in a studio, and a realistic surrounding just adds to the realism. I would however, like to make a suggestion. When you take your pics, have the subject fill the frame, more than the background. Although your background is beautiful, it should not take over the purpose of the picture. Again, these are just suggestions, give it a try if you want to. Cheers, Lance -
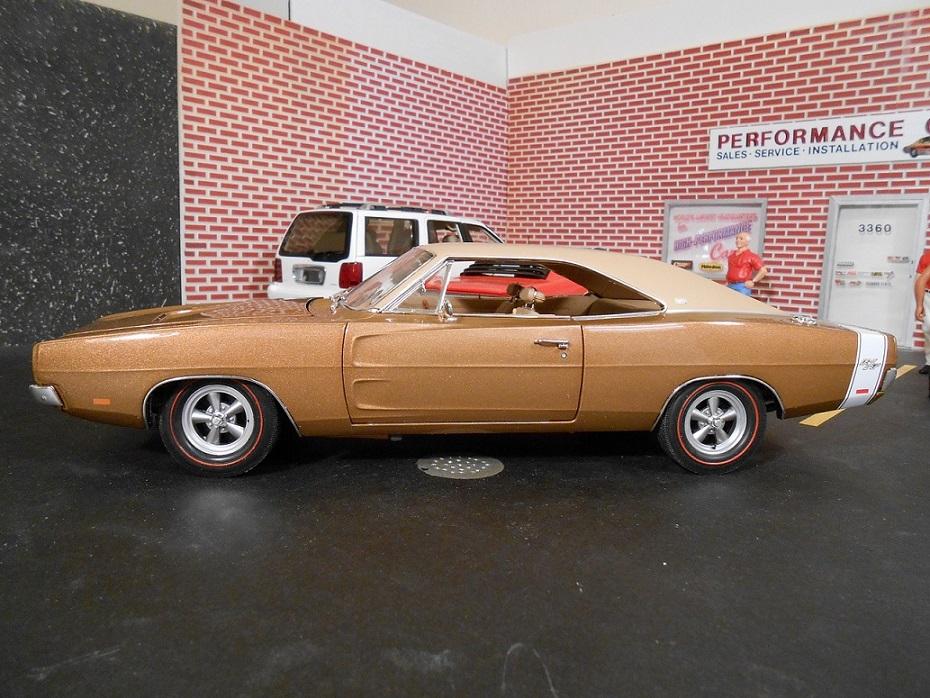
Hey Guys, one of my recent 1/18 purchases was a 69 Dodge Charger RT/SE, that has a beautiful paint/vinyl top/interior color combo, but the factory Magnum 500 wheels were a horrible representation, and needed to be switched out. I chose old style 5 spoke mags, from Supercars, and redline tires. I think its a %110 improvement, hope you agree. Thanks for looking. Cheers, Lance
-
Thanks Tom. I've started work on the interior. Still not certain what I will end up with, but I'd like to get rid of that bulky split bench seat. Thanks to my gathering parts over the years, I have a few Authentics 65 Fastback Mustang parts cars, so I threw in a Mustang center console, and seats. Unfortunately, the rear seat has a different seat pattern, so that would need to be fixed. Cheers, Lance
-
Mixed up my air brush needles
Yenkocamaro replied to aurfalien's topic in Model Building Questions and Answers
Brian, it measures in thousands of an inch. So it would show you which needle would be small, medium, and large, by diameter. Not sure what you mean by "nipple"? Haven't used an airbrush in 12 years. I have a brand new Paasche just waiting to be used Cheers, Lance -
Mixed up my air brush needles
Yenkocamaro replied to aurfalien's topic in Model Building Questions and Answers
Yes Brian, that's like the one I have, but if you are going to invest in a measuring tool, buy a digital caliper. They are so much more useful, than a micrometer. Cheers, Lance
-
Mixed up my air brush needles
Yenkocamaro replied to aurfalien's topic in Model Building Questions and Answers
Hey Brian, if you have a micrometer, or a digital caliper, that should help you out. Cheers, Lance -
And yet another BMF ?
Yenkocamaro replied to Jon Haigwood's topic in Model Building Questions and Answers
Hey Jon, after you burnish it down, and cut it, try a toothpick to start pulling a corner up to remove the excess. Cheers, Lance -
Tool for bending copper/brass tubes/rods
Yenkocamaro replied to aurfalien's topic in Model Building Questions and Answers
Hey Brian, here is a pic of mine, with three bends I did in just over a minute. Cheers, Lance
-
Tool for bending copper/brass tubes/rods
Yenkocamaro replied to aurfalien's topic in Model Building Questions and Answers
Hey Brian, that's the one I have, the blue one. Cheers, Lance -
Tool for bending copper/brass tubes/rods
Yenkocamaro replied to aurfalien's topic in Model Building Questions and Answers
I never heard of that trick, but I certainly am willing to try it. I was told the opposite, that heating the tubing, would allow it to stretch during a bend, without kinking. You can find tubing benders at places like Micro Mark, or your local Hobby shop, if you are lucky enough to have one. I picked up a small hand held tubing bender at Harbor Freight, and it works great on the smaller sizes, but I needed to bend 1/4" tubing, and it would not bend without kinking. I tried several different suggested methods, but failed at each attempt, and I've tried brass, copper, and aluminum with the same results. The spring style tubing benders, work fairly well on small sizes, but are not really the best option. Cheers, Lance -
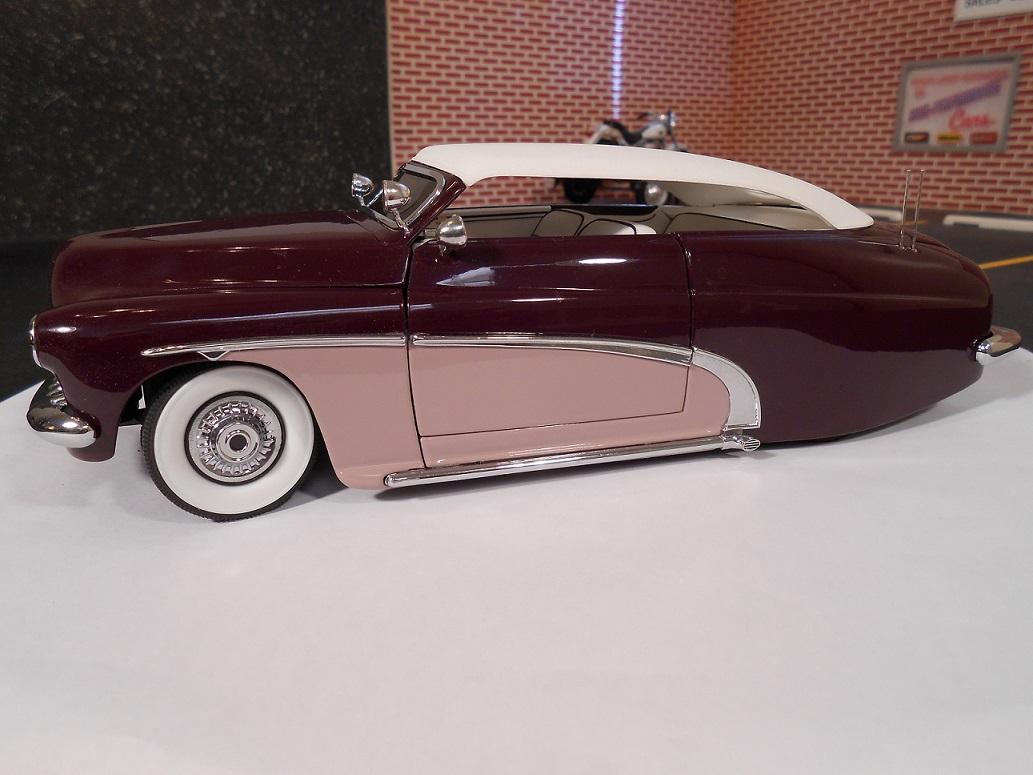
Love custom Mercs Cheers, Lance
-
Just a few more points I'd like to add, make sure your body work is perfect, as Candy paints are unforgiving, and will show every defect in the body. You should be able to determine if you need a bit more work, with the base coat. I would also consider a tack rag used by Automotive painters. Just lightly touch the whole body with it to make sure there is no dust on it. I have also used a quick shot of canned air on the body just before paint. I usually do this in another room, and not the room I'm painting in. Also, something I've seen here, is buy some plastic spoons, and practice on these, so you can see how light or dark you would like the car to be, how many coats it took to achieve the look you like and how it would look on the model. Cheers, Lance
-
Check out Evergreen plastic products. They make all kinds of shapes, but for your problem, I would go with plastic strips, that come in a variety of width's, and thicknesses. Split the gap you have in 2, to keep the interior tub centered, cut to the size you need for each side, and glue in place, to the interior outer side panels. I would recommend a liquid cement for this. Are you sure this is the right interior? was this a brand new kit? Not sure if this is a common problem with this kit. I'm sure others who are familiar, will chime in. Cheers, Lance
-
Painted magnum 500 with trim ring
Yenkocamaro replied to br67's topic in Model Building Questions and Answers
Hey Snake, the Super Sport wheels were only available on the 69 Camaros, with the SS option RPO N66, You are correct, in that they were not available as an option, until late 69. Because of an on going strike, 69 Camaros were made until late November/December of 69, and the 70 Camaro came out in February of 1970. Cheers, Lance