shaunmza
-
Posts
121 -
Joined
-
Last visited
Content Type
Profiles
Forums
Events
Gallery
Everything posted by shaunmza
-
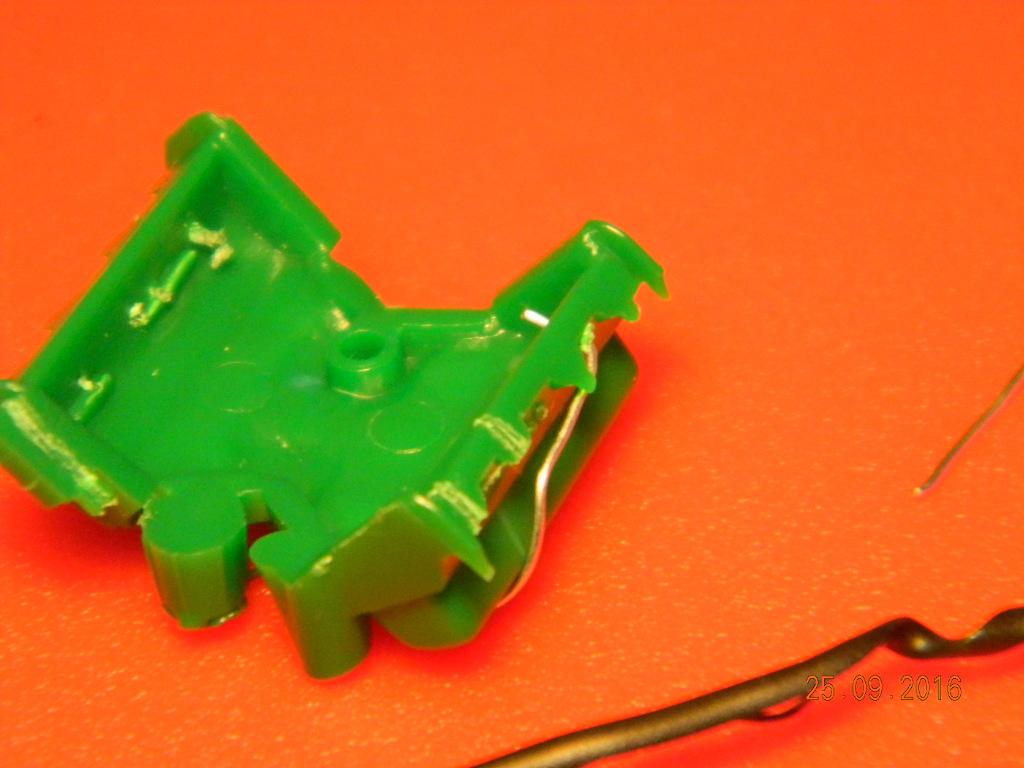
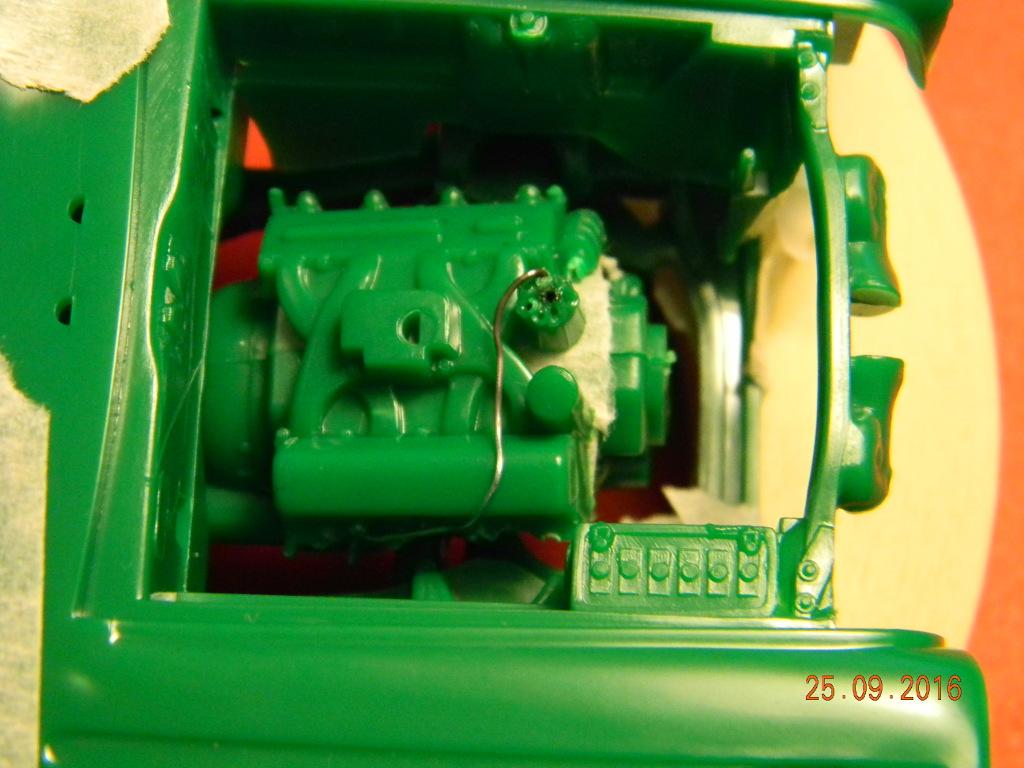
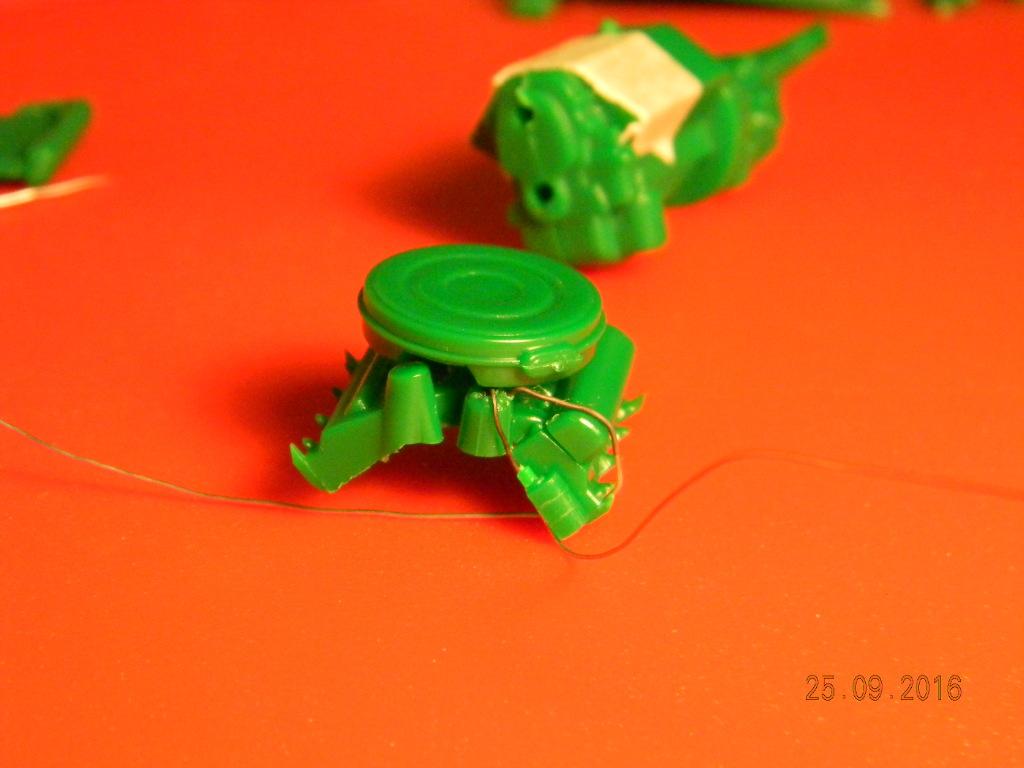
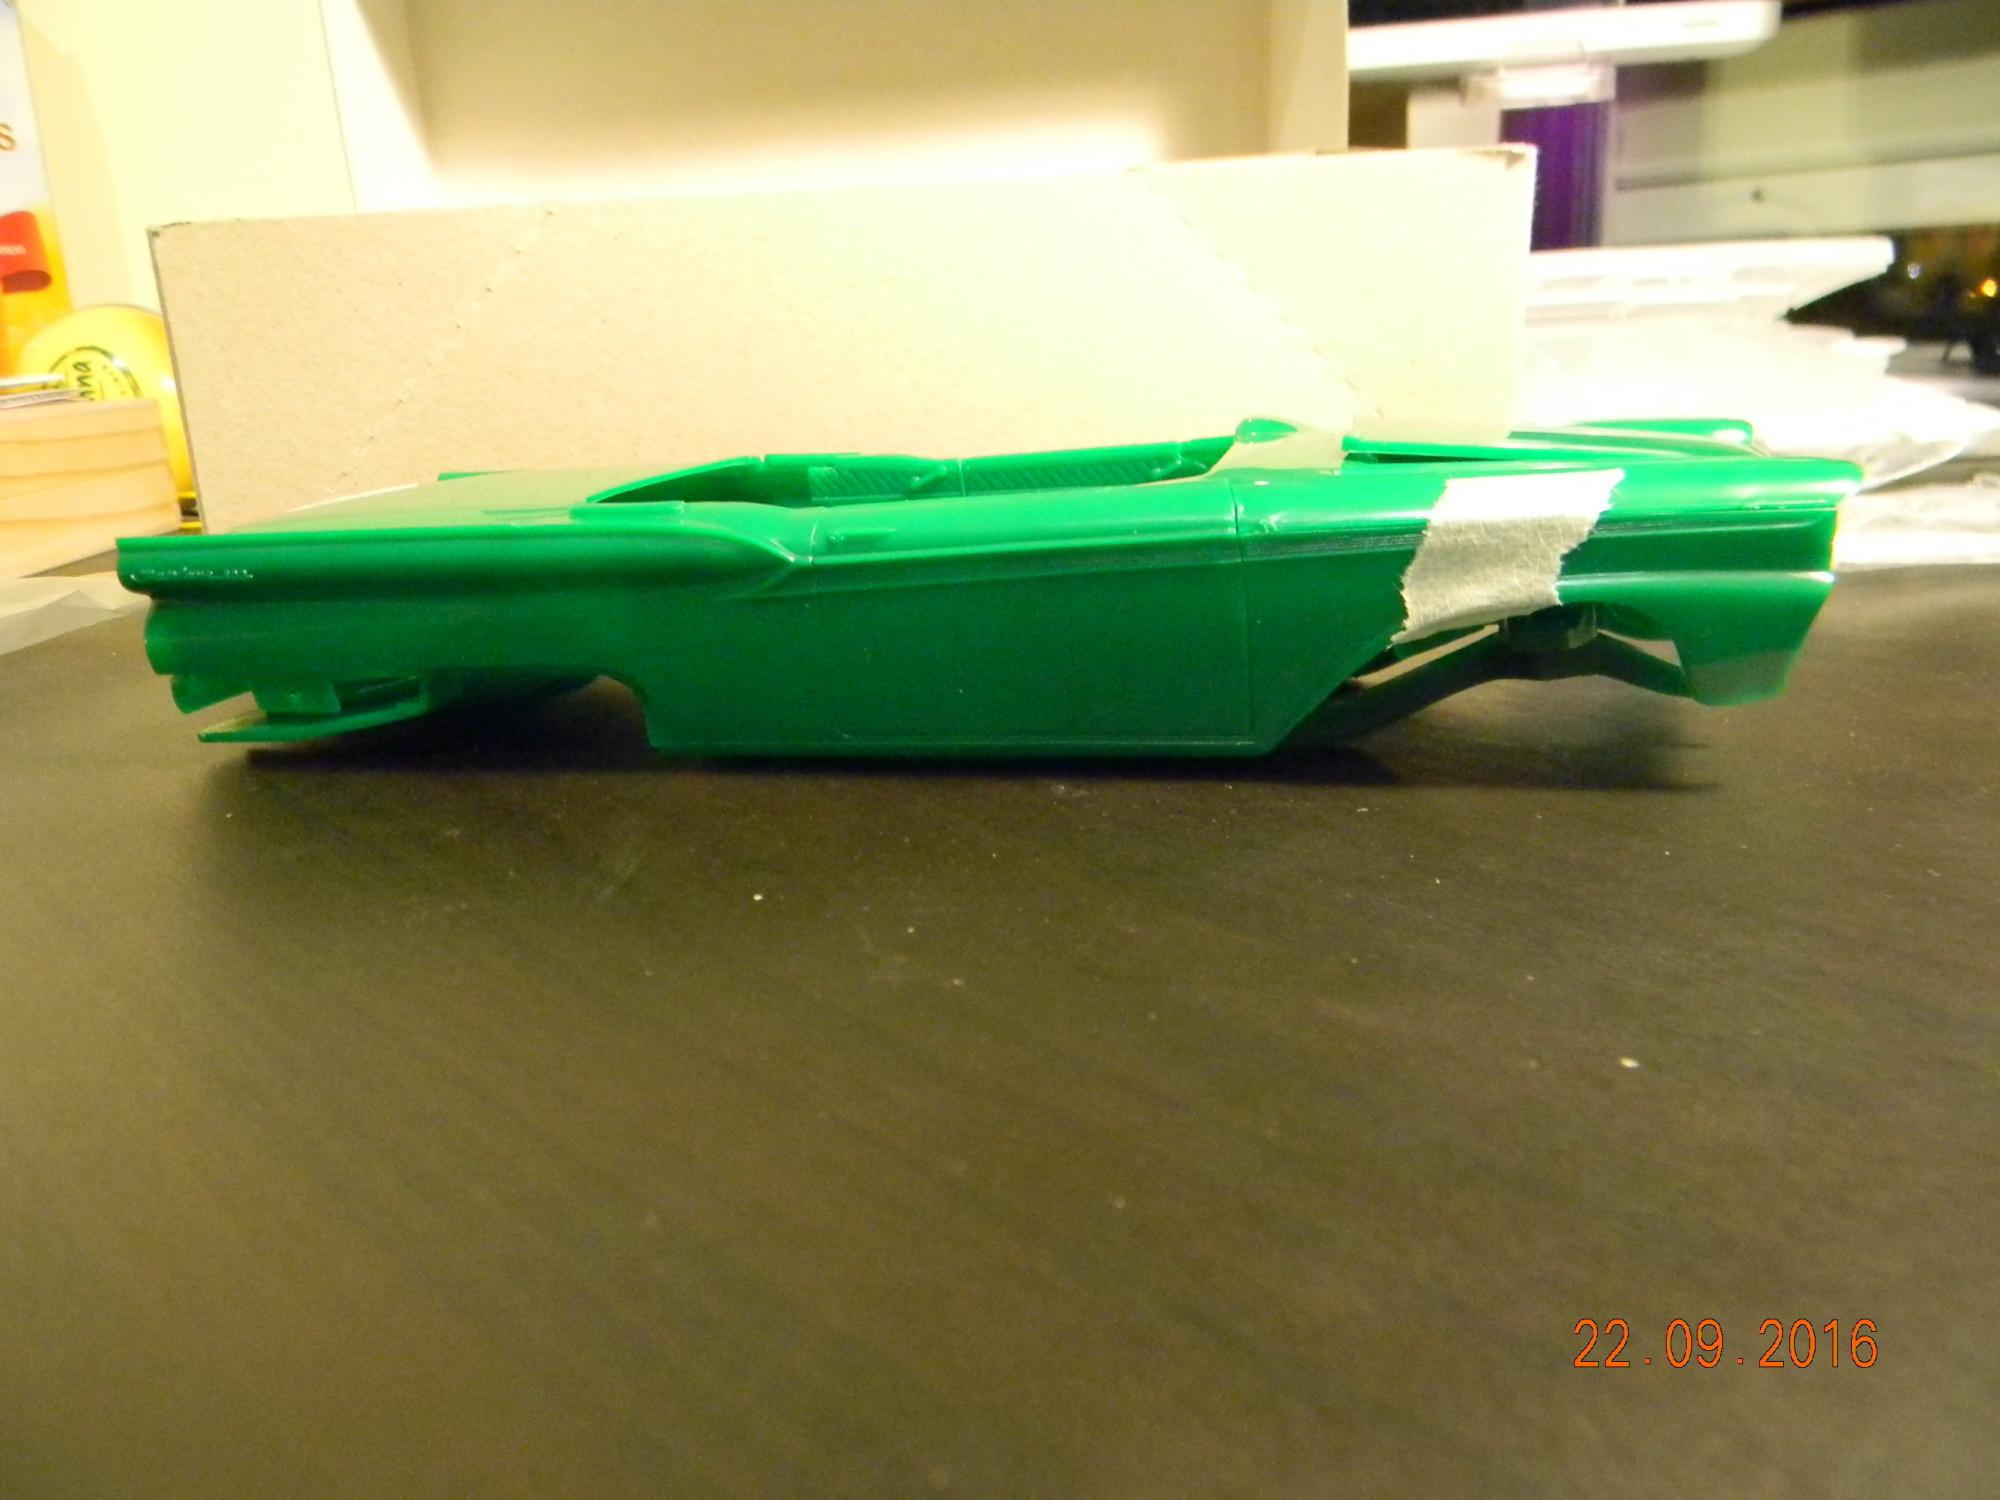
Last update, have a loooong week ahead of early mornings, so may only post again Friday, but promise to lurk and watch other builds' progress! My camera is an oldie, but still impresses me sometimes! Temporary first wire fitment, in the car - just to see Same same, but different angle The air cleaner hides most of it, but with the valve covers red, and the wires black (maybe blue?) I will know Now I have never seen this car in real life, but in all the images I see of Fairlanes and Galaxies, there is no way you can see the transmission. The air cleaner is also usually so far back it's almost touching the firewall. I don't like how this sits, so will likely try move the engine back a touch. I am also planning on moving the air cleaner back as well. 1 to be closer to the firewall and 2 so that I can fill that cutout it has. It really should not be on top of the distributor. Because it's all held together with masking tap, I thought it pertinent to check the front suspension is more or less in the right place, as the engine's height is determined by the crossmember. Looks like the box art... Almost done for today, I promise. The pointy bits that I thought were meant to be spark plugs, well they are the top of the exhaust manifolds, that go on to the ports. I realised this after I had butchered two, sigh. Will have to try fix, bit it is hard to see from the top so not super crucial. I ended up poking holes through with a hot wire, more or less where the spark plugs would be. Not very precise but again, should be ok. Just to make absolutely, 100% sure you get my point underside of heads/manifold so you can see the wire poking through. Masking tape galore! If you have not noticed yet, this is going to be a slooow build. I may be posting too many images, but it's my thread and I'll post if I want to! Seriously, I like threads full of images and details, so that's what I am aiming for. Thanks for looking.

-
I had dinner, tucked the kids into bed and came back to this! This is 100% what I needed, the cylinder numbers match up exactly with what I have read to date, thank you.
-
Was not happy with my description of my source for plug wires, so here's some pics! Worth a 1000 words I think! Last one, have a few of these now, probably enough to do all the wires. I don't have small drill bit's, or any drill bits, not a drilling machine... Used to have a garage full of tool's I get the wires in by heating them up with a lighter, then pushing them in with a tweezers. Working so far.
-
I am trying to find paints, local stores don't have much in the way of choice in rattle cans. The local hobby store sells Vallejo paints, don't remember seeing Humrol though. It's quite a small store though. I do appreciate the advice on the colours, in my searches I did see a rather striking Skyliner which I am going to try and emulate though! The instructions say the engine should be dark blue? Regardless, I remember fixing a Ford Courier ( a model of truck? that was sold in South Africa ) many years ago. I helped him paint it in a brightish shade of blue. Ever since then I always imagine a Ford motor should be blue Valve covers and air cleaner will be red, because, well red... Have decide on a colour combo too, now to see if I can find a bright enough paint! That looks incredibly well done. If I am honest, that chrome looks way better than mine does straight out of the box. Did you redo it? Hope at the very least you are entertained I would be glad if mine looked that good when I was done. I am quite please so many people have replied, it definitely helped me move on from trying to brush paint! No pressure, it will work or it won't. Either way I get experience, and to share. Hopefully someone takes away something from this build. I have seen the models built here, that a big reason I am posting this here. Going to post little bits as often as I can, so that I can get guidance early before I mess something up.
-
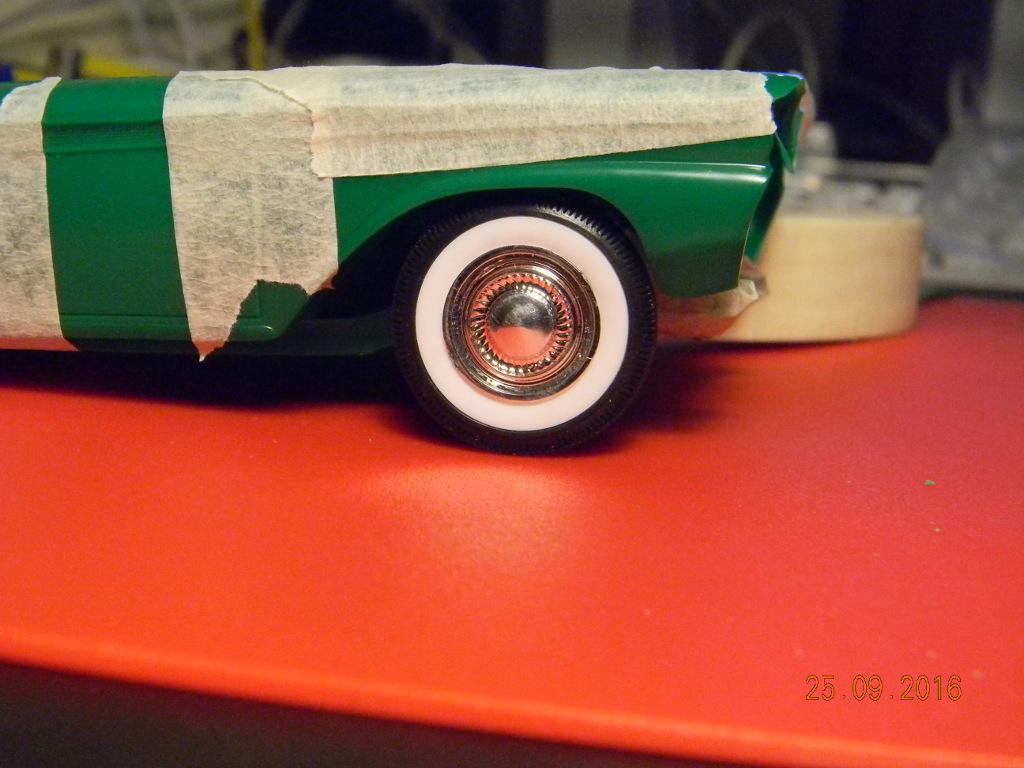
The hunt is on for primer and paints, it's a long story, but suffice to say I have no car and by the time I am done with work and have wrapped stuff up with the wife and kiddies, it's just too late to use public transport and travel the distance I need to get to the closest mall. Whilst I work on getting paint, I have been looking at how the engine goes together, I may be getting ahead of myself, but after seeing so many of the cars on here with such amazing detailing I figured the least I can do is make a plan with some plug wires... and coolant hoses... Being a firm believer in using what's at hand (some would say, a cheapskate) I found some wires that may do the trick, Here I have, yet again, taped the body together, more successfully this time . I was checking to see if I could list the air clear a touch as it sits almost on top of the distributor. There does seem to be room to do this. Not 100% sure though, so am going to try some thing else I think. Here you can see what I mean. I do feel that air cleaner is too close, it even has a cutout, this bothers me, probably more than it should... This looks better in person, but my first 2 wires are in, from the coil (not attached) to the distributor, and 1 plug wire. And here it is with the air cleaner on. It hides much of the ugliness where I pushed the wires in. I imagine the pointy bits under the valve covers are where the plugs would be. Evenif that's not the case it's where my wires will end up! The plug wires are from the inside of the wire twisted around cables when they are packaged. They are quite thin and pliable, so i am sure I can make them work. Realistically they are probably not to scale, but I am way too much of a noob to care about that. I would like to get the wiring from the distributor correct, even though it will be hidden from view by the air cleaner, so I will be spending some time finding a diagram that shows which cylinder matches each position on the distributor. Thanks for looking!
-
I had a similar idea, though not nearly as ambitious! Don't give up on it, rather shift gear and start with building models, casting smaller parts etc. as suggested. I will be getting a 3d printer (have wanted one for years but never had a use for it). You could probably get one too, a pretty good one for under 4000. Settle in for the long haul, I am sure it will pay off.
-
I can only imagine as a kid how amazing that would have been! I don't think we get Testors here (Portugal) but will take your advice to heart. It's a big part of the reason I posted this here, to get advice. I was going to brush paint to see how it turns out, but looks like the consensus is to spray. Have seen that in another thread, it is beautiful!
-
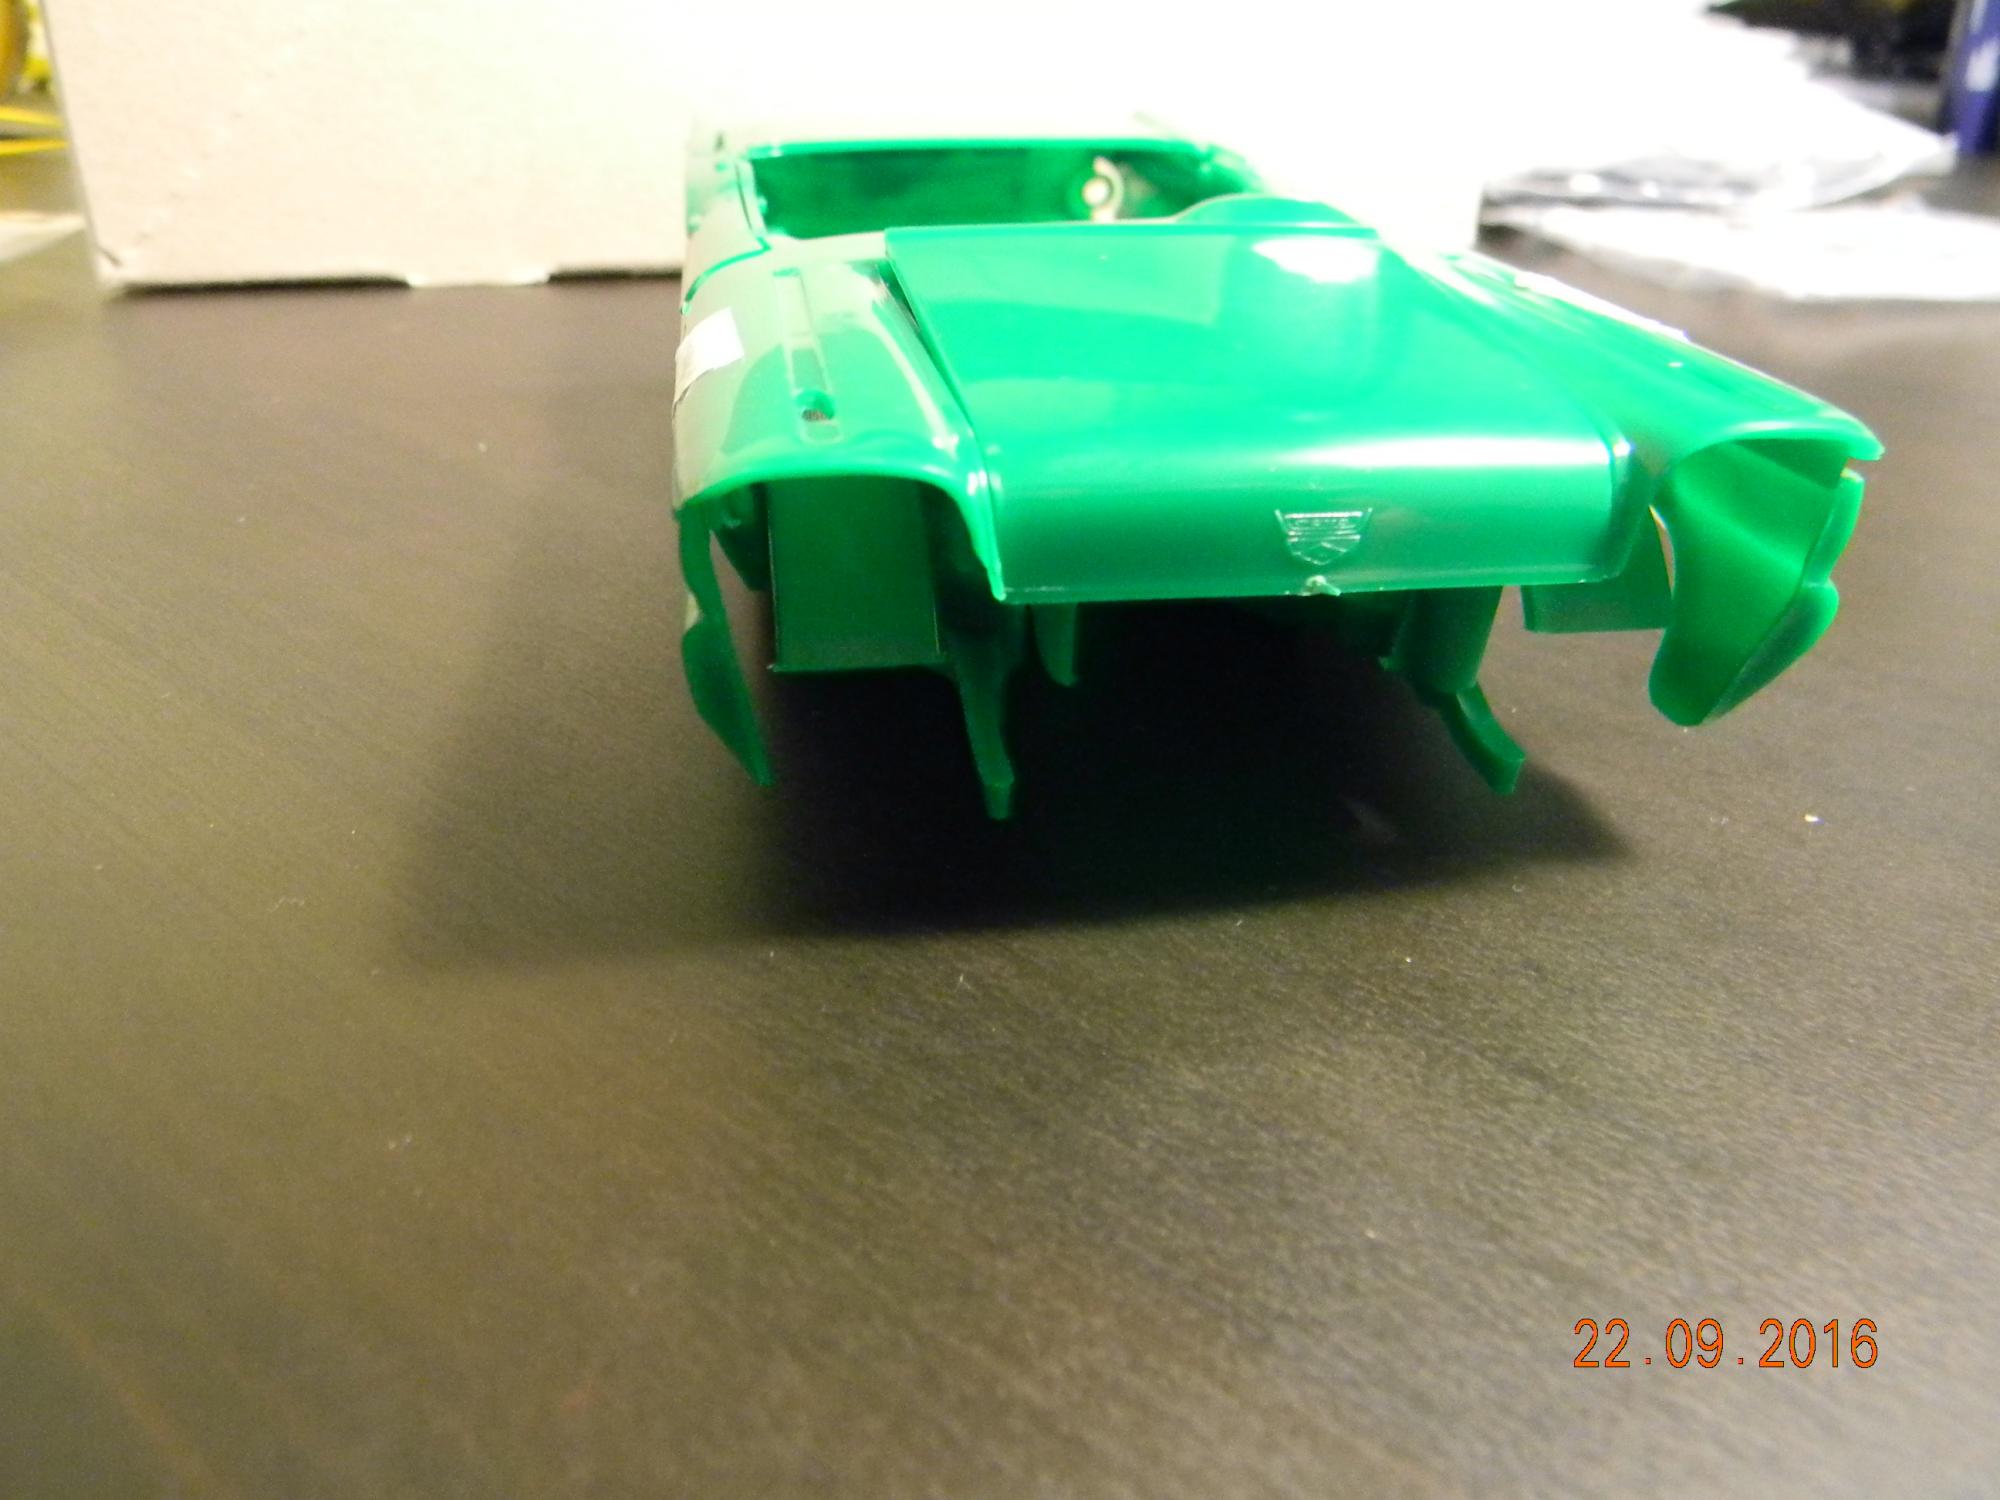
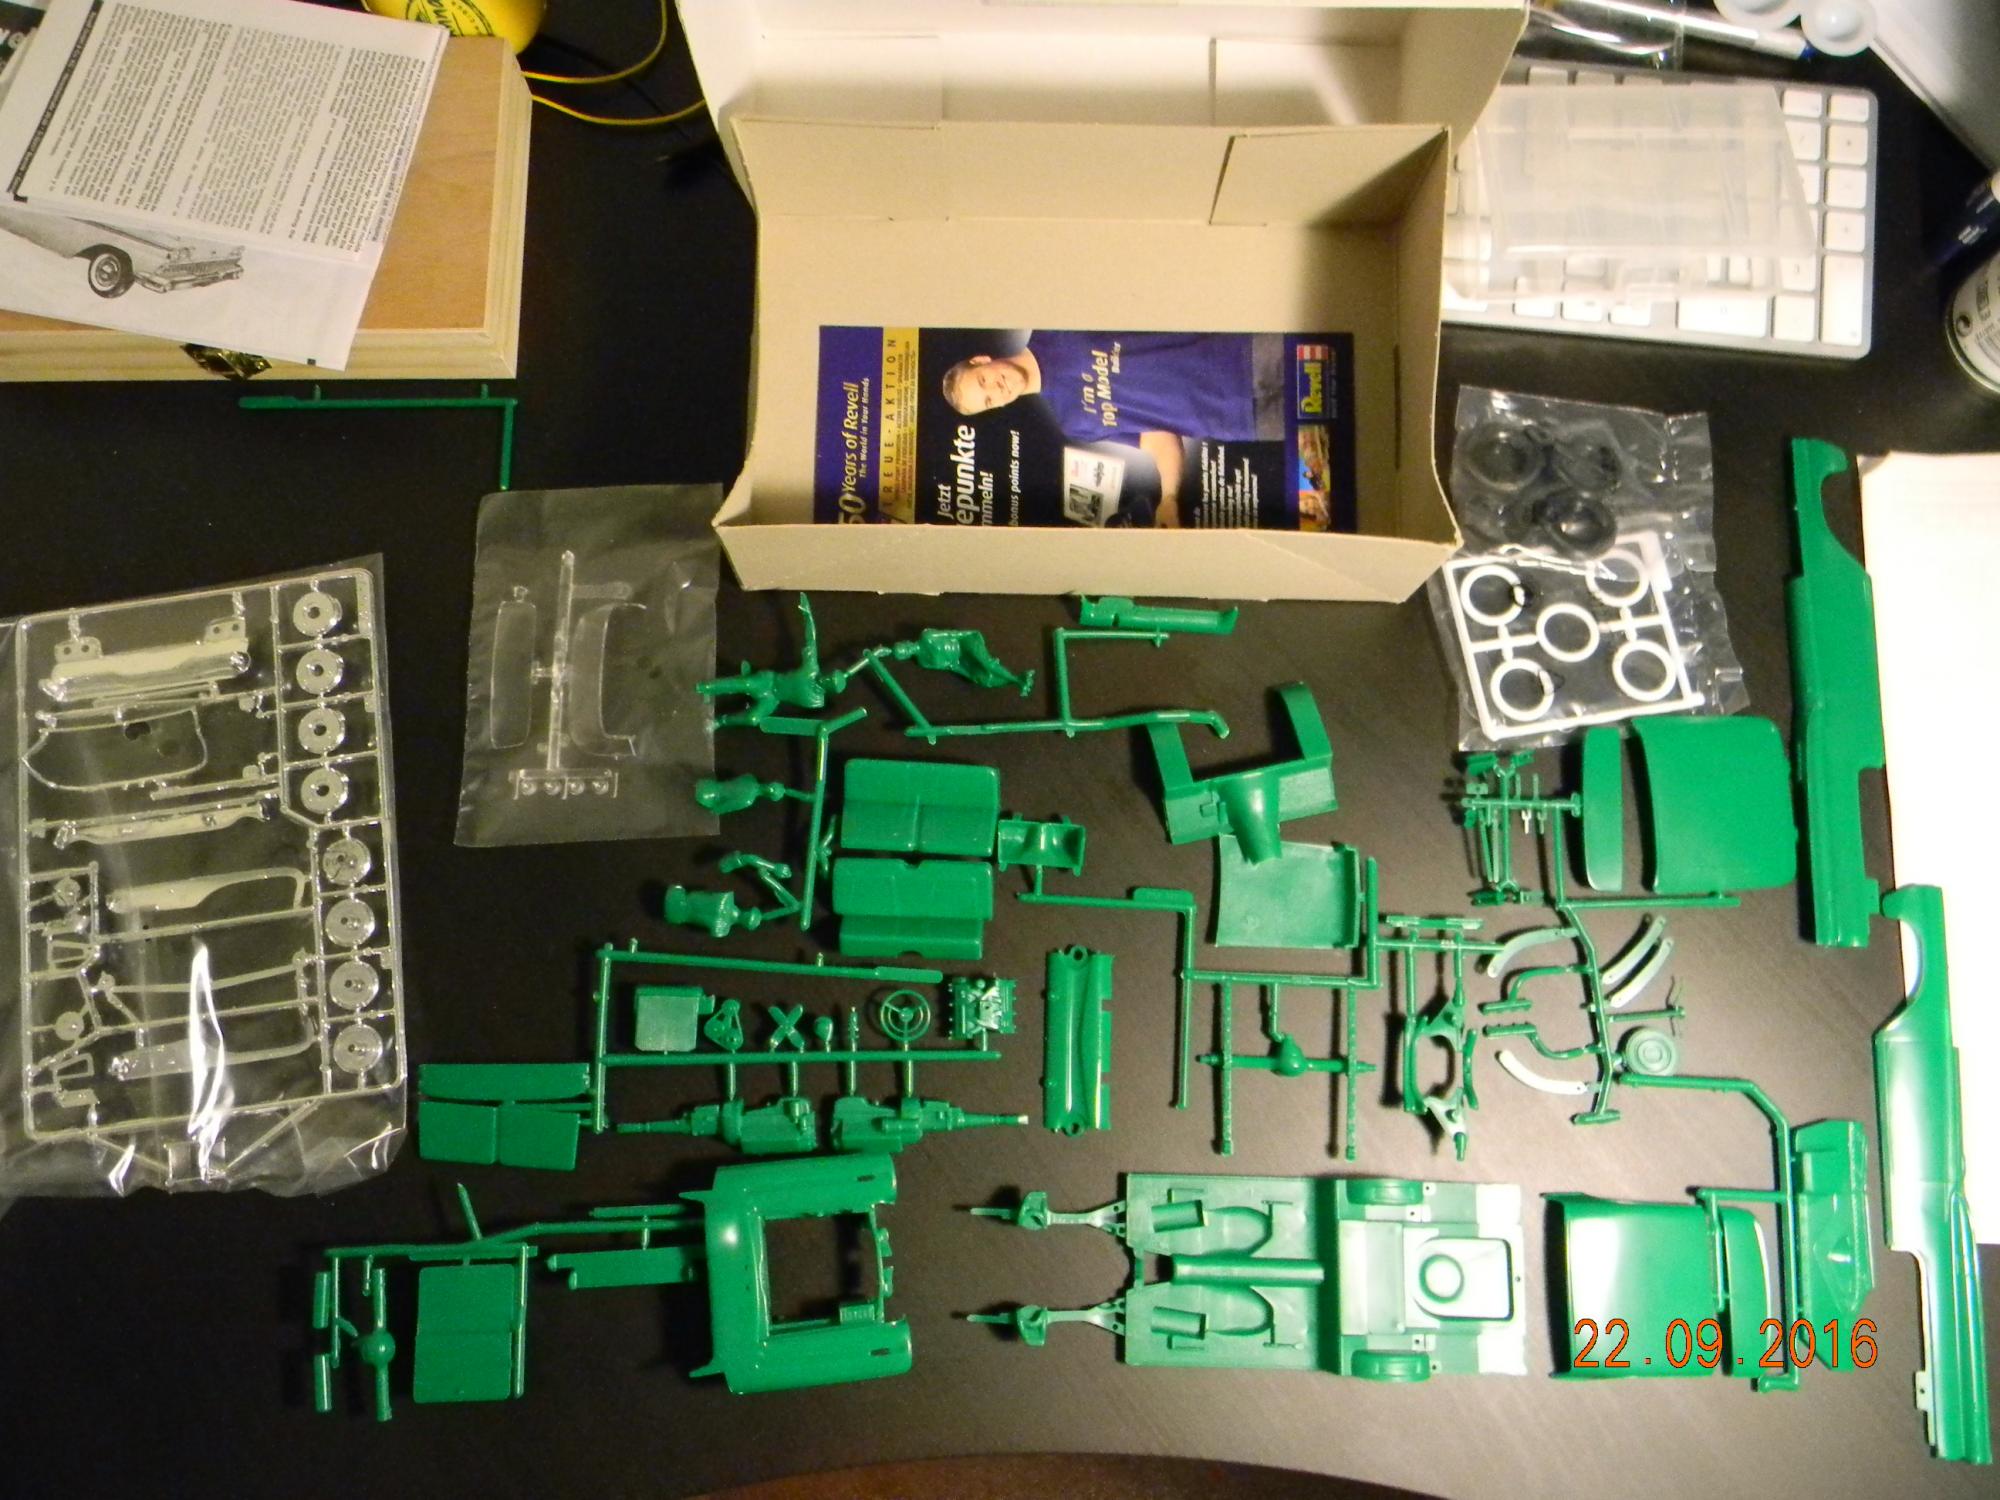
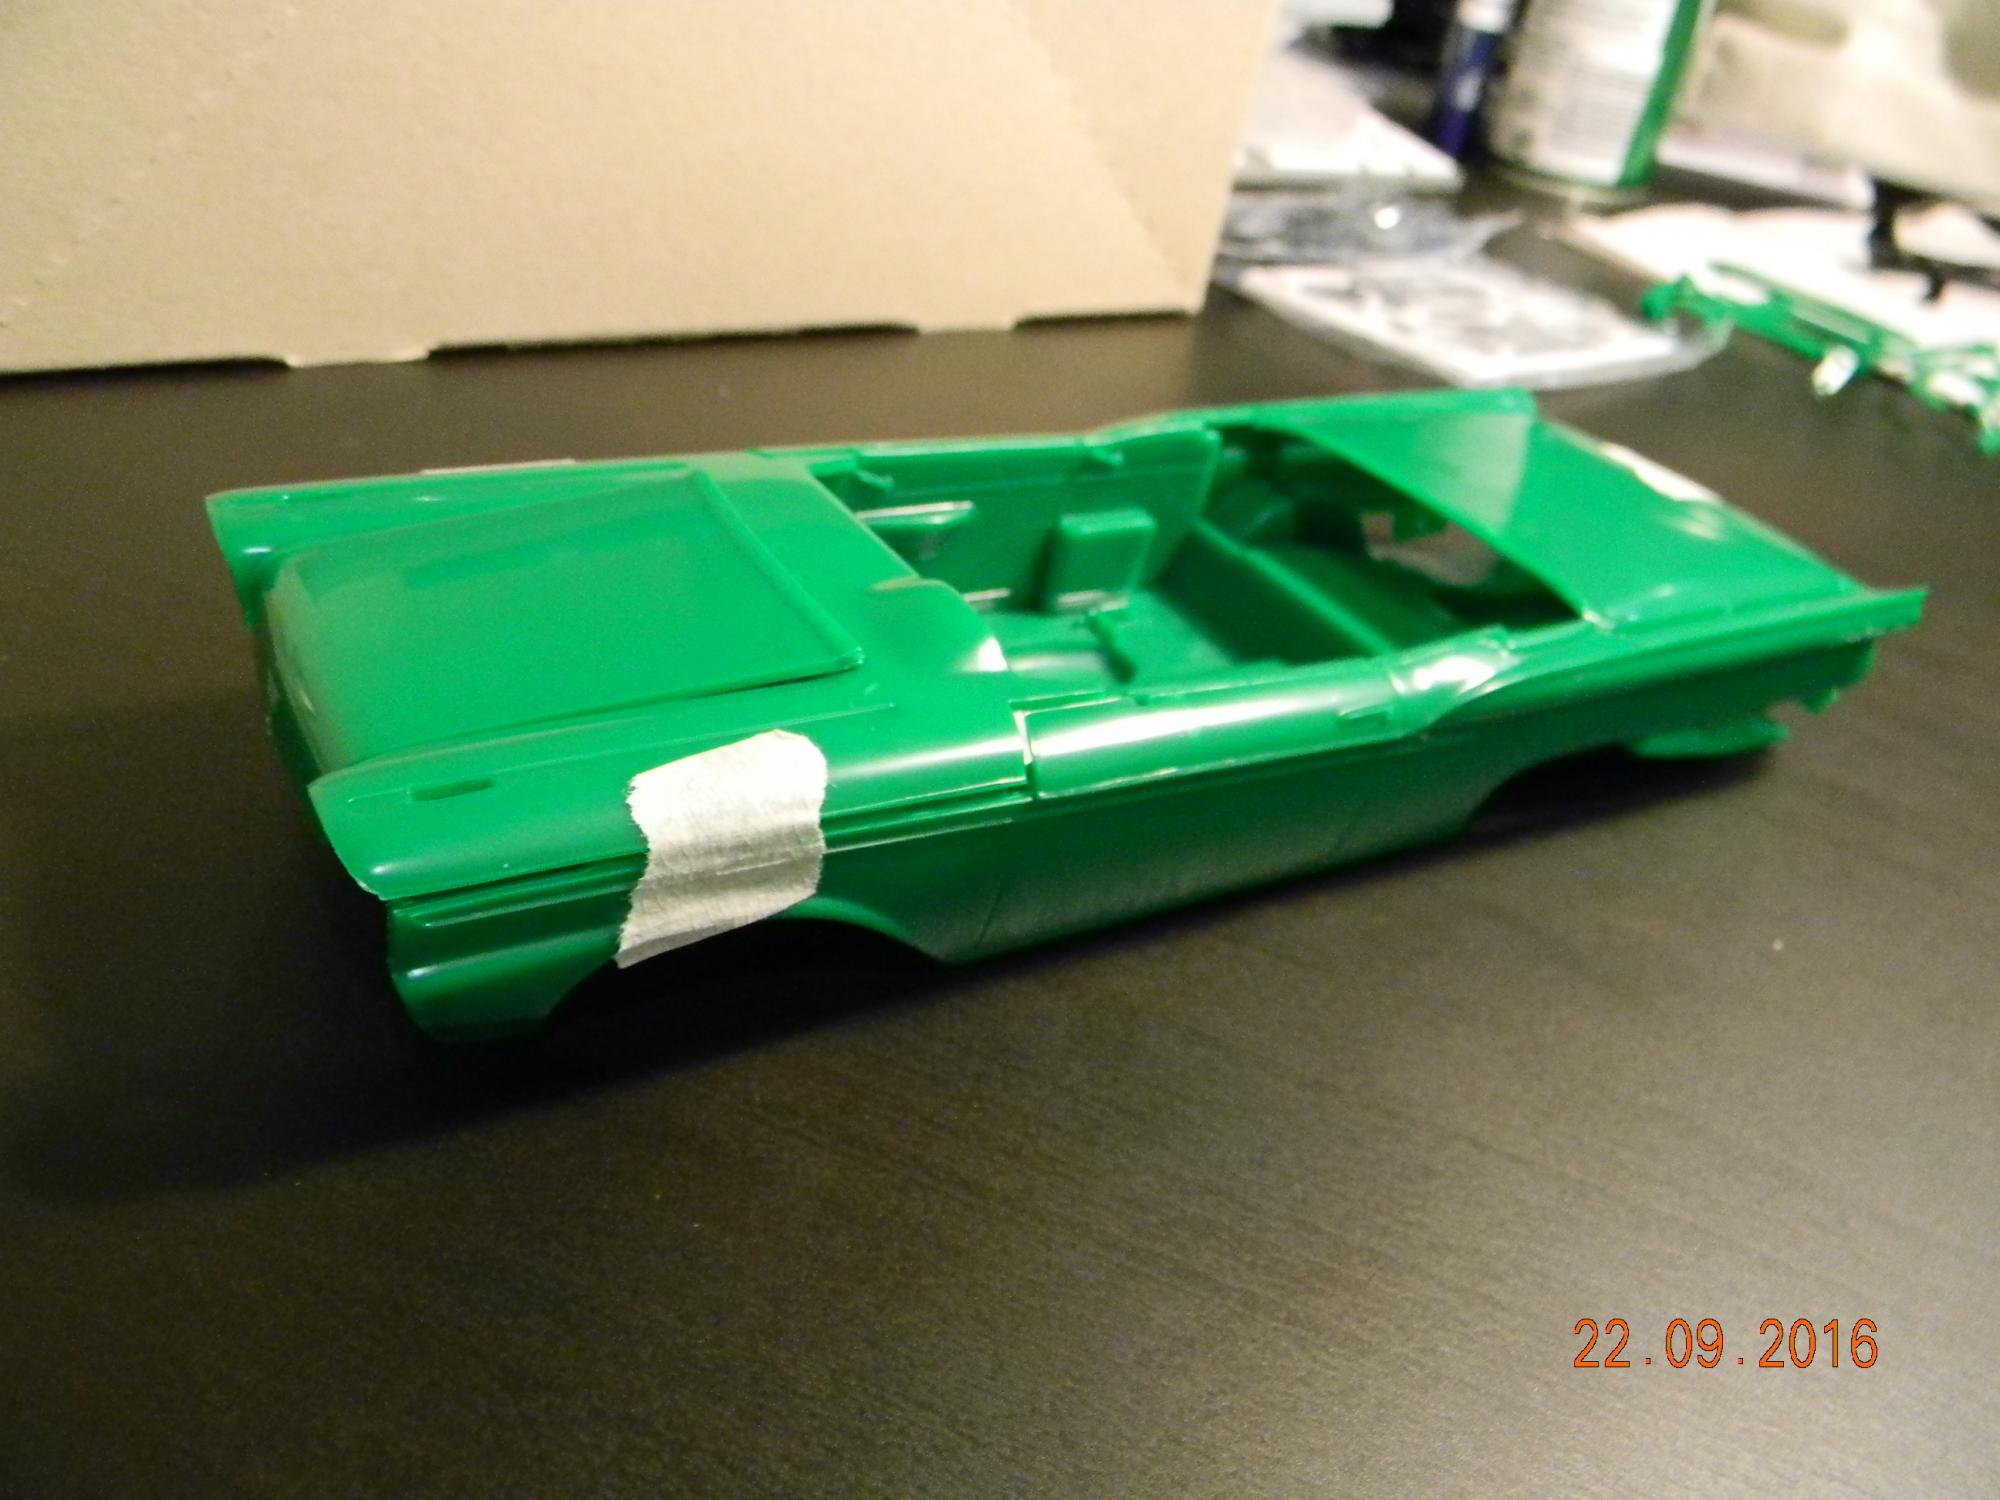
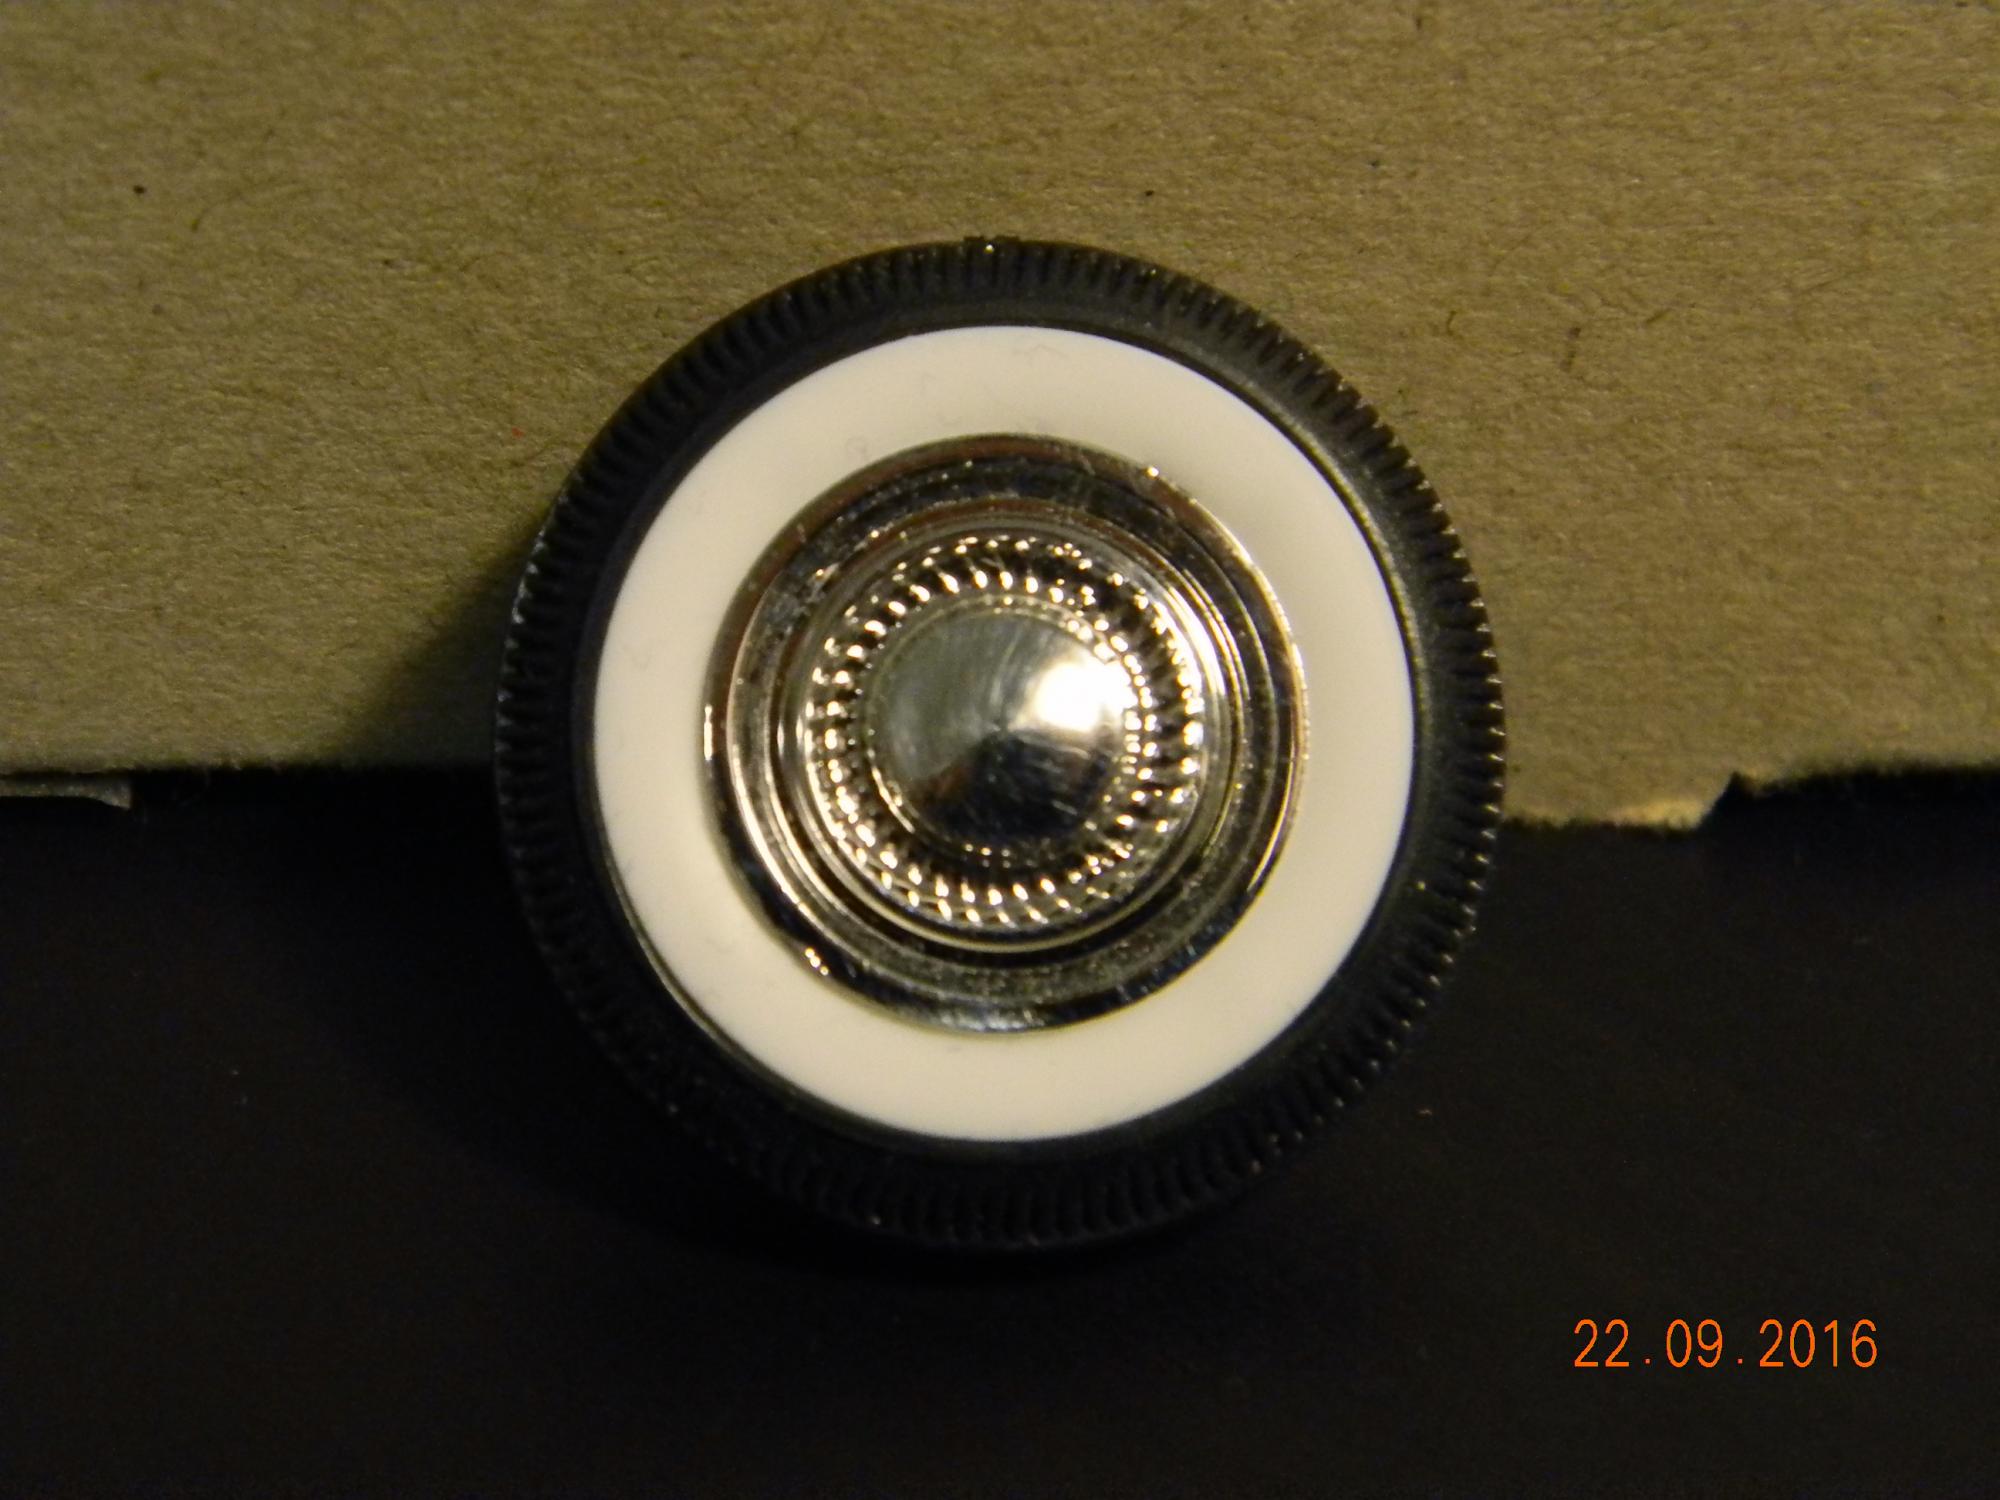
So.. first build post, and first build in oh.. 3 years. Total builds before this = 3 (spread out over 20 or so years!), so not a super experienced builder by any means. I go this kit at a local hobby shop, which I went to with my son. He left with an airplane, and I had this. Pictures so far is of me having taken it out the box and taped the sides and chassis together so I could see what it looks like. I was born in South Africa and lived there till 3 months ago, and have never seen a car of this vintage in real life. I am particularly impressed by the chrome wheels, I thought they might not look good assembled, but with the whitewall insert I actually quite like it! This will be an OOB and seeing as I have no tools / paint or real experience the bar is set pretty low. Going to have to brush paint it as there is no way I am buying an airbrush for quite some time! Comments and guidance most welcome!
-
1968 Shelby Green Hornet-----Update! 8/4/18
shaunmza replied to MrObsessive's topic in WIP: Model Cars
Nice video, I definitely appreciate the details, keep it up! -
I have tried to search for your post, but came up short. Can you post a link to it please?
-
I find the Camaro to be one of the better looking cars today, also never looked at a snap kit. Enjoying your review!
-
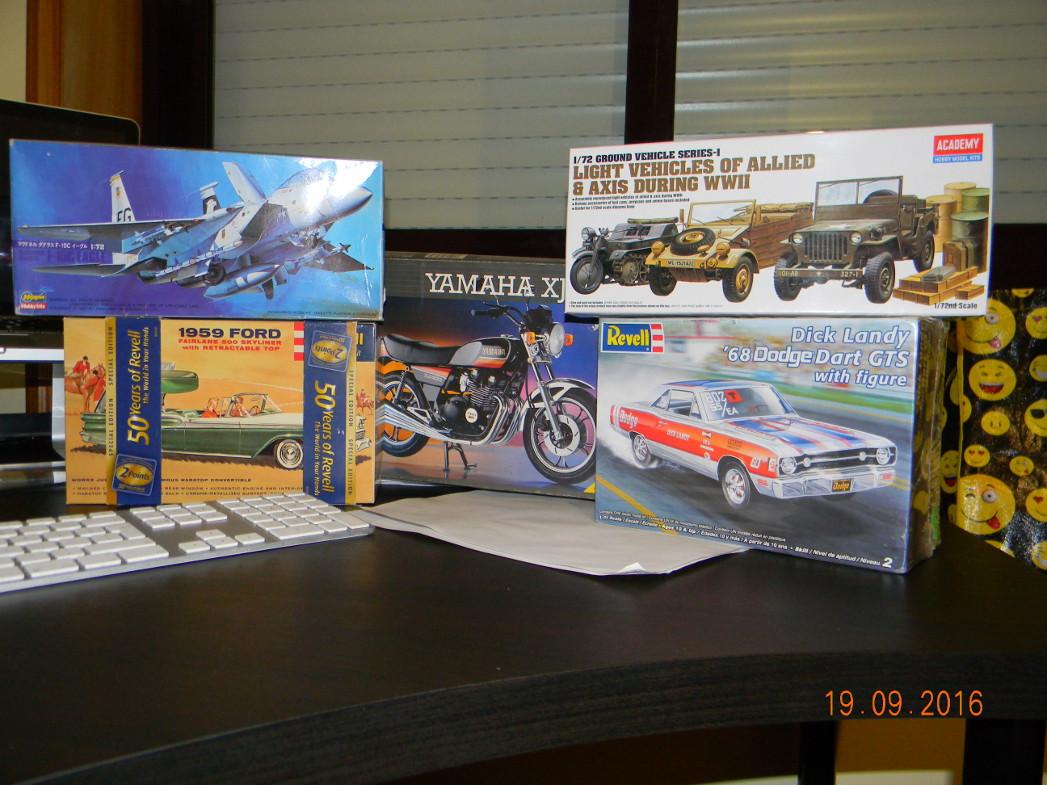
and today I took delivery of some more A Yamaha XJ 400 which is a bit rough 1968 Dick Landy Dodge charger and some world war 2 vehicles to build with my sons
-
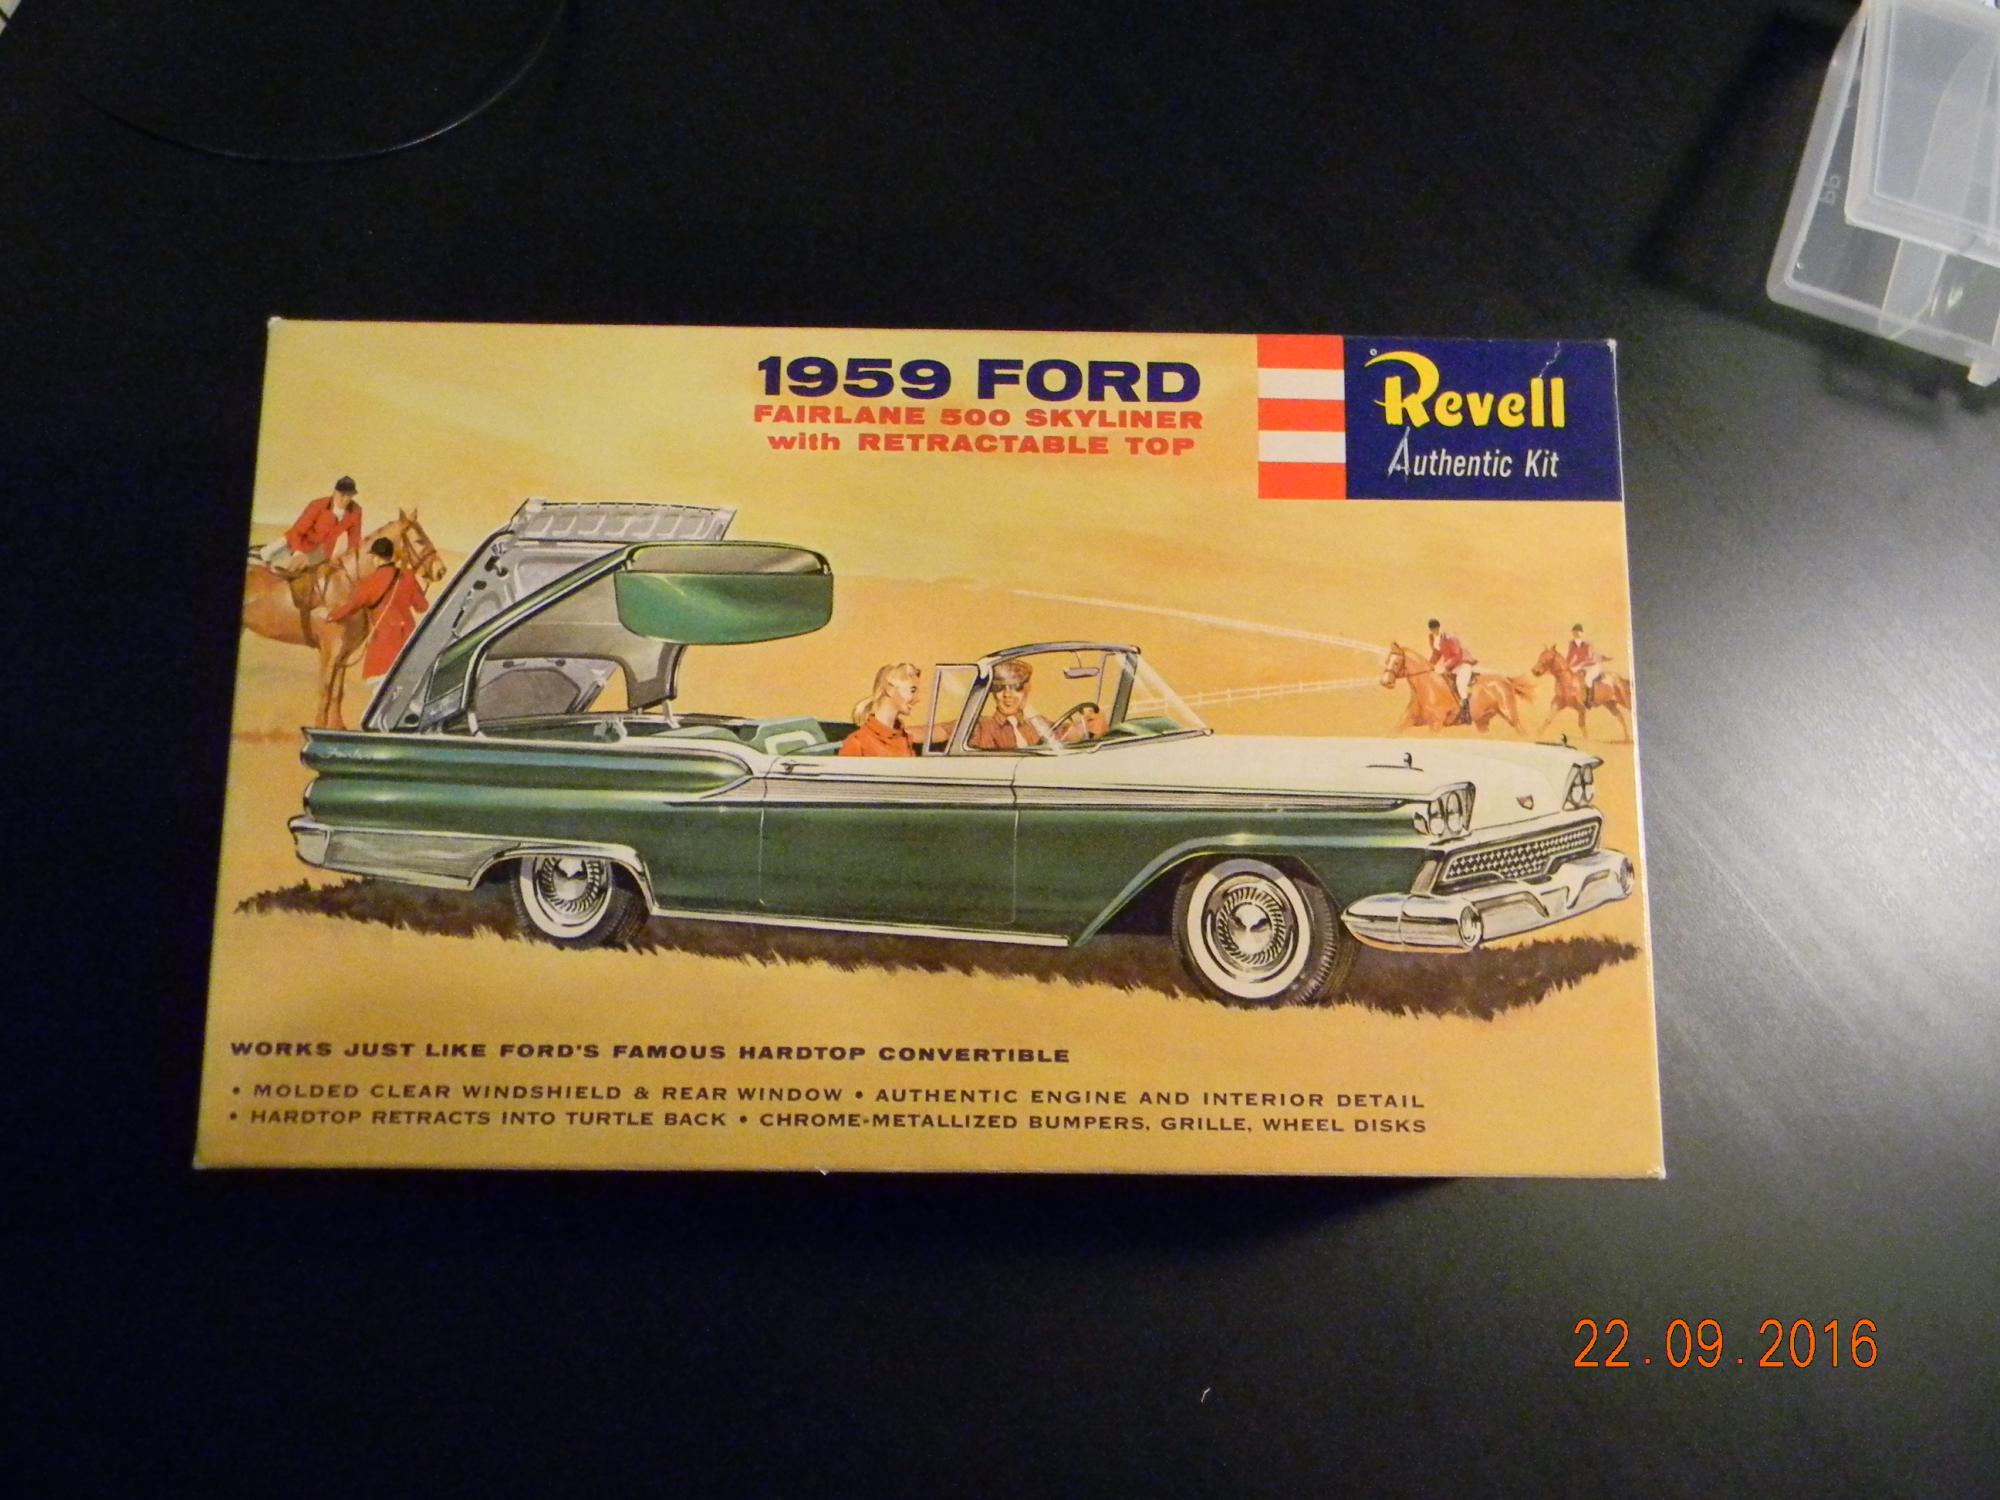
Yesterday I picked up a 1959 Ford Fairlane Skyliner from Revell, and a McDonnell Douglas F-15c from Hasegawa for my son.I am hoping he gets into building models, he seems really excited about his plane
-
Der Beetle Bus
shaunmza replied to Psychographic's topic in WIP: Model Trucks: Pickups, Vans, SUVs, Light Commercial
Thats amazing! -
For 16-17 year old, that is nothing short of amazing!
-
@jhuntsman that looks great! What 3d printer do you use?
-
Very nice, thats one of my favourite cars.
-
So I get that plactics kits are done using injection molding machines, I am wondering if anyone has insights as to how it gets to that point? Do car manufacturers send CAD files to model companies? Do the model companies re-draw everything in a CAD/CAM program? Do they build a mock of it and do 3d scanning? Would appreciate insights!
-
Not Portuguese no , my wife is though. Moved here from South Africa, waaay more interested in cars and bikes than ships, but do own a few (3) ships. Do you have a link to share regarding the wooden ship builders? Would like to learn more, it's a very interesting country, things seem a bit hidden away sometimes though.
-
That is an amazing bike and you have done a fantastic job! I have a Tamiya Suzuki Katana which is waiting to get built, going to need a lot more experience before I get anywhere near your level of quality
-
Been into modelling on and off for a few years, am blown away by the effort and quality I see on these forums. Living in a small city in Portugal now, with no shops nearby to by models / tools etc. so a bit down. All my stuff is in boxes making it's way across the ocean Keen to hear if anyone else here is in Portugal!