jacoballardtattoo
-
Posts
181 -
Joined
-
Last visited
Content Type
Profiles
Forums
Events
Gallery
Everything posted by jacoballardtattoo
-

1/10Th scale scratch building a 73 Cuda Funny Car
jacoballardtattoo replied to Hammerdown's topic in WIP: Model Cars
This is a great project I'm excited to see it complete. You may have re-inspired me to break out my 10th scale rock crawler and keep building on it. -
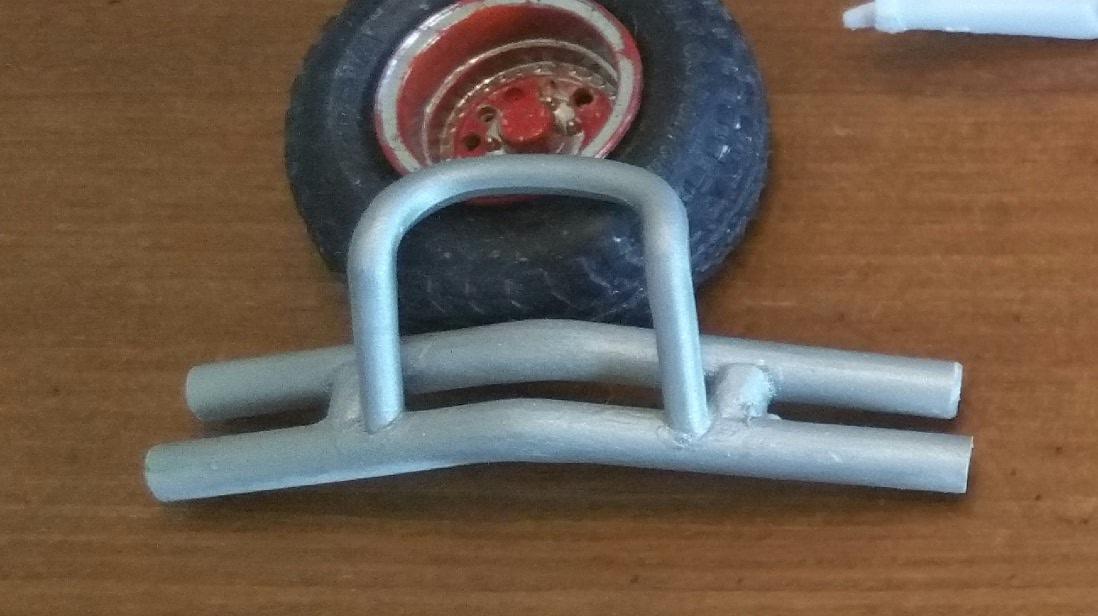
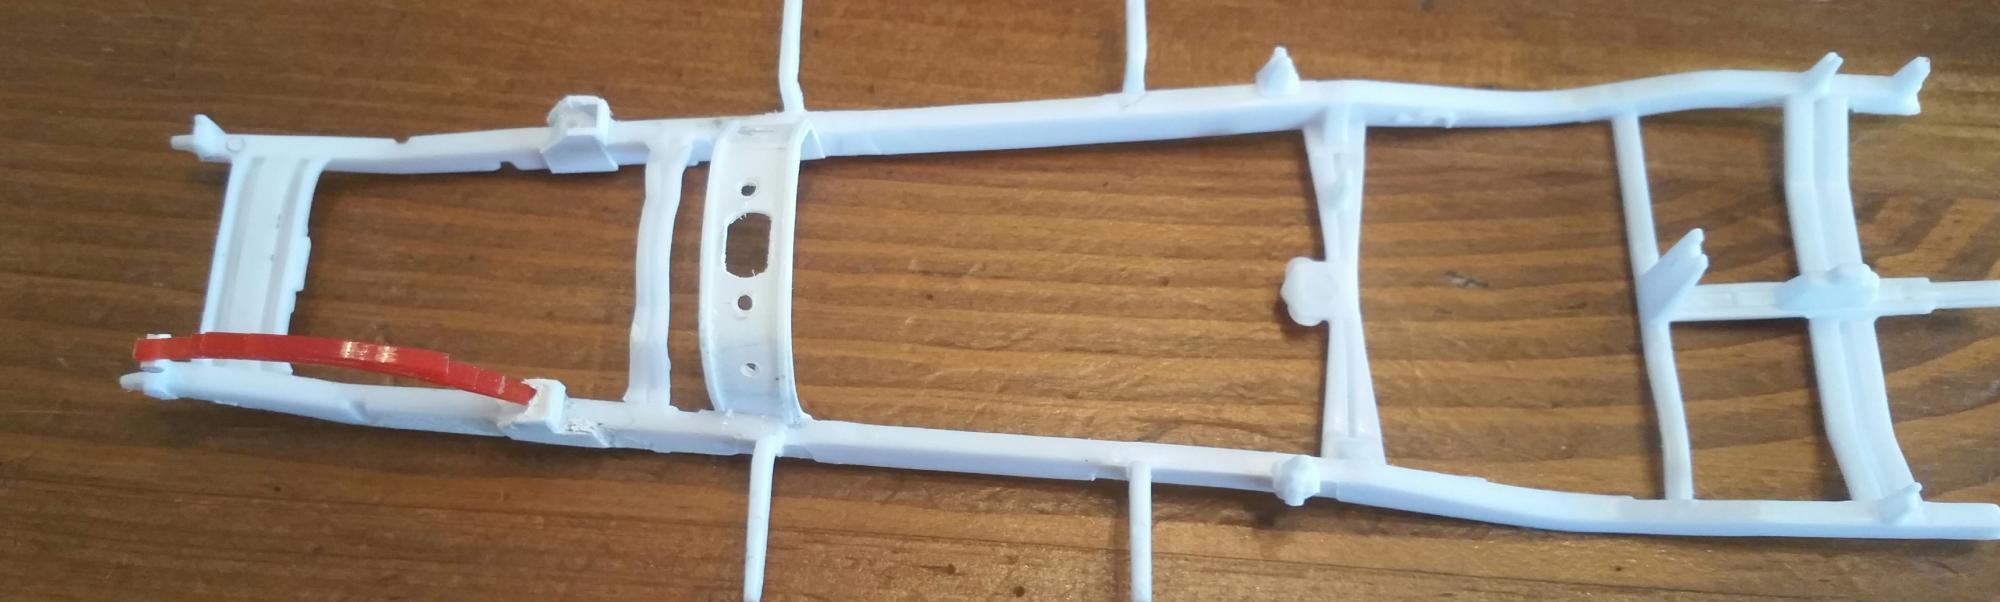
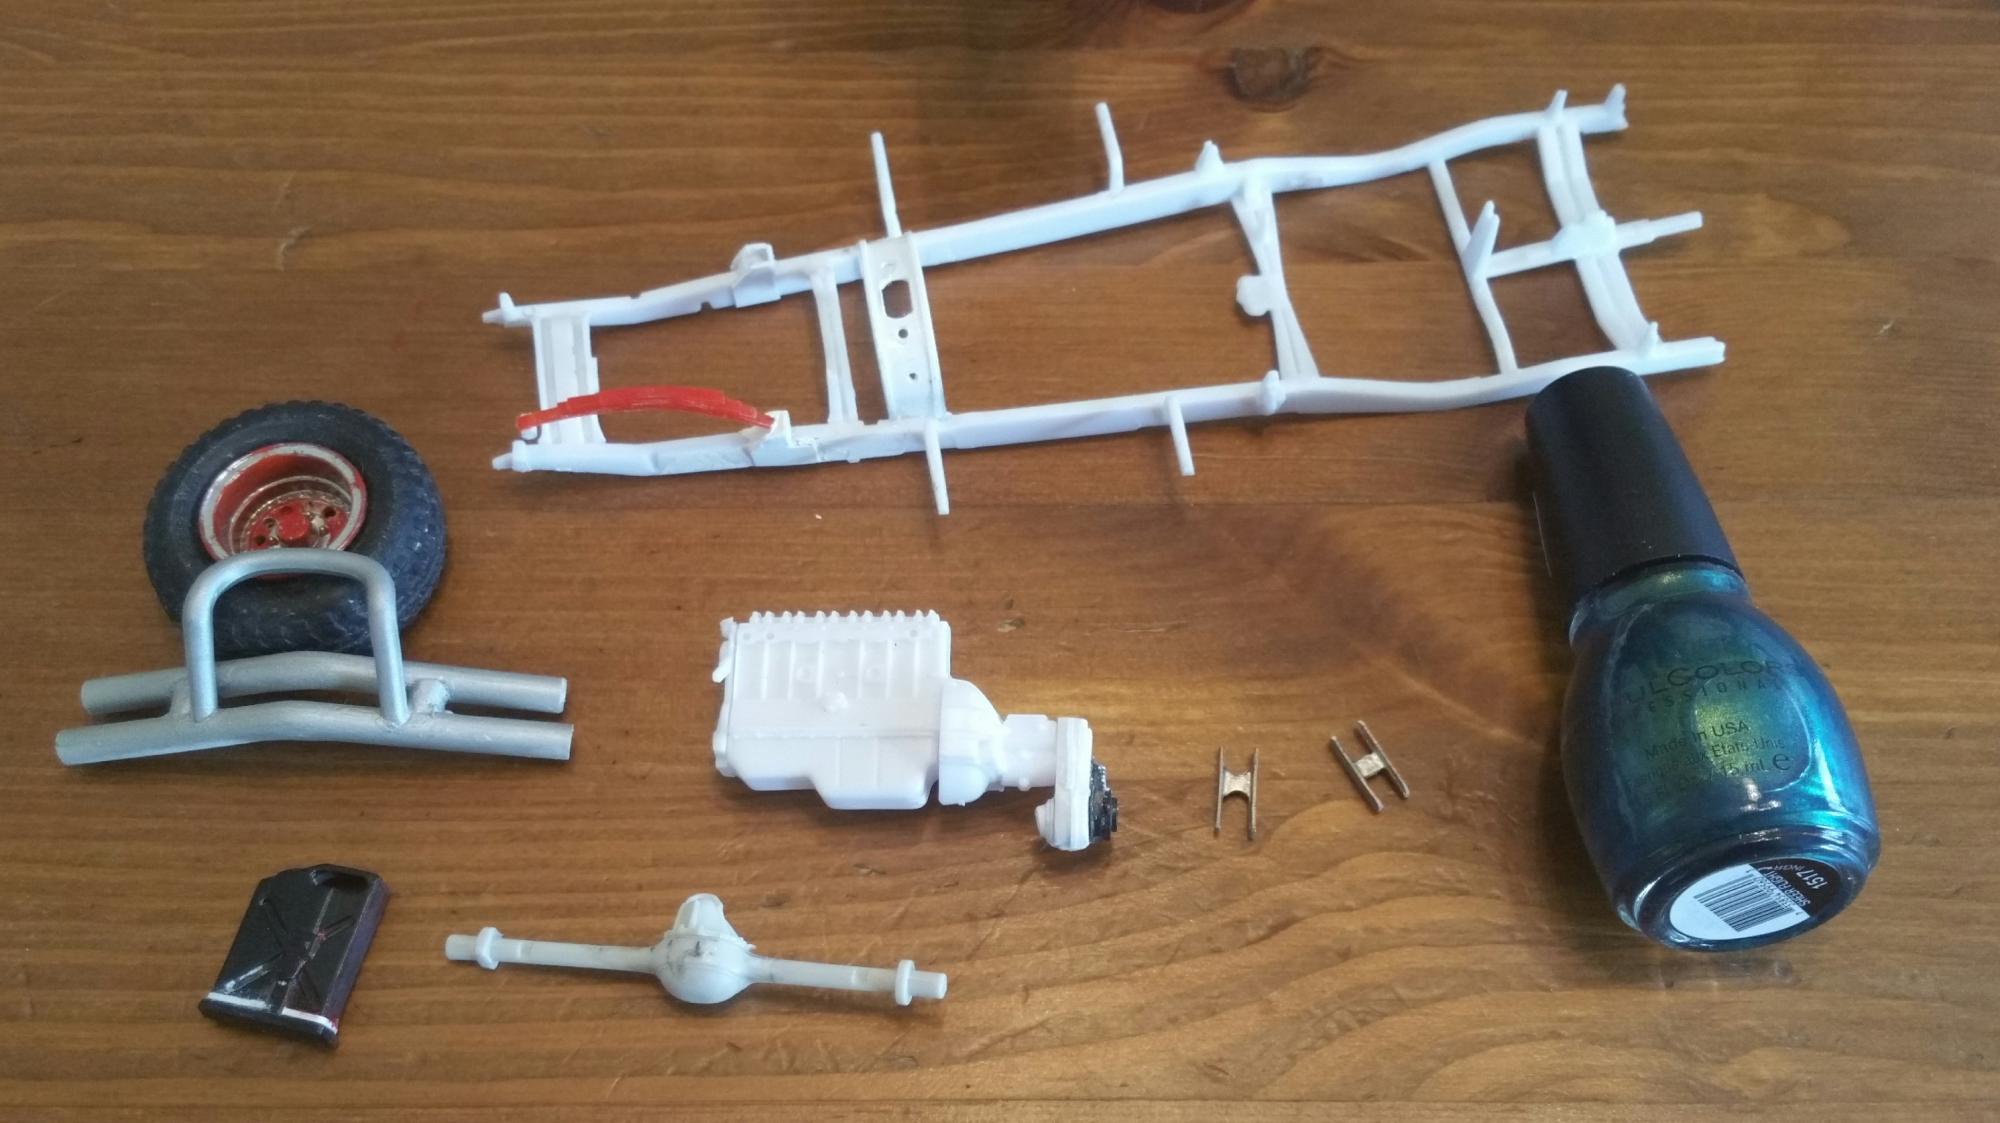
The original center cross member had to be removed and a new one fabricated using styrene sheet and thin strips. I boxed in the rear spring hangers to beef them up and allow the springs to hang lower then stock and in line with the front shackles, I still need to clean them up a bit. To acomadate the front drive shaft and for wheel drive I created the transfer case by stacking and shaping sheet styrene, I also modified a donner part for the rear. Evergreen rod were used to create the front bumper.

-
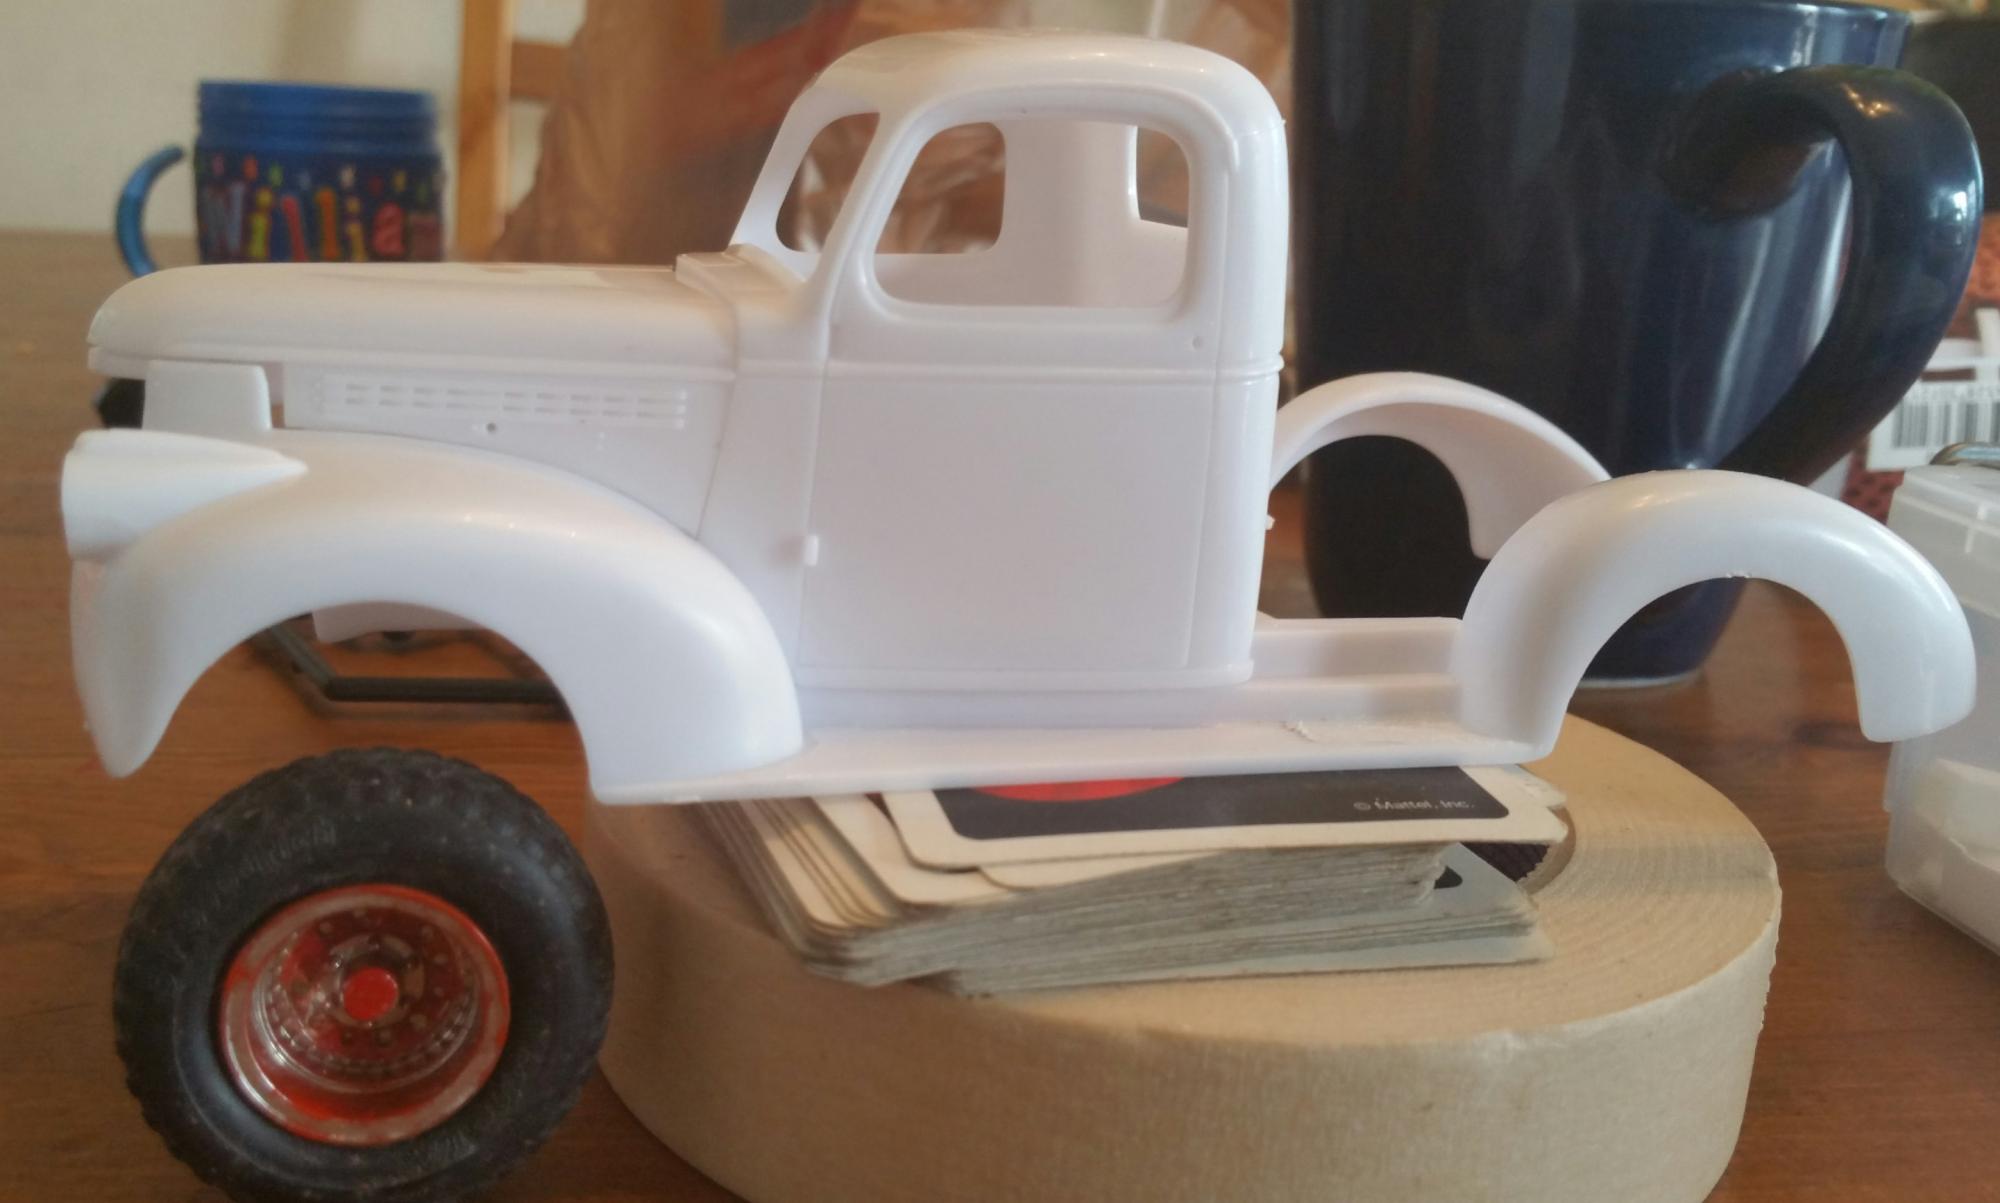
So I started this one about a month ago and just now got pics to post. I'm doing a custom 4x4 conversion with a solid able swap. Custom parts so far. Front tube bumper, custom transfer case, front leaf springs, transfer case bracket and lift shackles. Still to come Rear leafs, rear bumper, drive shafts, and probably much more.
-
Thank you ill check this out. I just realized I double posted this same question. Oops
-
Does anyone know of any okay free or really close to that price tag CAD software? I'm looking for anything that would allow me to create parts on paper or computer at 1:1 measurements and print the image at exact 1:24th scale. If you know anything please I have a couple projects that depend on something of this nature. Thanks.
-
Does anyone know of a free cad program to use for designing parts on paper to scale ready for a template to scratch build from?
-
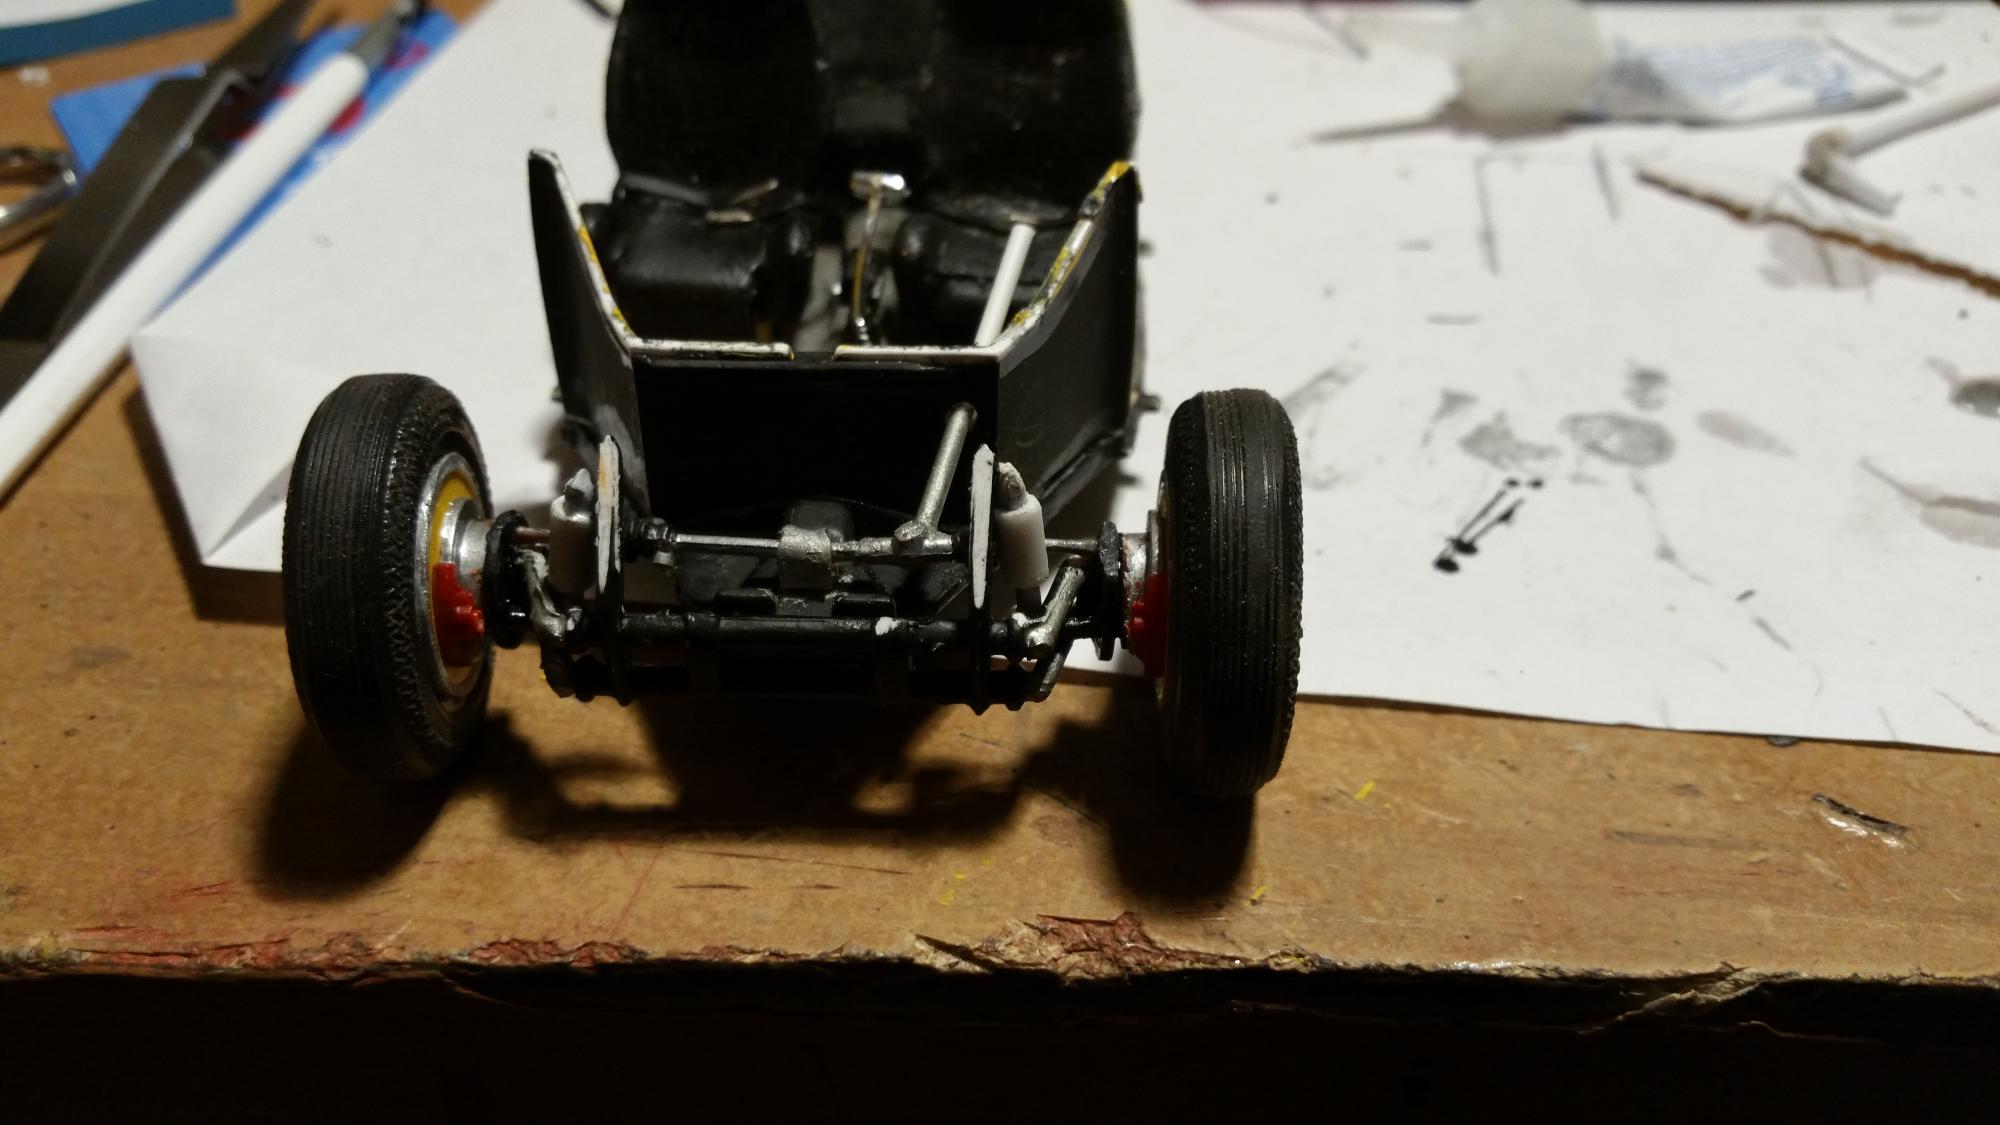
Is looking amazing. I'm a major jeep freak so I do have one critique. Please know I mean no disrespect with my critique. It look like you extended the spring perches to gain your lift while retaining the stock springs. I would like to suggest creating new springs with a greater arch to get your lift. I created this one from a couple zip ties, a thin sheet of evergreen and an evergreen rod. 1. To arch the zip tie punch it between your thumb and pointing finger with your thumb nail against the smooth side of the zip tie and pull the tie through your fingers. This will give the zip tie a nice arch. The more times you do it the greater the arch. Make three or four of them for one spring. 2. Give each one a light sanding this will help paint stick better. 3. On your main spring glue the rod to the end. (I found it was easier to leave the rod lower to do this and trim off the excess when the glue set. ) 4. Use your thin sheet (as thin as you can get so it's more like paper than plastic. ) to line the top main spring and wrap around the rod. This is to give your spring an eyelit to mount to your spring hanger. For the hammer use two strips of plastic or if you have I beam strips trim out the center creating an H in it. The spring in the picture is the scale equivalent of a 3 inch lift spring. On the truck I'm working on I have it mounting to a 1 inch hanger and am doing a spring over design on the axle for a lift off around 6 inches. Not site if this will help or not but if it does I'm glad I could help.
-
Tough break there, I hope for a good speedy recovery. It's all to easy when things are going great for yourself to remember things like this happen all the time. Sometimes we can take ALL the RIGHT steps in the world and things such as a faulty fuse will show us things happen. I don't know your preference in the matter but I personally feel that God has a way of showing us that we can only do so much. I do pray you have a great recovery. I have seen it forest hand where doing things right may not always be good enough. My best friend in the army lost his finger tip hooking up a trailer to his 5 ton. He did things right but the landing gear fail at just the wrong time and crushed his hand, the fingertip could not be saved. Good luck and from me god bless. (Sorry to presume you are alright with my god talk here I do understand not everyone believes and I do not know your beliefs. I feel for you.)
-
-
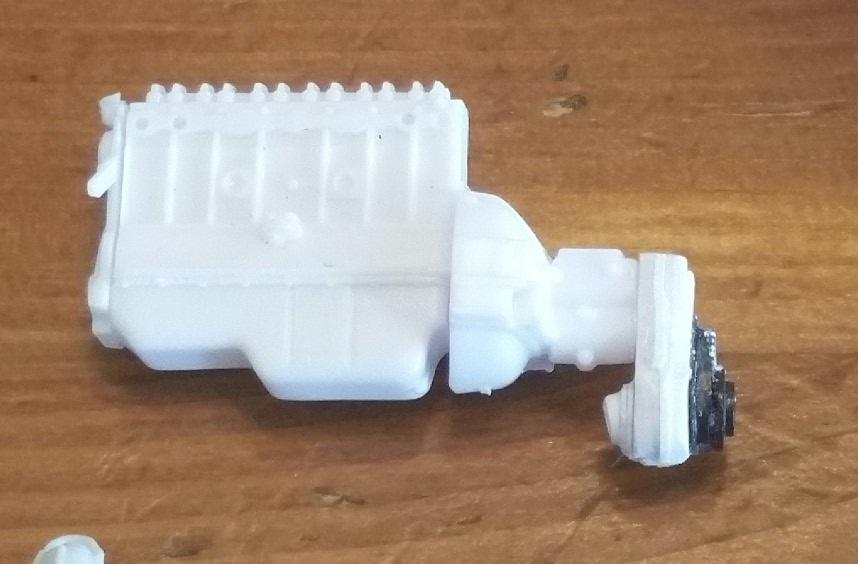
Okay so I'm going to try a test to see if I can get my photos posted bare with this HTML class. Value is [URL=http://s359.pho Okay so looks like this way I only one pic per post do still trying.but this is the mock the front skid plate and guardfront end with steering arms and shocks added
-
1963 Volkswagen Baja bug Polarlights
jacoballardtattoo replied to Atmobil's topic in WIP: Model Cars
Is looking great, I'm in the home stretch of a Baja build right now myself. Engine looks amazing and I love the nose! -
I have more pics I just need to figure out how to get them posted the way I was doing it isn't working anymore. I'm thinking it may be time to set up a photobucket account and try it that way.
-
I was looking at using I beam or C channel. I could also live with square stock, basically I'm open to suggestions I want to scratch build a rock crawler from some truck bodies I have laying around. I have two or three trick cabs I was given but no good frames beds or front ends so all that would be scratch built. Oh and I have never done a build that big before. (To be exact I have three builds under my belt and only one completed) most of my current build is scratched so I think I could pull it off but guidance could help it come out better.
-
Thank you guys so much that was exactly what I needed. So now a new question what size would I use for frame rails.
-
Okay so I'm on amazon to get some more evergreen plastics and I'm thrown off. Evergreen has a great chart to look at for sizing but when I go to amazon instead of there size being (for example) .080 they show (for example ) 5/16" is that the scale equivalent or the actual size? If anyone can help I would be great full. Thanks.
-
So it's been forever since my last post. Got some more pics to share.
-
Aoshima Lamborghini aventador roadster - new member
jacoballardtattoo replied to Keith D's topic in Model Cars
Looks great. You will be able to find things you feel could be better in every model you ever build weather it's your first or number one million. I just got back into things myself and was thinking the same (it may bit be as good as others on here) I found seeing the others had just pushed me to try more. Great start keep it going. -
Don't blame you for dropping the 67 I've had that same kit abandoned on the shelf for months already, my current build is pure custom worth little of the original kit/body left and is less work than the 67.
-
cleaning glue off the windows
jacoballardtattoo replied to jacoballardtattoo's topic in Model Building Questions and Answers
Yeah I can see your guys point about super glue. My last build (as this is only #2 some i was 10) I used Elmer's wore glue, it worked great for my lights but left me feeling unsure for the glass. I thought i could out smart the risk with super glue by song the glass into place and running a small bread around the outside of the glass, went well on the rear window other than fogging, blew up like grenade on the windshield. I'll post some pics soon of what happens after the clean up. -
cleaning glue off the windows
jacoballardtattoo replied to jacoballardtattoo's topic in Model Building Questions and Answers
Not sure the difference between tube glue and what I used, it might be good to say exactly what i was using. I think it's more fog then actual glue, the glue I'm using is cheap dollar store style super glue if that makes a difference. -
Has anyone found a way to clean super glue off there windows? I have a messy windshield after it slipped through the glue during installation, can I clean it off or do i just love with it?
-
Thank you everyone.
-
So I am very new to bmf, I tried the aluminium foil trick and like it, yet i have 1 small problem. What is the best cheap most likely lasting around the house glue to use to stick it to the model? I tried rubber cement, not a good long term bond there, white glue was a waste, super glue sticks great but is not very user friendly. Any thoughts?
-
Sounds like a great project, can't wait to see it come together.
-
I have been doing a lot of scratch building lately but have been leaning heavy on body fill to do so. I've seen a lot about evergreen styrene products and simular products and see where they would work a million times better for many of my uses, but i know nothing about them. I am looking on amazon for them (none of my local hobby shops carry it) and i see most packages are rated by sizes, I have looked at size charts and I'm lost on it all. I'm hoping I can get some good advice on what i should get for just starting out, what sizes, shapes ect. The type of building I'm currently doing and hope to do soon is as follows. Filling in gaps (hoods not lining up on poor molds, body panels, filing in the gap left from citing out for panels.) Creating new fenders/body panels Custom frames Roll bars These kind of things. I understand everyone has personal preferences on these type of things and I'll need to find mine but if I can get some guidance on where to start. I'm looking at about a 20$ initial investment and again I would be making my purchase online amazon is what i know and am comfortable with but not the only option. Thank you in advance. "Please forgive my poor wording I have been up for almost 48 hours now. "