lghtngyello03
-
Posts
1,246 -
Joined
-
Last visited
Content Type
Profiles
Forums
Events
Gallery
Everything posted by lghtngyello03
-
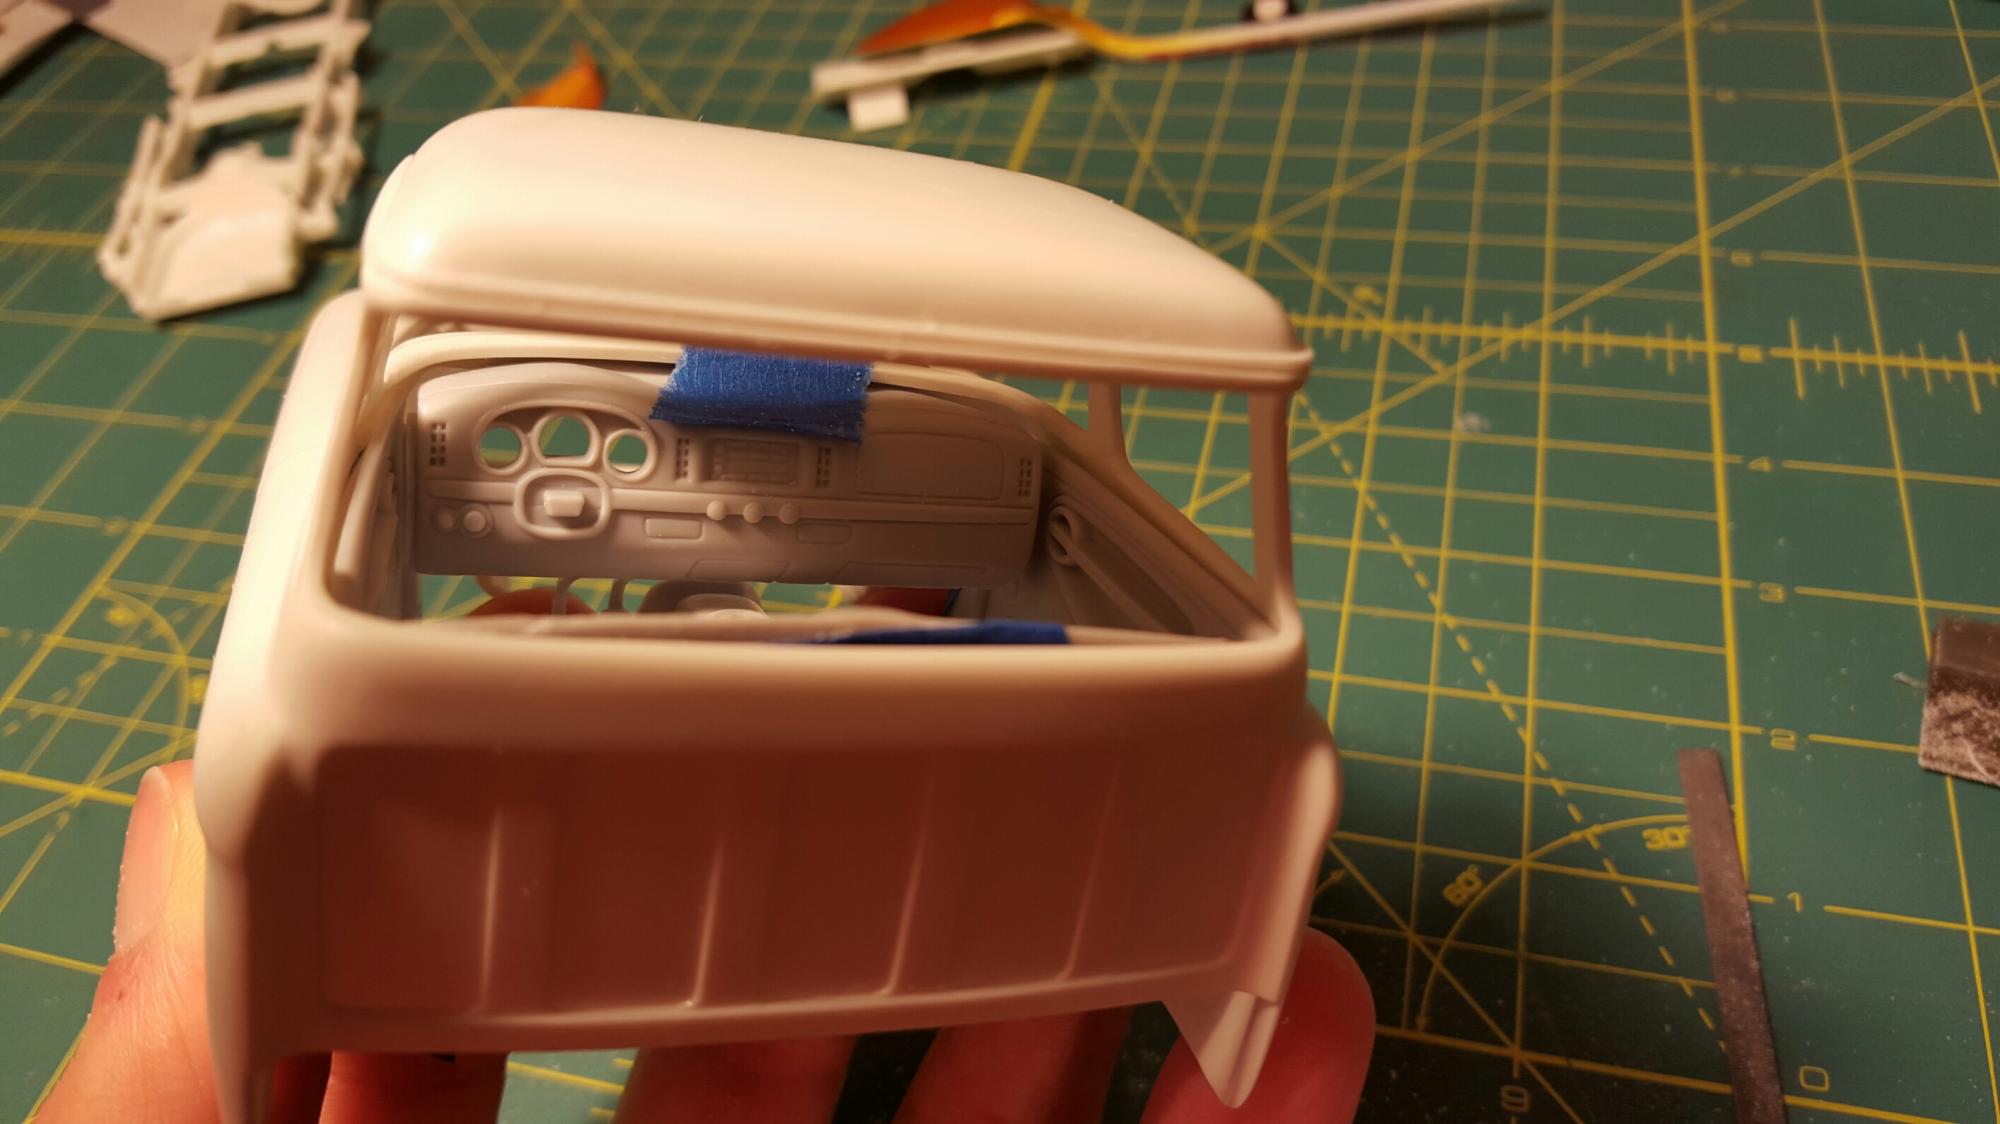
 Haven't had much time to get to the bench until today. Saturday was the Hope it Don't Snow show, and I had a blast. I picked up this kit and am going to source some parts put of it to make this build even better. Going to use the interior out of the SSR. Hated to cut up a perfect kit, but I'm not really a fan of these anyways. Here it is roughly fitted after some cutting, and also what had to be cut off. Needs a little bit of massaging but it will work.
-
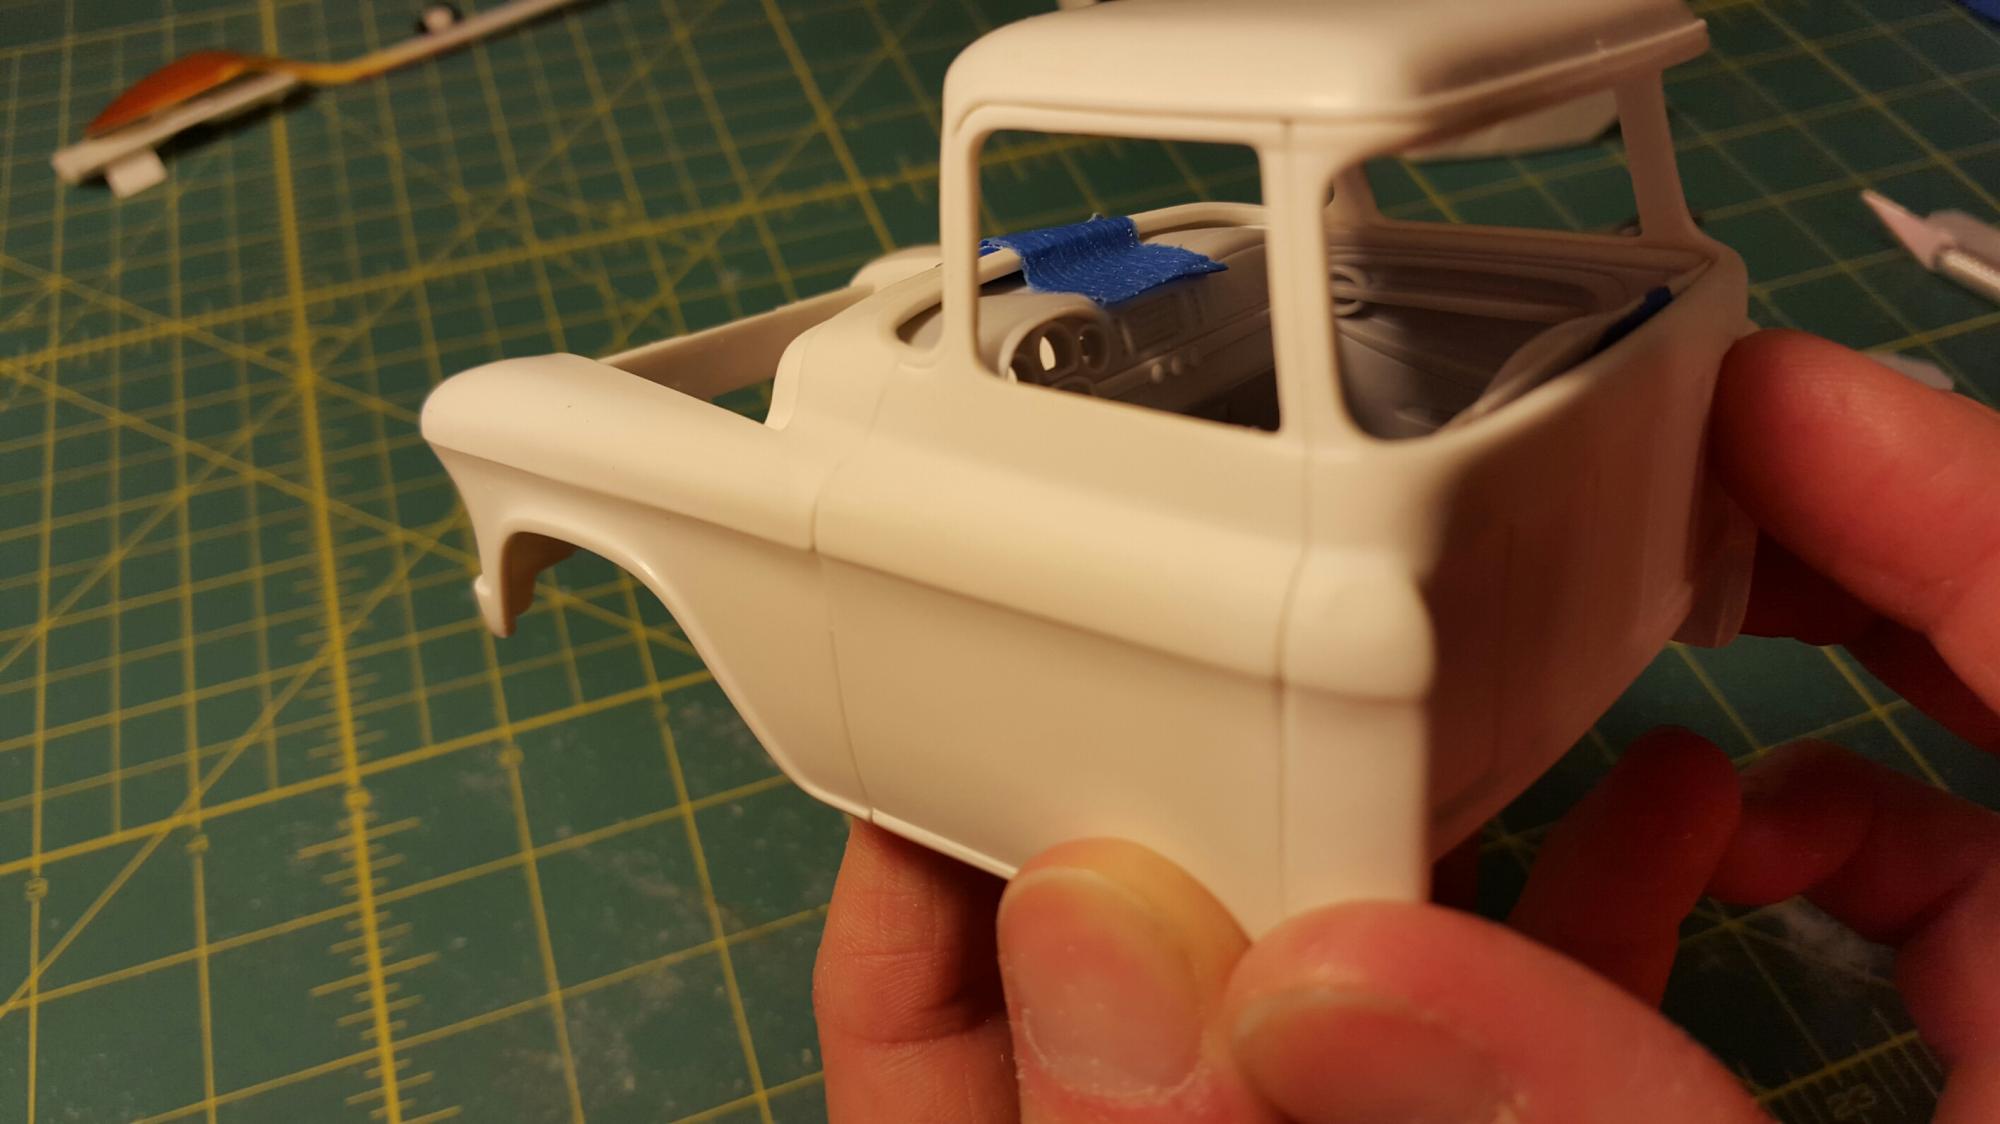
Fixed the hood gap..I may work on the drivers front corner a tad more. Lemme say, first time using evergreen styrene strips, and I'm really impressed with how pliable these things are. I'm hooked! Little bit of work involved but worth it.
-
Window openings corrected.
-
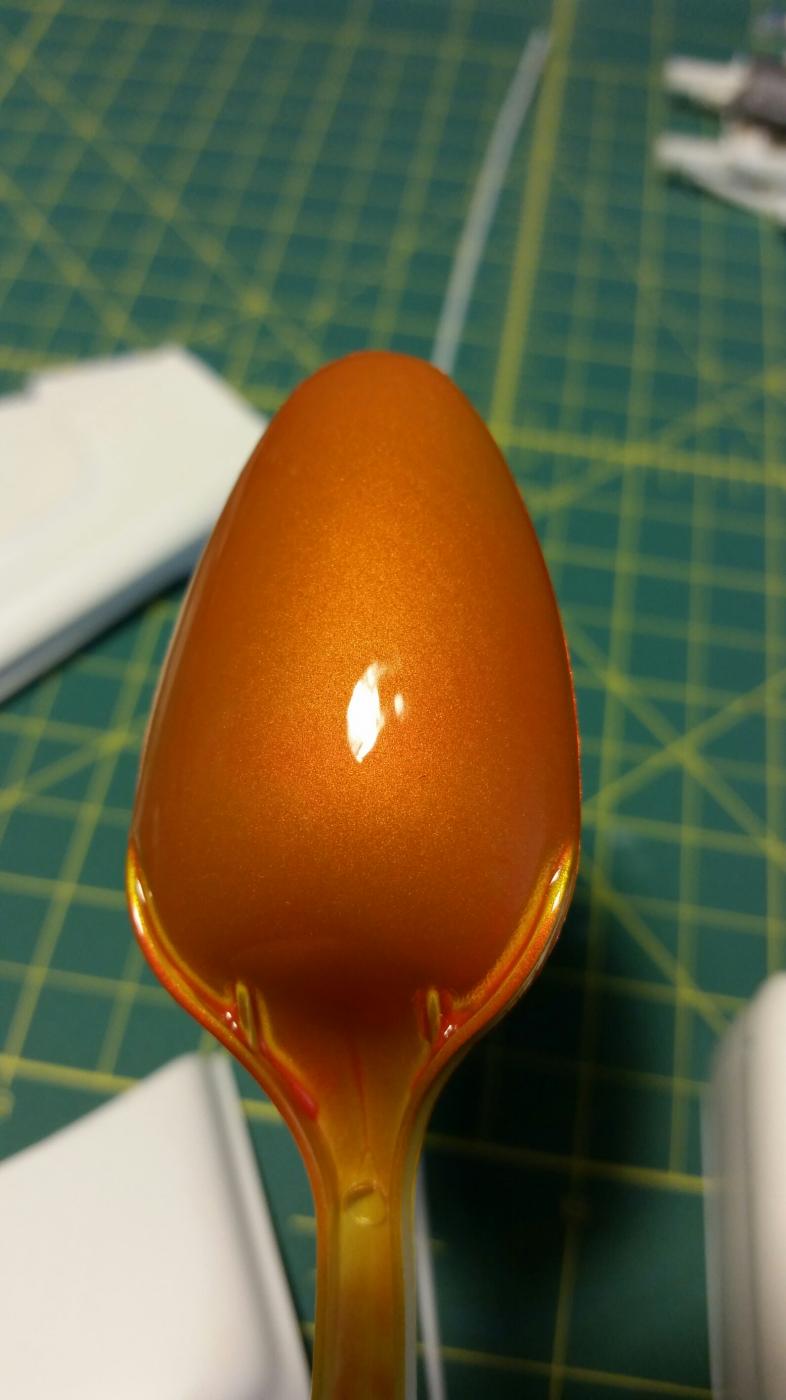
Think I'm going to go with this color combo instead of TS93 Metallic orange. This is Tamiya TS76 Mica Silver with Tamiya TS73 Clear Orange sprayed over top of it. It looks killer in the sun light.
-
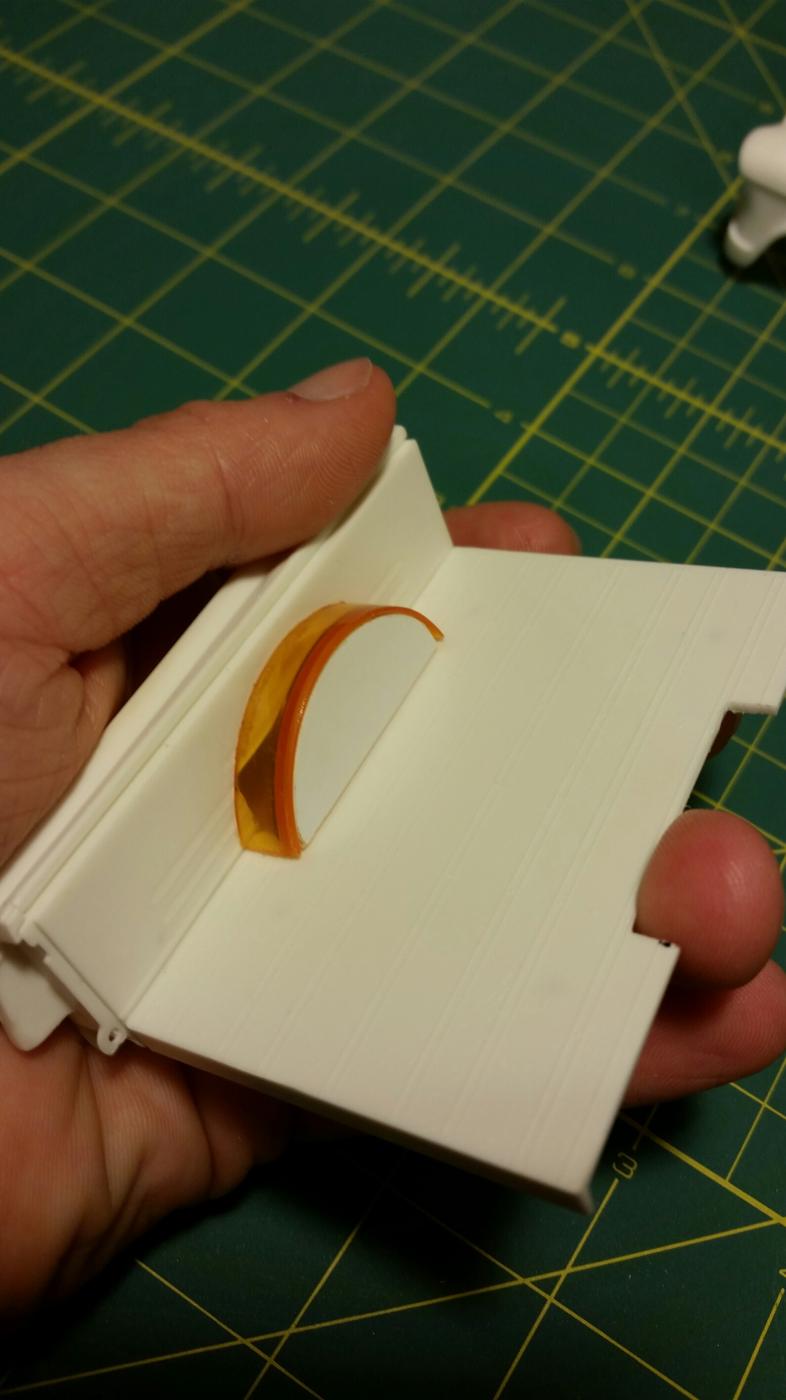
Got some time this evening after work to make up some rear tubs. I used an old medicine bottle and cut some .040 styrene to take the gap from the bottom away. I still have to put the putty on and smooth em out. But here is a rough mock up.
-
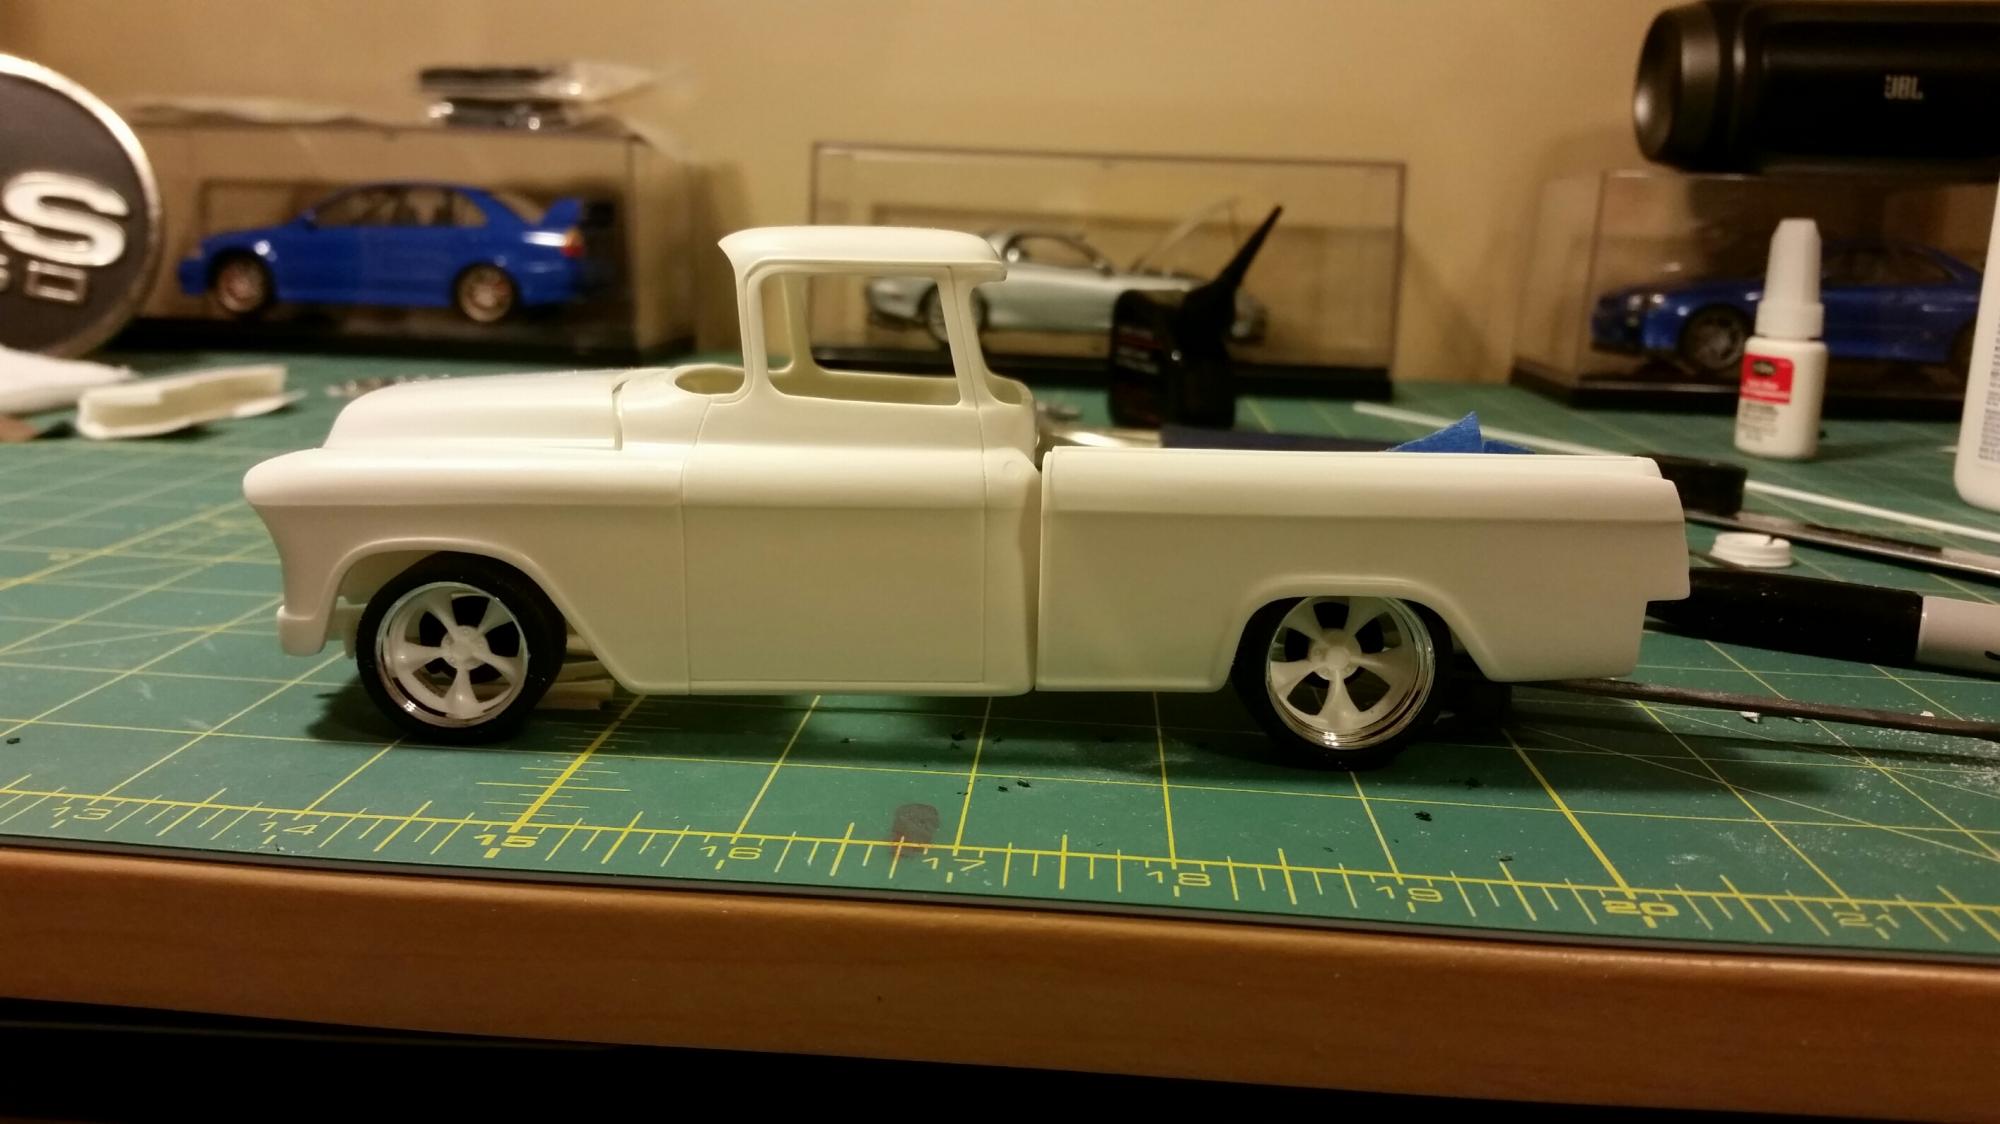
This is the look I am going for, except for in Tamiya TS92 Metallic Orange. Going to have to dump my front a little lower.
-
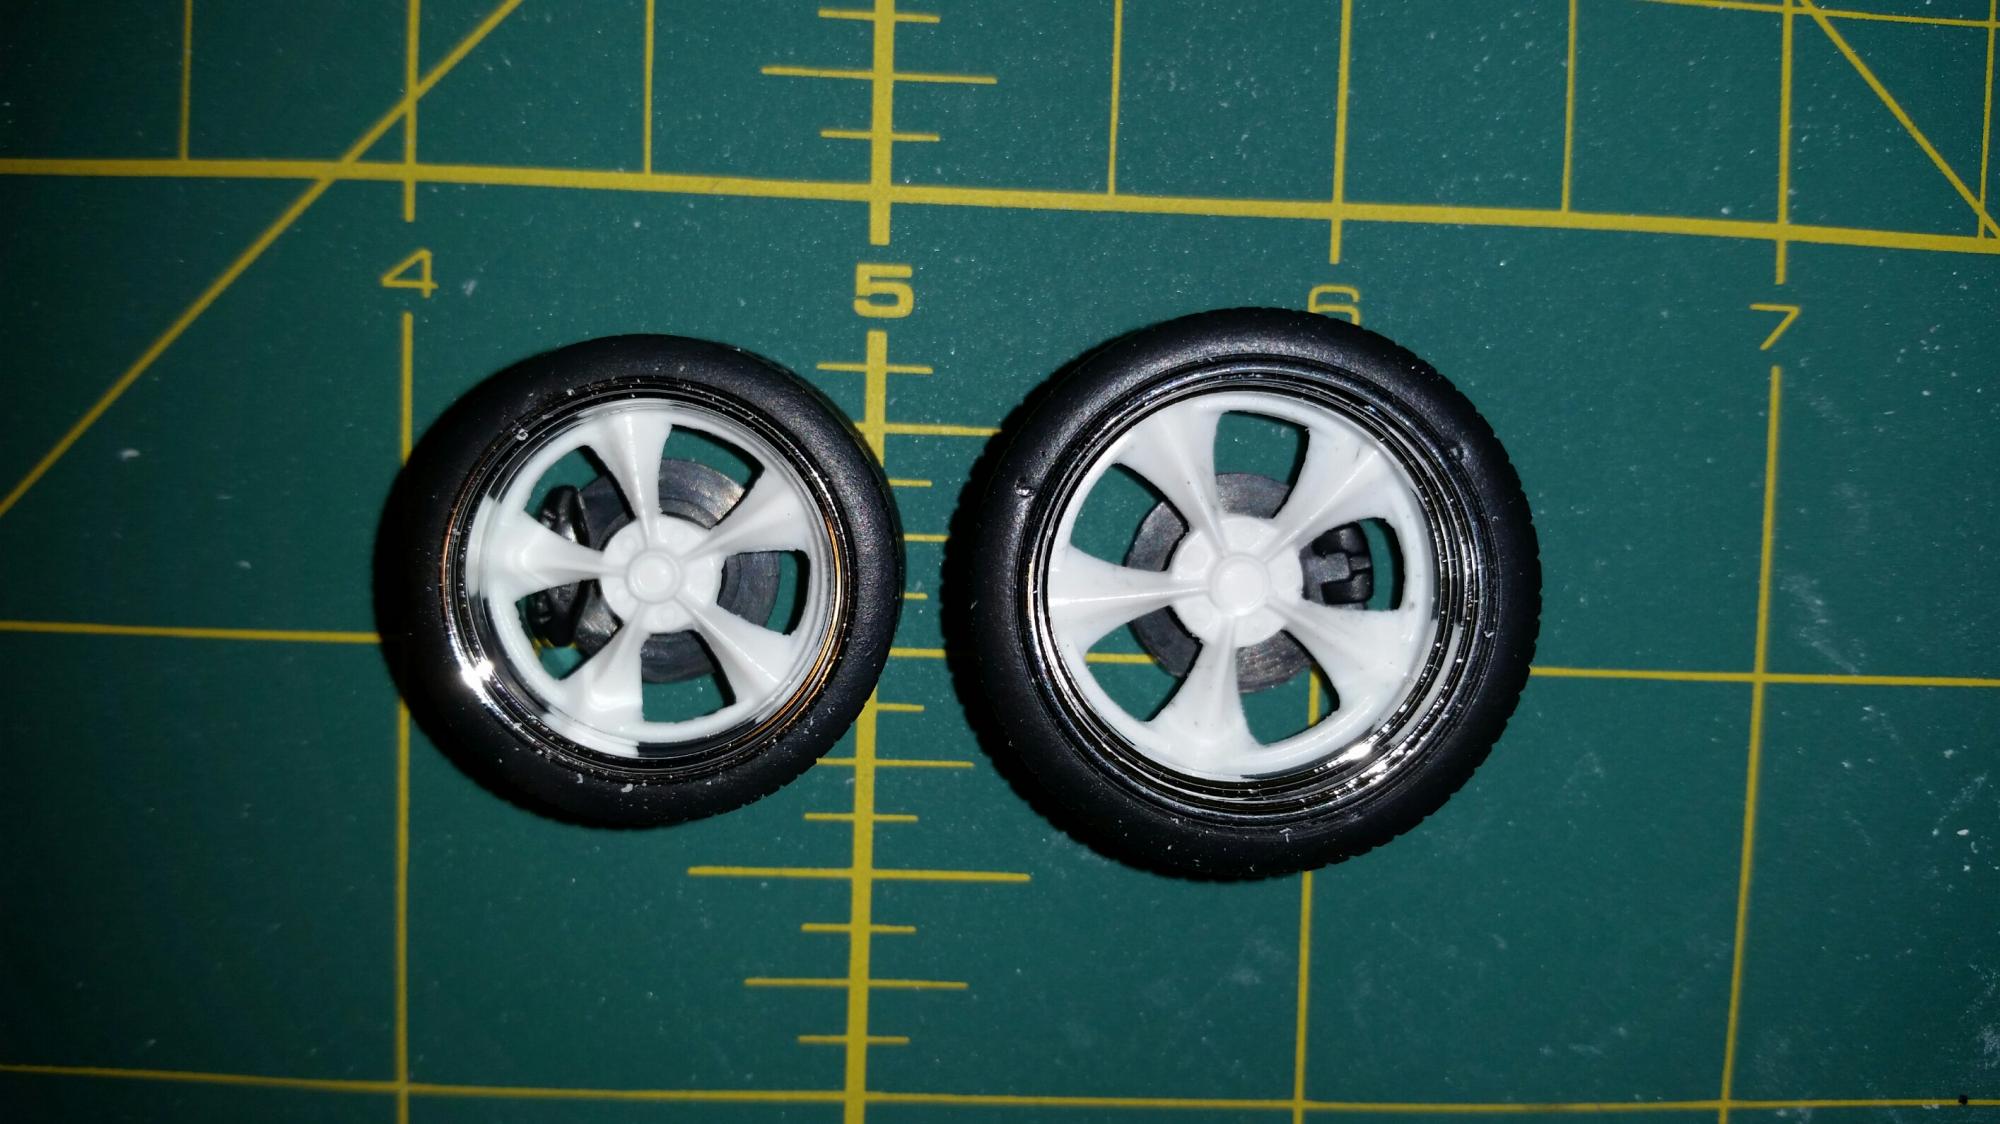
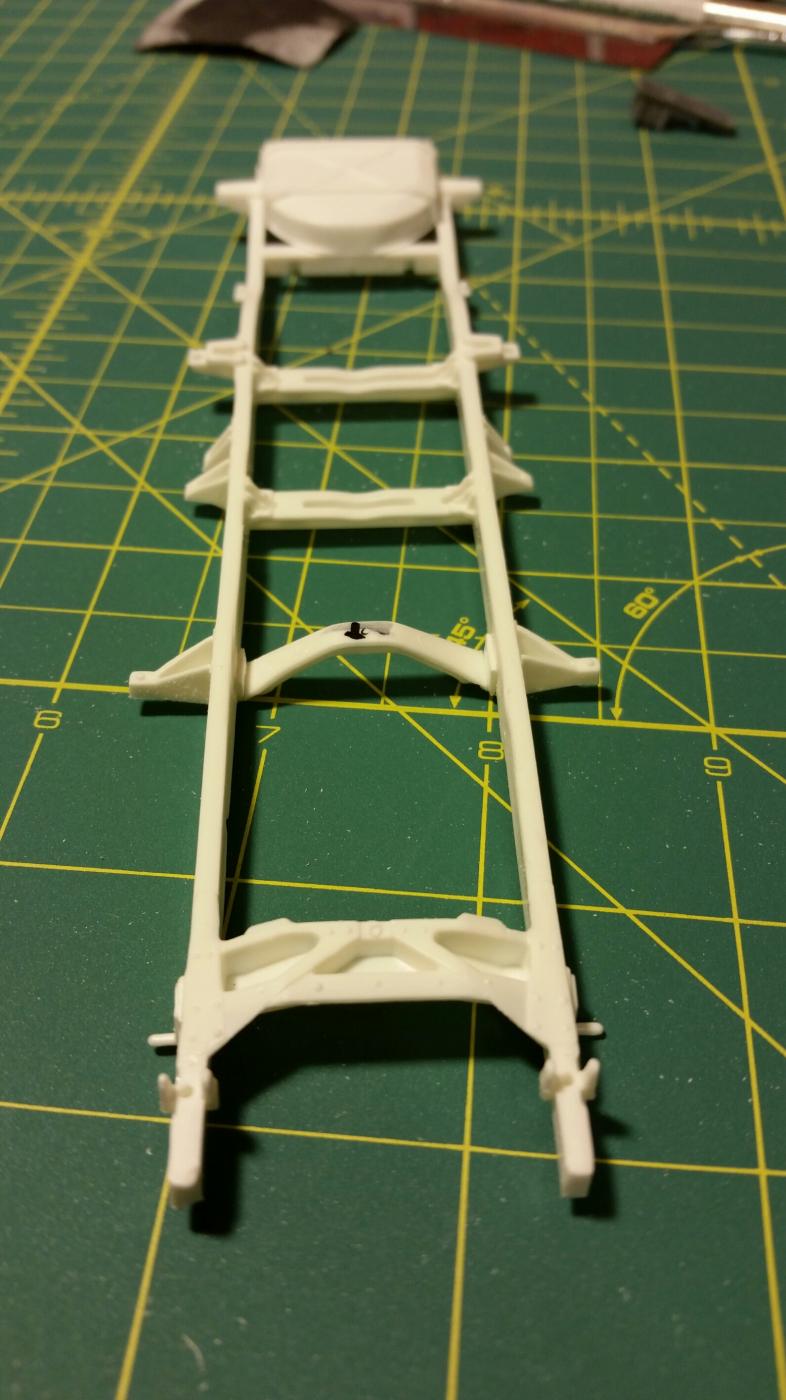
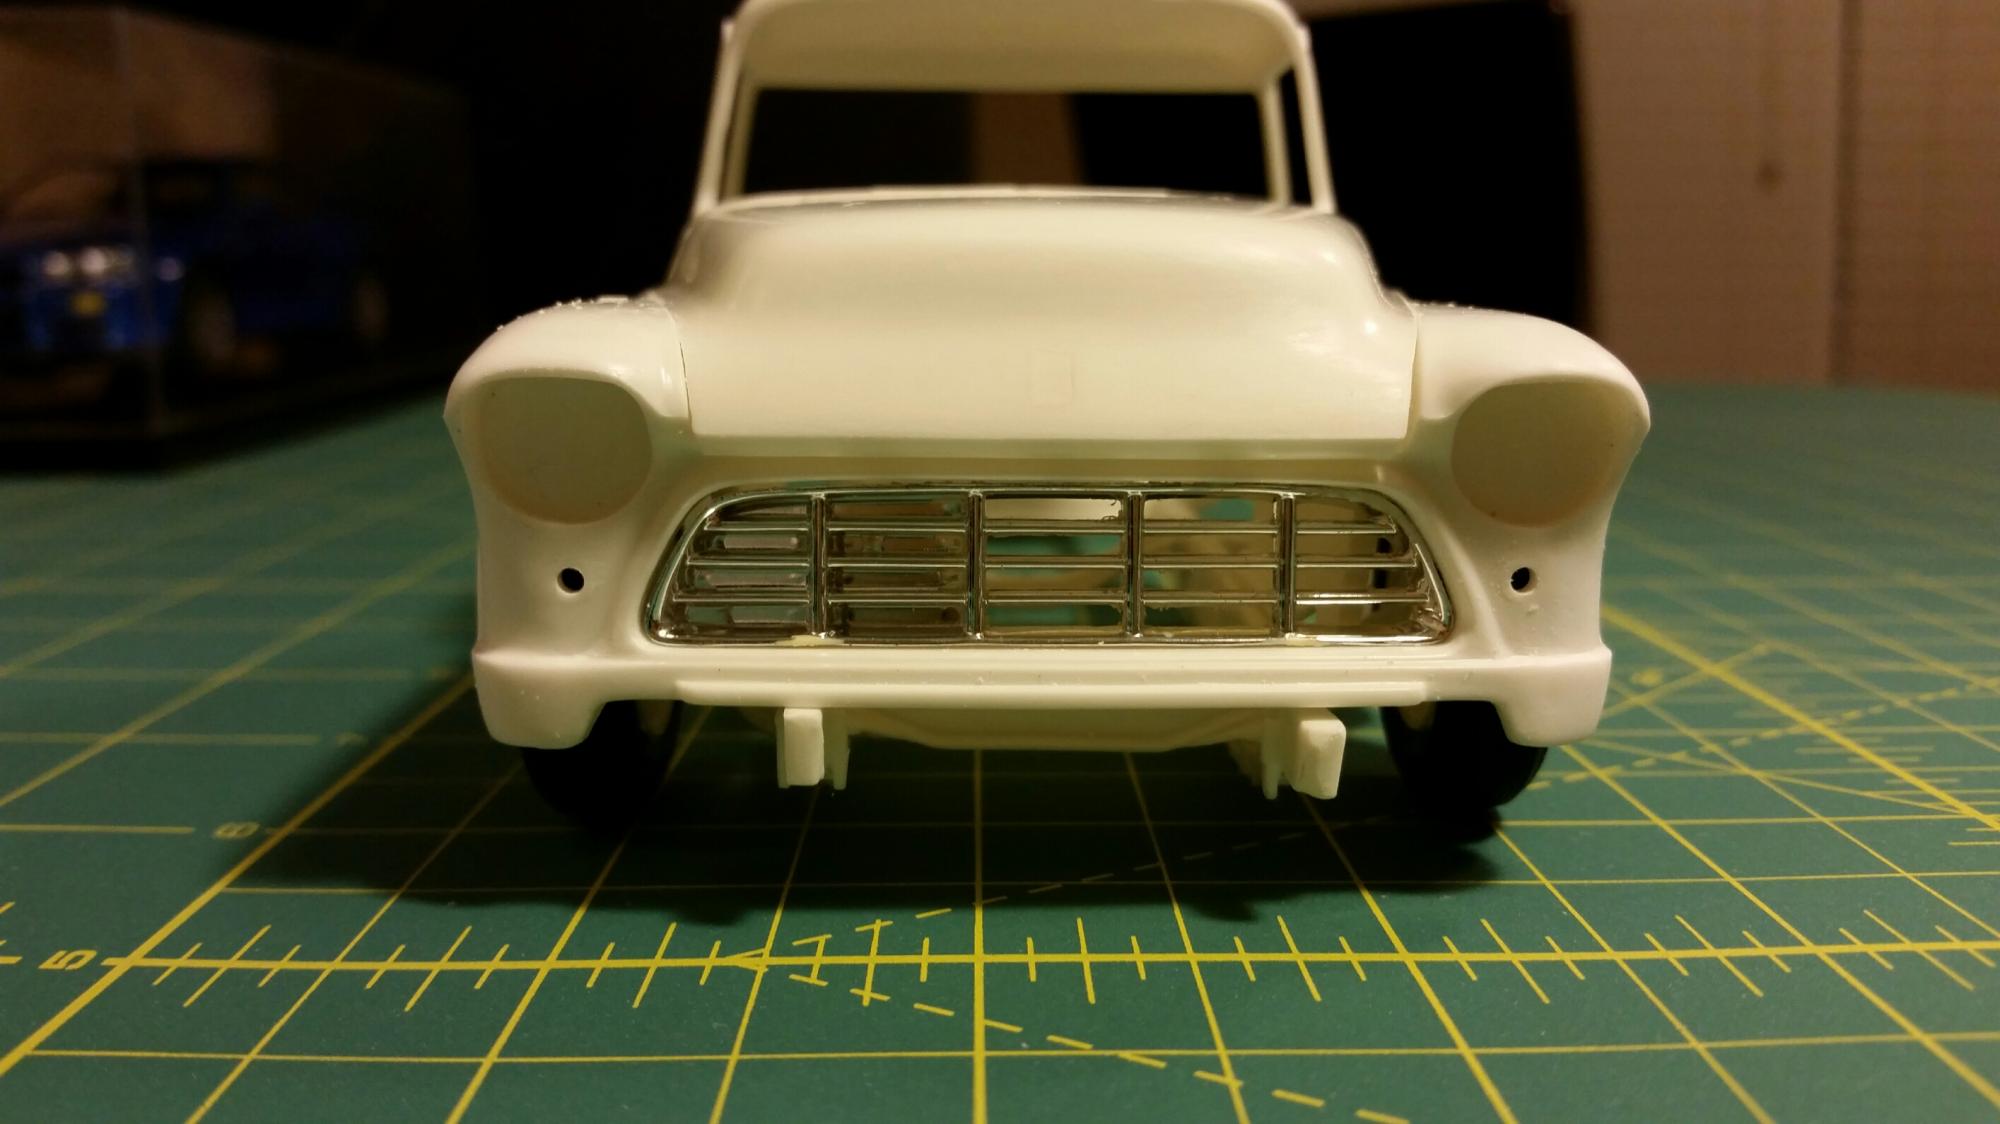
Some of you guys may have saw this over on the car section workbench. I figured I'd make the thread over on the truck workbench section too, as some of you may not venture to the car building side. Alright, this is my 3rd build since getting back into the hobby after years of not building . I wanted to try out some things I've saw on the boards. I've never been one to build anything other than box stock, but this is not going to be near box stock for sure. The build started out with an old AMT 55 Cameo kit which had been hiding in my closet since it was released. I decided to do this truck with a pro touring look. So that said, I wanted it low down with a nice set of staggered wheels, disc brakes, and an LS engine. I sourced an LS2 from an SSR kit, used a resin oil pan from the Clearly Scale LS Engine kit, filed the front crossmember, and cut the trans mount and raised it so the engine would actually fit and have the correct angle.. I wanted this truck to have no chrome around the windows and doors, so I shaved all of the chrome on the cab, cut the vent window posts out, shaved the wipers and filled the cowl, as well as shaved the door handles. I also filled the emblem hole on the hood, filled the gas cap, filled in the rear bumper holes for the bumper guards ( for that nice smooth look,) smoothed the inner front fenders, and filled in the molds on the inner bedsides. Next I started working on the stance, so I had to do some lowering.... another thing I've never done before. I picked up some awesome wheels from Steve Zimmerman, and had to do a little more cutting when they arrived. So the bed is being mini tubbed. Brakes were sourced from a Tamiya FD RX-7. This is my first go at this, so go easy on me please, haha. I still have to make the wheel tubs, so I picked up various sizes of styrene sheets for this over Christmas vacation. Any tips on the mini tubs will be greatly appreciated. Also, the color will be Tamiya TS92 Metallic Orange tipped with TS13 Clear. Thanks for stopping by to check out my build...hopefully one day I'll get as good as all you guys on here. Scott
-
Awesome looking build. I have this kit in my stash, and built one years and years ago. Fun build.
-
I'm definitely looking forward to getting this thing.
-
Alright fellas, thanks for the advice! With my budget, some reading, and some videos, I decided to go with the Talon TG-3F and a Paasche D3000R Compressor with the storage tank. I'm super excited to get these, get to practicing with them, and learn how to use it as best as I can. I'll be spraying Tamiya Acrylics, and have read that you mix 2:1, 2 parts paint to 1 part thinner. What size of tip/needle will work best with the acrylic paint, the 0.38mm? Would you guys also recommend this tip for spraying bodies? I assume that the fan tip will be great to spray 1/24, 1/25, and 1/12 bodies with? Will that 0.66mm tip work well with decanted Tamiya TS Sprays? Also if I wanted some smaller coverage would the TS Spray spray well through the 0.38mm tip?
-
Thanks a lot Bill. Sure has been some work to get it to this point.
-
Thanks for the tip Bruce! I'll try my Testor's superglue today, and let it sit overnight then sand it tomorrow with some 1000 grit.
-
Love the color combo of the interior. What paint and color is it? Did you airbrush it?
-
Regular testors superglue will work right? What kind of accelerator? So just sand with some fine grit paper, reprime then spray color?
-
Super excited to finally get this sucker in primer and see some color on the wheels. Got a quick pic of the new stance dry fitted. The bed didn't want to cooperate with the putty for some pics..but here we go. Wheels are painted with Tamiya primer, then Tamiya TS13 Gloss Black, and topped off with Alclad Chrome. Pretty sure I'm gonna have to put some more putty back on the gas door and cowl then resand and reprime. Any suggestions? Never done that before.
-
Thanks guys. Yessir, that's the engine from the SSR kit. Definitely have to modify some stuff to fit..but worth it.
-
Thanks man..I'm using The Detailer washes. I've looked everywhere for some type of wash when I've been out and finally found one a few weeks ago. Yes I did dry fit my new stance I didn't take a pic of it however. The pic on the first page was before I went lower up front. Now the front tire is tucked up nicely in the front fender to where the outside hoop of the rim is at the edge of the fender.
-
So I got the corners of the cab made and glued in today, just have to putty and sand them. I also started on the engine assembly and paint. First time using a black wash too so go easy on me. Still have to paint the engine cover when I paint the body.
-
Thanks a lot! This one is definitely one of the most involved builds I've done.
-
I did manage to get some "floor pans" made for the interior tub. I know it's not as involved as the step downs that was recommended, but I'm used to seeing flat floors in a lowered custom truck. Made from .010 styrene sheets.
-
Thanks guys! I must say that this build has tested my skills for my first non box stock build. There's been moments when I've wanted to scrap the idea, but it seems to be coming together even though it's taking a while.
-
Thanks man, that means a lot.
-
Thanks man.