-
Posts
1,246 -
Joined
-
Last visited
Content Type
Profiles
Forums
Events
Gallery
Everything posted by lghtngyello03
-
I did figure it would have a longer off period, but this being my first airbrush I'm happy with it. Still learning how to use it though.
-
Just using it for my second time today. At 30 psi, with continuous spray from a full tank, it comes on after about 20-25 seconds. If you normally spray with it, short bursts, it comes on after about 45 seconds to 1 minute.
-
Thanks for the response. I did notice a sheen difference on my 2 first parts sprayed. one was a battery, and the other was an intake. Both were painted with different mixture methods. The battery was painted with the paint thinned 2:1 and mixed in a bottle, then poured in my paint cup. The intake was painted with the same 2:1 thinning method, except I dropped the thinner and paint directly into the paint cup and stirred with a mixing stick, then shot a test area on some paper to get a good flow. The battery was more of a satin finish than the intake, which is what I think it should be for S/G black. The intake had a glossier, but not too glossy look to it....both extremely smooth finish. Like you said, practice, practice, practice. Thanks for the tip on the big needle for the body. Do you use the fan tip with this as well when spraying, almost like spraying with an automotive gun? What do you use the smallest 0.25 needle for?
-
The D3000R is super quiet at only 47db. Plus, the tank makes it even better cause it doesn't run constantly.
-
New to the airbrush world, I bought the Paasche D3000r. Has a 1 gallon storage tank. You can see how compact it is even with the tank.
-
Alright, since getting my new Talon TG-3F airbrush, I have a couple of questions. Last night I sprayed my first color through it, thinned Tamiya Semi-Gloss Black. I looked at the needle cap before starting, and it was the cap with 2 lines. I'm assuming that this is the 0.38mm needle? I thinned the paint 2:1 and the air pressure was set at 25 psi. I did a lot of research before spraying and knew that with their acrylics, you have to do several thin coats. My results were awesome for my first time ever airbrushing. I can't believe how smoothly the paint laid down. It looks like its molded in black! So given the stellar results from this combo, I'm assuming that the 0.38mm needle, 2:1 thinned paint, and 25 psi air setting is the correct way to spray their acrylics? Also, I have read that some people say when spraying Tamiya's Metallic Acrylics, to use a 0.5mm needle, as it may clog a smaller needle setup? Any thoughts or experiences on this one? Another question, since I will be spraying decanted TS Lacquers (when I get brave enough to spray a body).....what will be the best needle size and air pressure to use with the decanted TS Lacquers? Just trying to get some more knowledge before I spray a junk body, I'd like to start in the correct ballpark. Thanks everyone for the help and advice so far in this new learning curve! Scott
-
Thanks guys. I did Check Advance Auto for the assorted O rings, the smallest in the pack was too big for the one needing to be replaced. I did however call Paasche yesterday and told them what was going on, and they are going to send out a couple of o rings for no charge to me. Great customer service!
-
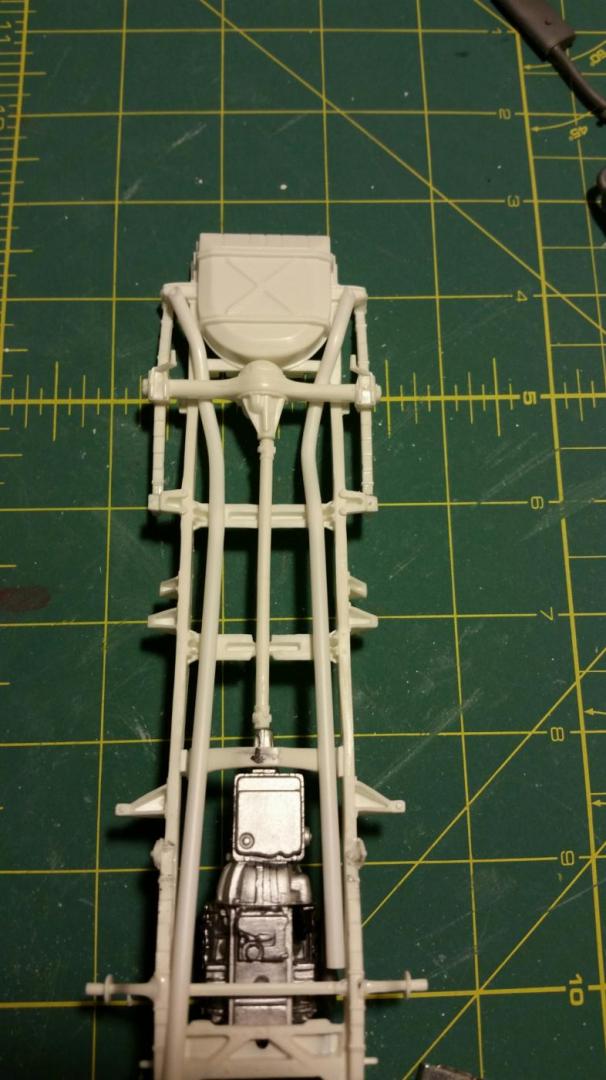
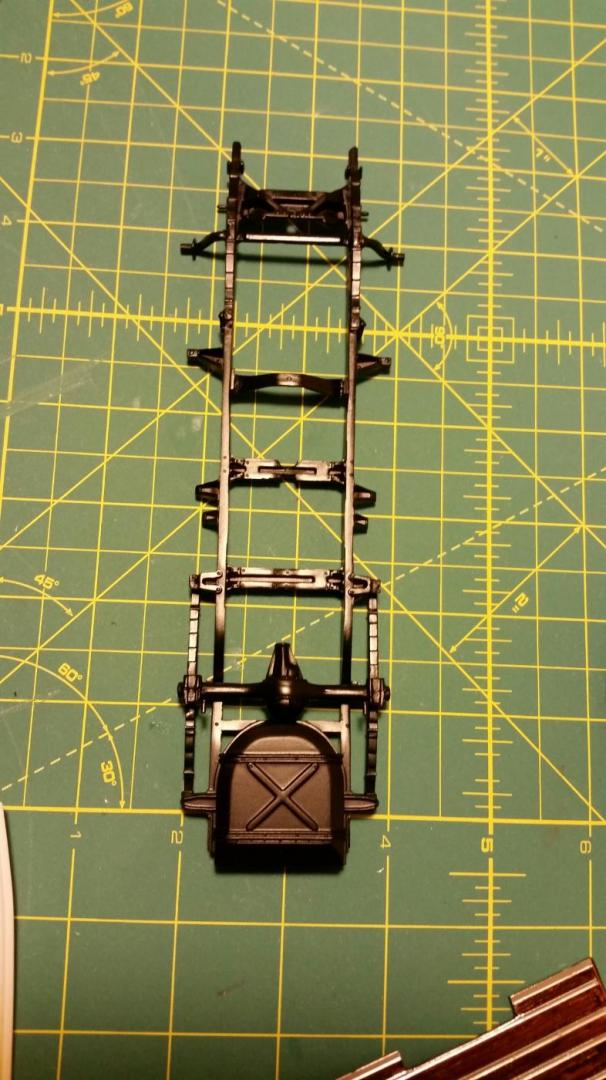
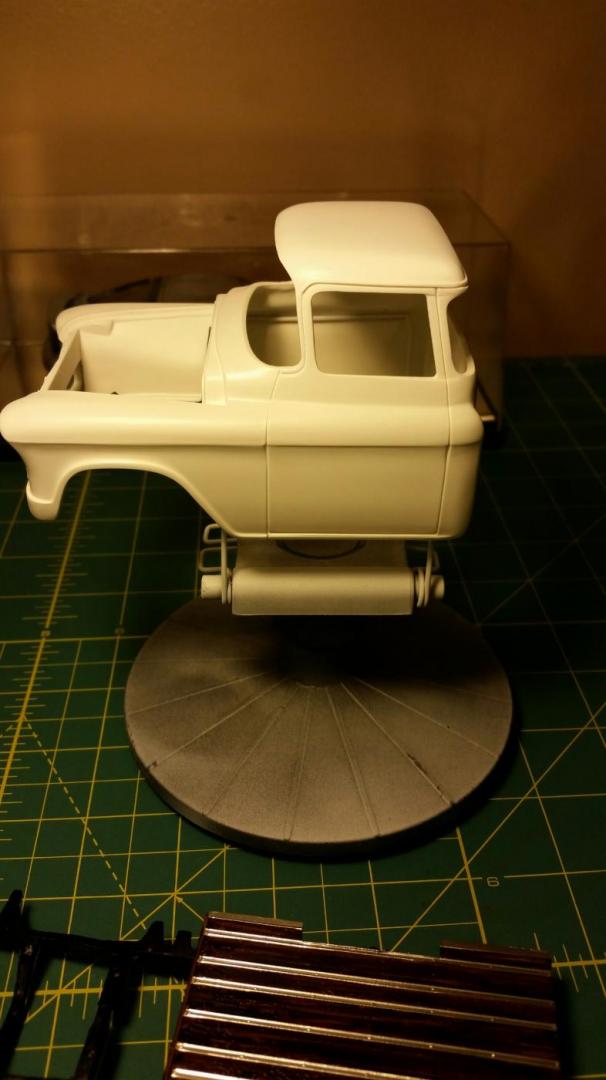
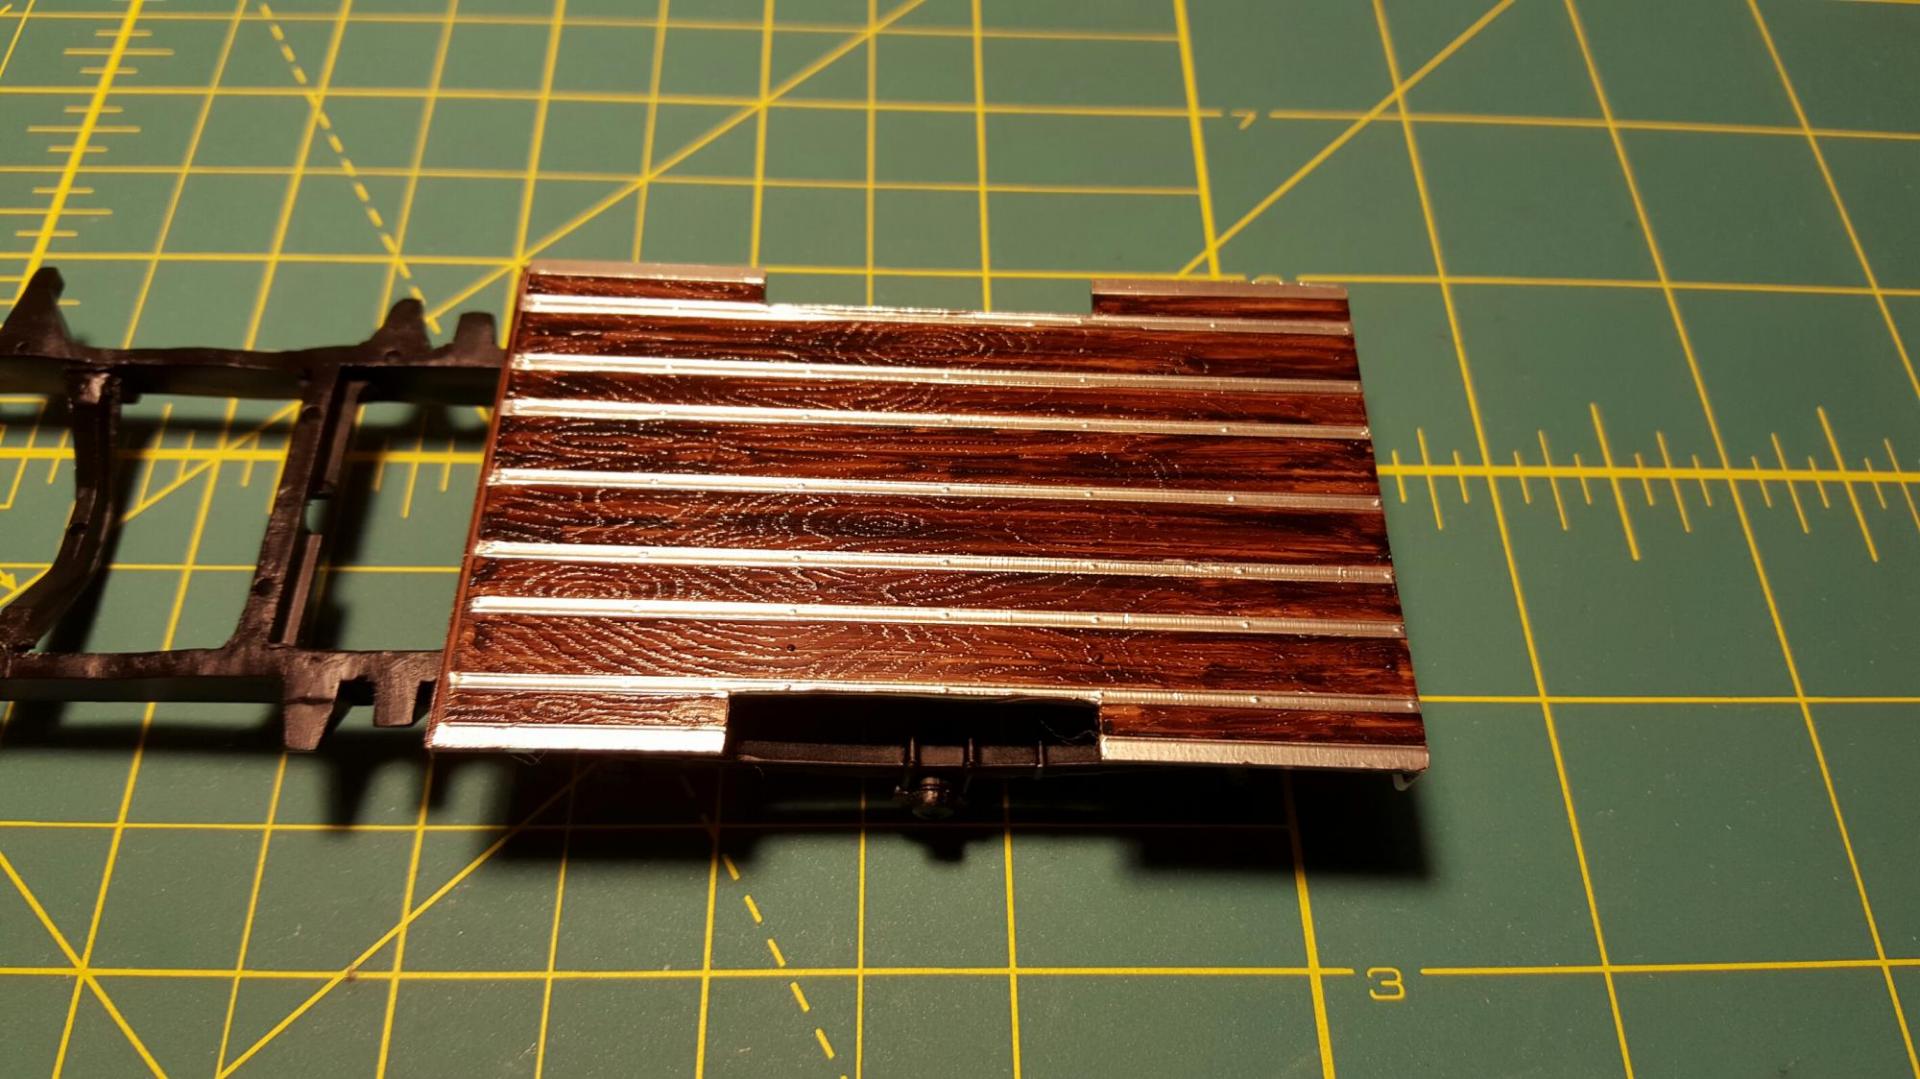
Finally got some time to work on the truck today after work. I finished shaping the other exhaust pipe, got the body parts reprimed, sprayed the chassis in Tamiya Semi Gloss Black, dark washed the lugnuts on the rims (thanks Steven!) And got the bed painted and BMF'd. Really pleased with the outcome of the body since I had ghosting prior to this. Thanks guys for the superglue tip over the putty.
-
Awesome build, and paint! This is a build that is on my list as well. Would love to do the same color. Did you prime it before paint? I tried some paint before through automotive touchup and it reacted with Tamiya primer for some reason. Cracked it like crazy. Was the body airbrush as well? If so did you order the paint in a spray aerosol can and then decant to airbrush?
-
1970 Challenger T/A build (Revell 1/24)
lghtngyello03 replied to Shelbytona's topic in WIP: Model Cars
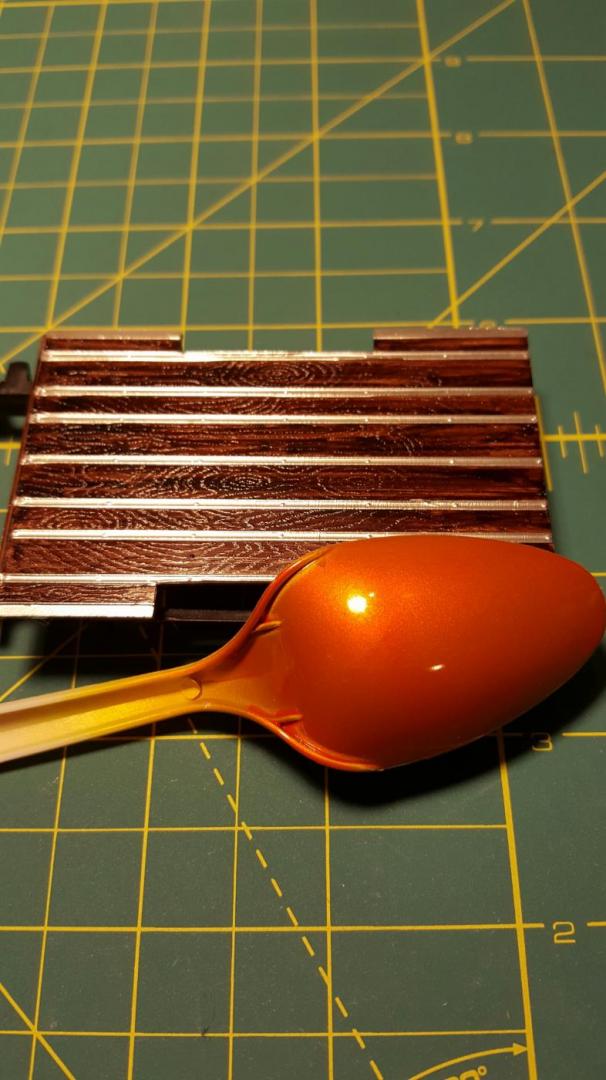
Loving this build! What did you use for the wood grain? -
Finally got some time to work on the truck today after work. I finished shaping the other exhaust pipe, got the body parts reprimed, sprayed the chassis in Tamiya Semi Gloss Black, dark washed the lugnuts on the rims (thanks Steven!) And got the bed painted and BMF'd. Really pleased with the outcome of the body since I had ghosting prior to this. Thanks guys for the superglue tip over the putty.
-

1970 Challenger T/A build (Revell 1/24)
lghtngyello03 replied to Shelbytona's topic in WIP: Model Cars
Nice. I'm new to the airbrush world. Just got mine in on Friday, Paasche Talon TG3F. What gun/compressor do you have, and what PSI do you shoot Tamiya Acrylics with? I will be spraying primarily these is why I ask. -

1970 Challenger T/A build (Revell 1/24)
lghtngyello03 replied to Shelbytona's topic in WIP: Model Cars
Sweet clean build! I built this kit in the same color scheme a long time ago. Makes me want to build another one! Your paint is perfect man. Are you airbrushing everything? Love the overspray on the headers and trans. along with the underbody orange overspray. What flat black are you using? Looks spot on for the hood and rear tail panel. If I recall correctly some of the mopars from the early 70s late 60s also had the body color overspray on the front of the trans tunnels as well? At least I put some on mine, lol.

