lghtngyello03
-
Posts
1,246 -
Joined
-
Last visited
Content Type
Profiles
Forums
Events
Gallery
Everything posted by lghtngyello03
-
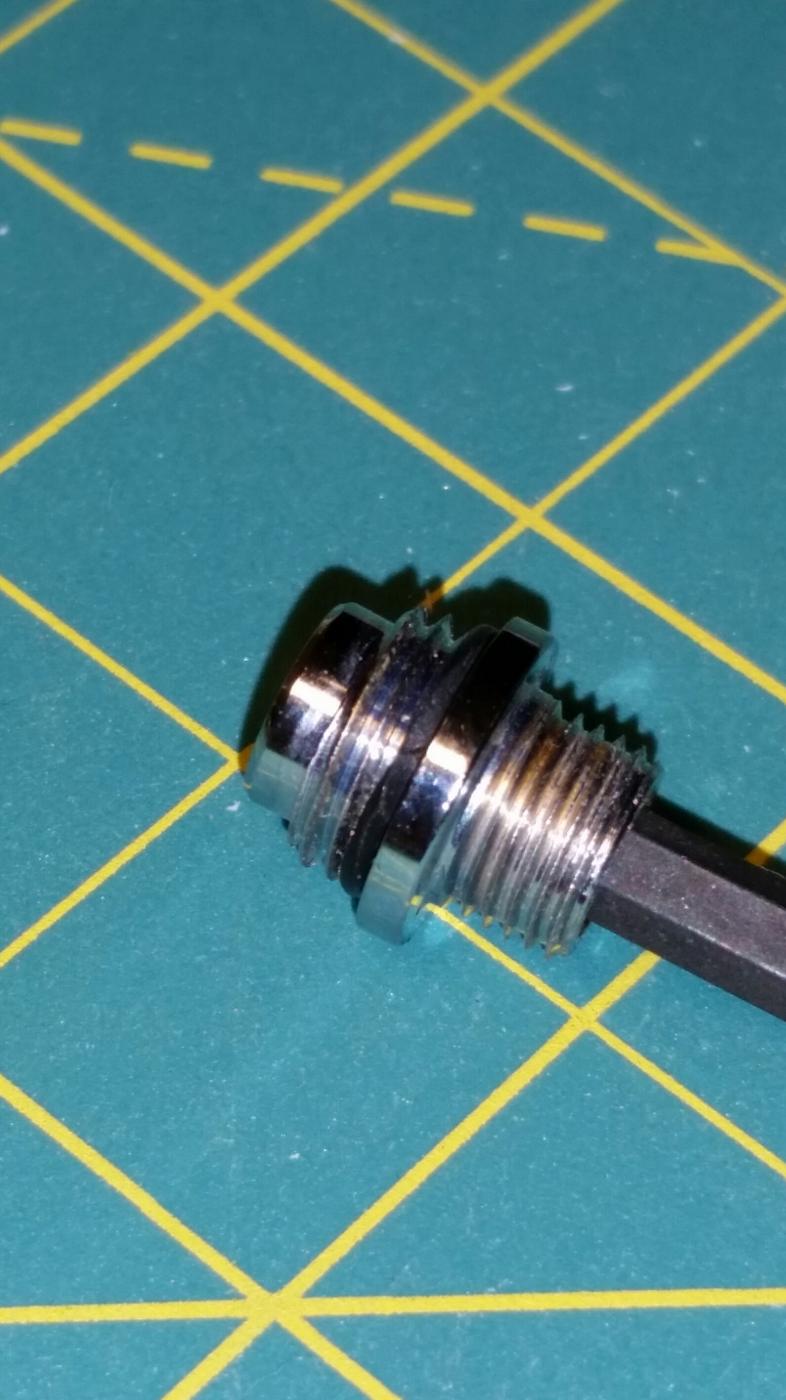
 Alright guys..got home from work and it was bugging me so I hooked my talon back up to air and put some soapy water to it in small areas to find the leak. Found it. It isn't the hose. It's the o ring at the base of the air valve assembly. Anyone know where that can be obtained? Looks as if whoever assembled it over tightened the air valve assembly and crushed the o ring. Kinda bums me out to be new to this and it being a brand new airbrush. I put it back together and it isn't leaking as bad now. Still able to be used, just the fact of the matter. Where could I find this o ring?
-
Happen to know if those orings can be bought in a random assorted pack from a parts store rather than order them from an airbrush supply?
-
The Paasche hose has the rubber orings in each end of the hose. The biggest leak was at the tank to the accumulator. It's the one that had the sealant on it. They actually included a roll of Teflon tape..so they looked ahead..just didn't apply the tape where they should on the tank side. My leak is now coming from the airbrush end of the hose and is more than likely the oring..not sure though. Doesn't look damaged.
-
Not Sure. It did come off of Ebay though. I did look and find that I can buy a new hose with a quick disconnect for a couple of bucks more than the price of a quick disconnect by itself. hose with connector http://www.ebay.com/itm/Paasche-6-1-8-Braided-Air-Hose-w-Quick-Disconnect-A-1-8-6Q-6-Foot-/380813232859?hash=item58aa3ccadb:g:hOwAAOSwQItT4WpY Quick disconnect only http://www.ebay.com/itm/Paasche-Airbrush-Quick-Disconnect-/231816143182?hash=item35f951a14e:g:WQkAAOSwUV9Wmpvm
-
Tommy, Yes my hose looks exactly like that. I checked it last night no visible cracks in either collar. The o-ring itself looks to be in excellent shape, no tearing of it. I can screw it on and feel it start to compress, but the tighter you tighten it, nothing happens, no more or less noise. However, if you wiggle the fitting at either the knurled screw end on the hose, or the braided hose itself....the noise changes from more to less or less to more. Depends on how I move it.
-
Thanks Jim. This connects on the airbrush side and will allow the compressor to stay full when disconnected correct?
-
Alright guys, I got my Talon in the mail yesterday. I did hook the airbrush up to my D3000r compressor last night. Awesome setup for sure! But, I did have a small leak at the fitting from the regulator/accumulator to the tank. Seems that Paasche doesn't believe in putting Teflon tape on these fittings. Instead, it looked like they had put a red liquid sealant on them.....almost like red Loctite. That little SOB was too tight to get off. I had to resort to putting the hairdryer to the air fitting, in order to heat up the Loctite, or sealant, that they had on it before it ever broke loose. I then put some Teflon tape on both ends of the fitting (tank side and regulator side) and reinstalled it. No leaks now. However, the red braided hose that comes with the Talon, has a tiny leak at the connection at the airbrush. The o-ring is not damaged, and the fitting is on tightly and not cross threaded. It has a very tiny hiss that I can hear coming from this connection area. The threads are too fine to put Teflon tape on, and I'm sure it shouldn't leak like this. Any tips on fixing this little leak? Also, is there a way that I can unhook the airbrush from the hose (to safely store my airbrush when not in use) and not lose all my air pressure in the tank when the hose vents to atmosphere? I don't want to have to let the compressor fill the tank up each time that I want to use the airbrush, its kind of annoying. Is there a quick connect that I could get so it will hold air?
-
Thanks for the response! I figured it needed to gas for 30 min to an hr. I plan on doing the soda straw method as well. I figure a respirator will not be needed if I decant this outside, let it gas out in the garage, then bring it in to shoot. Thanks for the comment on the X20A, I take it that this is only used for Acrylics? I'll pick up some of their Lacquer thinner for thinning the clear if needed. Do the TS sprays shoot better if thinned, or is it ready to put in the airbrush and spray after decanting?
-
Thanks guys for the responses! Bob, Will the X20A thinner work well with thinning their TS sprays as well?
-
Hey guys. I'm a newb to the airbrush world, as my Paasche Talon TG-3F will arrive today. I will be spraying Tamiya Acrylics, and Decanted TS sprays for my body colors. I have done some searching on here to try to find out if anyone has decanted the TS13 clear and actually shot it through an airbrush. I can't find anything. I did however, find that a bunch of you guys use the X22 Clear. However, some have had issues with this clear coat through and airbrush, and some haven't. My question is, is it possible (or worth it) to decant the TS13 and use it in an airbrush without any issues to my finish? Or, should I just thin the X22 clear and shoot it over the TS sprays, then polish out after a couple of days? I also haven't found a definite answer of what ratio to thin the X22. I have saw that with the other Tamiya acrylics should be thinned to the consistency of milk, or 2 parts paint to 1 part thinner. Any help would be much appreciated. I'm really looking forward to getting my new airbrush and learning how to use it, and pumping out some awesome paint jobs. Scott
-
Made one side of the exhaust up with some 1/8" styrene tubing. I'm just trying to decide if this would be a good place to exit at? Sorry for the crappy pics, but it was kinda hard to get a good pic of it holding all that together with just bedside taped to the floor.
-
Super clean build! Makes me miss my 93 TT Stealth. What kit is this? All of the AMT kits that I've saw built had fitment issues.....yours is clearly perfect! Any engine shots?
-
Made one side of the exhaust up with some 1/8" styrene tubing. I'm just trying to decide if this would be a good place to exit at? Sorry for the crappy pics, but it was kinda hard to get a good pic of it holding all that together with just bedside taped to the floor.
-
I know this is an old thread...but where can you find the kit that you used to build this out of??? I have an 85 1:1 that I'd love to replicate.
-
84 GMC
lghtngyello03 replied to 68shortfleet's topic in Model Trucks: Pickups, Vans, SUVs, Light Commercial
Nice build! What kit is this?? I'd love to take it and make it look like my 1:1 2wd slammed 85 that I am building. -
Monogram 1955 Ford F100
lghtngyello03 replied to slammedi'am's topic in Model Trucks: Pickups, Vans, SUVs, Light Commercial
Killer build man! The stance, wheels, paint, wooden bed...it's all perfect. What are the wheels by the way? -
Nice build! I've been keeping myself from buying this kit every time I go into Michael's as I have a million unbuilt kits in my closet, lol.
-
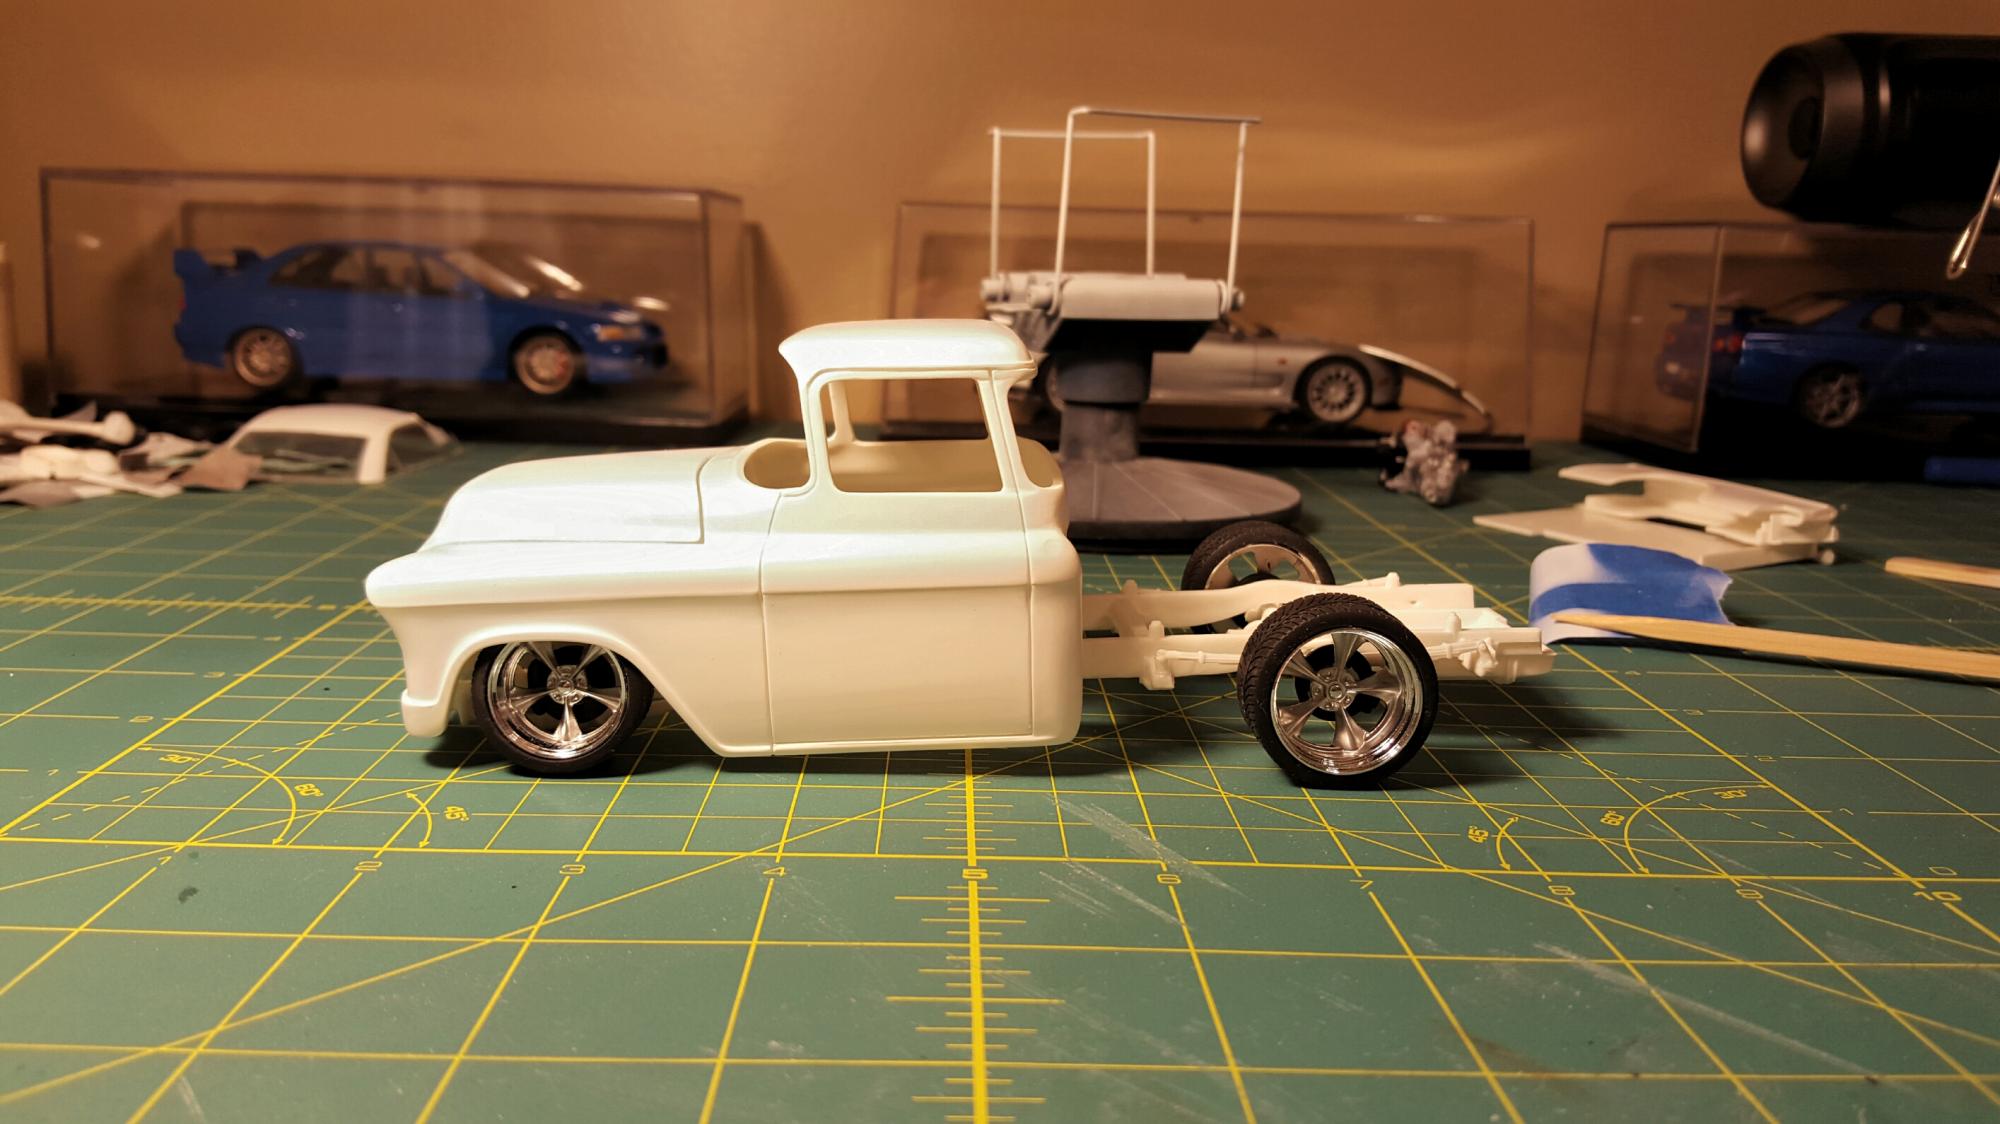
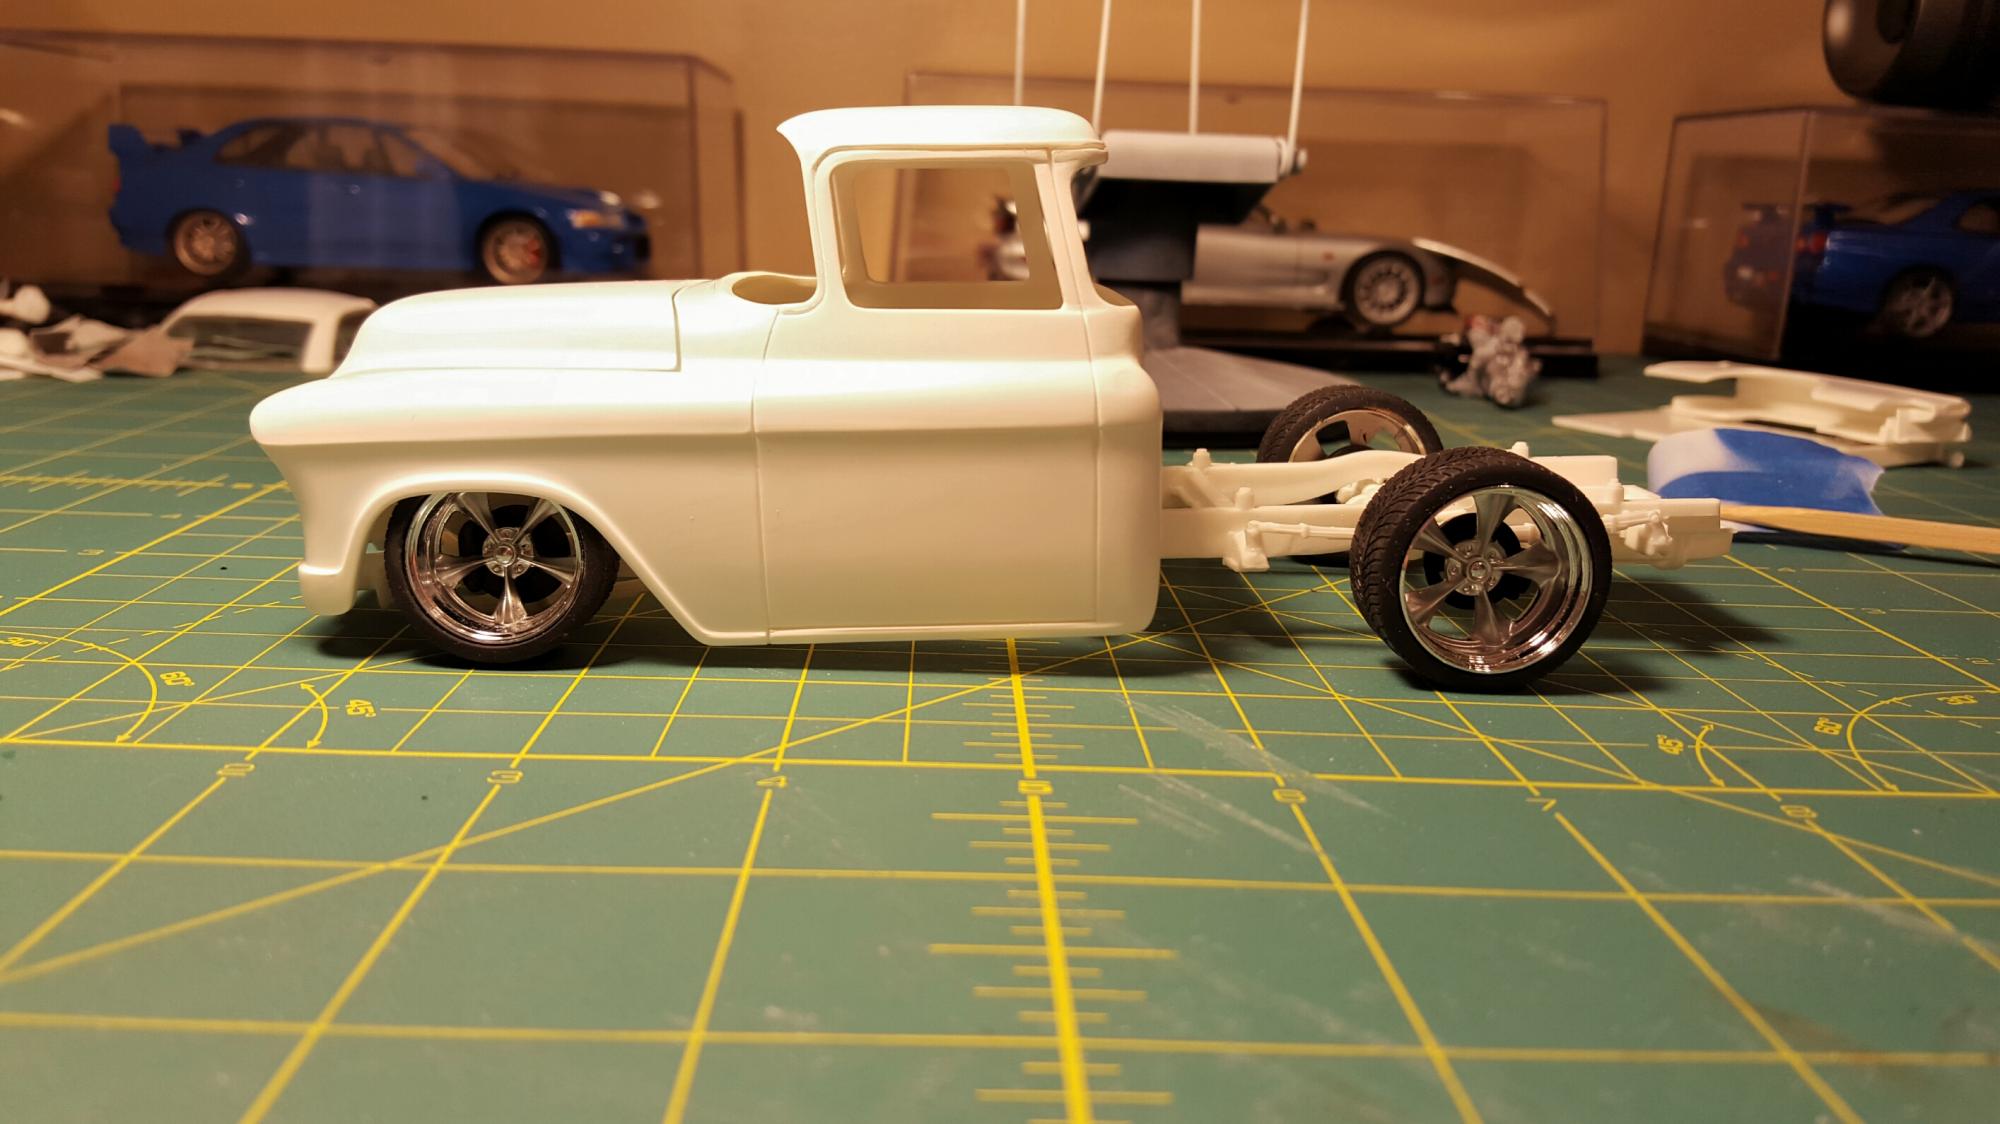
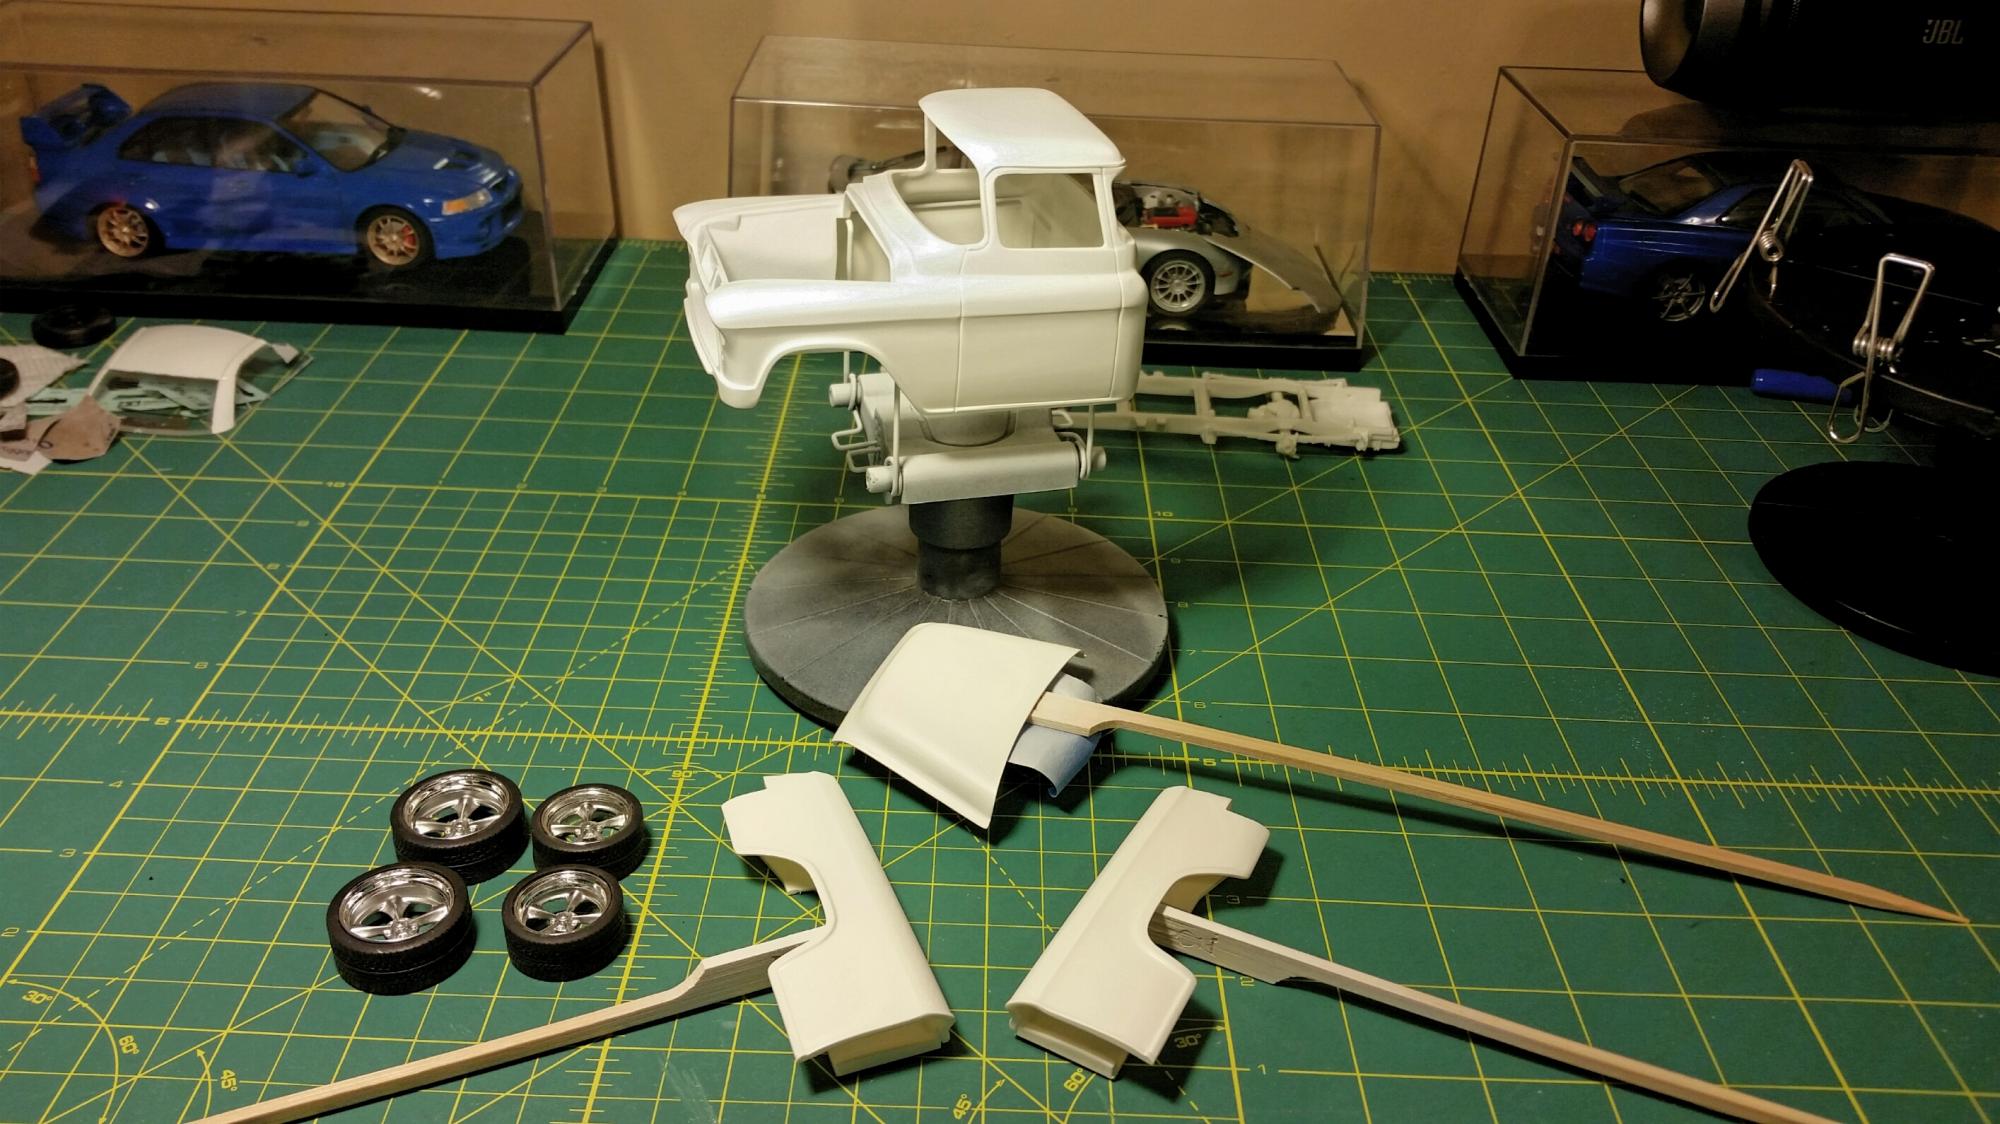
Currently how it sits. I have to sand out the CA glue applied to the areas that have ghosting where I applied putty.
-
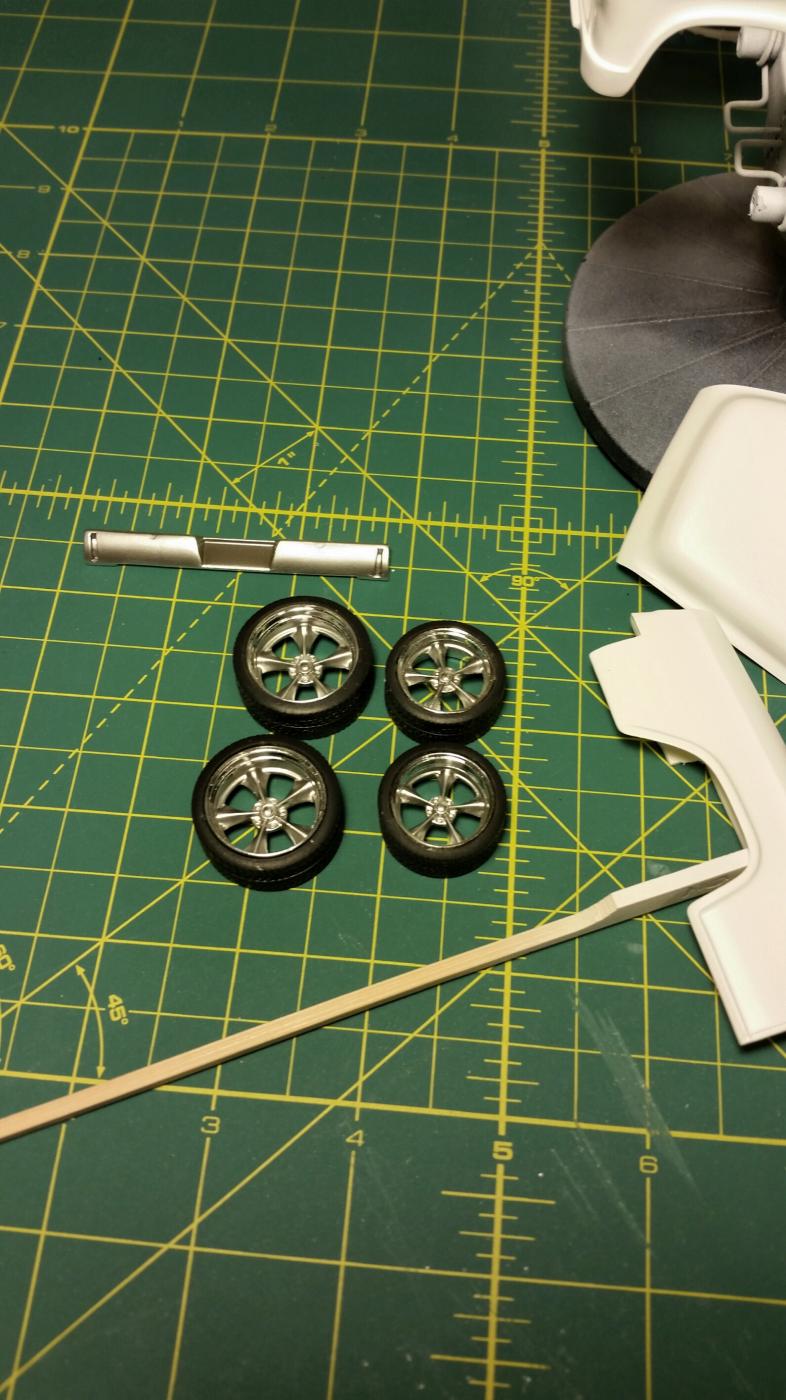
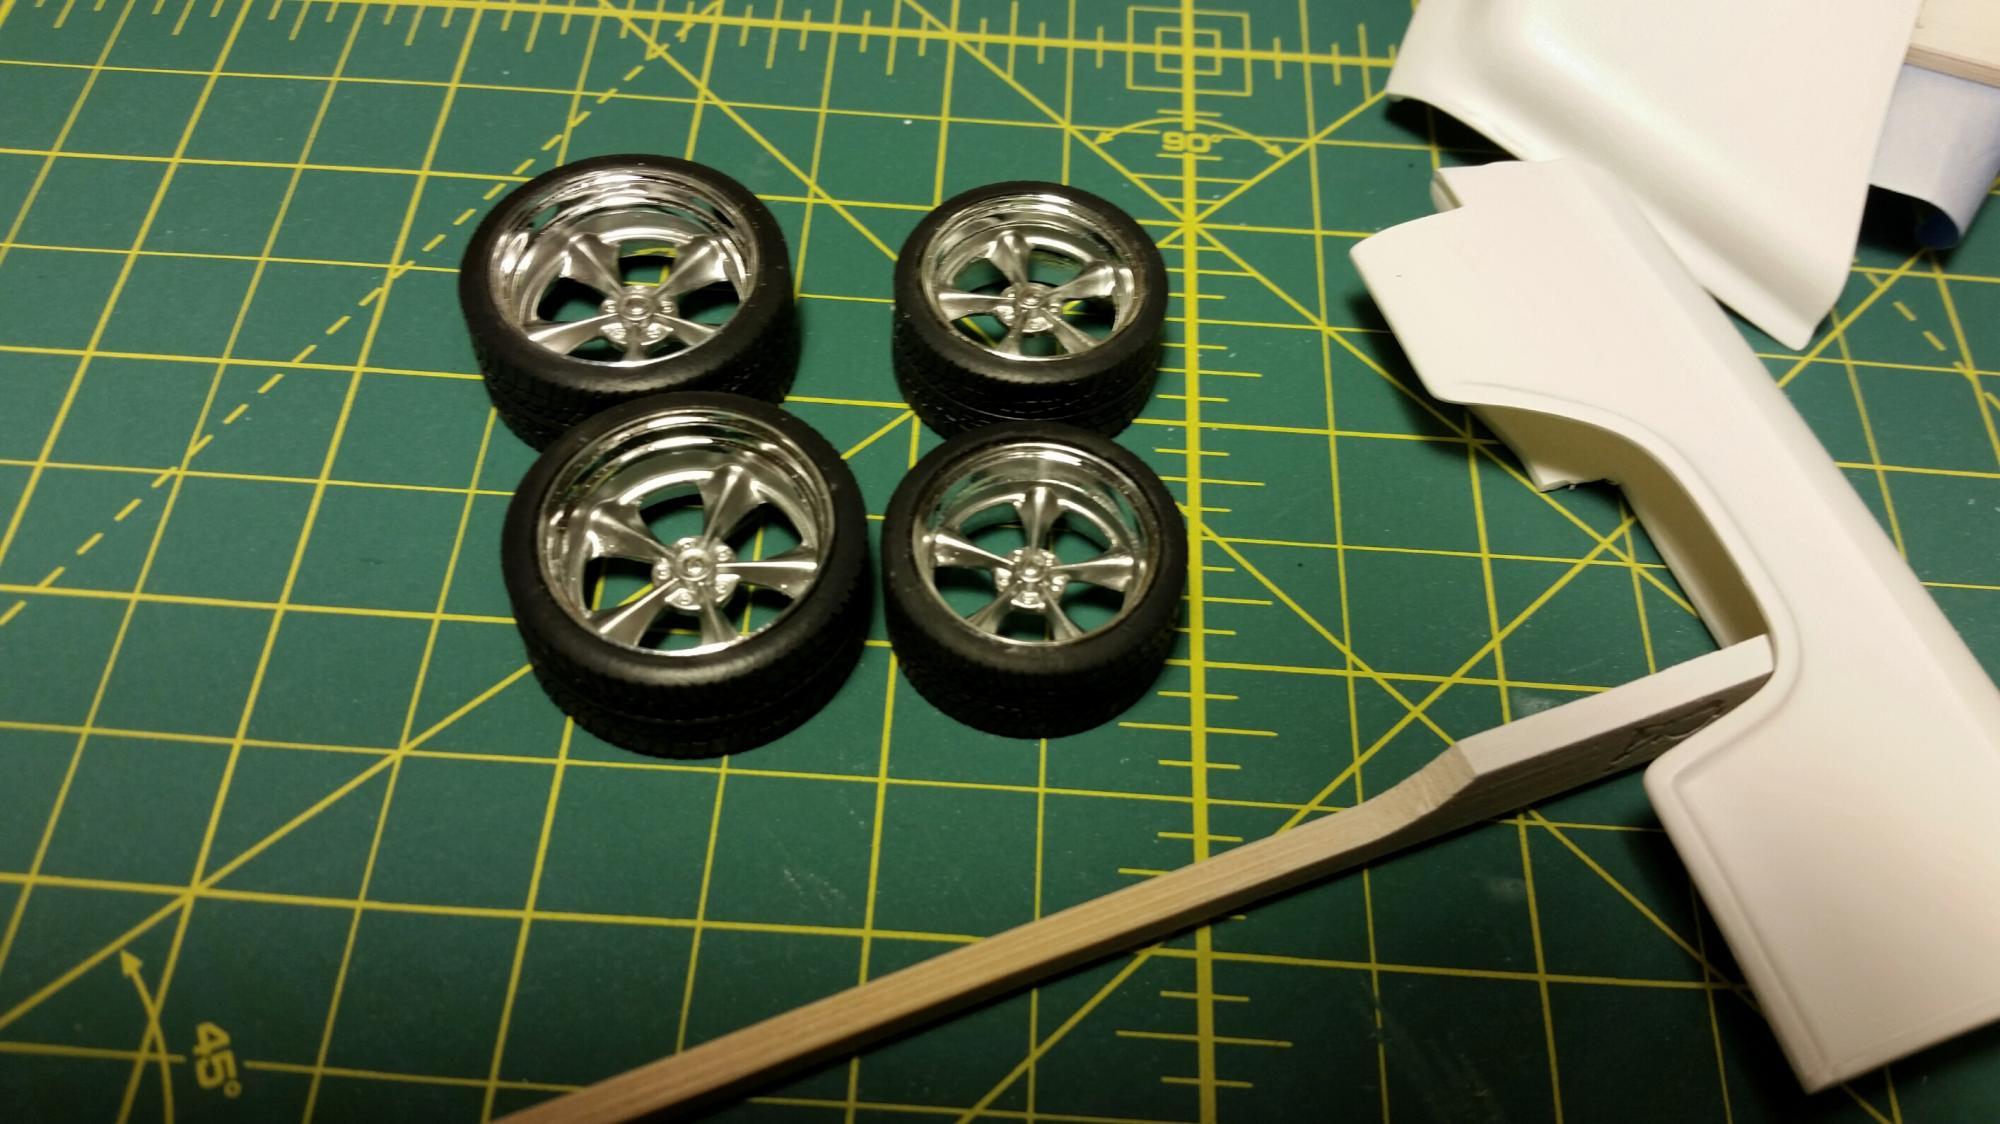
Super excited to finally get this sucker in primer and see some color on the wheels. Got a quick pic of the new stance dry fitted. The bed didn't want to cooperate with the putty for some pics..but here we go. Wheels are painted with Tamiya primer, then Tamiya TS13 Gloss Black, and topped off with Alclad Chrome. Pretty sure I'm gonna have to put some more putty back on the gas door and cowl then resand and reprime. Any suggestions? Never done that before.
-
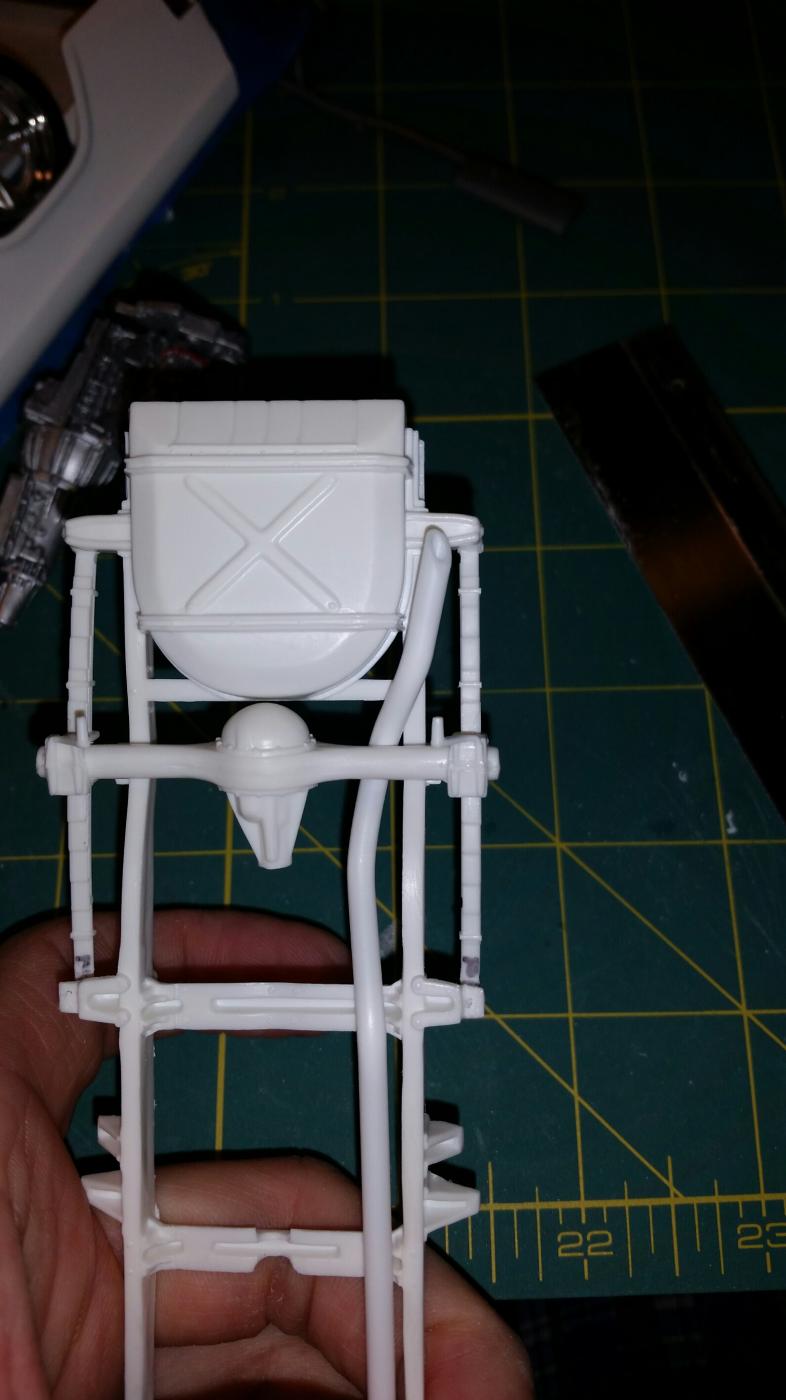
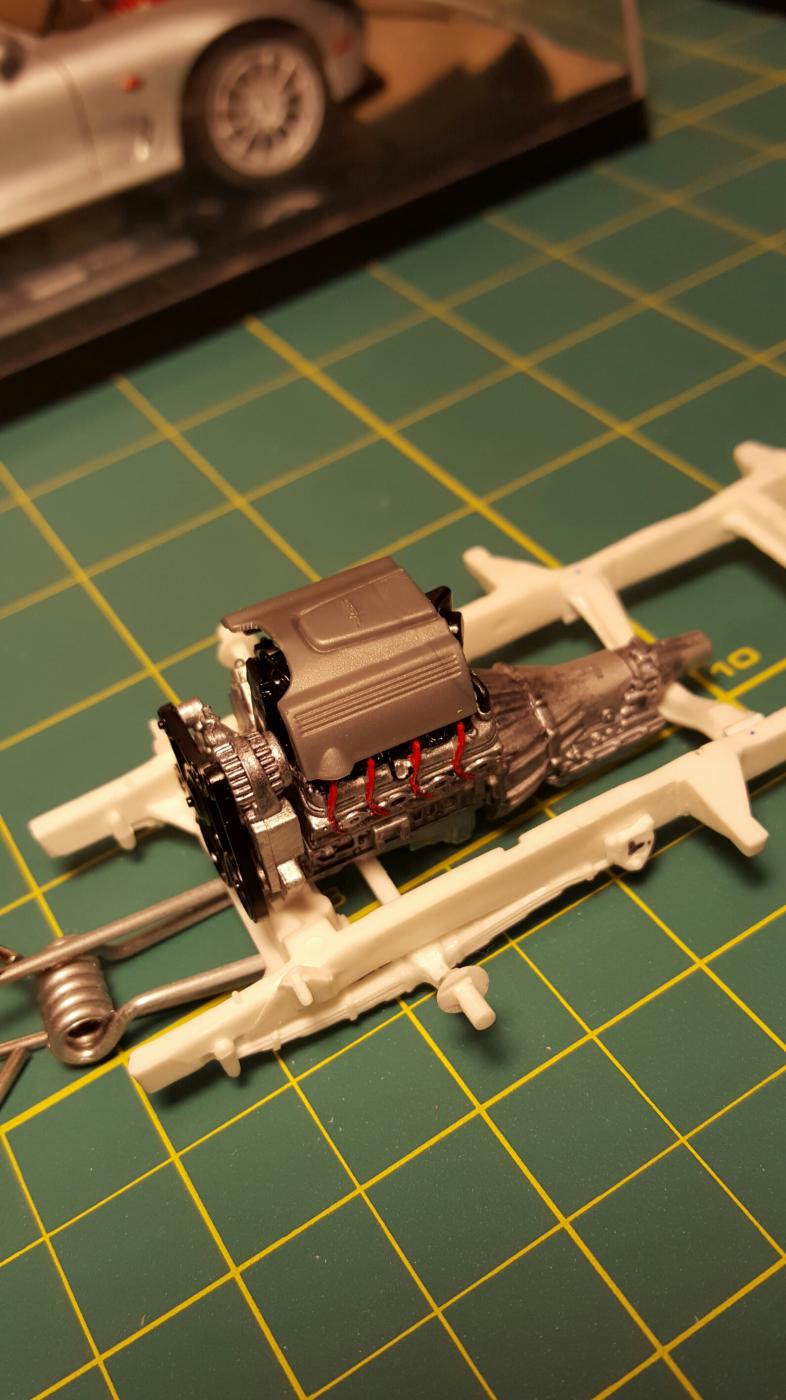
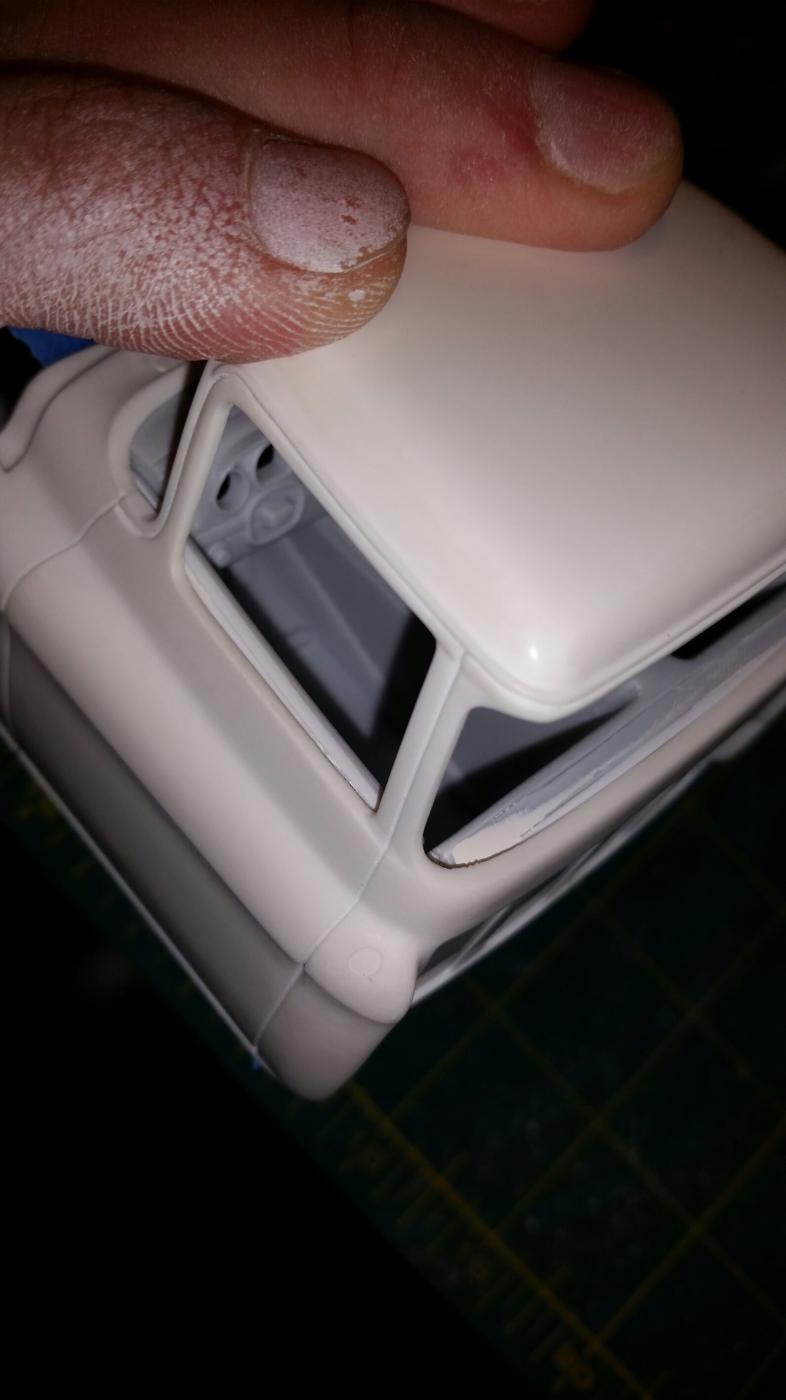
So I got the corners of the cab made and glued in today, just have to putty and sand them. I also started on the engine assembly and paint. First time using a black wash too so go easy on me. Still have to paint the engine cover when I paint the body.
-
I did manage to get some "floor pans" made for the interior tub. I know it's not as involved as the step downs that was recommended, but I'm used to seeing flat floors in a lowered custom truck. Made from .010 styrene sheets.
-
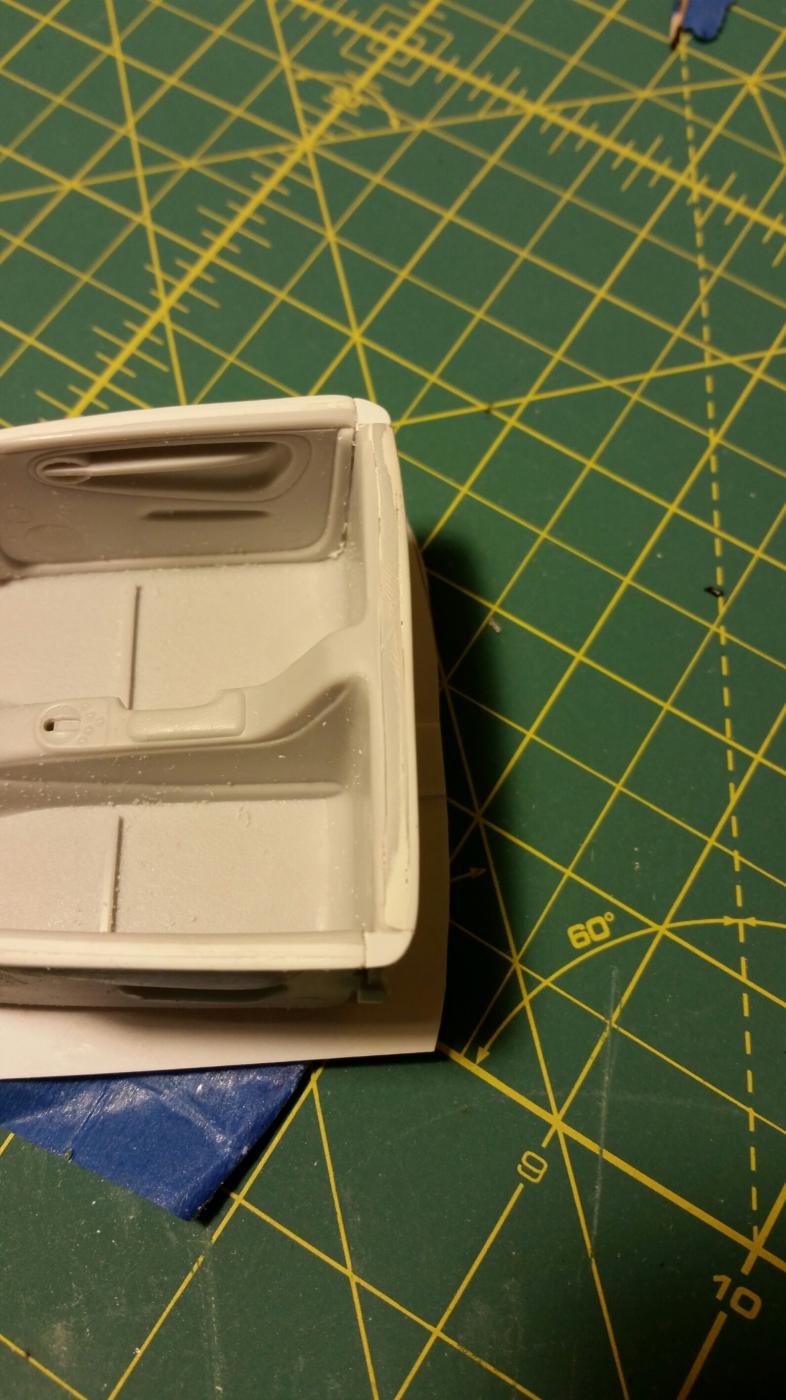
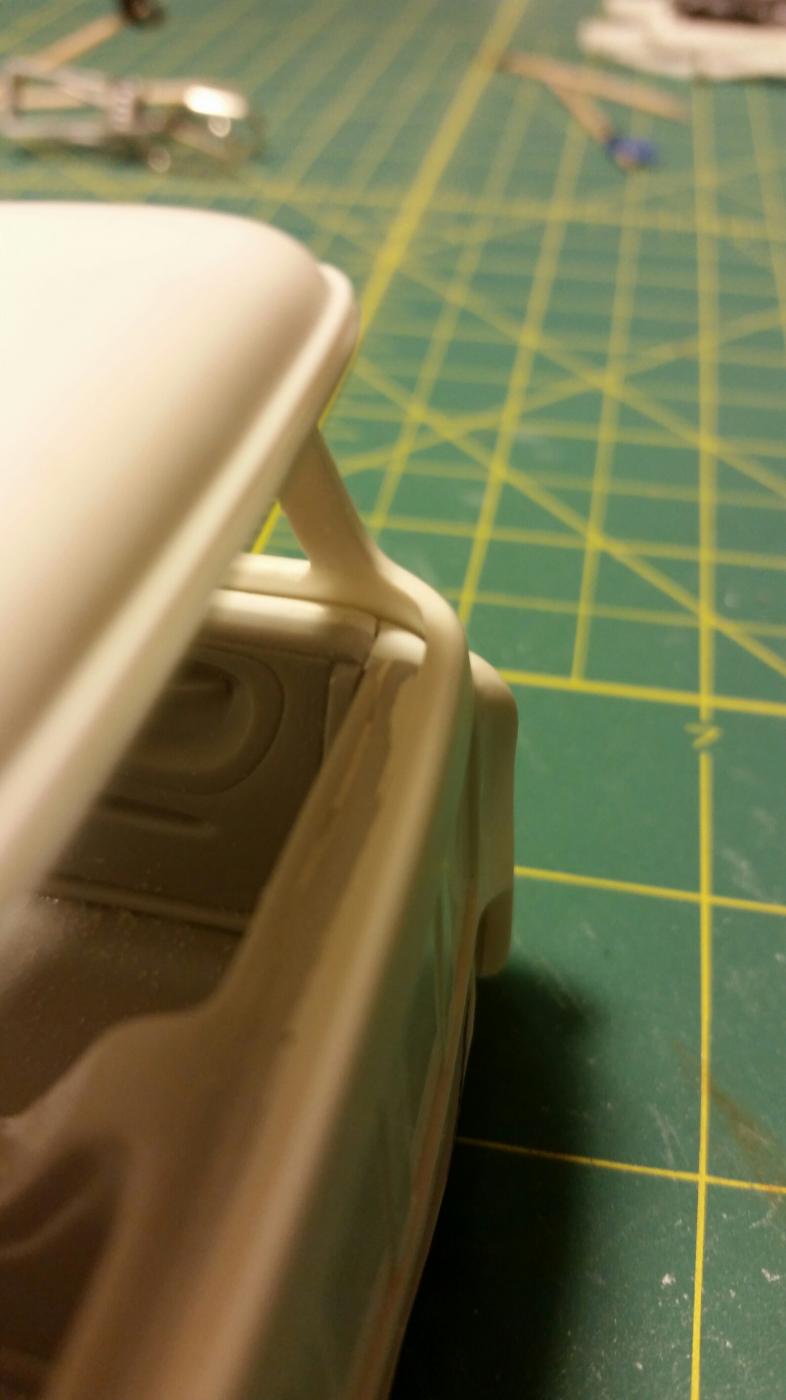
I managed to get a little done over the past couple of days. I added some .040 styrene strips on the edges of the door panels and interior tub to take away the gap between the body and the interior tub. Threw some putty on them and then sanded them down today. I'll have to say, I wasn't looking forward to that, but I am happy with the end result! Now all I have to do is glue the door panels to the tub and fill in the rear corner gaps on the tub.
-
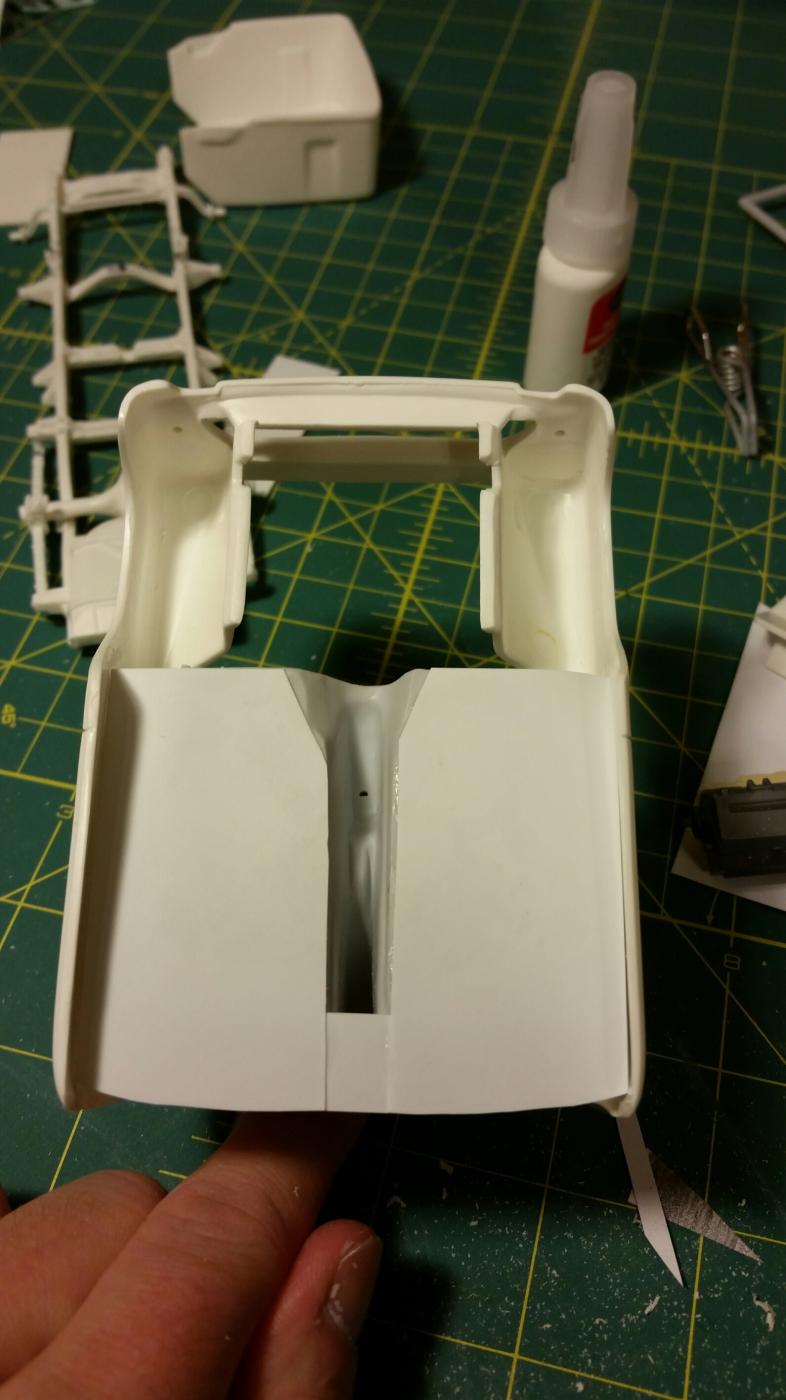
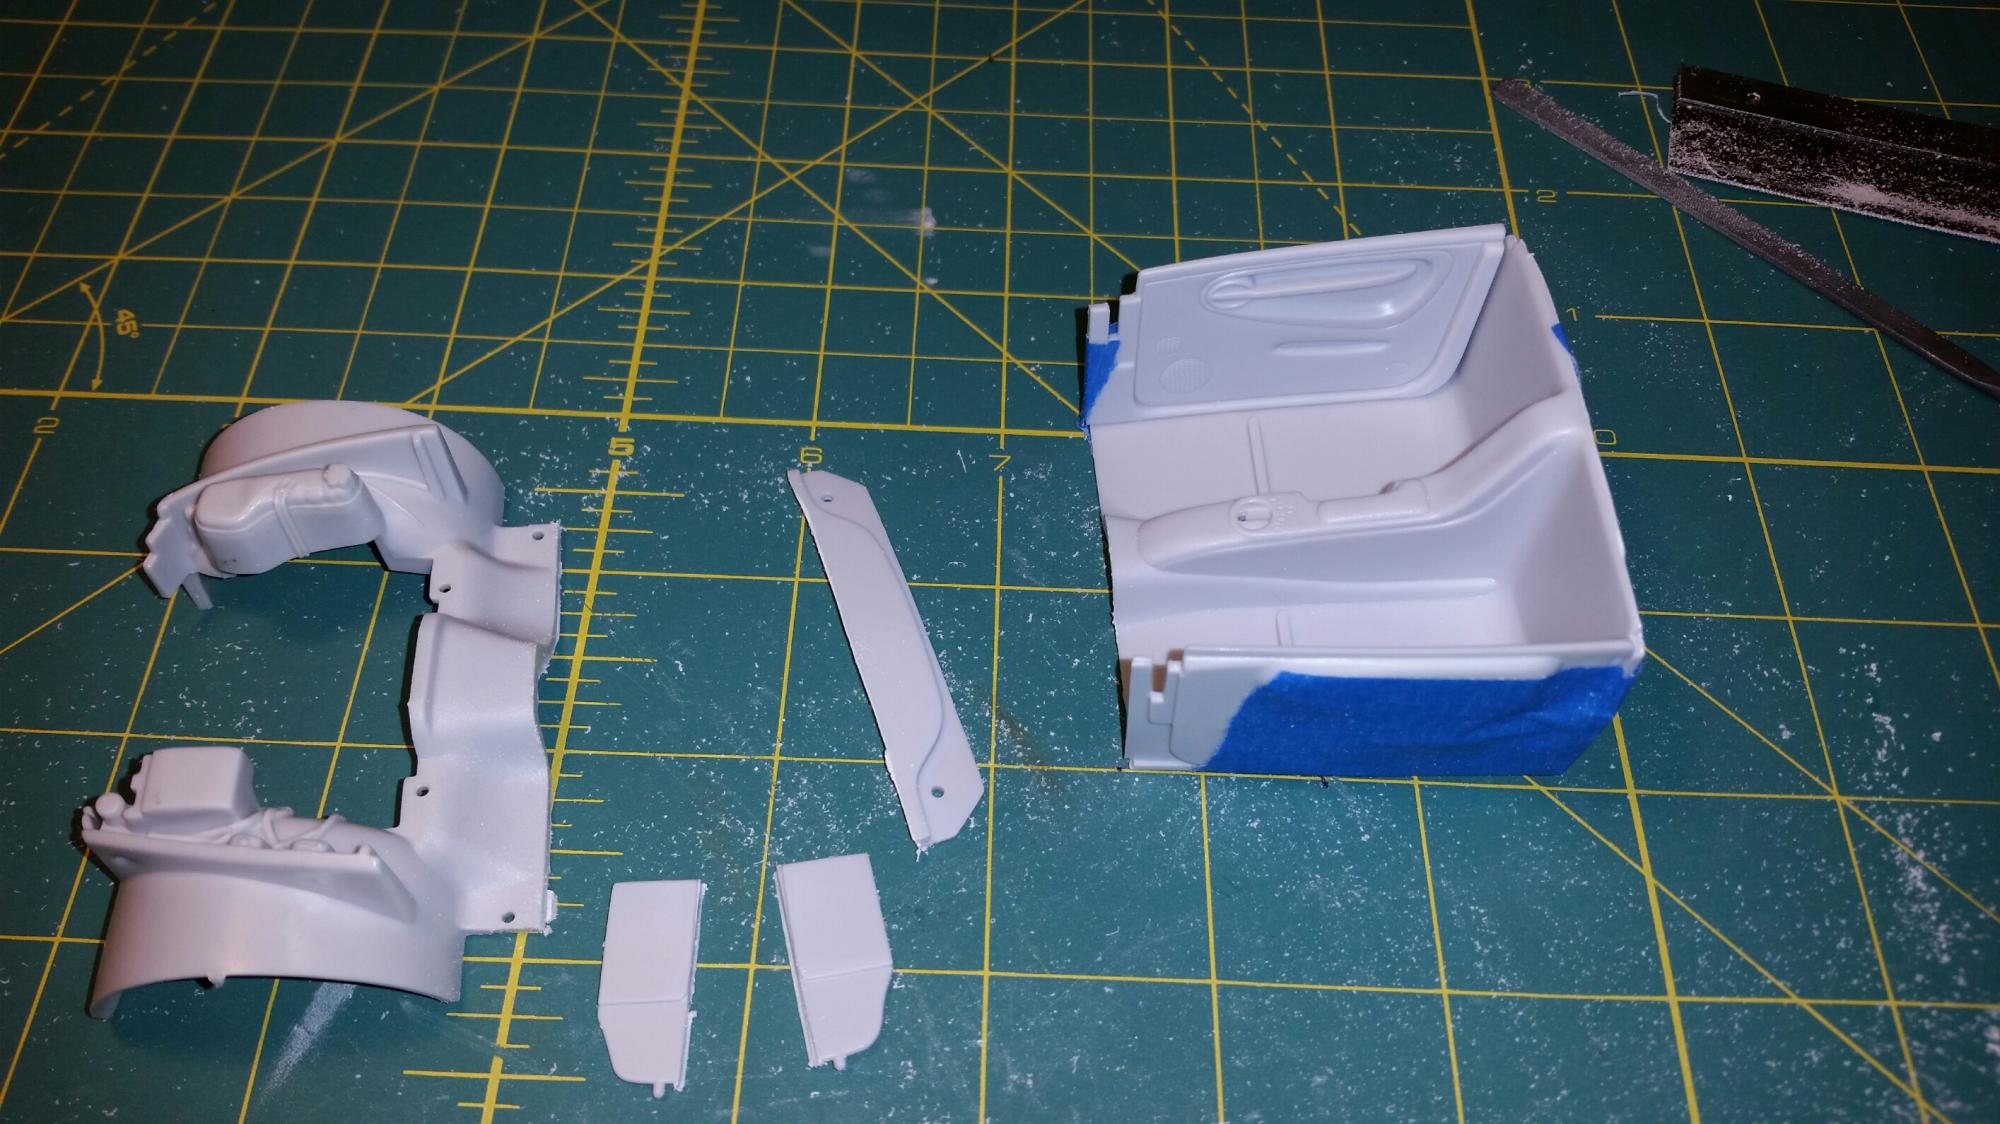
Here is what had to be cut and a little bit of reshaping done to the dash