bill lanfear
-
Posts
686 -
Joined
-
Last visited
Content Type
Profiles
Forums
Events
Gallery
Everything posted by bill lanfear
-
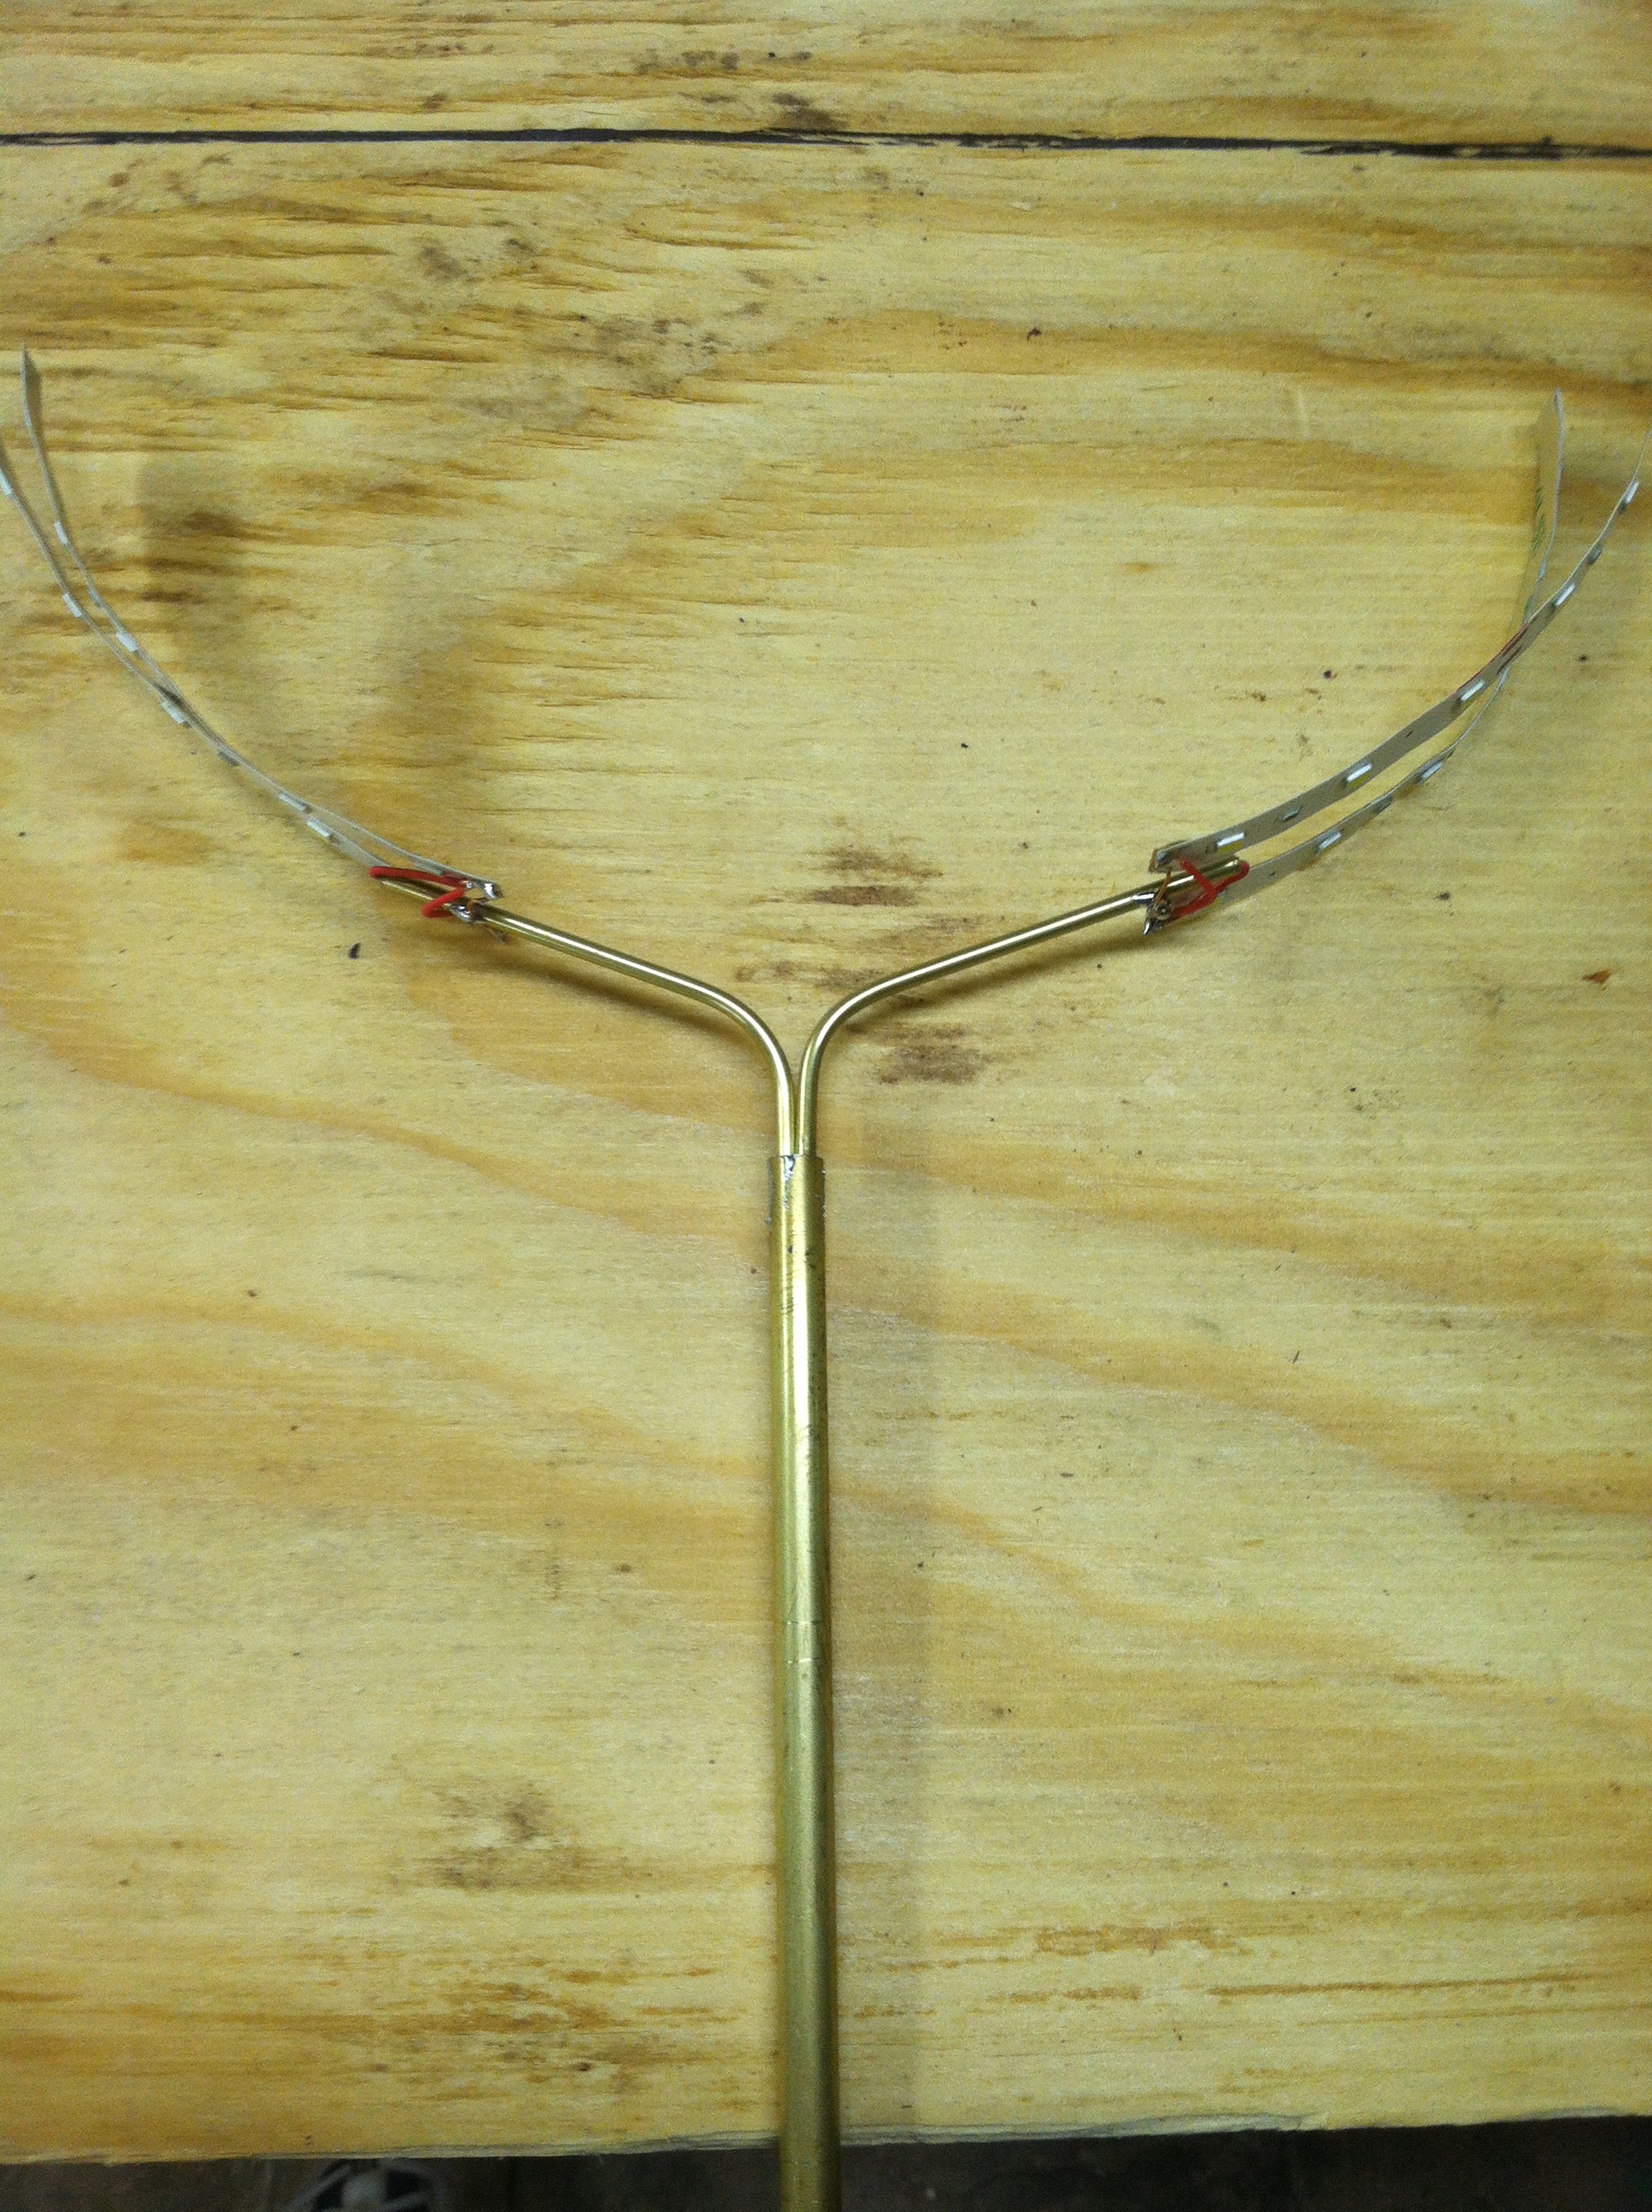
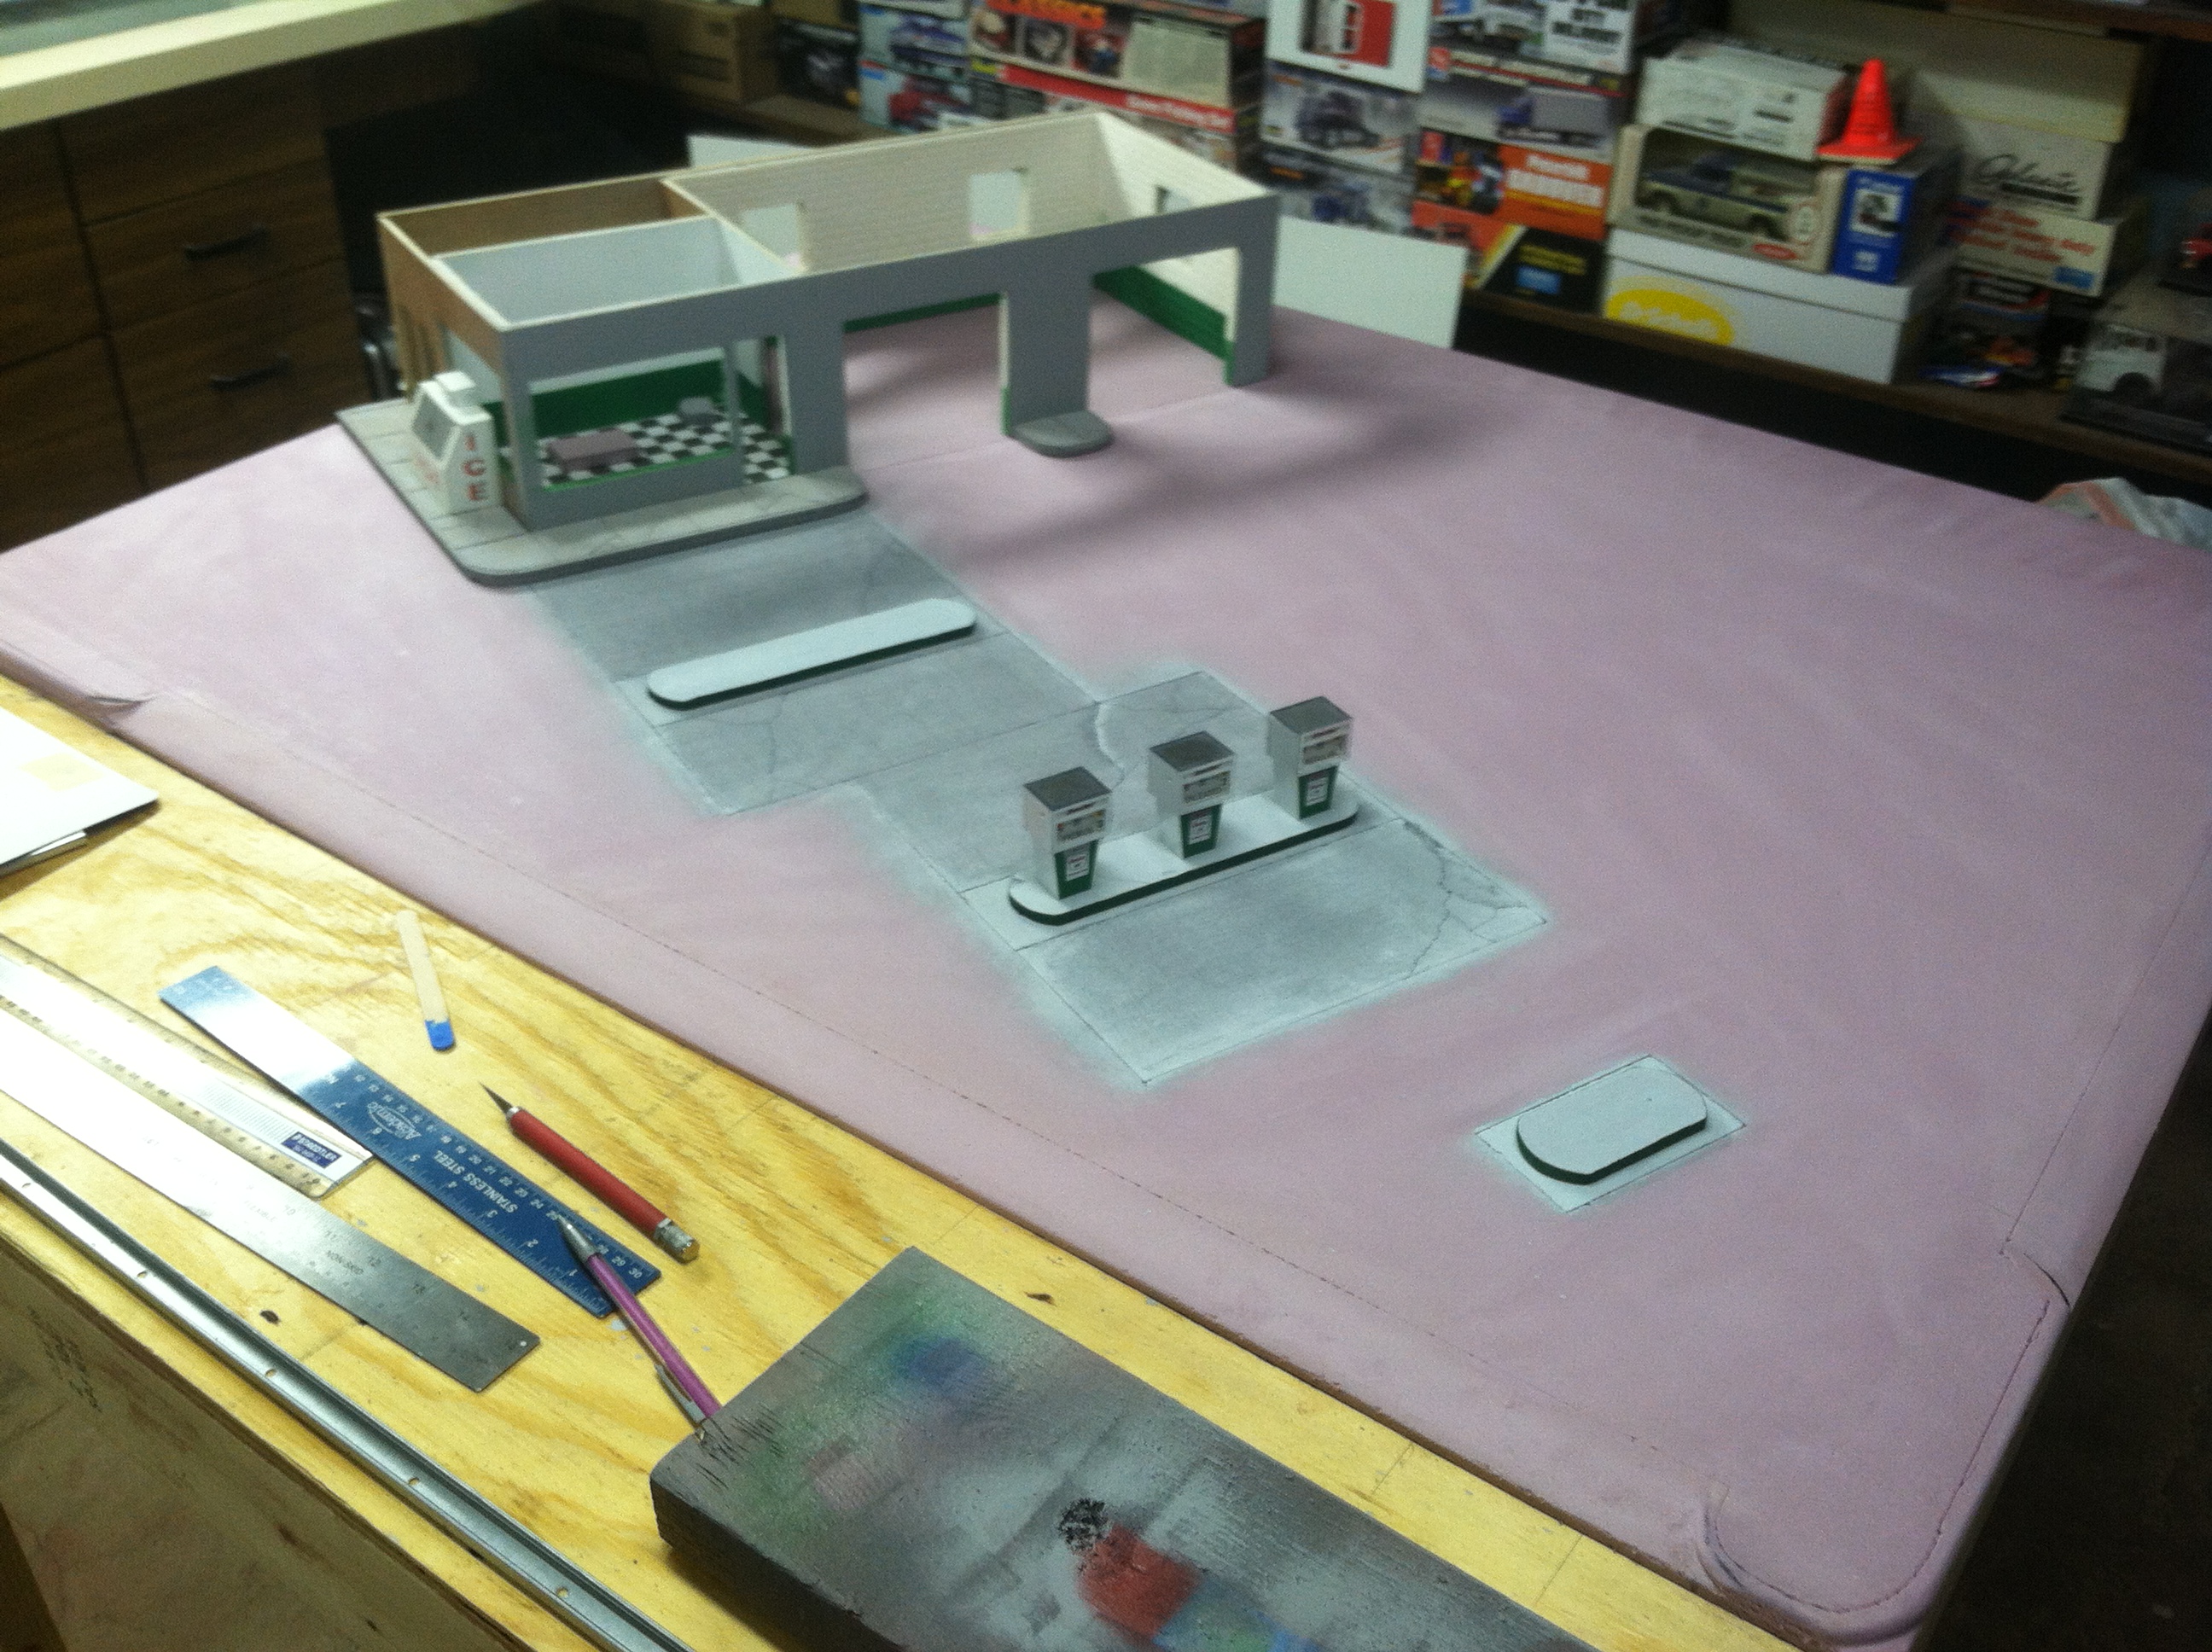
Ok so here is the latest update. As mentioned before, I started on the island lights, islands and lot. For the lights, I picked up some brass tubing and some led strip lights. I wired the positive through the tube and soldered the ground to the brass. Sorry for the crappy pictures! For the islands and the lot I picked up a sheet of 1/2 inch insulation foam, cut, and sanded down the islands and painted. I cut some cracks in the foam to simulate cracks in the concrete. I need to do some more work on the lot and smooth out the pads a little. I also need to add a couple more coats of paint for the concrete items. Most of the lot will be pavement. Here is a quick mock up of the layout. Until next time! I will post more as I go. Thanks for checking it out!

-
Yeah I realize that it may be a permanent fixture in my basement. If I Really wanted to...I can take the legs off, flip it on its side and carry it out and load it. Certain things would have to be removable but it could be done. The whole diorama will be sections of each structure (buildings and lots) and this 4' x 4 ' gas station is one segment of a much larger layout...or so the plan is anyway. I said earlier that there were two side streets with this gas station but there will only be one as I will put the other street with the next structure which will be 2' x 3'. I will post a mock up later this evening. I started on the lot and islands. I put together a crude building and have been working on the island lights. I still need to finish the other four gas pumps but have been bouncing all over the place lately.
-
1950 Chevrolet 3100 pick up
bill lanfear replied to Ballroad's topic in Model Trucks: Pickups, Vans, SUVs, Light Commercial
Very nice! Great weathering and details! -
Thanks!
-
Nice work on the Caddy! I wish I had one for my diorama that is in progress!
-
Hi Mark, the gas station portion will be 4 ft by 4 ft ...this will include two side streets. The station will have two bays, two islands of three pumps each and a diesel pump out by itself. I am currently working on the island lights now. I will post a mock up of the layout soon.
-
Bending Aluminum Tube
bill lanfear replied to jaxenro's topic in Model Building Questions and Answers
For a super tight radius, maybe slip some stiff wire into the tube (snug slip) and bend. The wire should keep it from kinking but you wont be able to remove the wire once you bend it! -
Bending Aluminum Tube
bill lanfear replied to jaxenro's topic in Model Building Questions and Answers
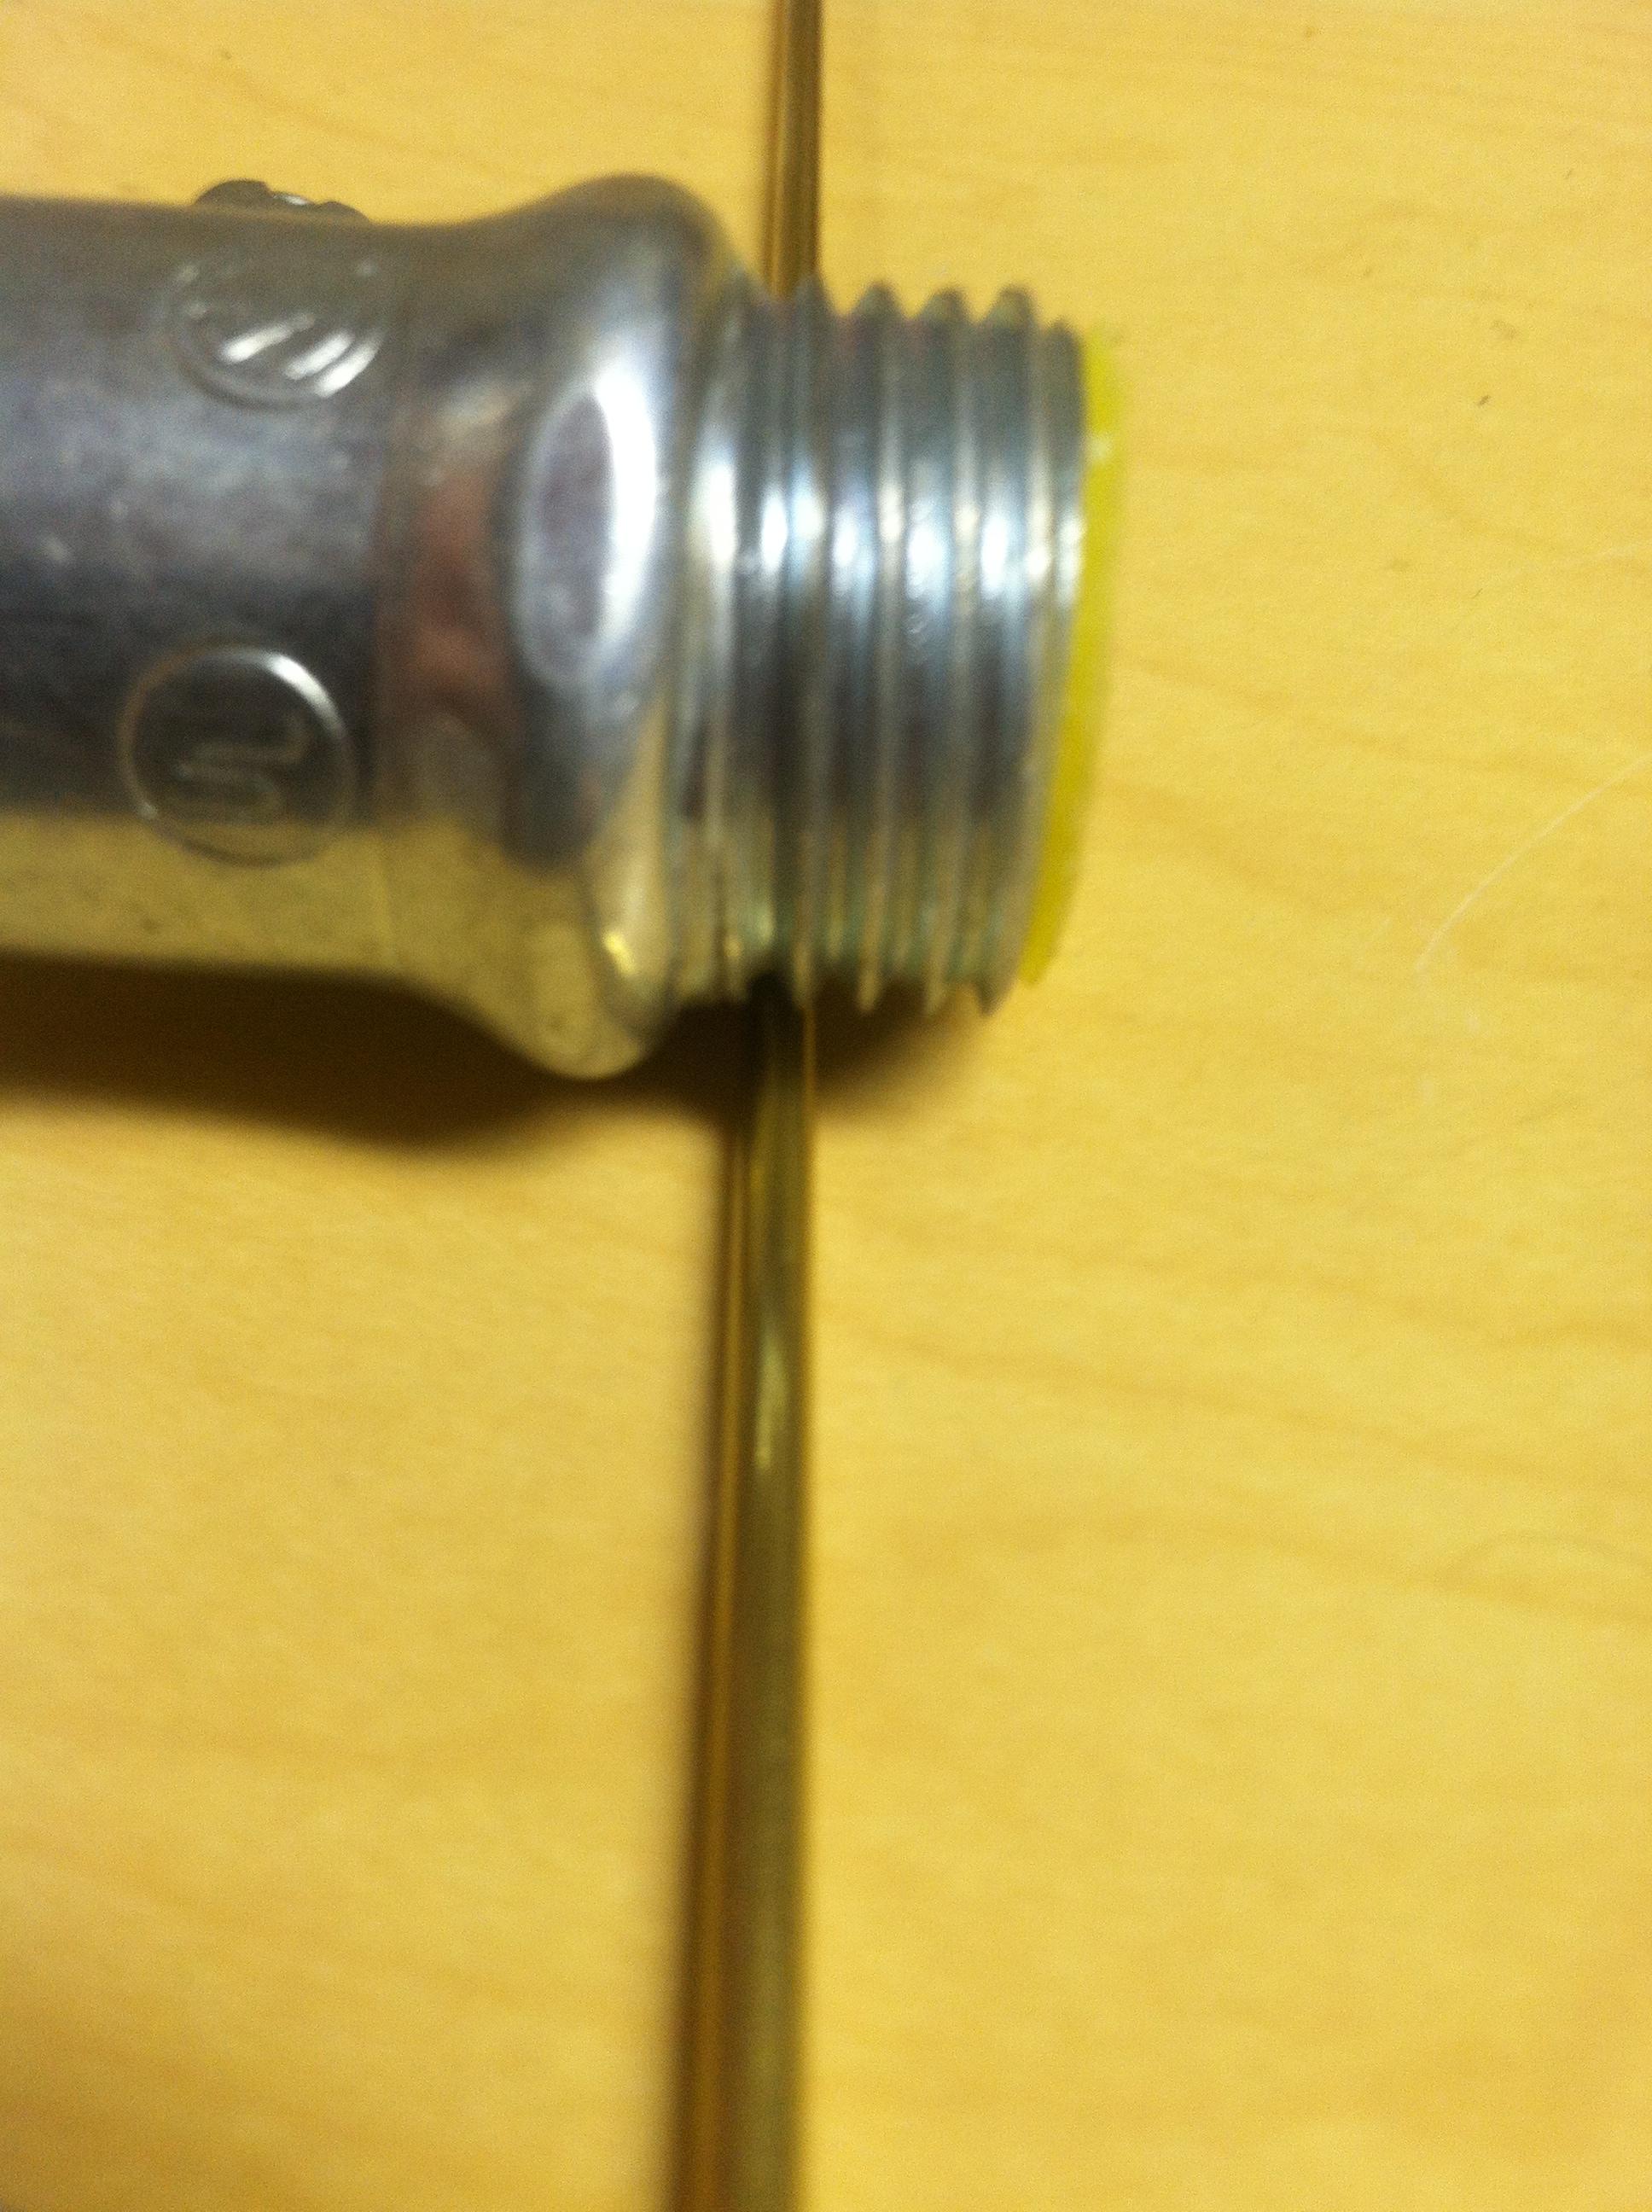
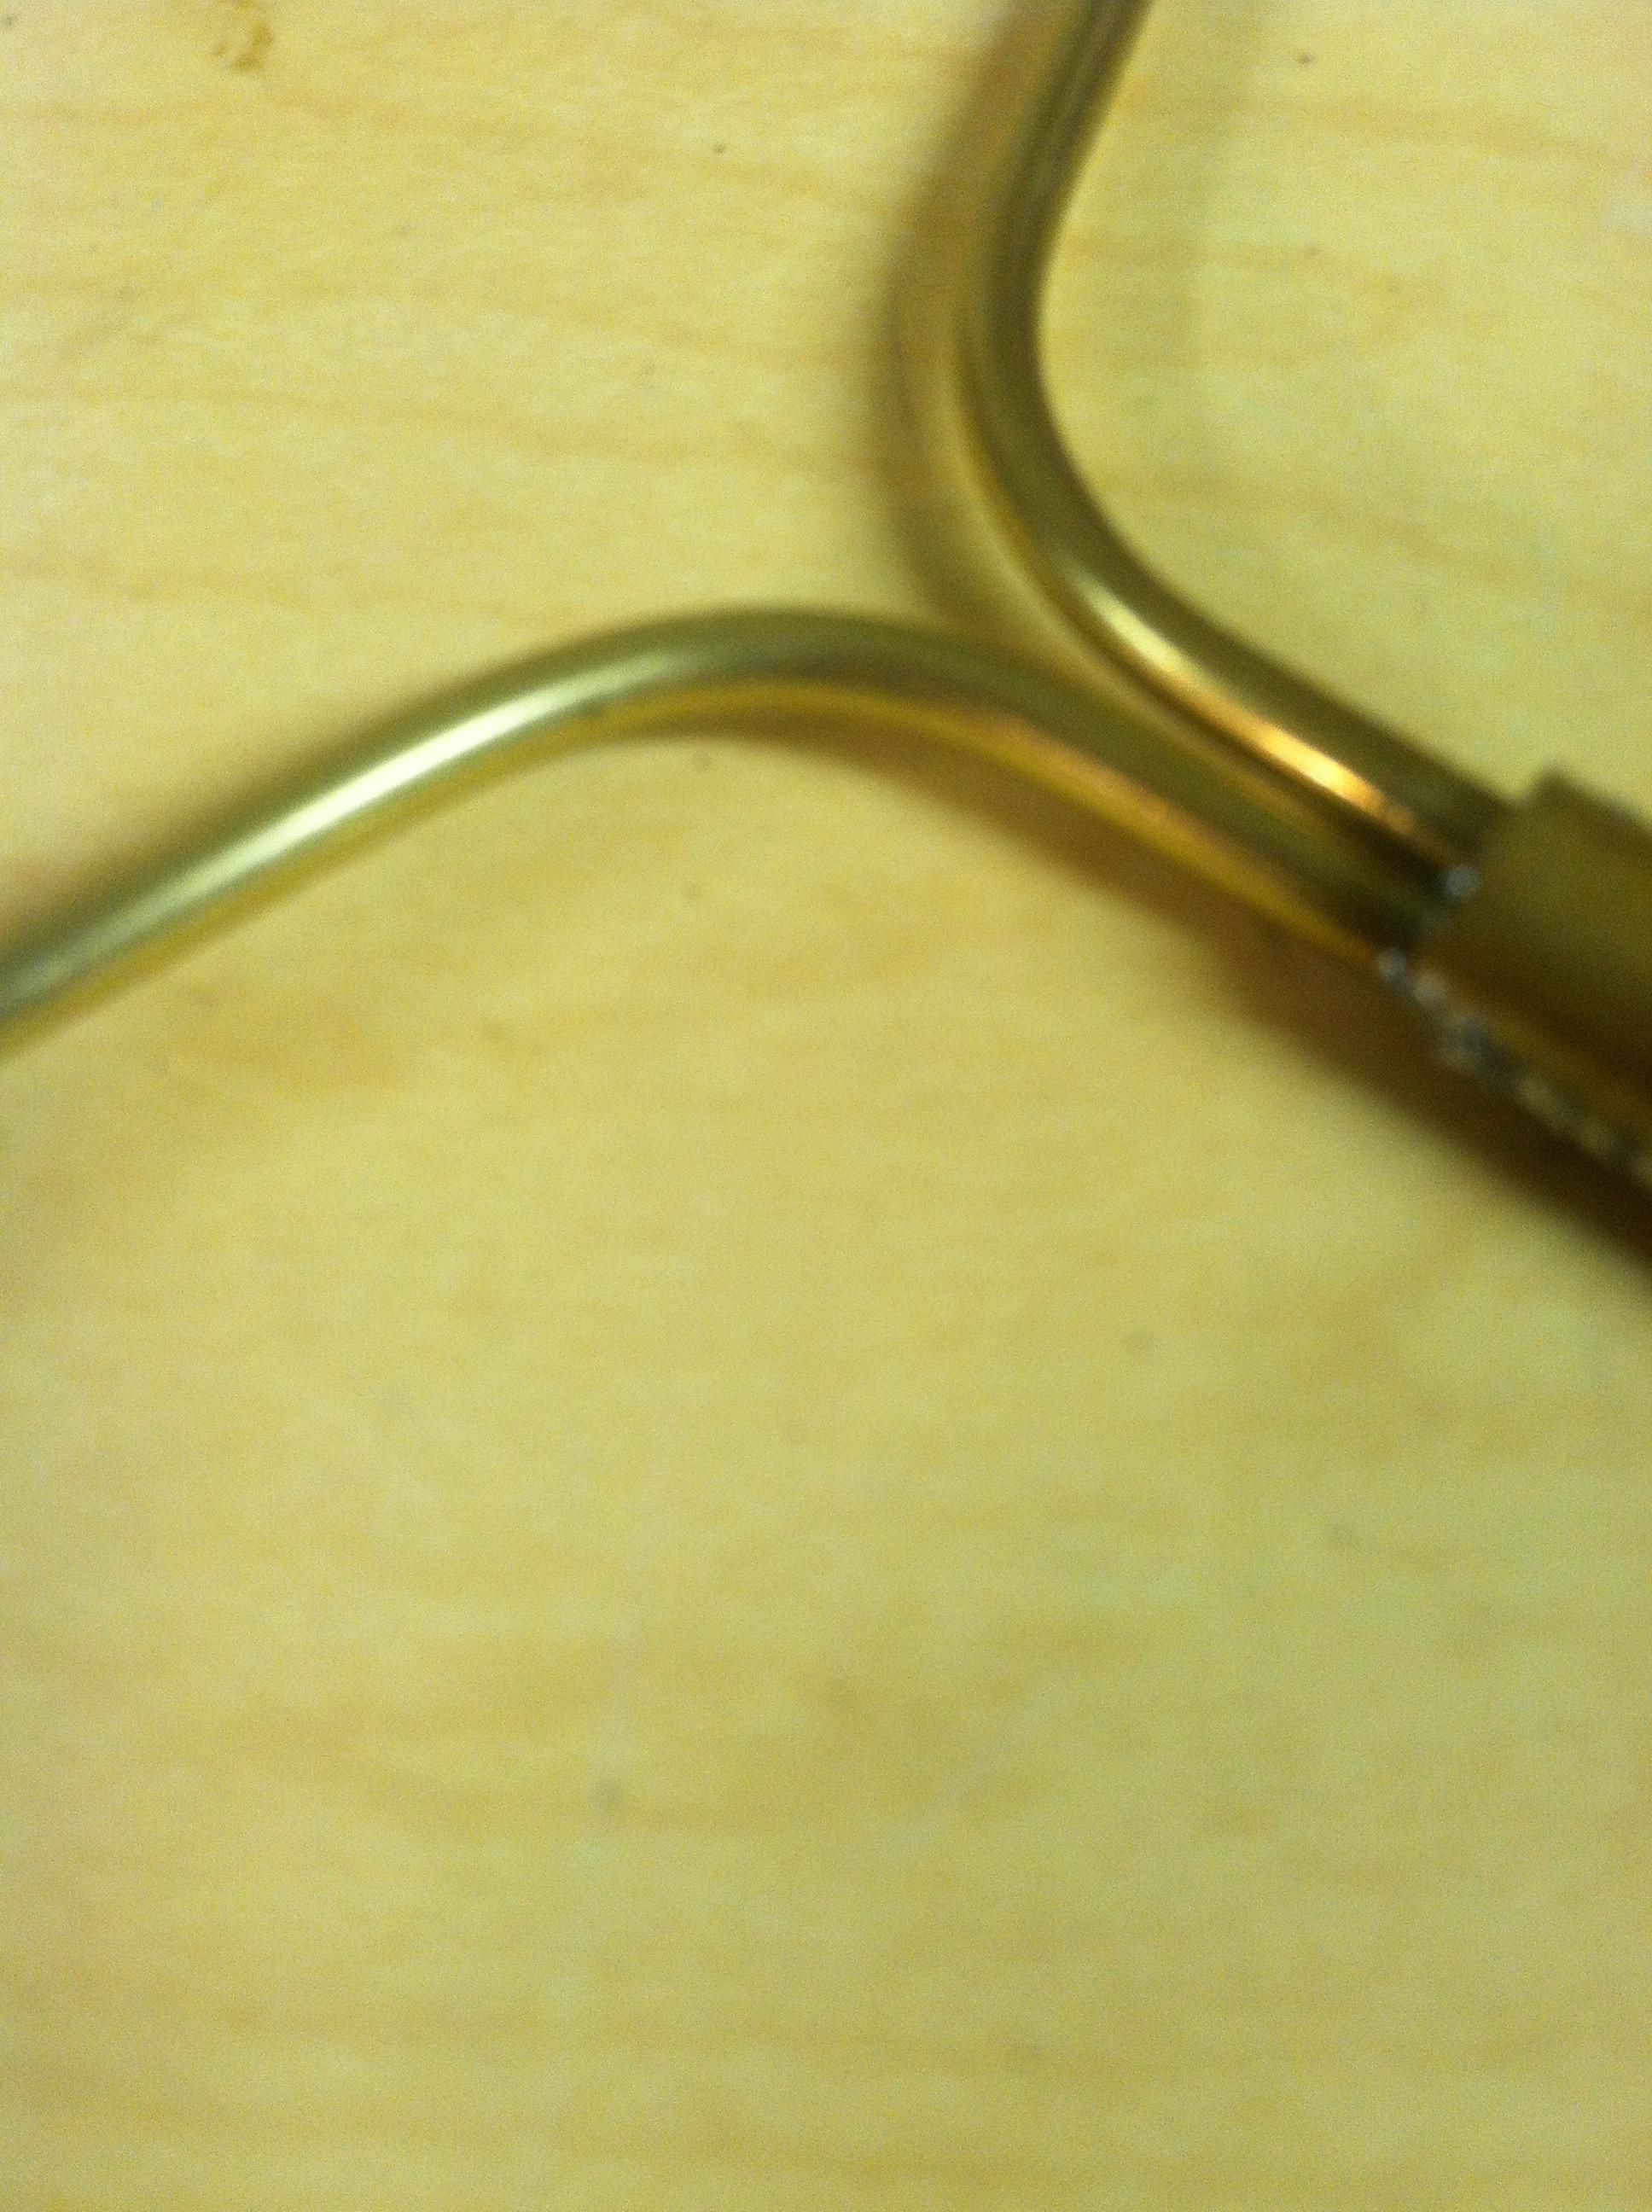
I recently bent some 1/8 brass tubing using a metal threaded piece of conduit. You can use about anything with threads that the tubing fits into. I placed the brass into the threads and bent the tube around to the degree I needed...worked great for me and no kinks.
-
Thank you guys your comments are appreciated.
-
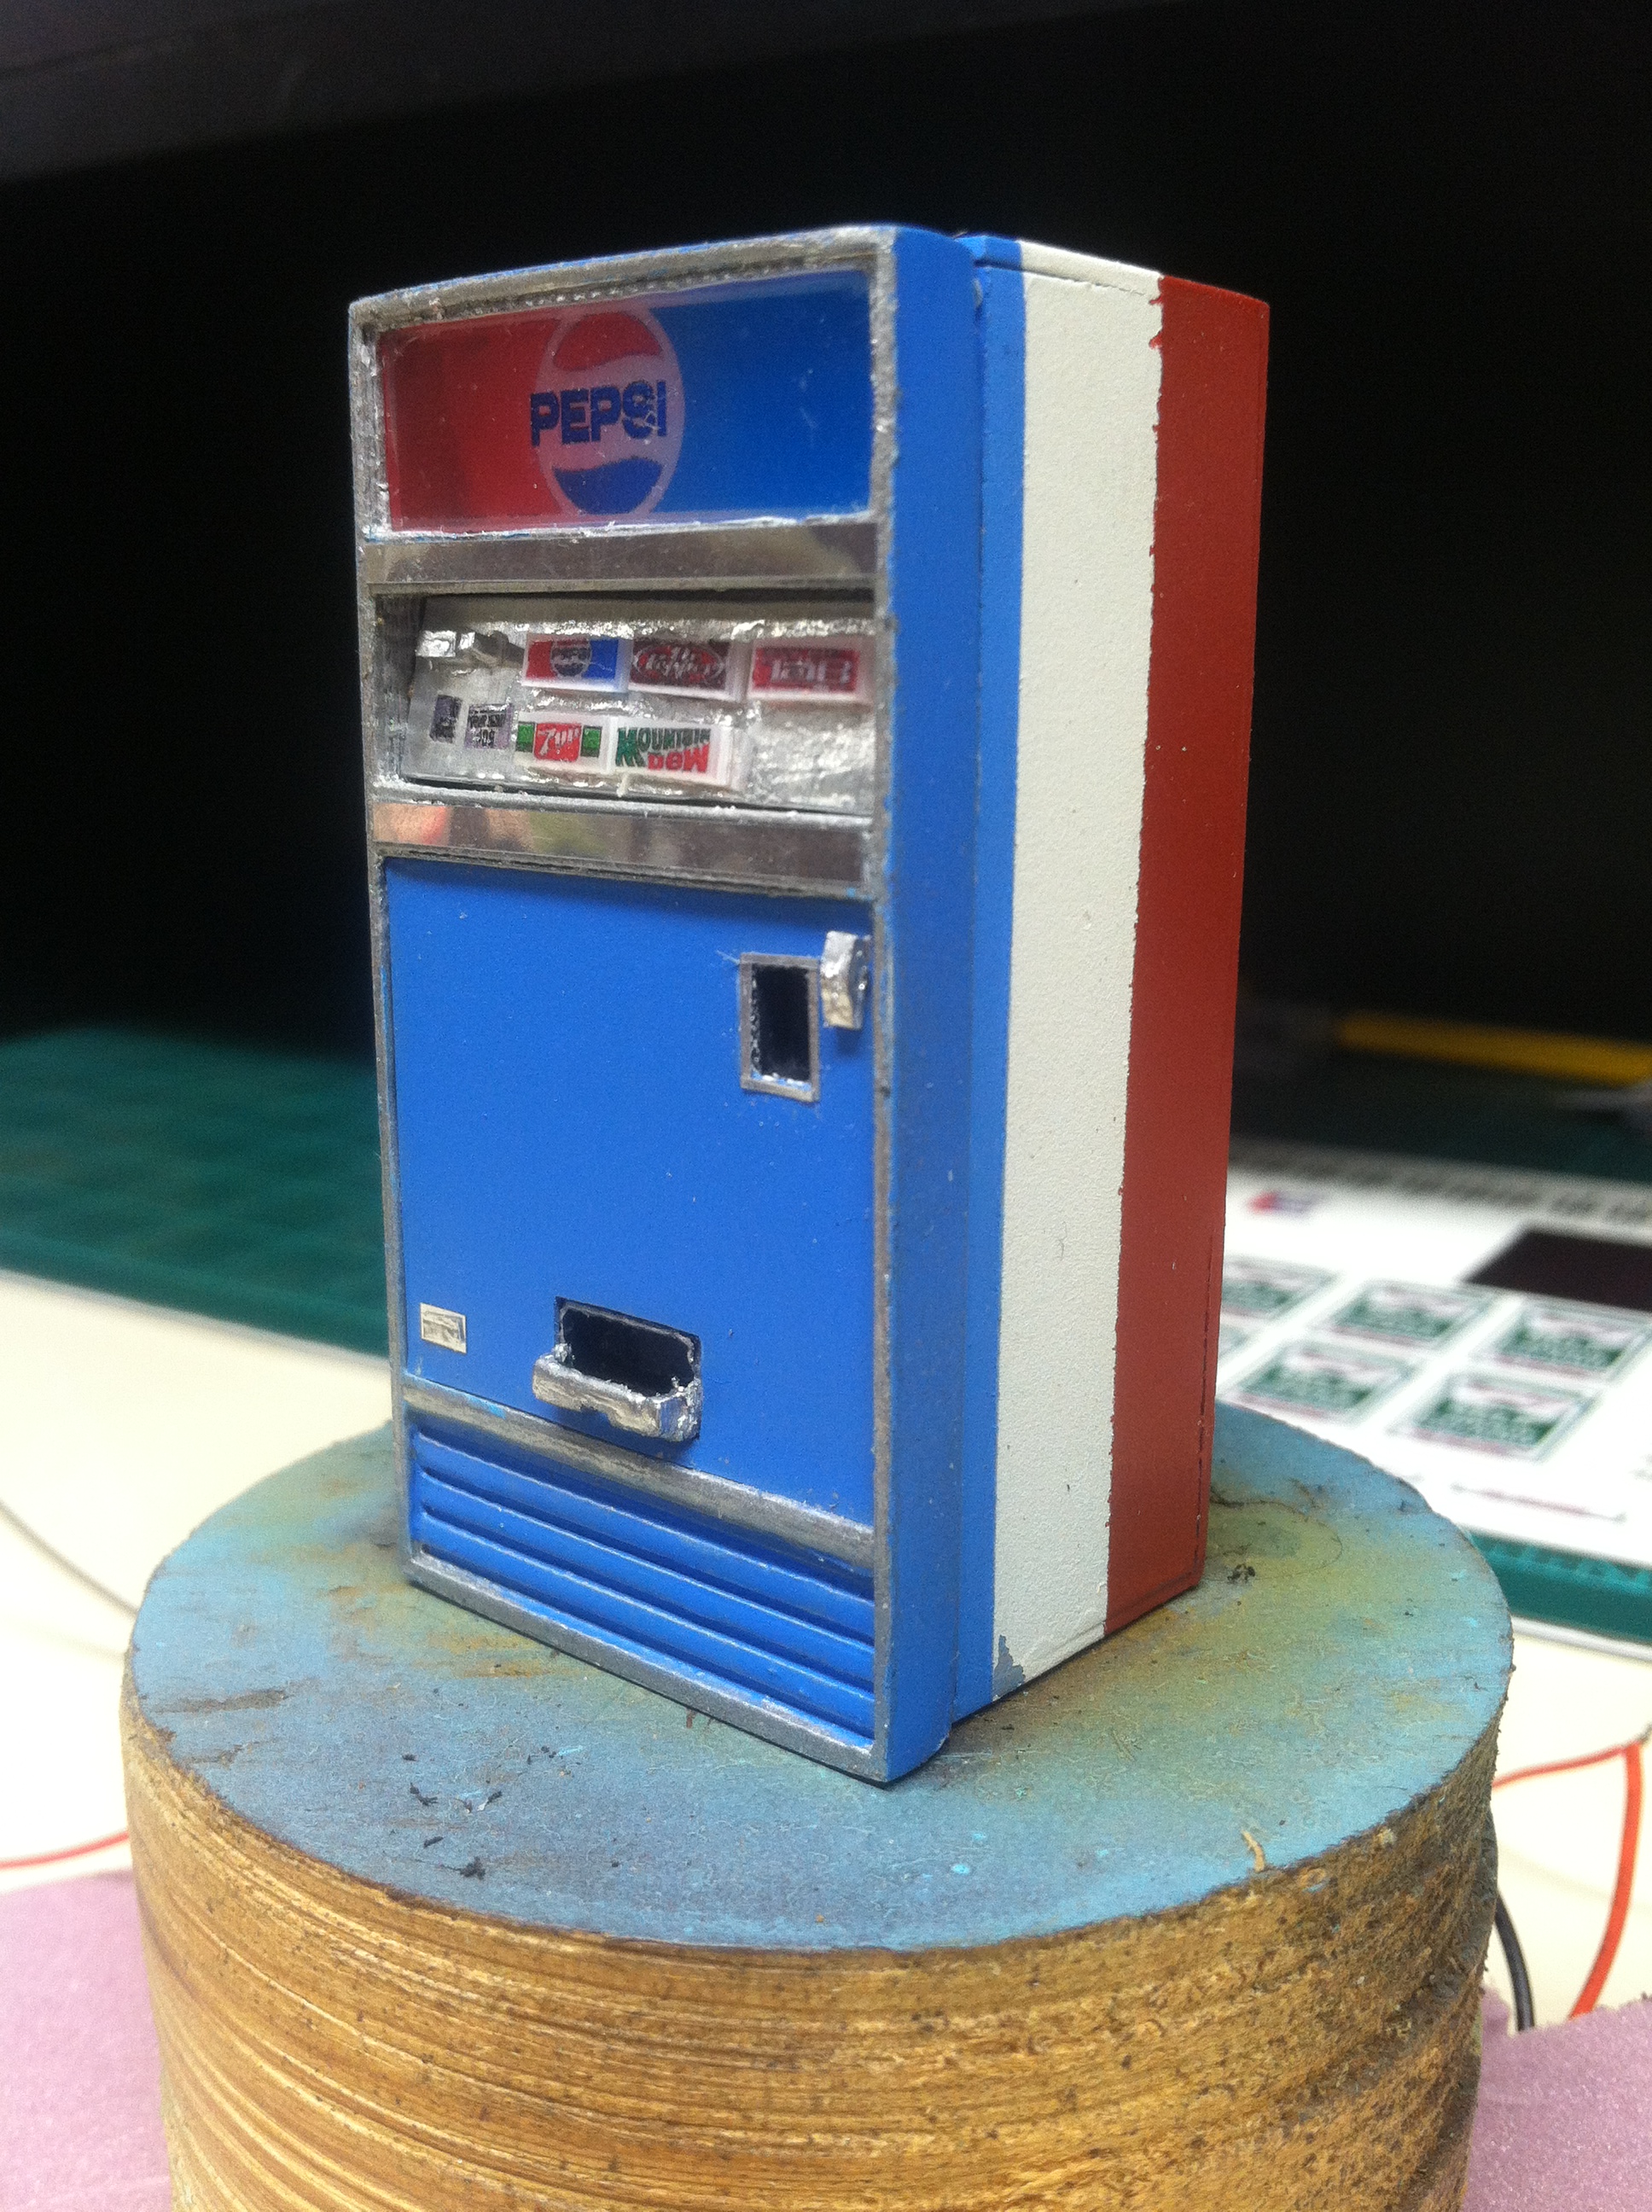
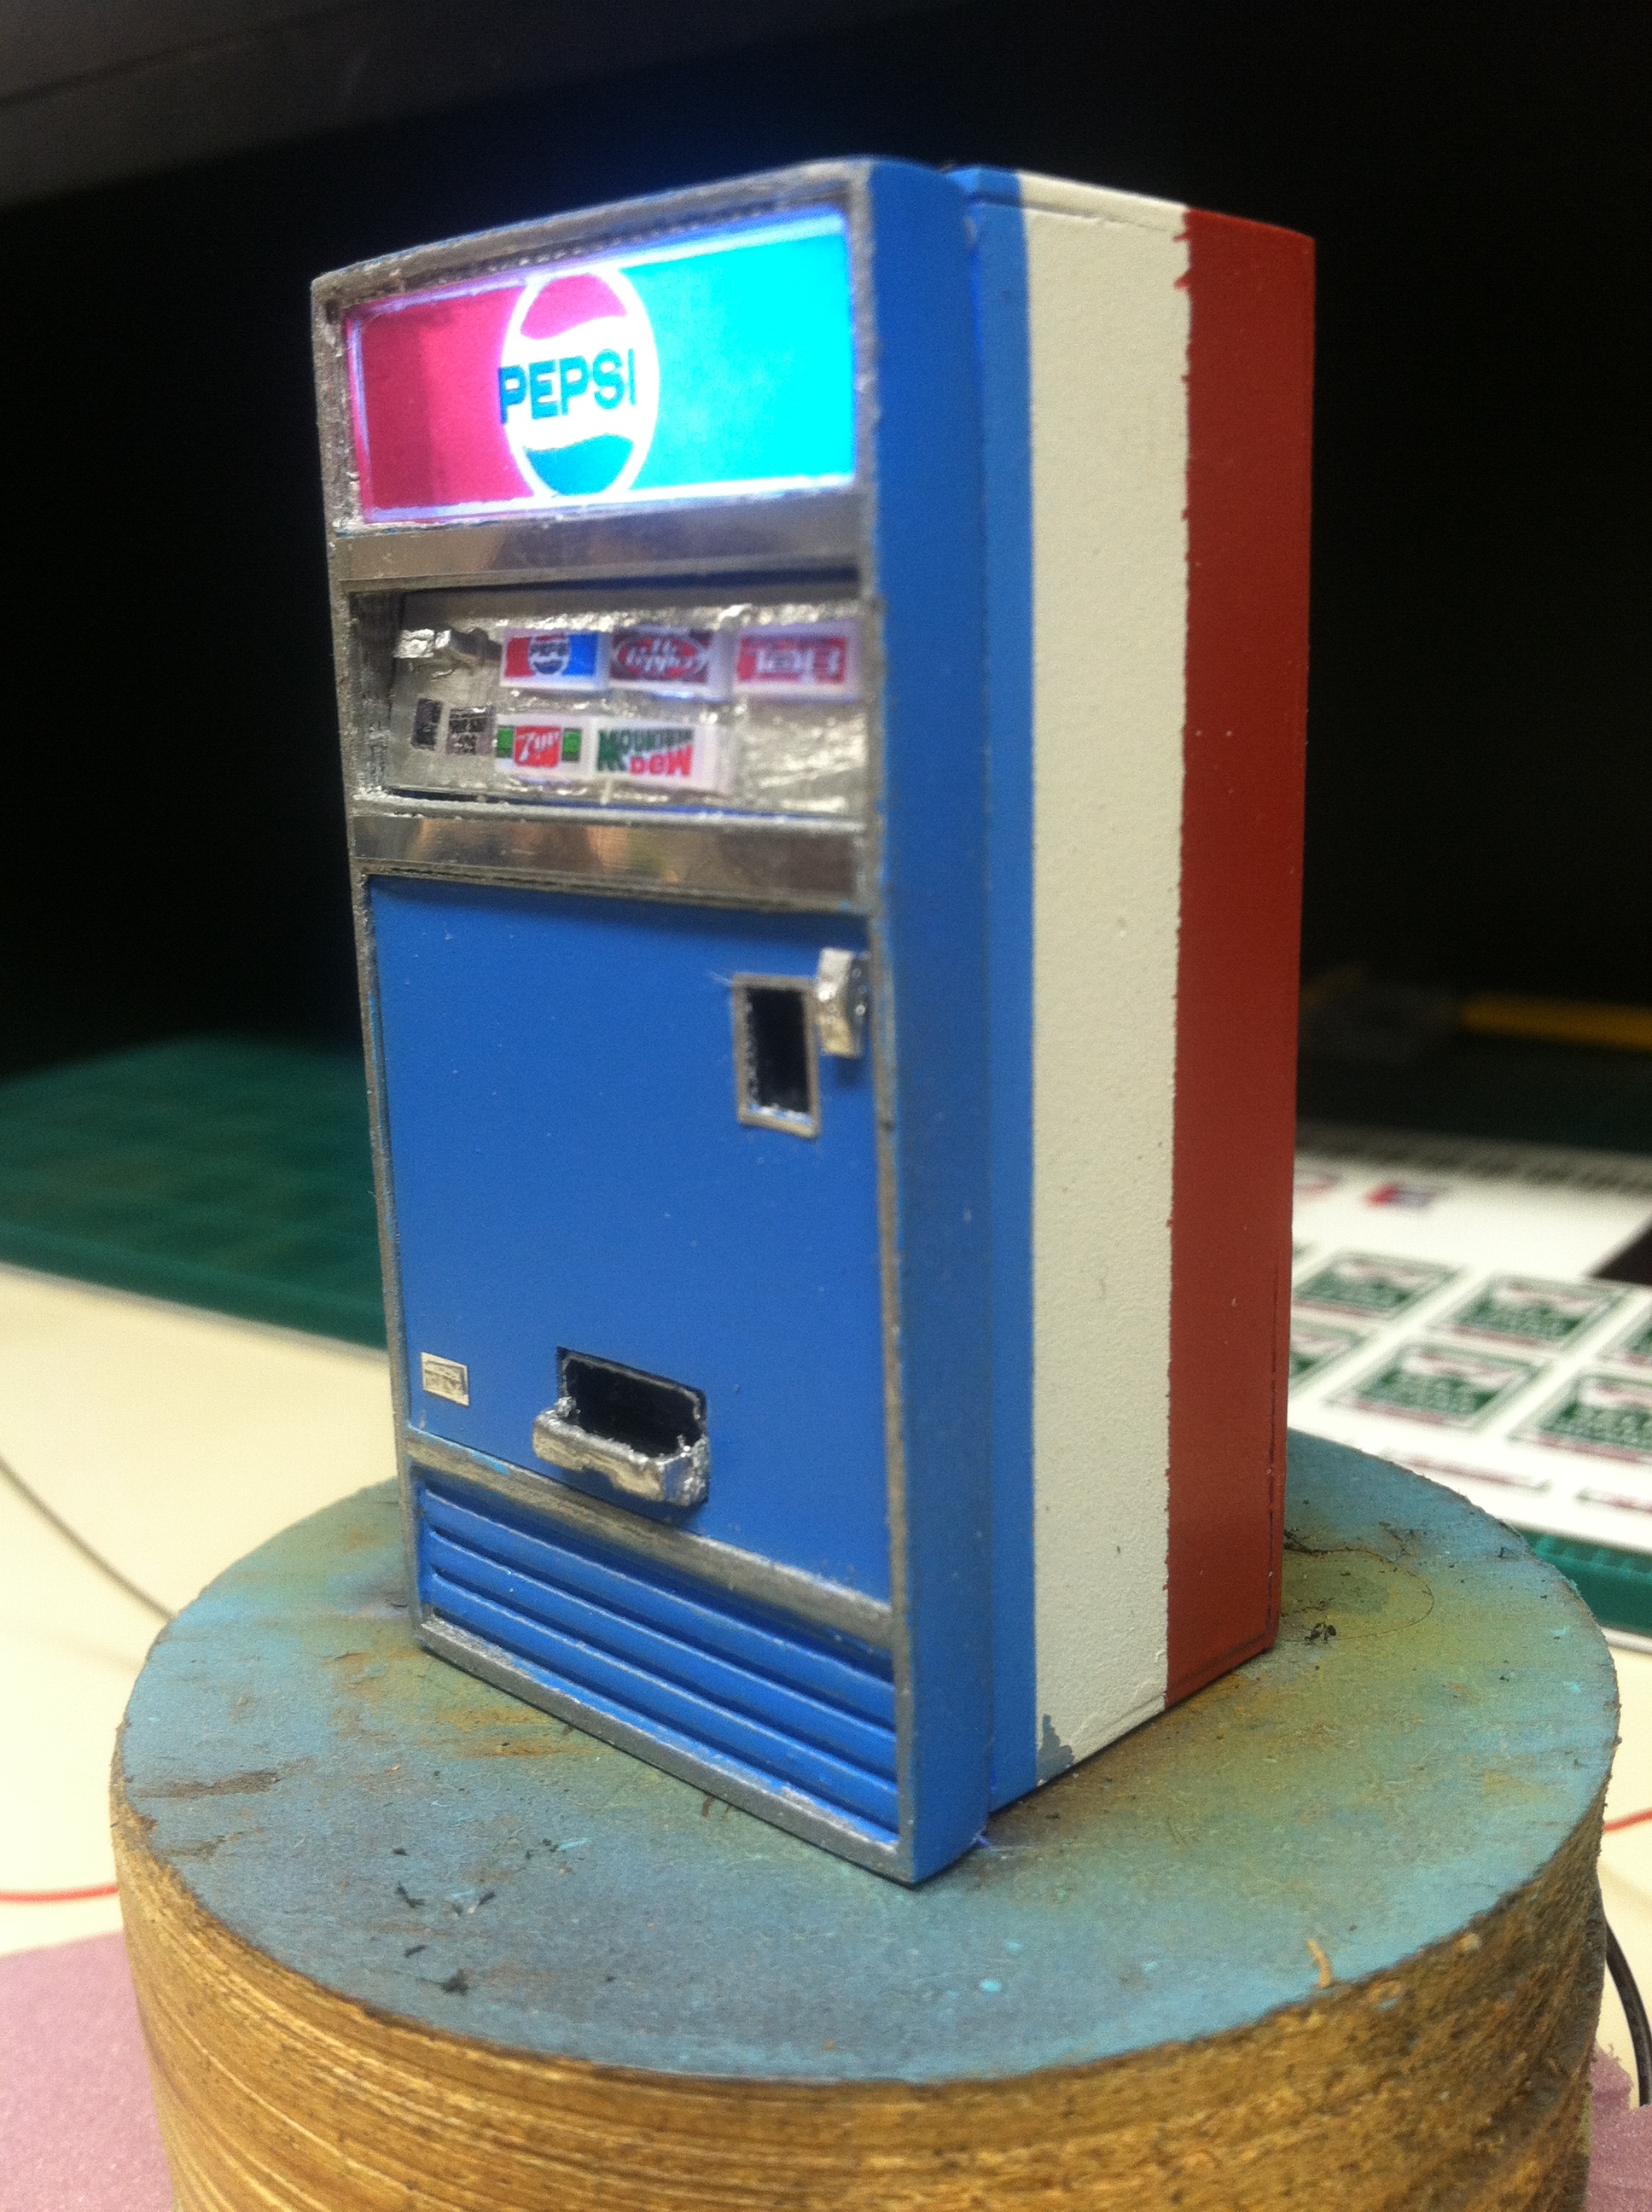
Quick update! I finished the third pump of seven and decided to take a short break and fabricate a pop machine. The front is not attached yet so it might be a little crooked as I just propped it up for pics. The buttons are made of a pudding cup for transparency and the top "Pepsi" logo has the ribbon decal on the back side and the word on the front to give the allusion of the real sign. Hope you like it...tell me what you think, thanks for looking!
-
Really nice Goat!
-
1978 Dodge Adventurer 150
bill lanfear replied to migace's topic in Model Trucks: Pickups, Vans, SUVs, Light Commercial
Nice work! -
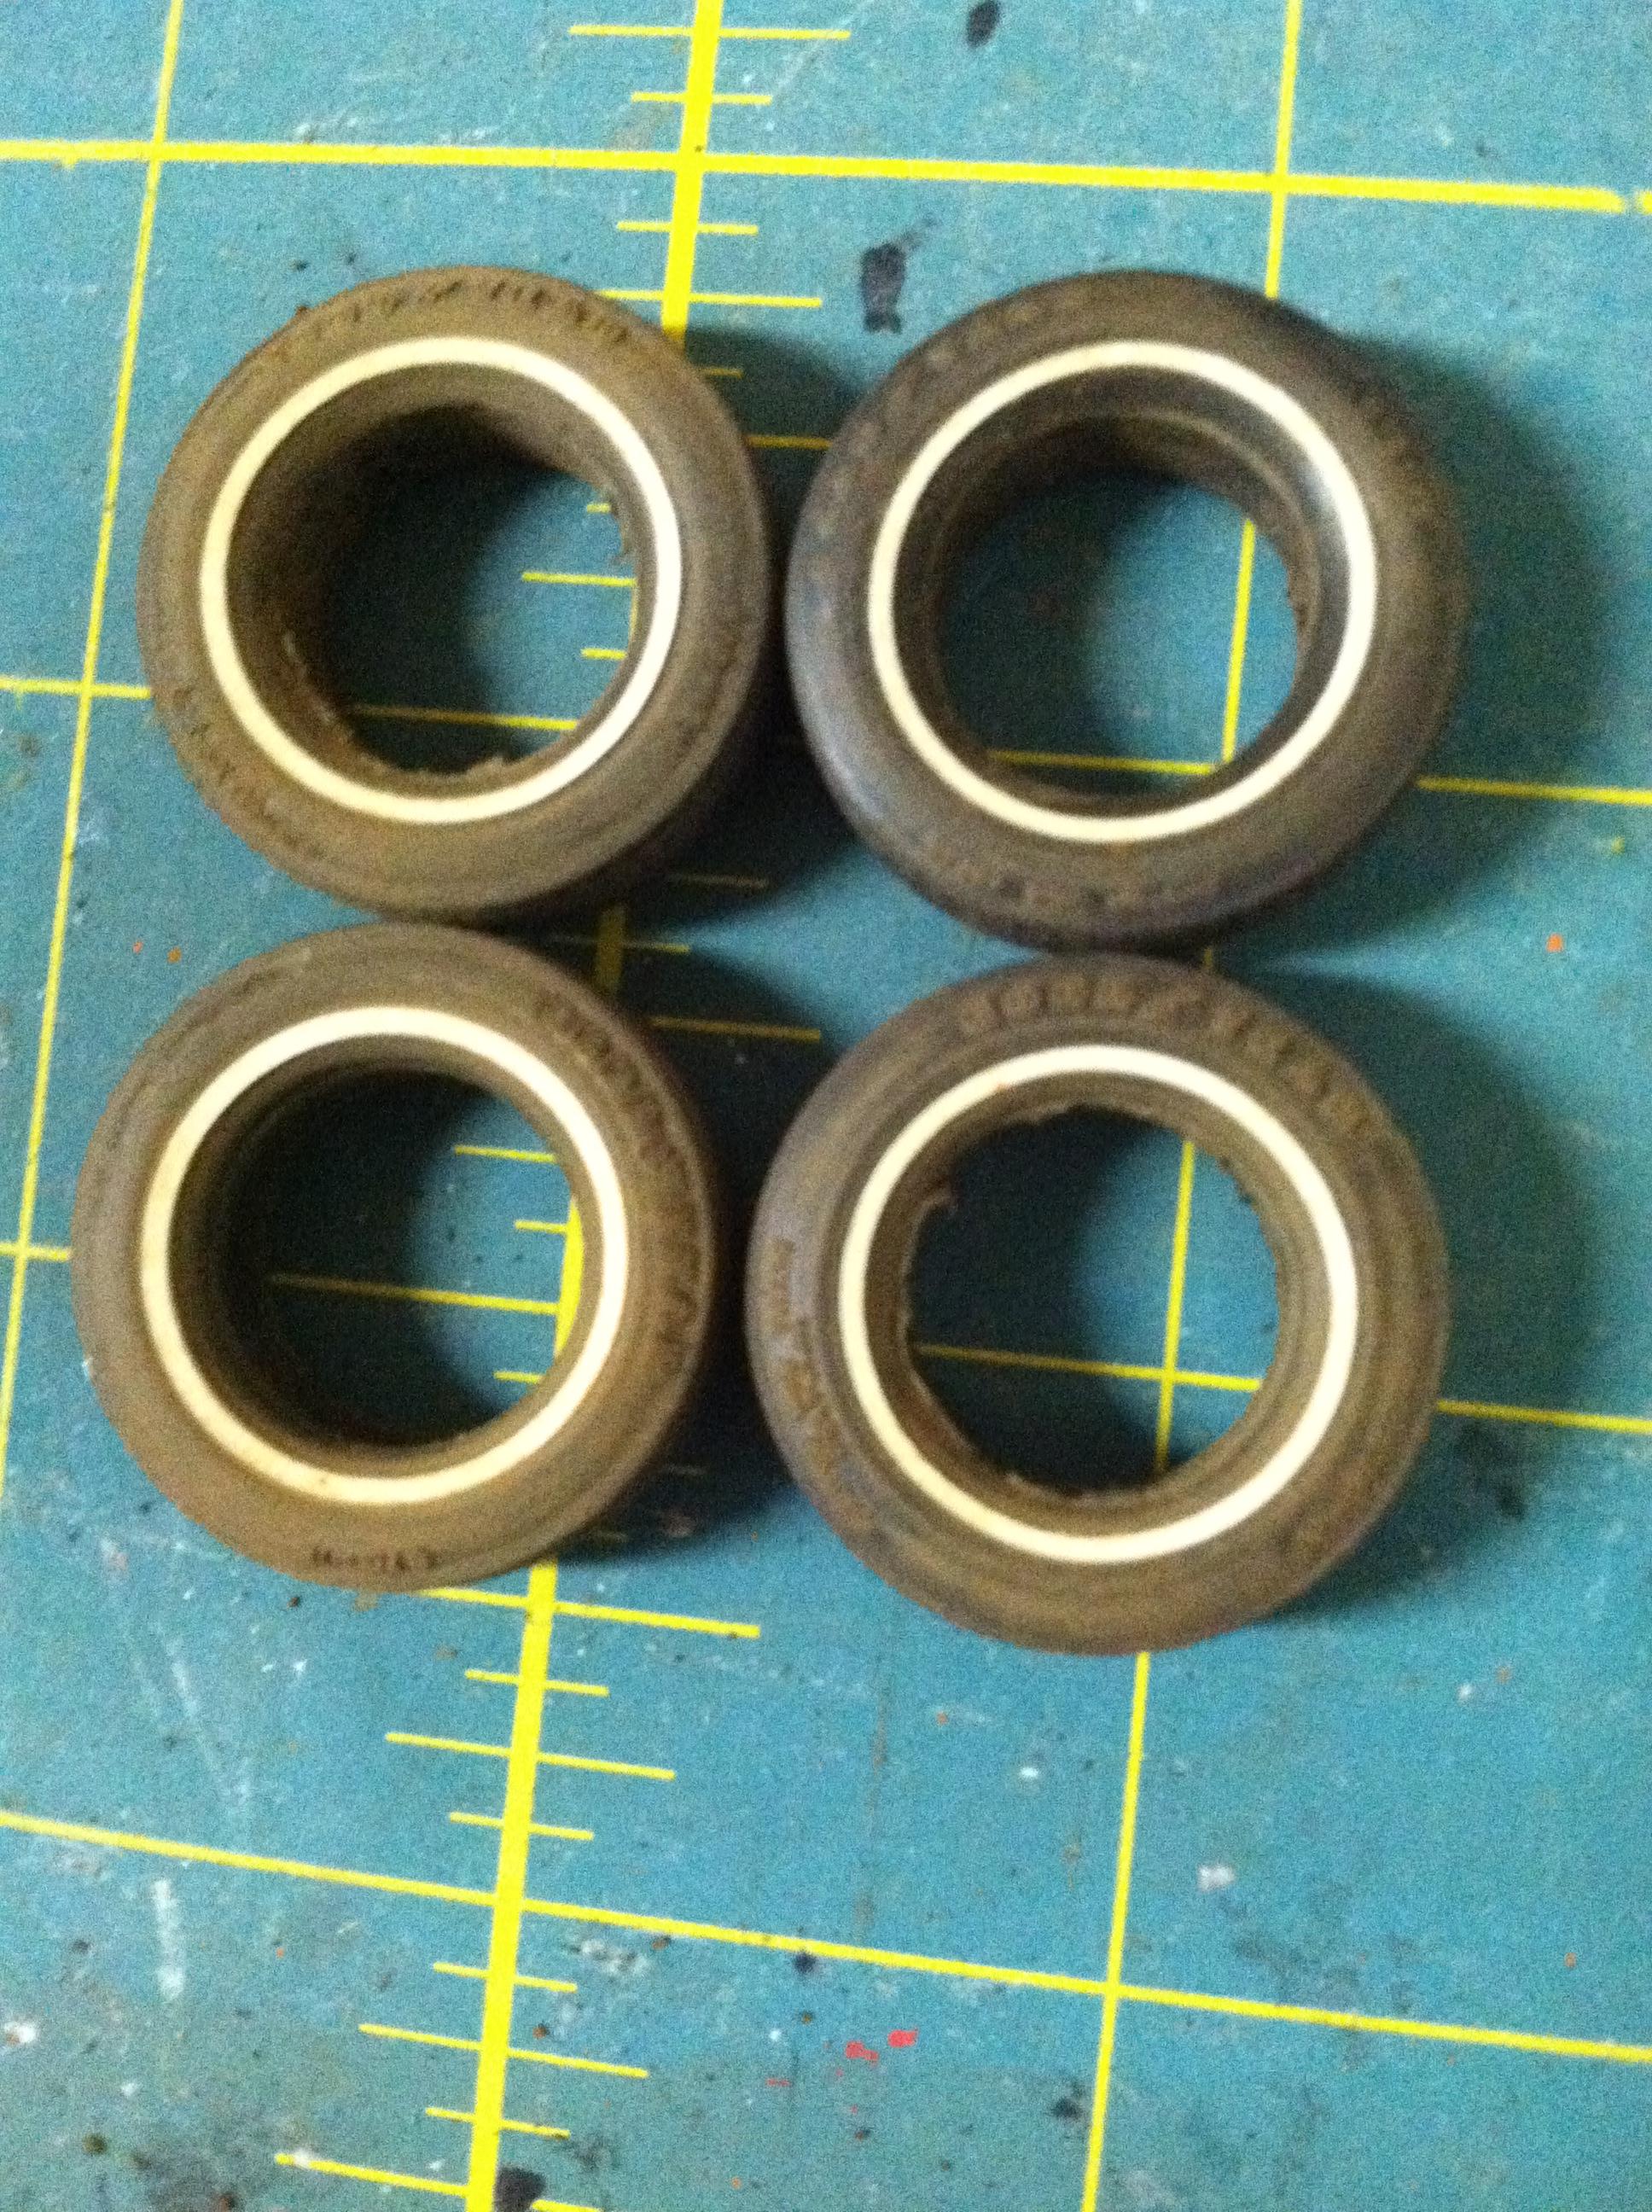
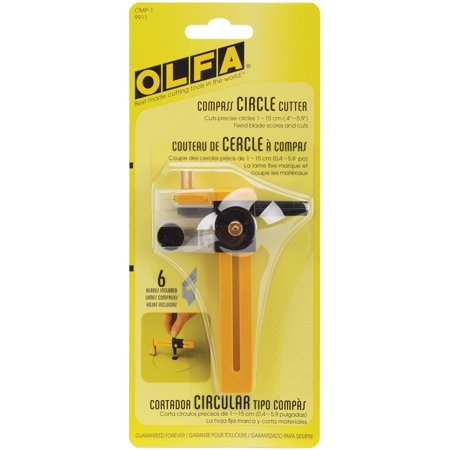
I use this tool for my whitewalls and I use postage labels instead of decals. I weathered these to show road grime but the cut is the result of this tool. Just google compass cutter and you will find them. Hope this helps!
-
Incredible work! That is beautiful!
-
Hey David, I would be happy to measure my pumps for you if needed. I posted a "Need help" on this problem under the wanted section of this forum and George hooked me up with measurements of a "Doozy" pump which is 1/24 scale. I then converted the sizes down to 1/25. You can check out the 1/24 measurements or PM me and I will measure mine for you. Hope this helps!
-
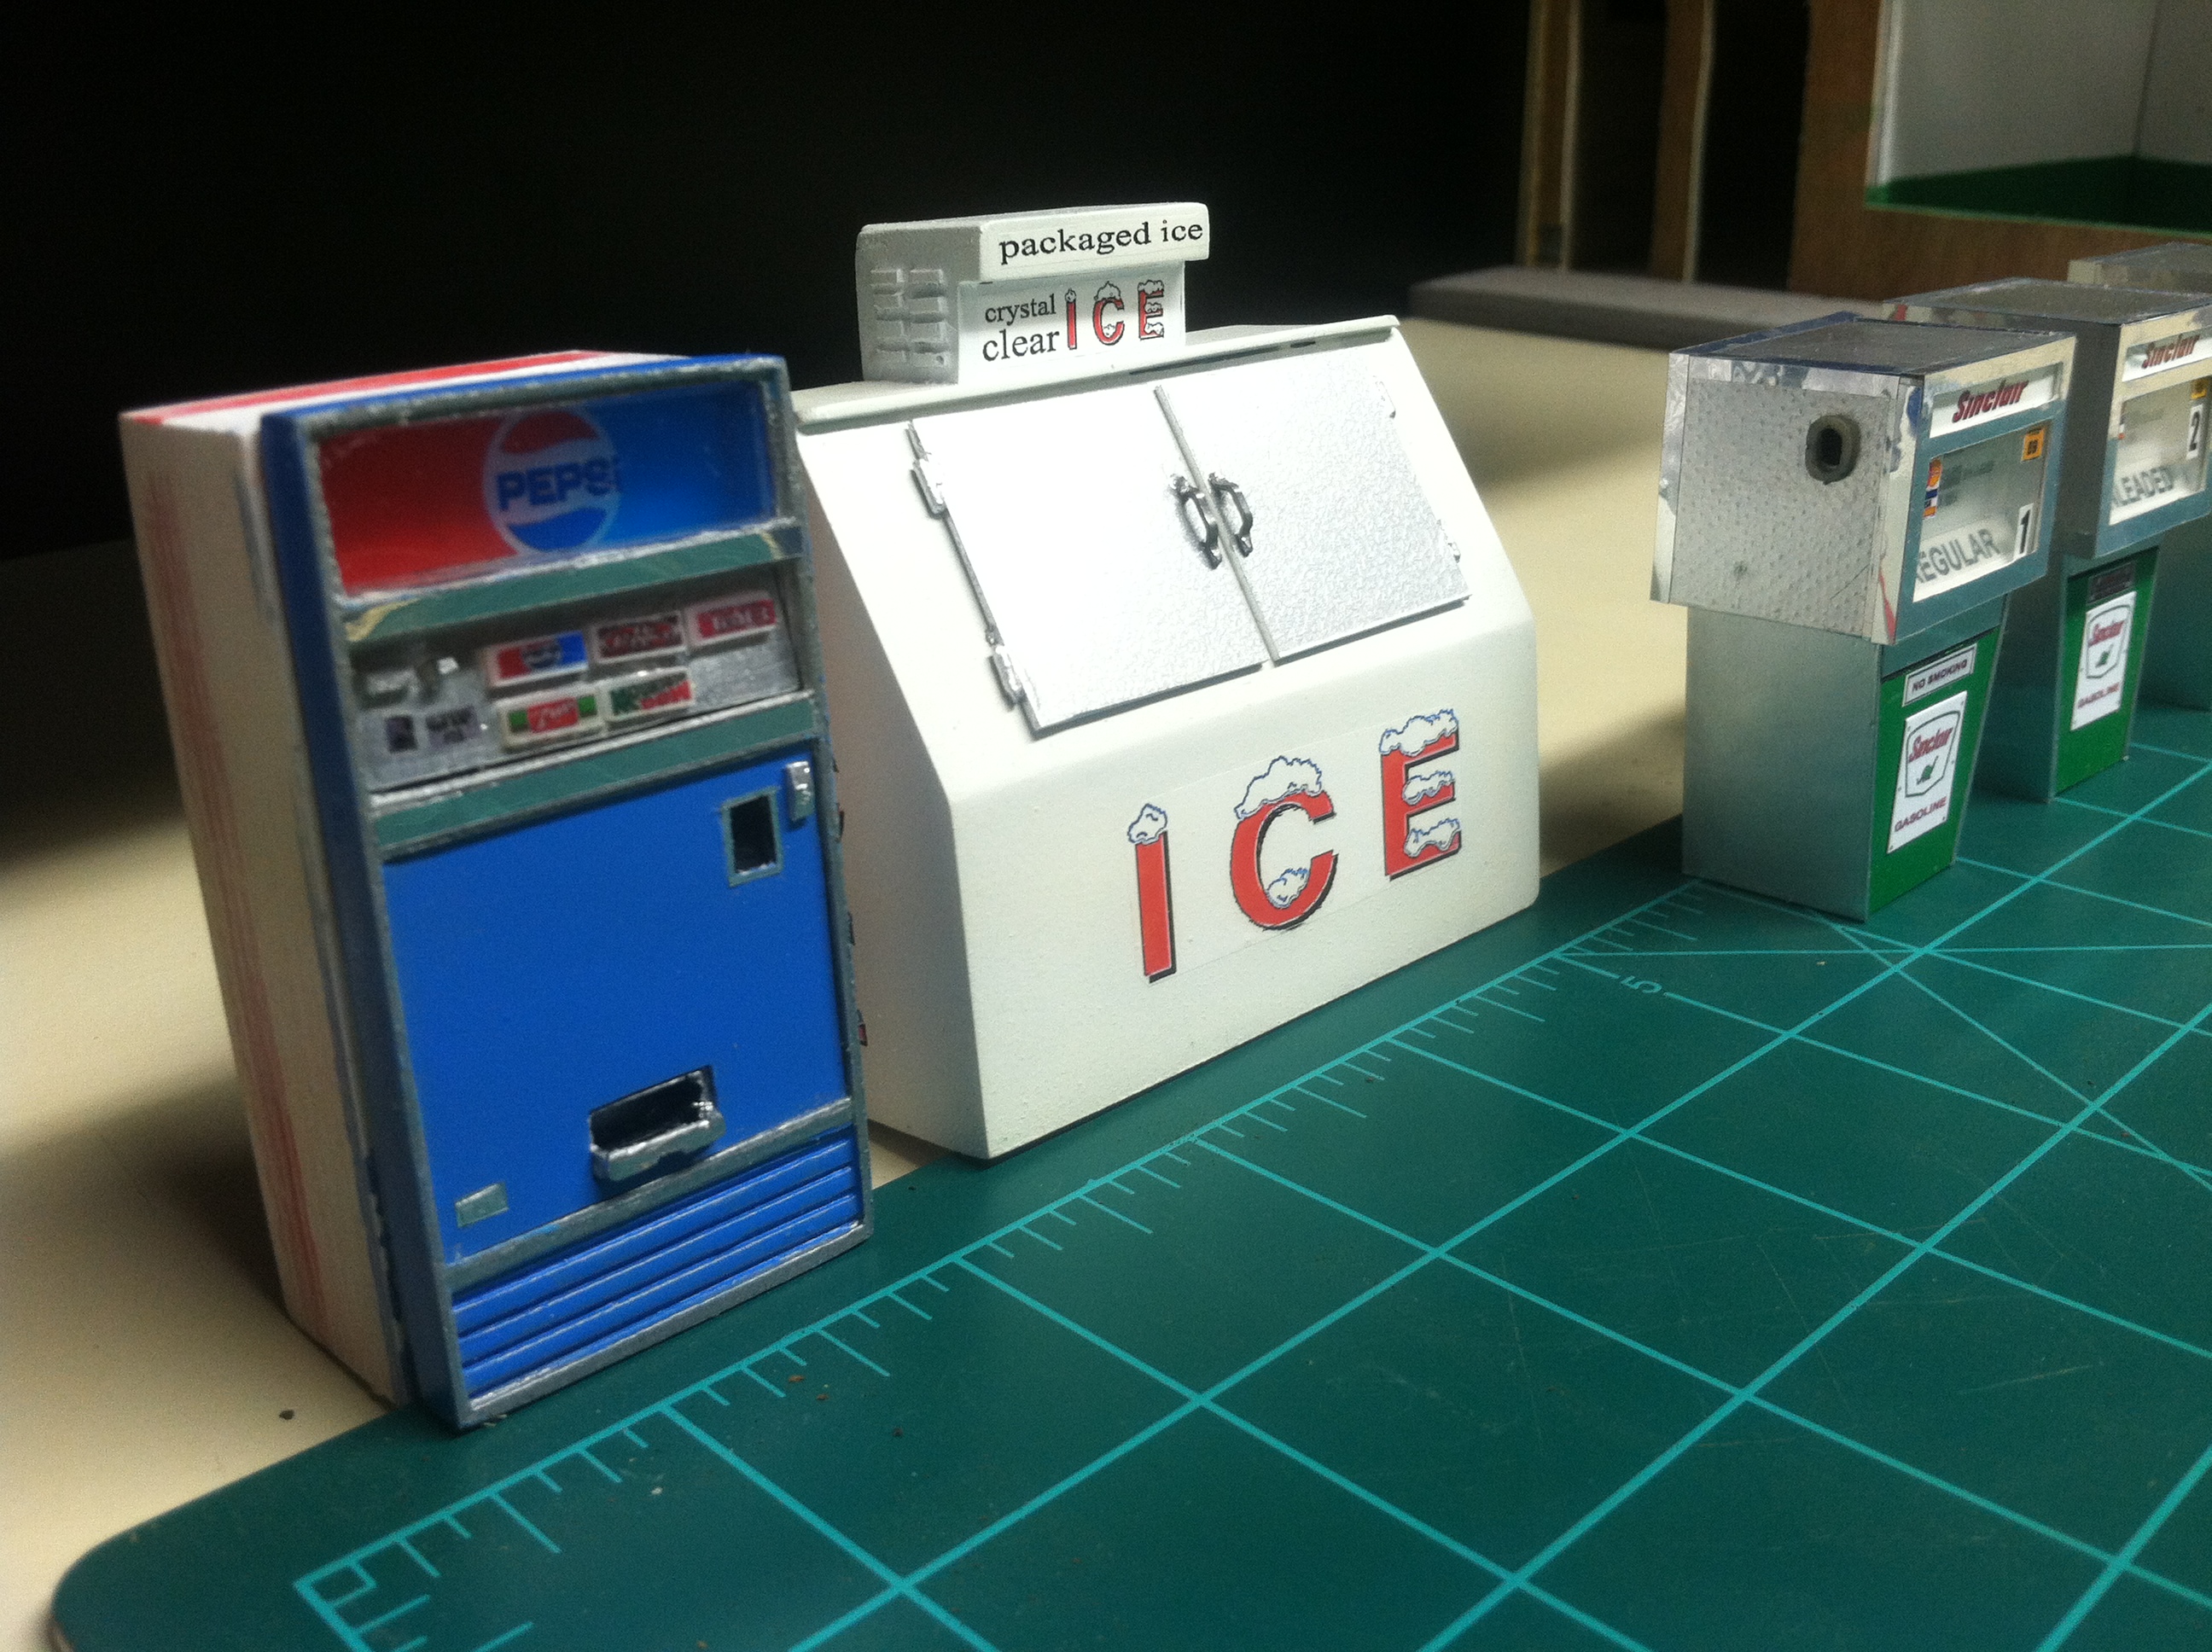
Hey Mark, it was a challenge to find a workable picture. I finally found a GIF image and used photoshop to create what I have. Another option I tried was fonts for photoshop or Microsoft word. I found a few that were close but not the exact logo. Google "Ice logo" and see what you get. If you cant find it, PM me and I will hook you up.
-
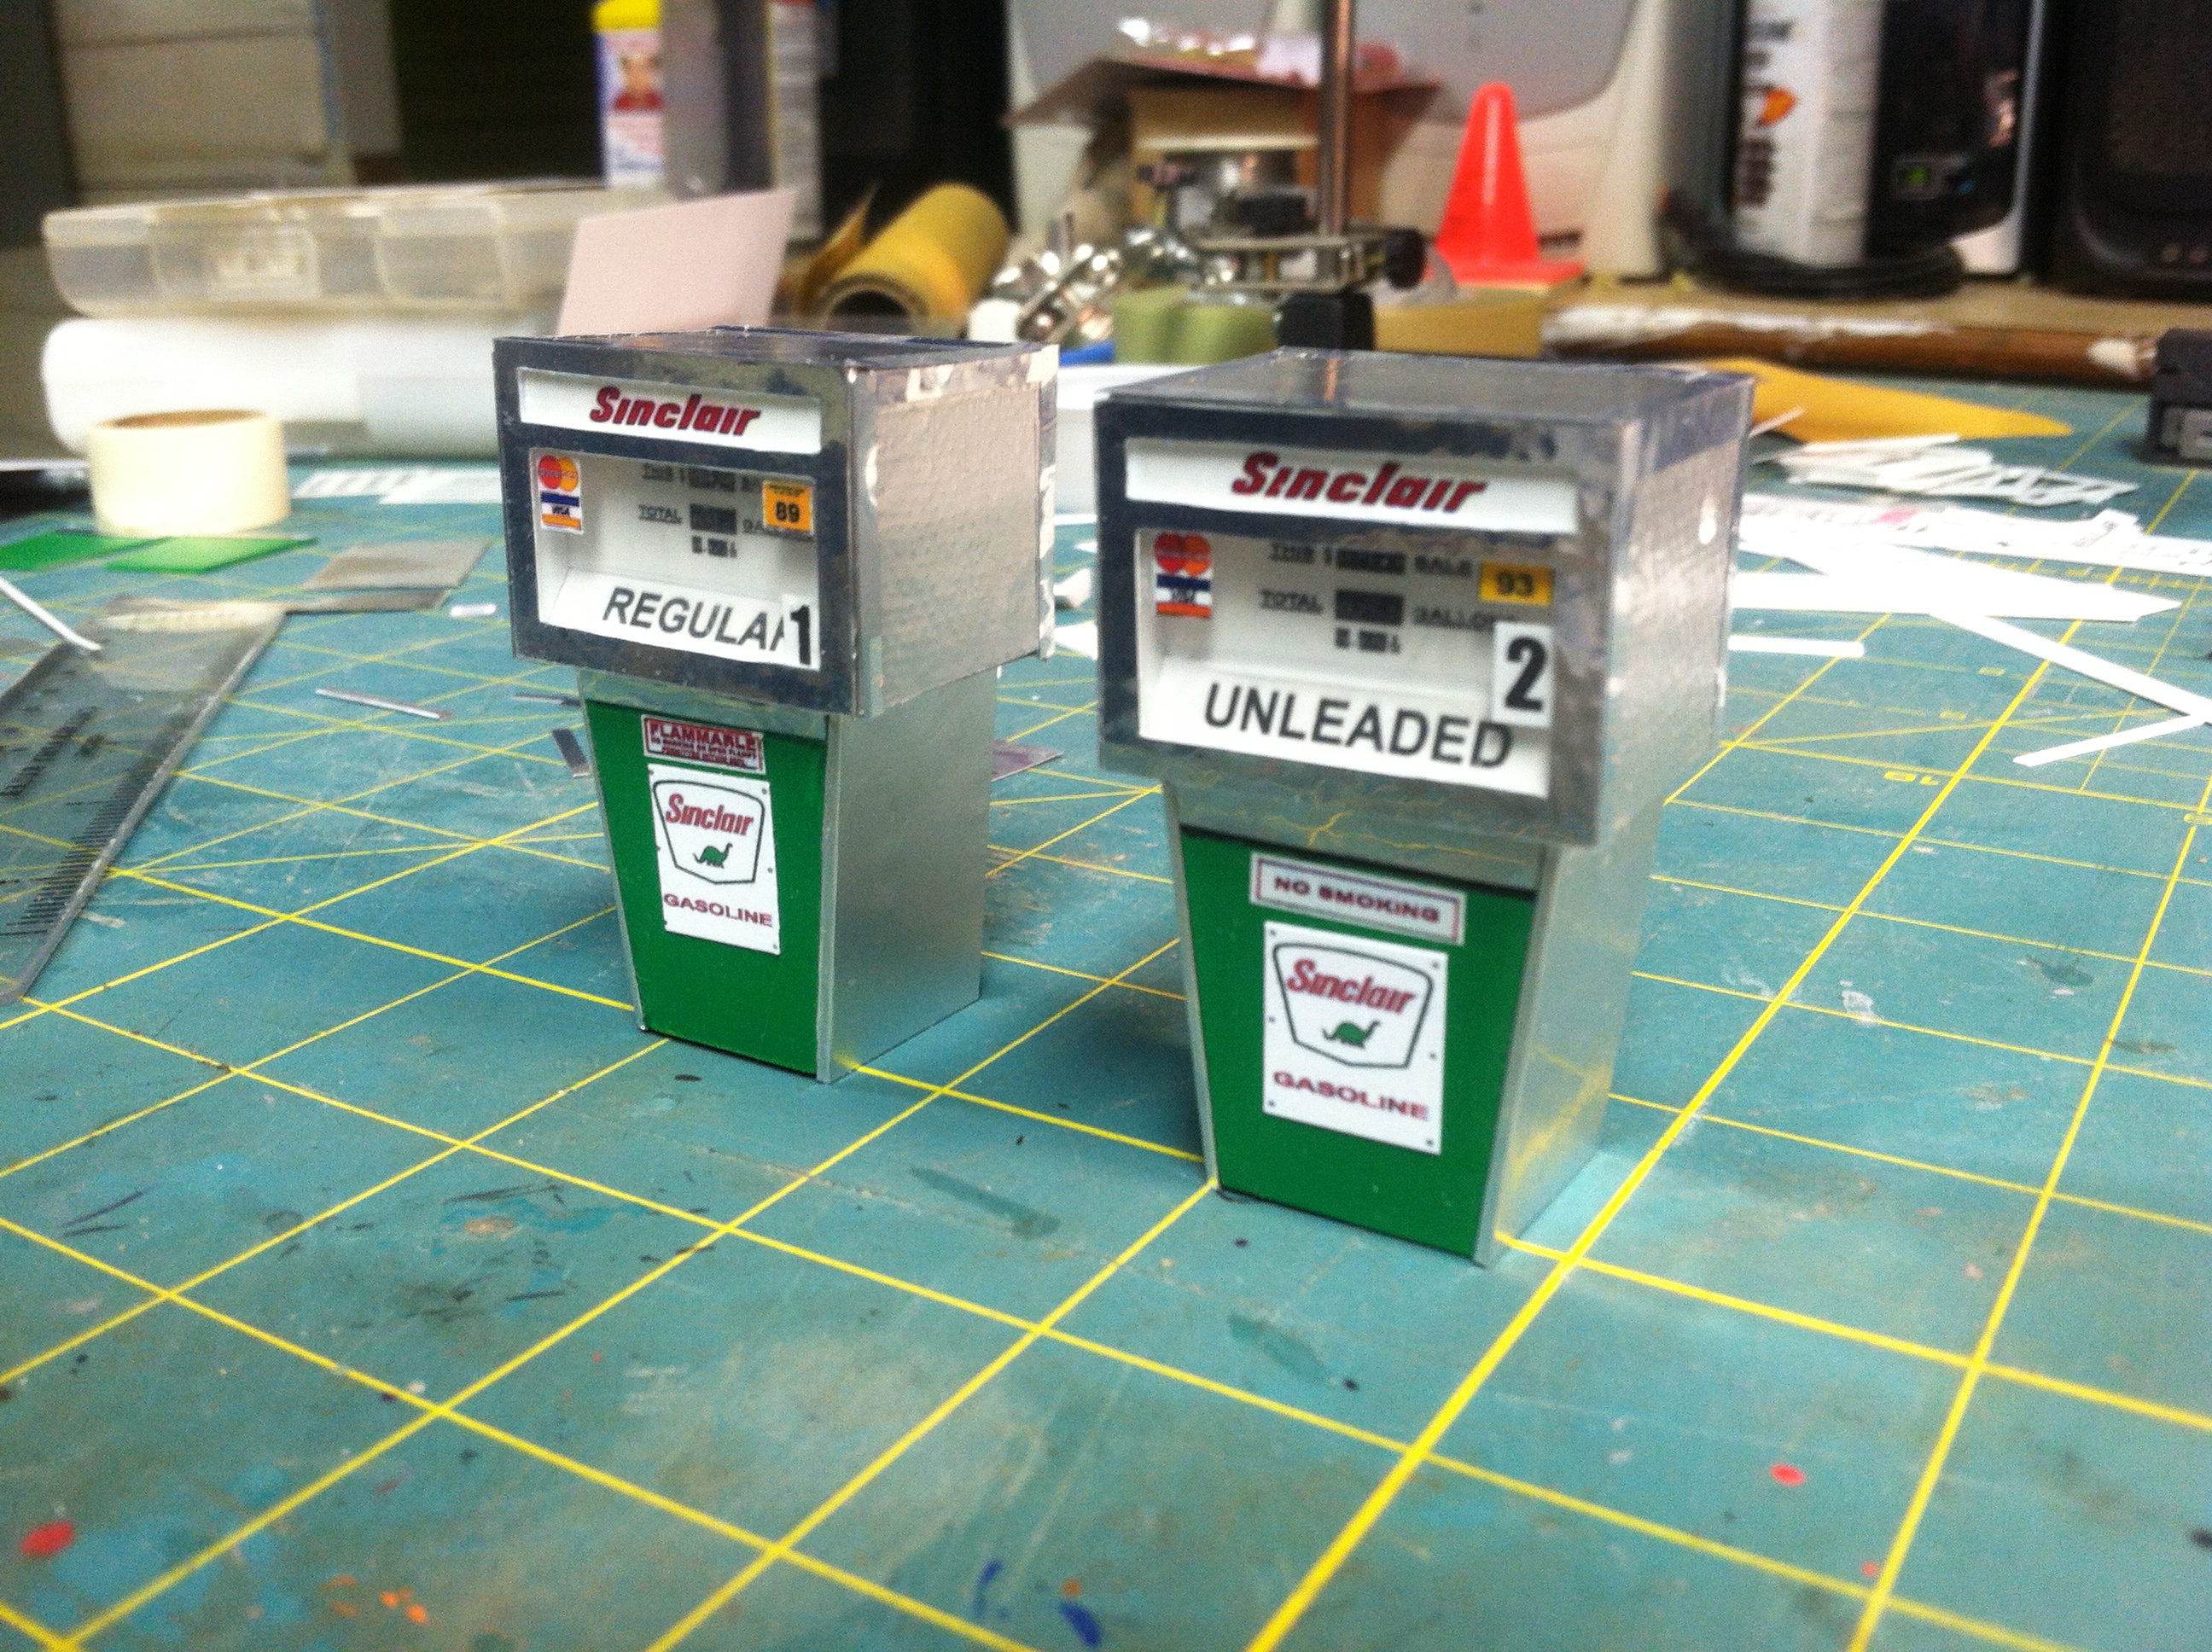
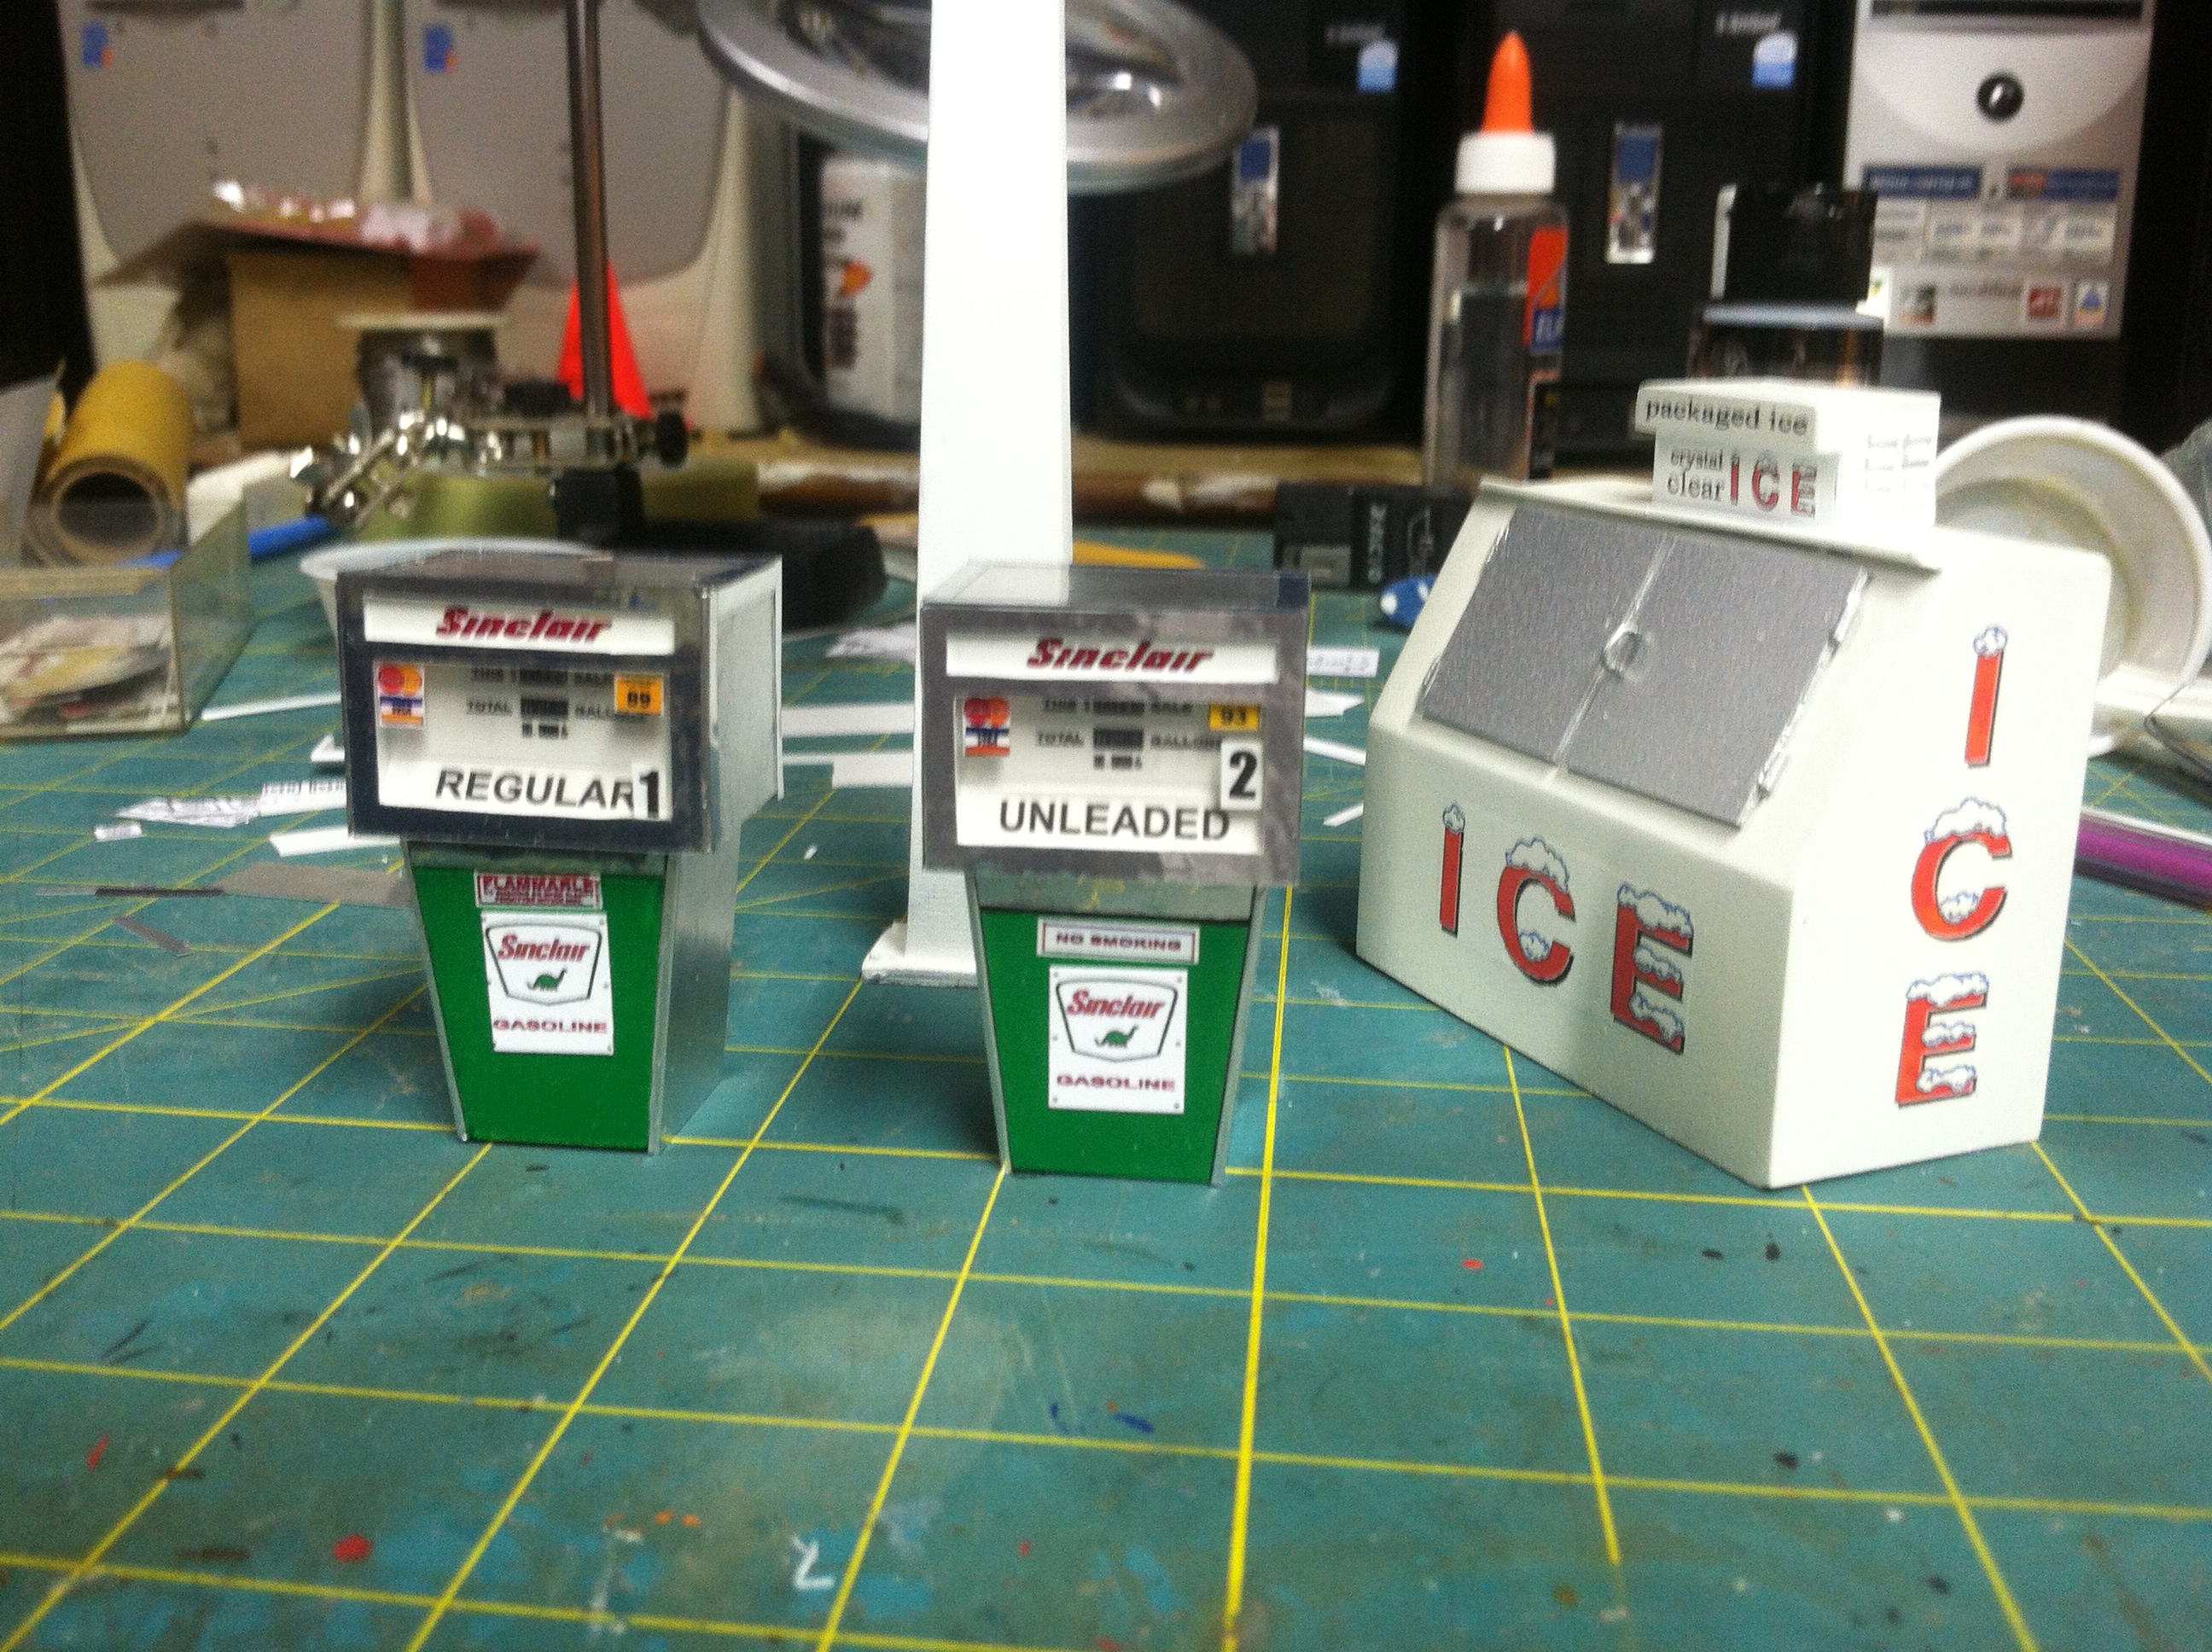
Thanks Bruce, Michael, and Cary. I too was in Korea in 91-92 (Army) and remember those unfamiliar Kia's running around. A little update on the progress. I have the second pump nearly finished or at least as far as the first one. I strayed a little and fabricated an ice machine using my trusty sign for the plastic materials. I make my own decals which makes it easier to do these projects. Hope you like it...will post more as progress is made.
-
Beautiful Mopar! Well done!
-
Thanks everyone! I agree on wishing there were more plane jane kits available. That is one of my biggest challenges; to depict an average day without the entire scene filled up with Camaro's, Chevelles, Chargers, and Mustangs...They will be present but a little more subtle. I will do my best to balance this problem. I have been collecting kits for many years, but the 70's vehicles have only recently hit the shelves again and the old ones are priced a little heavy for my wallet. Fortunately, there were an abundance of 50's and 60's cars still used in 79...especially in small rural towns and there are plenty of those in kit form. I remember back in 79, there were a lot of what we consider collectible cars used as high school rides and daily drivers. Thanks again for your kind words!
-
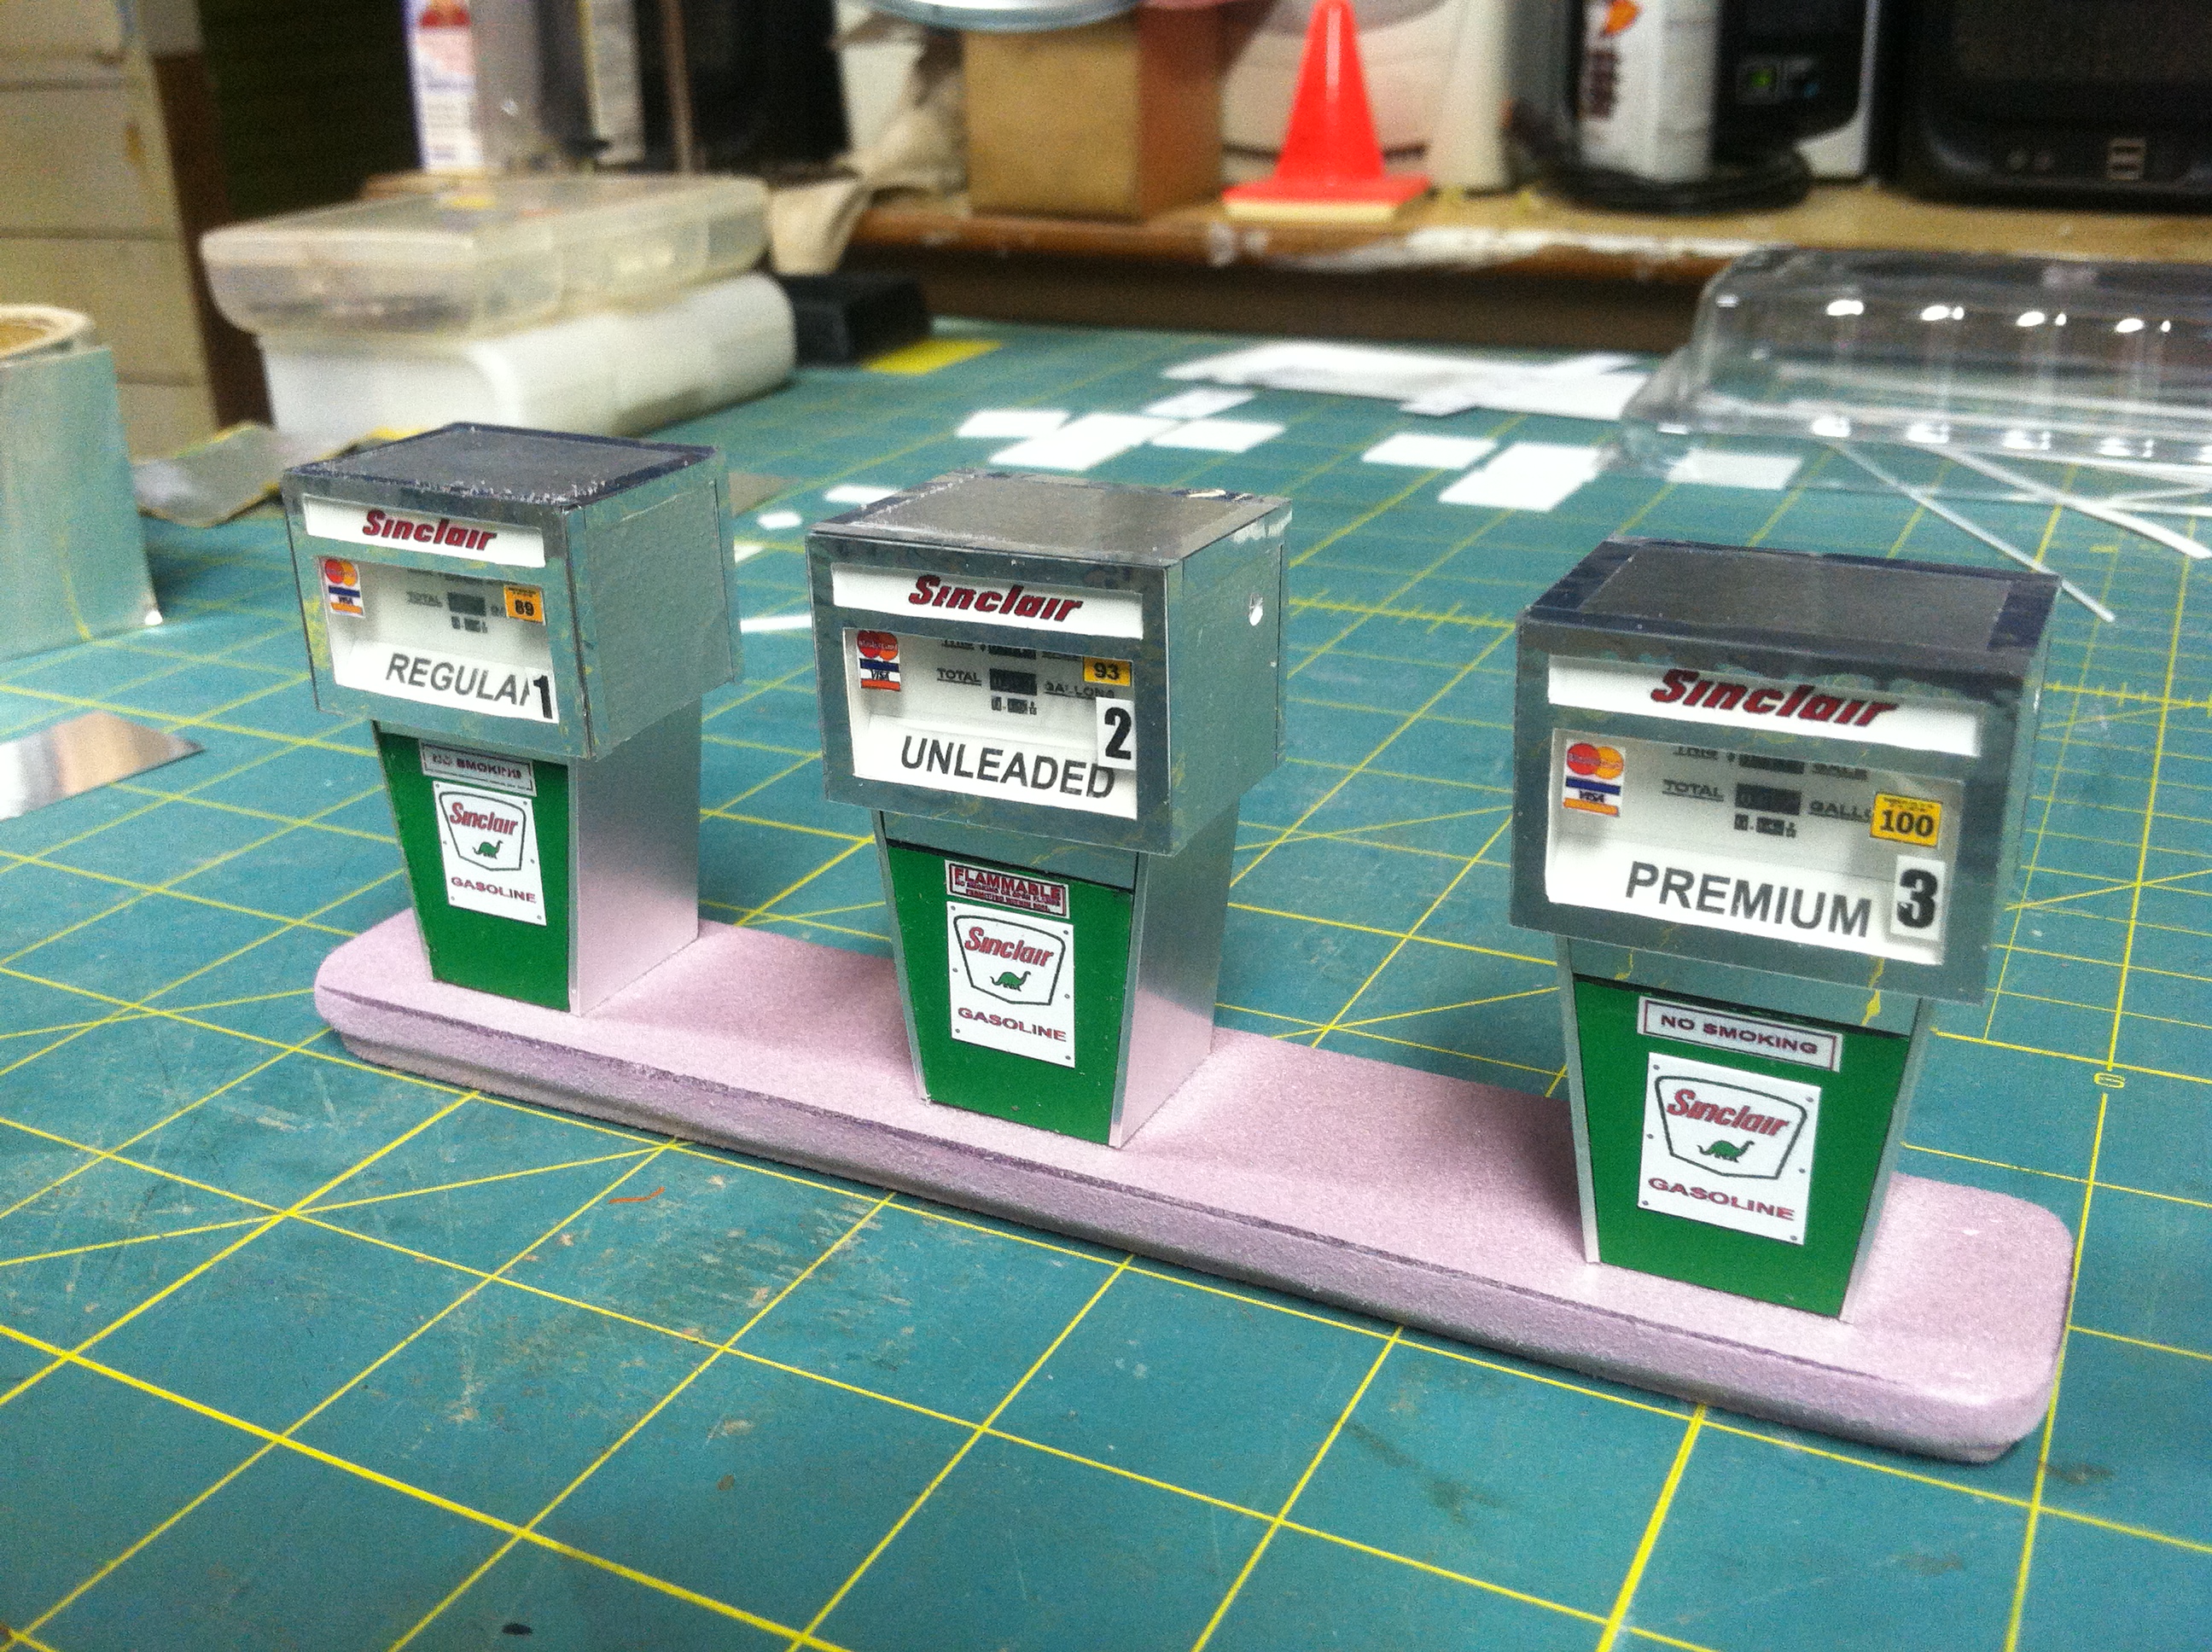
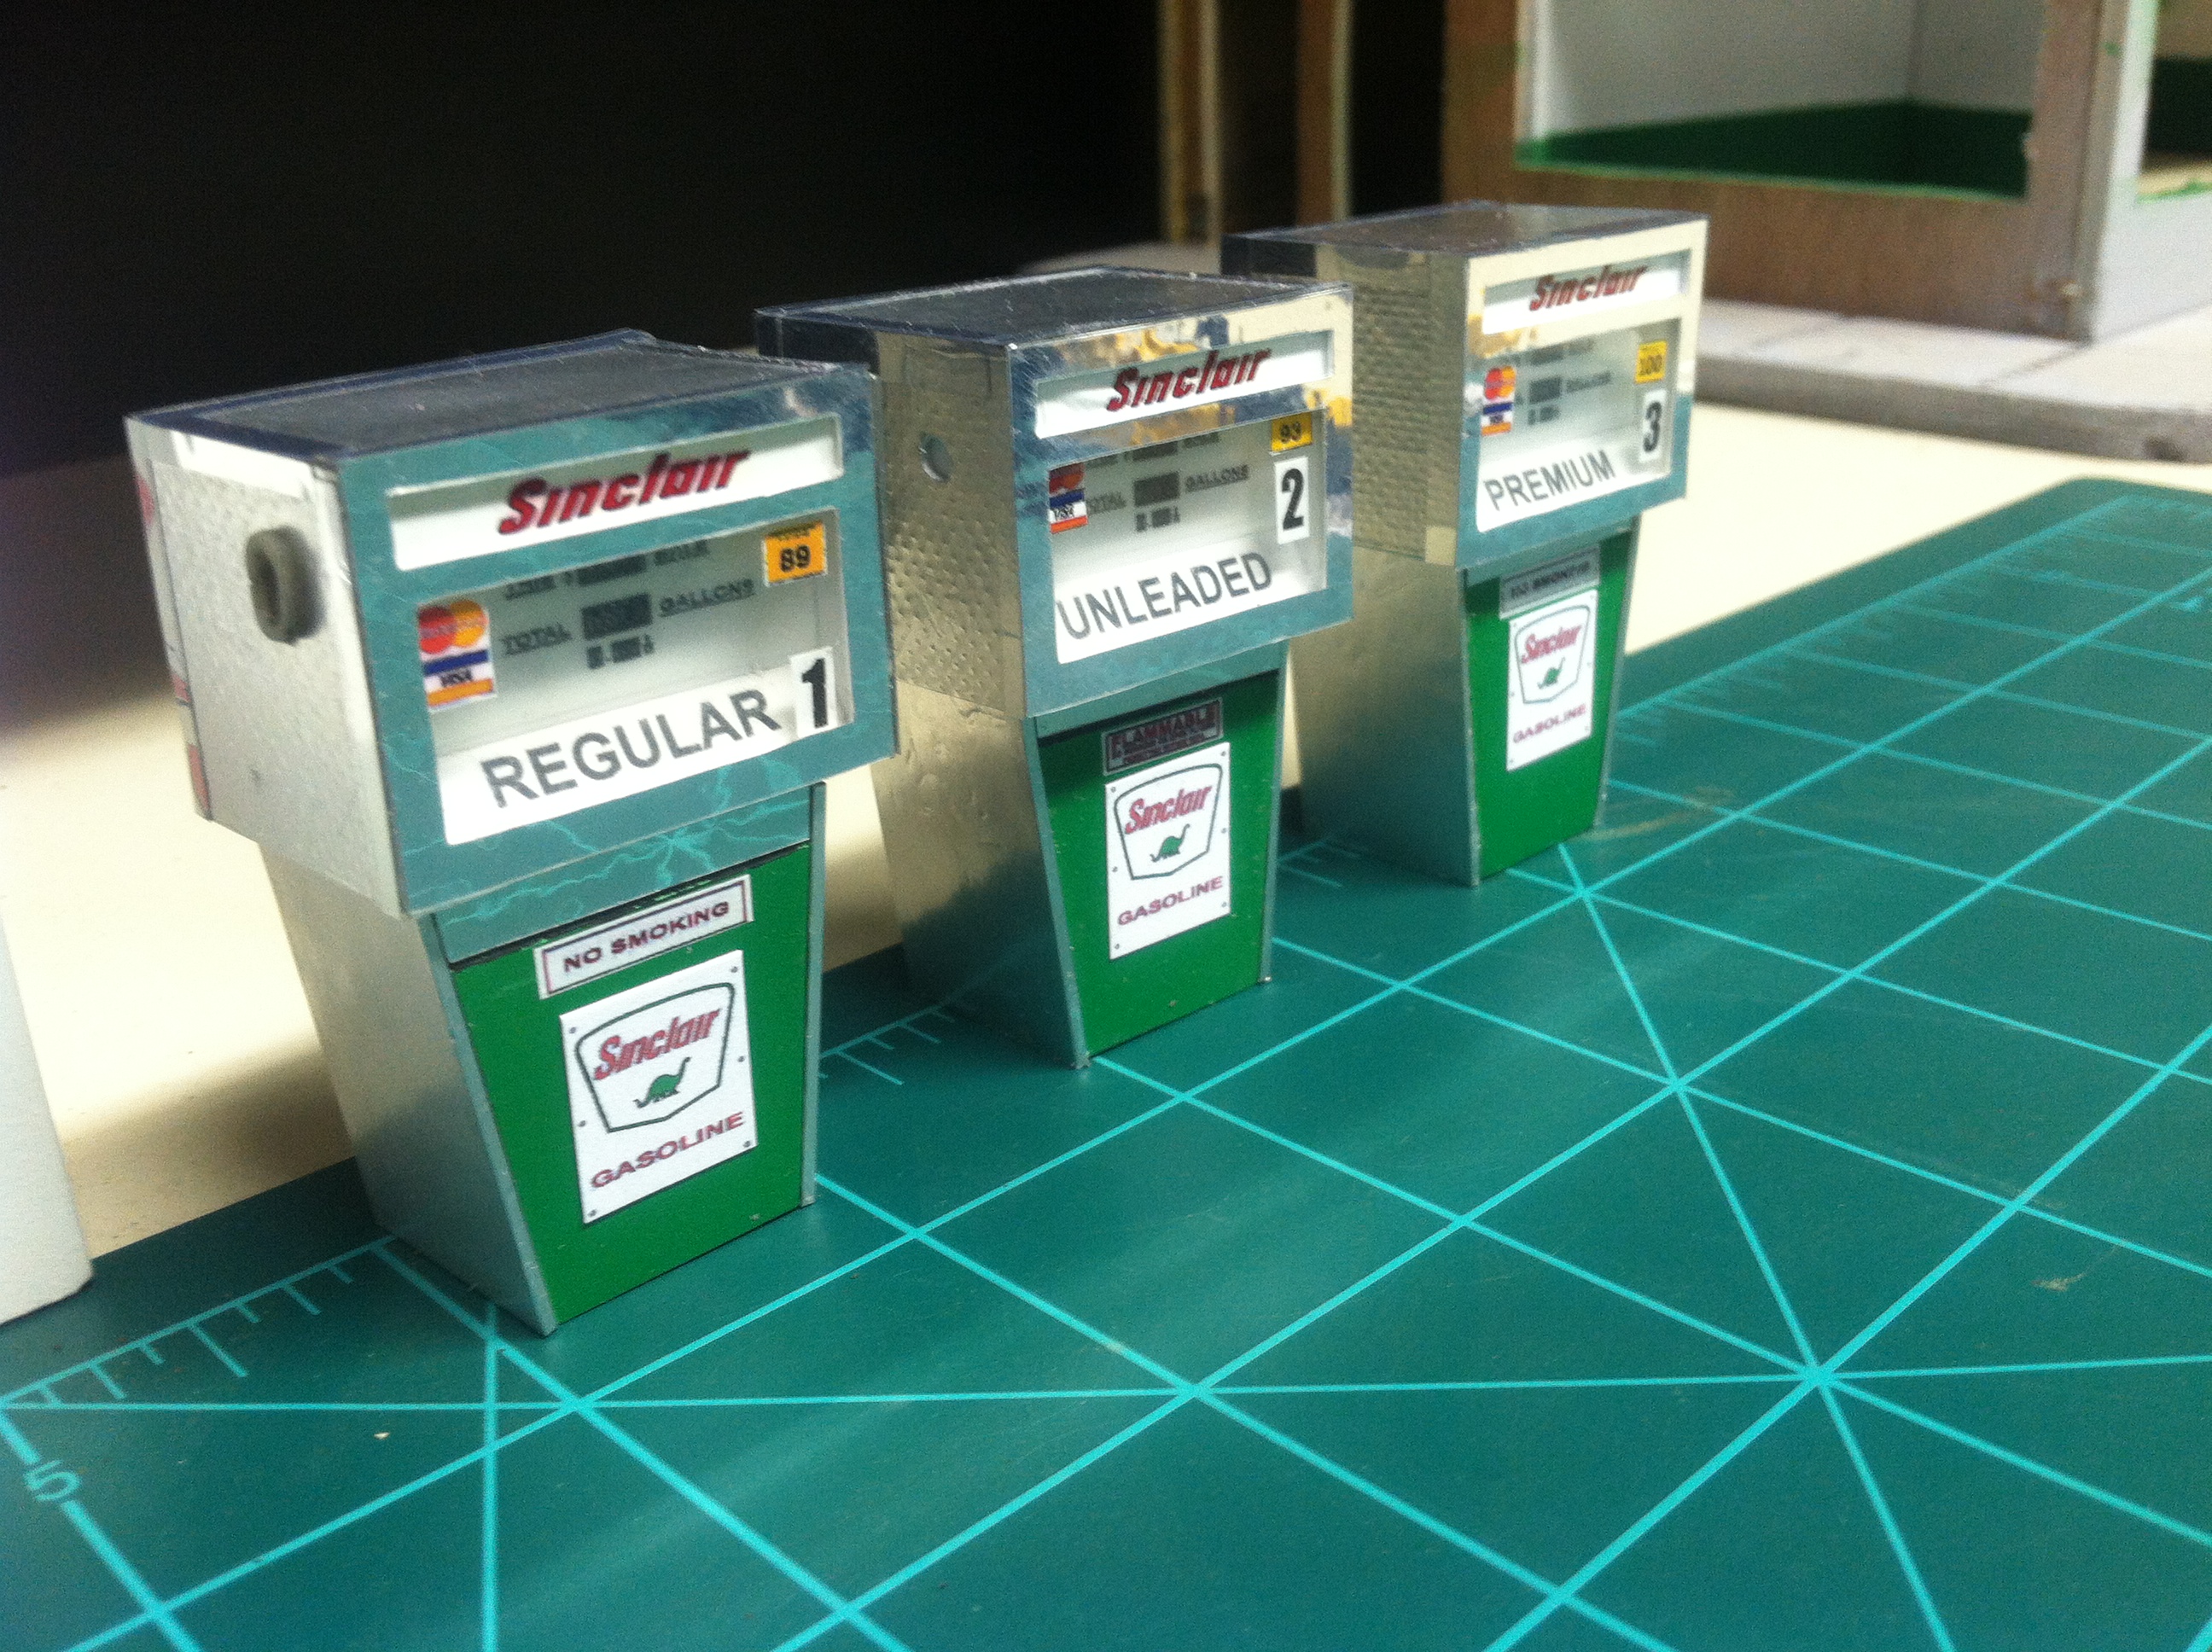
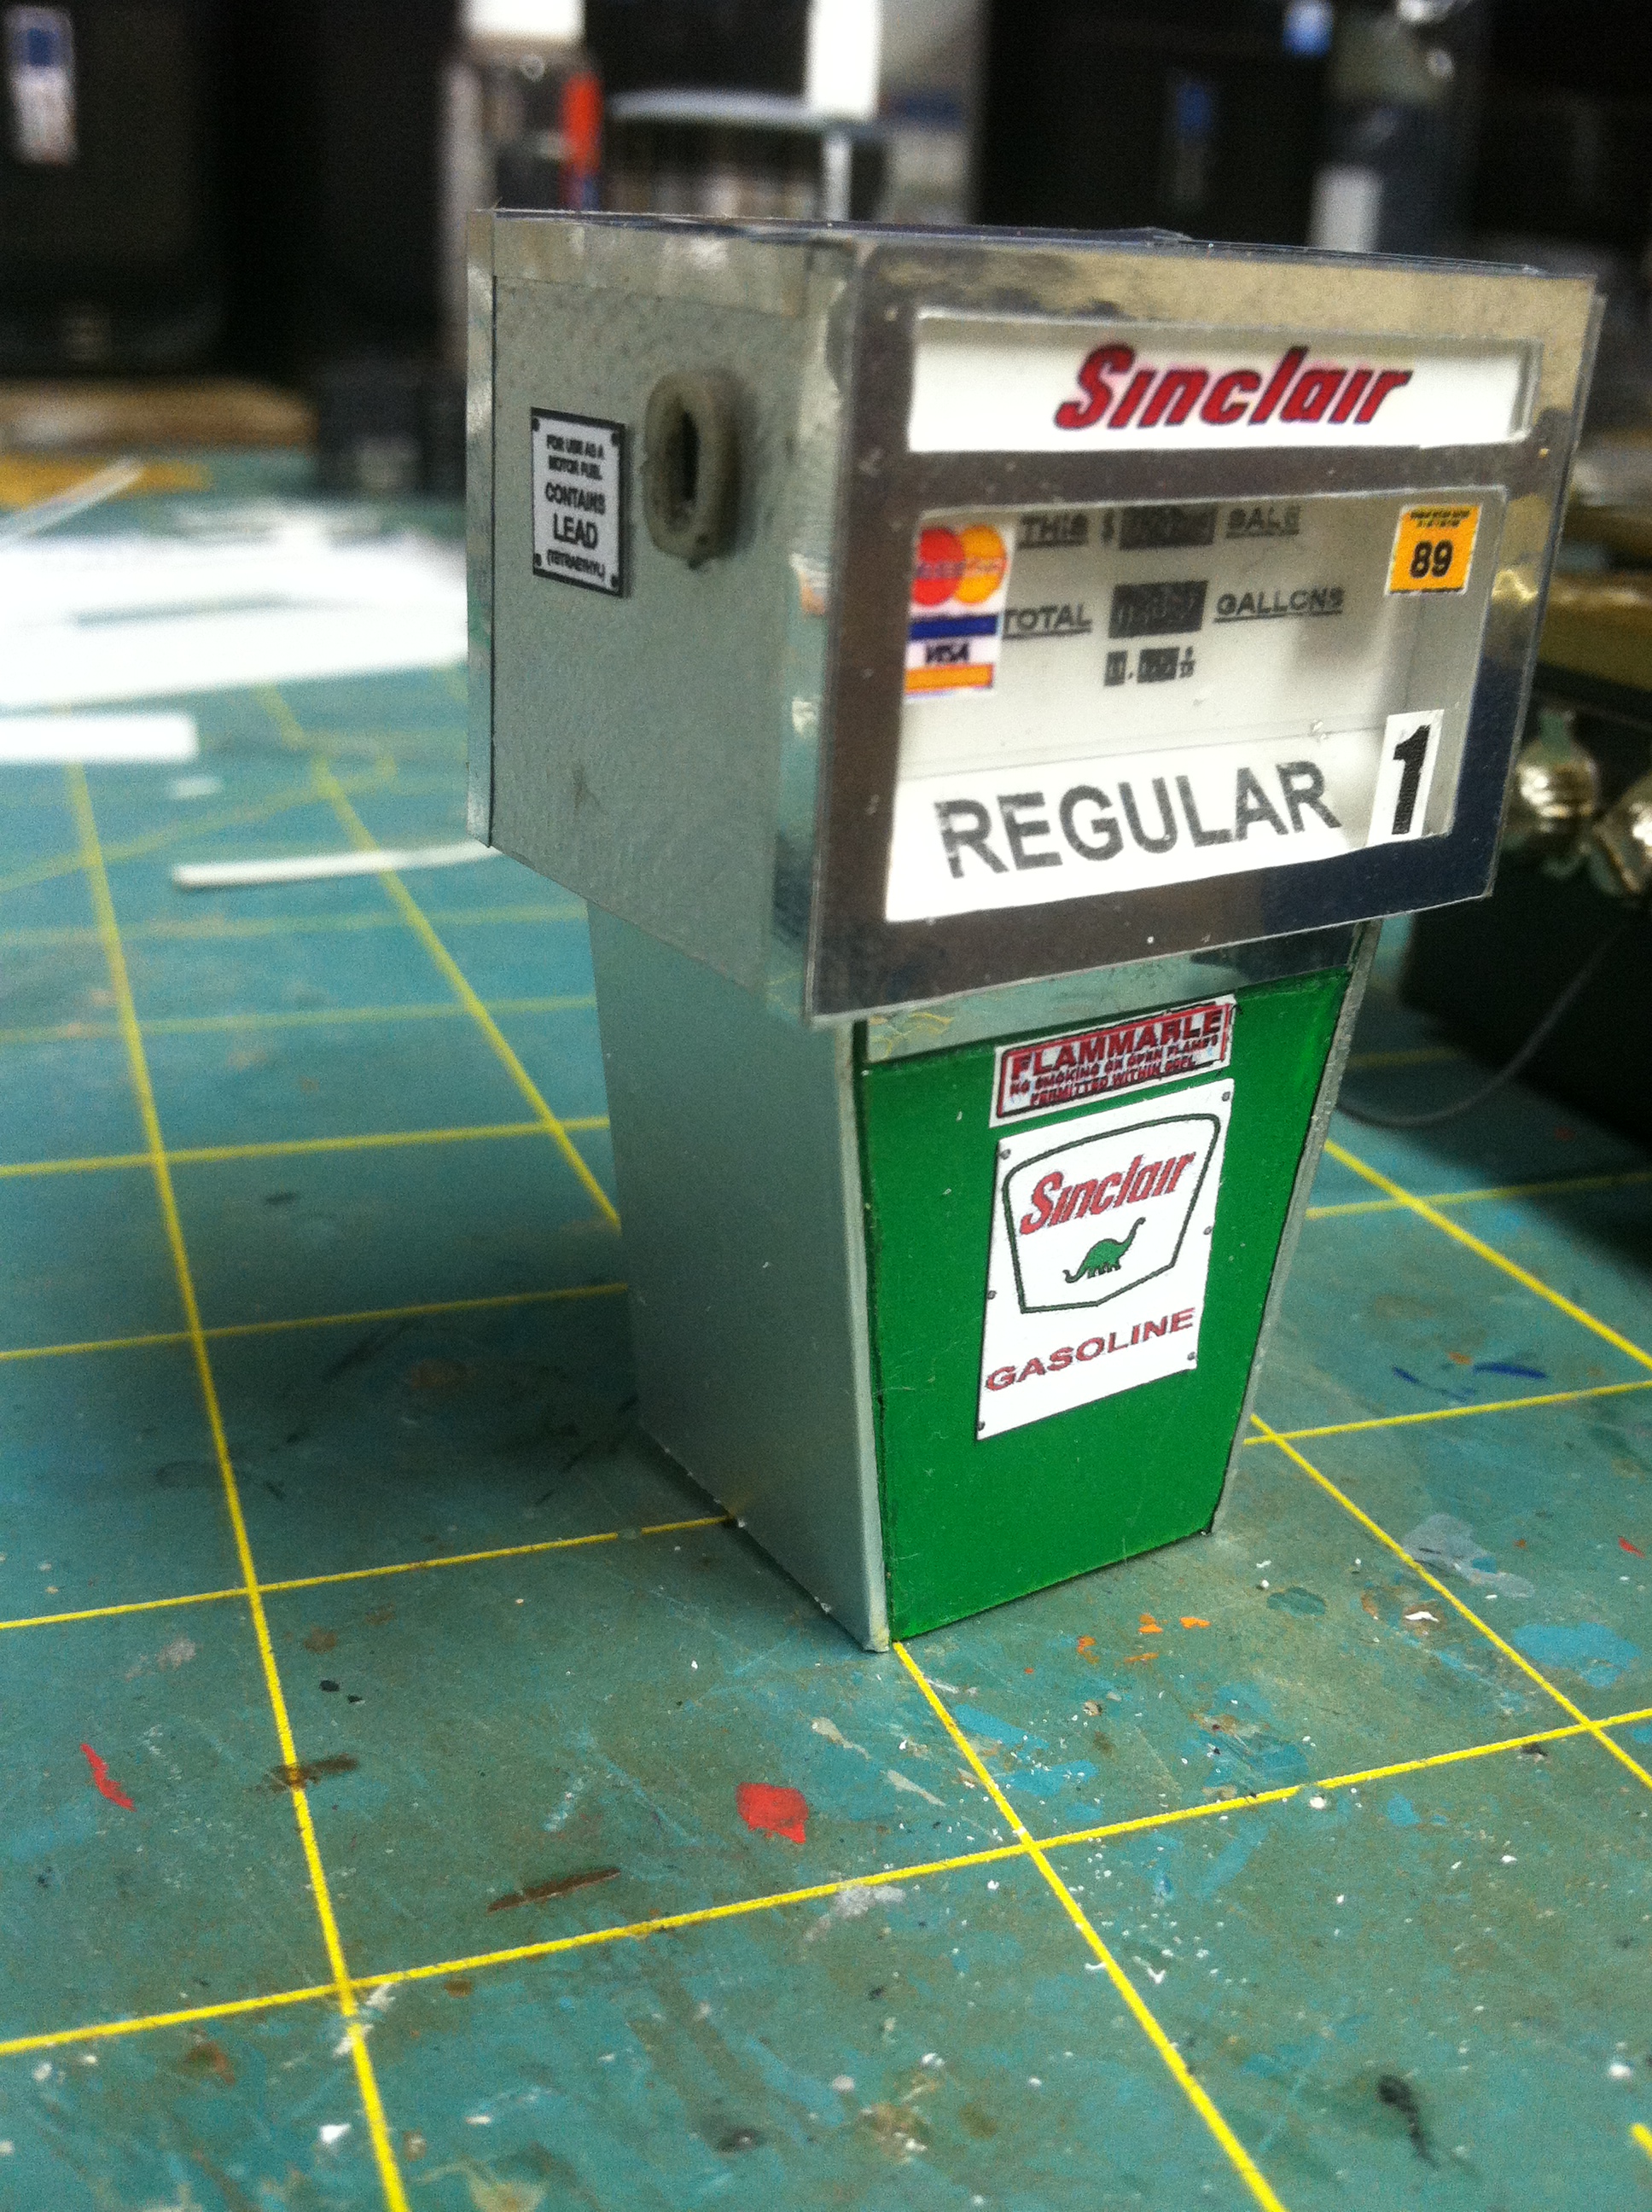
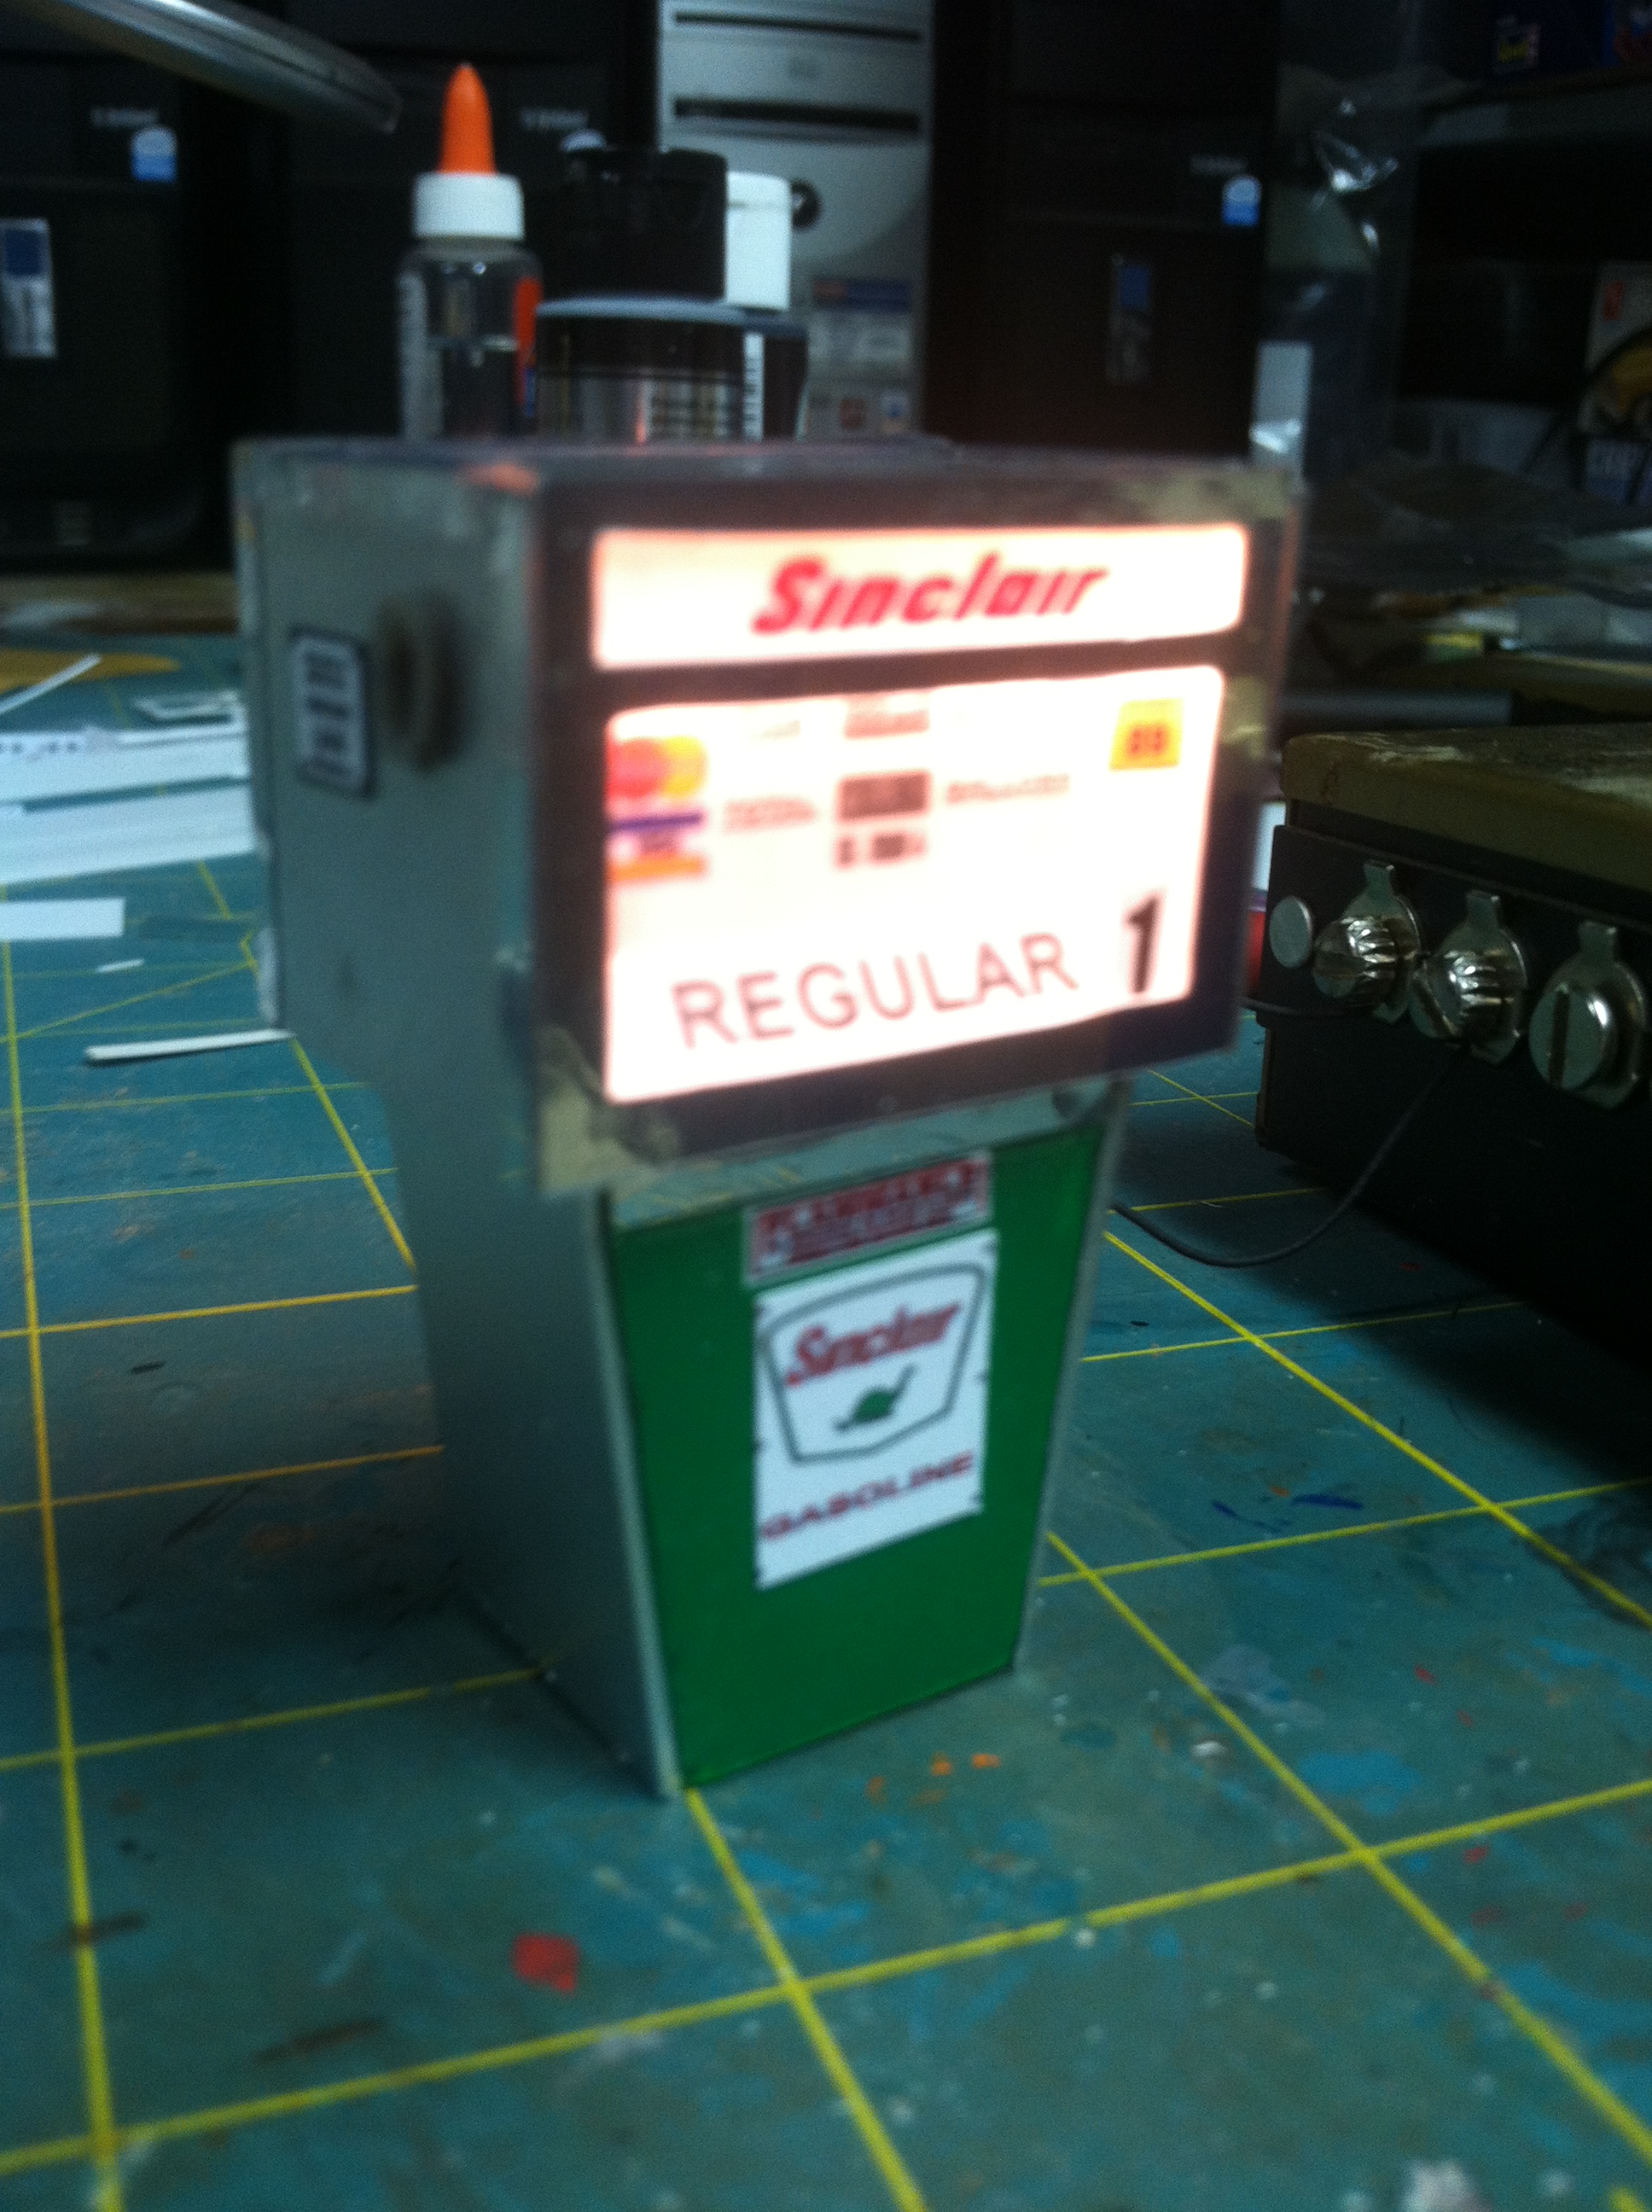
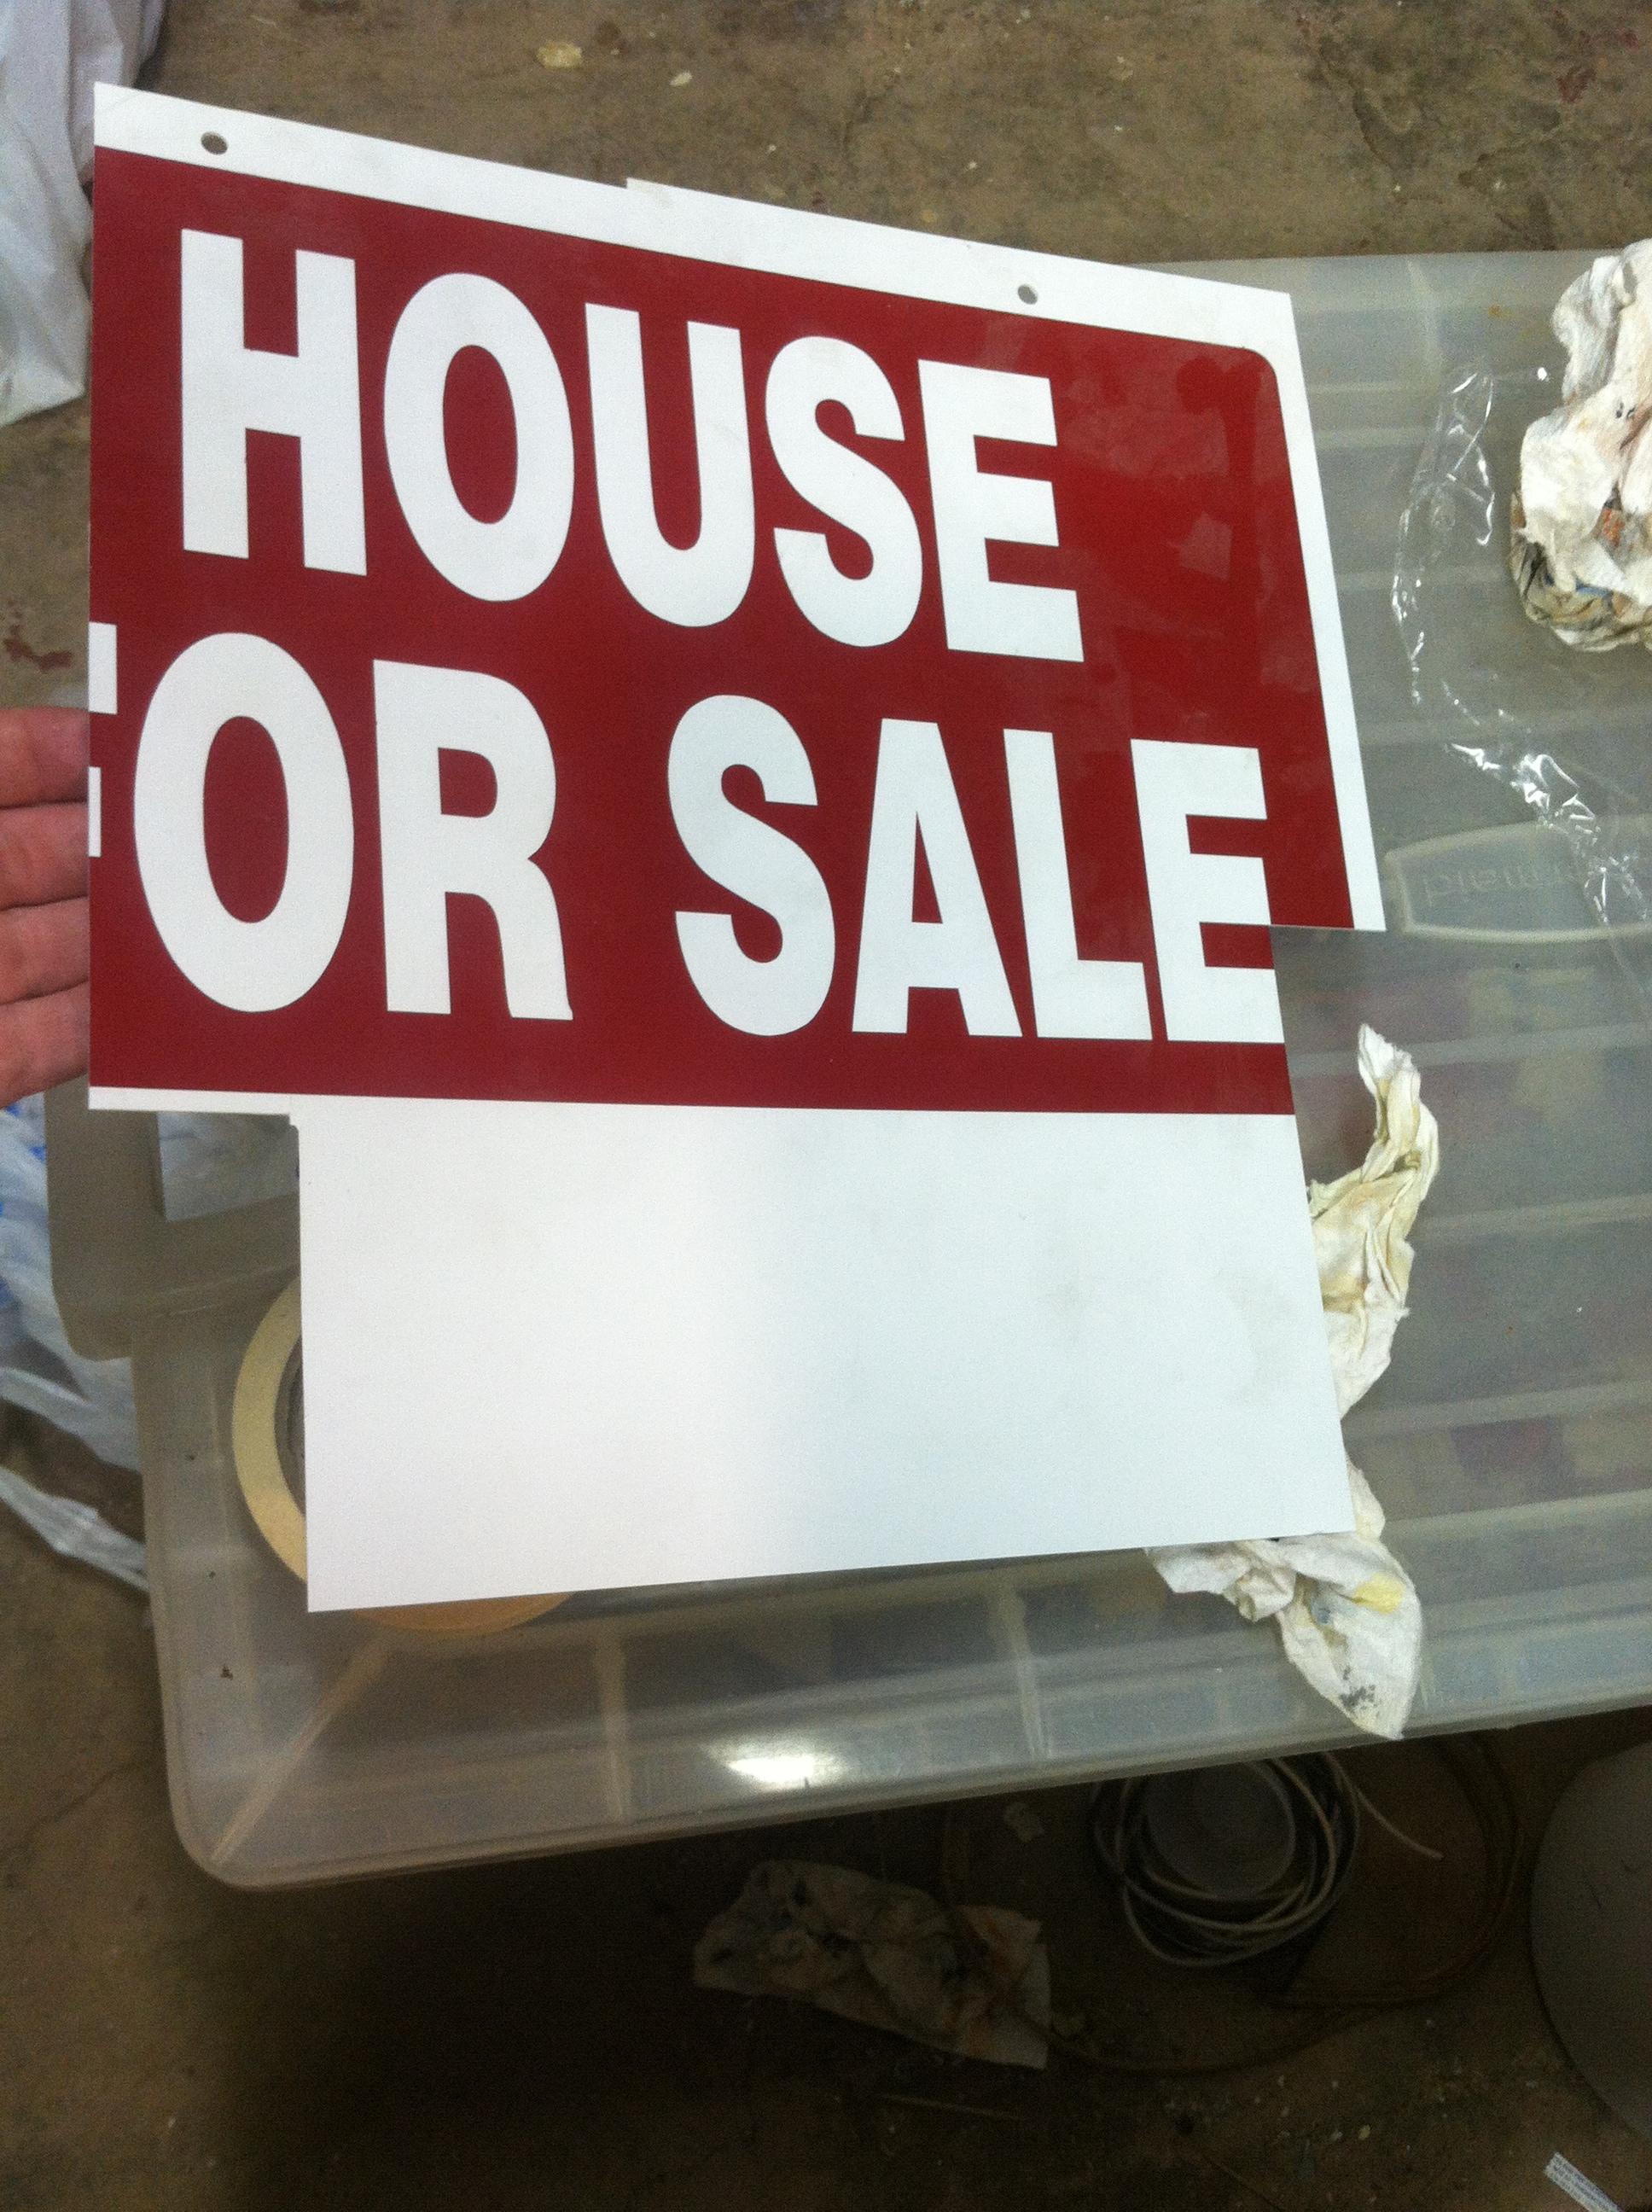
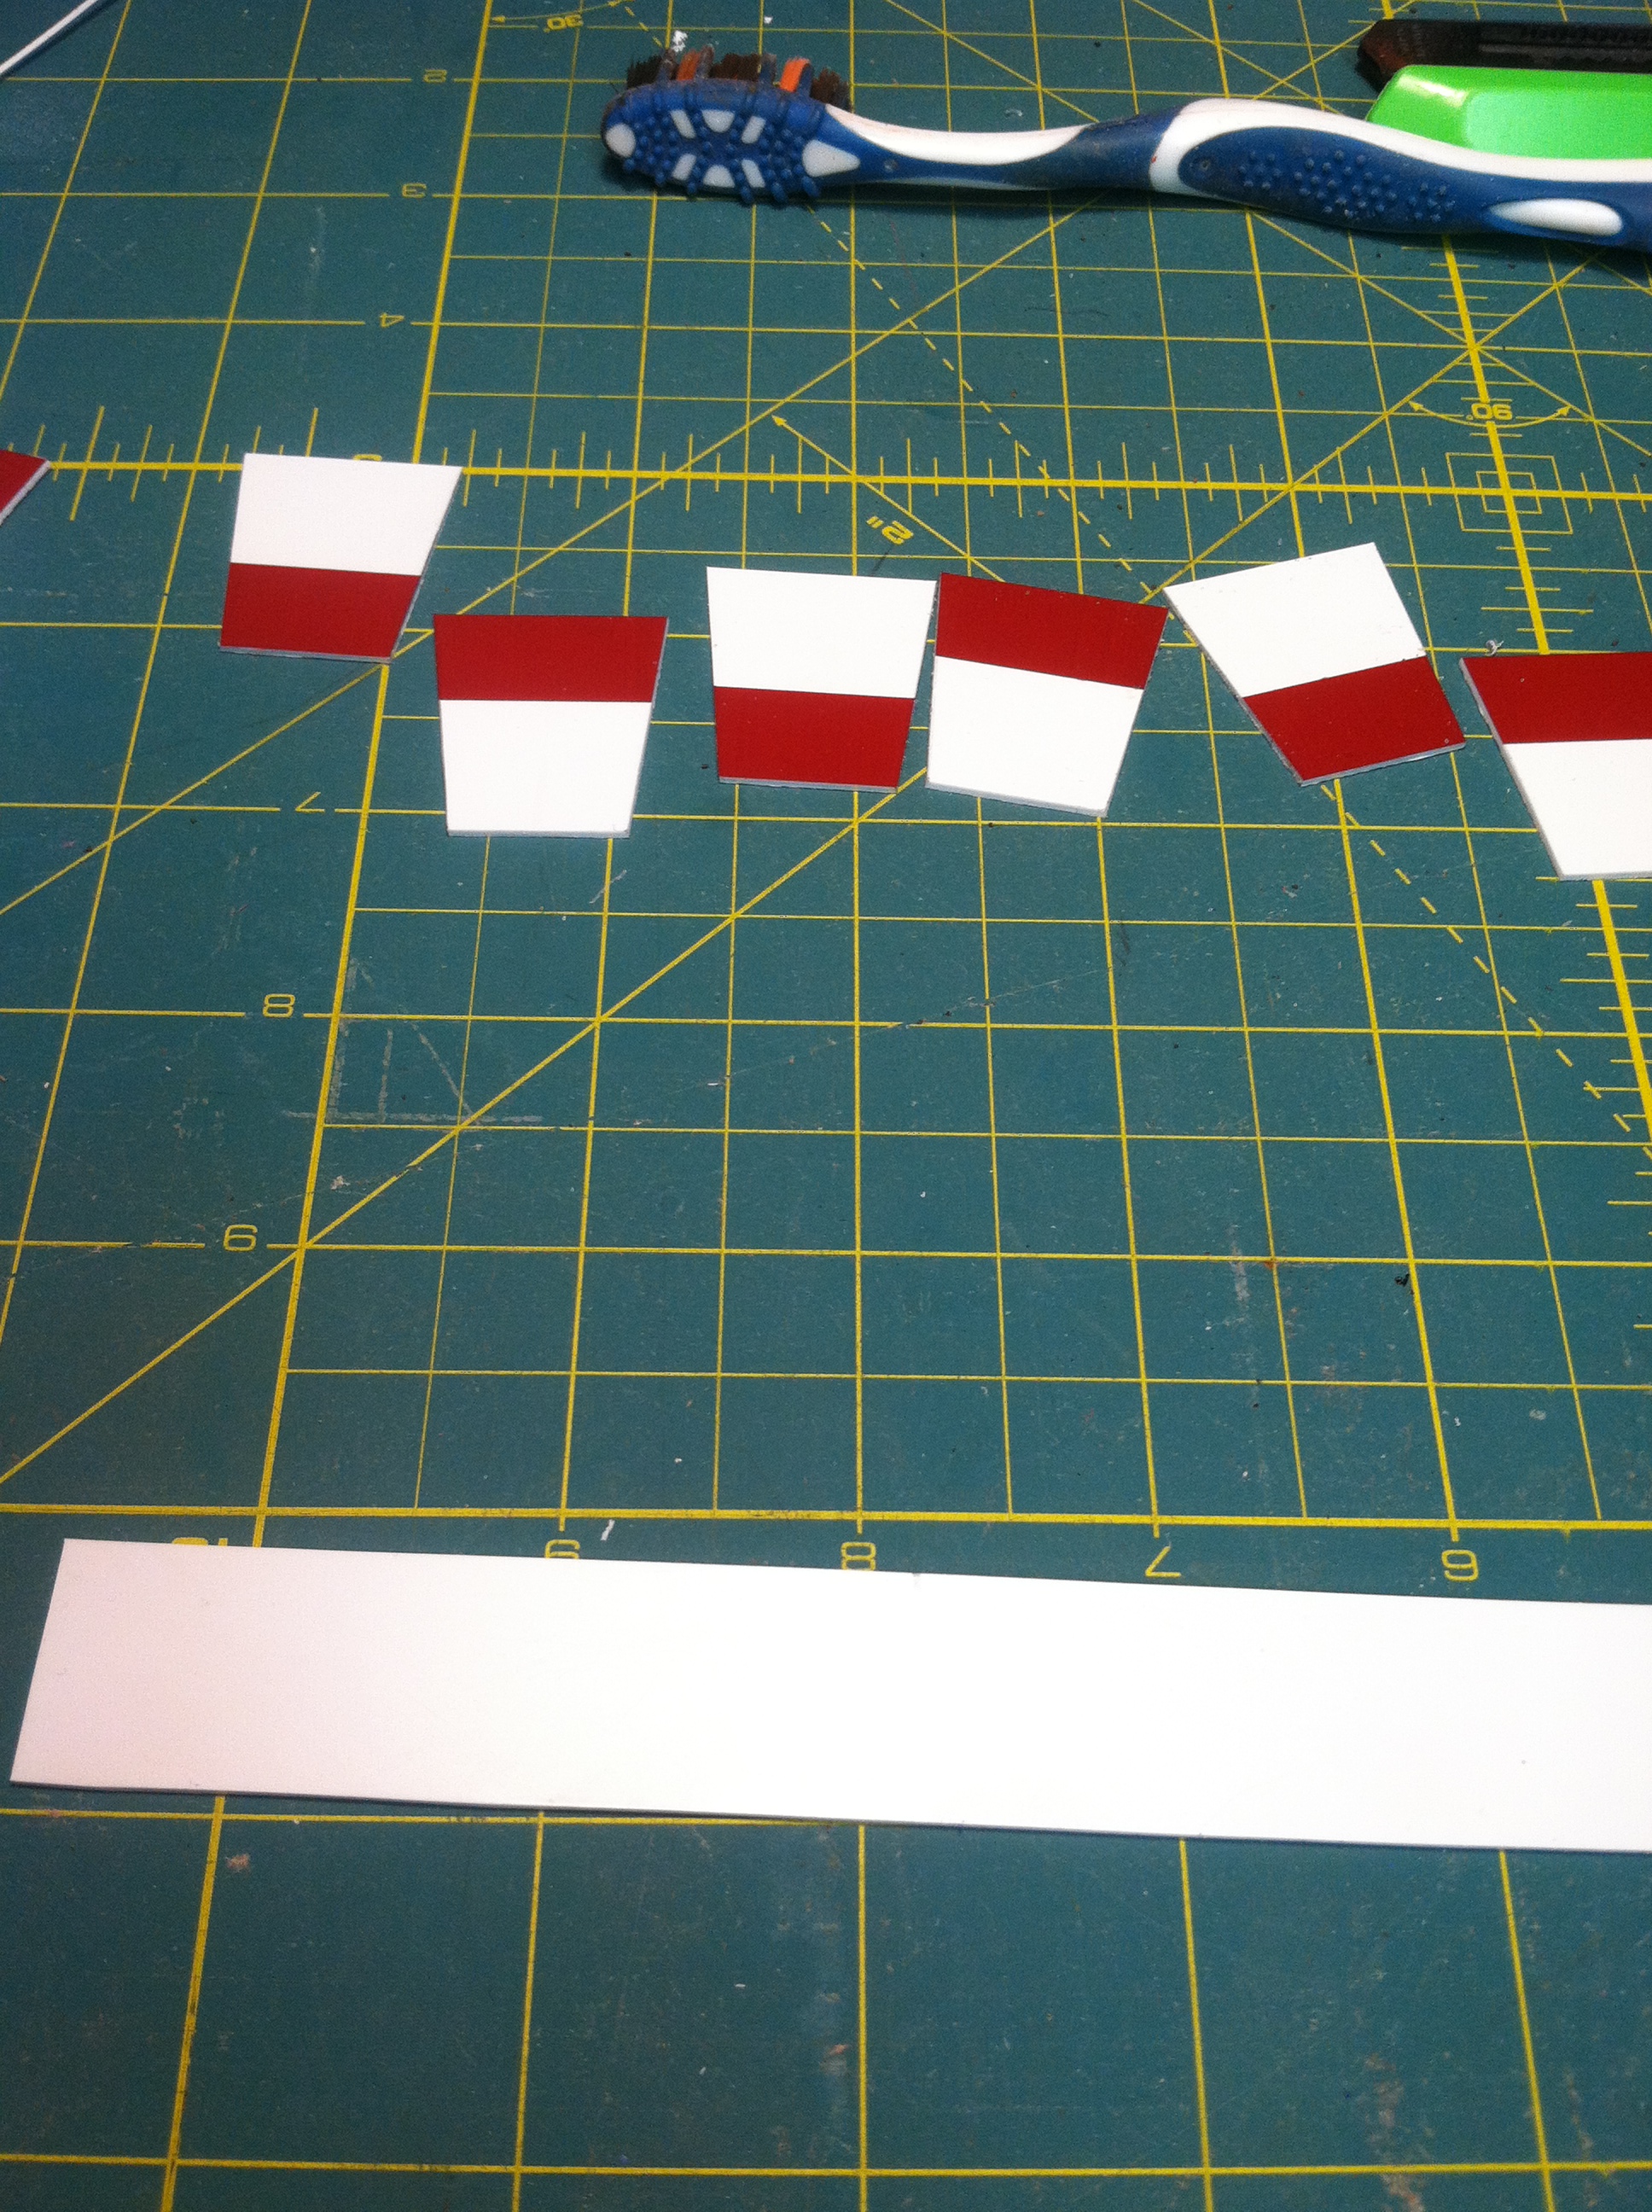
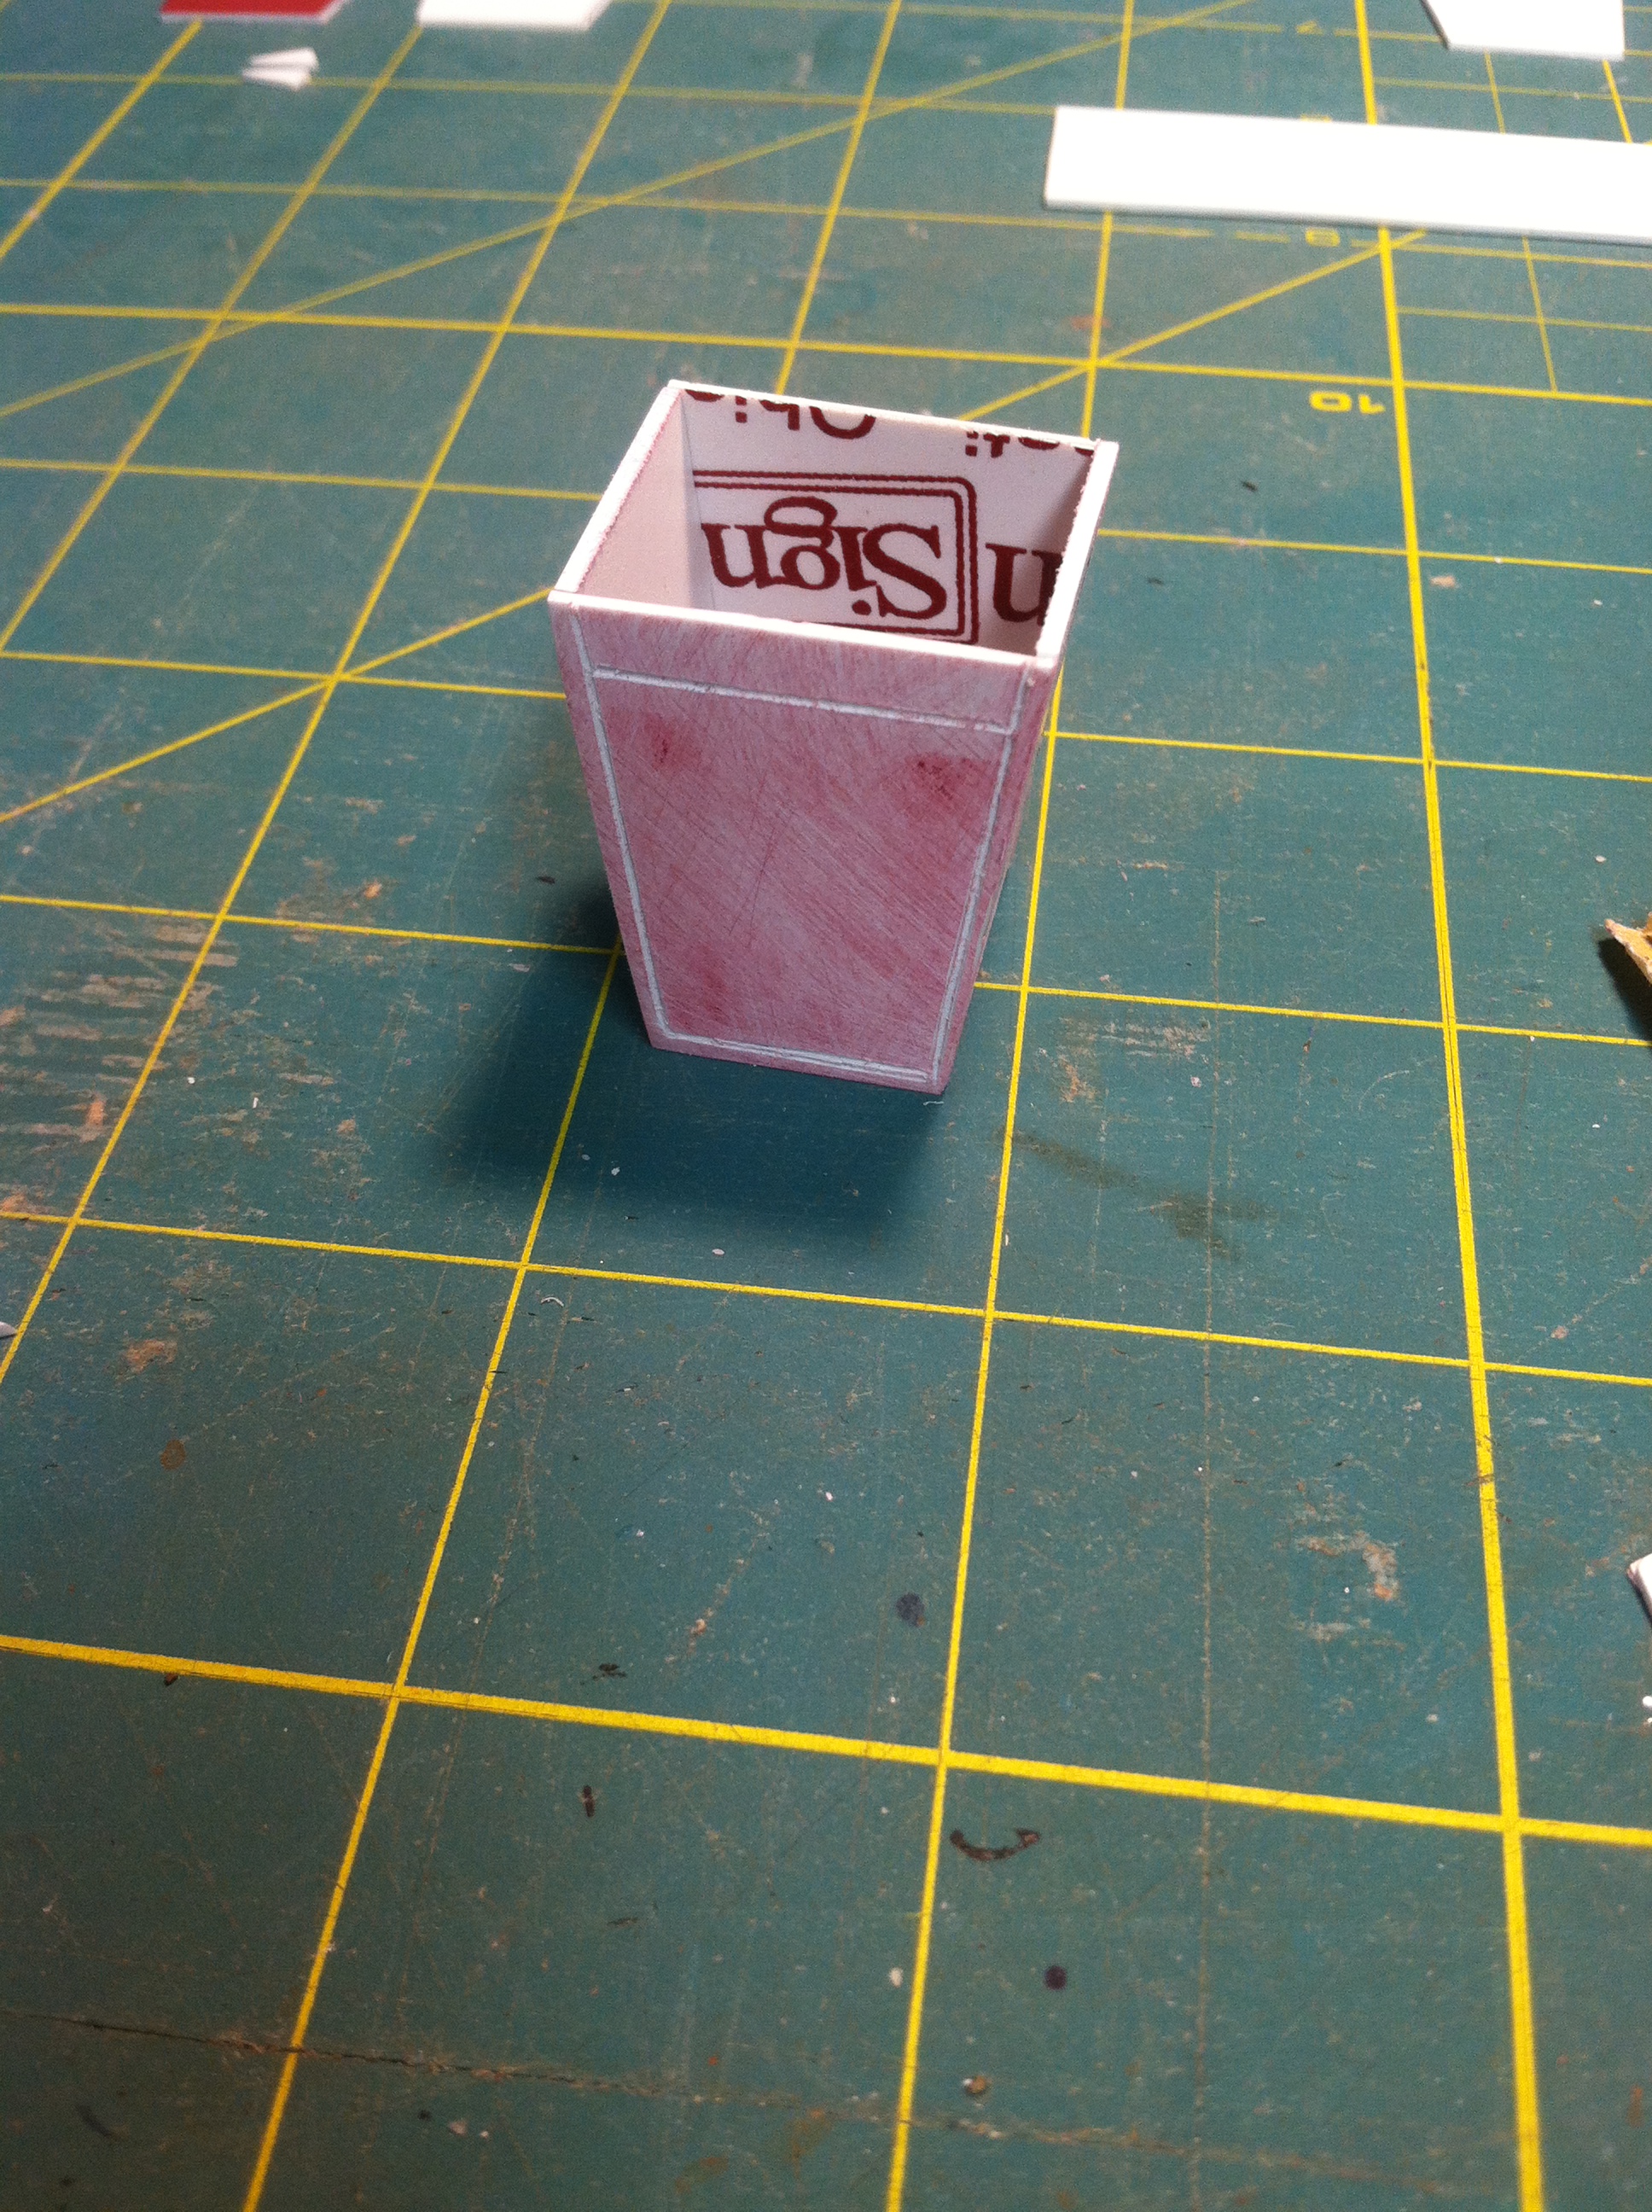
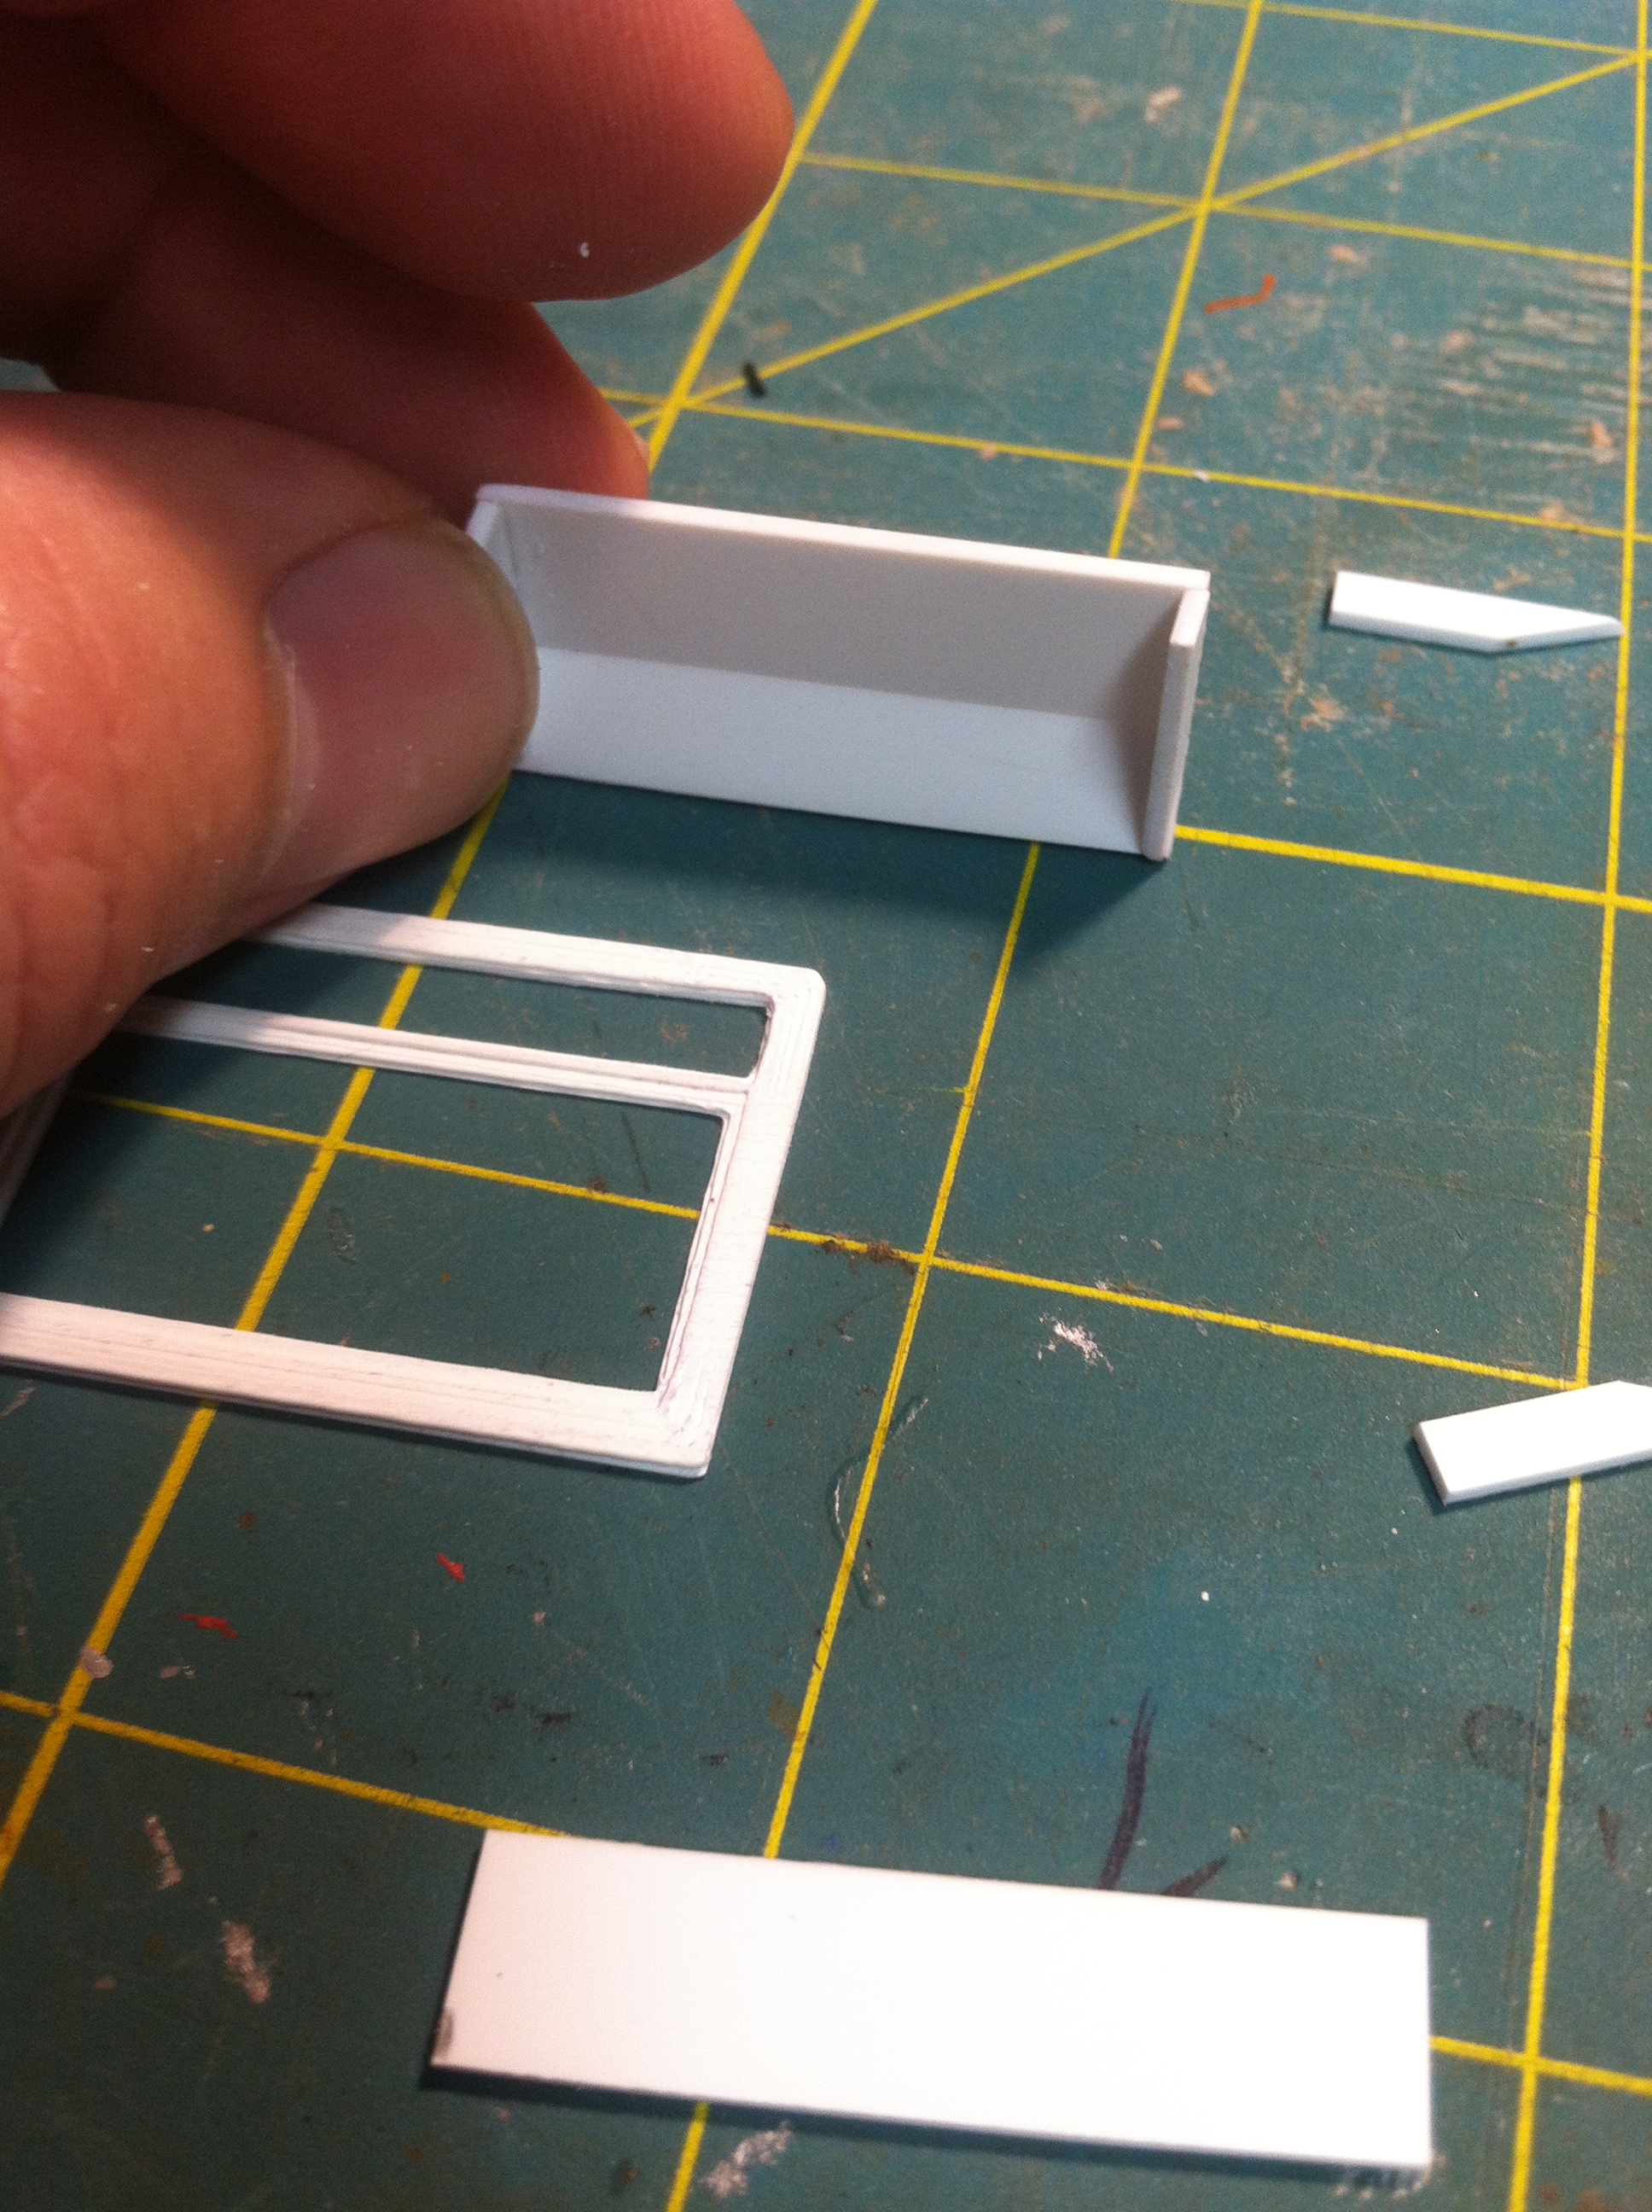
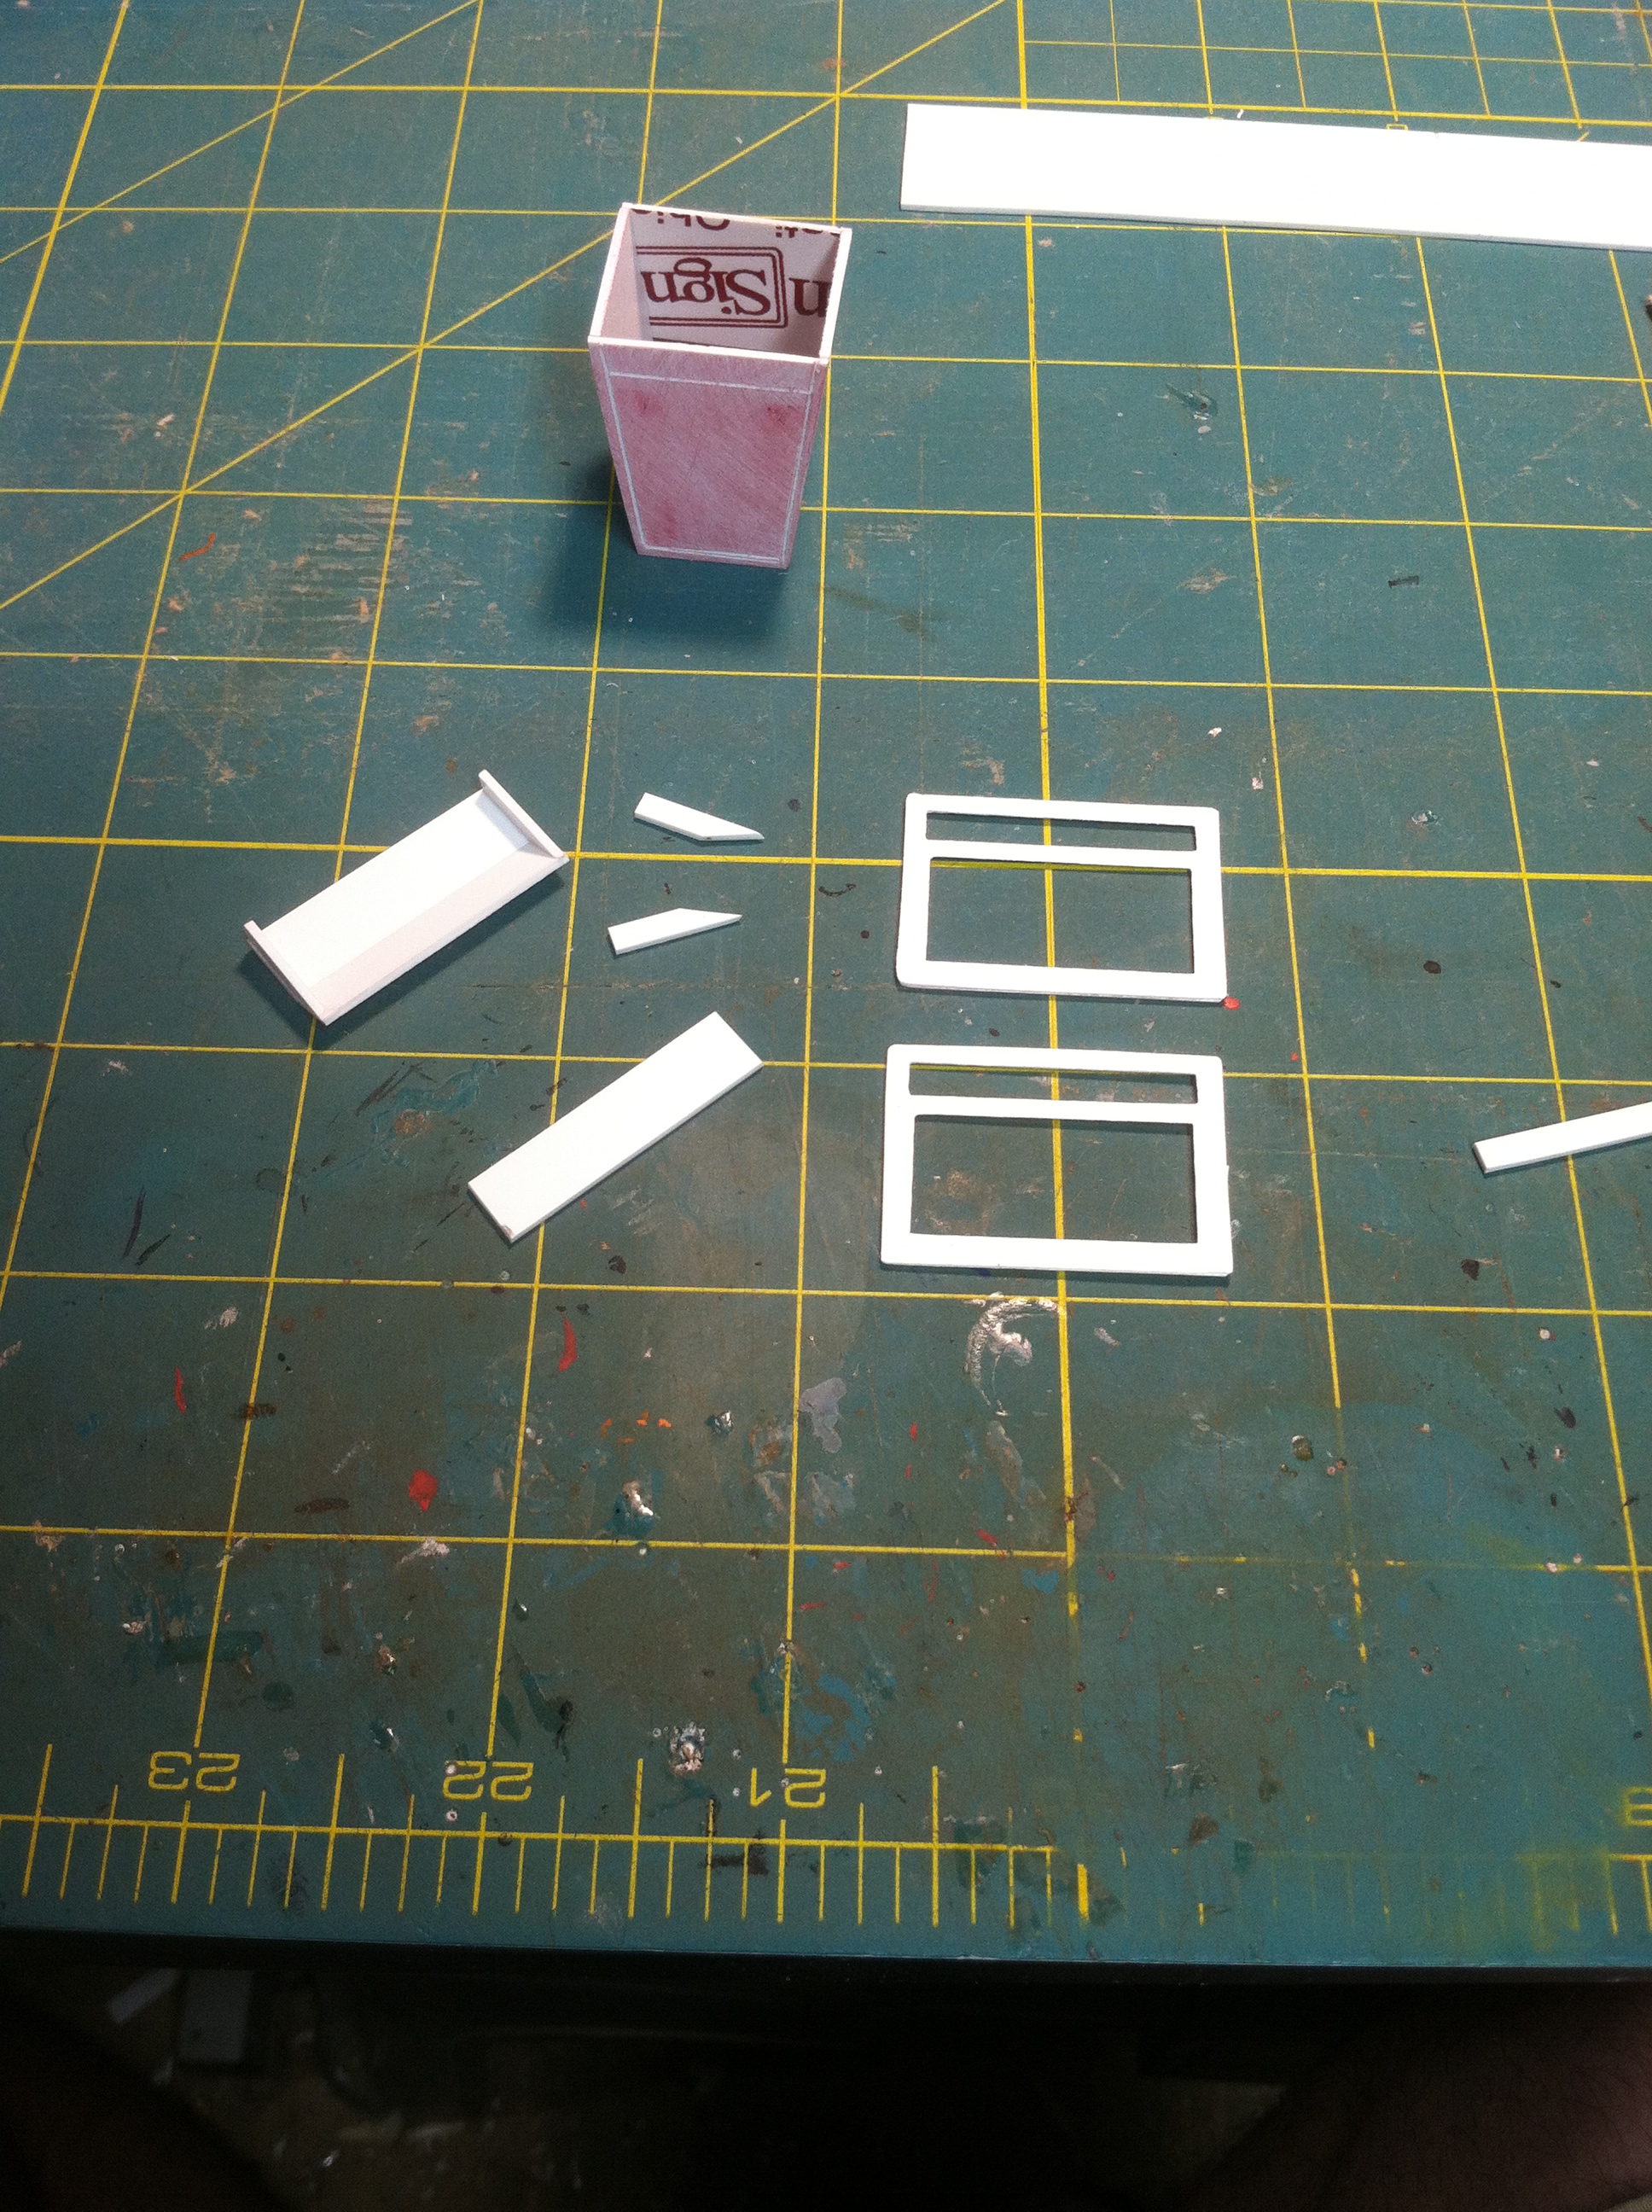
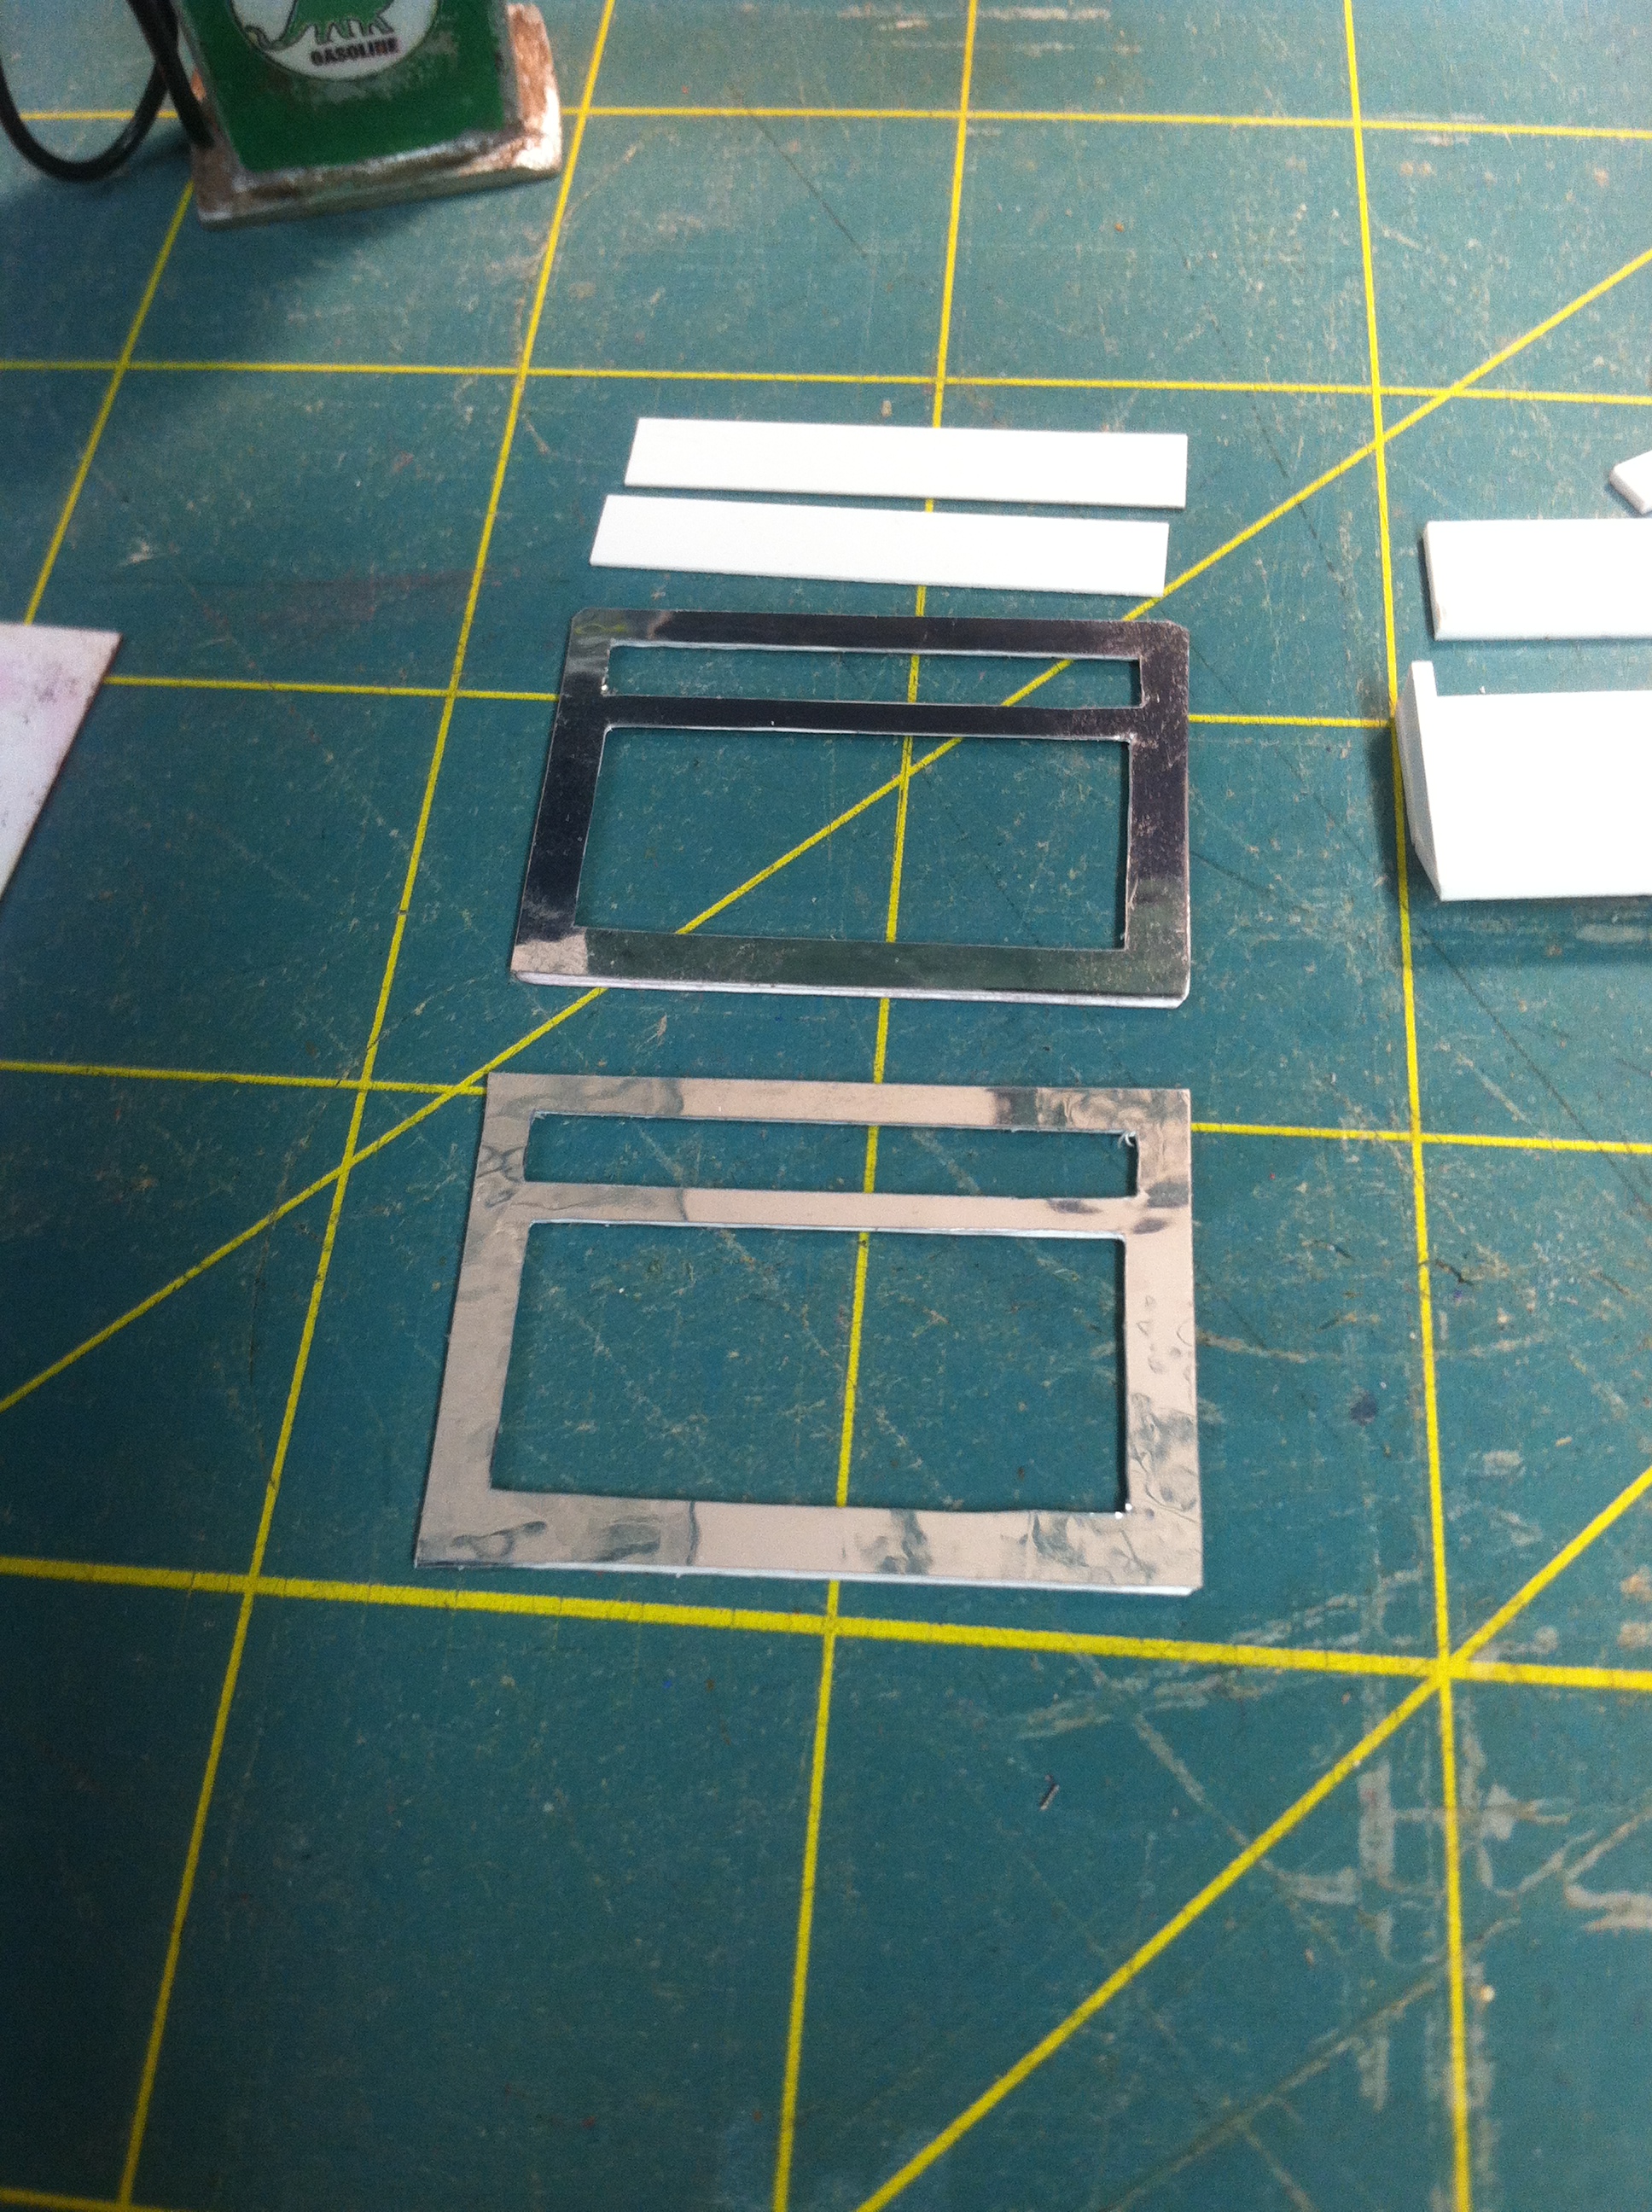
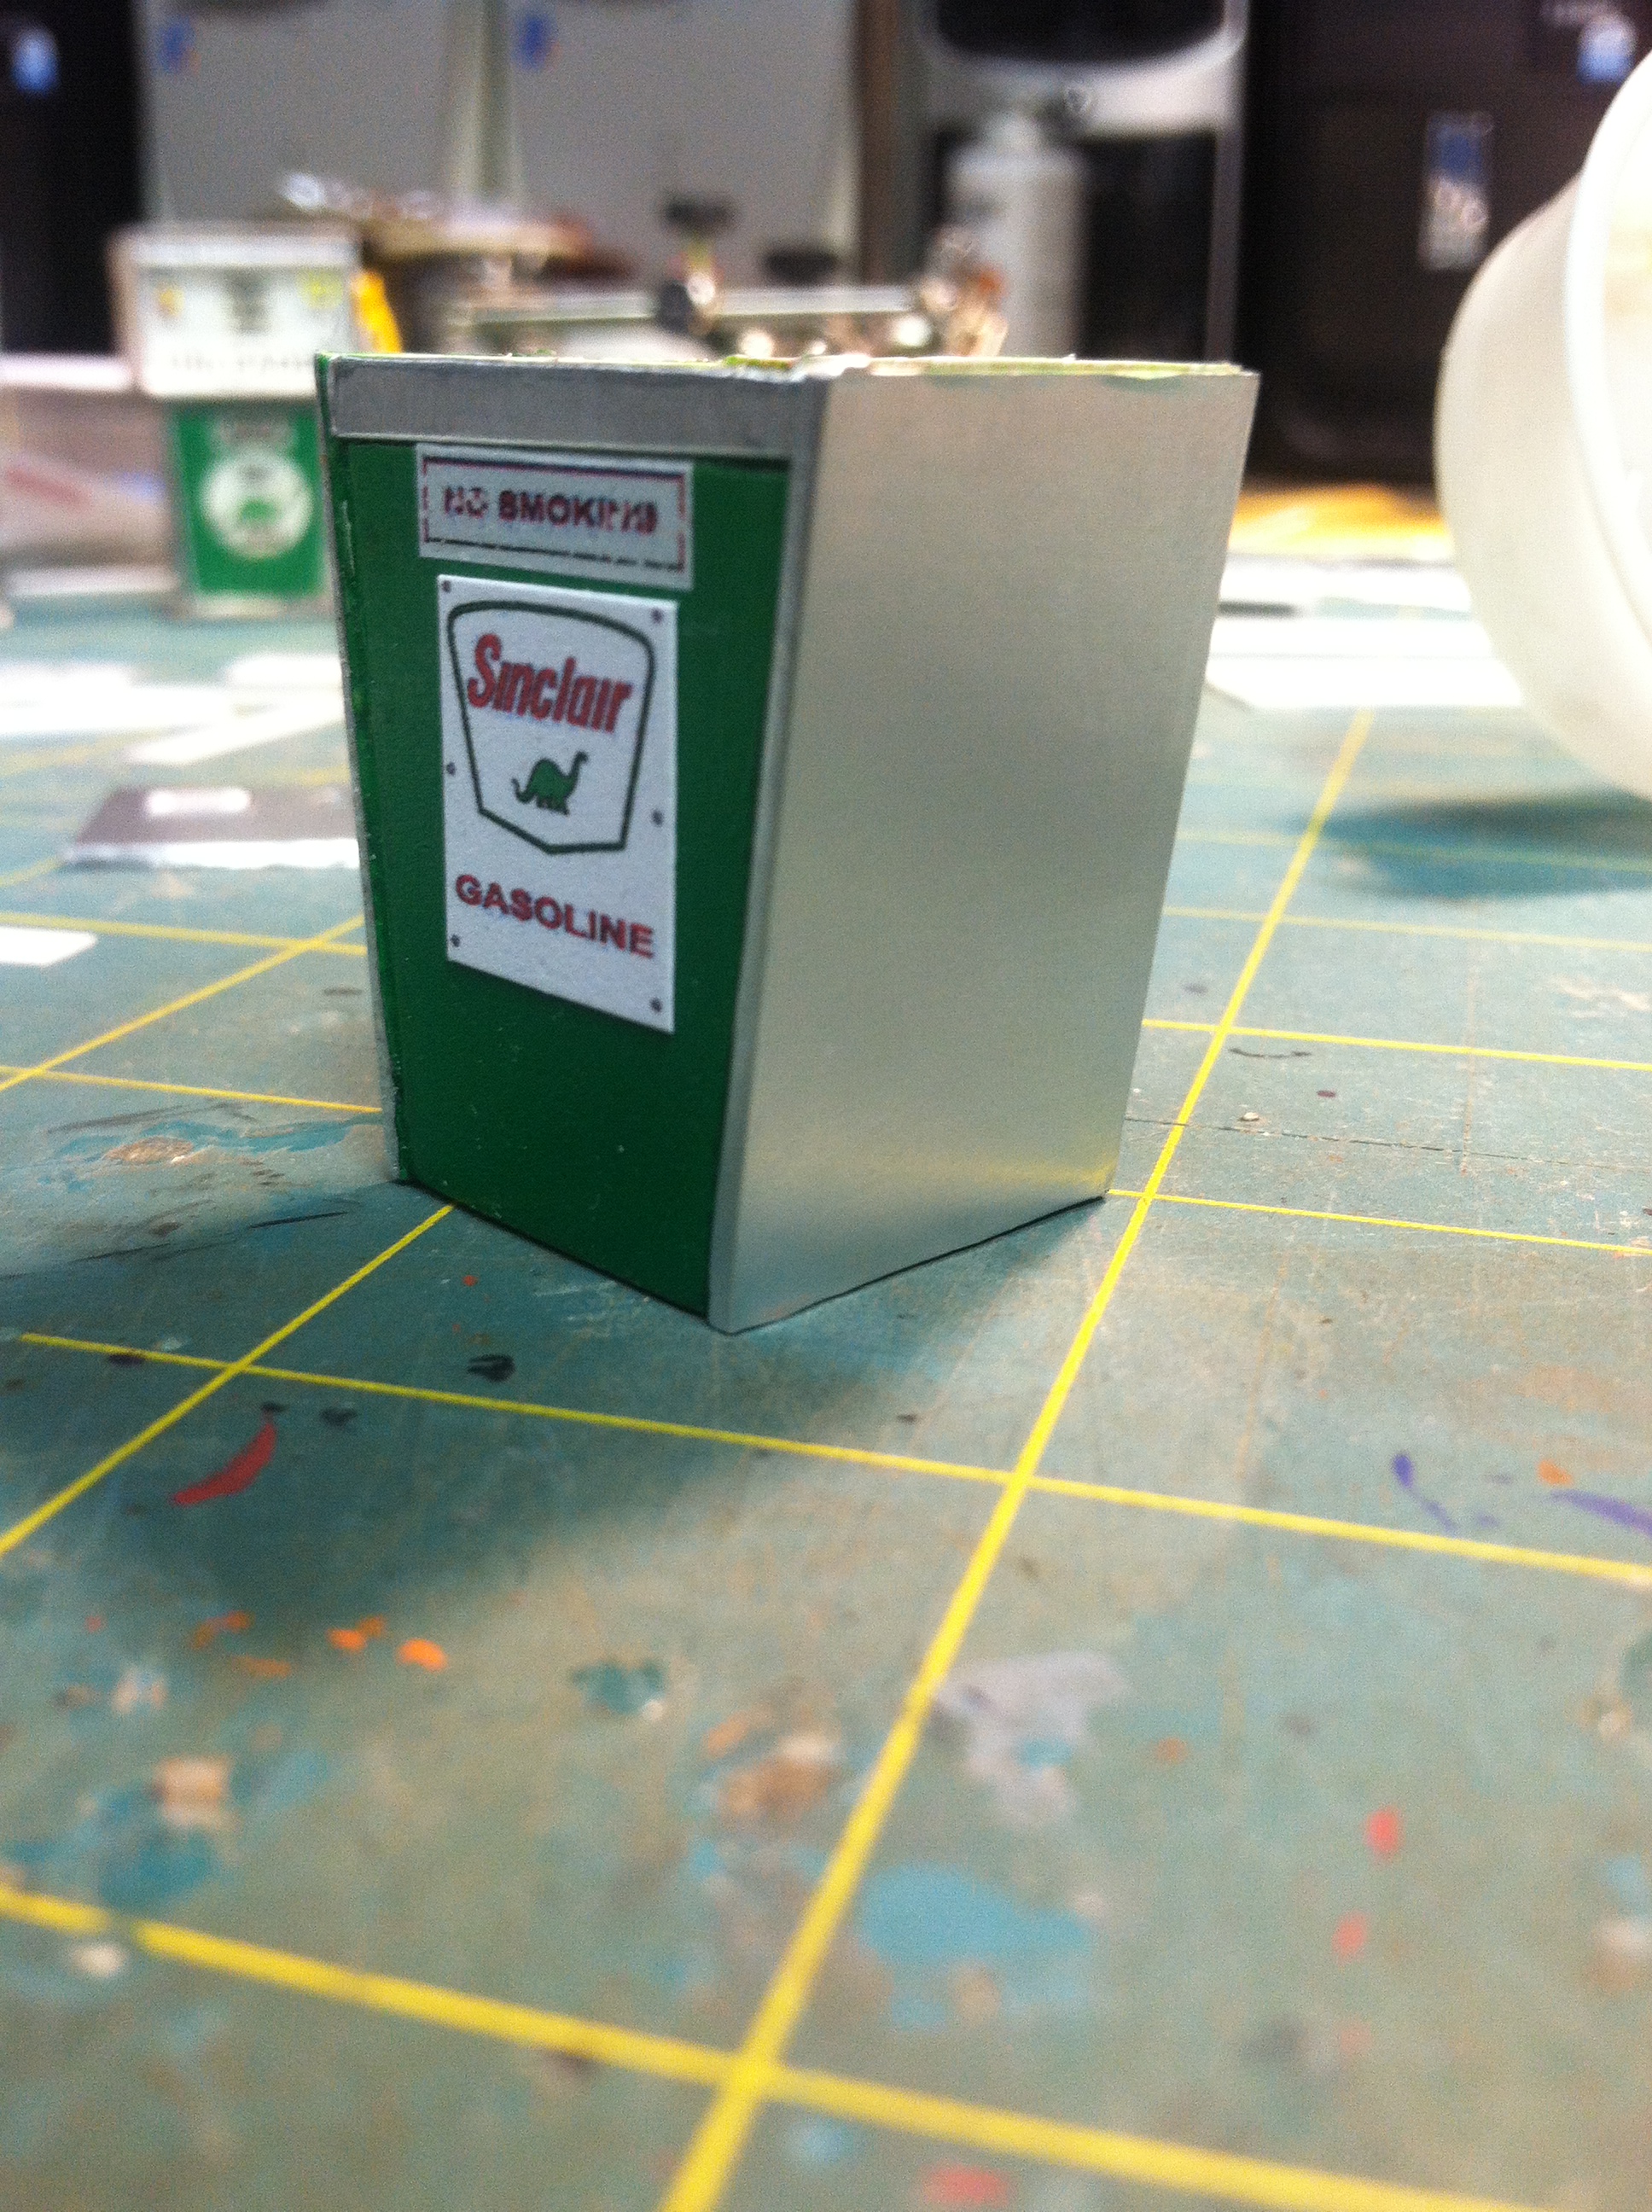
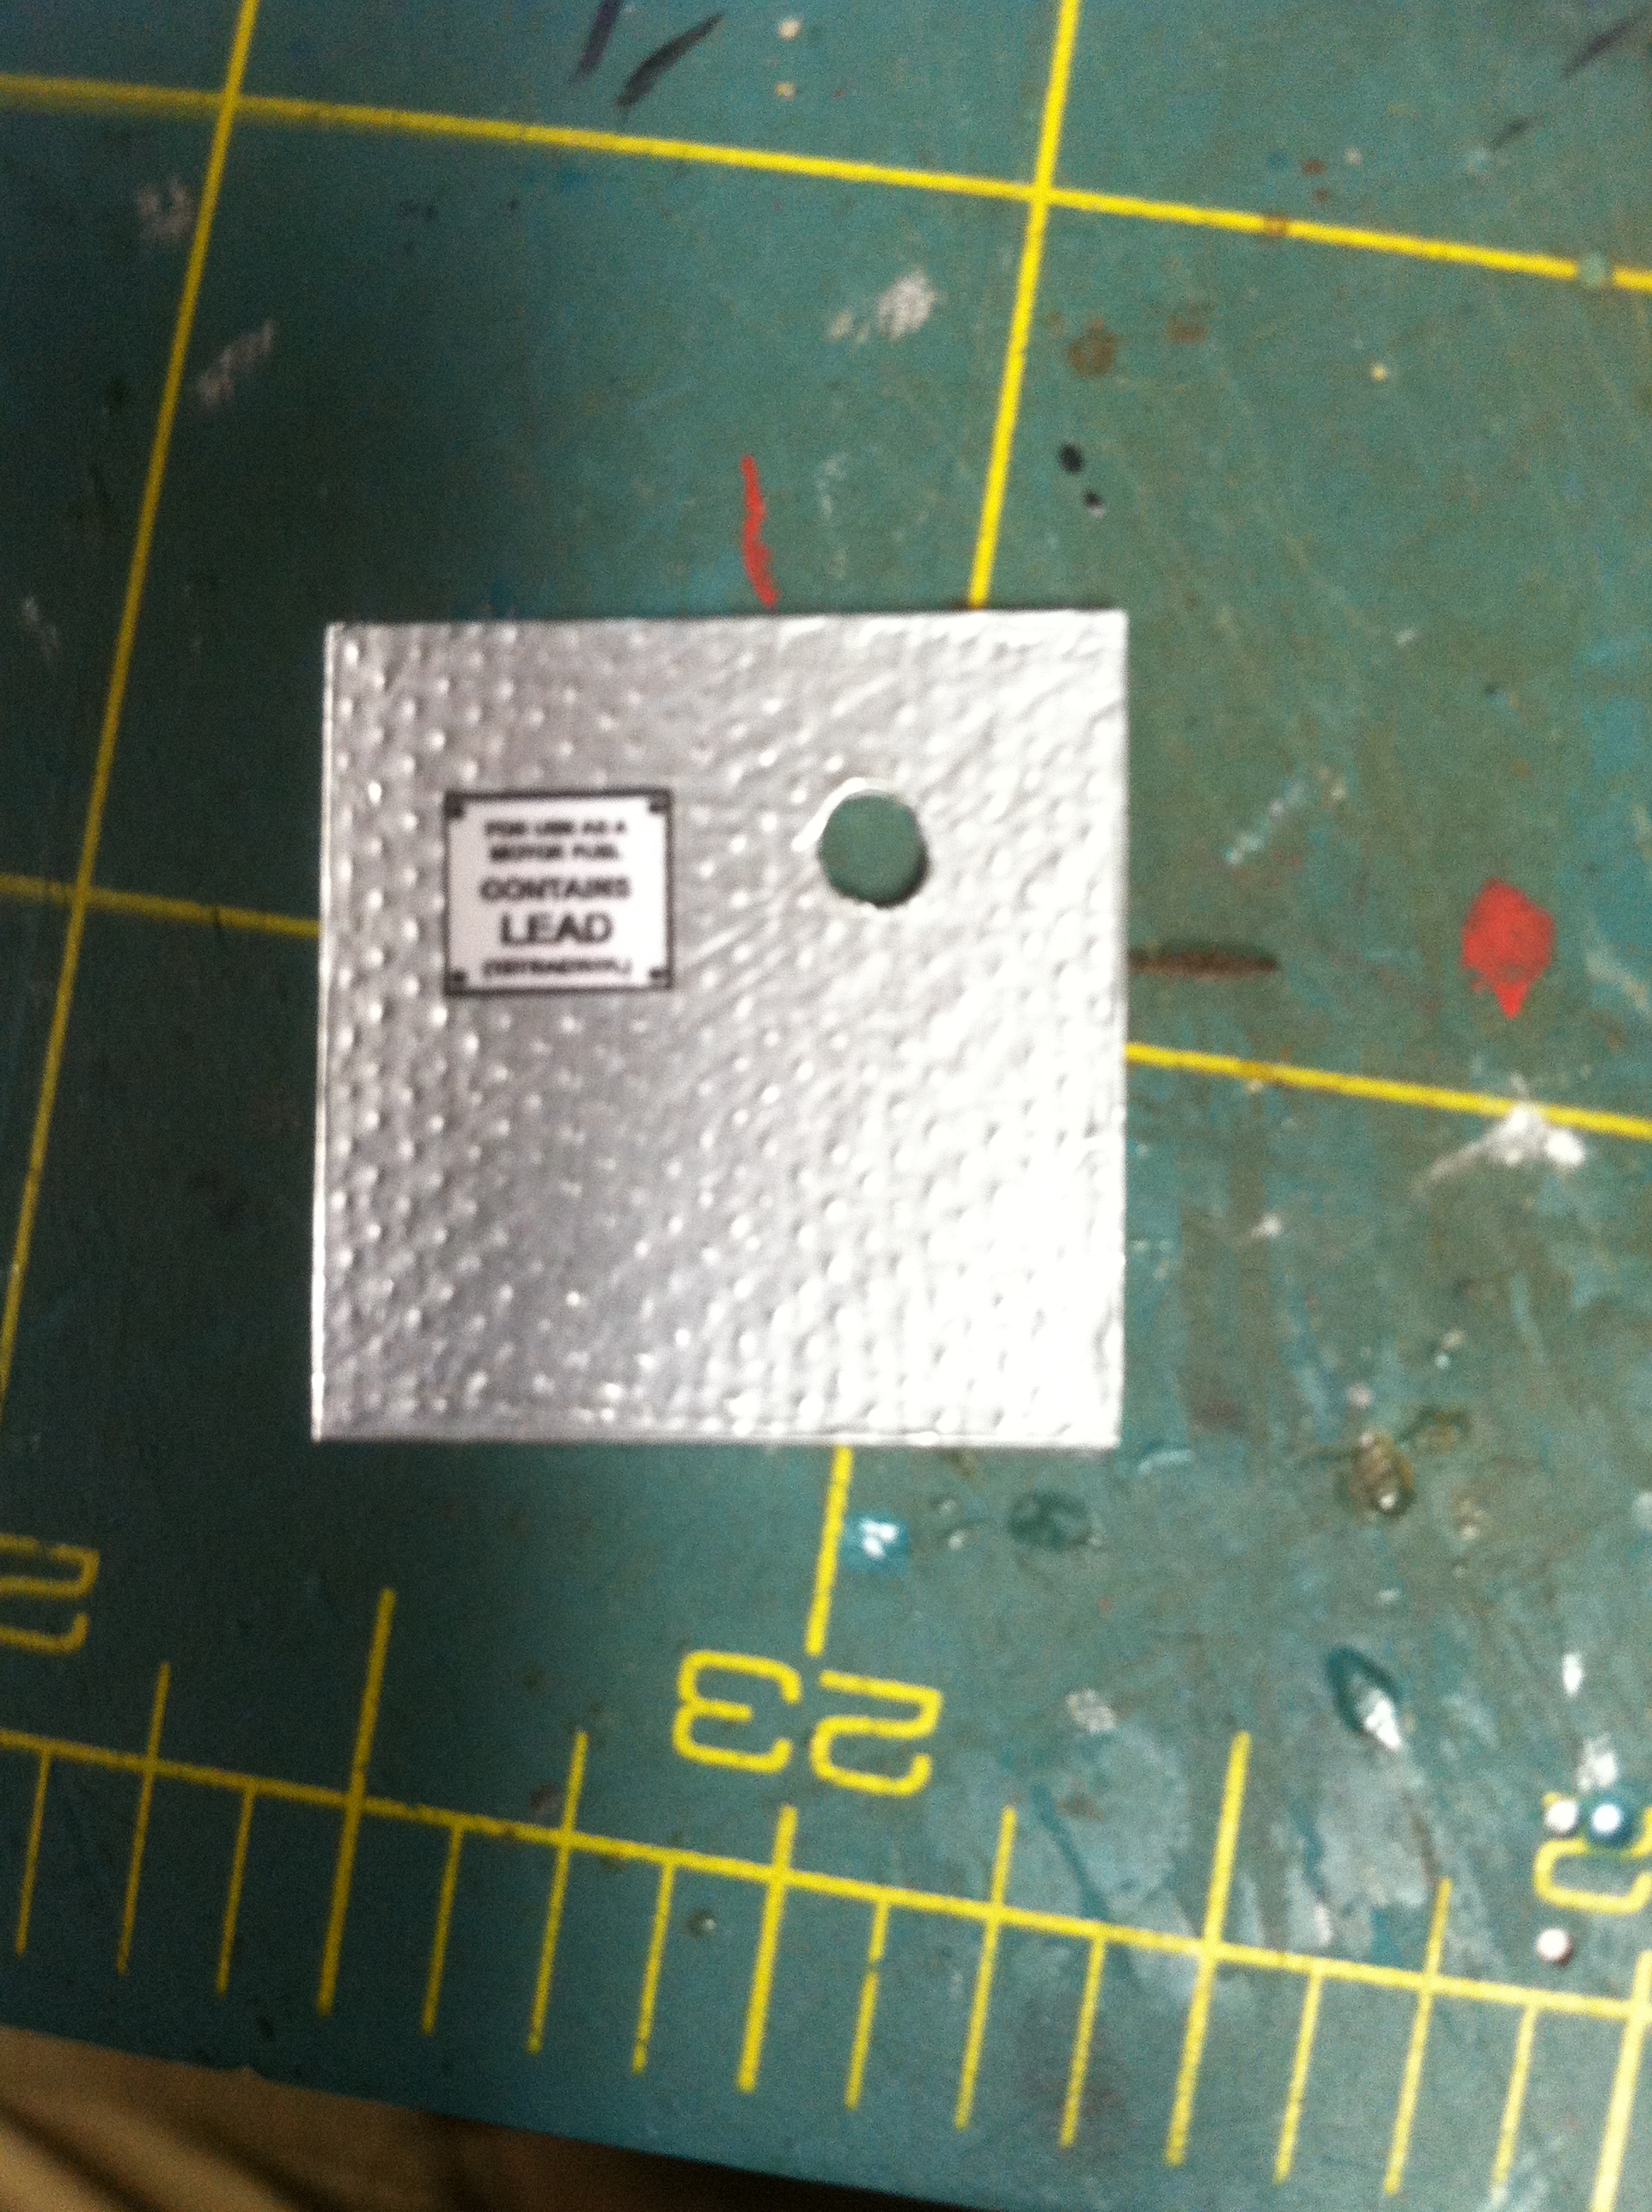
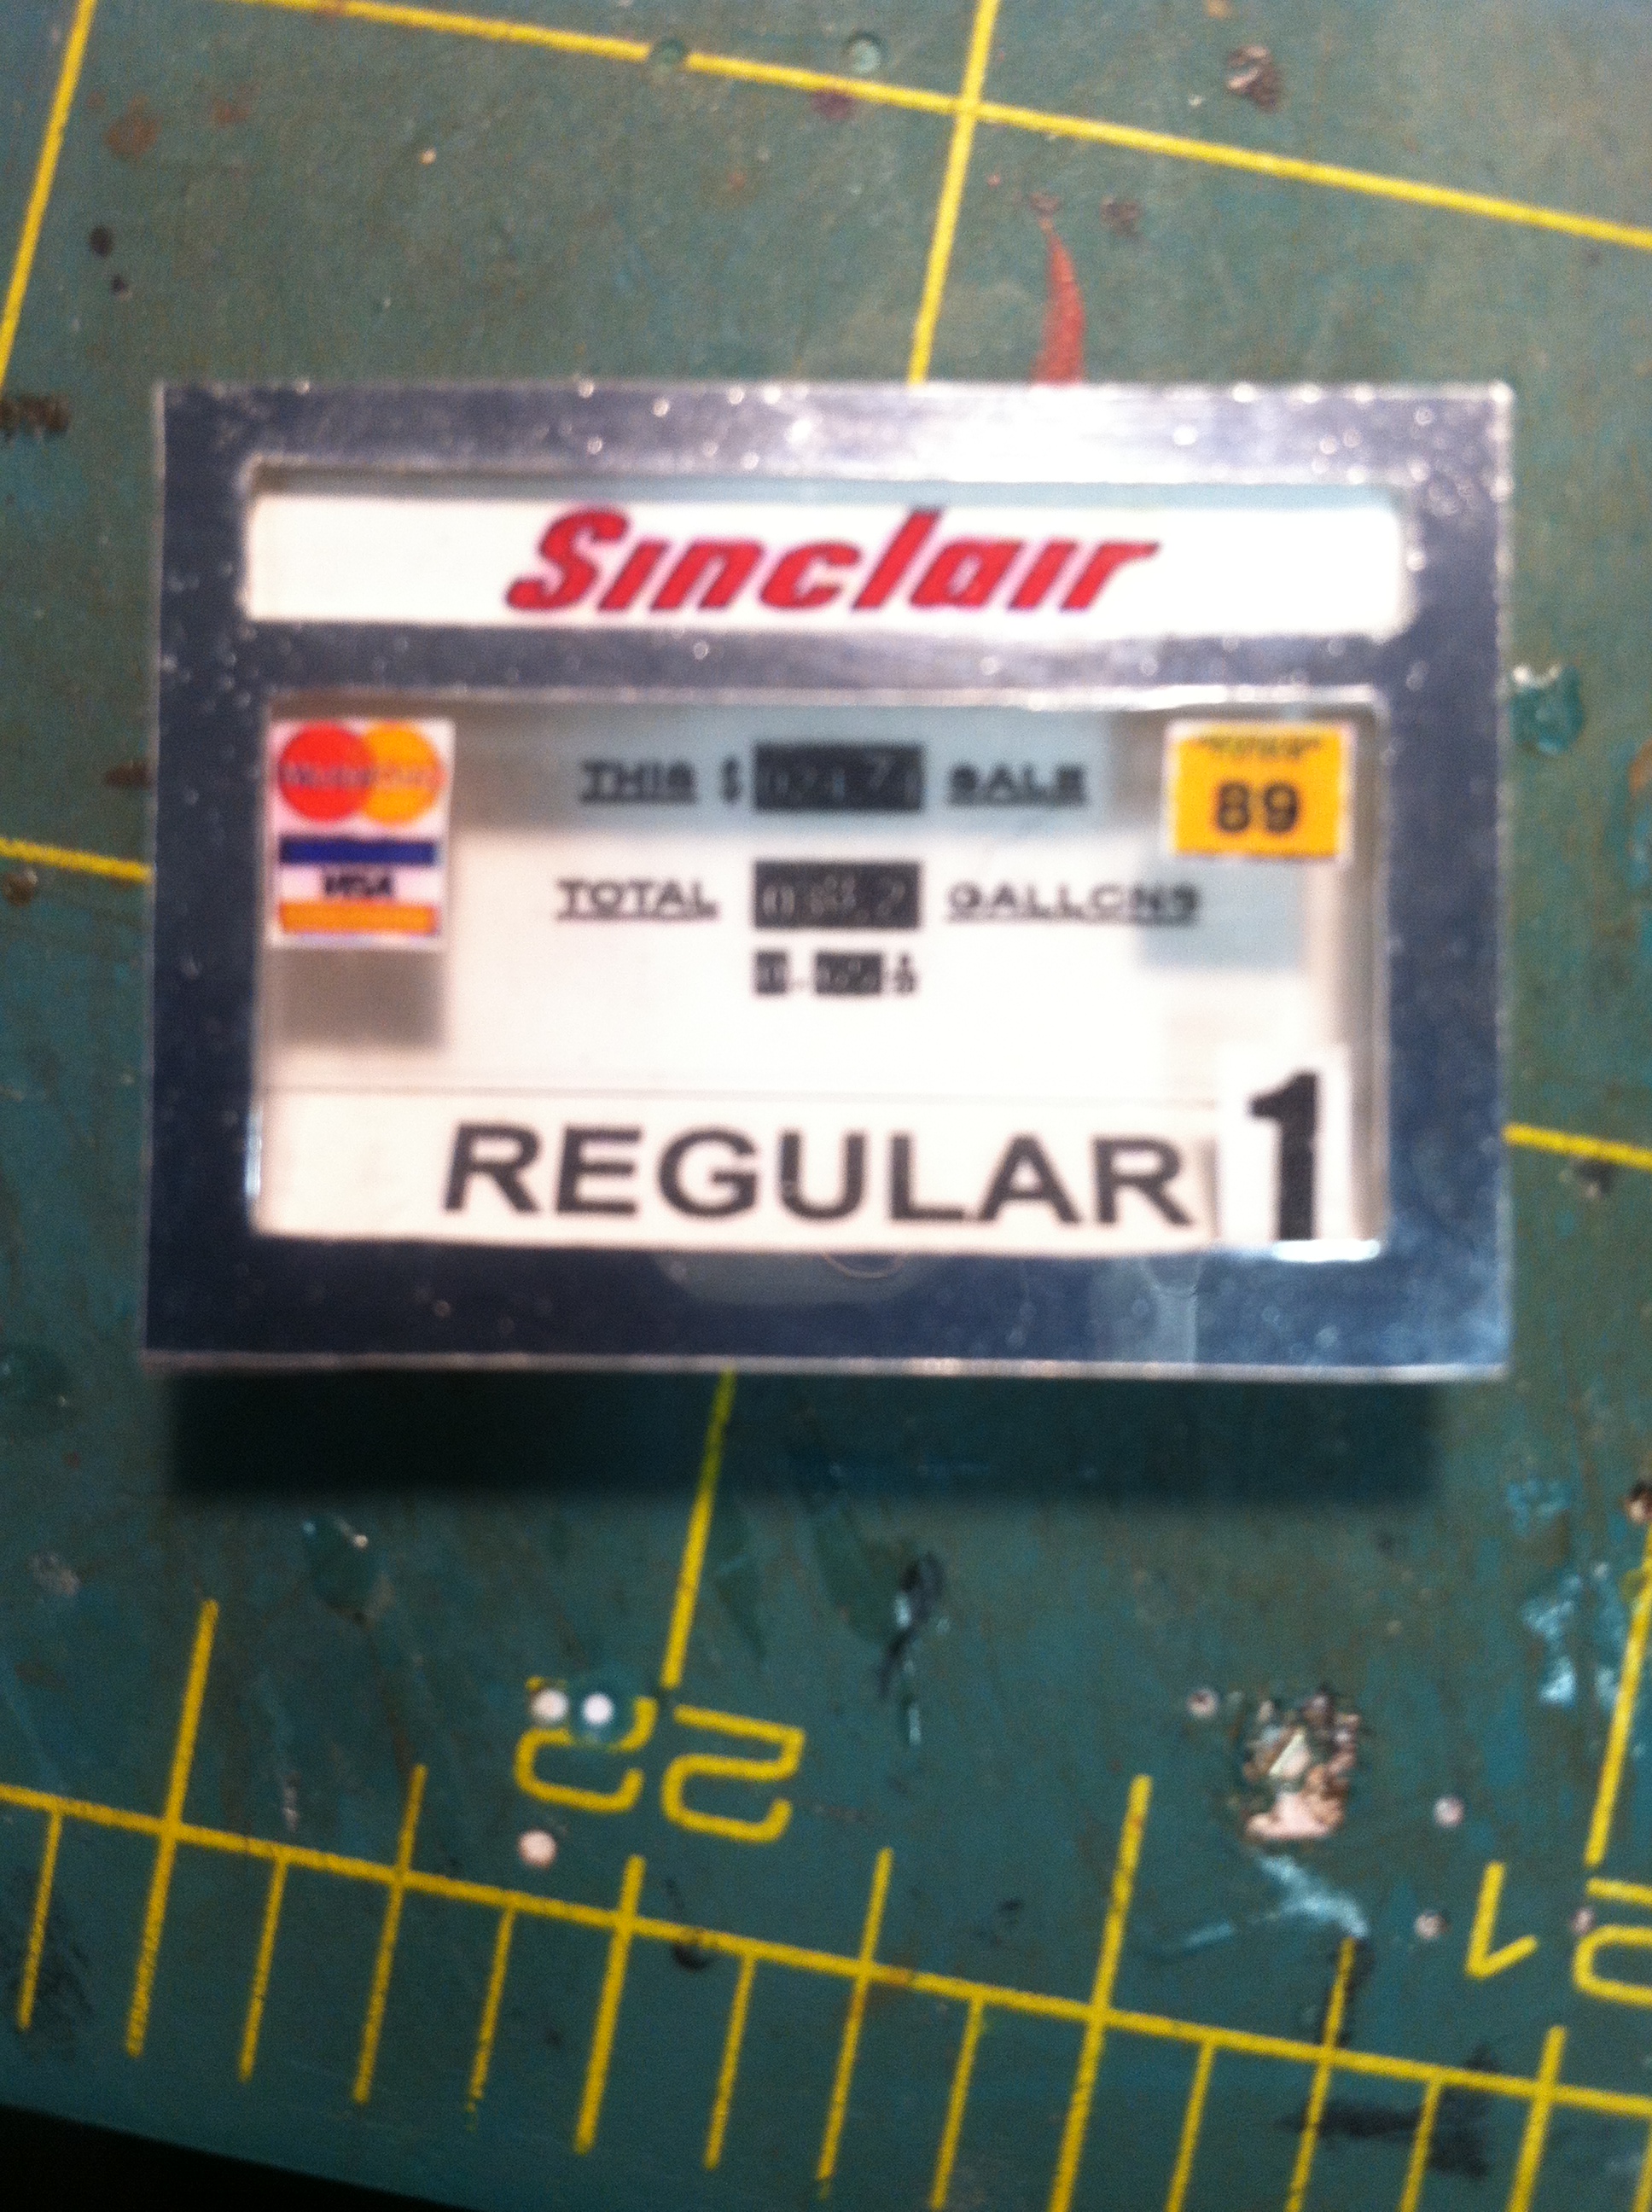
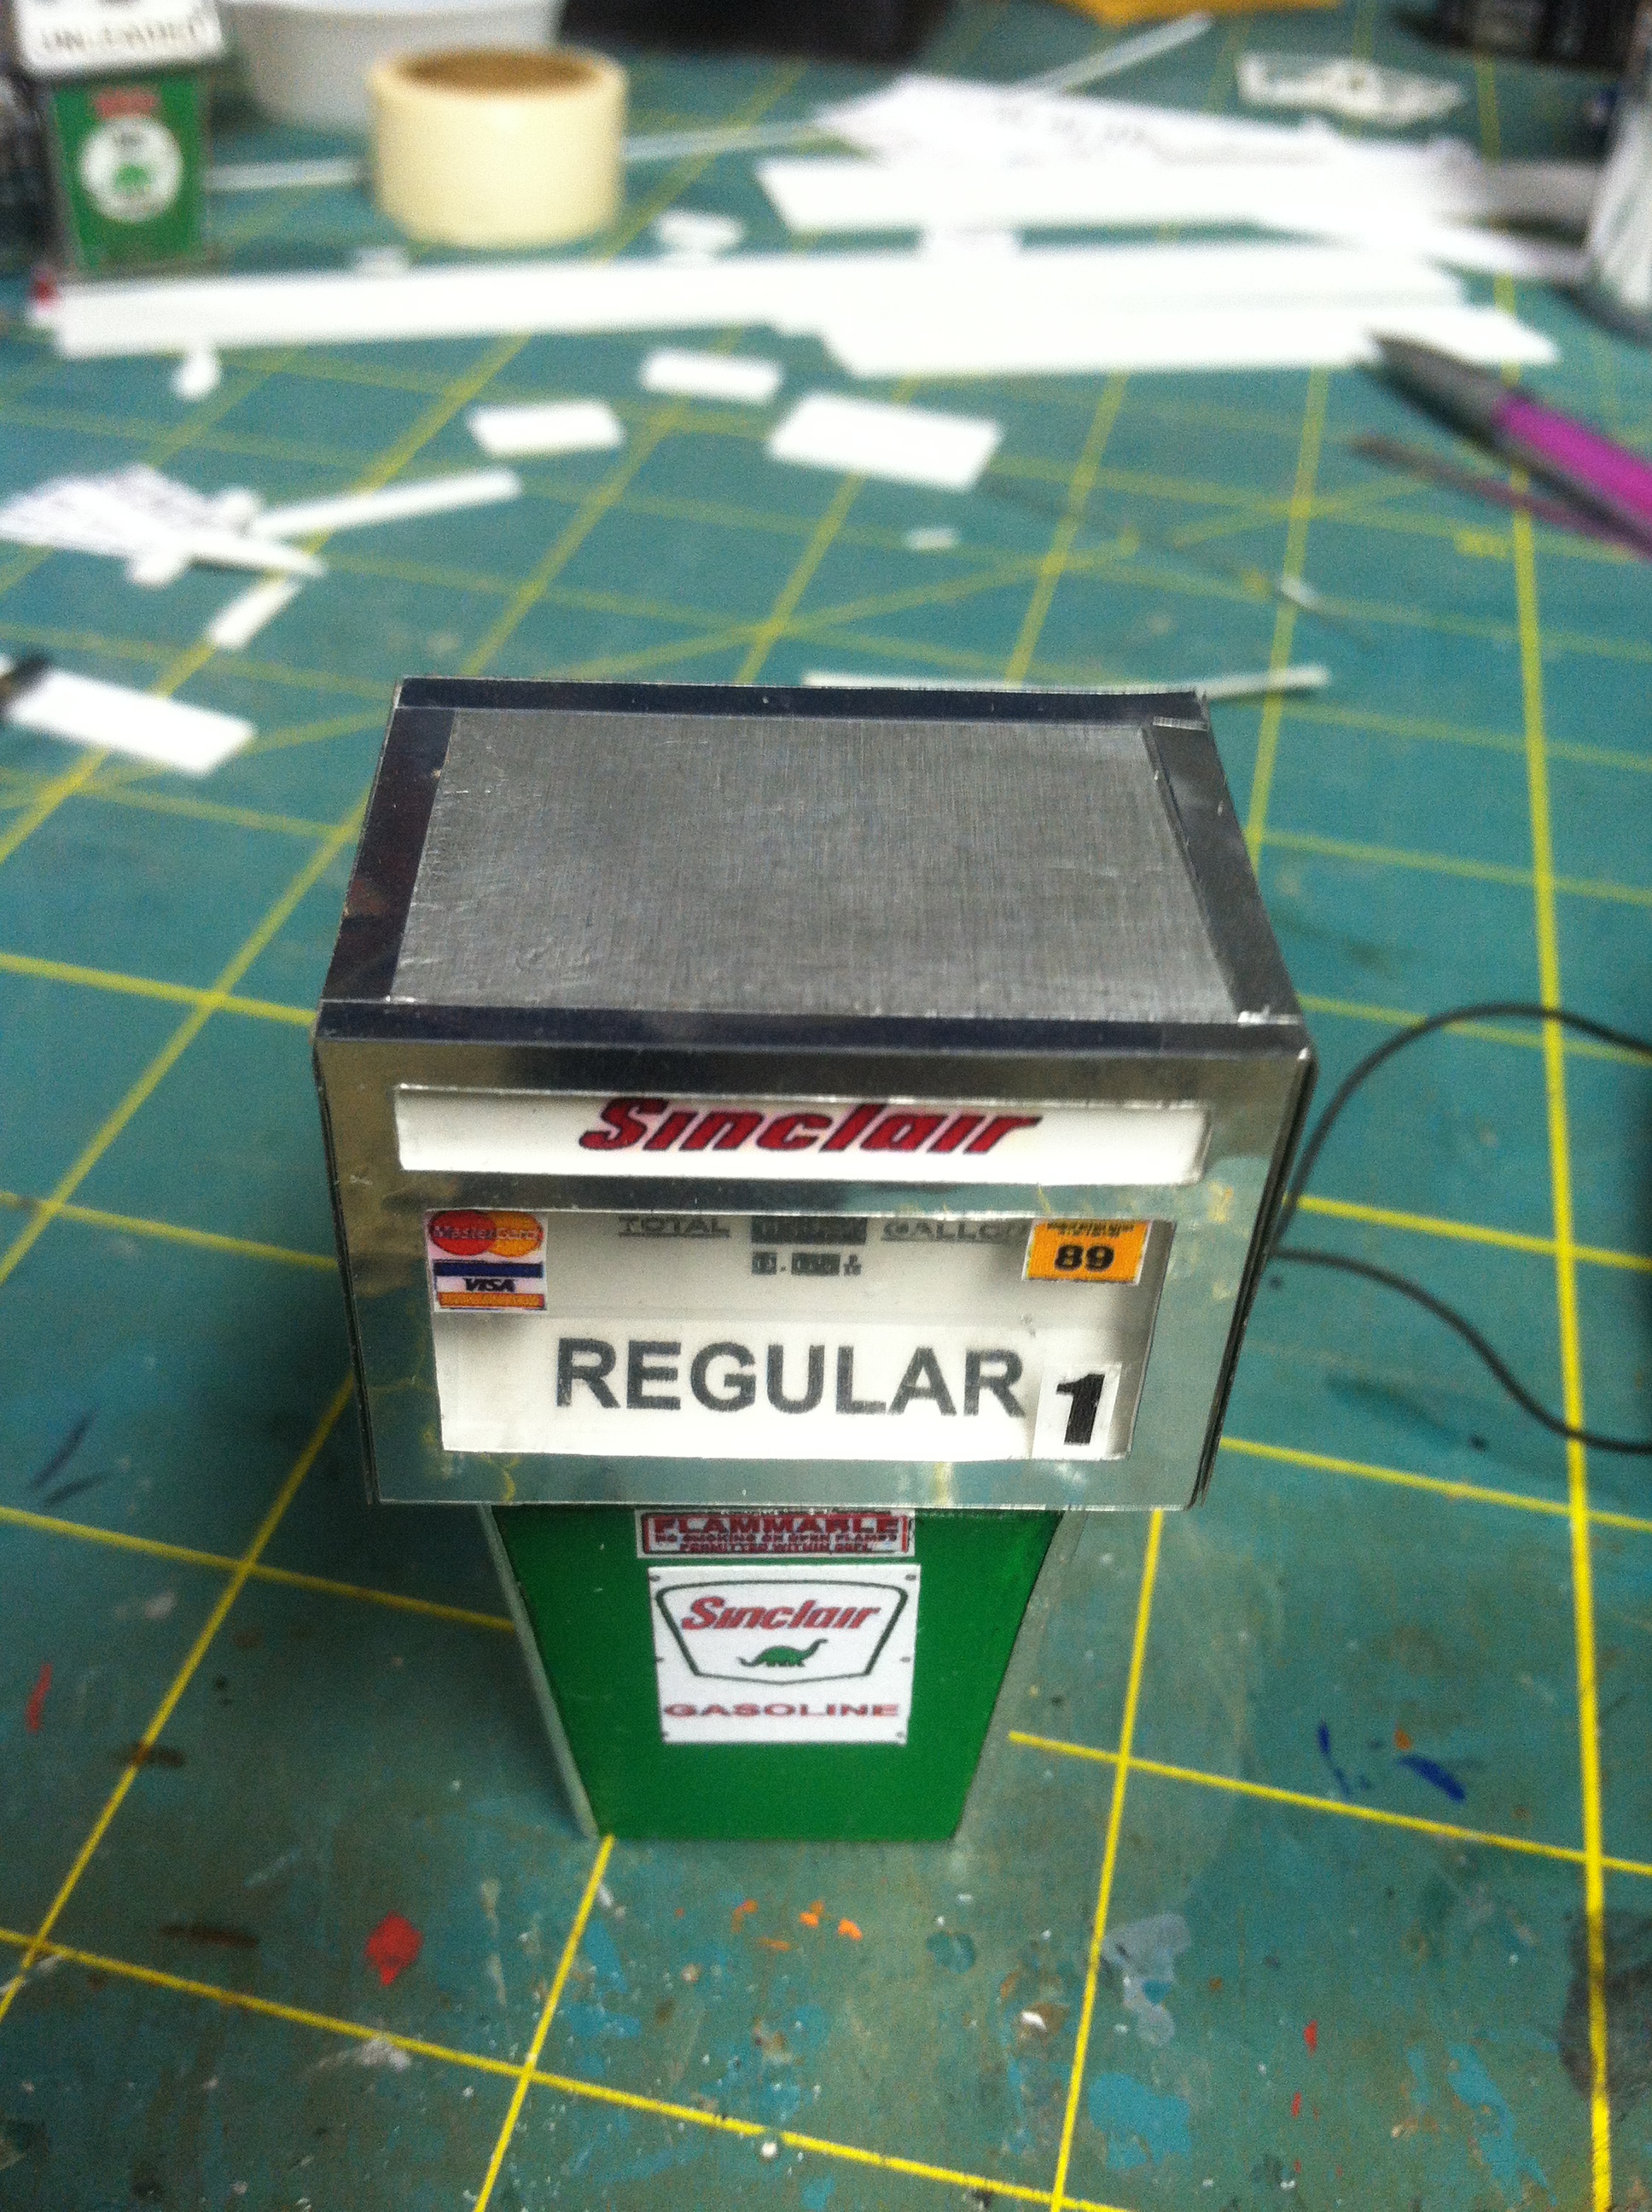
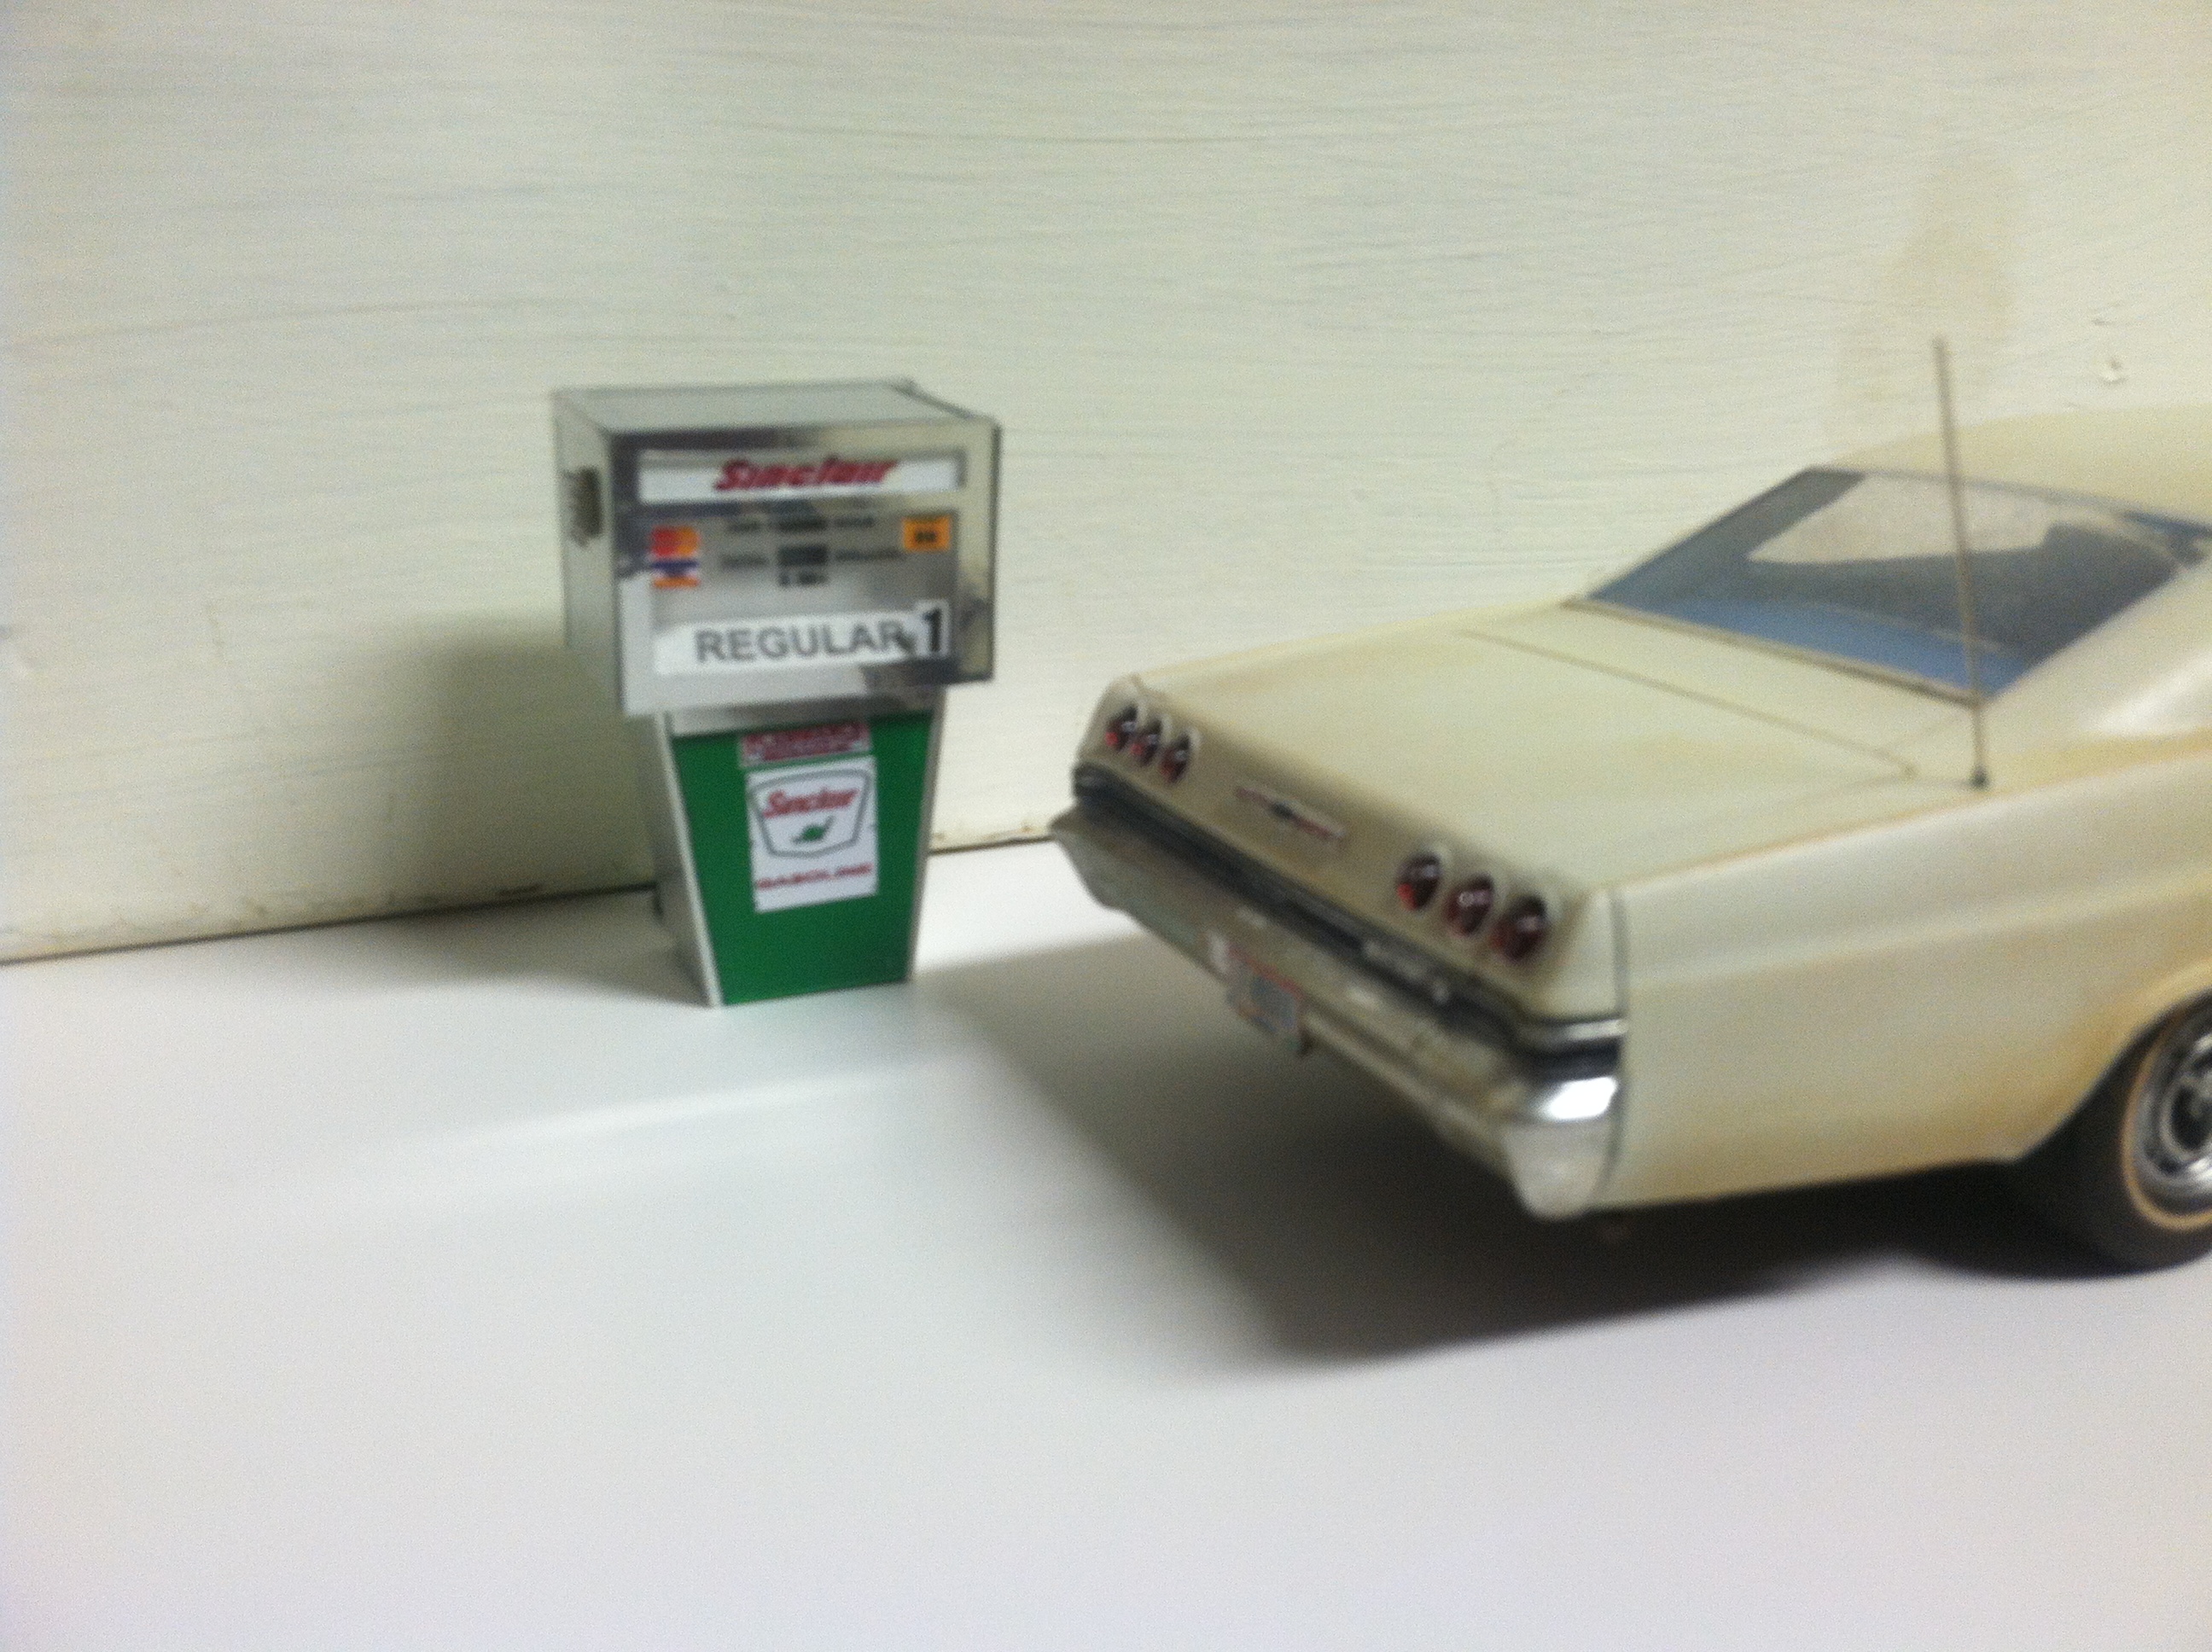
So I finally started on my massive "A day in 1979" diorama. It will have a Sinclair gas station along with many other structures. Basically it will be a small Montana town in 1979. I started with the gas station because it will require some of the most work structurally. There will be a total of 7 pumps and they will be illuminated for night scenes. This pump is not finished quite yet and it has a few flaws but it is the first and there was some serious experimenting going on. Many thanks to George and the others that responded to my "need help" for the sizing questions. Most of this build is from a "House for sale" sign. Hope you like it....let me know what you think! Thanks for looking! Here it is lit up. The sign used. The bases for all pumps were cut out. I used a thinner typical for sale sign for the top "Sinclair" signage as I needed light to able to illuminate them. Tin foil was used to give the stainless steel look on the sides. Textured the top sides again with tin foil. A quick set up to check for scale. The finished display will have a base on the pump, an island, other pumps etc. I will post more as I finish this one and start on the others. Thanks.
-
Nice work! very clean! You can make your own brick using the foam board you have...soak in a bath tub, peel off the paper...take a pencil or something of the sorts and a straight edge and press a little while making your lines...paint and glue to something sturdy. It actually makes for very nice real looking brick. Anyways great job!
-
I am doing something similar (town). It will require LOTS of space as certain buildings and land lots can be still be pretty large in 1/25 or 1/24 scale.That being said, use a scale converter to get your sizes. I use this one... http://www.scalemodelersworld.com/online-scale-converter-tool.html . Scroll down a little past half way and plug in your 1:1 size and ask for 1/24 or 1/25 scale, then transfer that onto paper or better, mark it off with tape and you will get an idea of how much you can fit on your table. A small two/ three bay commercial shop would be roughly 40 ft wide by 32 ft deep and a 12 ft interior ceiling which translates to 18 inches by 15.36 inches by 5.76 inches in 1/25 scale and without the roof. That plus a parking lot can chew up 1/4 of your table but it is still very doable to have a killer diorama with multiple buildings in a town setting. I agree with the above advice to start with one thing and get a feel for what all is involved. Good luck and show us your progress!
-
Sorry, I didnt mean for the actual products to be used in a diorama, I was giving modeler's a site to get sizes of things they may want to build. They give you 1:1 sizes so you can scale it down to what you need. I use this converter, scroll down to bottom and put in your measurements. http://www.scalemodelersworld.com/online-scale-converter-tool.html 35" would be 35.56 mm in 1/25 scale 16" would be 16.26 mm 17" would be 17.27 mm I have not confirmed their sizes to the real stuff but from what I have looked at, they seem to be realistic sizes. Some are vague measurements for weird shaped things but it will give you an idea at least.
-
I stumbled onto a goldmine for diorama builders while looking for dimensions for gas pumps. Check out this site! It has measurements for everything, including my gas pumps! Scroll down to categories, select what you want, select something within your options and bingo! nice pic, height, width, and depth sizes! They are props, but should be close enough to the real deal. http://www.airdesigns.net/
-
That is beautiful! Very nice work!