-
Posts
686 -
Joined
-
Last visited
Content Type
Profiles
Forums
Events
Gallery
Everything posted by bill lanfear
-
Thanks, the alternator is the kit part...(pretty sure)....I made the bracket and wired it.
-
Nice work on this! I was going to build this kit in light blue also whenever I get around to it. Yours looks awesome so far! Excellent detail work!
-
Here are some more pics of the progress. Sorry for the crappy pictures, I am limited to using my phone. I got the engine all nestled in the bay and finished plumbing and wiring. Windows are in along with interior tub. I chose to make the opera dome lights in the back instead of the center ceiling lamp. Did some chrome with BMF and for the first time used a Molotow pen. Thanks for checking it out
-

50 chevy 3100
bill lanfear replied to Ryansrust6's topic in Model Trucks: Pickups, Vans, SUVs, Light Commercial
Very nice! Love the weathering! -

Revell Bronco
bill lanfear replied to pturley84's topic in Model Trucks: Pickups, Vans, SUVs, Light Commercial
Very well done! -
Great weathering! Love the multiple paint layers and the execution!
-
Very nice! Great detail painting! Wish I had one (kit). Well done!
-
Looks like you have a great handle on the foil and wires! Great looking old Chevy!!
-

Moebius 4x4 Ford
bill lanfear replied to bill lanfear's topic in WIP: Model Trucks: Pickups, Vans, SUVs, Light Commercial
Thank you everyone for your positive comments! I really do appreciate them! Many of you have been great inspirations for me. This build is now (has been) under glass section...added a few new things since the pics here. You might have to dig a while to find it if your interested as its been on there a while now and folks here are building lots of great looking trucks daily. I might build a camper or boat to go with this build sometime in the future. I am currently working on a 65 Imapala to add to the "daily drivers" I am building for my future diorama. Thanks again!!!! -
Thank you everyone for the comments! Does anyone know how to rotate pics in here? The bumpers and dash pics loaded vertical by default.
-
Nice goat! Cragers were a great choice! Like the effect of the flat black hood.
-
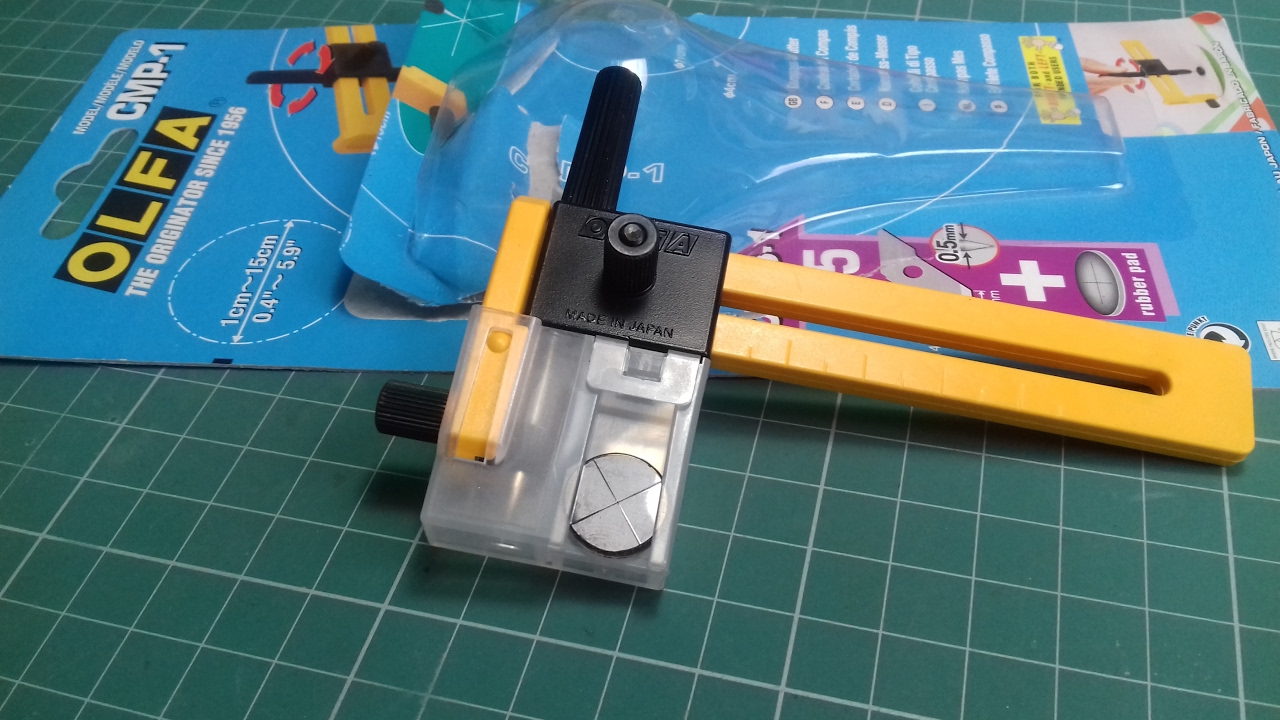
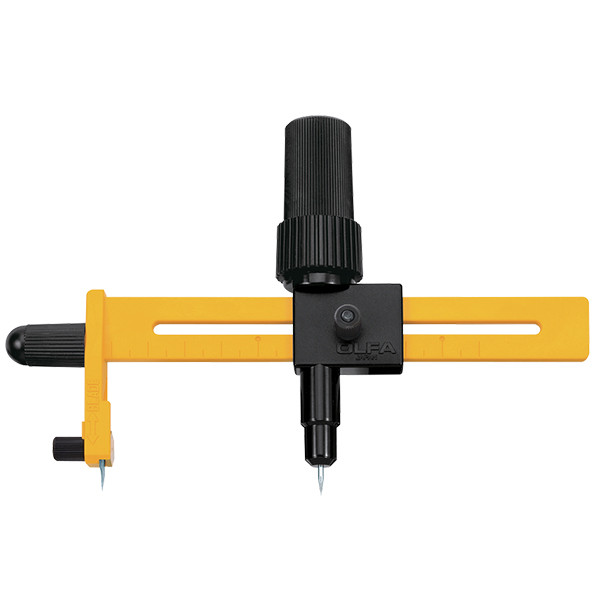
They seem to stick real well. The hubcaps I used were really tight in the tires I used and they didnt slip at all. The off white color is from me weathering them...the back need a little more. The tool I used is this OLFA. Type in "compass cutter" on Amazon or whatever and you will find it. Its cheap! 10 - 15 bucks! The labels I used were just run of the mill postage mailing labels (stickers of course). I can take a pick of the brand if you like and post it tomorrow.
-
In keeping with my theme of building cars and trucks as I remember seeing them back in the 70’s, I decided to build a replica of my Uncle’s Impala SS. As a youngster I remember those rare occasions of my Aunt and Uncle coming all the way from Montana to visit. Is it sad that I remember more about their car than my relatives???? I drooled over this car every time I saw it. It was their everyday driver and only car they owned for many years. This is build number 5 for me and will eventually be a part of my large diorama I’ve been planning for years. Hope you enjoy it….thanks for looking! I started with the tires. The kit tires did not have whitewalls evenly placed on the tire so I found a Youtube video of a modeler using a compass style cutter and label paper to create his. I found some tires out of my parts box and gave it a shot. I am more than pleased with the outcome! I then weathered the tires with some road grime , sanding and stuff and this was the result. I am aware of the slight difference in tire sizes, its on purpose (fronts and backs). Next up was the engine. I did my usual weathering technique to achieve the worn daily driven look. Back to the chassis.....weathered and worn, but maintained. I need to dull down the mufflers yet! Gas tank is done. . Started the interior. I chose not to flock this as I felt it wasn't necessary due to closed doors and good texture on the kit parts. The dash is painted and the decals were not used ....neither was the kit dash lens because it looked too toyish and covered the details too much for me. I painted the dash in 3 shades of blue. The insert is lighter than the main dash and the dash pad a hair darker as my research always showed this slight variation. It also helps to create depth and variety. I scratch built the turn signal arm. For the front and rear bumpers....I weathered and dulled them down a tad and for the front turn signal lenses I used a prescription cough medicine bottle. It worked slick as all I had to do was cut to fit and glue. Back to the engine.....I scratched out an alternator bracket, AC comp brackets front and back, wired and plumbed, dipstick and temp sending unit plus a bunch more. Created some power steering hoses. Radiator support. Painted the body and did a test fit. Thanks for looking.....will post more as it comes together!
-

1959 Ranchero
bill lanfear replied to spencer1984's topic in Model Trucks: Pickups, Vans, SUVs, Light Commercial
Very nice! Well done! -

'65 Chevy Stepside
bill lanfear replied to NOBLNG's topic in WIP: Model Trucks: Pickups, Vans, SUVs, Light Commercial
That is looking great! Nice detail painting and choice of color! -
Beautiful work! Love it!
-
I agree with Snake, anything from merchandise containers to sheets of clear film can be used most of the time. I use clear "old school" overhead projector sheets, they are very flexible and can curve to most shapes, also, they are cheap and plentiful! I did it on a 54 Chevy Bel Air back window without problems but as Snake said, the gluing part can be challenging.
-

Family Suburban
bill lanfear replied to espo's topic in Model Trucks: Pickups, Vans, SUVs, Light Commercial
Brilliant color combo! Nice subtle smooth touches! Love it! -

Lil' Red Express
bill lanfear replied to Bartimaeus5000's topic in Model Trucks: Pickups, Vans, SUVs, Light Commercial
Looks pretty good to me and I agree , we have all been there! Its possible with every build and if you don't screw something up at some point...your not doing it right!


